
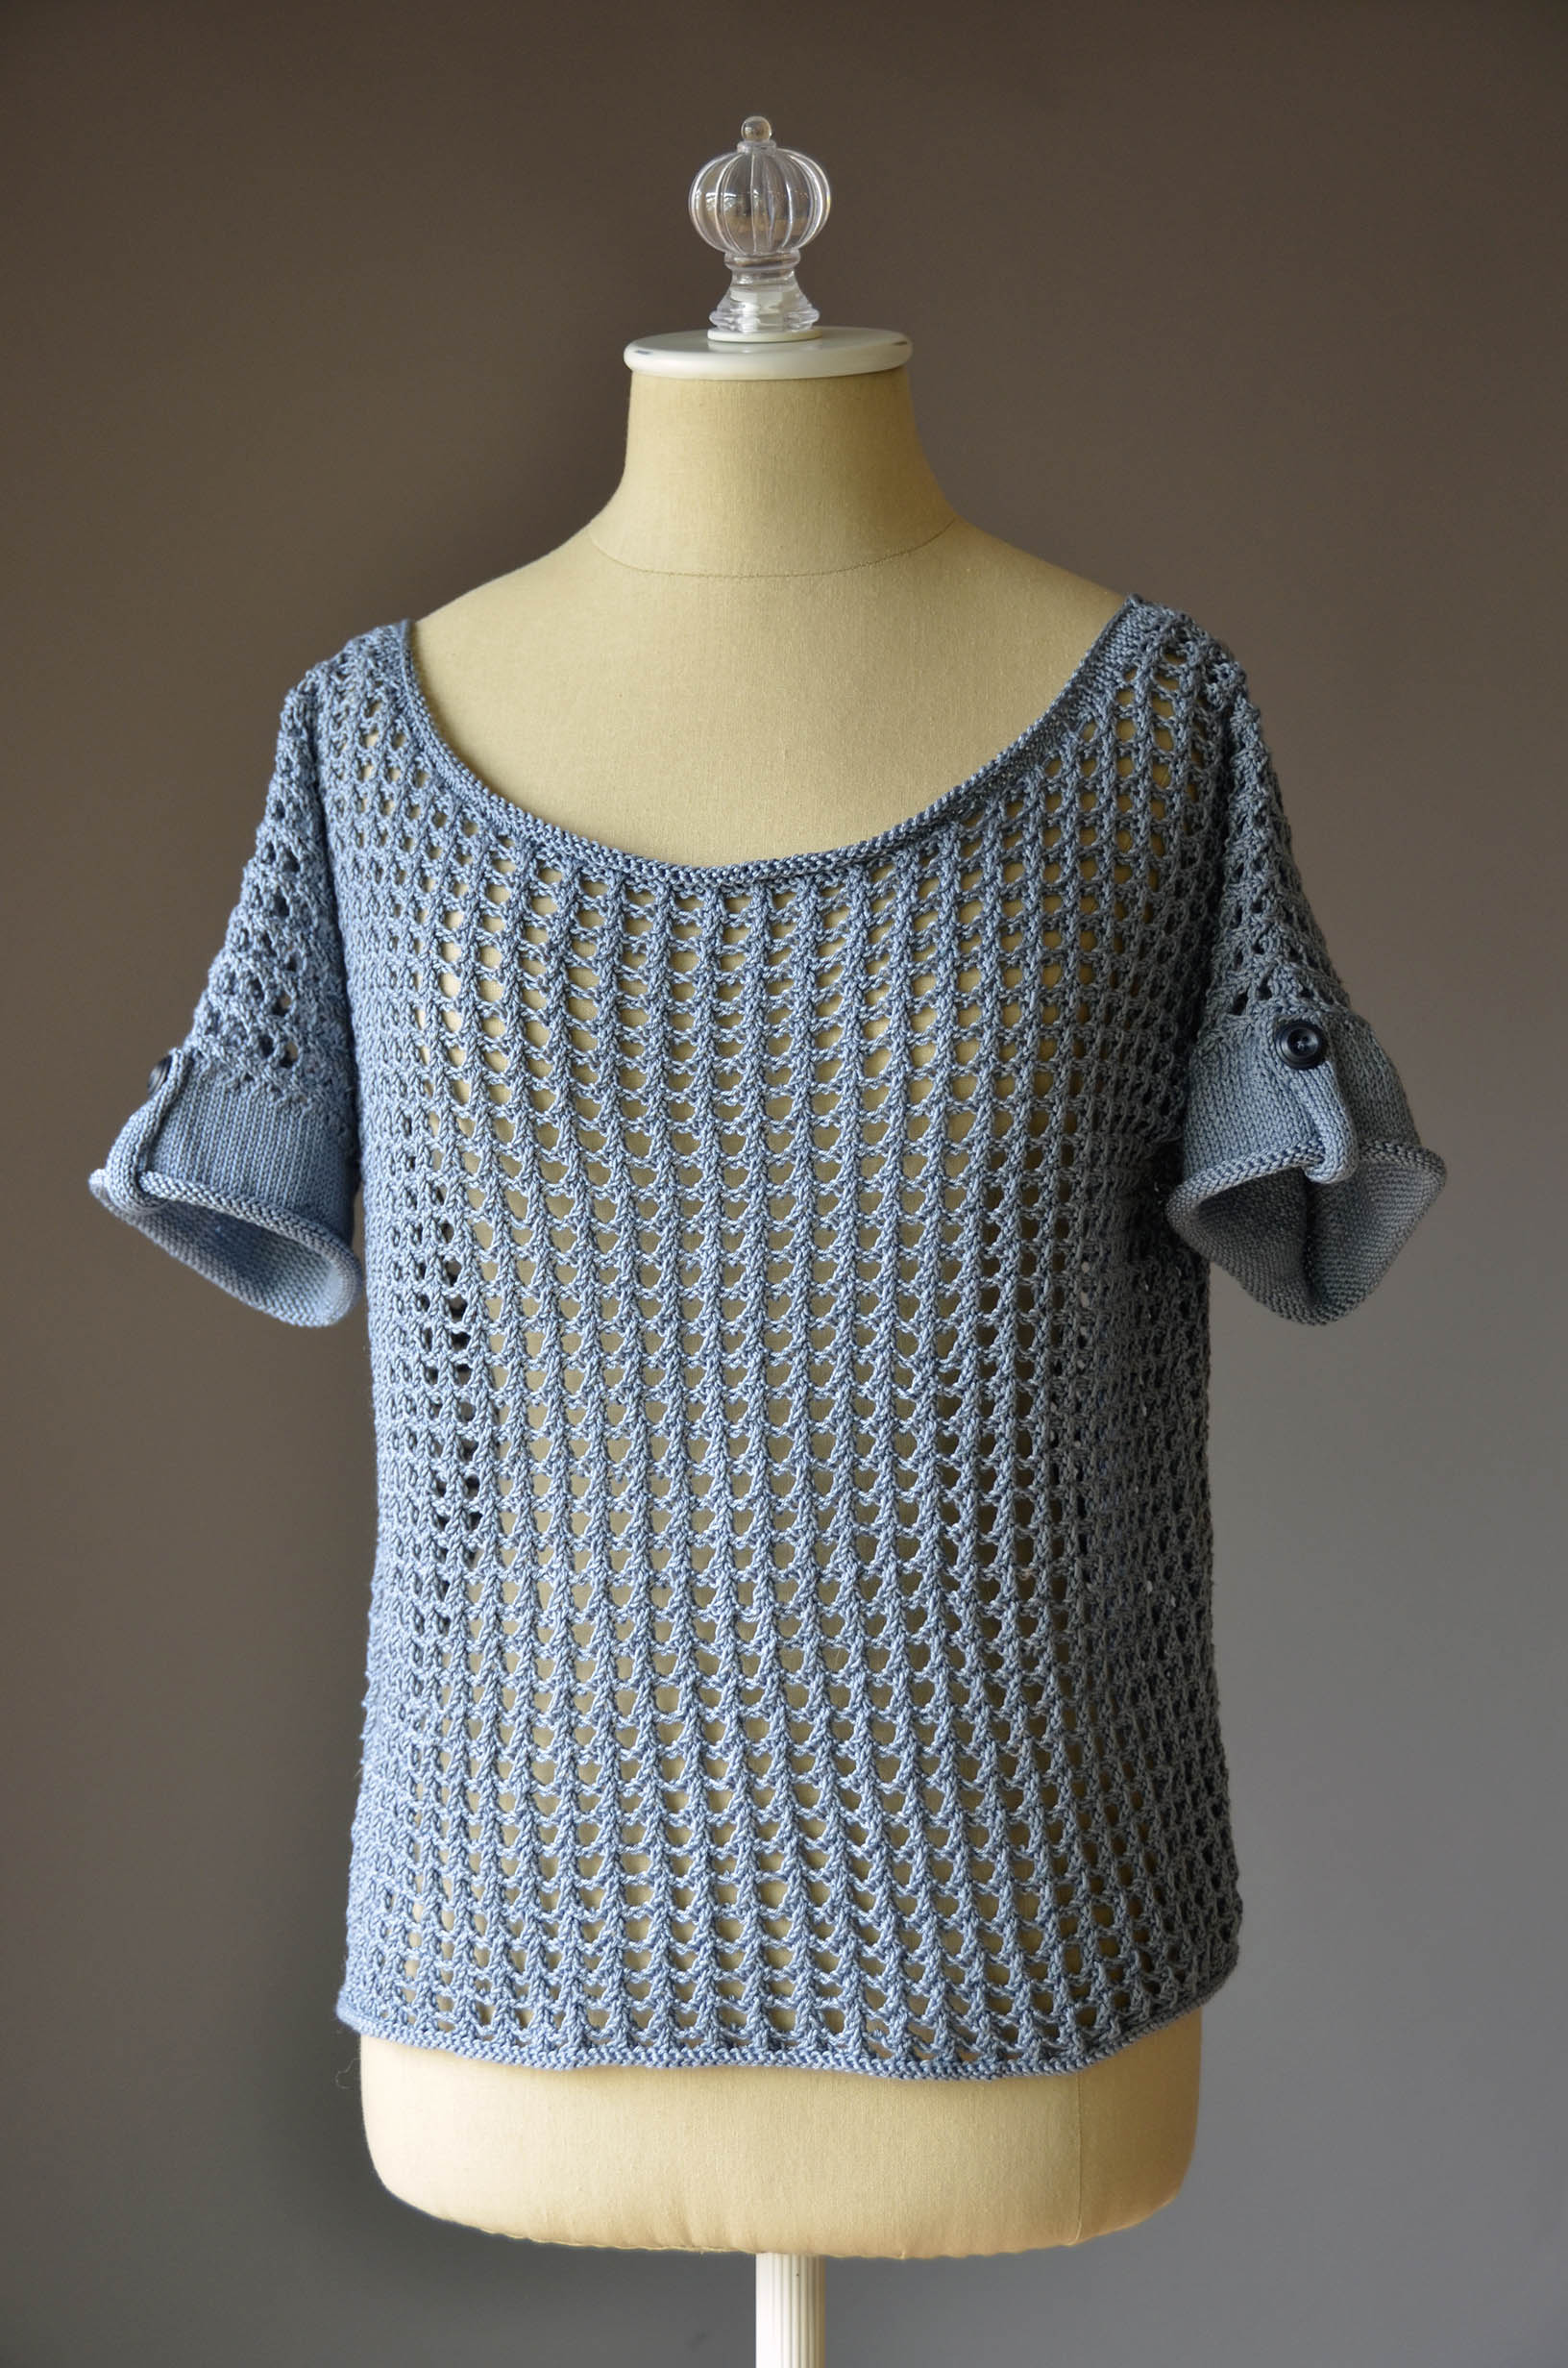
Today we’re wrapping up the Rocked knitalong with the final piece of the puzzle, the buttons and button tabs. Just two simple pieces of knitted stockinette and a couple of buttons take this mesh shirt from “okay” to a really finished looking garment.
Although the instructions call for a cast-on of 8 stitches for the button tabs, I went with 10 stitches since my Garden 5 is a little finer than the Cotton True Sport.
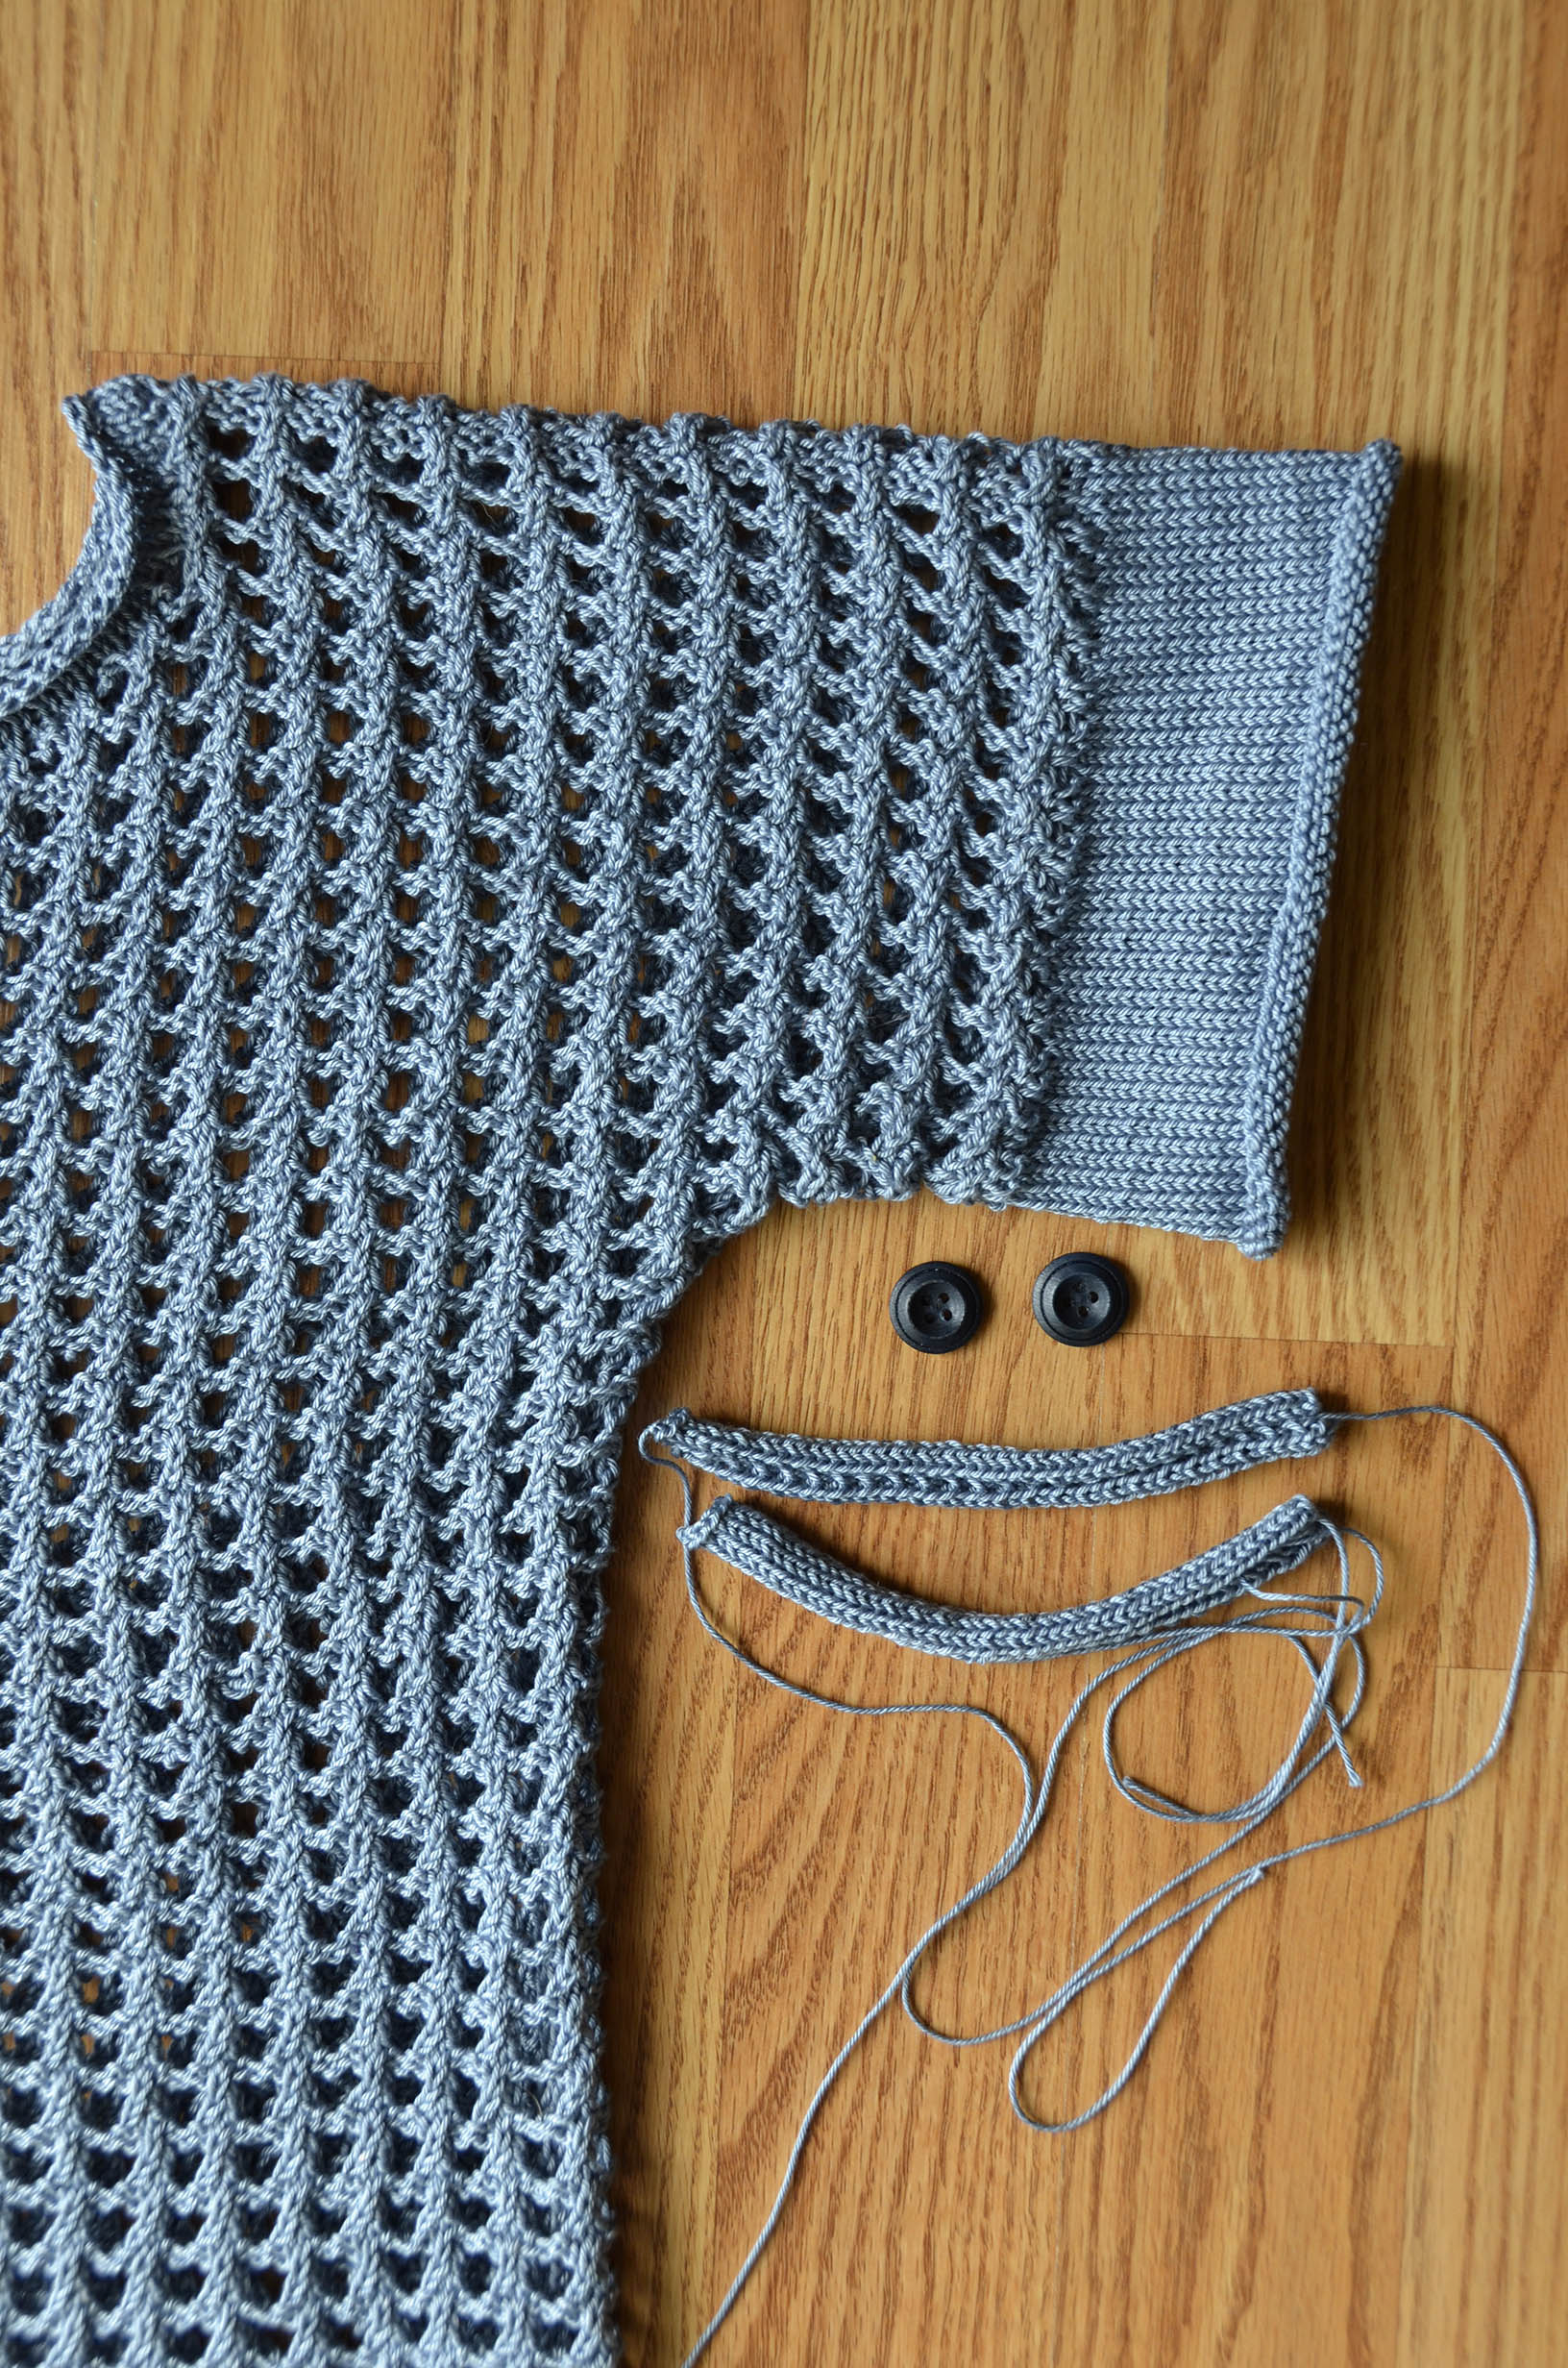
(I love how Heather photographed my tabs and buttons into a smiley face!)
You know that thing that drives us crazy about stockinette stitch, the way it rolls? This top is all about taking advantage of that fact, especially with the button tabs. Because the stockinette naturally rolls to the inside along the side of the piece, our button tabs look like an i-cord or tube.
To attach each button tab, I sewed one end inside the sleeve at the pick-up line for the sleeve, and centered right on the shoulder seam.

I could have tacked the other end of the button tab to the outside of the shirt, but instead I just pinned it in place so that the edge just touched the sleeve pick-up line. I then layered a button on top of the tab and sewed it on, through all layers. It’s as easy as that! The button holds the outer portion of the tab in place.
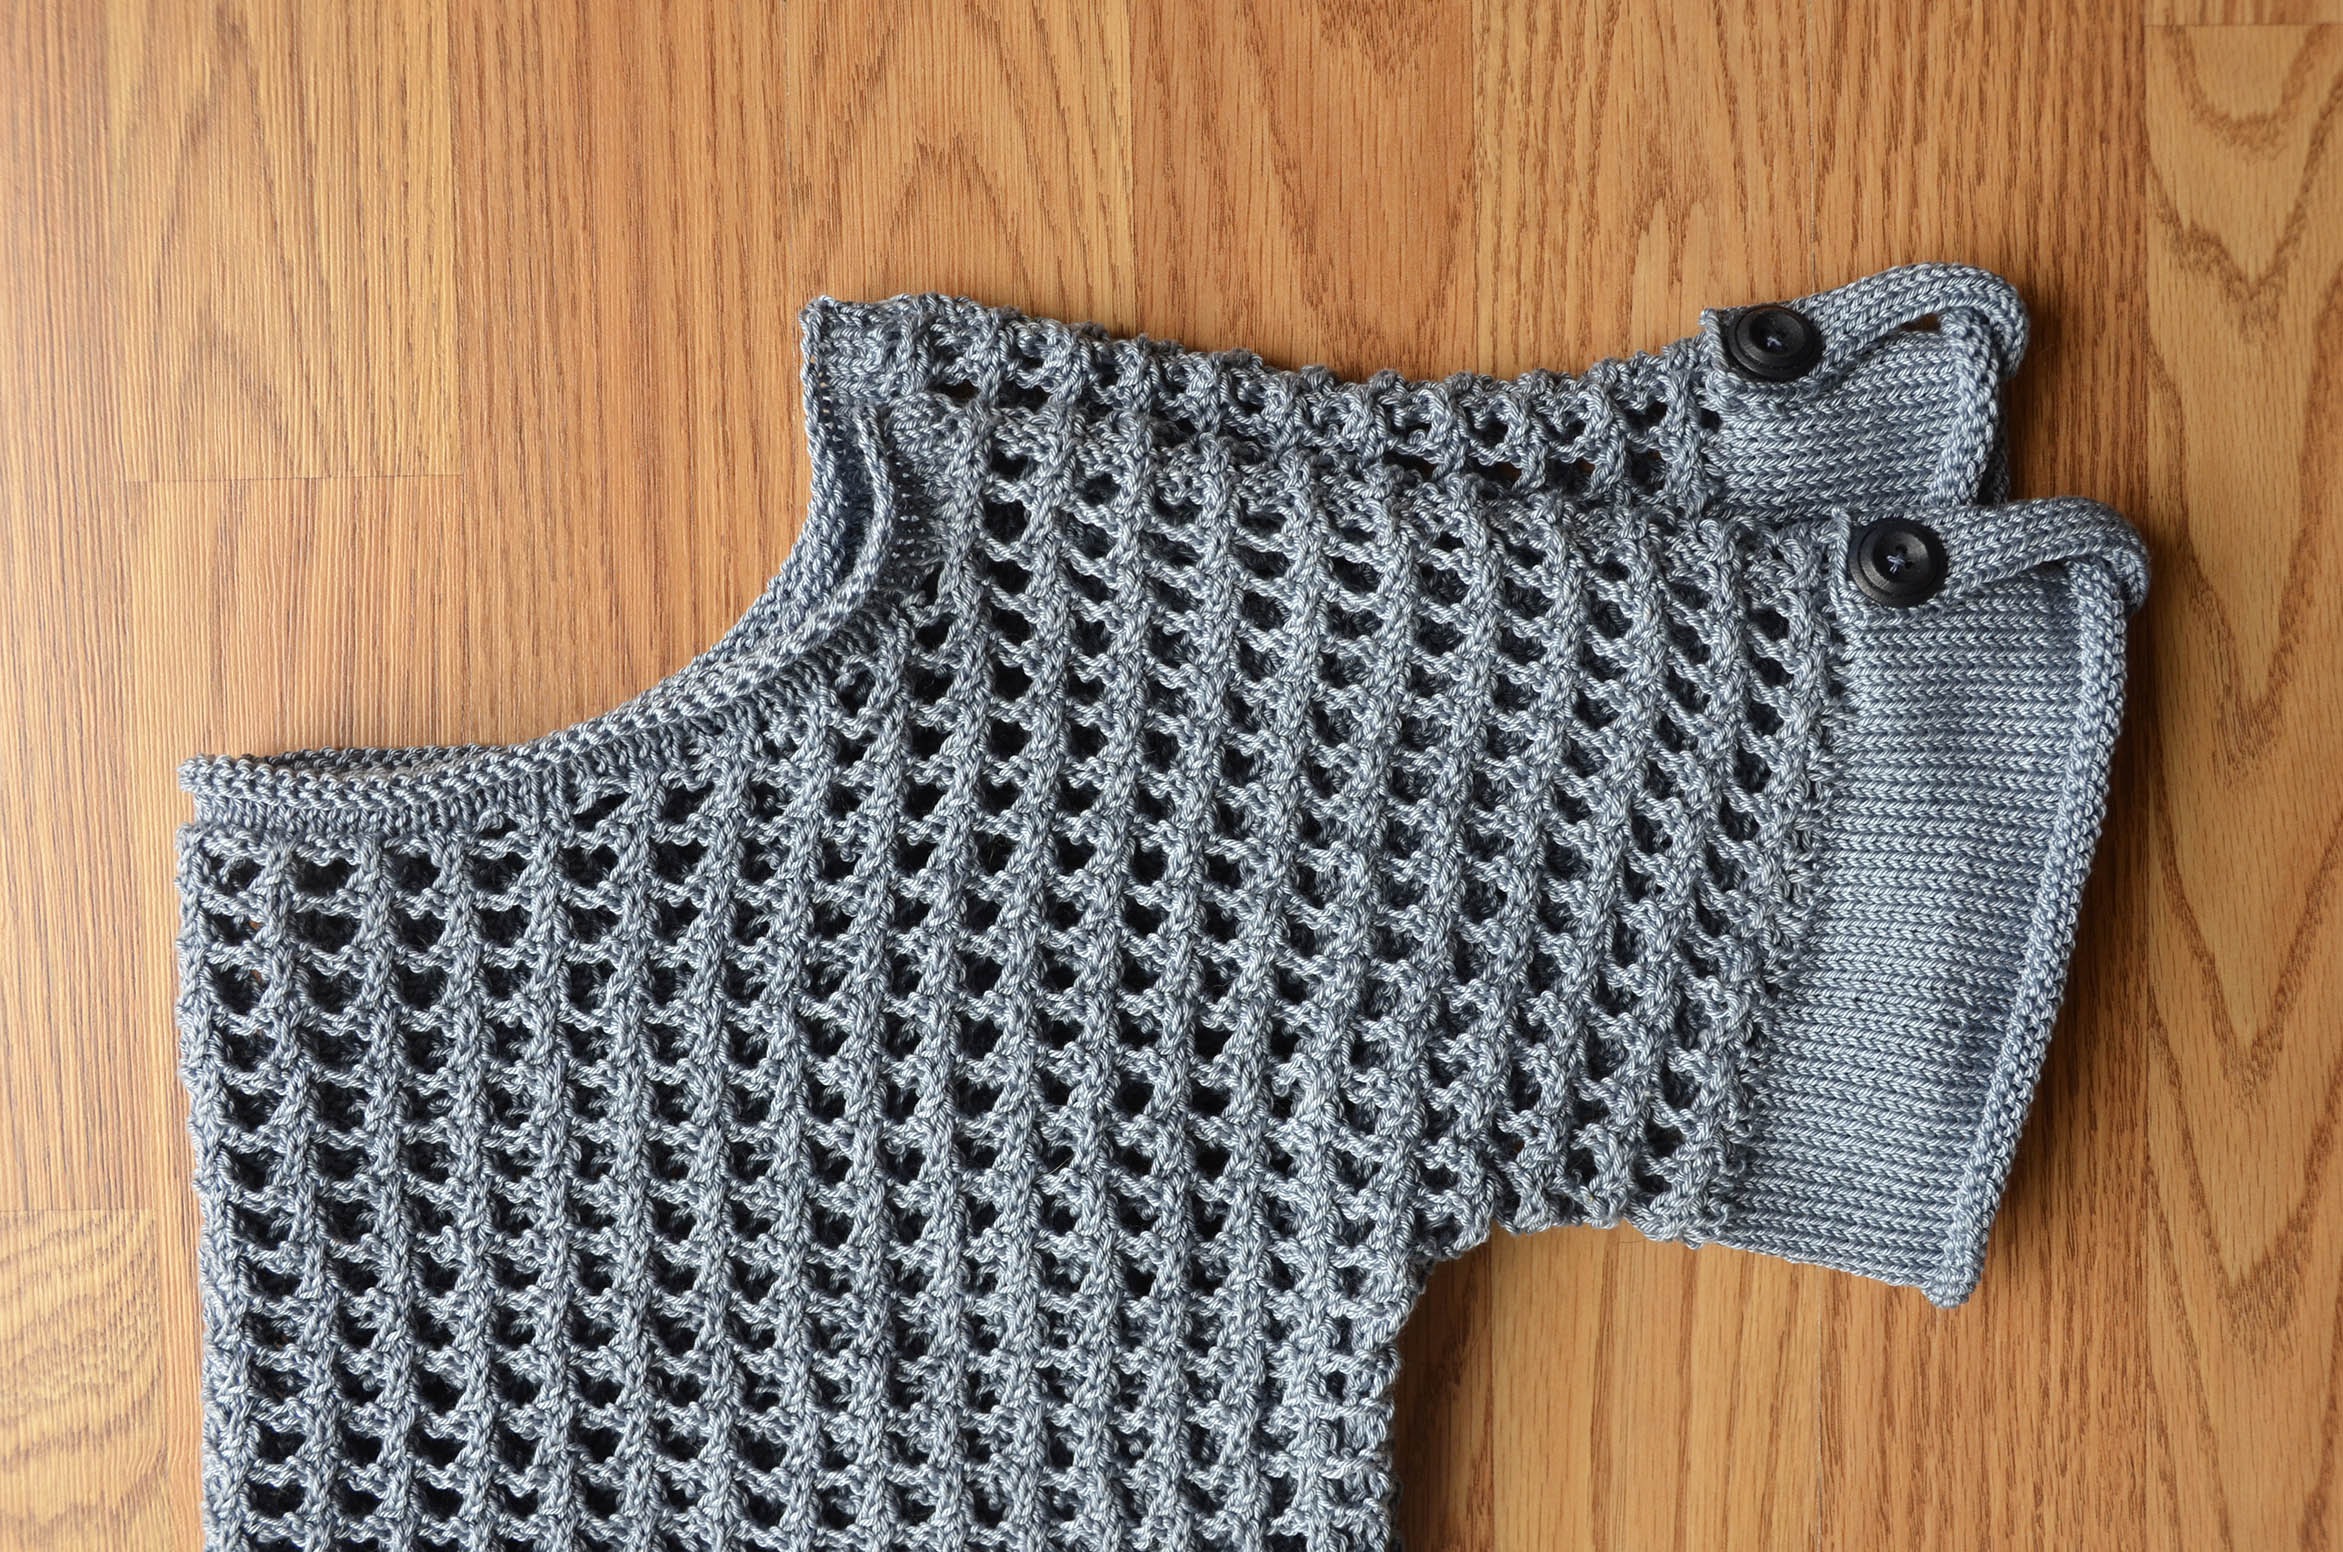
Although I opted for a fairly boring button choice, I really like the idea of contrasting buttons on this shirt. A pop of red on a white Rocked, or chartreuse green on a gray version – there are many possibilities. Have fun with it!
Thanks to everyone who has been knitting along with us. I know there are lots of you still working on your Rocked tops. Don’t forget about our Ravelry group dedicated to the knitalong. I’ll be popping in here and there to see how you’re doing. And if you have a question, ask!