

The last 2 weeks we talked about how to do filet crochet and the Delphi Stole from ebook Contrarian Shawls 2. Now we’re ready to move onto some knitting with the Bisected Shawl from the same collection.
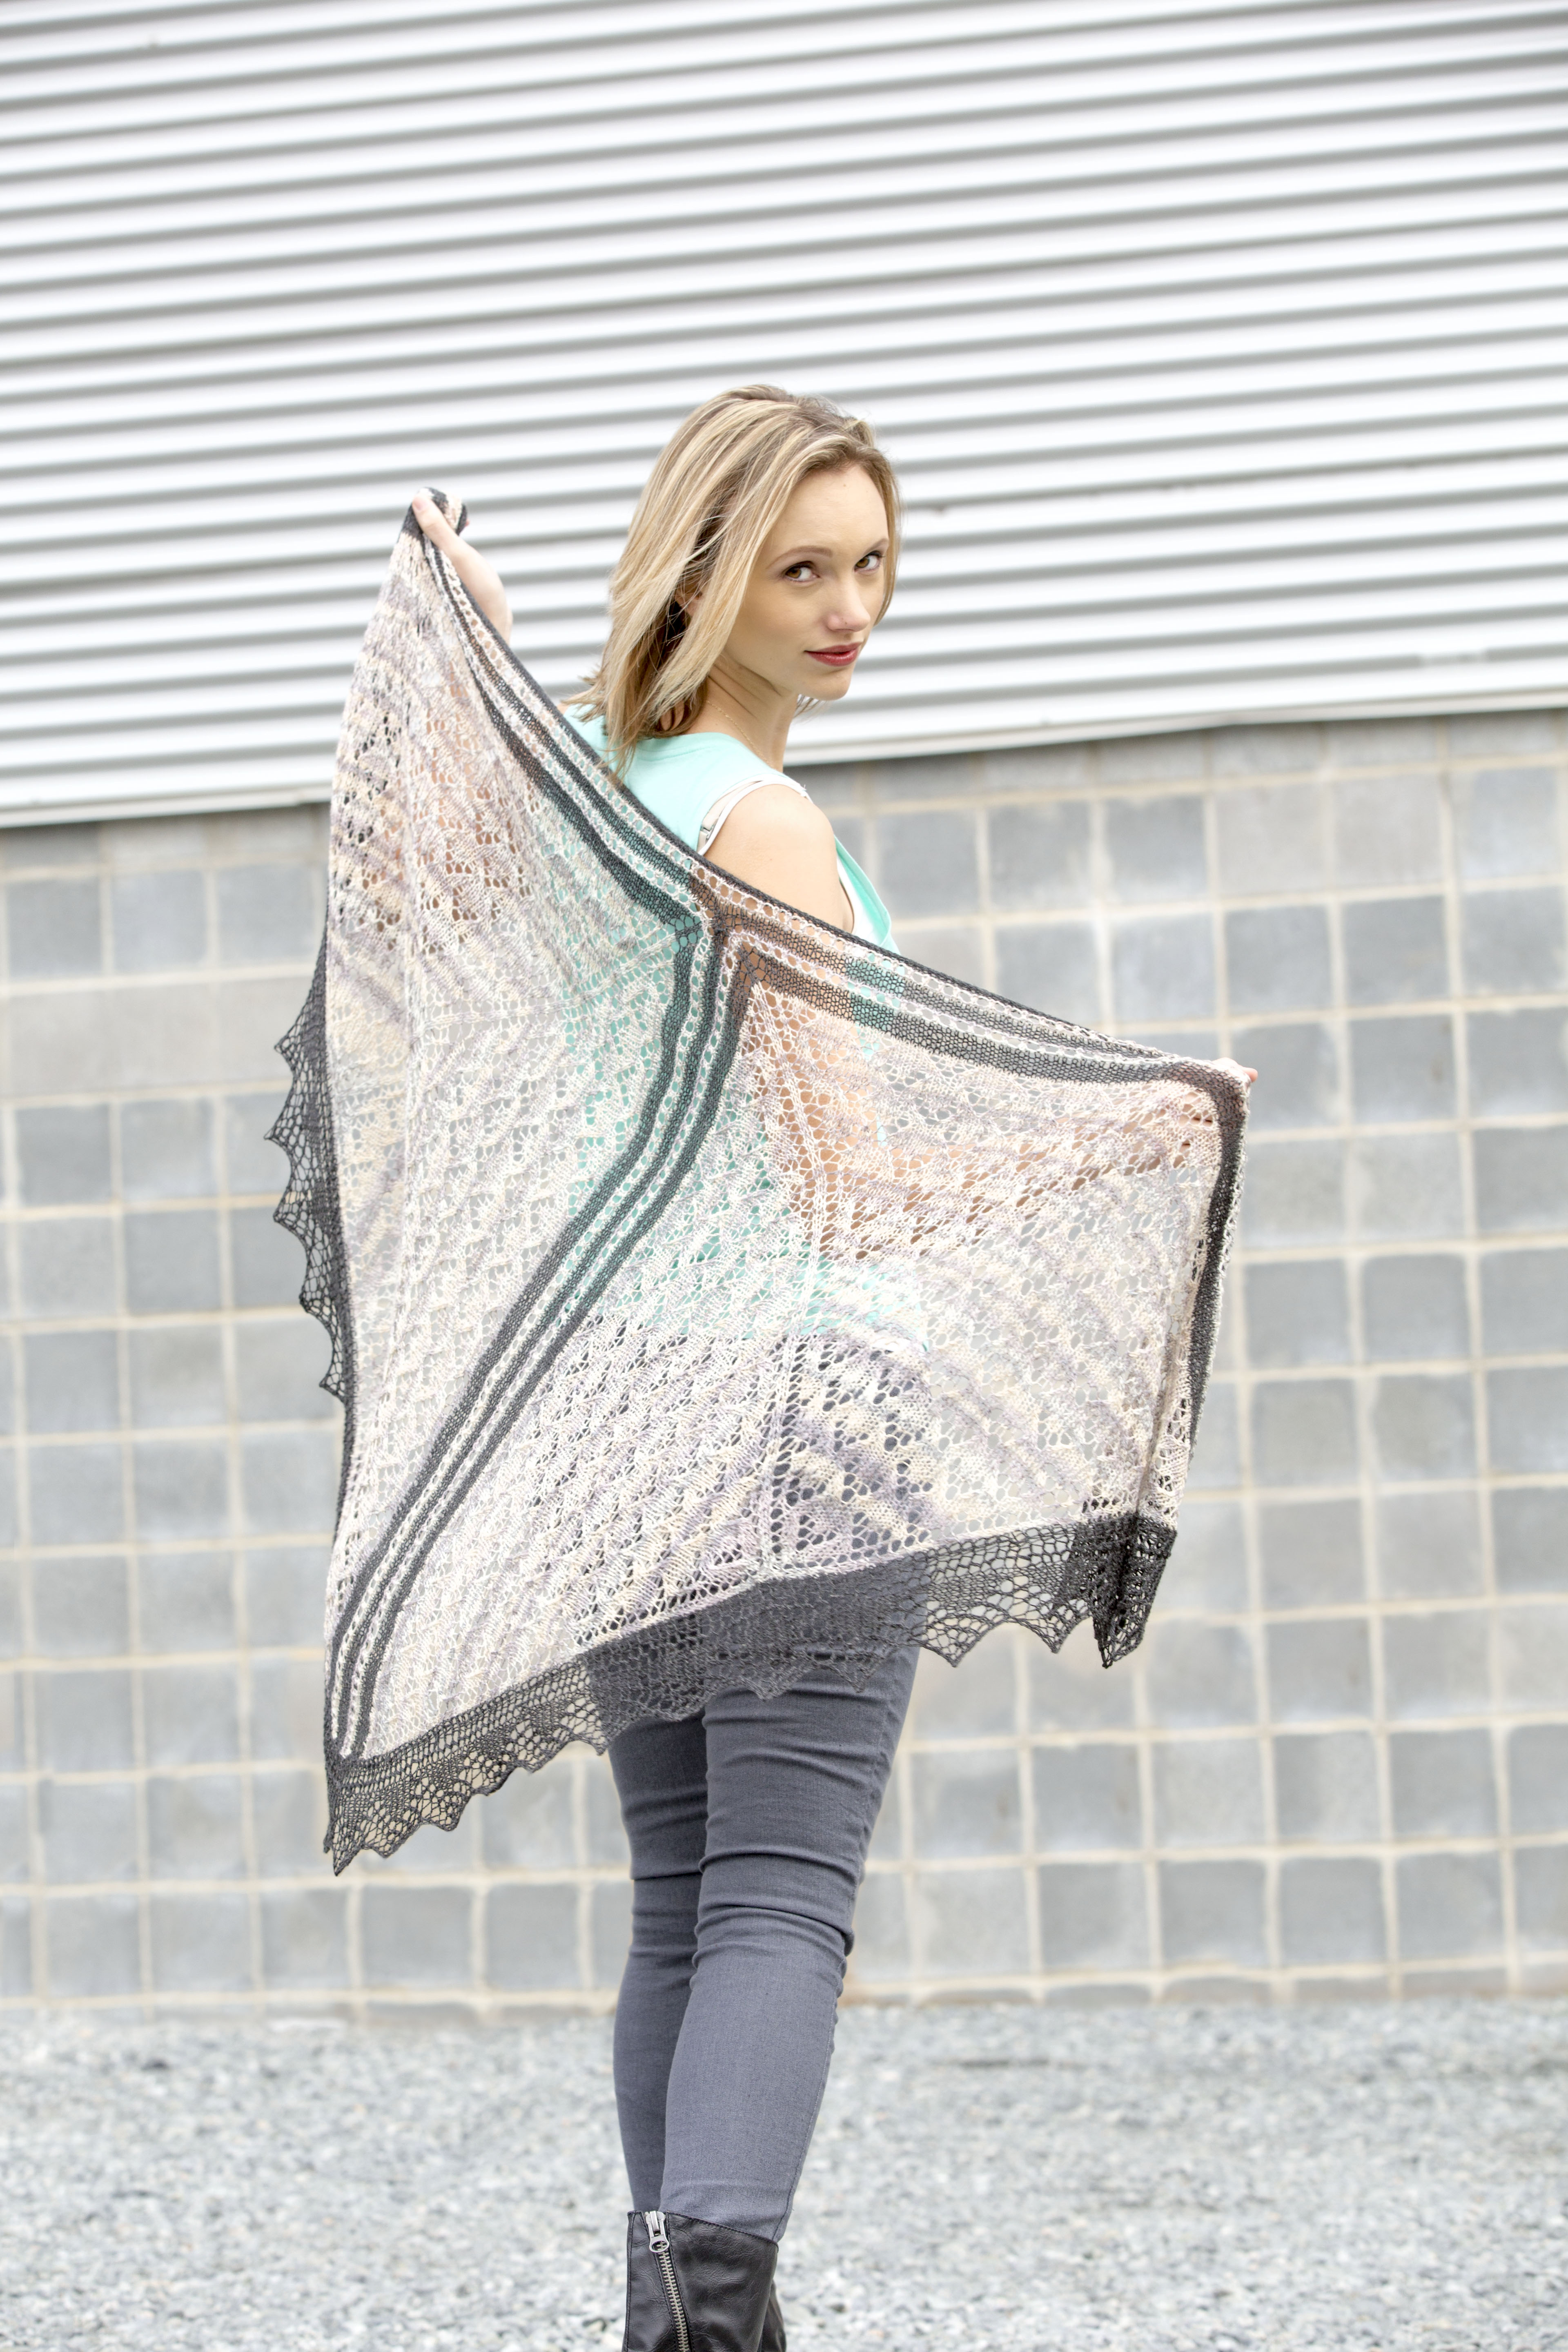
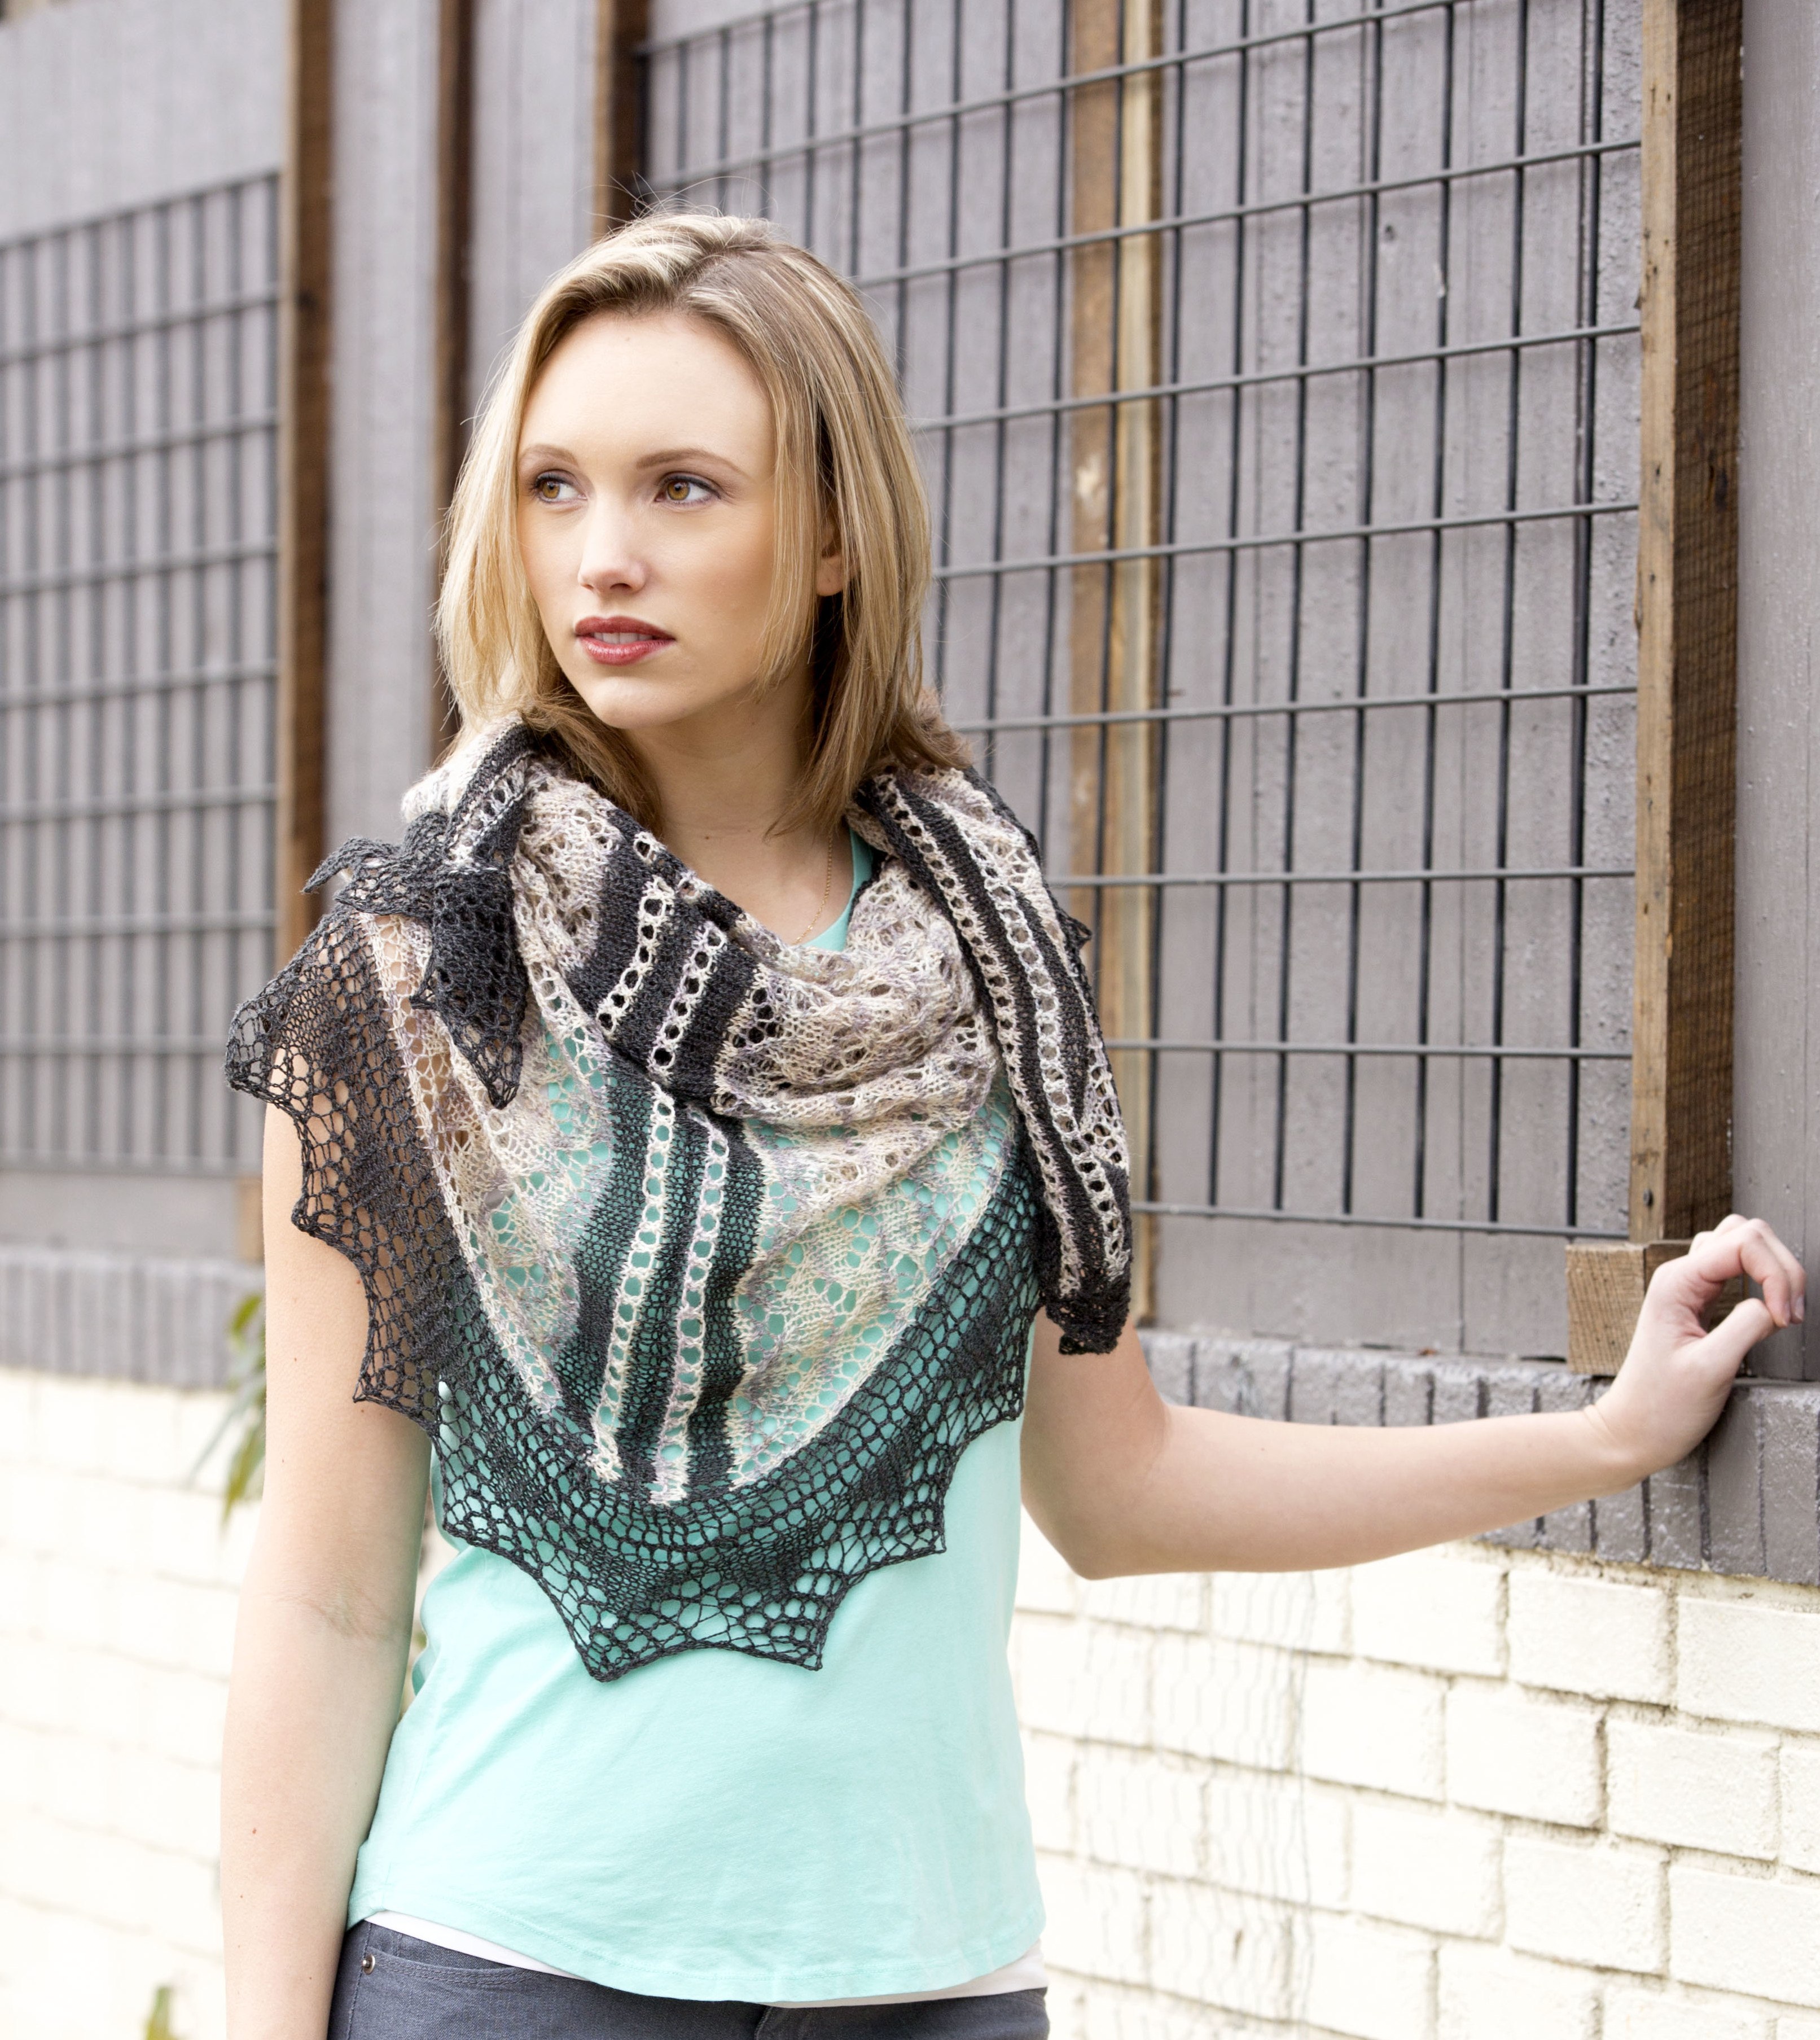
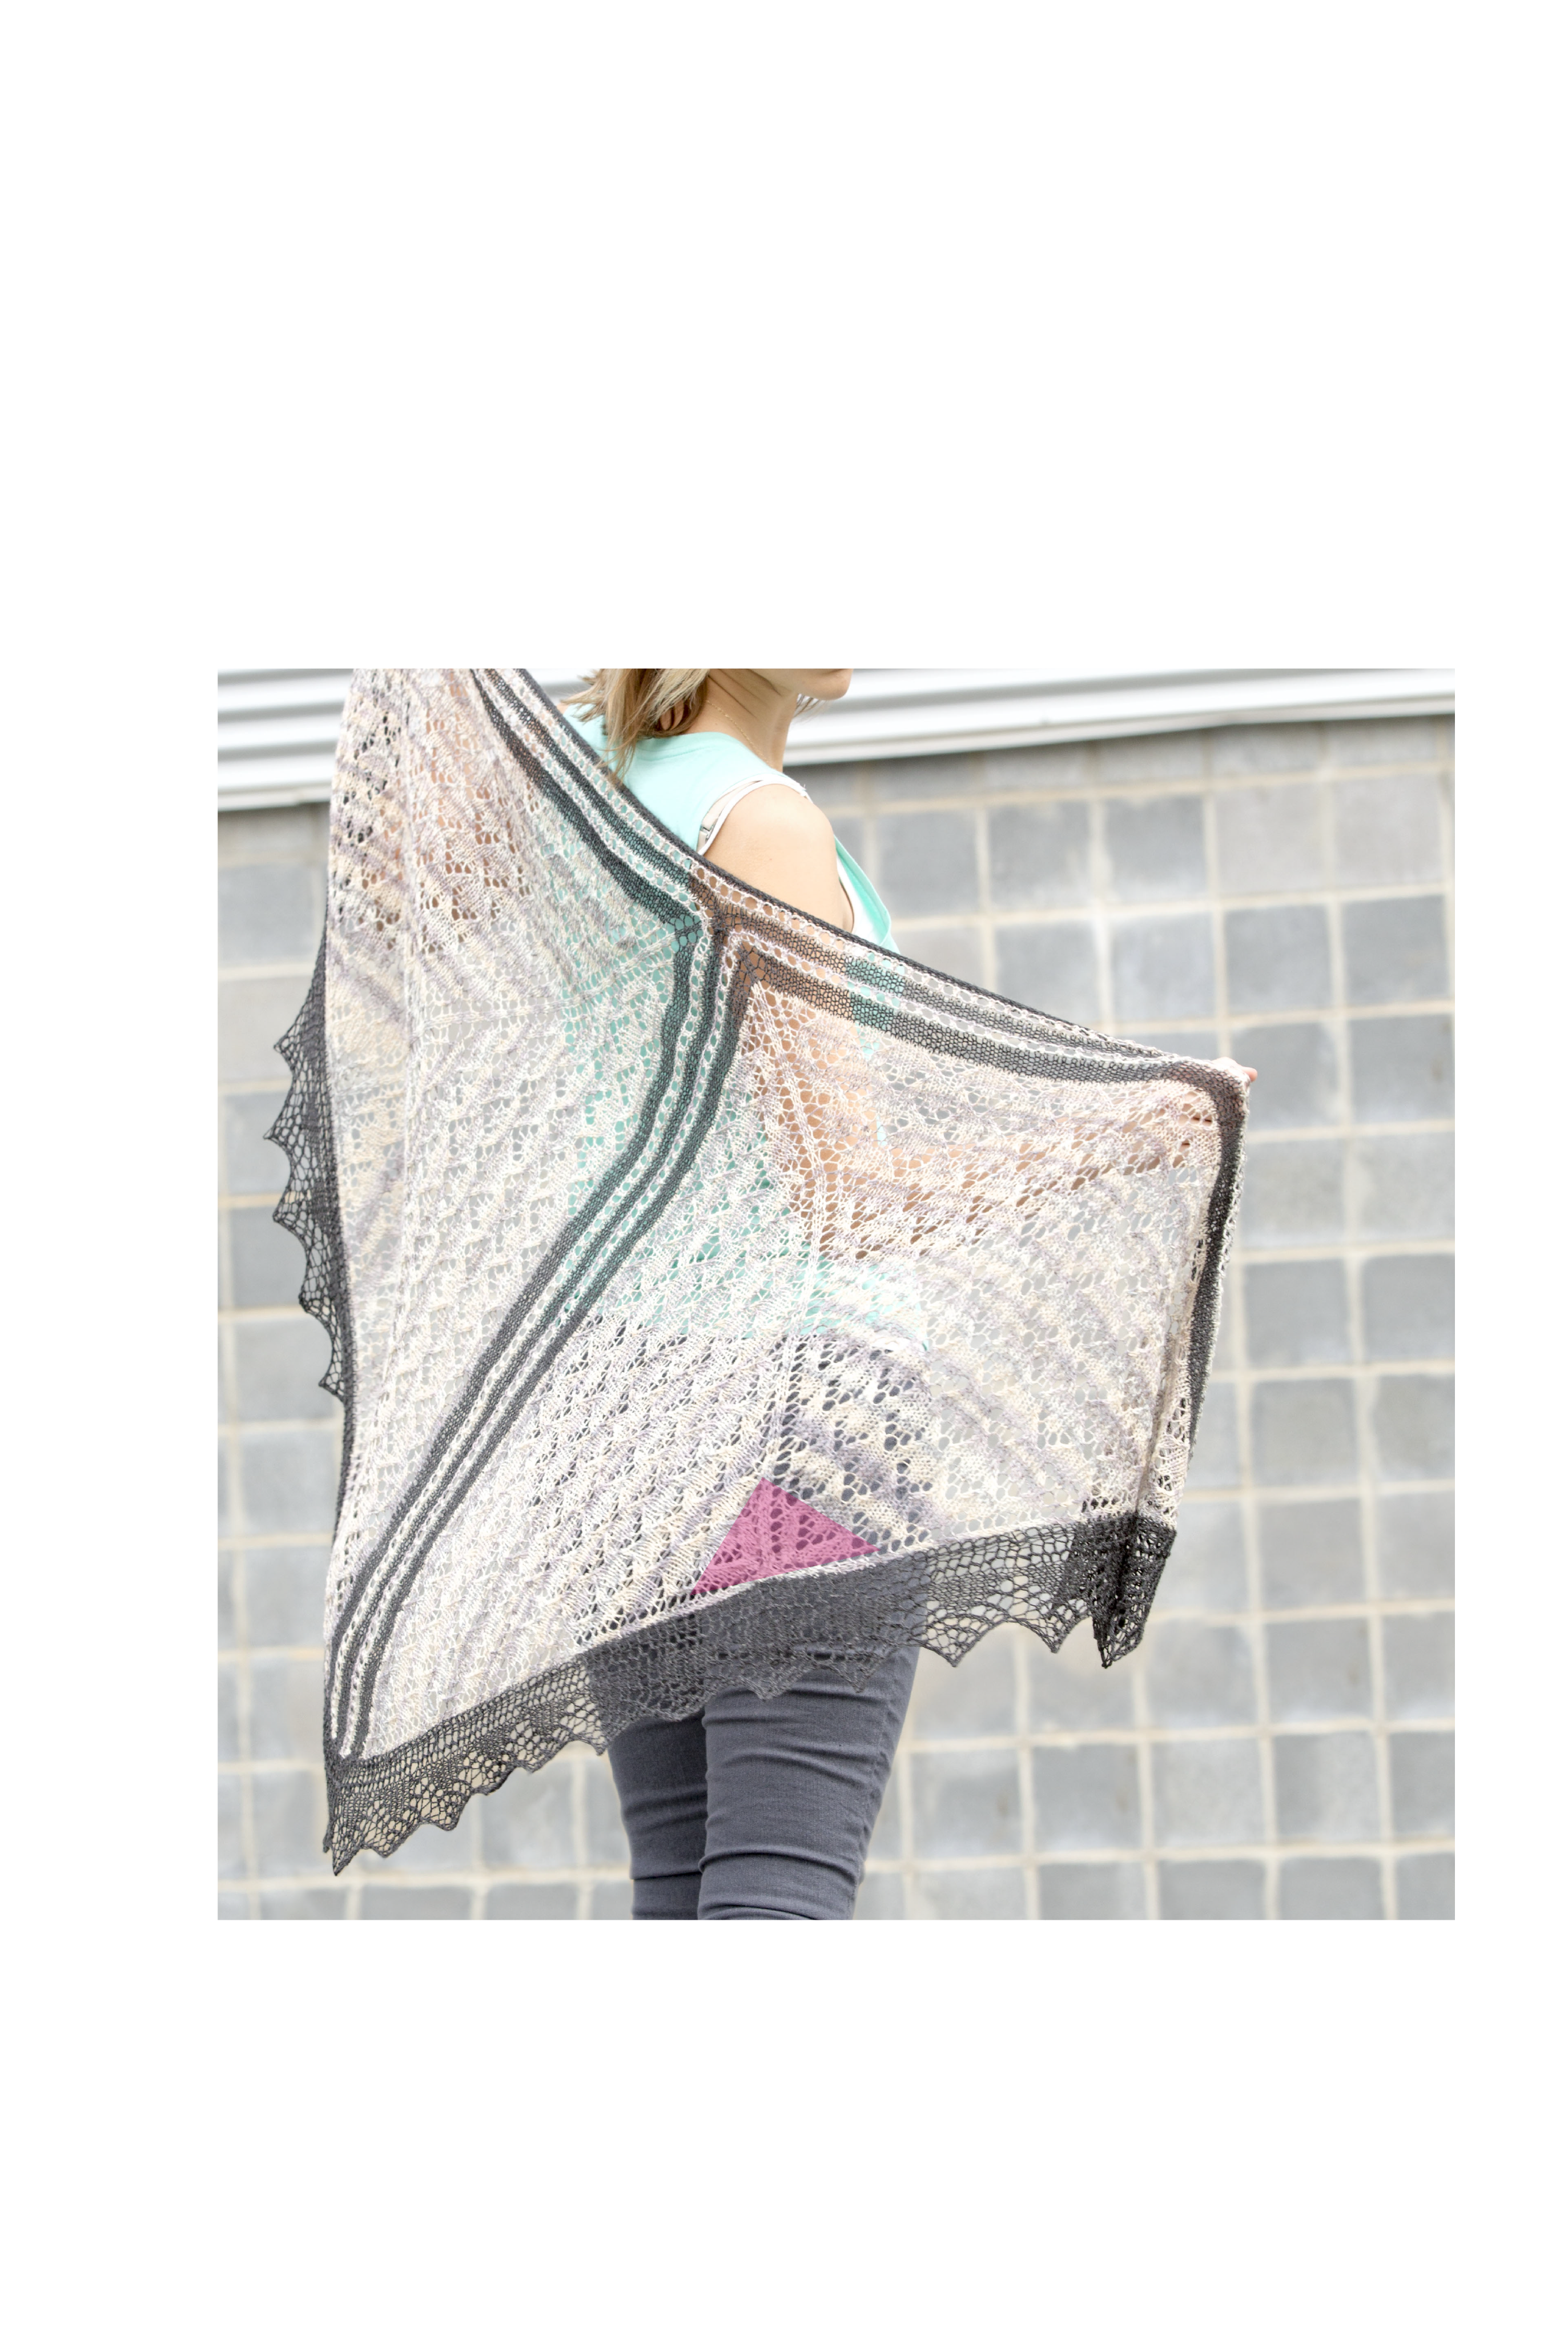
The Bisected Shawl is a really fun knit. It’s worked in several sections, and it’s fun to see the progress as you move along. The bulk of the shawl is worked in a multi color of Whisper Lace, while accents are worked in a solid. The lace pattern on both the shawl body and the border are not too tough. If you’ve done just a little bit of lace before (or even a lot), this would be a great project for you. Over the next few weeks, we’re going to be covering all you need to know about wrapping your head around this shawl project.
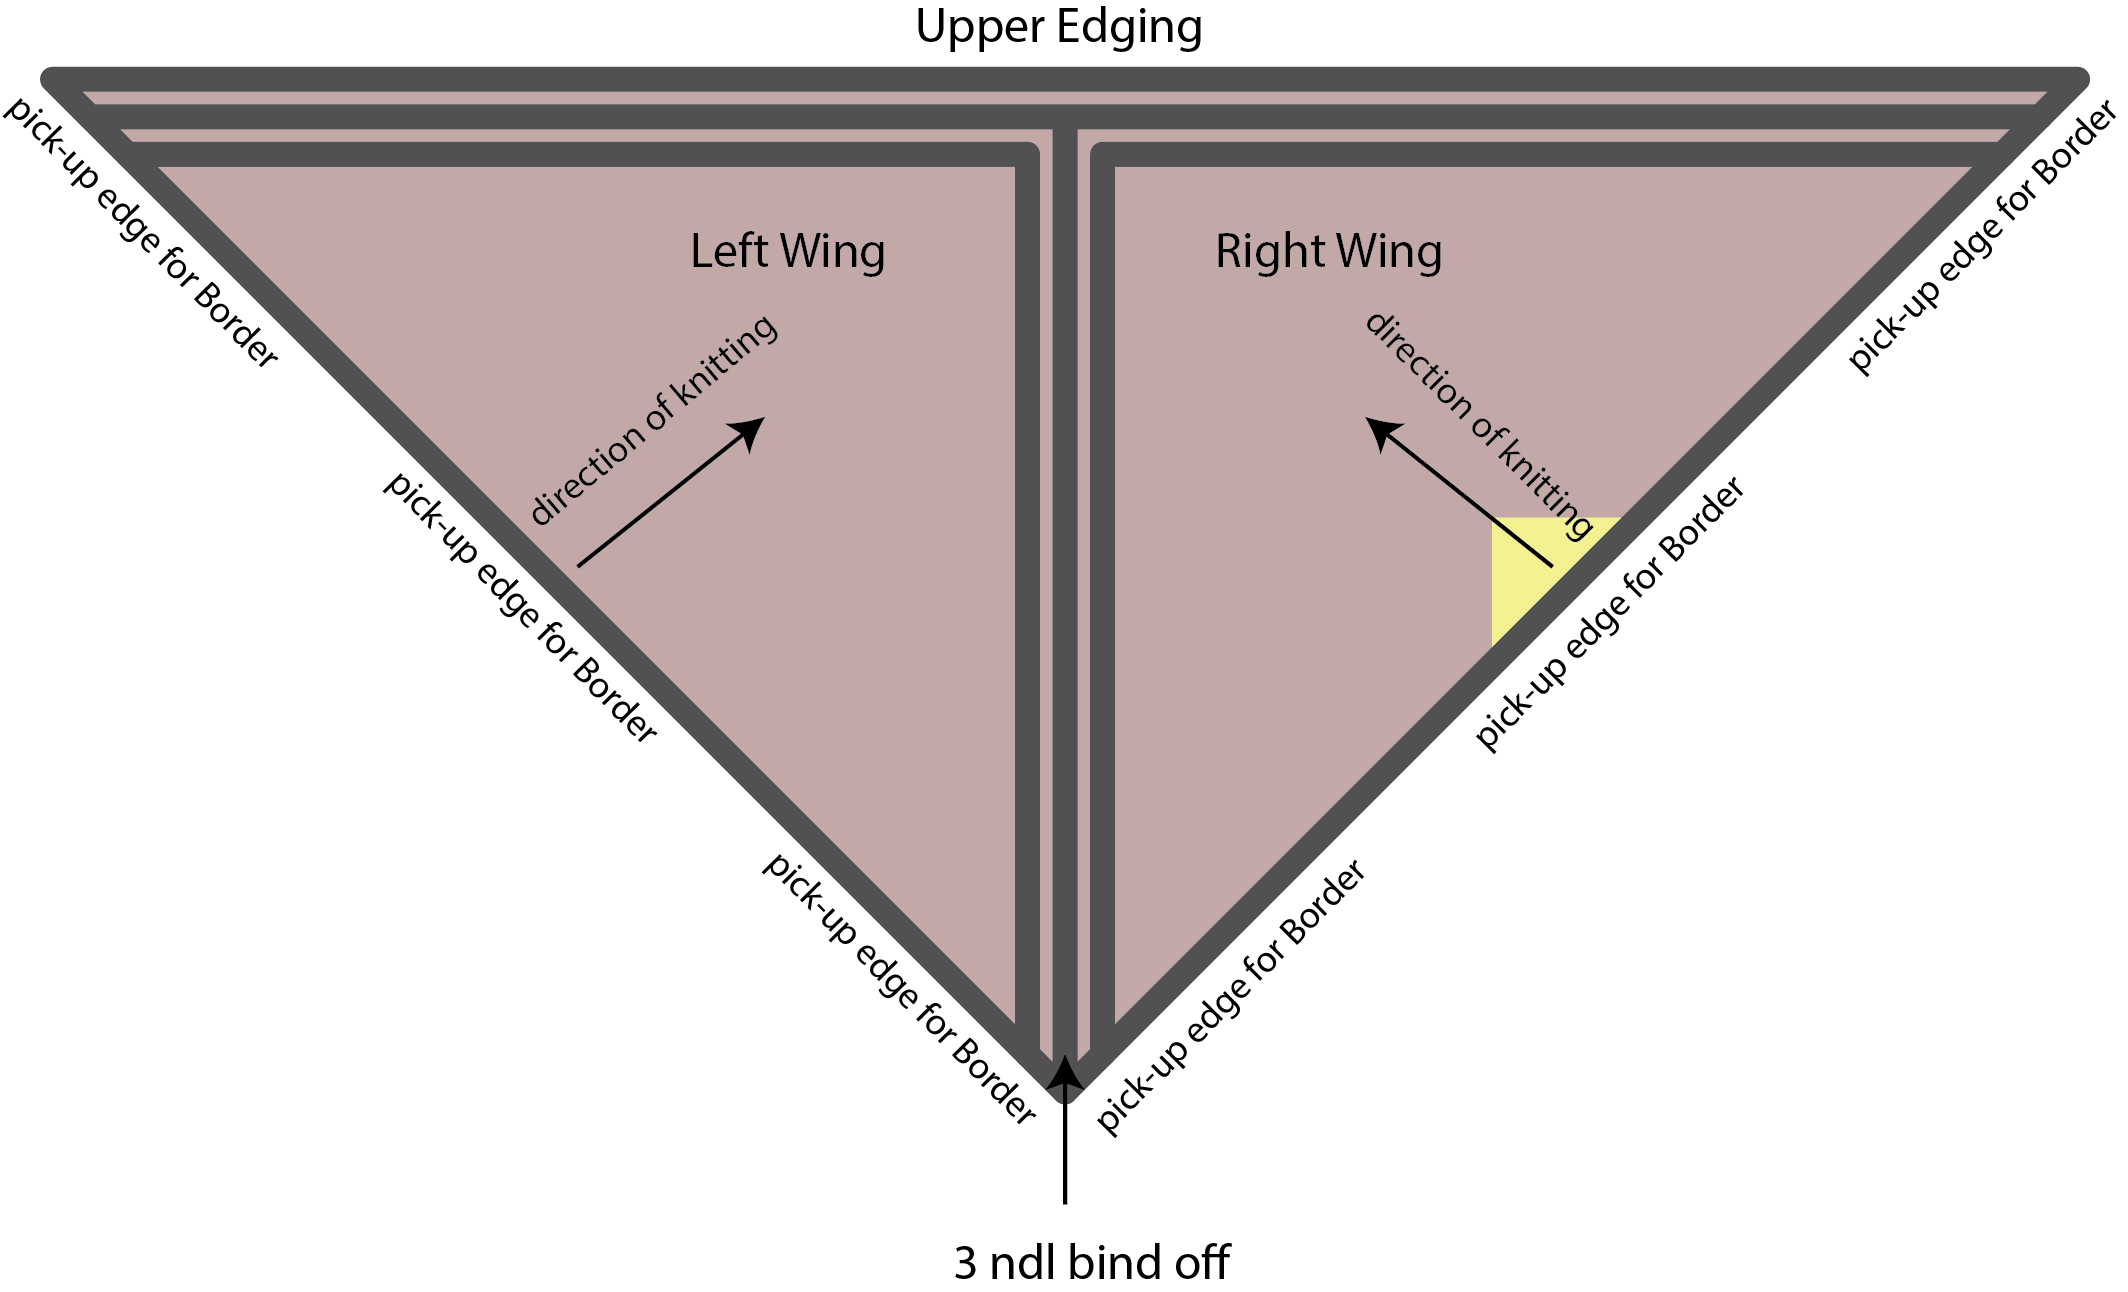
Below is the diagram of the shawl construction:
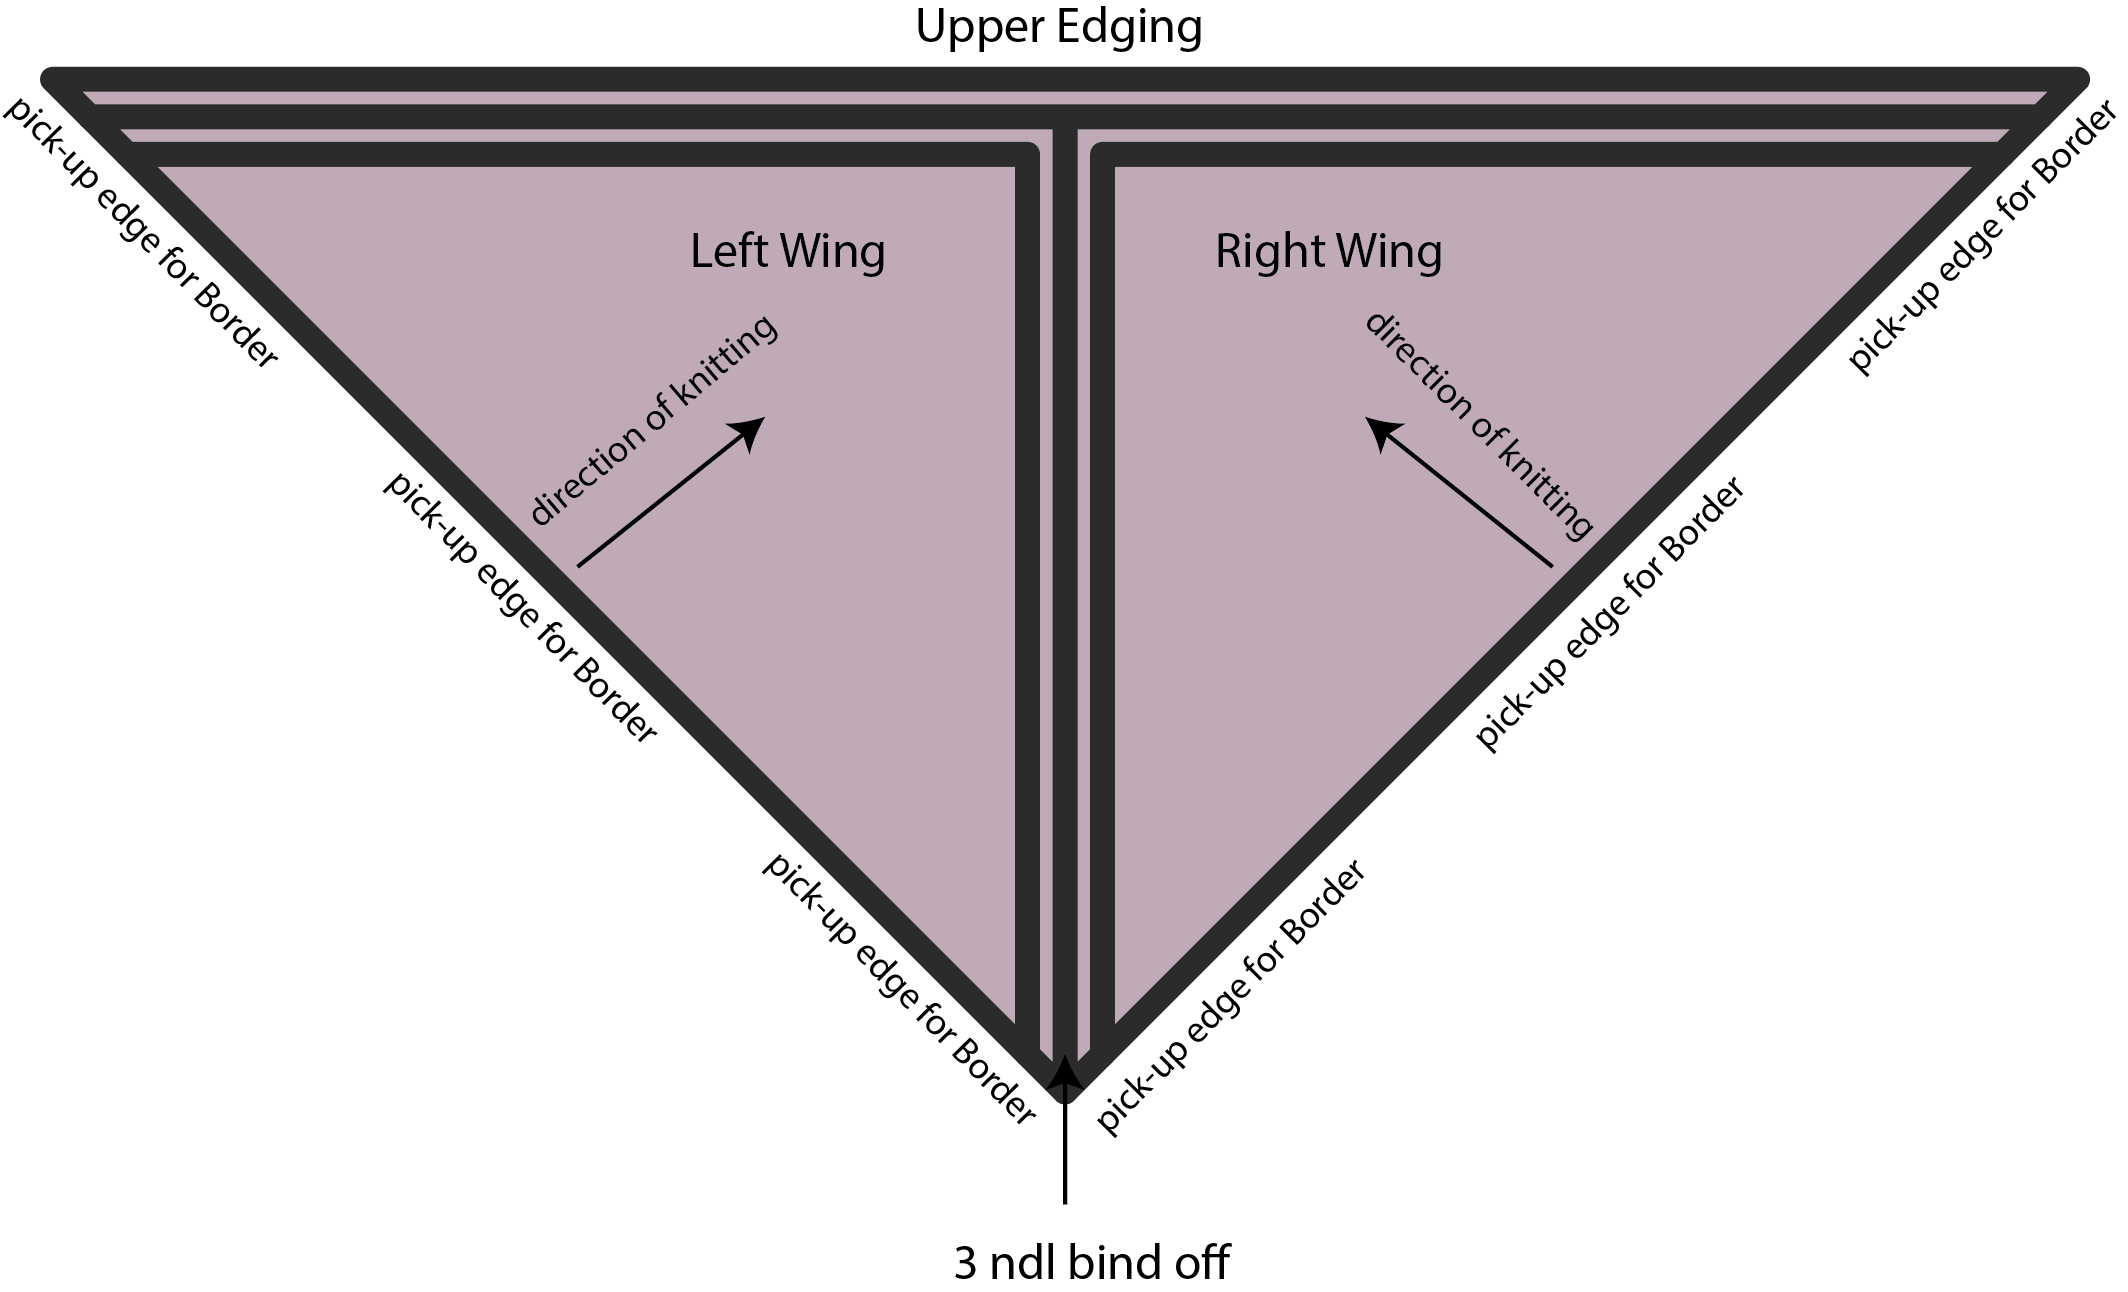
There are 4 main steps to the shawl:
- knit the Right Wing
- knit the Left Wing
- join the Right and Left Wings with a 3 needle bind off & work the Upper Edging
- Border
Today, we’re going to talk about steps 1 & 2, which are really the same step, but done twice! The wings are just top-down triangles, which may or may not be a familiar concept for you. Top-down triangles are a common way of knitting triangular shawls, or any triangular-anything, for that matter.
If you take a look at that diagram and the little “direction of knitting” arrow, that is where our Wing begins. And like many top-down triangles, this one begins with a garter tab.
A garter tab is just a small “tab” of knitting that makes for a continuous looking and seamless start. To begin the garter tab for the Right and Left Wings, we cast on 3 stitches and then knit 4 rows. Our tab looks like this:
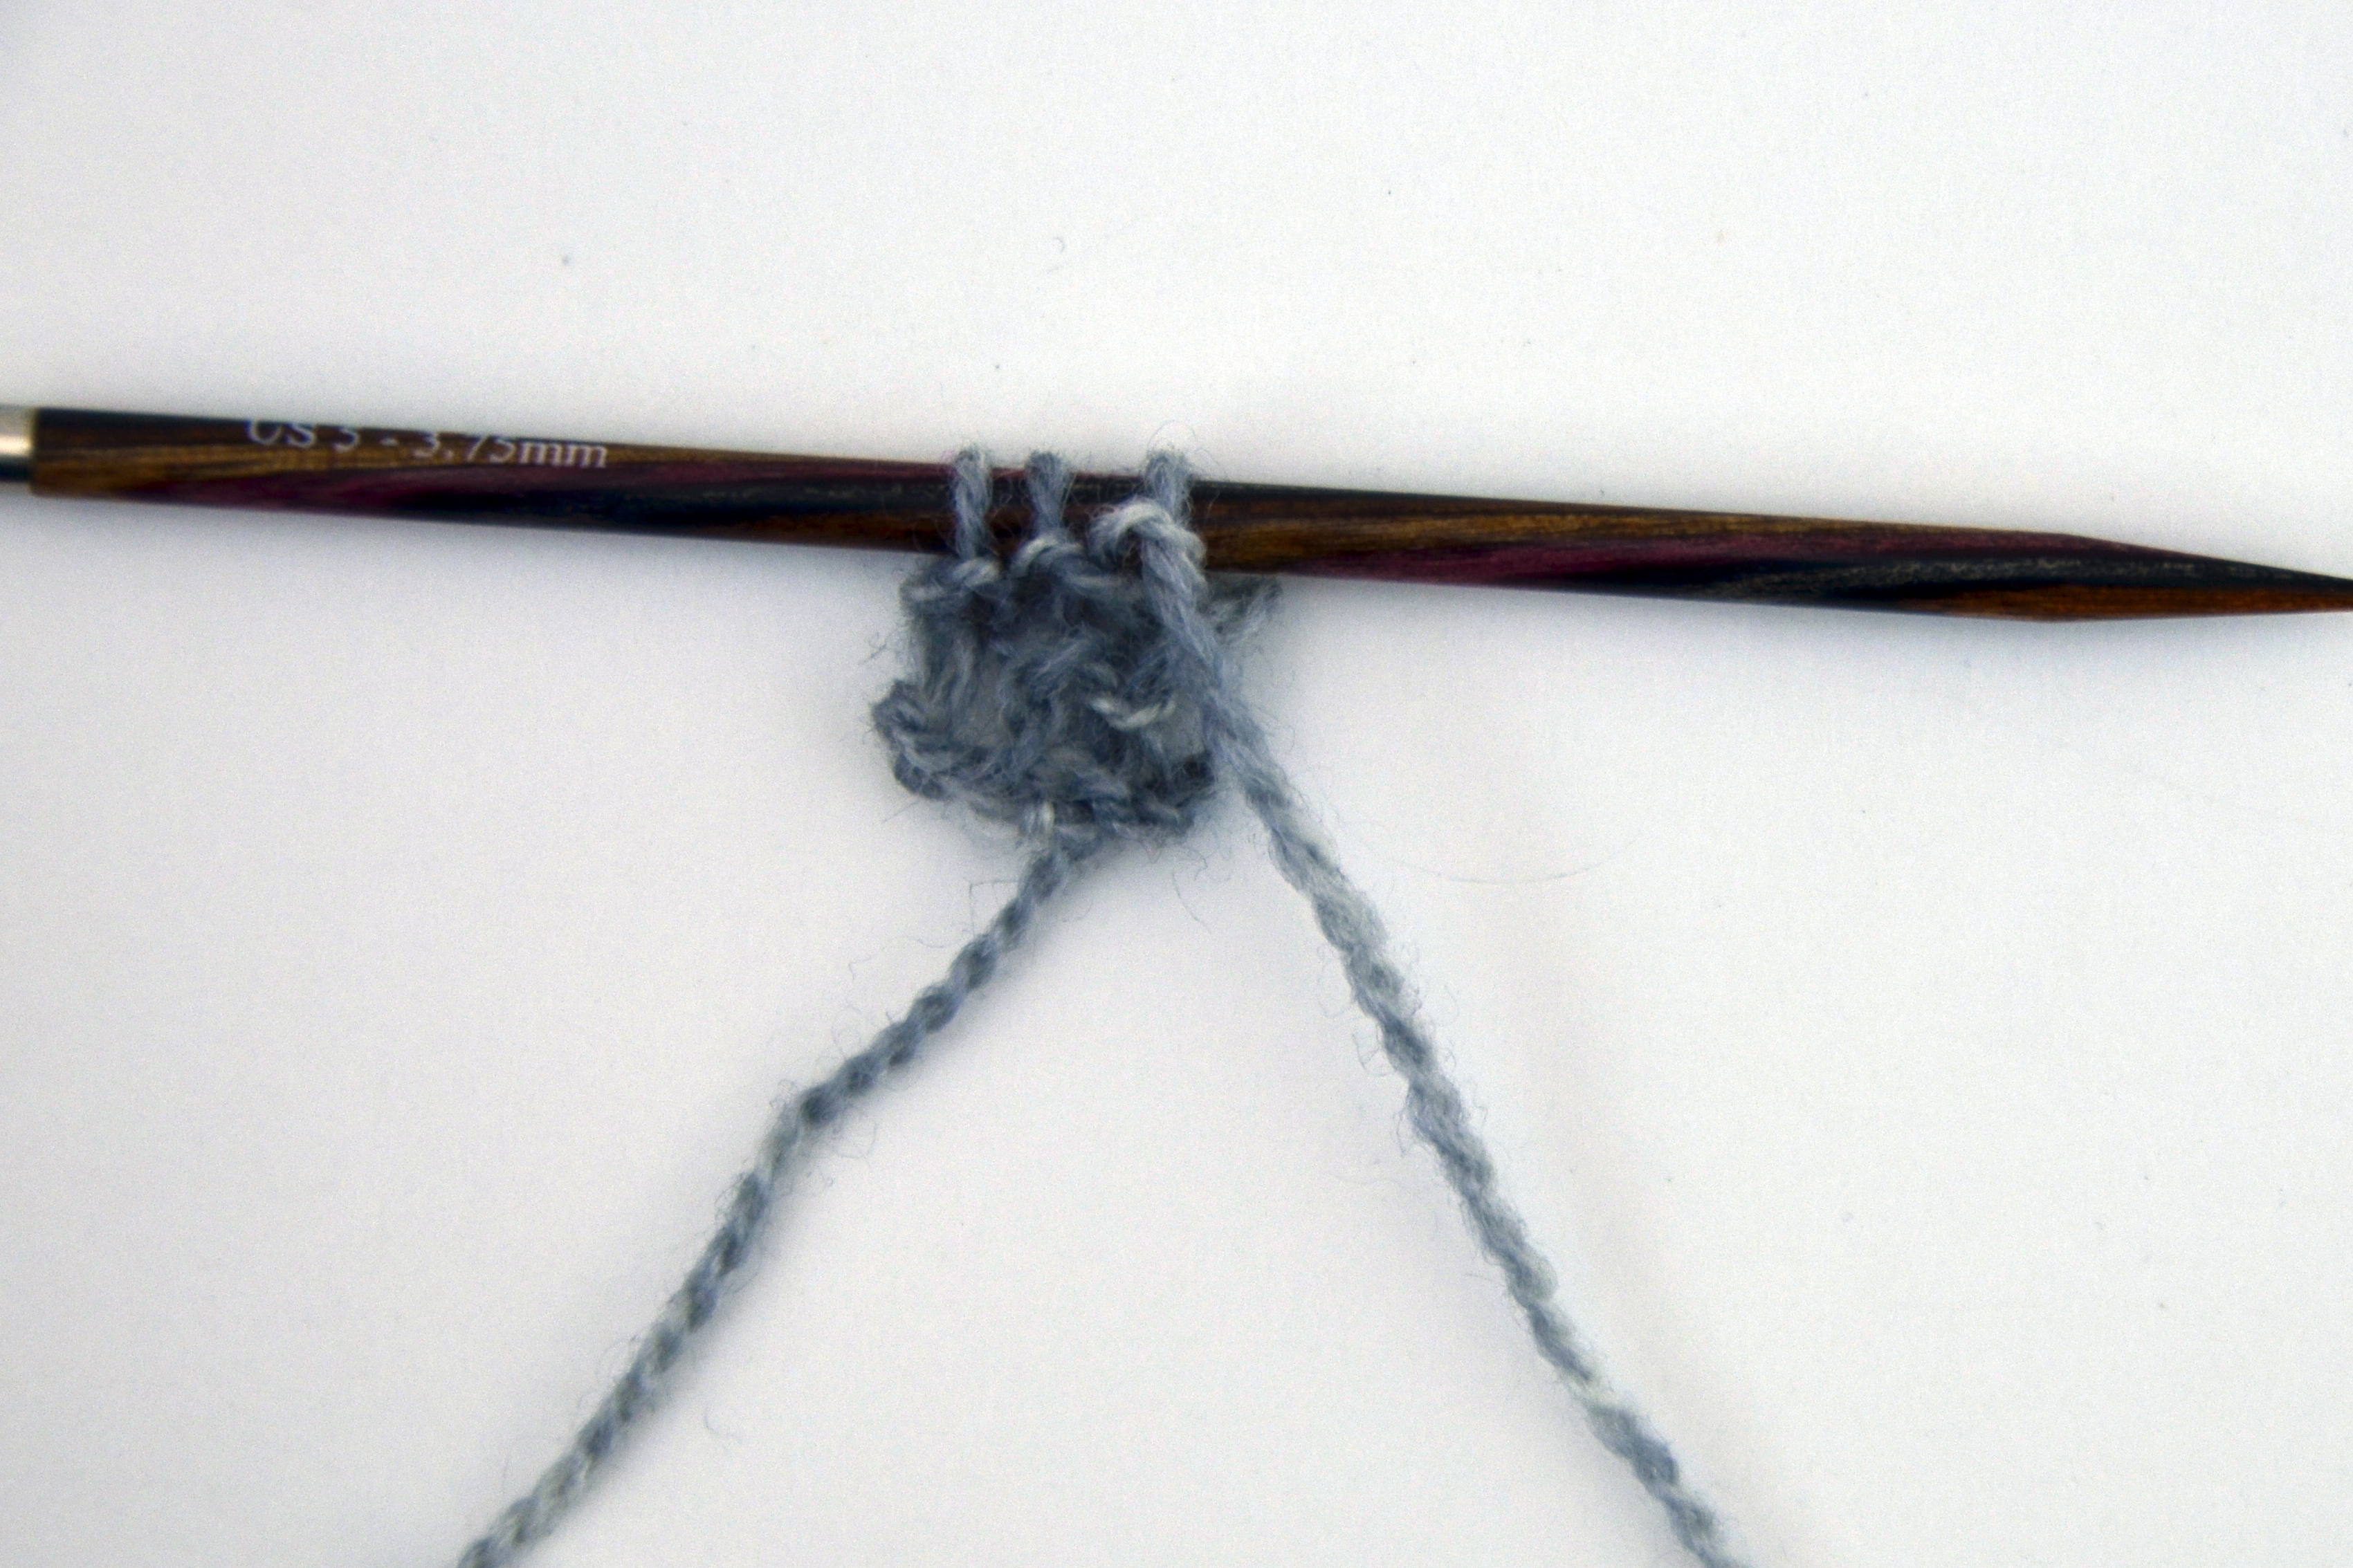
Doesn’t look like much, does it?
After this portion is complete, it’s time to pick up stitches for the beginning of the shawl.
First, we knit 3 (simply knit across the live stitches on the needle):
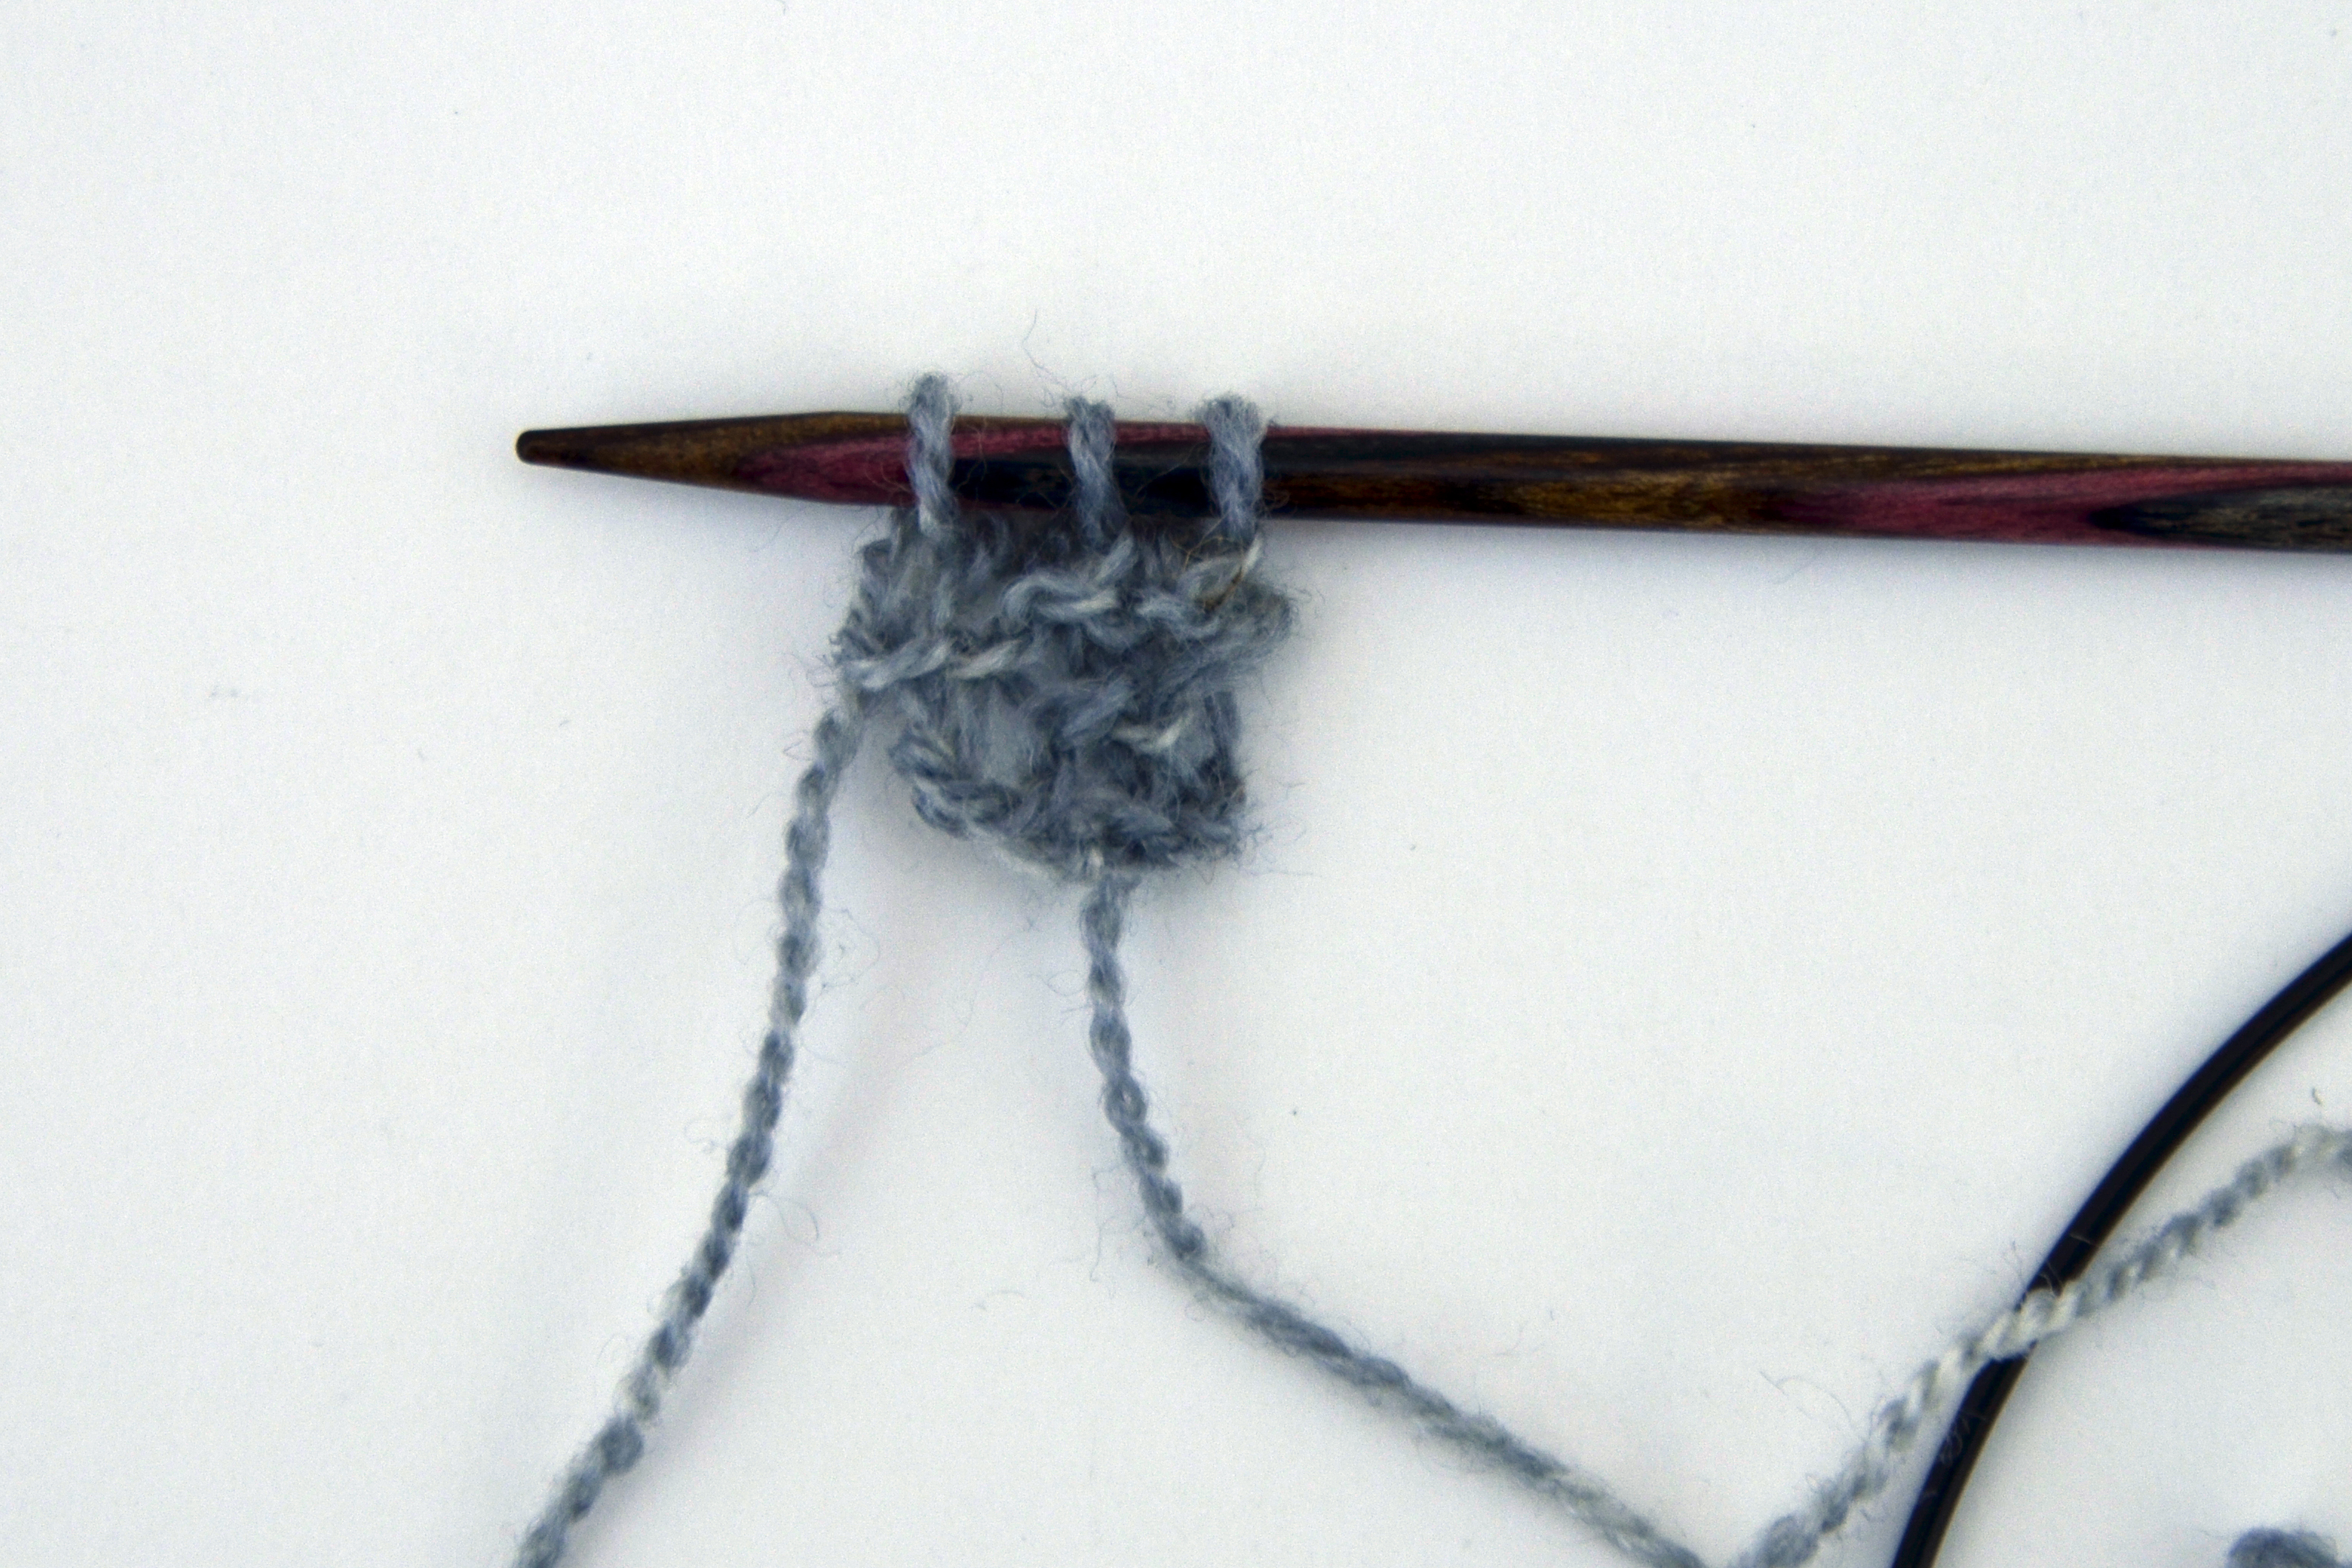
Next, we rotate the tab 90 degrees clockwise and pick up and knit 2 stitches from the side of the tab (1 stitch in each garter bump):
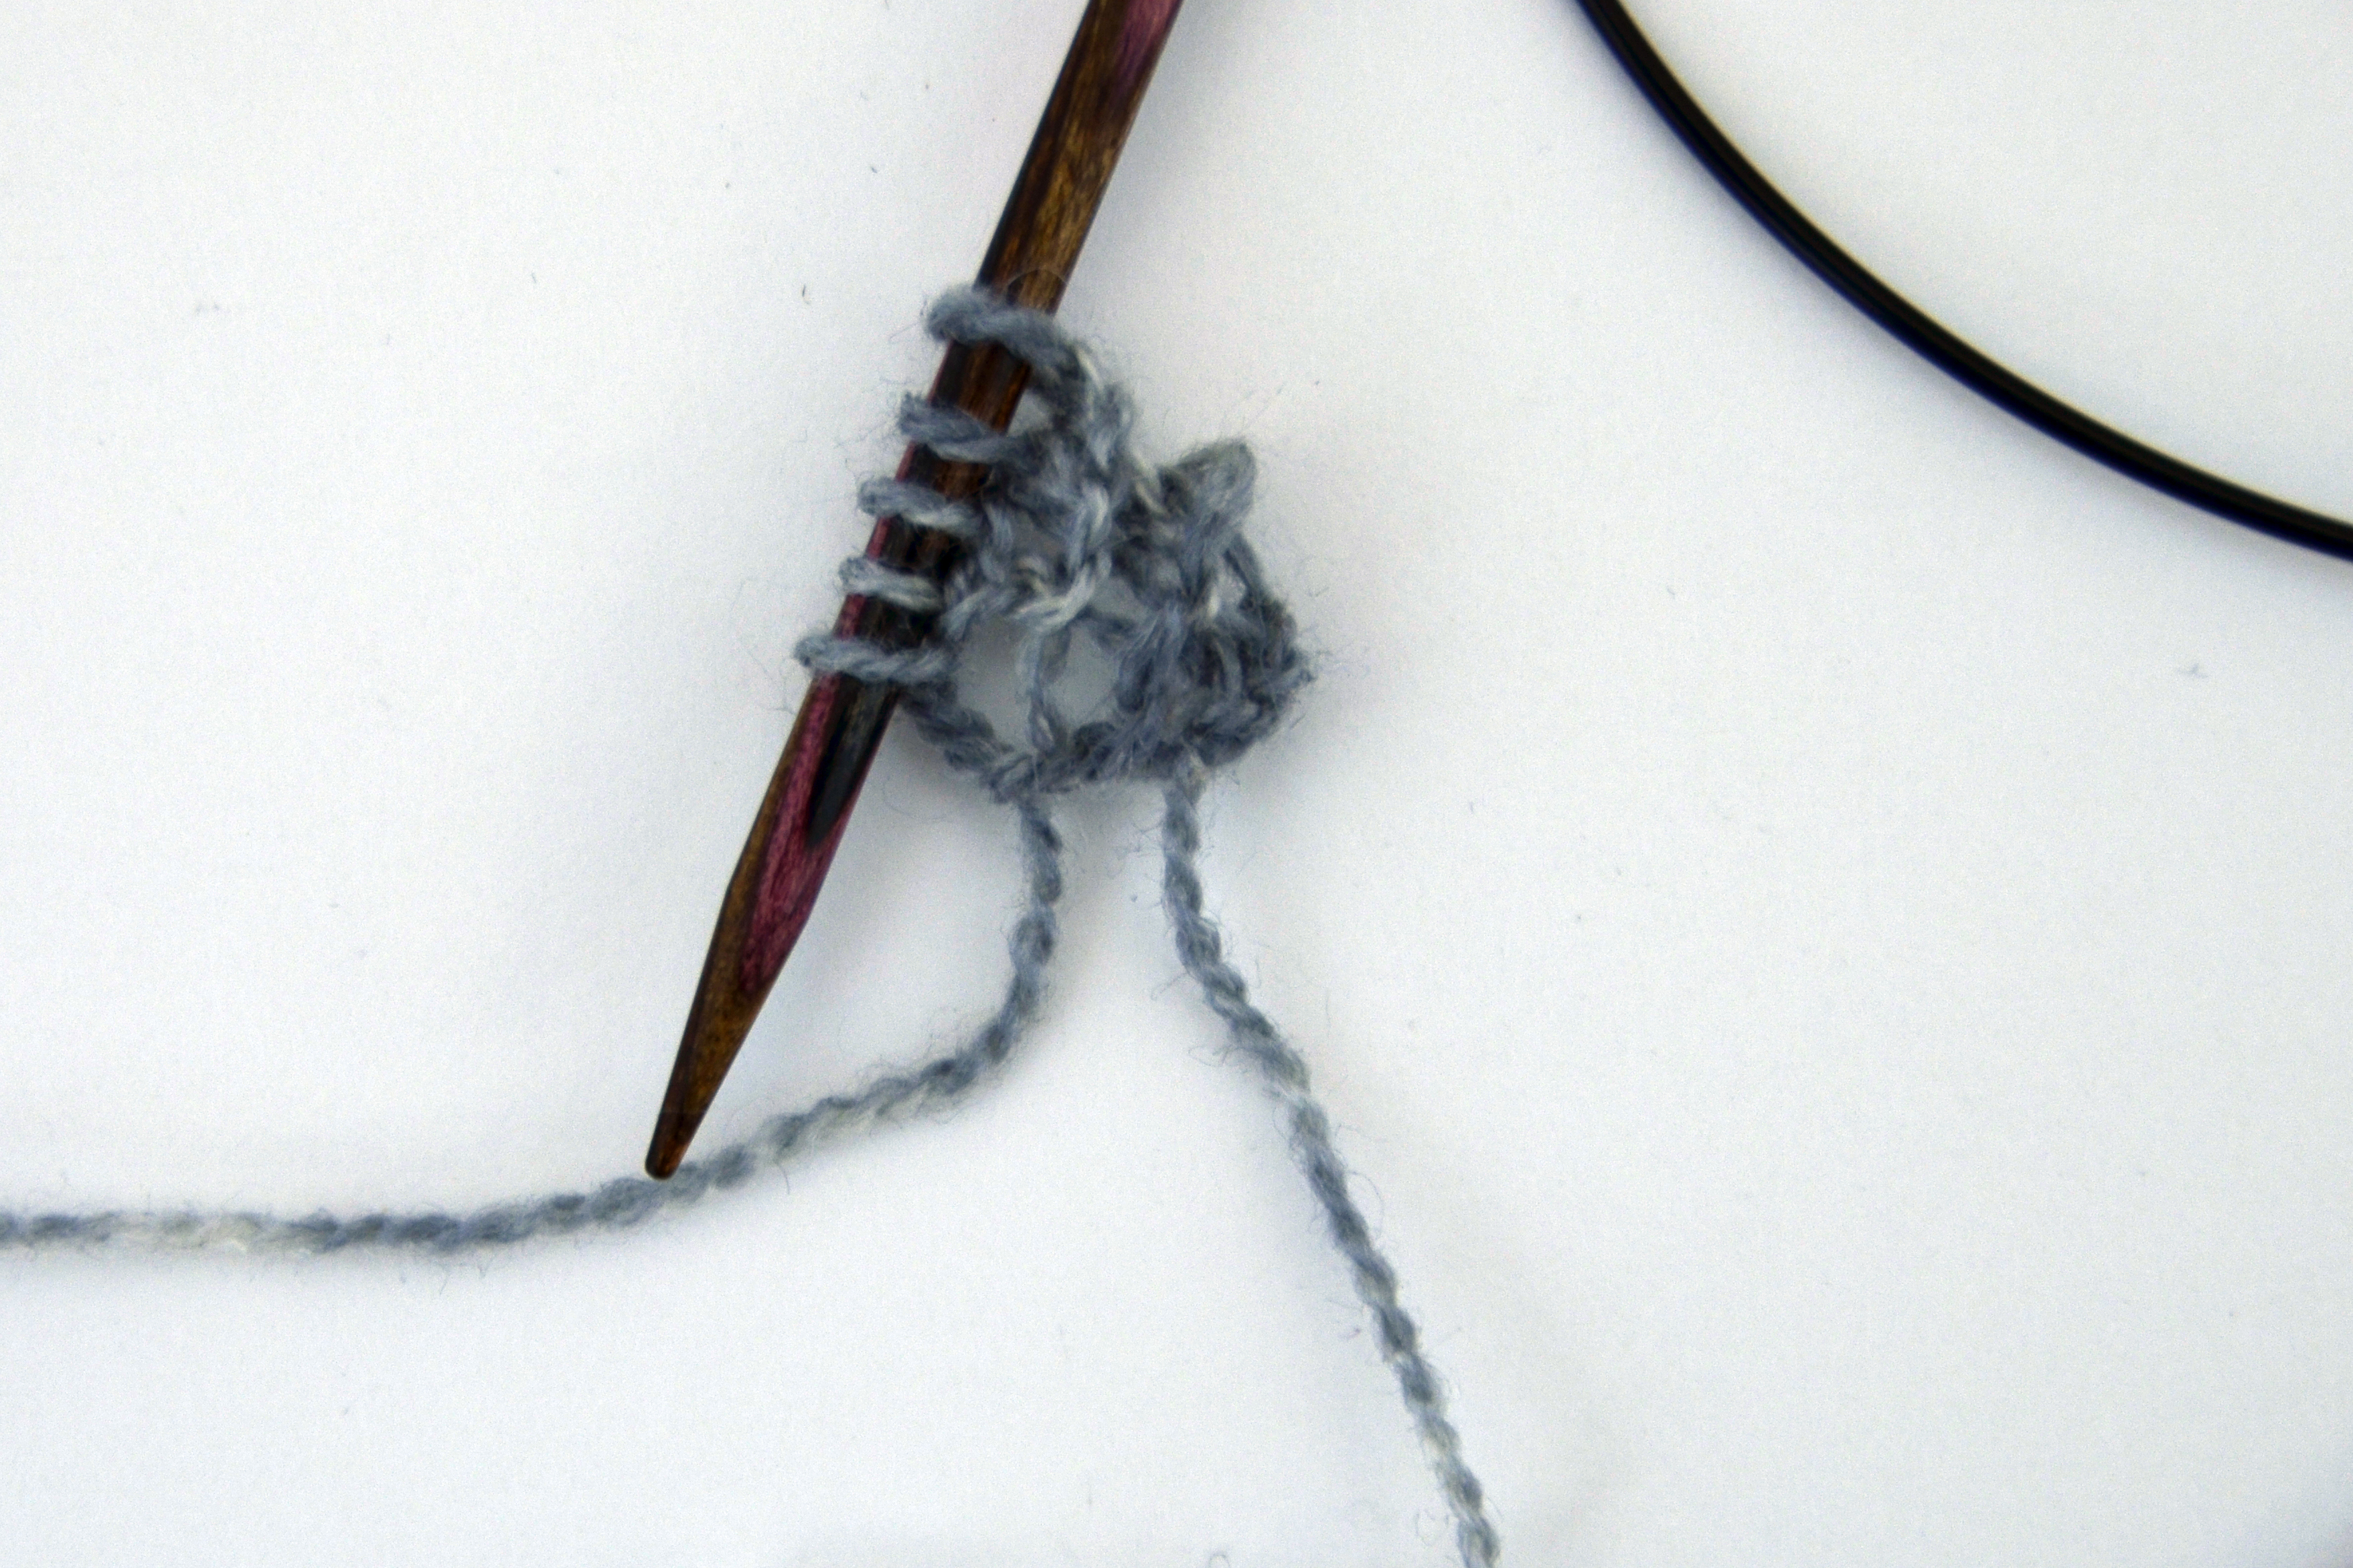
And finally, we pick up and knit 3 stitches along the cast-on edge:
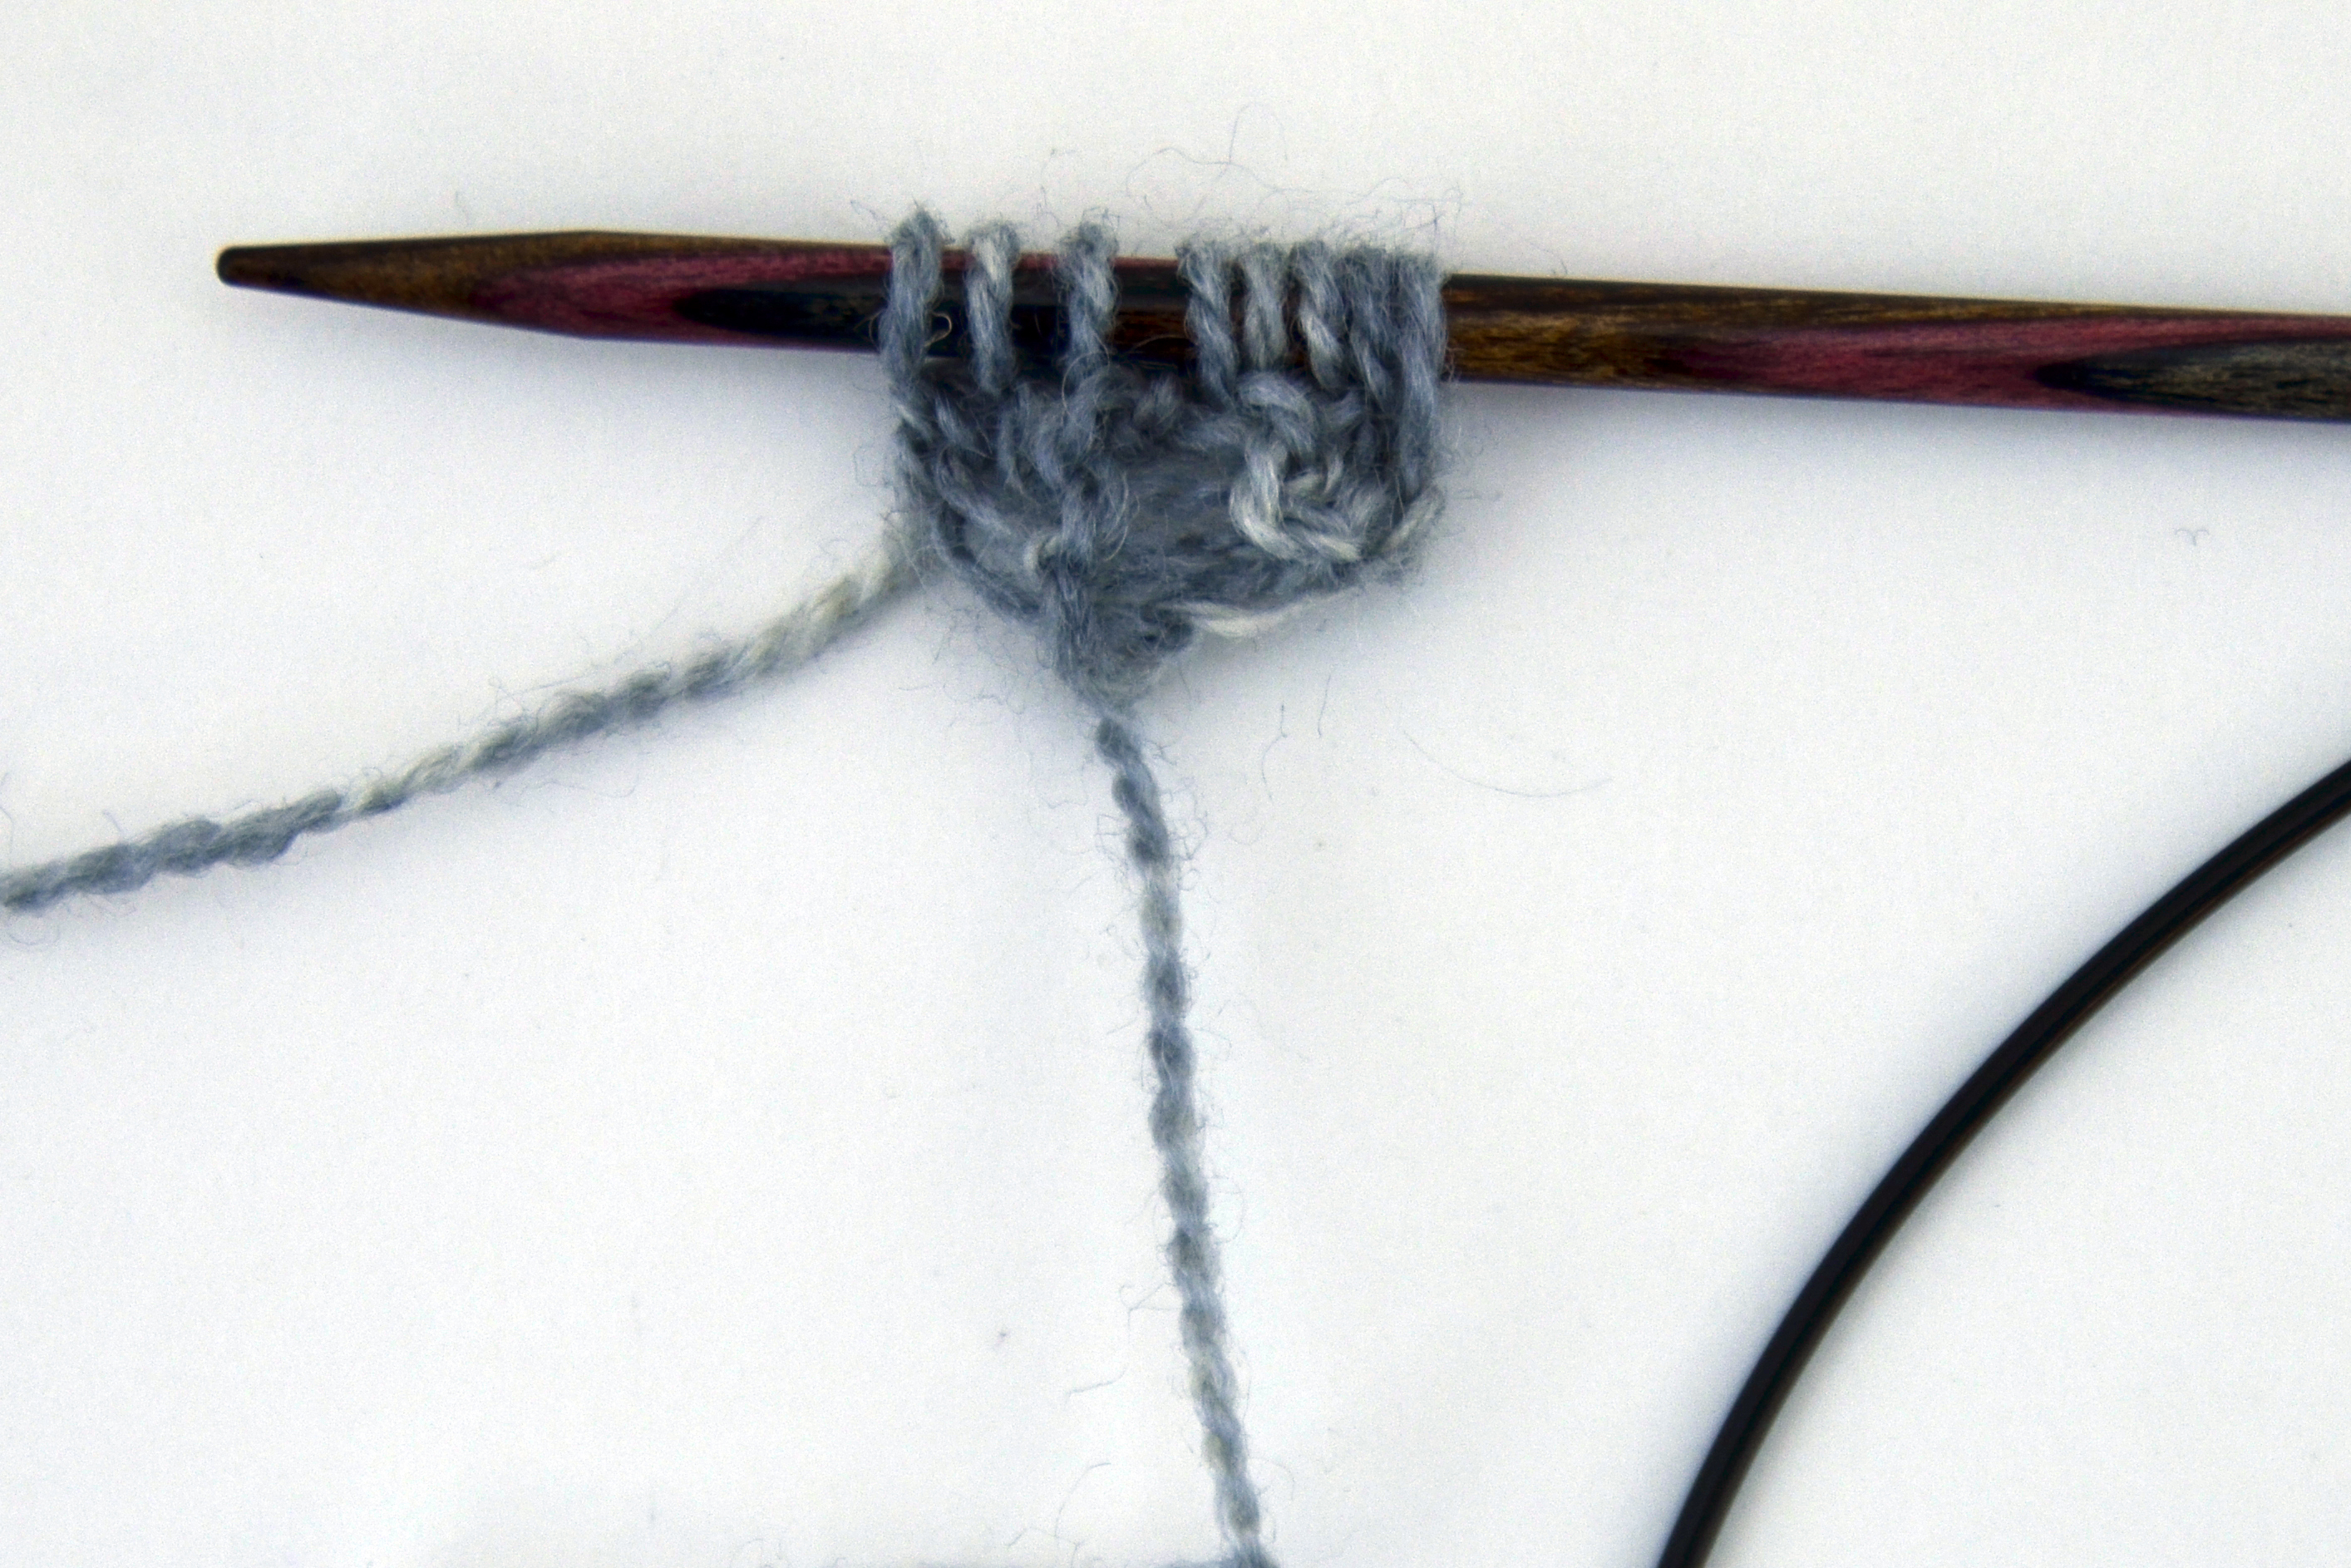
It just looks like a scrunched up mess, right? For an even more seamless start, you can try casting on the 3 stitches for the tab using a provisional method. So instead of having to pick up 3 stitches along the cast-on edge, you can just place live loops on your needle and knit them.
Next step is our set up row which will get us ready to begin the lace patterning. Markers are placed after the first 2 stitches and before the last 2 stitches of the row. Markers are also placed on either side of the 2 center-most stitches.

As with most top-down triangles, 4 increases are worked on every right side row – 1 after the first 2 stitches, 1 on either side of the center 2 stitches, and 1 before the last 2 stitches. Geometry – it’s like magic!
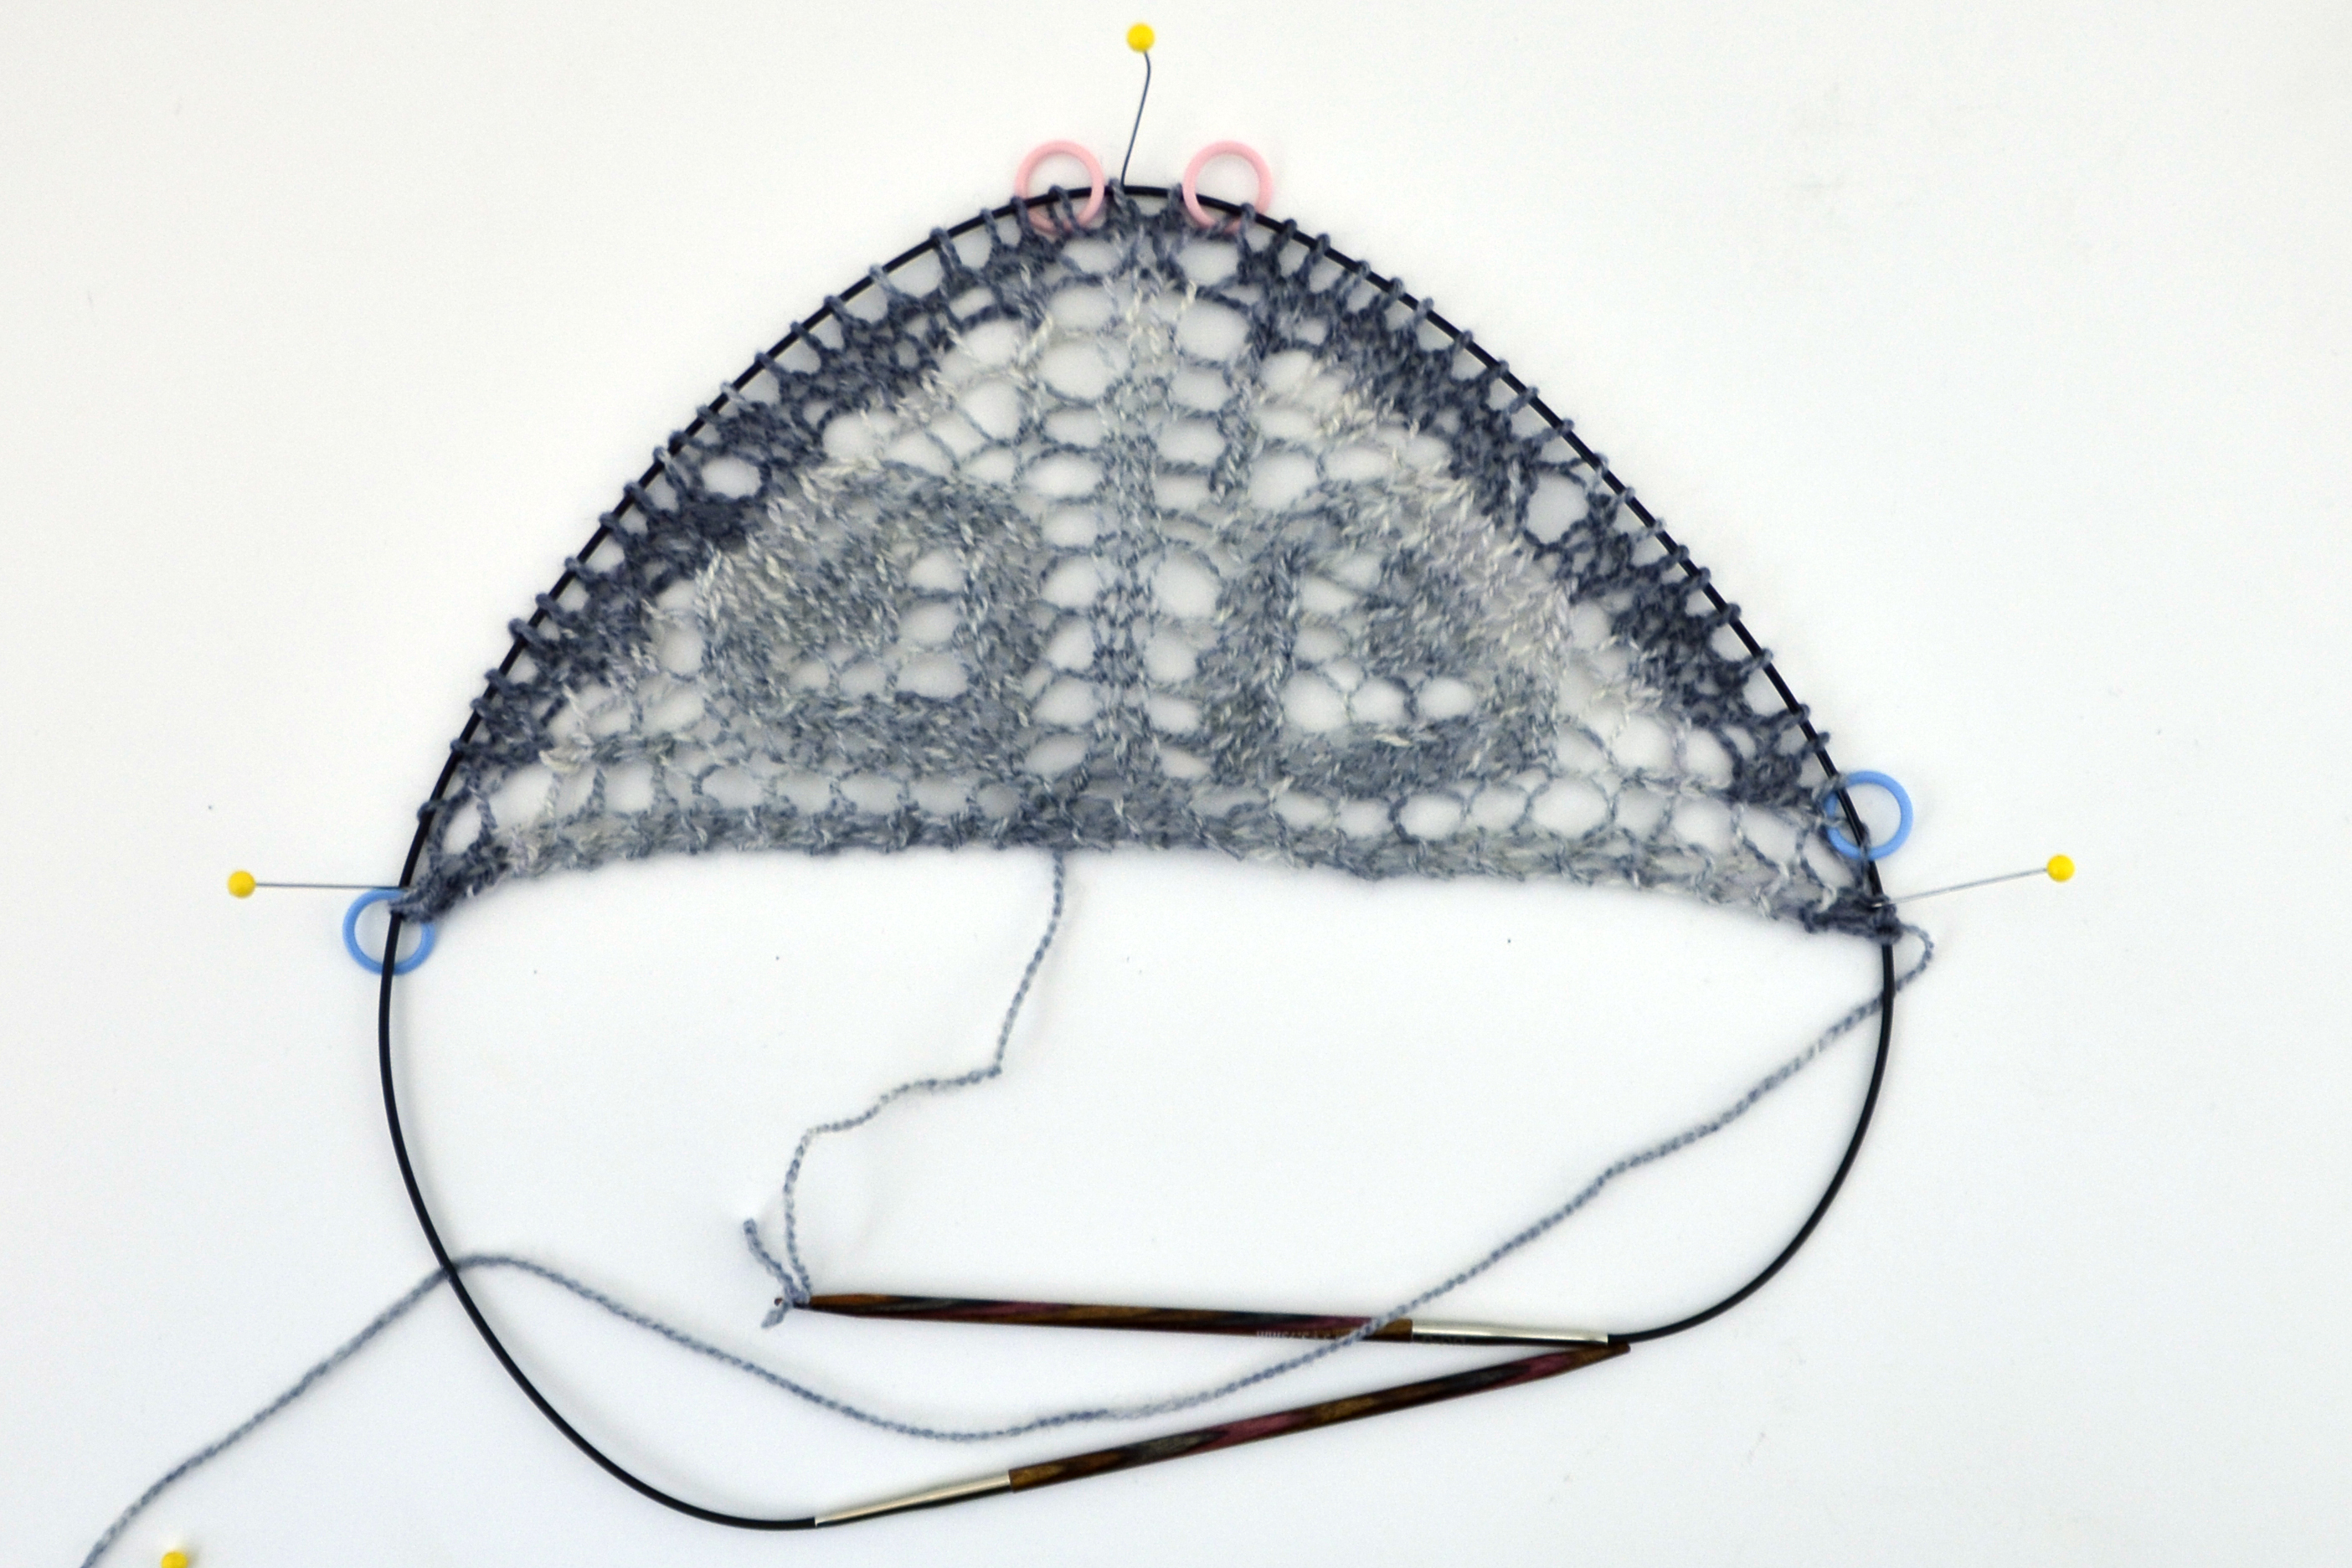
Here’s how our wing looks after the first 20 rows of the pattern. You can see that I started in the bottom center of the swatch where my cast-on tail is hanging. Yarnovers are increasing the triangle shape in the center and on the sides. I love how the garter stitch tab transitions seamlessly into the garter stitch edge stitches of the piece.
For reference, this small portion of the shawl is where the highlighted area would be in the diagram:
And on the shawl itself:
Next time we’ll talk about joining the wings together and working our top edging.
One Reply to “Bisected Shawl – Starting Out”
Comments are closed.