

Today I want to talk about the cover project from Contrarian Shawls 2 , the Herringbone Shawl knit in Dona.
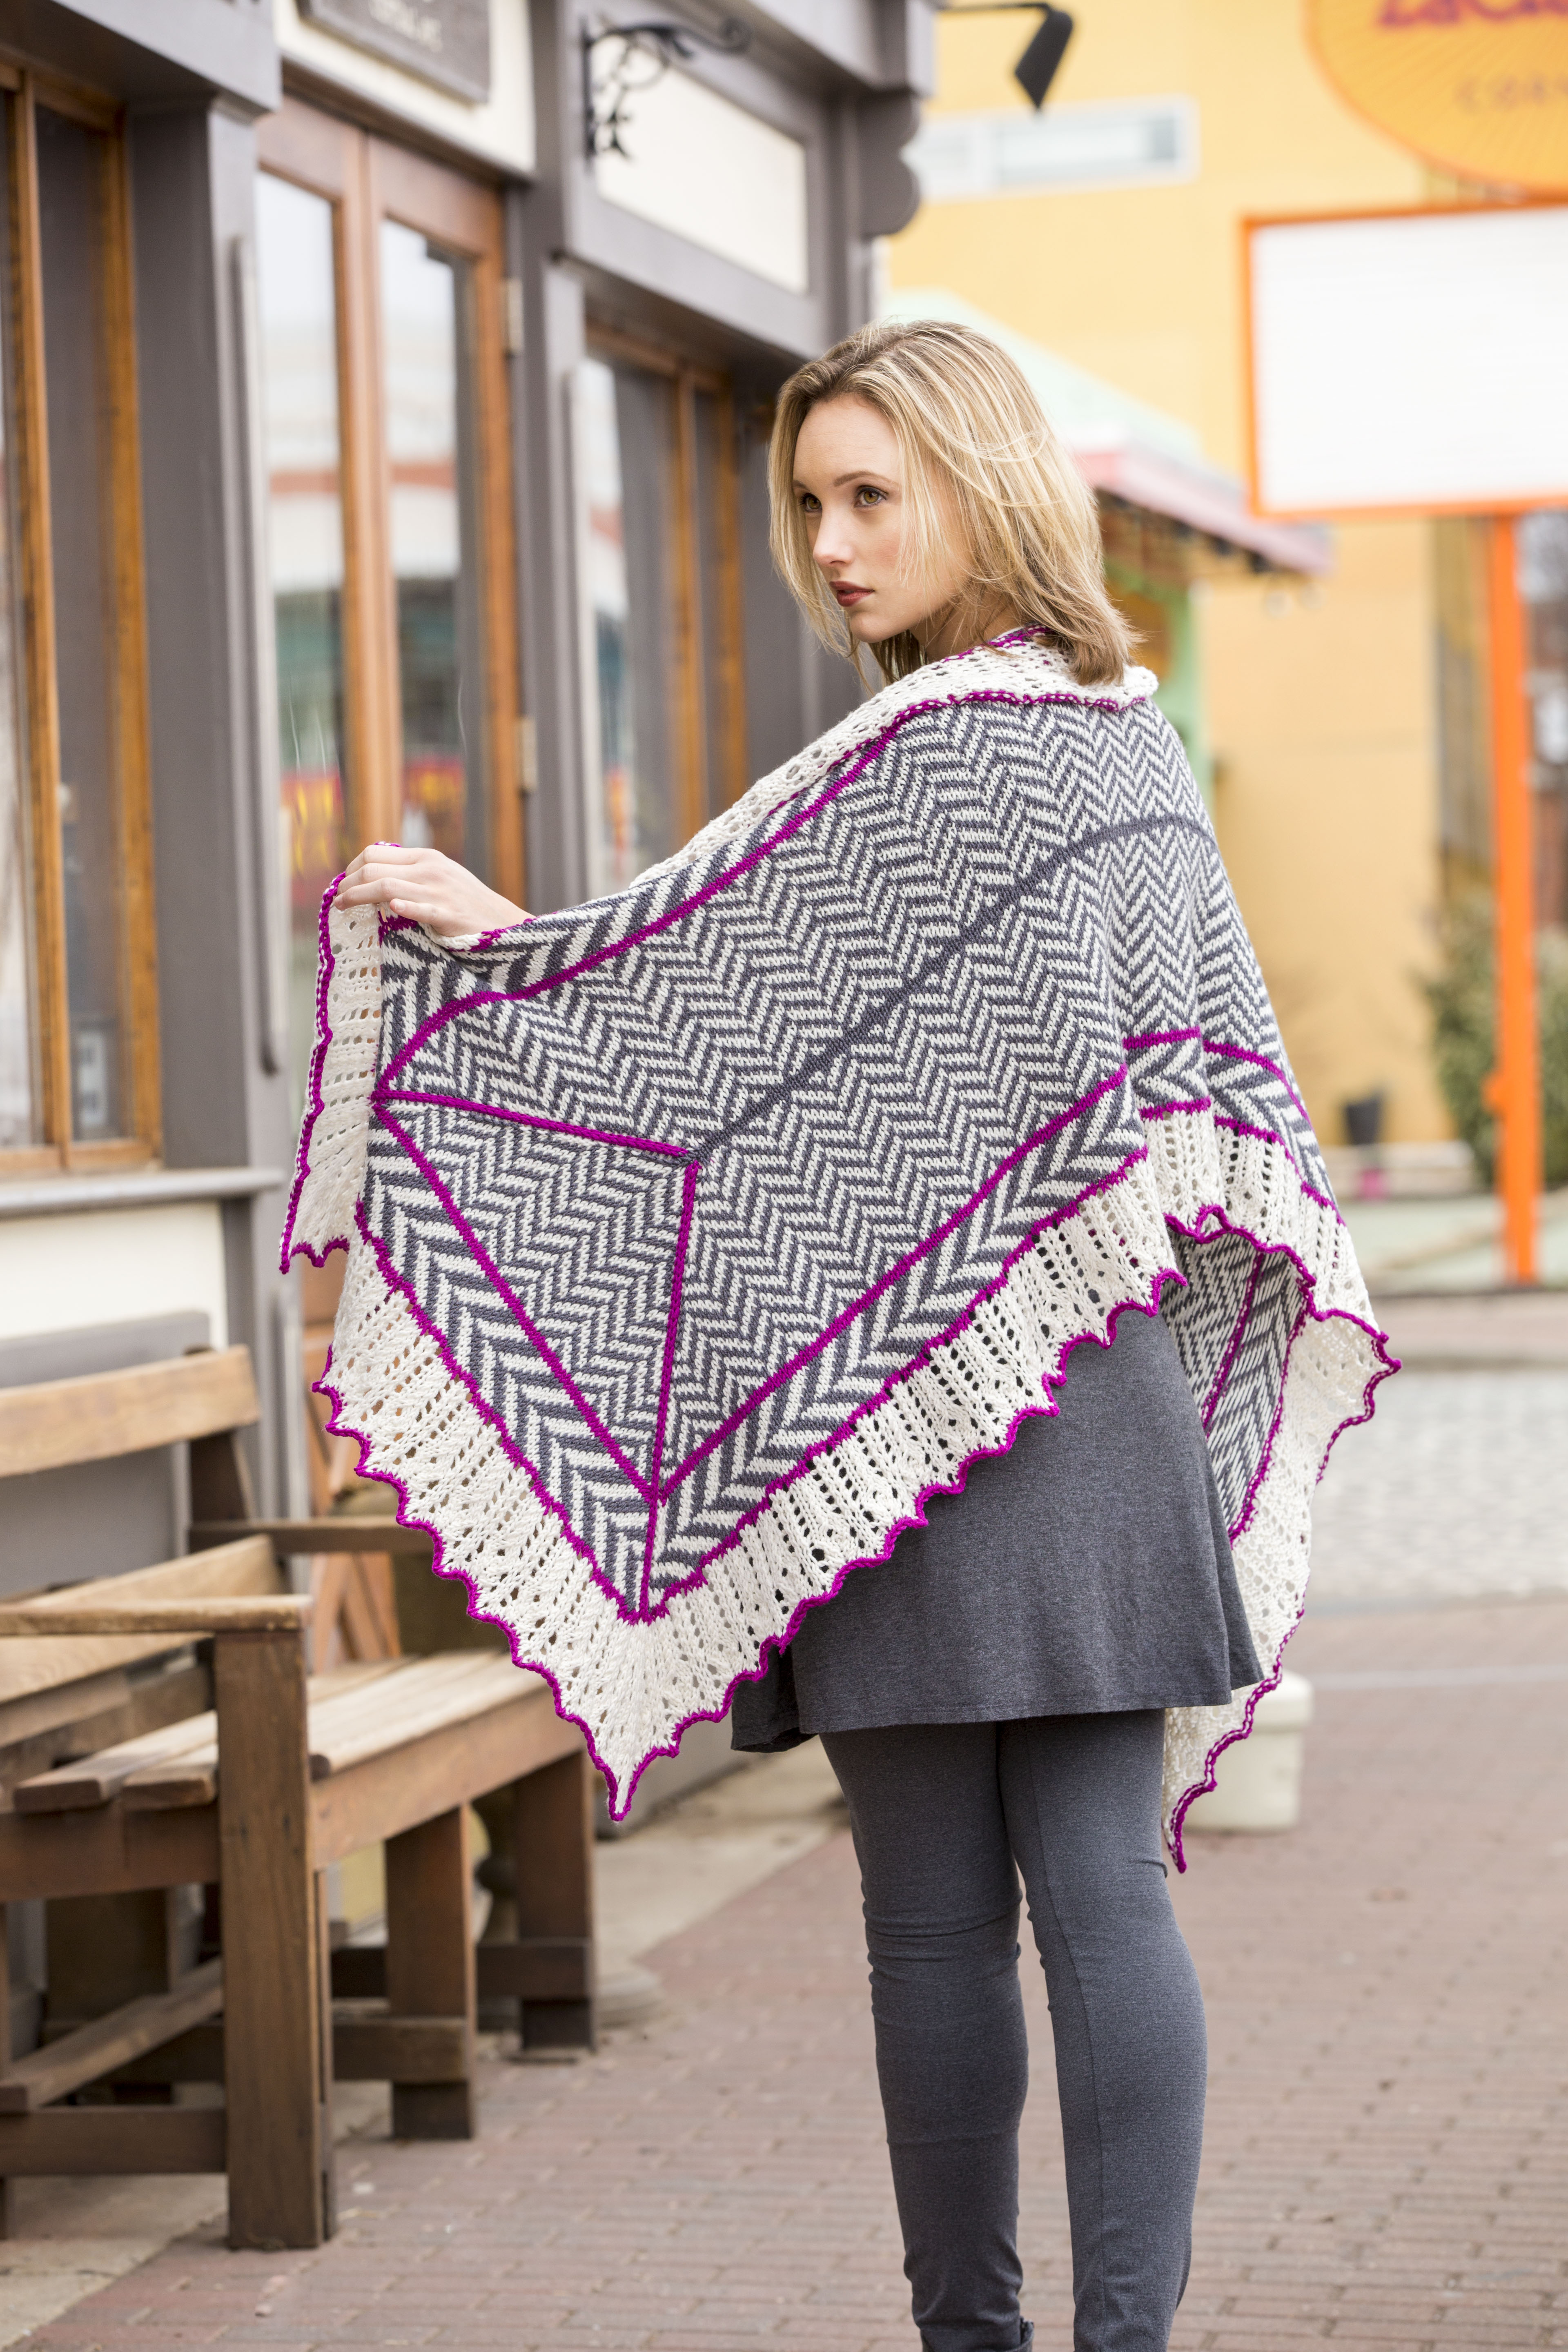
If I had to pick a single knitting technique to call my favorite, it would have to be stranded knitting, or knitting with multiple colors in the same row or round. I knew I wanted to include a stranded project in this collection, and I knew I didn’t want it to be too fussy.
Stranding can be intimidating to knitters who have never done it before, particularly worked back and forth in rows. The dreaded wrong side purling of stranding strikes fear and loathing in the hearts of many a knitter! So when planning this project, I wanted to be sure not to turn off these knitters and made sure all the work was done in the round. (For the record, purling stranded knitting is like anything else – with practice, it’s not that bad!)
So how is a rectangular stole worked in the round you ask? That’s what we’re going to talk about today.
Here is a simplified diagram of the shawl, showing the cast-on in the middle:
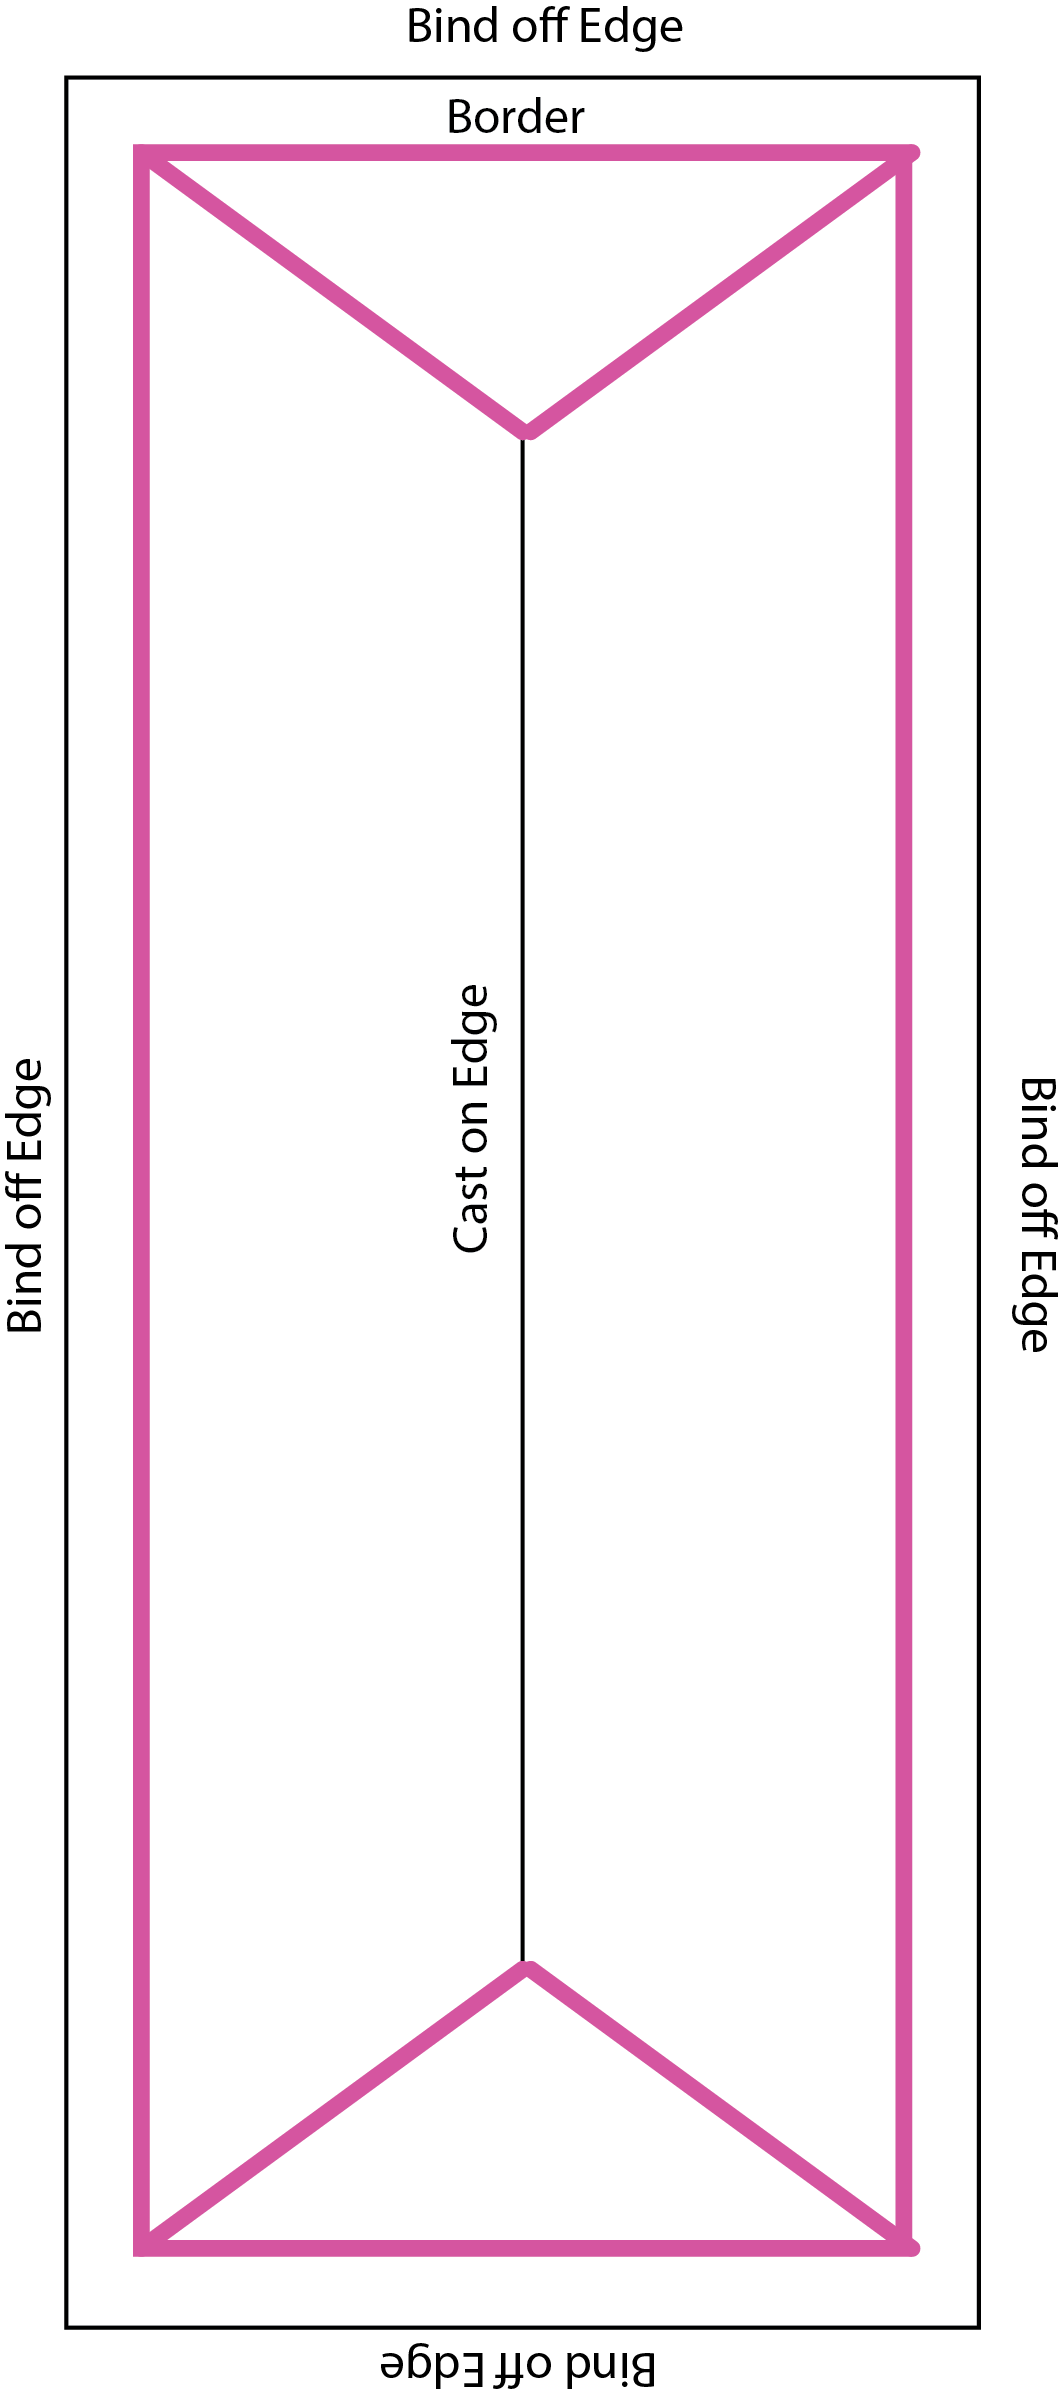
Though this is perhaps misleading, because in the diagram the cast-on edge as shown as a straight line. But in reality, you cast on but then join in the round, like this:
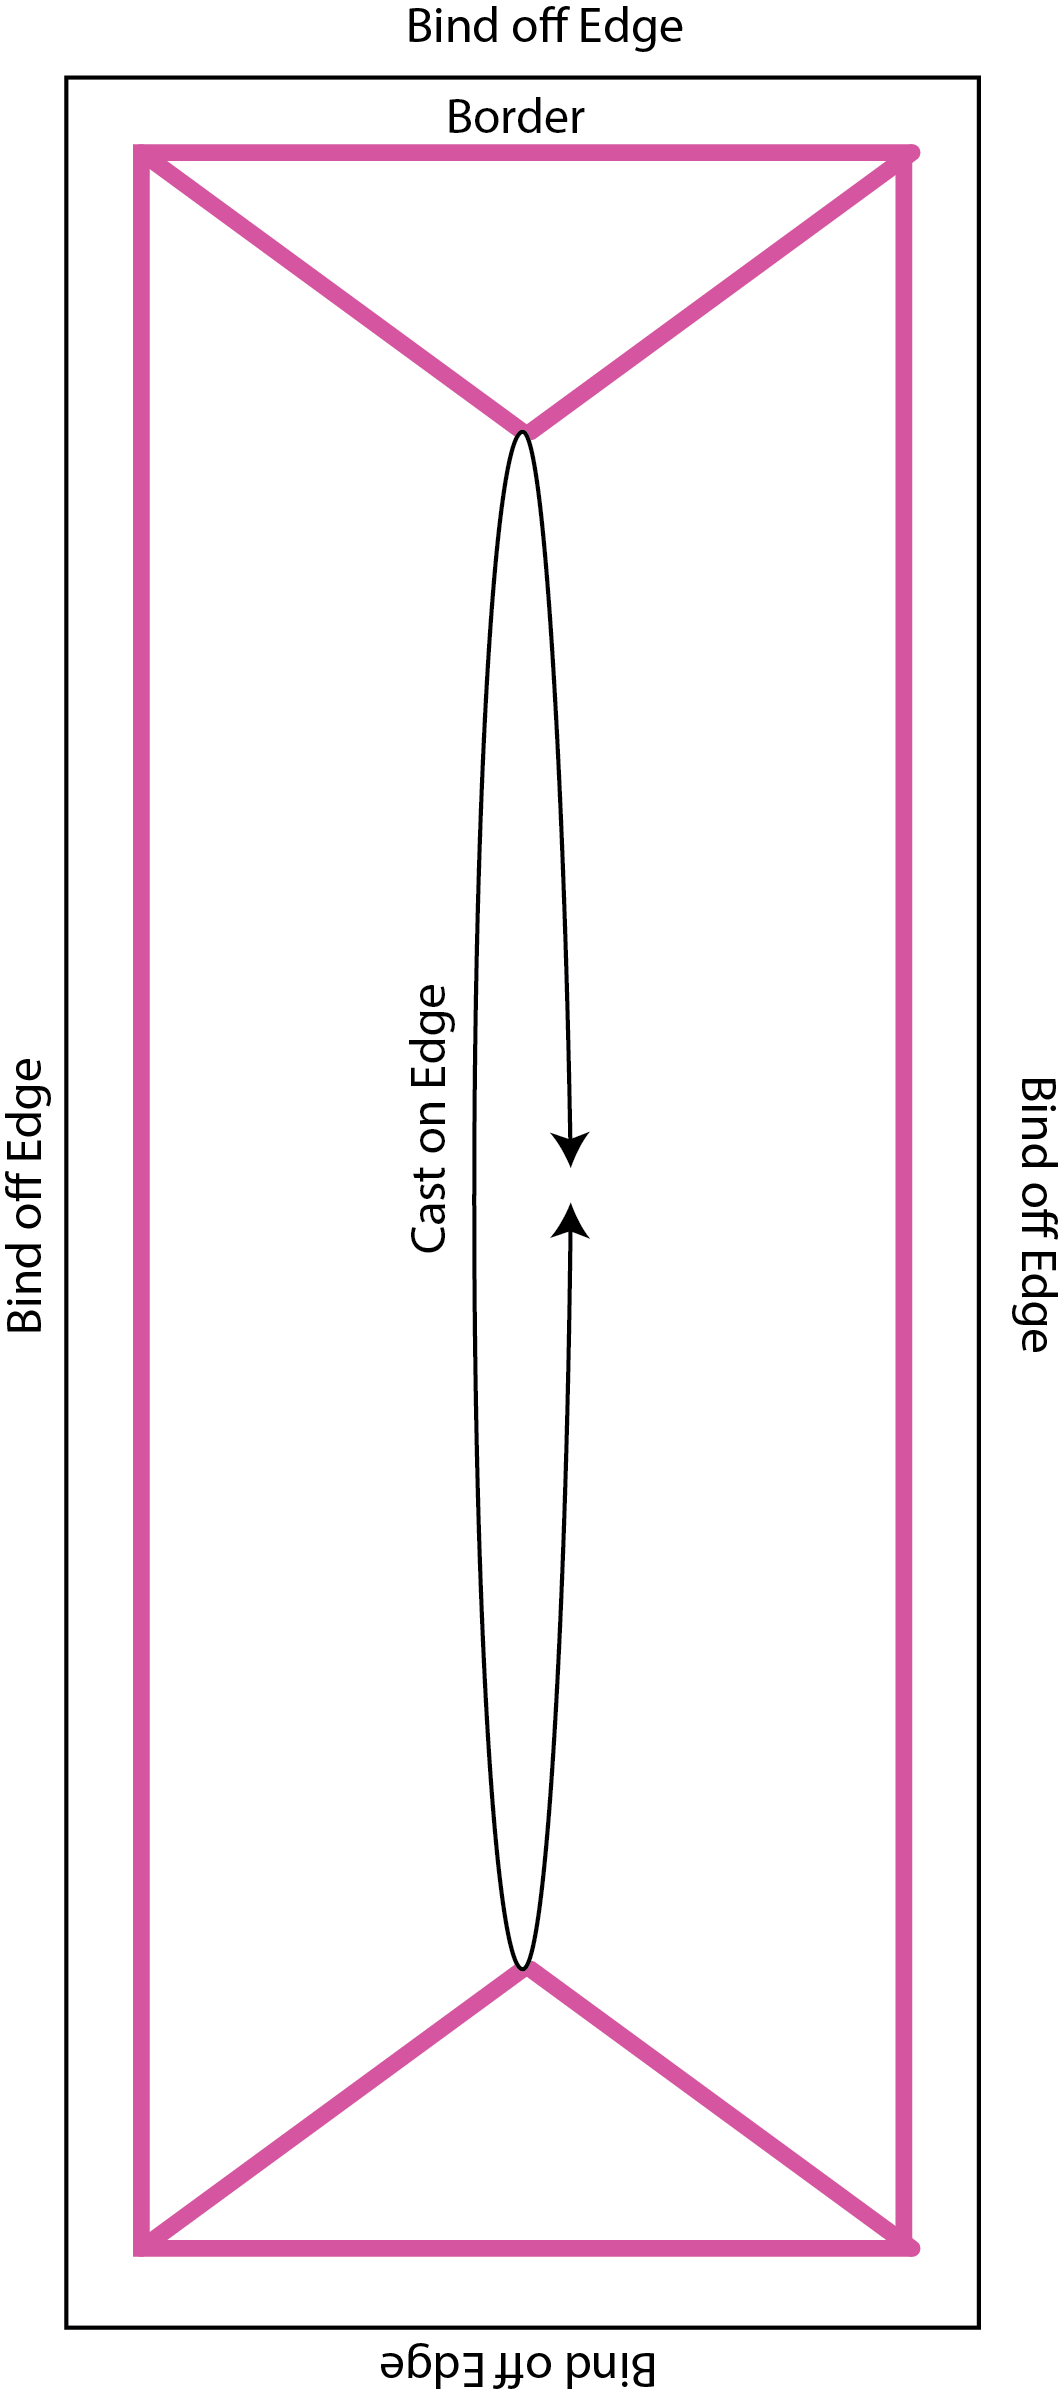
Later, after the shawl is bound-off, you go back and seam the cast-on edge together which forms the center line.
The shaping is mitered, so you’re increasing along each of the 4 corners. There are 8 increases per round, 1 on each side of the pink contrast color lines:
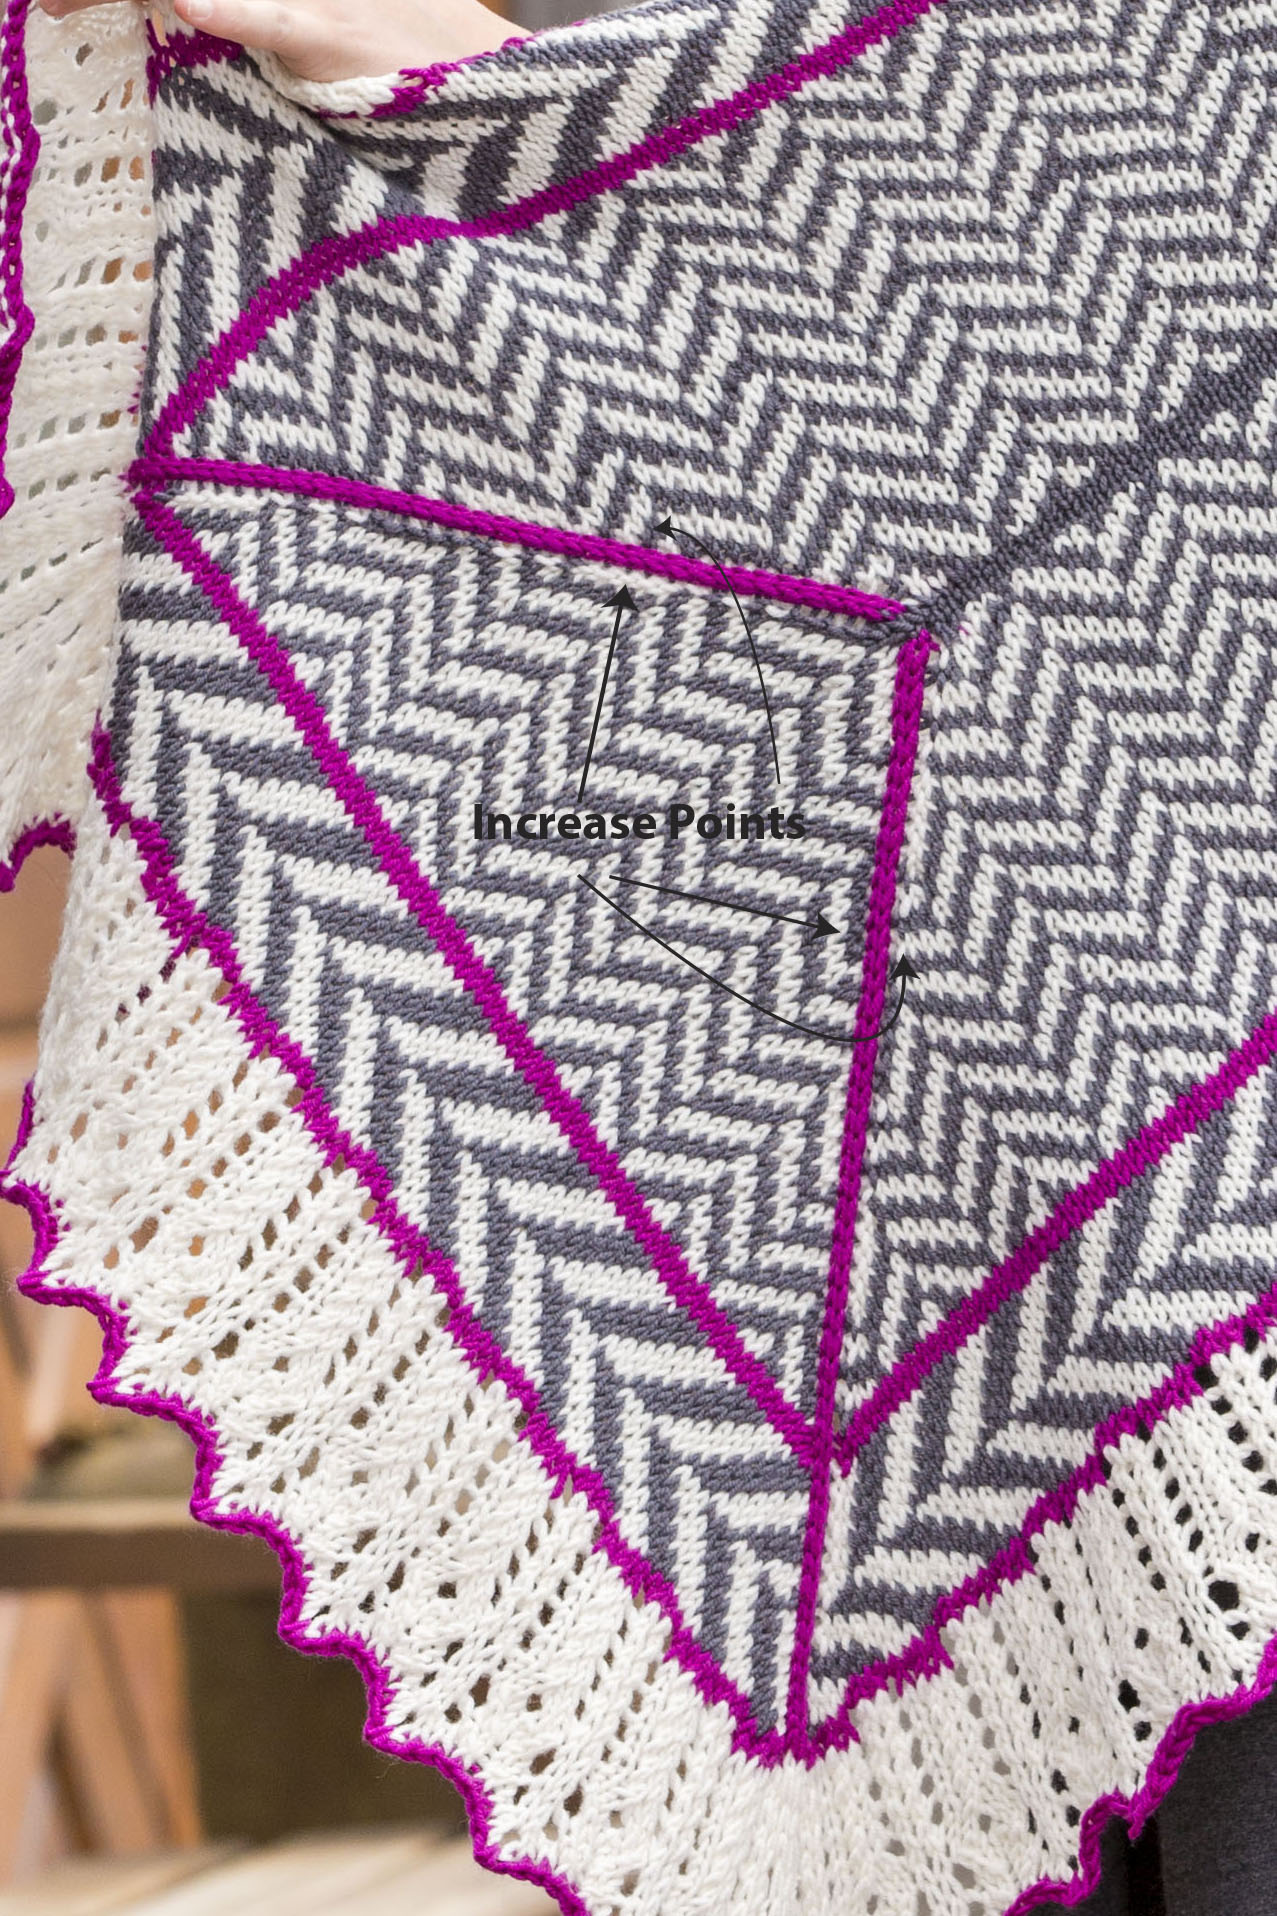
Speaking of those pink contrast lines, that’s another little technique that might sound harder than it really is. The pink lines are worked in intarsia, another method of changing colors in knitting. But instead of carrying the yarn along throughout the entire round, you only pick up that particular color when encountered.
For the Herringbone Shawl, I recommend preparing yarn bobbins for these corner spots. Yarn bobbins can be purchased, or you can easily make them yourself. I’ve used cardboard before, but the ideal material for making bobbins is something just a little sturdier like plastic lids from margarine containers or the like.
Cut out a shape like this, and make little snips where the dotted lines are:
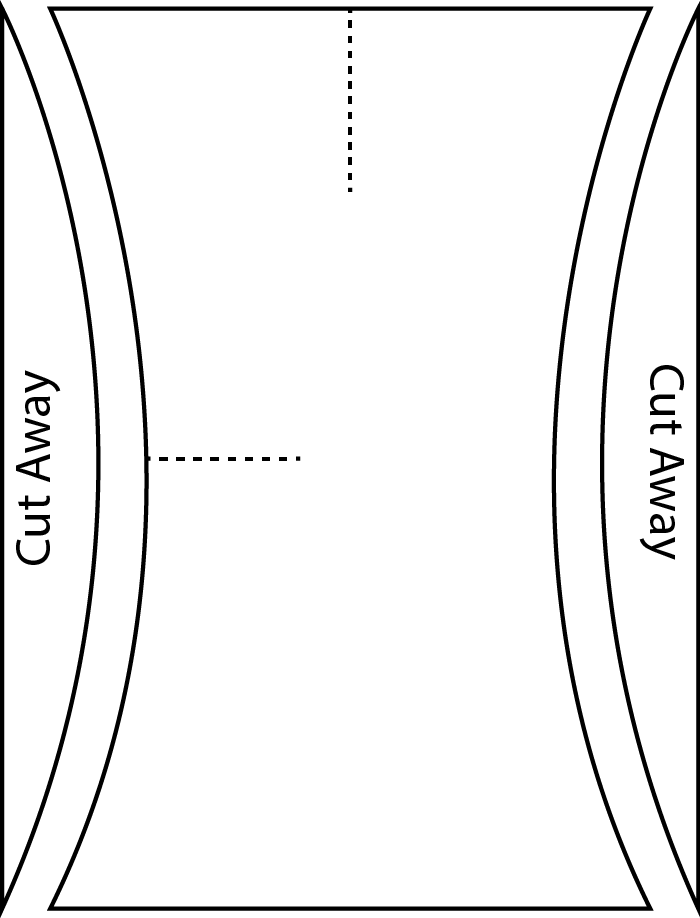
Then, secure the yarn tail to one of the snips on the yarn bobbin, wind the yarn around, bring the other end out of the top snip, and cut the yarn.
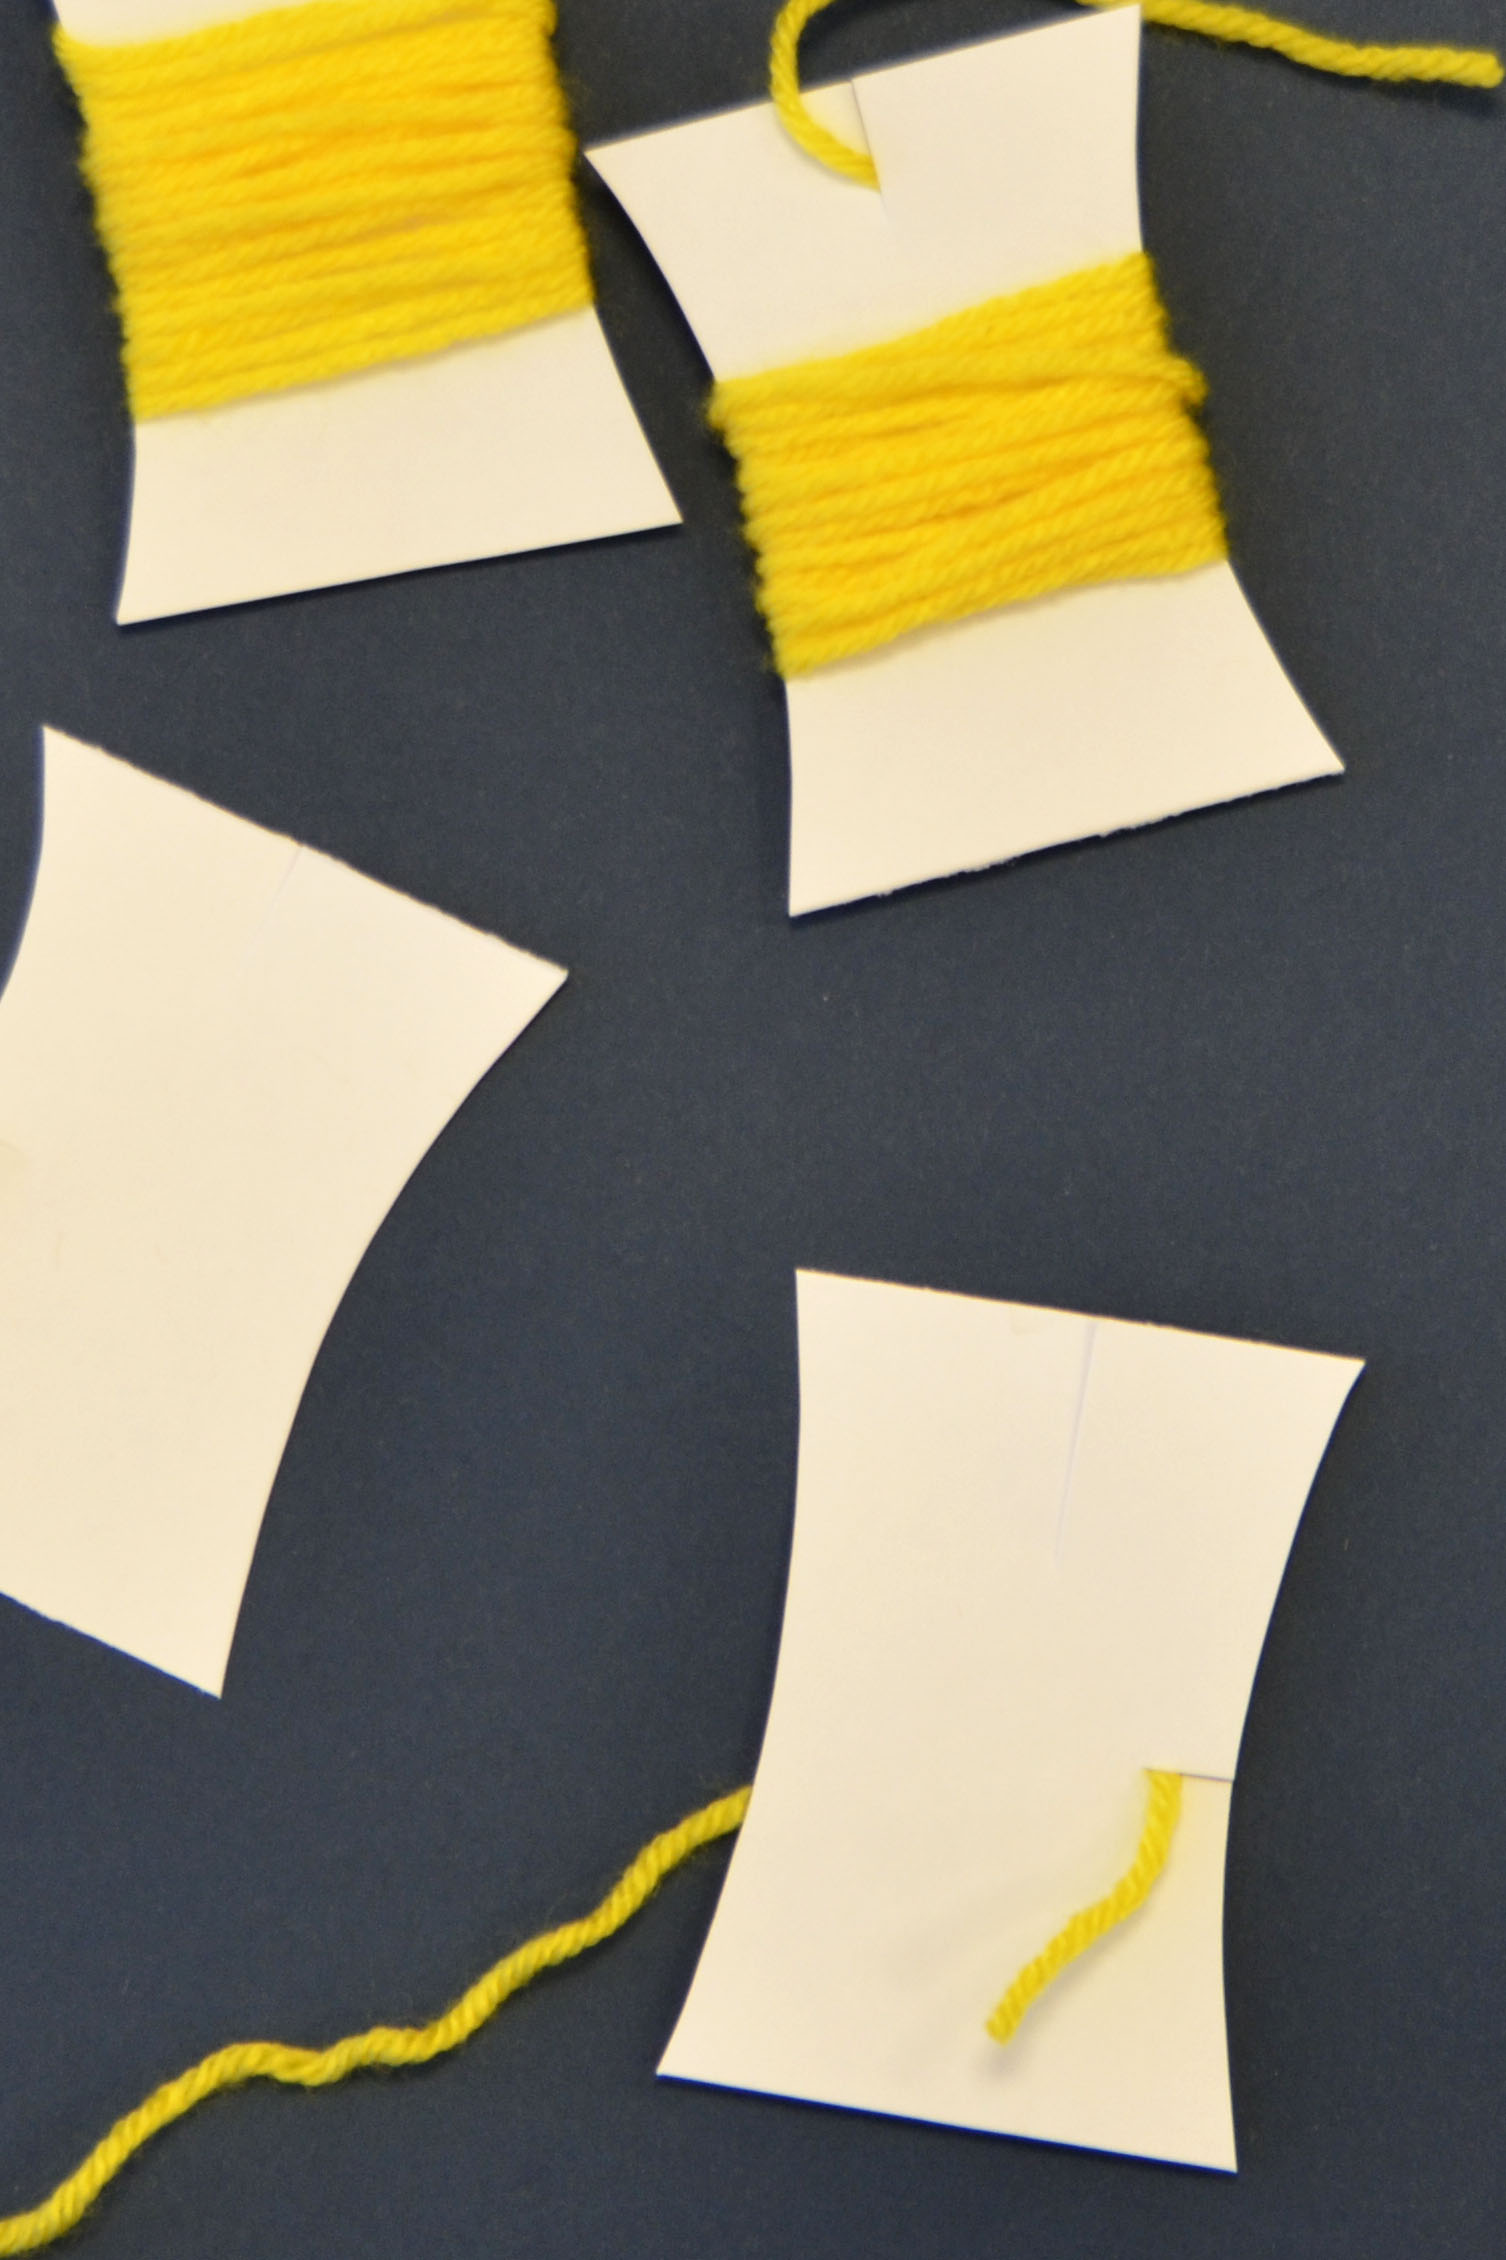
Use 1 bobbin for each corner. When it’s time to use this CC, free the yarn from that top snip in the bobbin. When you’re done with it for the round, just tuck it back in the snip. This will keep things organized and prevent you from having lots of loose and tangled ends on the back of the work.
When it’s time to knit the corners, drop the other two colors (MC and CC1), pick up CC2 (the pink), knit the 2 corner stitches, then drop CC2 and proceed with MC and CC1. That’s all there is to it.
Though I think the pink corner lines add a fun element to this piece, I could certainly see Herringbone without them. If you decide you’re not ready to introduce intarsia into your stranding, simply work these 2-stitch corners in the main color instead.
What colors will you knit your Herringbone Shawl in?