

Today marks the official start of our Deluxe Cable Collection Knitalong. Woohoo! You can read previous posts on our website here and find our Ravelry group where we discuss the knitalong here.
Many of us here in the office jumped the gun and have already started knitting our projects, or at the very least have begun to gauge swatch.
Here are Heather’s Tillery socks in progress:

As you can see, she is doing her socks two at a time on a circular needle to avoid SSS (second sock syndrome). I have faith, Heather – you’re going to finish them both! I hope Heather’s hair is still purple when she finishes these socks – they’ll tie together nicely.
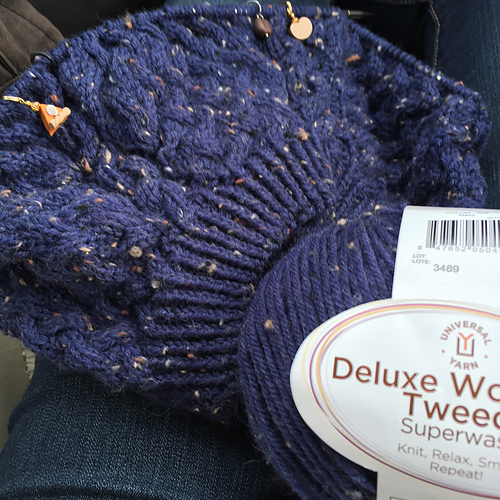
Hattie’s Ashwood Run is coming along well. This is going to look so luscious in Deluxe Worsted Tweed Superwash.
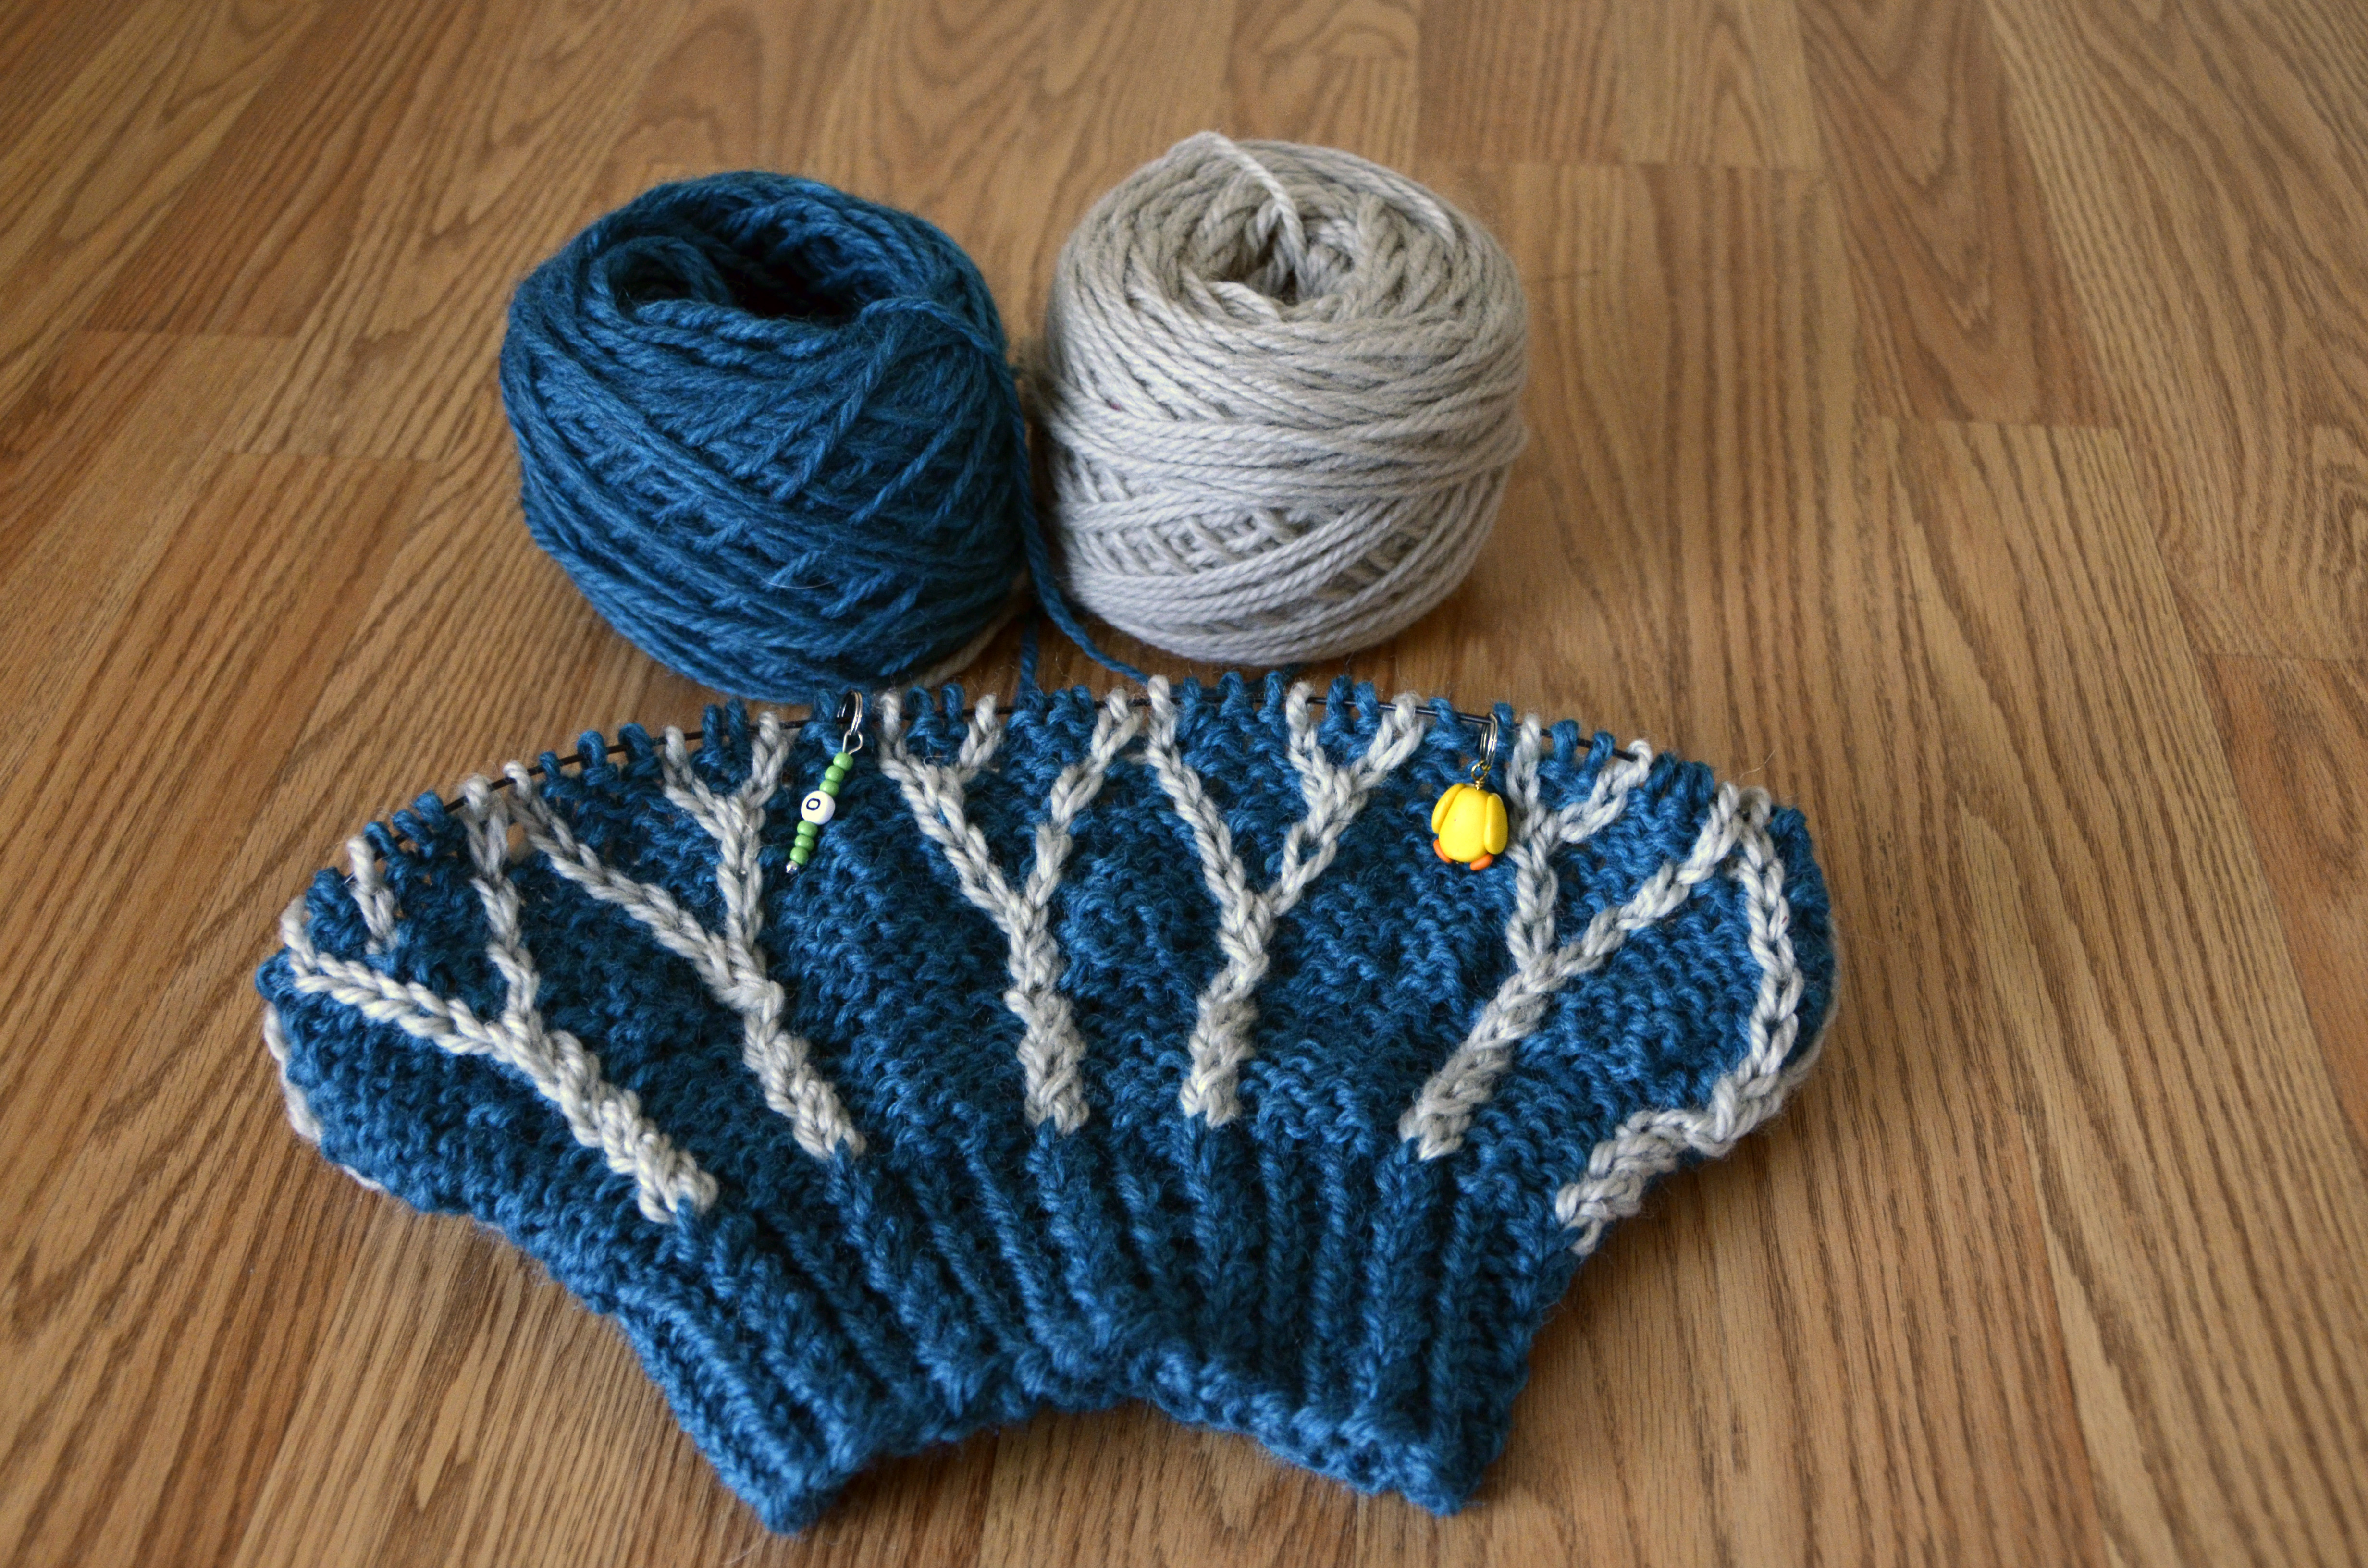
I’m making more progress on my 2 color version of the Rutherford Beret:
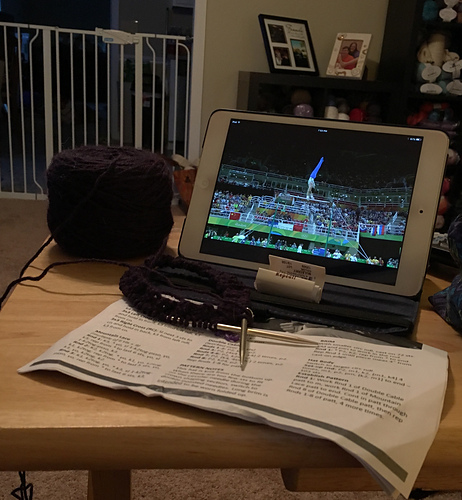
And new knitter, Angie has cast on for her Cold Mountain Hat whilst watching gymnastics:
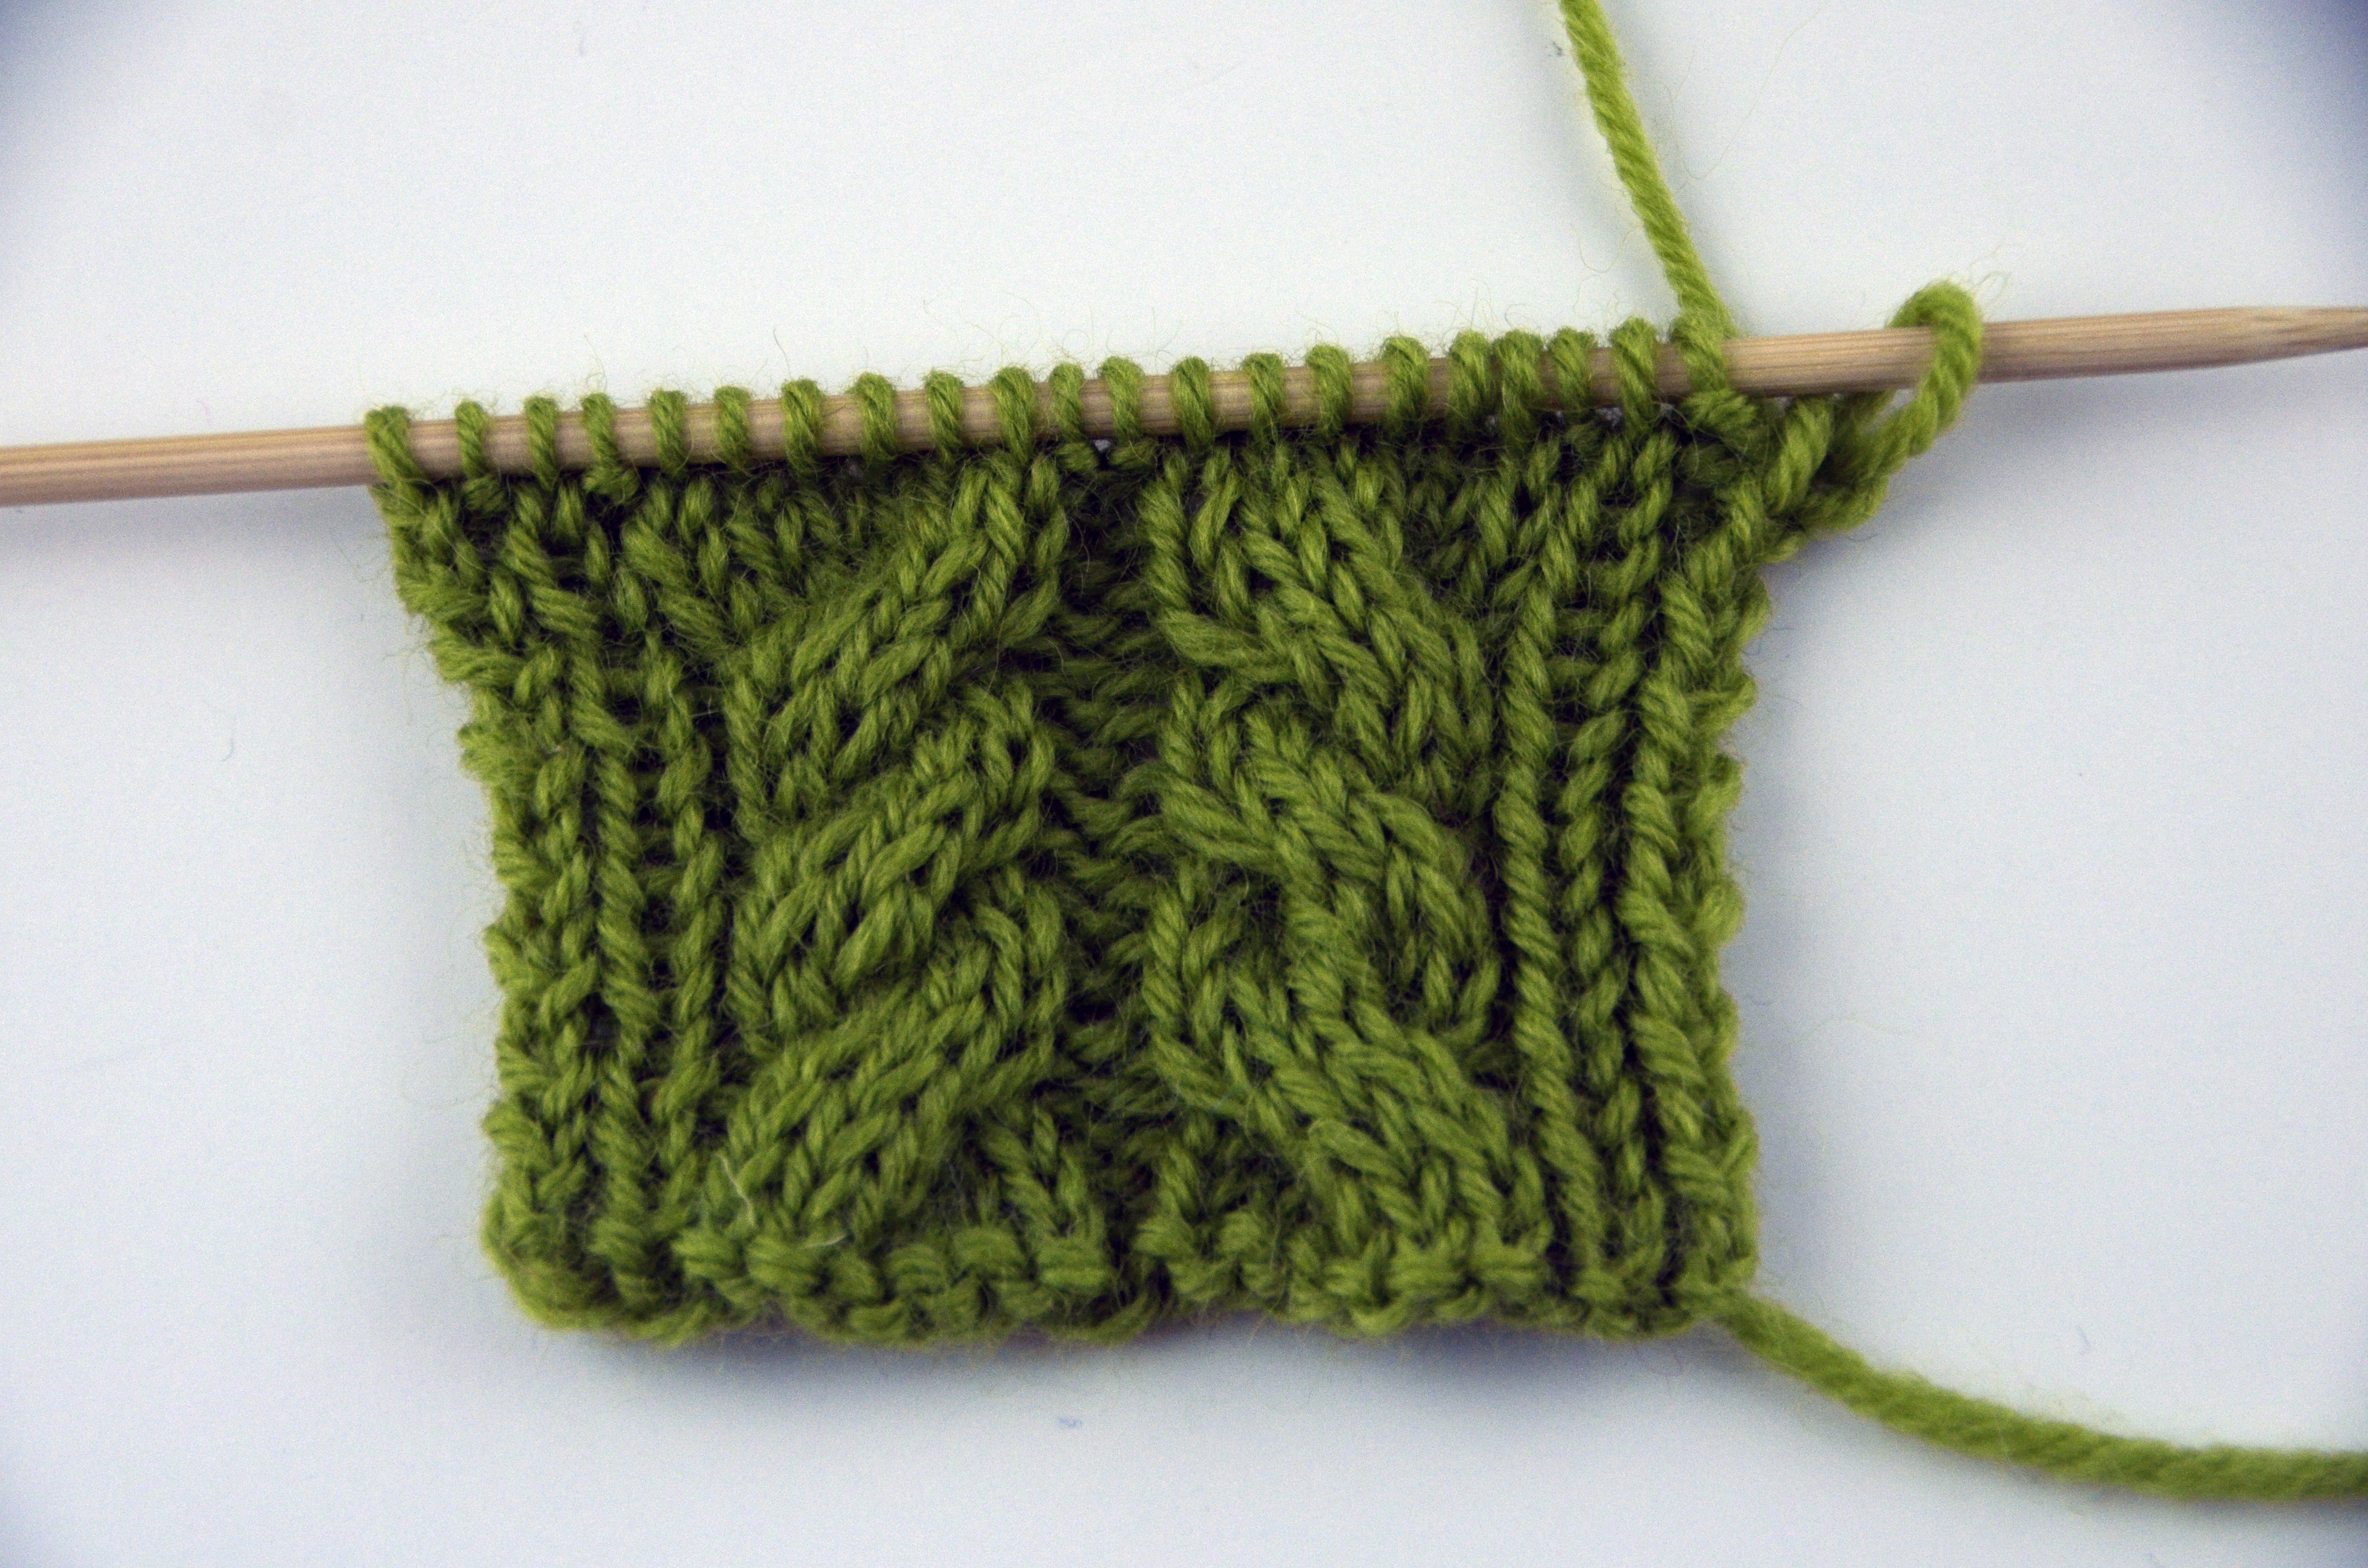
Angie has never done cables before, so we’re going to start with a photo tutorial on basic cable crosses. In the pictures below, I’ve used 3×3 cables, but this concept would apply to 2×2, 4×4 or any other cable.
My swatch below consists of 2 cables – the cable on the right is a 3×3 Left Cross and the cable on the left is a 3×3 Right Cross. They are called Left and Right Crosses because the cables appear to be twisting to either the Left or Right.
Left Cable Cross
Step 1: Work in pattern to the cable.
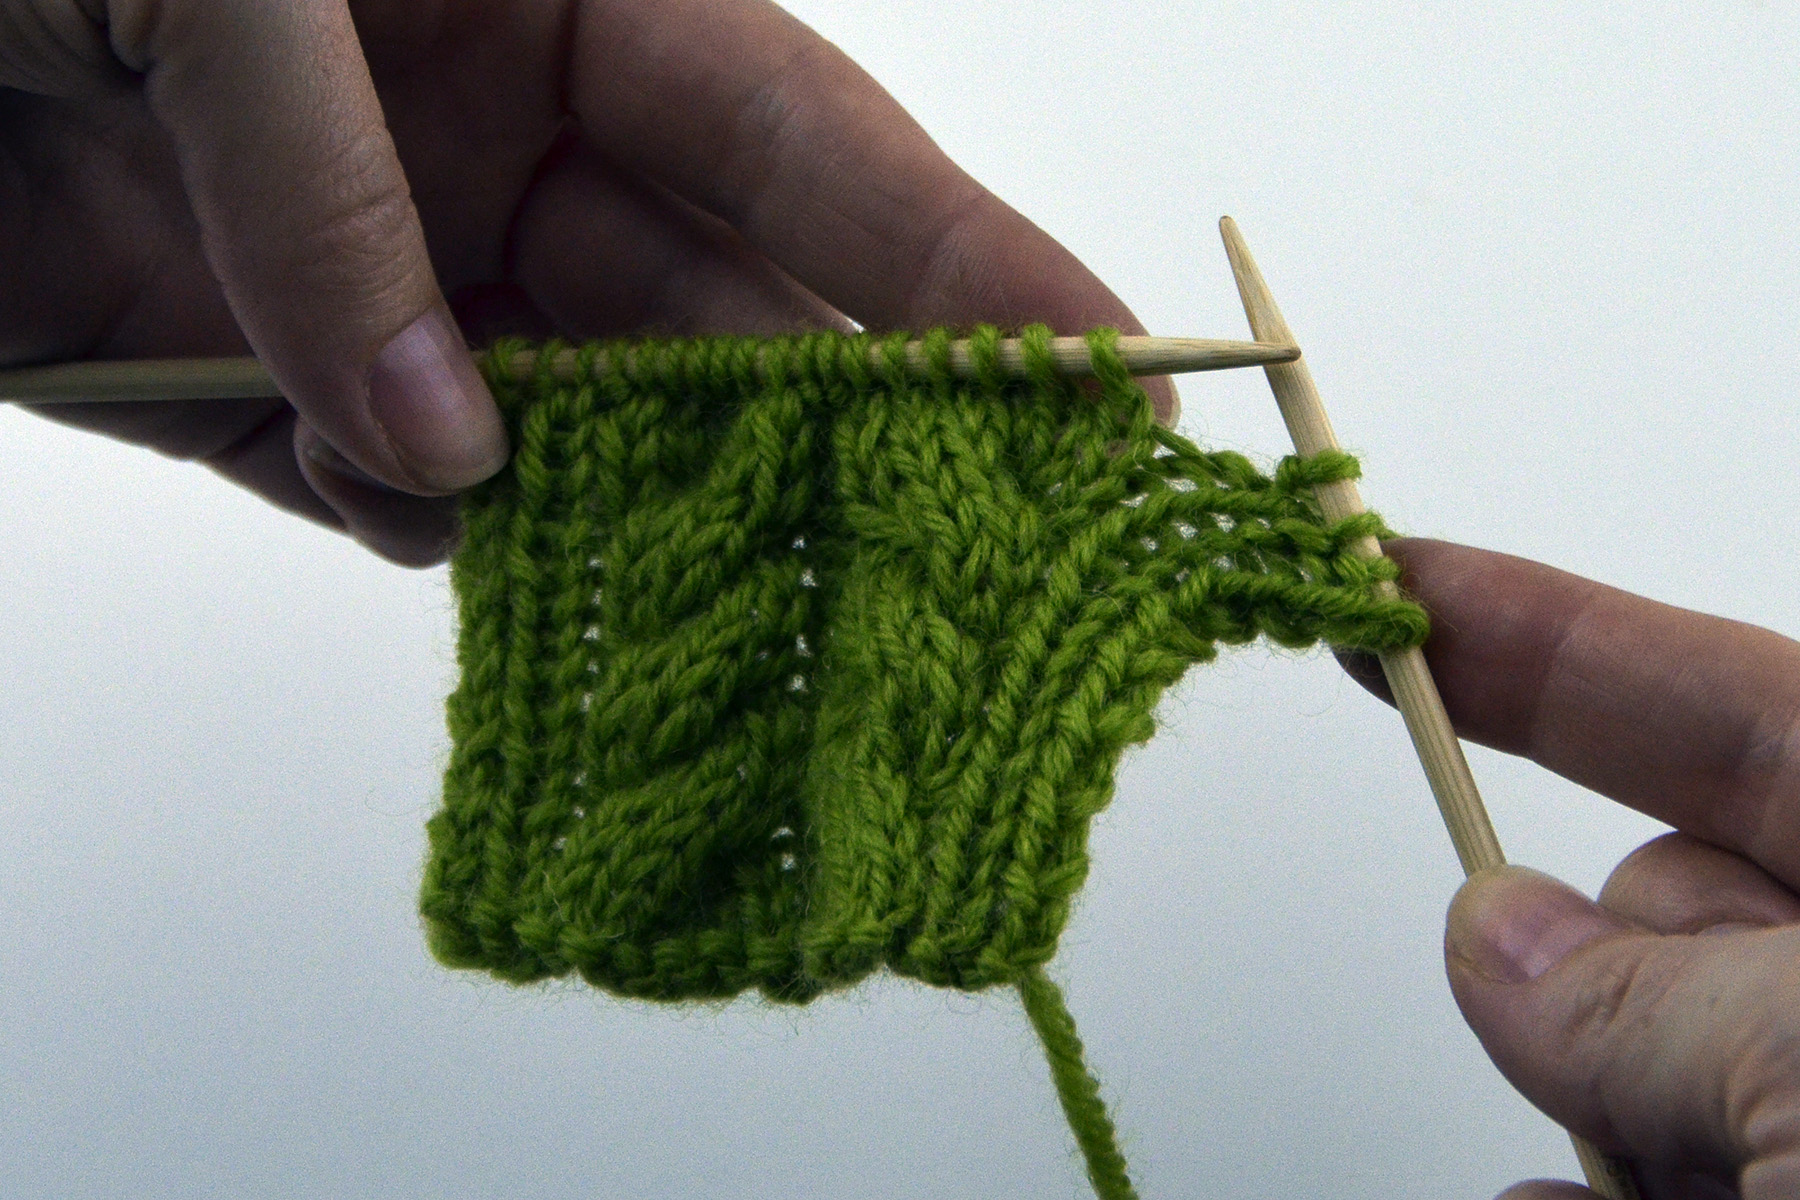
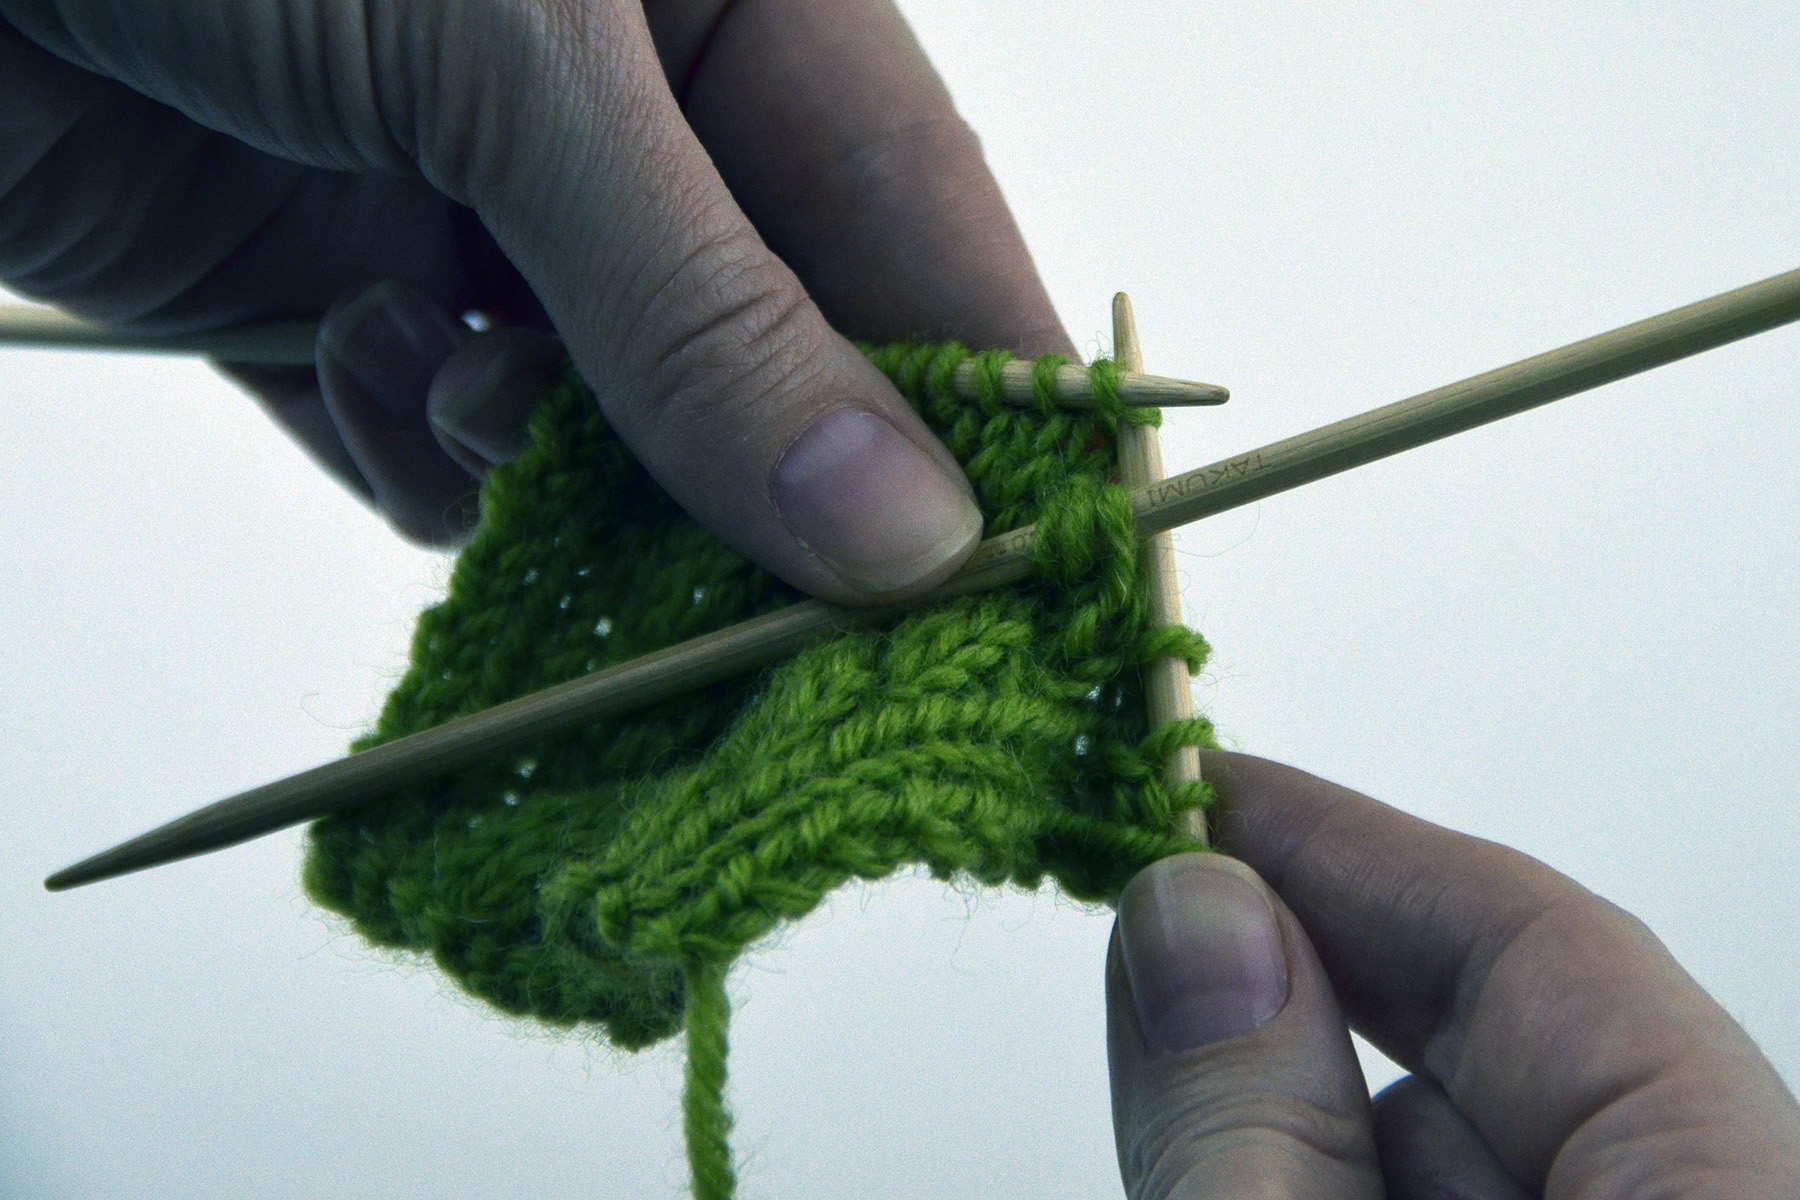
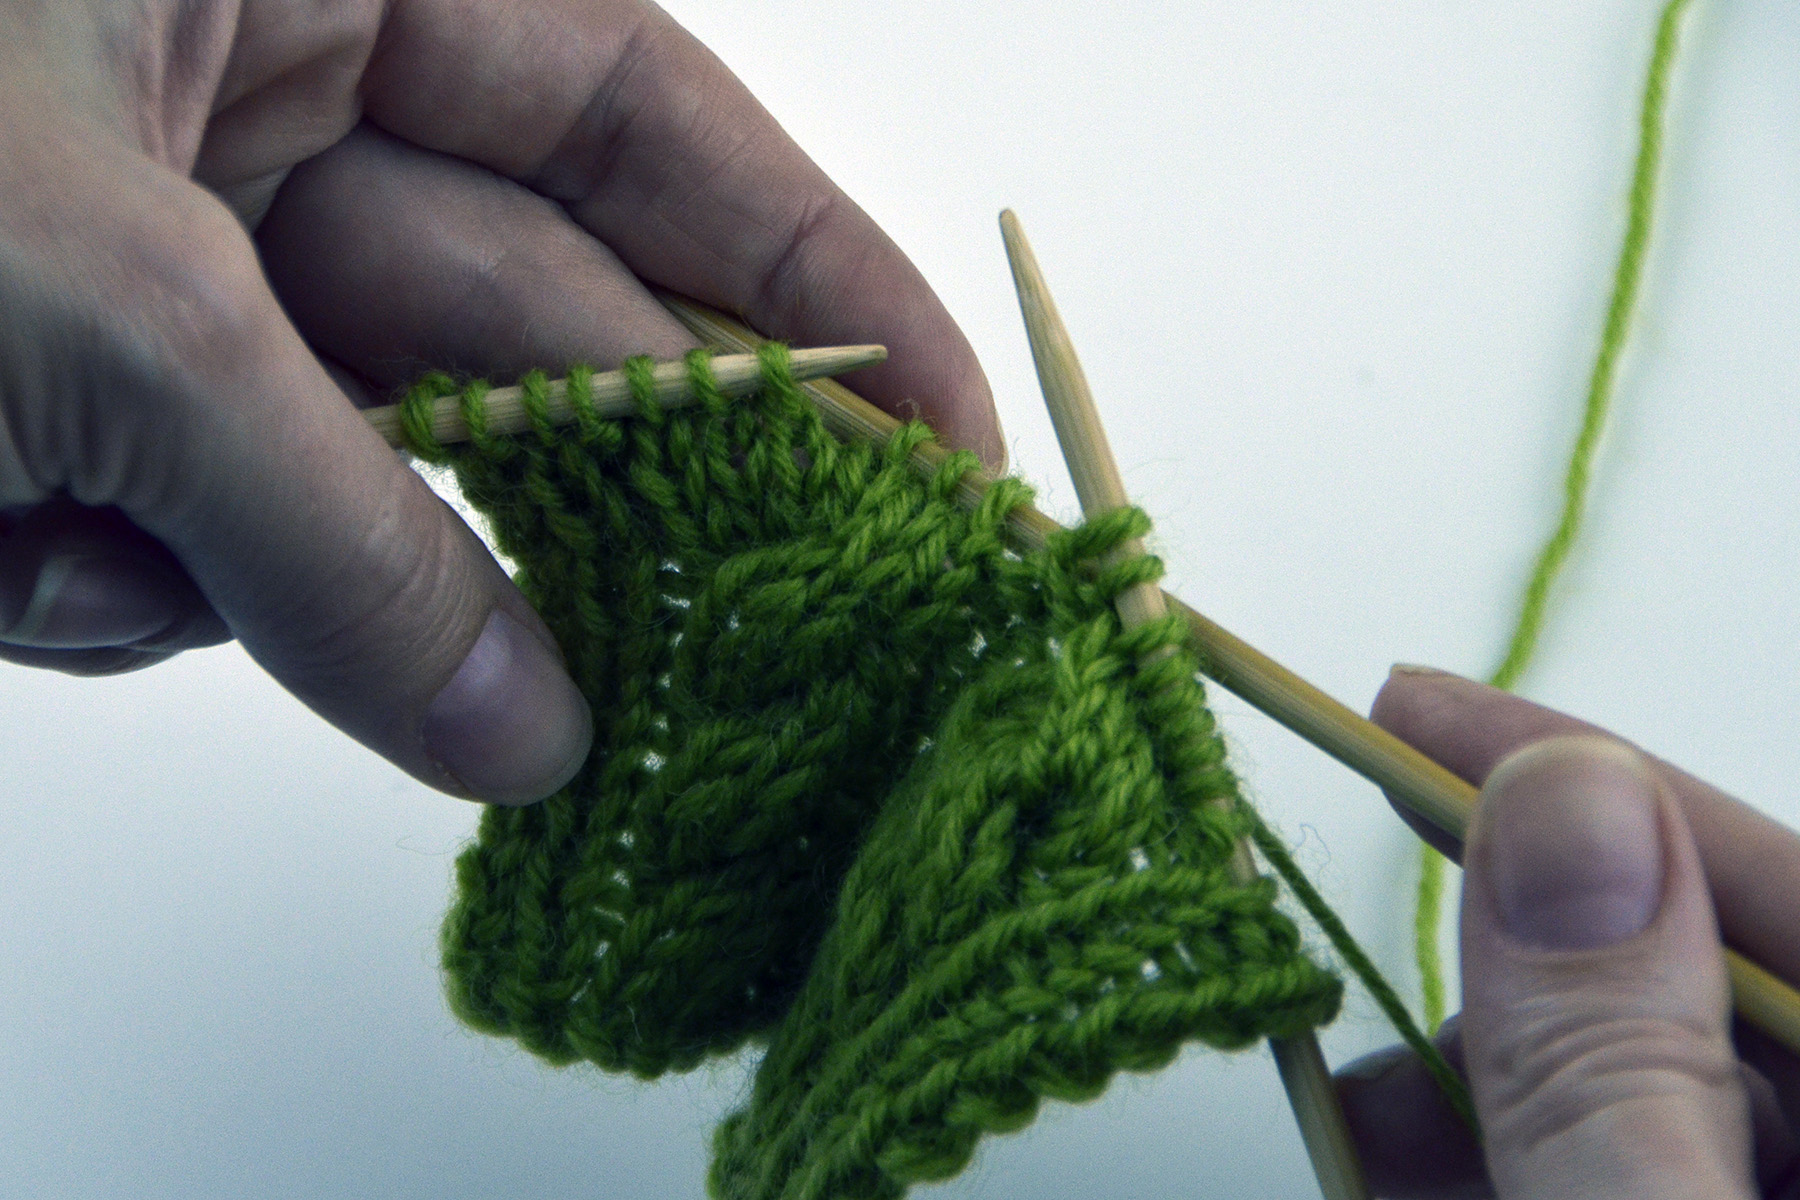
Step 2: Slip the next 3 stitches to a cable needle (or a spare double-pointed needle as shown)
Here is the first stitch being transferred.
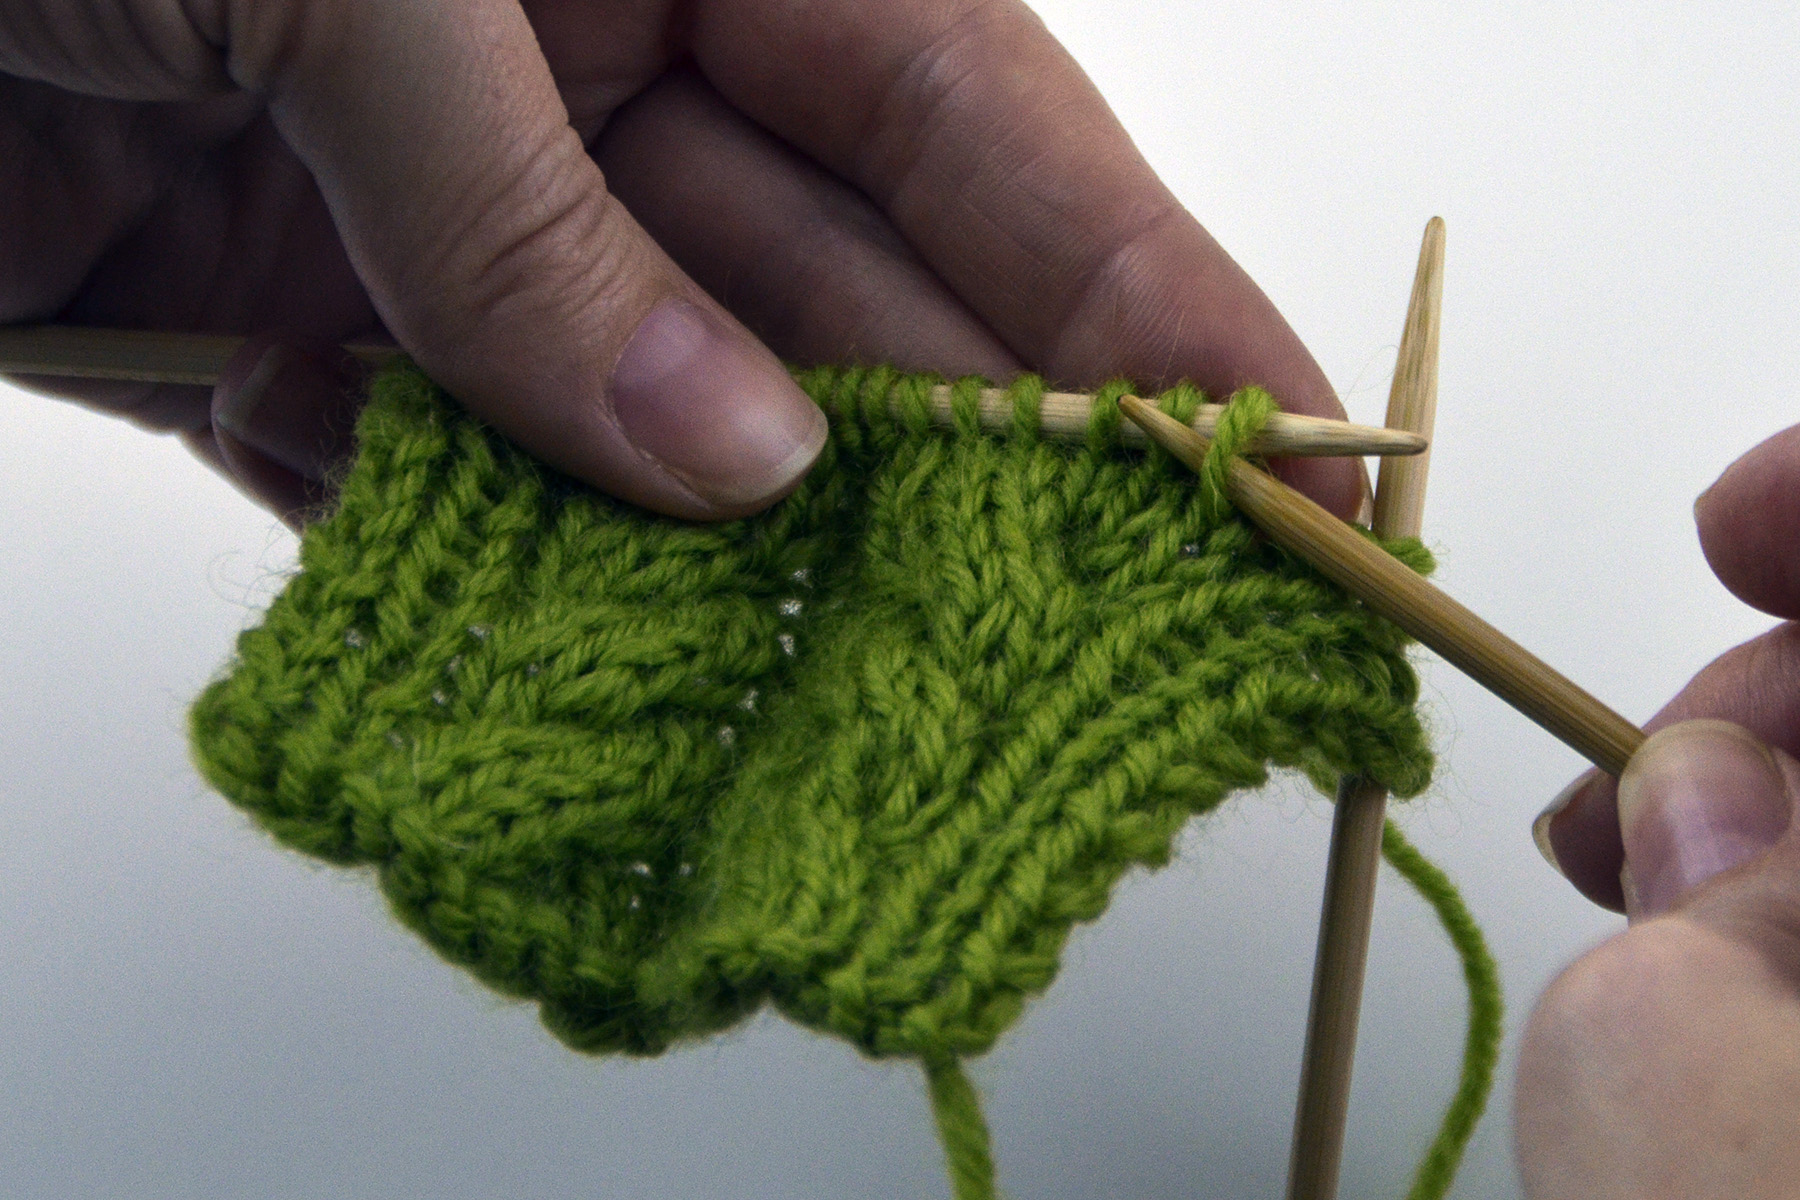
And here are the following 2 stitches after being placed on the spare dpn, for a total of 3 stitches on hold.
Step 3: Hold these 3 stitches on the spare dpn in front of your work.
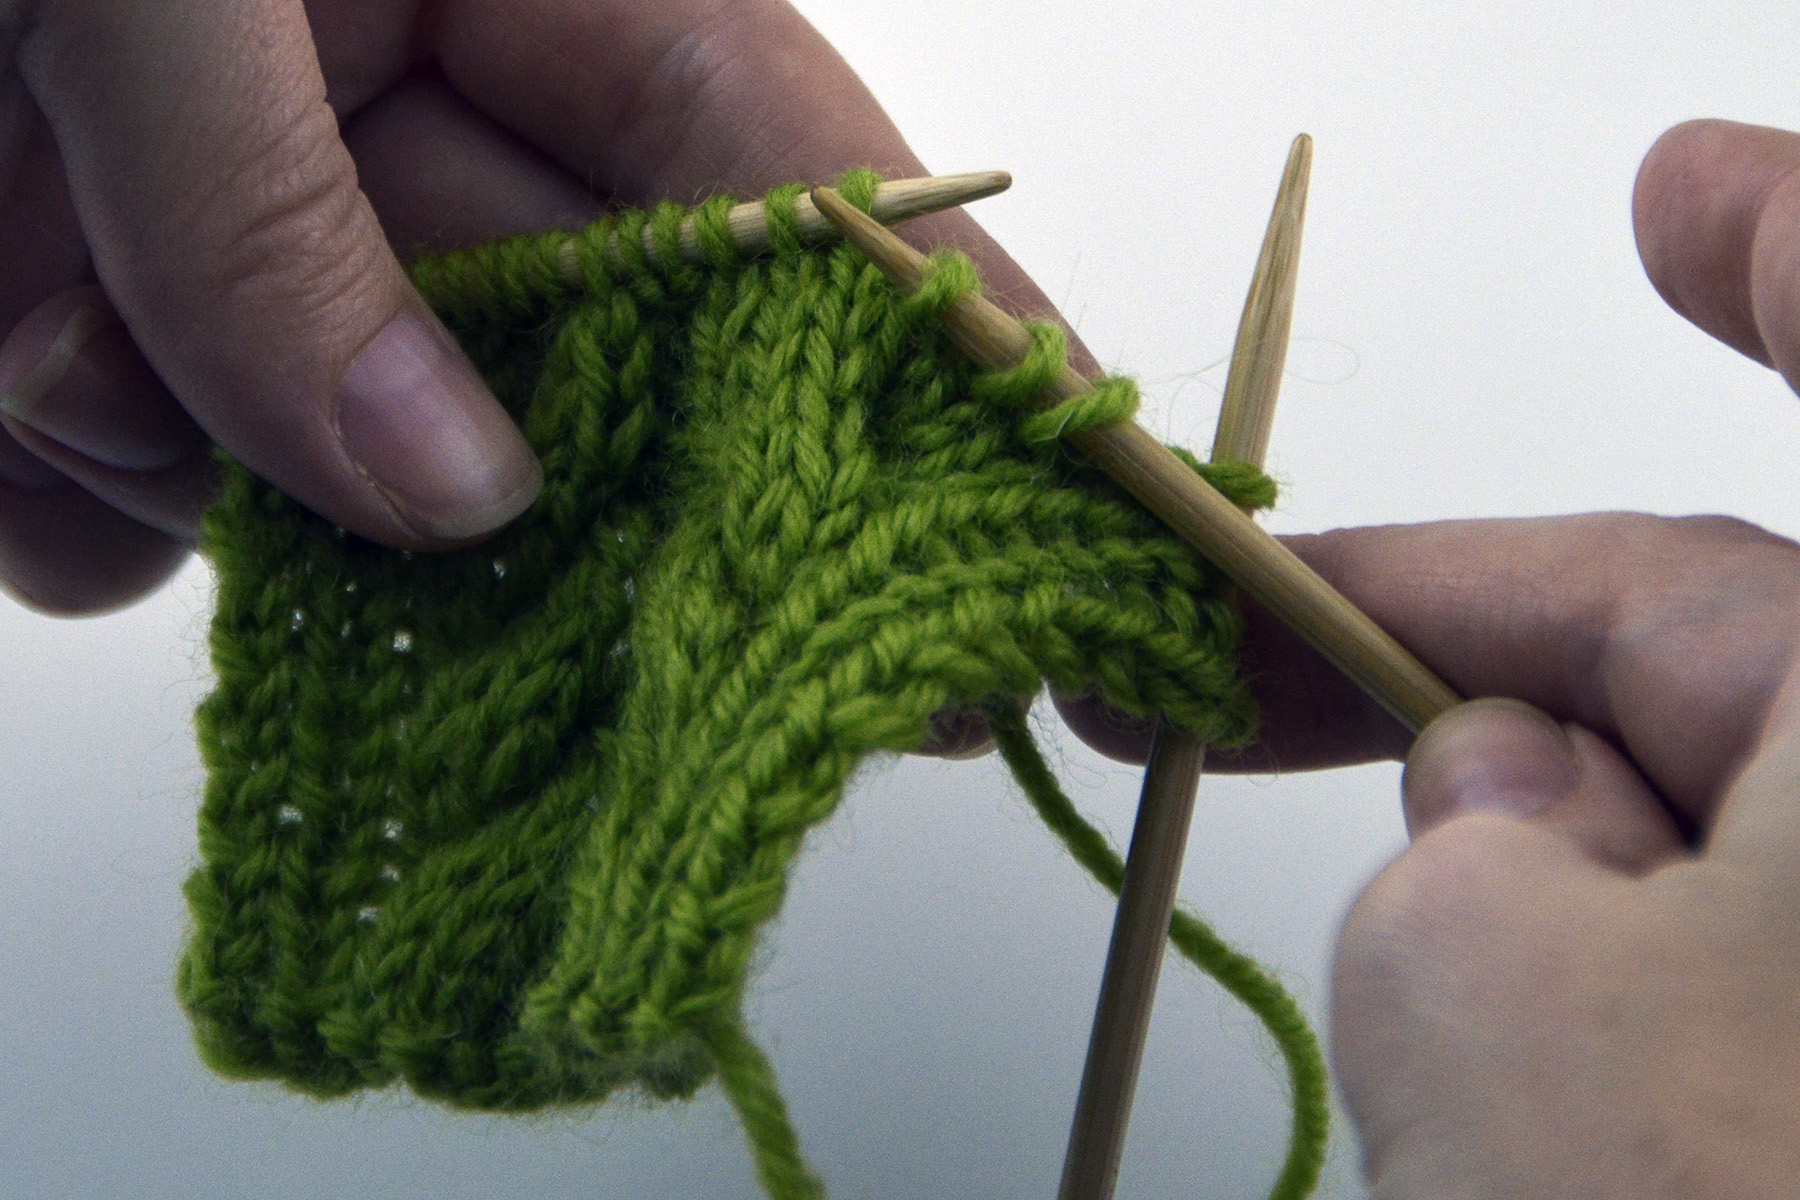
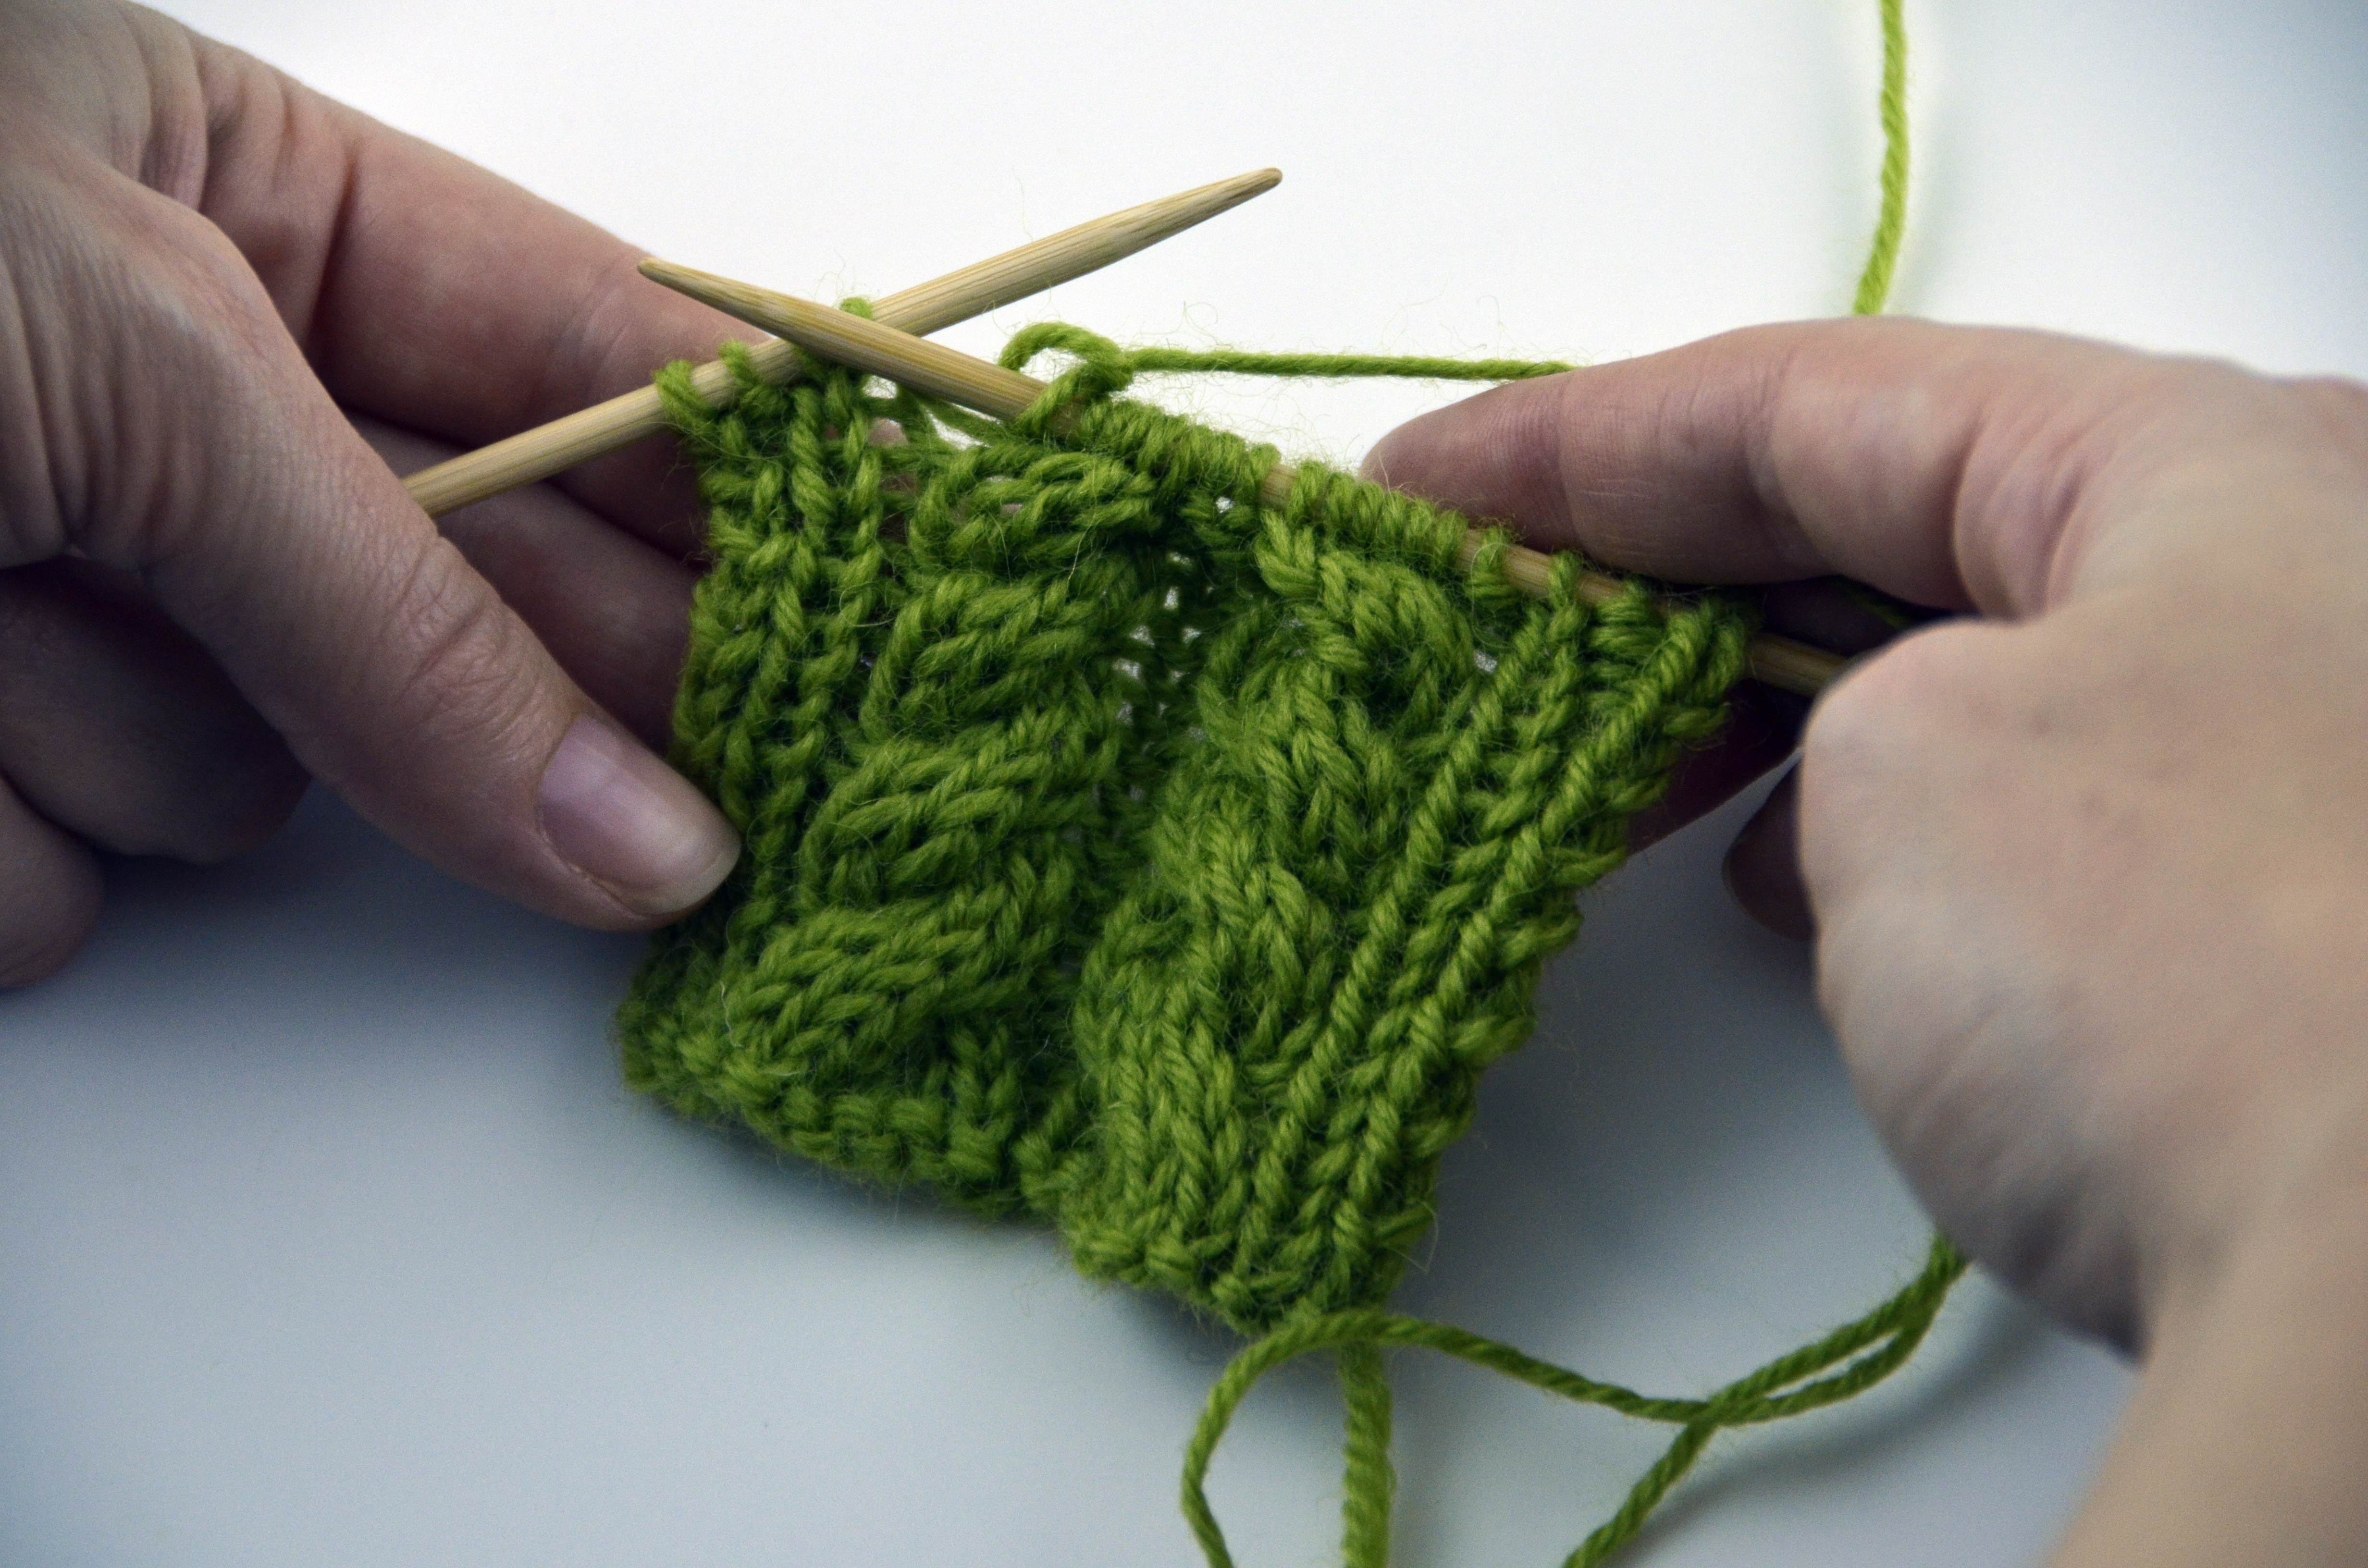
Step 4: Knit the next 3 stitches from the left needle.
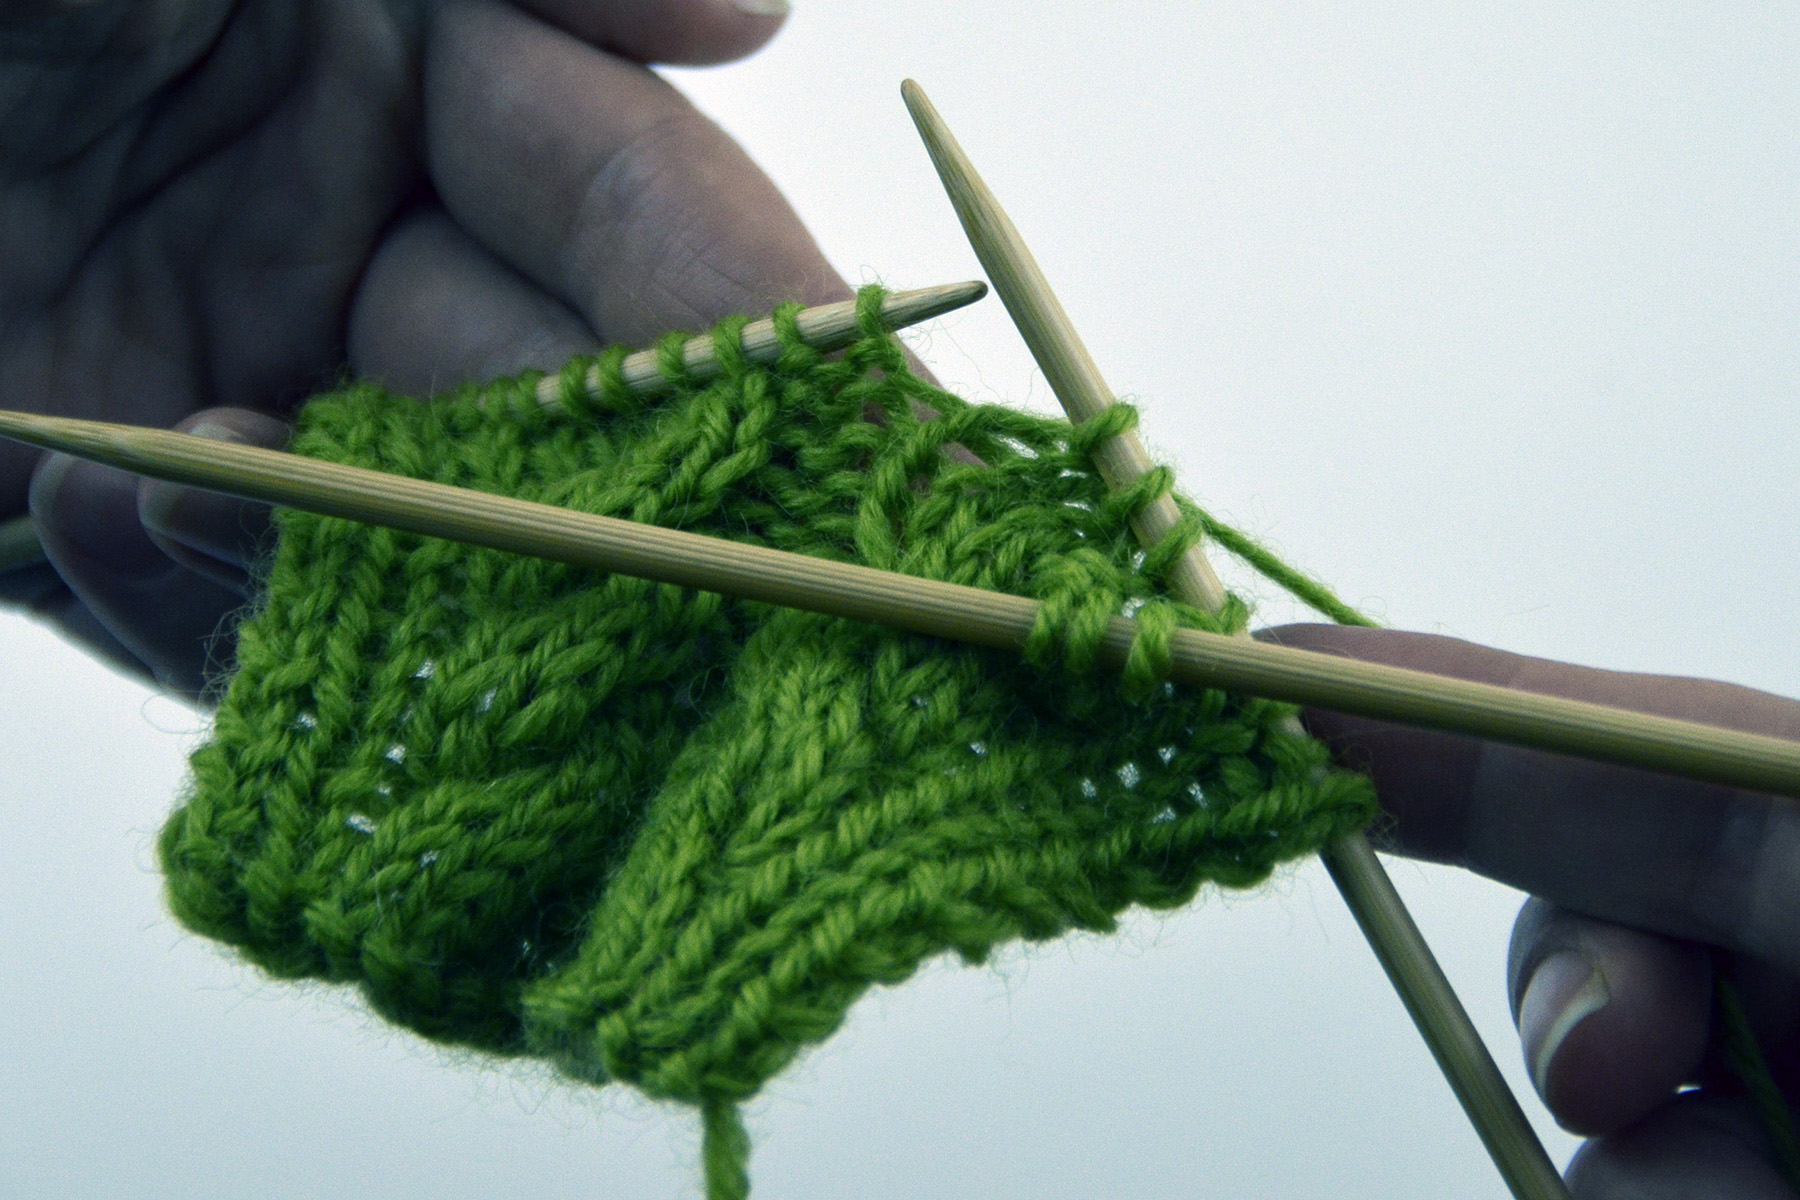
This is going to feel a little awkward, and the work will feel a little tight. Don’t worry, this is normal!
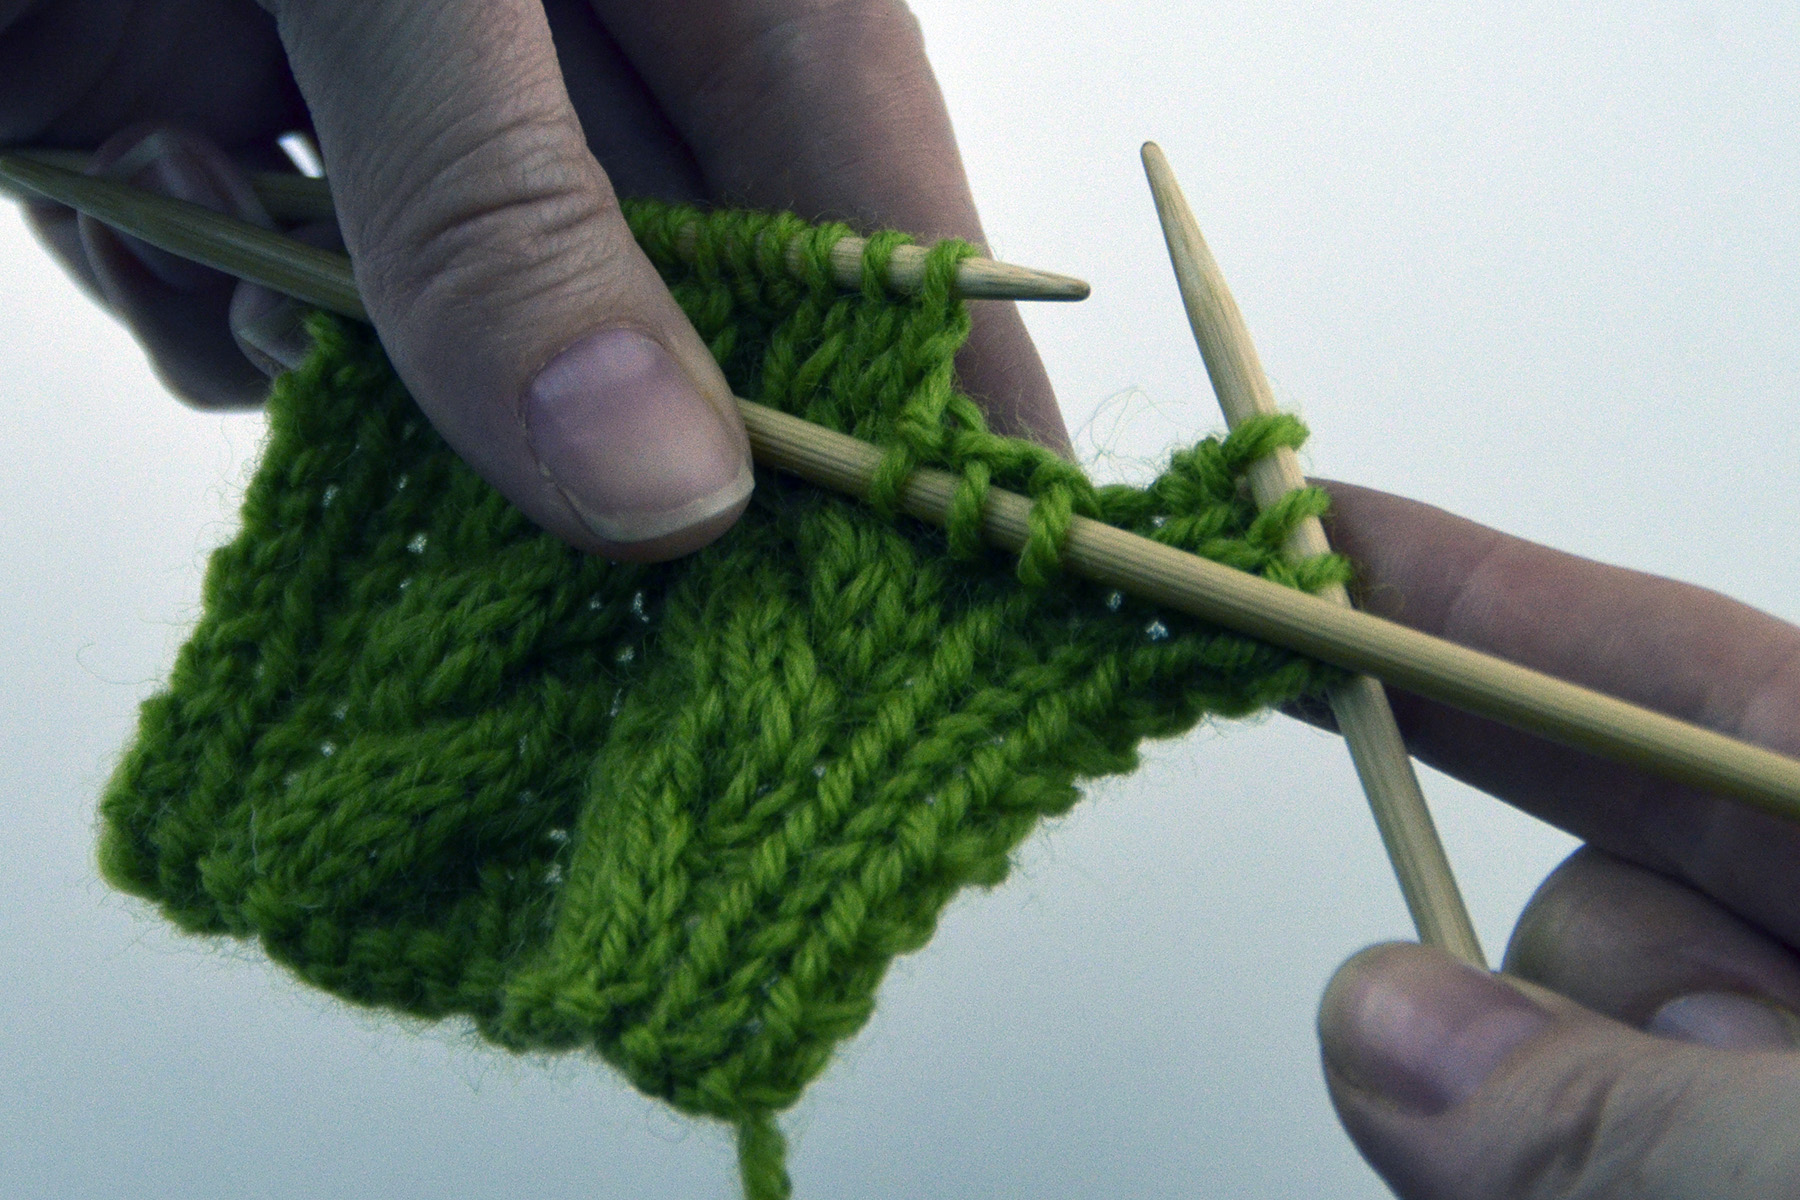
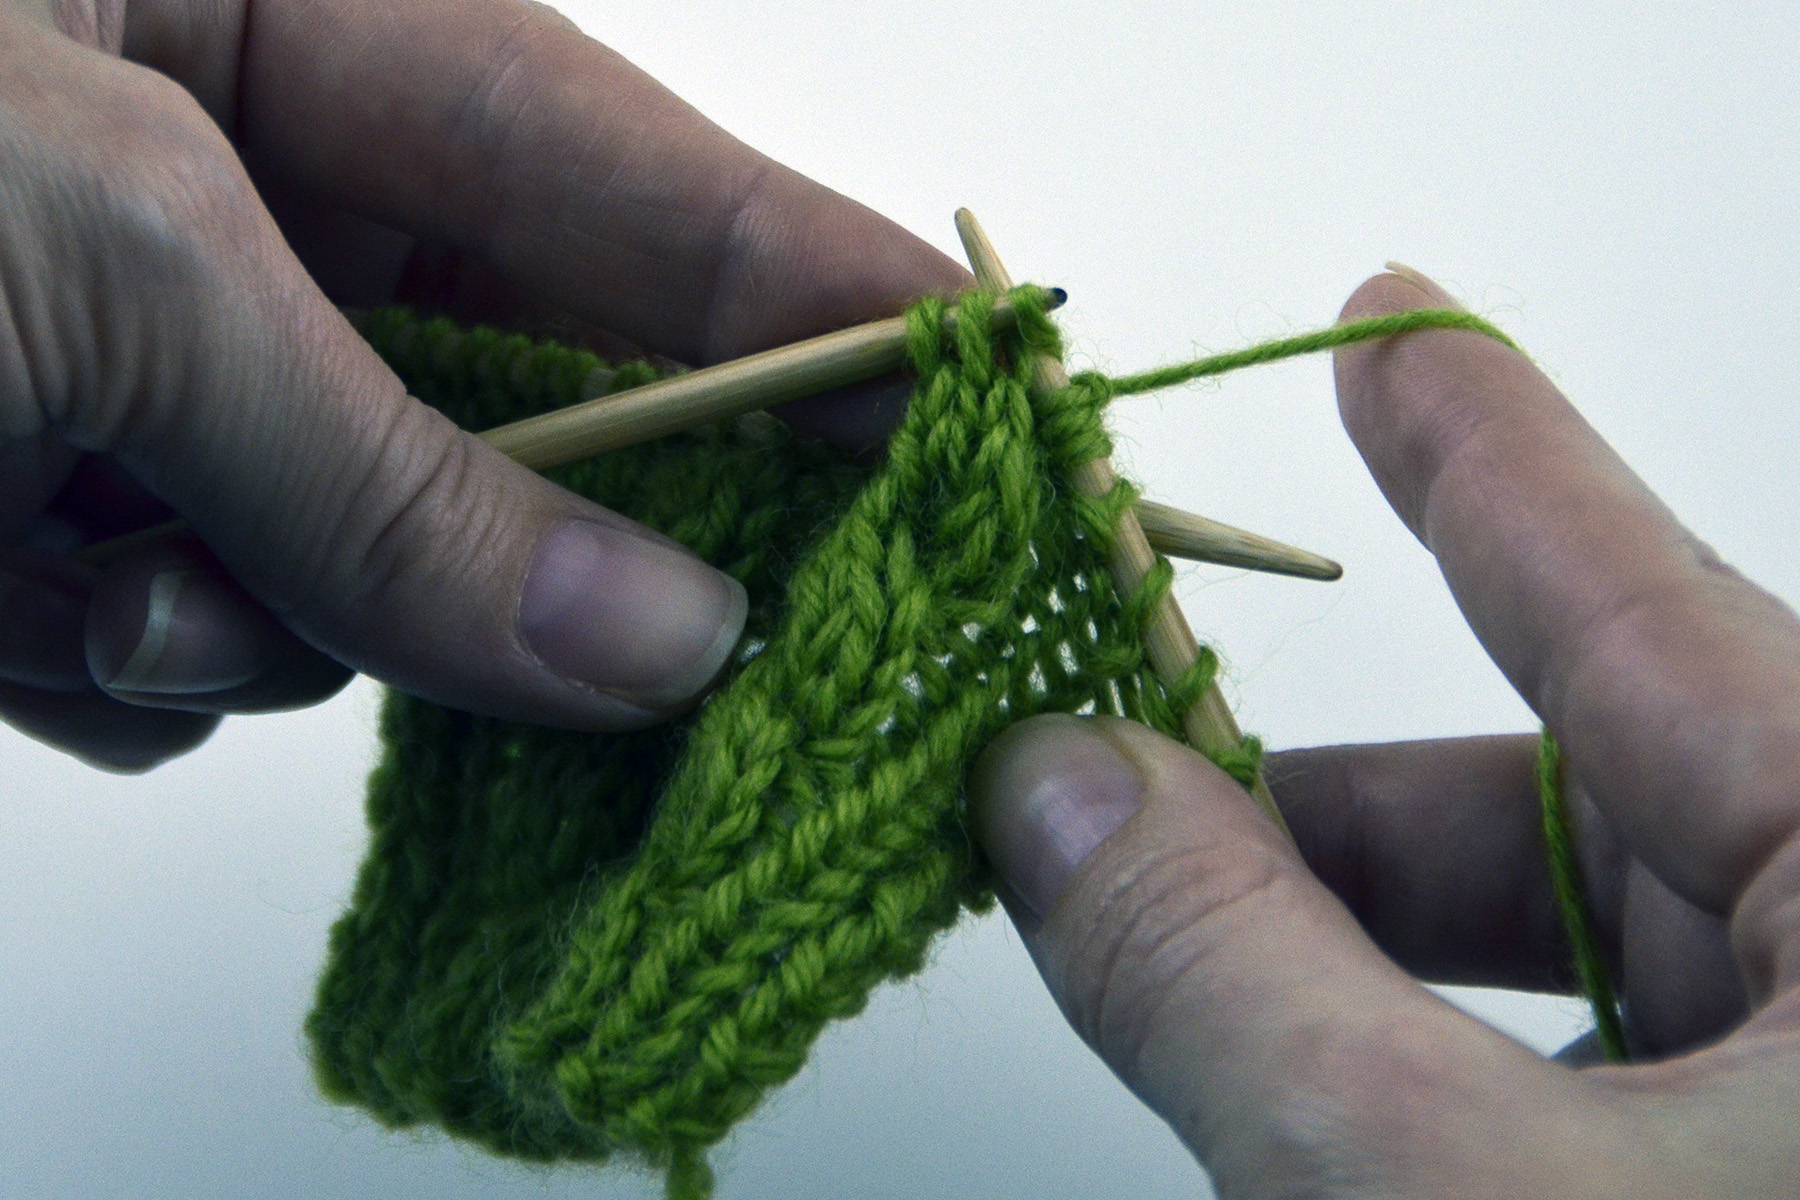
Step 5: Knit the 3 stitches from the cable needle.
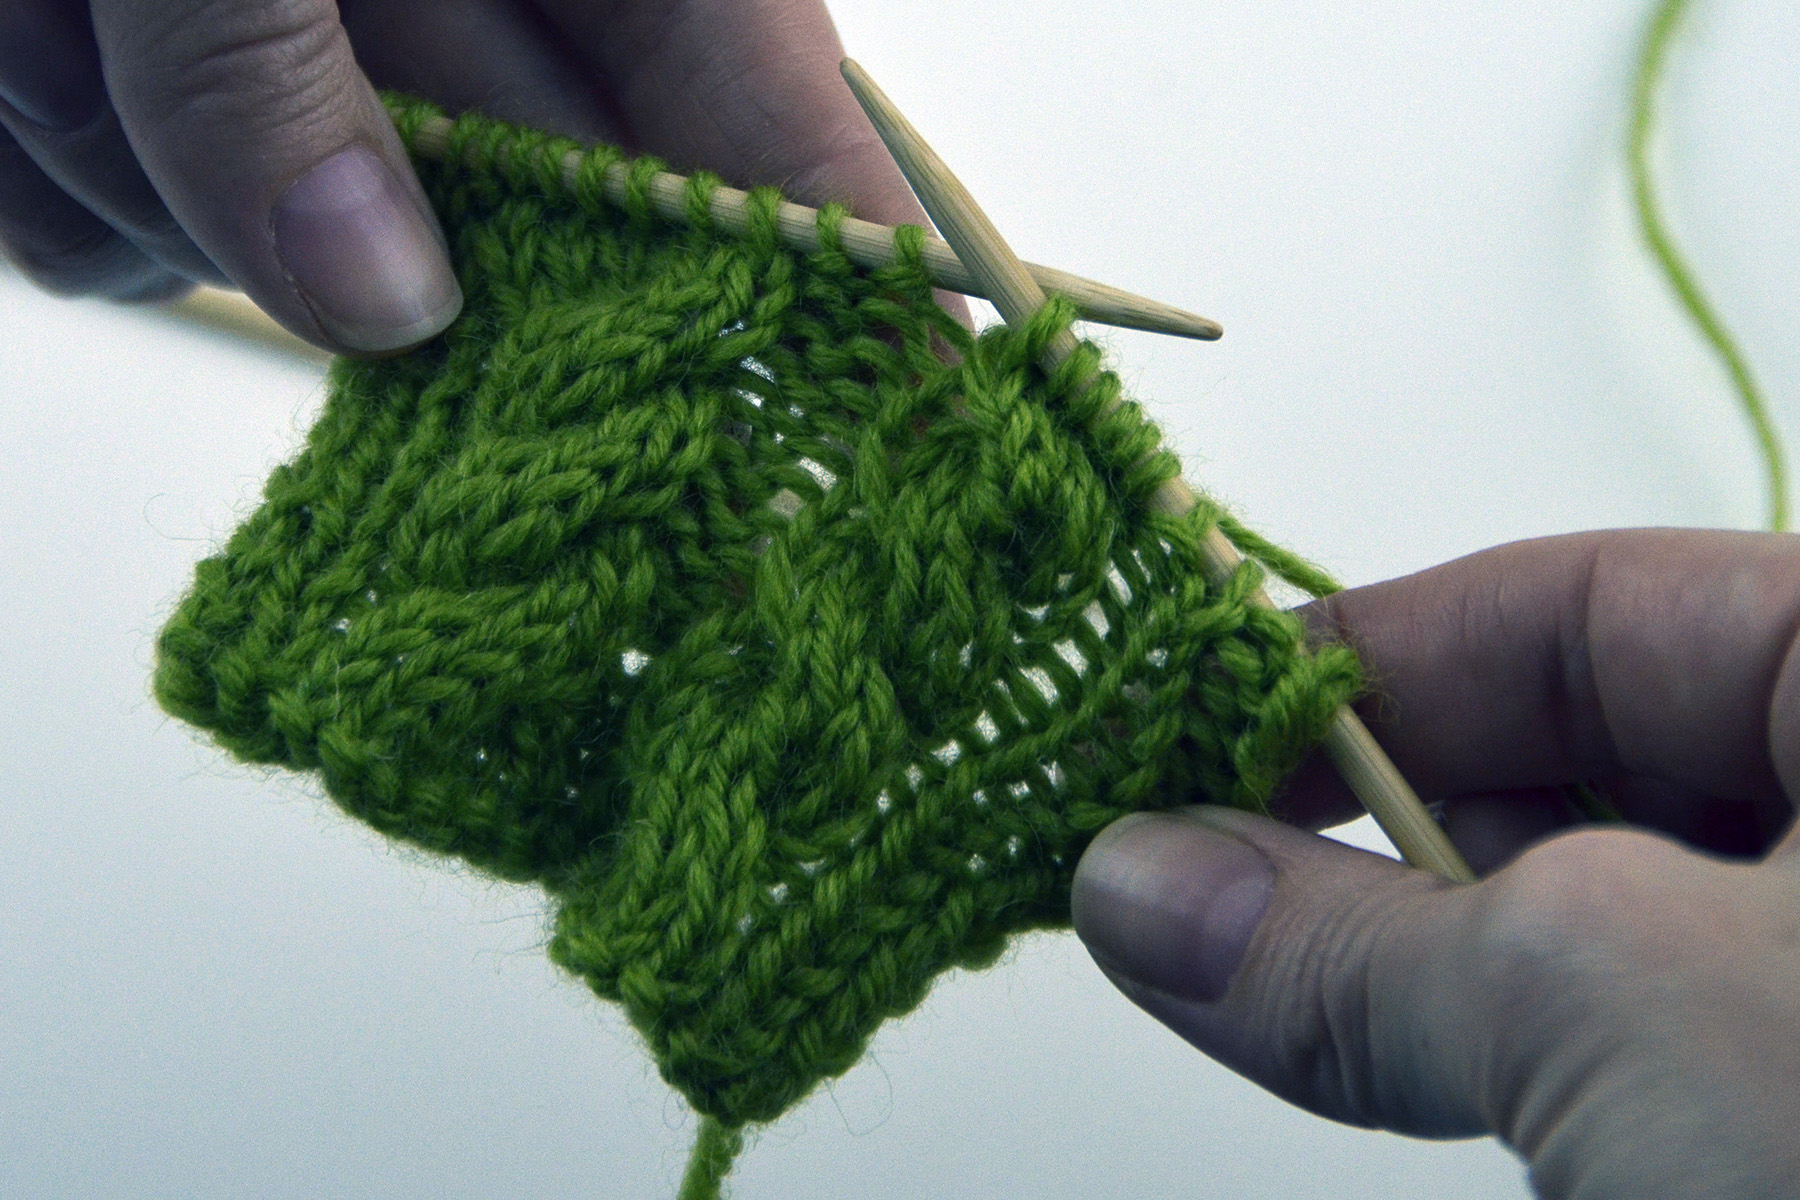
And here is our completed 3×3 Left Cross.
A 3×3 Right Cross is very similar to a 3×3 Left Cross. Begin the same, by slipping the next 3 stitches to a cable needle. But this time, hold the cable needle in back of the work
Knit the next 3 stitches from the left needle, then knit the 3 stitches from the cable needle.
Cables are just stitches that are crossed over one another. I’m a big advocate of charts for most stitch patterns, but especially with cables. Cable charts do a good job of illustrating visually how your stitches will travel.
As I’ve mentioned before, there are some projects that use twisted stitches instead of (or in addition to) cables.
Here is a video on working Right Twists and Left Twists:
You can see a video on working Right Purl Twists and Left Purl Twists here:
Keep following along for more how-tos during our knitalong. Do you have a question about your project from the Deluxe Cable Collection ebook? Post your question here, or ask over in our knitalong group on Ravelry.