

As part of our ongoing Deluxe Cable Collection Knitalong, today I bring you a tutorial on adding set-in pockets to a sweater.
There are two cardigans in the collection that are written to have set-in pockets. We have the Tallulah Cardigan:
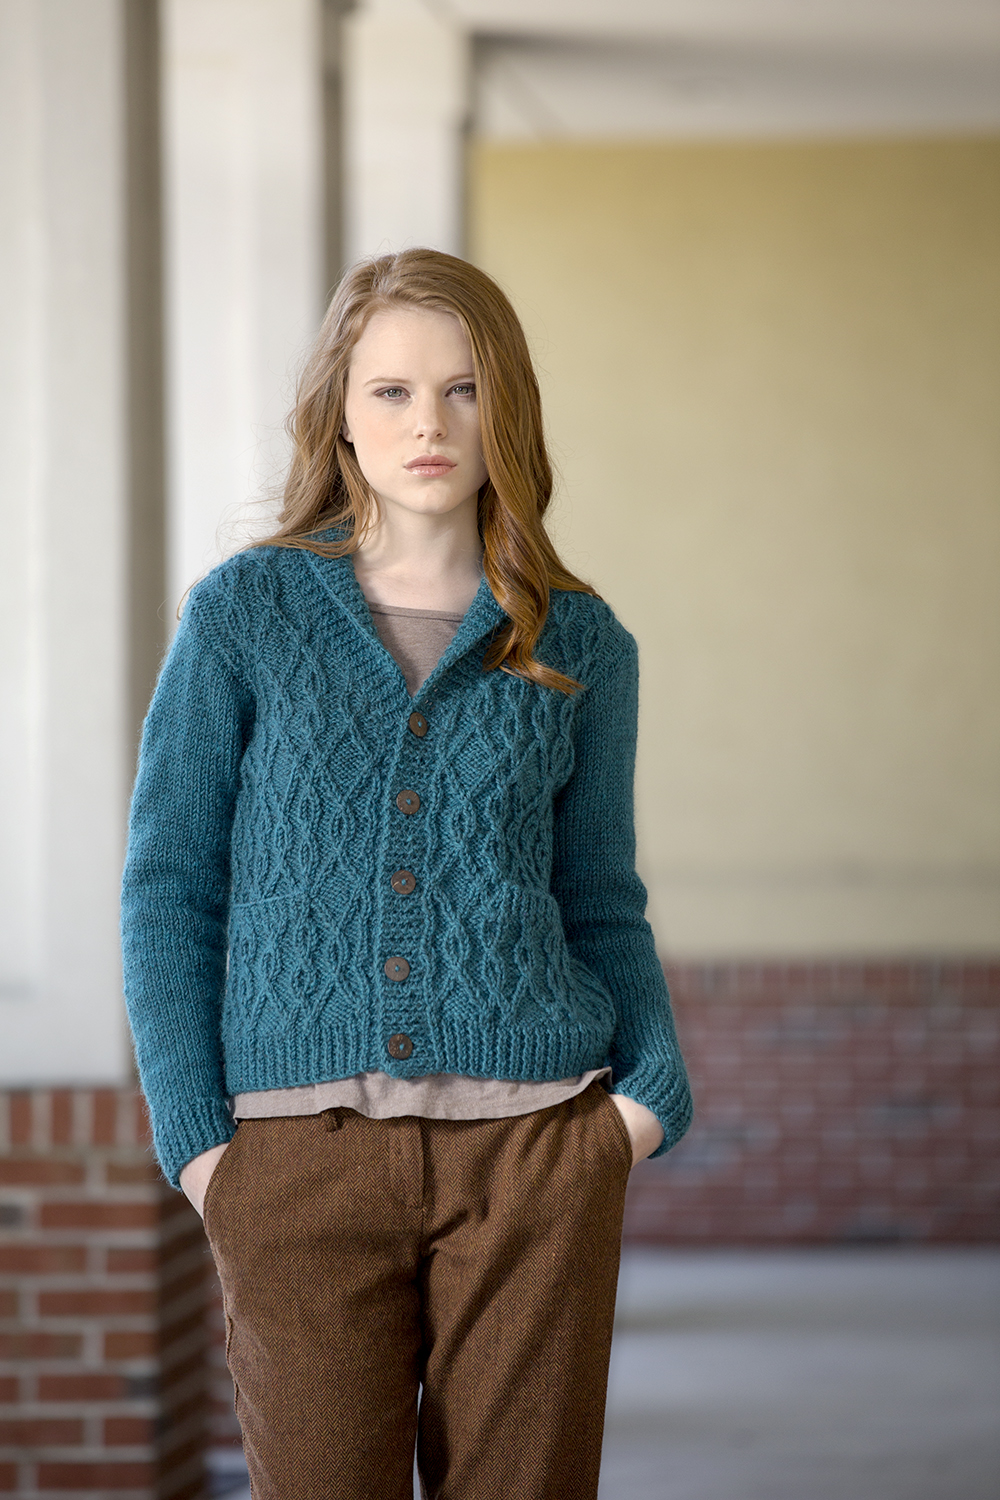
And the Greensboro Cardigan:

First, let me explain what the”set-in” part of set-in pockets means. There are several ways to incorporate pockets into a piece of knitting. In addition to the set-in method, the other common way to add a pocket is to sew on a patch pocket. With patch pockets, you complete your garment, knit a pocket, and sew it to the outside of your knitting. It can be nice to place the pocket exactly where you want it, but for a sweater that’s patterned, it can be tough to make a patch pocket look nice.
With a set-in pocket, you sew a liner separately. Then, when it’s time for the pocket opening in your garment, you put the pocket stitches on hold and then begin working from the liner set of stitches.
The most beneficial aspect of the set-in pocket, and the reason I chose it for both projects above, is that it makes your pocket blend seamlessly into a heavily patterned garment. Let me explain the how and why!
To show you just how easy it is to put pockets on virtually any cardigan or sweater, I decided to knit the Wesley Heights sweater from the collection (which is written to be a pullover) and turn it into a cardigan. I’m basically making a Greensboro Cardigan with Wesley Heights patterning.
Here are the fronts for my cardigan. I’m working them two at a time on a single circular needle.
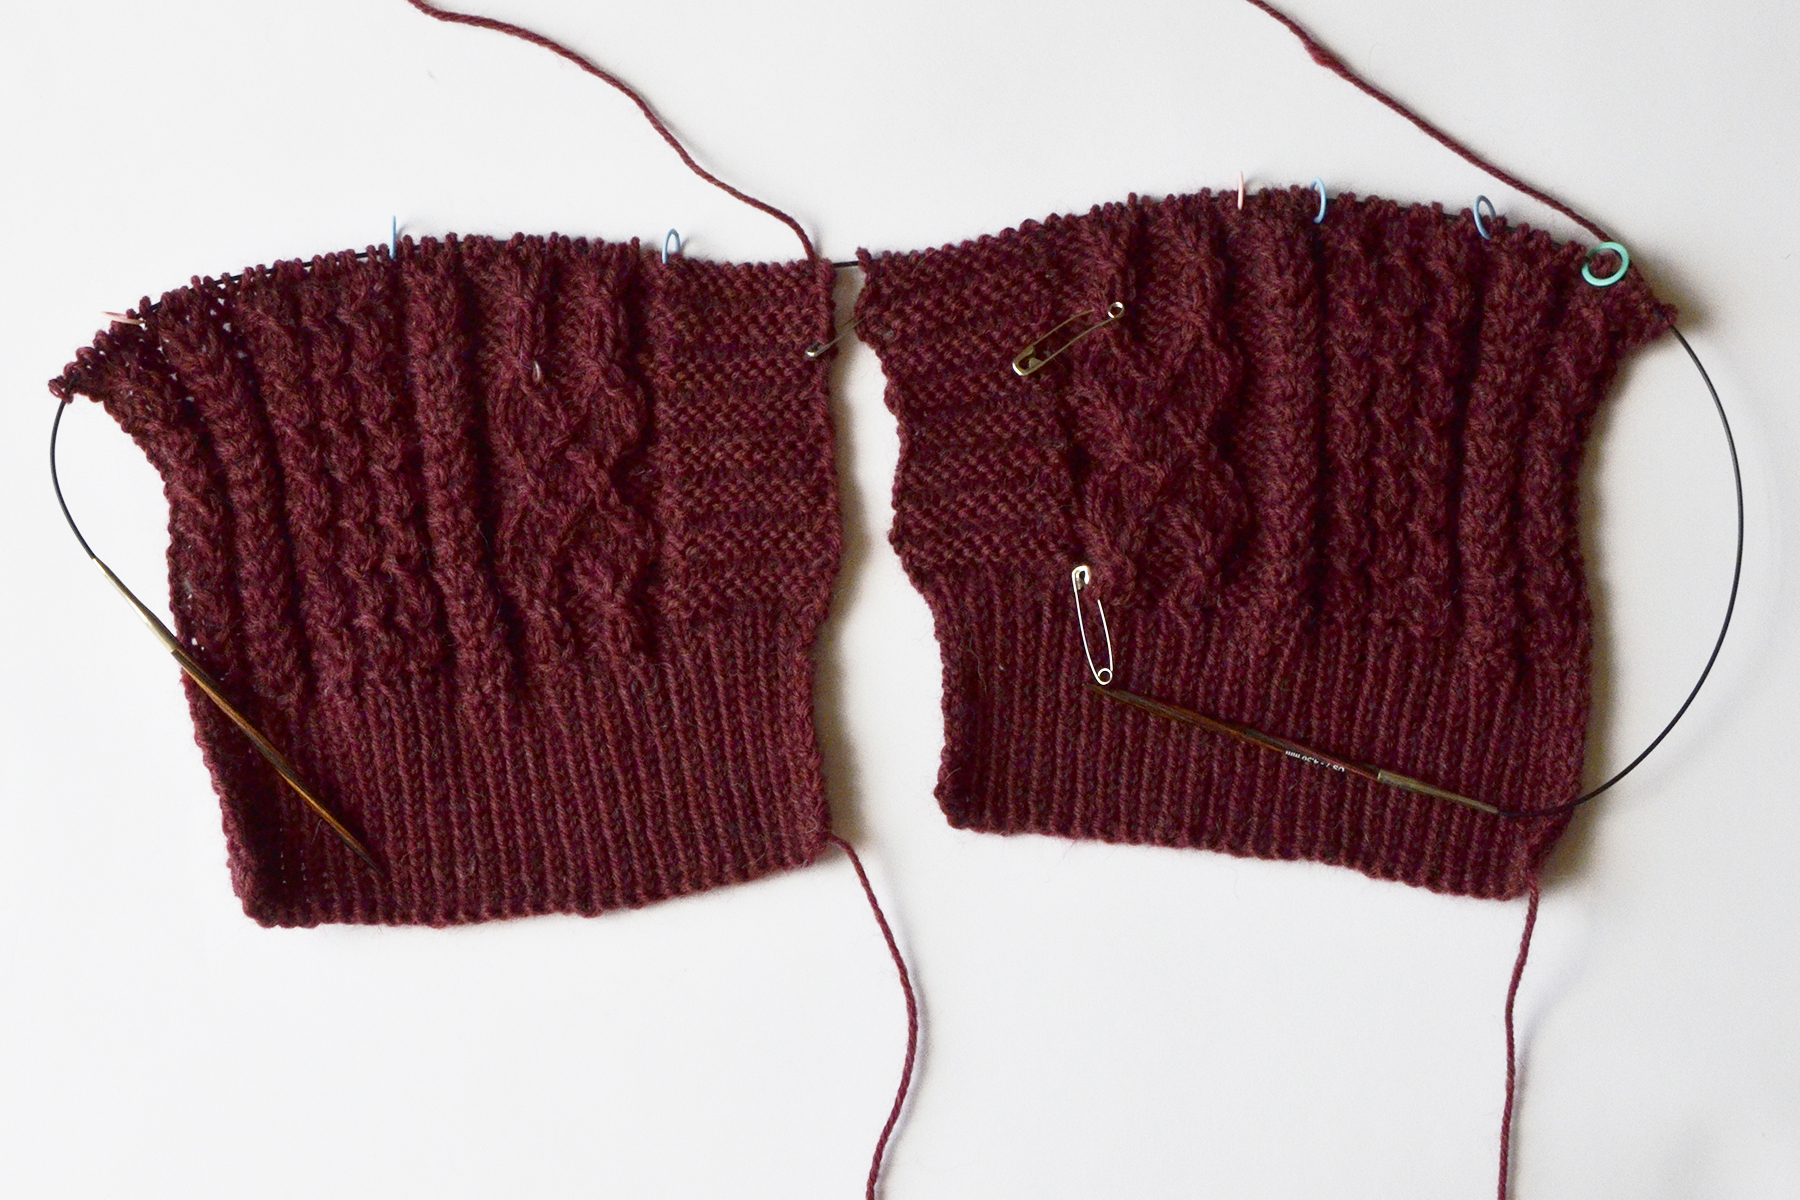
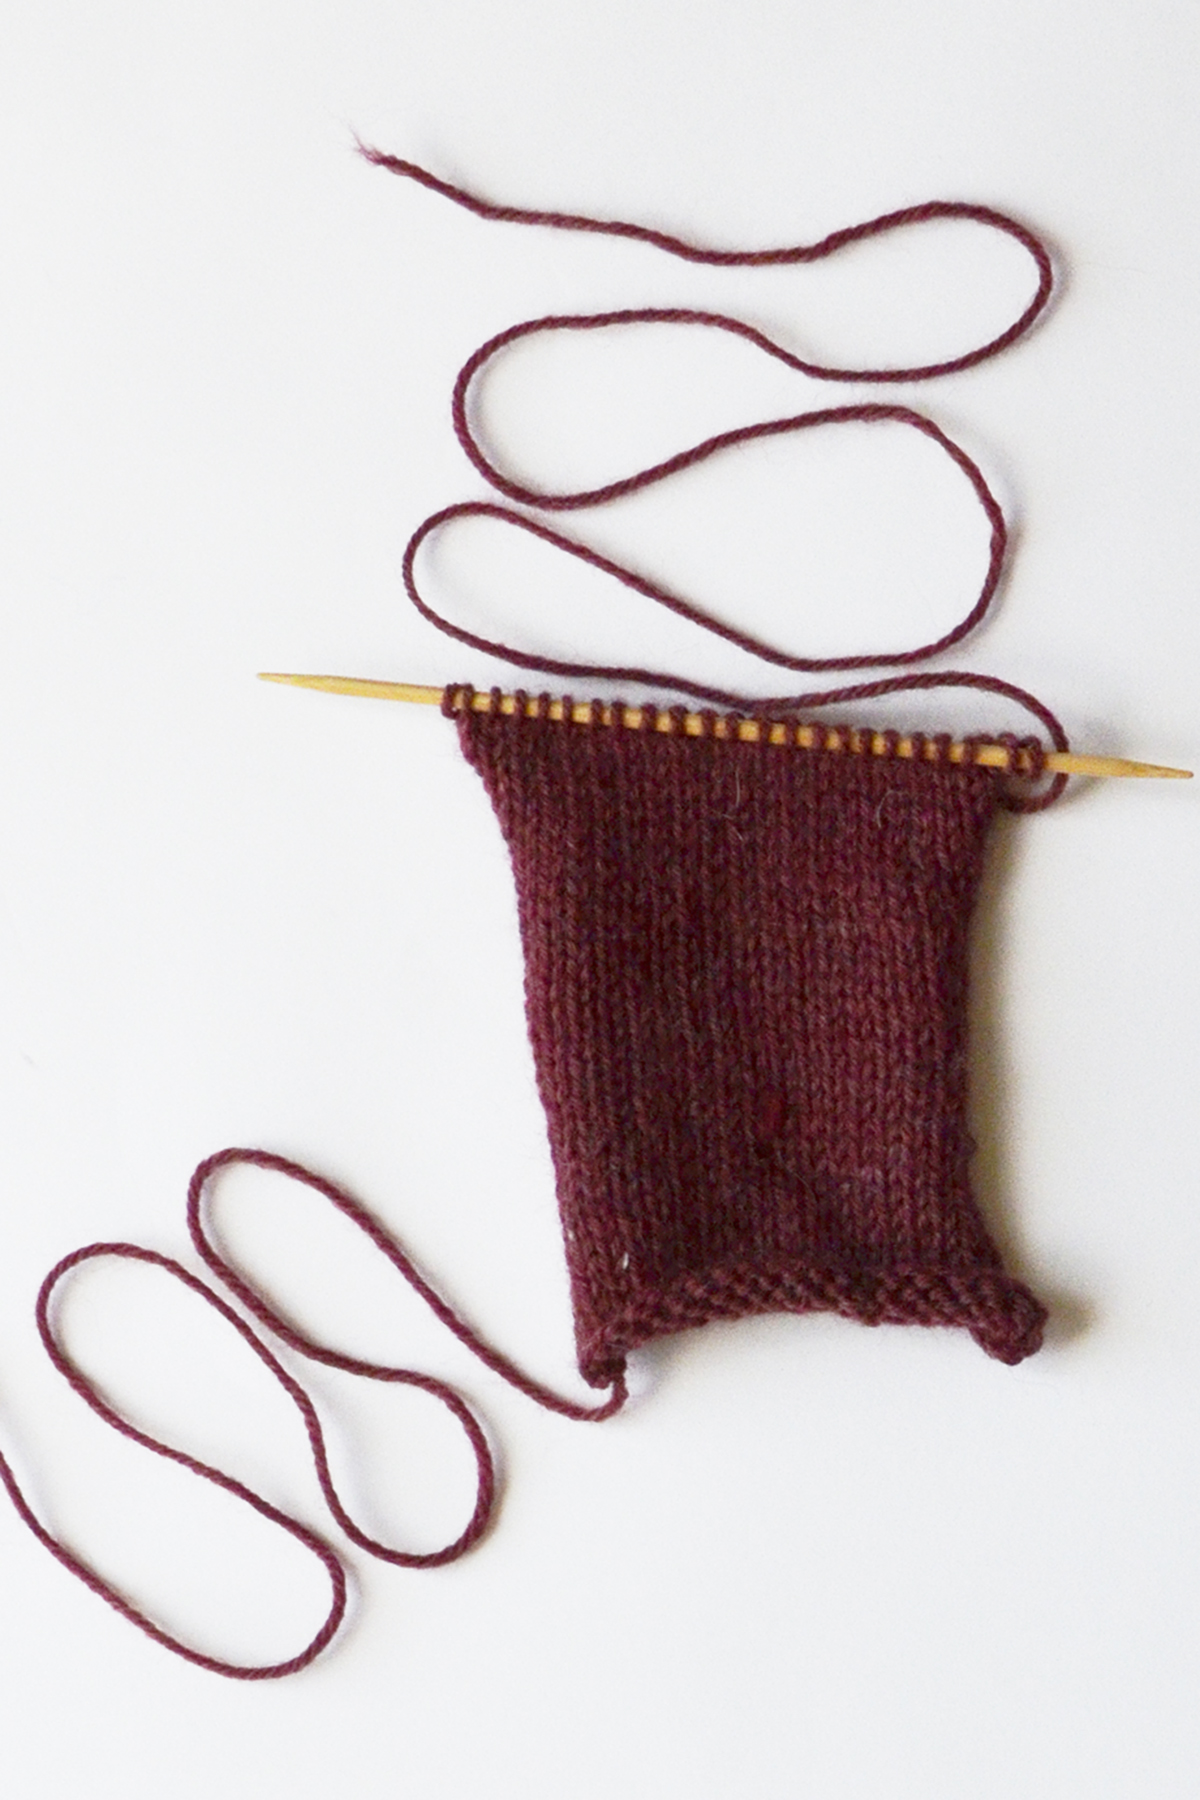
I’ve reached the height where I want my pocket opening to be. I have knit a pocket liner for each pocket in the same yarn in simple stockinette stitch. The liner will be going on the inside of the sweater and won’t be seen, so stockinette works fine. It will also provide a smooth surface for my hand to slide into.
First, I knit part of my row up to where my pocket opening will be.

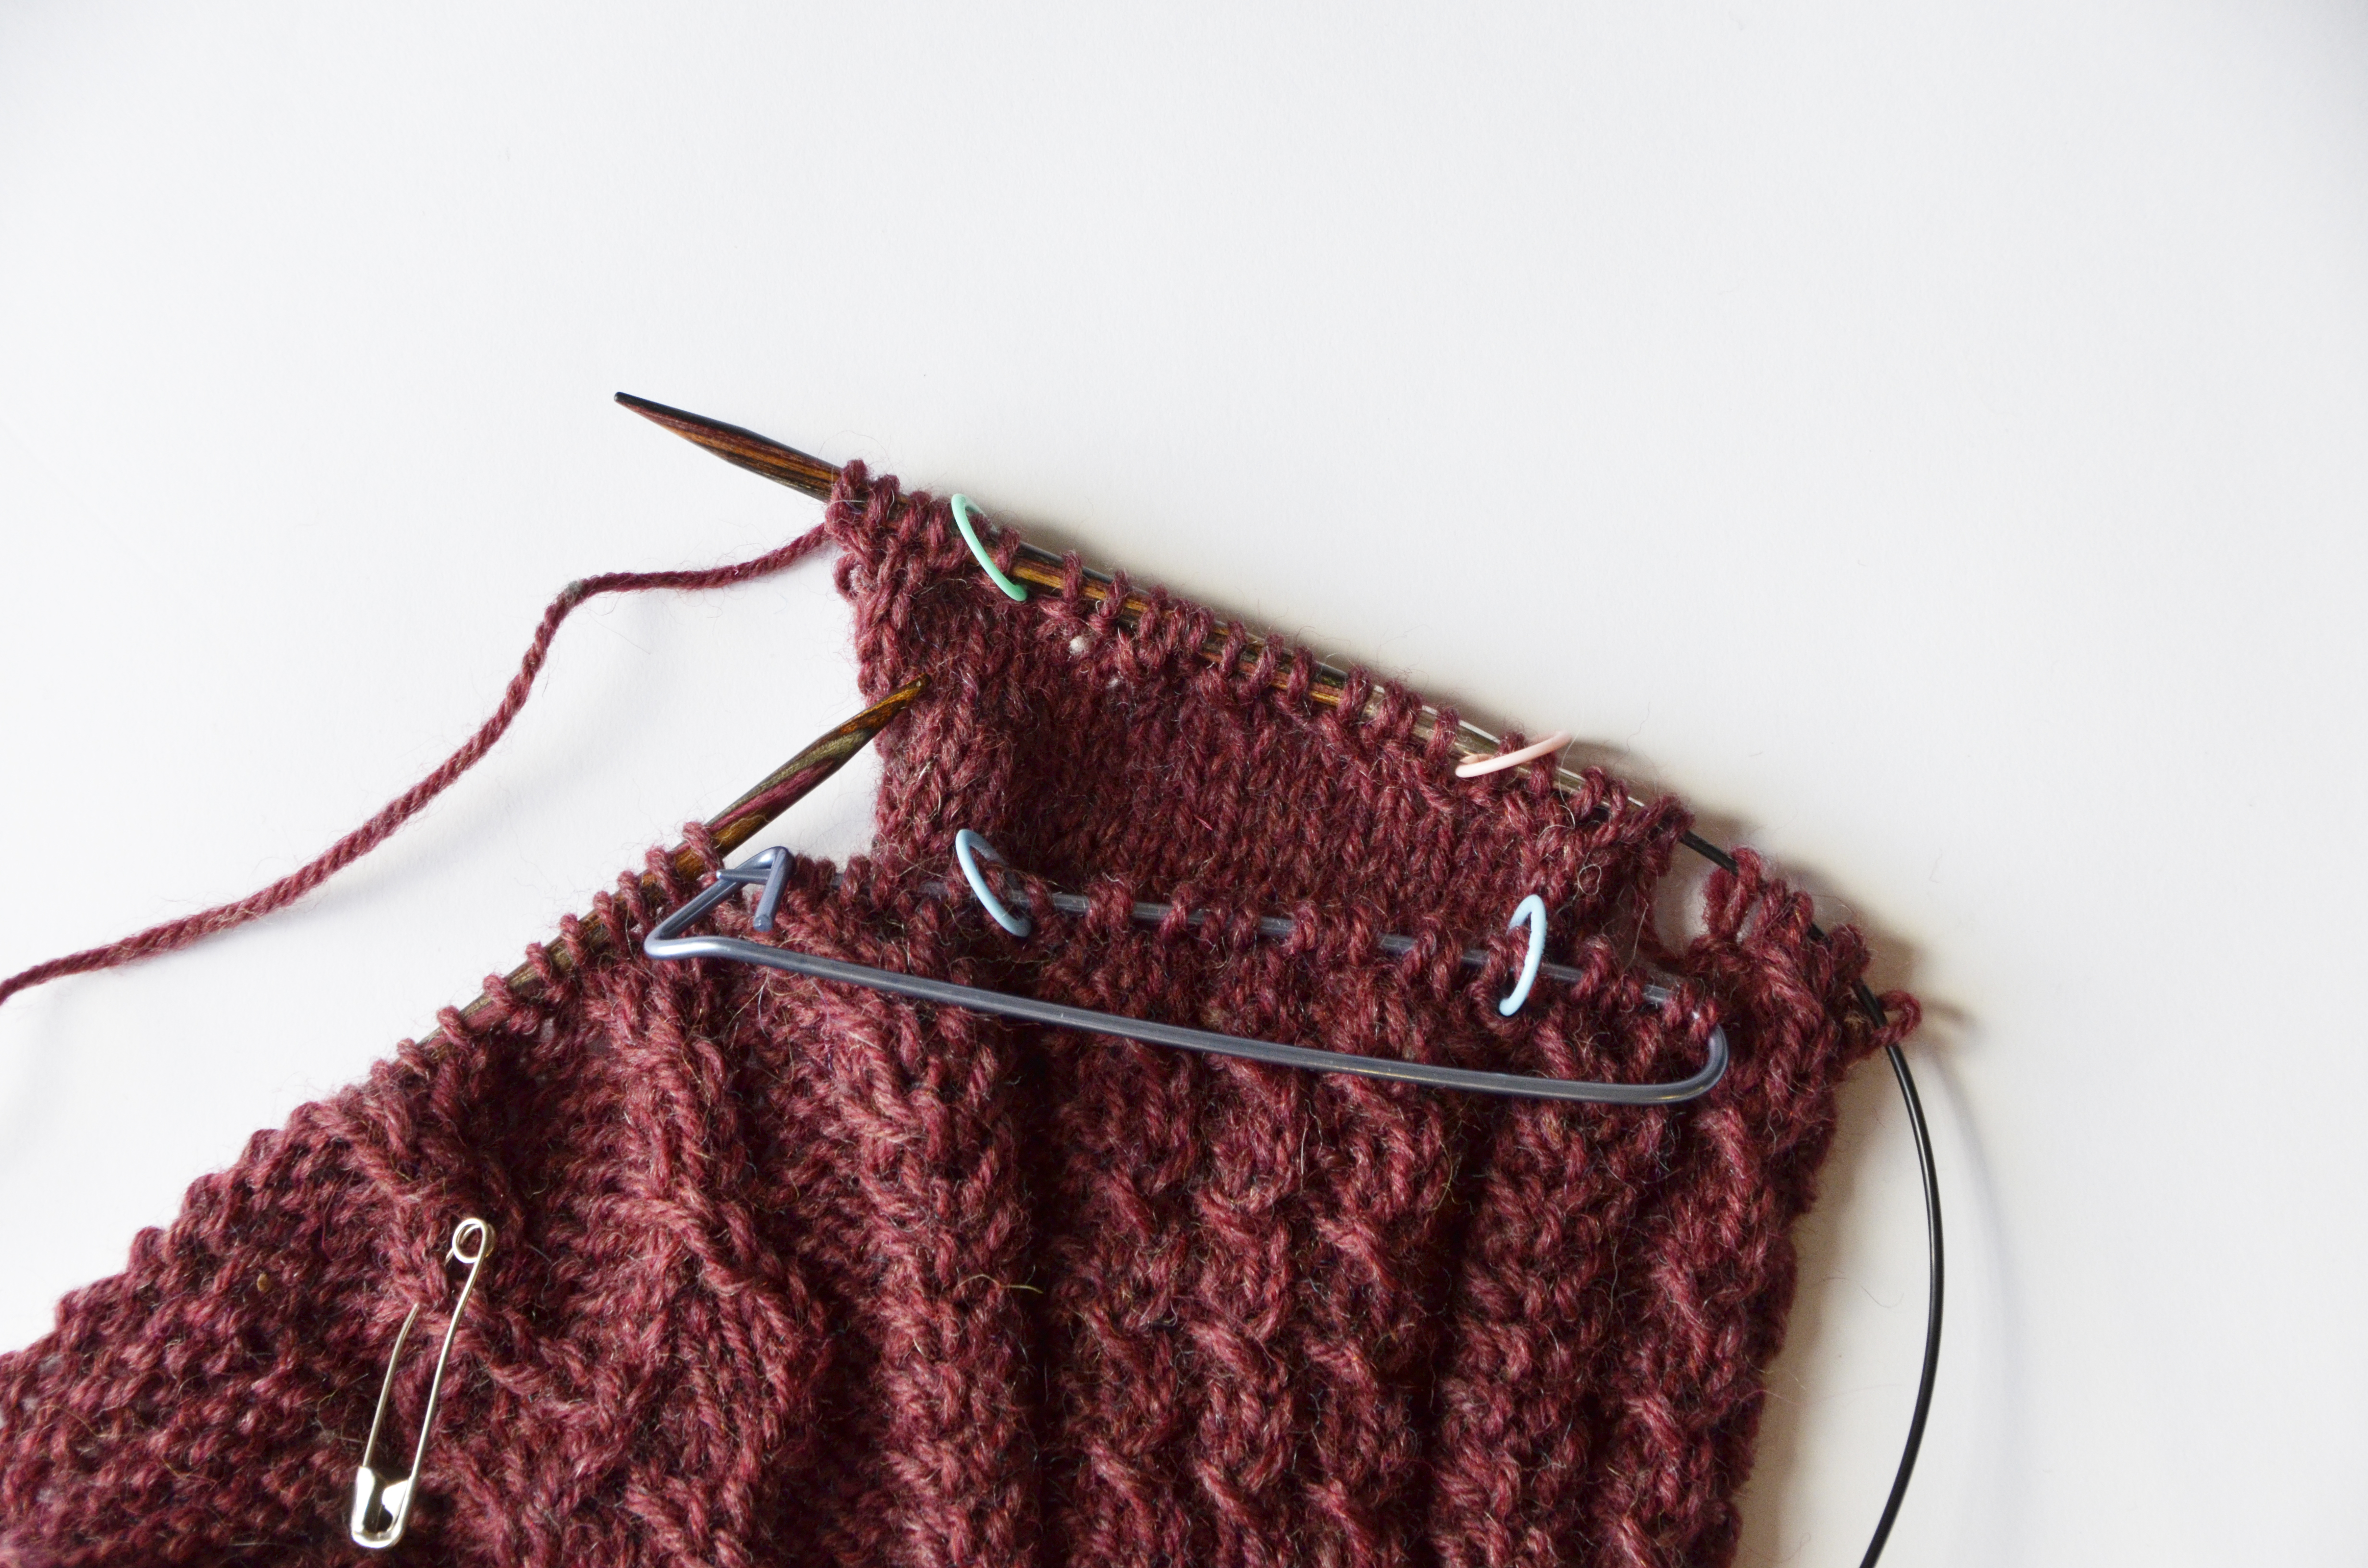
The next step is to place some of my sweater stitches on a holder. I will eventually come back to these stitches and knit my ribbed pocket edging.
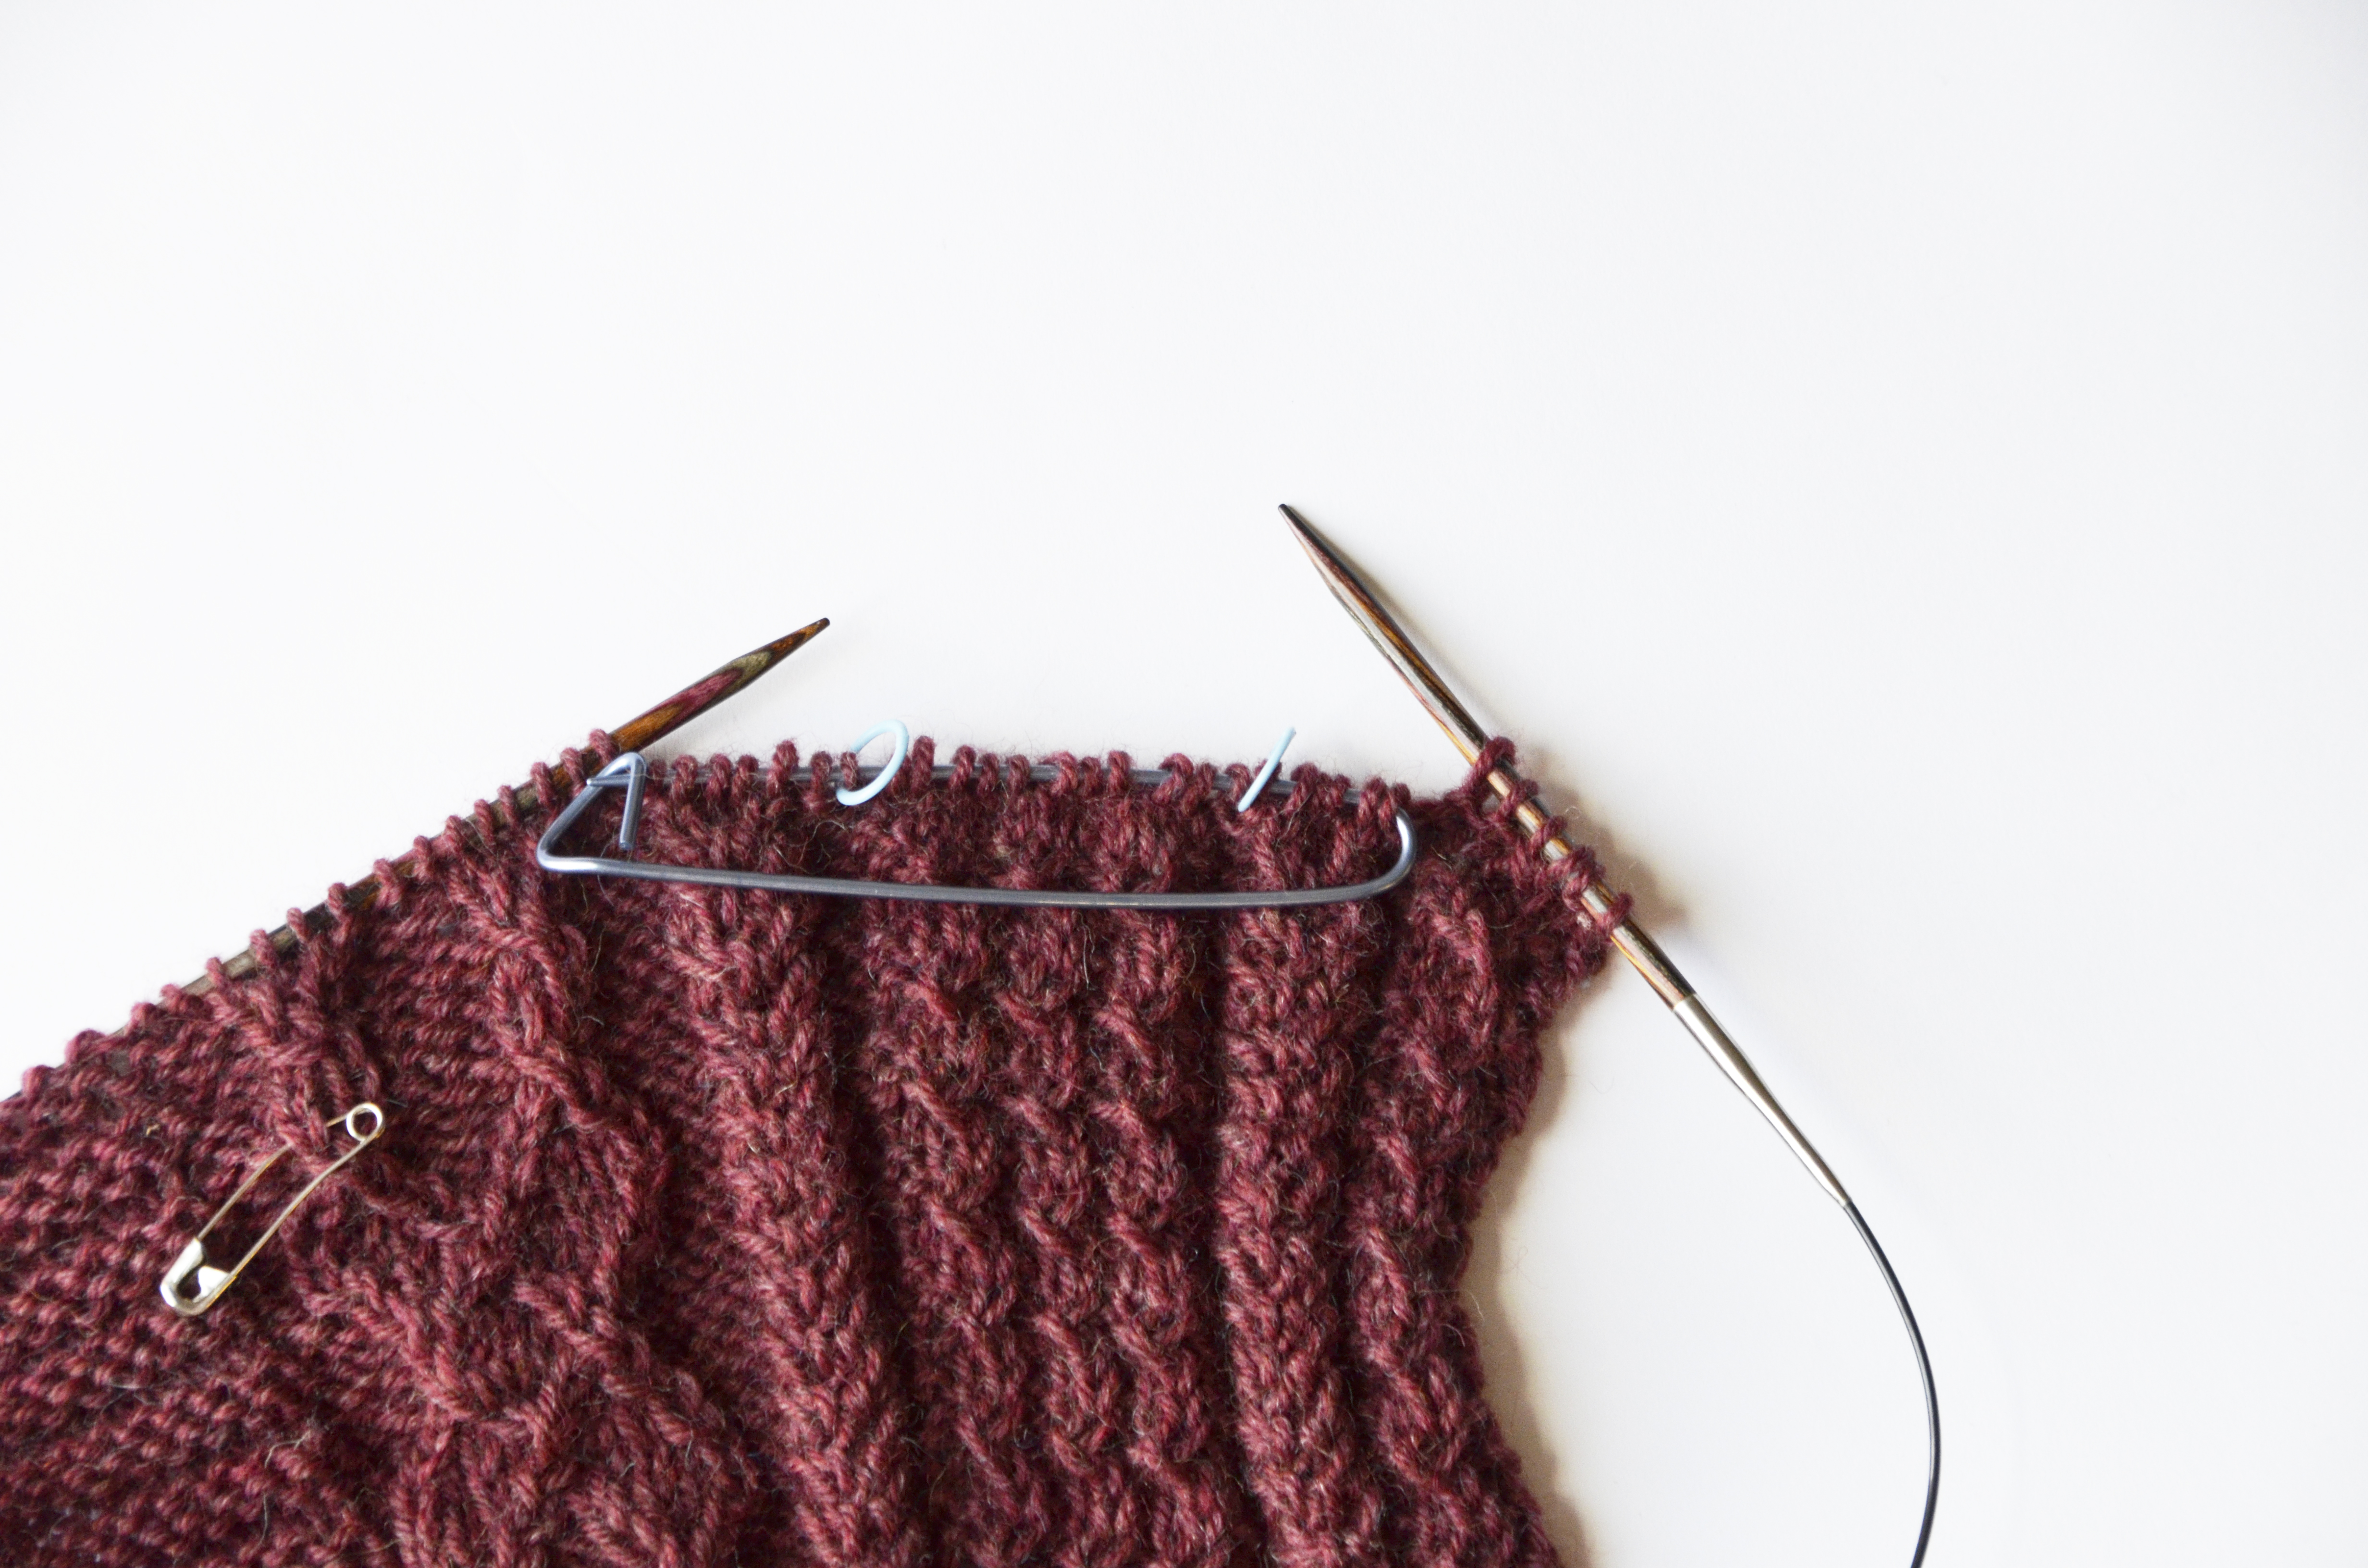
My liner is 25 stitches wide, so I put the next 25 stitches from my front piece on hold also. Next, I work the next row of my twisted pattern stitch over the liner stitches. I am incorporating the liner into my main sweater pattern so it will look like a pocket magically grew out of my sweater.
After working in pattern across the liner, I simply finish my row and the rest of my front piece like usual.
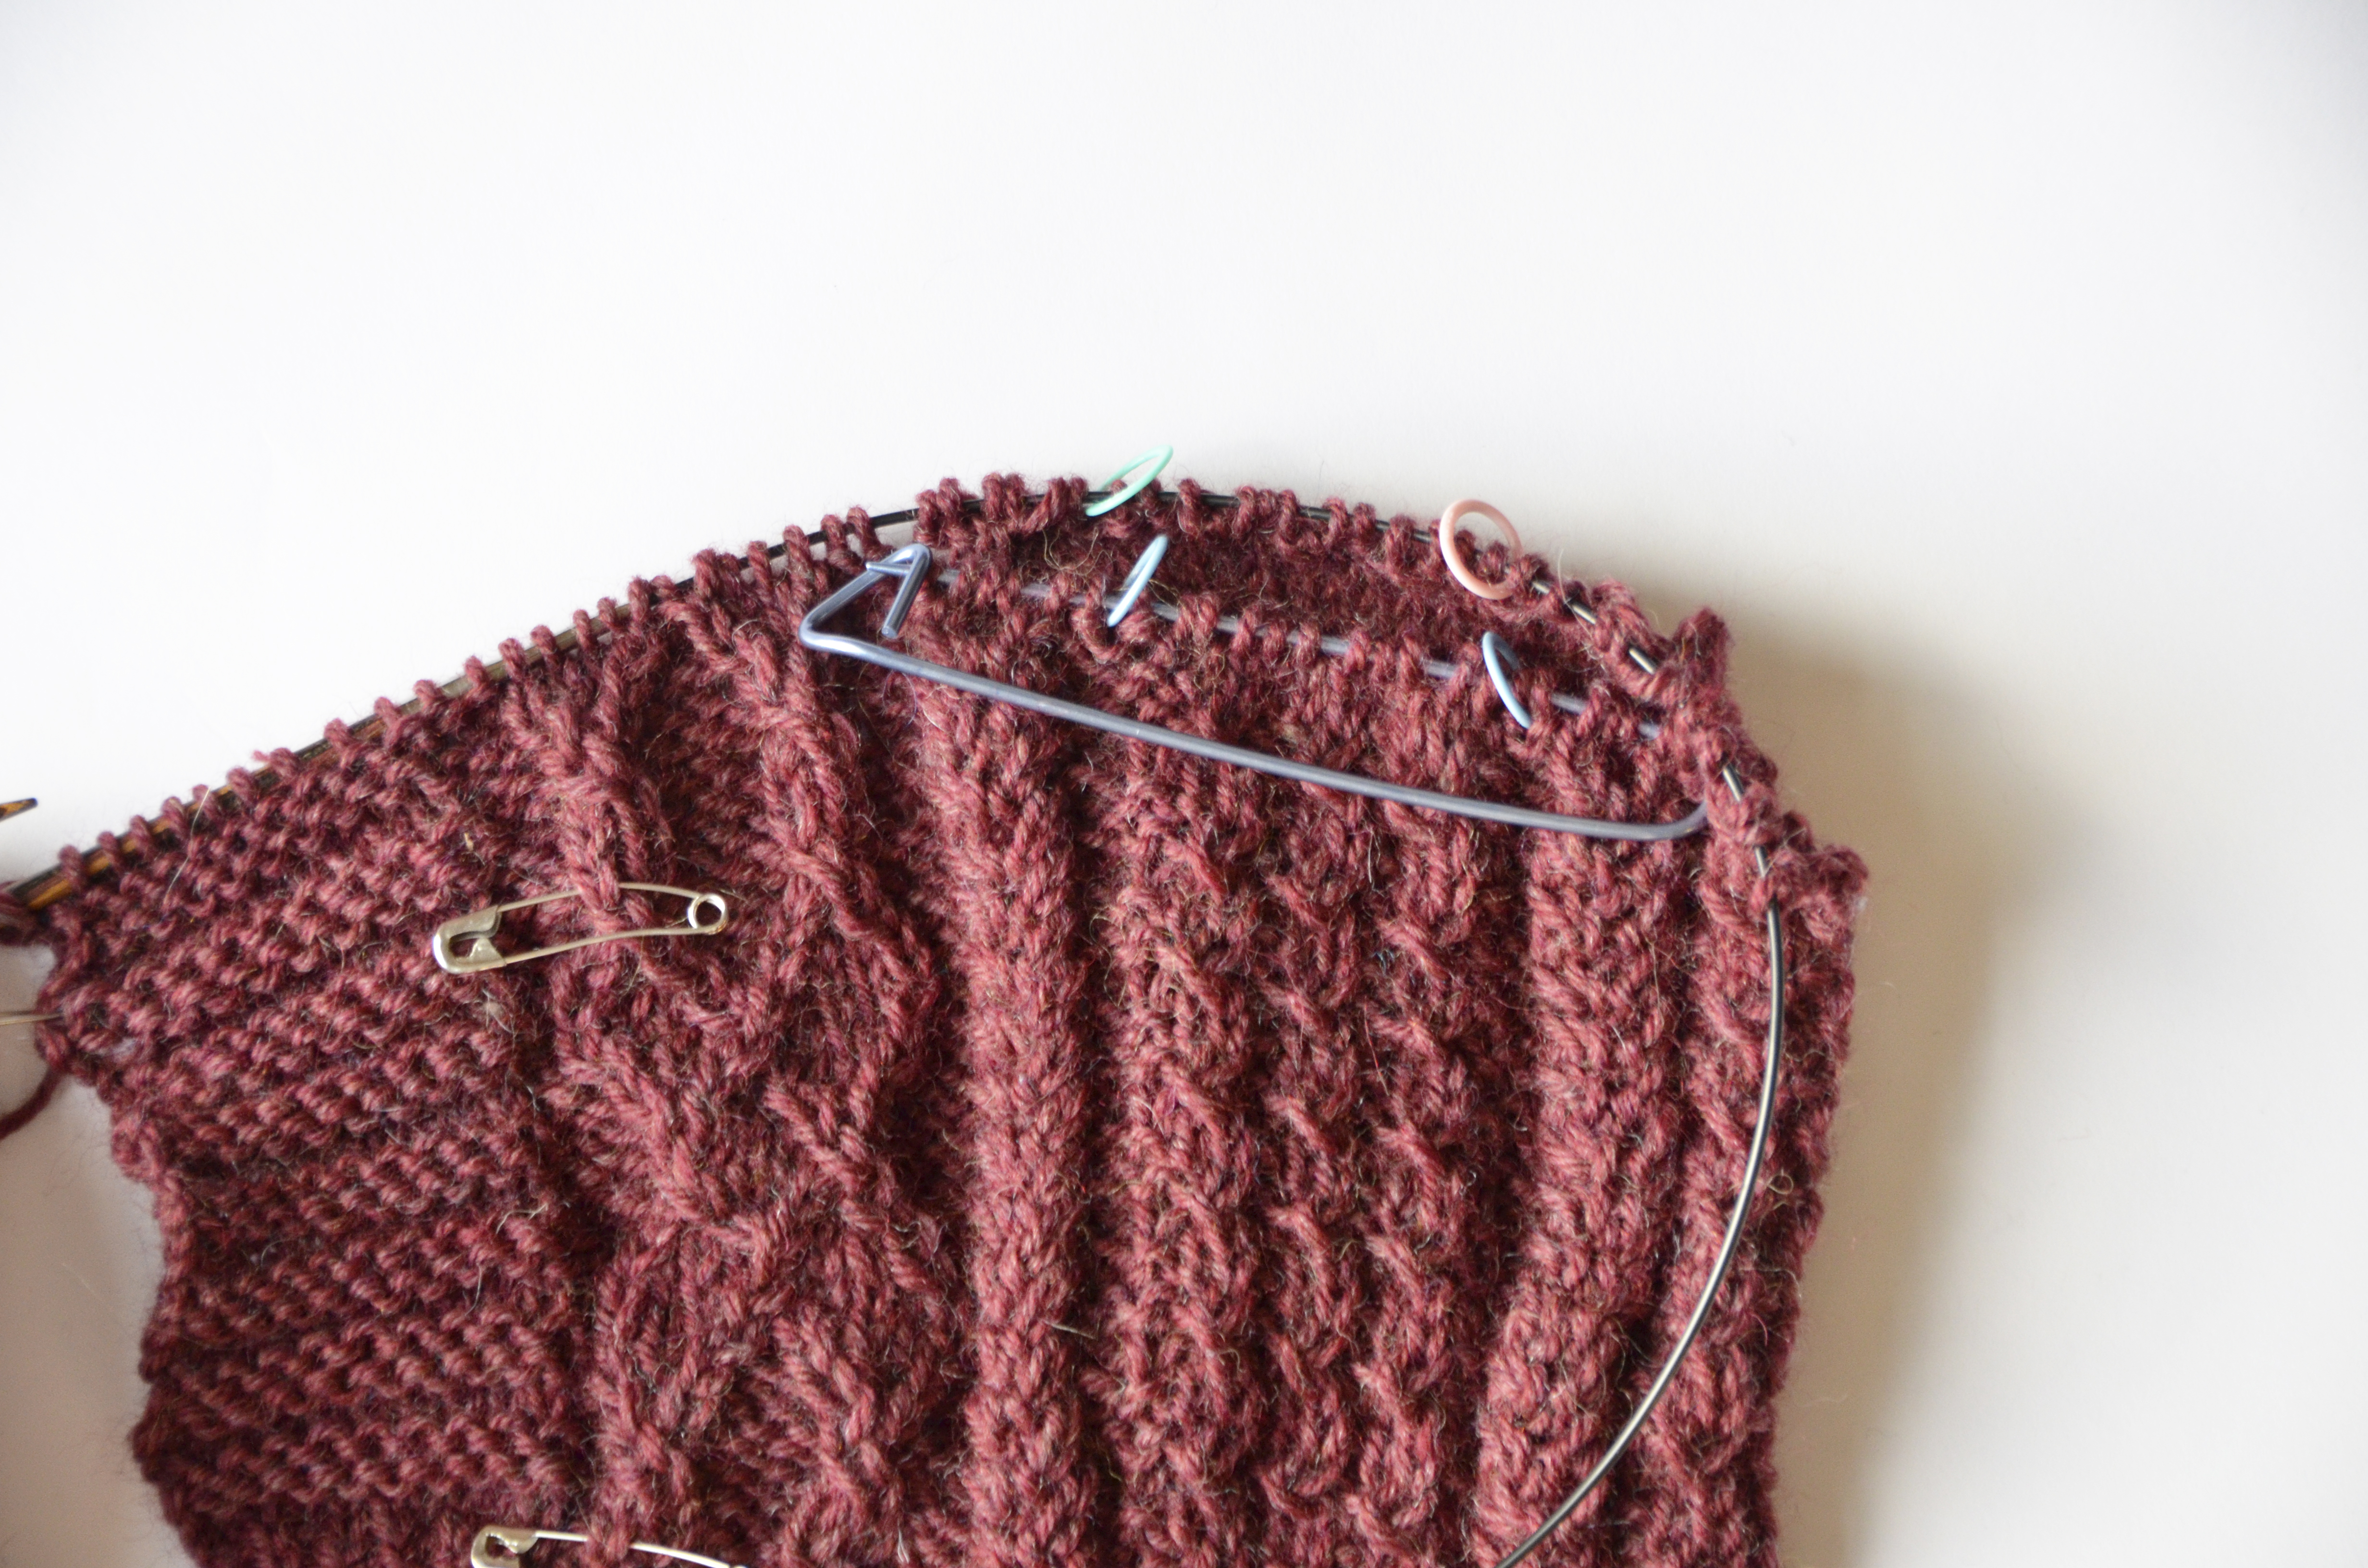
You can see that the liner is sitting behind my sweater front. Once I’ve finished the front, I’ll come back and knit my pocket edging and sew down the liner to the inside. And I’ll show you how – stay tuned!