
It’s Free Pattern Friday!
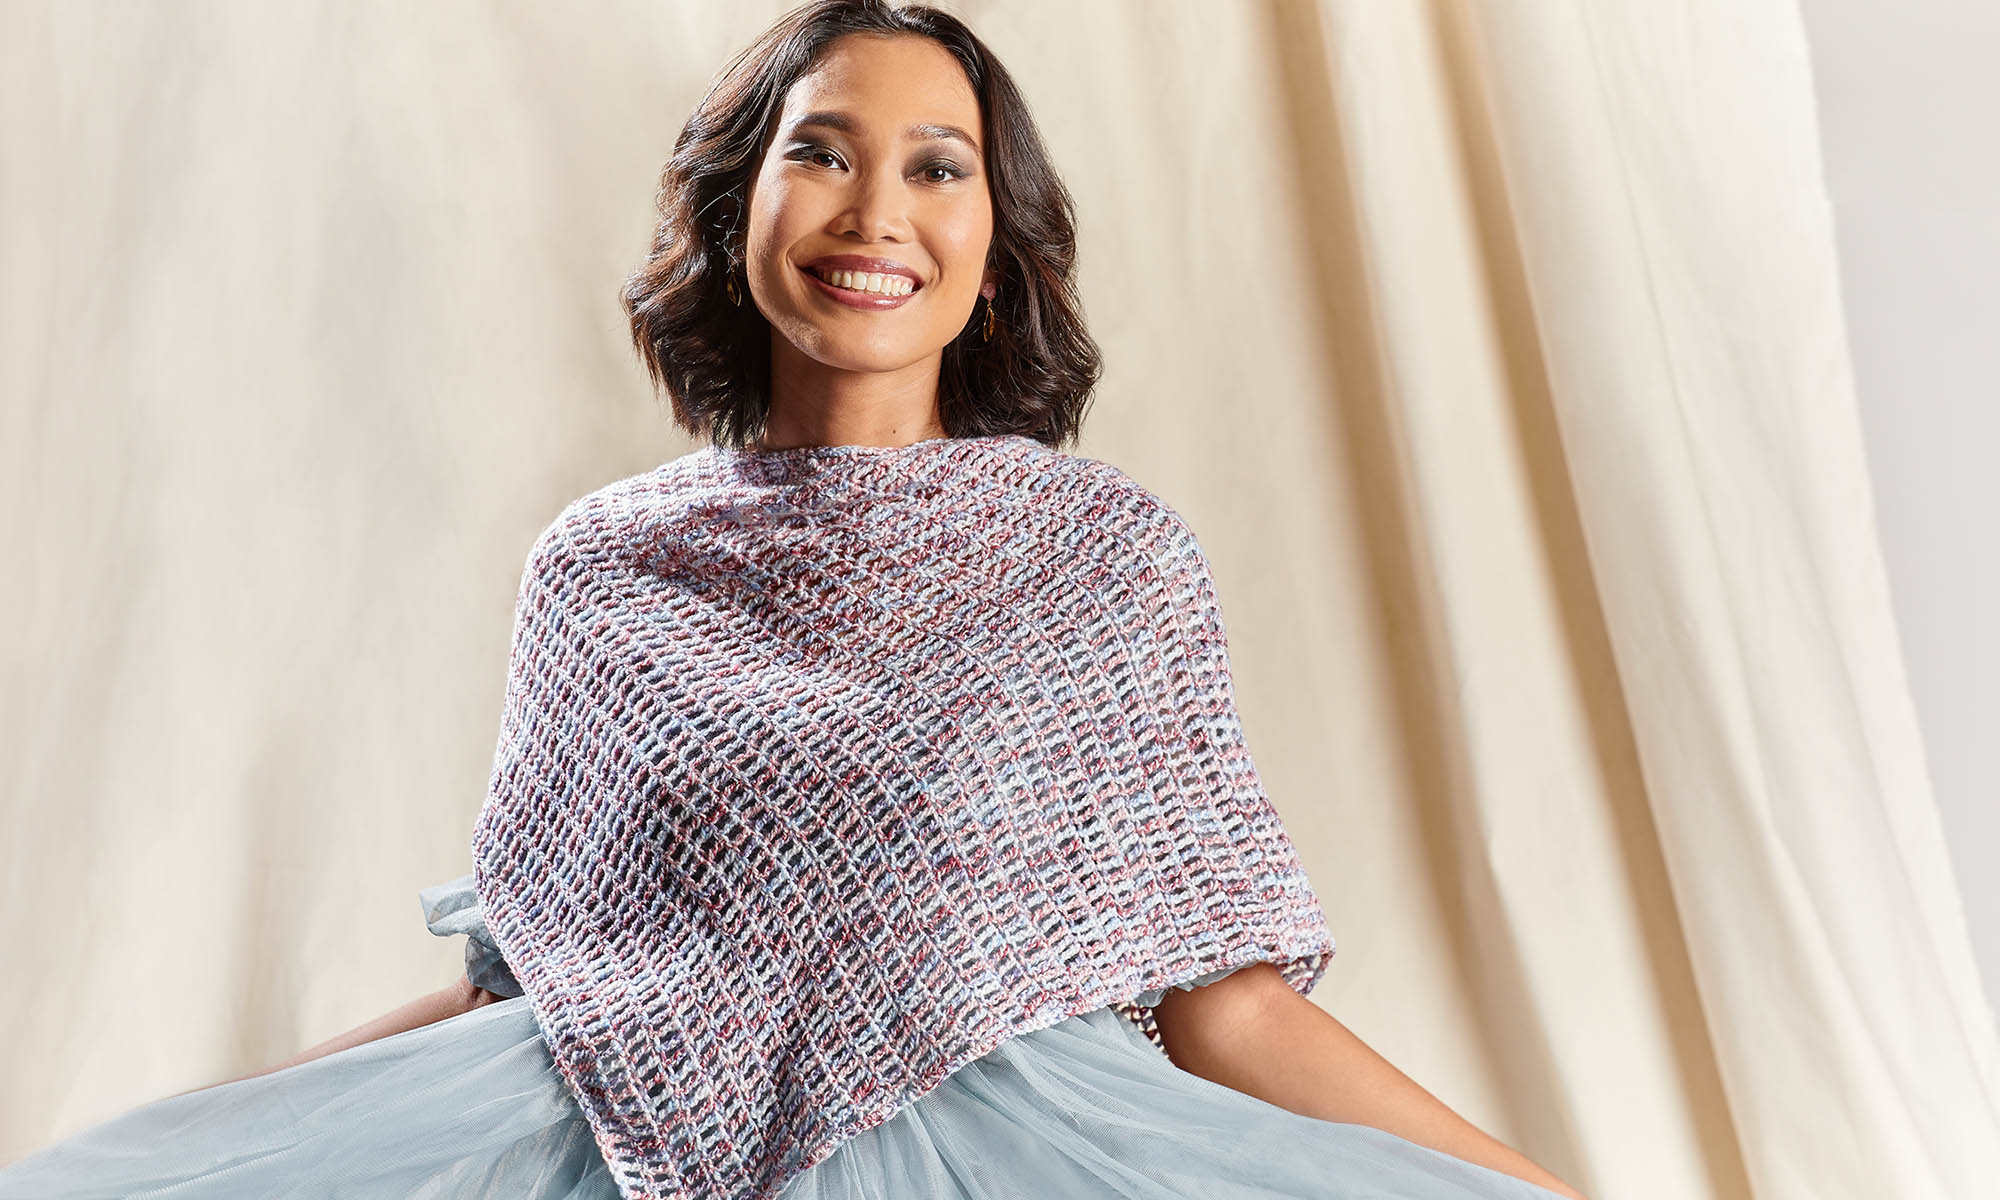
Just in time for football season (and gift knitting season!), we have the Sideline Scarves. And a photo tutorial!
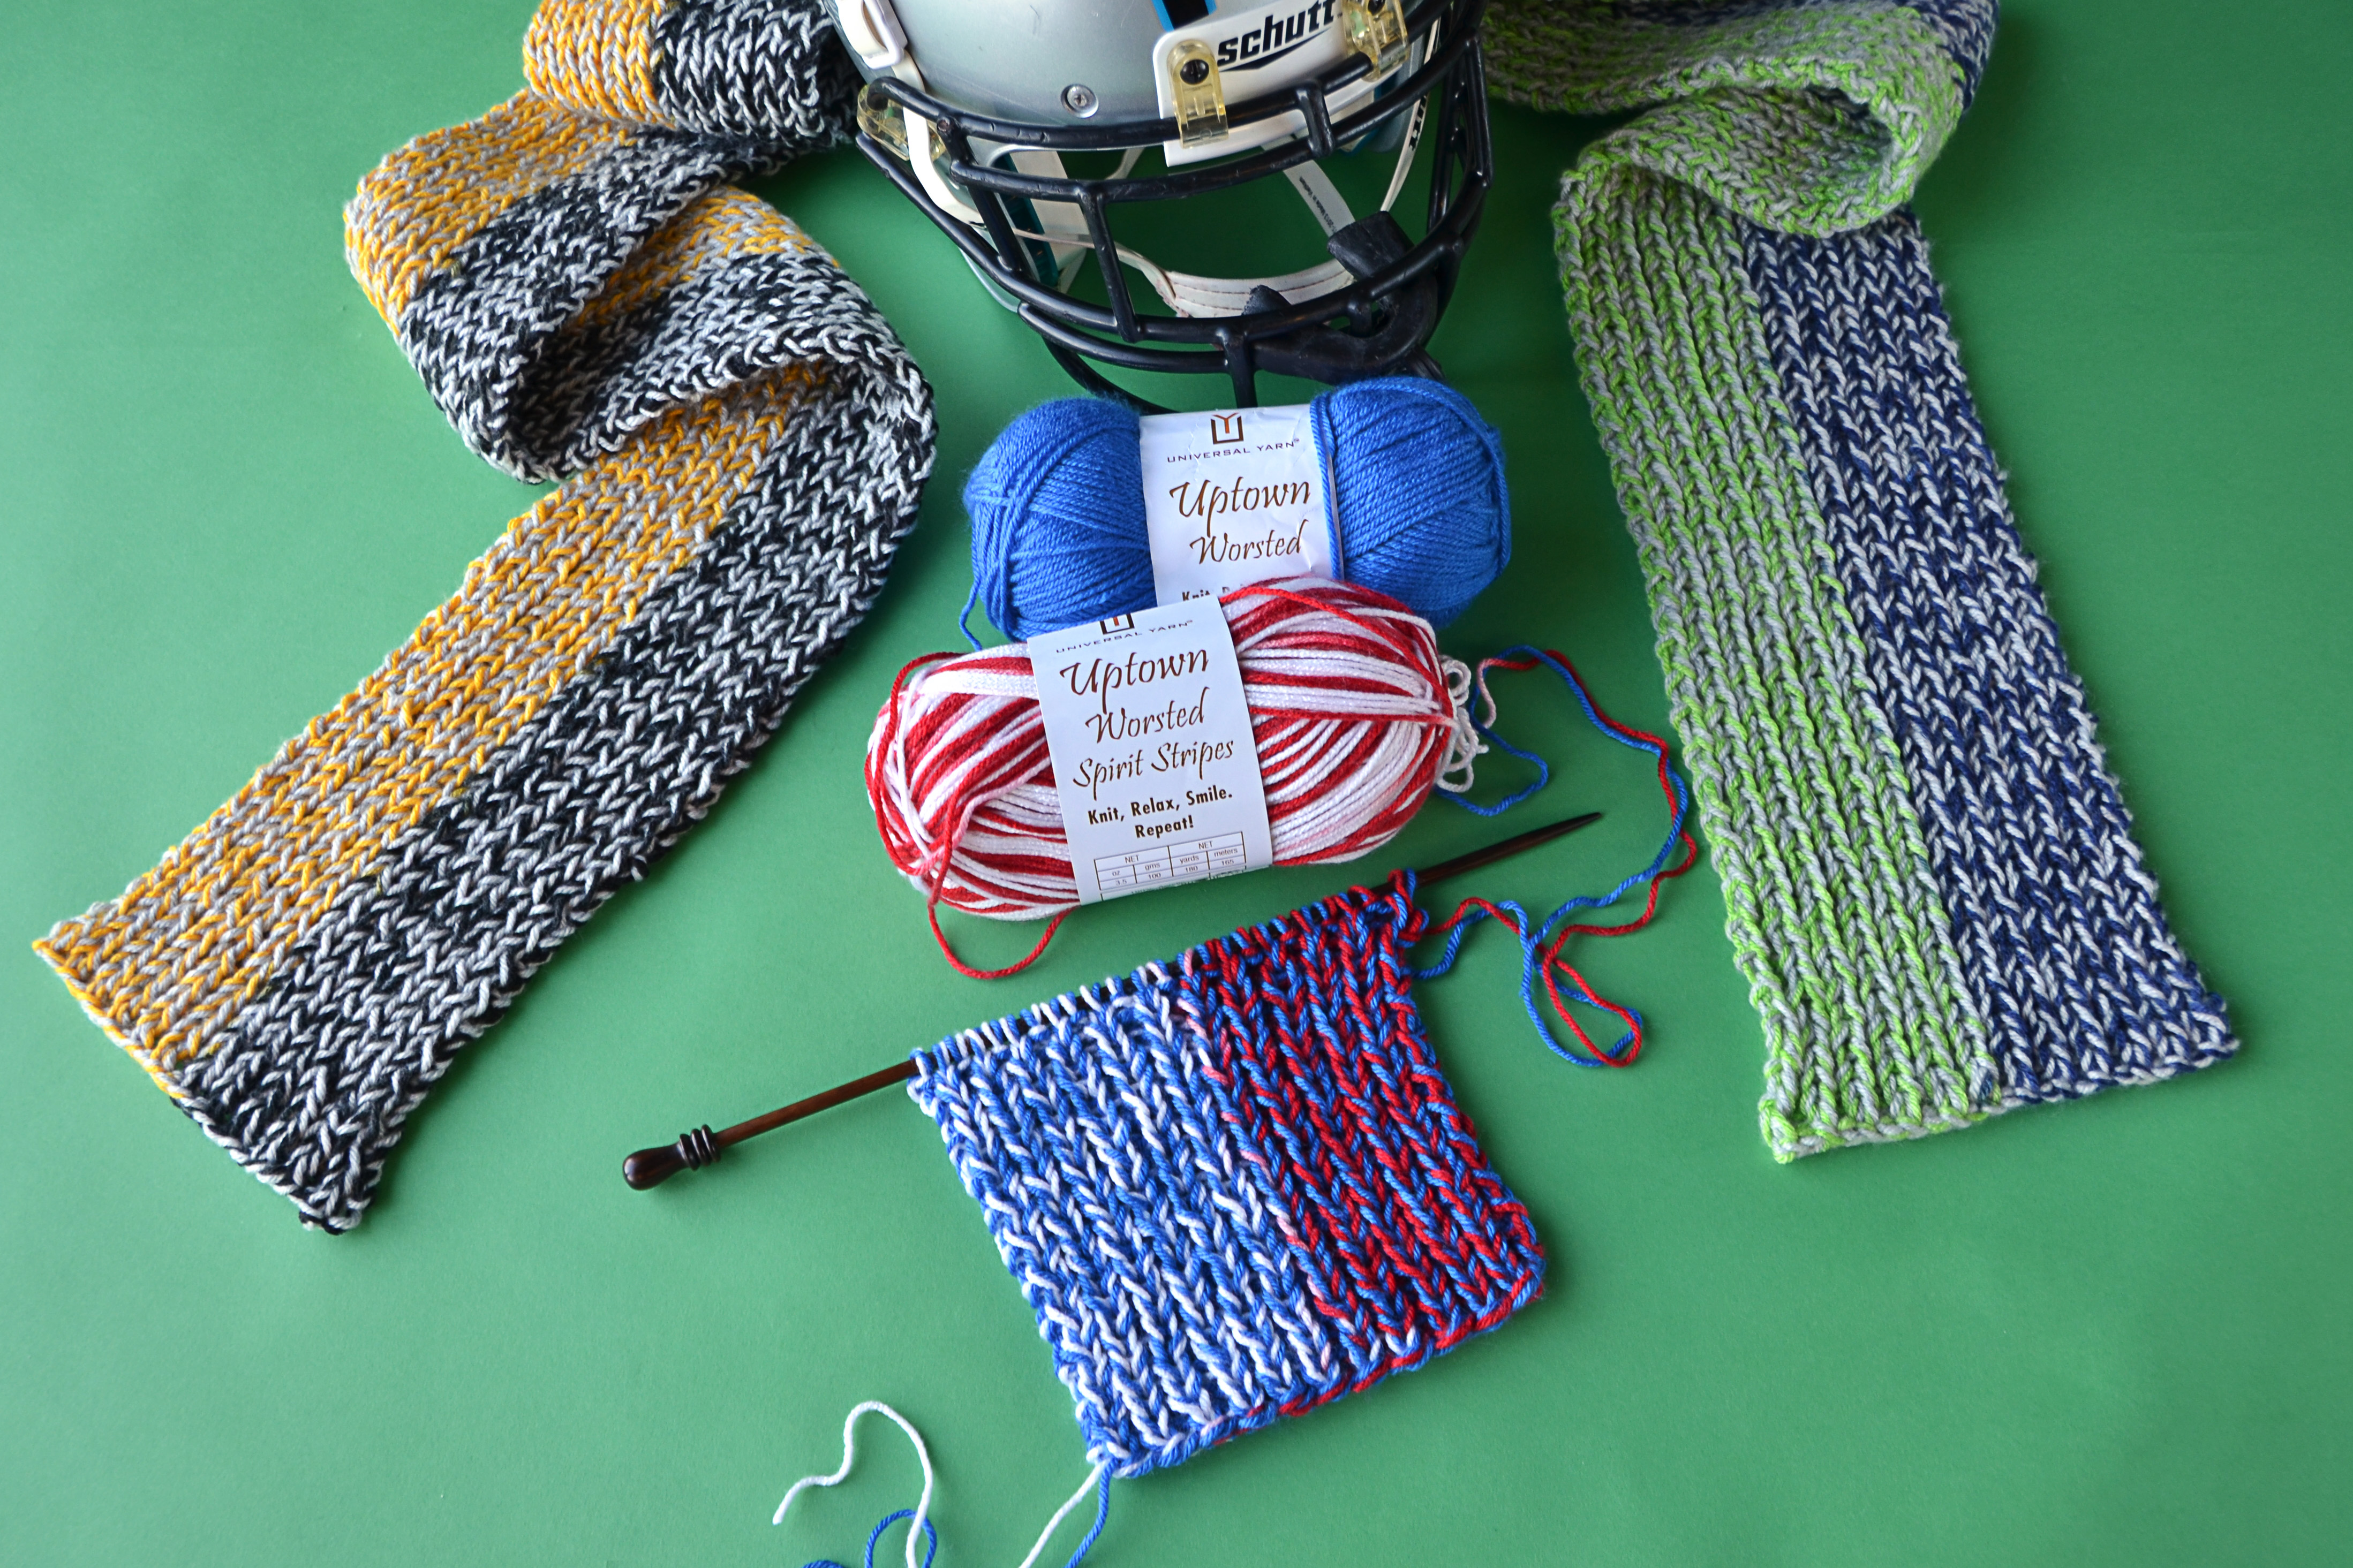
Each scarf requires 1 ball of Uptown Worsted Spirit Stripes and 1 ball of Uptown Worsted. 1 strand of each yarn is held together throughout the scarf.
Though these scarves look like intarsia, I can assure you there is no manual changing of colors in this project. The vertical striping along this piece is inherent in the yarn print. This project takes advantage of the color changes in the yarn, and employs what we call “intentional color pooling.” The reason for the tutorial below rather than a simple pattern is that the color changes in Spirit Stripes can vary just a bit from skein to skein. With the method below, no matter what the lengths of color are in your particular skein, you can achieve intentional color pooling.
With just a little bit of preparation, you’ll be knitting away in no time!
Here’s how to do it!
When choosing yarn colors, it’s best to pick a color in Uptown Worsted solids that contrasts with the Spirit Stripes. In the tutorial below, I’m using Uptown Worsted 324 Black with Spirit Stripes 517 Arena (red and yellow)
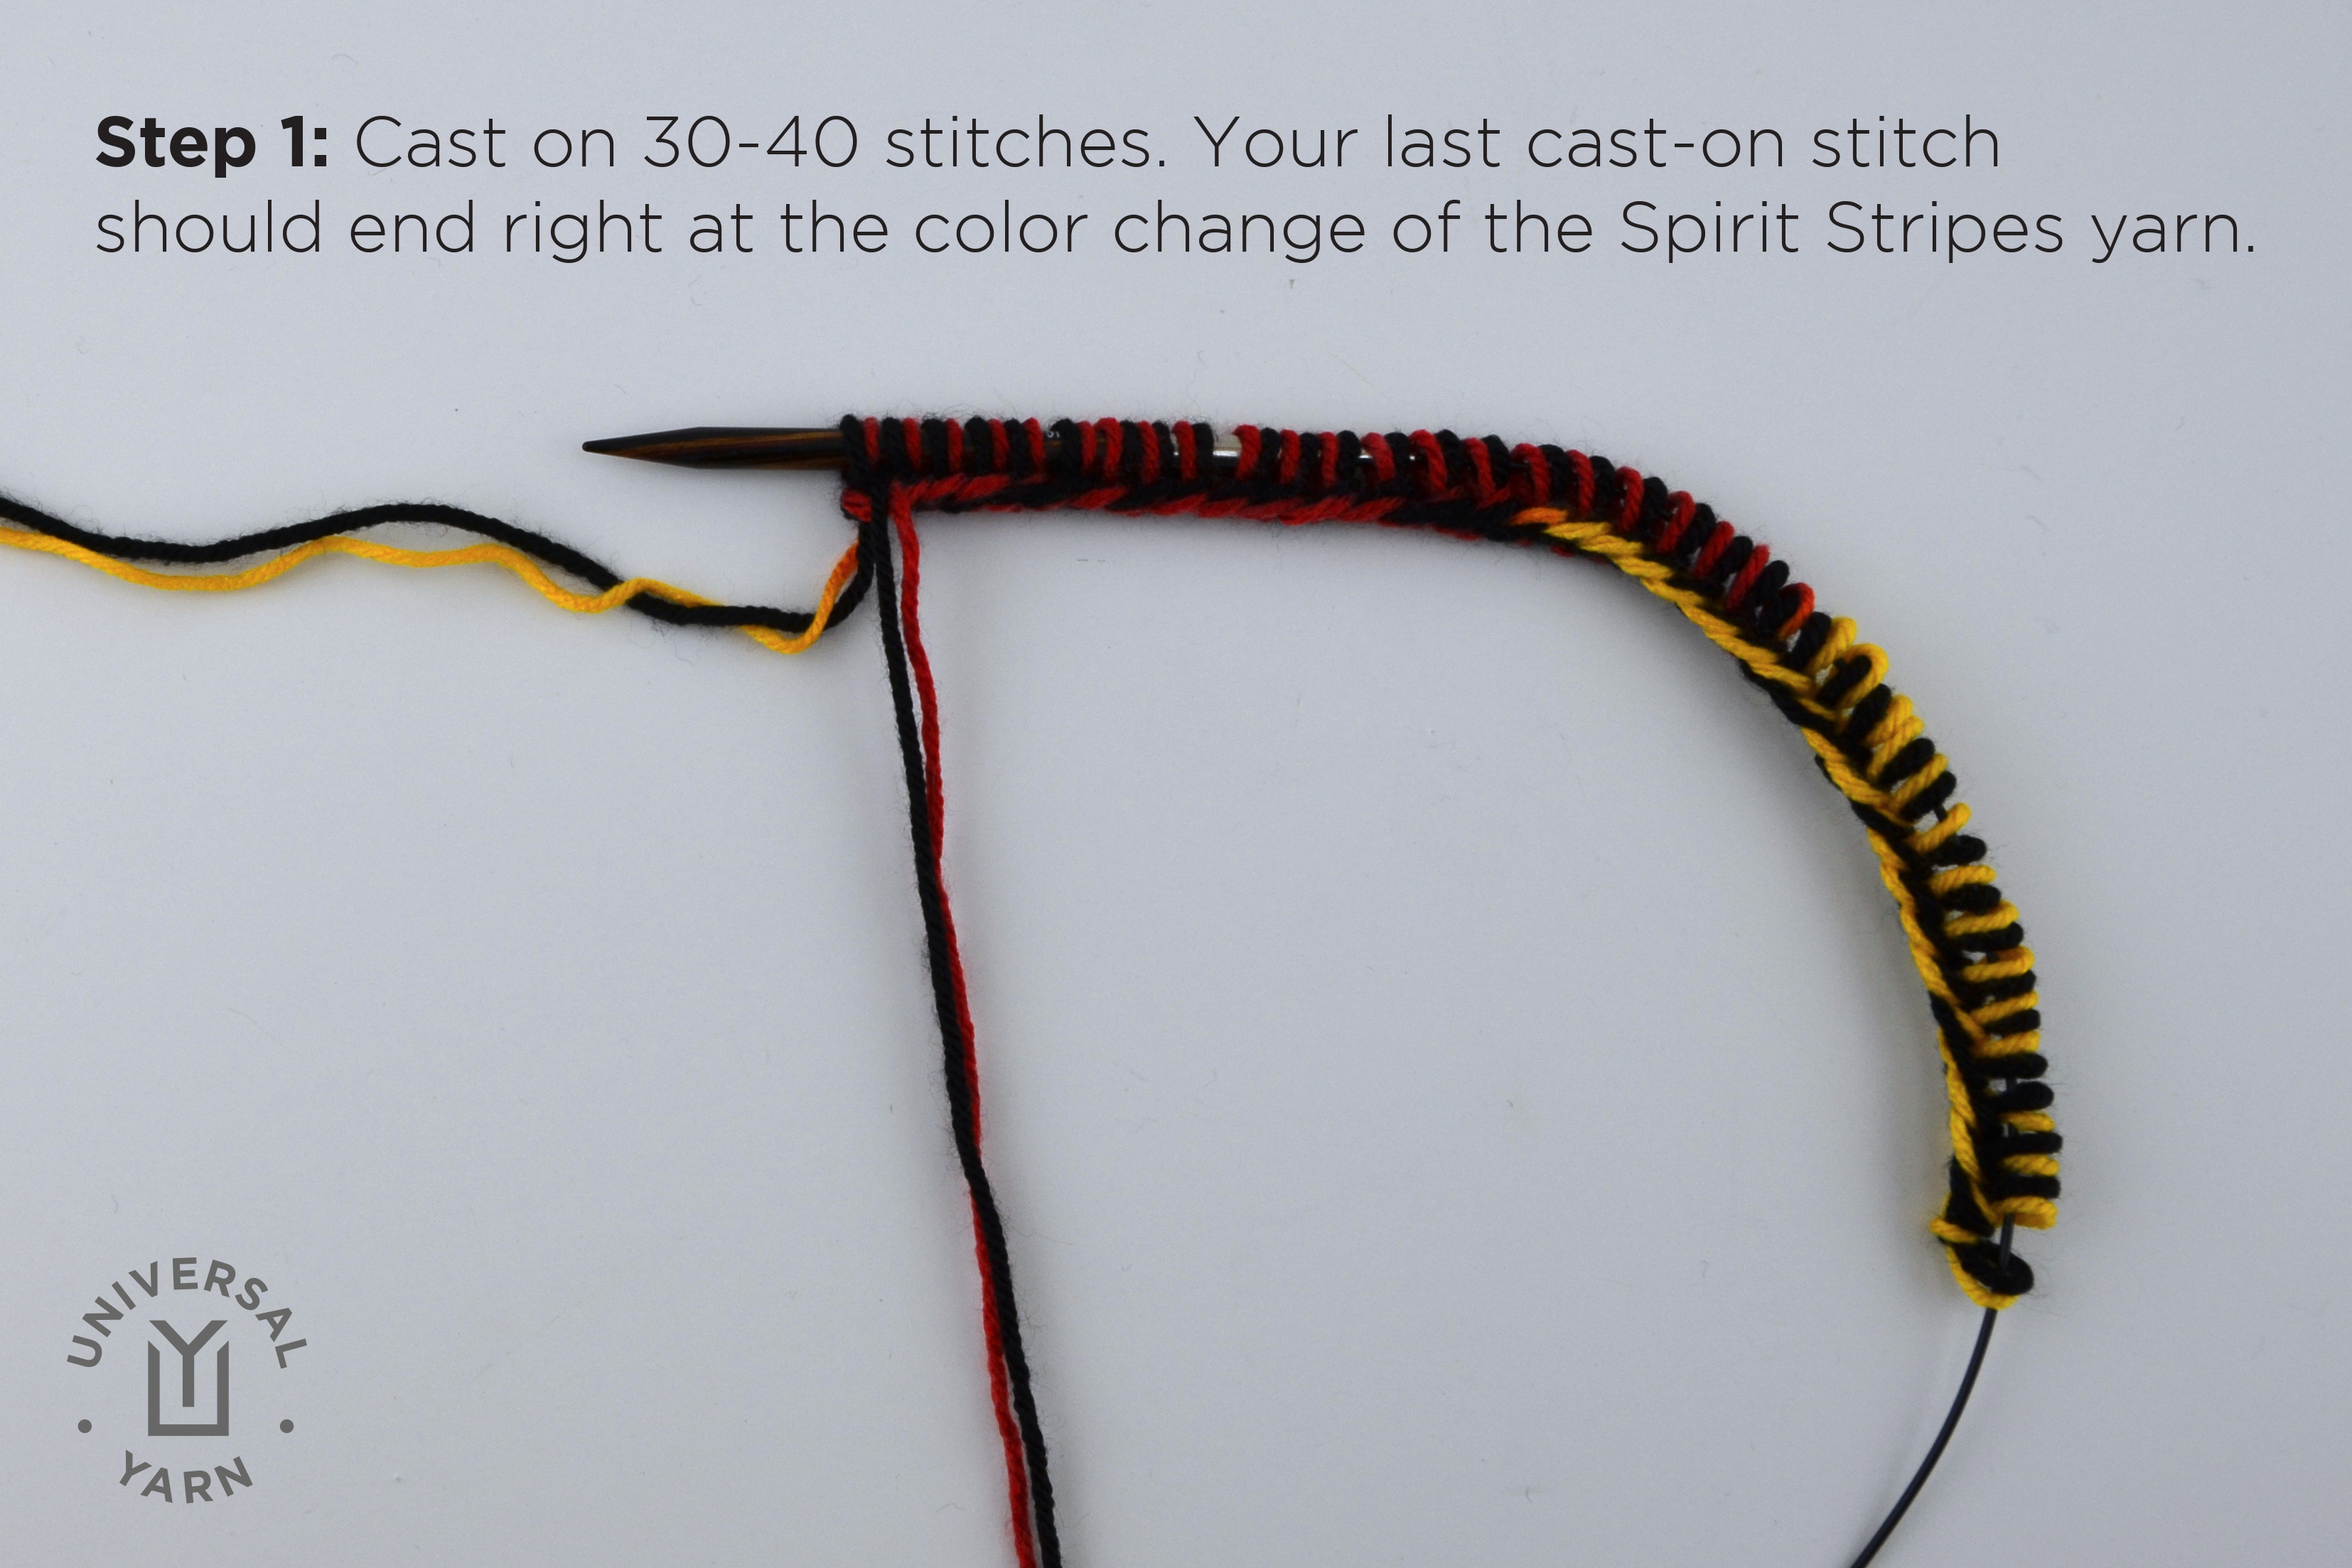
Step 1: Holding both yarns together, cast on 30-40 stitches with a US Size 10 1/2 needle. Make sure that the last cast-on stitch ends right at the end of that particular color section in the Spirit Stripes. This is important because we’re going to be calculating just how many stitches are consumed by each section of color.
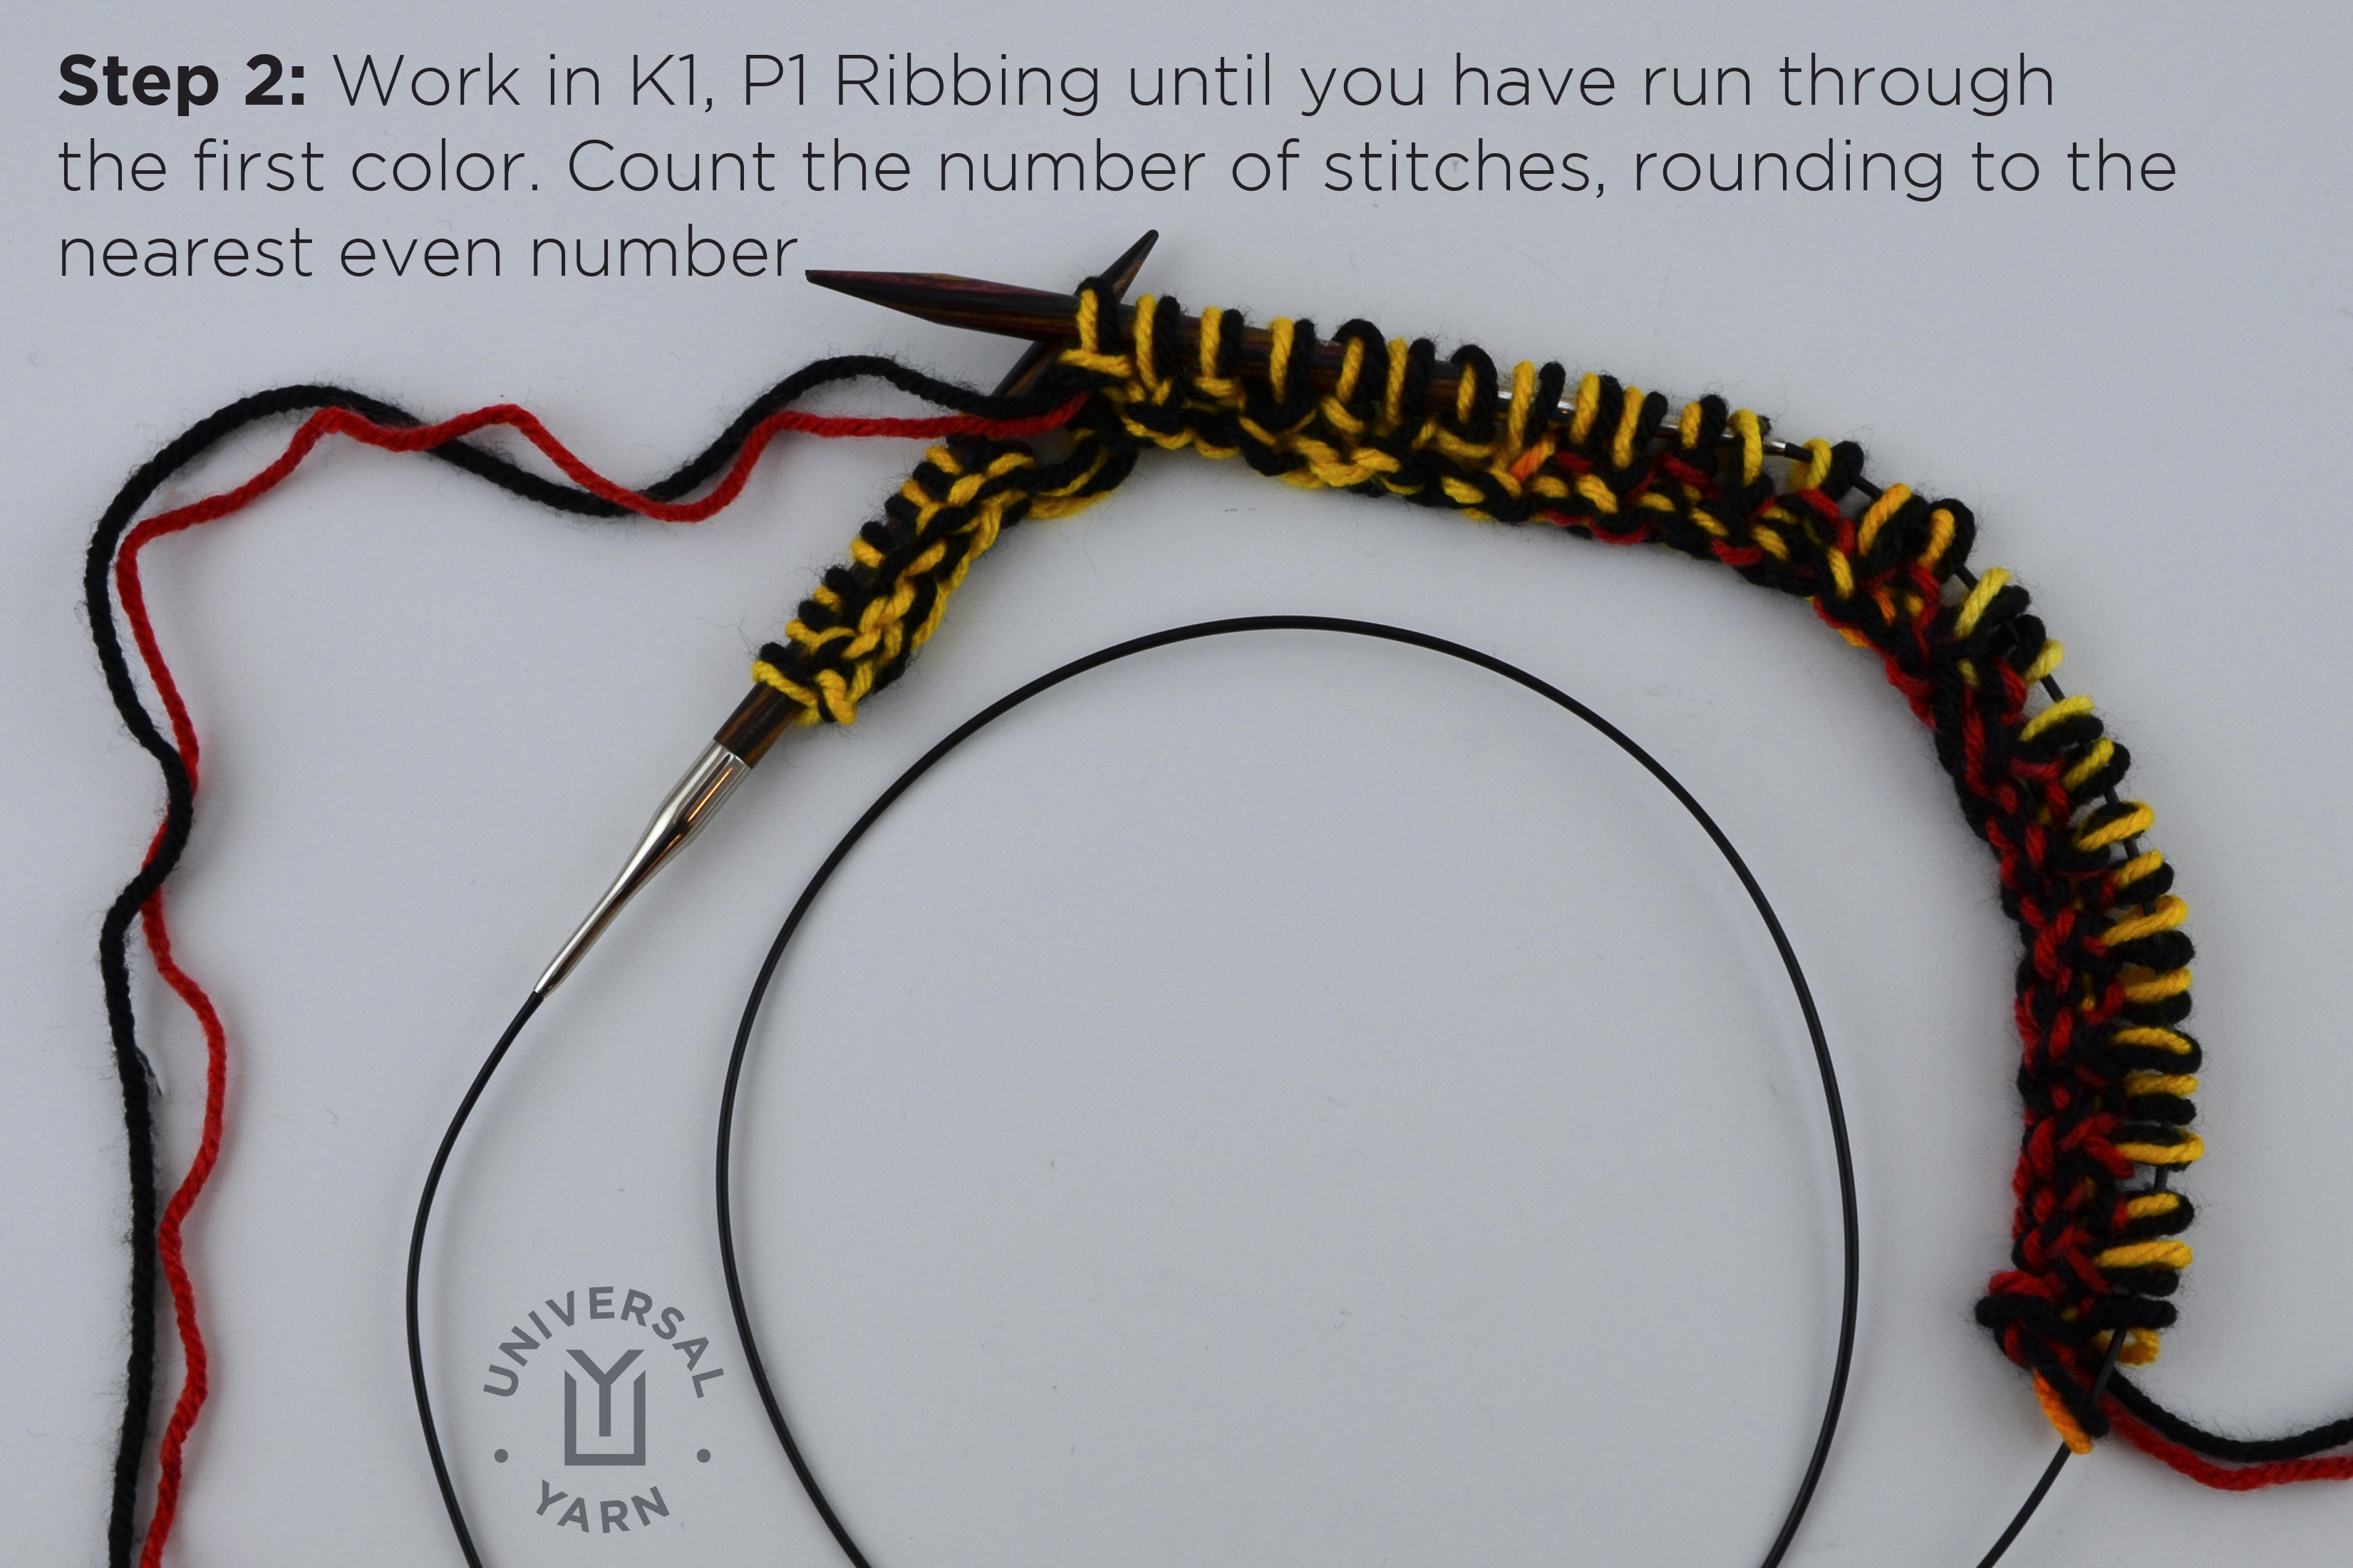
Step 2: Work in K1, P1 Ribbing through the end of the first section of color. Count how many stitches it took to get through this color, and round to the nearest even number. We will call this number of stitches “X.” If you’re as absent-minded as me, write this number down!
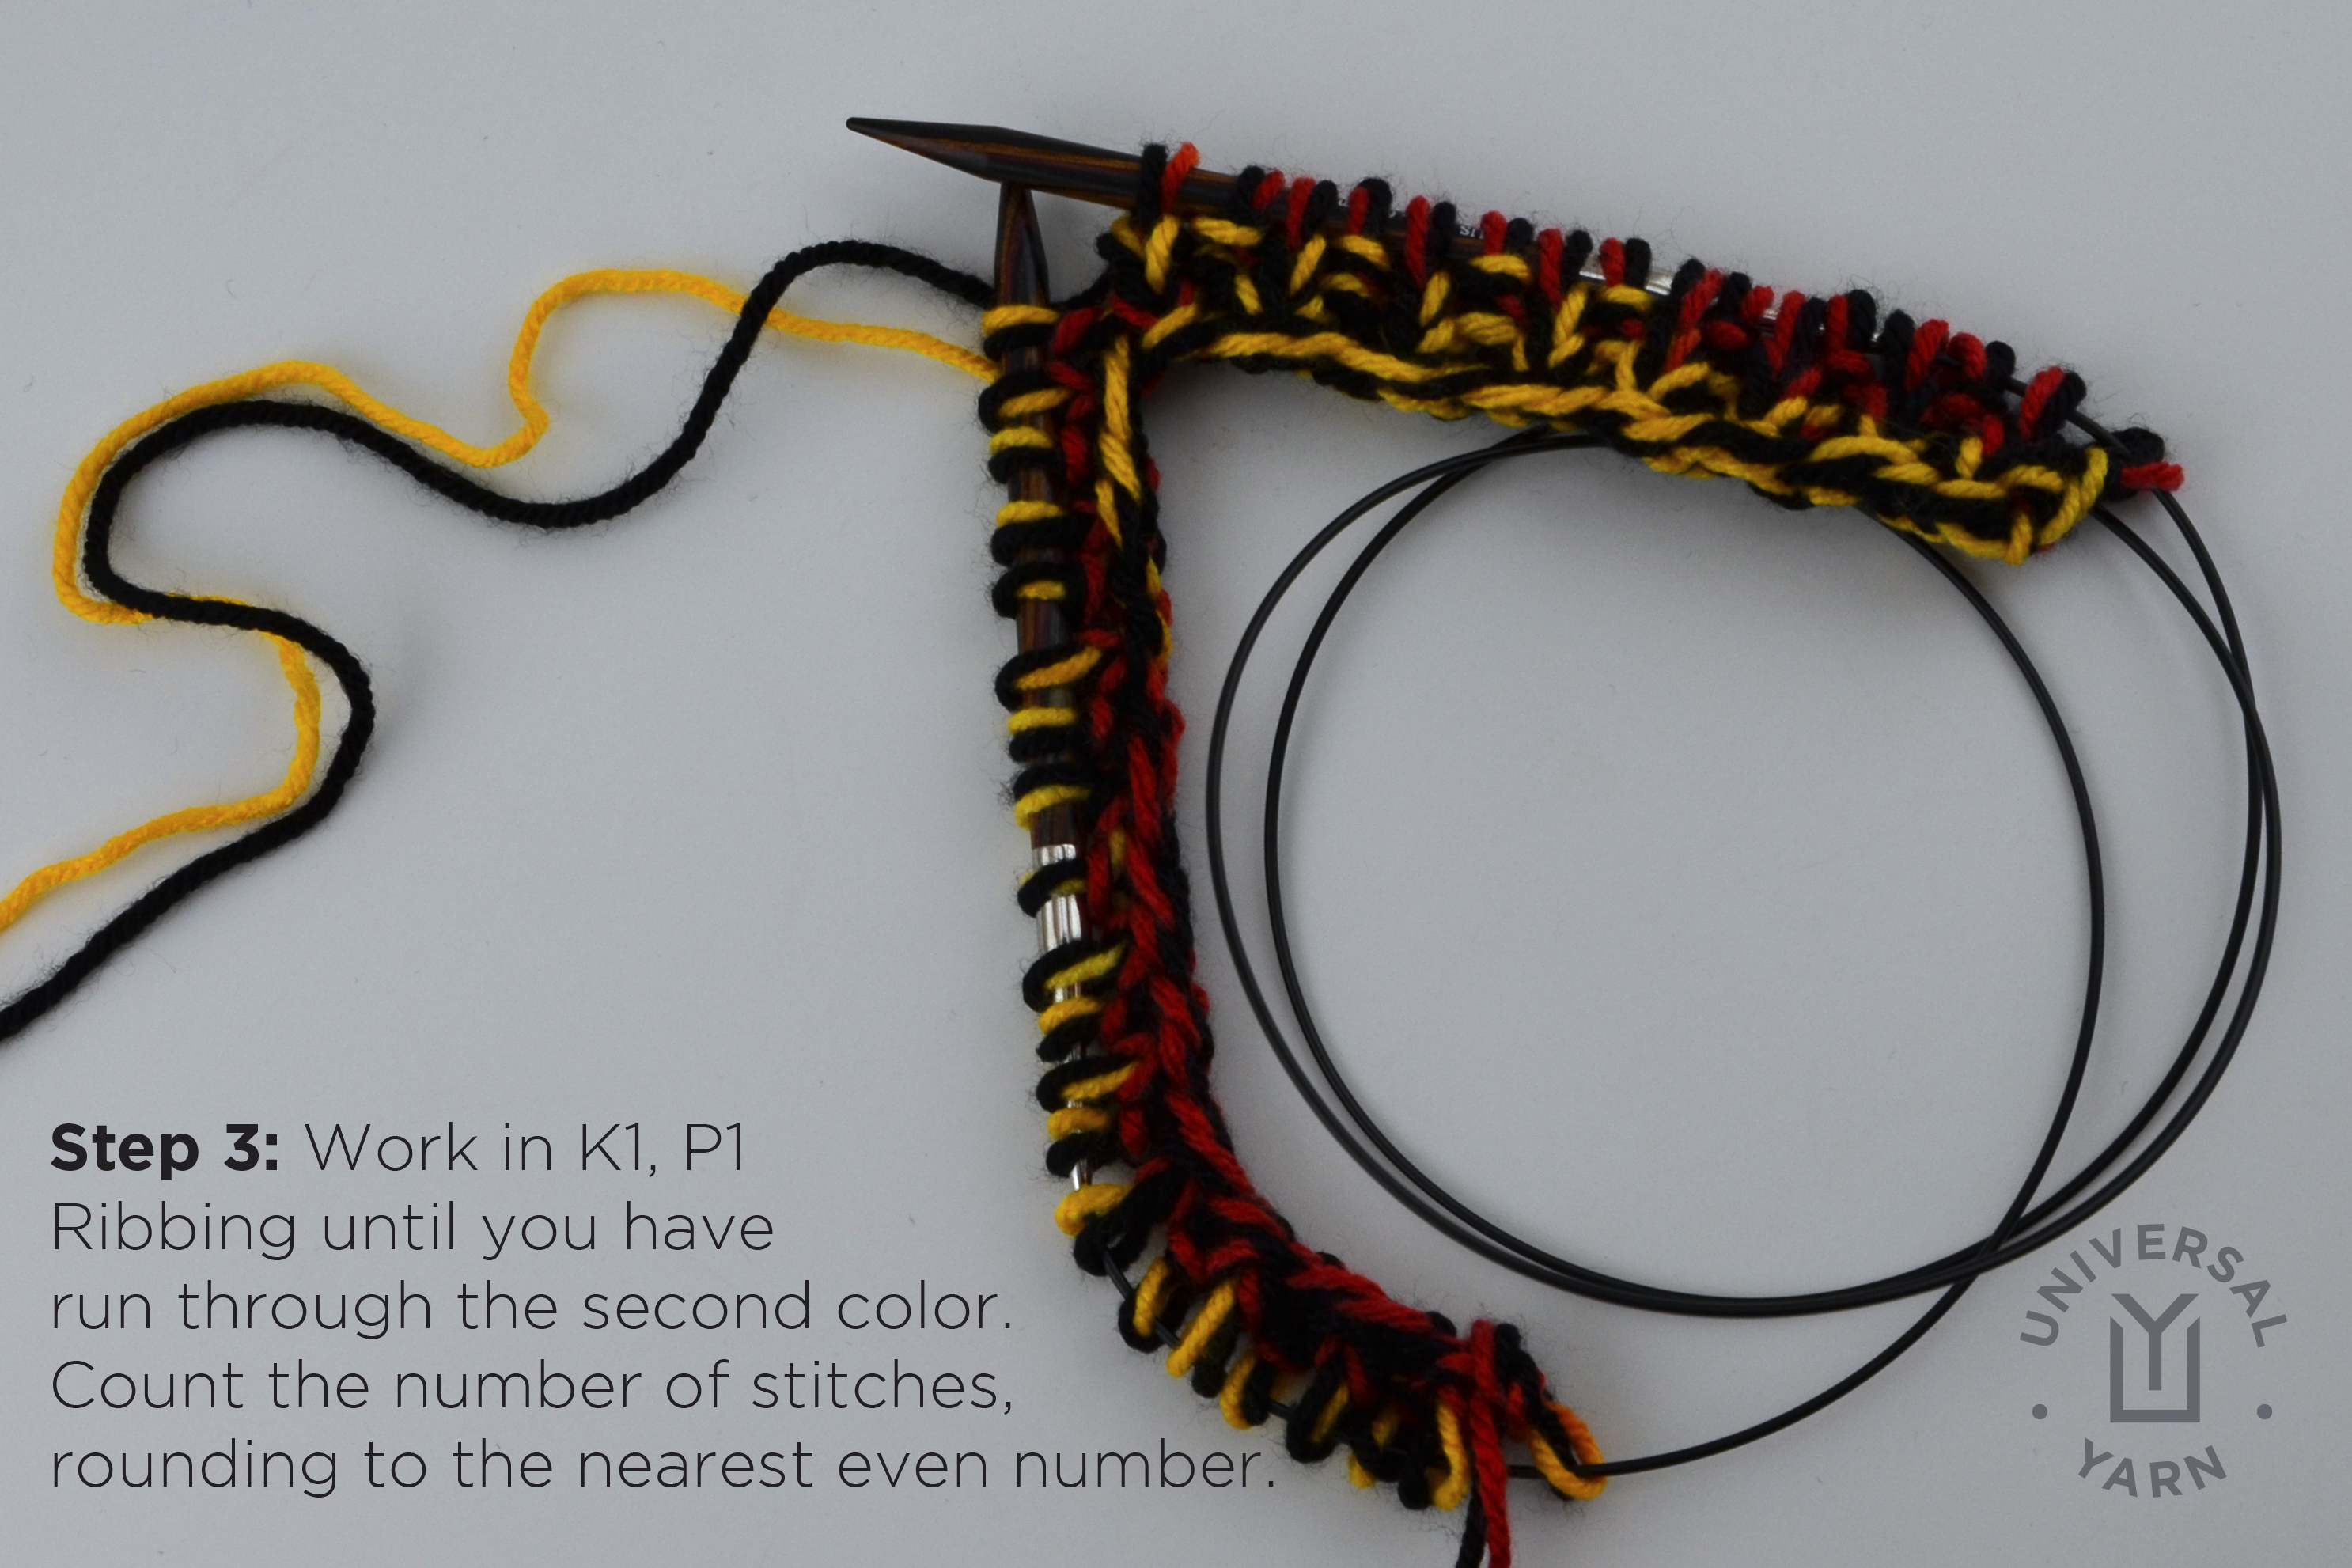
Step 3: Next, work in K1, P1 Ribbing through the second color and count the stitches. You will most likely have to turn the row before you’ve made it through this color – that’s okay, it’s unimportant now. We will call this color “Y.” Y may not be the same number as X, because the color sections are not always exactly the same length.
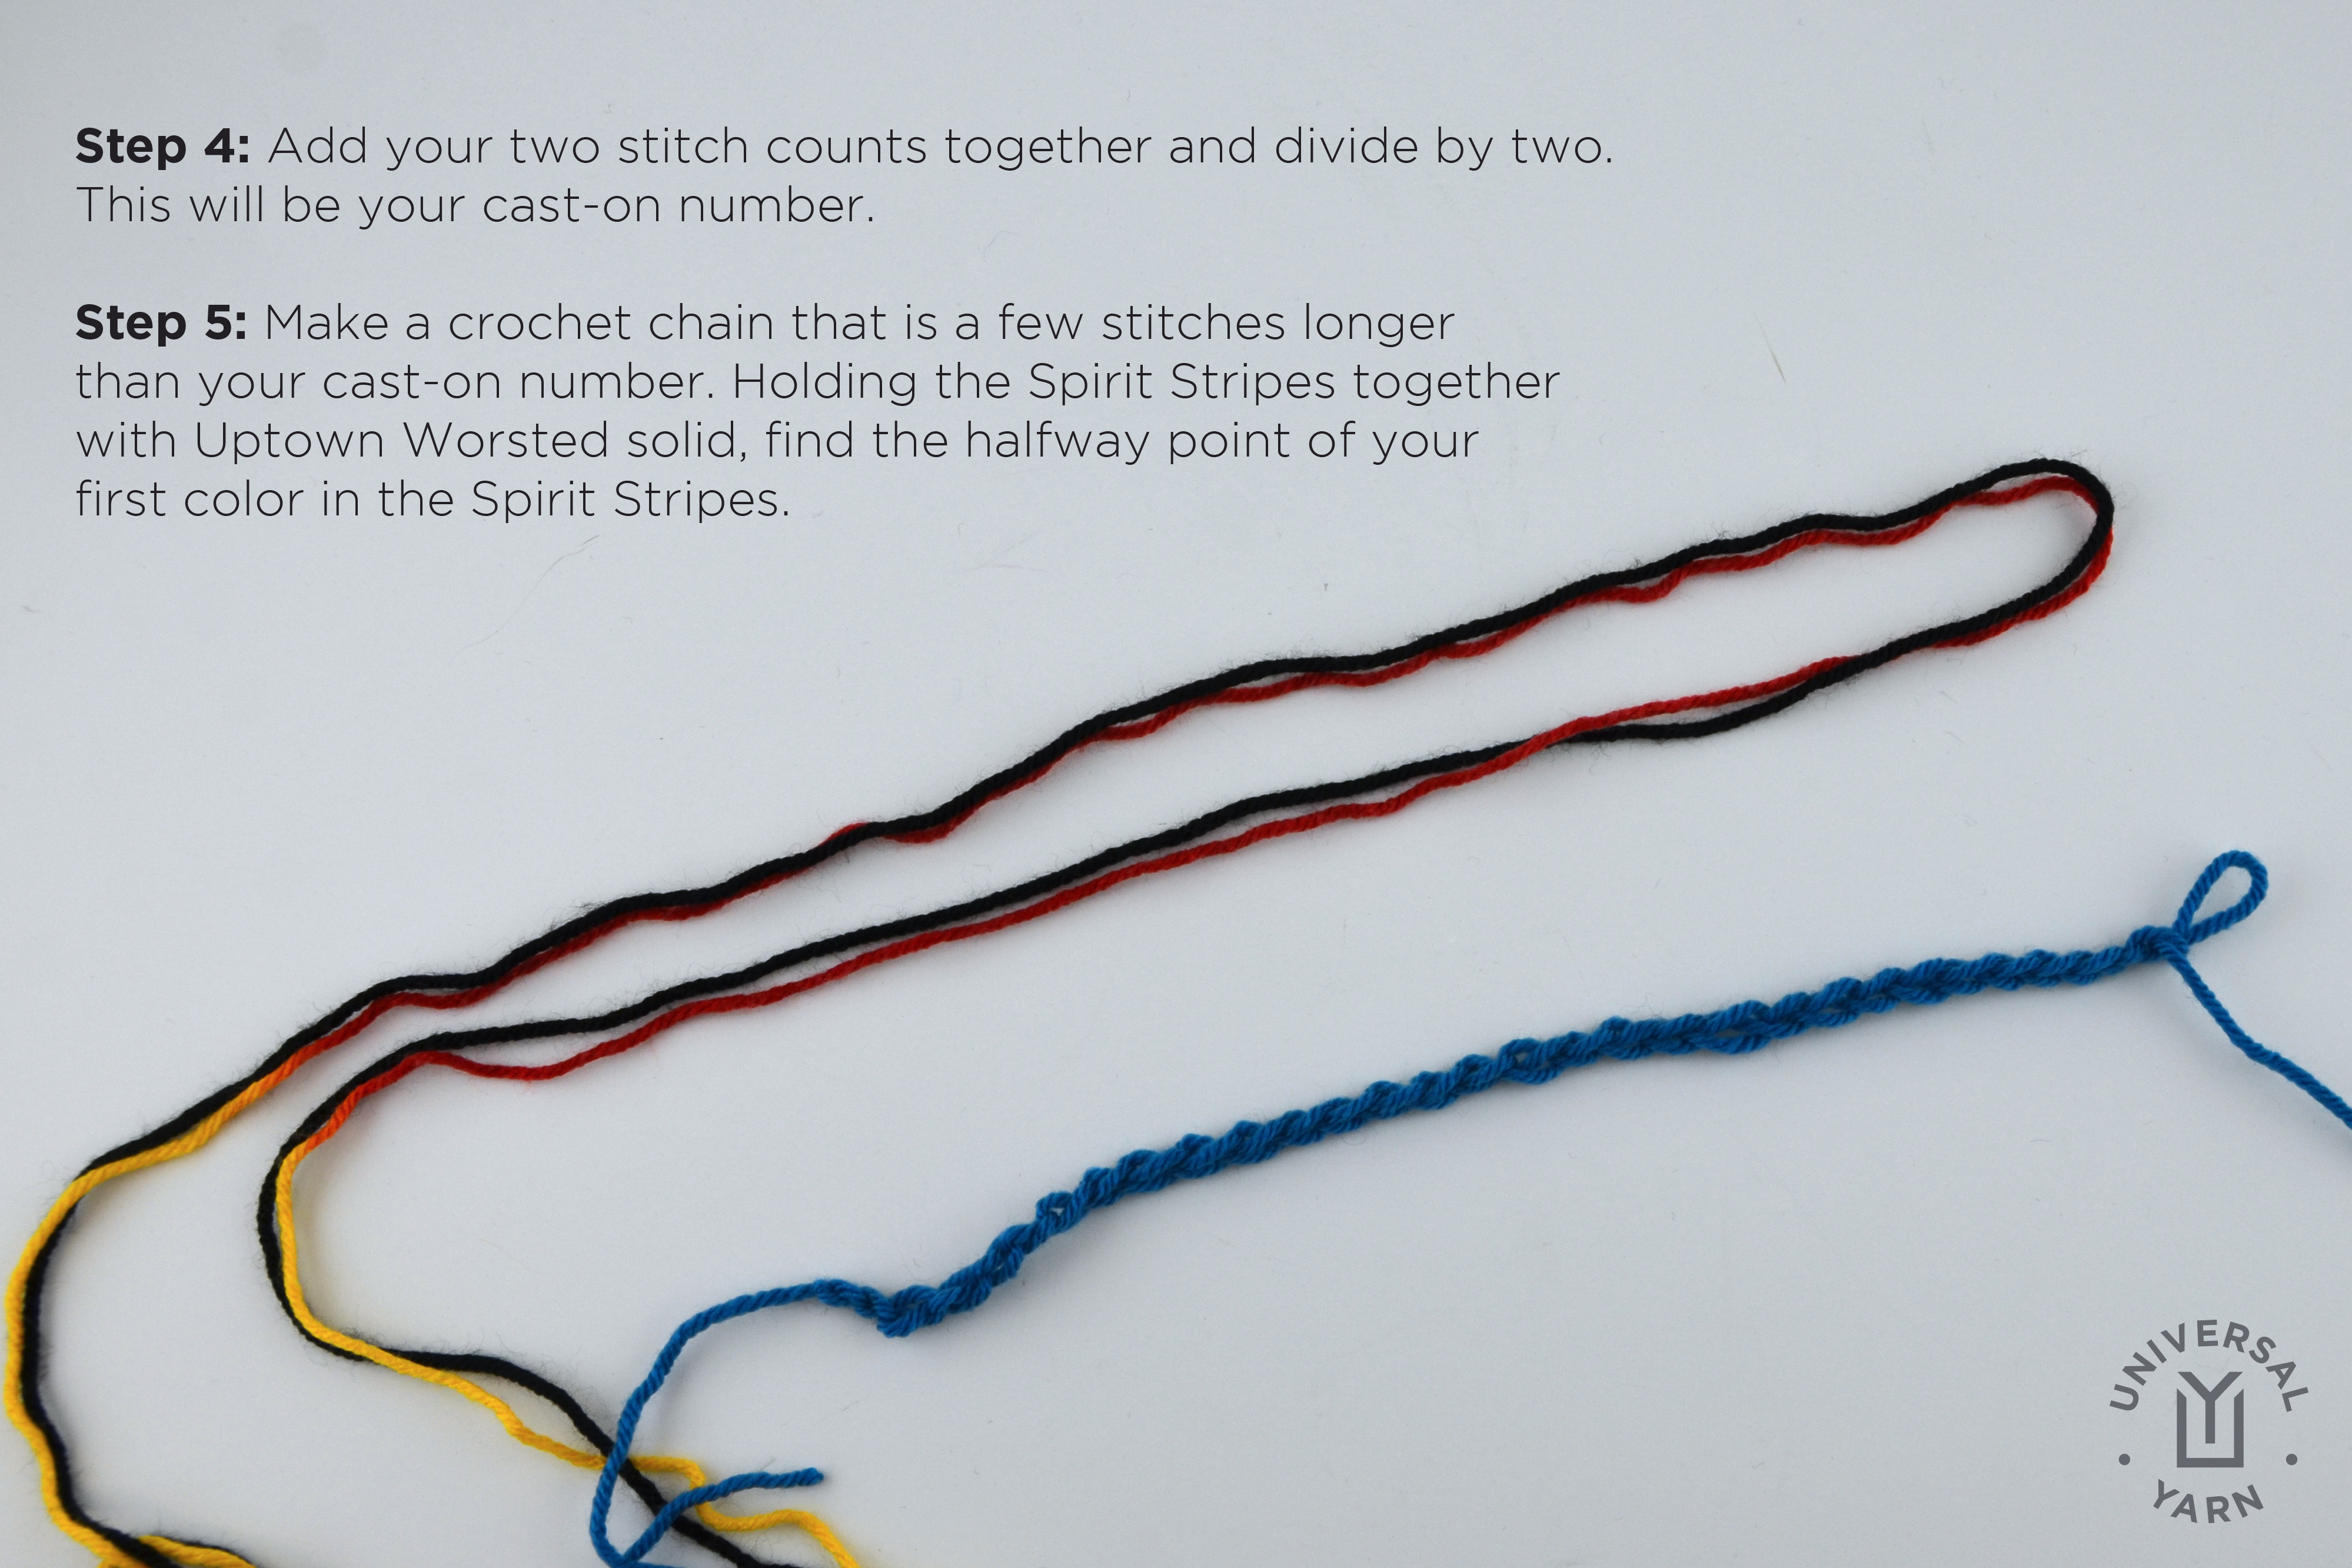
Step 4: Unravel your knitting from above. Add X + Y, then divide in half. The resulting number will be your cast on. Your cast on number should be roughly 24-30 stitches.
Step 5: With waste yarn, make a crochet chain that is several stitches longer than your cast on number. Now, holding both yarns together, from the tail end of the yarns, find a color section a few colors from the end. Find the halfway point of this section of color. Be sure to leave at least a yard or so of tail for binding off later.
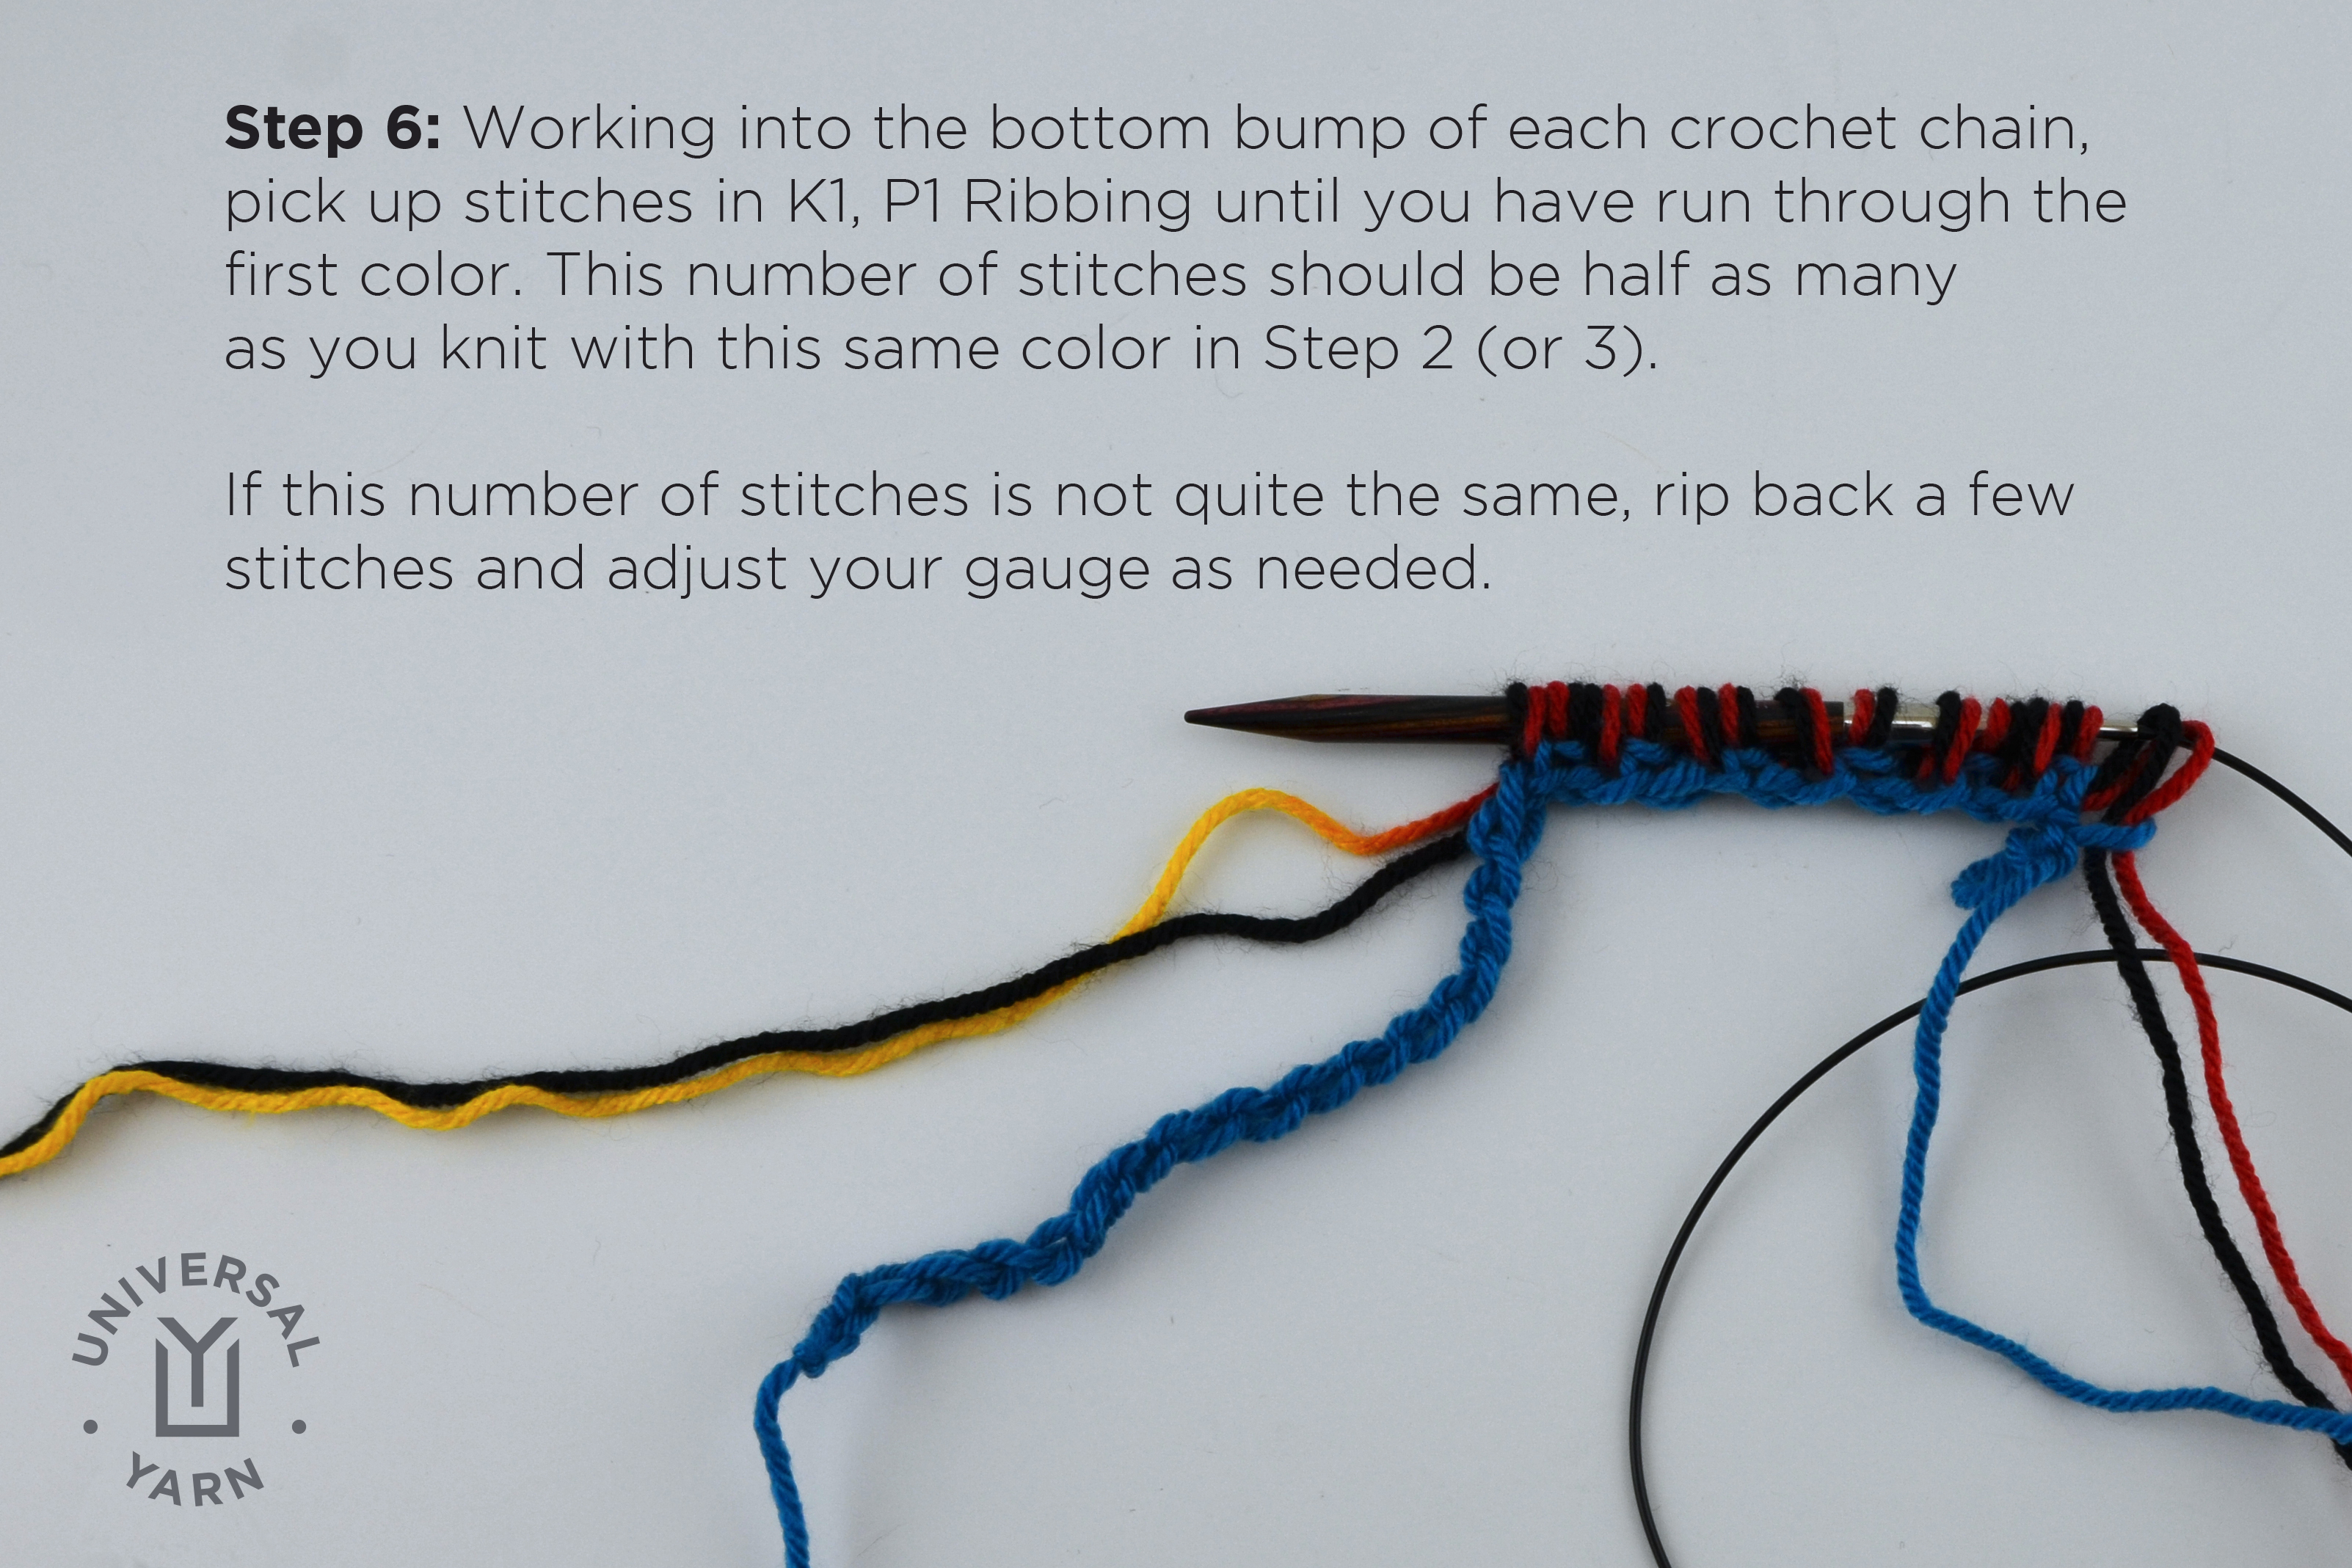
Step 6: Beginning at that halfway point in the first color section, working through the bottom bump of each crochet chain, [pick up and knit 1 stitch, pick up and purl 1 stitch] until you’ve run to the end of this color. The number of stitches you were able to pick up should be half of X (or Y). If you picked up more or fewer stitches before reaching the end of the color change, take out a few stitches and adjust tension as needed.
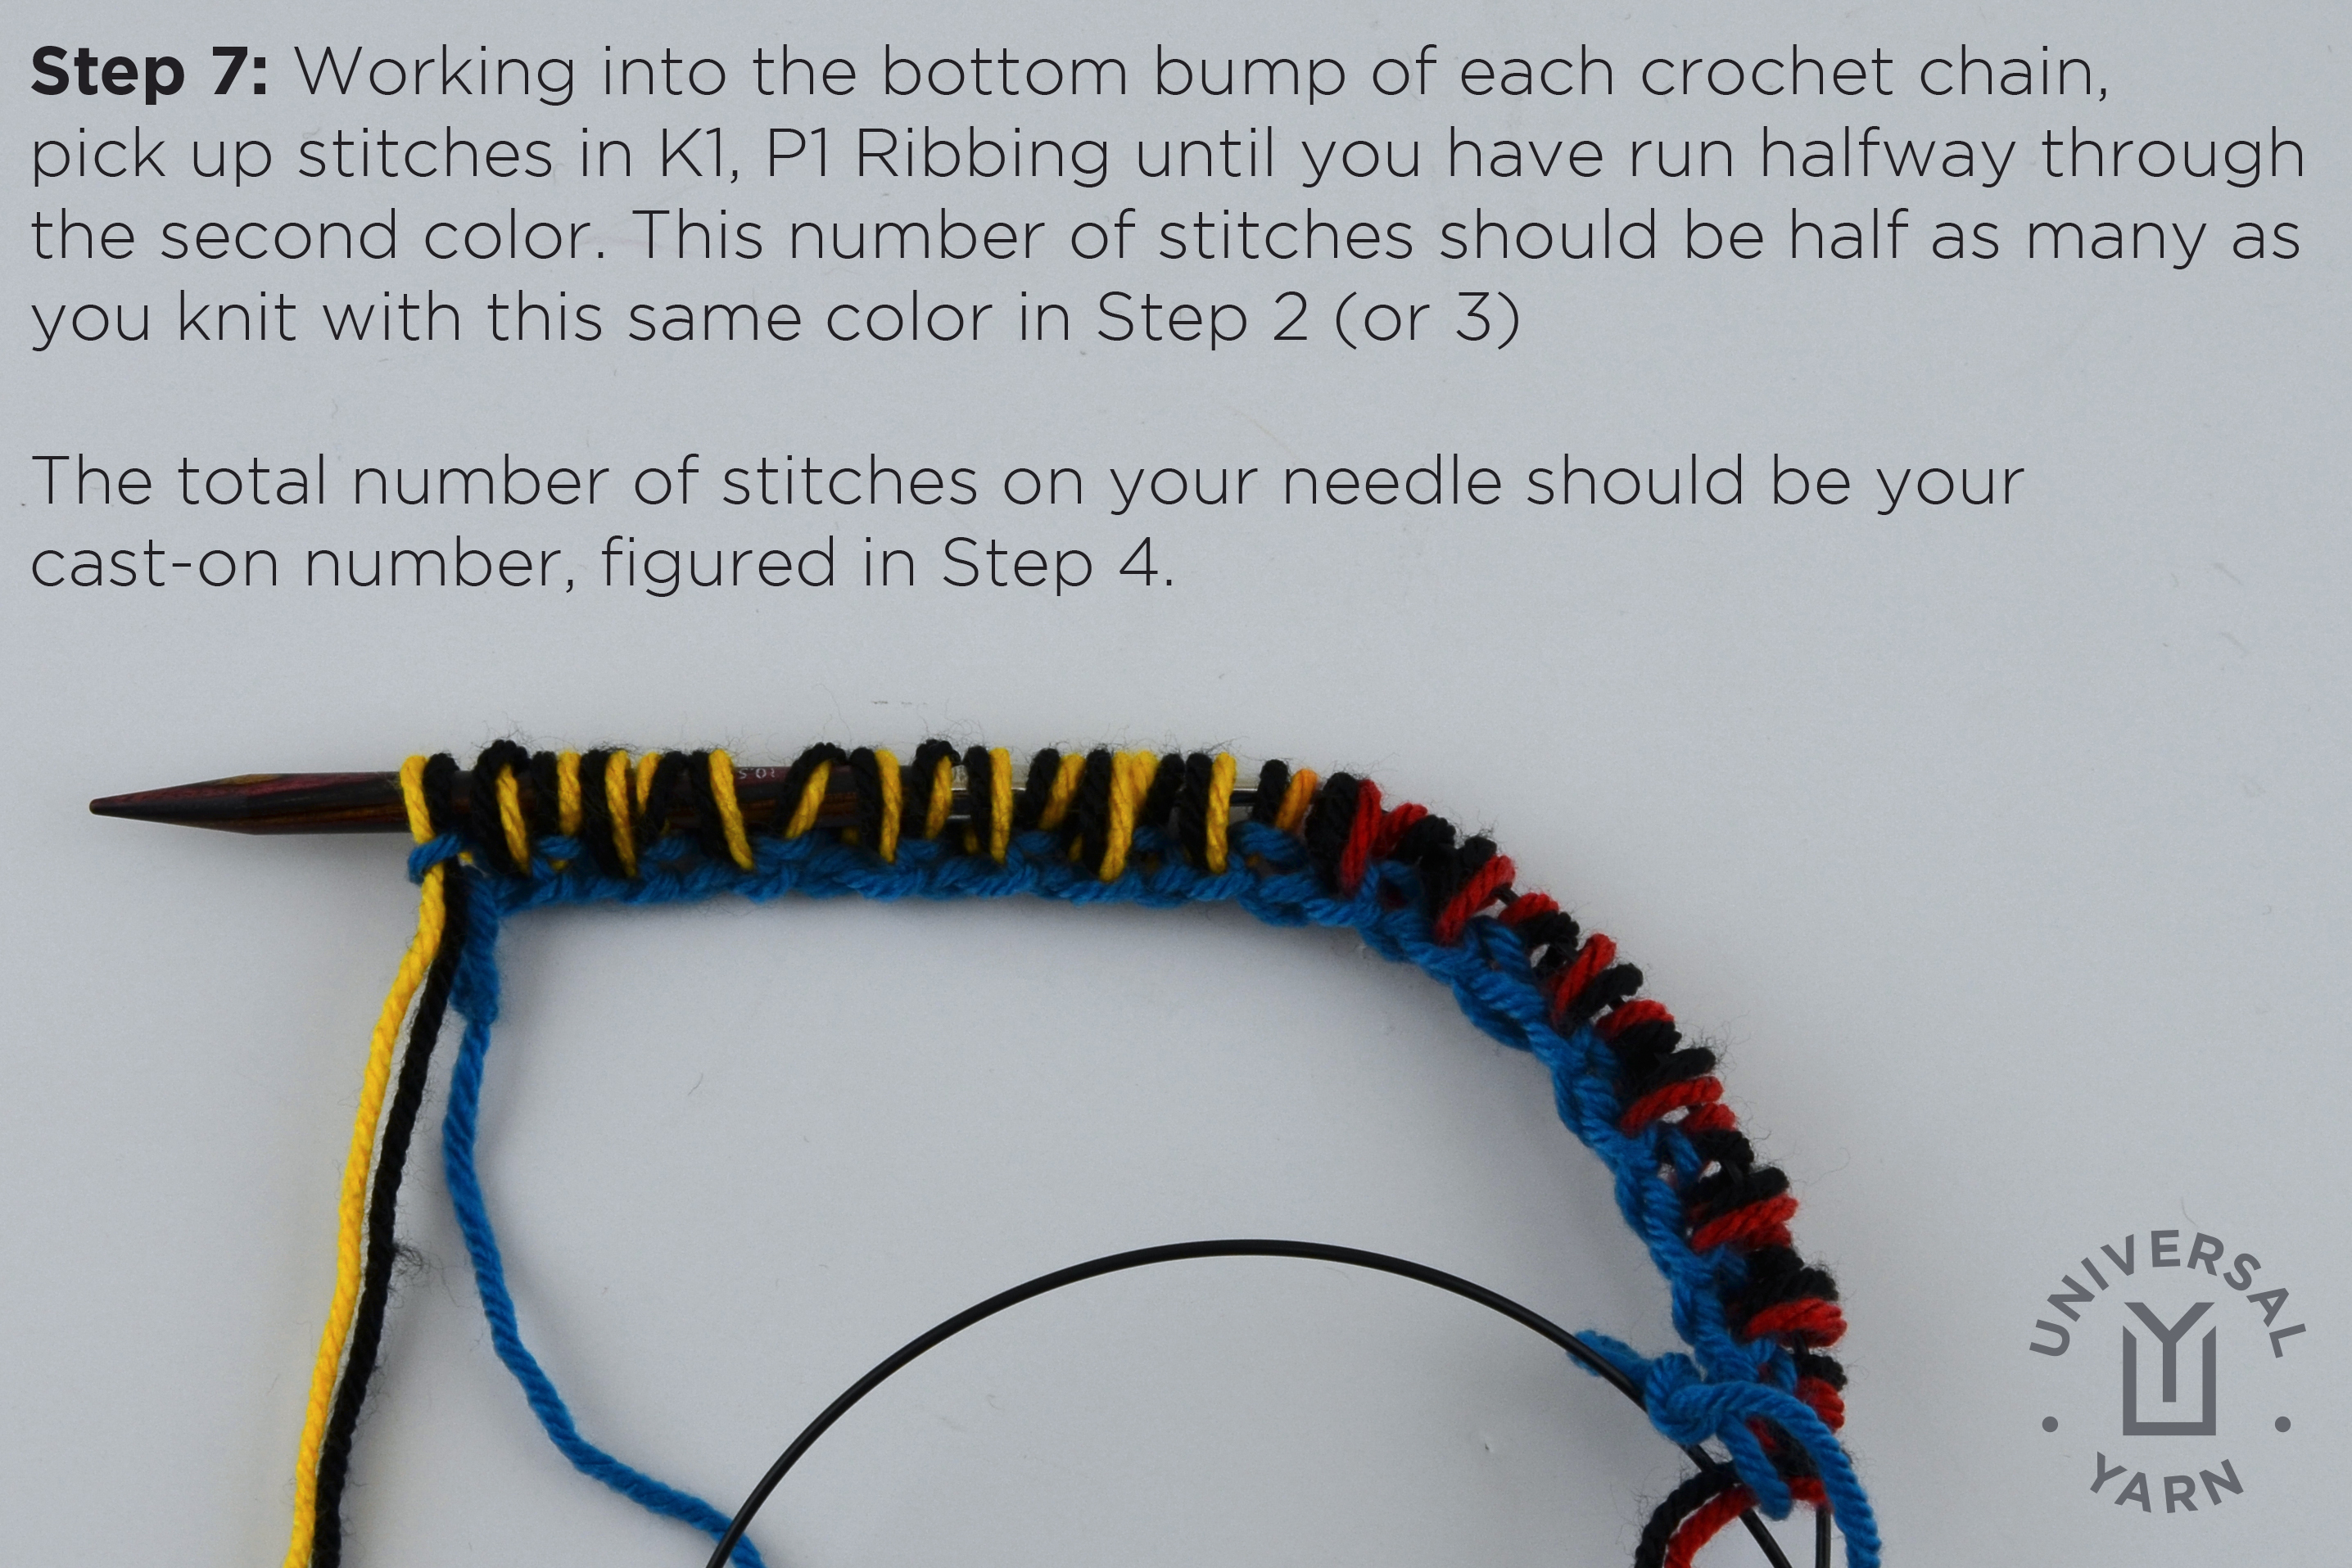
Step 7: Continuing where you left off in the rib sequence (you may have left off with either a pick up and knit or pick up and purl), pick up stitches in K1, P1 Ribbing until you have run halfway through the second color. This number should be half of X (or Y). If it is not, take out a few stitches and adjust your tension.
The total number of stitches on your needle should be the cast-on number figured in Step 4, or X + Y divided by 2.
Step 8: Now it’s time for the fun part – the knitting! Turn your work. Work in K1, P1 Ribbing until you reach the end of that color. Your last stitch in this color (shown yellow below) should fall right on top of the first stitch yellow stitch. If it doesn’t, take a few stitches out and adjust your tension.

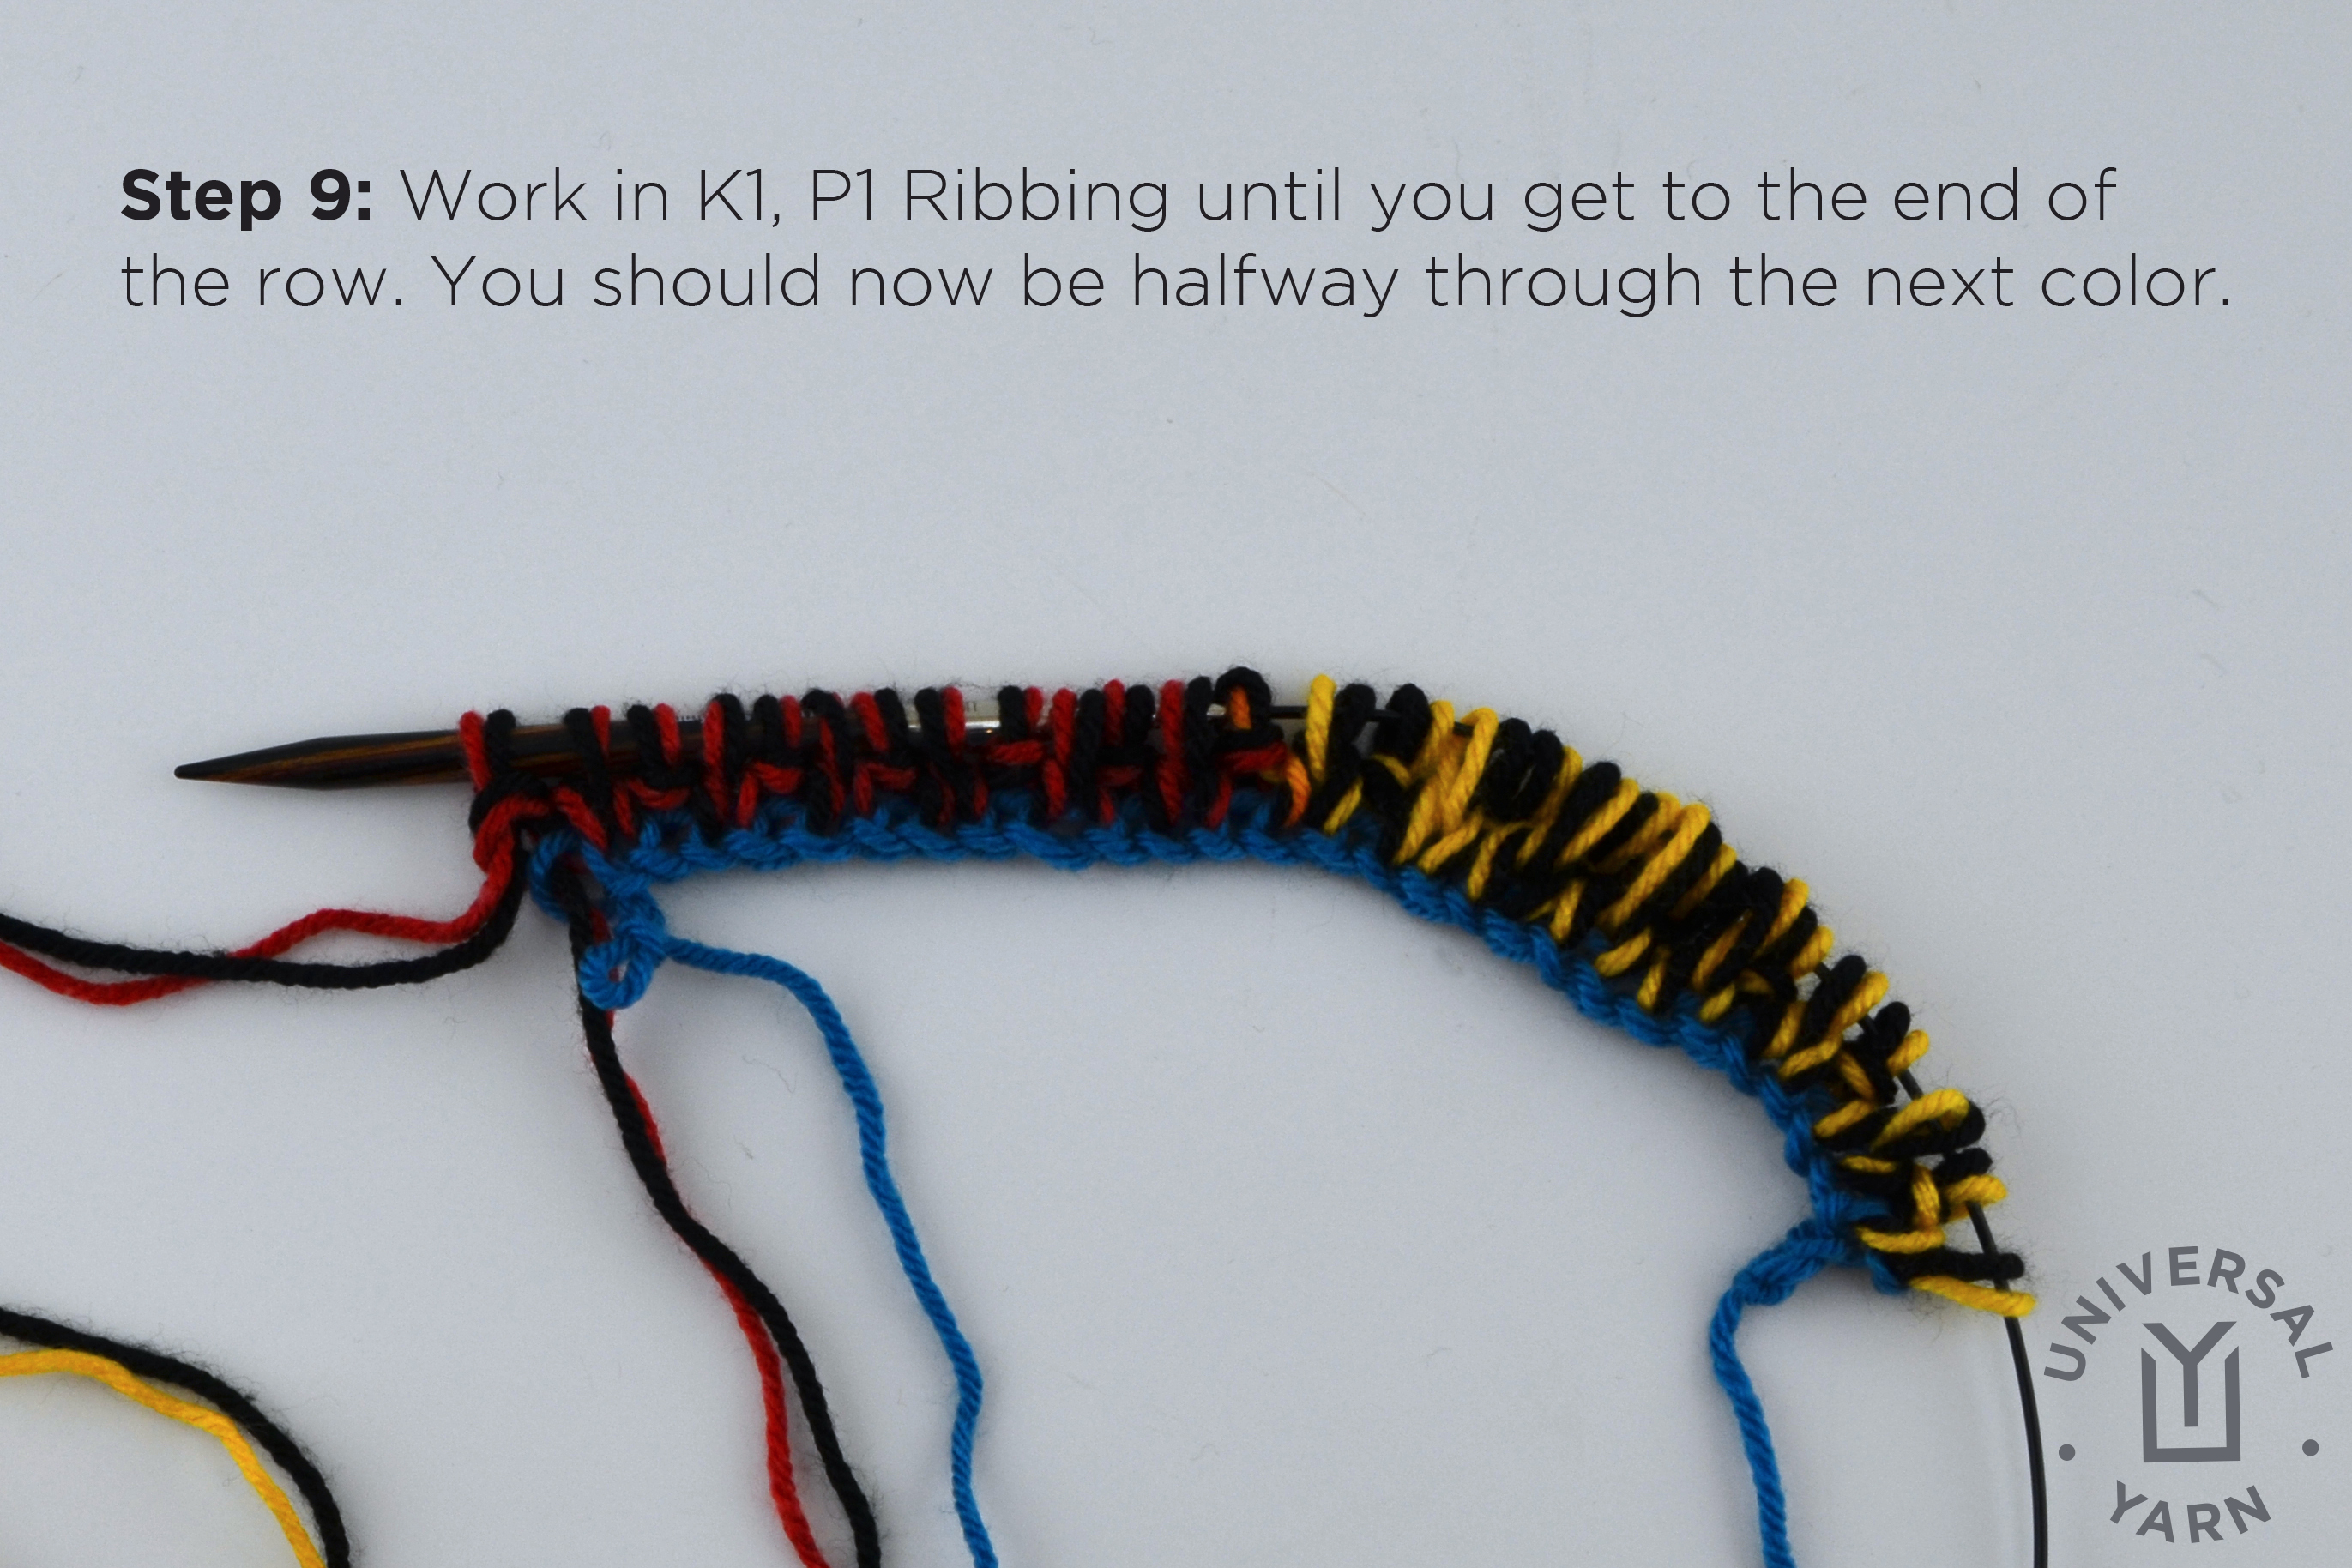
Step 9: Continue in K1, P1 Ribbing to the end of the row. You should now be halfway through the second color (shown red below).
Repeat Steps 8 & 9 until you have about 1 yard of yarn left, enough to bind off.
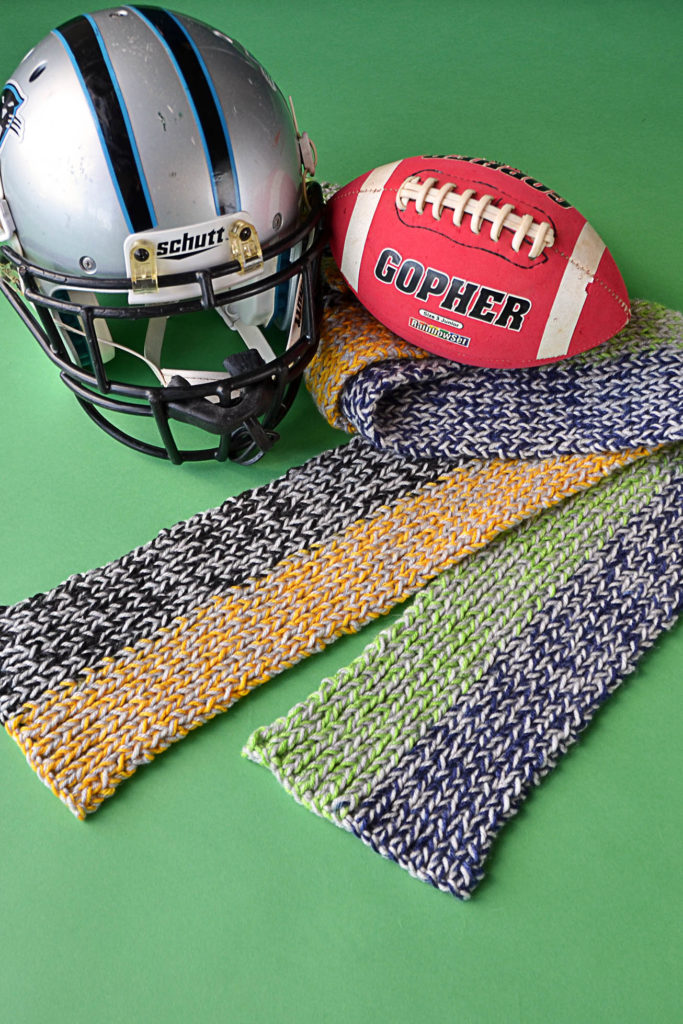
Here is another version of the scarf, a little further along:
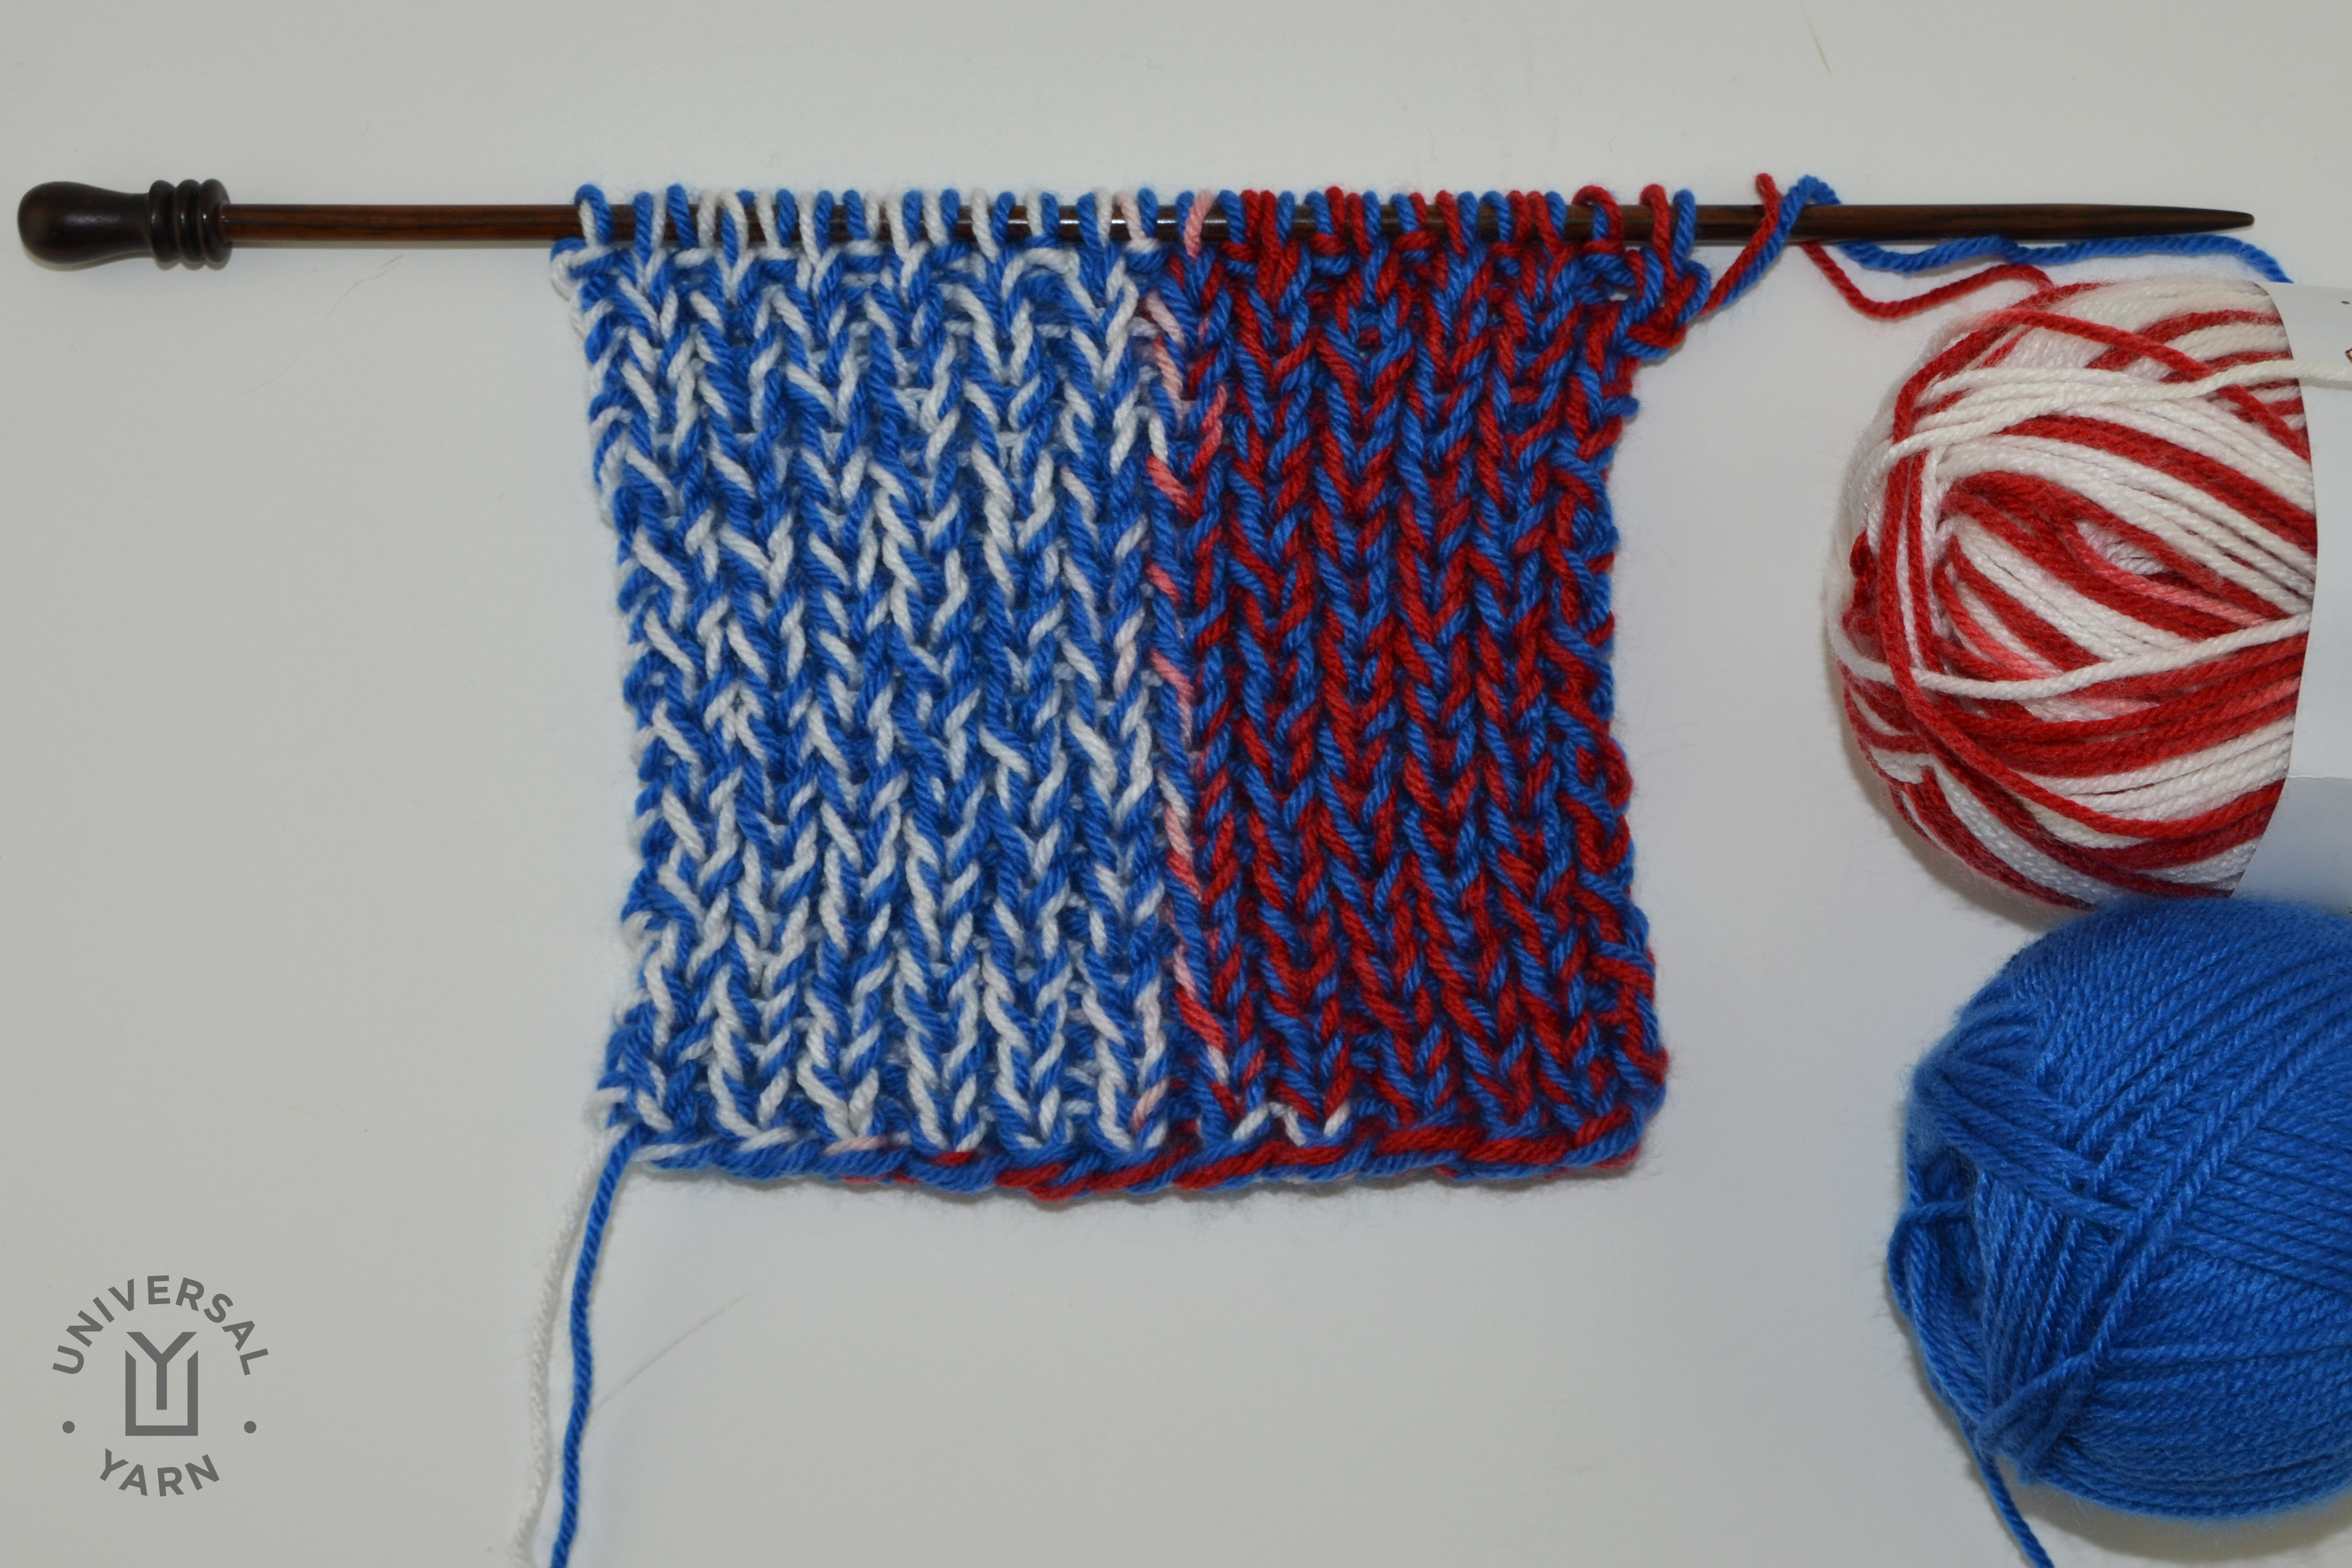
You can see that the midway point between the colors is not perfect – and that’s okay! Just be sure not to get too far off track with your alignment of the colors, or it will be tougher to correct when you get farther into the scarf.
Pick your team, choose your colors, and get knitting!