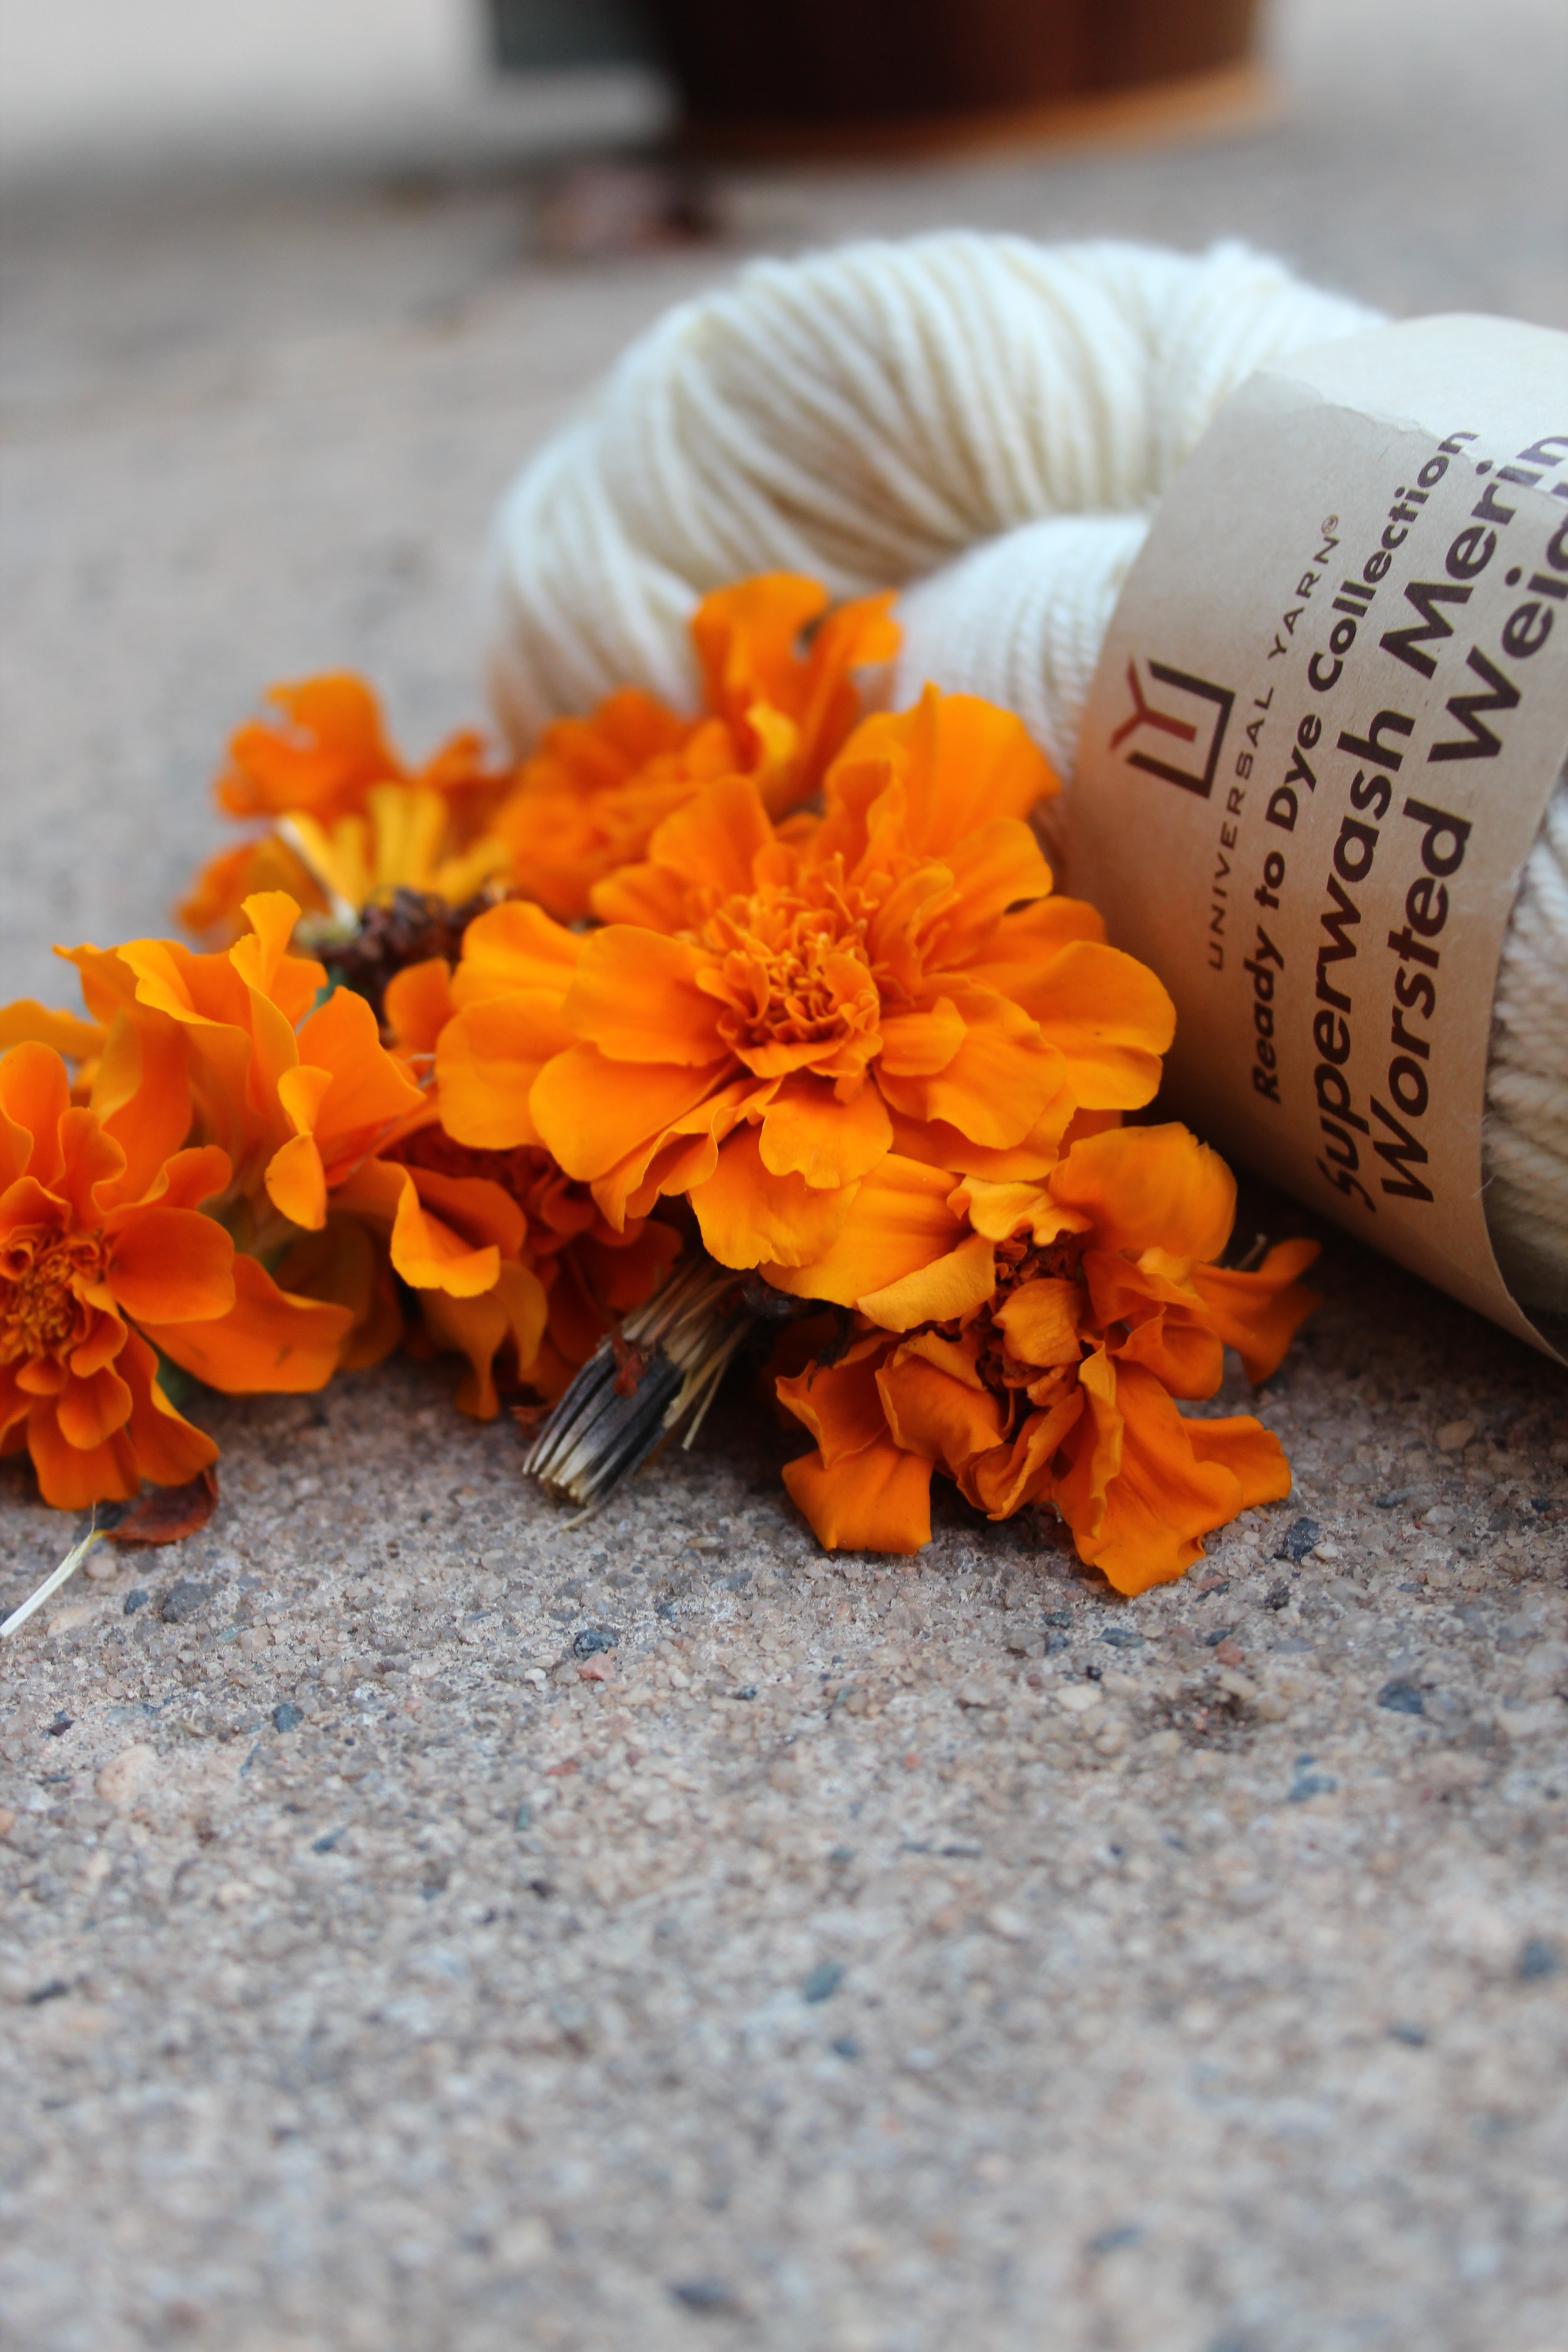

Happy Halloween! Nothing will make you feel as though you’re creating a witches’ brew like dyeing with lichen. It’s a unique way to get into the holiday spirit.
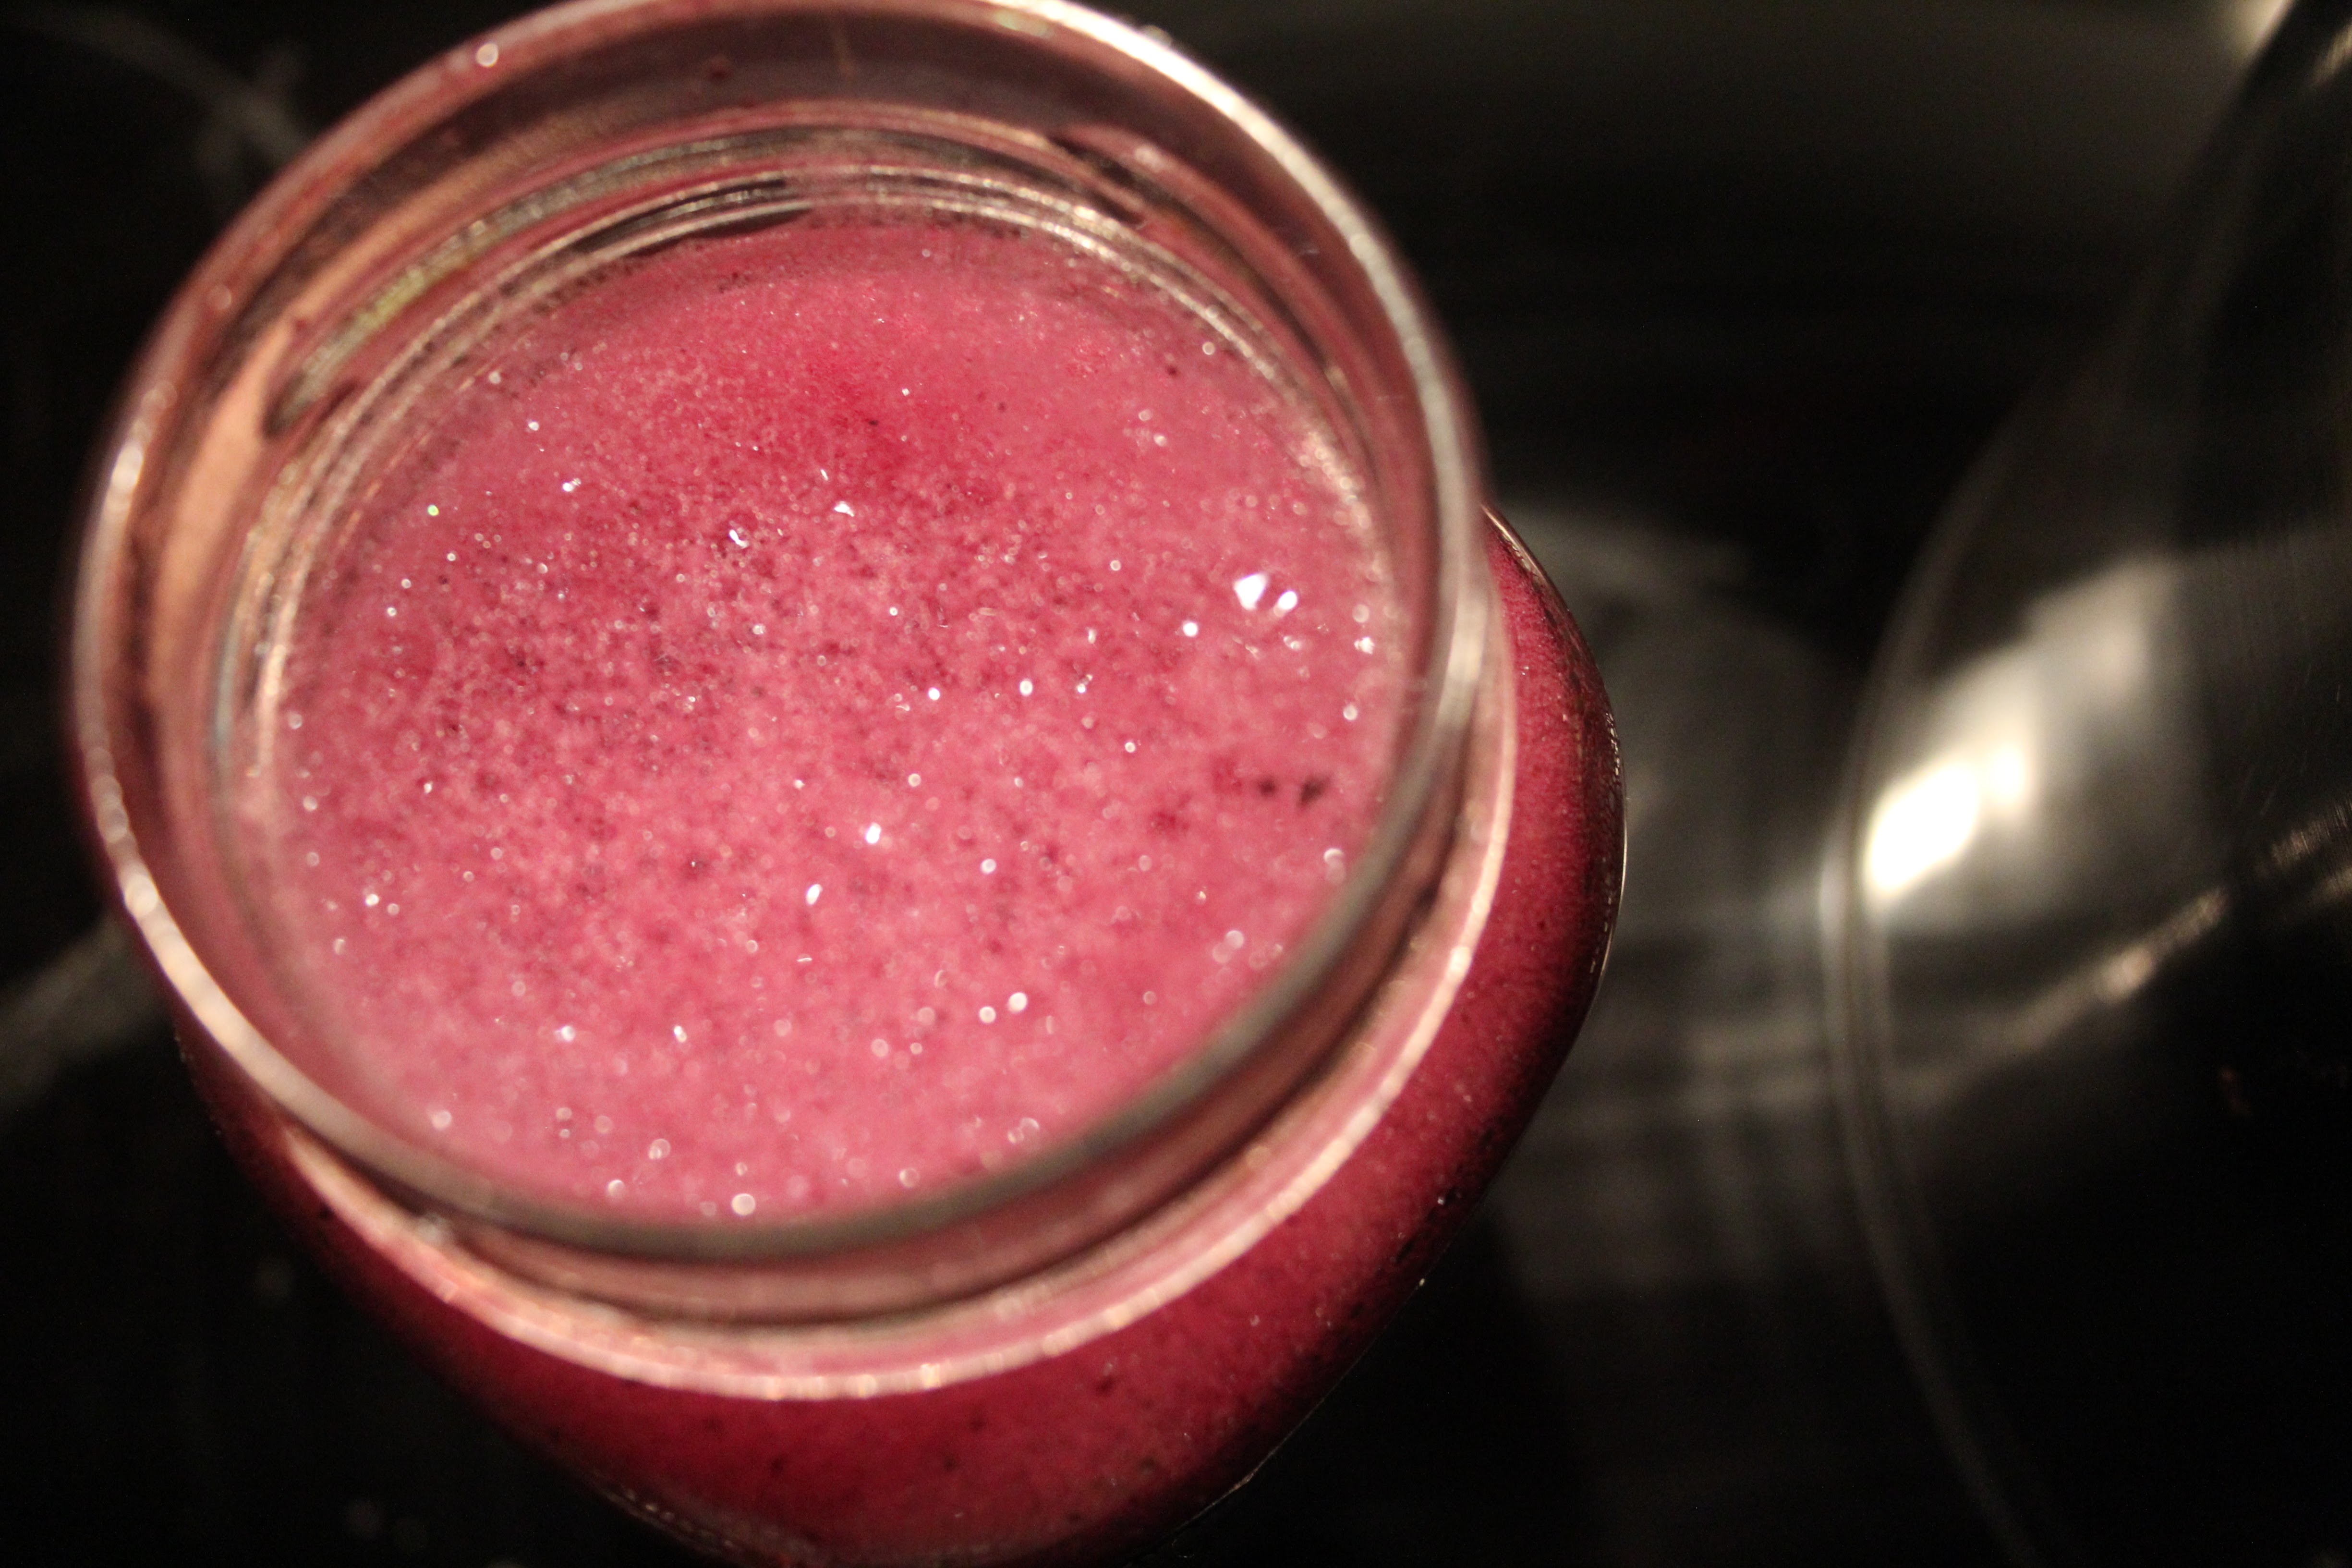
In the second installment of the Natural Dye series, I’m going to show you how to use lichens as a natural dye. If you thought the marigold dye from Part I was fun, you will love this installment. Remember the foamy, magenta liquid in the jar from Part I? That’s the lichen dye.
This dye takes about a month to prepare, but it is well worth the wait. Something about it is magical because you’d never expect such a vibrant color to come from a leathery, grey-brown lichen.
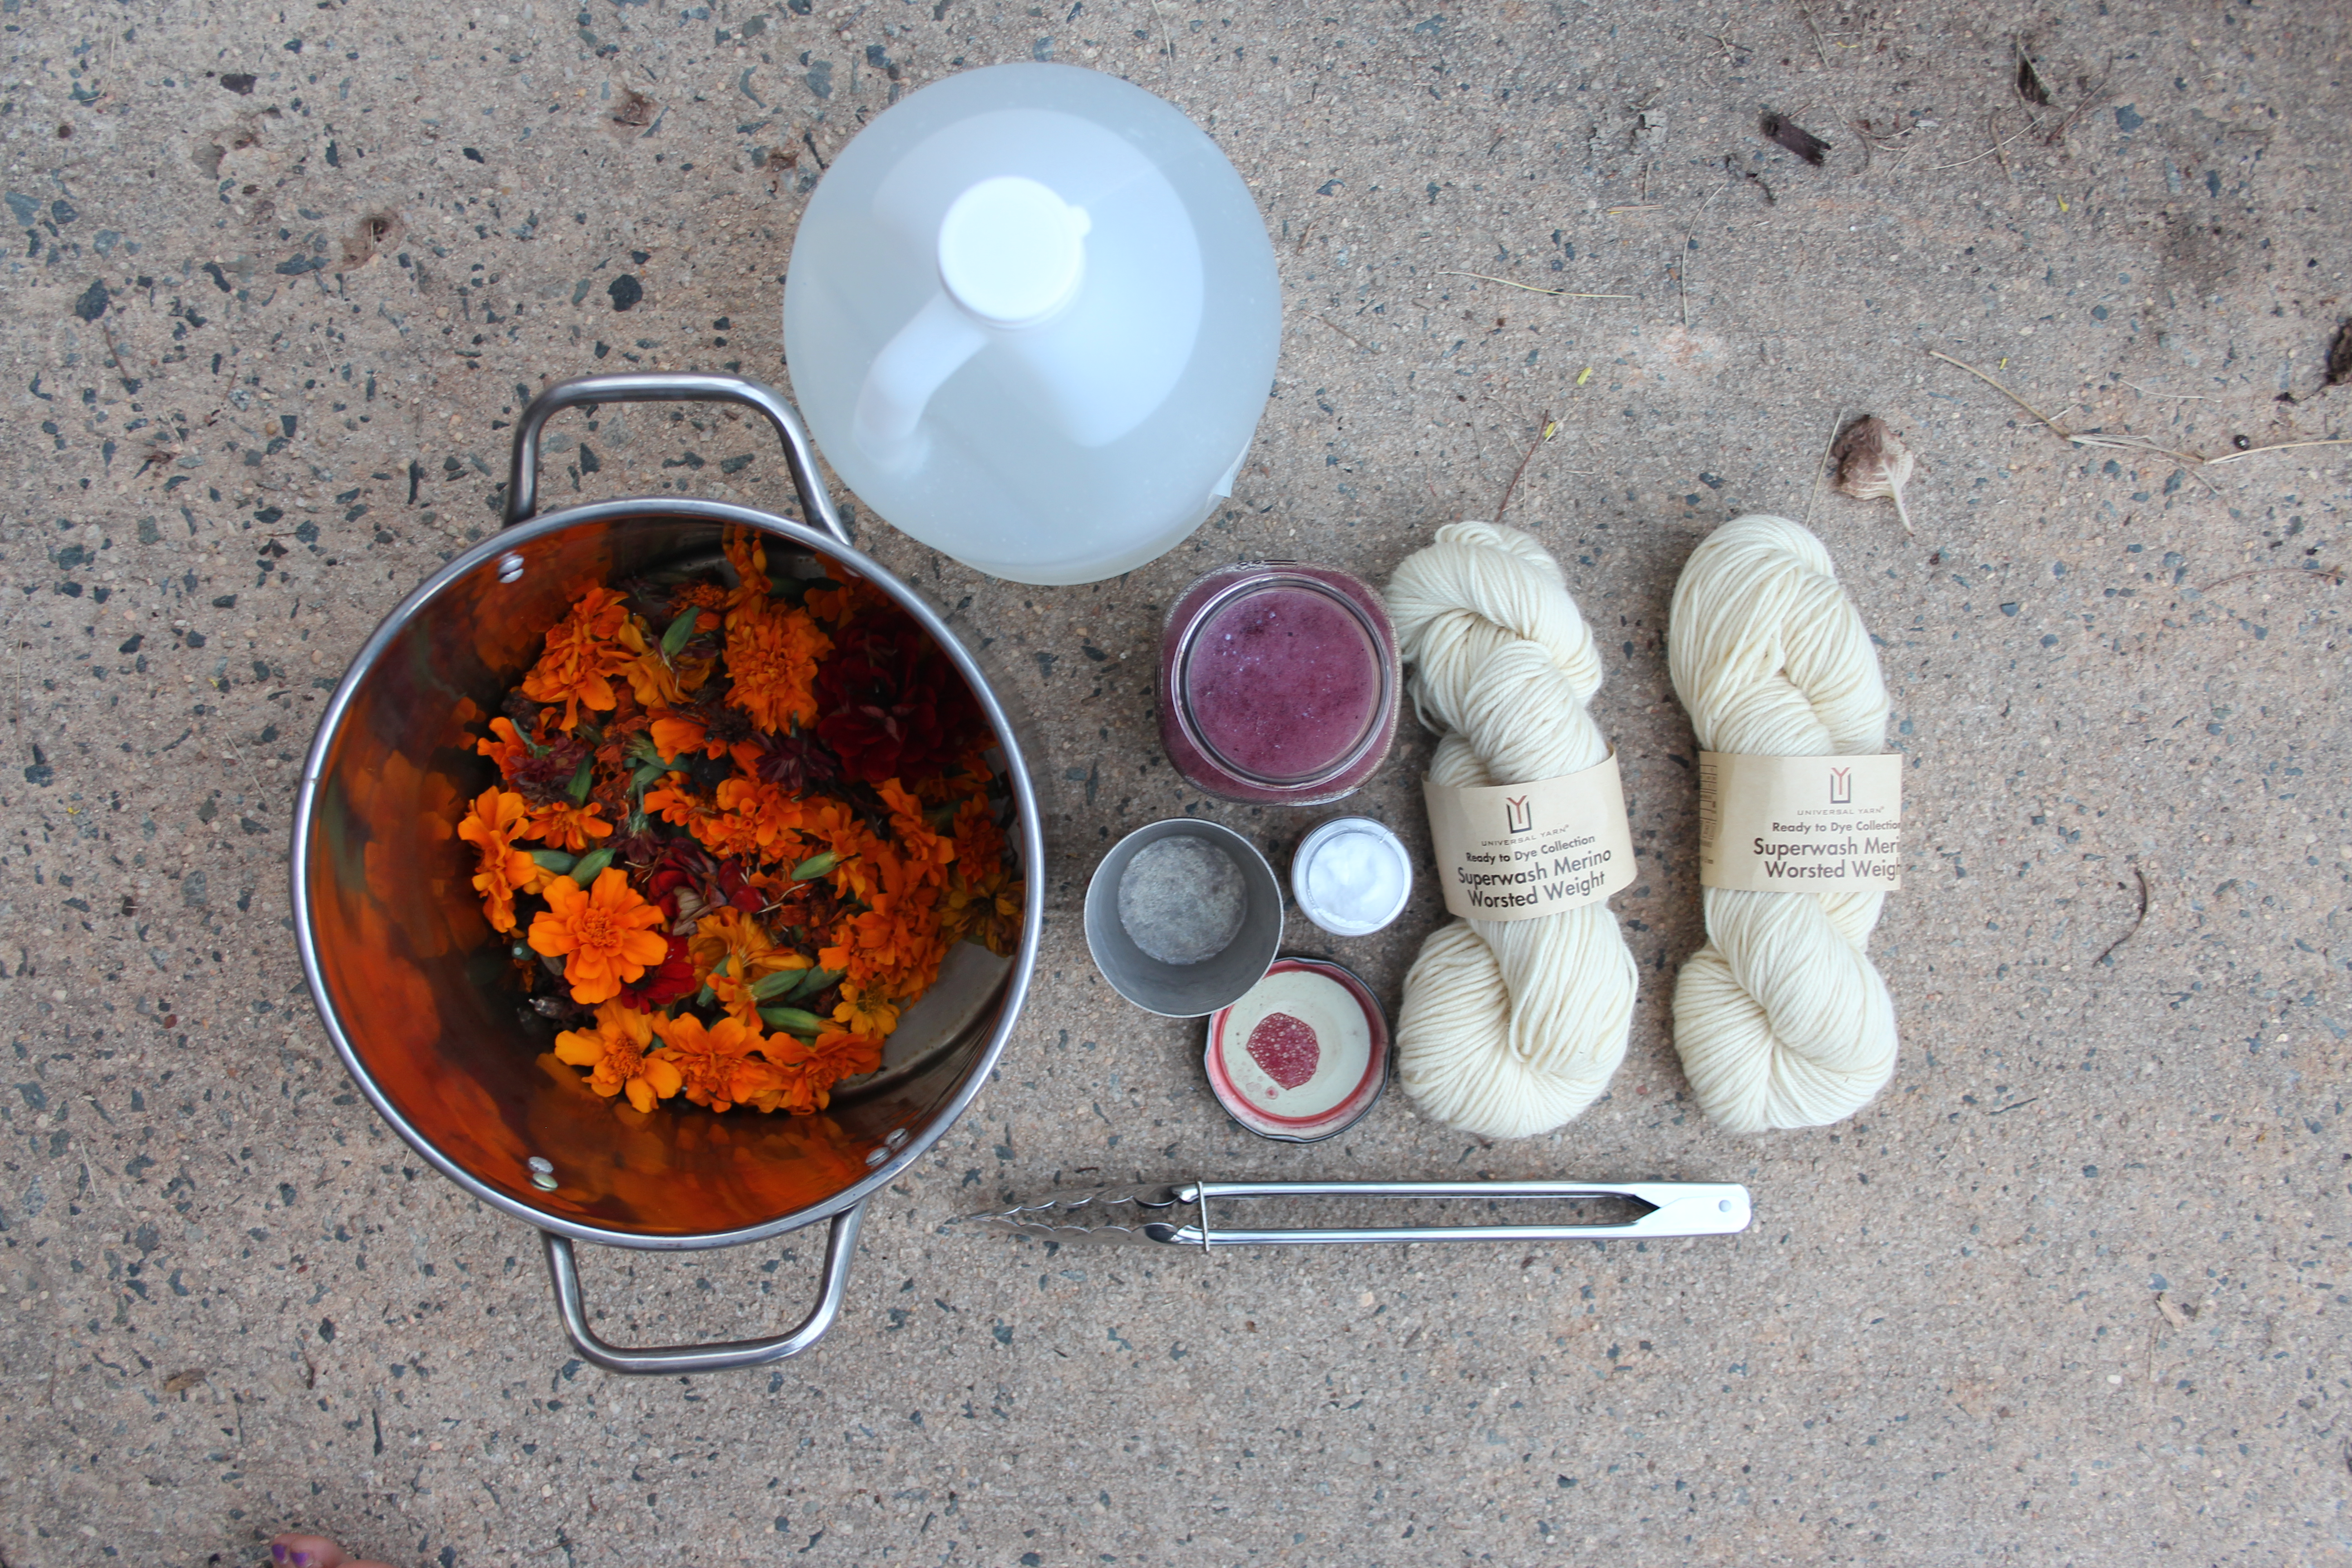
For today’s tutorial you’ll need:
- A glass jar – canning jars or recycled sauce jars are perfect
- Measuring cups
- Ammonia
- Water
- A handful of umbilicaria pepulosa (pictured below) – this type of lichen is abundant on boulders, and there are several variations. For results closest to mine, try to find this lichen. You may achieve different results with another variation, but that is part of the fun of natural dyeing!
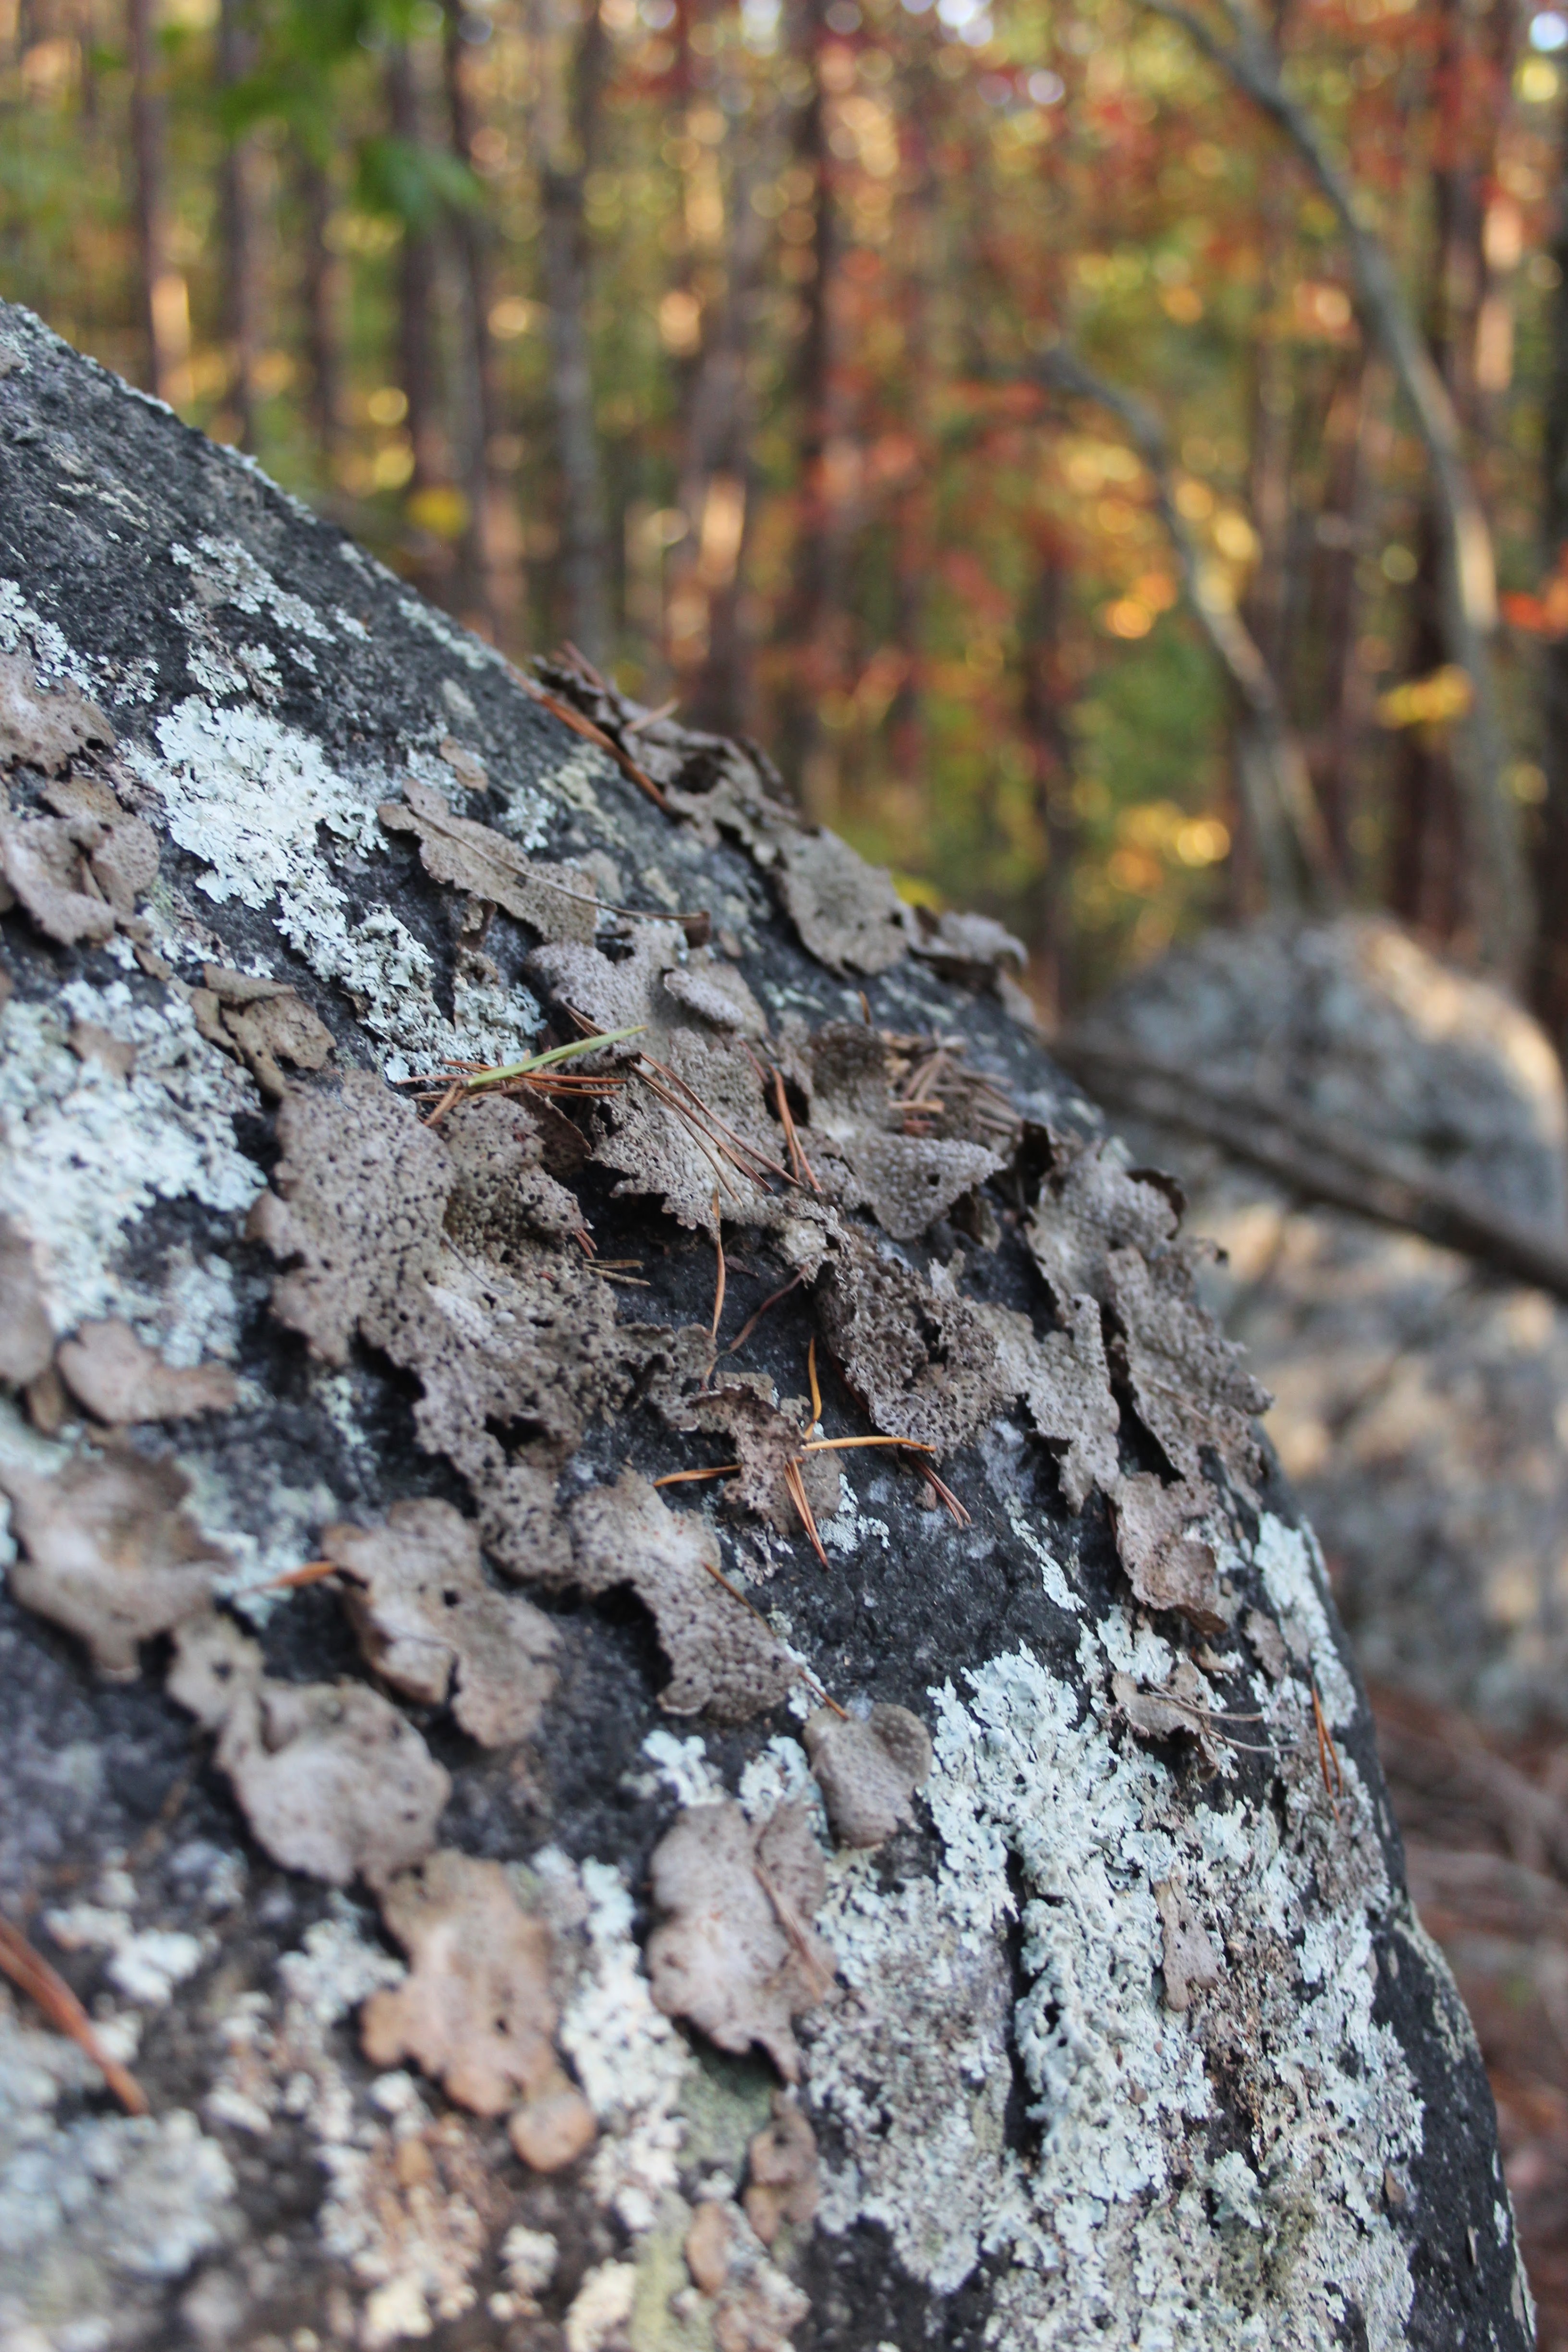
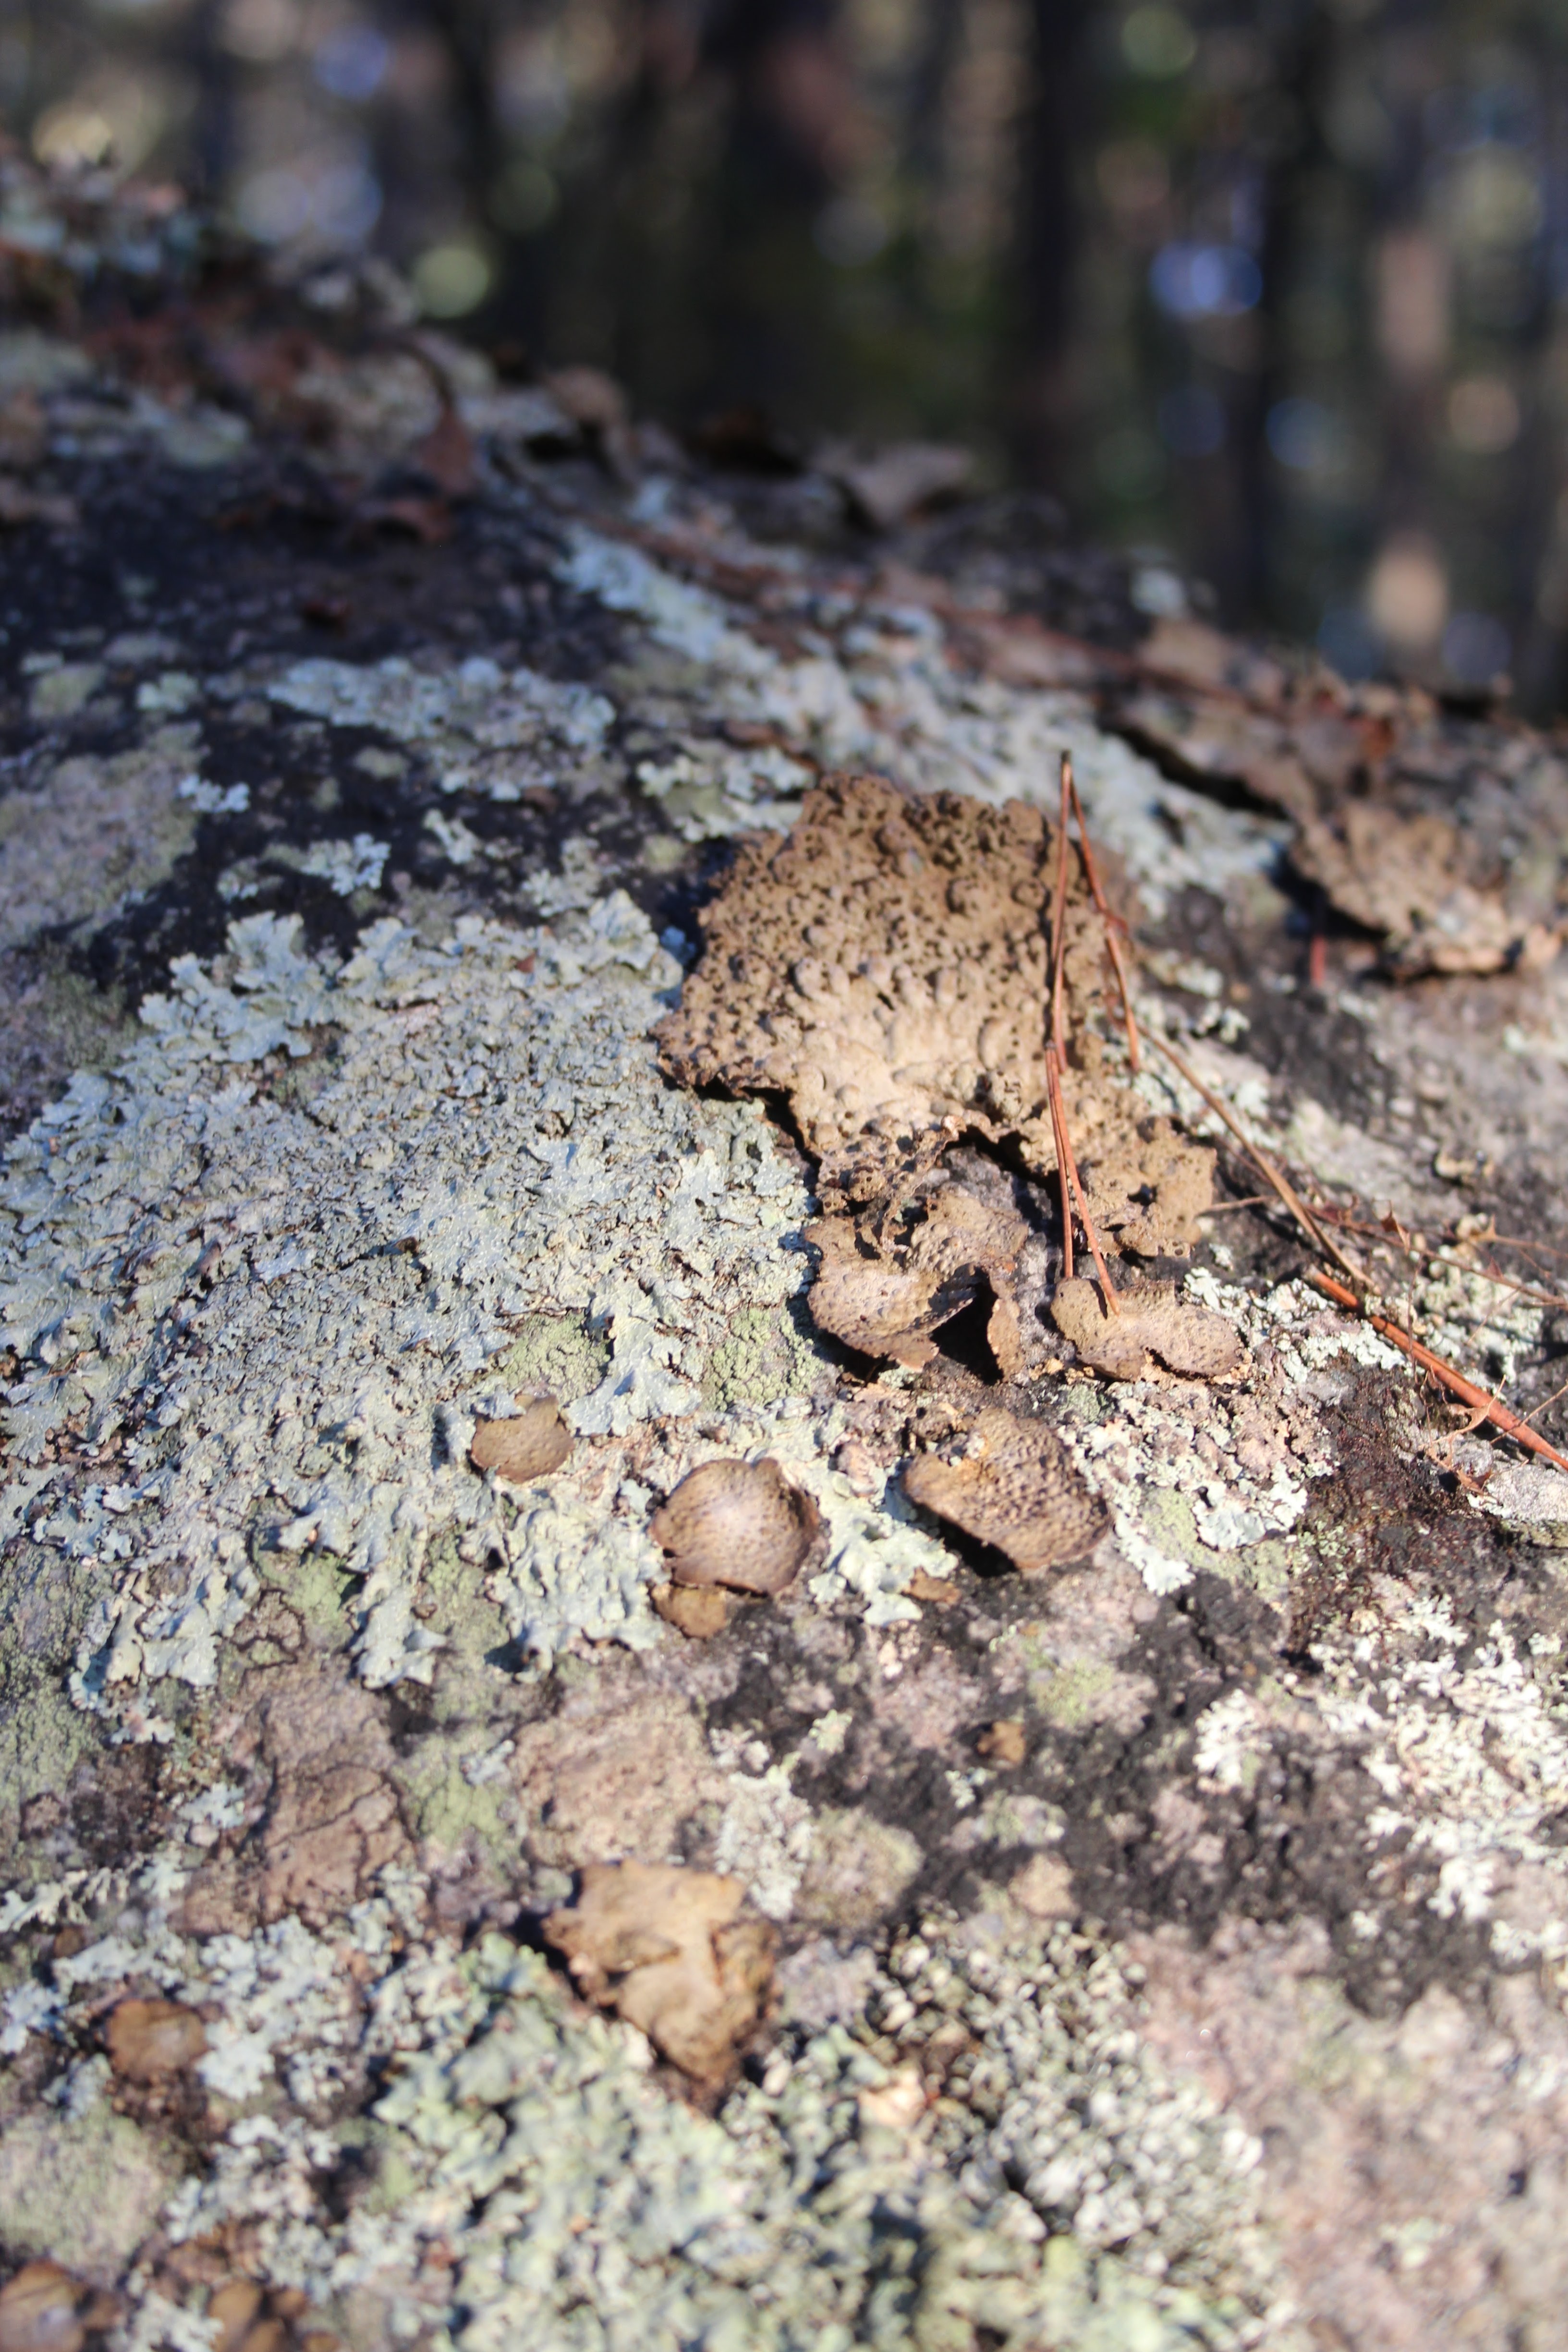
Before you get started, I want to include a note on ethics and lichen dyes. Unlike our marigold tutorial, in which I grew and harvested my own plants, lichen dyeing requires you to search public and/or forested land. Be considerate and mindful of your impact on the land and how you may be disturbing the ecosystem. Do not collect more than you’ll need – a little goes a long way. Avoid scraping lichen from stones as much as possible as lichen is slow-growing and may not regenerate. I went out on a windy day over the weekend and found more than enough on the ground surrounding the boulders.
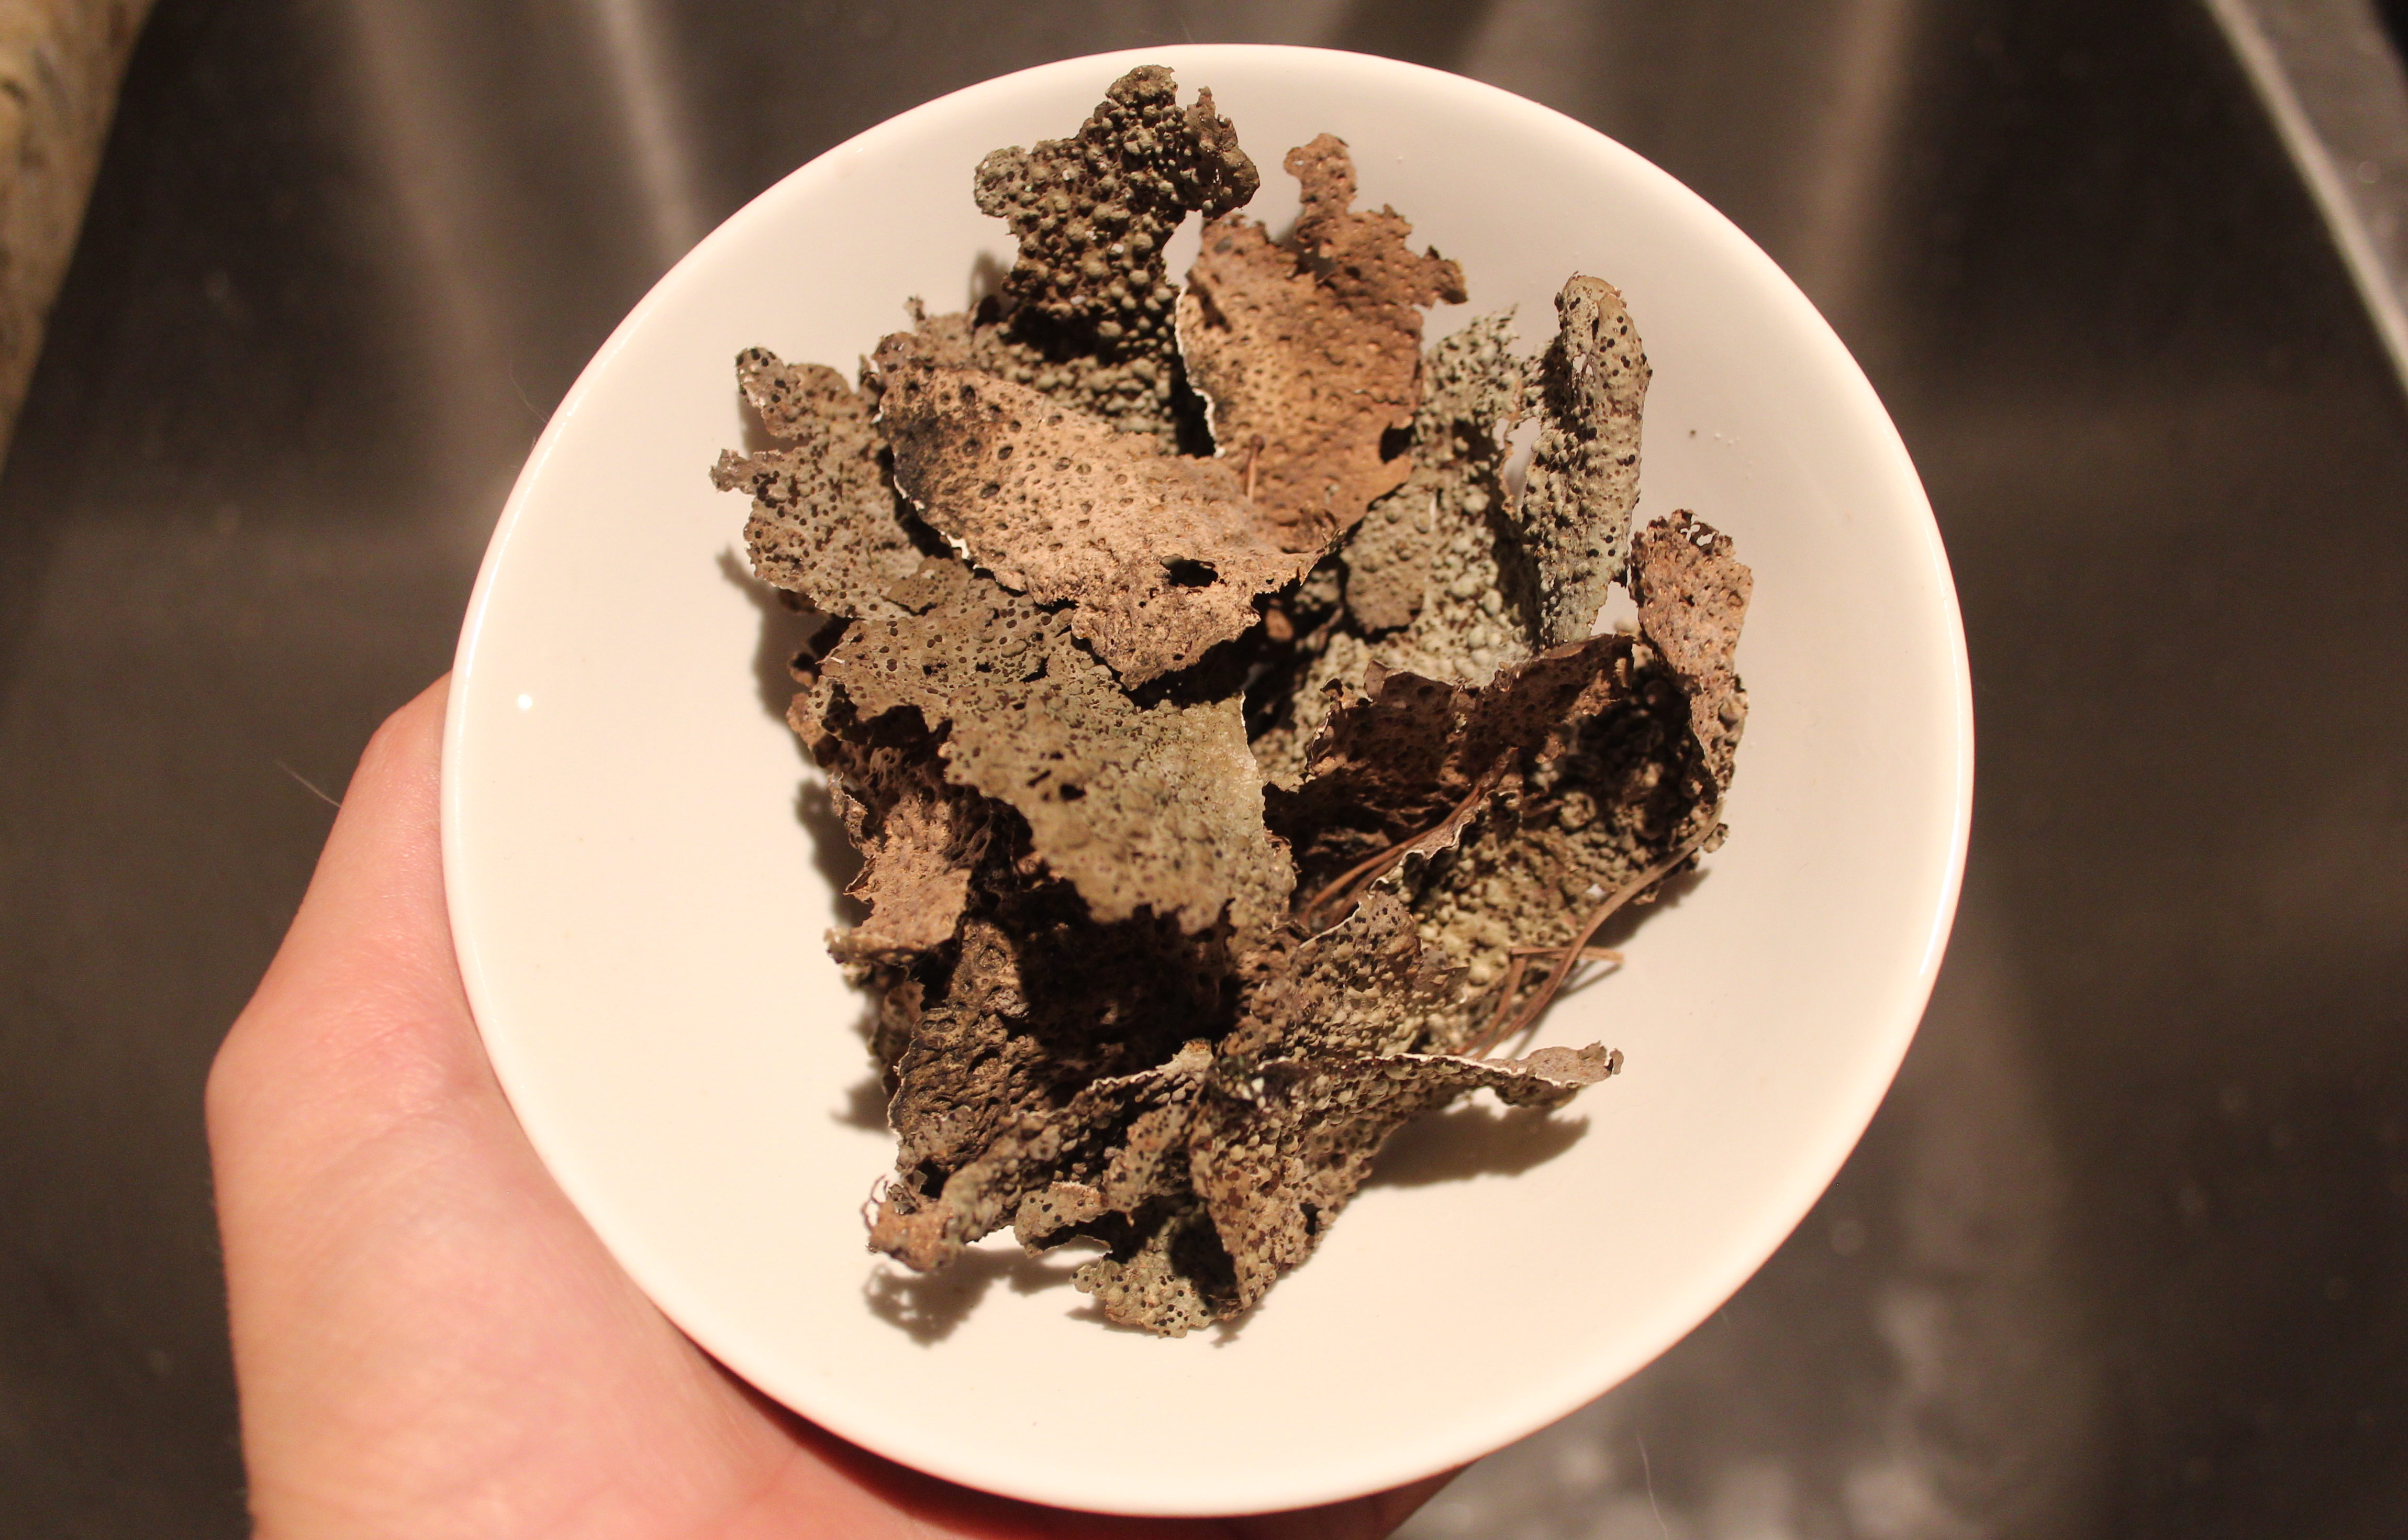
Once you have your lichen, you’re ready to go. To achieve a magenta dye from umbilicaria, an ammonia extraction is required. After you’ve collected your lichen, place your handful into a jar.
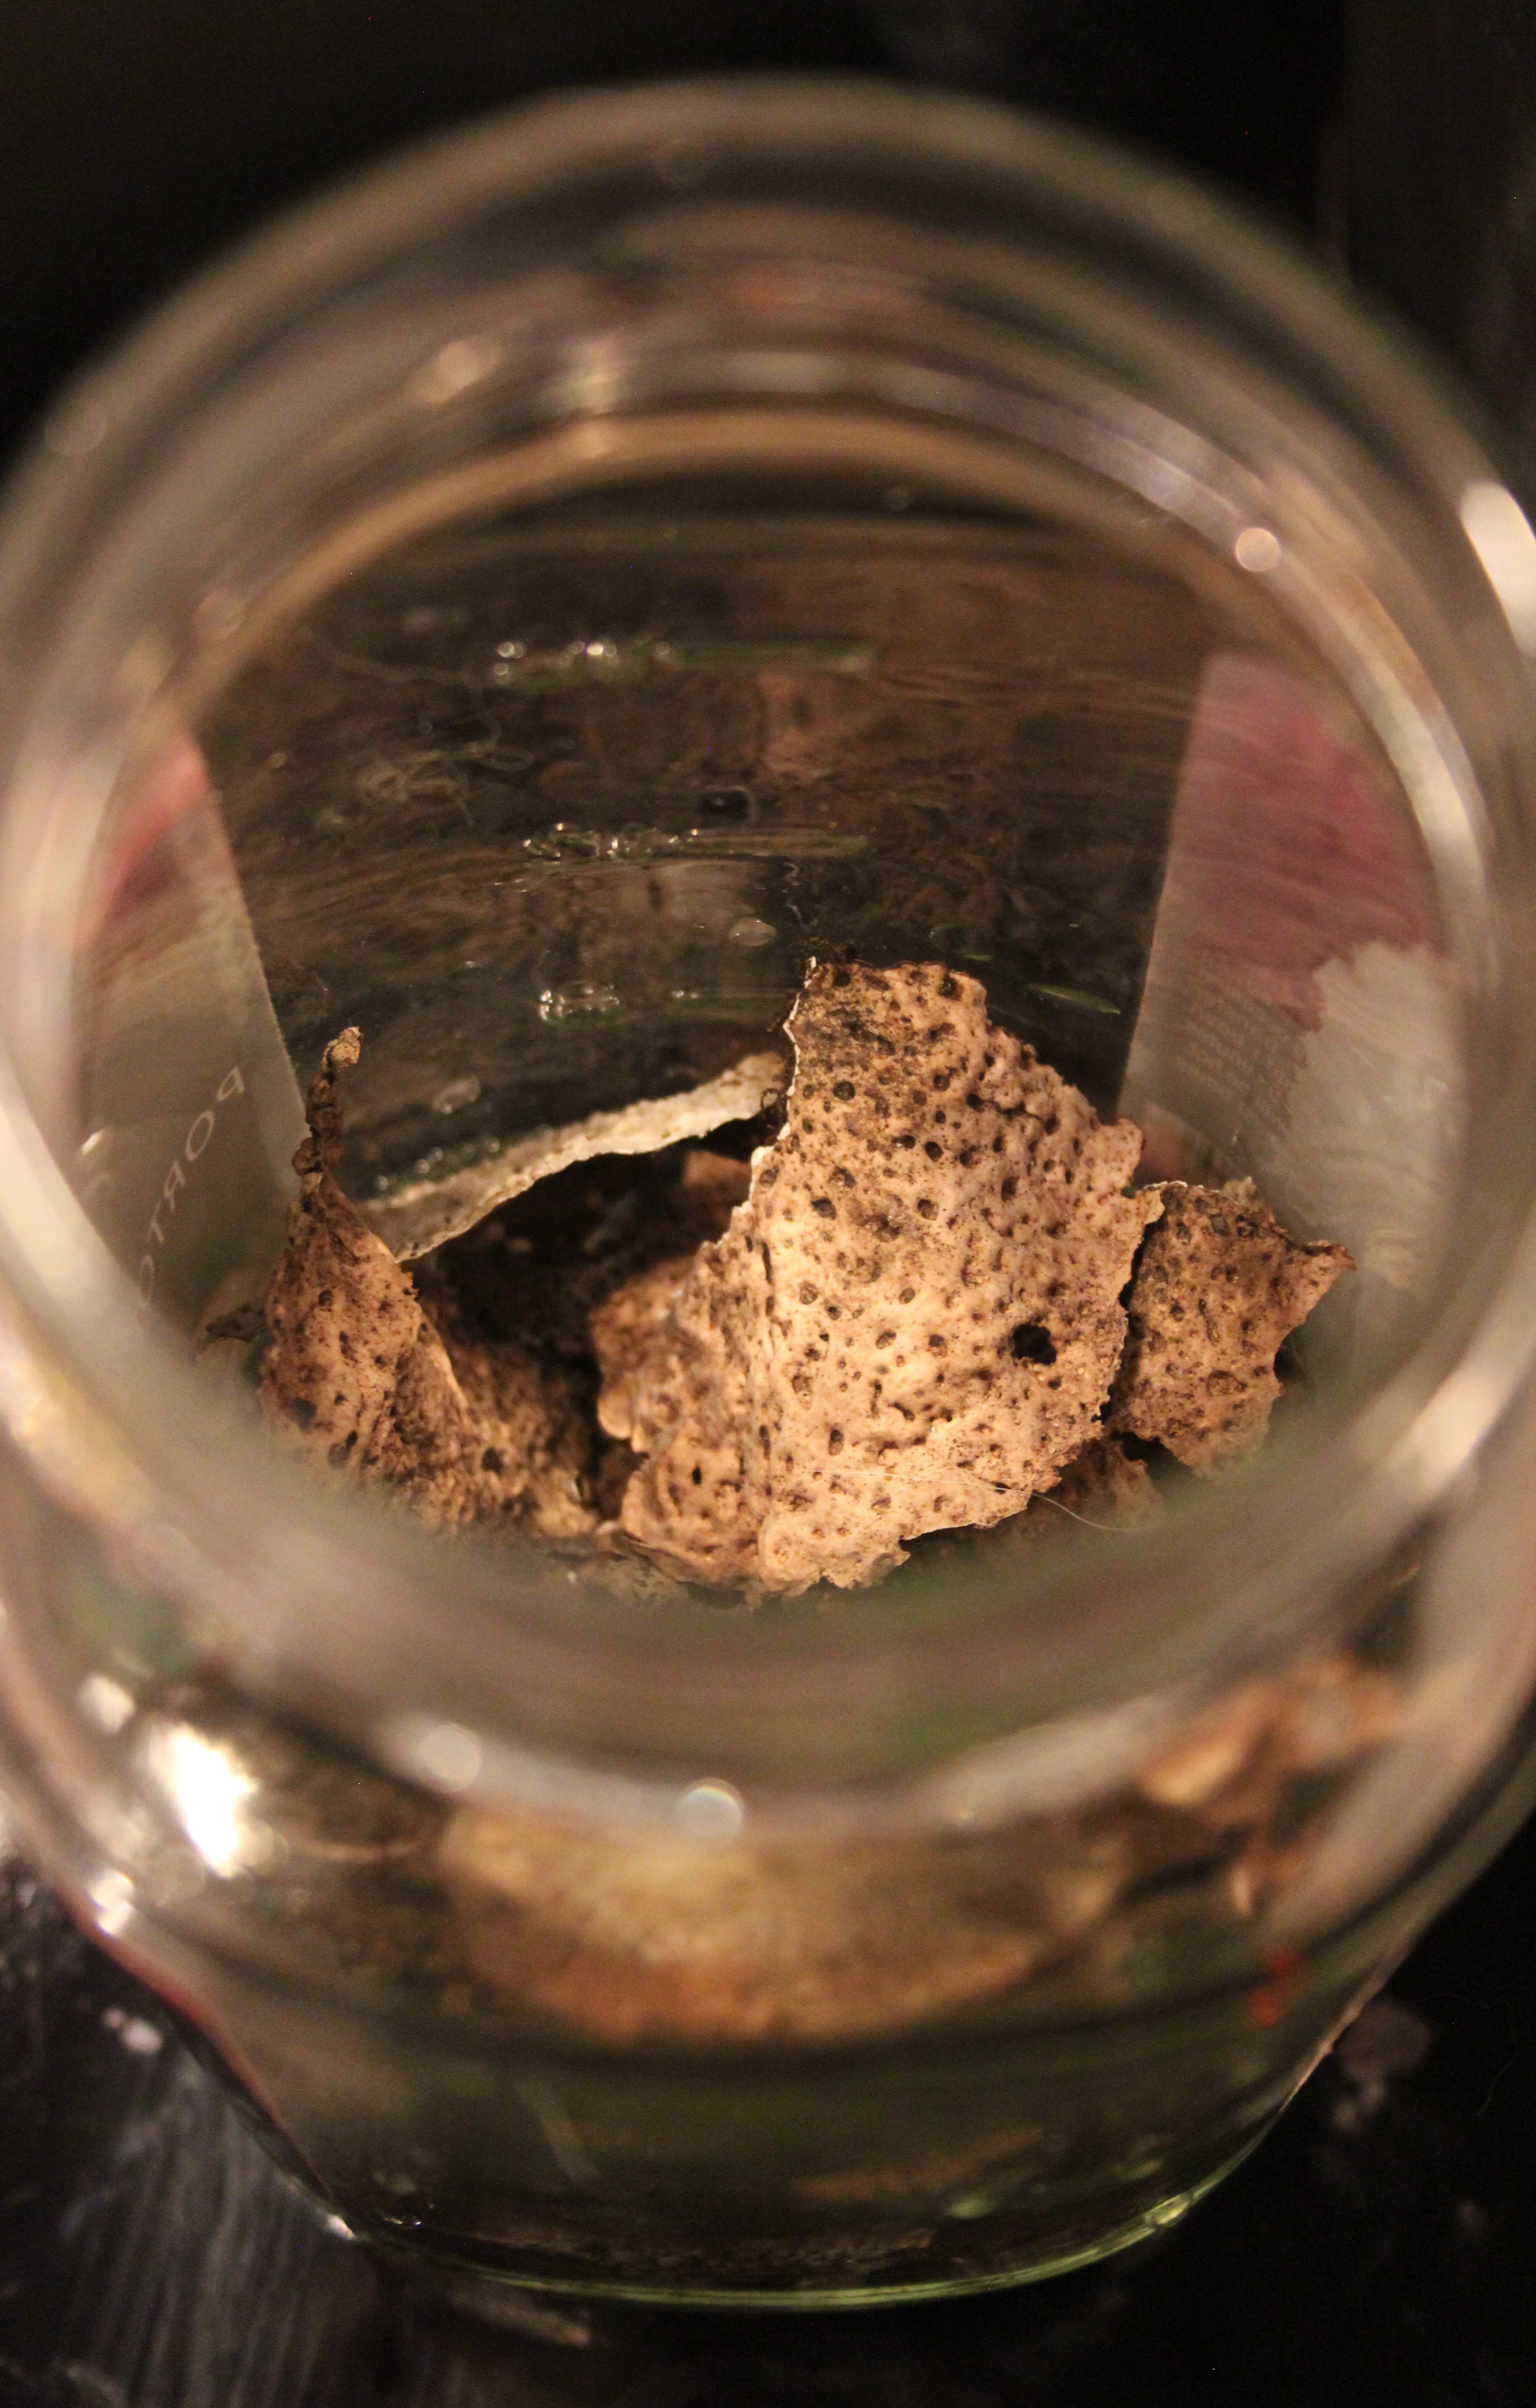
Next, create a 50/50 solution of water and ammonia. I’ve measured out 1 cup each. Pour the solution over the lichen, leaving about an inch of air at the top of the jar. You should notice the solution briefly change to a brilliant shade of red or purple that will fade to brown.
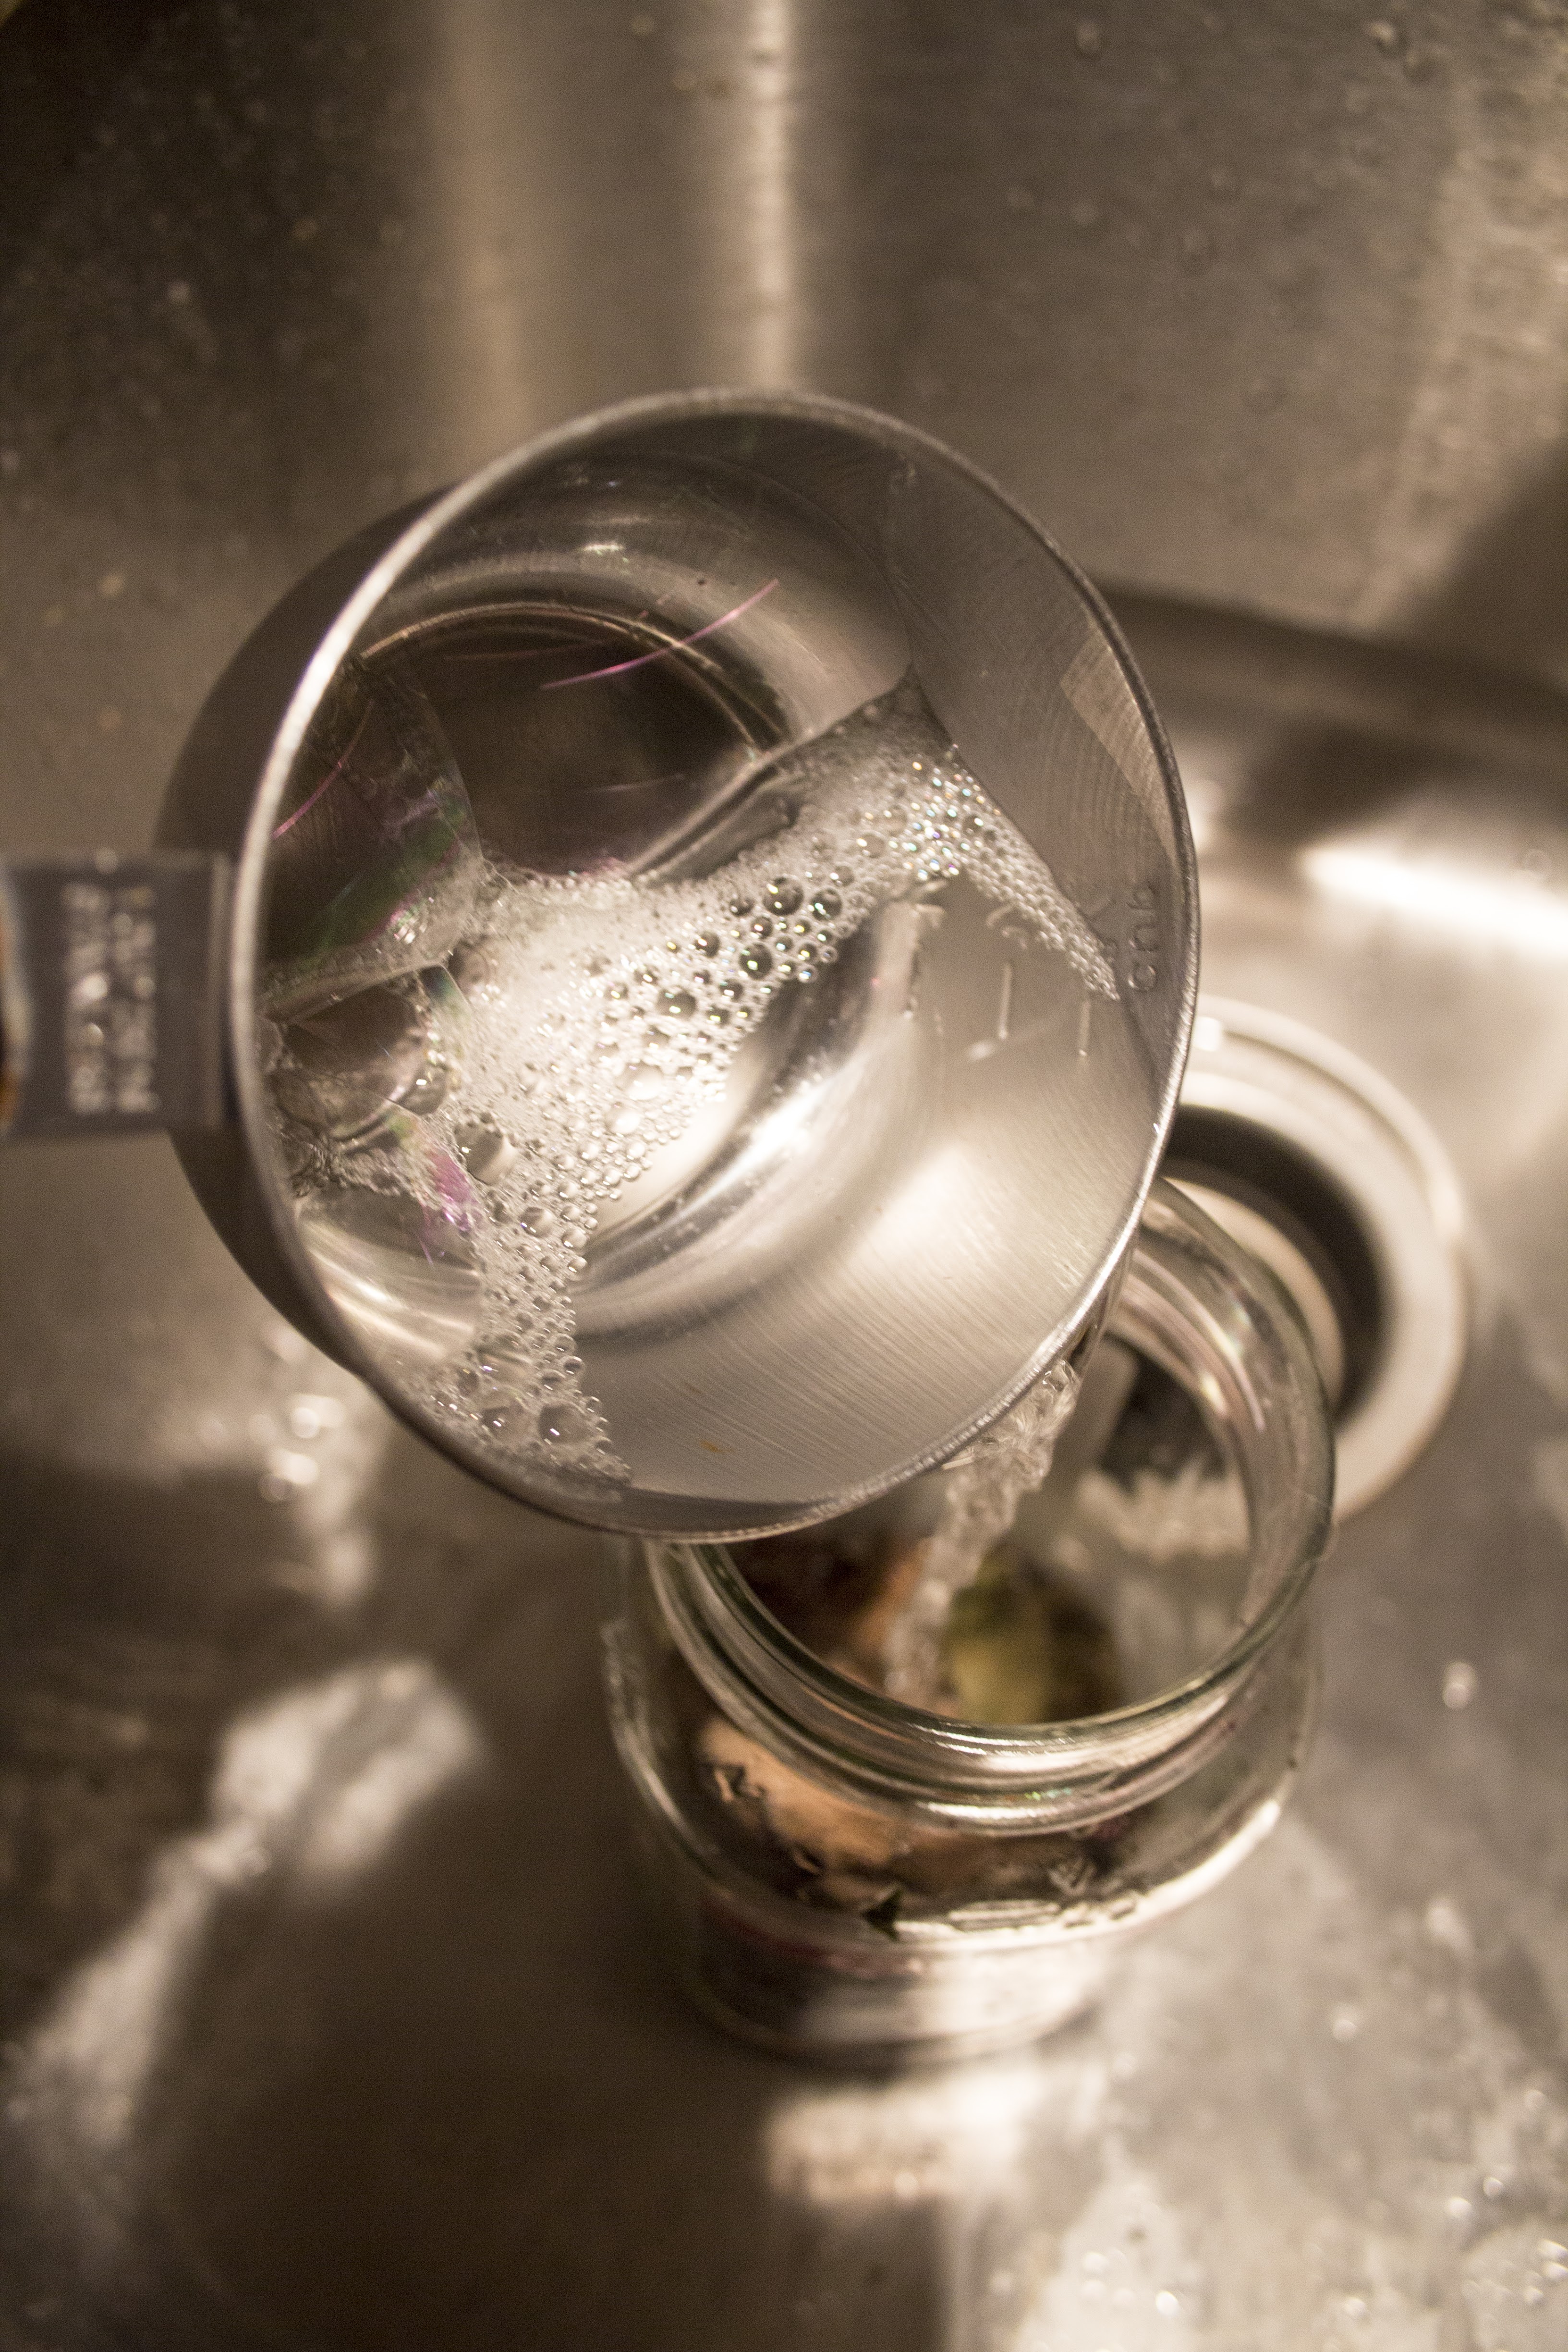
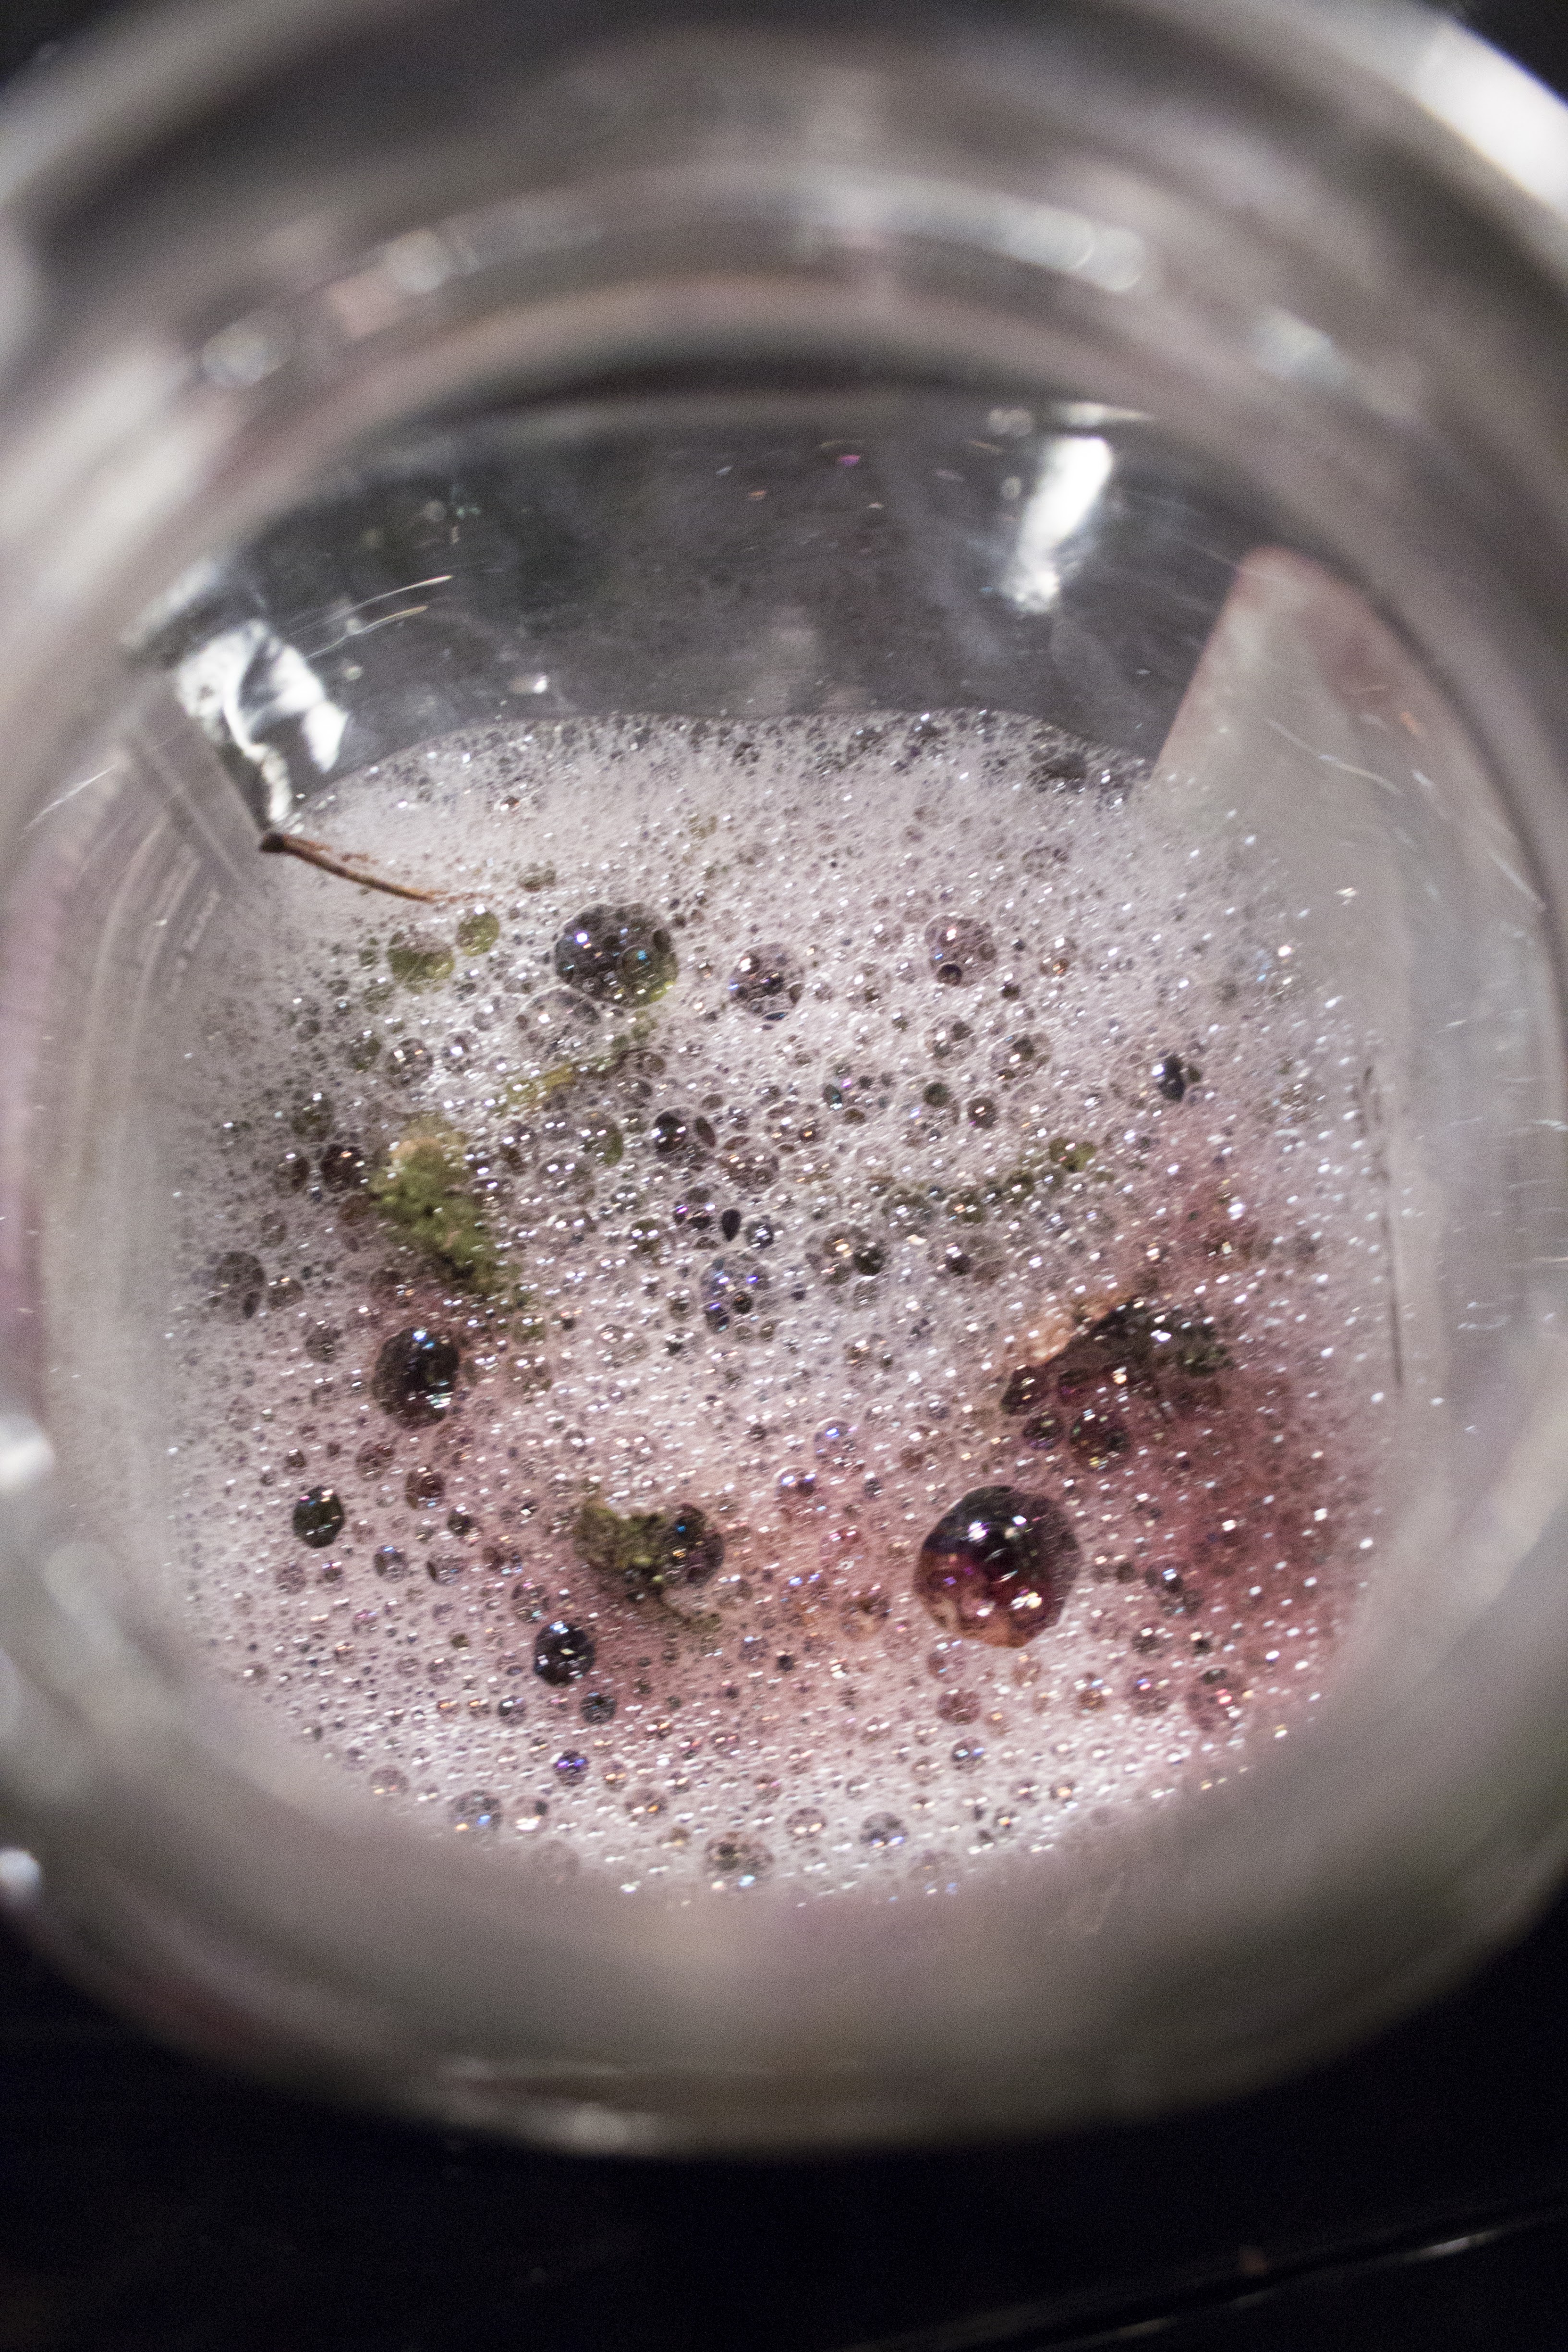
Close the lid tightly and shake to your heart’s content. Give the jar a few shakes each day for about three weeks. Once a week, take the jar outside and carefully remove the lid and swirl the contents of the jar to allow oxygenation. Repeat the process over the next few weeks until the liquid is purple or magenta. This process can take more than three weeks. Do not rush it– it is a practice in patience. I’ve dyed this way many times and have found that I can achieve a gorgeous dye after about a month.
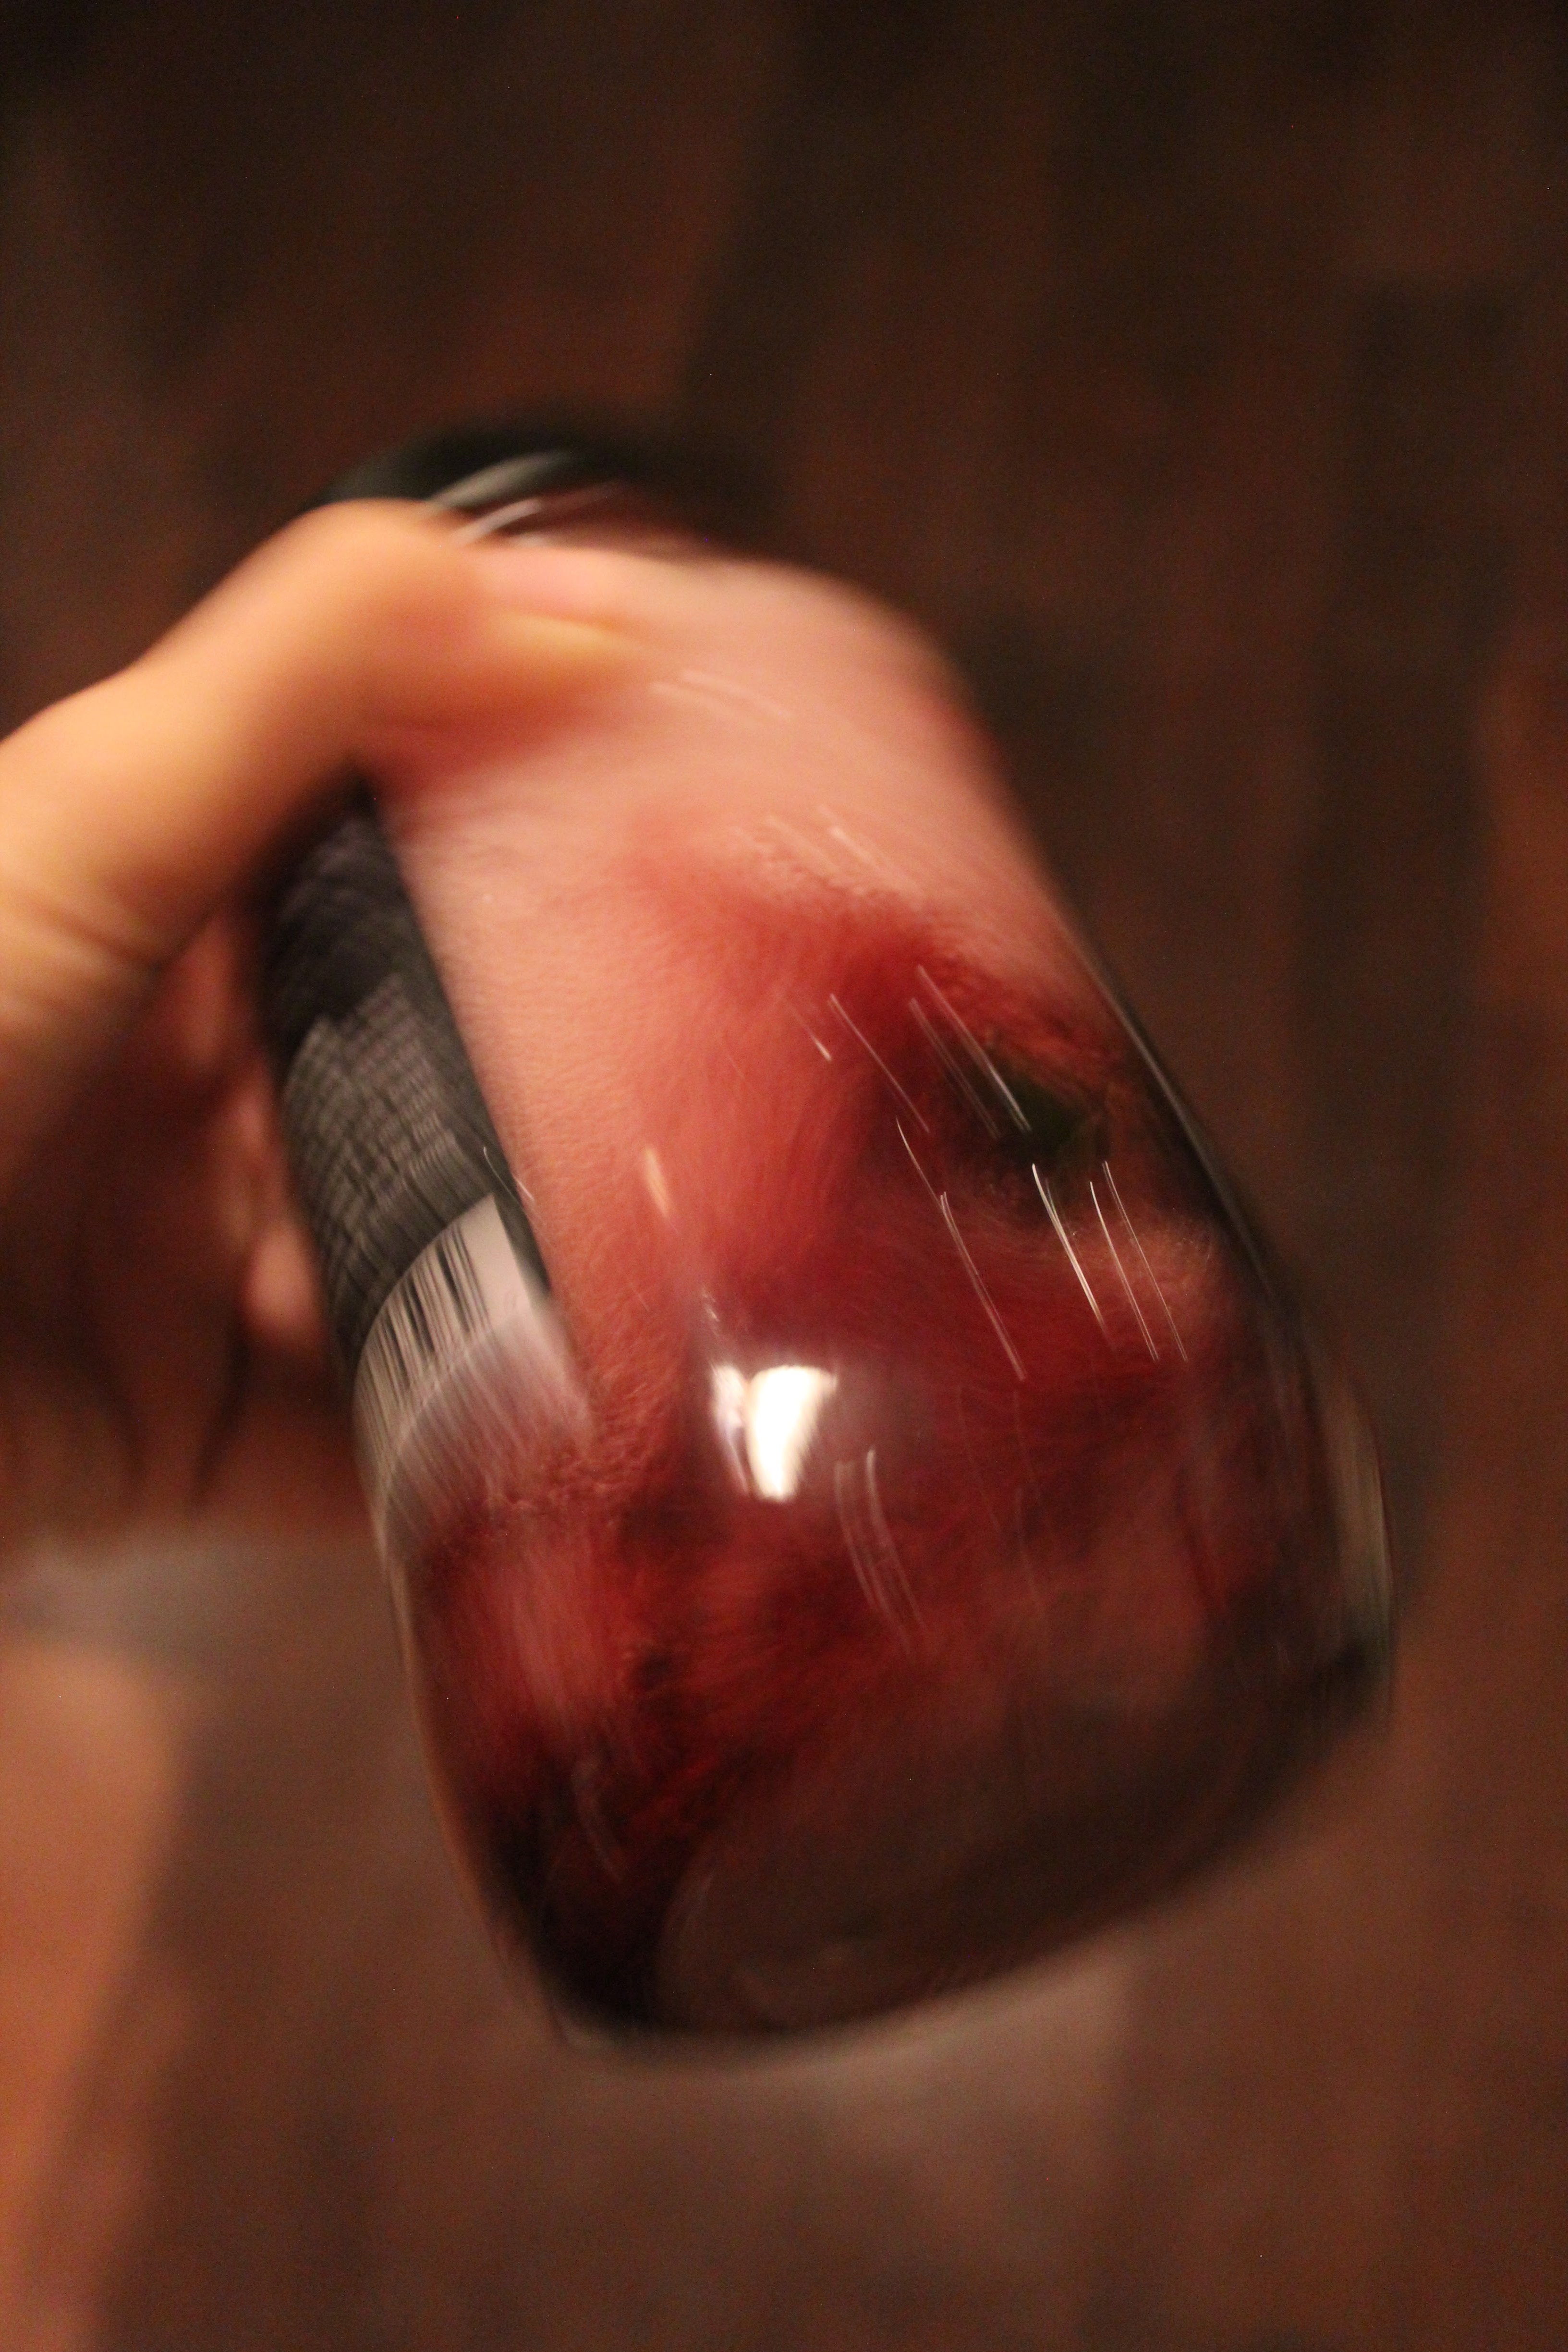
Since I already have another jar of concentration ready to go, I’m going to dive into dyeing.
For this part of the tutorial you’ll need:
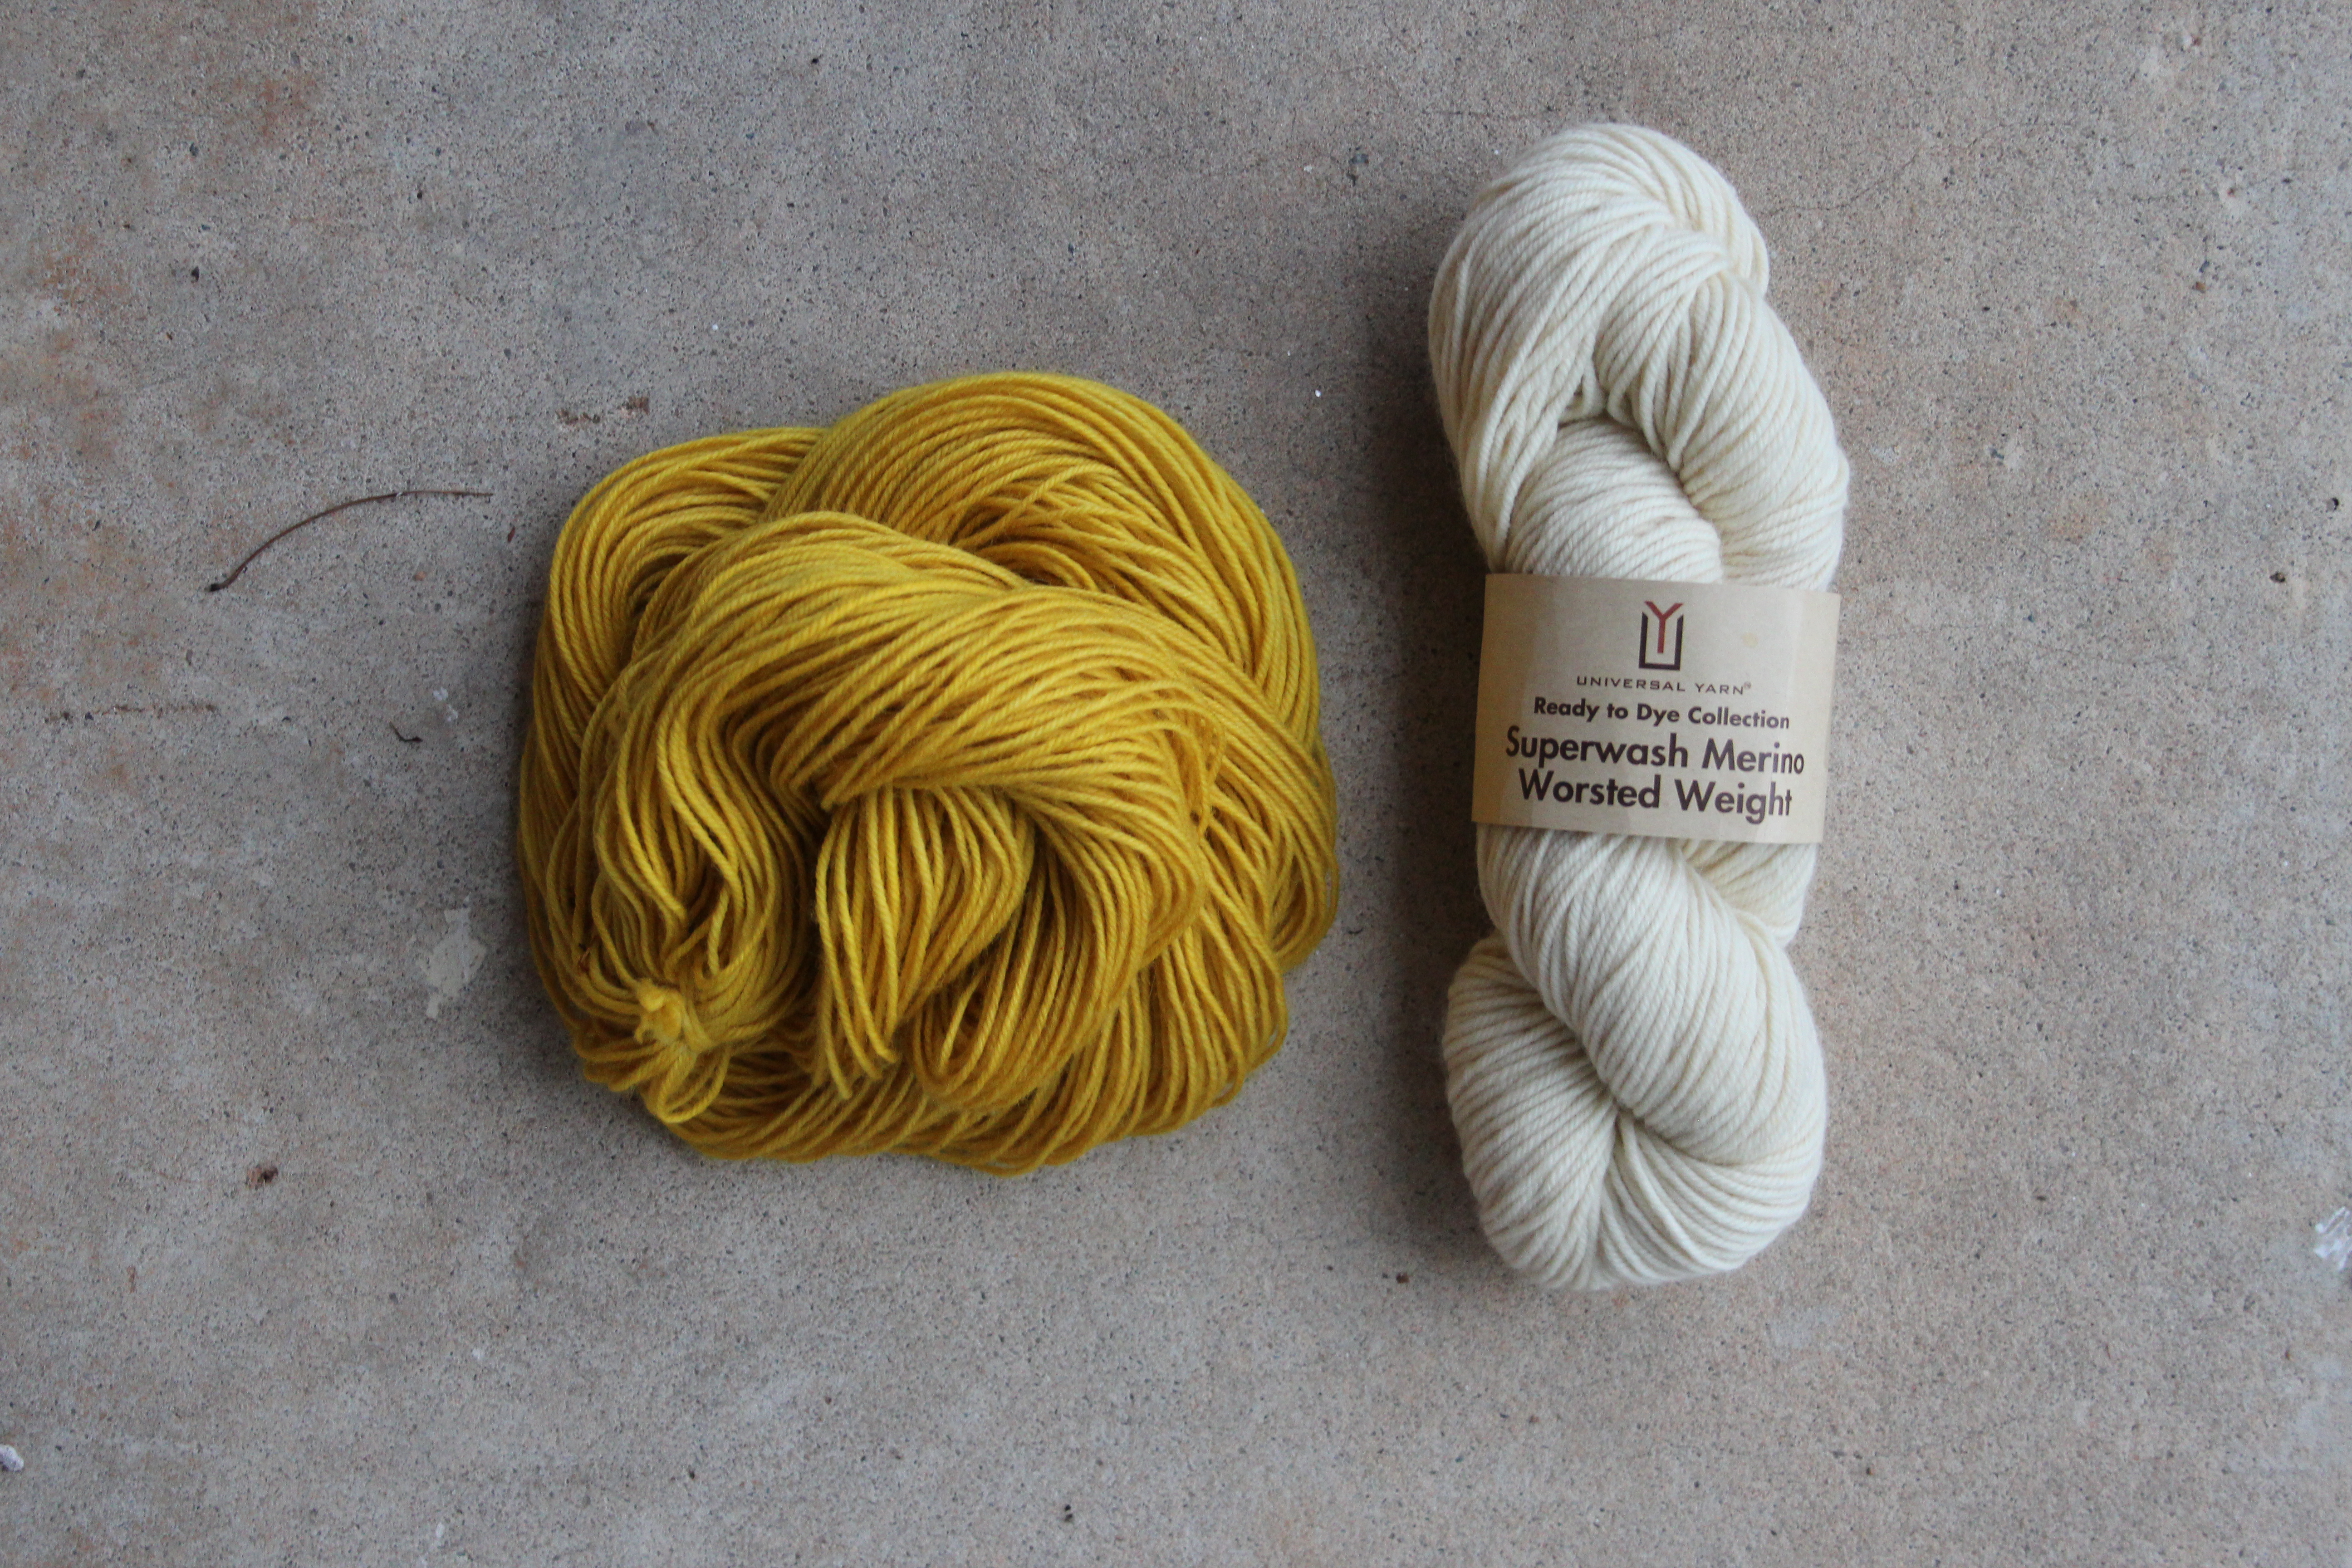
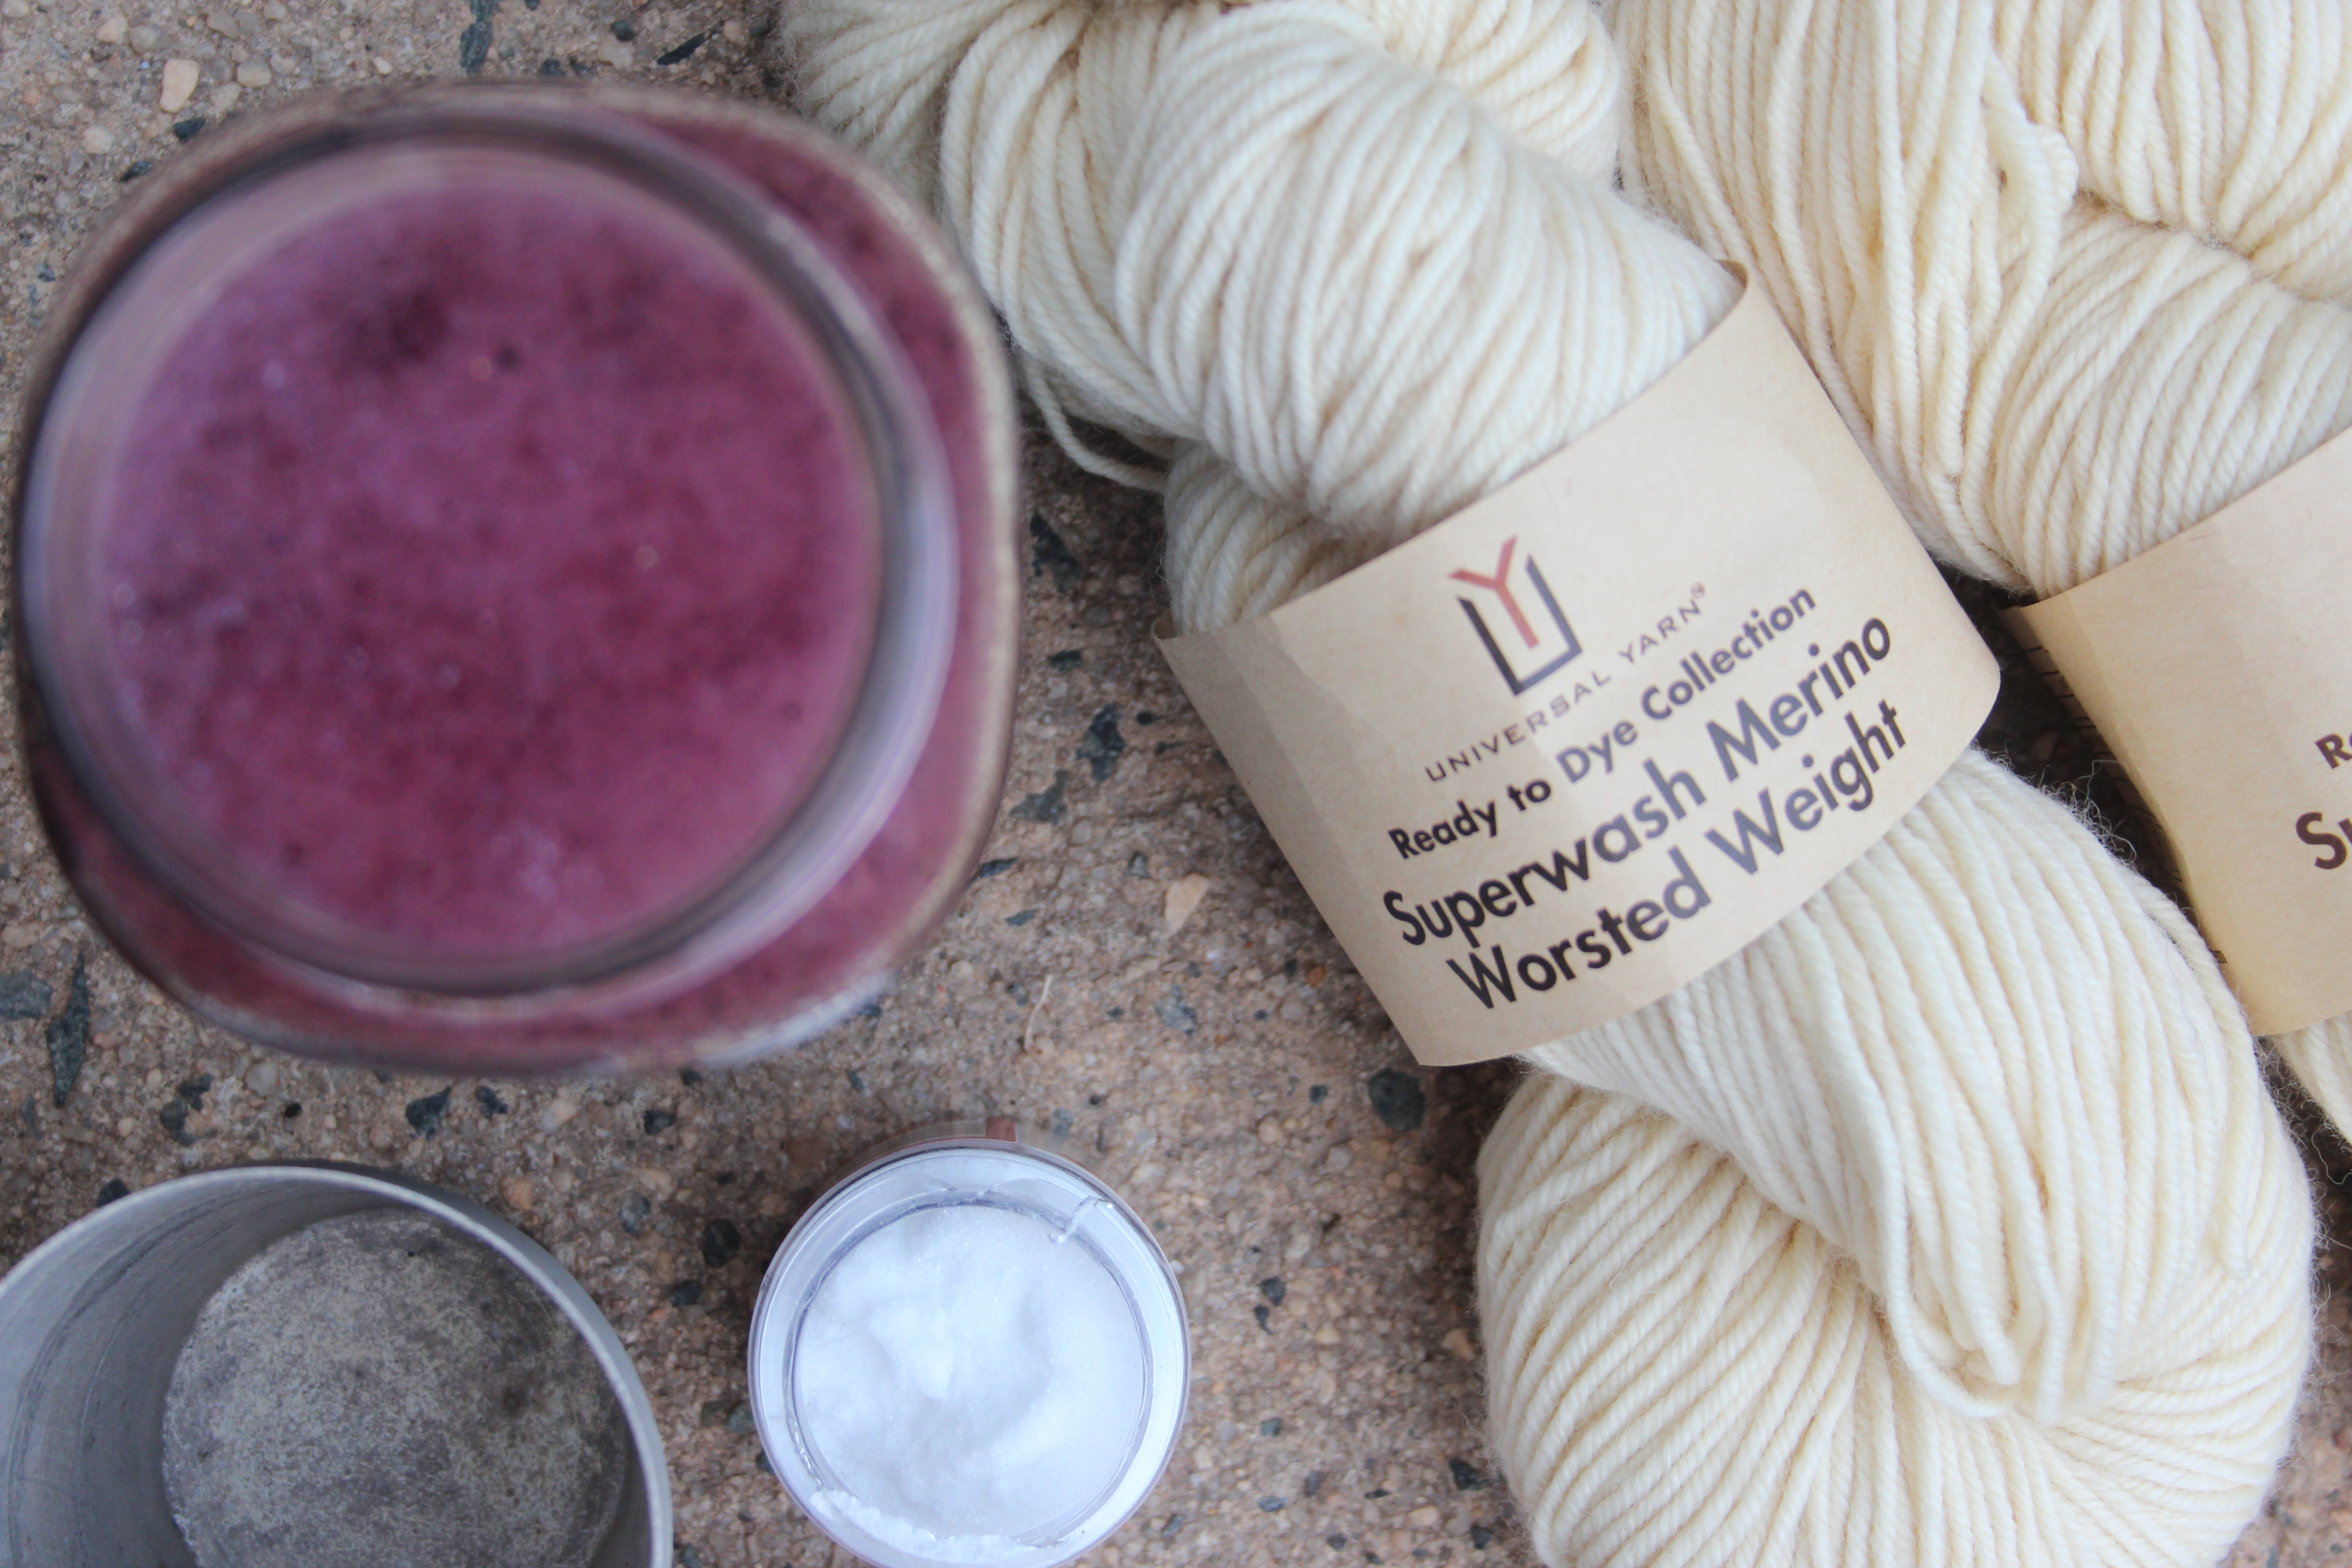
- 1 skein of Universal Yarn Ready to Dye Superwash Merino Worsted Weight yarn.
- Jar of concentrated dye
- One stainless-steel pot that you don’t plan to use for cooking – I purchased mine for a few dollars at a thrift store.
- Tongs – they don’t need to be stainless steel but choose some that you won’t use for cooking.
- Measuring cups
- Water
In Part I, you used a mordant to help fix the marigold dye to the fiber. That step isn’t necessary for this lichen. In fact, it can actually dull the color.
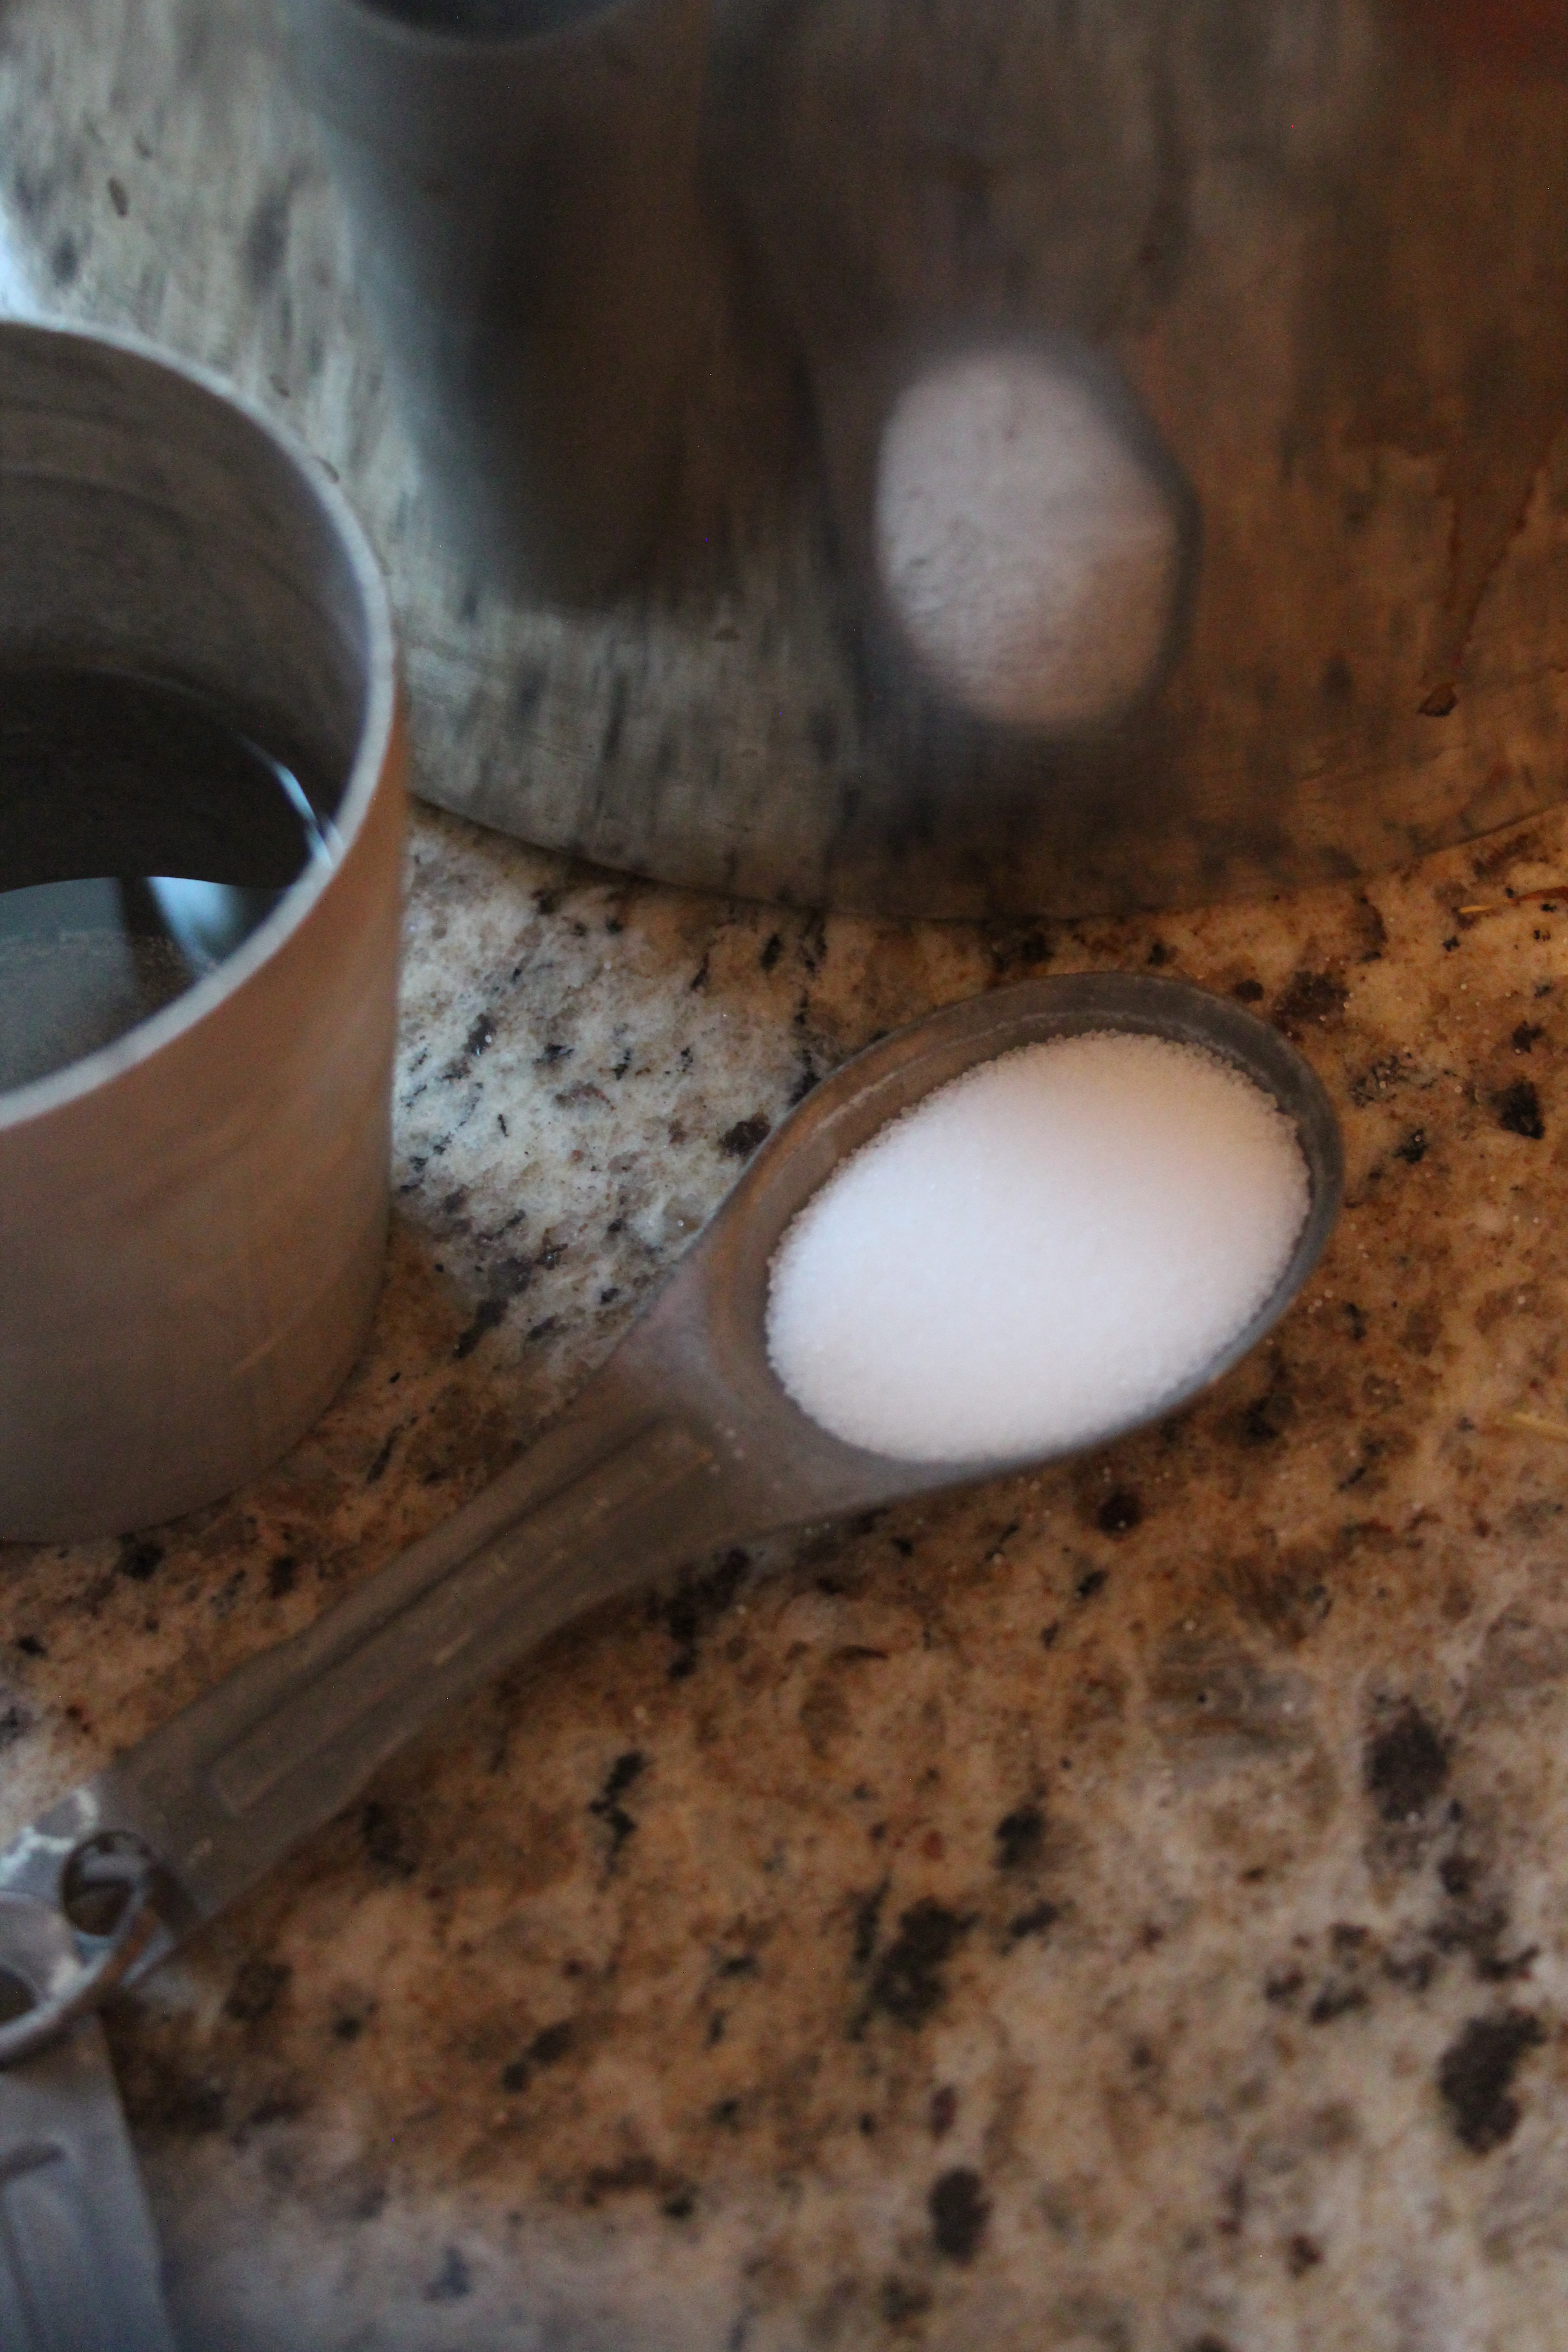
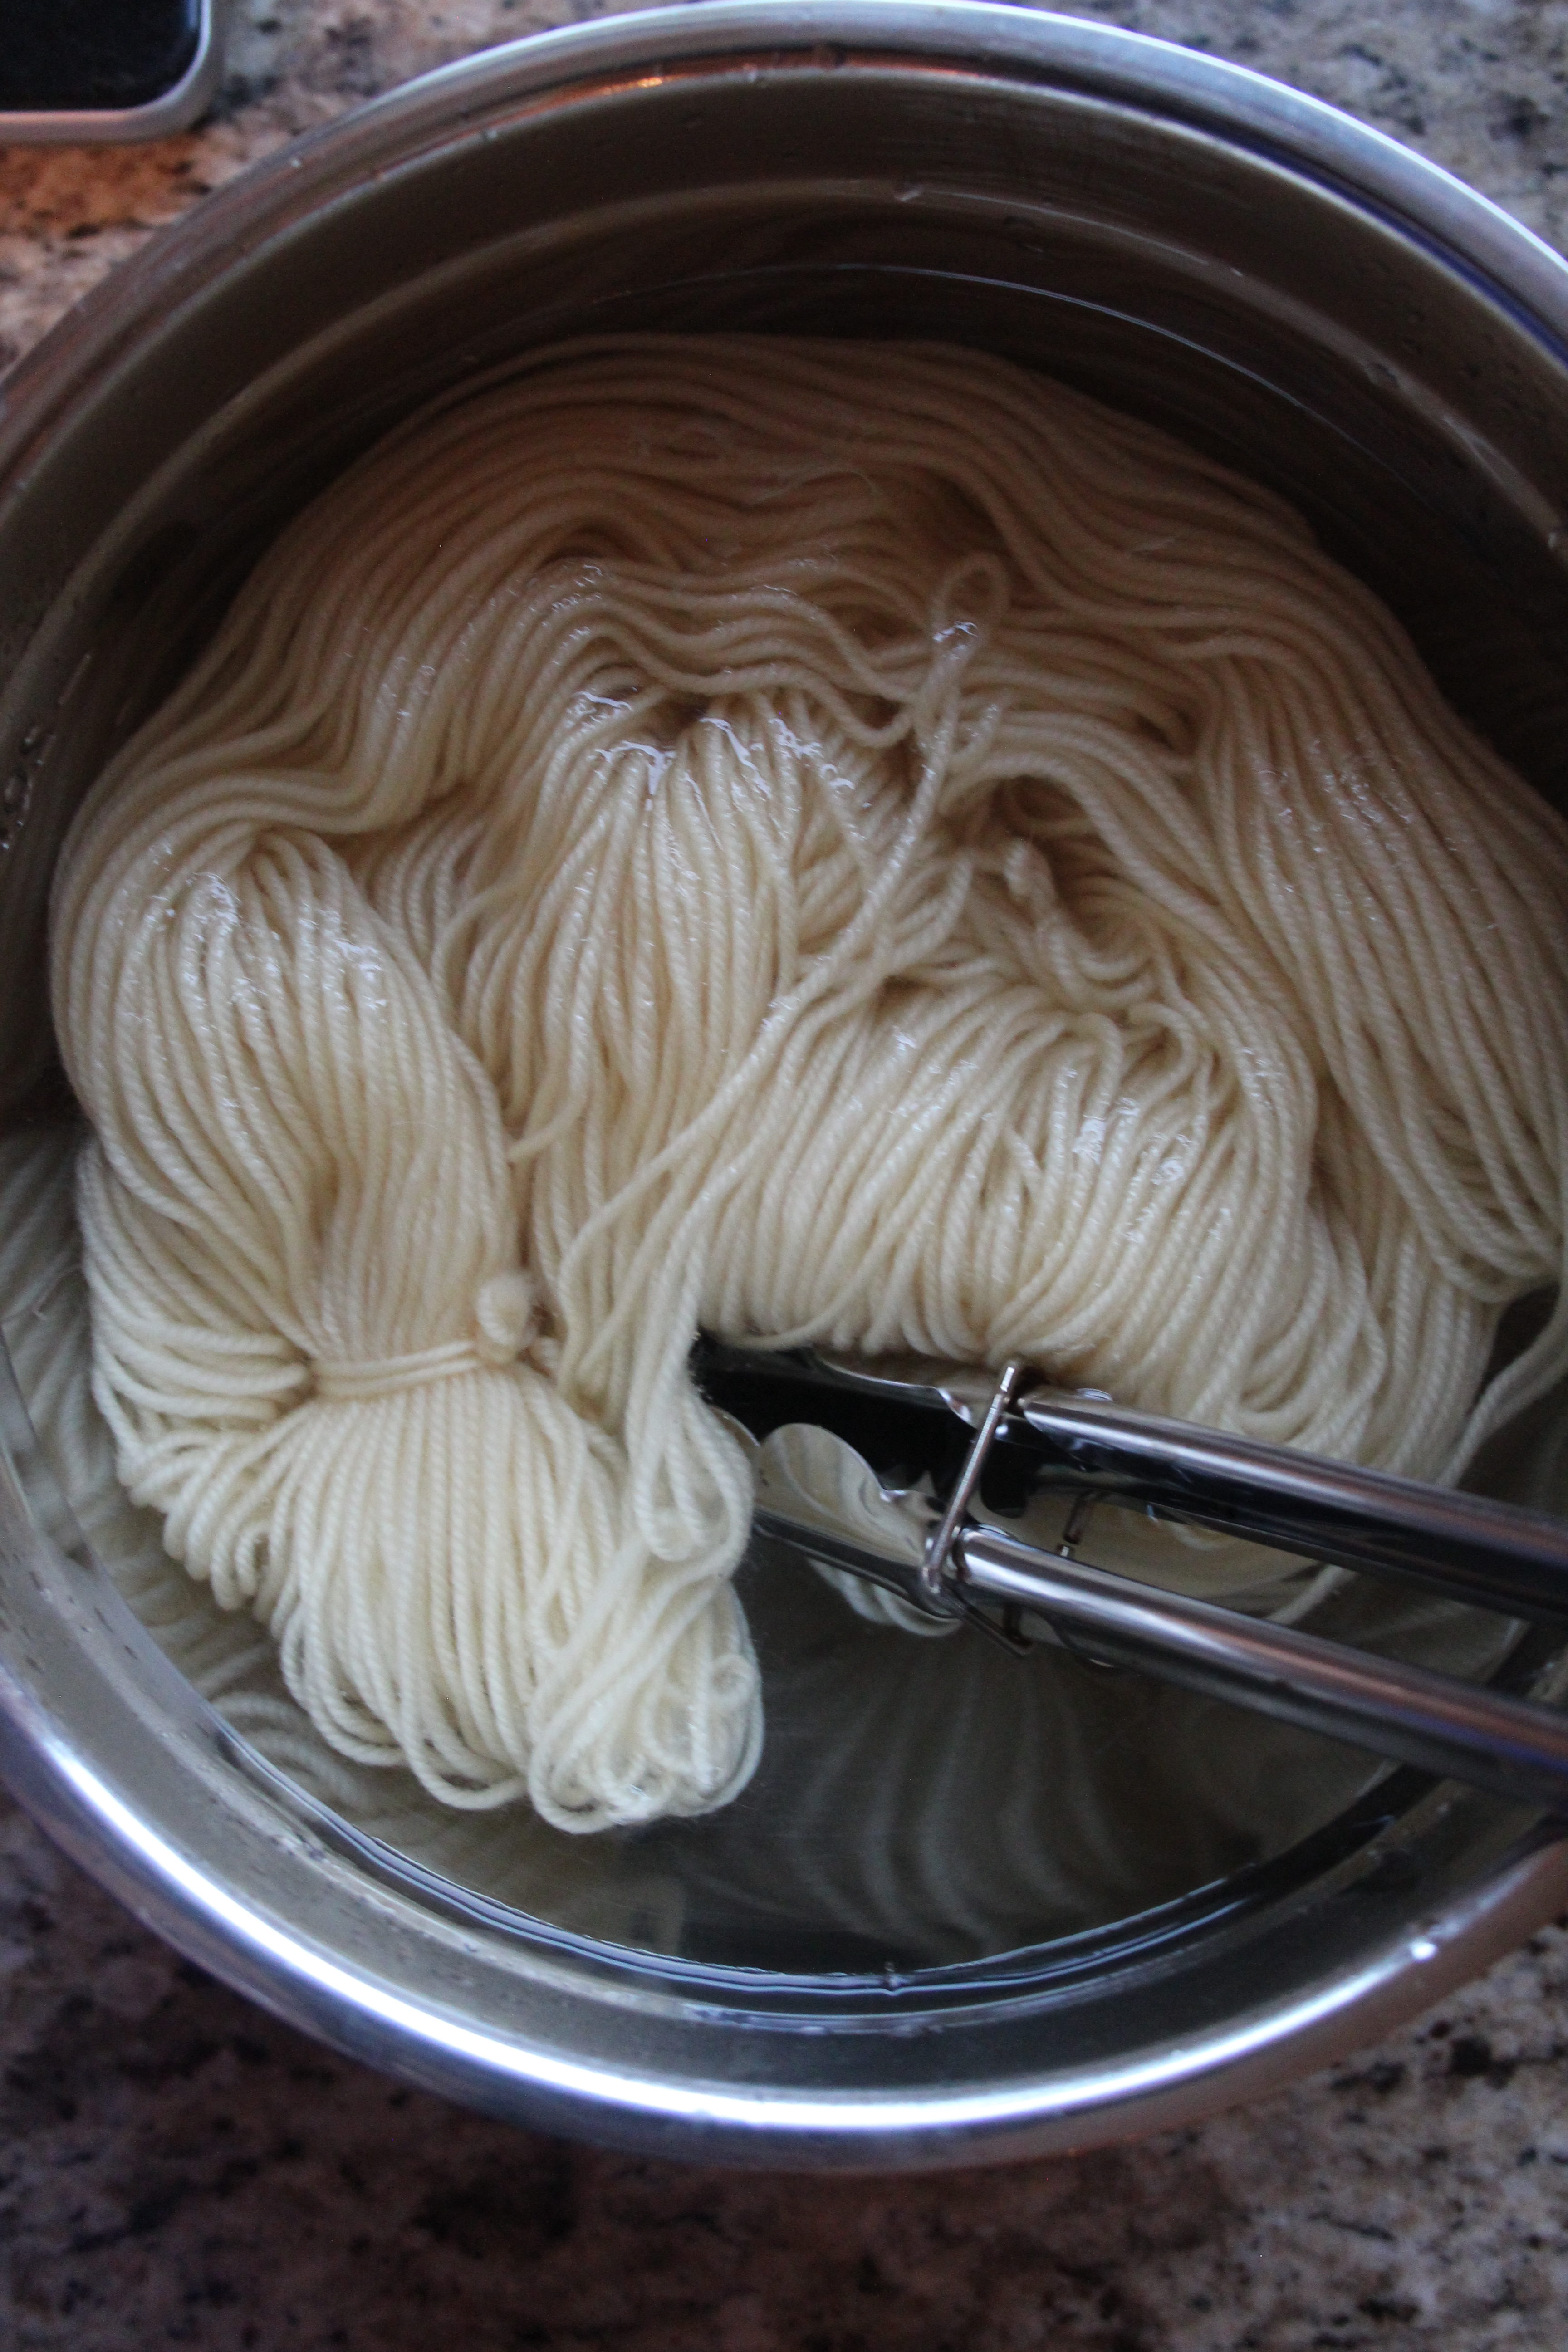
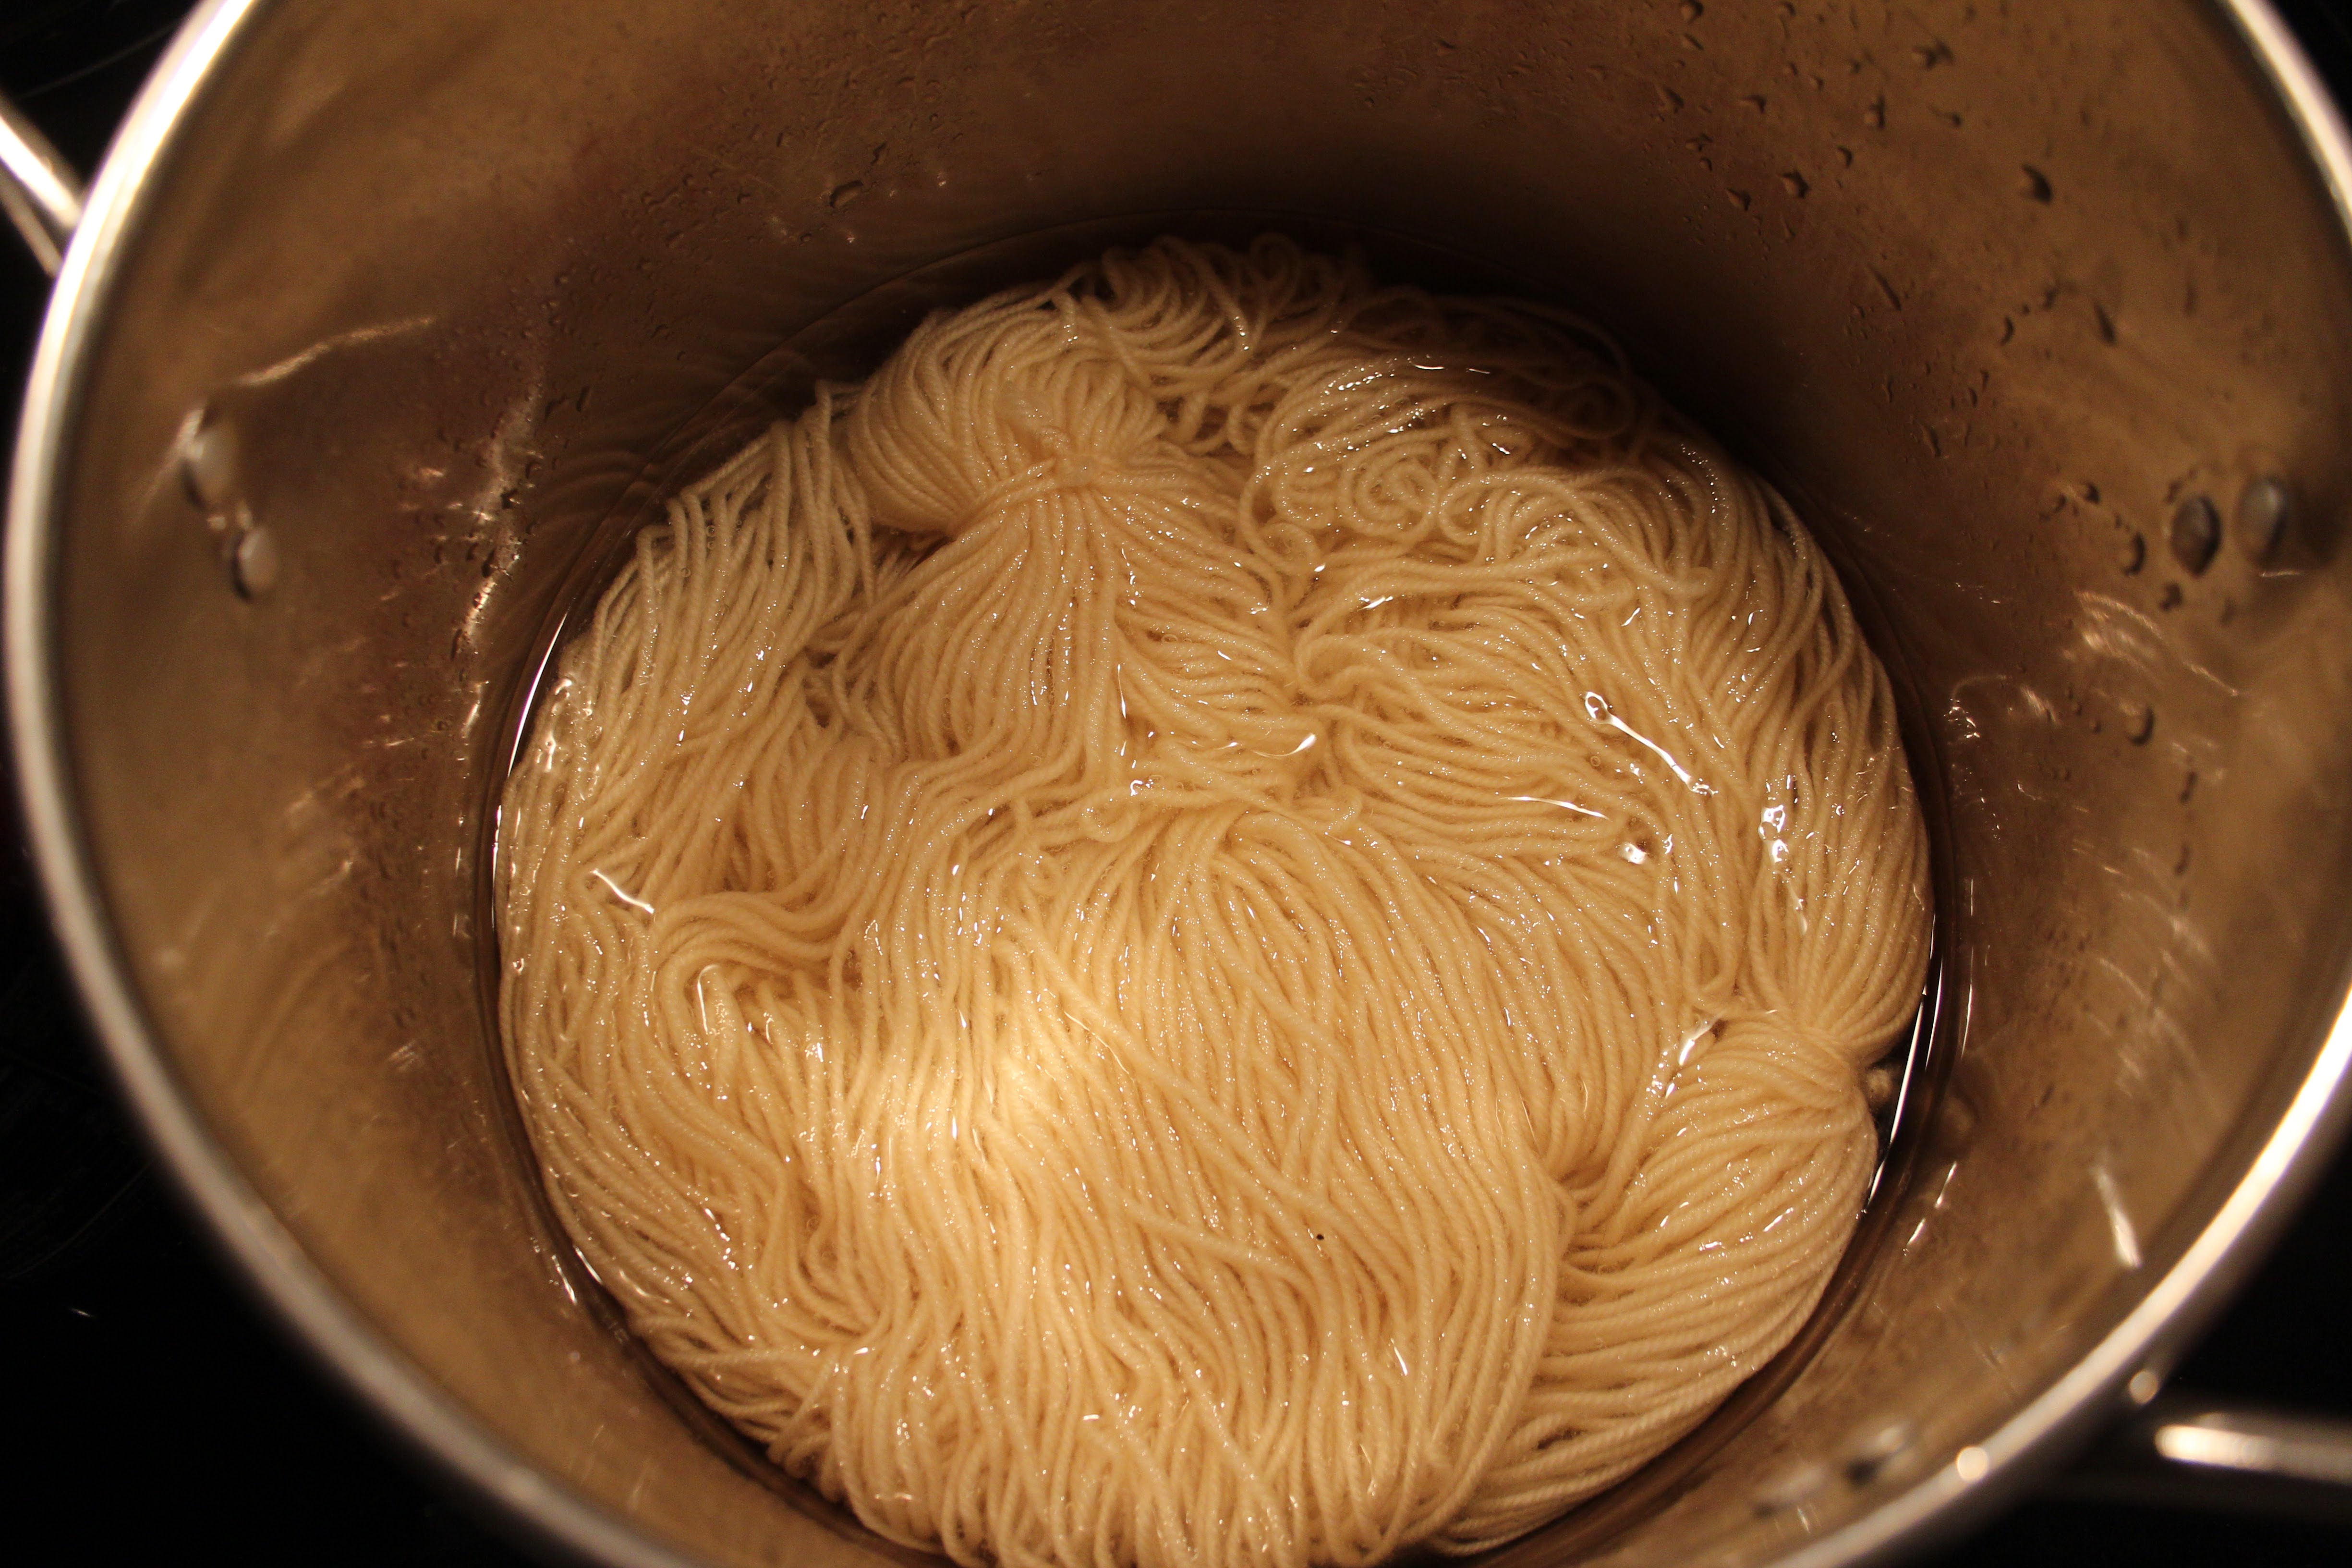
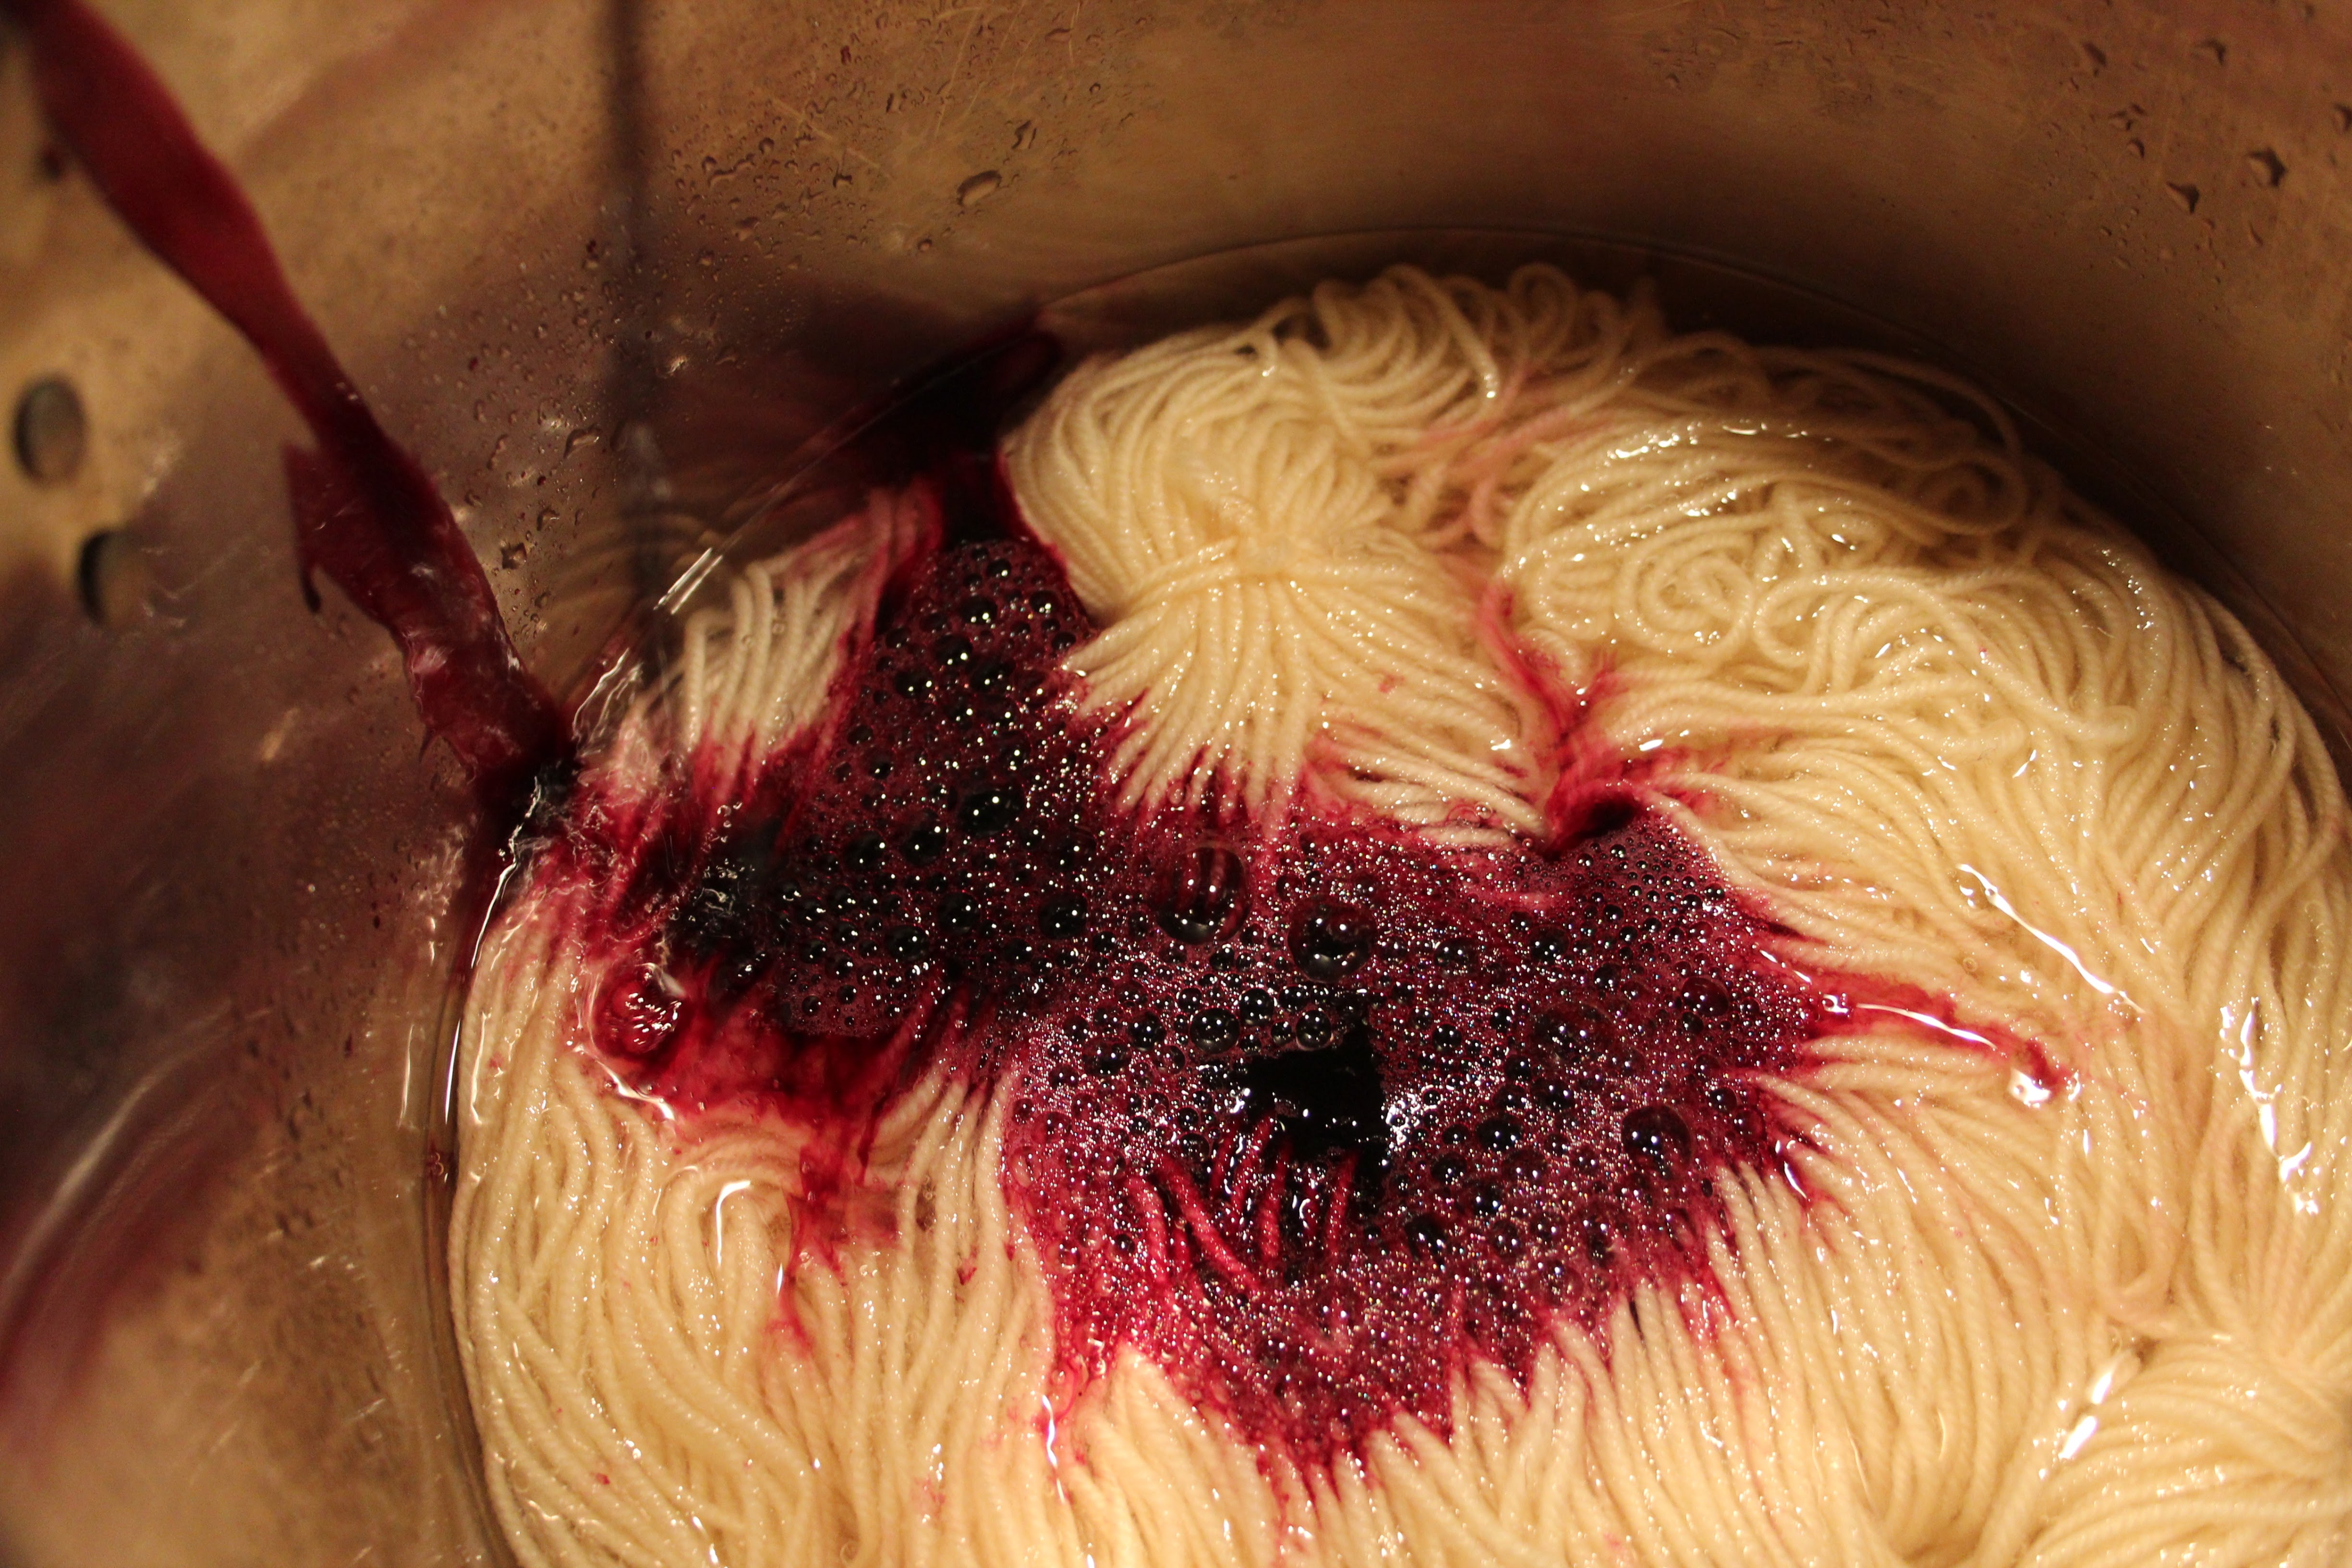
Fill a stainless-steel pot with 4-5 cups of water and place your yarn inside. Set aside for approximately 30 minutes.
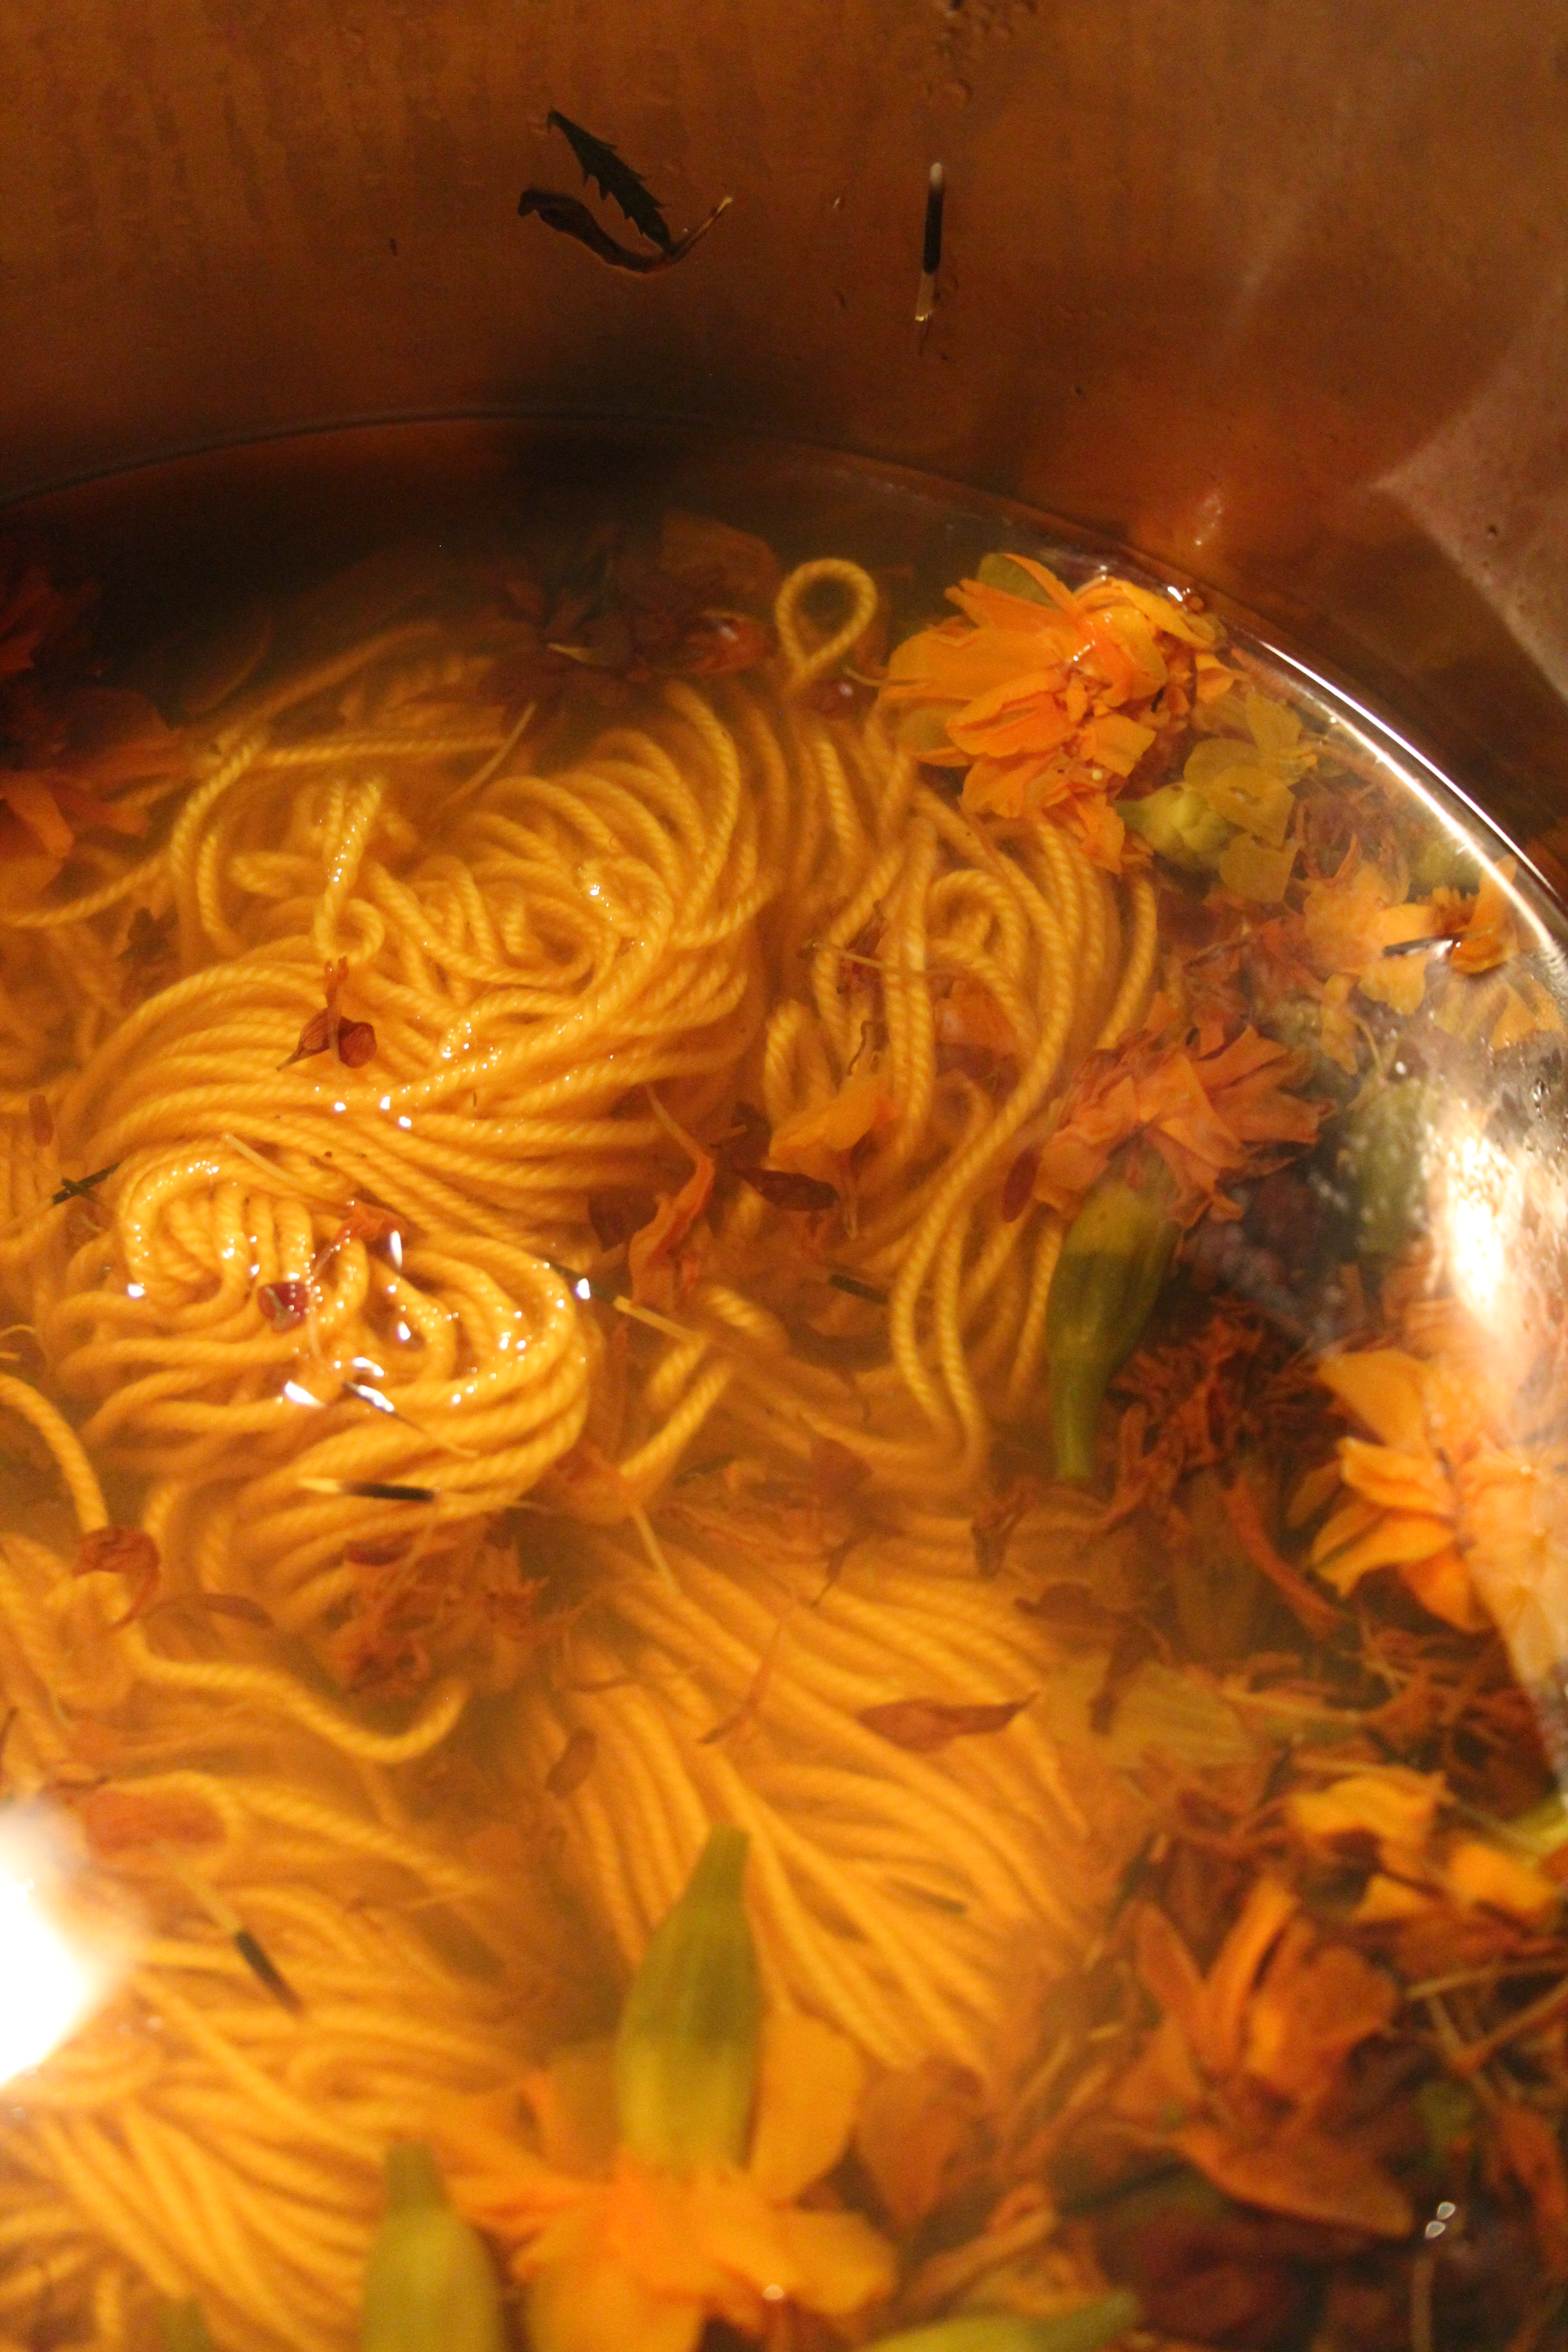
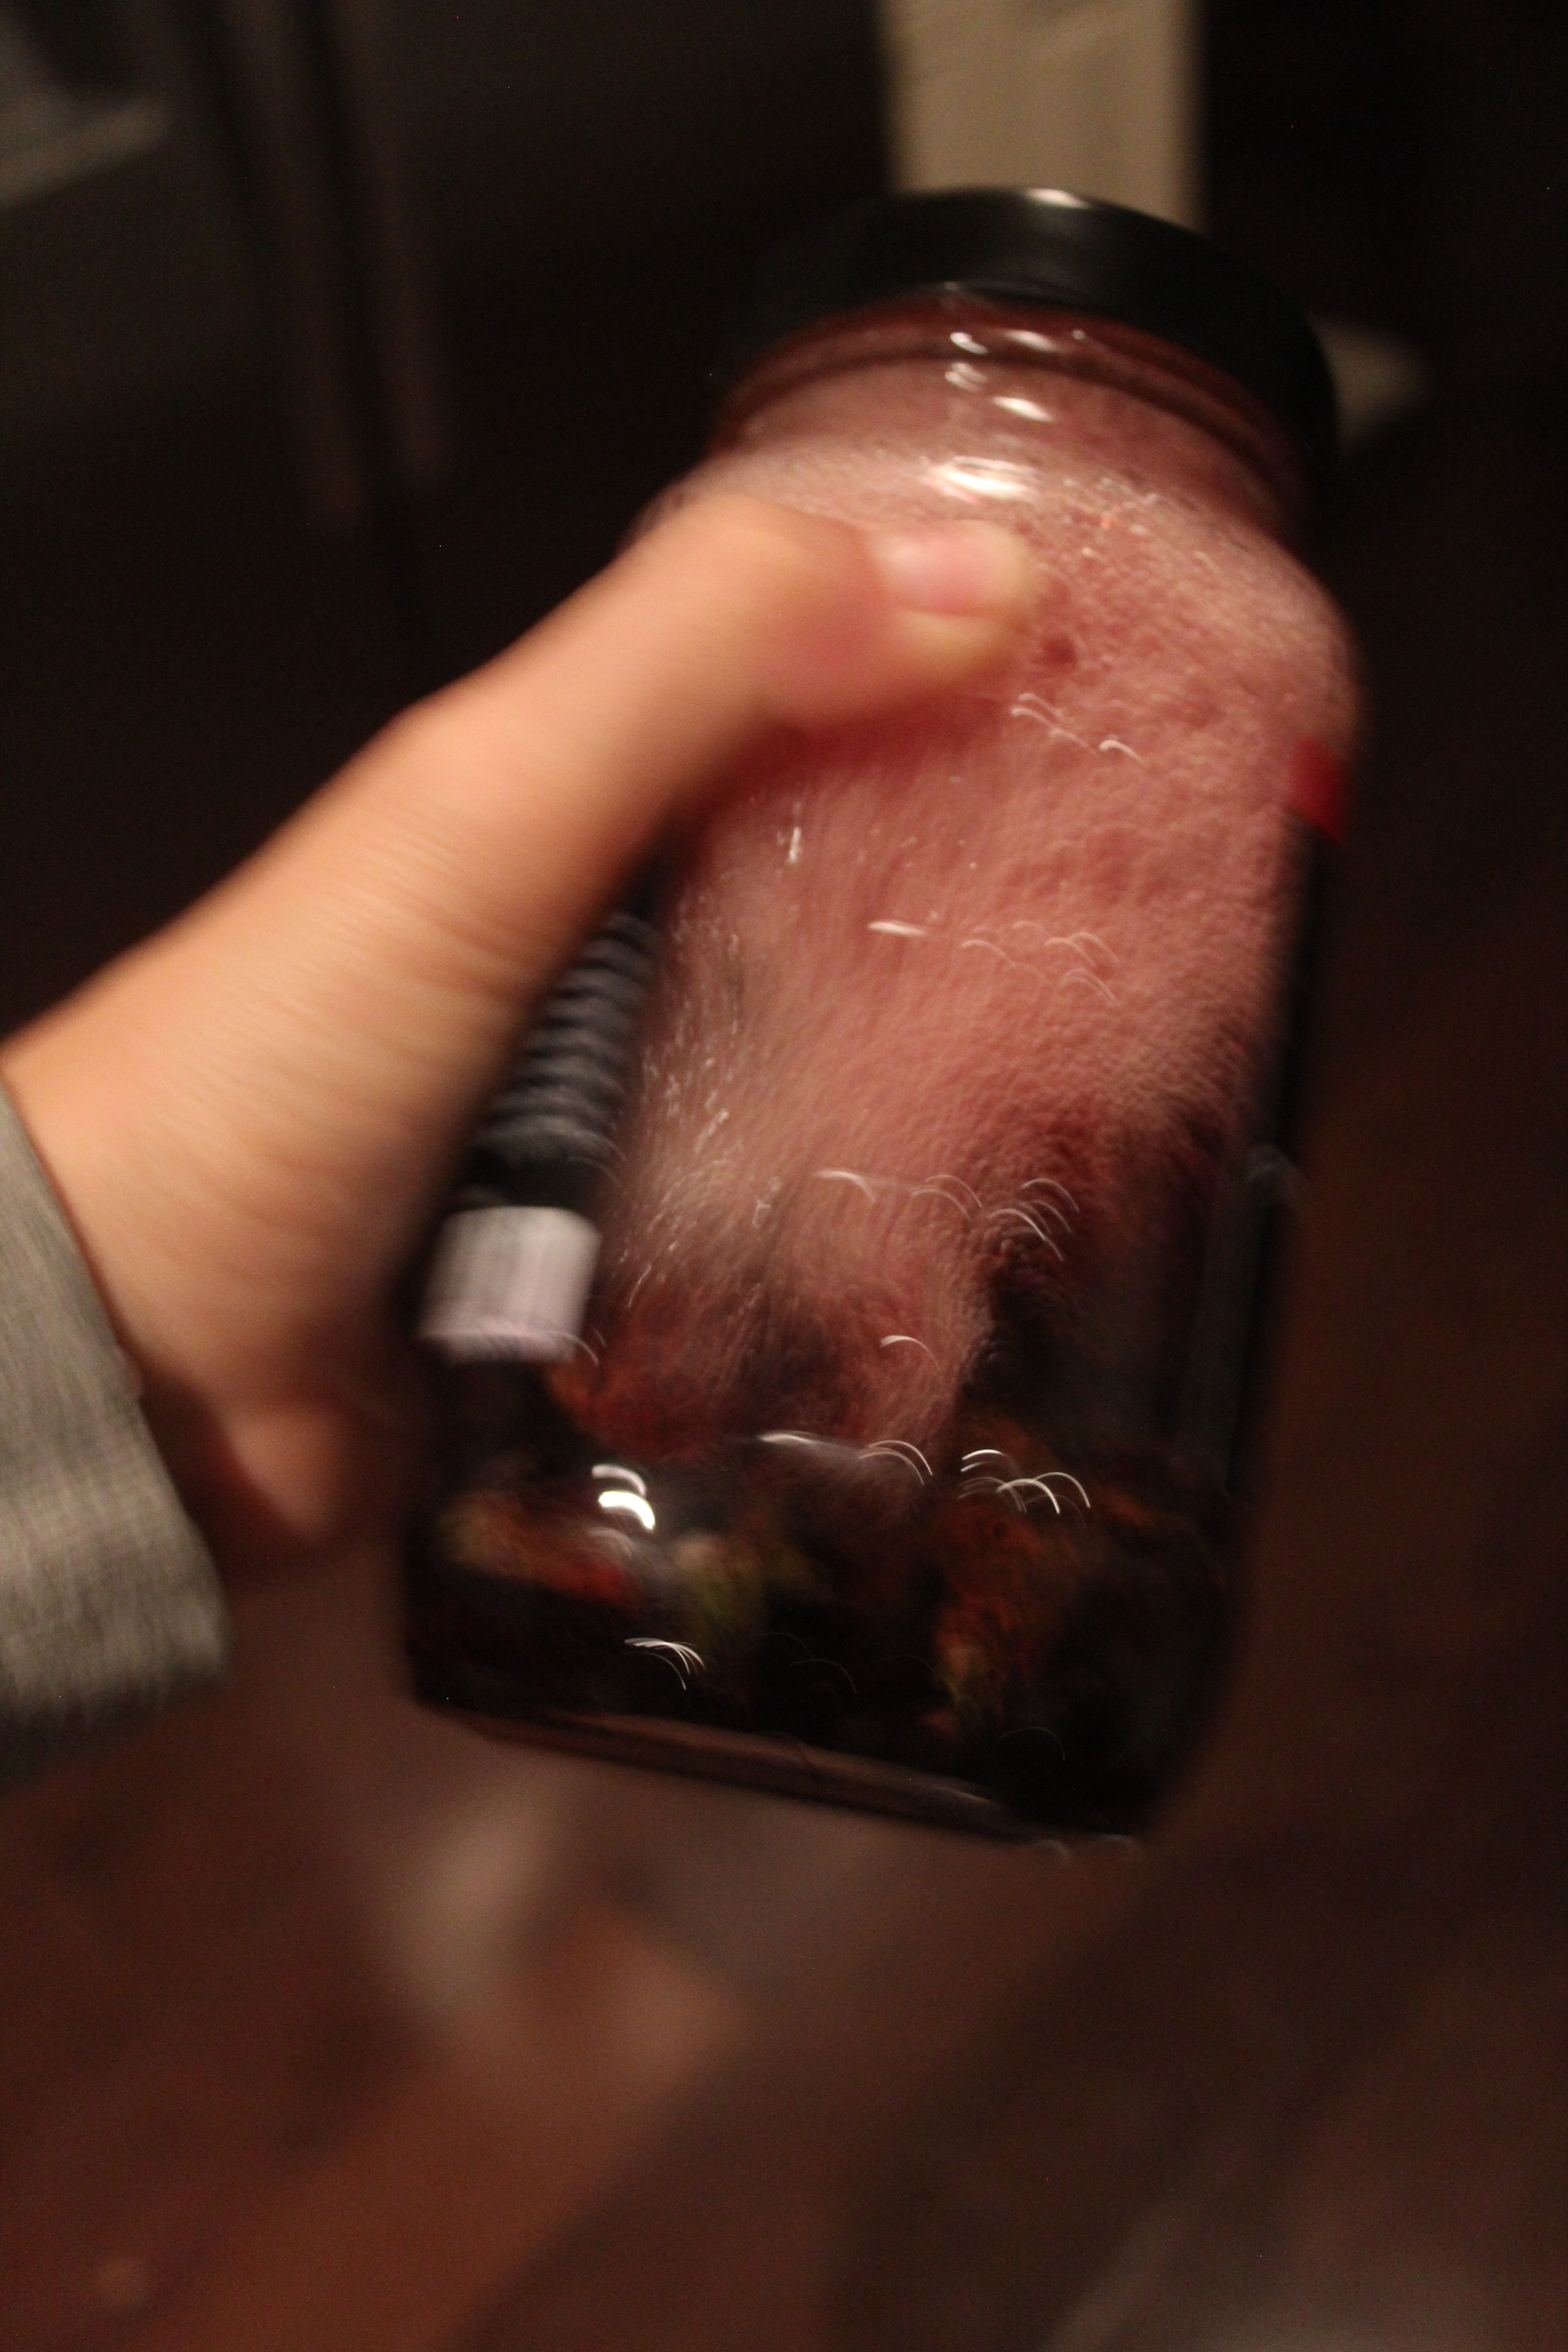
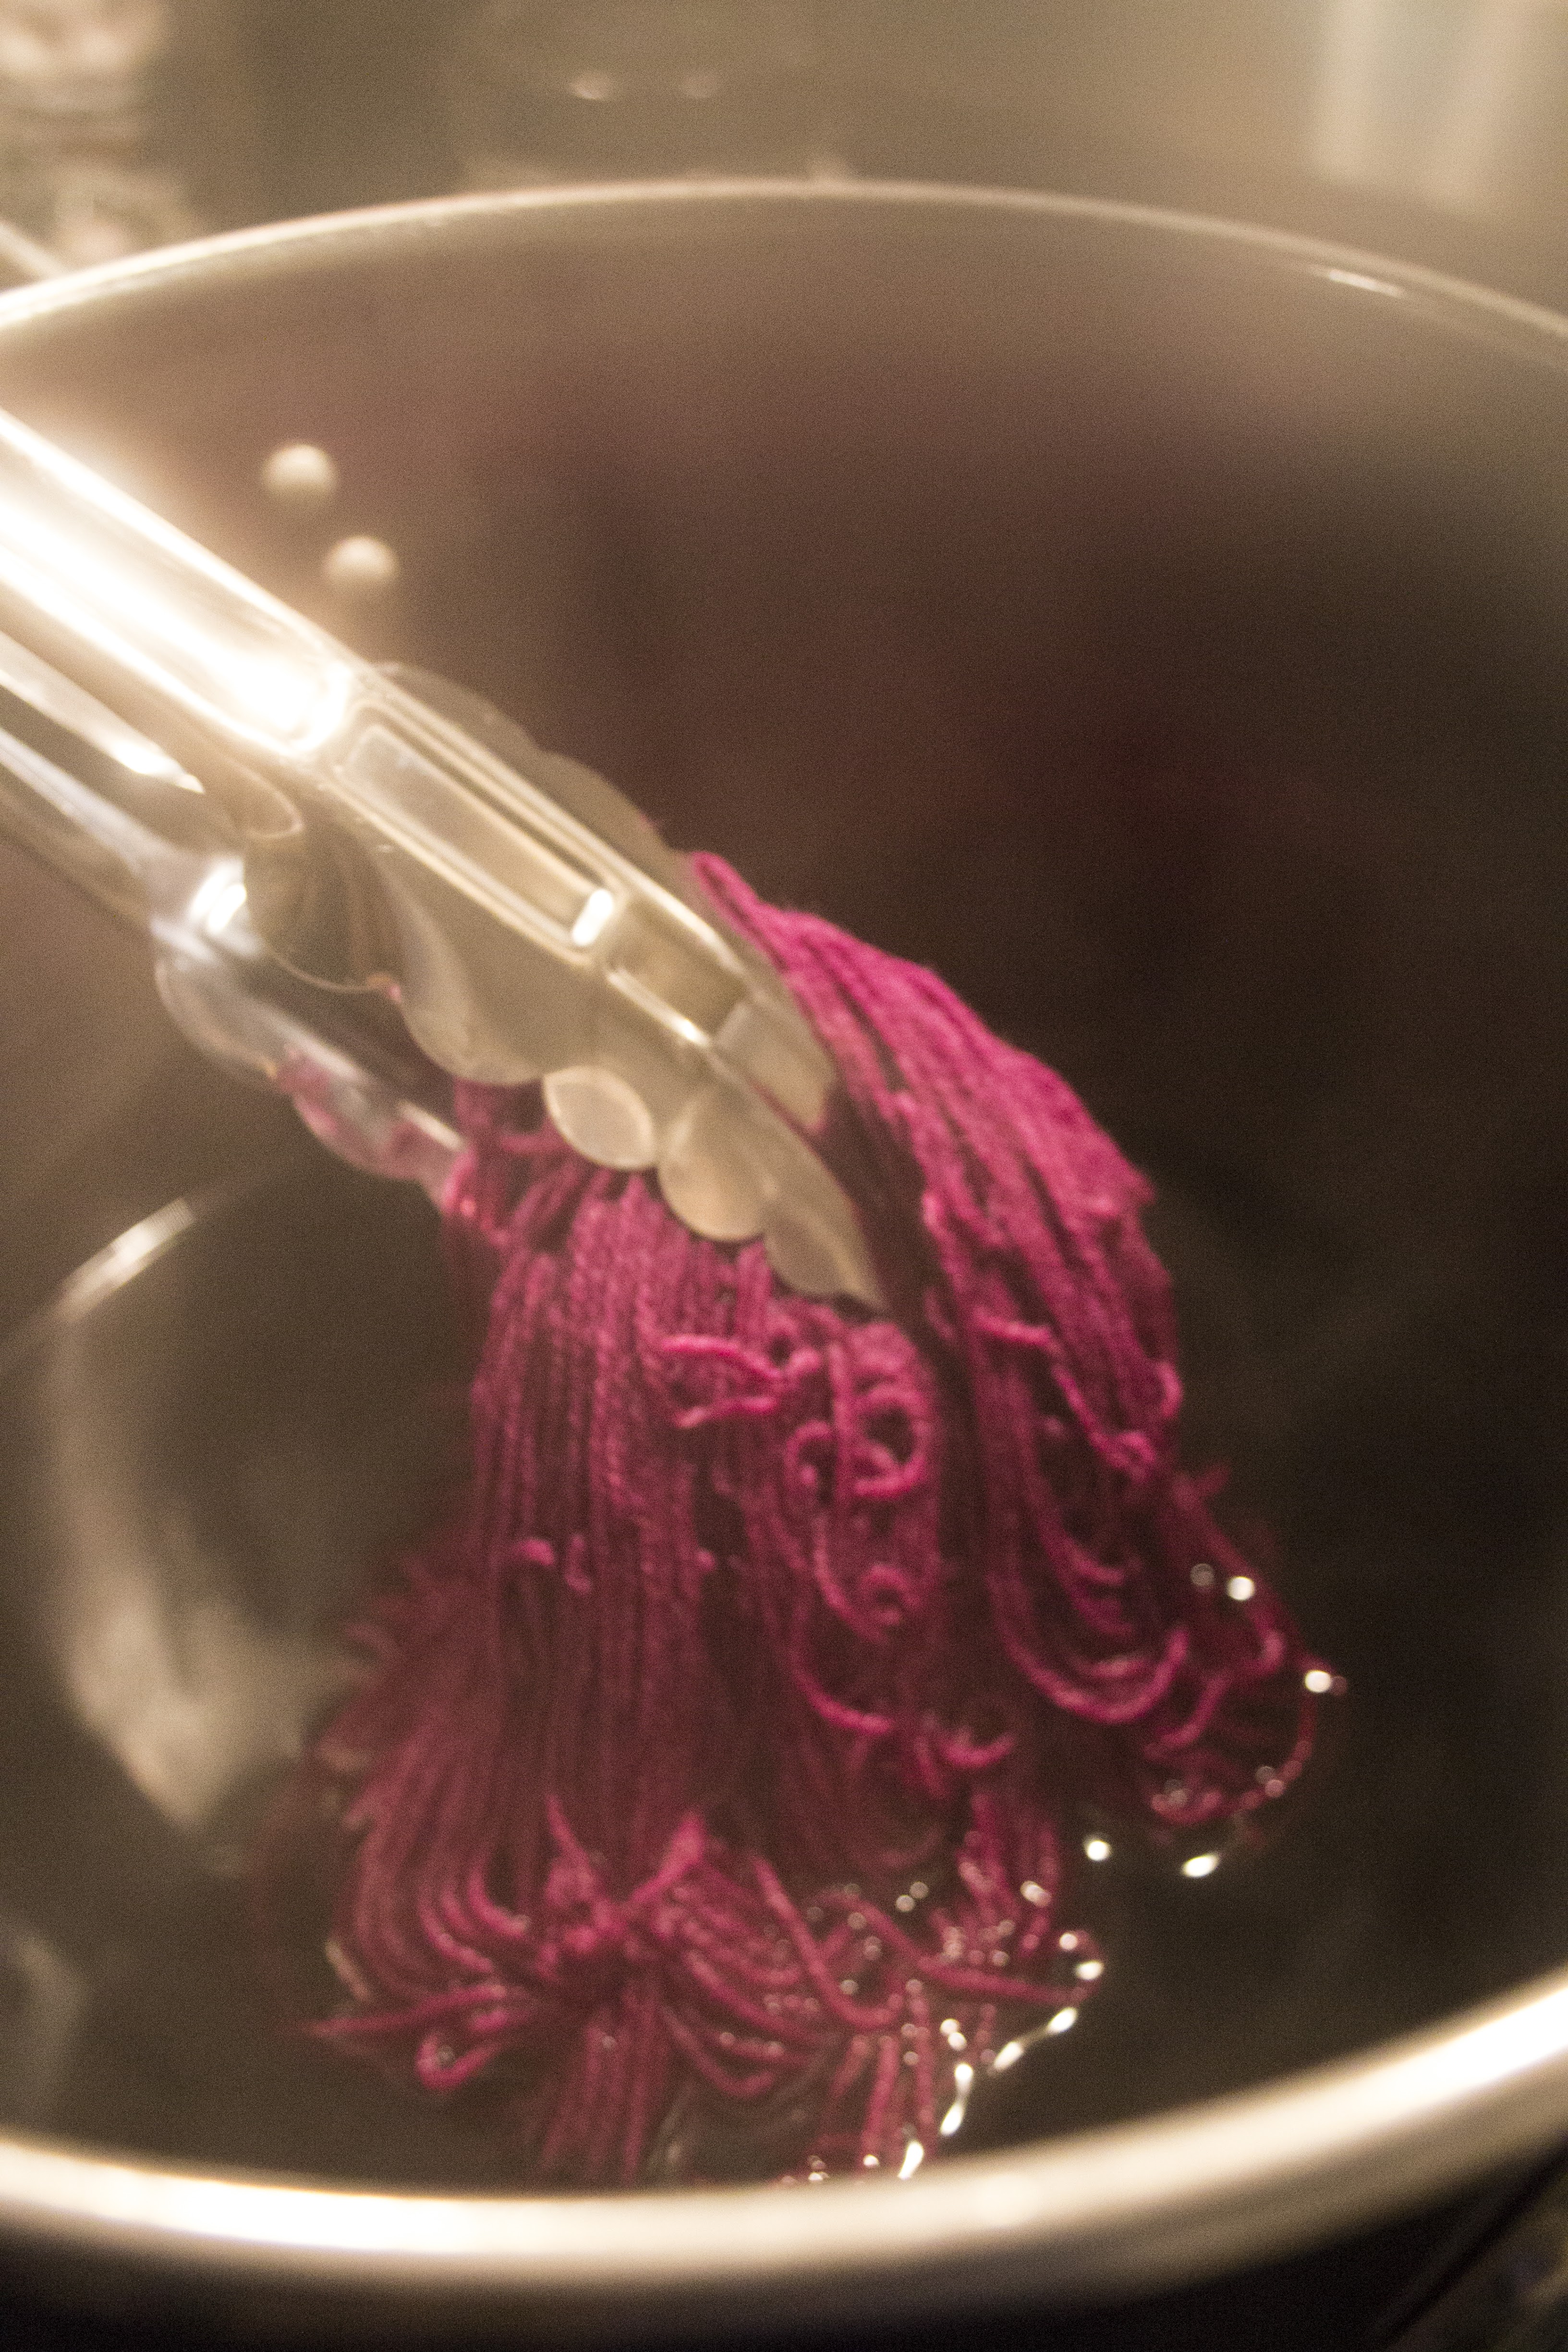
Pour off approximately 1 cup of the concentration into the pot. Gently stir and turn the yarn to incorporate the dye into the water. I suggest you open your windows for ventilation as you’ll be warming an ammonia solution over the stove-top.
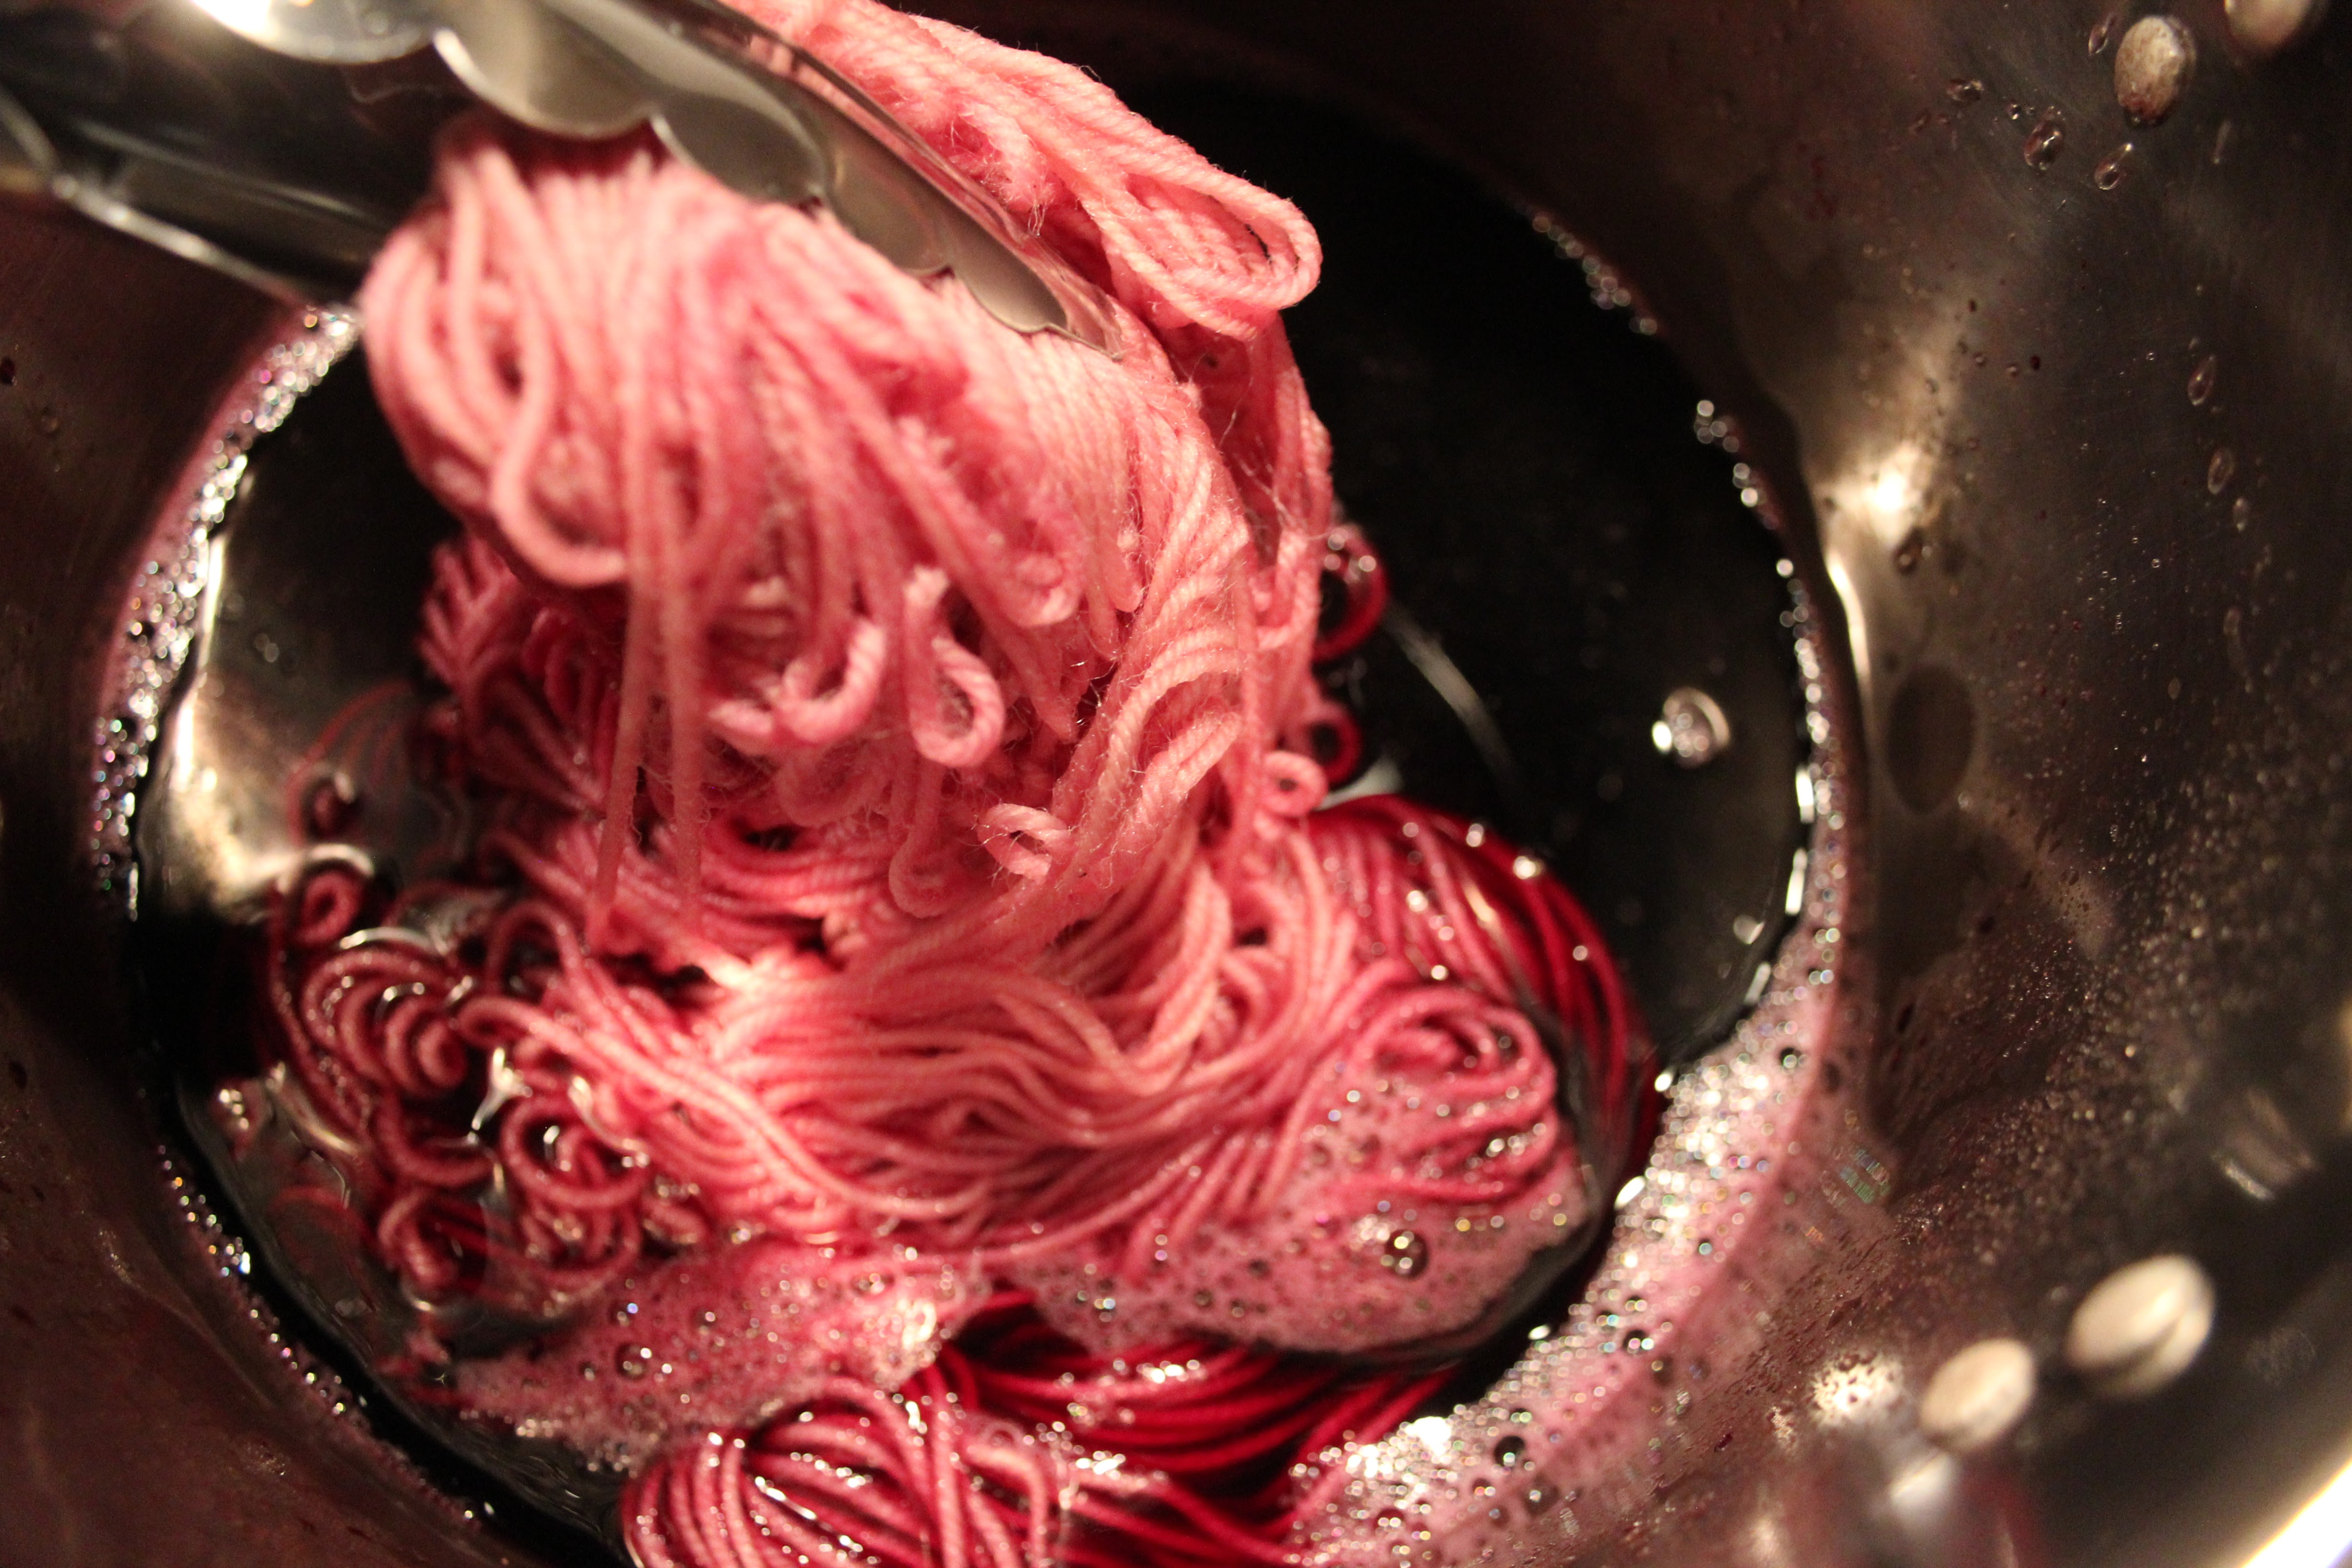
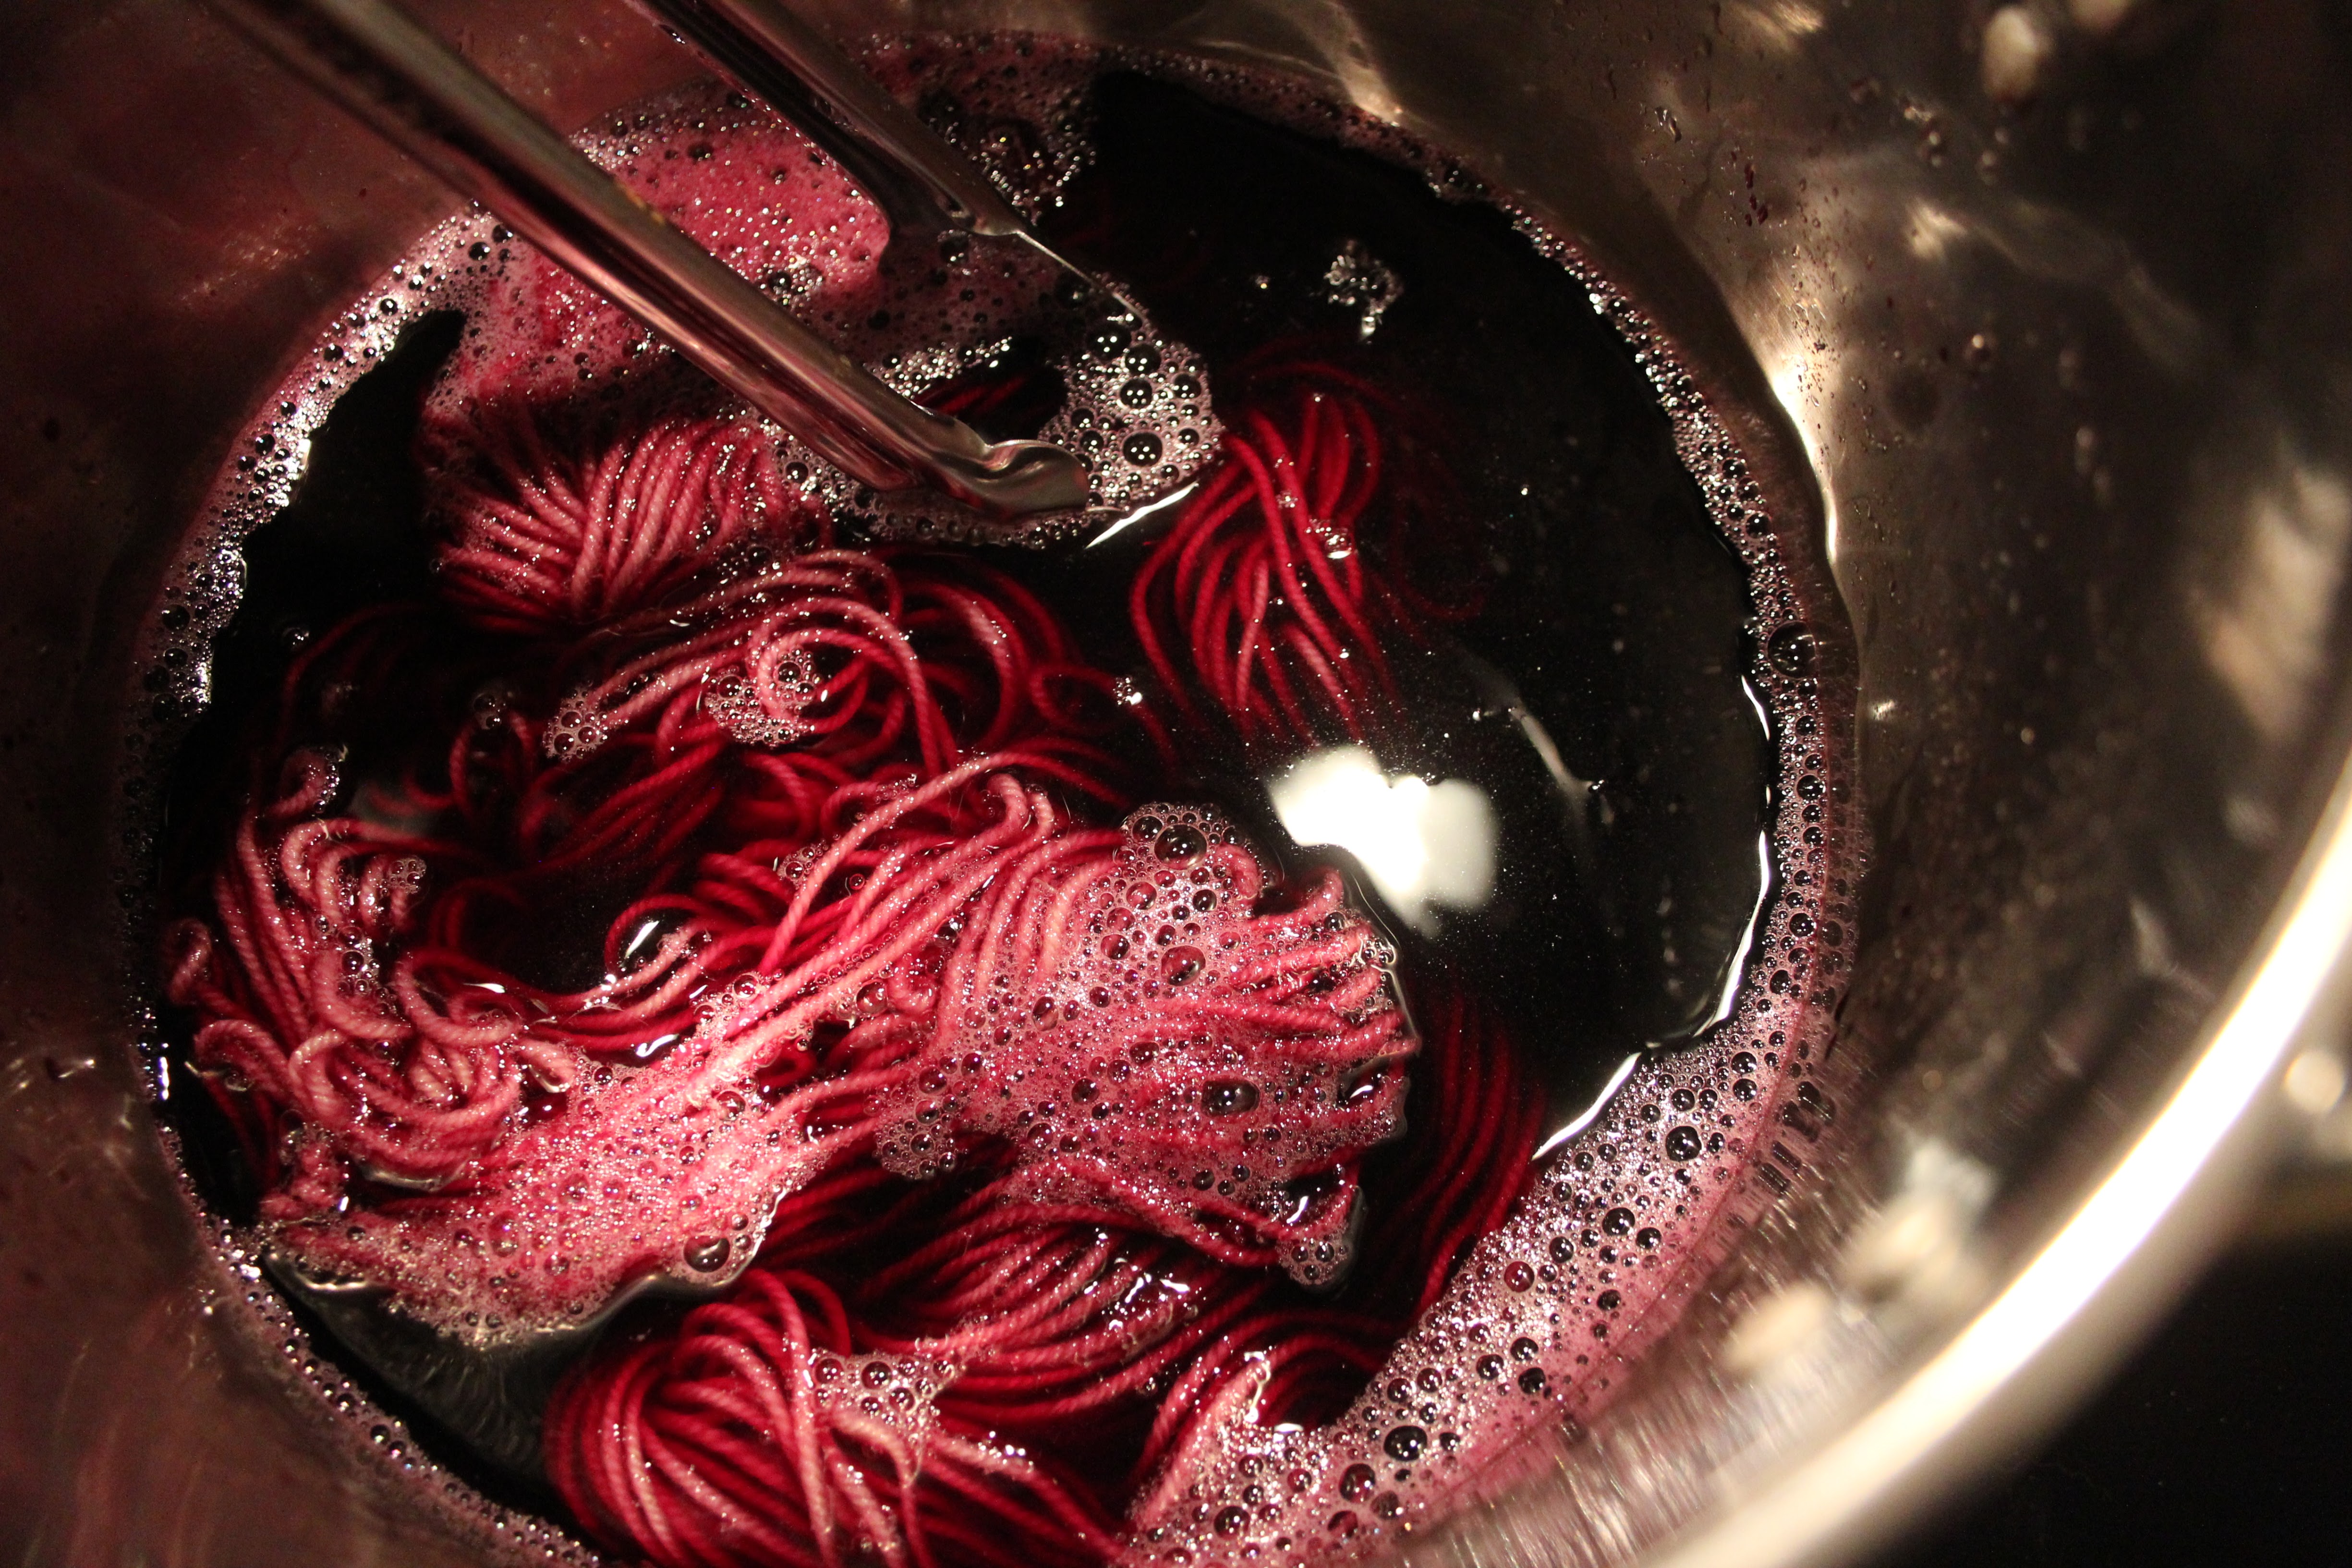
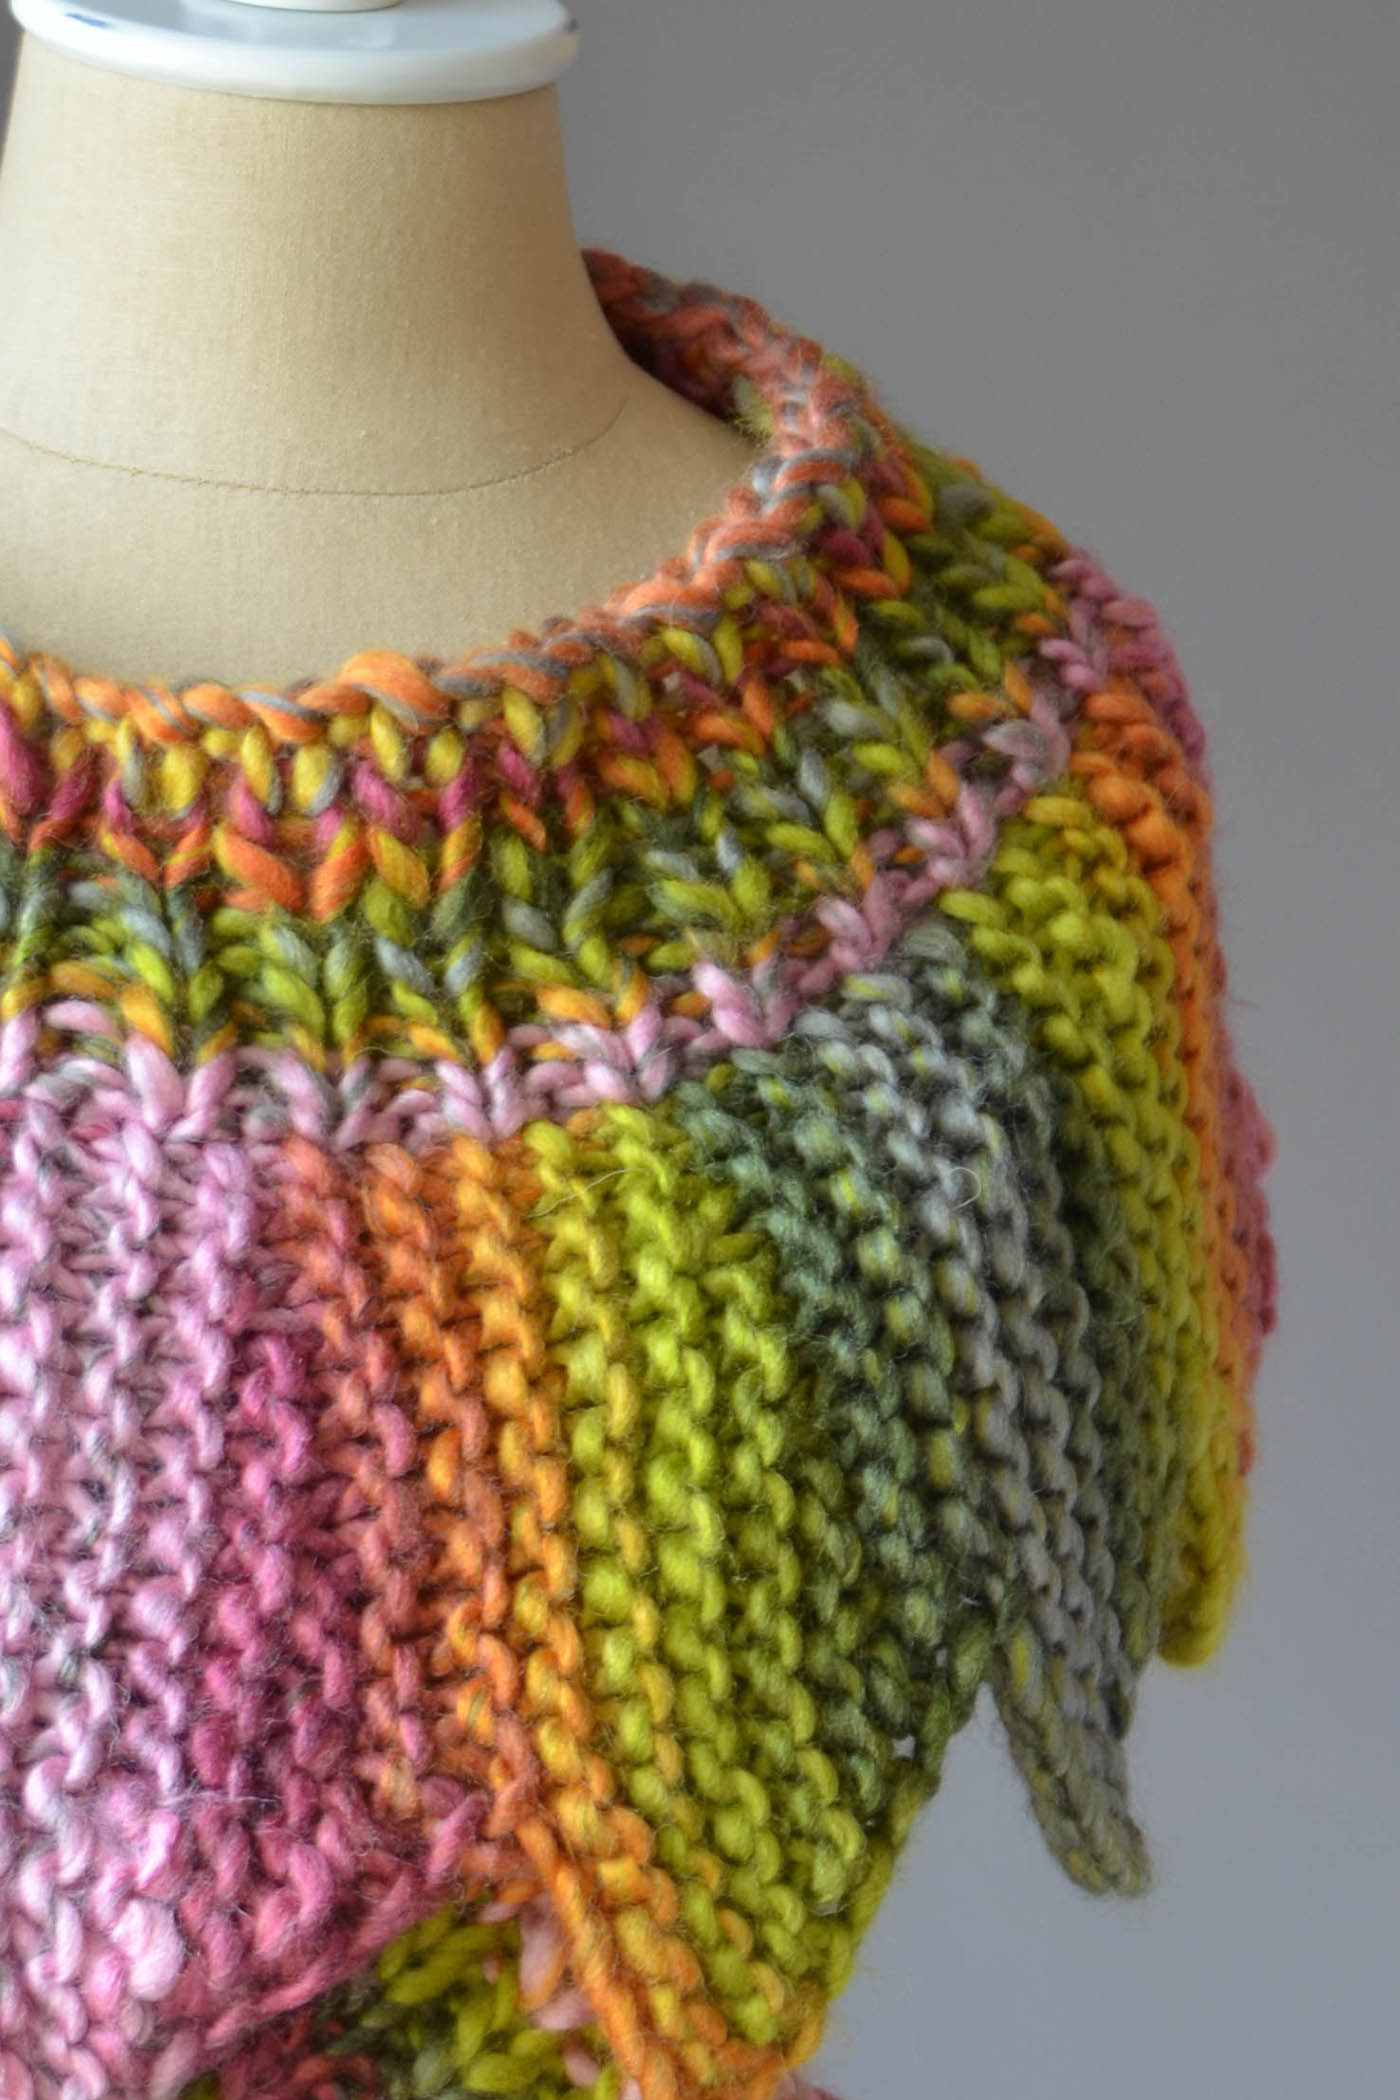
Bring water to just under a simmer. If you have a thermometer it should be about 190 F. Allow the yarn to soak in the dyebath for approximately one hour, occasionally turning the yarn gently with your tongs. Notice how brilliantly saturated the color becomes.
 \
\
Remove from the heat and allow the yarn to cool in the dyebath overnight.
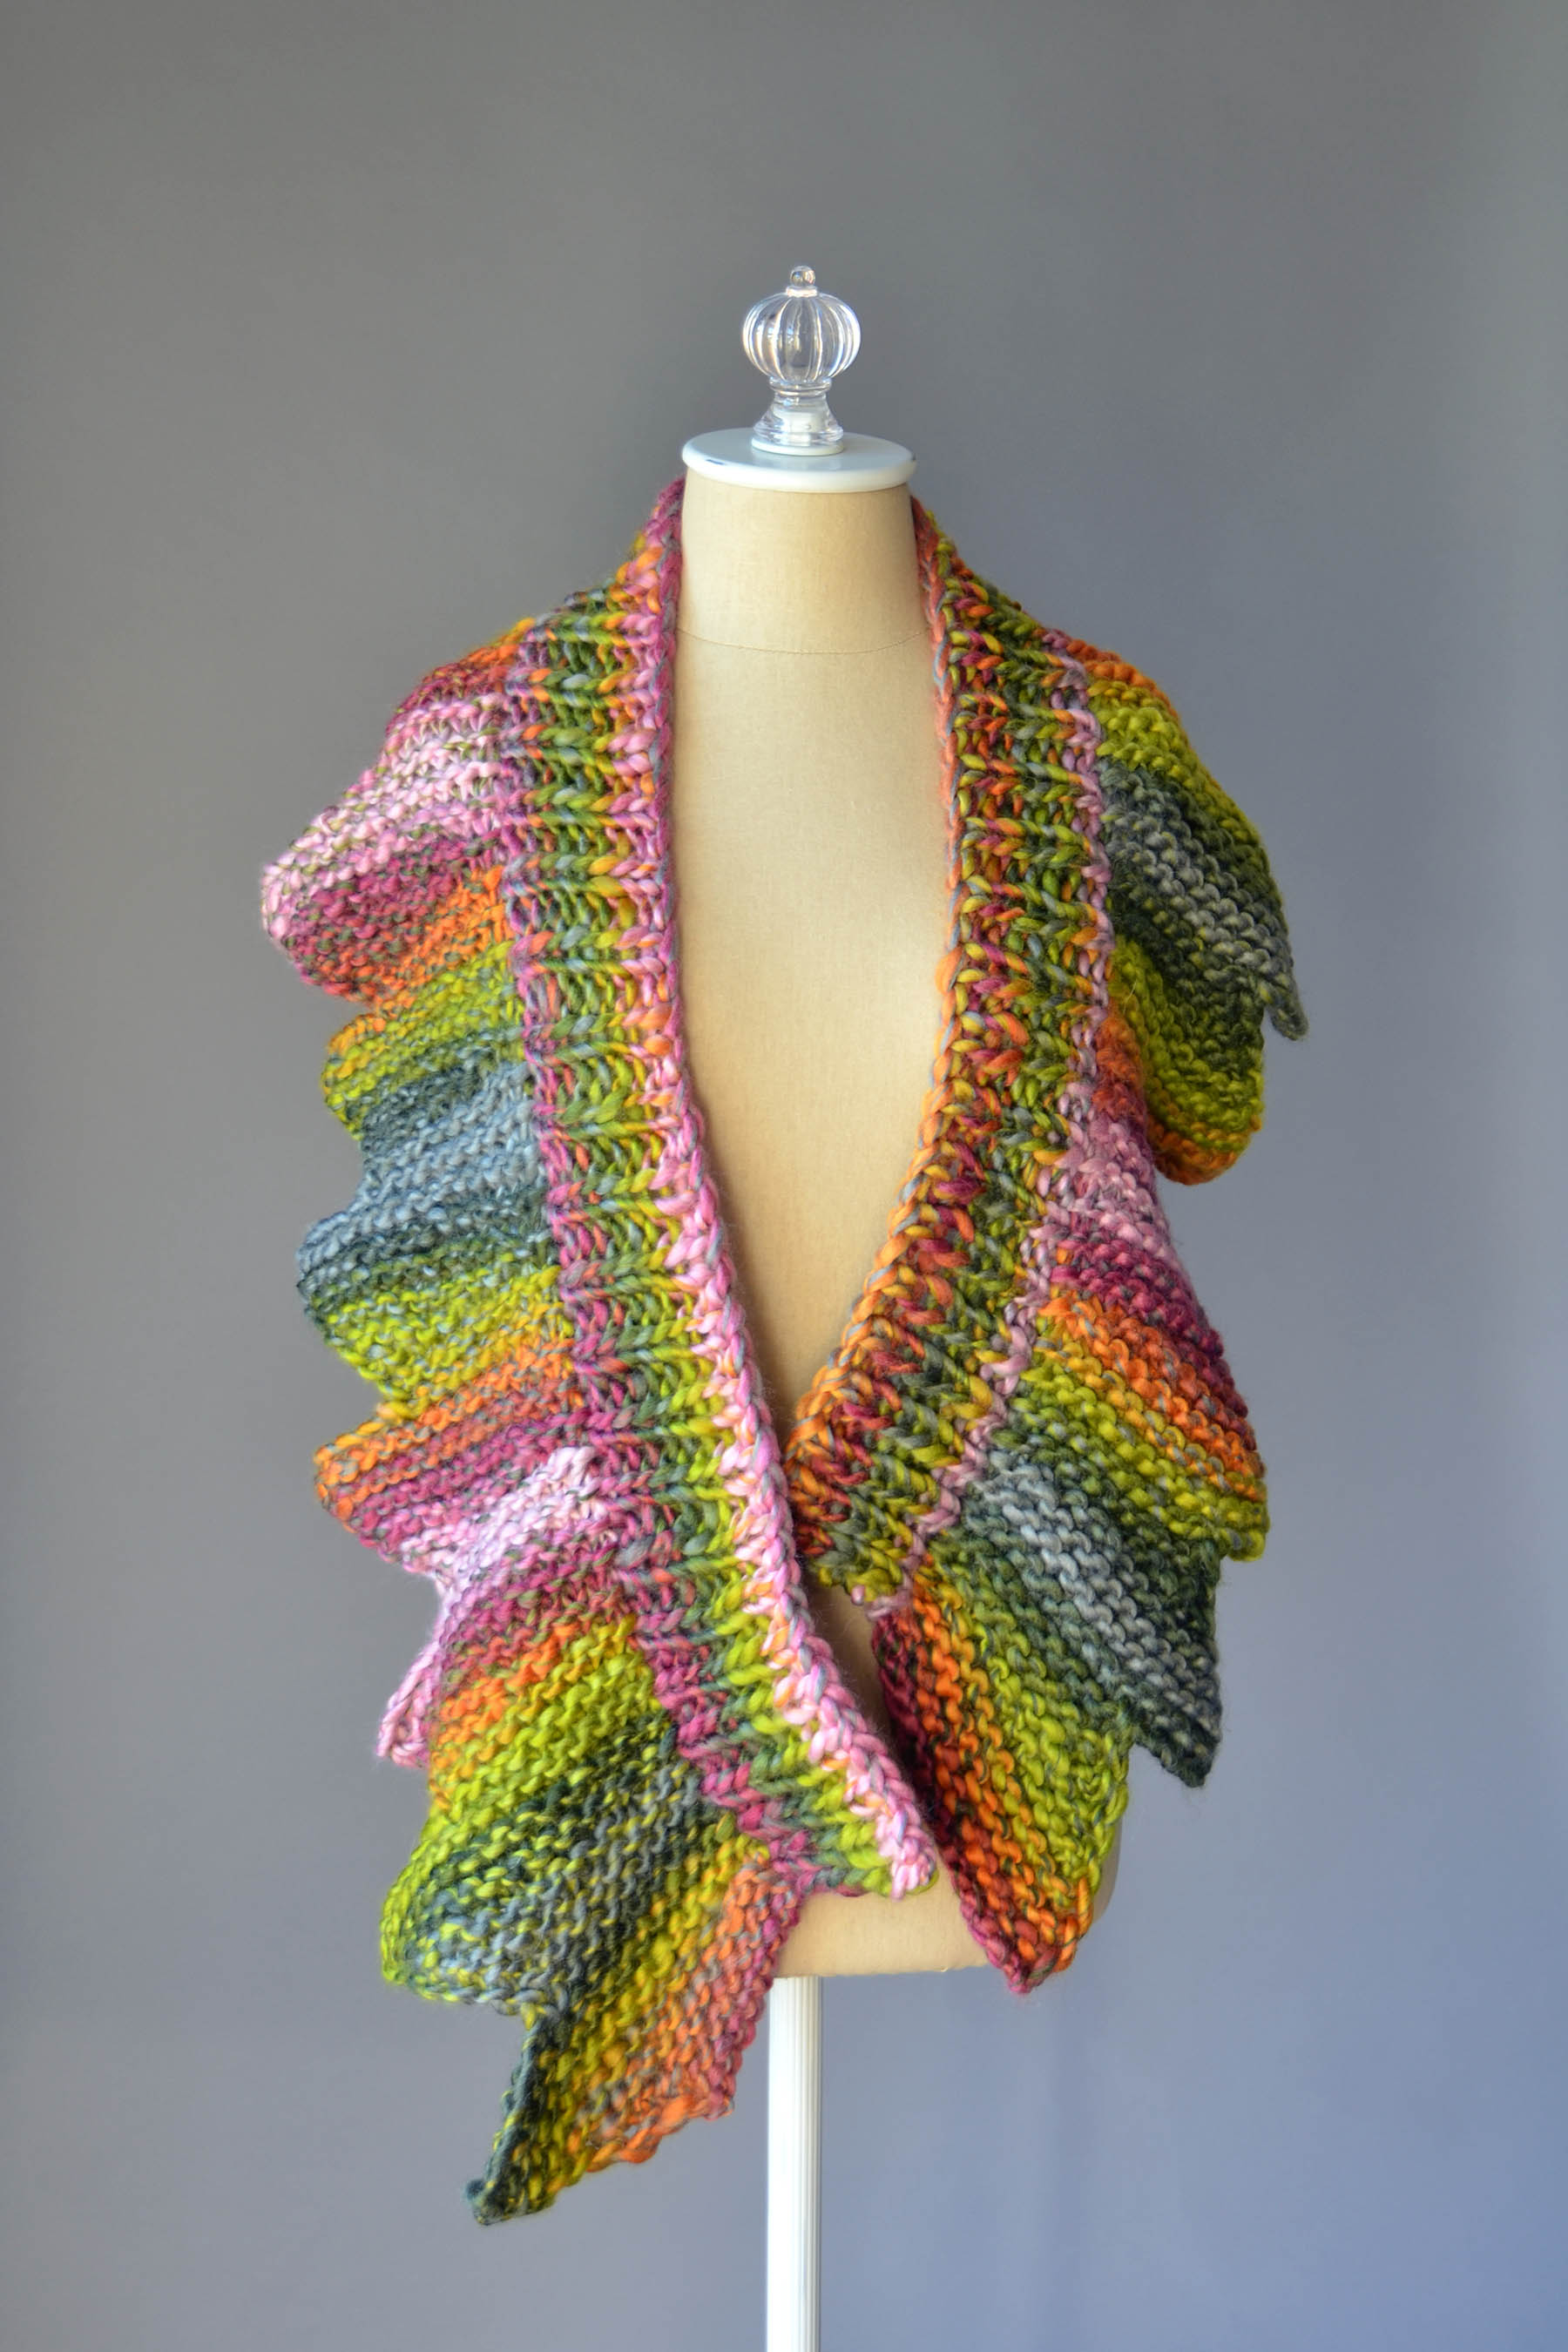
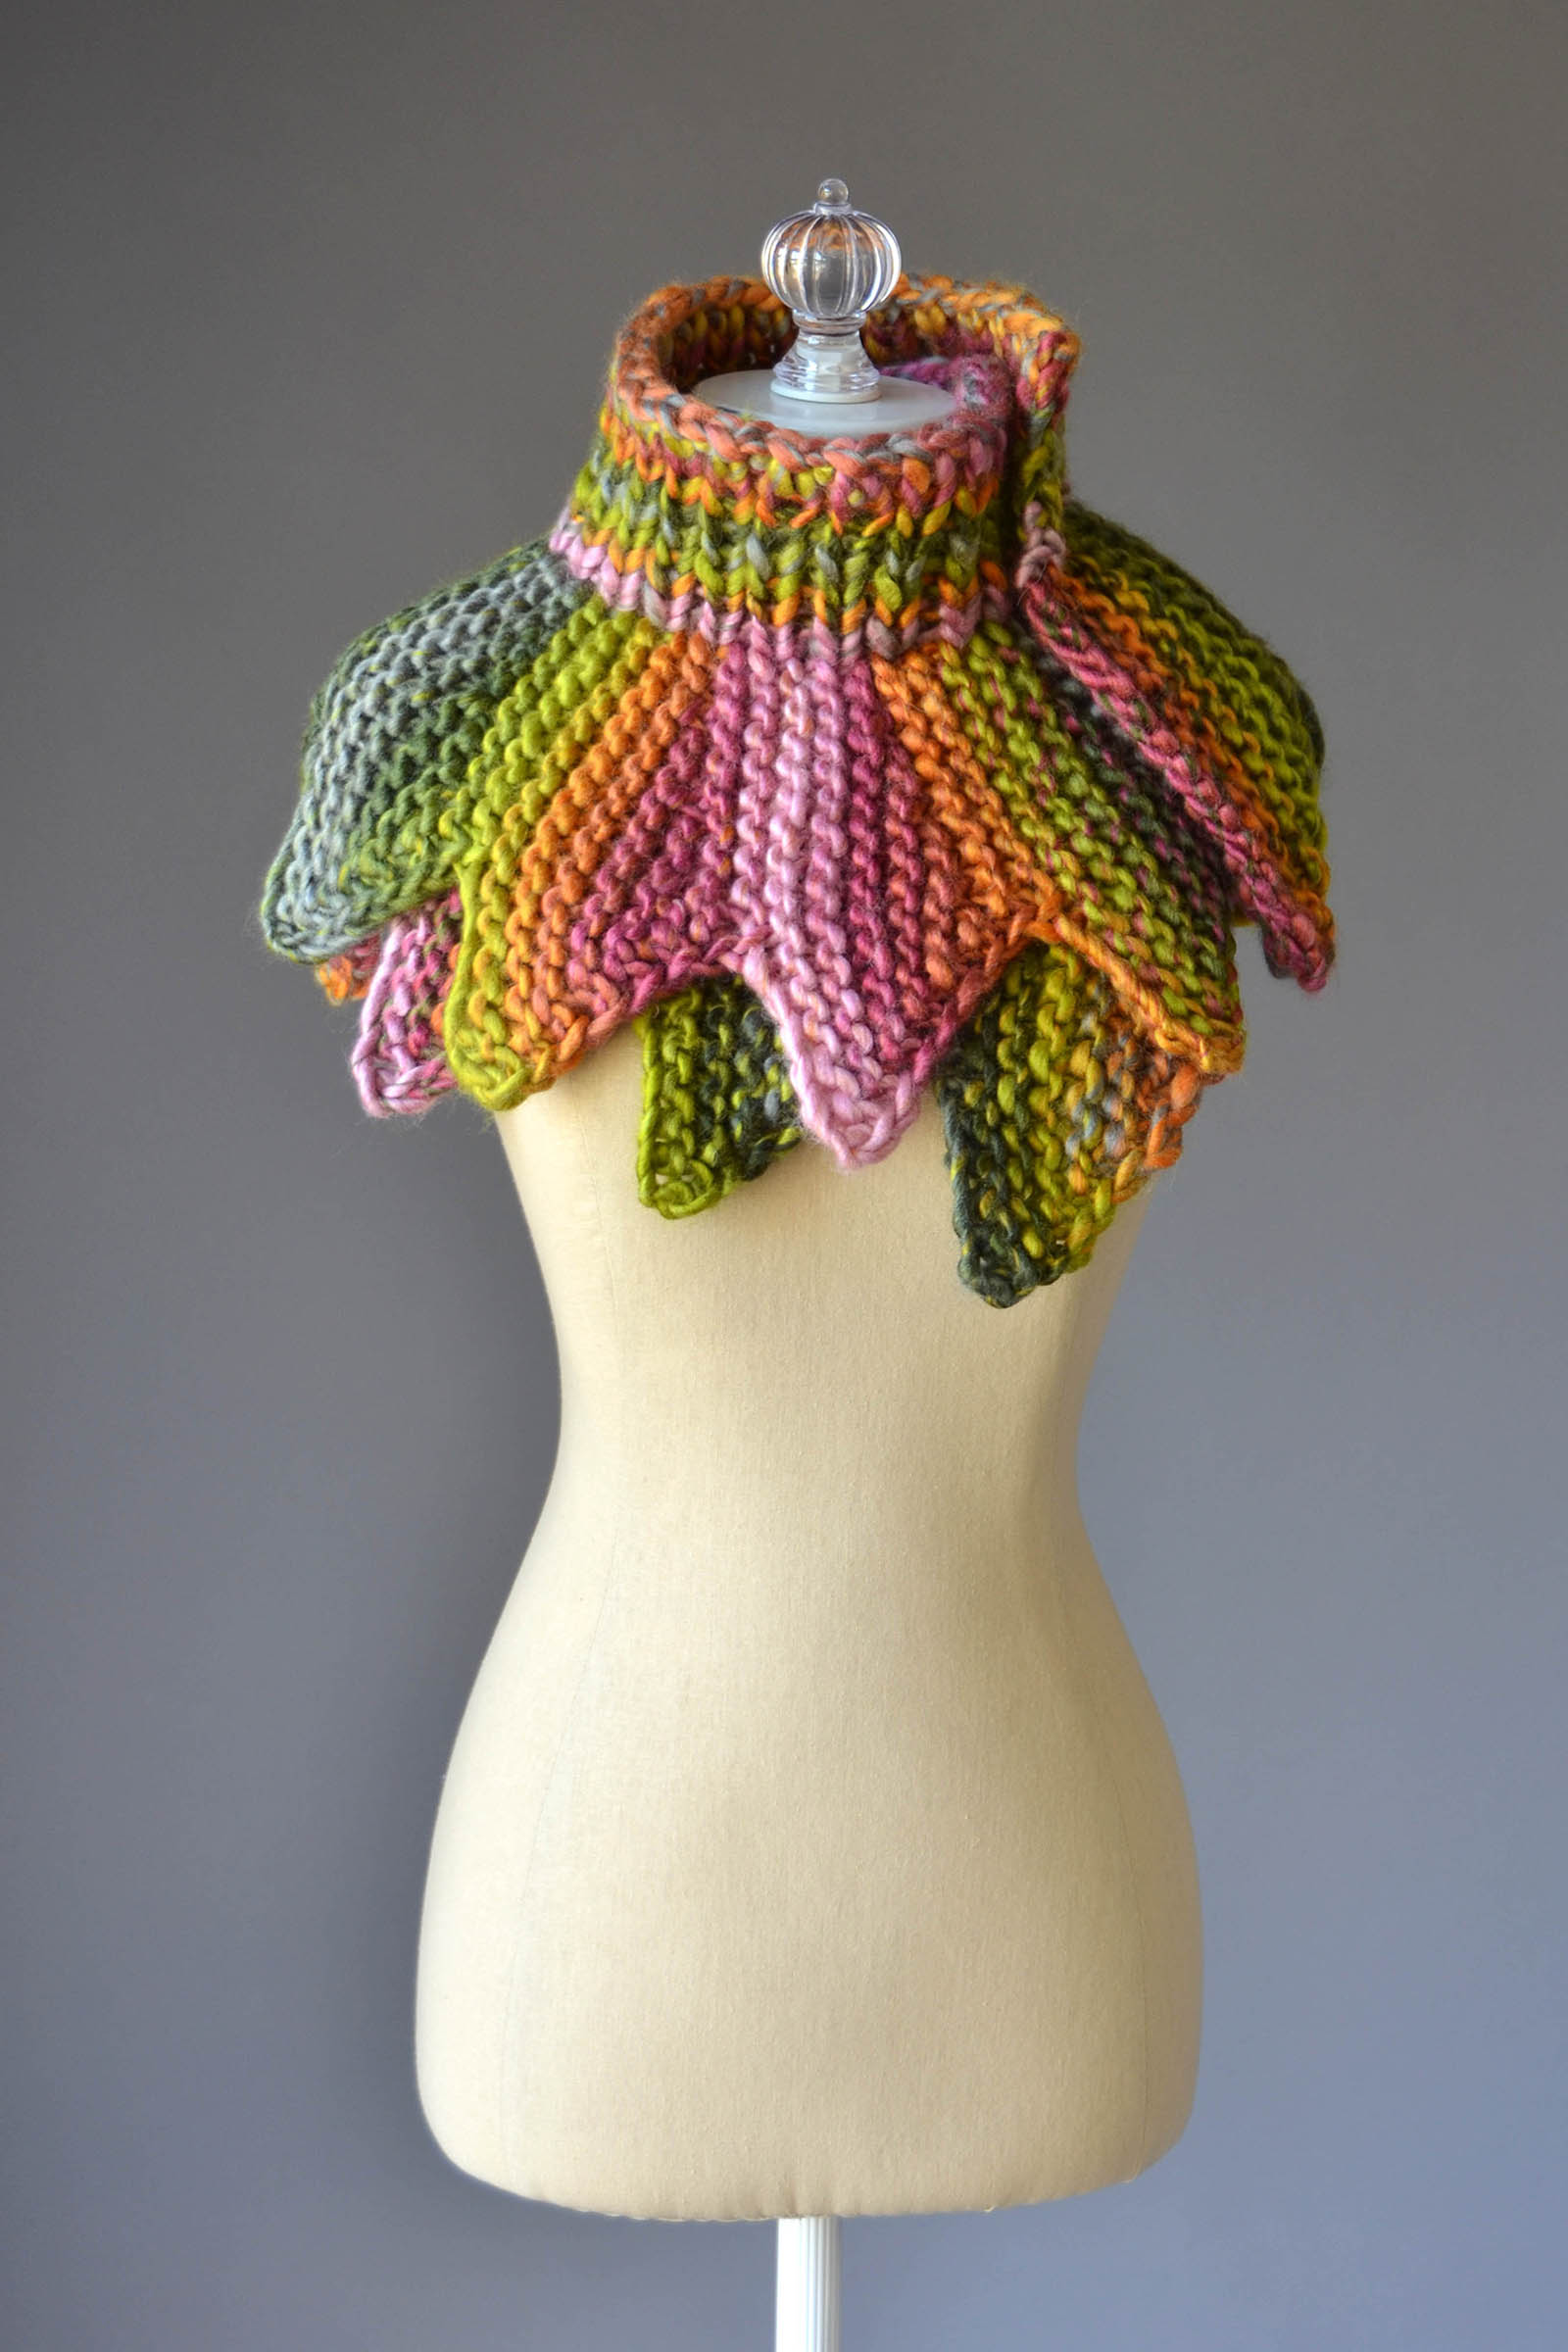
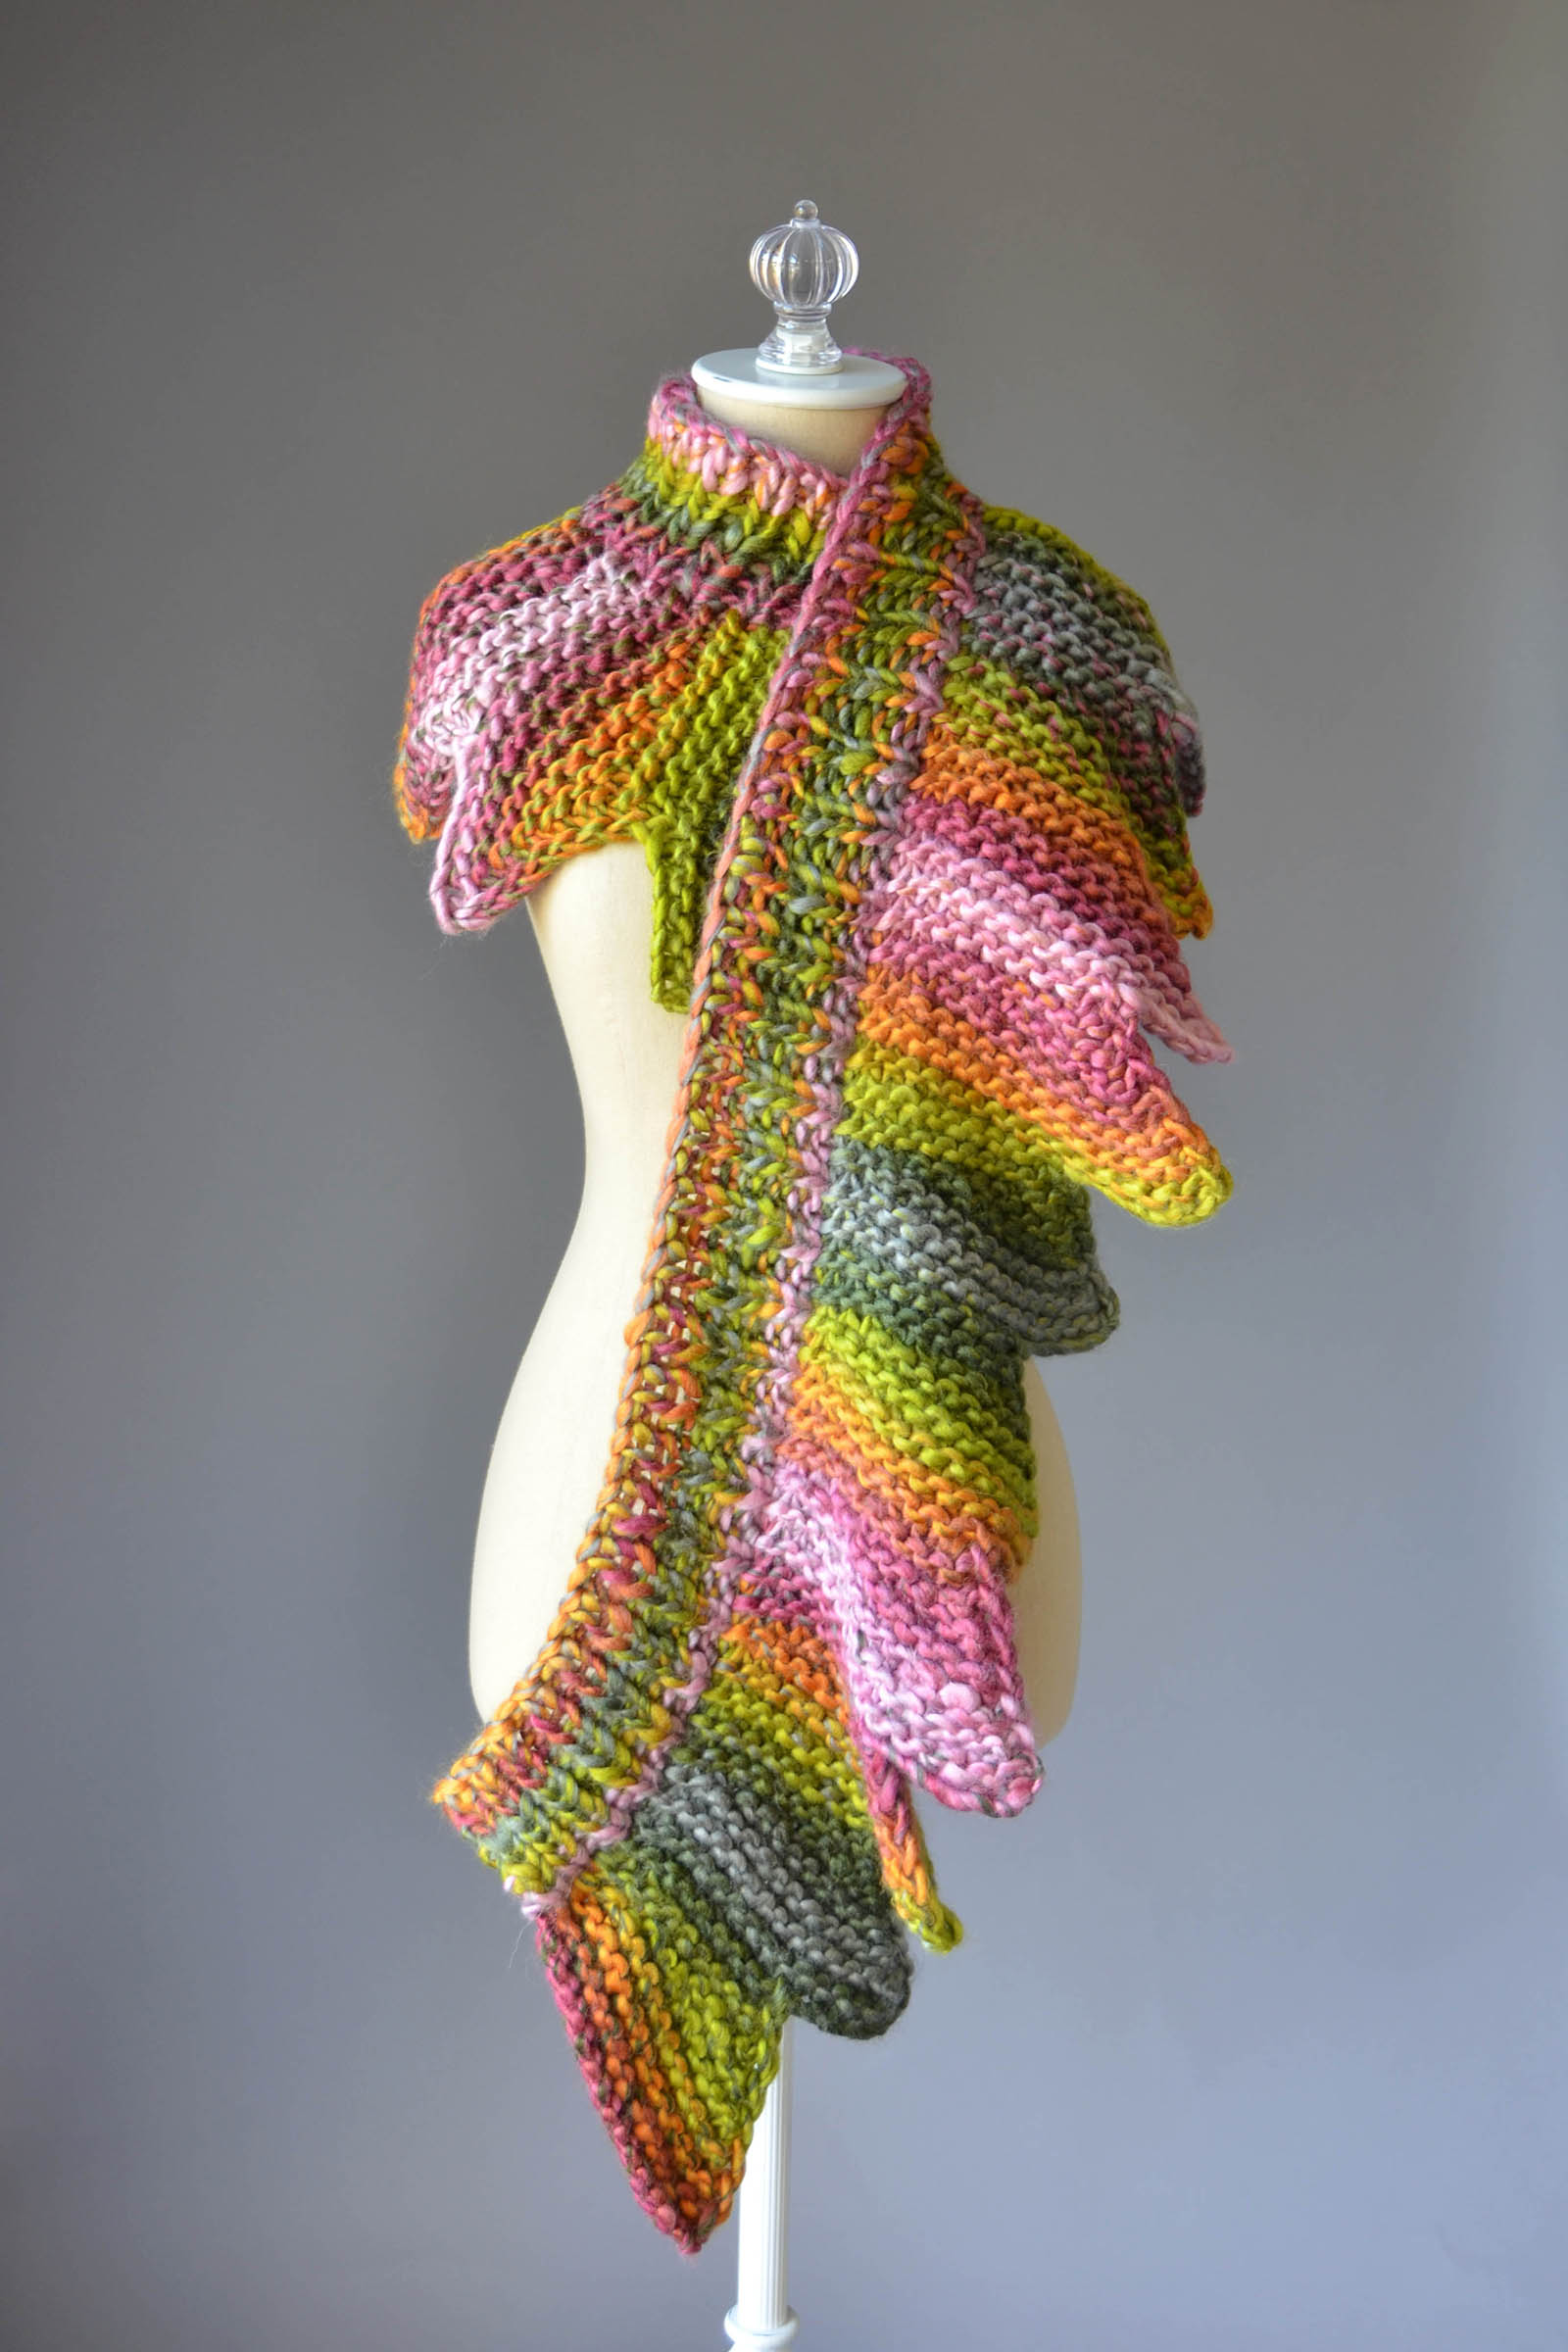
Remove the yarn from the dyebath and thoroughly rinse. I do recommend a gentle detergent or wool wash as the ammonia can be quite pungent. Hang and allow to dry completely. Then, pat yourself on the back for your patience. I told you it was worth the wait!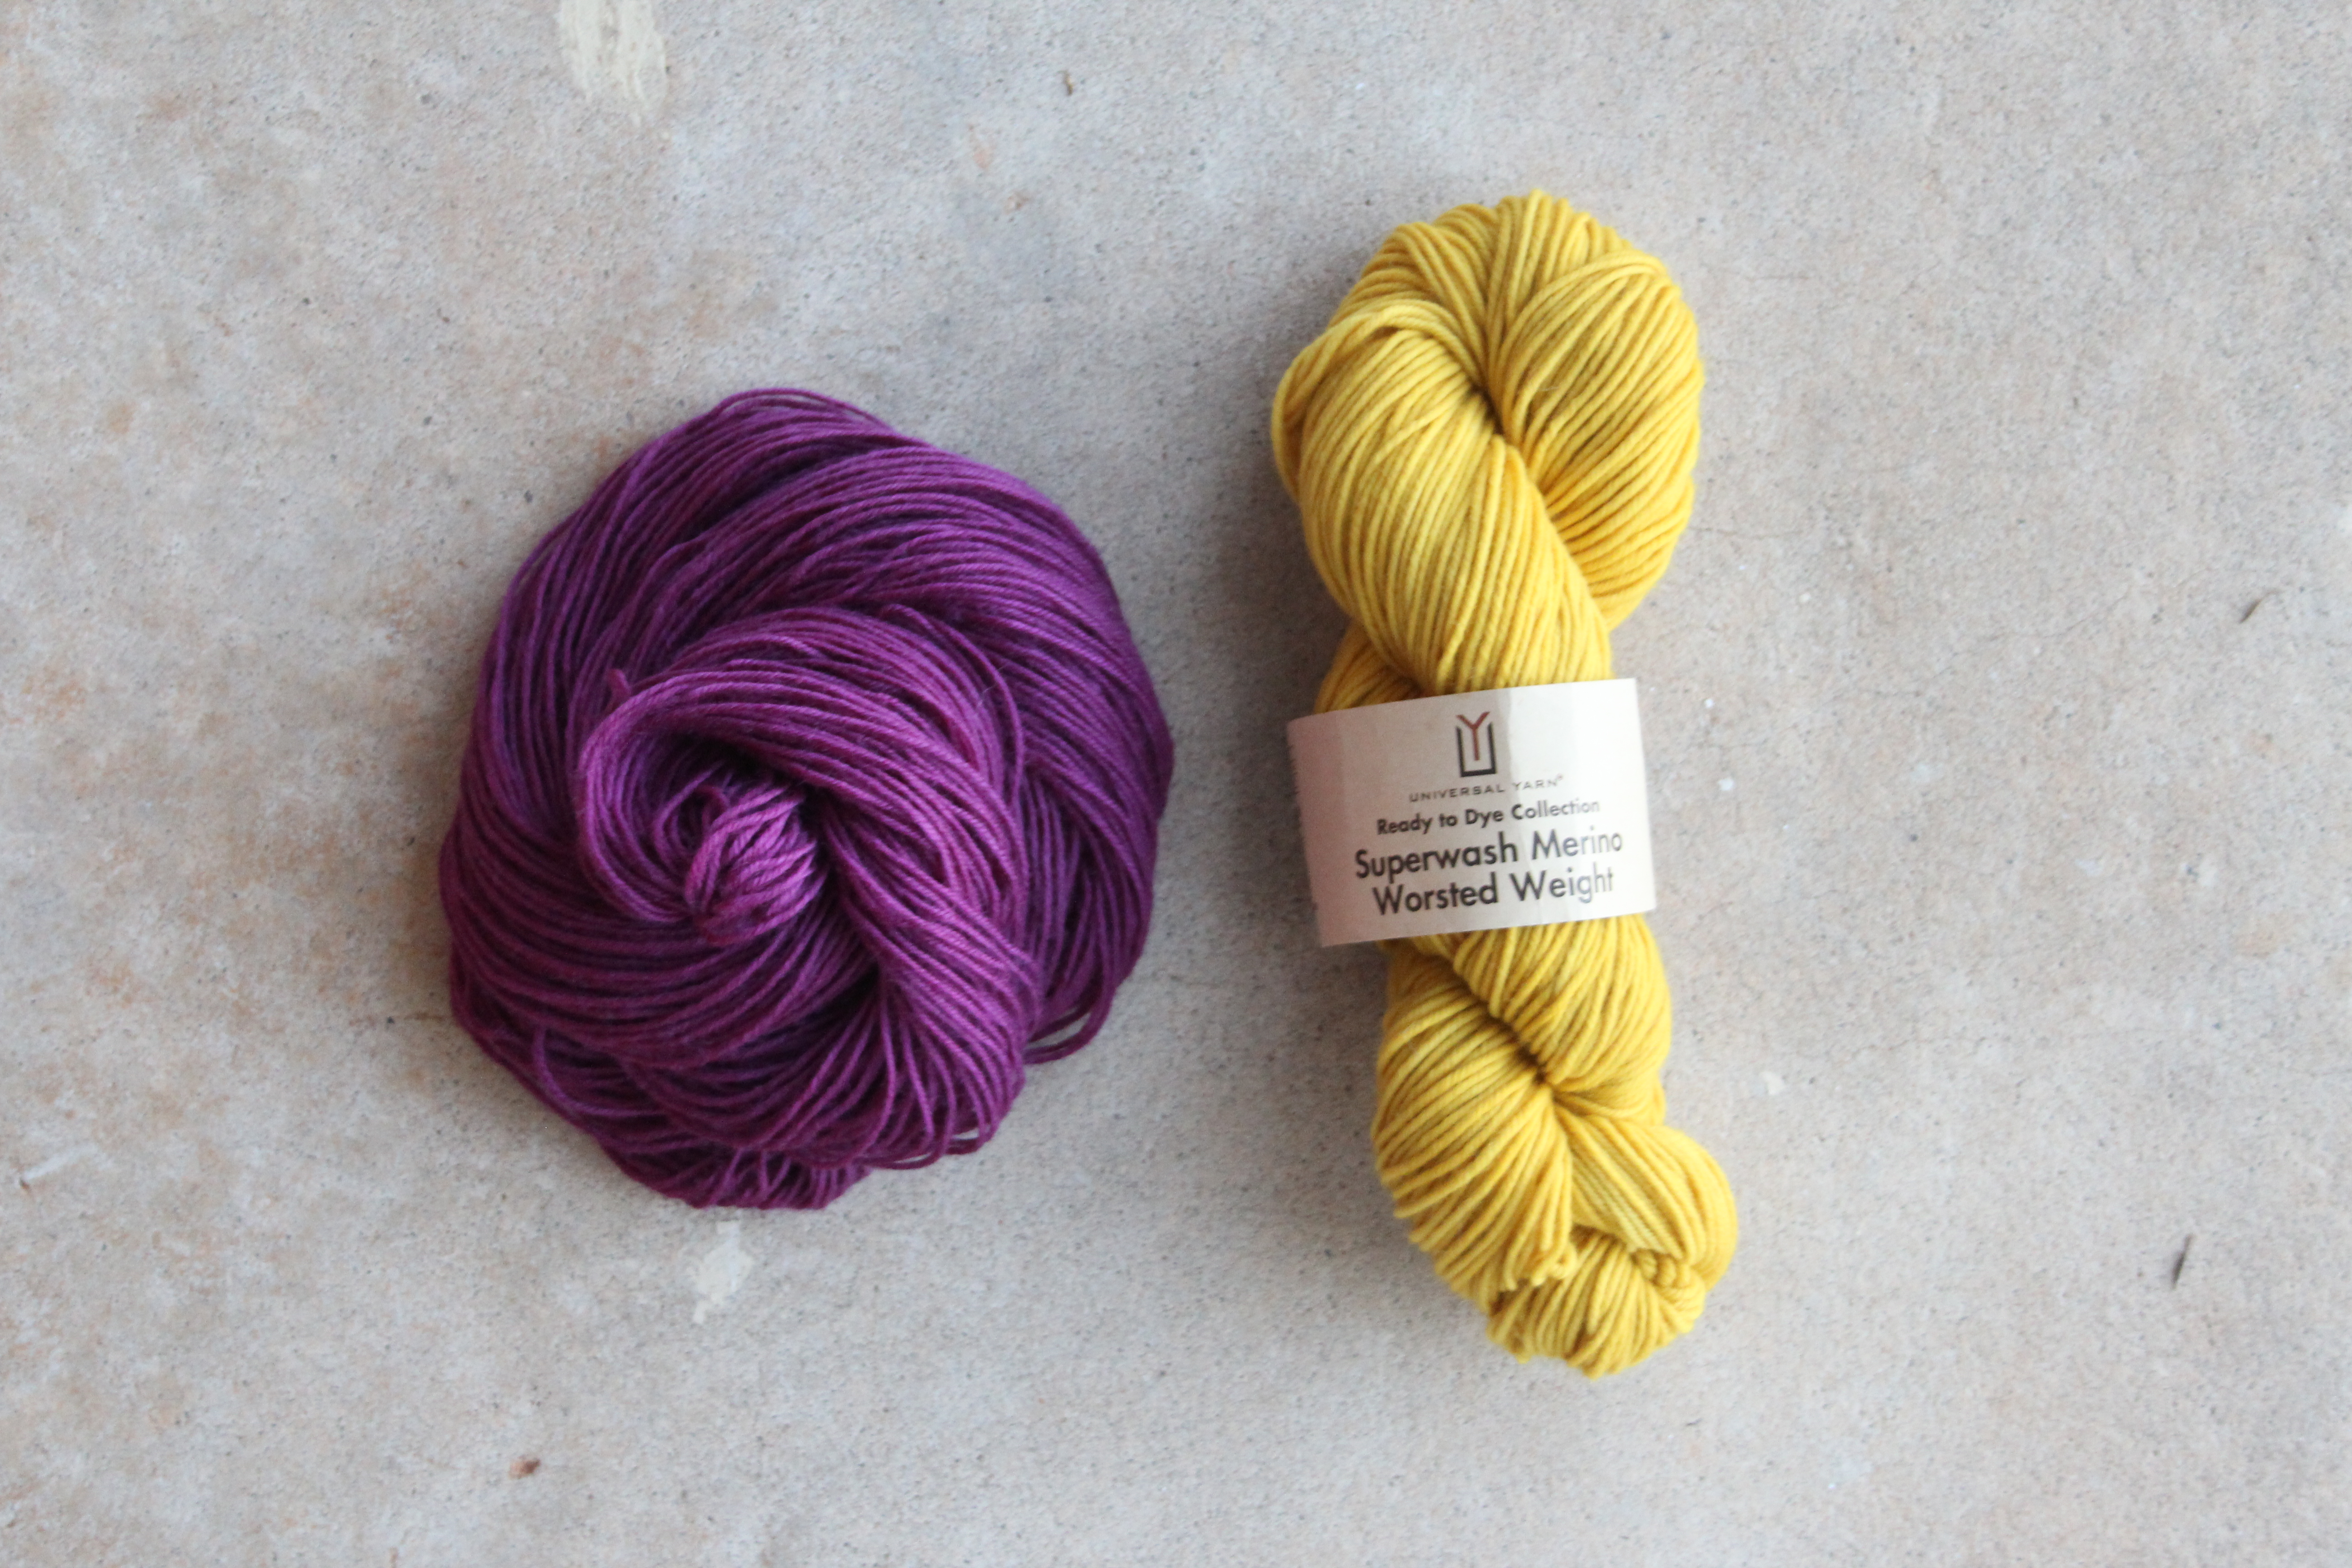
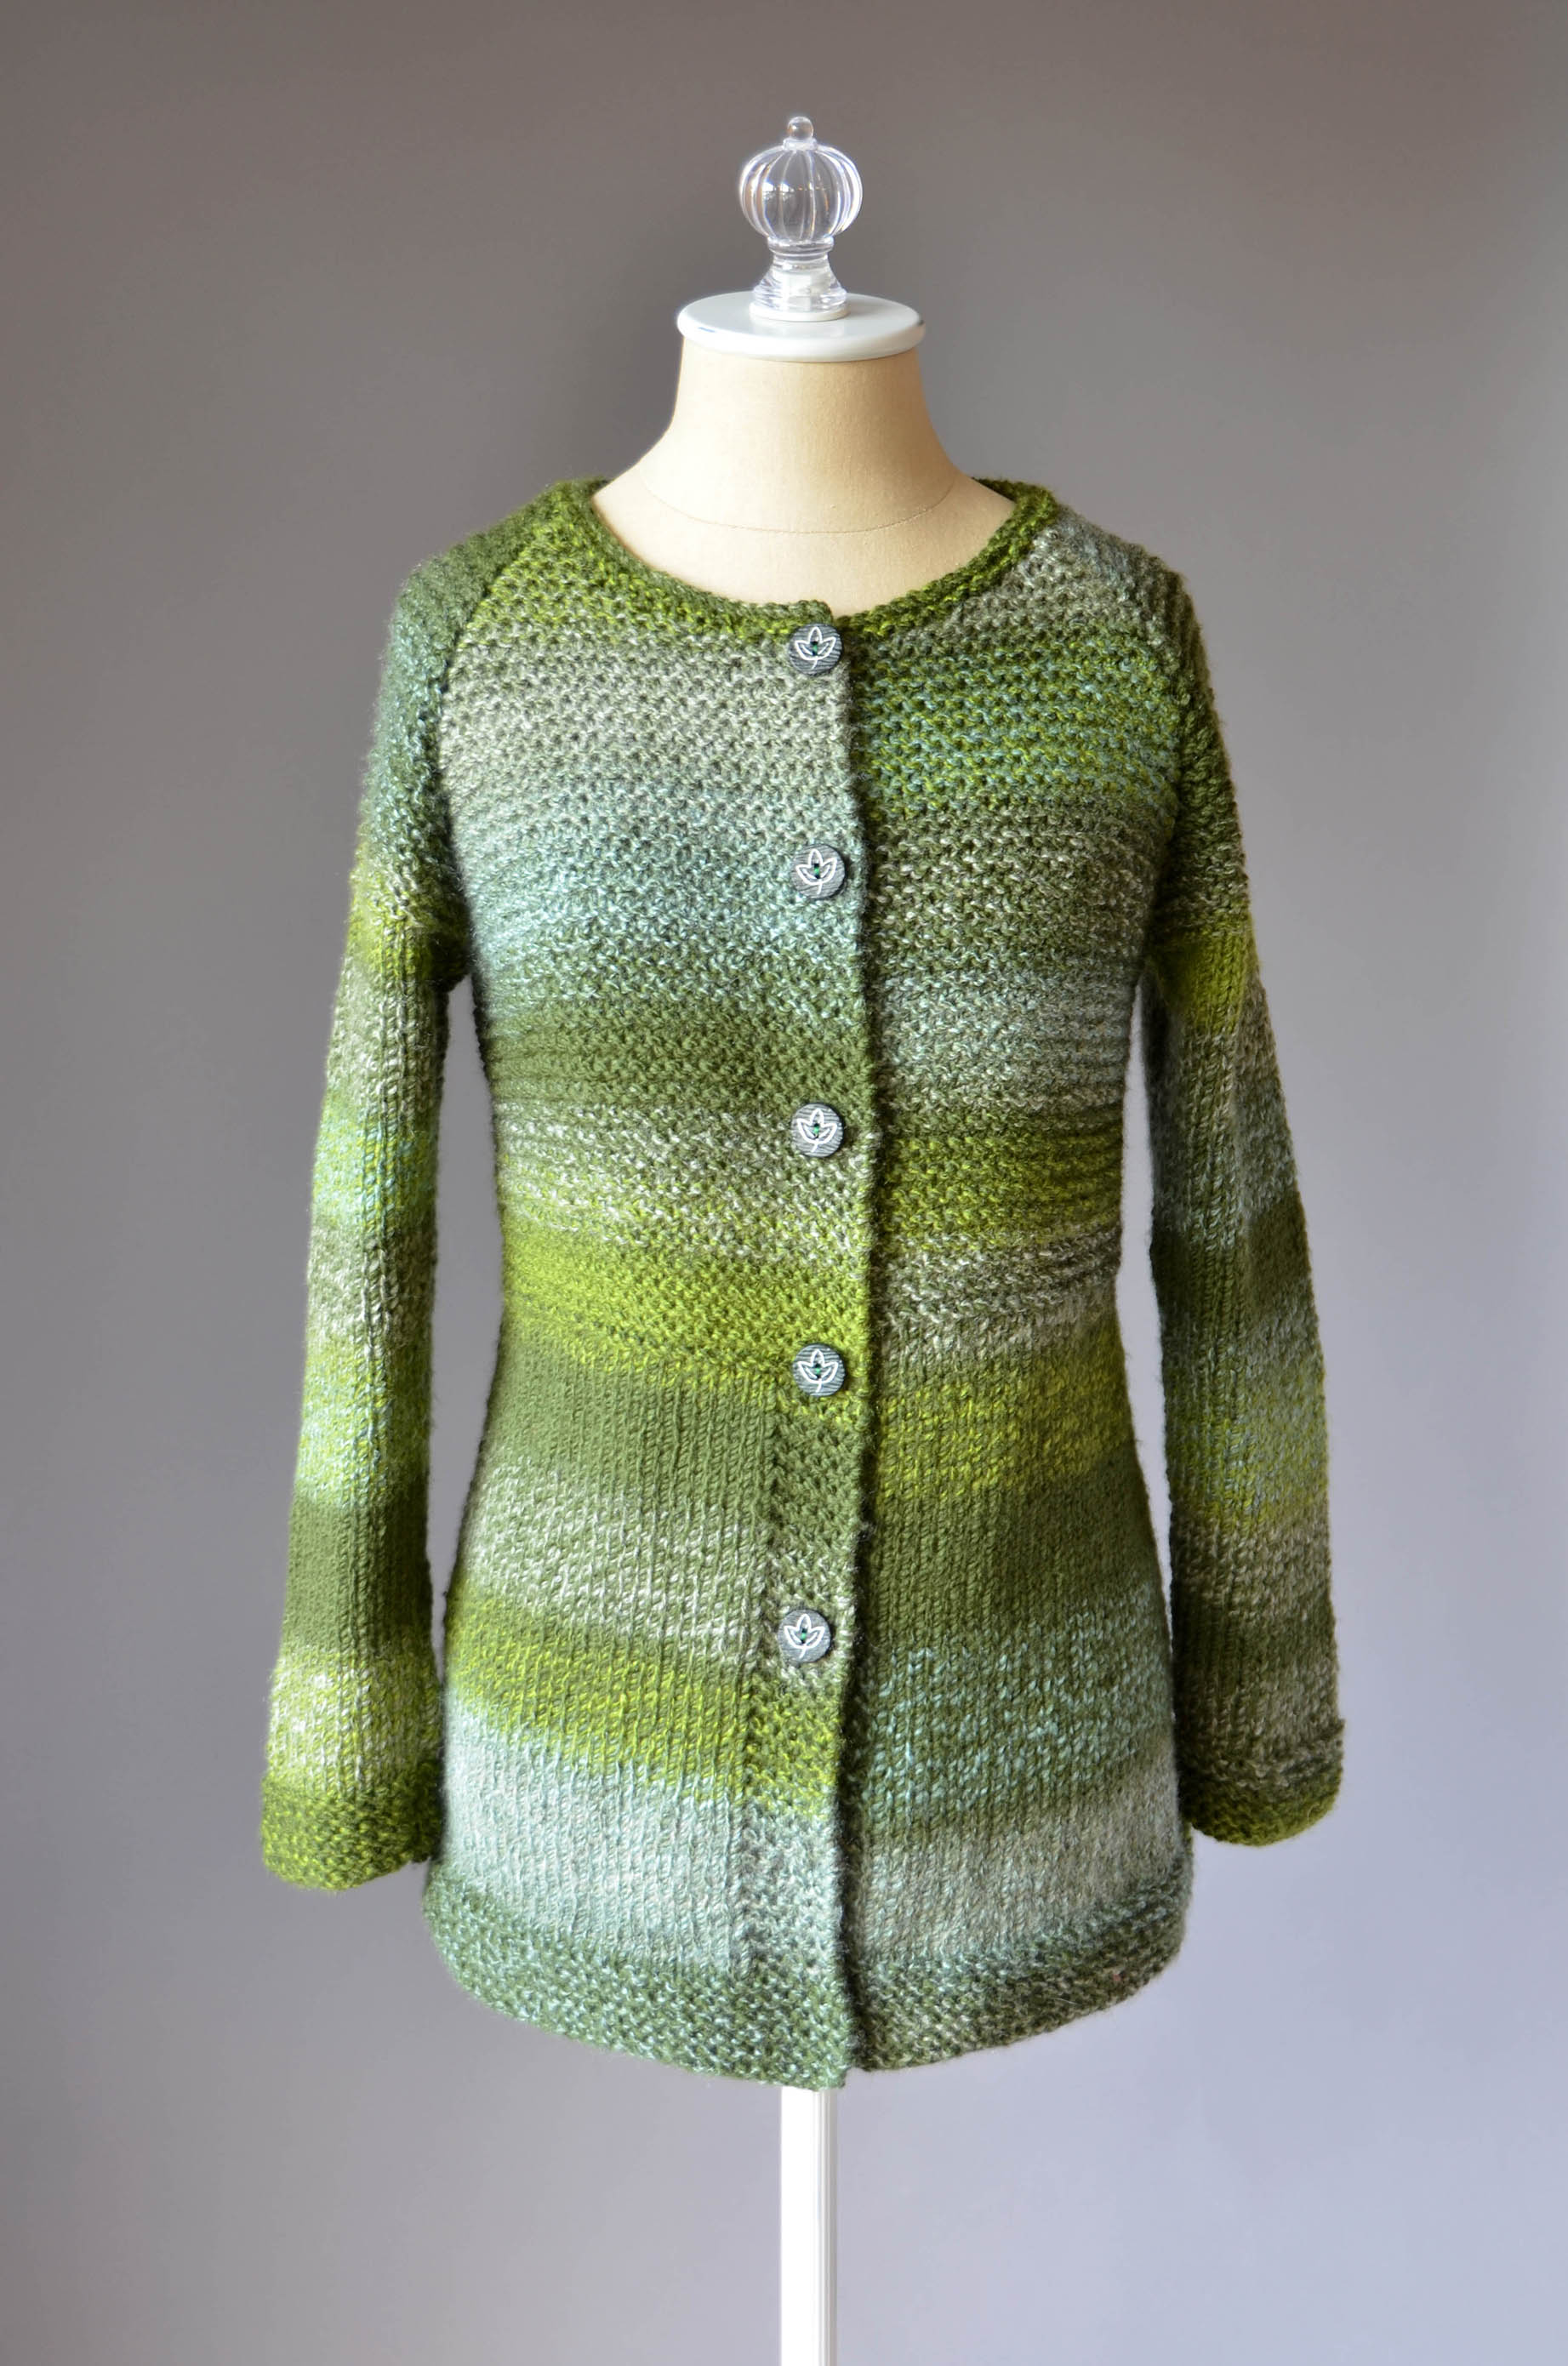
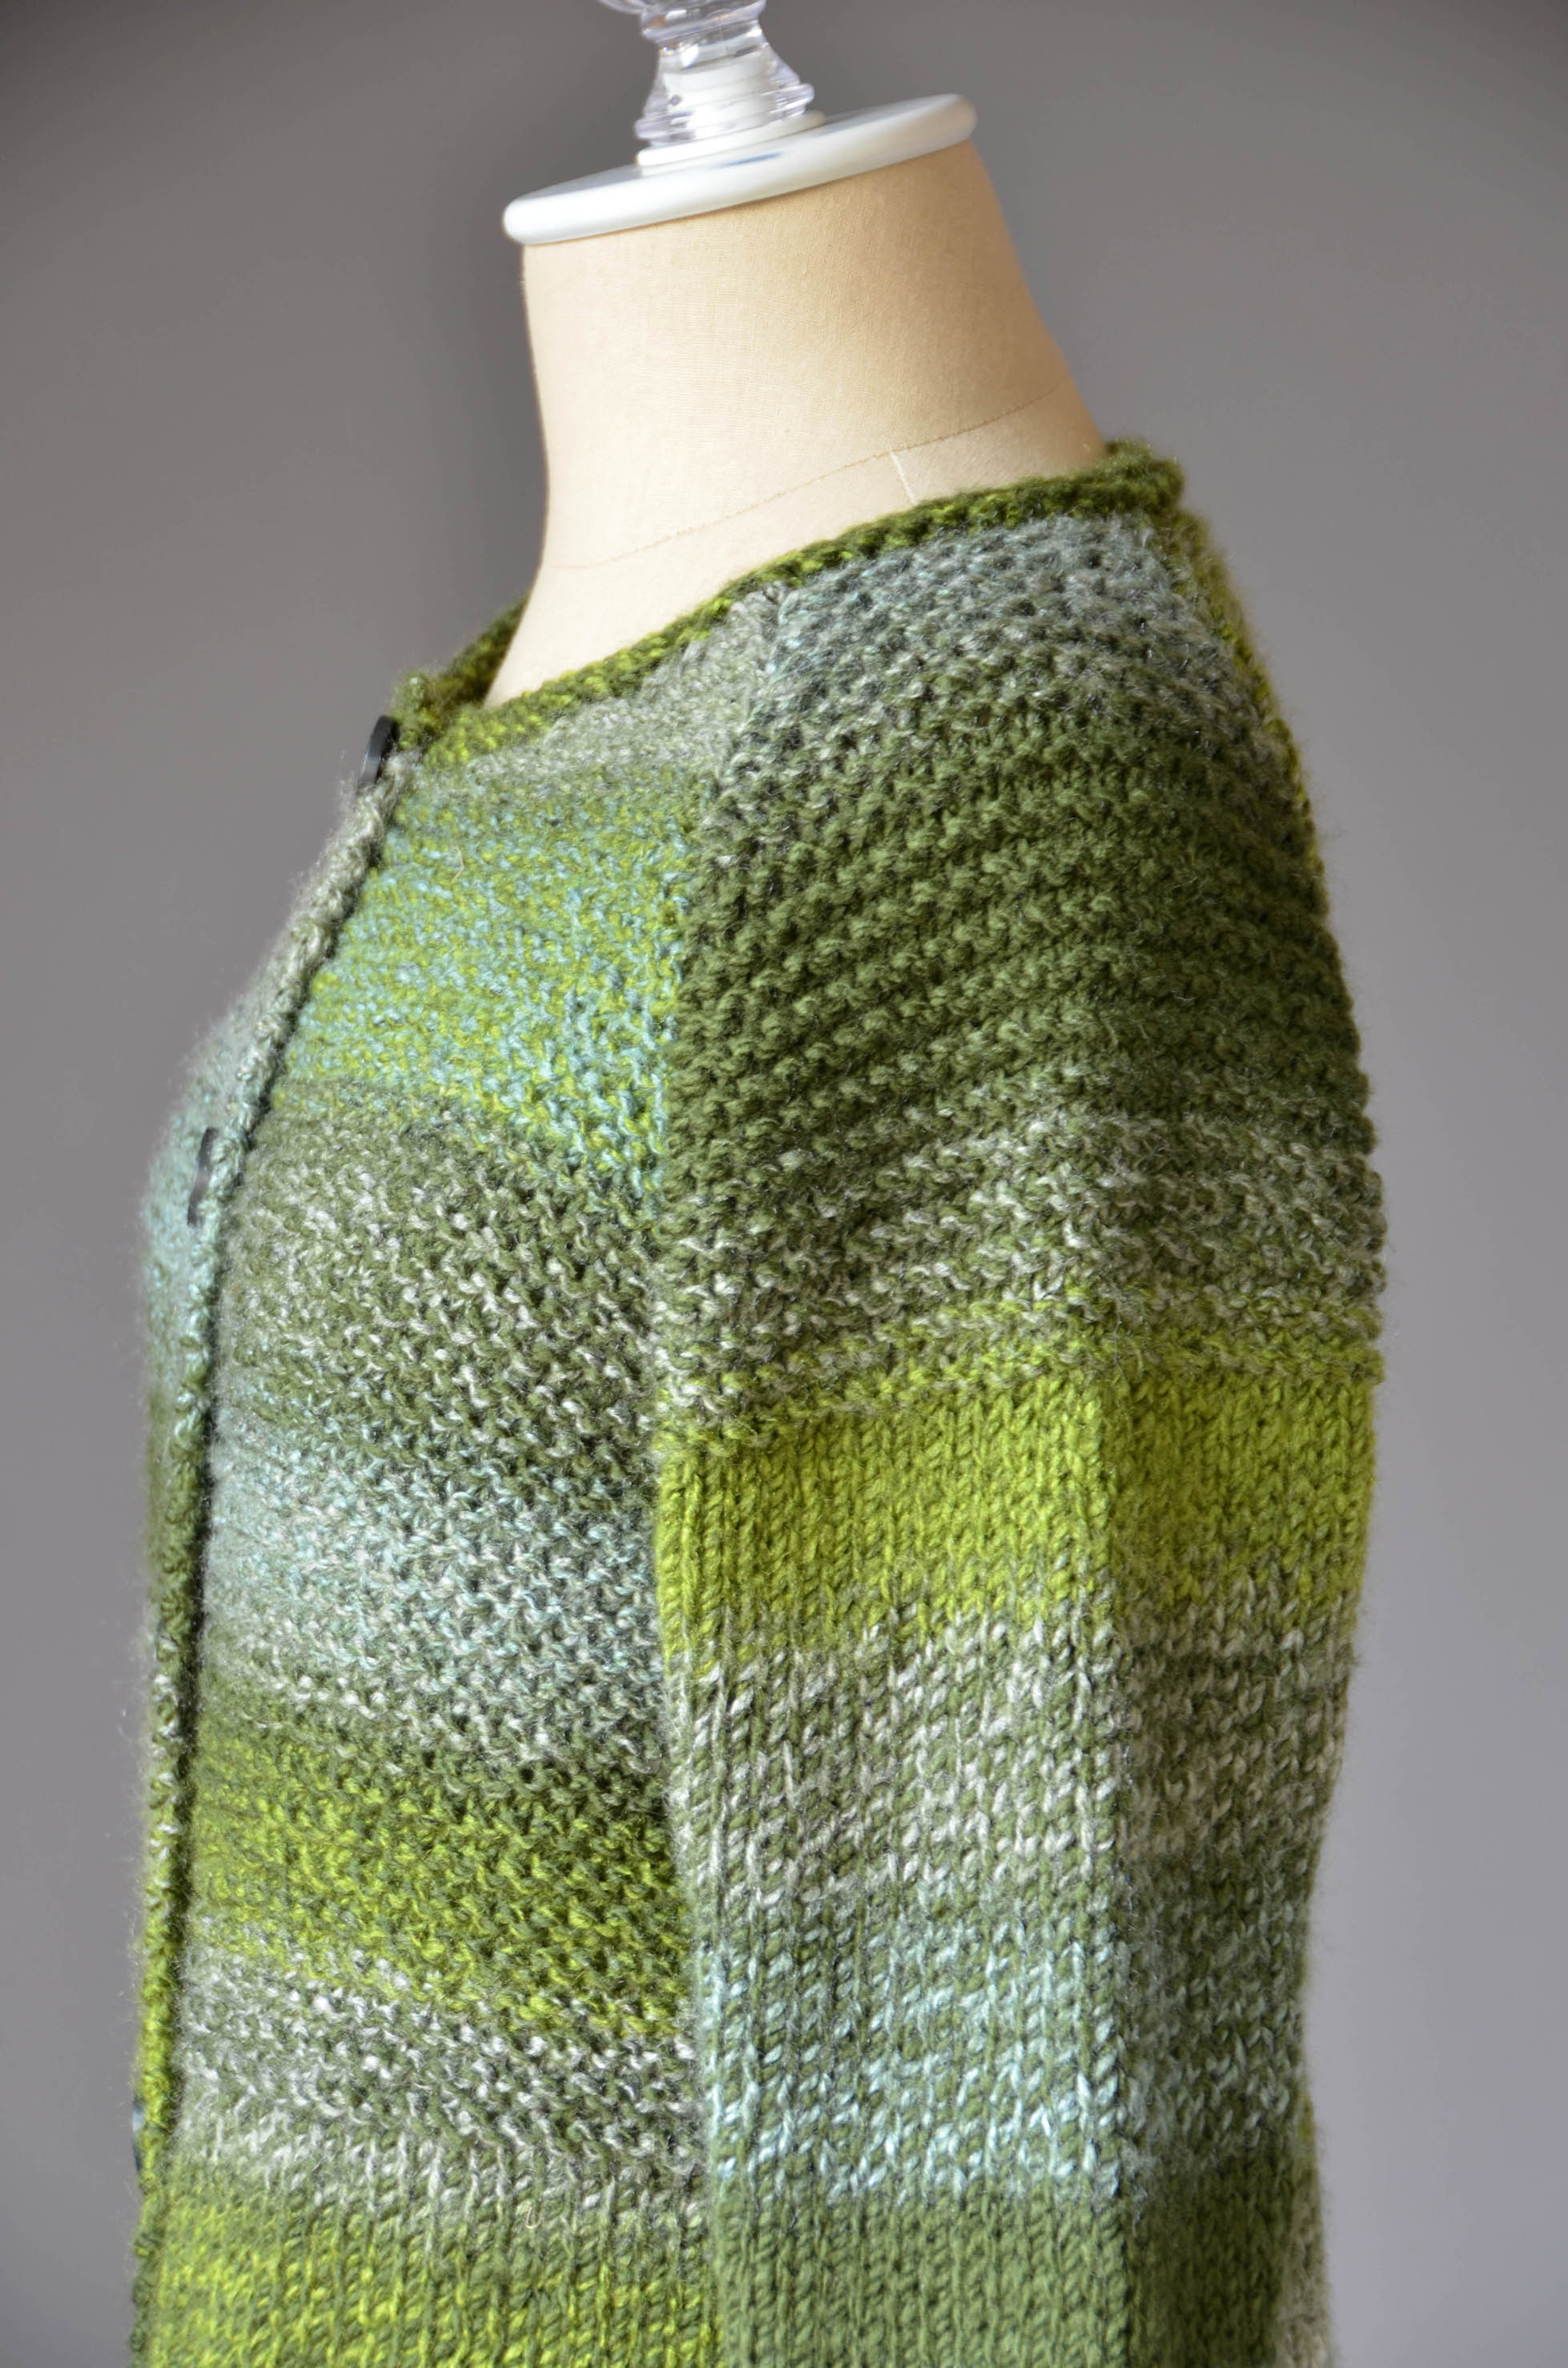
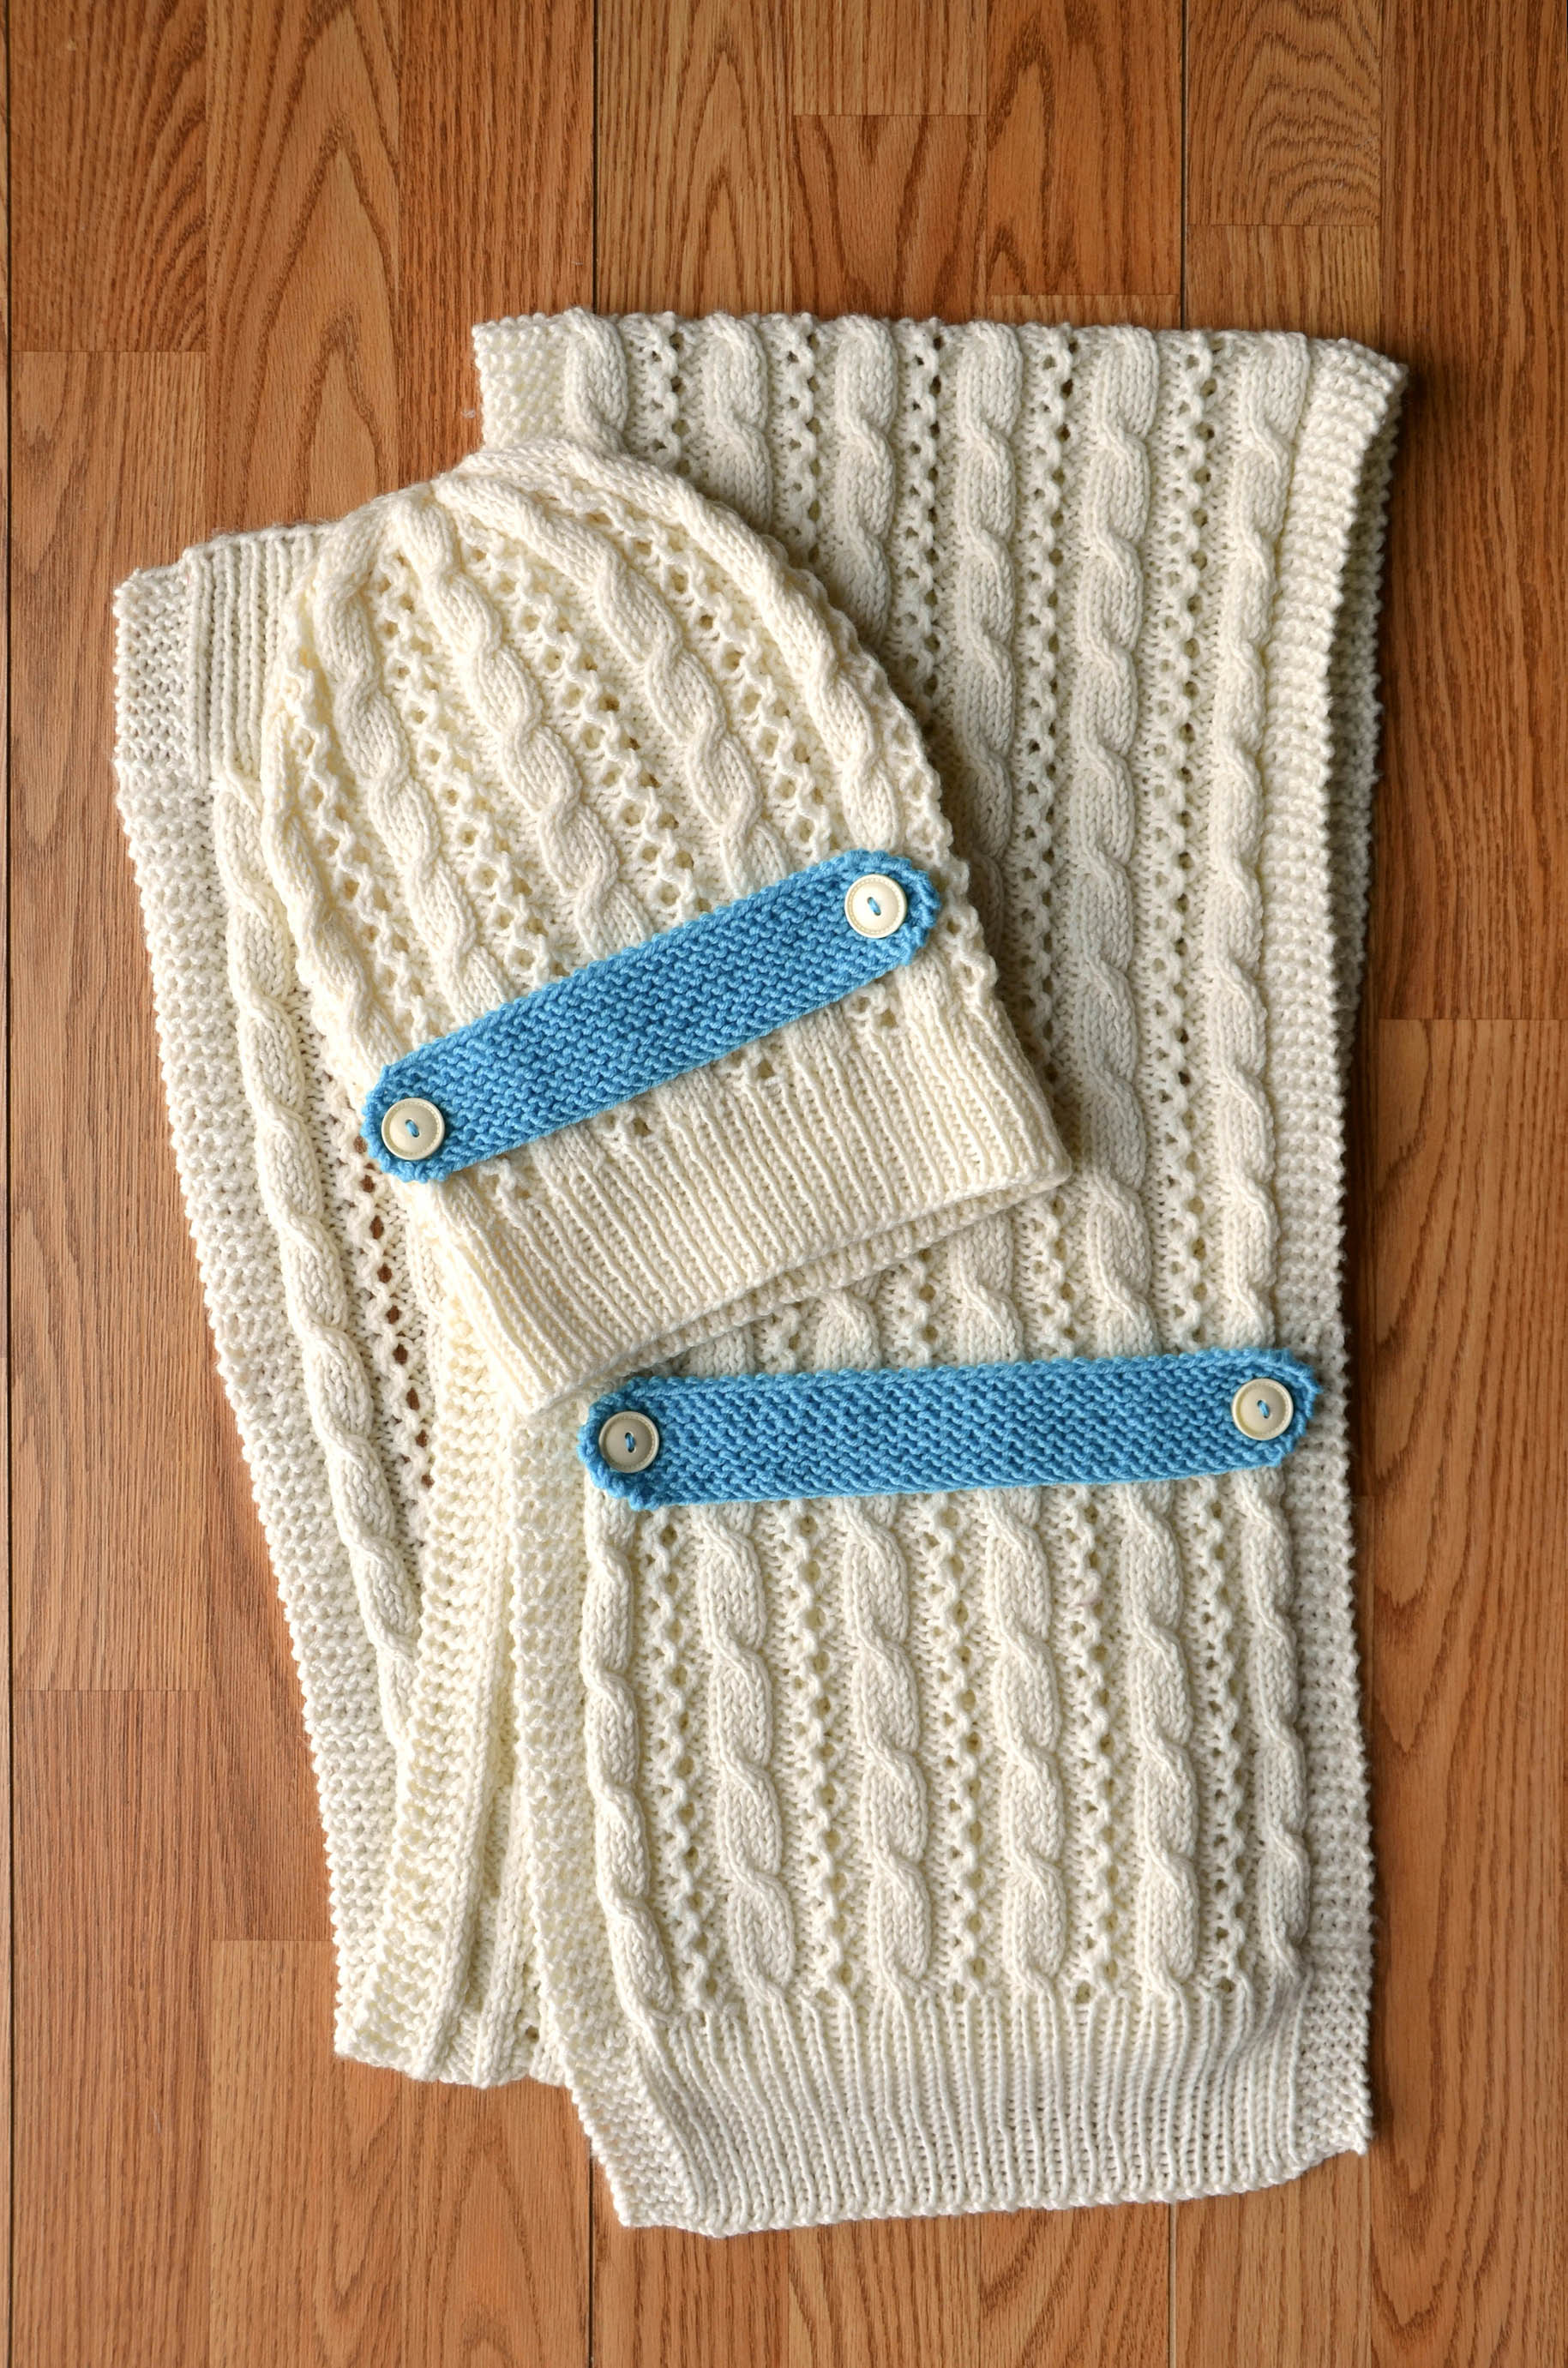
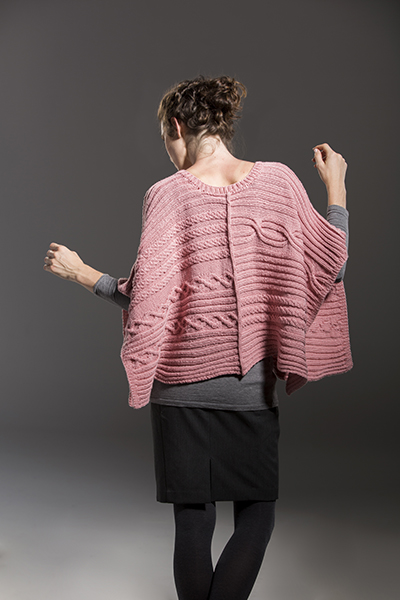
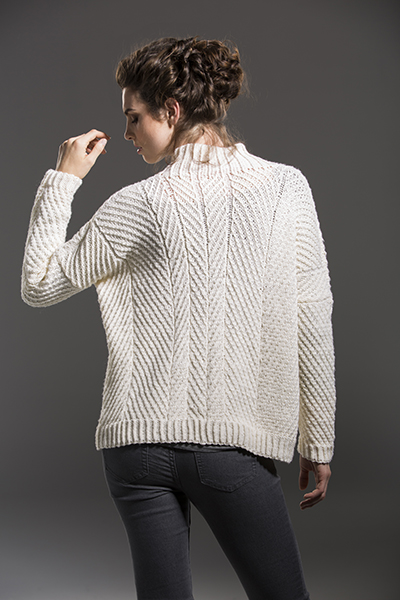
I’m working on a pattern that uses the yarn from Parts I and II of the Natural Dye series. In the future, I’ll show you how to use natural dyes on some of our other Ready to Dye yarns.