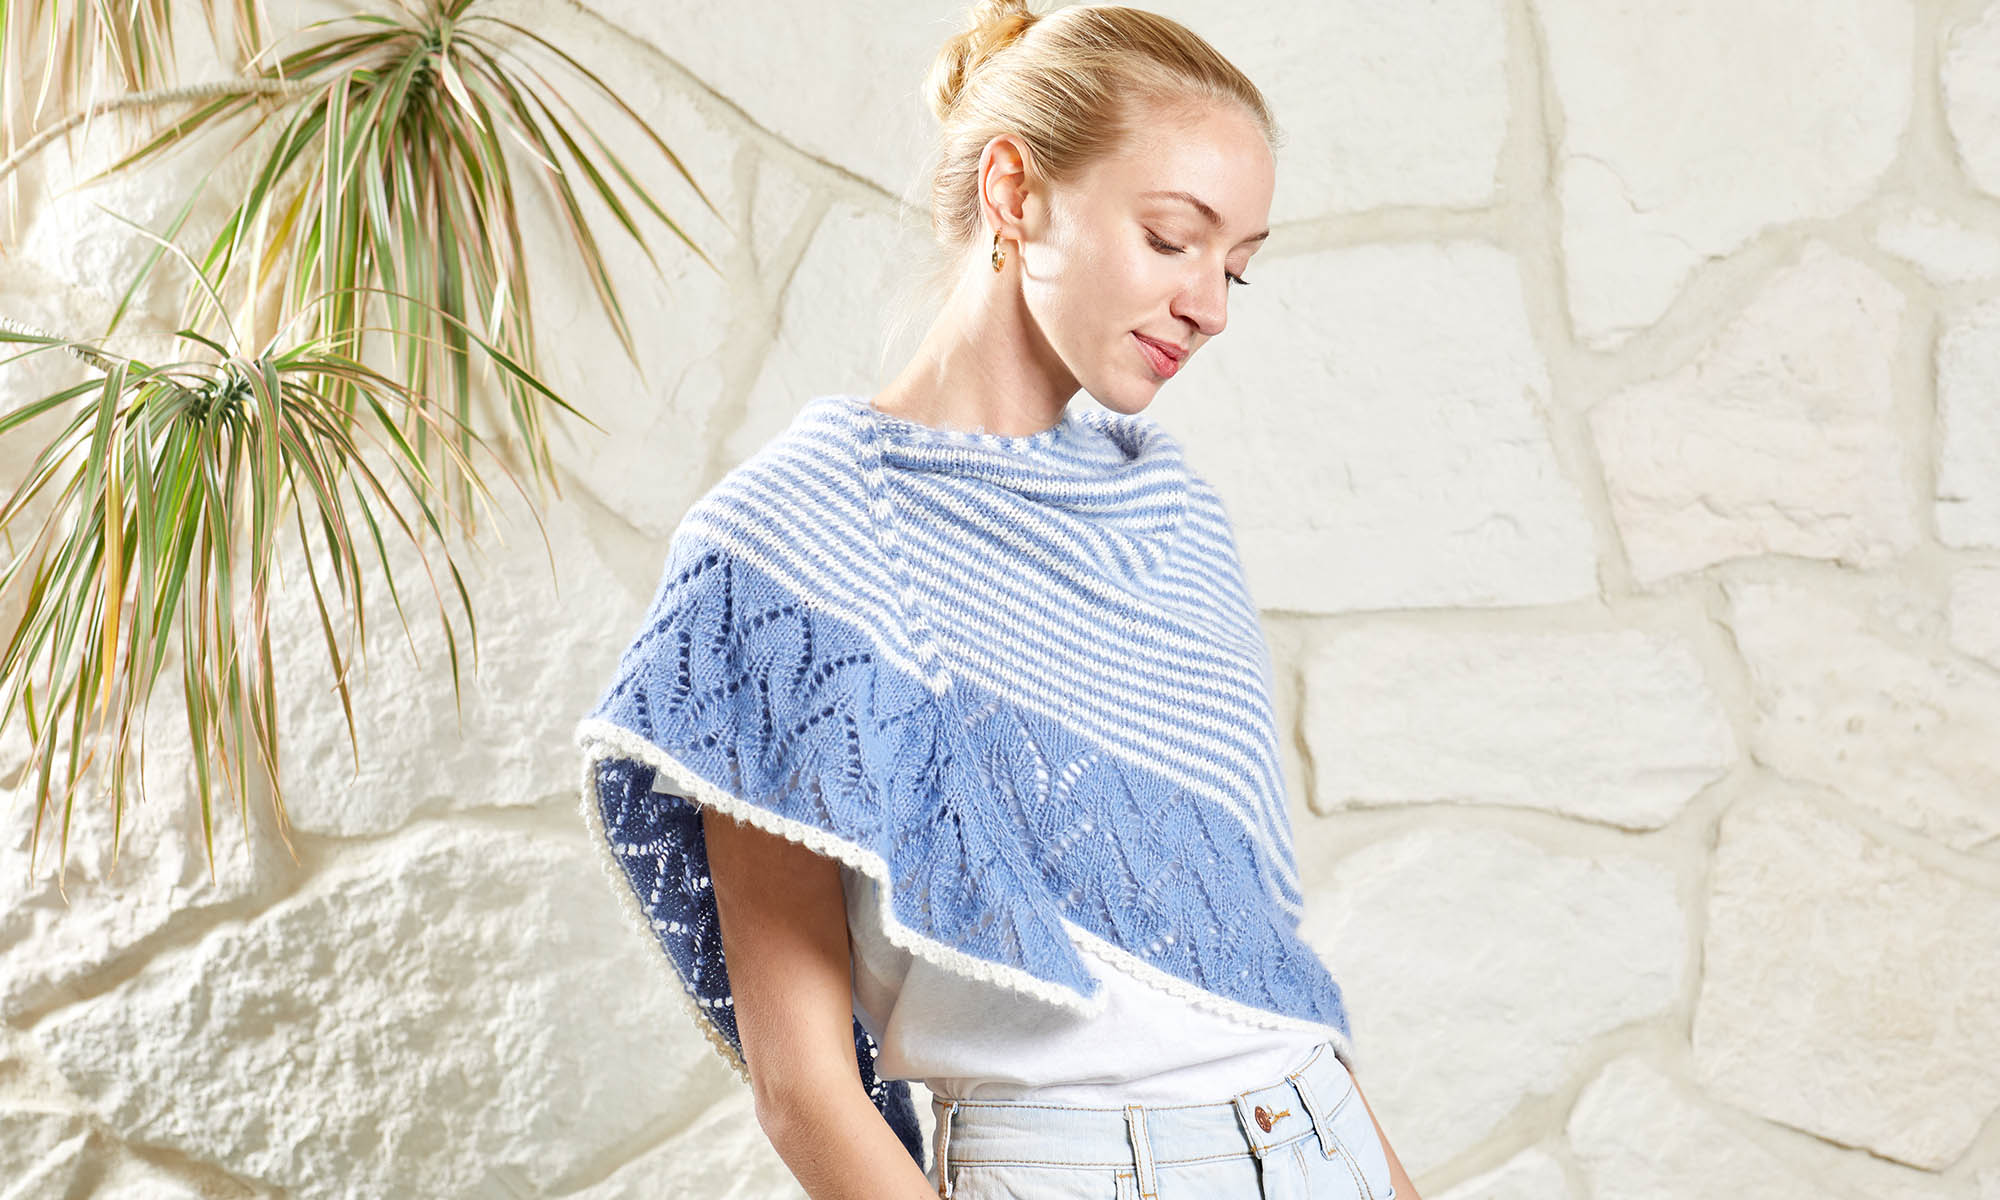

Day 7 of Winter brings us the Slip Stitch Cowl in three chilly shades of Deluxe Worsted.
The pattern is written for the smaller size as shown, and also a large size, long enough to wrap around your neck twice. The yarn included in the kit is enough to knit either two small cowls, or one large. So – bonus!
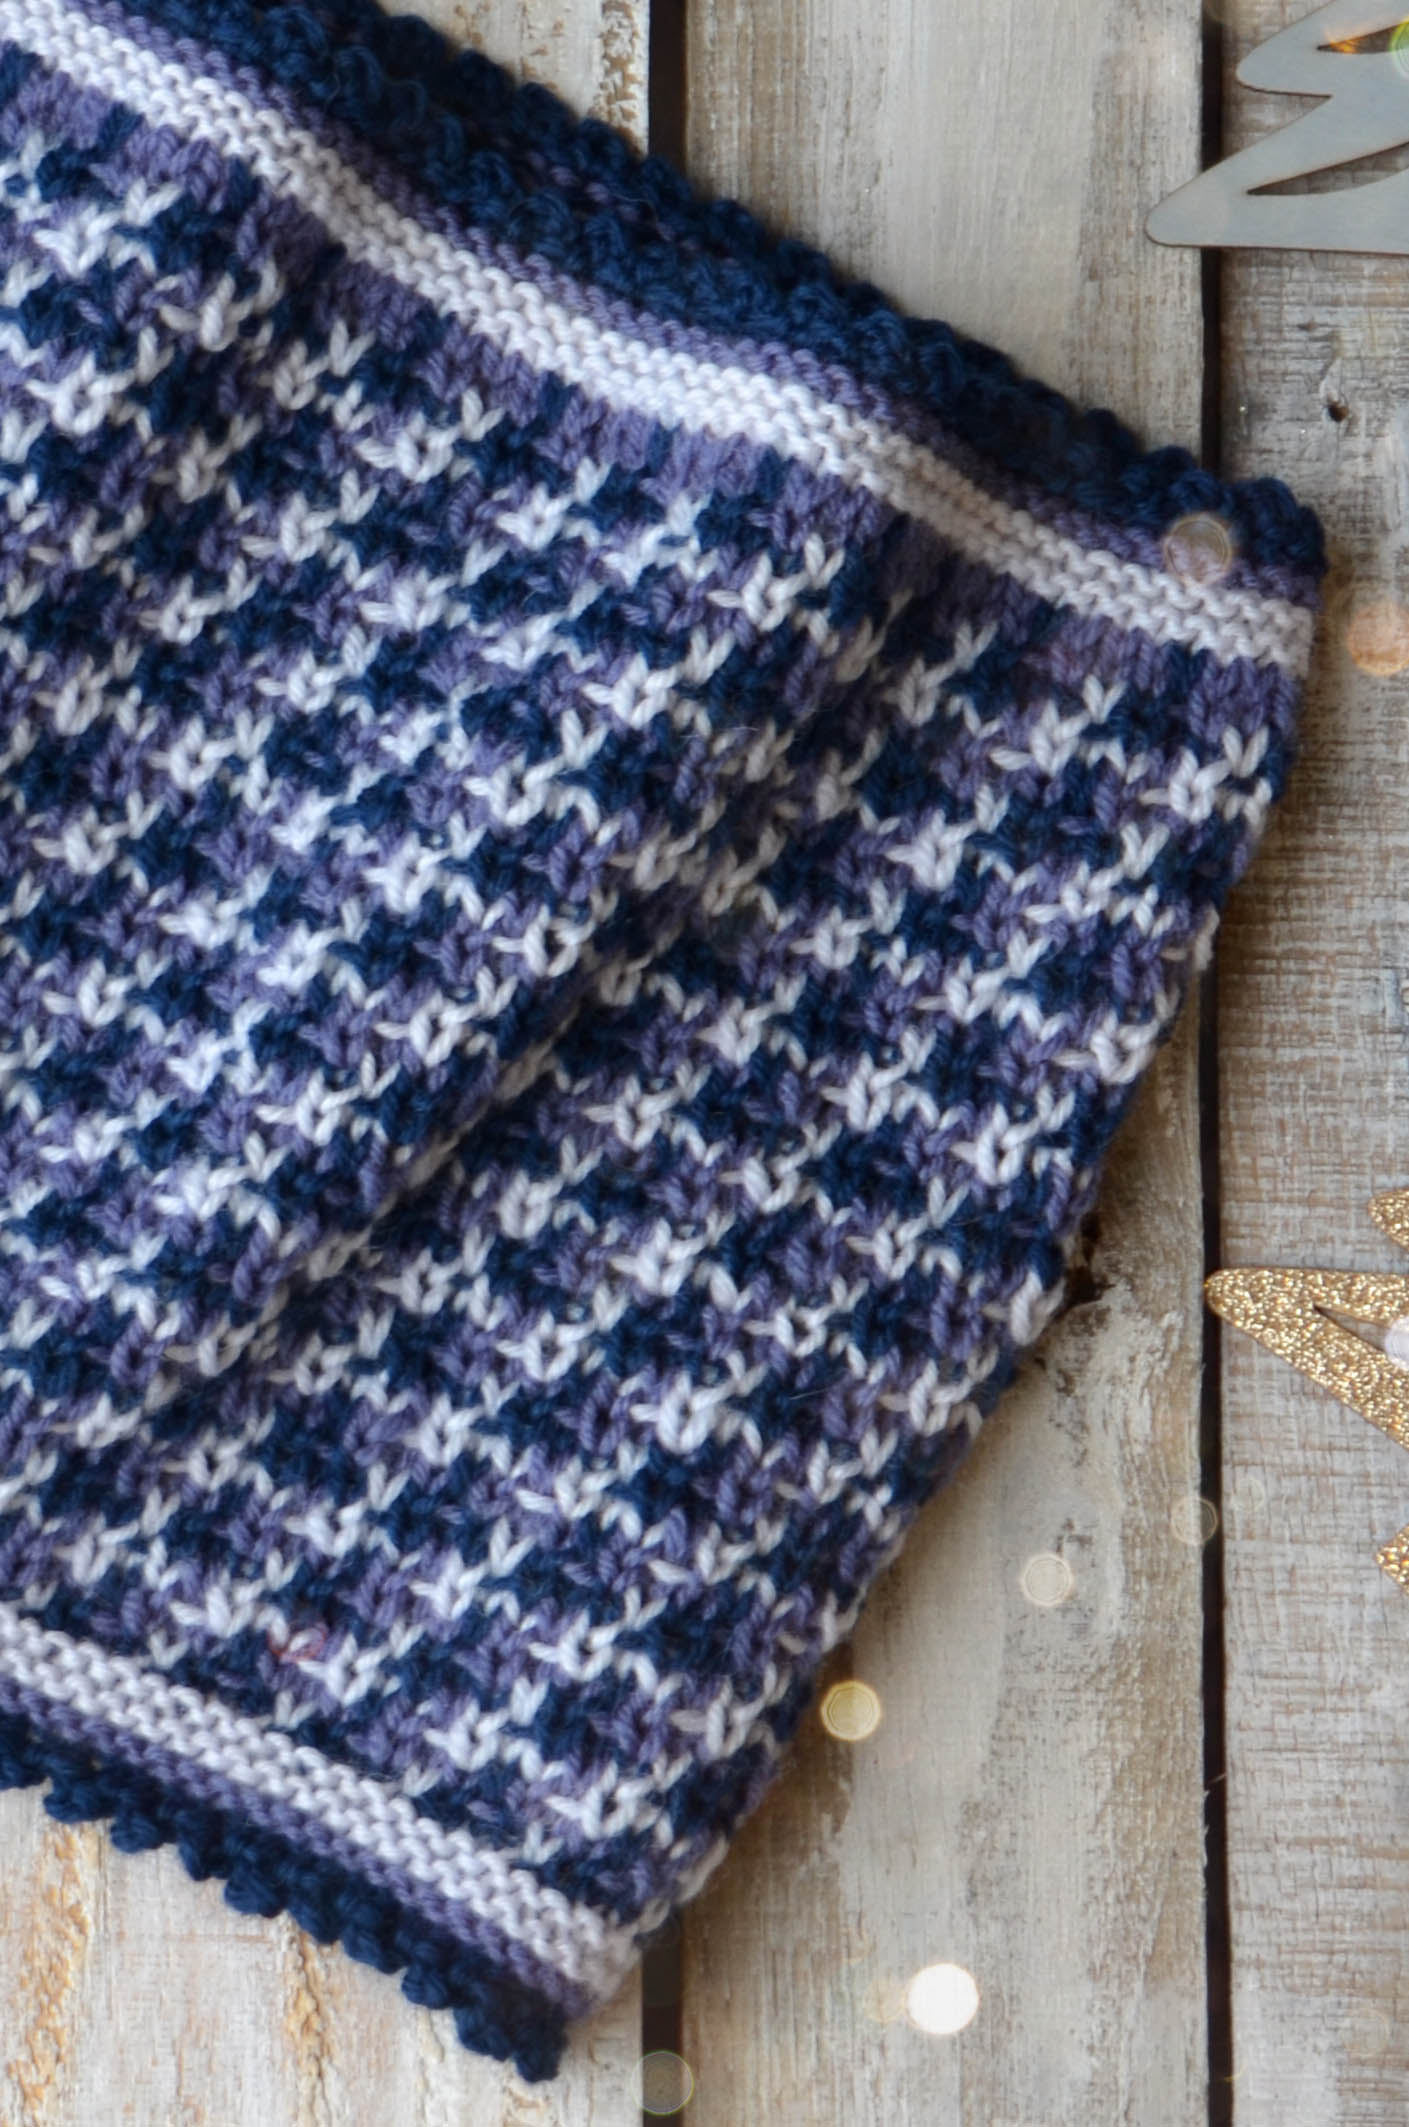
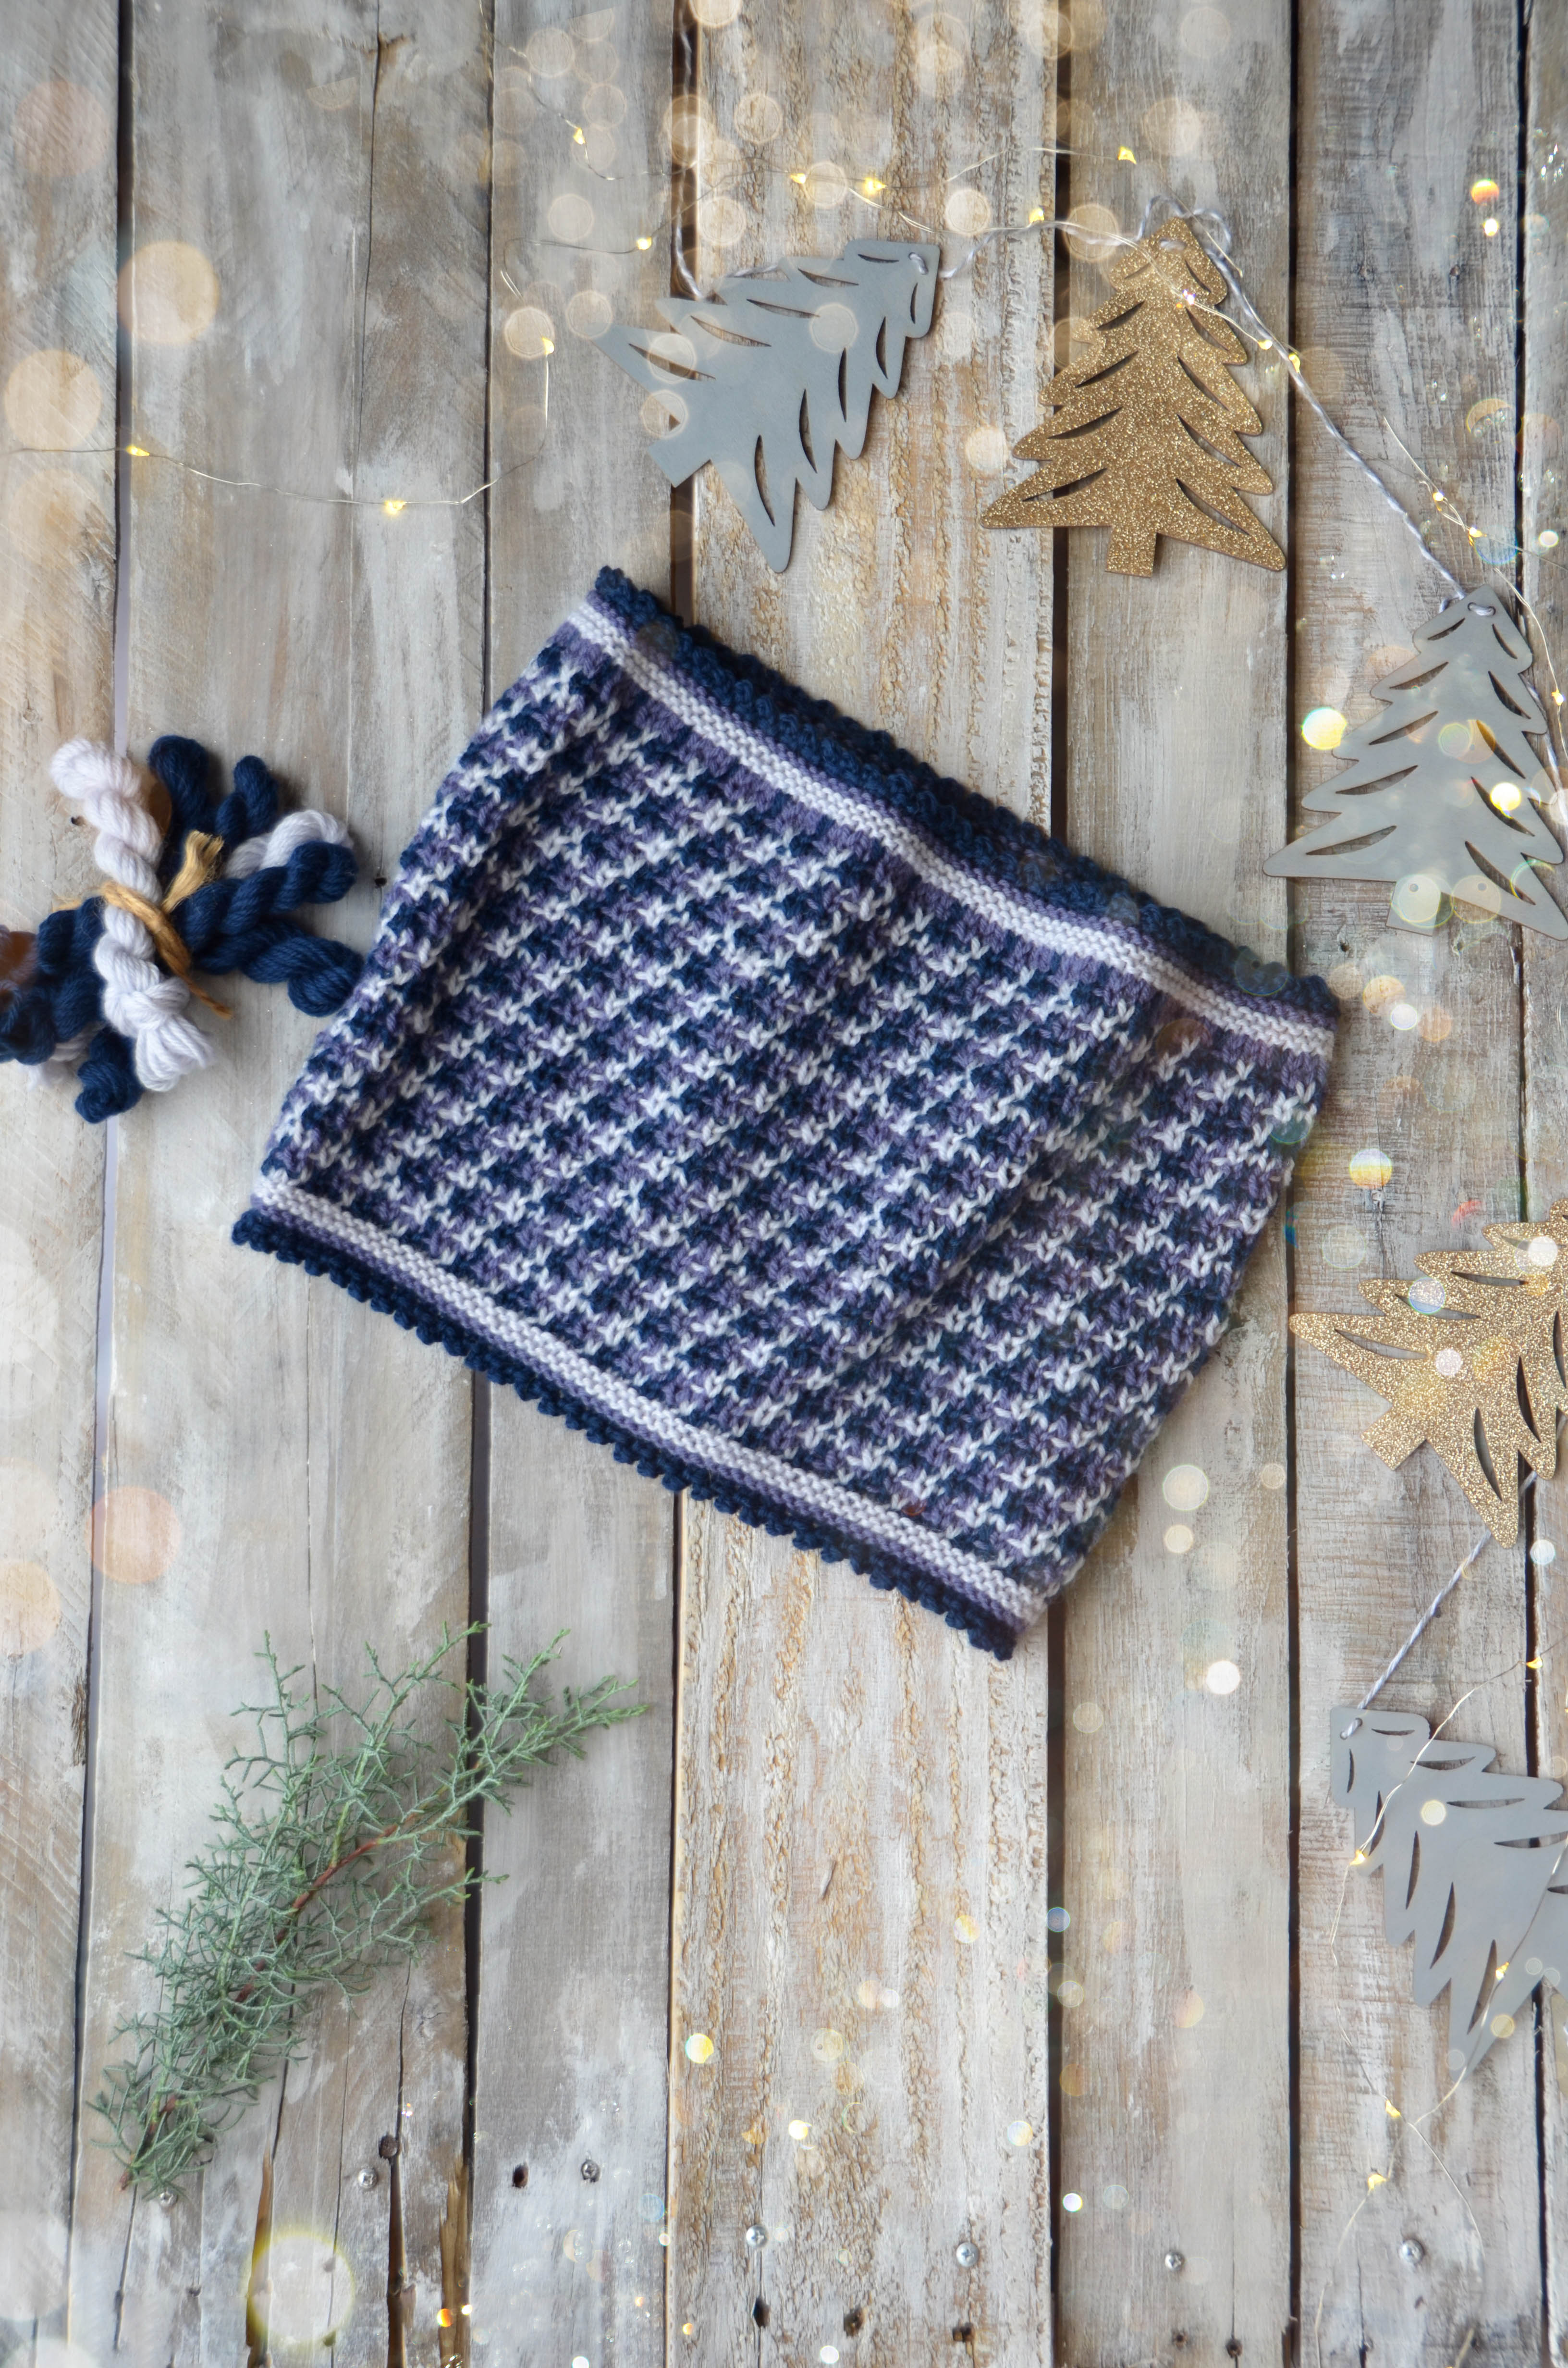
The main body of the cowl is super-duper simple. The complex looking color pattern is just slipped stitches. Colors are changed every two rounds, and only one color is used per round. It hits that sweet spot of knitting where the pattern is just a bit more than stockinette – enough to keep you interested – but easy enough that you can work on it anywhere.
My favorite detail of this cowl is the picot edging along both edges. This could have been done with a knitted picot bind-off, but I chose to use a crochet picot instead. For me, it’s just less fiddly than doing its knit counterpart. Let’s learn how to do it!
If you need a little closer view on any of the following images, just click on it and it will open in a new browser window.

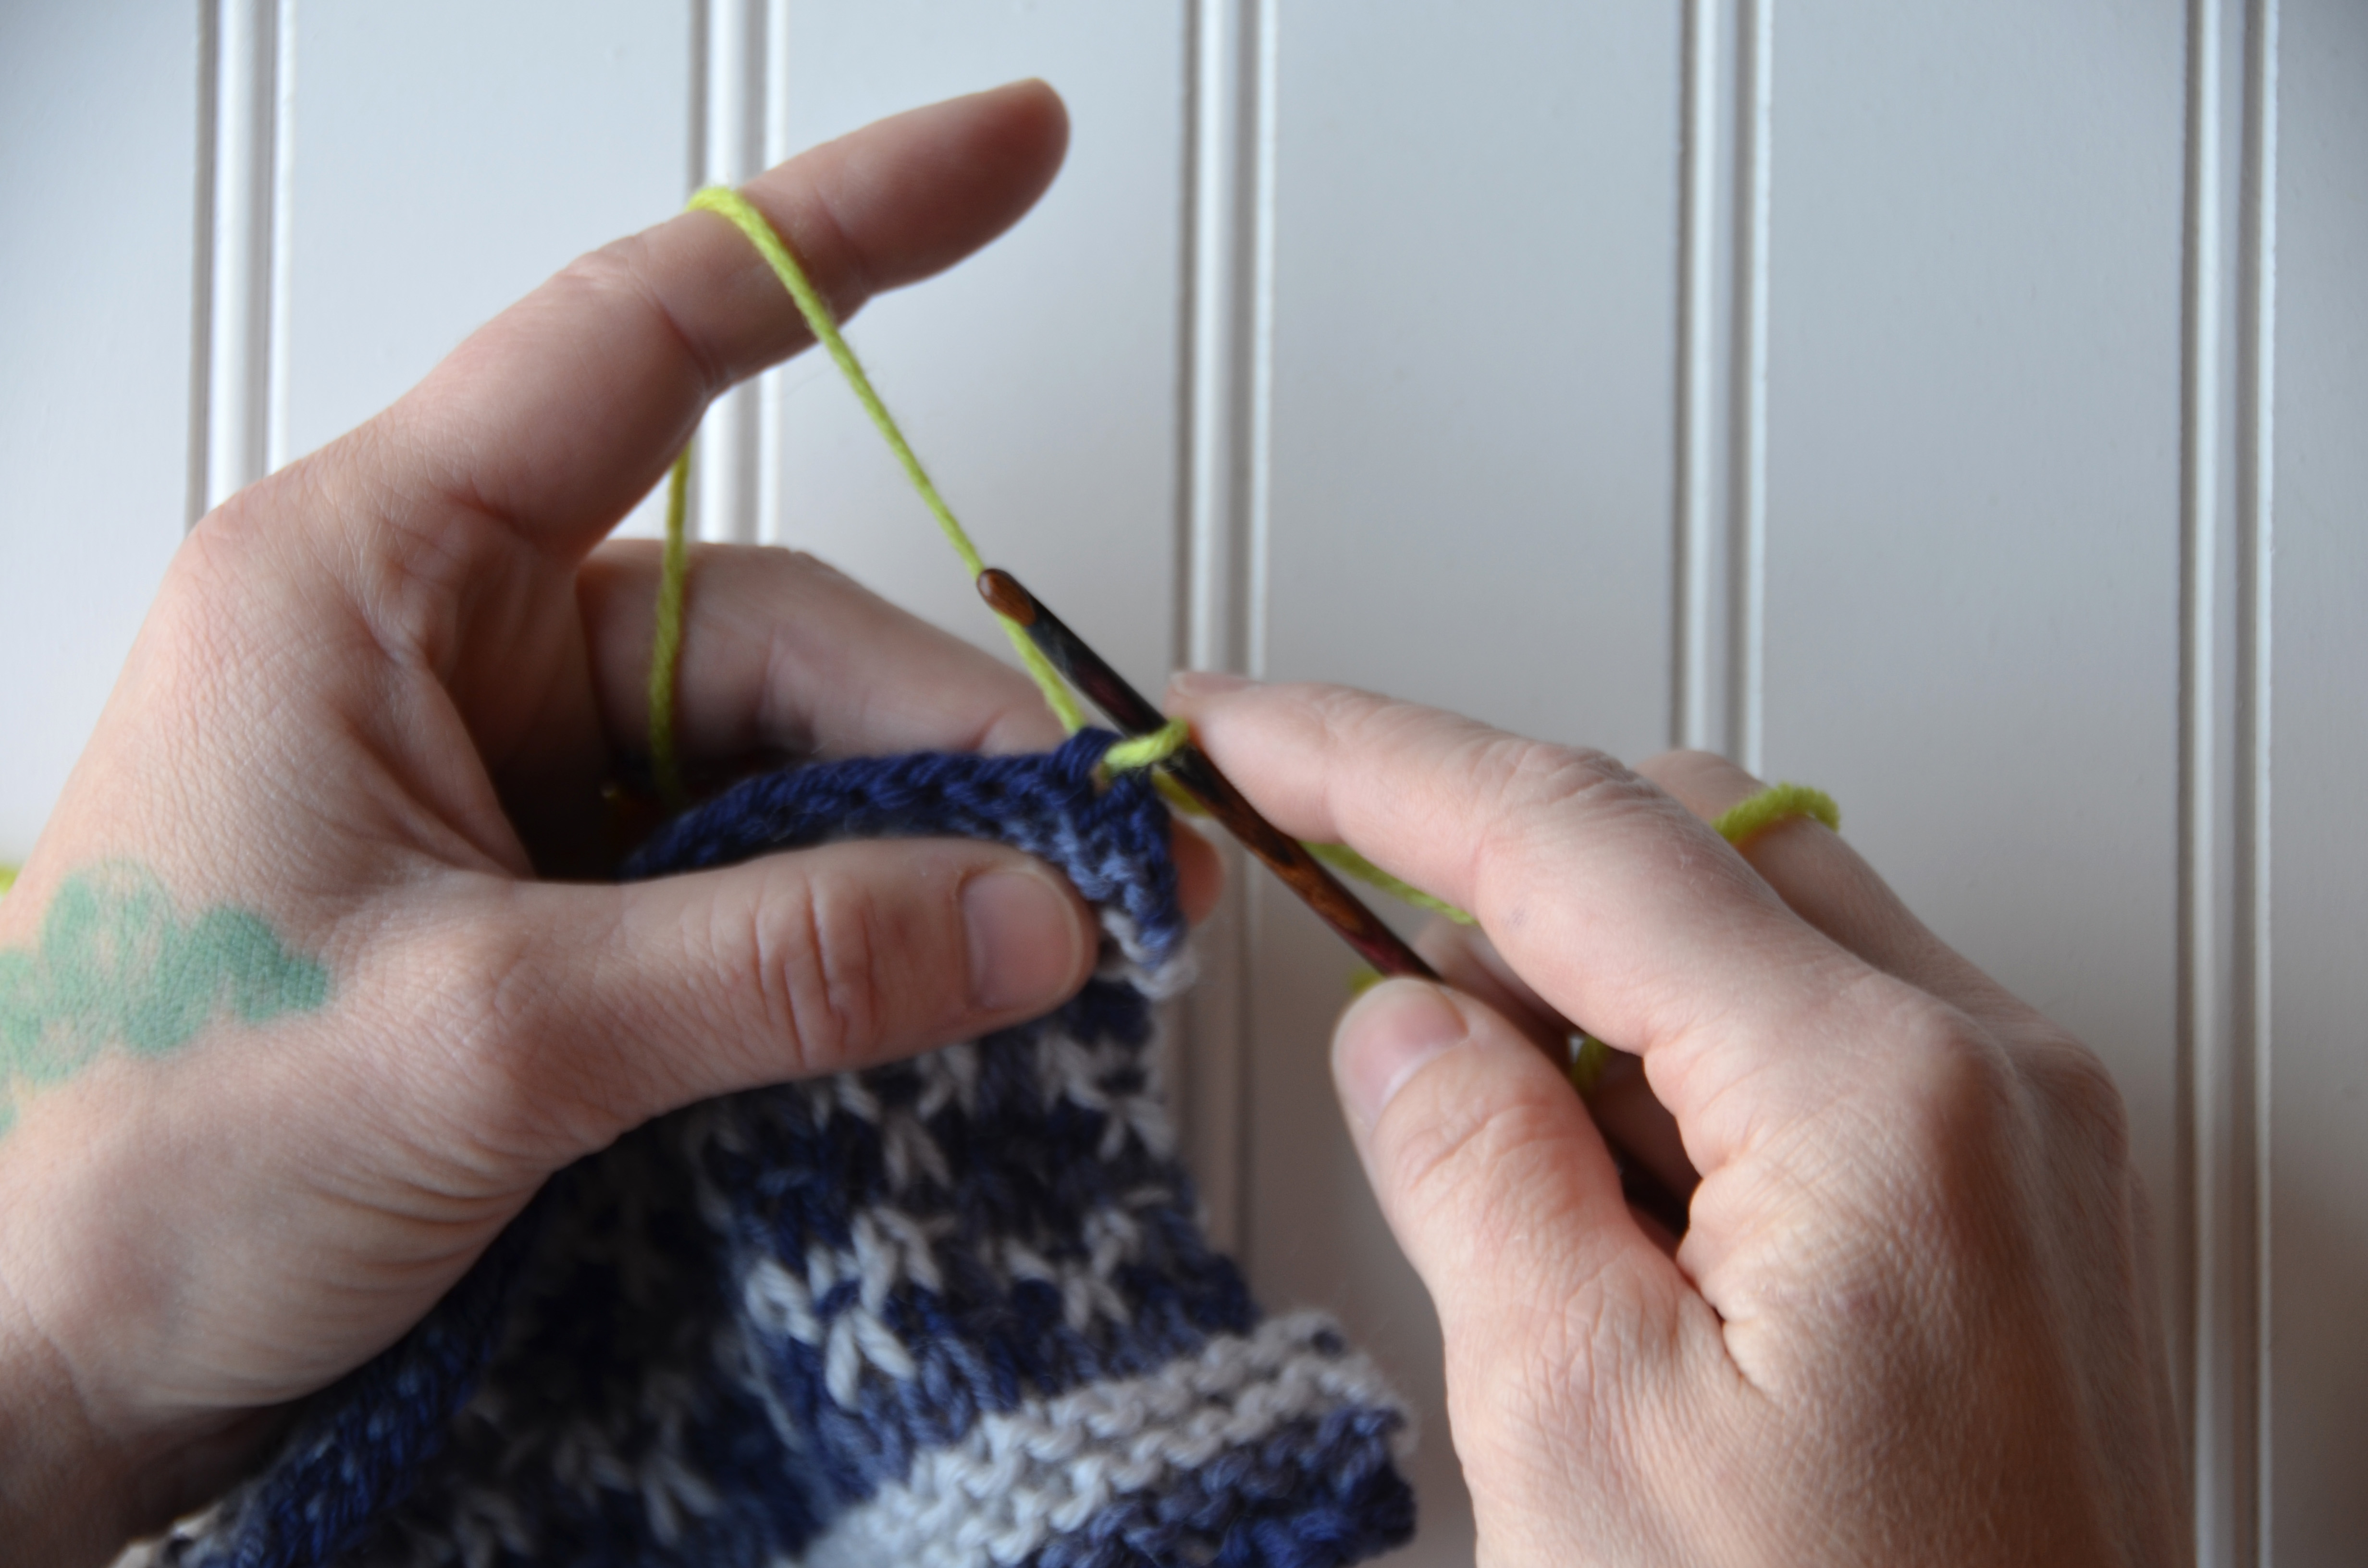
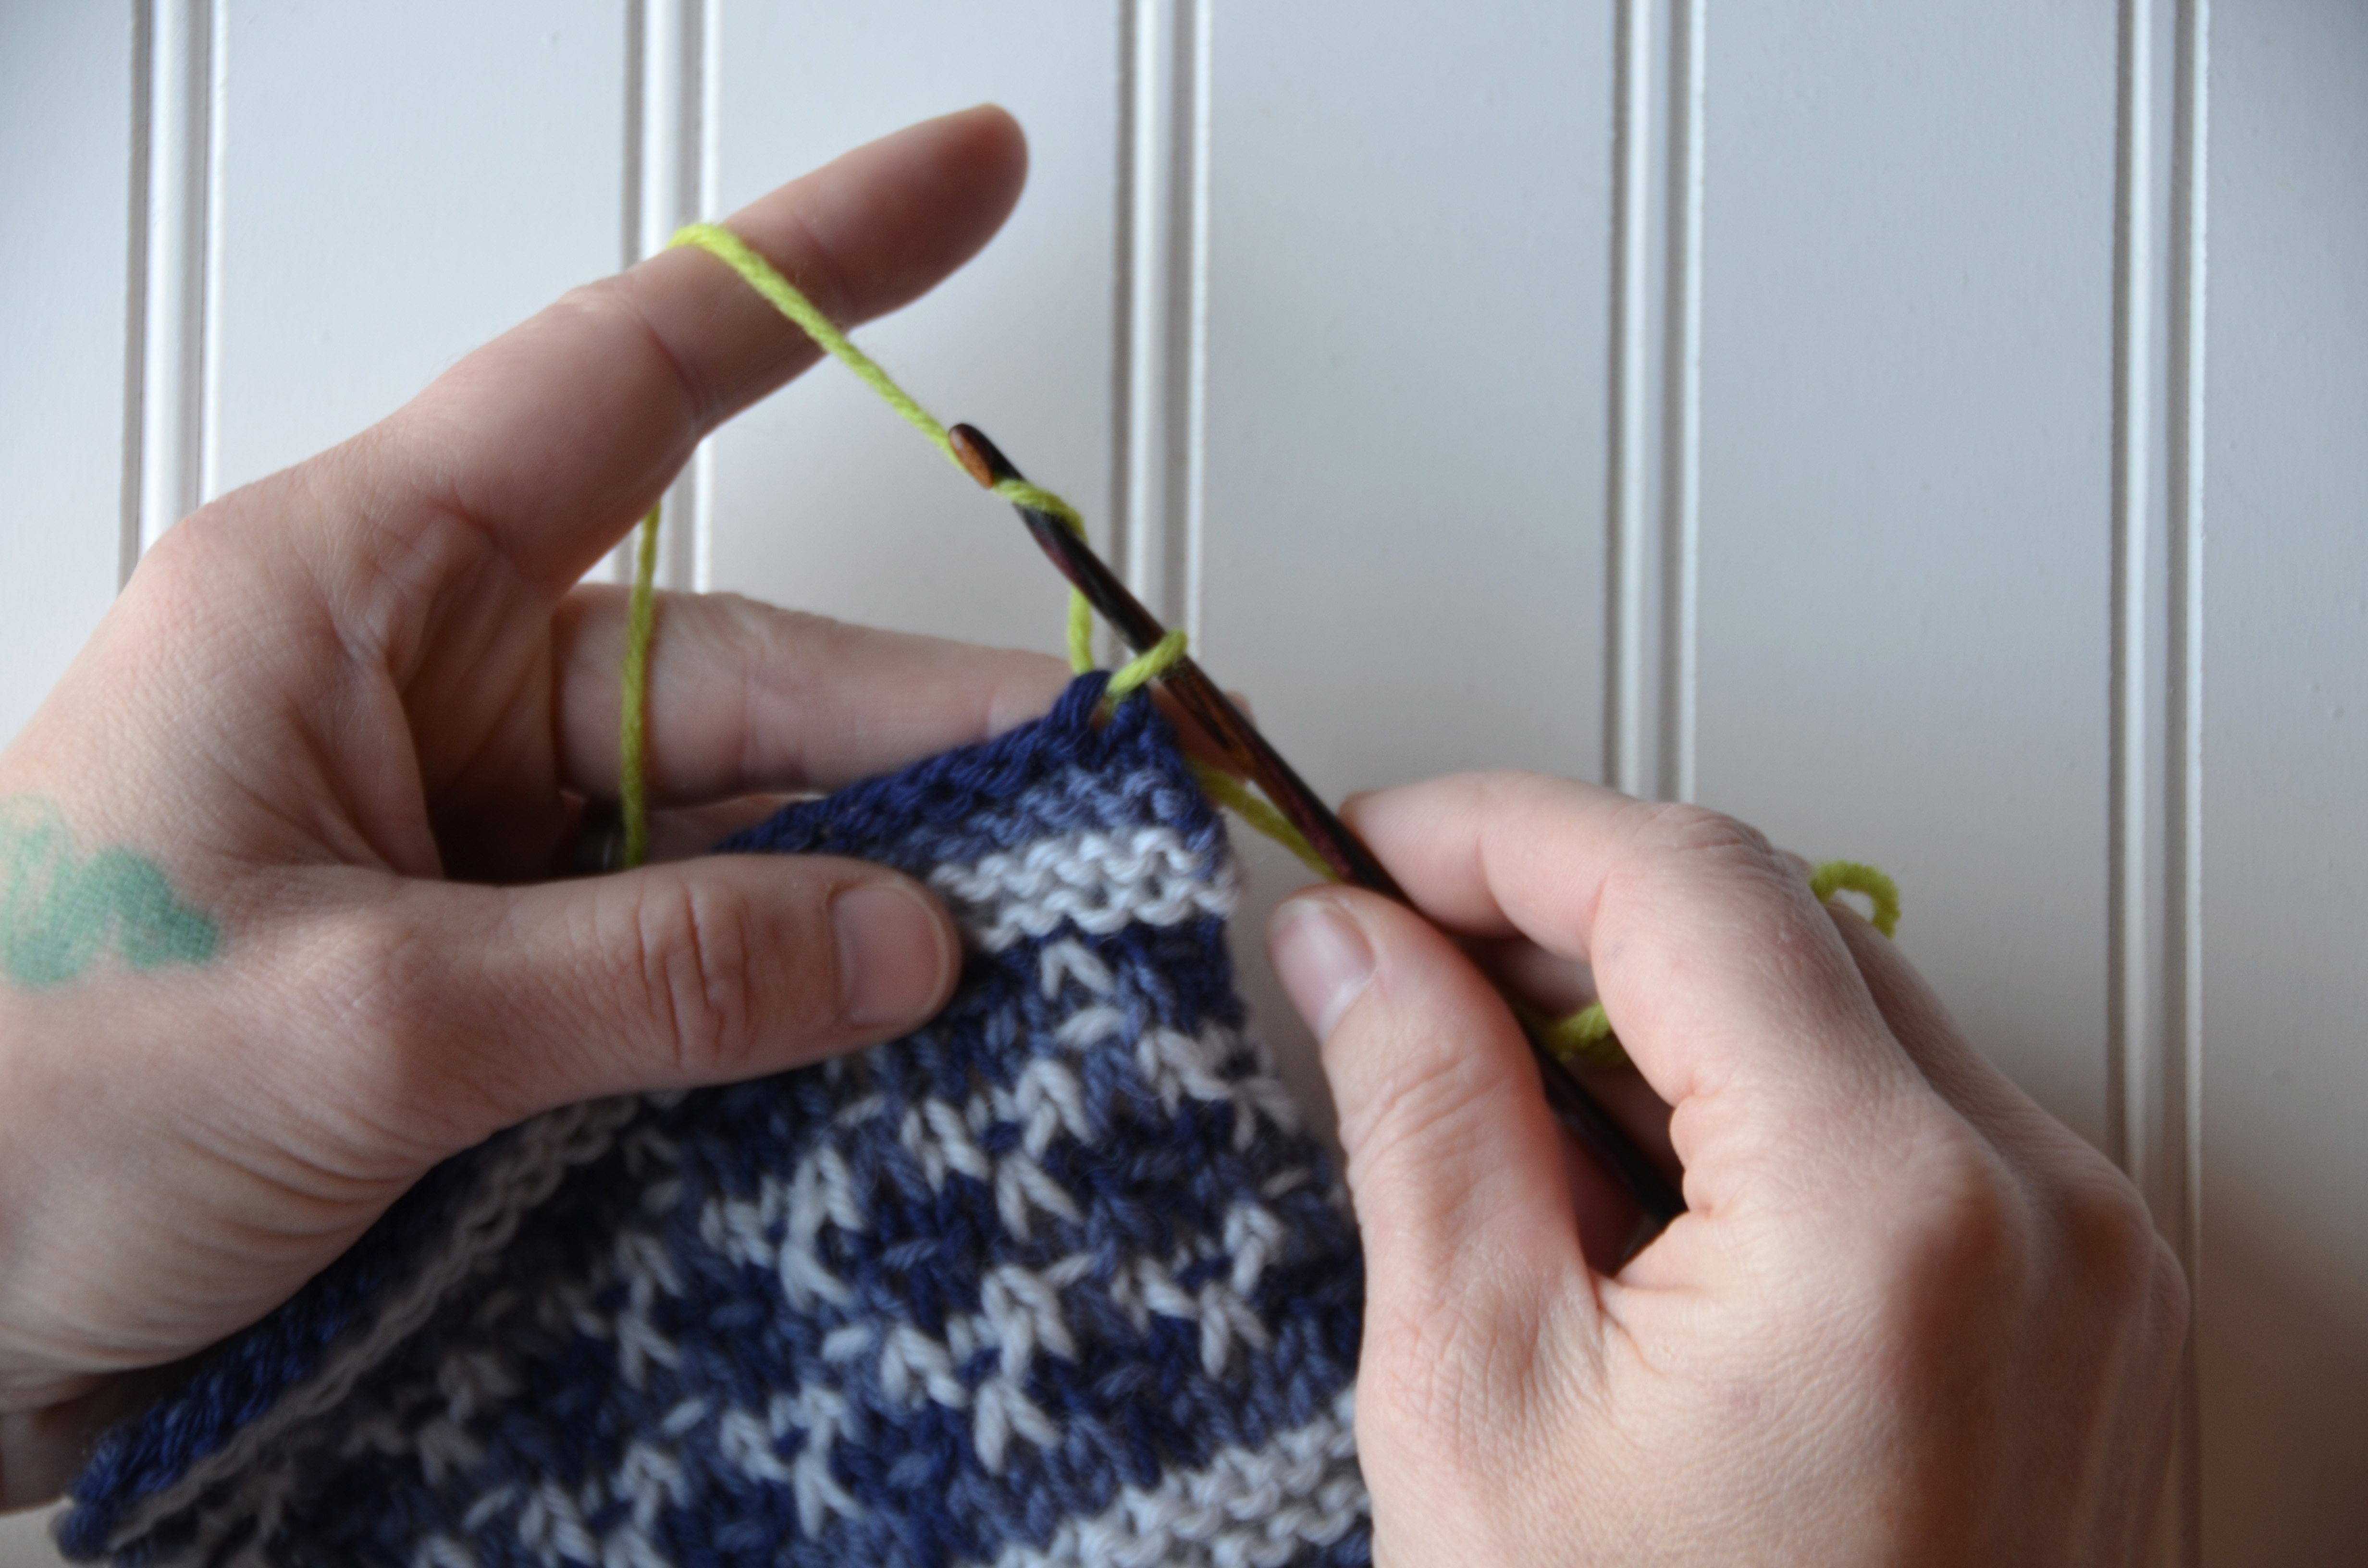
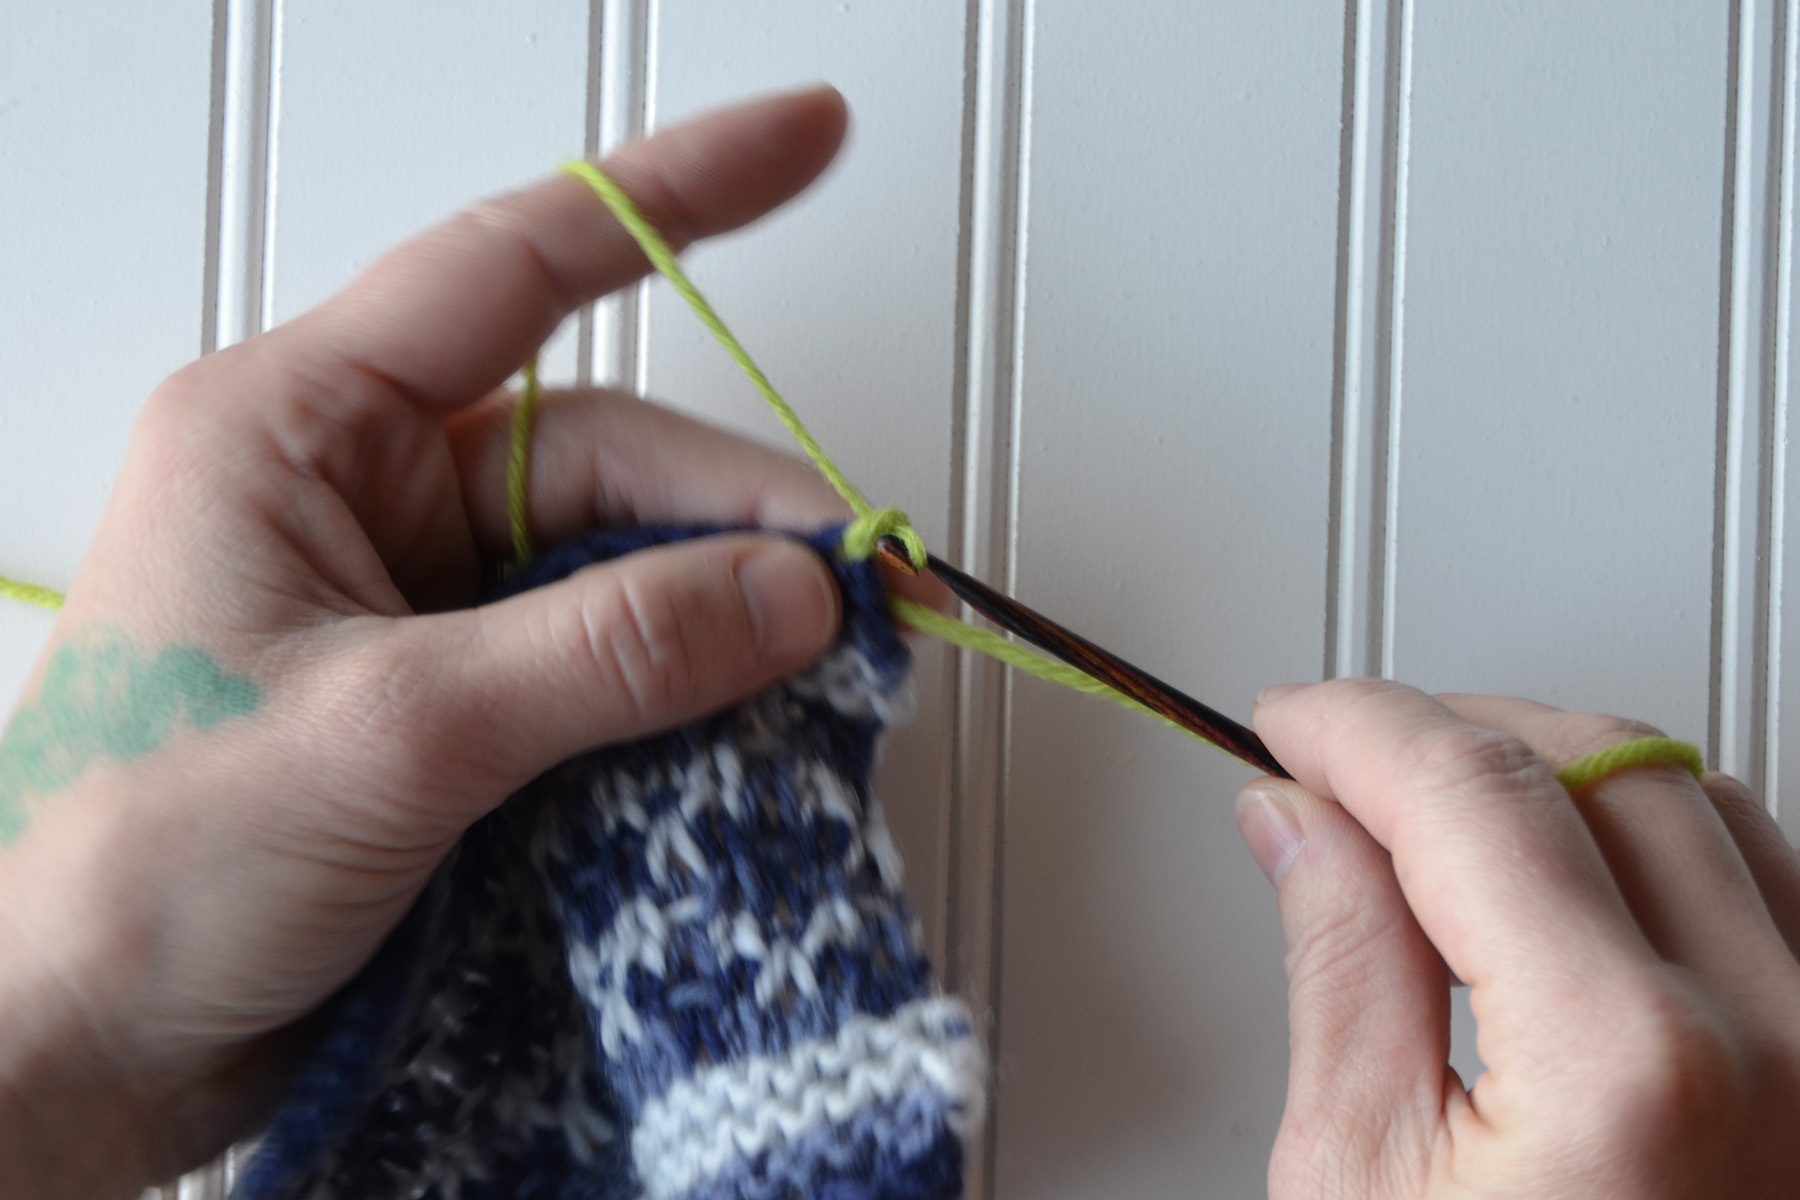
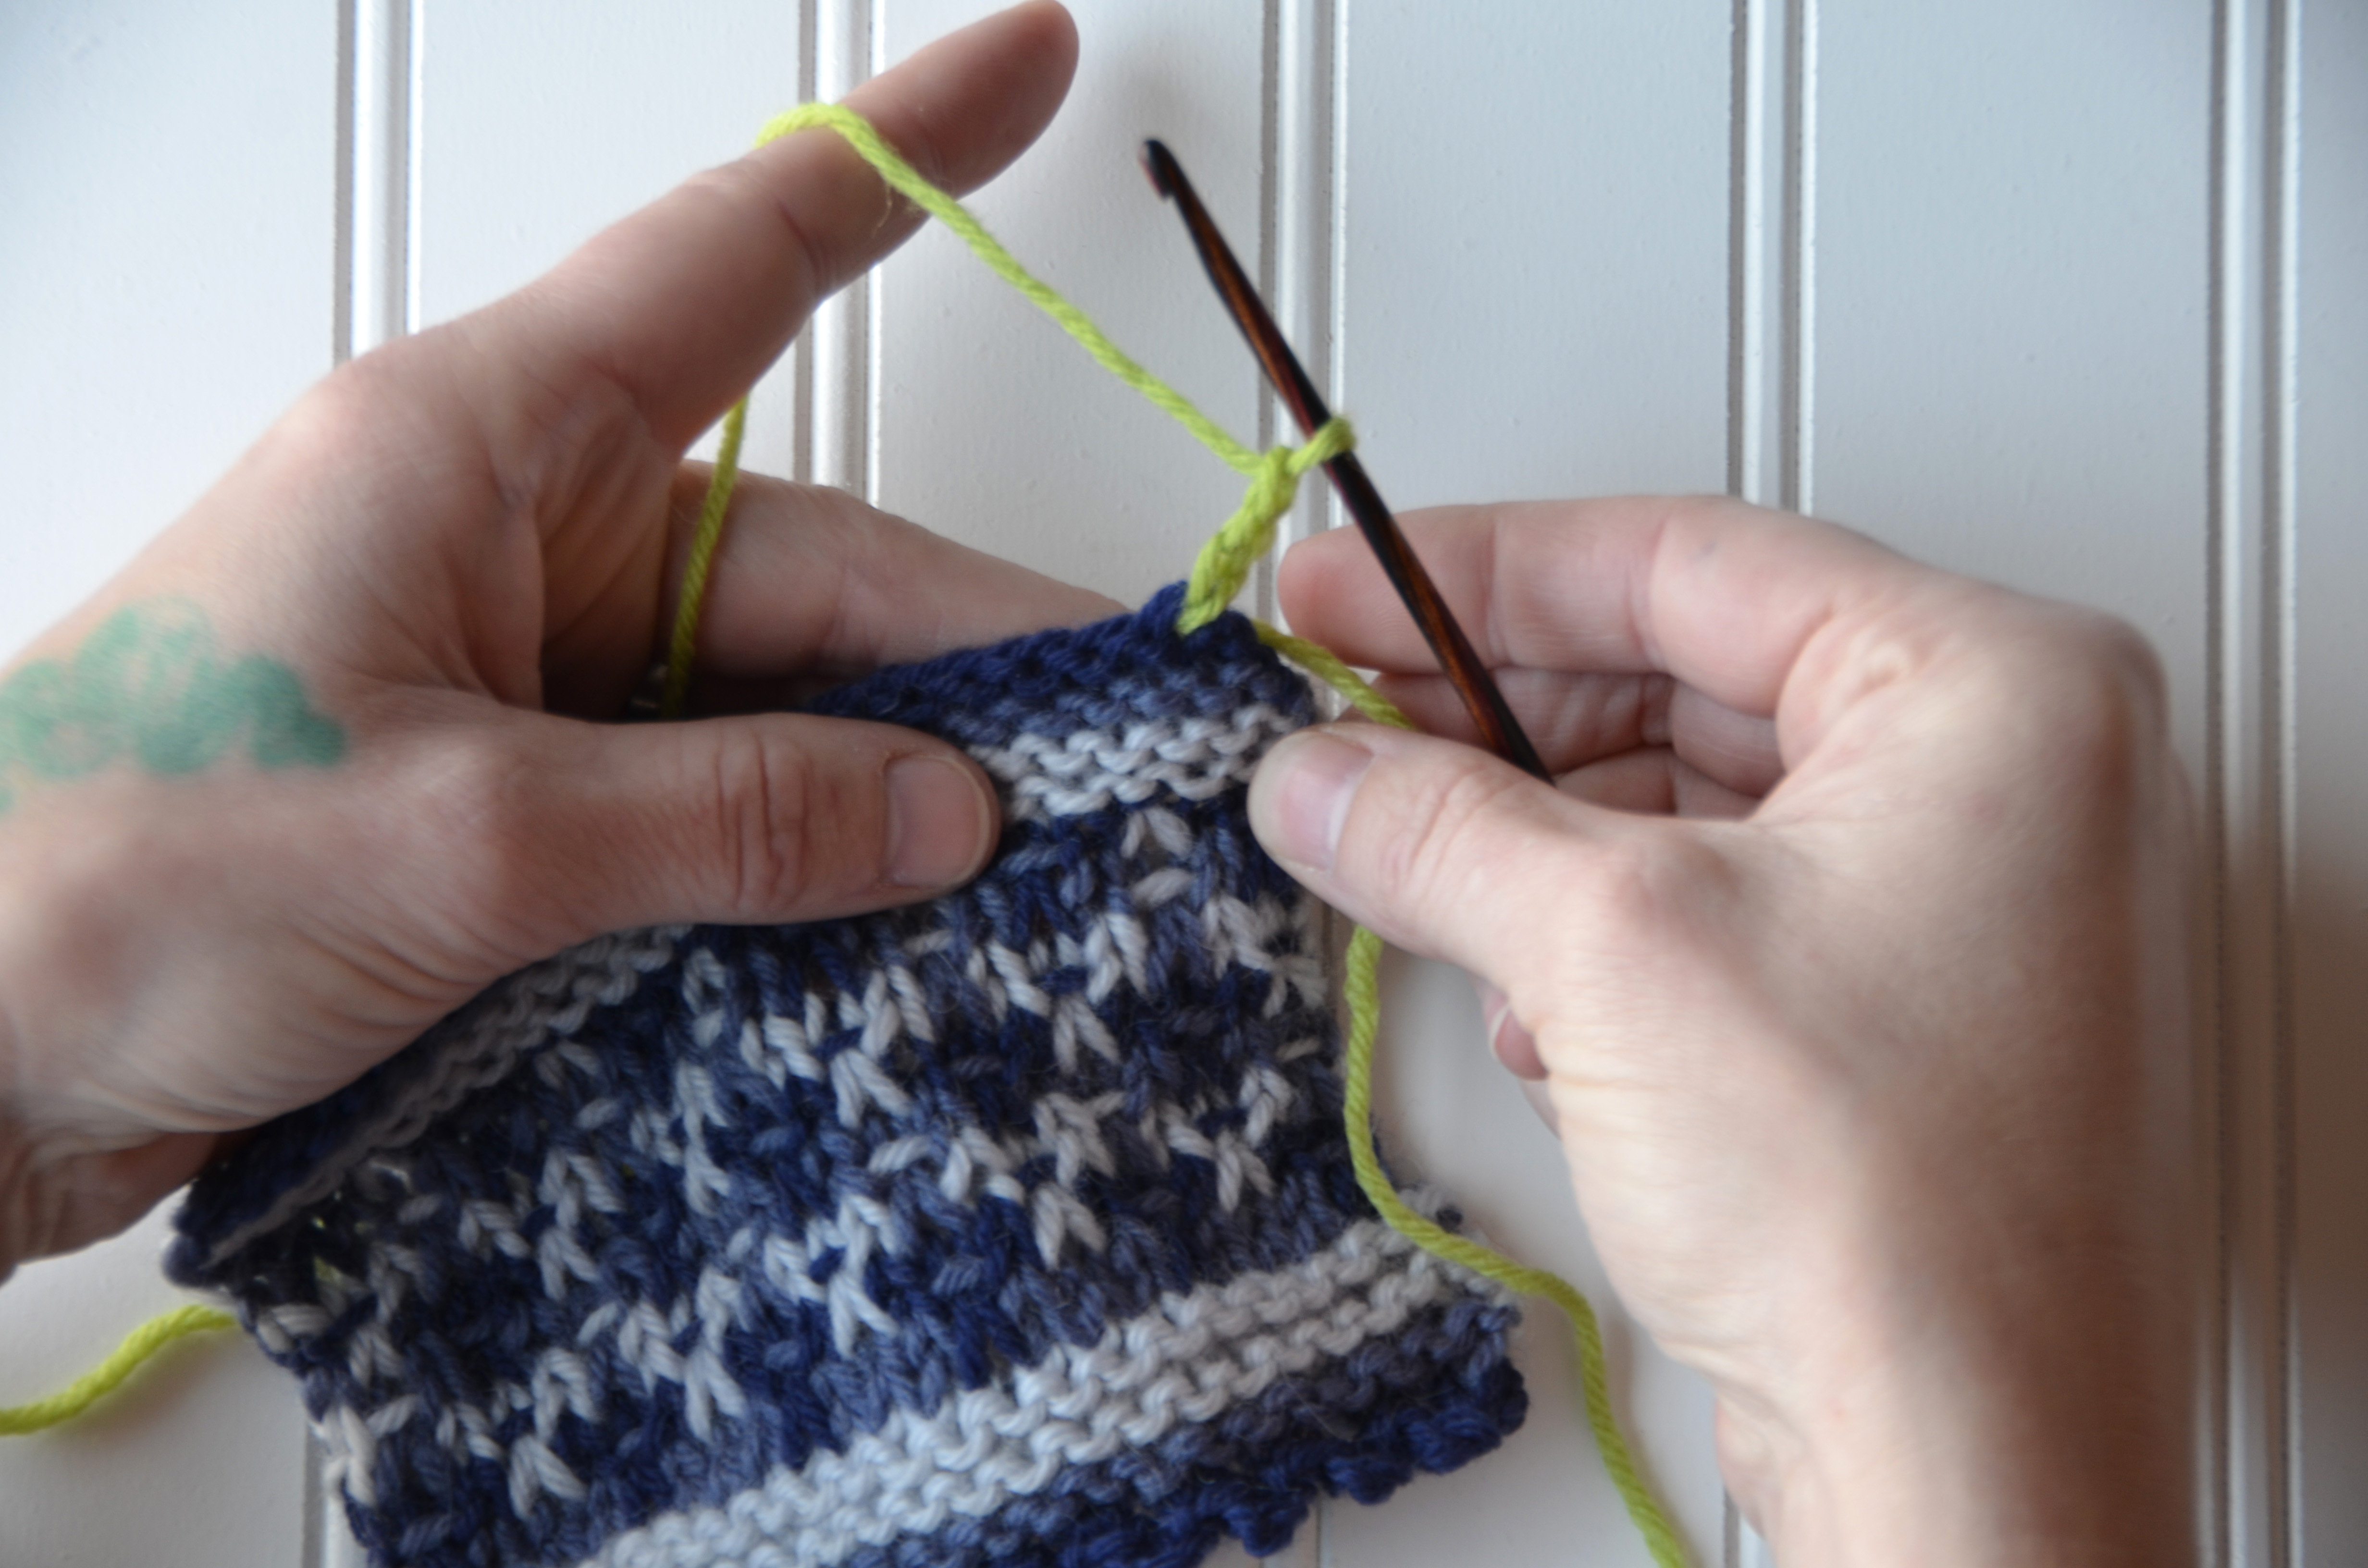
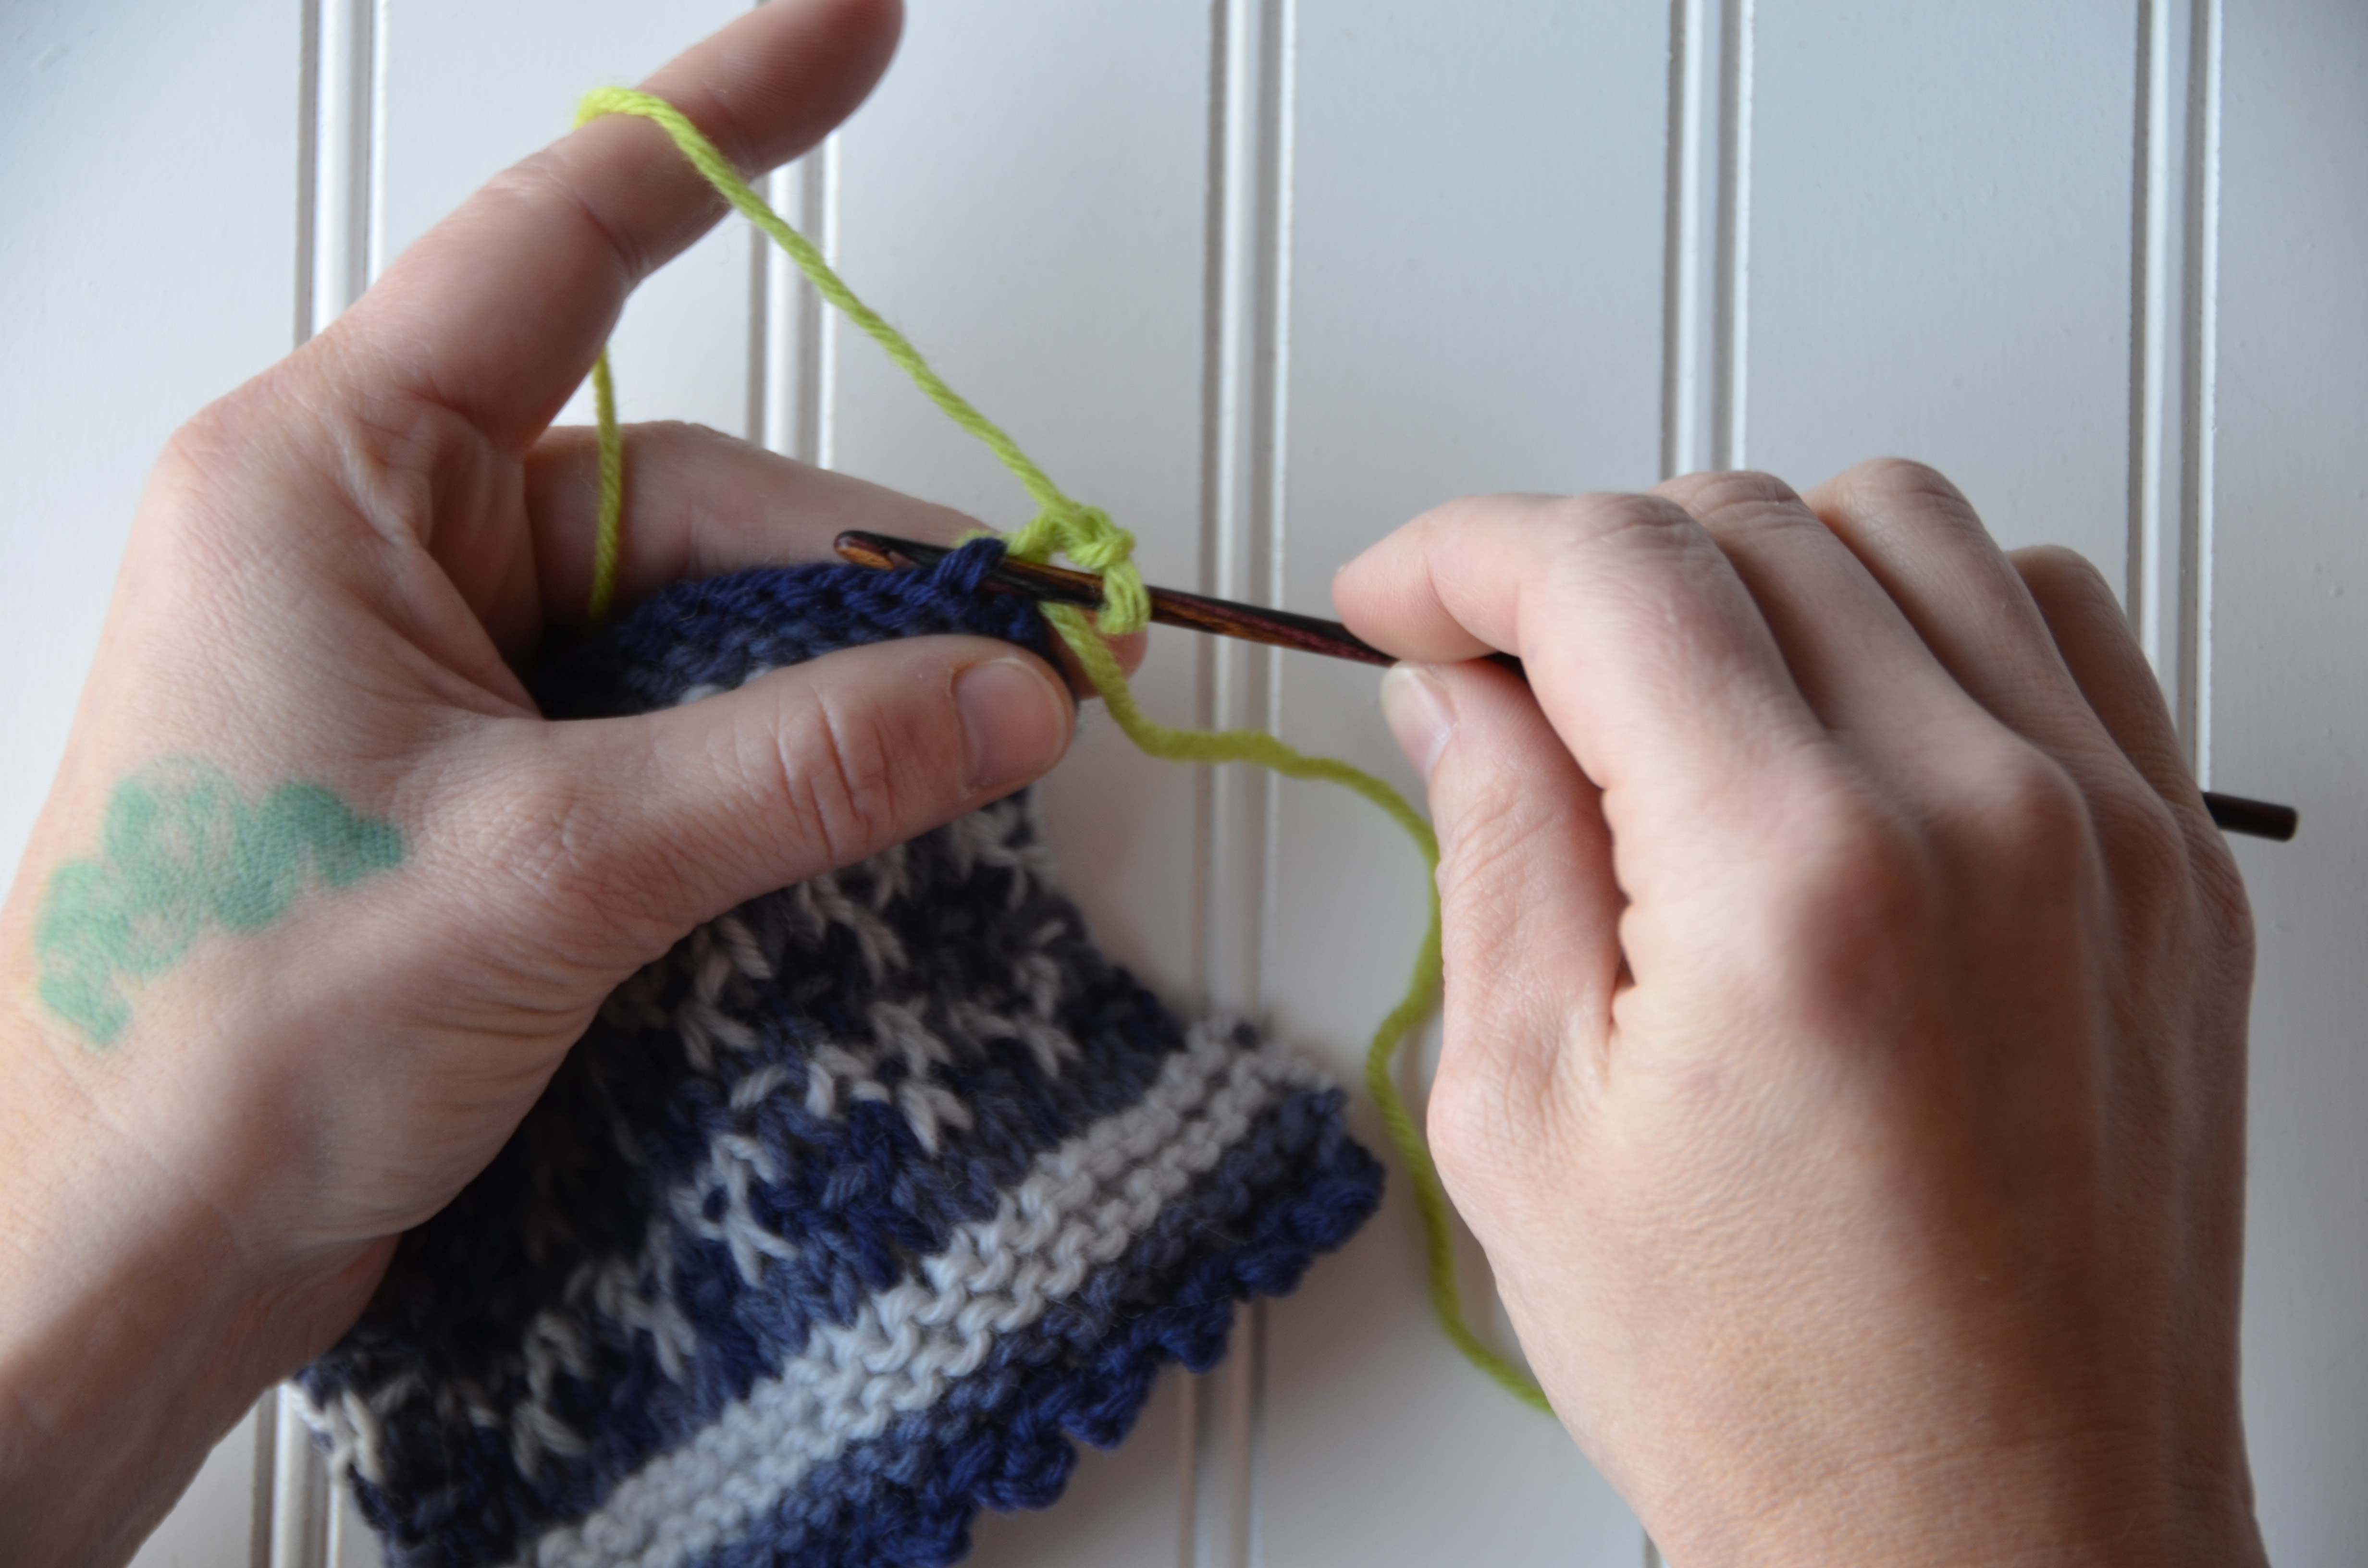
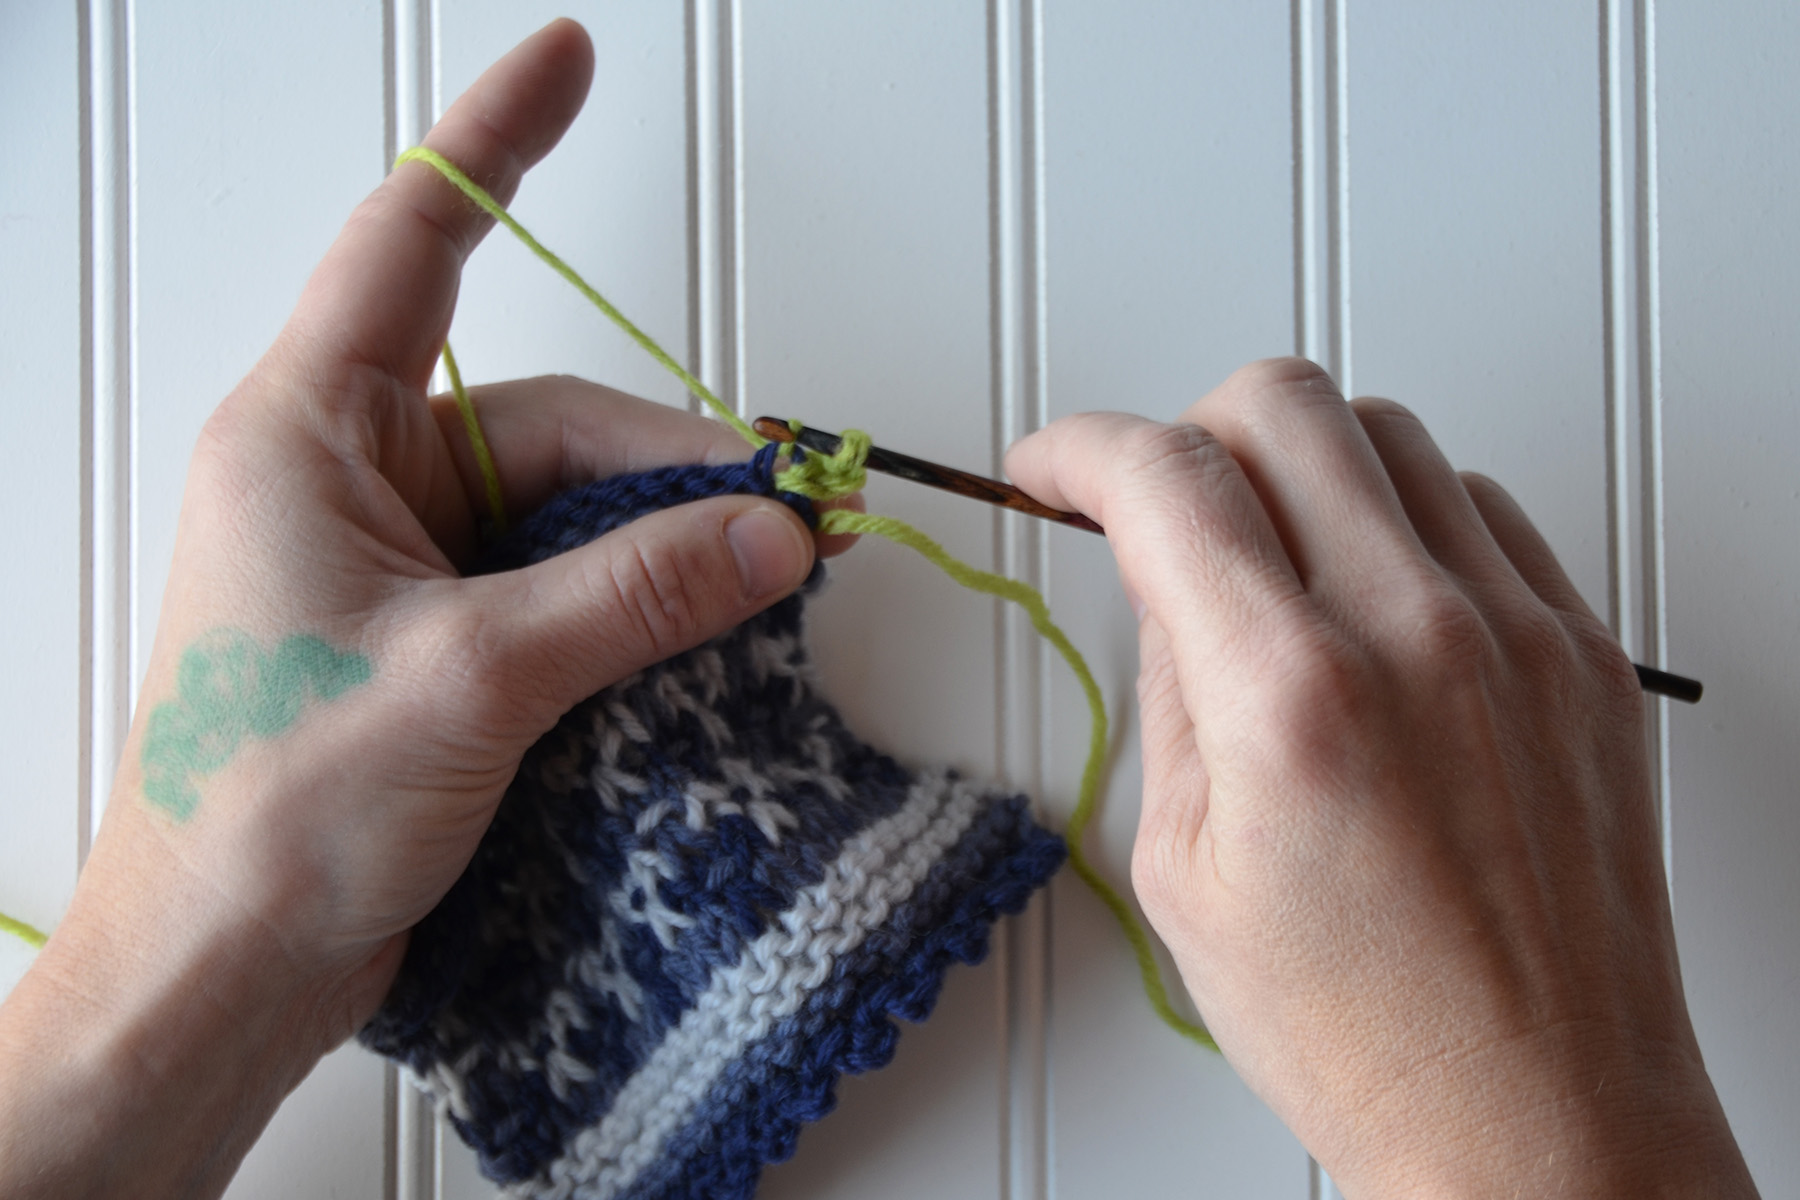
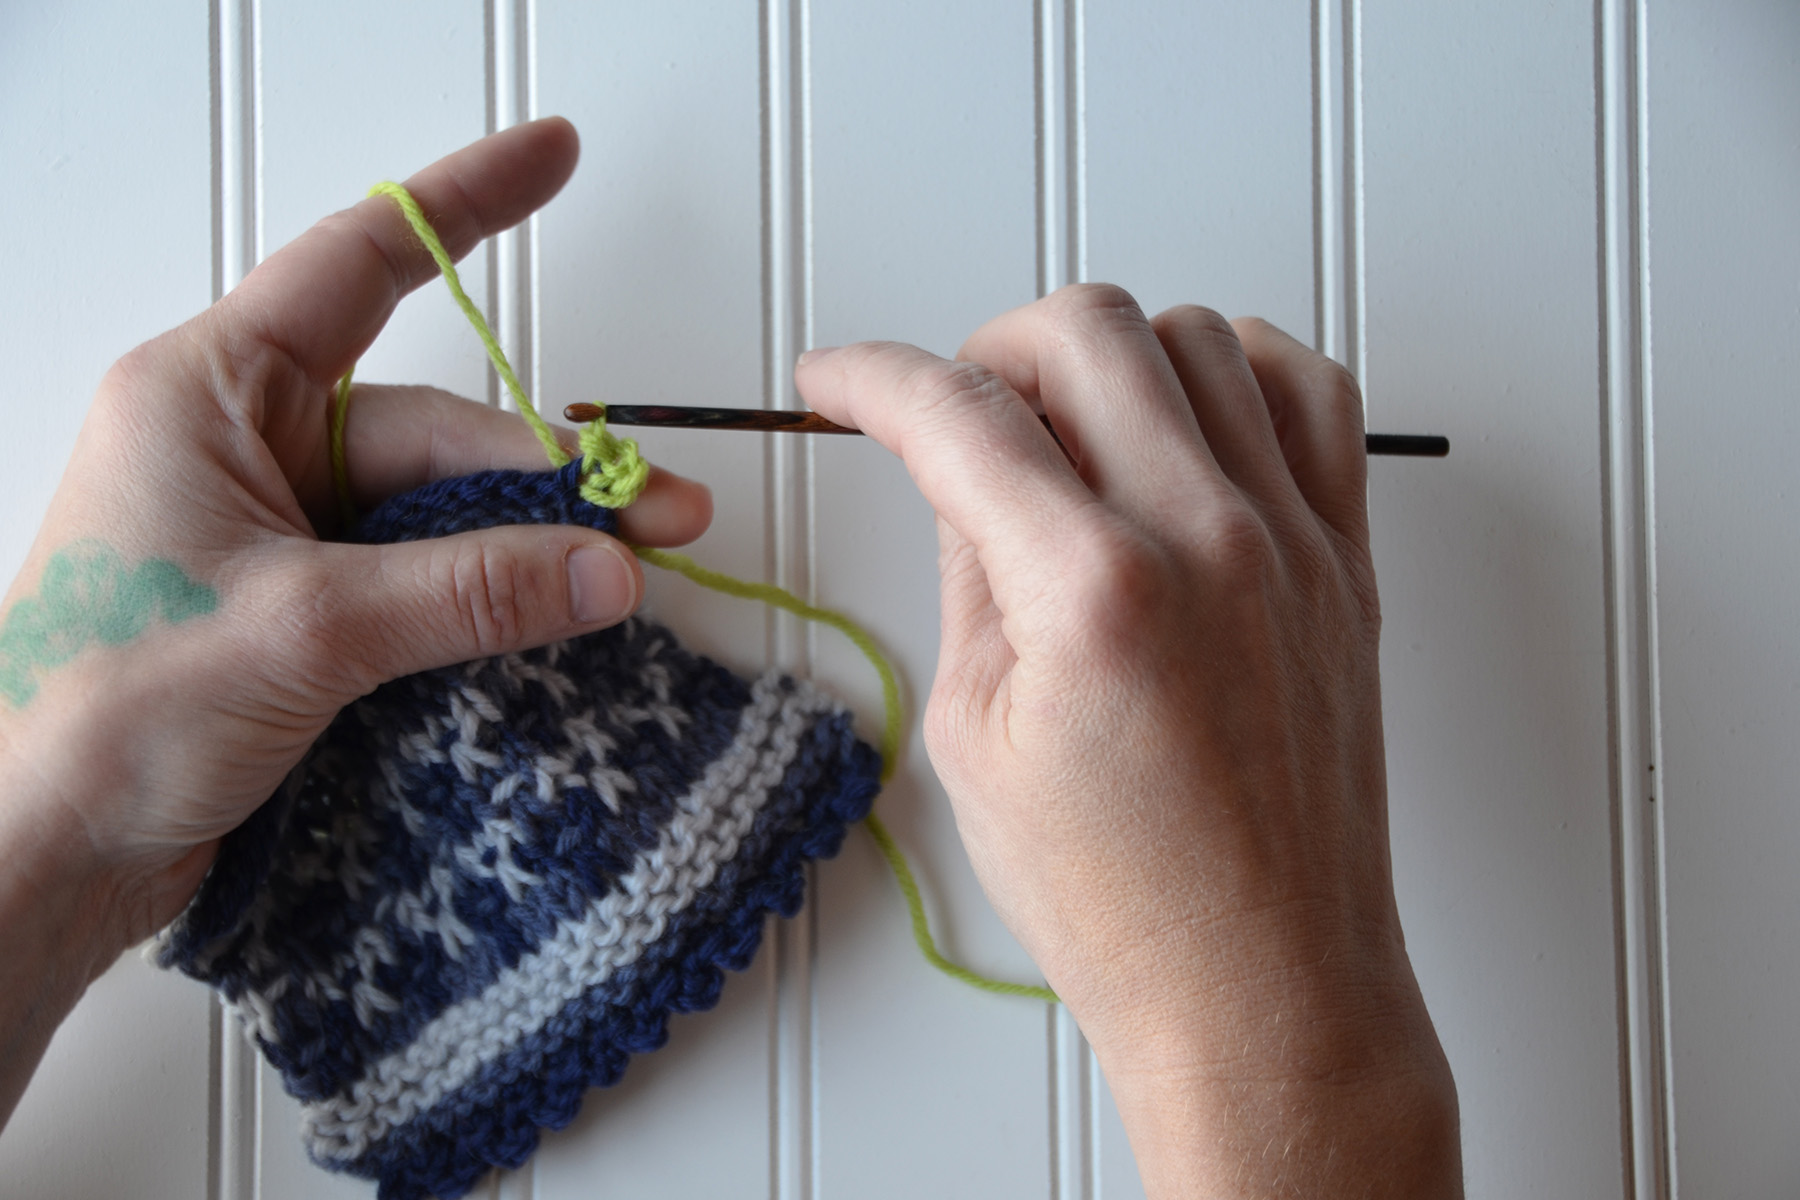
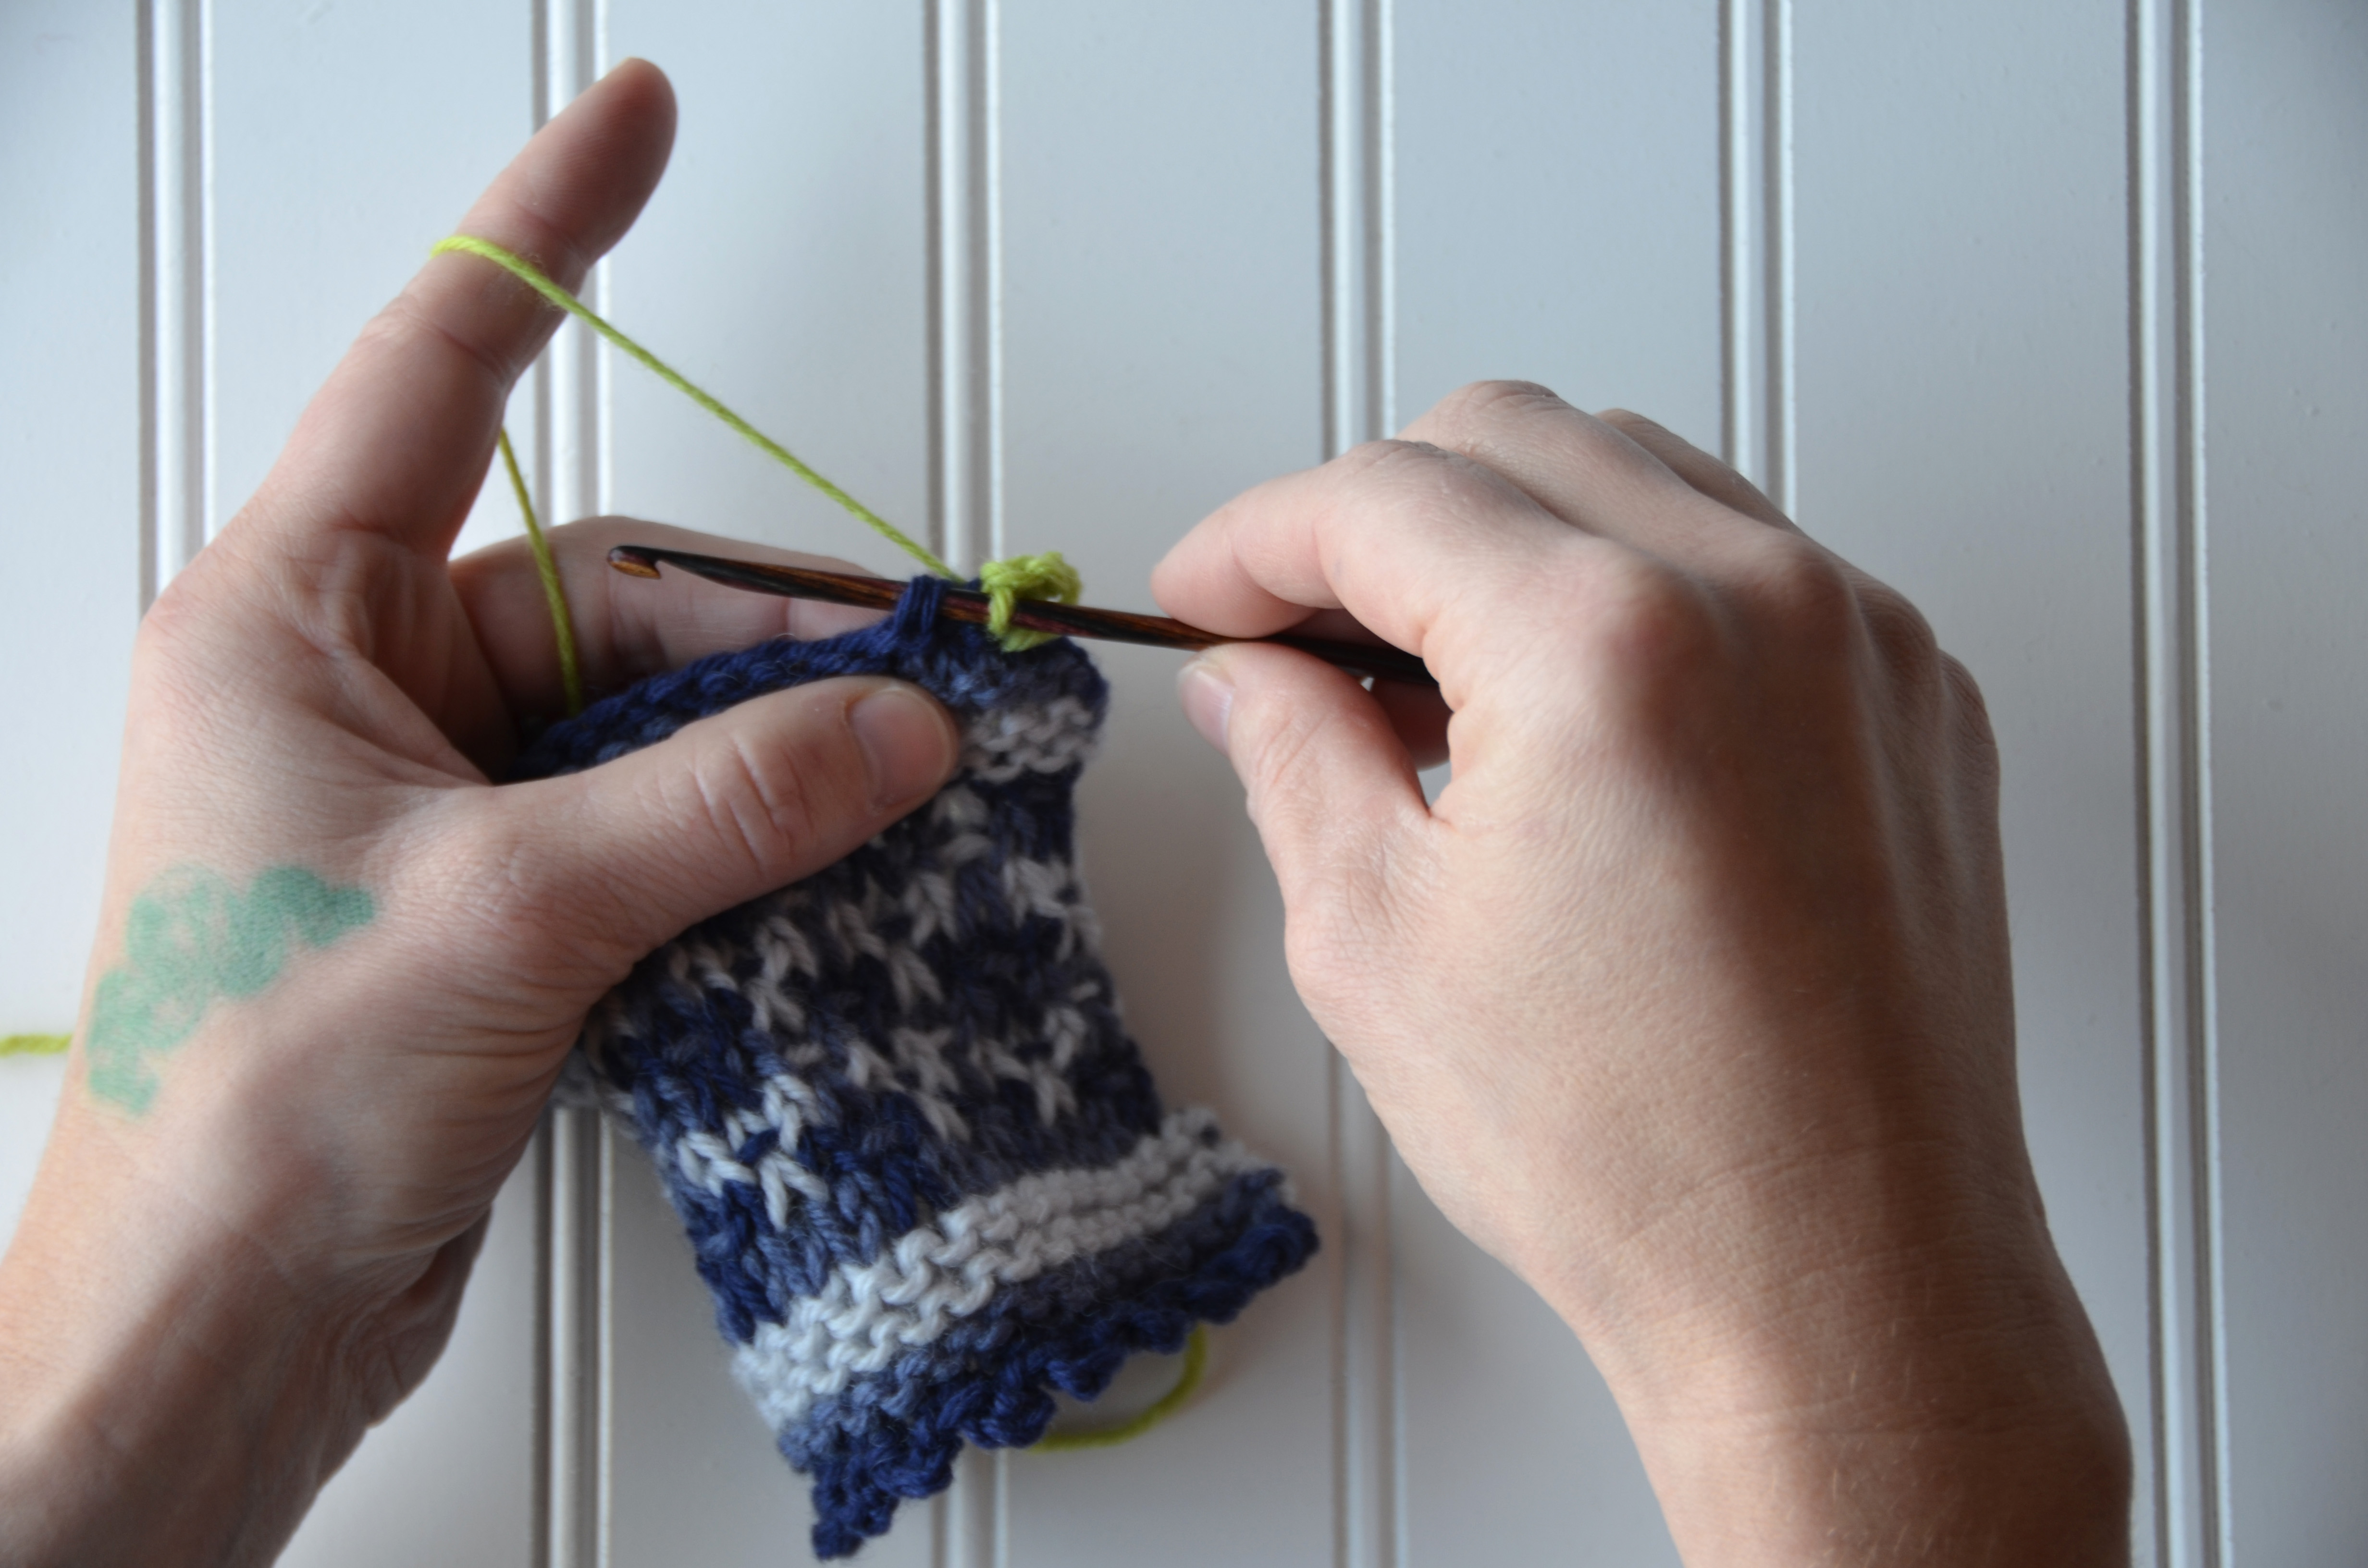
Repeat Steps 1-3 for the edging. So you’re going to be working [slip stitch, chain 3, slip stitch] into every other stitch along both edges of the cowl. No big deal, right?

Again, you can find the kit for this cowl on our website here (link). Here’s to learning new things!