
Most knit and crochet garment patterns contain a super helpful thing in them called a schematic. Every garment pattern we release contains one of these. If an accessory has a unique construction, we’ll add one there, as well. A good schematic should at minimum incorporate these elements:
- measurements for most, if not all, lengths/widths/circumference, etc of the item
- be drawn to proportionally to scale (of course, as garments get larger in size, these proportions will change. I personally draw my schematics based on the smallest size)
- show a single line drawing/piece for a seamless garment, or separate pieces for a seamed garment, or some combination of the two, depending on construction
- bonus points for arrows or indications of what direction the various pieces are worked
I’ve had a few recent conversations with knitters who either completely ignored the schematic in a pattern, or were unsure about how to interpret the measurements and other details in them. With this uncertainty, things either went awry, or they lacked the confidence to feel like they were on the right track with their projects.
Right here, right now, I very passionately would like to clear some things up about the Mighty Schematic.
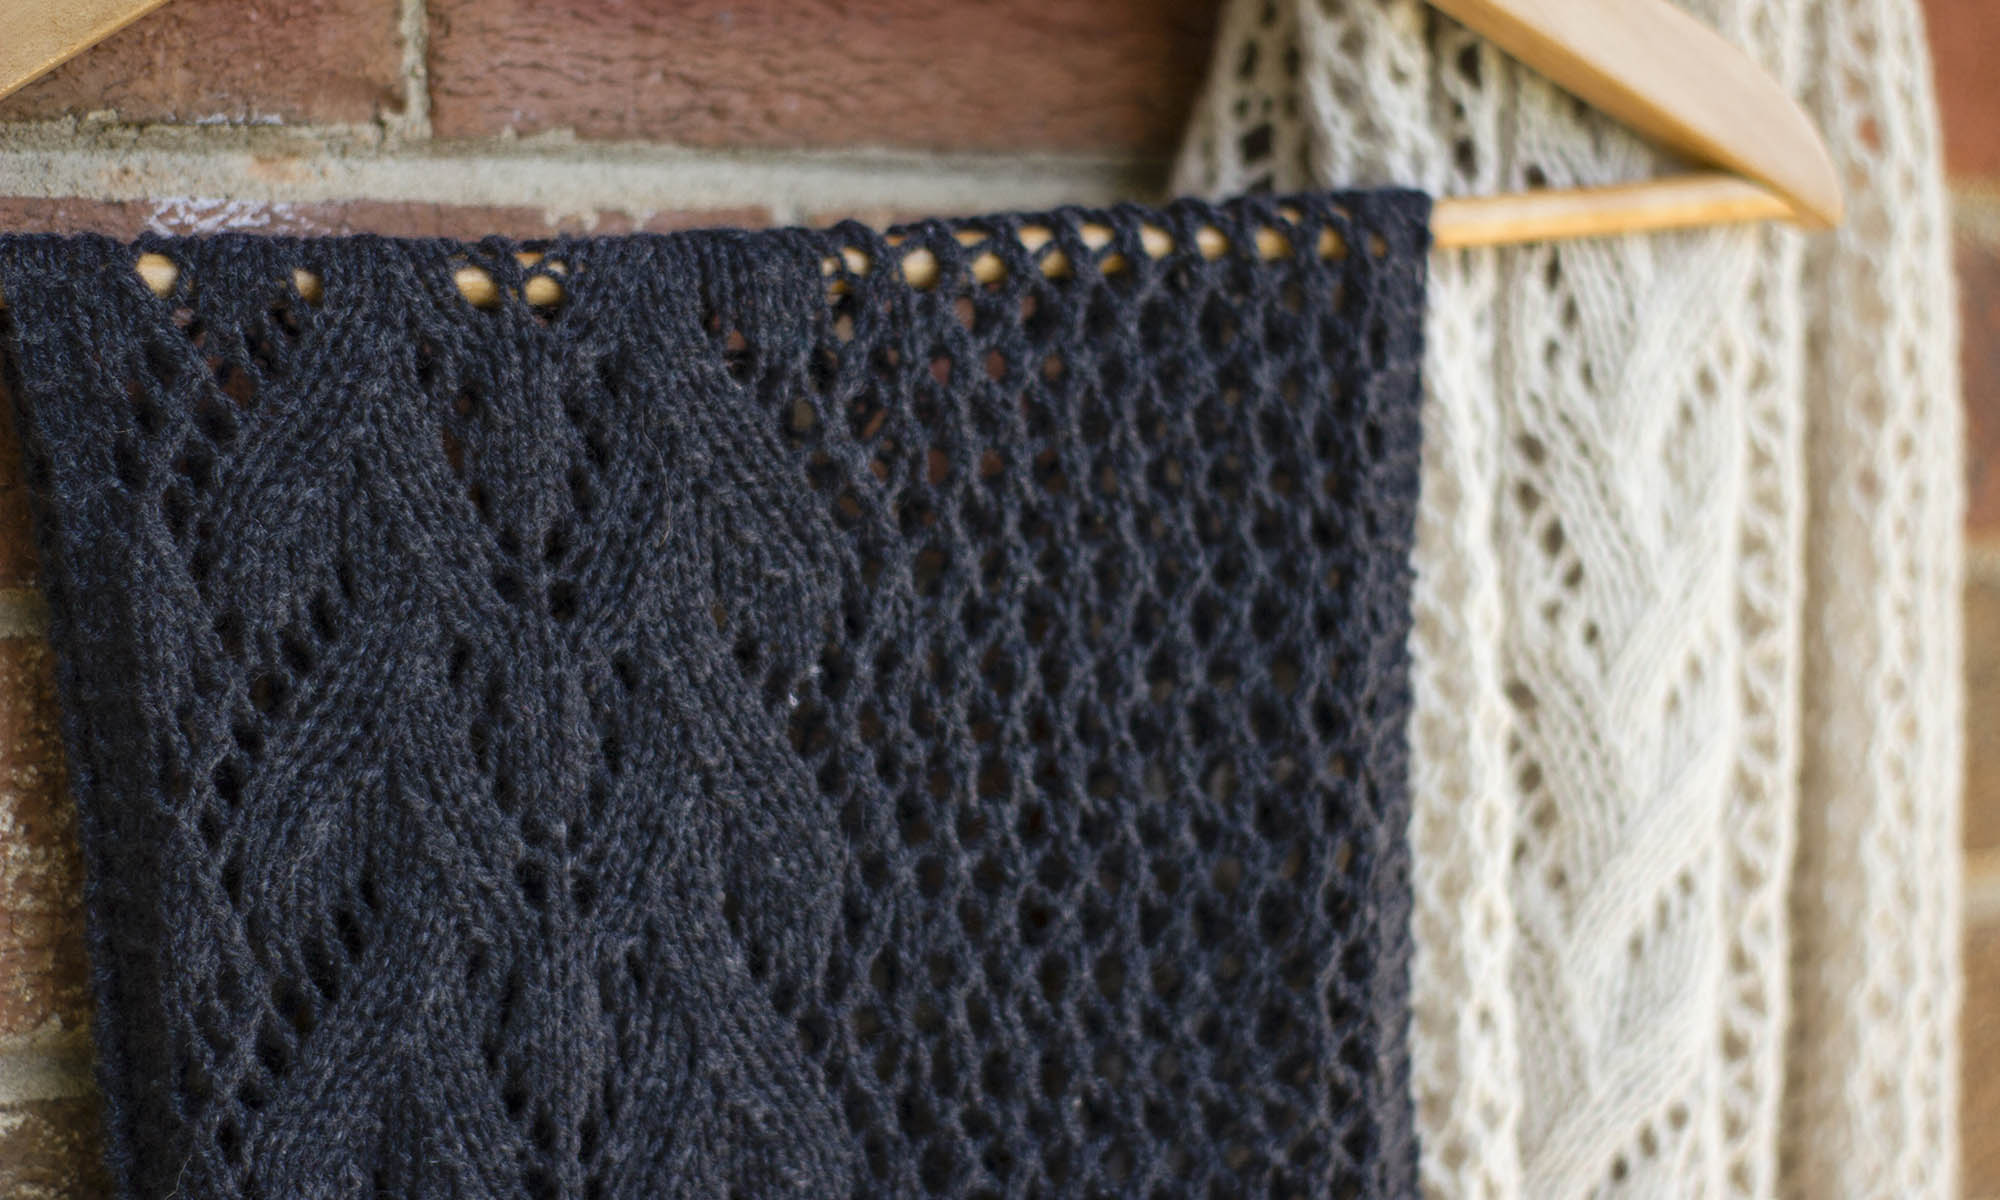
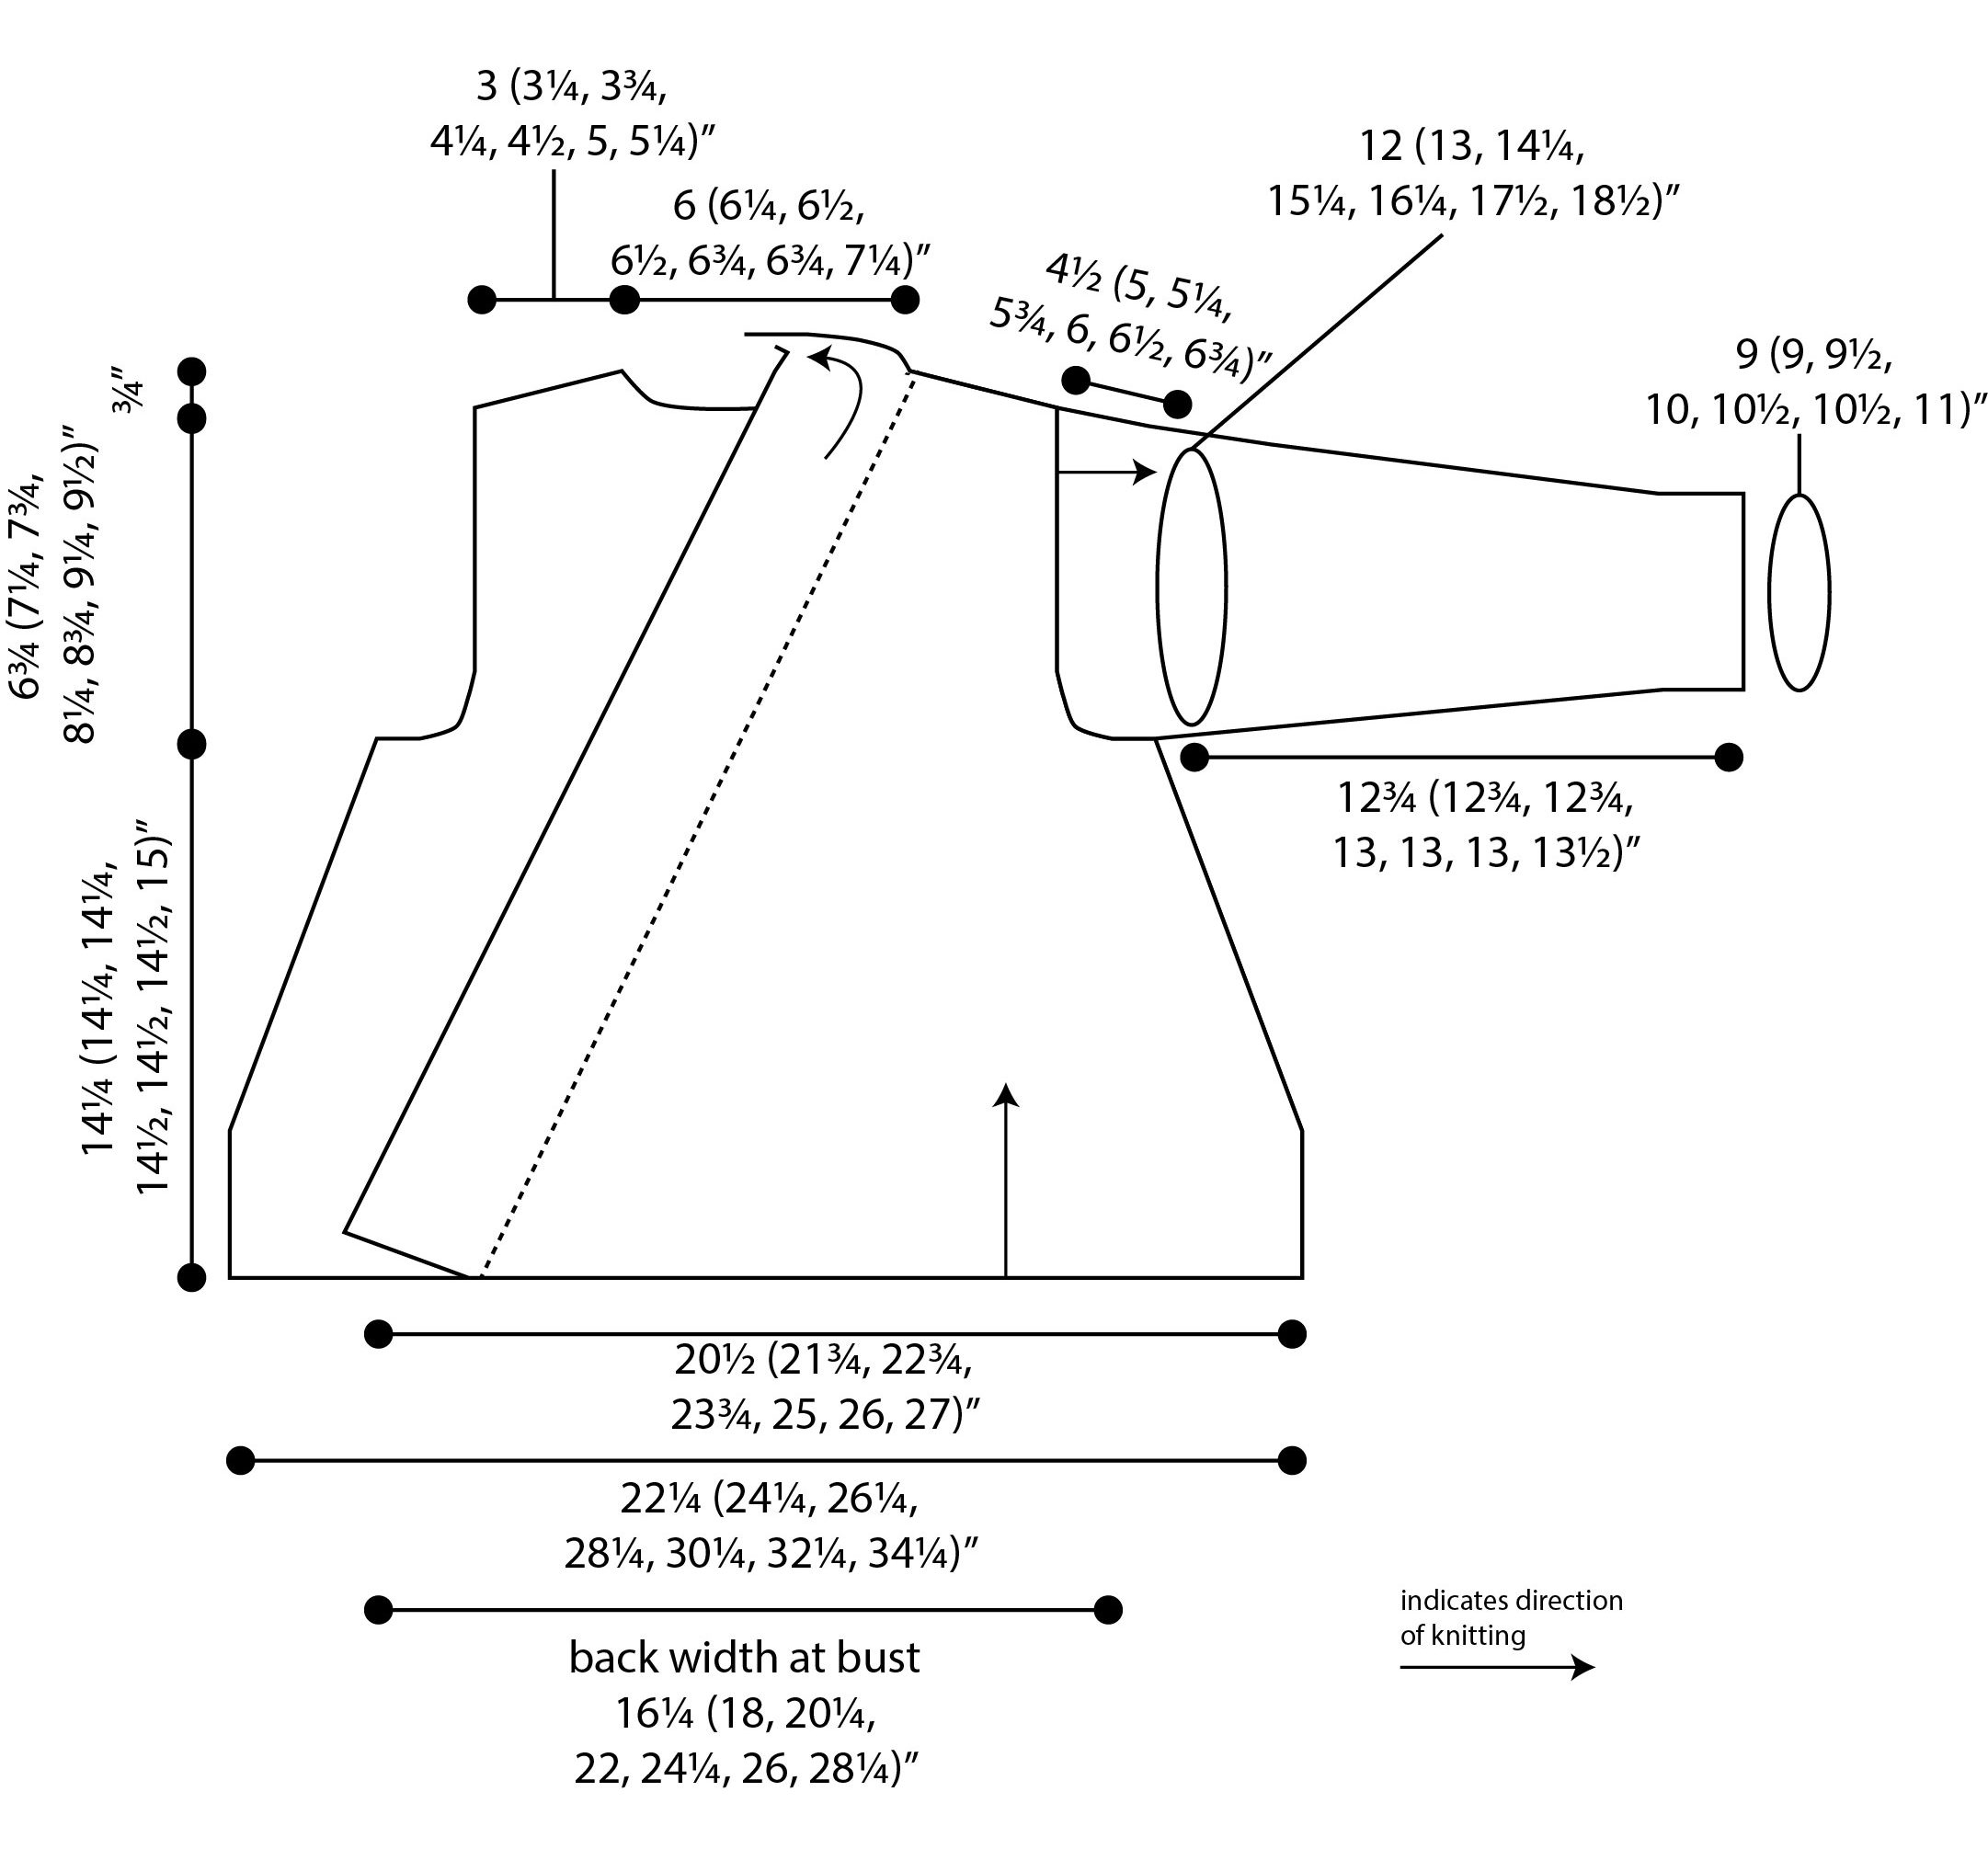
Example #1: Brook Cardigan:
It might be a little overwhelming at first with so many numbers and arrows and lines. But each of those things has a reason for being there, and it’s to help!
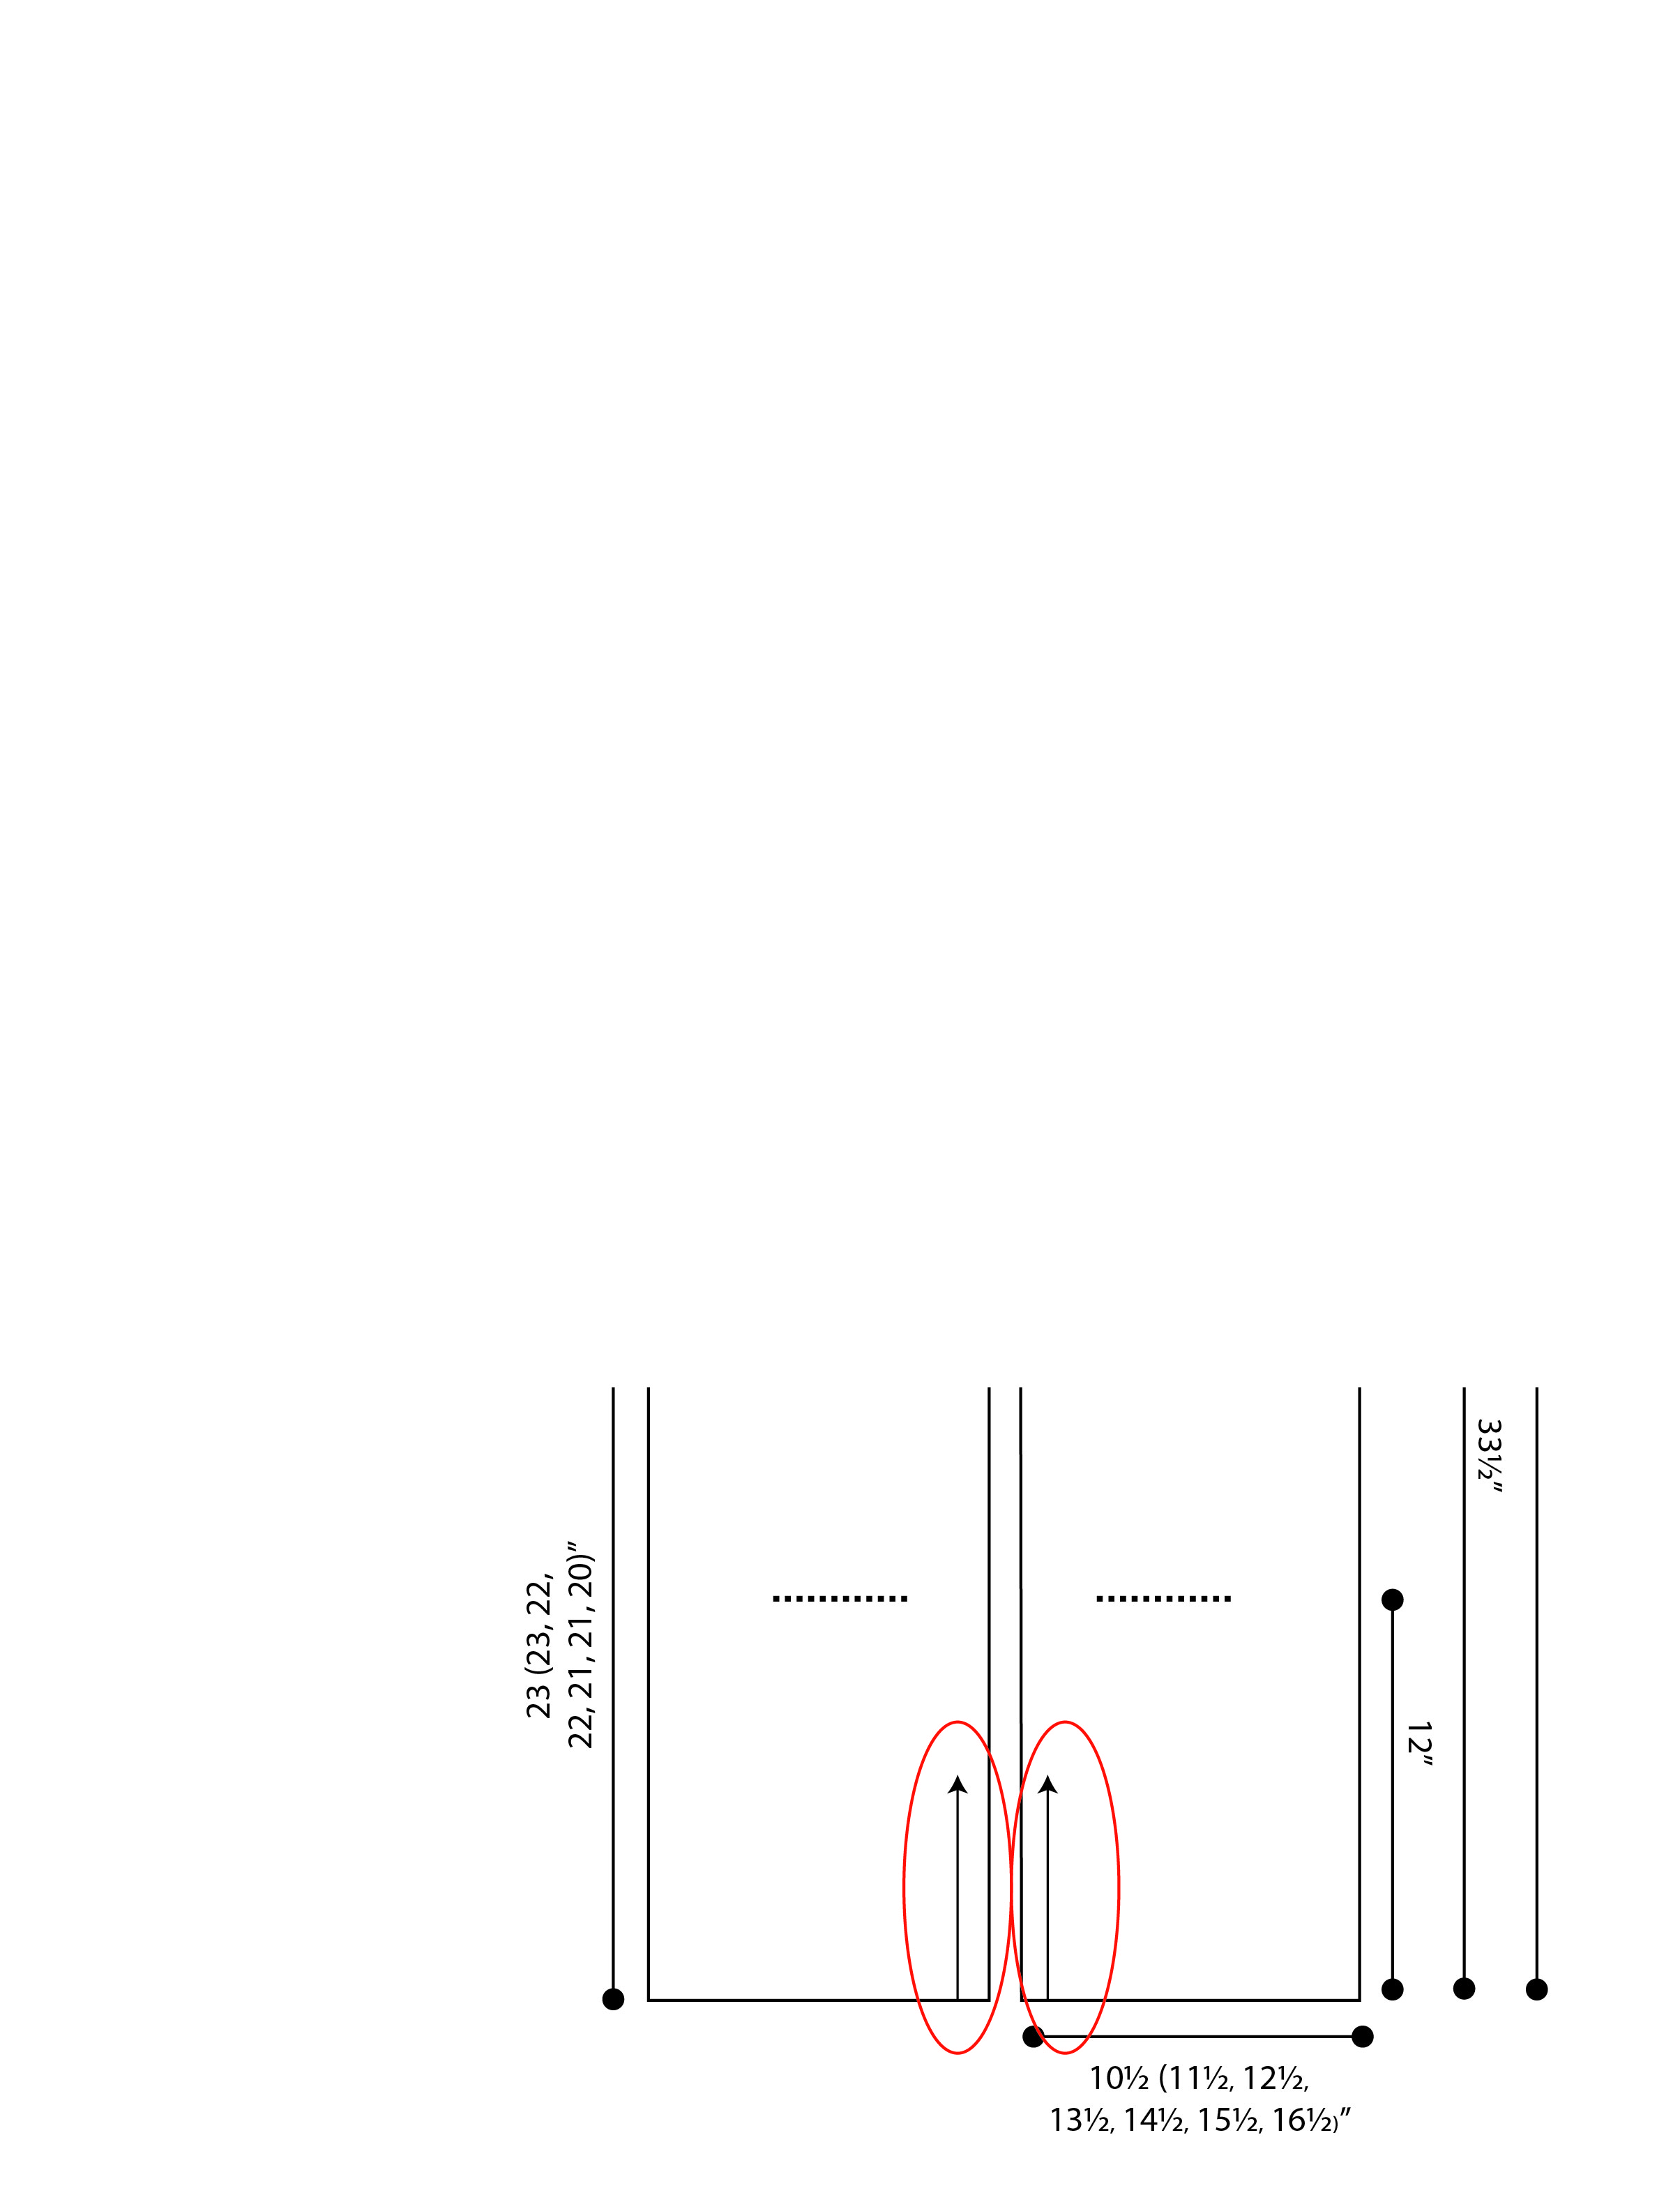
First, let’s take a look at the arrows on the drawing. At the very bottom edge, there are two arrows pointing upward. These arrows indicate the direction of knitting. It means you will knit the two front pieces separately to start. And see how they’re joined with a solid line at the neck? At this point you will join the two sides, and knit the back downward in one piece.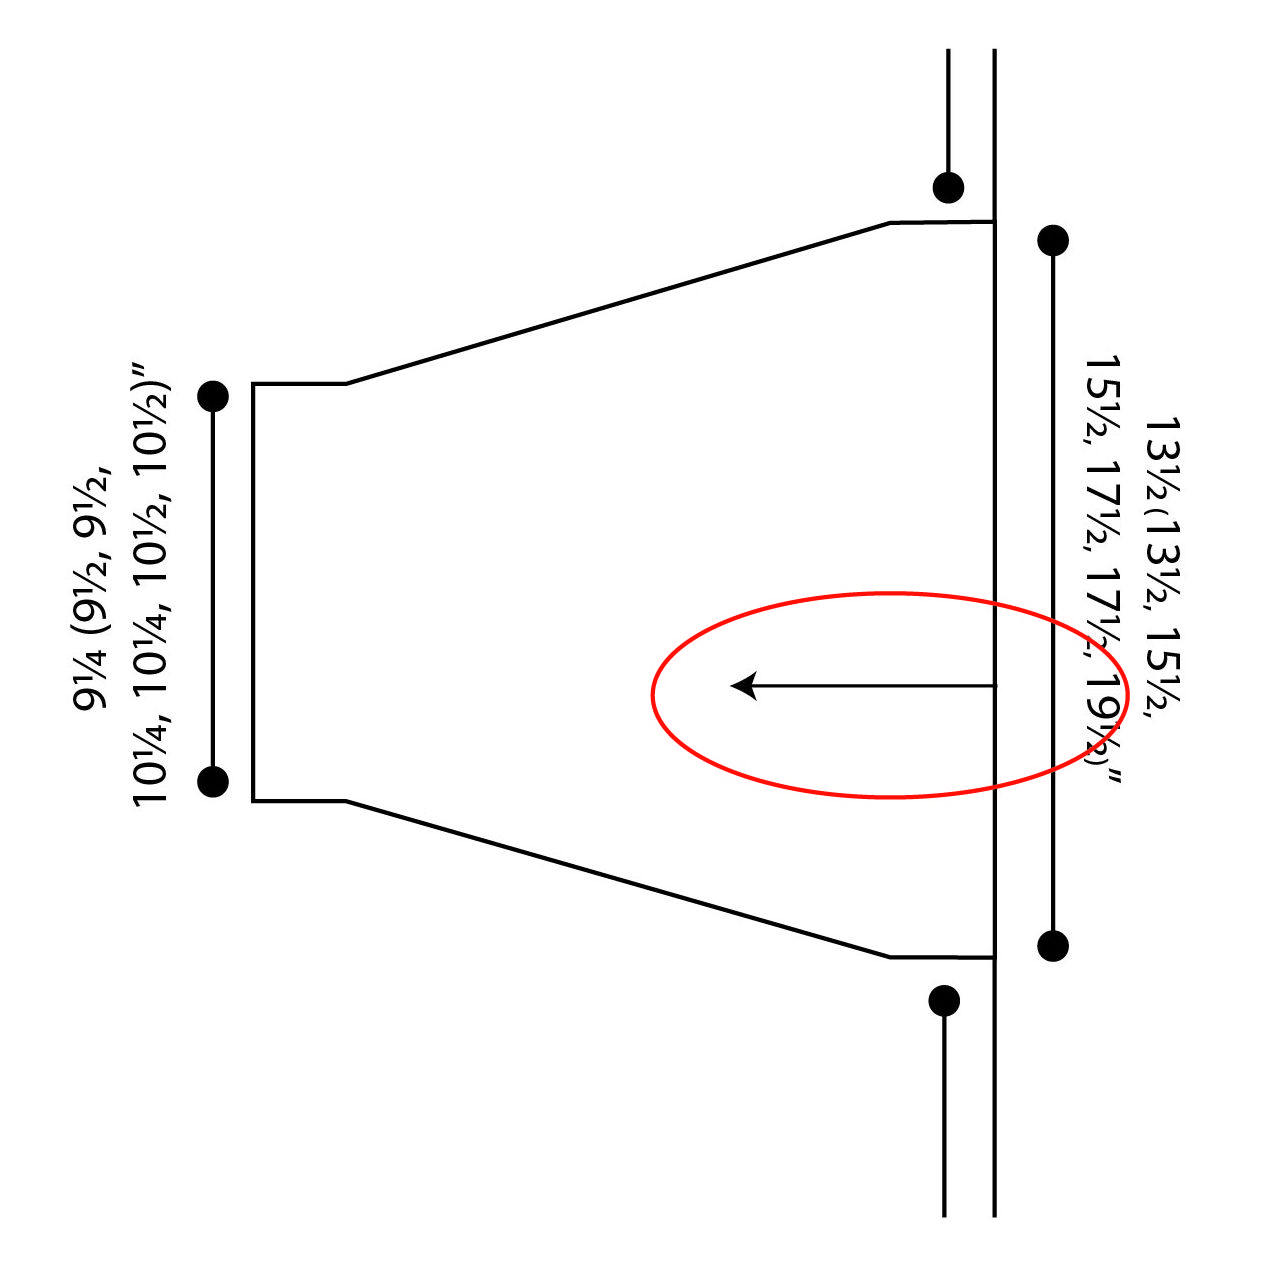
Likewise – see the sleeve with the arrow on it? This indicates that stitches are picked up along the side of the body, and the sleeve is knit outward from there.
The pattern notes are another place in a pattern where you can pick up helpful information about the construction of the item. It’s a good idea to read through these in addition to consulting the schematic.
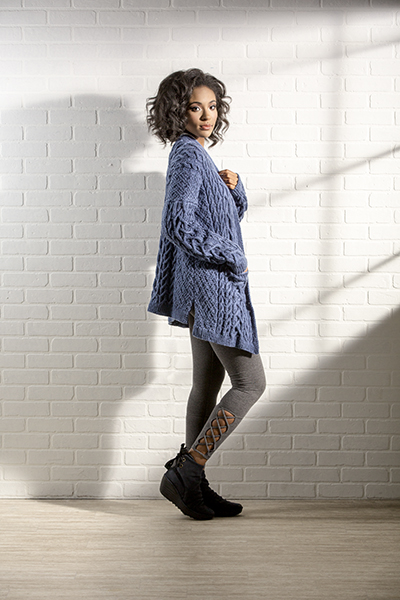
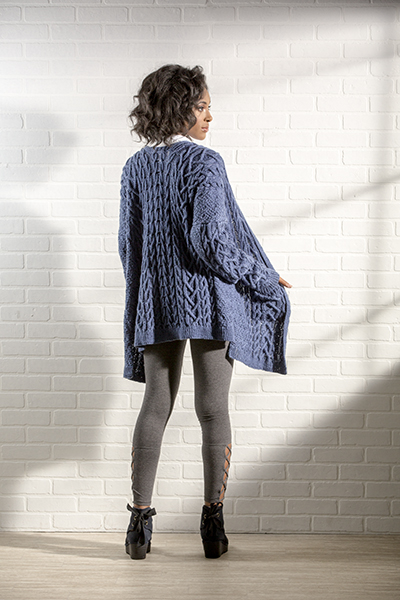
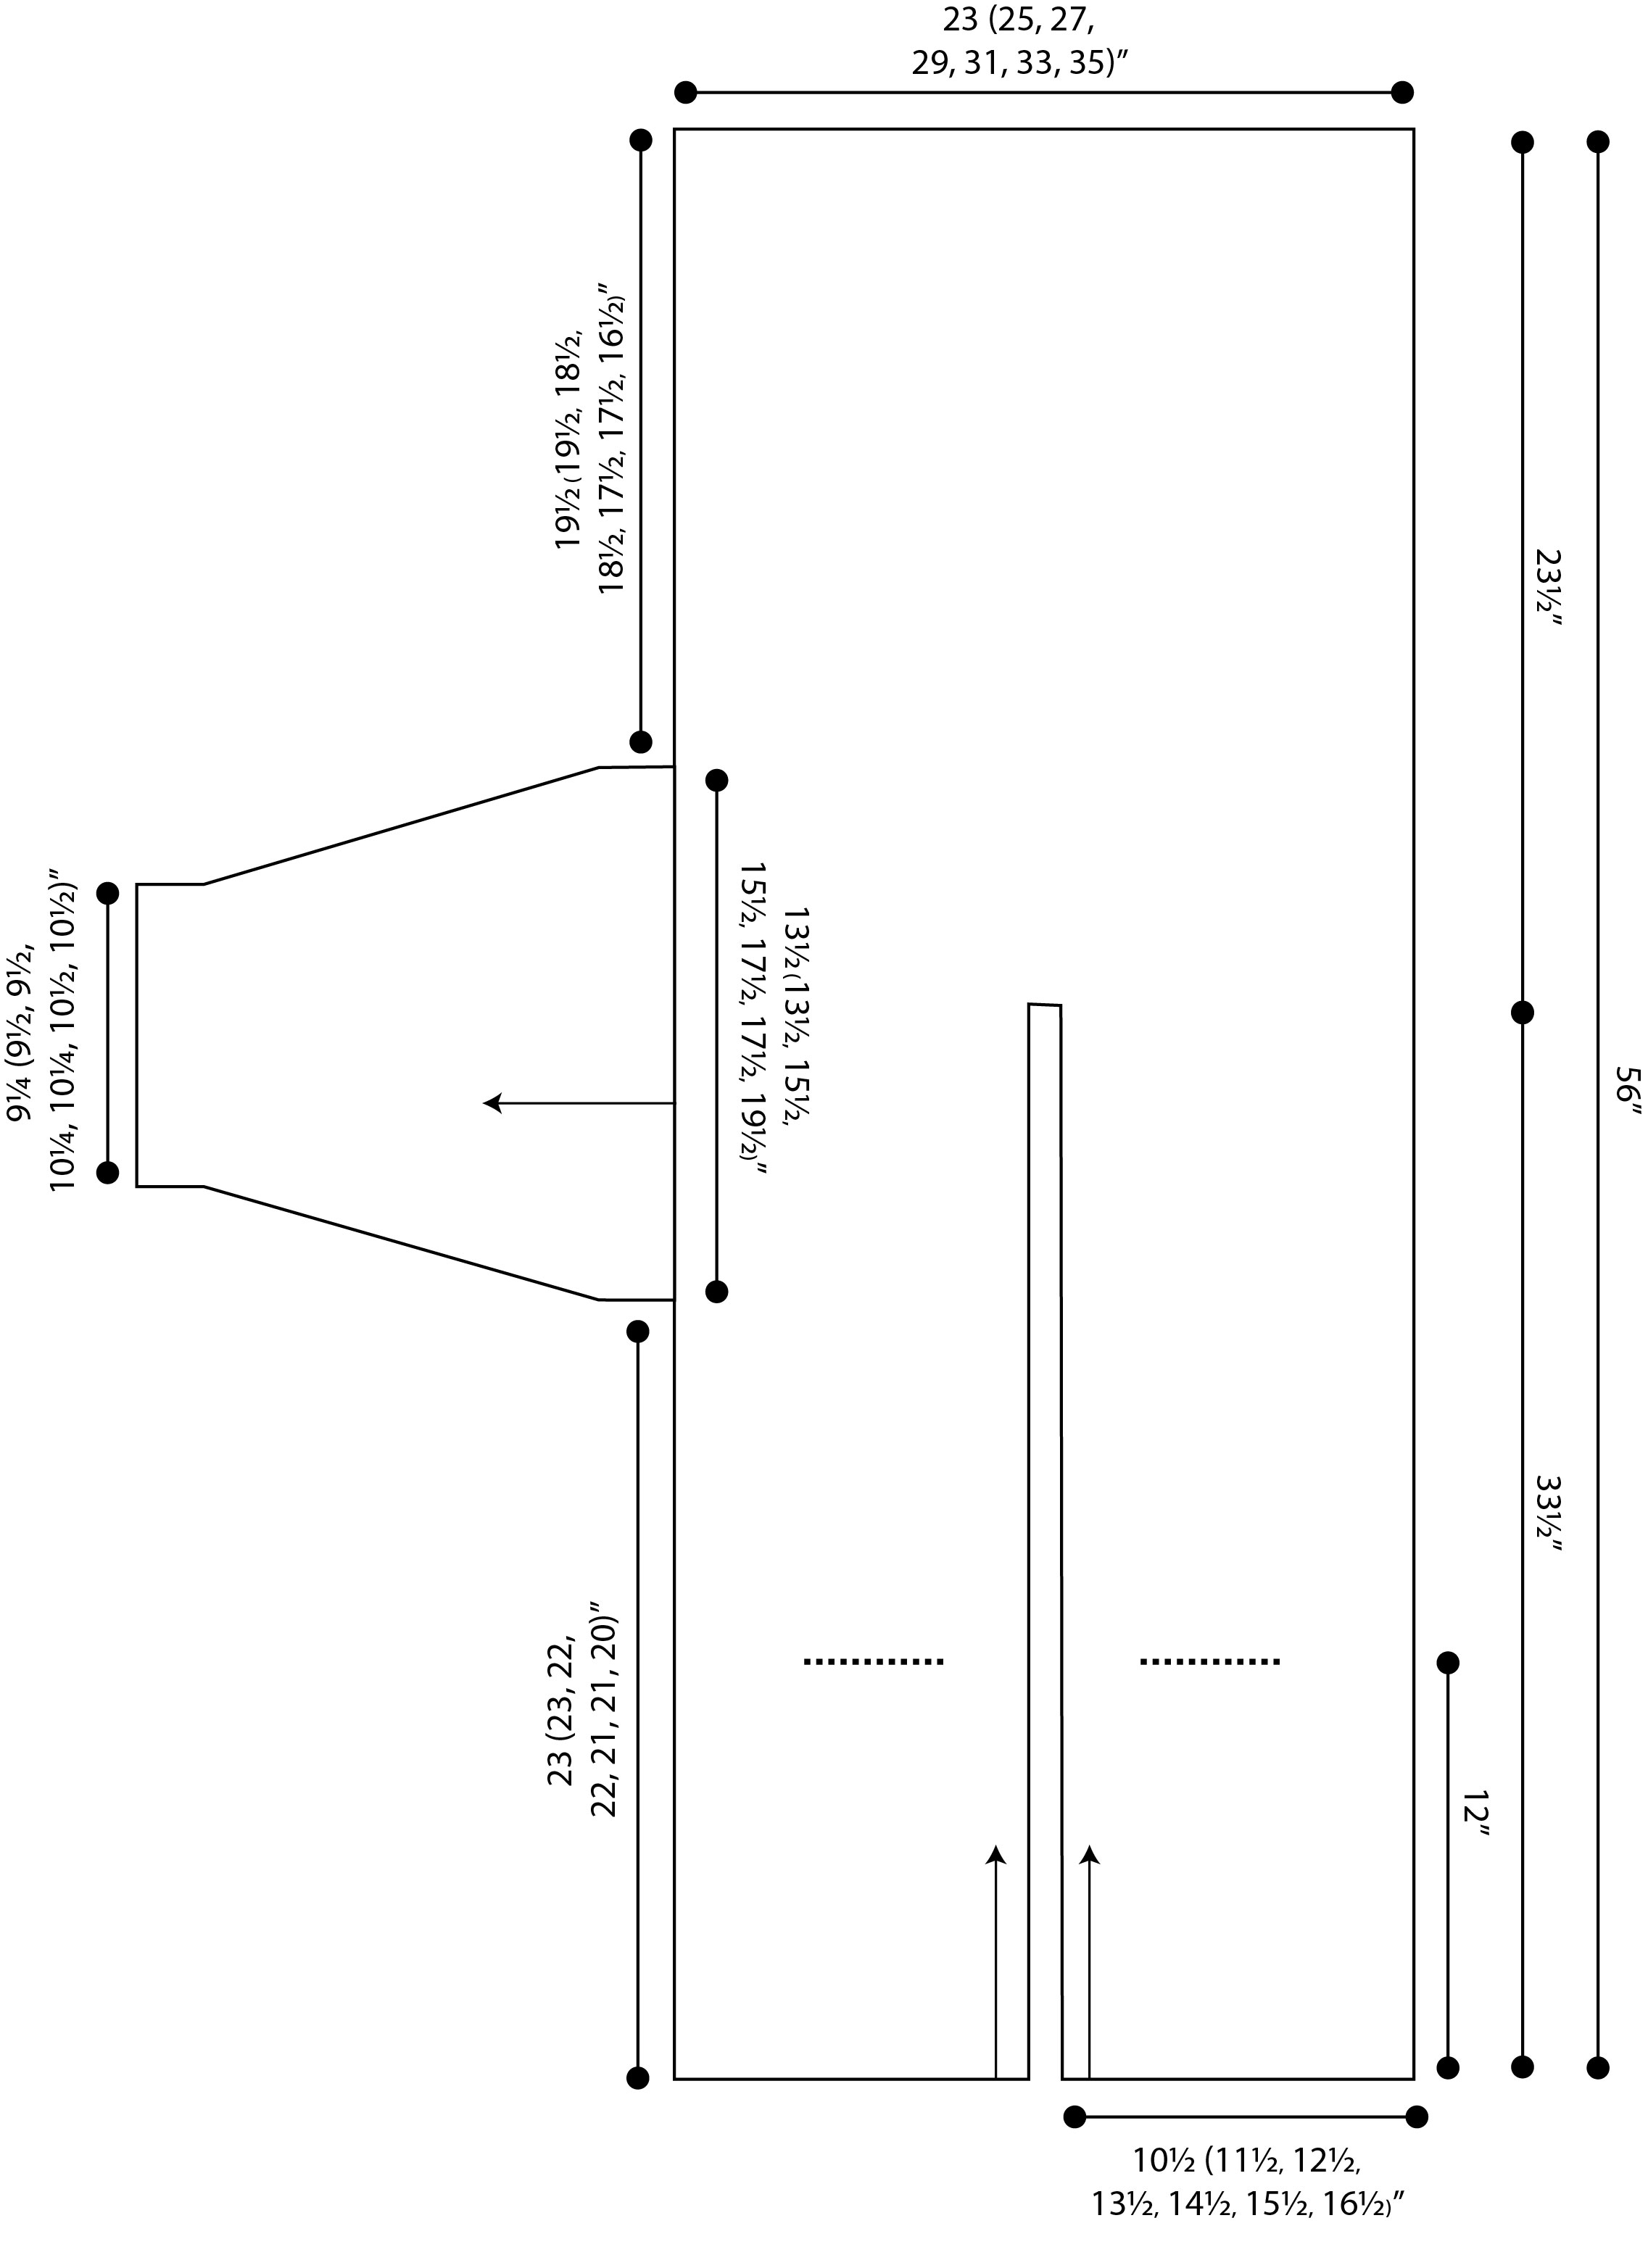
Example #2: Grand Staff Cardi
I’m not going to name names (ah-Krista-em), but one of the folks in customer service is knitting this project in Bamboo Pop, and came to me with concerns a couple of months ago. In fairness, there is a lot going on in this schematic. But the issue Krista was having wasn’t particularly with the construction, as it’s clear from the pattern and pattern notes itself how the construction works.
Krista is a petite thing, so she’s making the small size, which has a finished bust of about 35″. Her concern was that as she was working on her back piece, it was measuring 24″ after casting on. This could be a valid concern – after all, 2 x 24″ would make for a whopping 48″ cardigan which would be much too large for Krista.
She measured gauge and was spot-on, so it wasn’t making sense why her stitches measured so wide on the needle. The detail that eluded Krista: this cardigan is A-line, which means it is wider at the hem than it is at the bust line.
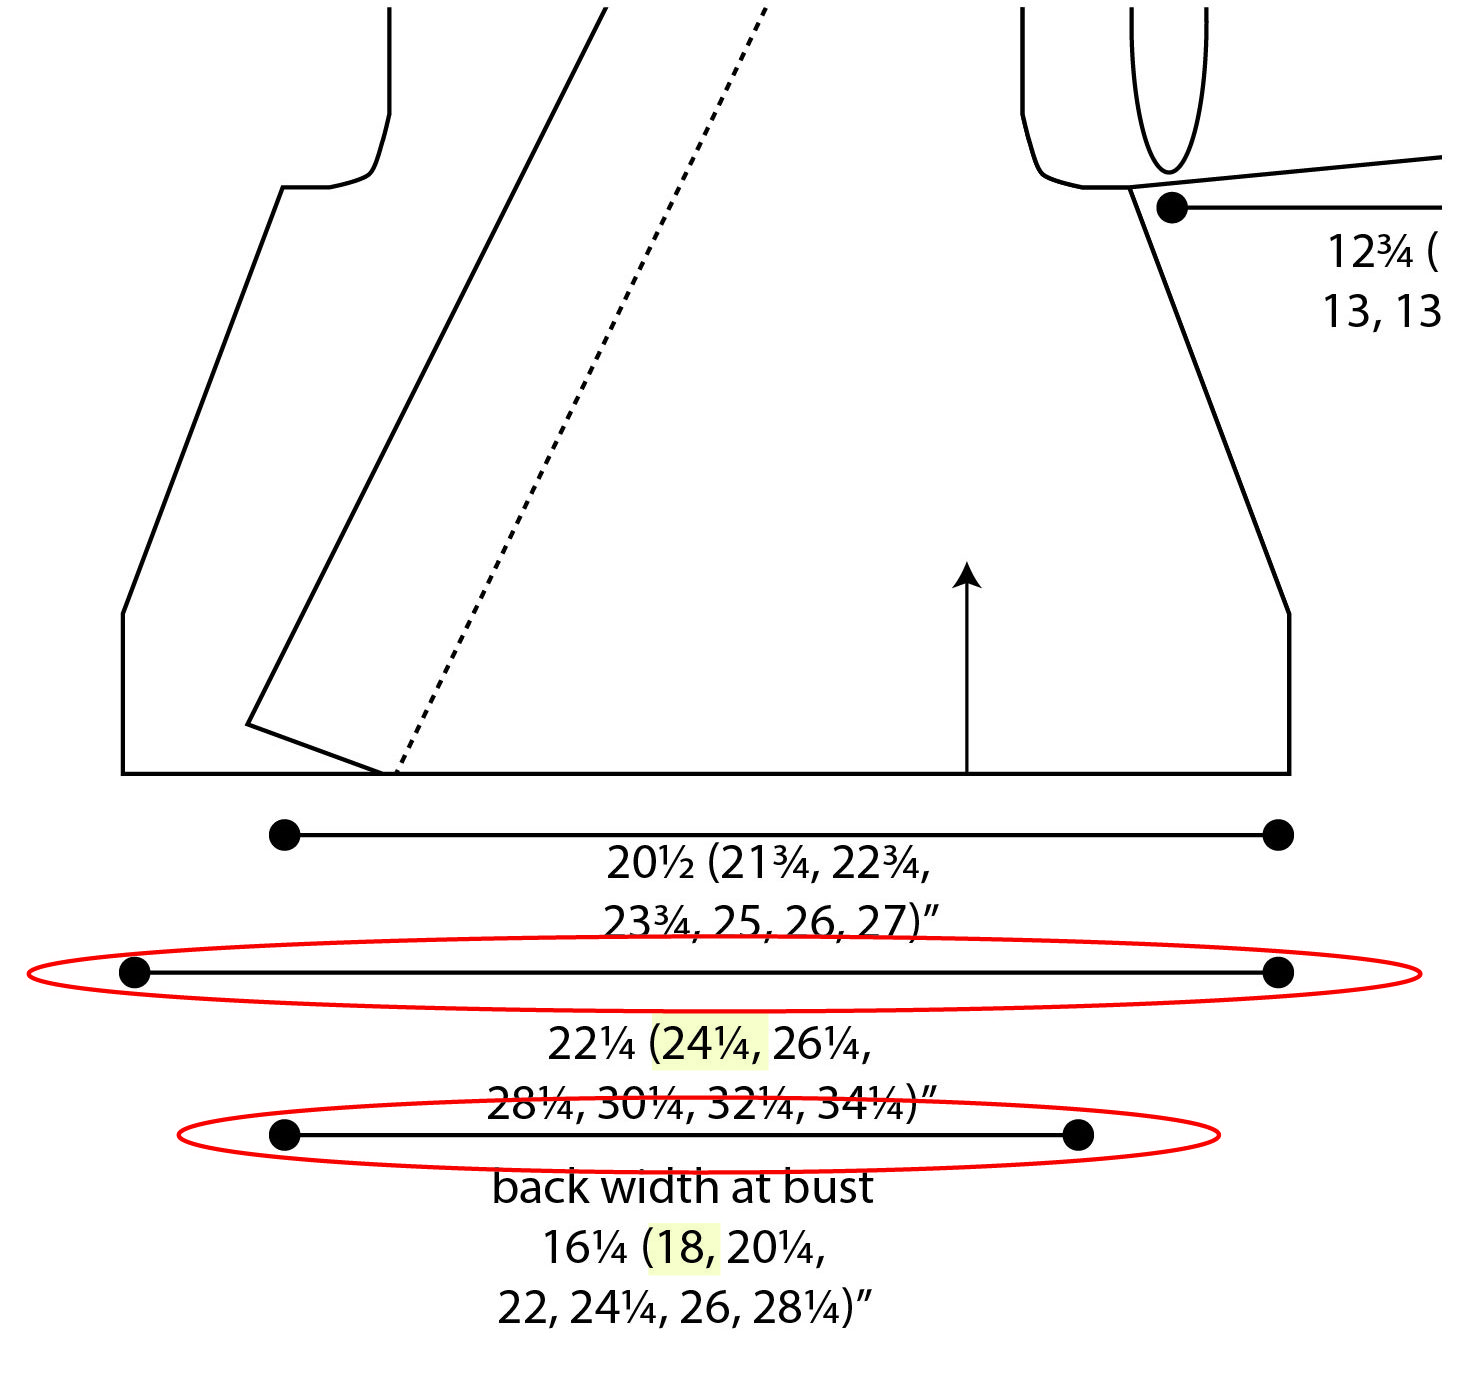
That wide line that’s circled up there – that is the measurement of the back at the cast-on edge. We know this because the line travels the full width of the back. The shorter line below it is the back width at the bust, which is 6″ less wide. Krista had not consulted the schematic, hence her panic. Once we took a look and I assured her she was on the right track, everything went swimmingly. And I can’t wait to see her FO!
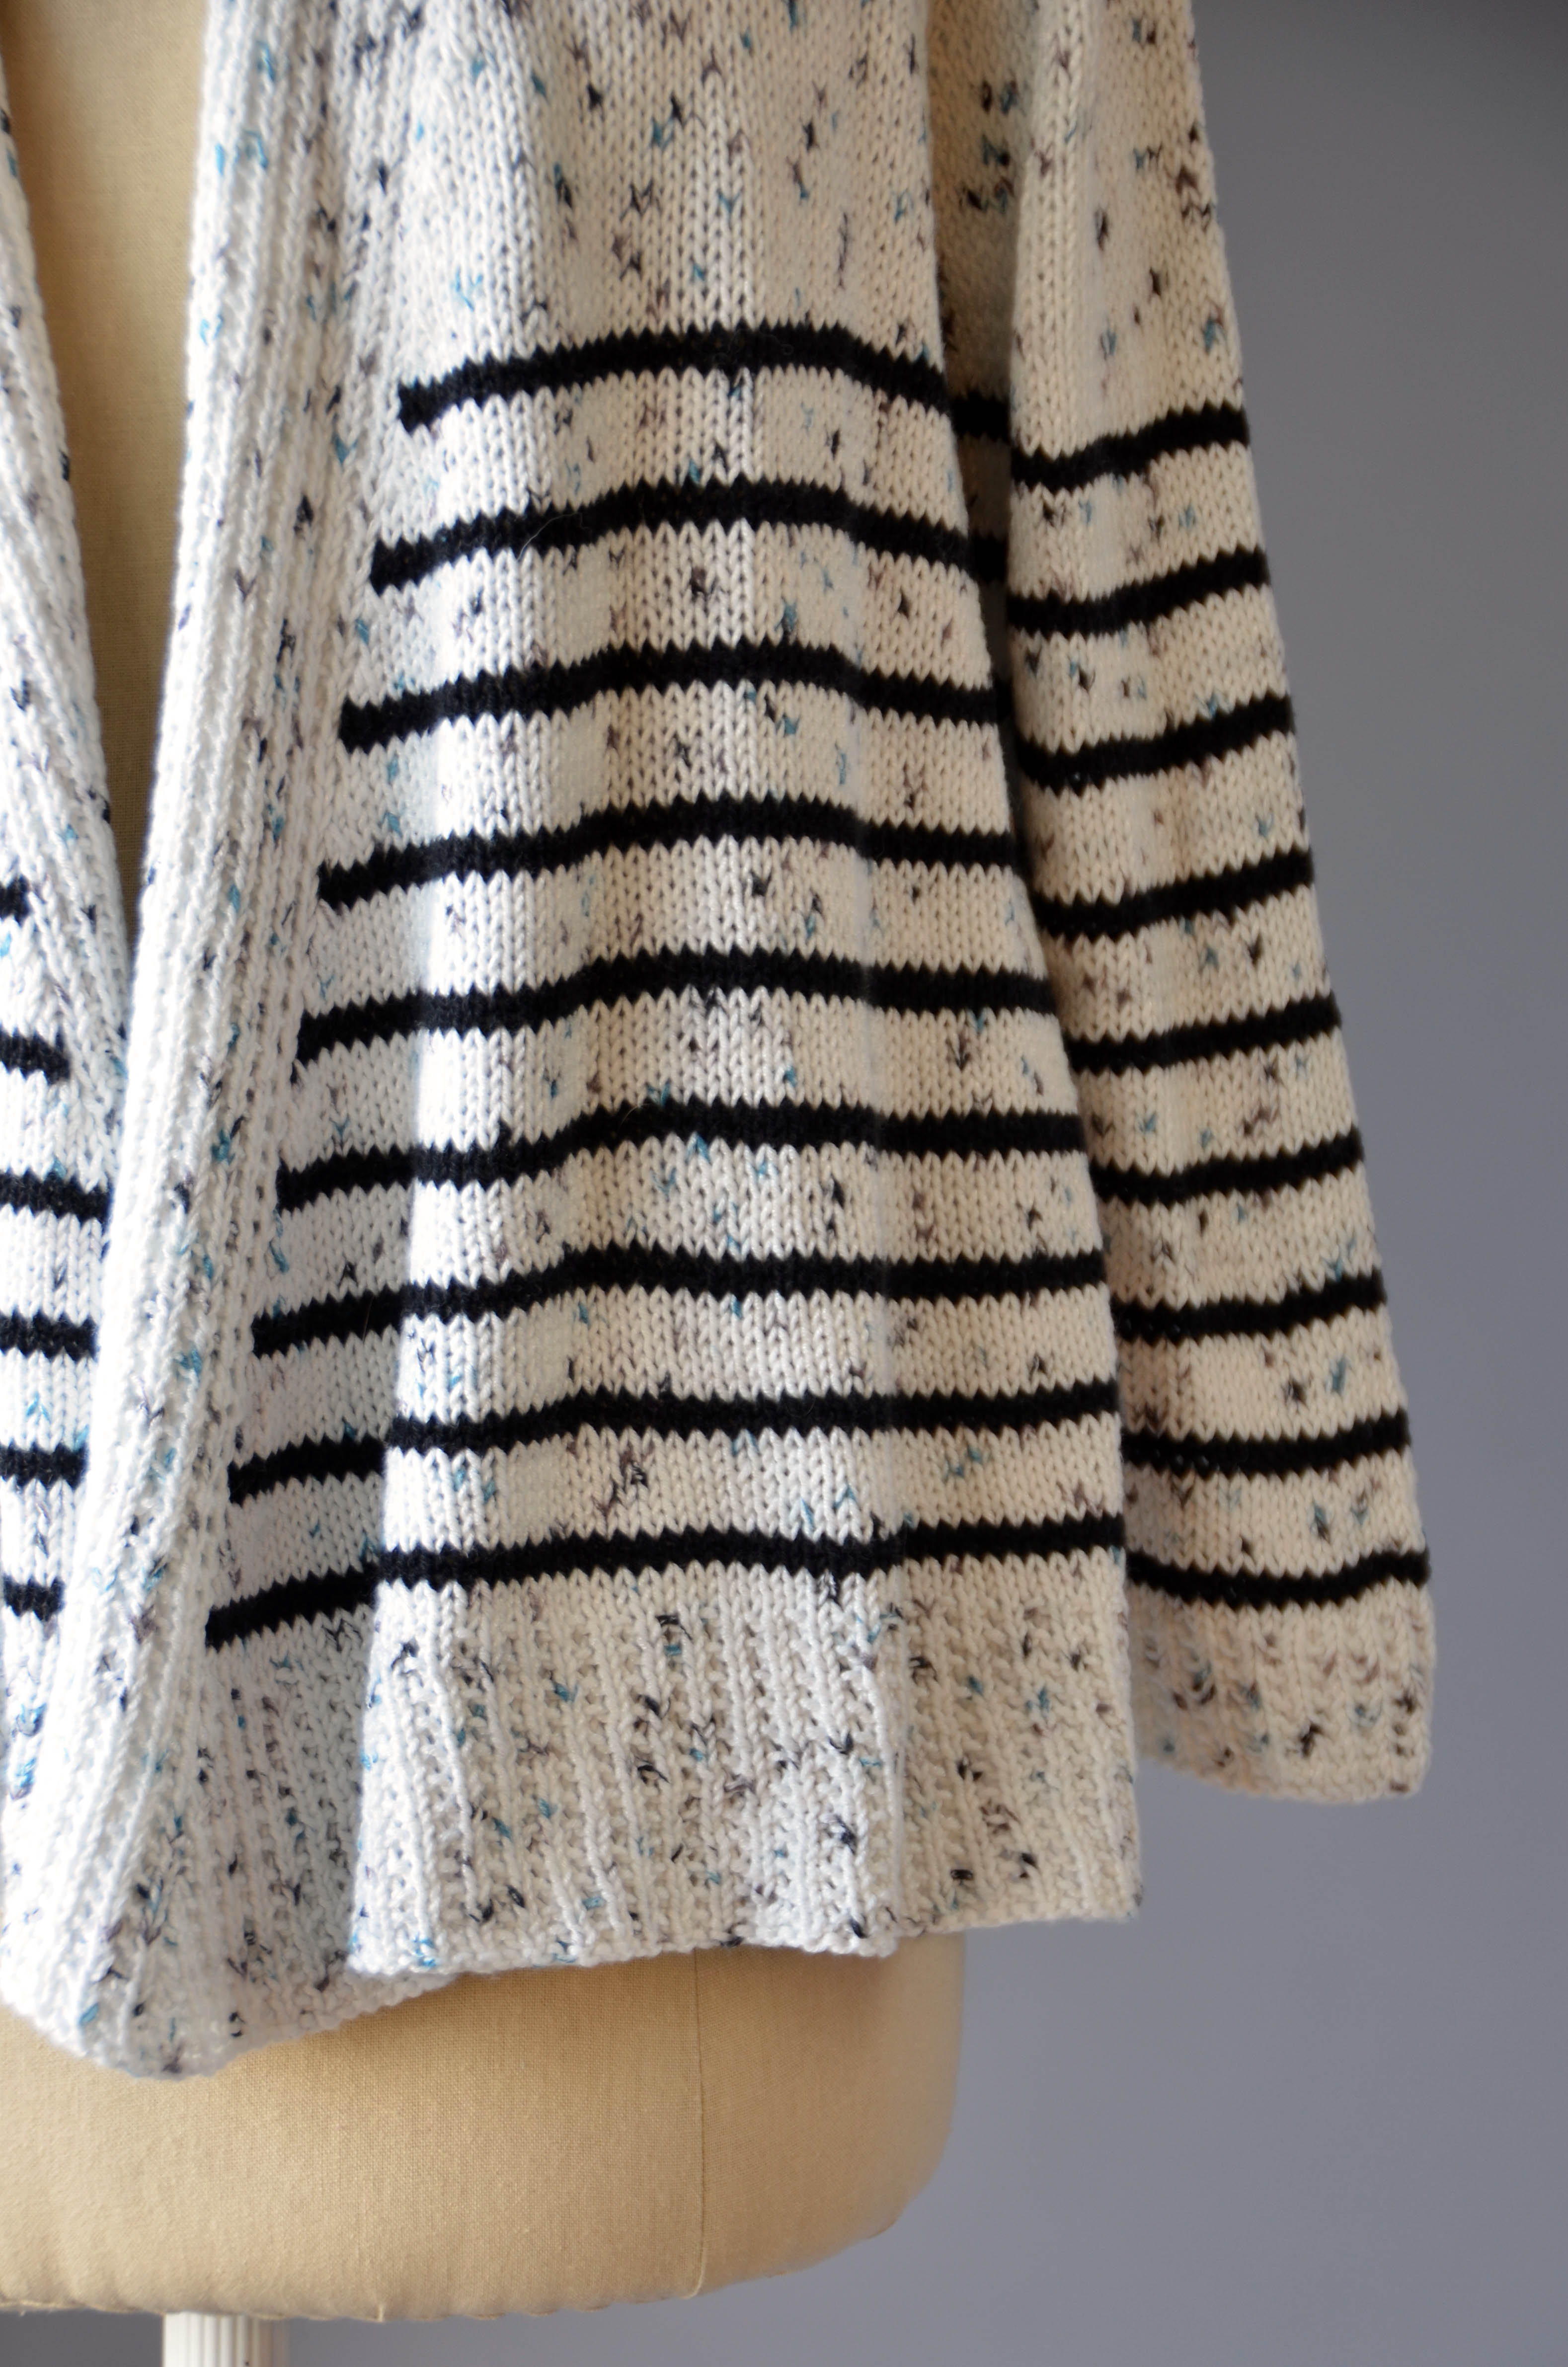
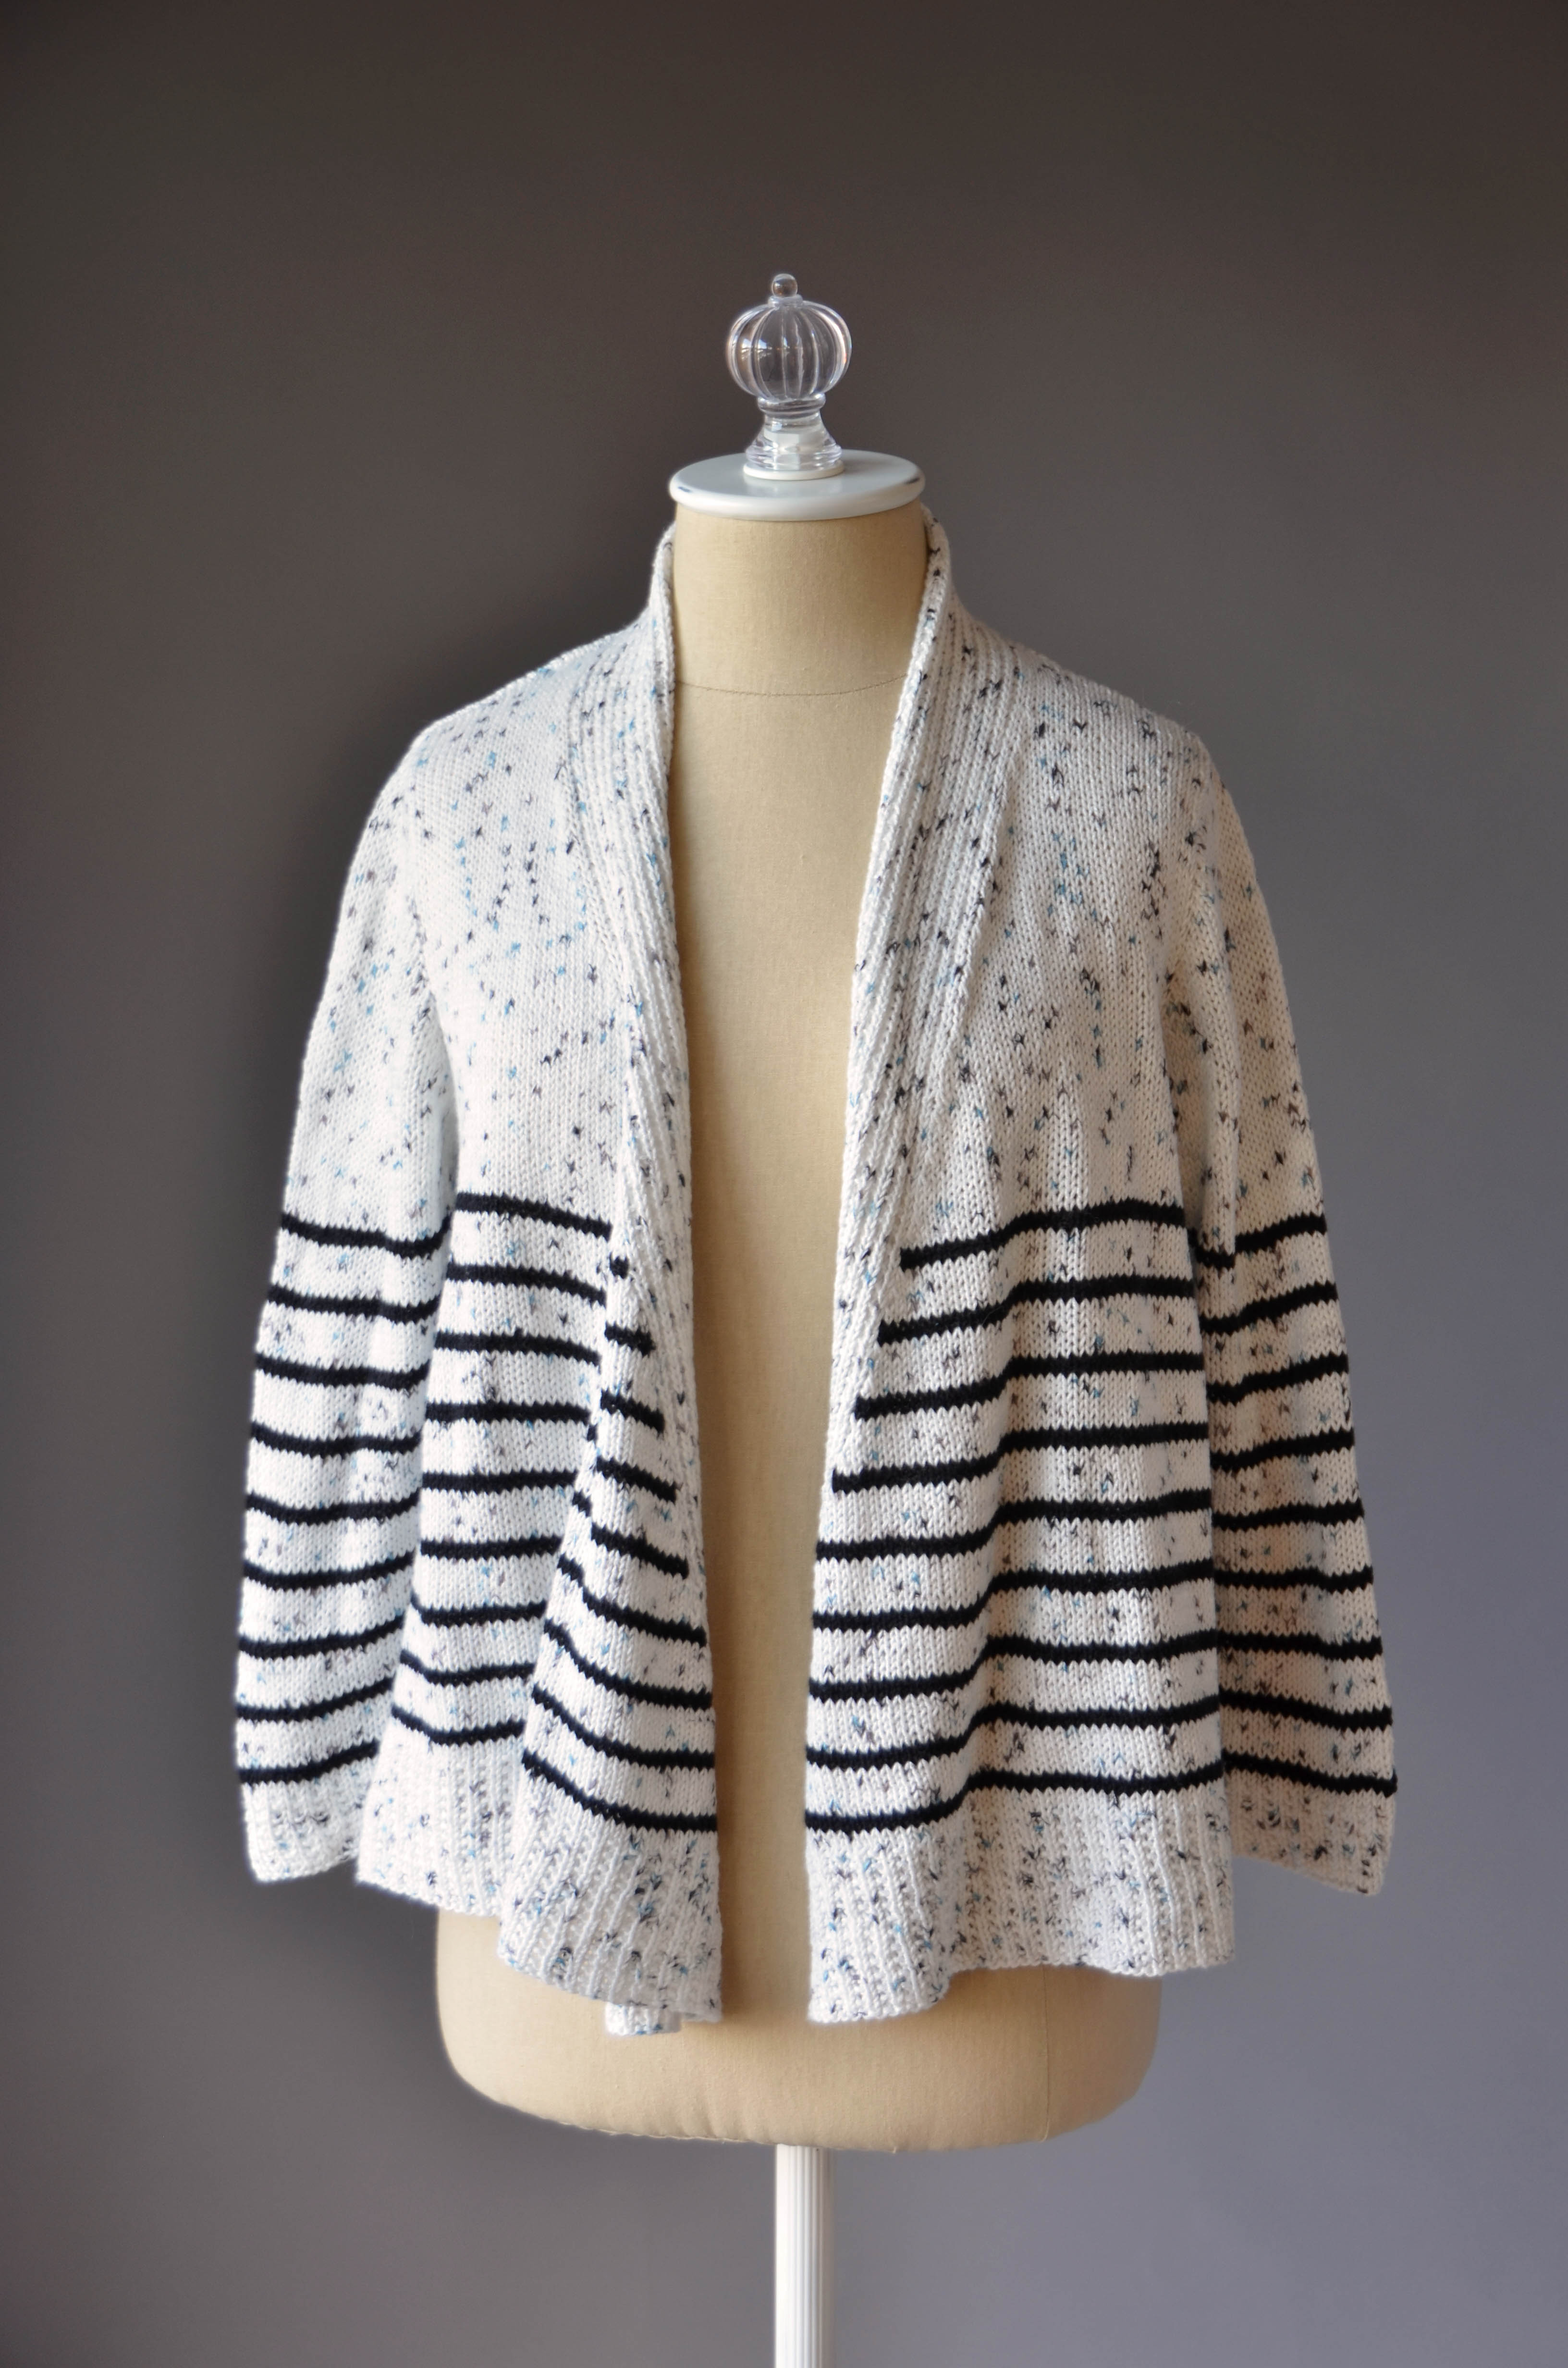
Example #3: Tranquil Tee


If you take a close look at the stitch patterns on this tee, you can probably figure out that it’s knit sideways. And if not, no worries – the pattern notes tell you so.
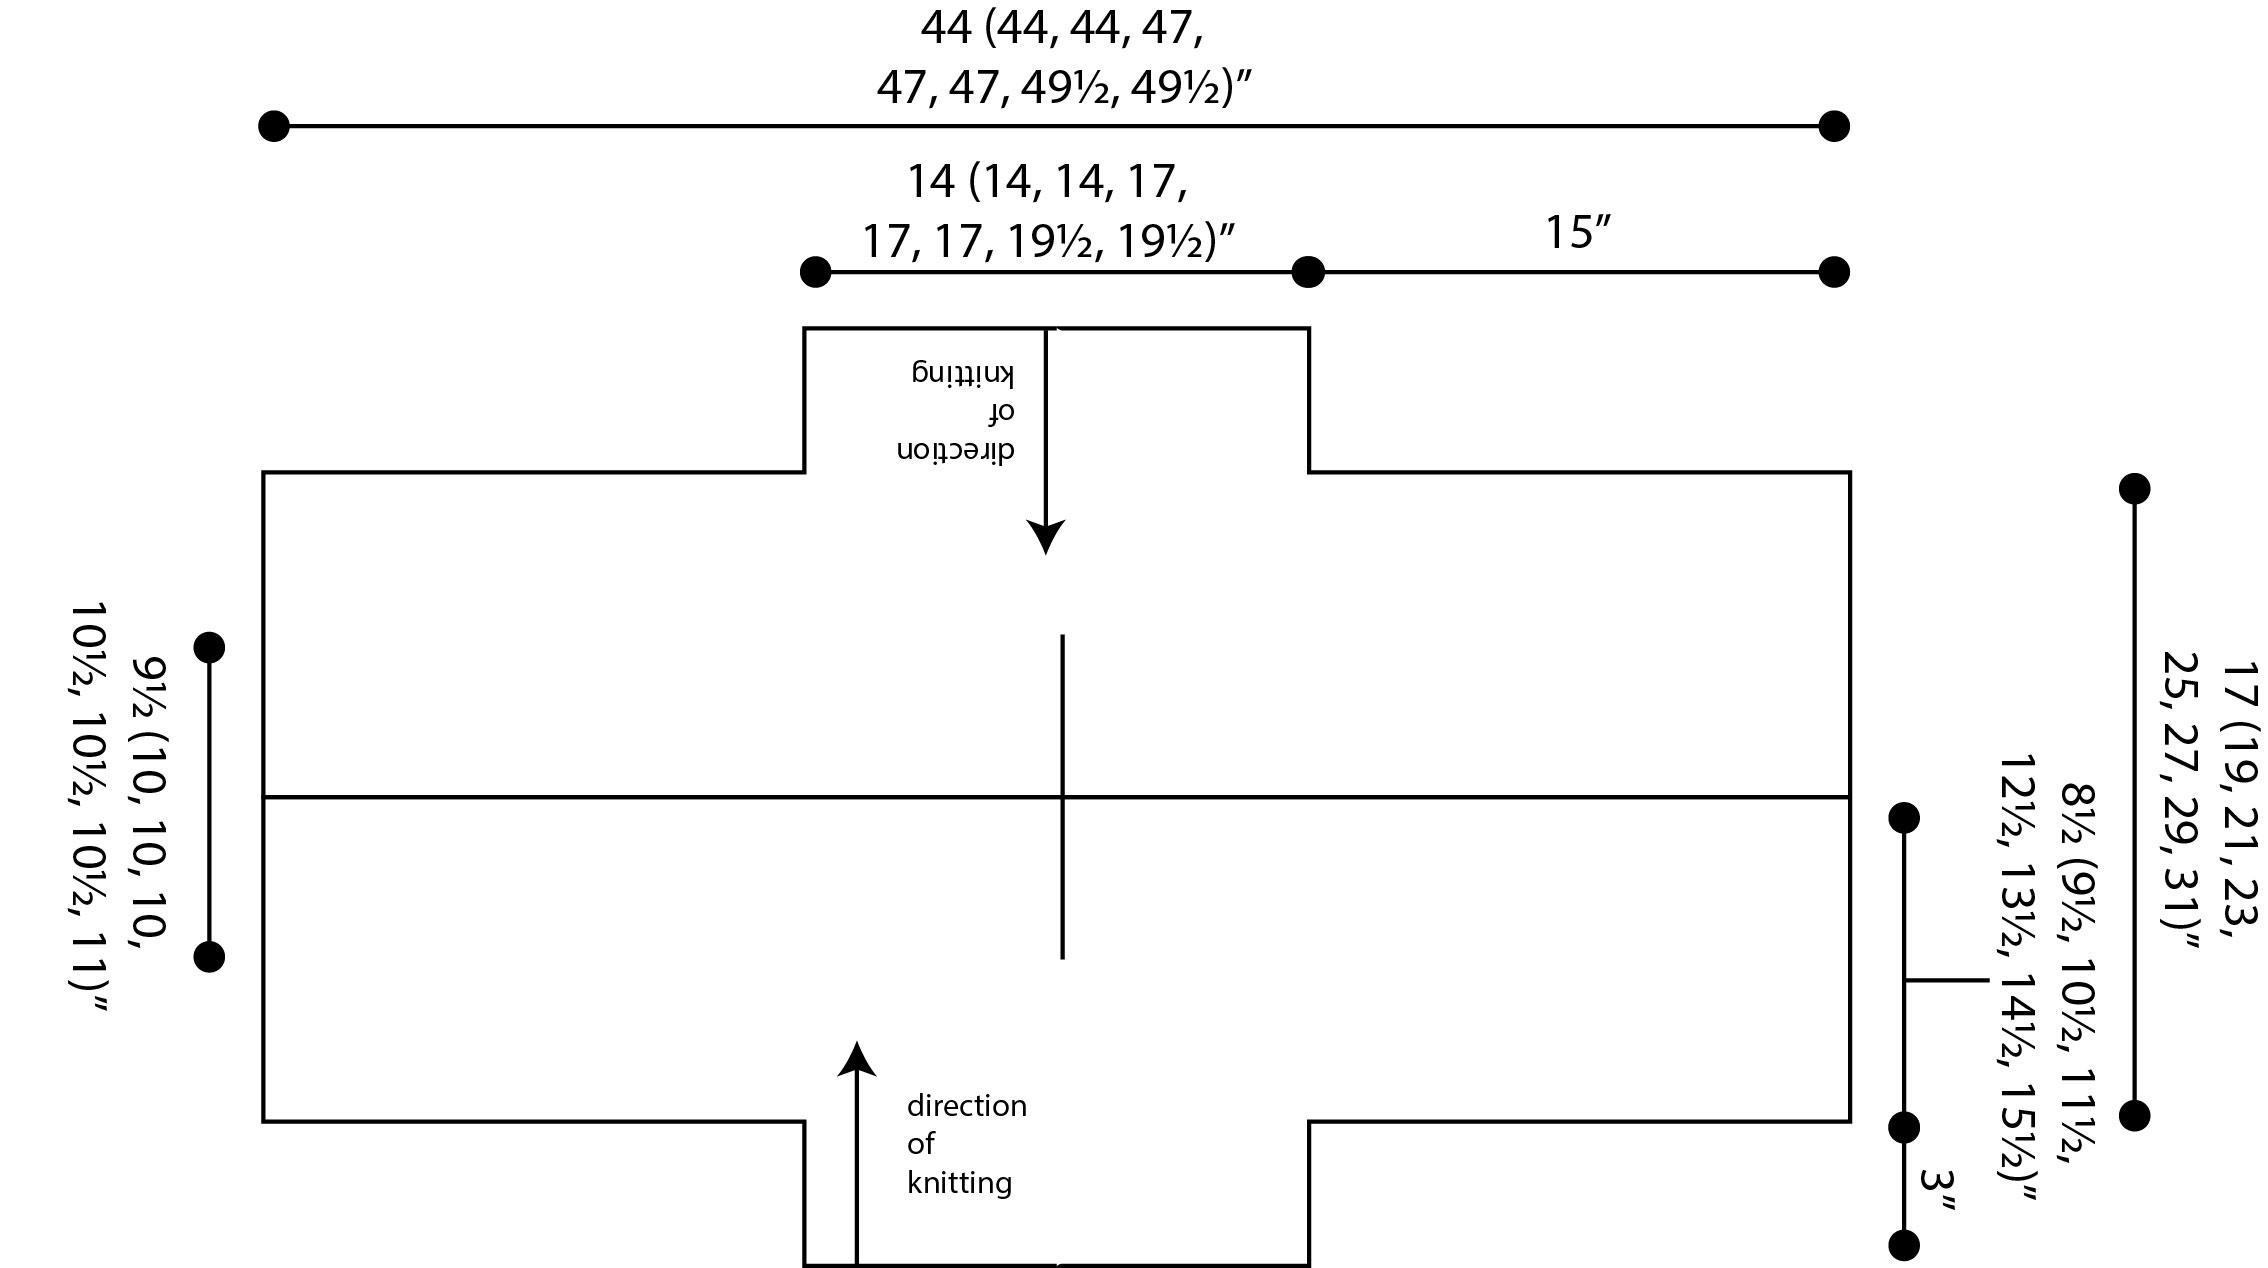
Additionally, the schematic shows exactly how your piece of knitting should look as you’re going along. You start by casting on with a sleeve, which is that rectangle at the bottom (and top) of the above schematic, knitting for 3″, and then casting on more stitches for the front and back of the sweater. The solid horizontal line indicates that this garment is knit in two pieces, and we can see that each piece is identical.
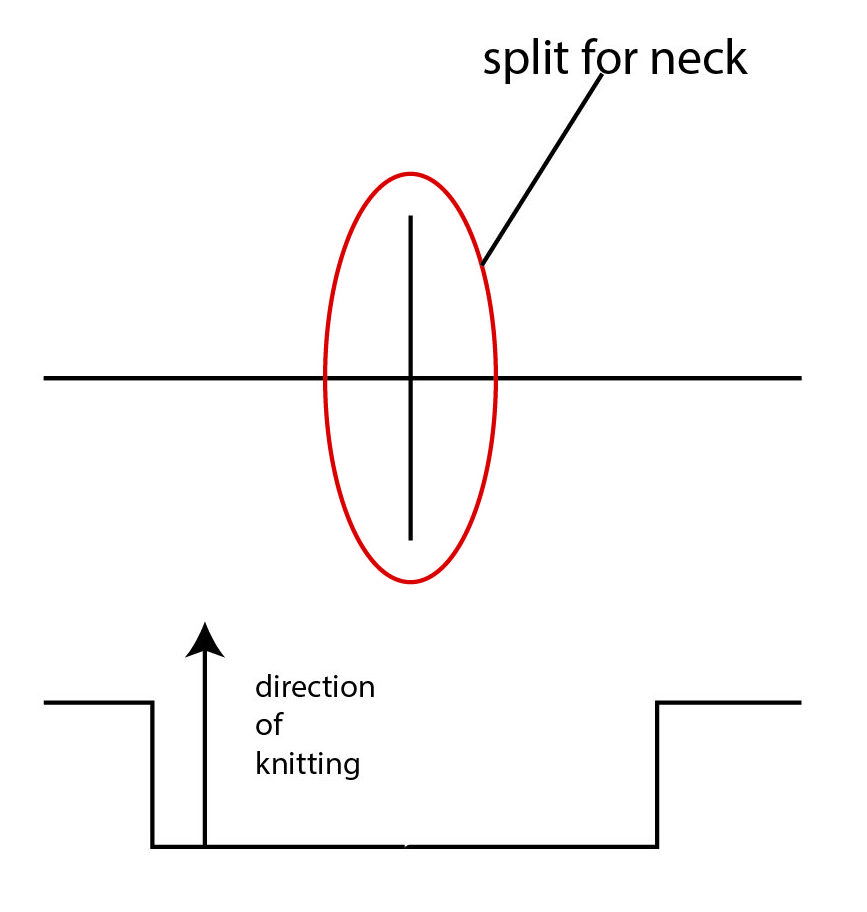
The solid vertical line right in the center is where each half is split for the neck. If you’re knitting along with this project, it might not make sense to split your piece right in the middle and knit the two sides separately. But with the help of the schematic, it helps to make sense of instructions that might not otherwise.
Example #4: Exhilarate
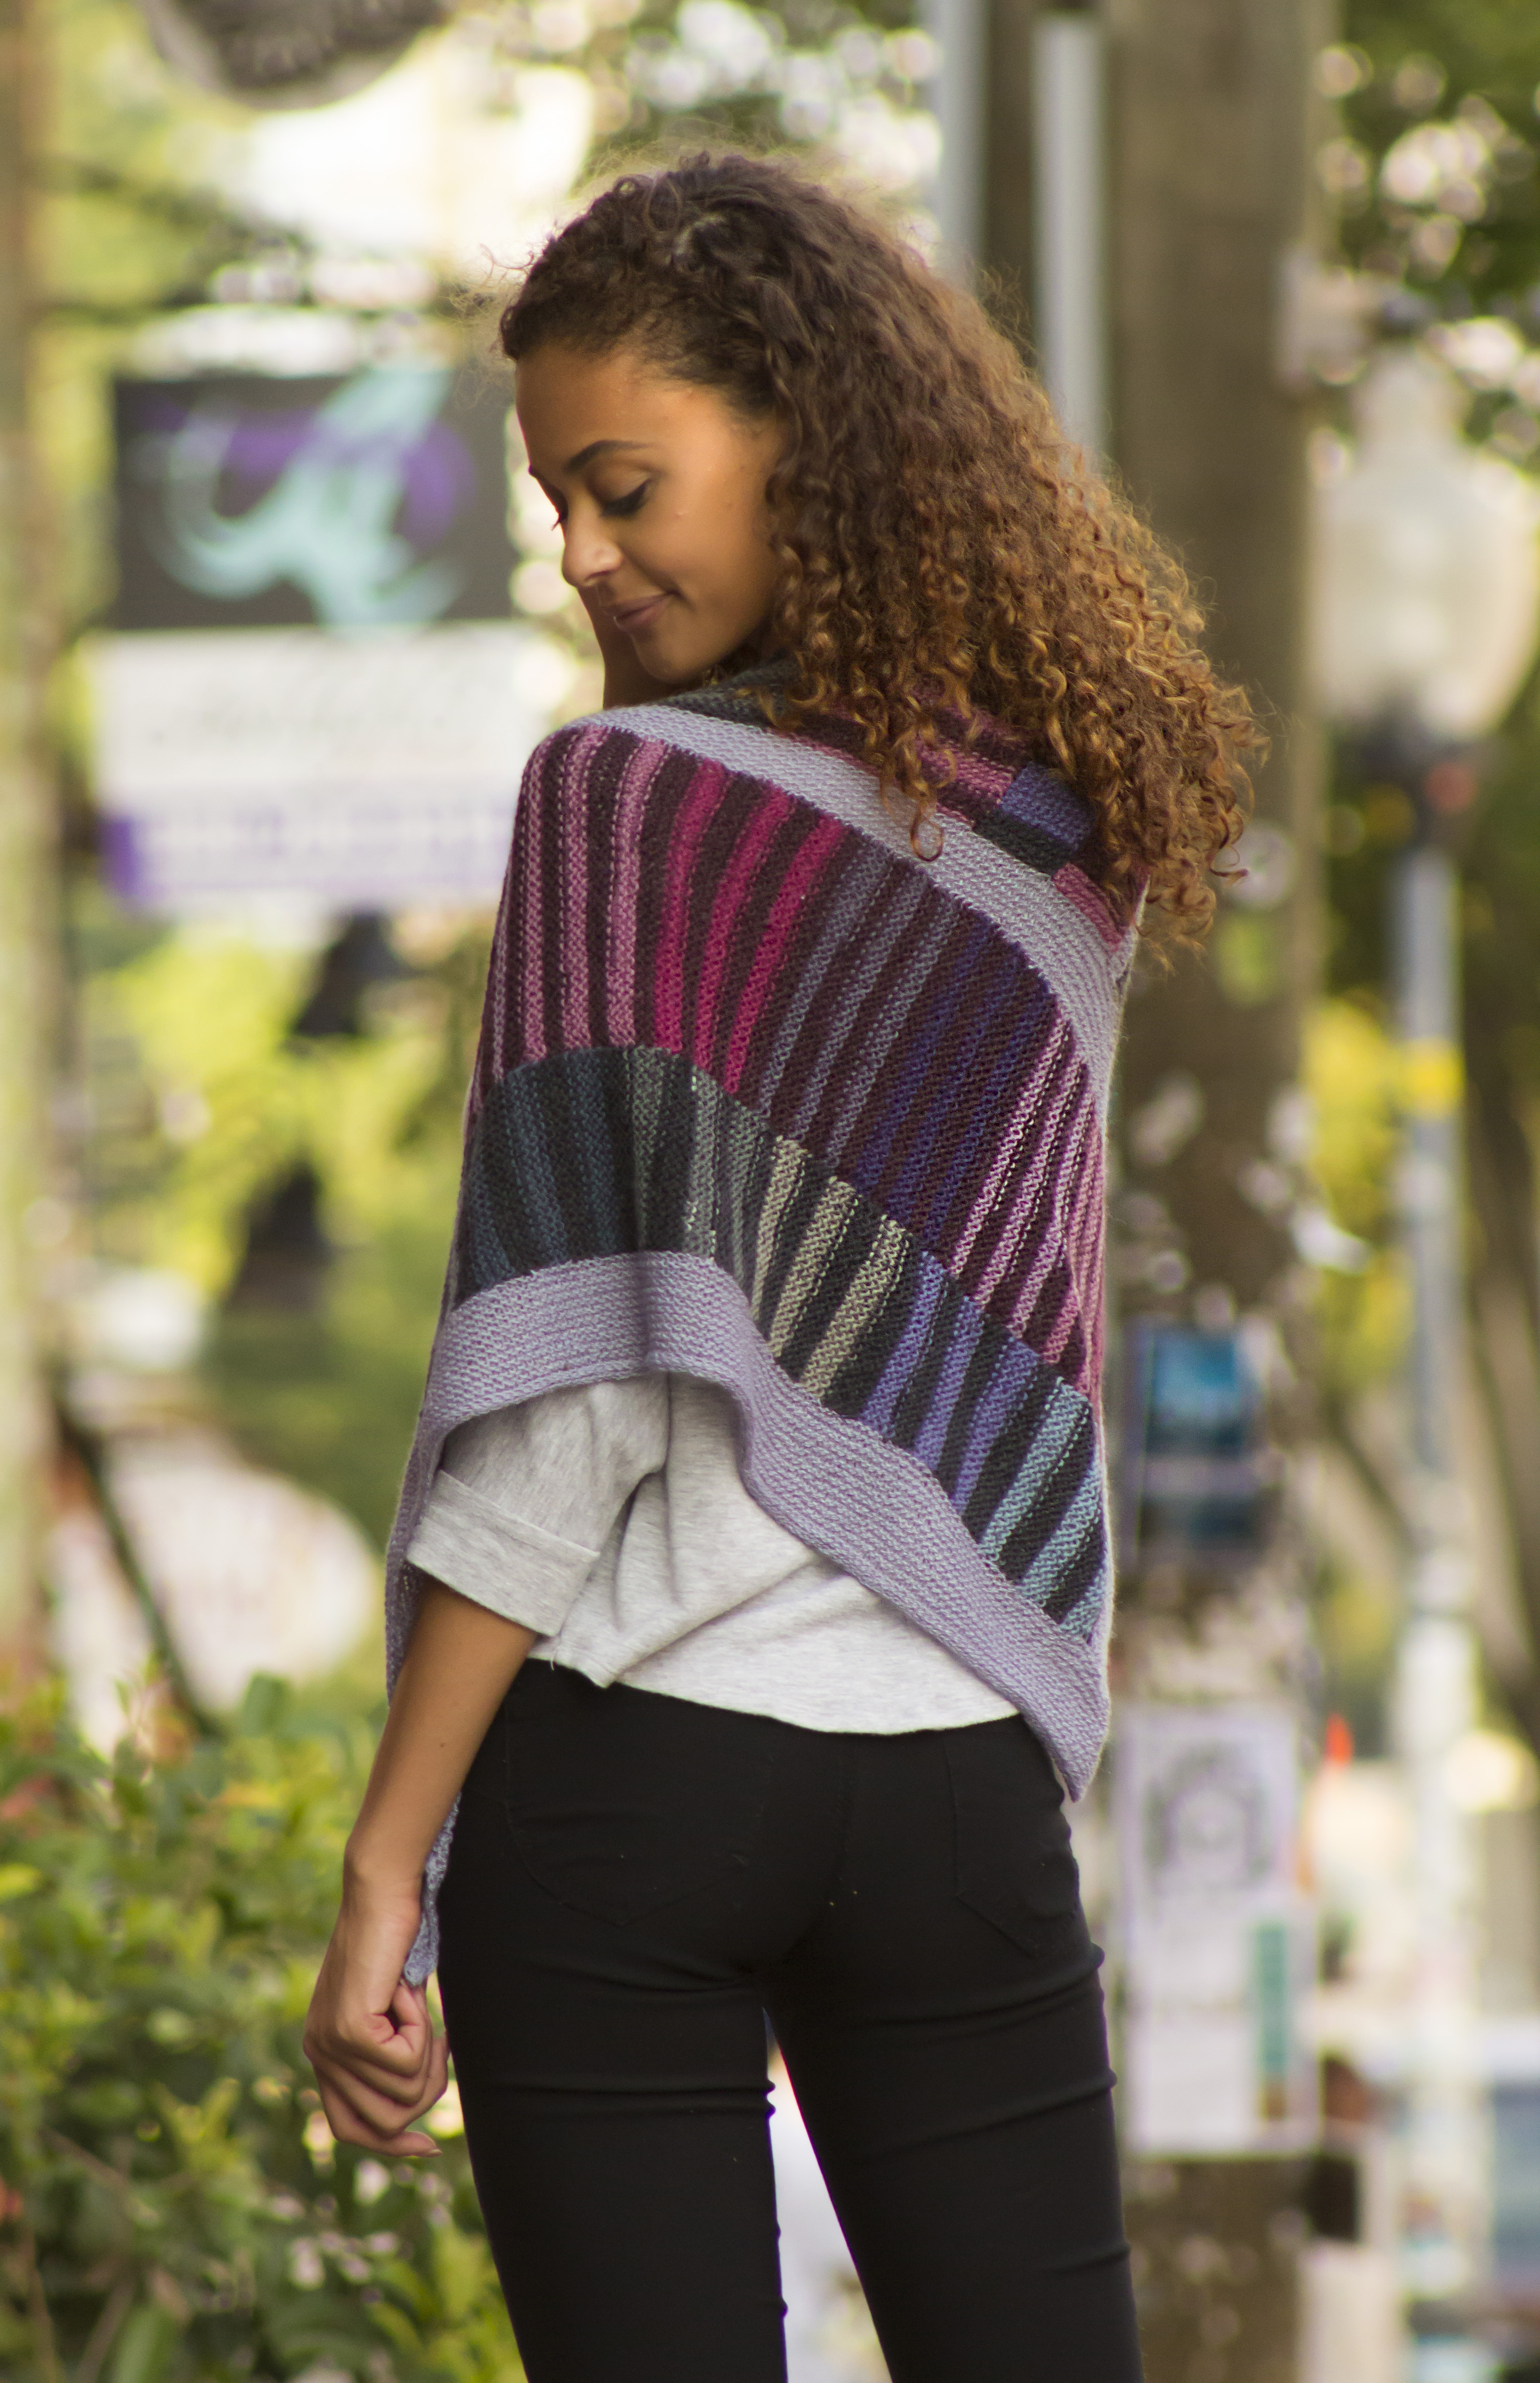
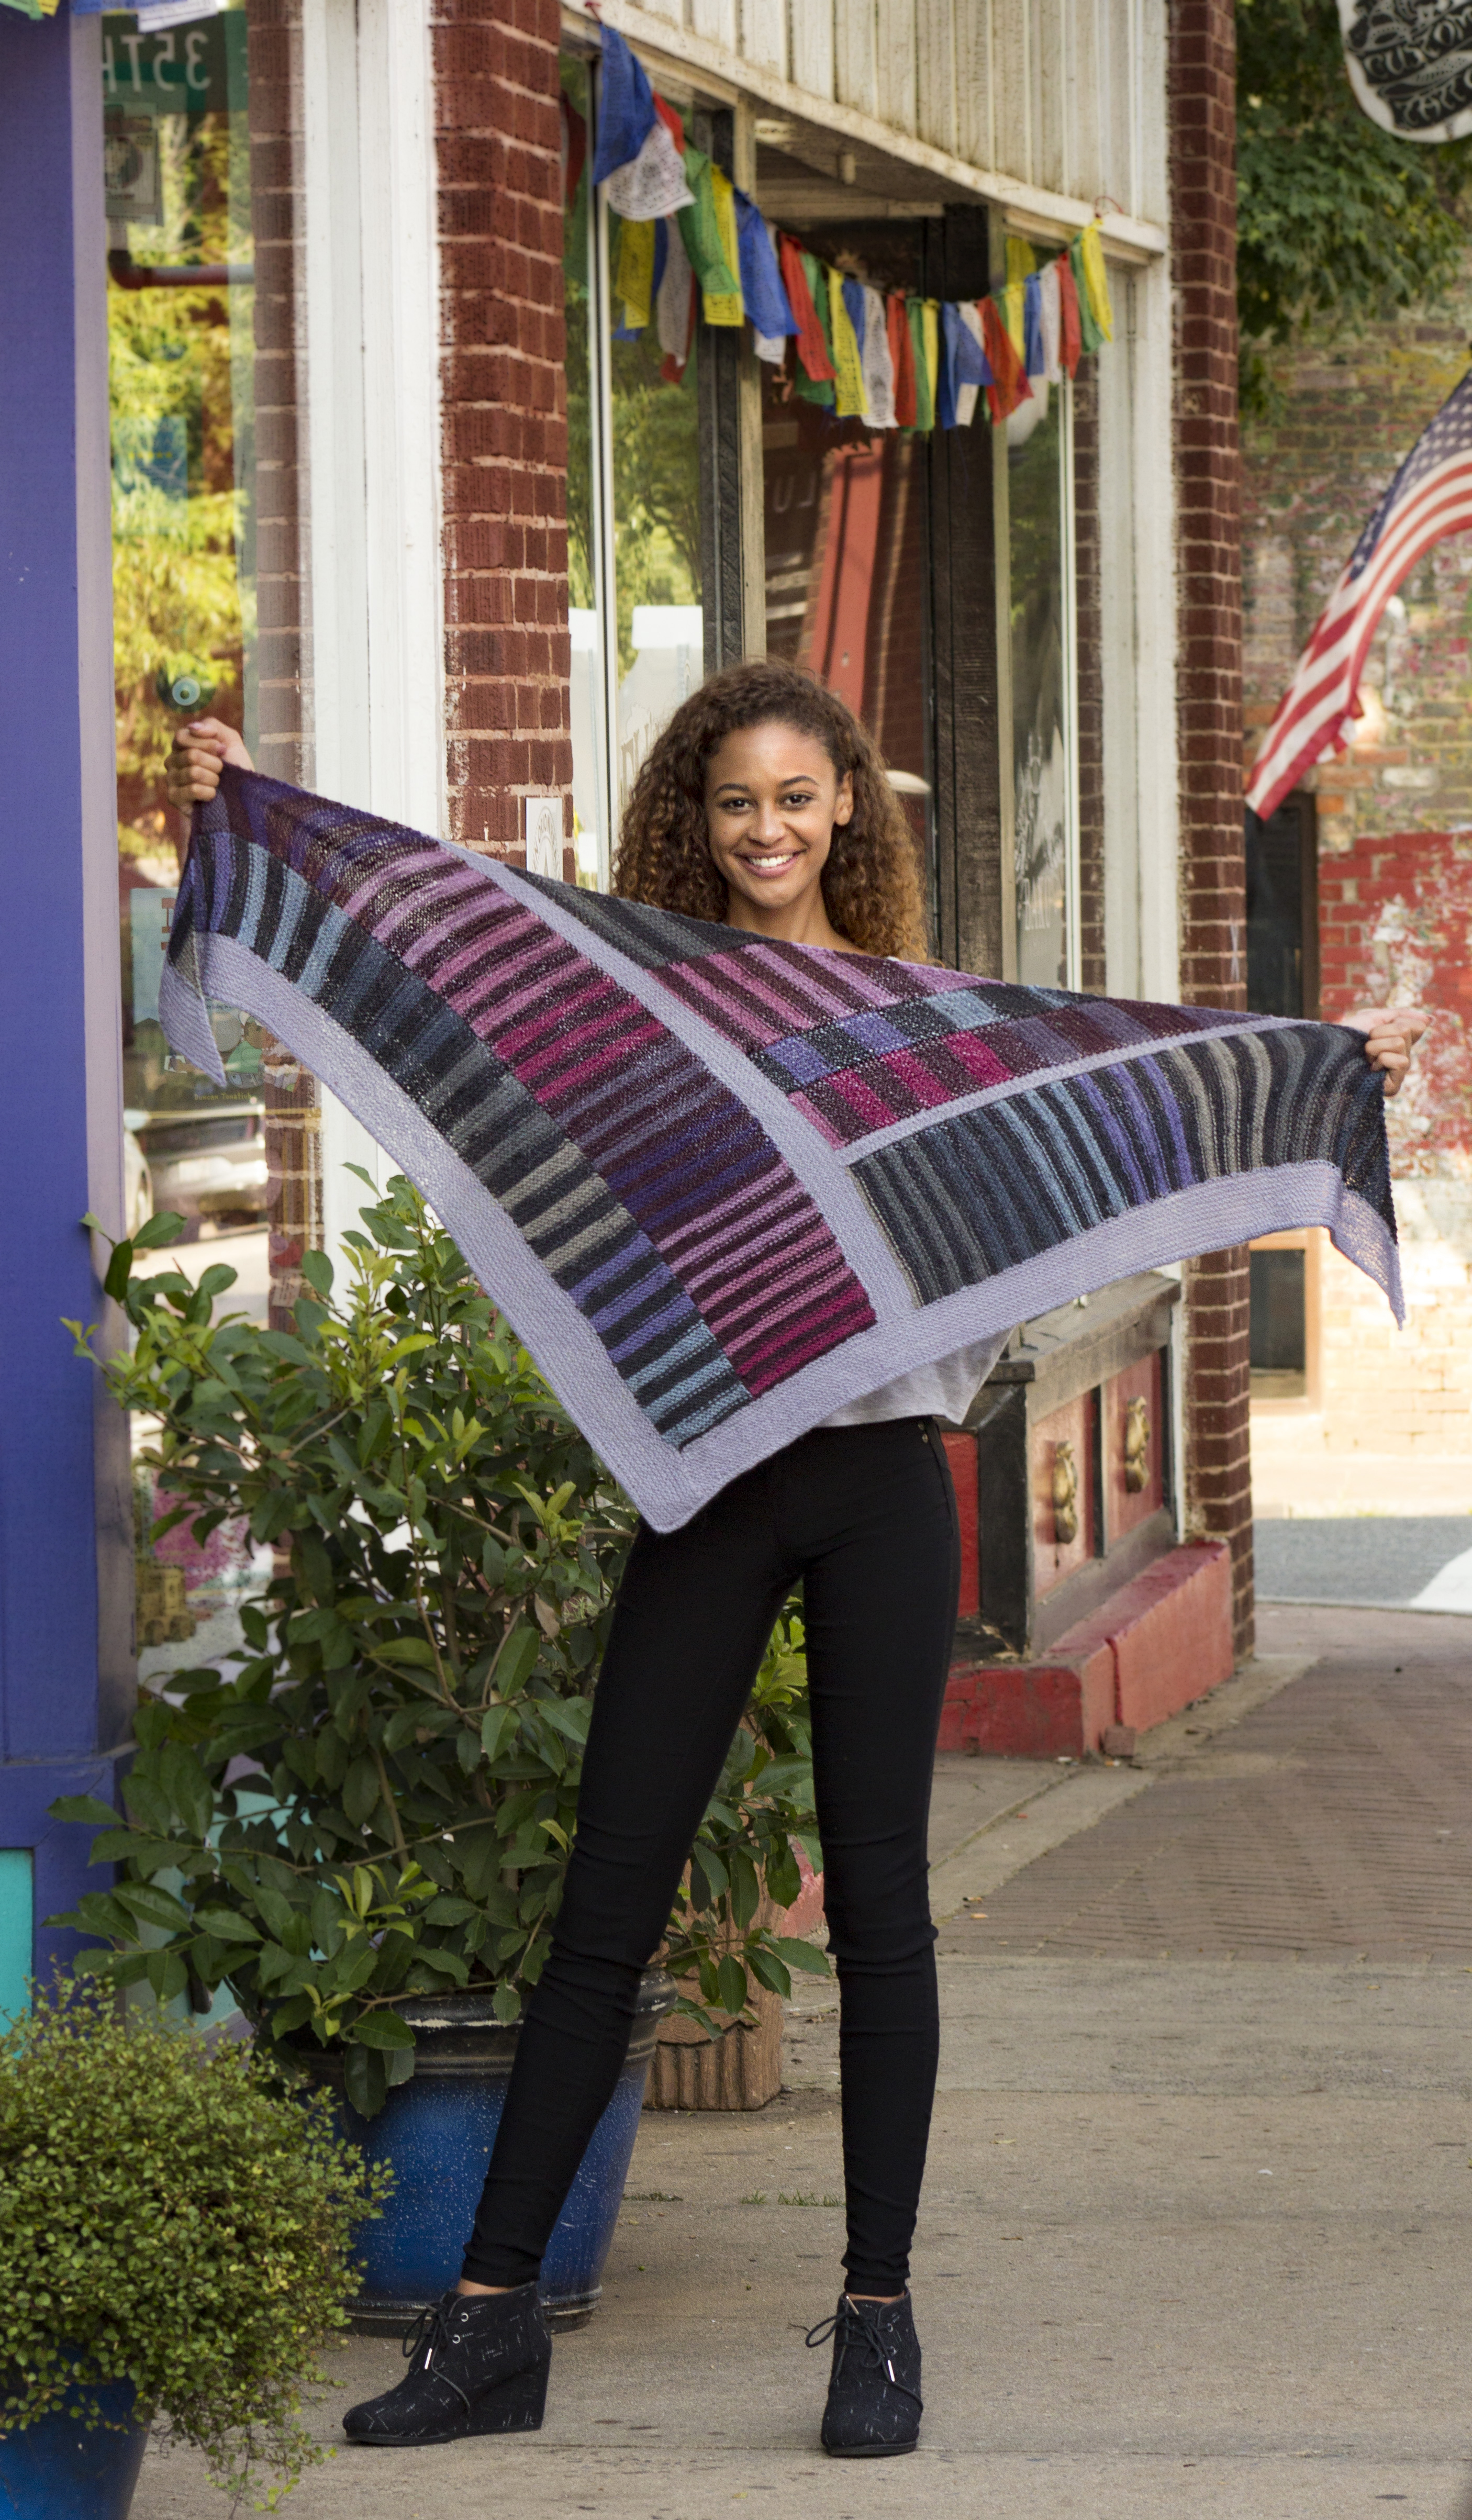
This is a garter stitch shawl, worked modularly. The knitting itself is not difficult, but without a diagram or schematic, it could be confusing to know where to pick up stitches for successive sections.
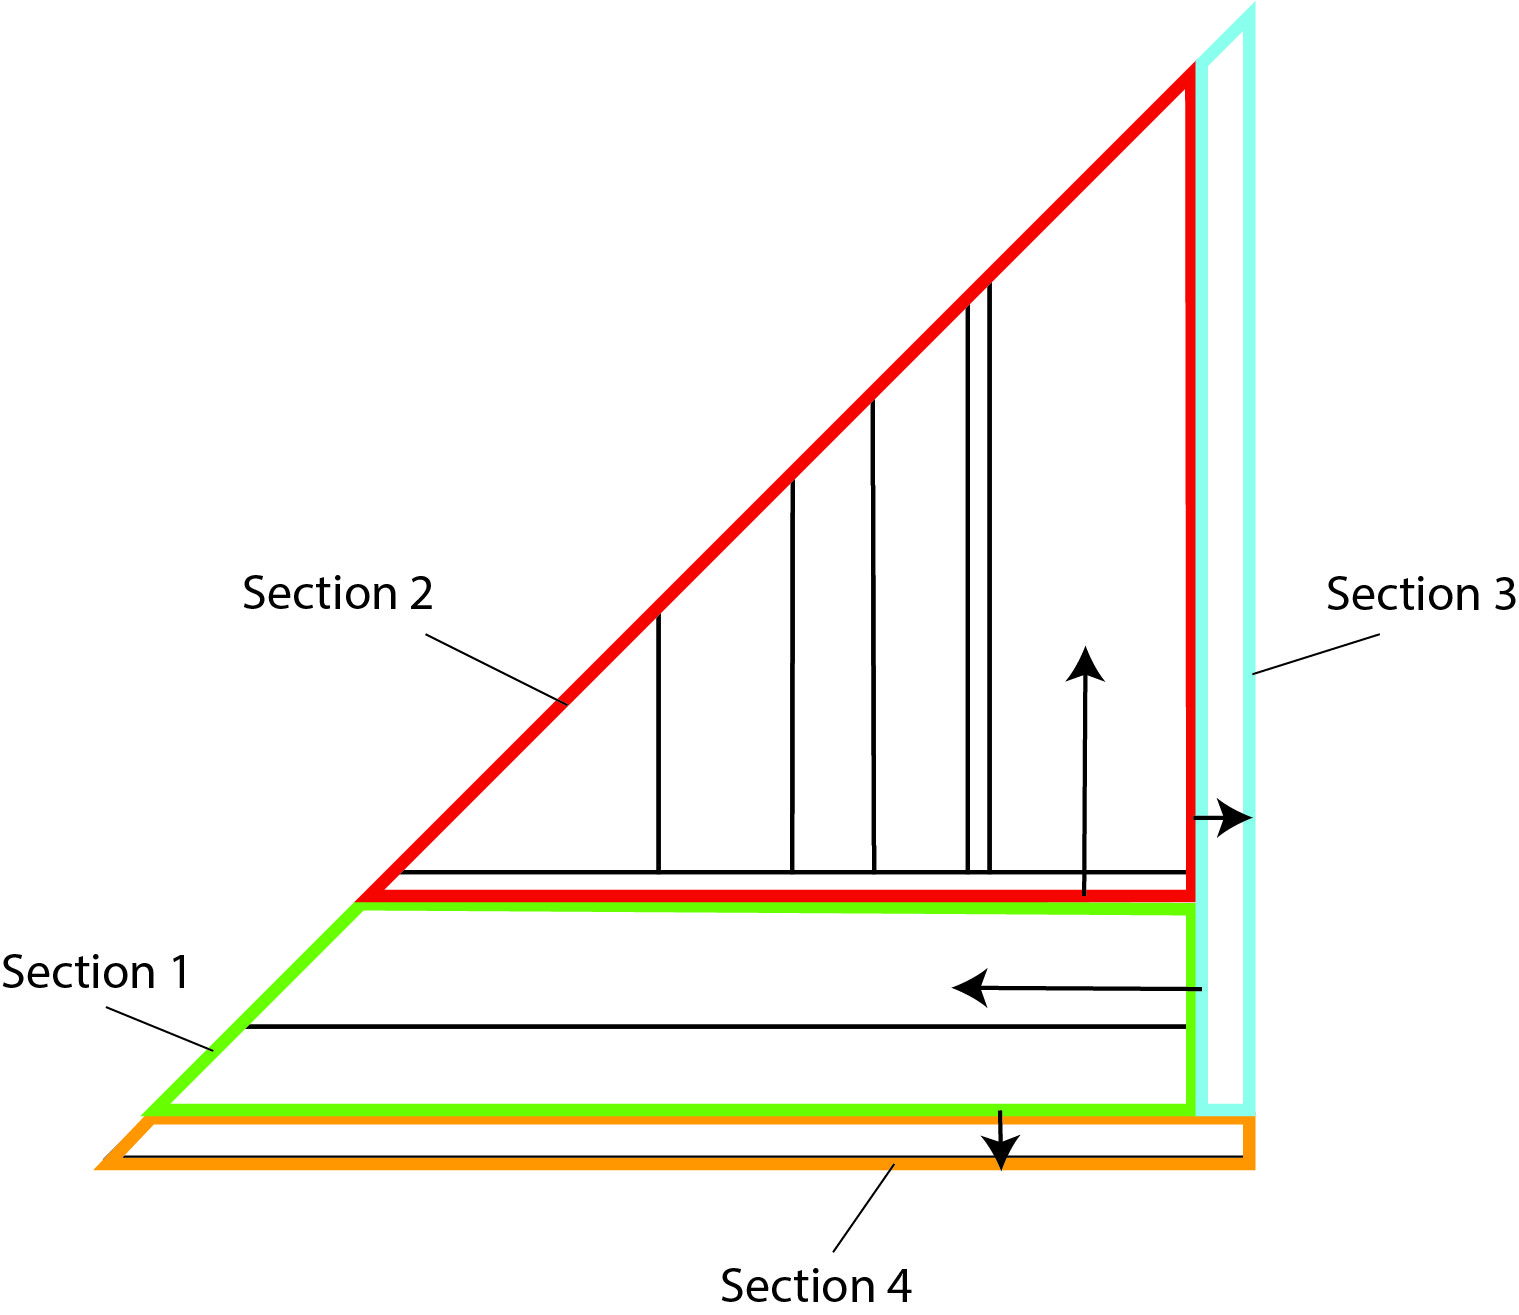
This drawing is really more of a diagram than a full-on schematic with numbers and things, but I wanted to include it anyway because it illustrates the construction of the piece.
In conclusion: Please don’t forget to look at your schematic! It is there to help, and it wants you to successfully knit your garment.
Do you have any other questions about schematics not mentioned above? Have a frustrating experience of your own about a schematic? I’d love to hear from you!