Anuenue Sampler: A Closer Look

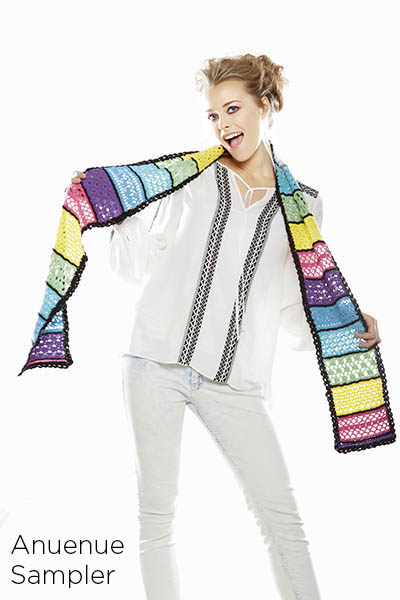
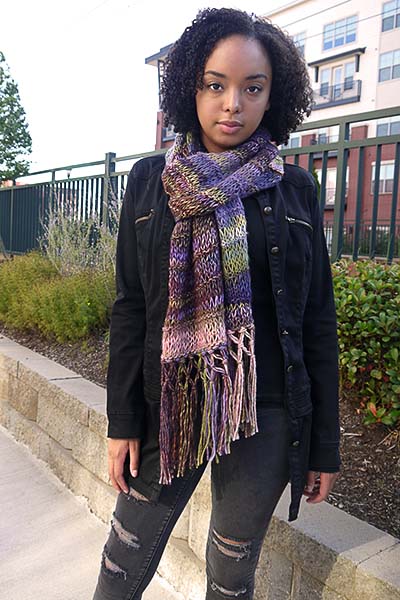
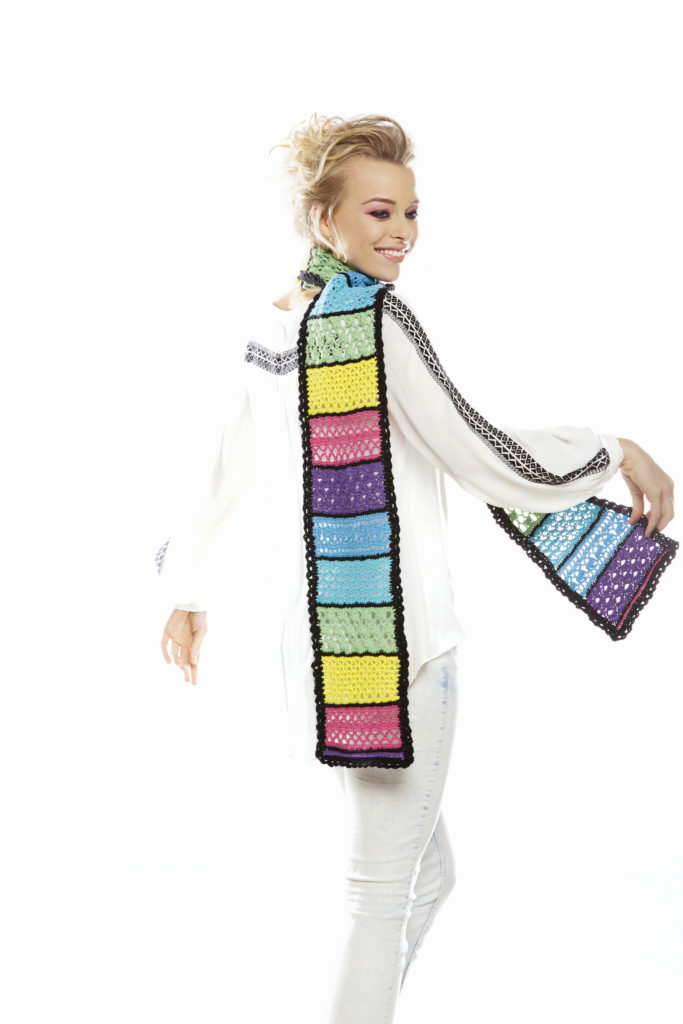
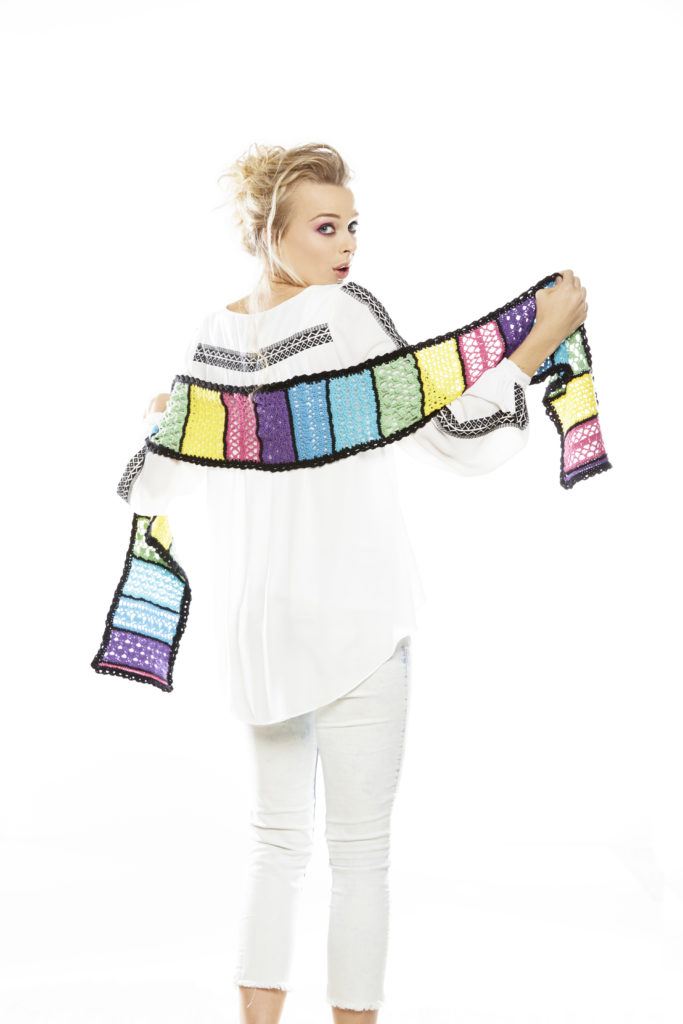
Hello! I am back again with another post about my Bamboo Pop collection. This week we’ll do a deeper dive on the Anuenue Sampler Scarf. It’s a great project for someone just learning crochet or a nice palate cleanser with small tastes of different stitches. Let’s get to it!

As I said in my previous post, this was my first crochet design and crochet is not my primary craft. I wanted to create a project that would be fun to design and fun to make, especially for newer or more sporadic crocheters like myself. I actually held my first crochet hook long before I ever picked up knitting needles. My grandmother, a very prolific crocheter, taught me how to chain when I was 5 years old. Unfortunately, until a few years ago I never went further than that. When I started knitting over 10 years ago, it basically took over my world and I completely forgot about crochet. A few years ago I decided to teach myself how to crochet, to help round out my fiber arts skill set.

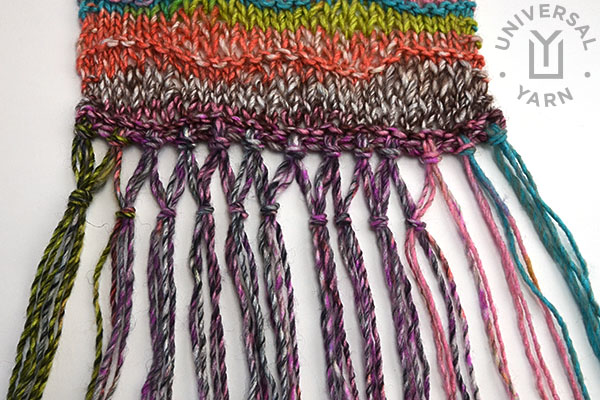
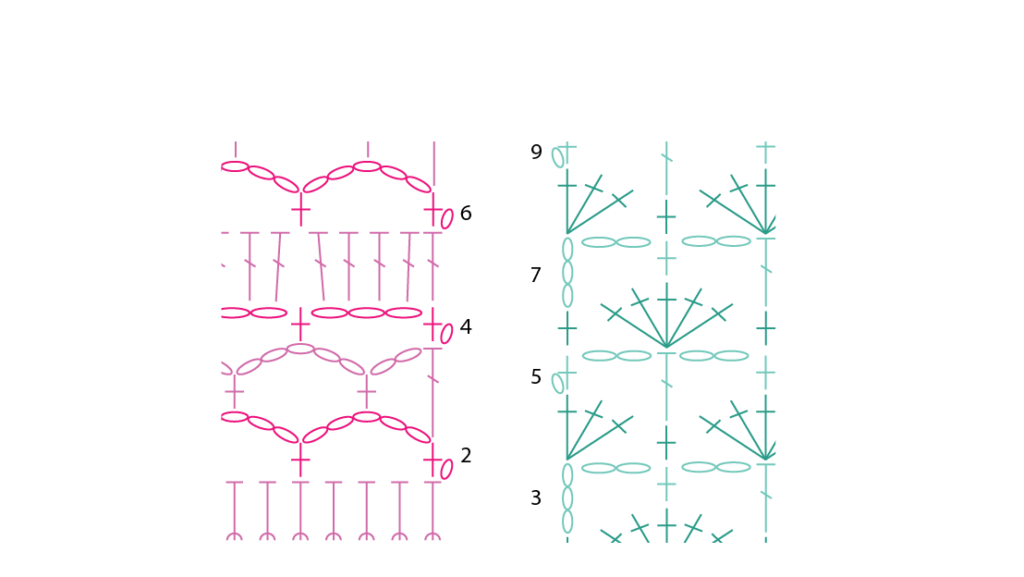
This pattern will take you through 7 different stitch patterns and colors; along with an edging all around the scarf. If you are learning to read crochet charts, this pattern is a great choice. Both written and charted instructions are included for the 6 main sections. Can I just take a moment to say how brilliant the charts are, too? Amy made these amazing charts for the pattern…they are color coded by section and shaded to indicate different rows. They are definitely the prettiest charts that I have ever seen!

When choosing stitches for this sampler there was a lot to consider. First, I knew I wanted a ton of colors and I wanted them to be bright and tropical. To create an almost graphic quality, I chose black to separate the sections and edge the scarf. Next, the stitches needed to play well with each other, having comparable stitch repeats and multiples to create sections of similar width.  Finally, I wanted to choose stitches that were fun! Since you are only getting a small segment to work, I wanted the stitches to have great visual interest but also be different enough from each other to prevent boredom or overwhelm. Knowing that after a few more rows you get to work on something else can be a great motivator.

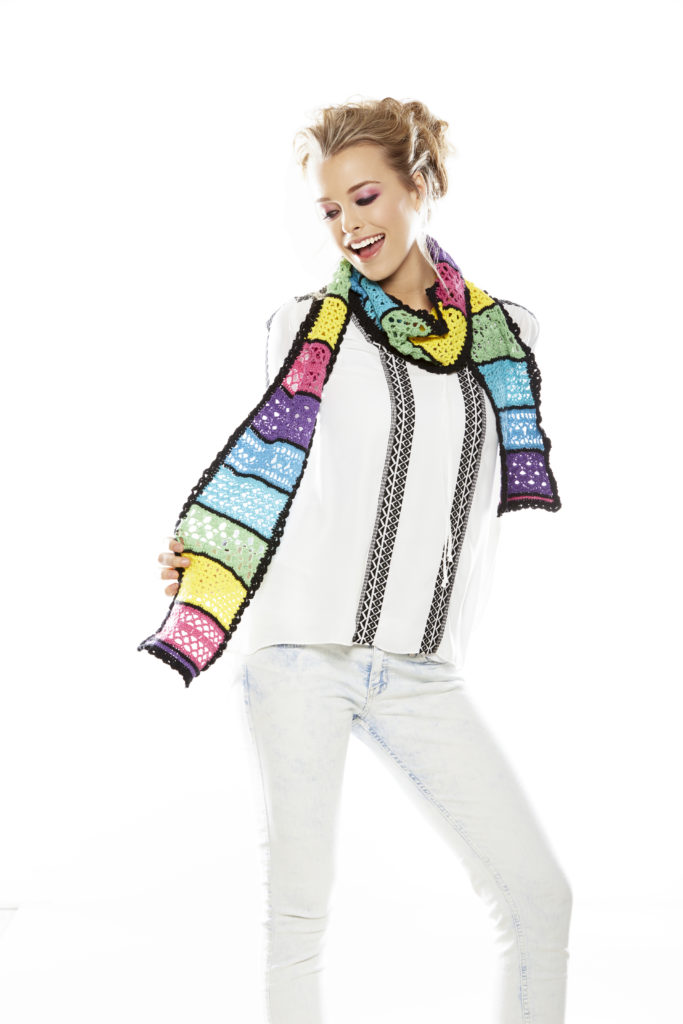
Picking up and working edging around a piece can be a love/hate thing. For this reason I chose to keep the edging fairly simple. At this point you are in the home stretch, and the simple but pretty edging will bring your scarf to a wonderful finale!

Which did you learn first, knit or crochet? Do you do both? Is there one that you prefer more than the other?

Bamboo Pop Accessories Inspiration

Have you have seen our new Bamboo Pop Accessories eBook?


Part of the idea behind these patterns was to help keep your knitting and crochet mojo going strong through the warmer months…any project from this collection would be perfect for working on poolside. It was such a blast designing this collection. I was inspired in part by all the colorful, tropical knitwear being shown by many designers in their 2017 Resort collections and a recent trip to Hawaii helped provide the names for the designs.

The bright colors and fiber content of Bamboo Pop are perfect for creating knit and crochet items that wear well throughout the spring and summer. Bamboo Pop makes these projects soft and cool against your skin, great for those days of going in and out of overly air conditioned buildings.

Anuenue Sampler: The Hawaiian word for rainbow is a perfect fit for this scarf. As a sporadic crocheter, I love working on projects where I get to try out a bunch of different stitches and techniques, so I knew my first crochet design had to be a sampler. This design also is perfect for anyone, who like me, has difficultly choosing just one color! Different colors, stitches and edging will keep you entertained.

Awapuhi: Named for wild Hawaiian ginger, the plaited stripe pattern mimics the texture of the flowers which start out white and then turn red as they mature. White and Lily Pad blend beautifully in the textured stripes, adding additional dimension, with the bright pops of Lime Green for the ribbing. This scarf will go perfectly with summer outfits, taking you from breezy walks on the beach to dinner and drinks!

Kukui: Hawaiians extracted oil from the kukui nut and burned it in a lamp called kukui hele po, which means “light, darkness goes.” This shawl transitions from light to dark with bands of White, Silken and Black divided with bands worked in a slip stitch pattern using all three colors. To create the asymmetric shape, you’ll begin at the smallest point with just a few stitches increasing gradually to the widest edge. The elongated shape is easy to wear in many different ways.

Lilikoi: Also known as passionfruit – from its gorgeous flower to delicious fruit, I could not get enough lilikoi when I went to Hawaii! This shawlette creates a fun blend of solid and variegated colors with a slip stitch pattern that helps mix the colors between sections. Garter stitch makes for a lovely, squishy fabric and also makes the knitting a breeze. The shape is a shallow triangle, in a size that is perfect for draping around your neck kerchief style.

Philodendron: Fun, bright and just a little quirky. Philodendrons are having a bit of a moment right now – from knit, fabric and print versions to real fronds showing up in home décor. The cowl is worked with a combination of a striped background and instarsia fronds, creating a wonderful statement piece for your warm weather wardrobe.

Plumeria: Plumeria are also known as the “Lei flower,” sure this cowl is a little more substantial than a lei, but you still get flowers draped around your neck! Stranded knitting is usually reserved for winter projects and I thought it would be fun to incorporate that into a warm weather project. A brighter color palette and a combination of floral and wave designs make this stranded project summer ready.

Tiny Bubbles: These tiny bubbles will make you feel fine! This scarf is a fun way to combine a solid and variegated color, or if you like, you could make each row of bubbles a different color. The bubbles are created by stripes and dropped stitches, not stranded knitting, so you are only working with one color at a time. This is another great piece to work on, wear, and add a little Pop to the warm season.

I hope you enjoyed taking a little peek behind the scenes and learning a bit about the collection and the inspiration behind it! What projects are you planning to make with Bamboo Pop?

Summit Scarf – Triple Knotted Fringe

The Summit Scarf from our Colorful Commute e-book features triple knotted fringe. It is an easy way to add a lot of visual interest to your project. It may look complicated, but it’s really quite simple and doesn’t take much more time or effort than plain fringe. Today I’ll show you how to do it!

summitscarf4_classicshadesfrenzy_web

Step 1: Begin as you normally would when adding fringe to a project, for this scarf I cut 21” strands of yarn. Then, holding two strands together as one, I attached groups of fringe to the edge of the scarf, about one group every other stitch.

Step 2: Take half of one group of fringe knot together with half of next group of fringe 1” below first row of knots. I did not split the first and last groups of fringe.

fringe1

fringe2

fringe3

fringe4

Step 3: Repeat for another row of knots. To finish, trim fringe evenly.

fringe5

fringe6

fringe7

fringe8

That’s all there is to it! You can keep adding more rows of knots to create some really amazing  and intricate looking fringe, use longer strands of yarn when increasing the number of knotted rows. Beads can be placed above the knots (or even in place of the knots) to add some sparkle – there are so many possibilities.


Trade Street Cowls and Hat – Applied Crochet Lines

Today, I have another tutorial involving a crochet hook  to go along with our In Transit e-book.  The Trade Street Cowls and Hat pattern uses contrasting applied crochet lines to create vertical stripes. The  lines are added to the purl columns in the finished pieces.

The Trade Street Hat and Cowls feature an applied crochet stripe. No carrying colors on the back side! The pattern comes with both long and short versions of the cowl.

It can be a lot of fun choosing the color for the applied crochet lines, and there are a few options, depending on the look you would like to create. Using a solid color in Uptown Bulky that also appears in the Main Color produces a plaid-like effect. With Classic Shades Big Time as the Contrasting Color, there are a ton of options – choose a highly contrasting section of the color repeat to make the stripes pop, use a section that is neutral or similar to the Main Color for more subtle stripes or choose a section with quicker color changes for gradient stripes.

Let’s get started!

Once you have finished and blocked your cowl or hat, you are ready to add the applied crochet lines.

Step 1: Holding yarn beneath work, insert crochet hook through the center of the first purl st in a column.

appliedcrochet_1


Step 2: Pull a loop of yarn through to the front of the work.

appliedcrochet_2


Step 3: Insert hook through the next st up in the same purl column, pull a loop of yarn through to the front of the work (2 loops on hook), pull the second loop through the first loop (1 loop on hook); repeat along entire column.

appliedcrochet_3

appliedcrochet_4

Step 4: When entire column is complete, break yarn, leaving a 3 to 4 inch tail and pull through last loop.

appliedcrochet_5


Step 5: Pull tail to wrong side and weave in ends.

appliedcrochet_6

Keep going until all of the purl columns have applied crochet lines.

Will you go for subtle or bold stripes on your Trade Street Cowls and Hat?


New Bern Cowl – Faux Cable Fundamentals

Have you seen the New Bern Cowl and wondered how I created that faux cable look? Today, I’ll show you how, step by step!

So easy! The New Bern Cowl calls for just two balls of Big Time and a US Size 15 (10mm) needle.

It is a very simple technique, but brace yourself knitters…it does involve a crochet hook! Don’t worry though, if you can do a simple chain, you can do this.

newberncowl_tutorial1_blog4newberncowl_tutorial2_blog newberncowl_tutorial3_blog newberncowl_tutorial4_blog newberncowl_tutorial5_blog3newberncowl_tutorial6_blog2newberncowl_tutorial7_blog2

Pretty easy, right? I can’t wait for you to try it out on your very own New Bern Cowl!