Socktober Knitalong

A person standing on steps outside in autumn, wearing a pair of hand knit socks. Text appears along the side reading "Party Flag Socks KAL".

Hello fiber friends!

We’re so thrilled to announce that we’re hosting a fresh knitalong featuring a fabulous new pattern! Join us from October 3rd to November 4th for the Party Flag Socks KAL!

A close-up view of the handknit Party Flag Socks, shown from the side. The person wearing the socks has their toes pointed, and heels lifted off the ground. There are fallen maple leaves surrounding their feet.
Say “hello” to the Party Flag Socks in Uni Merino!

Why Join a KAL (Knitalong)?

There are lots of reasons to join a knitalong! It’s a great way to join other crafters and bond over the experience of working on the same project together. We’ll cheer one another on, share tips and tricks, offer support, and generally keep one another motivated. Plus, what could be more fun than gushing over your new favorite project with fellow fiber friends?

How to Join the KAL

It’s simple! Grab your yarn and the pattern, snap and share photos of your WIP (work in progress) and share them using the hashtag #PartyFlagSocksKAL on social media. We’ll predominantly be hosting this KAL on Instagram and Ravelry. Here is how you can join in:

  • Follow along on Instagram! Tag us @universal_yarn and the designer, Allison Lutes @fieldwonderful, and don’t forget to use the hashtag we mentioned above. Every Wednesday during the KAL, we’ll share your progress!
  • Join our Ravelry Group! We’ll open a Ravelry thread with information about the KAL, where you can chat, ask questions, and share photos with other participants and our staff throughout the KAL.
  • You can share on Facebook, too! Tag us @universalyarn and use the hashtag above.
  • We’ll be posting our progress periodically here on our blog, too.
  • Important Note: By tagging us and using the hashtag #PartyFlagSocksKAL, you are consenting to us sharing those photos on our Instagram and/or blog.

How Long is the KAL?

This KAL lasts from 10/3/22 – 11/4/22. That’s a little over one month to knock out a pair of socks. To be eligible for a special “sur-prize” you’ll need to share your FO (finished object) with us, but you don’t need to finish to join in on the fun. All are welcome and encouraged to participate!

Tell Me About the Pattern!

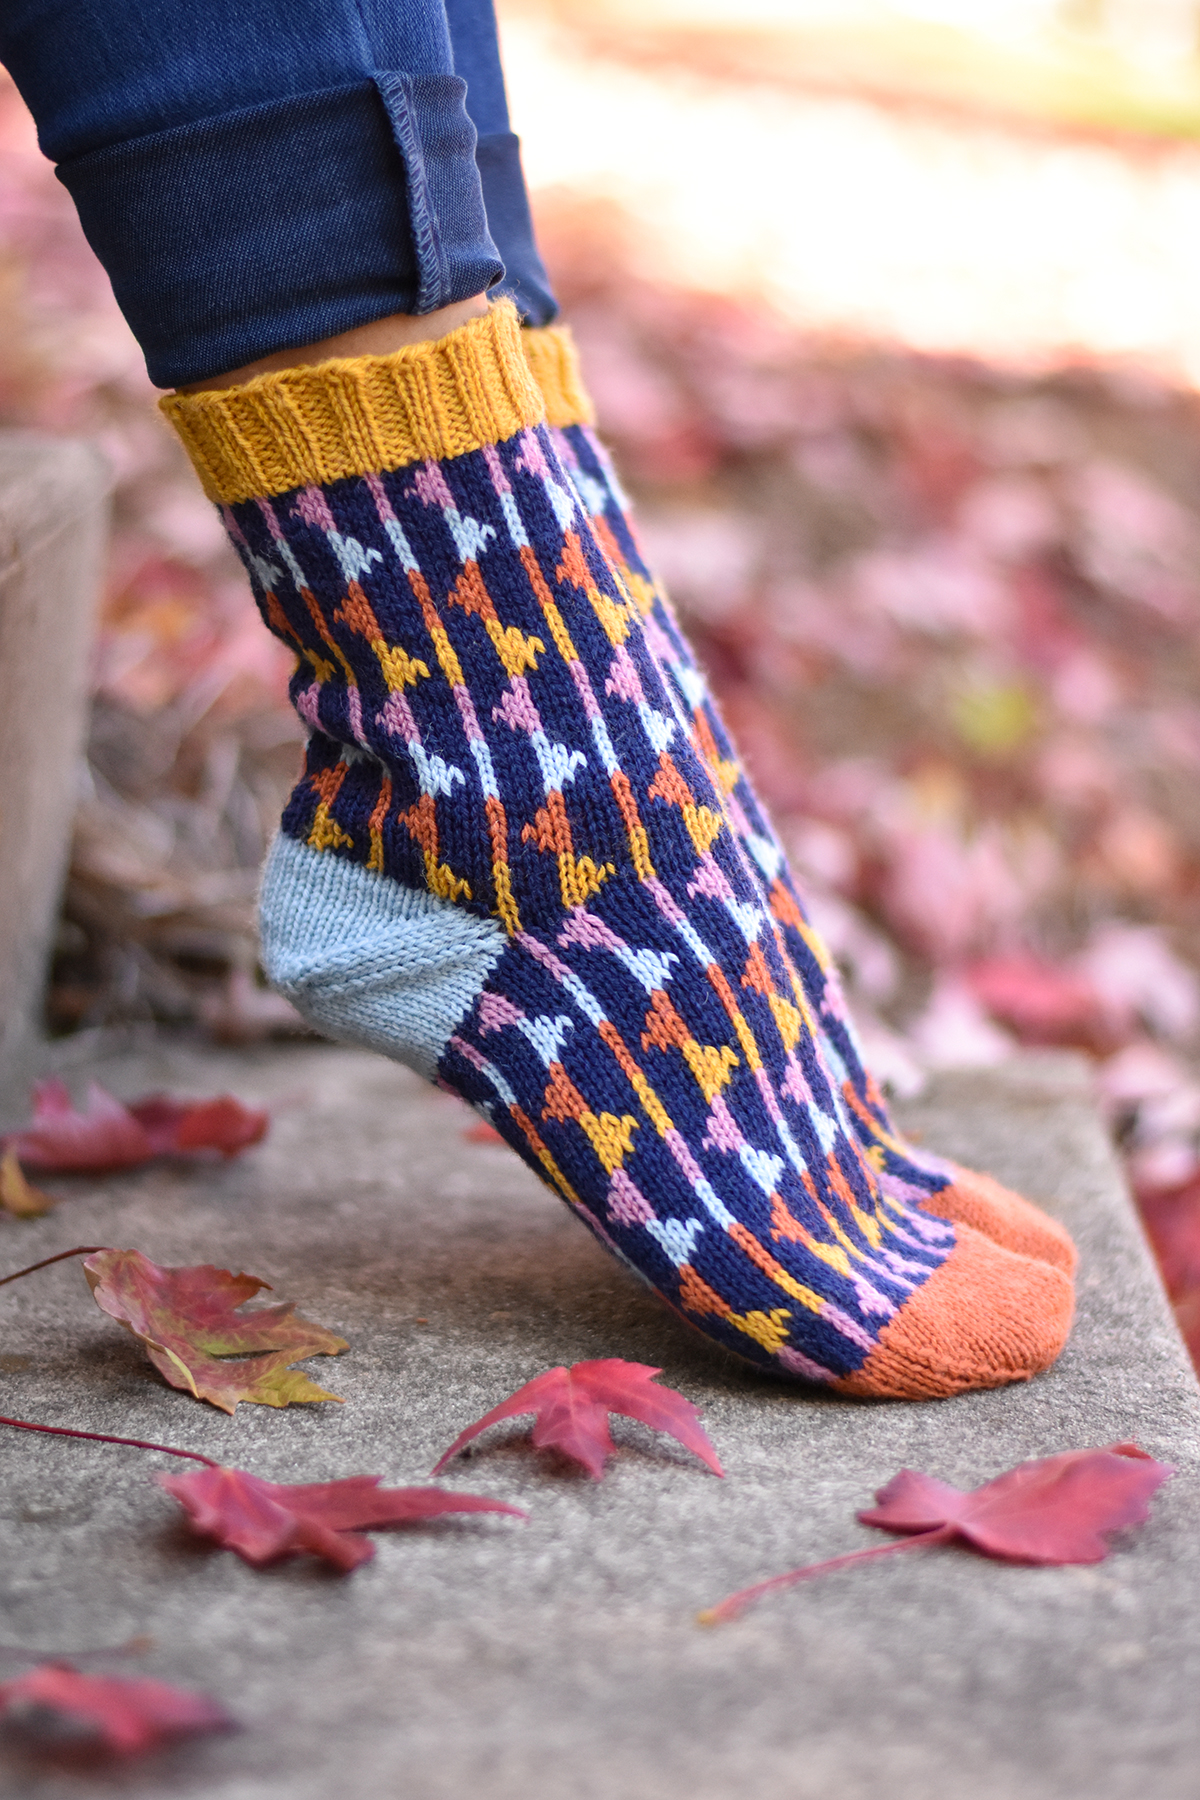
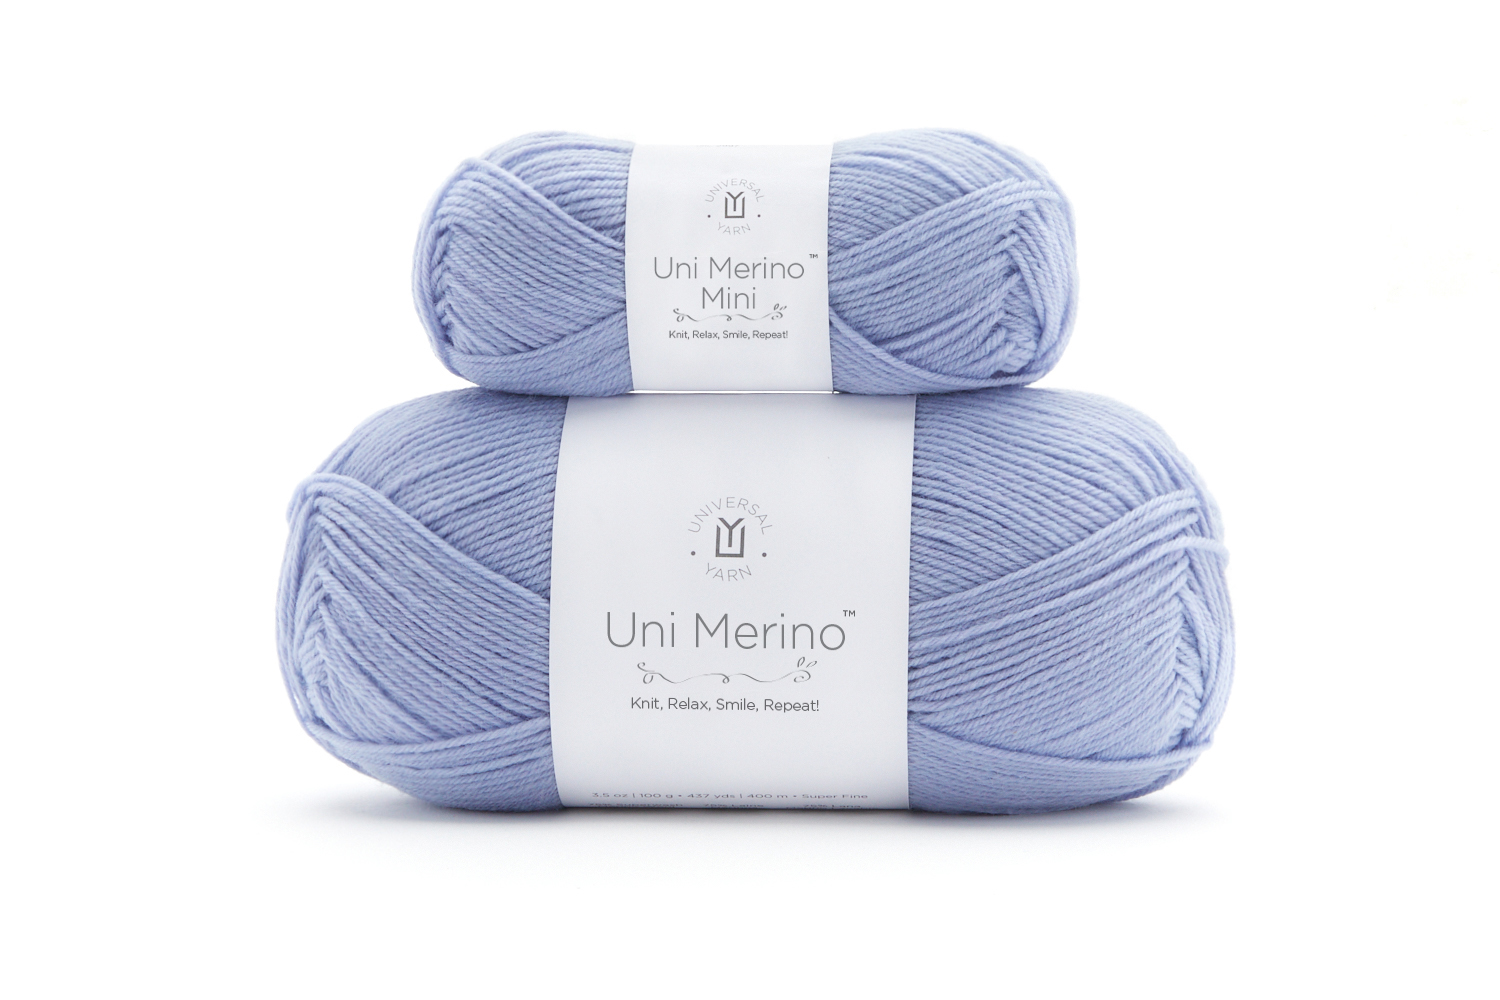
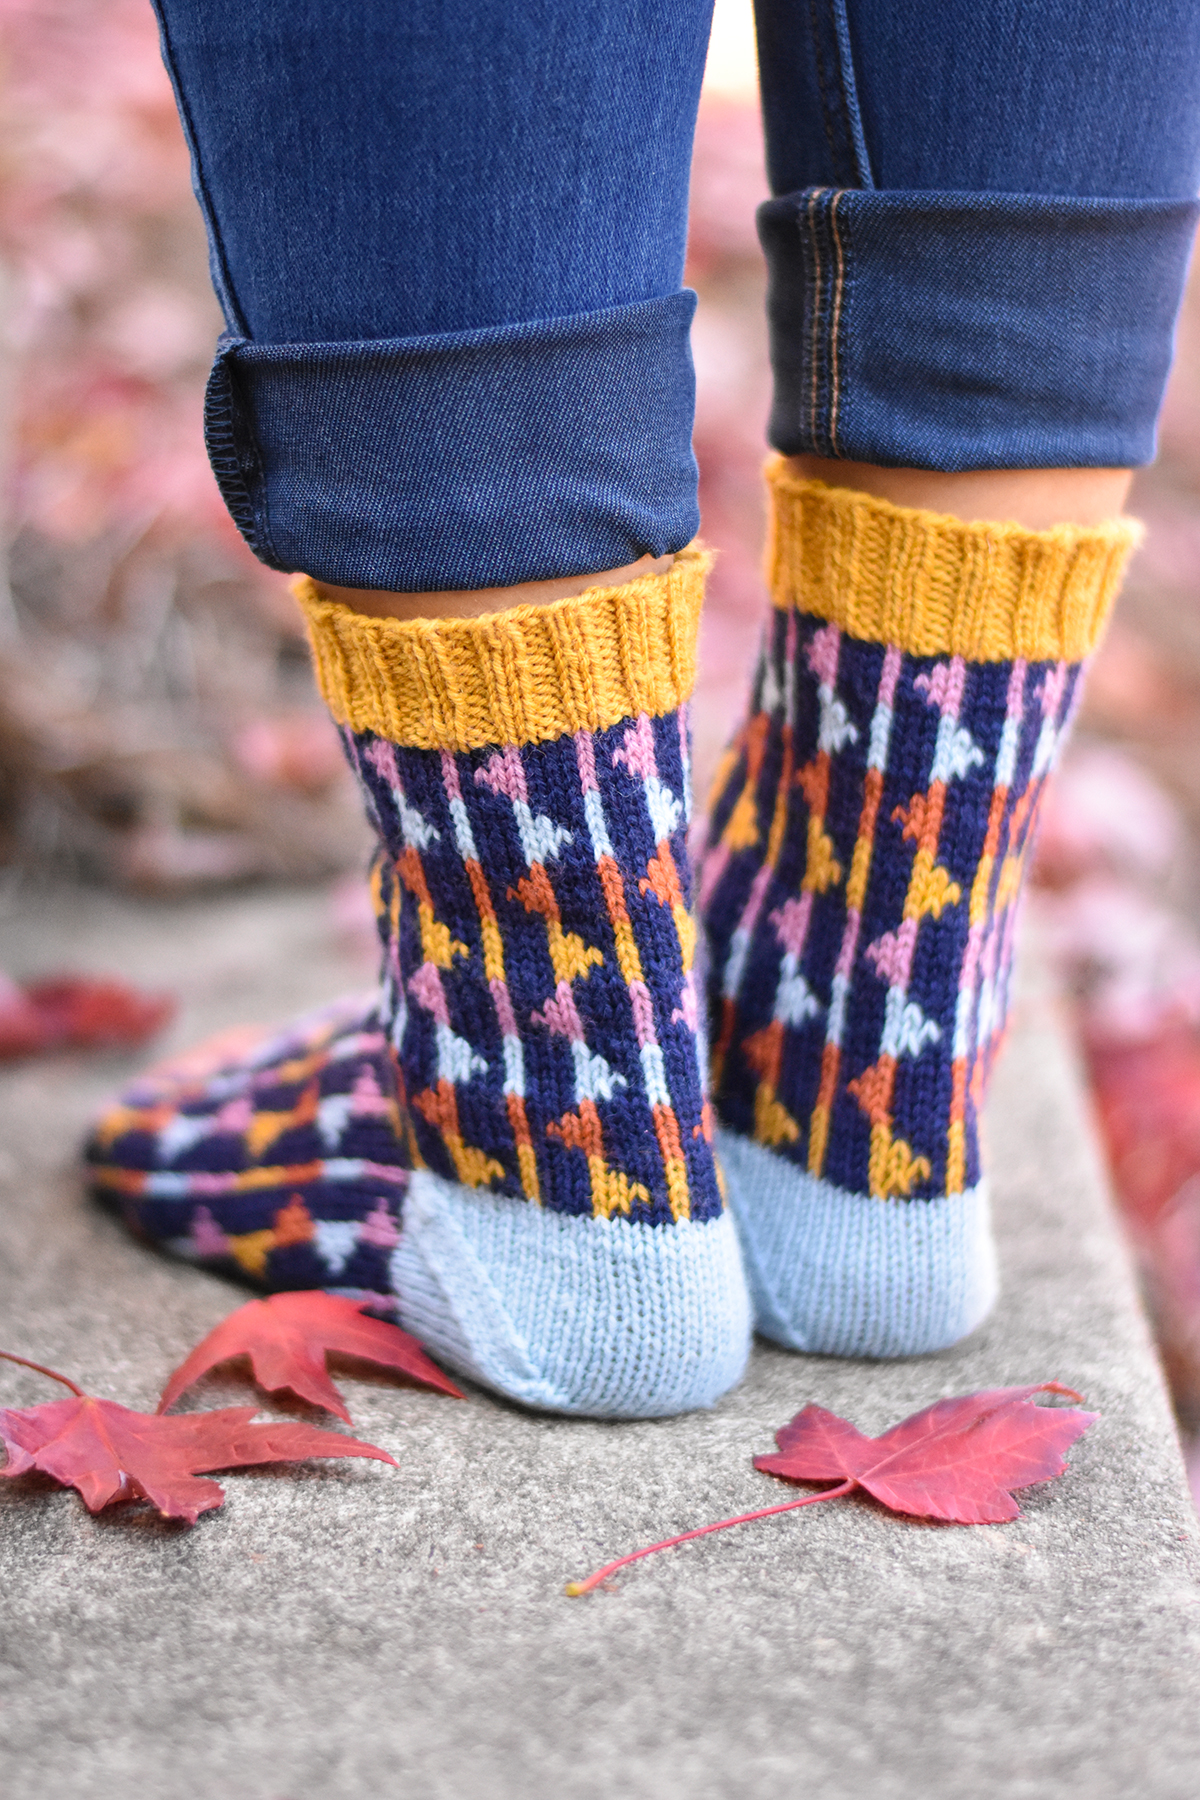
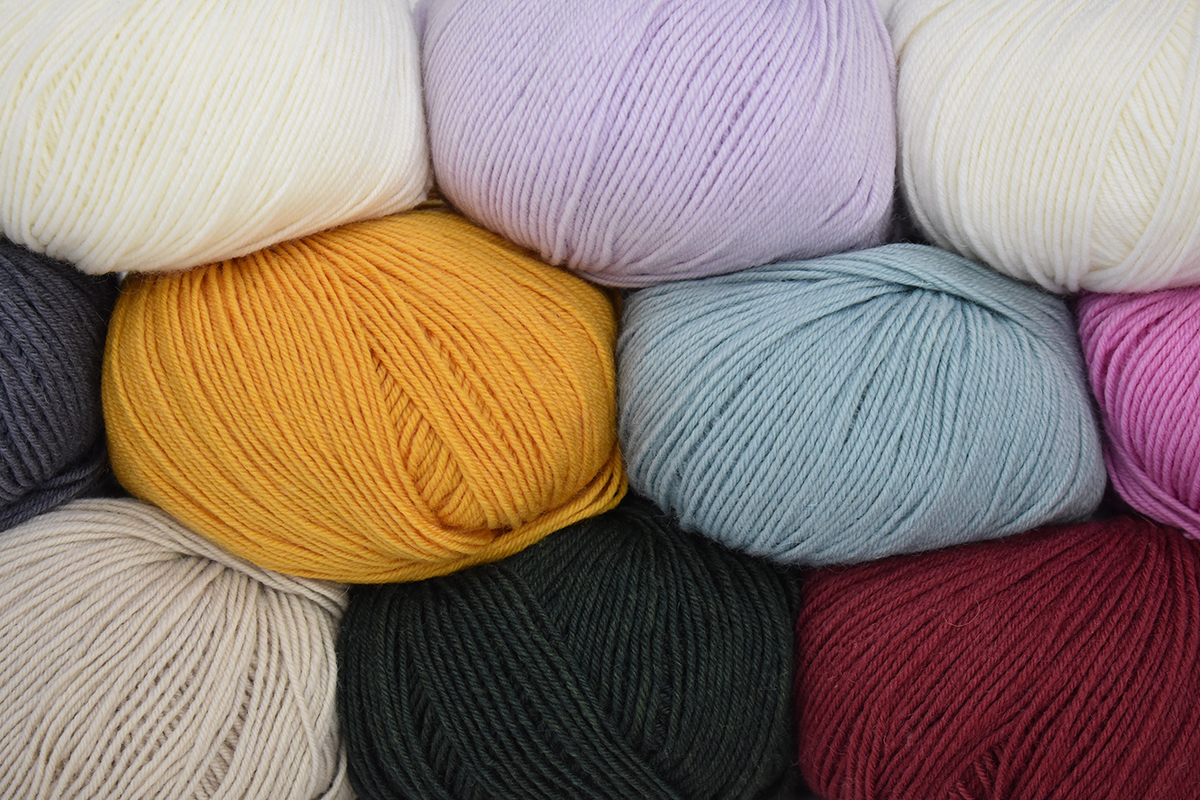
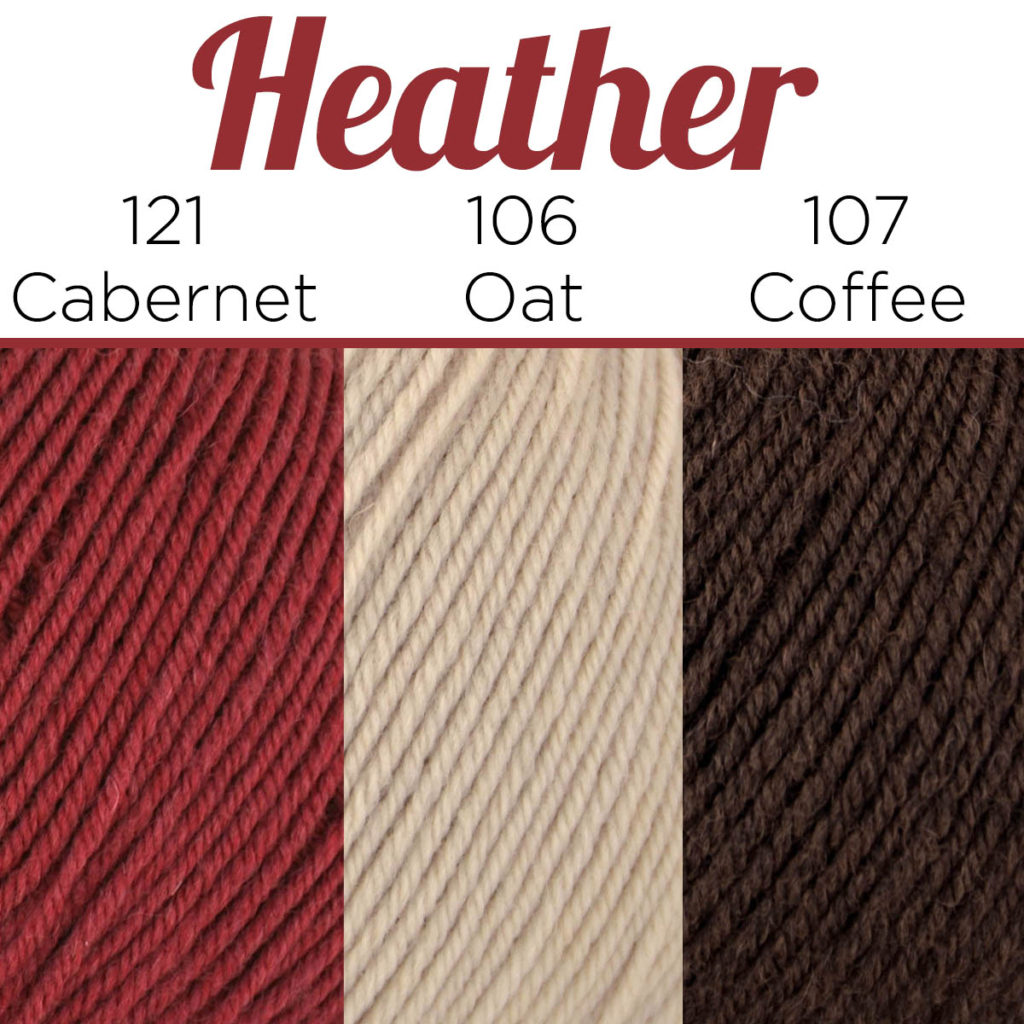
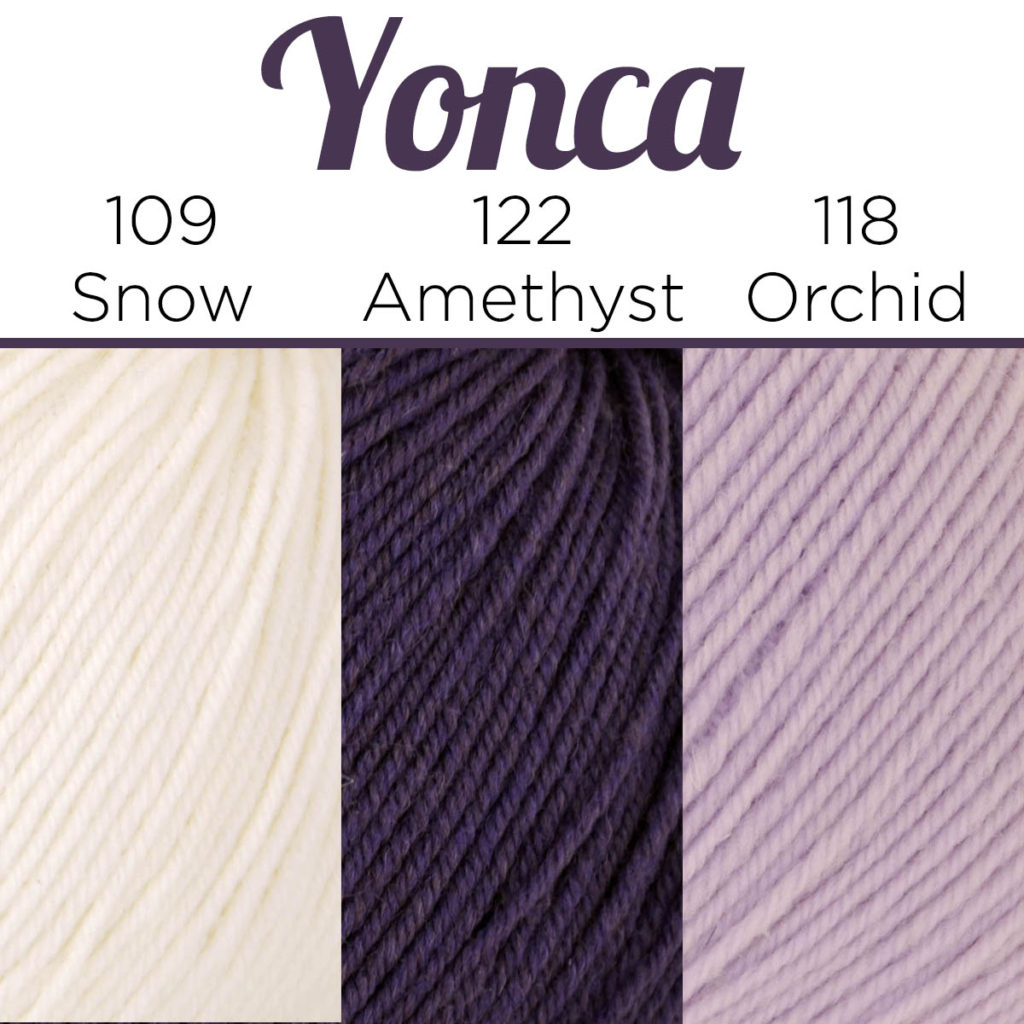
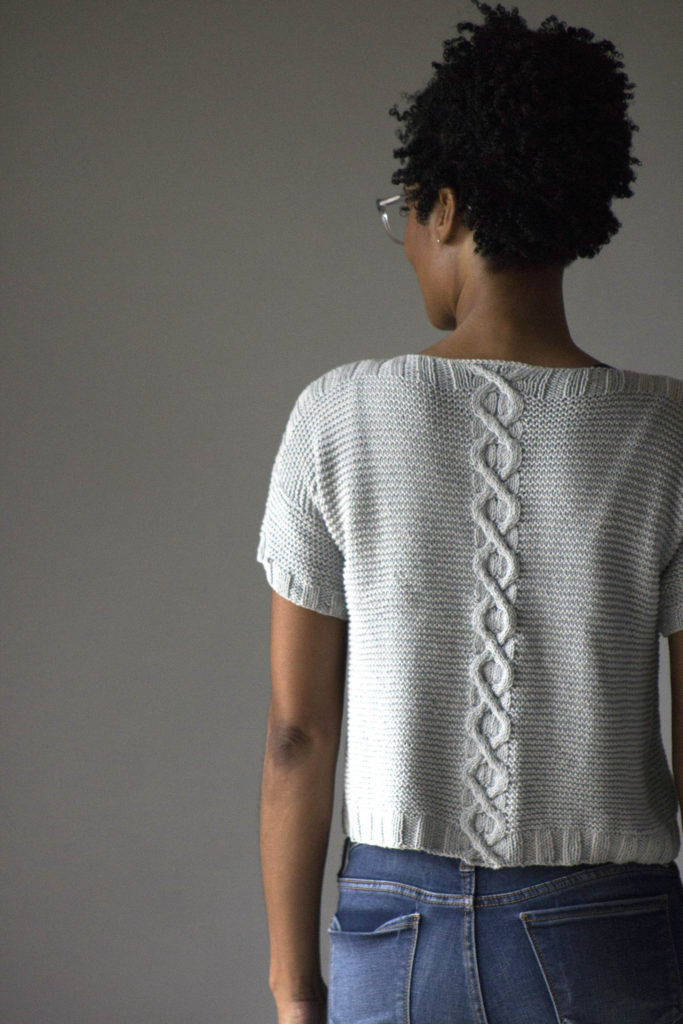
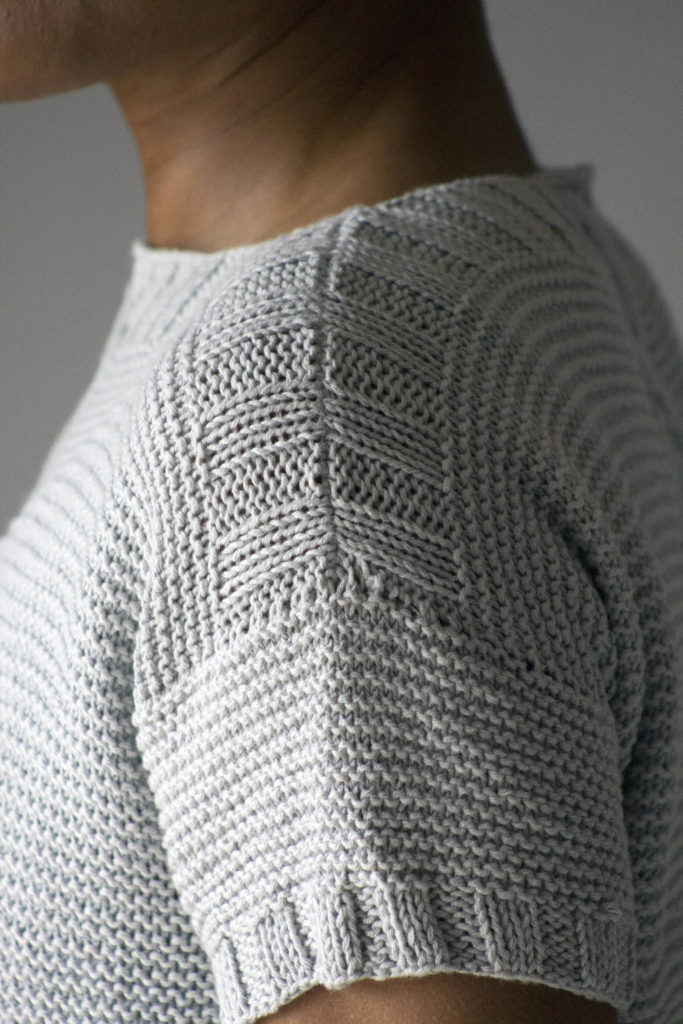
We’ve collaborated with the talented Allison Lutes for this design! As soon as we saw her concept, we simply fell in love. While there are many exciting sock patterns out there, we were just so charmed by the simple but unique motif decorating the entire sock. Plus, the contrasting heels, toes, and cuffs are irresistible! This pattern was specifically designed for our new yarn, Uni Merino & Uni Merino Mini. This 75/25 blend of superwash merino and nylon is perfect for cozy, soft, and durable socks. The palette features fifty colors, so you can mix and match to your heart’s delight!

Ready to prepare? Here is what you’ll need to get started!

A photo of two skeins of yarn, both Universal Yarn Uni Merino. On the bottom is a 100-gram skein, and on top of it is a 25-gram mini skein.

Materials

YARN

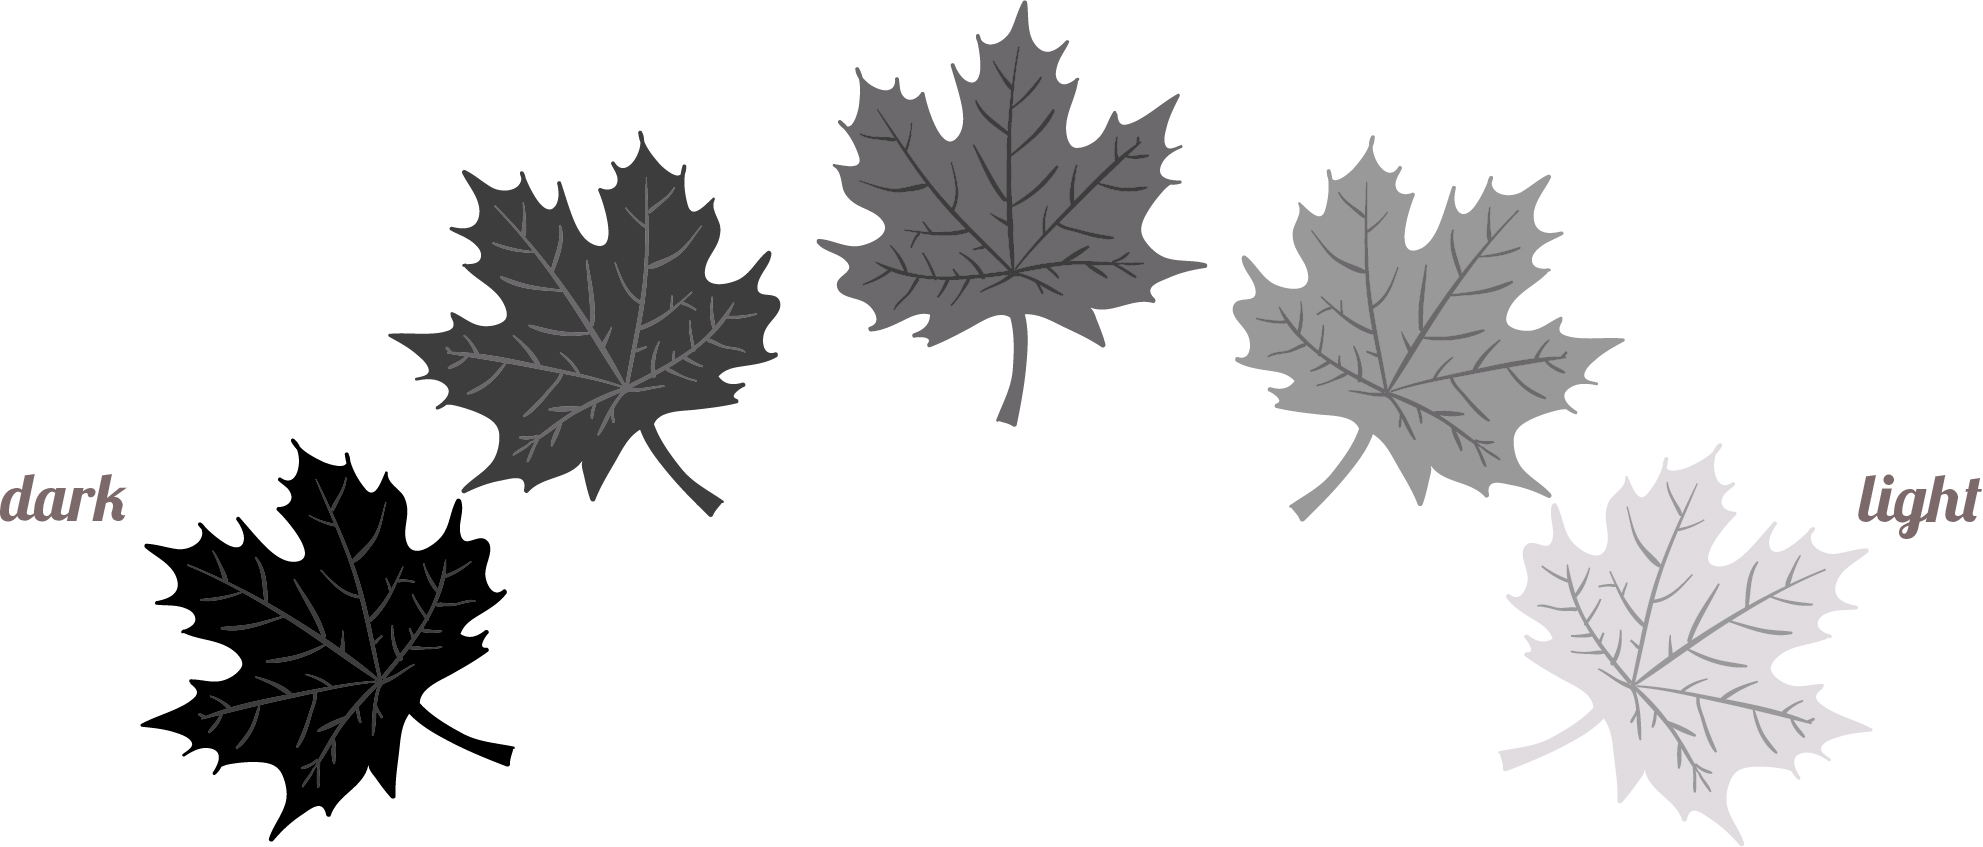
You’ll need five different colors to make a version like those pictured in our sample. Does that sound like too much for you? No worries! Allison cleverly created four Party Flag motif charts for you to get your creative juices flowing – one chart that reflects the sample socks, two 2-color options (one dark background, one light background), and a color-your-own version! We recommend choosing two to five colors, but the truth is you could get playful and add as many colors as you wish!

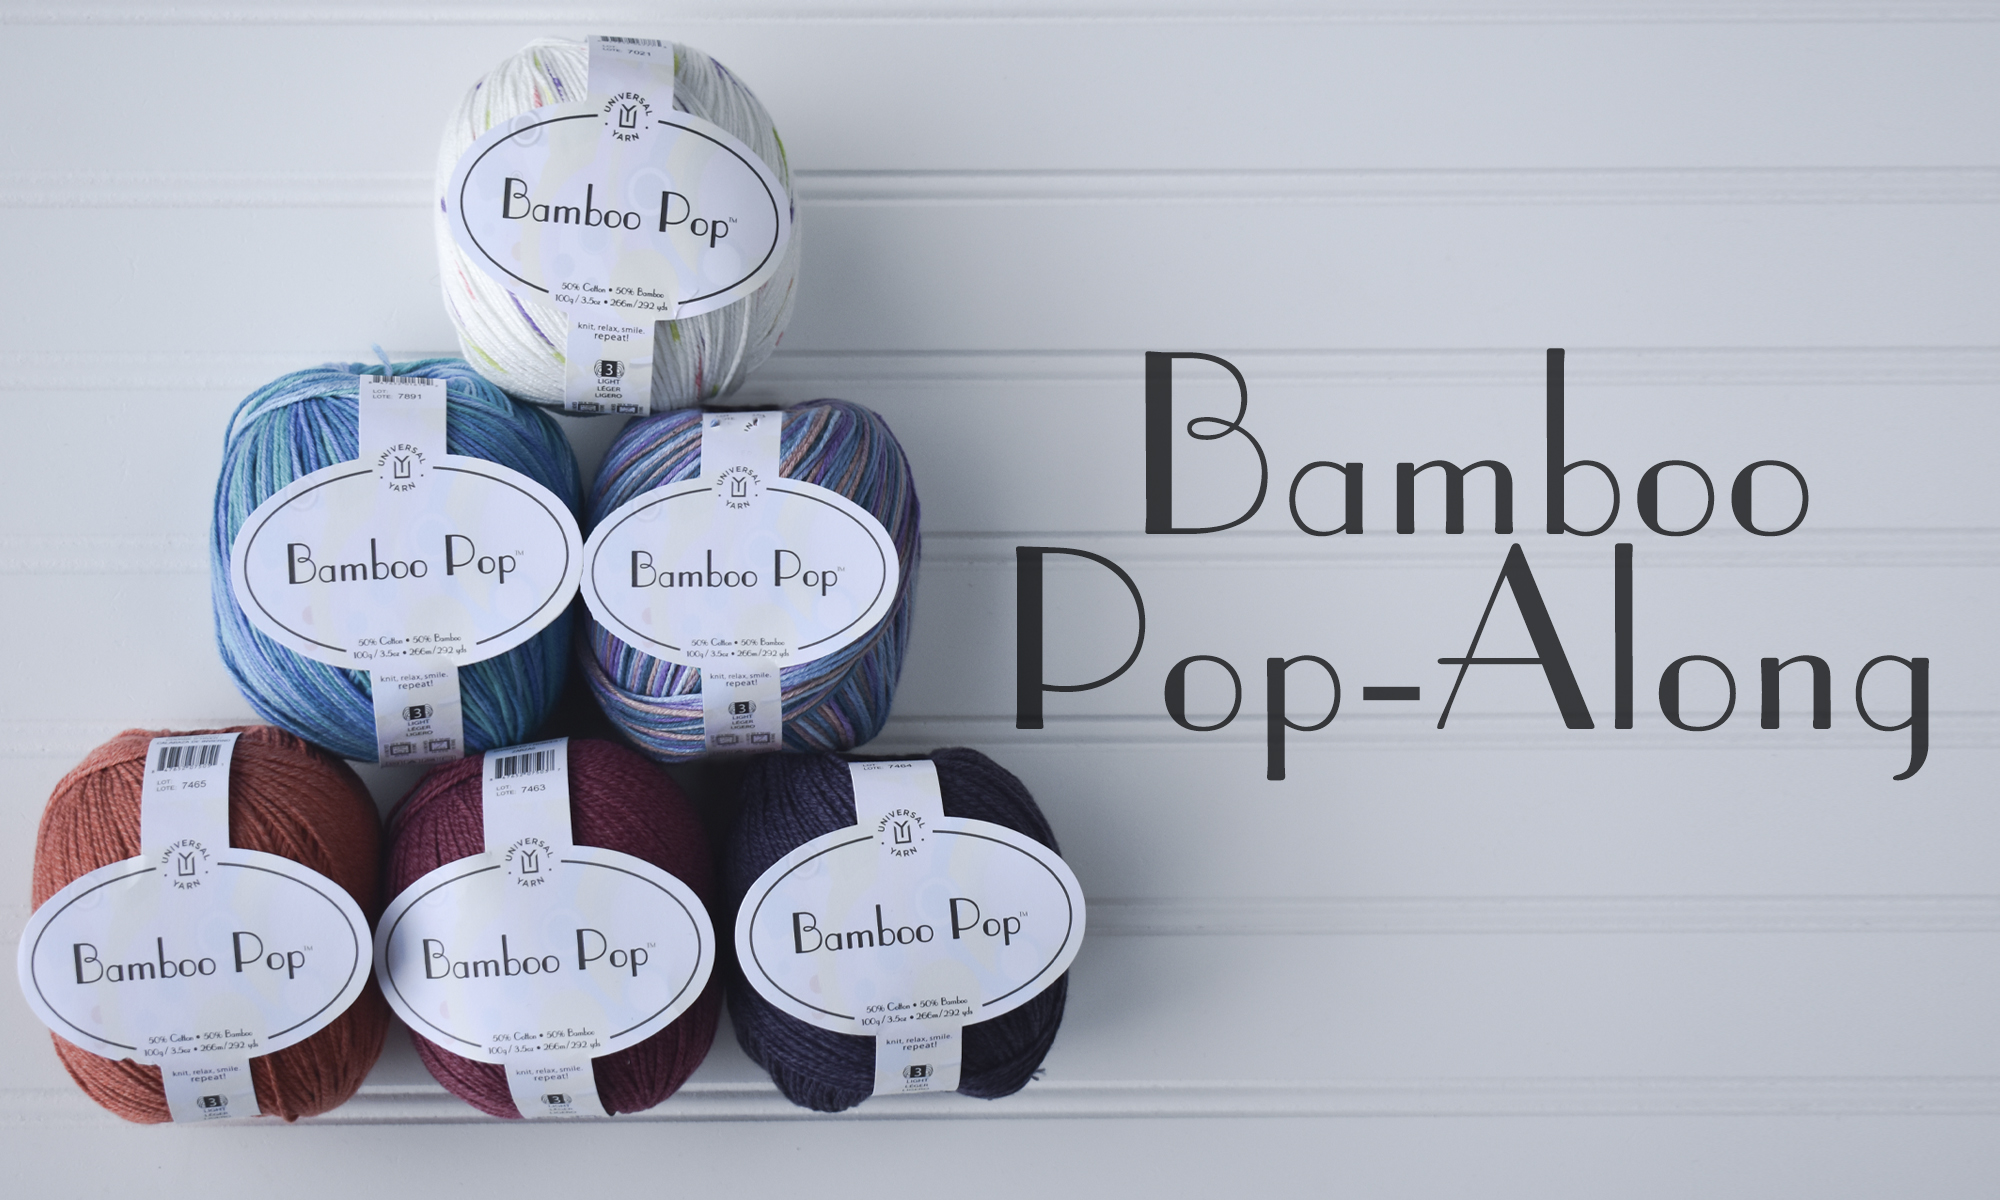
Do you need to use Uni Merino? We recommend it, but you don’t have to use it to participate! Bamboo Pop Sock Solids and Multis are a great choice if you prefer a wool-free sock yarn. Feel free to reach out to us if you’d like guidance in choosing a different yarn from our offerings. We’re always happy to help!

To make socks that match our sample you’ll need the following:

  • 131 Nautical (MC) – 2 mini skeins
  • 114 Honeycomb (CC1) – 1 mini skein*
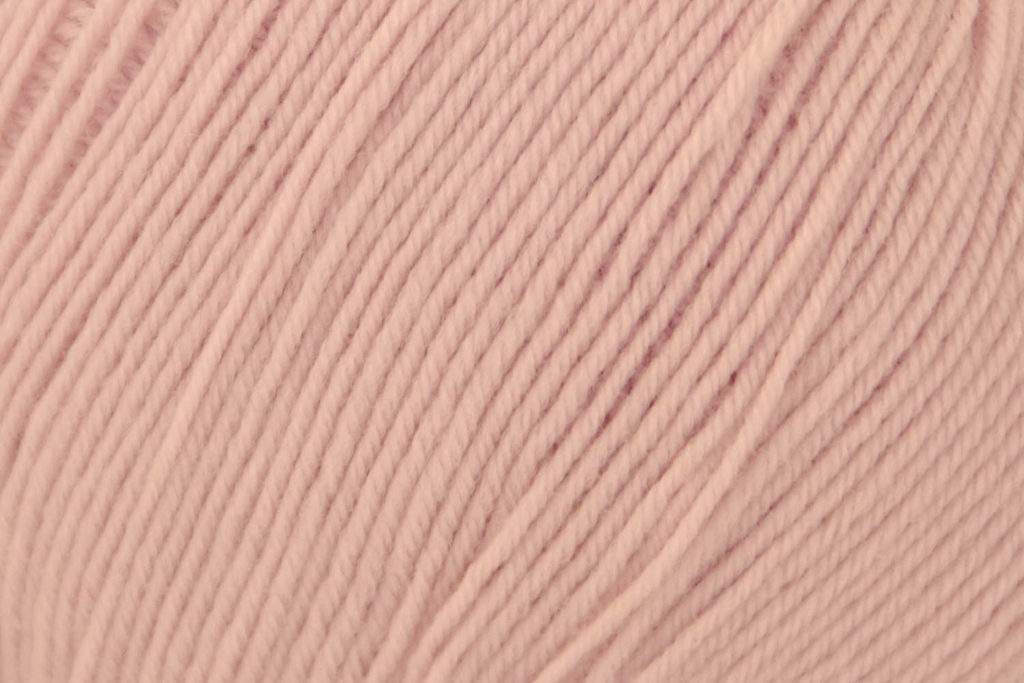
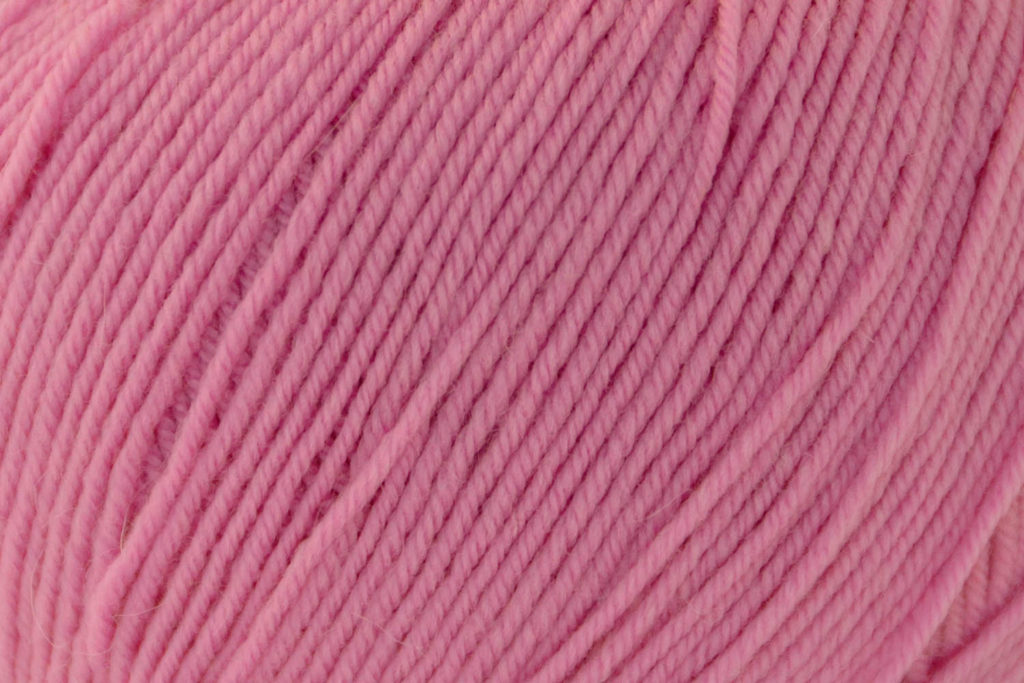
  • 142 Romance (CC2) – 1 mini skein
  • 132 Lighthouse (CC3) – 1 mini skein
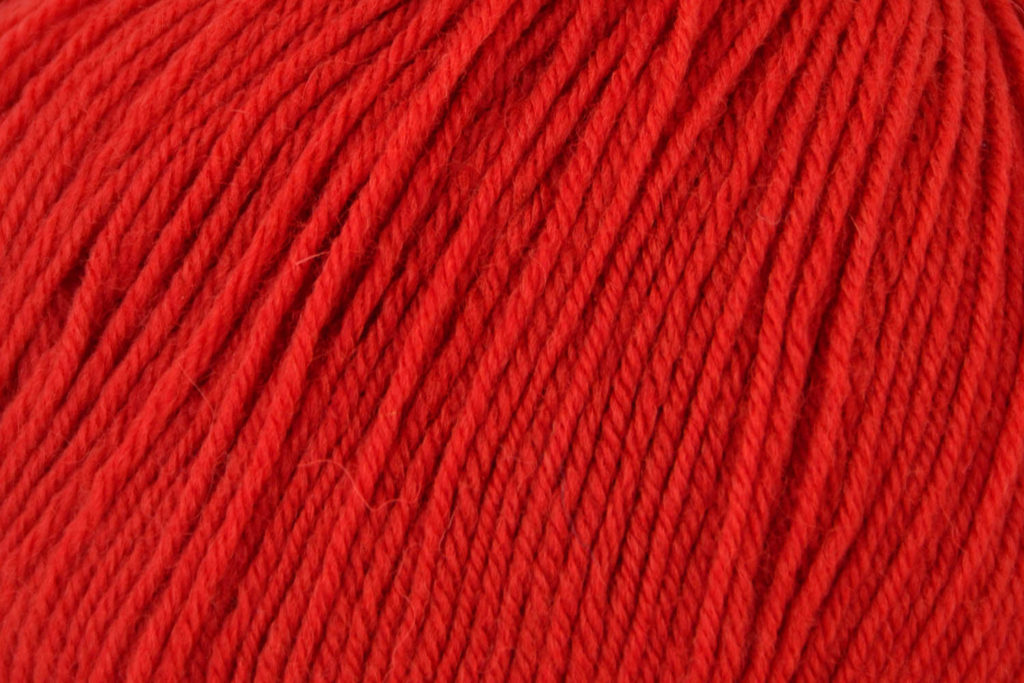
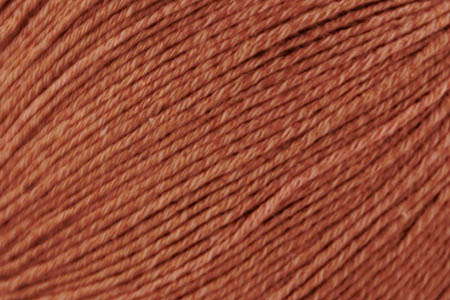
  • 112 Carrot (CC4) – 1 mini skein*

*Please note: due to supply chain issues, we currently do not have mini-skeins in stock for colors 114 Honeycomb and 112 Carrot. These colors are available in 100-gram skeins. If you prefer to use the mini skeins, we recommend substituting 113 Sundial for CC1, and 111 Oriole for CC4. We are also always happy to help you choose colors. Never hesitate to reach out to us!

NEEDLES

  • US Size 1 (2.25 mm) DPNs or your preferred needles for knitting small circumferences in the round or size needed to obtain gauge
  • US Size 2 (2.75 mm) DPNs or your preferred needles for knitting small circumferences in the round or size needed to obtain gauge

Remember, needle sizes are always a suggestion as every knitter’s tension is unique!

NOTIONS

  • Stitch markers (plus one unique marker to denote the beginning of each round)
  • Tapestry needle (for Kitchener stitch and weaving in ends)
  • Waste yarn (for the afterthought heel)
A detailed view of the handknit Party Flag Socks, shown from behind. Maple leaves are lying on the ground next to the person wearing the socks.

Anything Else?

The pattern will be available to download for free from our website on Monday, October 3rd. We’ll make this announcement publicly, so if you follow us, you won’t miss it!

Questions?

We’re happy to answer! Reach out to us directly at patterns@universalyarn.com.

We can’t wait to knitalong with you!
-Rachel

Bella Cash Socktober Mystery Knitalong – Week 1

Happy Socktober! This year we’ve decided to celebrate with a mystery sock knitalong! I’m so excited about this month-long event and hope you’ll join in on the fun. We’re using the unsung hero of sock yarns, Bella Cash. Bella Cash is a yarn that blends extra fine merino, cashmere, and nylon for projects that are luxurious, soft, and durable.
Use this graphic on Ravelry and on social media to share about the knitalong.
Let’s start with the knitty-gritty. Each week in October I’ll be revealing a different portion of the pattern with you in the following order:

9/30/20: Week 1 – Colors

10/7/20: Week 2 – The Cuff

10/14/20: Week 3 – The Leg

10/21/20: Week 4 – The Foot

10/28/20: Week 5 – The Toe & Heel

11/4/20: Week 6 – Wrap-up

If you join, we’d love for you to spread the love and share your progress on social media using the hashtag #UYSocktoberMKAL and tagging us on Instagram (link) and Facebook (link). Join in with chatter here on the blog and in our Ravelry forum (link). Please add your project to Ravelry, too! You can find the Ravelry listing here (link). You can use the graphic above and on the Ravelry listing for your project page, too.

Does the thought of knitting something without knowing what it will look like first scare you? Not to worry – you can find spoiler images here (link).

Now that we’ve covered the details, let’s dive into the first week!
This week is all about preparing to knit your socks. The first thing you’ll need to do is choose your colors. The first segment of the pattern is available now (link) and it includes a bunch of information about choosing colors that make your heart sing. Everyone in the office is joining, and I’m going to share our color choices with you today.
I’ll start with my own color choices. Put simply, I wanted my socks to exude all of the autumn vibes. I chose two colors with subtle contrast and one color to pop among them. I looked to colorful autumn squash, pumpkins, and gourds for inspiration. That’s actually why I’ve named these the Sweet Dumplin’ Socks. They’re named after the delicious and colorful variety of squash (bonus recipe ideas here!).
You can’t have a knitalong solo, so I was thrilled when Aubrey, Heather, and Yonca told me they wanted to join. I asked each of them to tell me a little bit about their color selections.
Fellow designer and Instagram maven, Aubrey, chose colors that remind me of Valentine’s Day. Here is what she had to say:

“I’m a die-hard romantic, and I love nature. I chose to pick a trio that expressed the contrast between softness and harshness found in nature. In this case roses – my favorite (very romantic) flowers, and marble. I’ve always loved gemstones and geology. I’m so looking forward to wearing my socks while I indulge in some favorite movies and warm tea during the cold months coming up!

Her selection is so beautiful, and it’s lovely to see the vibrant pink hue paired with two neutrals. It makes me picture a vase of beautiful pink roses on a gorgeous marble countertop.
When Heather, our social media connoisseur, agreed to join, my initial hunch was that she’d choose some blissful blues for her socks. She surprised me, though, with this earthy color combination.

“When I heard about Rachel’s concept for fall socks, I decided to lean into it. Normally I go for blue tones, but this time I decided to embrace the season. I’m calling mine Hot Choco Sockos, and am looking forward to sipping some marshmallow-topped hot chocolate while wearing my completed socks. Rachel actually shared a really great spicy hot cocoa recipe last winter that I’m going to use. You can find it here.”

As an autumn-colors gal, I’m smitten with this combination! They are aptly named, and I’m pretty sure a nice mug of Mexican hot chocolate would be perfect for sipping between rows while knitting.
Last, but certainly not least is Yonca, our fabulous managing director. I love her combination of a beautiful jewel tone with a pretty pastel and snowy white. When I asked her about her colors, here is what she said:

“I’ve always loved shades of pink and purple, but for some reason, I haven’t worn those colors in years. This knitalong seemed like the perfect opportunity to introduce a little more color to my wardrobe.”

I love how different all of our colors are. There is nearly no overlap between our color choices. With 26 colors of Bella Cash to choose from, there is a virtual cornucopia of color combinations.
The color wheel is a useful tool for understanding how colors interact with one another.
In this week’s portion of the pattern, I chat a little bit about how you can use the color wheel as a tool for helping you choose colors. You’re probably already familiar with the primary colors: red, yellow, and blue, as well as the secondary colors: orange, green, purple. However, have you thought about how to use these colors together?

Looking at the color wheel I’ve created above, you can see arrows that point to colors that are complementary to one another. Complementary colors are opposite hues on the color wheel, for example, red and green. These colors create a strong contrast when placed next to one another. Choosing opposite colors would be a great starting point when selecting the main or contrast color for your socks. Take a look at the combination below for a great example of how you could combine complementary colors in your socks.
You could also choose to use analogous colors. Analogous colors are colors that are next to each other on the color wheel. One example of this would be the colors between red and purple. Purple, pink, and red are analogous colors, which are shown in Bella Cash colors below.
Monochromatic colors are all colors of the same hue. You might also refer to this as a gradient of colors – think of a greyscale, but all the same hue.
Speaking of a greyscale, another factor to consider when selecting your colors is their value. Value is the relative lightness or darkness of a color.
A greyscale is a great way to think about value of a color.
Like I mentioned earlier, I chose two colors with subtle contrast and one very dark color to pop among them. You could also choose colors that have a dark, medium, and light value so that each color pops even more. Aubrey’s palette is a great example of dark-medium-light. Notice how there is a clear distinction in the darkness and lightness between each of her colors. If you aren’t sure how your colors will look together, you can take a quick snapshot with your phone using black and white mode.
Need more inspiration? Take a look at the first part of the pattern. I highlight more color combinations and chat a bit about the color wheel, much like I’ve done in this post. Whatever colors you choose, I’m sure you’re going to create a beautiful pair of socks! What colors do you have in mind? Let us know in the comments below!

Thank you so much for starting this journey with me. Remember, you can find the pattern here (link). Don’t forget to use the hashtag #UYSocktoberMKAL, tag us on Facebook (link) and Instagram (link), and chatter away in our Ravelry group (link).


Bamboo Pop-Along!

Bamboo Pop-Along: A make-along using Bamboo Pop
North Carolina has been enjoying some really lovely weather. It has been a teaser that has everyone at the office itching to cast on a spring project that will be ready to wear as soon as things start to warm up! We’ve specifically been looking to Bamboo Pop, one of our best-selling yarns. It’s lightweight and perfect for any project you could think of. So grab your needles, your hooks, your patterns, and join us for our Bamboo Pop-Along!
Rear view of cabled Cora Crop knit in Bamboo Pop yarn
The Cora Crop, designed by Rachel Brockman, can easily be modified if you prefer a longer sweater.
This is a chance for you to knit, crochet, or weave anything you’d like using Bamboo Pop! We’re welcoming everyone – if you’re making something using Bamboo Pop, we want to see it! You have from February 6, 2019 until March 20, 2019 to complete your projects. Oh, and there will be prizes! You could win five balls of Bamboo Pop in the color of your choice! To be eligible for a prize please share photos of your finished projects in the Universal Yarn Ravelry Group (link). Only finished projects using Bamboo Pop will be entered to win. You can find the thread here (link). We cannot wait to see what projects you create!
Detail of sleeve on light blue short sleeve knit pullover
The idea started just yesterday. I decided that I wanted to make a project in time for Stitches West, held in Santa Clara from February 21st-24th. When I told Amy I wanted to knit the Cora Crop she decided she wanted to join me. And just like that, the idea for a Bamboo Pop-Along was born! Amy and I are knitting the Cora Crop. As a person who loves warm, autumnal tones, I’ve chosen to knit mine using 129 Winter Squash. It’s a dusty orange that I simply cannot resist.
Universal Yarn Bamboo Pop in 129 Winter Squash
Bamboo Pop 129 Winter Squash
Amy chose 117 Emerald for her tee. When asked why she said “I’ve always loved green. It’s my favorite color next to…black. It just makes me happy. Plus, my eyes are green/sometimes hazel, so I think wearing green brings out my eyes?” It definitely brings out your eyes, Amy!
Universal Yarn Bamboo Pop in 117 Emerald
Bamboo Pop 117 Emerald
If you want to join in, but aren’t sure Cora Crop is right for you, don’t worry! Like I said earlier, all sorts of yarny-projects are welcome. Perhaps you need some additional pattern inspiration? How about Amy Gunderson’s Right Turn Shawl? We love this graphic shawl and it’s a great project for playing with color. We know some of our customers have even hosted their own knit-along for this pattern. You can see all of the patterns we have using Bamboo Pop here (link).
Purple, gray, and white speckled knit shawl in Bamboo Pop yarn
The Right Turn Shawl, designed by Amy Gunderson, is a customer favorite that combines two solid colors of Bamboo Pop with Bamboo Pop Dots.
Are you active on social media? Use the hashtags #bamboopopalong, #bamboopop, & #universalyarn on social media so we can see your beautiful work. We’ll be sharing more about our progress, too.

Deluxe Cable Collection Knitalong – Installing a Zipper

With the holidays upon us, I know many of you are busy plugging away at gift projects. Me? I’m as selfishly knitting as ever and just finished my modified Wesley Heights. Though I finished knitting the pieces and seaming the sweater many weeks ago, I just sewed in my zipper, and I’m going to show you how.

As a reminder, this is our ongoing blog series covering projects from the Deluxe Cable Collection. You can learn more about the knitalong by reading previous blog posts here, viewing the collection here, and joining our Ravelry group here.

I basically knit the Wesley Heights pullover, but followed instructions for the Greensboro Cardigan for collar and zipper facings. Stitches for the collar are picked up around the neck edge and knit upward. Then, the first and last 6 stitches of the collar are continued to form the zipper facings.

zipper_1

Be sure not to stretch the knitting when measuring for the zipper.

It’s important to block your knitting before measuring for the zipper length and installing it. Zippers and knitting can be tricky, since zipper tape is typically woven and non-stretchy. But I’m going to show you what you can do to avoid the puckery zipper look.

Open up your sweater and measure along the front opening from the very bottom edge to the top of the collar. I like to leave a small margin of about 1/4″ at the top and bottom before the zipper begins and after it ends. Mark with a pencil or with pins (as shown) where the zipper tape needs to be cut.

Don't accidentally slide your zipper over the top of your just-cut end!
Don’t accidentally slide your zipper over the top of your just-cut end!

Do not, I repeat, DO NOT slide the zipper off the top of the cut edge!

Next, we’re going to pretty-up that cut edge. I’m using a plastic zipper in the photo below. This method works great for a zipper with metal teeth, too. With pliers, carefully remove the 2 teeth from the top of the tape. If your metal zipper came with a stop (which looks like a metal tab), you can remove it from the piece you cut off and reattach to the newly shortened zipper.

Then, take a lighter or other flame and carefully melt the end of the tape. This will not work for a cotton zipper tape – it only works on polyester, nylon, acrylic – something that will melt when burned. Be careful, you want to barely melt the end just to stop the fraying of the tape where you cut it.

If you have a cotton or plant fiber tape, fold under the end and sew it down.

zipper_5

This next step probably isn’t necessary for this particular zipper installation since my zipper will be sandwiched between the sweater and knitted zipper facing. But I’ve been burned before with forgetfully sliding my zipper off the top of the tape, so I like to do everything possible to prevent that! By whip stitching around the top of the tape just above the teeth, this will prevent the zipper from sliding off. Or if you had a metal zipper with a zipper stop and reinstalled it, there is no need for this step.

zipper_6

Next, unzip your zipper (you did buy a separating zipper, right?) and lay out the appropriate sides on their respective fronts.

Triple check your zipper placement!

Triple check your zipper placement!

Next, pin your zipper to the sweater front. Ignore the facing for now. It’s much easier to pin it to the sweater front first and then add the facing. Begin by pinning the upper and lower edges of the zipper to the sweater. Then add in pins at halfway points between other pins until the whole thing is pinned down. Use lots of pins – you can never have too many pins!

Use lots of pins!
Use lots of pins!

After the front is fully pinned to the zipper tape, one by one, remove a pin and add in the knitted facing. The zipper tape will be sandwiched between the front of the sweater and the zipper tape. You’ll want to leave a margin sticking out a little bit beyond the zipper teeth so that the knitting doesn’t get caught when you’re using the zipper.

It's a zipper-wool sandwich. Delicious.
It’s a zipper-wool sandwich. Delicious.

Use thread that matches or will blend in with the color of your yarn. Take small stitches and go slowly. You are sewing through 3 layers, so take care and make sure the needle is entering and exiting the fabric where you want it. I kept 1 stitch in stockinette on my edges, so I’m using that as my guide for where to sew.

This step requires patience.

I use a running stitch, but make a back stitch every inch or two – basically whenever I remember.

Once the zipper tape is sewn to the sweater, it’s time to sew the other edge of the facing down. I left long ends when I bound off my facing for this very purpose. I also split the yarn in half to reduce bulk for the seam.

On the home stretch!

Once all your sewing is done, give the facings a light steam inside and out, and you’re done!

I really am smiling.

I love putting on a new sweater! And I’m lazy, so having a zipper is a big draw for me. Sometimes I like a buttoned sweater. But I like being able to zip and unzip a cardigan makes me happy. And pockets. And cozy!

How are your Deluxe Cable Collection projects coming along?

rocked knitalong – working into a double yo

Rocked Knitalong Graphic

As I was knitting along on my Rocked, I was working a lace pattern row with its double yarnovers. When I reached the next (WS) row and was working the [k1, p1] into each double yarnover (yo), it occurred to me that this could make for a good video.

When there is a double yo on your needle, it can be confusing just how to knit or purl into it. If this is your first time dealing with double yarnovers, give this video a try. I hope it helps!


Afghan Knitalong – Finishing

21 Finished Blanket with title blog

I can’t believe we’re done!  In my head, I’m hearing Frank Sinatra singing “My Way.”  Every afghan we’ve seen so far has been a unique reflection of the style of its creator.  It’s a wonderful tribute to the individual flair each of us have as crafters.

After assembling all the squares, Amy has opted to use four different colors for the border of her afghan.  She’s also attached fringe and shares a video on how that works.

Even if you haven’t finished yet, we hope you’ll share pictures of your afghans.  Seeing your work is inspiring!

You can share with us here, on Facebook, or on the Afghan Knitalong Ravelry group.  We’ve just joined Instagram as well, so we’d love to see what you’ve posted in the way of knitstagrams!

We hope you’ve enjoyed knitting along.  Happy crafting!

Afghan Knitalong – Seaming

21 Afghan Knitalong Seaming 1_blog

It’s all coming together – literally!  Time to seam up your squares into a glorious and unique creation.  Lay ’em out, decide where you want them to go, and then turn your 20 little learning blocks into one beautiful whole.  We’ve got a .pdf file with tips, and videos on not one but two methods of linking everything together.

First, Amy Gunderson demonstrates the mattress stitch, and how to use it when you have different numbers of stitches from square to square.  Grab your tapestry needle and some yarn and get to it!


Next, she shows how to use a crochet hook to slip stitch your squares together.  Slightly less invisible, but very easy to work.

I’m a big fan of mattress stitch, but I may give crochet  slip stitch a try this time. I like the idea of working straight from the ball without cutting a length of yarn.  Seems like fewer ends to weave in.

We’ll be back in just one week with details on adding a border and fringe (if you wish), and the big reveal of the finished sampler!  Can’t wait!


Afghan Knitalong – Block Twenty

Block 20 is live!

20 Bee Mine with title blogIt’s our final block and we’re going out with a bang.  Bee Mine uses traditional honeybee lace for its center panel.  What a sweet pattern!  A mix of yarn overs and dropped stitches creates the gentle symmetrical column in the center of the block.  Amy Gunderson shares a video on the technique.

So pretty!  Wouldn’t this look lovely on a scarf or along the outside of a sleeve?

That’s 20 blocks – are we done?  Yes and no.  We’ll be back after the first of the year to talk about assembling the whole afghan.  I’m going to take that time to finish up a few stragglers and start laying out my squares to see how I want them to look.

Happy knitting!


AFGHAN KNITALONG – BLOCK NINETEEN

Block Nineteen is live!

19 Tuckered Out with title_blog

Tuck in!  Block Nineteen is called All Tuckered Out because it introduces the tuck stitch.  It’s a little fold in the fabric that in this case creates a ridge.  This combines knitting back and forth as we did in the bobble and nupp blocks, but with a bit of a different spin.

Amy Gunderson has a video demonstrating this technique.

Amy mentions “knitting backwards” here, which is a technique you could use for Block 17 and Block 18.  Although we shared this as part of Block 17,  want to highlight it again here because it’s just so darned cool.

I can’t tell you how much time it’s going to save me not to have to knit back and forth over little rows.  This is a technique I’m going to practice until I’ve mastered.  This block looks like the perfect opportunity!

As always, you can share your thoughts and work with us here, on Facebook, or in our Ravelry group.    Check back in two weeks for the next block!

Afghan Knitalong – Block Eighteen

Block Eighteen is live!

18 Nupp Beginnings with title blue blog


Last time, bobbles, this time, nupps!  Block Eighteen, Nupp Beginnings uses another kind of round raised stitch to create a similar festive effect.

By the way, did everybody but me know it was pronounced “noop?”  I’ve been saying “nuhp” all these years.   However, in this video, Amy pronounces it correctly as she shows us how to work one of these little popped-up stitches.

I love knowing several ways to do similar things, like this and bobbles.  As a crafter, it’s always good to have options!

We hope you enjoy learning this nupp technique.  Feel free to share your thoughts and work with us here, on Facebook, or in our Ravelry group.    We’ll be back in a couple of weeks with a new block and a new technique!