

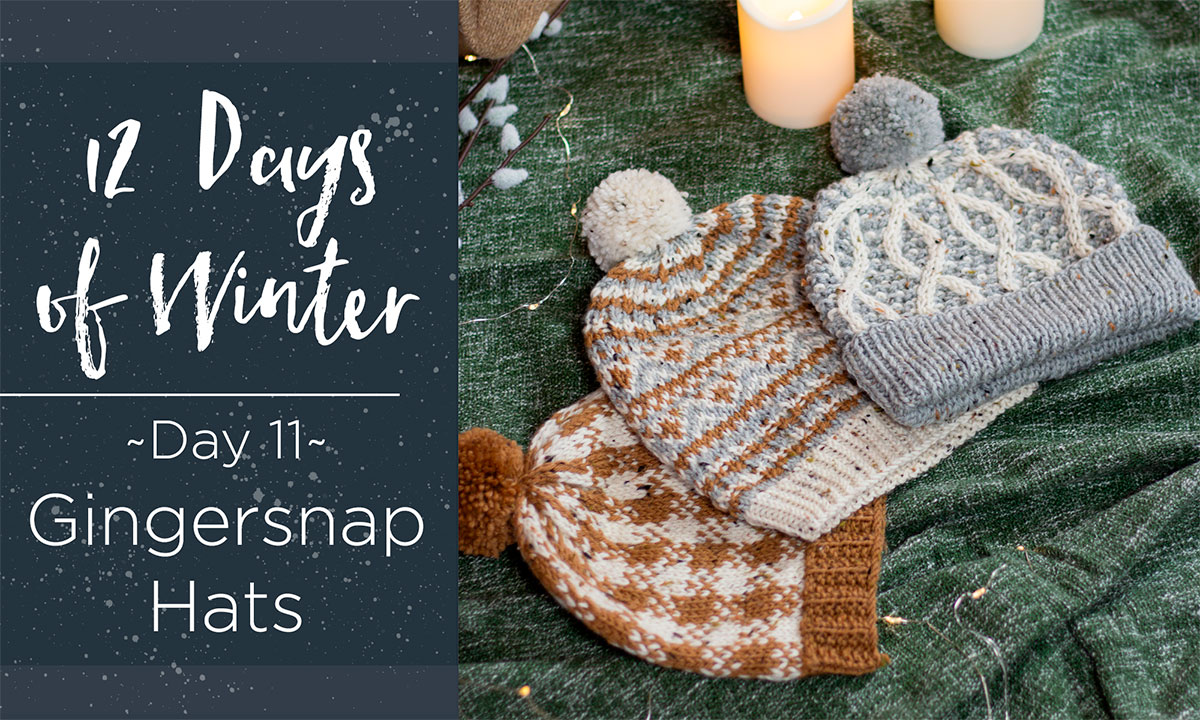
This is part 11 in a 12 part series highlighting designs from the 12 Days of Winter Kit Collection, Series 5.
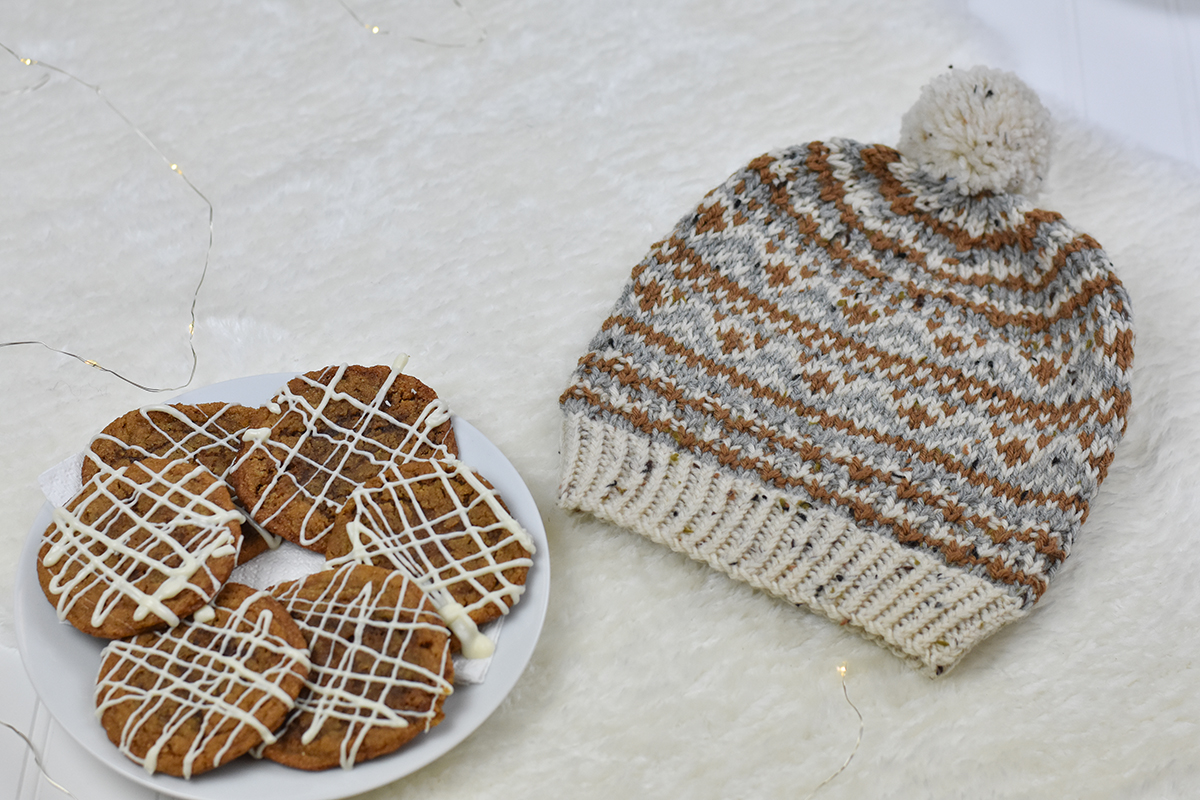
Delicious seasonal foods are one of my favorite things about winter. From mulled wine to pot pies, most of my favorite things to eat are perfect for cold weather. Cookies are a beloved treat of most families, and baking is a great way to spend more quality time with loved ones over the holidays. I absolutely love cooking and baking, I find it to be just as therapeutic and relaxing as knitting. Homemade gingersnap cookies were my inspiration for the Gingersnap Hats kit, knit using Deluxe Worsted Tweed.
Techniques you’ll explore in the Gingersnap Hats patterns are
- Knitting in the round
- Stranded Colorwork
- Slipped stitches
- Mosaic Knitting
- Cables
- Making pom poms
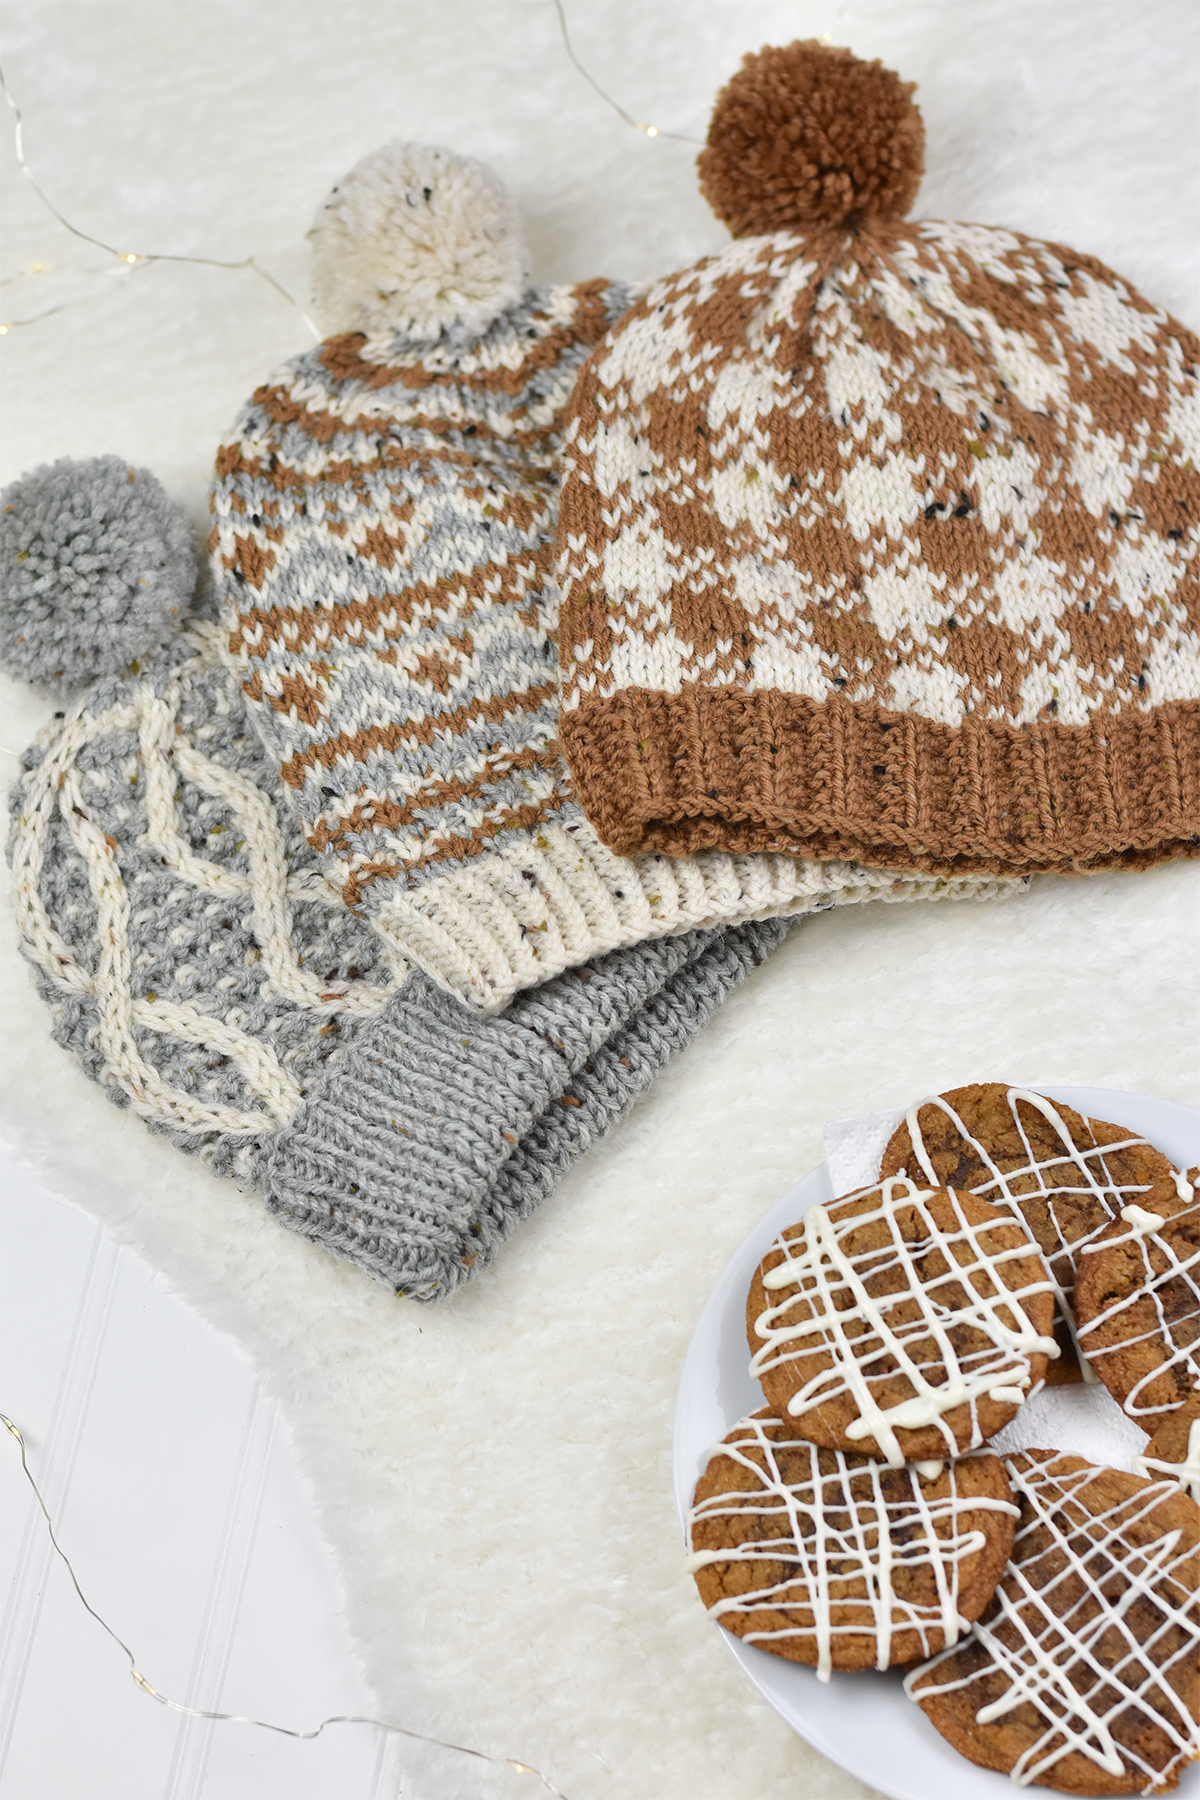
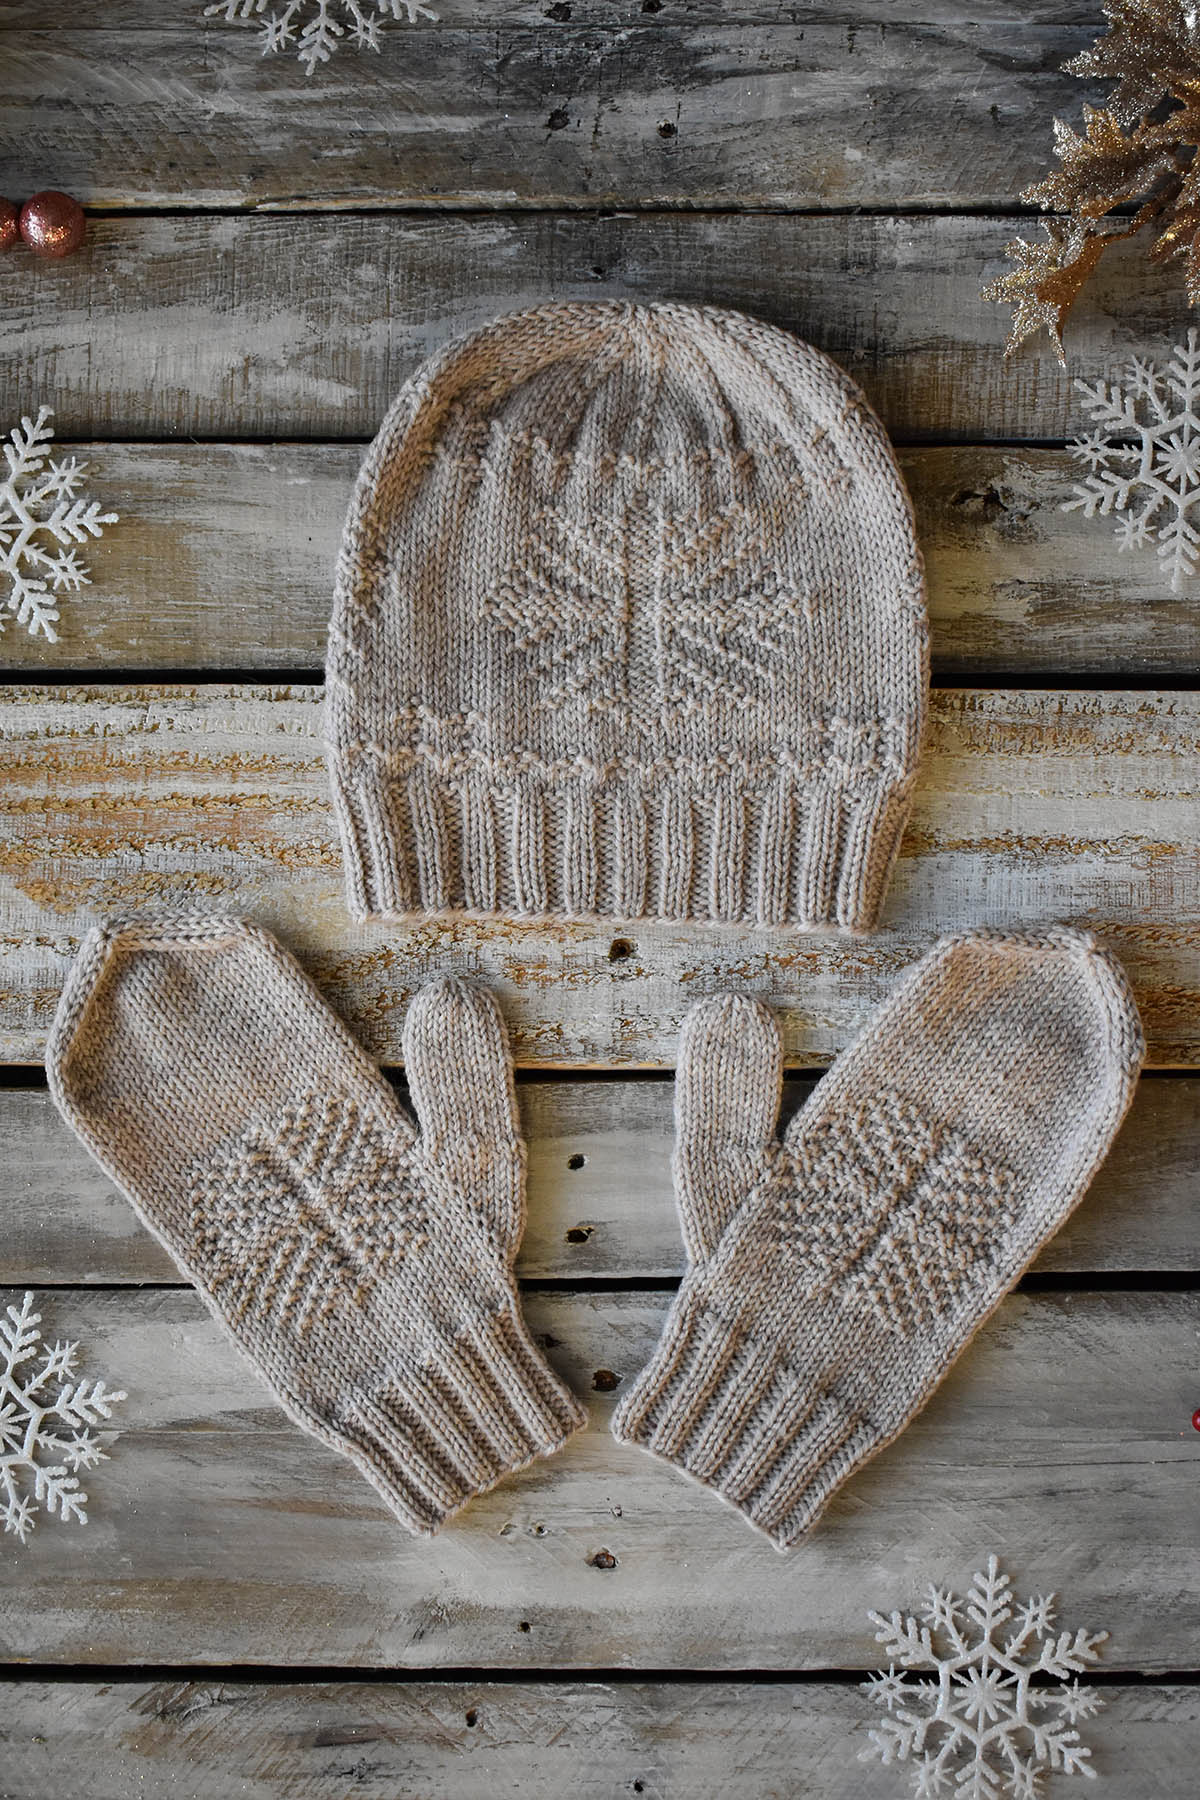
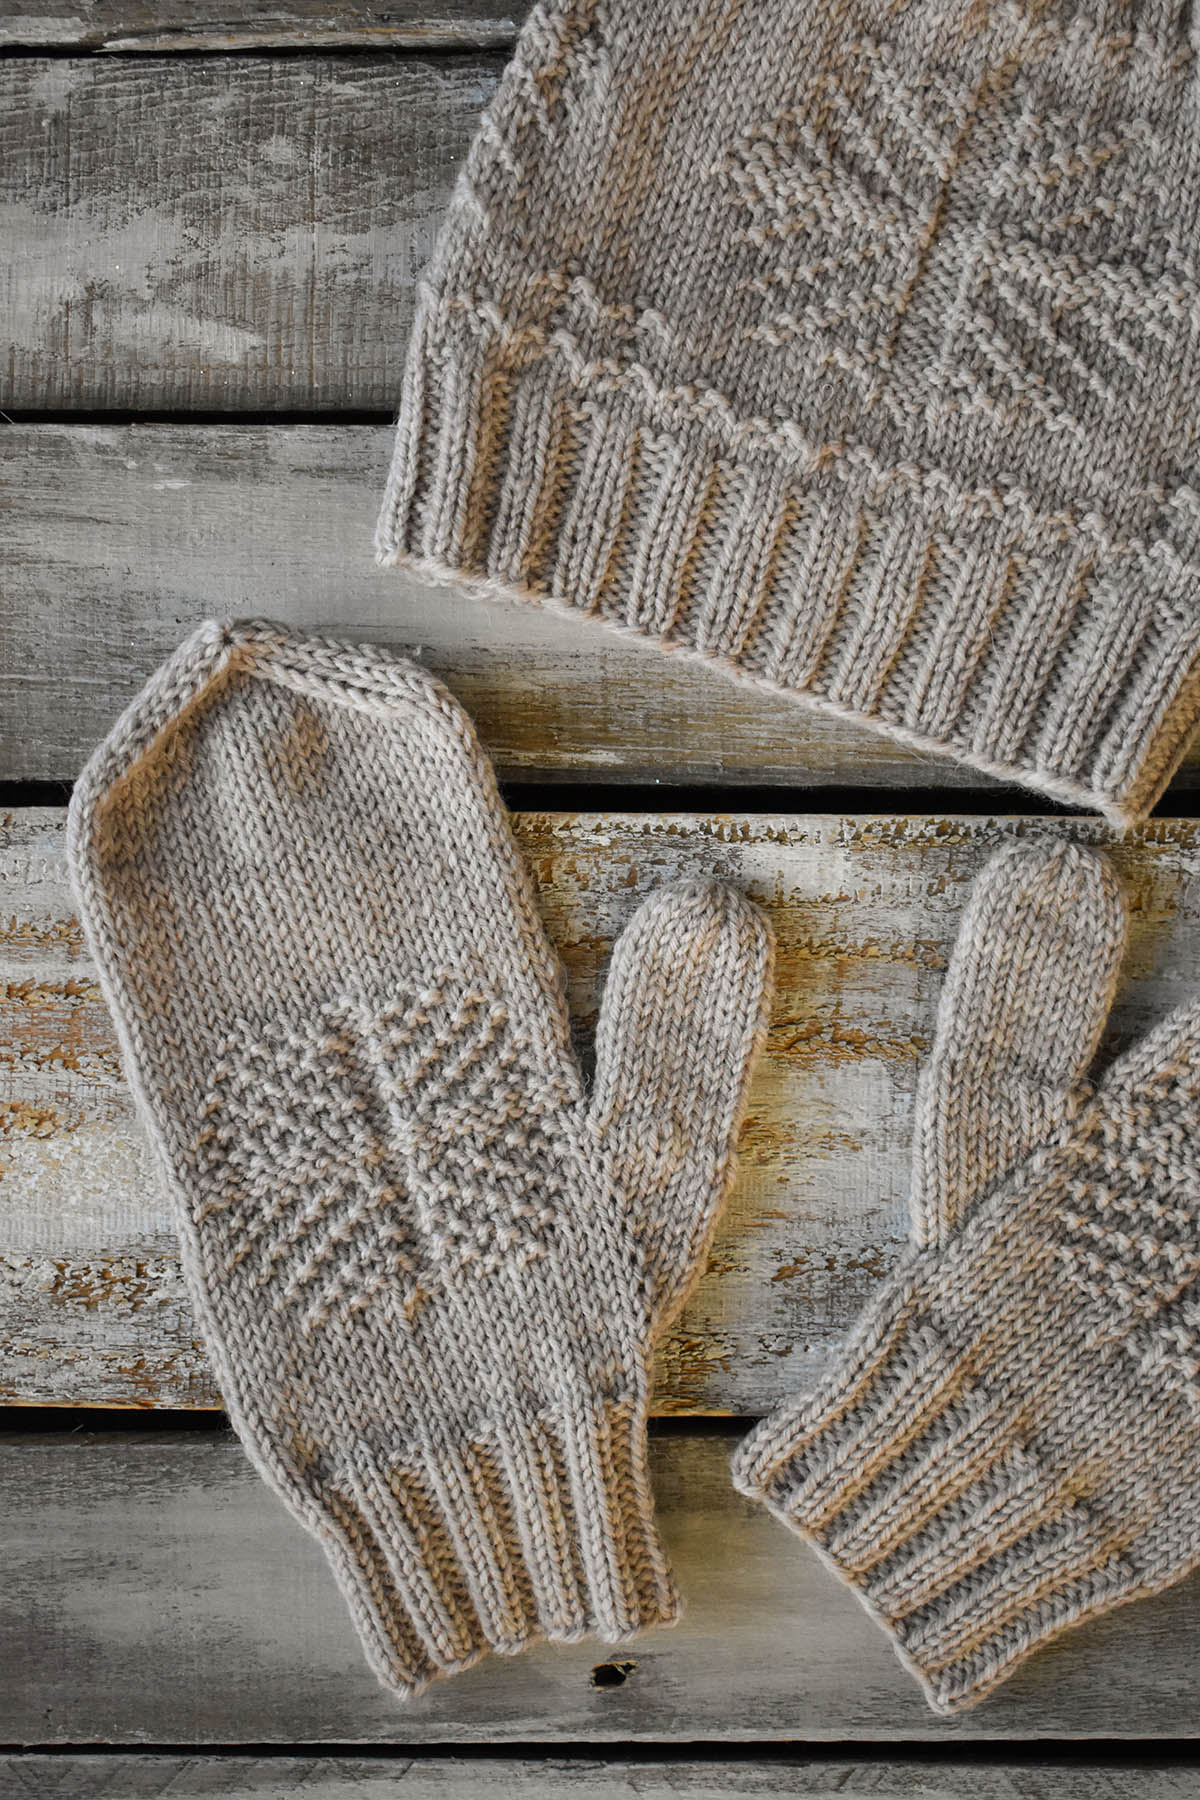
The Gingersnap Hats kit comes with the yarn you need and three hat patterns rolled into one (like a cookie!). One kit will make all three hats- meaning you can keep all three for yourself, or gift a couple to loved ones! Each hat is very different, so you’ll get to explore a wide variety of fun techniques in the whole pattern. I chose colors that felt warm, spicy, and worked well together. I love how the different shades don’t compete with one another in these hats, and each one shows off the tweedy nubs in Deluxe Worsted Tweed so well. This superwash wool based yarn is wonderful to work with and easy to care for.
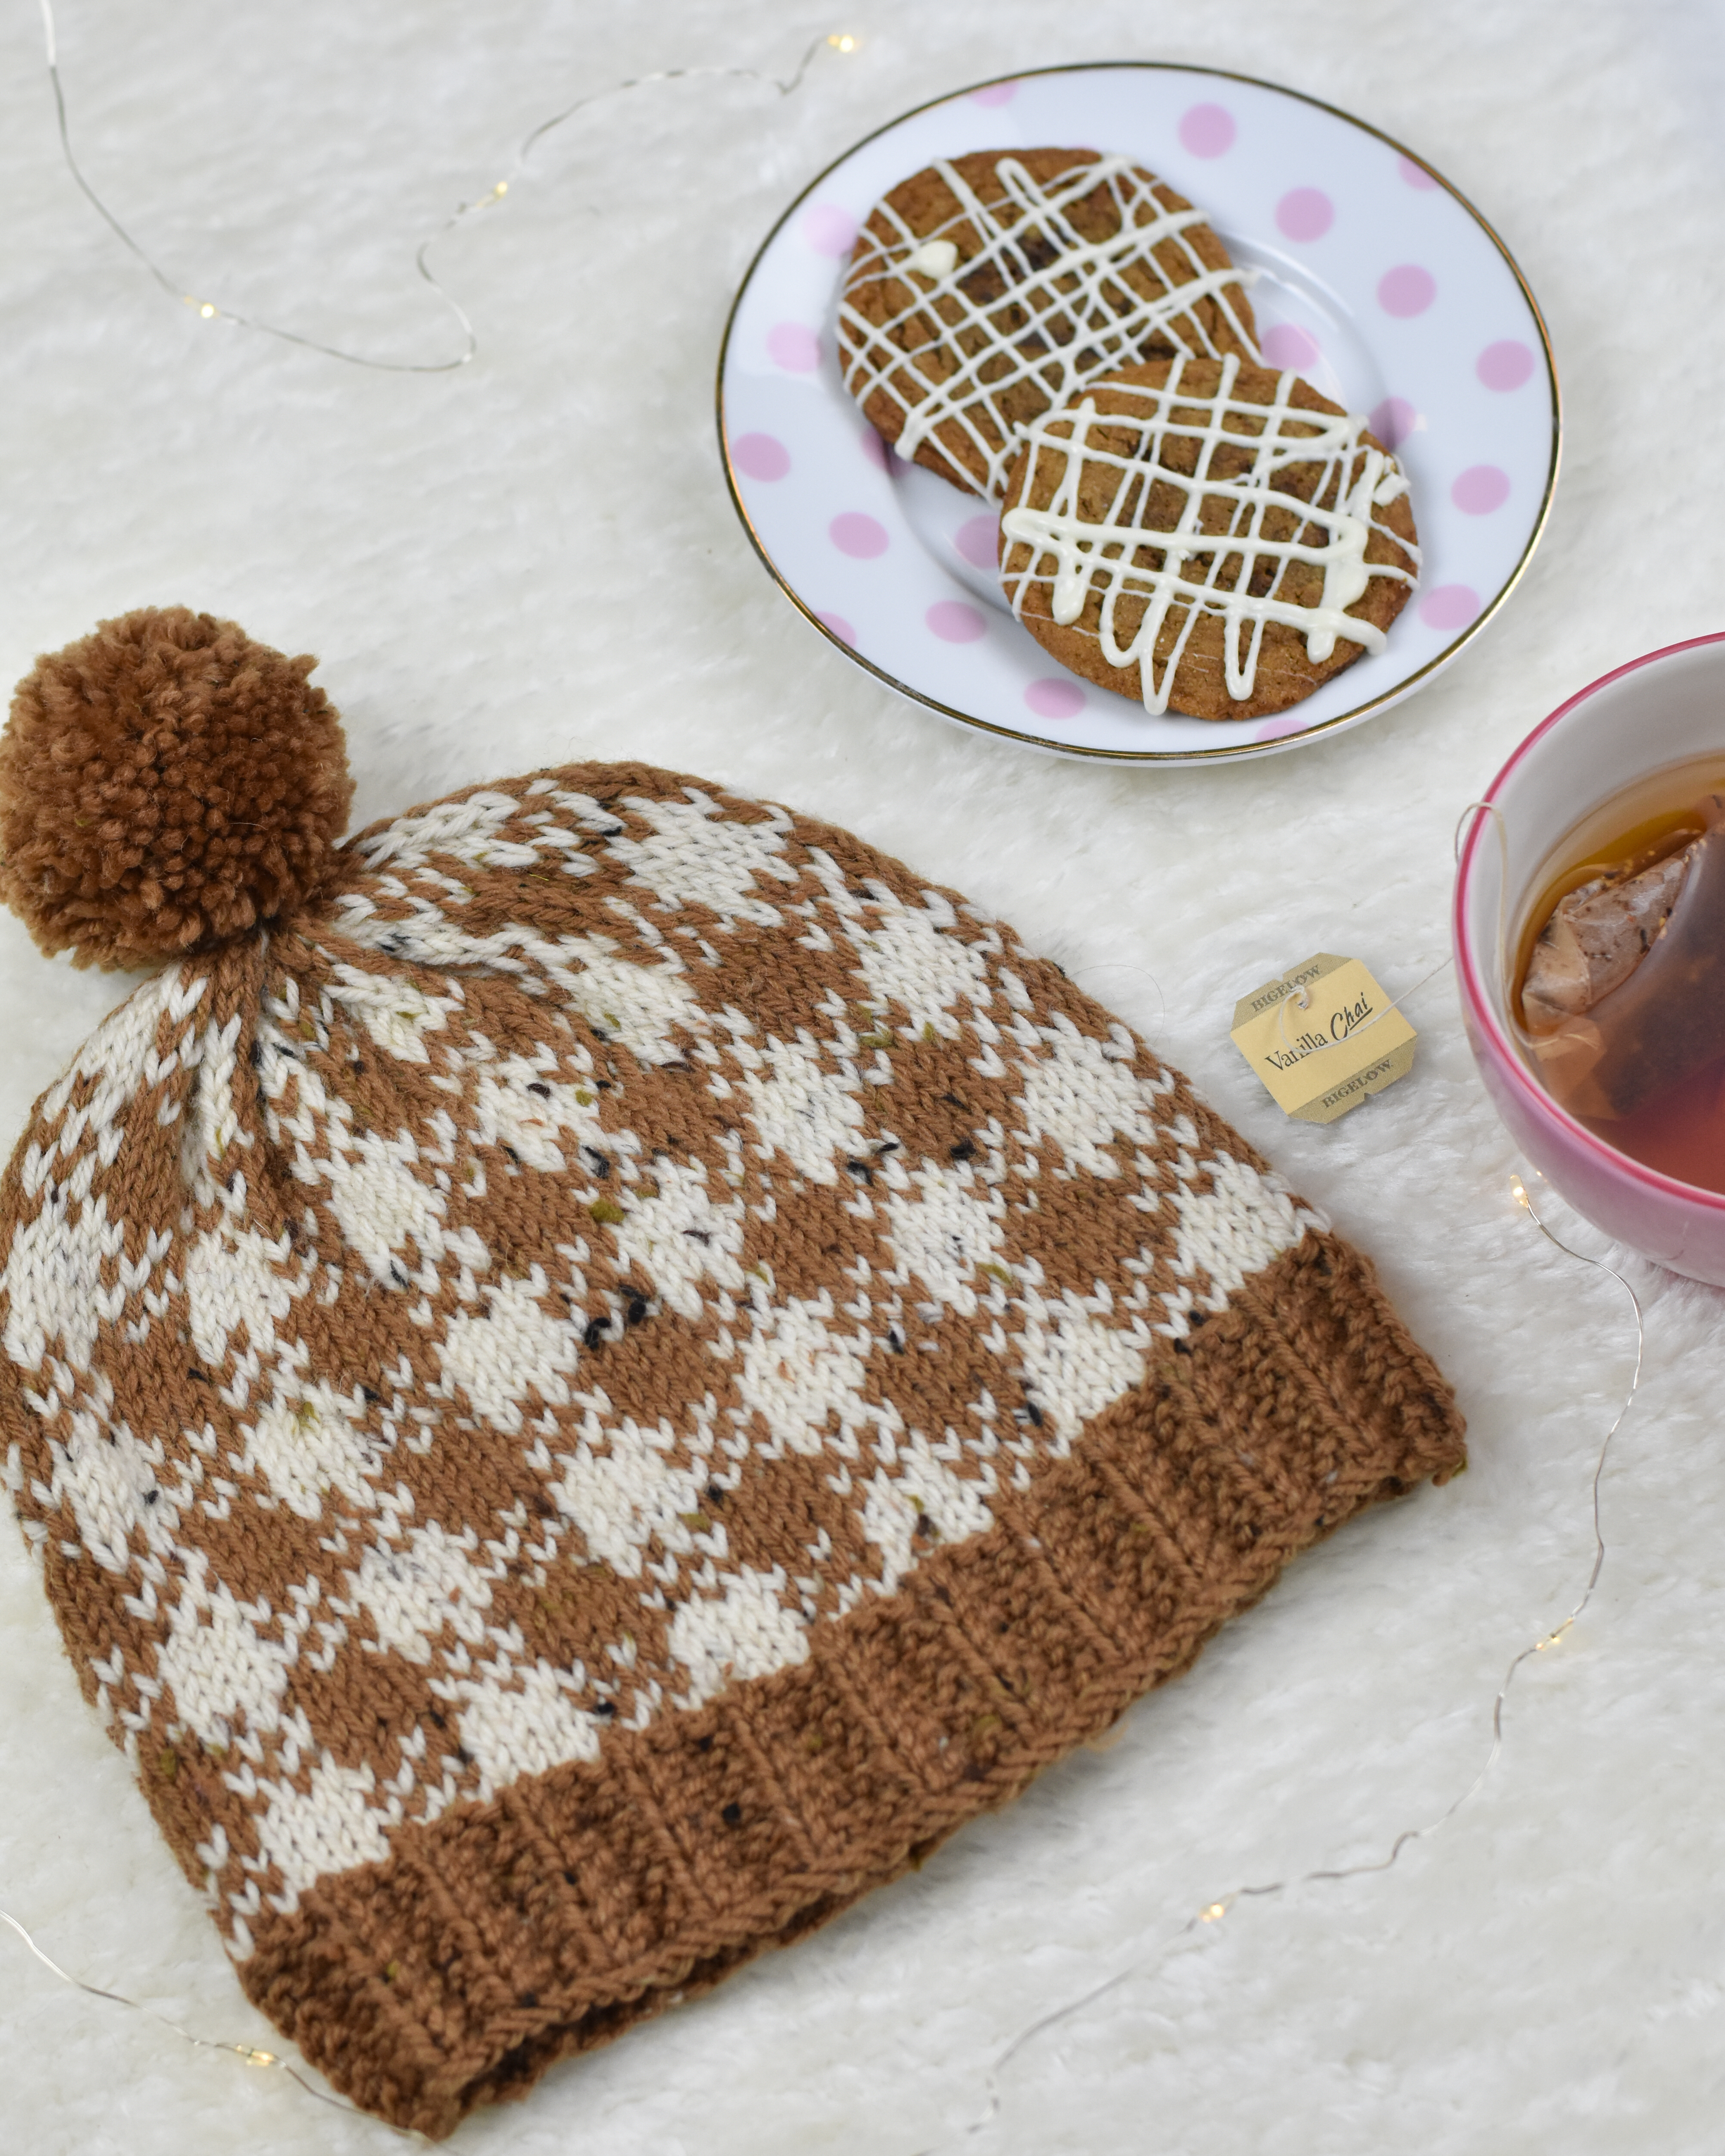
The Two-Color Plaid Hat features a broken rib hem in the color 920 Camel. I love ribbing stitches, and enjoyed playing with some different rib stitches for this hat trio. You’ll then work a buffalo style plaid colorwork pattern all over the body of the hat. It easily works into the crown shaping, creating a seamless look. Since this colorwork only uses 2 colors, it has a very bold, graphic look that makes a statement.
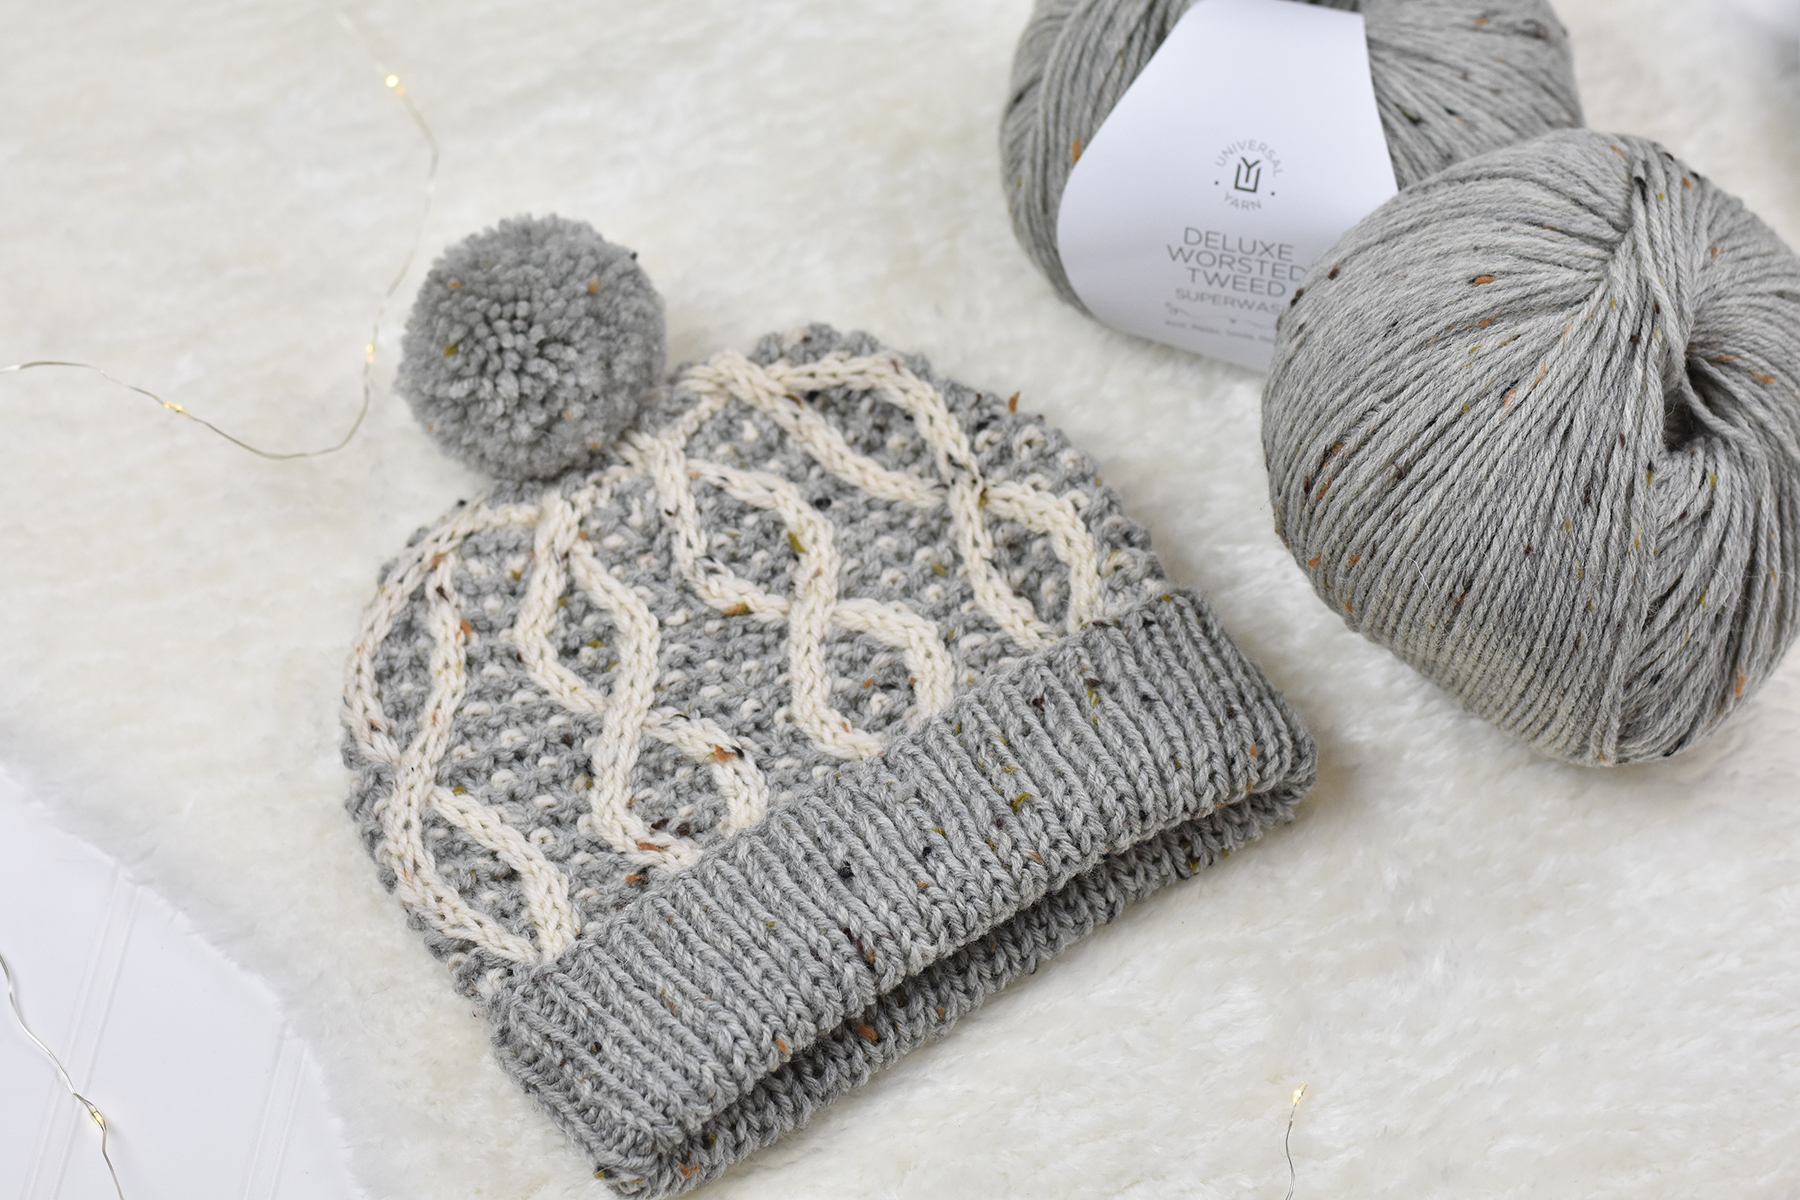
For the next part of the Gingersnap Hats, I designed the Two-Color Cable Hat. This hat features some knitting techniques that are really fun when worked together. First, you’ll work a folded brim using the color 913 Smoke, in a classic K1, P1 rib stitch. Then, you’ll immediately begin working the mosaic two-color cable texture. This type of knitting uses slipped stitches in one color and knit stitches in another to achieve the final texture. You’ll also work cables into the mosaic pattern. Although this may sound intimidating, you’ll only be using one color per row, making it easy to tackle! Mosaic knitting has a unique process and end-result appearance that you’ll love once you get the hang of it.
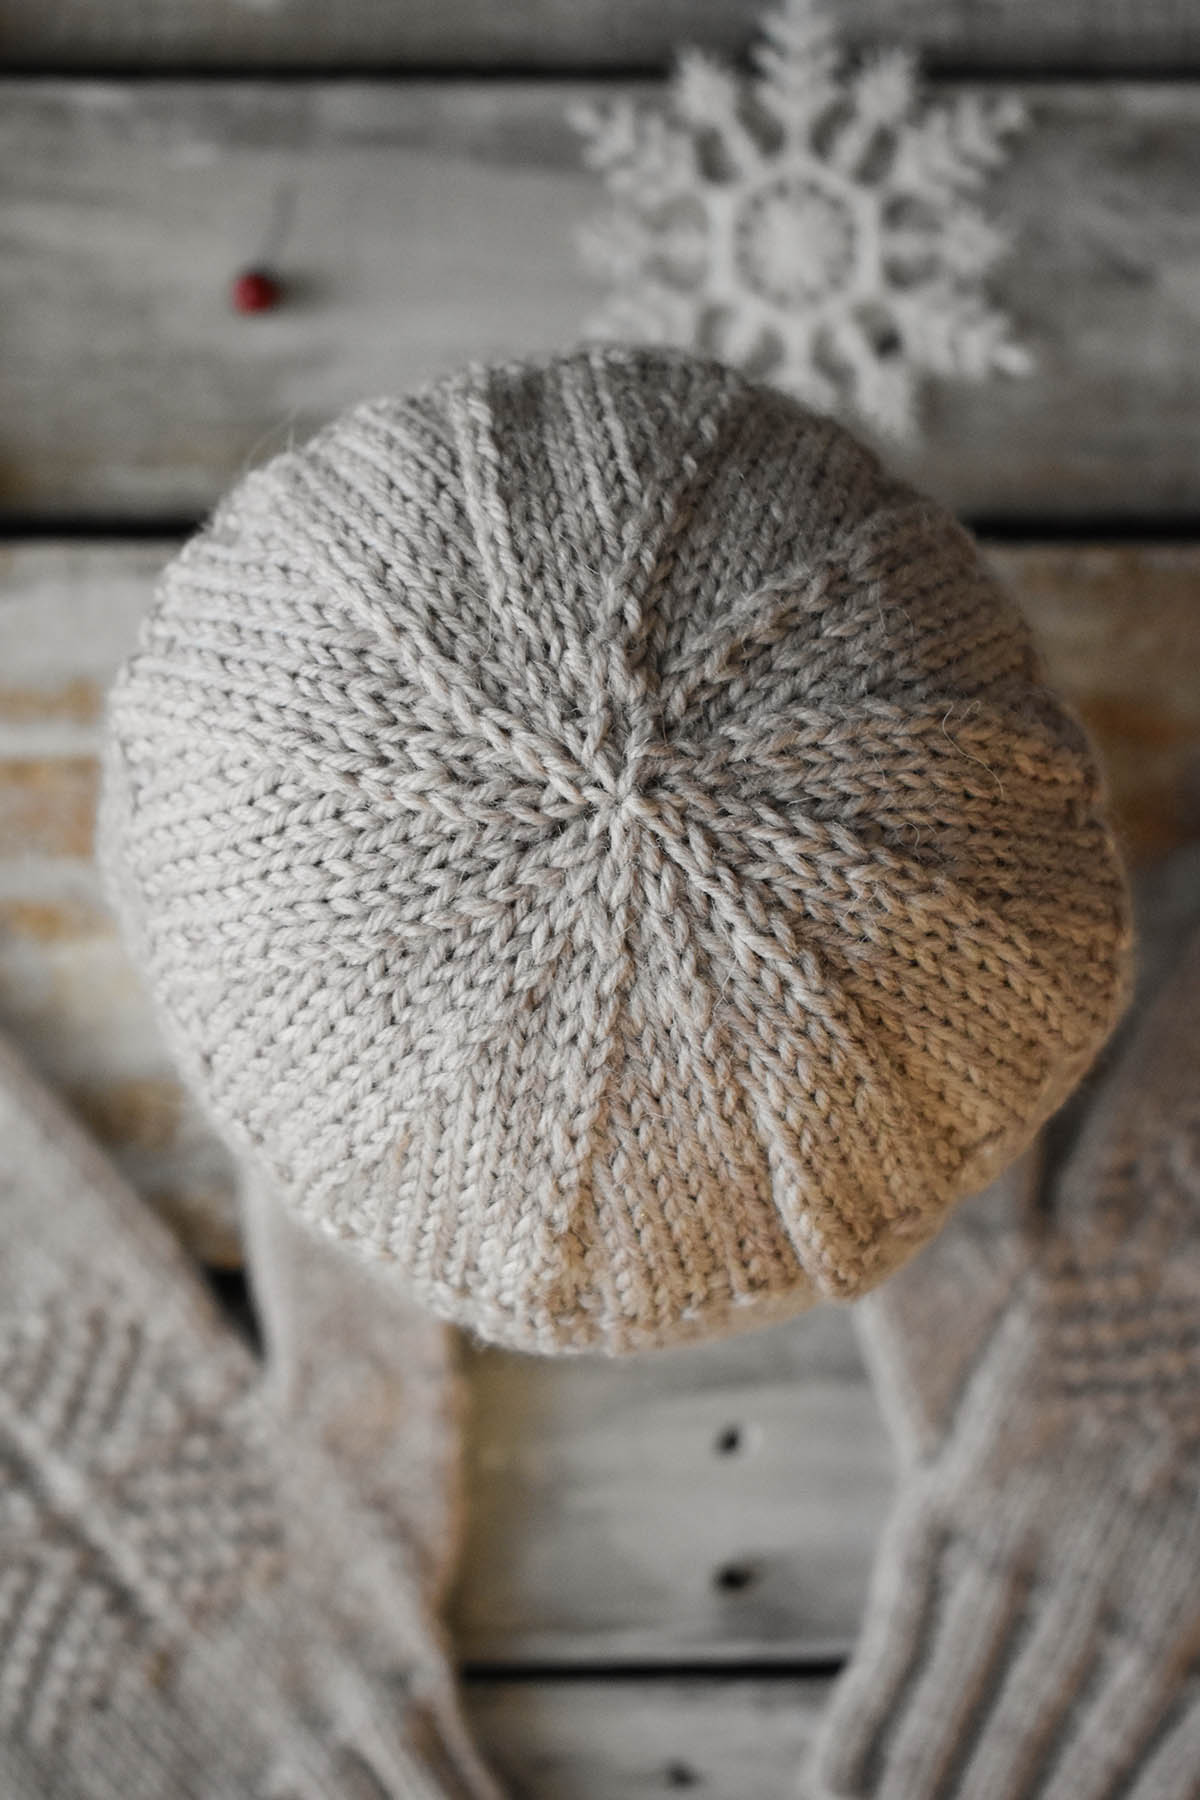
The final hat in the trio is the Three-Color Hat. First, you’ll work a twisted rib hem (my favorite), then, you’ll use all three colors for a slipped stitch tweed-like pattern. From there, you’ll transition into the stranded colorwork section of the hat. This hat uses all three colors, so be extra mindful of your float tension here, and change needle sizes as indicated in the pattern. For the crown shaping, we return to the rhythmic tweed texture. Each of these hats is adorned with a pom pom that matches the color of the ribbing. So cute!
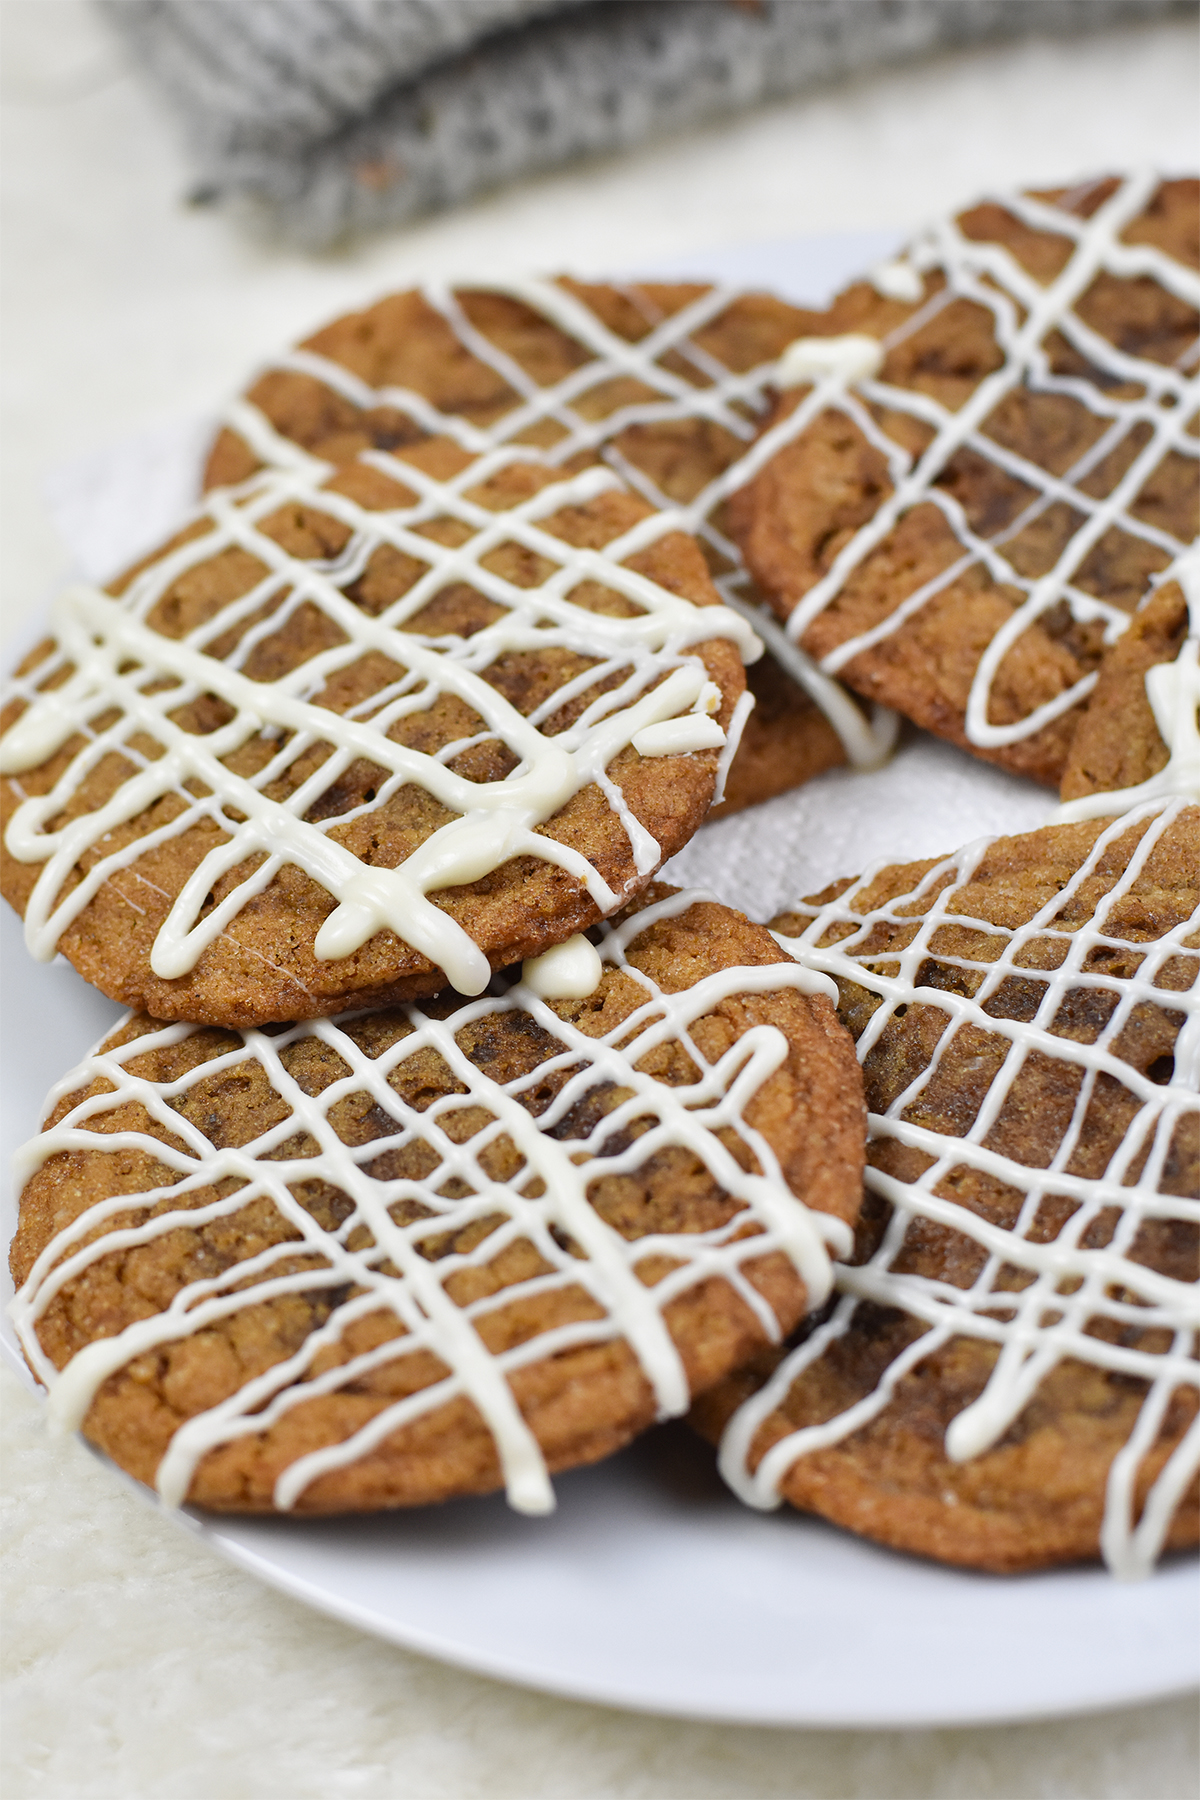
For today’s post, I wanted to share a delicious recipe for homemade ginger cookies, which inspired the Gingersnap Hats. These cookies are soft, chewy, full of spice, and drizzled with white chocolate. If you need encouragement for baking, the office staff ate all of these cookies in about 10 minutes after I finished taking these photos!
For the cookies you will need:
- 1 cup of sugar
- 3/4 cup of shortening or butter (your preference)
- 1/4 cup molasses
- 1 egg
- 2 1/4 cups of all purpose baking flour
- 2 teaspoons of baking soda
- 1 teaspoon ground ginger
- 1 1/4 teaspoon ground cinnamon
- 1/2 teaspoon ground nutmeg
- 1/2 teaspoon salt
- brown sugar, cinnamon, and white sugar blend for rolling cookies before baking
- white chocolate for drizzling (I like the Ghirardelli melting wafers)
How to make cookies
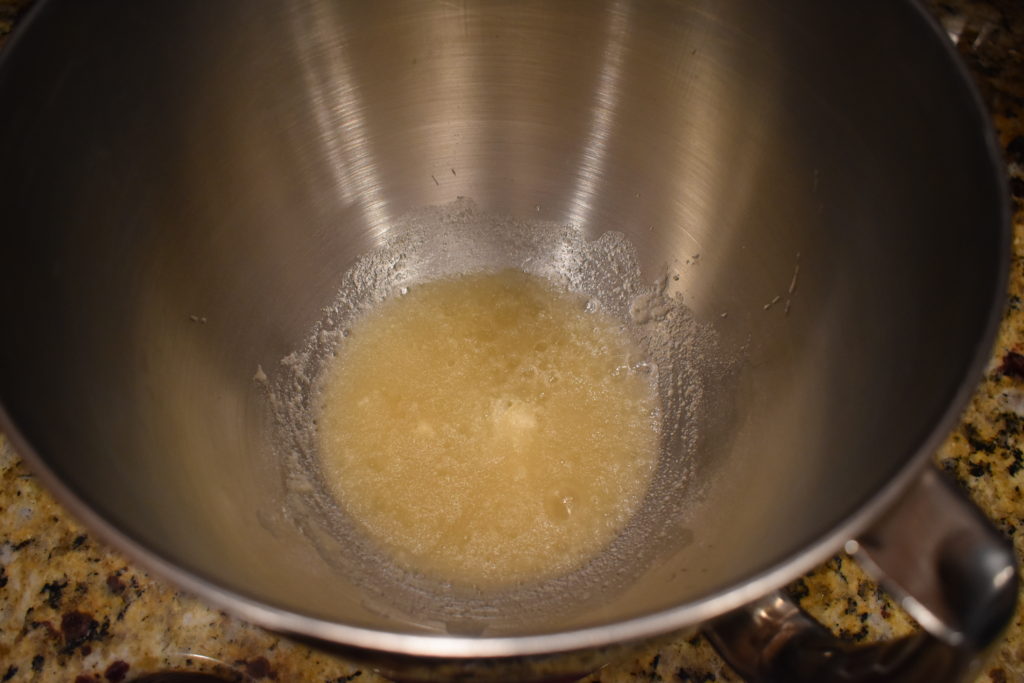
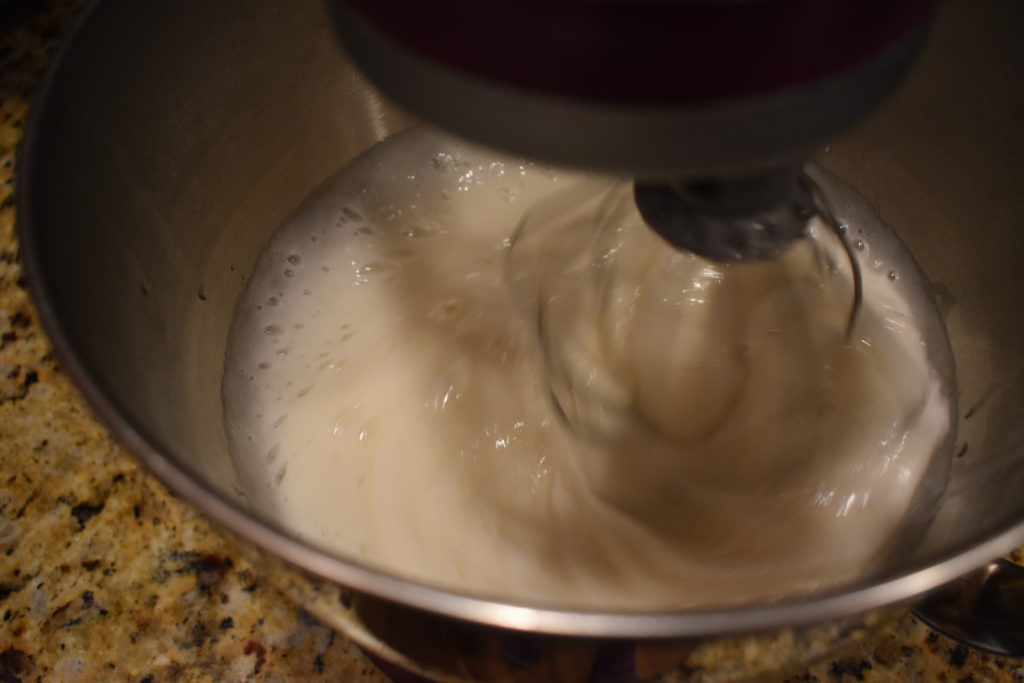
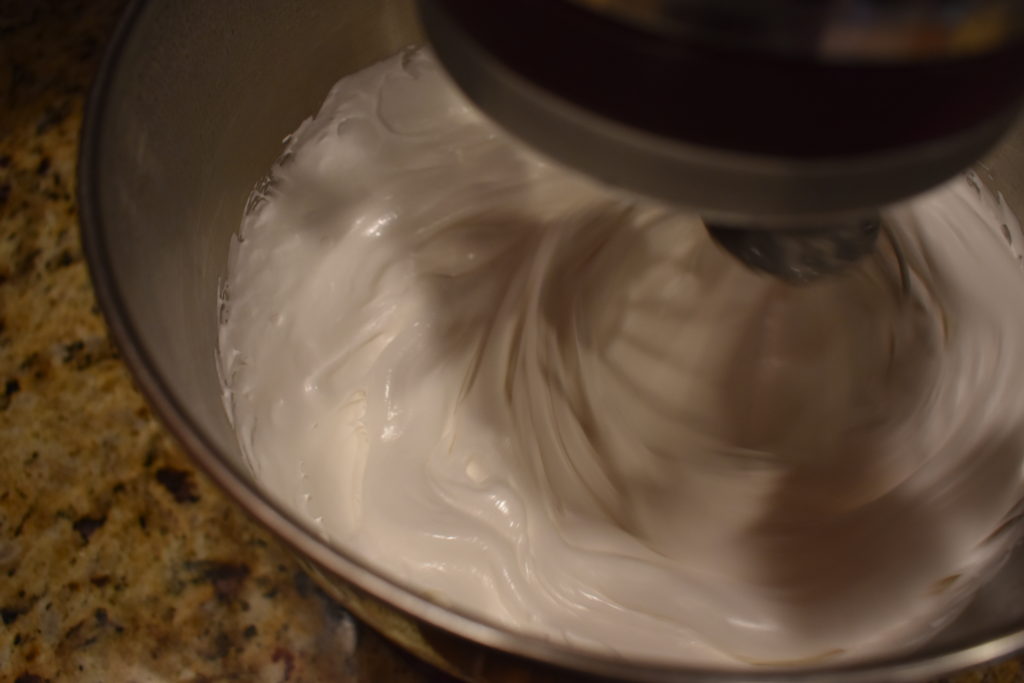
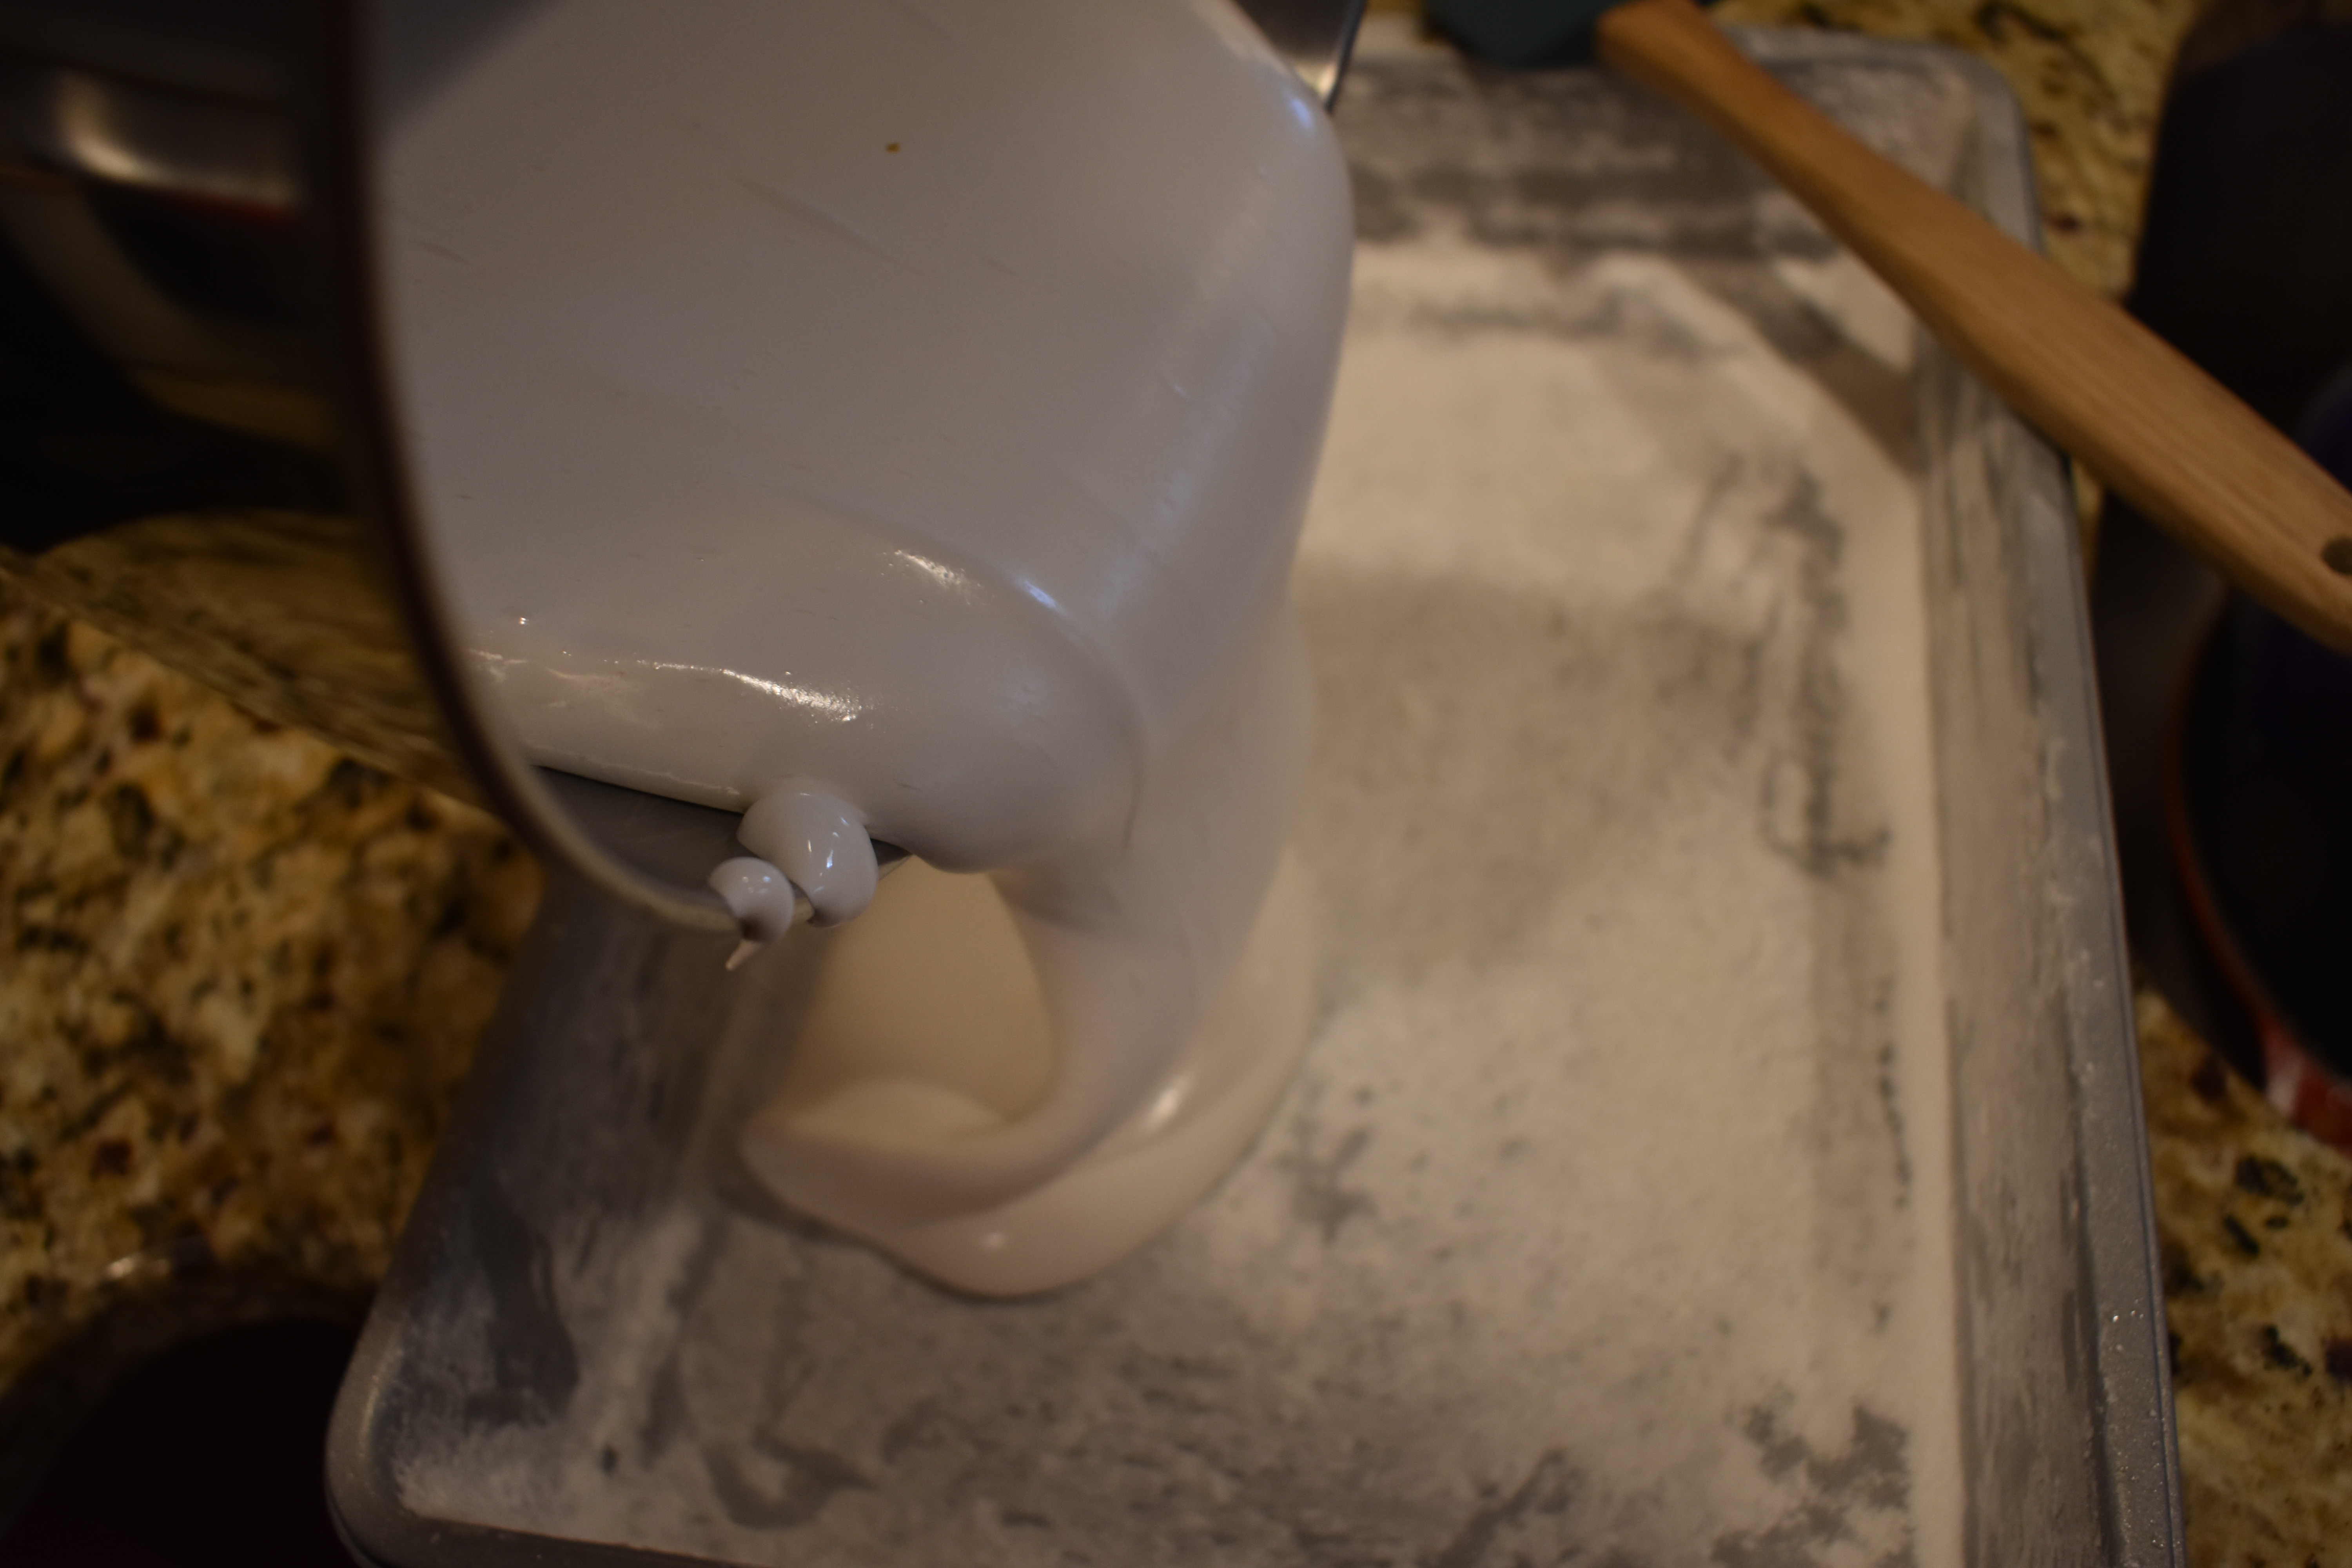
- Combine the sugar, molasses, shortening or butter, and egg in a large mixing bowl. Using an electric mixer, beat on medium until mixture becomes light and fluffy.
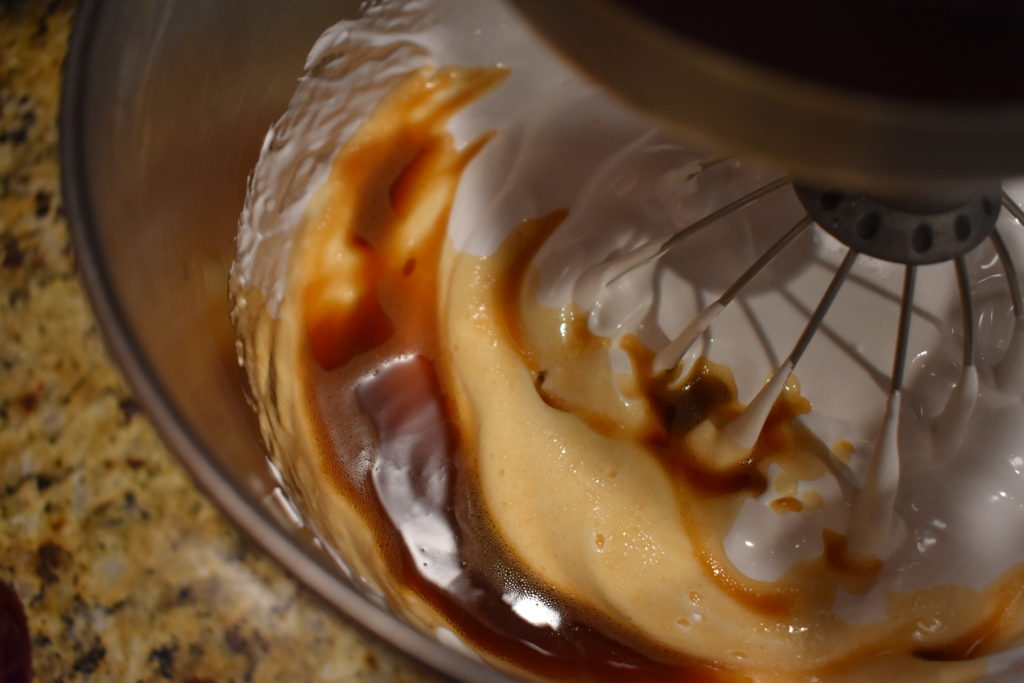
- Add in your dry ingredients, and use a large mixing spoon or spatula and stir to combine well.
- Once well combined, cover with plastic wrap and chill in the fridge. Minimum: 1 hour
- While dough is chilling, preheat oven to 350 degrees fahrenheit.
- Line 2 baking sheets with parchment paper.
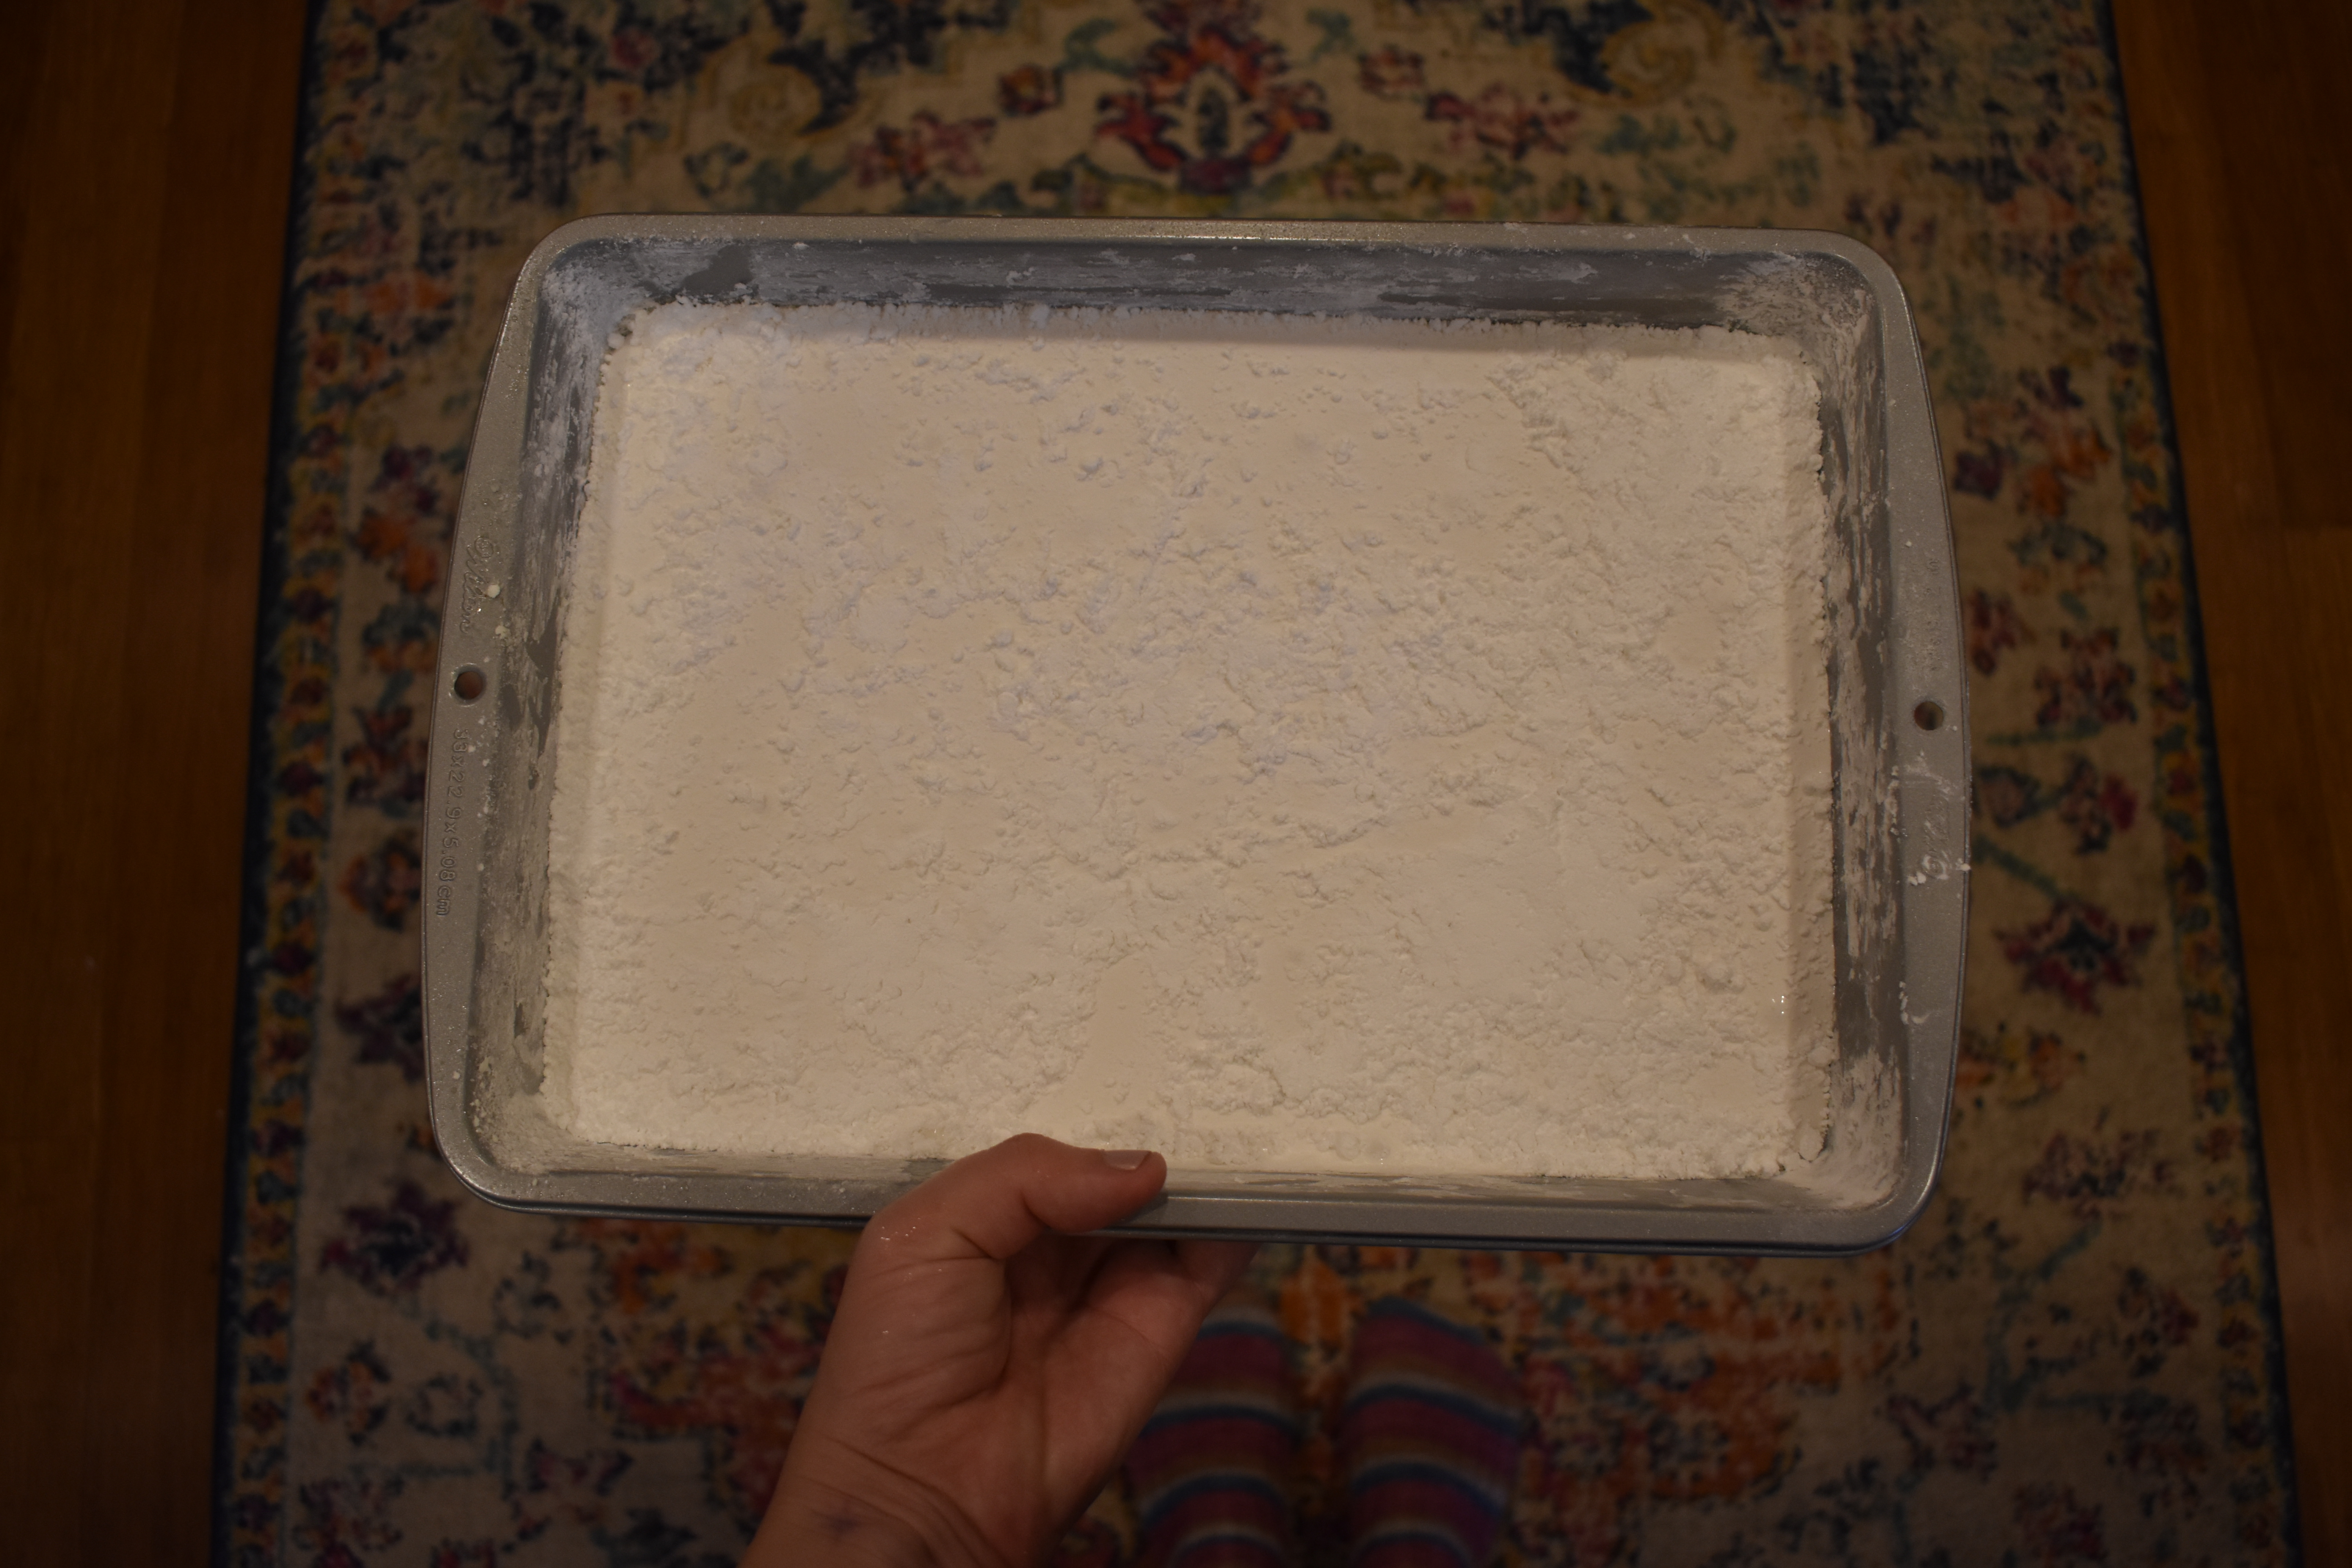
- Pour cinnamon, brown, and white sugar mix onto a plate.
- Using a cookie scoop or spoon, scoop out and roll dough into 1″ balls. Roll the dough in the sugar mixture to give a light all-over coating.
- Place approx 12 cookies per sheet, leaving space between each cookie. (Recipe makes 24-28 cookies depending on size)
- Bake the cookies for 10 minutes, or until they rise and fall in the oven (to retain chewy soft texture).
- Remove from oven and place sheet of parchment paper with cookies on counter to cool completely. If you have wire cooling racks, you may also use these. I like leaving the parchment paper underneath for easy cleanup after drizzling chocolate!
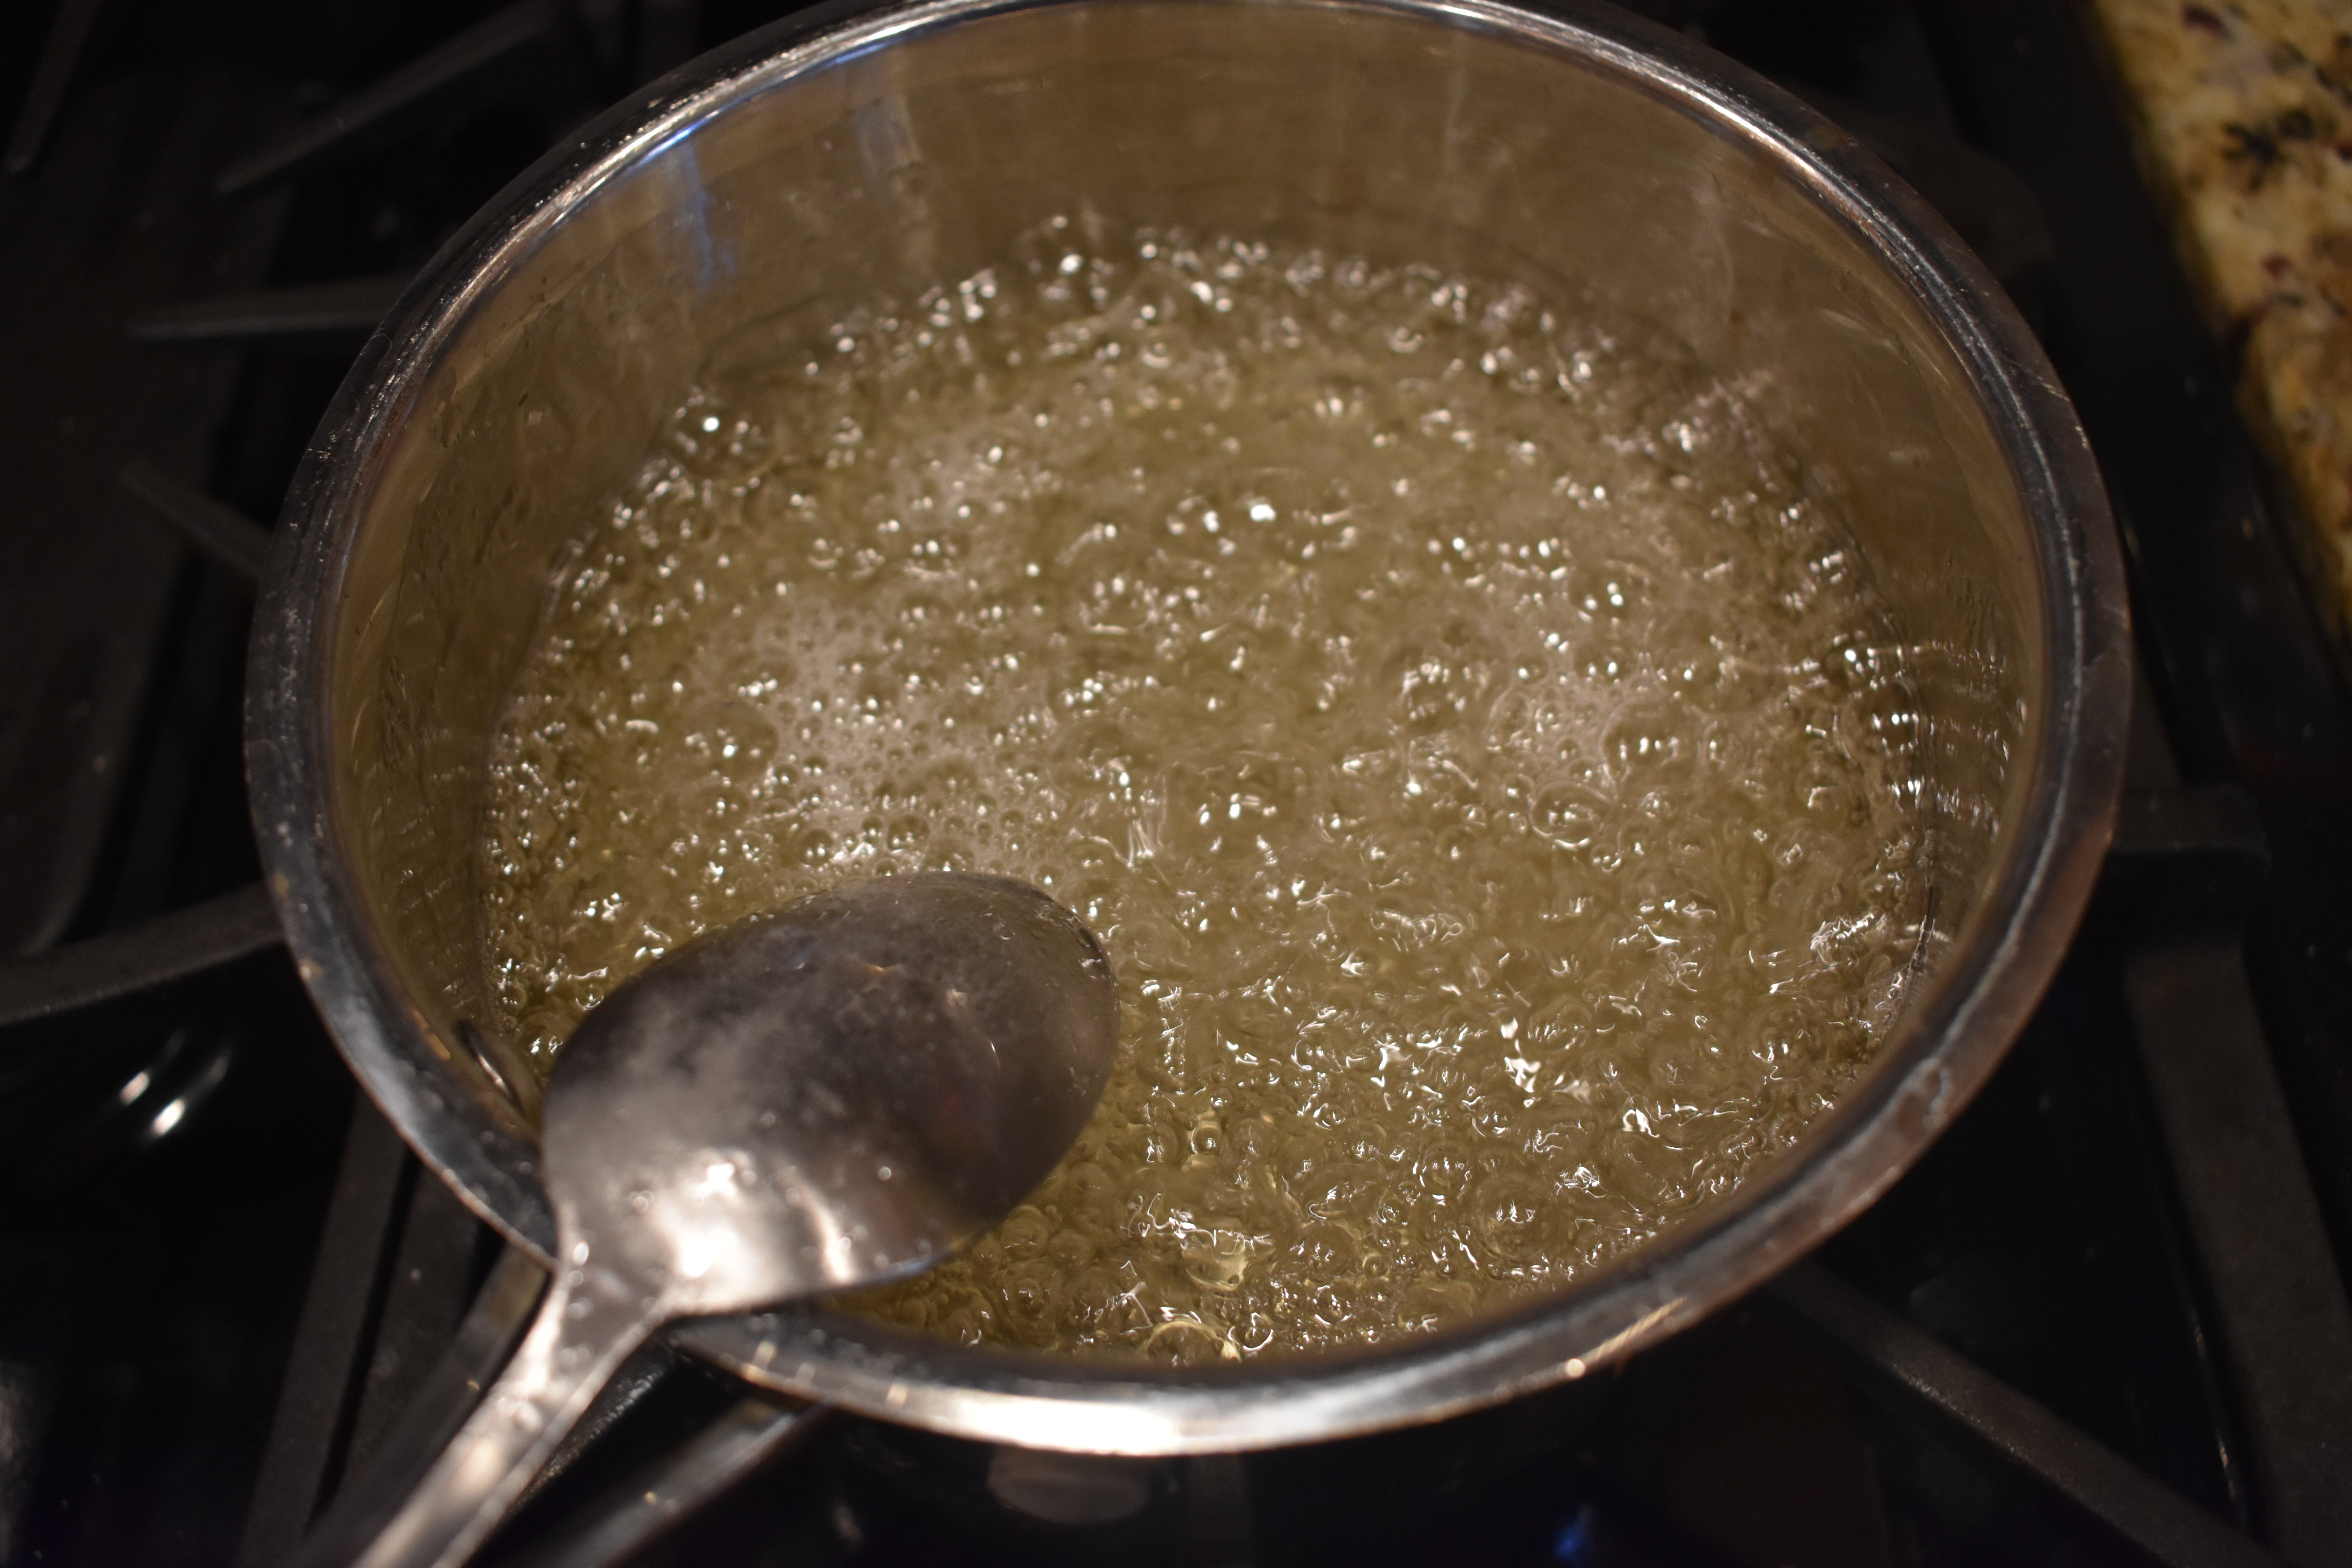
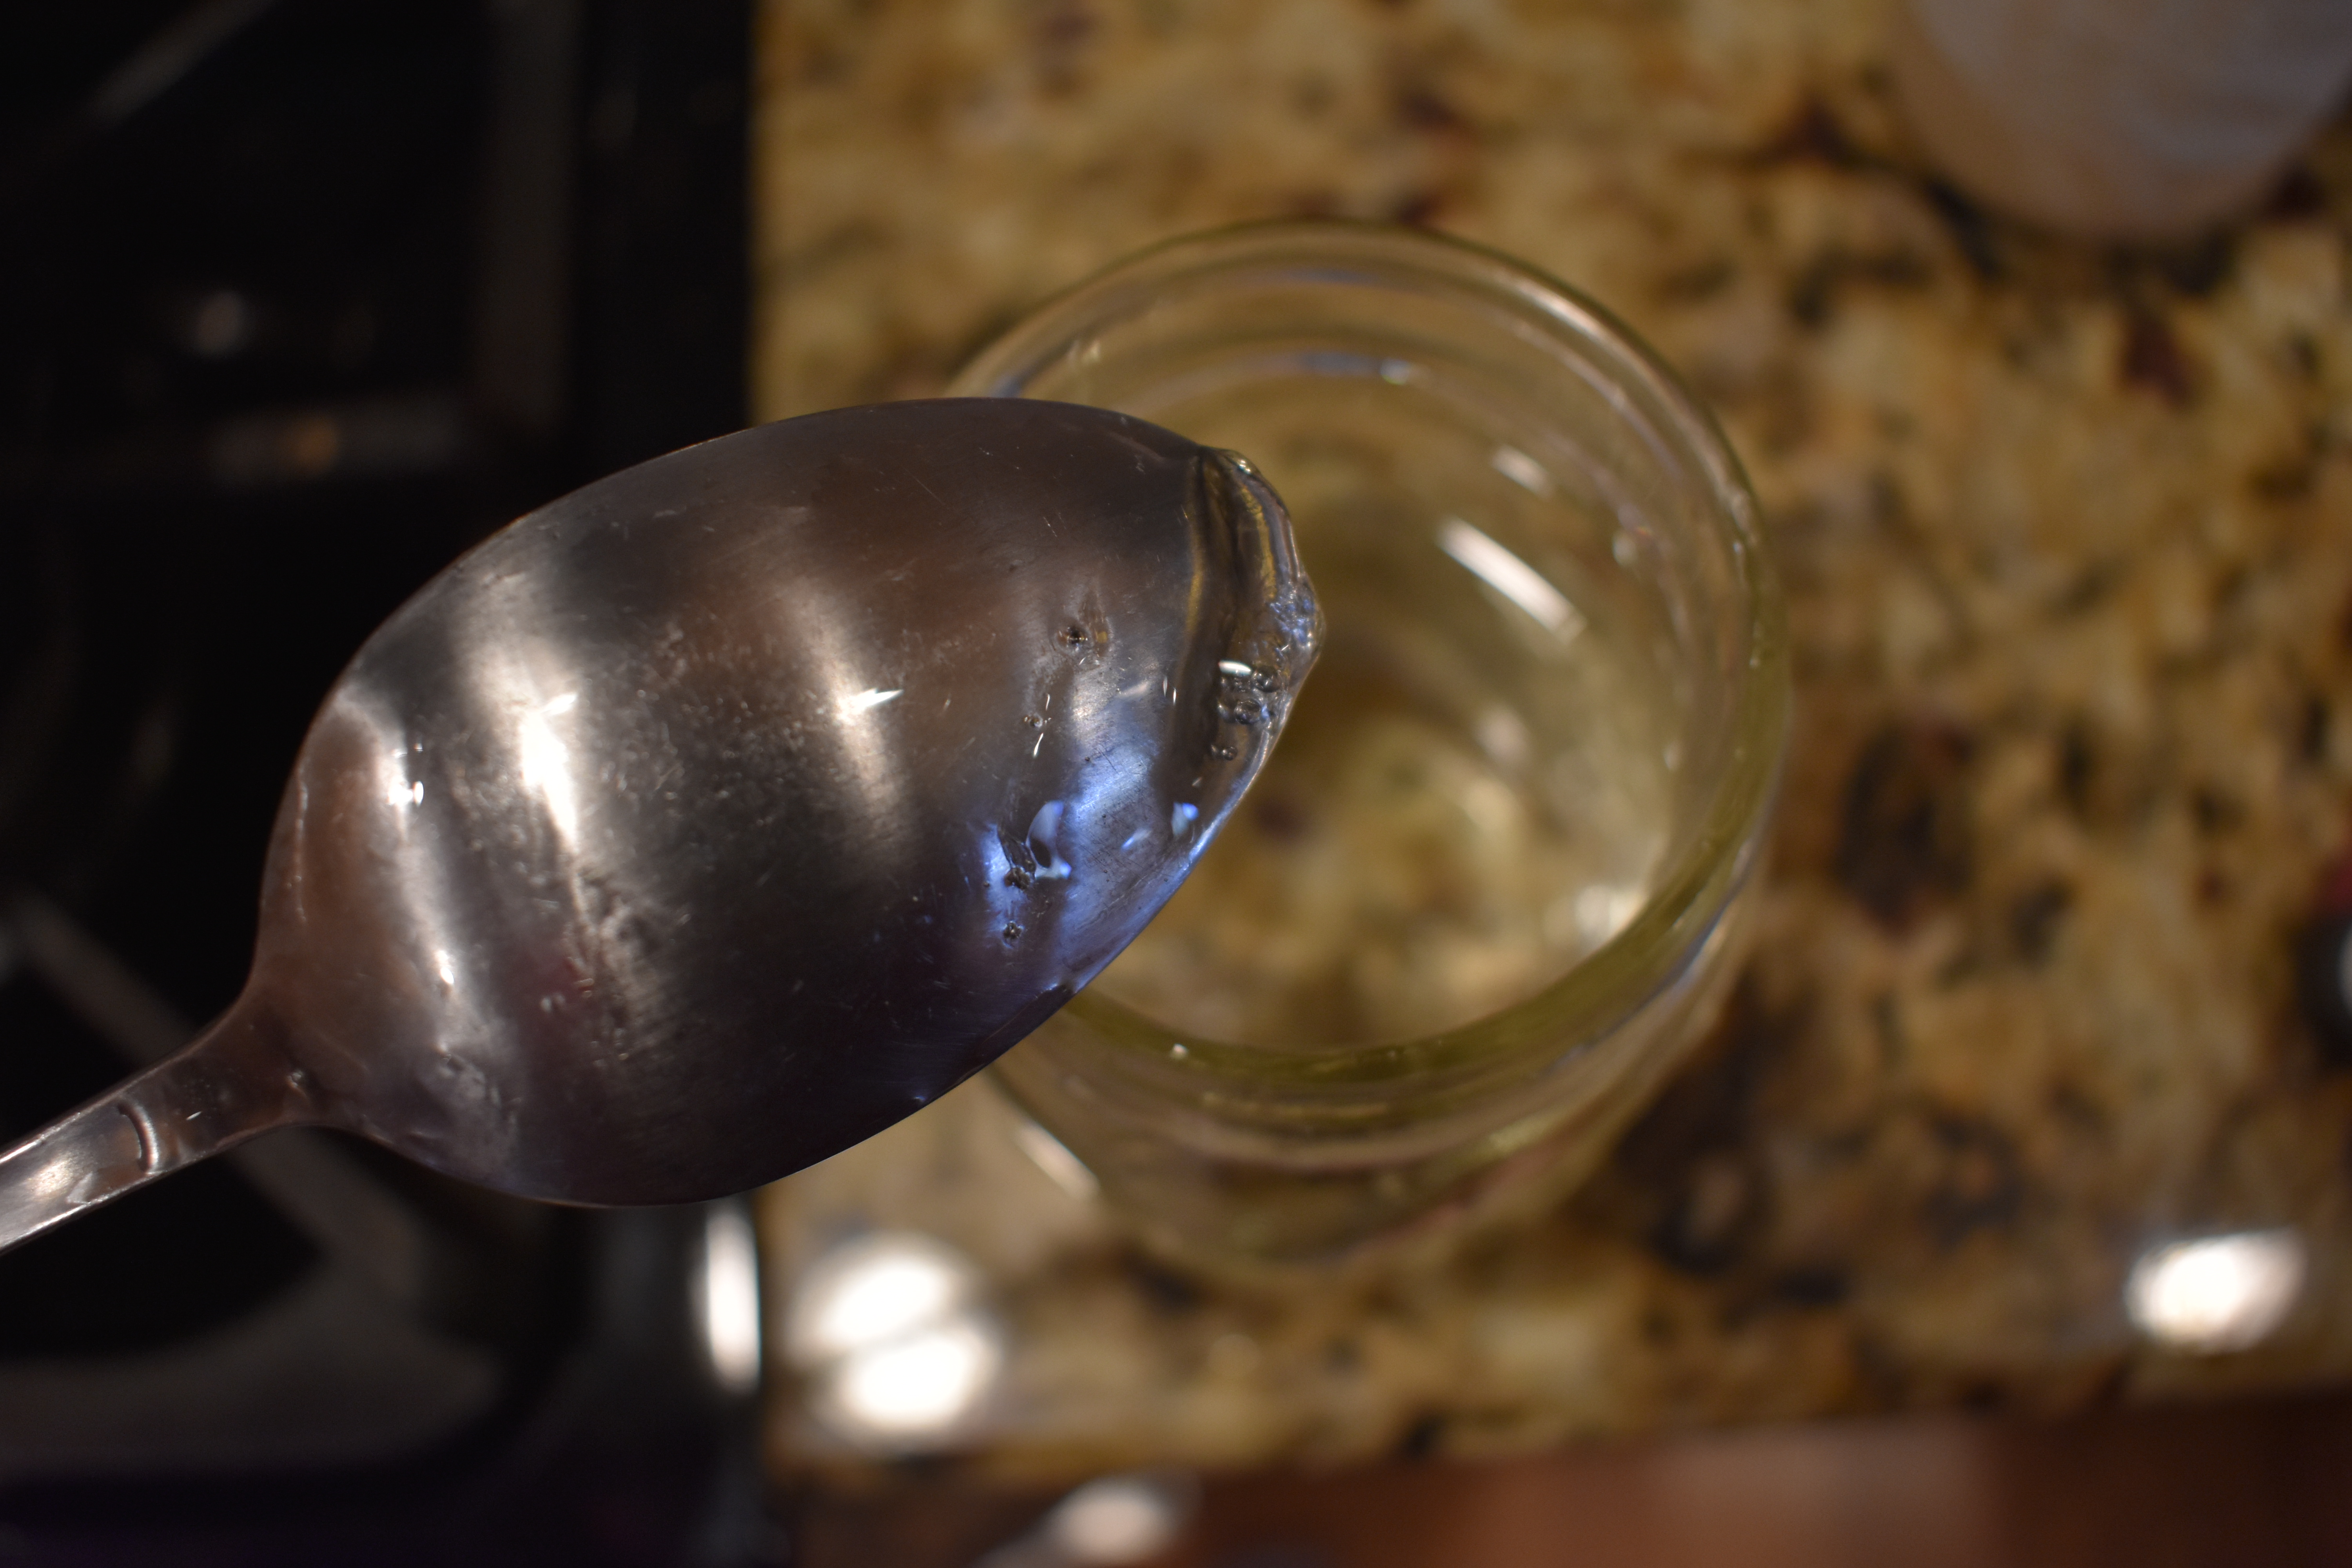
- Once the cookies are completely cool, heat your white chocolate per the package instructions.
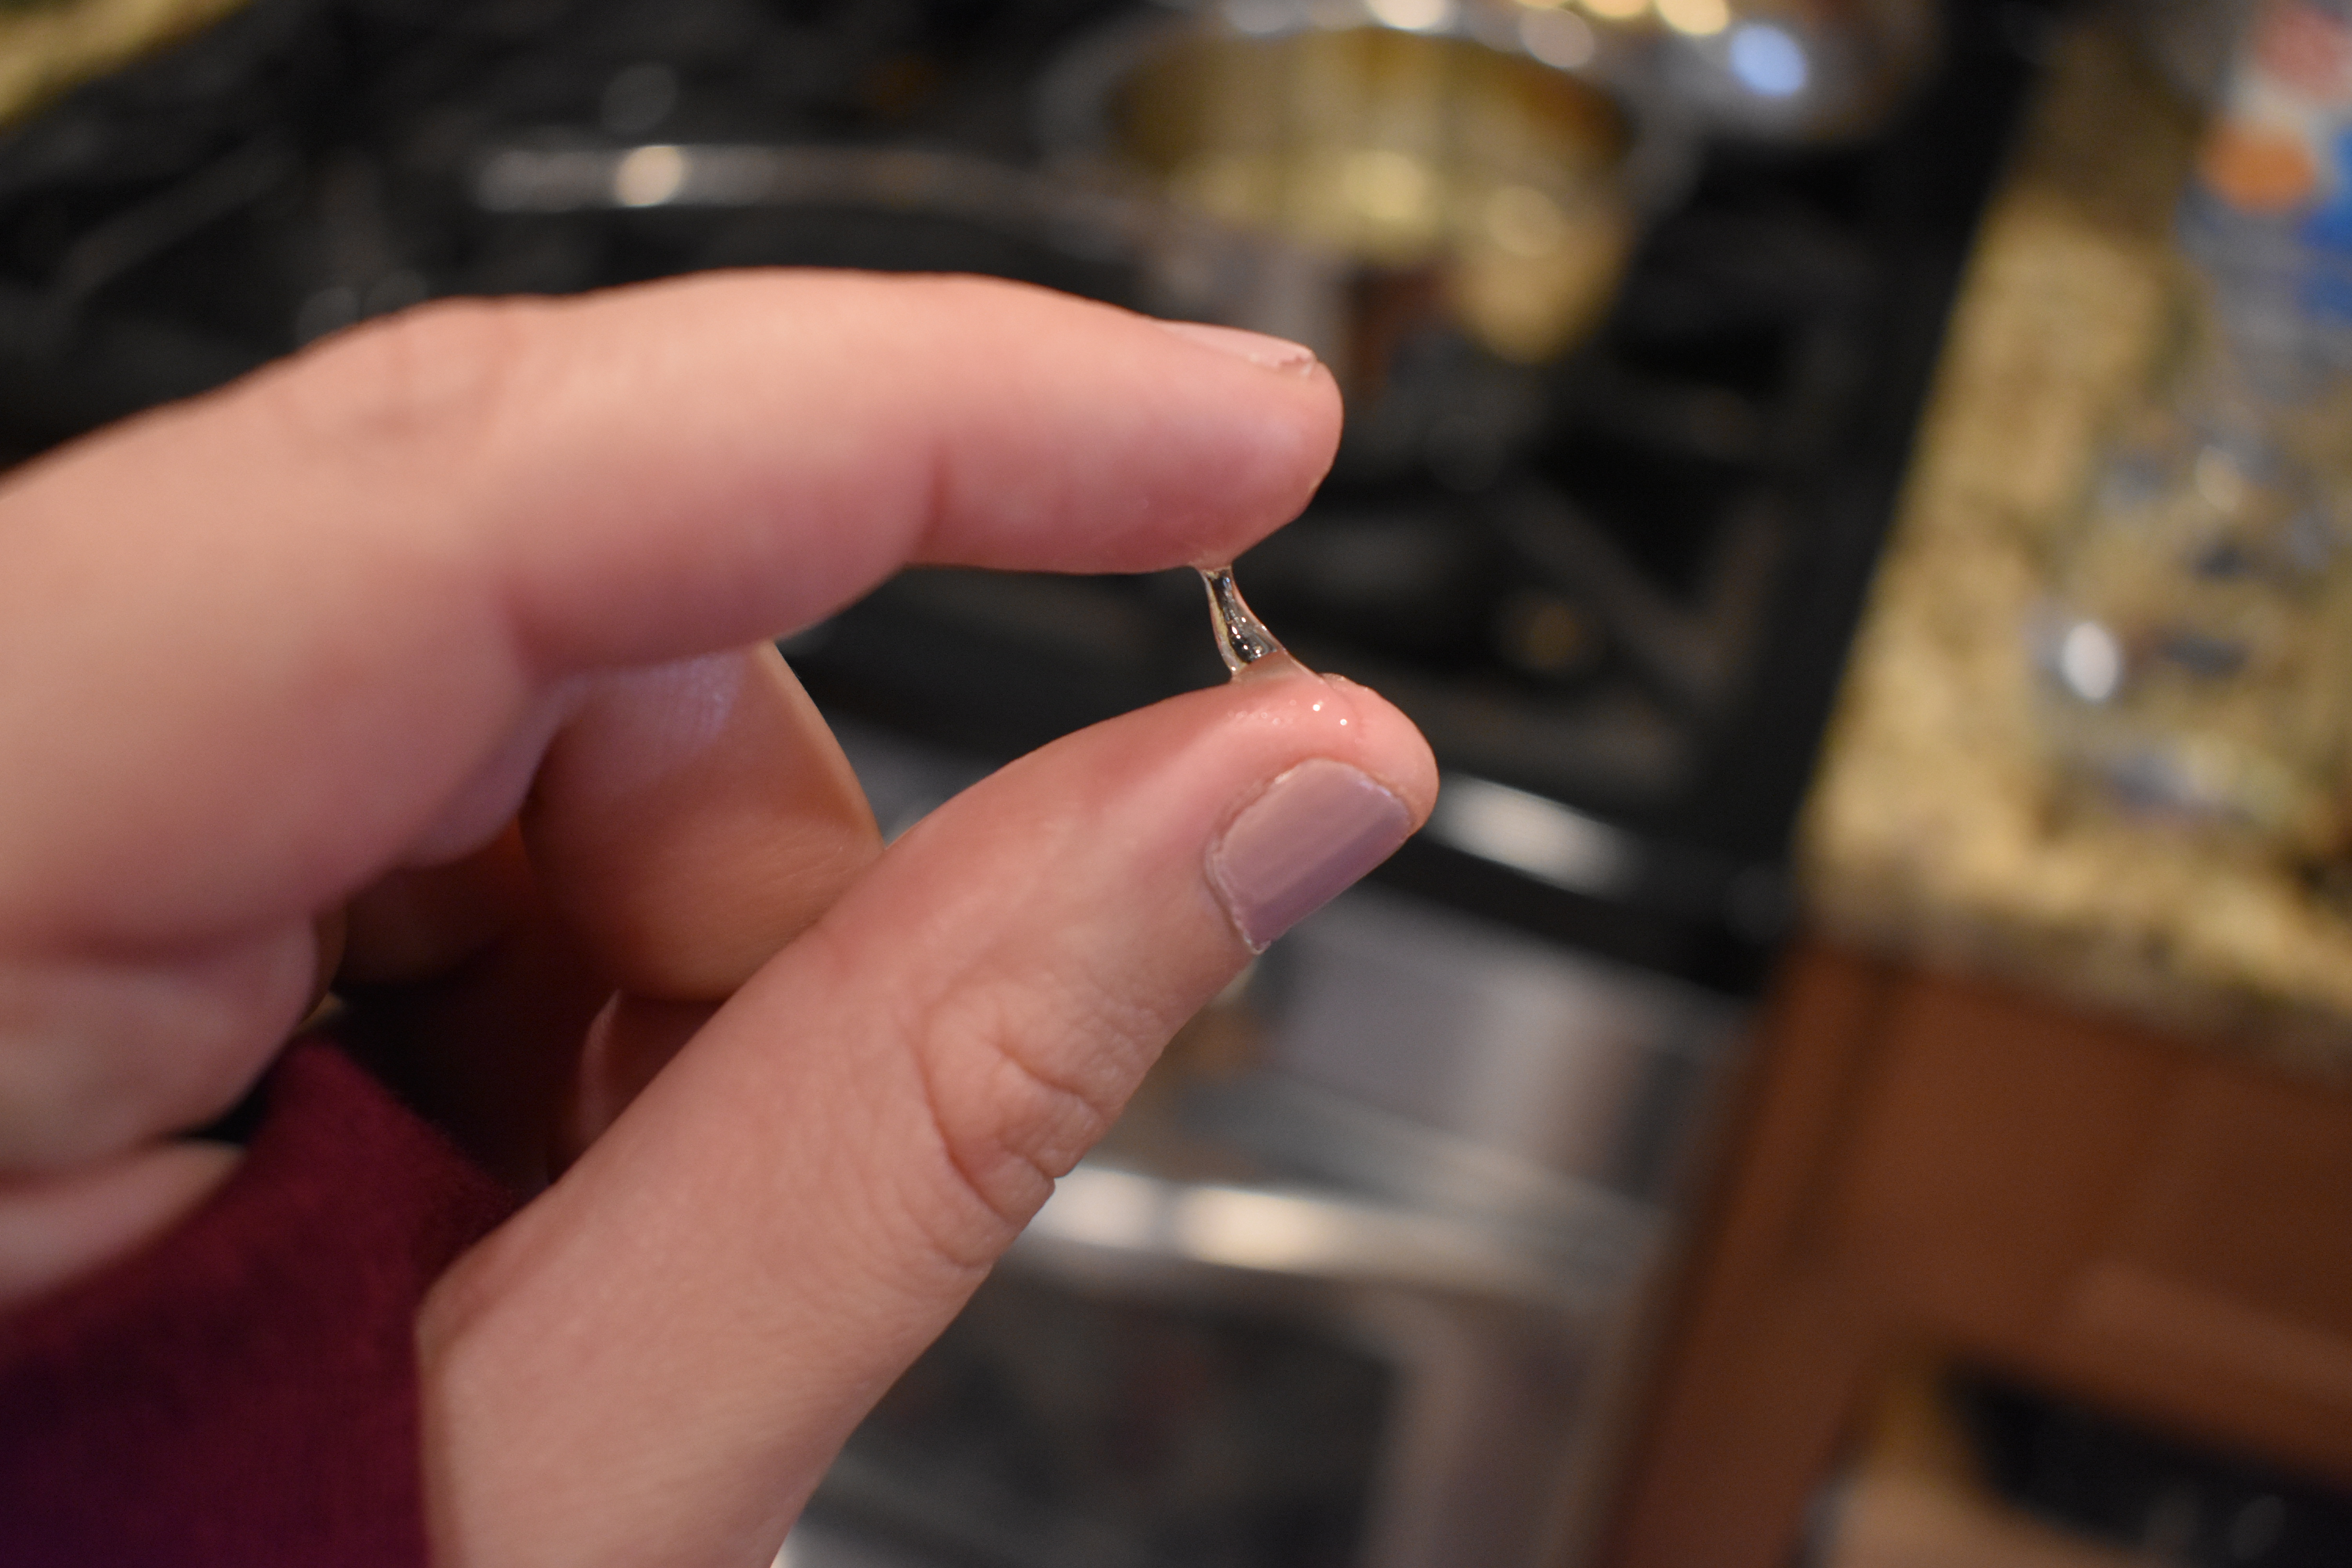
- Using a small sandwich bag, spoon the liquid white chocolate into the bag, and ziplock closed. Cut a very small hole in one corner of the bag.
- Use a zig-zag motion to drizzle the white chocolate over the cookies. Make a second pass in the opposite direction.
- Allow to cool completely, until the chocolate becomes hard. enjoy!!!

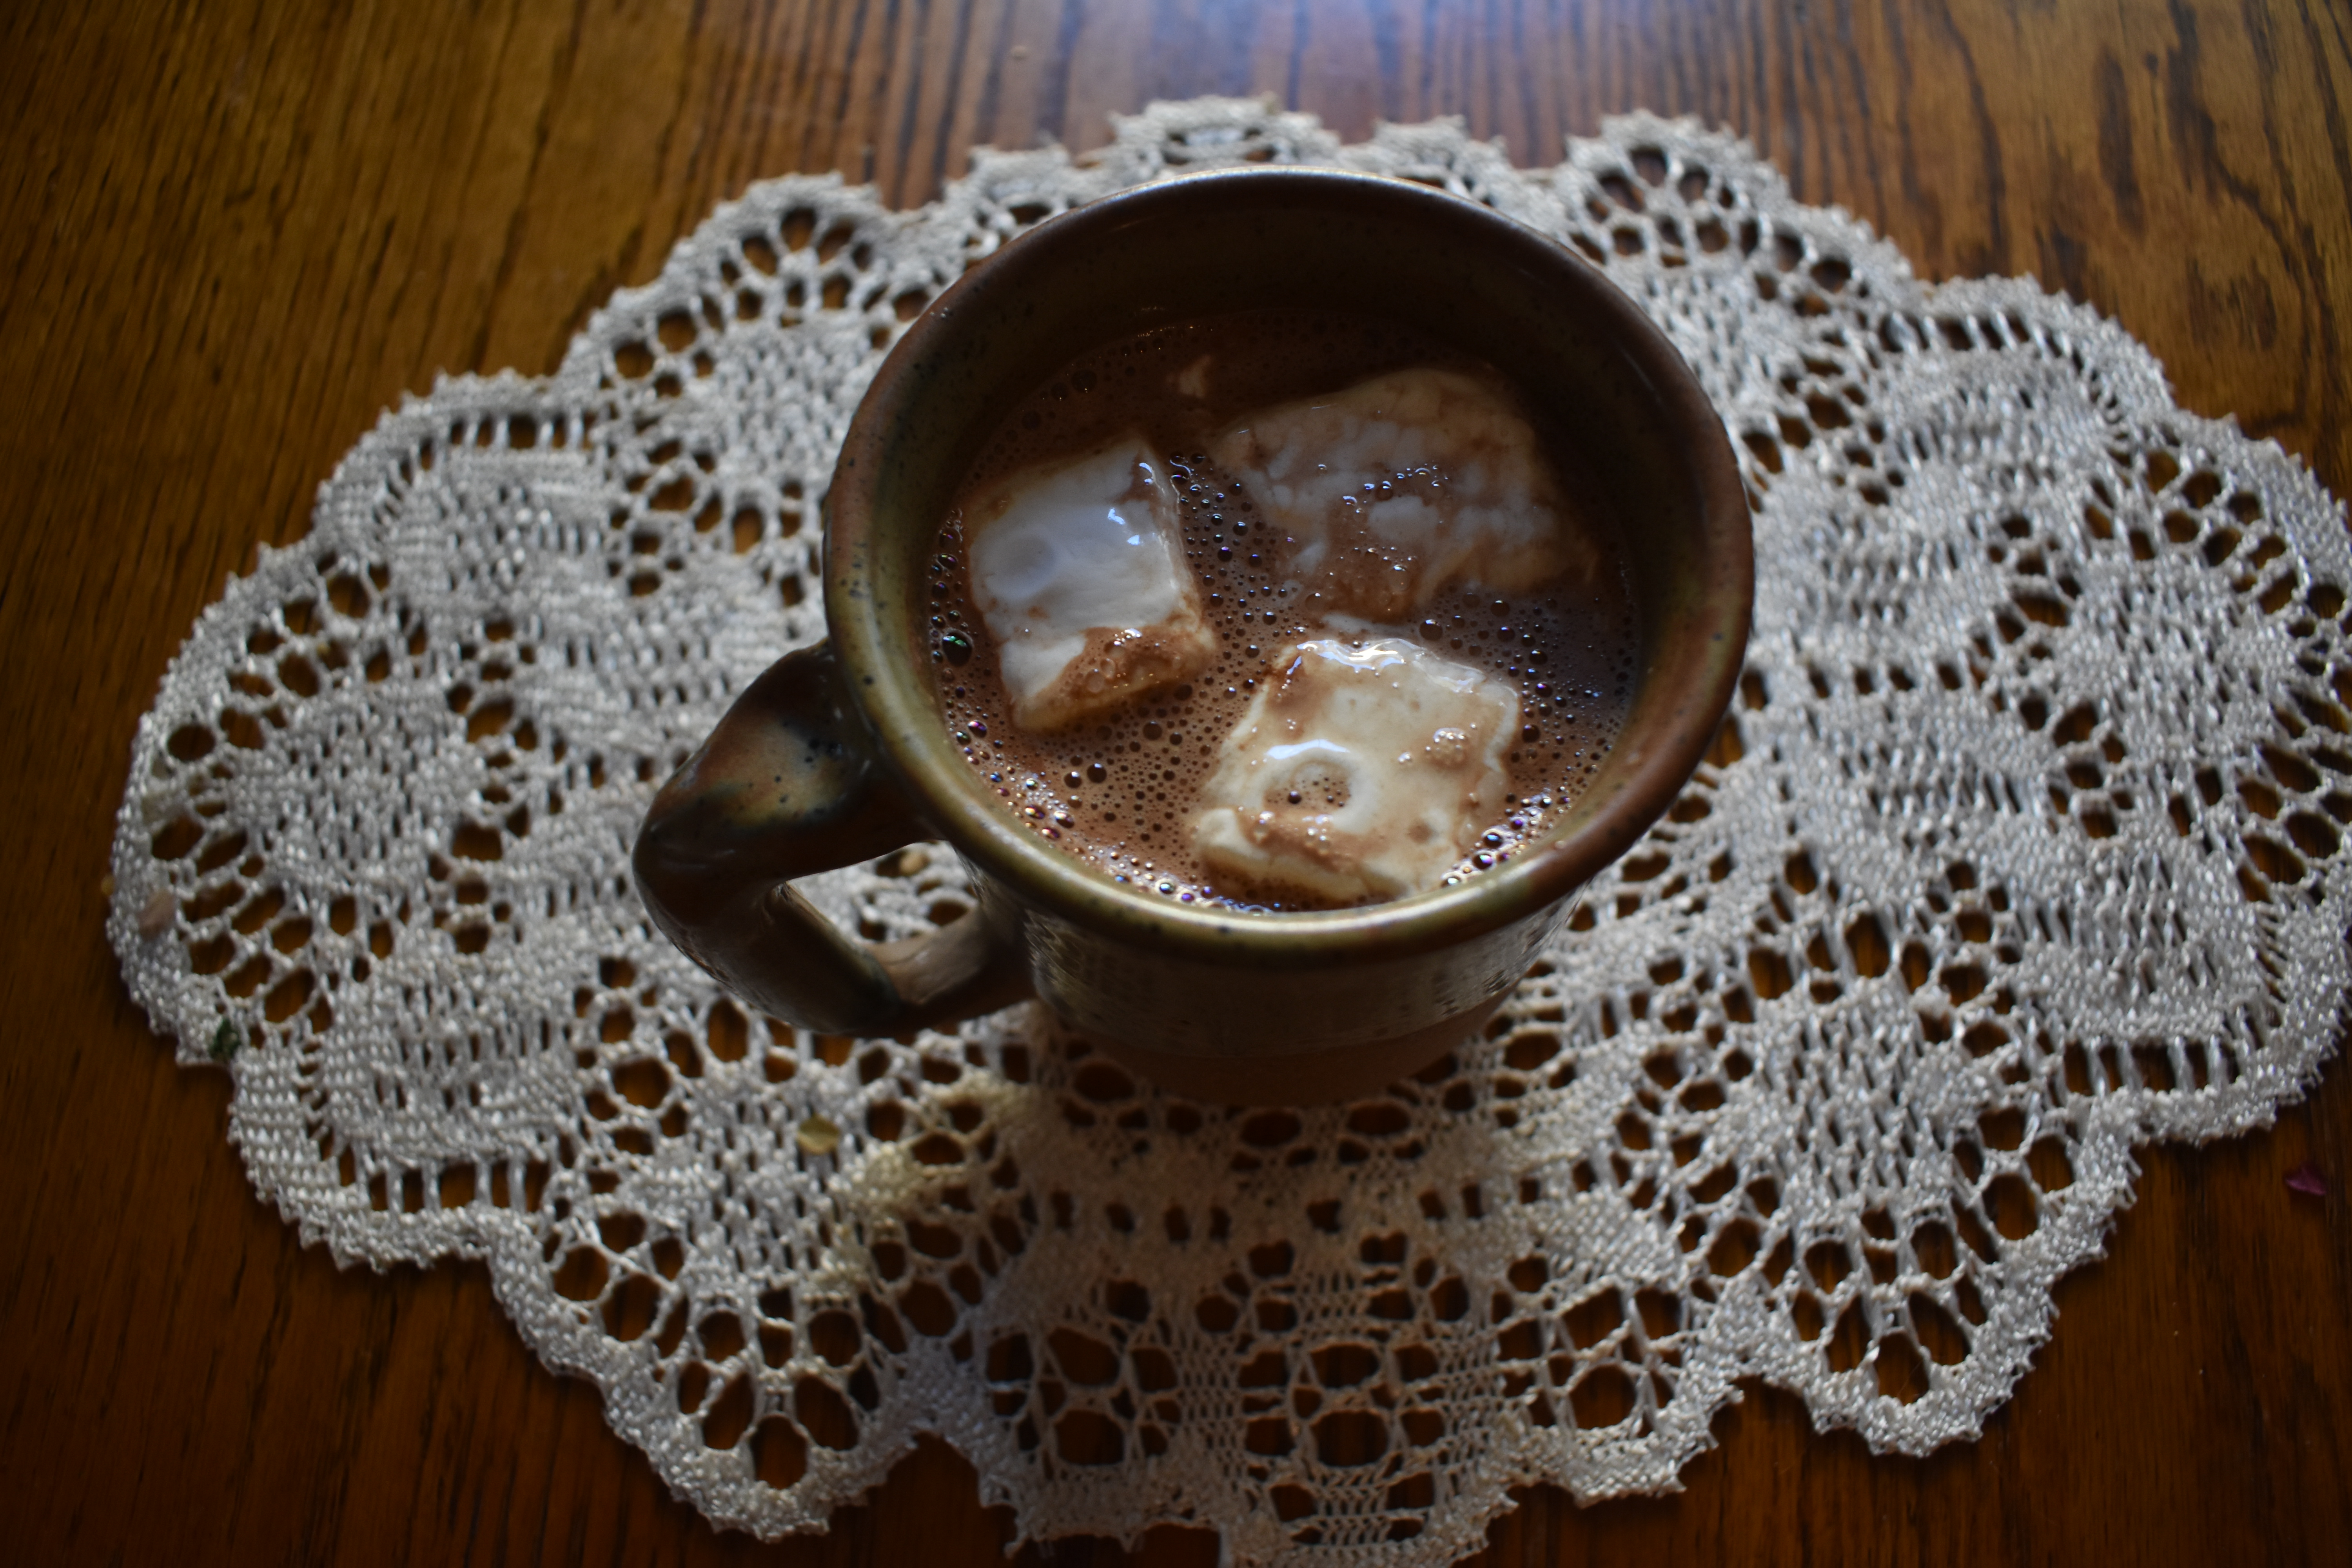
Knitting/crochet and baking are two hobbies that go wonderfully together. Make your yummy treats, then relax with your WIP while you get to enjoy them! The ginger cookies pair well with a spiced tea like this vanilla chai. Tell us in the comments: what is your favorite holiday treat to enjoy while you knit or crochet?
Remember, the Gingersnap Hats and our other exclusive 12 Days of Winter kits can be purchased at local yarn store retailers near you. Not in stock at your local shop? Ask them about drop shipping – order through them, and we ship to you! Each kit comes with the pattern, the yarn required to make it, a mini Universal Yarn project bag, and stitch marker. Use our store locator to find your nearest Universal Yarn retailer!
Happy crafting,
Aubrey


 A great summertime knitting project is just the thing to distract from the heat. I’m thinking I may whip up a batch of something cool with my