Free Pattern Friday – Berry Patch Cardi

It’s Free Pattern Friday!

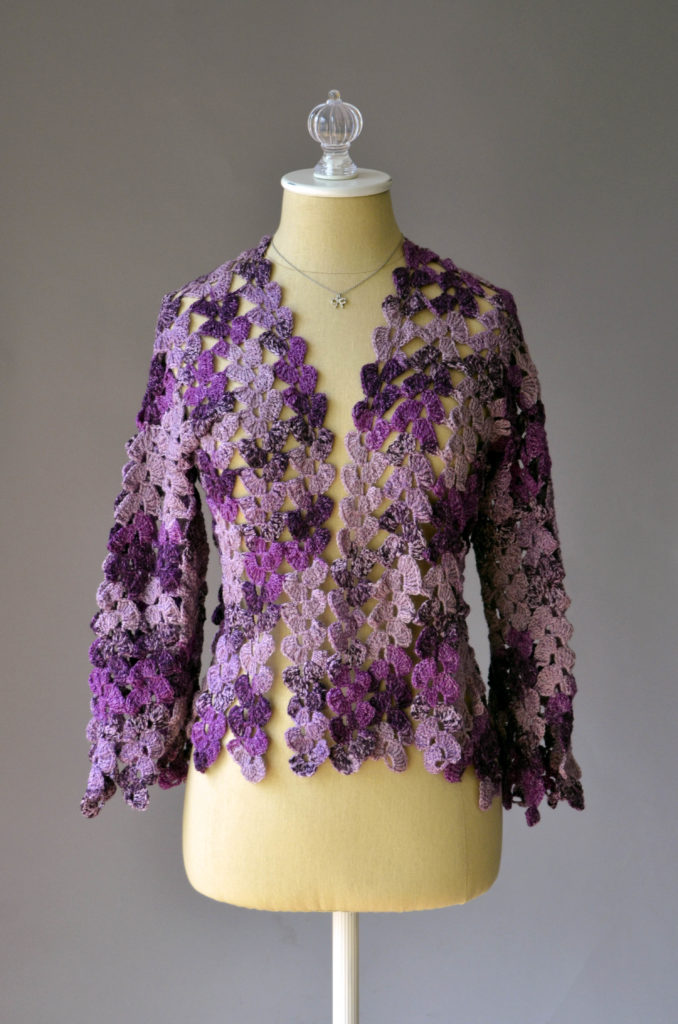
Berry Patch Cardi hi-res

Today, the Berry Patch Cardi in Whisper Lace.

This pattern comes to us from our Mexican distributor, Rebecca Pick.  In their magazine, they featured an absolutely stunning crochet design in Whisper Lace (440yds/50g) designed by Ángeles Uribe Salinas.  Rebecca Pick graciously shared it with us, and now we get to share it with you!

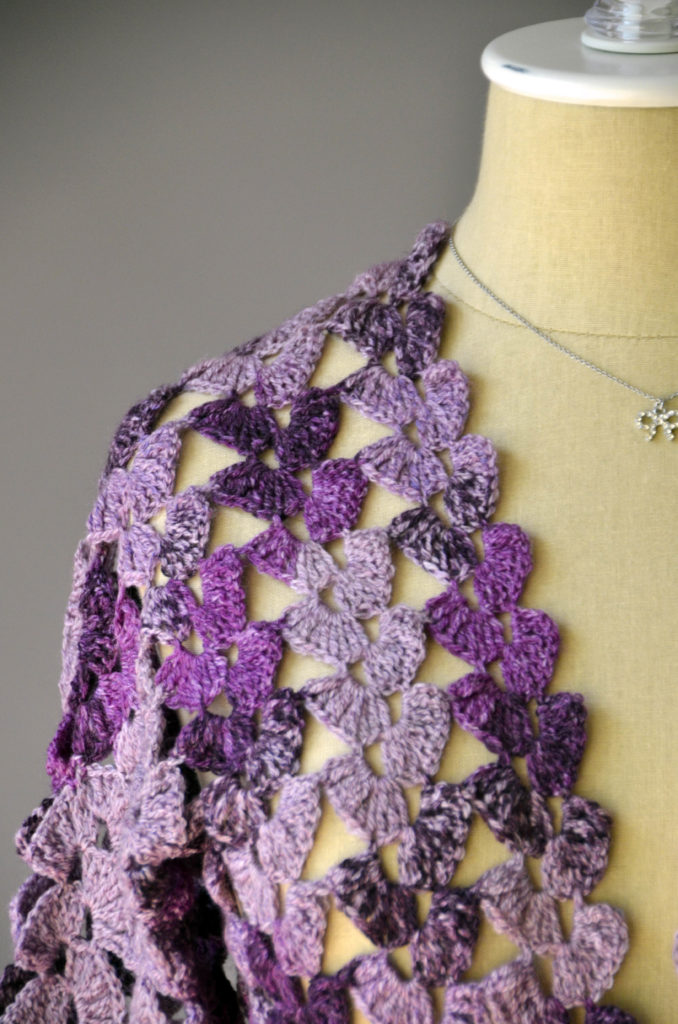
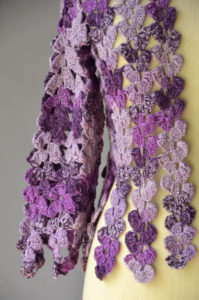
Berry Patch Cardi hem hi-resThis beautiful cardi is made of strips of delicate fan lace.  They’re joined as you go, with the bottom of the strips left loose to fall freely.   Can’t you imagine twirling around in this and seeing the little butterflies of lace fly?

The lace is written and charted, and a schematic is included for assembly.  We love how the multi-colored yarn works up into individual fans for a delicate and unique look.  This is a great skill showcase.

We hope you have a wonderful weekend.  Happy crafting!

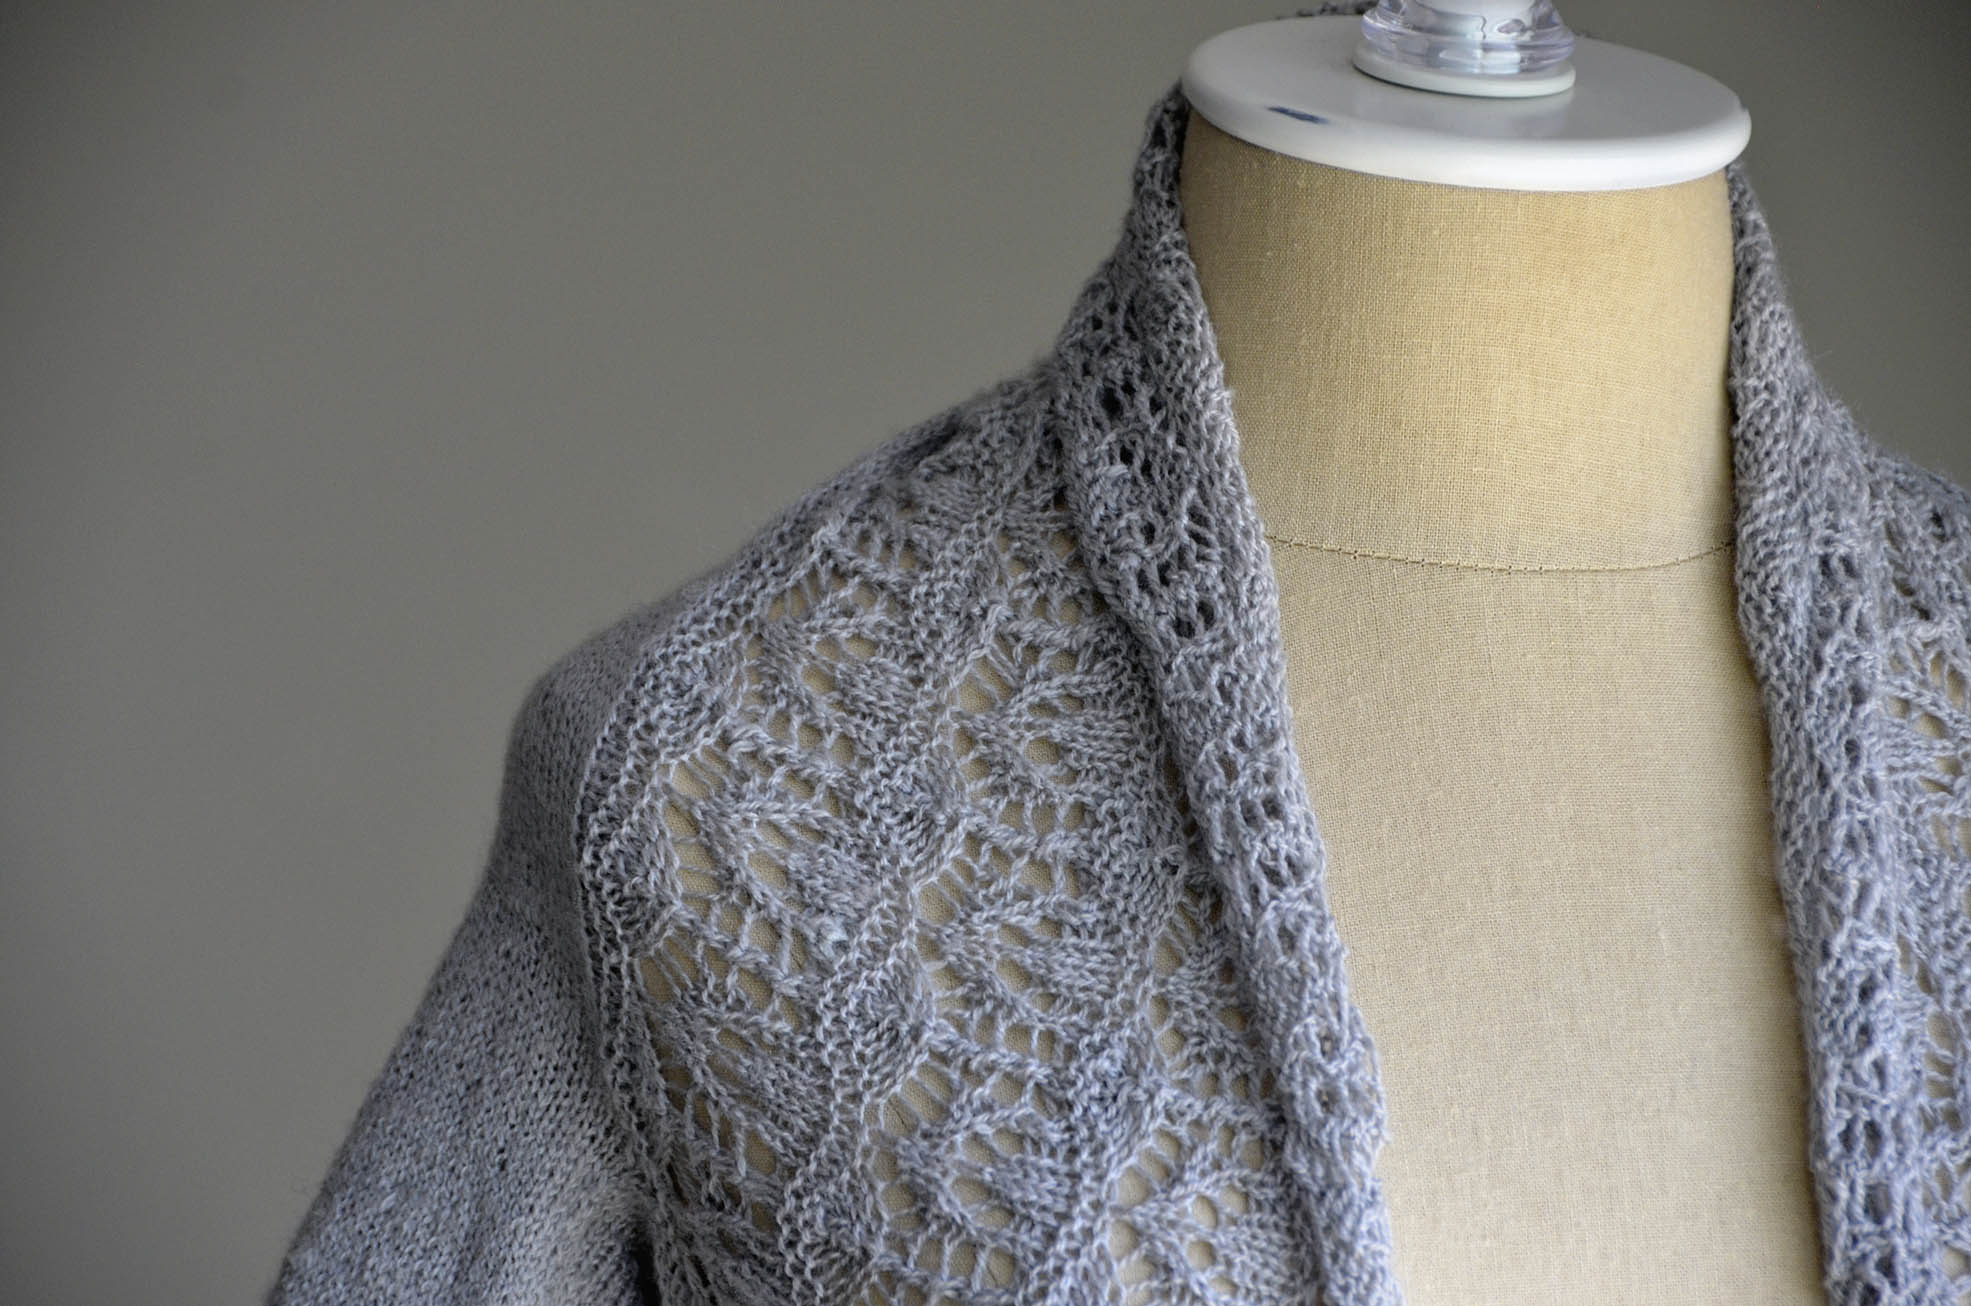
Berry Patch Cardi shoulder hi-res

Ready to Wear

In case you missed the first few posts in this series on my Flame Lace Top, you can find the warping post here,  how to make string heddles here,  actually weaving the fabric here, and taking the fabric off the loom here.  I’m using Flax as warp, and Whisper Lace with Garden 10 held together as warp.

After taking my fabric off the loom, I decided to machine wash on gentle and then laid flat to dry. After lightly pressing the fabric with my iron, I was all ready to start sewing and cutting:
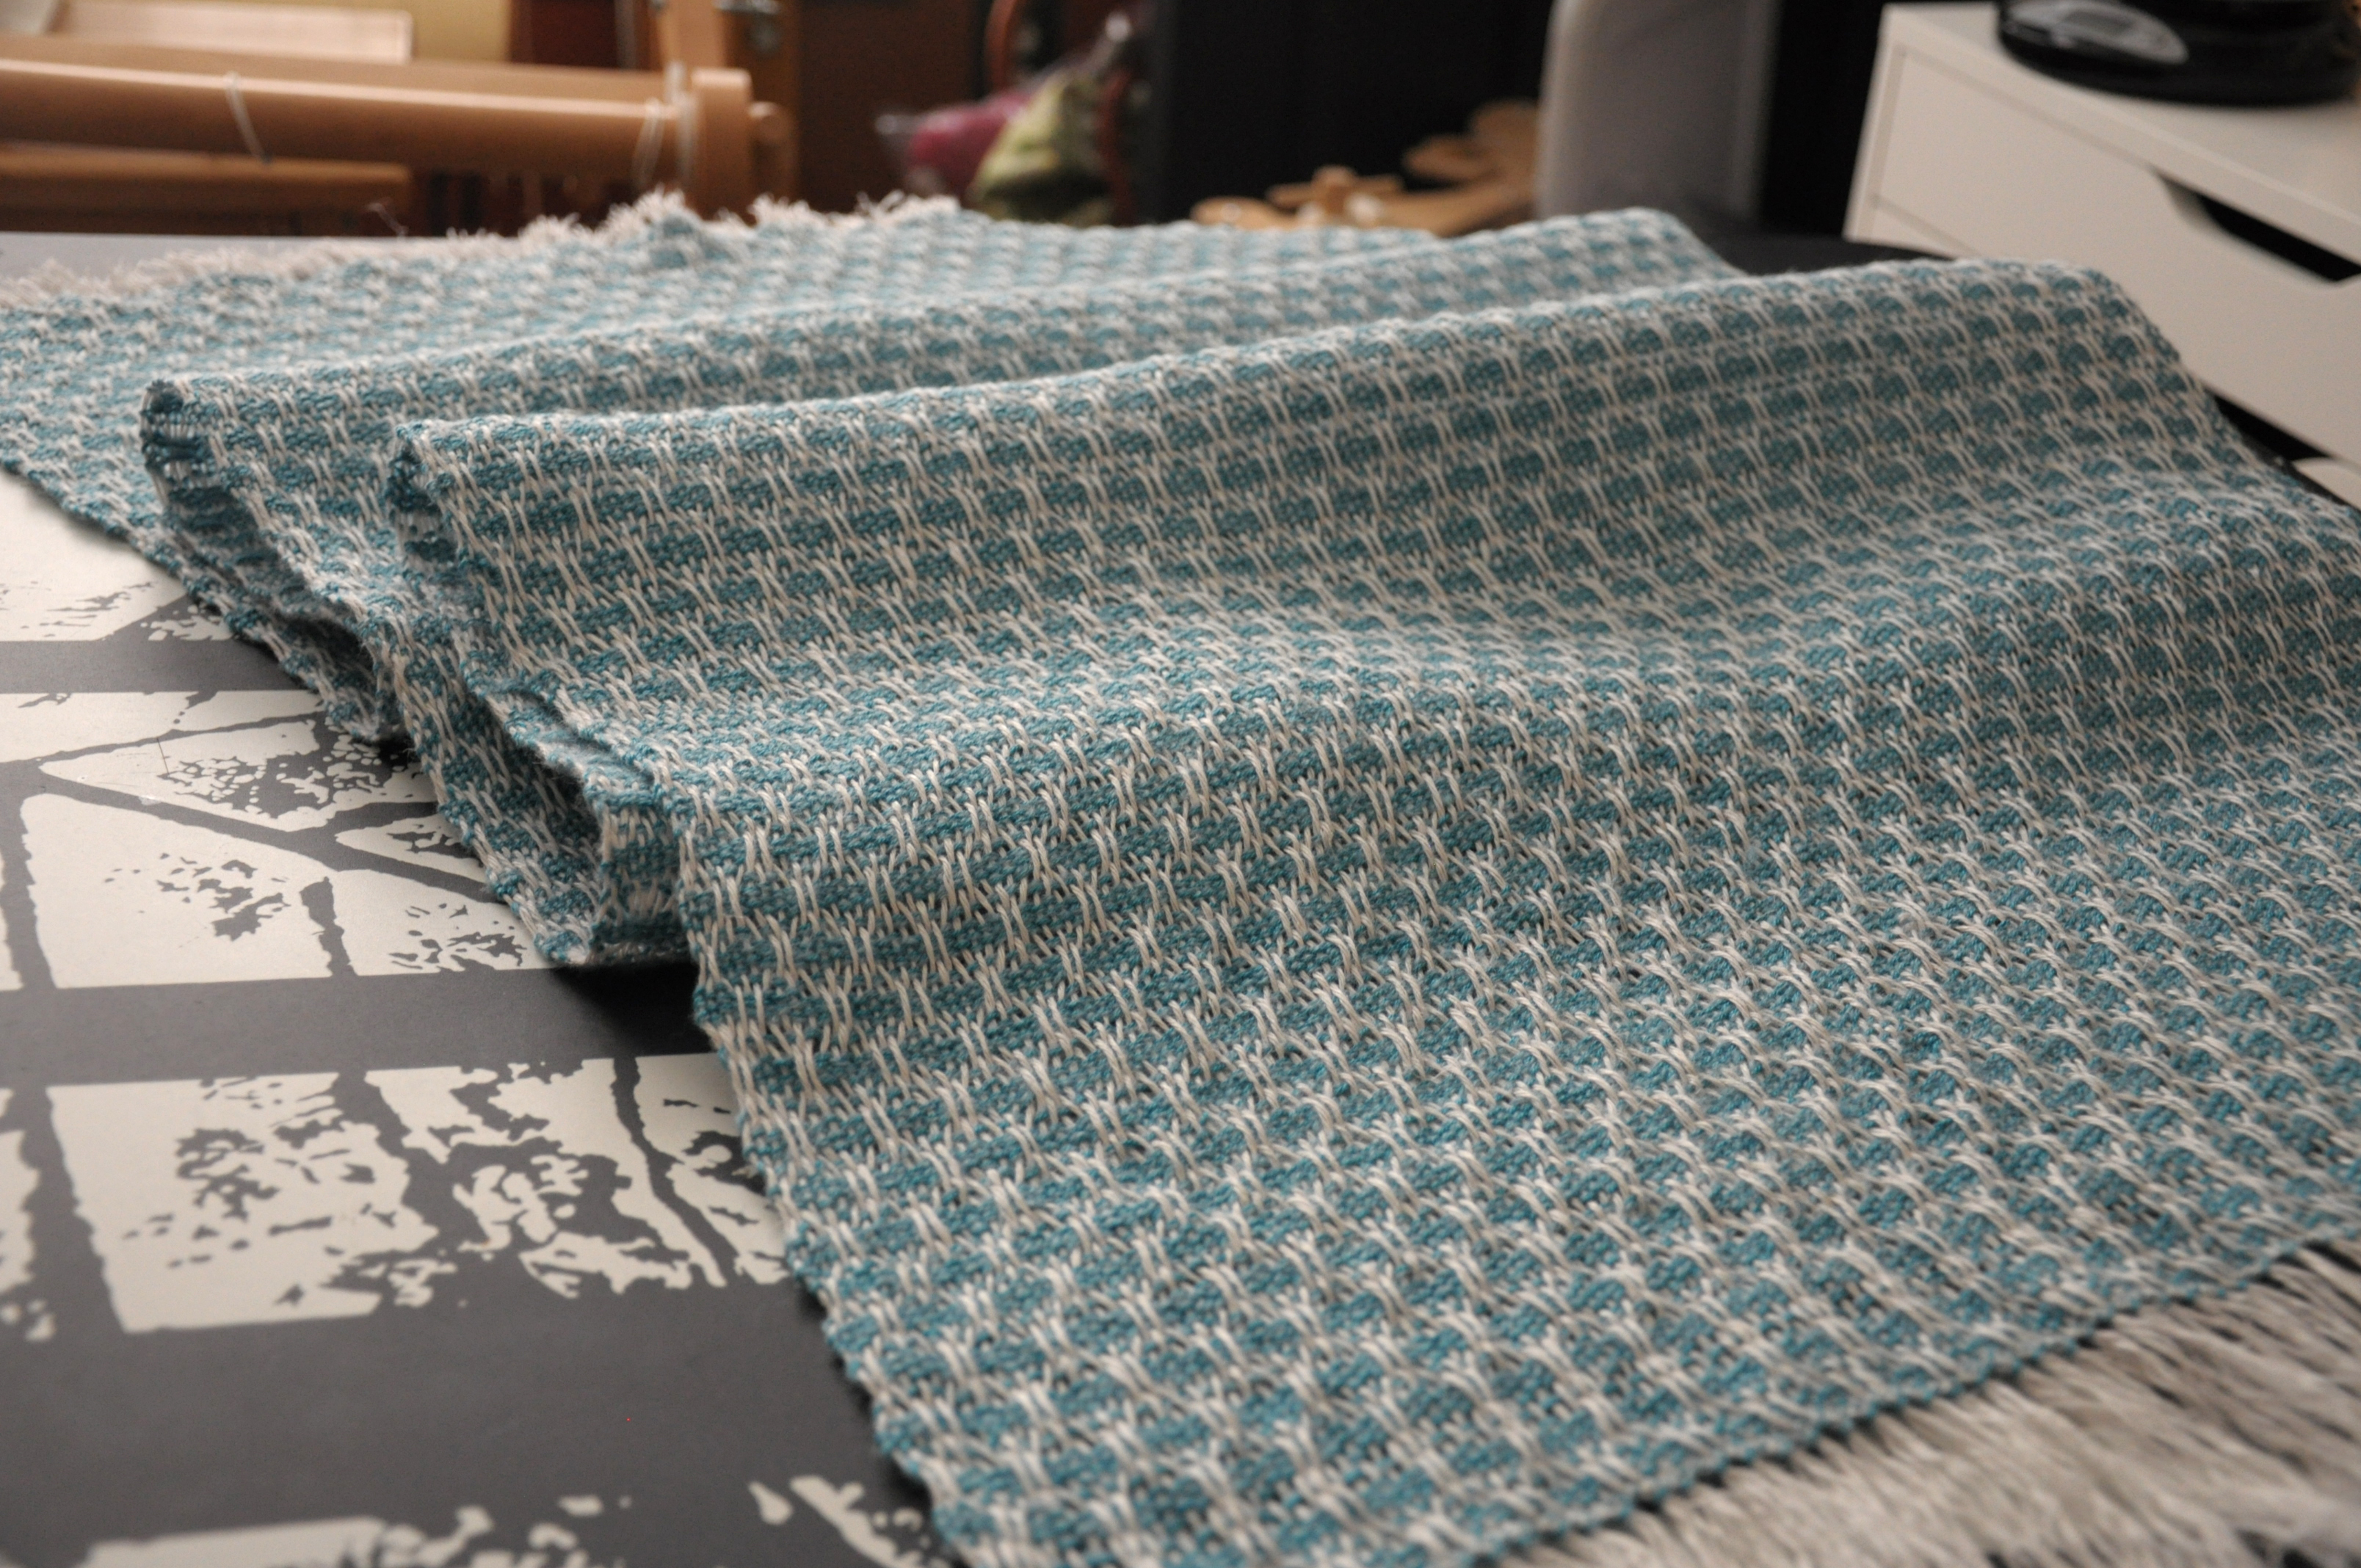
Sewing_1

What really drew me to the Flame Lace project in the Simple Woven Garments book was the weave structure. Though I think the garment in the book is really cute, I’m not a big fan of that shape for my body. Going into this project, I knew I was going to make some changes. But I didn’t fully decide on those changes until I got started. And even then I made improvisations along the way.

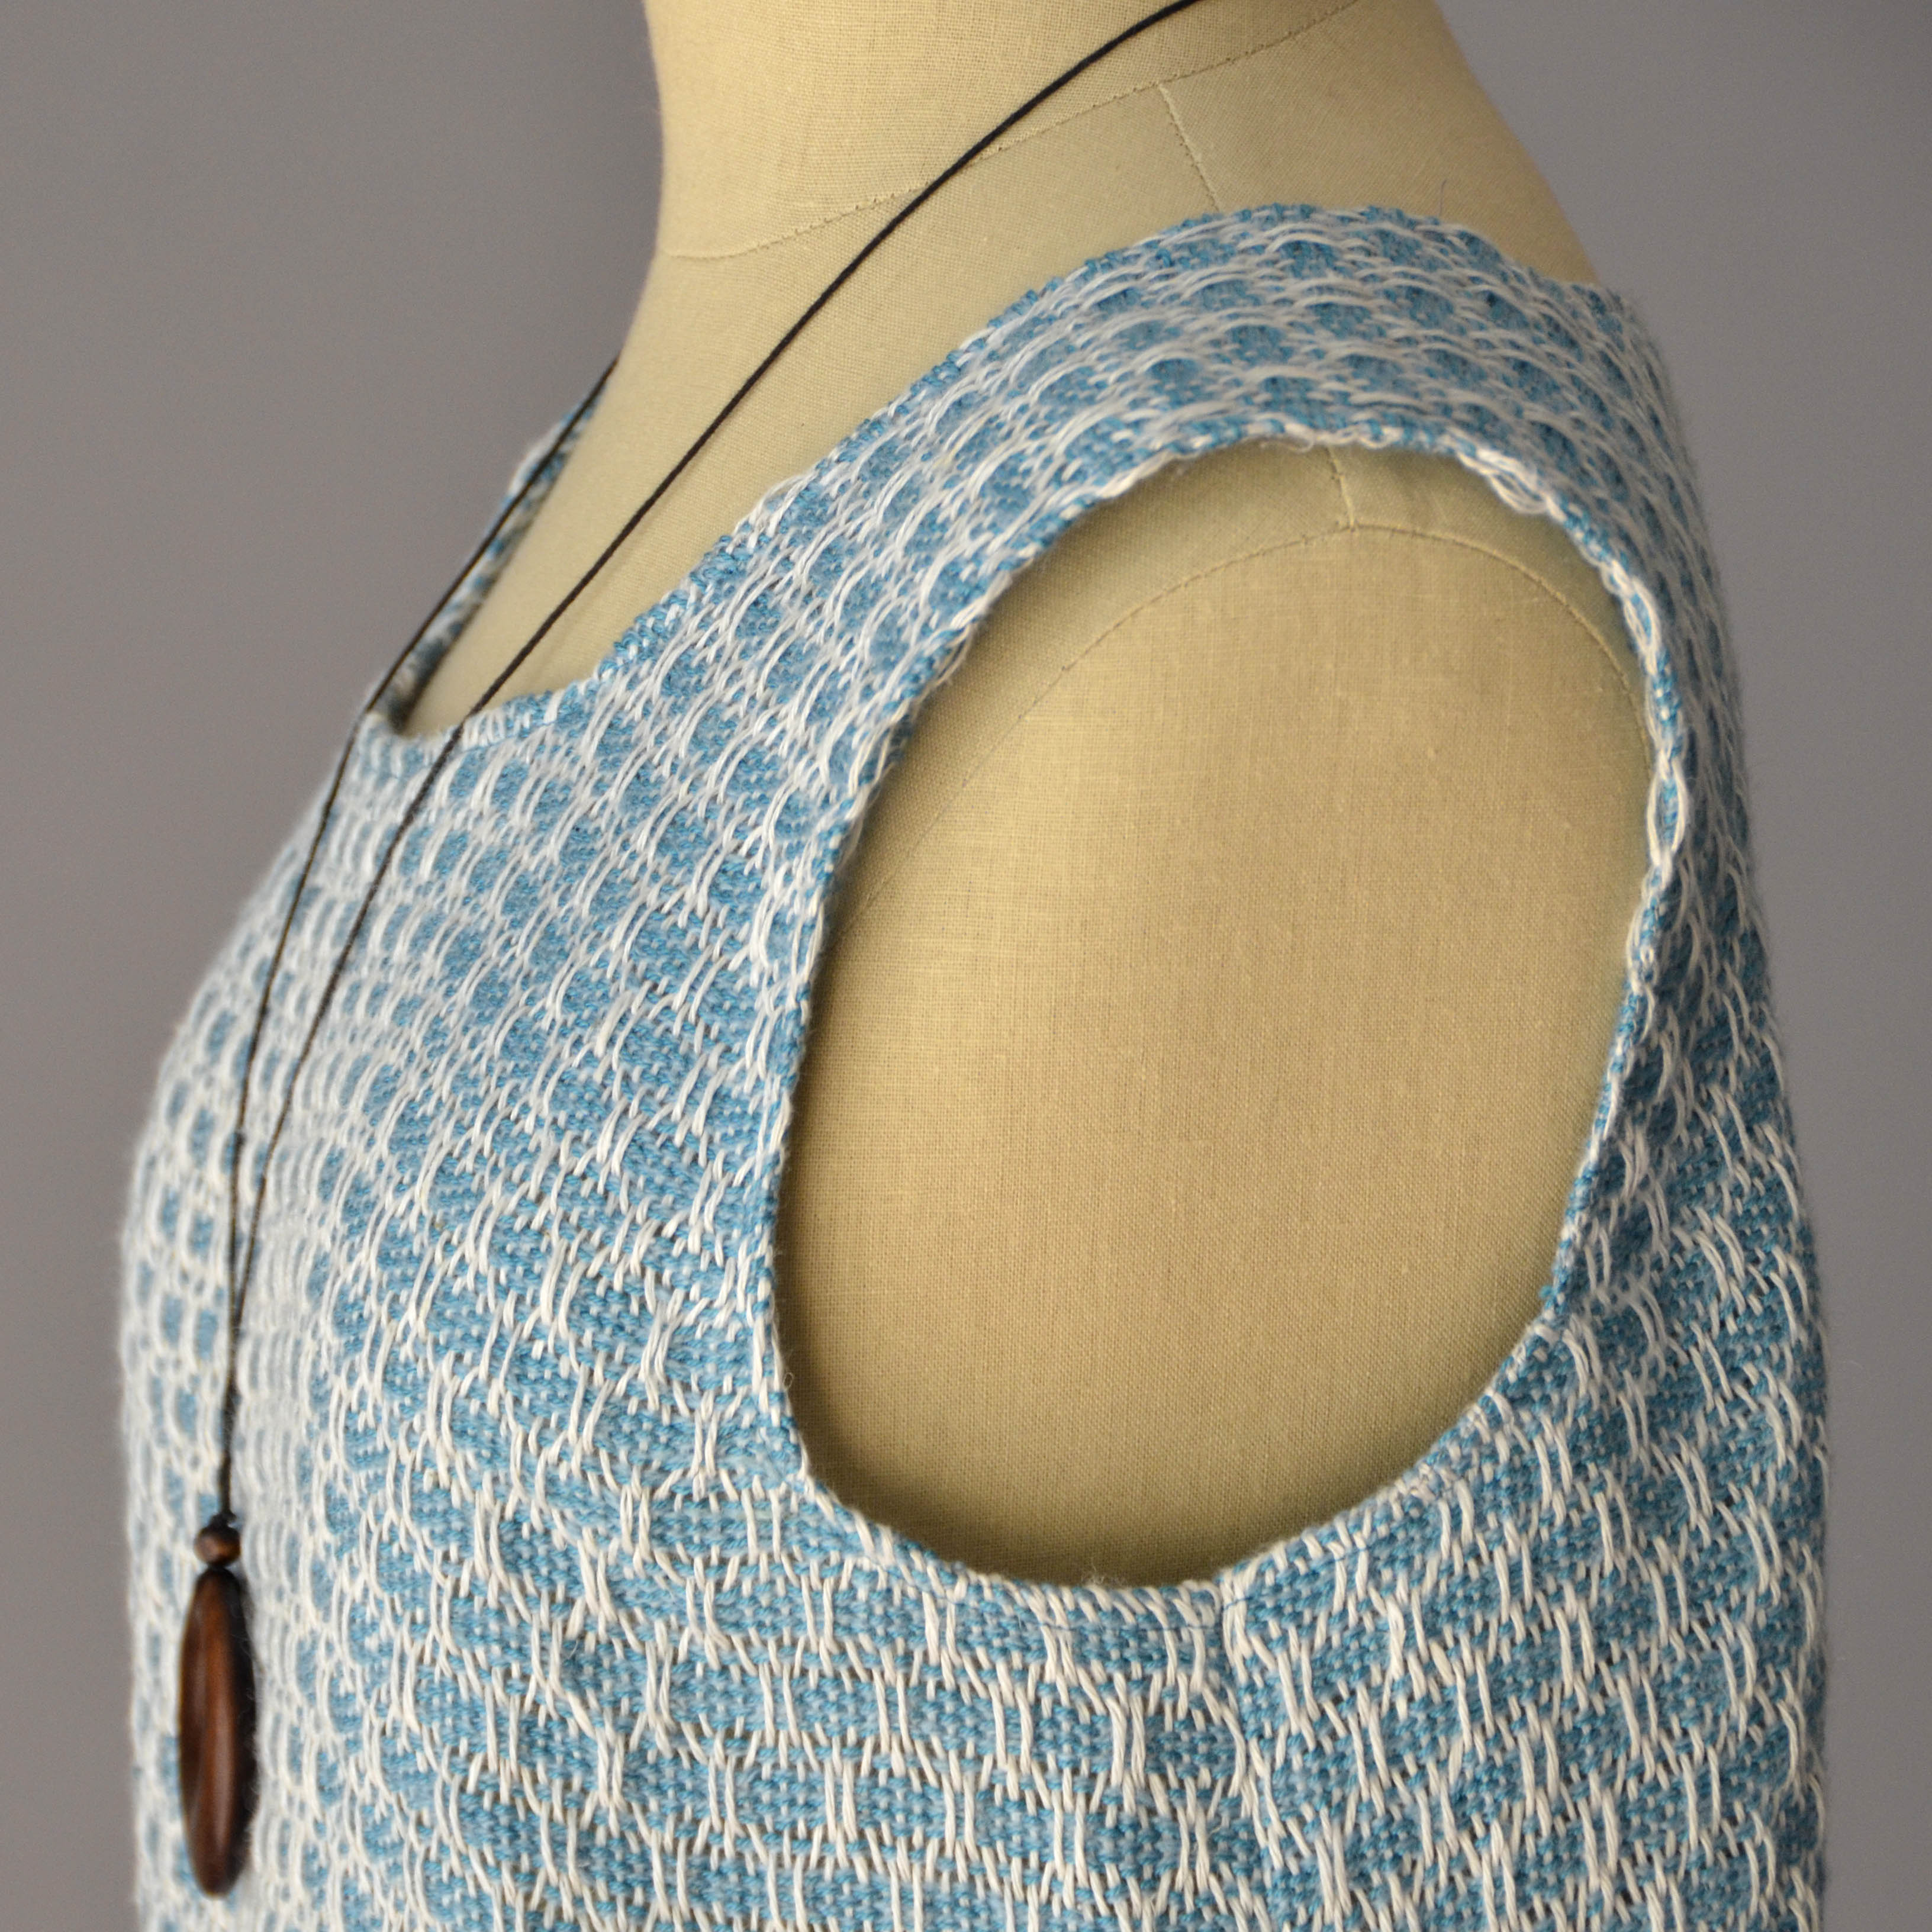
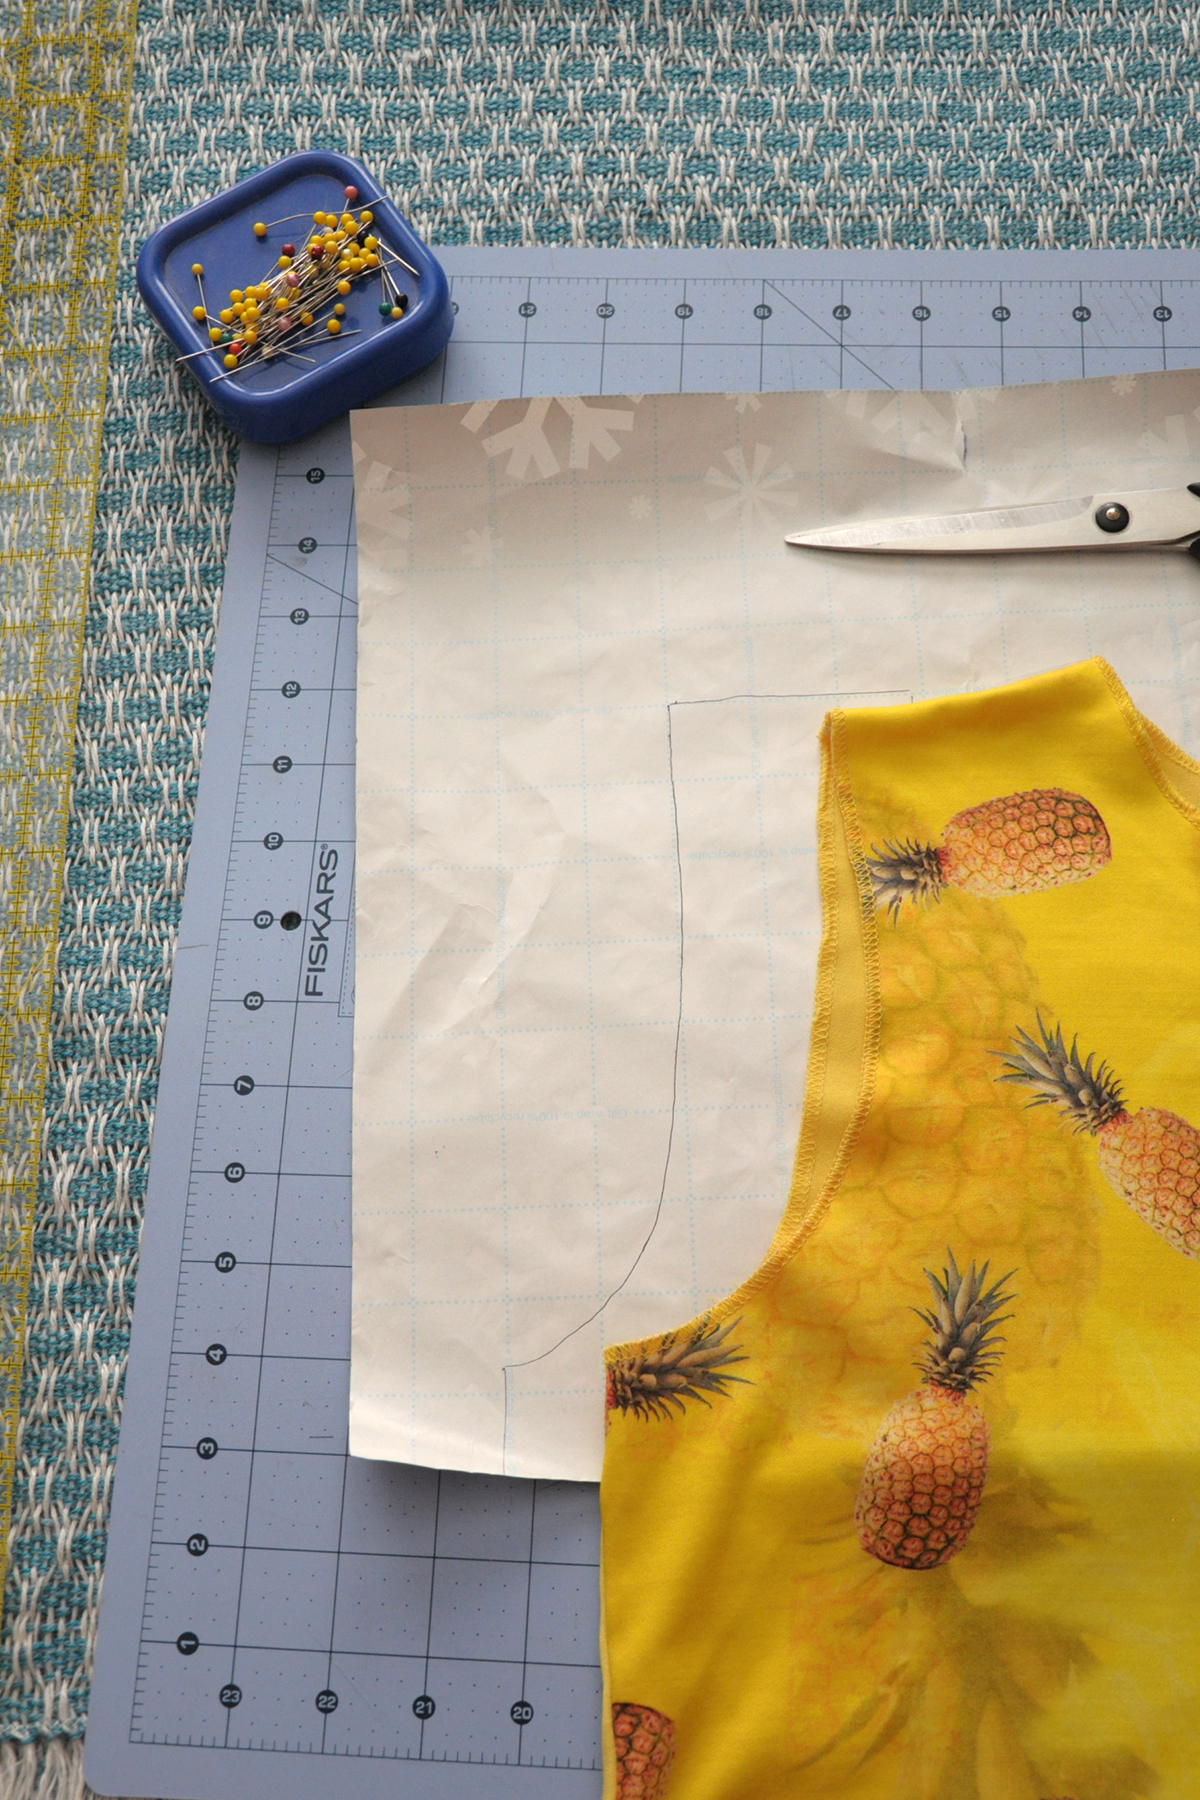
The first thing I decided to do differently than the original was to shape my armholes. The easiest way for me to determine my armhole depth and shape was to grab a top I already own and use that as a guide. I’m a big fan of using wrapping paper that has grid lines on the back for things like this.
Sewing_2

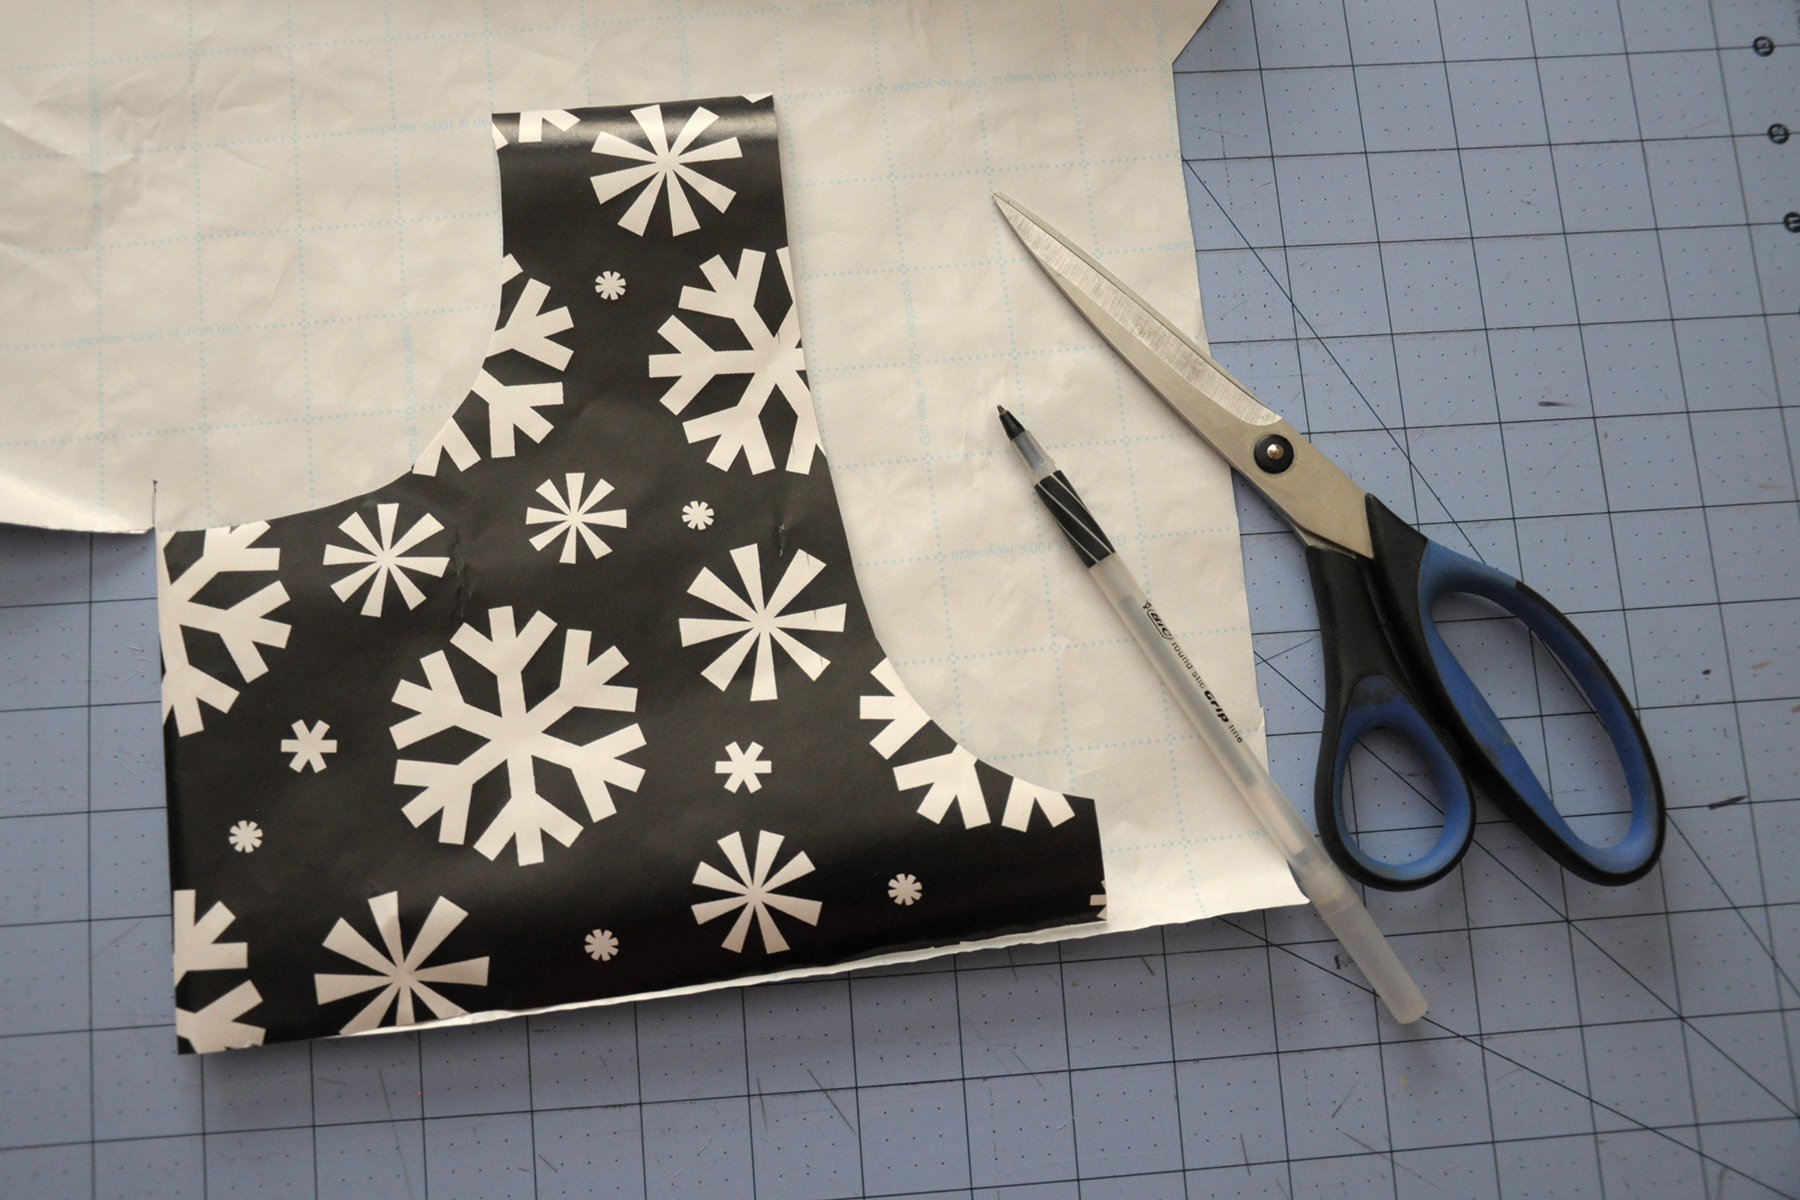
To make a template for my armholes, I laid my top on the back side of the wrapping paper and traced one side. I opted to freehand the neck hole, as I wanted it to sit a bit lower than the one on the shirt I was using as an armhole guide. After cutting out the first side, I folded the paper in half and traced to get the second side – an easy way to make sure it was symmetric.
Sewing_3

After cutting out my armhole template, the next step was to pin it to my fabric. But before I could do that, I needed to determine where the shoulder seam would be. Rather than cut out separate pieces for front and back from my fabric, I was using the entire length of the fabric for my top.

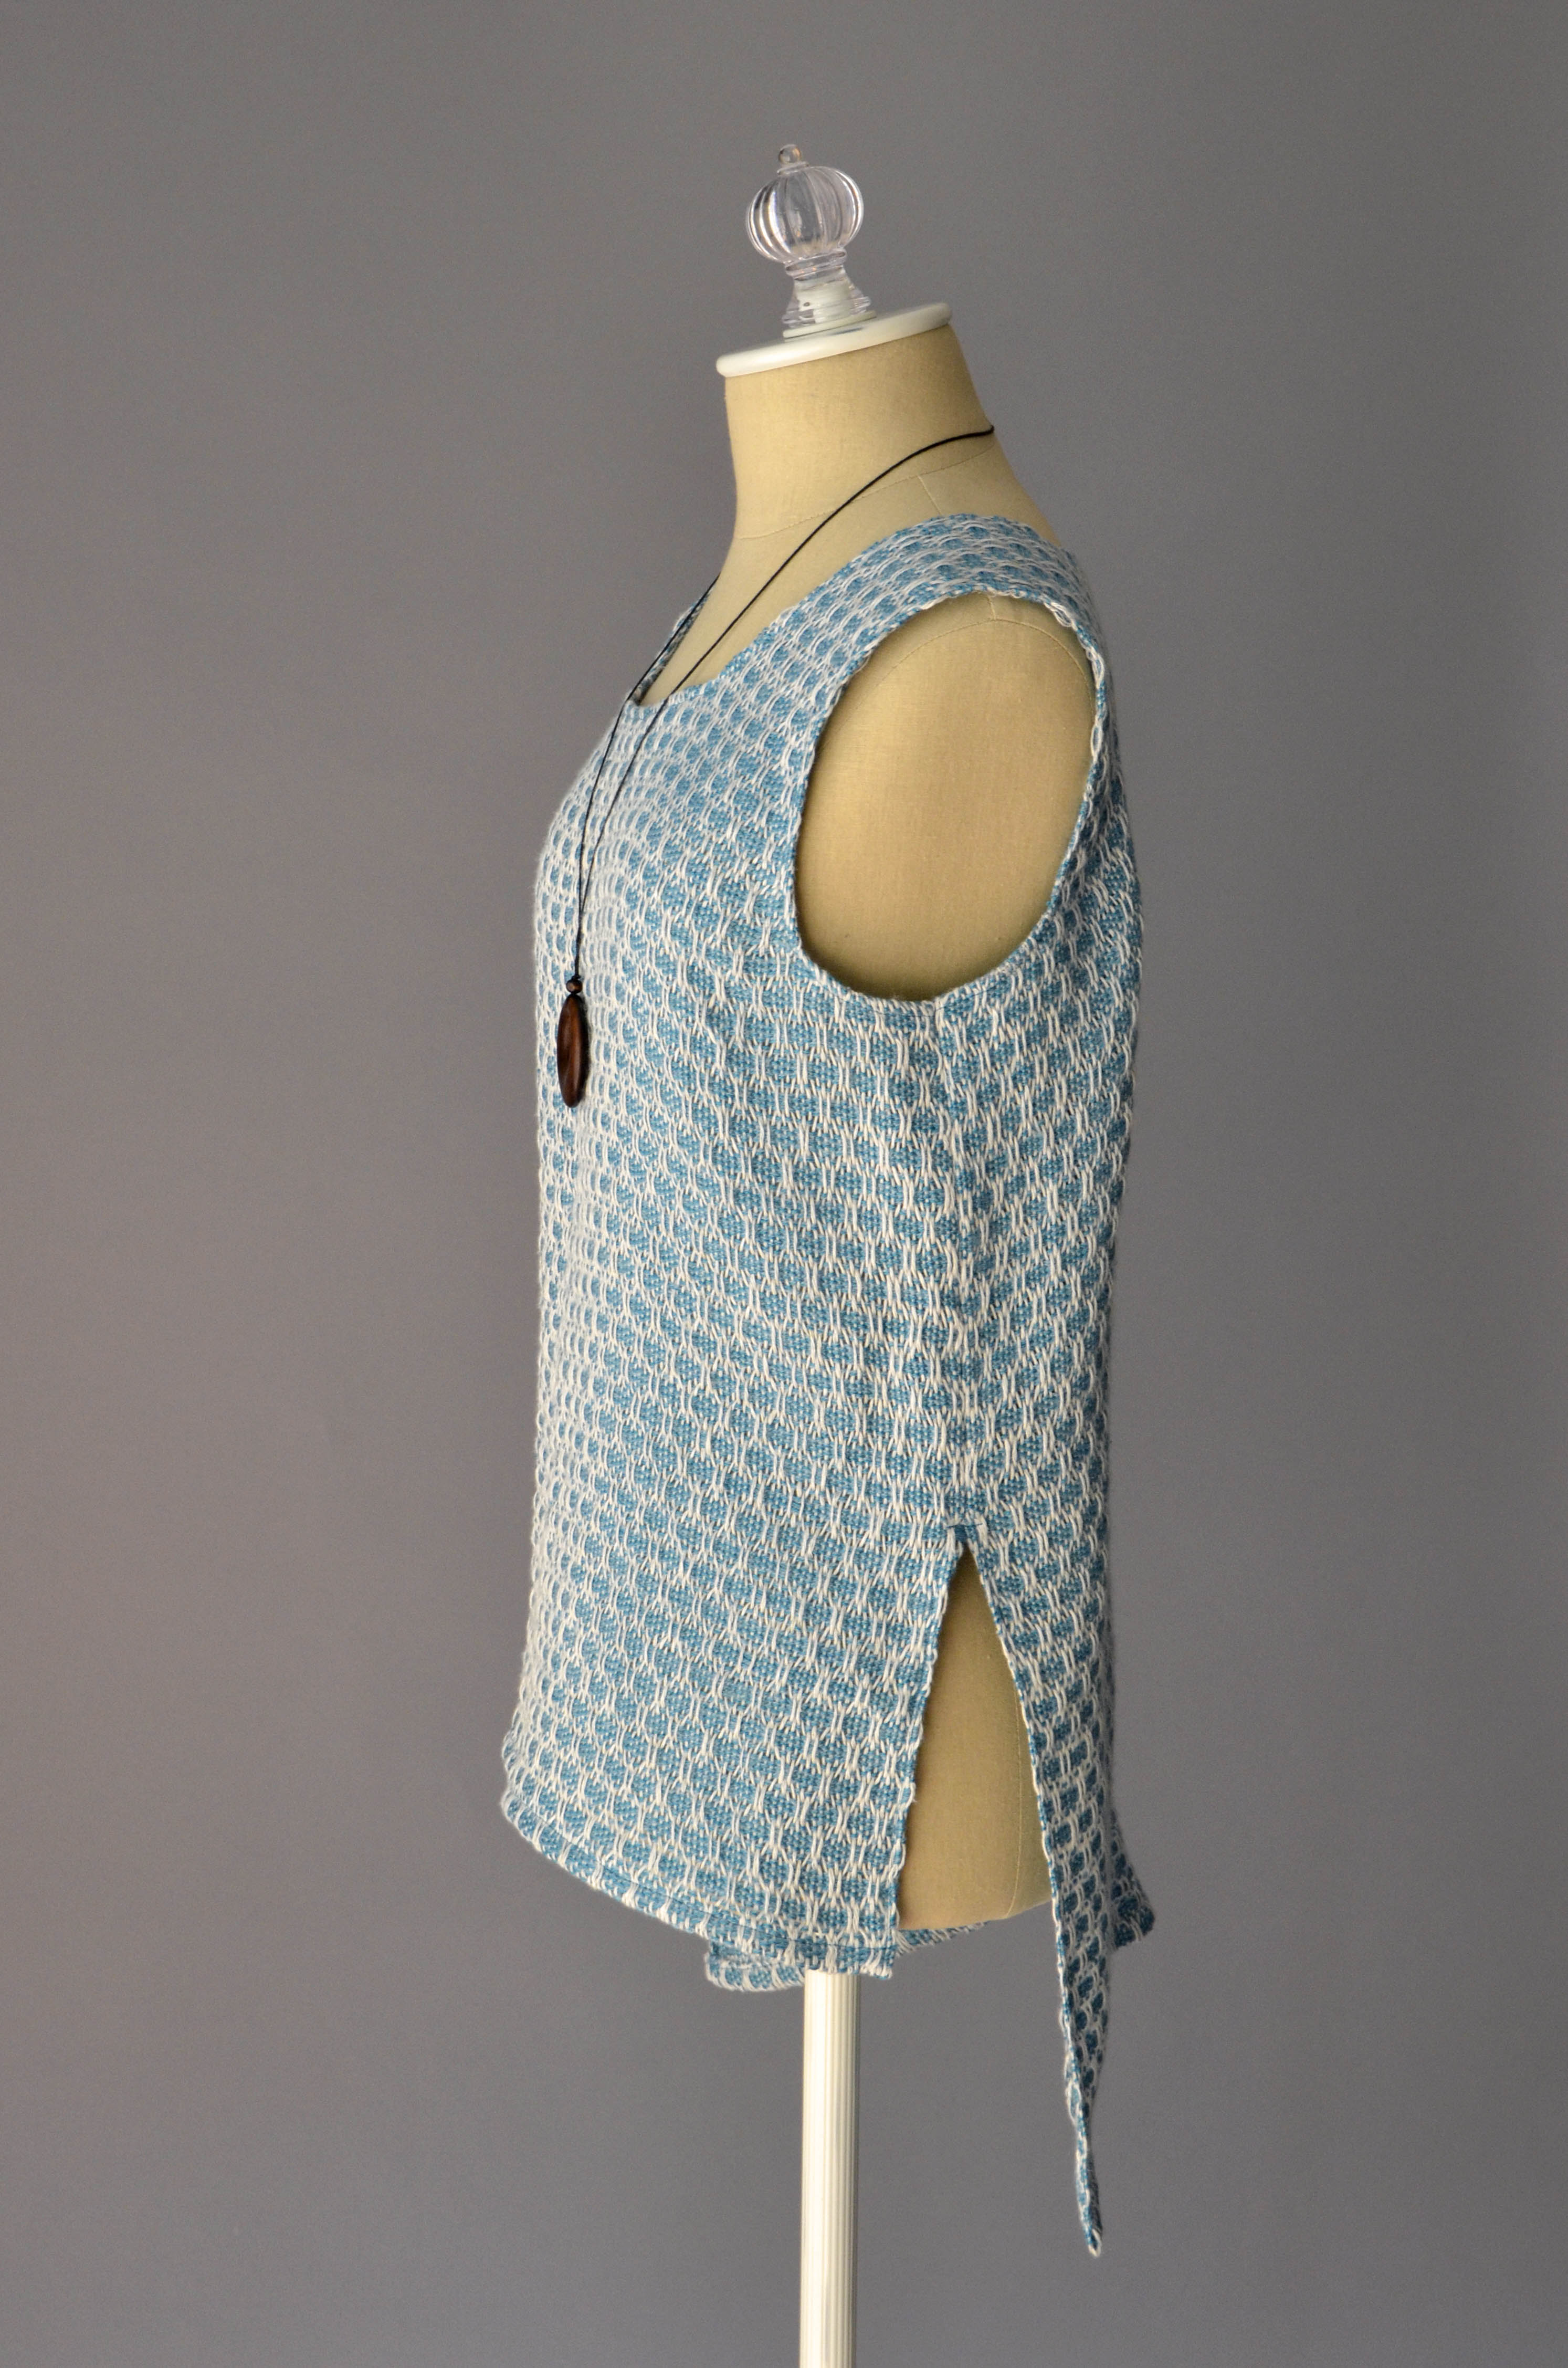
I decided as I was tracing my armholes that a hi-lo hem would be cool. I opted for about a 5″ difference in front and back hems, folded my fabric, and then pressed it with my iron to indicate my shoulder seam.

Then I pinned my template to the fabric:
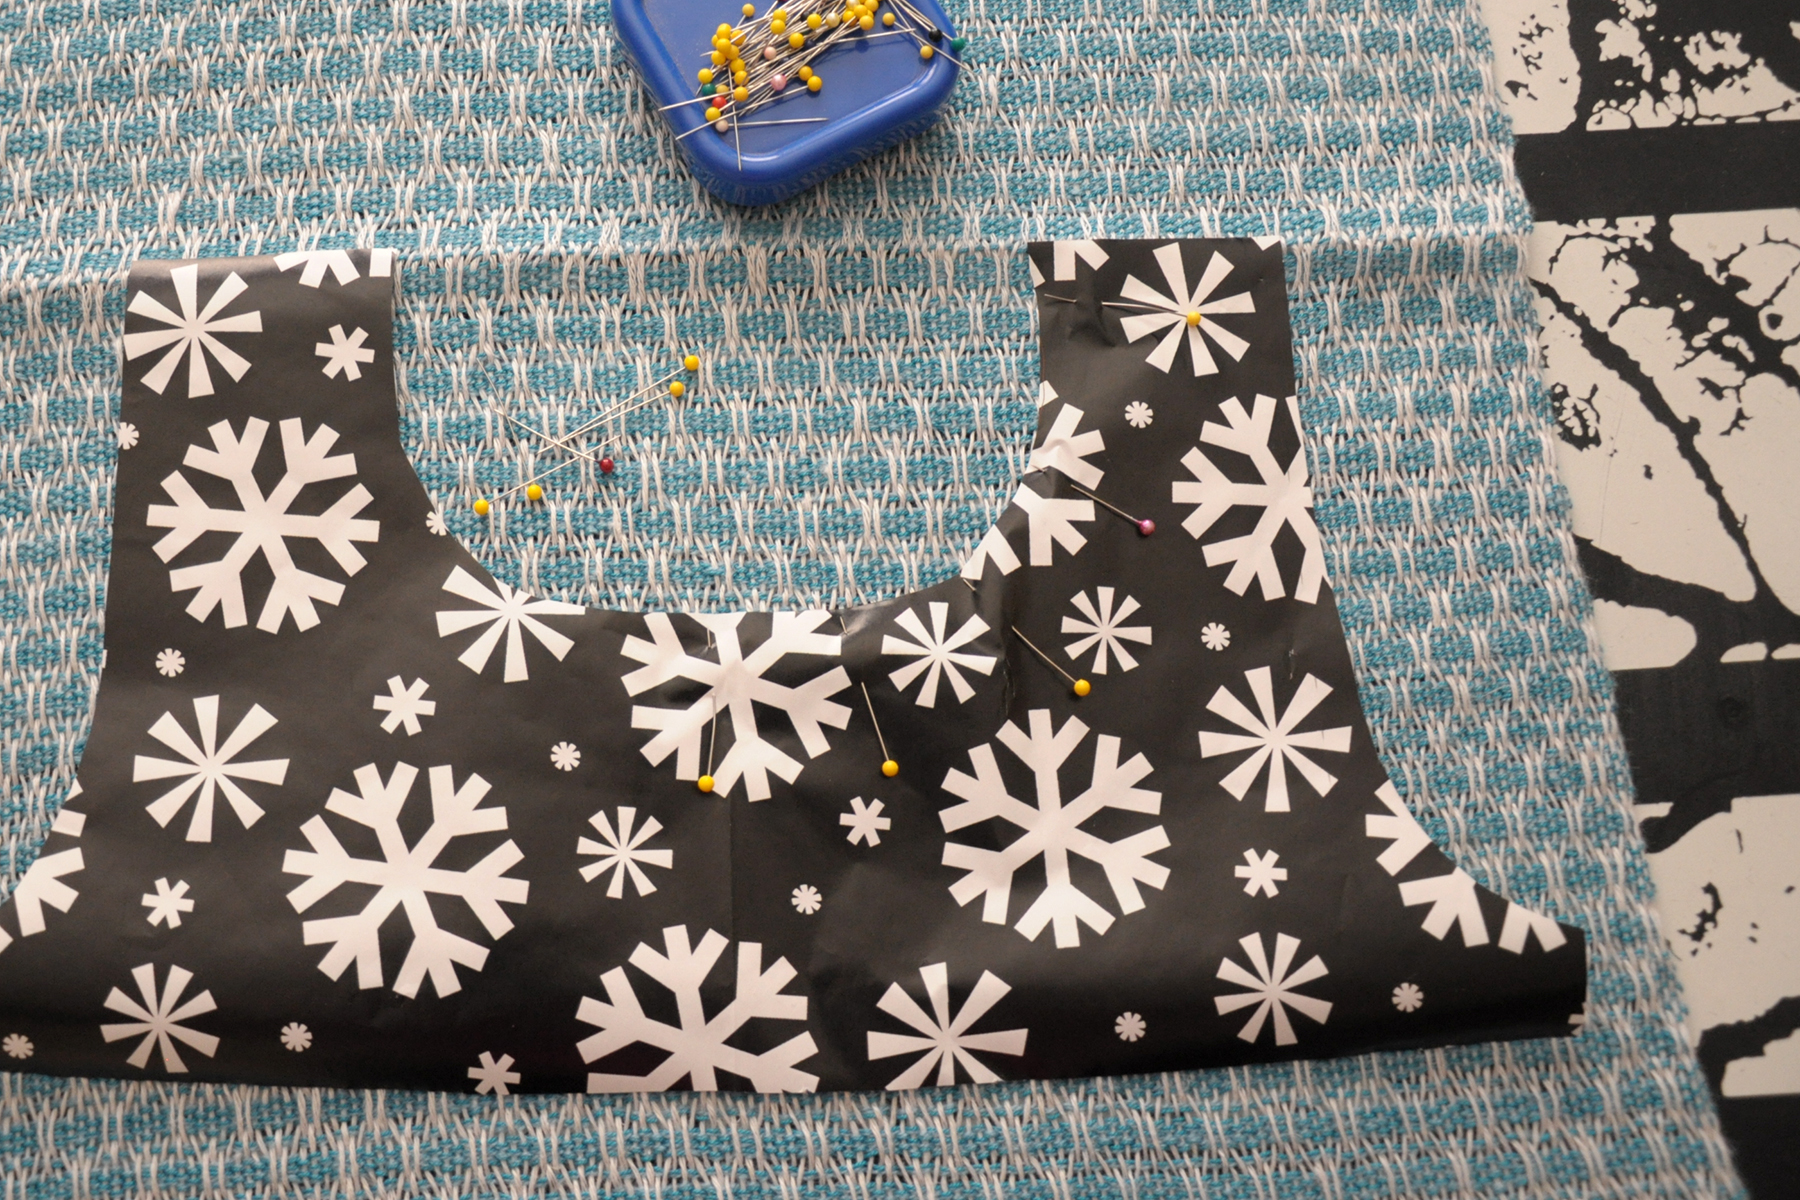
Sewing_4

My two best tips for sewing: don’t skimp on ironing or pins.

Now, before any cutting can happen, it’s important to secure the fabric with the sewing machine. If I was cutting store-bought fabric for a garment, I would simply pin the pattern to the fabric and cut. But because I’m using my handwoven fabric that has a much lower thread count (fewer threads per inch) than most commercial fabric, I needed to take care that the weaving doesn’t come apart.

My first step was to sew a folding guide line for myself. I sewed a straight line of stitching just along the sides of my template:
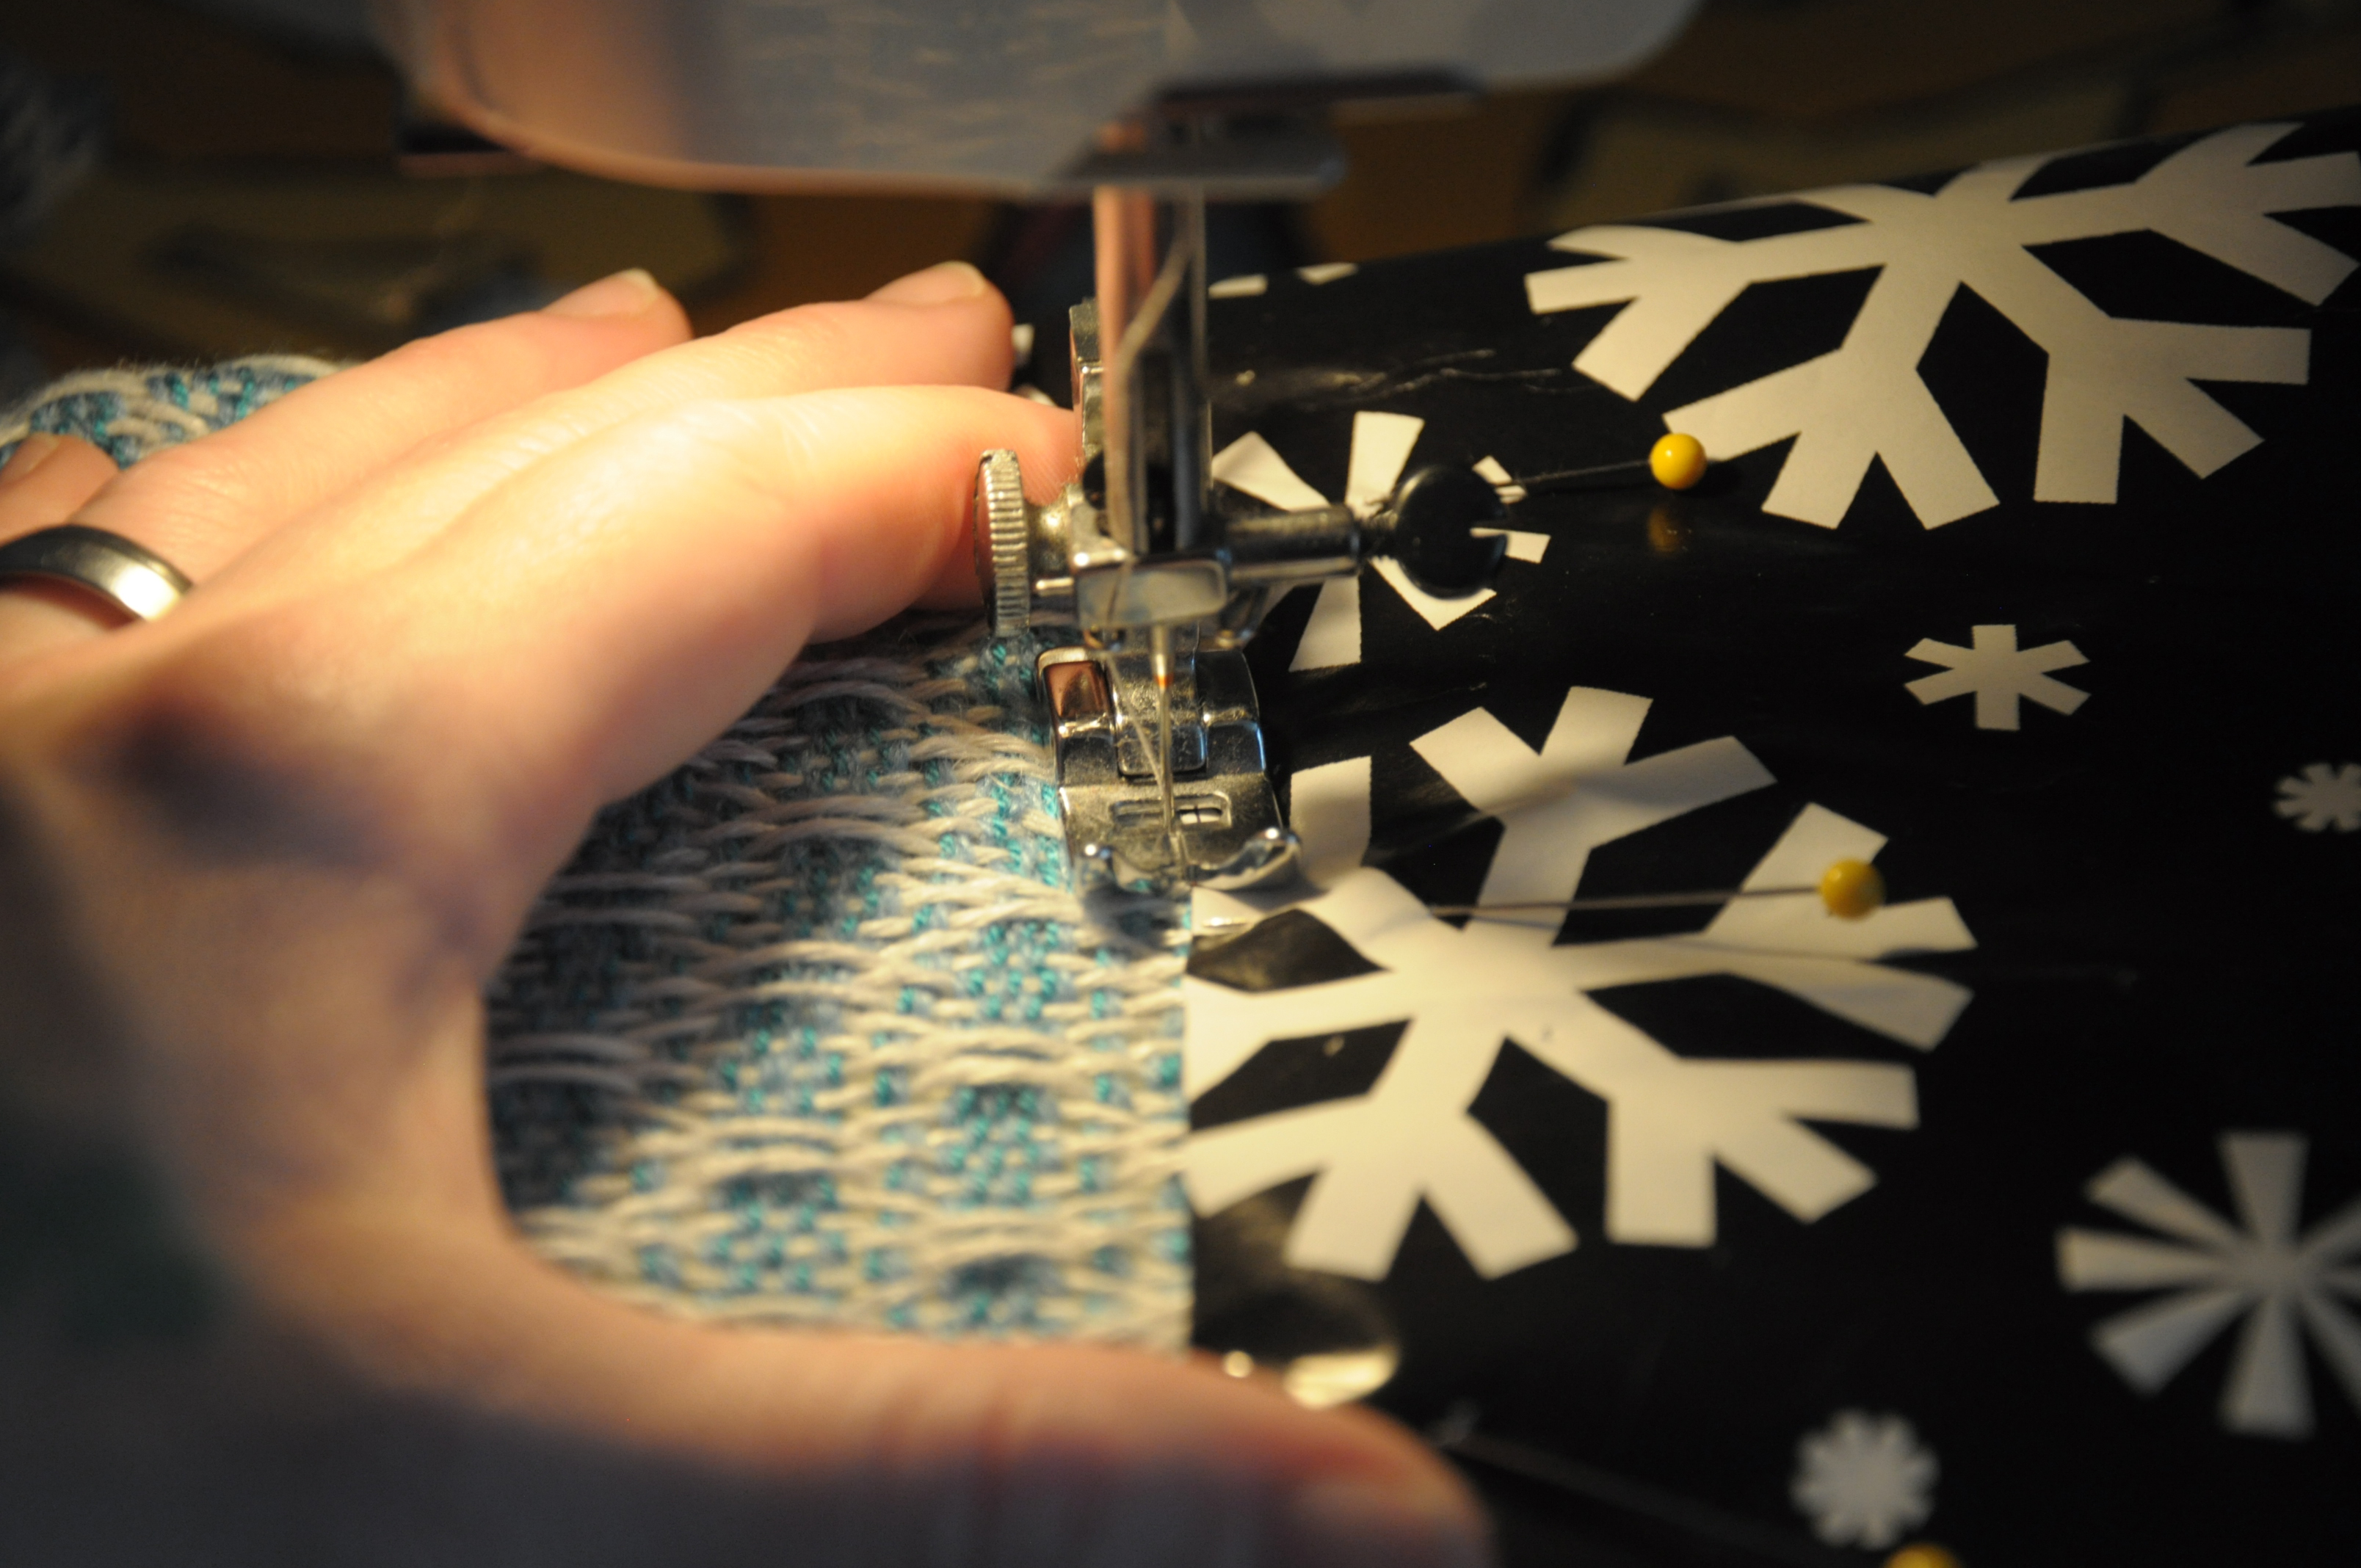
Sewing_5

After removing the paper, I sewed two more lines, but this time with a narrow, short-length zigzag stitch. These are the really important lines, because they’re securing the threads of the weaving and preventing them from unraveling. I used my presser foot as a measuring guide for my lines The foot is about 1/4″ to 3/8″ wide from the center of the needle to the outside edge, making my total seam allowance be about 5/8″.
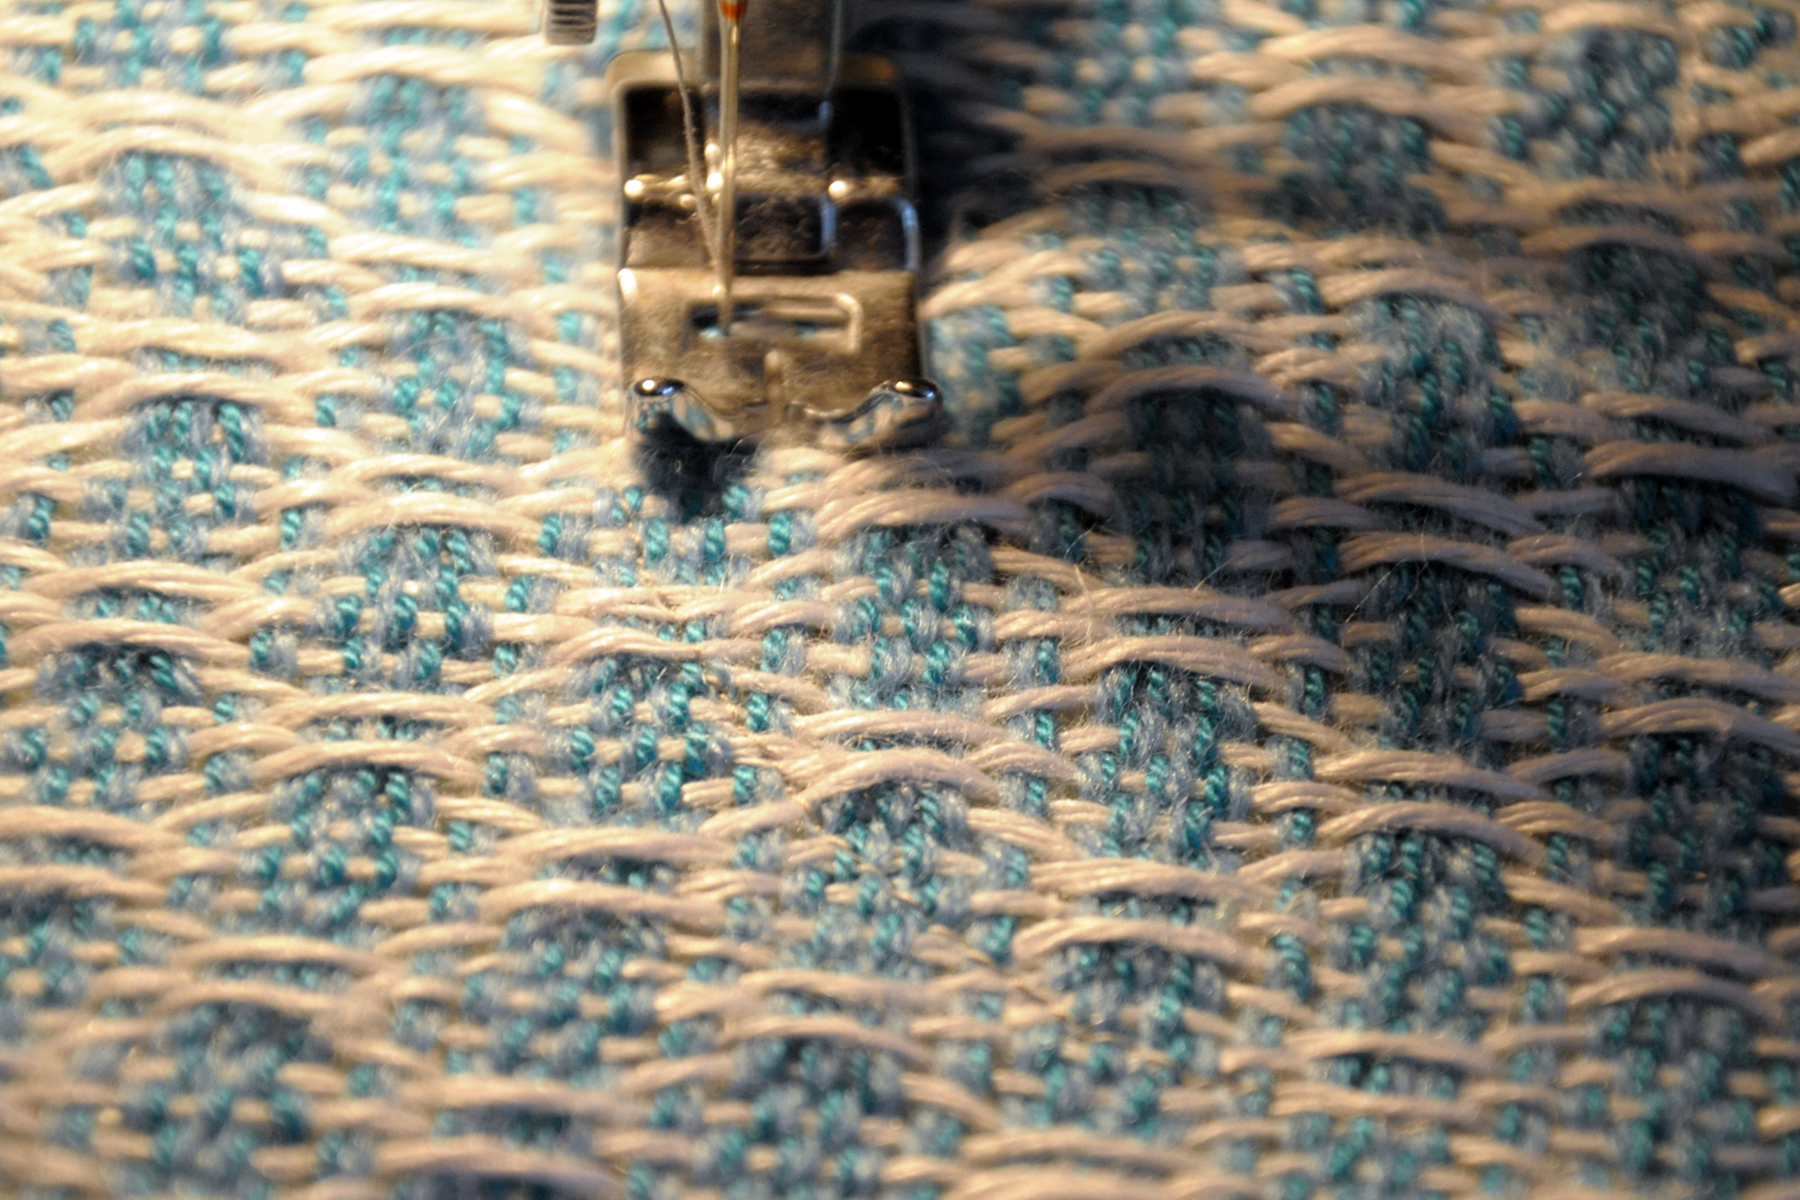
Sewing_6

I’m using light gray thread – can you see it? I barely could and had a splitting headache by the time I was done from squinting so hard. I wanted the thread to blend into the fabric and it blended too well!

Can you see it now?

Sewing_7

Now that these important lines were stitched I could safely cut out my neck and armholes. I made sure to cut outside  all lines of stitching, right up against the last zigzag line.
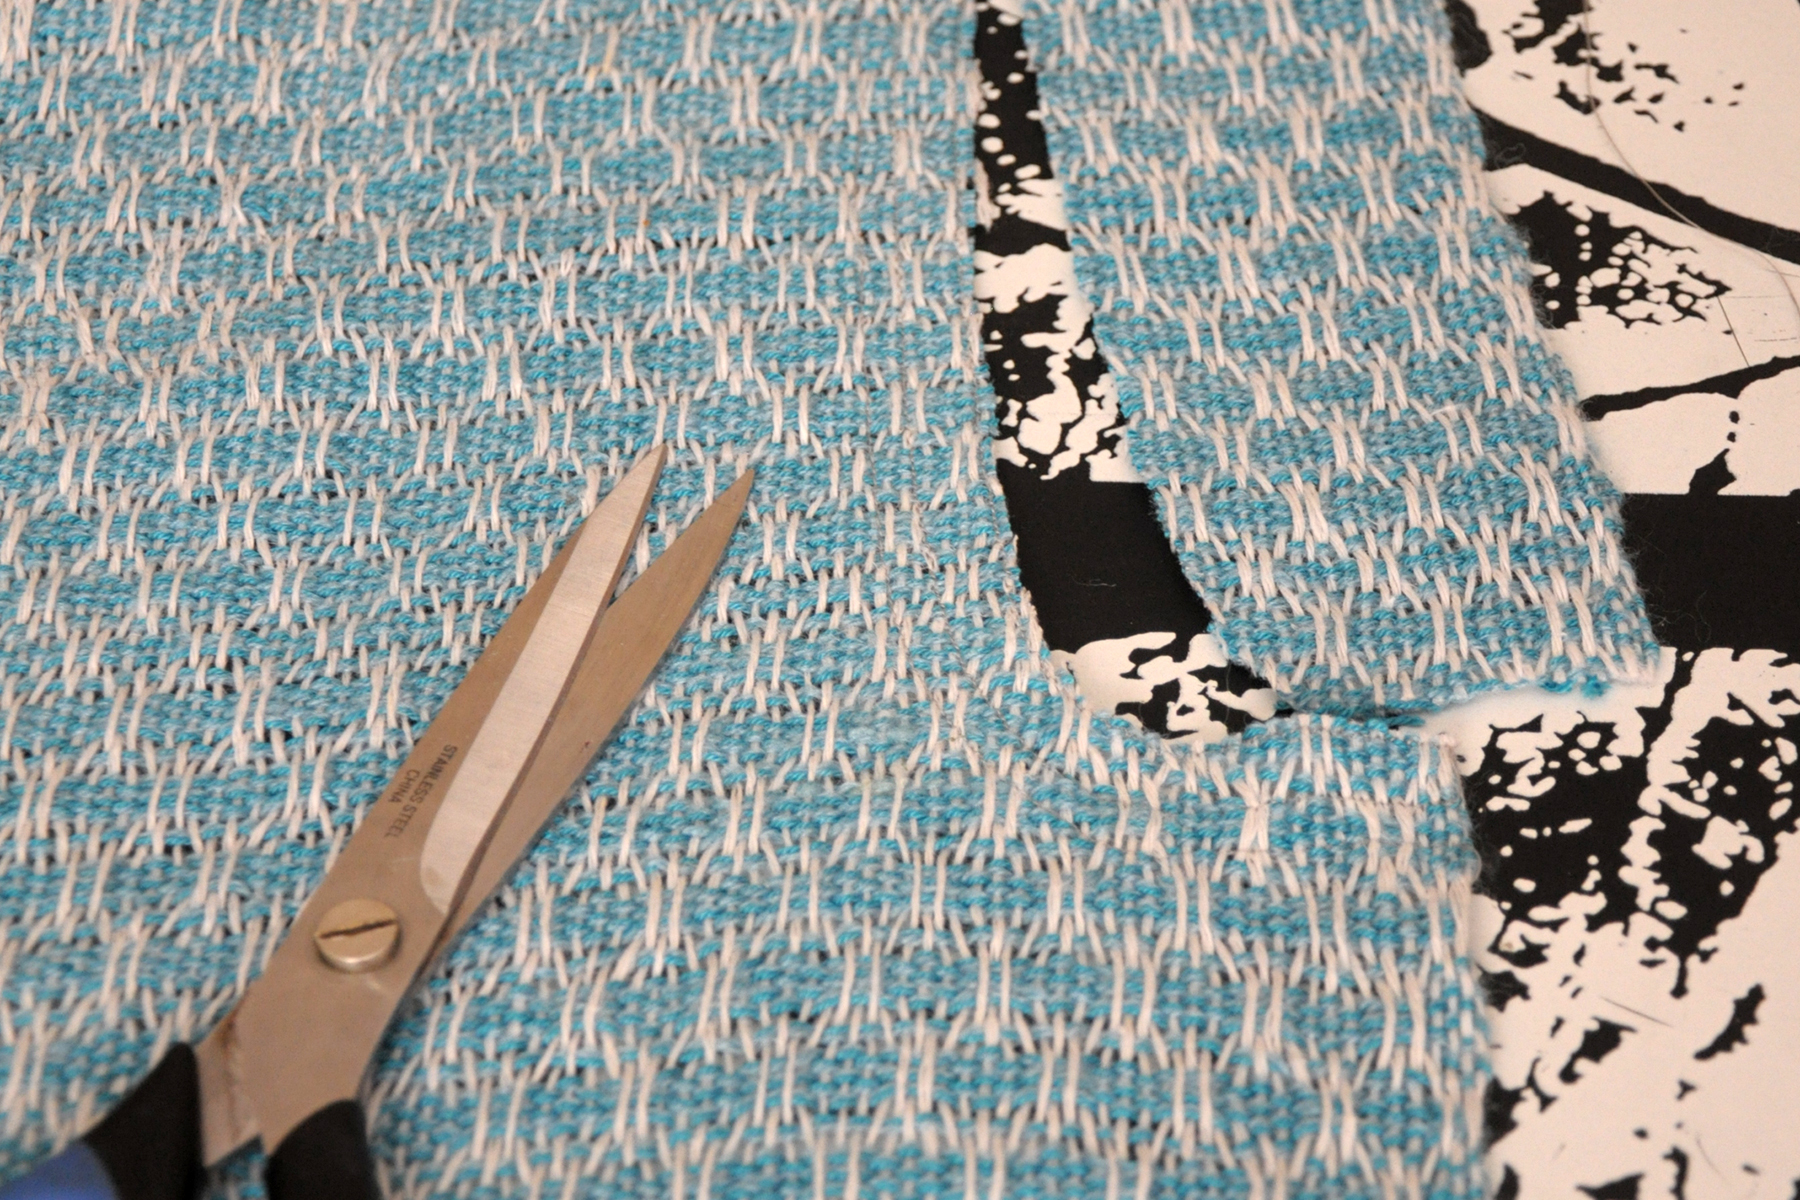
Sewing_8

Once the neck and armholes were cut out, I had to prep the curves so I could fold them under. If you’ve ever sewn a garment with curved lines, you know that you have to snip the curves so they can be eased to the inside of the garment. Again, because I was working with hand woven fabric, I had to secure the fabric before making these snips. I set my machine to a very, very short straight stitch, and made 2 parallel lines of stitches on either side of where I intended to cut. That way, when I cut through the fabric, it wouldn’t unravel.

My apologies – I seem to have forgotten to photograph this step!

Anyway, next, it’s onto the ironing board again. And more pins! For a double-rolled hem, I first pressed in my openings on my very first straight line of sewing. Remember, my guide line? Then,  I pressed in again on my first zigzag line.
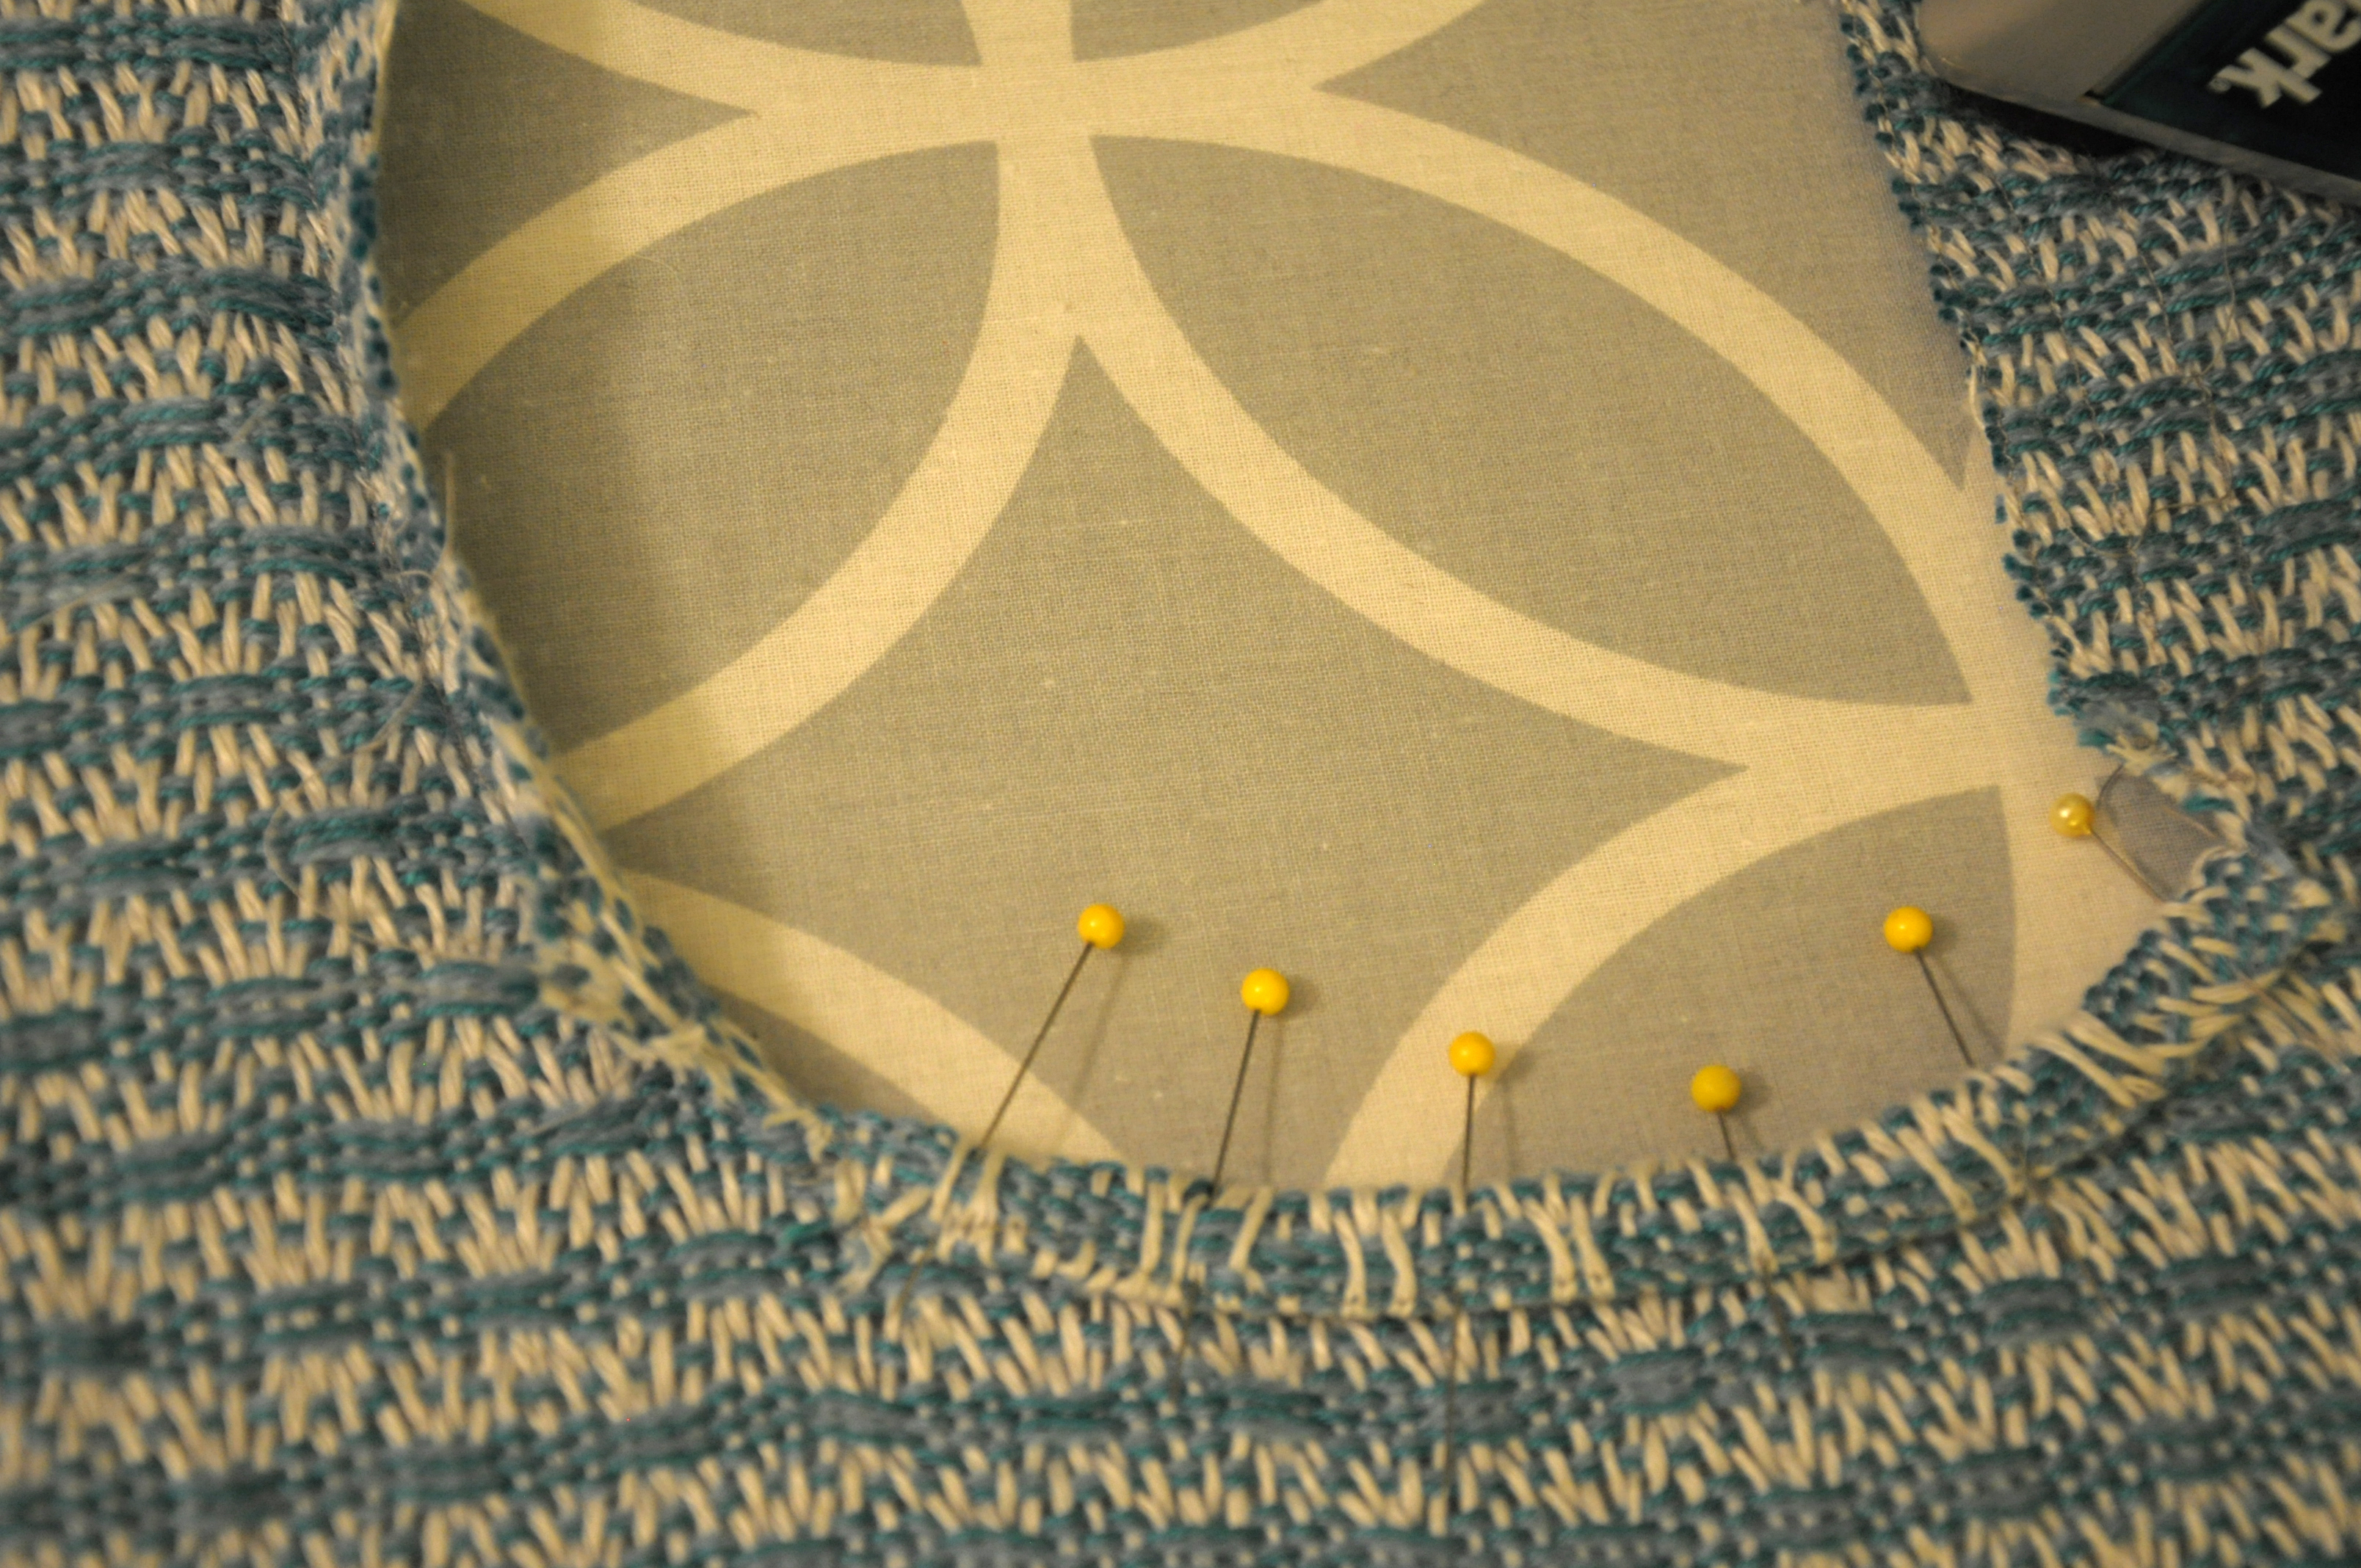
Sewing_9

Once I pinned and sewed my neck and armhole openings (this time, with thread I could actually see), I tried it on Betty to see how we were coming:
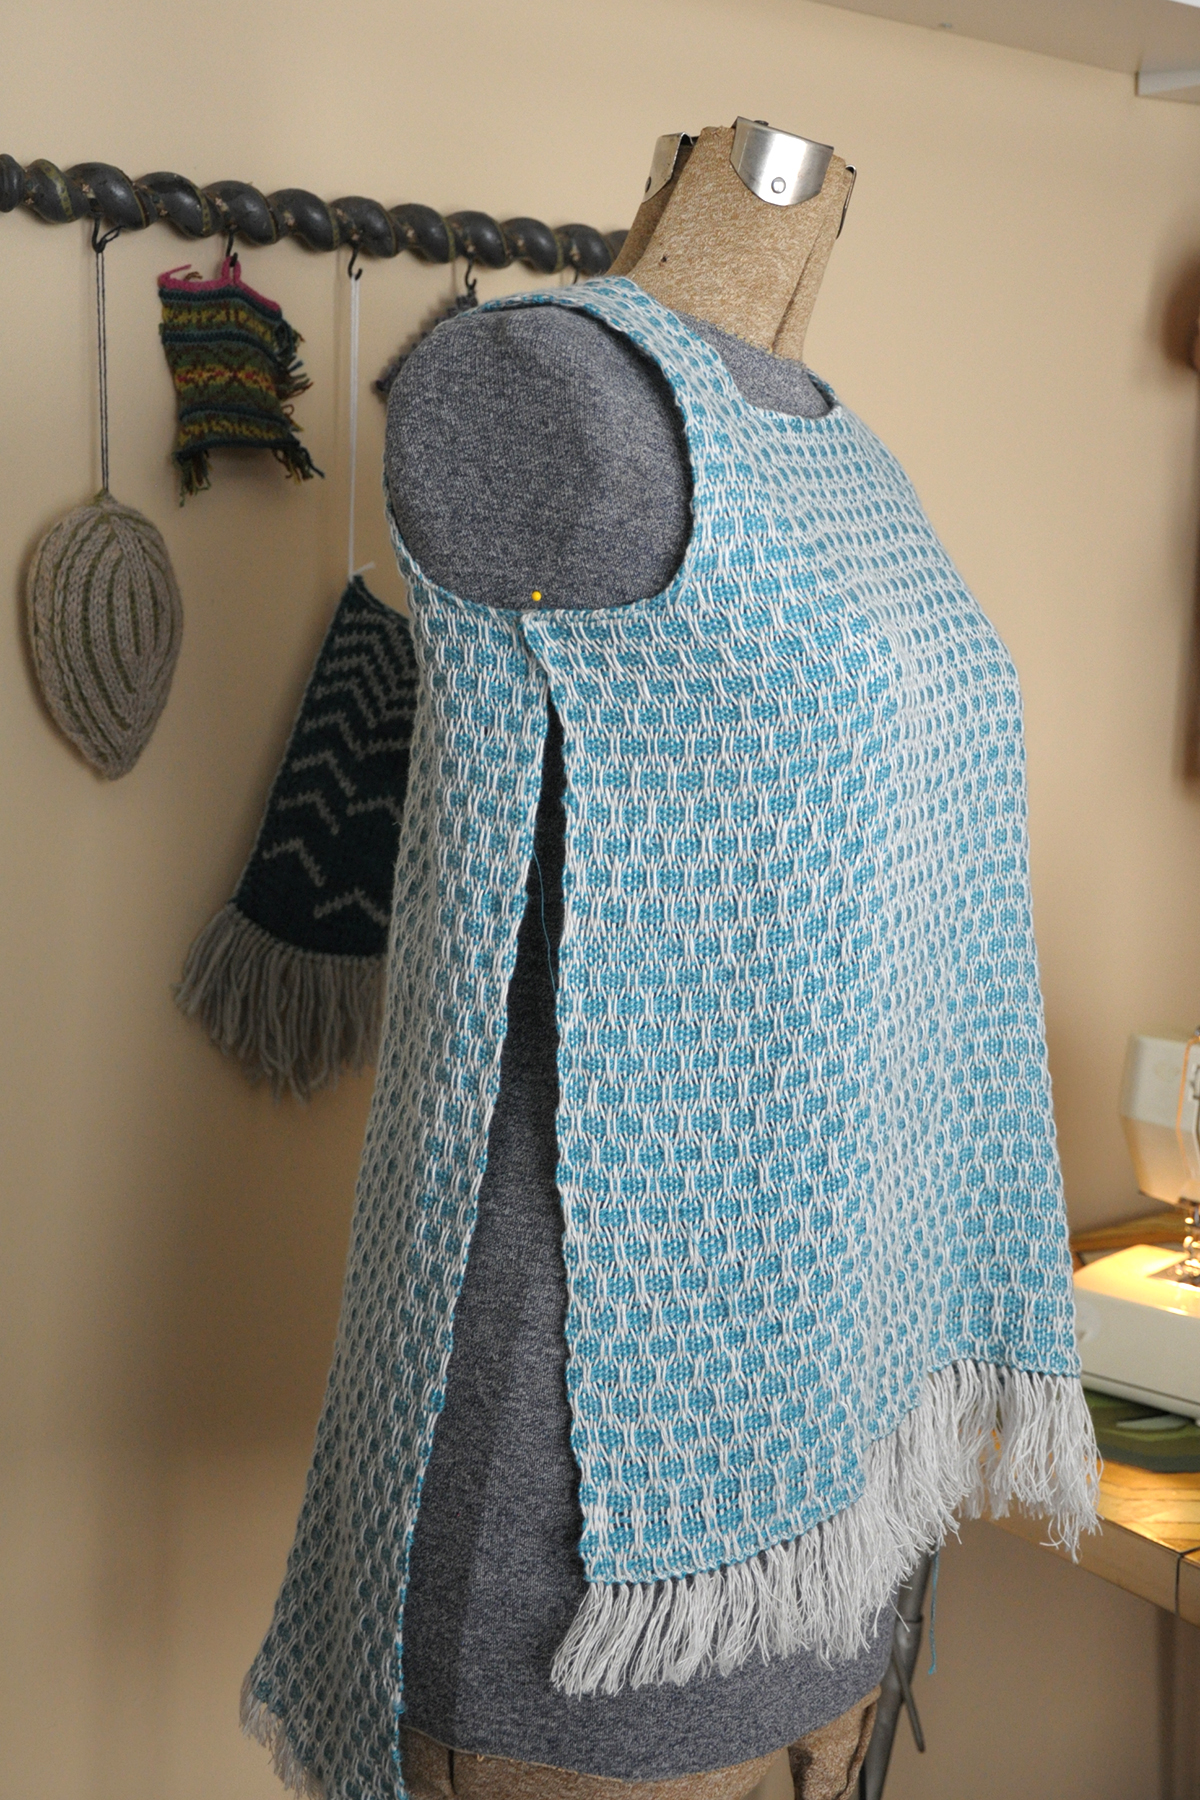
Sewing_10

Hey, it looks like it could actually be something! To wear!

There were just a few things left to do. First I trimmed away that fringe. Fringe is actually in style right now and I could have left it, but opted to cut it away instead.

Next, I needed some side seams. Because the sides of the fabric are the selvedges, I found no need to do double rolled hems because the edges are “finished” already.

The final width of my fabric after washing, by the way, was about 19 1/2″. Which means, if I were to sew the sides together with 1/2″ seam allowances (taking up a total of 2″ in seams), then my finished top would be about 37″. Perfect! I have a 34″ bust, so having a few inches of ease in this woven top will work well, since woven fabrics really don’t have any give.

My hips, however, are significantly larger than 34″. I’m a pear shape and my hips are about 39-40″. I couldn’t sew the full length of my side seams or I won’t be able to fit into this baby.  I also could have made the top shorter than intended so that it sat above the fullest part of my hips, but I didn’t want to do that.

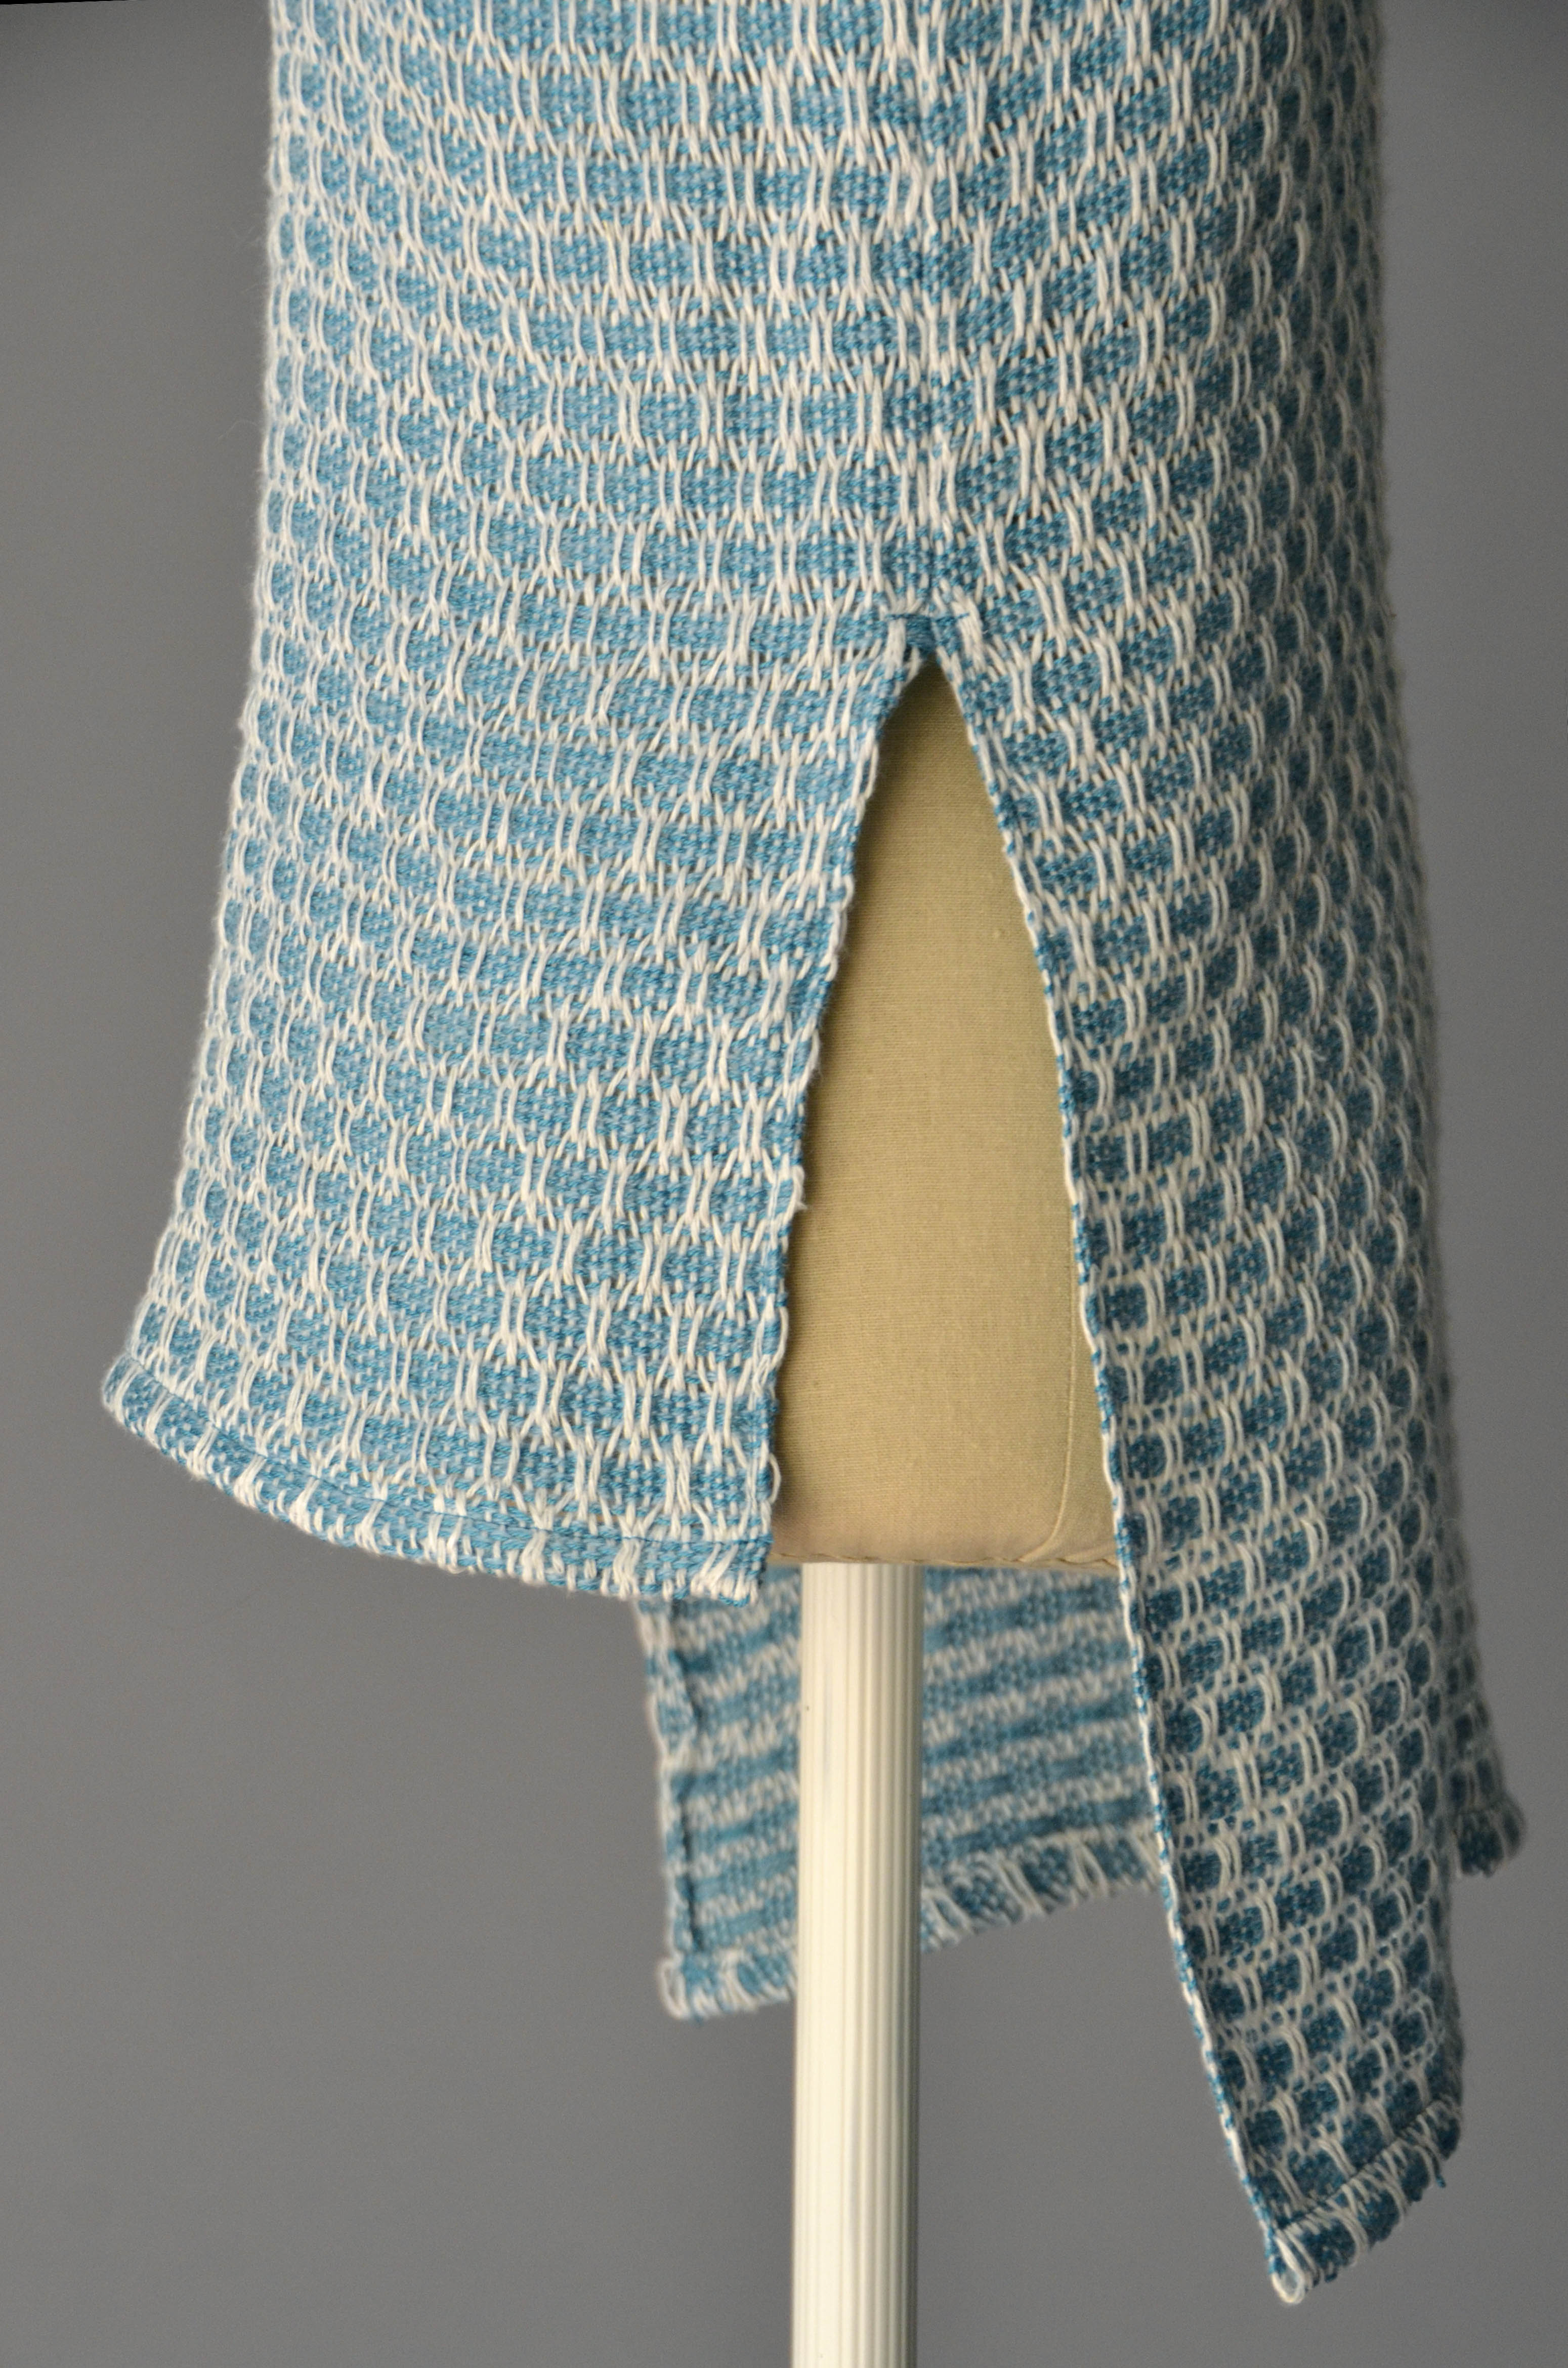
Instead, I opted to sew only part of the side seam and give myself side vents to accommodate my curves.
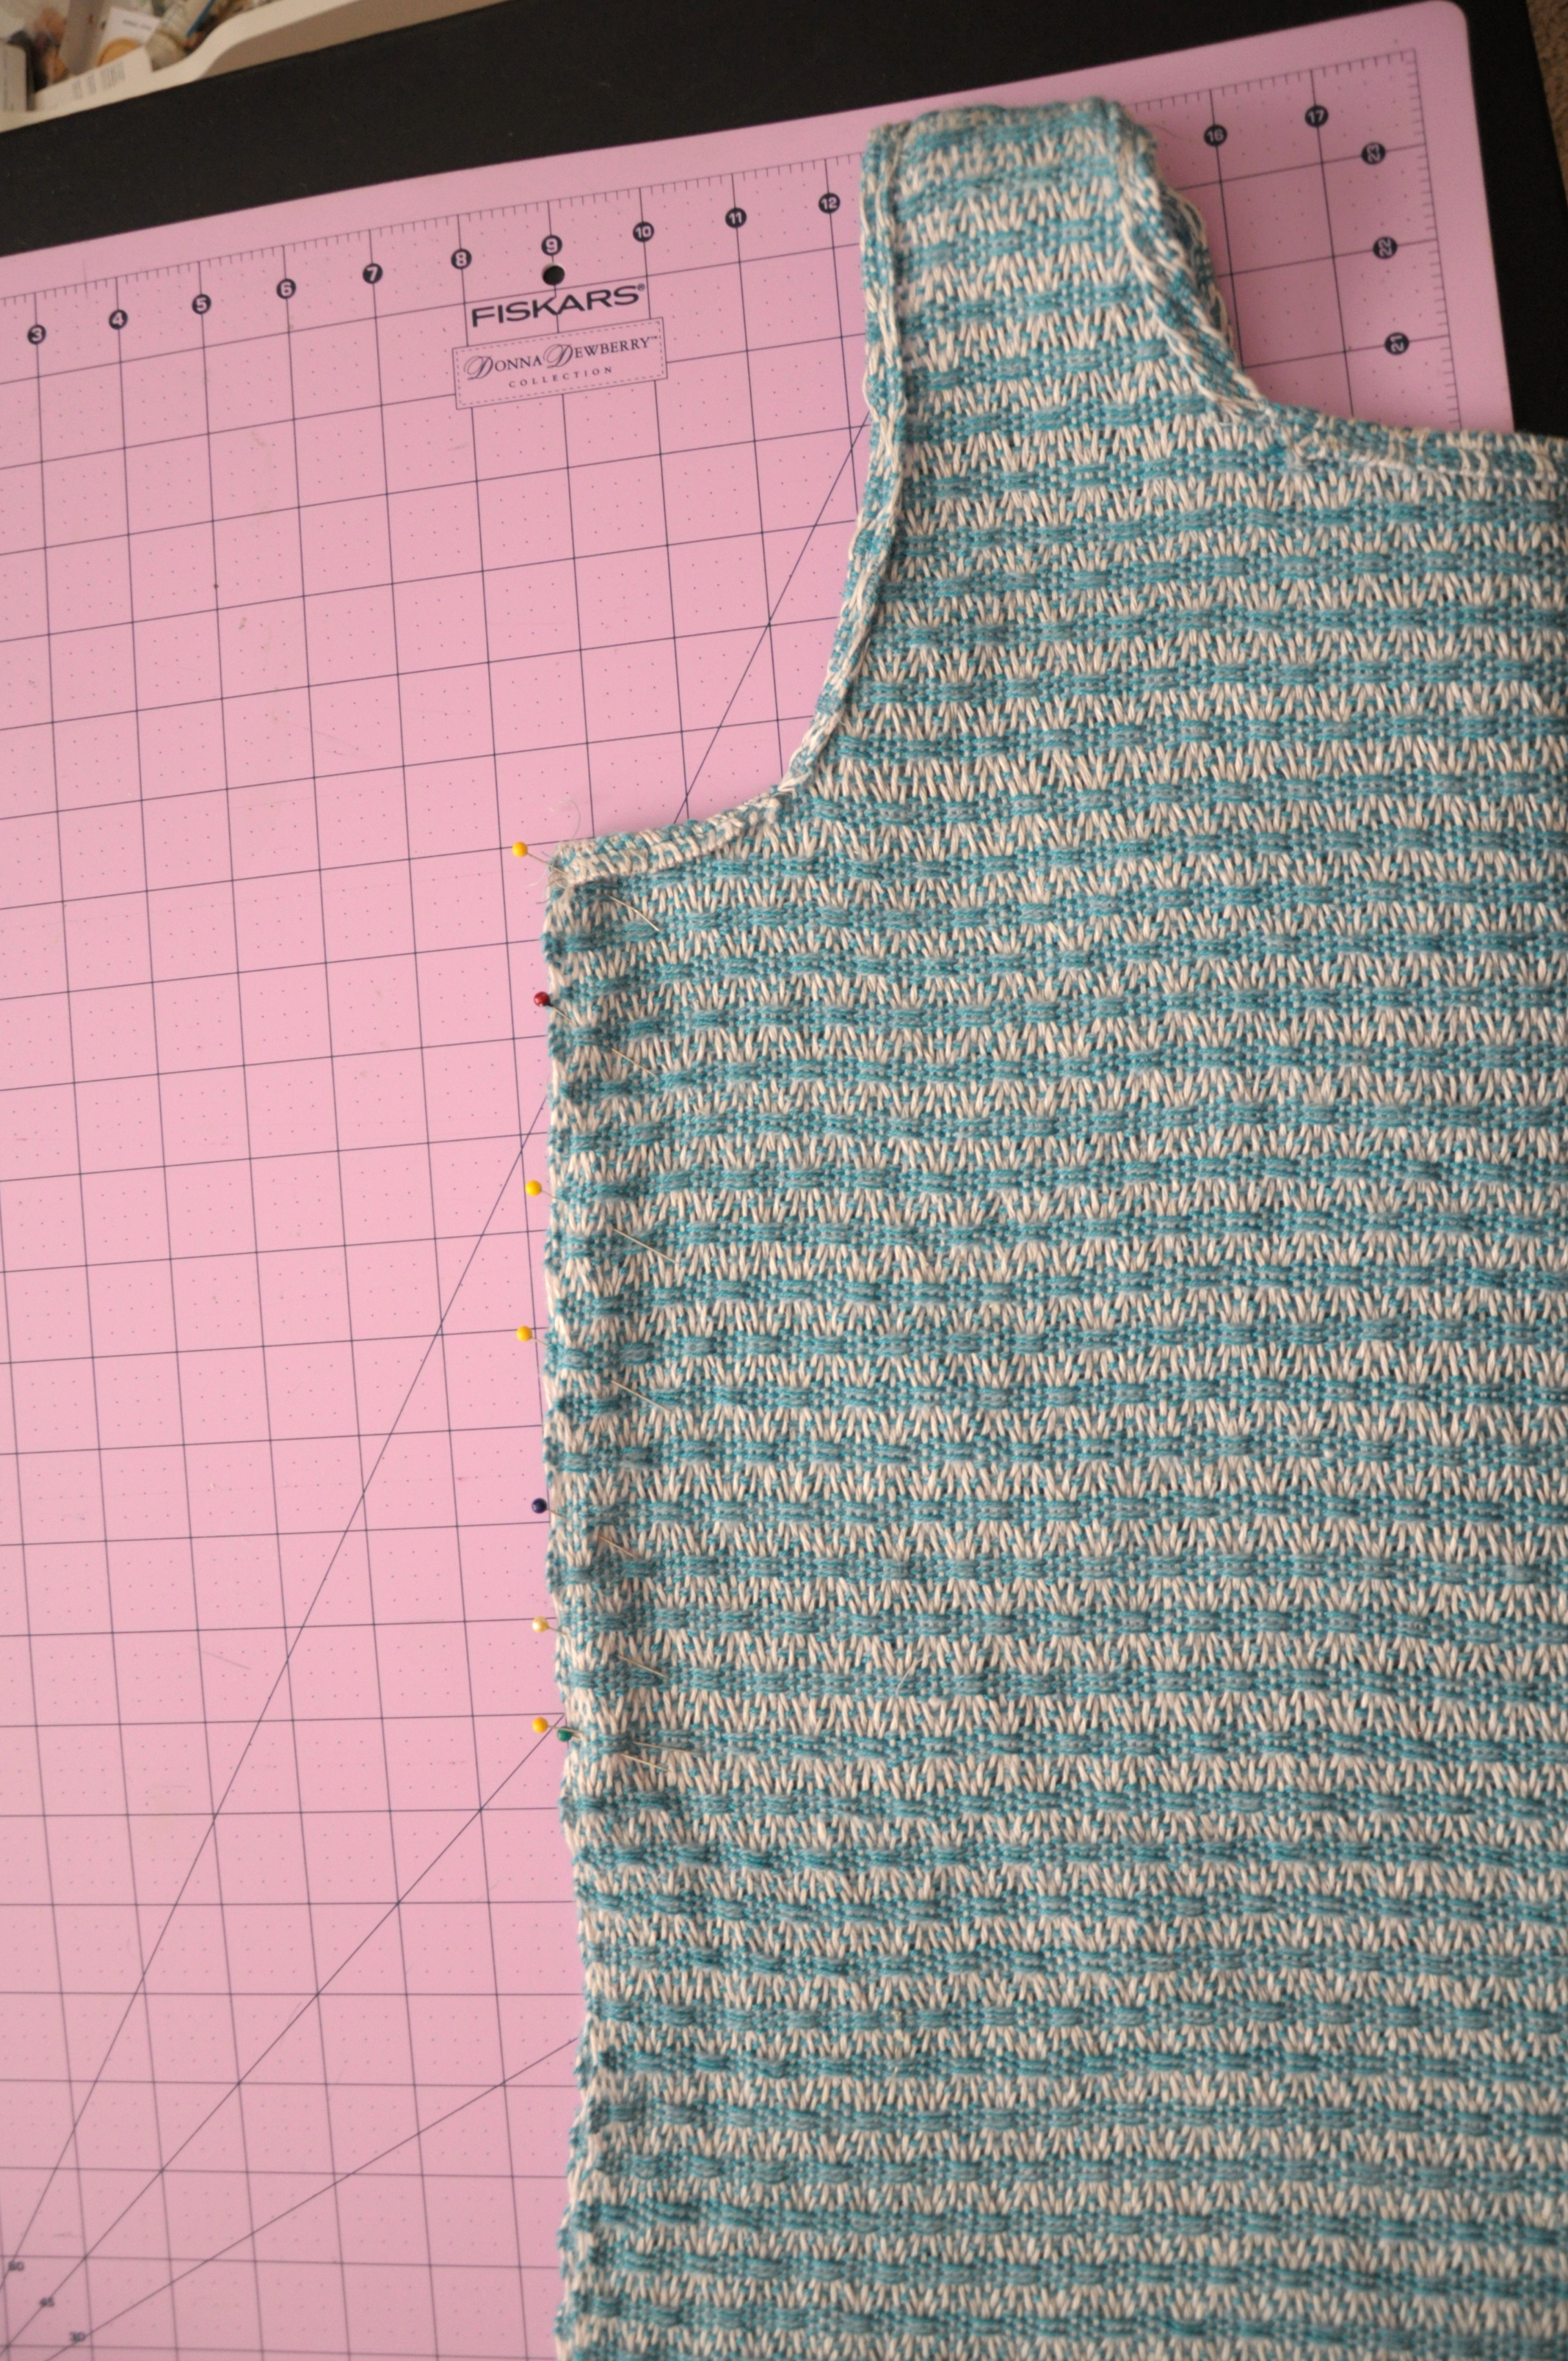
Sewing_11

After sewing the side seams, I pressed them open. Remember my other rule – don’t skimp on the ironing. I then made a single-fold hem on the unsewn portion of the sides, and made a double-fold hem on the bottom. After that, more ironing! It’s important to iron sewn seams to sort of settle them into place. It also makes them look more finished. I like to shoot a little steam on seams of knitted items too to help them relax.
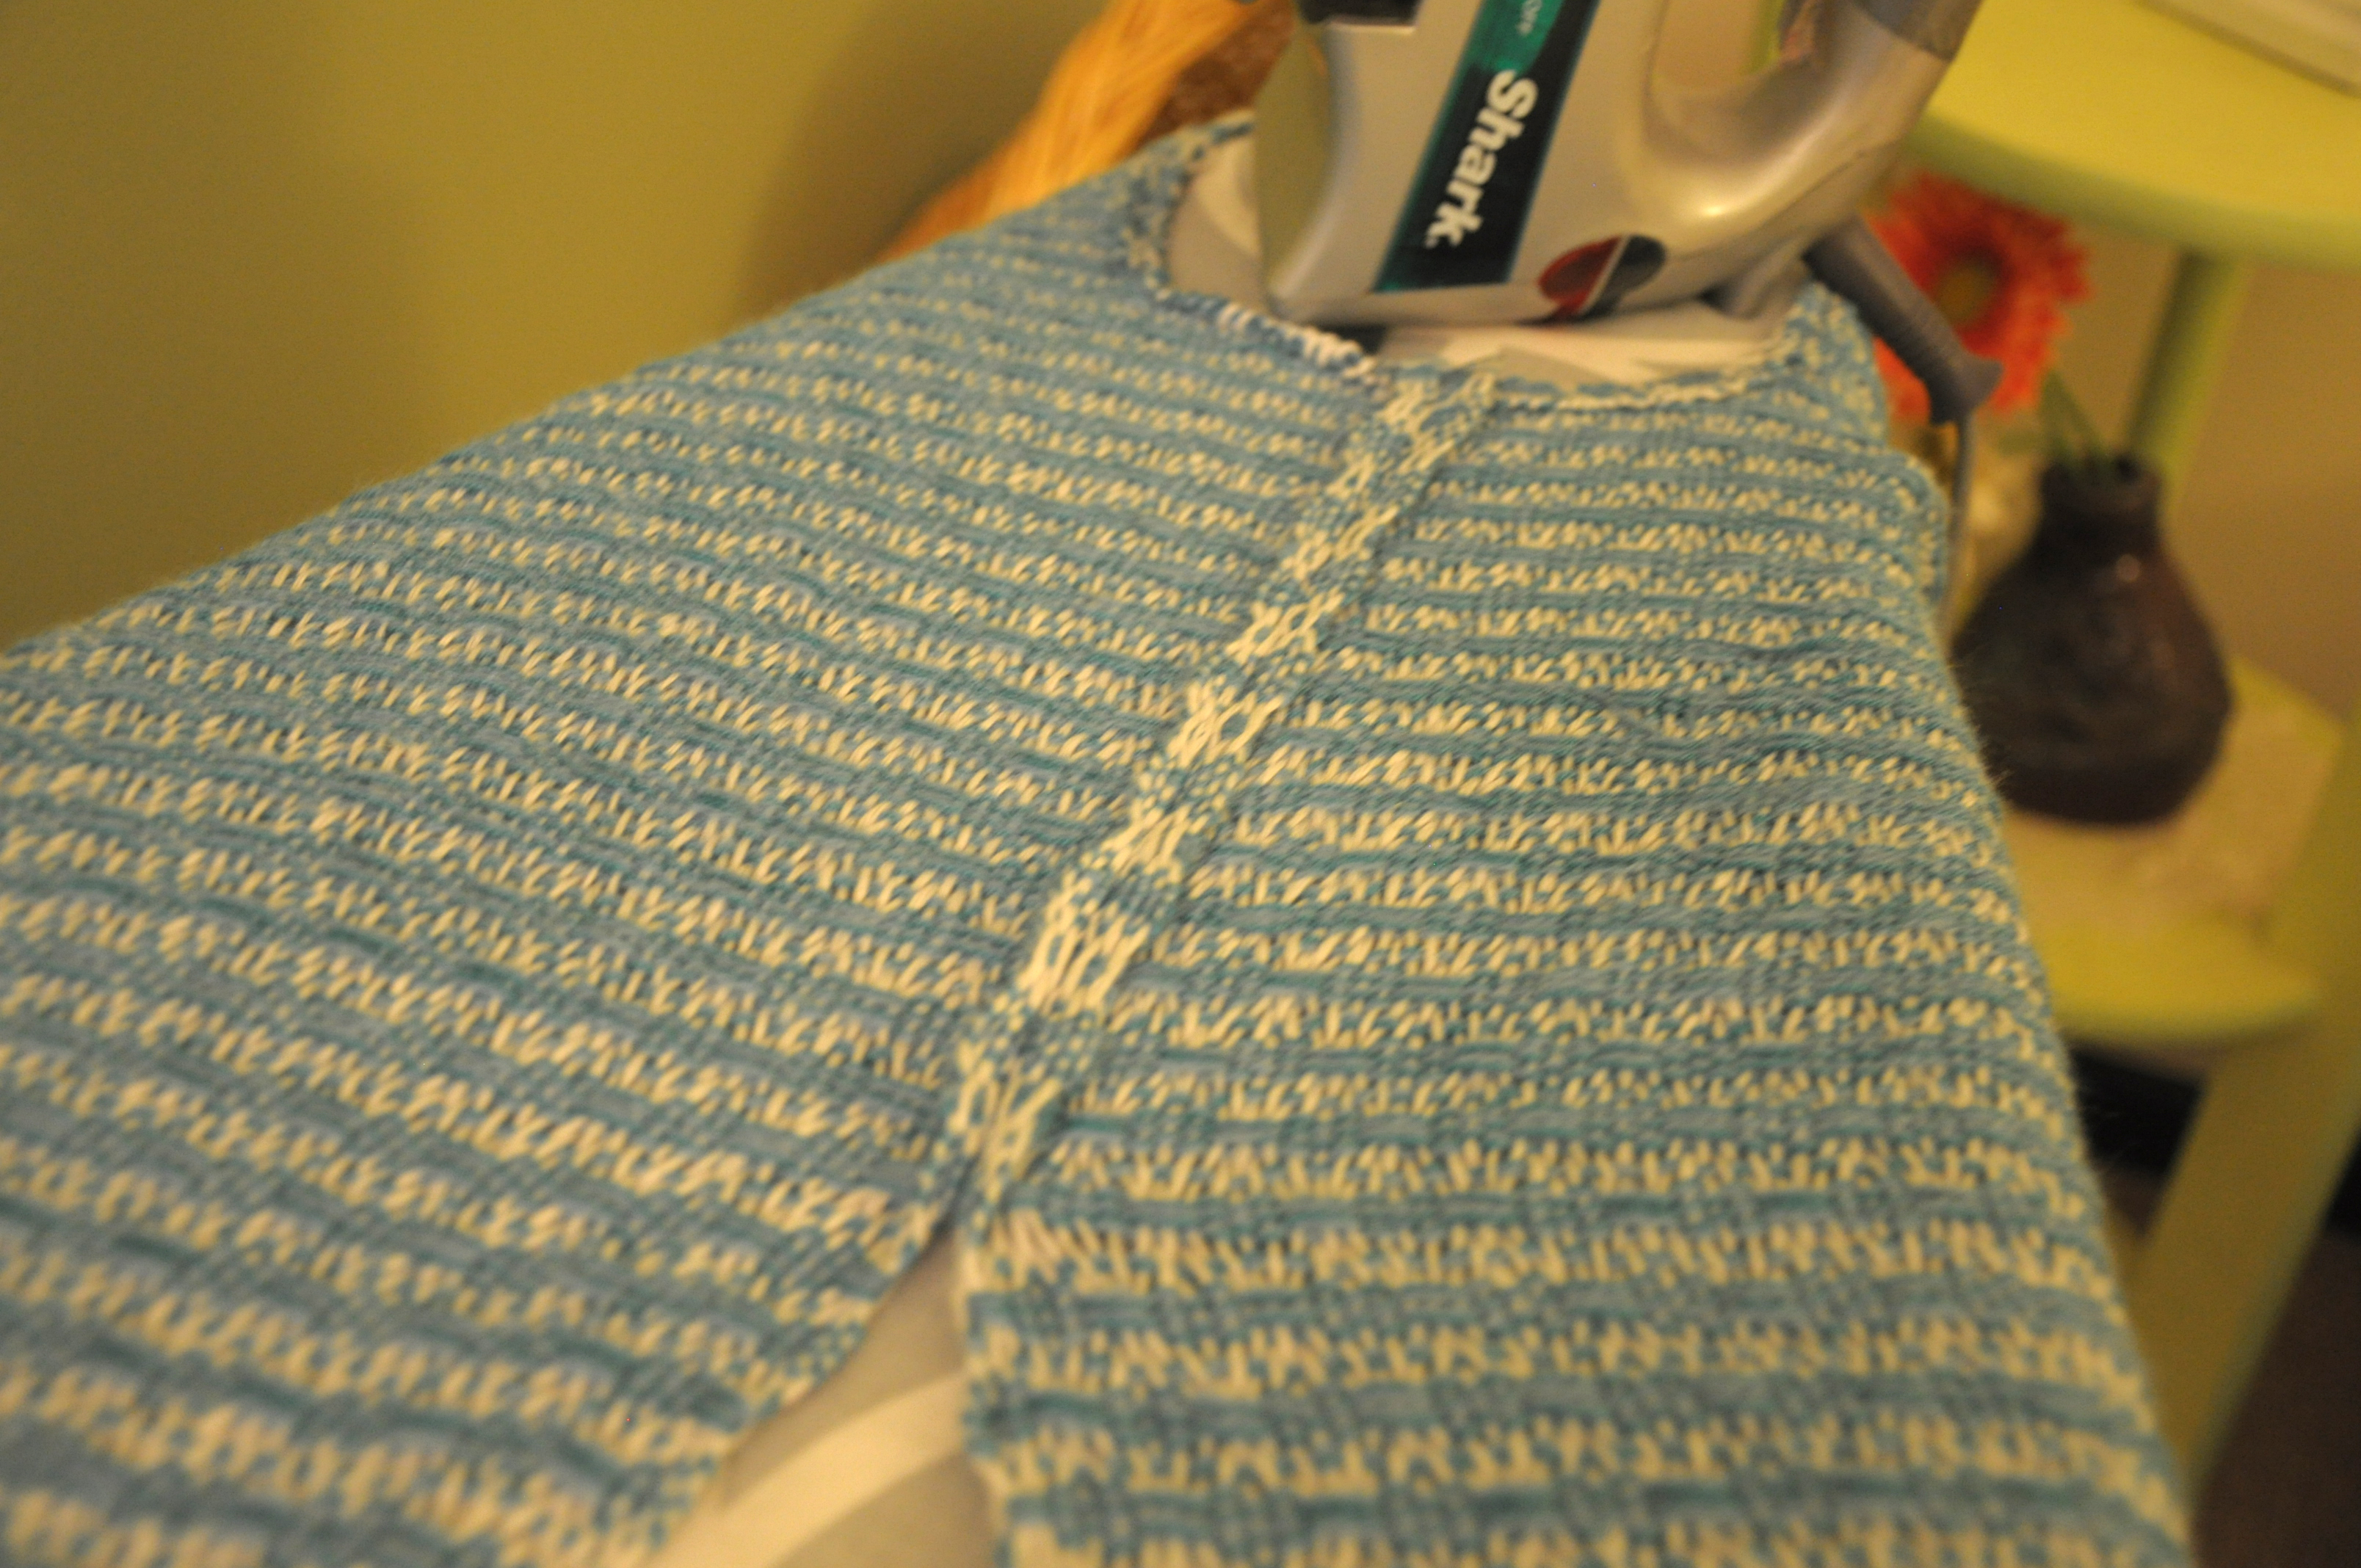
Sewing_12

And here are some final shots:

Flame Lace side closeup square hi-res

Flame Lace hem hi-res

Flame Lace on form hi-res

Flame Lace on Amy crop hi-res

All in all, I’m please with how this turned out. Though I have quite a bit of sewing experience, I’ve done very little sewing with my own hand woven fabric, which is definitely a whole different ballgame than sewing with purchased fabric. This project has definitely sparked ideas for more garments. Now all I need is to find the time to implement them!

Join me next time as I explore how to make the most of Bamboo Pop multi colorways and planned pooling!
 

Playing With Sticks

If you’ve been following along on my latest adventure in weaving,  you read about warping a wide rigid heddle loom for the Flame Lace Top, and then rigging up string heddles for a second pick-up stick. The warp is Flax. The weft is one strand of Whisper Lace and 1 strand of Garden 10 held together.

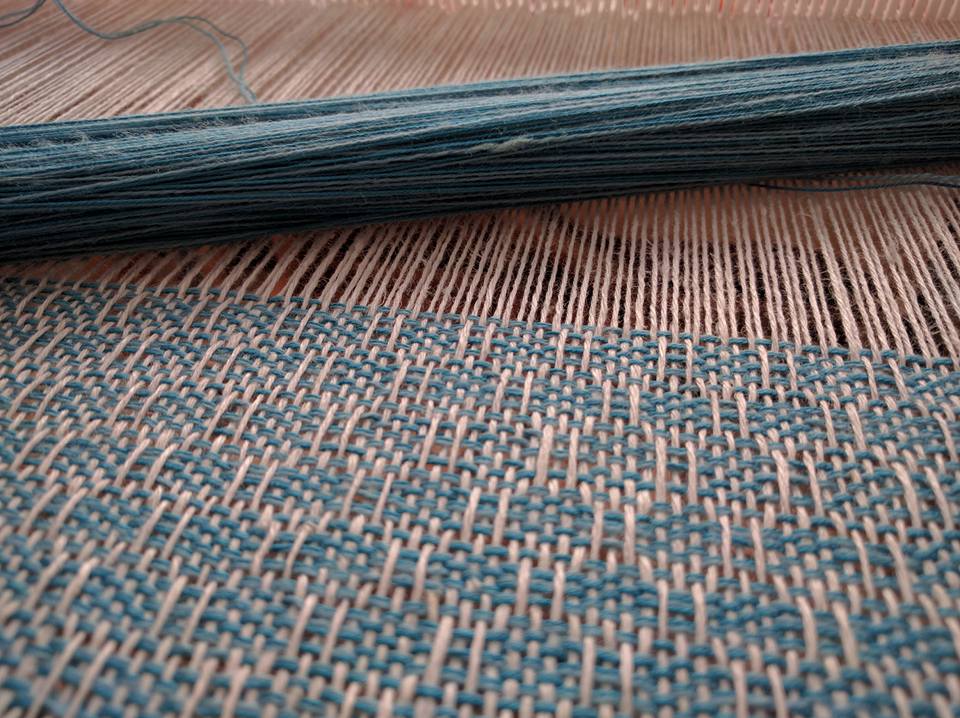
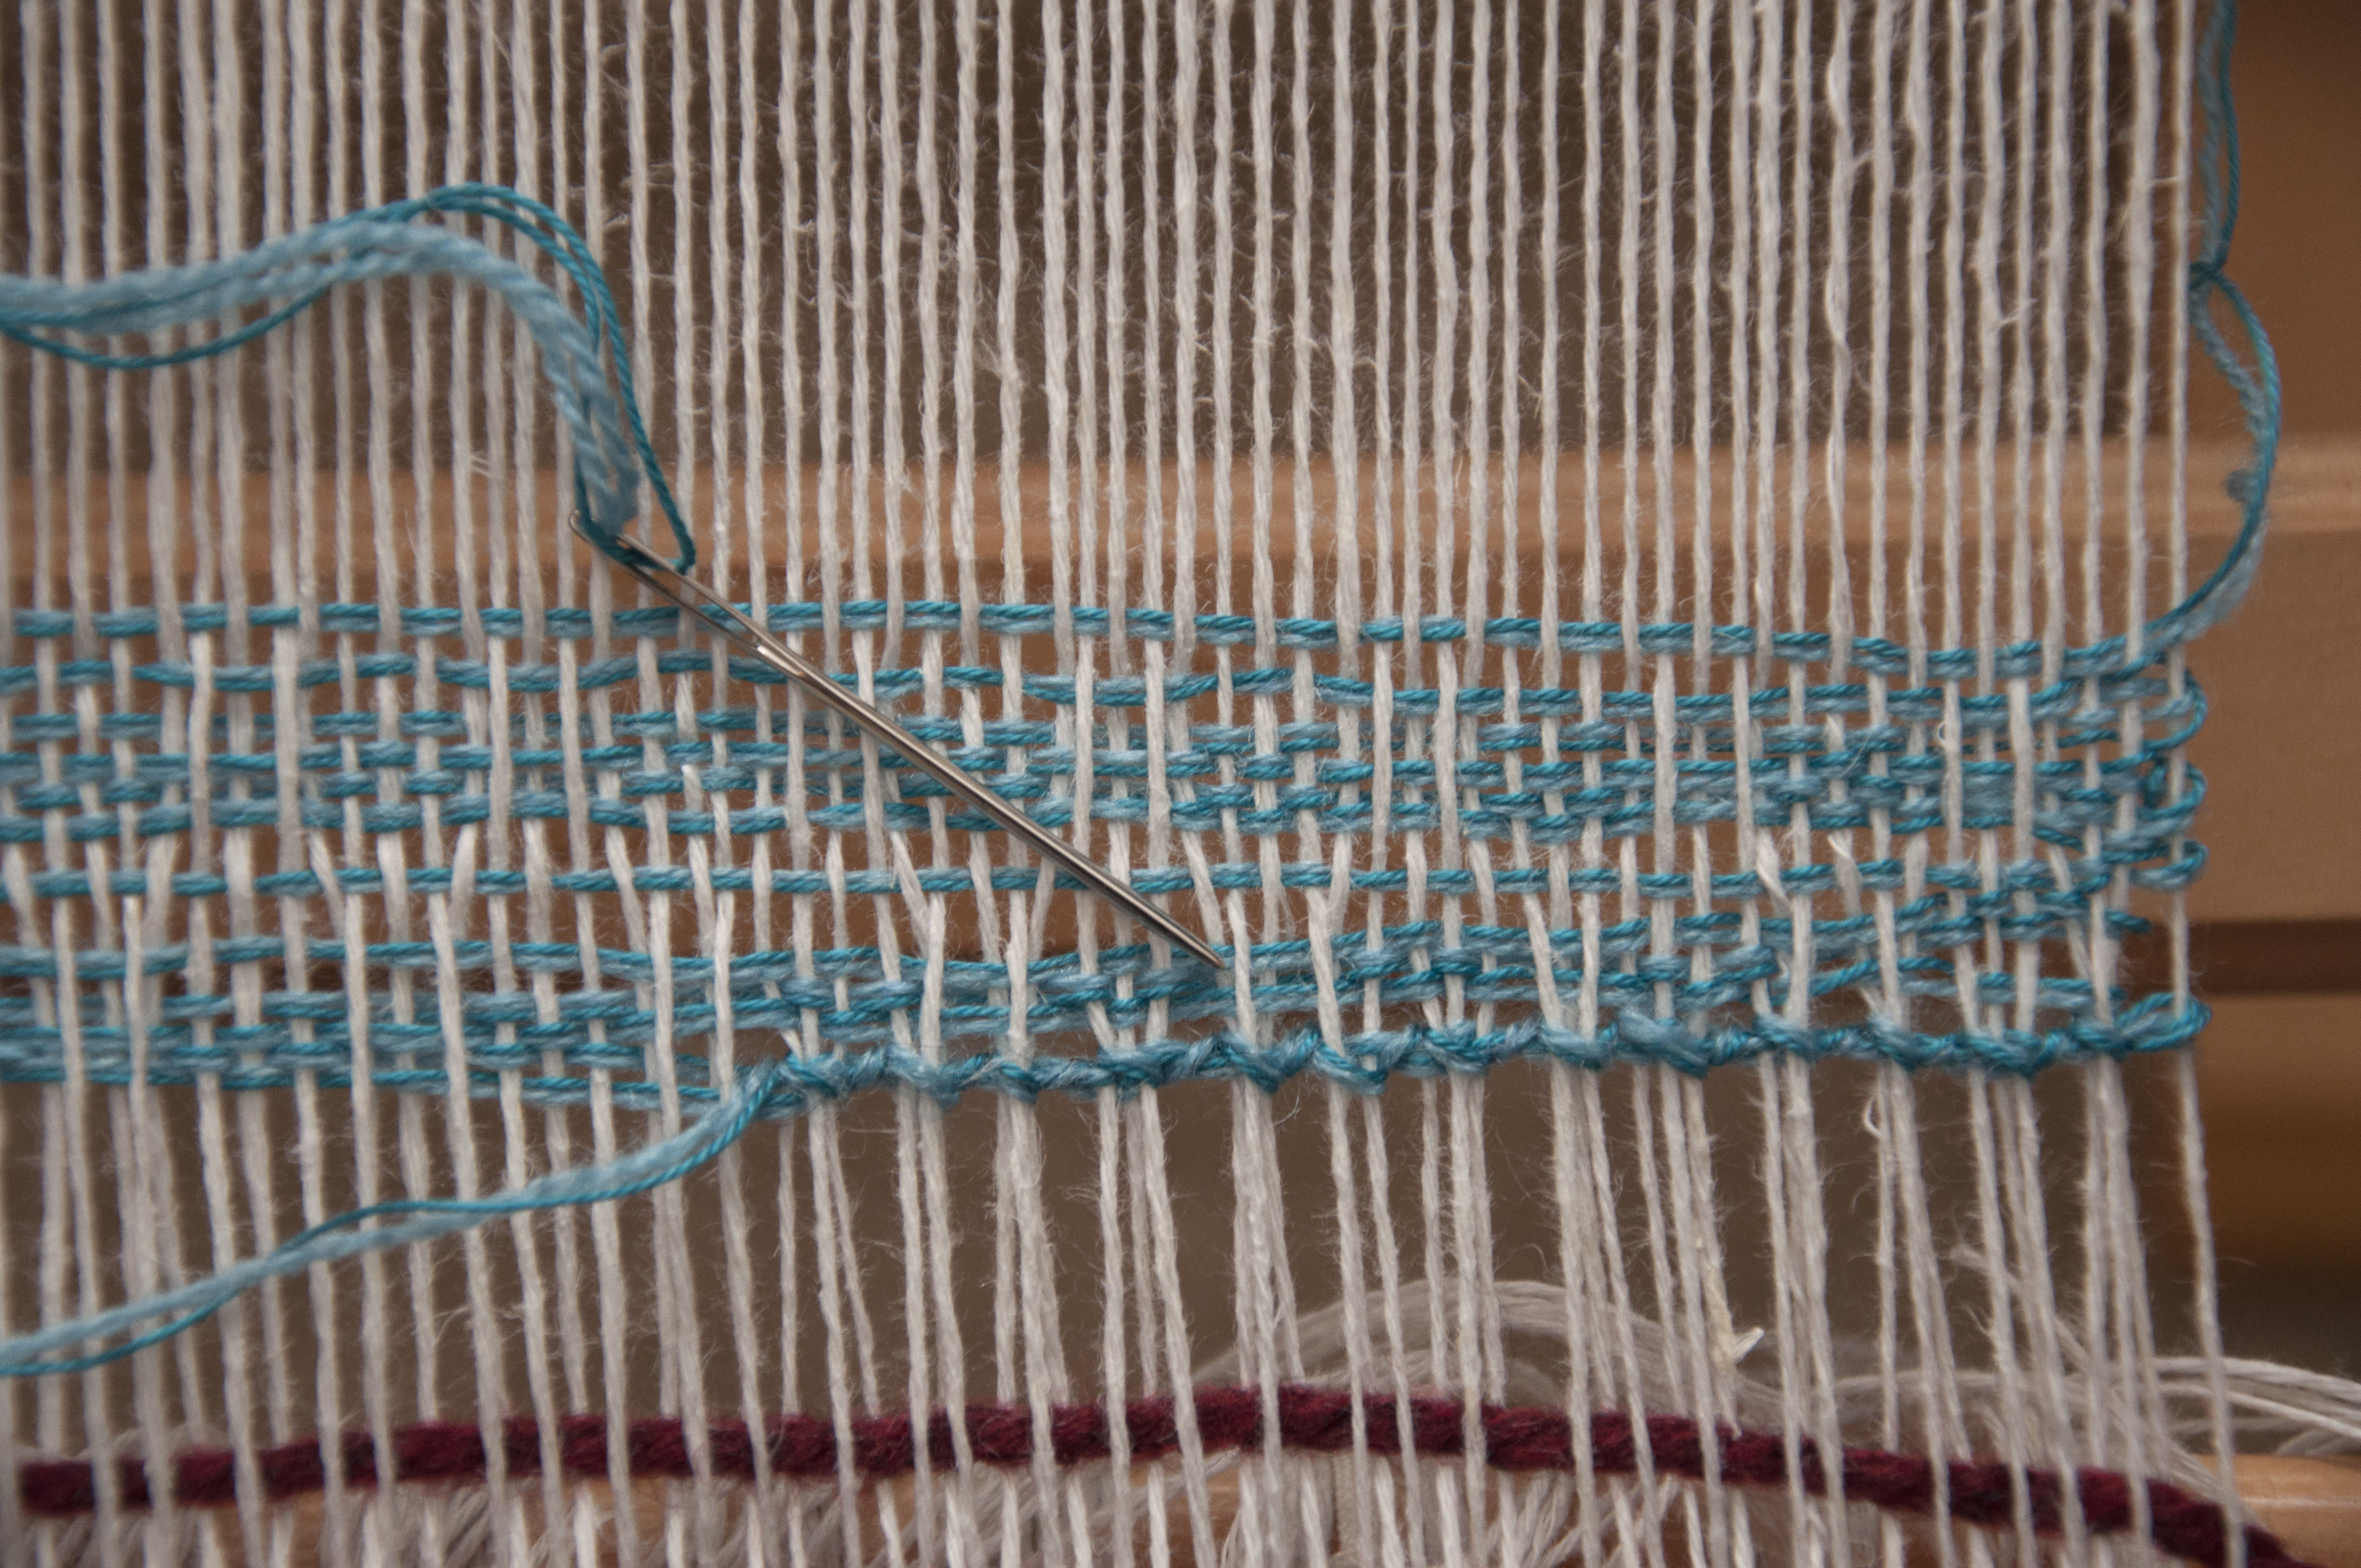
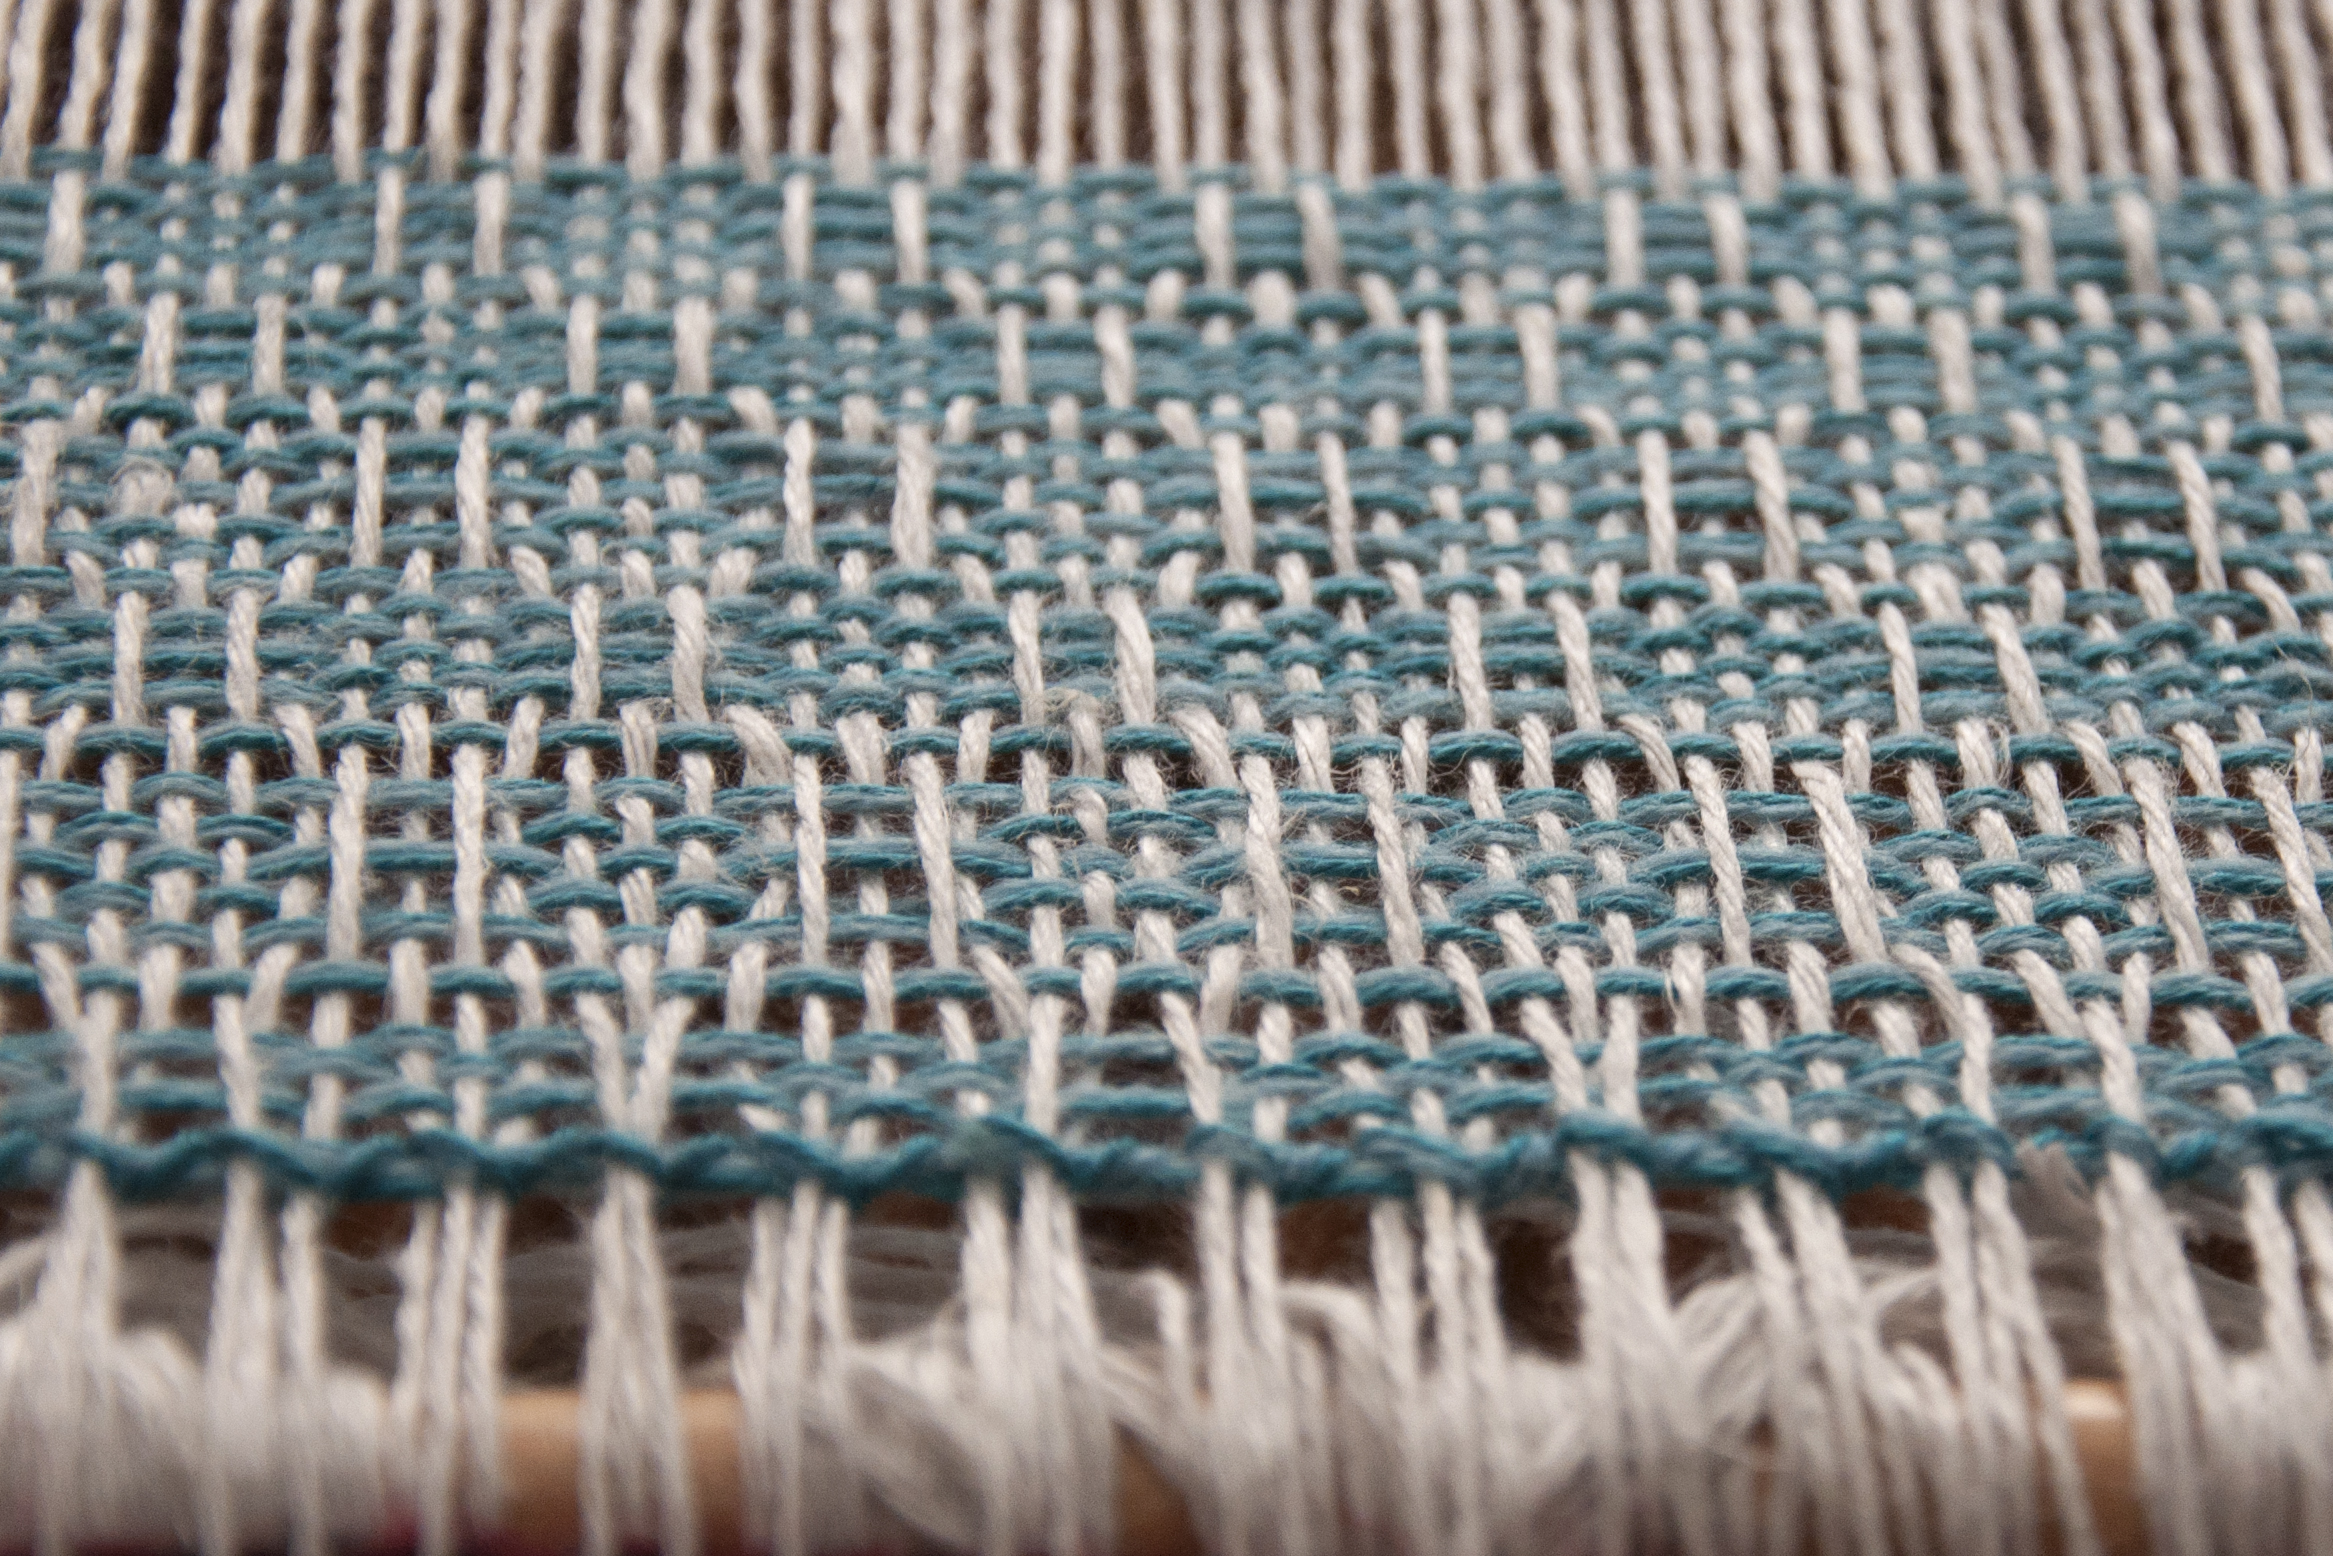
This week is all about the fun pretty stuff: woven fabric! Once I got my pick-up sticks taken care of and my shuttle wound, I set to the soothing rhythm of weaving. I started right in with the 2 pick-up-stick pattern, and practiced a couple of repeats before hem stitching:

FlameLace_1

Out of the 12 rows of the pattern repeat, 4 of these involve use of the pick-up sticks. It took me just a few repeats to get the hang of it and after that it was smooth sailing.

FlameLace_2

Weaving is such a good opportunity for me to unwind. Music streaming, audio books, or just sitting with my own thoughts is such a relief after a hectic day.

FlameLace_3

Join me next time when I take my finished fabric off the loom and do – gasp – cutting and sewing with it!


Warping for Flame Lace Top

I’ve been so excited to get started on a new weaving project! Now that I’ve finally finished up my very old UFO, I’m ready for the next thing.

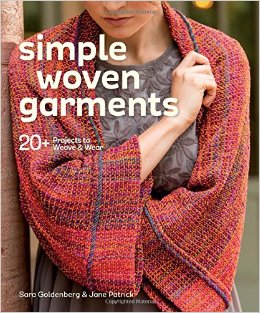
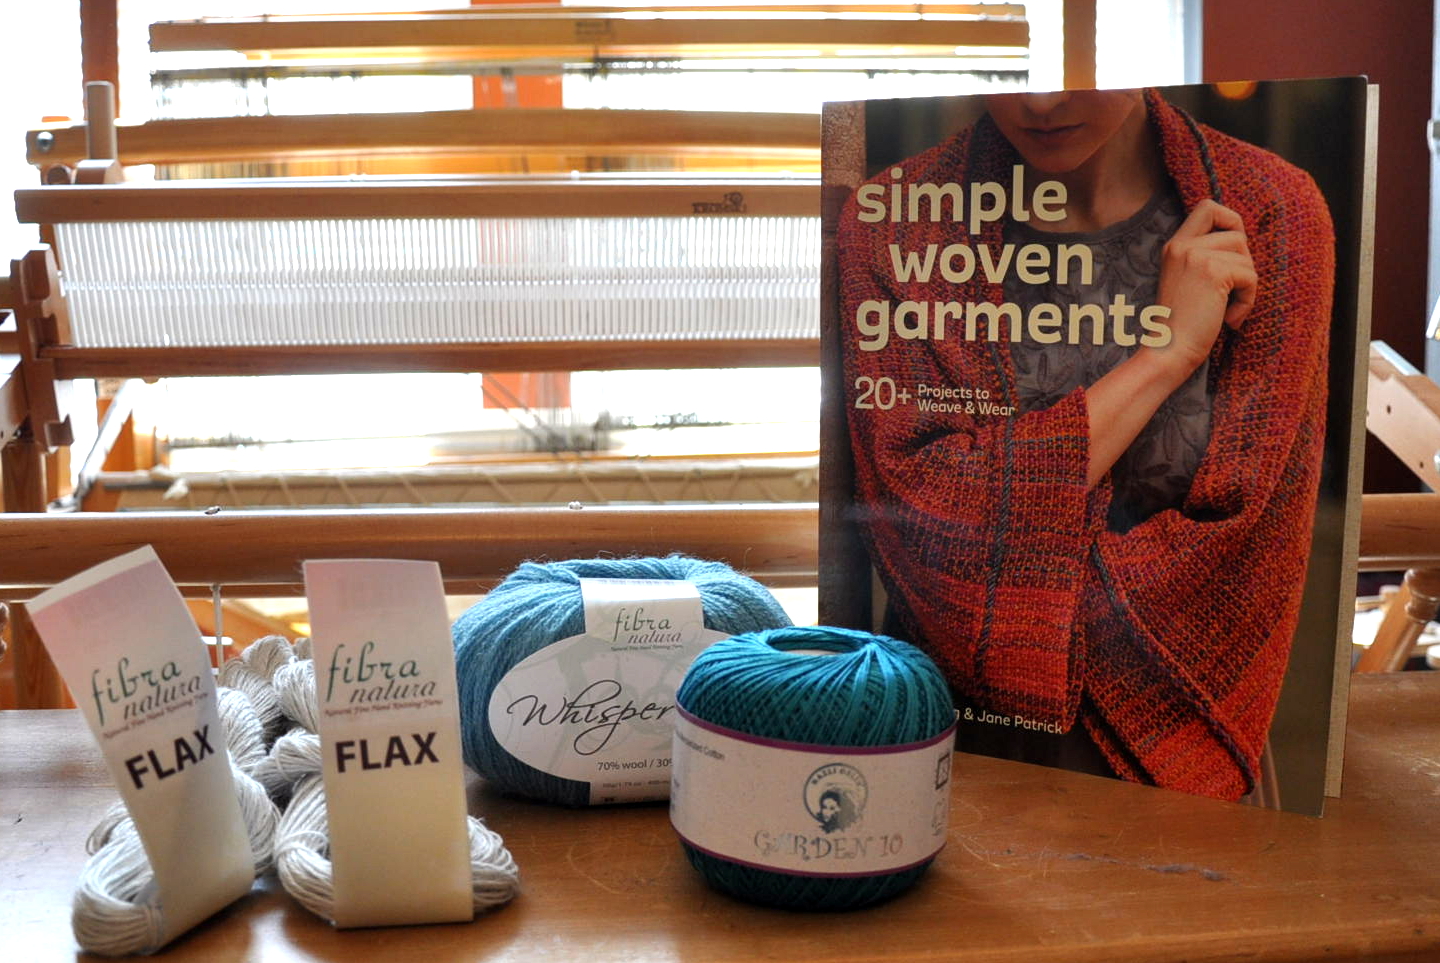
I recently got my hands on a copy of Simple Woven Garments, a fantastic book by Sara Goldenberg & Jane Patrick.

617cZvdAEfL._SX258_BO1,204,203,200_

As the cover promises, there are instructions for over 20 garments in this beautiful book. It’s written in a very approachable way, and the photos are really inspiring. I flipped through the pages many times before finally settling on the Flame Lace Top (page 90)  to try first.

7051e25ed09687dcfb61e365b0d85b34

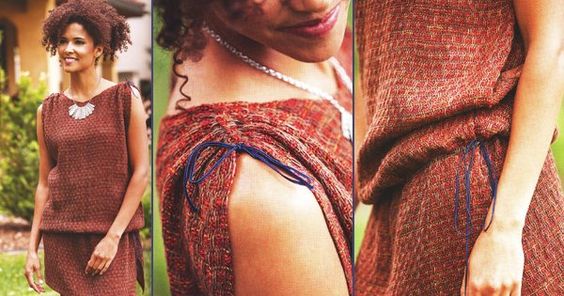
And after reviewing the required materials, I realized we have good substitutes for all the yarns used in the project, so it was settled. I think I’ll probably change some of the finishing details in this piece, but more on that in future posts. I think what most drew me to this project was the pattern in the weaving. I also think the gathered shoulders are pretty cute.

I took out my notebook, AKA weaving diary, and started first by recording all the beginning information for my project. Here is what I wrote:

Warp Yarn: Flax, color 17 Silver

10 dent reed

Weaving width: 24″/240 ends

Warp length: 100″

From this, I calculated how much Flax I needed for my warp. 240 ends x 100″ = 24,000″ or 667 yds. This comes out to just under 5 hanks of Flax.

FlameTop_1

My weft yarn, as you can see, will be Whisper Lace and Garden 10; 1 strand of each held together. Though I love the warm colors in the original project, I tend to be a cool colors kind of person.

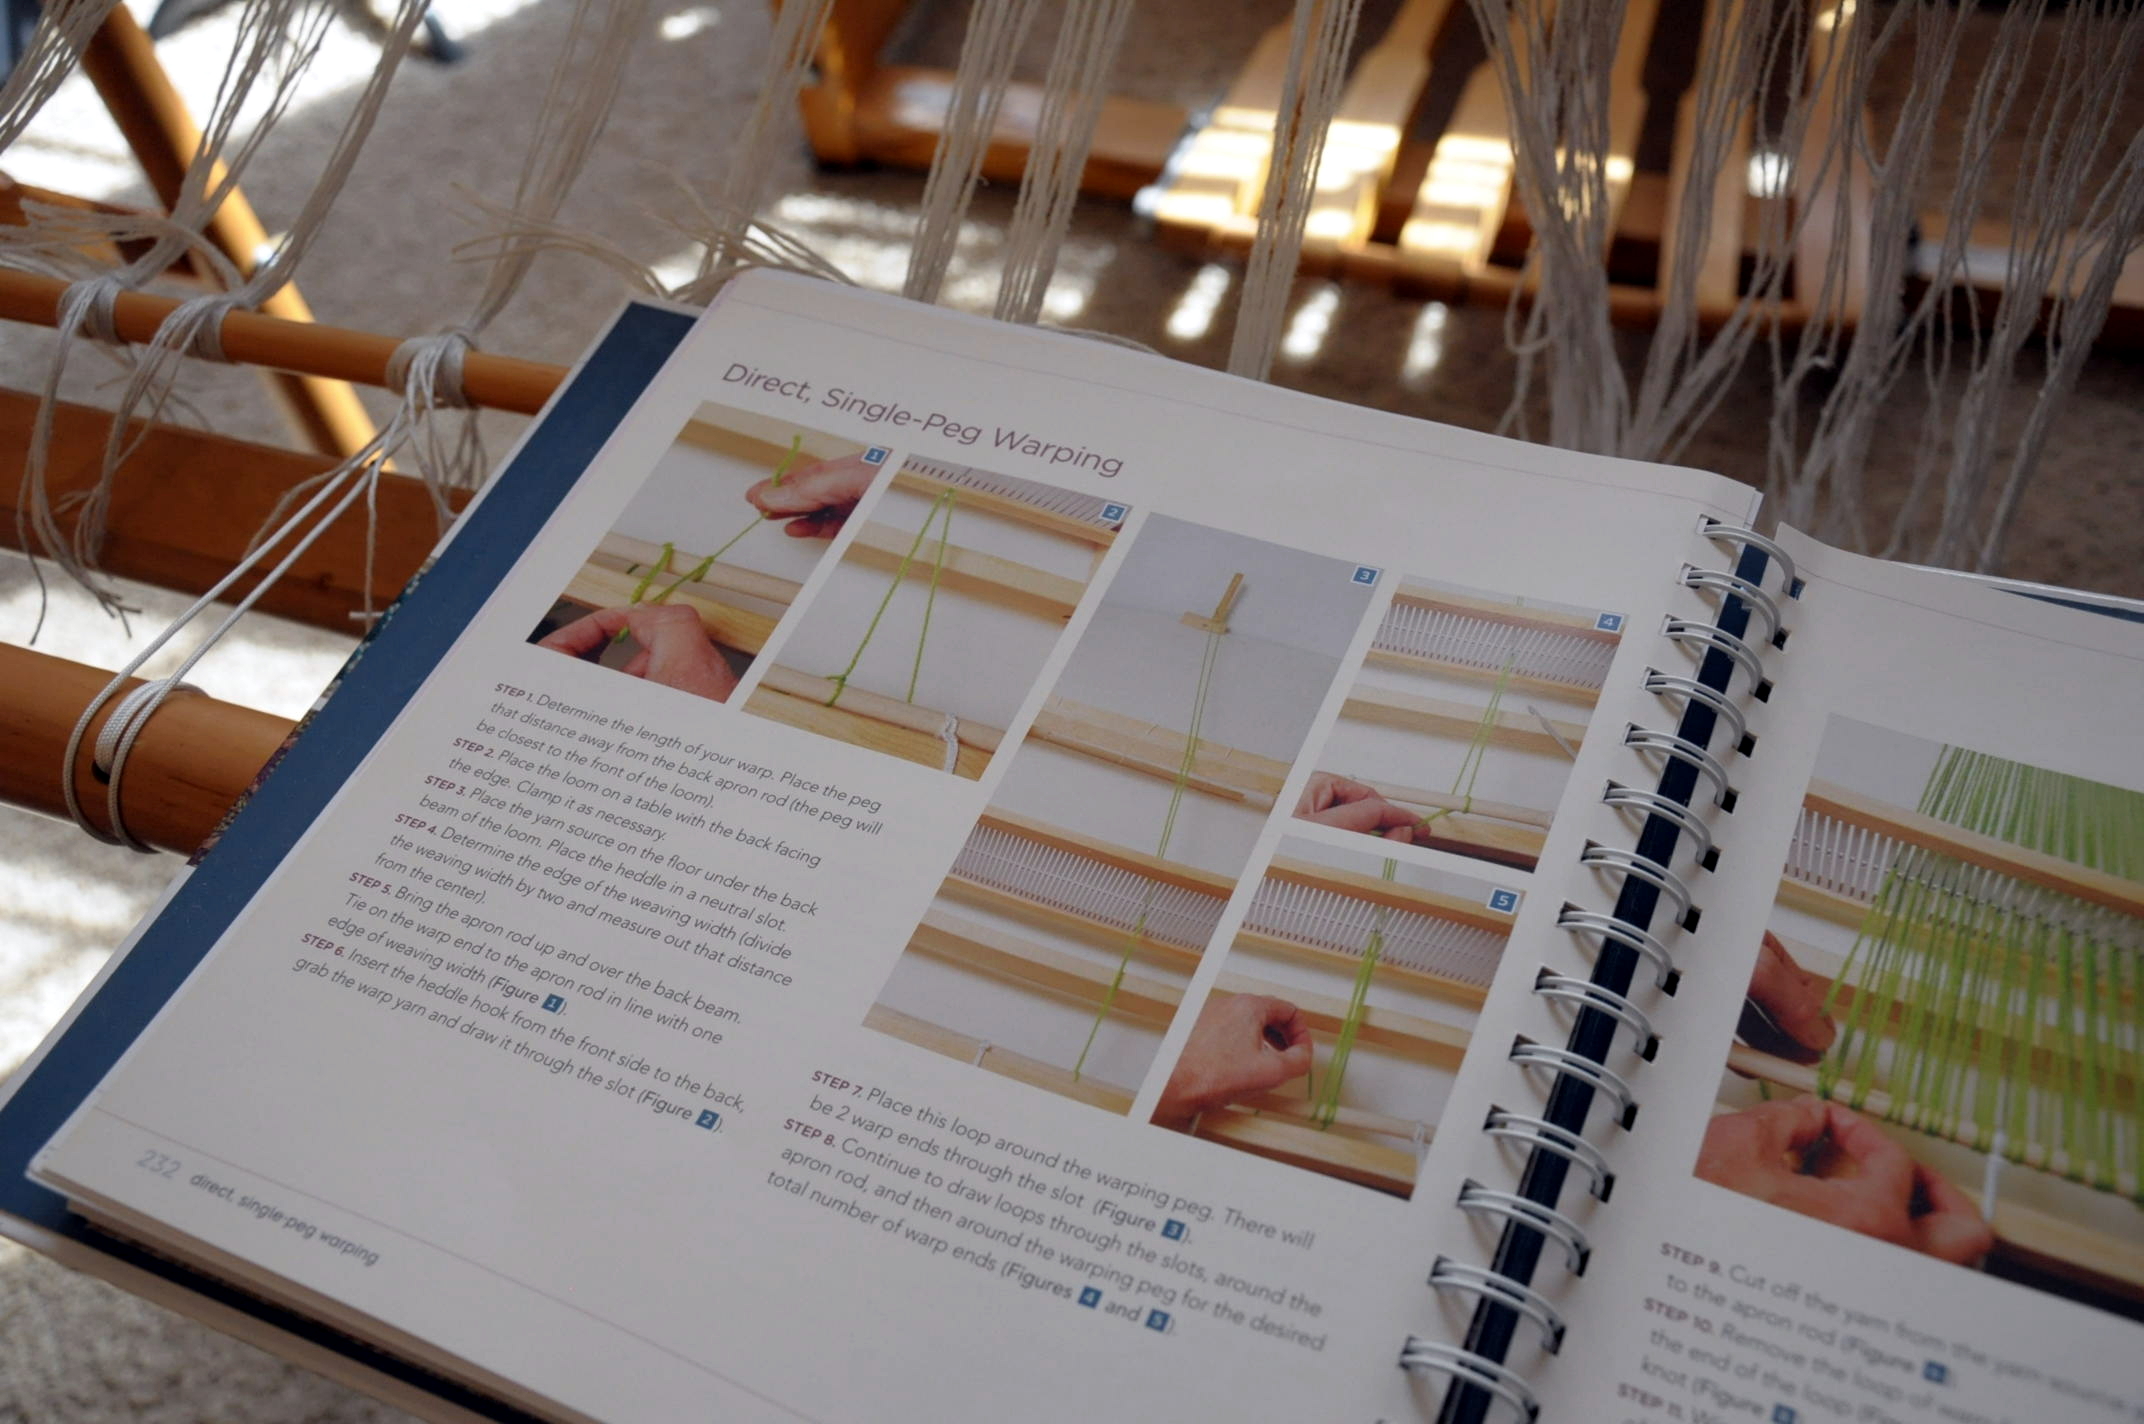
It had been long enough since my last warp, that I took a look at my copy of the Weaver’s Idea Book (also by the talented and informative Jane Patrick!) for a refresher. There are handy step-by-step photos of single-peg warping in the pages, which is the method I used.

FlameTop_4

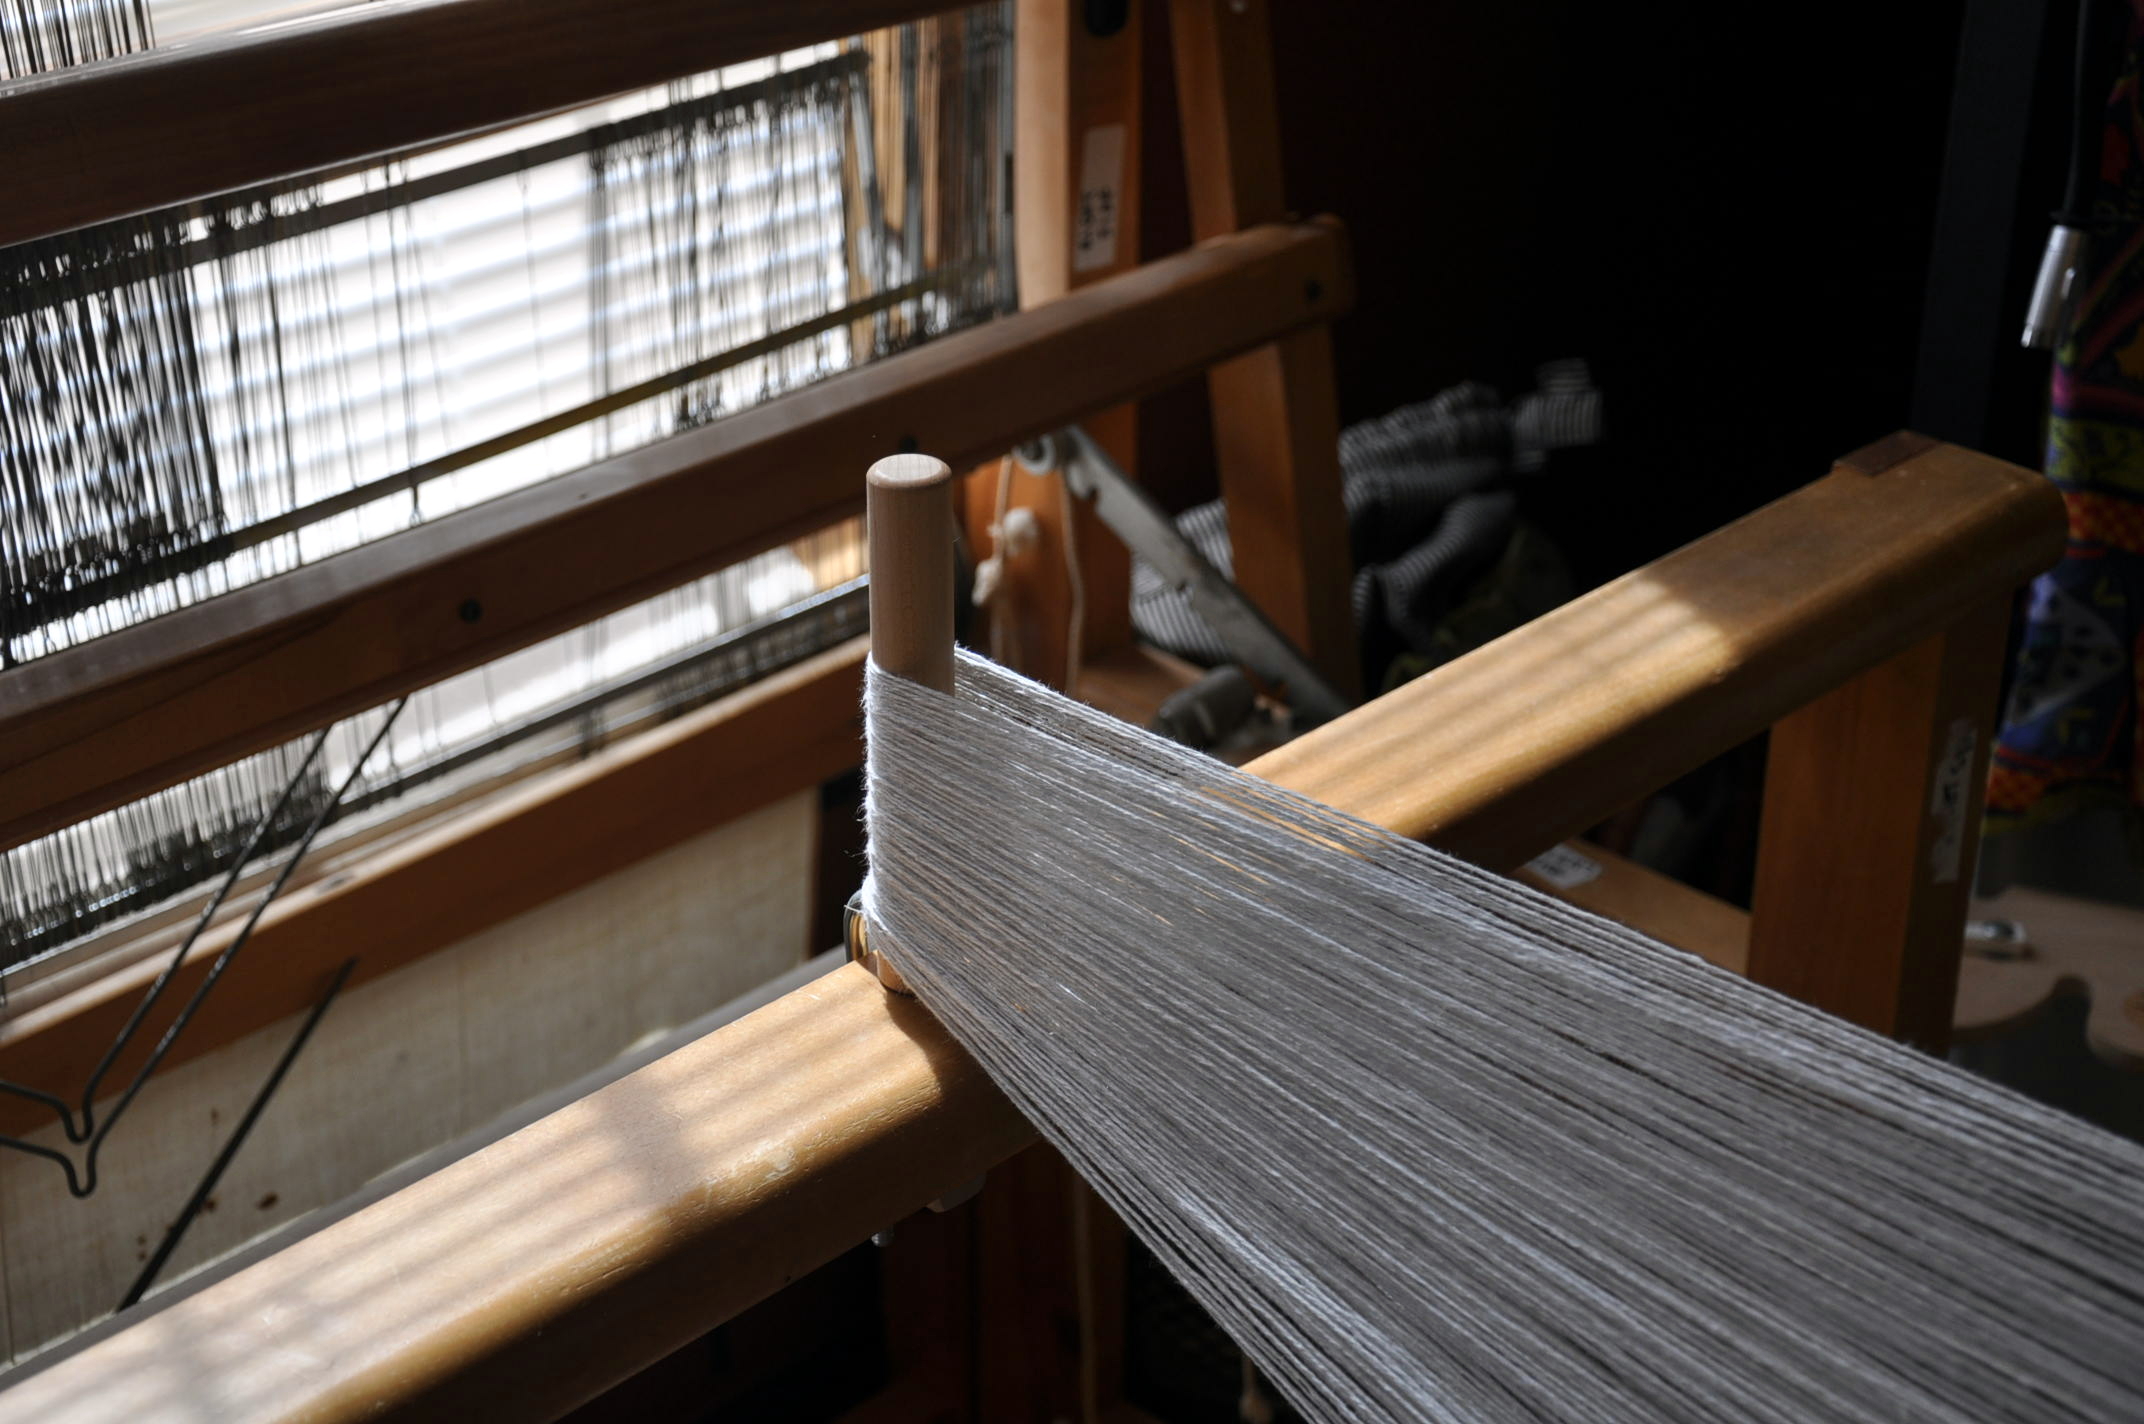
My personal favorite place to clamp my warping peg is to my shaft floor loom, a Fanny LeClerc. It’s the only time she every gets used and it makes me sad. Since moving into my current house a couple of years ago, poor Fanny sits looking beautiful in all of her multi-shaft glory, completely unused. Fanny, we will work together again soon, I promise.

FlameTop_2

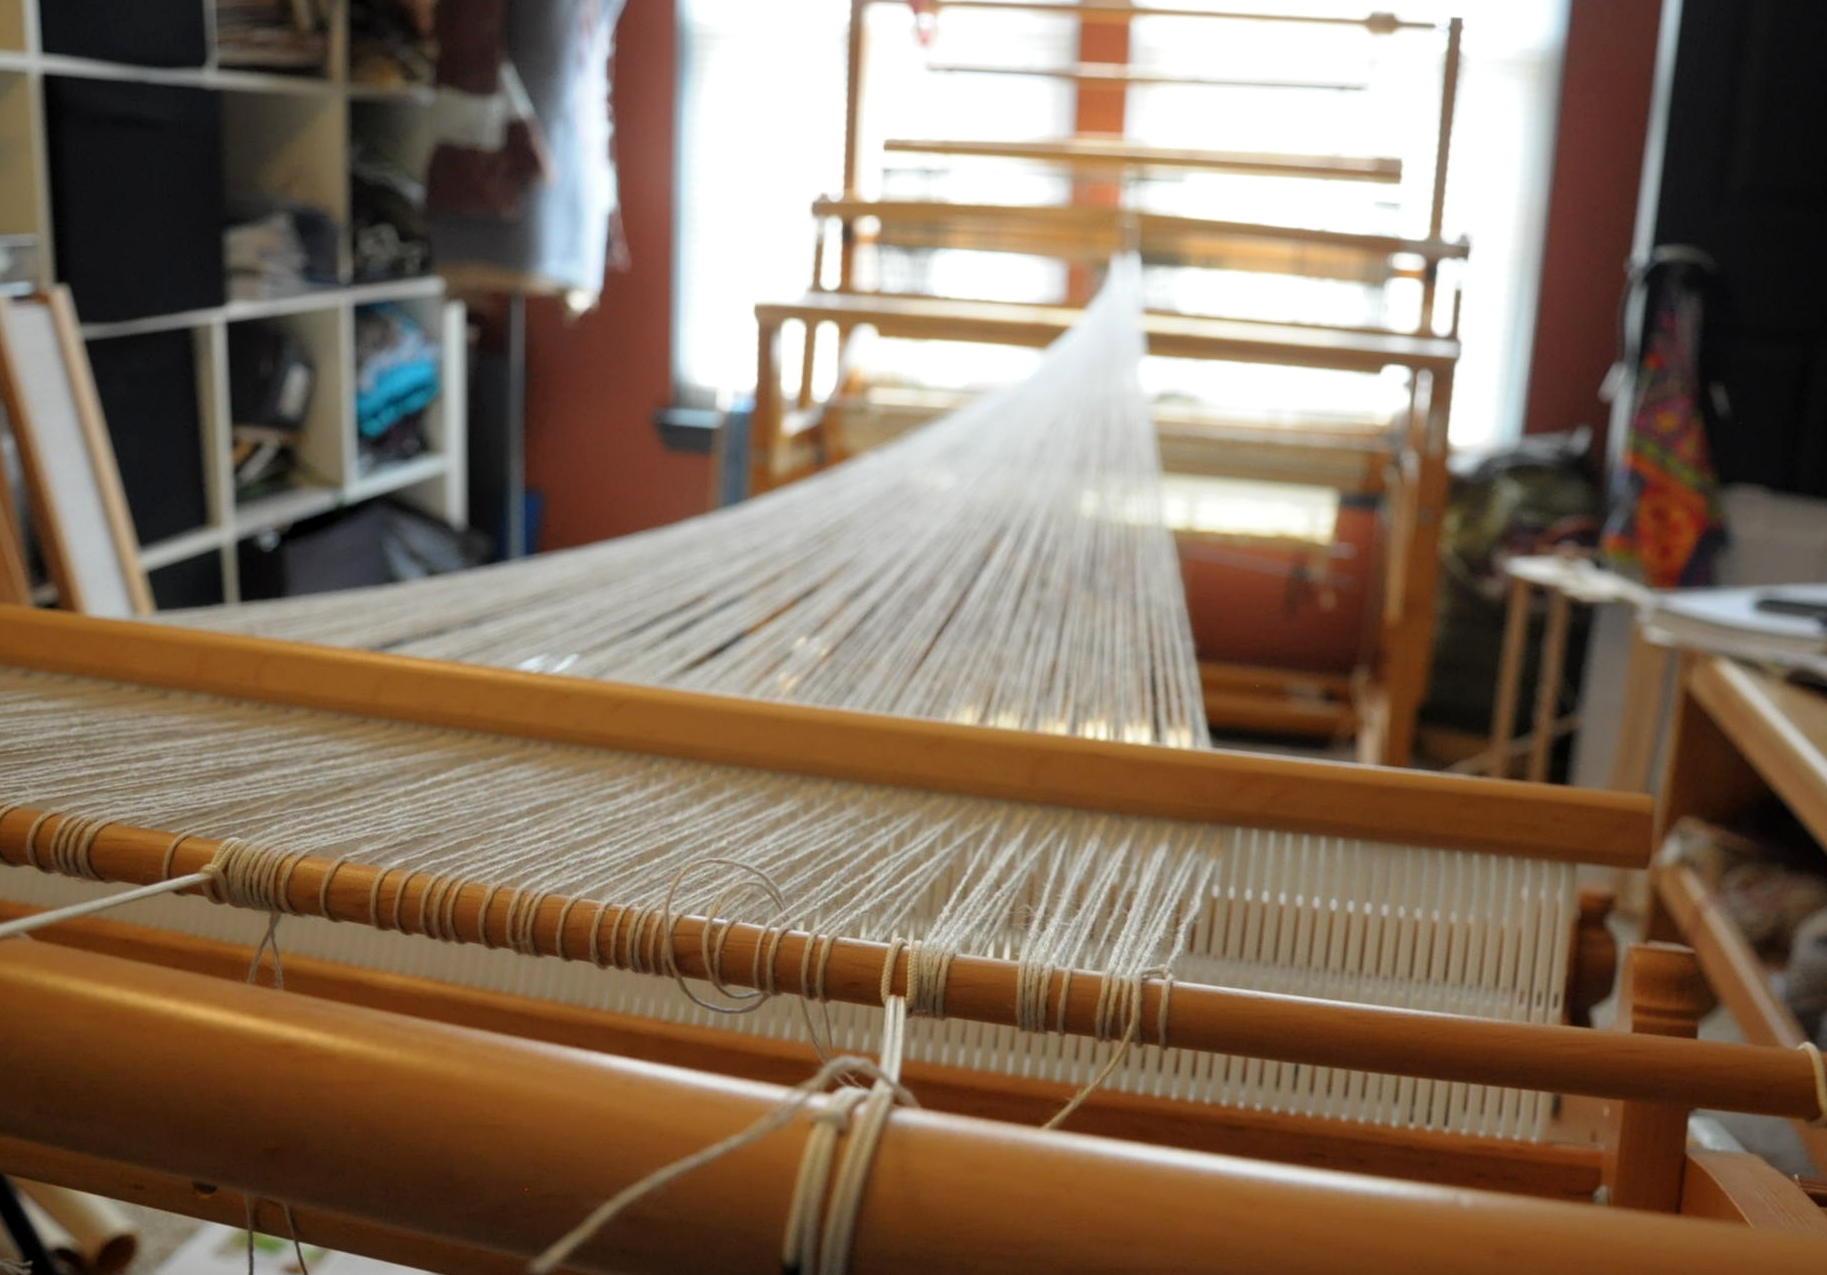
If I clamp the peg to the front beam of Fanny and place my rigid heddle across the room on the other wall, it’s typically the perfect distance for a good-sized warp.

FlameTop_3

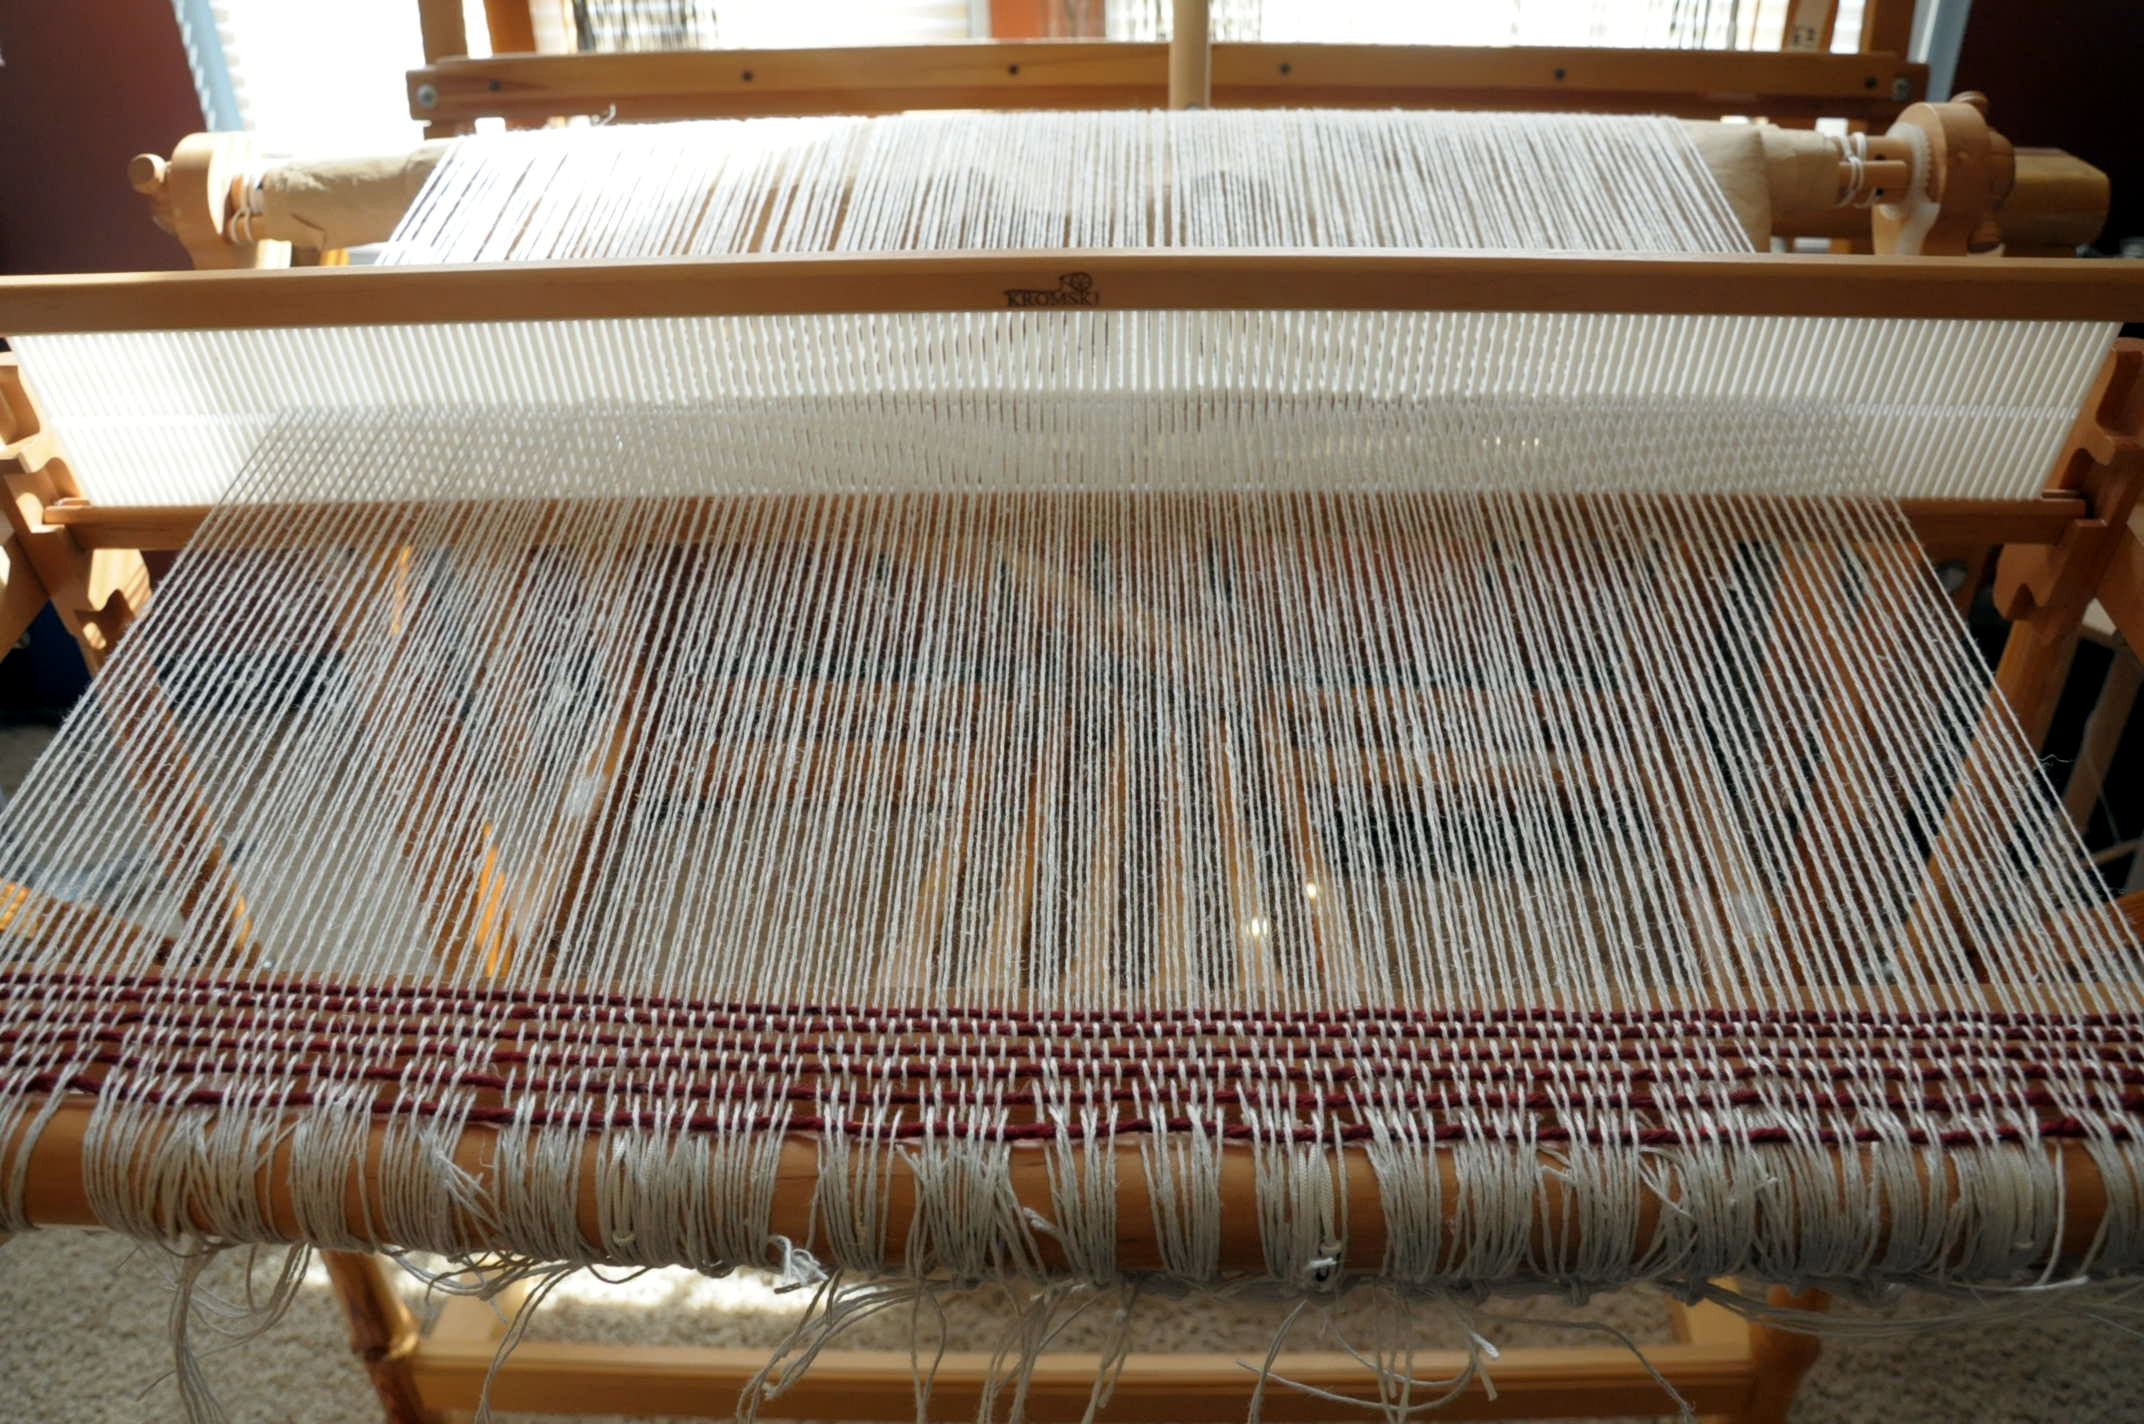
After warping, sleying the reed, and tying onto the front bar, I wove a few picks with waste yarn.

FlameTop_5

And there is the blank canvas that is a warp. It really does look to me like anything could happen here. That’s the fun, right?
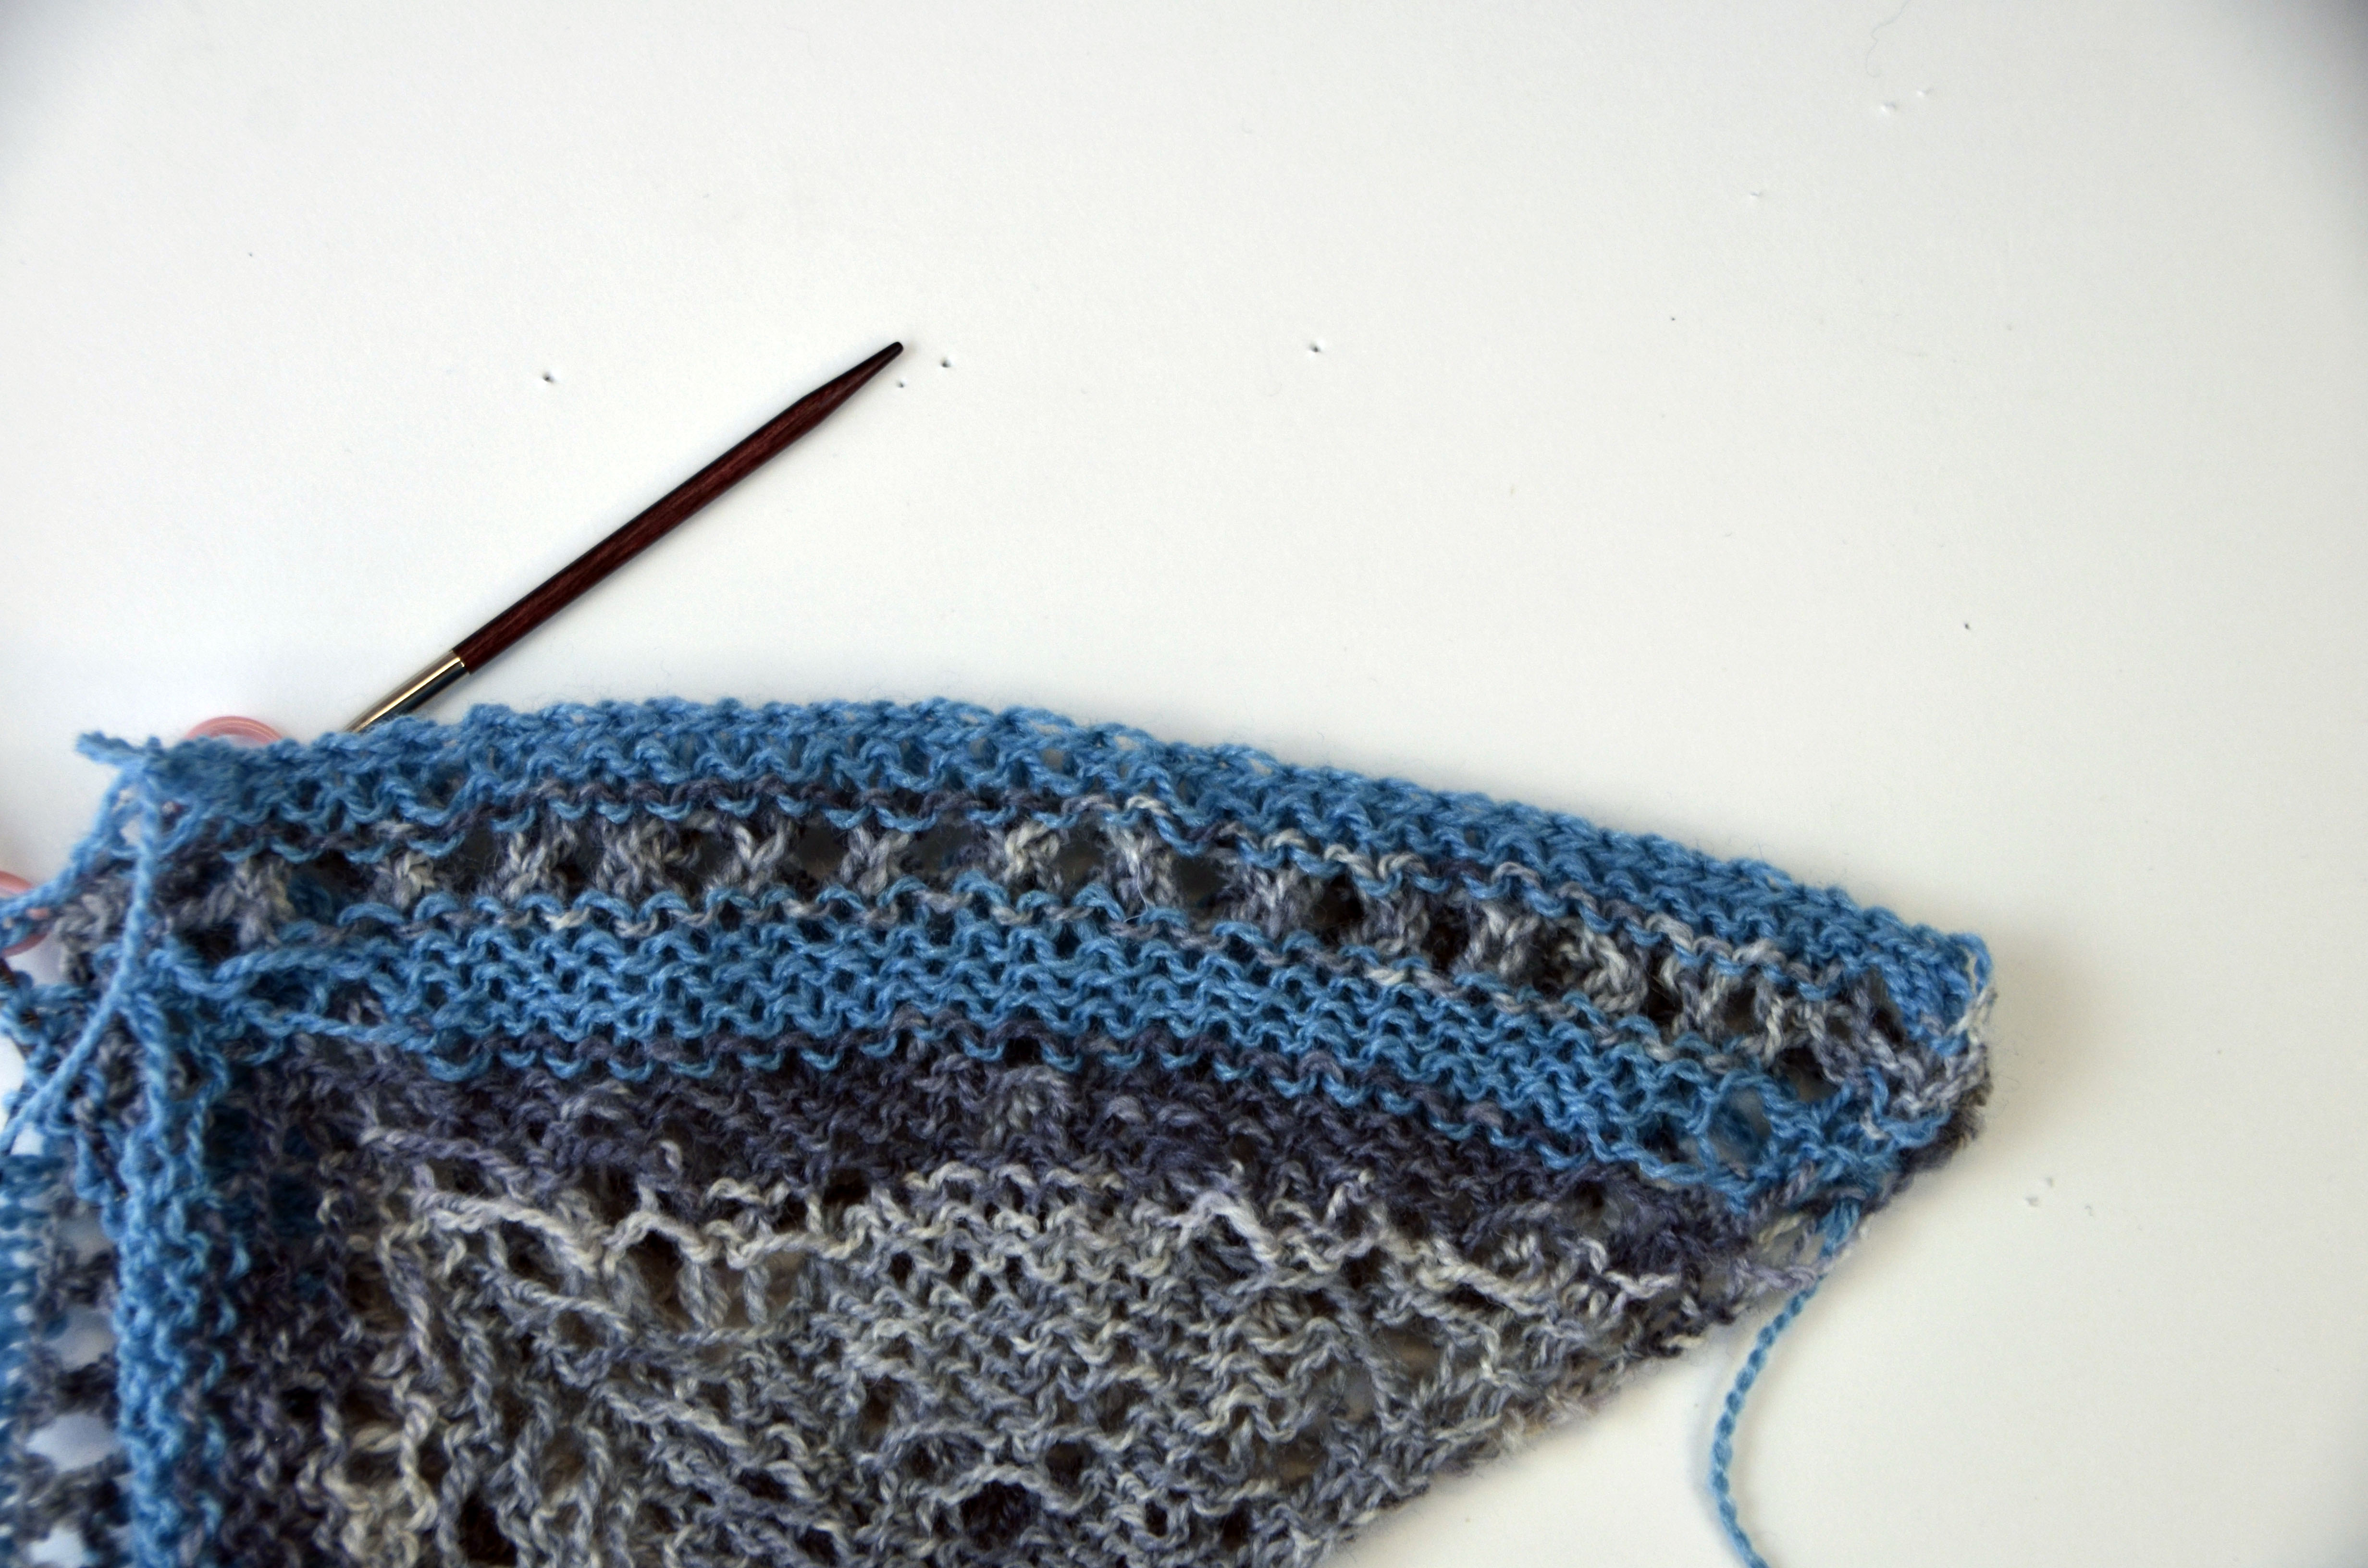
Join me next time for the ins-and-outs of weaving on a rigid heddle loom using 2 pick up sticks. Fun times!

Bisected Shawl – Putting the Pieces Together

Last week we covered the basics of a top-down triangle and the starting garter tab. Now we’re going to start putting it all together!

As a refresher, we’re talking about the Bisected Shawl, one of the projects from ebook Contrarian Shawls 2.

BisectedShawl_2_hires

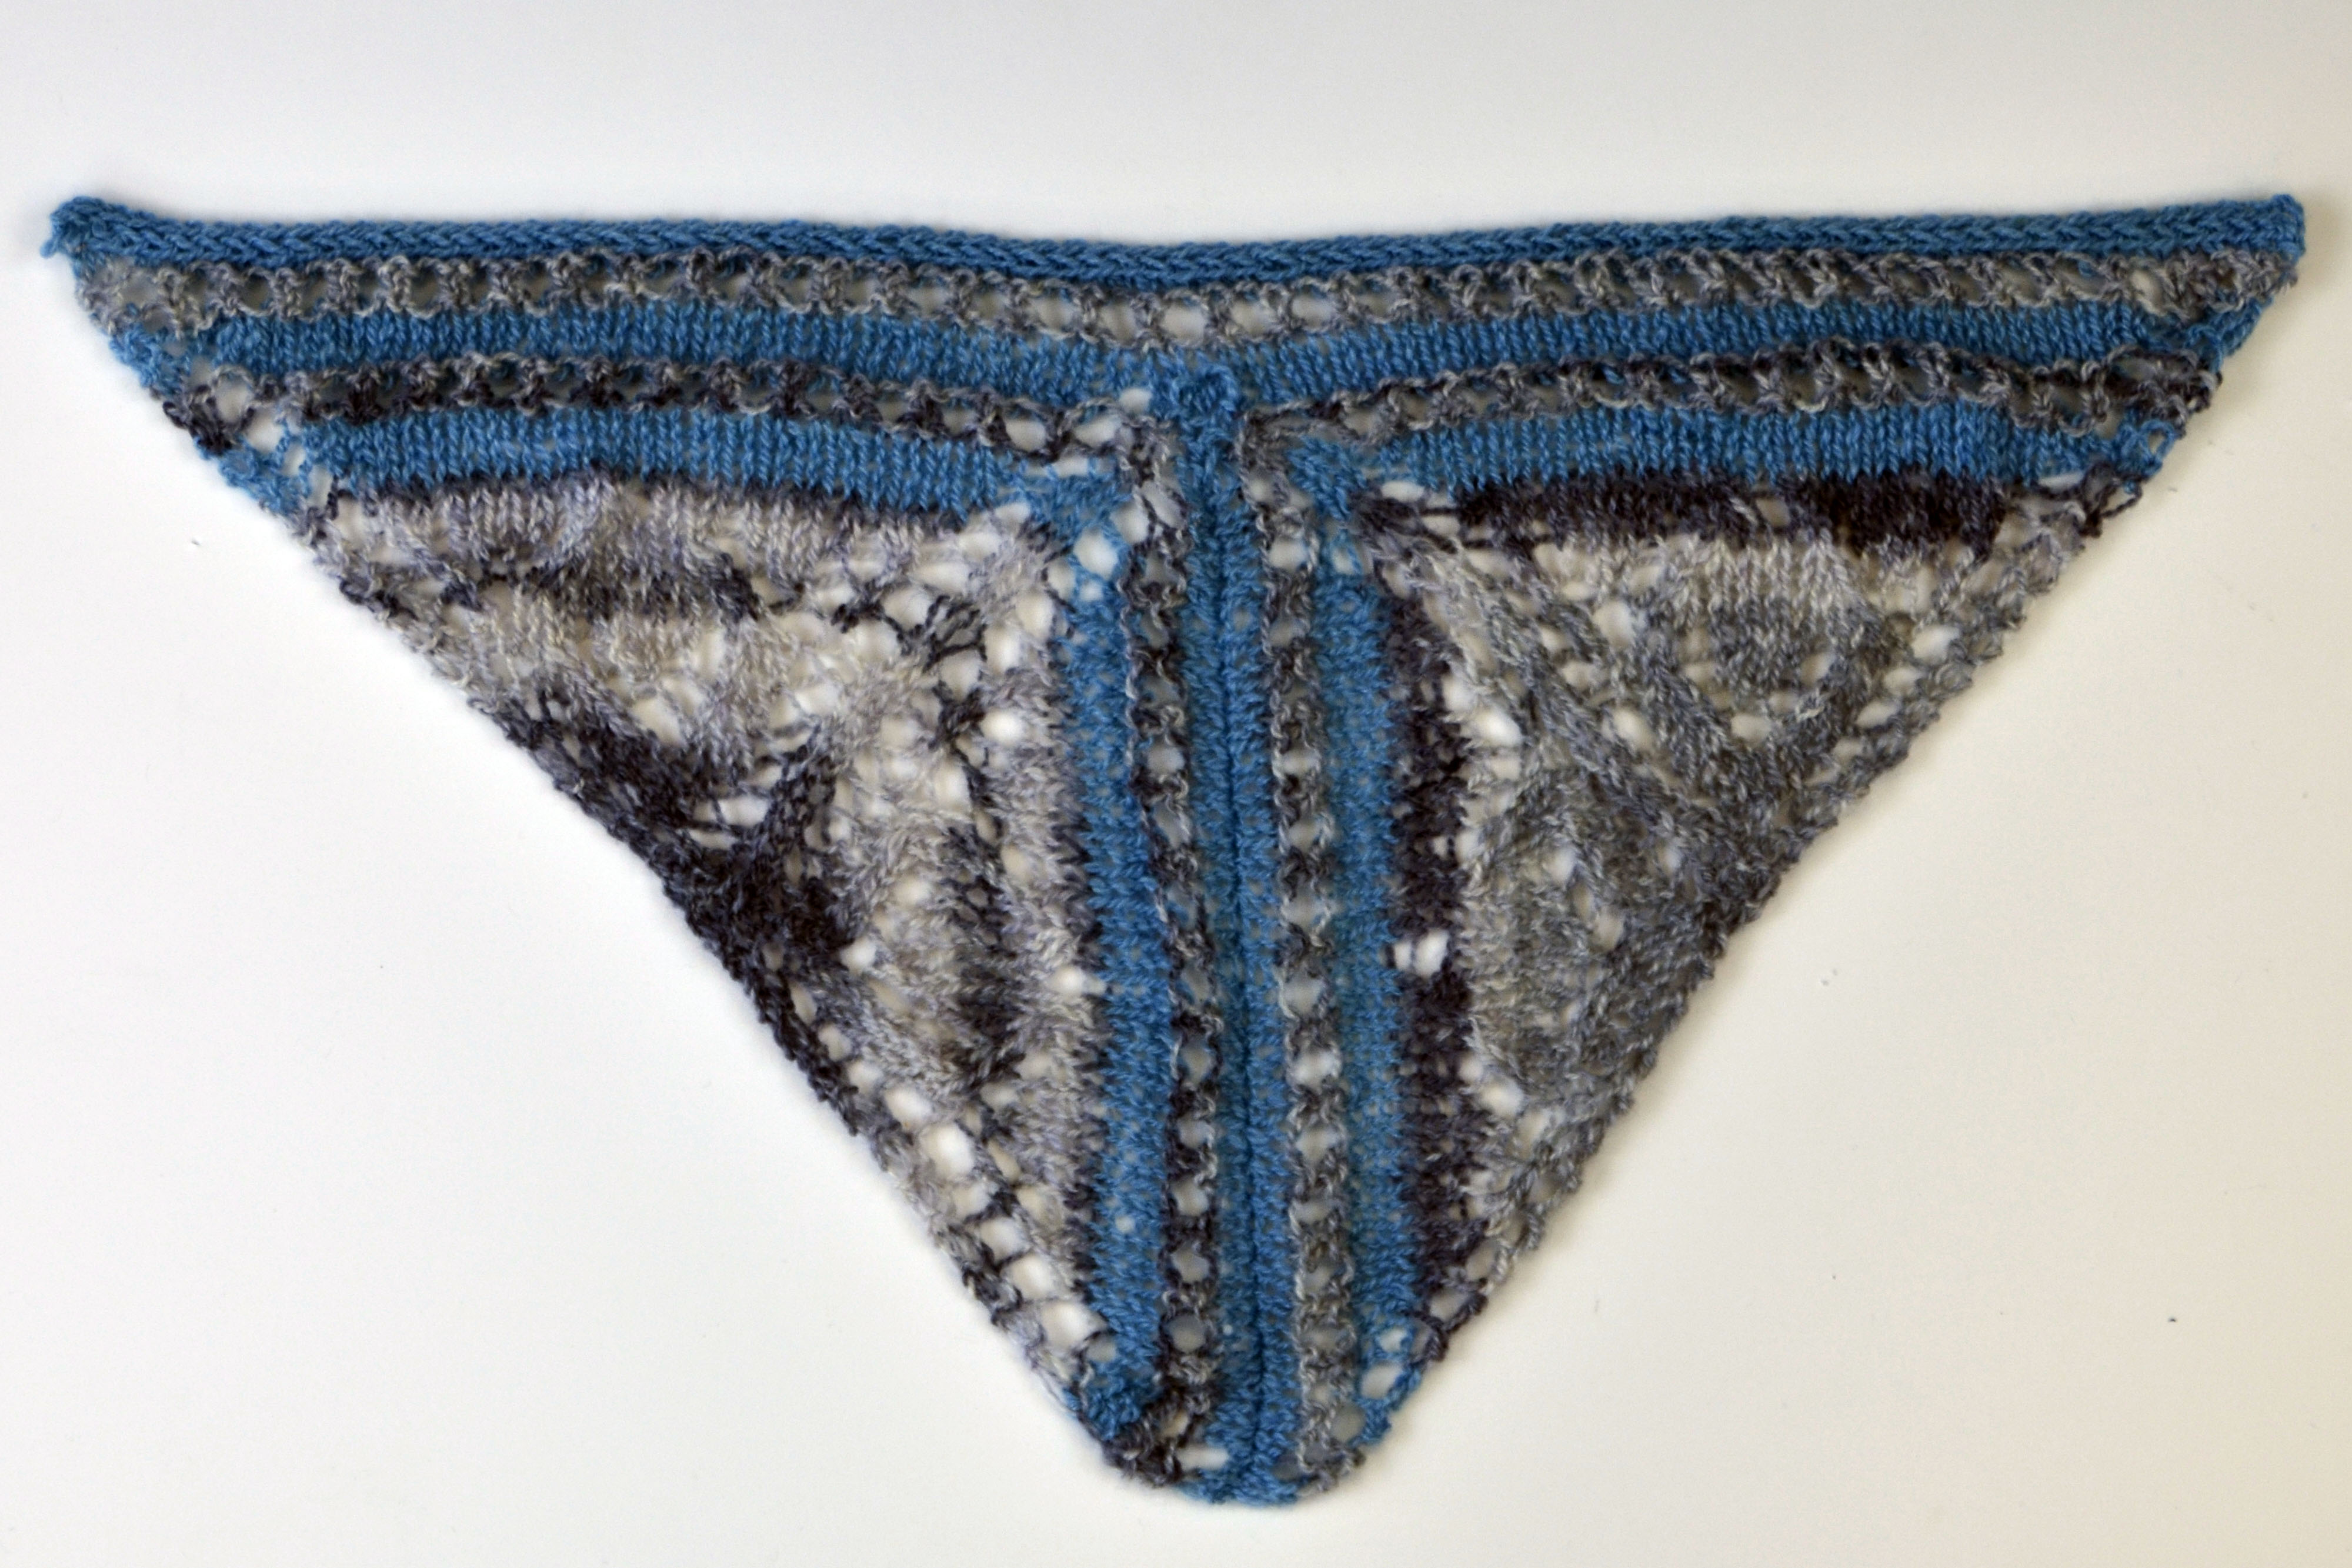
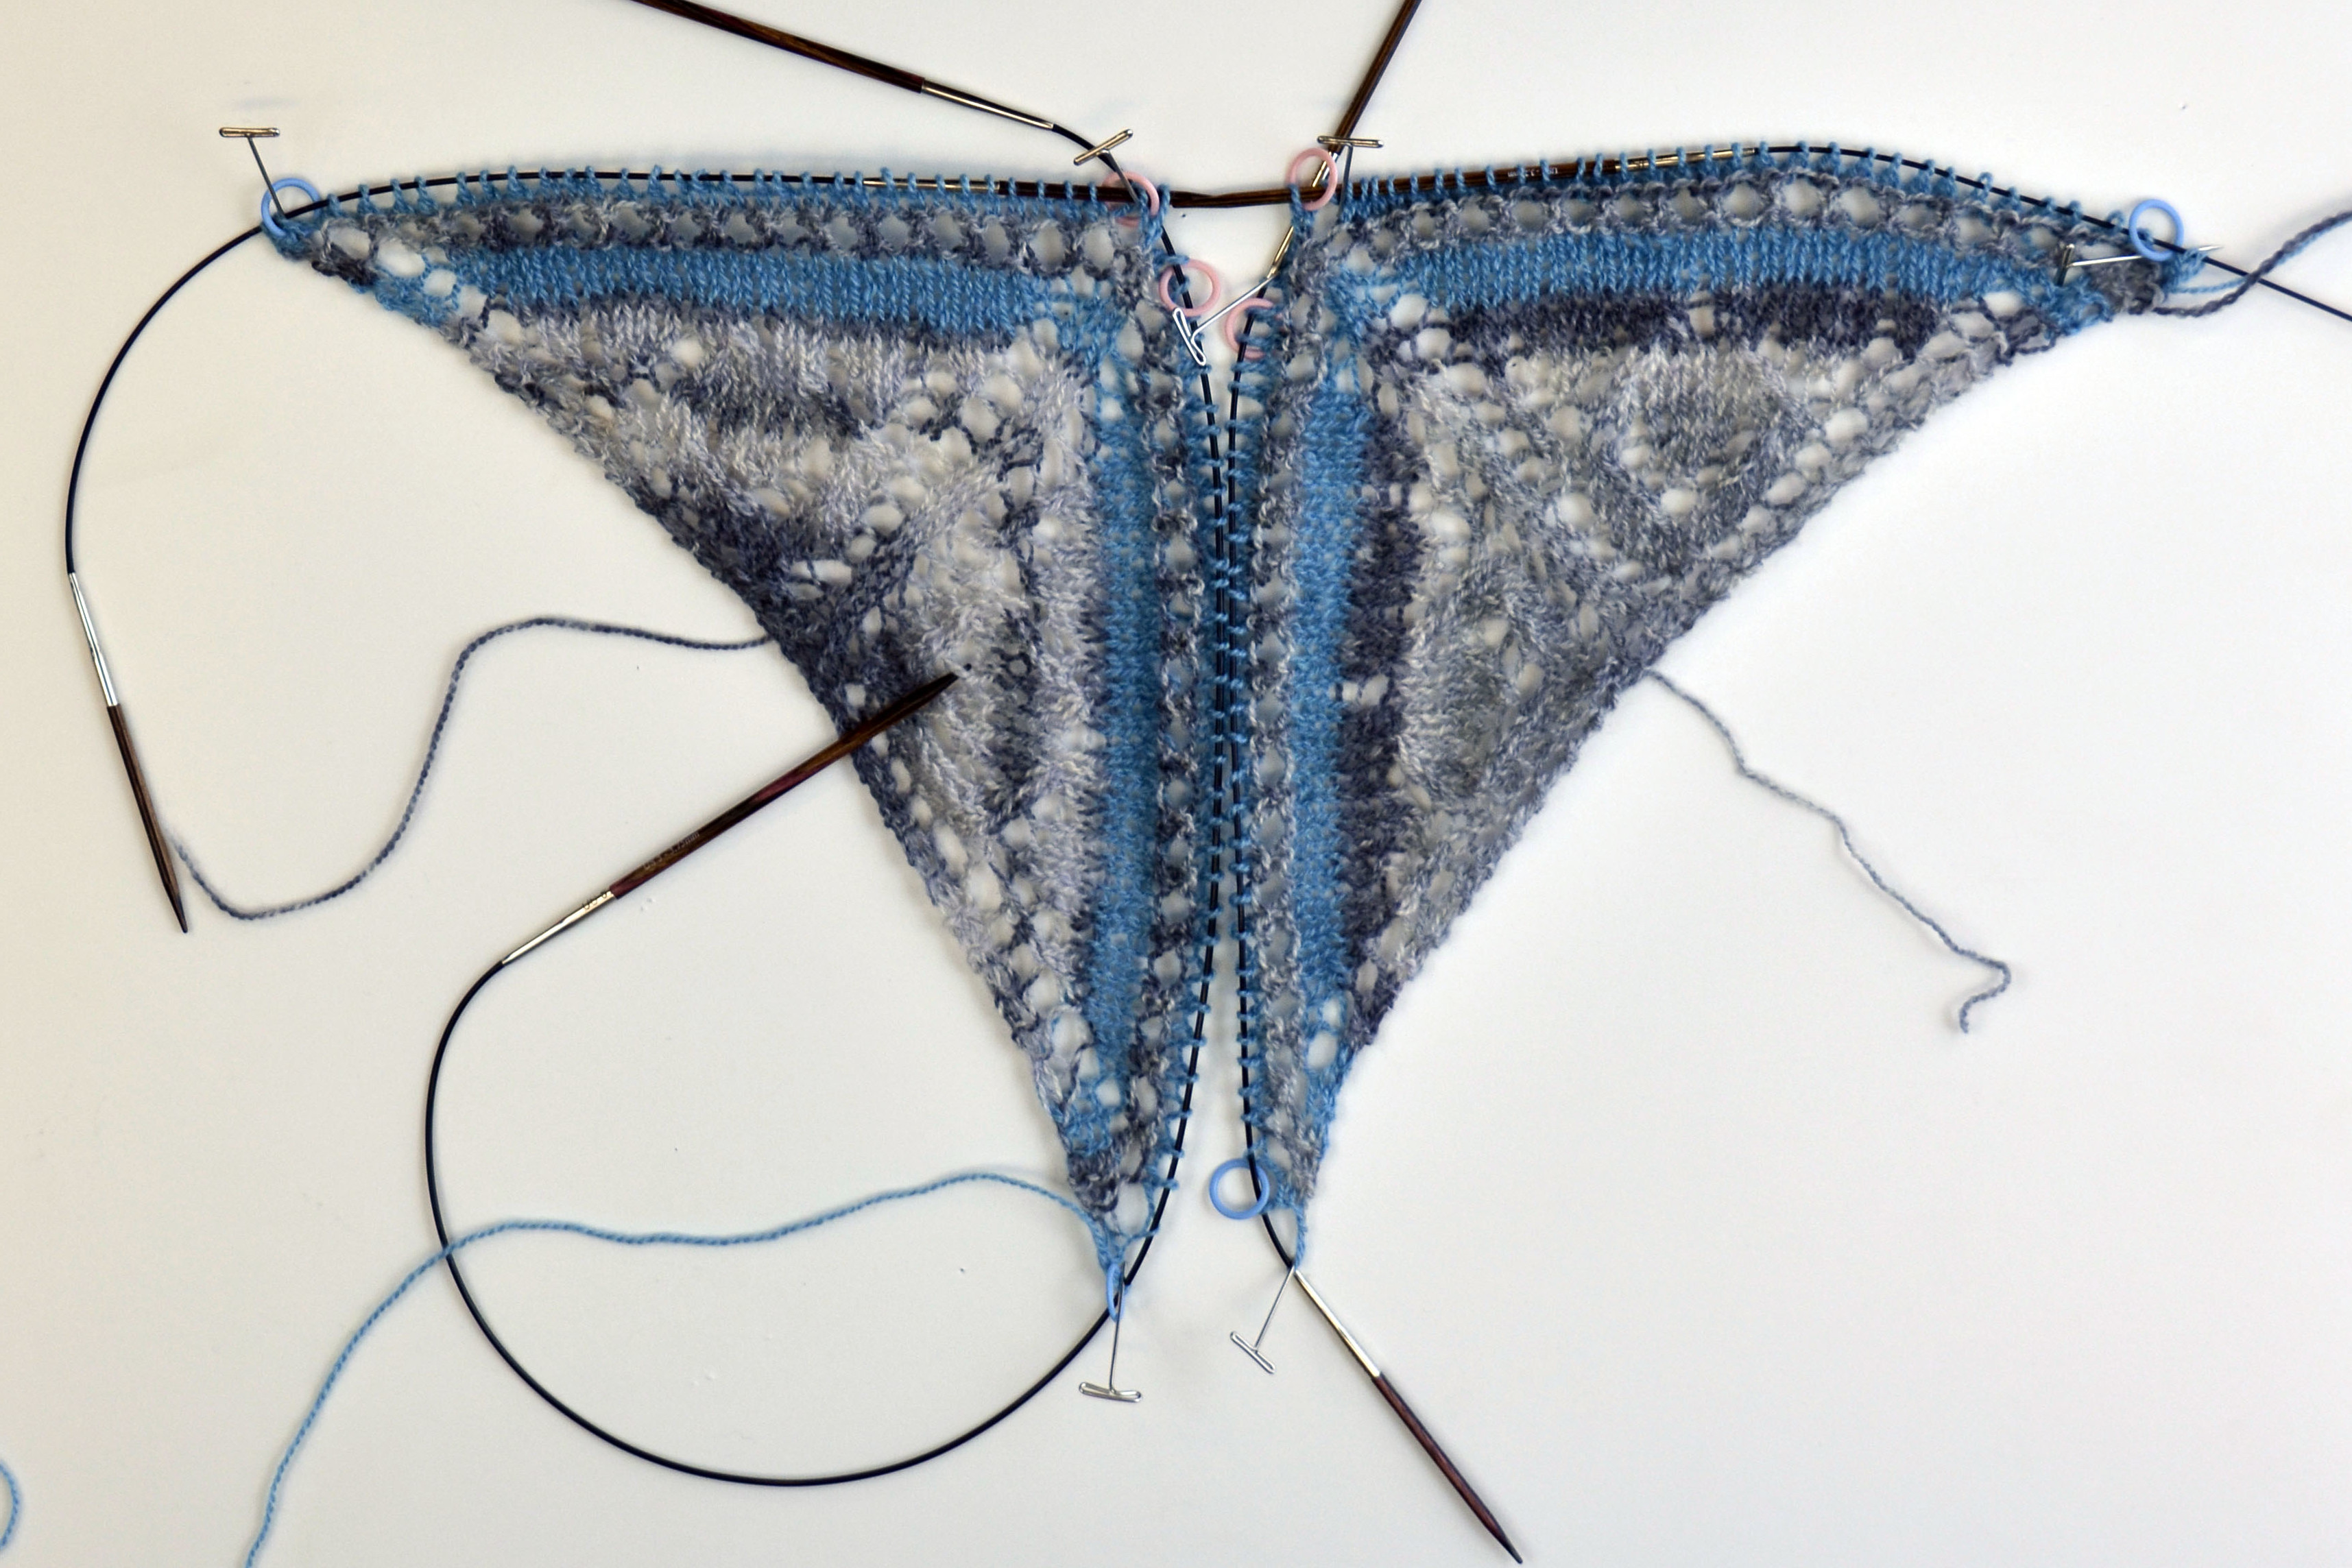
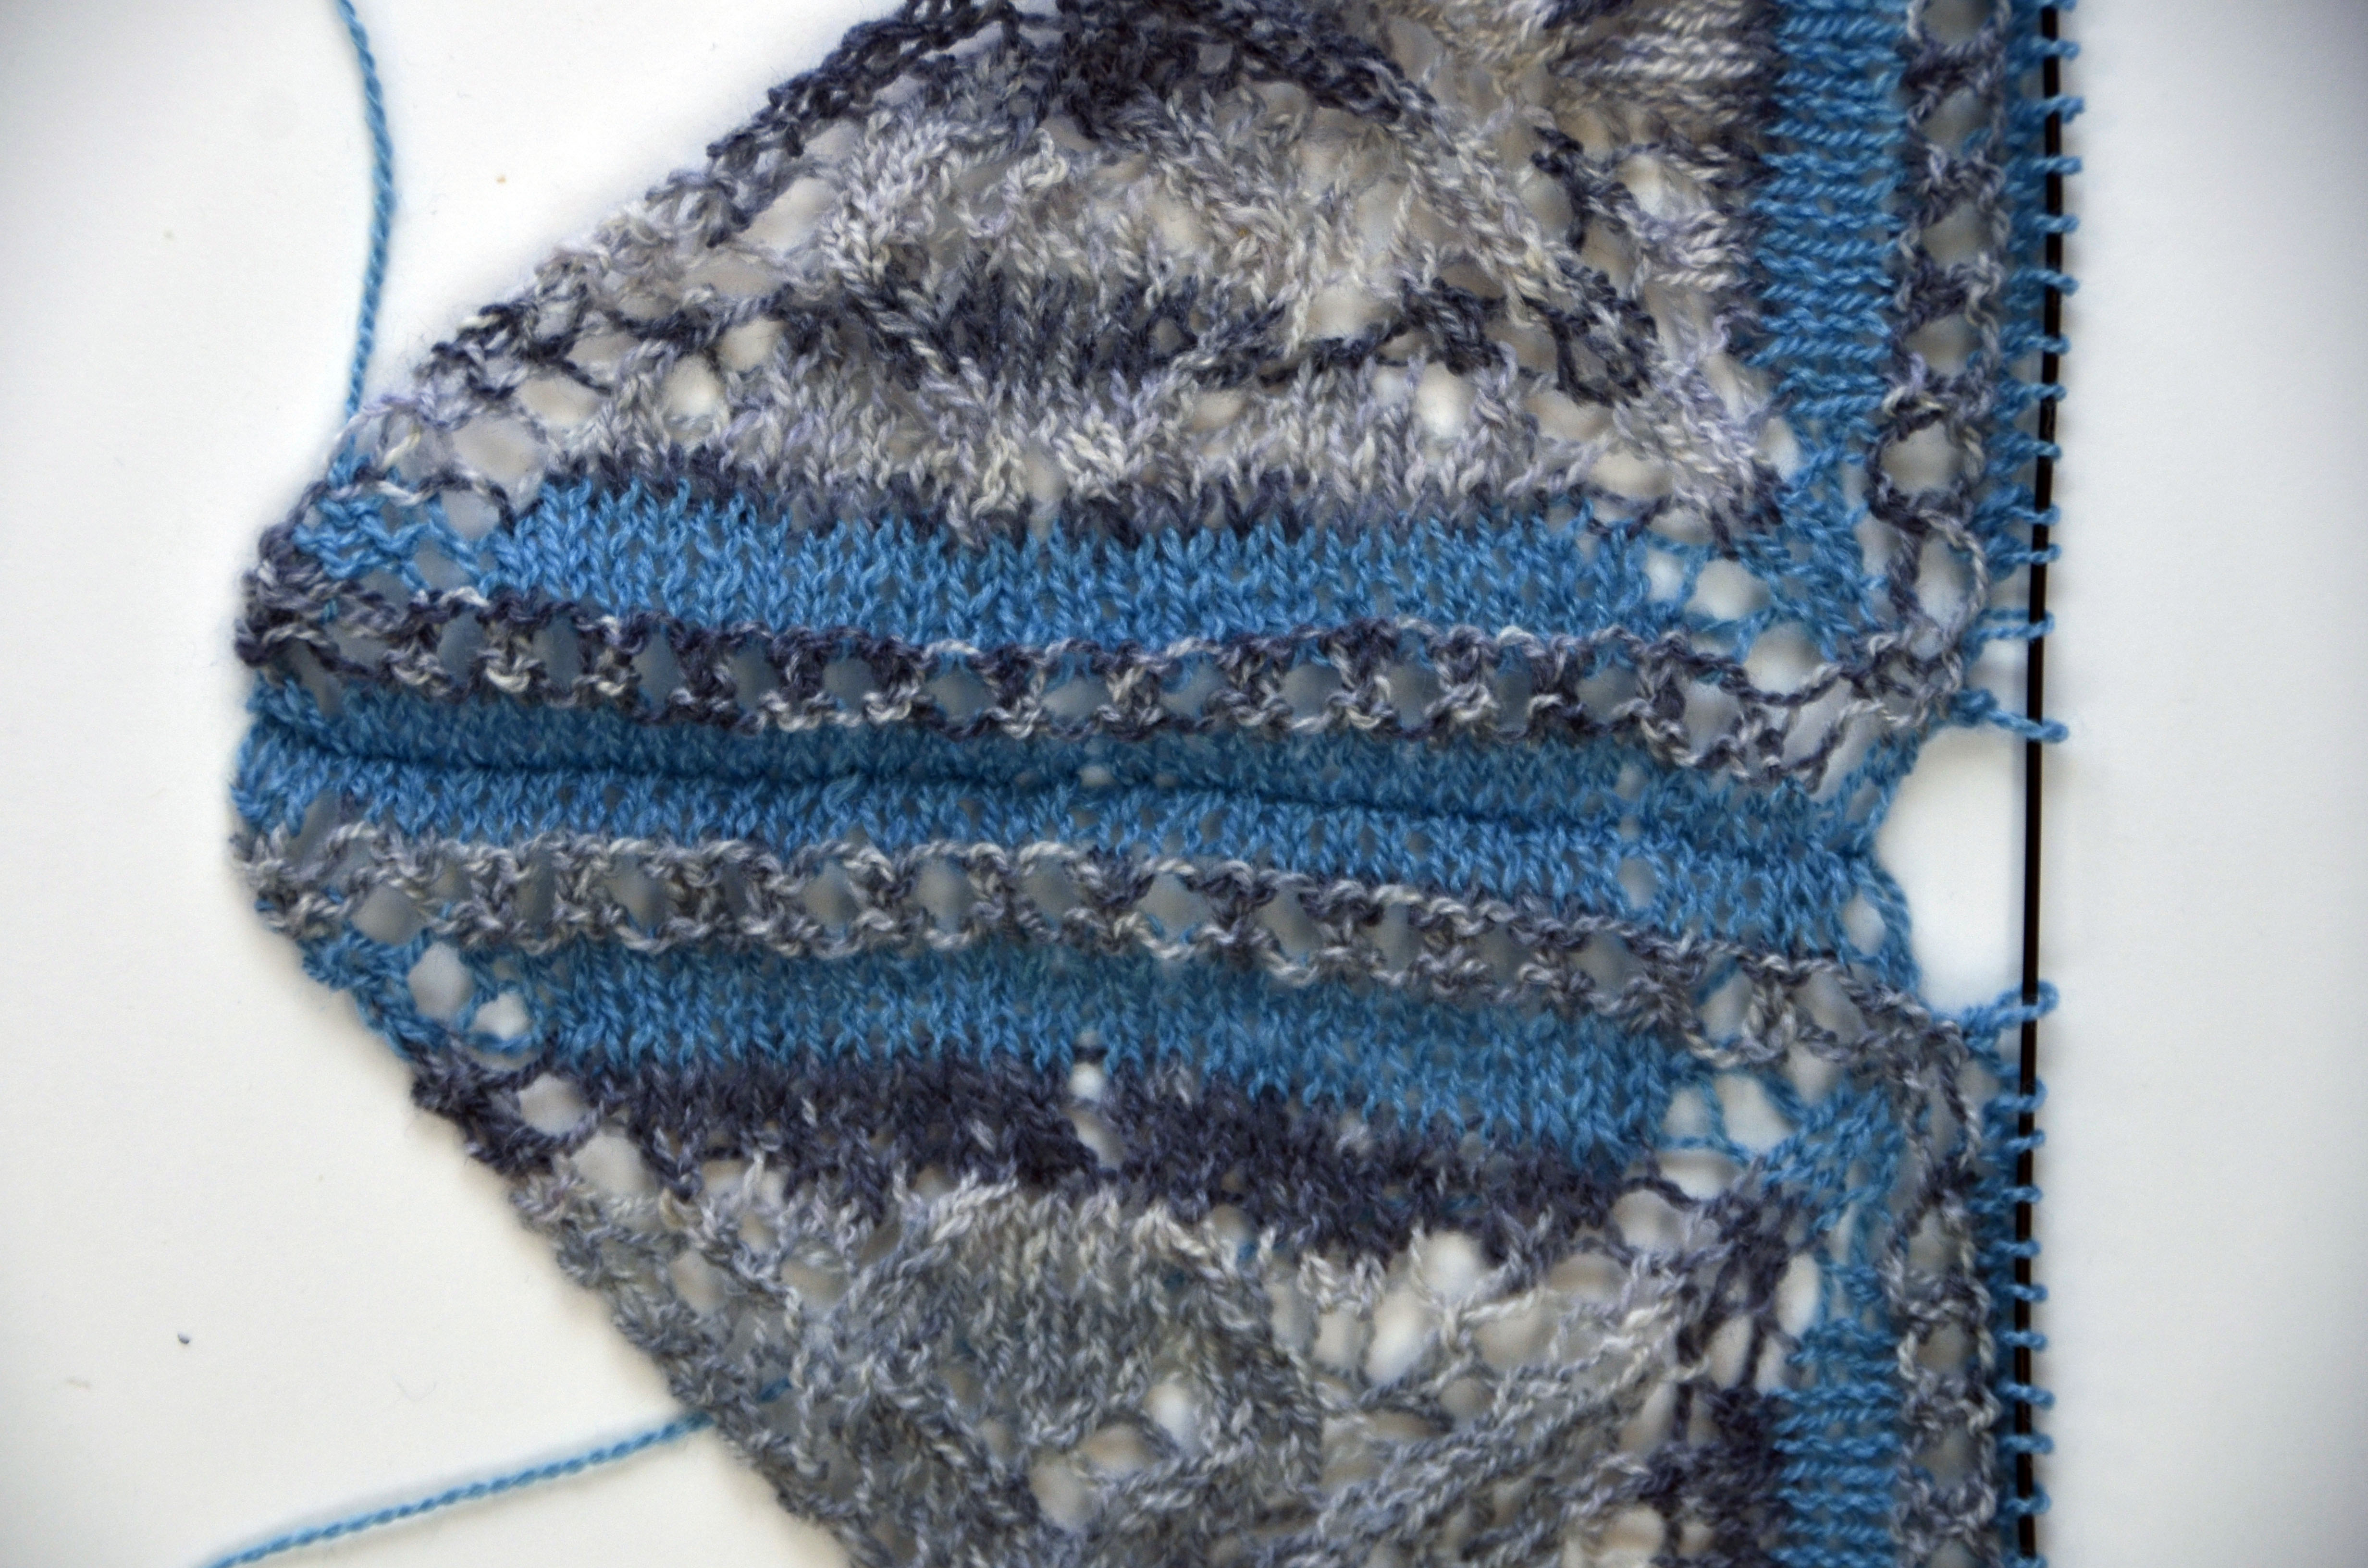
Since last time, I finished up both miniature versions of right and left wings and added the edging. Here they are sitting next to each other, all ready to be joined. As per the pattern, I have divided each wing in half and placed the stitches on separate needles.

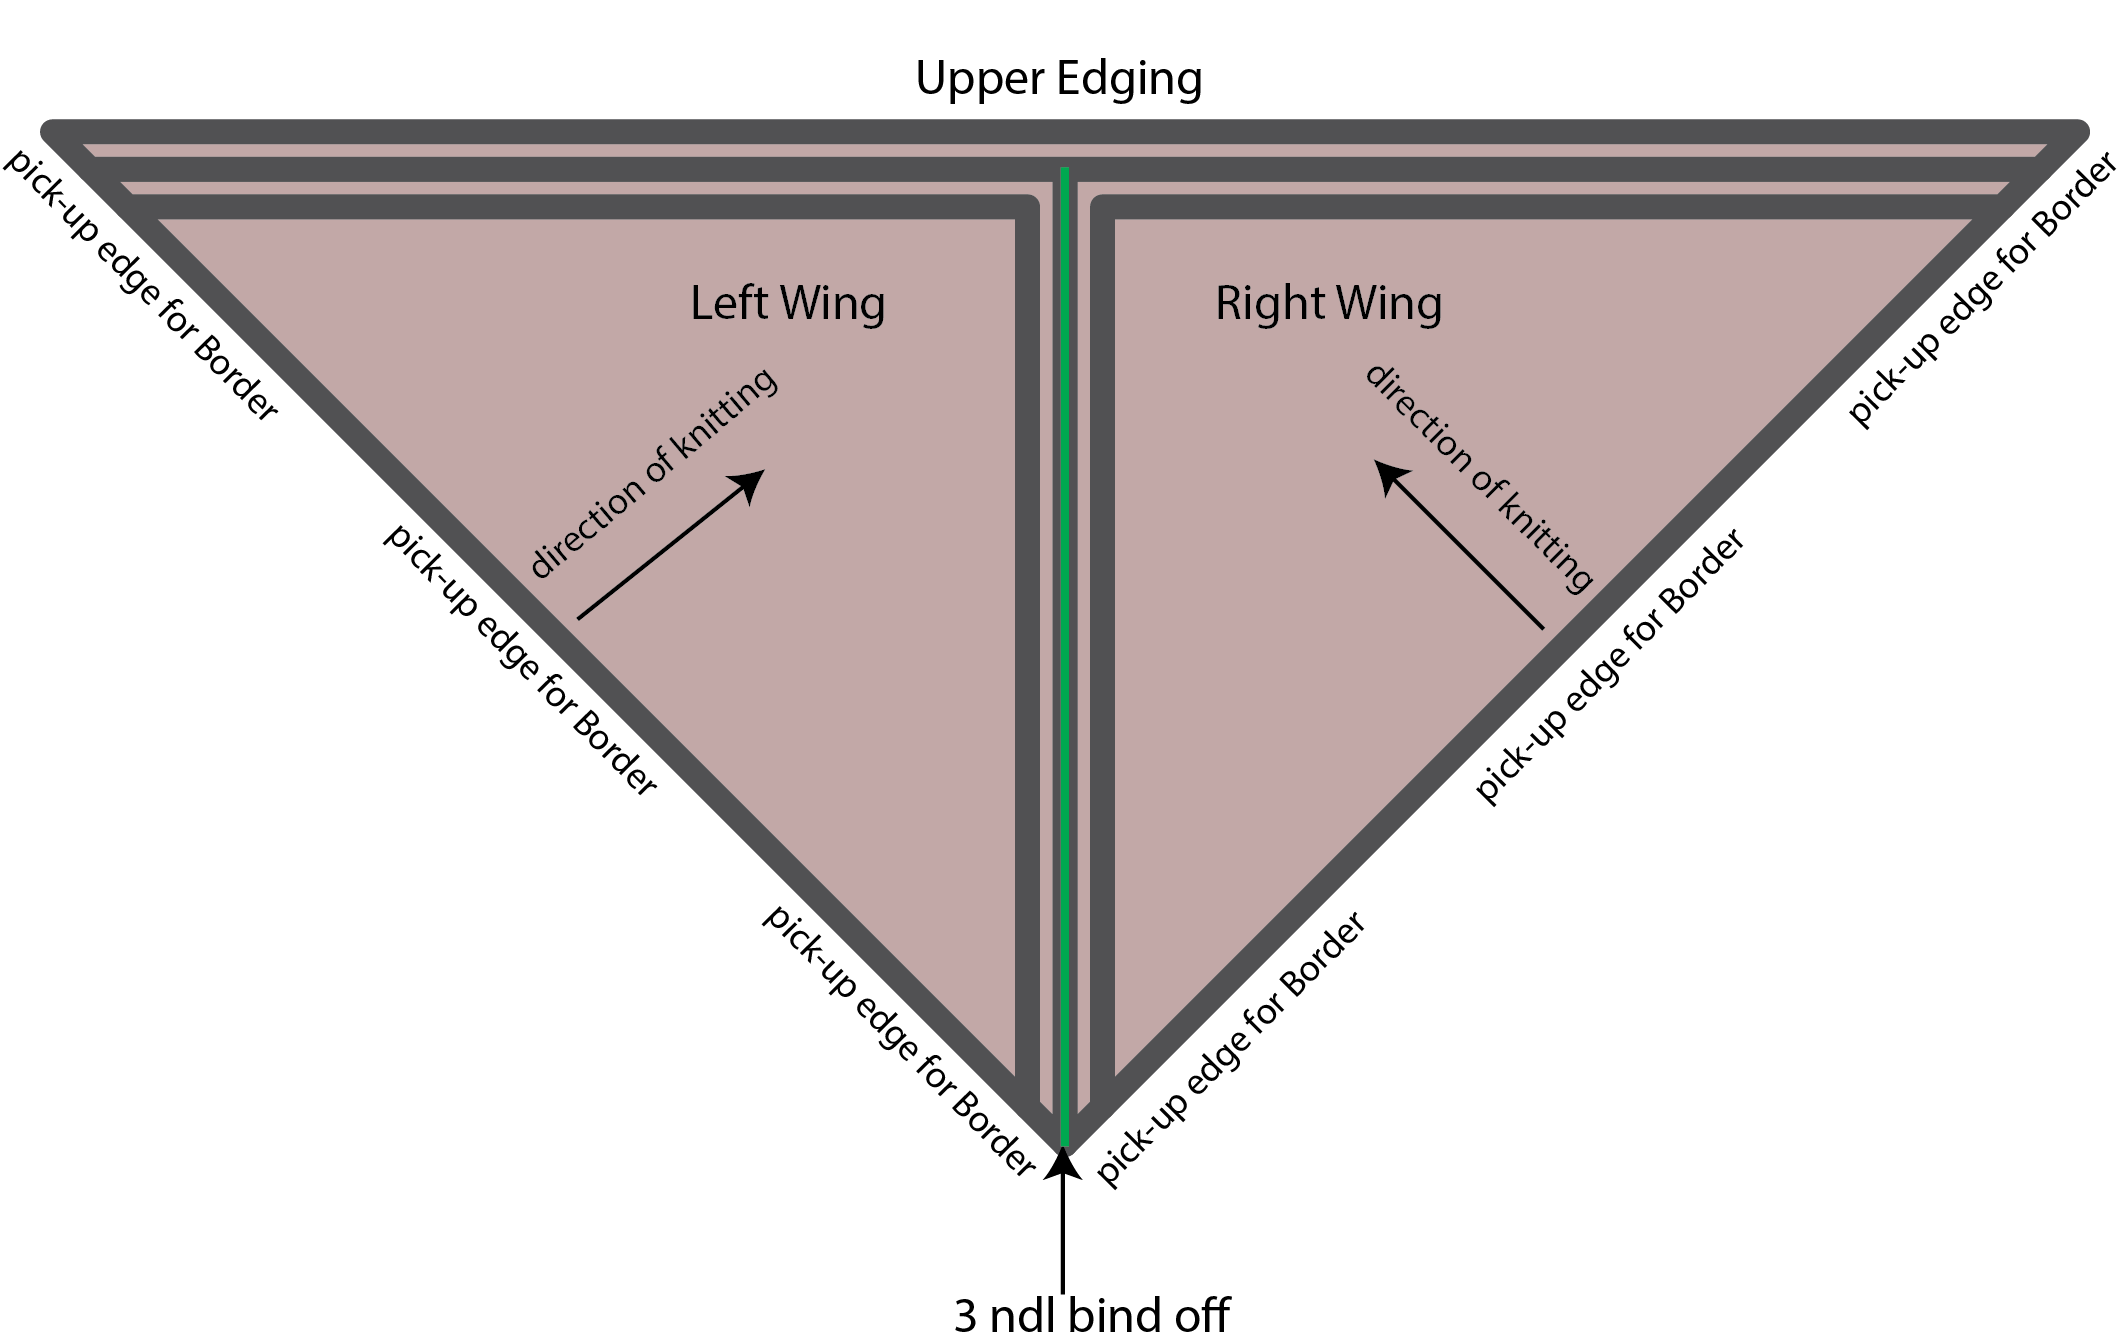
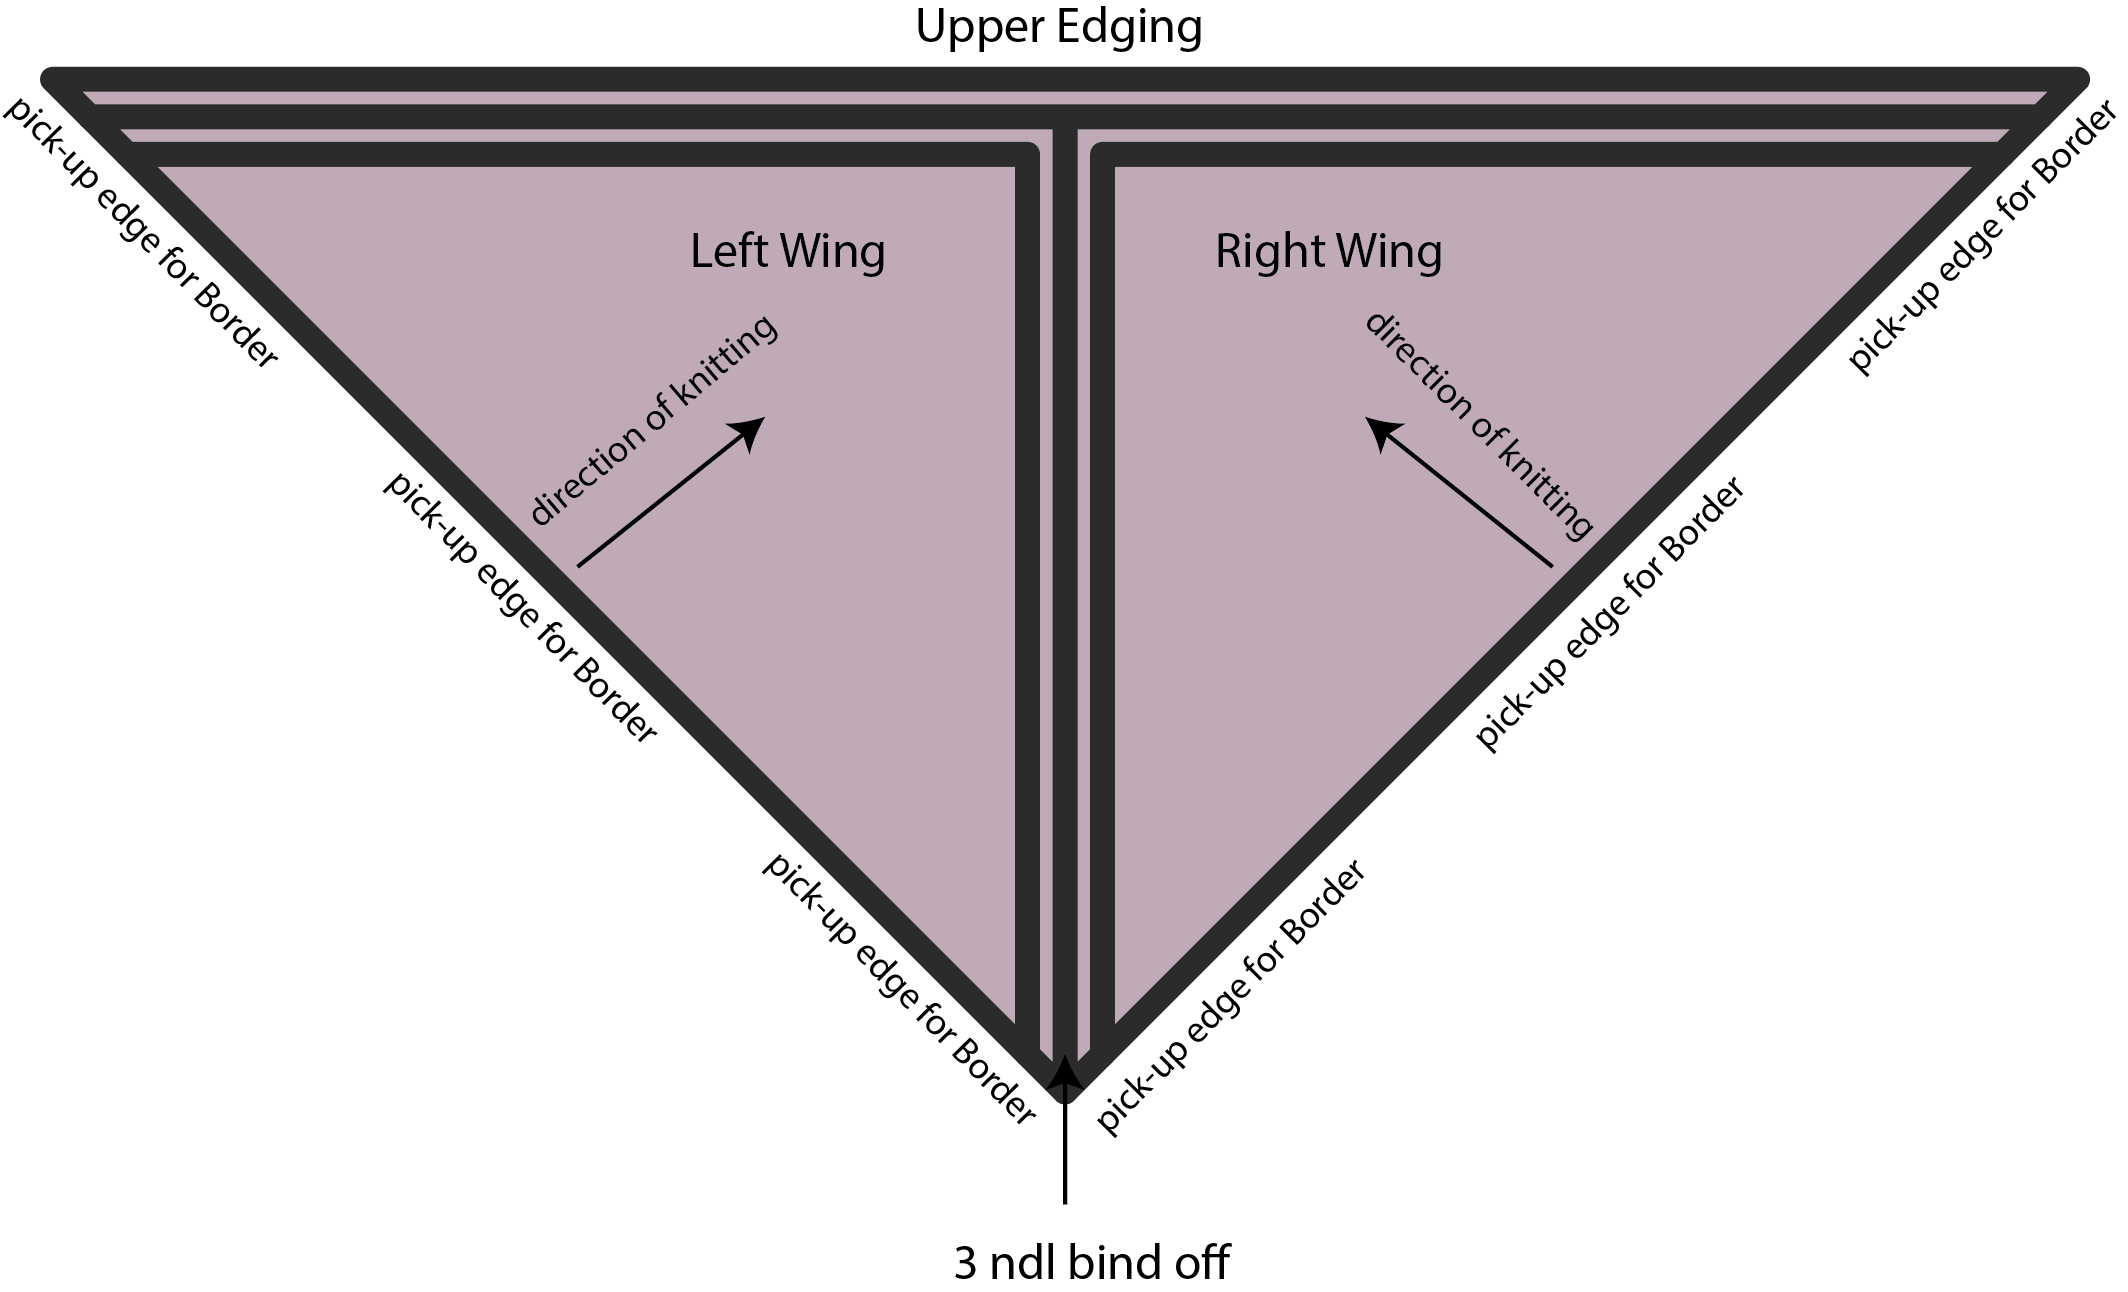
Here is a diagram of the shawl. That green line in the center represents the 3 needle bind off we’re about to do.

Bisected Shawl_3ndlbindoff

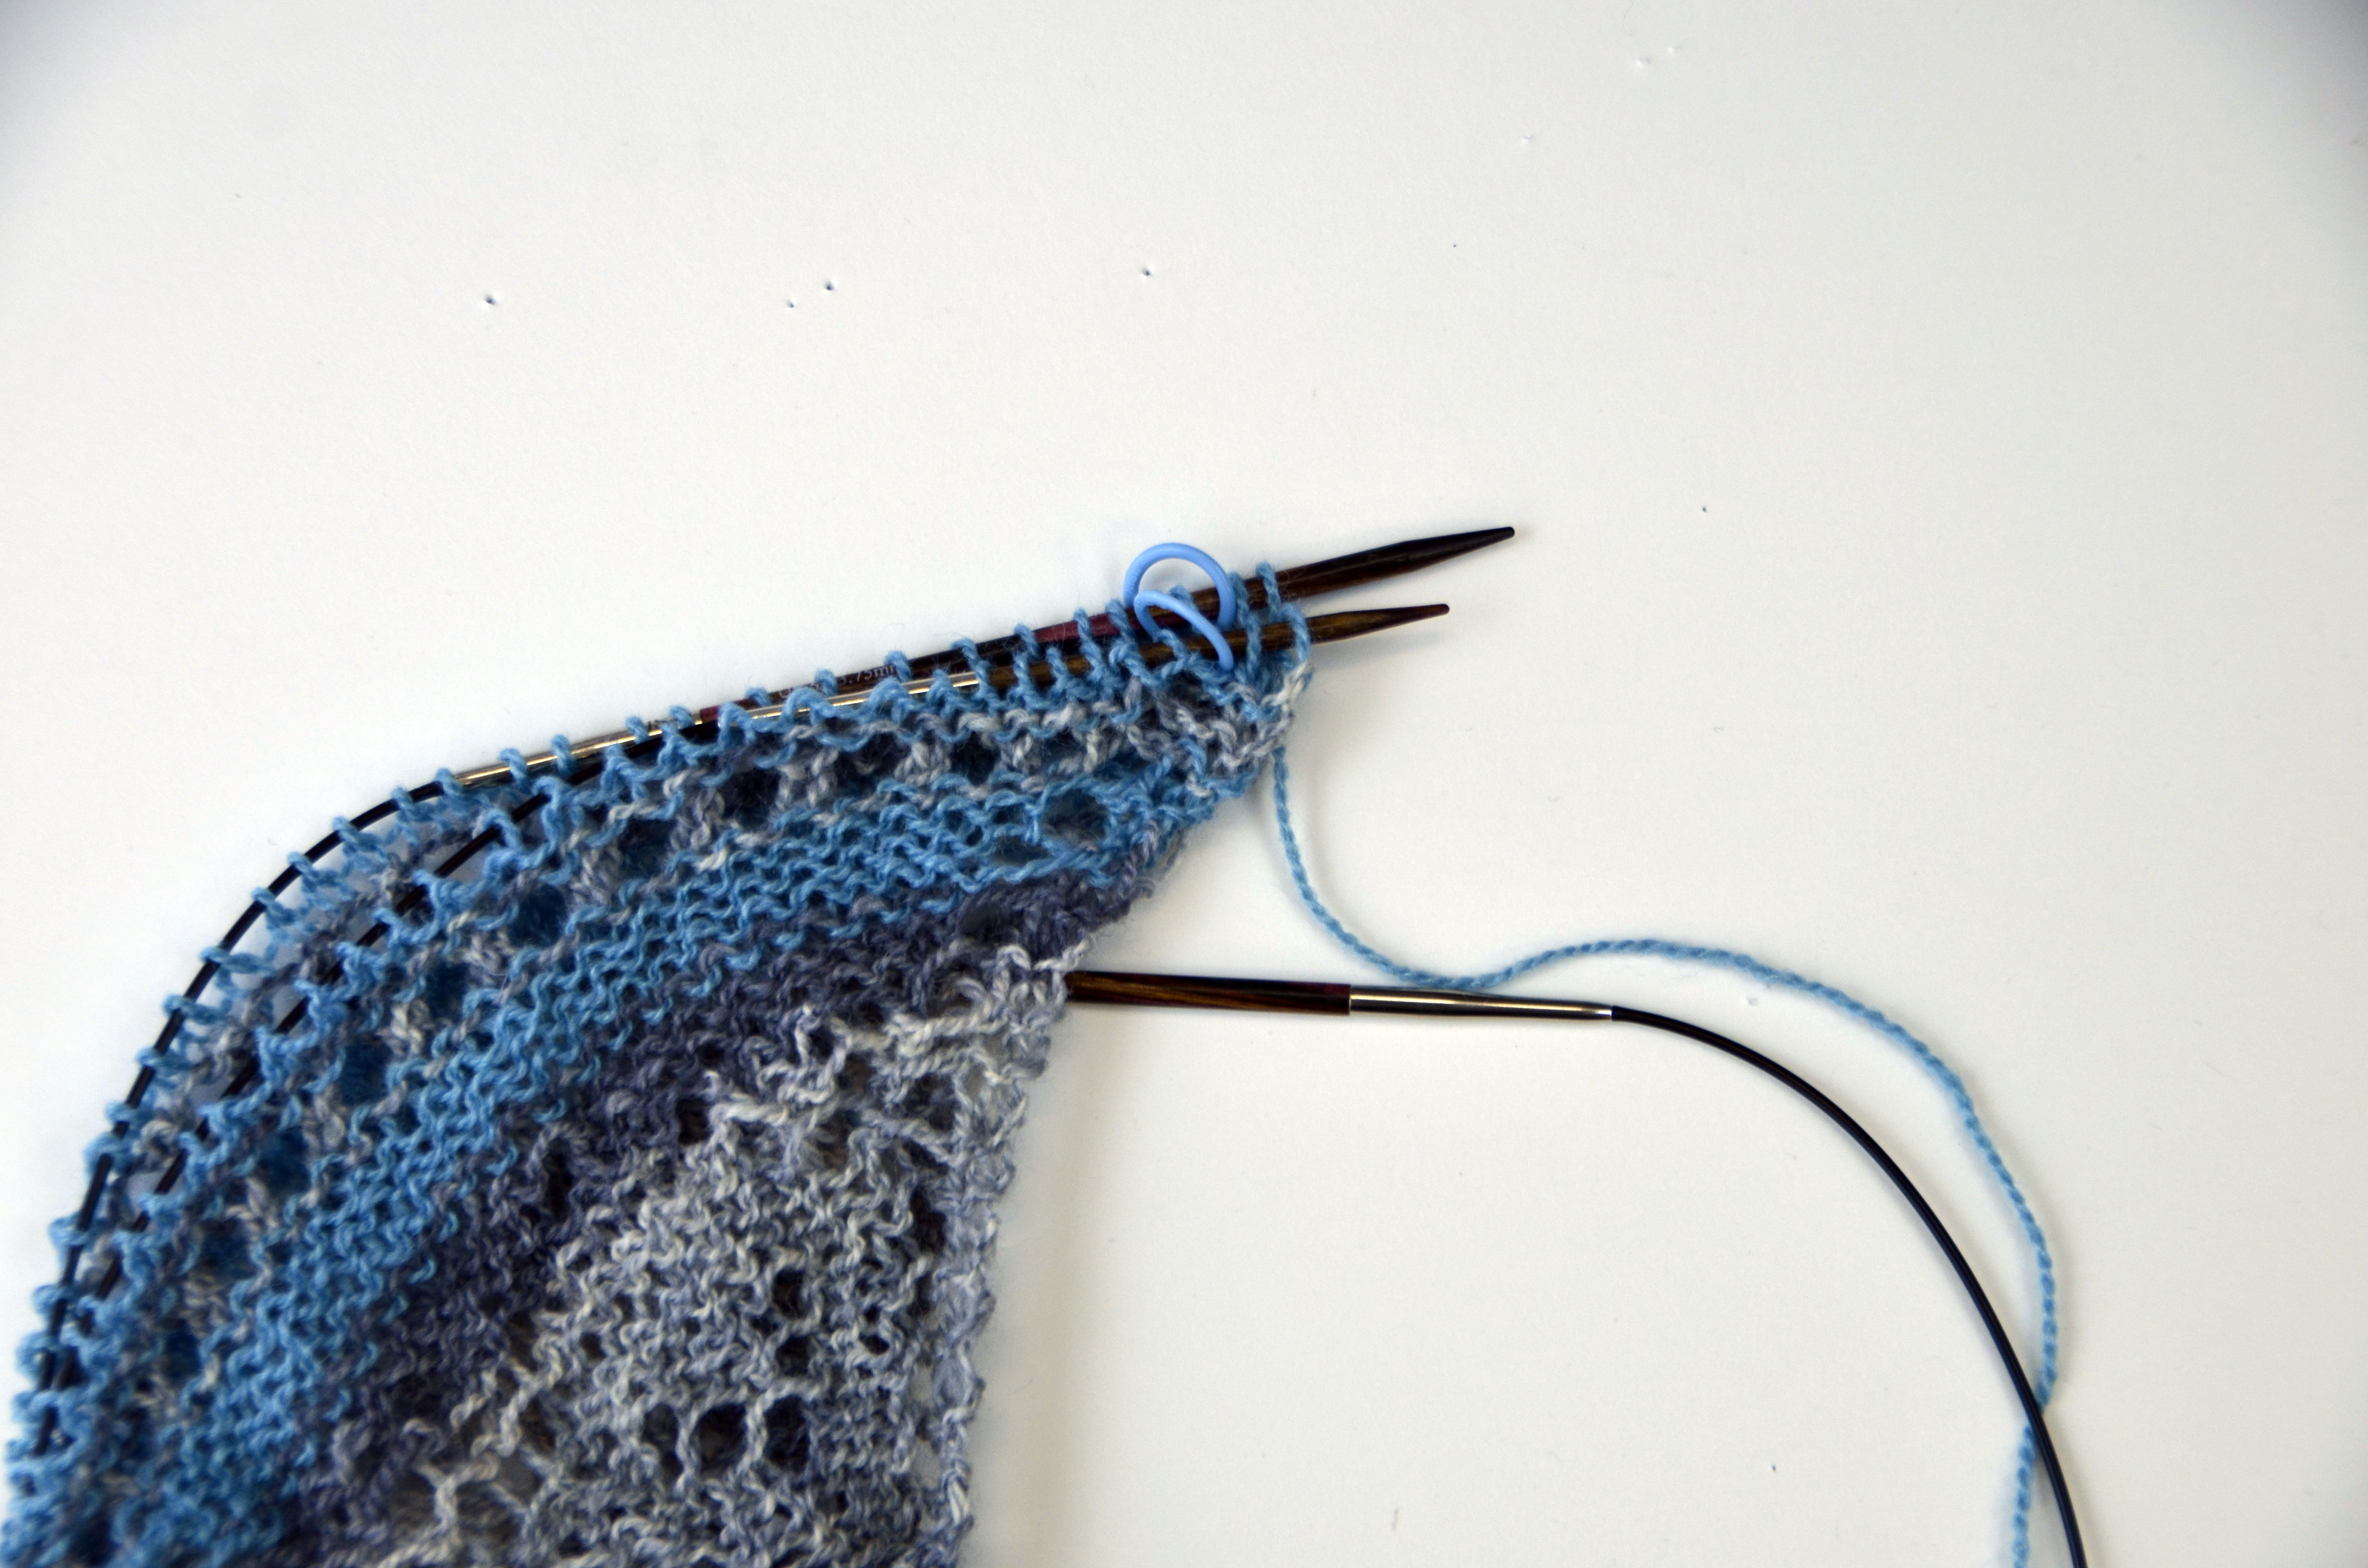
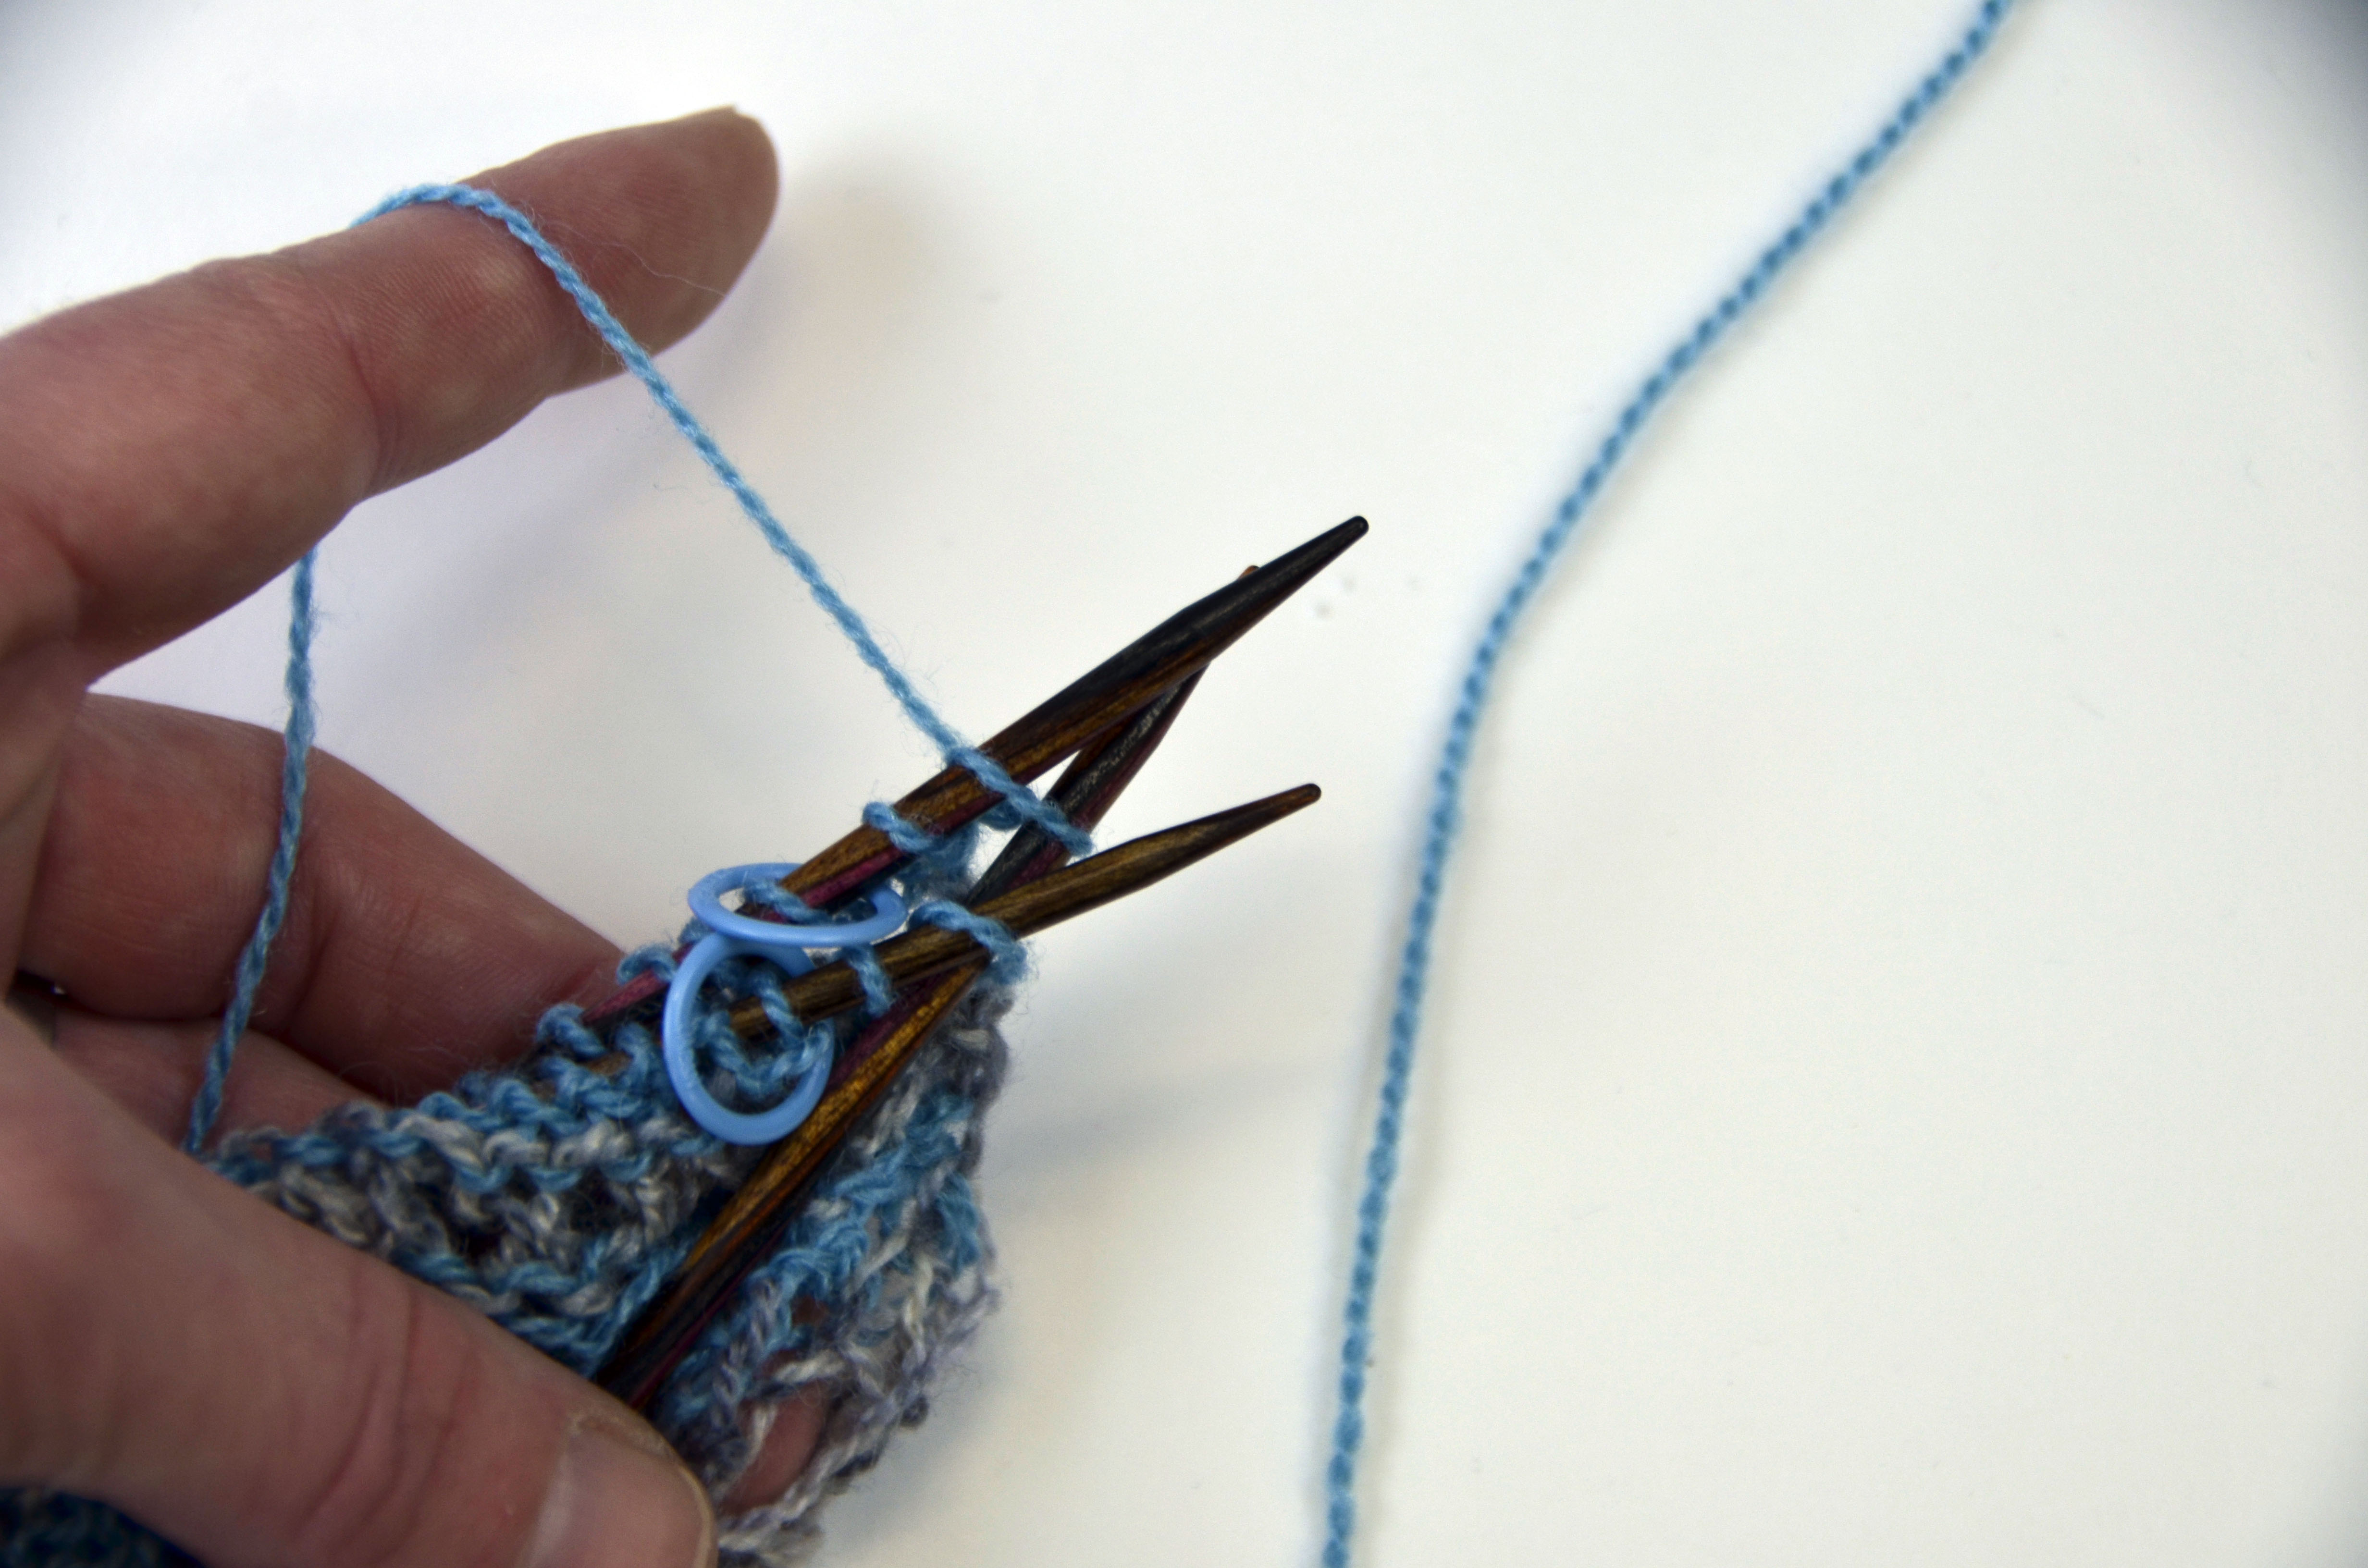
A three needle bind off is a way of joining two sets of live stitches. In this case, we’re joining half each of the right and left wings of the shawl. It’s called the three needle bind off because it require three needles. Though because I’m using circular needles, I only need to use the other end of one of the circulars as the third needle.

To begin, place the right sides of the pieces together:

3ndl_2

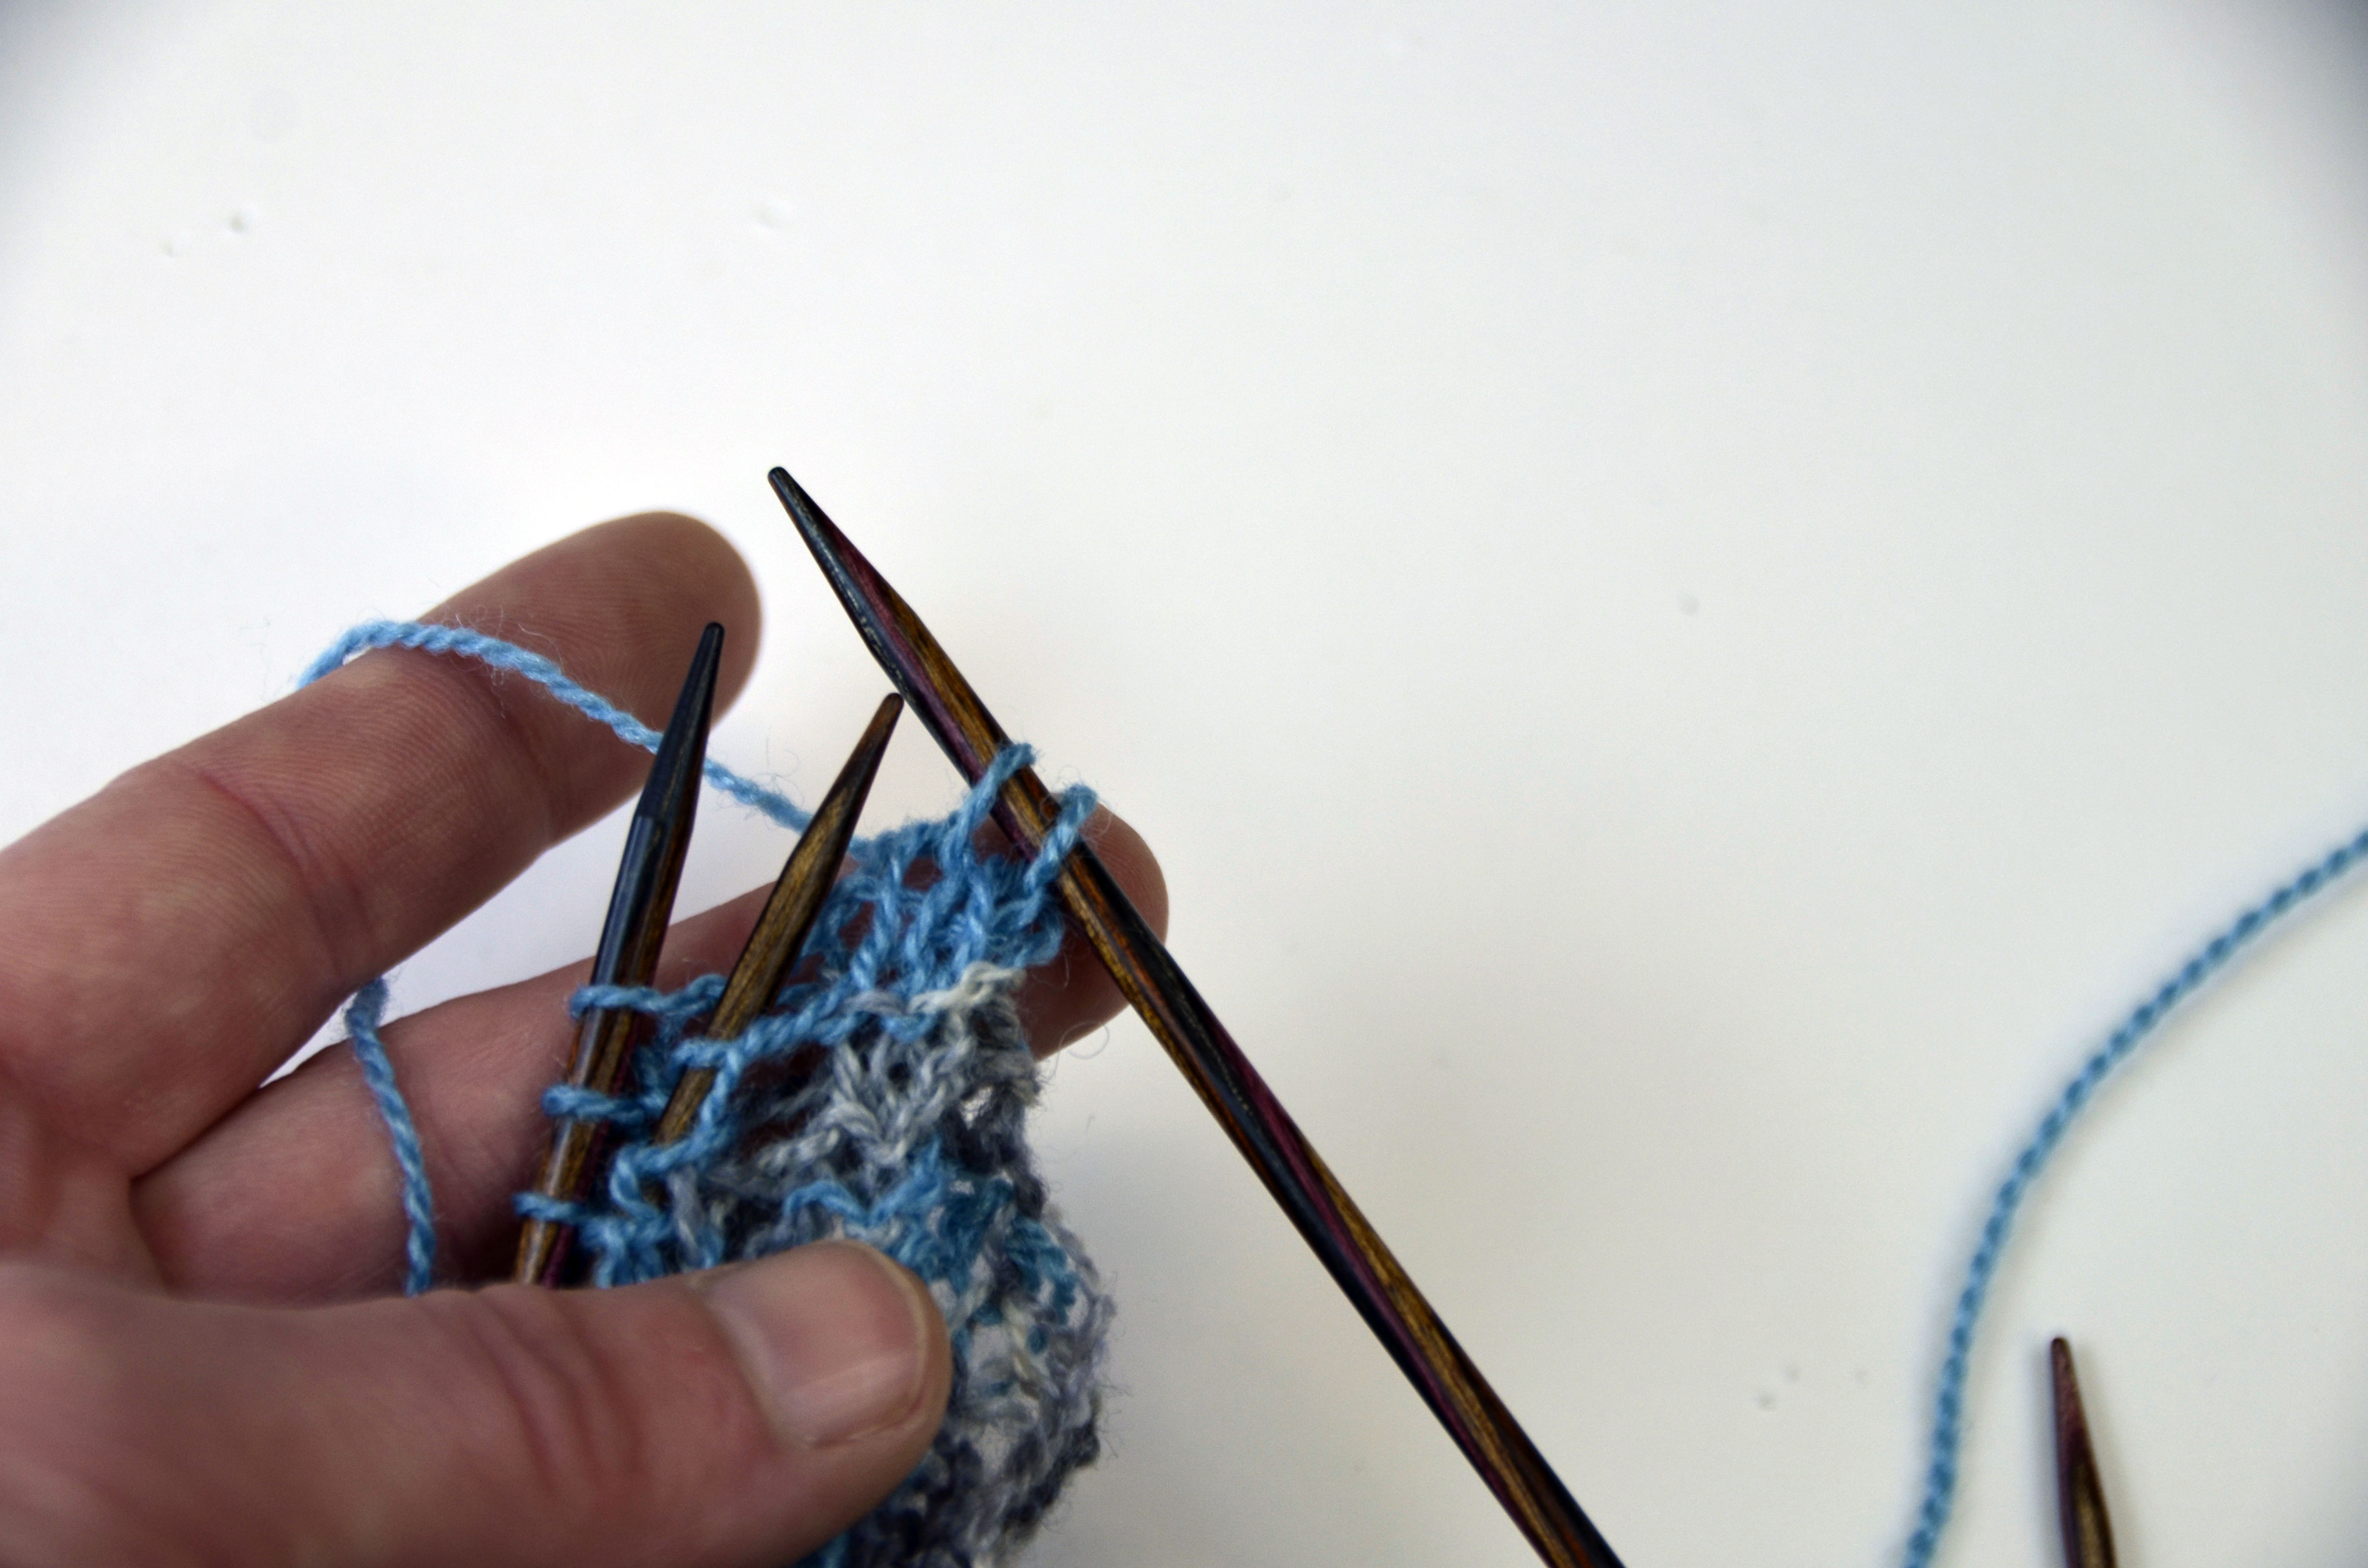
Next, knit 2 stitches together. That is, knit one stitch from the front needle and one stitch from the back needle together.

3ndl_3

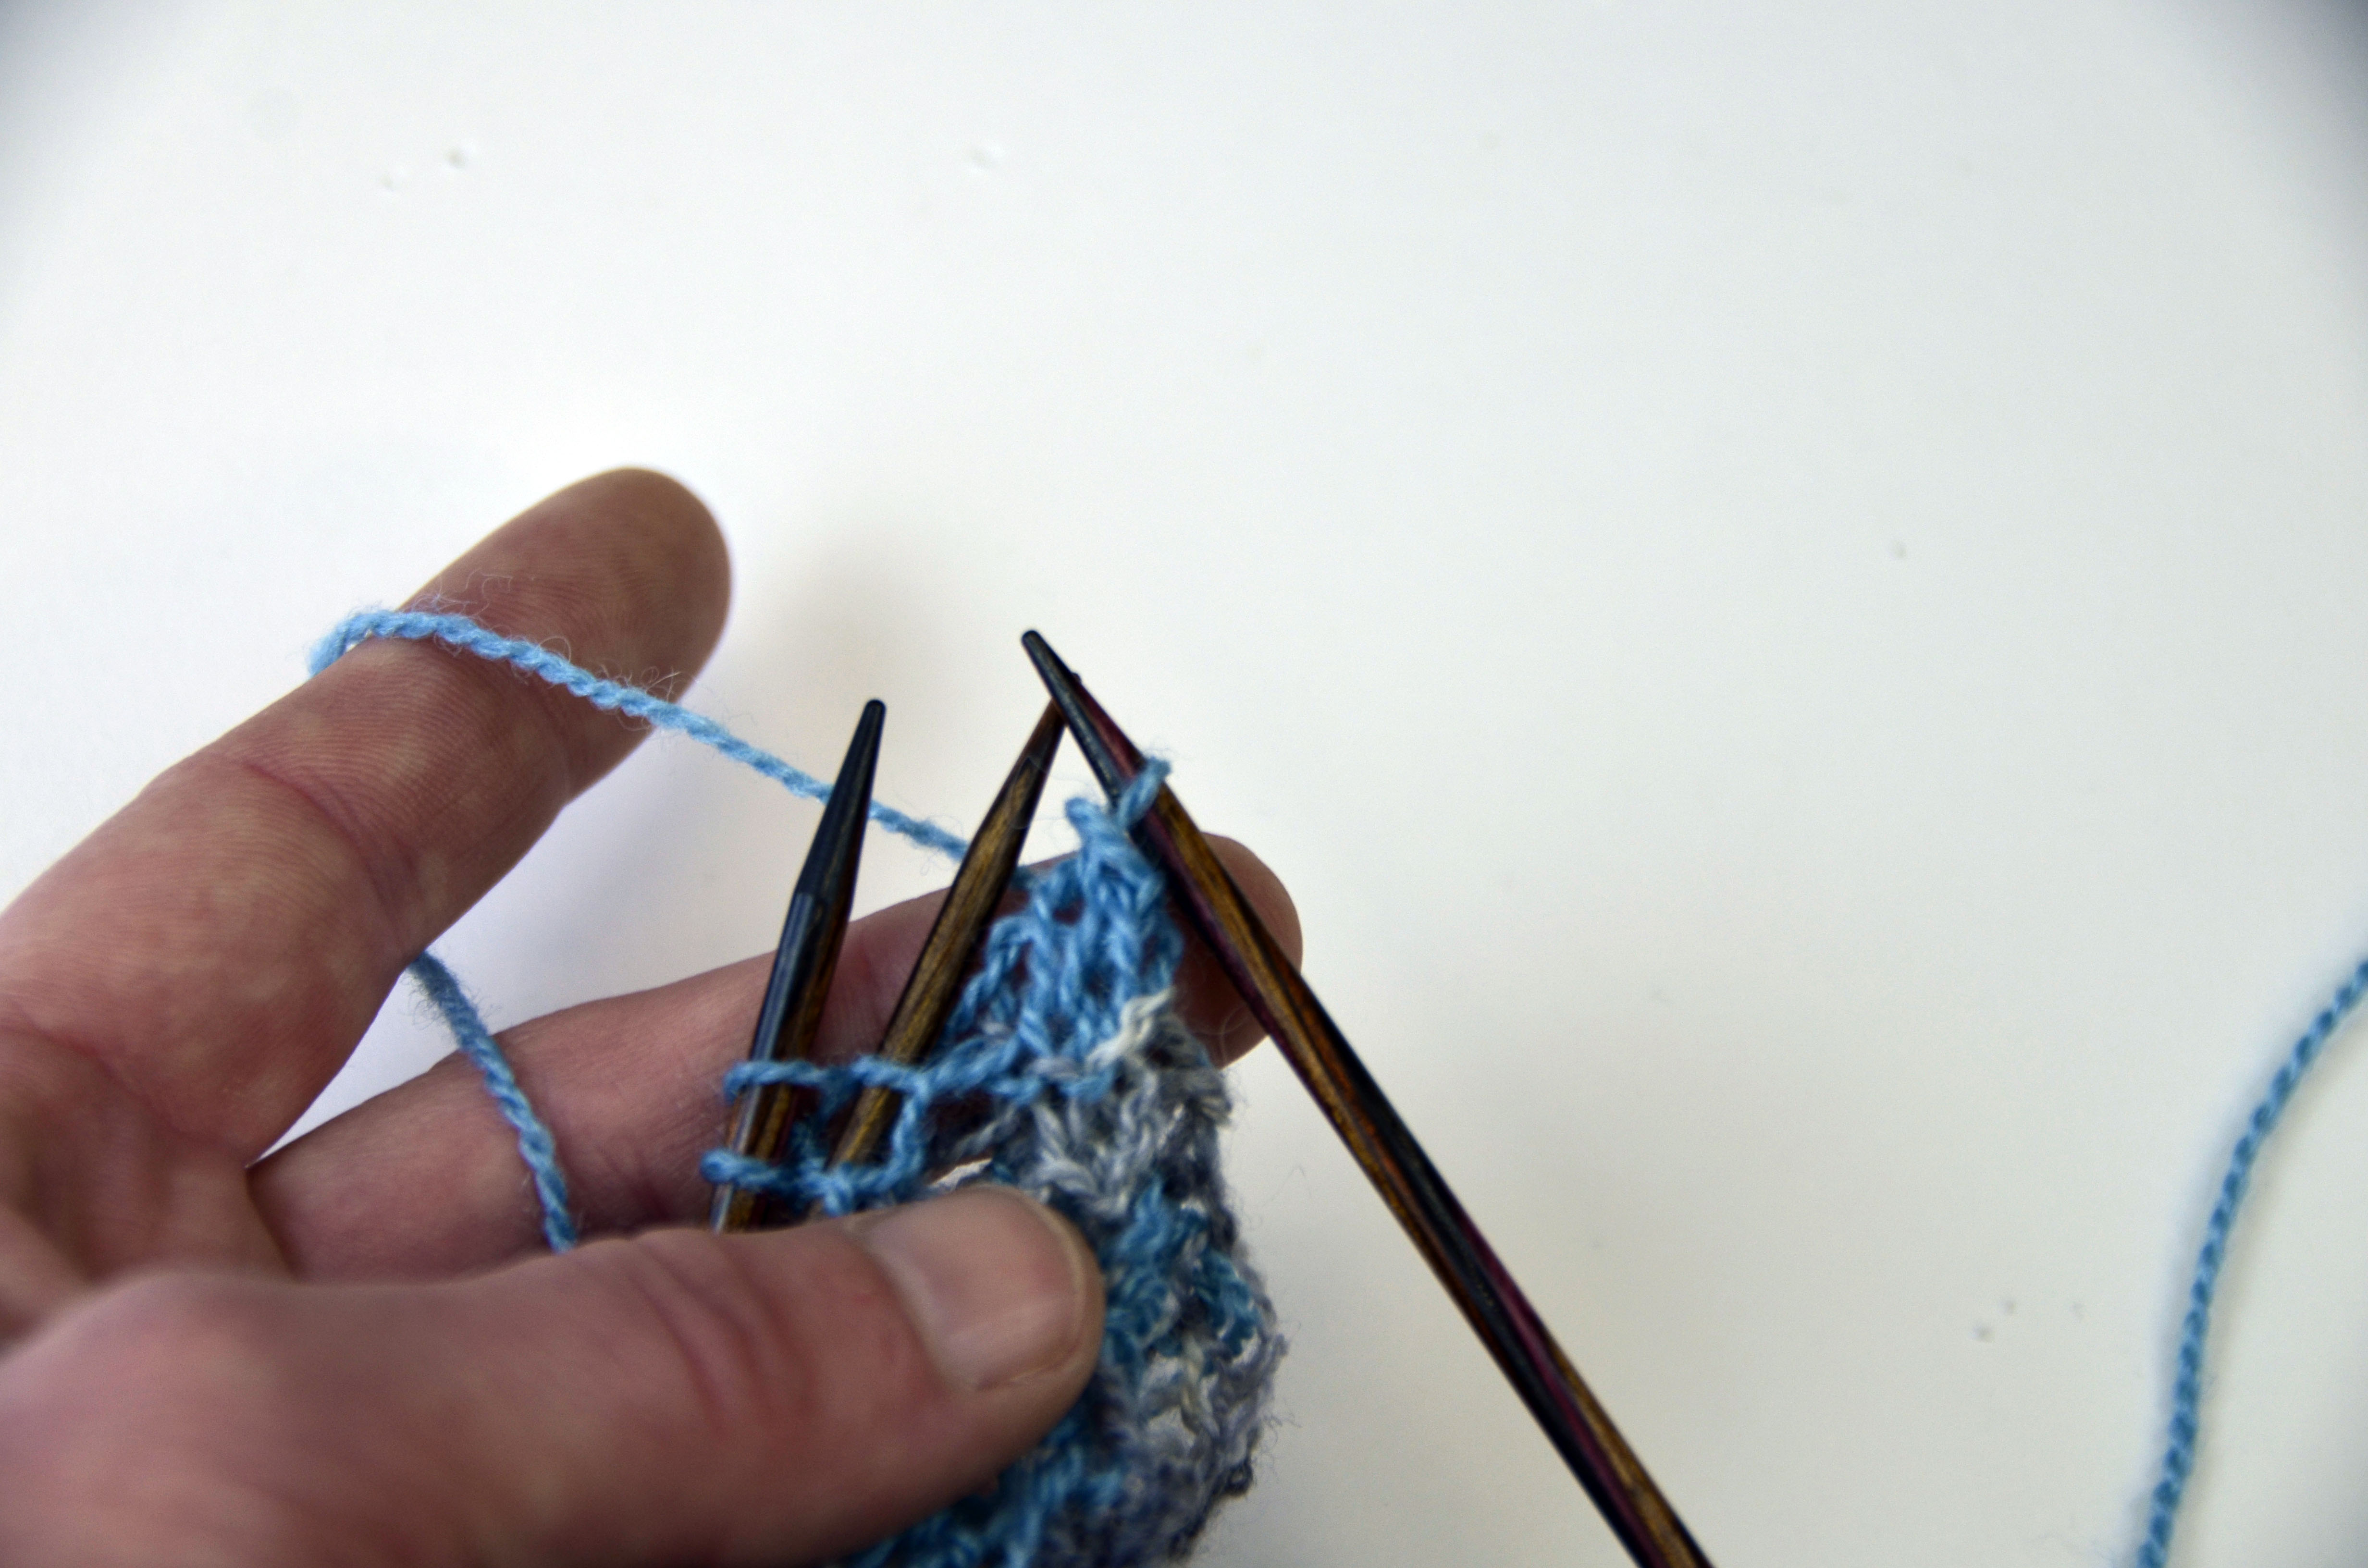
Then knit two stitches together again (1 from each needle) so there are now 2 stitches on the right needle.

3ndl_4

Now is where the “bind off” part of this comes into play. Pass the first stitch on the right needle over the second stitch.

3ndl_5

3ndl_6

Next, k2tog, bind off 1 stitch, and keep doing this for the remainder of stitches to be joined. Here is the finished three needle bind off:

3ndl_7

And here’s what it looks like from the front:

3ndl_8

After I block the piece, that seam will flatten out and look virtually seamless. You can see that I’ve put the remaining stitches from both wings onto a single needle. I worked the top edging across these stitches and here’s what it looks like after weaving in ends and giving a light steaming:

3ndl_9

I’m using Whisper Lace in brand new colors 115 Mineral (solid) and 212 Stonework (multi). I’d love to see this color combination in a full-sized Bisected Shawl!

Join us next time when we tackle the final step of this shawl, the attach-as-you-go garter lace edging.

Bisected Shawl – Starting Out

The last 2 weeks we talked about how to do filet crochet and the Delphi Stole from ebook Contrarian Shawls 2.  Now we’re ready to move onto some knitting with the Bisected Shawl from the same collection.

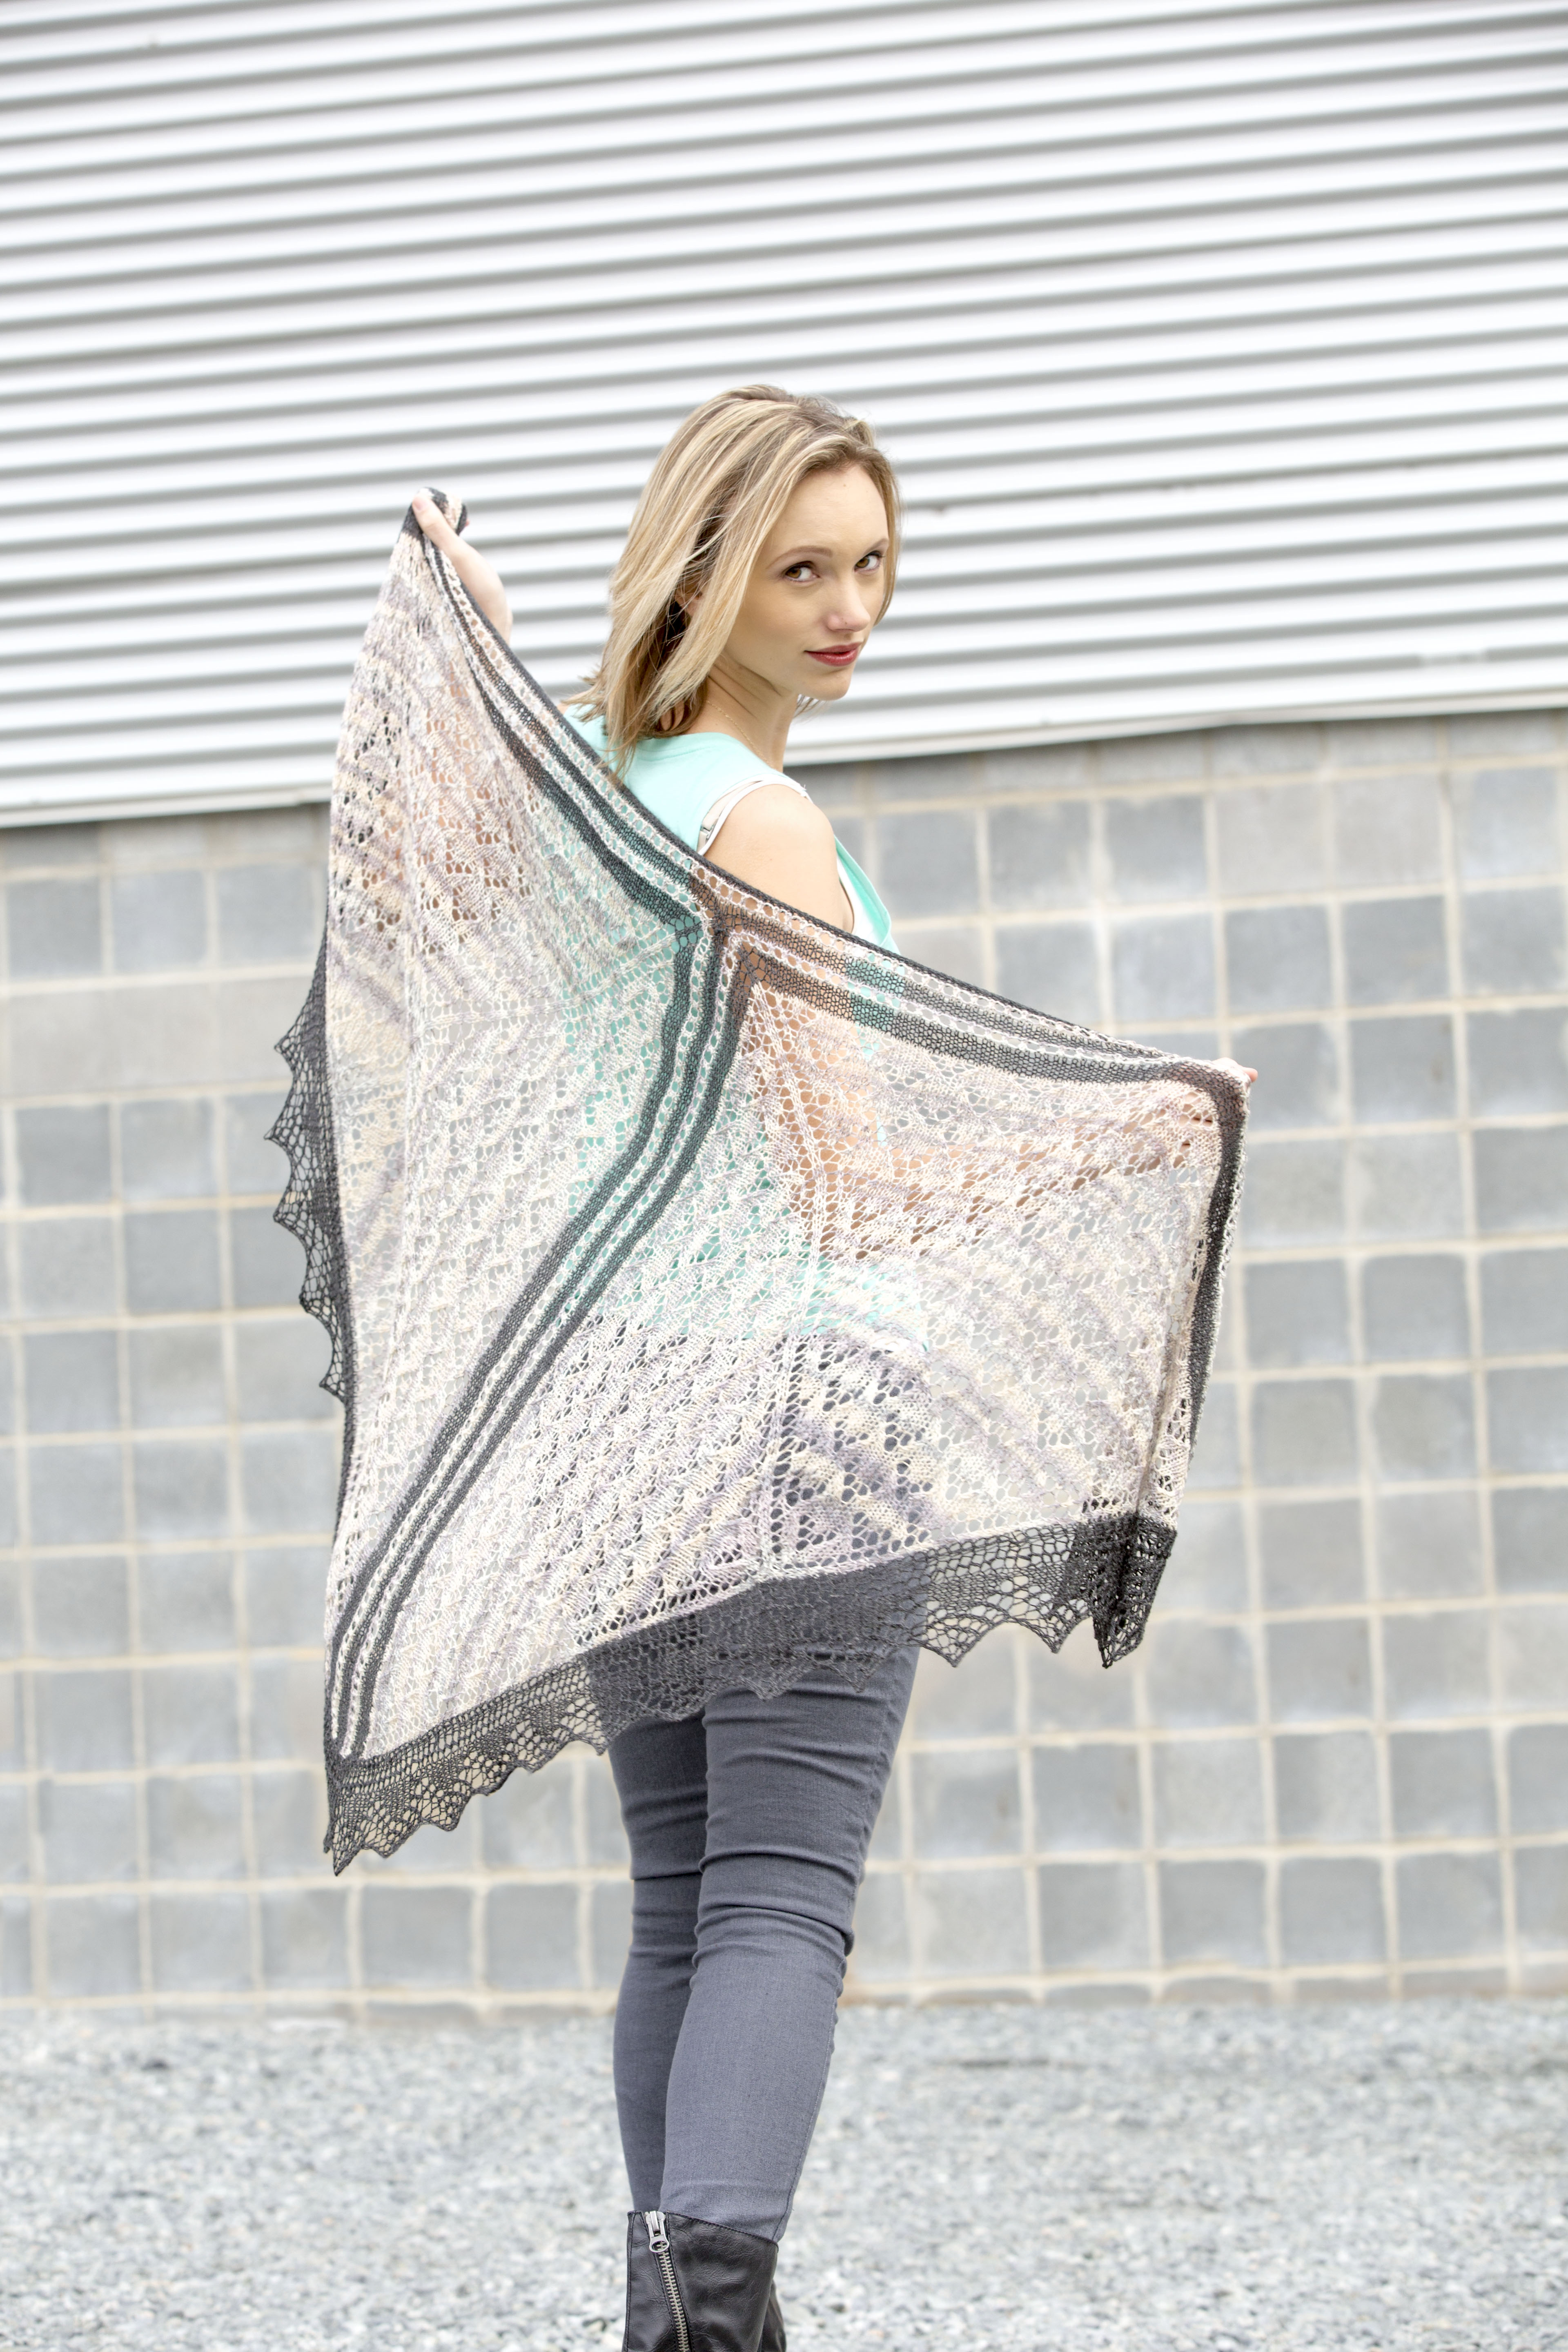
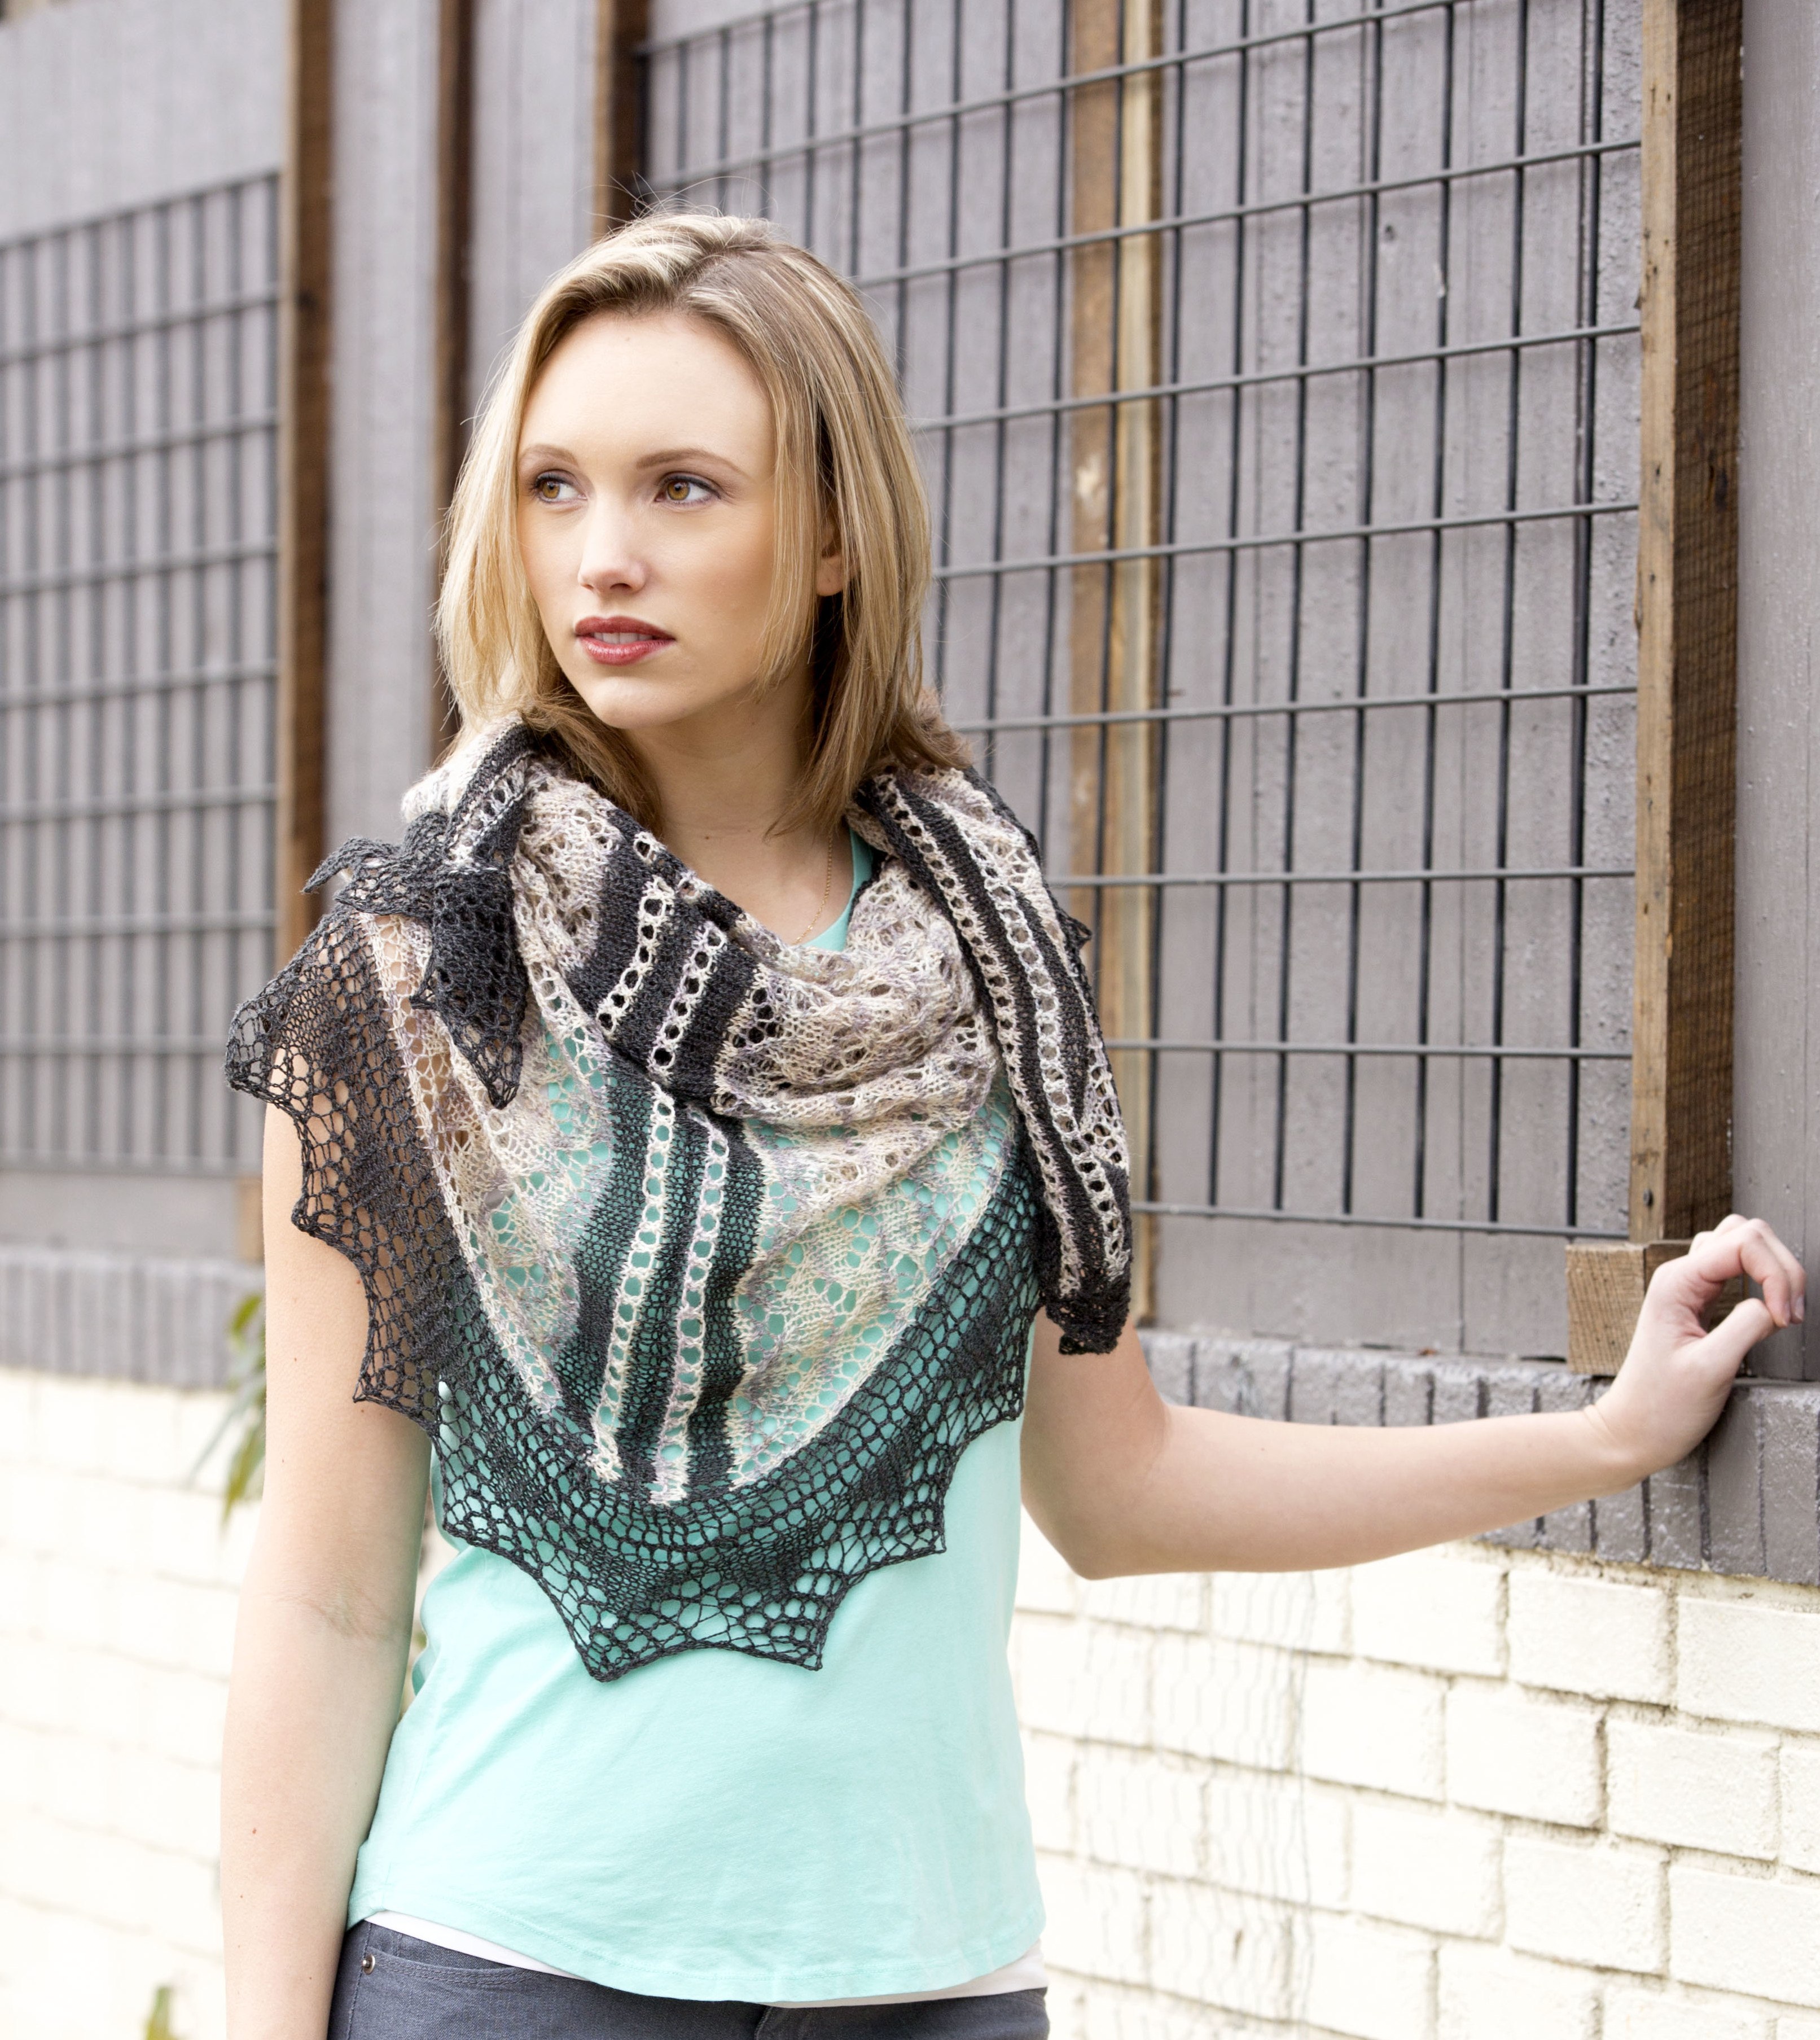
BisectedShawl_2_hires

BisectedShawl_1_hires

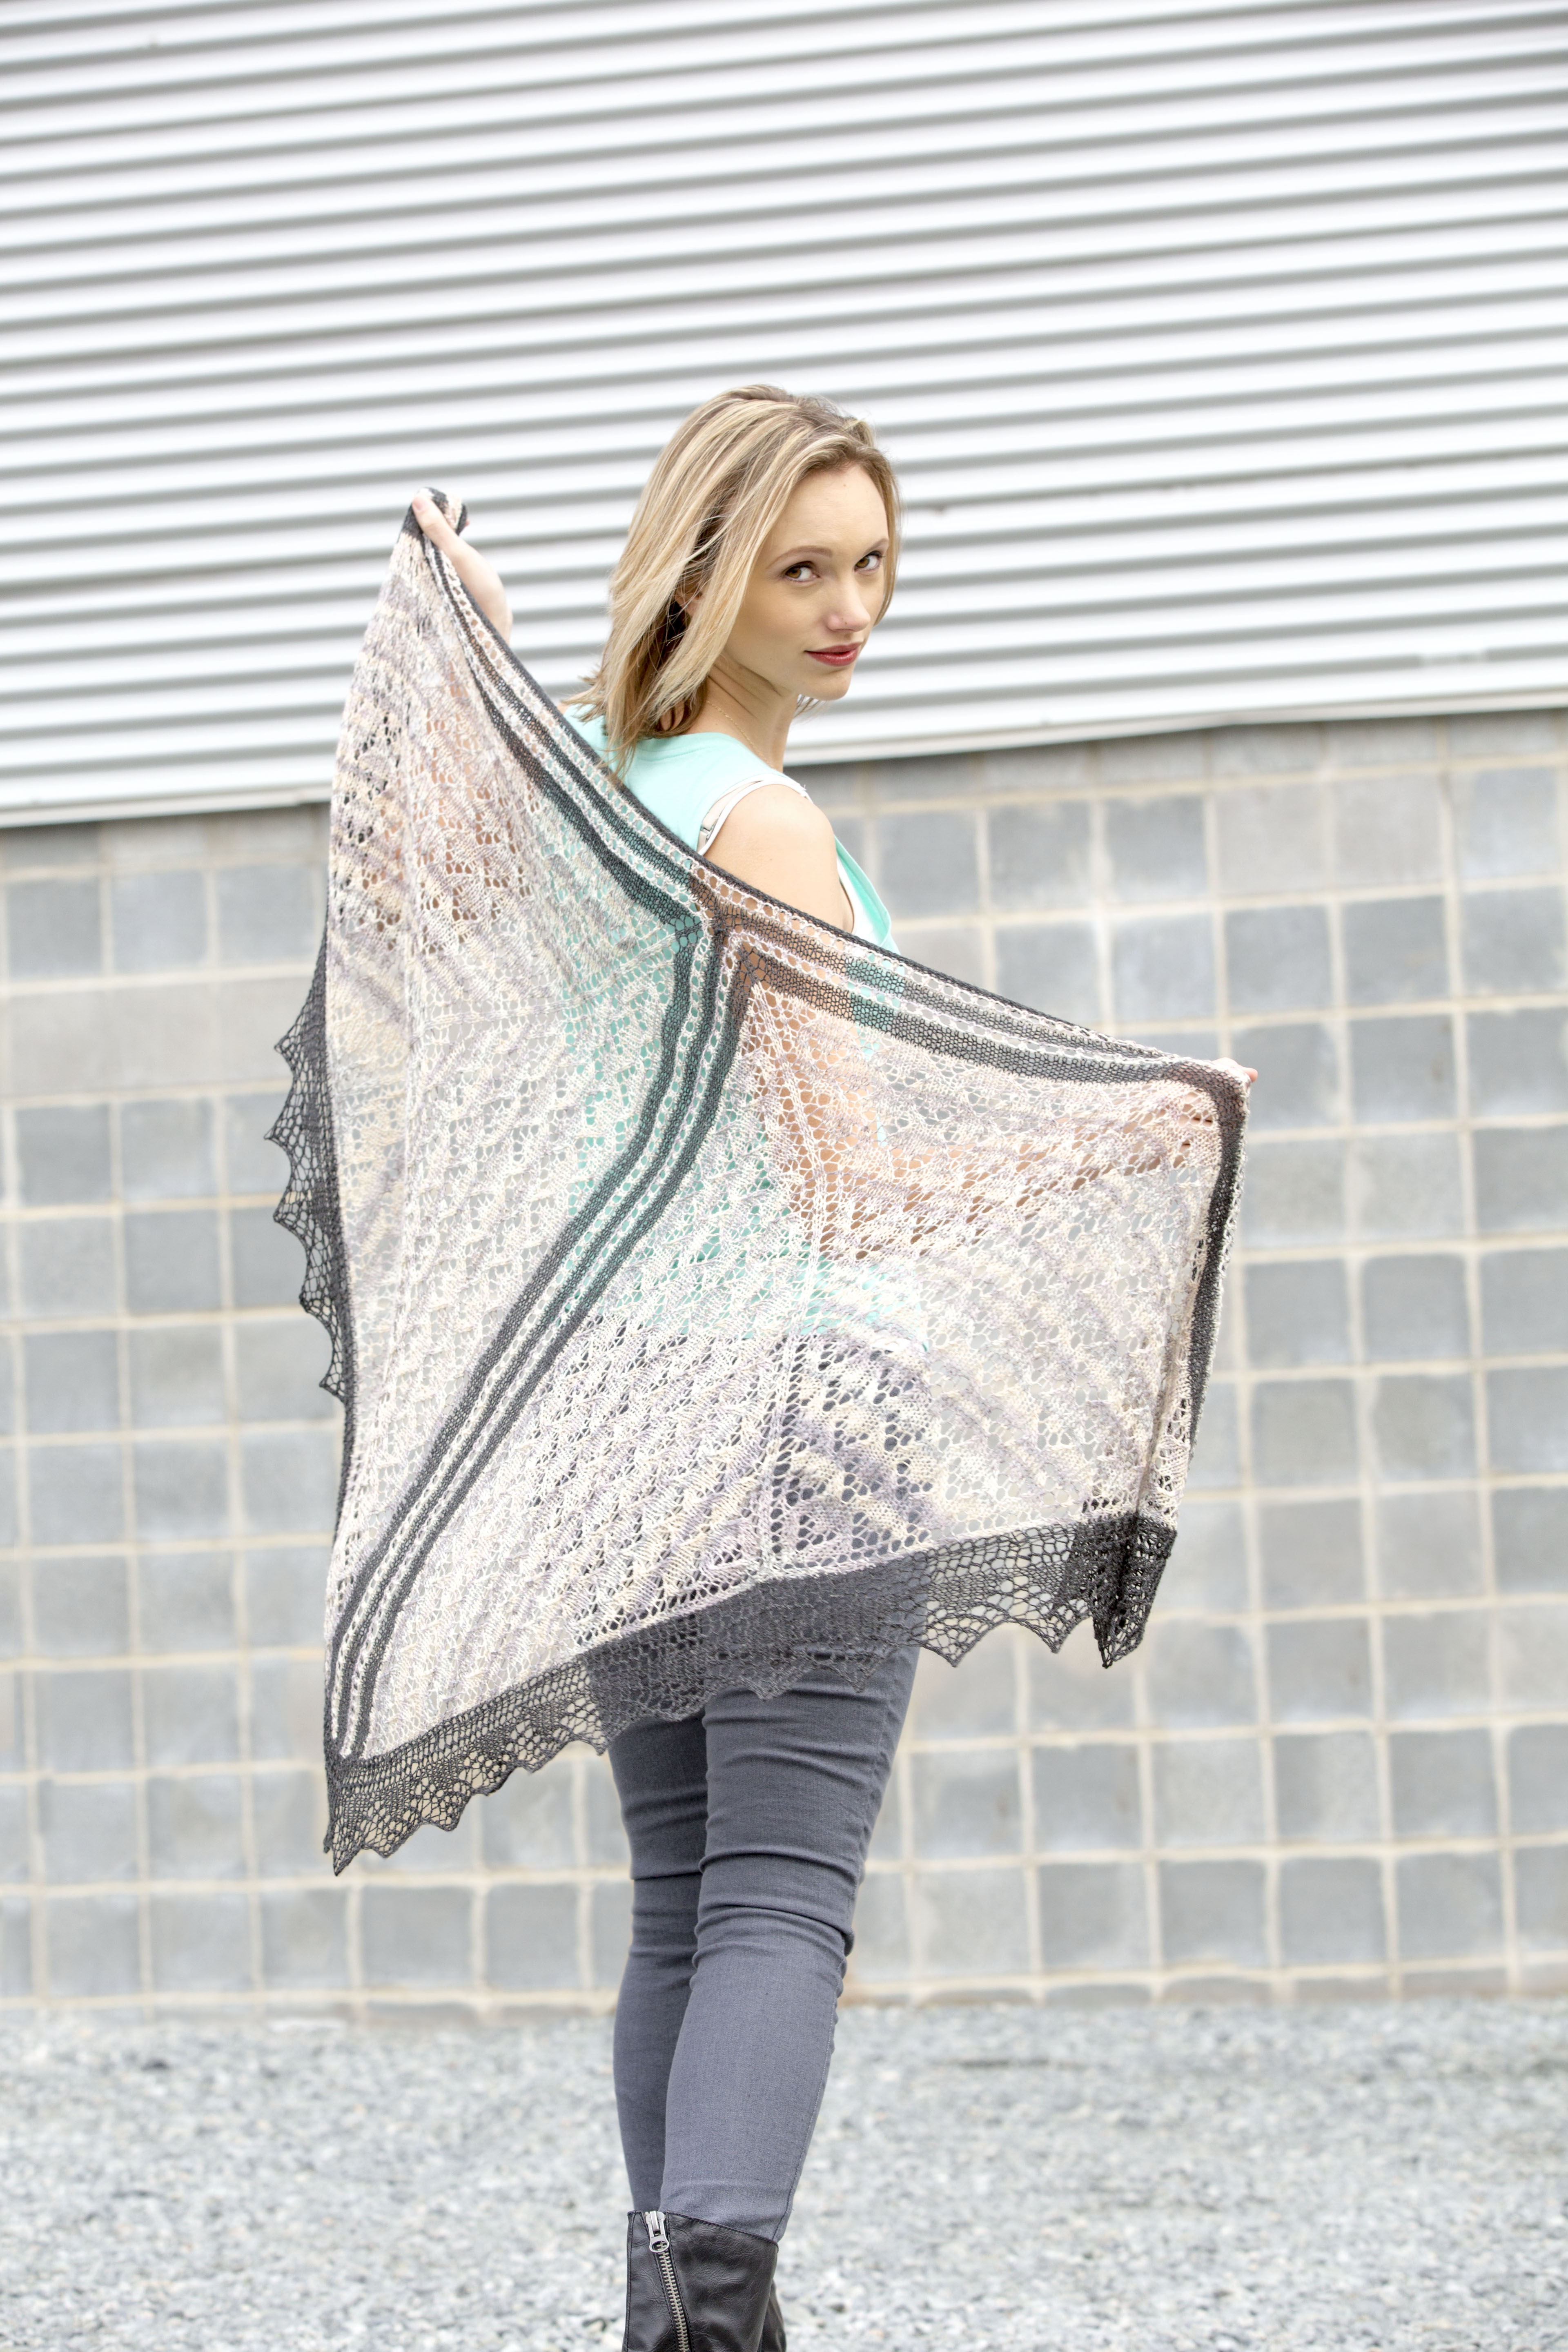
The Bisected Shawl is a really fun knit. It’s worked in several sections, and it’s fun to see the progress as you move along. The bulk of the shawl is worked in a multi color of Whisper Lace, while accents are worked in a solid. The lace pattern on both the shawl body and the border are not too tough. If you’ve done just a little bit of lace before (or even a lot), this would be a great project for you. Over the next few weeks, we’re going to be covering all you need to know about wrapping your head around this shawl project.

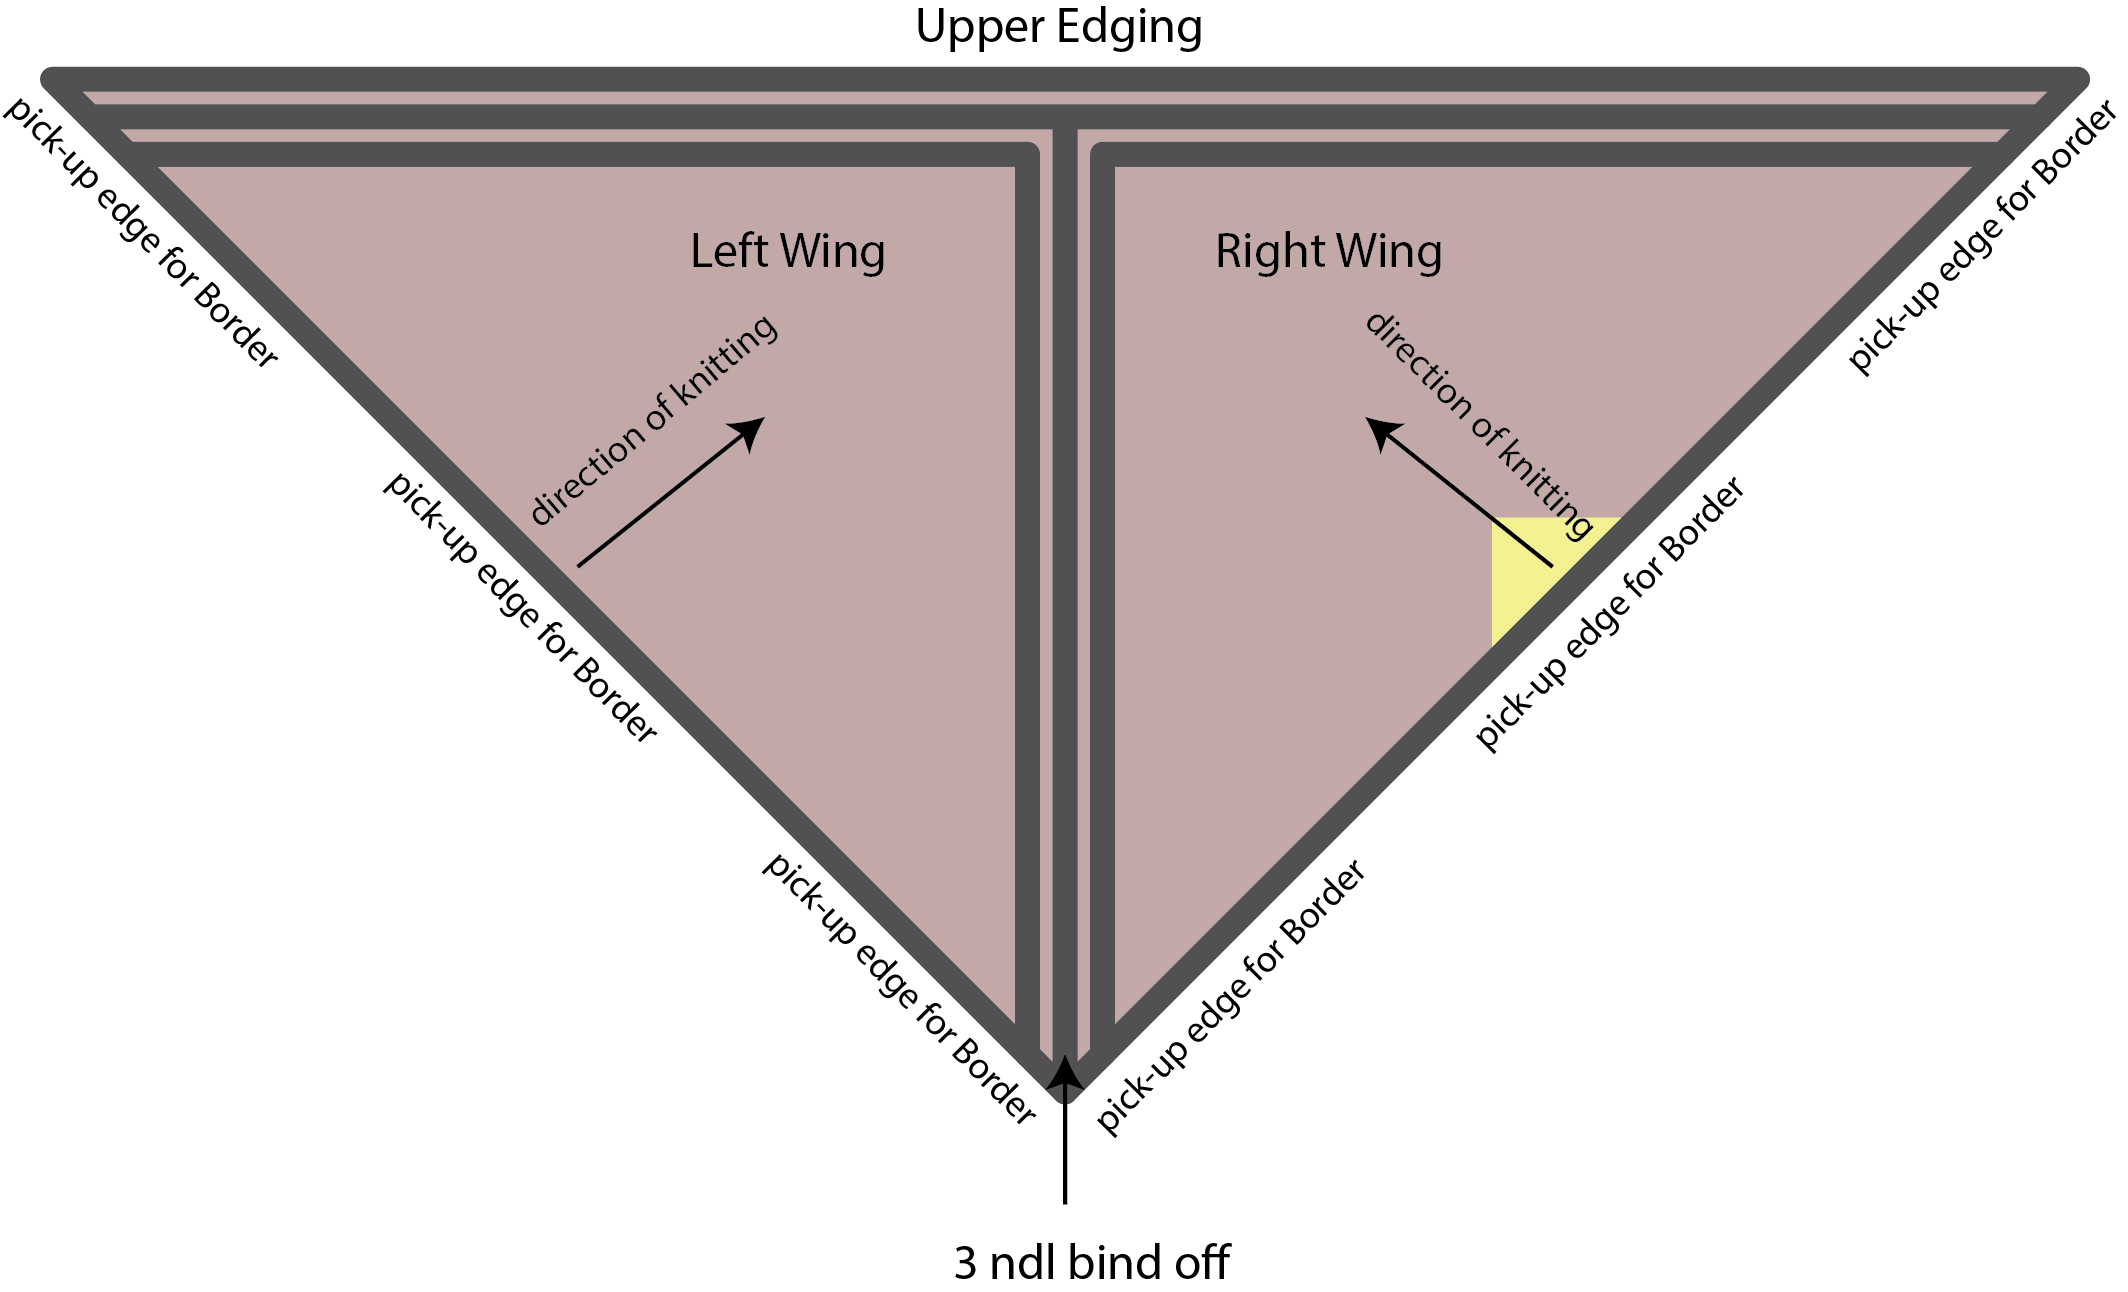
Below is the diagram of the shawl construction:

BisectedShawl_diagram

There are 4 main steps to the shawl:

  1. knit the Right Wing
  2. knit the Left Wing
  3. join the Right and Left Wings with a 3 needle bind off & work the Upper Edging
  4. Border

Today, we’re going to talk about steps 1 & 2, which are really the same step, but done twice! The wings are just top-down triangles, which may or may not be a familiar concept for you. Top-down triangles are a common way of knitting triangular shawls, or any triangular-anything, for that matter.

If you take a look at that diagram and the little “direction of knitting” arrow, that is where our Wing begins. And like many top-down triangles, this one begins with a garter tab.

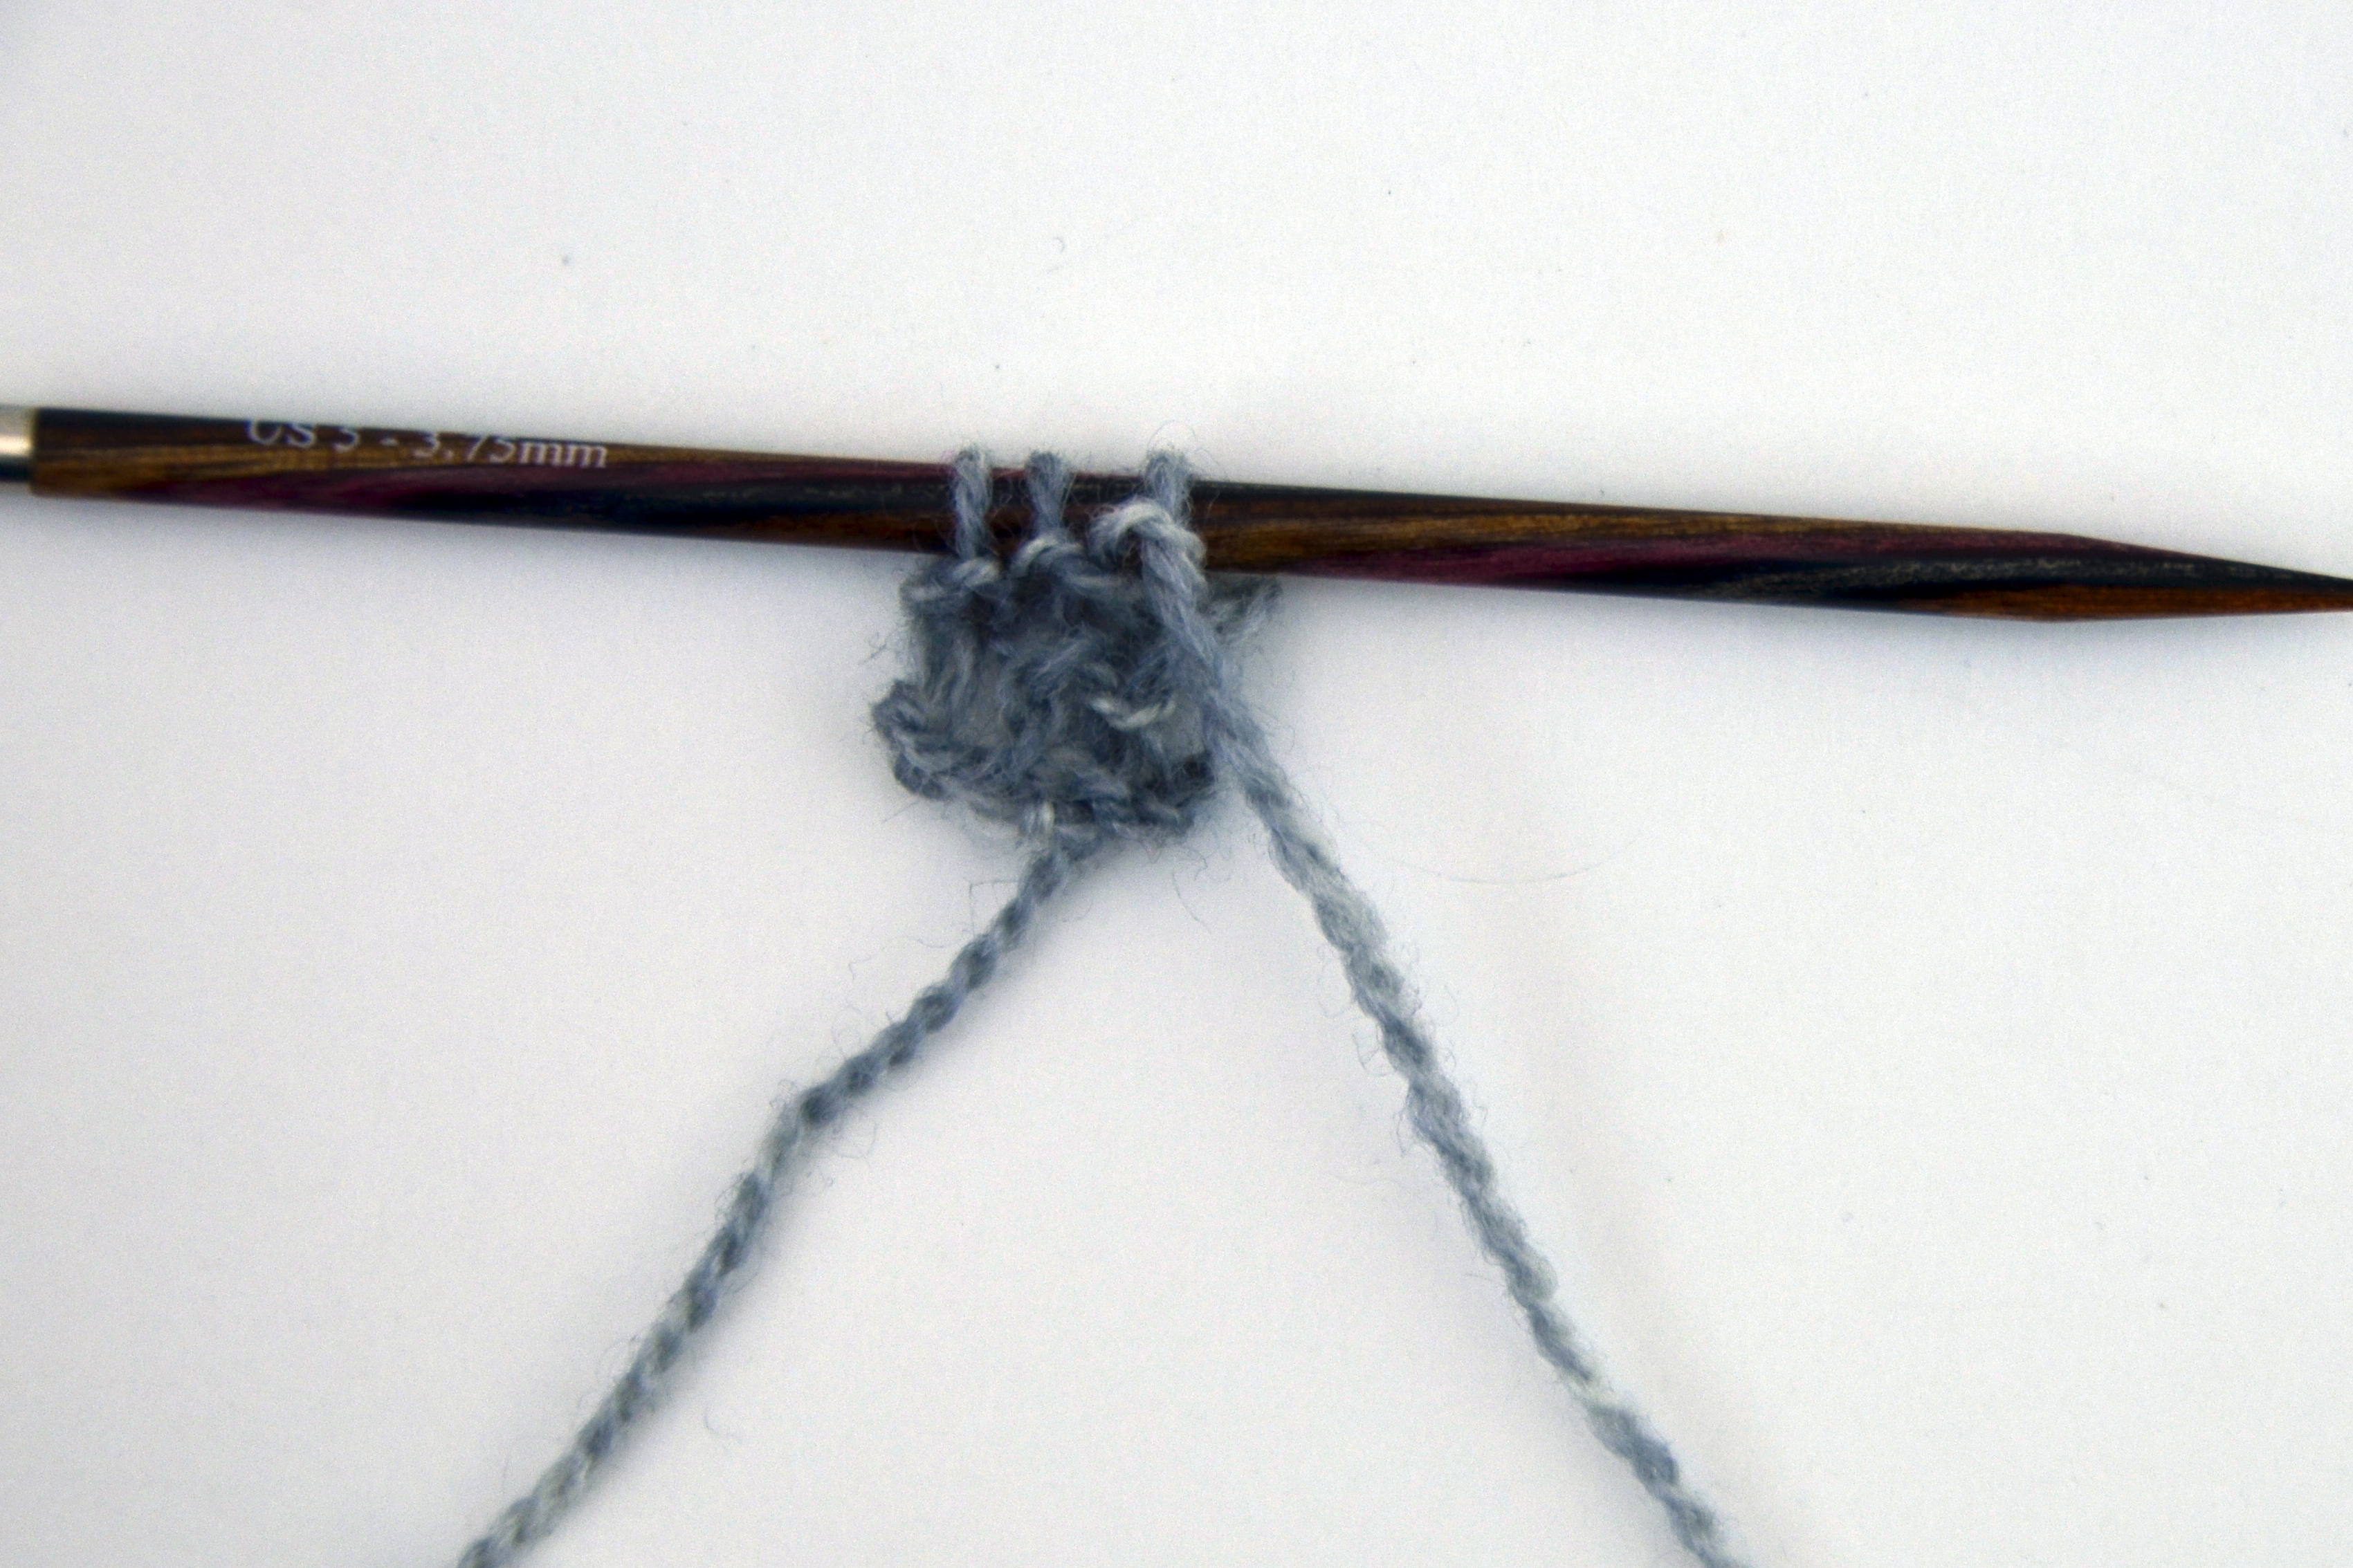
A garter tab is just a small “tab” of knitting that makes for a continuous looking and seamless start. To begin the garter tab for the Right and Left Wings, we cast on 3 stitches and then knit 4 rows. Our tab looks like this:

GarterTab1

Doesn’t look like much, does it?

After this portion is complete, it’s time to pick up stitches for the beginning of the shawl.

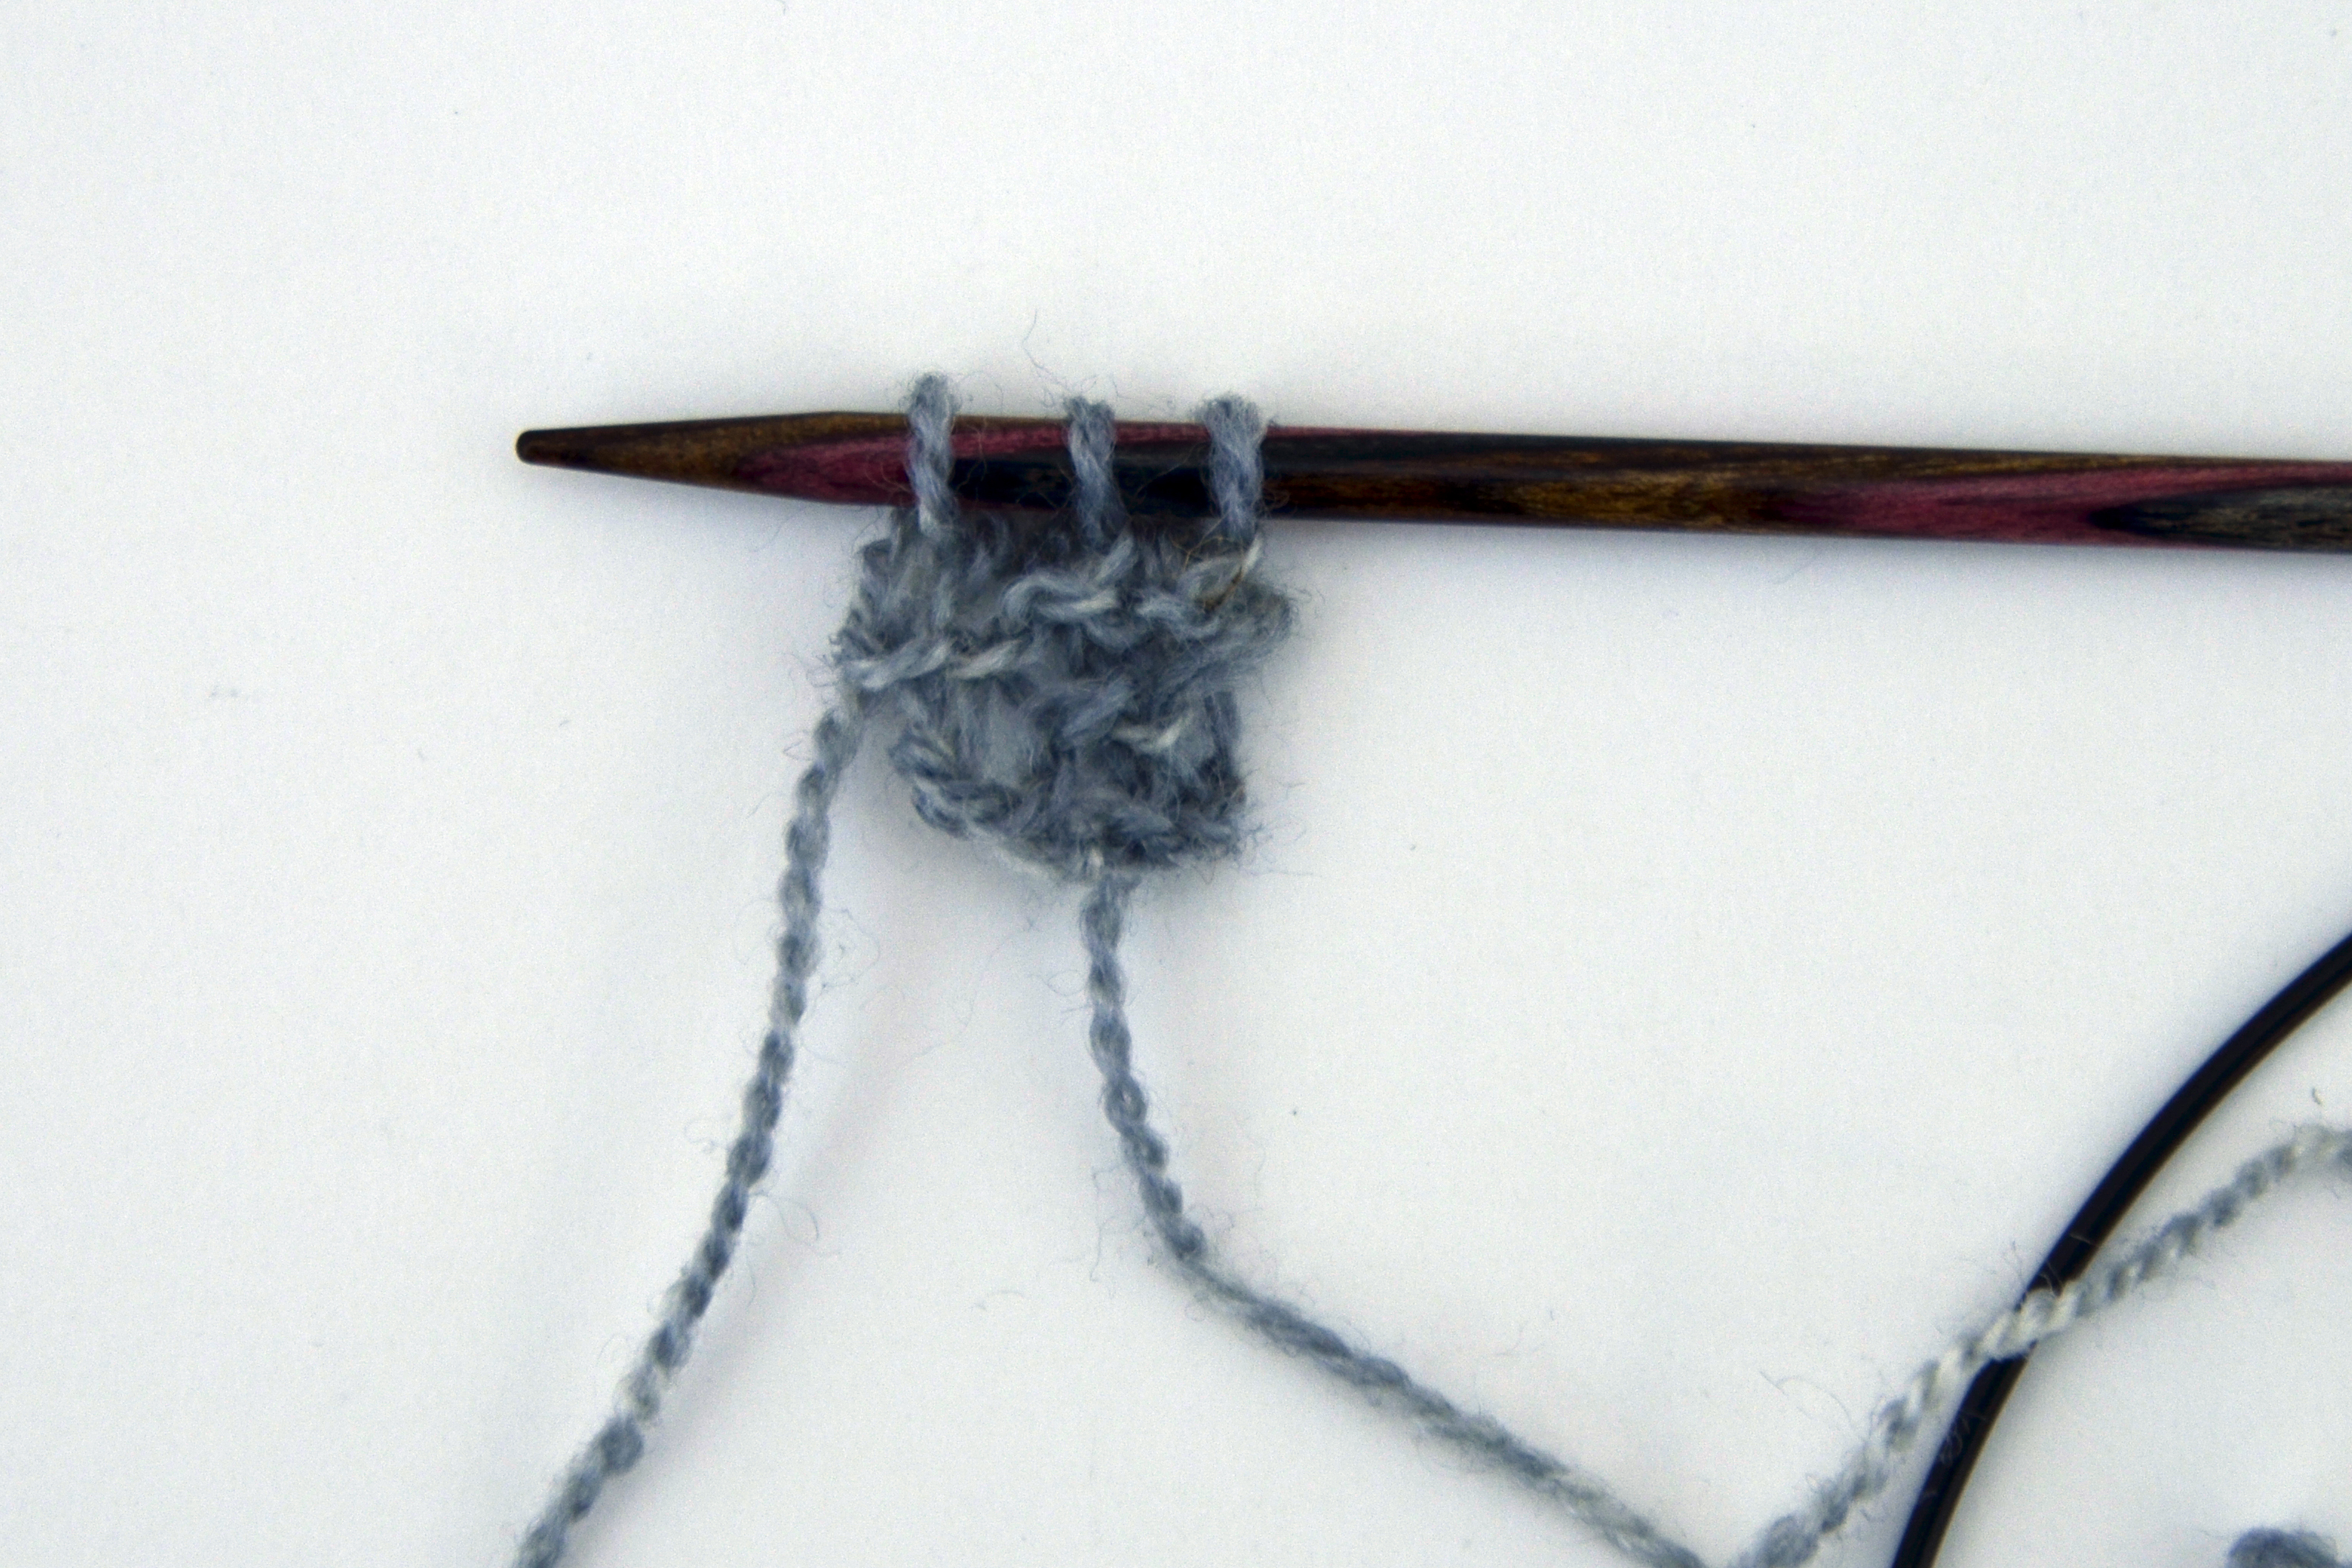
First, we knit 3 (simply knit across the live stitches on the needle):

GarterTab2

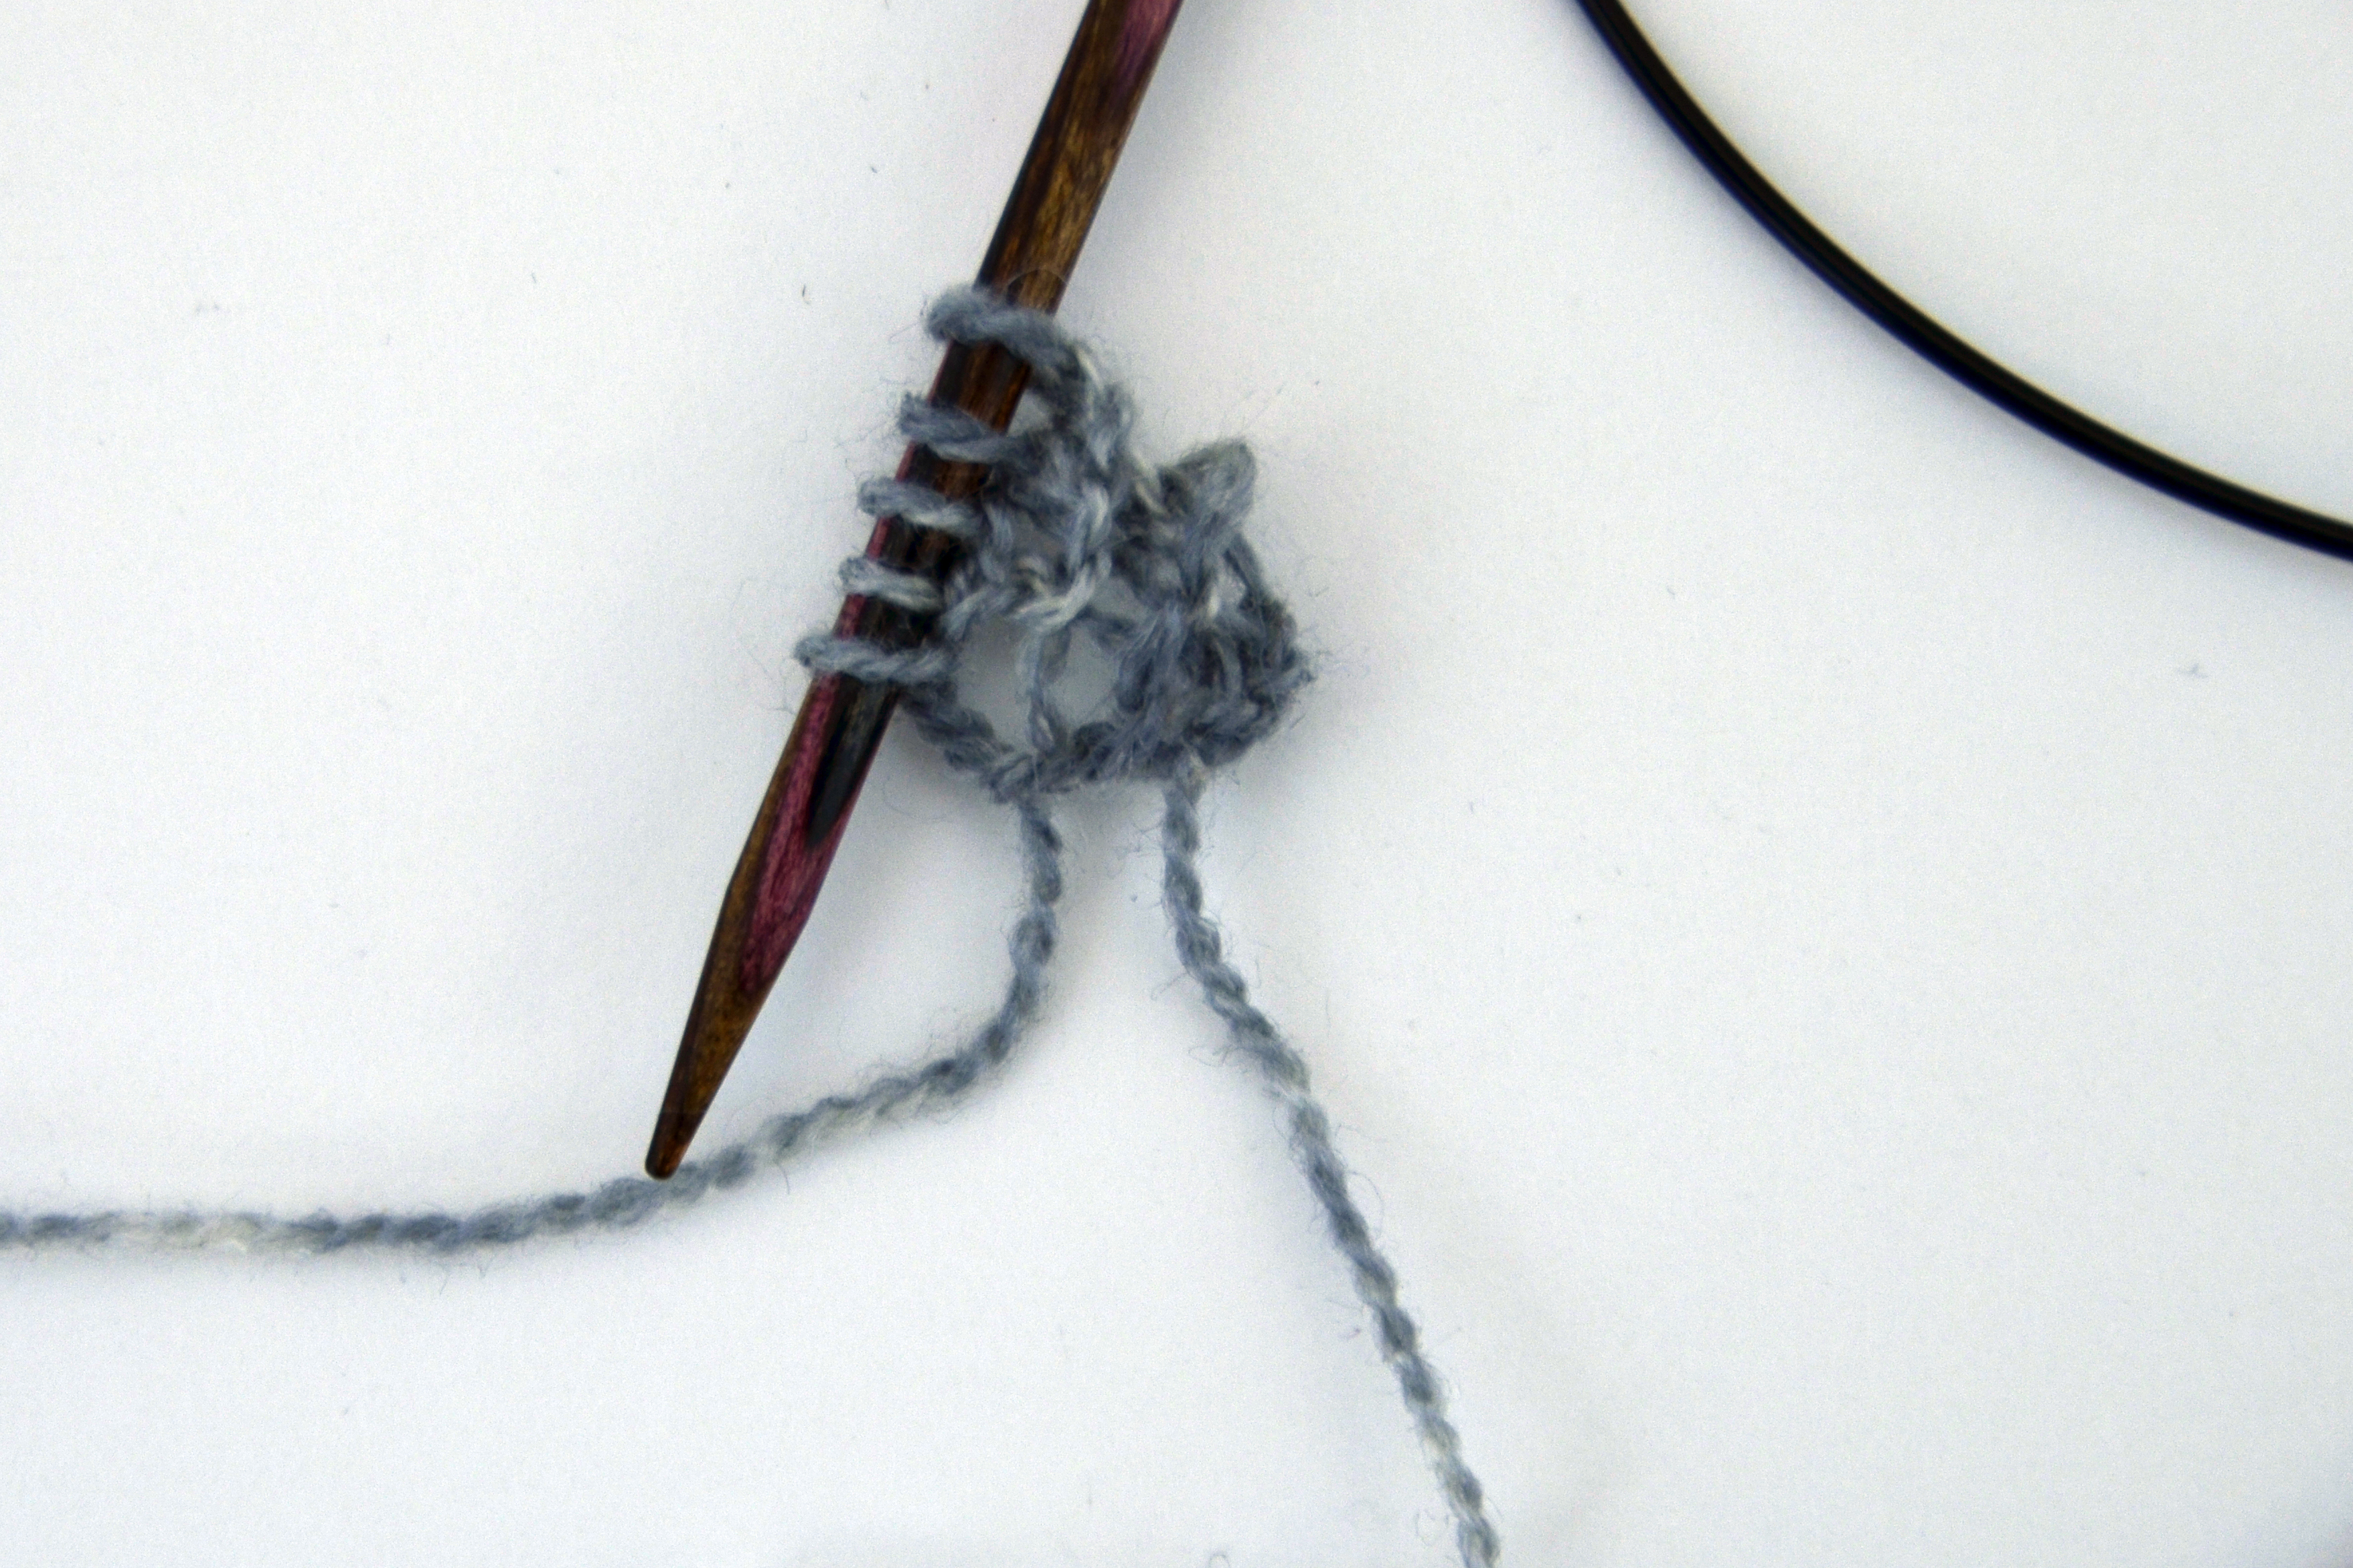
Next, we rotate the tab 90 degrees clockwise and pick up and knit 2 stitches from the side of the tab (1 stitch in each garter bump):

GarterTab3

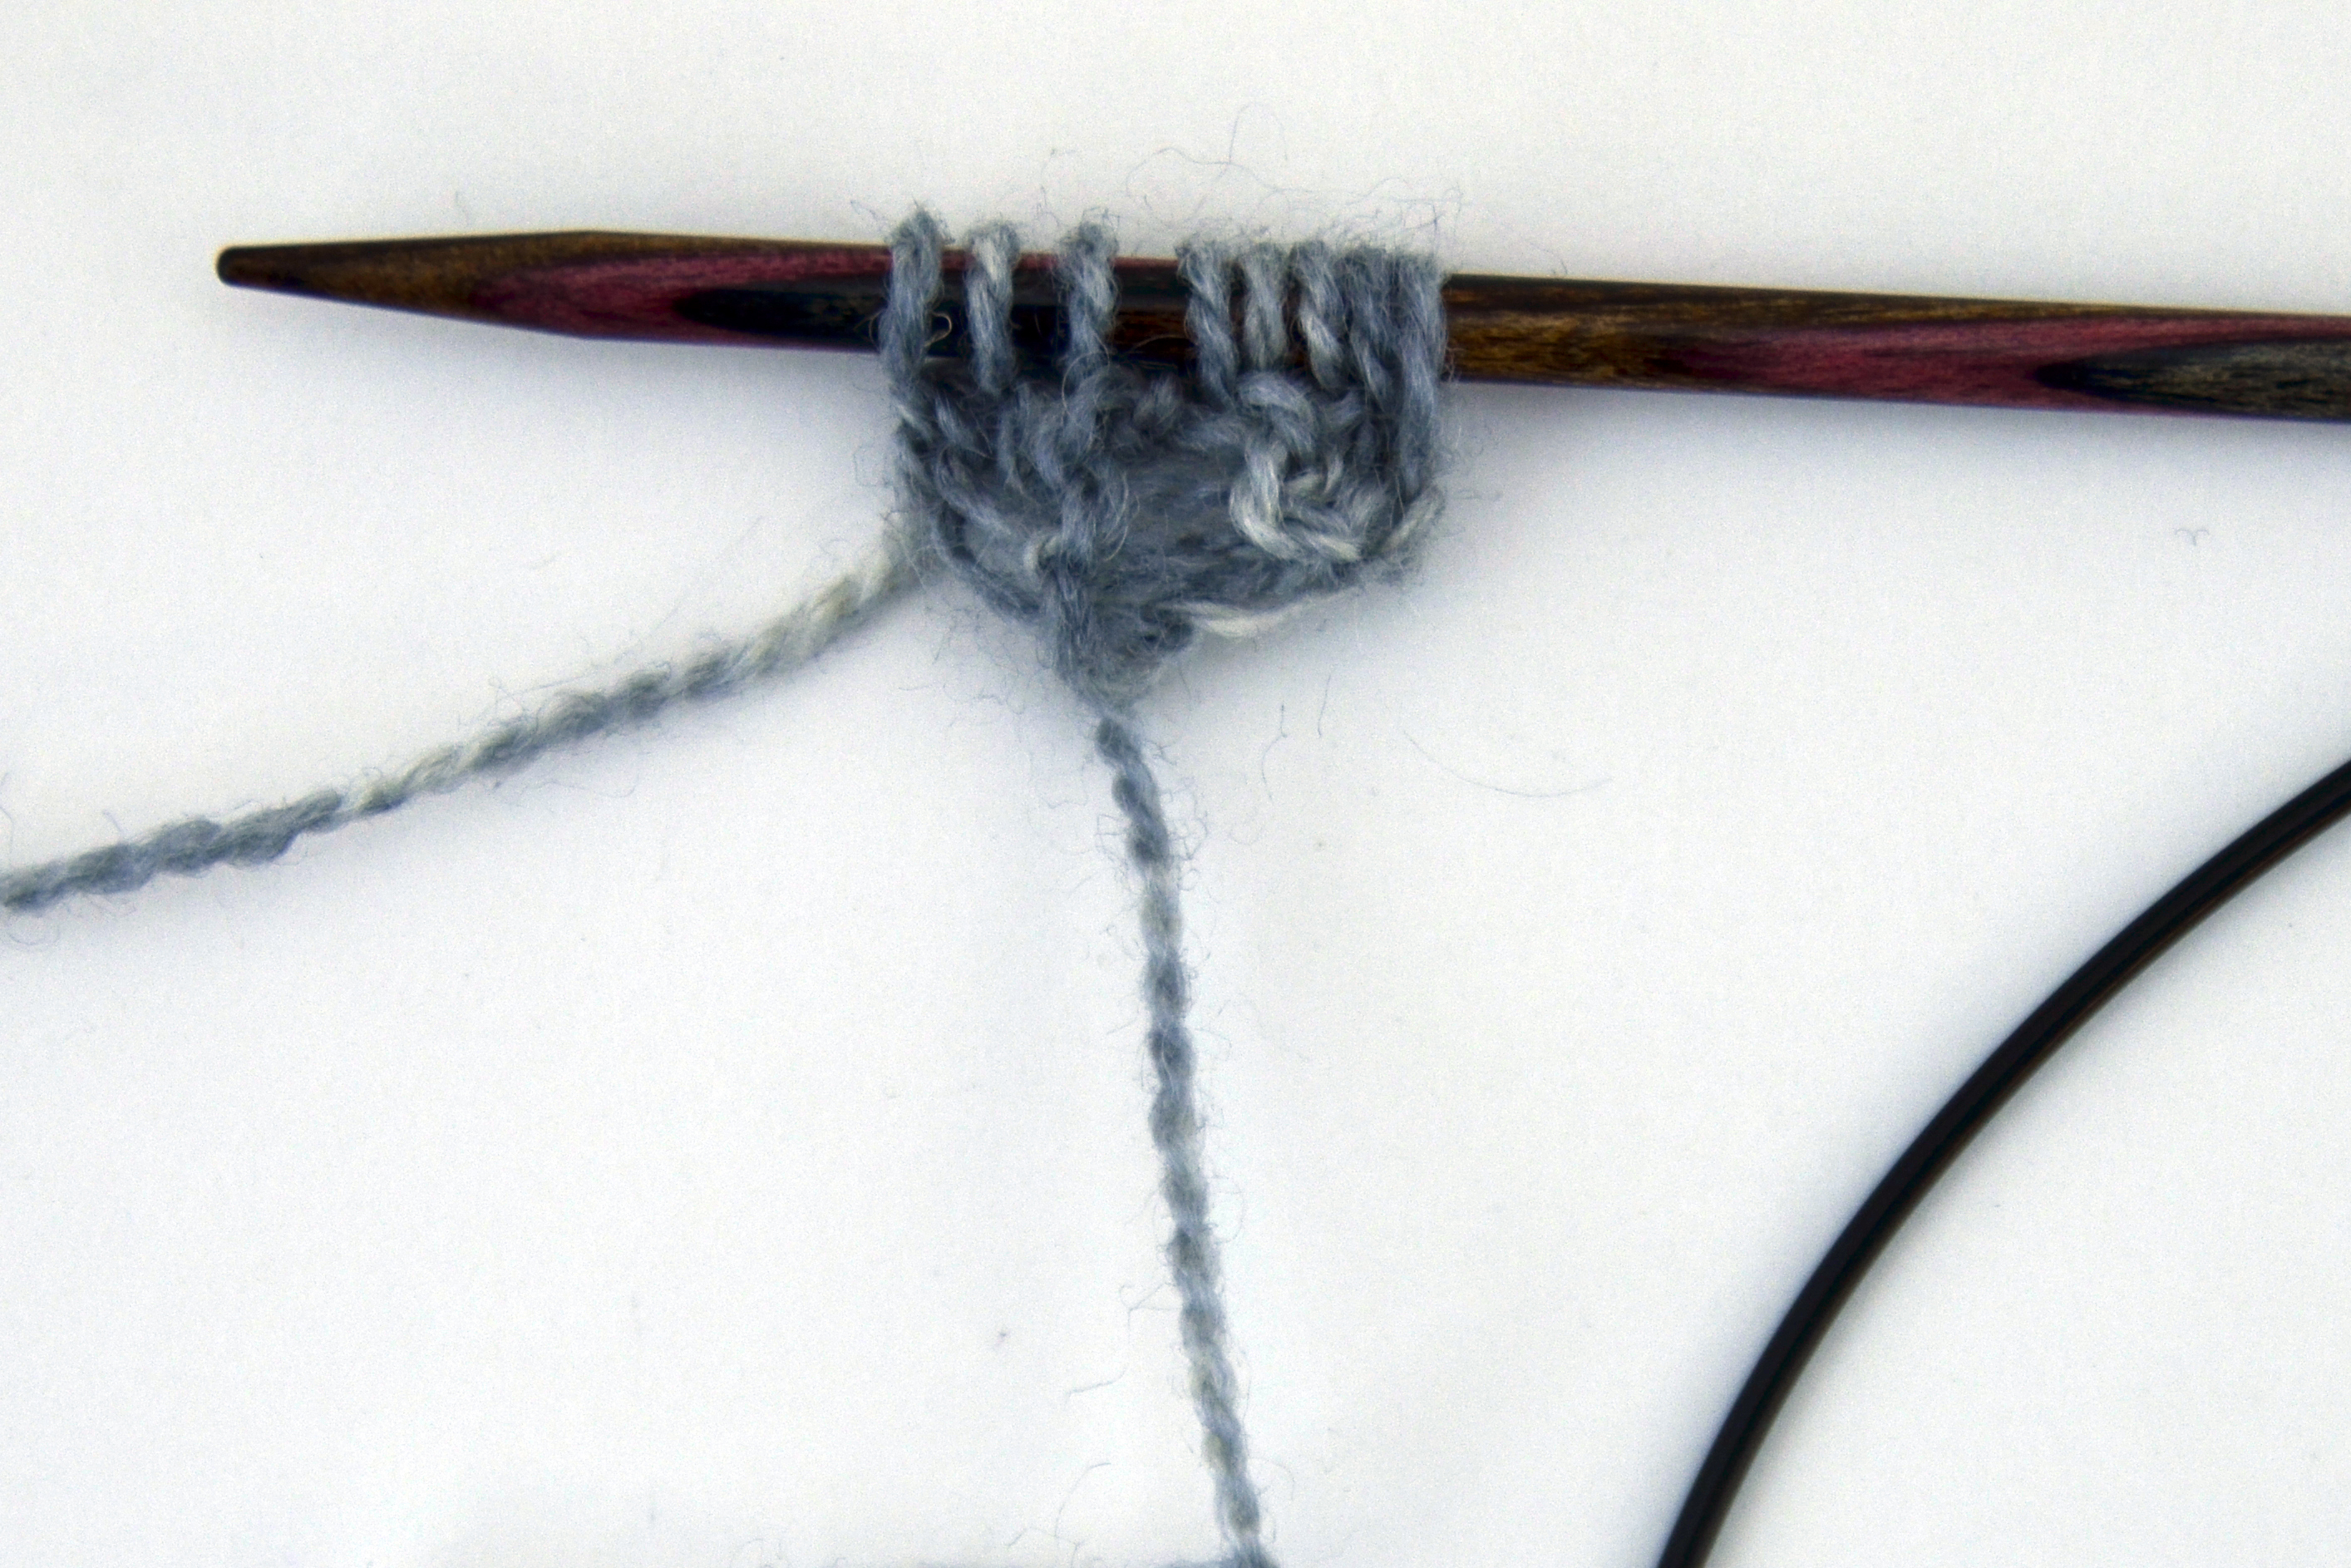
And finally, we pick up and knit 3 stitches along the cast-on edge:

GarterTab4

It just looks like a scrunched up mess, right? For an even more seamless start, you can try casting on the 3 stitches for the tab using a provisional method. So instead of having to pick up 3 stitches along the cast-on edge, you can just place live loops on your needle and knit them.

Next step is our set up row which will get us ready to begin the lace patterning. Markers are placed after the first 2 stitches and before the last 2 stitches of the row. Markers are also placed on either side of the 2 center-most stitches.

GarterTab5

As with most top-down triangles, 4 increases are worked on every right side row – 1 after the first 2 stitches, 1 on either side of the center 2 stitches, and 1 before the last 2 stitches. Geometry – it’s like magic!

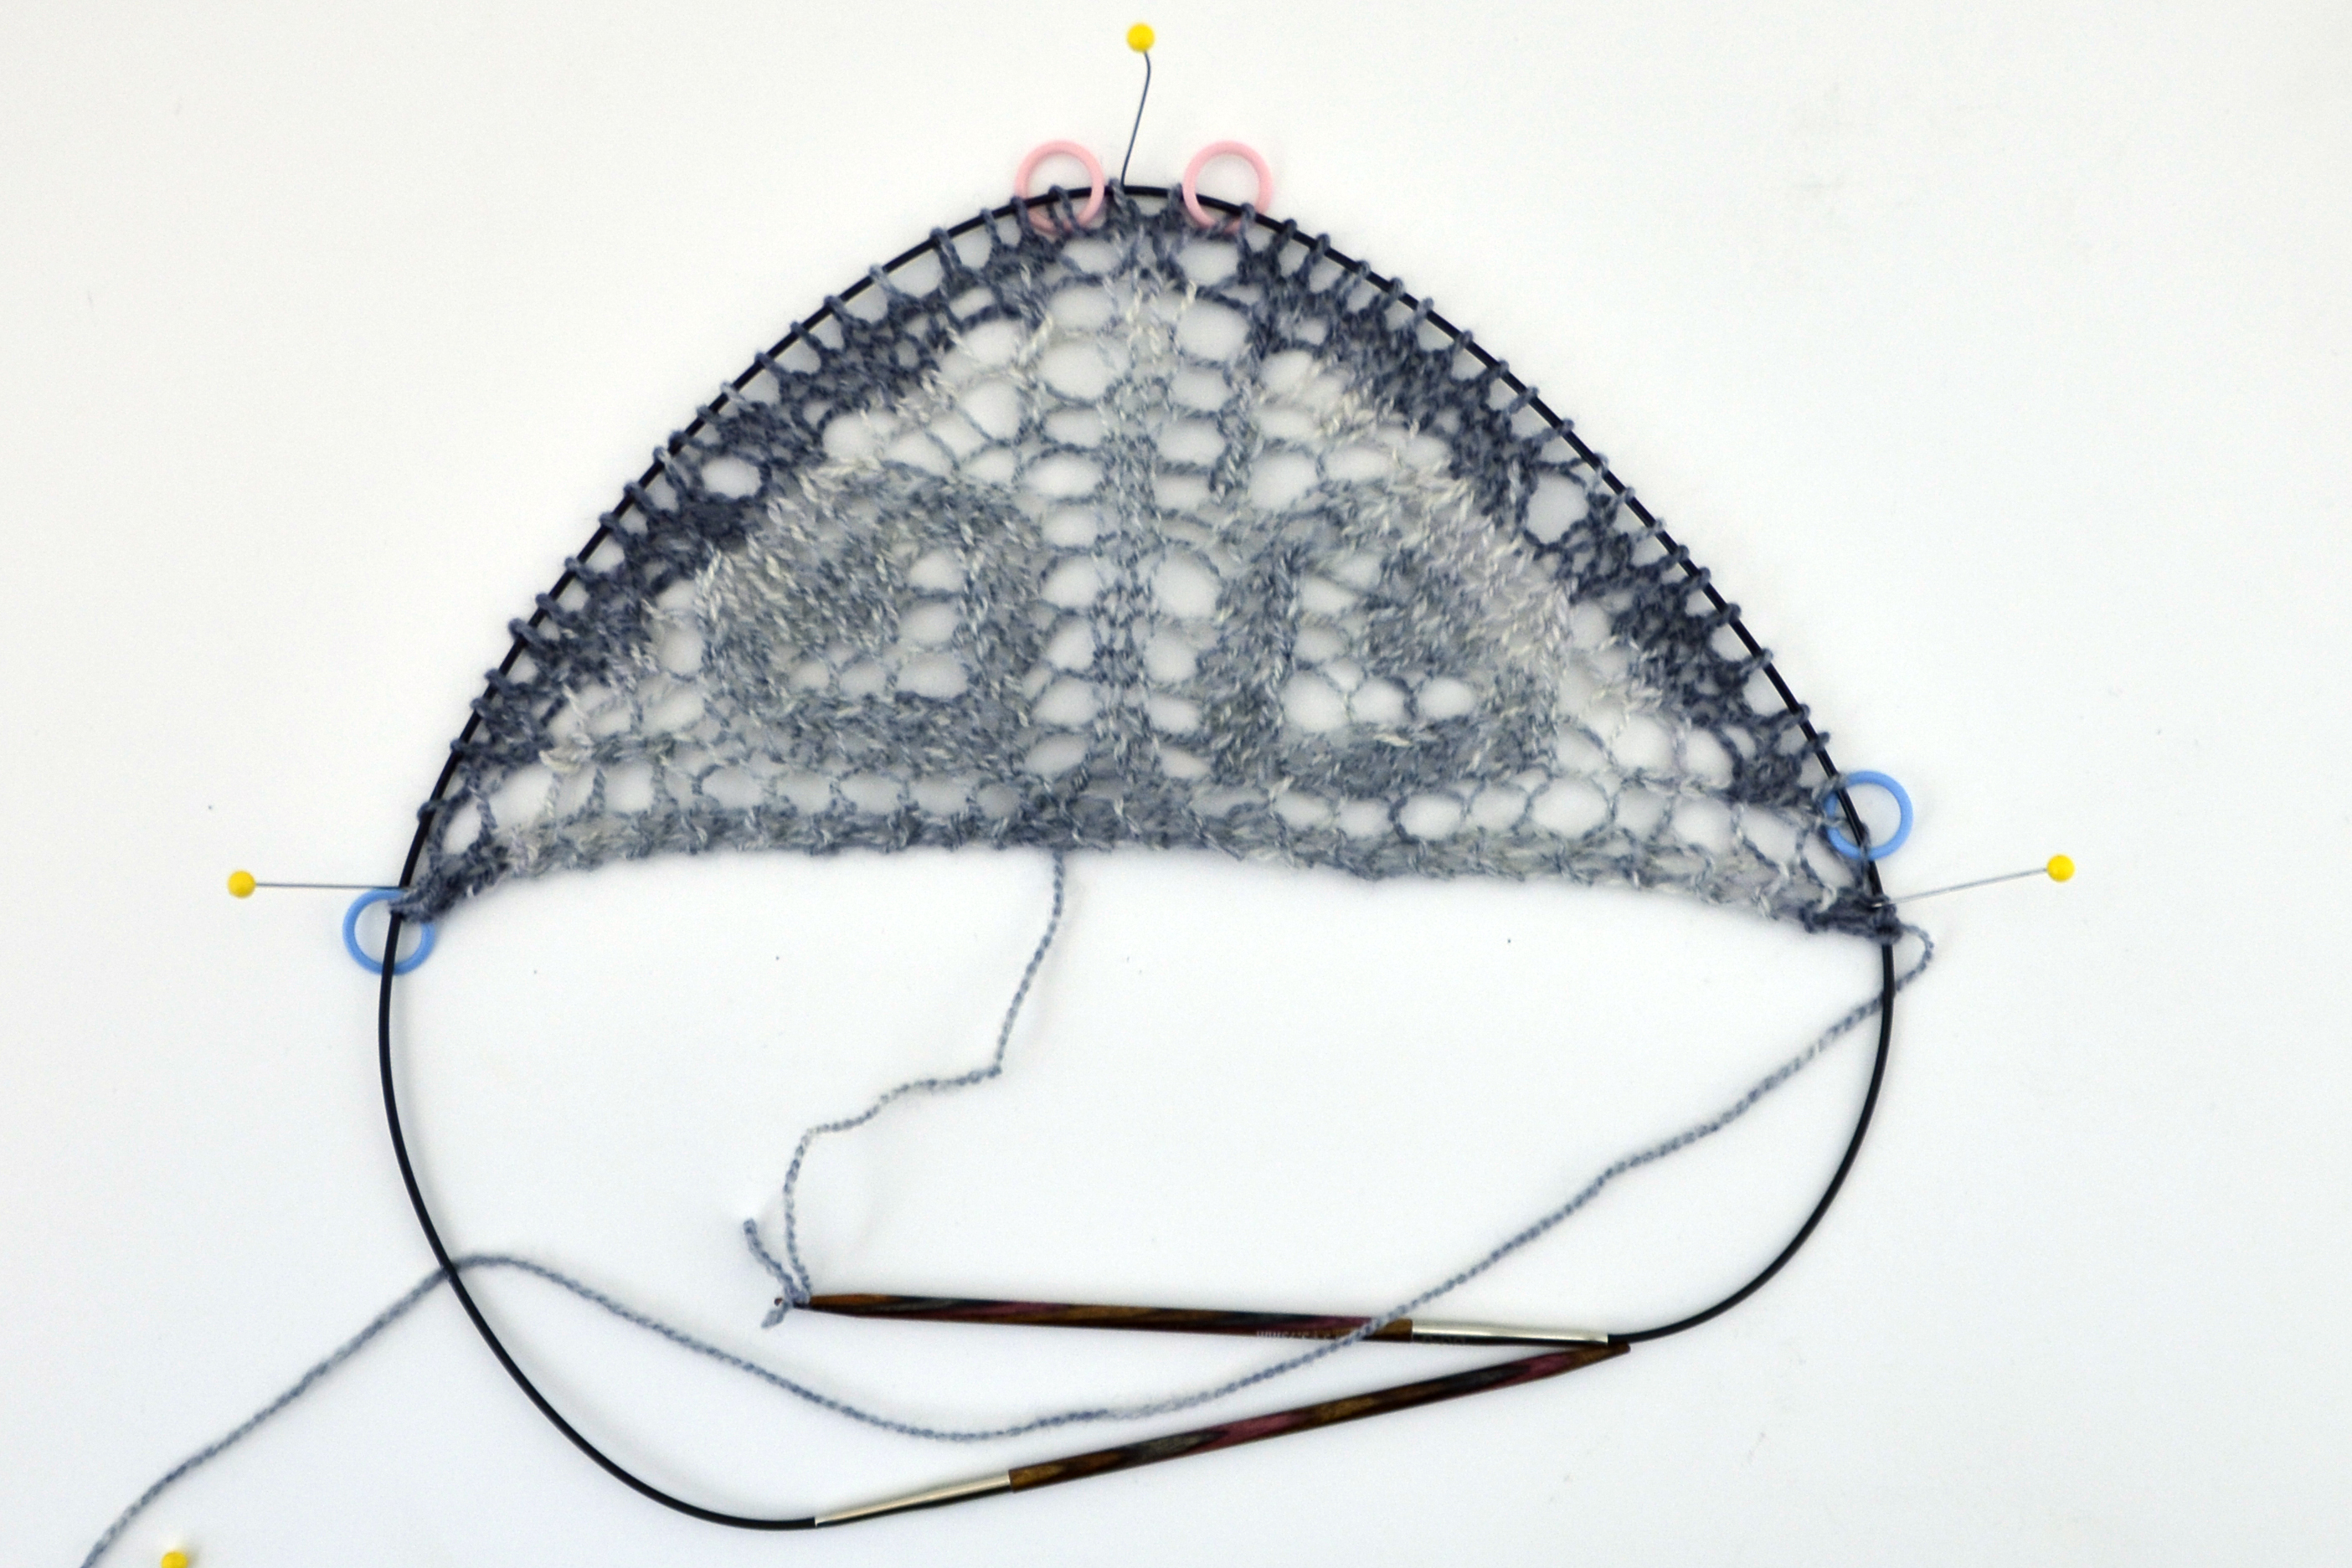
Here’s how our wing looks after the first  20 rows of the pattern. You can see that I started in the bottom center of the swatch where my cast-on tail is hanging. Yarnovers are increasing the triangle shape in the center and on the sides. I love how the garter stitch tab transitions seamlessly into the garter stitch edge stitches of the piece.

GarterTab6

For reference, this small portion of the shawl is where the highlighted area would be in the diagram:

BisectedShawl_firsttriangle

And on the shawl itself:

BisectedShawl_2_beginningtriangle

Next time we’ll talk about joining the wings together and working our top edging.

Free Pattern Friday – Refracted Lace Shawl

It’s Free Pattern Friday… again!

RefractedLaceShawl_Back_WhisperLace_blog

This afternoon, the Refracted Lace Shawl in Whisper Lace.

We once had a popular pattern called the Refracted Light Shawl in a discontinued yarn called Swiss Mohair.  Alas, when Swiss Mohair went away, so did the pattern.  But it was one of those patterns that kept being passed around from crocheter to crocheter, in a “have you seen this?  It sounds like just what you’re looking for” kind of way.

RefractedLaceShawl_Front_WhisperLace_blogWell, you can’t keep a good pattern down, so here it is, back again.  This time, it’s in Whisper Lace (440yds/50g), our wool/silk blend from the Fibra Natura line.
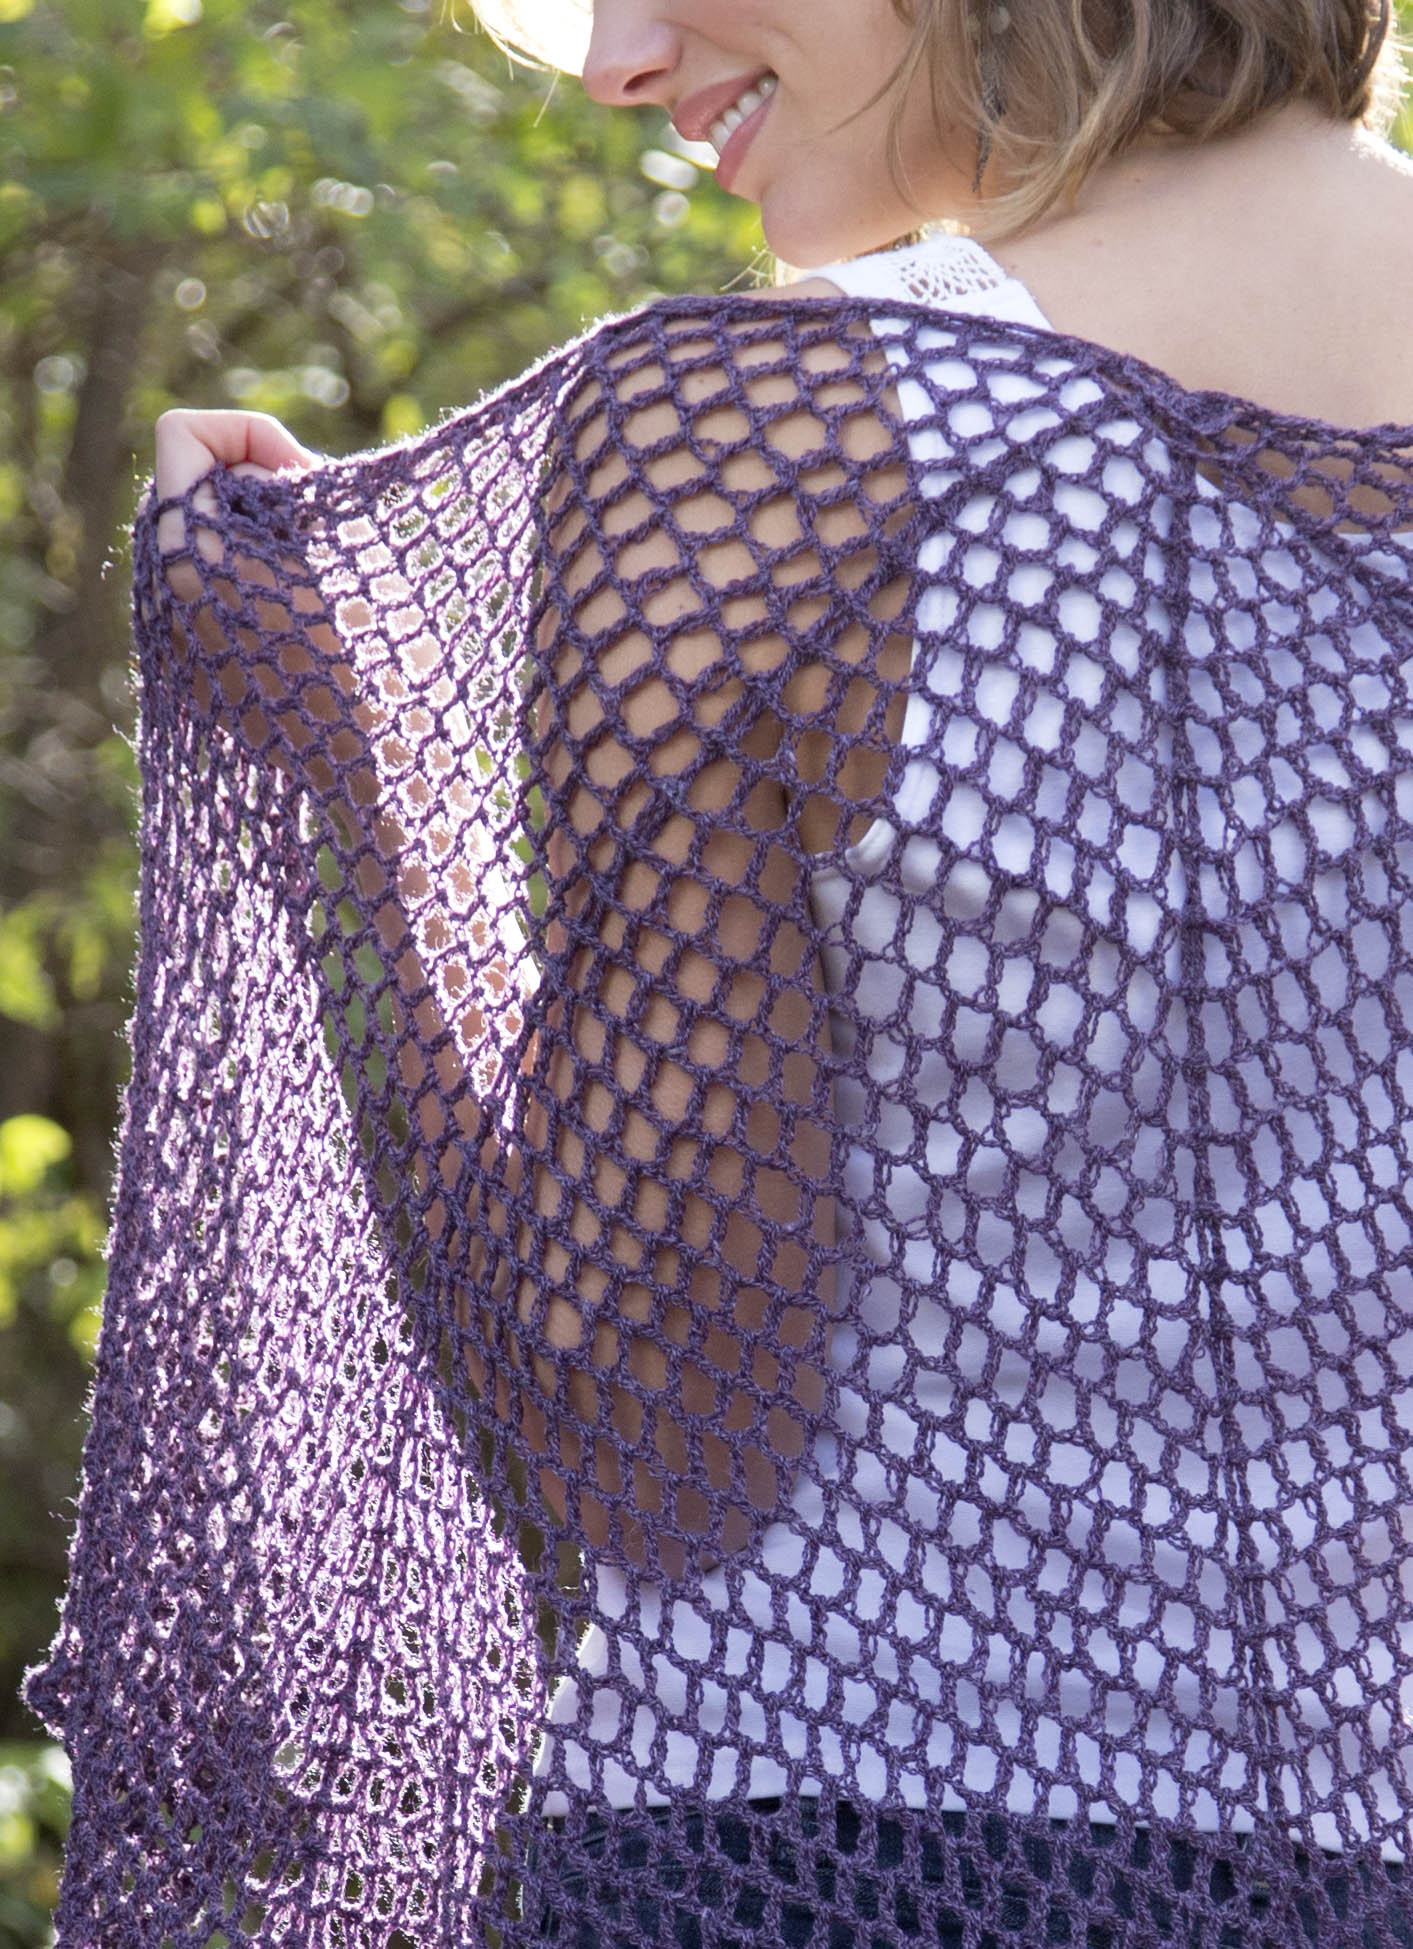
Front and back post crochet create an open, airy fabric that can fan out across your back or twist artfully at the shoulder or front.

We hope you enjoy this classic, available once more for you to enjoy.

Happy crafting!

RefractedLaceShawl_Back_WhisperLace_detail_blog

Free Pattern Friday – Crinkle Cowl

It’s Free Pattern Friday!

Cotton Gold Crinkle Cowl blog

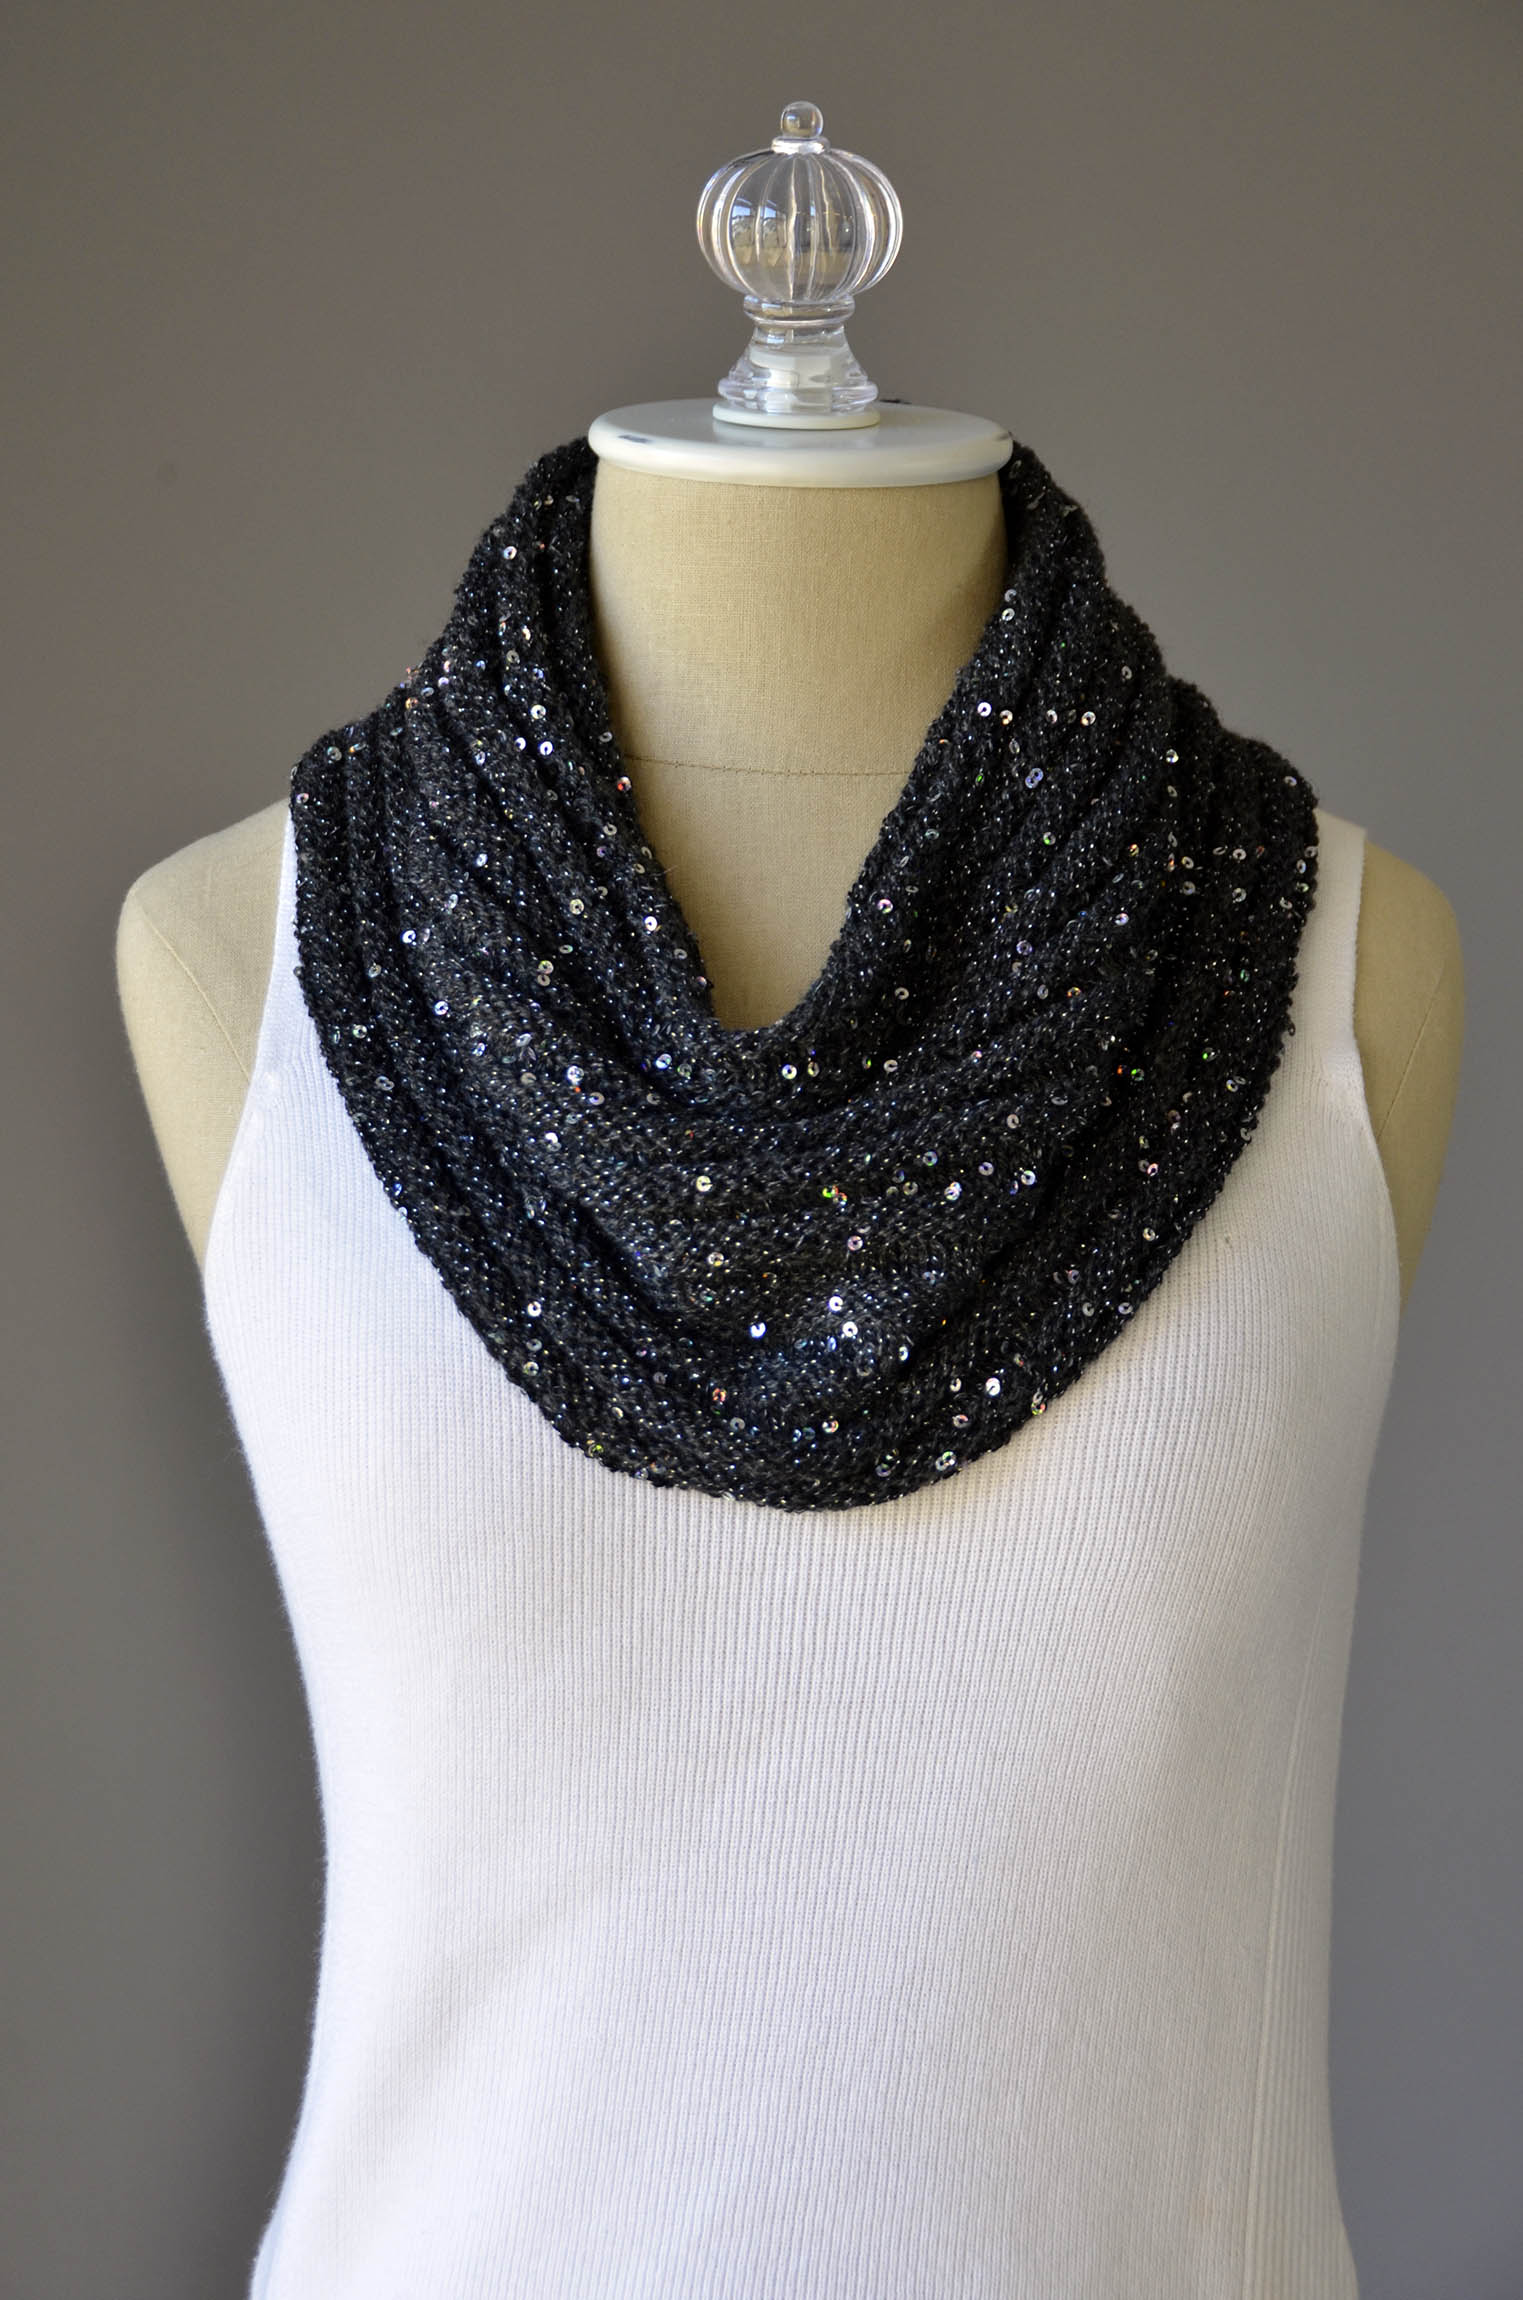
Today, the Crinkle Cowl in Whisper Lace and Cotton Gold.

This is a great example of how bringing two different things together can result in something spectacular.  Light and airy Whisper Lace is a laceweight wool/silk blend from our Fibra Natura line of natural luxury fibers.  It’s a great choice for delicate, light projects.

Pair that with sequined Cotton Gold from our Rozetti line and you’ve got the perfect amount of bling to turn a light confection into a glamorous accessory perfect for party season.

Knit it flat on size 5 needles, work the light shaping to help it sit gracefully on your shoulders, then seam it up.   Next step: be prepared to answer the sea of “where did you get that?” admiration with “What, this?  I made it myself.”

As much as I love this in black, I’m wondering how it would look in Whisper Lace 113 Tango and Cotton Gold 1092.  More to the point, I’m wondering how I would look rolling up to the office holiday party in a black jacket with this draped artfully around my neck.

Black’s a classic, but don’t limit yourself.  You do you!

Happy knitting!

Sunday Swatch – Whisper Lace

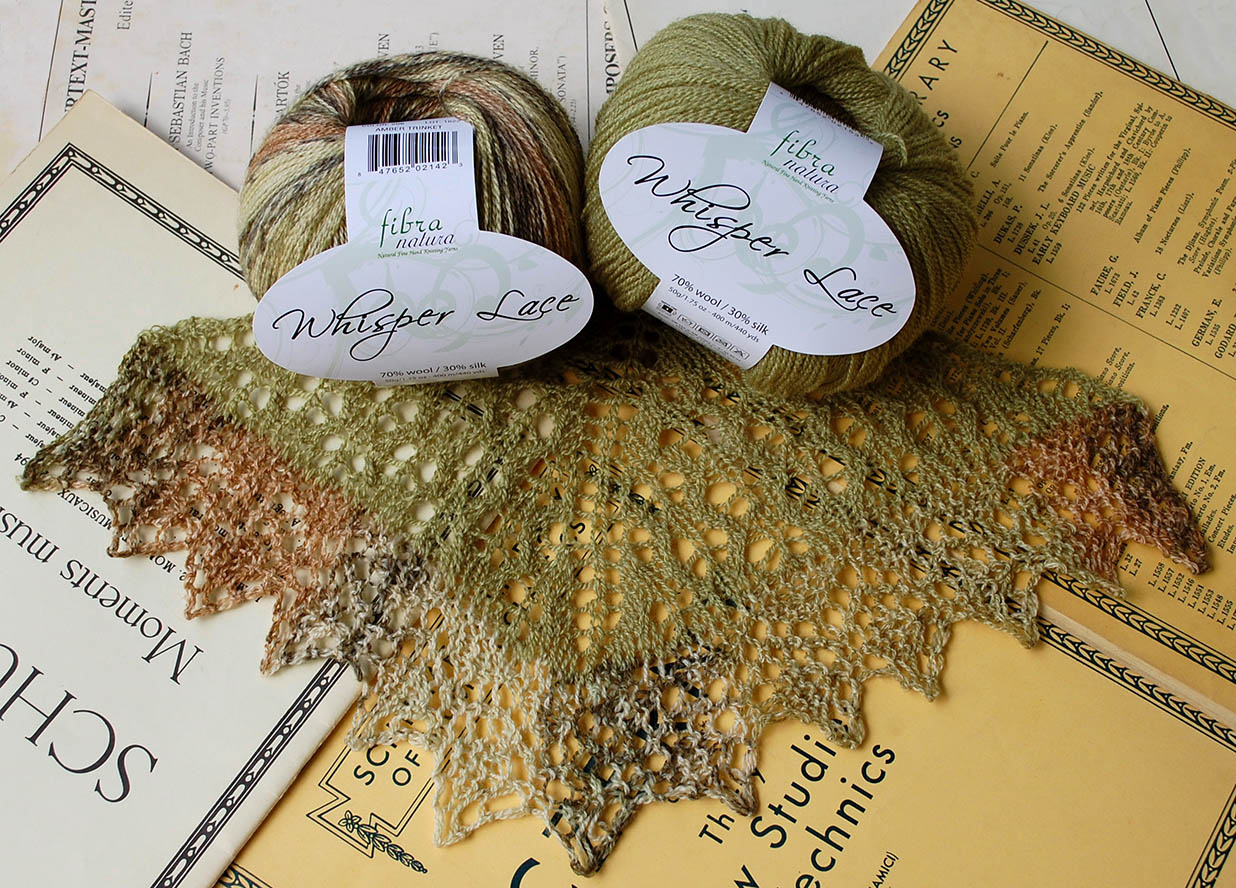
Today’s Sunday Swatch is in Whisper Lace colors 110 Lemongrass (solid) and 206 Amber Trinket (variegated).

SS Whisper Lace_blog

This is one of my favorite yarns in the Fibra Natura family.  Whisper Lace is 70% wool/30% silk and soft as a cloud.  And at 440 yards per 50 gram ball, it goes a long way.

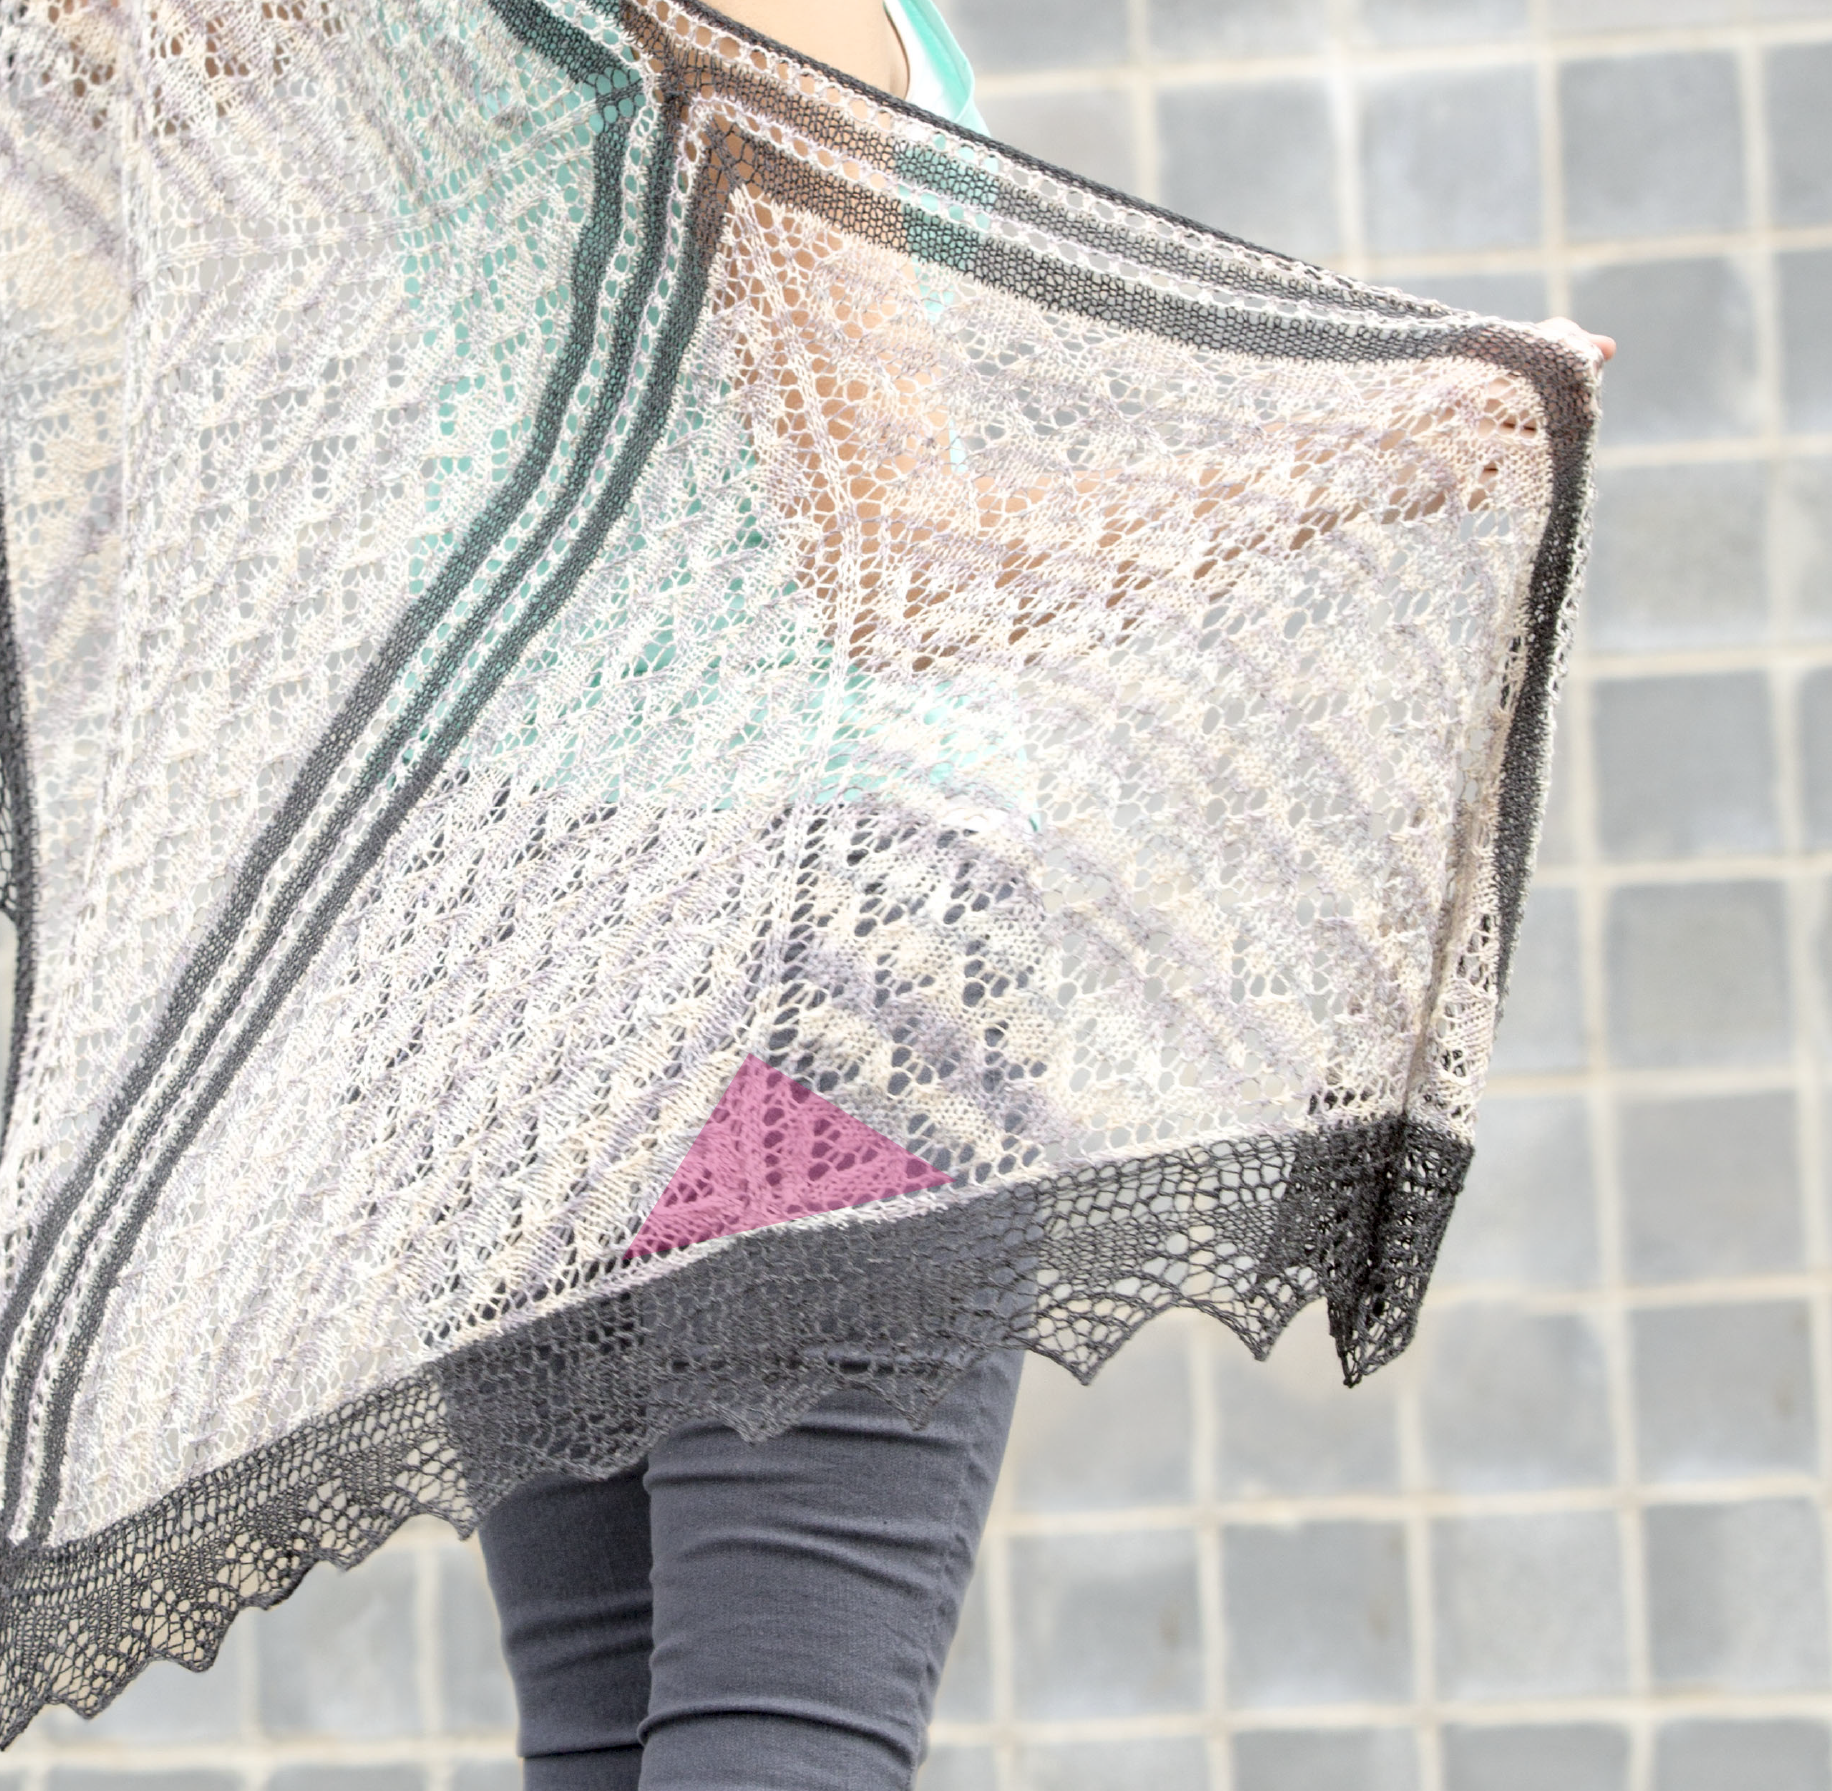
One thing that I like about Whisper Lace is how well the solid and the variegated tones match.  They look great paired as in the lace sample above, or in Adrienne Ku’s Pescadito shawl shown at right.  Colors 104 Fog and 208 Orchid Dream make a great barely-there contrast that doesn’t obscure the lace pattern – light and breezy and gorgeous.

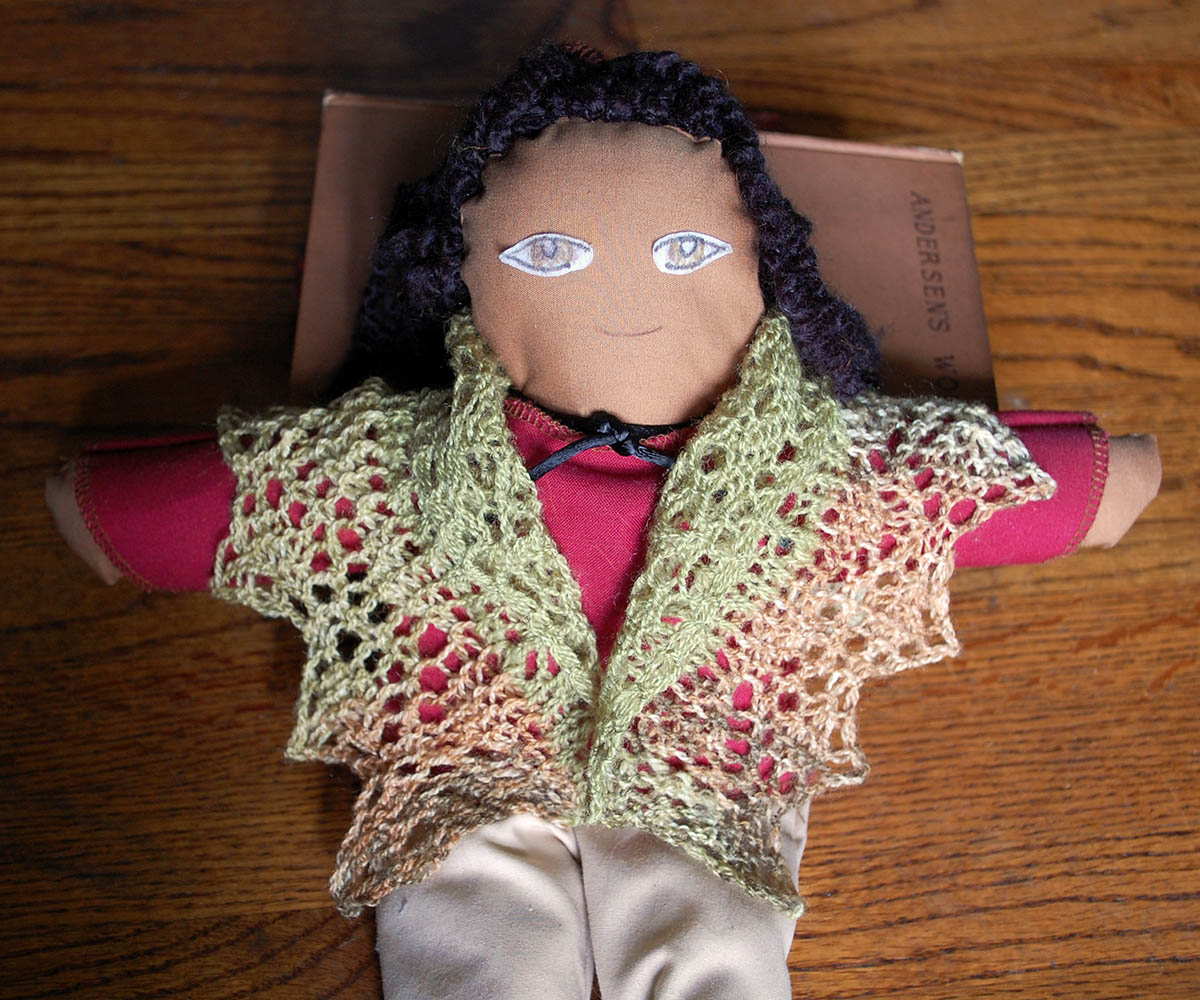
What’s to become of today’s Sunday Swatch?  It’s already been claimed by a young person in my house – apparently it will look just fabulous on some lucky doll.

Happy knitting!

SS Whisper Lace Zoe


Free Pattern Friday – Lotus Shrug

It’s Free Pattern Friday!

LotusShrug_blog

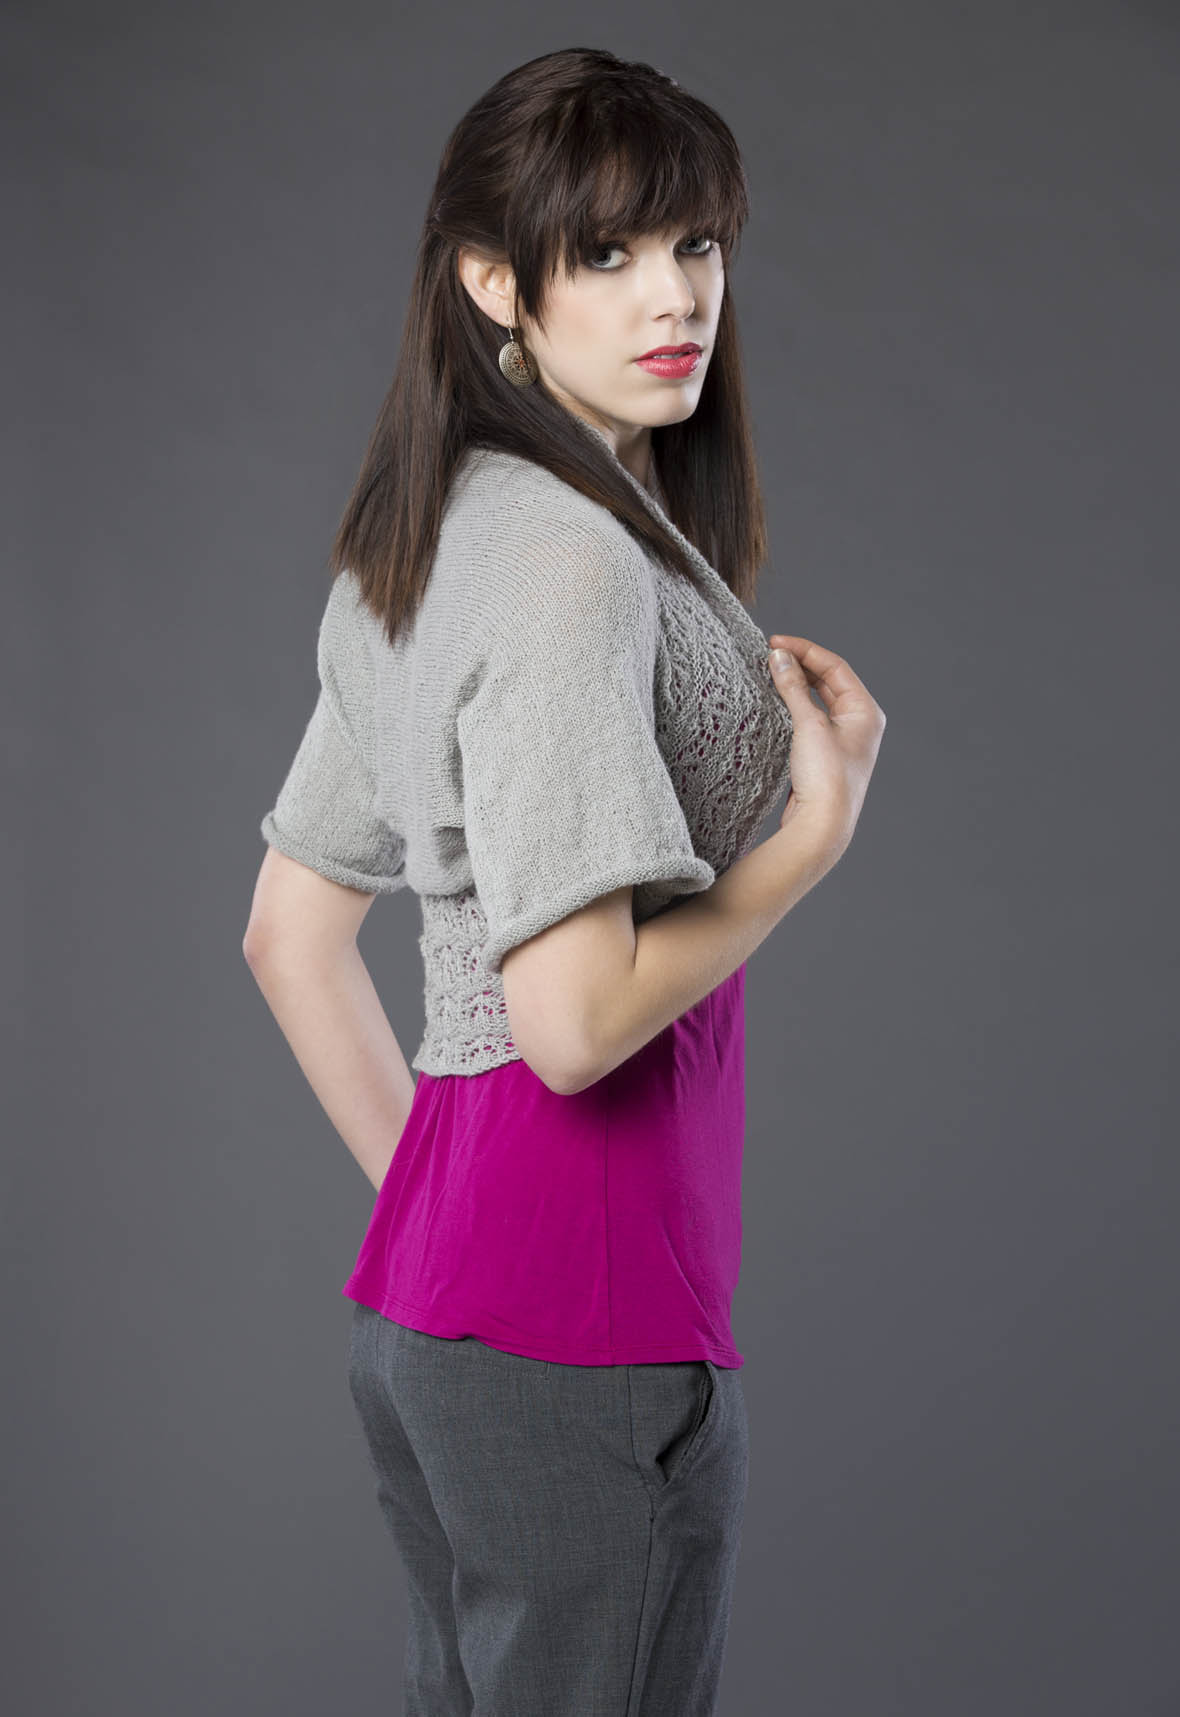
I love knitting lace, but realistically there are only so many lace shawls I need, so I’m delighted to see the Lotus Shrug in Whisper Lace!

Whisper Lace (50g/440yds) is a member of our luxury Fibra Natura line.  70% wool + 30% silk = 100% love.  It’s a joy to work with.  And it’s a perfect match for a project that hits right in the sweet spot of my personal taste.

Whisper Lace Shrug cu 1_blogKnitted flat side to side, the arm seams are joined, then the edges are picked up along the edge of the body in the round to add the lace.  Knitting outward from the edge creates a great sense of motion in the finished piece.

For me, it doesn’t hurt that it’s on size 5 needles, so I can see progress faster than on some lace projects.  This one’s going in my queue.

Happy knitting!