
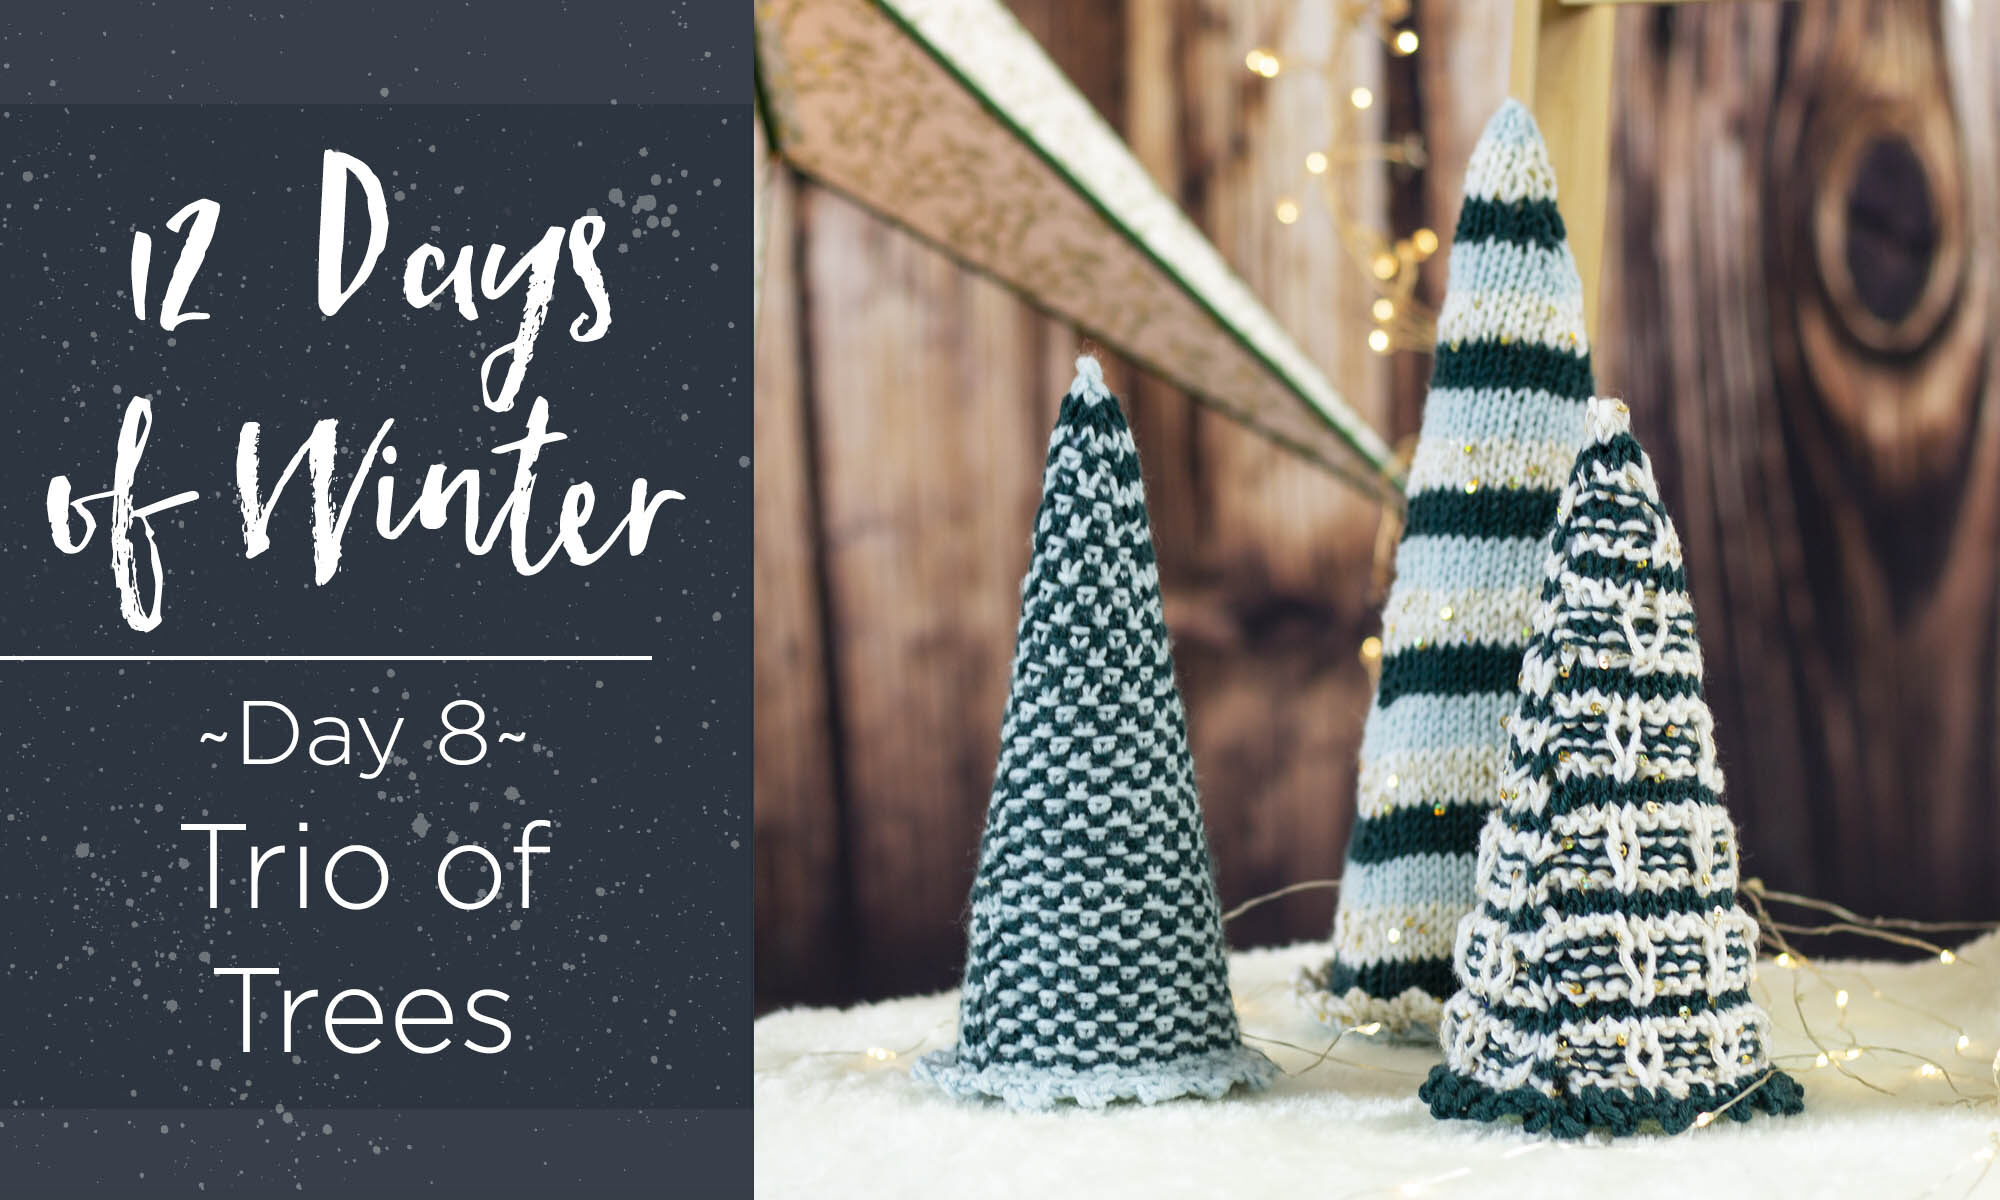
This is part 8 in a 12 part series highlighting designs from our 12 Days of Winter, series 5 Edition.
I love the winter season because of many things; seasonal drinks and items come back, joy seems to fill the air, and I always have fun shopping for holiday gifts! Another thing that I look forward to each season is winter-themed decorations! From driving by houses that shine brightly with different lights and figurines, to seeing what special and unique decorations each person sets up or creates, it’s clear to me that you can never go wrong with adding a little bit of spice and flair into your home with decorations for the season. Our Trio of Trees designed by Aubrey Busek is the perfect way to add seasonal décor to your home!
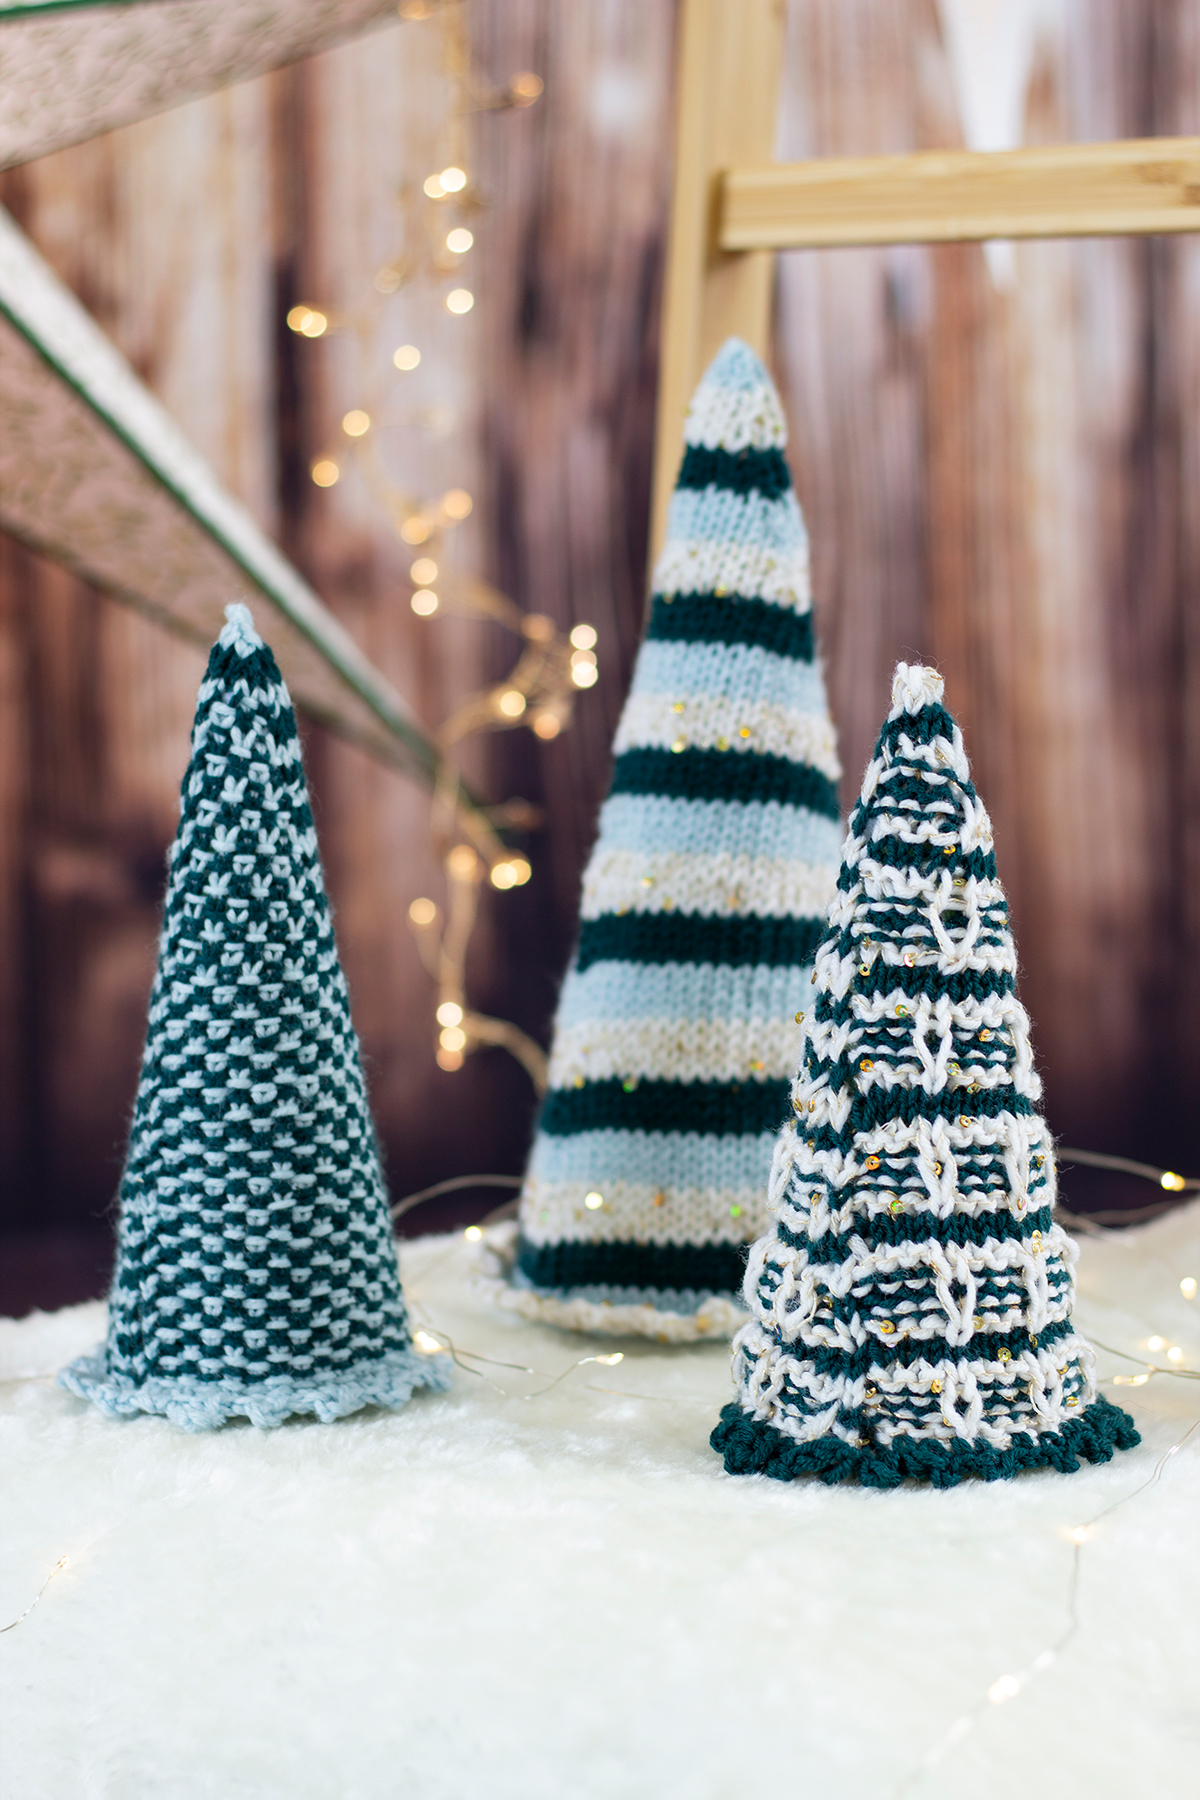
Let’s take a closer look: the Trio of Trees are made up of three elegant and timeless patterns that can be recycled year after year (which is such a huge plus!). The trio features a Linen Stitch Tree, a Striped Tree, and a Slipped Ornaments Tree. Each tree brings its own unique character to the table and can easily become a staple decoration in your home for the season. Featuring our Cotton Gold yarn as well as our Dona yarn, these two yarns held together and worked up create some magic to get you ready to jump into the winter season!
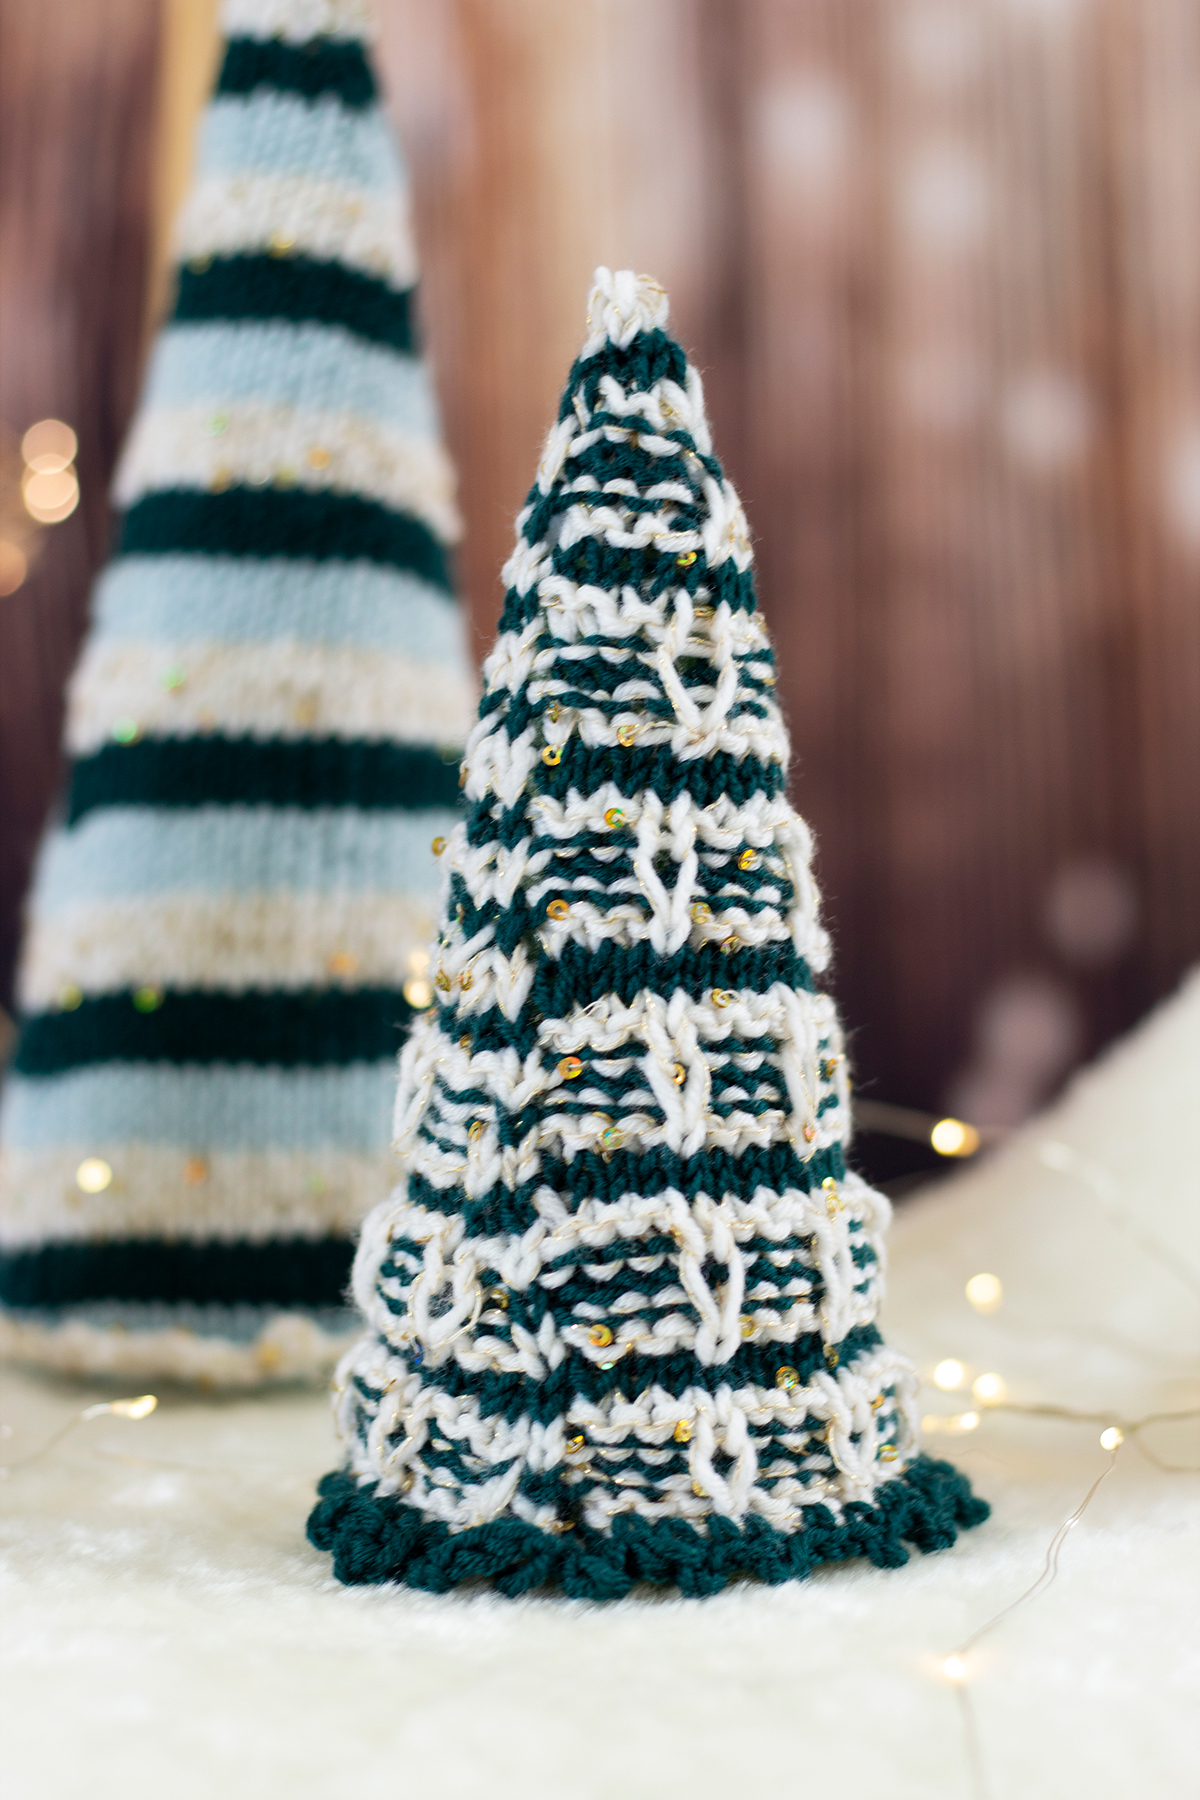
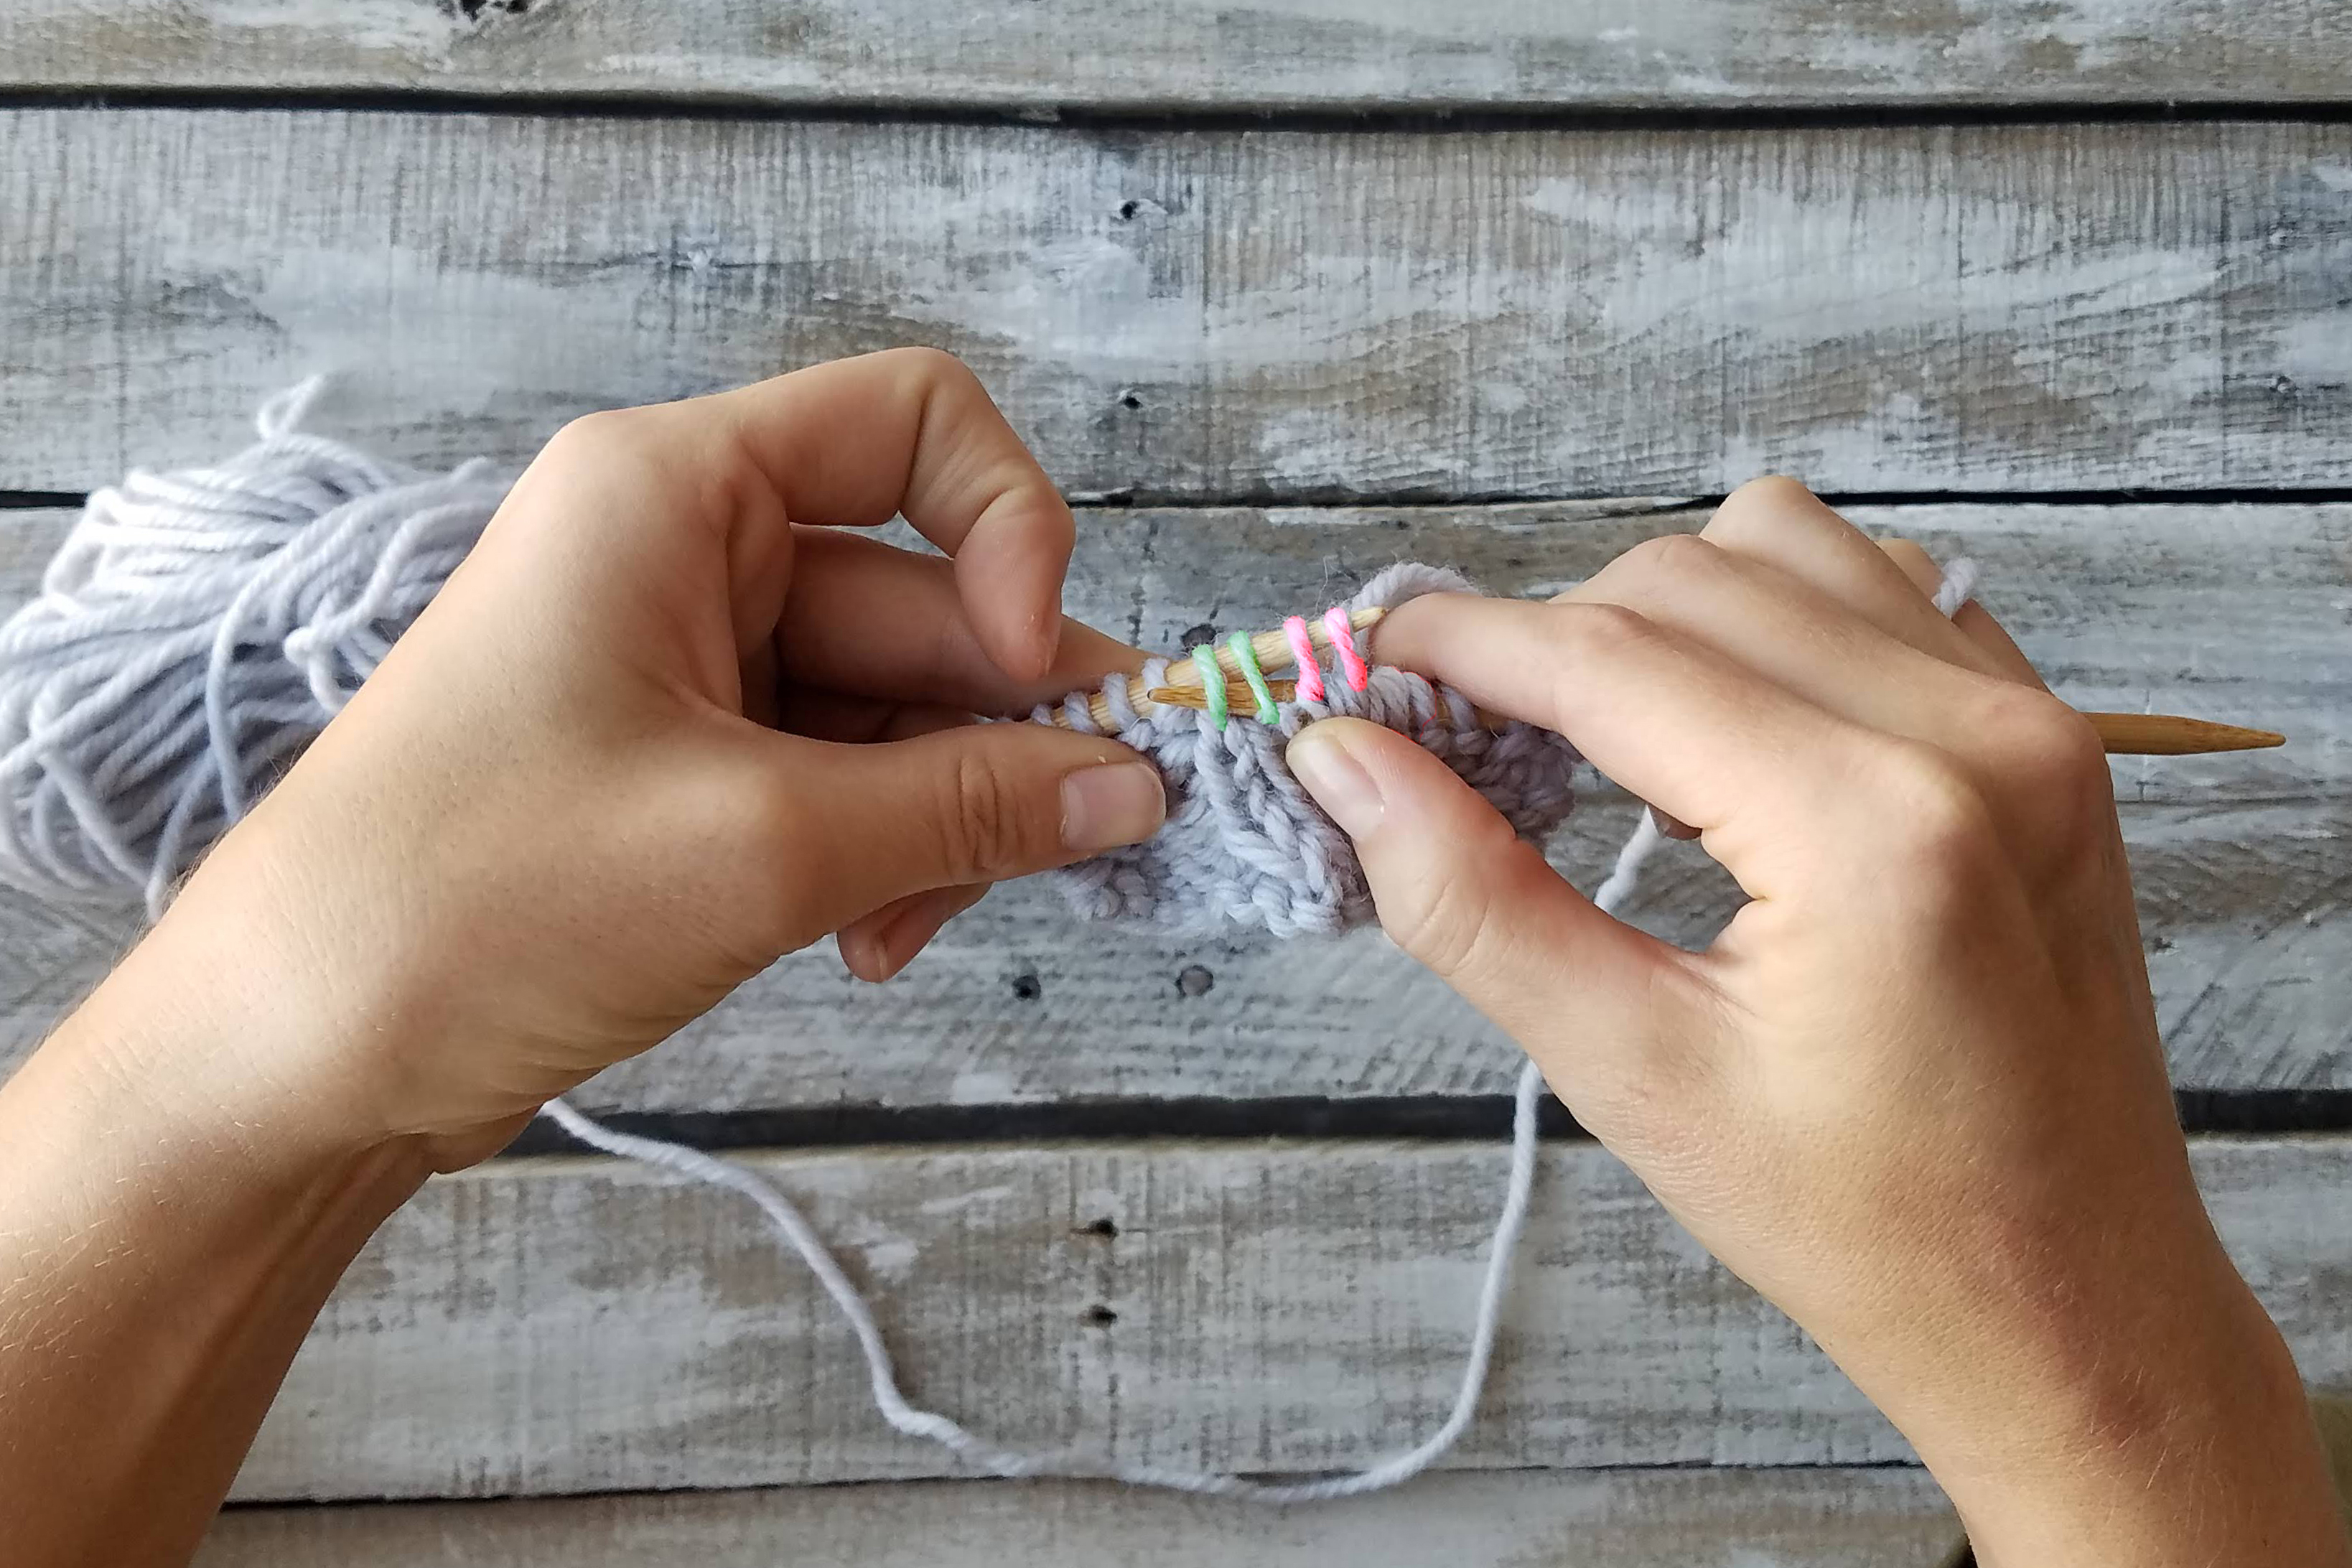
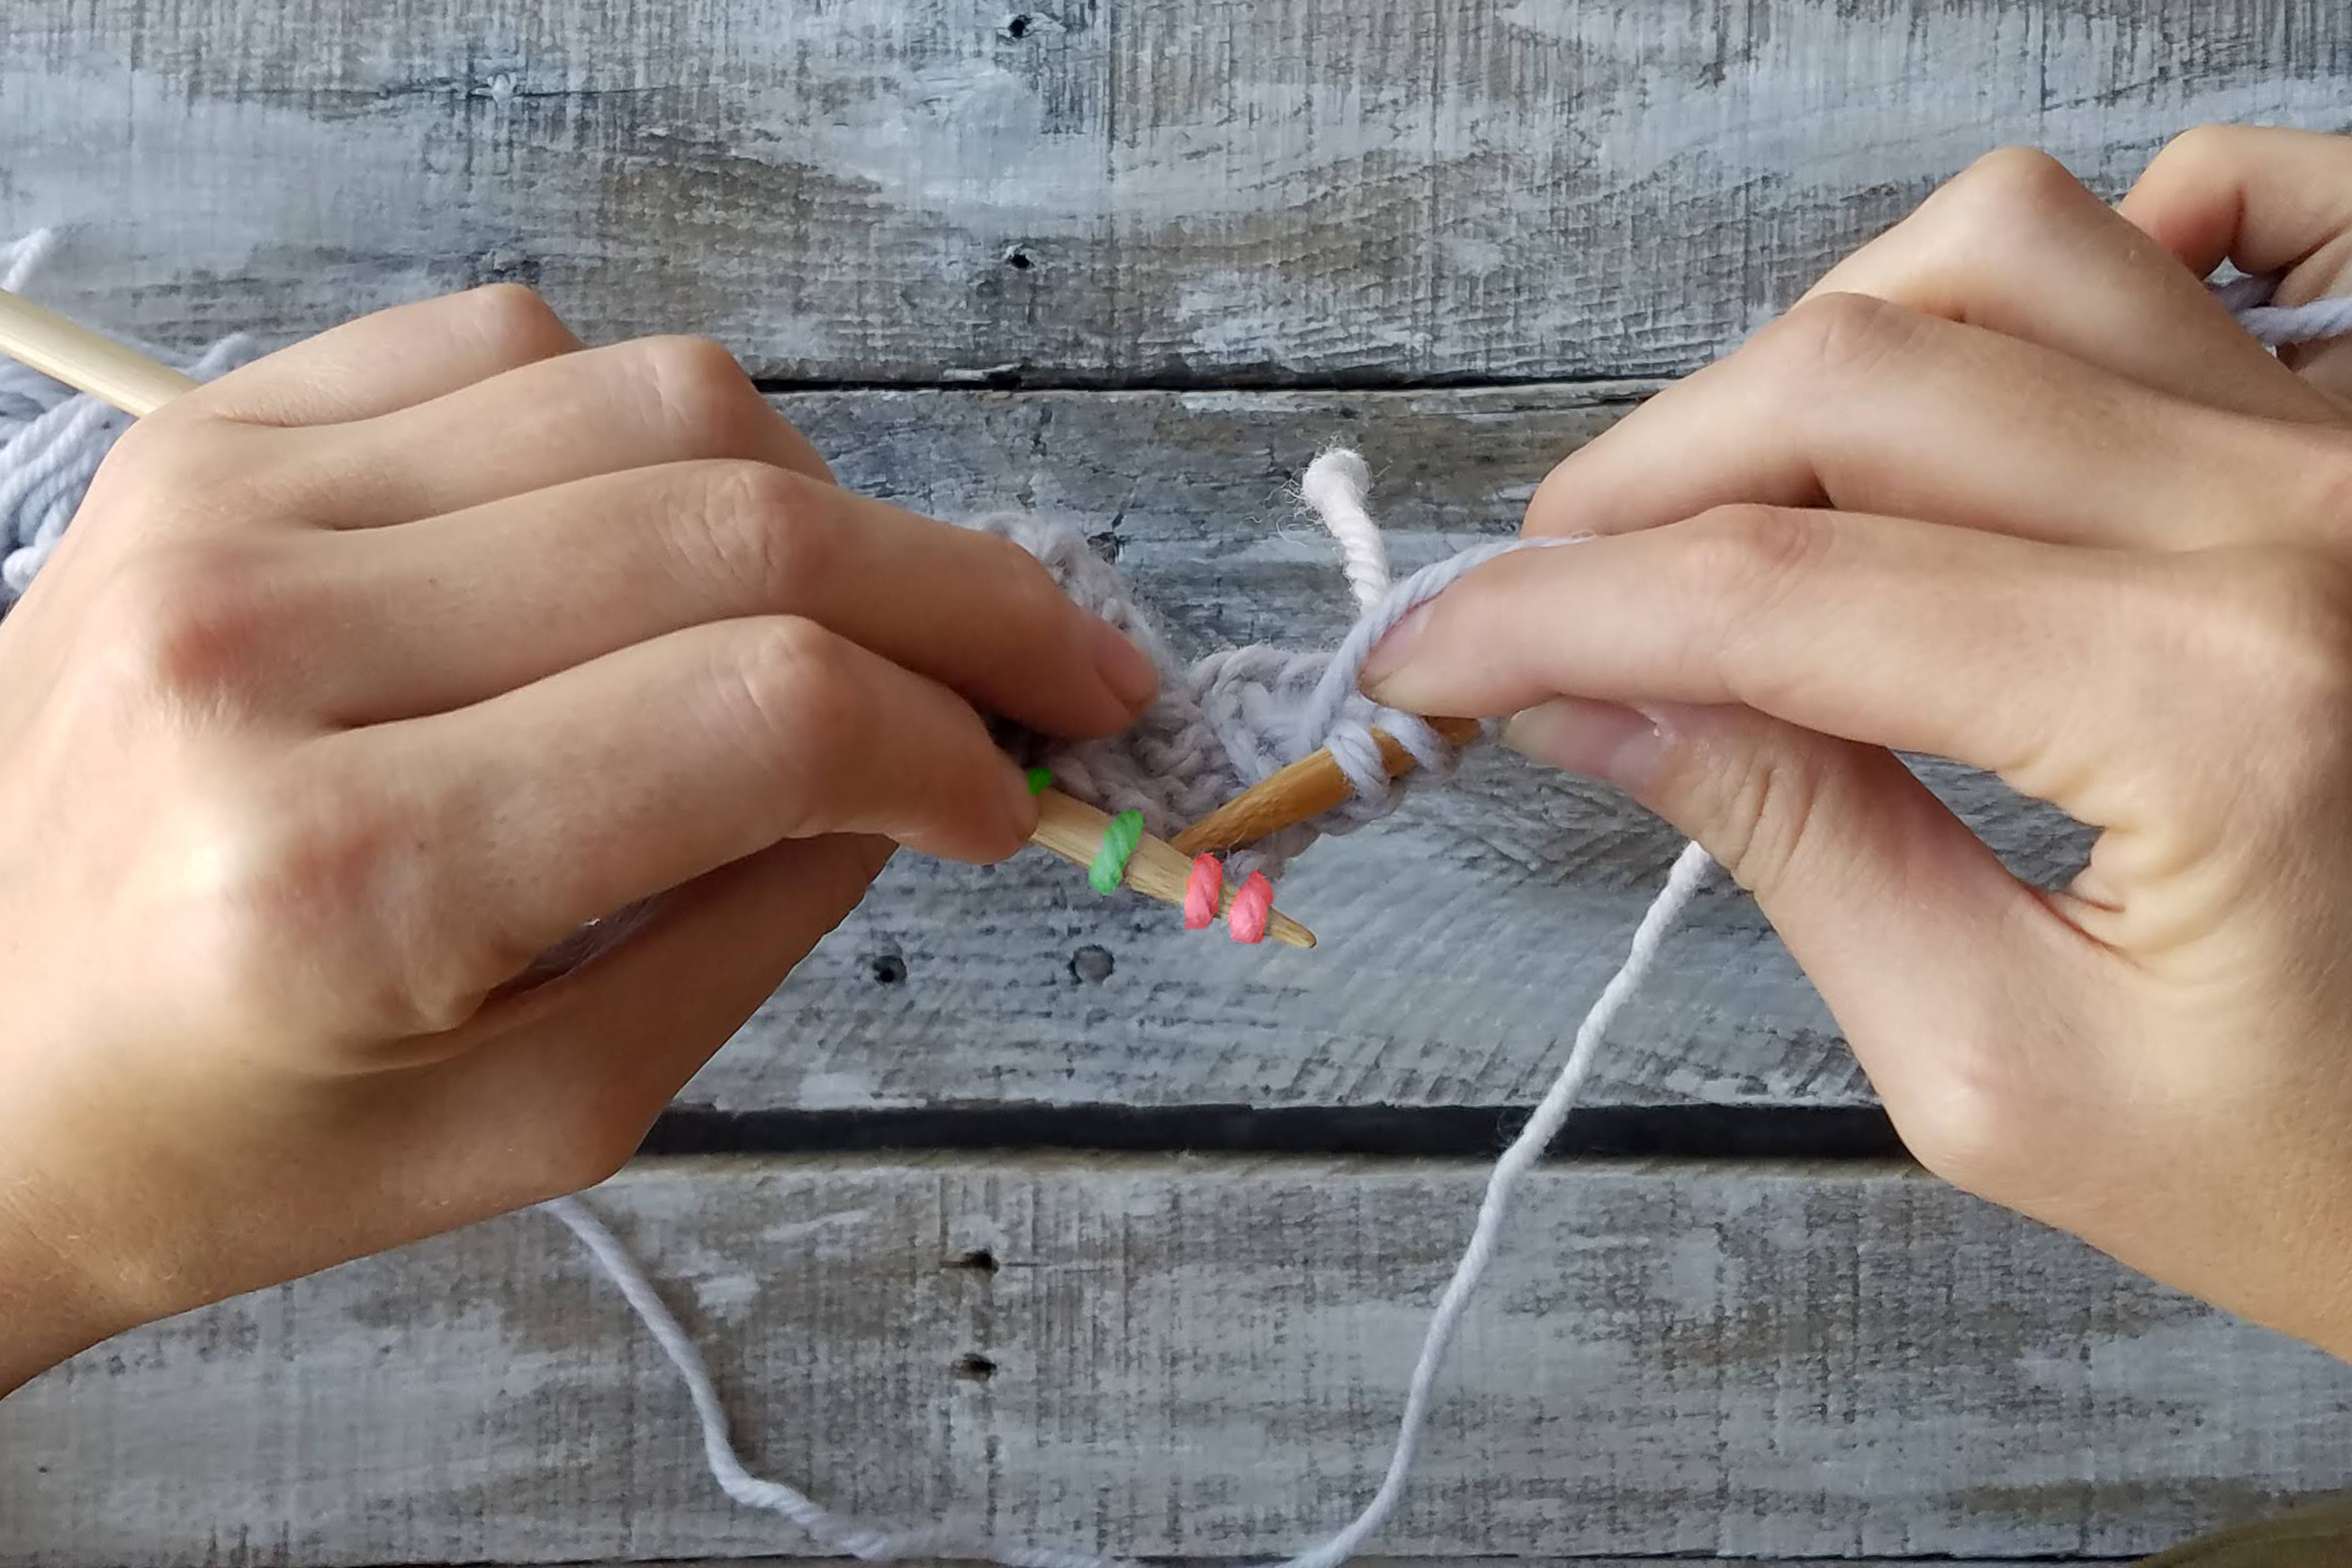
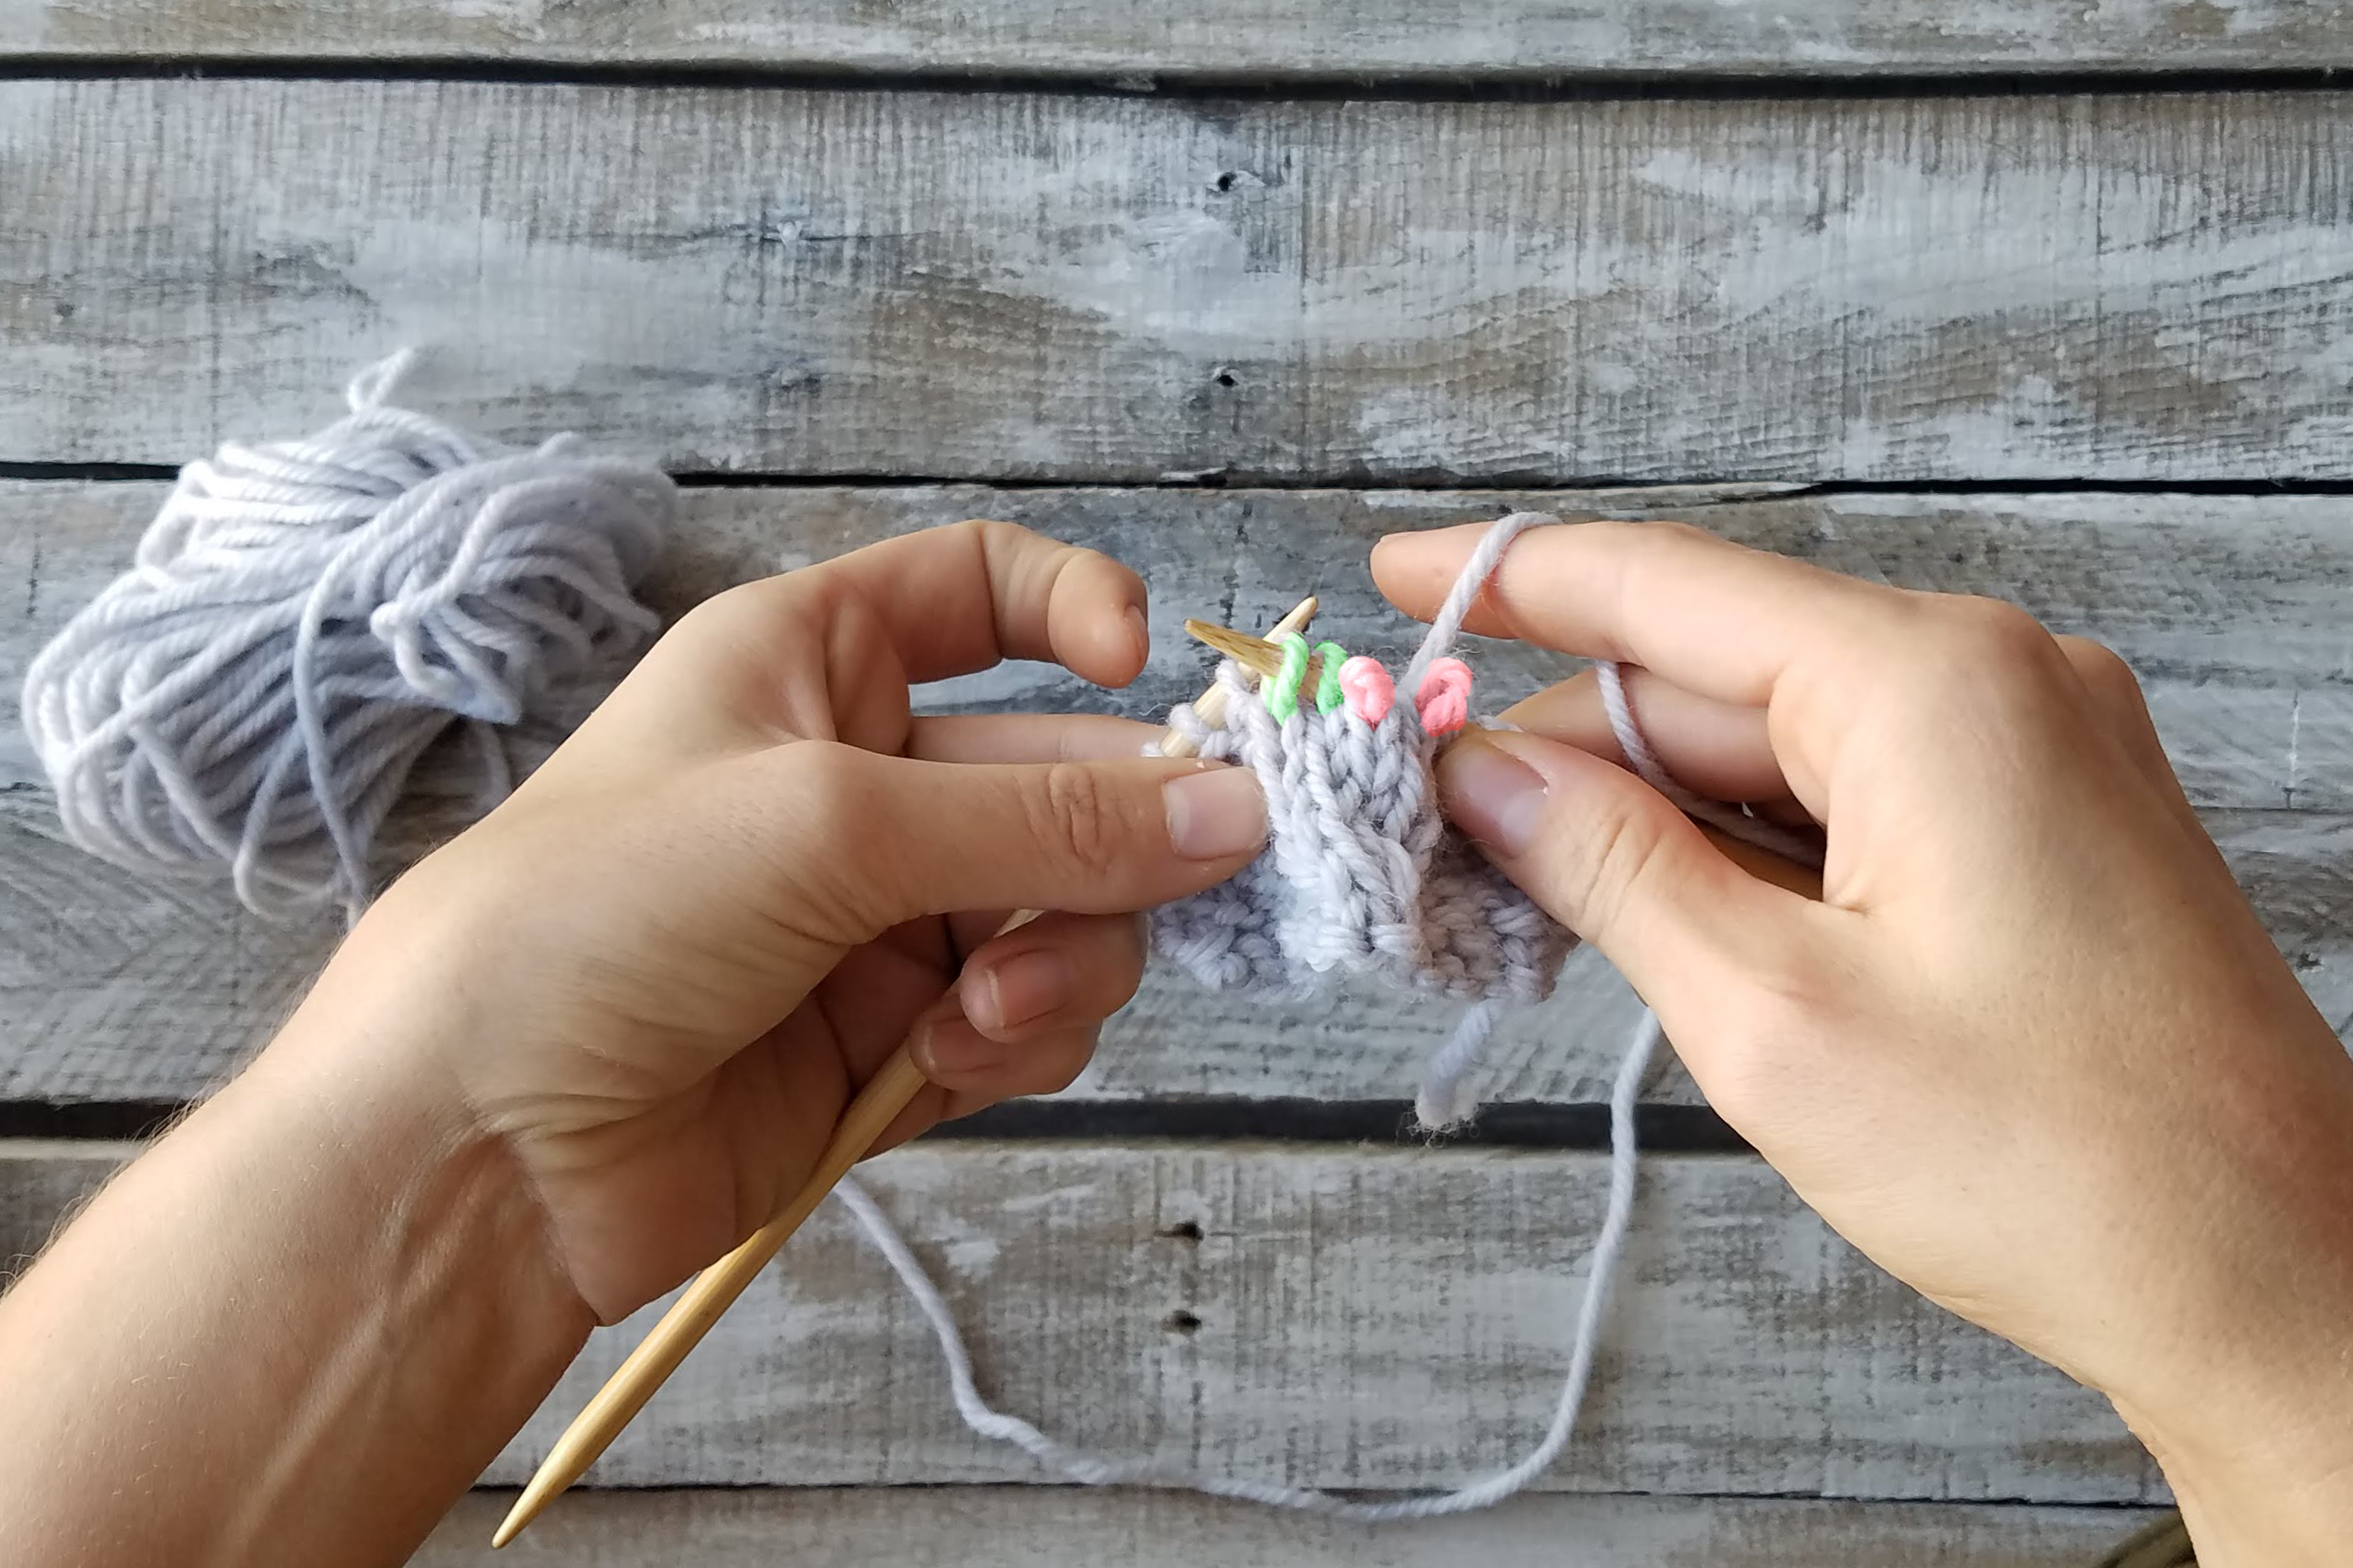
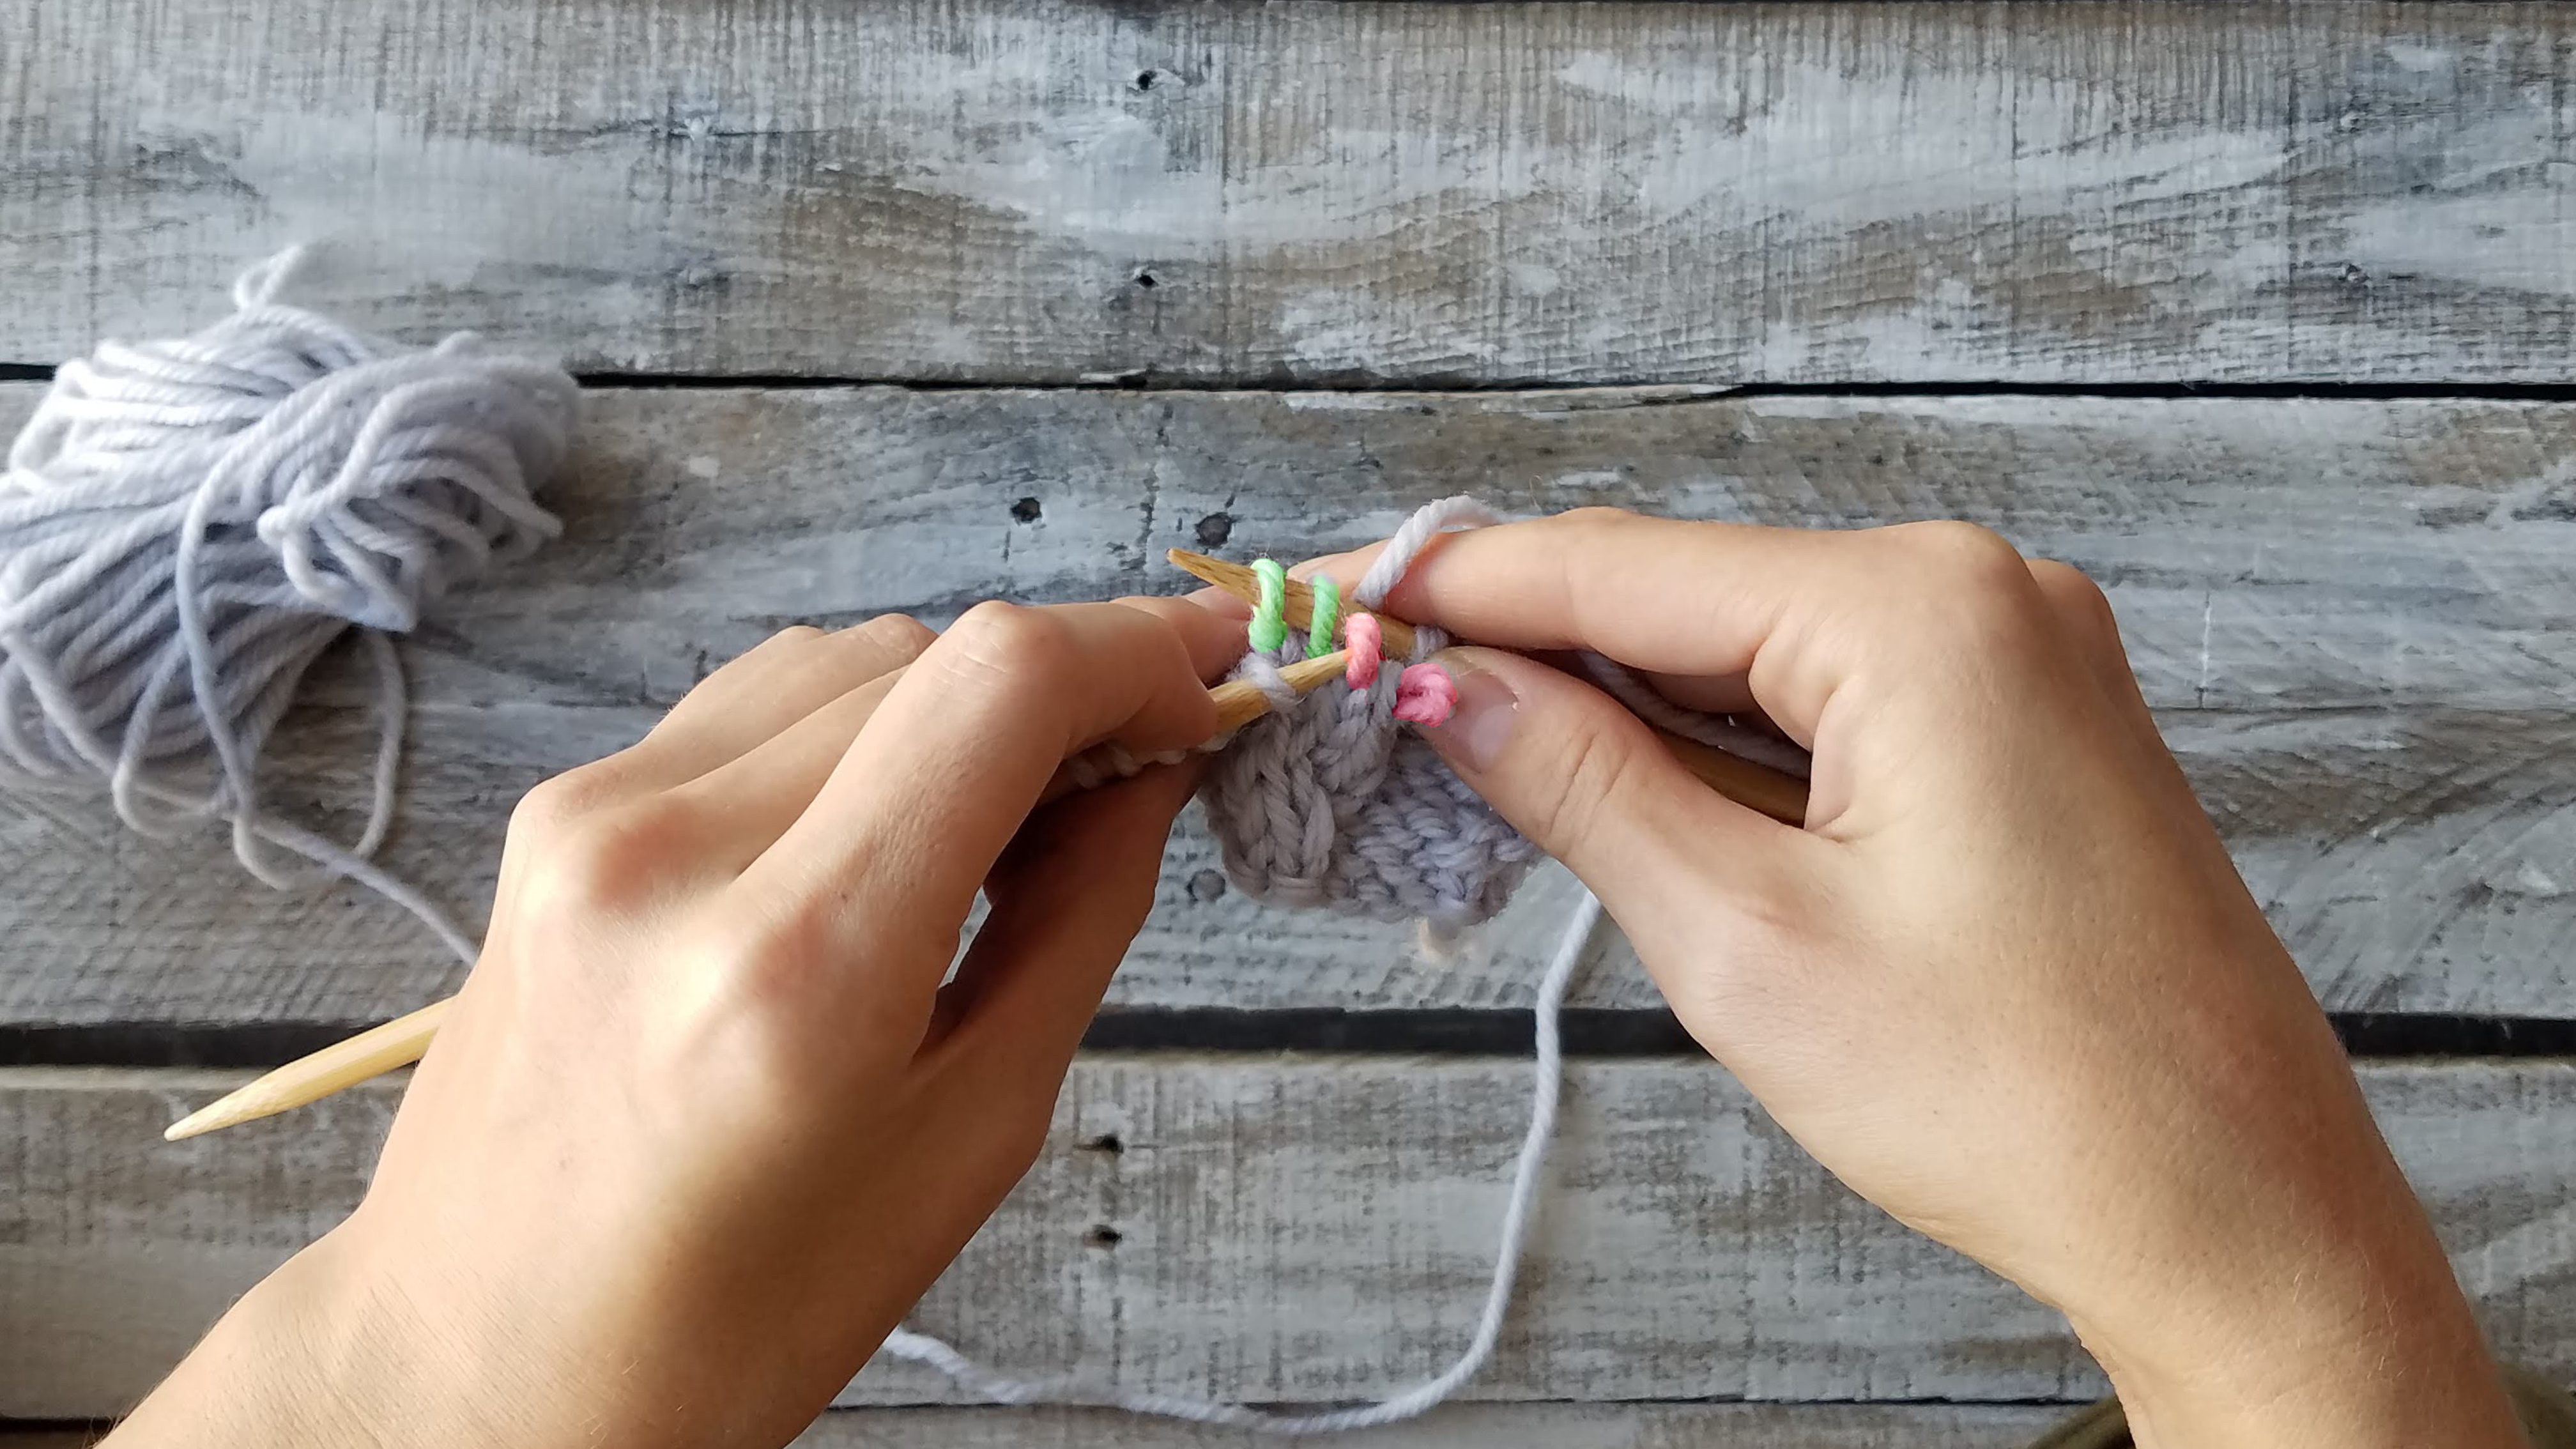
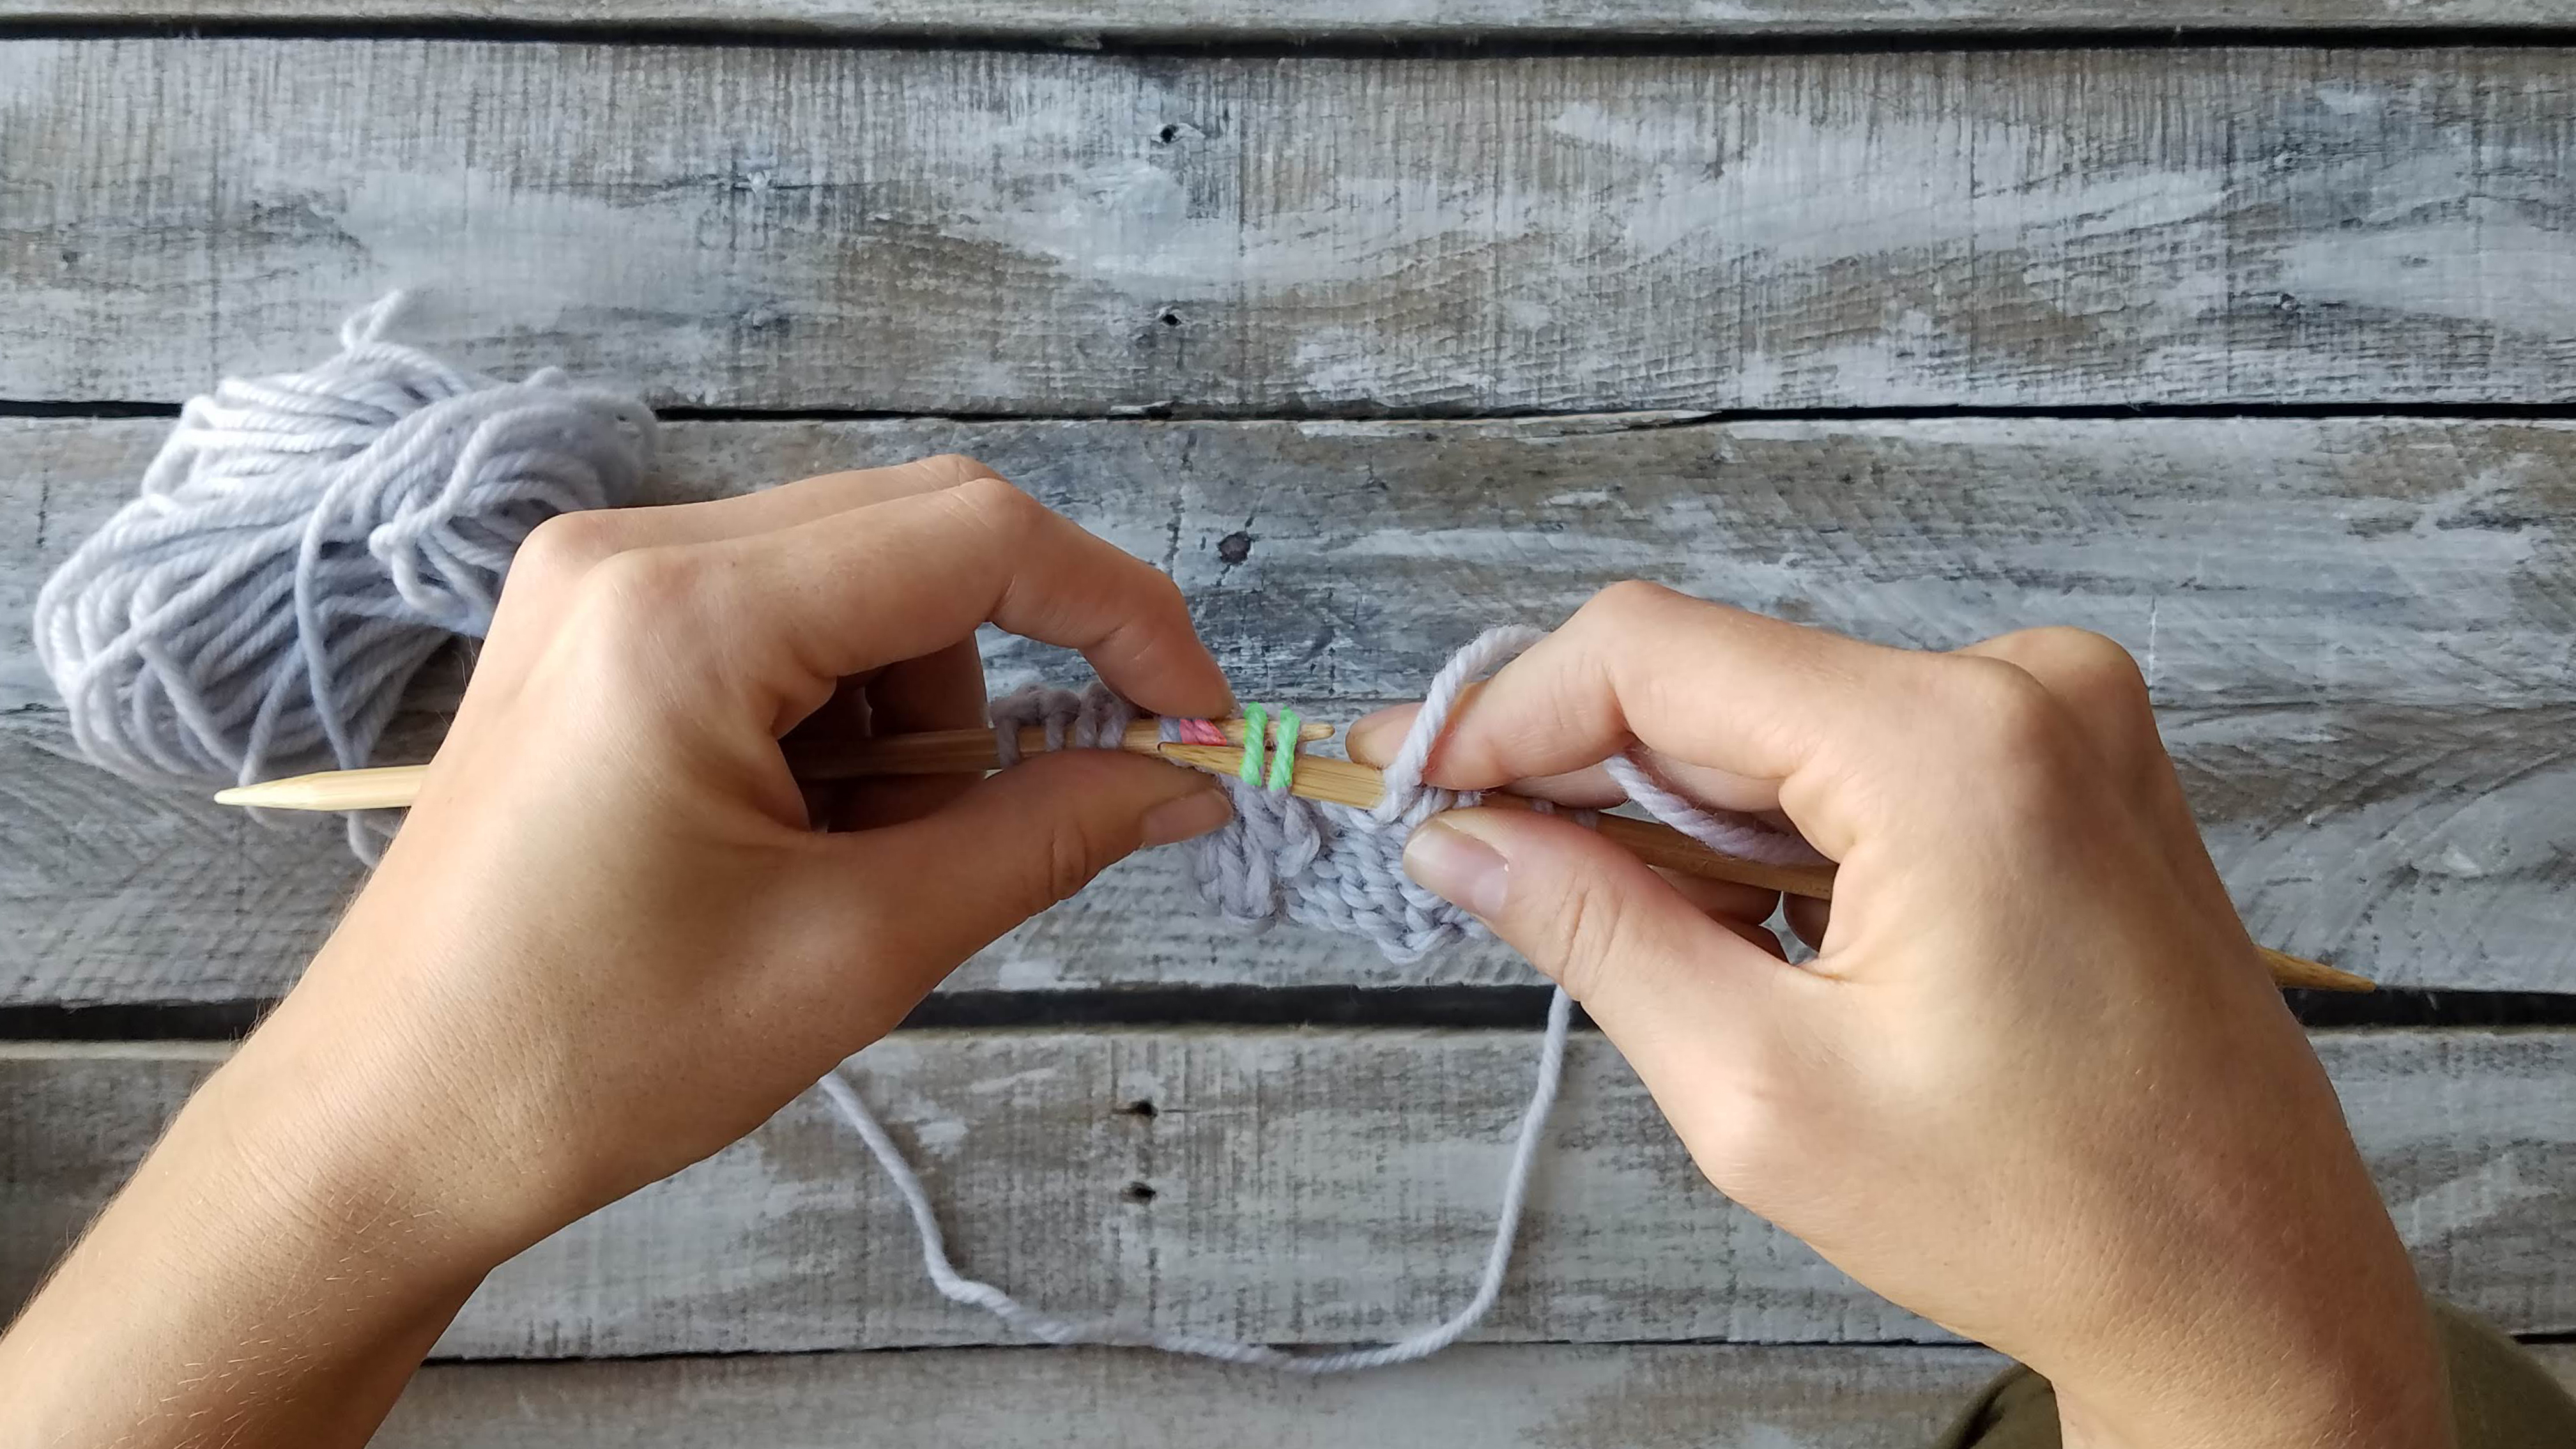
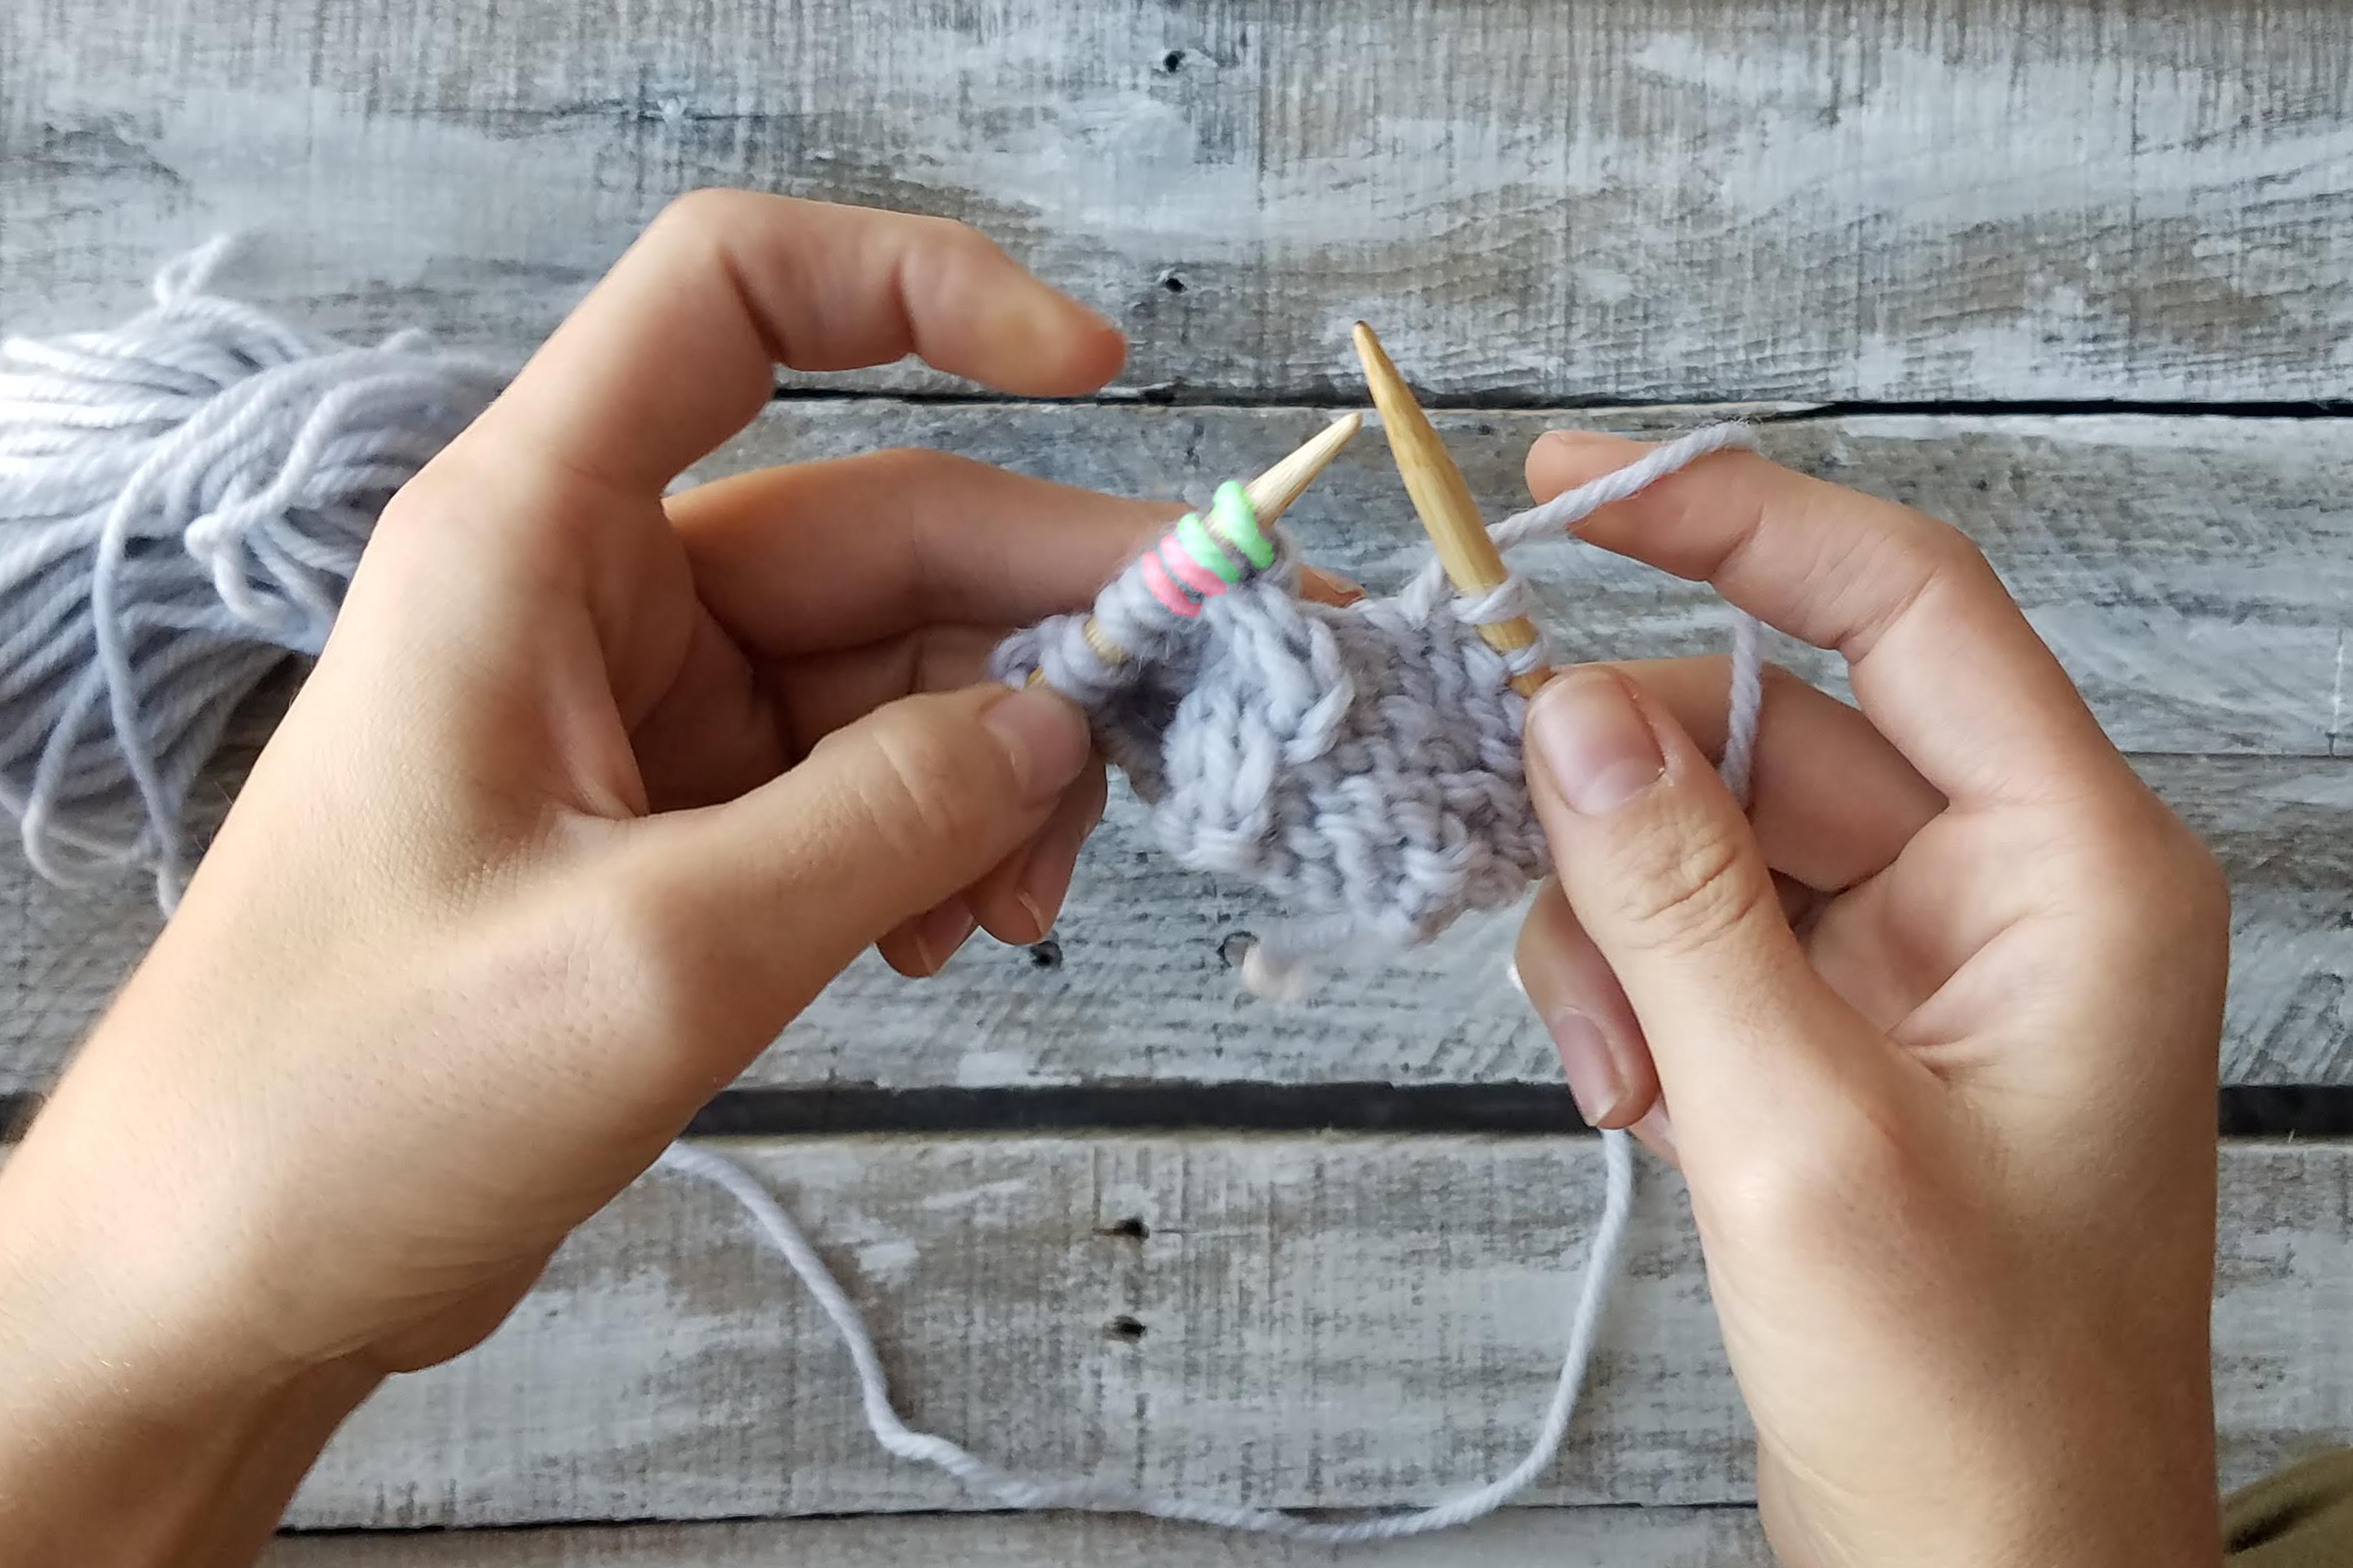
Each tree uses a different stitch pattern, which is fun because you are getting a “stitch sampler” with each tree you make! The Slipped Ornament Tree is my personal favorite, because it reminds me so much of a classic winter tree that we so often see during this time of the year. In this pattern, a special stitch called a Long Stitch is used. The yarn is wrapped twice around the needle, giving a “draped” effect throughout the tree. The delicate sequins strung through our Cotton Gold yarn creates a gorgeous shimmer that, when incorporated with the saturated colors of Dona, will have your guests do a double take and stop to admire this miniature forest in your home!

You know those winter decorations that your family brings out year after year, no matter how “old” it gets? That is exactly what I think about when I see the Linen Stitch Tree. This specific tree instantly sends me back to sweet memories in the winter seasons spent with my family, decorating our home and getting ready for the upcoming events. The minimalist Linen Stitch tree offers a mix and match vibe to your holiday décor. You simply work knit stitches and slip stitches with yarn held in front to create a woven effect and provide texture to the tree.
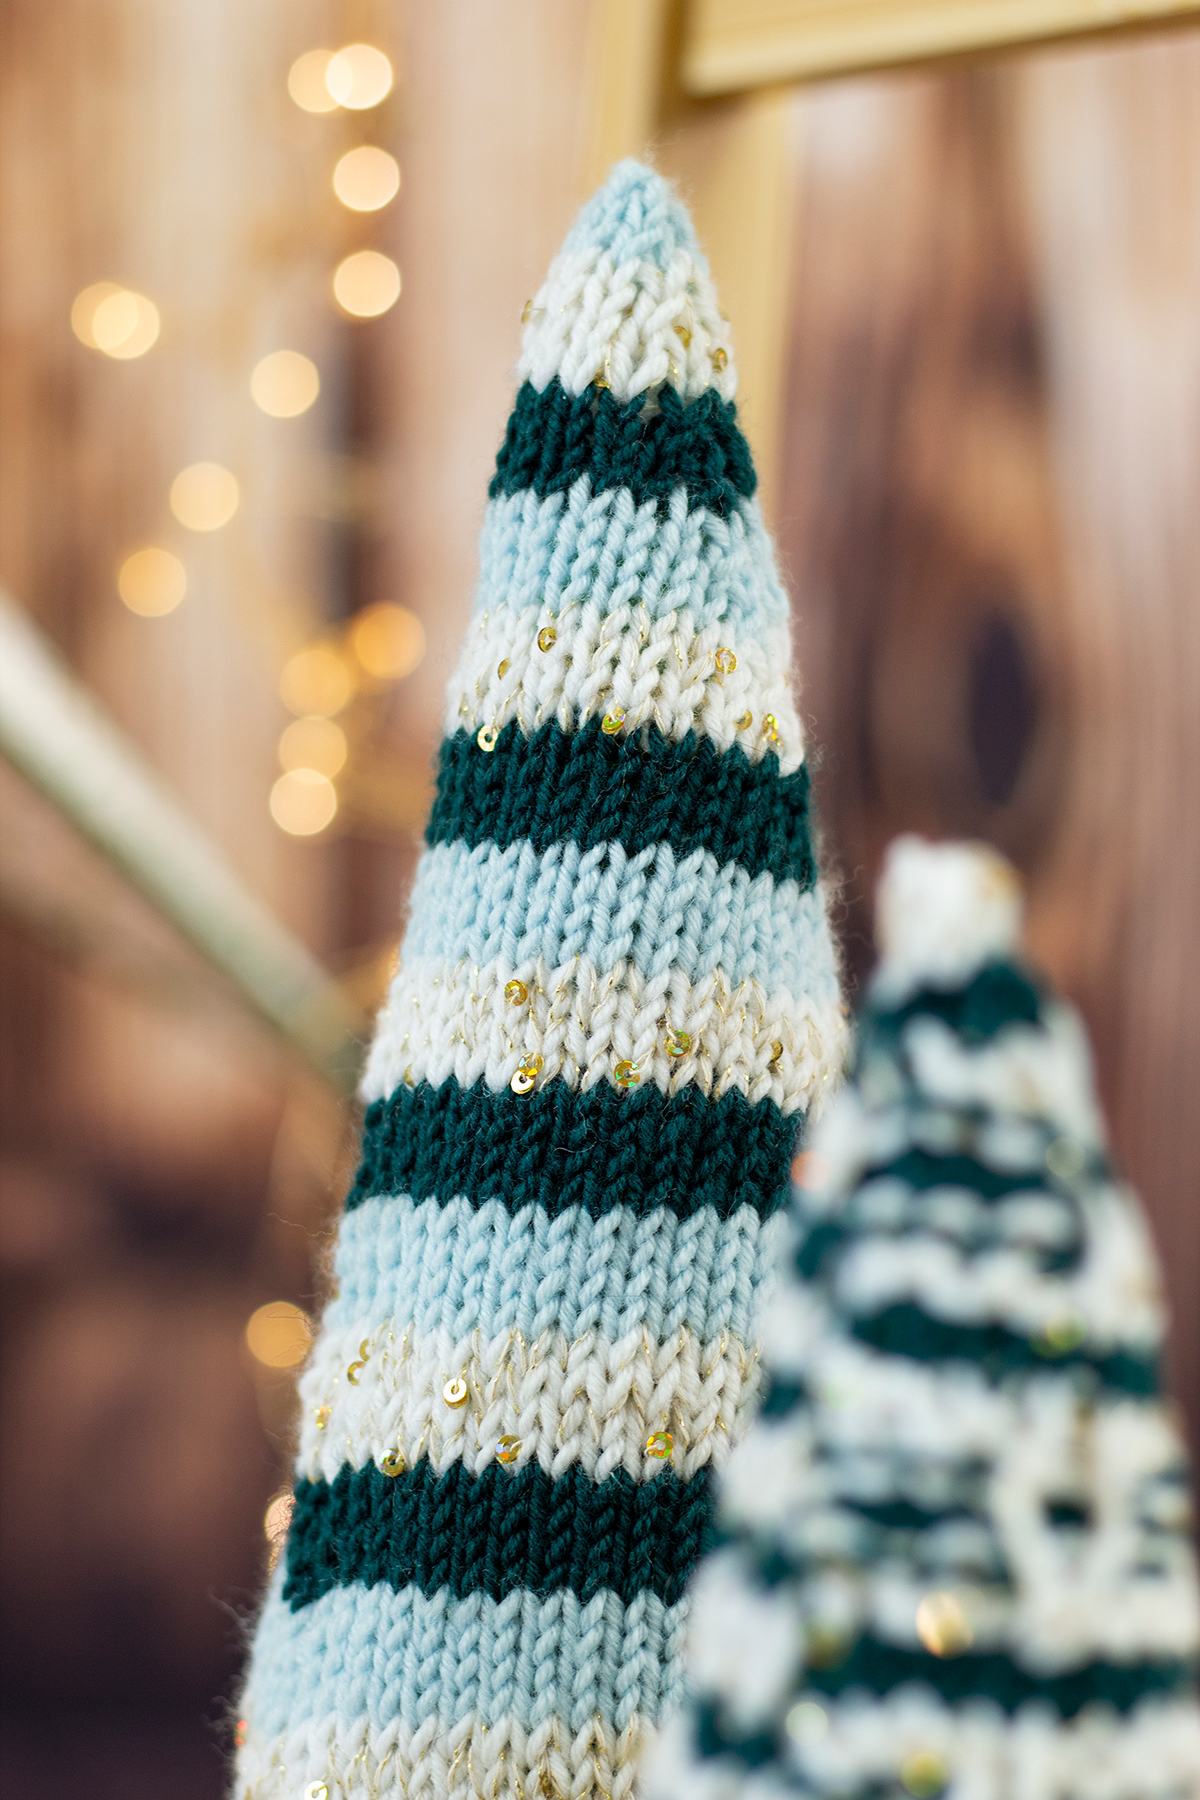
Look at how it subtly glistens! The Striped Tree features a stockinette stitch pattern worked all the way up the body. A strand of each Dona and Cotton Gold are held together throughout the tree, and the Dona colors (Blue Hint, Balsam, Alabaster) are changed every four rows. The glimmer from Cotton Gold creates a dream-like aura of snow falling from the sky, which is fitting for the season! Although they are all effortless to make, the Striped Tree is the most minimalist pattern in my opinion because it is just stockinette stitch the whole way up! It is the perfect final addition to the Trio, because it adds the right amount of sophistication while still looking simple.
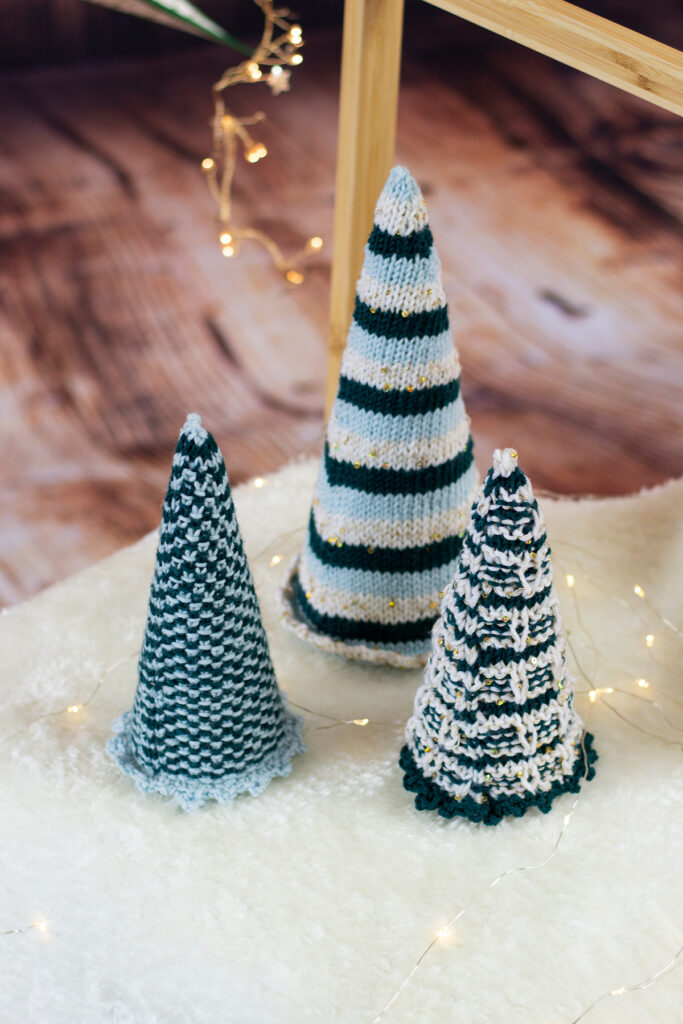
These trees are each knit in the round from the bottom up. A picot edge is picked up and worked after finishing to create ‘skirts’ on the bottom of each tree edge, and the tree tops are stuffed with poly-fill before finally placing around the Styrofoam bases. Remember to check your gauge! It is so important for accuracy and so it fits in the styrofoam cones properly. They are the perfect addition to your home for this winter season, and will be for years to come! These trees will make your friends, family, and guests feel welcomed in your home, in the holiday spirit.
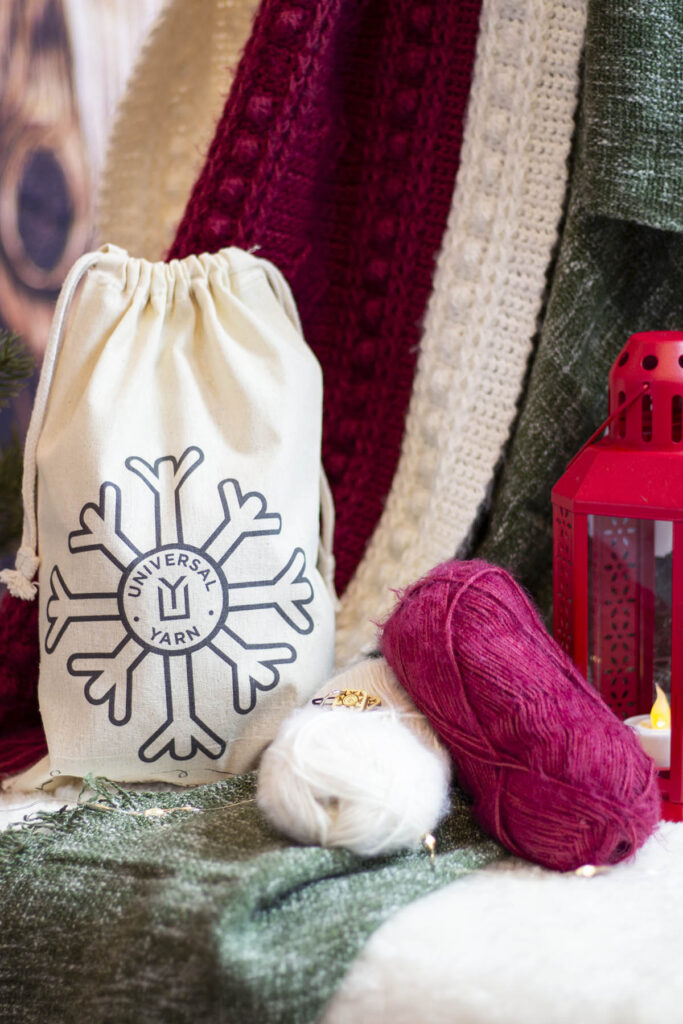
Remember, these exclusive kits can be purchased at local yarn store retailers near you. Not in stock at your local shop? Ask them about drop shipping – order through them, and we ship to you! Each kit comes with the pattern, the yarn required to make it, a mini Universal Yarn project bag, and stitch marker. Use our store locator to find your nearest Universal Yarn retailer!
Cheers!
Talya Ozbelli