Free Pattern Friday – Berry Patch Cardi

It’s Free Pattern Friday!

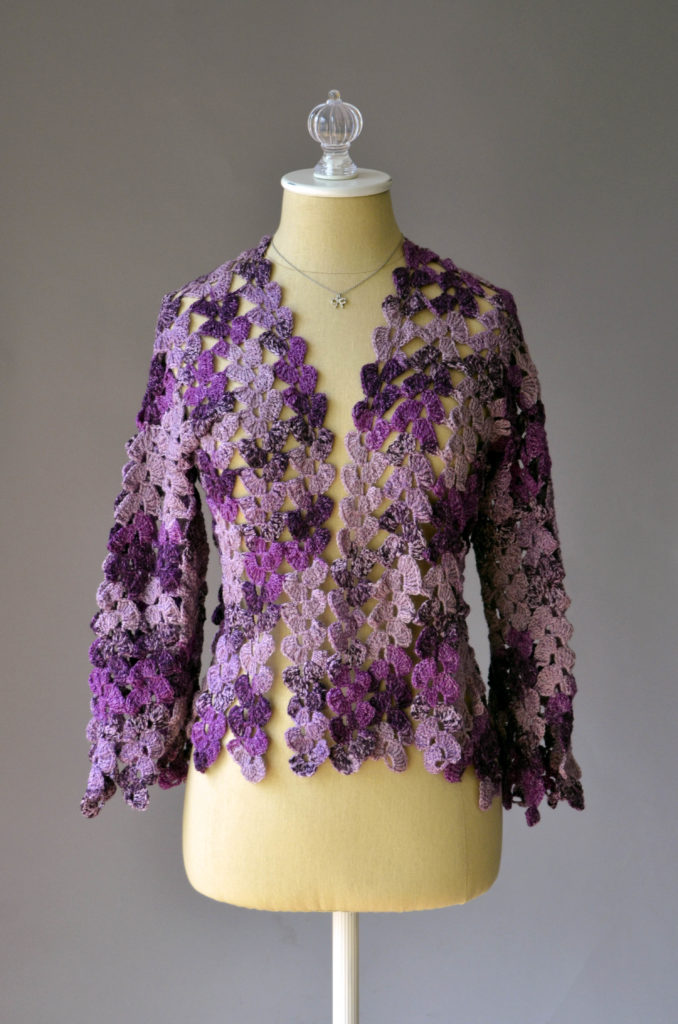
Berry Patch Cardi hi-res

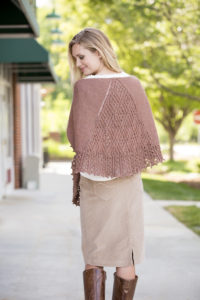
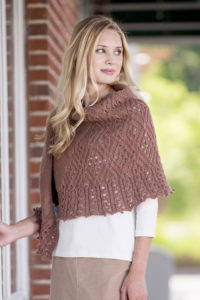
Today, the Berry Patch Cardi in Whisper Lace.

This pattern comes to us from our Mexican distributor, Rebecca Pick.  In their magazine, they featured an absolutely stunning crochet design in Whisper Lace (440yds/50g) designed by Ángeles Uribe Salinas.  Rebecca Pick graciously shared it with us, and now we get to share it with you!

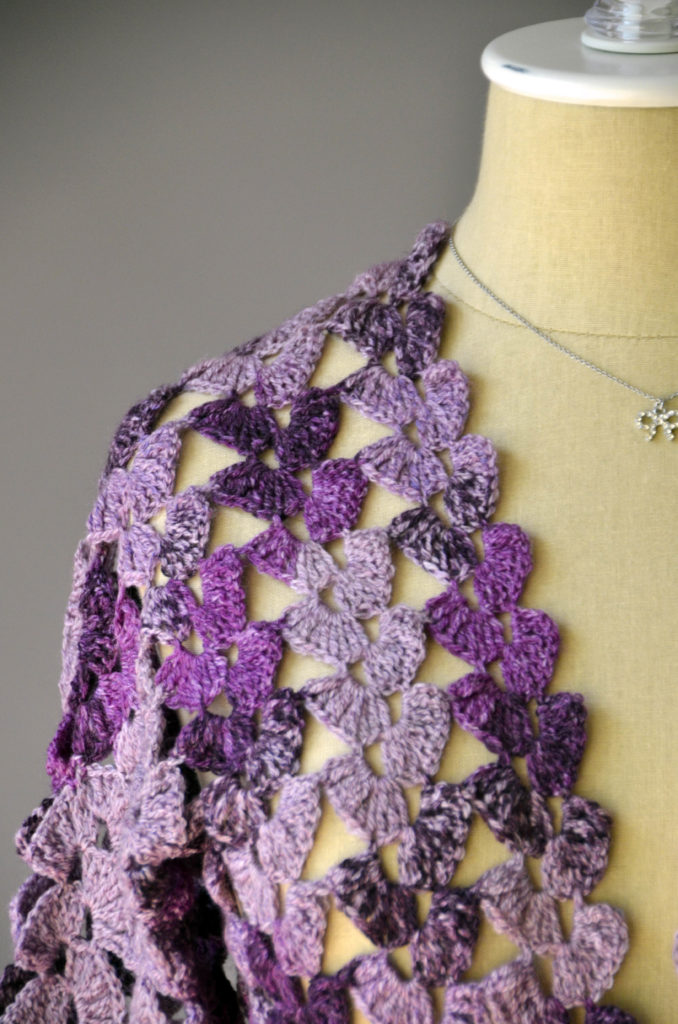
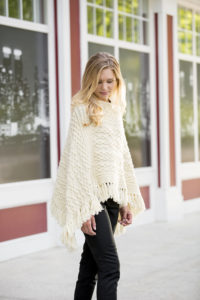
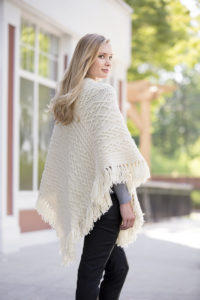
Berry Patch Cardi hem hi-resThis beautiful cardi is made of strips of delicate fan lace.  They’re joined as you go, with the bottom of the strips left loose to fall freely.   Can’t you imagine twirling around in this and seeing the little butterflies of lace fly?

The lace is written and charted, and a schematic is included for assembly.  We love how the multi-colored yarn works up into individual fans for a delicate and unique look.  This is a great skill showcase.

We hope you have a wonderful weekend.  Happy crafting!

Berry Patch Cardi shoulder hi-res

Color Pooling: I Meant to Do It!

Have you ever heard of color pooling in the worlds of knitting, crocheting, or weaving? Briefly, color pooling is when a patterned yarn “pools” in particular colors sections. This pooling may or may not be intentional. It is very common to see unintentional pooling in variegated-type yarns, where the color repeats are very short.

An example of unintentional color pooling that looks really cool can be seen on the front our Siren Sweater, knit in Infusion Handpaints.

Infusion Sideways Yoke Pullover_front_blog

See the argyle thing going on there? Though unintentional in this sweater, it is very possible to intend to make argyle from a yarn like this.

Even printed yarns with longer color repeats can be intentionally pooled. A good example of this is the Pennant Scarf, designed by Erin McKenna Halsey for our Uptown Worsted Spirit Stripes yarn. (You can find a crochet version of this scarf here)

Again, we see an argyle pattern form. The reason for this pattern, my dear friends? Math! By knowing how long each color repeat is and how much yarn a stitch consumes, it is possible to figure out how to make your patterned yarn do amazing things!

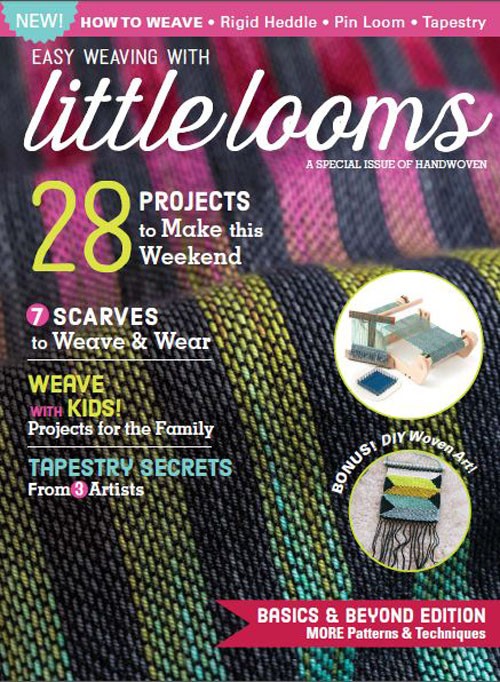
However, the weaving project I’m going to share today is a much simpler way of intentionally pooling color. My project was inspired by recent Little Looms Magazine by Interweave Press.  The image on the cover of the magazine is actually a close-up of the scarf I decided to make.

SPSUM16

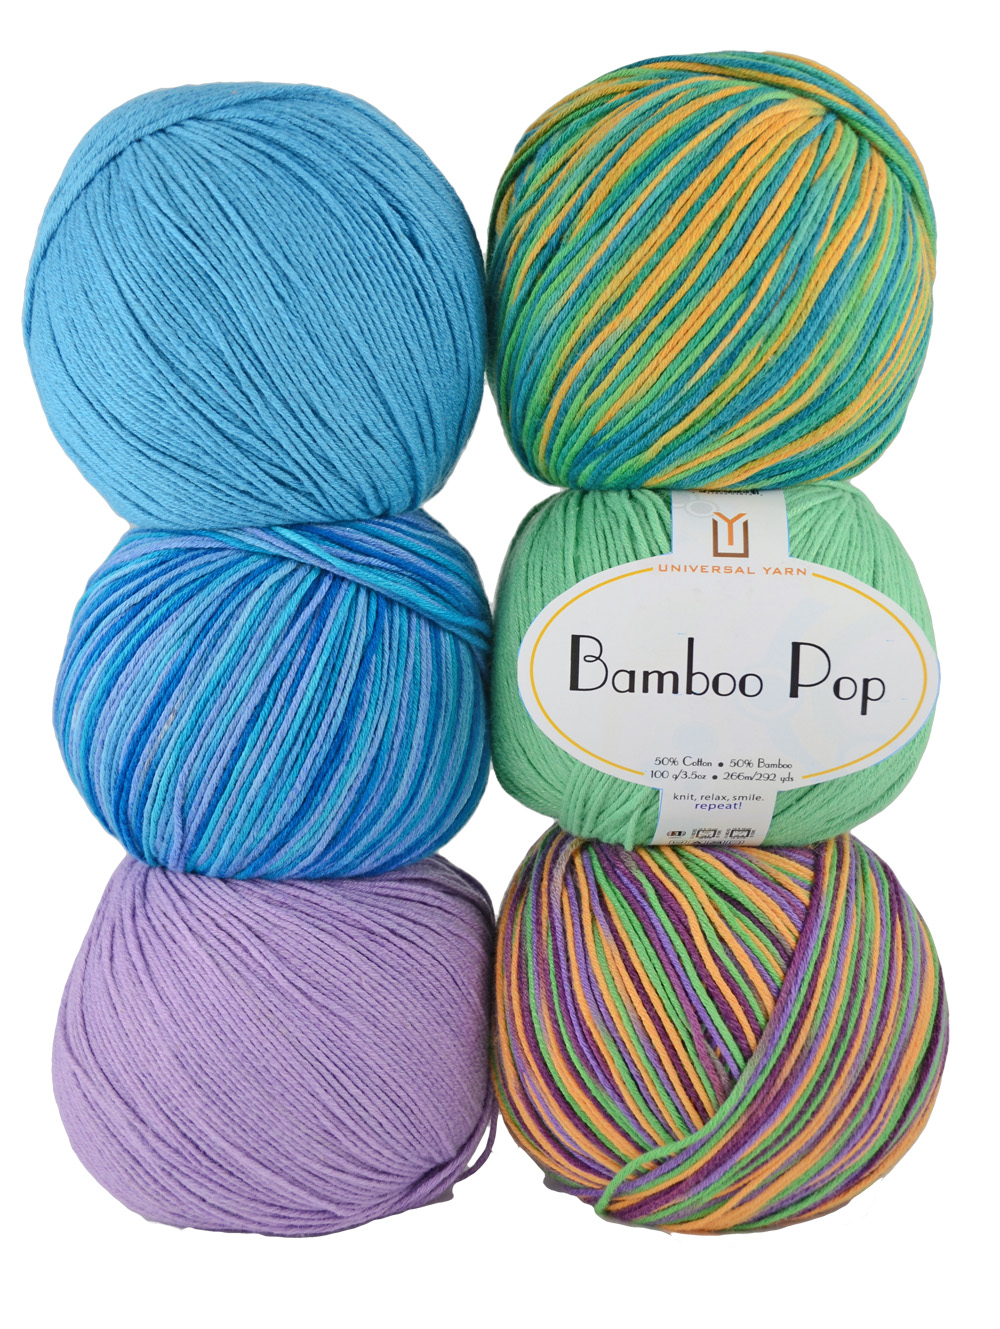
After looking at the other photos of the scarf inside, I realized our Bamboo Pop multi colorways would be perfect for this project.

StackedBalls_smaller

For my scarf, I chose Bamboo Pop #218 Stripe (multi) and #112 Black (solid) for the warp. I’ll be weaving with Whisper Lace #111 Ebony as weft. It’s a lighter weight than Bamboo Pop, and will allow for a warp-faced weave.

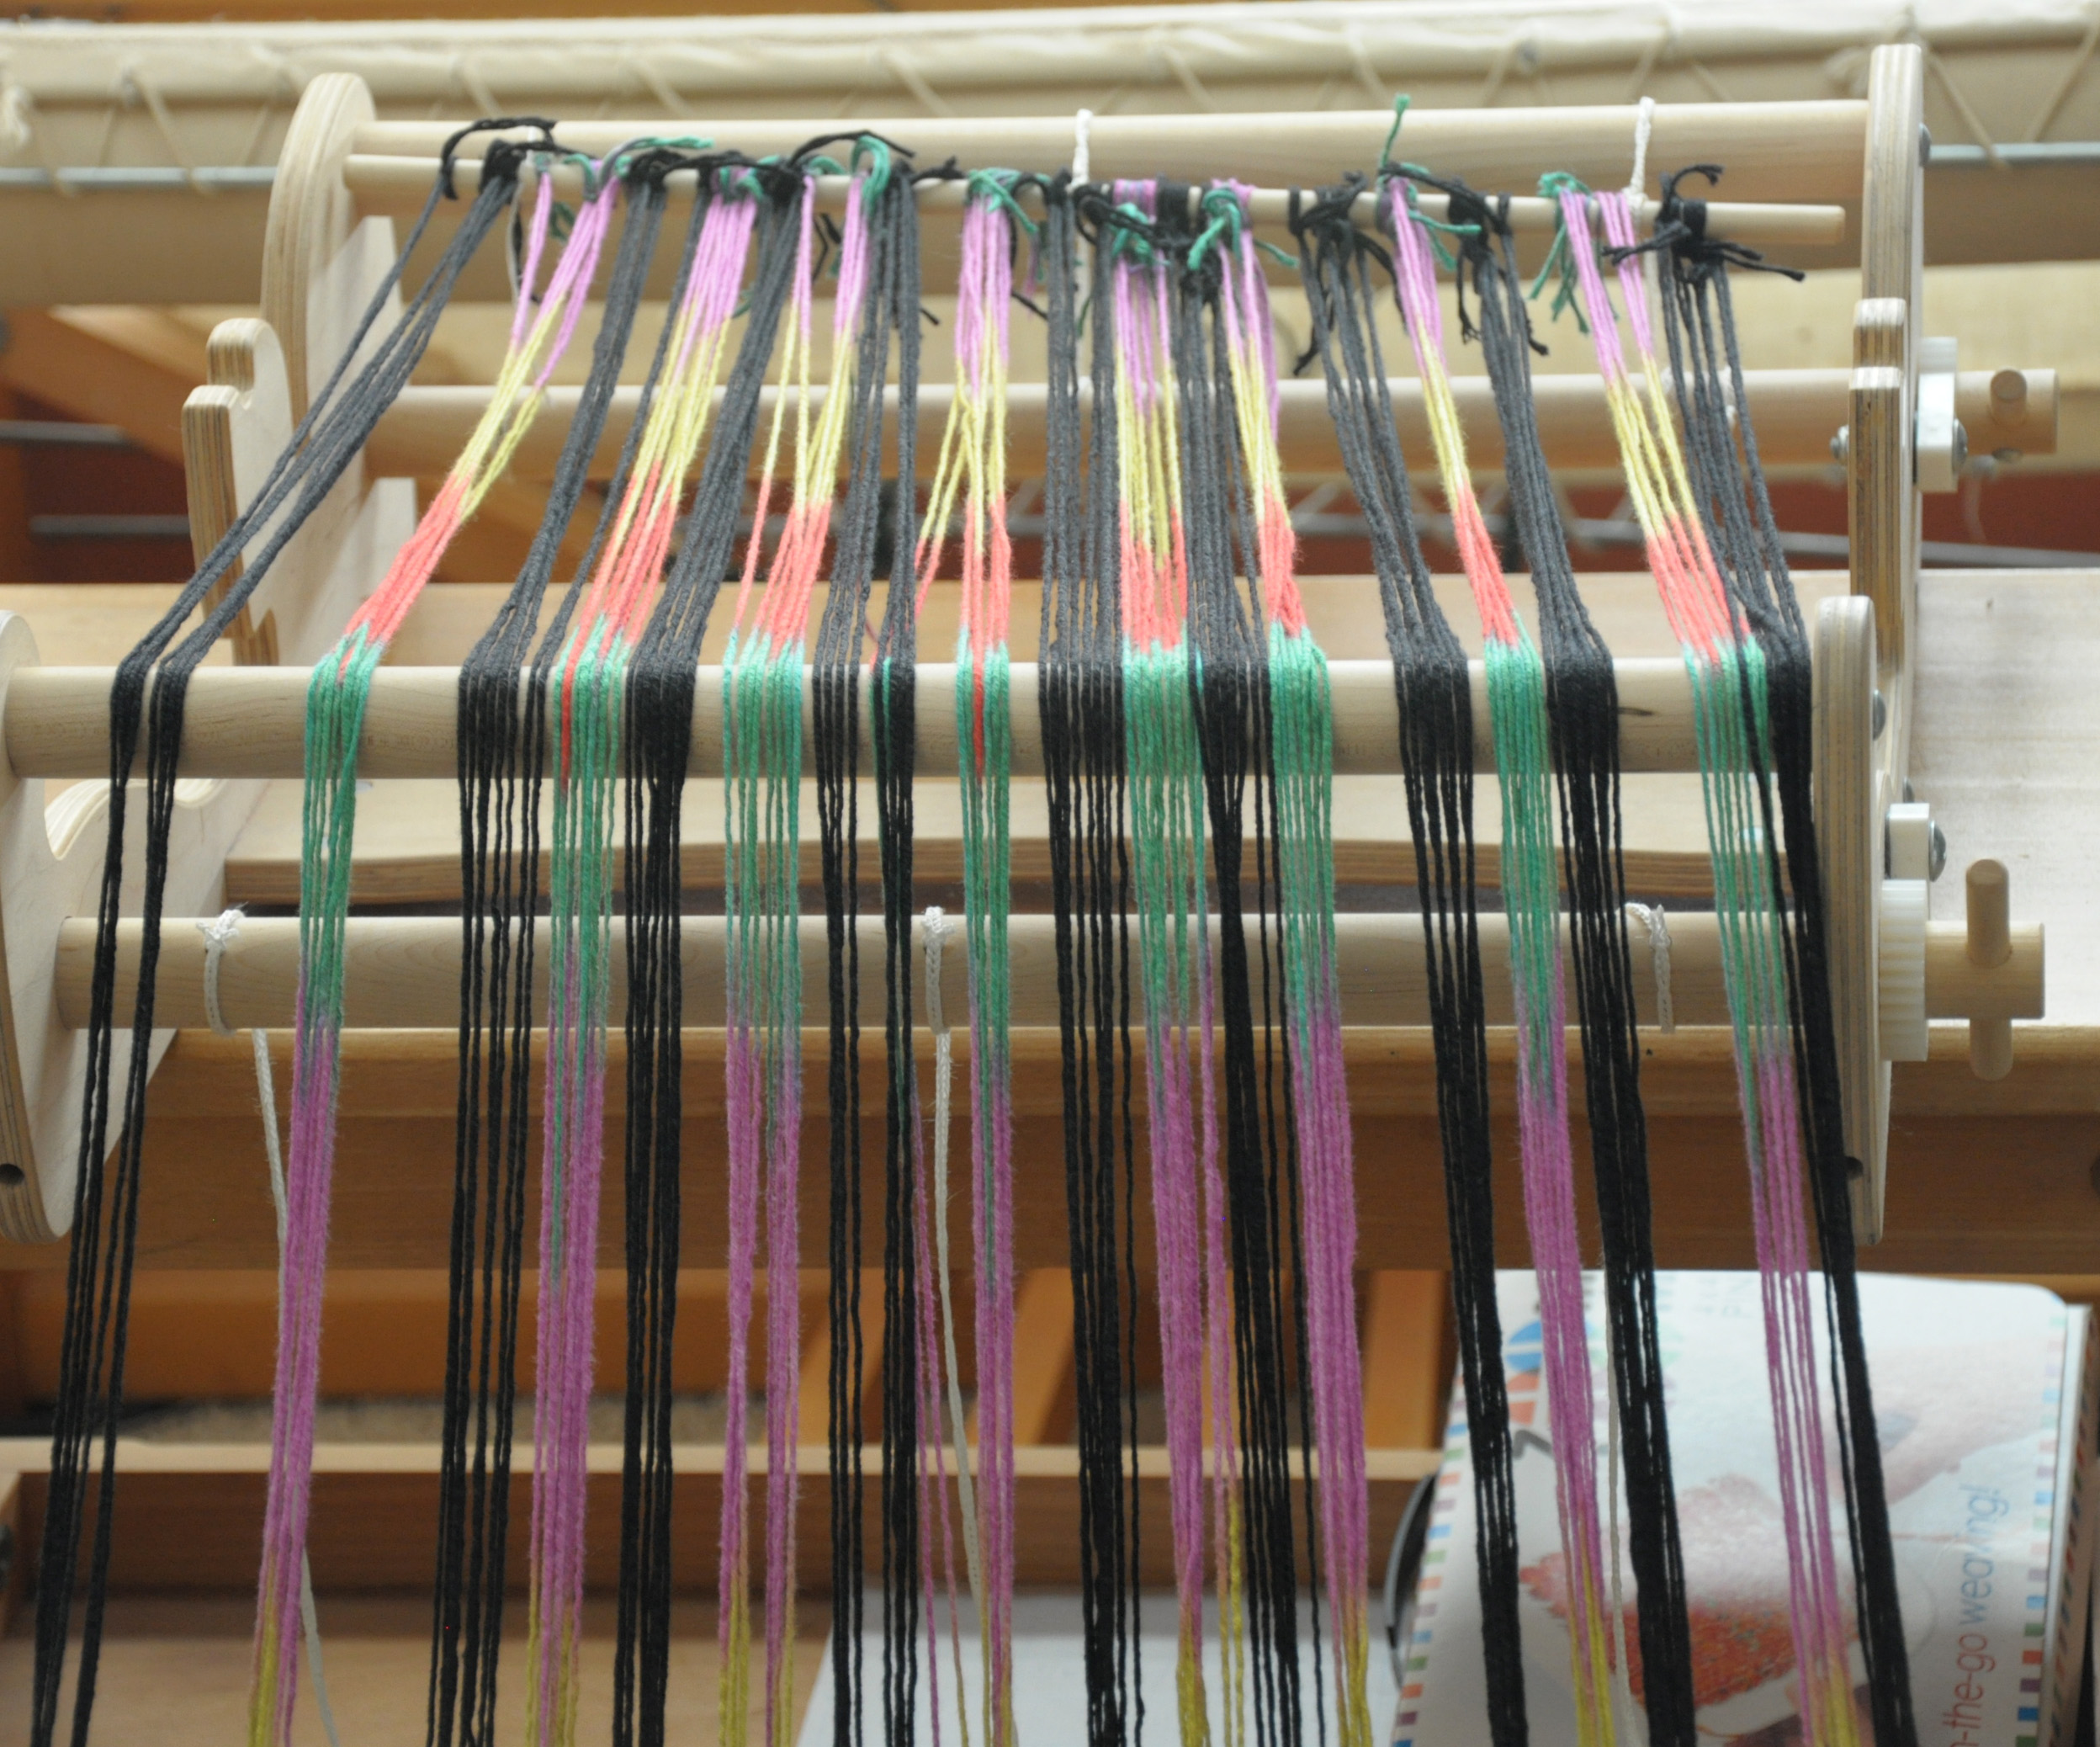
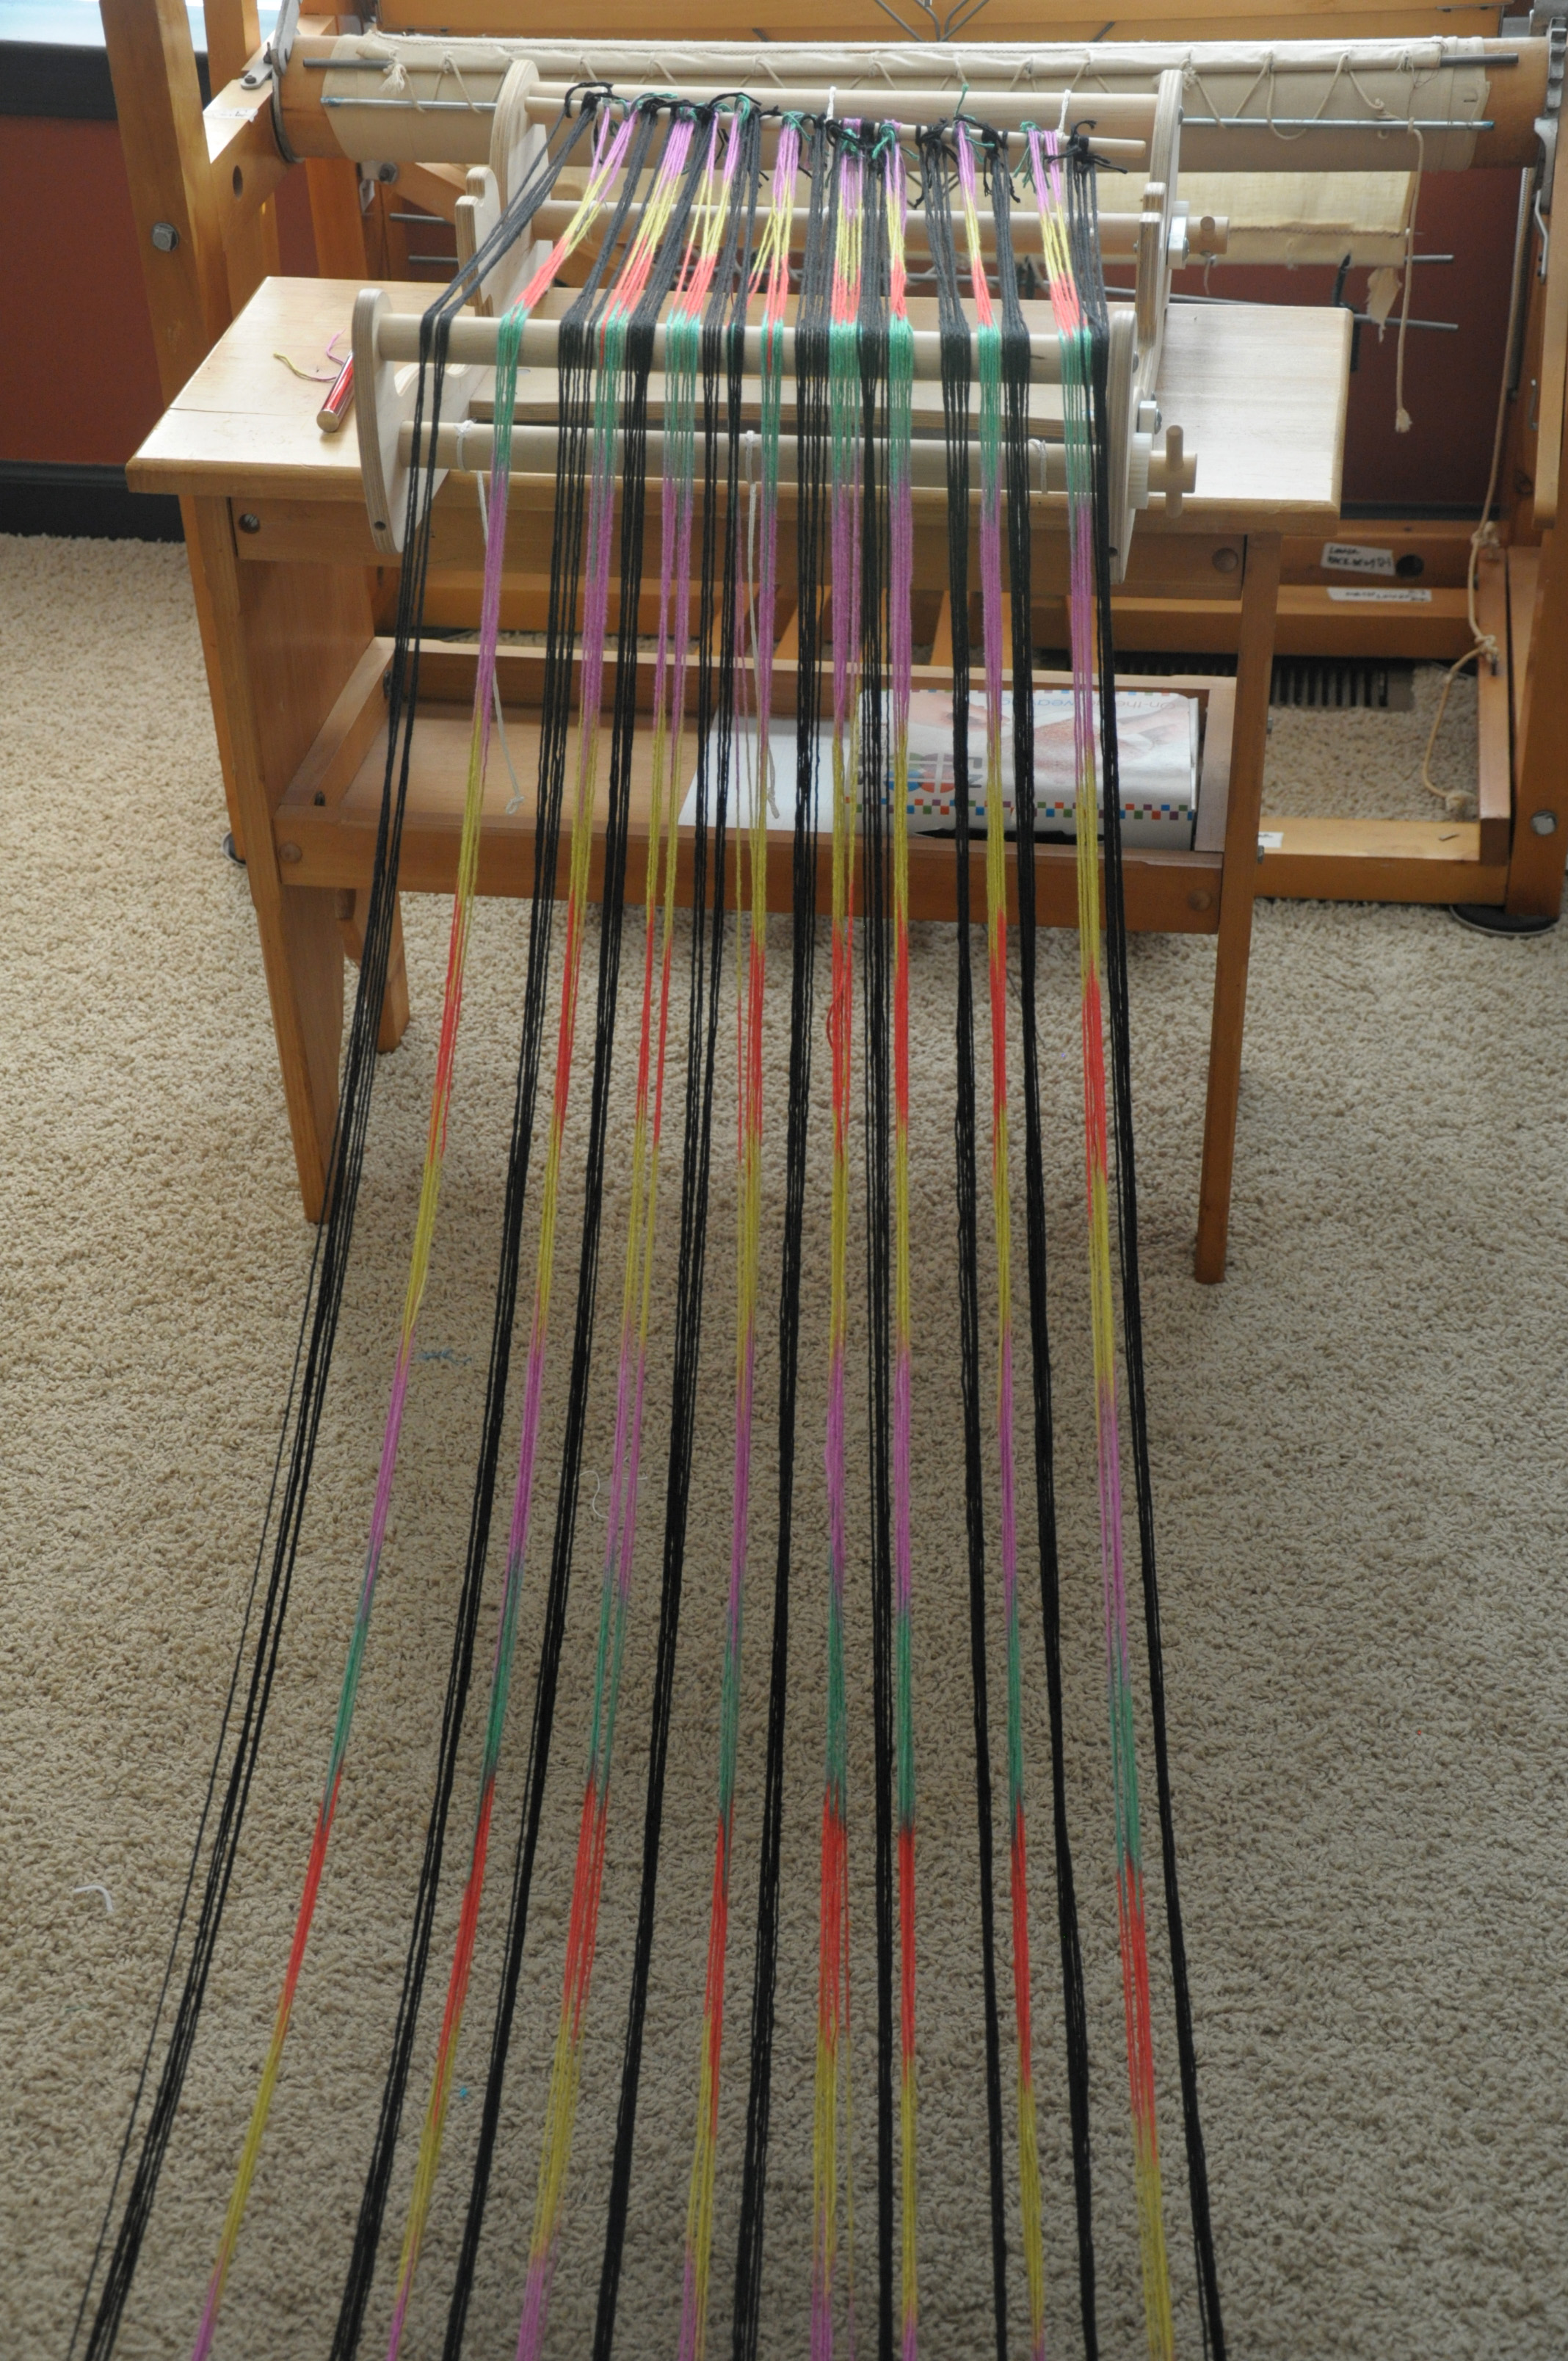
To warp, I first tried direct-warping my 16″ Cricket loom with my Bamboo Pop multi sections. The secret to this scarf is all about finding the point at which the color sections in the multi yarn repeat. I discovered that 110″ was my ideal point to wrap around the warping peg. The color repeated back on itself at that length (and also did at shorter lengths, but I like a long scarf and want to plan for fringe). But I found that it was very difficult to keep my color sections lined up with this warping method.

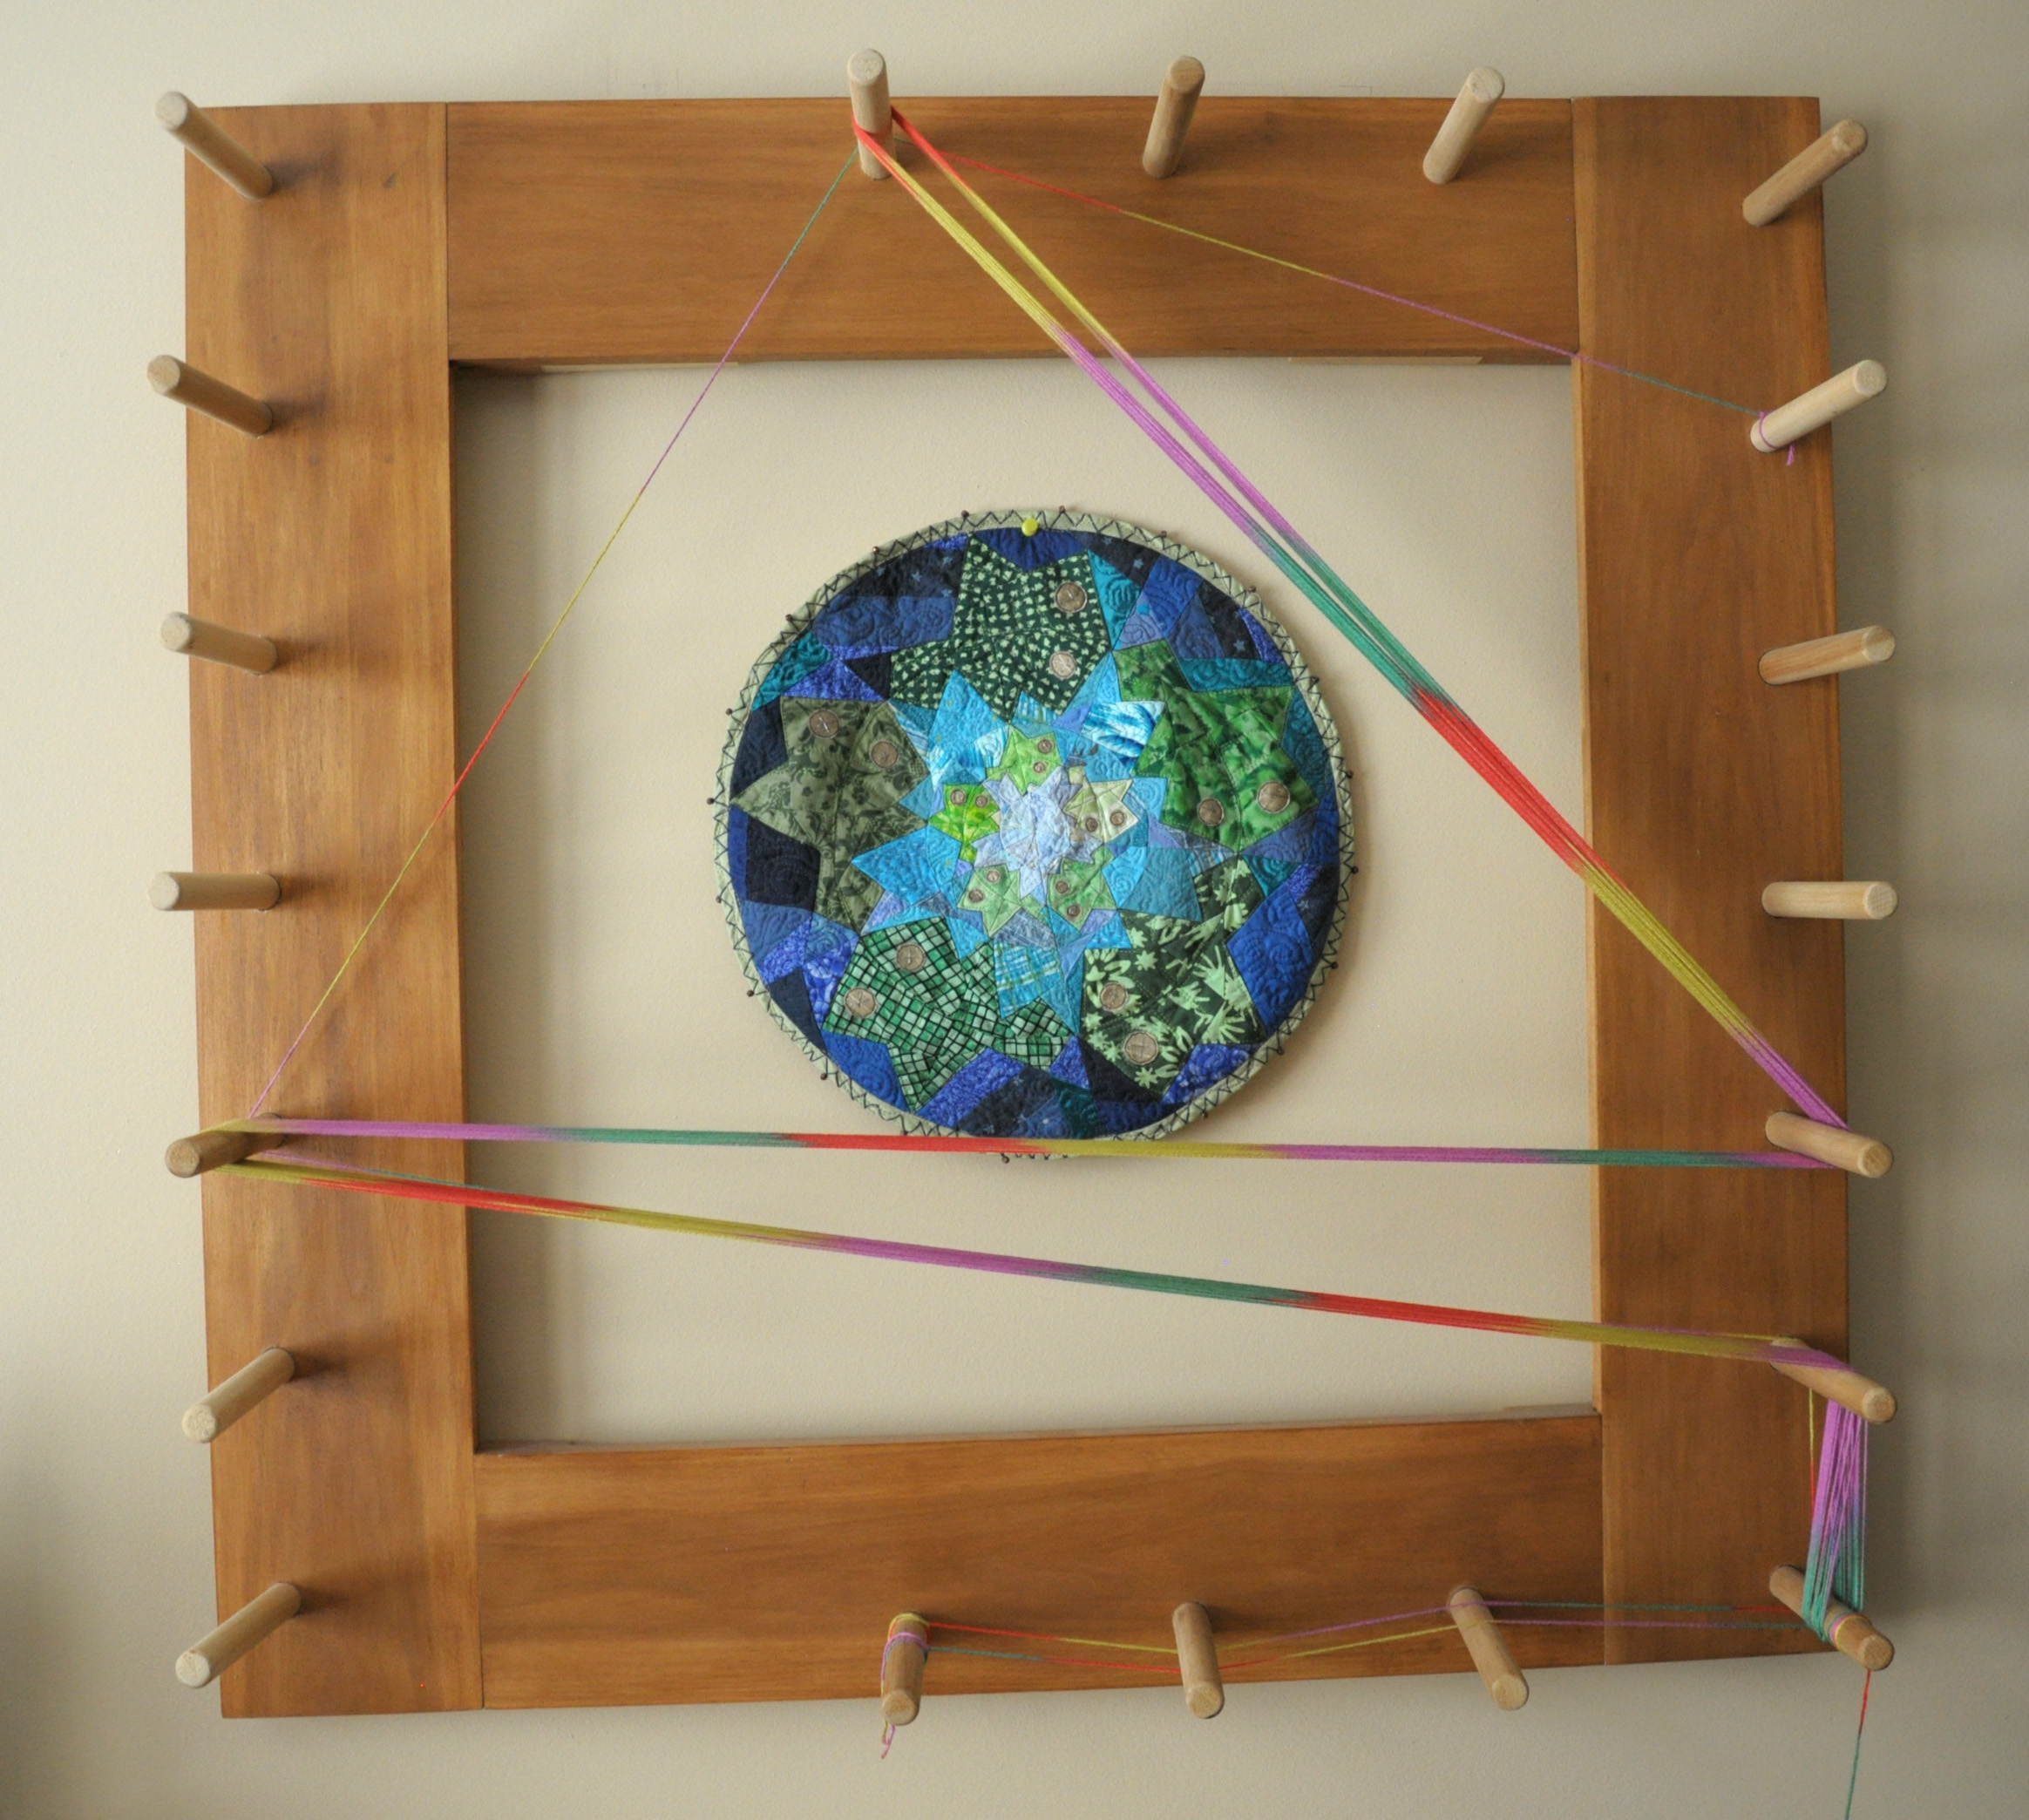
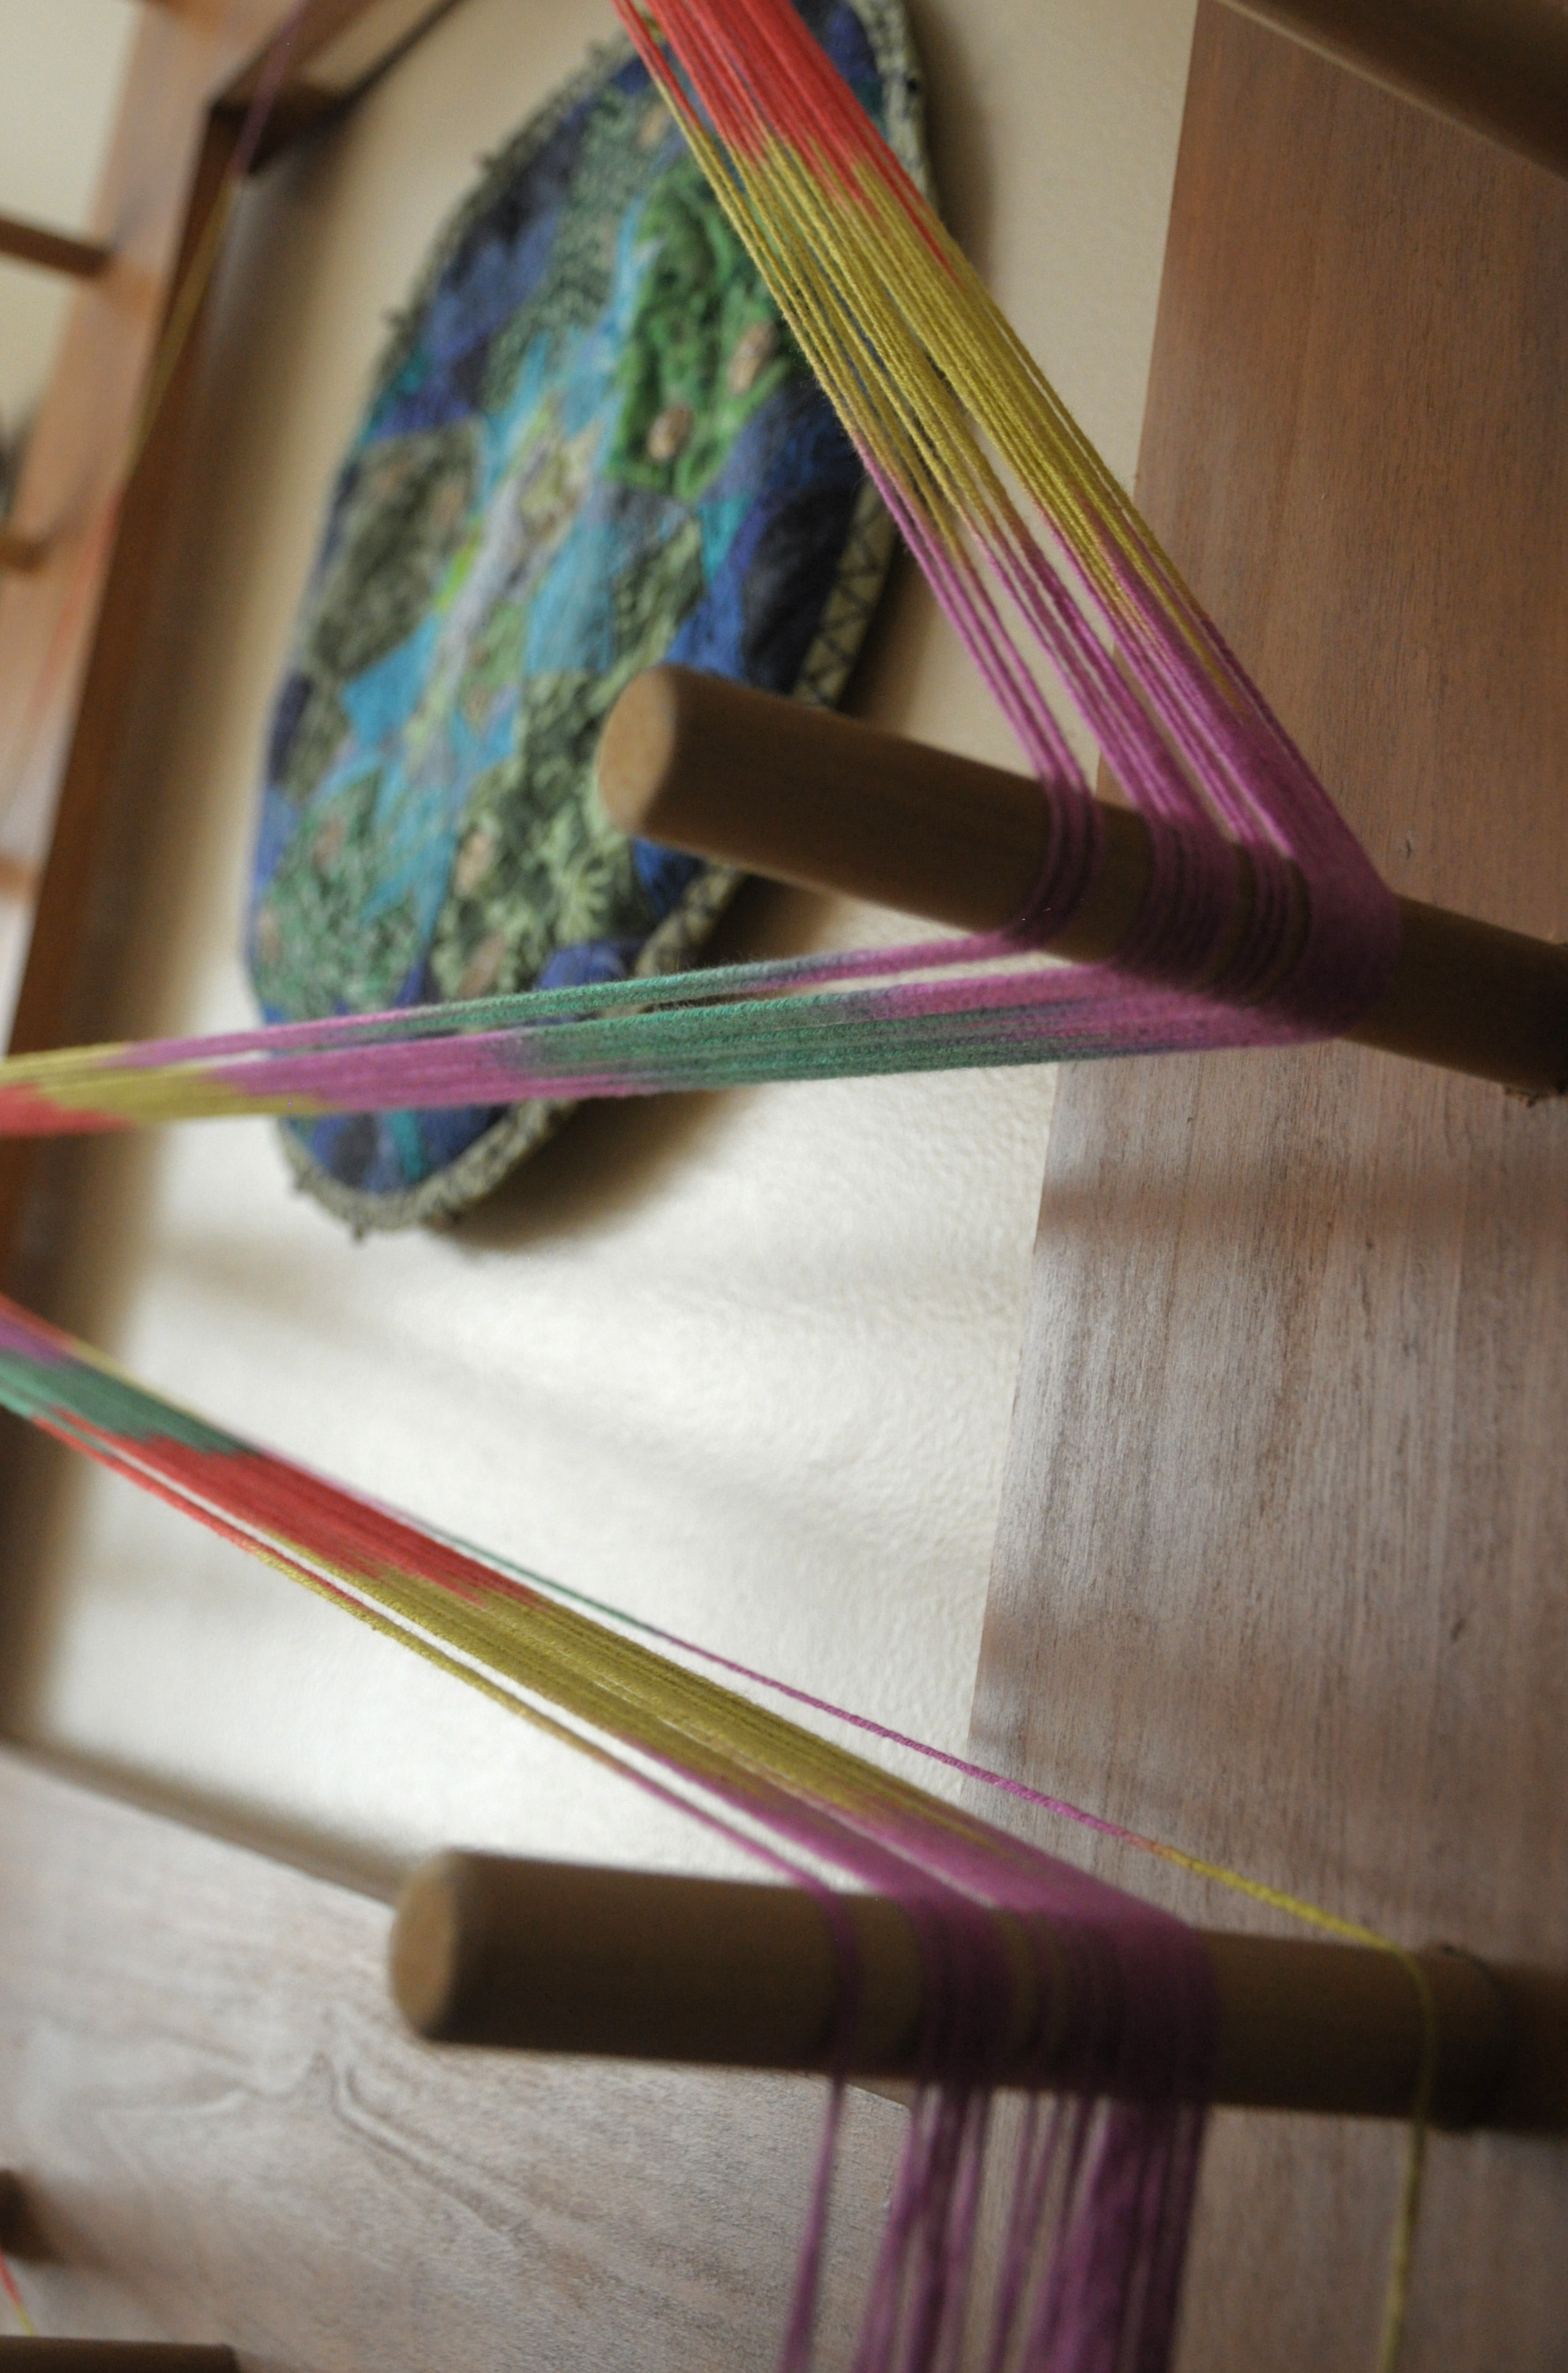
Plan B: use a warping board. I happen to have a warping board that I made several years ago. You can make smaller versions of this, or you can buy them. Or you can simply use two warping pegs clamped a certain distance apart. But the nice thing about a warping board is that it allows you to wind a long warp over a short distance, by wrapping the yarn back and forth between the pegs.

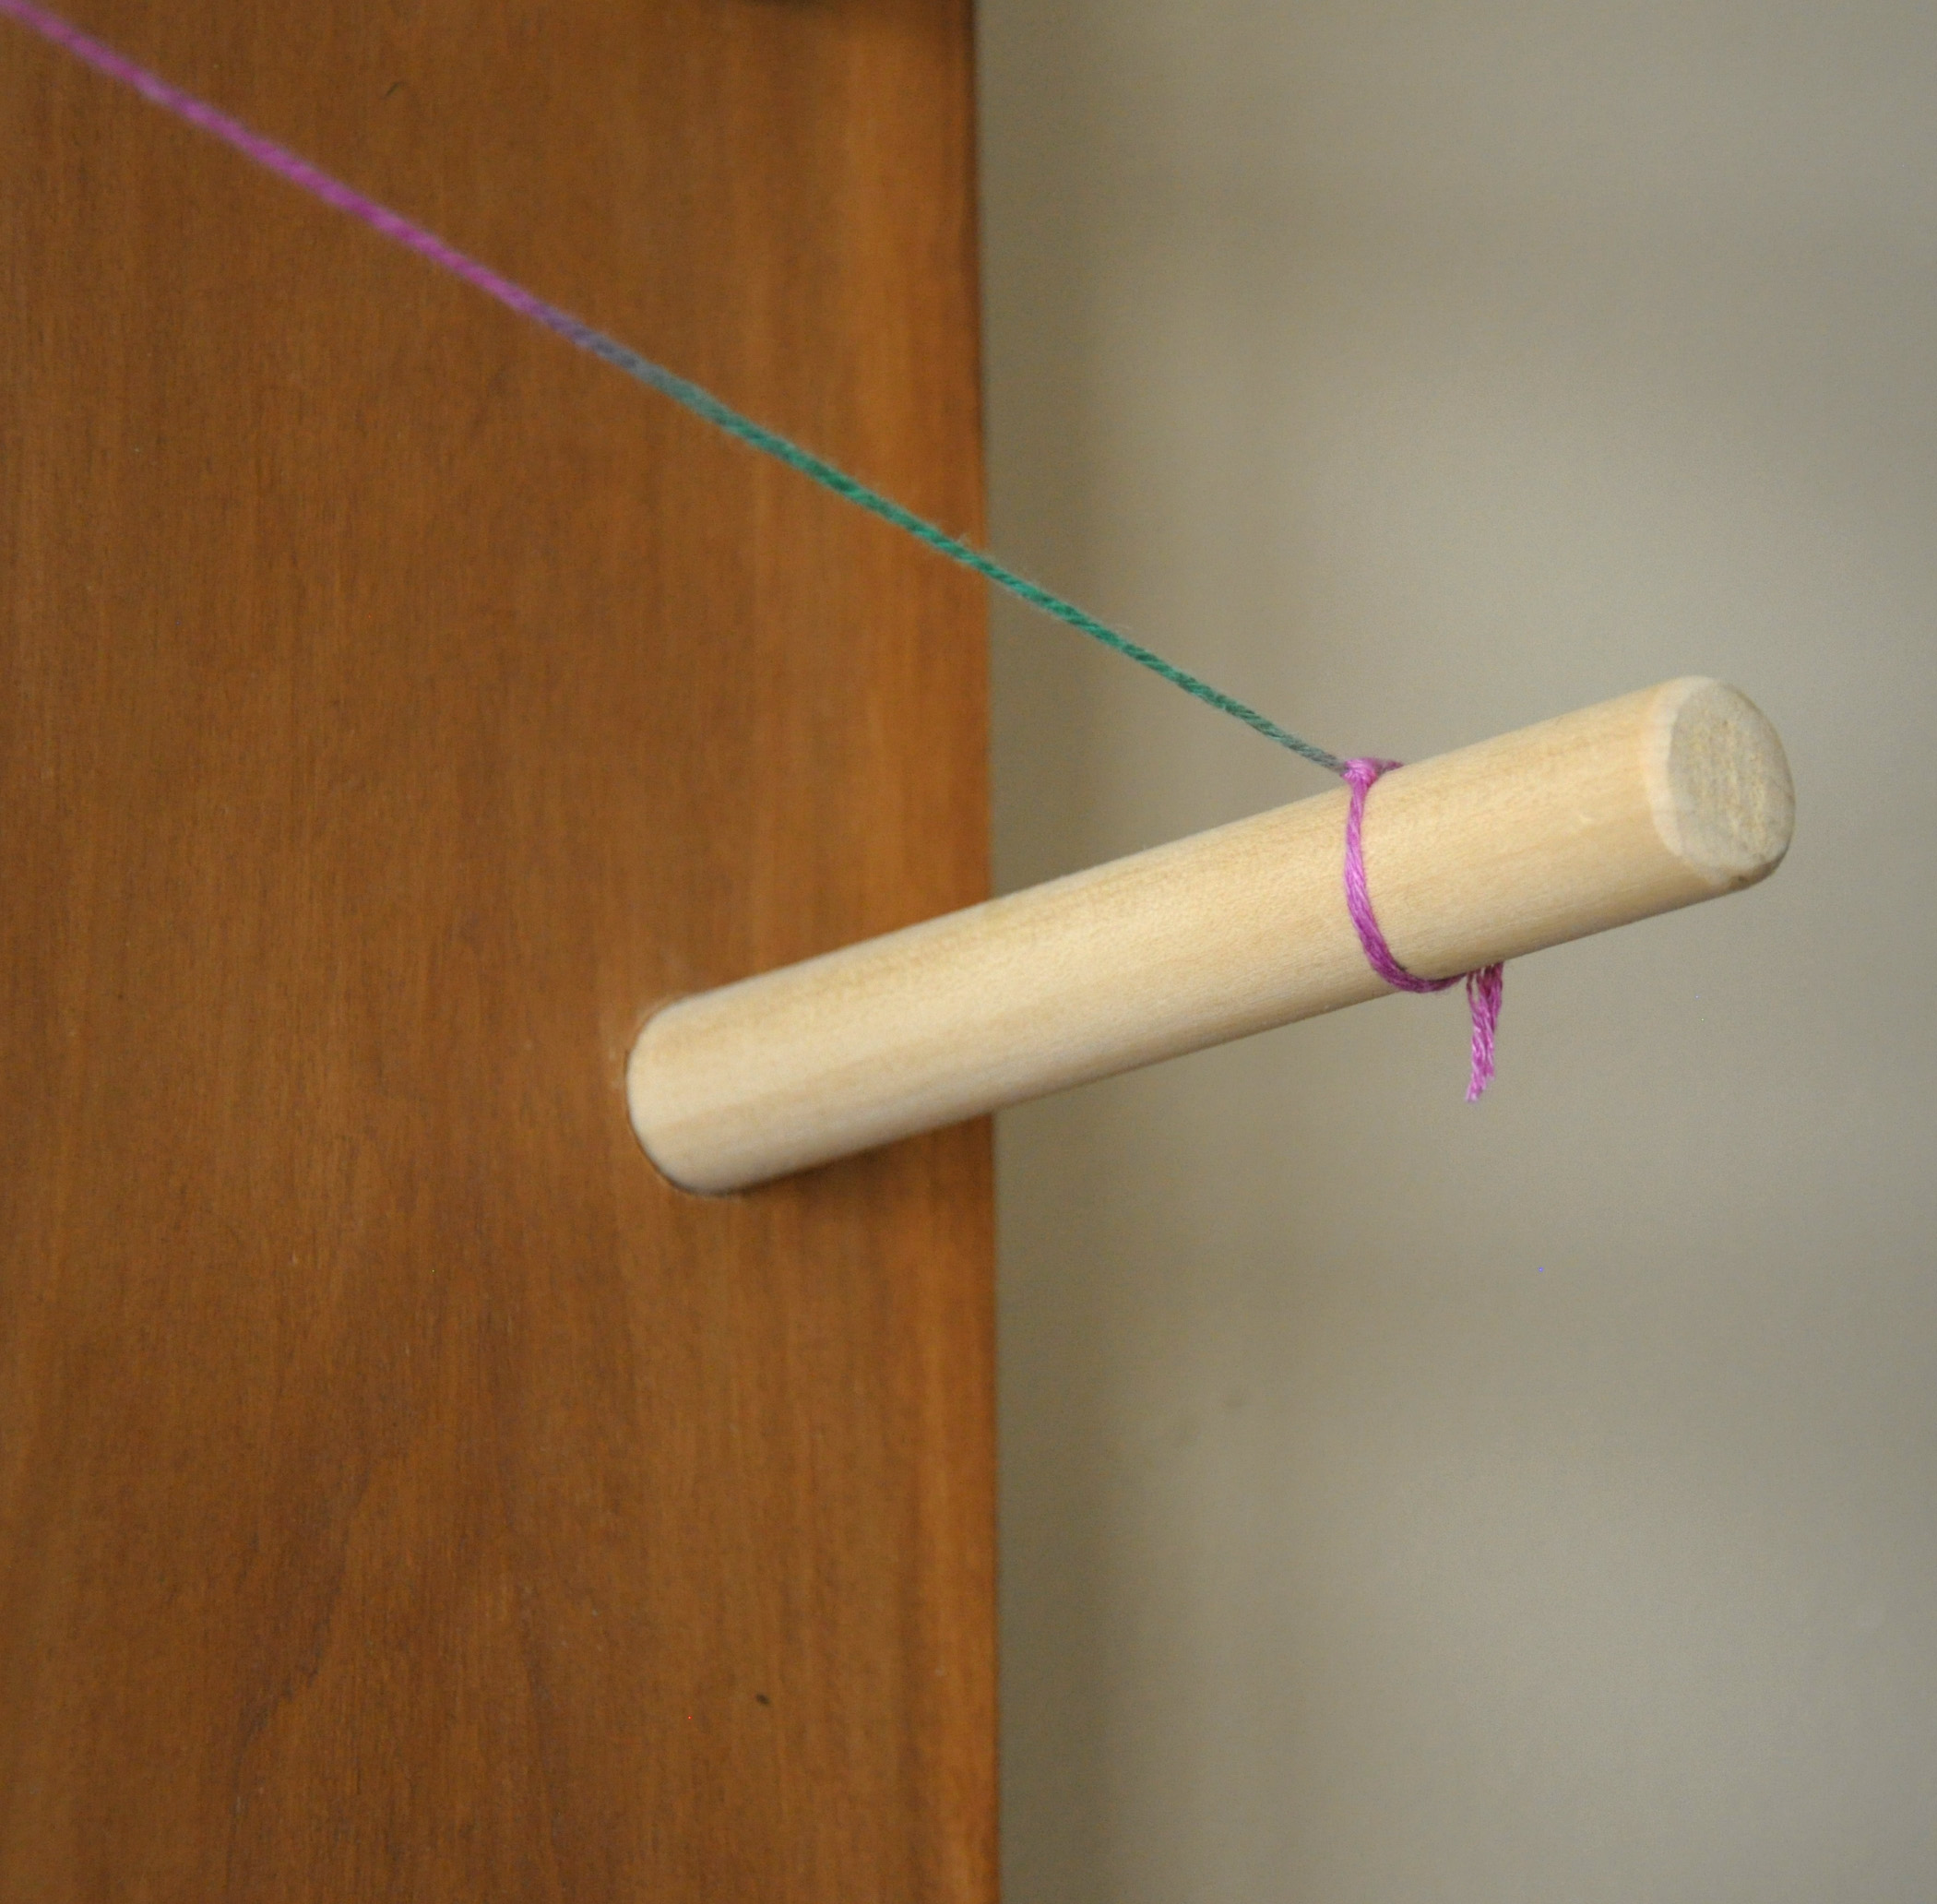
In this particular project, it was super helpful to have all those pegs. It allowed me to find the perfect distance in which my colors repeated. To begin, I first tied a guide string.

ColorPool_2

ColorPool_1

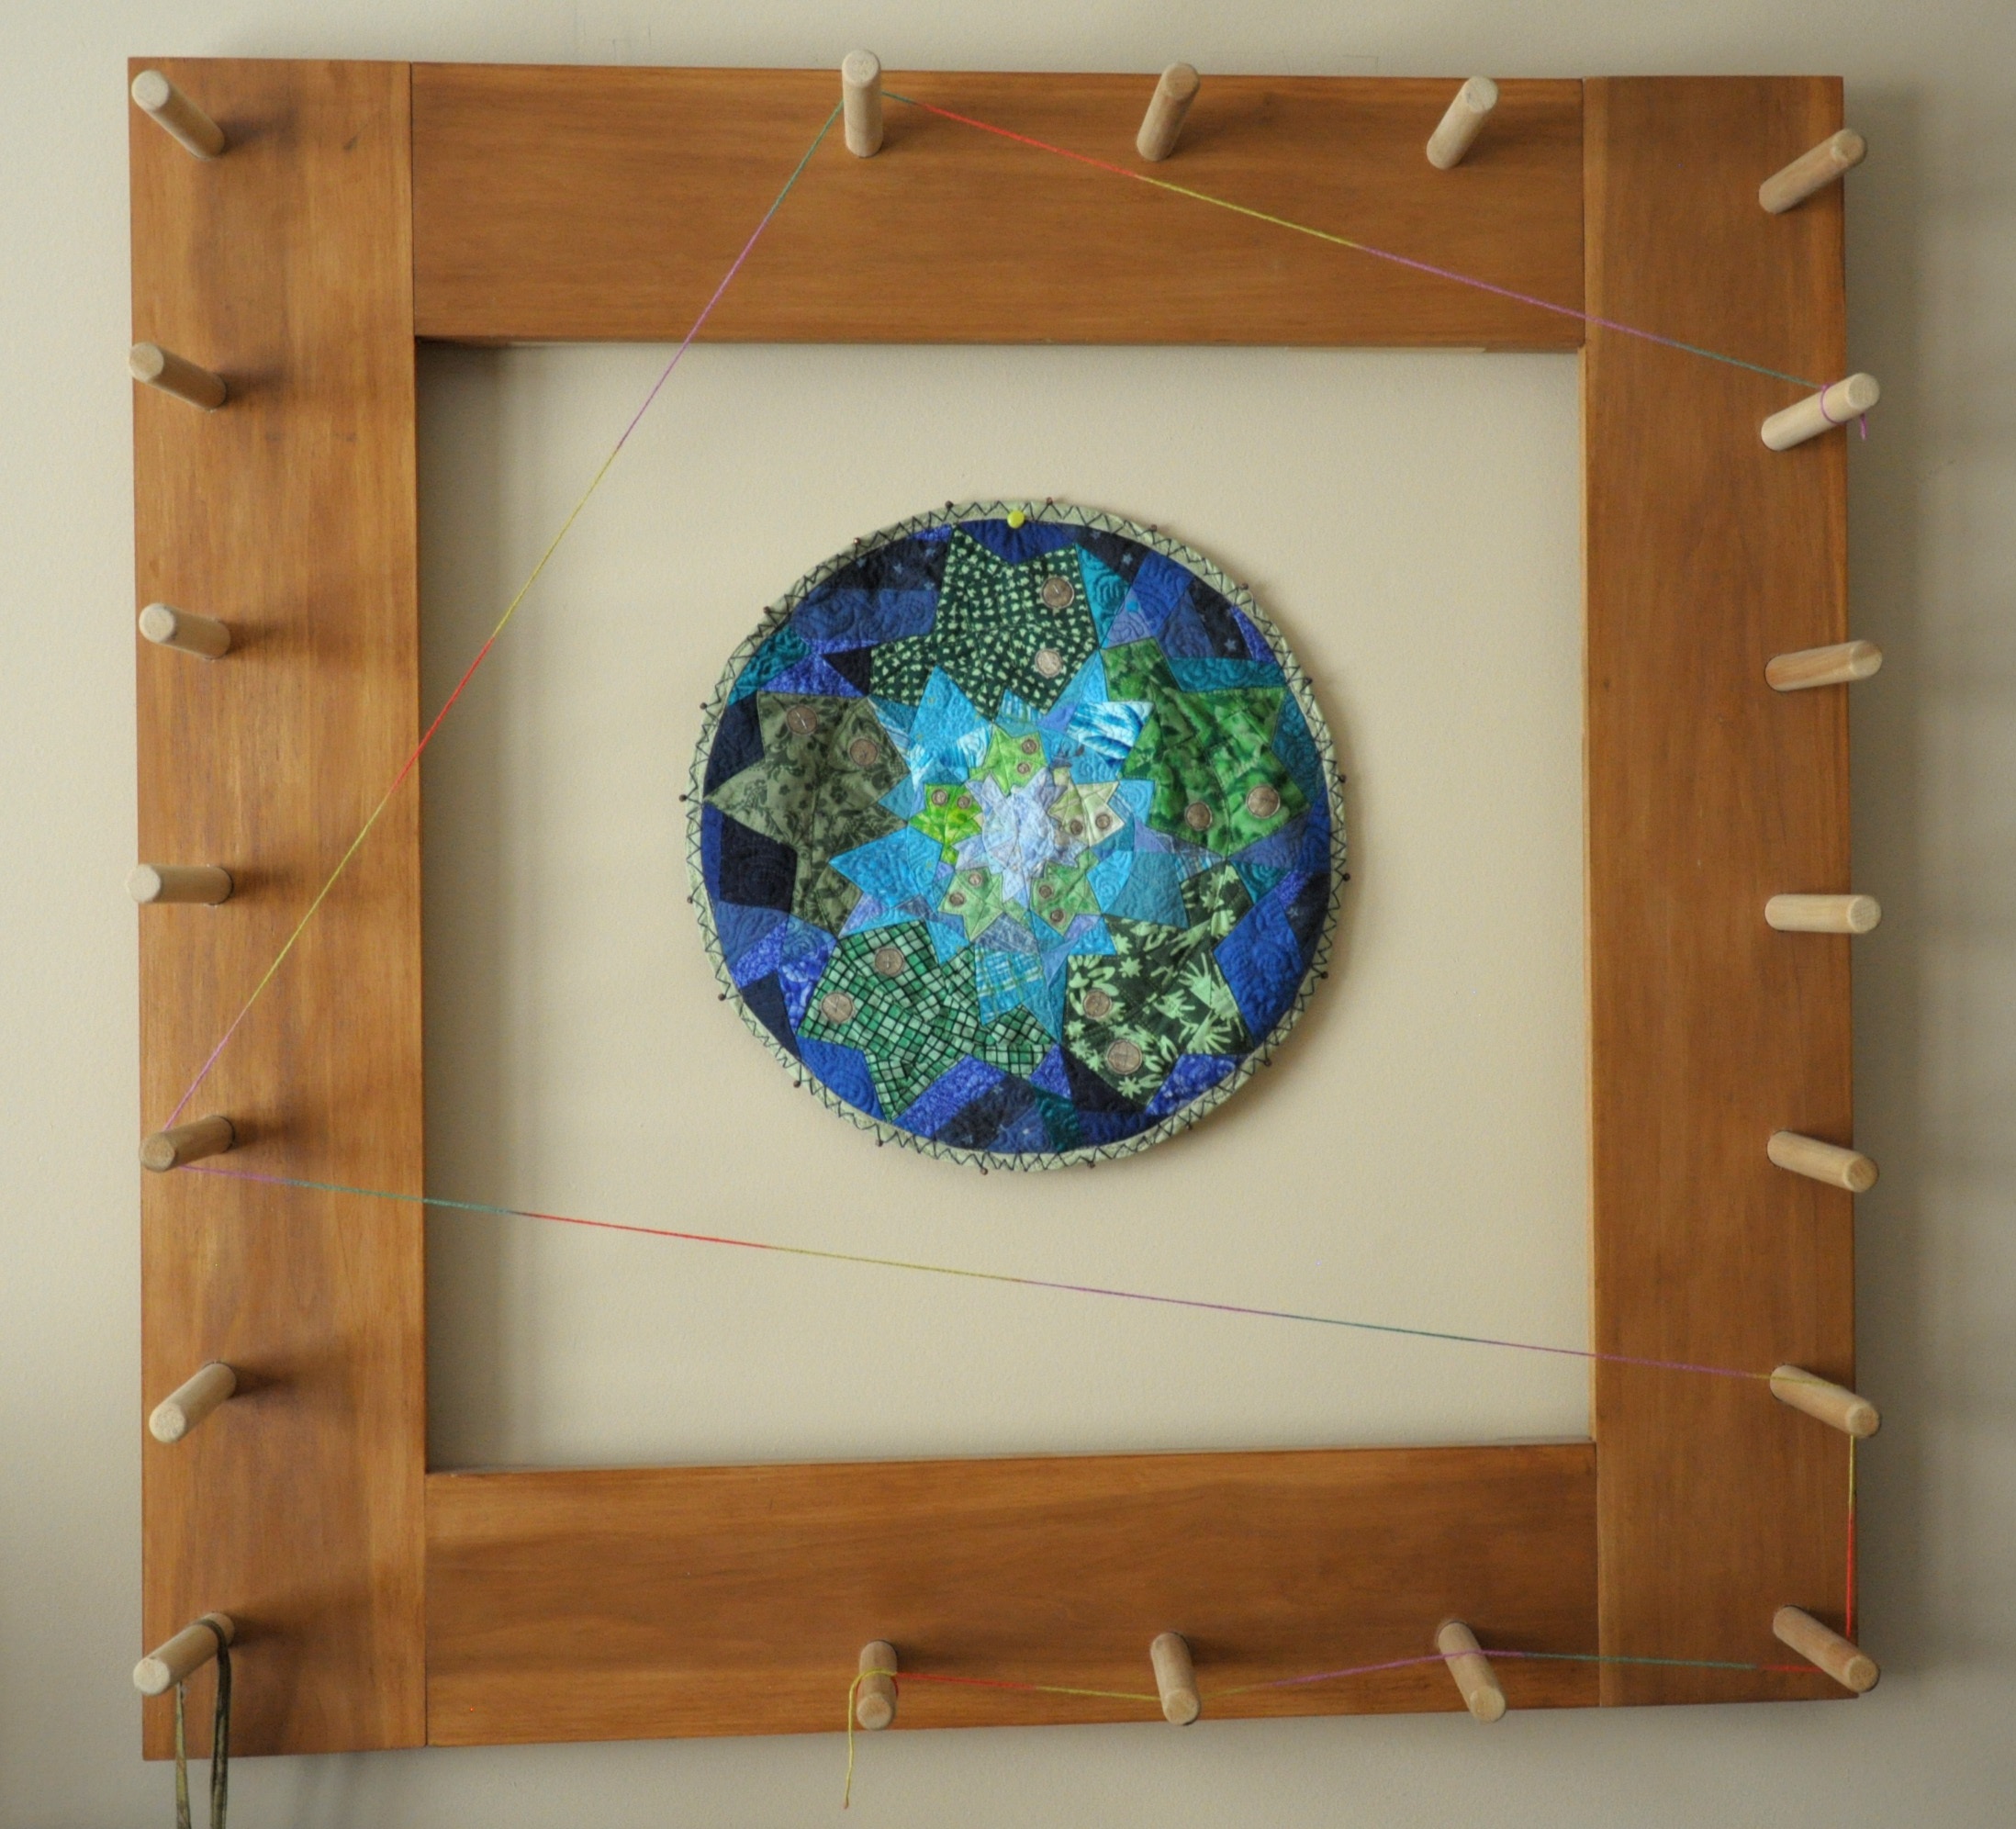
Then I wrapped along and around my pegs until I found my perfect distance. Then I tied the other end to the last peg. A guide string is just that – a guide that the warp will follow as you’re wrapping it around the warping board.

ColorPool_3

But, as you’ll see, I ended up having to adjust my path because the colors were not quite lining up.

ColorPool_4

I took about a million pictures of this warp – it was so pretty!

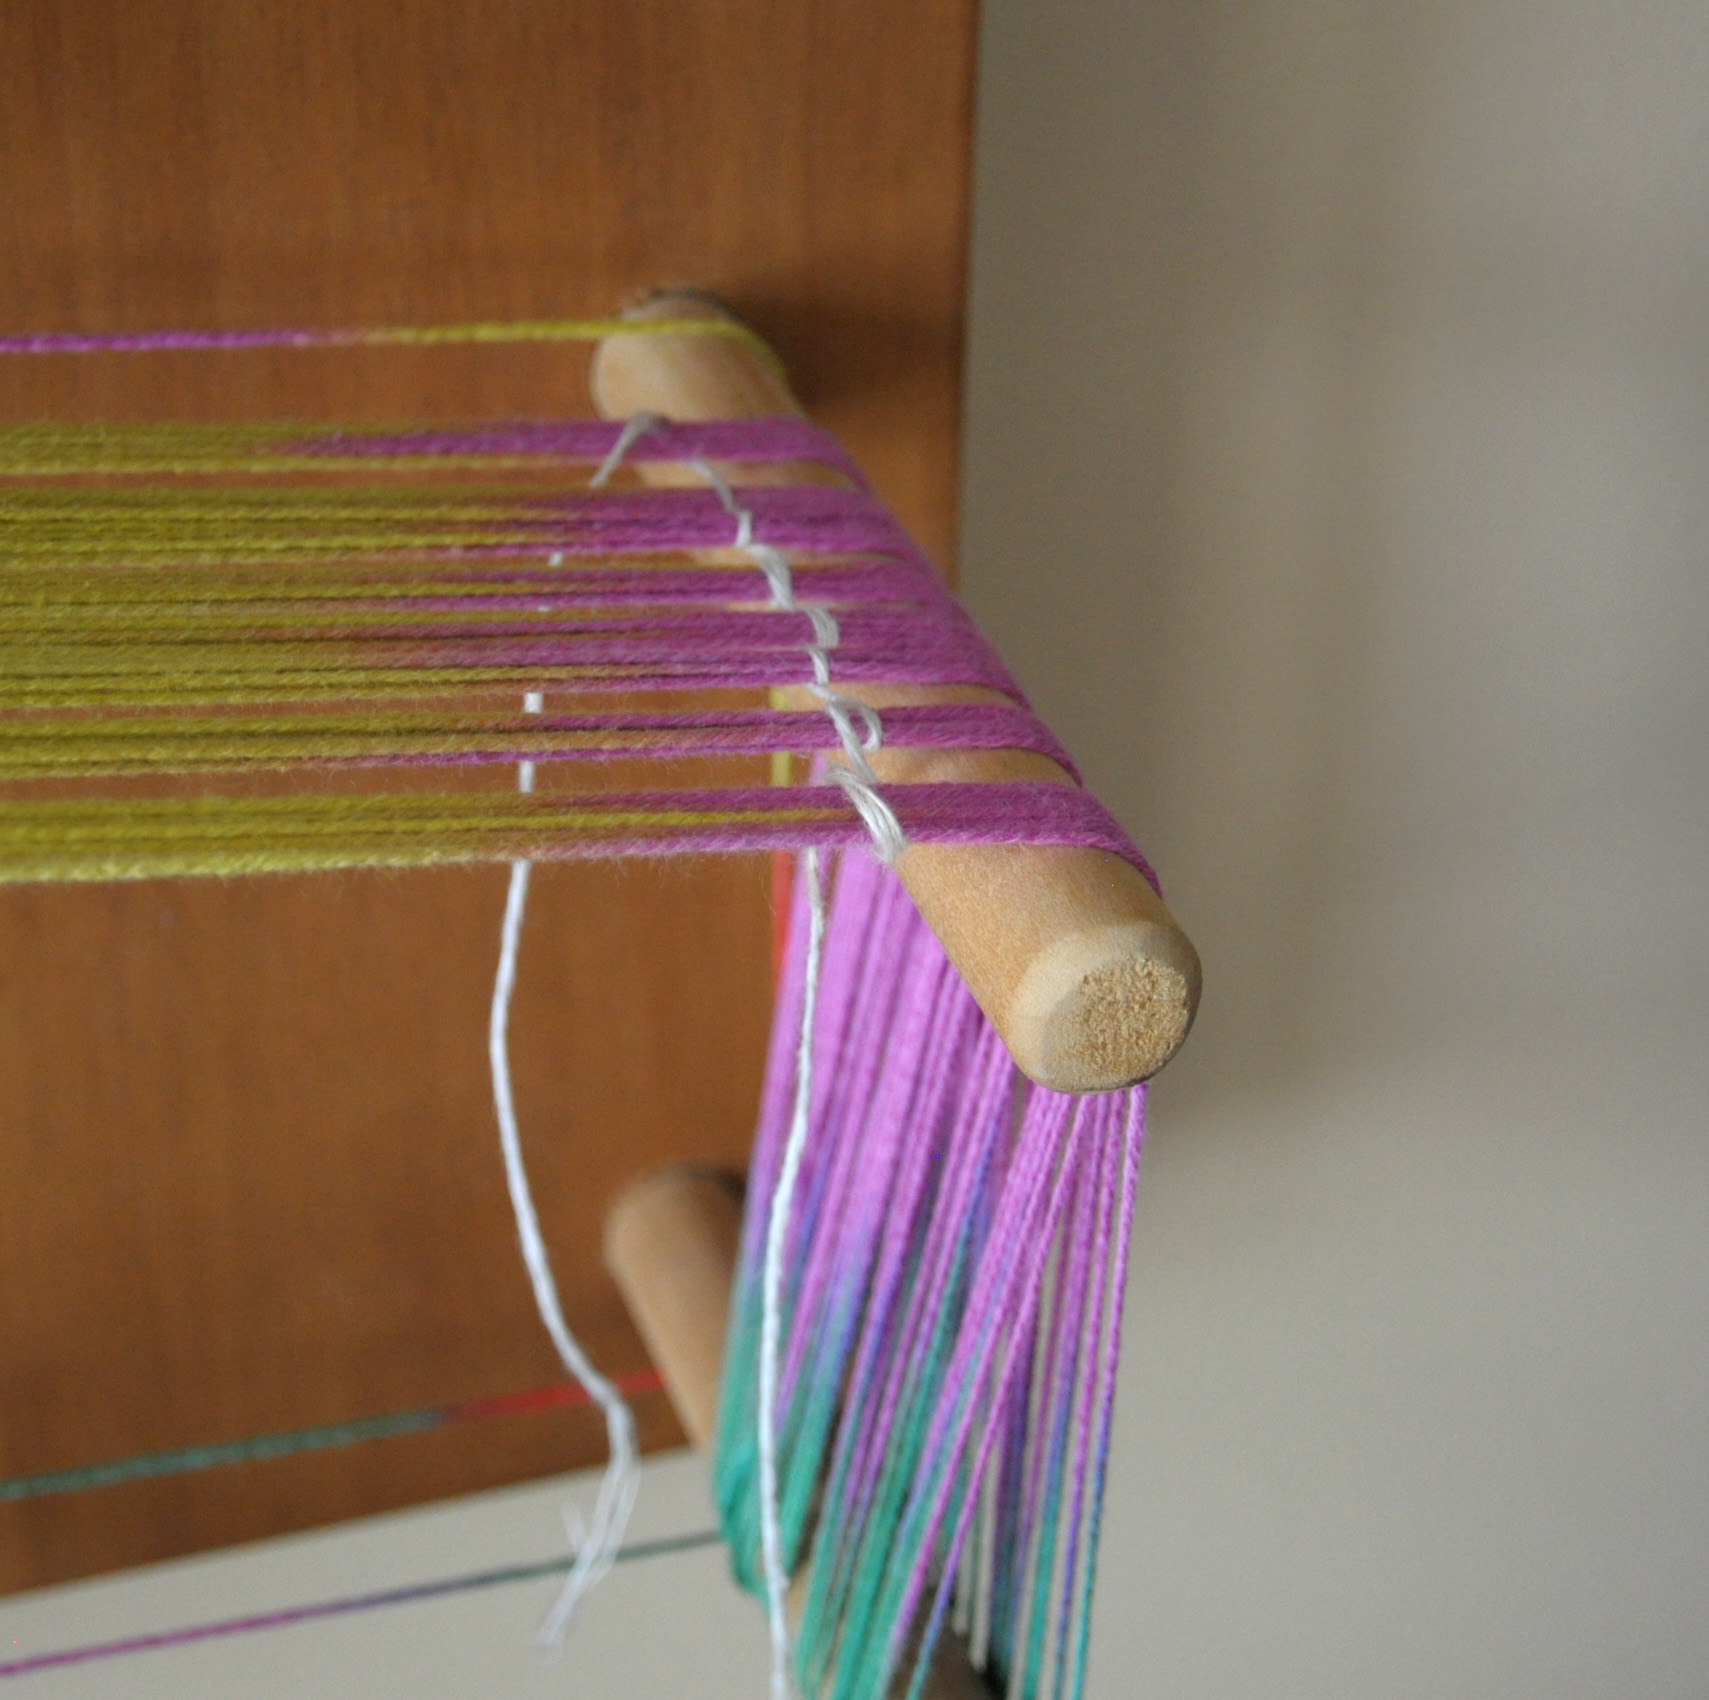
When direct-warping to the rigid heddle, it’s easy enough to count my warp ends. But when using a warping board, I like to use a string to help. I knew that I was going to have 8 stripes of my multi, at 8 ends each. So I just wrapped my contrasting yarn around the warp every 8 ends.

ColorPool_5

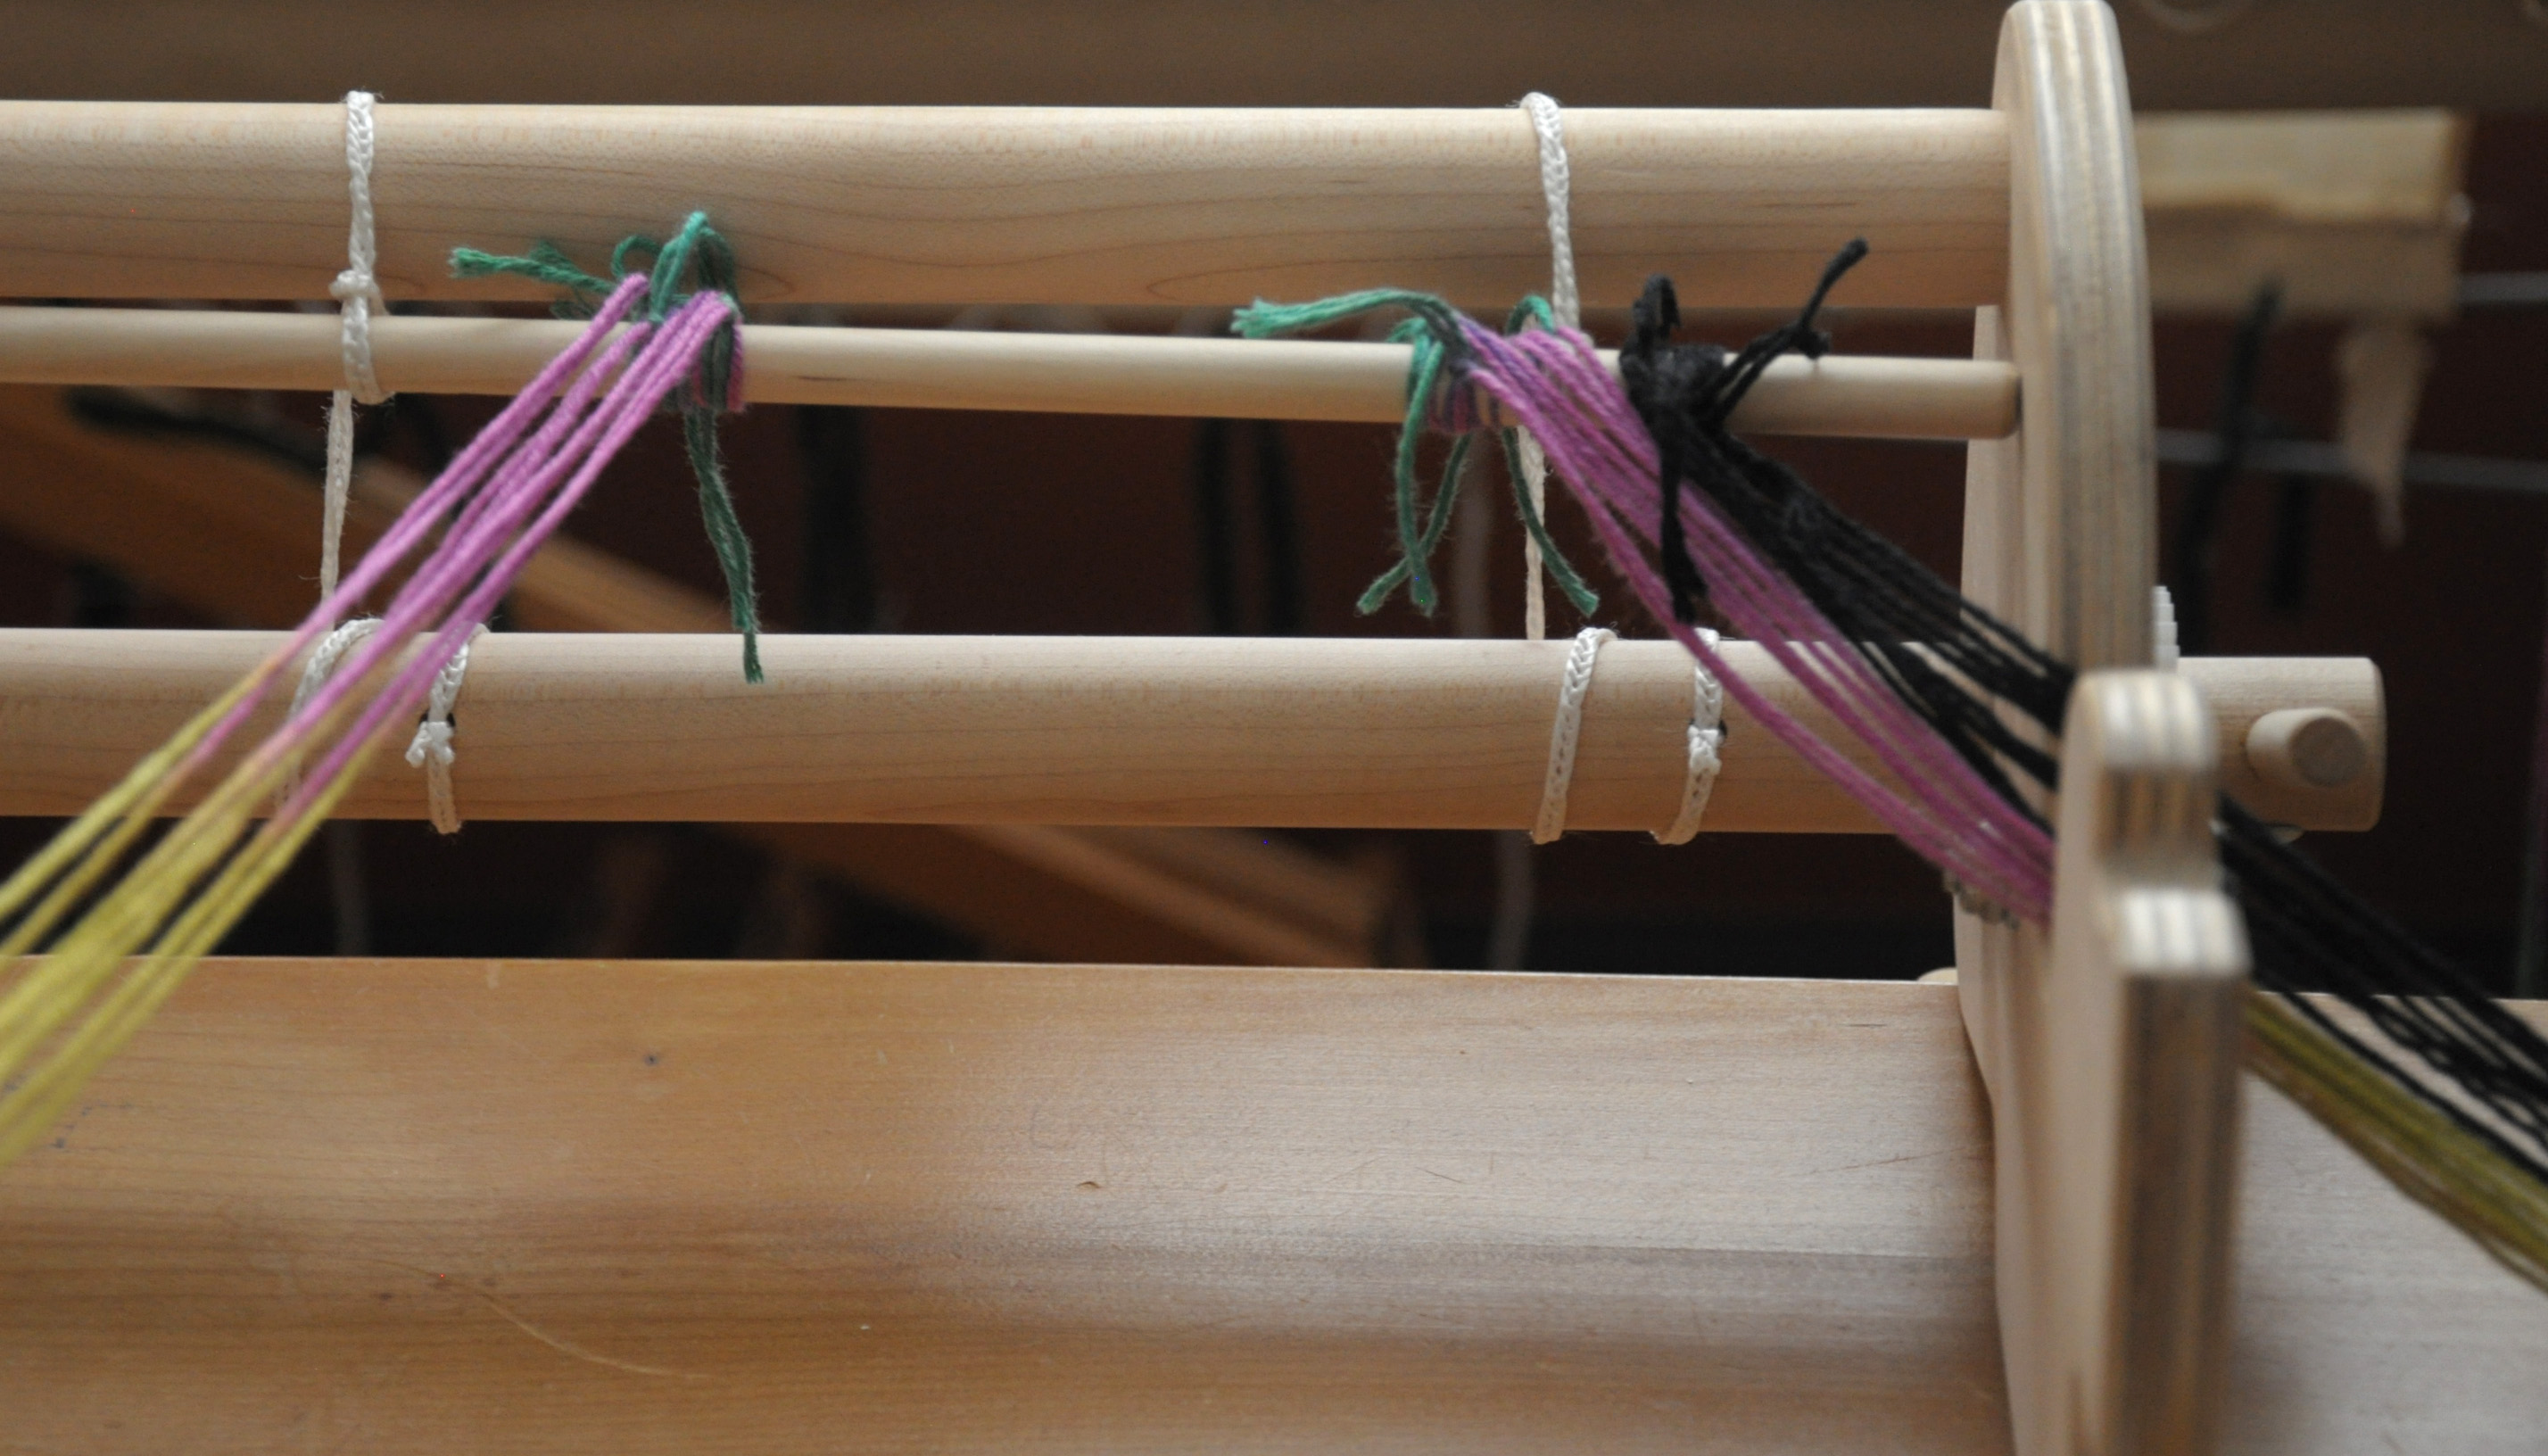
After warping my 9 stripes-worth of black, I was all ready to tie-on. In retrospect, I could/should have only cut one end of my warp. If I had done that, I could have simply looped one end around my back dowel, rather than having to tie all the ends on. It’s been awhile since I used a warping board!

ColorPool_6

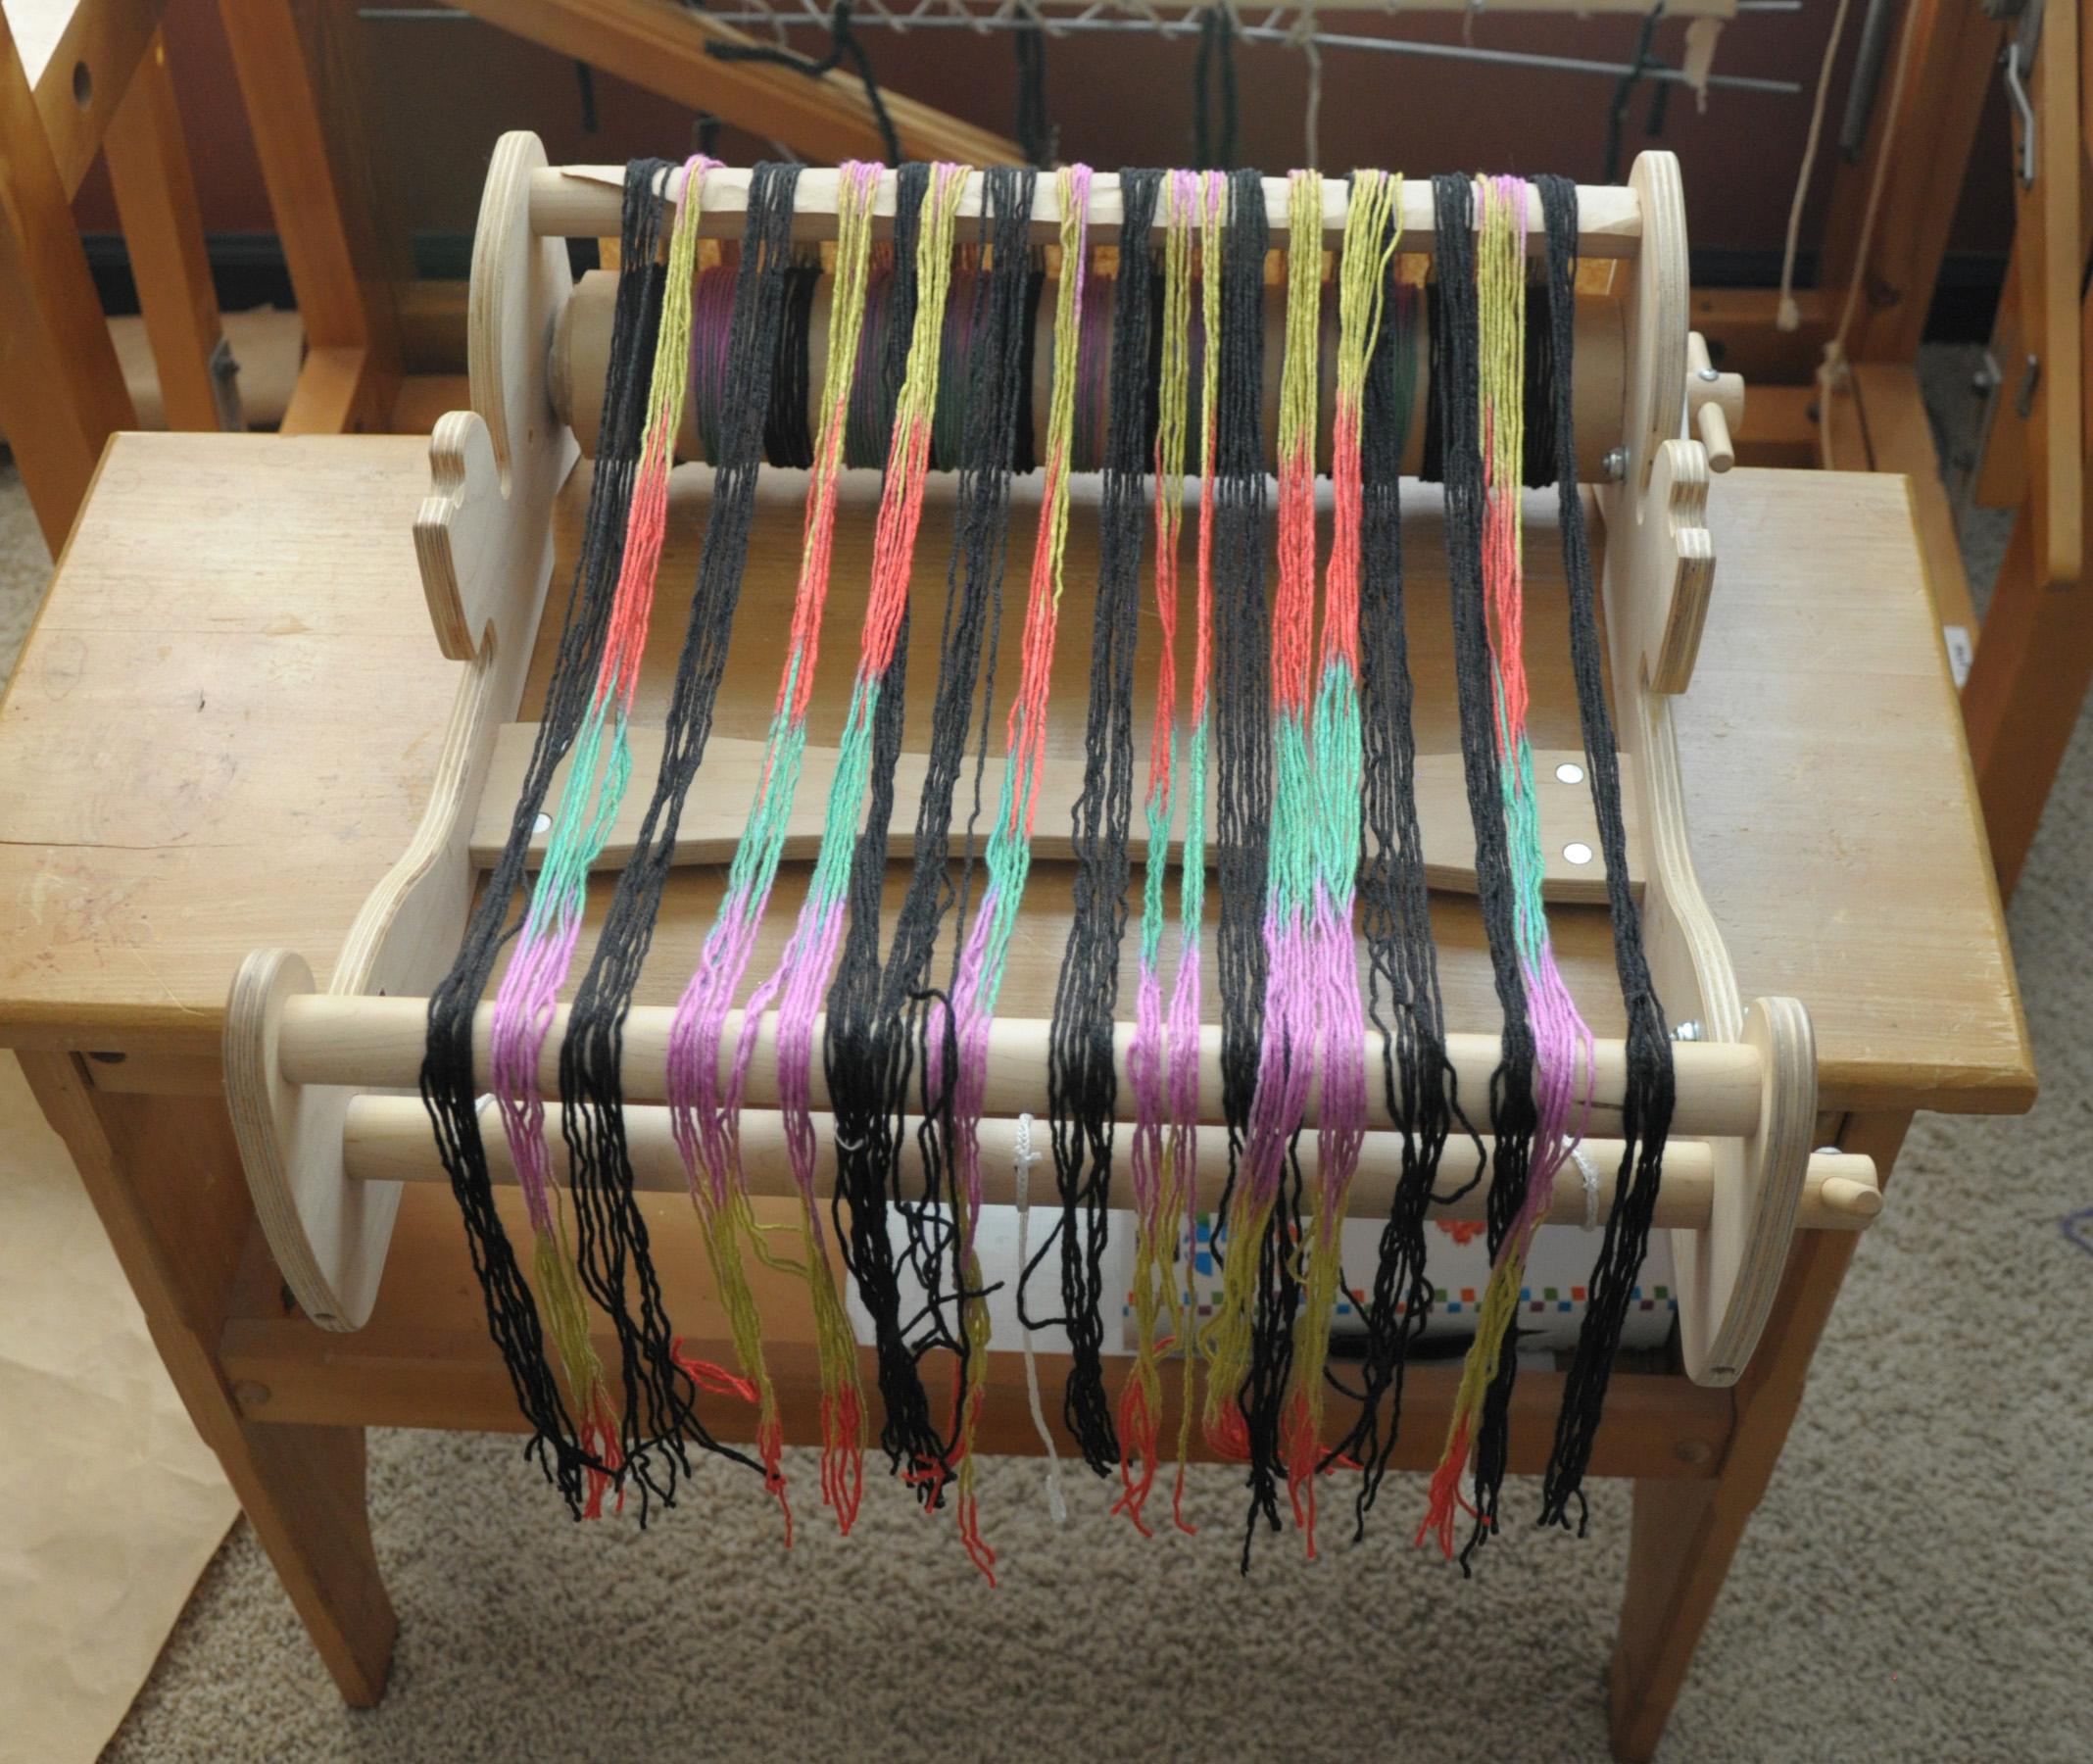
After tying all the ends on, I made sure they were even and ready to be wound on.

ColorPool_7

ColorPool_8

After winding:

ColorPool_9

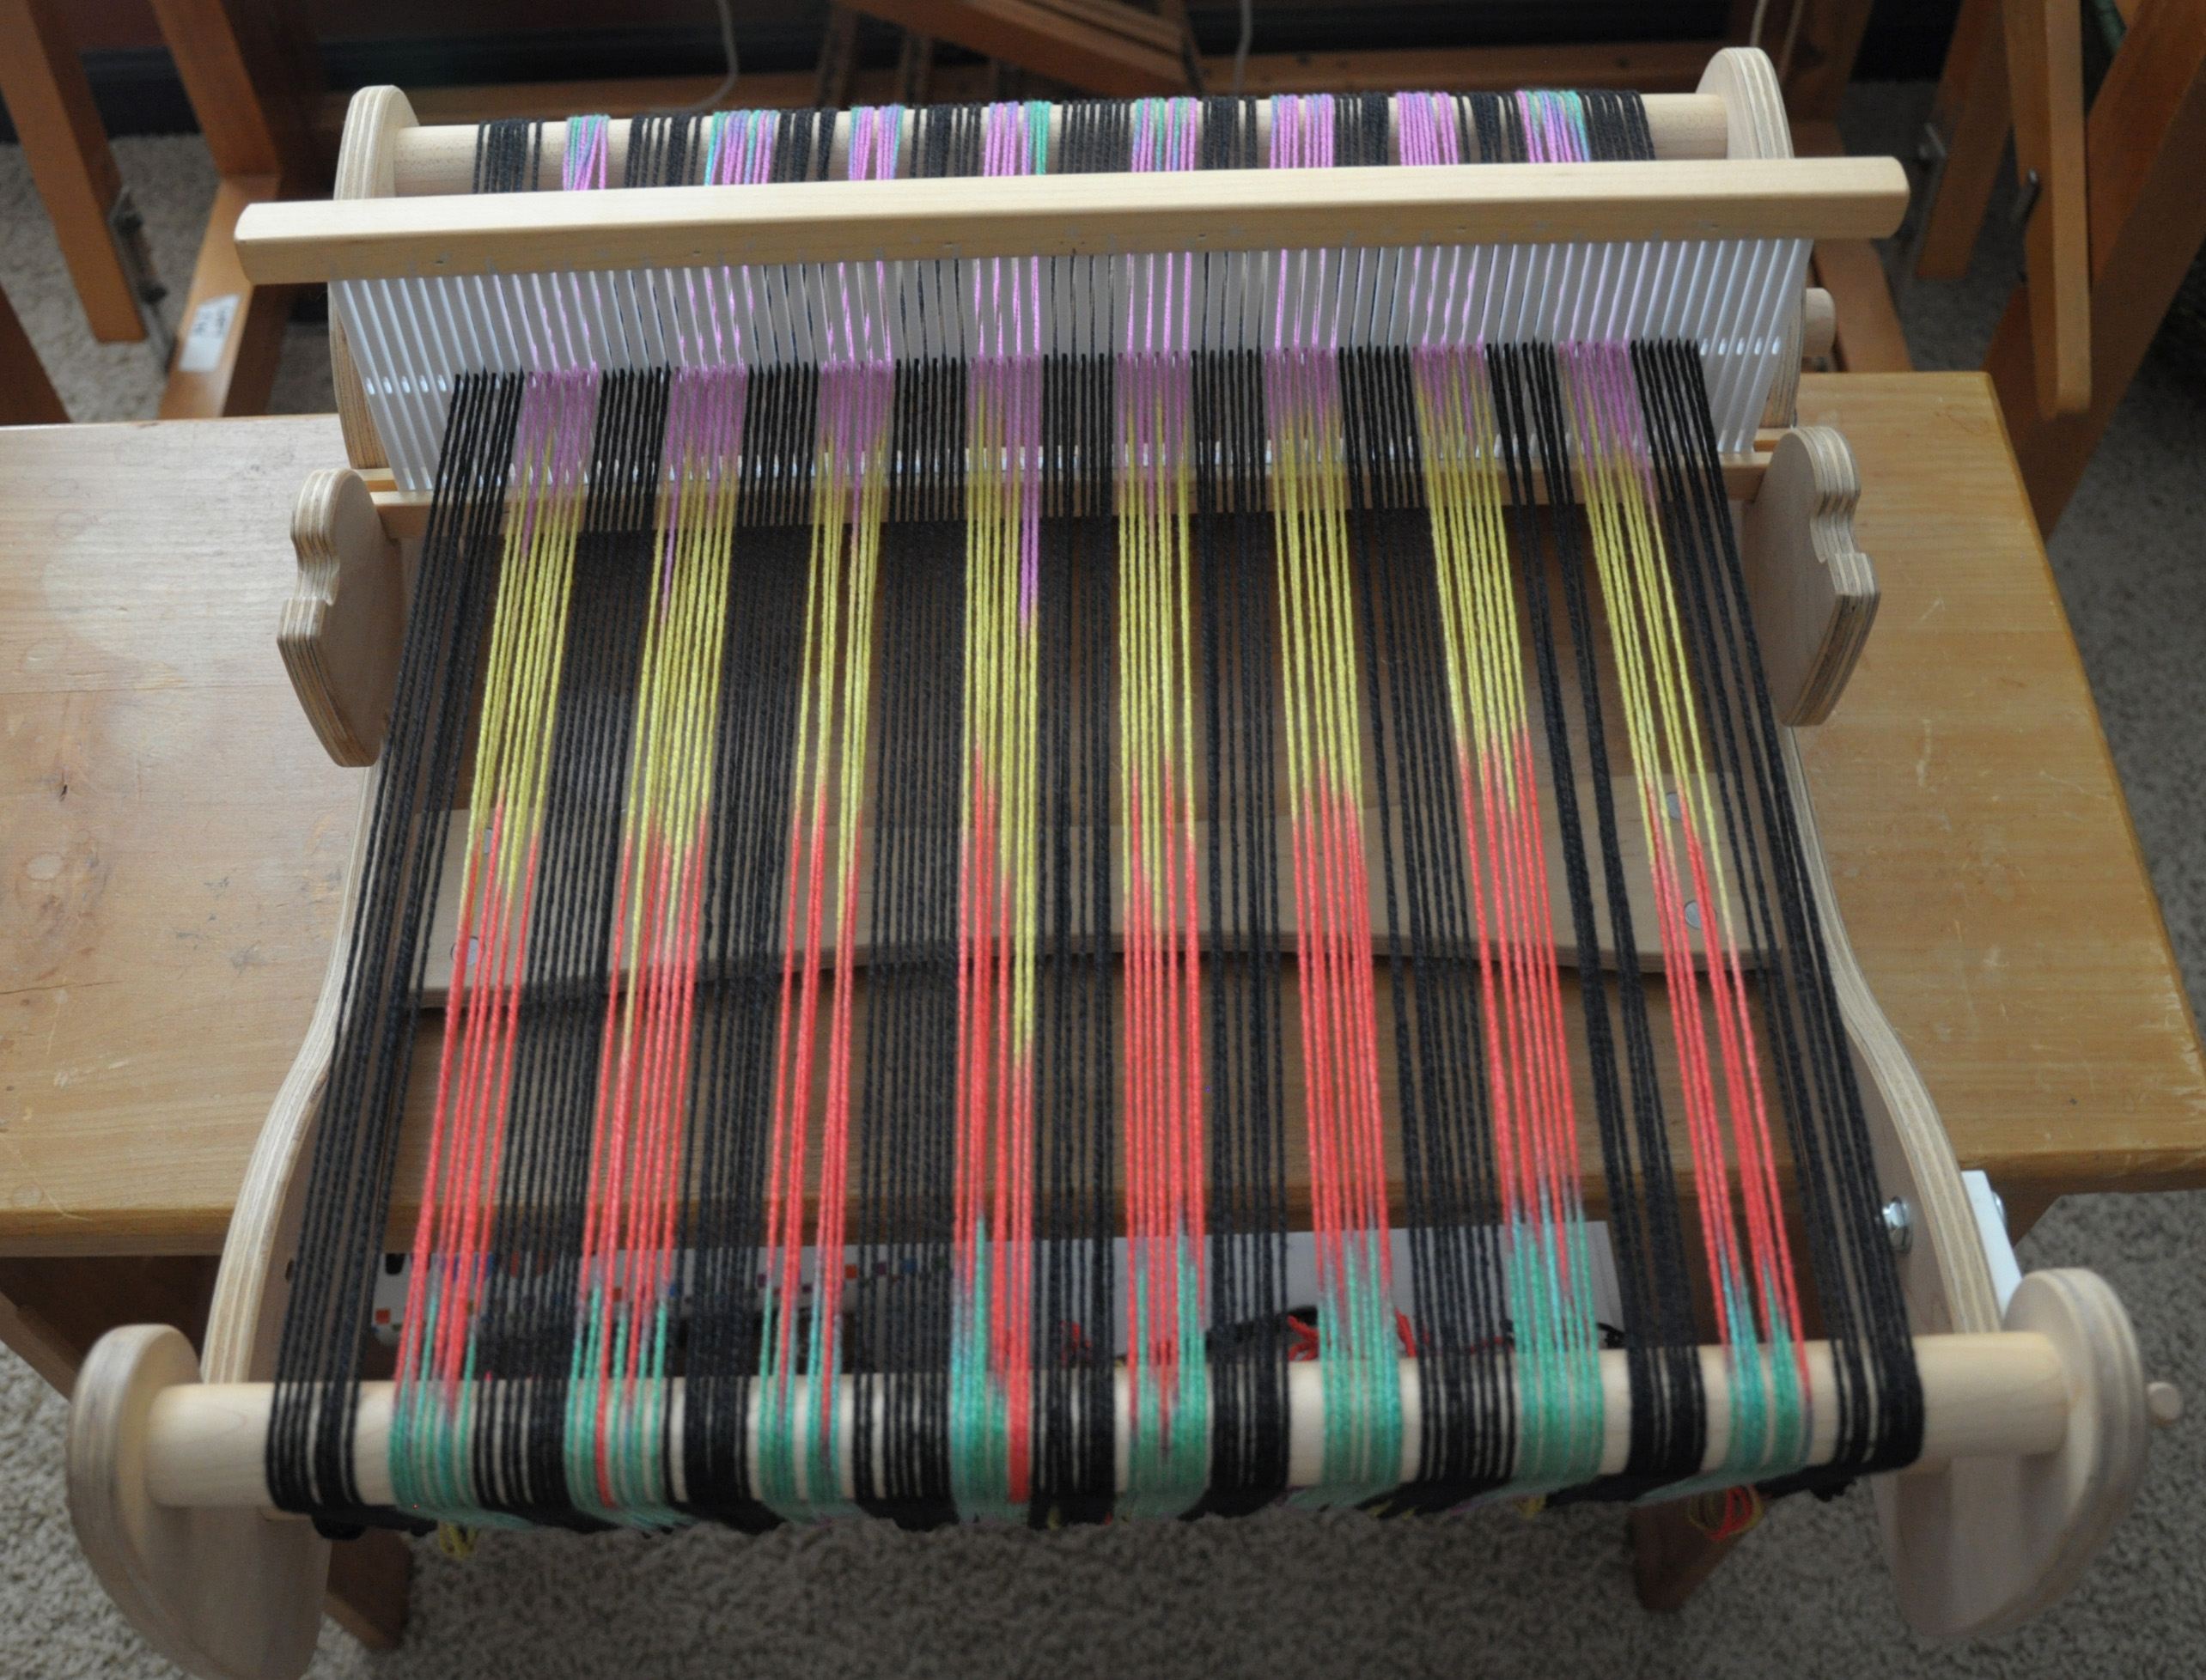
And after tying onto the front dowel.

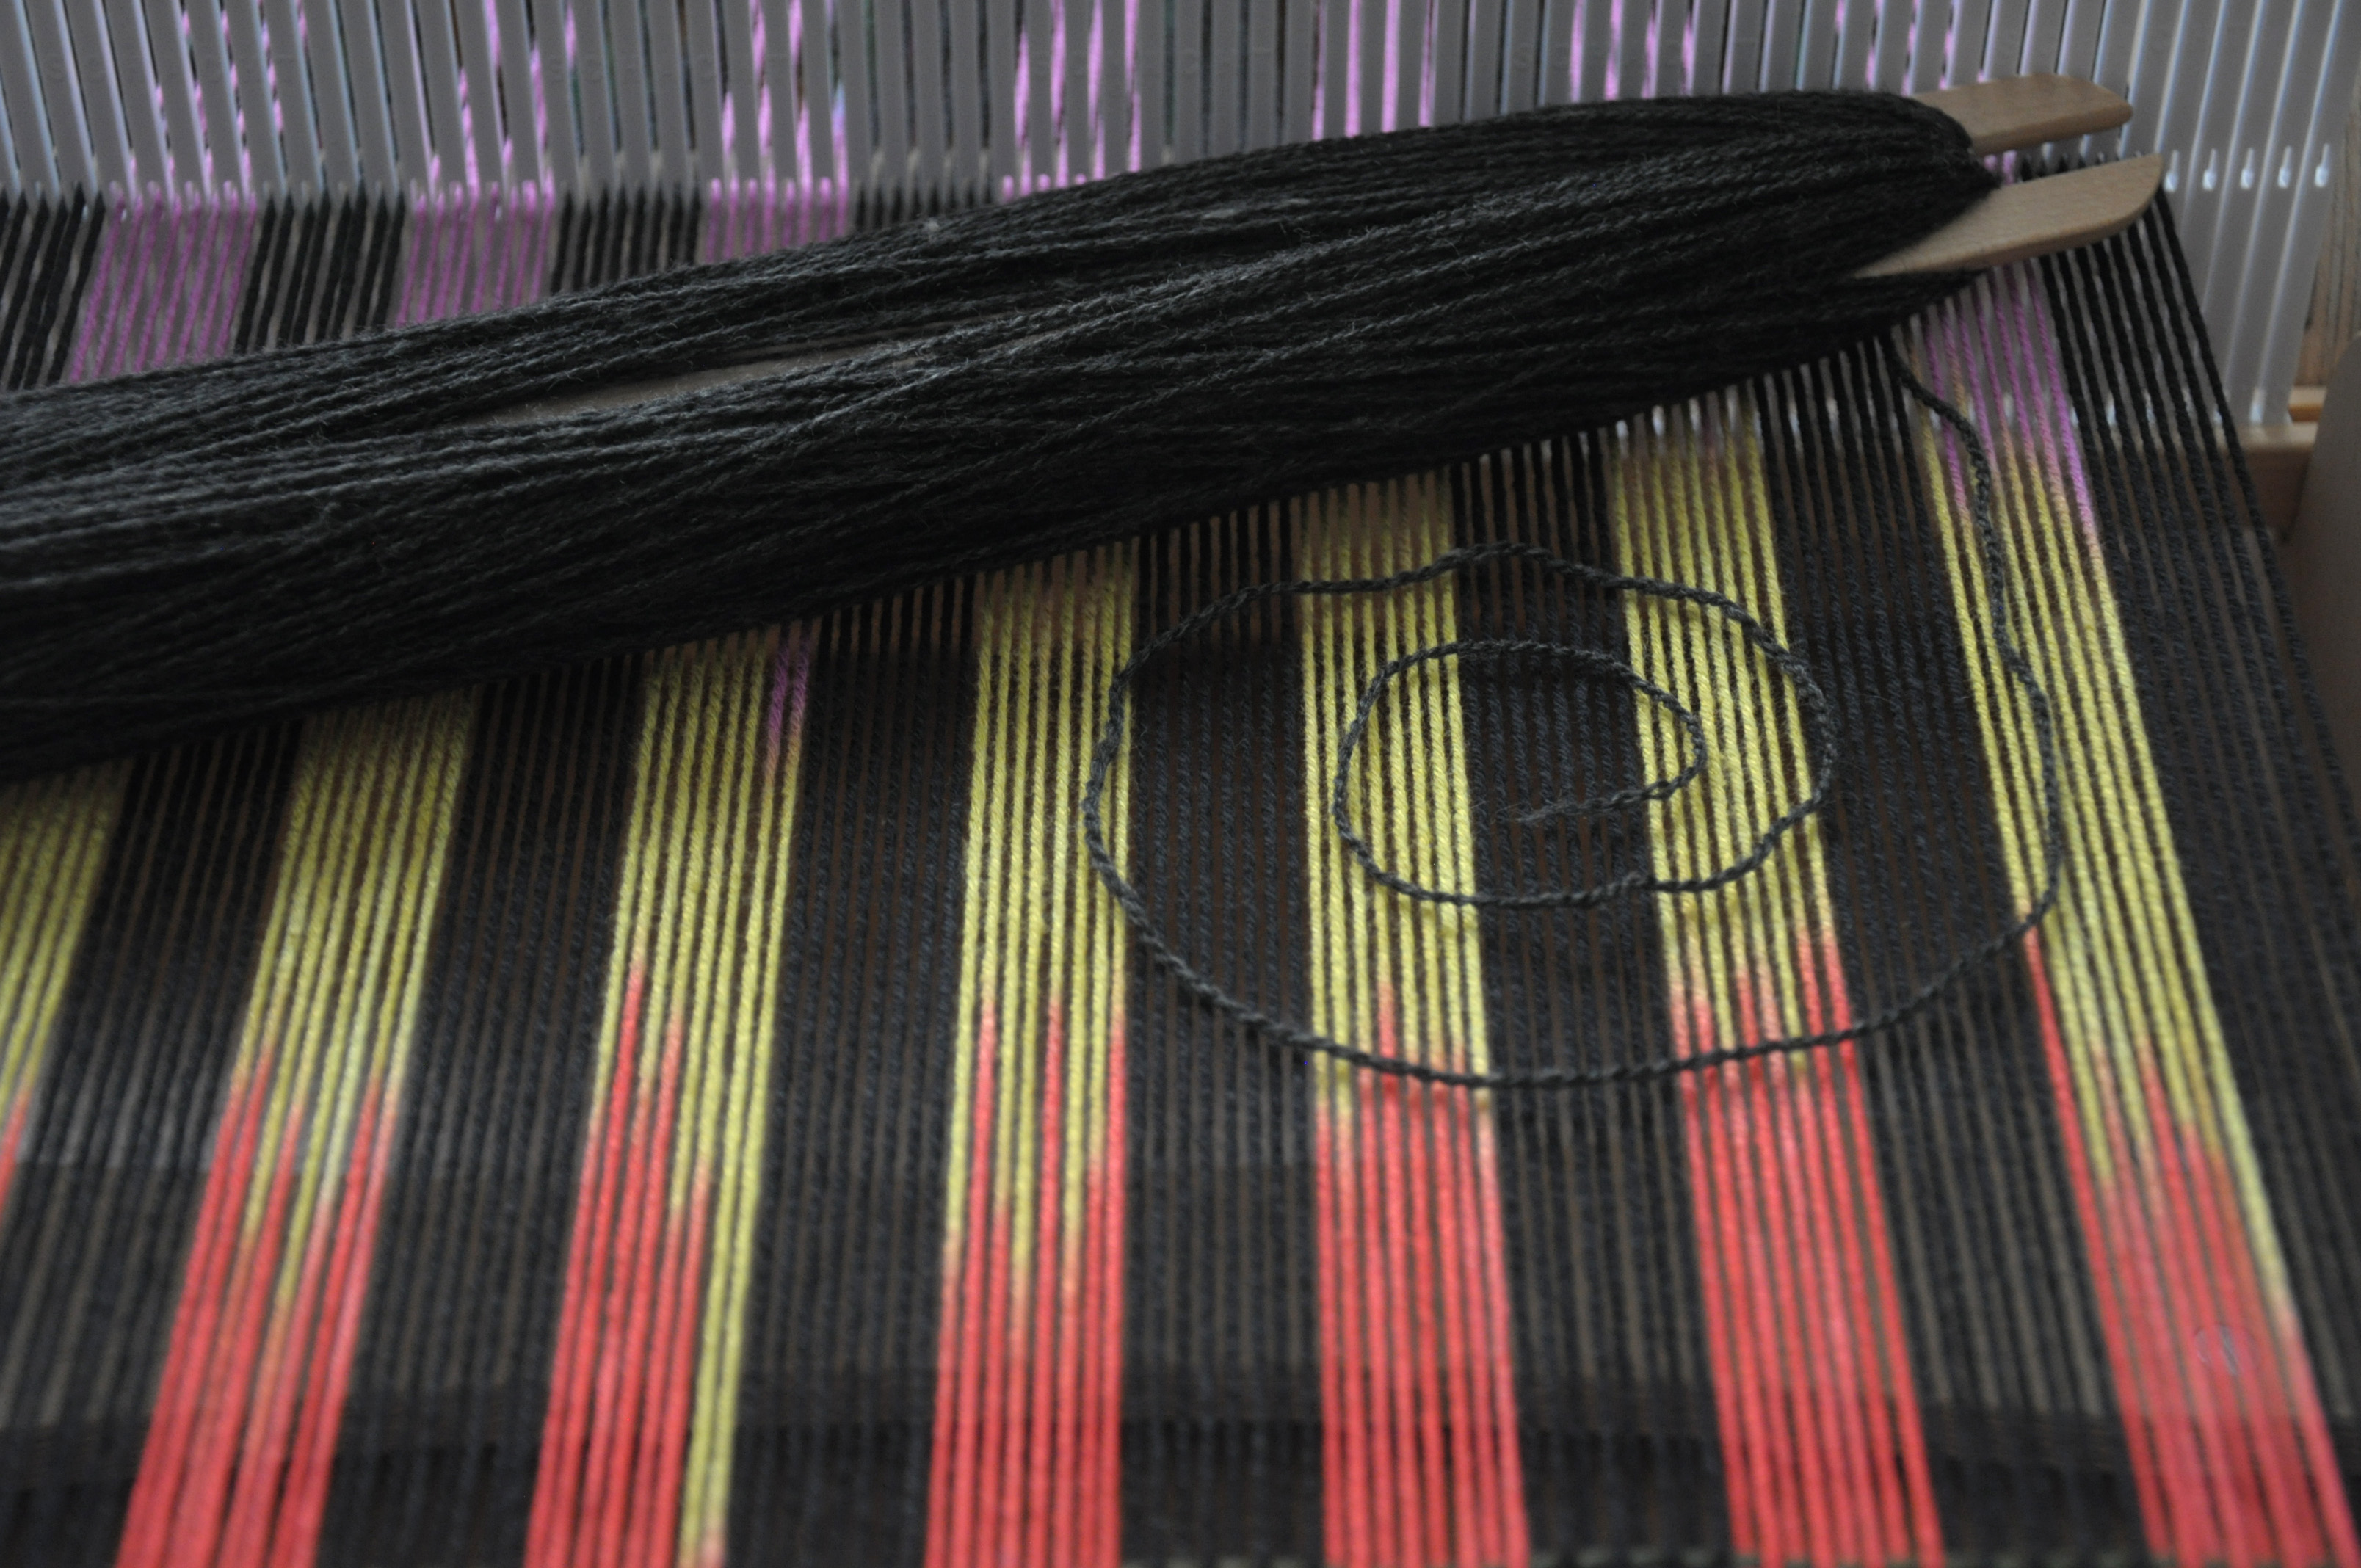
ColorPool_10

You can see that my color sections are not perfectly lined up, but that’s okay! I really love the way they sort of bleed into each other. I can’t wait to weave this scarf.

ColorPool_11


Deluxe Cable Collection Knitalong

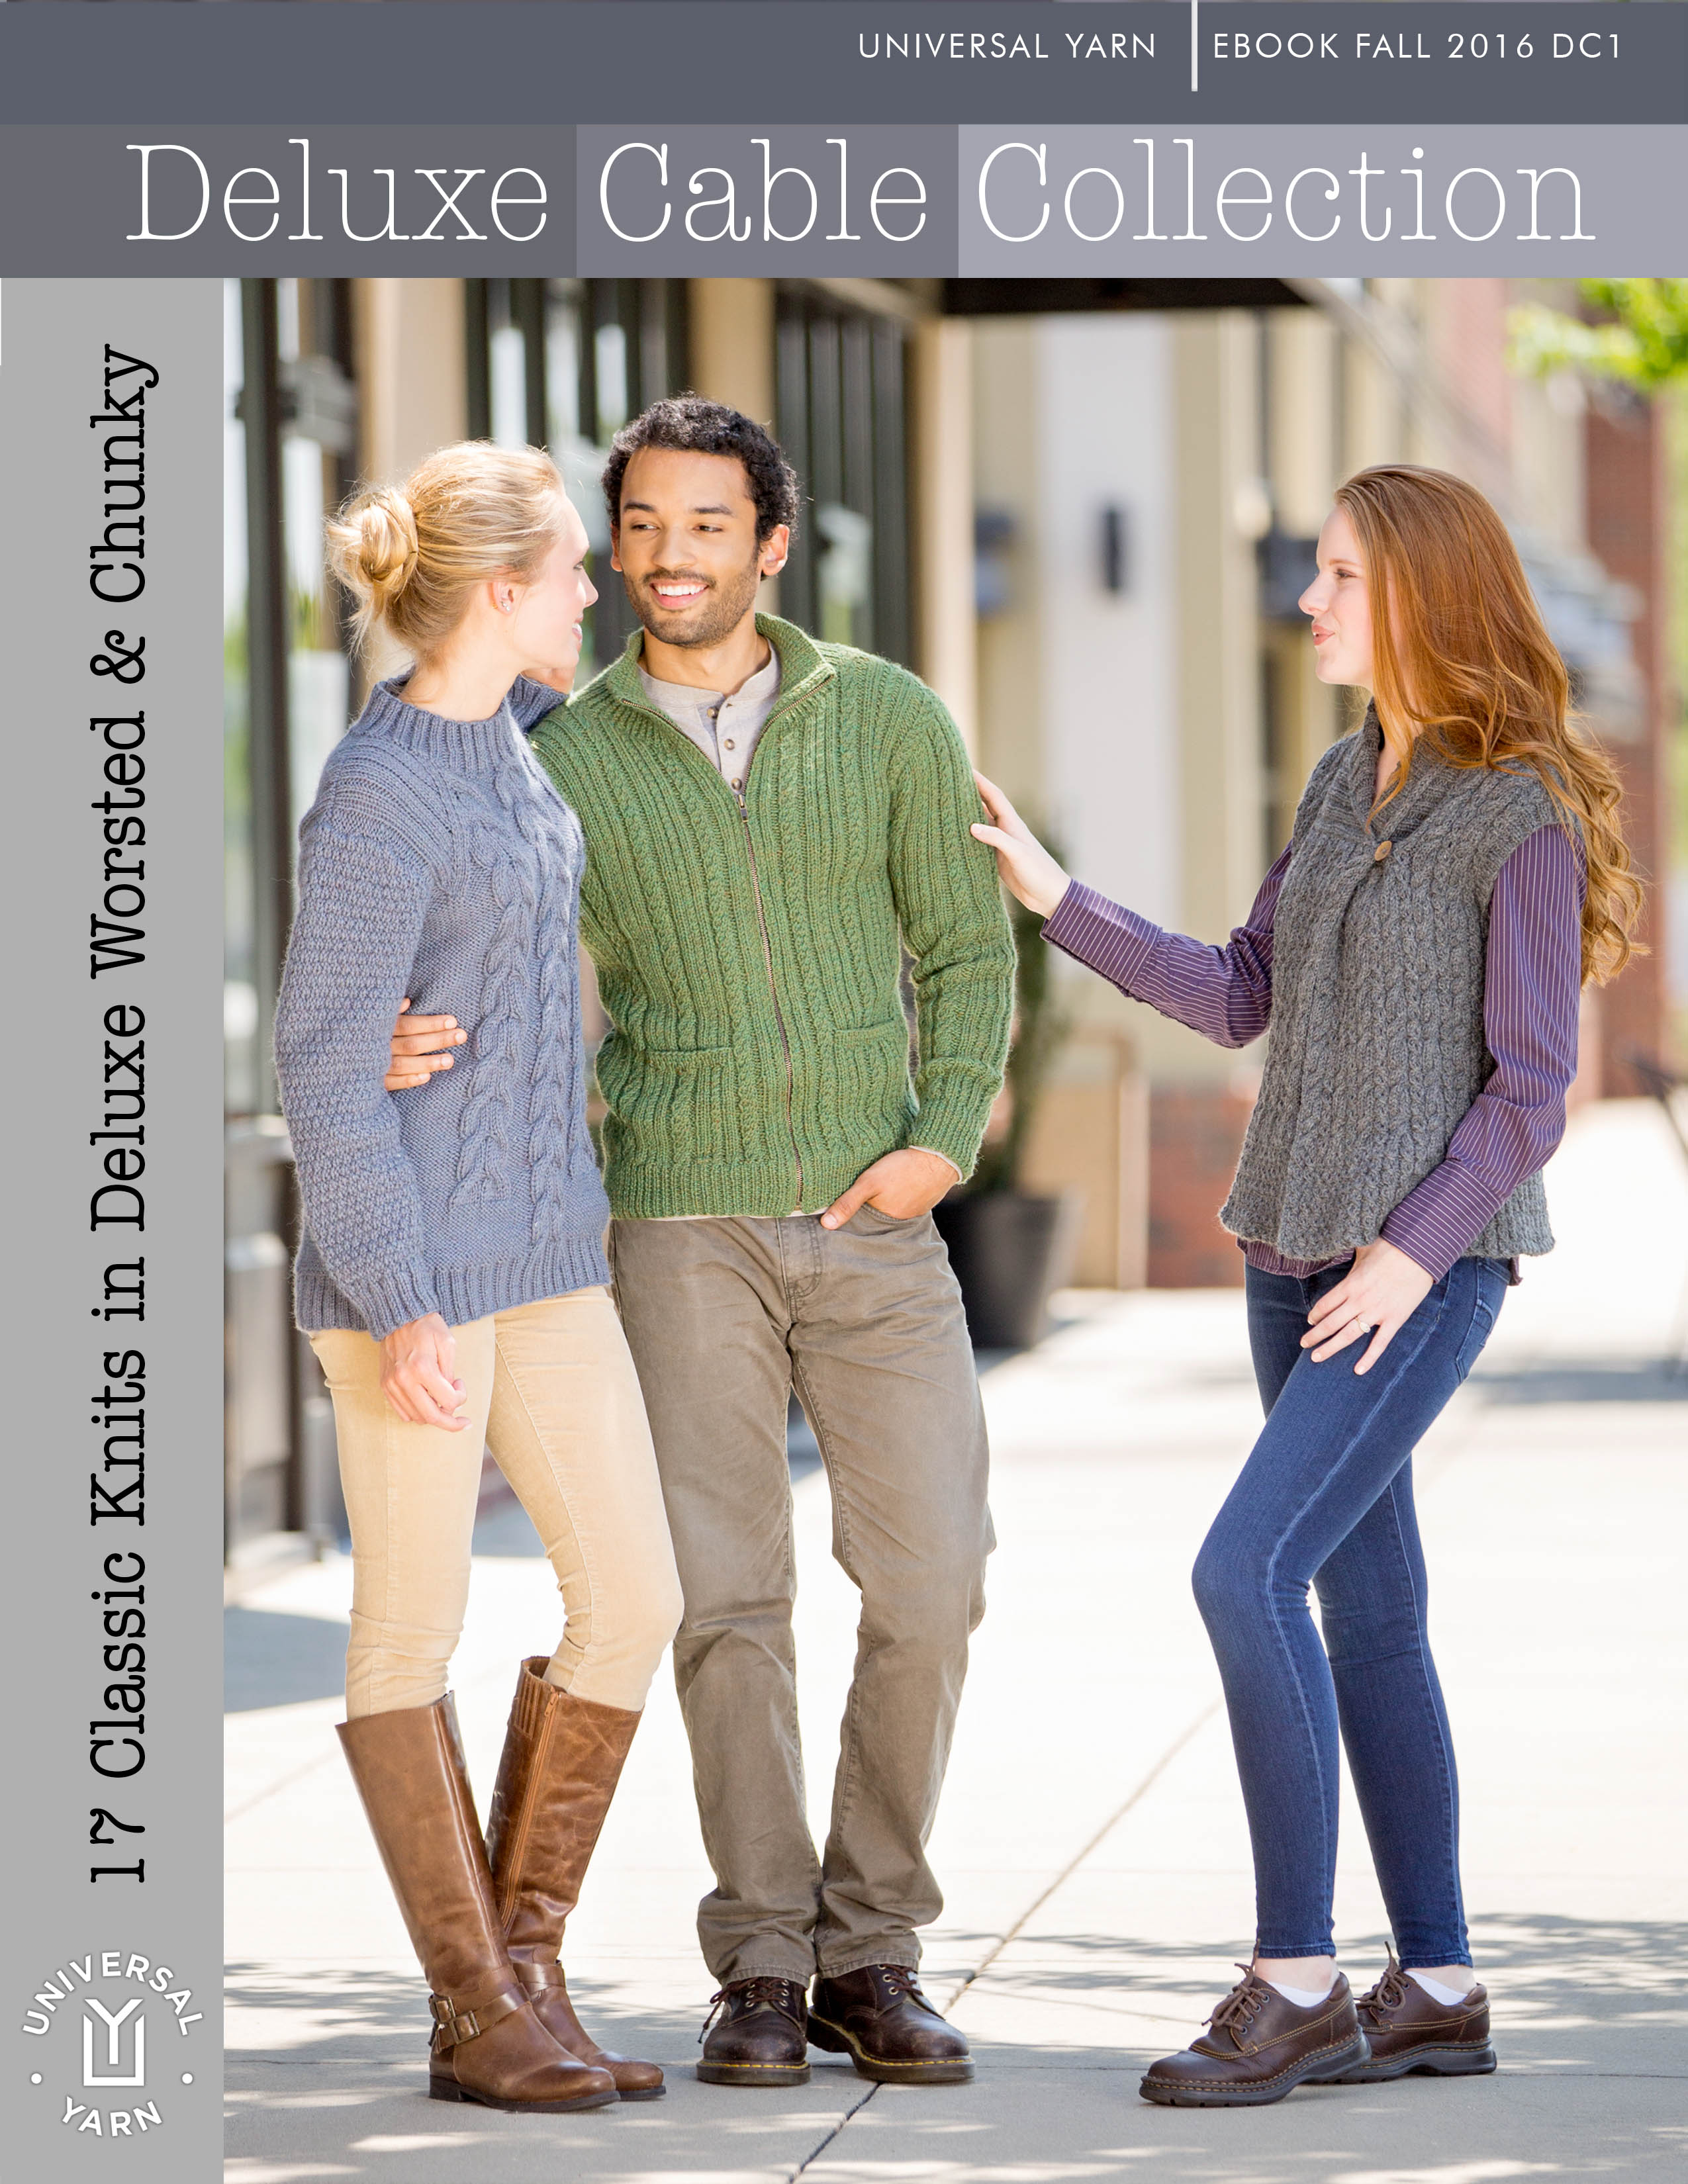
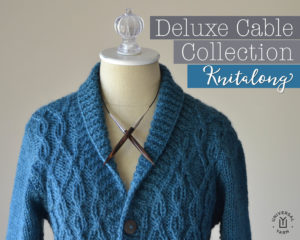
It’s been a labor of love, and I’m pleased to say that our Deluxe Cable Collection ebook is now live!

Deluxe Cable Collection cover FINAL

This digital collection features a 17 projects all made in either Deluxe Chunky and Deluxe Worsted. Let me introduce you to them! All details of the knitalong will be at the end of this post.

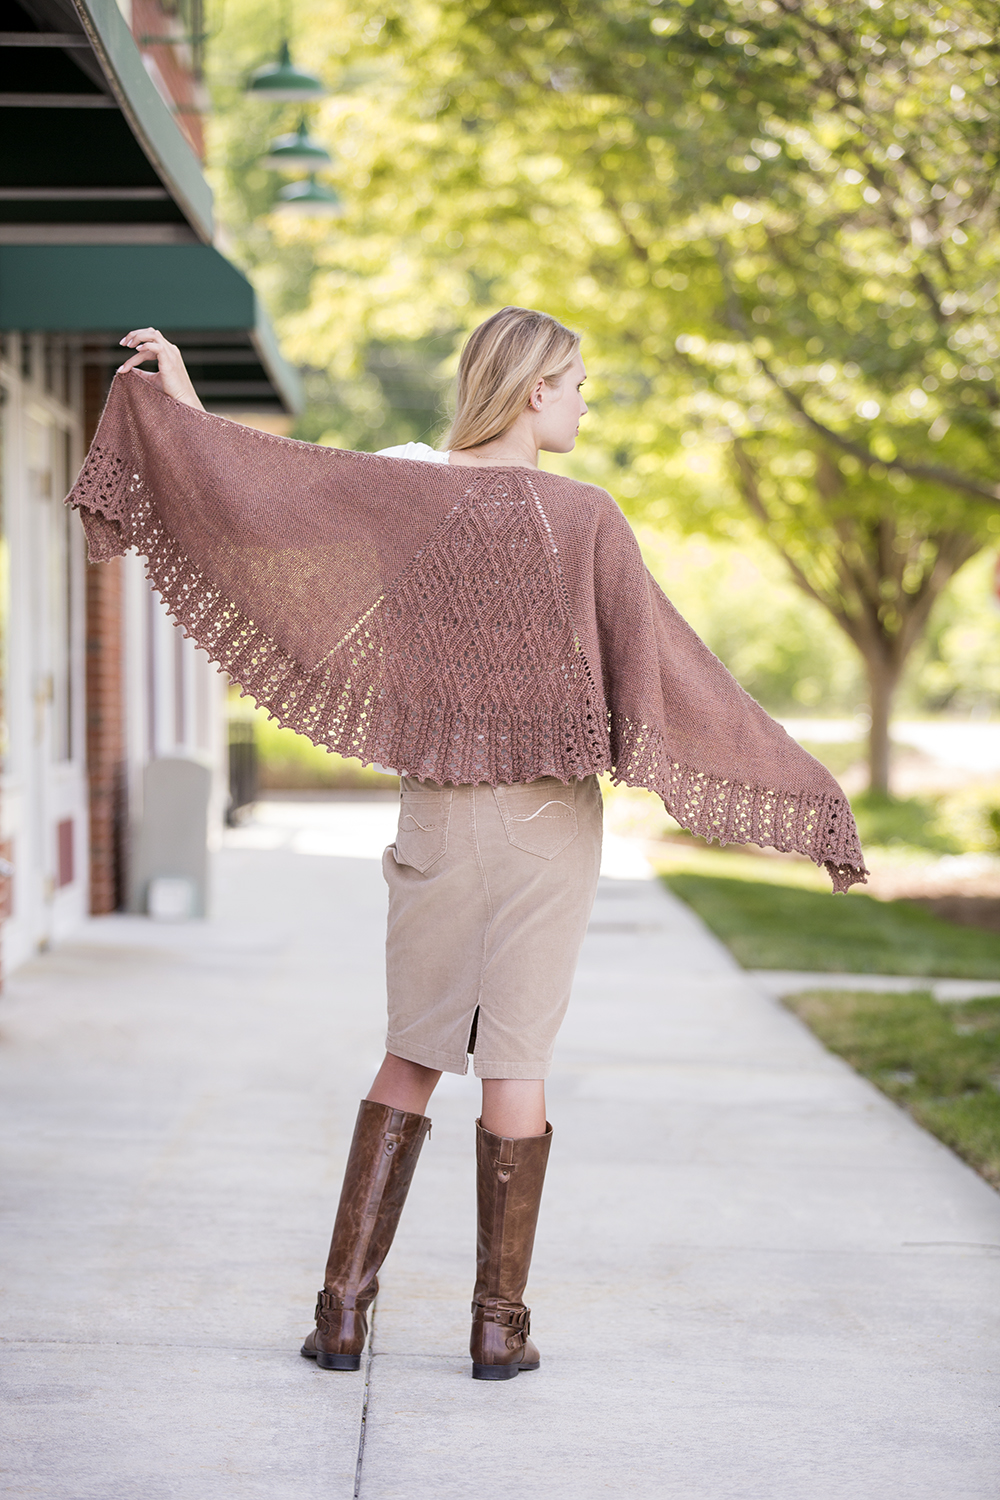
Let’s start with accessories. First, we have Dilworth Shawl, knit up with 4 hanks of Deluxe Worsted 13111 Russet. Though there are a few 3-stitch crosses that call for use of a cable needle, if you’re comfortable cabling without a needle, it would be easy enough to do so. All other crossed stitches are worked using right and left twists. It’s knit from the top down into a crescent shaped, and is finished off with a sweet picot bind-off.

DilworthShawl_2890_hires

DilworthShawl_554_hiresDilworthShawl_563_detail_hires

Next, we have a couple of hats. The Rutherford Beret in Deluxe Chunky and Cold Mountain Hat in Deluxe Worsted. Both hats take just 1 hank each.

ColdMountainHat_492_hires DerringerBeret_454_hires

There are a few of us here in the office making hats. Angie in customer service is a newer knitter, and is going to take this opportunity to learn how to do cables for the first time on Cold Mountain. Exciting! Social media guru, Heather, is planning a 2-color version of Cold Mountain, and I’m planning a 2-color version of Rutherford.


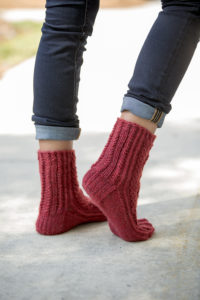
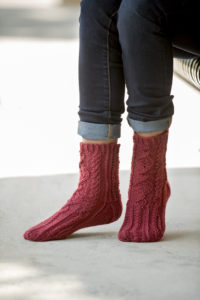
Tillery Socks round out the group of accessories for the ebook. Knit from the top down, this is another crossed-stitch pattern that doesn’t require a cable needle. The pair takes 1-2 hanks, depending on foot size. Heather is also planning on knitting a pair.

TillerySocks_511_hires TillerySocks_2575_hires


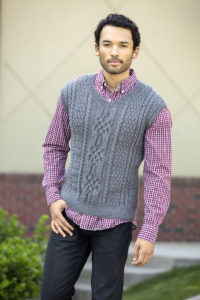
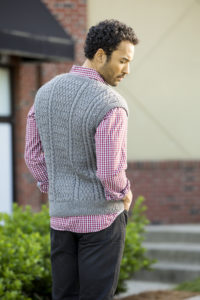
There are also several projects designed for men. We have the Chapel Hill Vest, featuring a super fun cable down the front while keeping things a little simpler in the back:

ChapelHillVest_006_hires ChapelHillVest_050_hires


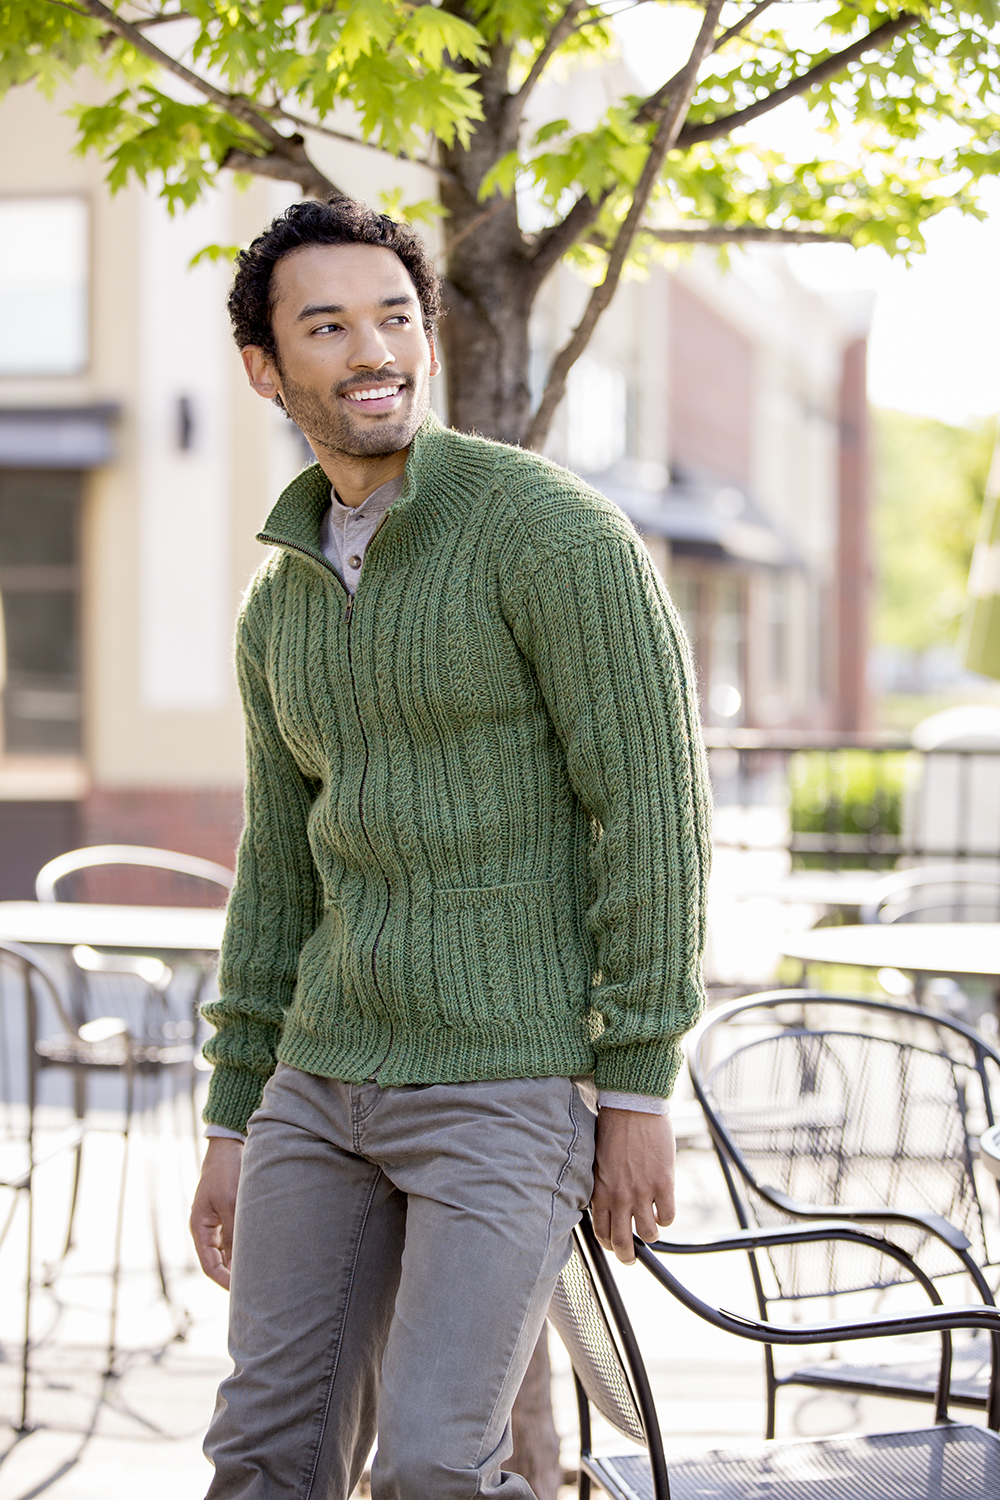
The Greensboro Cardigan in Deluxe Worsted is flattering with its all-over vertical lines of twisted cables and rib, yet ultra practical with a zipped front and pockets. Our graphic designer, Jannie plans on getting her feet wet with cables on this project. She’s chosen to use Deluxe Worsted Tweed Superwash, as the gauge is the same as regular Deluxe Worsted. This is a sweater that could easily be worn by men or women.

Greensboro_095_hires

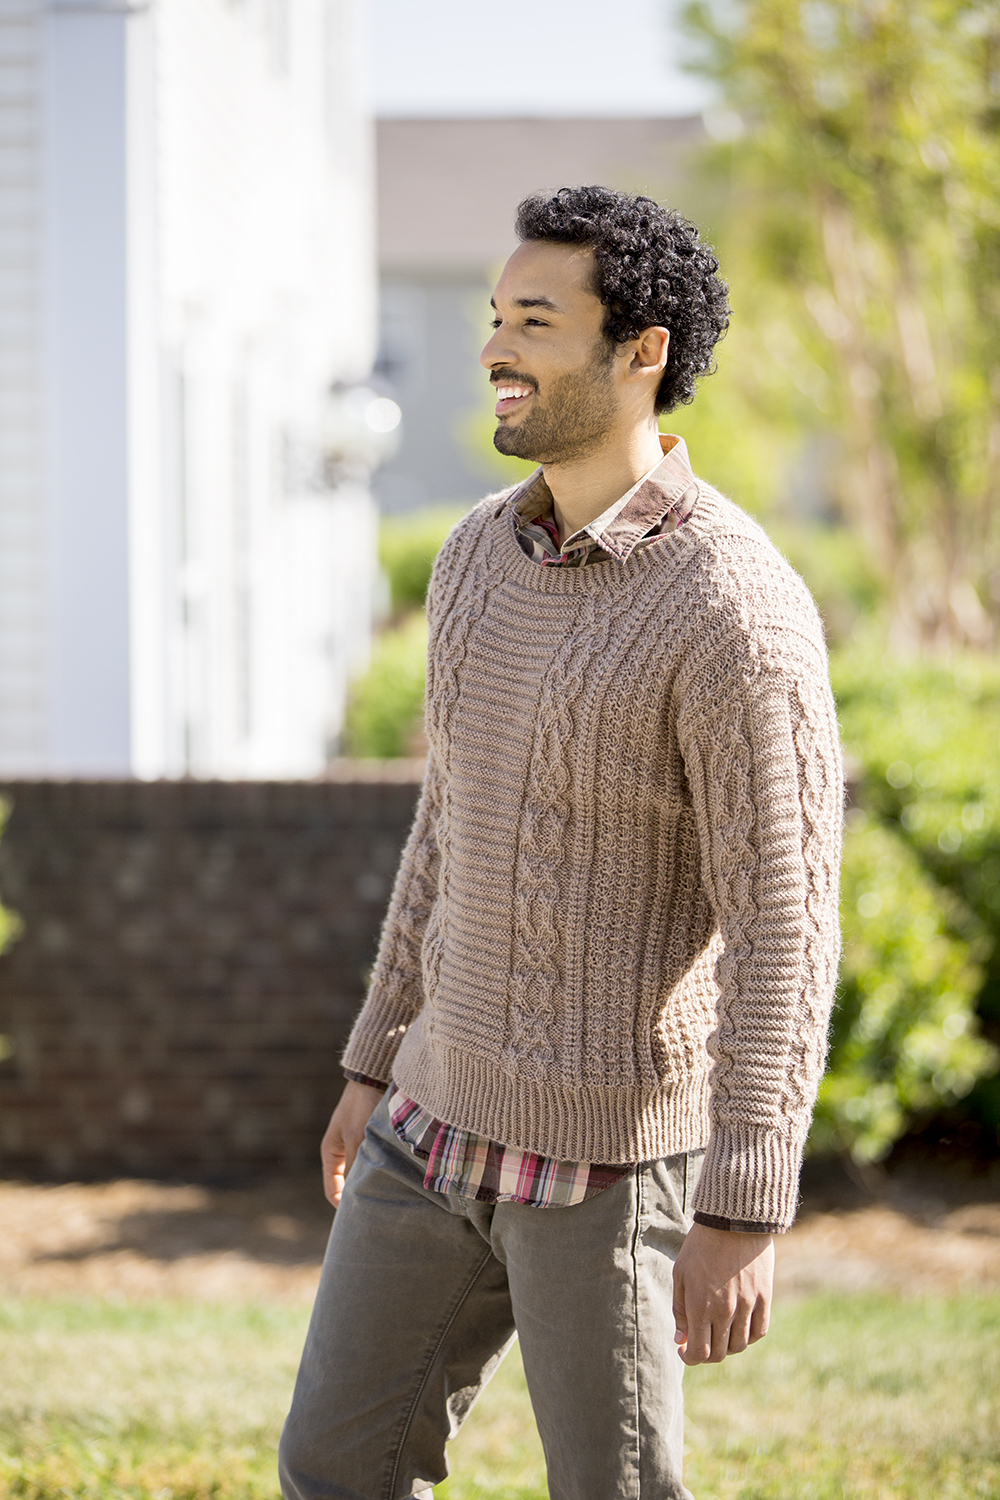
Wesley Heights rounds out our pieces designed for men. A sampler of sorts, this is yet another piece from the collection that doesn’t require the use of a cable needle. I’ve been having a really hard time making up my mind on my knitalong pick! But I’ve finally decided that I am going to knit Wesley Heights, but modify it to have a zipped front and standing collar like Greensboro.

WesleyHeights_052_hires


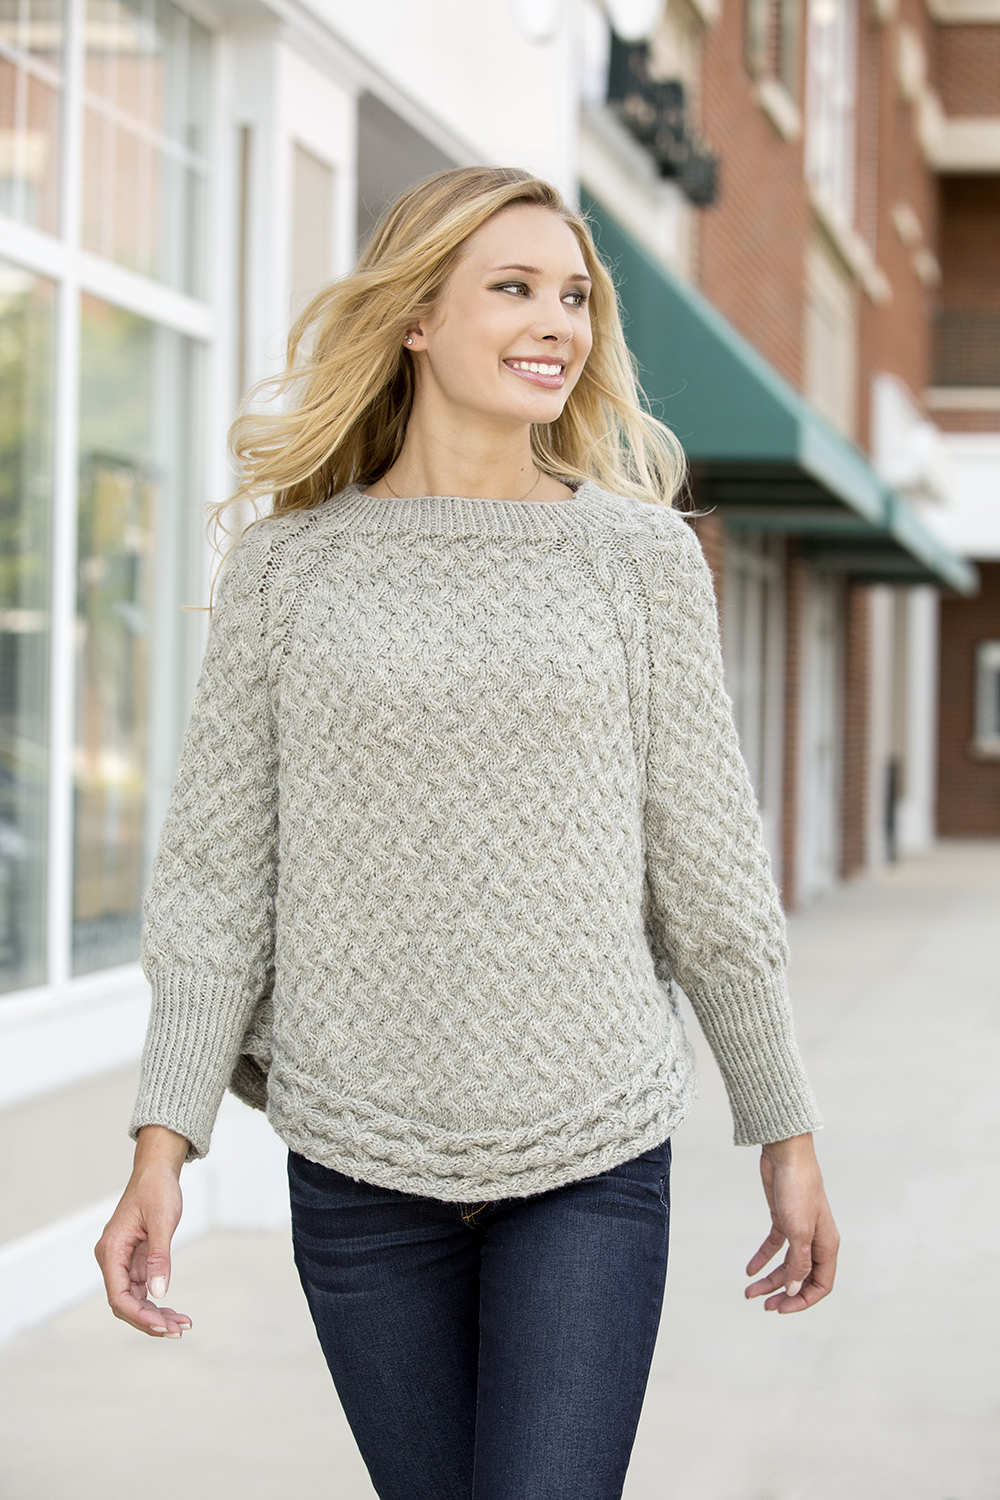
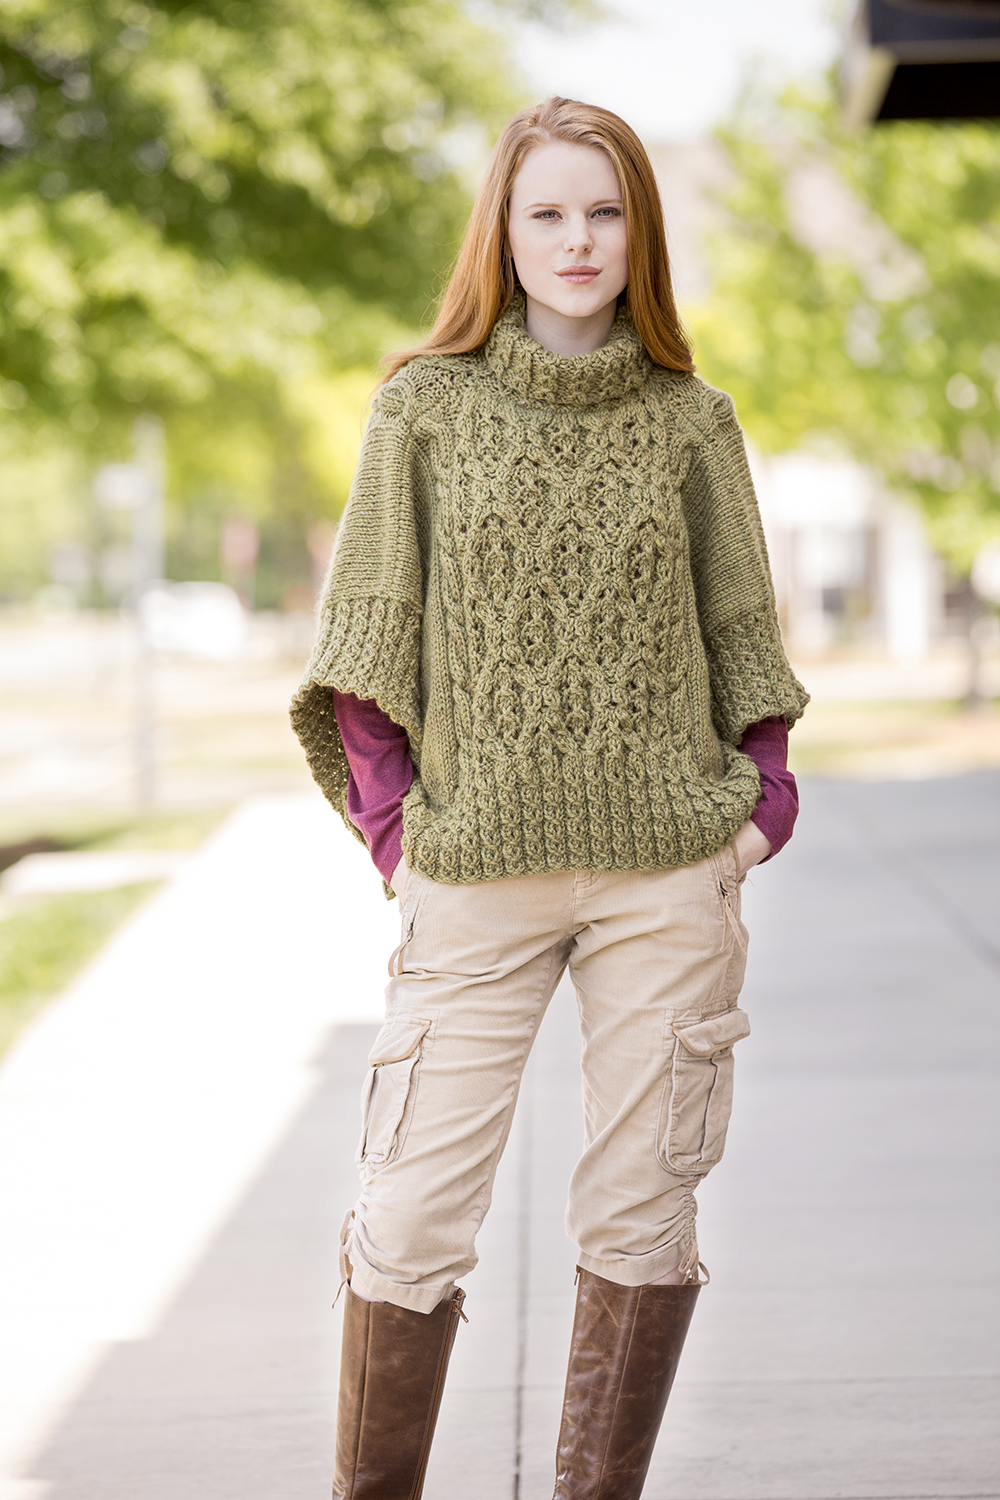
There are lots of sweaters for women to choose from in this collection! First, we have Ashwood Run in Deluxe Worsted. This is sort of a poncho-raglan pullover hybrid, a really fun shape. It’s knit seamlessly from the top down, and has a knit-on cabled border along the curved hem. Hattie (here in the office) asked her daughter to pick out a project from the ebook. To Hattie’s surprise, her daughter chose Ashwood Run, the same sweater Hattie wanted to knit for herself. Apparently they almost never agree on anything!

AshwoodRunPullover_532_hires


Then we have Hickory Grove Cardigan and Hickory Grove Pullover, both in Deluxe Worsted. Both sweaters feature traveling lines of twisted stitches, welting, and small cable details.

HickoryGroveCardigan_366_hires HickoryGroveCardigan_389_hiresHickoryGrovePullover347_detail_hiresHickoryGrovePullover_363_hires


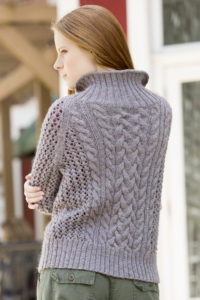
Cold Mountain Pullover incorporates the same stitch patterns as Cold Mountain Hat above. The lace sleeves and sides allow for a little extra ventilation in an otherwise cozy-warm wool sweater.

ColdMountain_446_hires ColdMountain_2102_detail_hires


Tallulah Cardigan is a relatively quick knit in Deluxe Chunky. It has set-in pockets, shawl collar, and an intriguing lattice of twisted stitches. No cable needle required on this one. If I can manage to finish both my Rutherford Beret and modified Wesley Heights, I think I’m going to need my own Tallulah in gray.

TallulahCardigan_132_hires


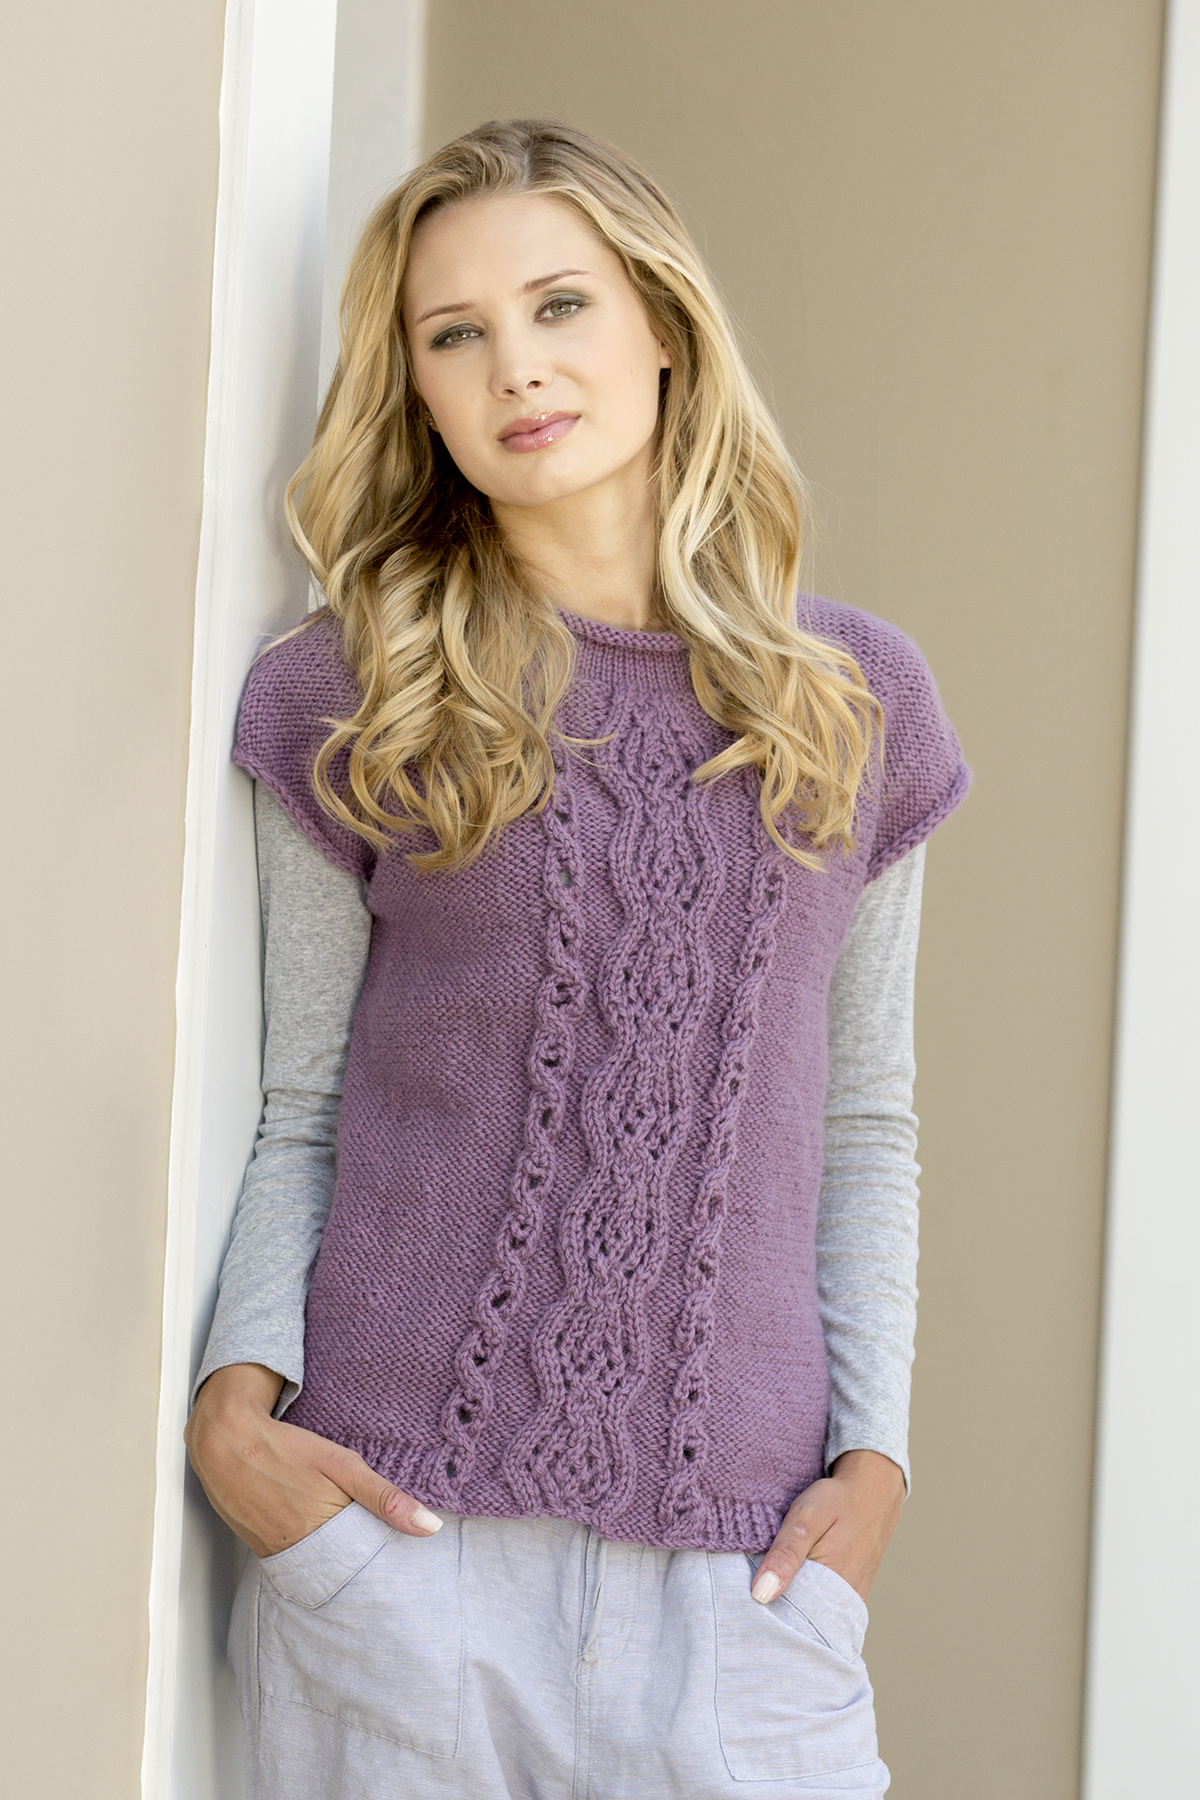
Jen in accounting has already picked her color for Ballantyne Tee – 22285 Cactus. This is another quick knit with Deluxe Chunky. It makes a great layering piece for those of us who get too hot wearing wool with long sleeves. The feminine cable panel seen on the front also runs up the back. A rolled stockinette collar finishes things off.

BallantyneTee_467_detail_hires


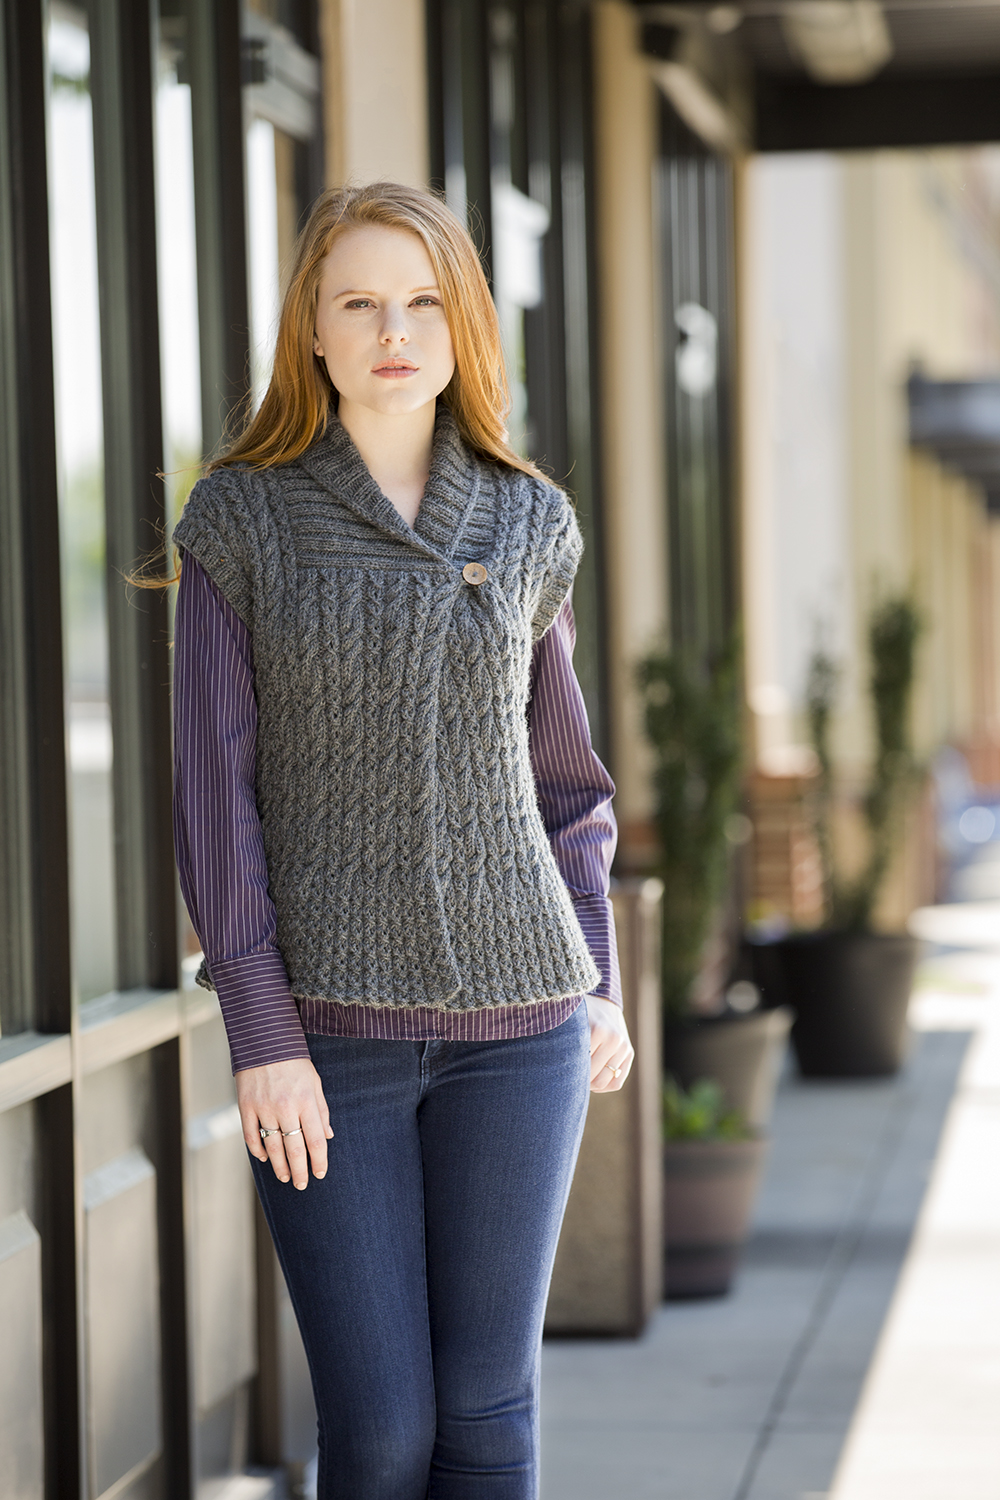
Eastover Vest in Deluxe Worsted provides another great short-sleeved option in this collection. The fronts overlap for several inches across the bust and close with a single button. The lower eyelet ribbing provides the slightest “flounce”, giving this vest a bit of a girly feel. Our new designer Tori has chosen to knit this piece in 13104 Slate. There are lots of gray lovers here in the office!

EastoverVest_207_hires


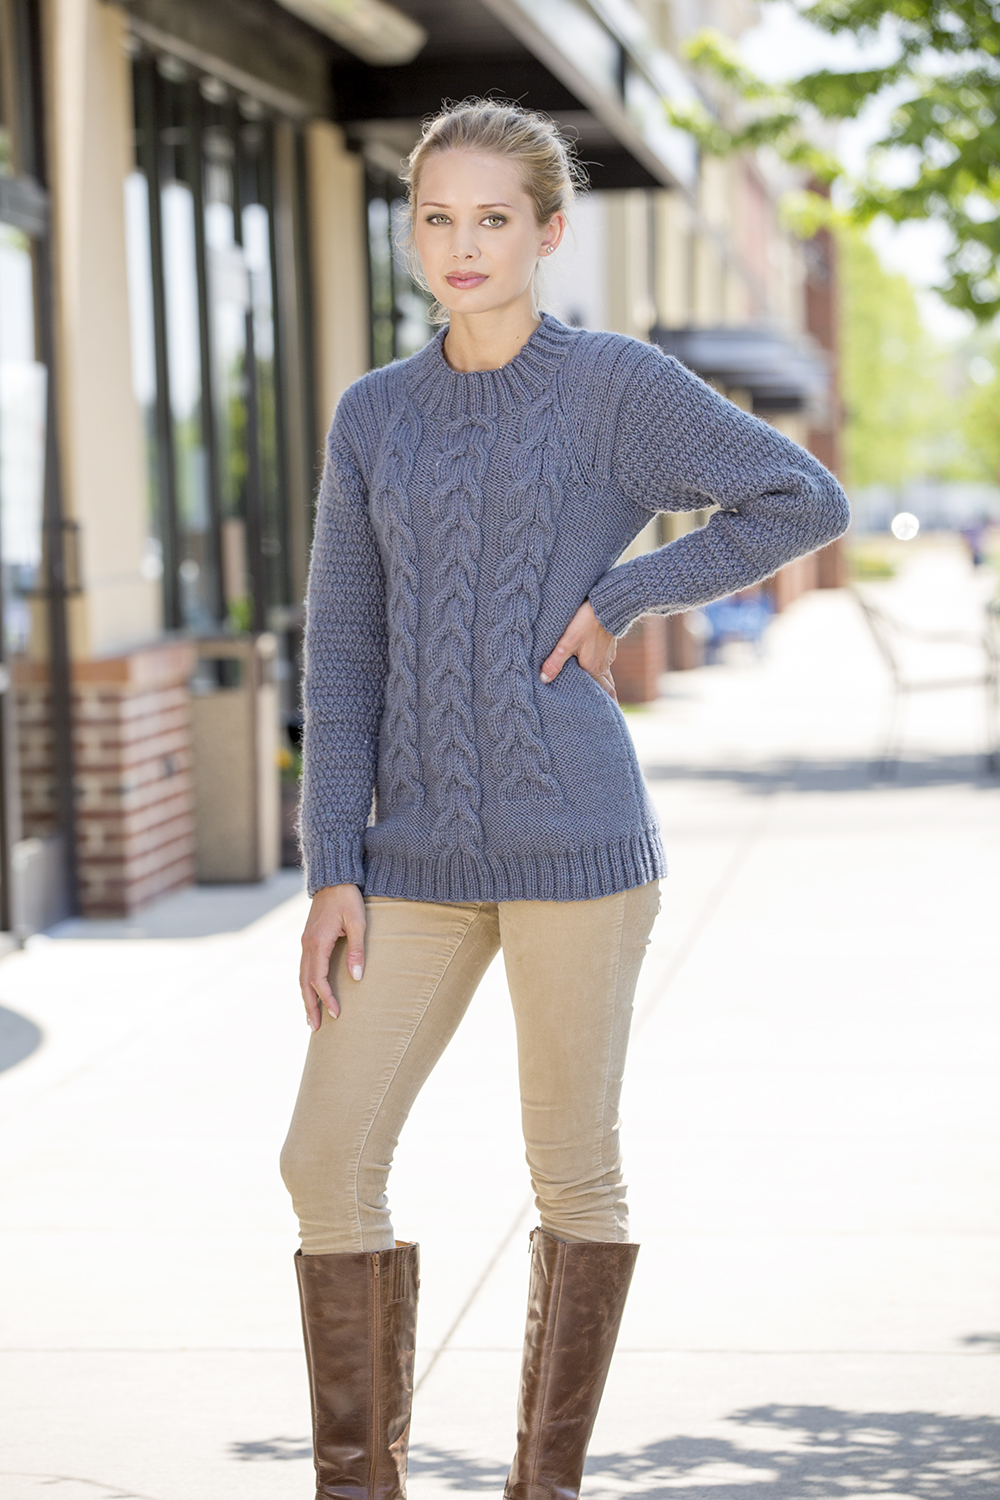
Mount Mitchell Tunic features 3 bold cables along front and back. Slanting lines give the appearance of raglan sleeves, but this sweater actually has set-in sleeves. Another fairly quick knit in Deluxe Chunky.

MountMitchellTunic_307_hires


To round out the collection, we have a couple of ponchos. First up is the Cumberland Poncho knit in Deluxe Worsted. This is a one-size-fits-most garment, formed of two identical rectangles. Celtic looking cables are worked using right and left twists – another cabled project that doesn’t require a cable needle!

It can be worn with the points in front and back, or set off-center. Our sales manager, Yonca has slated this as her knitalong project.

CumberlandPoncho_593_hires CumberlandPoncho_621_hires


The Catawba River Poncho in Deluxe Chunky has a different construction than Cumberland. Front and back pieces are knit from the bottom up and joined at the shoulders. The collar is worked separately and sewn to the body. It’s a flattering, easy to wear piece with rich texture. This one was also on my short-list for the knitalong! Katie, our customer service lead plans on tackling this project. I think I’m going to be so jealous of her poncho that I might have to make this one, too.

CatawbaRiverPoncho_311_hires


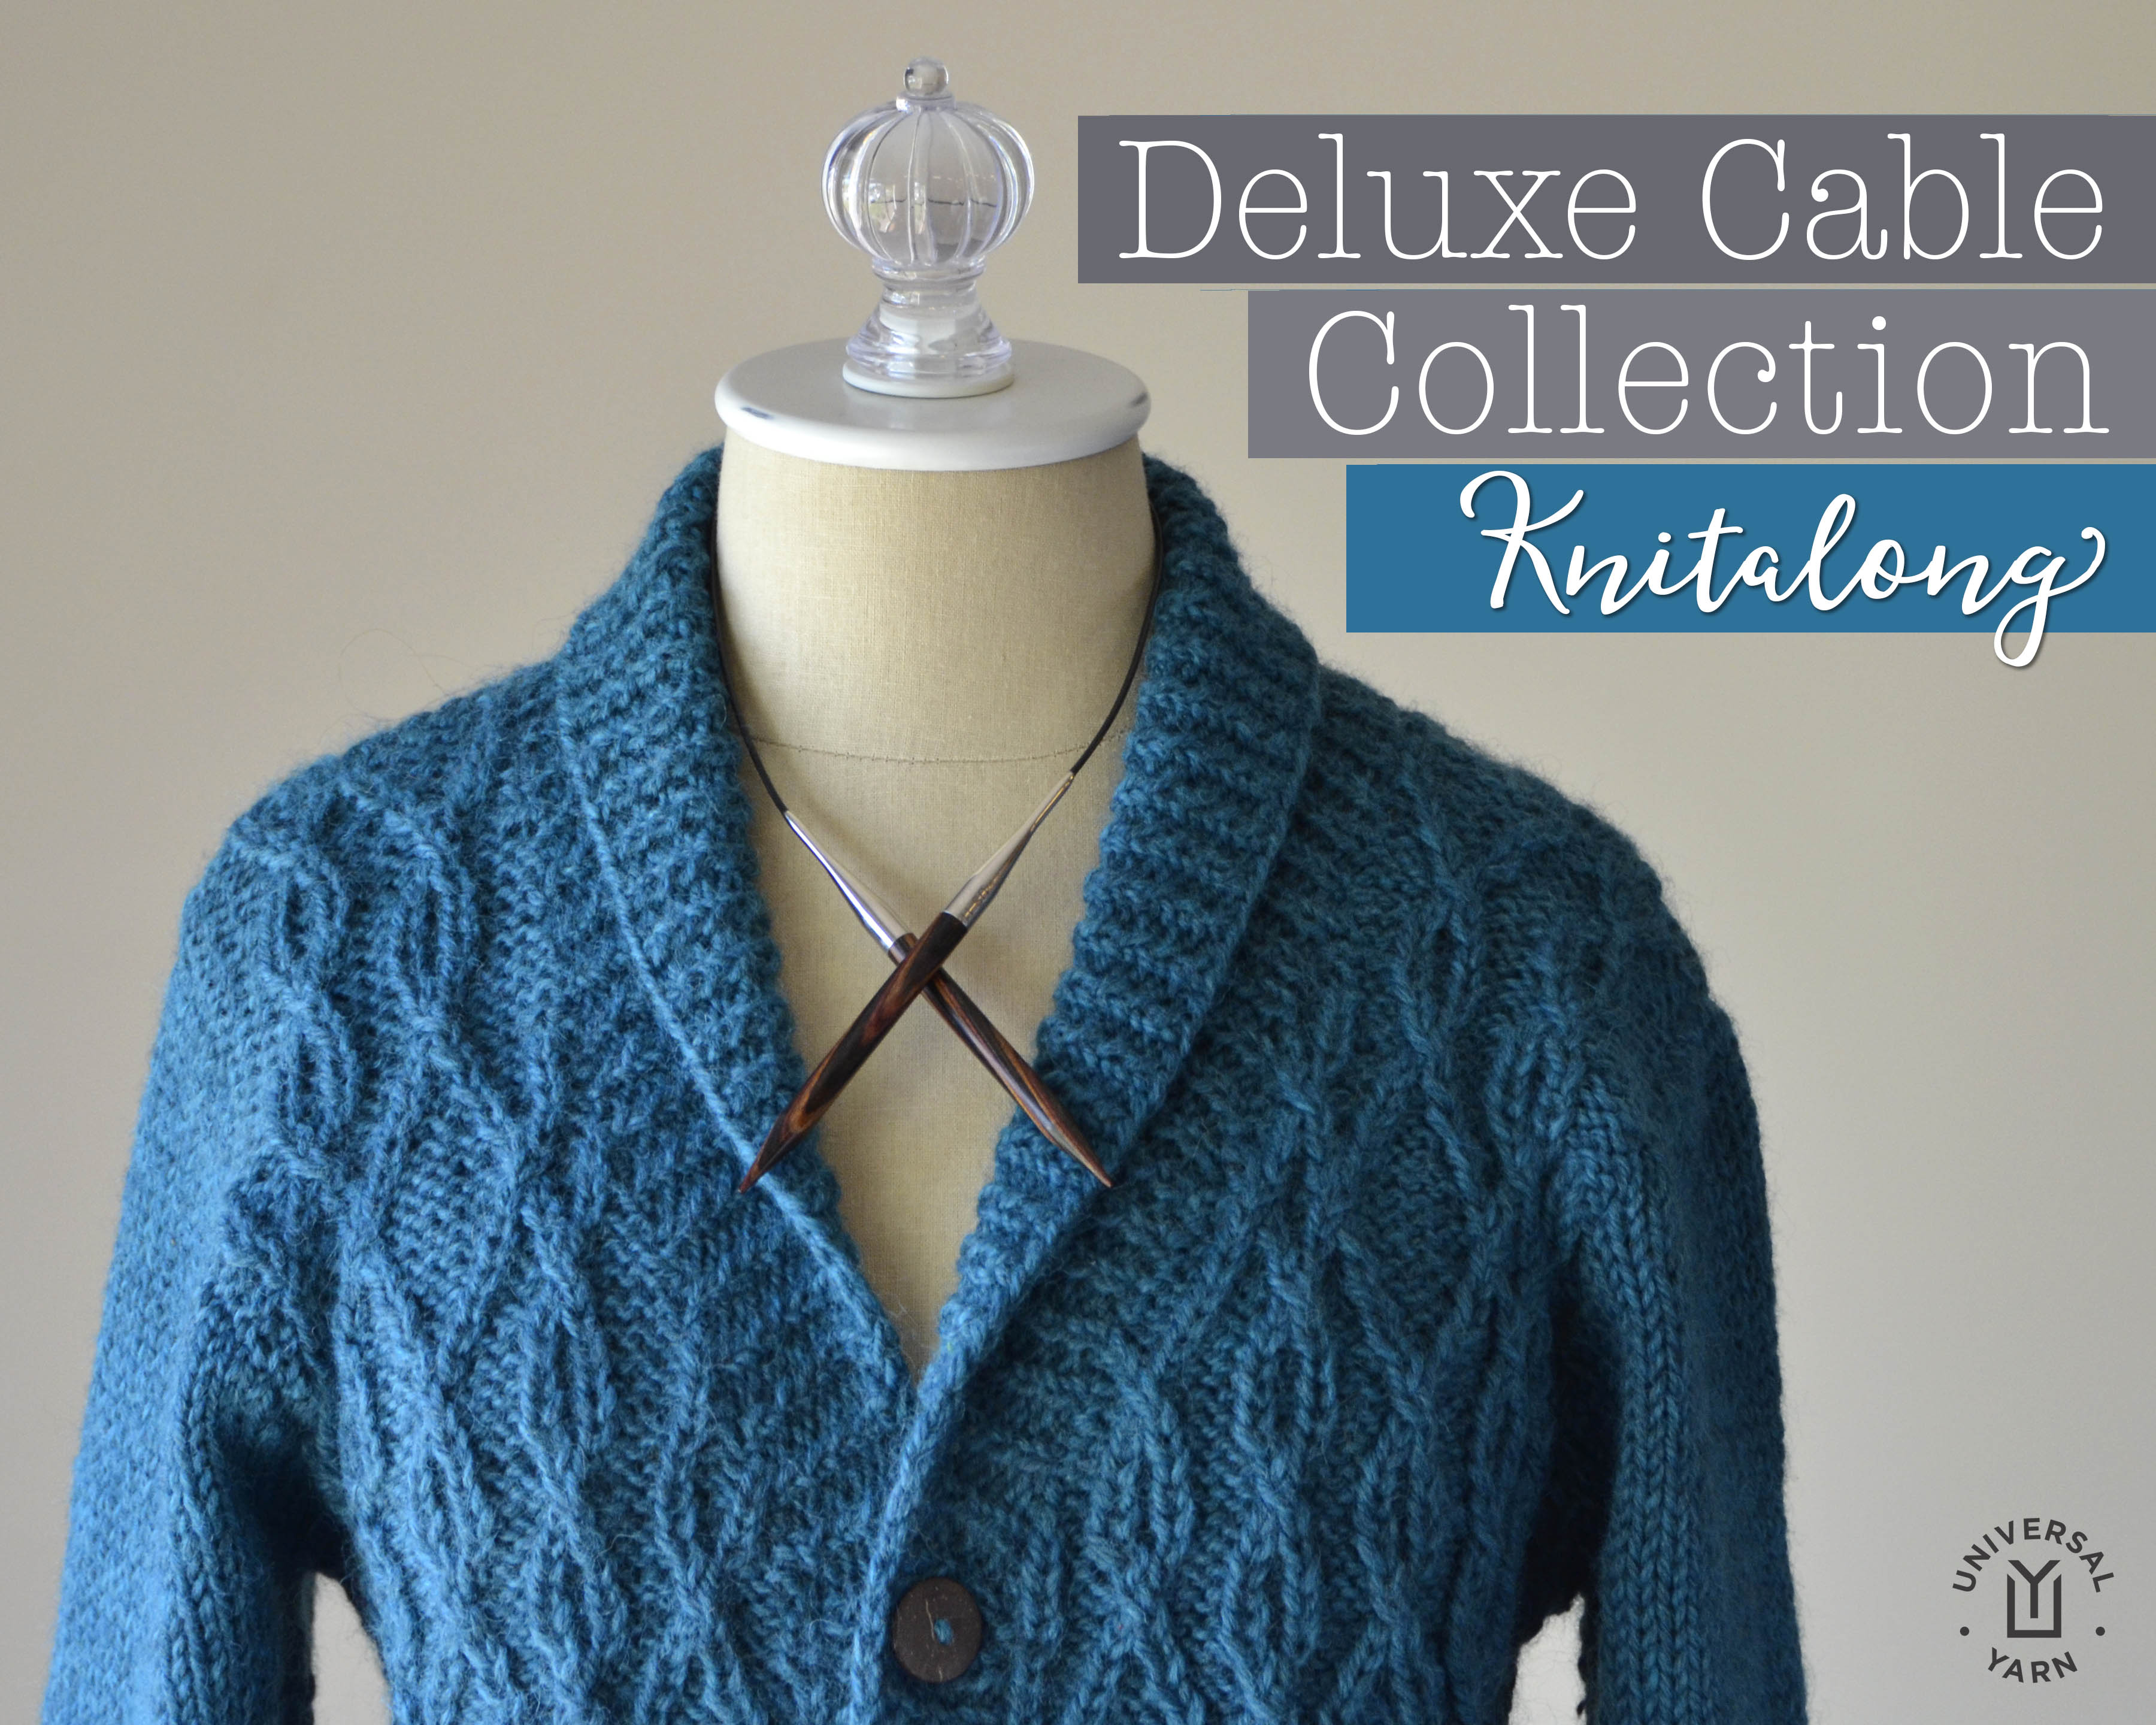
Knitalong graphic hi-res

The plan for our official Deluxe Cable Collection Knitalong is pretty simple. To participate, all you have to do is:

  1. Pick any project from the Deluxe Cable Collection (some of us here in the office can’t choose, so we’ll be knitting more than one!)
  2. Decide on your yarn/color. Any of the projects that call for Deluxe Worsted could easily be substituted with Deluxe Worsted Superwash or Deluxe Worsted Tweed Superwash.
  3. Join in either here on the blog (you can subscribe on the home page of the blog, upper right-hand of your screen) , or over on Ravelry. (link to Deluxe Cable Collection knitalong thread on Ravelry) I’d love to hear from you – what you’re thinking about knitting, in-progress photos, etc. Even if you’re shy, come by and say hi!

I’ll be updating our Ravelry thread and checking in frequently. I’ll also be posting here on the blog with in-progress photos from my projects and other folks’ projects here in the office. I’ll have helpful tips, photo-tutorials, videos, and I’ll be available for any questions you might have about your own project. It’s going to be so much fun!

The official launch of the knitalong will be Tuesday, August 9th. Grab your needles, pick your color, and get ready to cable!


Free Pattern Friday – Just Breathe

It’s Free Pattern Friday!

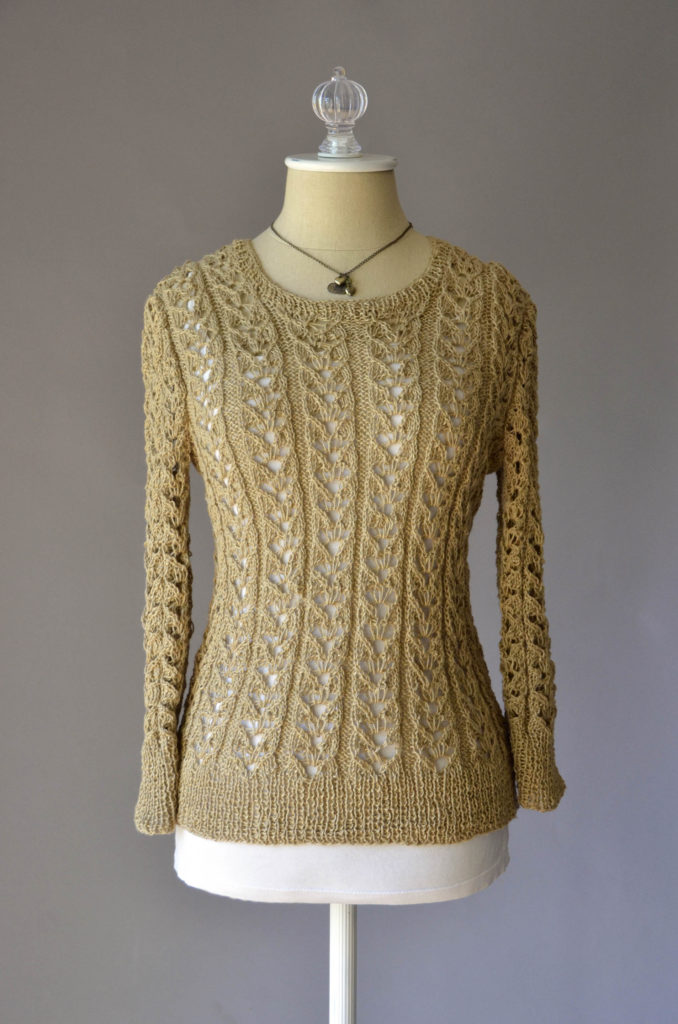
Flax Natural Lace Pullover 180dpi

Today, Just Breathe in Flax.

Having a hard time with these hectic days?  Facebook feed full of politics?  Us too.  But you know what? It’s going to be okay.  Here’s what we’re going to do.

Take a deep breath, from all the way down in your belly….  then let it out.  Feel the tension drain away.  Repeat as necessary.  If you need a little technical help, close your door and take two minutes at calm.com to relax.

Here’s what else we’re going to do.  We’re going to push aside the needs of others, just for a while, and we’re going to hit the LYS.  We’re going to chat with the staff, walk the aisles and touch the yarn, and walk out with enough yarn to make something beautiful.

And that’s where this top comes in.

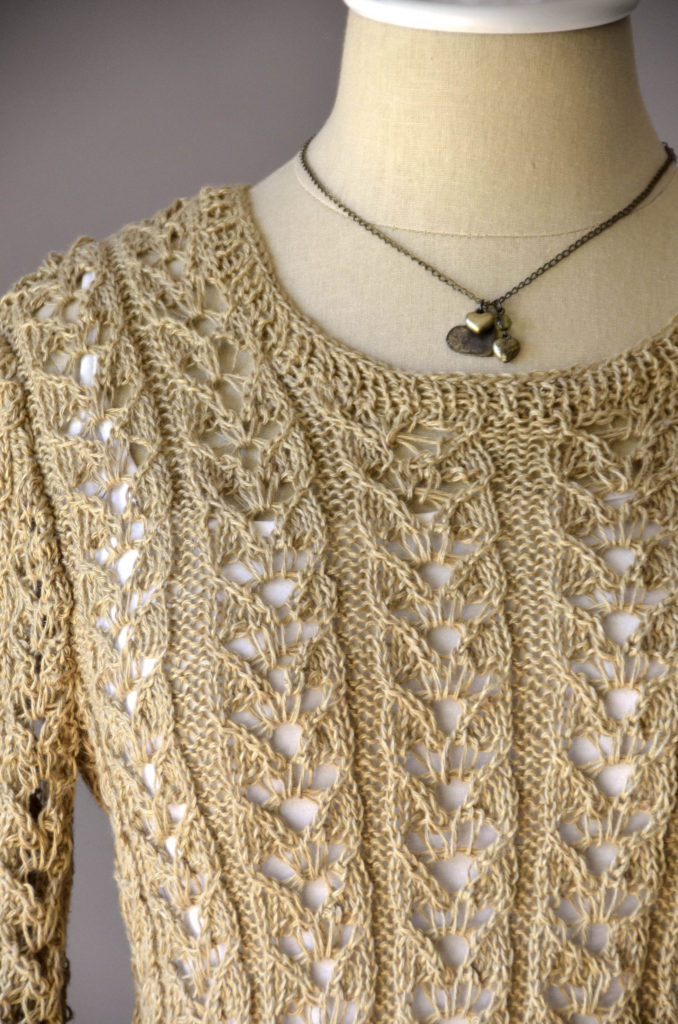
Flax Natural Lace Pullover detail 180dpi

Just Breathe is made in 100% linen Fibra Natura Flax (137yds/50g) in color 105 Natural.  Flax softens with each wash, making this a top that will get more and more comfortable with time.  The six-row horseshoe lace pattern will require some mindful attention, but not so much that you frown in frustration.  Just enough to keep you focused on the moment.

Make a little time away from the worries of the world to knit.  Your rewards will be a feeling of refreshment, and a beautiful, versatile lace pullover that will be a favorite for a long time to come.

Happy knitting.

Flax 105 Natural loose hi-res

Free Pattern Friday – Cherish Baby Blanket

It’s Free Pattern Friday!

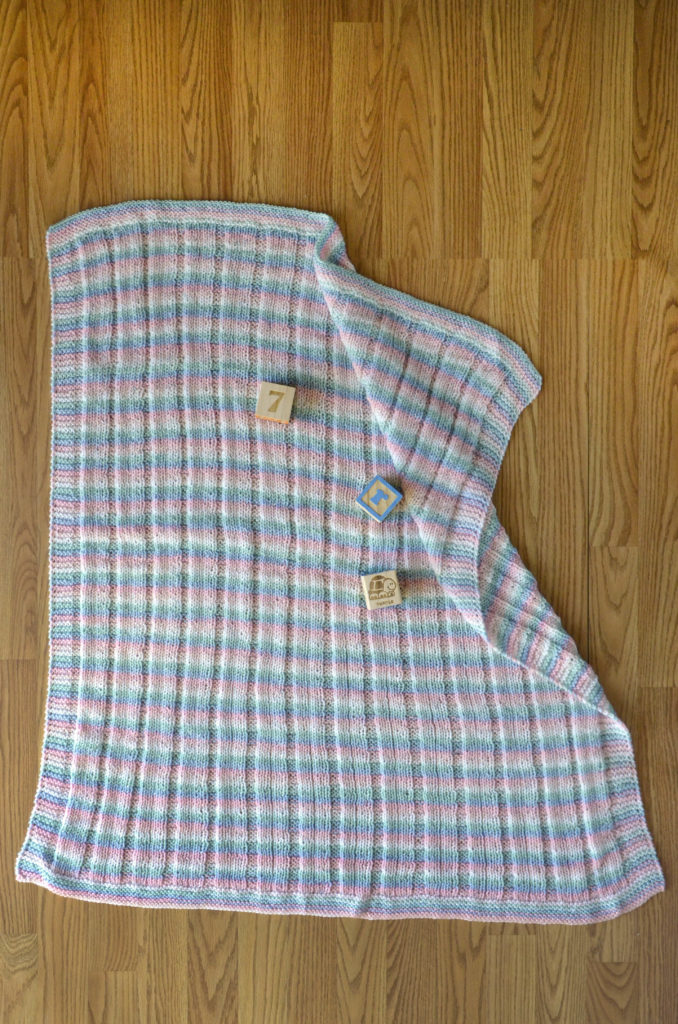
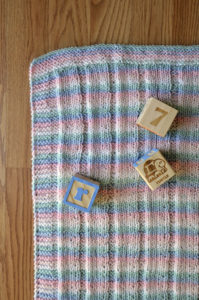
Striped Blanket hi-res A

Today, the Cherish Baby Blanket in Uptown DK Colors.

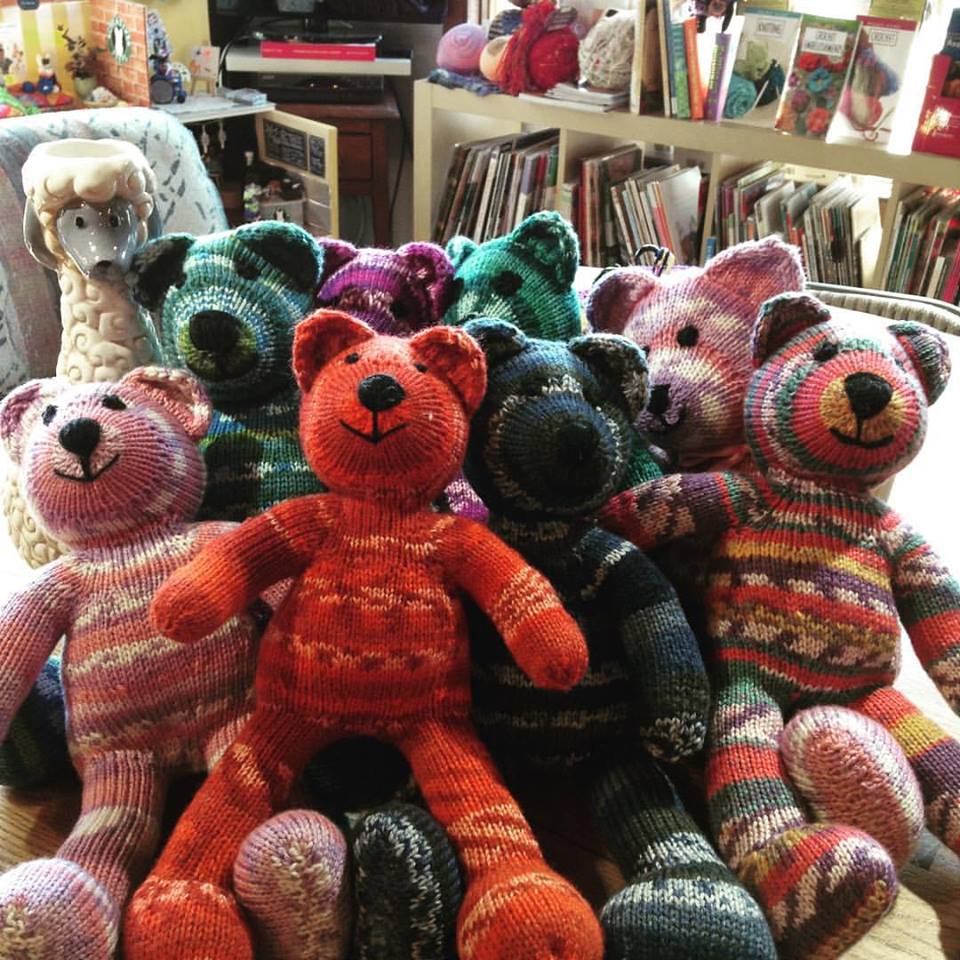
We’re in a kid frame of mind today!  We recently saw these Blinky Bears knitted by Joan and shared by Yarn Cloud in Virginia.

Yarn Cloud Petra Bietsch Blinky Bears by Joan

They’re knitted in Uptown Worsted Tapestry (180yds/100g).  Joan made a different bear for every grand kid so there wouldn’t be any arguments.  Is that a great idea or what?  The pattern is a Yarn Cloud exclusive by Pietra Bietsch and is available on Ravelry at this link.

Striped Blanket detail hi-resWe love these little guys and gals.  We’re also happy to share this extremely simple pattern in Uptown DK Colors (273yds/100g), which also uses the yarn’s color shifts to good advantage.  The Cherish Baby Blanket is a very easy four-row repeat perfect for beginners.  The self-striping yarn makes the color changes, so there’s no juggling multiple balls and there’s less weaving in ends.  A garter stitch border at the edges and a few rows of straight knitting at the top and bottom help keep it from curling.

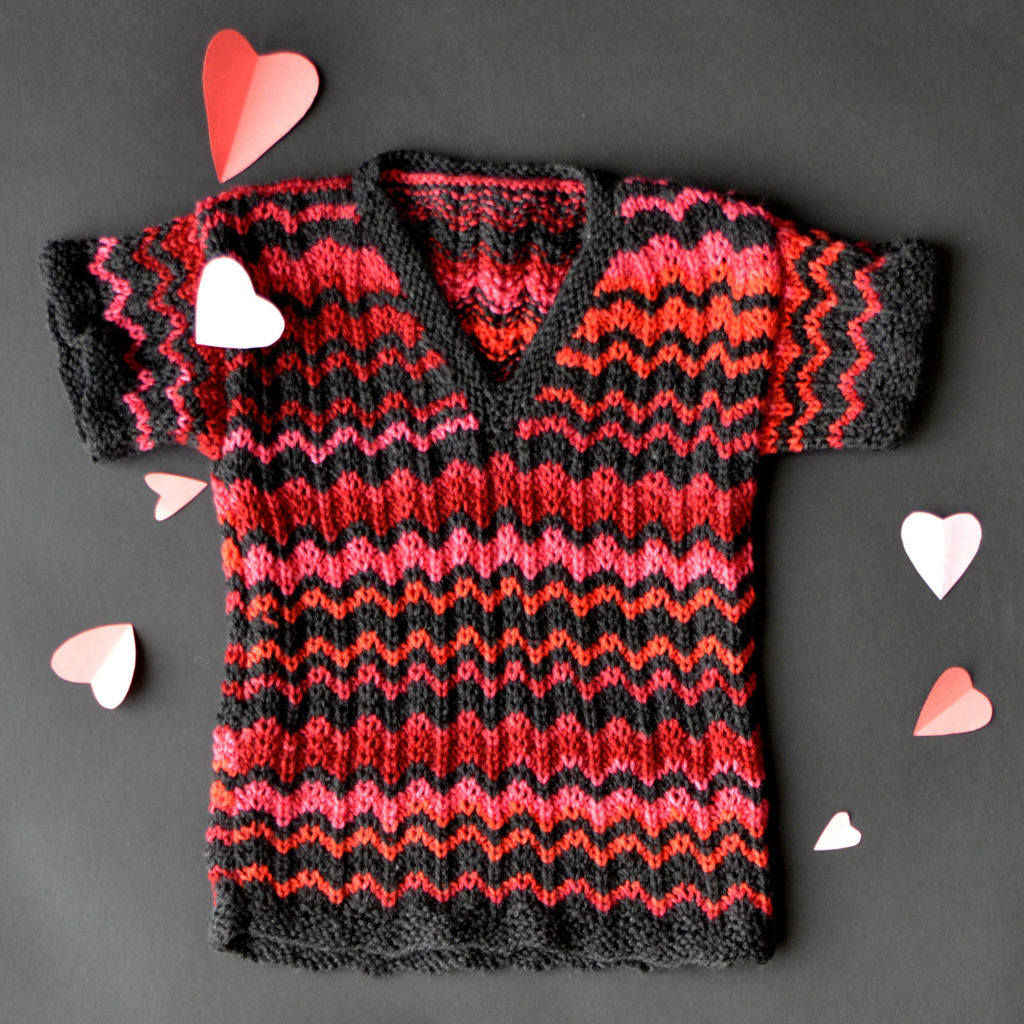
We’re big fans of self-patterning and self-striping yarns for times when you want to add a little pizzazz to your work without having to fiddle with bobbins.  For instance, take a look at the Zig to the Zag Tee.

Zig to the Zag Tee_Craftsy_square_300dpi

Solid Uptown DK in 132 Night and Uptown DK Colors in 70319 Jubilee are alternated to make a very modern kid’s tee where the self-striping yarn automatically shifts through red and pink bands – one less thing for the knitter to worry about.  They can just concentrate on making a standout top for some little fashionista.

We hope you enjoy the free Cherish Baby Blanket, and think about unique ways you can use self-striping and self-patterning yarns.

Have a great weekend, and happy knitting!


Ready to Wear

In case you missed the first few posts in this series on my Flame Lace Top, you can find the warping post here,  how to make string heddles here,  actually weaving the fabric here, and taking the fabric off the loom here.  I’m using Flax as warp, and Whisper Lace with Garden 10 held together as warp.

After taking my fabric off the loom, I decided to machine wash on gentle and then laid flat to dry. After lightly pressing the fabric with my iron, I was all ready to start sewing and cutting:
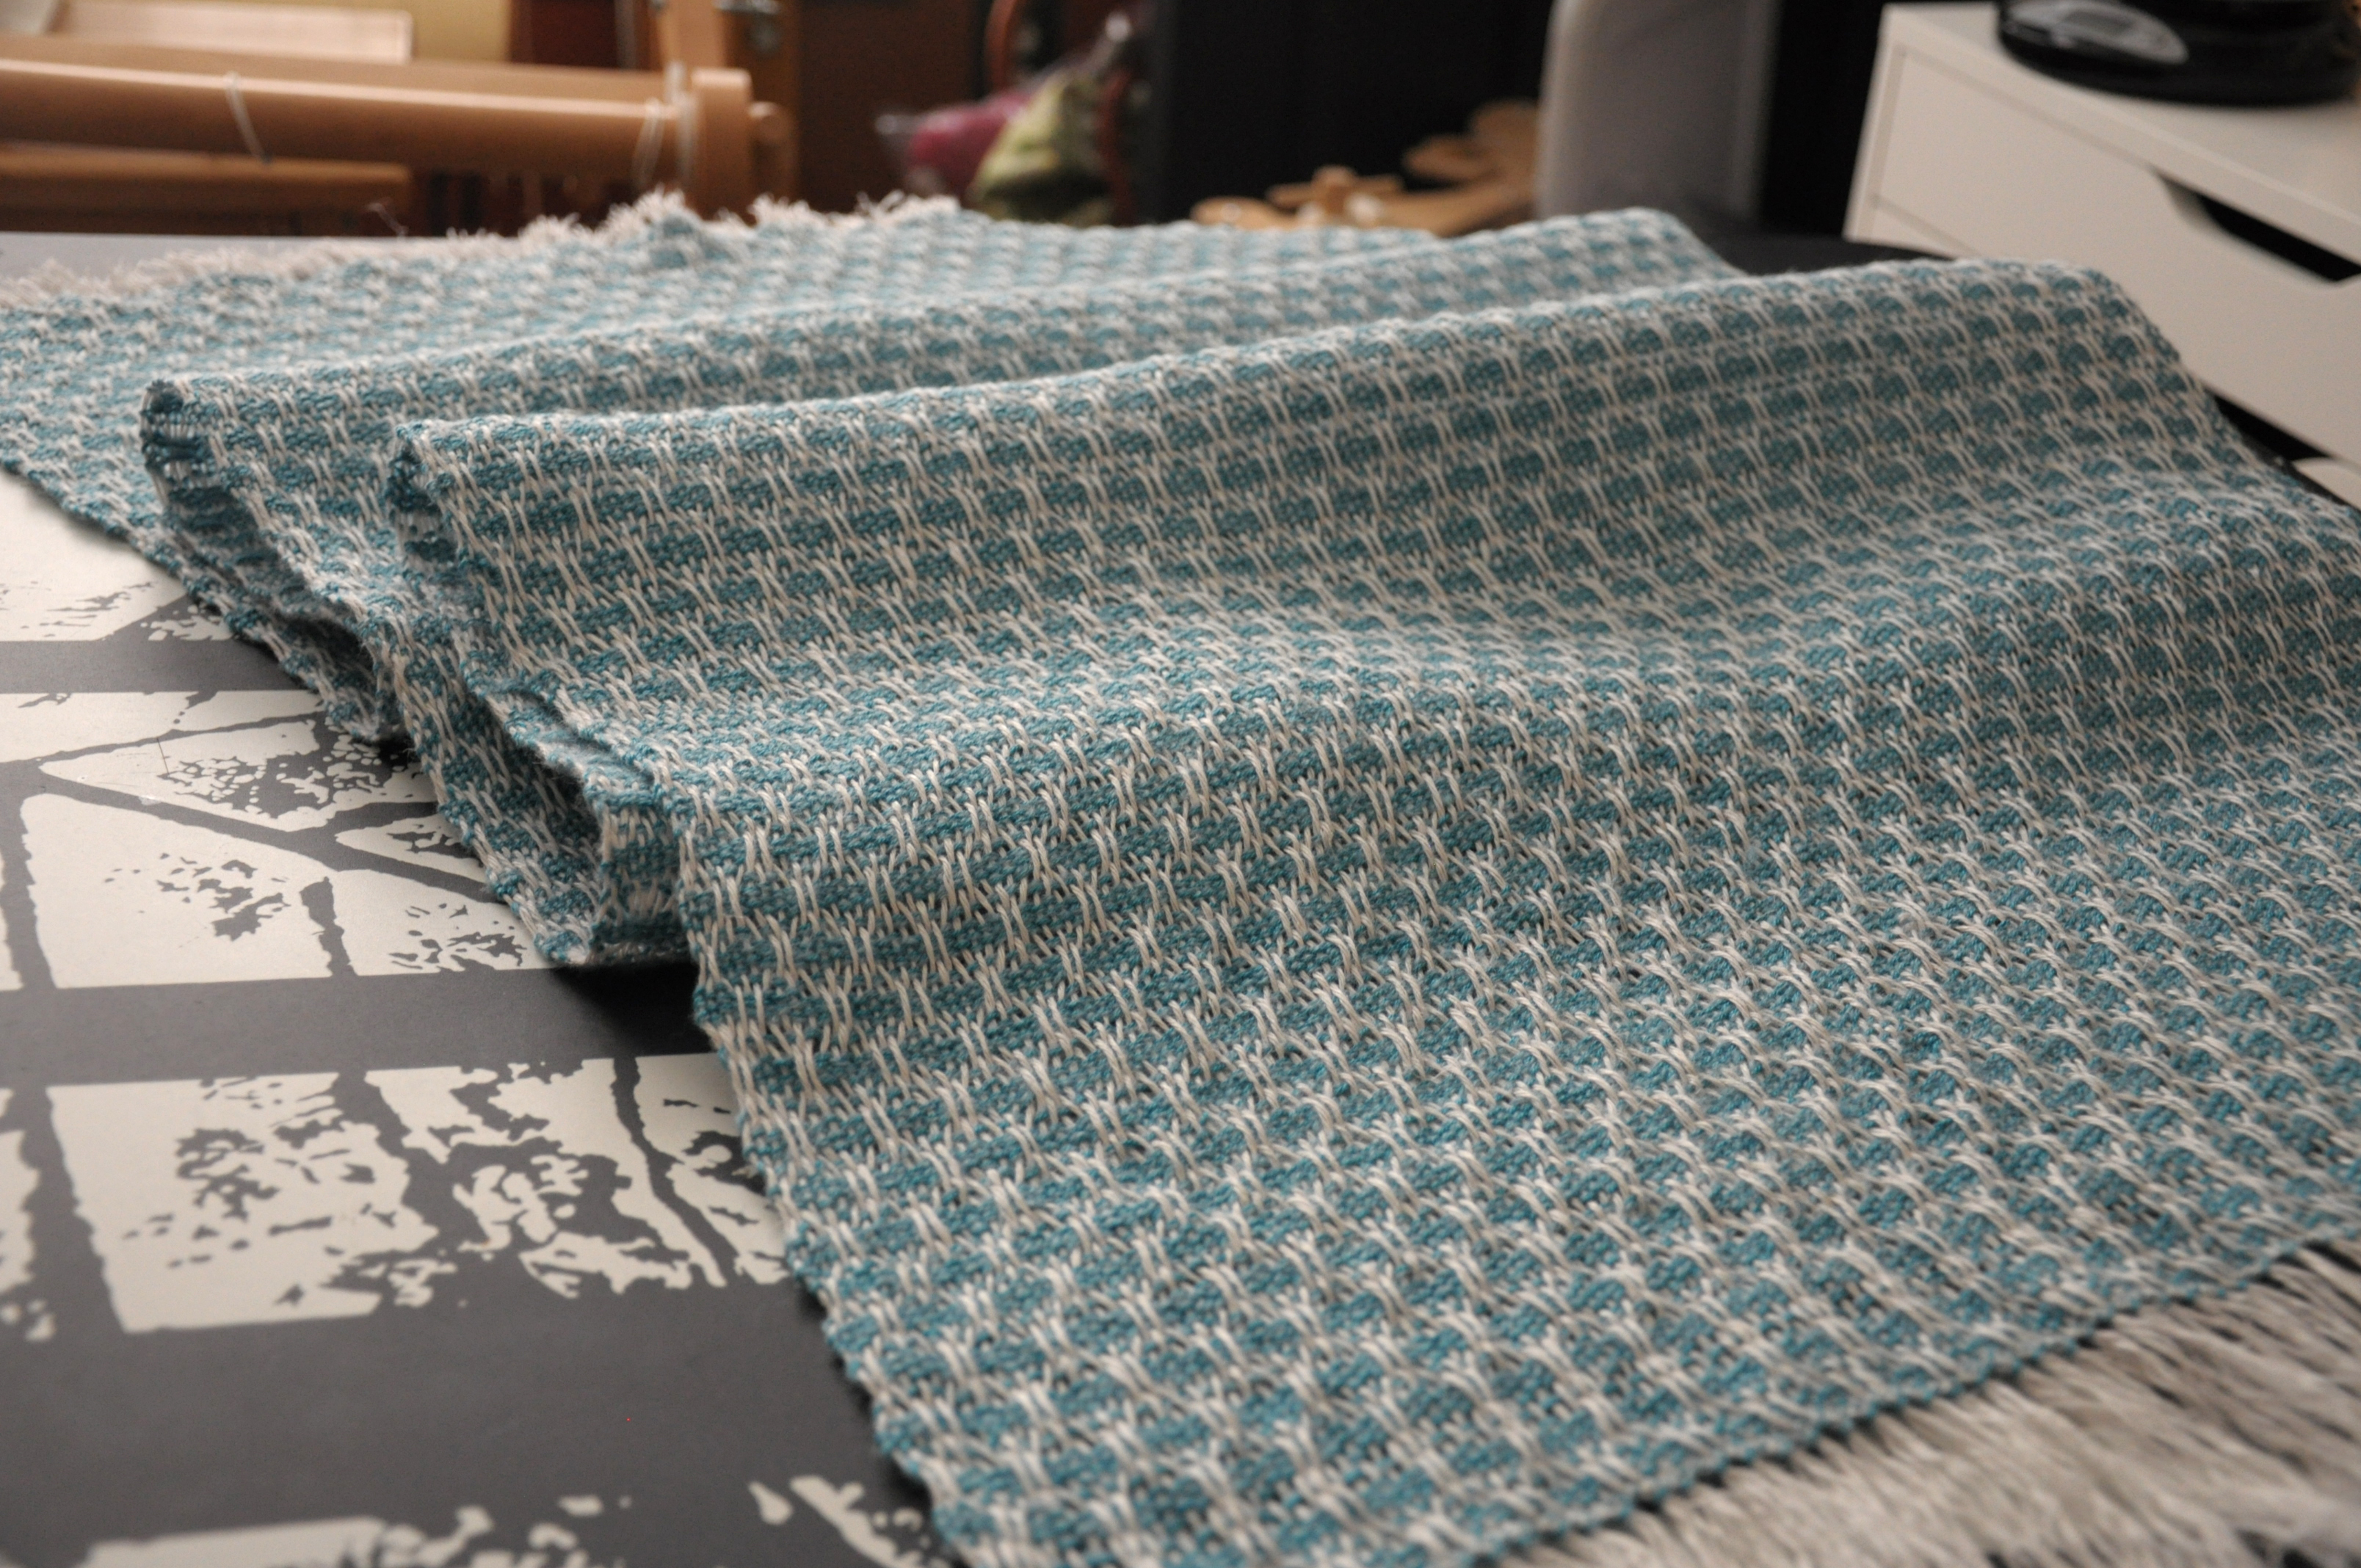
Sewing_1

What really drew me to the Flame Lace project in the Simple Woven Garments book was the weave structure. Though I think the garment in the book is really cute, I’m not a big fan of that shape for my body. Going into this project, I knew I was going to make some changes. But I didn’t fully decide on those changes until I got started. And even then I made improvisations along the way.

The first thing I decided to do differently than the original was to shape my armholes. The easiest way for me to determine my armhole depth and shape was to grab a top I already own and use that as a guide. I’m a big fan of using wrapping paper that has grid lines on the back for things like this.
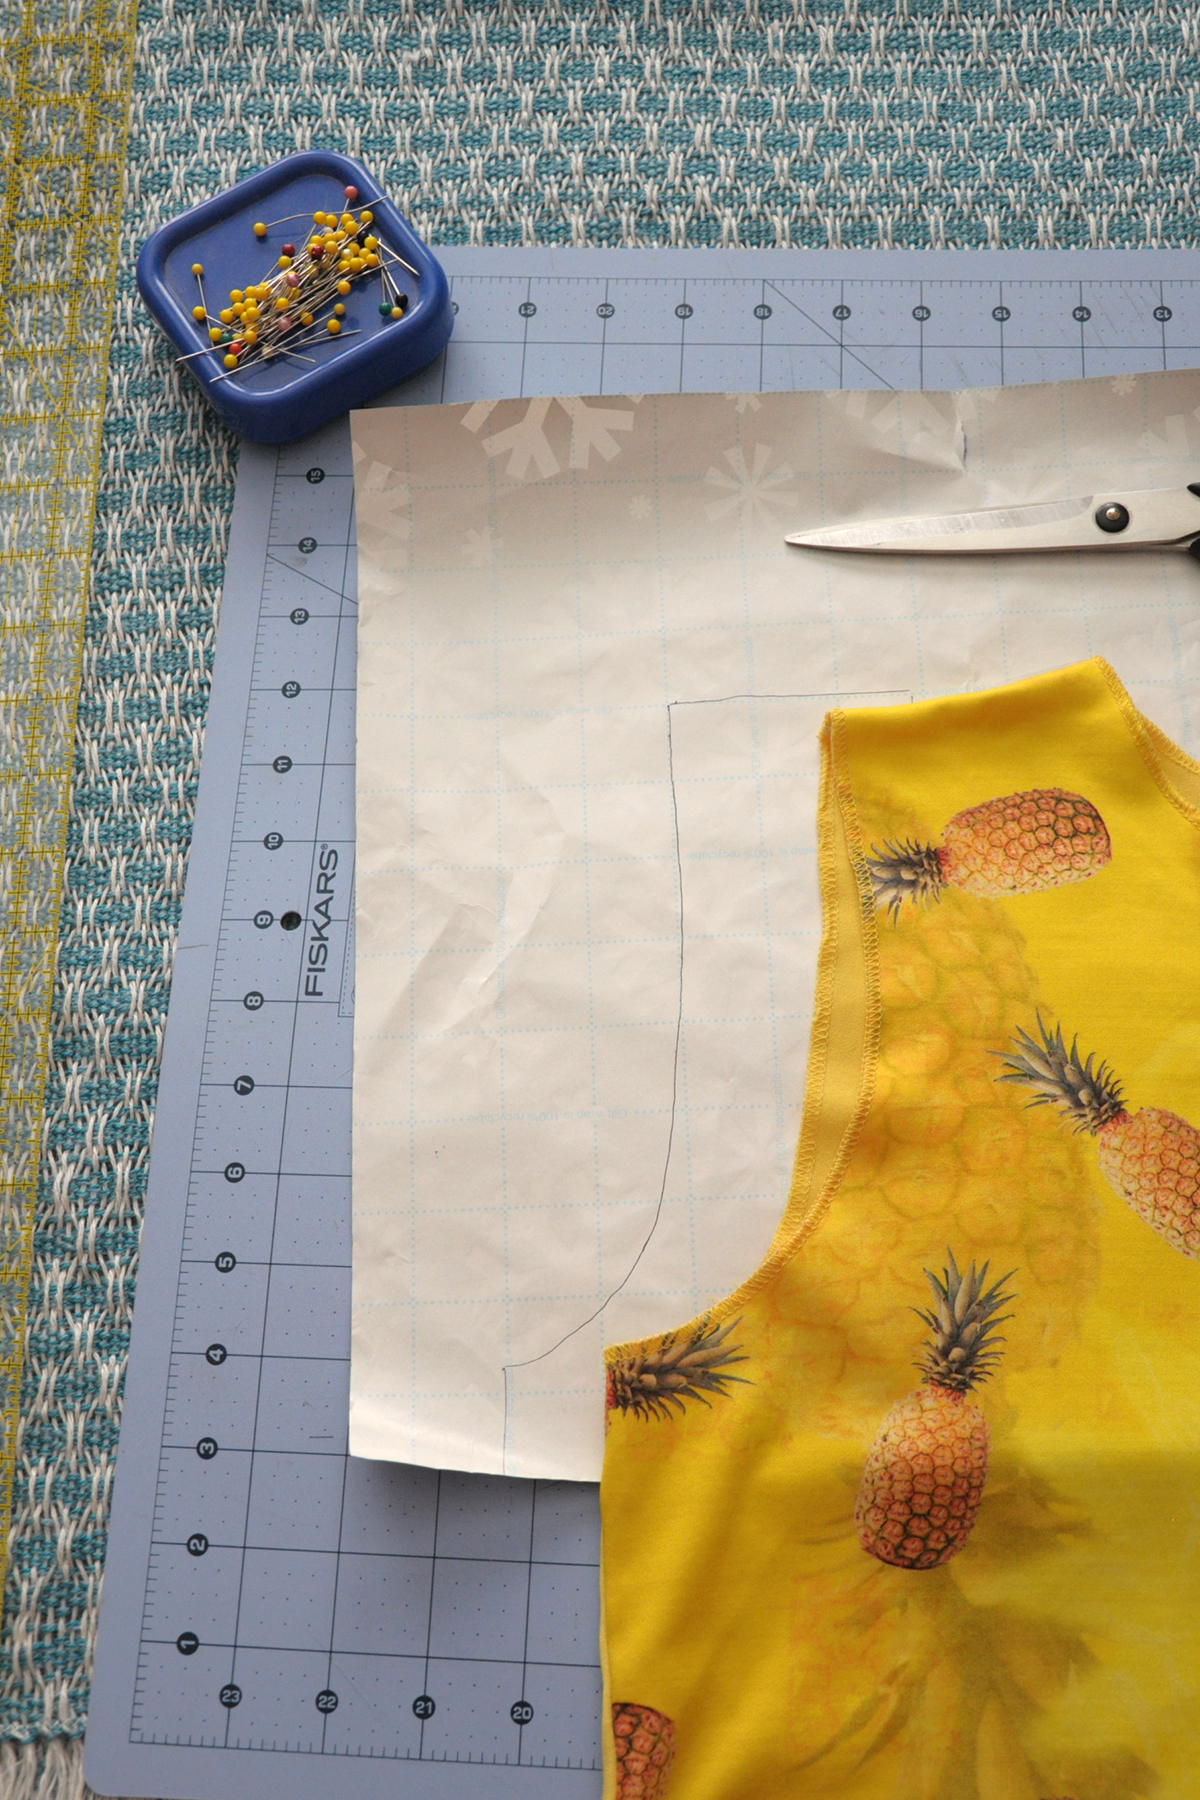
Sewing_2

To make a template for my armholes, I laid my top on the back side of the wrapping paper and traced one side. I opted to freehand the neck hole, as I wanted it to sit a bit lower than the one on the shirt I was using as an armhole guide. After cutting out the first side, I folded the paper in half and traced to get the second side – an easy way to make sure it was symmetric.
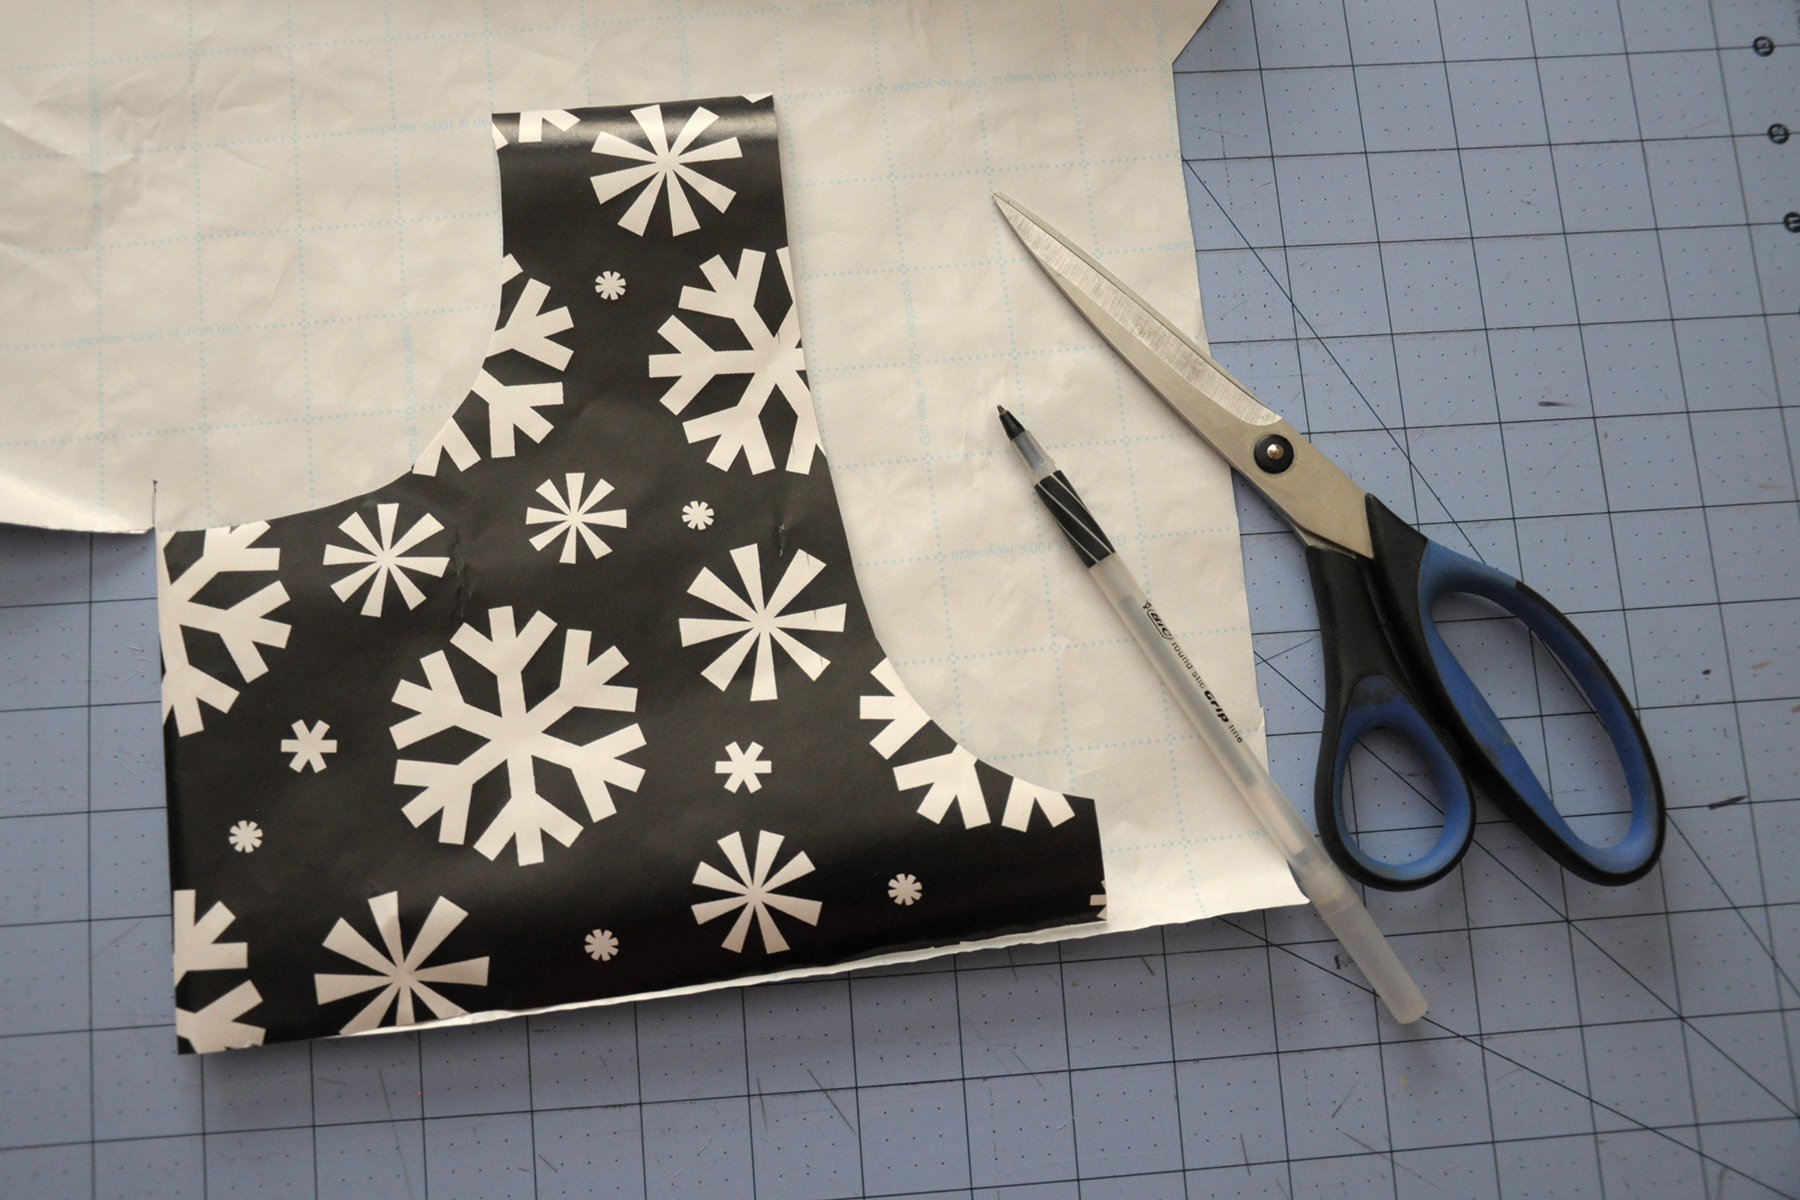
Sewing_3

After cutting out my armhole template, the next step was to pin it to my fabric. But before I could do that, I needed to determine where the shoulder seam would be. Rather than cut out separate pieces for front and back from my fabric, I was using the entire length of the fabric for my top.

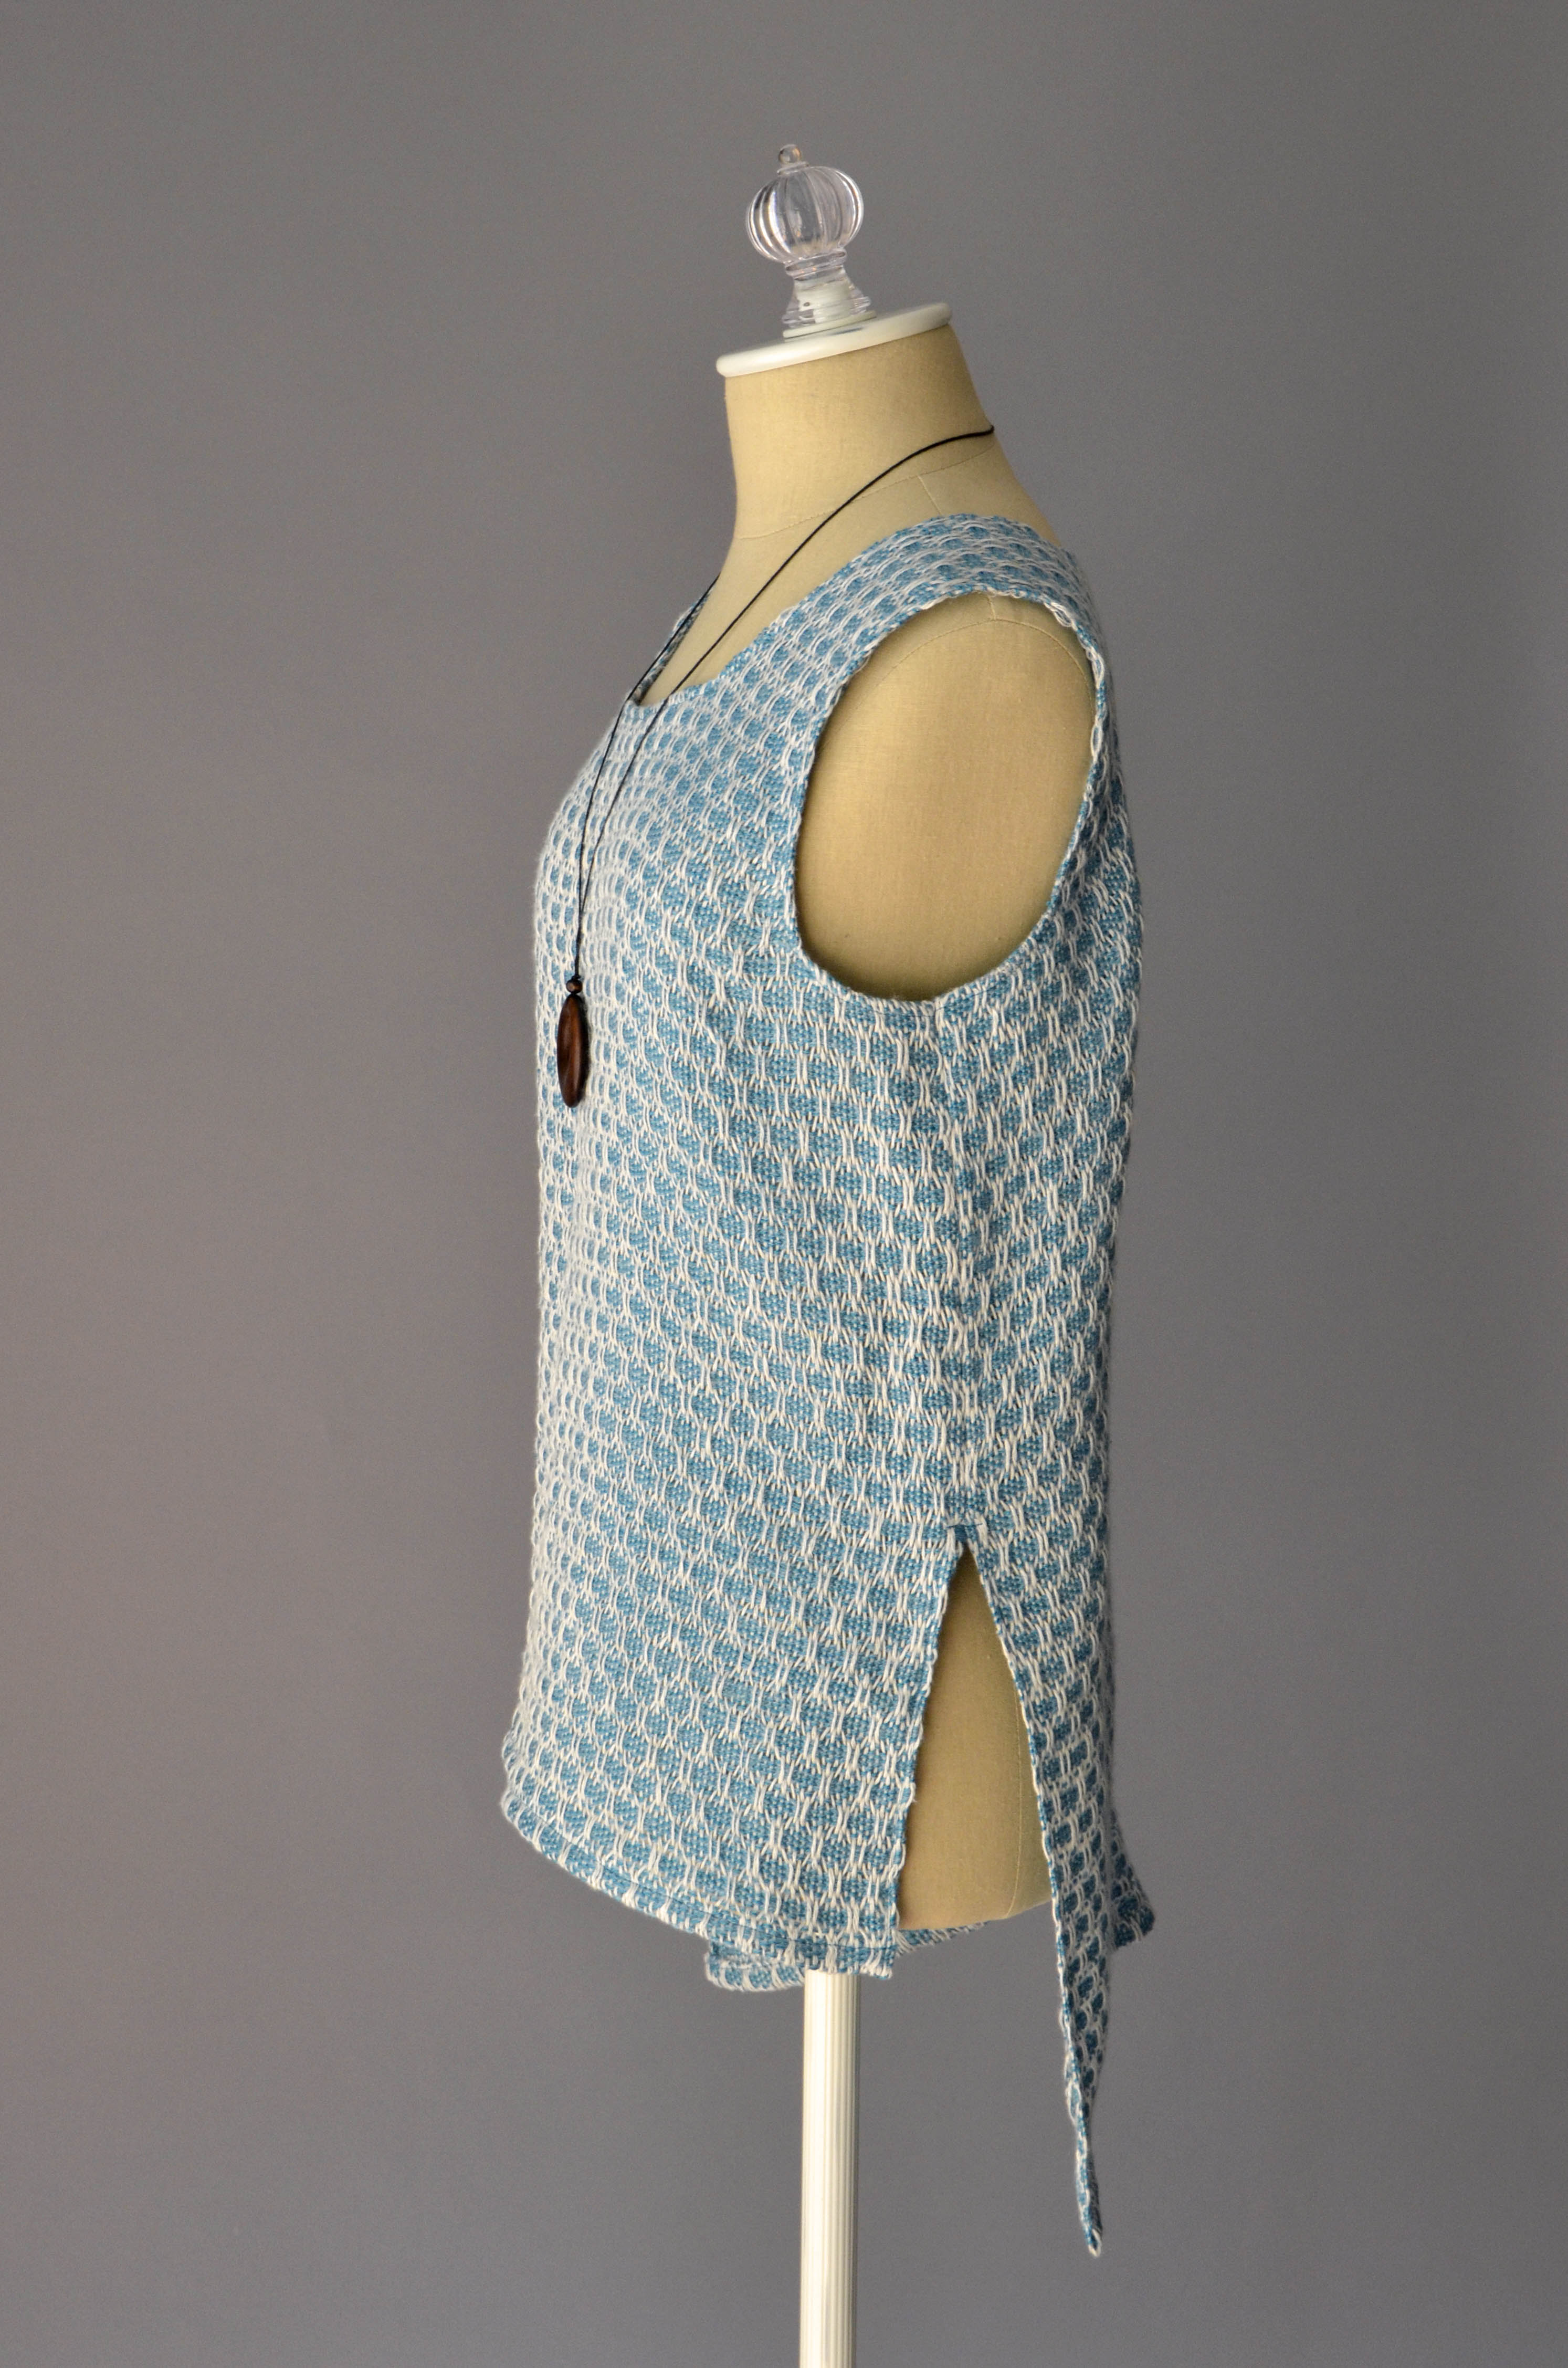
I decided as I was tracing my armholes that a hi-lo hem would be cool. I opted for about a 5″ difference in front and back hems, folded my fabric, and then pressed it with my iron to indicate my shoulder seam.

Then I pinned my template to the fabric:
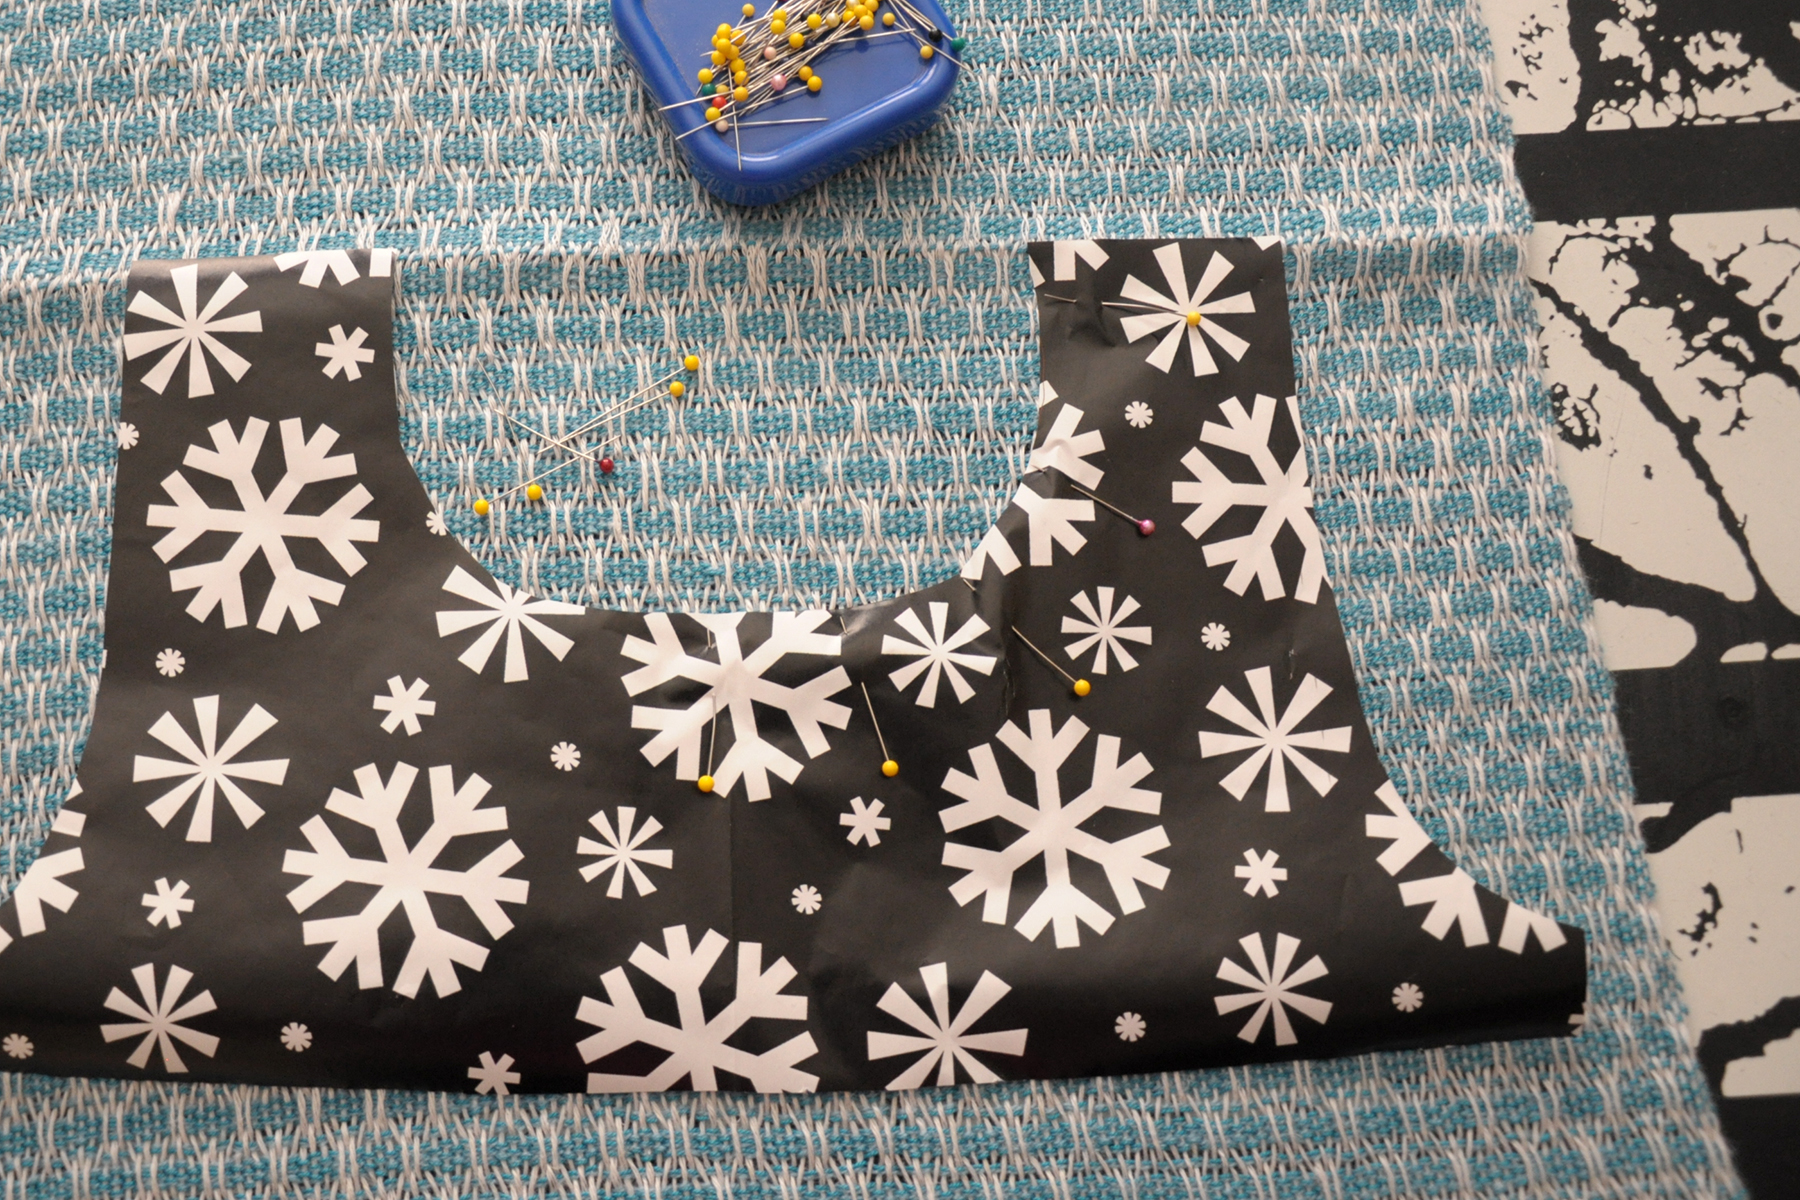
Sewing_4

My two best tips for sewing: don’t skimp on ironing or pins.

Now, before any cutting can happen, it’s important to secure the fabric with the sewing machine. If I was cutting store-bought fabric for a garment, I would simply pin the pattern to the fabric and cut. But because I’m using my handwoven fabric that has a much lower thread count (fewer threads per inch) than most commercial fabric, I needed to take care that the weaving doesn’t come apart.

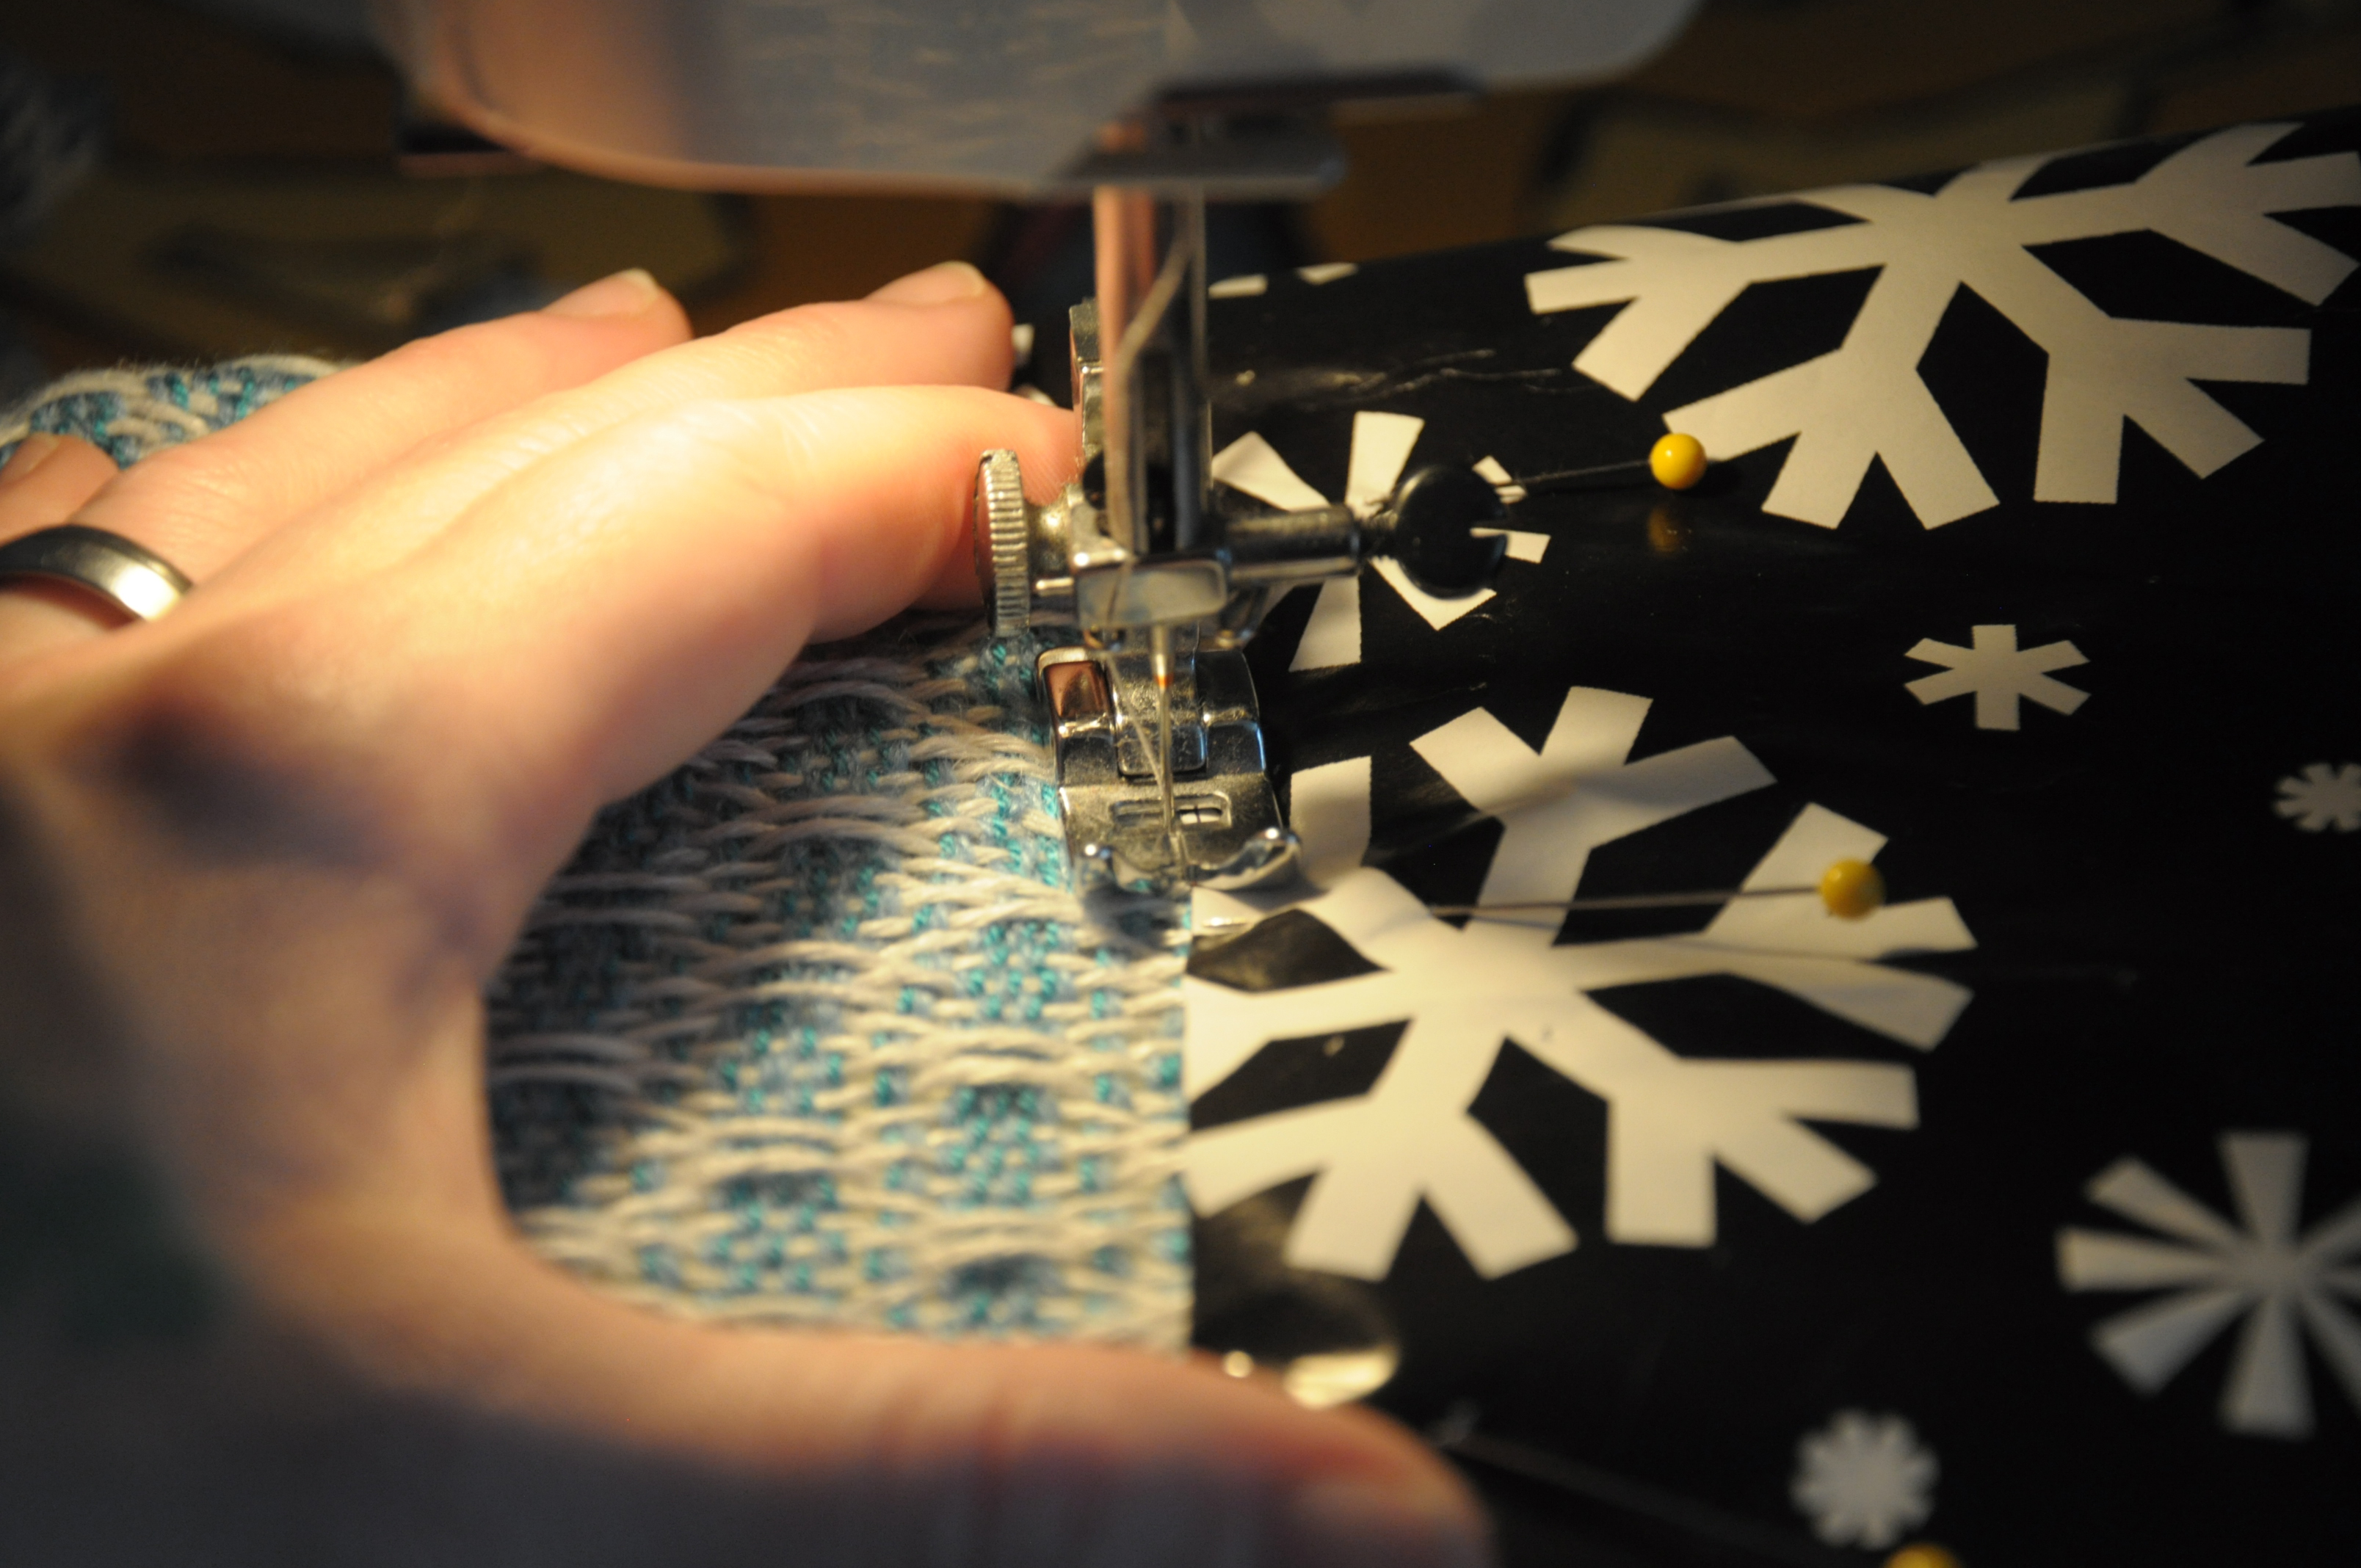
My first step was to sew a folding guide line for myself. I sewed a straight line of stitching just along the sides of my template:
Sewing_5

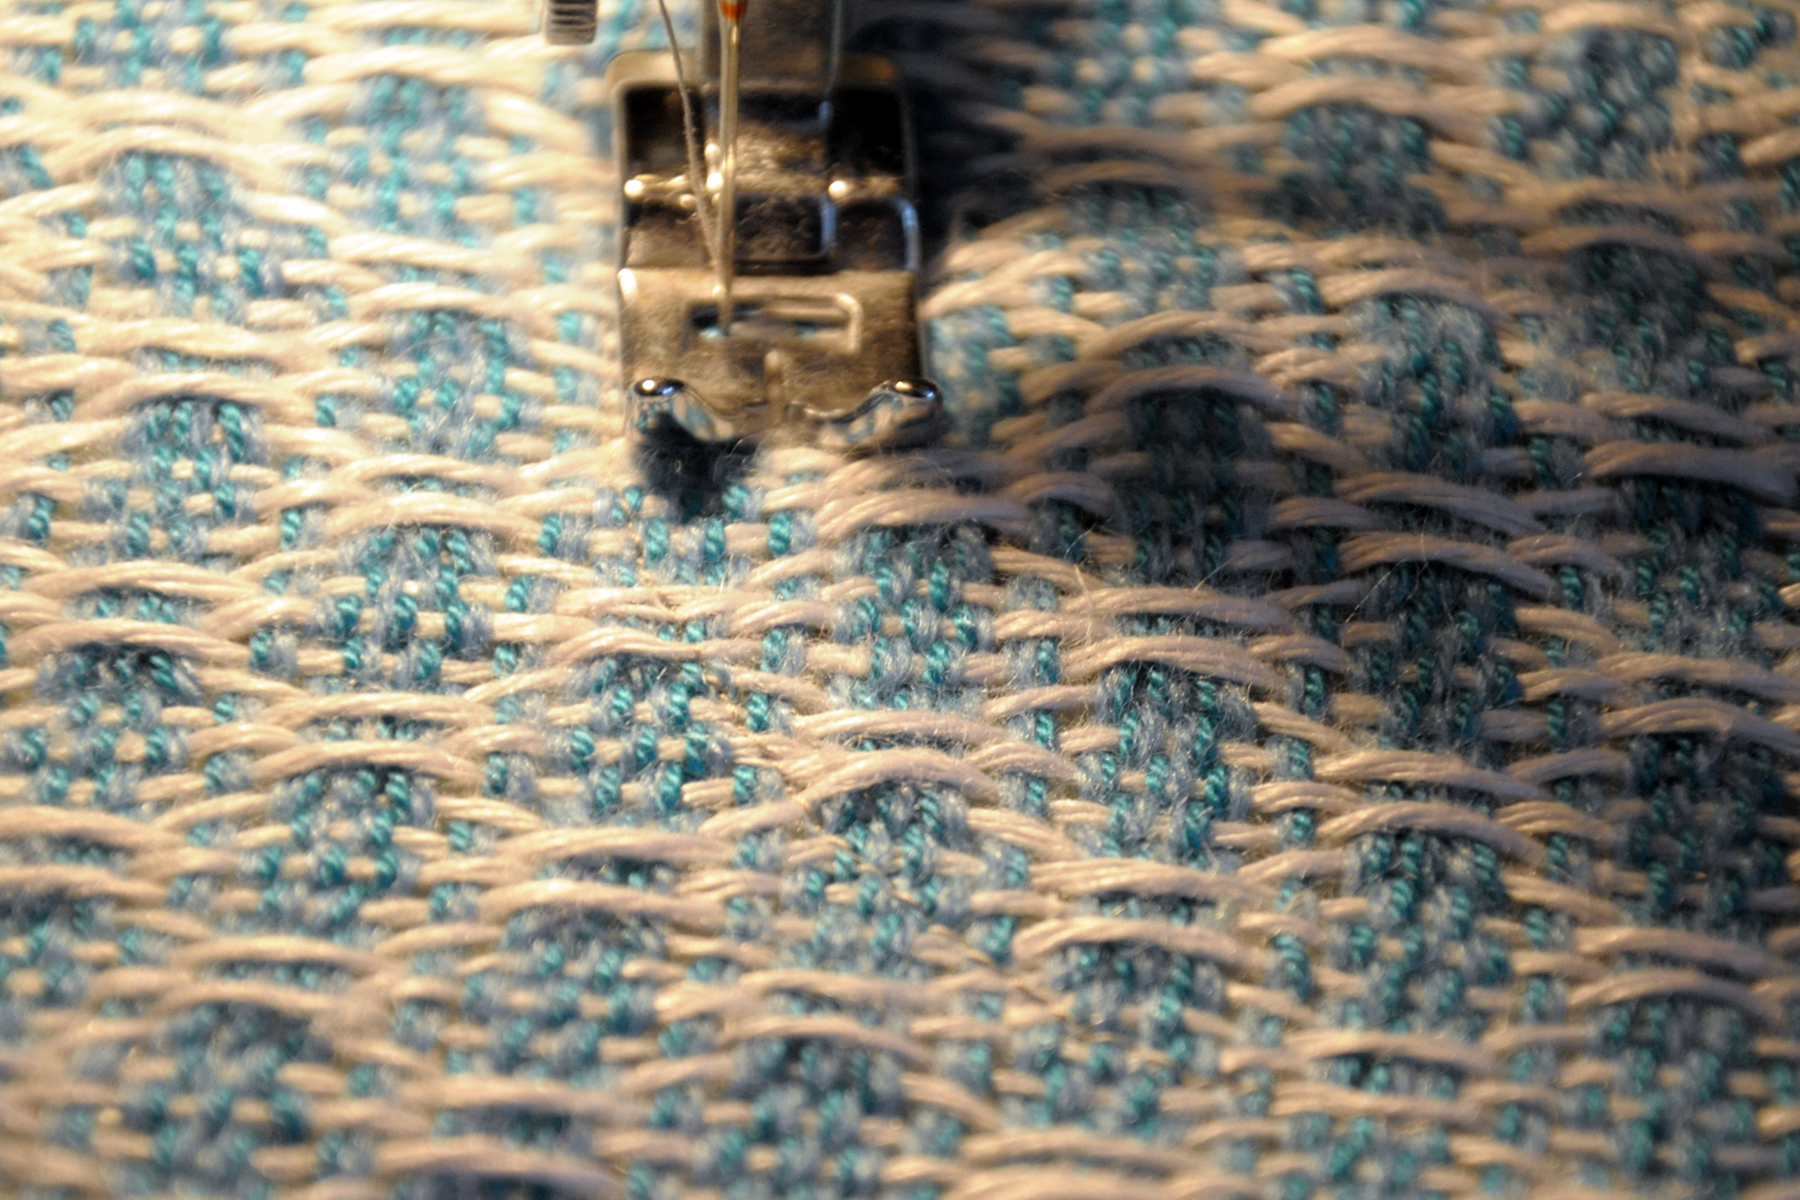
After removing the paper, I sewed two more lines, but this time with a narrow, short-length zigzag stitch. These are the really important lines, because they’re securing the threads of the weaving and preventing them from unraveling. I used my presser foot as a measuring guide for my lines The foot is about 1/4″ to 3/8″ wide from the center of the needle to the outside edge, making my total seam allowance be about 5/8″.
Sewing_6

I’m using light gray thread – can you see it? I barely could and had a splitting headache by the time I was done from squinting so hard. I wanted the thread to blend into the fabric and it blended too well!

Can you see it now?

Sewing_7

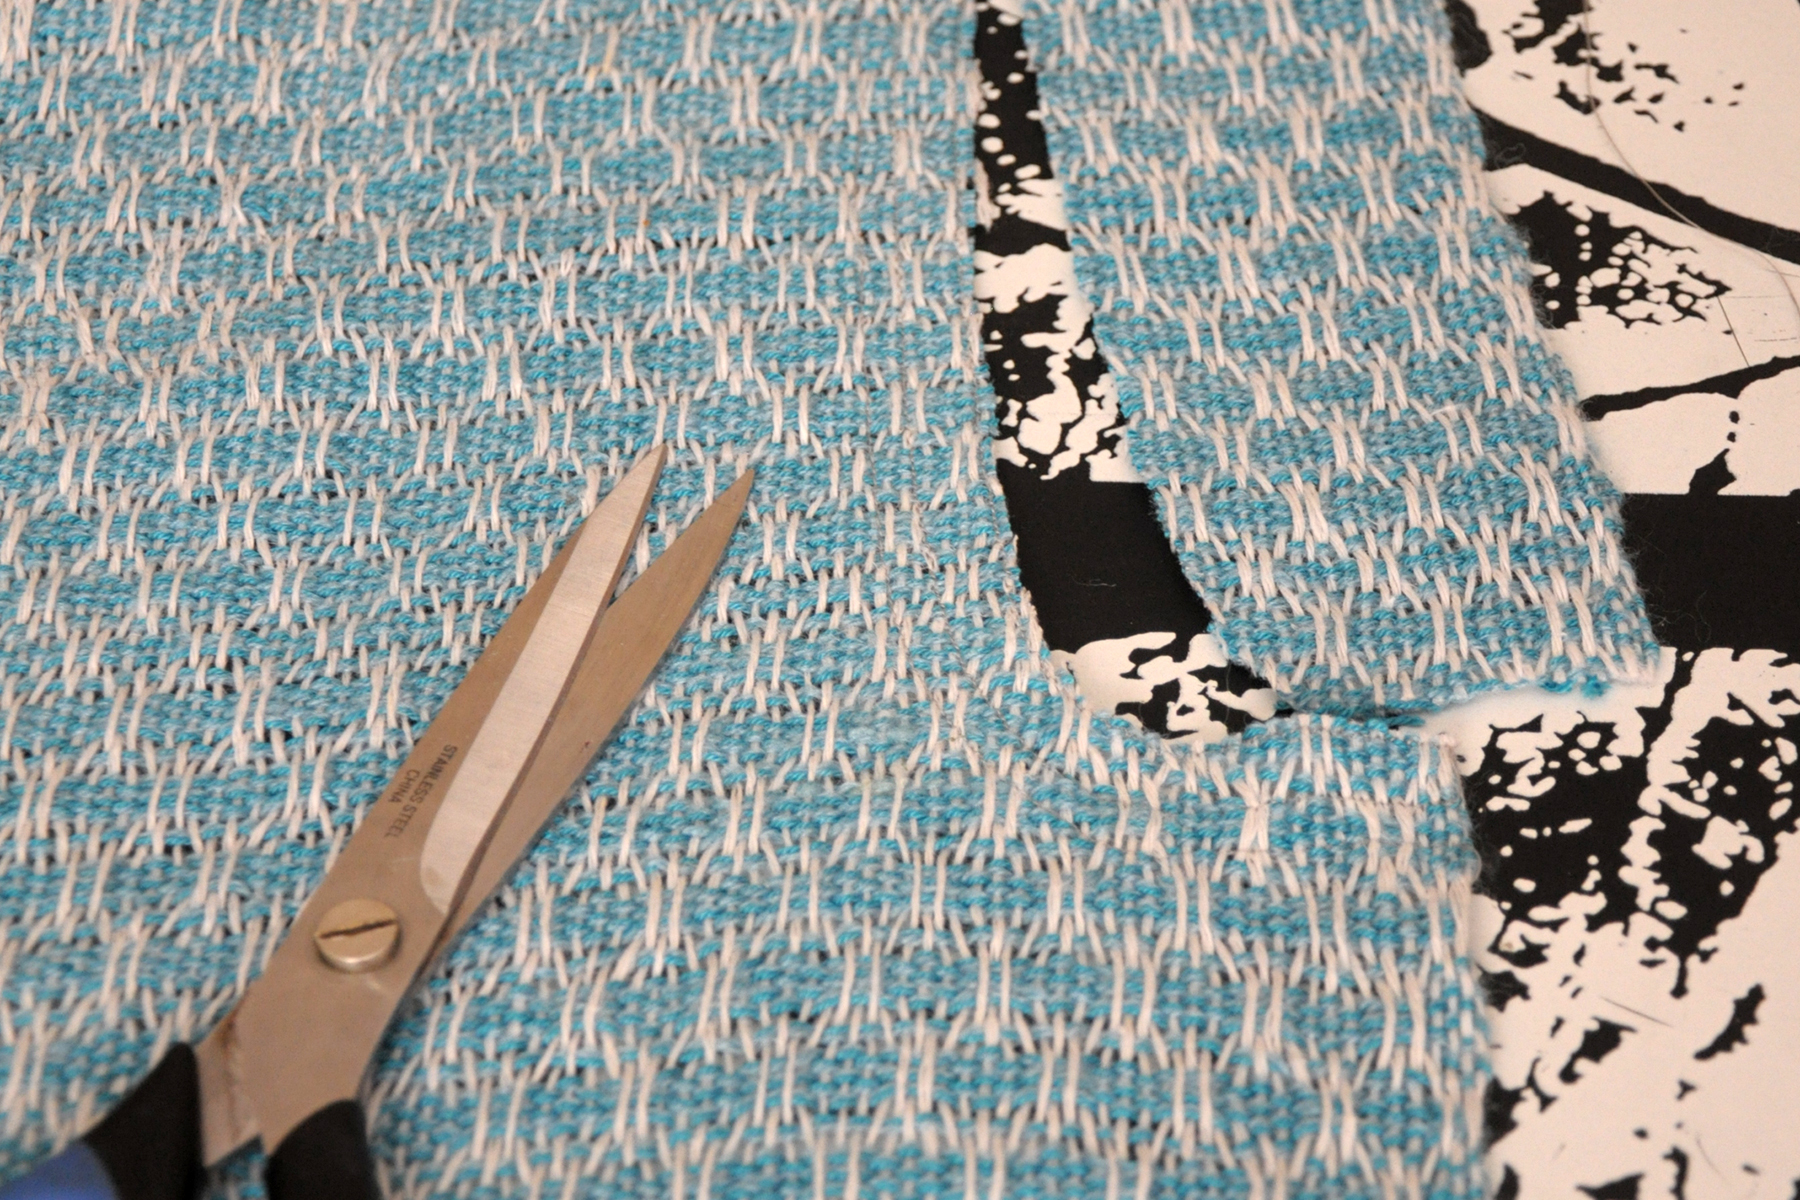
Now that these important lines were stitched I could safely cut out my neck and armholes. I made sure to cut outside  all lines of stitching, right up against the last zigzag line.
Sewing_8

Once the neck and armholes were cut out, I had to prep the curves so I could fold them under. If you’ve ever sewn a garment with curved lines, you know that you have to snip the curves so they can be eased to the inside of the garment. Again, because I was working with hand woven fabric, I had to secure the fabric before making these snips. I set my machine to a very, very short straight stitch, and made 2 parallel lines of stitches on either side of where I intended to cut. That way, when I cut through the fabric, it wouldn’t unravel.

My apologies – I seem to have forgotten to photograph this step!

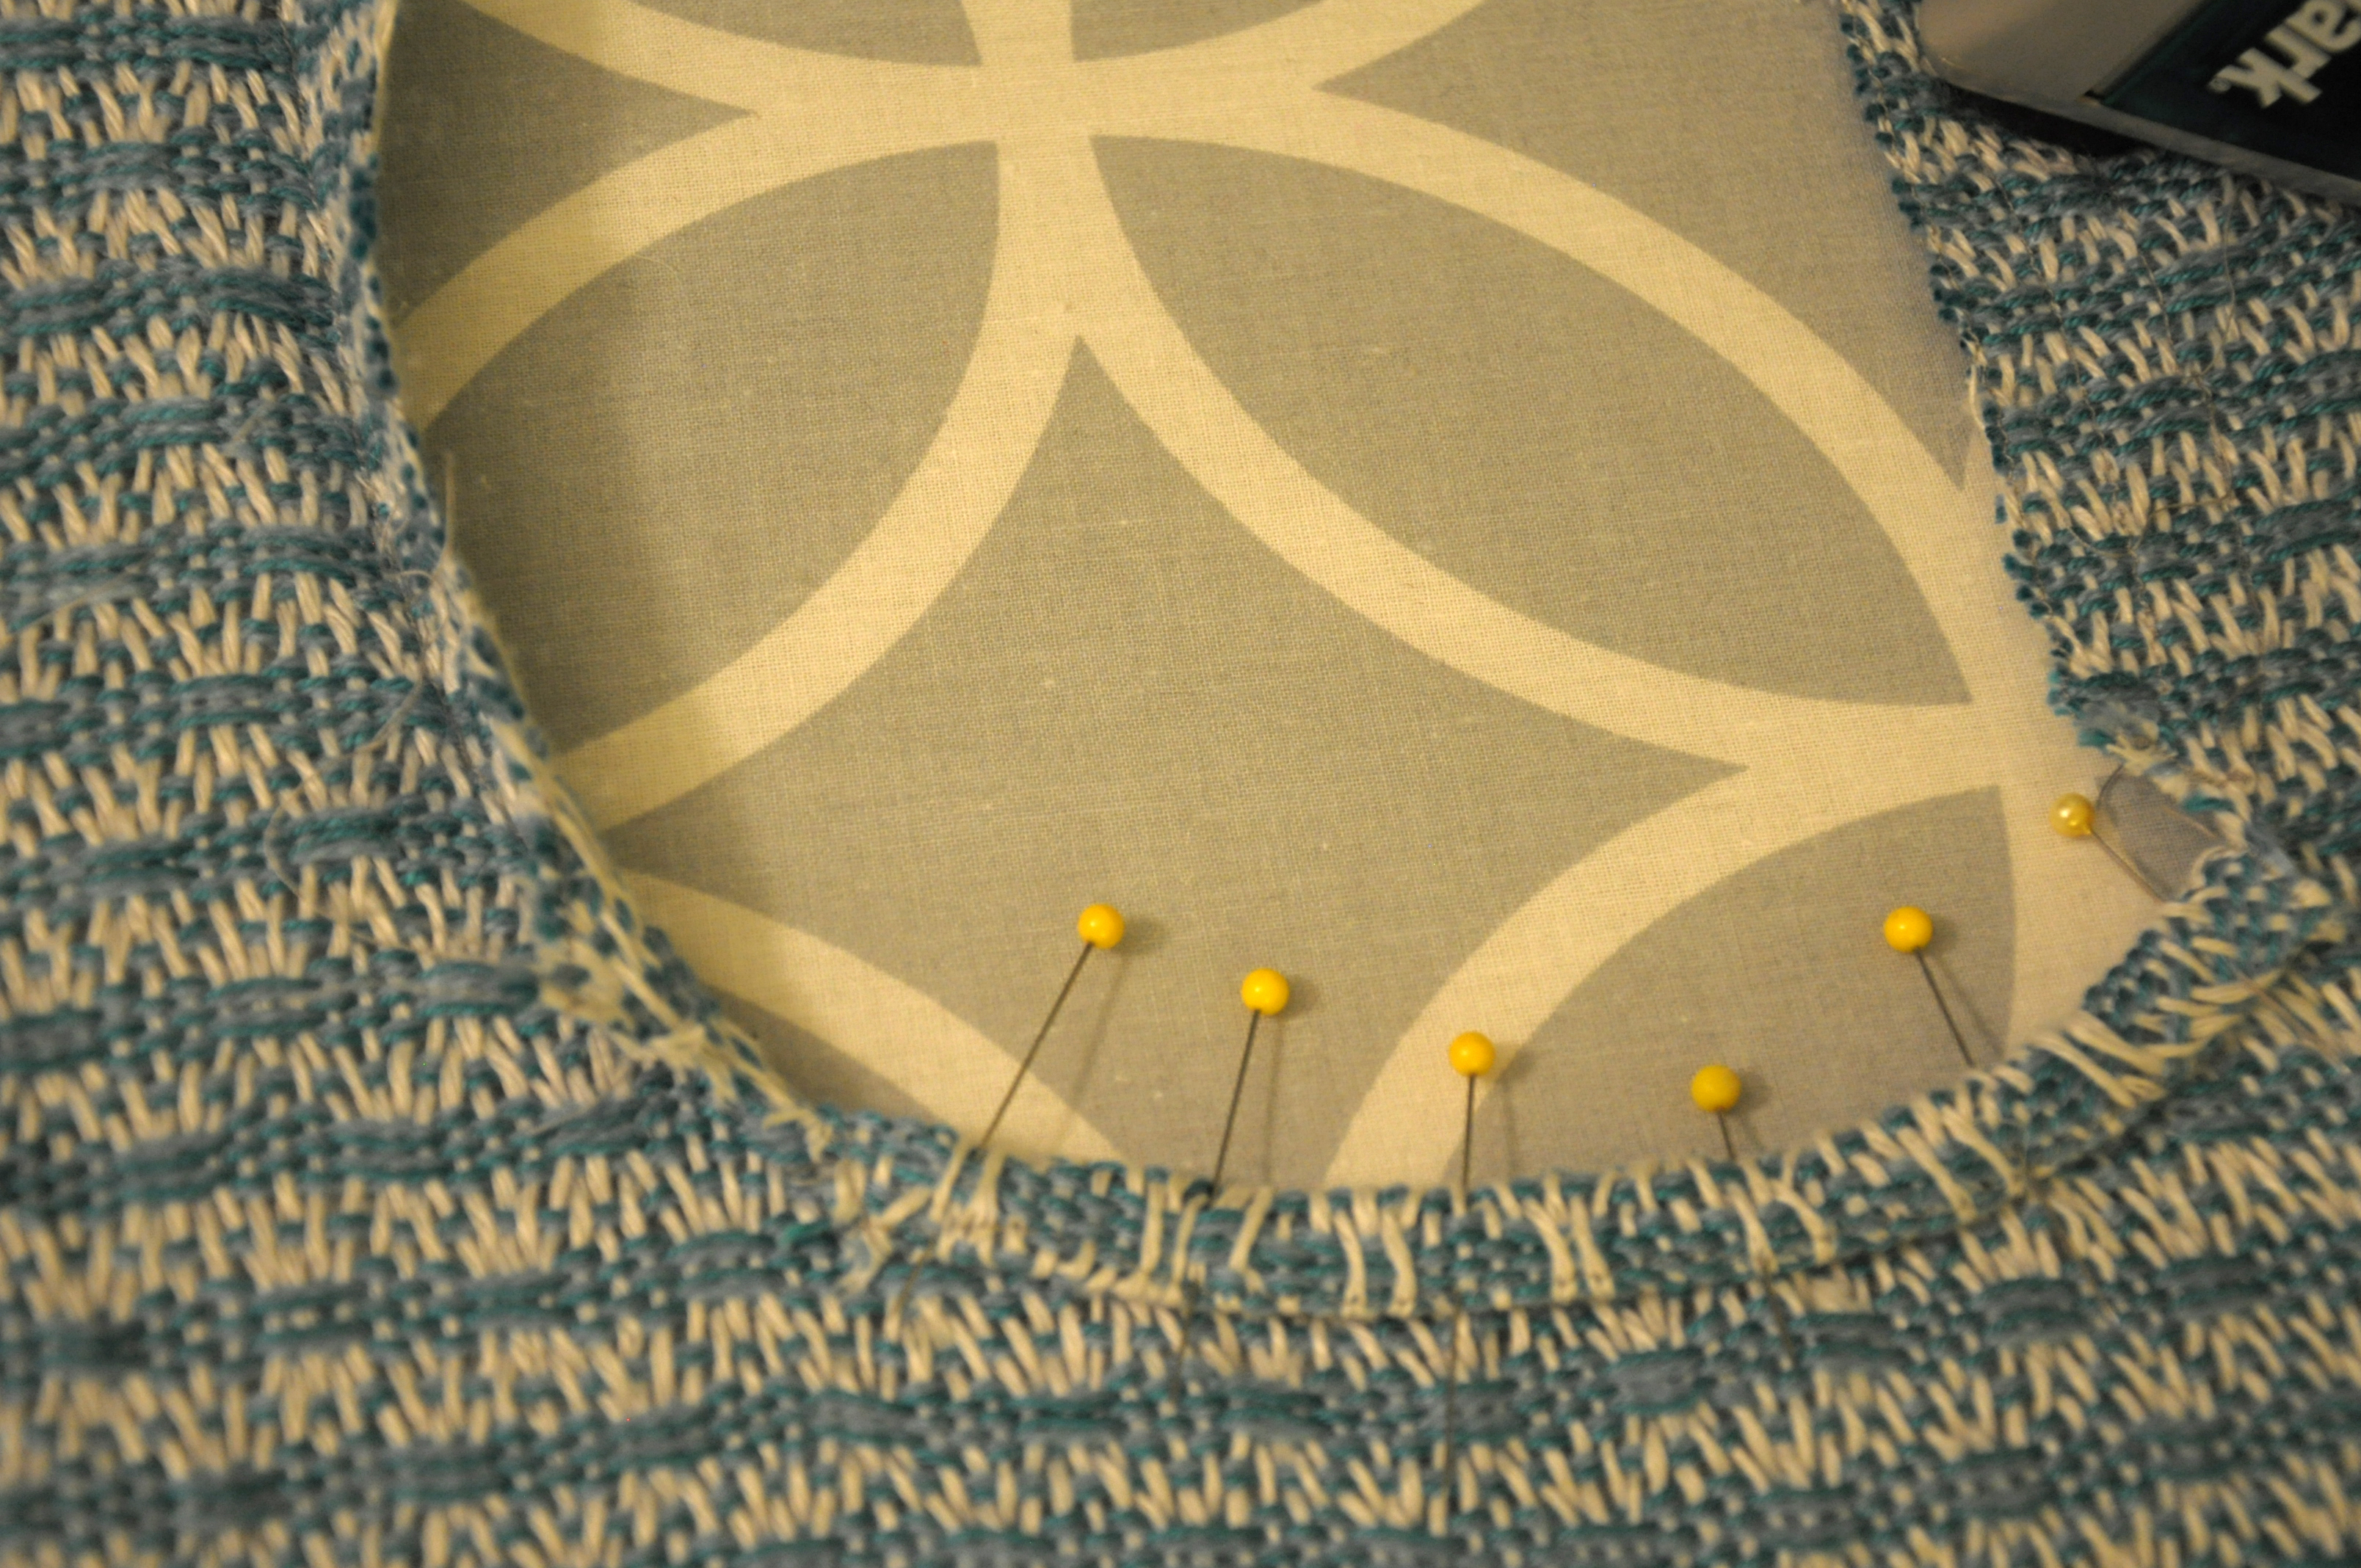
Anyway, next, it’s onto the ironing board again. And more pins! For a double-rolled hem, I first pressed in my openings on my very first straight line of sewing. Remember, my guide line? Then,  I pressed in again on my first zigzag line.
Sewing_9

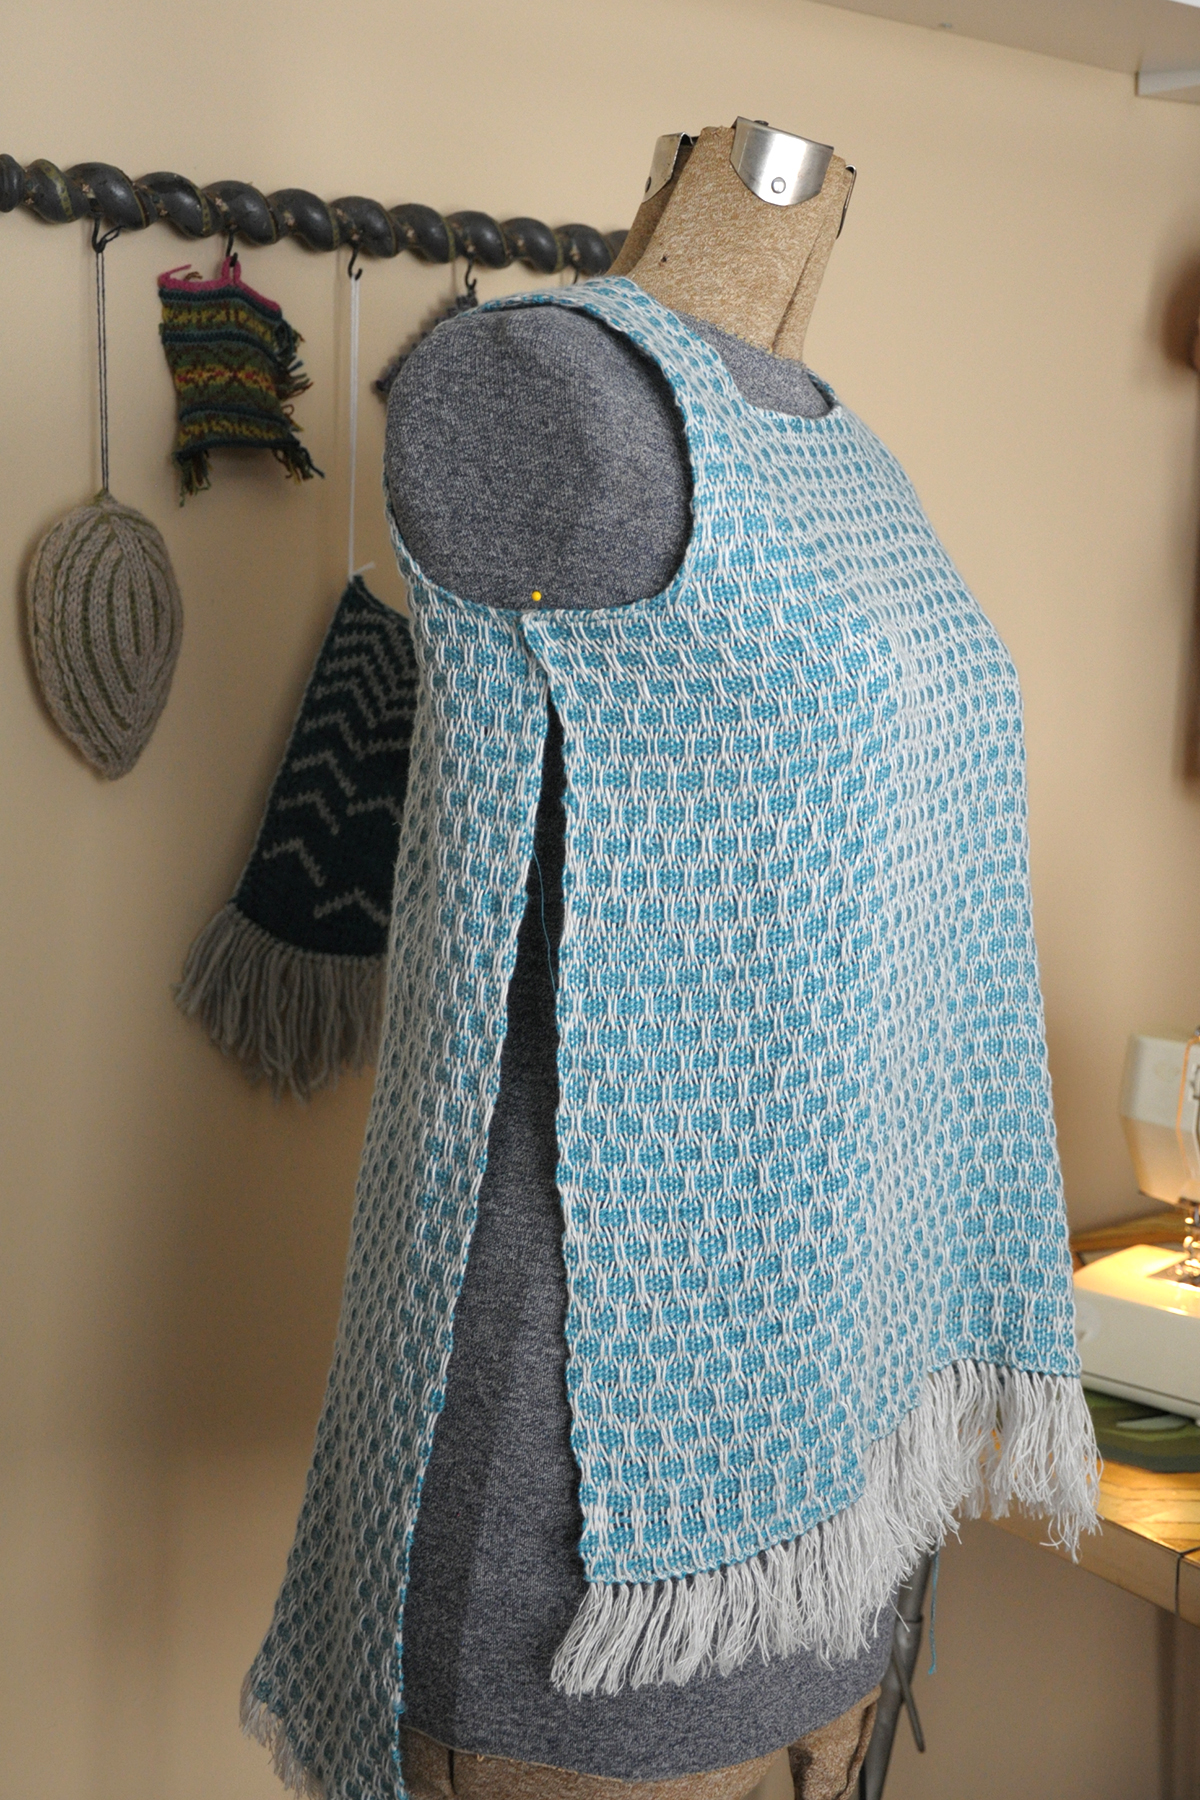
Once I pinned and sewed my neck and armhole openings (this time, with thread I could actually see), I tried it on Betty to see how we were coming:
Sewing_10

Hey, it looks like it could actually be something! To wear!

There were just a few things left to do. First I trimmed away that fringe. Fringe is actually in style right now and I could have left it, but opted to cut it away instead.

Next, I needed some side seams. Because the sides of the fabric are the selvedges, I found no need to do double rolled hems because the edges are “finished” already.

The final width of my fabric after washing, by the way, was about 19 1/2″. Which means, if I were to sew the sides together with 1/2″ seam allowances (taking up a total of 2″ in seams), then my finished top would be about 37″. Perfect! I have a 34″ bust, so having a few inches of ease in this woven top will work well, since woven fabrics really don’t have any give.

My hips, however, are significantly larger than 34″. I’m a pear shape and my hips are about 39-40″. I couldn’t sew the full length of my side seams or I won’t be able to fit into this baby.  I also could have made the top shorter than intended so that it sat above the fullest part of my hips, but I didn’t want to do that.

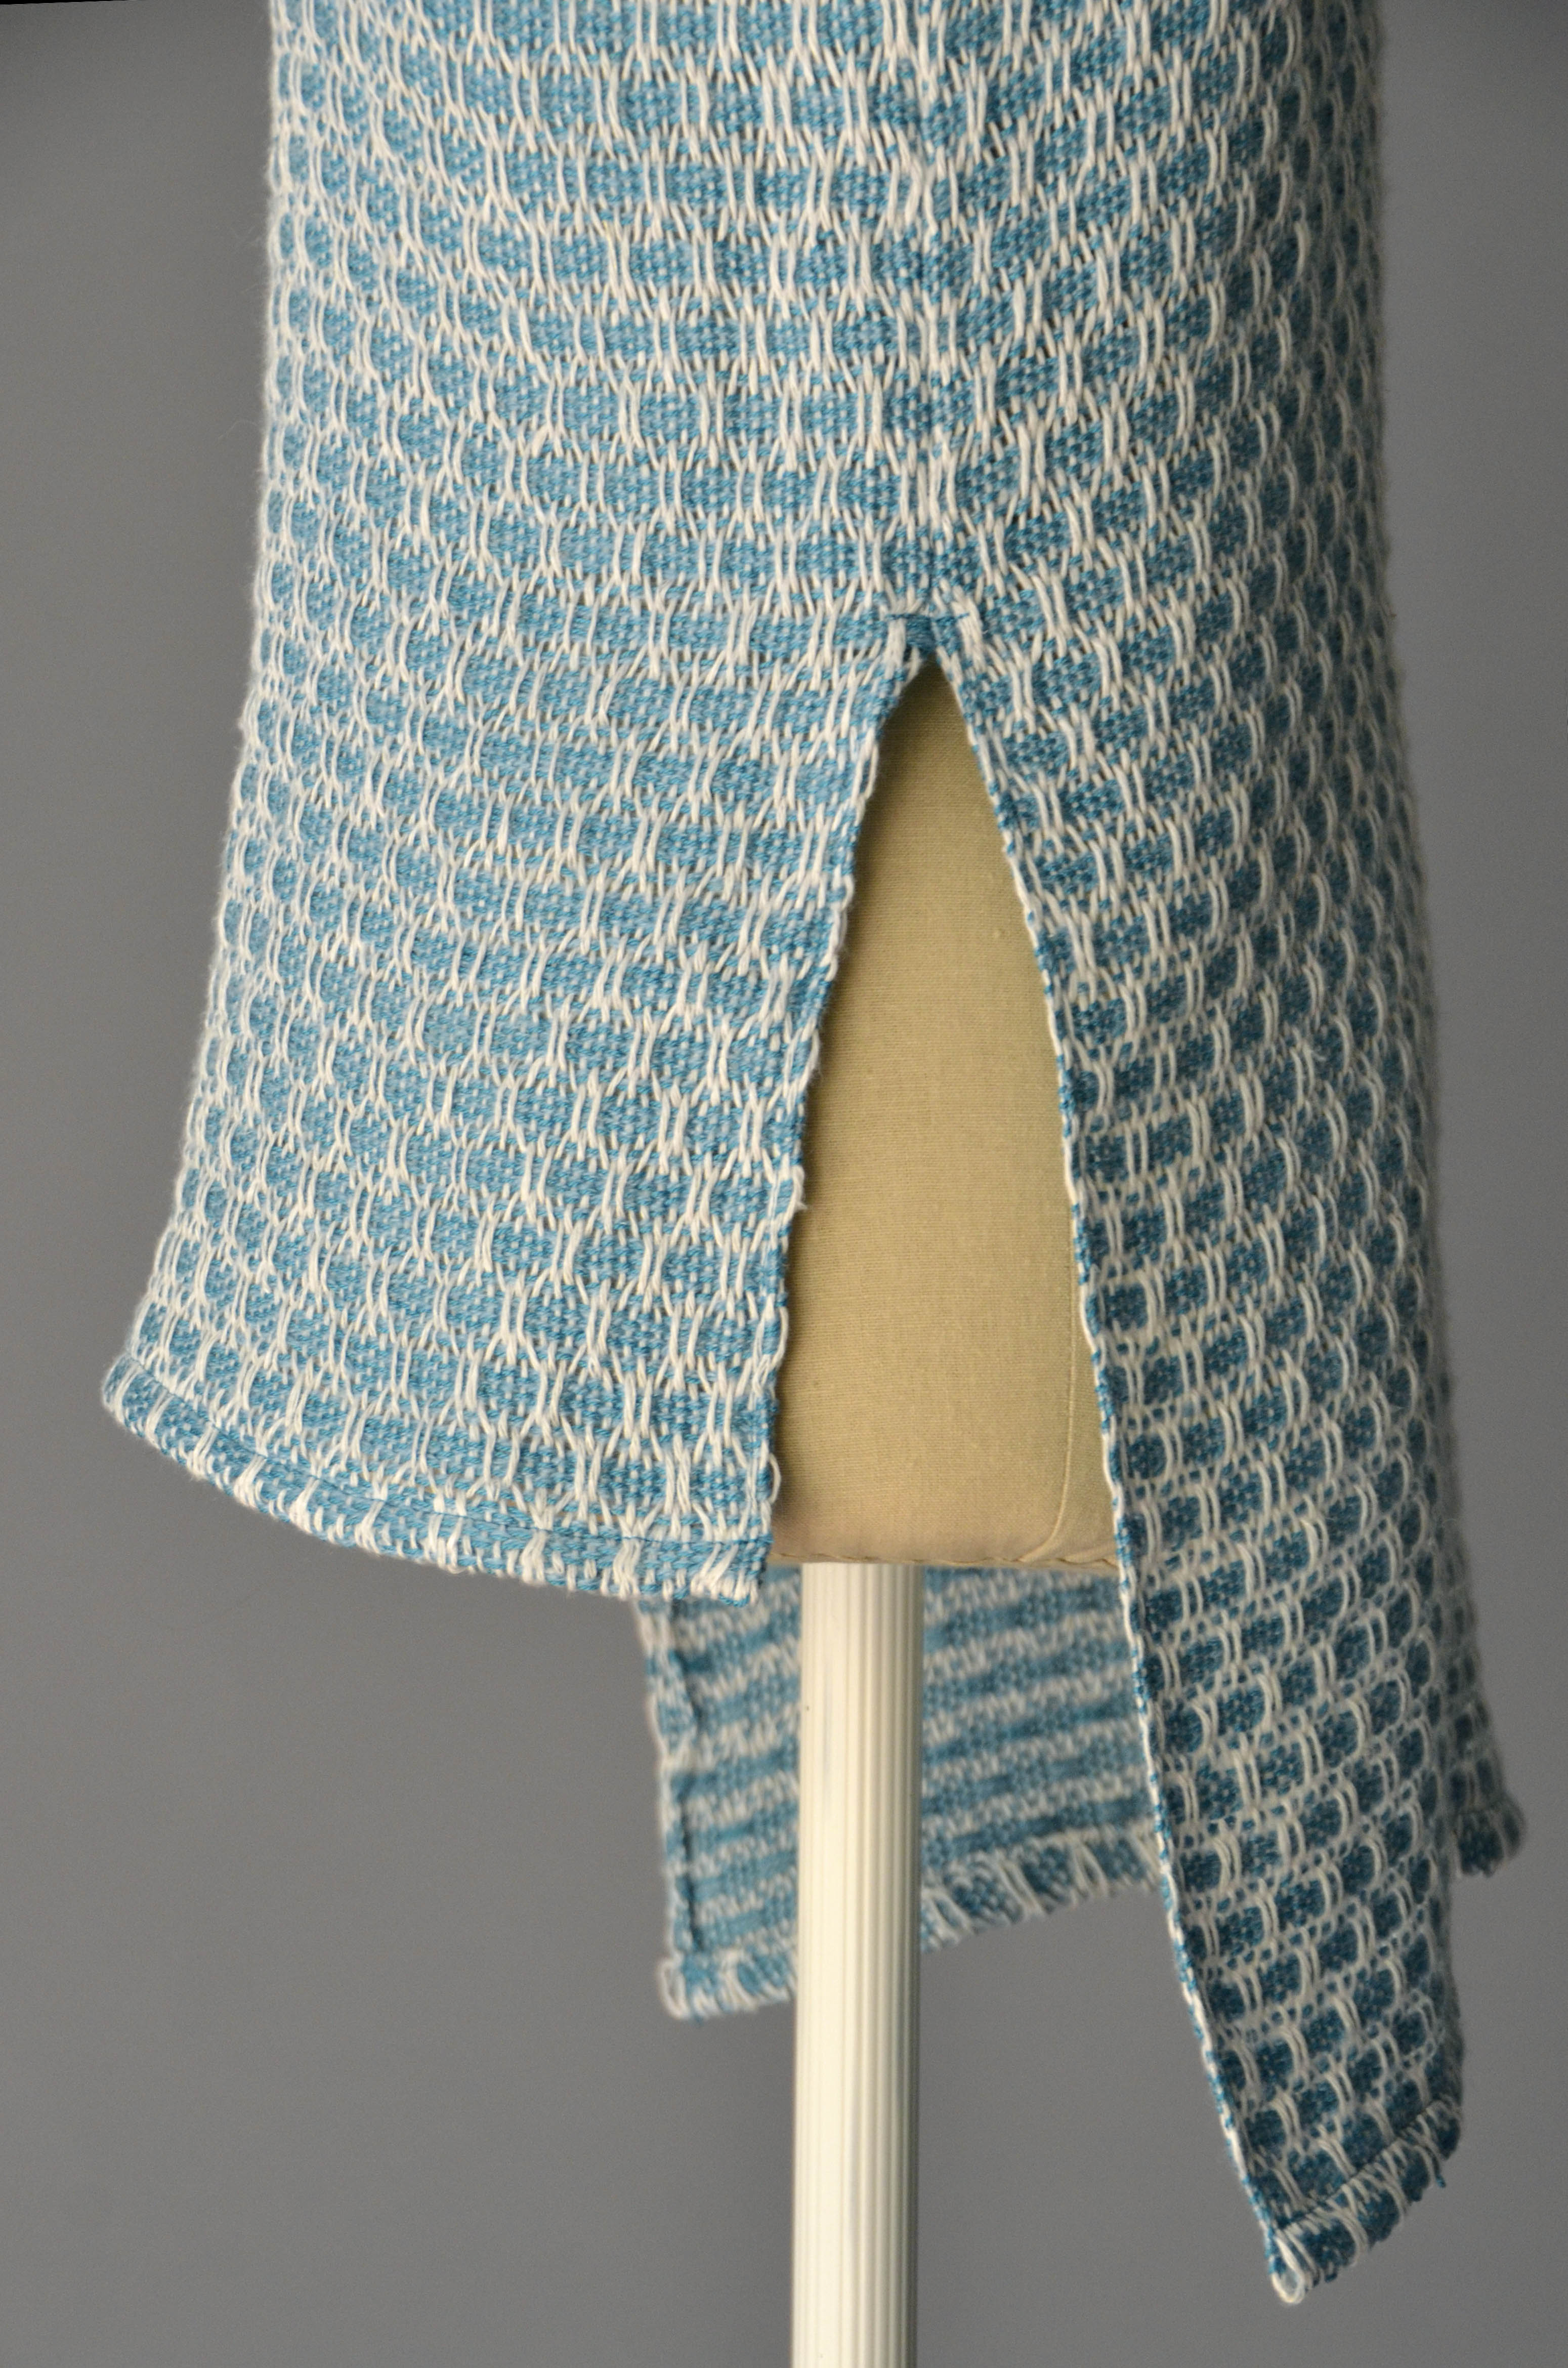
Instead, I opted to sew only part of the side seam and give myself side vents to accommodate my curves.
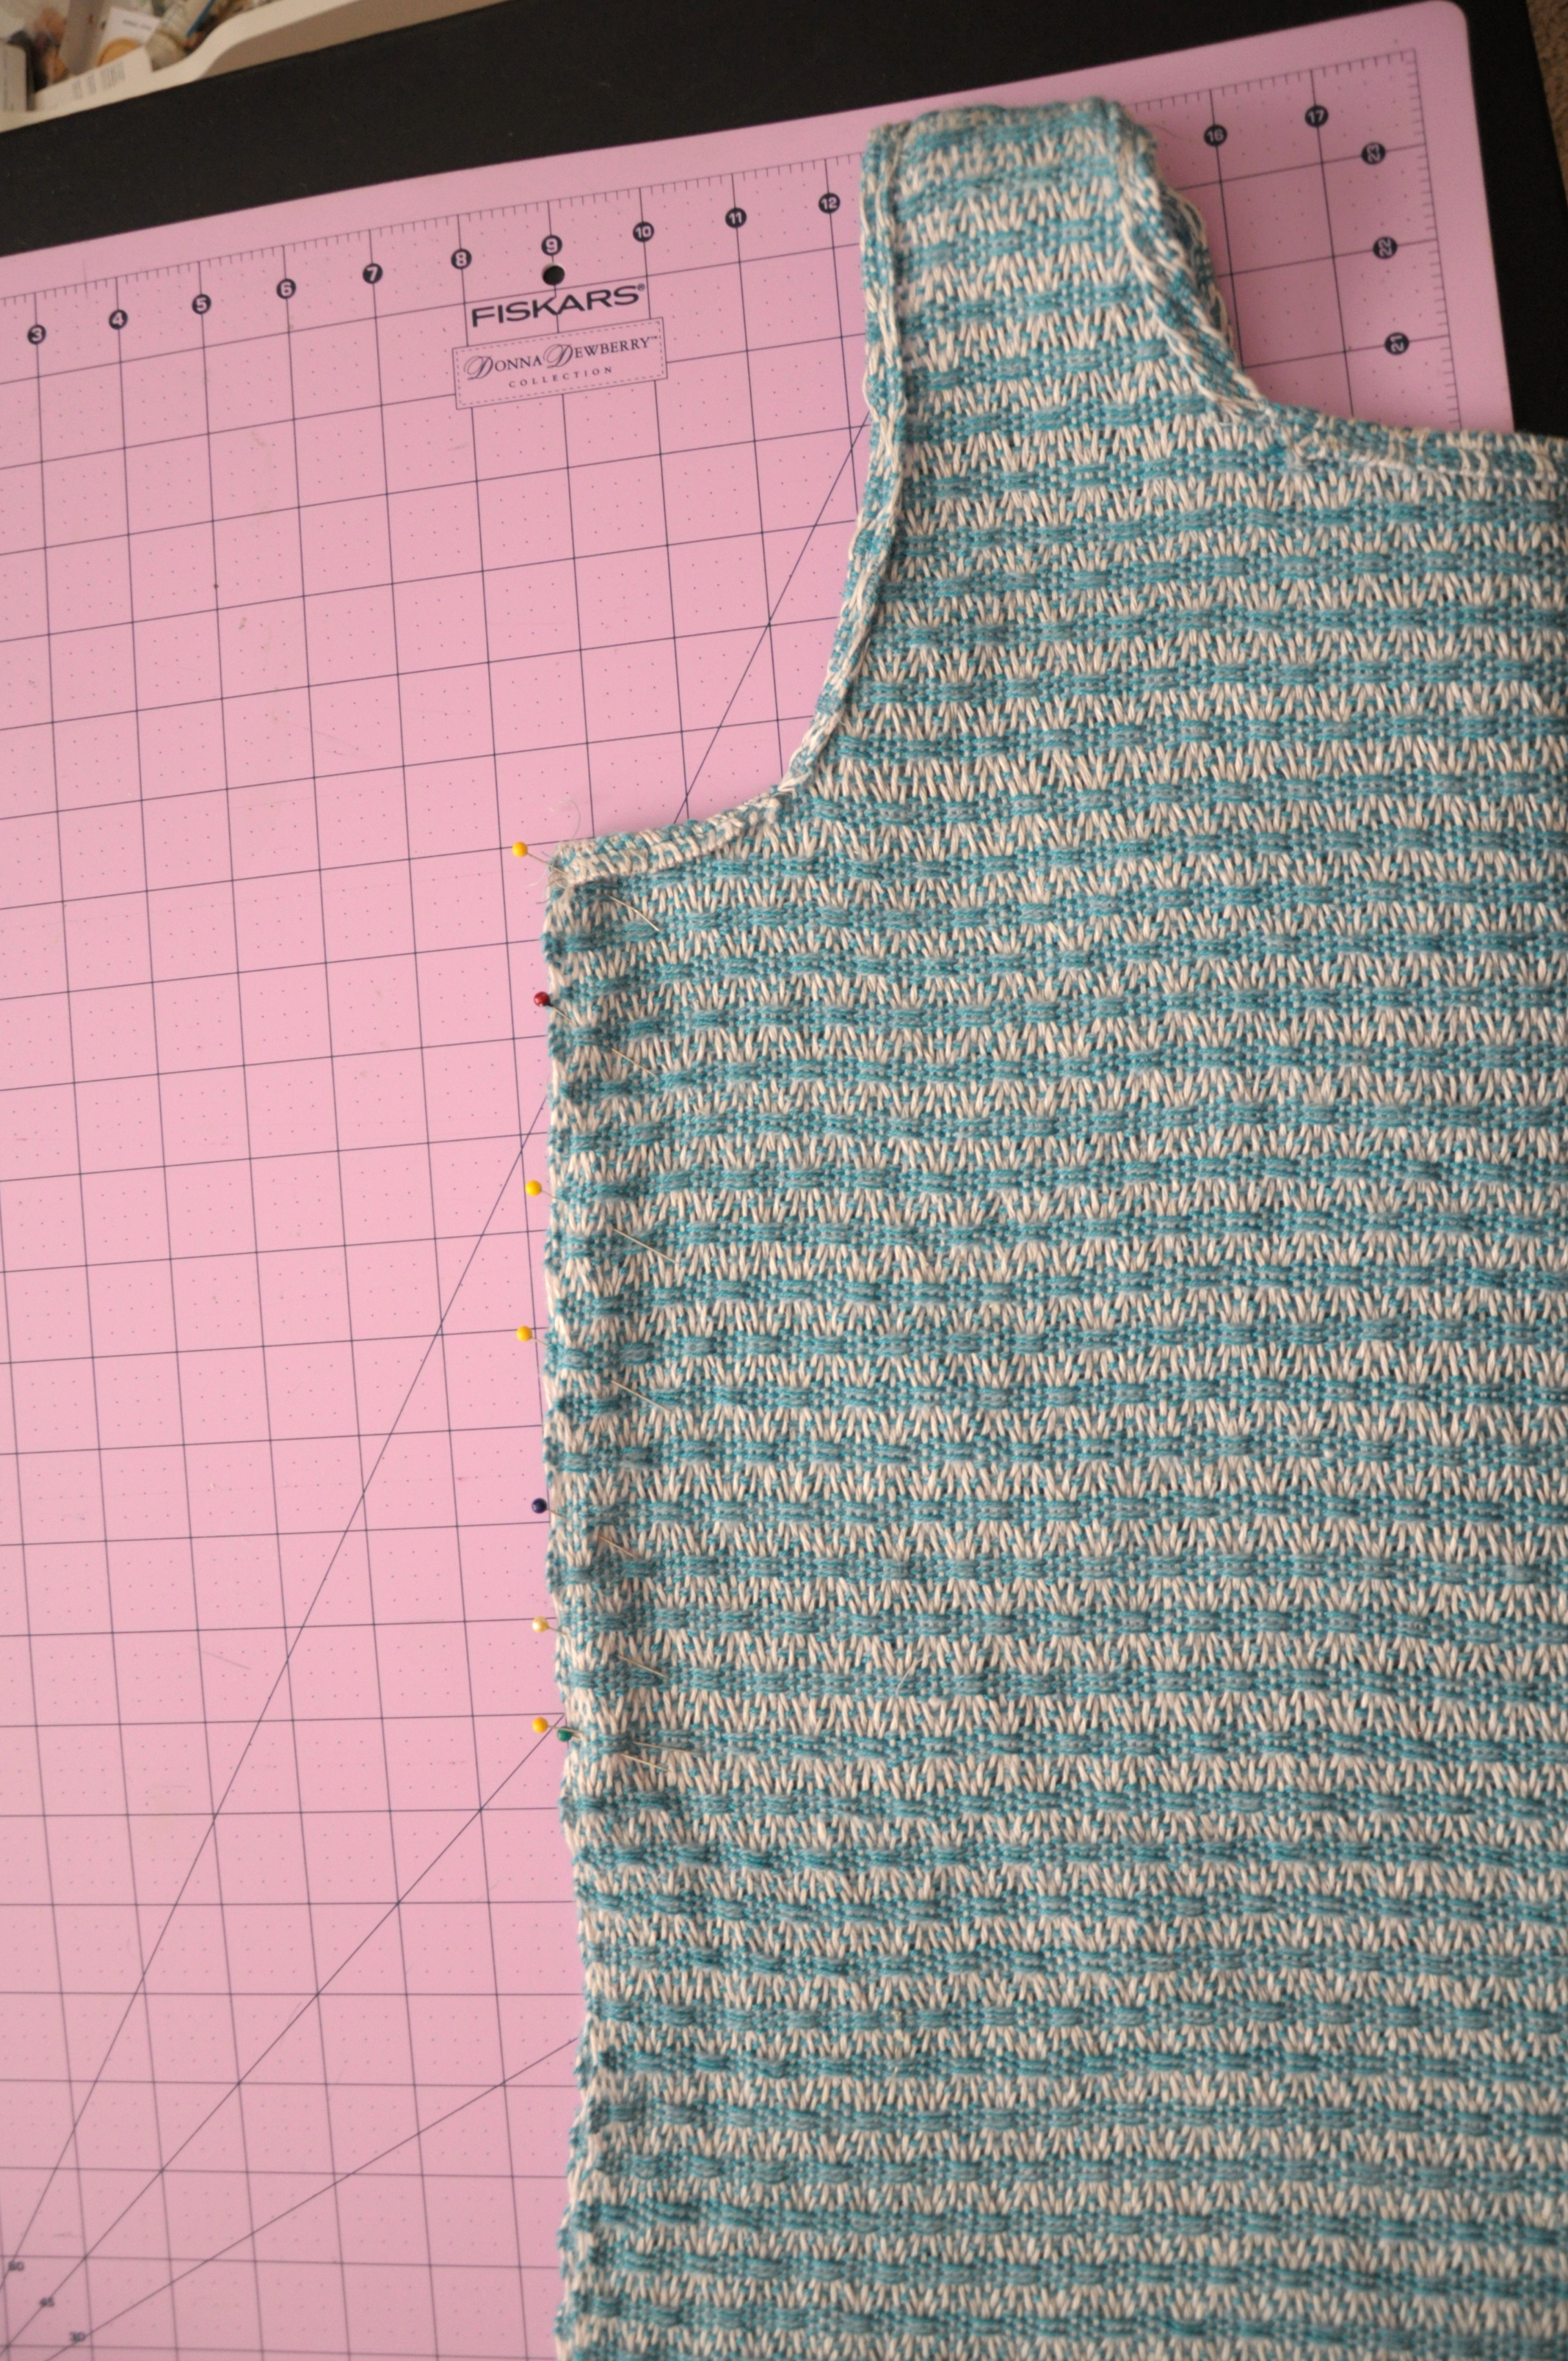
Sewing_11

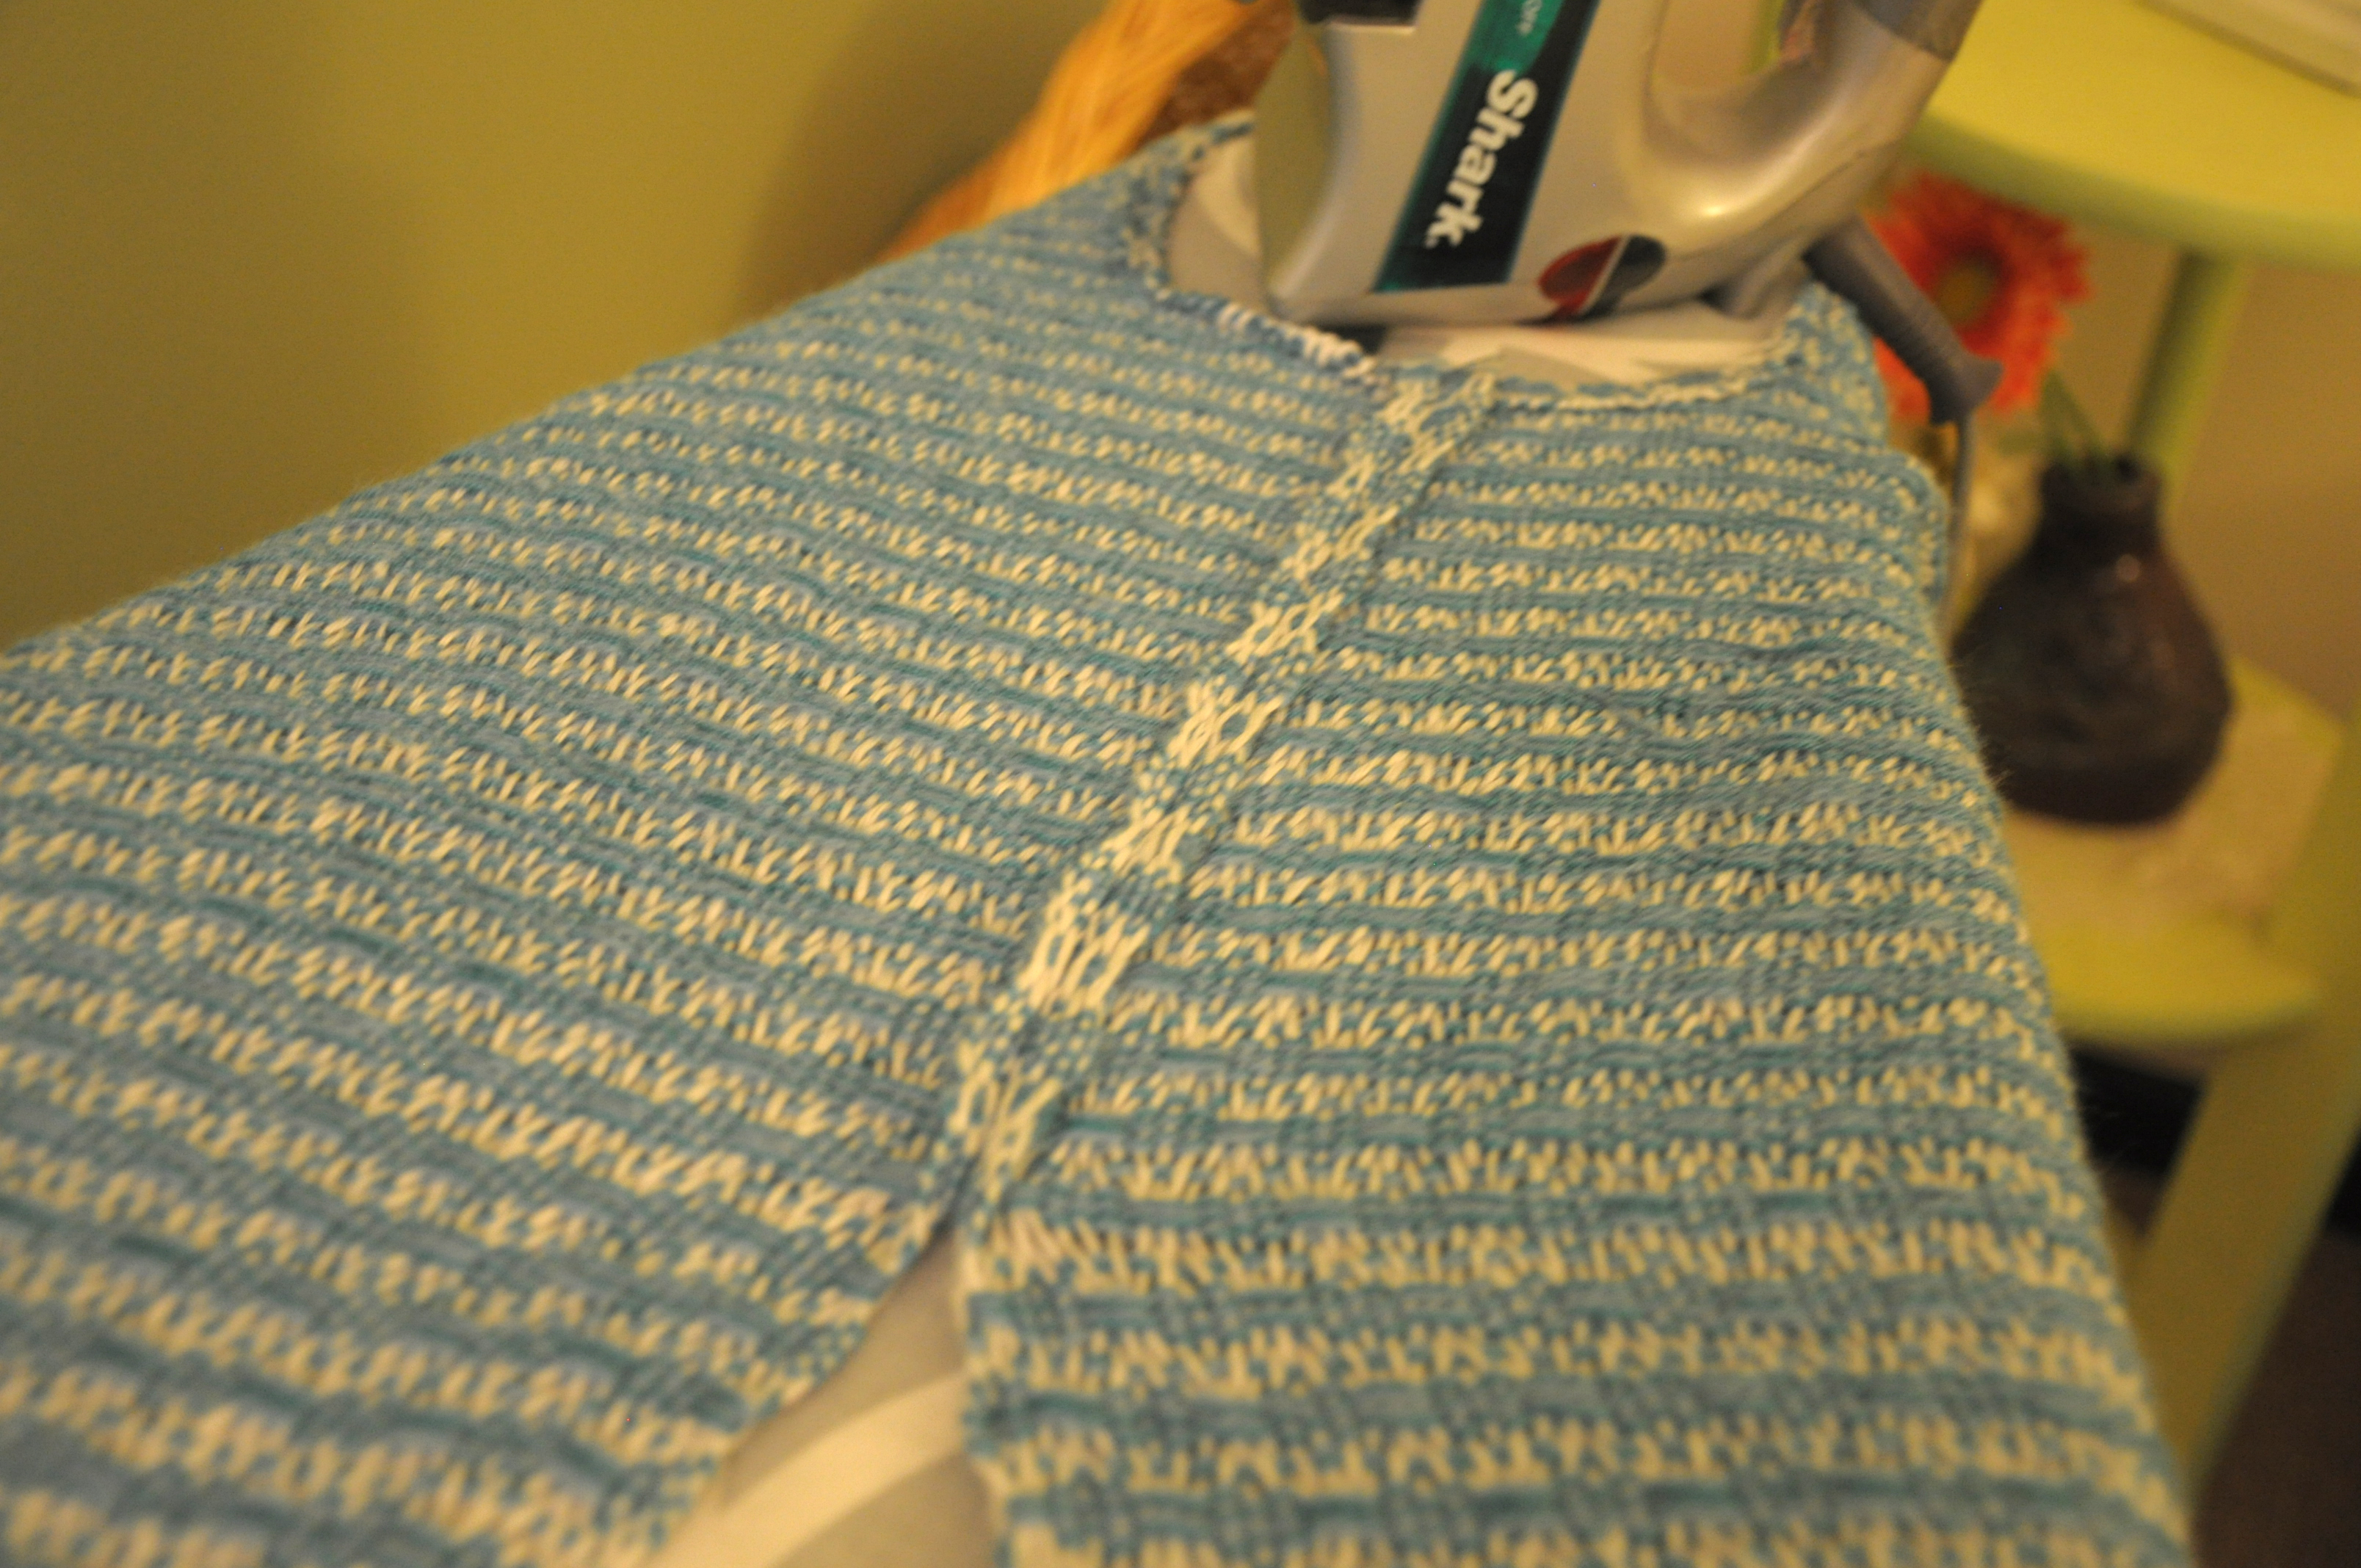
After sewing the side seams, I pressed them open. Remember my other rule – don’t skimp on the ironing. I then made a single-fold hem on the unsewn portion of the sides, and made a double-fold hem on the bottom. After that, more ironing! It’s important to iron sewn seams to sort of settle them into place. It also makes them look more finished. I like to shoot a little steam on seams of knitted items too to help them relax.
Sewing_12

And here are some final shots:

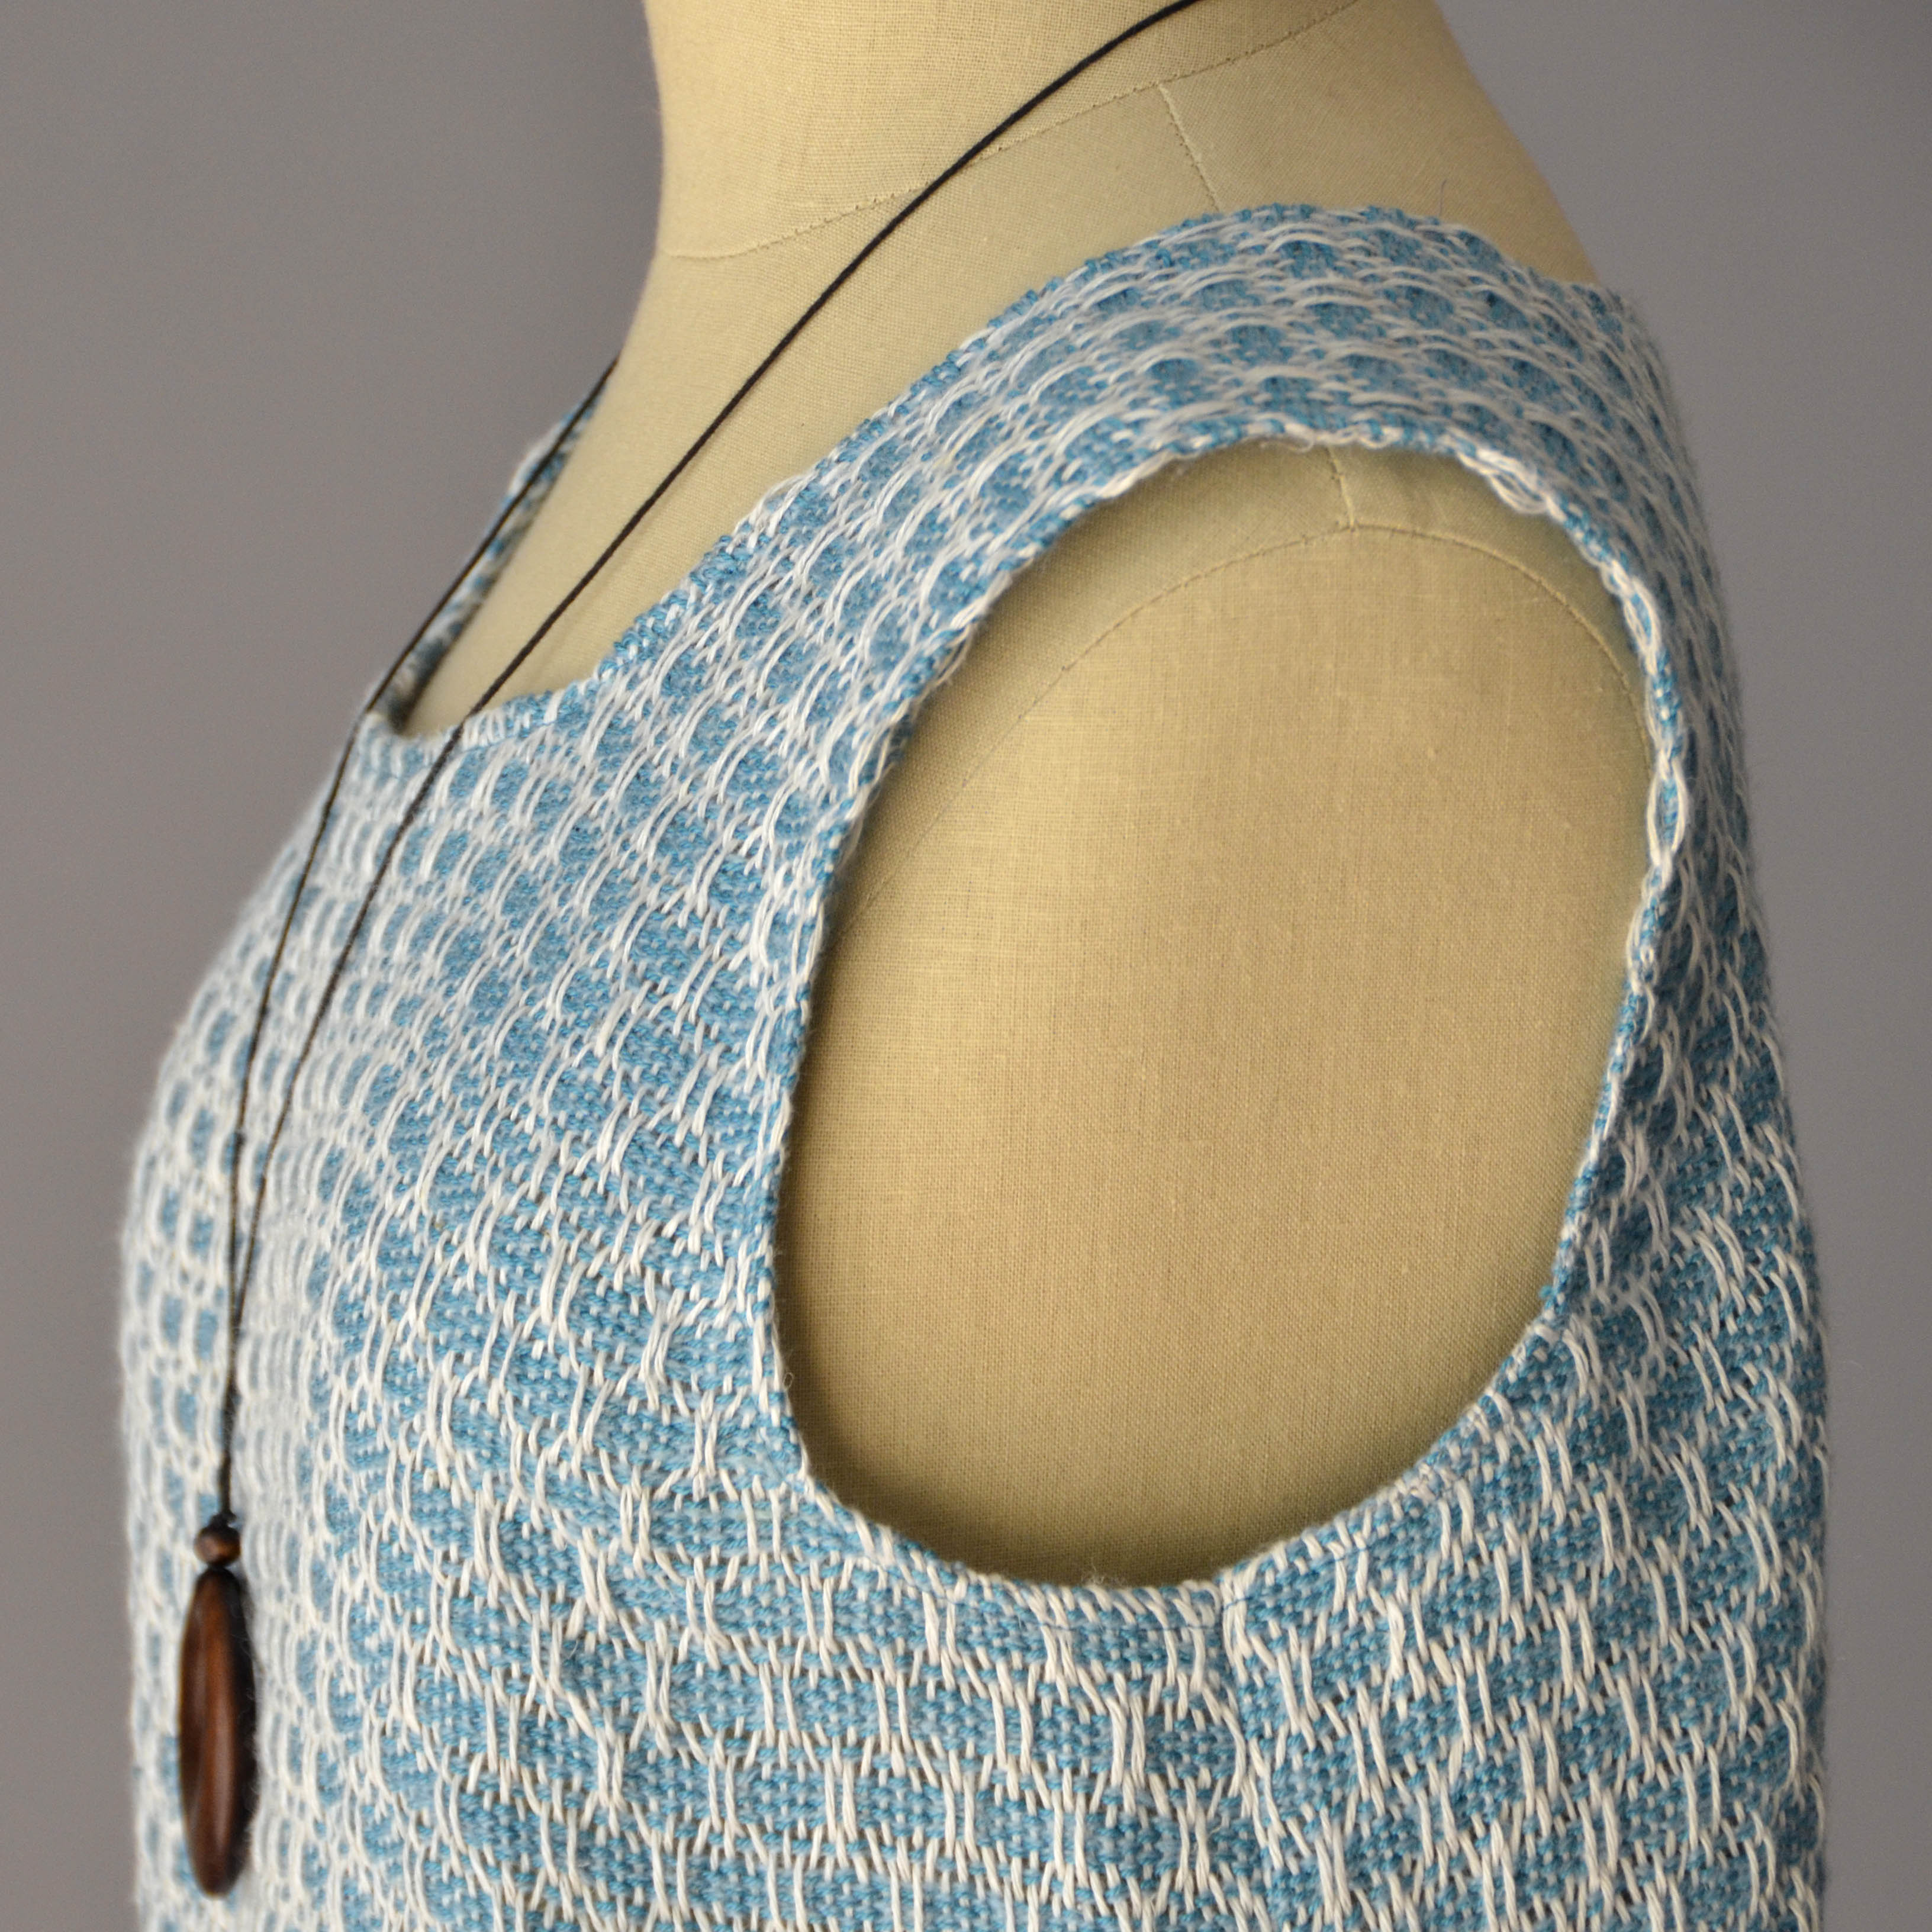
Flame Lace side closeup square hi-res

Flame Lace hem hi-res

Flame Lace on form hi-res

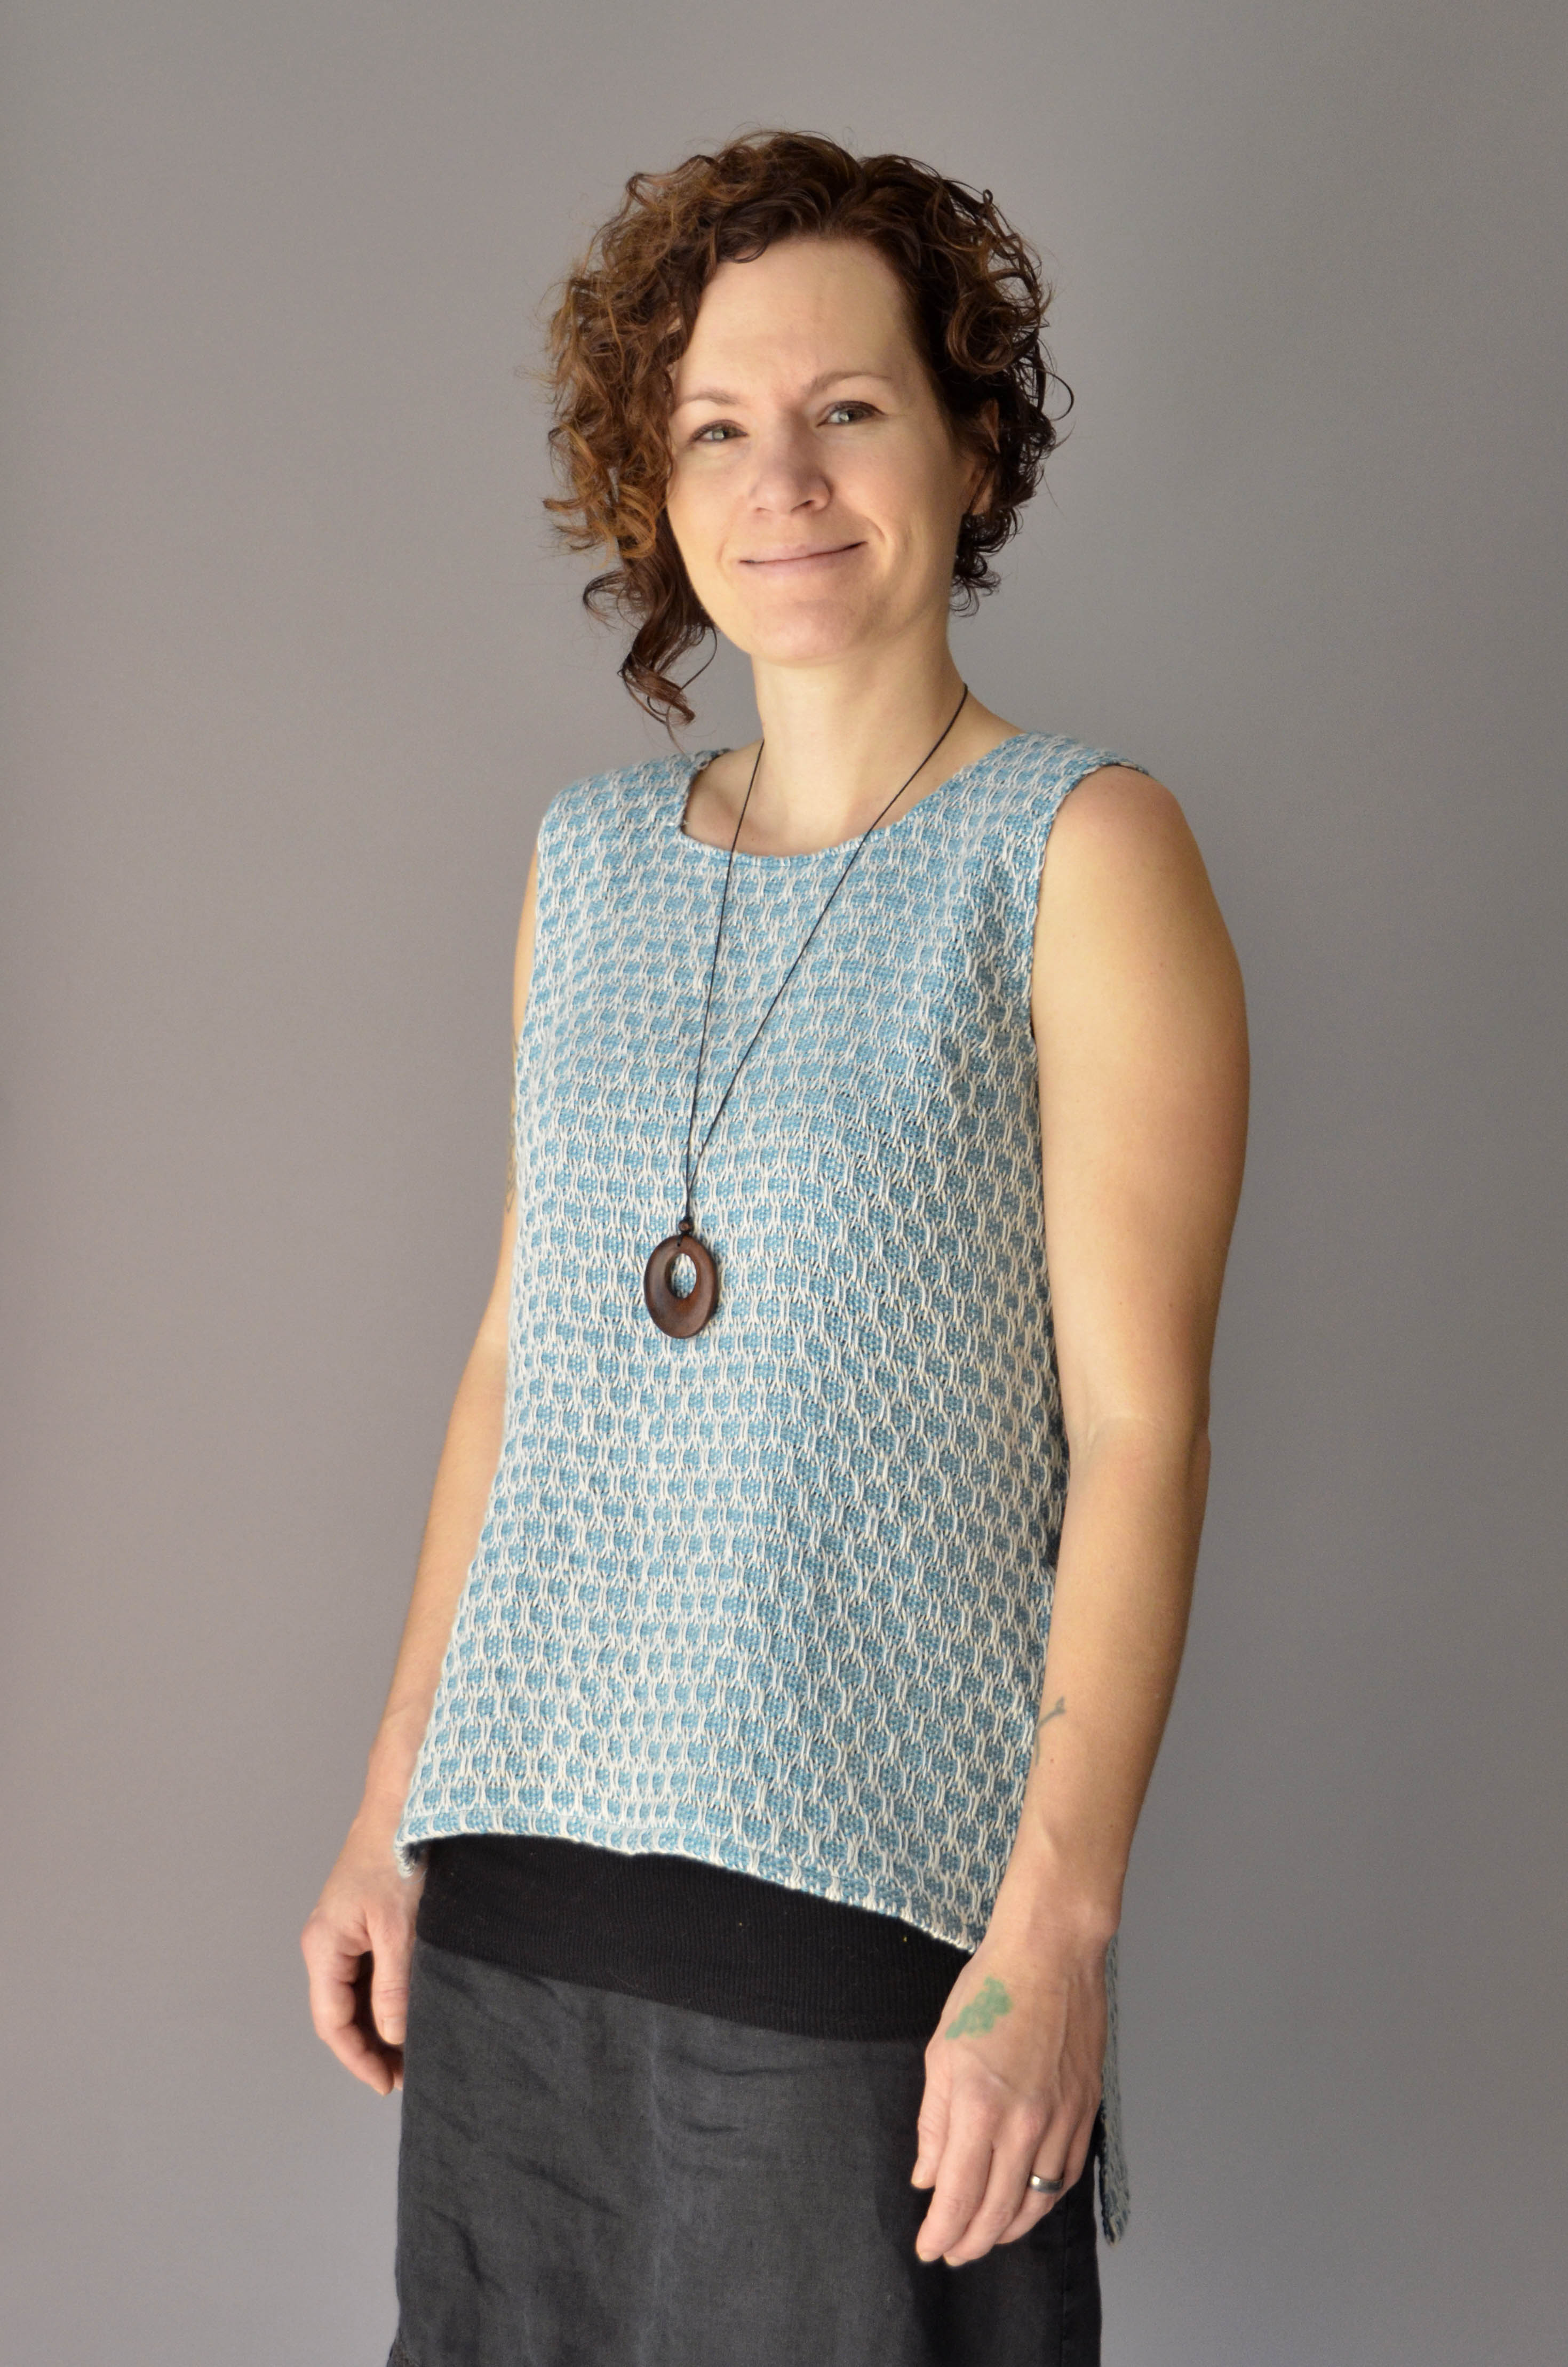
Flame Lace on Amy crop hi-res

All in all, I’m please with how this turned out. Though I have quite a bit of sewing experience, I’ve done very little sewing with my own hand woven fabric, which is definitely a whole different ballgame than sewing with purchased fabric. This project has definitely sparked ideas for more garments. Now all I need is to find the time to implement them!

Join me next time as I explore how to make the most of Bamboo Pop multi colorways and planned pooling!
 

Free Pattern Friday – Summer Shawl

It’s Free Pattern Friday!

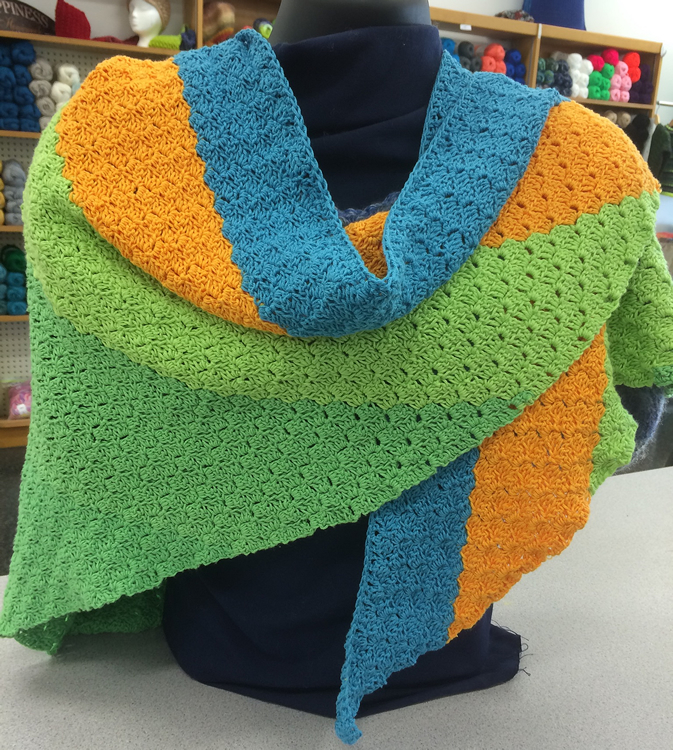
SummerShawl

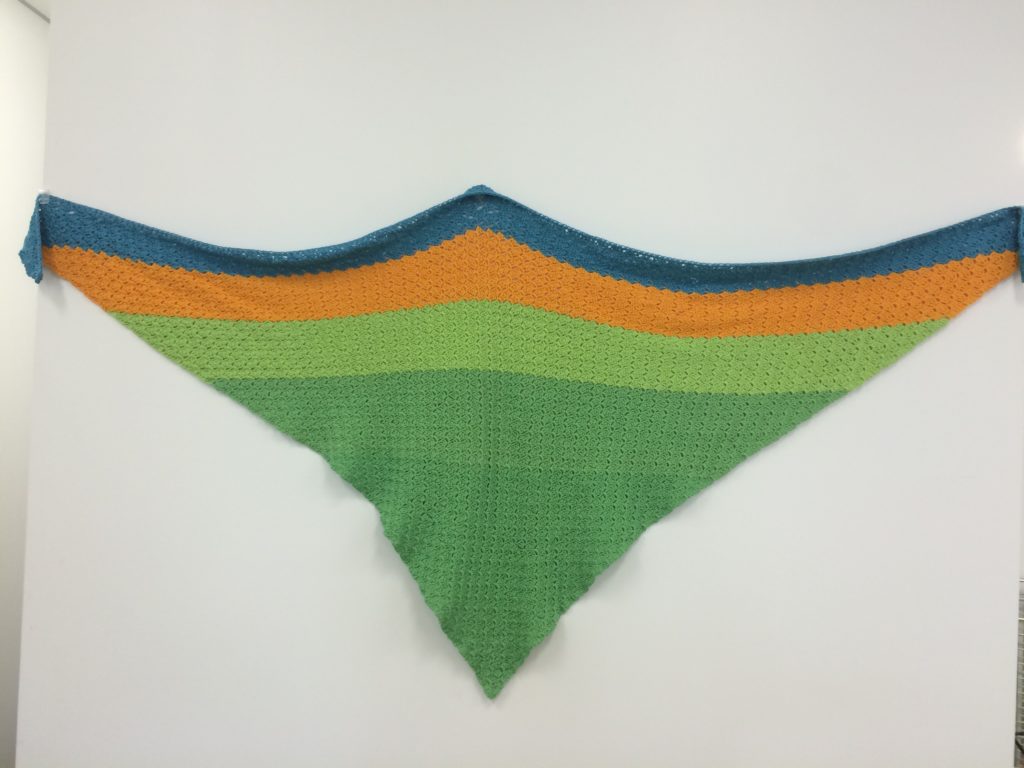
Today, the crocheted Summer Shawl in Bamboo Pop.

This pattern comes to us courtesy of Alice Gossette and Kat Koeller of LYS The Thankful Ewe in New Bremen, Ohio.  It’s another example of why you should stop in at your local yarn shop – there are some really great ideas waiting for you there!

This is a five ball project in Bamboo Pop (292yds/100g) – 2 balls of 109 Clover for the large triangle, then 1 each of 108 Lime Green, 118 Marmalade, and 107 Ocean for the stripes nearer the top.  The designers note that the top stripe took almost all of the blue, so you might want to snag an extra ball, just in case.

I love the inclusion of the vibrant band of gold.  This would be an easy one to customize with your own personal palette, or to add a variegated color to.  Color 203 Golden Seas strikes a nice balance between all of the colors included here.

We hope you have a fantastic weekend, and find time to kick back with a project and take care of yourself.

Happy crafting!

TTE_bambooPopShawl2

Free Pattern Friday – Stitch Sampler Cloths

It’s Free Pattern Friday!

Java Washcloth Set social media

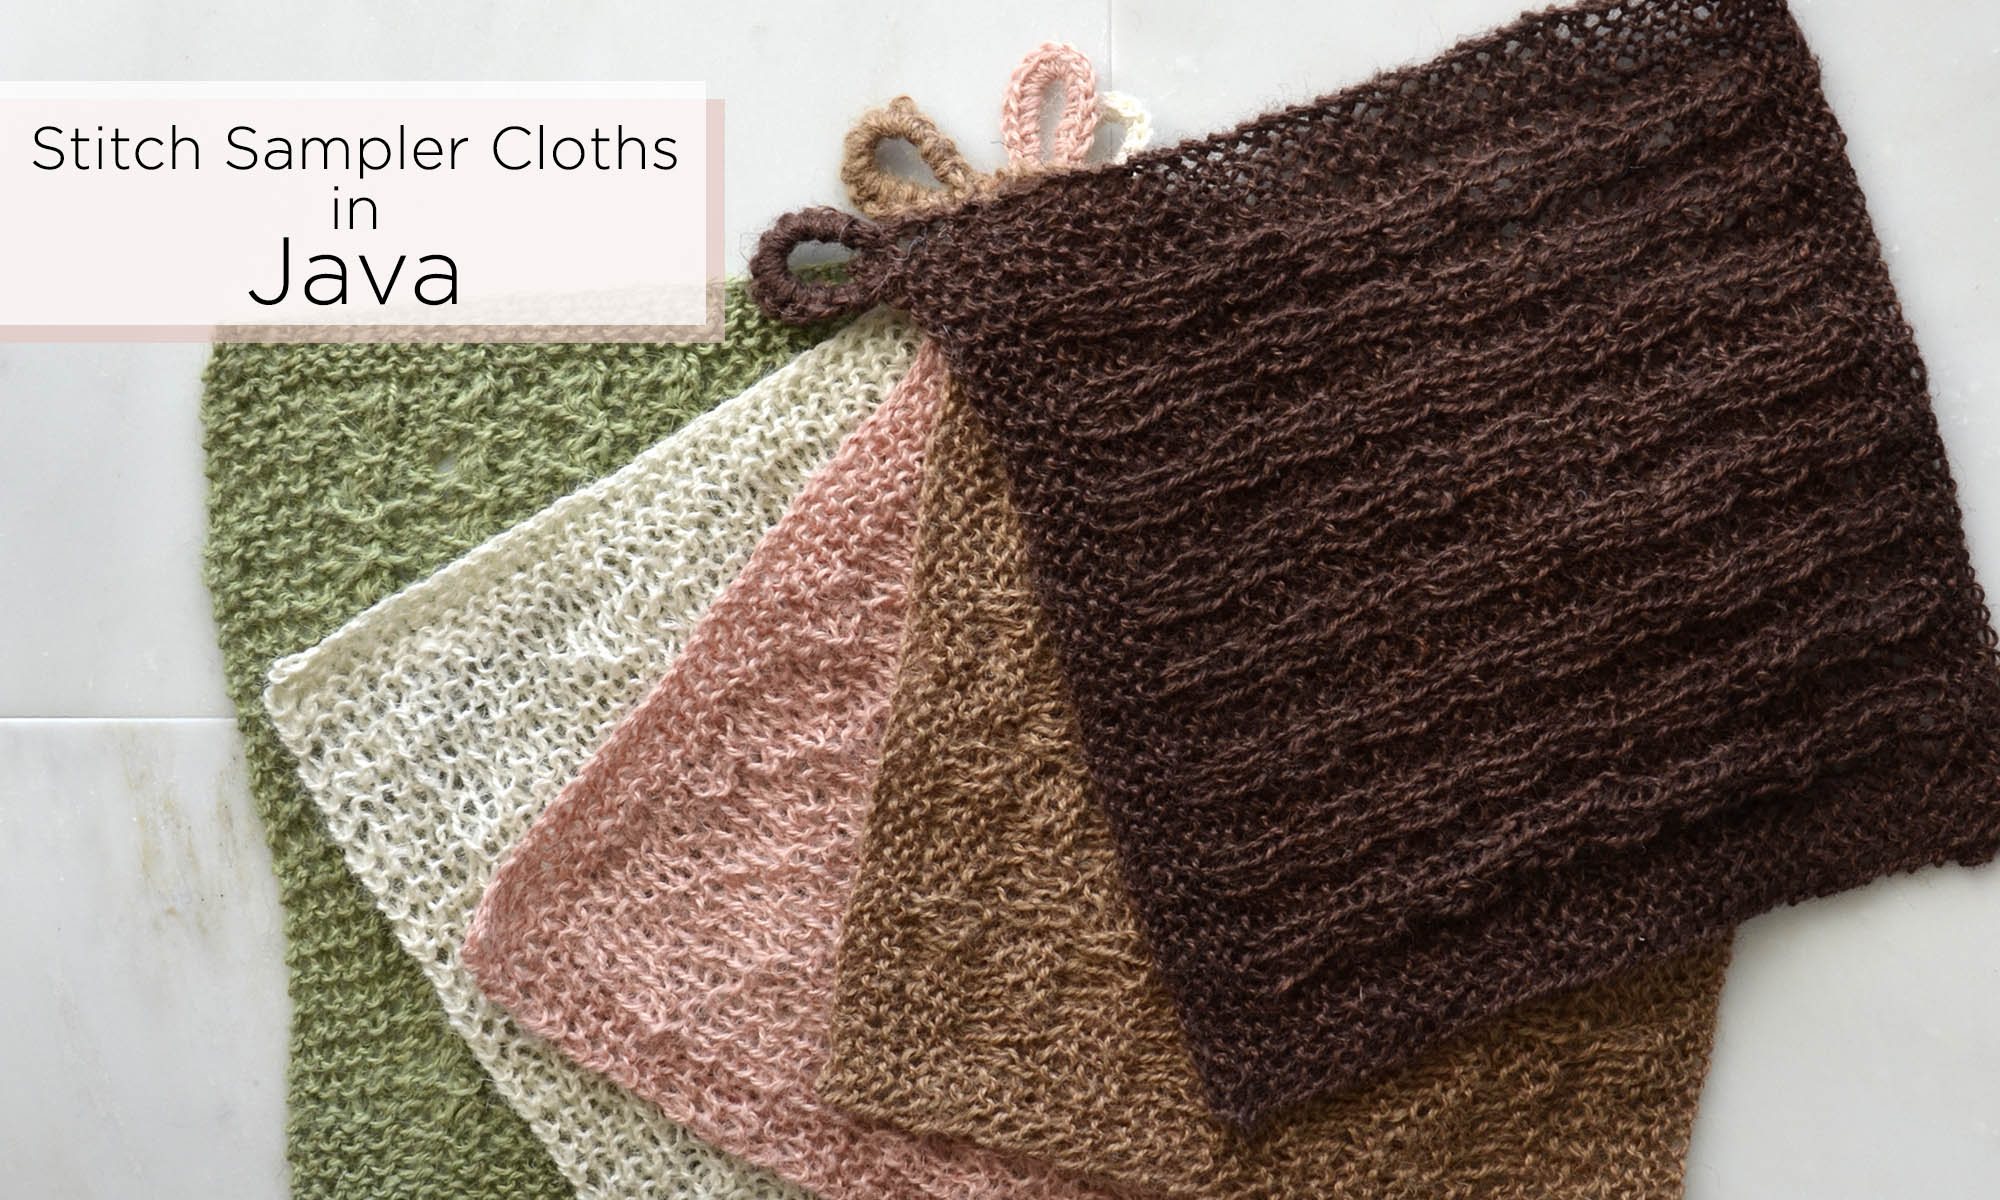
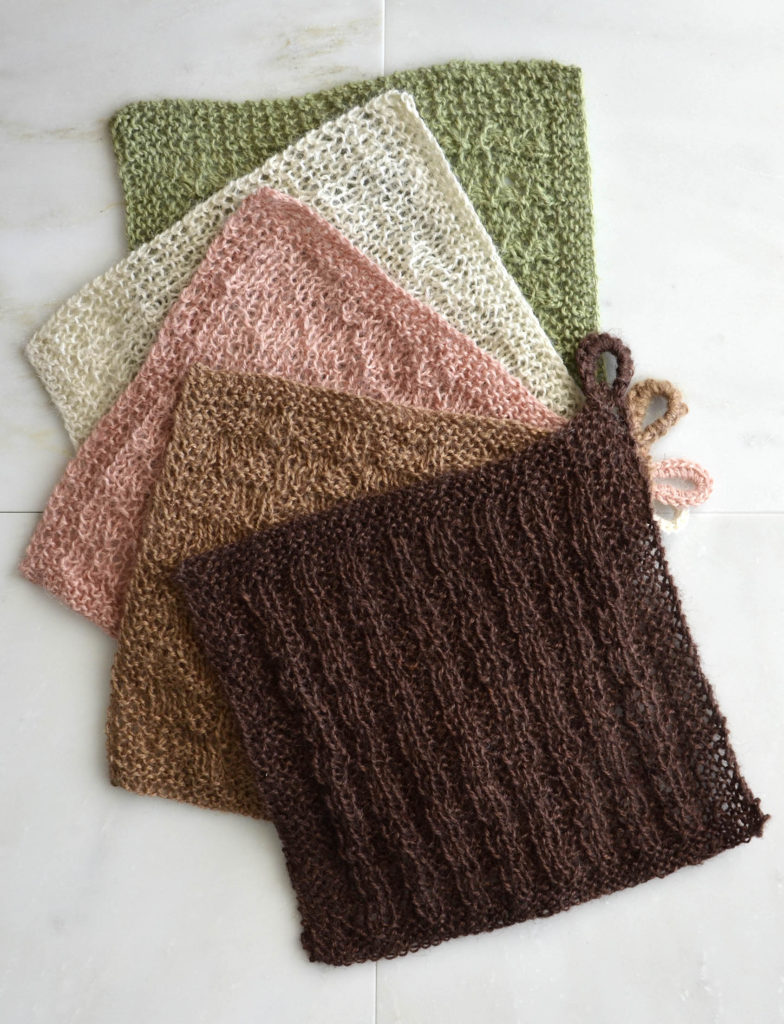
Today, Stitch Sampler Cloths in Java.

We’re very excited about Fibra Natura Java (219yds/100g), our new 100% hemp yarn.  This is a perfect application for it too – it works great for home decor projects.
This is the first Free Pattern Friday we’ve done in this yarn, although we do have a few free patterns in Java that haven’t yet been highlighted.  Have you seen the Crochet Baskets at right?  Love ’em!
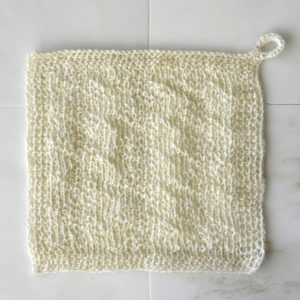
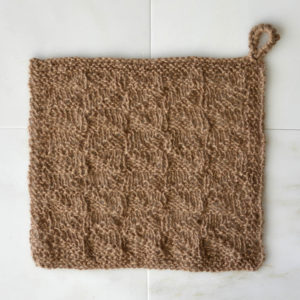
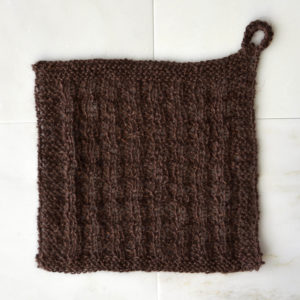
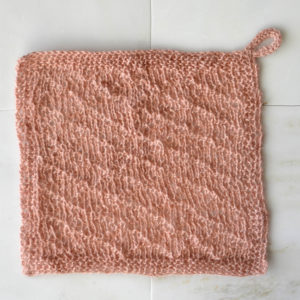
Java Washcloth 104 Pistachio squareThese cloths are designed to be basic samplers for those who are just getting their feet wet (no pun intended).  The cloth in color 104 Pistachio, right, uses increases and decreases, but the other four are strictly knit and purl.

All are written and charted, so they do double duty for those who want to try out reading charts without the risk of losing a stitch in a big lace project.  My reason for knitting them is simpler: the cloths are just plain pretty!

We hope you have a safe and happy Independence Day holiday.

Happy knitting!

Java Washcloth 101 Parchment square   Java Washcloth 102 Hazelwood square

Java Washcloth 103 Walnut square   Java Washcloth 105 Horizon Pink square