How to Read a Yarn Label

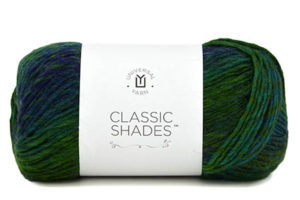
Greetings, yarn enthusiasts! Some of you may have seen our newly rebranded Universal Yarn label. It looks a little something like this:
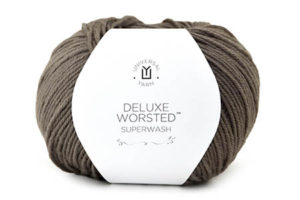
Snazzy.

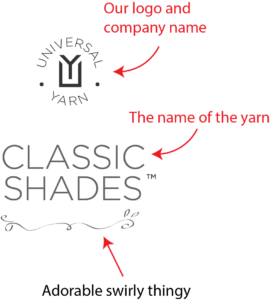
And this:

Though our label style has changed (for the better, amiright?), the same very useful information about each yarn can still be found on the label.

Let’s go over how to read one of our labels step by step:

First, let’s take the front side. This is what you will probably see if you encounter the yarn as it’s sitting on the shelf in your local yarn store.

Part of my job is to take customer service calls regarding pattern issues, or sometimes folks with yarn questions. Often when I ask a knitter what the name of the yarn she/he is working with, they are not able to answer.

The name of the yarn will always be the most prominent text on the front of our label, and the same is true with most other companies. Knowing the name of the yarn is helpful in many ways, not the least of which is logging onto Ravelry and seeing what fabulous projects other people are making with that particular yarn.

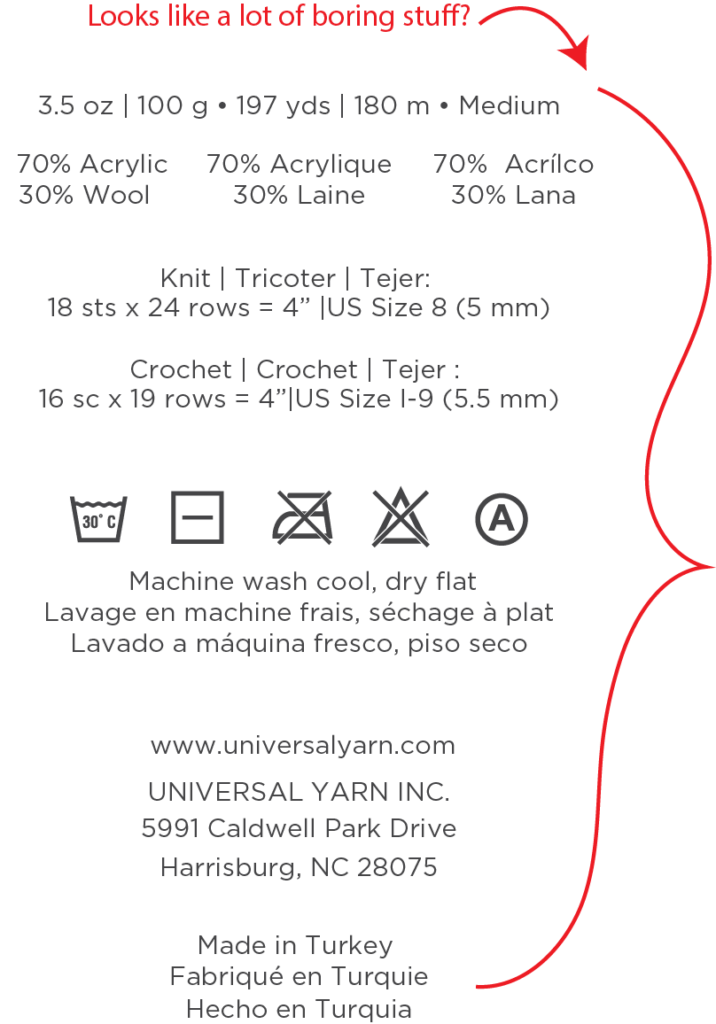
Next, we’re going to explore the real meat and potatoes of a yarn label, section by section. Here’s what the back side of our labels look like:

So most of the things on your label are actually pretty important, though I understand if your eyes might glaze over at the wall of text.


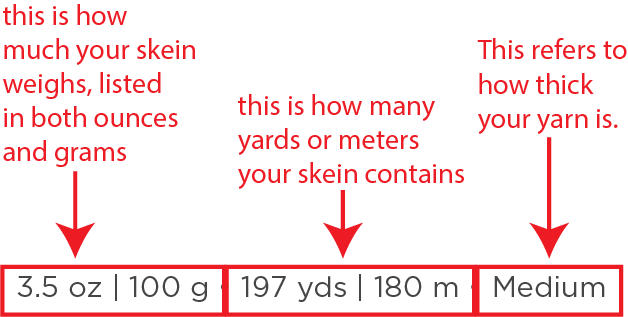
Let’s take the first line:

I think the first two are pretty self-explanatory – how big is your ball and how long is the yarn. The thickness or yarn weight, in this case medium/4, refers to a standardized system of classifying yarn thickness. There is a great reference page over at the CYC (Craft Yarn Council) that has a table (link) of all yarn weights and their corresponding gauges, recommended hook and needle sizes.

When we add a new yarn and are determining what yarn weight to assign to it, I always consult this table when doing so. The yarn weight is determined by gauge, not yardage. One example of this might be Classic Shades (which is the label we are examining) vs our Deluxe Worsted, another medium/4 weight yarn.

Both yarns are listed as worsted weight, yet Deluxe Worsted contains 220 yards/100g while Classic Shades contains only 200 yards/100g. Because both yarns produce a gauge that falls within a 4-weight category, they are both classified as such.

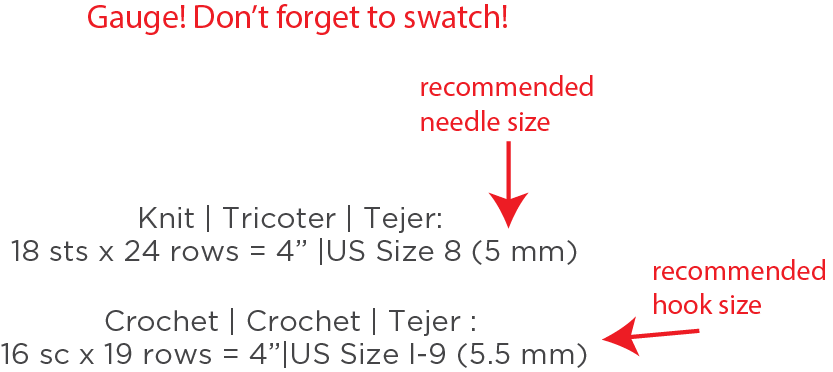
If you take a look at that table over at the CYC, you’ll see that a 4-weight yarn has a knit gauge range of 16-20 stitches over 4 inches. Classic Shades, with 18 stitches/4″ falls right in the center of that range. You might hear people sometimes refer to a “heavy worsted” or “light worsted”. What these people are referring to is gauge. If a worsted weight yarn produces 16 stitches/4″, then it would be considered a heavy worsted.


Next:
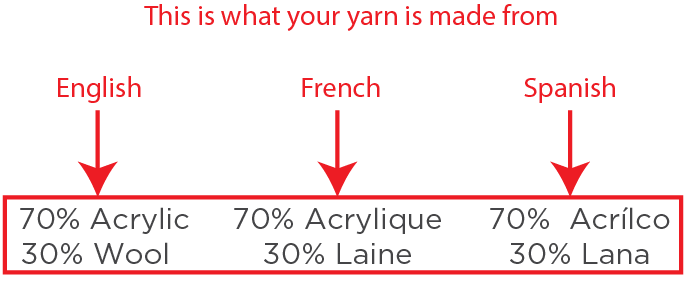
 Again, this is pretty self-explanatory: what’s in your yarn. Most of the words on our label are “3T”, or have been translated into three languages. Our yarn is distributed throughout North America, including Spanish-speaking Mexico and French-speaking parts of Canada.


And then, a topic about which I am quite passionate, particularly when having knitting discussions with my office mates (translation: I am a gauge Nazi):

It is standard to talk about gauge, or number of stitches over 4″ or 10 cm. It is important to know approximately what gauge your yarn can get if you’re substituting yarn in a pattern. This is something I could write a book on, or at least a blog post. And I will. But for now, let’s just say that it’s very pertinent information.

Something to remember about gauge listed on a label is that we’re talking hand knitting, folks. When a new yarn is born, a person, usually me here at Universal, has sat down with a ball of yarn and a pair of needles or a crochet hook, and has made a gauge swatch. With their hands. It is not an exact science!

If I like the resulting fabric from my swatch, it becomes the recommended gauge. If it’s too dense or too loose, I change needle size and start again.

I consider myself to be “average” when it comes to tension. But I do want to remind you that your gauge is unique. With the same size needles and yarn, you may get a different gauge than me. To achieve the same gauge, you may need to go up or down a needle/hook size.


Next up:

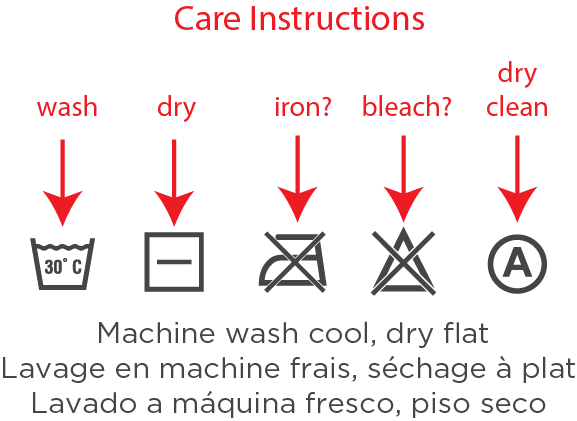
Also very important – how to wash your newly created masterpiece. All knit and crochet items can be washed, it’s just a matter of how. Some fibers shouldn’t be machine washed because the agitation would be too much for them. Others can be machine washed, but to err on the side of caution, we might recommend air drying instead of using a machine.

Some companies use text care instructions and symbols, or just one or the other. If those little symbols are like a foreign language to you, just google it! (yarn care symbols Google search result here)

I know a lot of knitters who are reluctant to throw any handmade item into the washing machine. Personally, I machine wash with abandon. I do it whenever possible, and I do it frequently as I own a lot of knitwear! Lace is another story – most lace I will hand wash, regardless of fiber. But I digress.


We’re on the home stretch here. We just have a couple more things to cover:

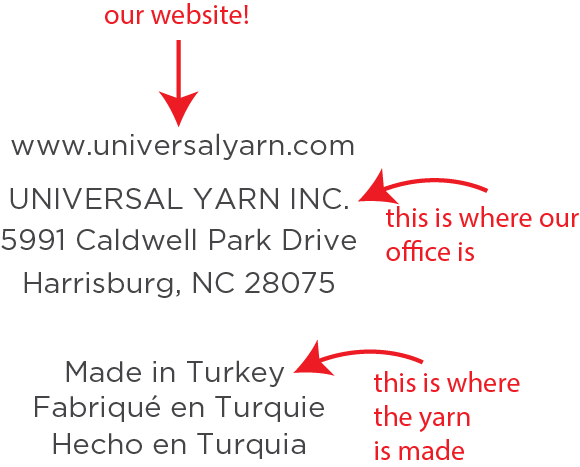
There’s not much to add here. It is a requirement for products to list country of origin. In case you’re curious, our yarn is manufactured specifically in Bursa, Turkey which is about a two-hour drive south of Istanbul. And it’s beautiful there!


And last:

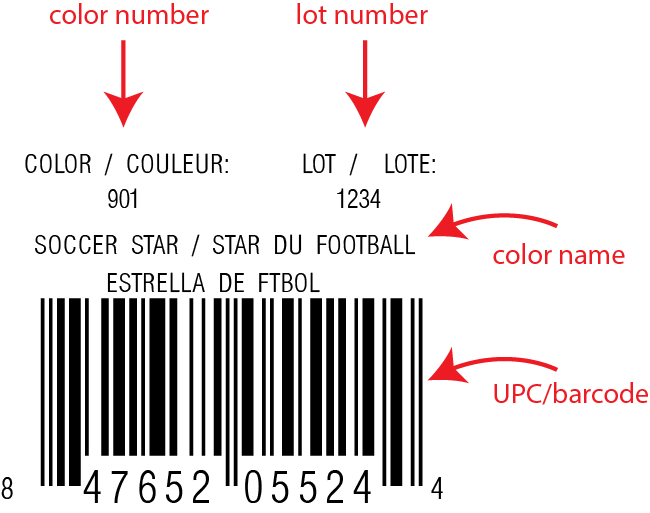
Any given colorway of your yarn should have a name, and hopefully it’s an interesting one. That can be a fun part of this job – naming colors. This color will usually also have a number associated with it, and also a lot number.

Lot numbers can be important if you happen to run out of yarn in your project and need to buy more. Some yarns can vary from dye lot to dye lot, so if you need to buy more, be sure to get the same dye lot if possible.

If you’ve been unsure about yarn labels before, I hope this has made things clearer. Have another question? Let me know!
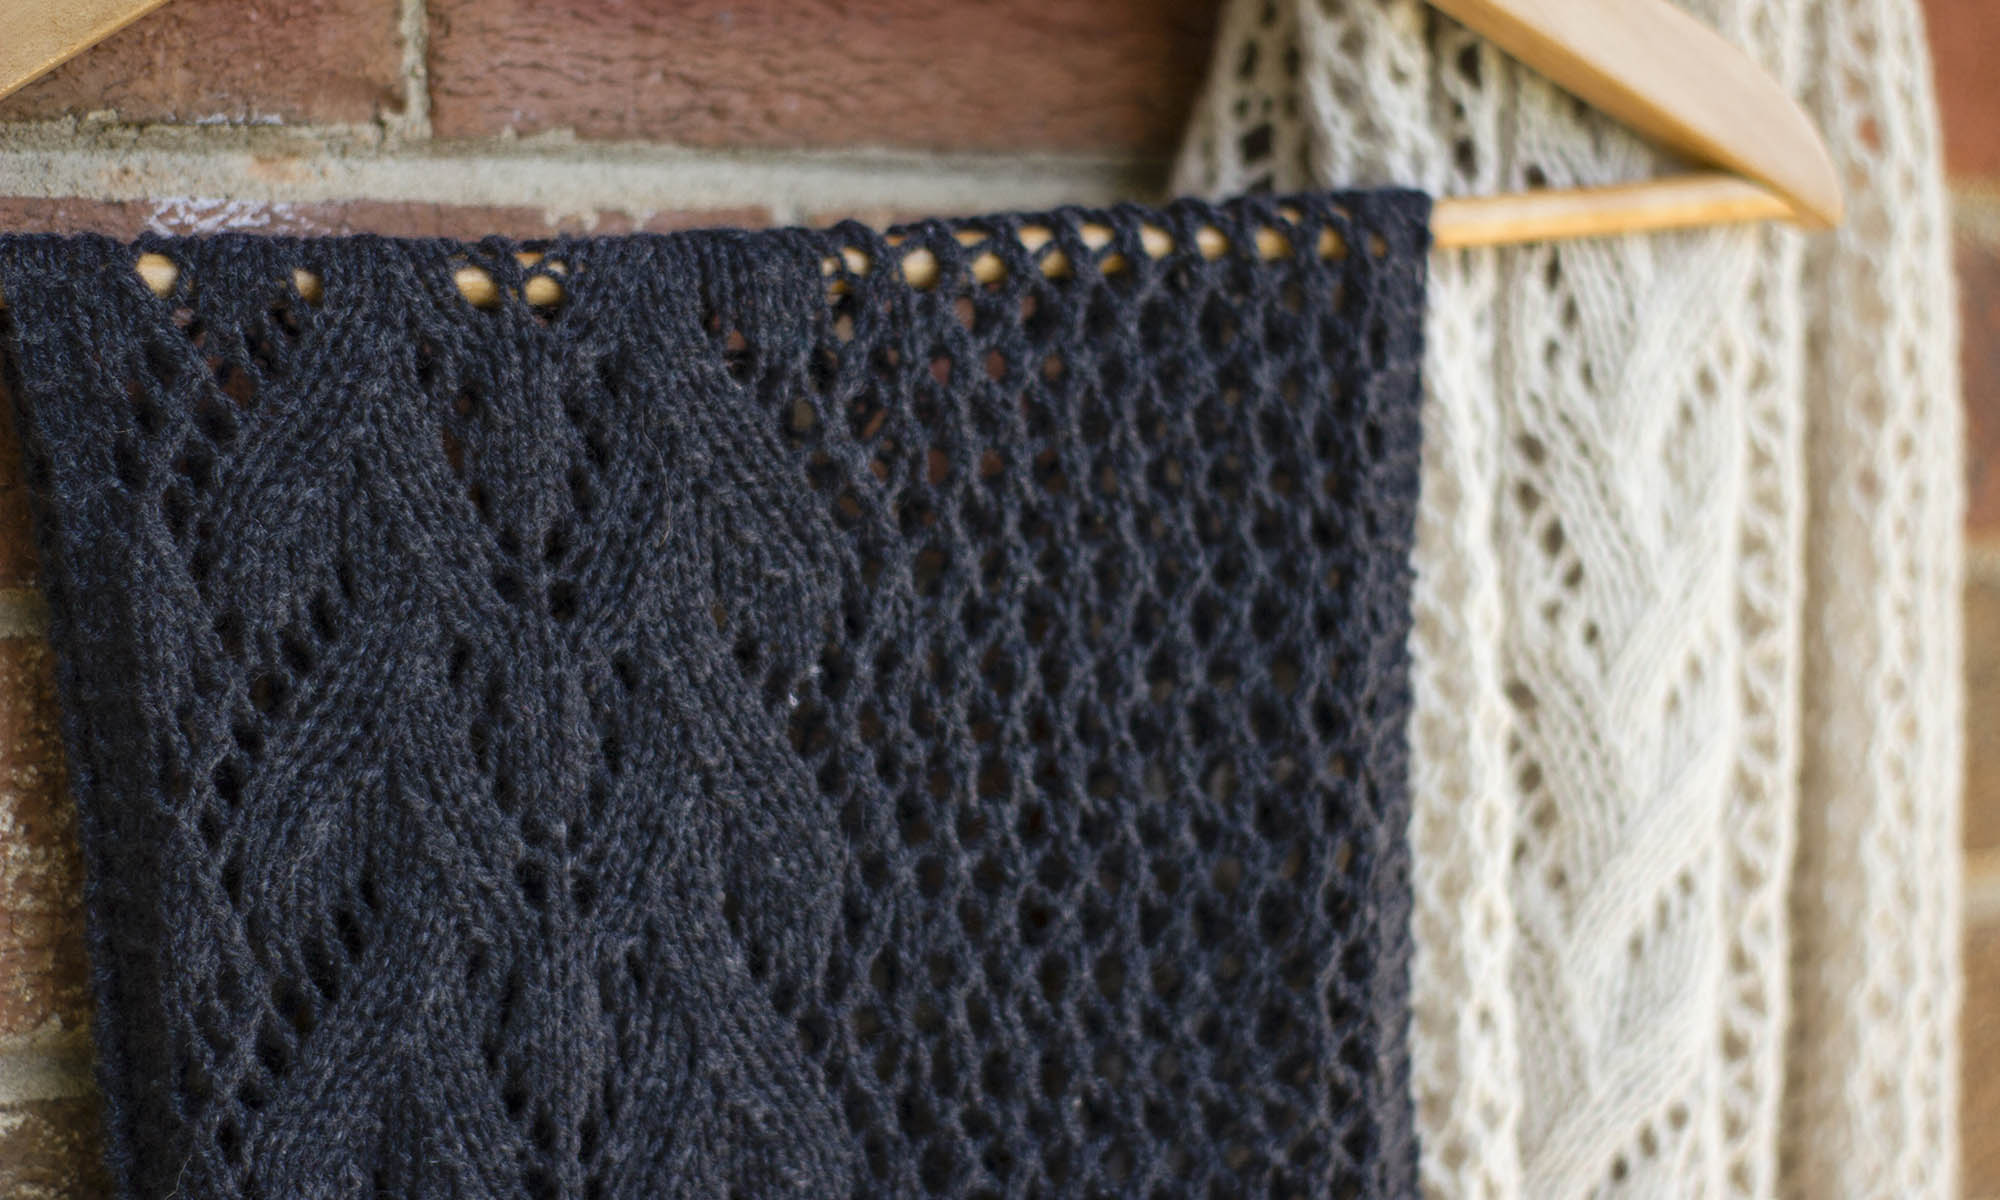
 

Amy Answers – Hole in One Scarf

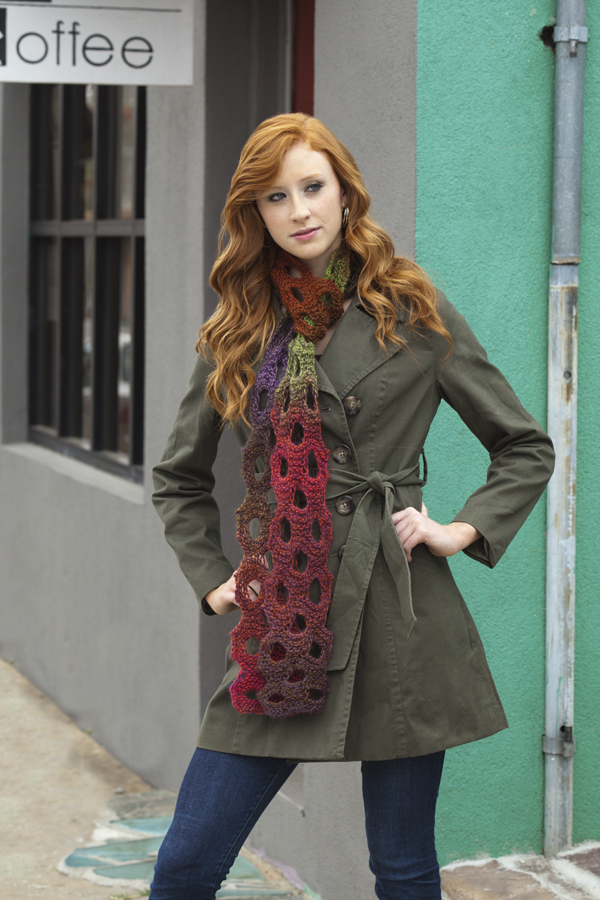
A few weeks ago I got an email from a customer who was struggling to wrap her head around the pattern for our Hole in One Scarf.

ClassicShades_9945 Hole-in-One

This popular one-ball project uses self-shading Classic Shades yarn and is thoroughly visually entertaining.

Part of my job at Universal Yarn is emailing and talking with folks over the phone regarding pattern problems they’re having. This can be frustrating at times, because I can’t always “see” what they’re seeing. Often times, if I could only show the knitter or crocheter in person how to do a certain thing, it would be totally easy to explain. Or if I could take a look at their project in progress, I could spot the issue with no problem. Without this ability, often the best course of action is to take photos to try and illustrate. That is what I did in the case of this scarf.

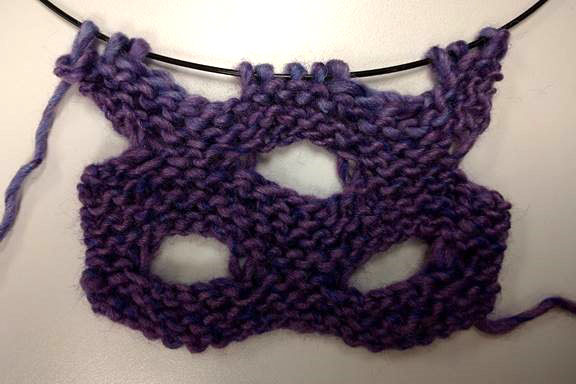
Basically, the holes in this scarf are formed by binding off stitches on one row and then casting on stitches over the gap on the next row. I cast on for the scarf, worked a full pattern repeat, and then worked up to and through the first “action” row of stitches being bound off. Here is a photo of my scarf in progress:

after row 4

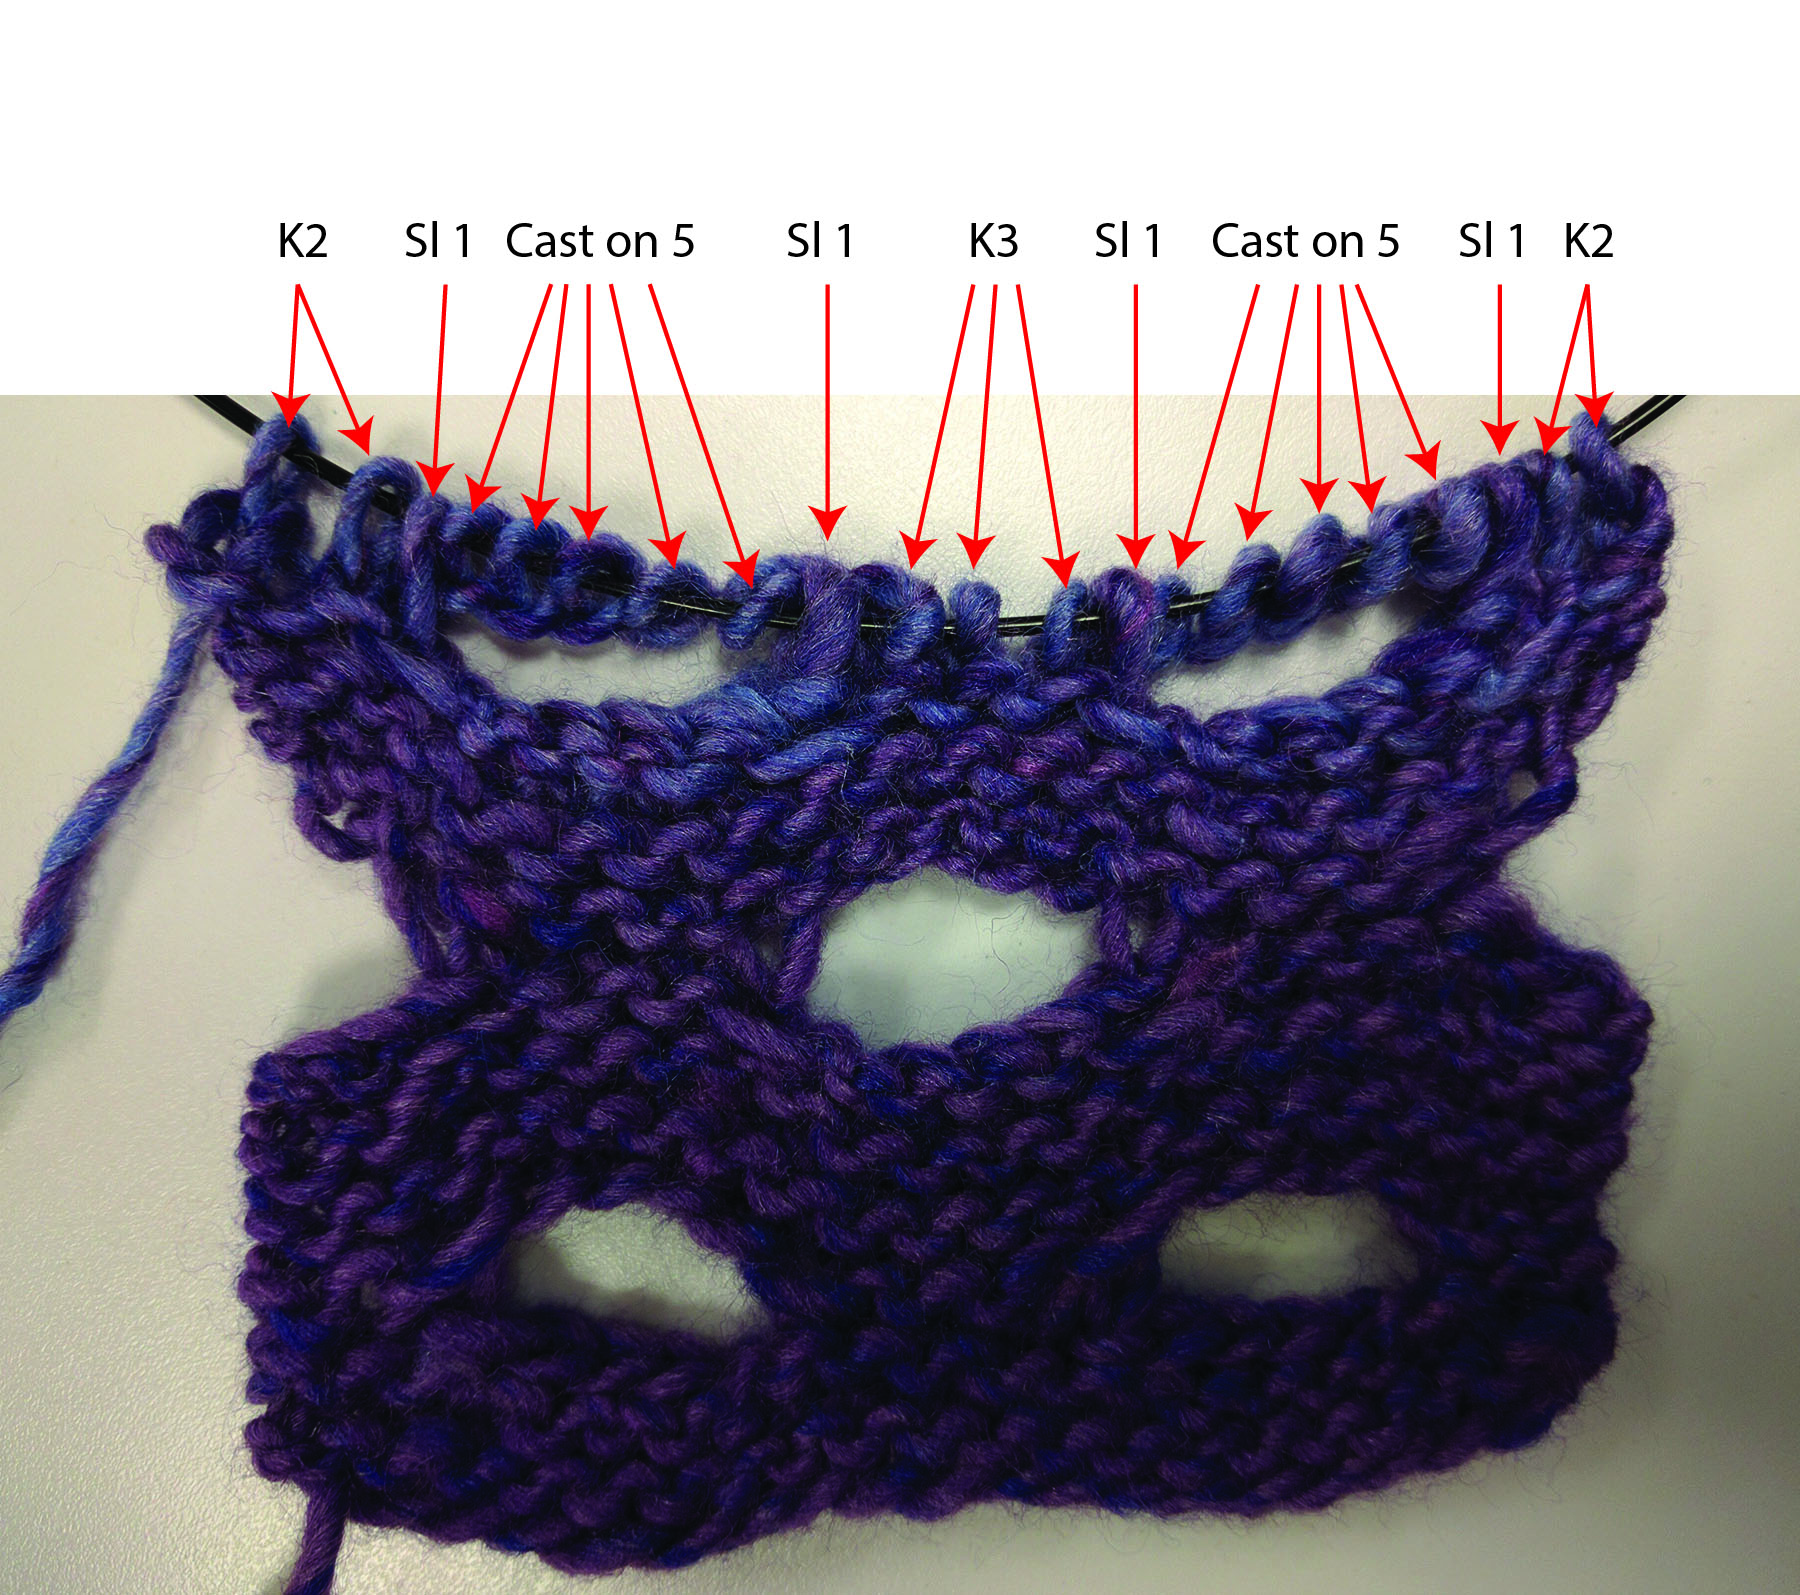
The real trouble this particular knitter had was with the following row. So I worked across that row, took a picture, and then identified each stitch in the row:

after row 5_with illustrations

And that’s all there is to it! Having trouble with one of our patterns? Let me know!
Amy Answers – Going Places Shawl

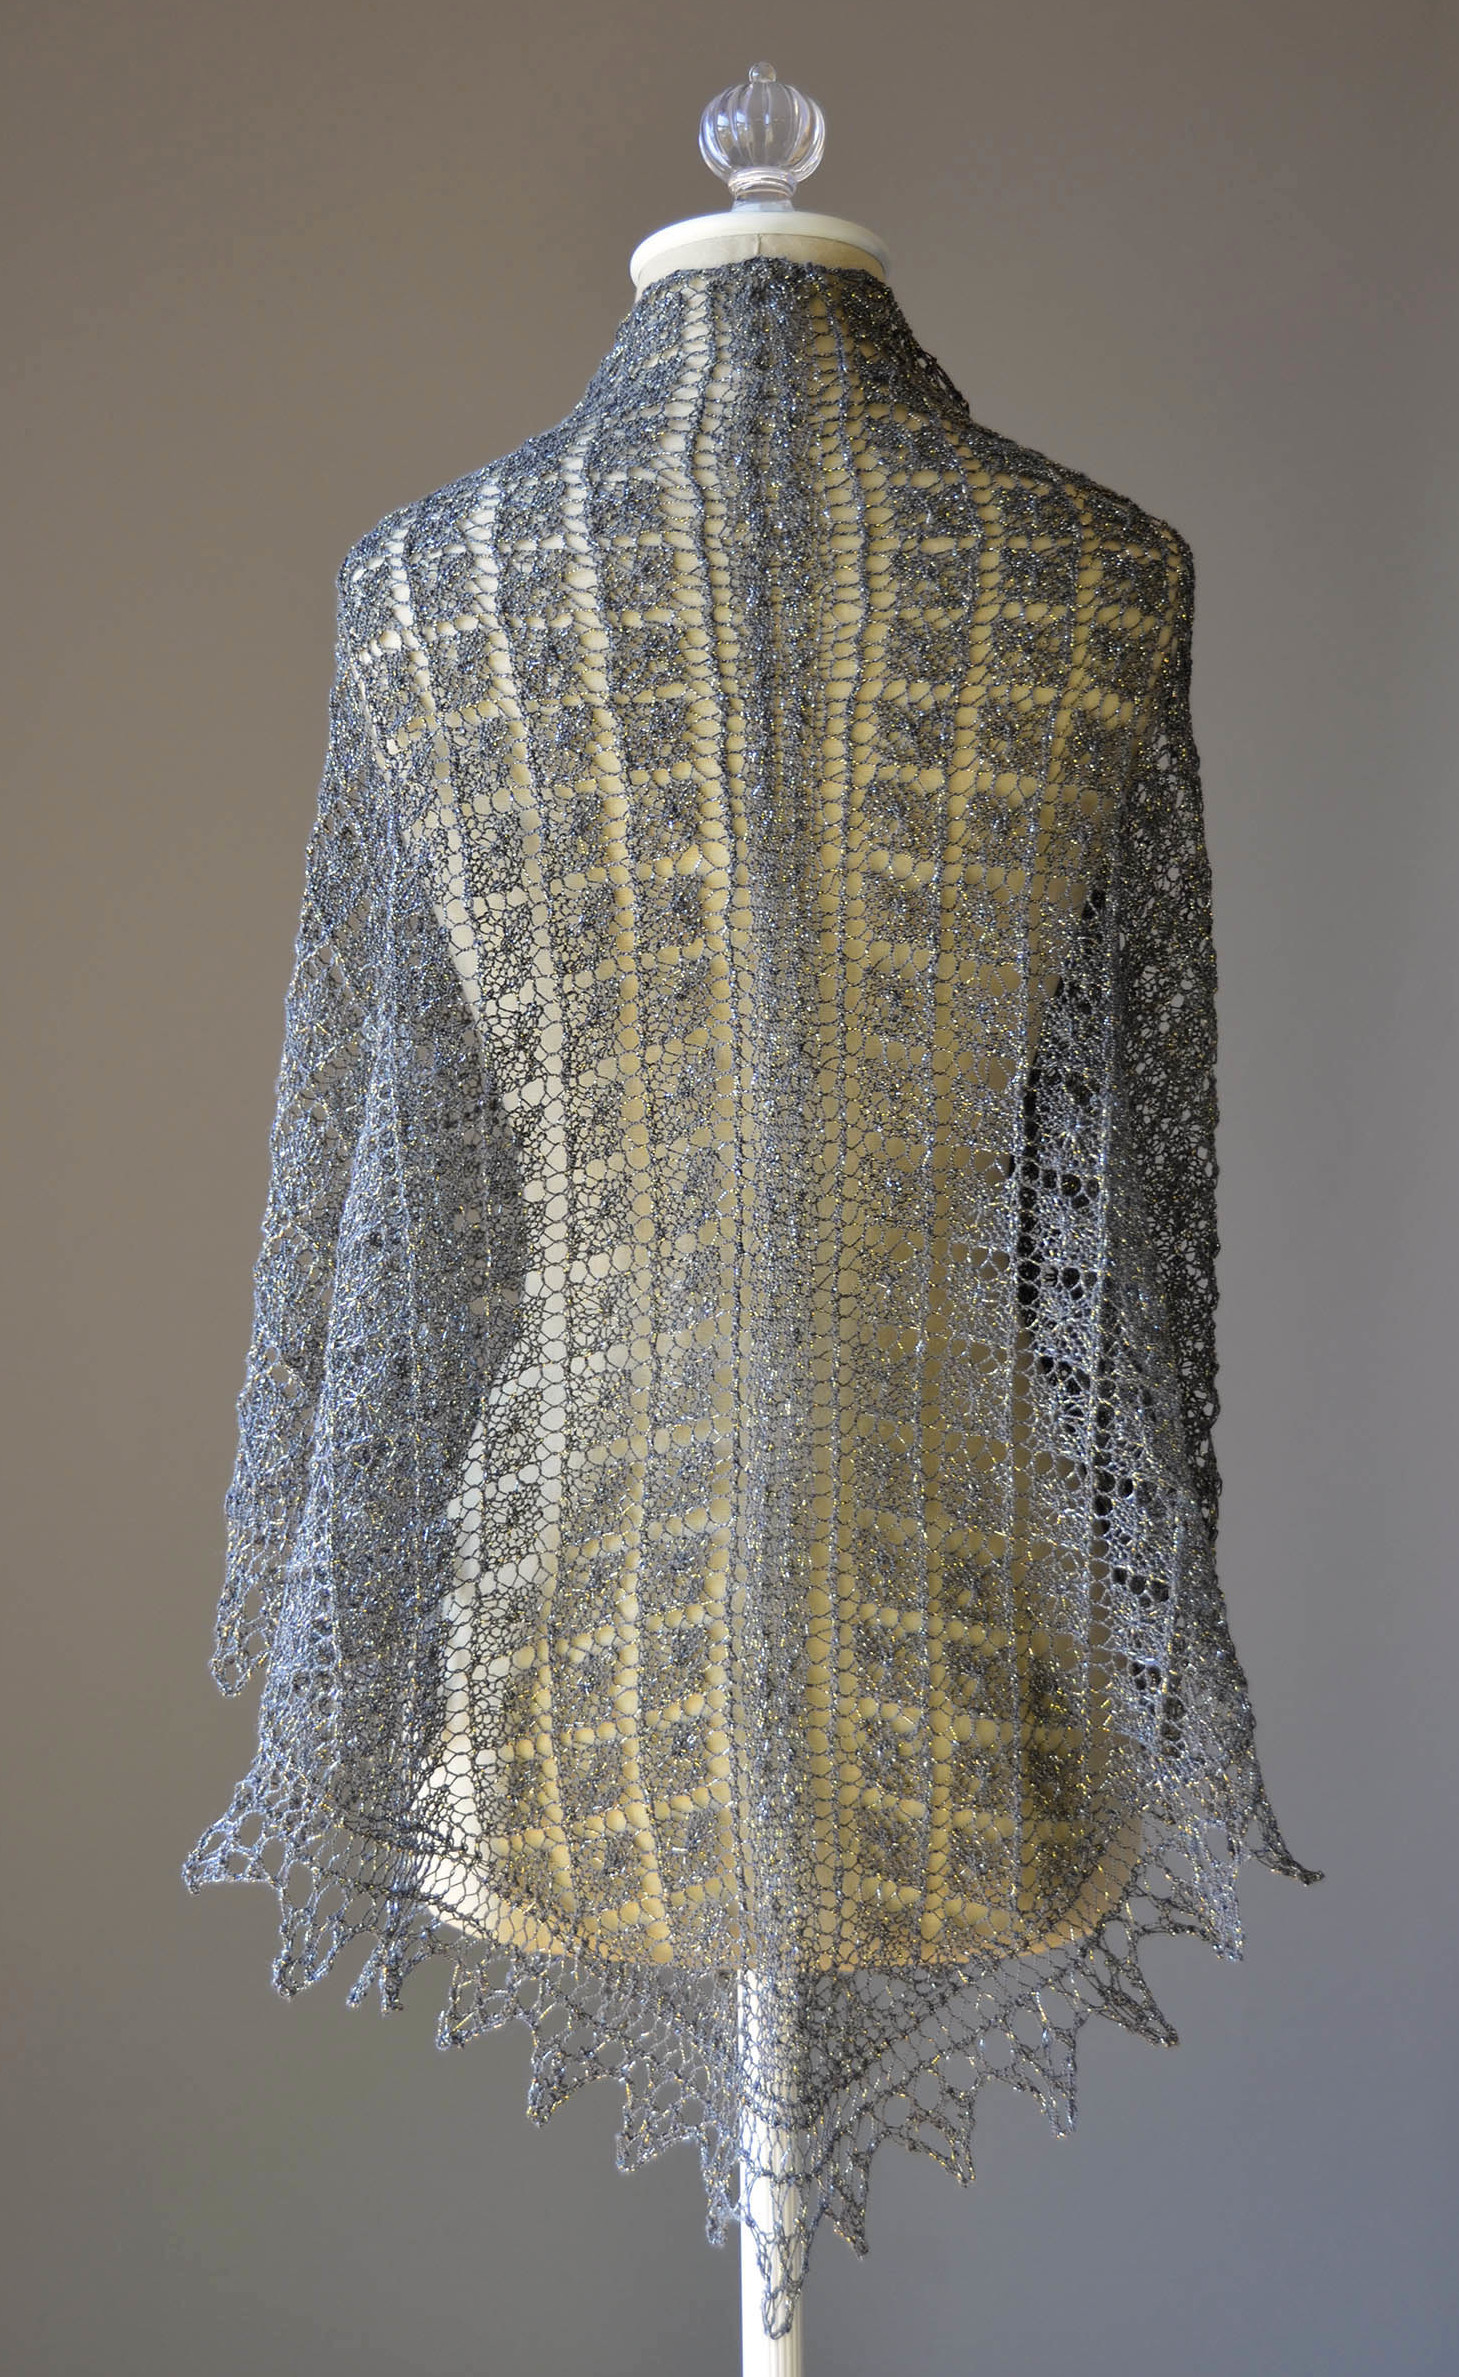
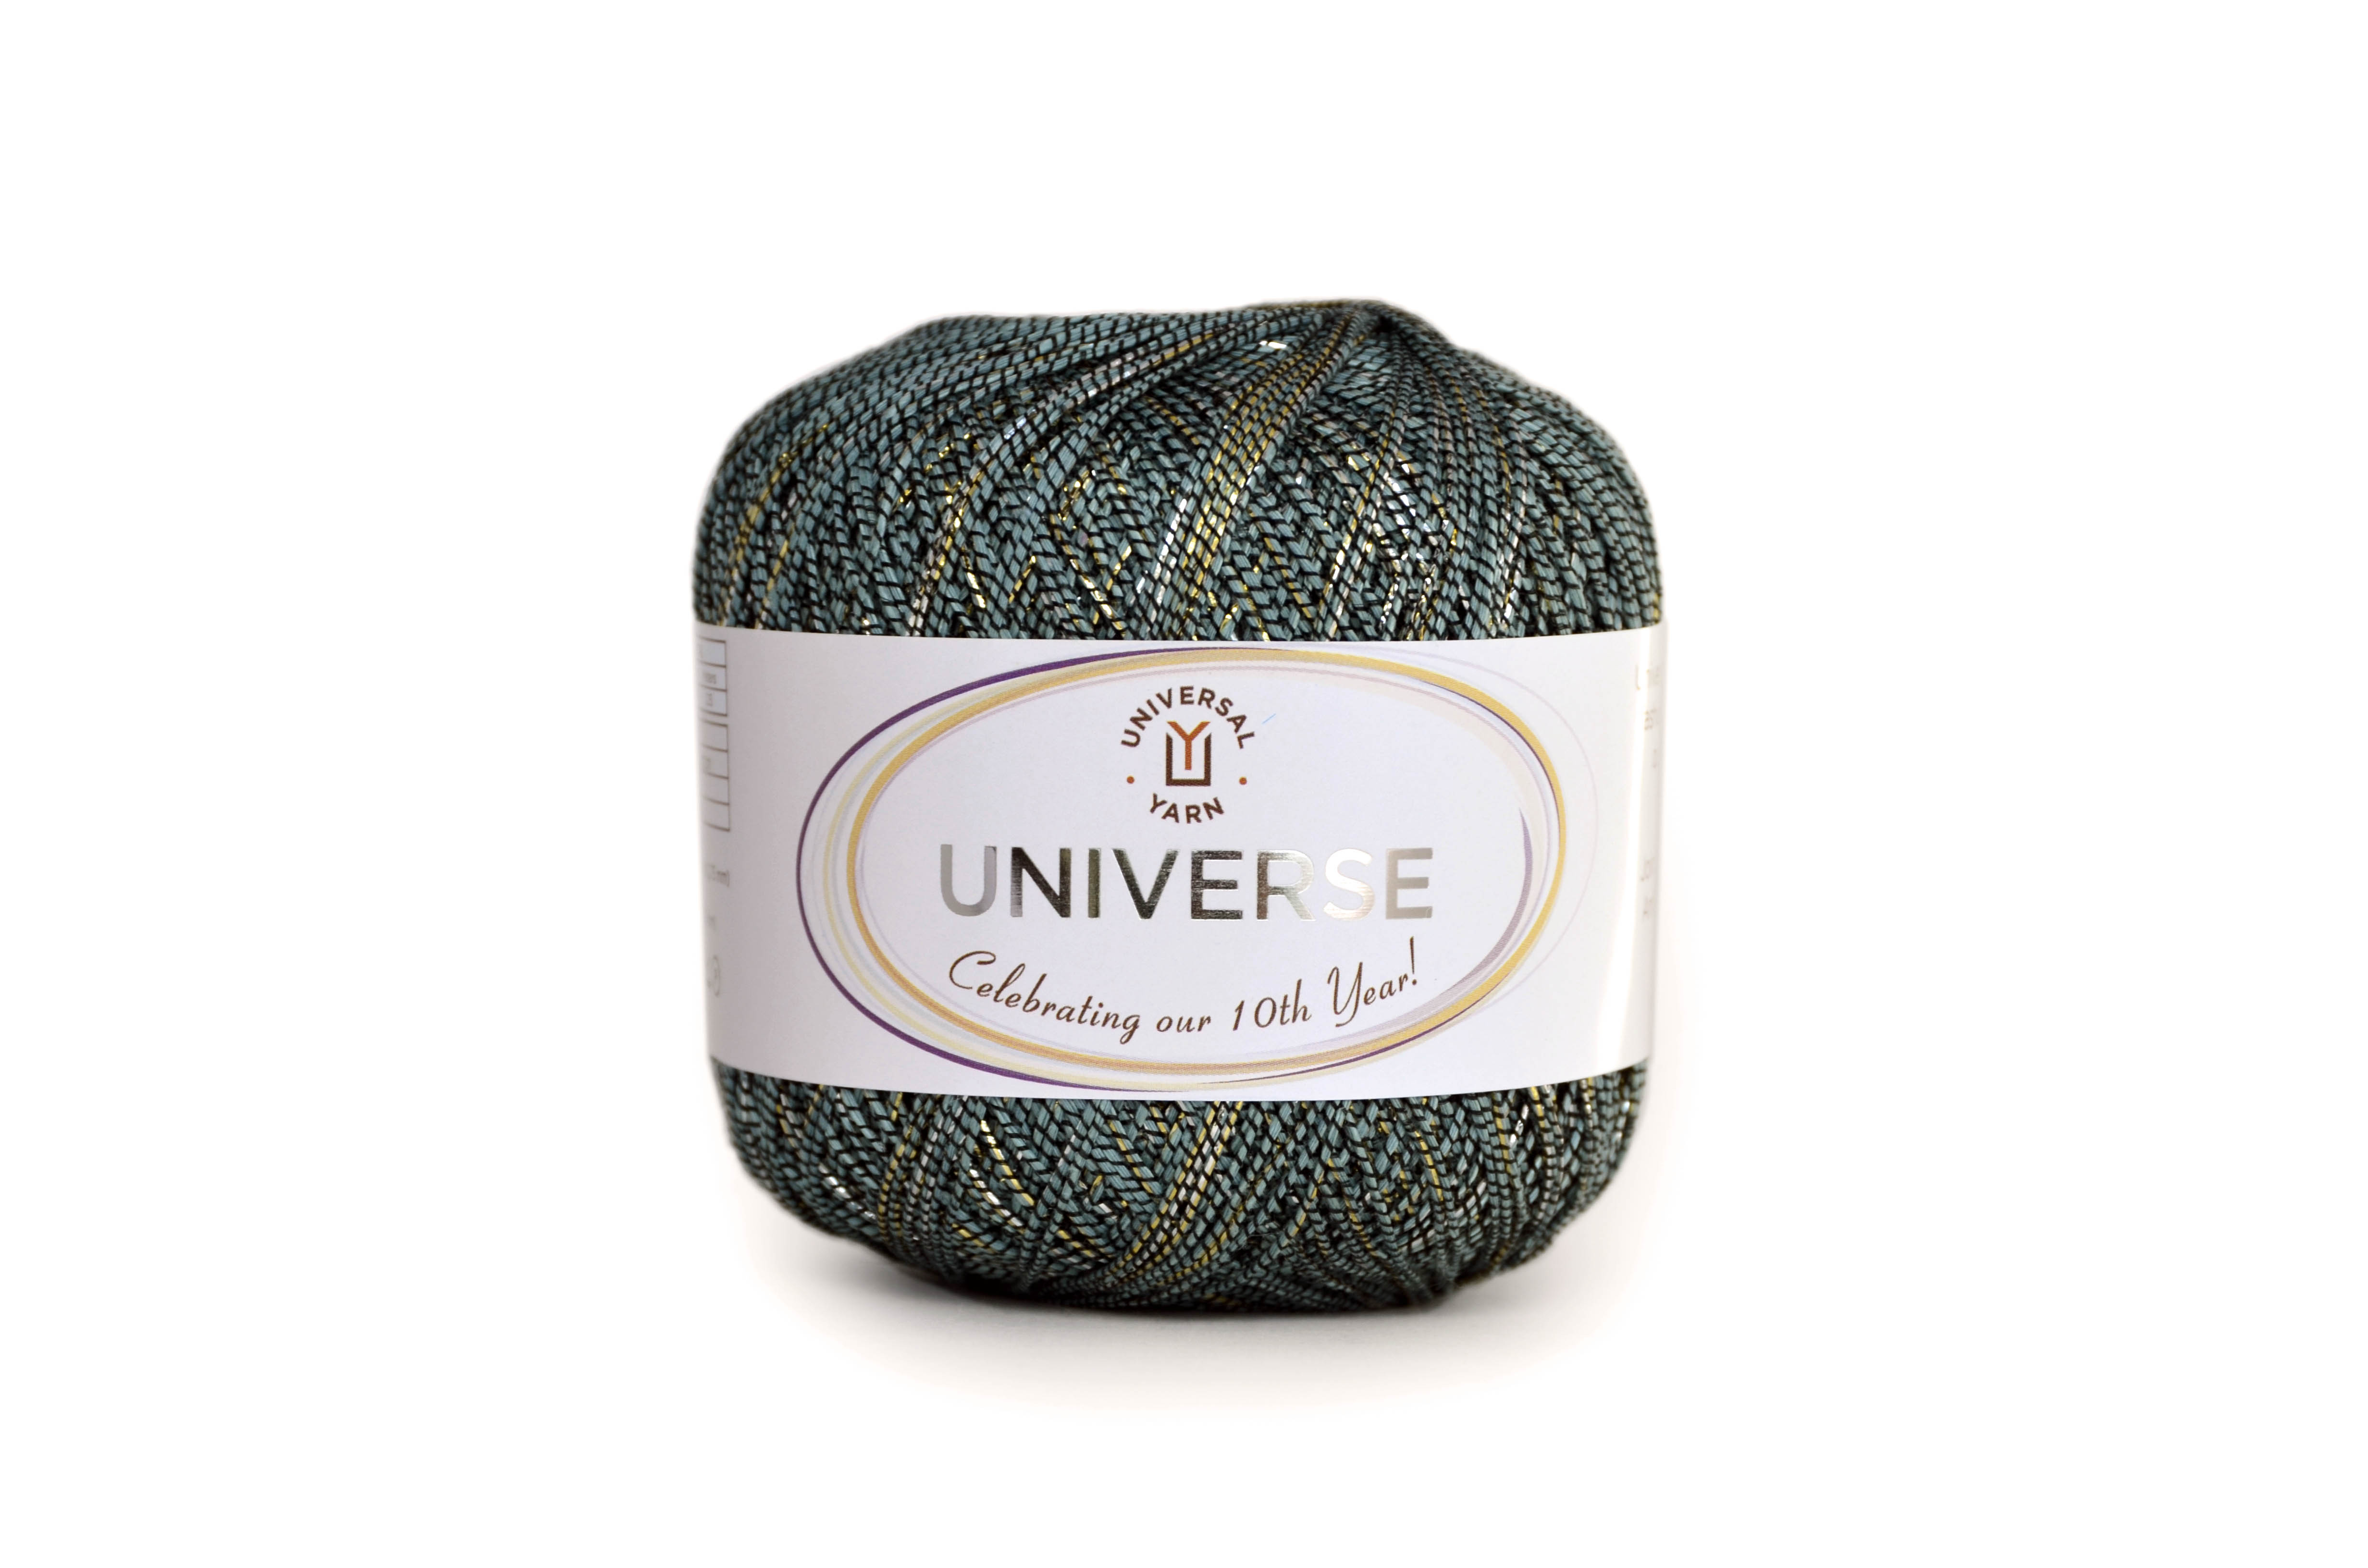
We got a question recently about how to do a technique in our Going Places Shawl, this lovely triangular shawl knit in anniversary yarn, Universe.

Going Places Shawl back_blog

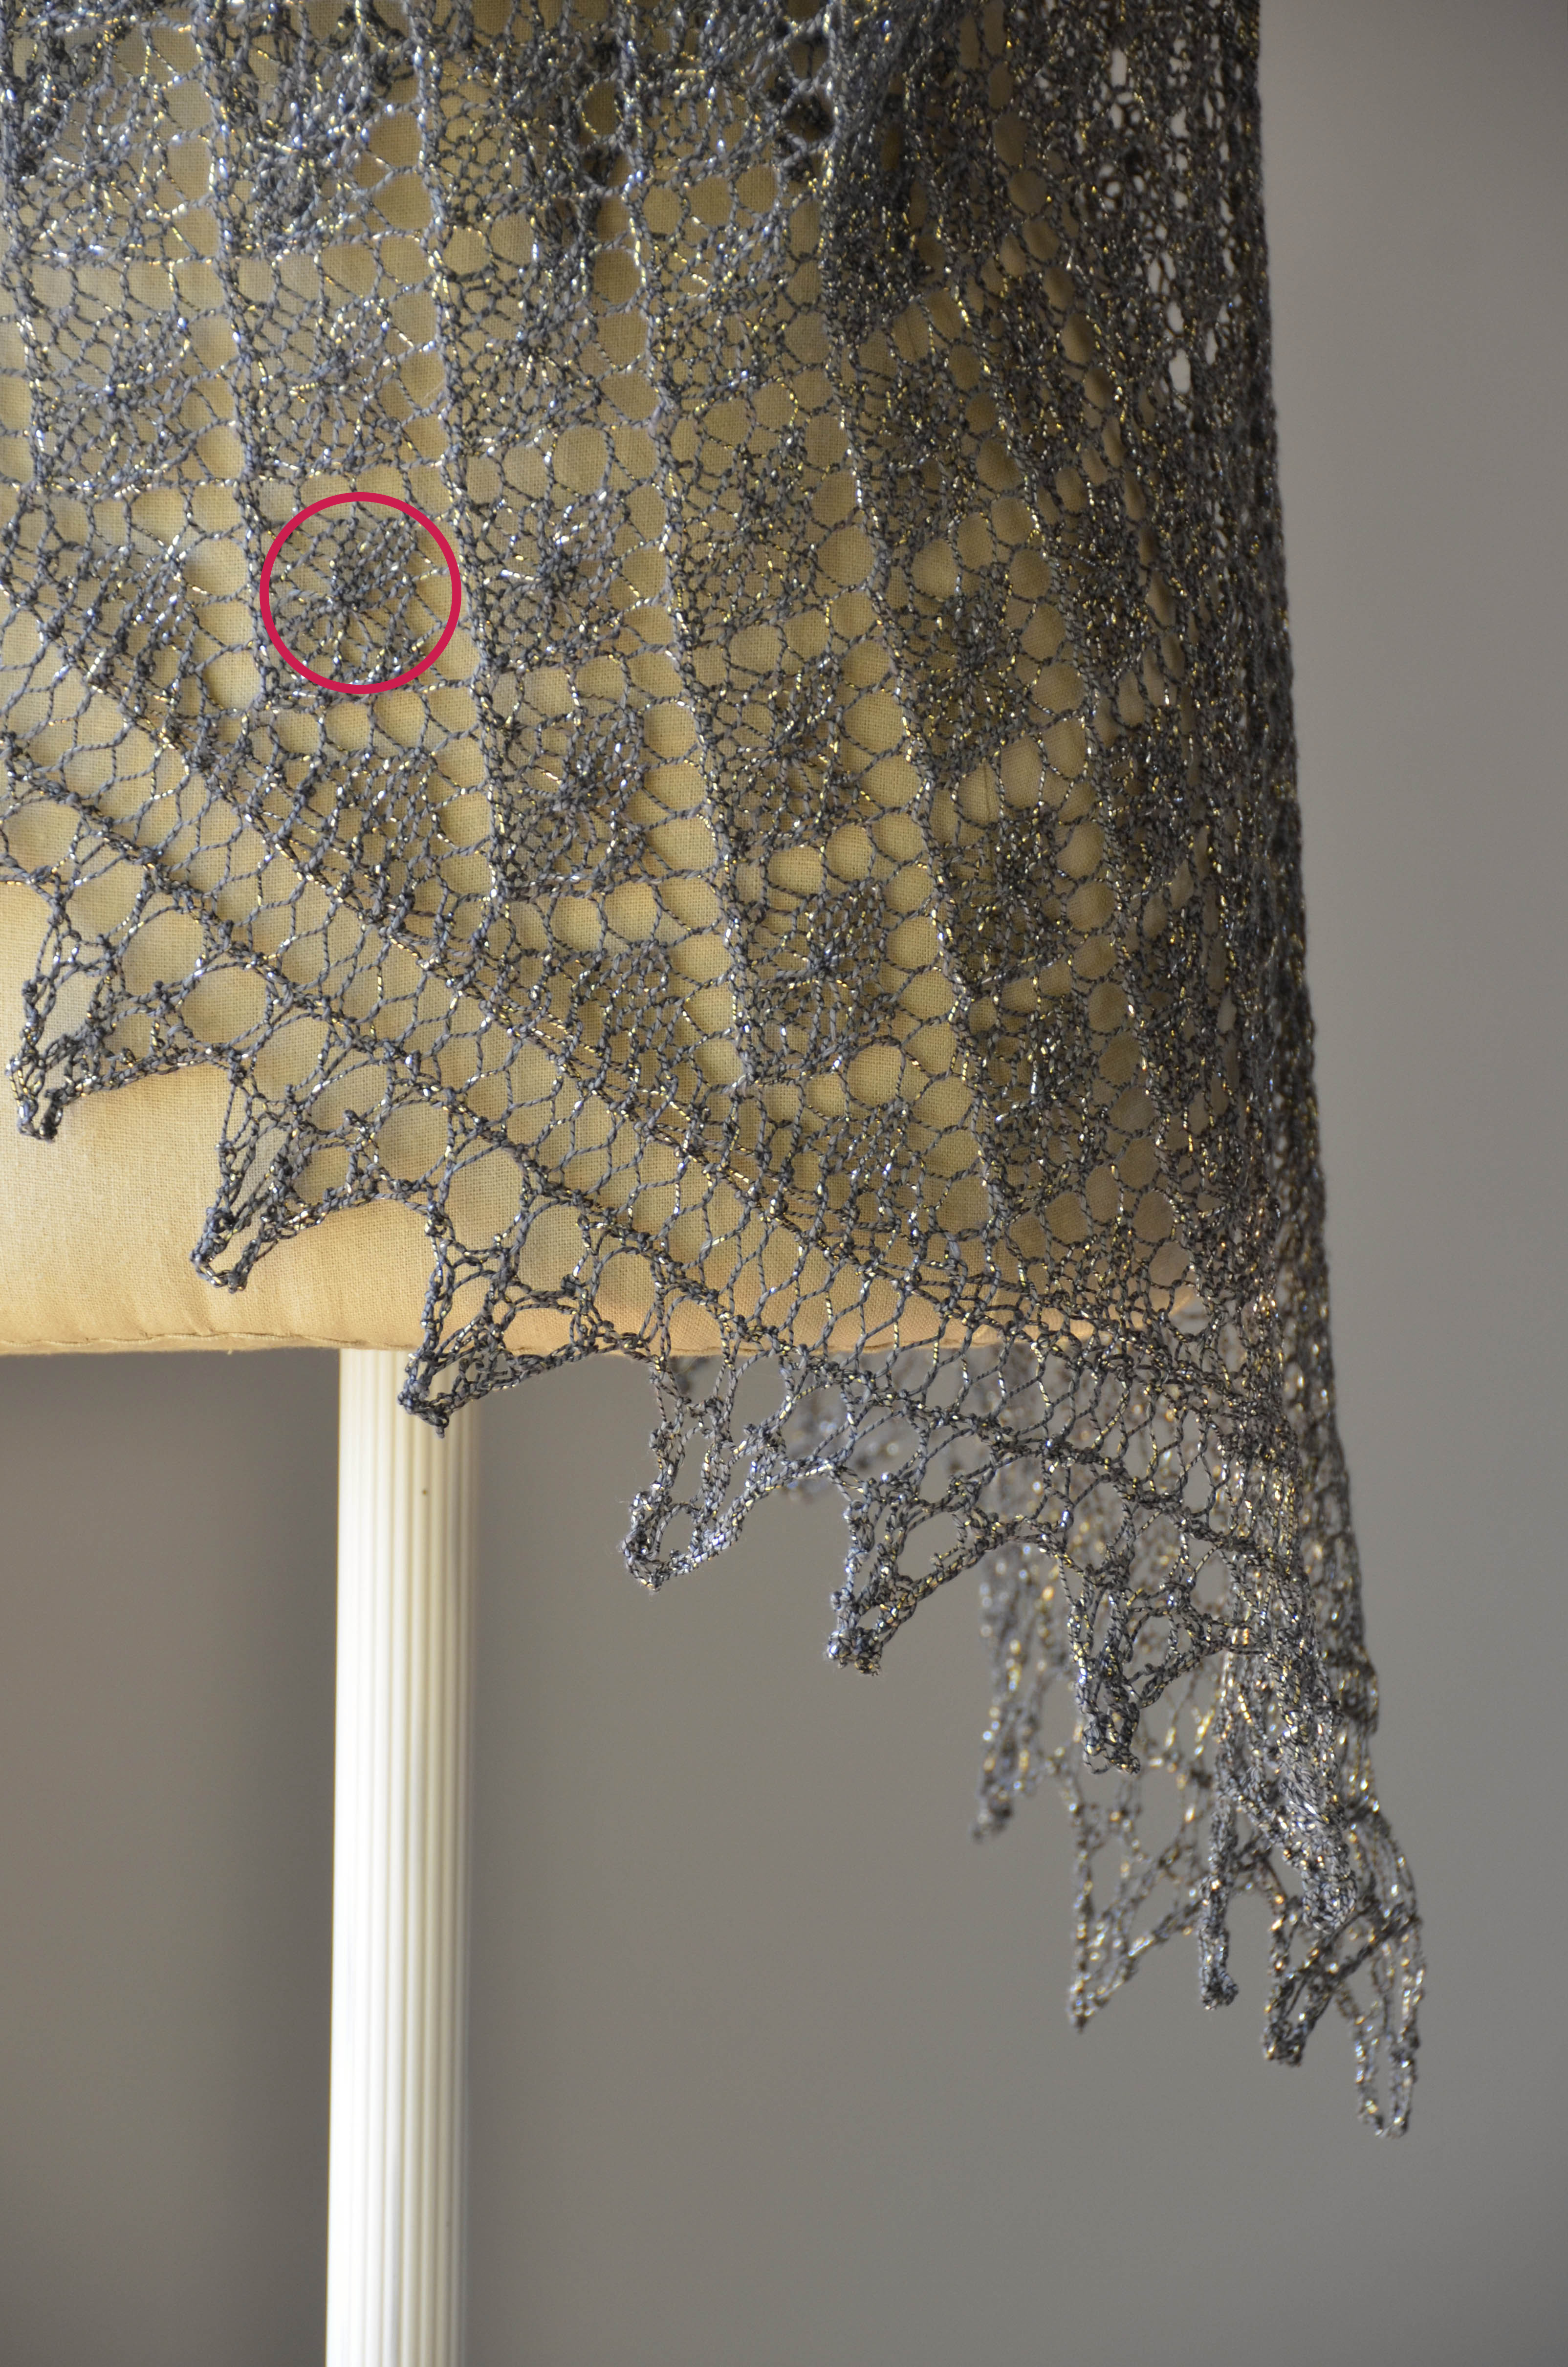
If you look closely at the diamond motifs in the shawl, you’ll see that there is a little decorative “blip” in the middle of each.

Going Places Shawl detail_hi-res_withcircle

To achieve this “blip”, you will knit 3 stitches together, yarn over, and then knit the same 3 stitches together. If you’ve never done a seemingly acrobatic knitting maneuver like this before, it can seem a little daunting! Check out this video for a demonstration of the stitch in question:

And be sure to check out all of our beautiful patterns in Universe. We think you’ll be dazzled!

Universe ball cut out shiny label hi-res

Amy Answers – Basketry Handbag

I got a call today from Ginger at In Sheep’s Clothing, a friendly LYS in Torrington, CT.  She told me about a customer of hers who is working on the Basketry Handbag in Yashi and is having trouble with the Basketry stitch pattern.

Yashi Purse 2_DSC1262

The main stitch pattern on the bag body is really cool looking. In Yashi (100% raffia), it creates a rustic woven look. The stitch pattern is easy enough once you get the hang of it, but can be tricky to wrap your head around it by reading the text instructions only. I decided the best way to help Ginger’s customer was to take a short video demonstrating the technique.

One key piece of advice I have on knitting this handbag in Yashi, is to keep the work very loose on the needles. Yashi is not elastic, so if you’re not conscious of the tautness of the work, things go downhill very fast.

Amy Answers – Laurel Crochet Stole

I’m delighted to introduce a new occasional feature here on the blog: Amy Answers. Part of my job with Universal Yarn involves answering customer emails and phone calls when pattern issues arise. Sometimes these conversations are regarding an error in the pattern (I hate these! But unfortunately they do happen from time to time). Other times, we talk about what a pattern really means when it tells you to do x, y, and z.

Educating crafters is something I’m very passionate about. In this occasional section of the blog, I’ll be sharing what a customer learns through one of our phone calls, what I learn through one of our phone calls, how to do a stitch patterns in some of our new designs, and whatever else makes sense!

To kick things off, I’ll be doing a photo tutorial on how to join motifs in one of our Polaris patterns, the Laurel Crocheted Stole.

Laurel_Crocheted_Shawl_Polaris_low-res


I love love love join-as-you-go motif projects. What this method typically means is that first a full motif is made. Then, the next motif is made less the final round. On that final round, the current motif is joined to the previous motif in multiple places. Sometimes this occurs with just a slip stitch. But in the Laurel pattern, we join “in pattern” with dtrs (double treble crochet).

1

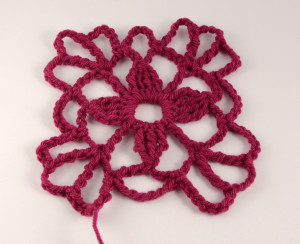
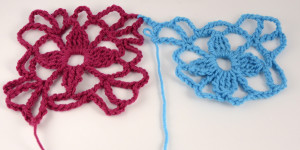
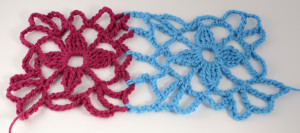
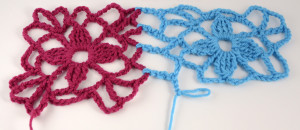
Here is the first motif, rounds 1 and 2. It is complete.


2

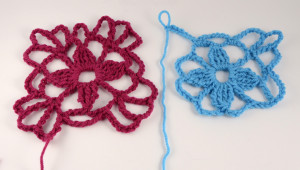
Here is motif 1. Next to it is motif 2 in progress. It shows the completion of round 1, and this first part of round 2: Ch 7, sc in next ch-7, ch 7, (dtr, ch 5, dtr) in next dtr, ch 7, [sc in next ch-7 sp, ch 7] twice,


3

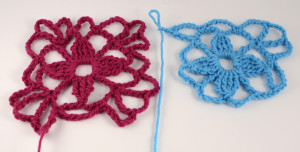
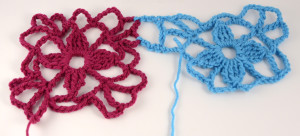
Next we begin to join motif 1 to motif 2.  Here is what the next part of the instructions are: * (dtr, ch 2, dtr in corresponding corner sp on previously worked motif, ch 2, dtr) in next dtr *

Notice that there is a string of instructions inside a set of parentheses (we’ll call this A), and then after the parentheses is another string of text (B). This means that that entire set of instructions A happens in B, or in the next dtr. So, the first step is to dtr in the next dtr, which is pictured above on motif 2.


4

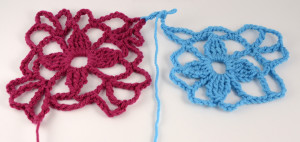
After that, it tells me to “ch 2, dtr in corresponding corner sp on previously worked motif”. This is shown above. The “corner” space is the chain 5 from round 2 of motif 1.


5

The last action inside the parentheses is to  ch 2, dtr in the next dtr (which is the SAME dtr from round 1 of motif 2 as we’ve just dtr’d in), shown above.


6

The next part of round 2 is: [ch 3, dtr in next sp on previously worked motif, ch 3, sc in next ch-7 sp] twice.

The photo above shows this done once…


7

and here it is done twice.


8

Next, we join to motif 1 in the next space along that same side: ch 3, dtr in next sp on previously worked motif.


9

Then we have arrived at the next corner, and we’re instructed to repeat from * to * once more.


10

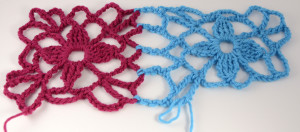
The remainder of motif 2, round 2 is completed without further joining. You can see that motifs 1 and 2 are joined in 5 different spots. Two of them are in corner spaces, and the other 3 are in the chain 7 spaces in between the corners.

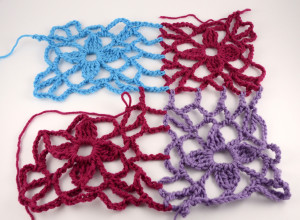
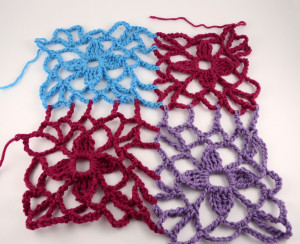
So this solves joining one motif to the side of another. But wait, there’s more! Because the Laurel stole is 5 motifs wide x 17 motifs high, there will be a number of motifs that will be joined on more than one side. Below demonstrates how to do the “Two-Sided Join” described in the pattern.


11

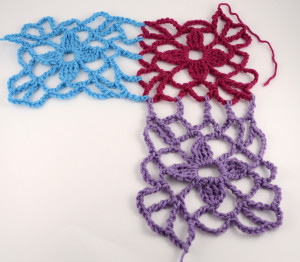
To demonstrate, first I’ve made a third motif and joined it to motif 1 in the same way as shown above.


12

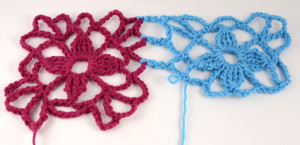
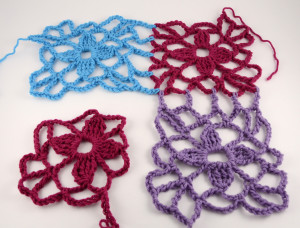
Here we have motif 4 started and ready to begin joining to motif 3.


14

The joining process is the same as before until we get to that corner spot. This part is a little different.


18

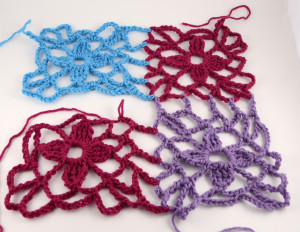
This next part of round 2 reads: , (dtr, ch 2, dtr in corresponding ch-5 corner sp on previously worked motif, sk ch-5 corner sp on next previously worked motif, dtr in ch-5 corner sp of next previously worked motif, ch 2, dtr) in next dtr.

So, to break it down, we dtr in the next dtr (same motif, motif 4), ch 2, dtr in corresponding ch-5 corner on previously worked motif (motif 3/purple), skip the next ch-5 corner space (motif 1/pink), then dtr in the next  corner (motif 2/blue), ch 2, dtr in same dtr on current motif.

Whew!

19

Then we finish joining to motif 2 (blue) and then complete round 2 of the current motif, motif 4.

I’ve shown my motifs in different colors of Uptown Worsted for the sake of clarity. The original stole worked in Polaris 61002 is beautiful in pure white. I know this project would look really lovely in some of the more multi colors of Polaris too. Motifs show off colorful yarns nicely.

I hope this helps for any crocheters out there working on the Laurel stole or another join-as-you-go project.