Amy Answers – Going Places Shawl

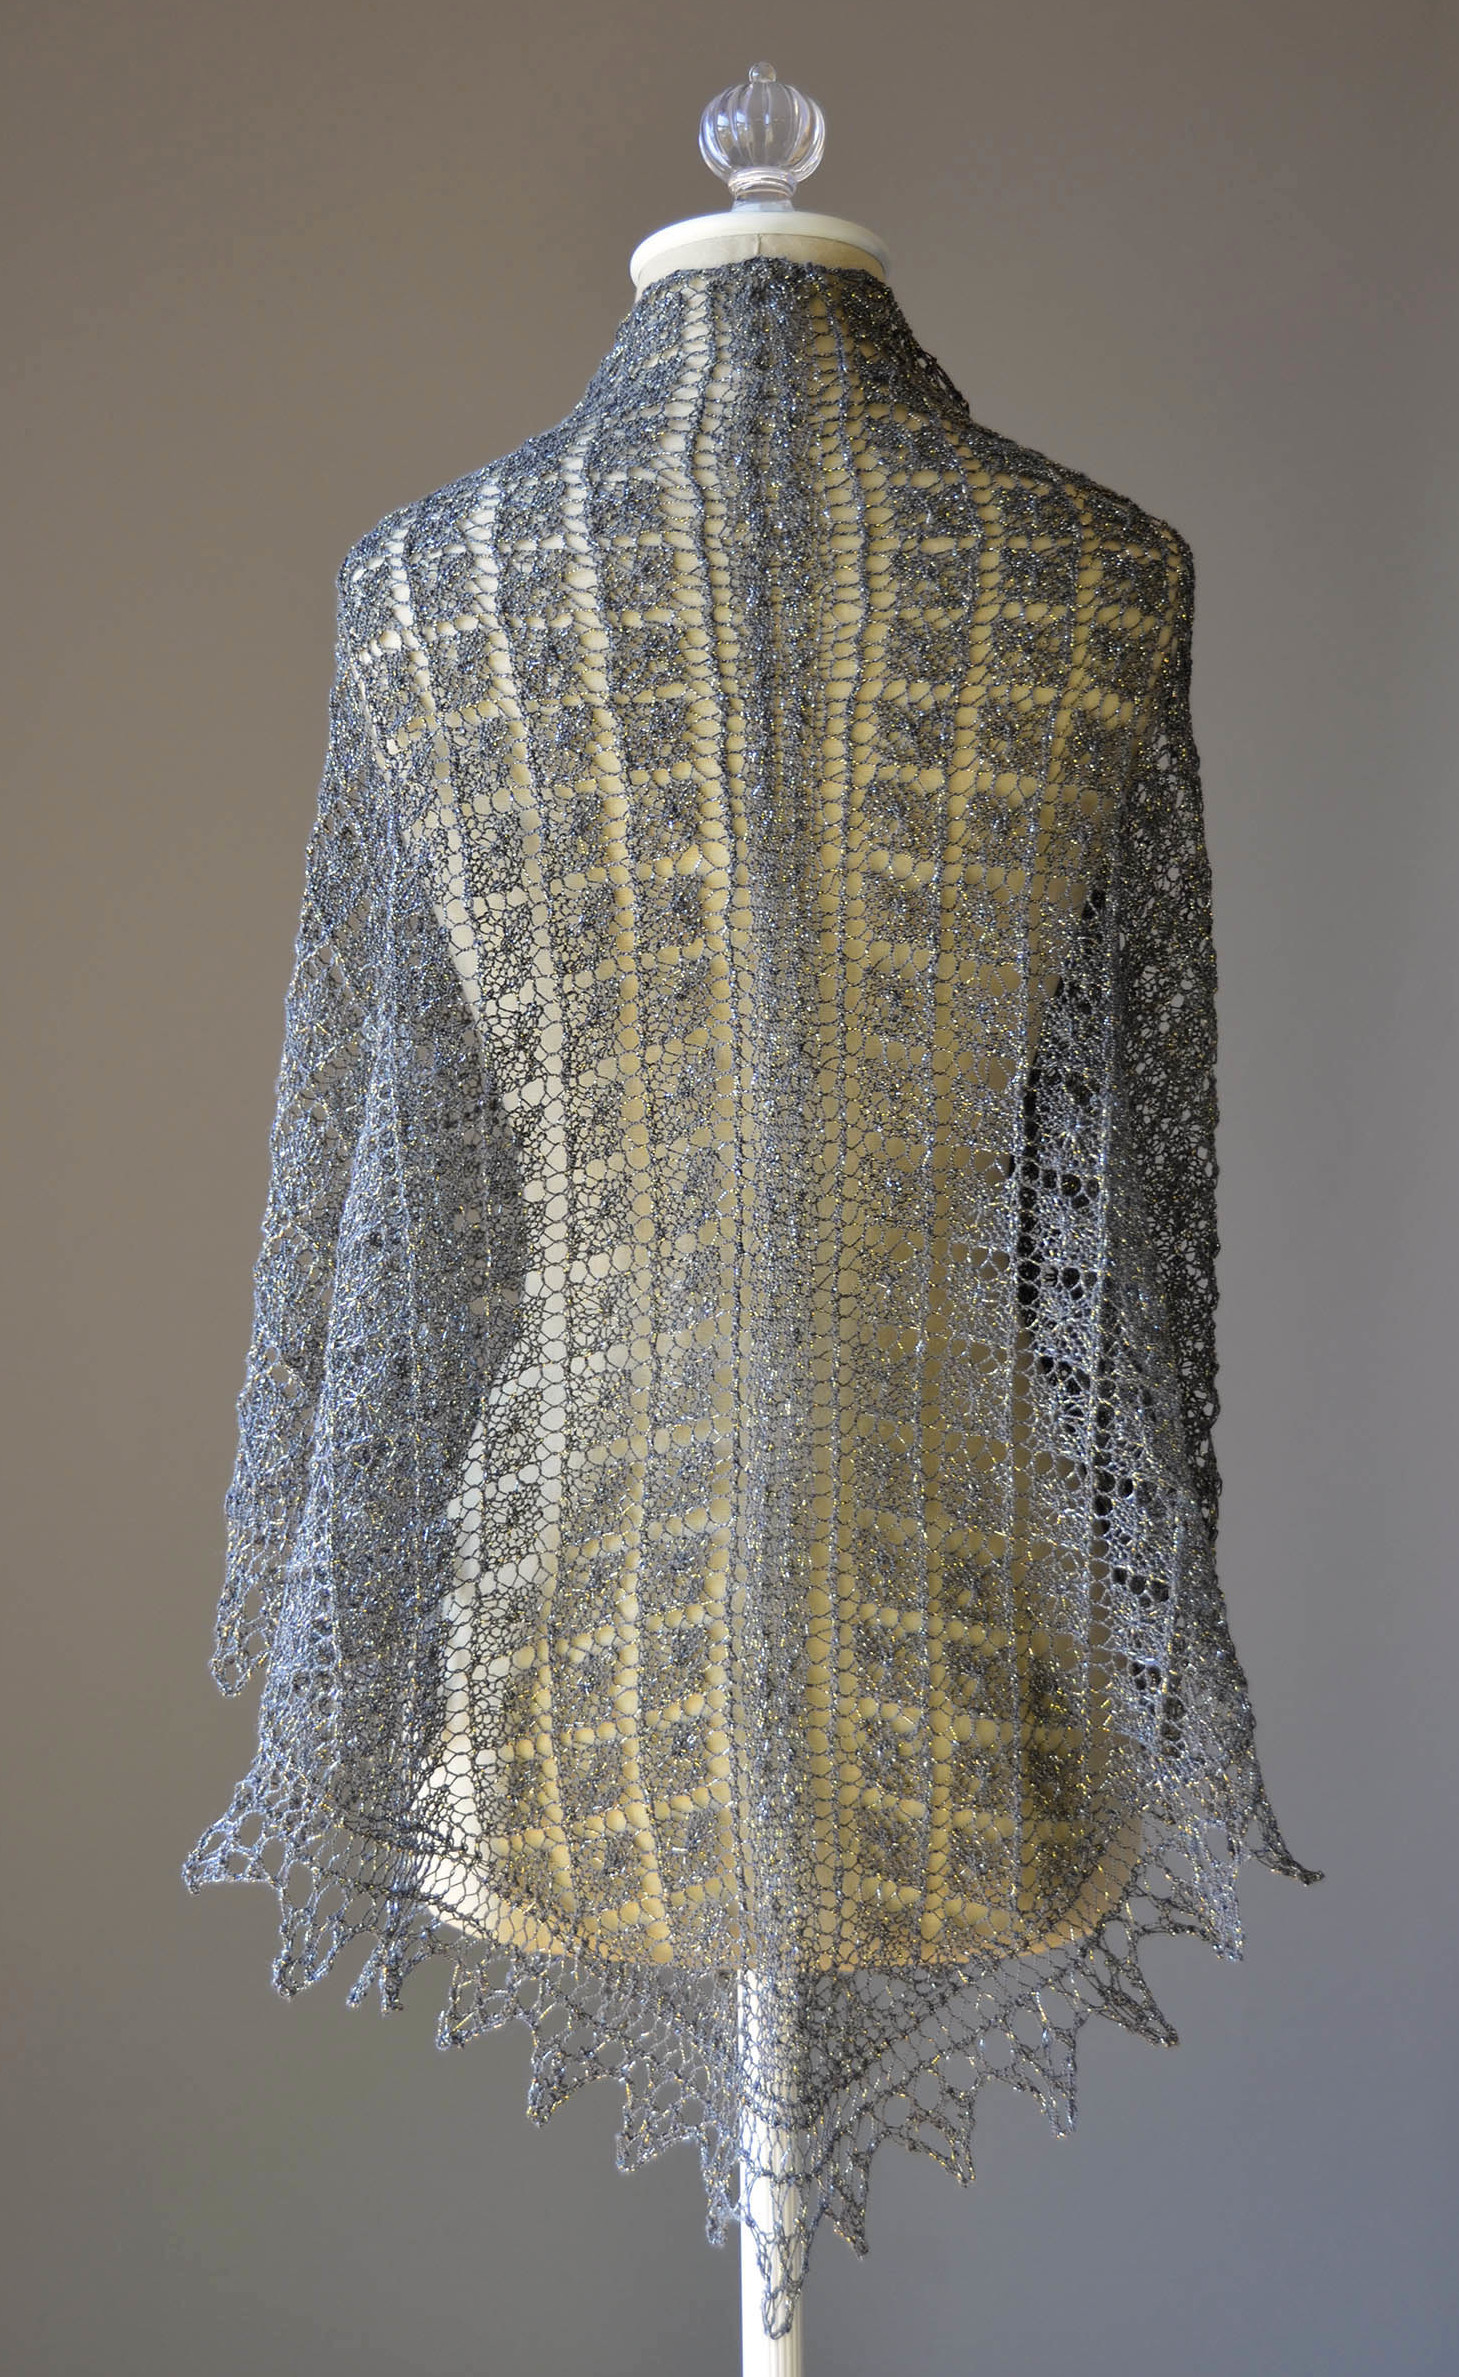
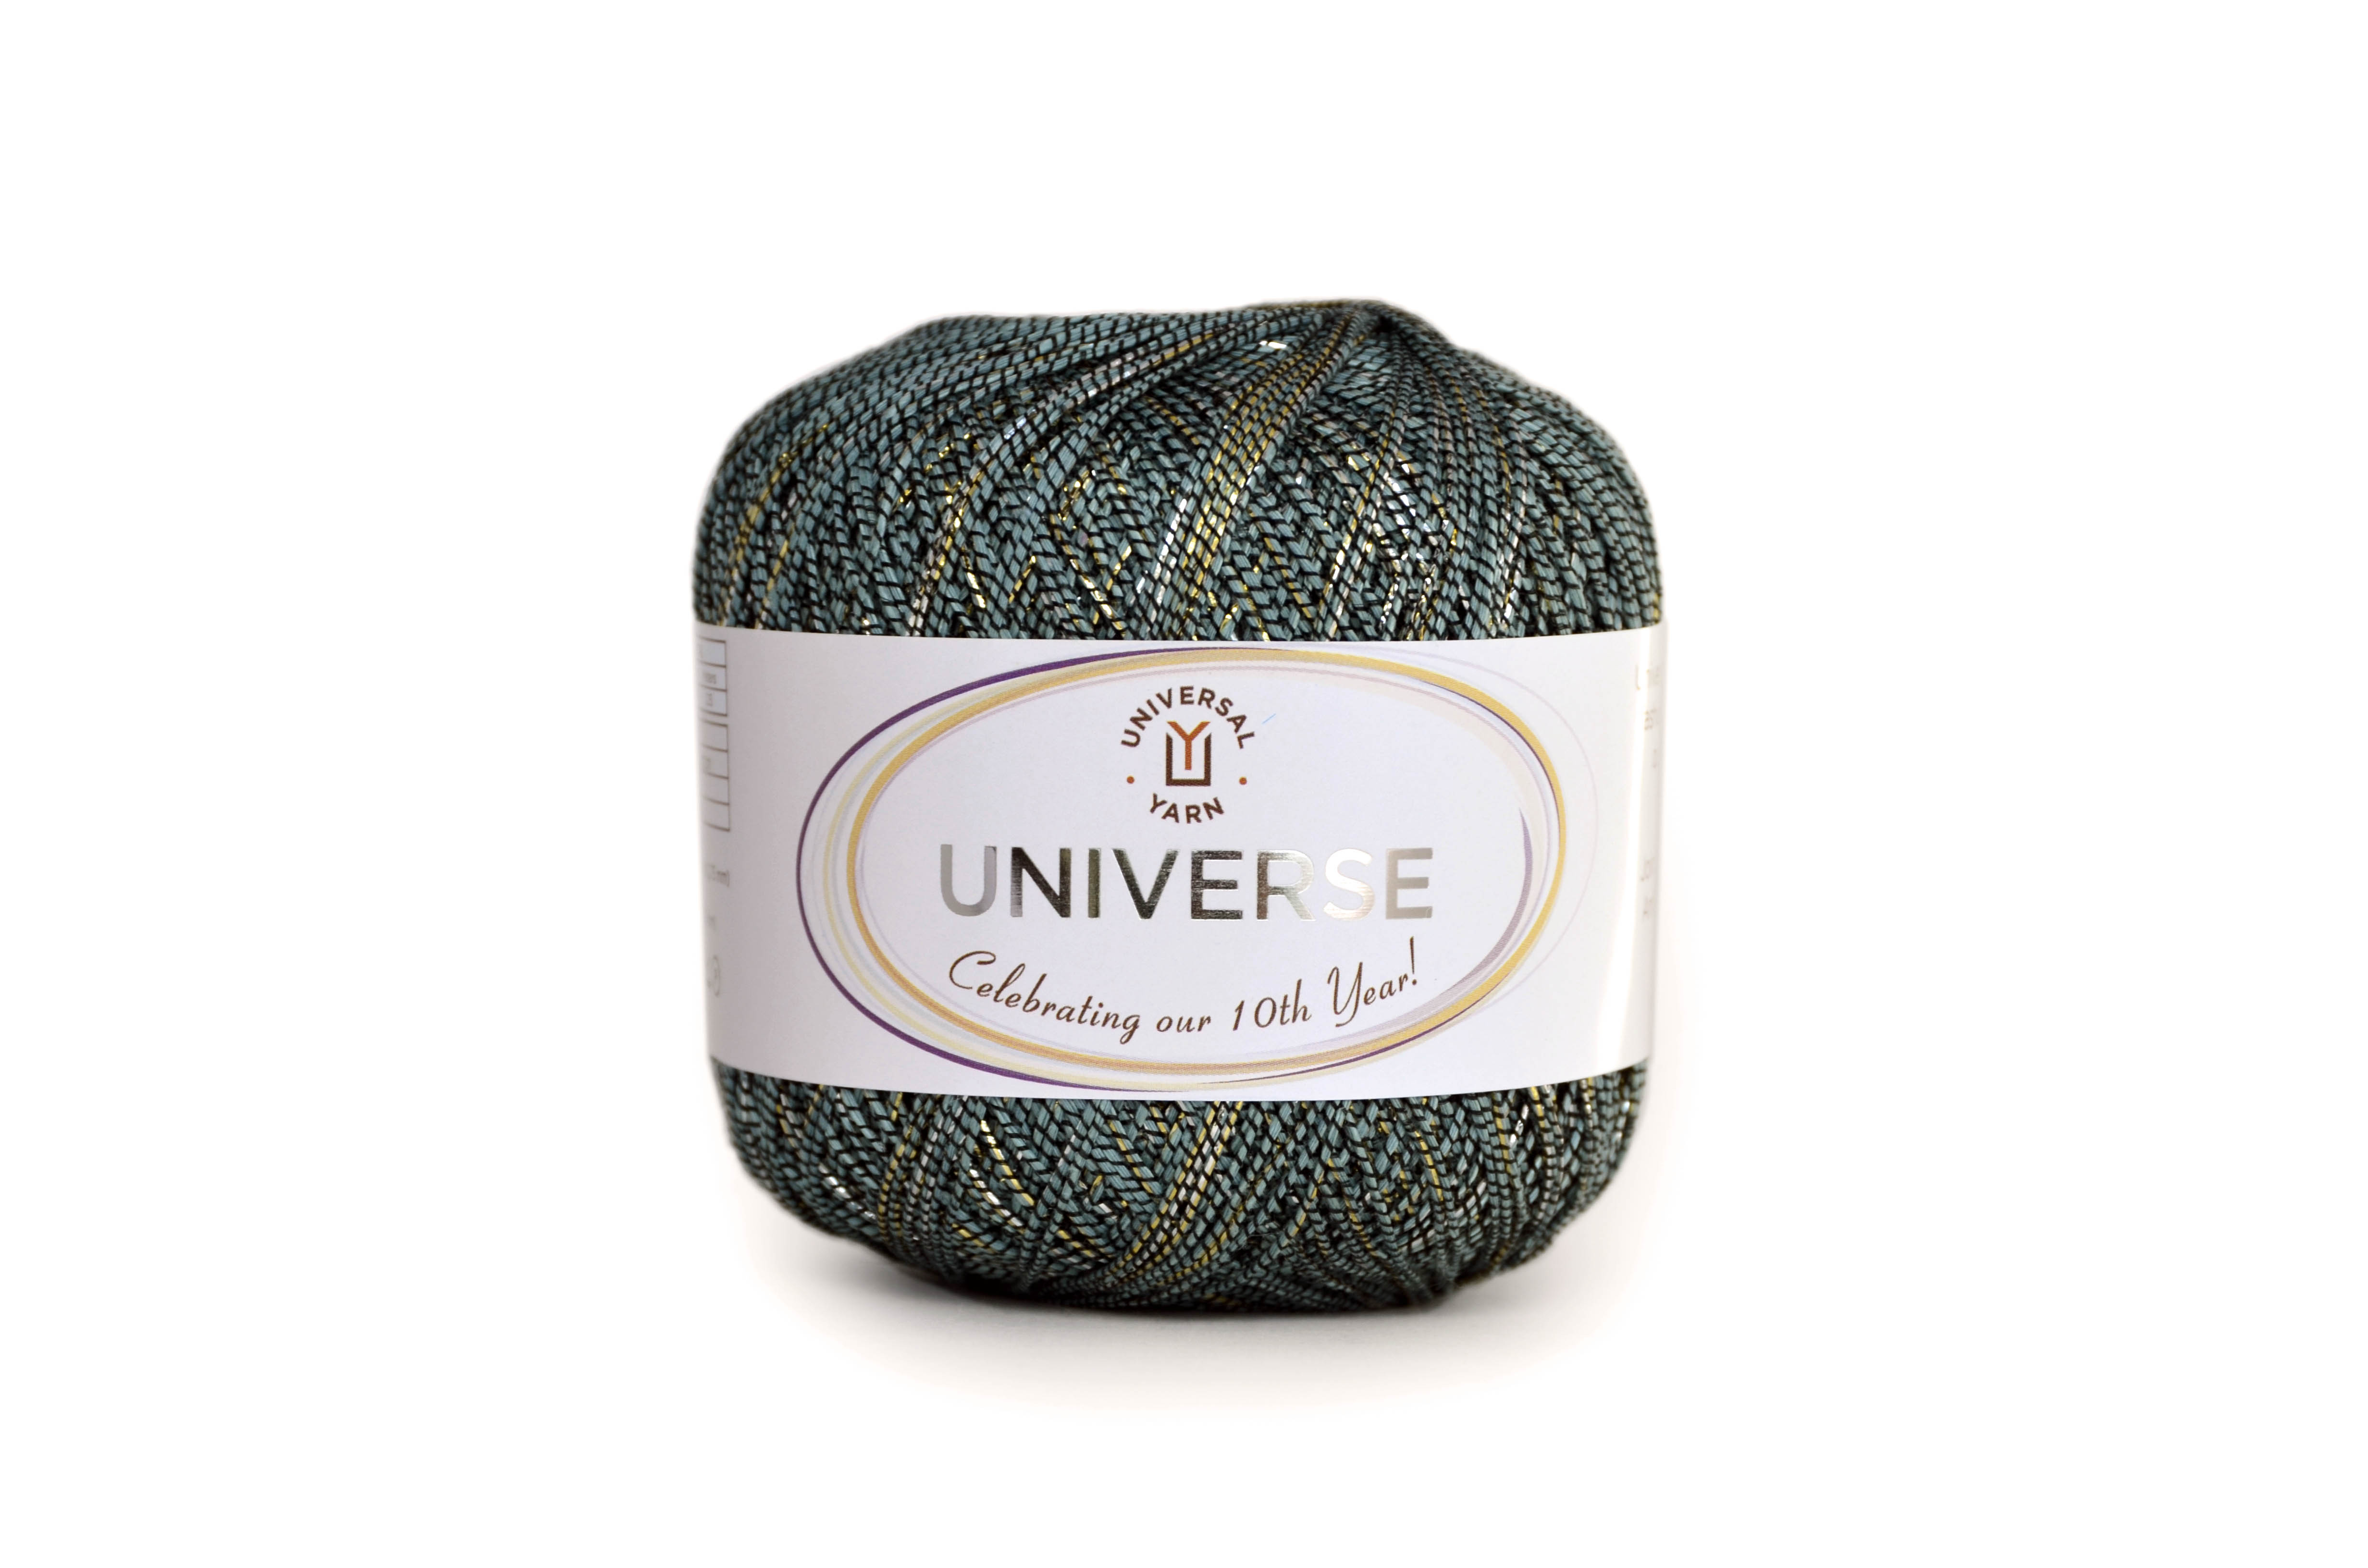
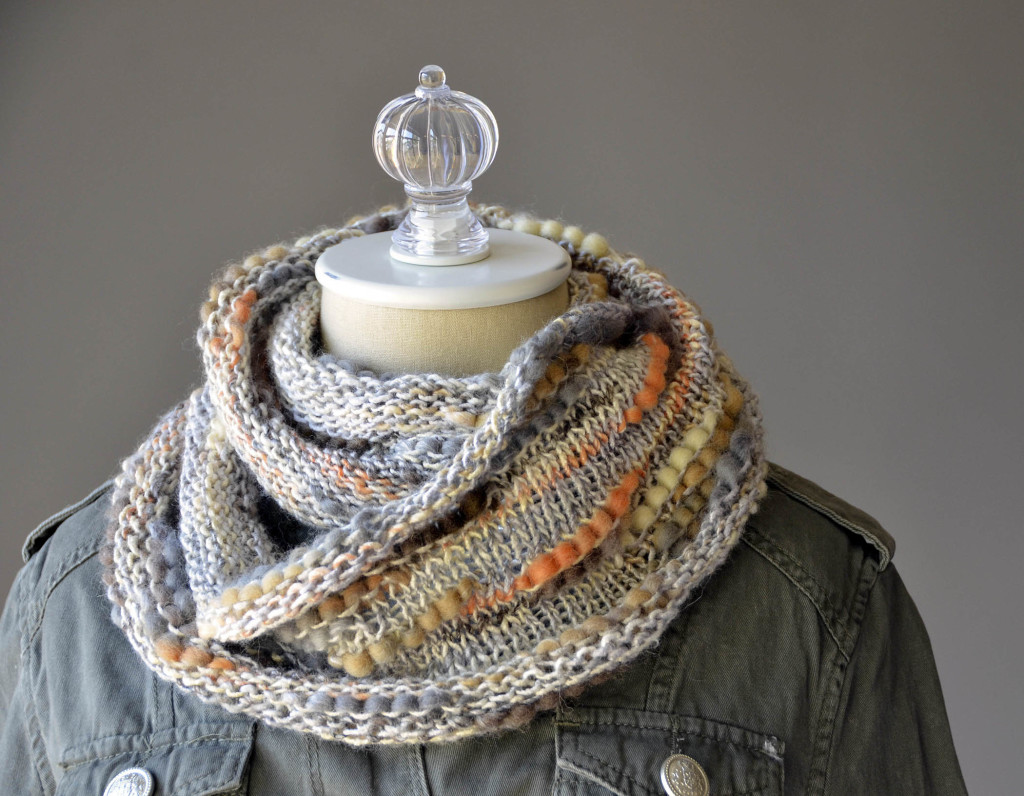
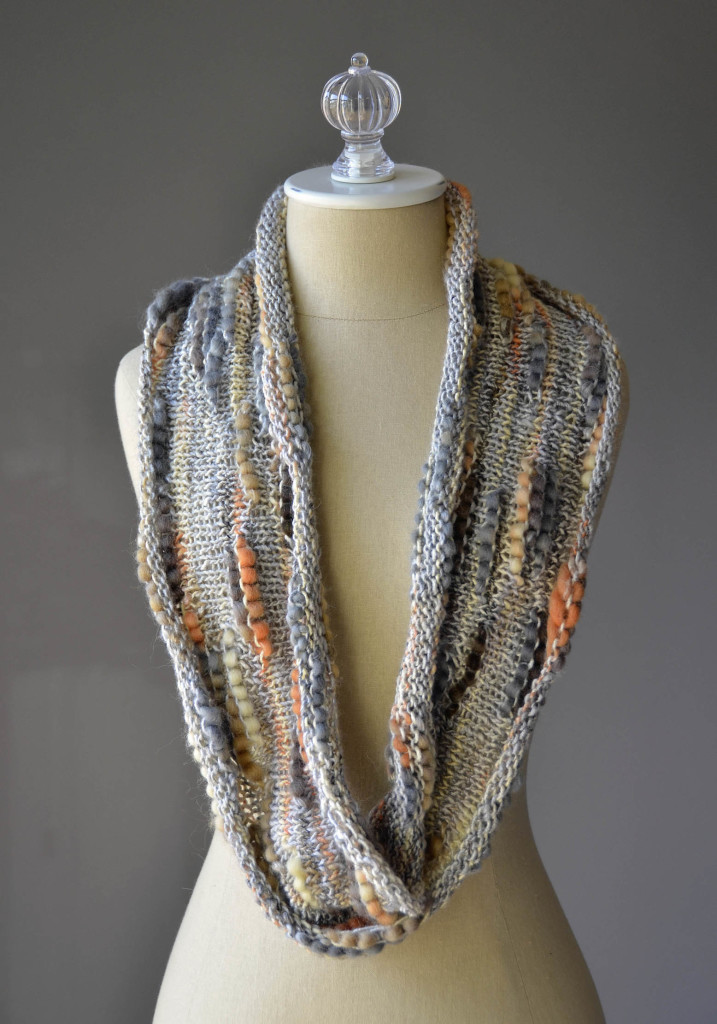
We got a question recently about how to do a technique in our Going Places Shawl, this lovely triangular shawl knit in anniversary yarn, Universe.

Going Places Shawl back_blog

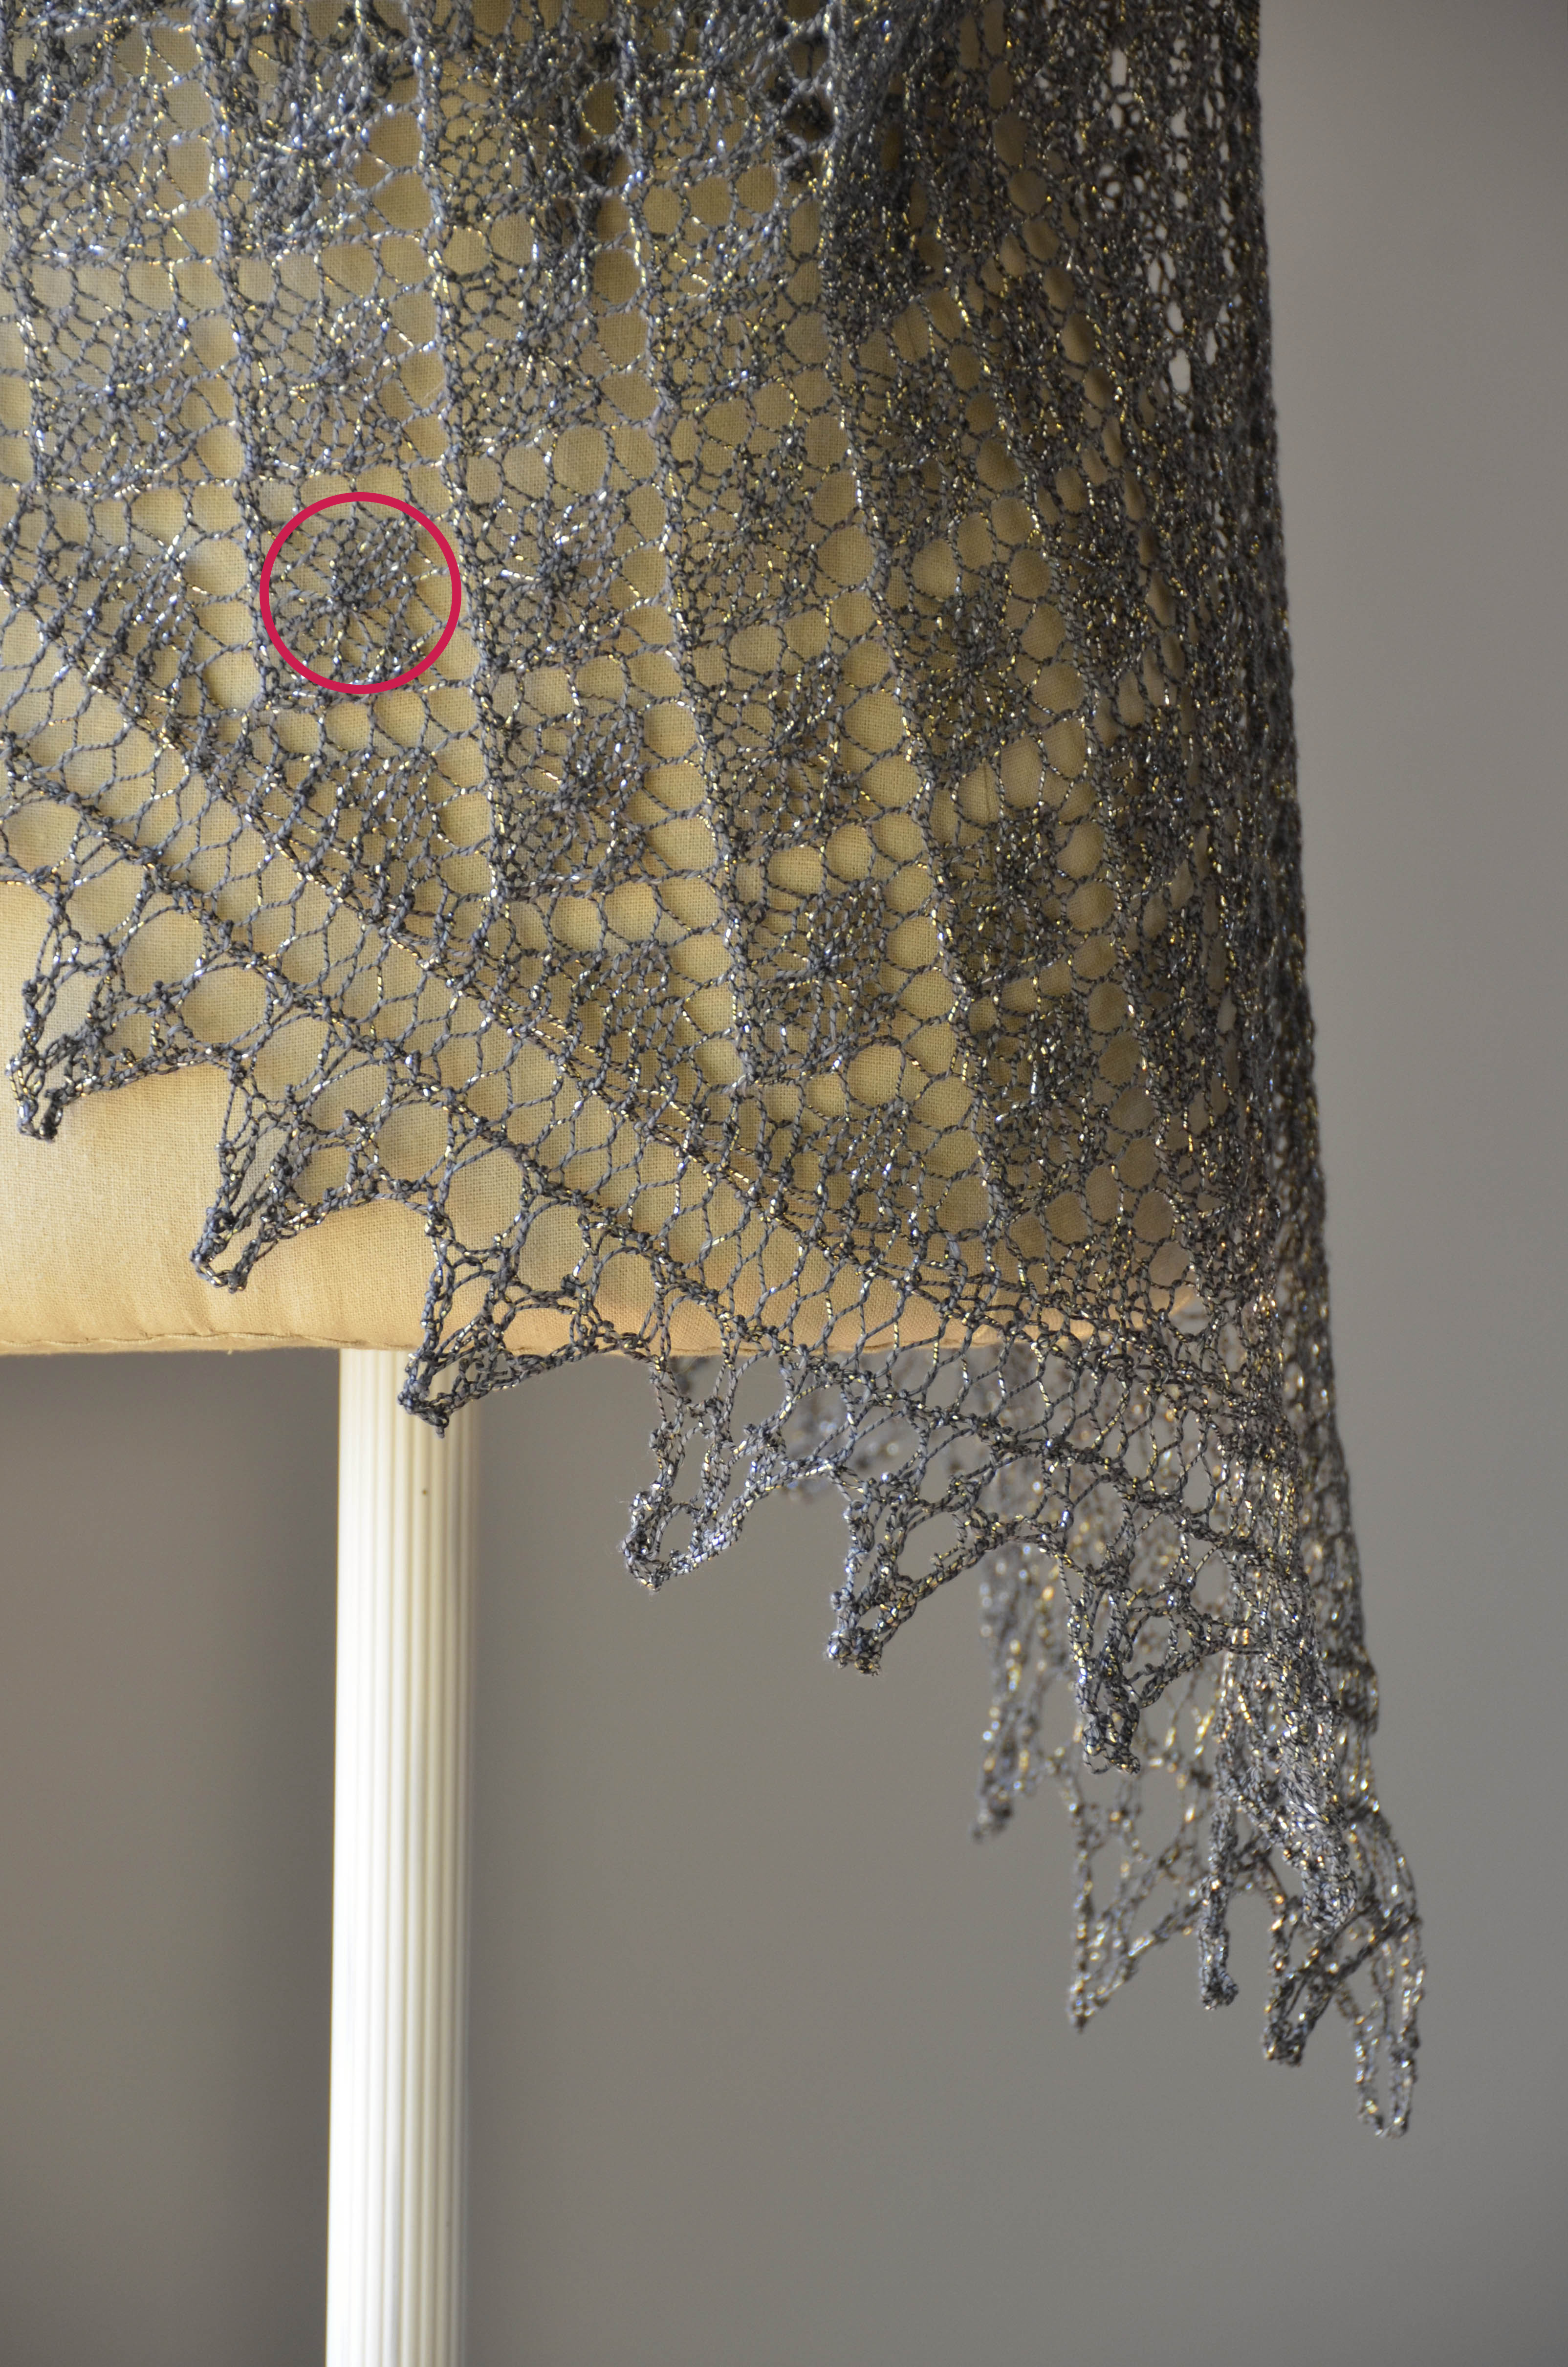
If you look closely at the diamond motifs in the shawl, you’ll see that there is a little decorative “blip” in the middle of each.

Going Places Shawl detail_hi-res_withcircle

To achieve this “blip”, you will knit 3 stitches together, yarn over, and then knit the same 3 stitches together. If you’ve never done a seemingly acrobatic knitting maneuver like this before, it can seem a little daunting! Check out this video for a demonstration of the stitch in question:

And be sure to check out all of our beautiful patterns in Universe. We think you’ll be dazzled!

Universe ball cut out shiny label hi-res

Free Pattern Friday – Interrupted Cowl

It’s Free Pattern Friday!Interrupted Cowl wrapped blogToday, the Interrupted Cowl in Bamboo Bloom Handpaints.

Recently we received a new color in Bamboo Bloom Handpaints, our limited edition color 323 Hashi.  I grabbed a hank to swatch with, but of course once I started swatching I realized I needed to make something.  This yarn is just so pretty!

This cowl uses a popular technique for Bamboo Bloom.  It’s the same technique we used a few years ago in our Bloomin’ Hat and Scarf set.  We’ve also seen it in some great independent designs like the STASH Lounge’s Simple Rules Cowl and the lovely cowl from NC yarn shop The Tail Spinner shown at right (great addition of a solid at the edge).  You can find some fabulous one-ball hats, scarves, and cowls using Bamboo Bloom’s unique texture on Ravelry.

The technique?  As you come to the thin parts of the yarn on your left hand needle, knit them.  As you come to the thick parts of the yarn on your left hand needle, purl them.  It sounds very “internet” to say “just one simple trick!” but it’s true.  That one simple trick makes the color really pop.

Jannie with Cowl_blogIt seems to be a technique that many of the creative minds at local yarn shops came up with independently that’s spread like wildfire.  And no wonder – it’s a great easy way to get a lot of pizzazz without a lot of effort.

Here at Universal, this yarn has turned the heads of some of our newer knitters, like graphic designer Jannie.  She learned to purl just so she could make this cowl.  Way to go, Jannie!

We hope you add a little pizzazz to your life this weekend.

Happy knitting!

Interrupted Cowl long blog


Mother’s Day Yarn Art

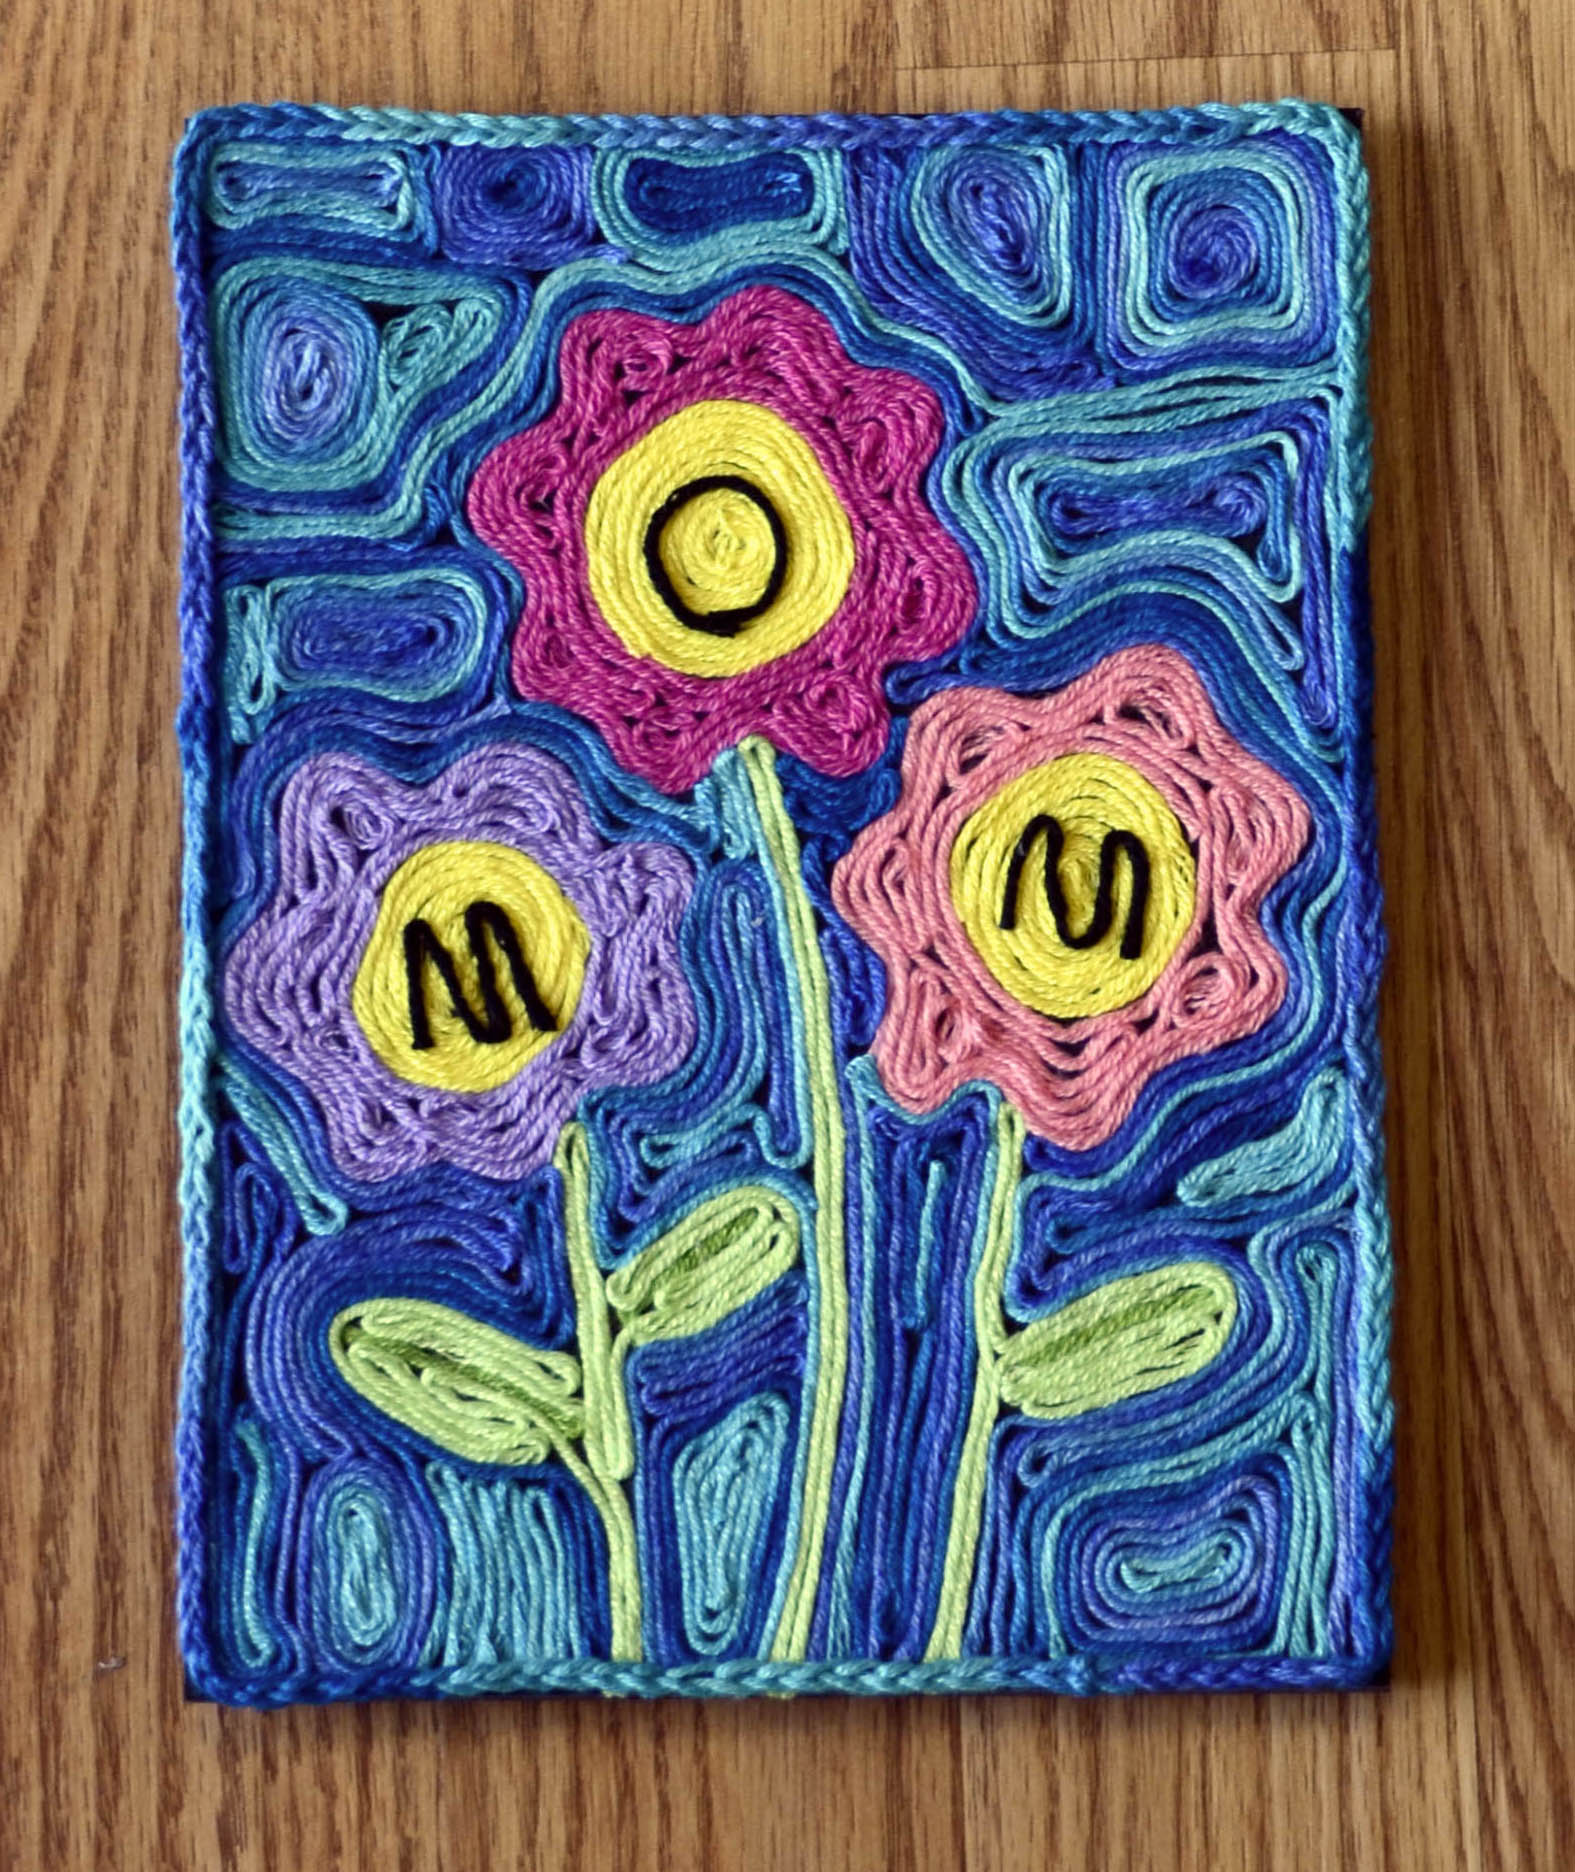
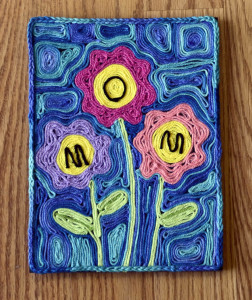
Mother’s Day is tomorrow!  Are you ready?  Me neither!  Fortunately, Amy came up with marvelous way to put together a handmade gift from your stash in a flash.  Yarn art!

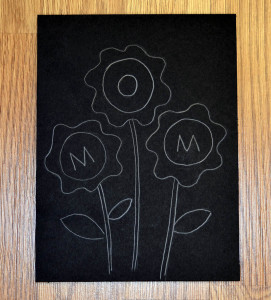
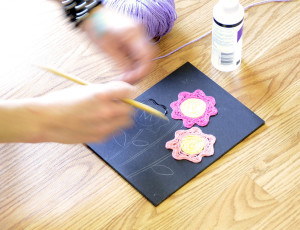
Step one is to find an image that you want to use and draw or trace it onto your card.  We used a cut-down sheet of foam core board.  We’re going to be using adhesive for this craft, so construction paper or thinner paper is a little iffy – we don’t want it to buckle or ripple from the moisture of the glue.

Card 1 Card 2

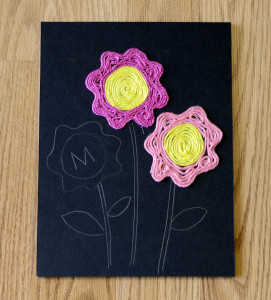
Amy freehanded her design, but you could also use clip art.  You can see it above with a couple of flowers already filled in with Bamboo Pop.  We’ll show you how to do that in the next step!Card 3 Card 4


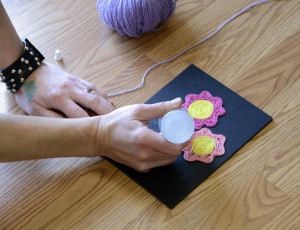
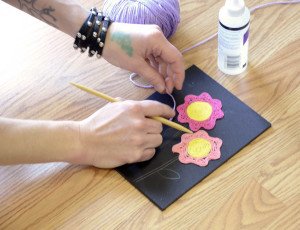
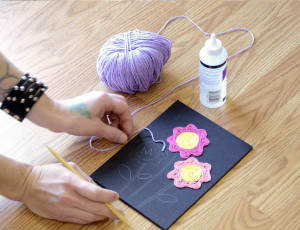
Outline your design with glue (we used Alene’s clear gel tacky glue).  It’ll be easier to do a small section at a time rather than the whole thing – it’s easy to accidentally smear your yarn through the glue if the whole card is covered in it.

Card 5 Card 6

Card 7

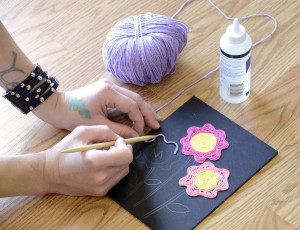
Position your yarn over the outline and stick it down.  We used the point of a pencil to press the Bamboo Pop to the card.  It keeps glue off the fingers and it’s more precise.

After you do your outlines, fill in the area inside, then if you wish you can cover any remaining space.  Be as creative as you want.  Incorporate straight lines, whirls and swirls, unusual colors or shapes – it’s all up to you!

Card 8 Card 9

I love the touch Amy included of the chain stitch around the edge of the card!

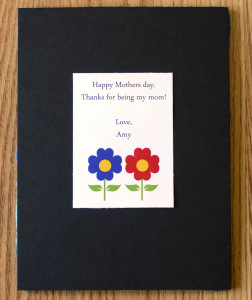
Finish it off with a personalized message on the back.  Draw your own, or use clip art or illustration from the internet.

Voila! A personalized card that you made yourself without making yourself crazy.  We’ll hope that Amy’s mom gets the card before she reads this post!

Happy crafting!


rocked knitalong – two at a time

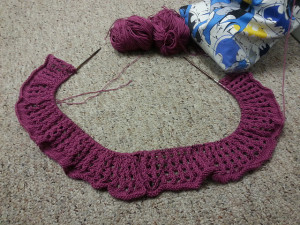
We have a couple of knitters here in the office working both front and back pieces at the same time. Here is Jen’s piece in progress:
Jen'sRocked

If you look closely, you can see that she has two balls of yarn attached, and two distinct pieces of knitting. If you’ve cast on for your Rocked already, it’s too late to go this route. But it’s an interesting concept for other projects that have identical pieces, such as sleeves. To get started, cast on for the first piece onto your needle. Drop the current yarn. With a new ball of yarn, cast on for the second piece right behind the first set of cast on stitches. Simply work back and forth across both pieces using the appropriate ball of yarn for each piece.

I will sometimes knit both of my sleeves on the  same needle. I find it is easier to keep track of increases, decreases, and other patterning this way.  Other times, I find it a hassle to have multiple strands of yarn hanging from my knitting. But like many things in knitting, it’s nice to have options, right?

One problem I’ve run into before with working two pieces on the same needle is that I might accidentally turn and work the wrong side without first working the right side of the second piece. To solve this problem, I simply tie a piece of yarn between the two pieces so I don’t accidentally turn at the wrong place.

If you’ve read ahead in the pattern (or are maybe already to this point), you’ll see that during the neck shaping you are instructed to work both sides at the same time. This is a similar process to working two at a time sleeves, or two at a time anything else.
Rocked_twoatatimesleeves


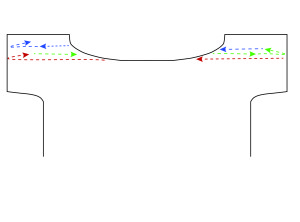
The above image demonstrates how the neck shaping works. Consider the red line row 1. This row reads like this:

Next row (RS): Work in patt over next 55 (61, 65, 71, 75) sts, attach new ball of yarn and bind off center 28 sts, work in patt over rem 55 (61, 65, 71, 75) sts.

The green line above would be row 2. Though not expressly written out, it would read like this:

Row 2 (WS): Work in patt over Right Shoulder sts to end. Bind off 6 sts at beg of Left Shoulder, work in patt to end.

And the blue line would be row 3, and would read like this:

Row 3: Work in patt over Left Shoulder sts to end. Bind off 6 sts at beg of Right Shoulder, work in patt to end.

Make sense? Though I don’t always like to work large pieces at the same time, when working neck shaping I do find it helpful to employ the two-at-a-time method. But you know what, if you prefer to work one side at a time, you’re more than welcome to do so!

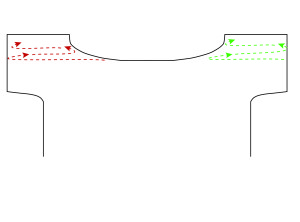
Here’s a graphic to represent how working each side separately would look:
Rocked_oneatatimesleeves

The green line represents the Left Shoulder. Here is how that section would start off it were written out in rows:

Row 1 (RS): Work in patt over next 55 (61, 65, 71, 75) sts, turn. Place rem sts on holder.

Row 2 (WS): Bind off 6 sts, work in patt to end.

Row 3: Work in patt to end.

Row 4: Bind off 5 sts, work in patt to end.

And so forth. After the Left Shoulder is finished, the Right Shoulder would begin like this:

Bind off center 28 sts, work in patt to end.

If you’re not at the neck shaping section yet, that’s okay! Just remember Sandi’s wise sentiment from the other day: it’s not a race!


Rocked Knitalong, increasing in pattern

I have seen the terror in the eyes of knitter when they read these words, “increase in pattern.” Or “decrease in pattern”, or “maintain stitches in pattern”, or any other number of similar phrases. What does this mean, “in pattern”???

I hope to demystify this for you, at least as far as you need to know for the Rocked top. And the main body pattern in Rocked is actually a really good pattern to learn this concept on. The stitch repeat is only 4 stitches wide x 4 rows high, so it’s reasonably easy to “read” your work.

Here is how the text for the “Increase for Sleeves” section reads:

Cast on 2 sts at beg of next 6 rows, cast on 10 sts at beg of next 2 rows. While it doesn’t expressly say so, the pattern is telling you to also maintain stitches in pattern when casting on.

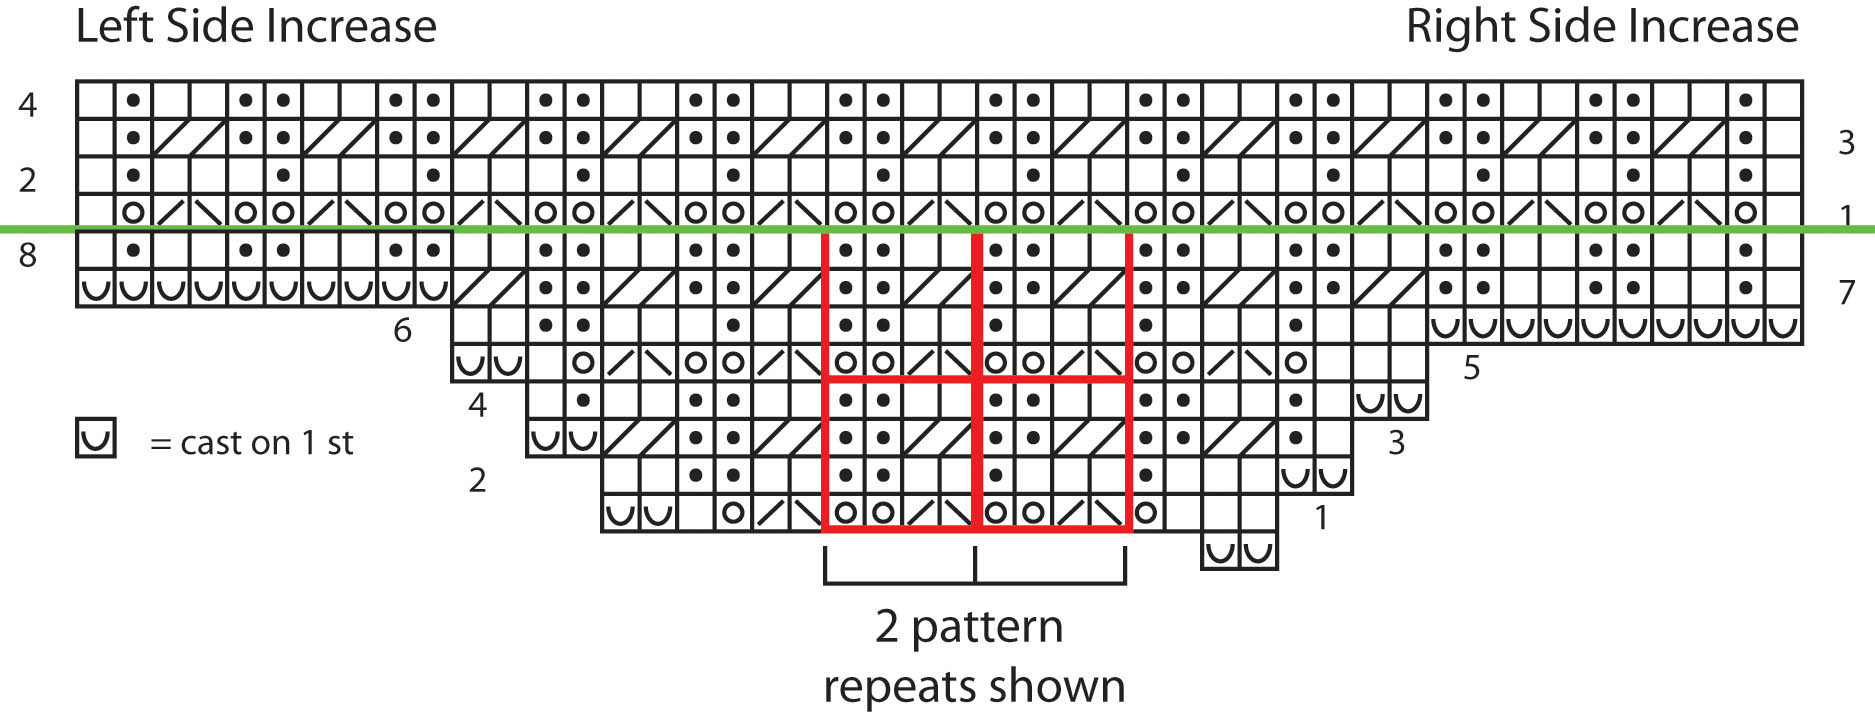
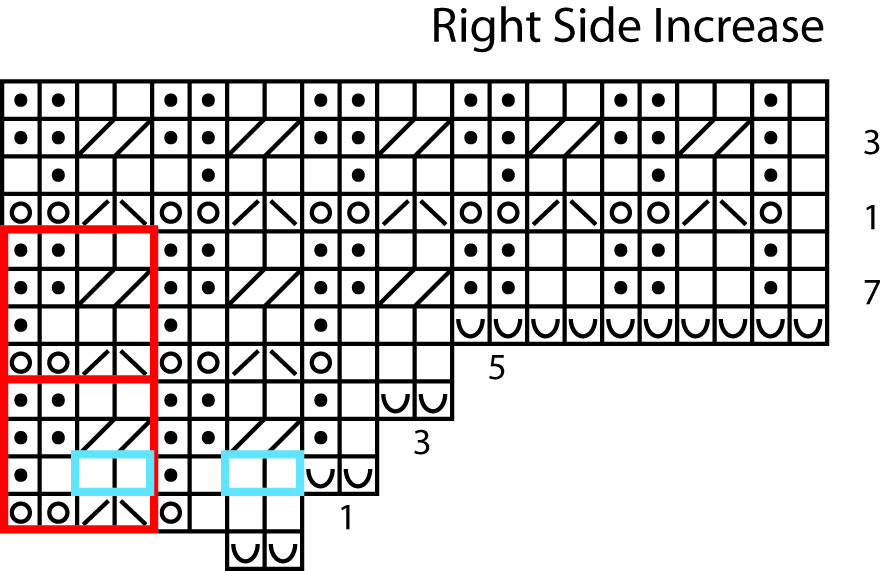
I’ll try to go about this a couple of ways. For anyone who understands what it means to “maintain in pattern” or just wants to jump right in, I have made a chart for the sleeve increases:


Rows 1-8 of the chart show the increases. After that point, because we have increased a multiple of 4 stitches on each side, the number of stitches for a full pattern repeat, we will simply continue to follow Rows 1-4 of the Mesh pattern.

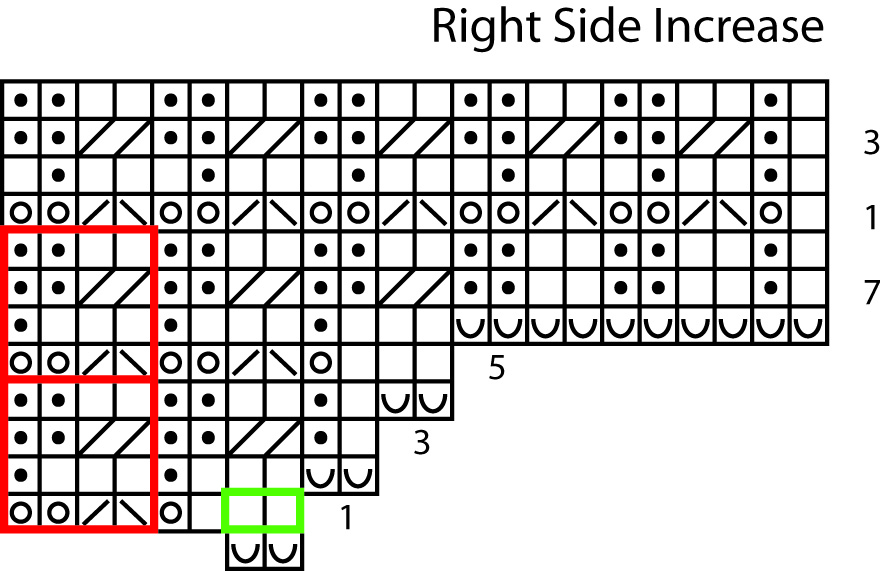
To try and break it down, let’s look at just the right side portion of the increase chart.

SleeveIncreaseChart_2


For our first 2-stitch cast on, we will then have to work back across those stitches on RS row 1. Although after having cast-on 2 stitches we could fit in part of a pattern repeat, it’s not usually a good idea to do so directly onto cast on stitches. K2tog and ssk are tough to do over cast on stitches, and it’s just not worth it to do it here. Plus, we will be seaming this area later and we want it to be stable.

On the following WS row, take a look at those last stitches that were cast on. Try to visualize them as part of a full pattern repeat. If you shift your eyes 4 stitches to the left on the chart, you can see that you will do the same thing over the new 2 stitches as you would have done on the previous repeat.

SleeveIncreaseChart3


Now, just for the sake of further trying to understand increasing in pattern, here is a different way I could have worked the chart:

SleeveIncreaseChart4


The chart on the right is the way I’ve done it above. The chart on the left shows how we could work the stitches if we really wanted to start incorporating the pattern in as soon as possible. Sometimes we do want to do this in the case of, say, a delicate lace shawl where every stitch shows and counts. It’s also important to remember that if you’re doing lace like we are here, only work a decrease if there are enough stitches for a corresponding increase, and vice versa.

Another simpler way of incorporating new stitches into your pattern without having to follow charts or use your intuition is to place markers. Try placing a marker between every pattern repeat where those vertical red lines of the pattern repeat box sit. Or, at least add markers to the couple of pattern repeats each side of your piece. If you have enough stitches on the sides of your markers for a pattern repeat, do it! If not, just work the stitches in stockinette stitch.

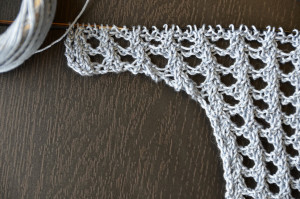
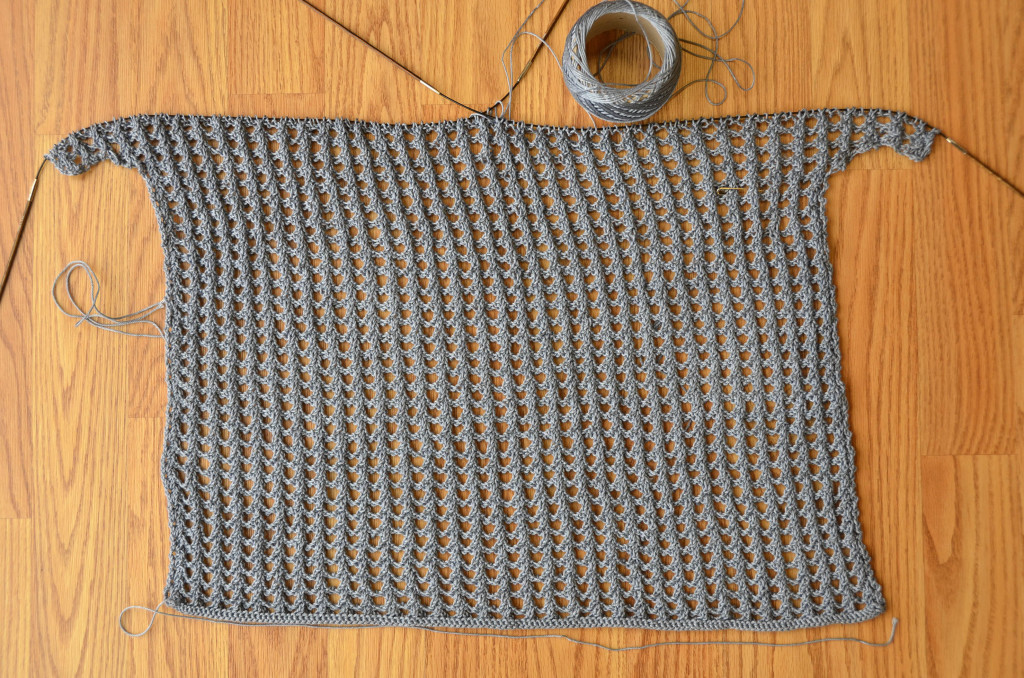
Here’s my Rocked after working a couple of pattern repeats past the sleeve cast on:

Rocked sleeve 2 beginning blog

Rocked piece with sleeve beginning blog


rocked knitalong – working into a double yo

Rocked Knitalong Graphic

As I was knitting along on my Rocked, I was working a lace pattern row with its double yarnovers. When I reached the next (WS) row and was working the [k1, p1] into each double yarnover (yo), it occurred to me that this could make for a good video.

When there is a double yo on your needle, it can be confusing just how to knit or purl into it. If this is your first time dealing with double yarnovers, give this video a try. I hope it helps!


Afghan Knitalong – Finishing

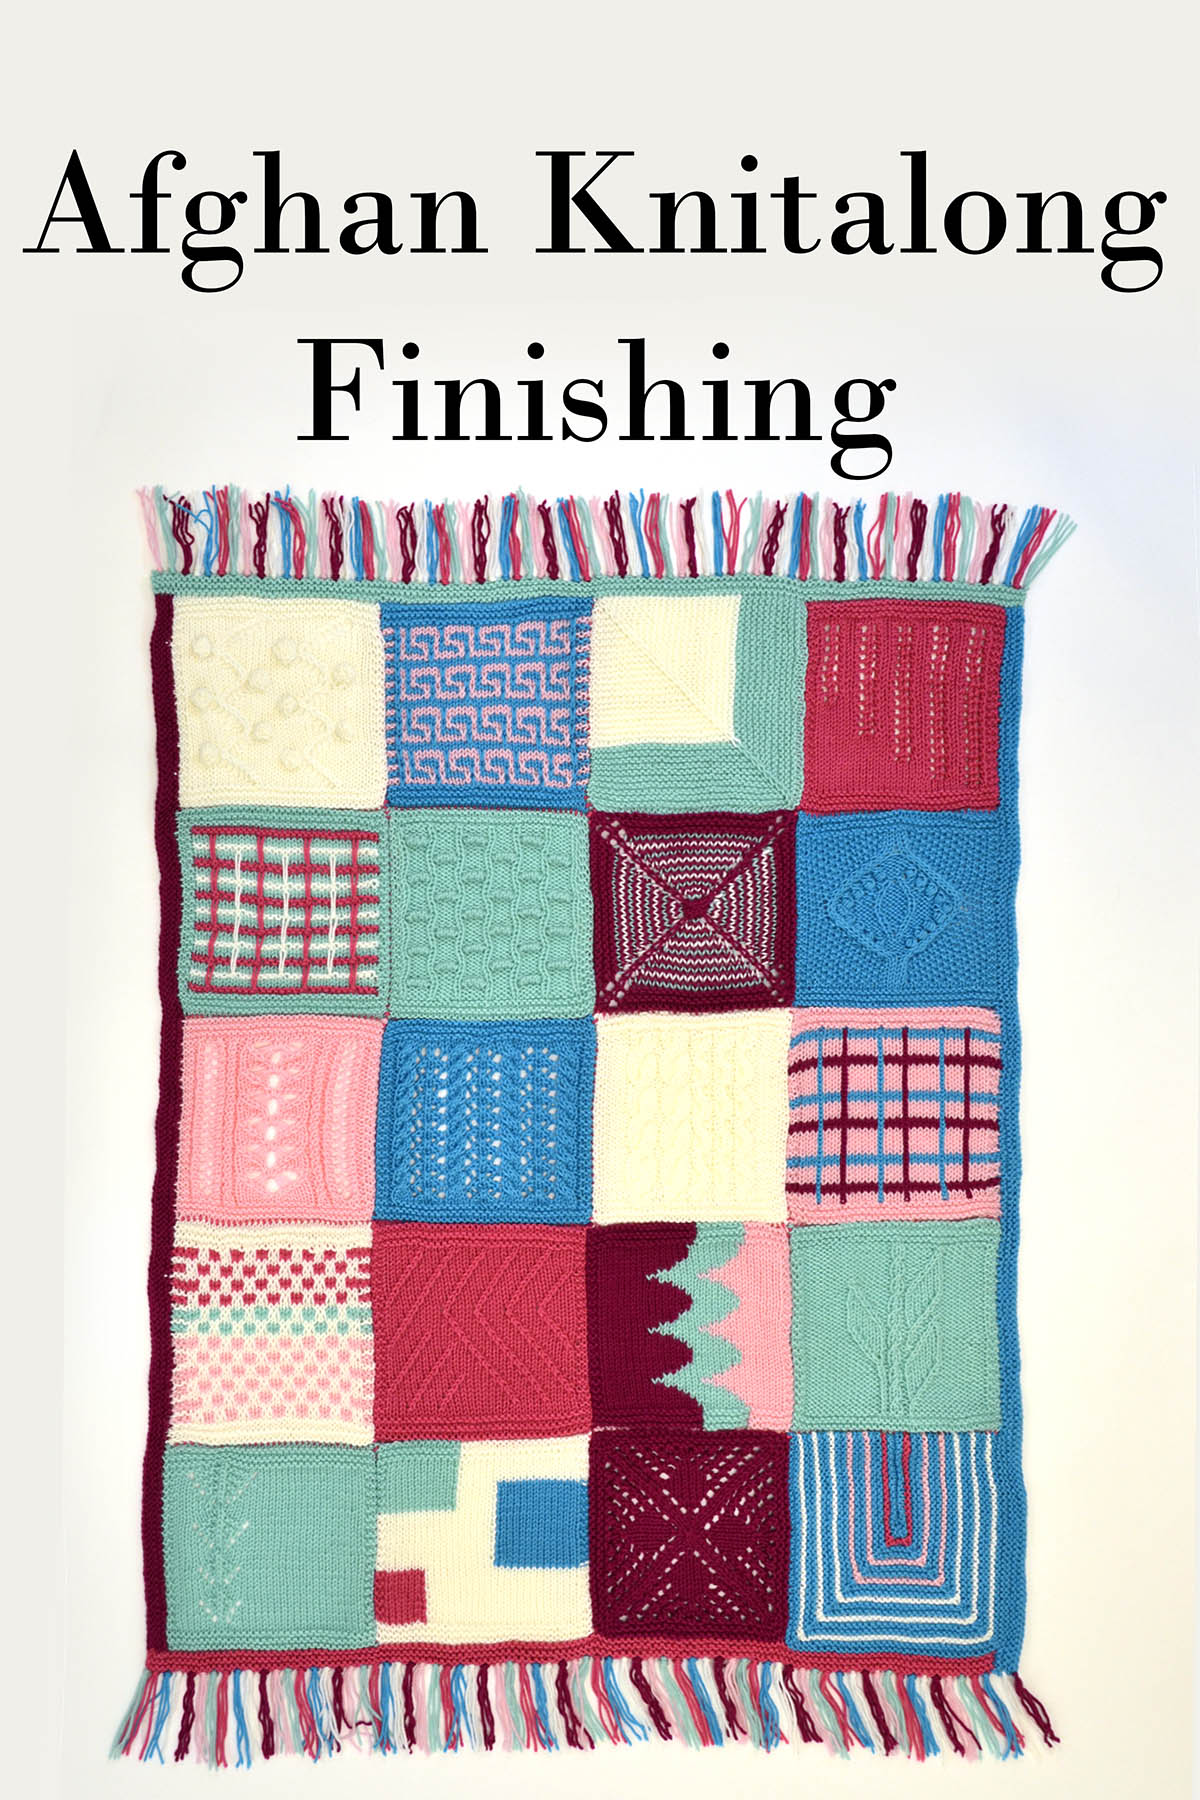
21 Finished Blanket with title blog

I can’t believe we’re done!  In my head, I’m hearing Frank Sinatra singing “My Way.”  Every afghan we’ve seen so far has been a unique reflection of the style of its creator.  It’s a wonderful tribute to the individual flair each of us have as crafters.

After assembling all the squares, Amy has opted to use four different colors for the border of her afghan.  She’s also attached fringe and shares a video on how that works.

Even if you haven’t finished yet, we hope you’ll share pictures of your afghans.  Seeing your work is inspiring!

You can share with us here, on Facebook, or on the Afghan Knitalong Ravelry group.  We’ve just joined Instagram as well, so we’d love to see what you’ve posted in the way of knitstagrams!

We hope you’ve enjoyed knitting along.  Happy crafting!

Afghan Knitalong – Seaming

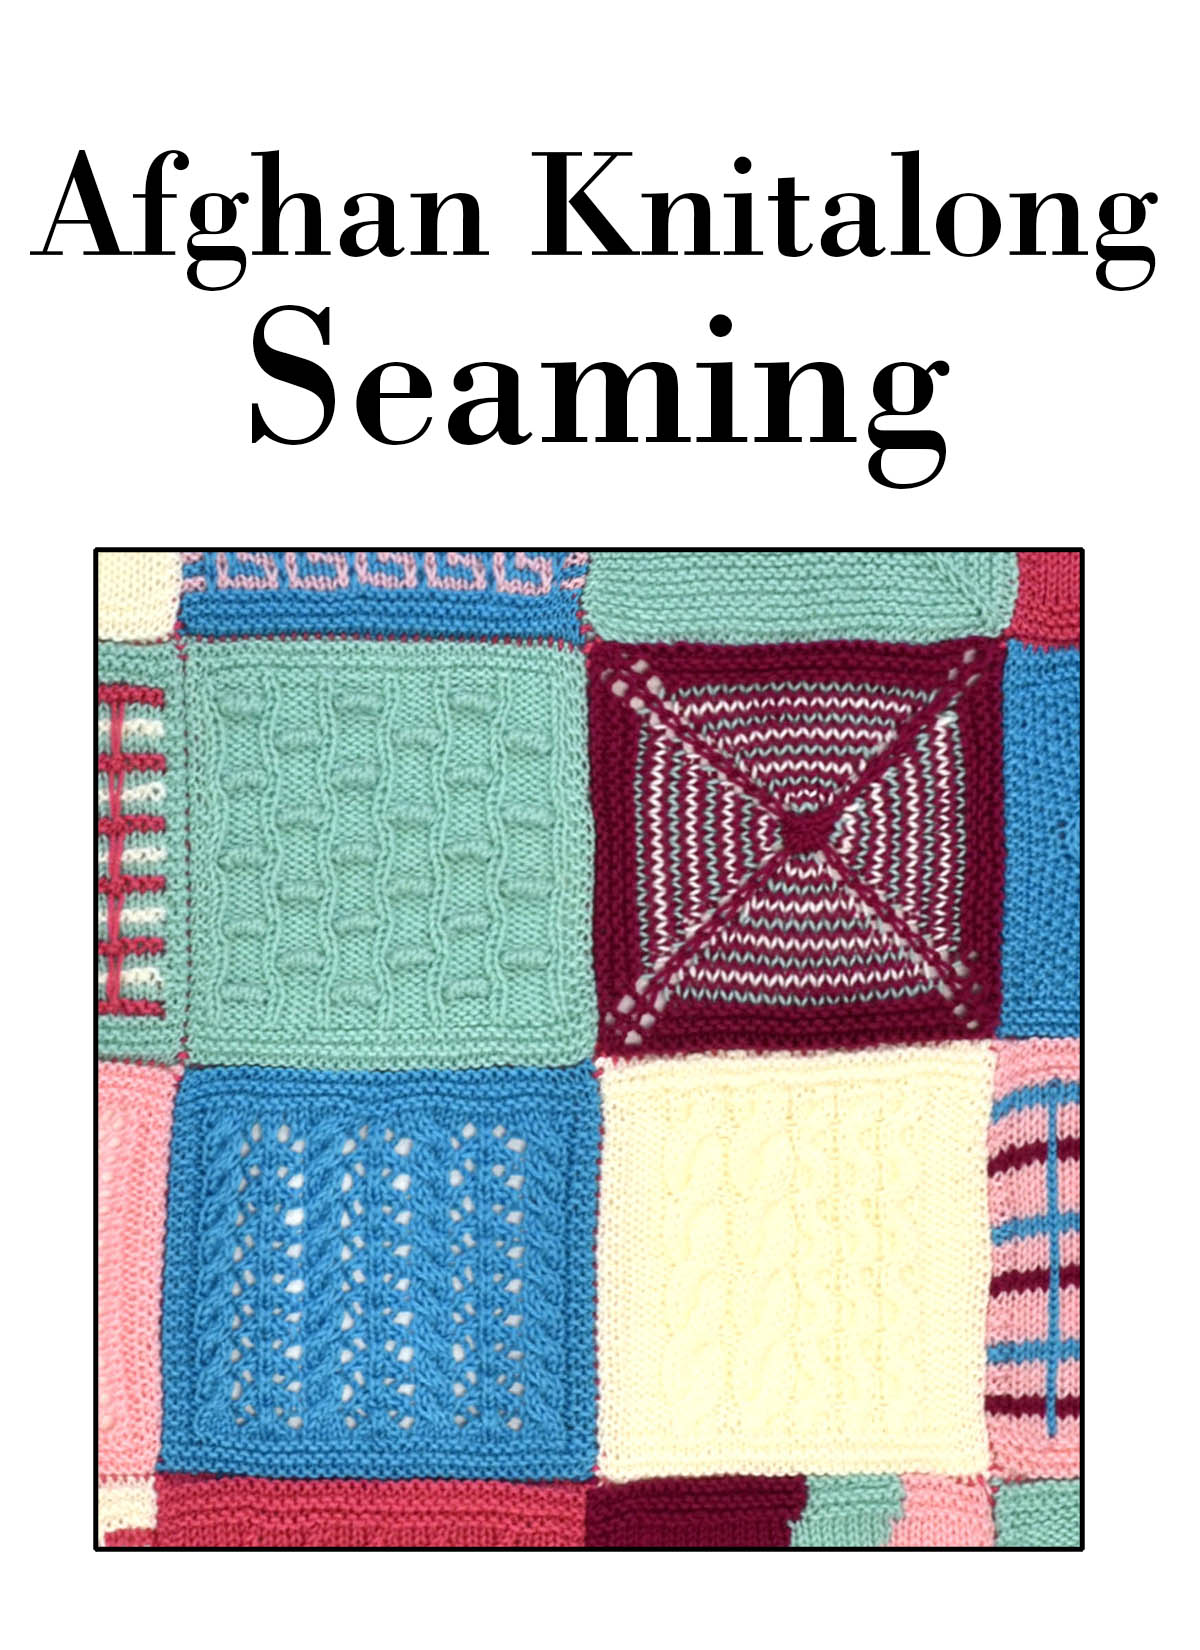
21 Afghan Knitalong Seaming 1_blog

It’s all coming together – literally!  Time to seam up your squares into a glorious and unique creation.  Lay ’em out, decide where you want them to go, and then turn your 20 little learning blocks into one beautiful whole.  We’ve got a .pdf file with tips, and videos on not one but two methods of linking everything together.

First, Amy Gunderson demonstrates the mattress stitch, and how to use it when you have different numbers of stitches from square to square.  Grab your tapestry needle and some yarn and get to it!


Next, she shows how to use a crochet hook to slip stitch your squares together.  Slightly less invisible, but very easy to work.

I’m a big fan of mattress stitch, but I may give crochet  slip stitch a try this time. I like the idea of working straight from the ball without cutting a length of yarn.  Seems like fewer ends to weave in.

We’ll be back in just one week with details on adding a border and fringe (if you wish), and the big reveal of the finished sampler!  Can’t wait!


Free Pattern – Wee Pumpkins

Okay, it’s not Free Pattern Friday yet, but we just couldn’t resist sharing this free pattern.

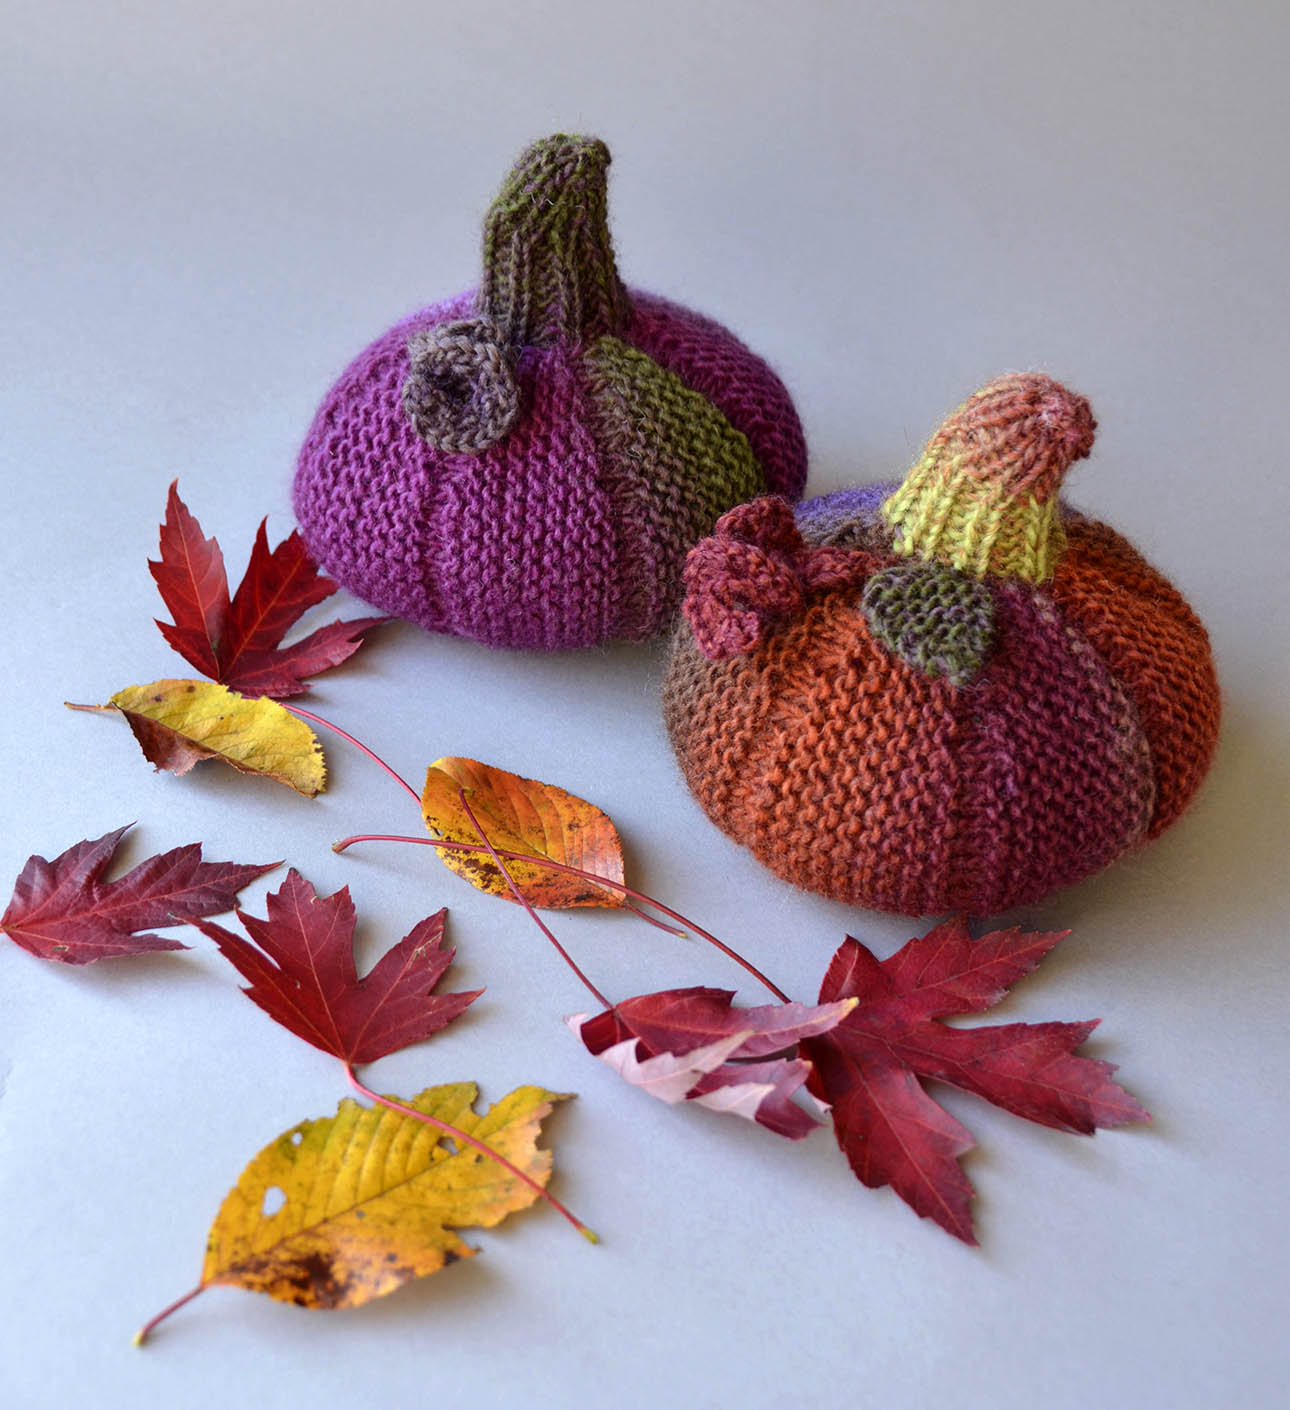
Poems Pumpkins blog

These are the Wee Pumpkins.  We’re sharing them now so you have plenty of time to work one up by Halloween!  Or what about Thanksgiving ?  Wouldn’t these look great on a dining room table?

They’re made in self-shading Poems 100% wool, which has some great fall colors.  The purple/green one on the left is 577 Bramble and the orange-toned one is 585 Autumn.

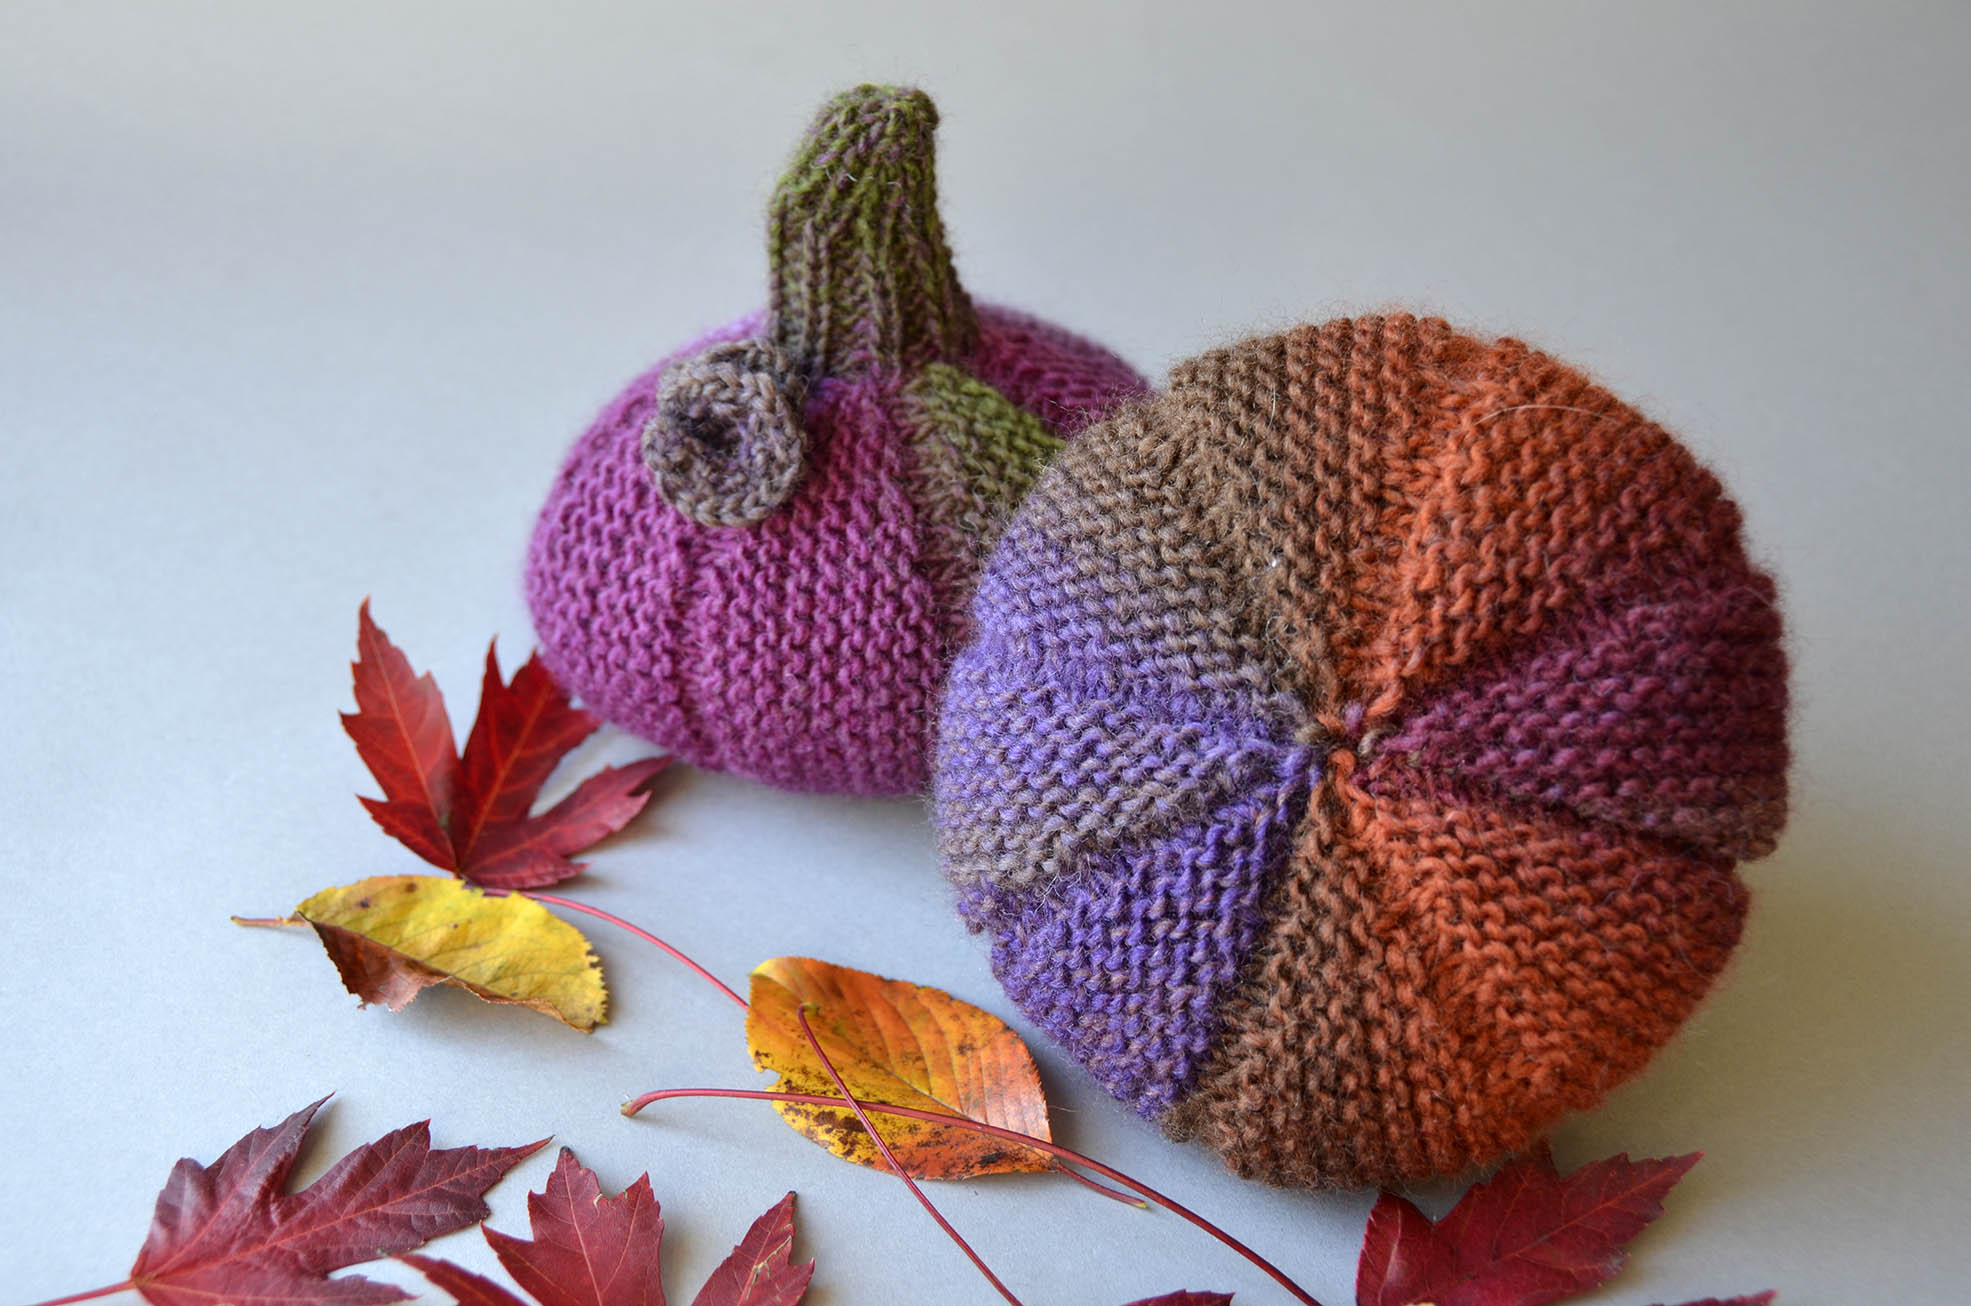
Poems Pumpkins bottom shot blogThe pumpkins are knit sideways, with short rows making up the wedge sections.  Take a look at the bottom and you can see how it all comes together.

Never done short rows before?  This is a great project to get your feet wet.  Amy Gunderson shares a video in how to do the wrap and turn.

Also of interest in there is the SSP (slip, slip, purl).  I’ve made things with short rows before, and inevitably had one side look seamless and one side marred with a big bump.  I’m delighted to learn a technique to make both ends of my short row look smooth.

Often, we’ll loan our knits to local yarn stores for them to share in trunk shows, but it’s going to be hard to part with these.  They’re just so pretty!

Happy knitting!