This is part 9 in a 12 part series highlighting designs from our 12 Days of Winter, Series 3 Edition.
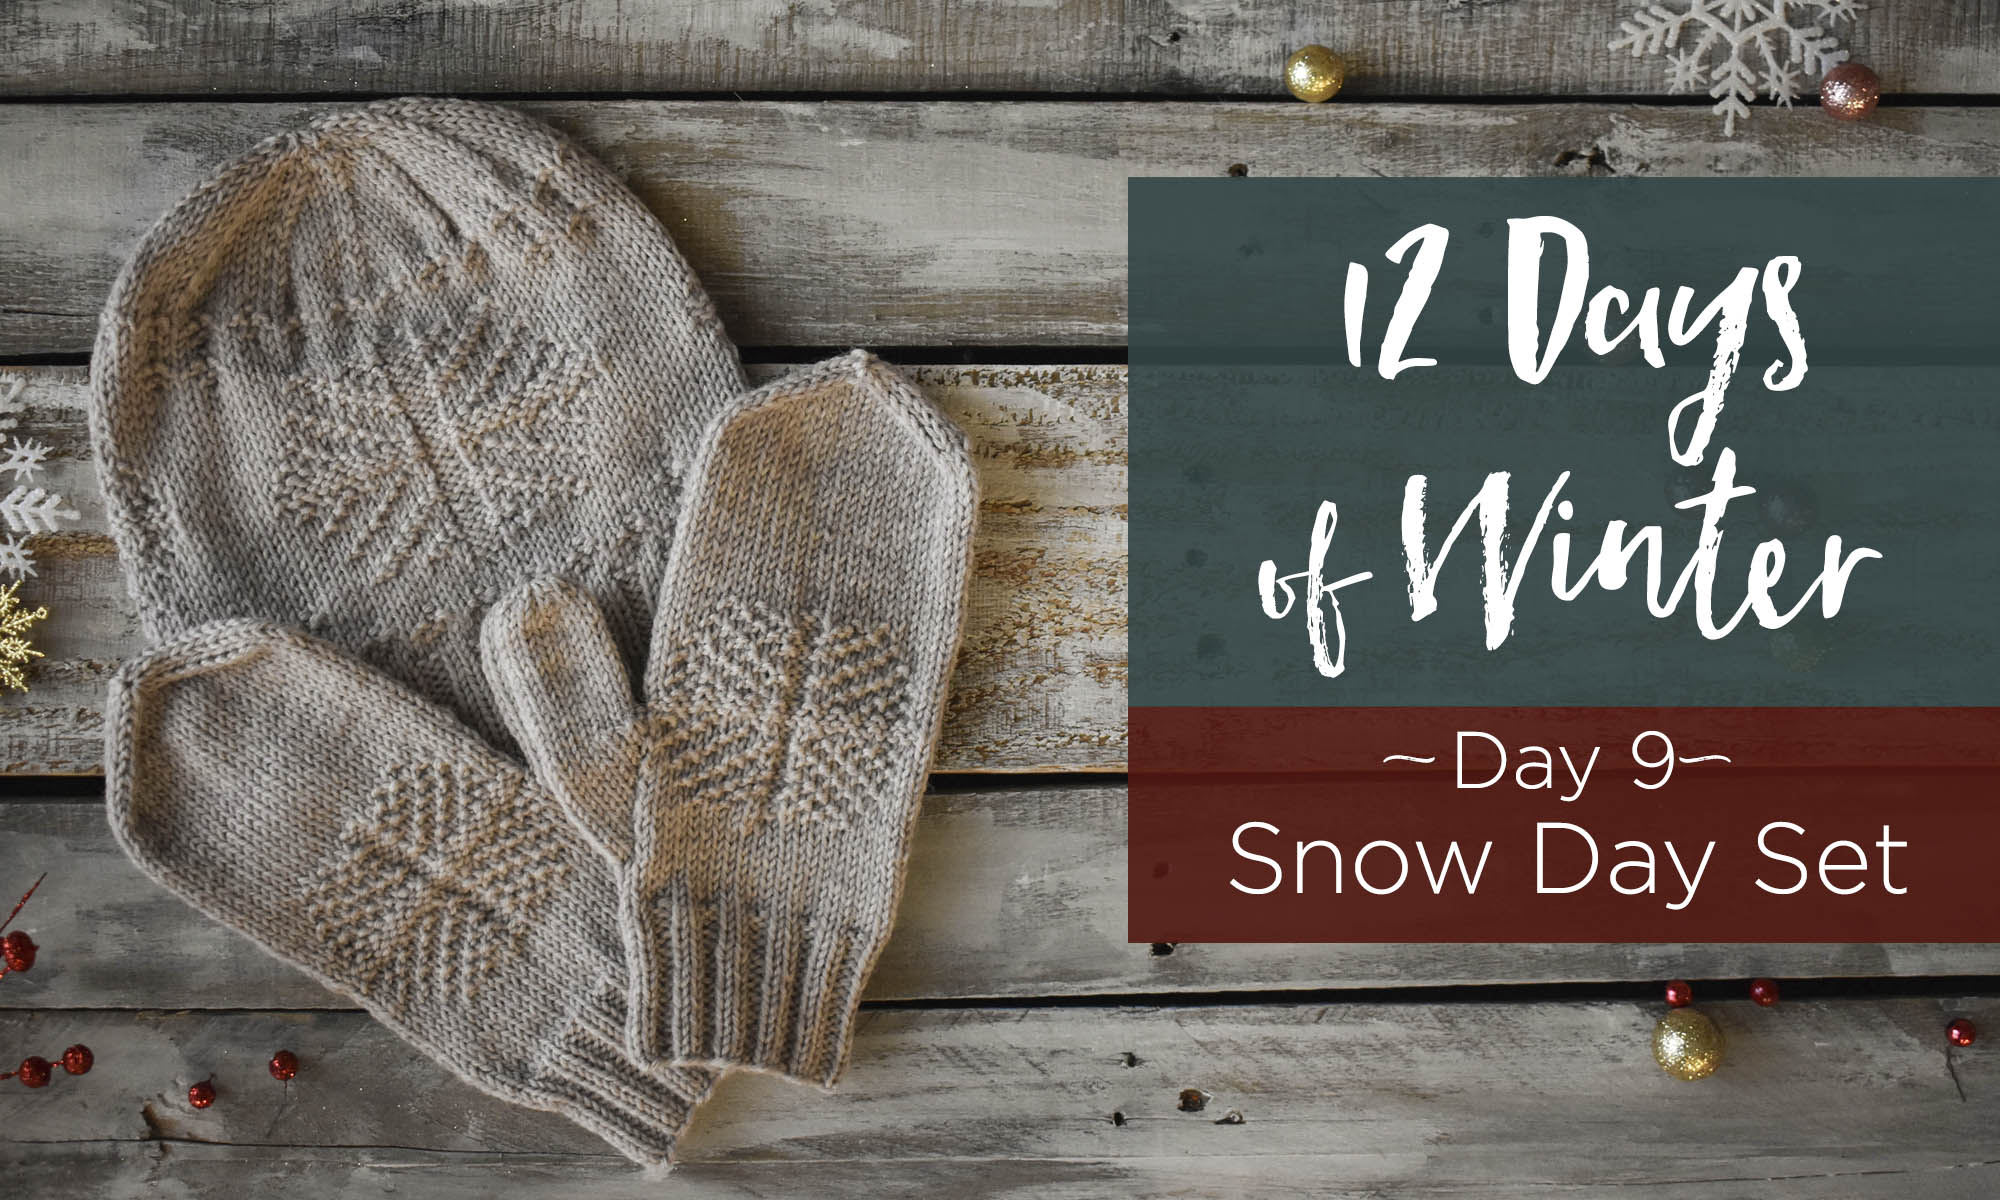
It’s Day 9 of Winter in the 12 Days of Winter Kit Collection. In today’s guest post, we welcome the next addition to the kit collection and enjoy a recipe for homemade marshmallows!
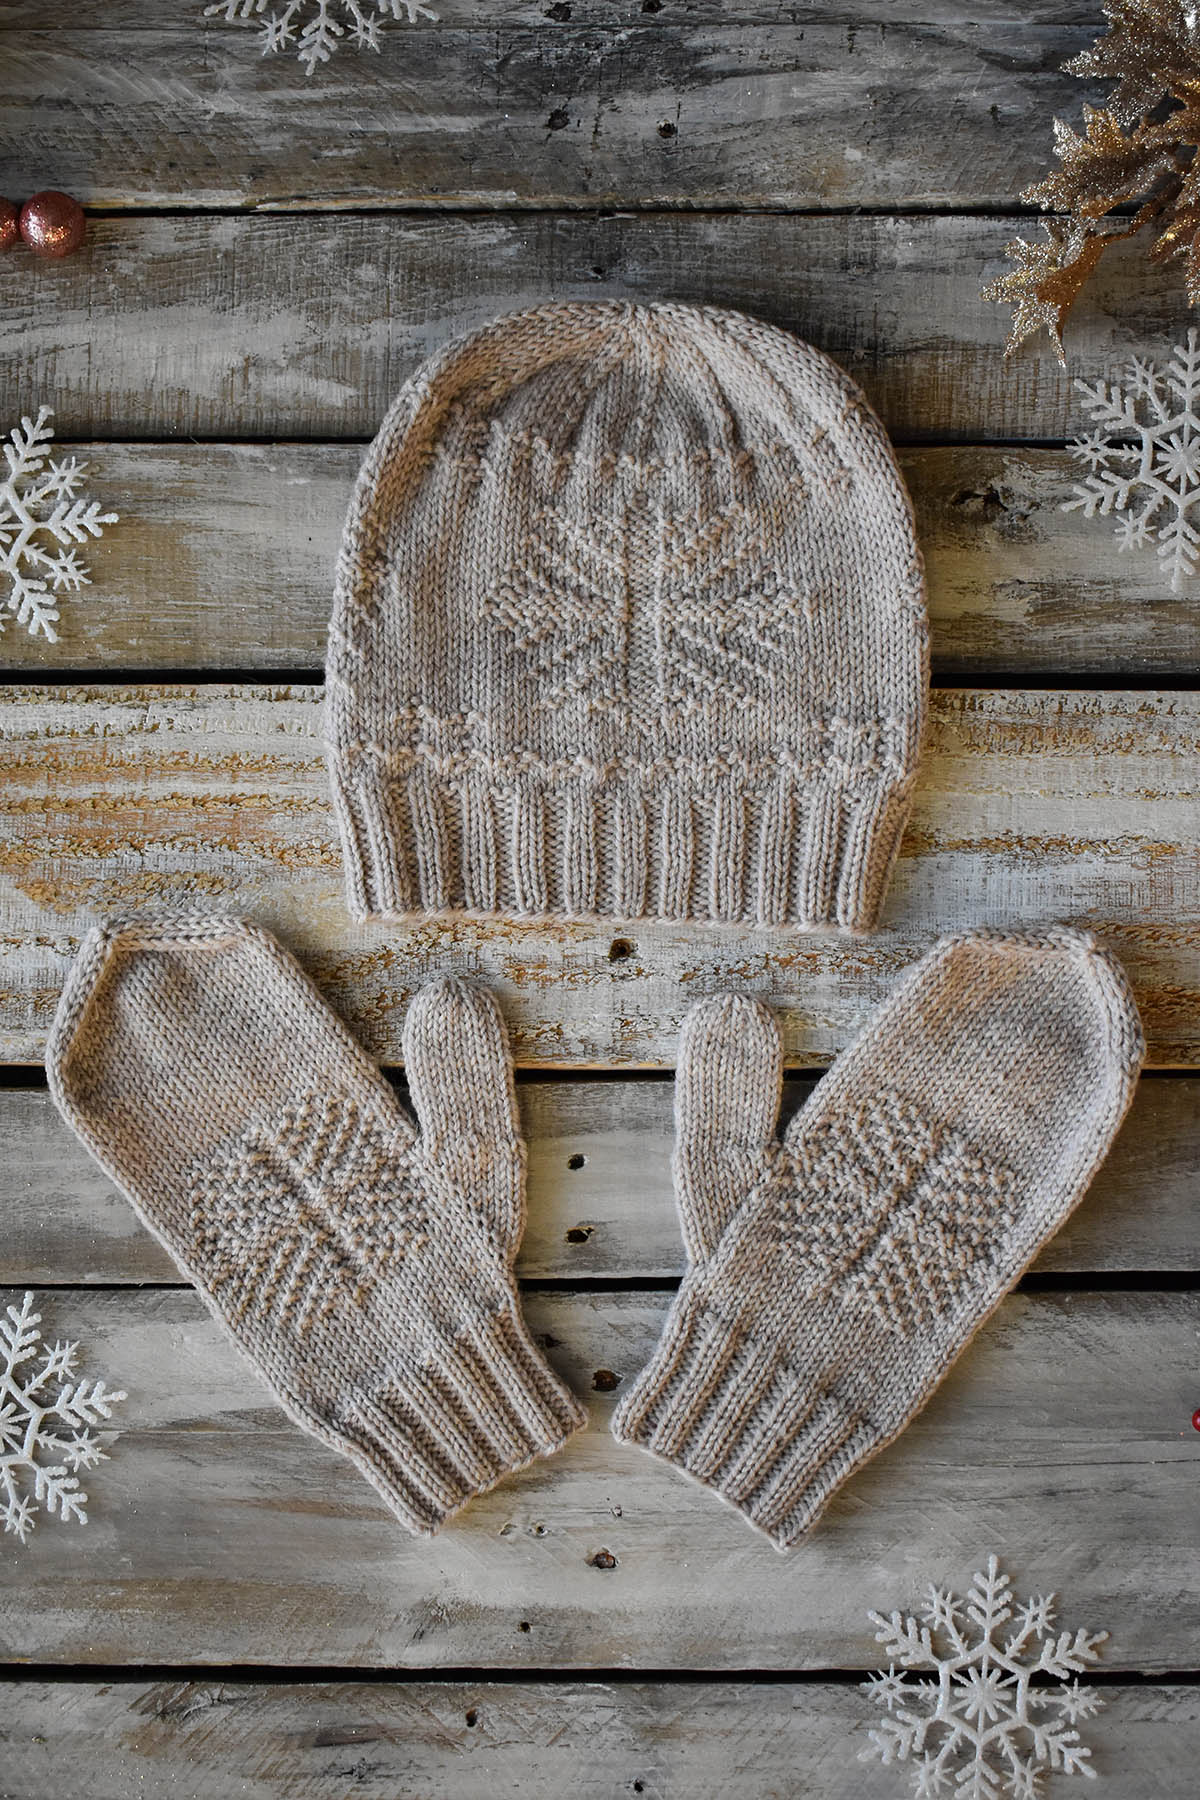
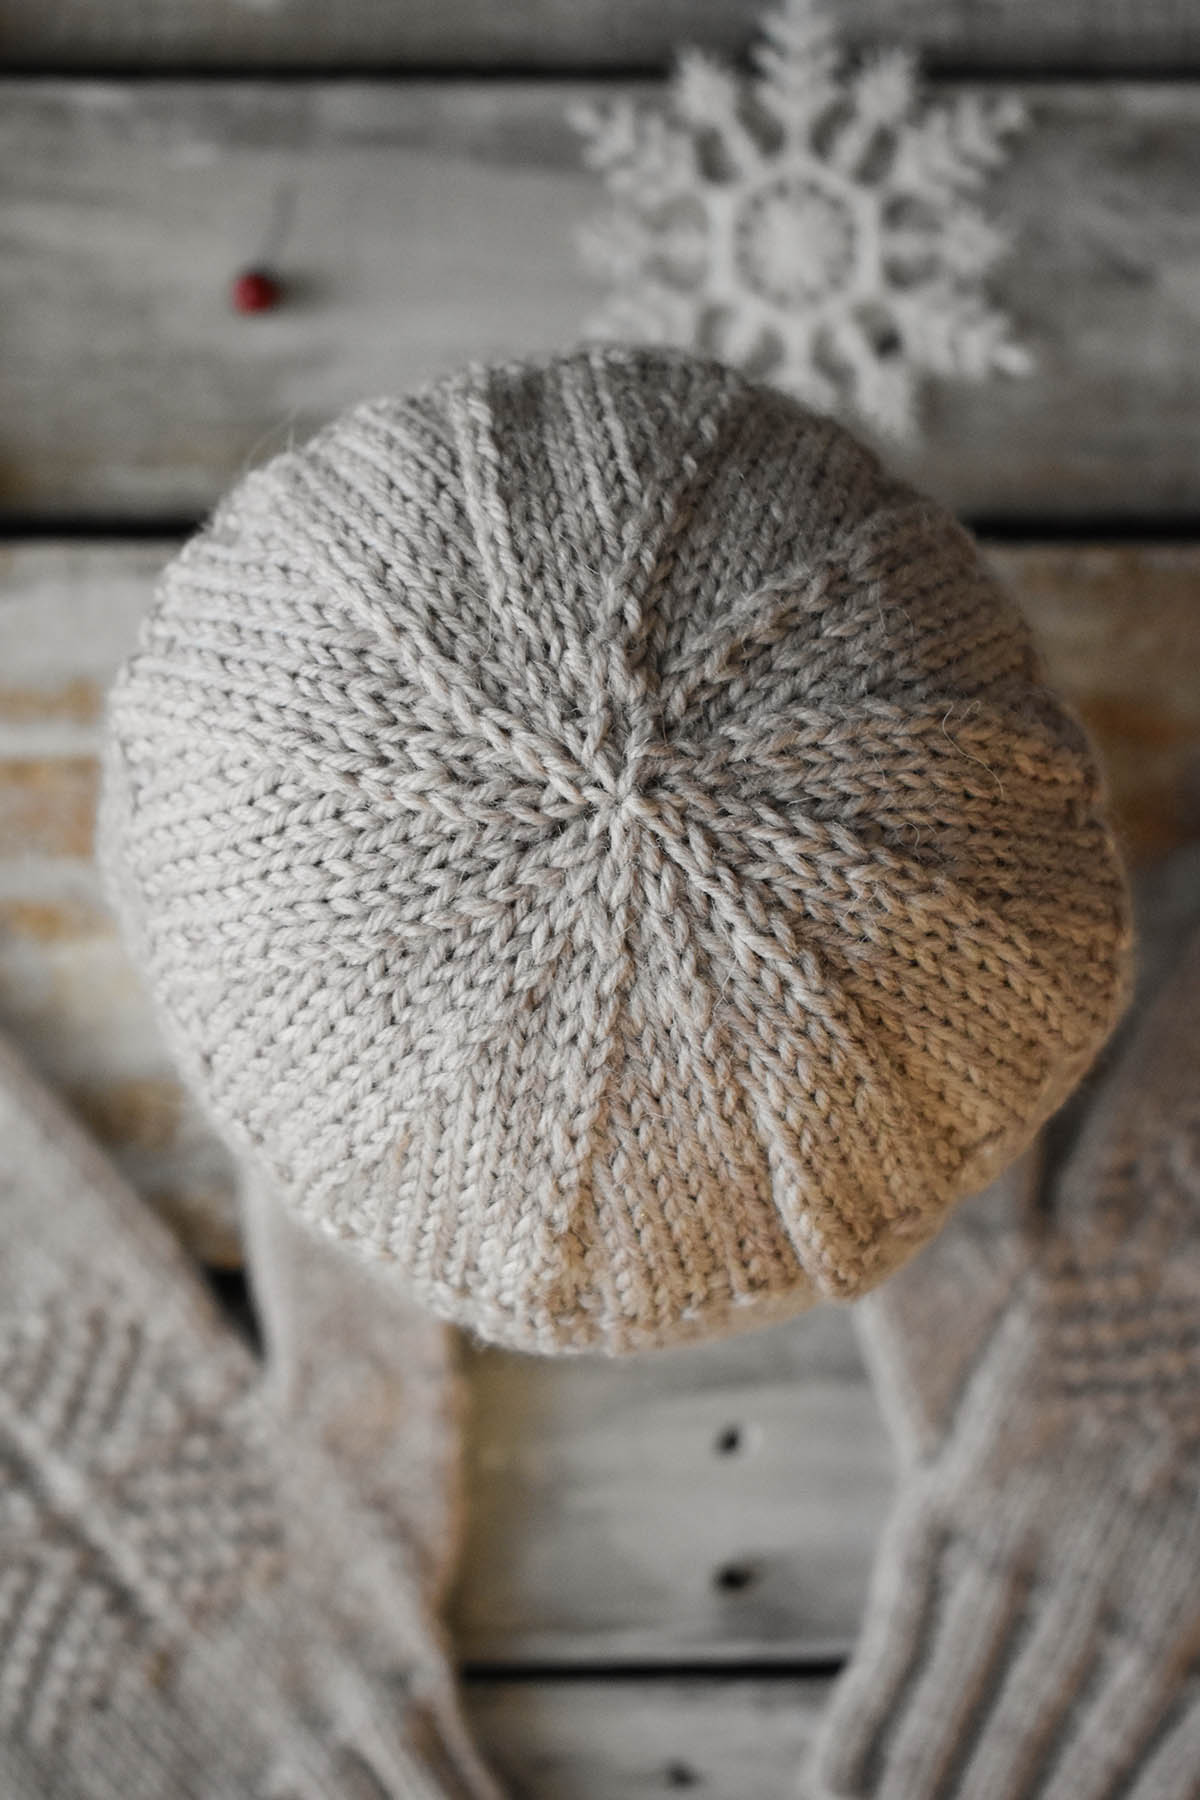
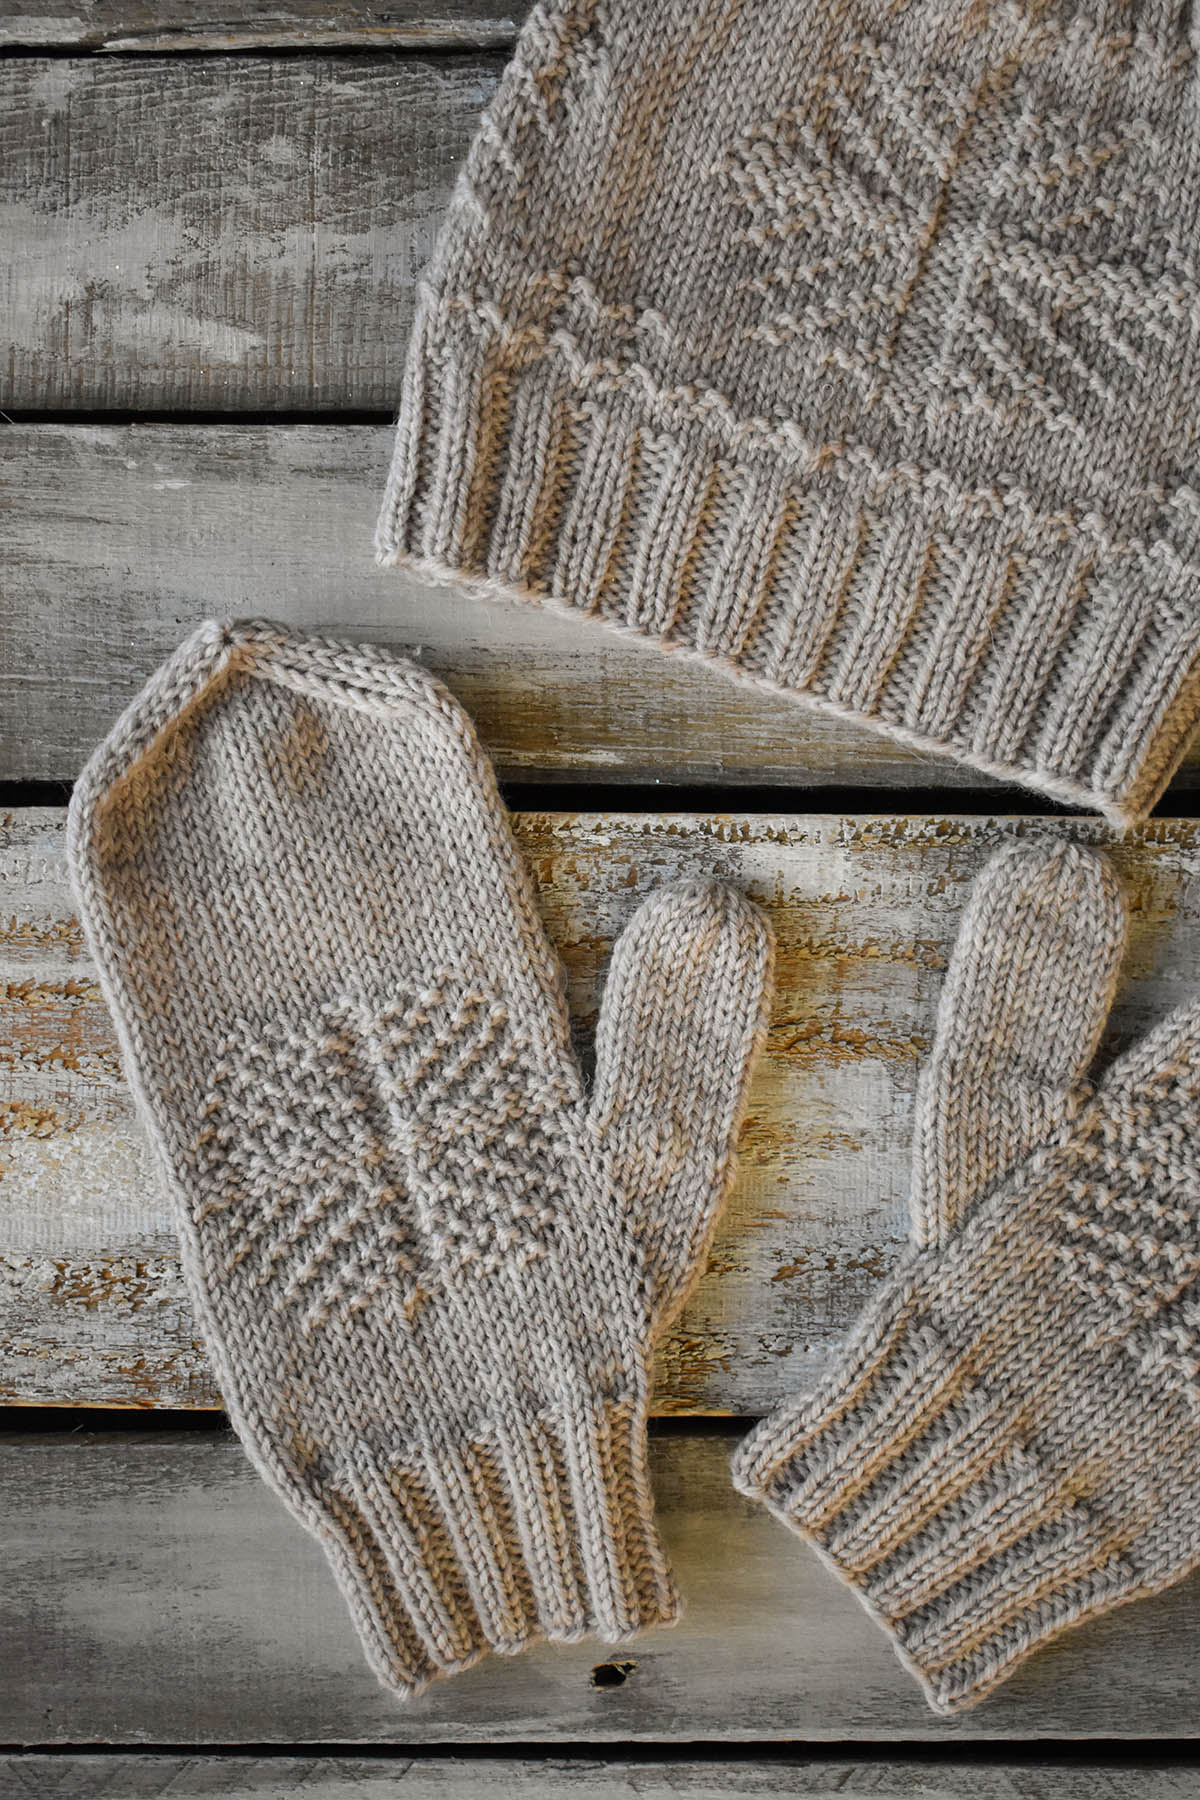
Today, the Snow Day Hat and Mittens, designed by Jennifer Sadler. This cozy accessory set is knit up in warm and woolly Deluxe DK Superwash. This yarn has great stitch definition, making it perfect for the knit-purl snowflake motifs in the hat and mittens. The light, Oatmeal Heather color also helps those stitches to stand out and gives this set a sophisticated feel.
When we asked Jennifer to share her inspiration for the design, she also wanted to include a recipe. Who are we to say no to that offer? Here is what she had to say:
“Snow days are one of my favorite things in the world. Where I live, everything shuts down, and you’re guaranteed a cozy day at home. I designed this hat and mitten set to reflect my love for snow and have a quick project to whip up the moment the snow appears in the forecast. And who wouldn’t love wearing a trio of faux-flakes while playing in real snowflakes?
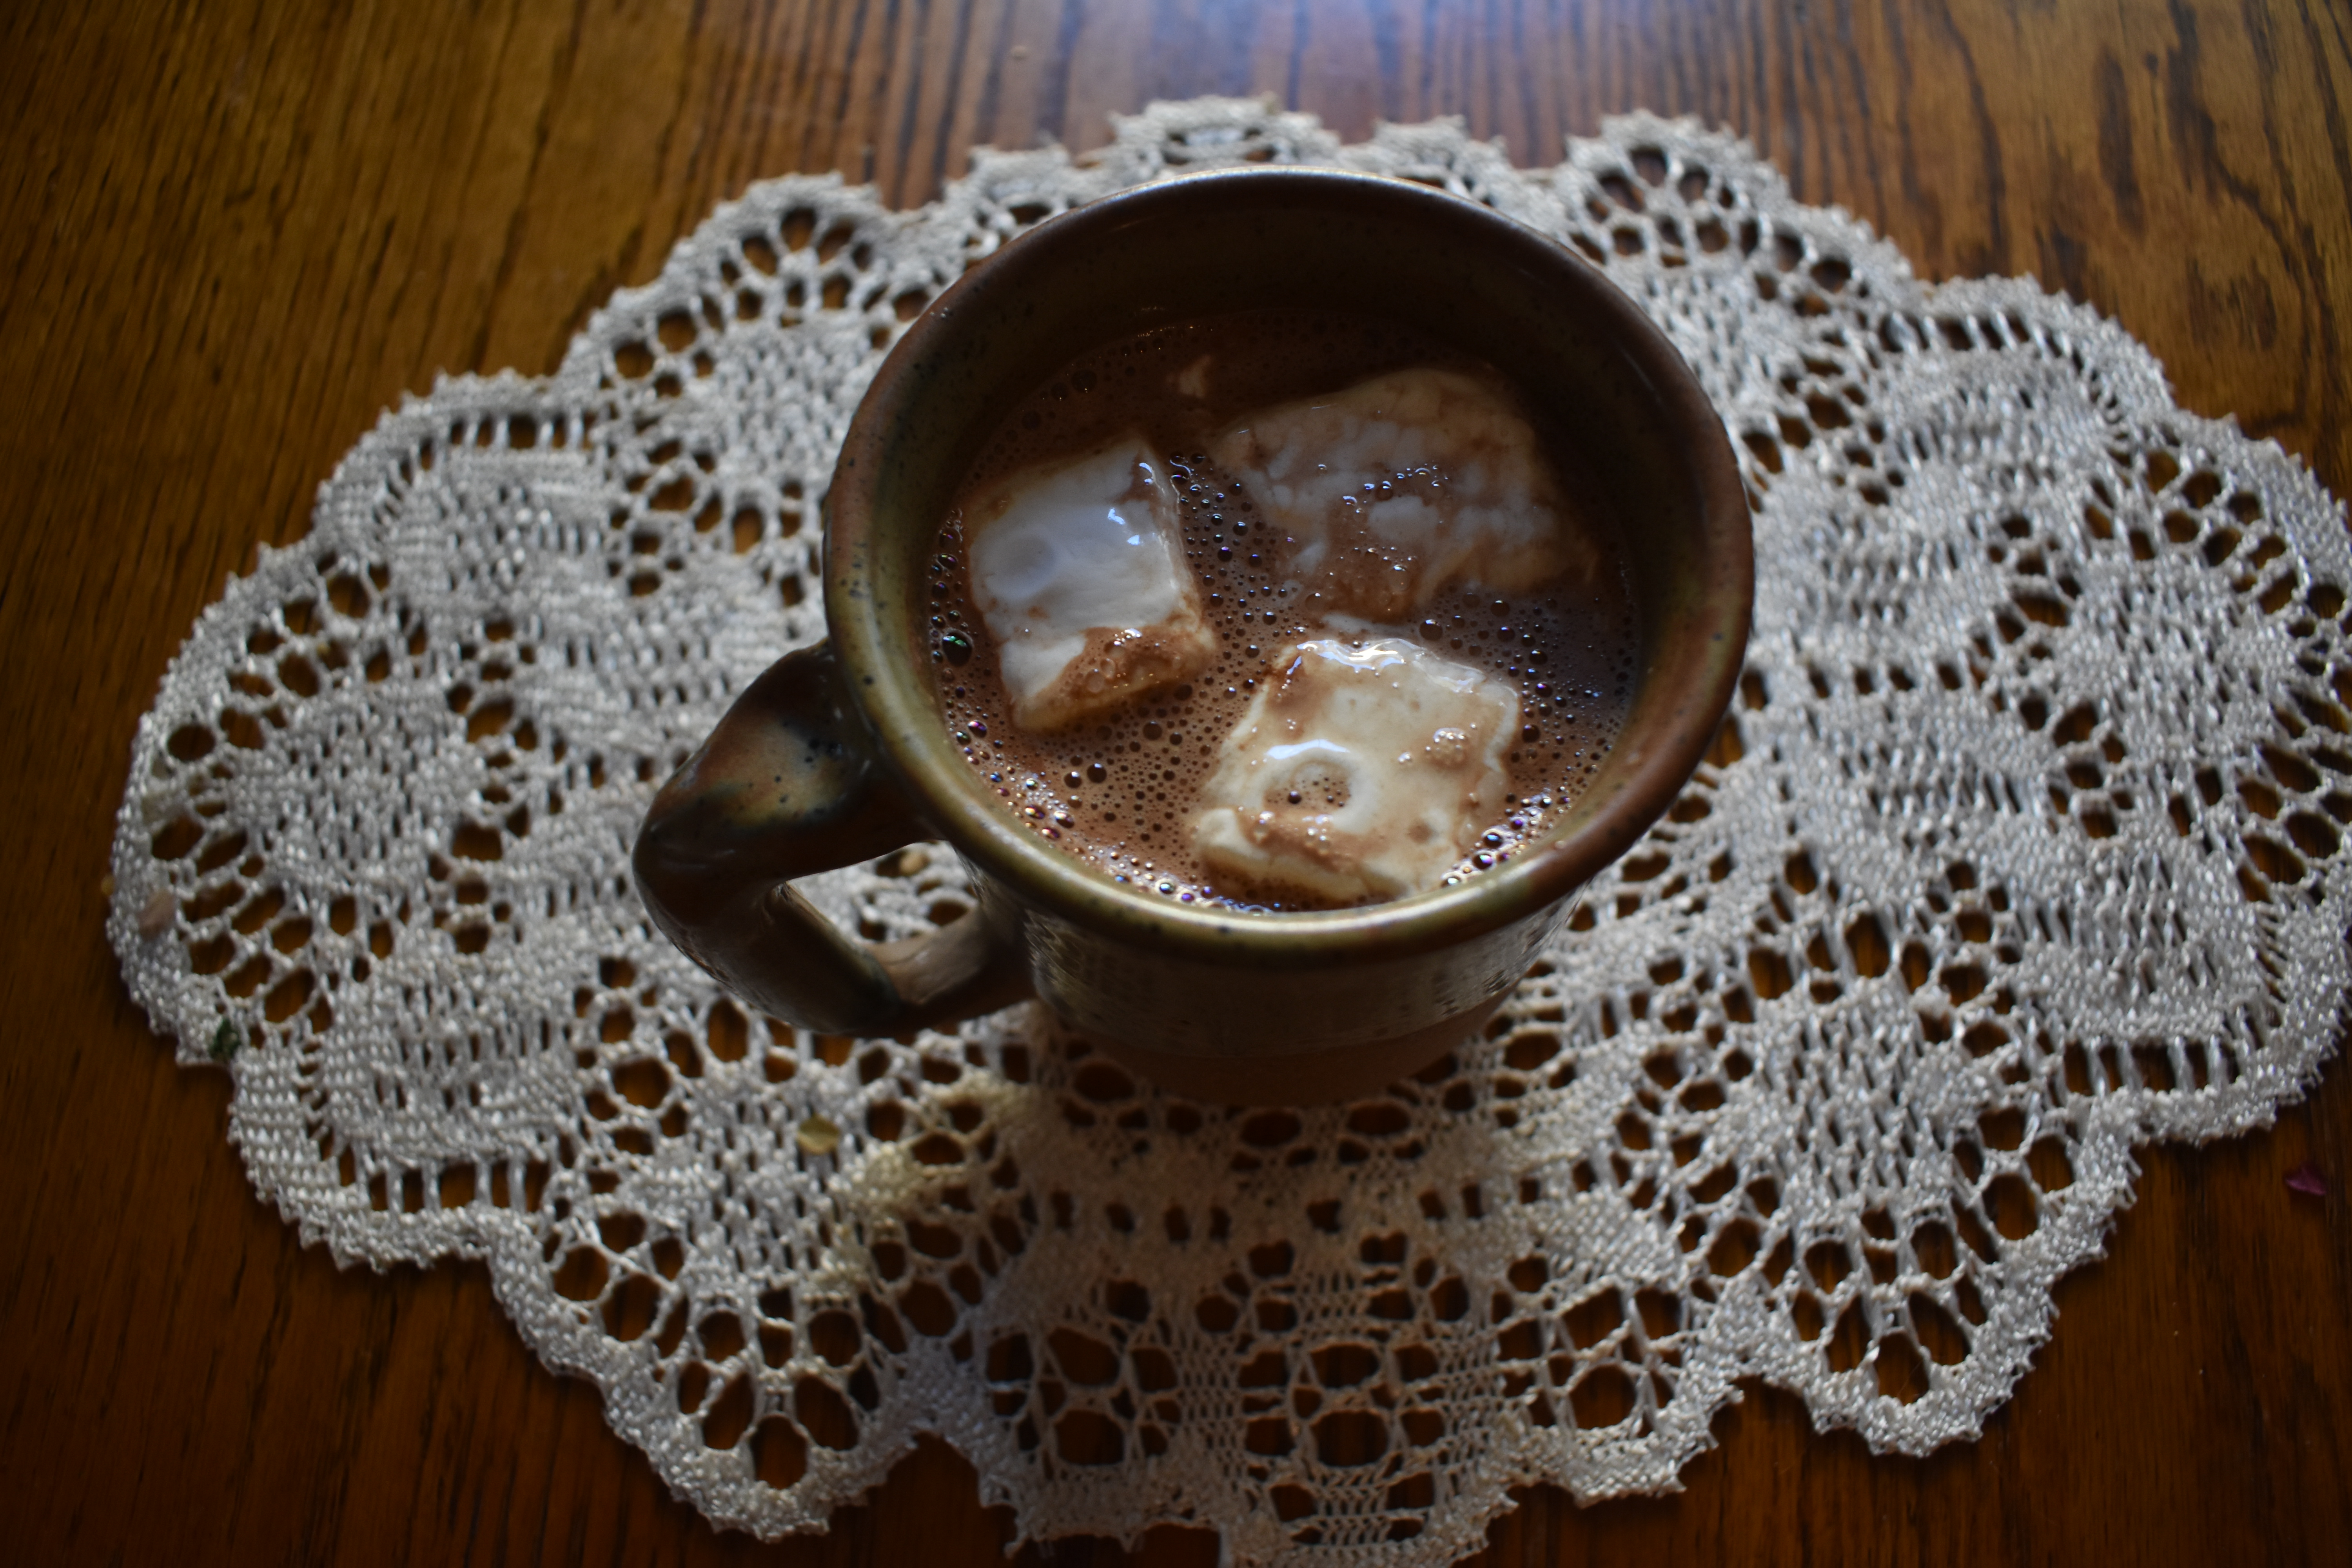
When I’m ready to warm up inside by the fire, I absolutely love having a hot cup of cocoa with homemade marshmallows on top. As intimidating as they may sound, they are pretty simple to make and are infinite times better than their store-bought counterparts. I’m sharing my favorite recipe with you below, so you can whip up some of your own for your next snow day (or just a regular Tuesday, no judgment here!)
Homemade Marshmallows Ingredients: 2 ½ tablespoons unflavored gelatin 1 cup light corn syrup 1 ½ cups granulated sugar 2 tablespoons vanilla extract (peppermint extract is also a yummy option!) ¼ teaspoon salt Confectioners’ sugar, for dusting
Directions:
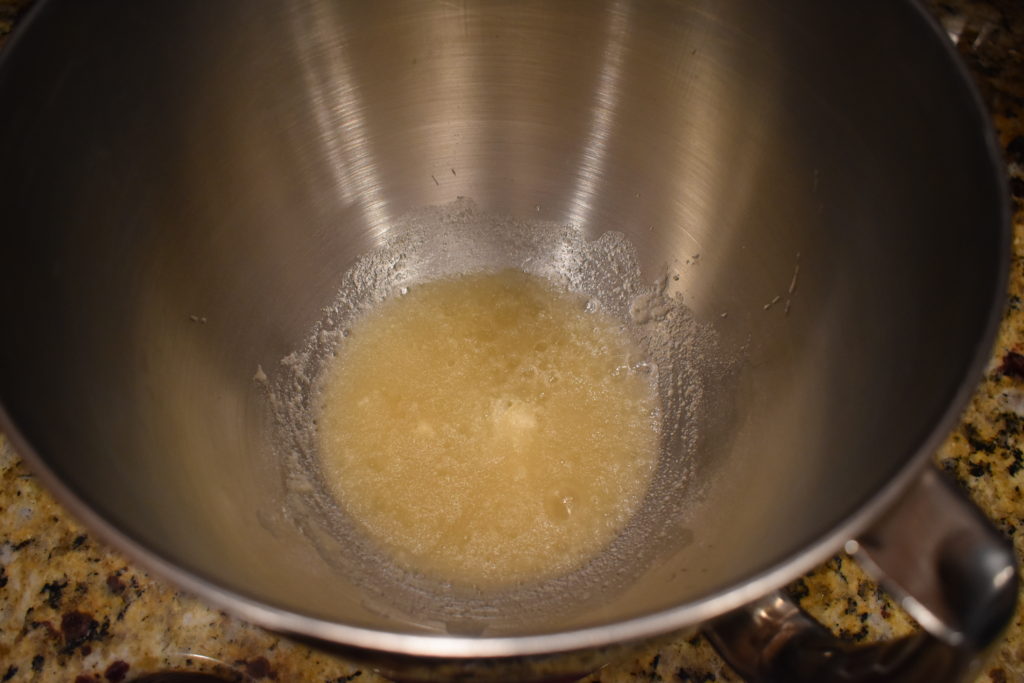
Combine gelatin and ½ cup cold water in the bowl of an electric mixer with whisk attachment. Let stand for 30 minutes.
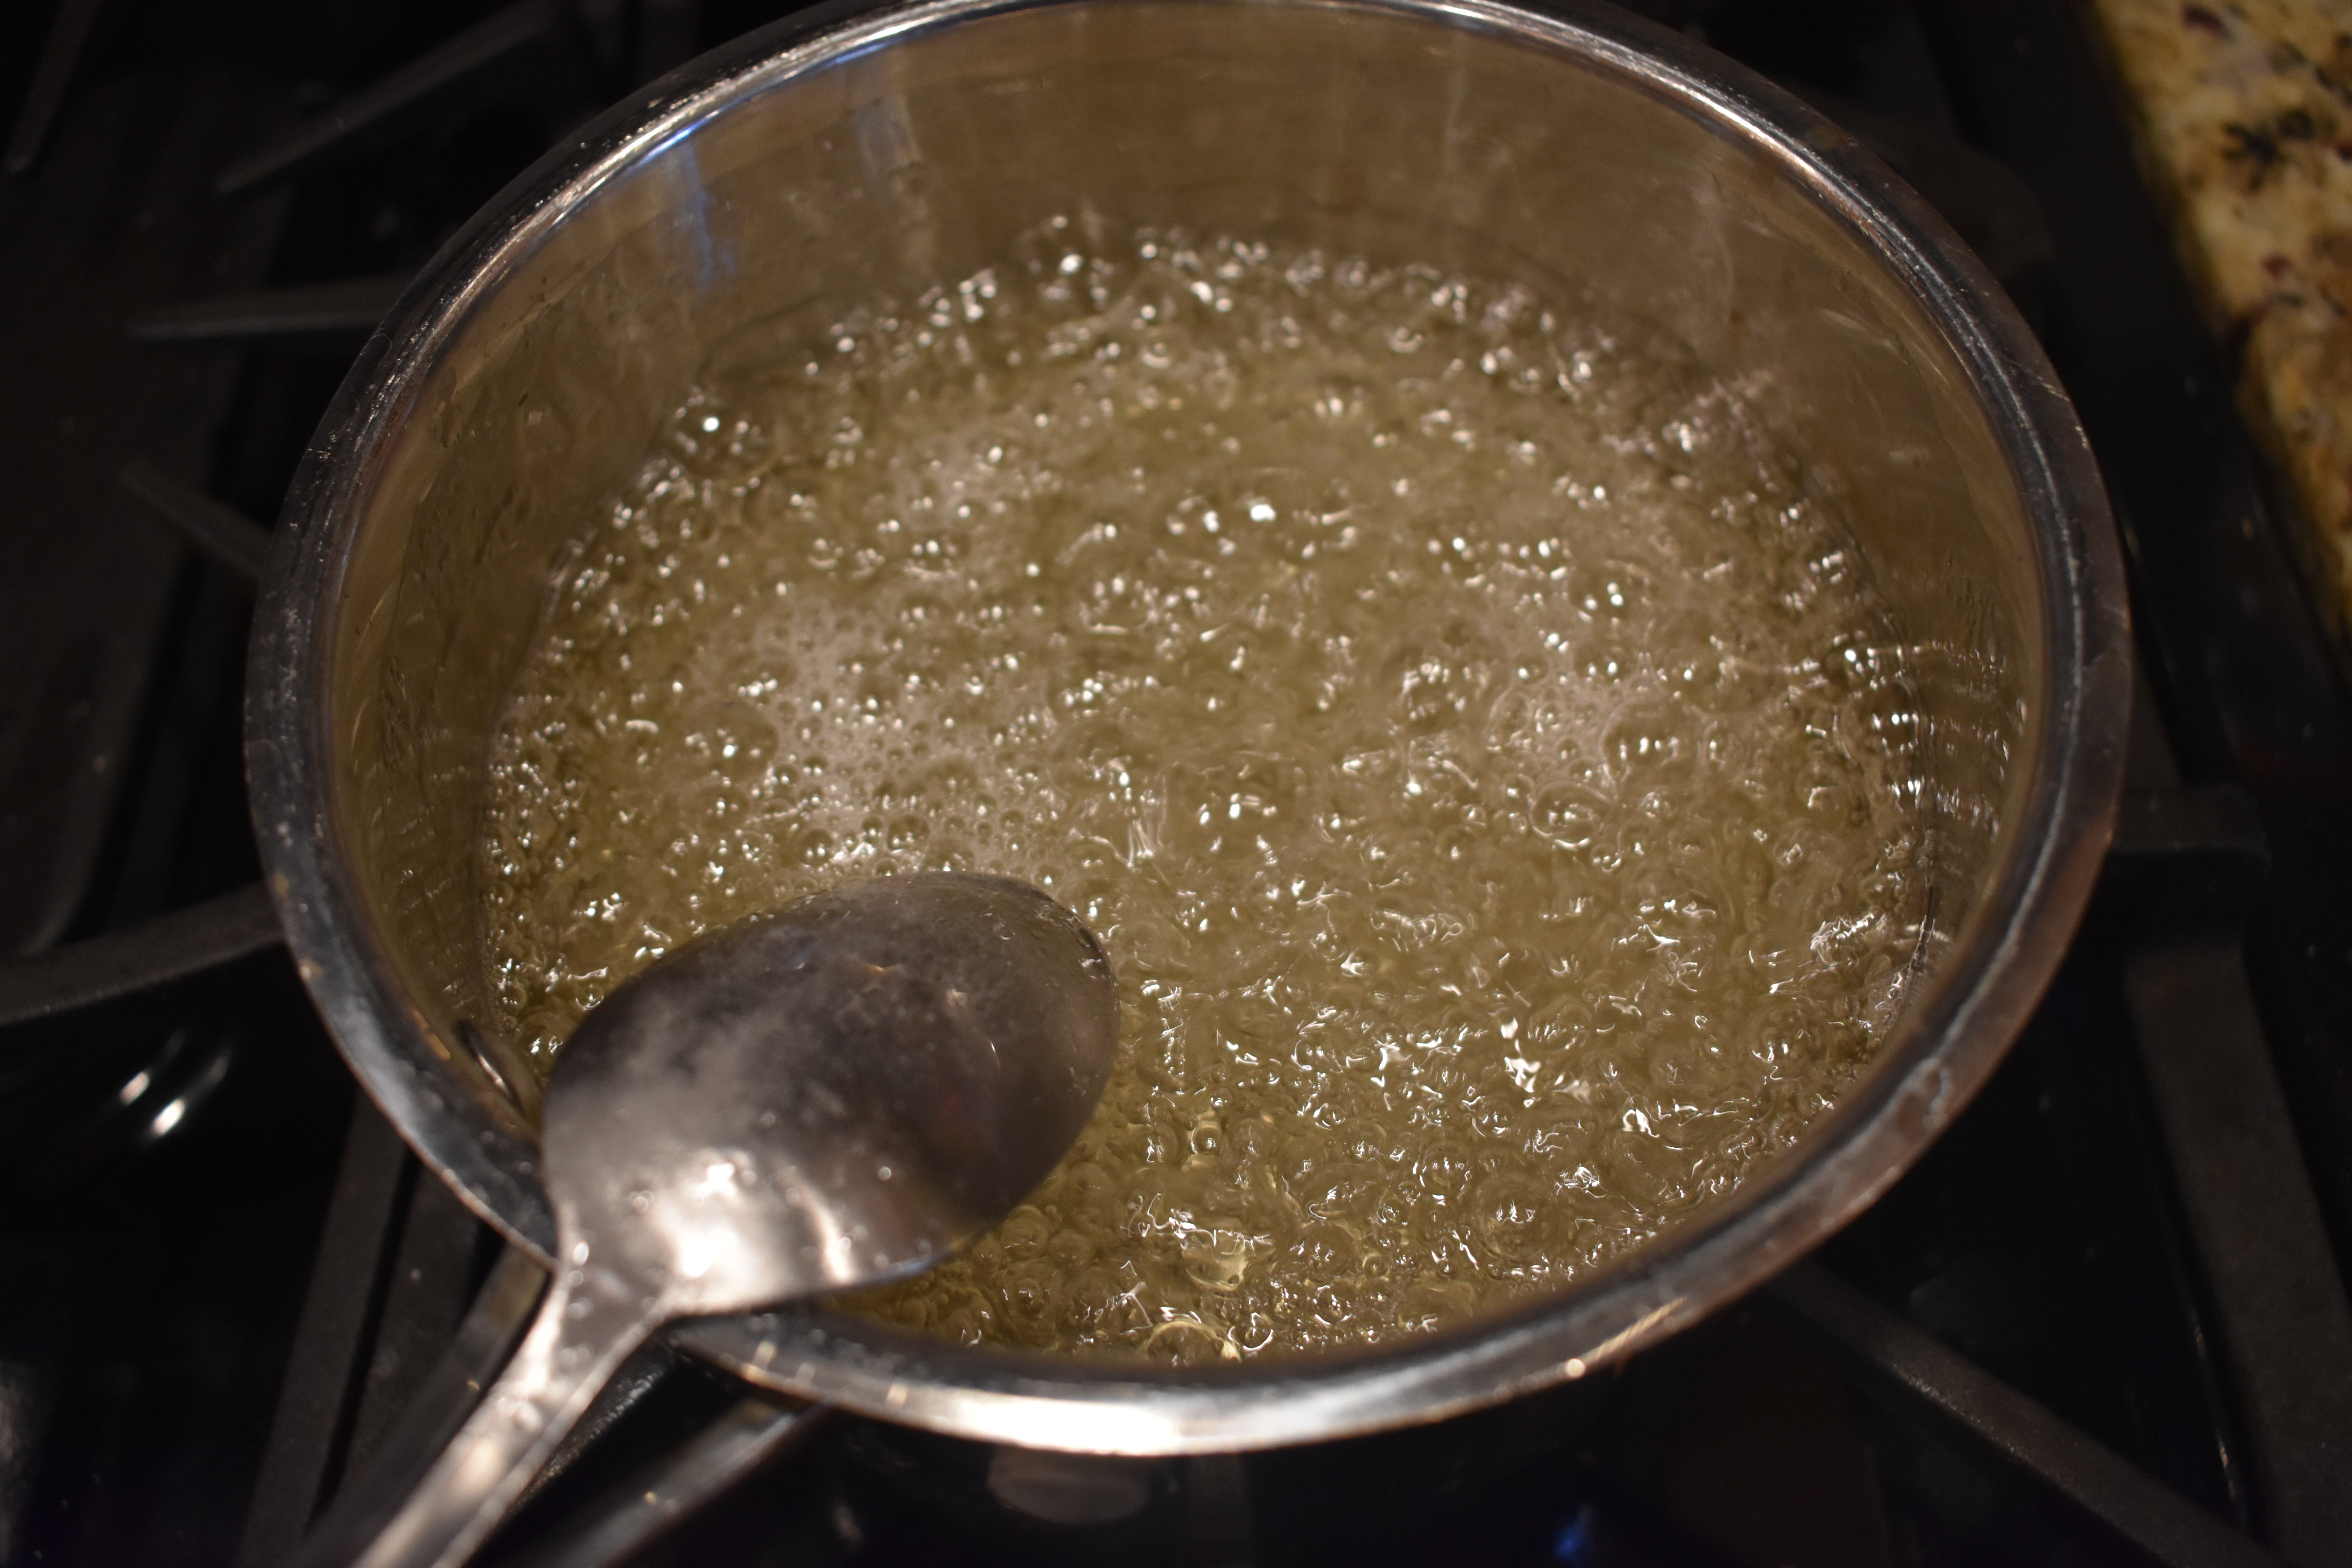
2. Combine granulated sugar, corn syrup, salt, and ½ cup water in a small heavy saucepan; place over low heat and stir until sugar has dissolved.
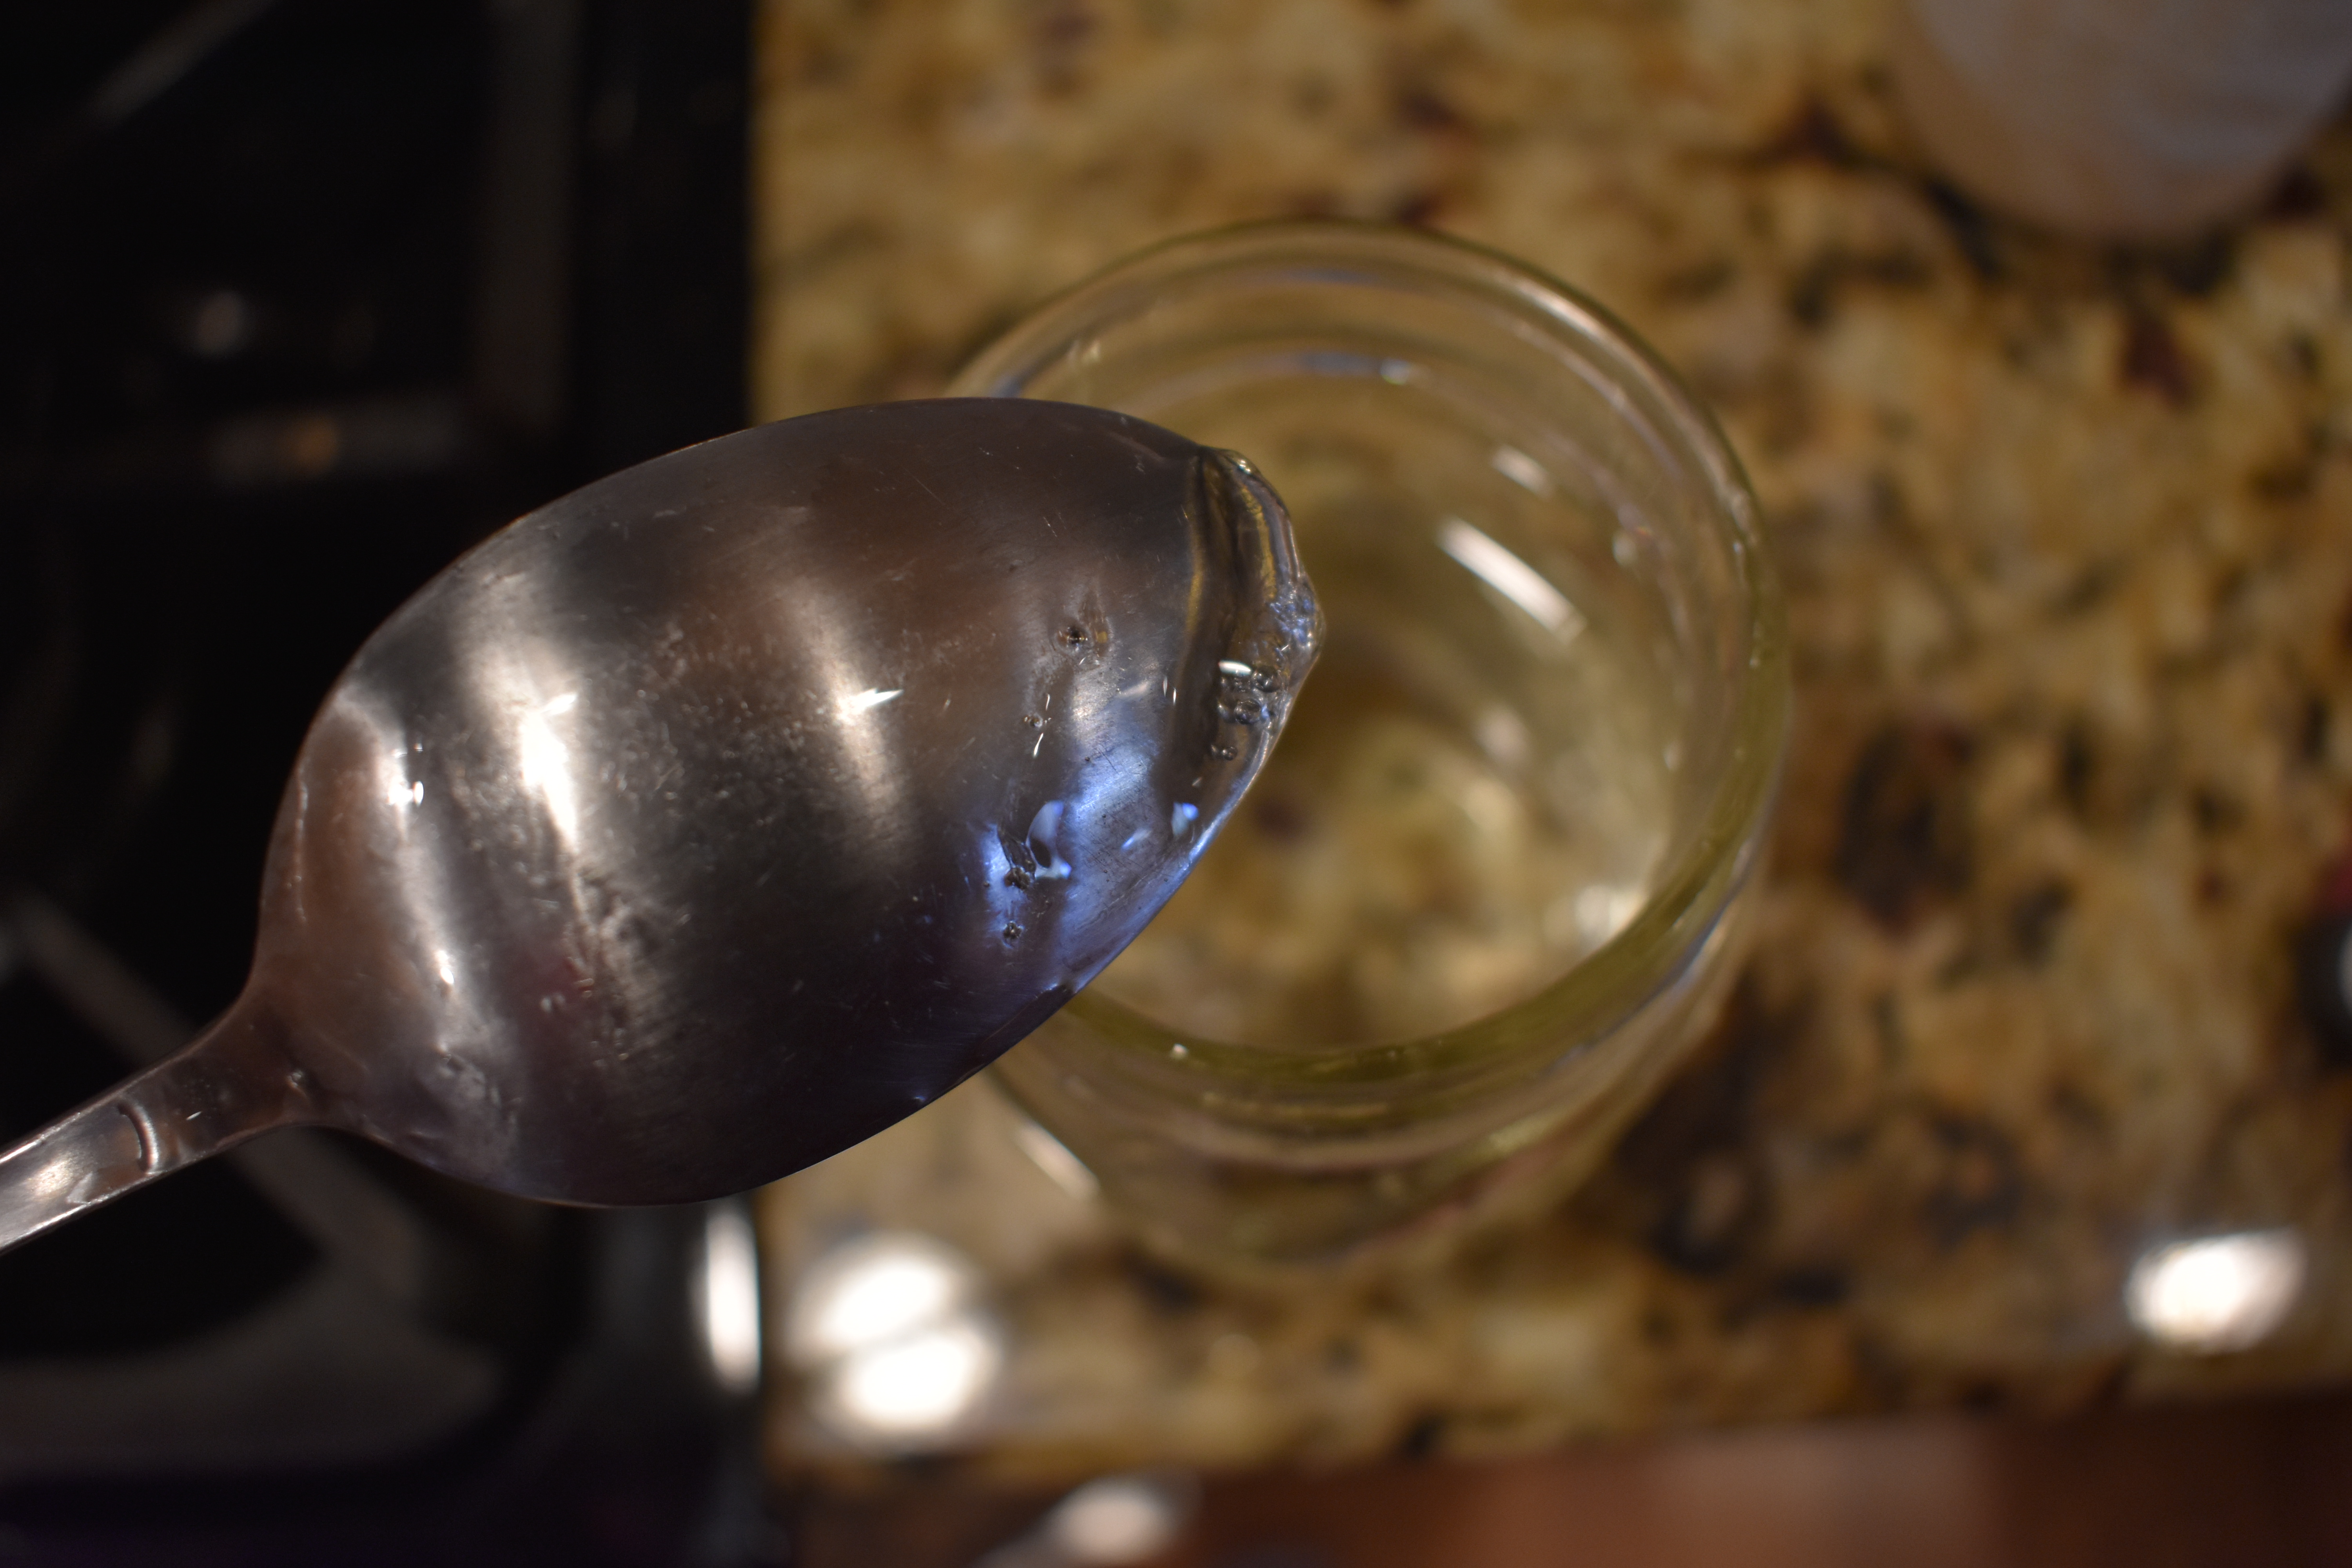
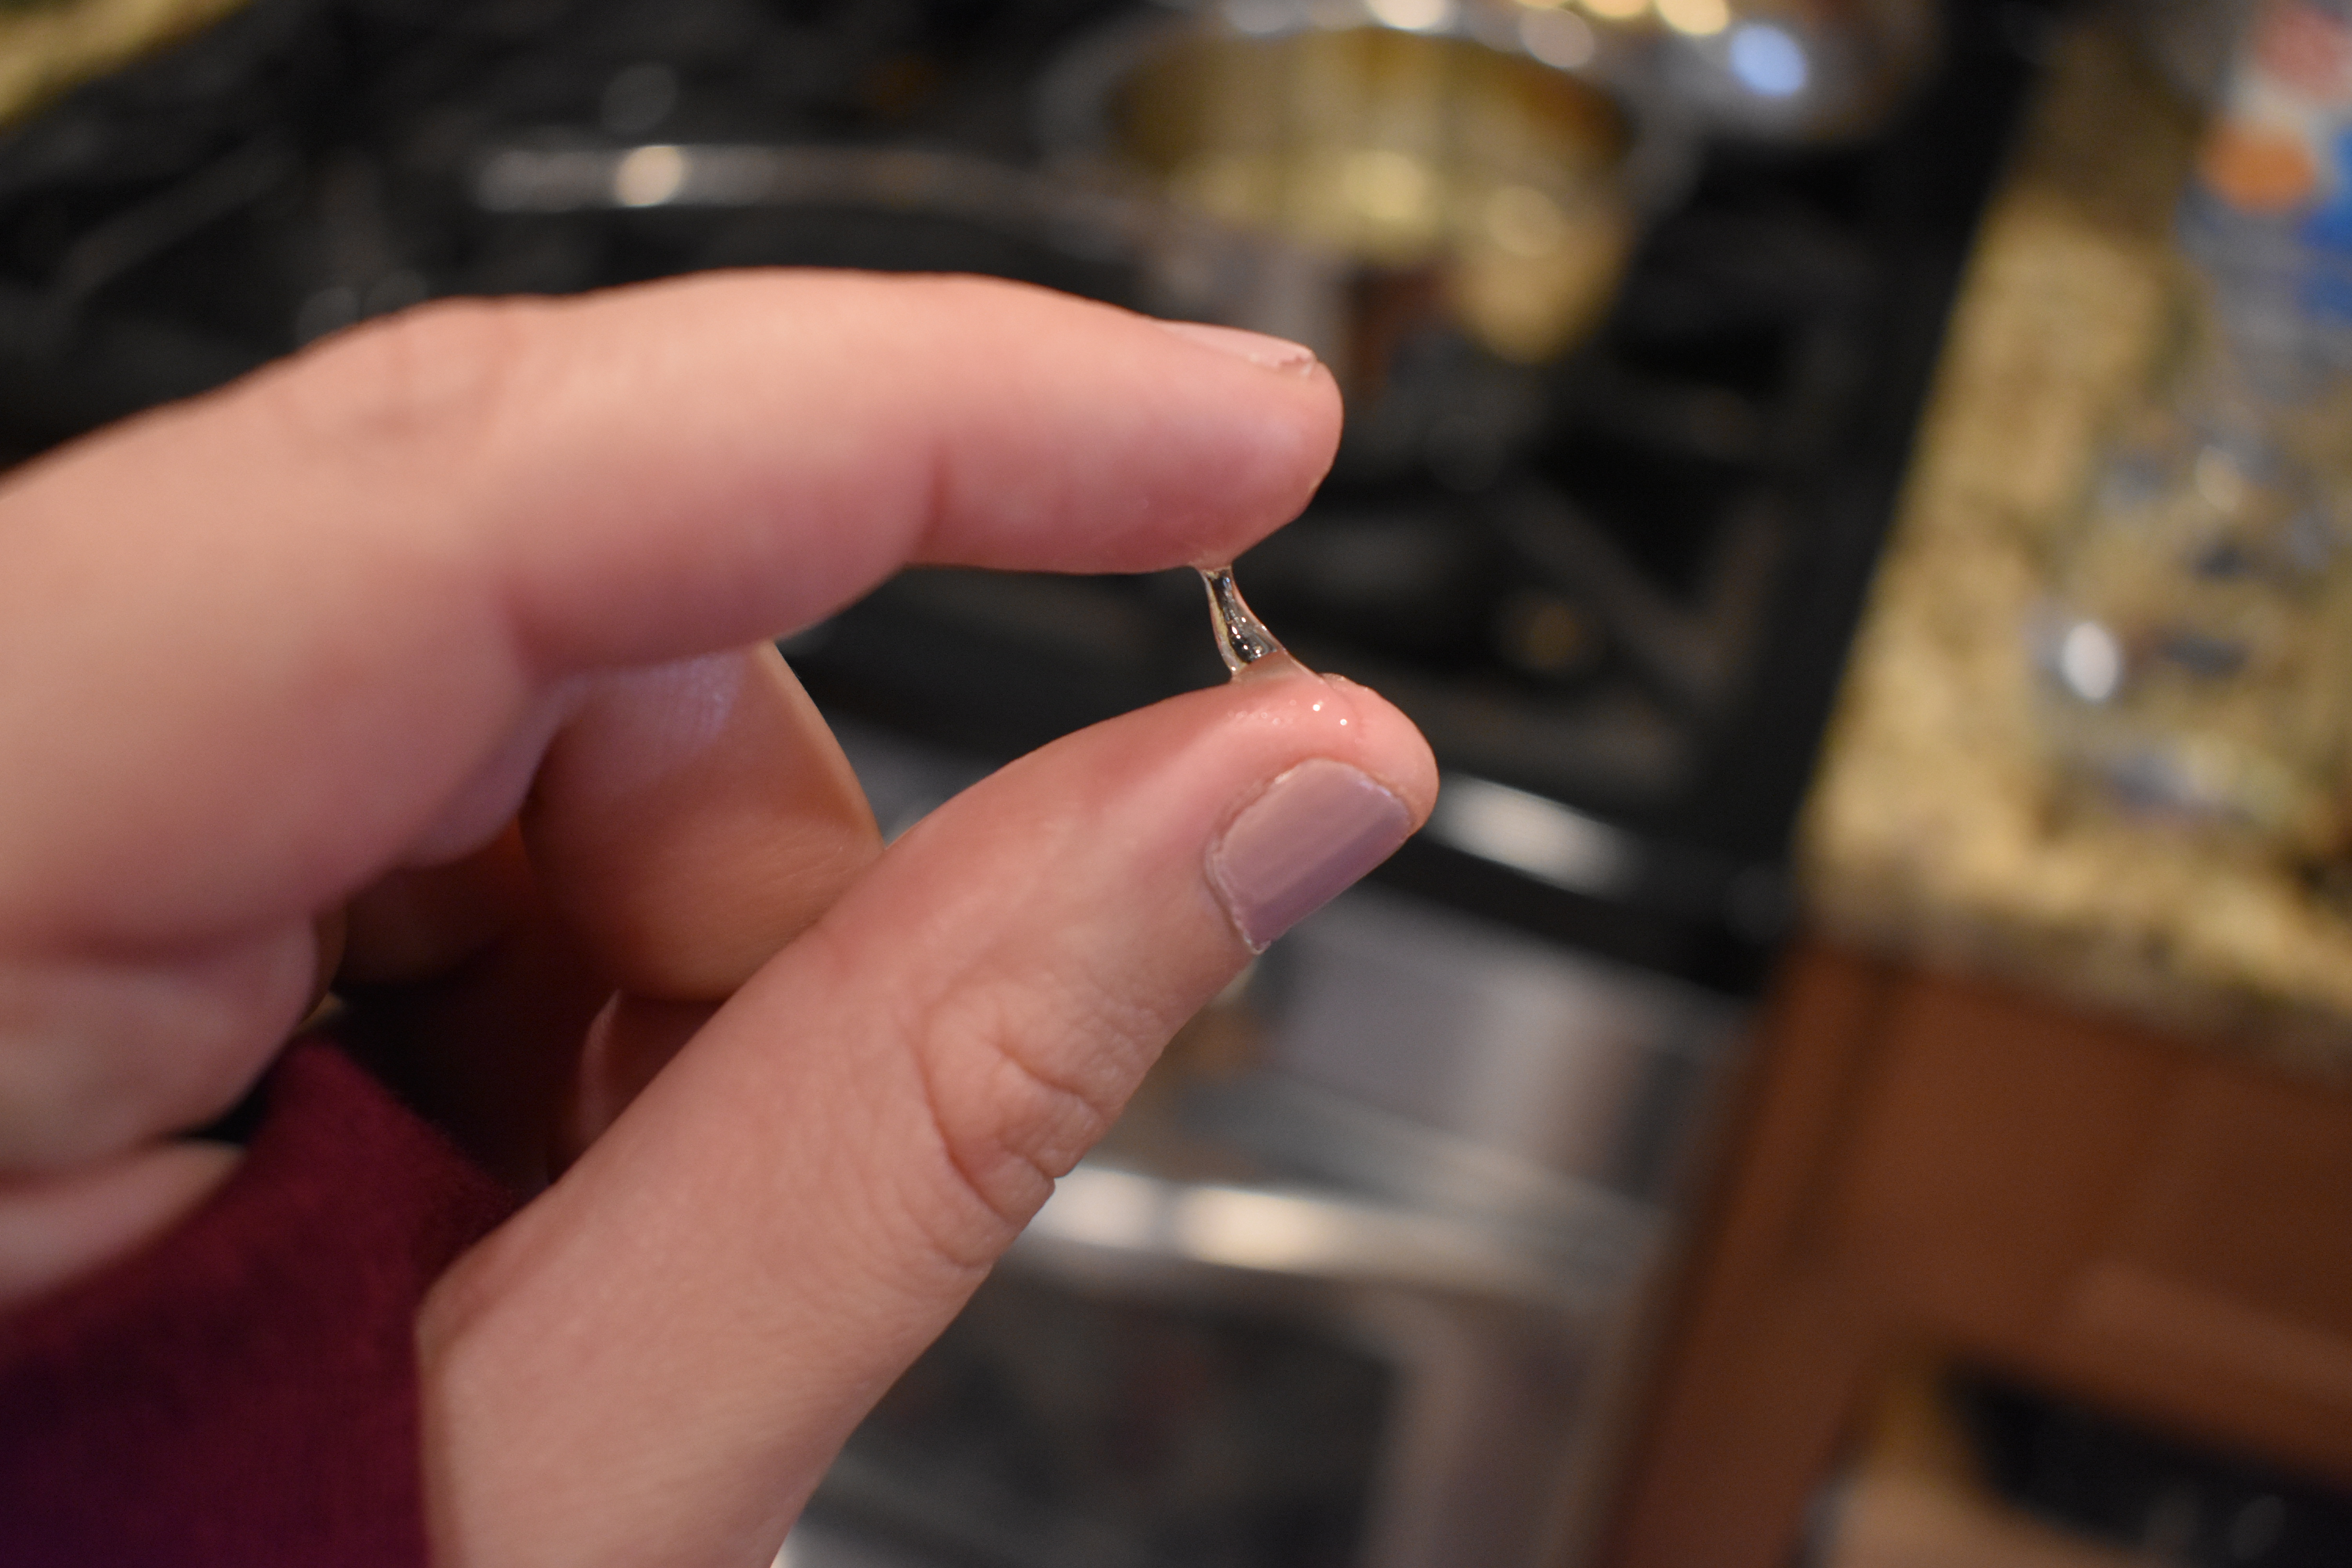
3. Clip on a candy thermometer; raise to high heat. Cook syrup without stirring until it reaches 244 degrees F (firm-ball stage). Immediately remove pan from heat. Tip: if you don’t have a candy thermometer, you can test the syrup by placing a few drops in a glass of cool water. Scoop the drops of syrup out of the water and test with your fingers. The drops should be firm, but pliable. This is firm-ball stage.Testing the syrup by placing a few drops in a glass of cool water and scoop them out with a spoon. Firm, but pliable.
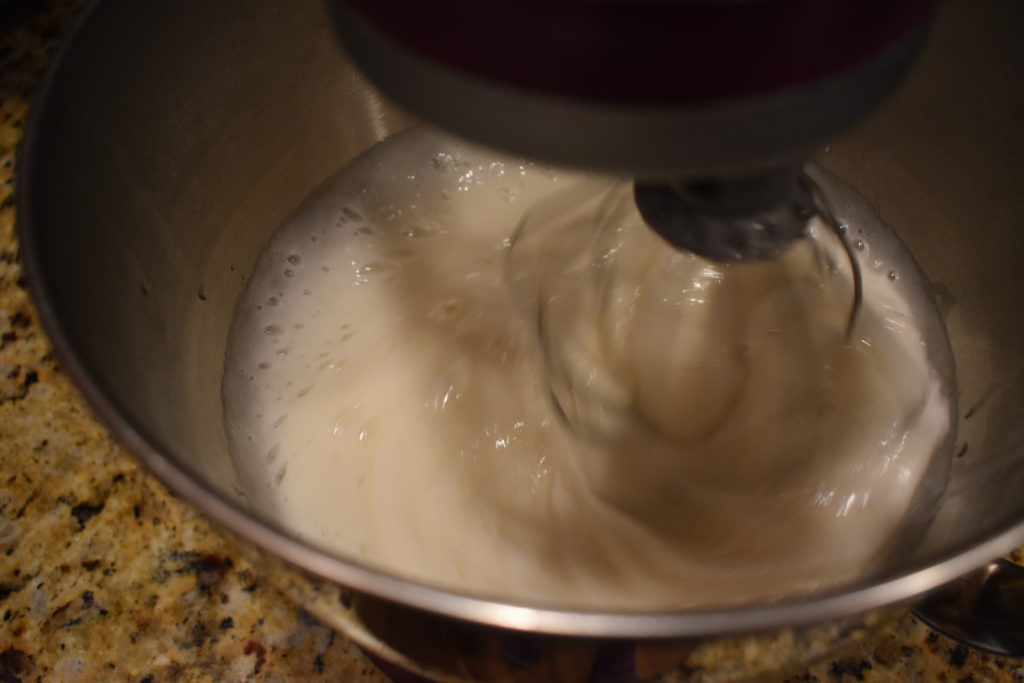
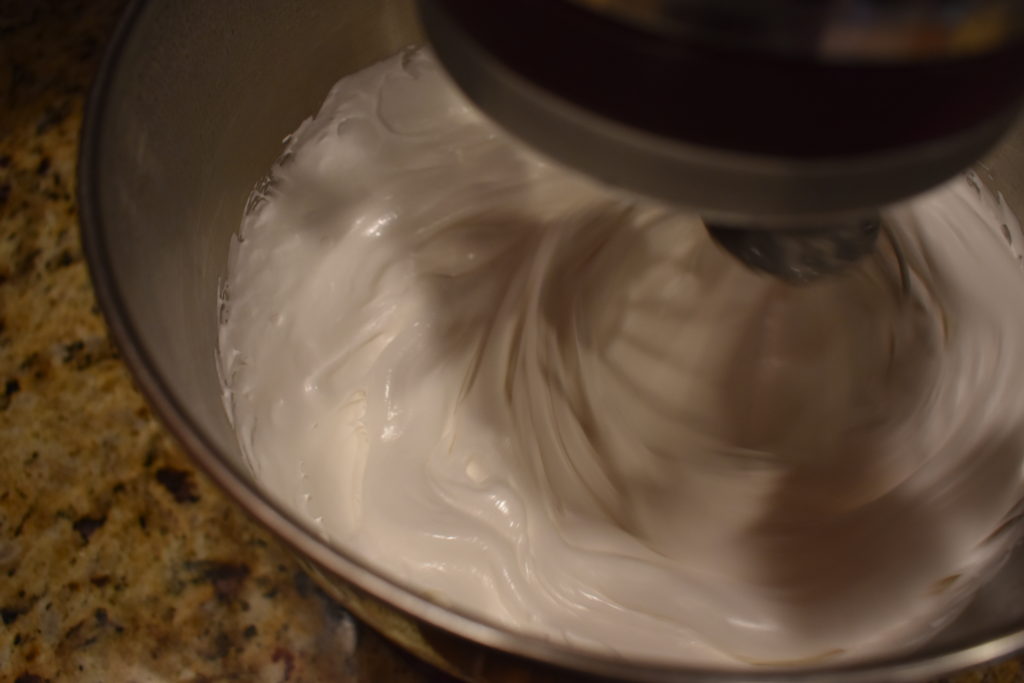
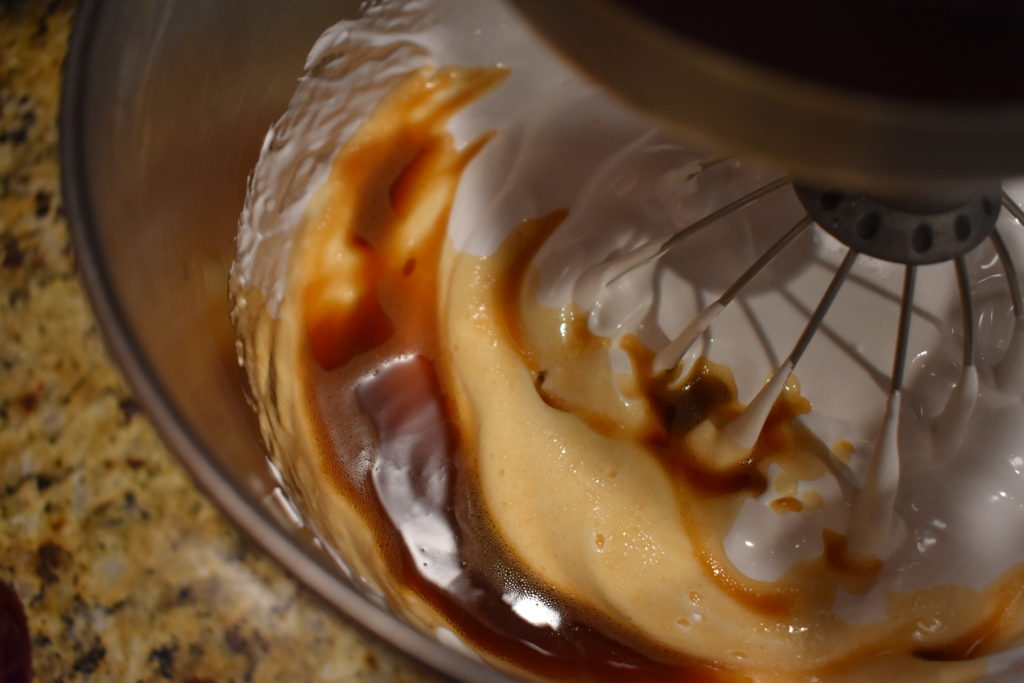
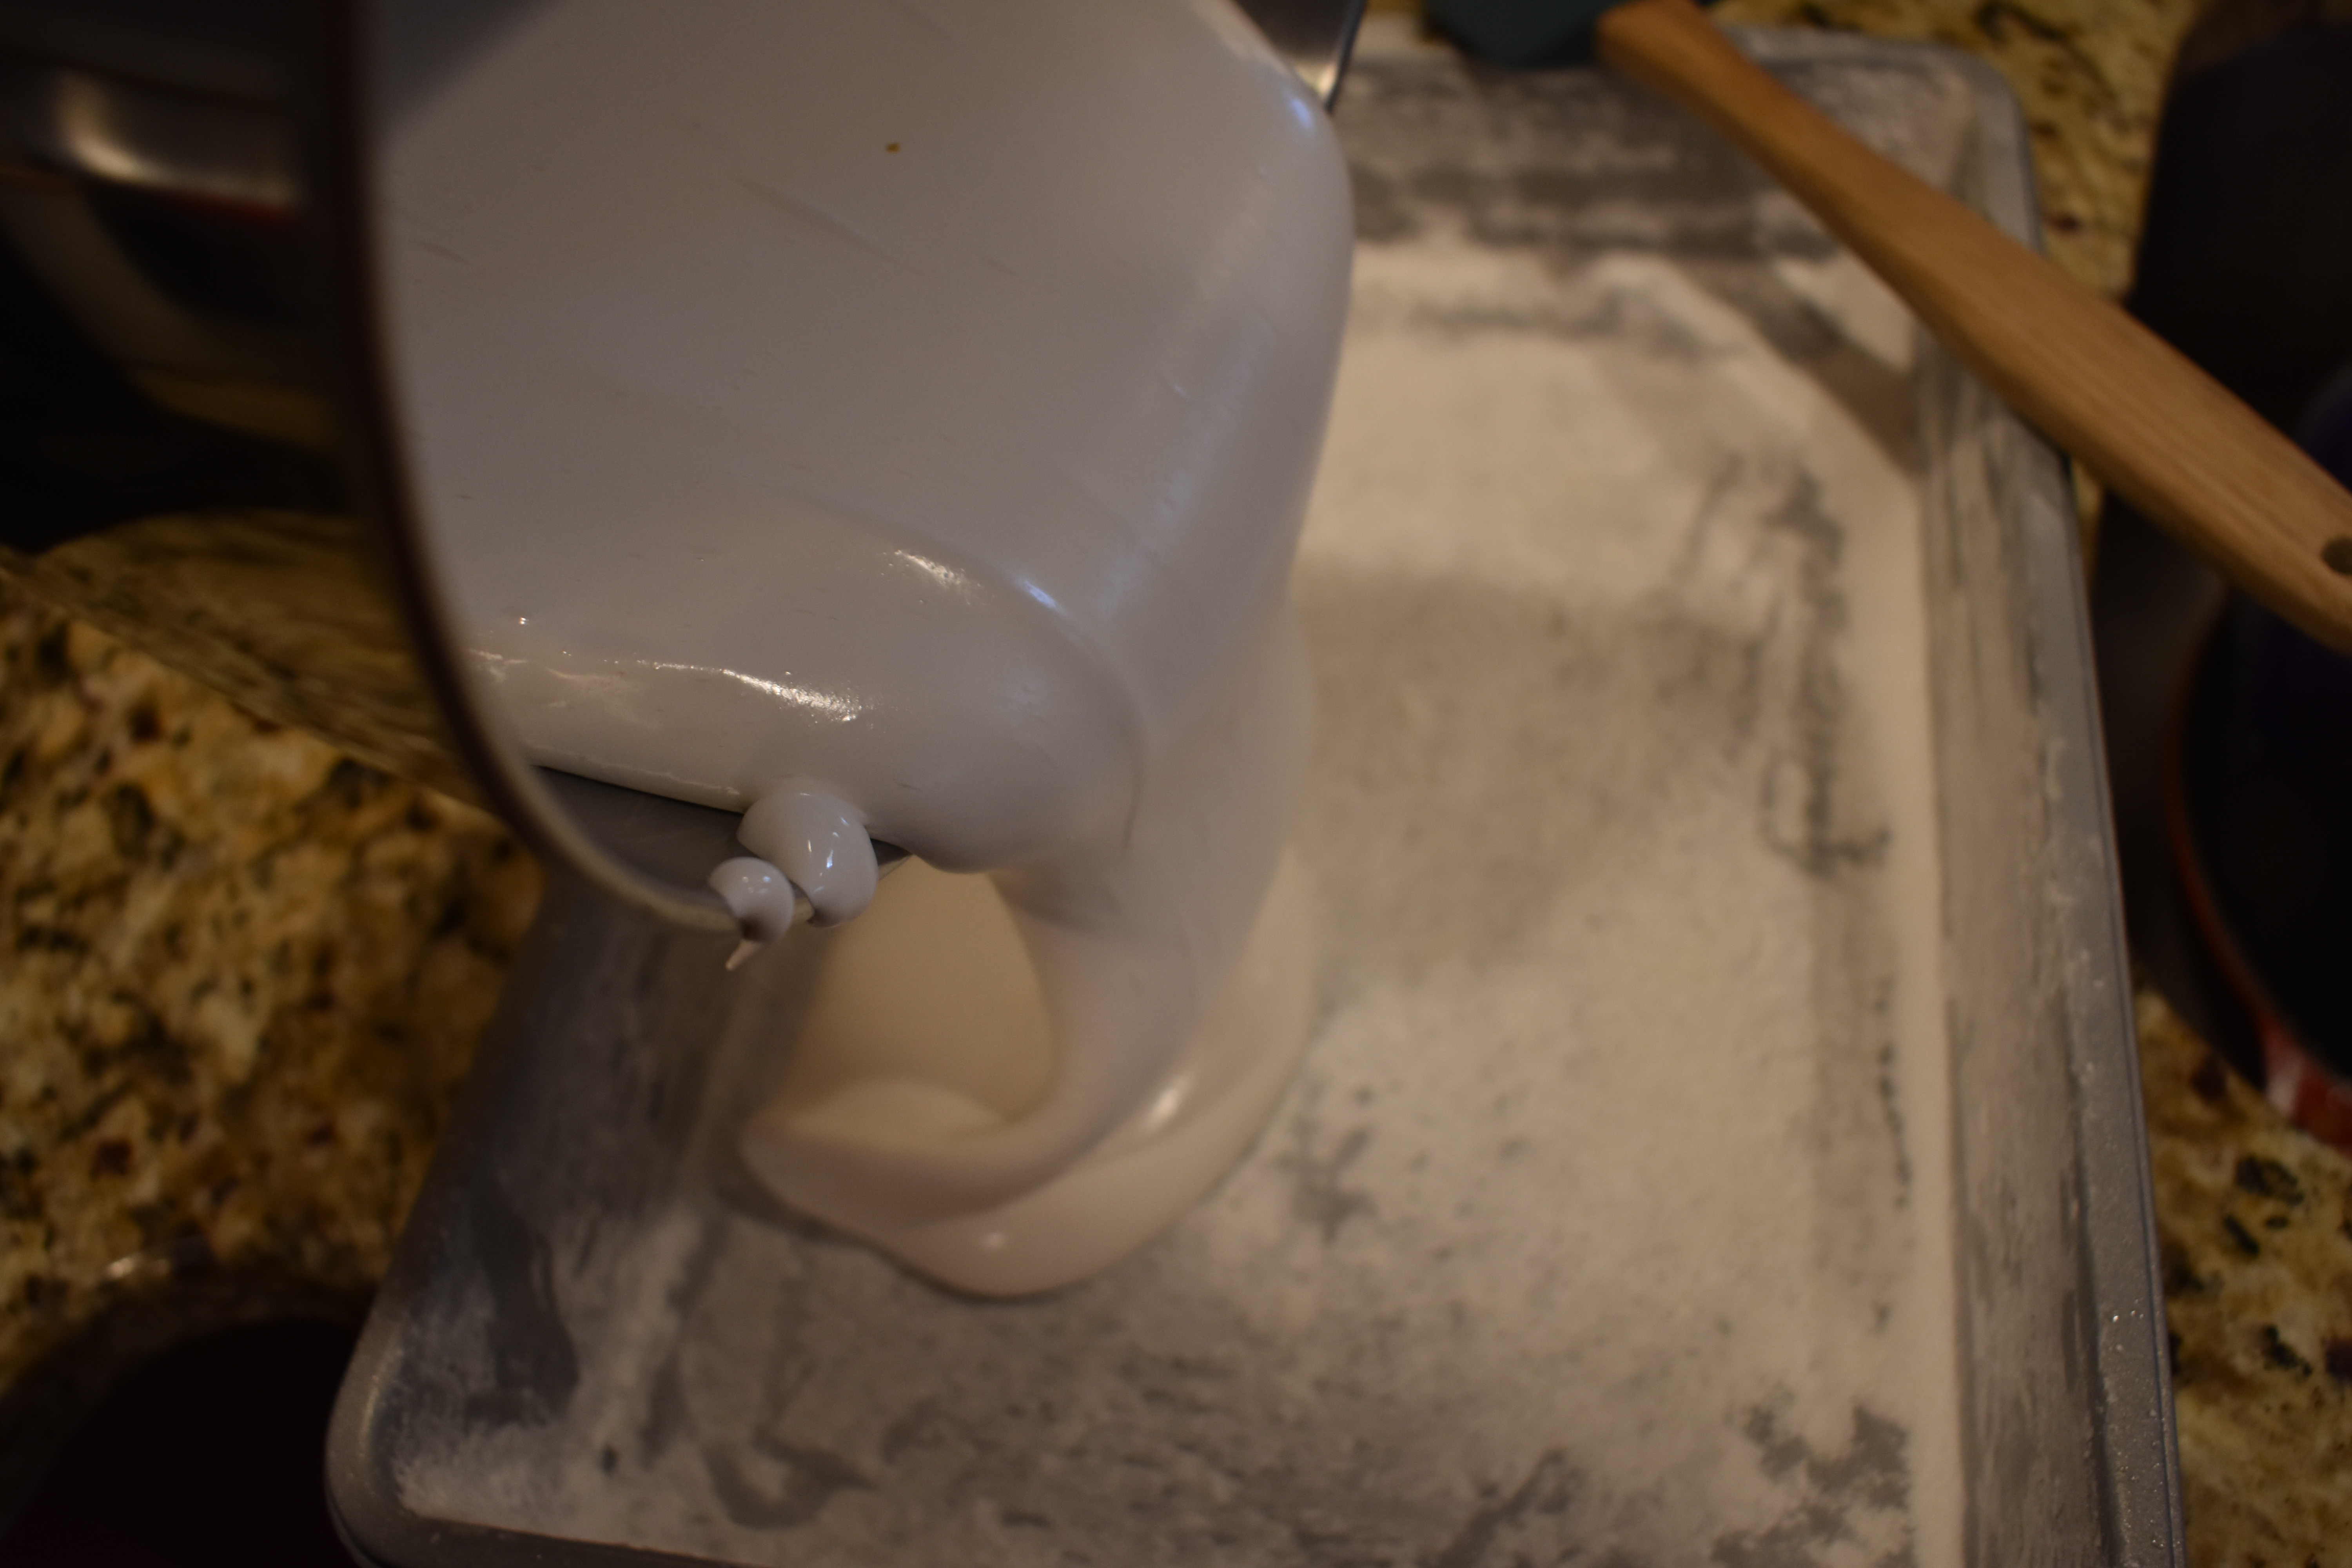
4. With mixer on low speed, slowly and carefully pour the syrup into the softened gelatin. Increase speed to high. Beat until mixture is very thick and white and has almost tripled in volume, about 15 minutes. Add vanilla; beat to incorporate.
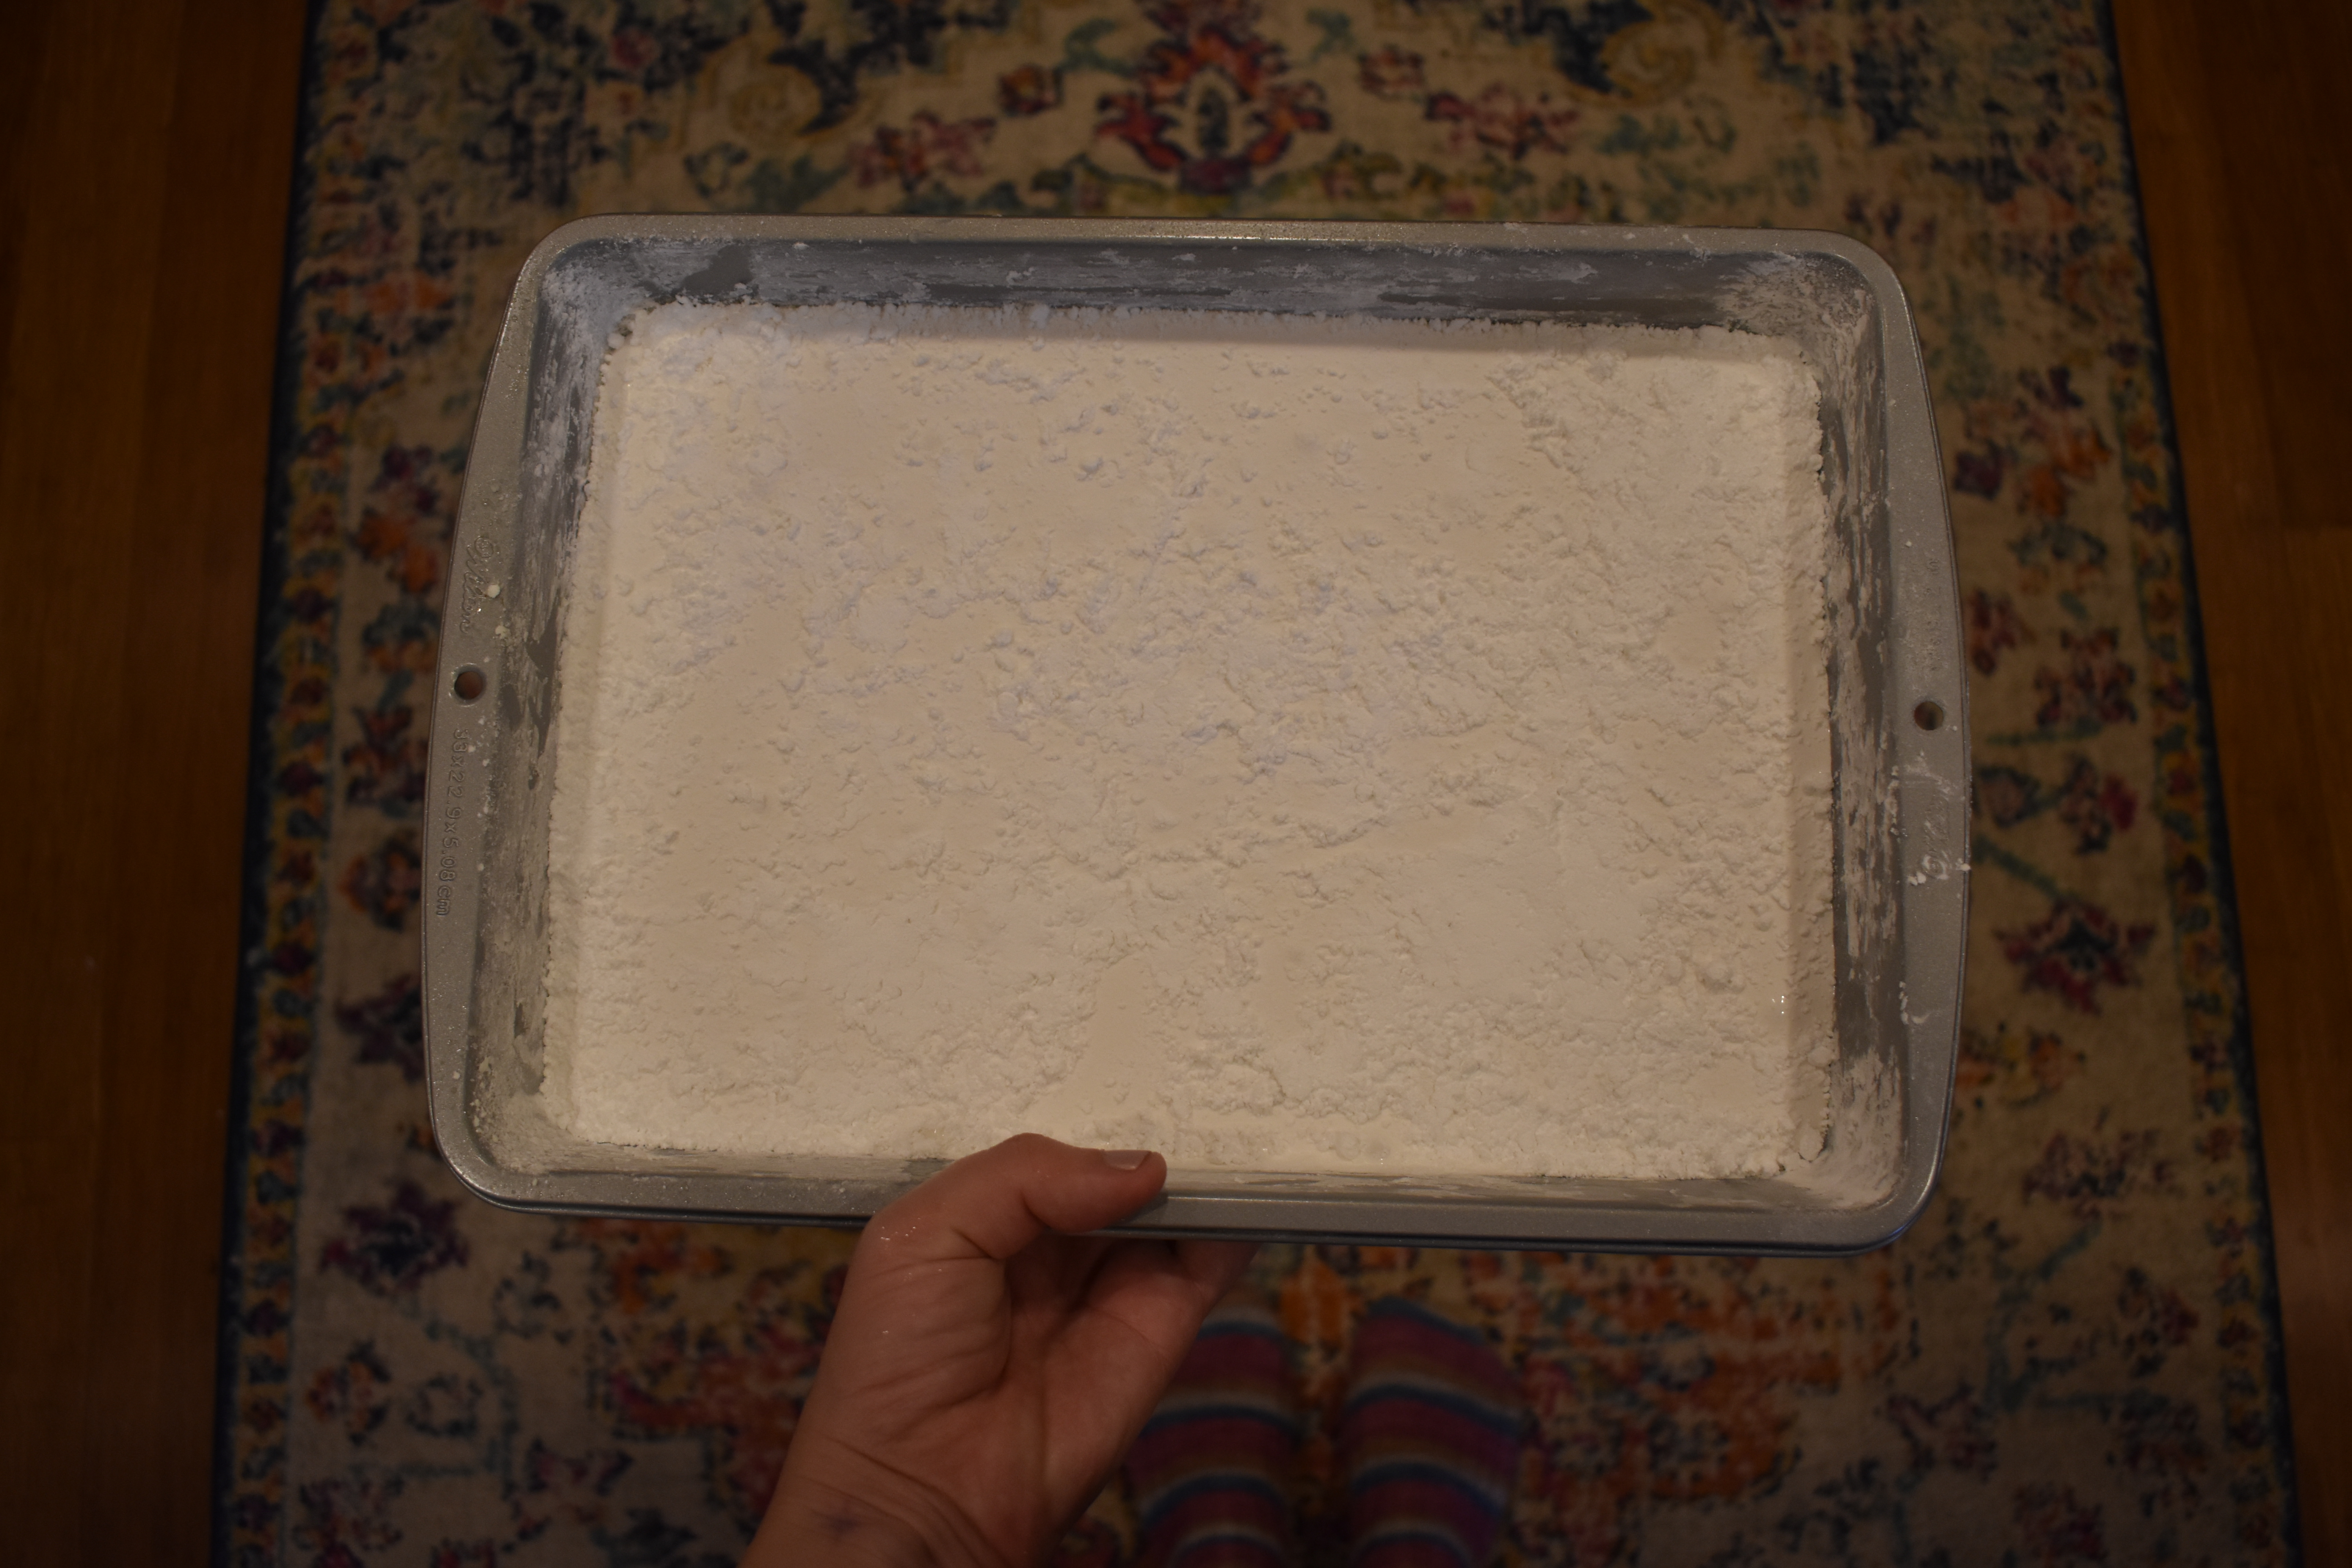
5. Generously dust an 8×12 baking pan with confectioners’ sugar. Pour marshmallow mixture into the pan. Dust top with confectioners’ sugar; wet your hands and pat it to smooth. Dust with more confectioners’ sugar and let stand overnight, uncovered, to dry out.
6. Turn out onto a cutting board. Cut marshmallows with a dry hot knife into 1 ½ inch squares, and dust with more confectioners’ sugar. Alternatively, dust small cookie cutters with confectioners’ sugar, and cut marshmallows with the cutters.
7. Enjoy!”
-Jennifer
We simply cannot wait to try out this delicious recipe. It’s the perfect complement to last year’s recipe for spiced hot cocoa. Remember, you can find the 12 Days of Winter Kits at your local yarn shop.
It’s Free Pattern Friday!
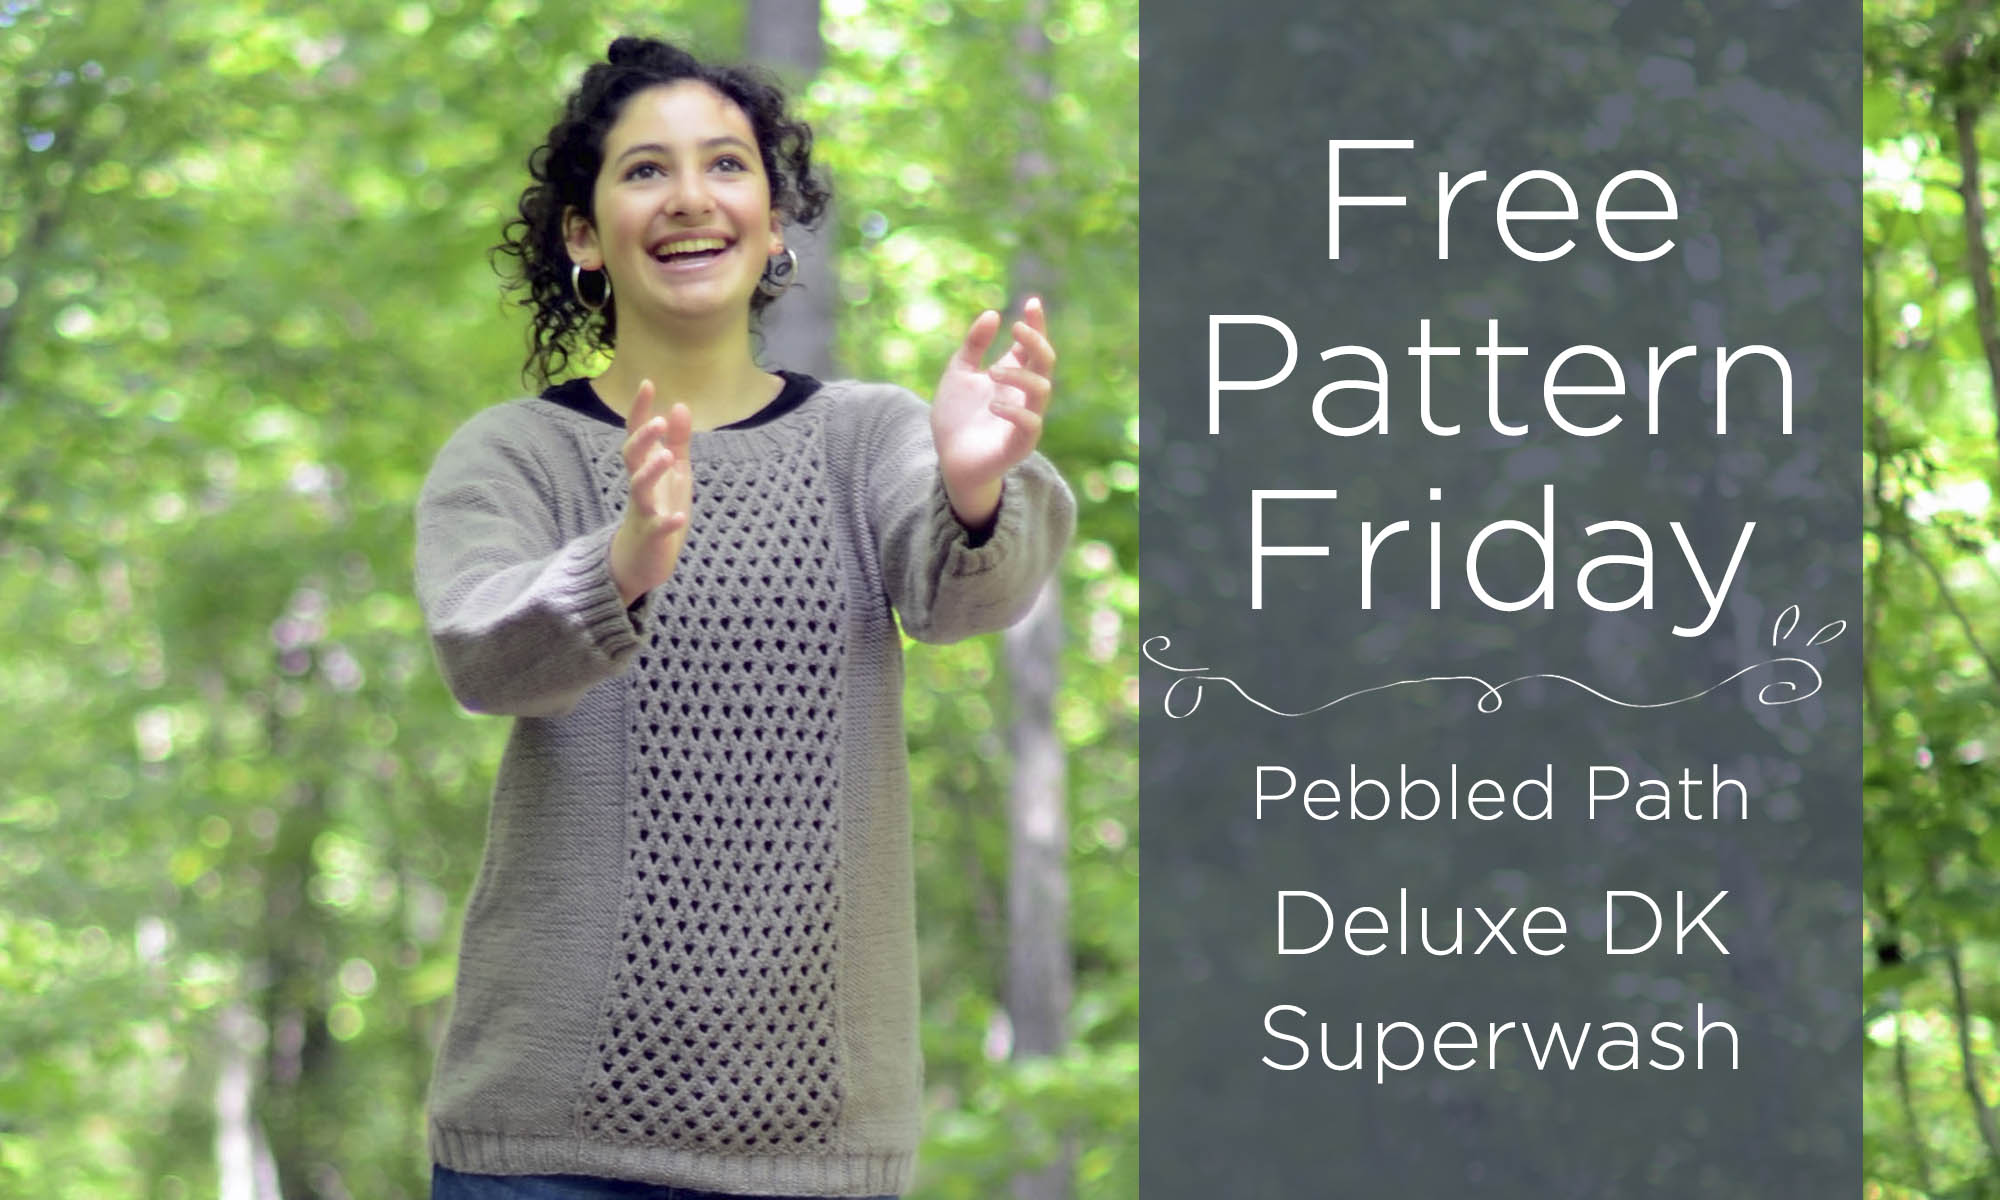
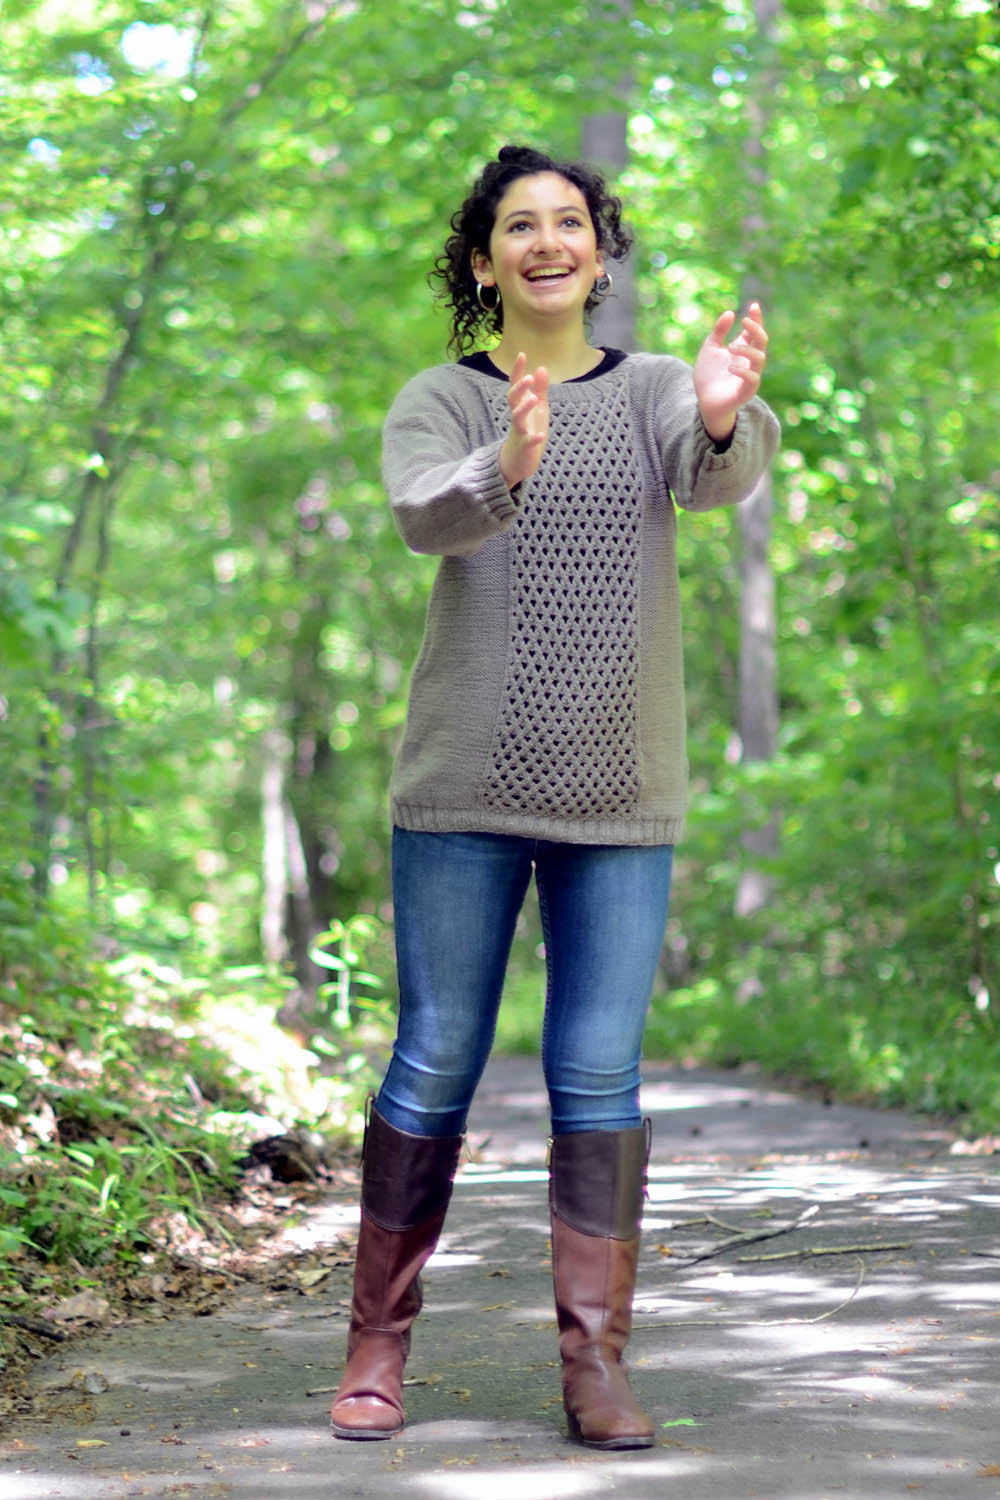
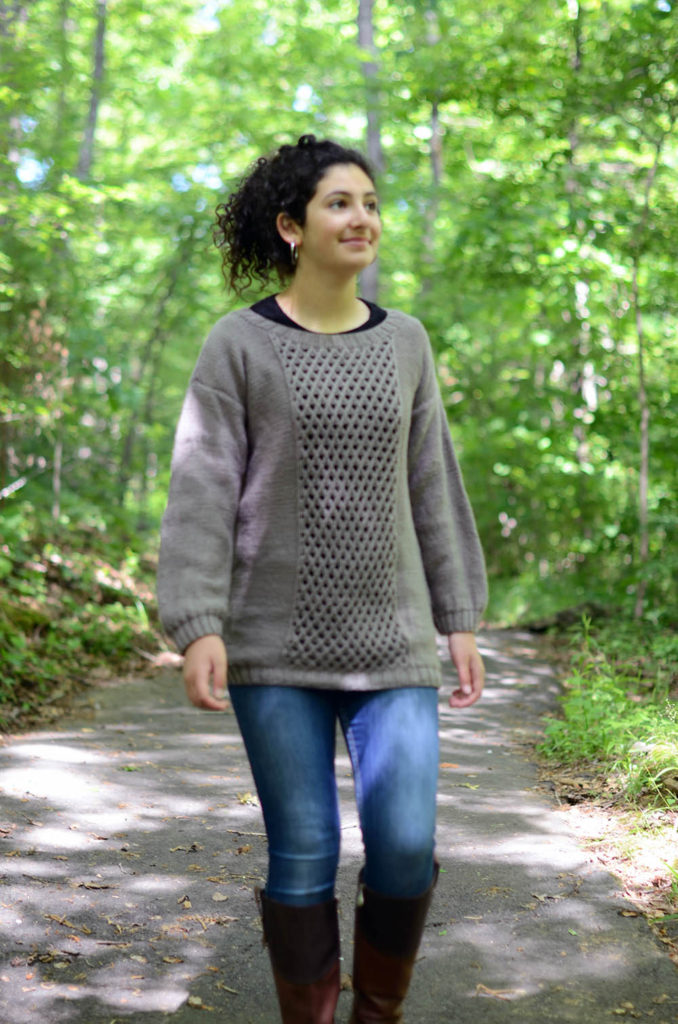
Today, the Pebbled Path Pullover in Deluxe DK Superwash (pattern link here).
Next up in our “best of” August re-releases, this great autumn sweater! Originally part of e-book Deluxe Superwash: Fall Classics, this pattern is now free.
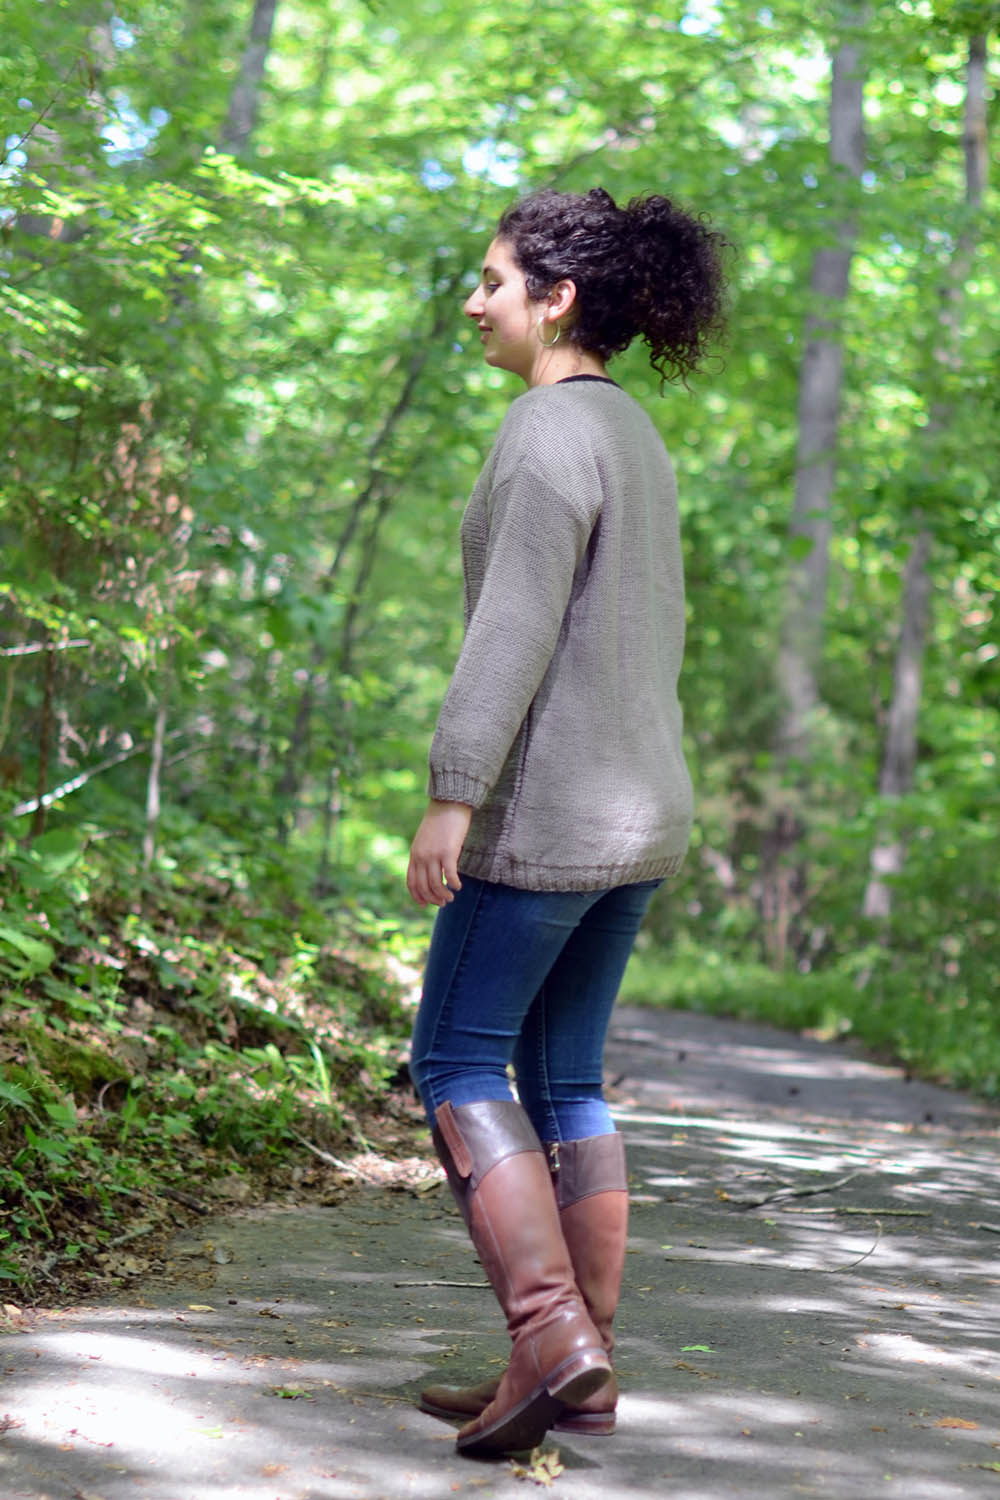
This relaxed pullover is just the layering piece you’ll want for an autumn walk in the park. A beautiful openwork panel decorates the front, with the back left plain. Deluxe DK Superwash wool keeps you cozy and comfy!
Throw this on top of your favorite button-down, jeans, and a pair of boots and you’re all set!
We hope you’re able to get out and enjoy nature this weekend. Happy crafting!
It’s Free Pattern Friday!
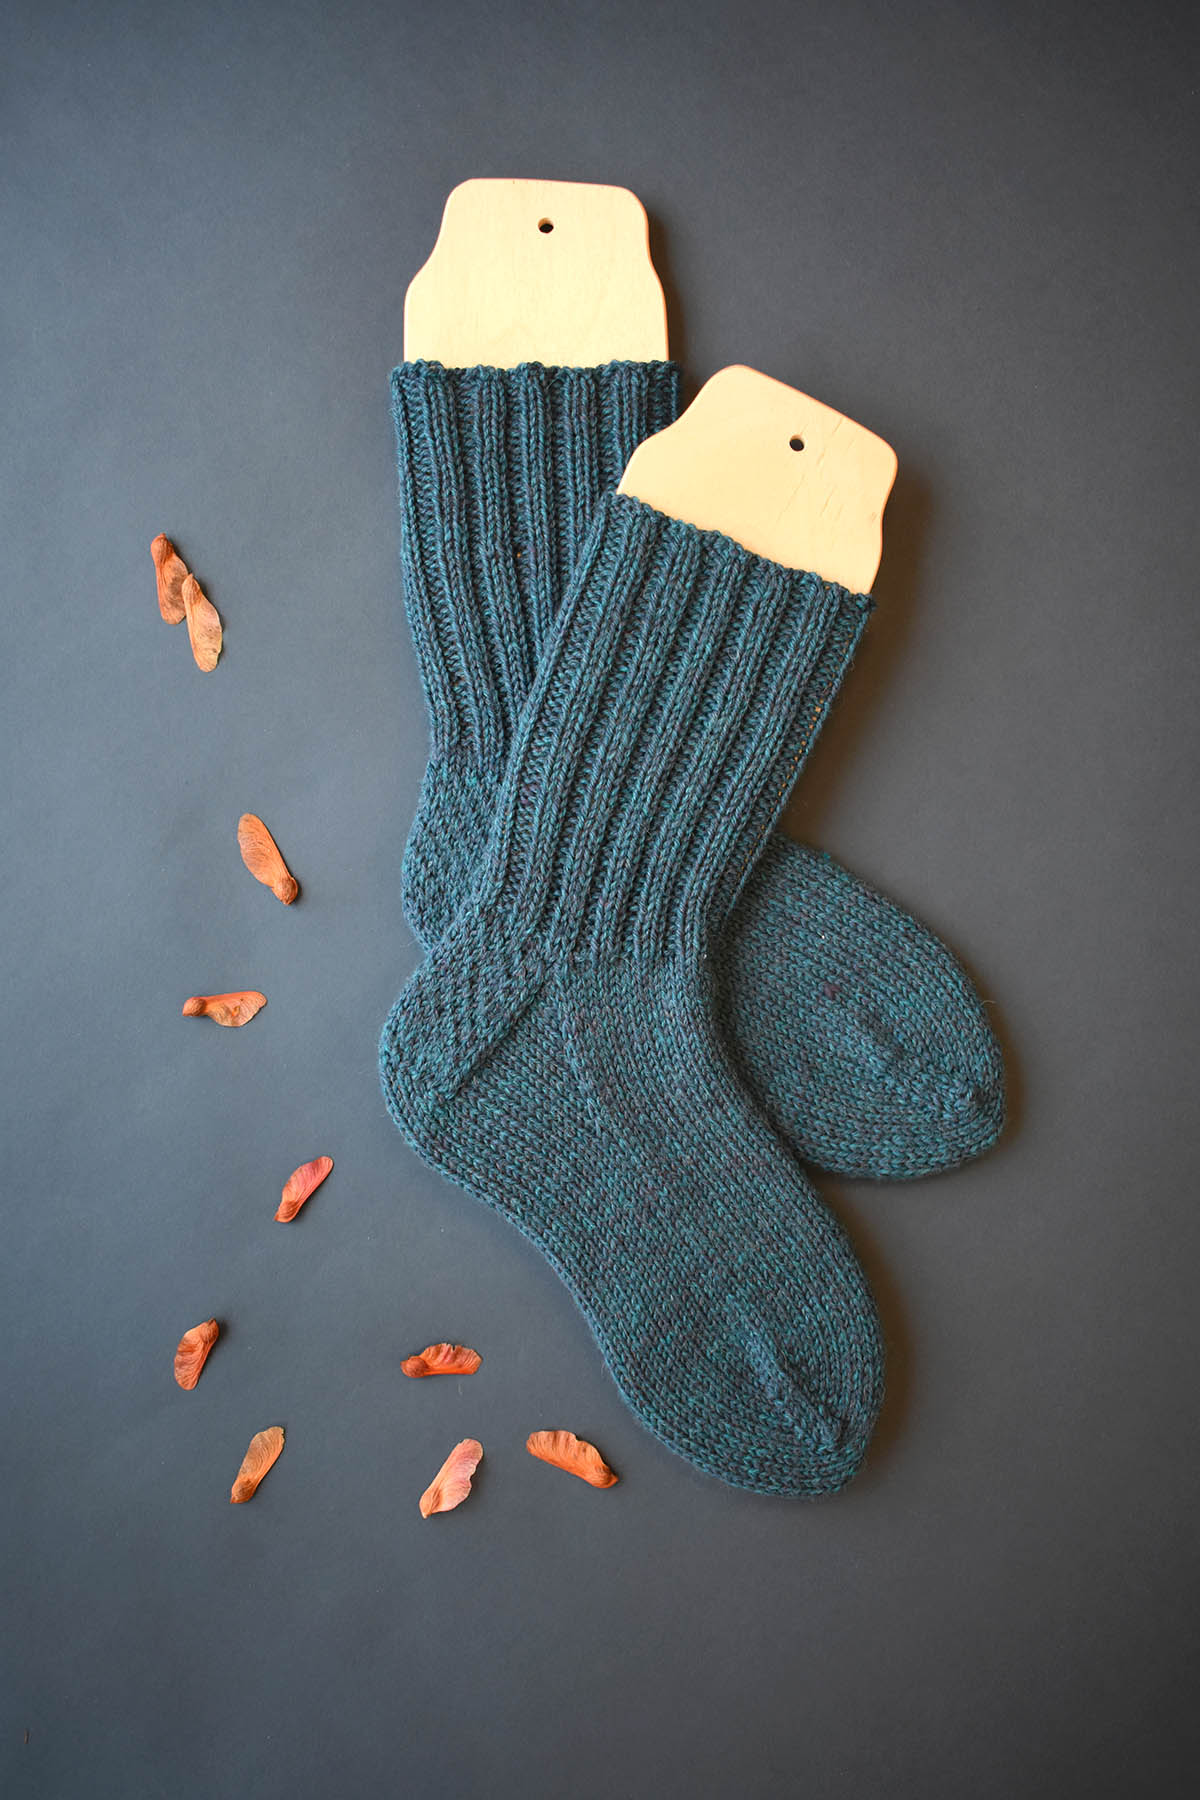
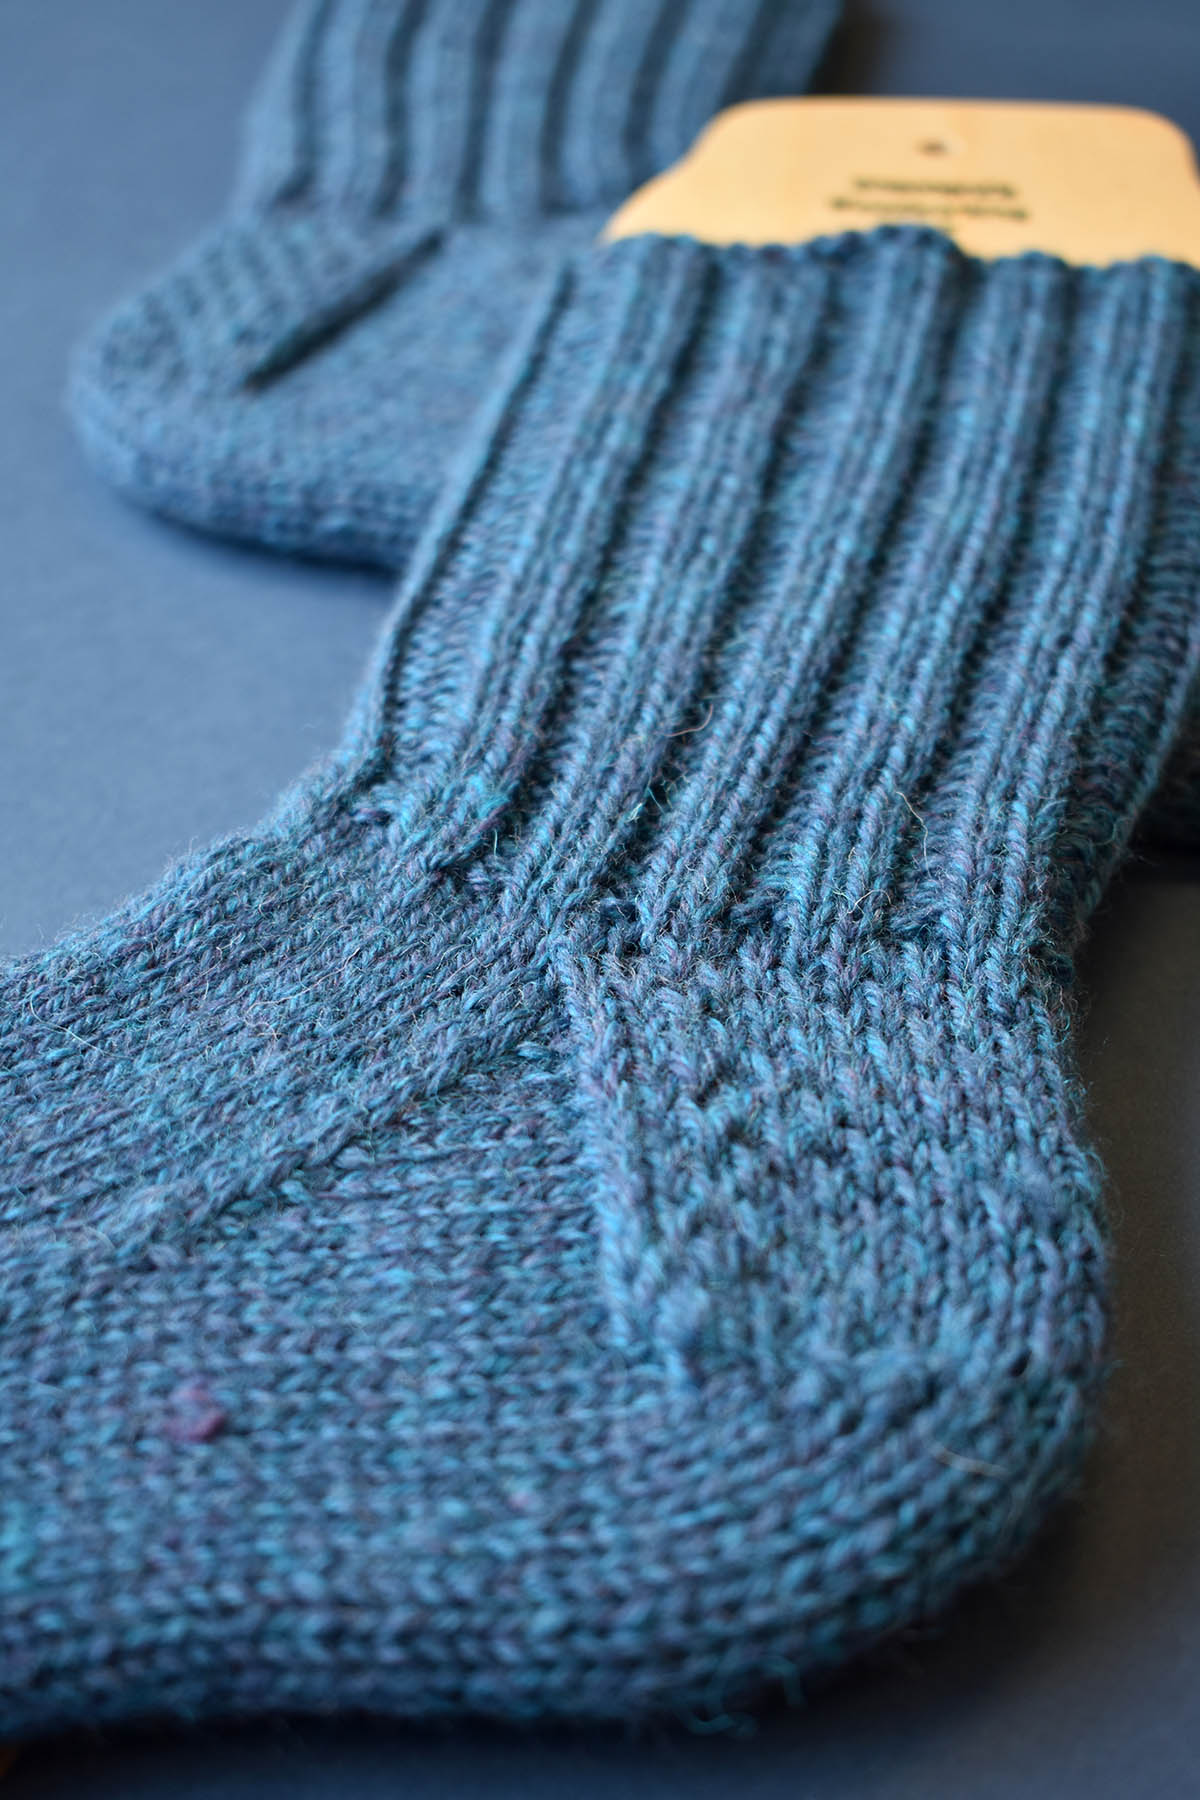
Today, Towanda Socks in Deluxe DK Superwash (pattern link here).
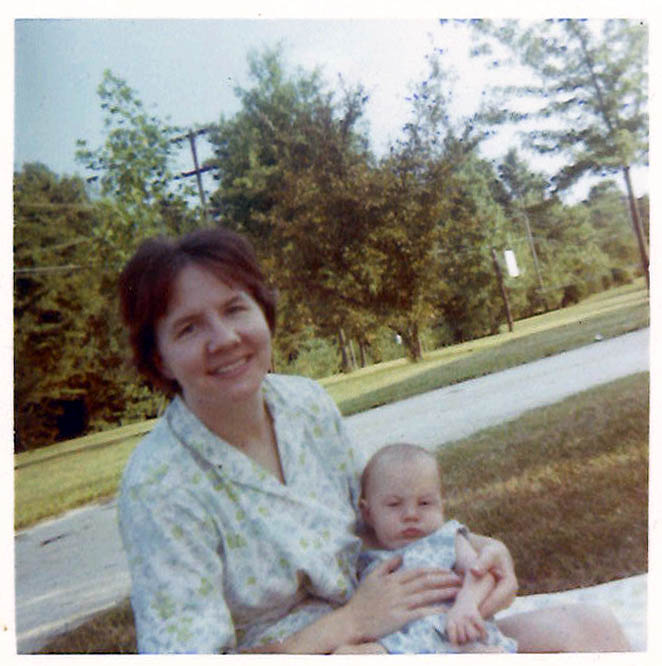
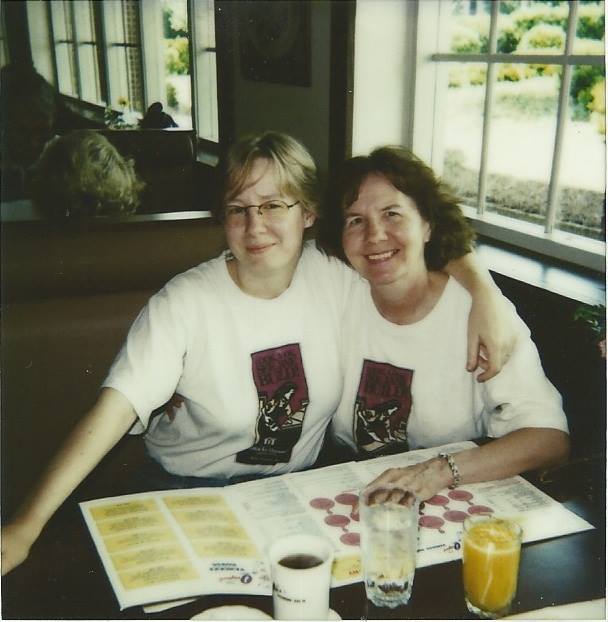
I’ve written before about making socks for my dad, but I’m not sure I’ve mentioned my mother. So, everybody say hi to my mom!
Hi, Mom!
Yes, the baby is me. There aren’t enough good adjectives to describe my mom, so we’re just going to go with “amazing.” In writing this, I backspaced over at least 20 astounding things that she’s done that demonstrate her incredible character, but none of those really capture it, so let’s just go with “amazing” and move on. I could wax rhapsodic about my mom all day, and we have socks to talk about!
I knitted my very first pair of socks for my mother, over a decade ago. She treasures them, and takes excellent care of them and everything else I’ve knitted her. So to the list of her good qualities, we’ll add “knitworthy.”
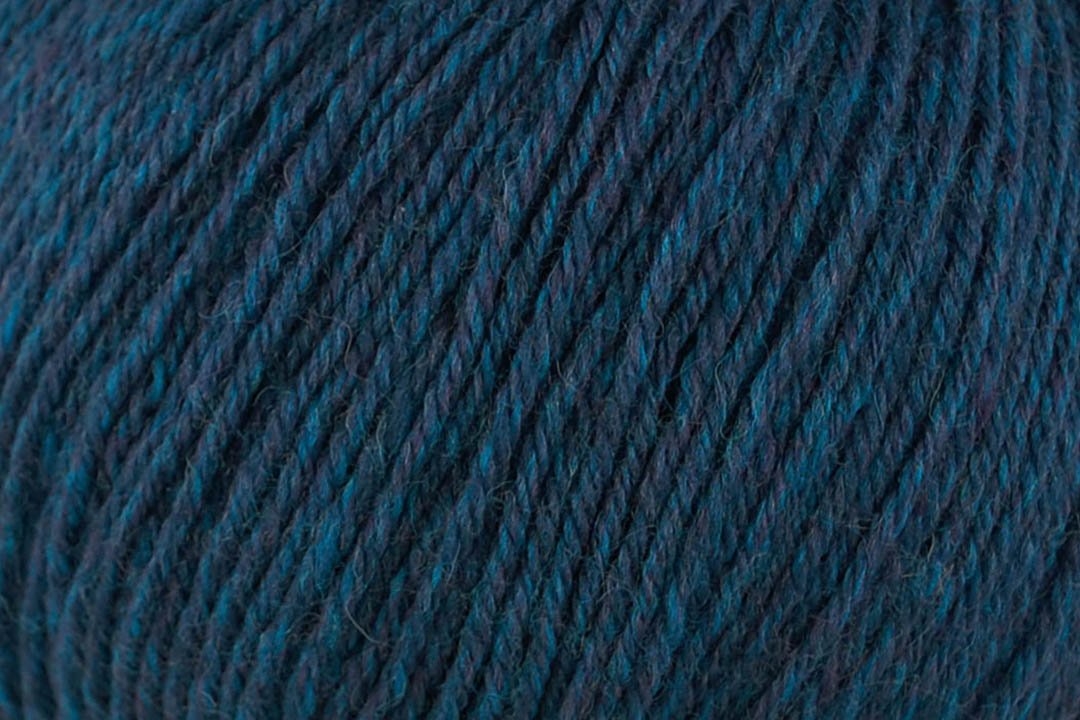
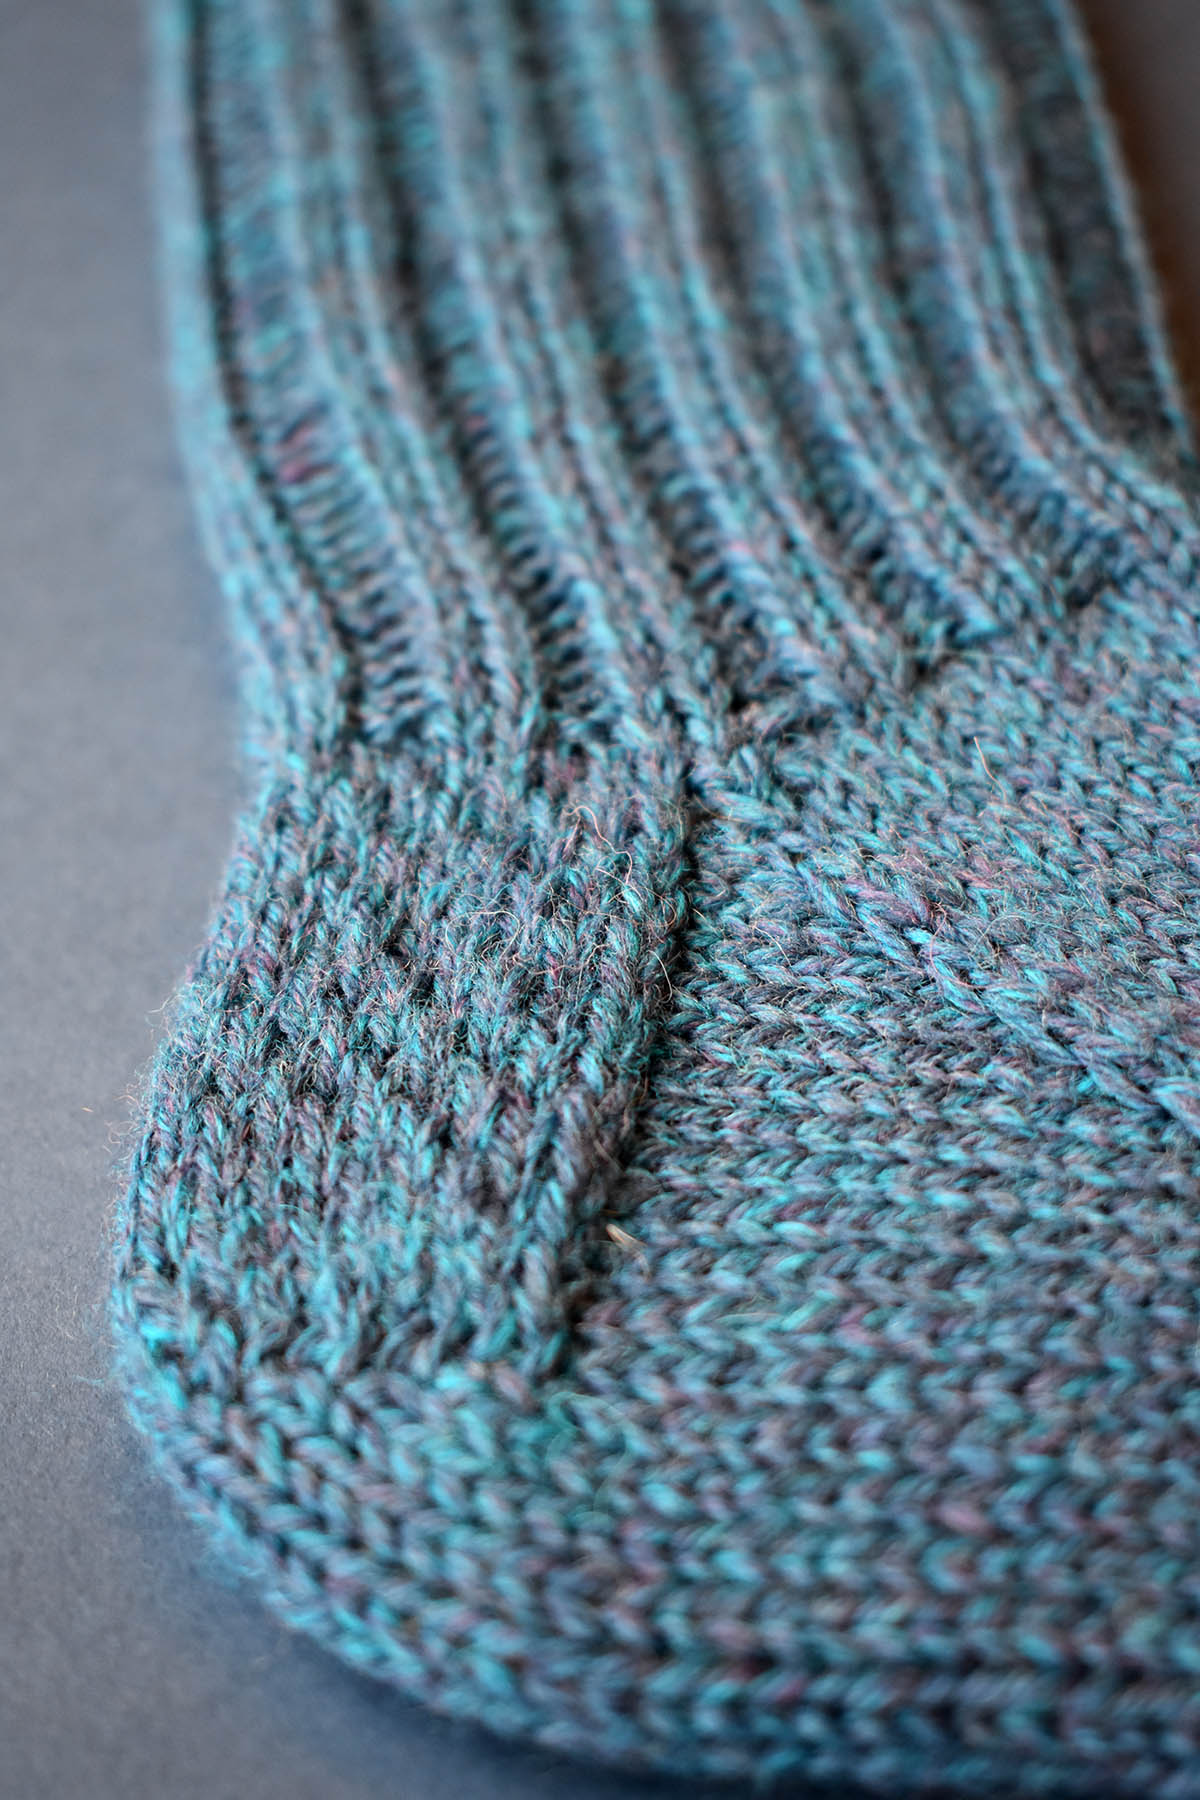
When Mom asked for a pair of basic warm house socks, I knew the perfect yarn. This isn’t the first pair I’ve made in Deluxe DK Superwash, and it won’t be the last. She also requested blue – her favorite color – so I went with 856 Teal Rustic. The rustic colors in the Deluxe Superwash yarns have great depth of color – an almost (but not quite) tweedy look.
A lovely blend of aqua, violet, and navy. Perfect.
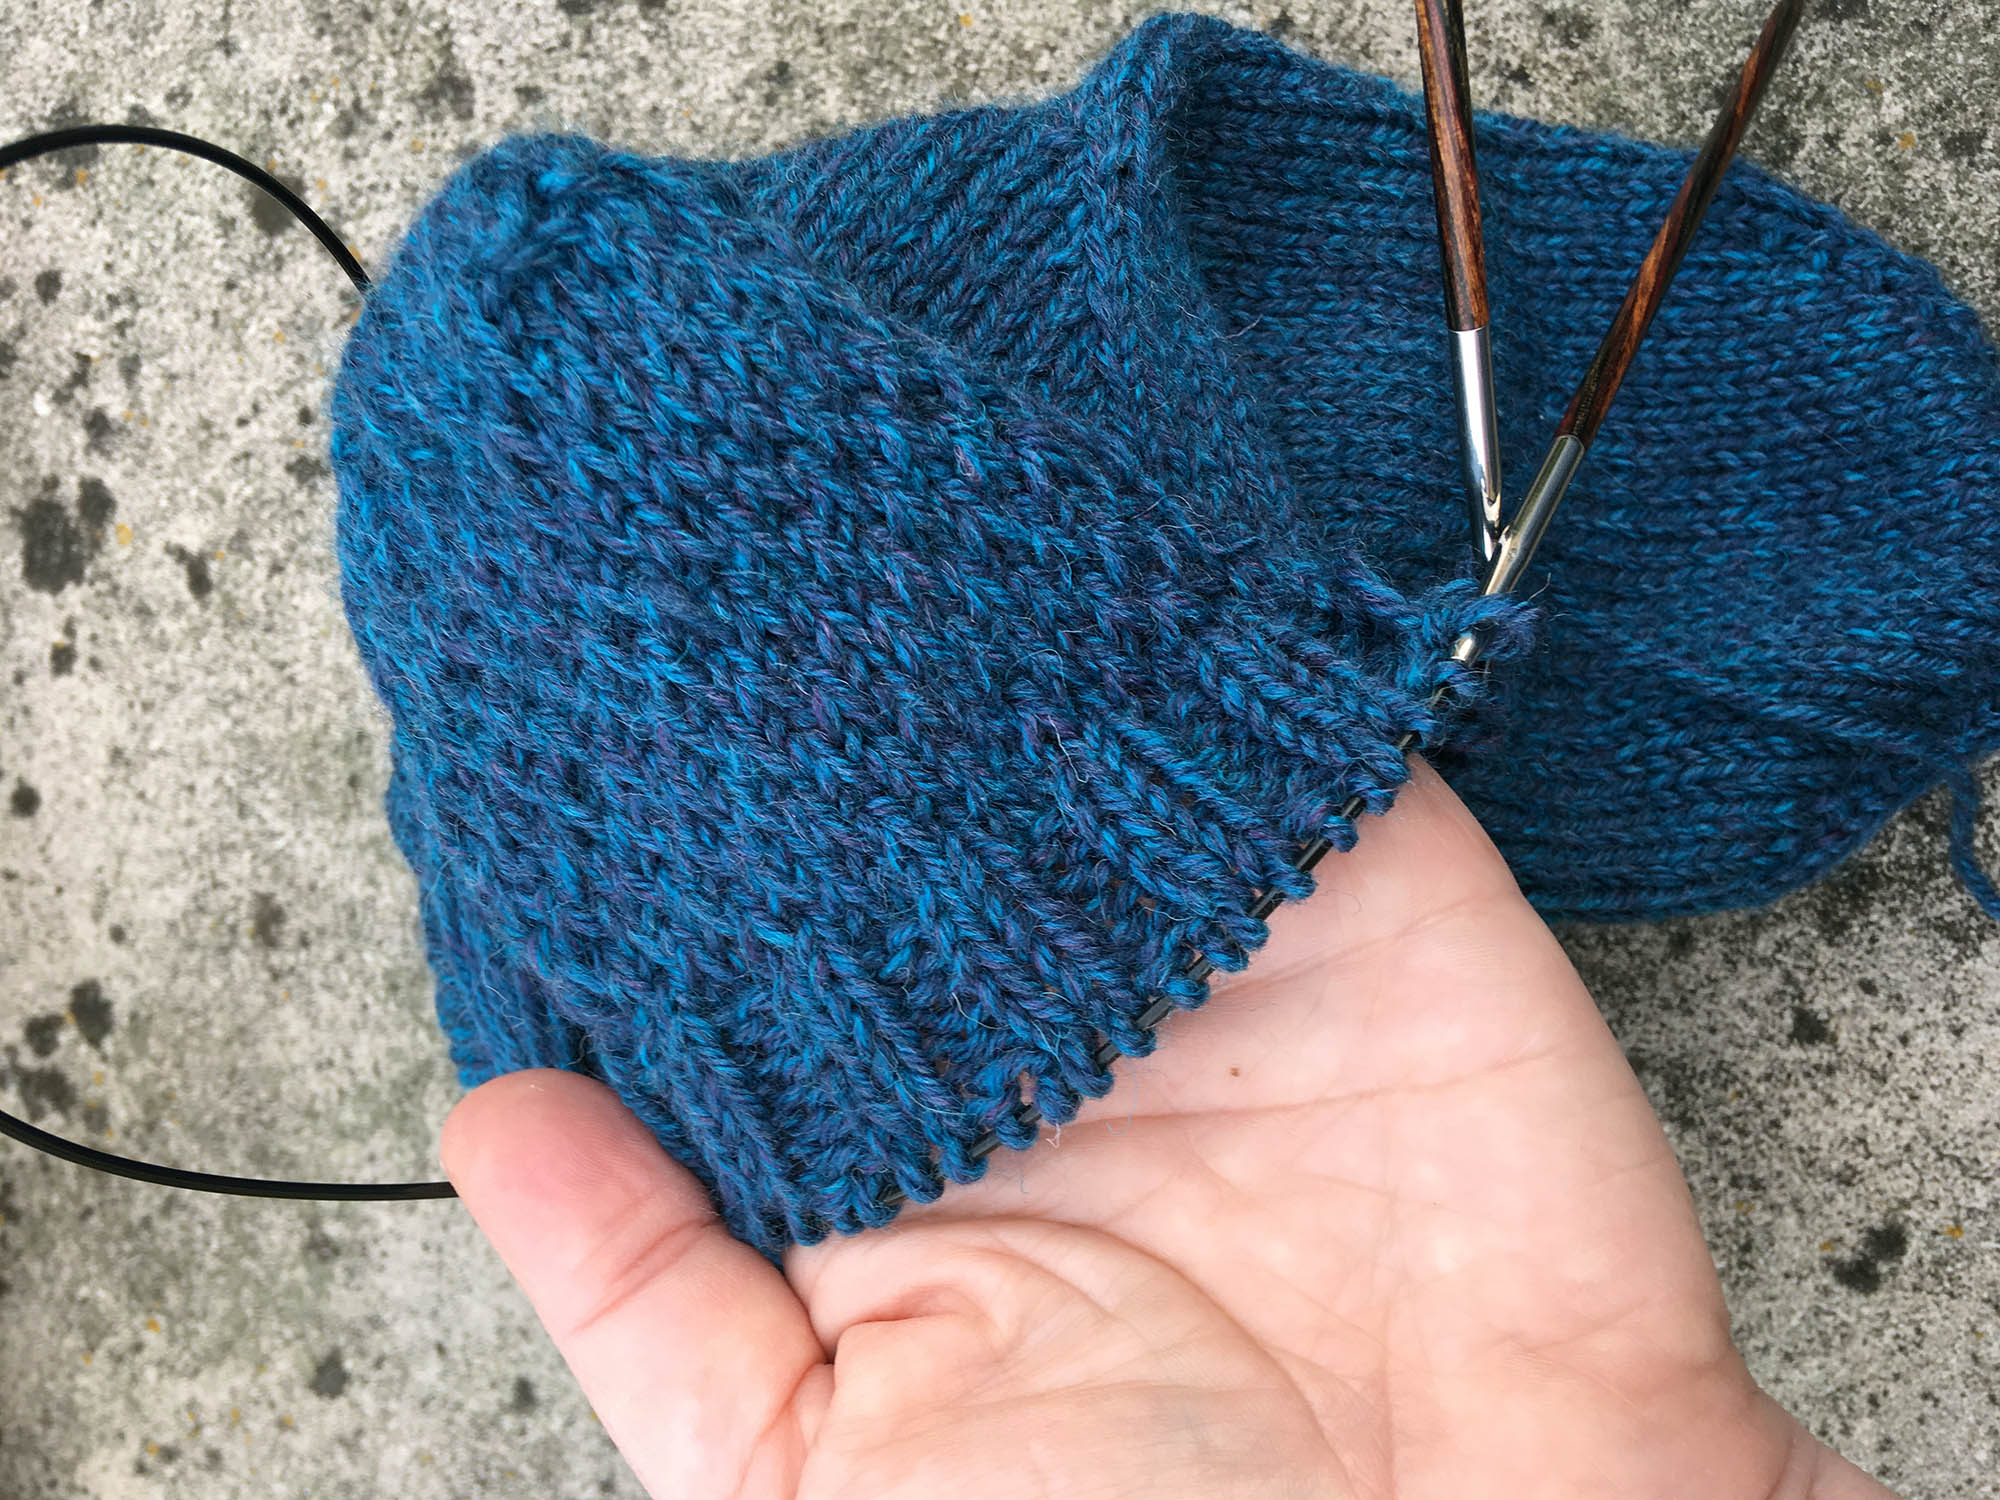
Now, I know she asked for “plain” but I felt like an eye-of-partridge heel wouldn’t be too distracting. It’s also my favorite heel, so that settled it.
Toe up, around the heel, then on to the leg!
Because these were done on US Size 4 (3.5mm) needles, they went very fast! And there’s plenty left over. Perhaps I could use that for coordinating colorwork in my own pair? Hmm…
I named these socks Towanda after her hometown in Pennsylvania, a spot we’ve visited in many happy trips. I think it’s time to go back again, for a hike in some homemade socks.
I leave you with one more picture of my mother and me, from many years ago. We were just grabbing breakfast after working on a Habitat for Humanity house, on their first all women-built home. Like I say, a very knitworthy person.
We wish you a joyous weekend, full of connections to the people you care about.
Happy crafting!
This is part 9 in a 12 part series highlighting designs from our 12 Days of Winter, Series 2 Edition.
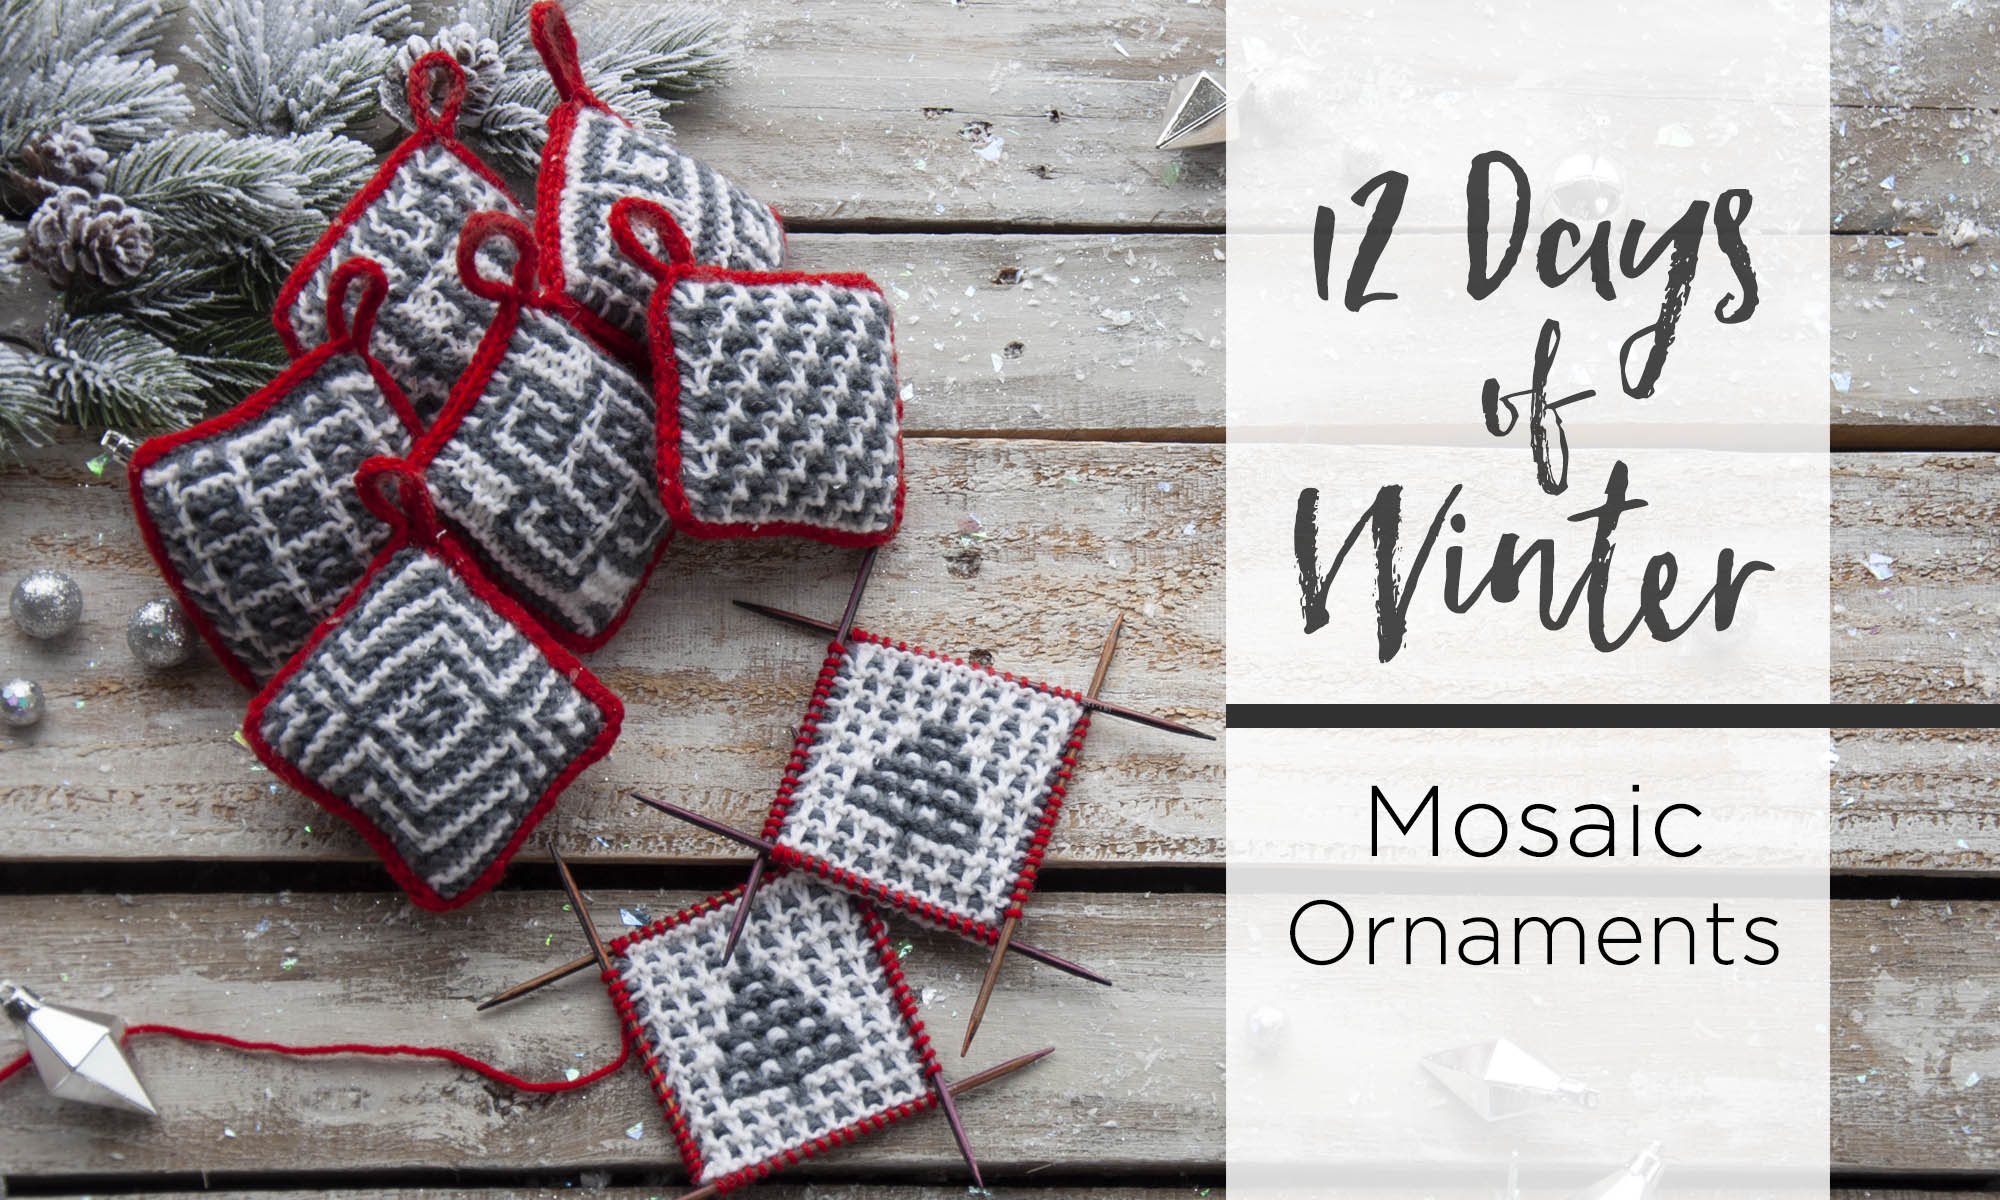
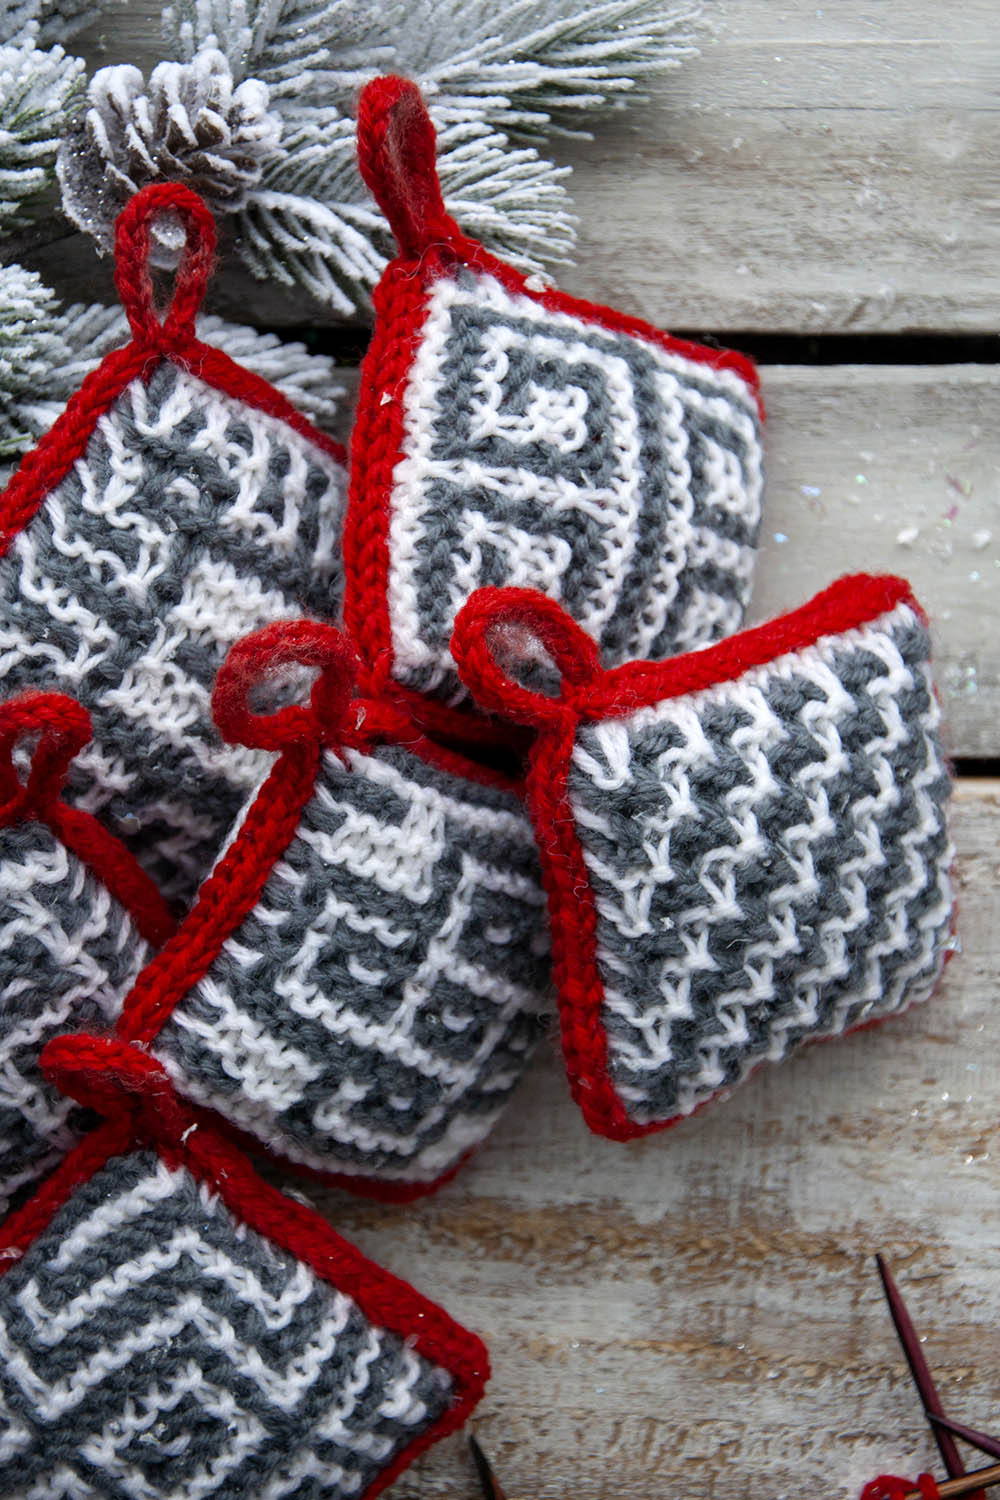
Ornaments are meant to be special. Often they are passed down to us. Perhaps they’ve been collected from some treasured place, or maybe they are handmade. After all, what is more charming than lovingly made handmade items?
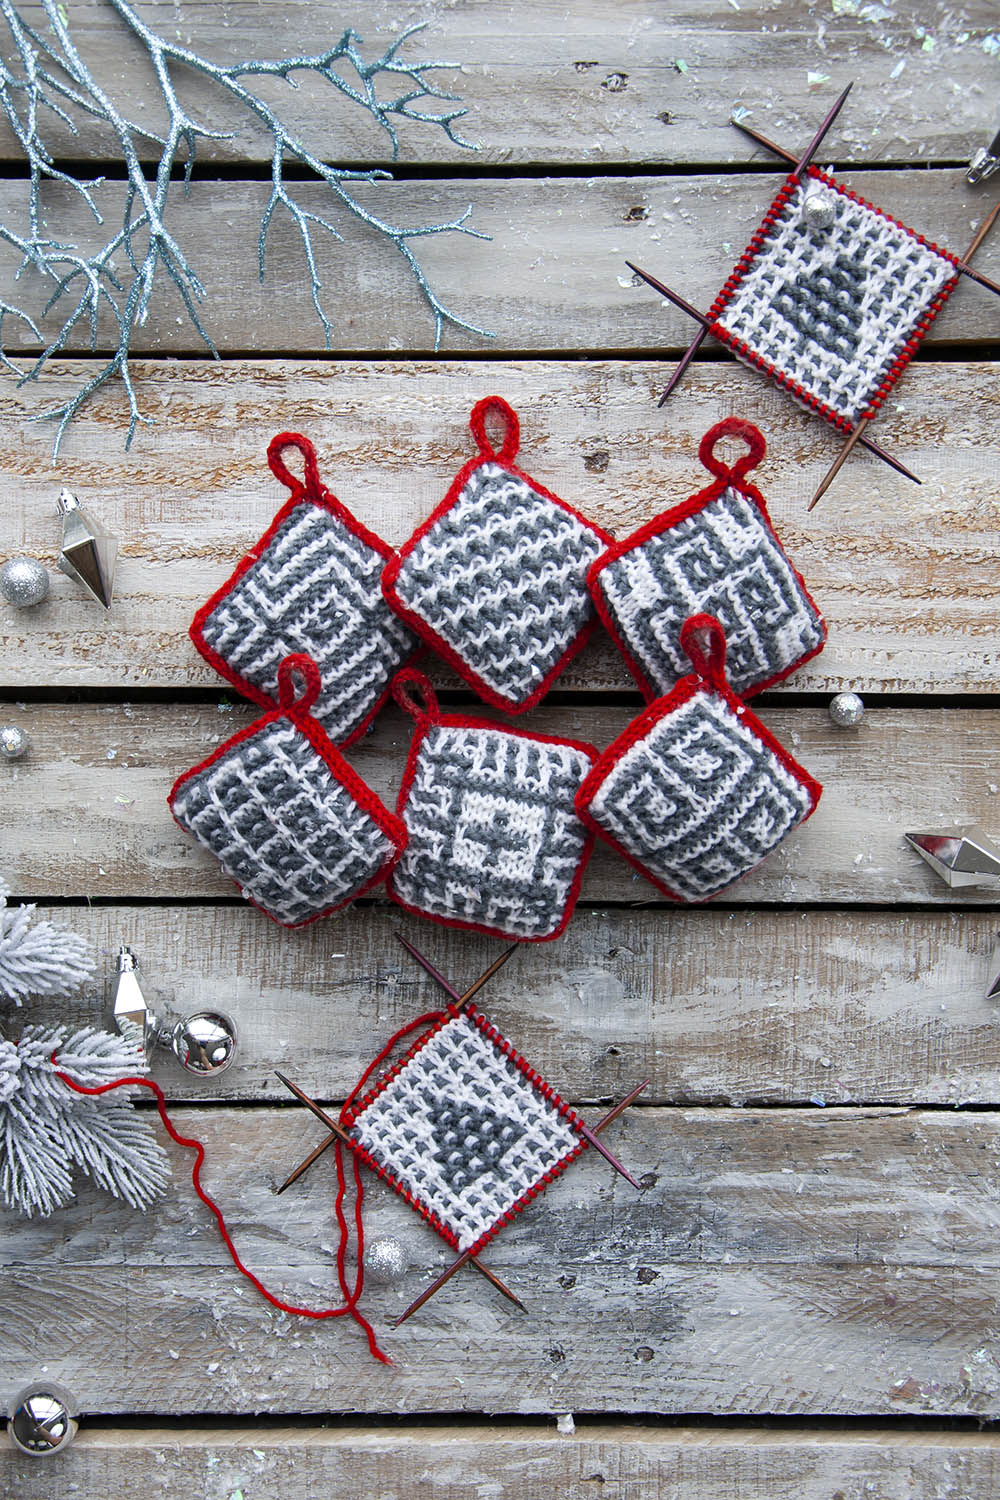
The Mosaic Ornaments pattern calls for 3 balls (1 of each color) of Deluxe DK Superwash. Though there are seven different mosaic designs included in the pattern, the yarn amounts are enough to make at least 40 ornaments. Quite a bargain, eh?
Each ornament begins by knitting the two sides separately. They are then joined with a three-needle I-Cord bind-off. Sound tough? It’s not, because I’m adding a step that takes this from a three-needle bind-off to just (the usual) two needles. Keep on reading to see how I like to do it!
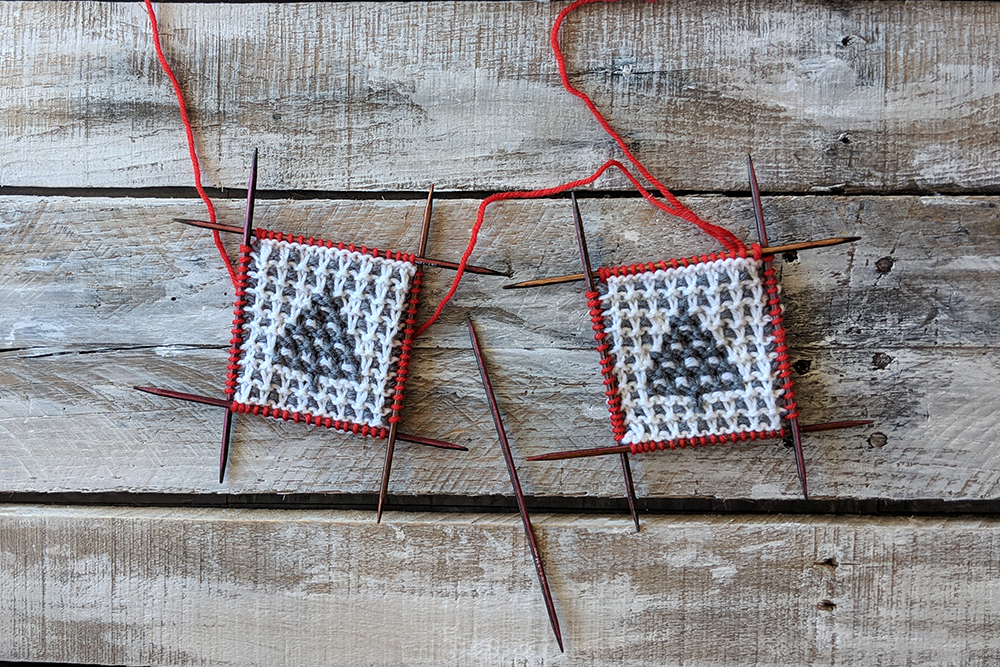
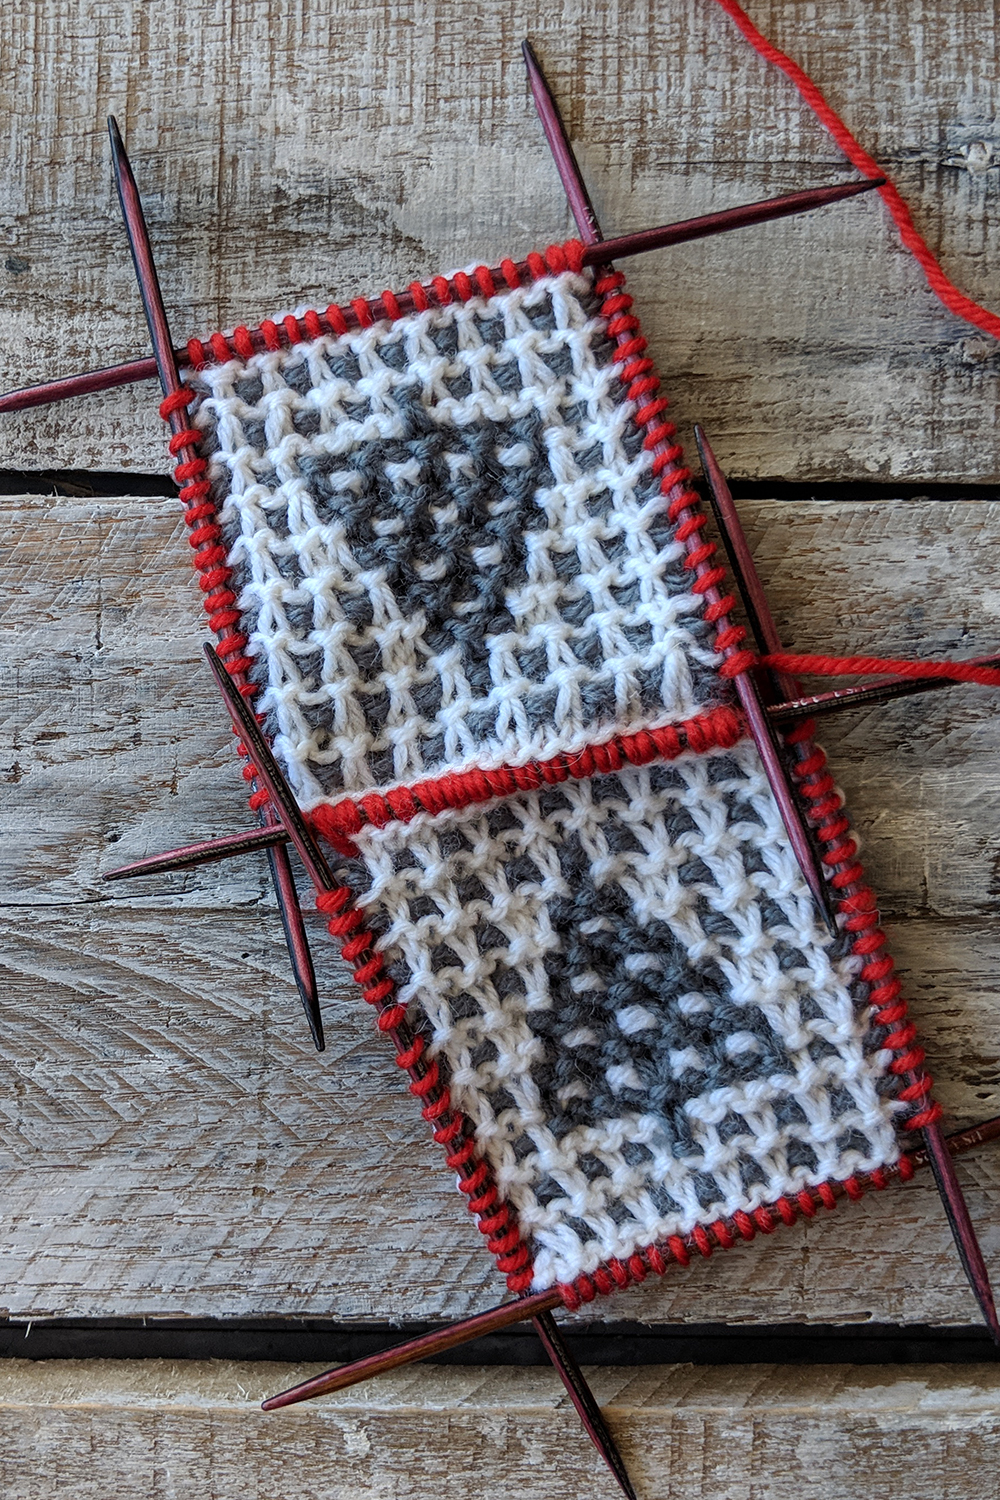
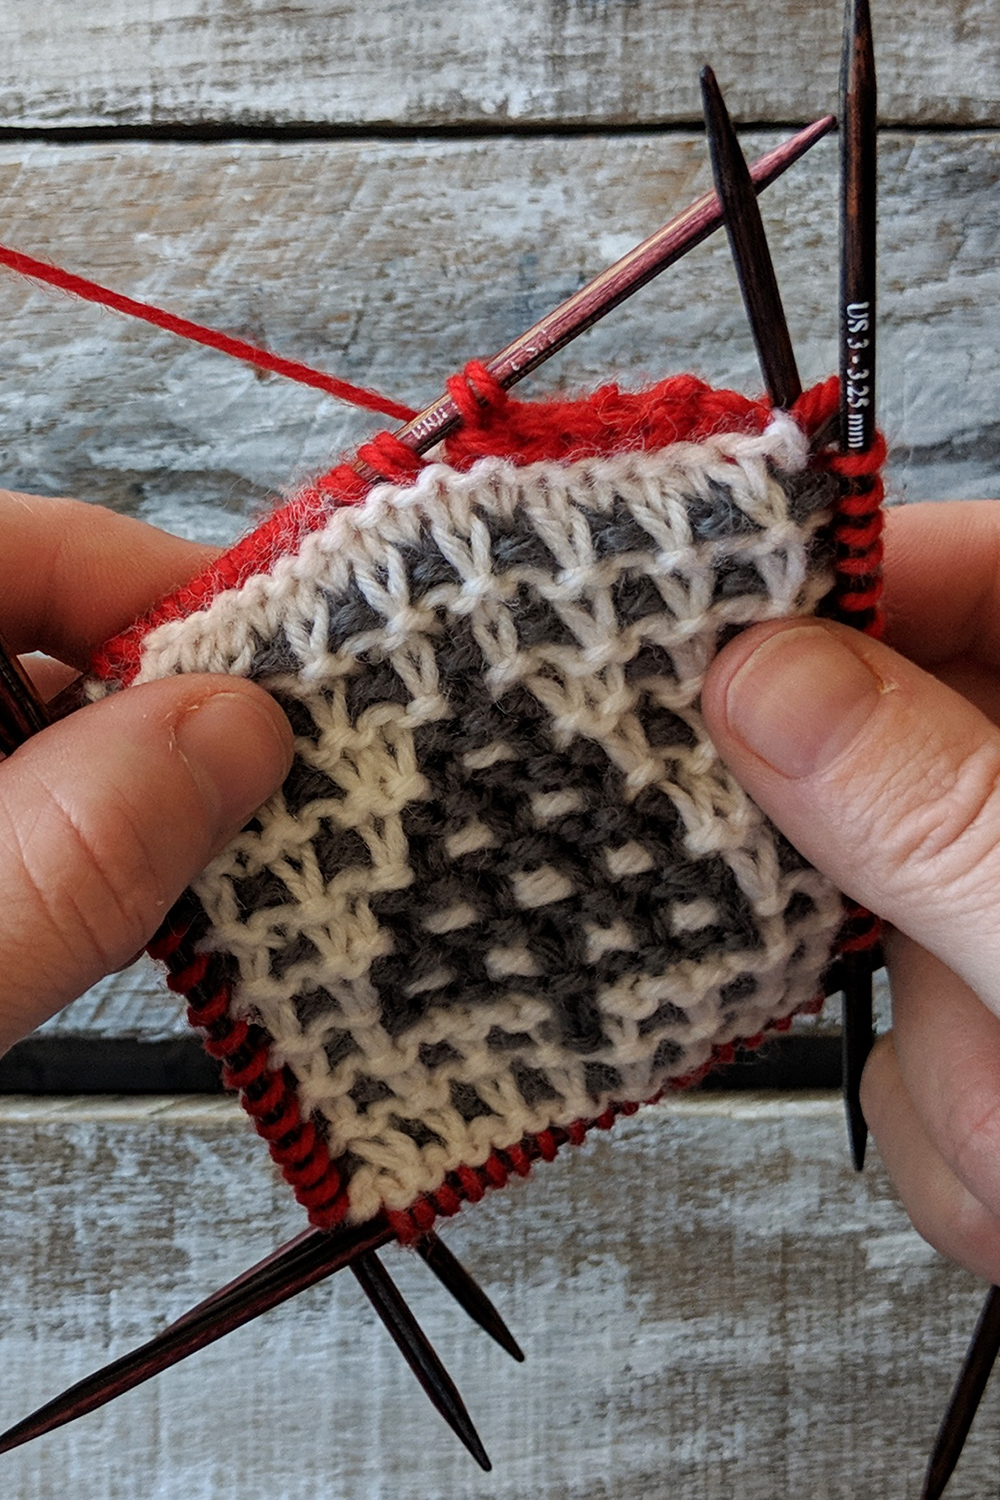
Here you can see that I have two sides of the Trees ornament, all ready to be joined.
What I haven’t shown in these images is that the first step is to pick up and knit stitches all the way around each square with the contrasting red color. So that’s where we are at now – stitches have been picked up around each square.
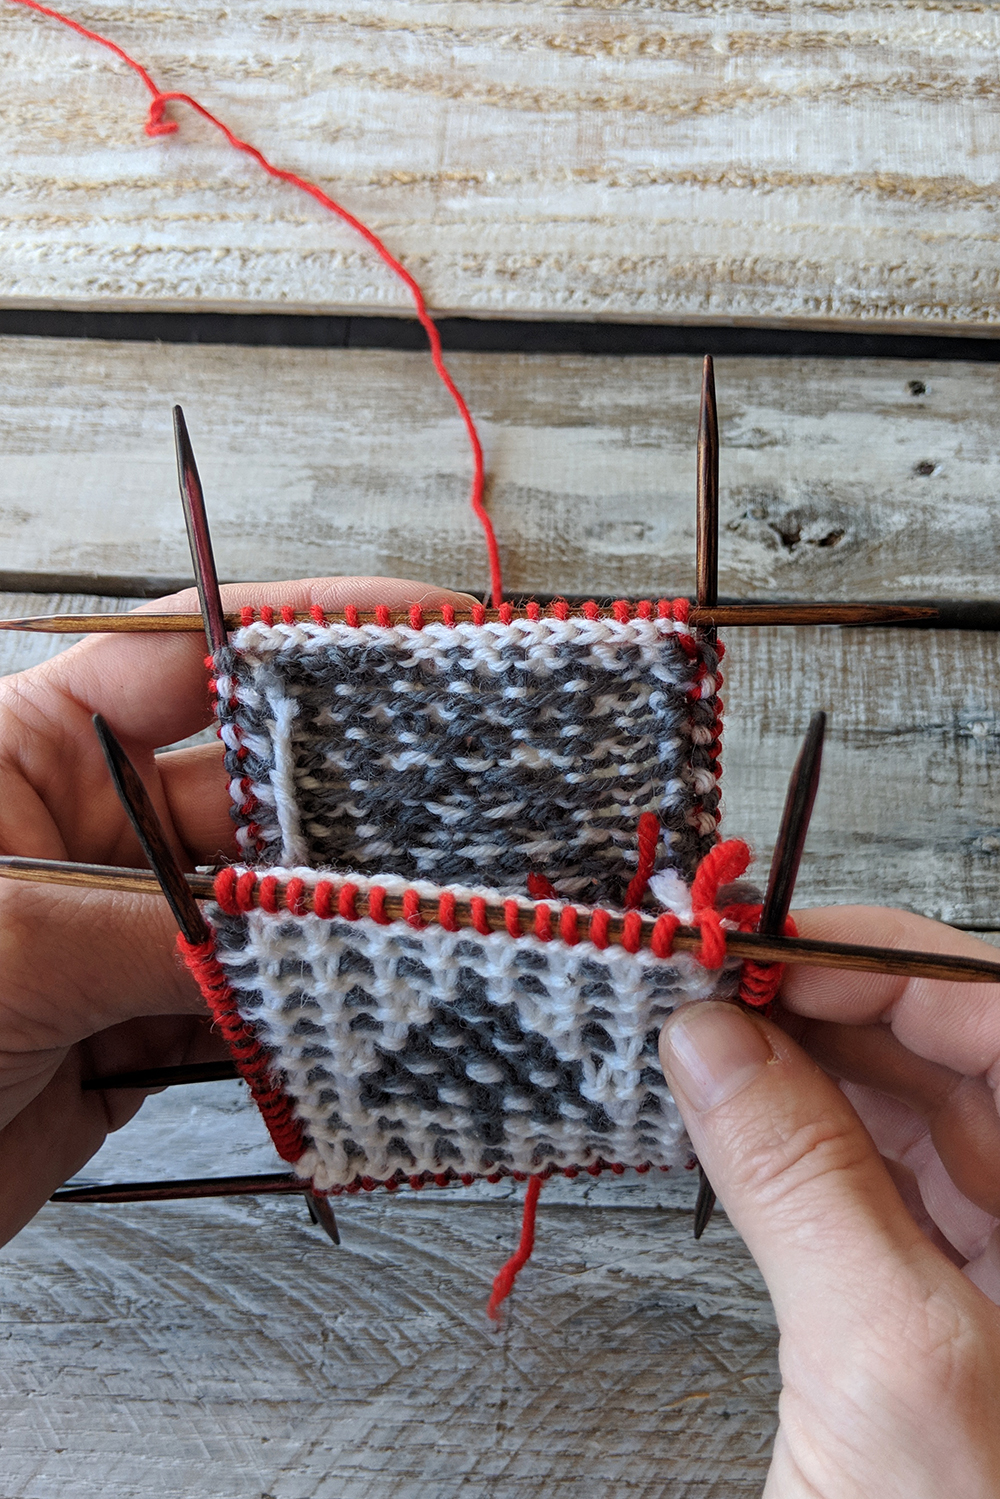
Next, place both pieces with their wrong sides facing together.
This is similar to the prep for a tubular bind-off.
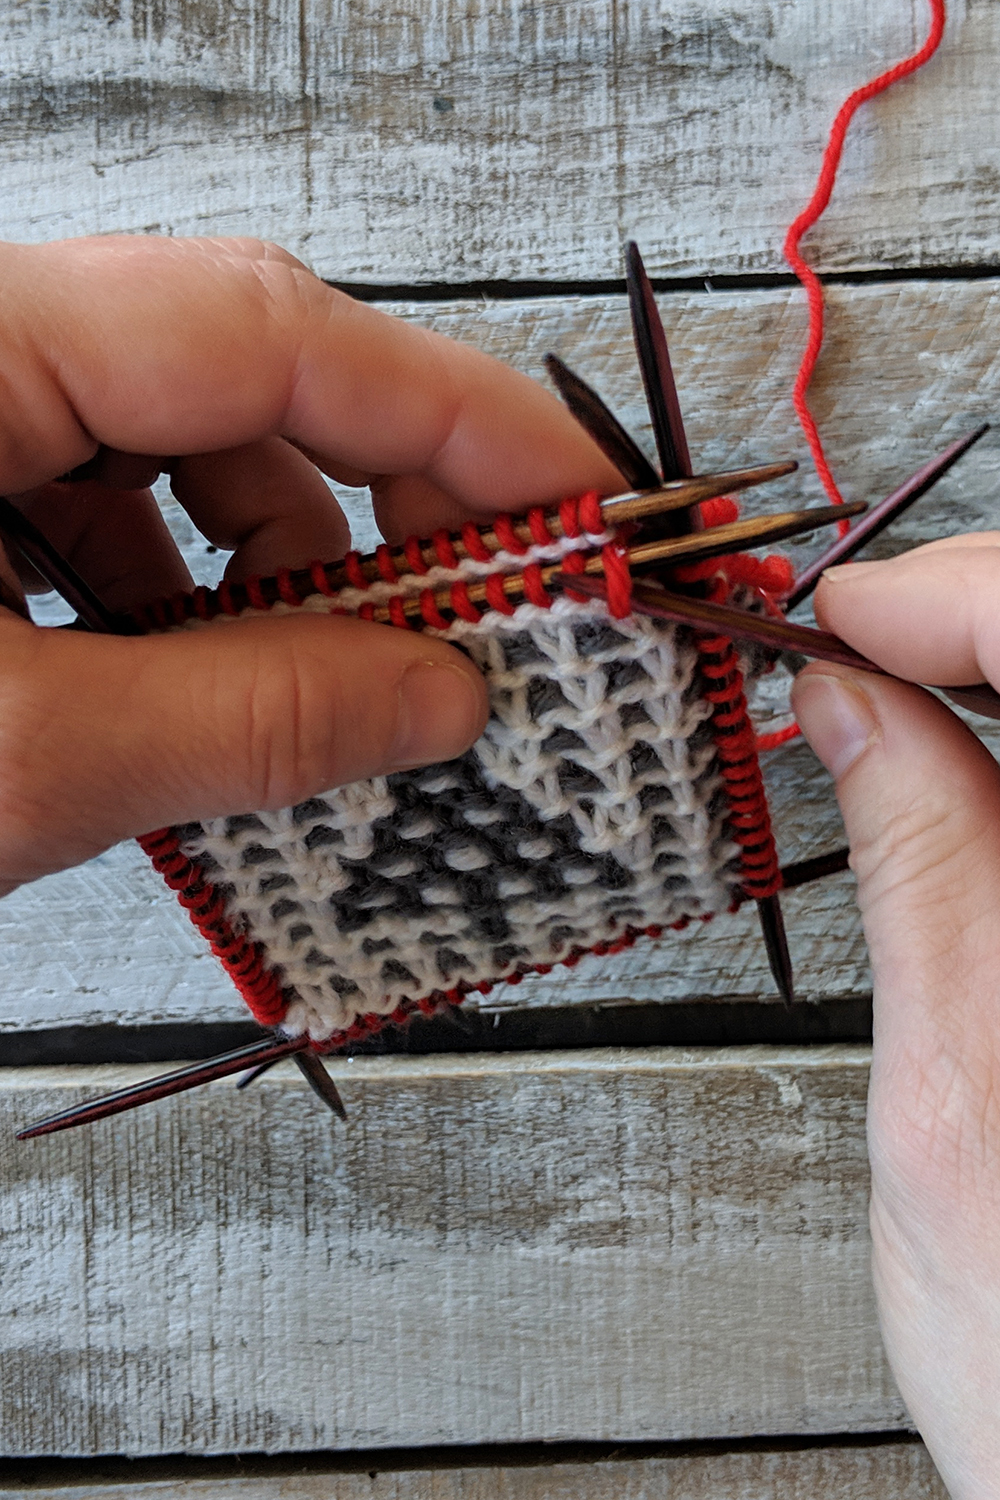
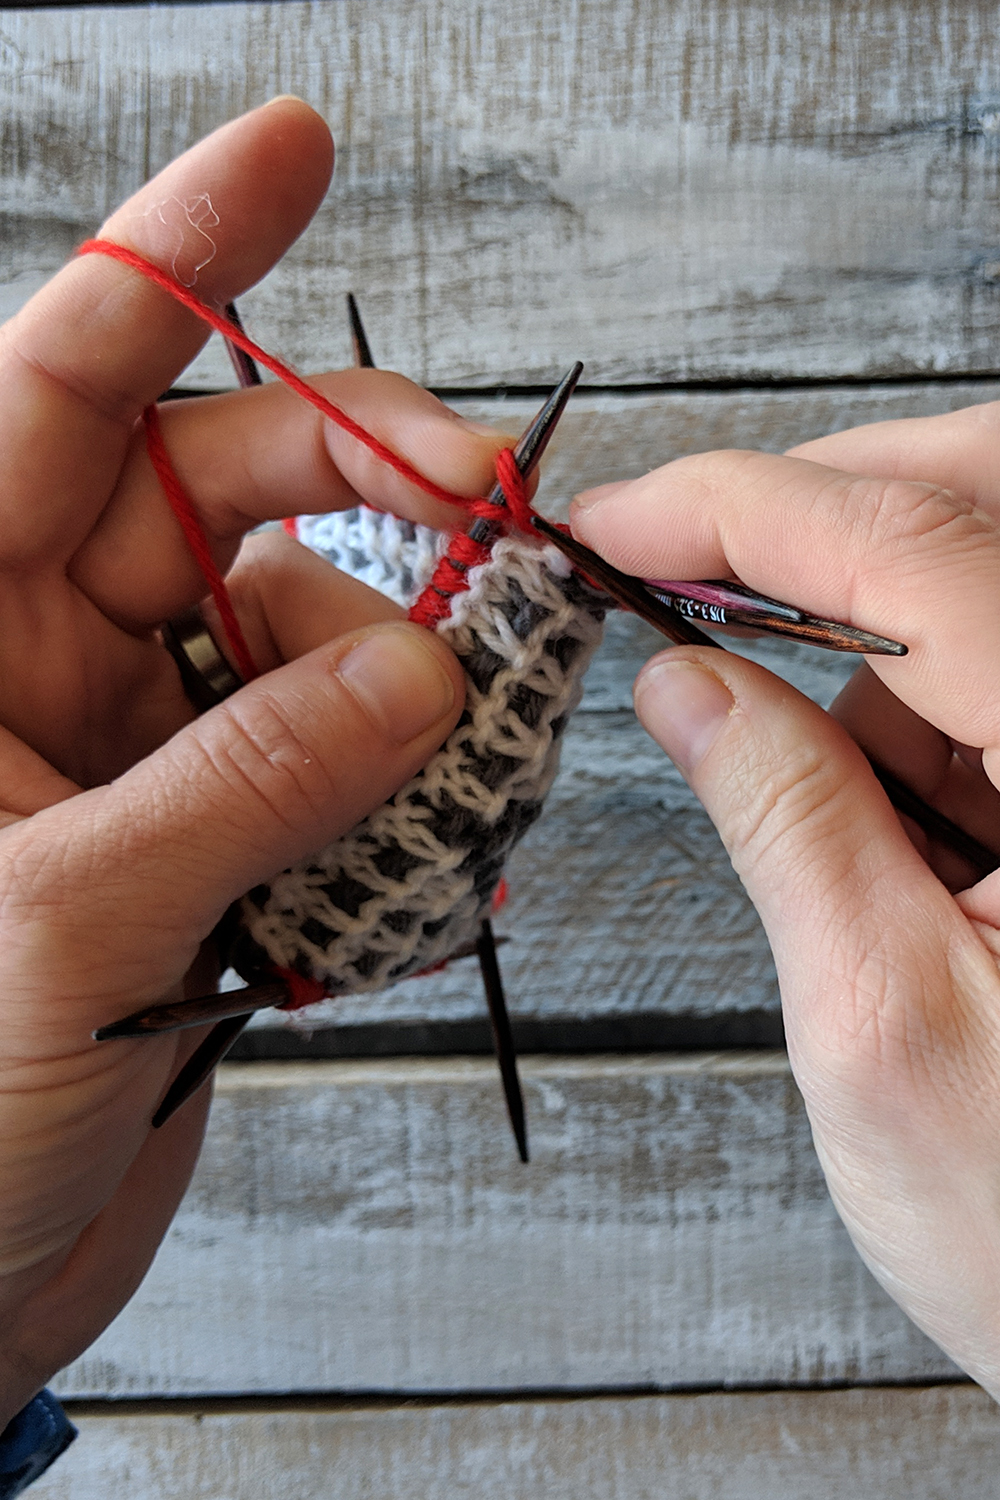
What I’m doing now is certainly not absolutely necessary, but I find it makes the process so much easier. With a separate double pointed needle (dpn), first I slide a stitch from the front needle onto the spare dpn.
Next, I slide a stitch from the back needle onto this same dpn.
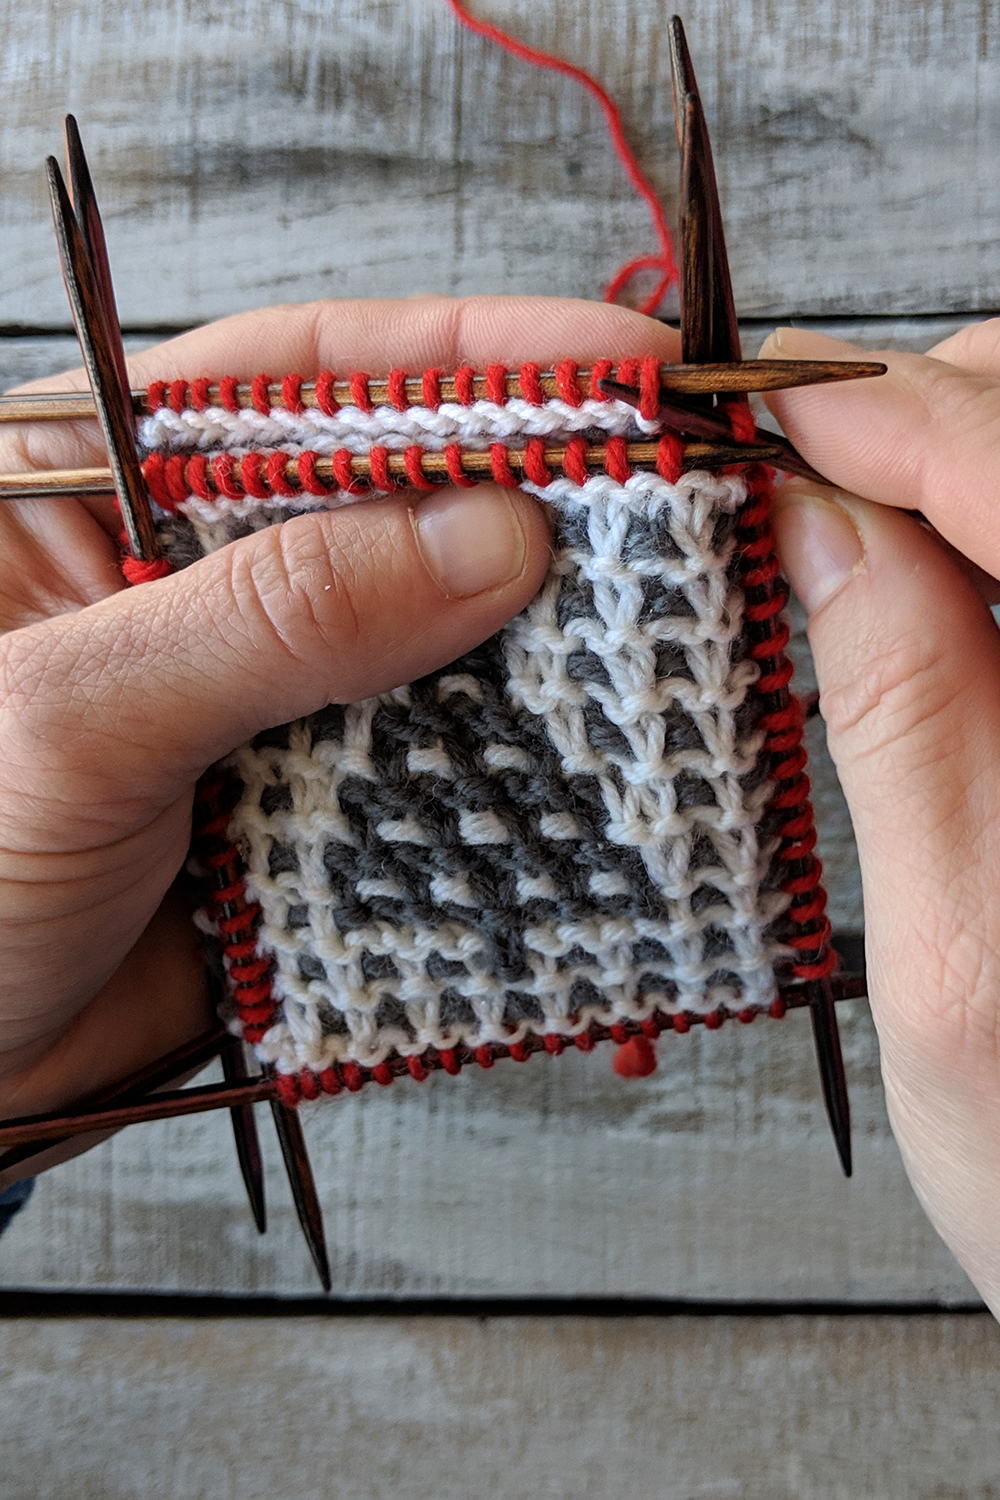
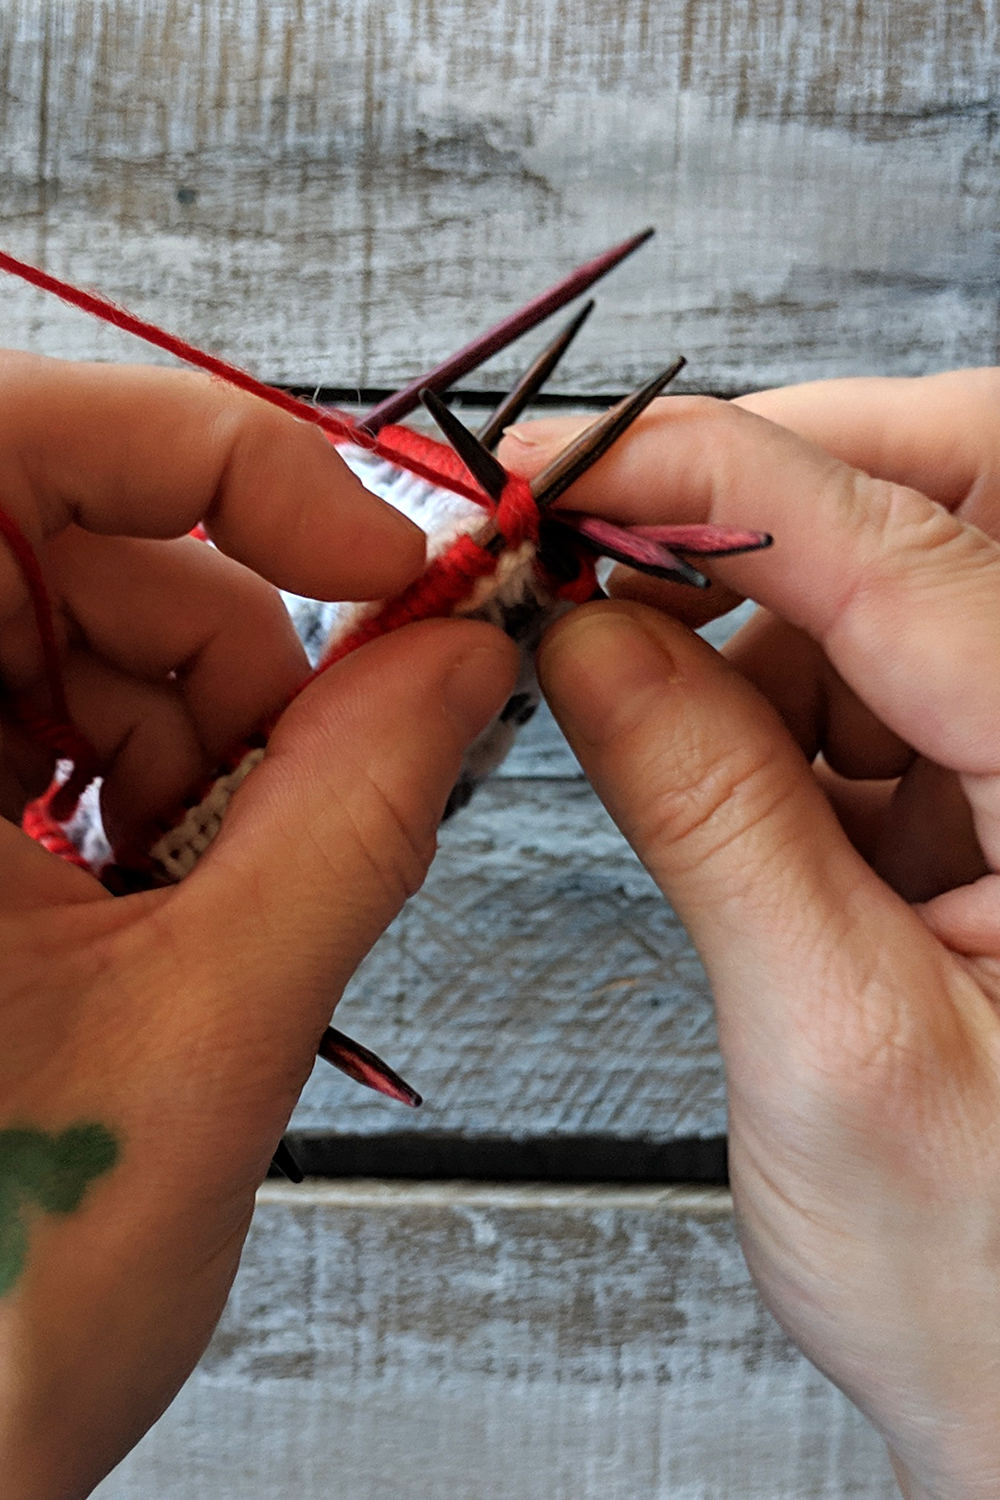
Keep going, alternating front and back needles/stitches until all stitches from one front and back needle have been transferred to the spare.
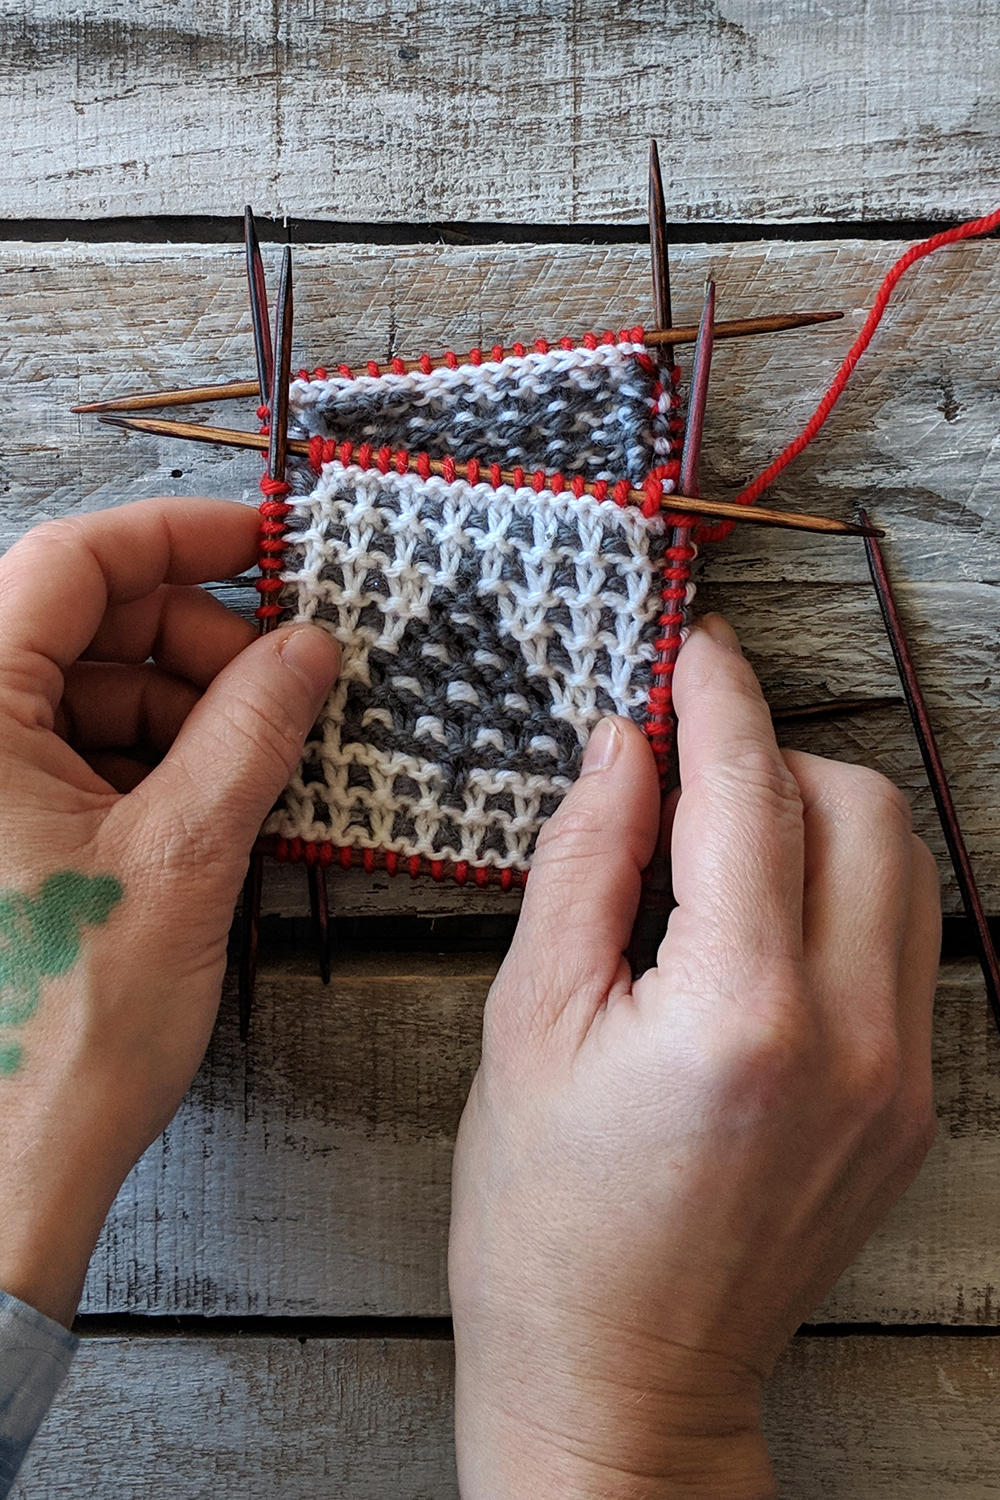
All the stitches from each needle are transferred. We’re ready to bind off!
Now that the stitches from both needles have been combined onto one needle, all we’re really doing is an I-Cord bind-off, but with one extra step.
To start, cast on two stitches using the knitted method. These are our I-Cord stitches.
Next, knit 1 (the first cast-on stitch), then k3tog tbl (knit three stitches together through the back loops). These three stitches are: the second cast-on stitch, a stitch from the prior front needle, and a stitch from the prior back needle. Slip the resulting 2 stitches back to the working left needle. Then: * K1, k3tog tbl, slip these 2 sts back to the left needle; rep from *
This baby 2-stitch I-Cord is works well to join the sides of the ornament and gives a nice finished look to the project, as well.
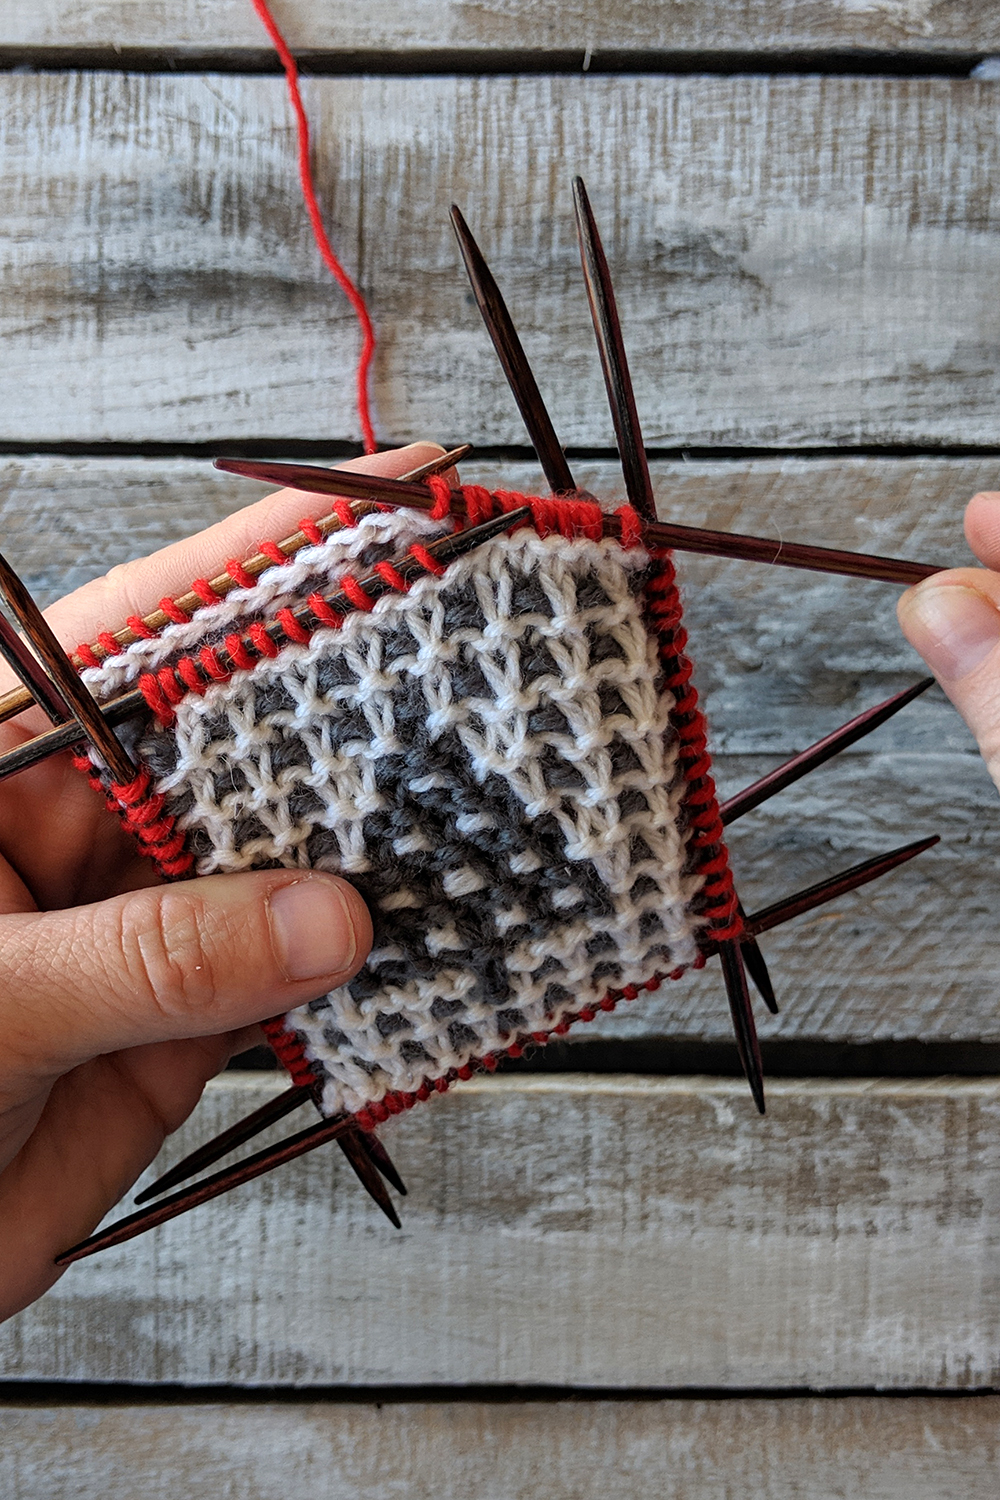
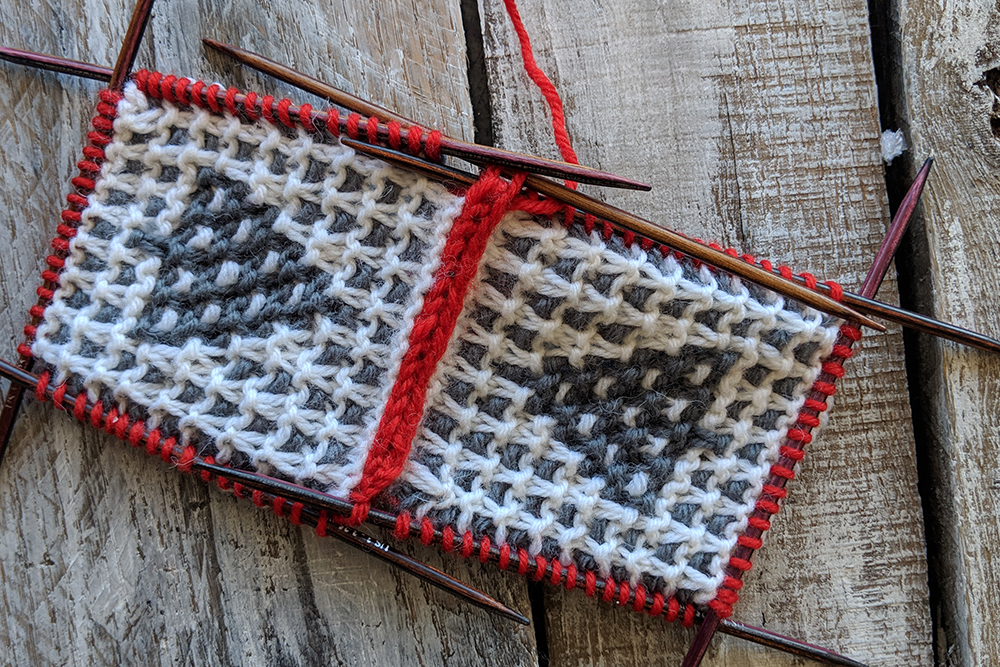
Here’s what it looks like after the side is partly joined.
All done!
Remember, you can find the Series 2 12 Days of Winter patterns on Ravelry!
It seems like autumn weather came overnight in Charlotte. One moment we were experiencing hot, humid temperatures, and today I’m sitting in my office wearing the Northbound Sweater from the Light and Shadow ebook. It’s officially sweater weather!
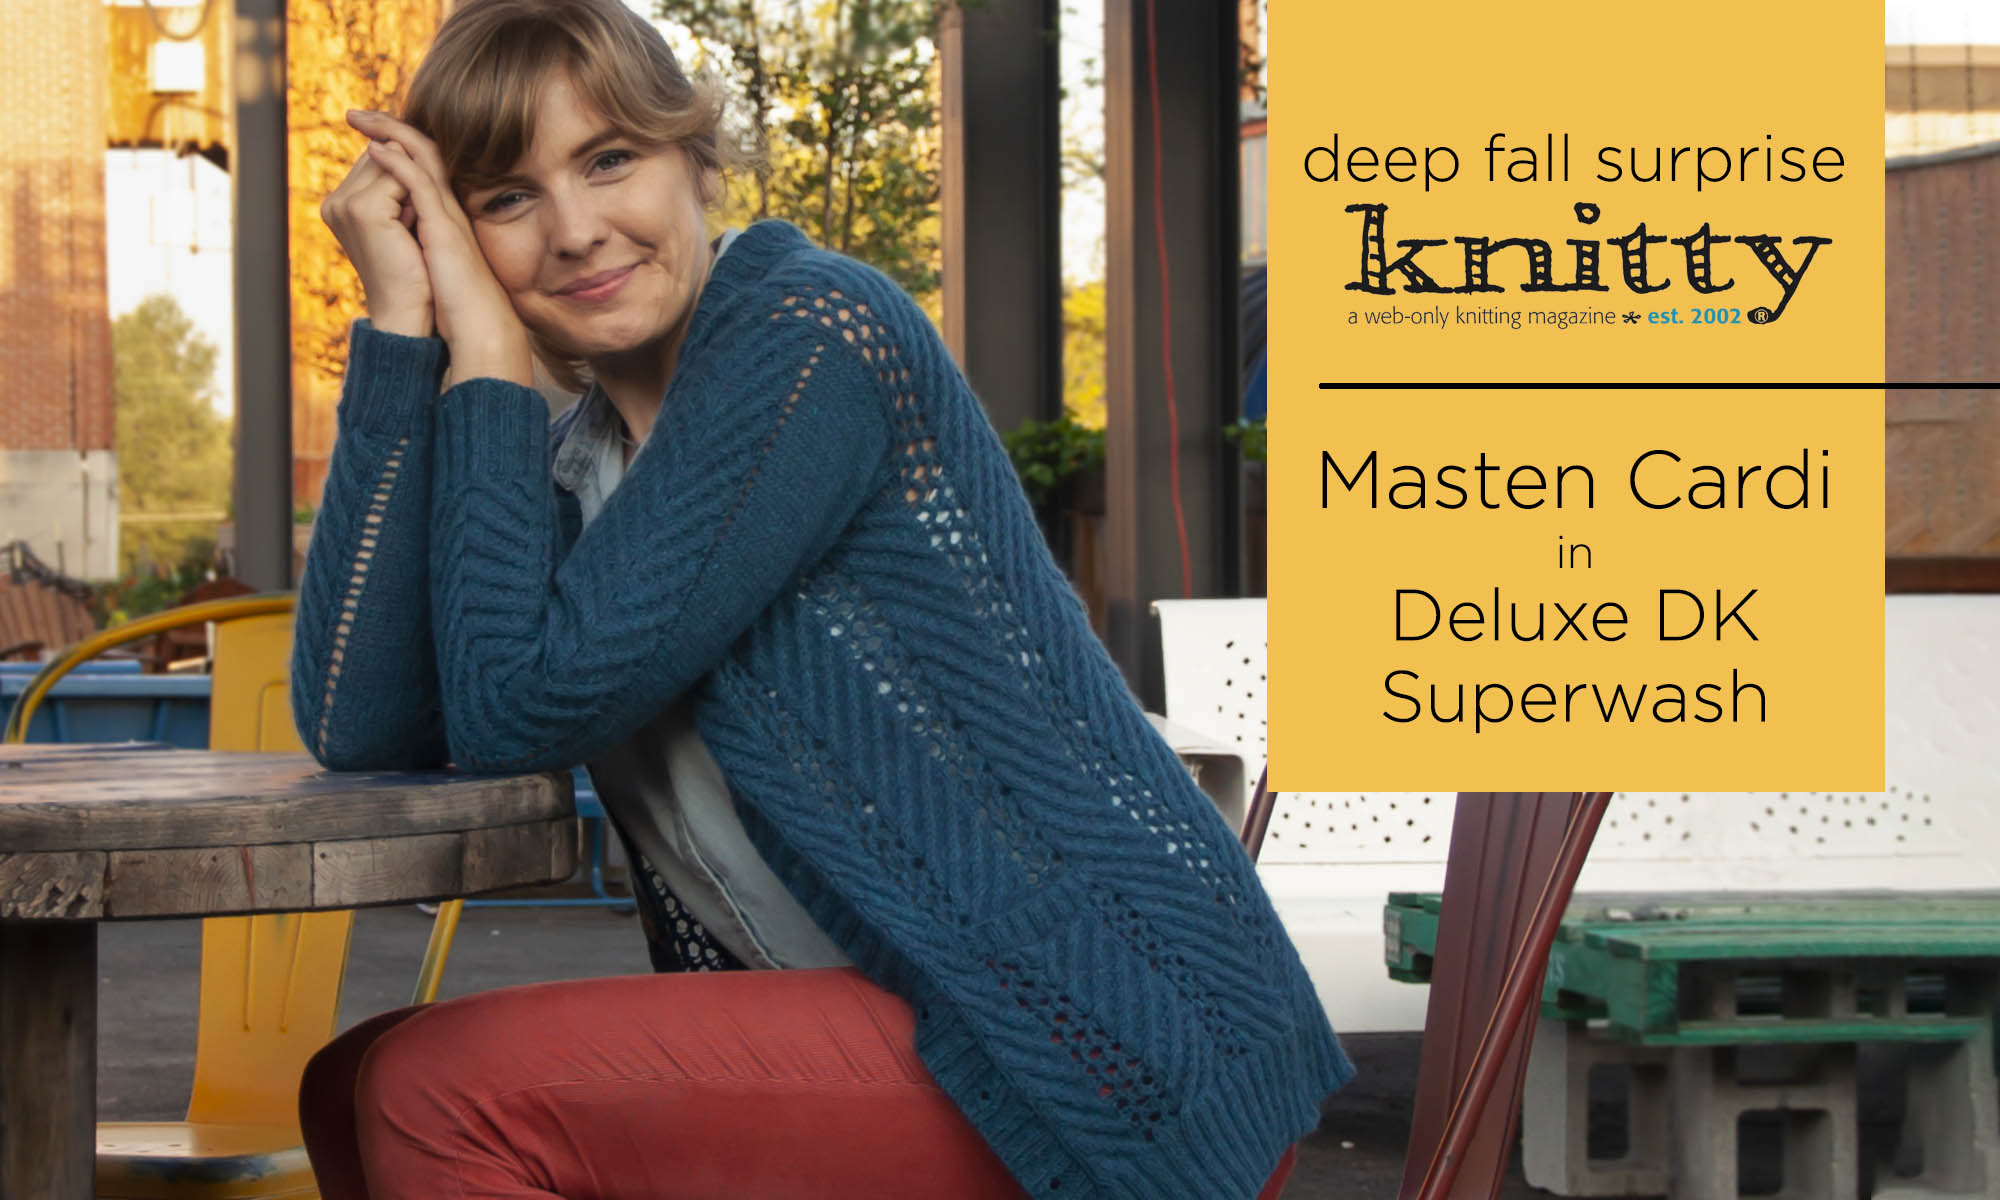
What better way to celebrate sweater weather than with a new design? I’m pretty excited to share that I contributed the Surprise to the Deep Fall issue of Knitty (link). I’d love to share a little more about this design and its inspiration.
Originally this idea was born from the idea of water, based on a submission call. I was really happy with the idea, so when Amy and Jillian of Knitty gave me the opportunity to explore that idea further, I was thrilled. And so, the Masten Cardigan was born. I chose Deluxe DK Superwash for this project because I wanted it to be light yet warm, hard-wearing yet comfortable against my skin. It’s a great yarn for it, and I know this design will be a favorite for years to come.
Amy Gunderson captured the face of a thrilled Rachel Brockman.
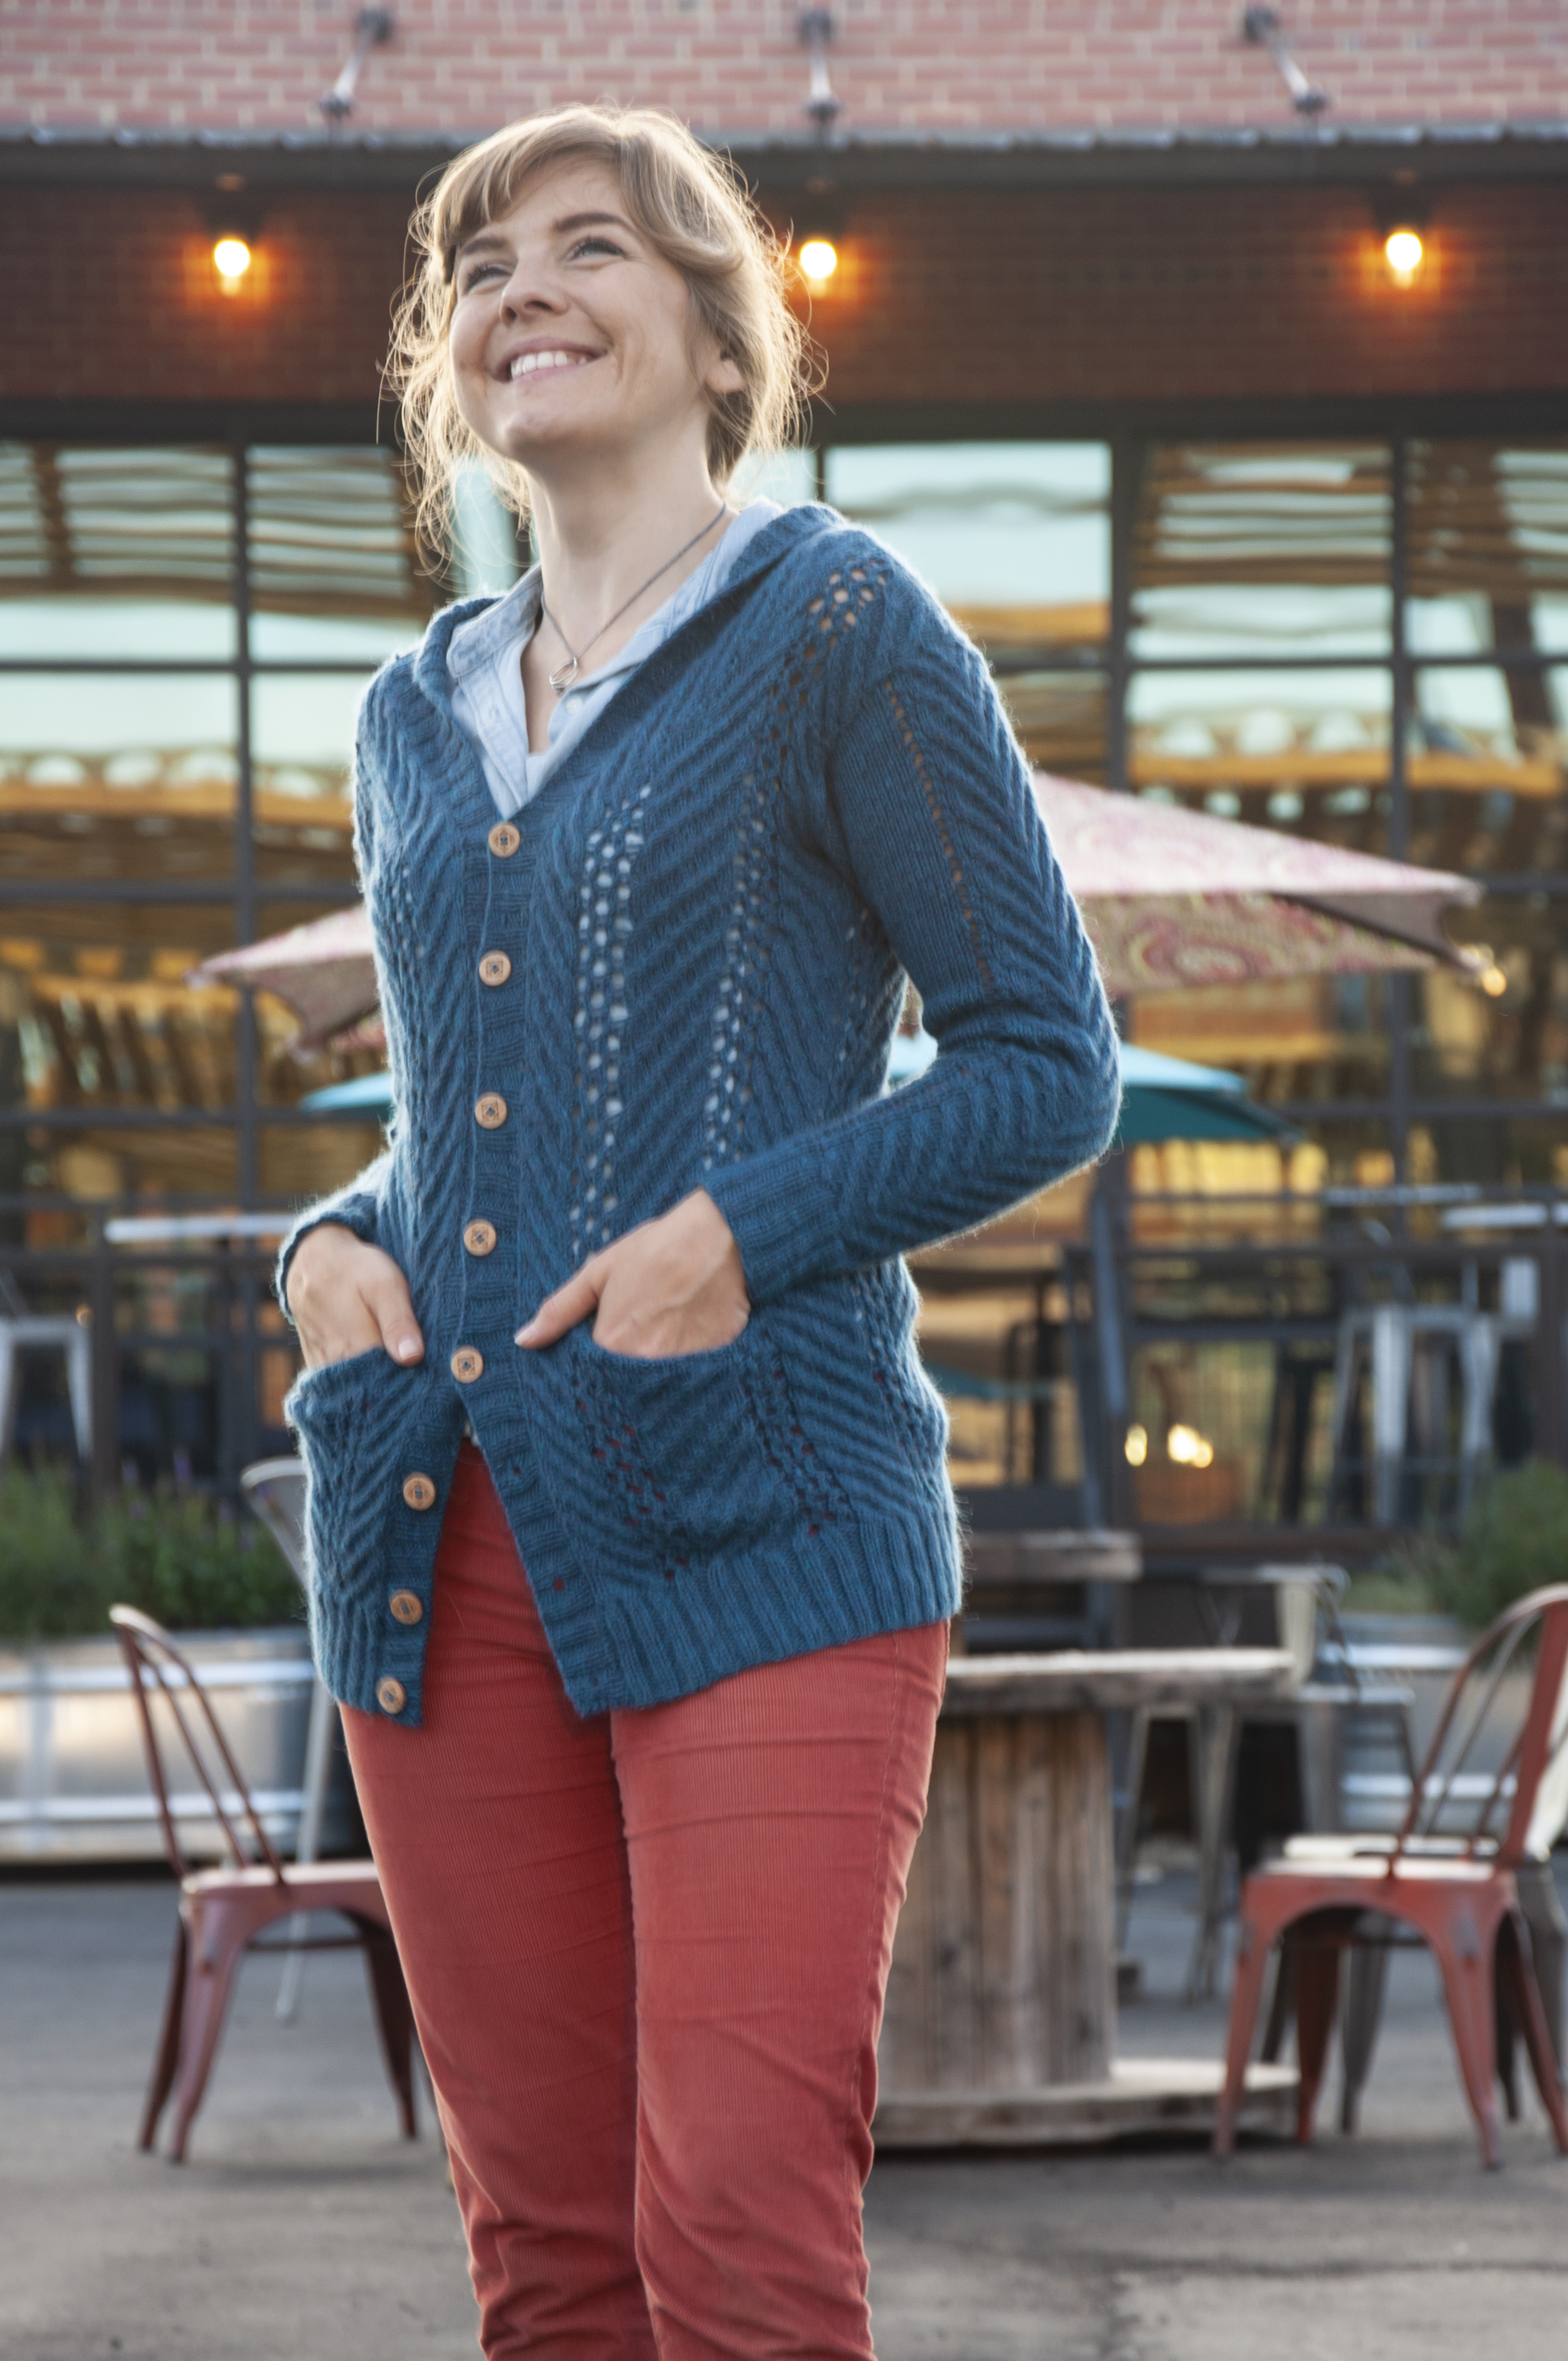
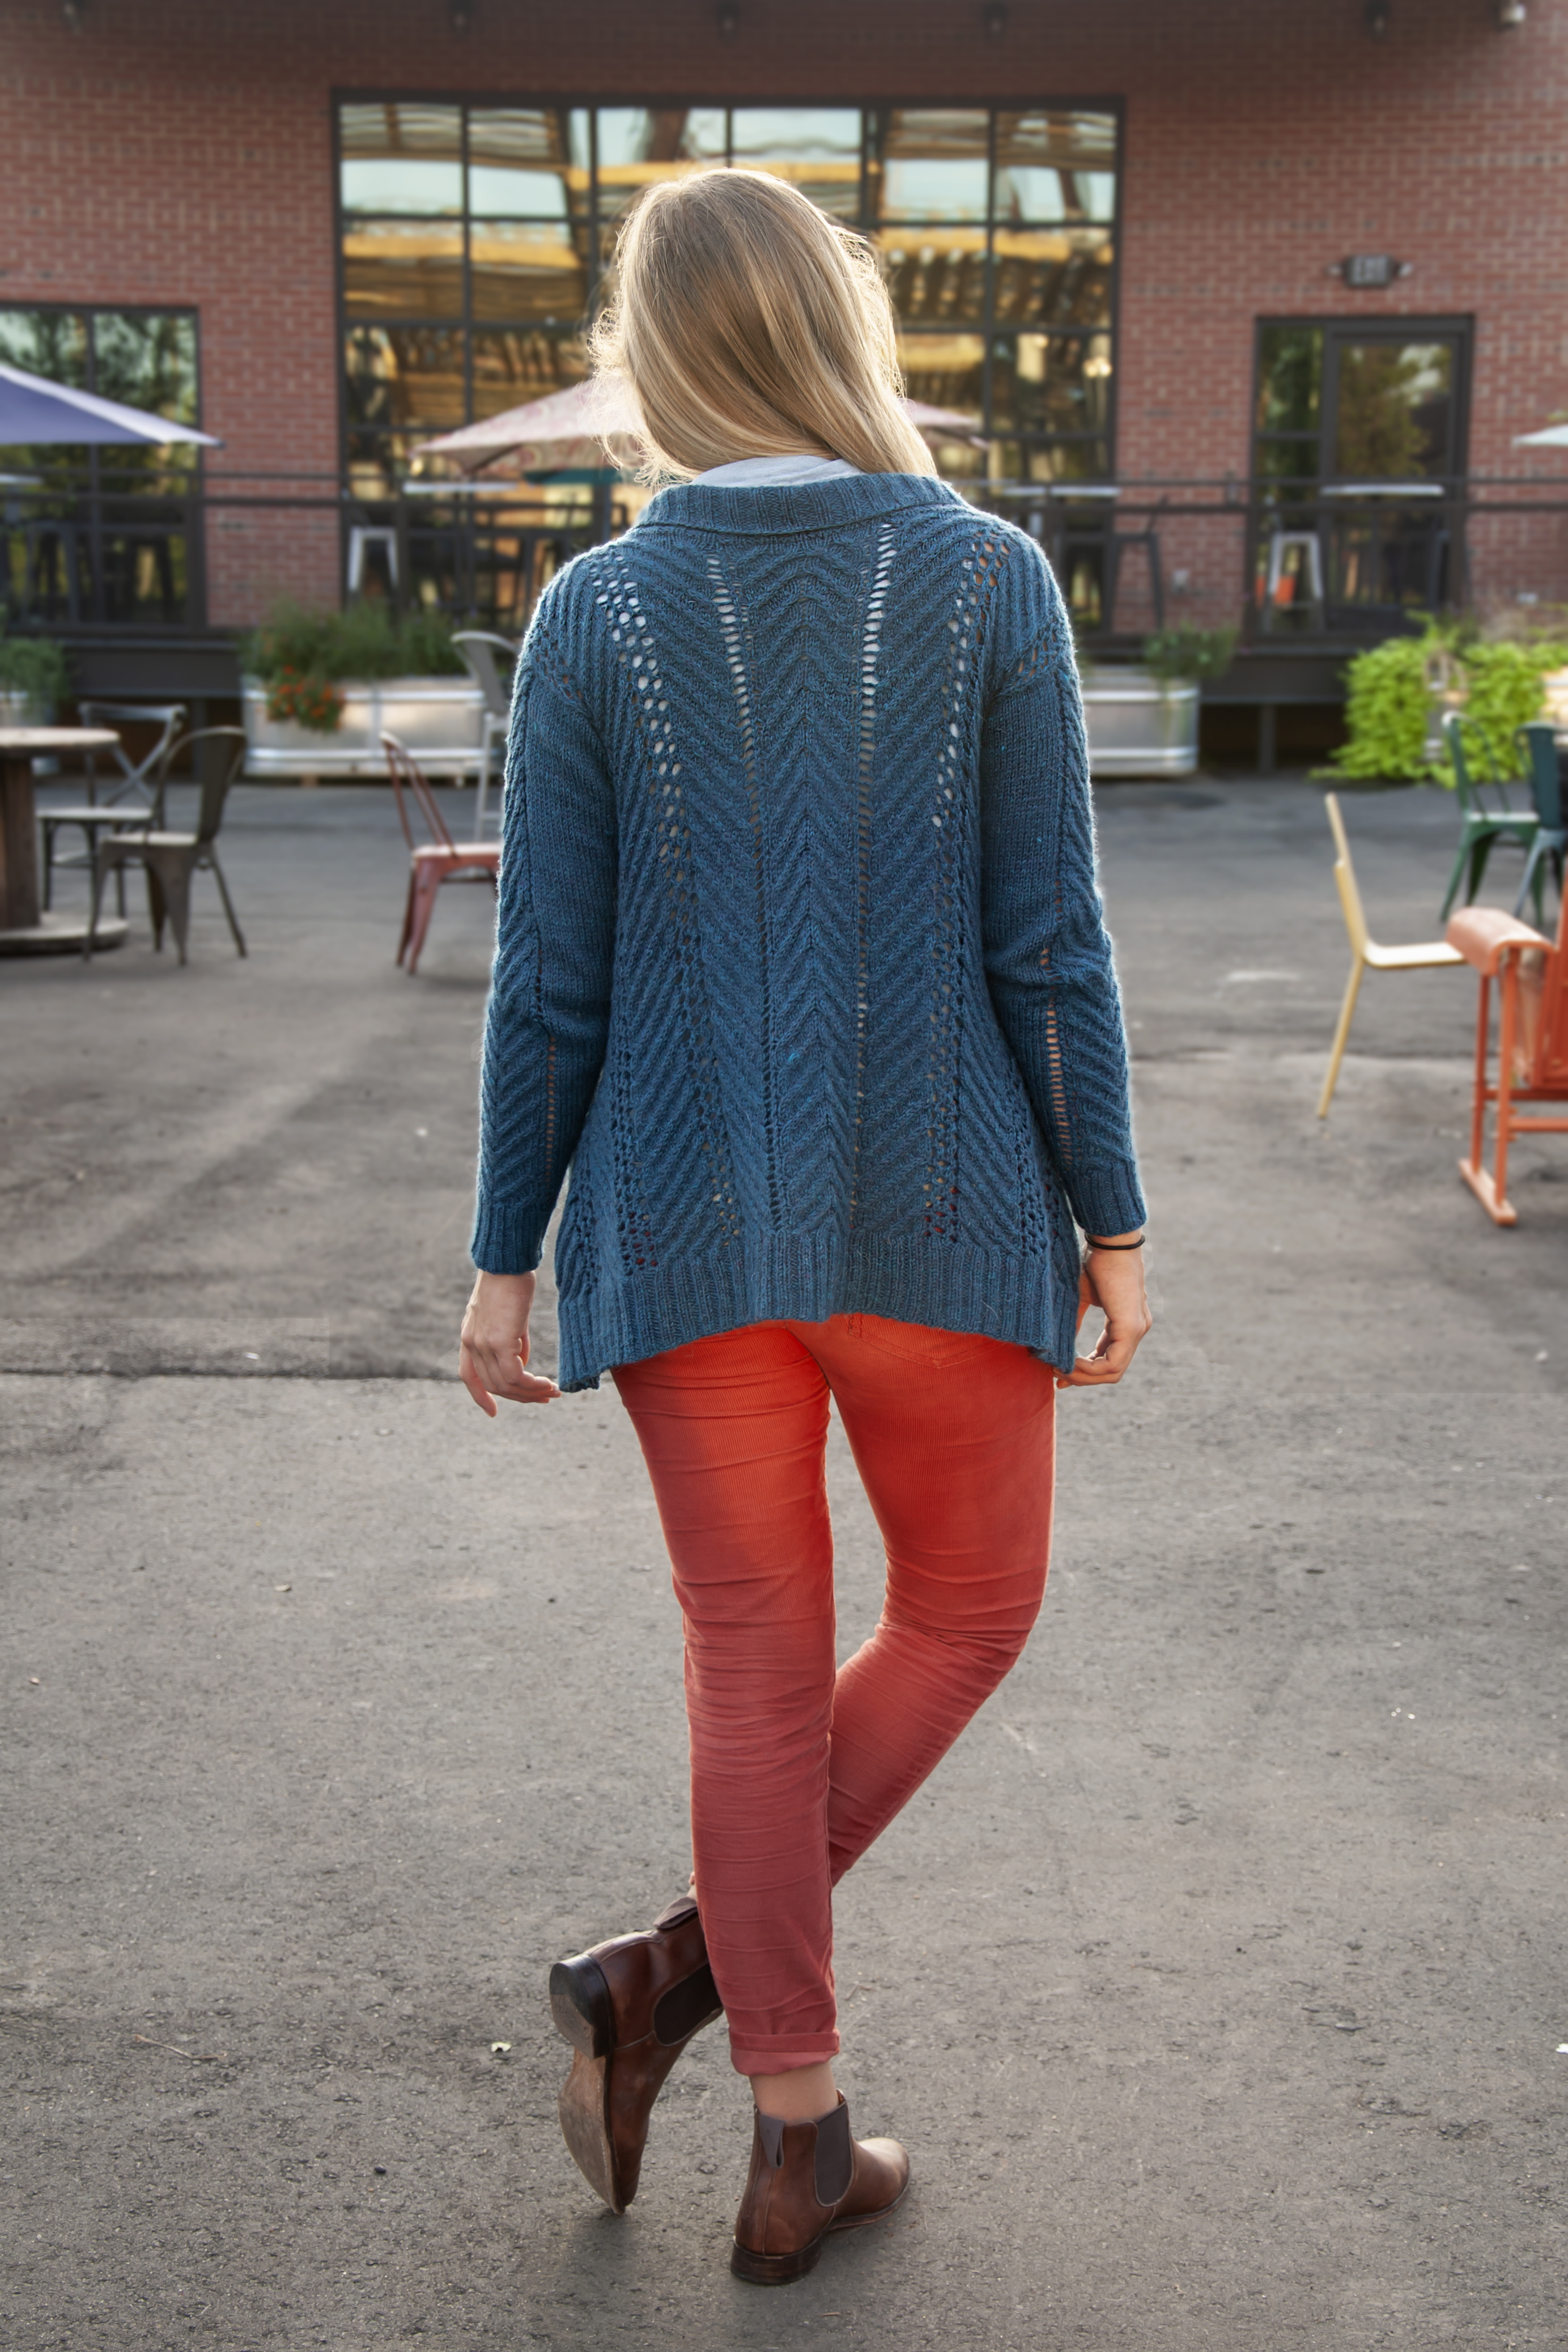
The leaning cables that adorn this cardigan are the most prominent feature. I love them! The more I worked on them, the more they reminded me of archival images of timber booms. Time for a fun fact: I used to volunteer at the Pennsylvania State Archives. I loved it – it was quiet, careful work that simply captivated me (not far off from the same thing knitting offers!). Most of my volunteer work involved land records. It included rehousing and preserving old maps, cleaning and organizing photos, and, finally, creating descriptions for those artifacts. Maybe not for everyone, but I certainly loved it. Some of the images I was most fascinated by were negatives I digitized from the lumber industry in northern Pennsylvania; specifically in the Endless Mountains Region. These photos captured the history of the lumber industry there.
Susquehanna Boom
Hopefully, you can see why the cables reminded me of log booms. Pictured above is the Susquehanna Boom. You can find more historic photos of the timber industry in Pennsylvania here (link). The cables push into and away from one another, completely covering the sweater.
Boom! Look at those cables!
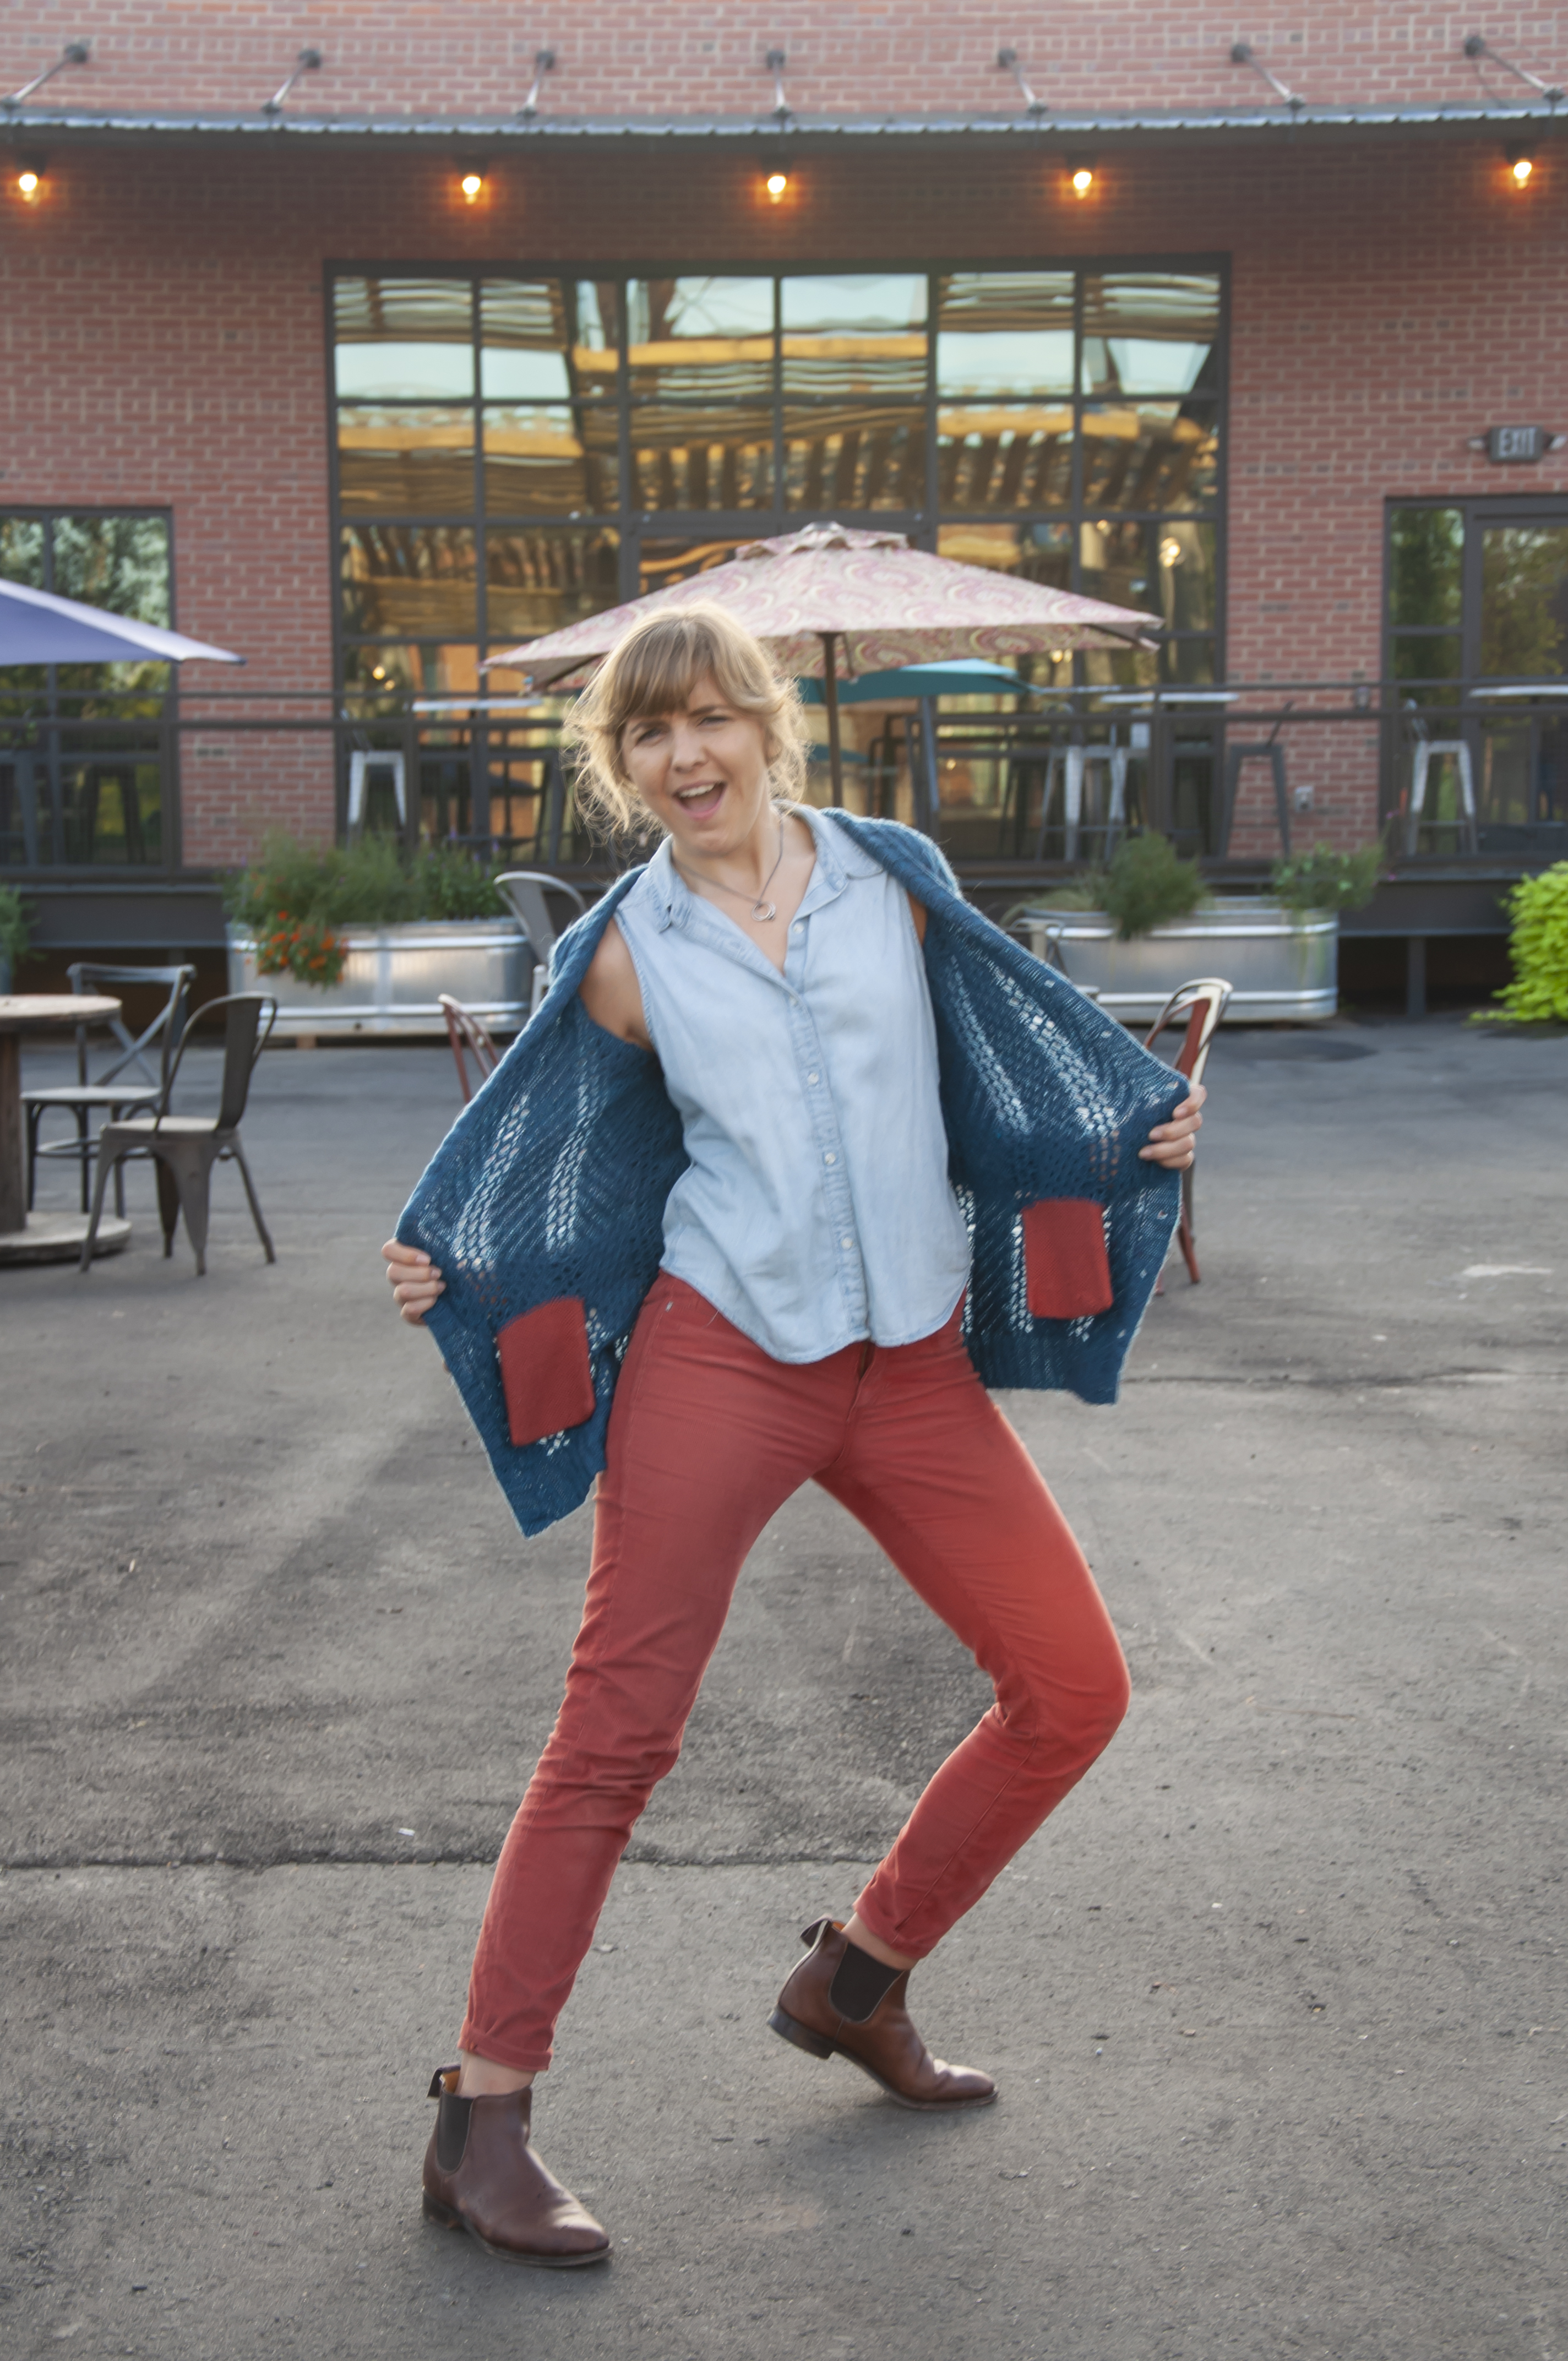
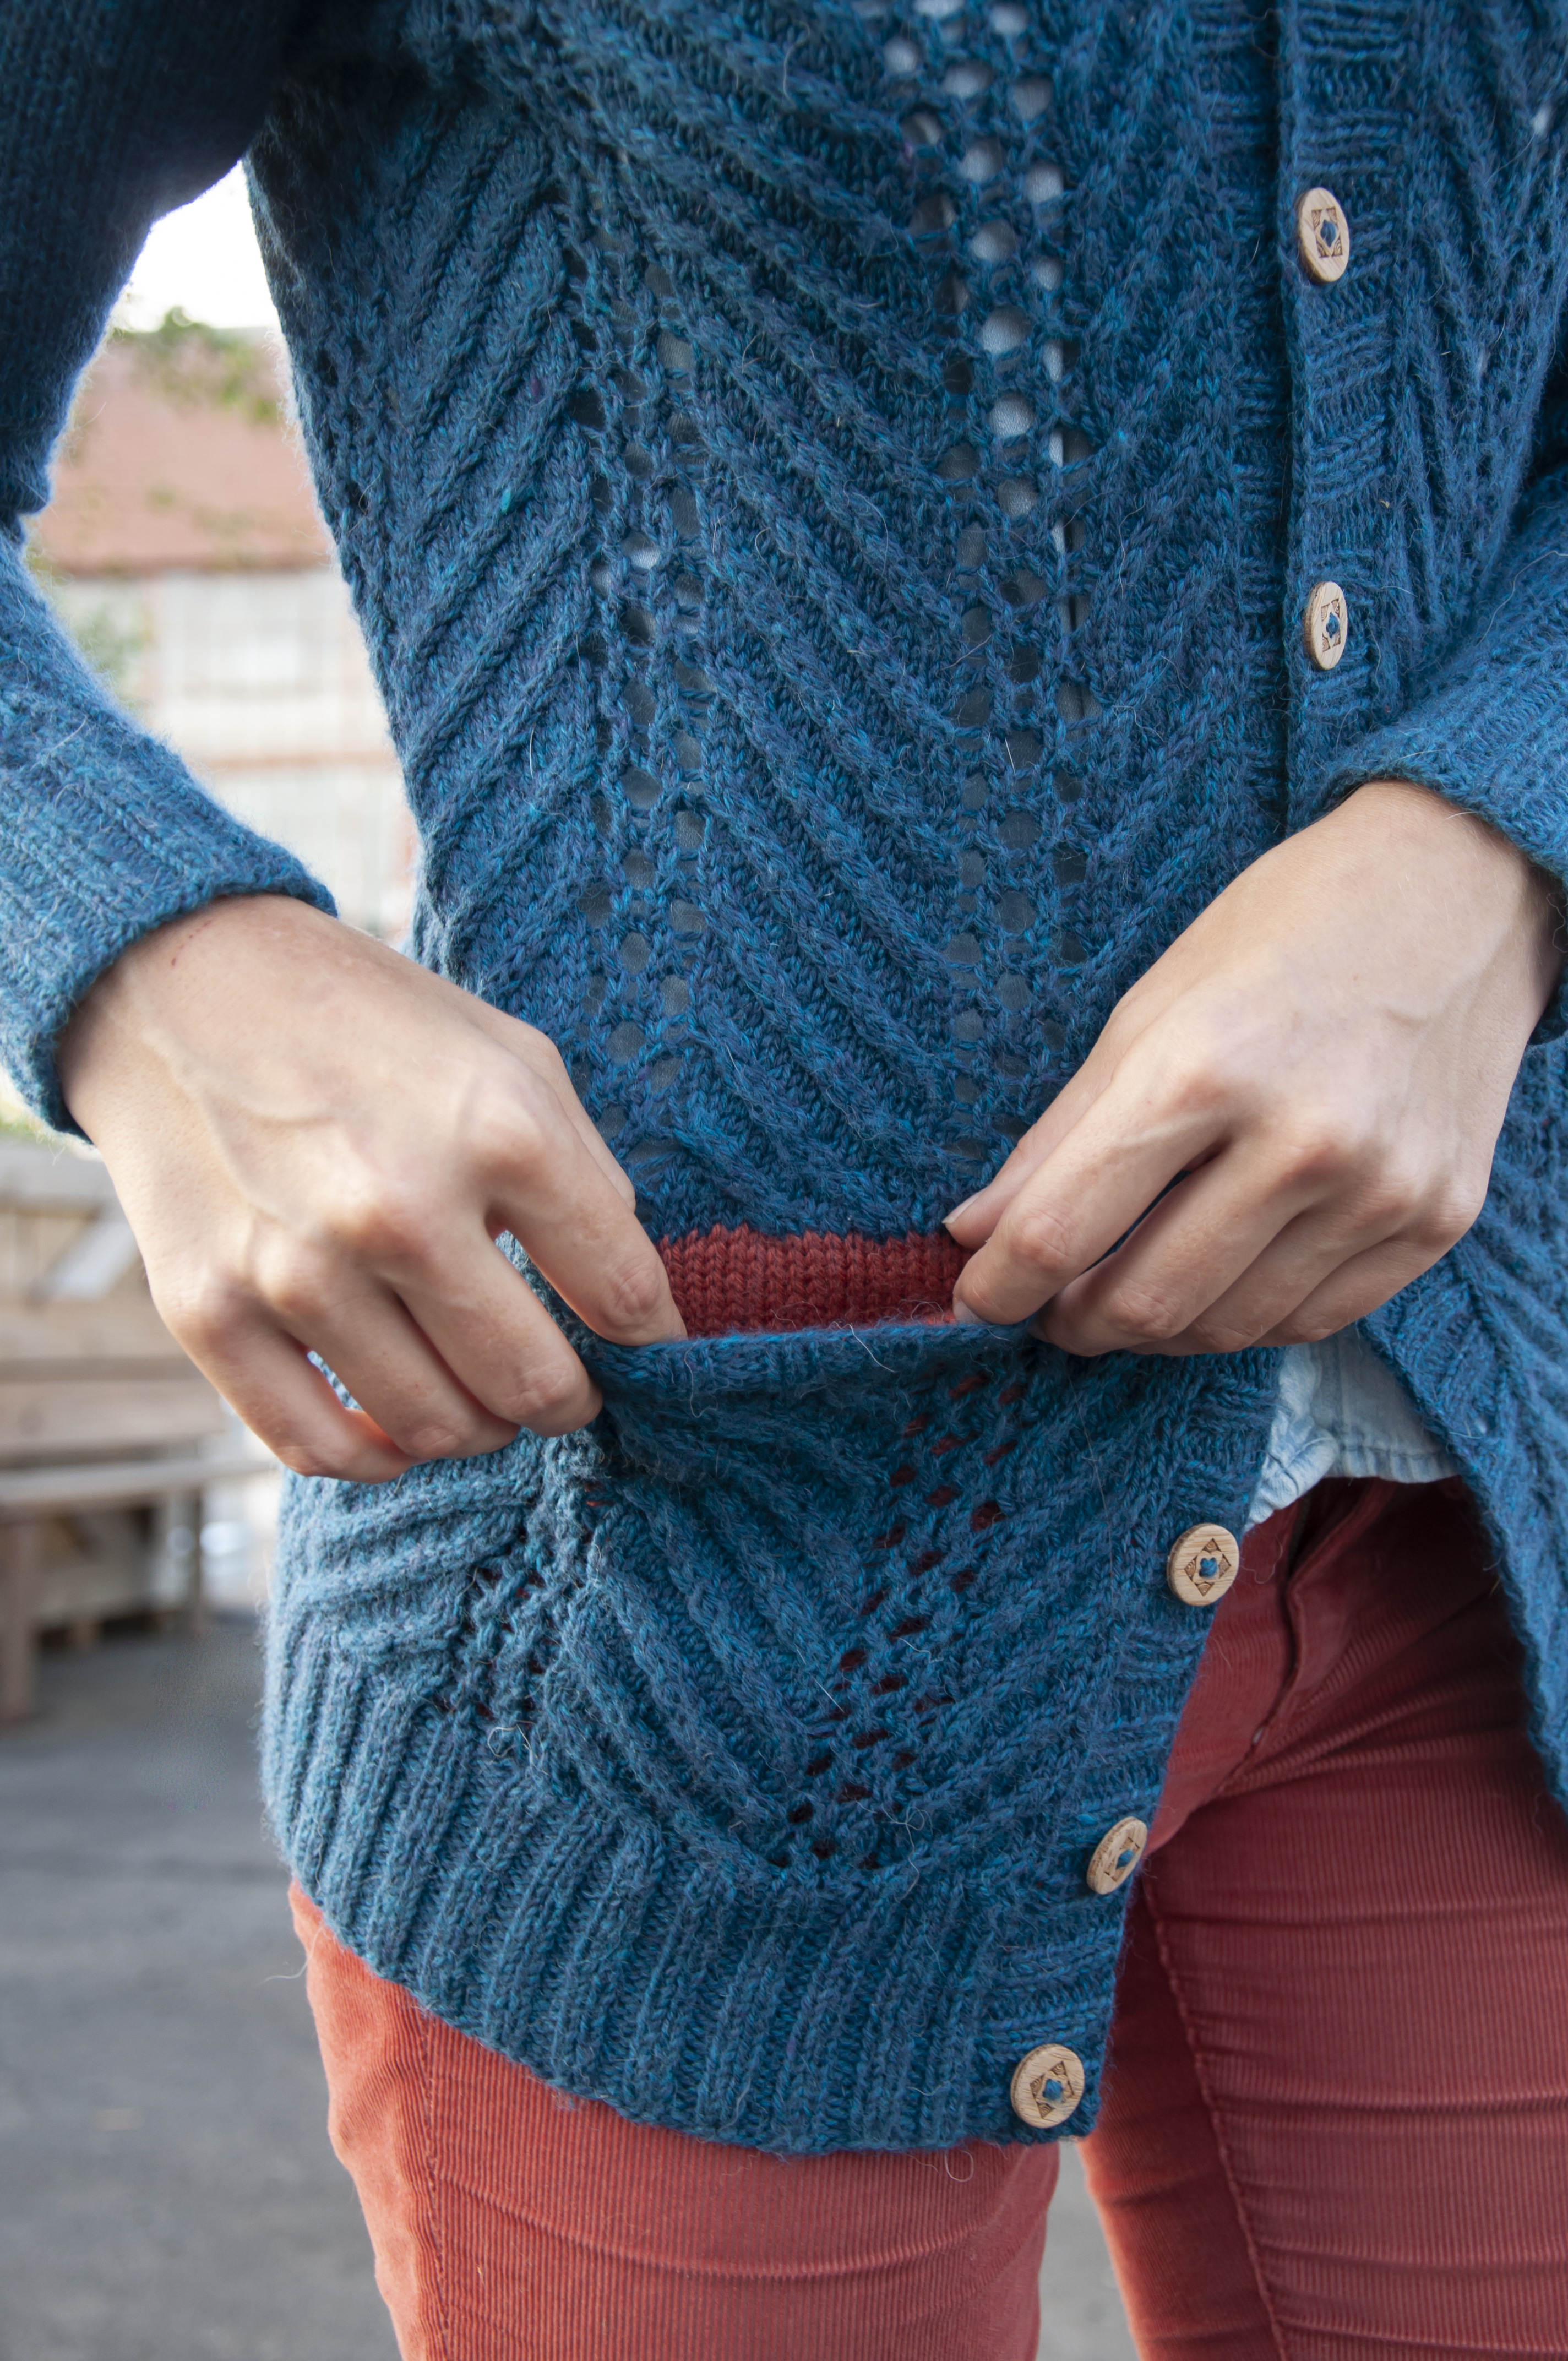
For color, I went with our gorgeous Deluxe DK Superwash in 856 Teal Rustic. It seems fitting for a water and lumber inspired sweater, right? With that said, as a lover of orange, I couldn’t resist some fun afterthought pockets using 803 Terra Cotta.
Terra Cotta pockets!
Finally – what would a sweater like this be if it didn’t have some wooden buttons? The Masten Cardigan features Summit Buttons by Katrinkle’s Knitting Jewelry, who very kindly provided me with the buttons for this design. With plenty of colors of Deluxe DK Superwash to choose from and plenty of button options to compliment those colors – you’ll be good to go. What are you waiting for? This pattern is free, so get your yarn and cast on today!