

Universal Yarn Creative Network
Inspiration By Design


It’s Free Pattern Friday!
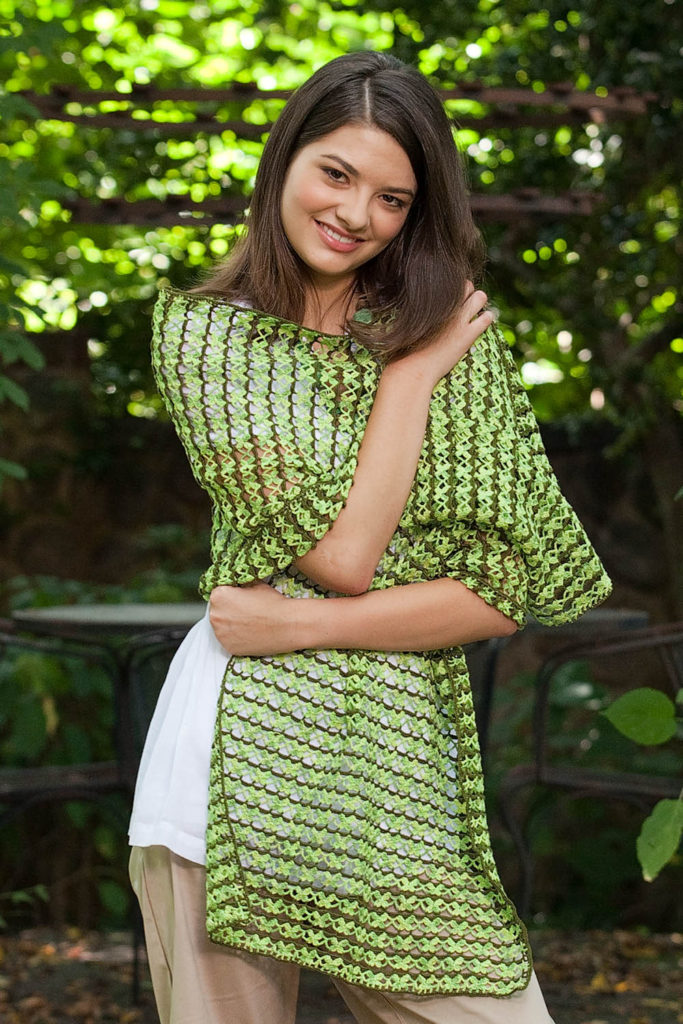
Today, Boxtop in Garden 10 (pattern link here).
Sometimes simple is good. That’s what we have here, a simple, boxy pullover, perfect over a tank top. The asymmetrical placement of the neck causes the hem to hang lower in the back than the front.
As shown, it uses Garden 10 mercerized Egyptian Giza cotton thread, loosely knitted on a US size 4 (3.5mm) needle. We think this piece would also look great in Flax Lace. Plant fibers provide a breathability and drape that work well with this sideways-knit top.
The body is knitted as a big rectangle, using intarsia for the color changes. Seam together the edges of the color blocks to create armholes. Easy work that’s good for knitting while chatting, but those color changes help keep things from getting dull.
This would be a great top to personalize with your own color choices. Black and blue? Peaches and cream? The sky’s the limit.
Happy crafting!
It’s Free Pattern Friday!
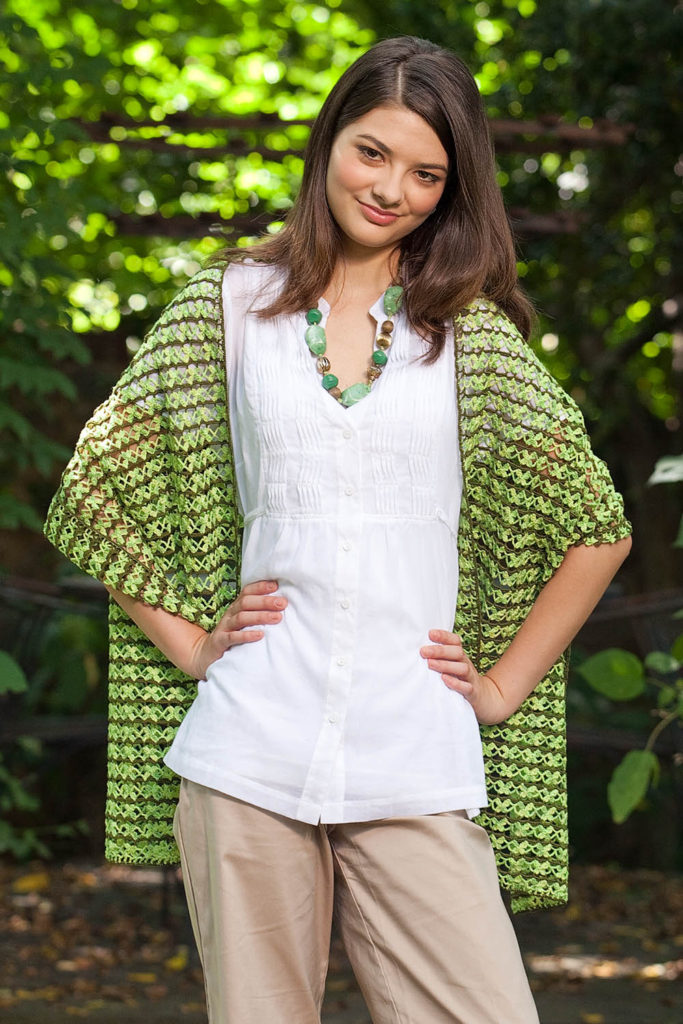
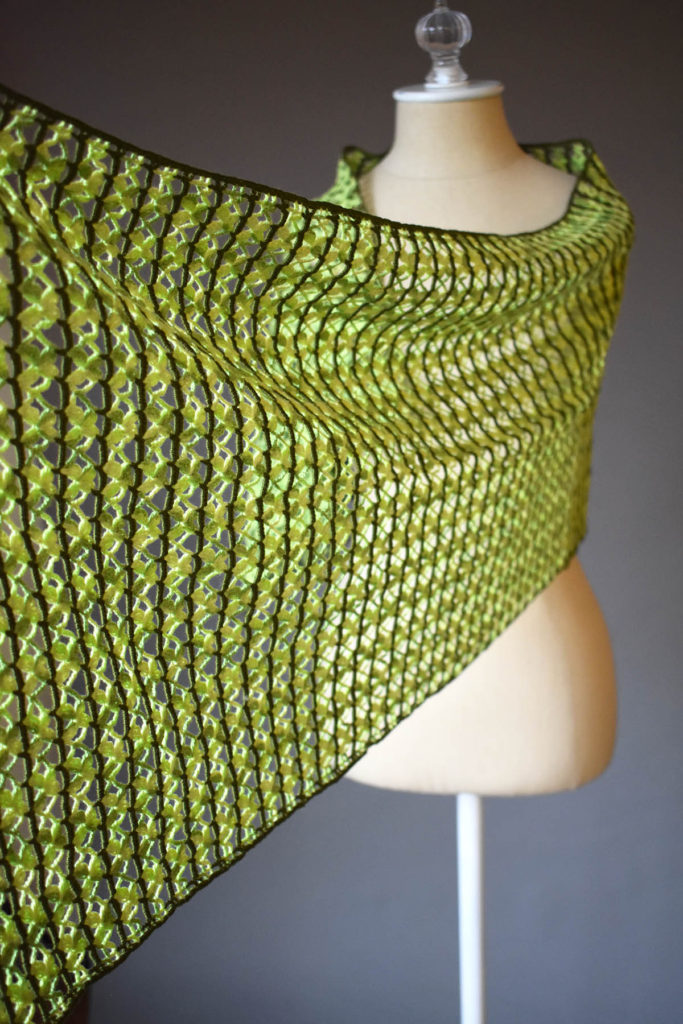
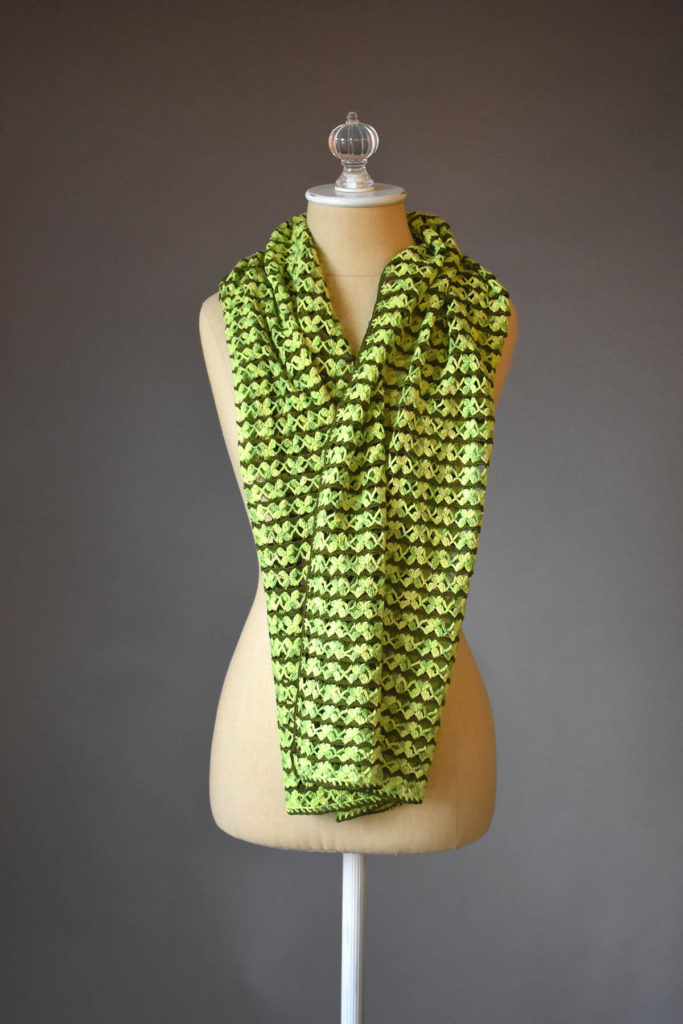
Today, the Hibiscus Scarf in Garden 10.
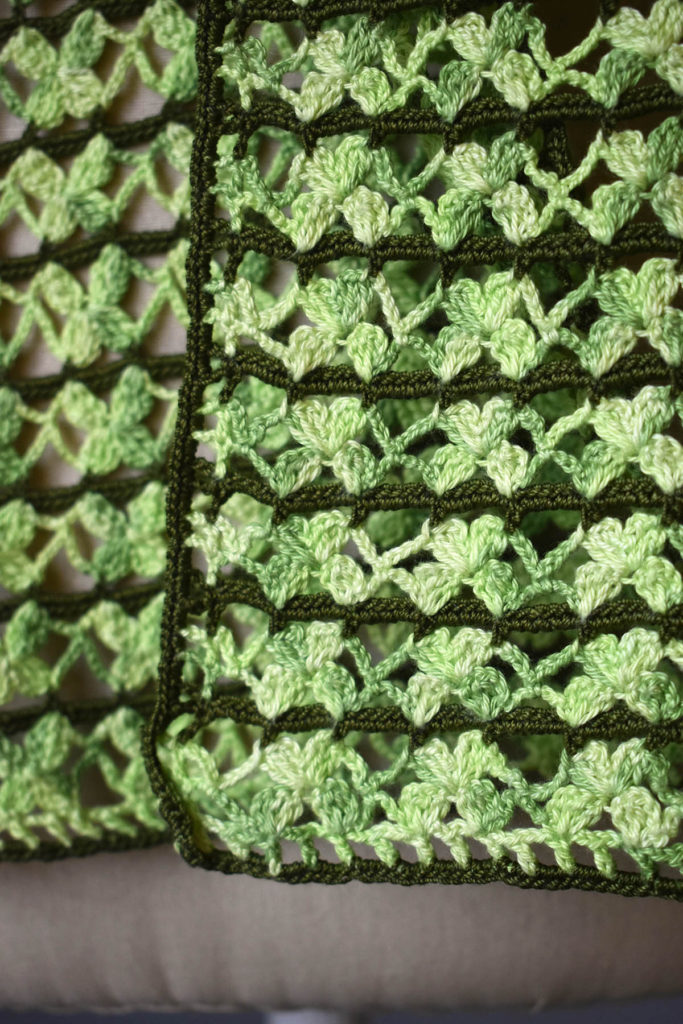
It’s summertime, but that’s no reason to skip the pretty accessories! This scarf calls for two balls of Nazli Gelin Garden 10 mercerized cotton, using one of the variegated shades in that yarn. The colors in this cotton are rich and saturated.
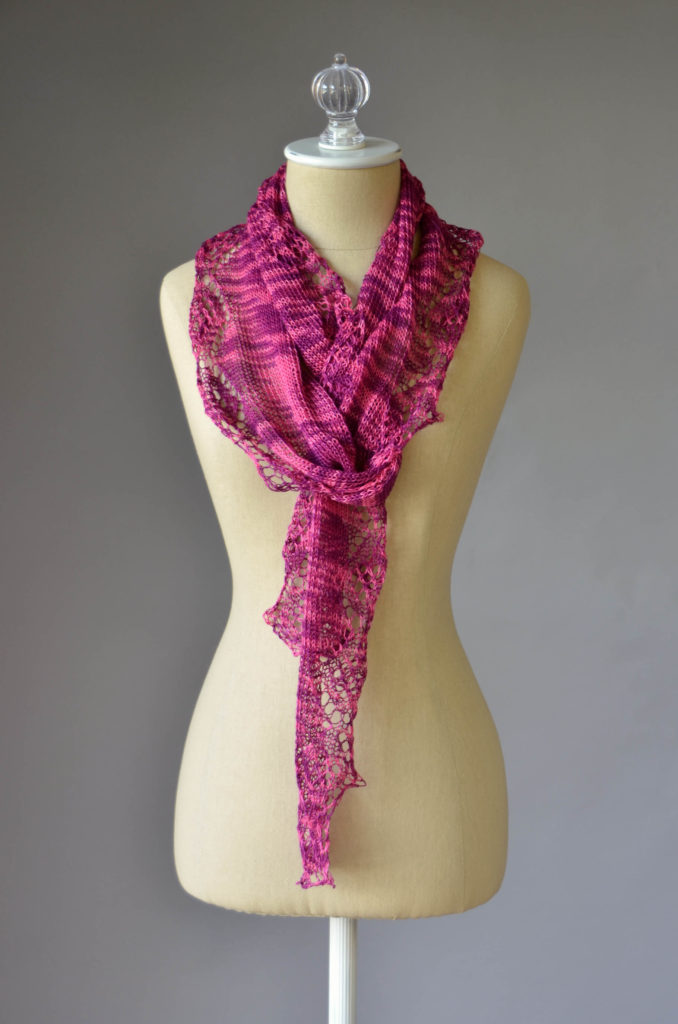 The body of this shallow shaped scarf is knitted at the same time as its border. As with all stockinette, this scarf will curl some, allowing bits of the lace to peek through depending on how you wear it.
This is a lovely lightweight piece that won’t sit heavy on your lap as you work it.
We hope you have a great weekend. Happy knitting!
In case you missed the first few posts in this series on my Flame Lace Top, you can find the warping post here, how to make string heddles here, actually weaving the fabric here, and taking the fabric off the loom here. I’m using Flax as warp, and Whisper Lace with Garden 10 held together as warp.
After taking my fabric off the loom, I decided to machine wash on gentle and then laid flat to dry. After lightly pressing the fabric with my iron, I was all ready to start sewing and cutting:
What really drew me to the Flame Lace project in the Simple Woven Garments book was the weave structure. Though I think the garment in the book is really cute, I’m not a big fan of that shape for my body. Going into this project, I knew I was going to make some changes. But I didn’t fully decide on those changes until I got started. And even then I made improvisations along the way.
The first thing I decided to do differently than the original was to shape my armholes. The easiest way for me to determine my armhole depth and shape was to grab a top I already own and use that as a guide. I’m a big fan of using wrapping paper that has grid lines on the back for things like this.
To make a template for my armholes, I laid my top on the back side of the wrapping paper and traced one side. I opted to freehand the neck hole, as I wanted it to sit a bit lower than the one on the shirt I was using as an armhole guide. After cutting out the first side, I folded the paper in half and traced to get the second side – an easy way to make sure it was symmetric.
After cutting out my armhole template, the next step was to pin it to my fabric. But before I could do that, I needed to determine where the shoulder seam would be. Rather than cut out separate pieces for front and back from my fabric, I was using the entire length of the fabric for my top.
I decided as I was tracing my armholes that a hi-lo hem would be cool. I opted for about a 5″ difference in front and back hems, folded my fabric, and then pressed it with my iron to indicate my shoulder seam.
Then I pinned my template to the fabric:
My two best tips for sewing: don’t skimp on ironing or pins.
Now, before any cutting can happen, it’s important to secure the fabric with the sewing machine. If I was cutting store-bought fabric for a garment, I would simply pin the pattern to the fabric and cut. But because I’m using my handwoven fabric that has a much lower thread count (fewer threads per inch) than most commercial fabric, I needed to take care that the weaving doesn’t come apart.
My first step was to sew a folding guide line for myself. I sewed a straight line of stitching just along the sides of my template:
After removing the paper, I sewed two more lines, but this time with a narrow, short-length zigzag stitch. These are the really important lines, because they’re securing the threads of the weaving and preventing them from unraveling. I used my presser foot as a measuring guide for my lines The foot is about 1/4″ to 3/8″ wide from the center of the needle to the outside edge, making my total seam allowance be about 5/8″.
I’m using light gray thread – can you see it? I barely could and had a splitting headache by the time I was done from squinting so hard. I wanted the thread to blend into the fabric and it blended too well!
Can you see it now?
Now that these important lines were stitched I could safely cut out my neck and armholes. I made sure to cut outside all lines of stitching, right up against the last zigzag line.
Once the neck and armholes were cut out, I had to prep the curves so I could fold them under. If you’ve ever sewn a garment with curved lines, you know that you have to snip the curves so they can be eased to the inside of the garment. Again, because I was working with hand woven fabric, I had to secure the fabric before making these snips. I set my machine to a very, very short straight stitch, and made 2 parallel lines of stitches on either side of where I intended to cut. That way, when I cut through the fabric, it wouldn’t unravel.
My apologies – I seem to have forgotten to photograph this step!
Anyway, next, it’s onto the ironing board again. And more pins! For a double-rolled hem, I first pressed in my openings on my very first straight line of sewing. Remember, my guide line? Then, I pressed in again on my first zigzag line.
Once I pinned and sewed my neck and armhole openings (this time, with thread I could actually see), I tried it on Betty to see how we were coming:
Hey, it looks like it could actually be something! To wear!
There were just a few things left to do. First I trimmed away that fringe. Fringe is actually in style right now and I could have left it, but opted to cut it away instead.
Next, I needed some side seams. Because the sides of the fabric are the selvedges, I found no need to do double rolled hems because the edges are “finished” already.
The final width of my fabric after washing, by the way, was about 19 1/2″. Which means, if I were to sew the sides together with 1/2″ seam allowances (taking up a total of 2″ in seams), then my finished top would be about 37″. Perfect! I have a 34″ bust, so having a few inches of ease in this woven top will work well, since woven fabrics really don’t have any give.
My hips, however, are significantly larger than 34″. I’m a pear shape and my hips are about 39-40″. I couldn’t sew the full length of my side seams or I won’t be able to fit into this baby. I also could have made the top shorter than intended so that it sat above the fullest part of my hips, but I didn’t want to do that.
Instead, I opted to sew only part of the side seam and give myself side vents to accommodate my curves.
After sewing the side seams, I pressed them open. Remember my other rule – don’t skimp on the ironing. I then made a single-fold hem on the unsewn portion of the sides, and made a double-fold hem on the bottom. After that, more ironing! It’s important to iron sewn seams to sort of settle them into place. It also makes them look more finished. I like to shoot a little steam on seams of knitted items too to help them relax.
And here are some final shots:
All in all, I’m please with how this turned out. Though I have quite a bit of sewing experience, I’ve done very little sewing with my own hand woven fabric, which is definitely a whole different ballgame than sewing with purchased fabric. This project has definitely sparked ideas for more garments. Now all I need is to find the time to implement them!
Join me next time as I explore how to make the most of Bamboo Pop multi colorways and planned pooling!
I am delighted to say that the fabric that will become my Flame Lace top is finally off the loom! As much as I enjoy the meditative process of weaving, it always feels so good to near the end of a project. In life and crafting, I’ve found that there are all types of people: starters, enjoyers, tinkerers, thinkers, finishers, and on the list goes. I can dabble in many varieties of creativity, but I fall staunchly into the “finisher” category. I enjoy the process, but I love to see things through to completion.
In case you’ve missed the first few posts in this series on my Flame Lace top (from Simple Woven Garments,) you can find the warping post here, how to make string heddles here, and actually weaving the fabric here. I’m using Flax as warp, and Whisper Lace with Garden 10. held together as warp. Today, I finished the final inches of weaving and prepared for taking my fabric off the loom.
Luckily, I recorded my notes on what I did for hemstitching at the beginning of the piece so I could match it at the end. The older I get, the more things I write down, or I can expect to never remember them again! The hem on this top is eventually going to be folded under and sewn, so this isn’t crucial, but I’m all about the details. Having the notes about precisely what I did at the beginning allowed me to do the same at the end of the piece.
While doing my hemstitching, I went over 3 warp threads and under 2 weft threads. Because I’m headed straight to the sewing machine after this, all I need to do now is snip this baby free from the loom.
Oh, what a good feeling!
After unwinding my fabric a little bit, I had my first good chance to take a peek at the back side of the fabric. I like it! In the photo below, the right side of the fabric is on the right, wrong side is on the left. The wrong side is still quite attractive. I’ll have to file this away in my brain as a good possibility for a scarf, where both sides will be seen.
Here is the full length of the fabric. And as I sit here now typing with my fabric soaking in water, I realize I completely forgot to measure my fabric just off the loom. C’est la vie, eh?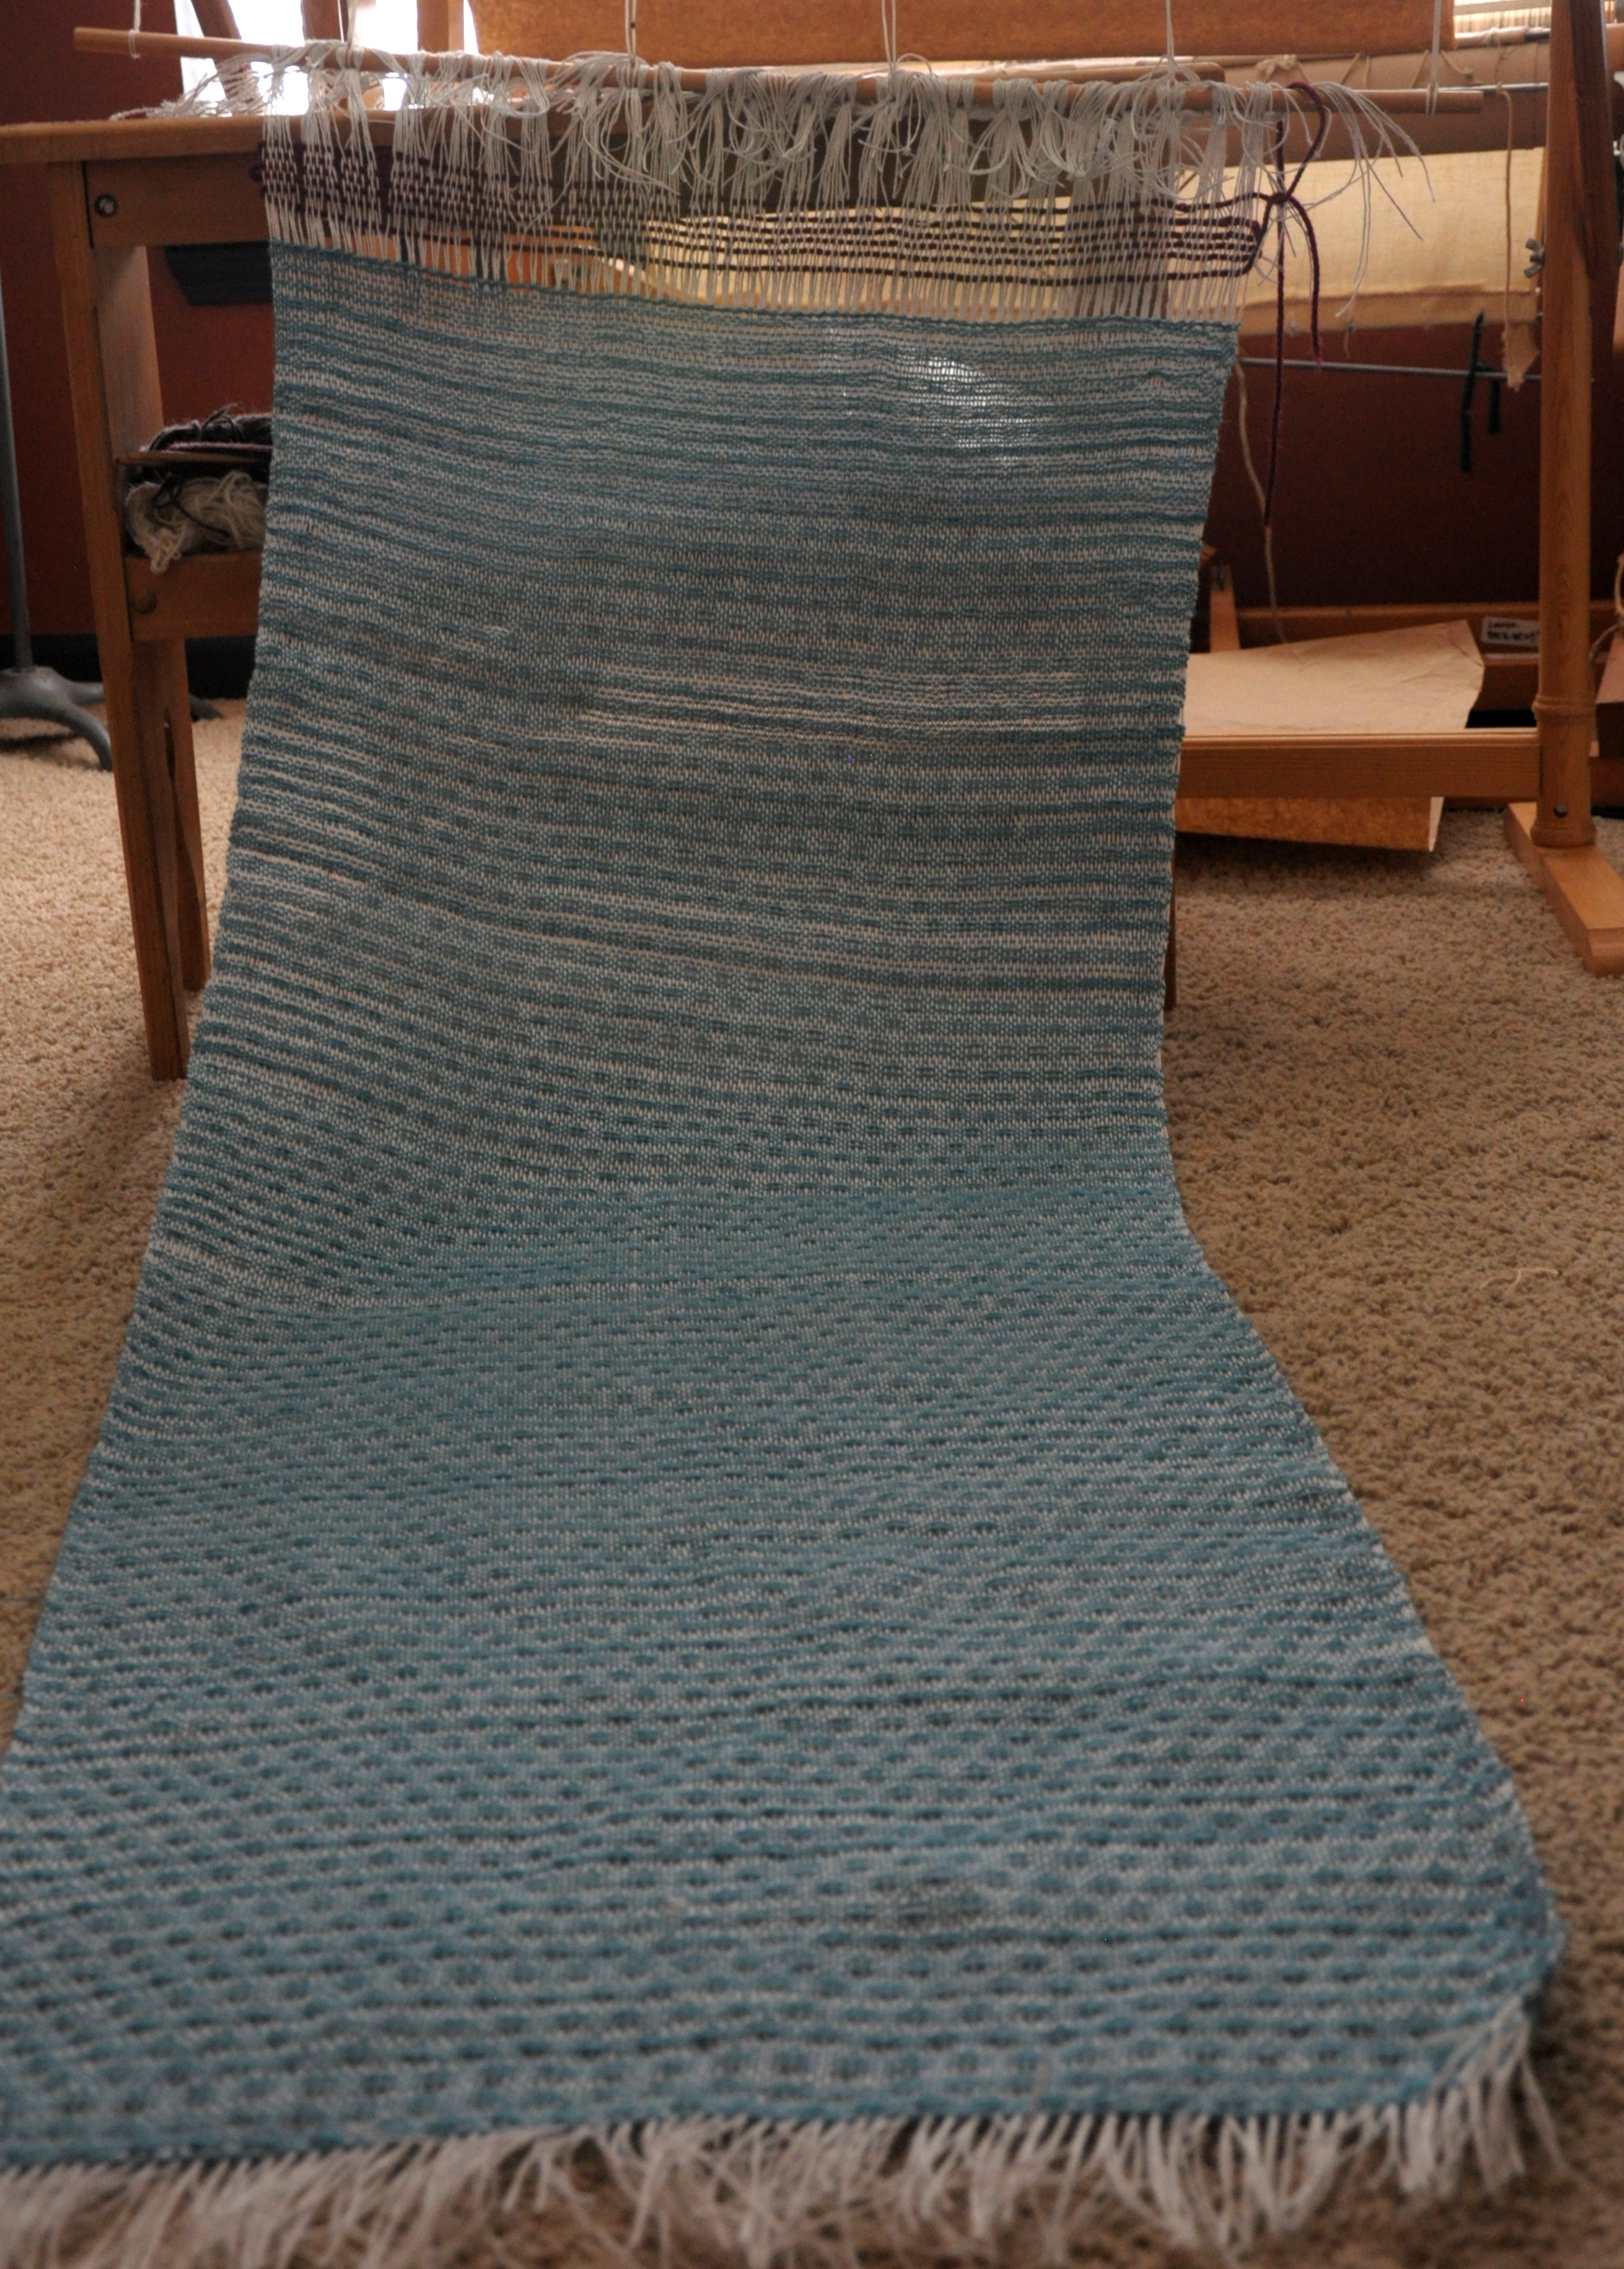
Now to secure the ends before washing. A simple zig-zag stitch on my sewing machine will do the trick.
I can’t even tell you how excited I am to see how this fabric looks after washing. That’s when the true nature of the fabric reveals itself. As pretty as it was to look at taut on the loom, I just know it’s going to be full of character once it’s all settled.
Join me next time when this rectangle of criss-crossed yarn becomes something wearable!
I’ve been so excited to get started on a new weaving project! Now that I’ve finally finished up my very old UFO, I’m ready for the next thing.
I recently got my hands on a copy of Simple Woven Garments, a fantastic book by Sara Goldenberg & Jane Patrick.
As the cover promises, there are instructions for over 20 garments in this beautiful book. It’s written in a very approachable way, and the photos are really inspiring. I flipped through the pages many times before finally settling on the Flame Lace Top (page 90) to try first.
And after reviewing the required materials, I realized we have good substitutes for all the yarns used in the project, so it was settled. I think I’ll probably change some of the finishing details in this piece, but more on that in future posts. I think what most drew me to this project was the pattern in the weaving. I also think the gathered shoulders are pretty cute.
I took out my notebook, AKA weaving diary, and started first by recording all the beginning information for my project. Here is what I wrote:
Warp Yarn: Flax, color 17 Silver
10 dent reed
Weaving width: 24″/240 ends
Warp length: 100″
From this, I calculated how much Flax I needed for my warp. 240 ends x 100″ = 24,000″ or 667 yds. This comes out to just under 5 hanks of Flax.
My weft yarn, as you can see, will be Whisper Lace and Garden 10; 1 strand of each held together. Though I love the warm colors in the original project, I tend to be a cool colors kind of person.
It had been long enough since my last warp, that I took a look at my copy of the Weaver’s Idea Book (also by the talented and informative Jane Patrick!) for a refresher. There are handy step-by-step photos of single-peg warping in the pages, which is the method I used.
My personal favorite place to clamp my warping peg is to my shaft floor loom, a Fanny LeClerc. It’s the only time she every gets used and it makes me sad. Since moving into my current house a couple of years ago, poor Fanny sits looking beautiful in all of her multi-shaft glory, completely unused. Fanny, we will work together again soon, I promise.
If I clamp the peg to the front beam of Fanny and place my rigid heddle across the room on the other wall, it’s typically the perfect distance for a good-sized warp.
After warping, sleying the reed, and tying onto the front bar, I wove a few picks with waste yarn.
And there is the blank canvas that is a warp. It really does look to me like anything could happen here. That’s the fun, right?
Join me next time for the ins-and-outs of weaving on a rigid heddle loom using 2 pick up sticks. Fun times!