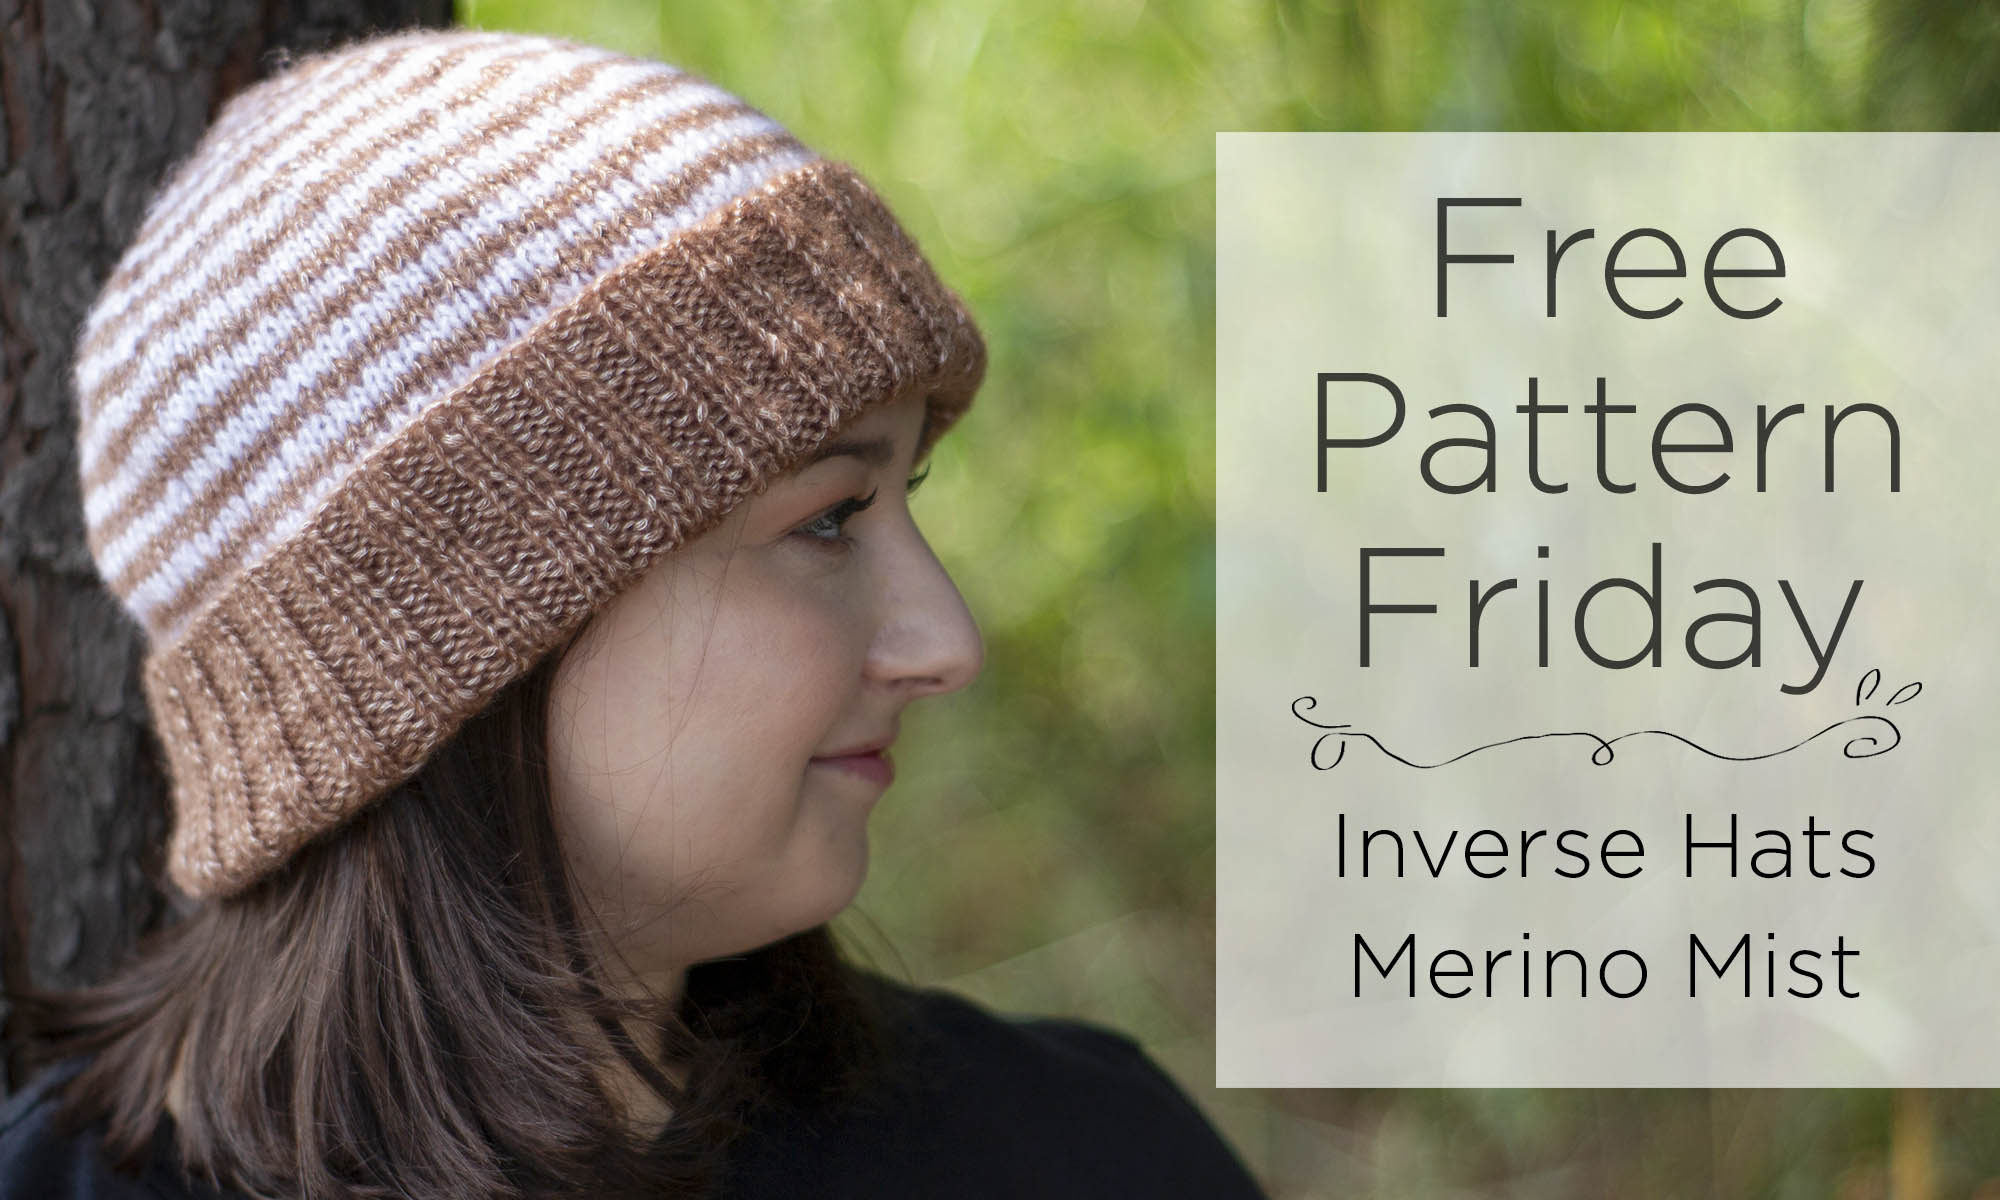
It’s Free Pattern Friday!Thanks for modeling, Olivia!
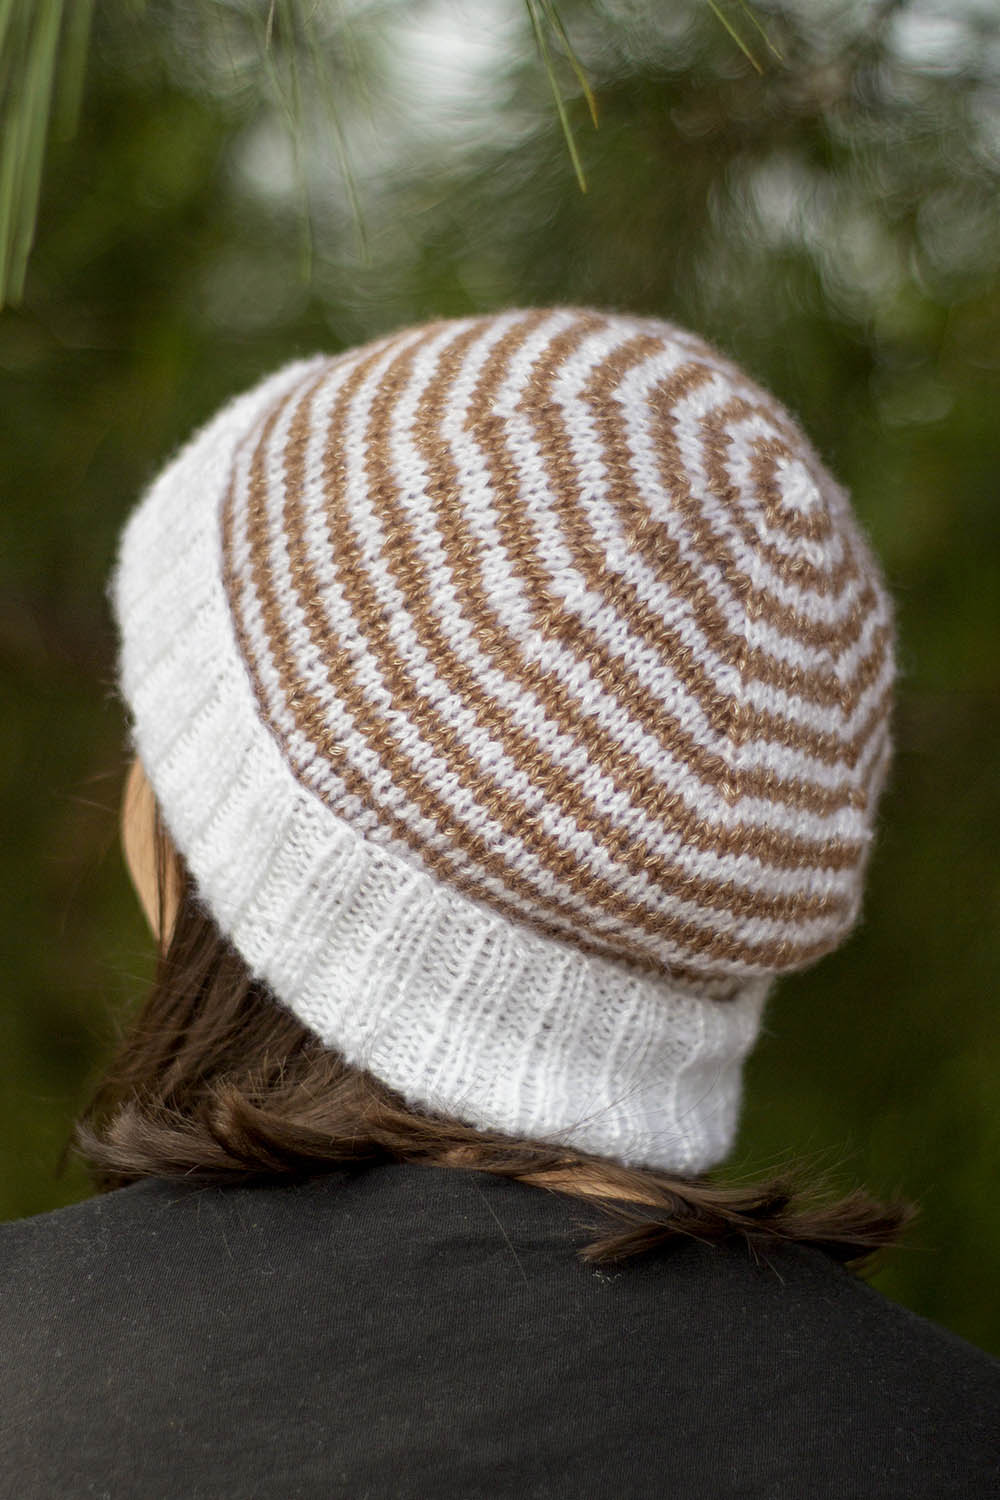
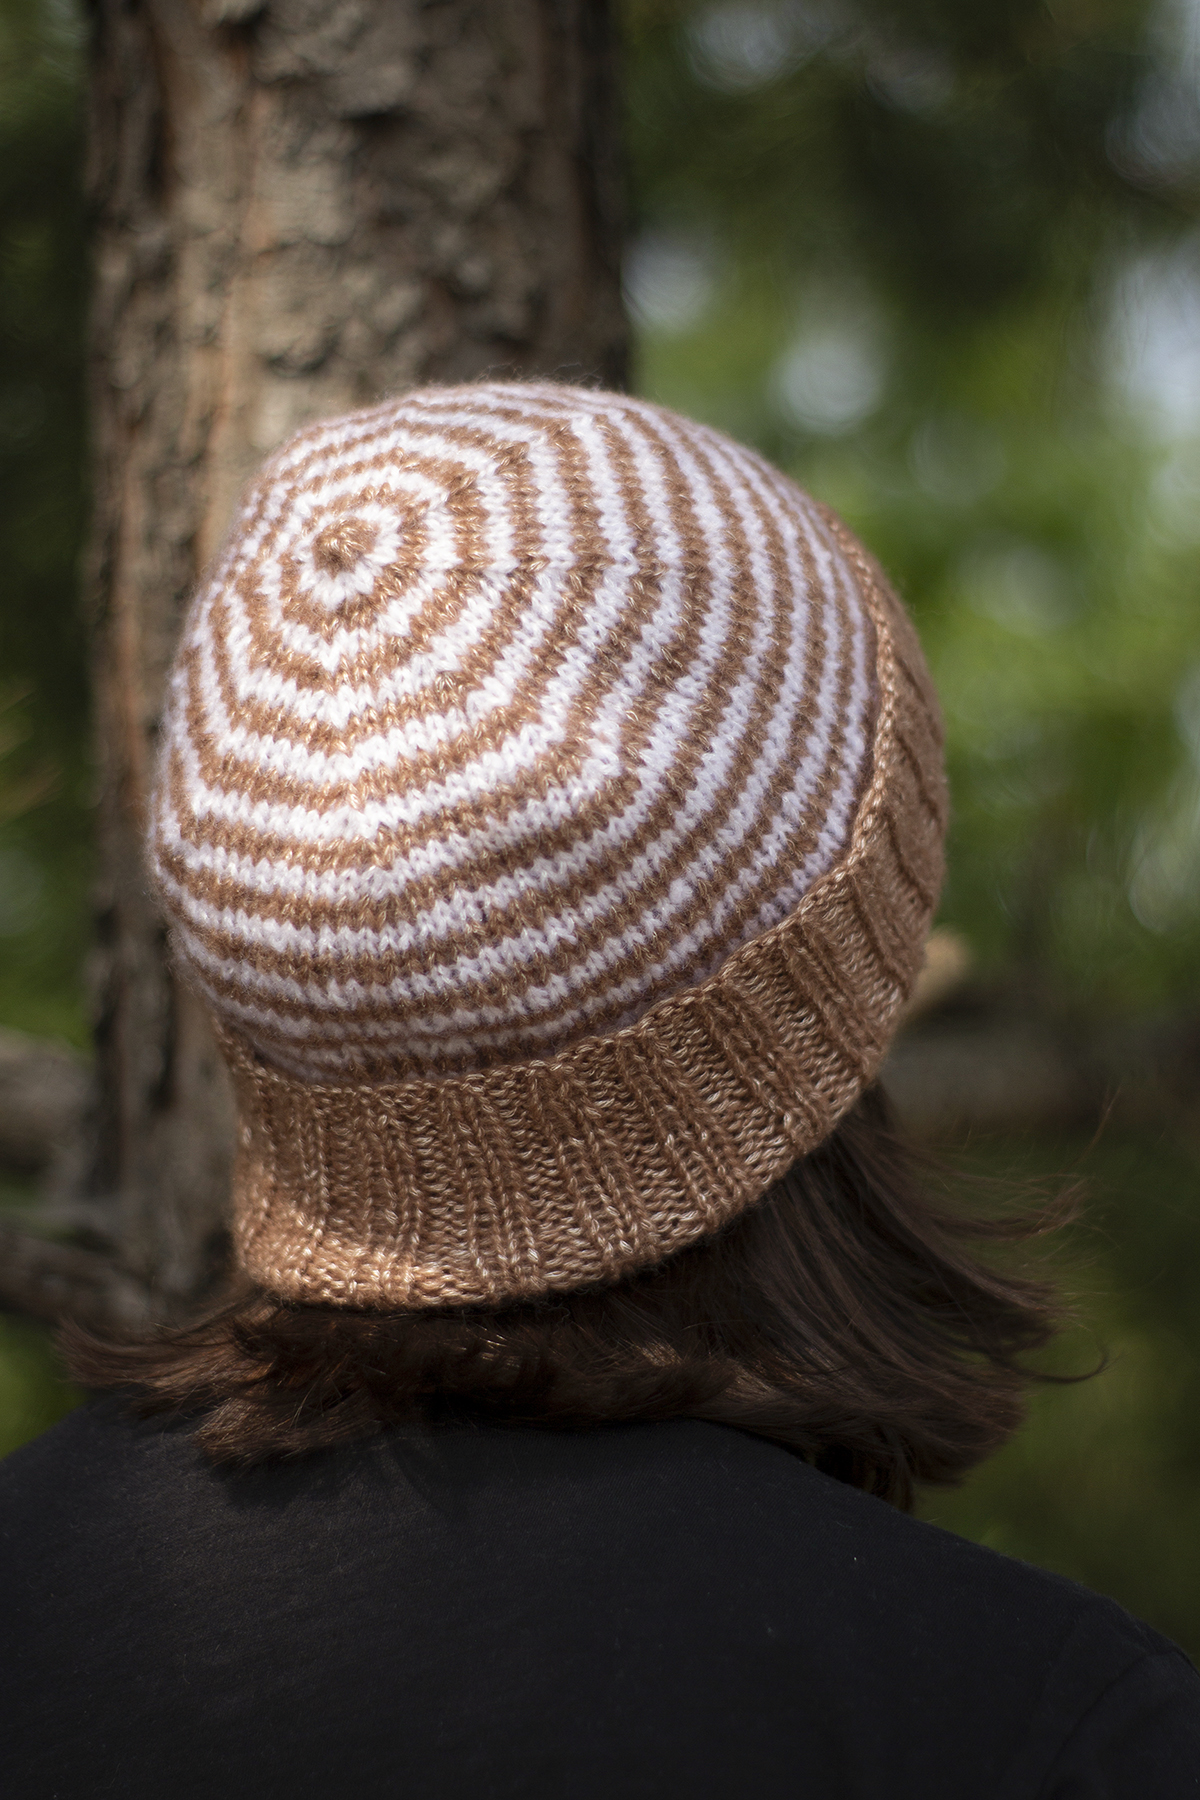
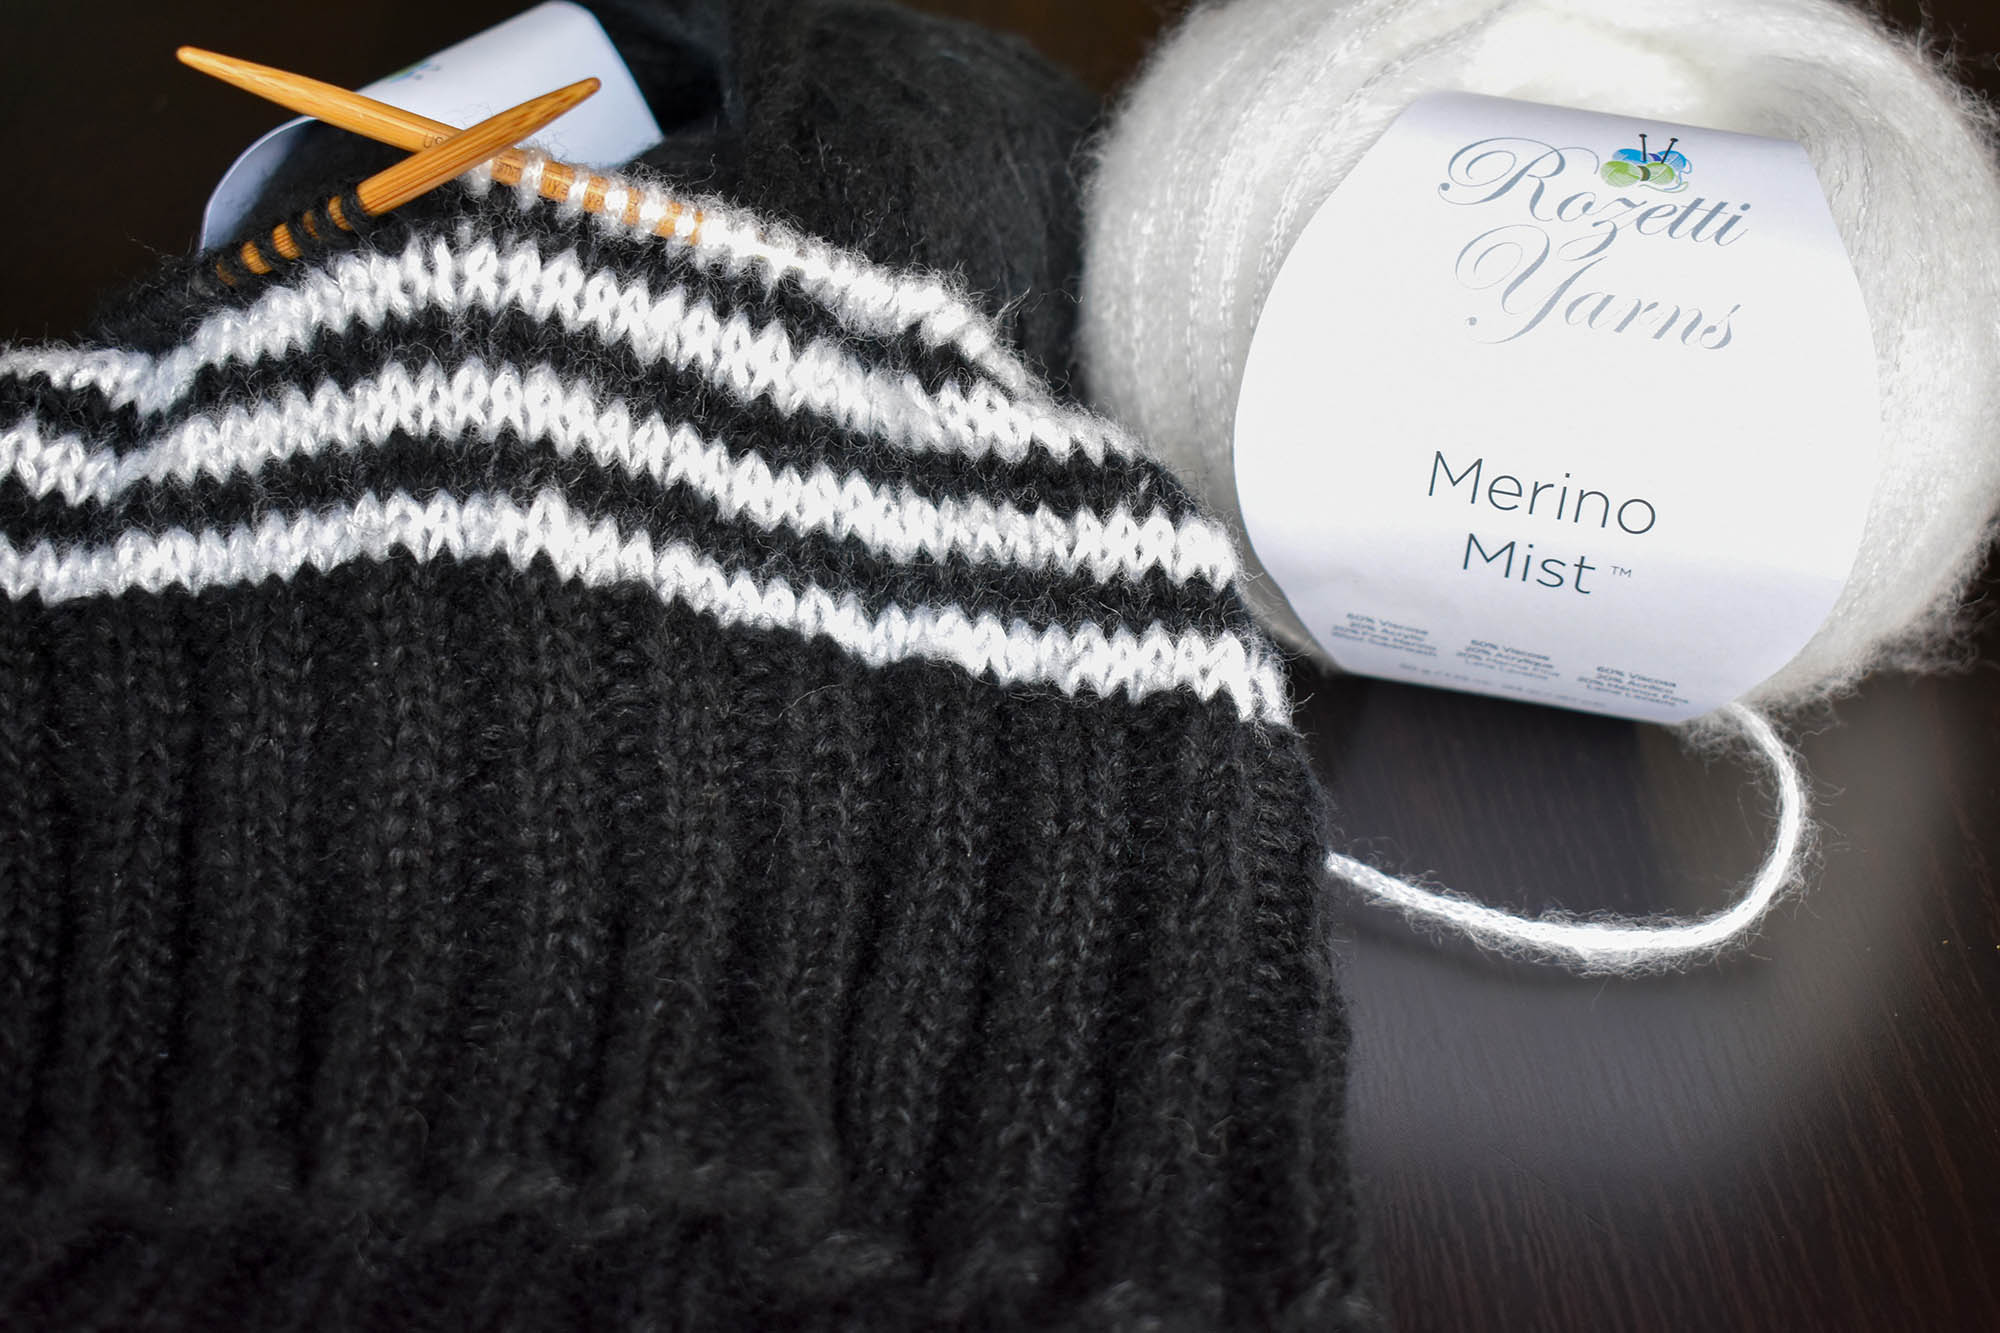
Today, the Inverse Hats in Merino Mist (pattern link here).
Today’s offering is simple, but beautiful.
Love those decreases!
The Inverse hats are so named because with the called-for yarn, Merino Mist, you can get TWO lovely striped hats out of a ball of each color. Just swap the main color and the contrast!
Tah-dah!
A tall band of 2×2 ribbing to fold up, then two-row knitted stripes in the round. Don’t bother cutting the yarn, just carry it along.
Pretty!
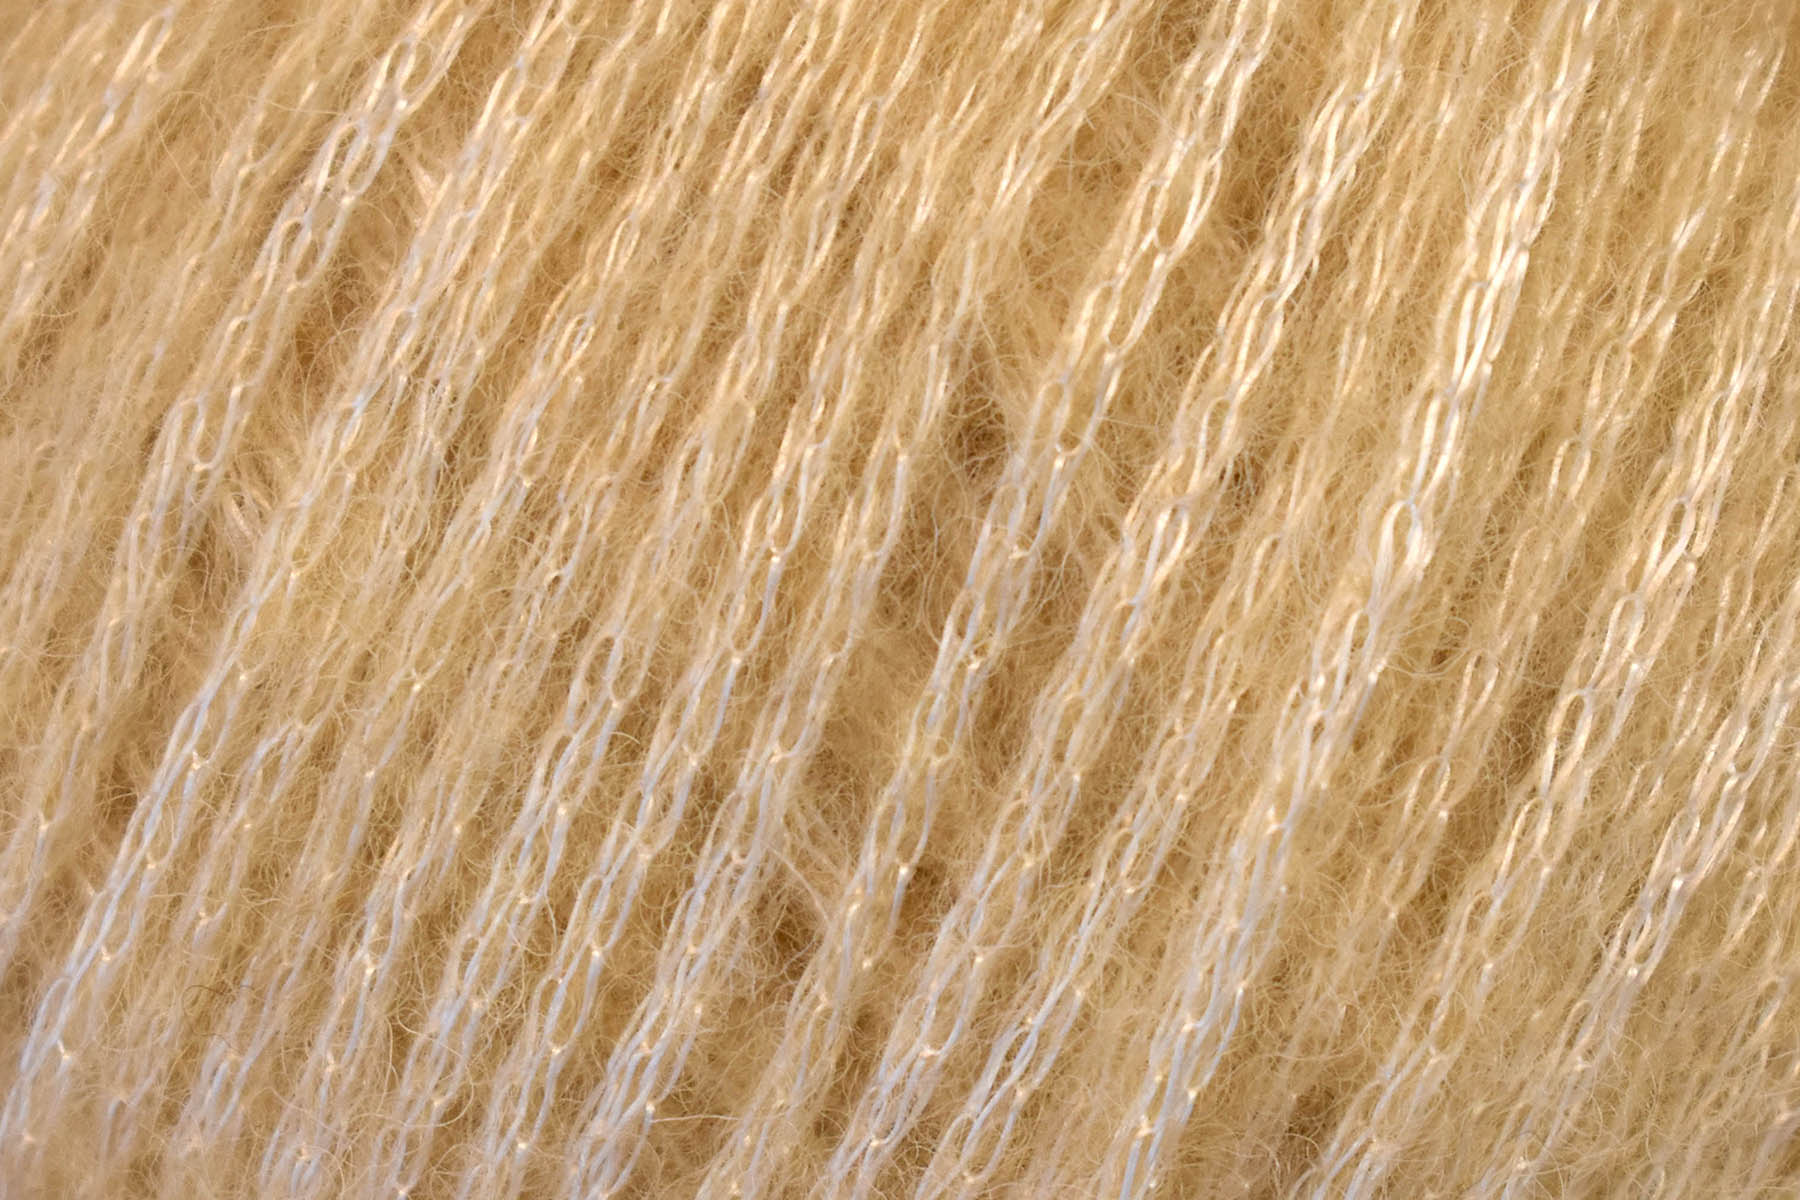
Now, I’m a “simple is better” kind of gal, as a rule. Normally, I’m skeptical of yarns with a halo like Merino Mist. And I wasn’t sure about its chained construction, either. And I’m usually not a “shiny yarn” person.
Color 102 Chamomile
But that was before I saw the designs in The Midtown Collection.
Looking good, feeling good.
And before I saw what Cindy O’Malley over at KNITMuch blog had done with it.
Yes, that is the normally tweedy Jay Sweater, all dolled up.
And how amazing it looked in the Pull Jacinthe on the cover of the Holiday 2019 Vogue Knitting.Photo credit: Jack Deutsch
I mean, it’s hard to argue with fabulous results. And I did love this hat, so I thought, okay, I’ll give it a shot. I’m SO glad I did, because this yarn is everything.
110 Night paired with 101 Frost
It’s got great stitch definition, the halo lightly blurs but doesn’t obscure the stitches, and that sheen gives it a level of pizzazz that I love. So I get the pleasure of knitting a simple hat that looks great dressed up or down. You can’t beat that.
Next up – maybe a Swivel Cowl?
We’ll just have to see.
Happy crafting!
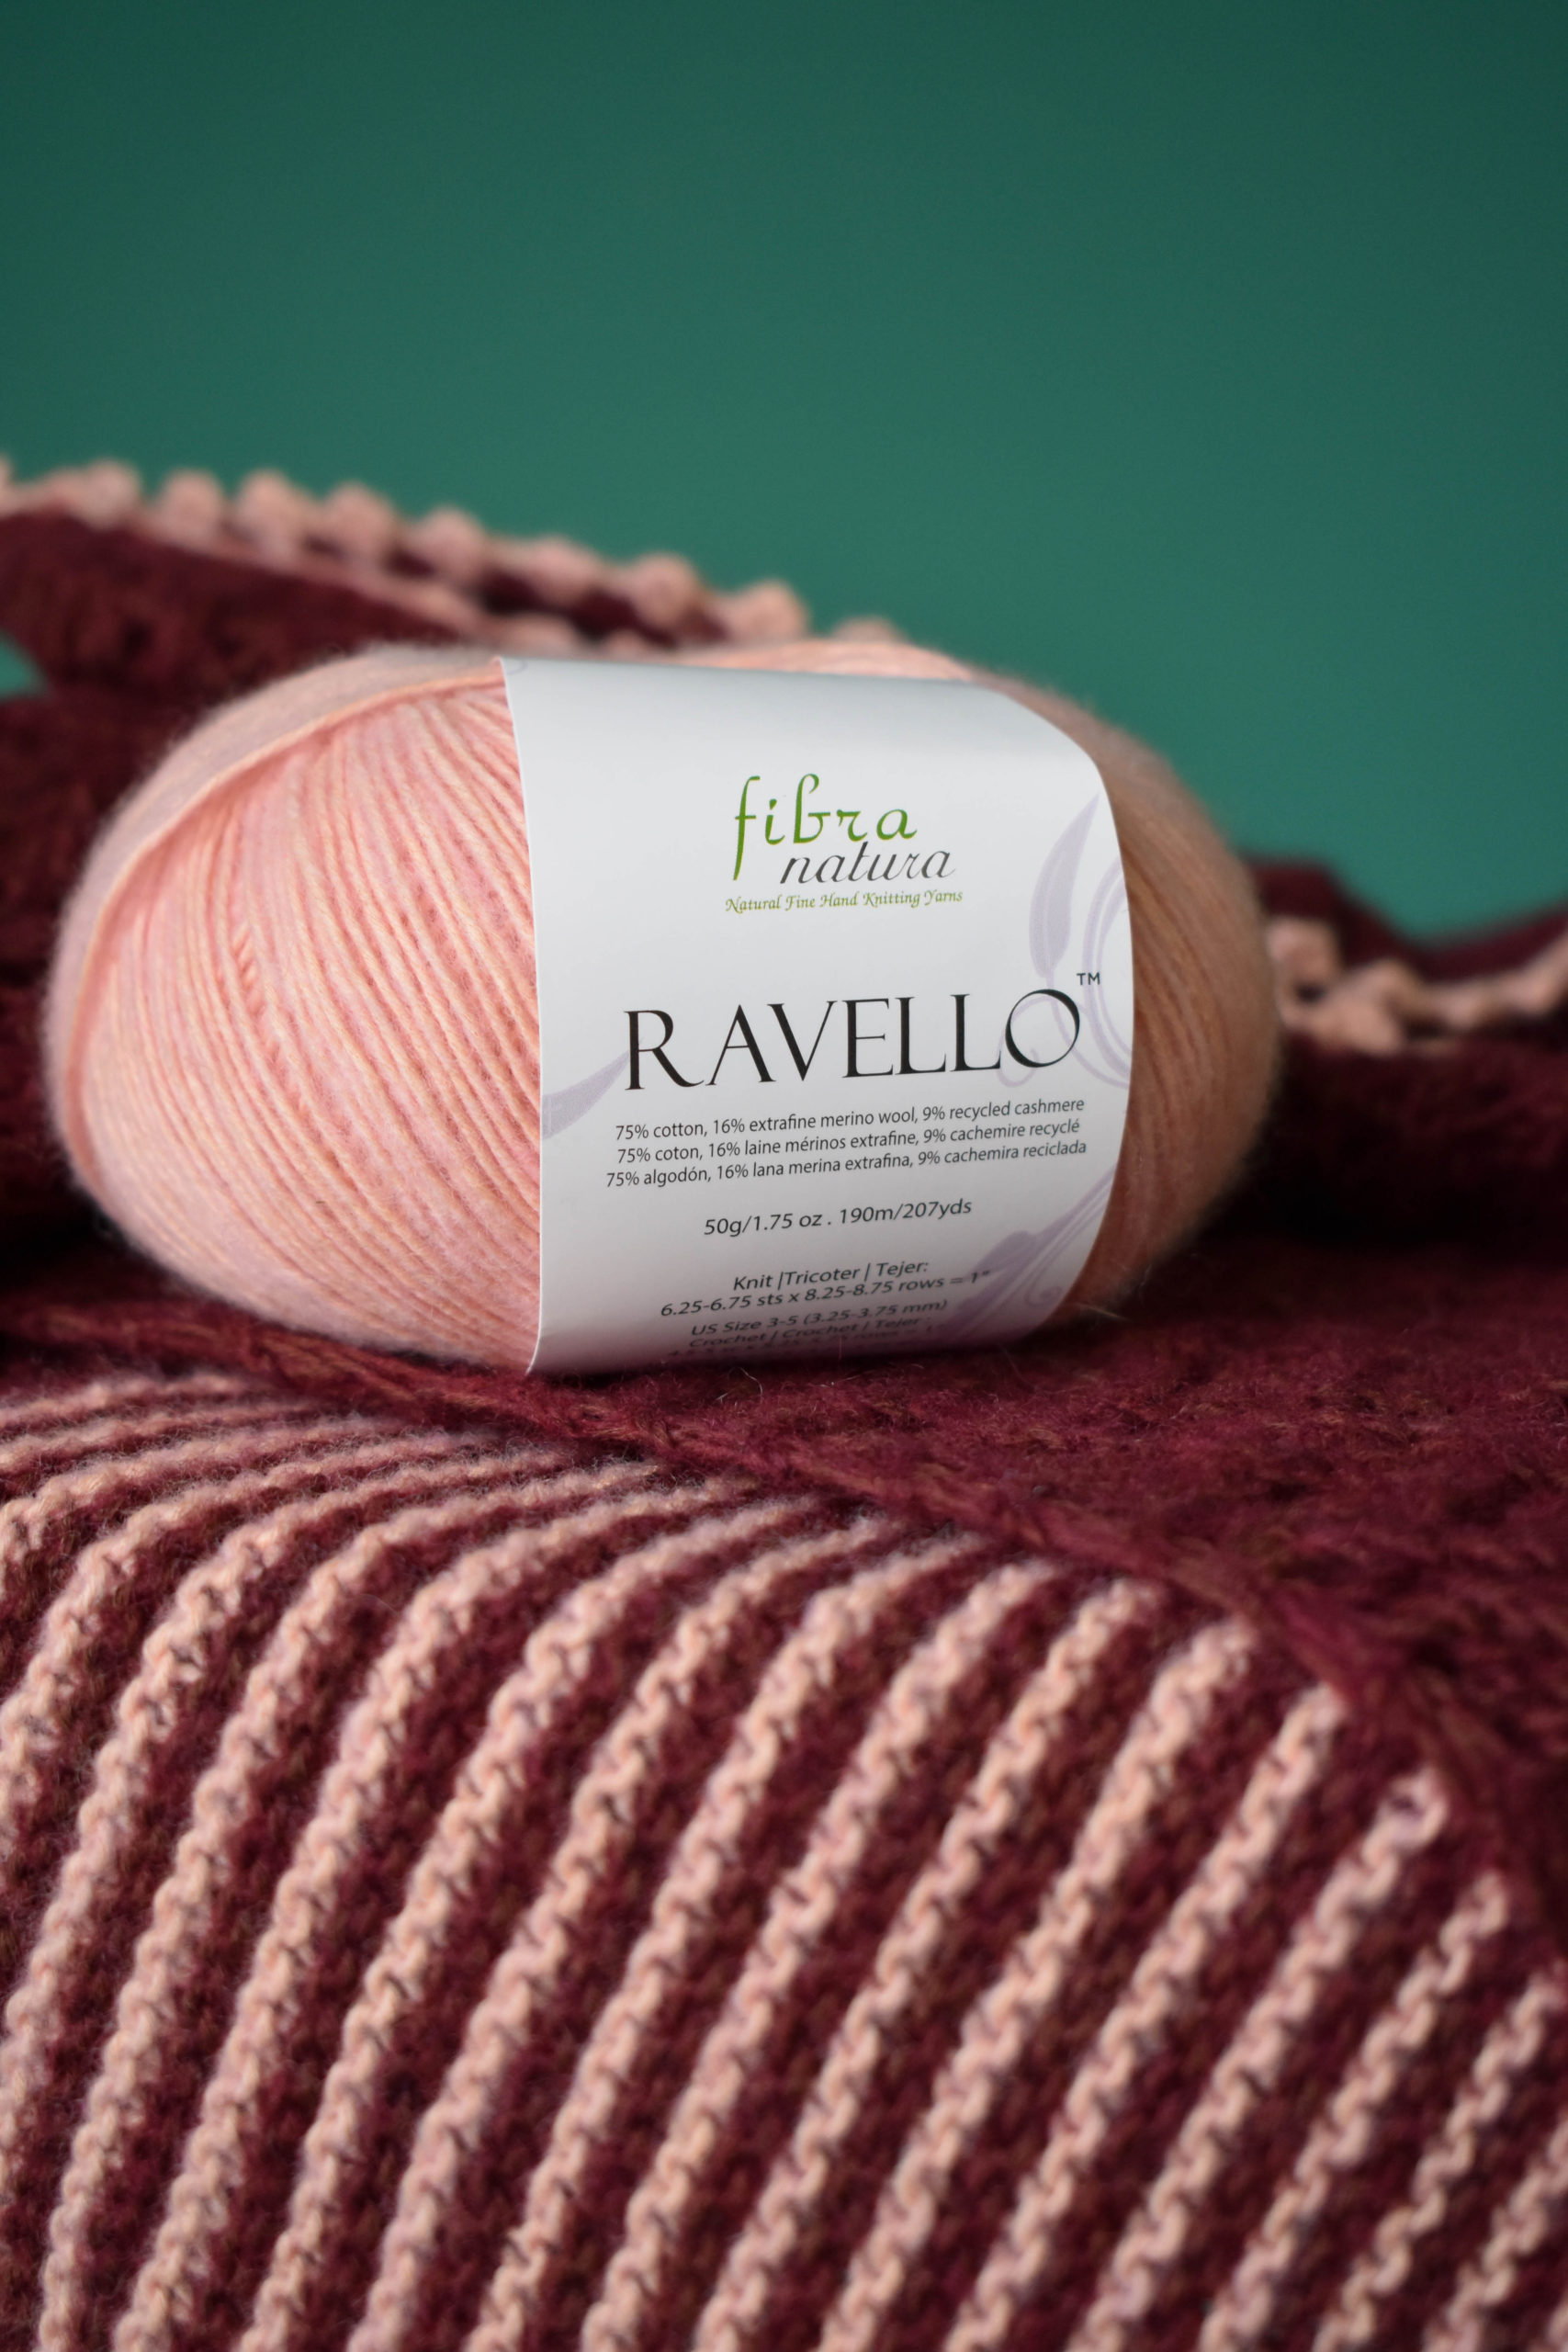
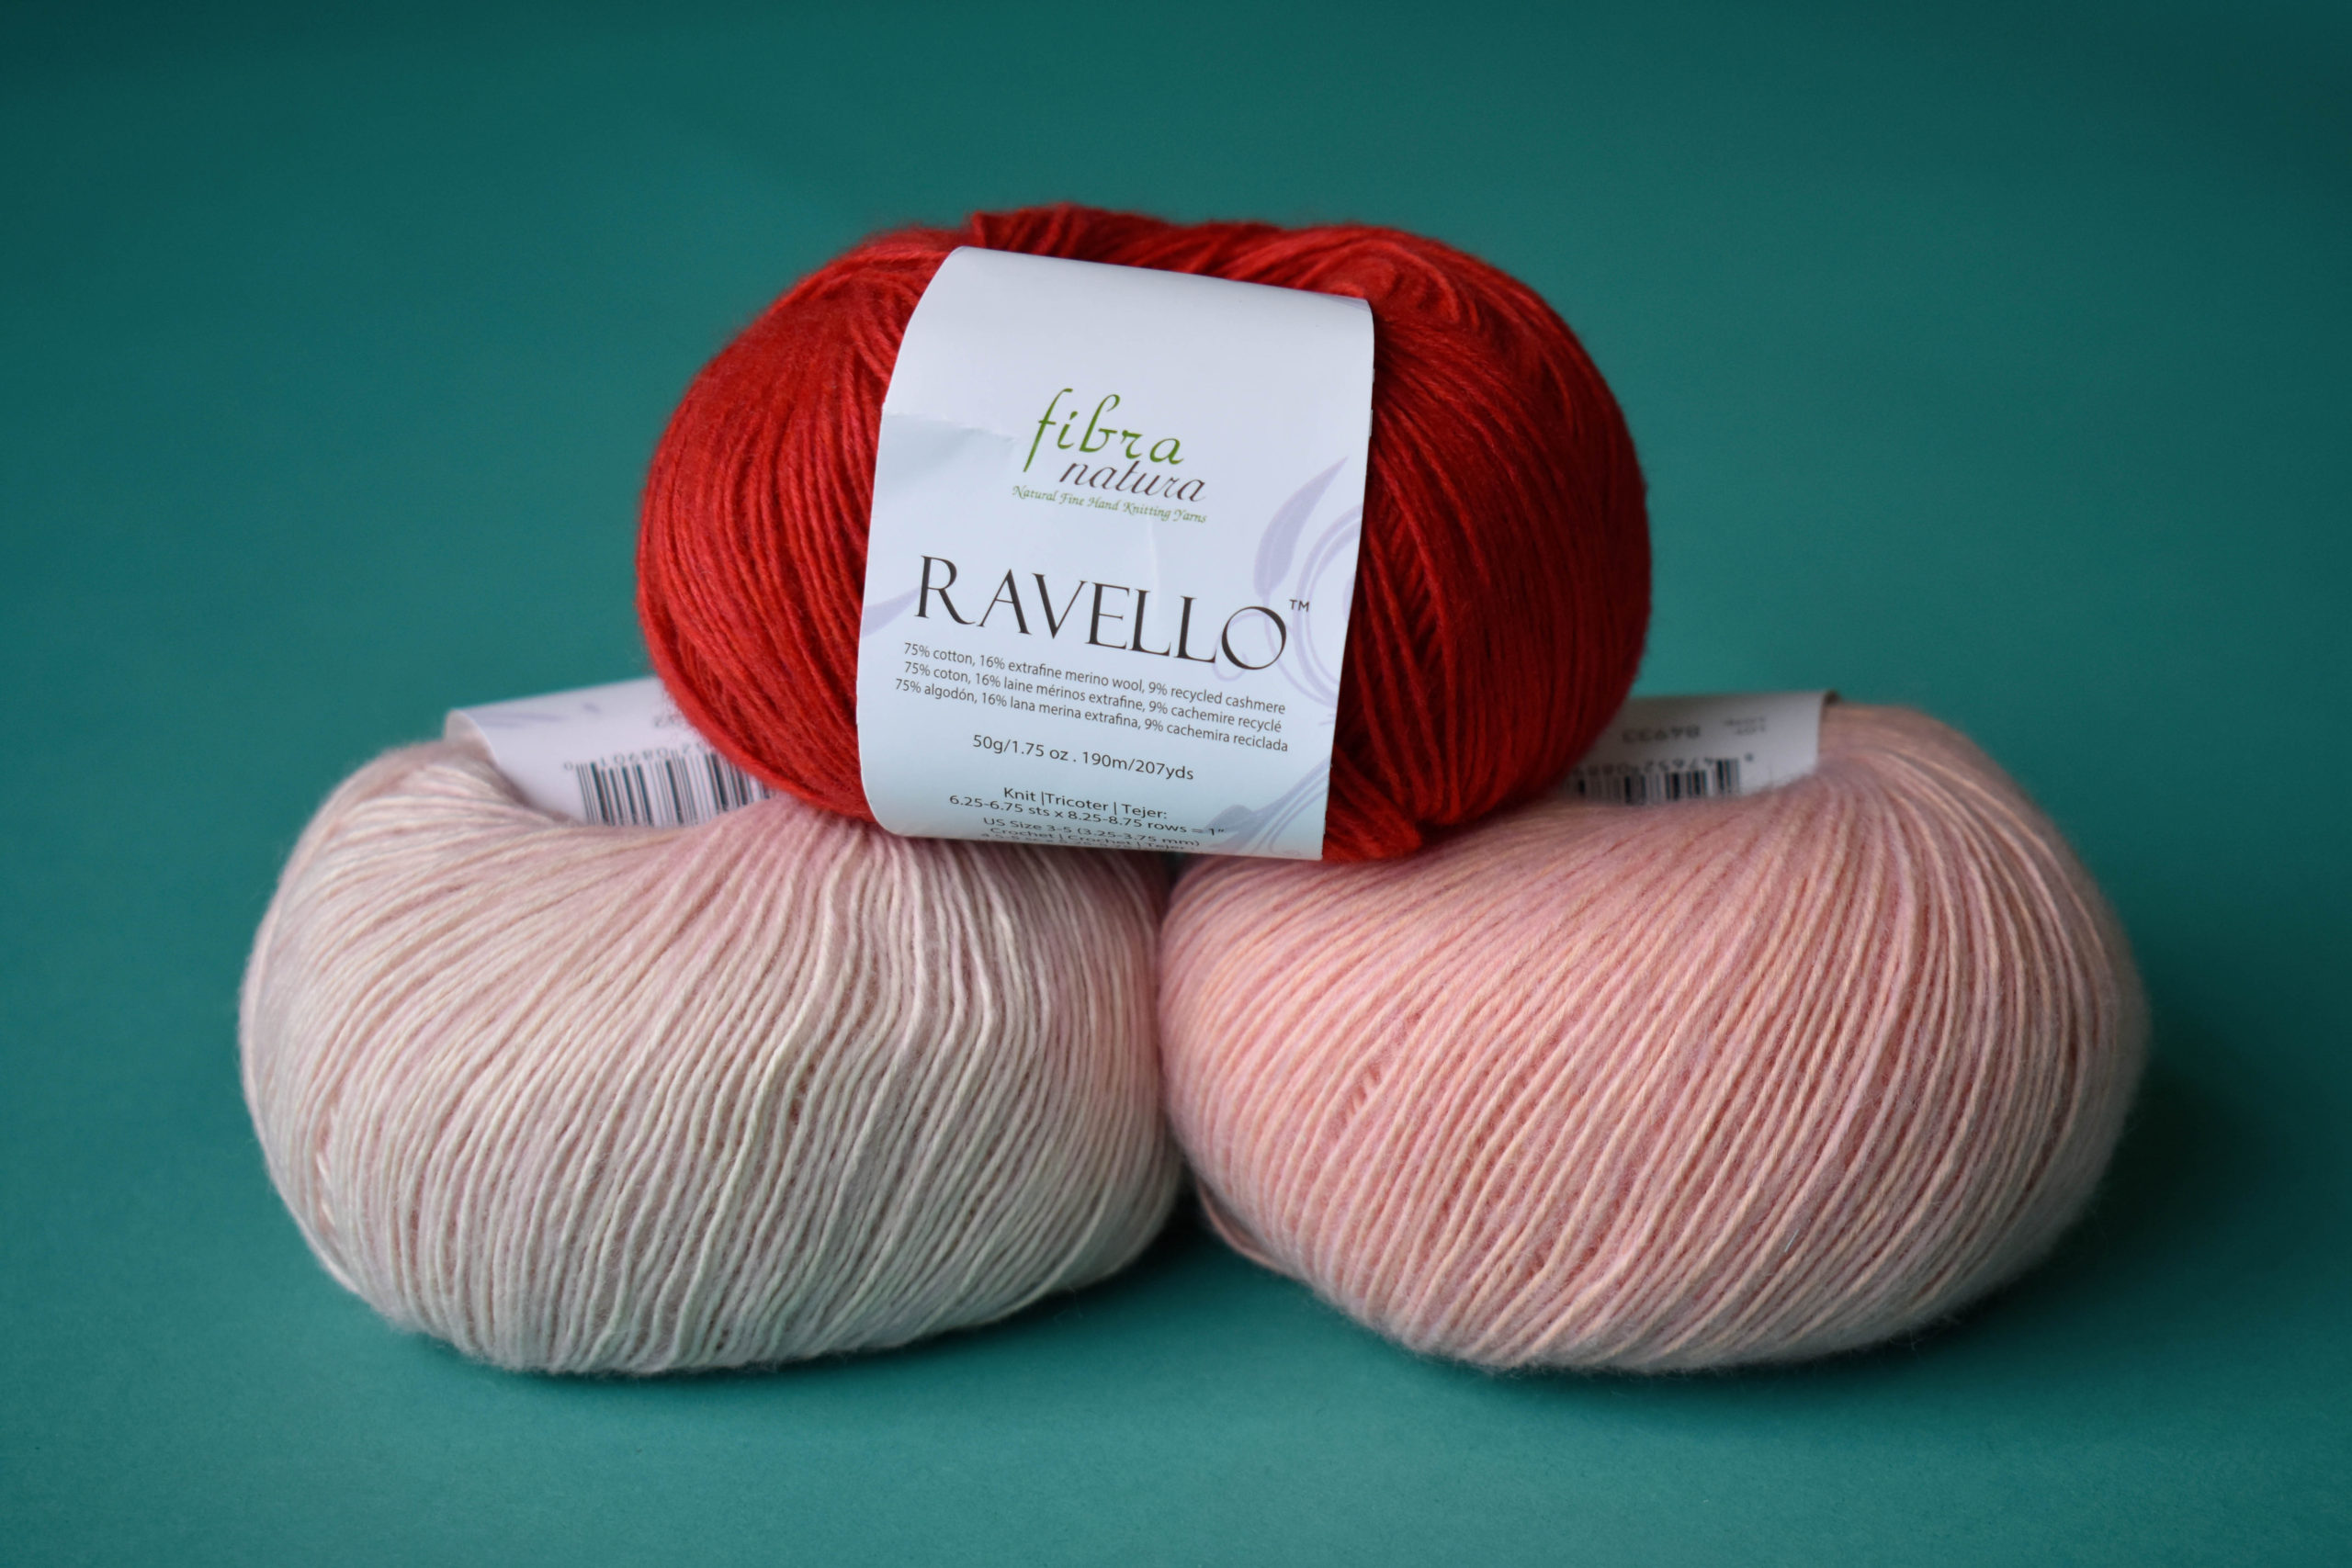
With Valentine’s Day right around the corner, I thought I’d make a confession. I have a new love in my life, and it’s Fibra Natura Ravello. One of our new spring yarns, this is quickly becoming a favorite (I know, I shouldn’t pick favorites!). It’s a blend of cotton, extra-fine merino wool, and recycled cashmere, making it a fabulous yarn for multi-season garments and accessories. Ravello is soft, drapey, and has a subtle halo. These qualities are pretty irresistible!
Ravello in 104 Soft Clay
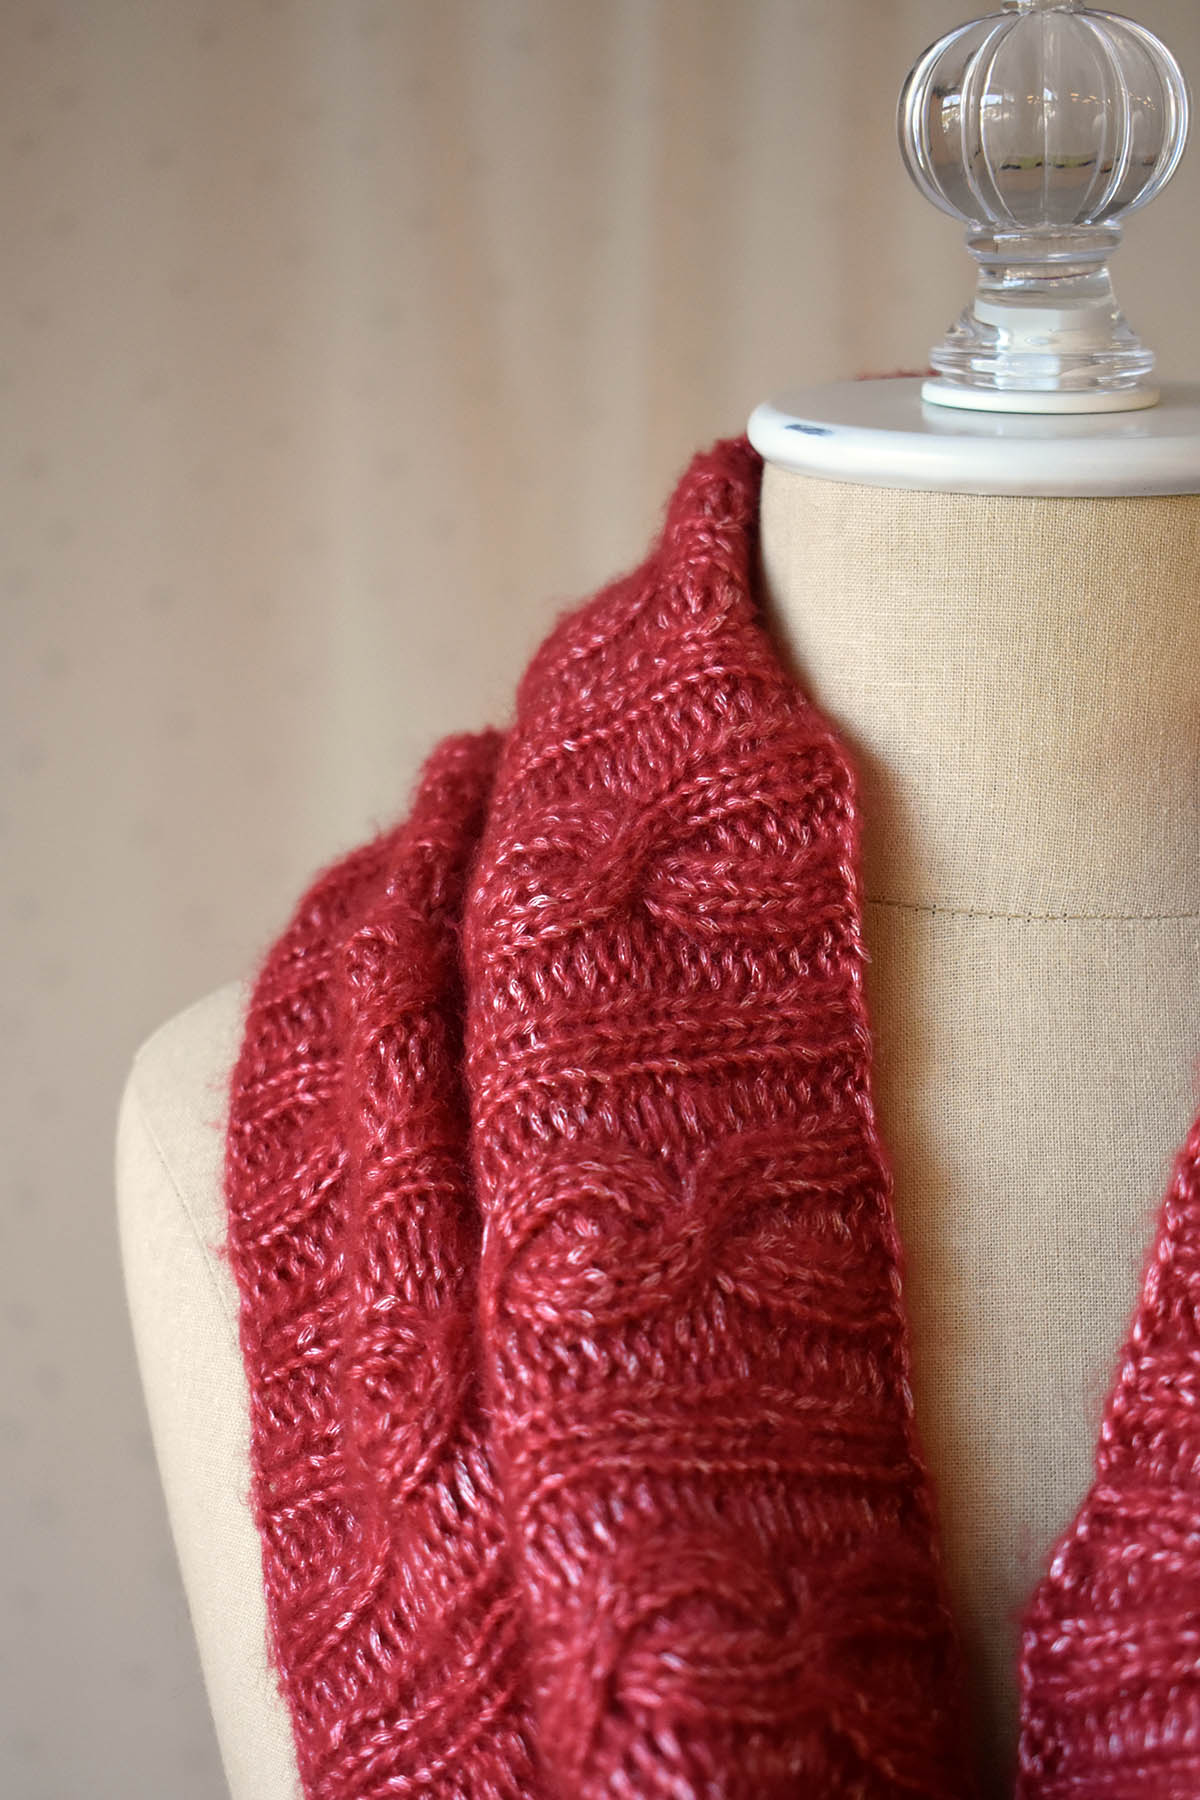
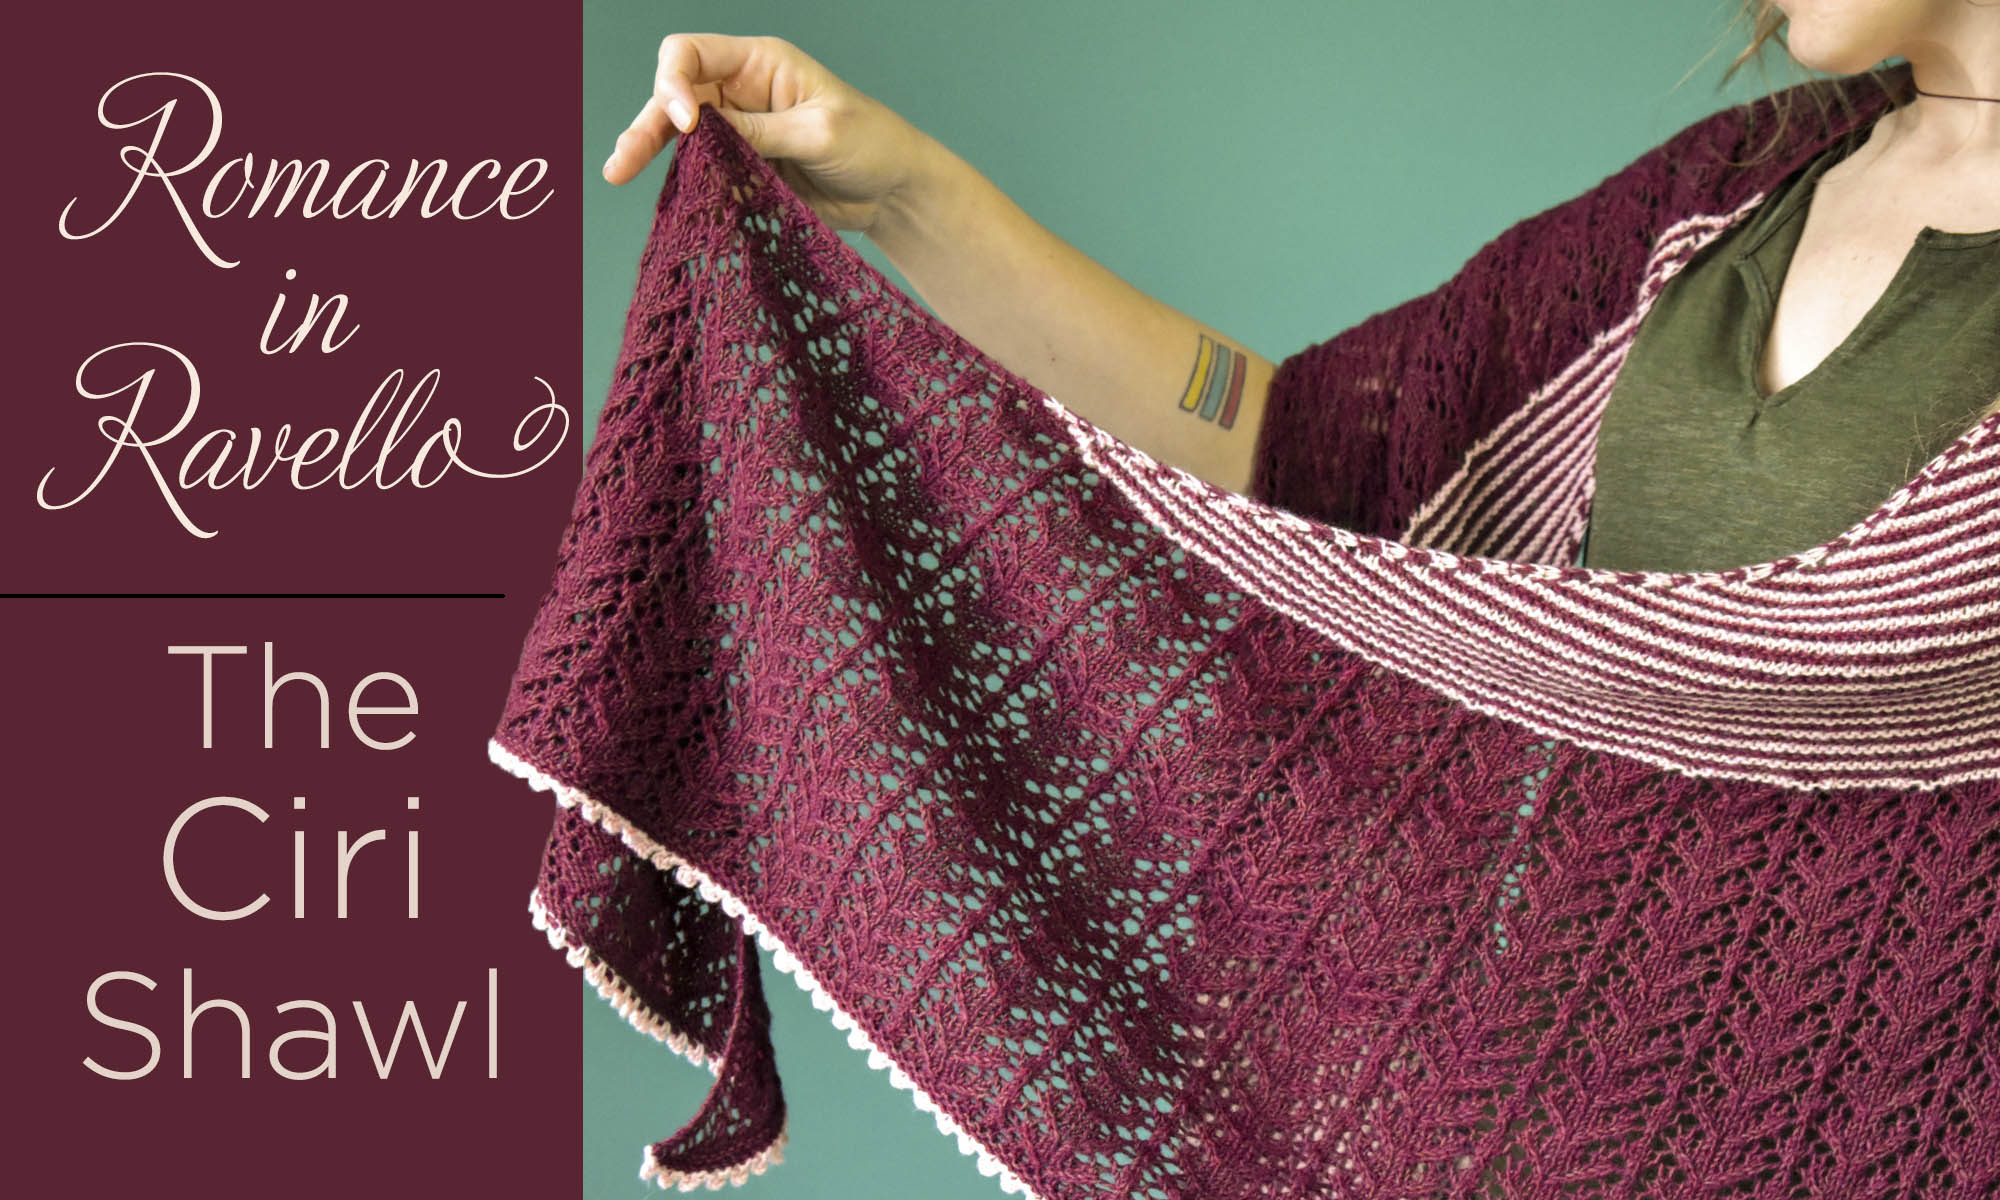
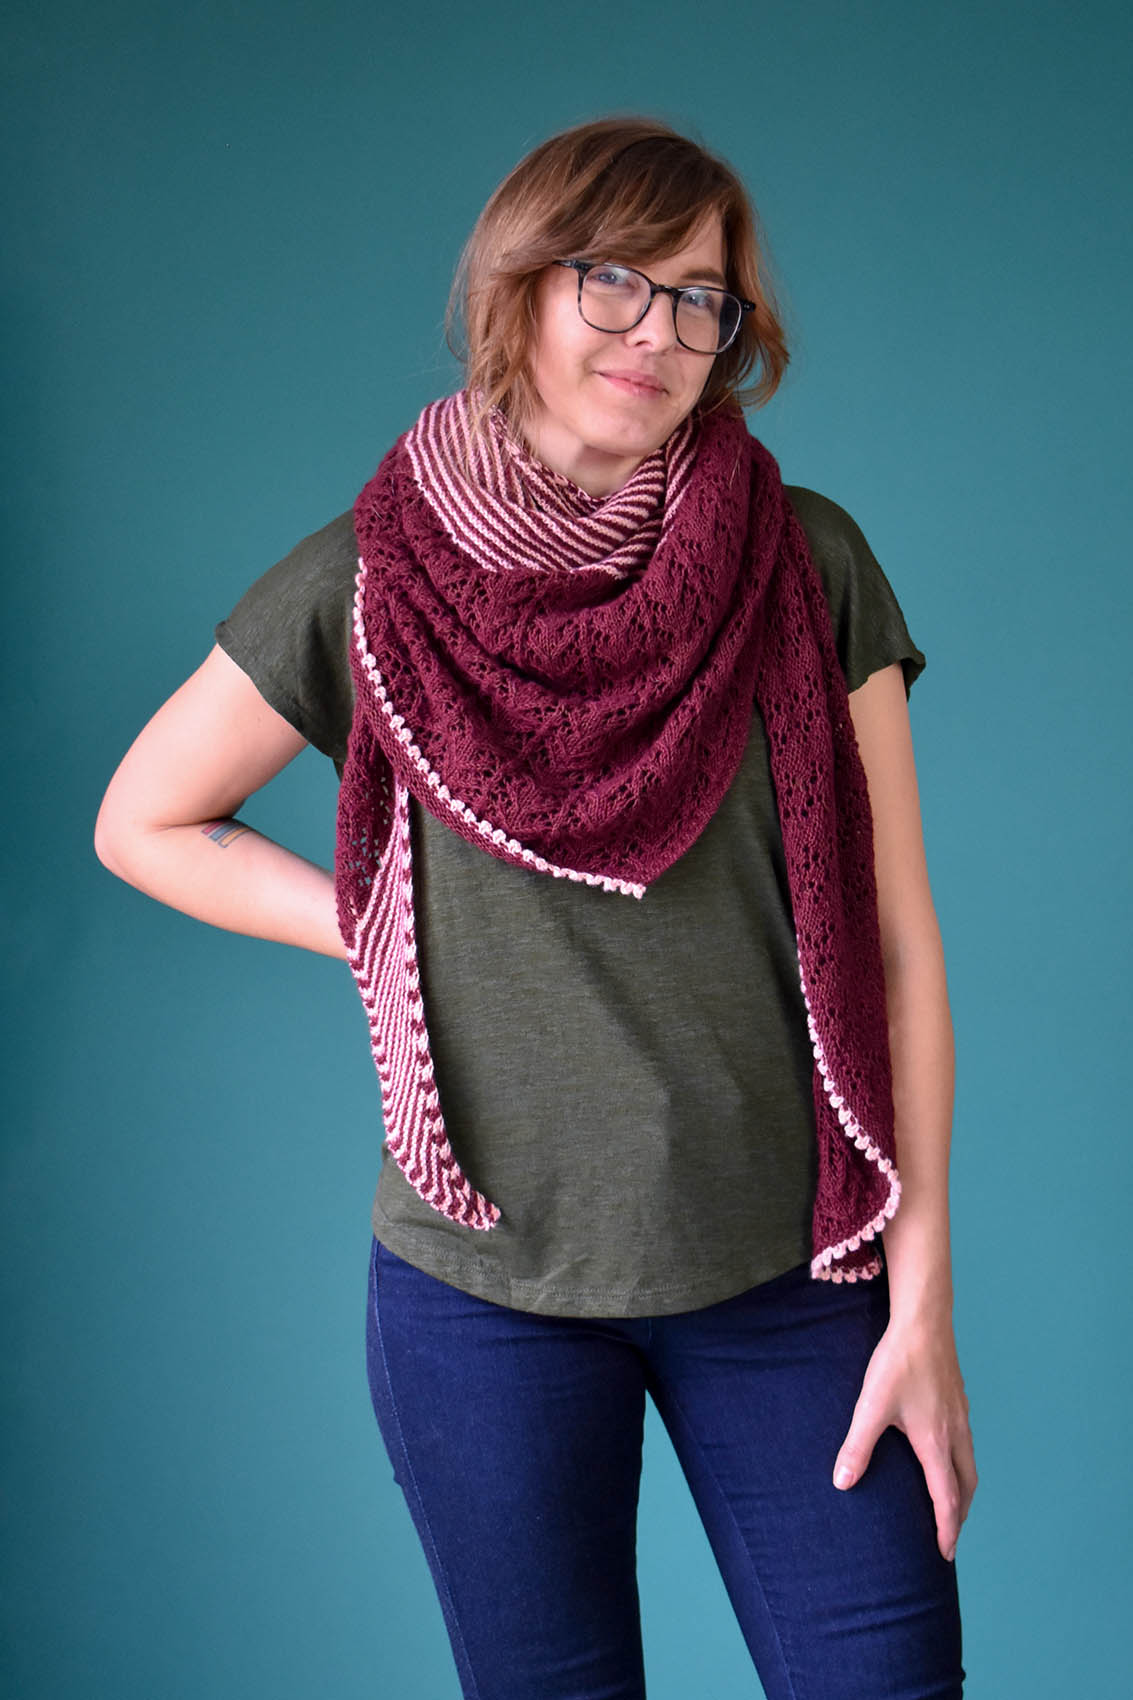
I’ve been having so much fun designing with this yarn. So, just in time for Valentine’s Day, we’re introducing the Ciri shawl. This is a large, asymmetrical shawl knit in two coordinating colors that nod towards Valentine’s Day without being obvious.
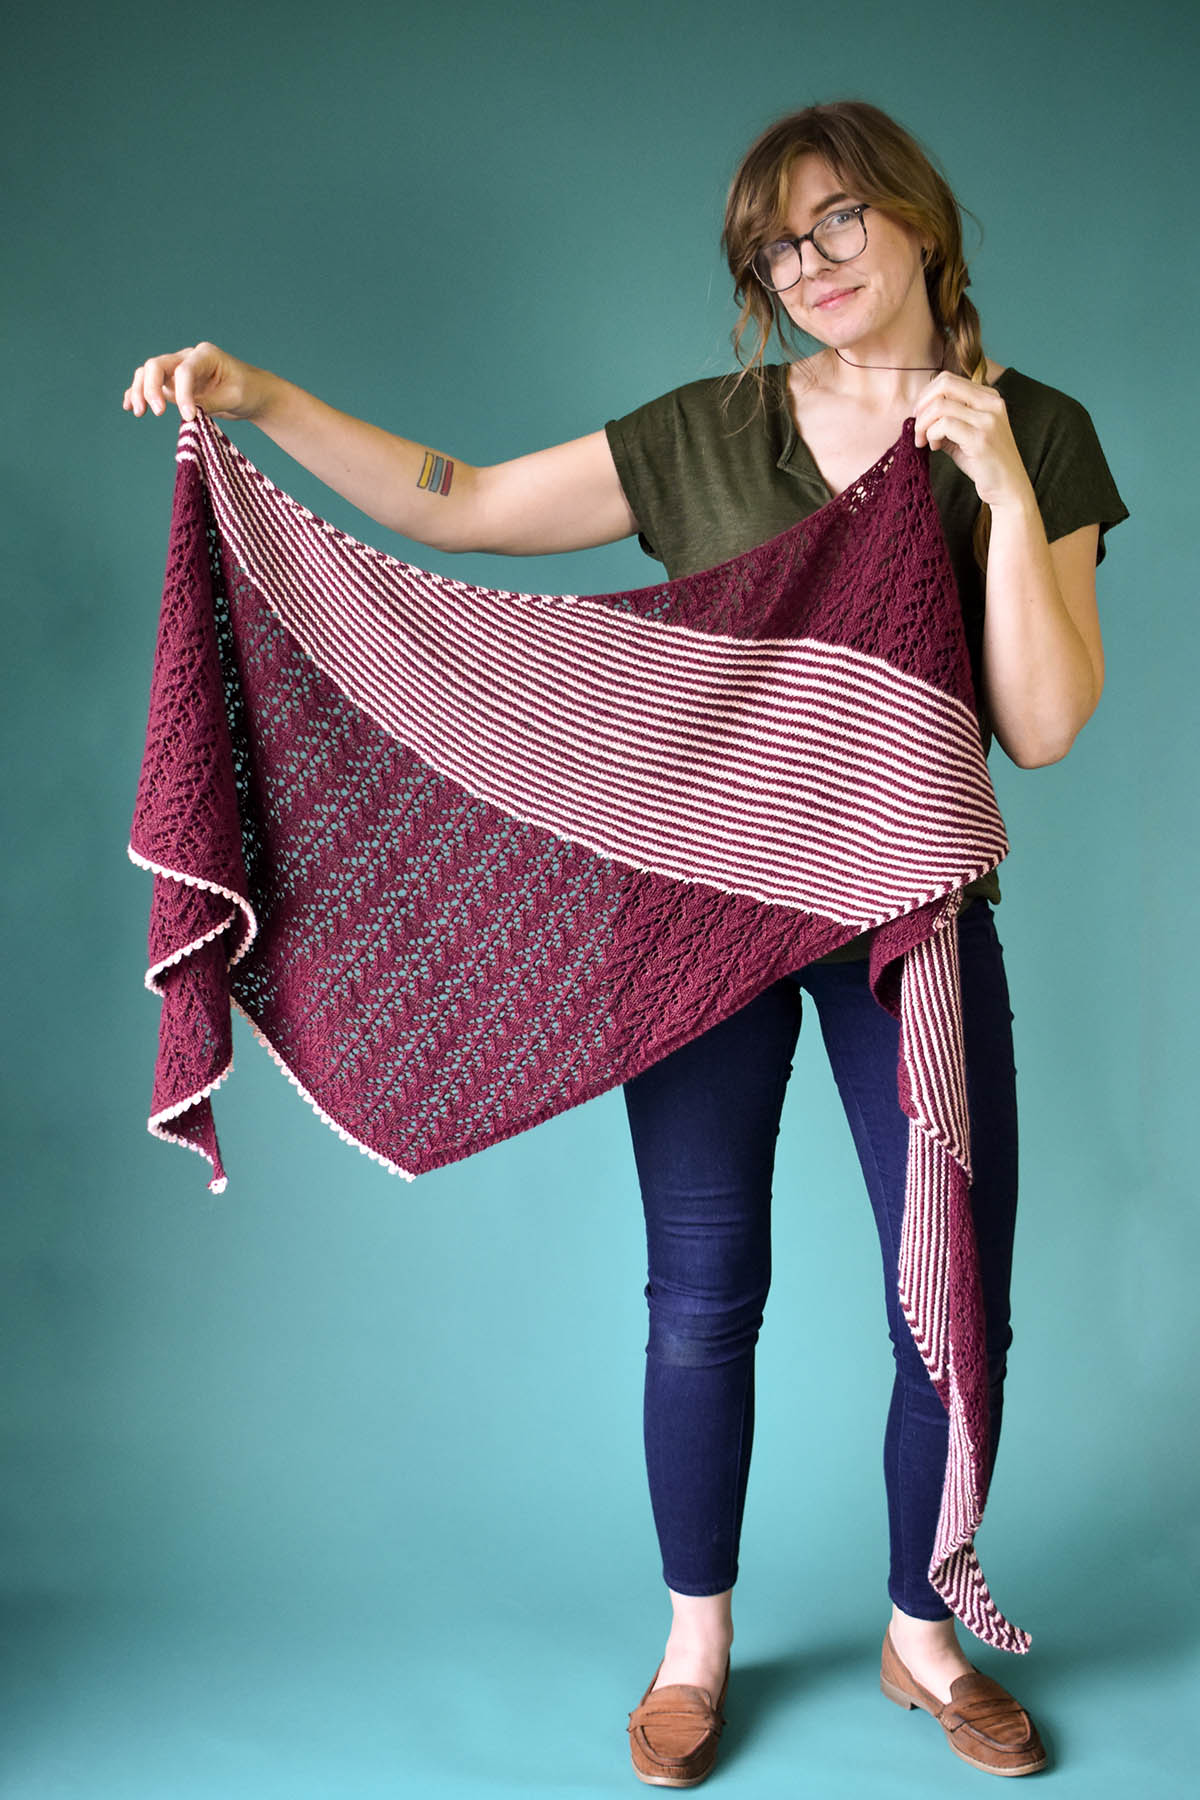
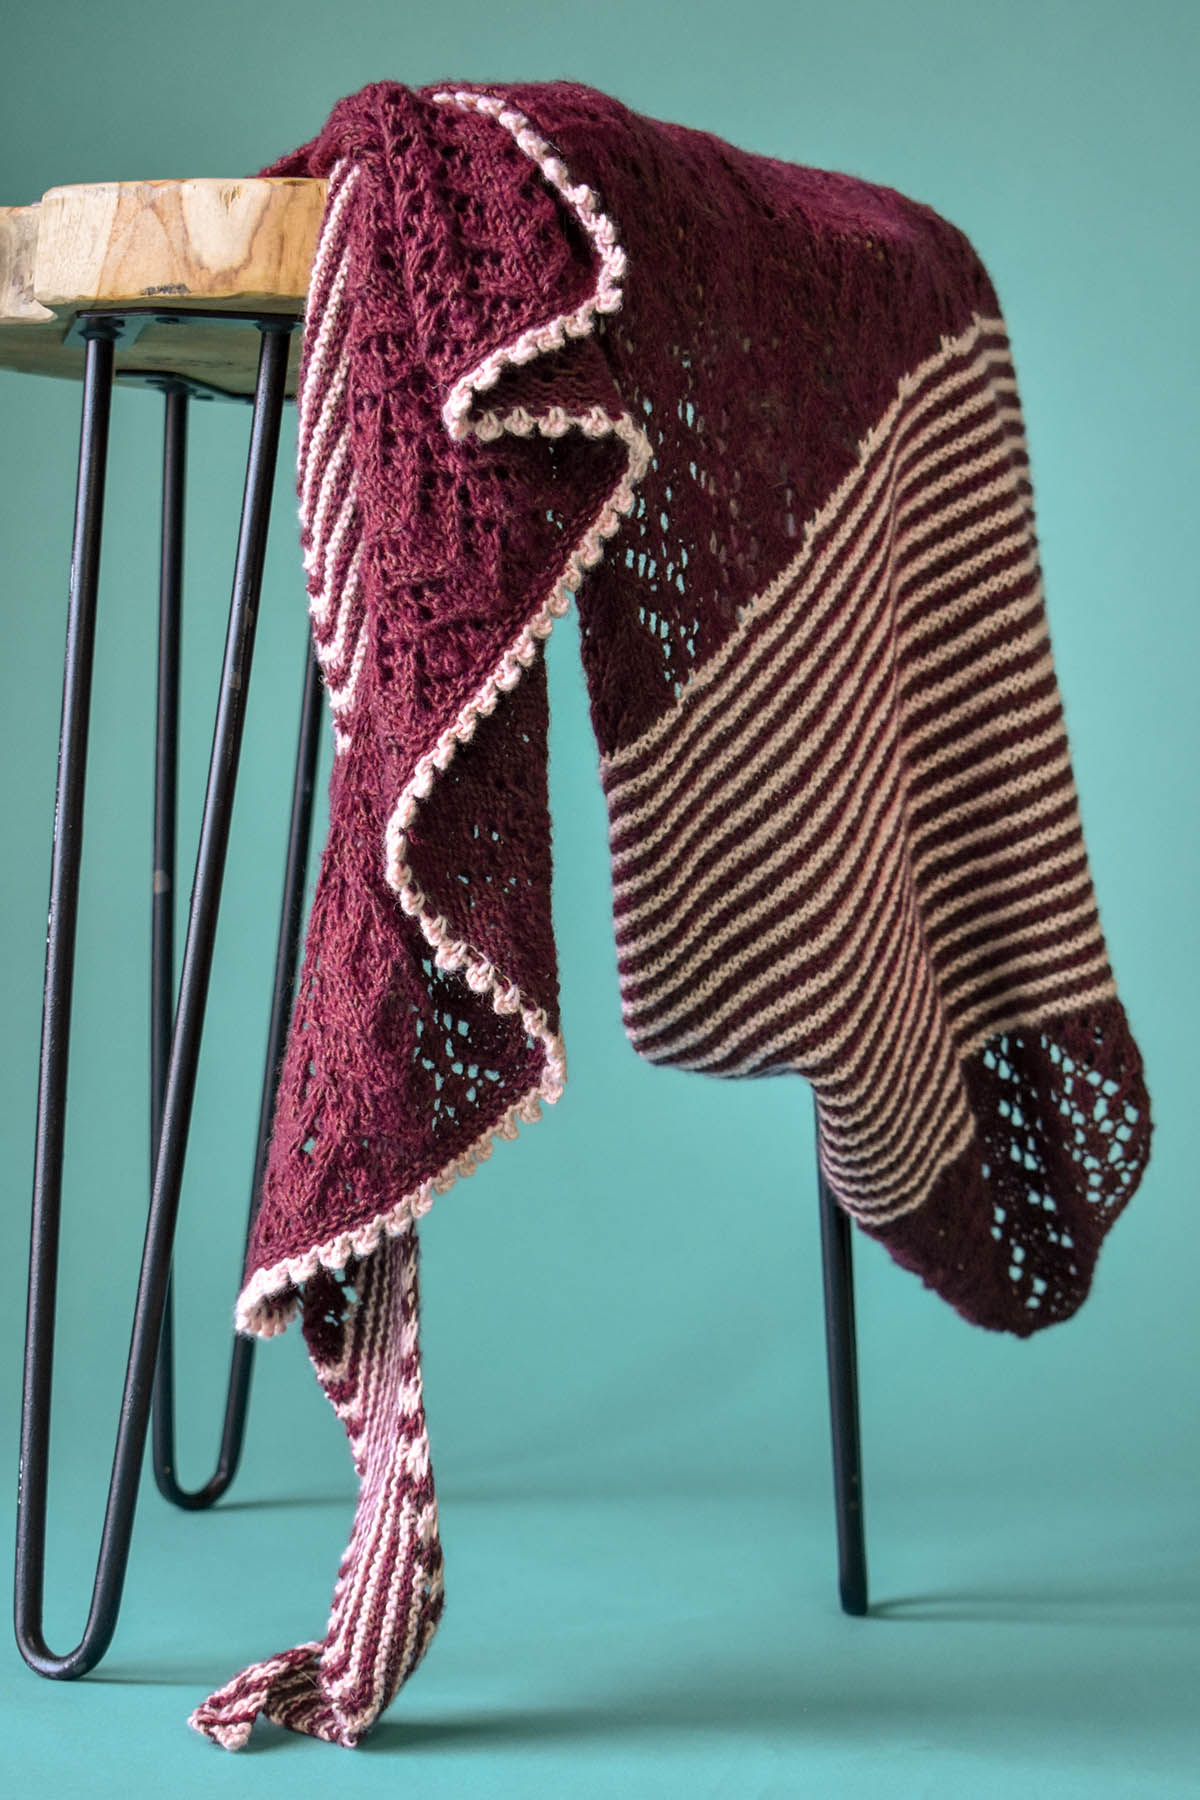
The main color is 108 Tuscan Pepper, a rich burgundy that shows off the lace beautifully. It is paired with 104 Soft Clay as the contrast color. After years of resisting pink, I’ve recently become more and more drawn to warm, less saturated shades of pink. Swaths of lace in the main color are interrupted by garter stitch stripes that are worked with the contrast color. It is finished with a crochet picot bind-off that adds a touch of romance. Ciri is knit on the bias, creating an asymmetrical shape. It begins at the tip and slowly increases to the widest edge. The shape and loose gauge make a drapey fabric you’ll love to wear. Each end of the shawl gently spirals downward when you place it over your shoulders.
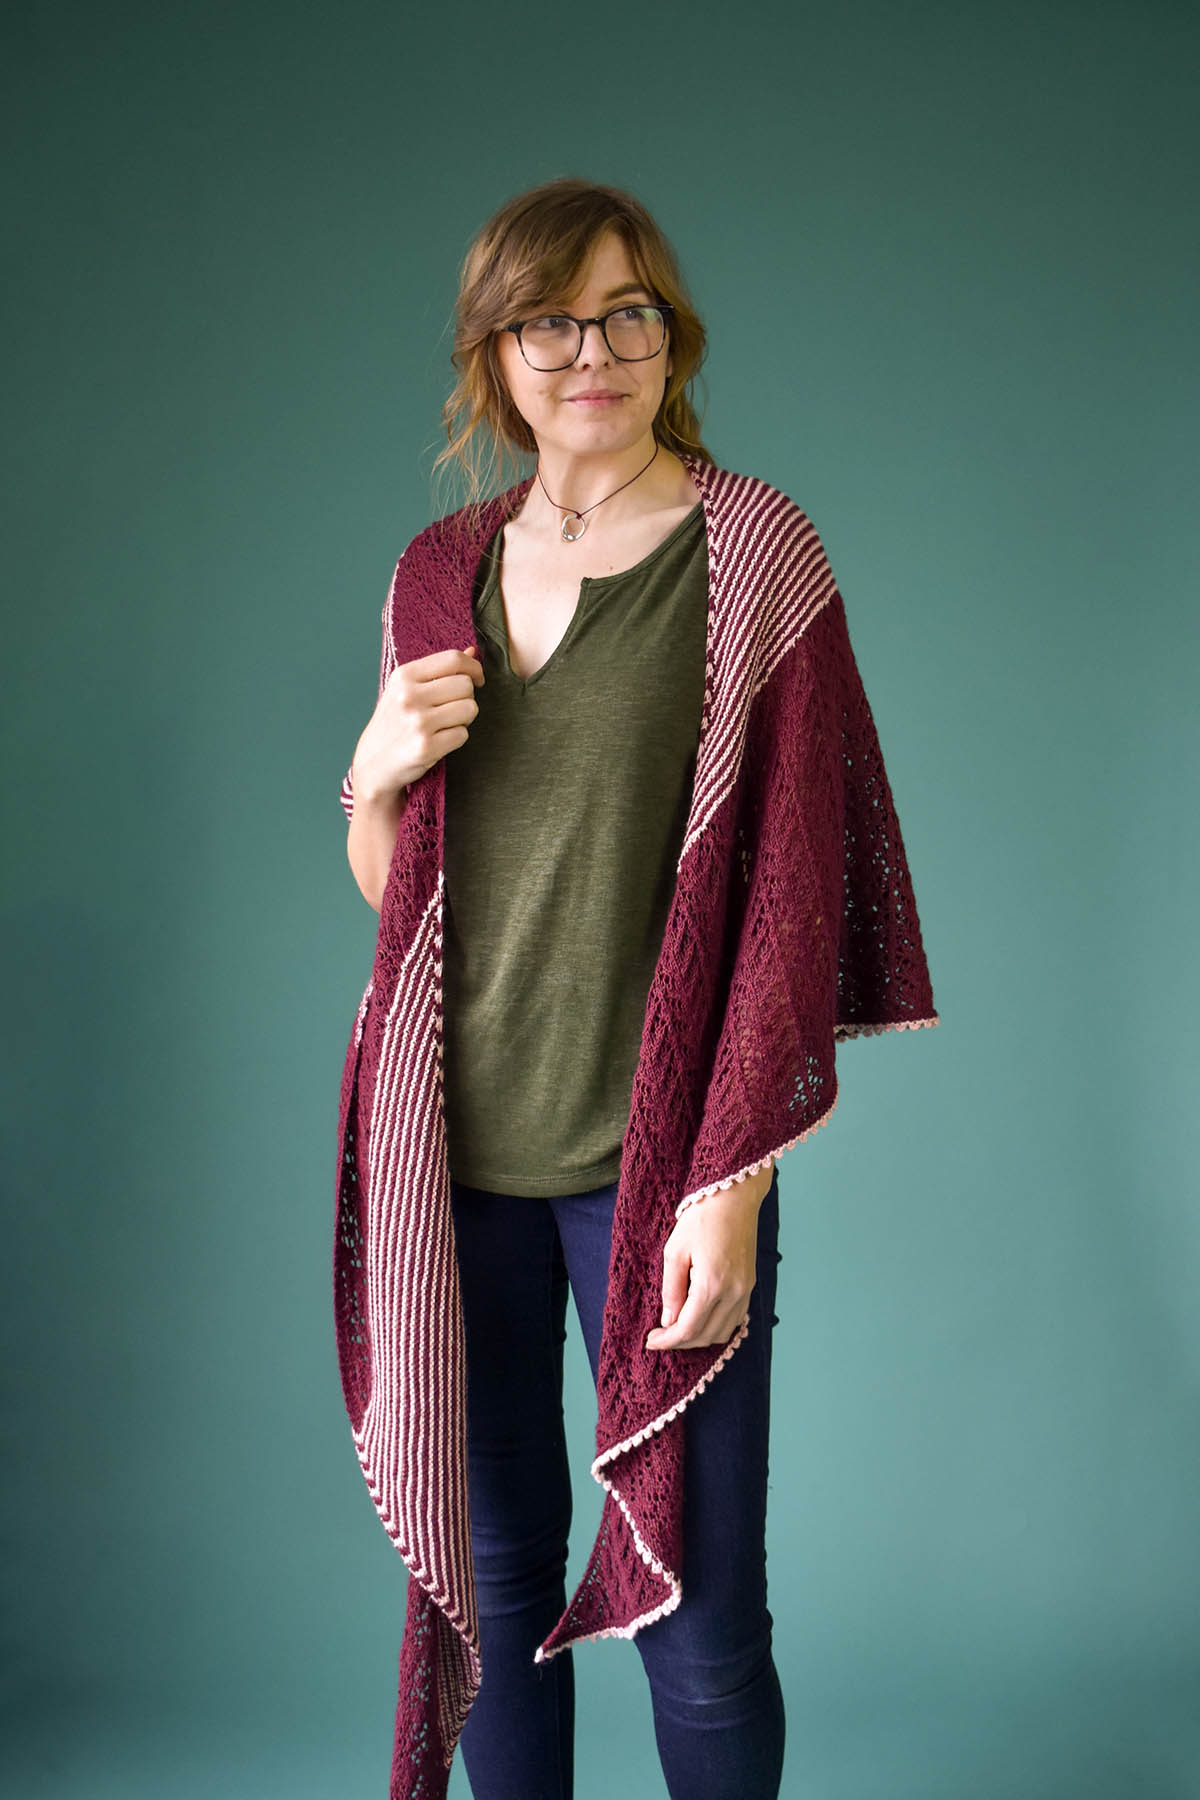
This shawl is quite large. You can wrap it around your neck multiple times for maximum coziness.
Just look at that picot trim and gorgeous drape – we’re smitten!
Whether you’re knitting this for your Galentine, Valentine, or yourself, the Ciri shawl is the perfect cast-on this week.
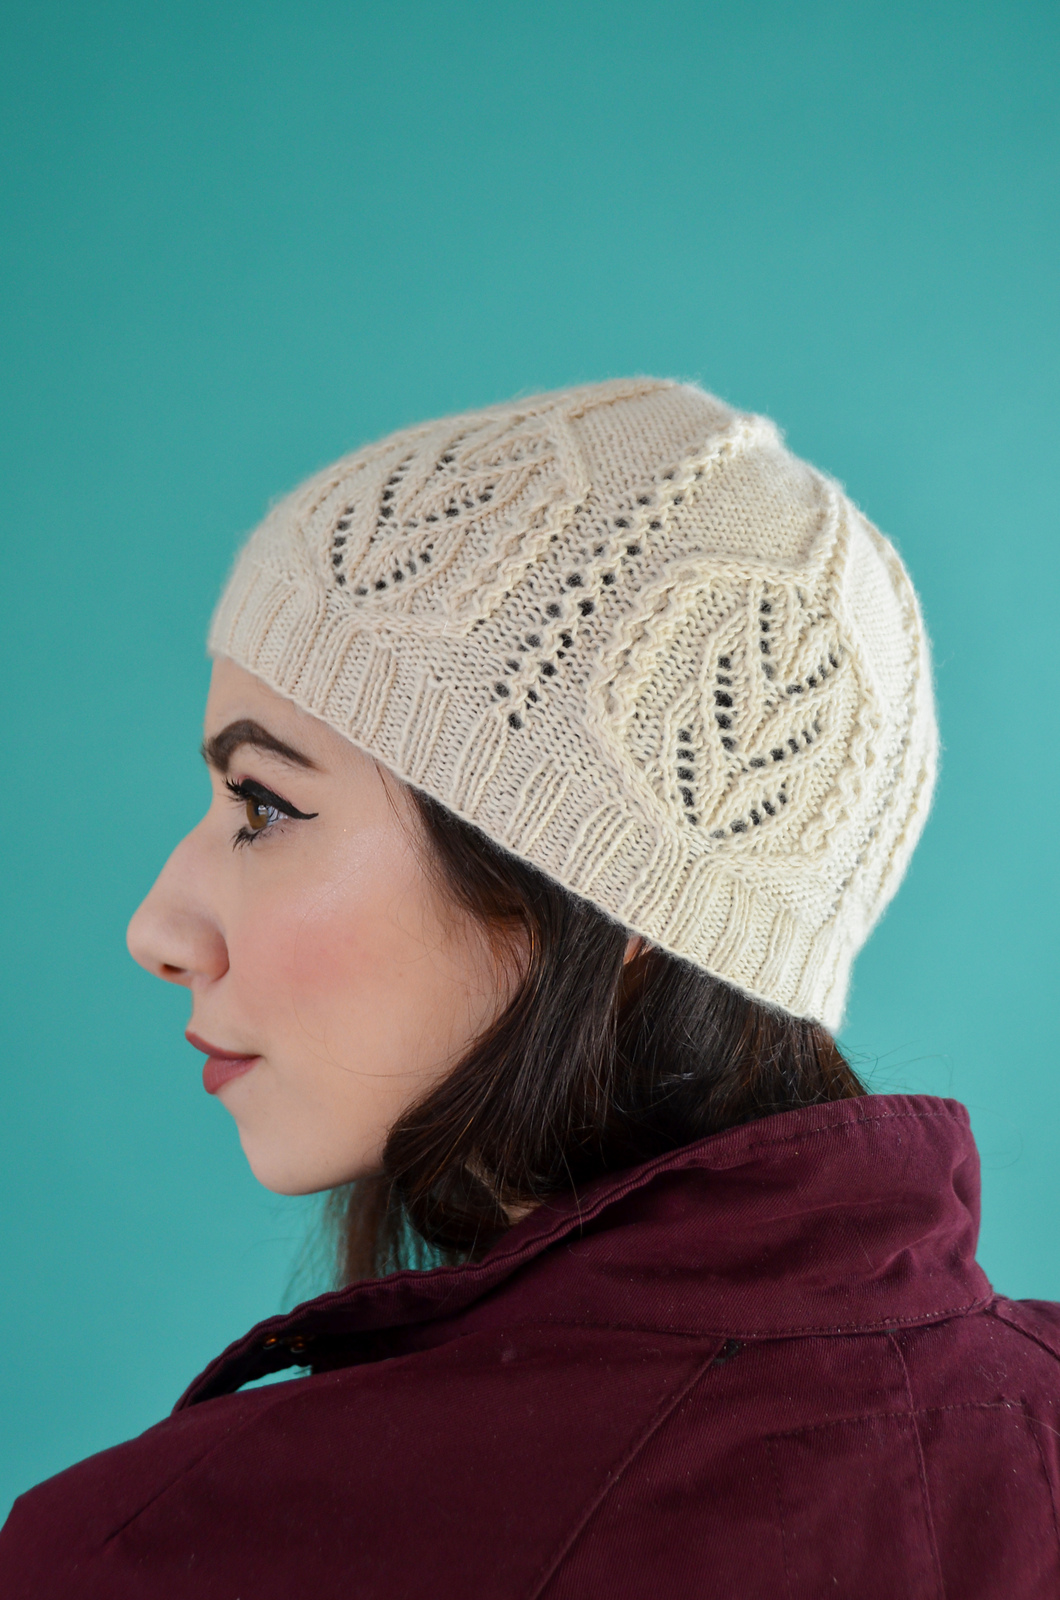
Gardenia is knit is 101 Ocean Fog.
Oh, and just in case you’re looking for a little more Ravello inspiration, don’t forget about Gardenia. Lace and delicate cables would make this sweet little hat another lovely Valentine’s Day project, especially knit up in 106 Malbec or 107 Balet Slipper.
Top: 106 Malbec Bottom, left to right: 107 Balet Slipper and 104 Soft Clay
We hope you have a wonderful holiday – filled with chocolate, yarn, and your favorite people!
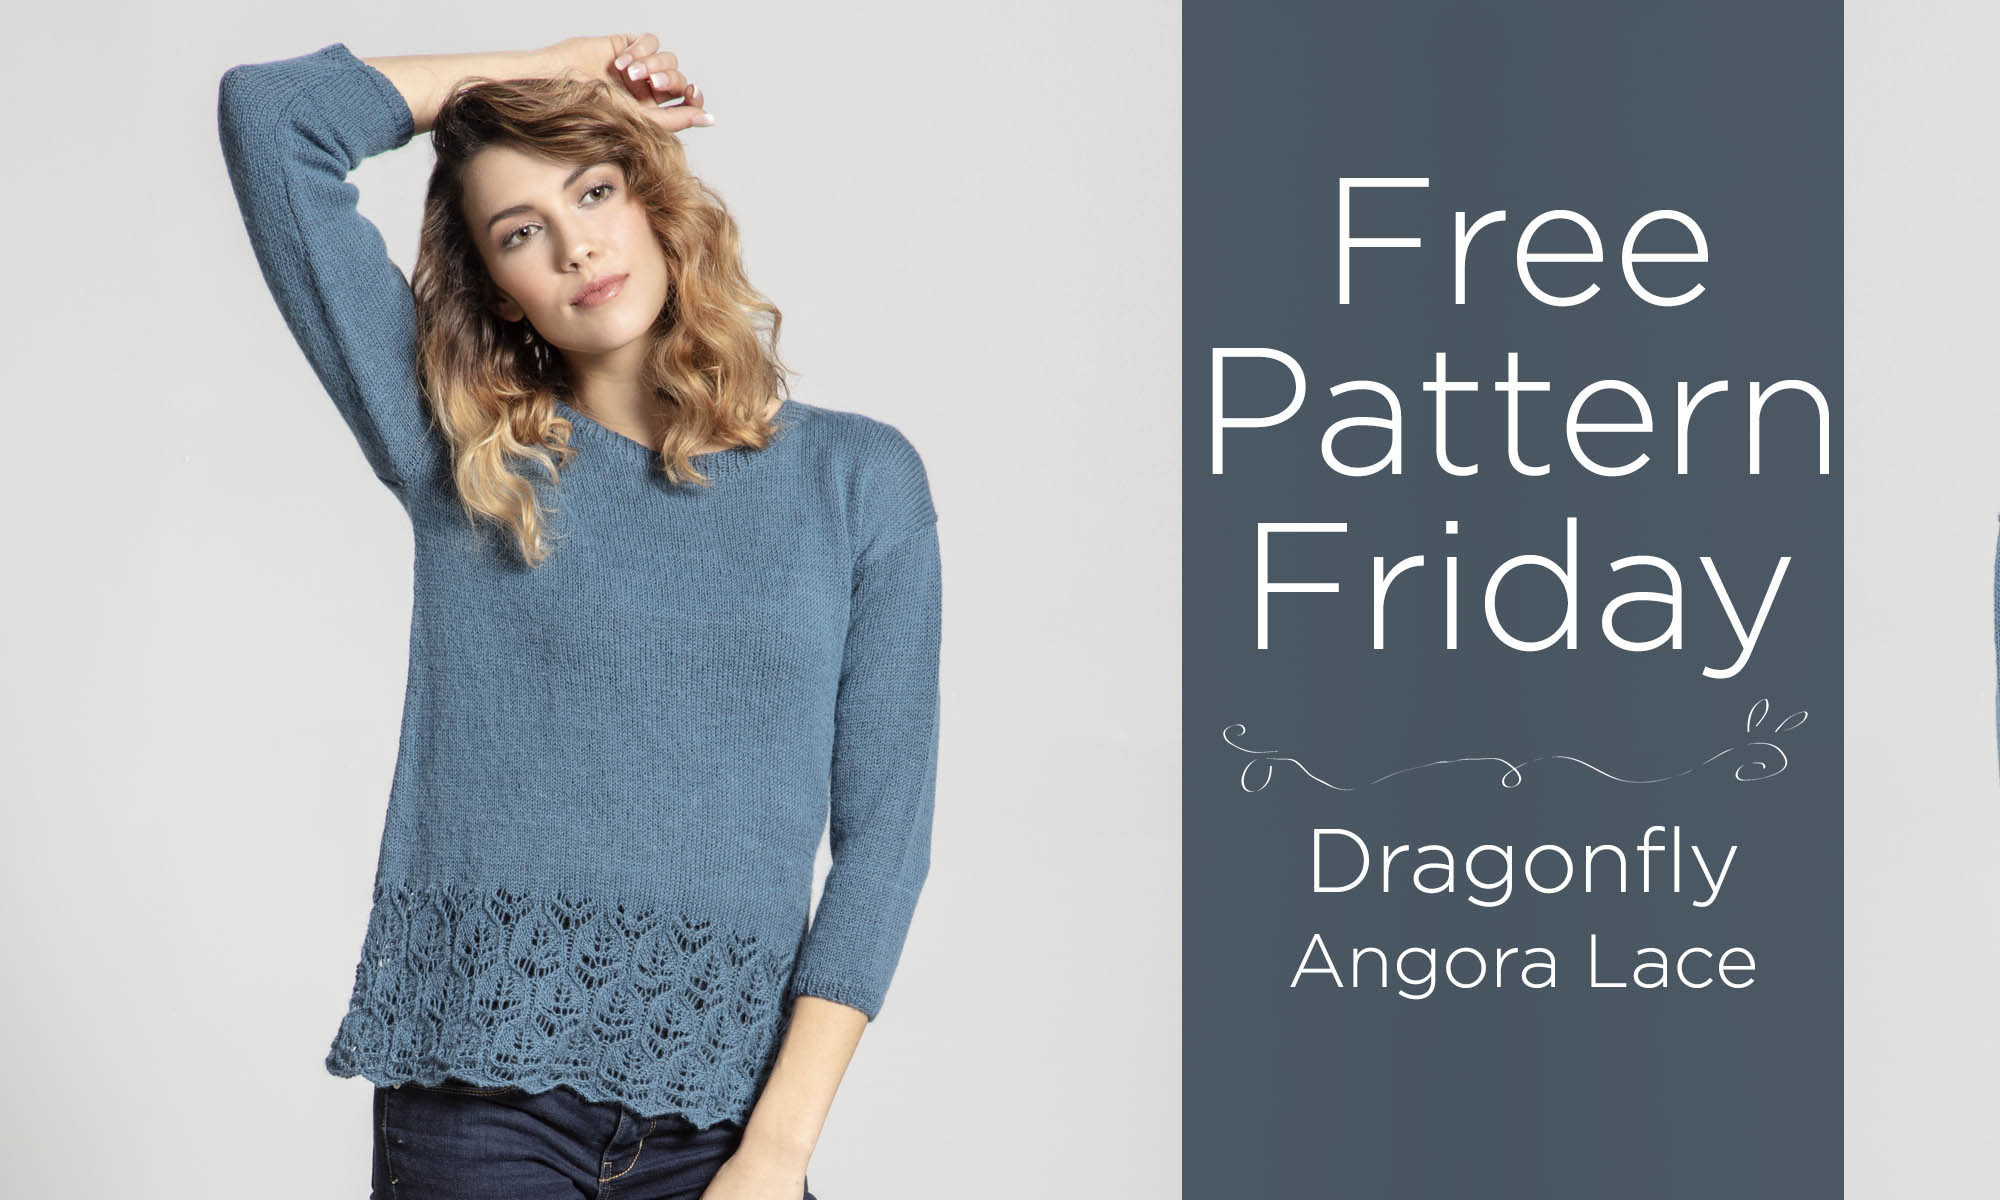
It’s Free Pattern Friday!
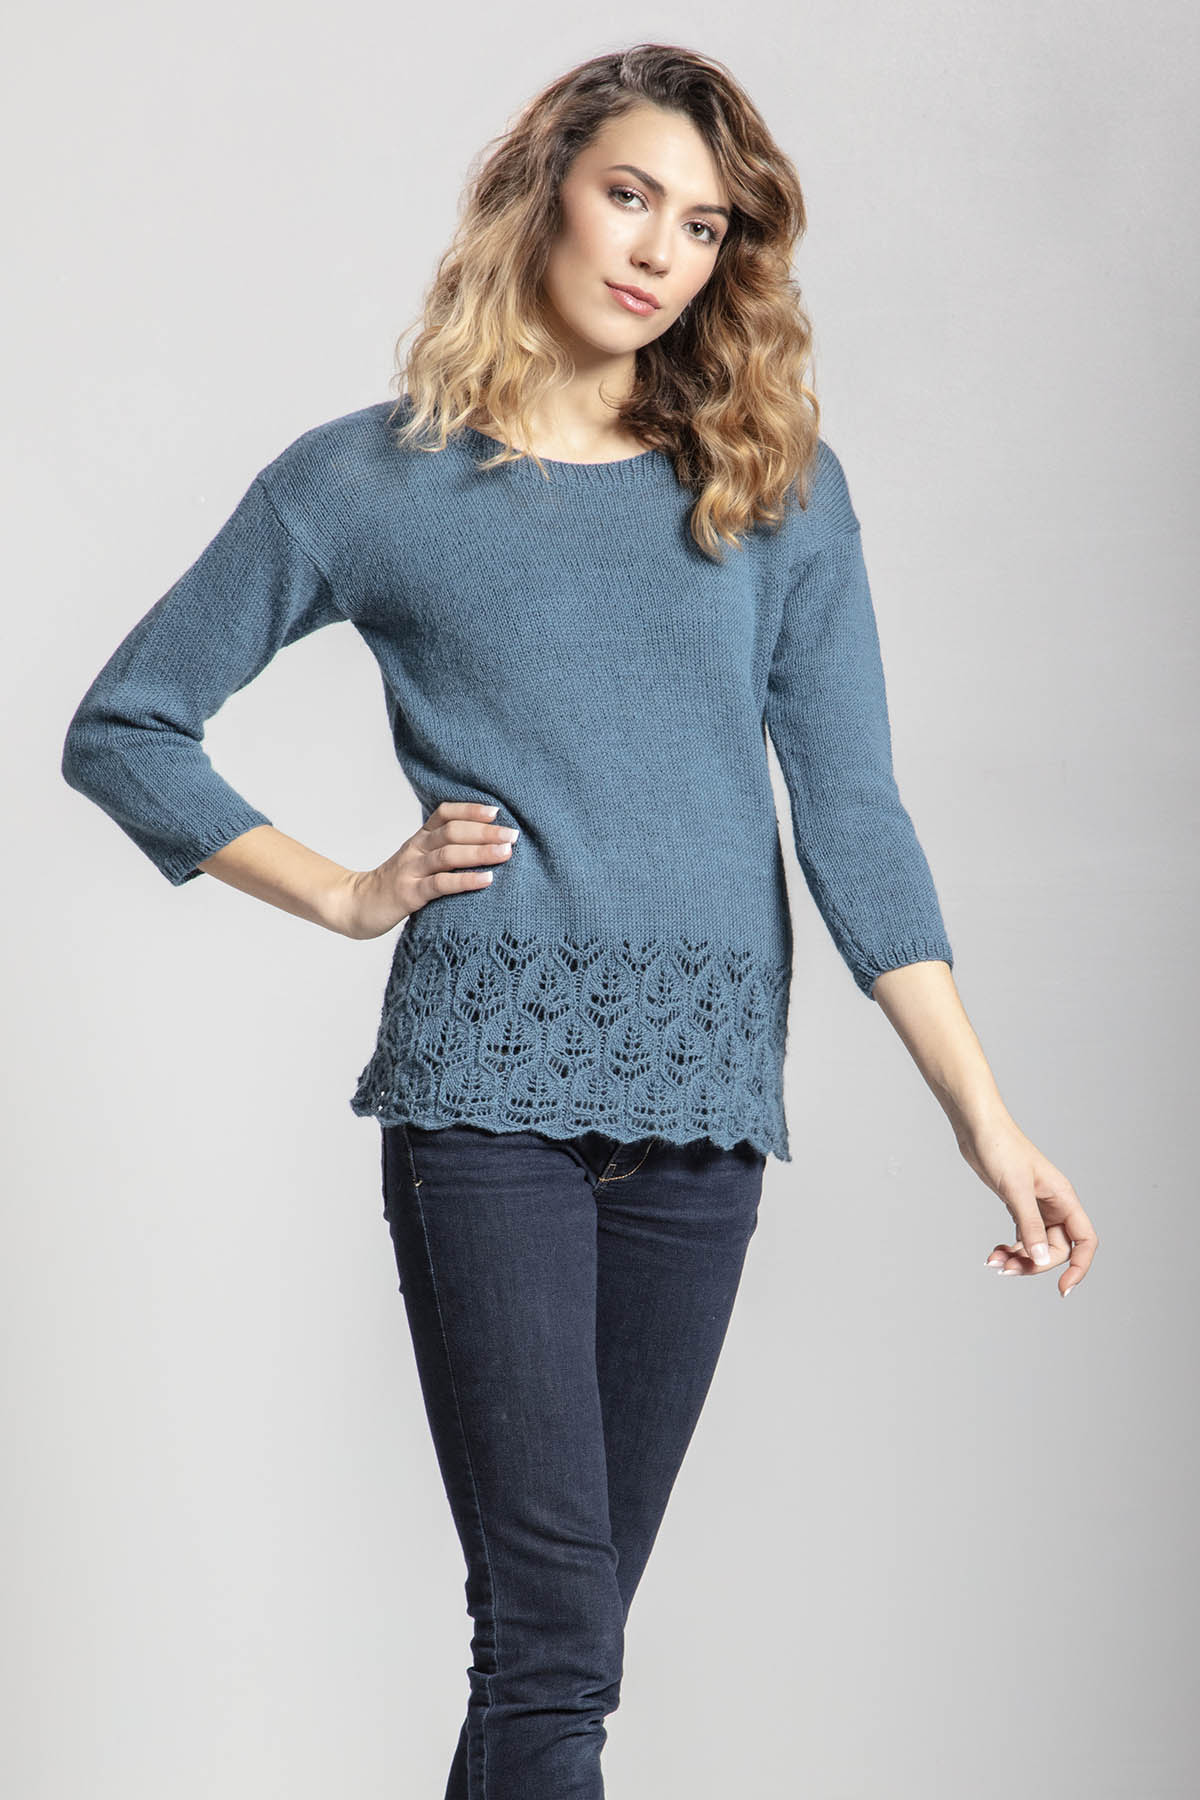
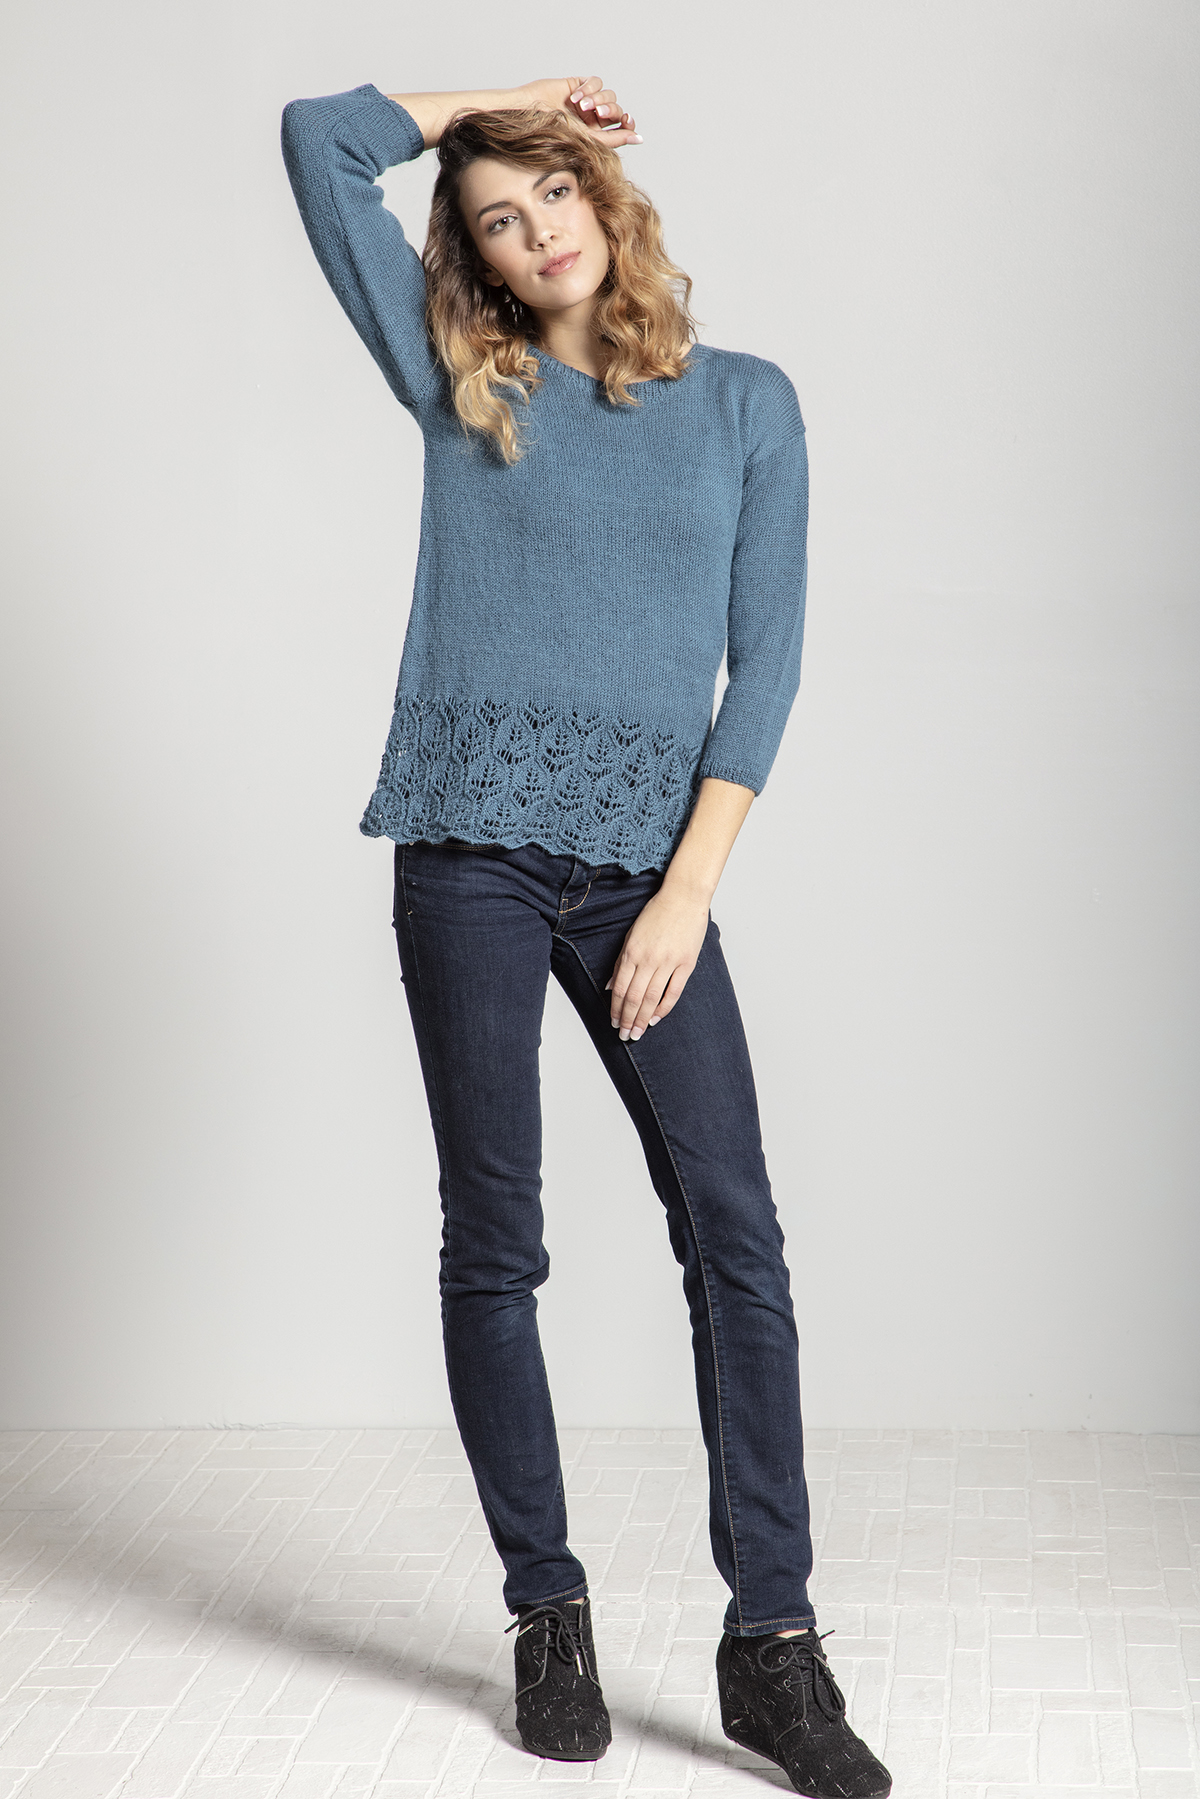
Today, the Dragonfly Pullover in Angora Lace (pattern link here).
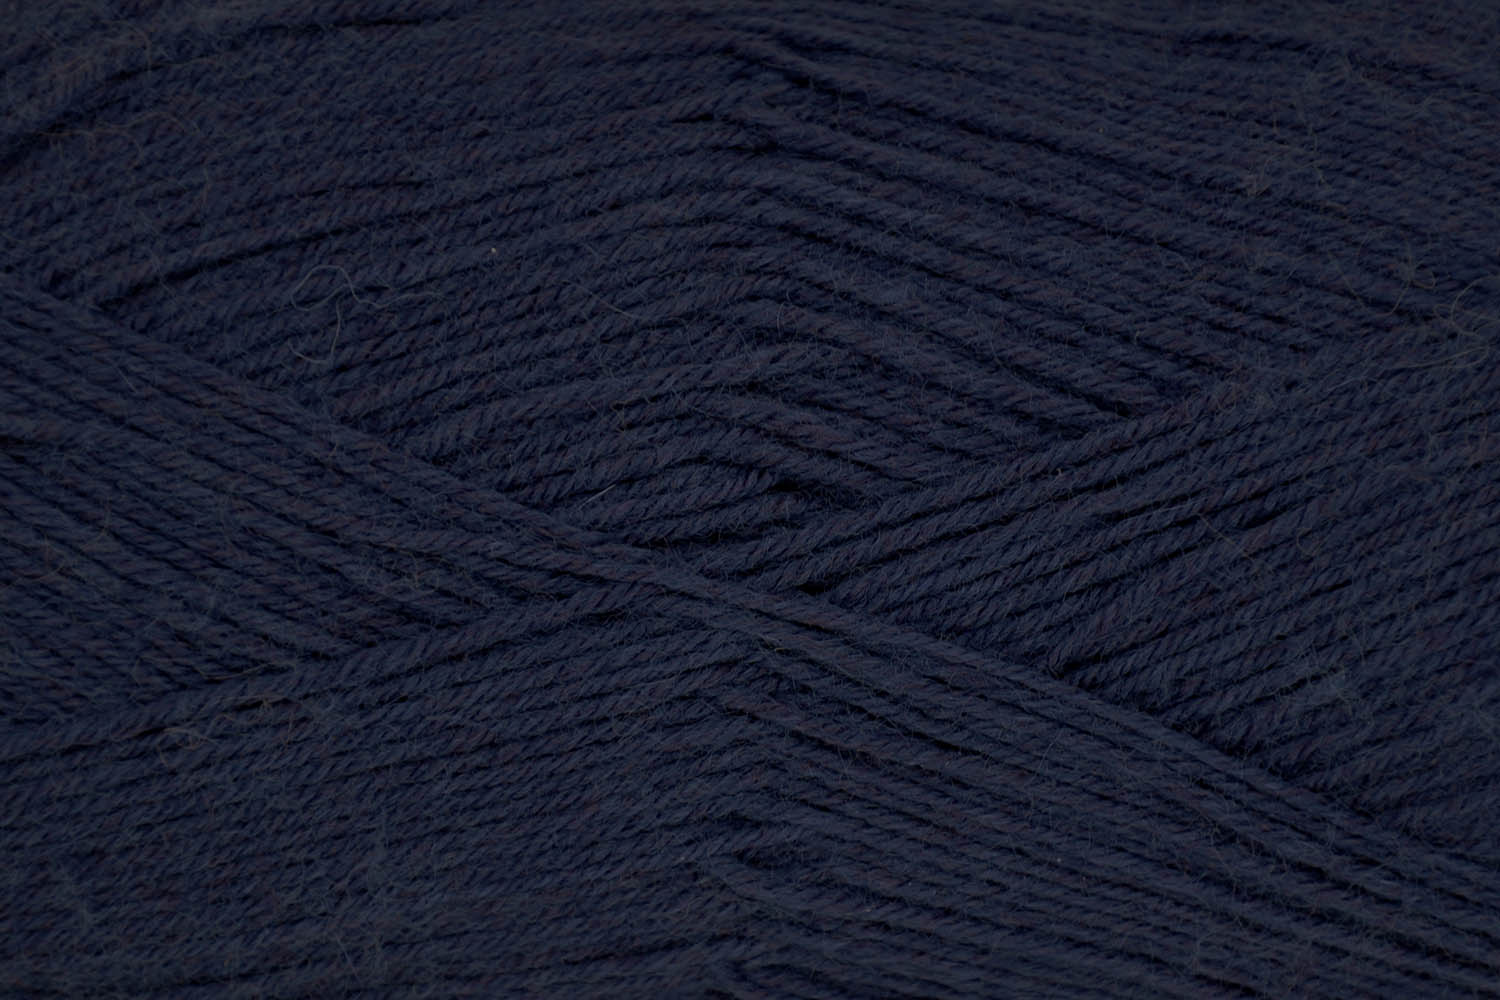
I was delighted when Pantone made Basic Blue their color of the year for 2020. I’m all about blue in all its shades. So this lace-hemmed pullover in Angora Lace color 212 Denim is a dream come true.
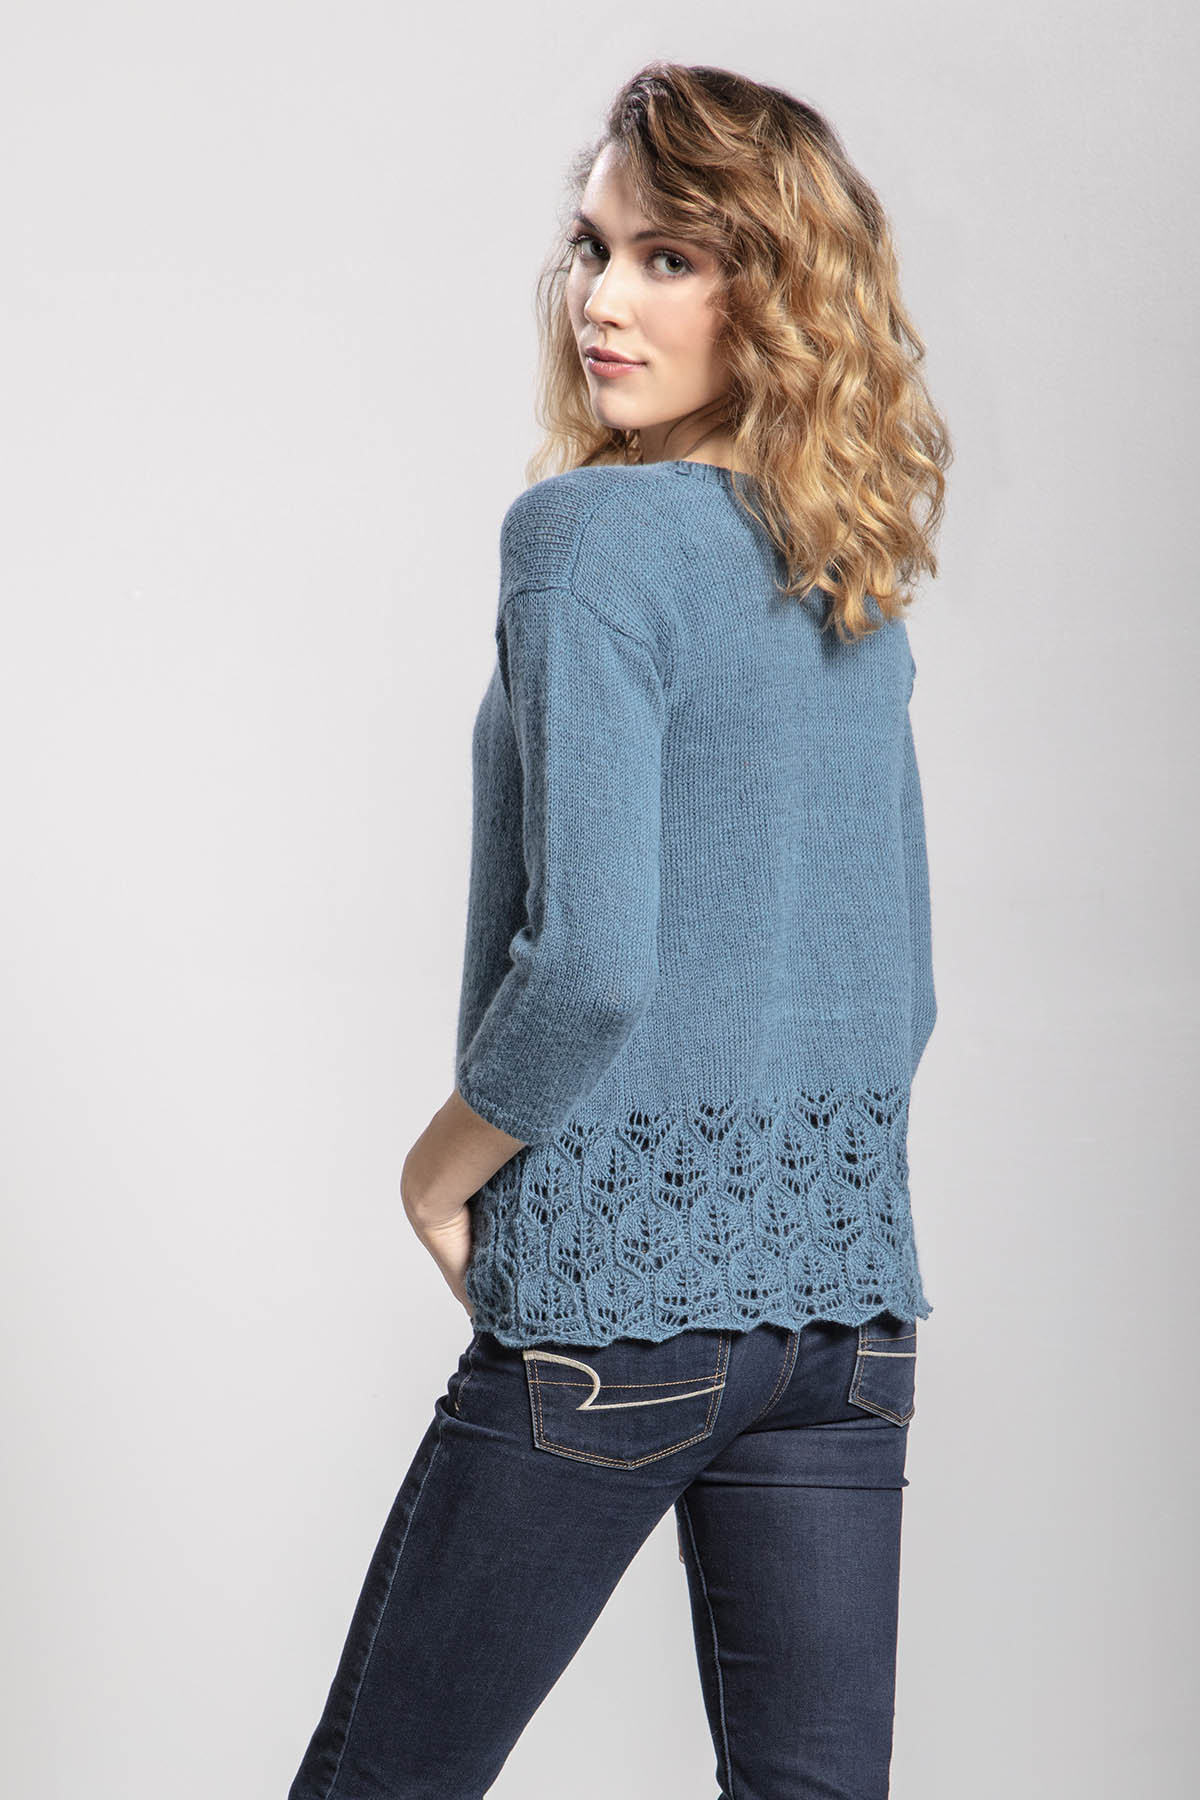
Lovely details like drop shoulders and 3/4 length sleeves give this a simple and calm, but engaging, feel.
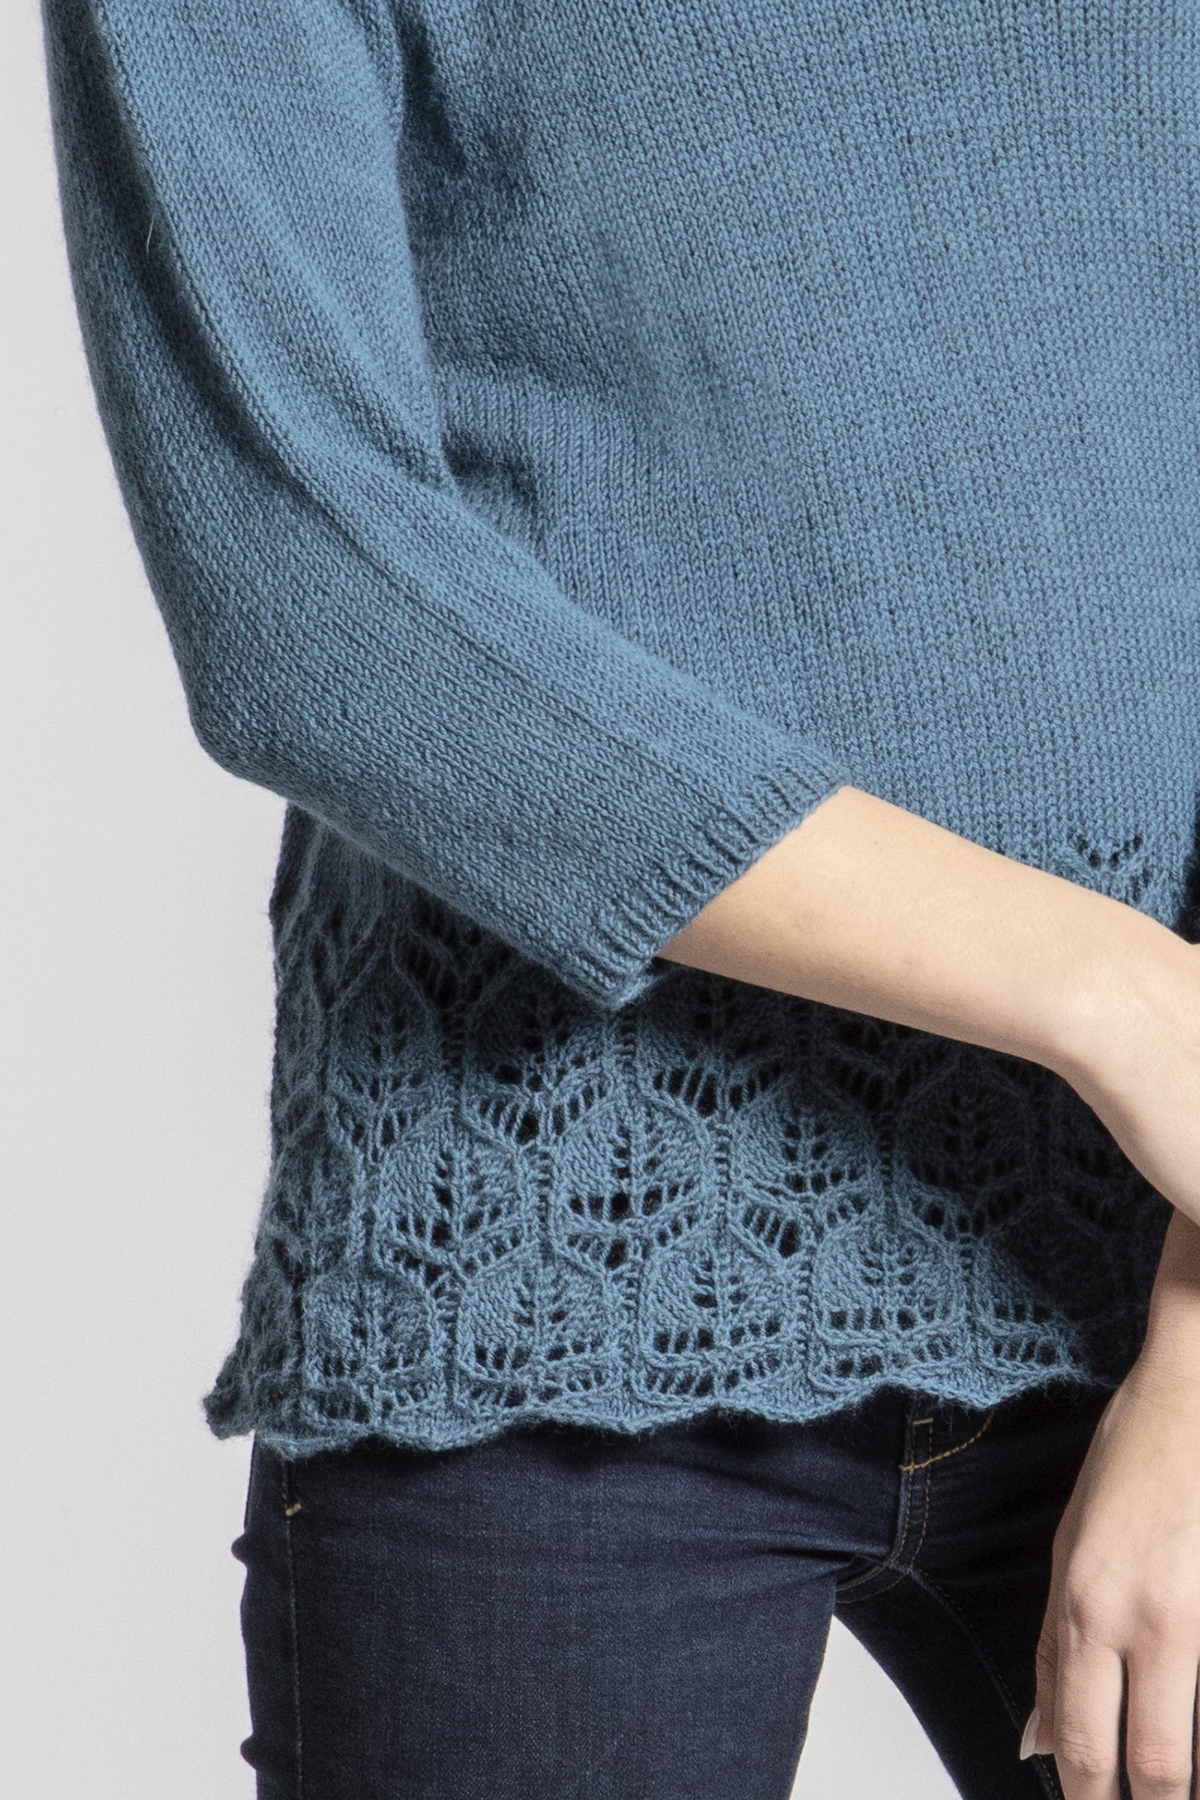
And that body! A surprising and fun hemline, leading to islands of interlocking lace, rising to a sea of fine stockinette. It’s a great way to show off your knitting while still letting the piece do what every sweater should do – show YOU off to your best advantage.
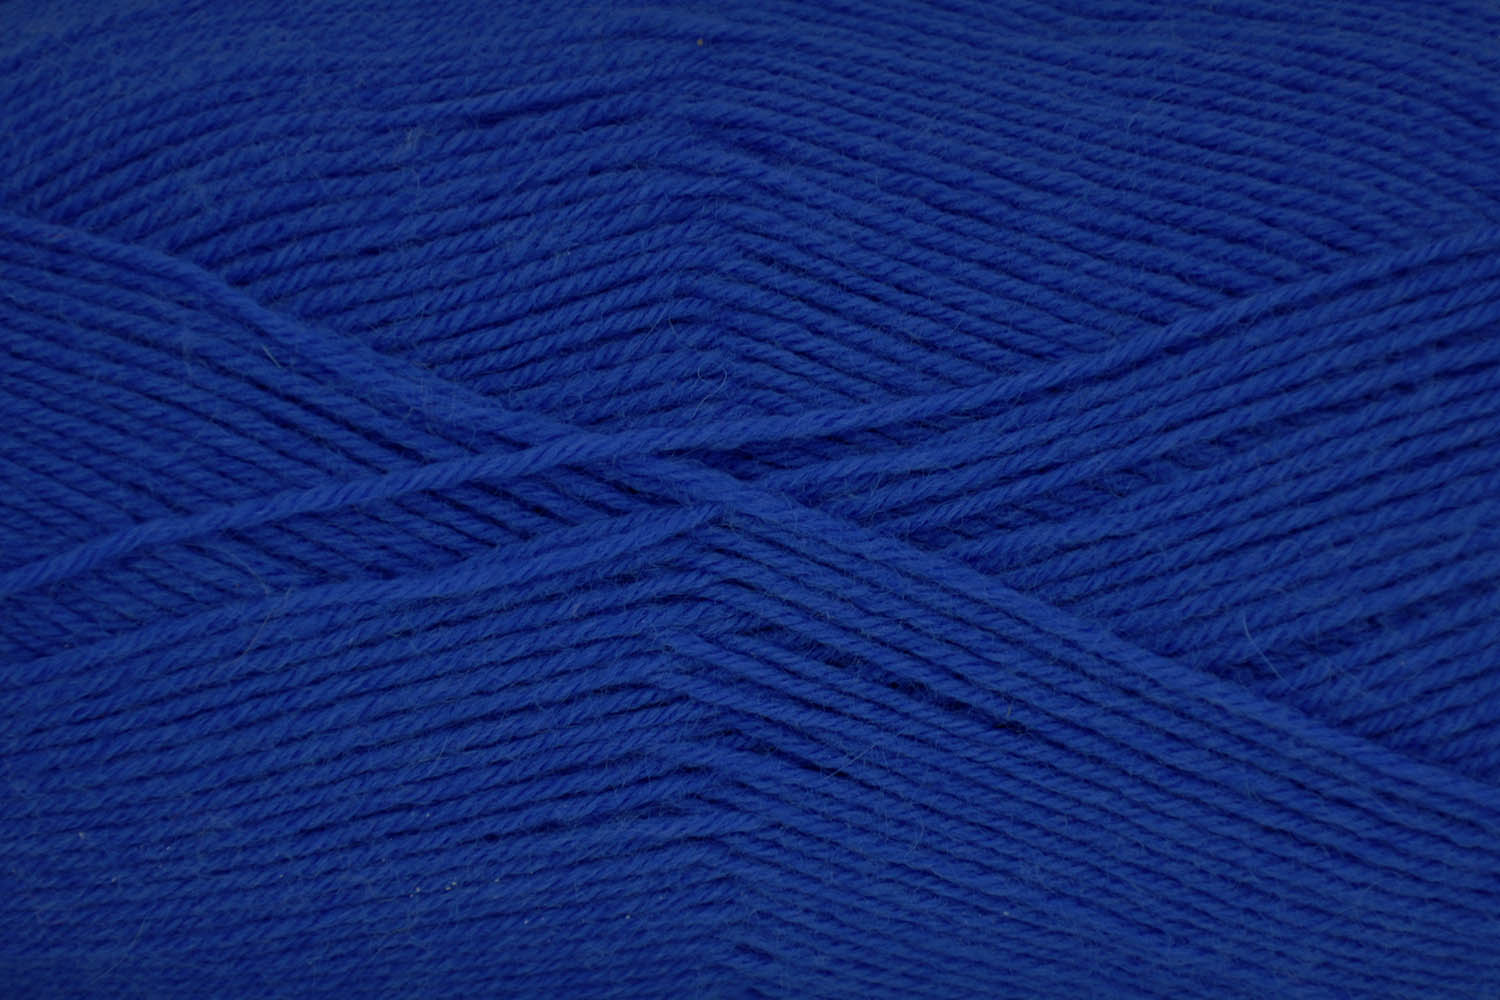
Angora Lace 211 PeacoatAngora Lace 210 Cerulean
If you really want to lean into the blue, Angora Lace has several tones, including these two solids which echo 2020’s Basic Blue beautifully.
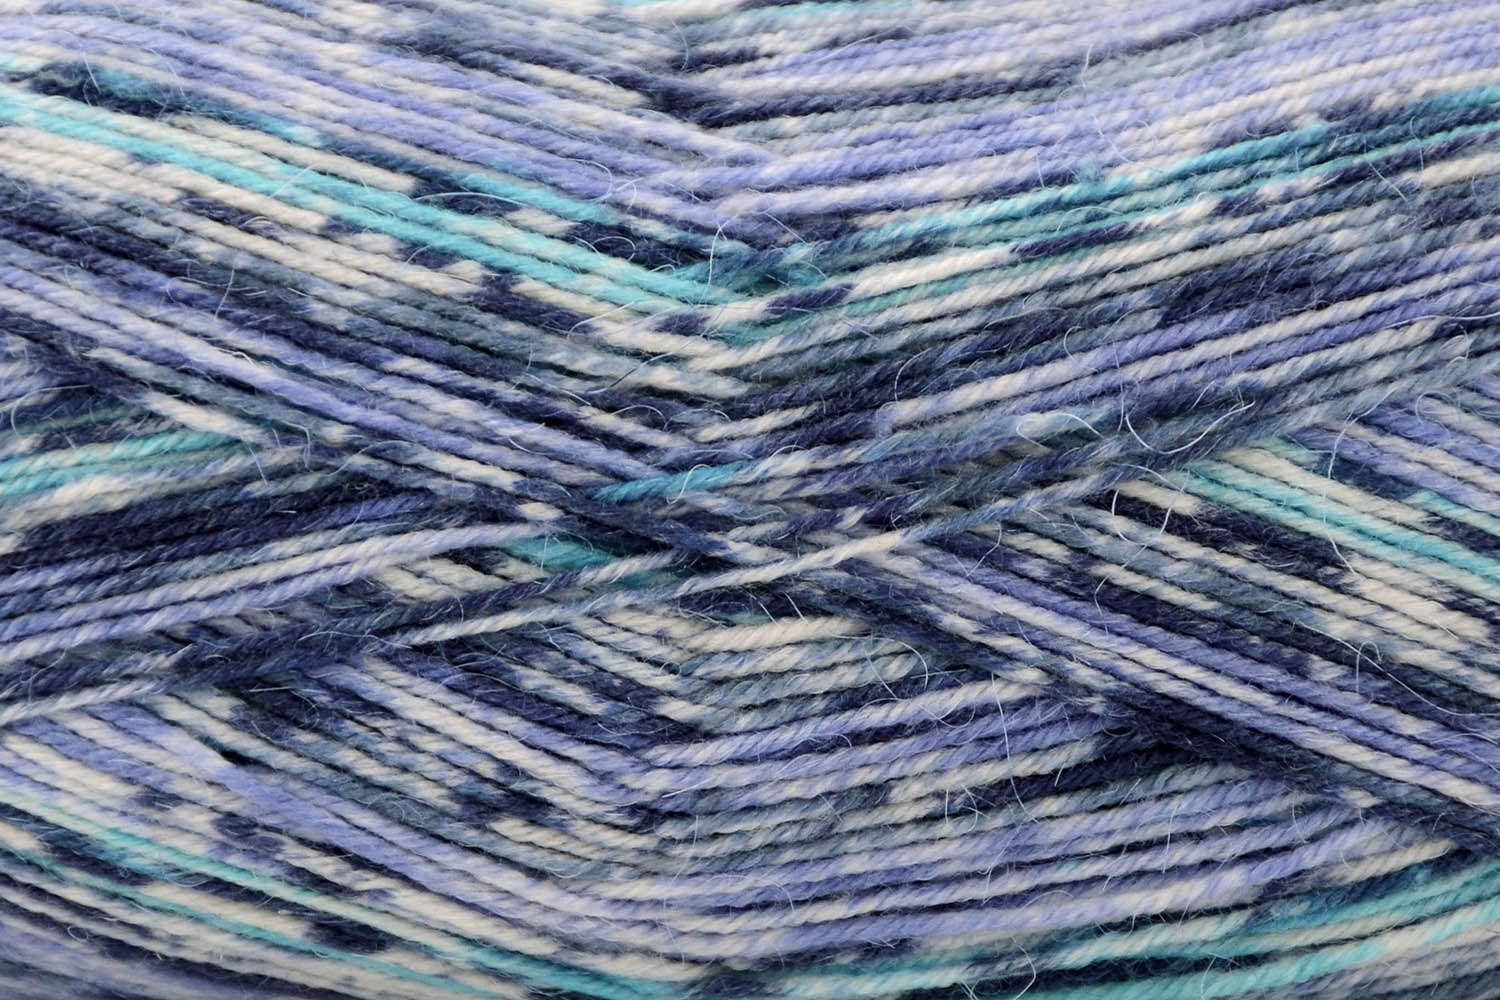
Angora Lace 111 Calm
Or go with a multi for all or part of it. There are so many options.
We hope you have a fantastic, stress-free weekend, and find time to embrace some peace and joy for yourself. Happy crafting!
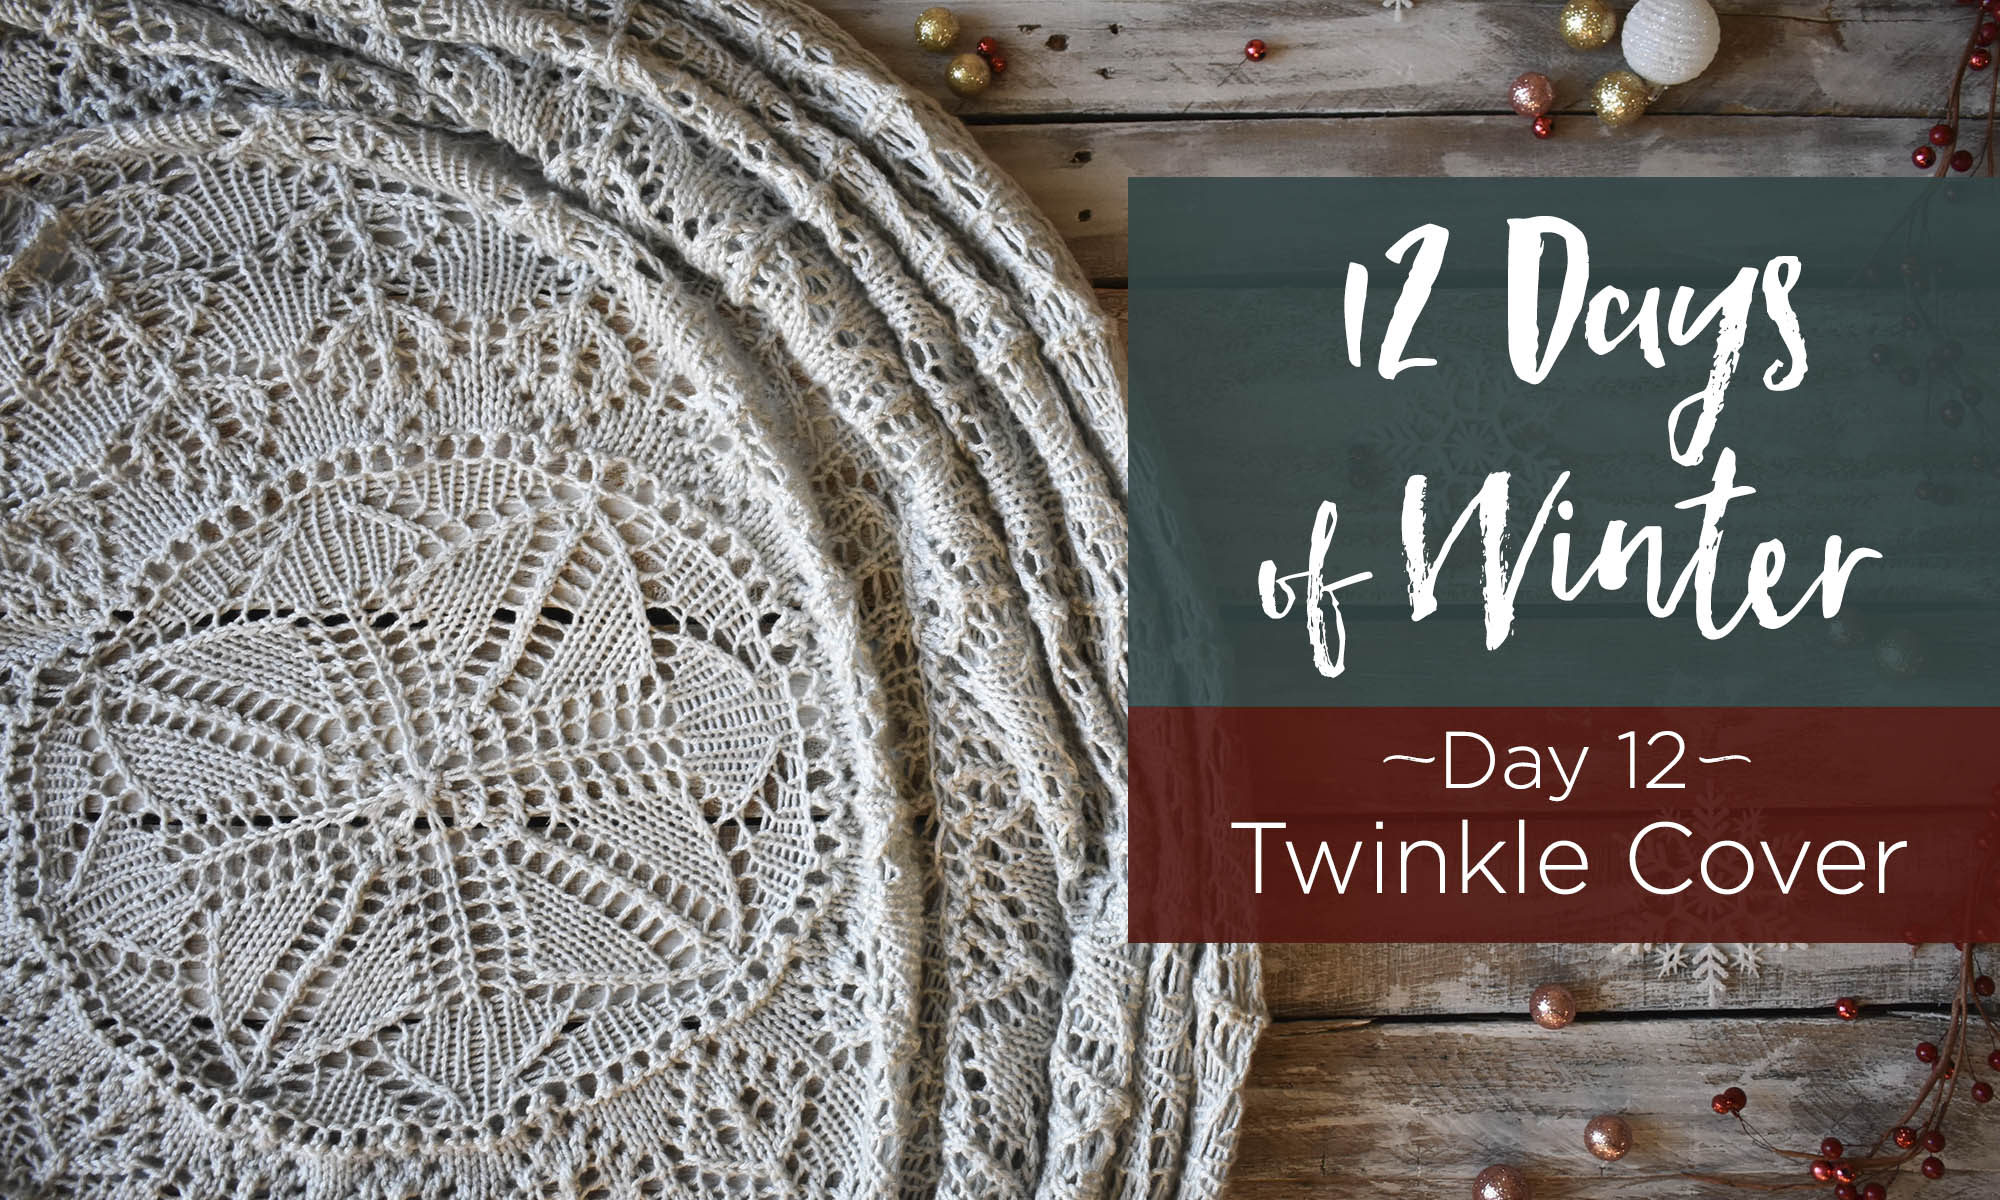
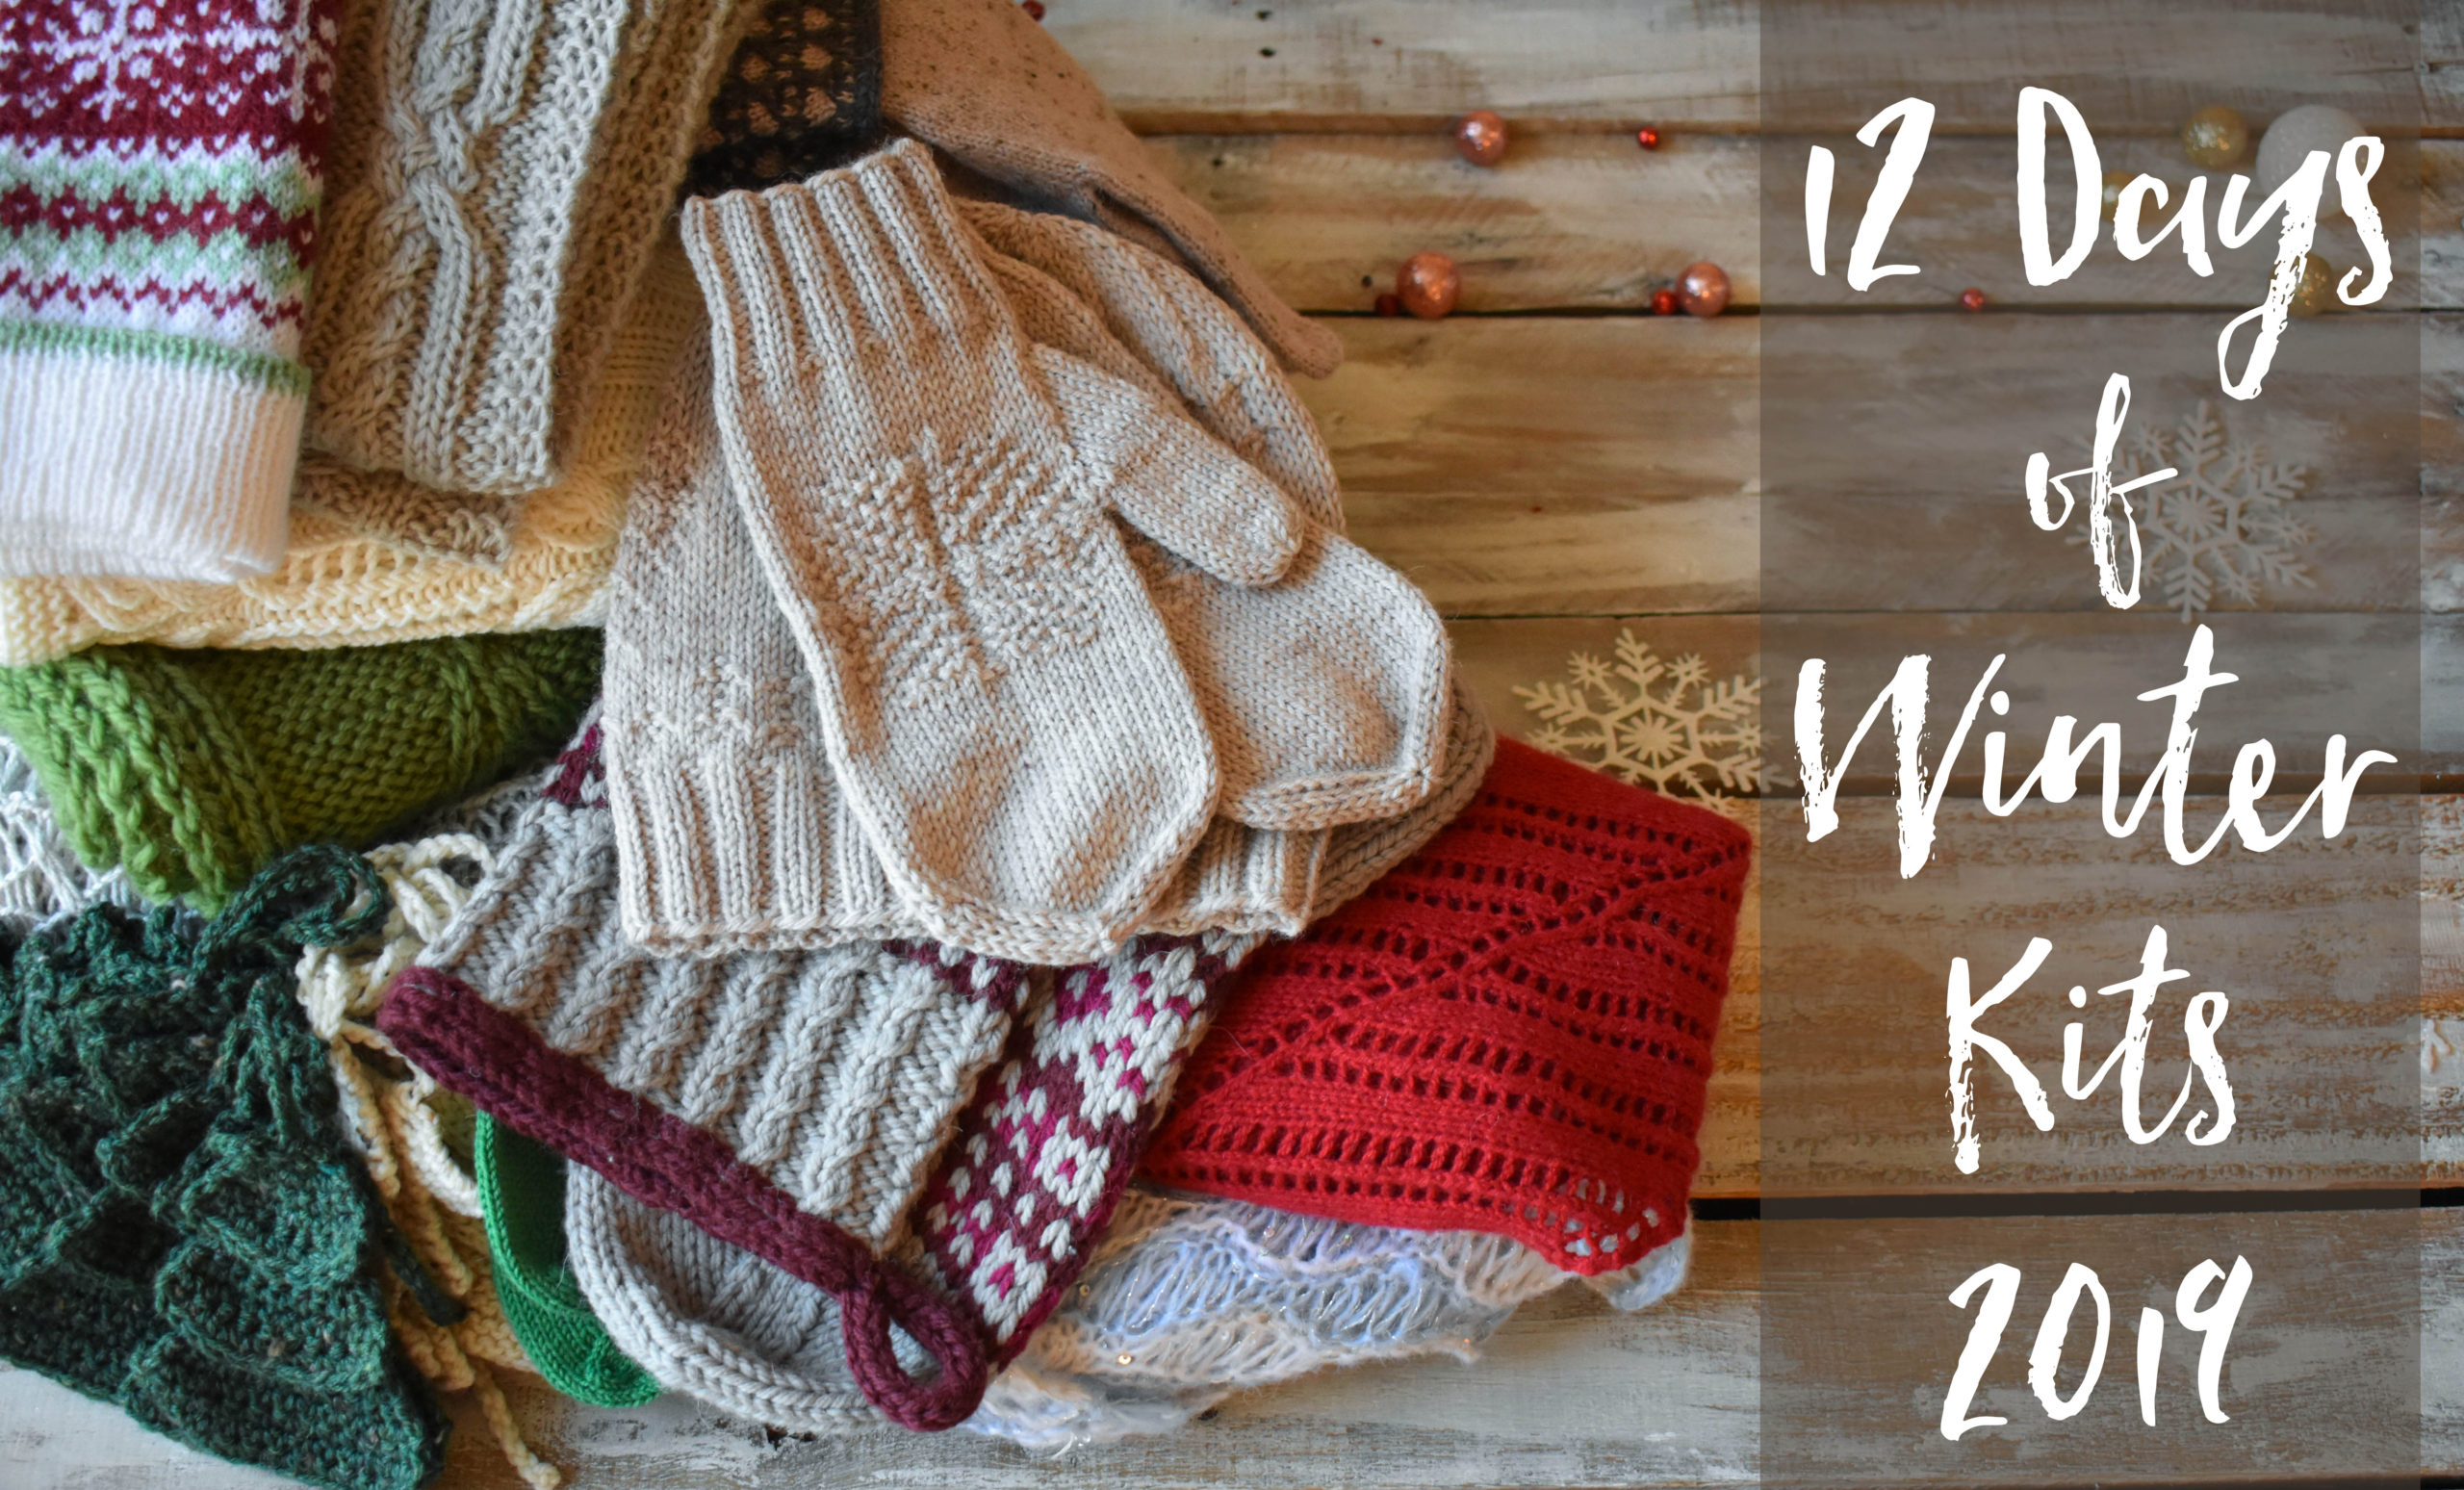
This is part 12 in a 12 part series highlighting designs from our 12 Days of Winter, Series 3 Edition.
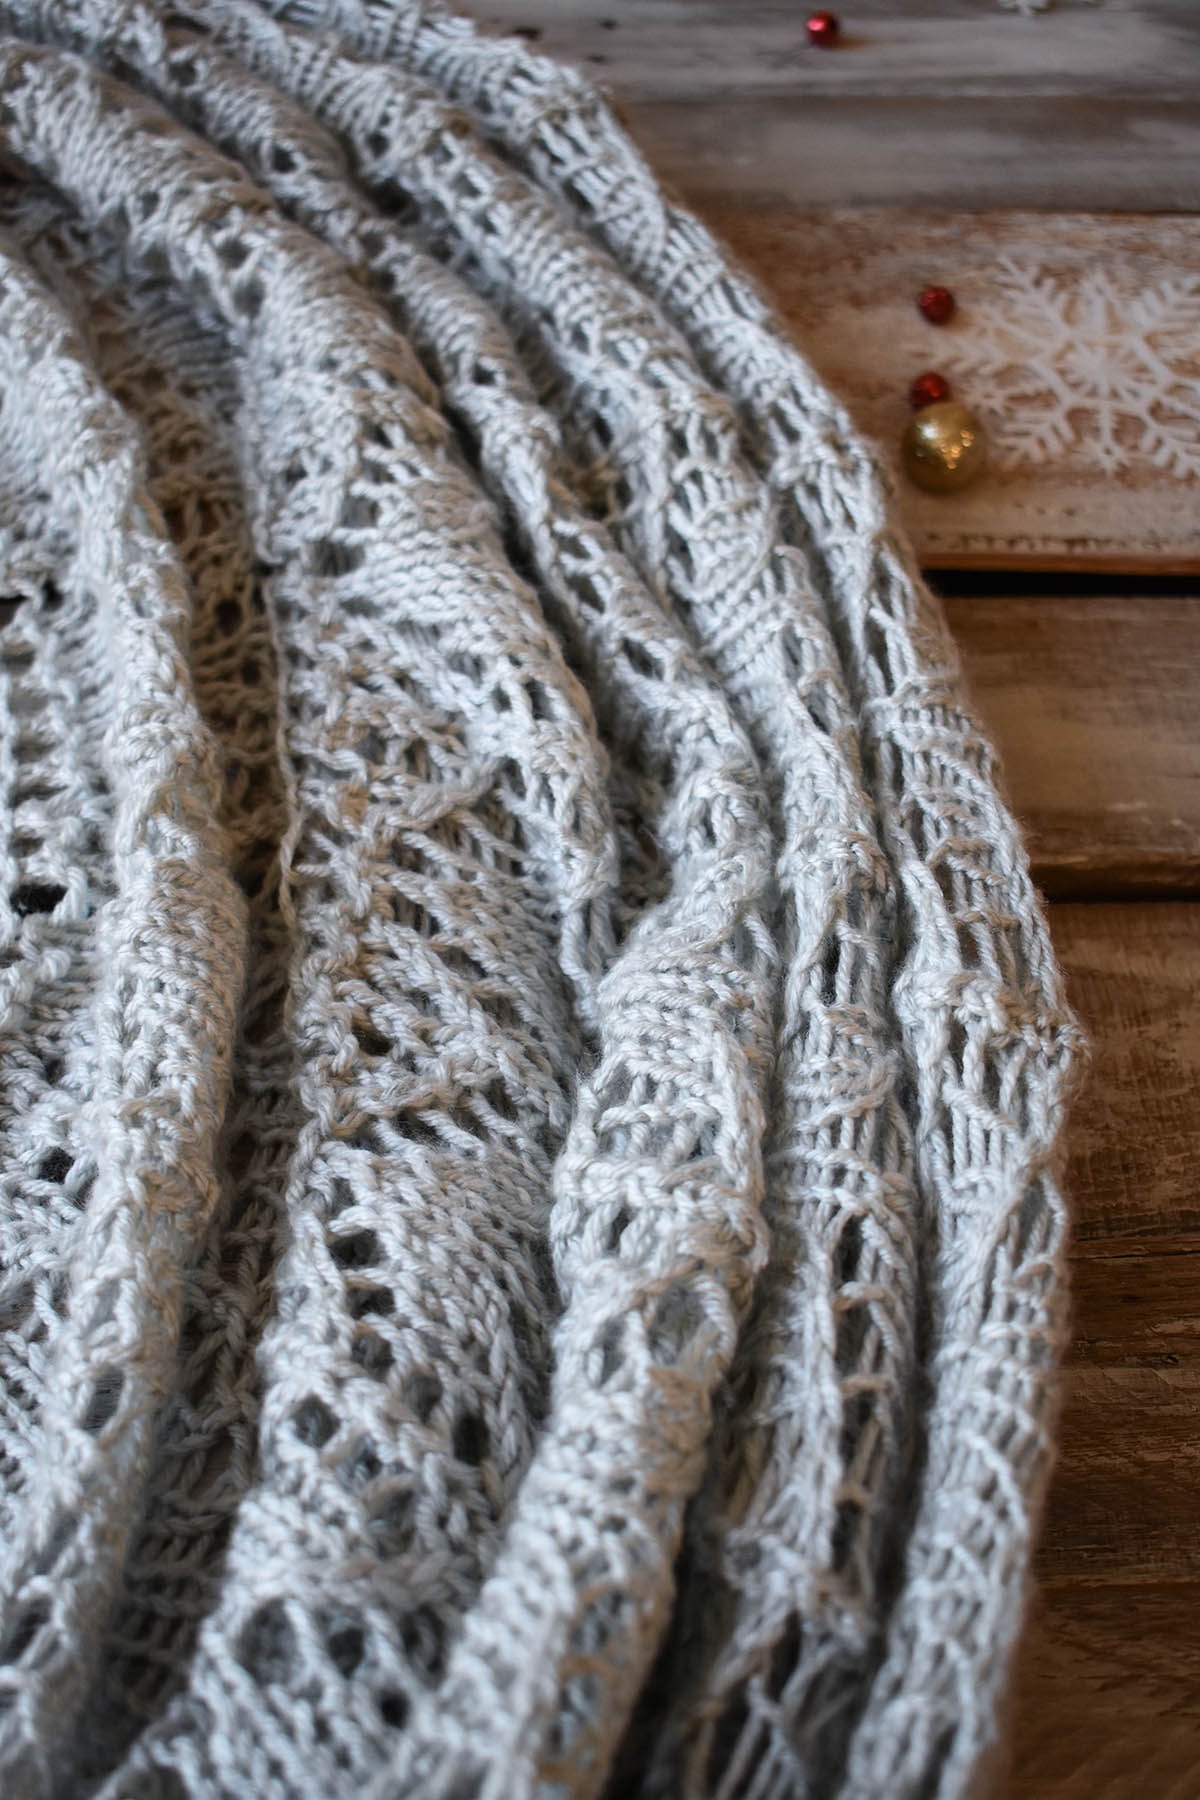
We can hardly believe it, but it’s the final day of the 12 Days of Winter Kit Collection. For Day 12, we’re wrapping things up with the Twinkle Cover, knit using ever-popular Uptown Worsted.
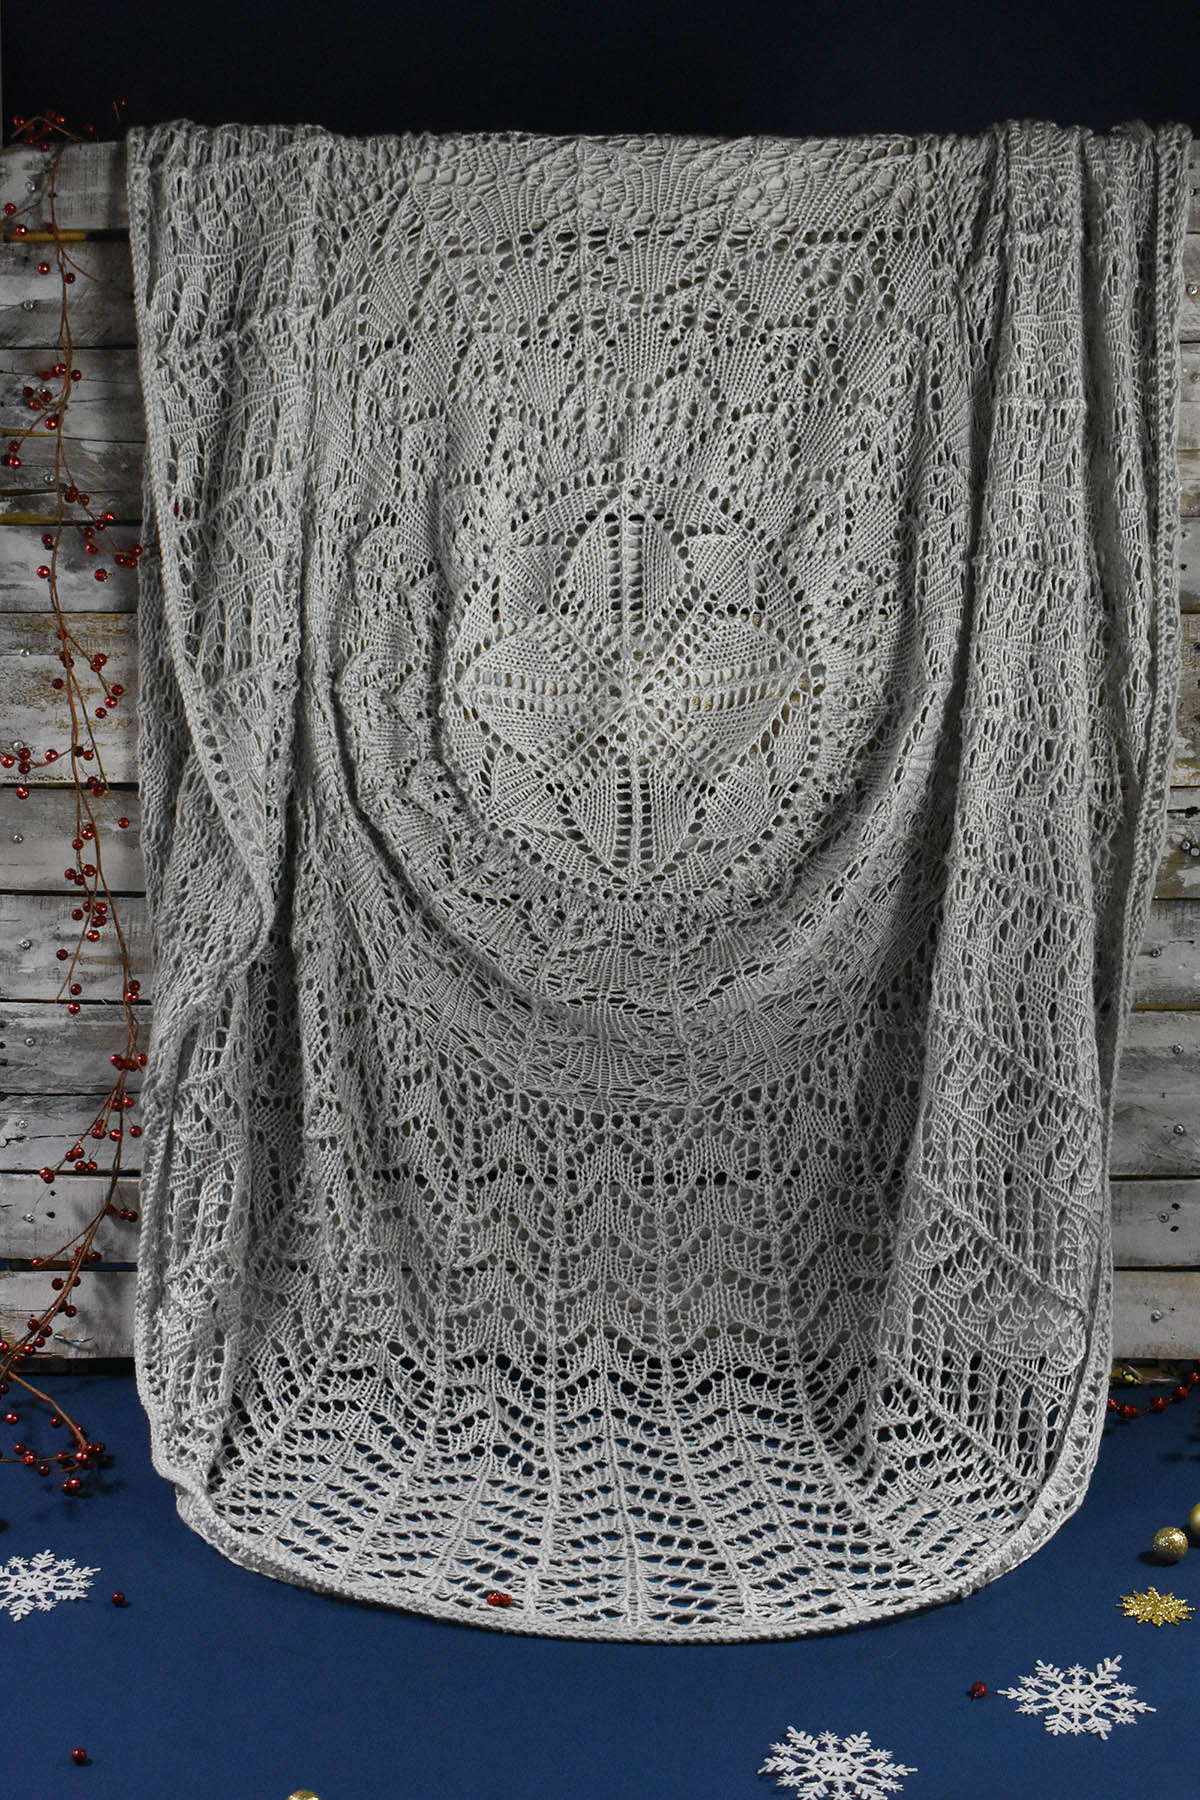
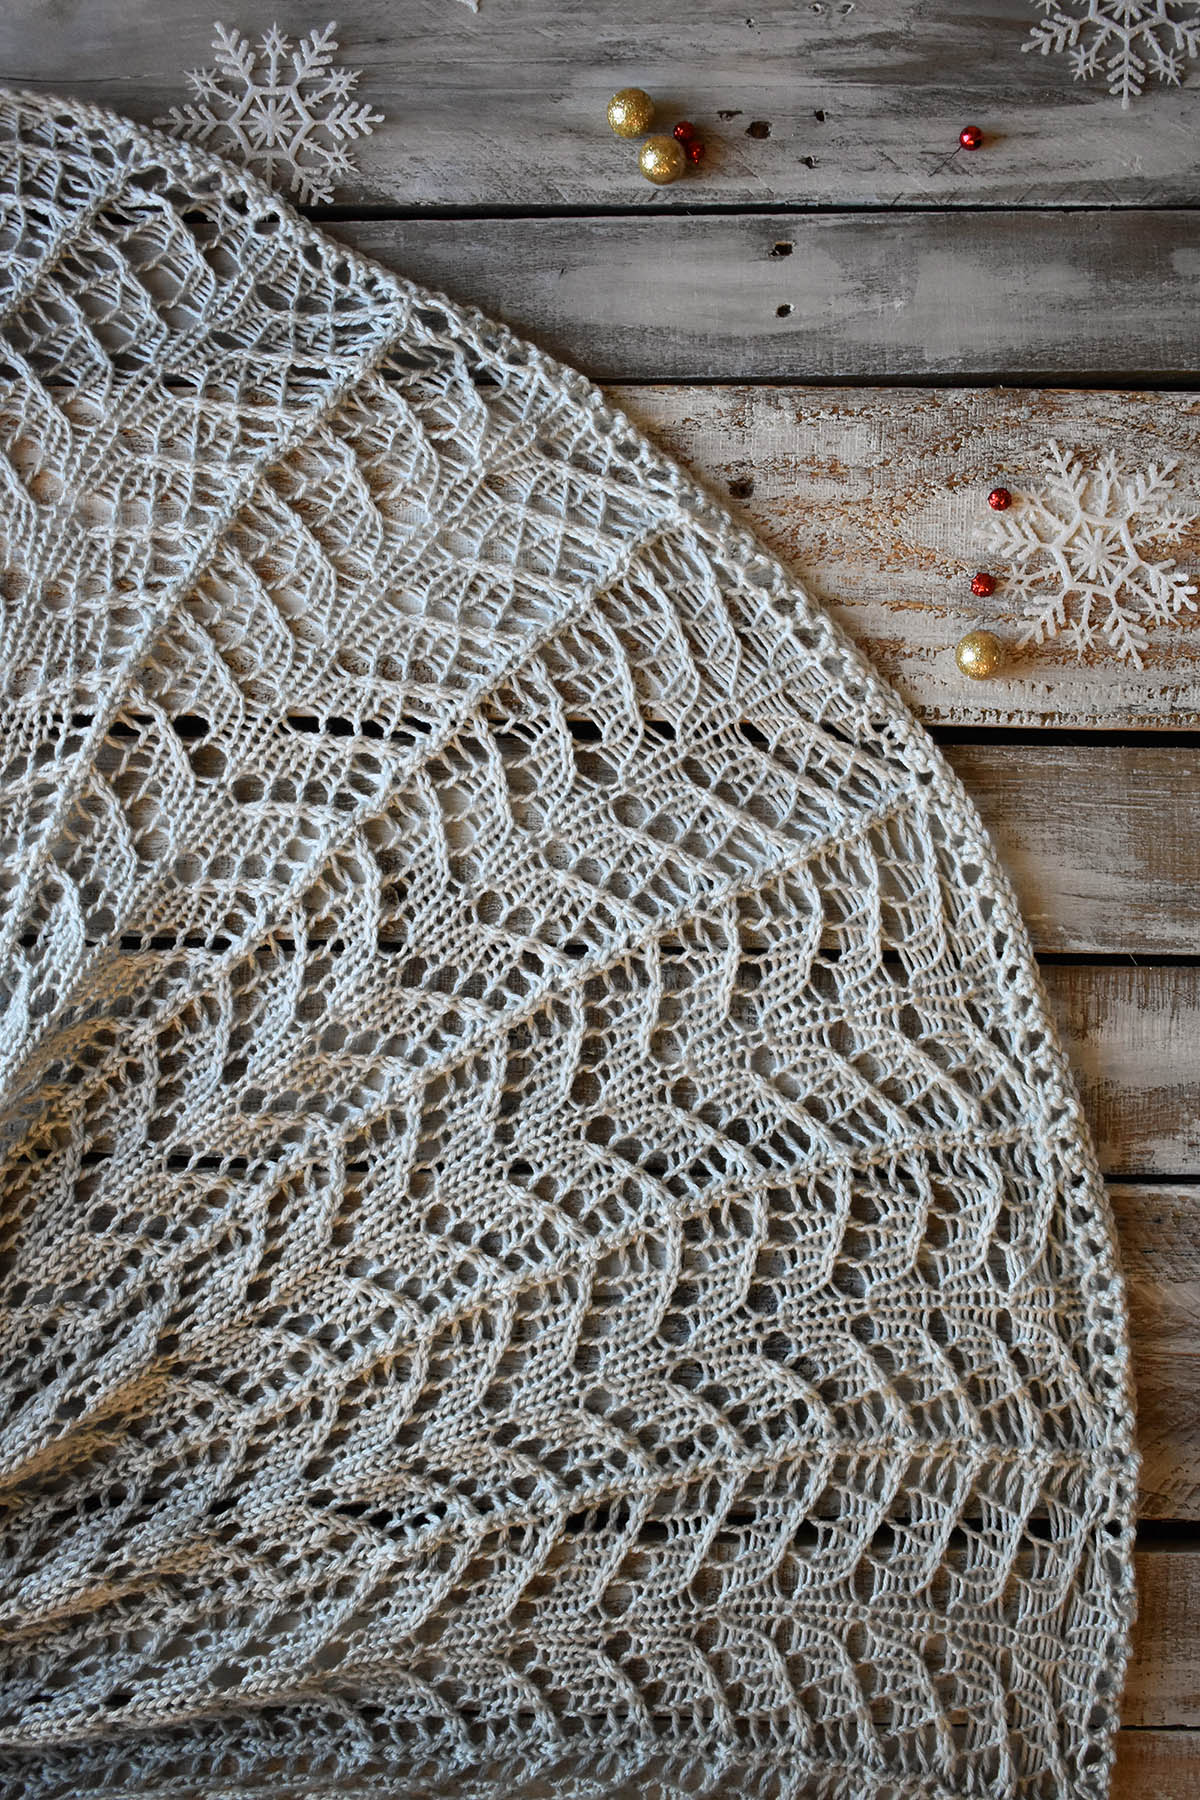
The Twinkle cover features a lovely all-over lace pattern. This circular blanket is created using pi-shawl construction, made popular by the queen of knitting, Elizabeth Zimmermann. Pi-construction begins at the center, then, at regular distances, you simply double the stitch count. The best part? There are just a couple of increase rounds in this whole blanket. The most concentration is required at the beginning of the pattern. After the central increases are complete, the outer rings both feature easy-to-memorize lace motifs.
We have to admit – blocking this blanket will take some effort, but the pattern guides you through the process with some tips and tricks. Steam-blocking is suggested, which might sound risky considering this is an acrylic blanket, but it ensures that you’ll never need to block again. In this case, “killing” the acrylic is a good thing.
Ultimately, this is a project that’s sure to get compliments when you have visitors. It would make a stunning gift, too. We hope you love it.
Thank you so much for joining us for the third 12 Days of Winter Kit Collection. This year we’ve curated a collection of everything from accessories for your head, hands, and heart to beautiful home decor items. There is a mix of projects from beginner to advanced. We so enjoy bringing this collection to life each year and hope you enjoy the kits just as much. Remember, you can find all of the 12 Days of Winter Kit Collection at your local yarn store. Here’s to a crafty, fun-filled winter spent with your loved ones!
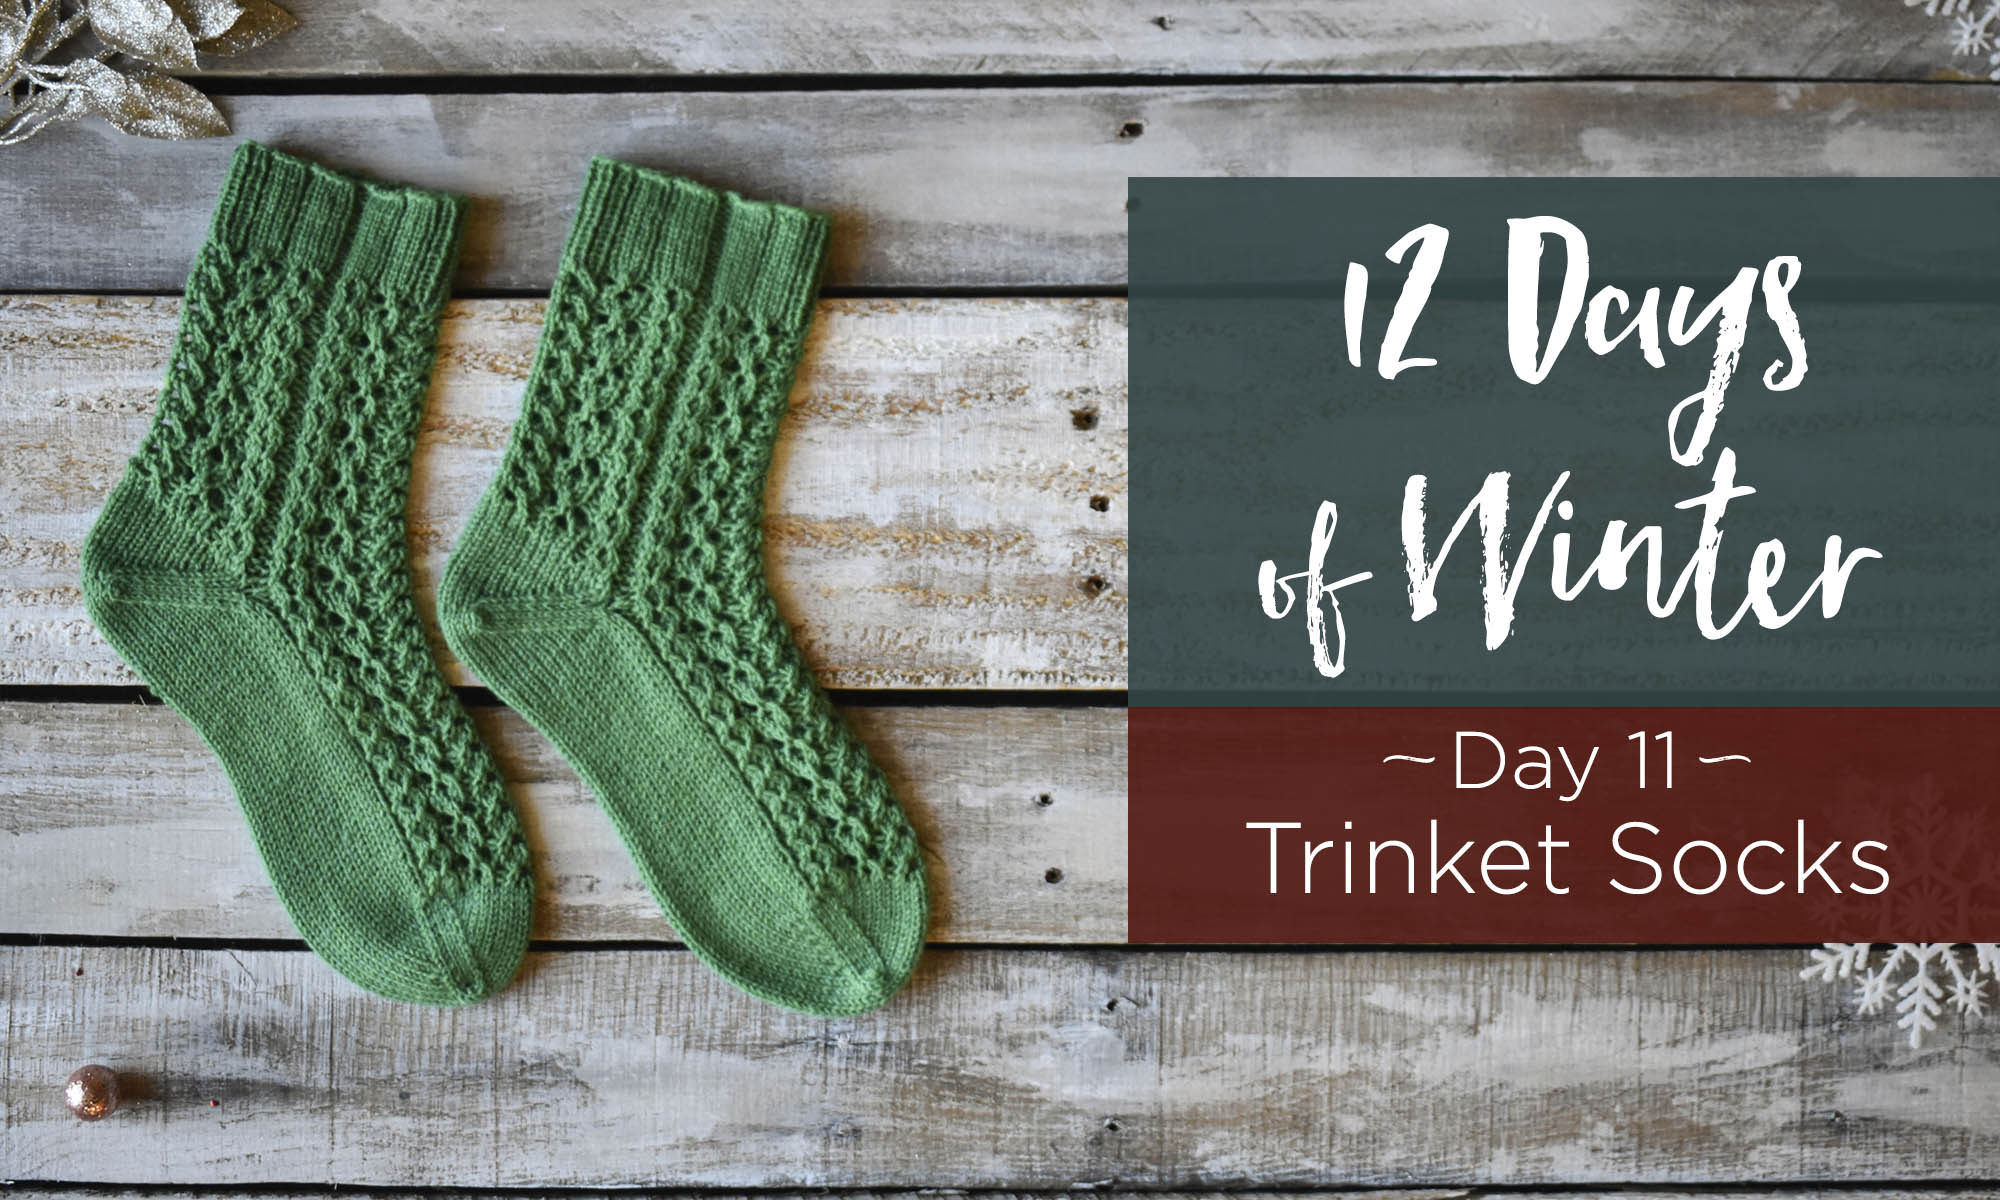
This is part 11 in a 12 part series highlighting designs from our 12 Days of Winter, Series 3 Edition.
It’s Day 11 in the 12 Days of Winter Kit Collection. We can’t believe how quickly time seems to be going. Before we dive into today’s kit and post, I’d like to take a moment to highlight that today is Small Business Saturday. We’re right in the midst of what is arguably the biggest shopping period of the year. As you gear up for the holiday season, don’t forget to support your local small businesses. For those of us who love all things yarny, it’s the perfect day to show some support to your local yarn stores. Without them, we wouldn’t be a business at all! Local yarn stores are front and center of the fiber community – offering a space to learn, socialize, and of course, purchase some yummy yarn.
And now, onto today’s kit (which you can find at your local yarn store).
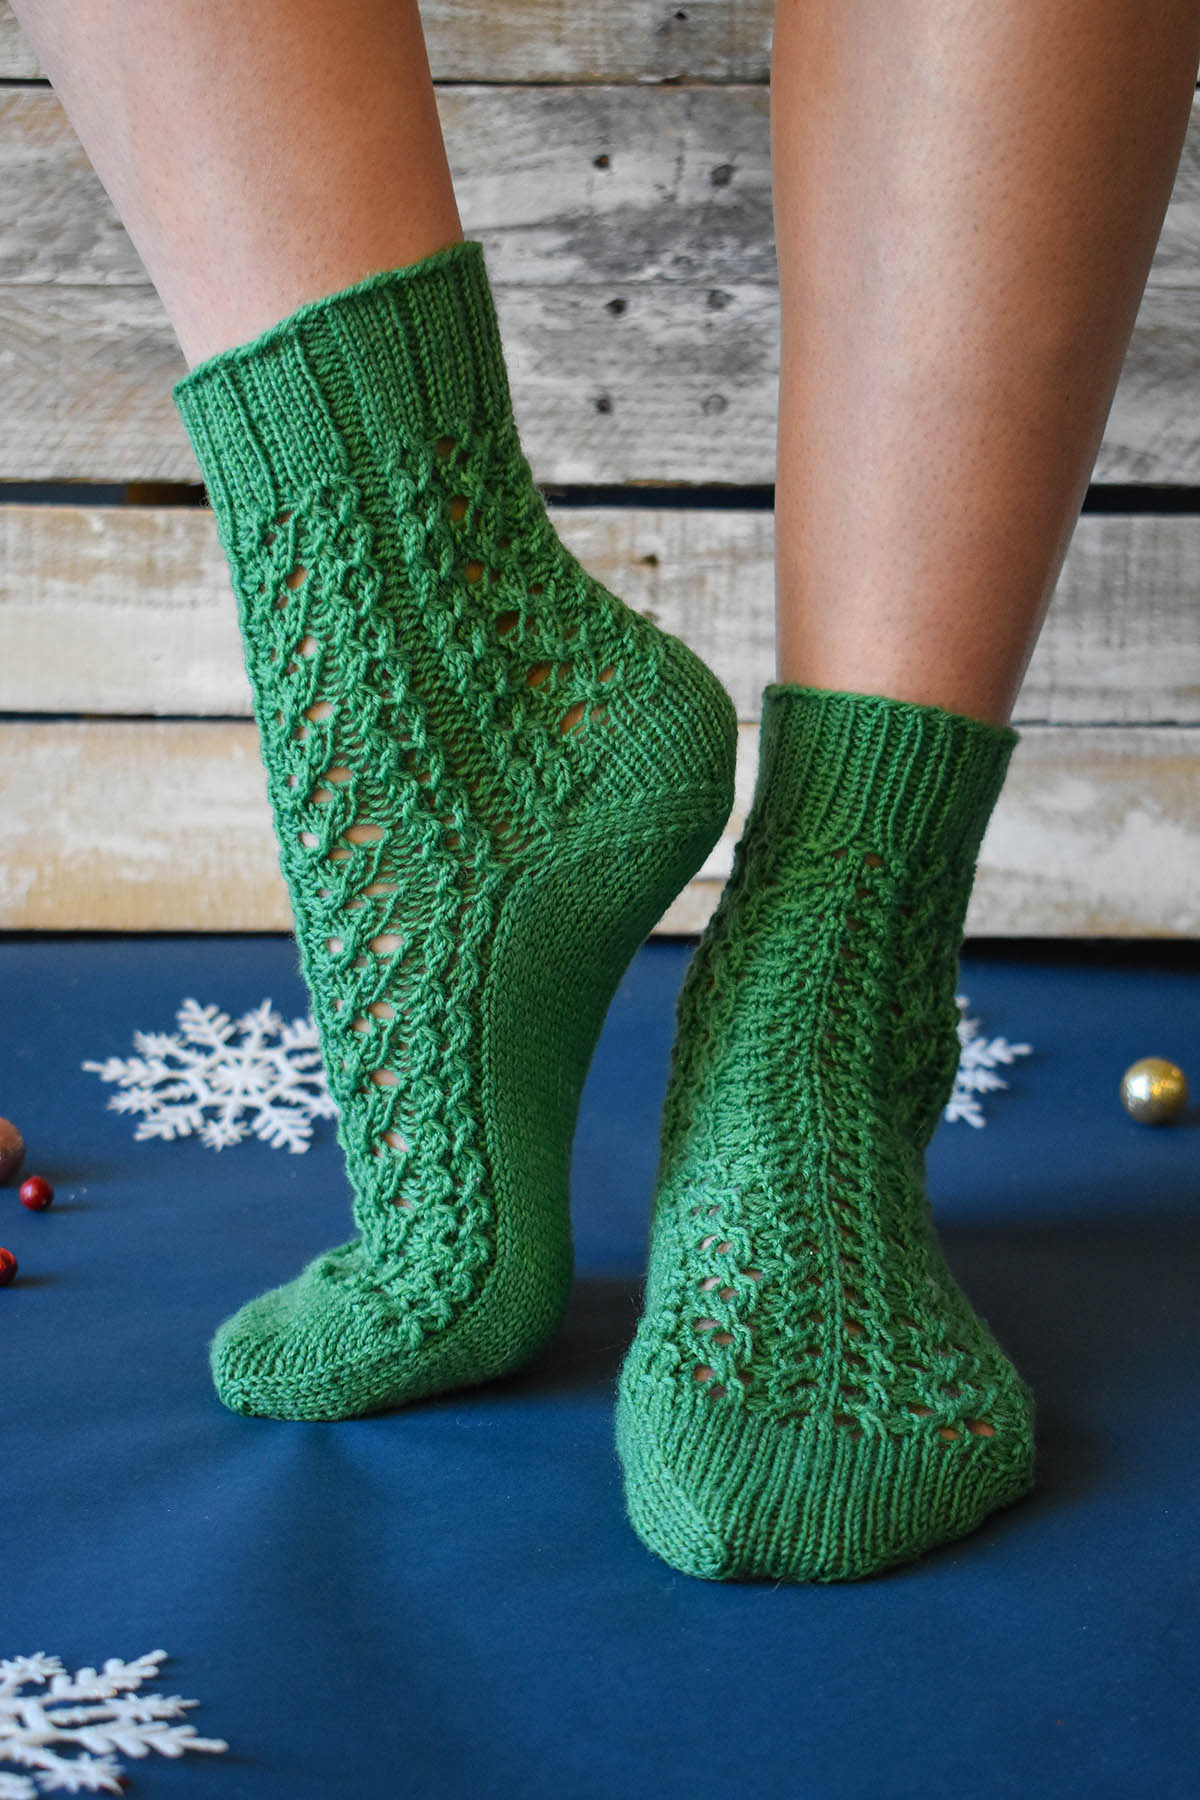
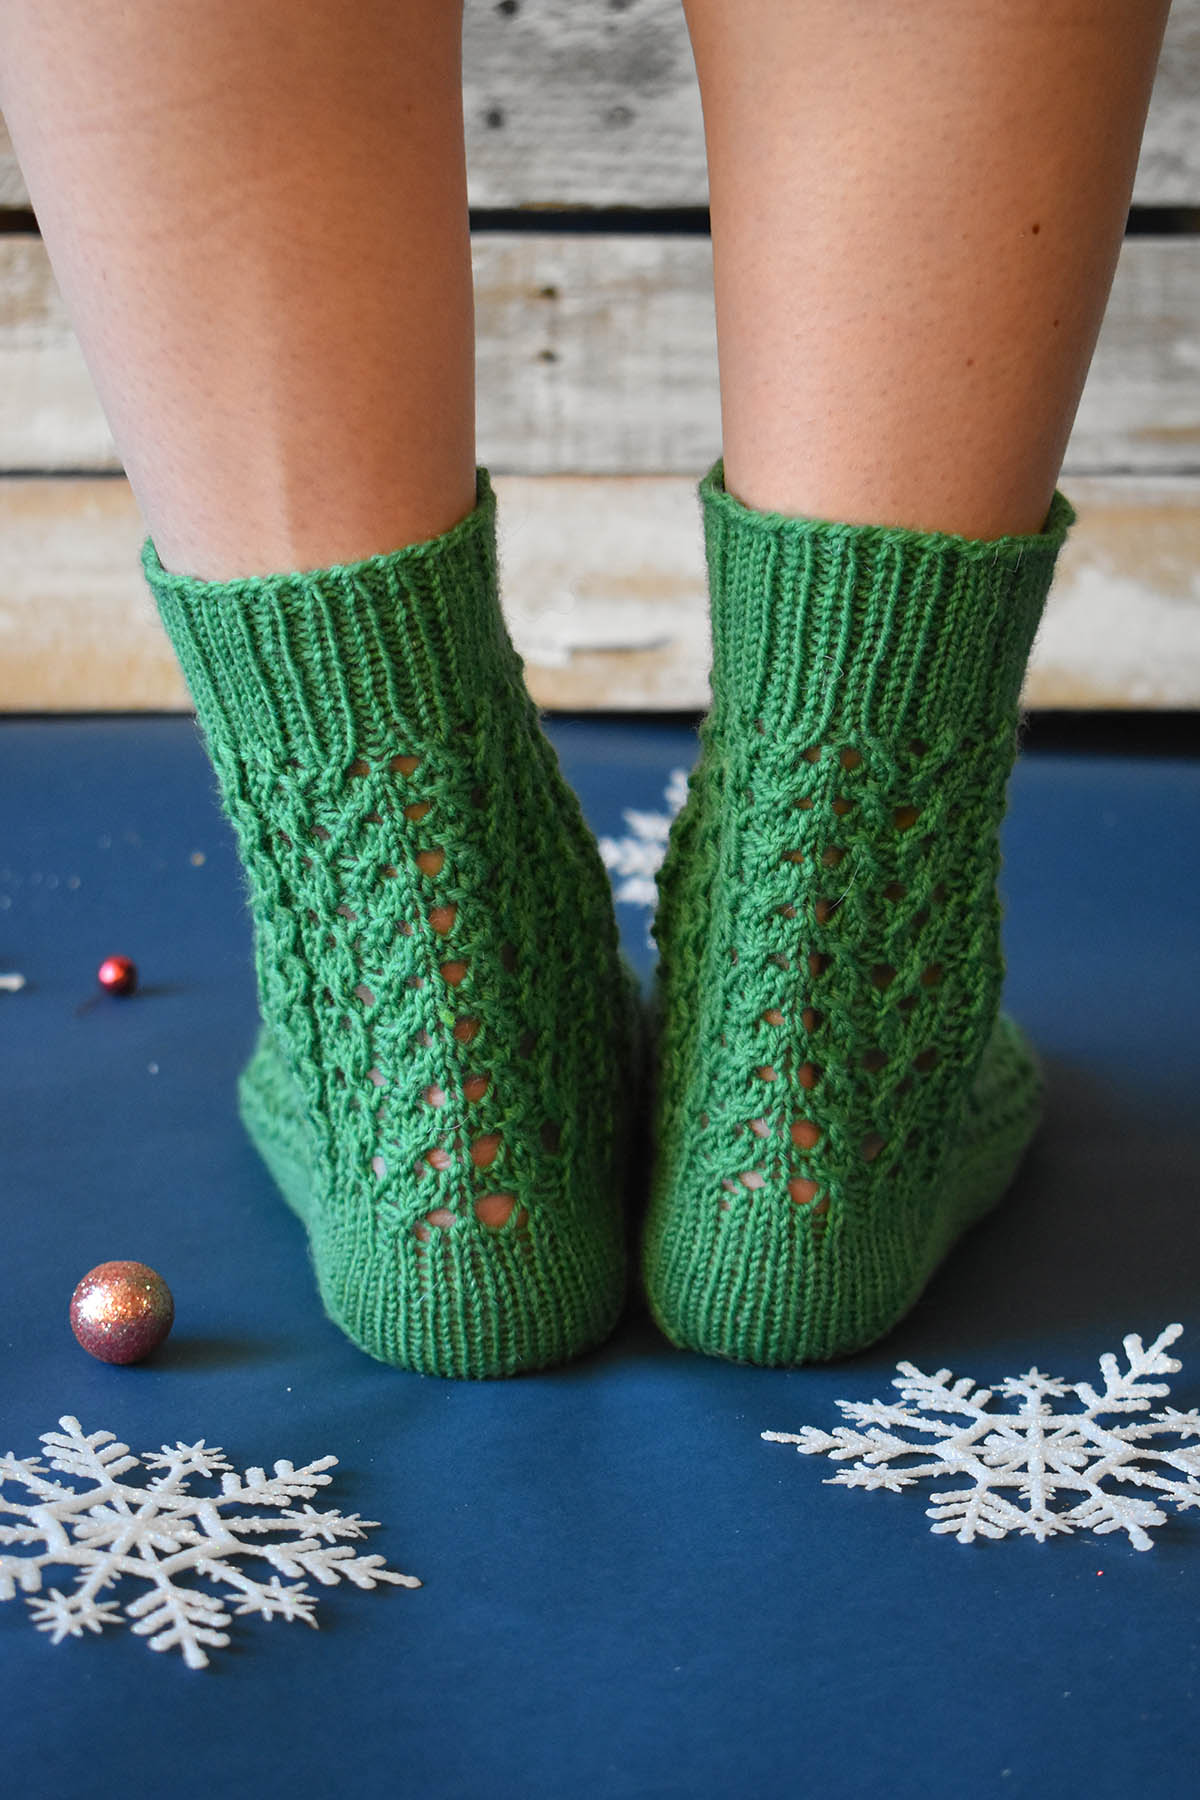
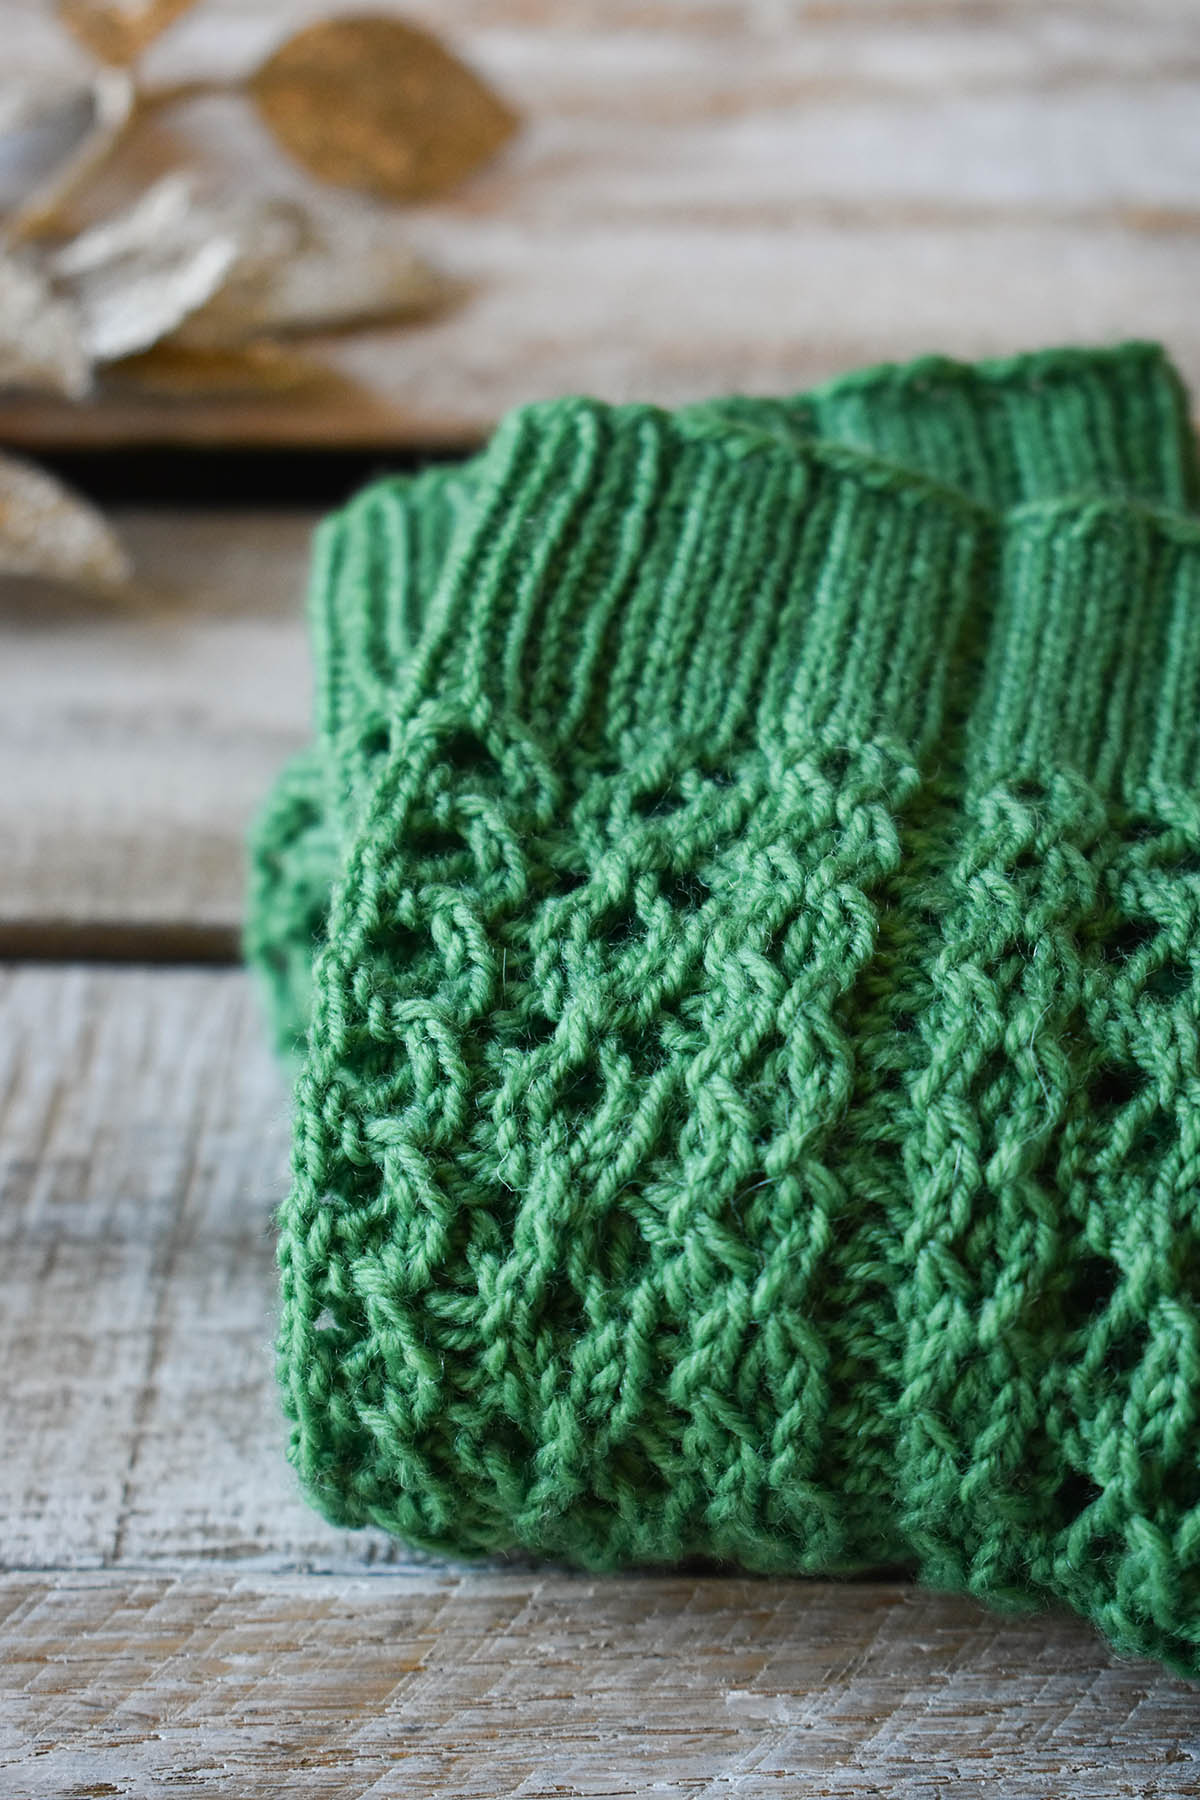
Today we’re excited to introduce the Trinket Socks, knit up in deliciously soft, yet strong, Bella Cash. This is a great all-around yarn, but here in the office, it has become a favorite for knitting socks. Thanks to the superwash merino, they’re machine-washable and easy to care for. Cashmere adds a touch of luxury, and nylon ensures these socks will be strong enough to last for ages. These socks feature a lace and twisted stitch pattern that is addictive to knit, and quick to work up.
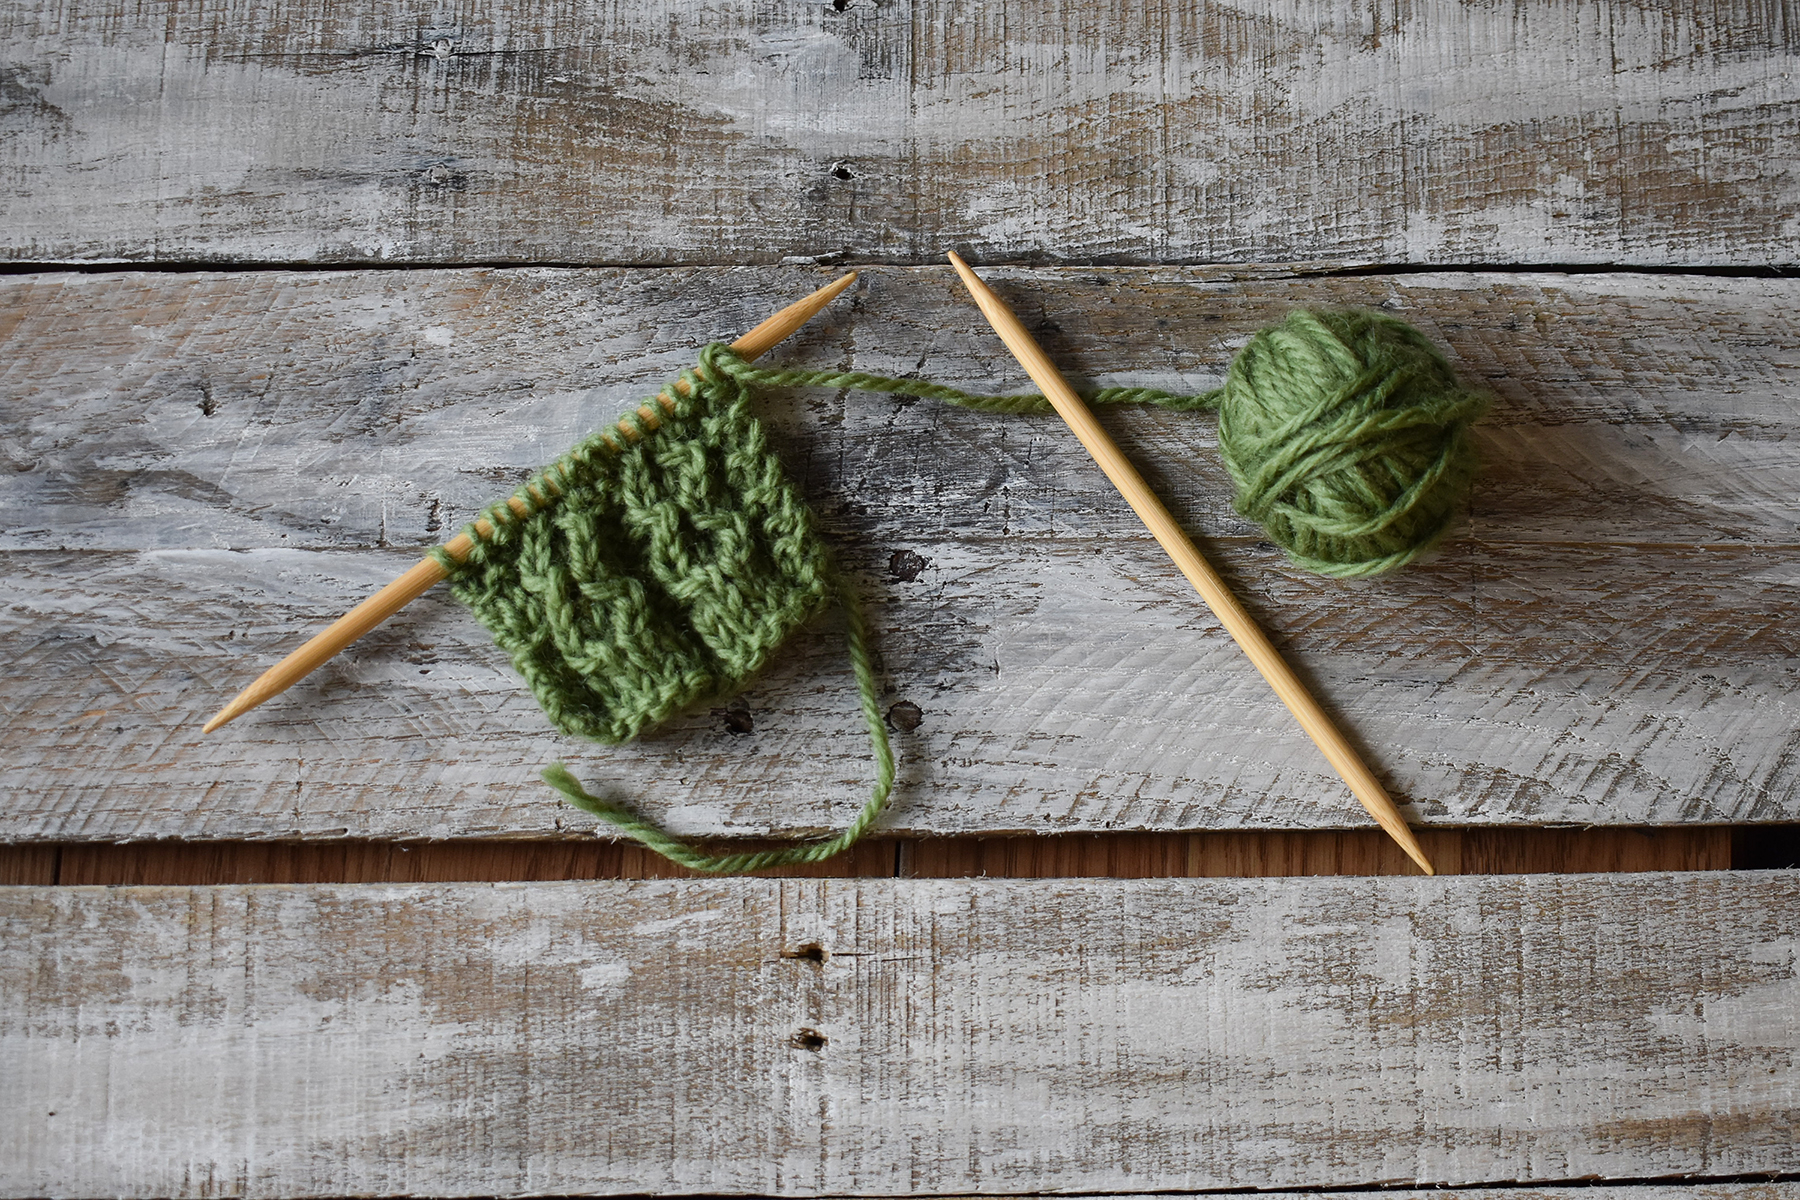
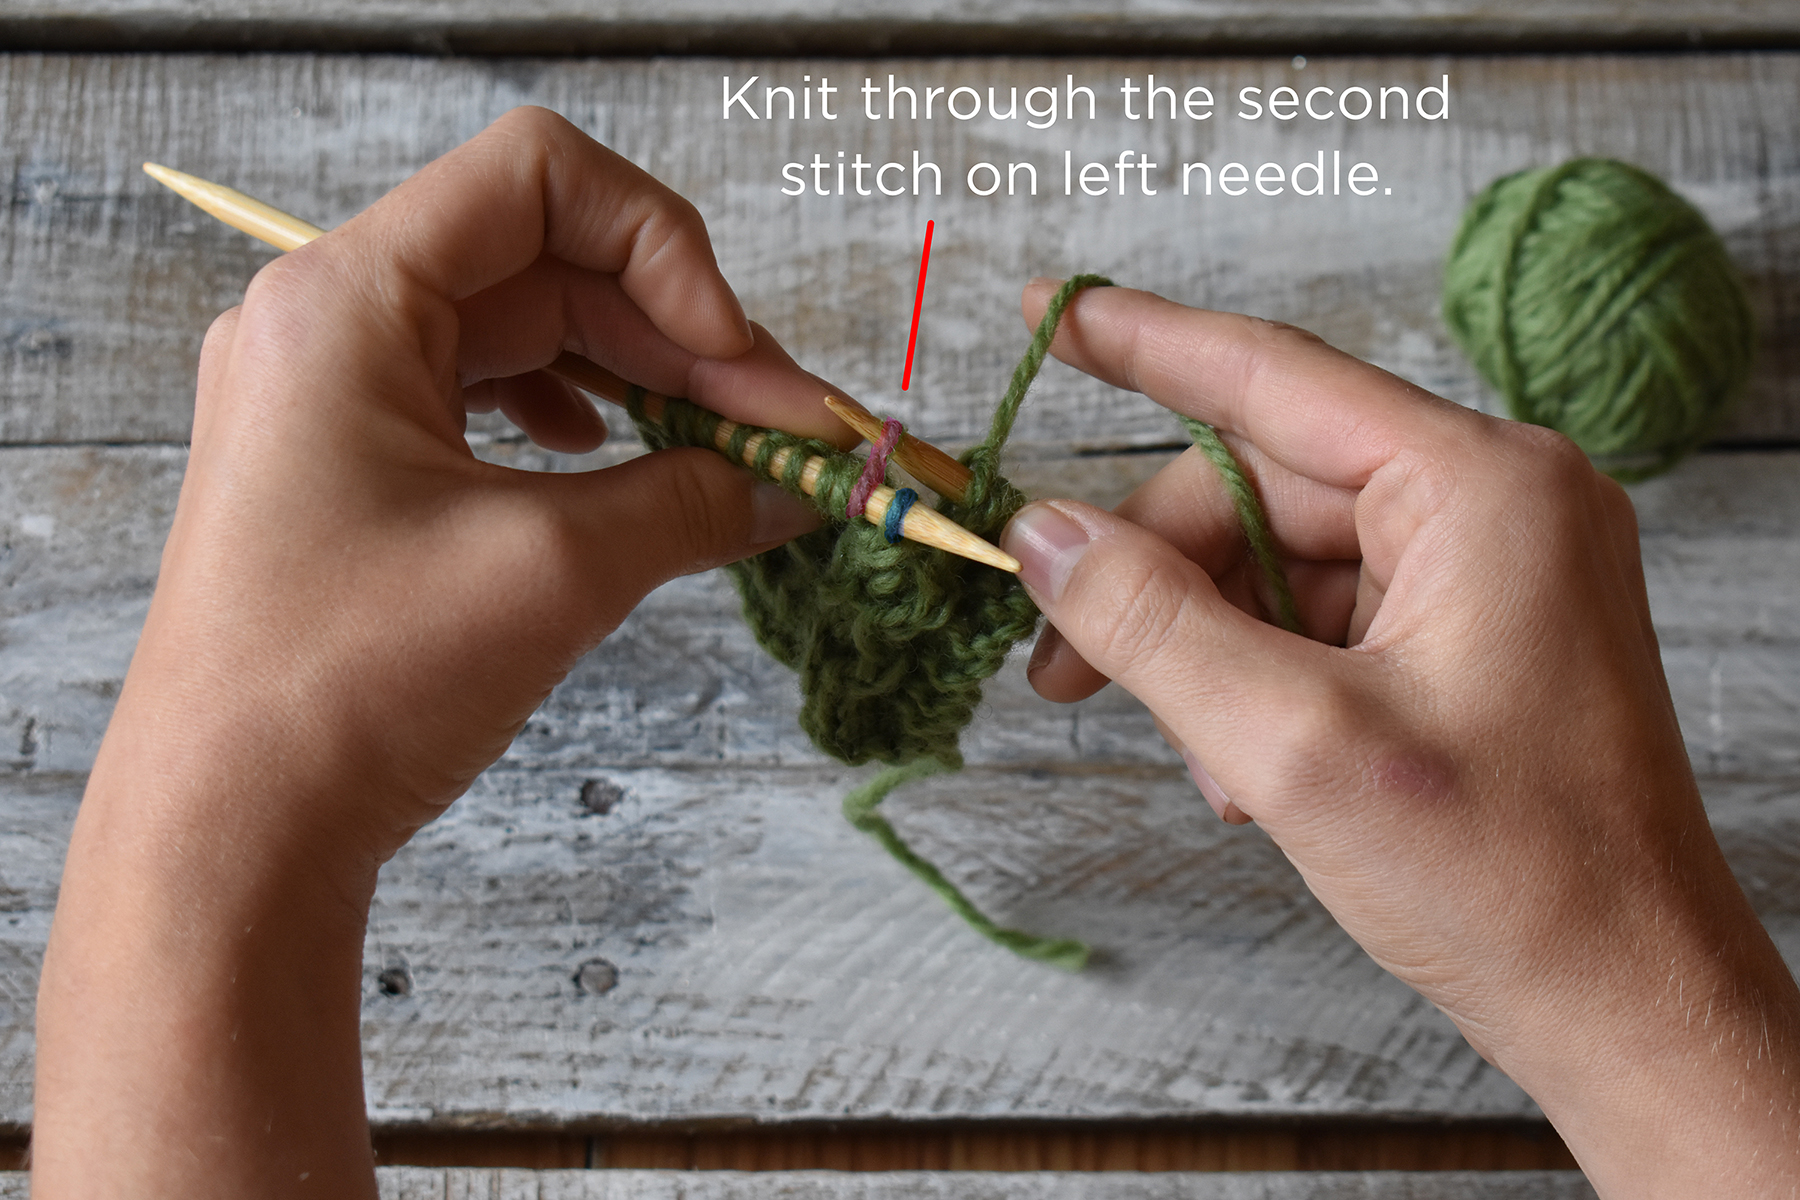
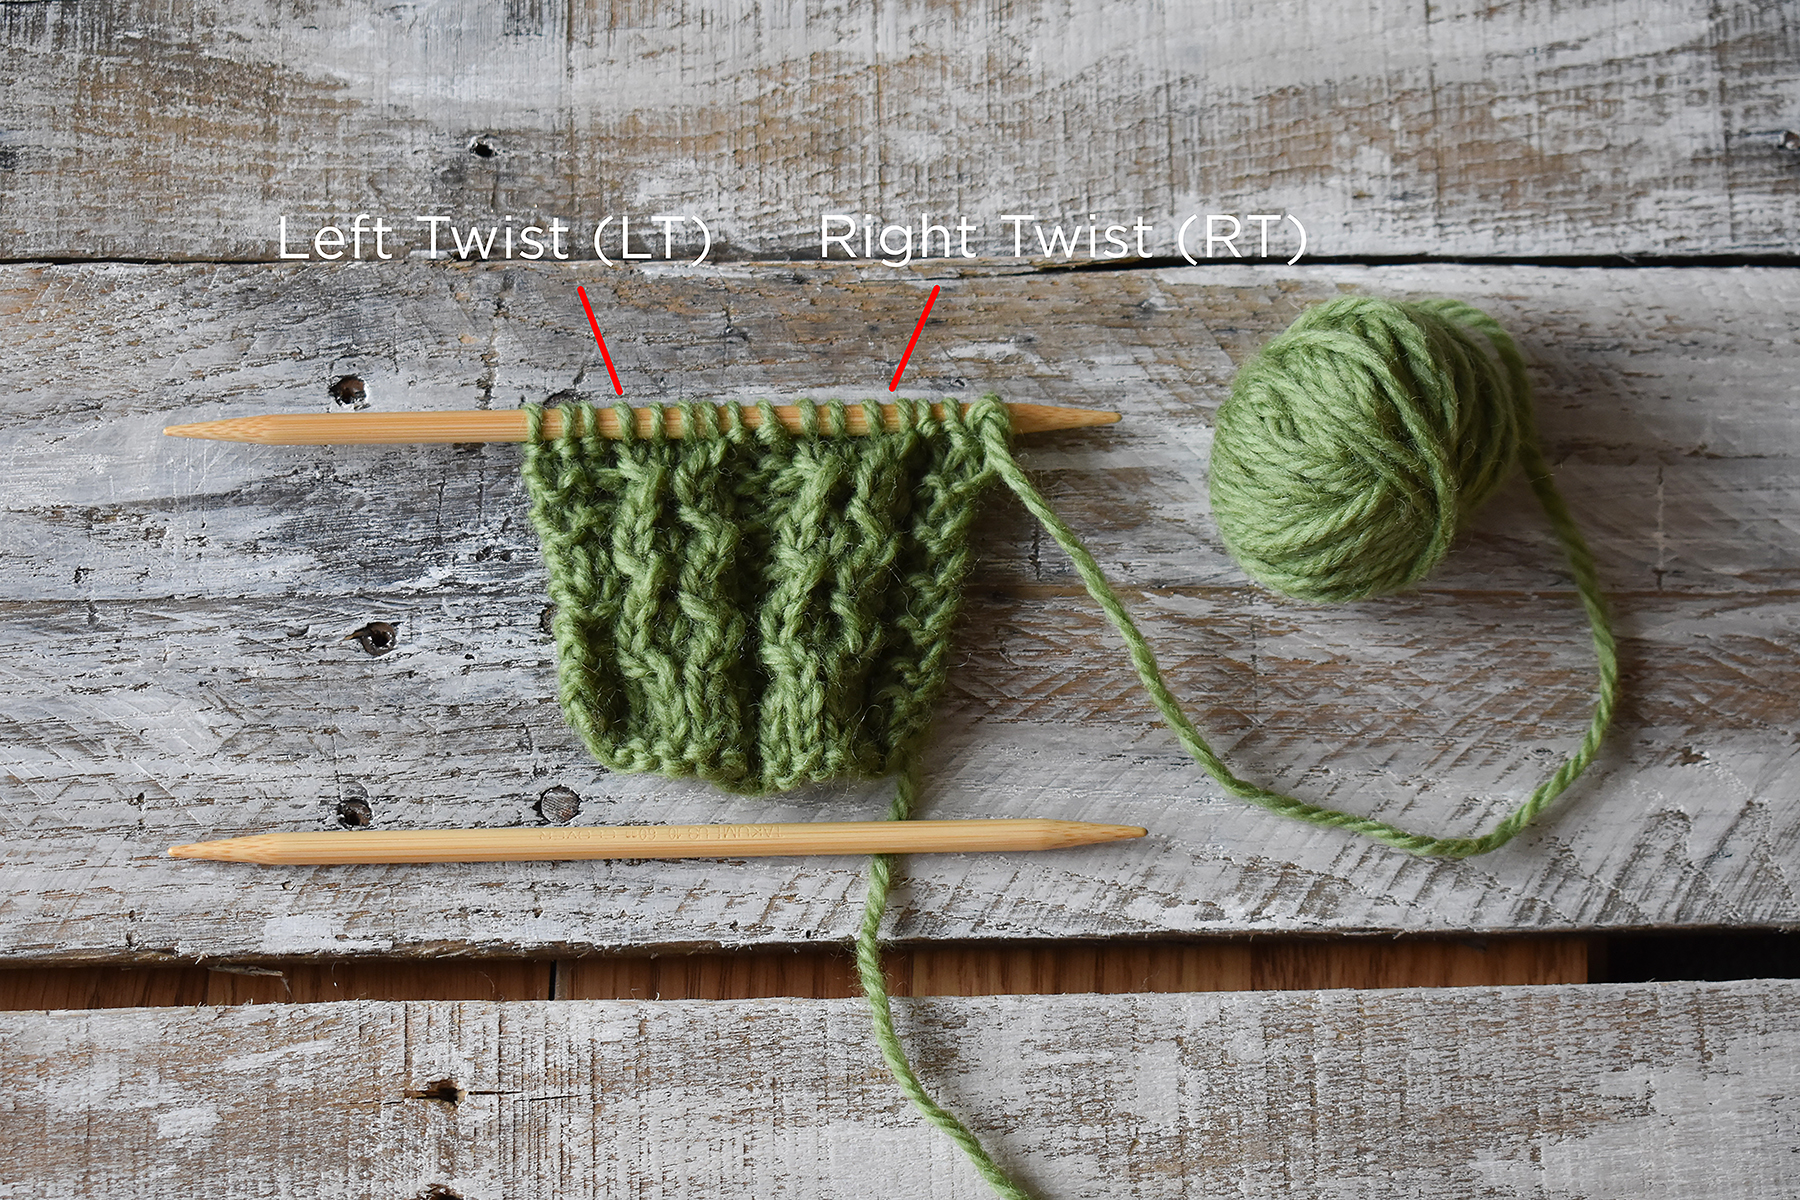
Speaking of twisted stitches – we have a tutorial to share today. If you can recall from Day 7 of Winter (the Mountain Pines Cowl), we shared a tutorial on Right and Left Purl Twists. Today, we’ll be showing you how to knit a regular Right and Left Twist – no purling necessary. Note that for today’s tutorial, we’re using Deluxe Chunky so that it’s easier for you to see.
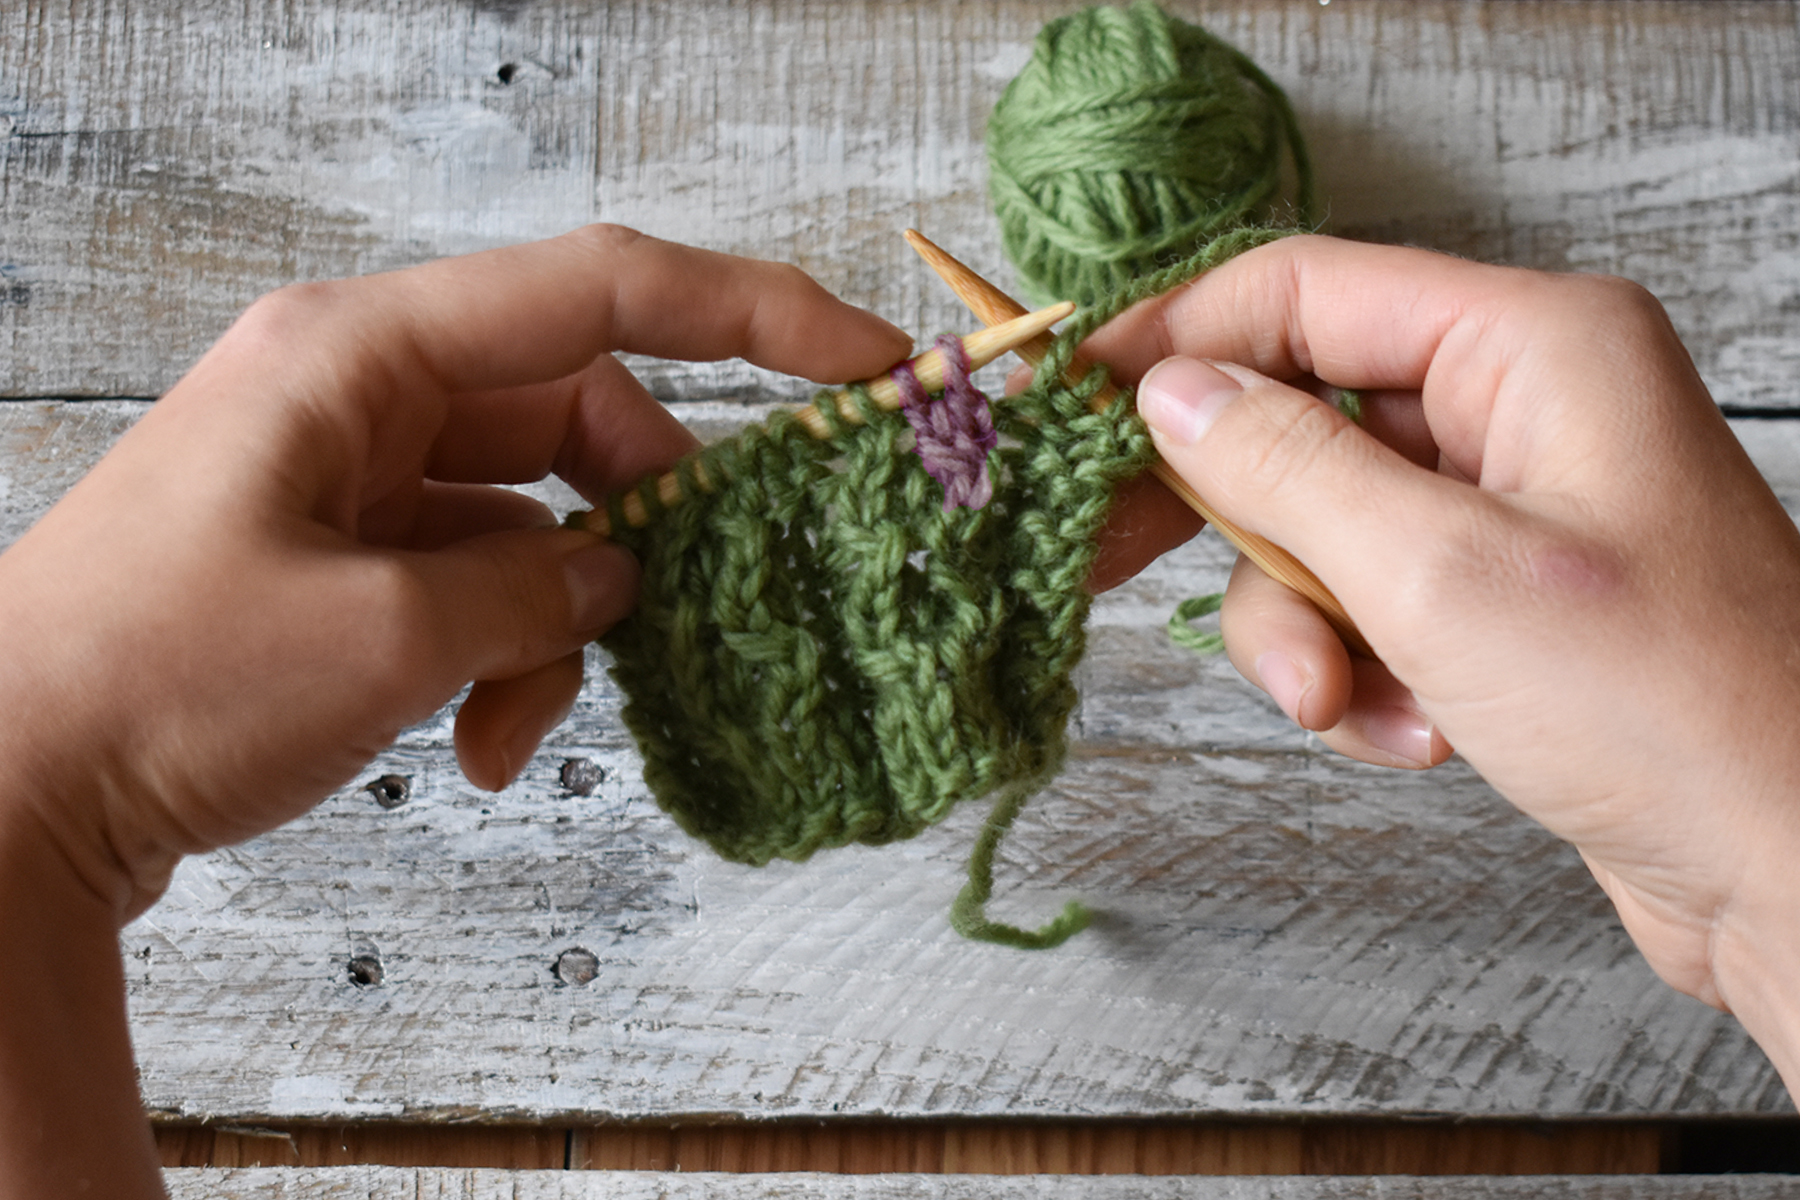
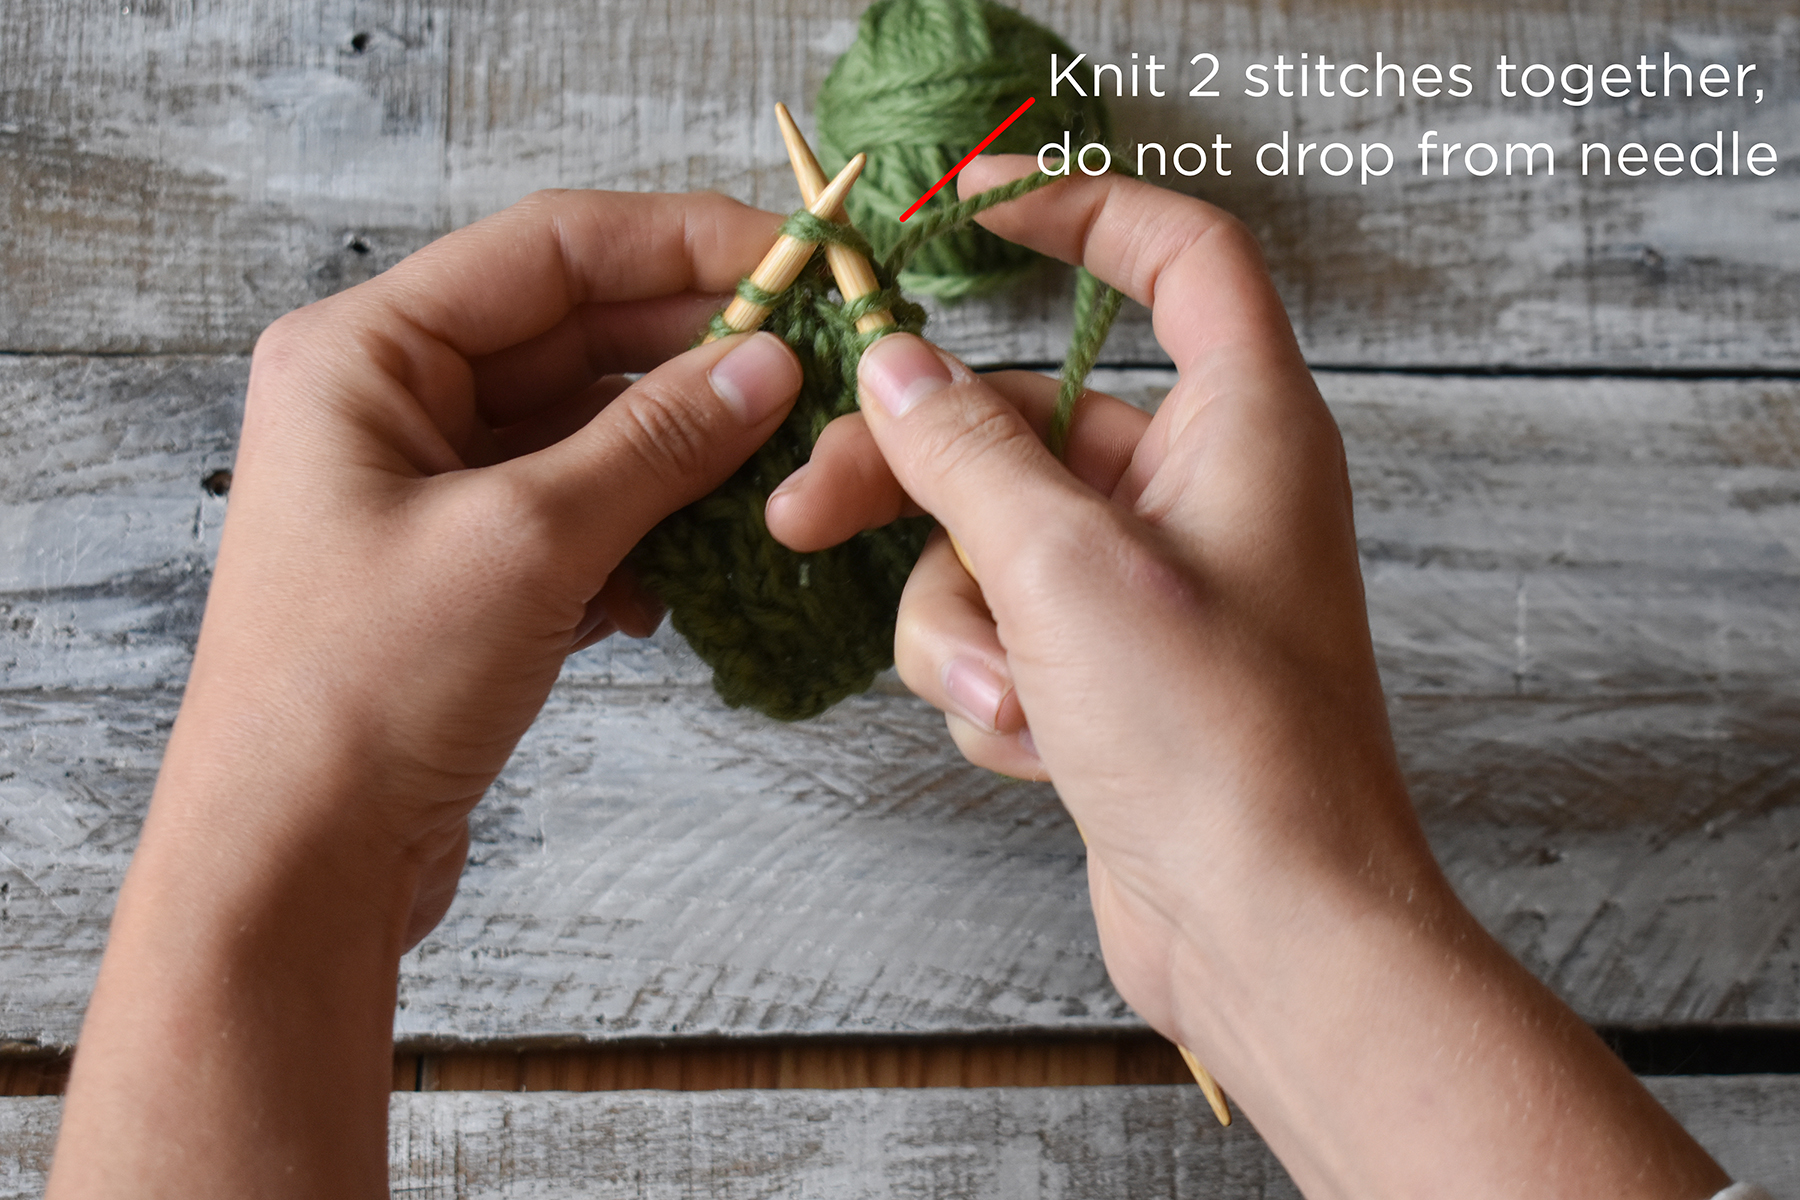
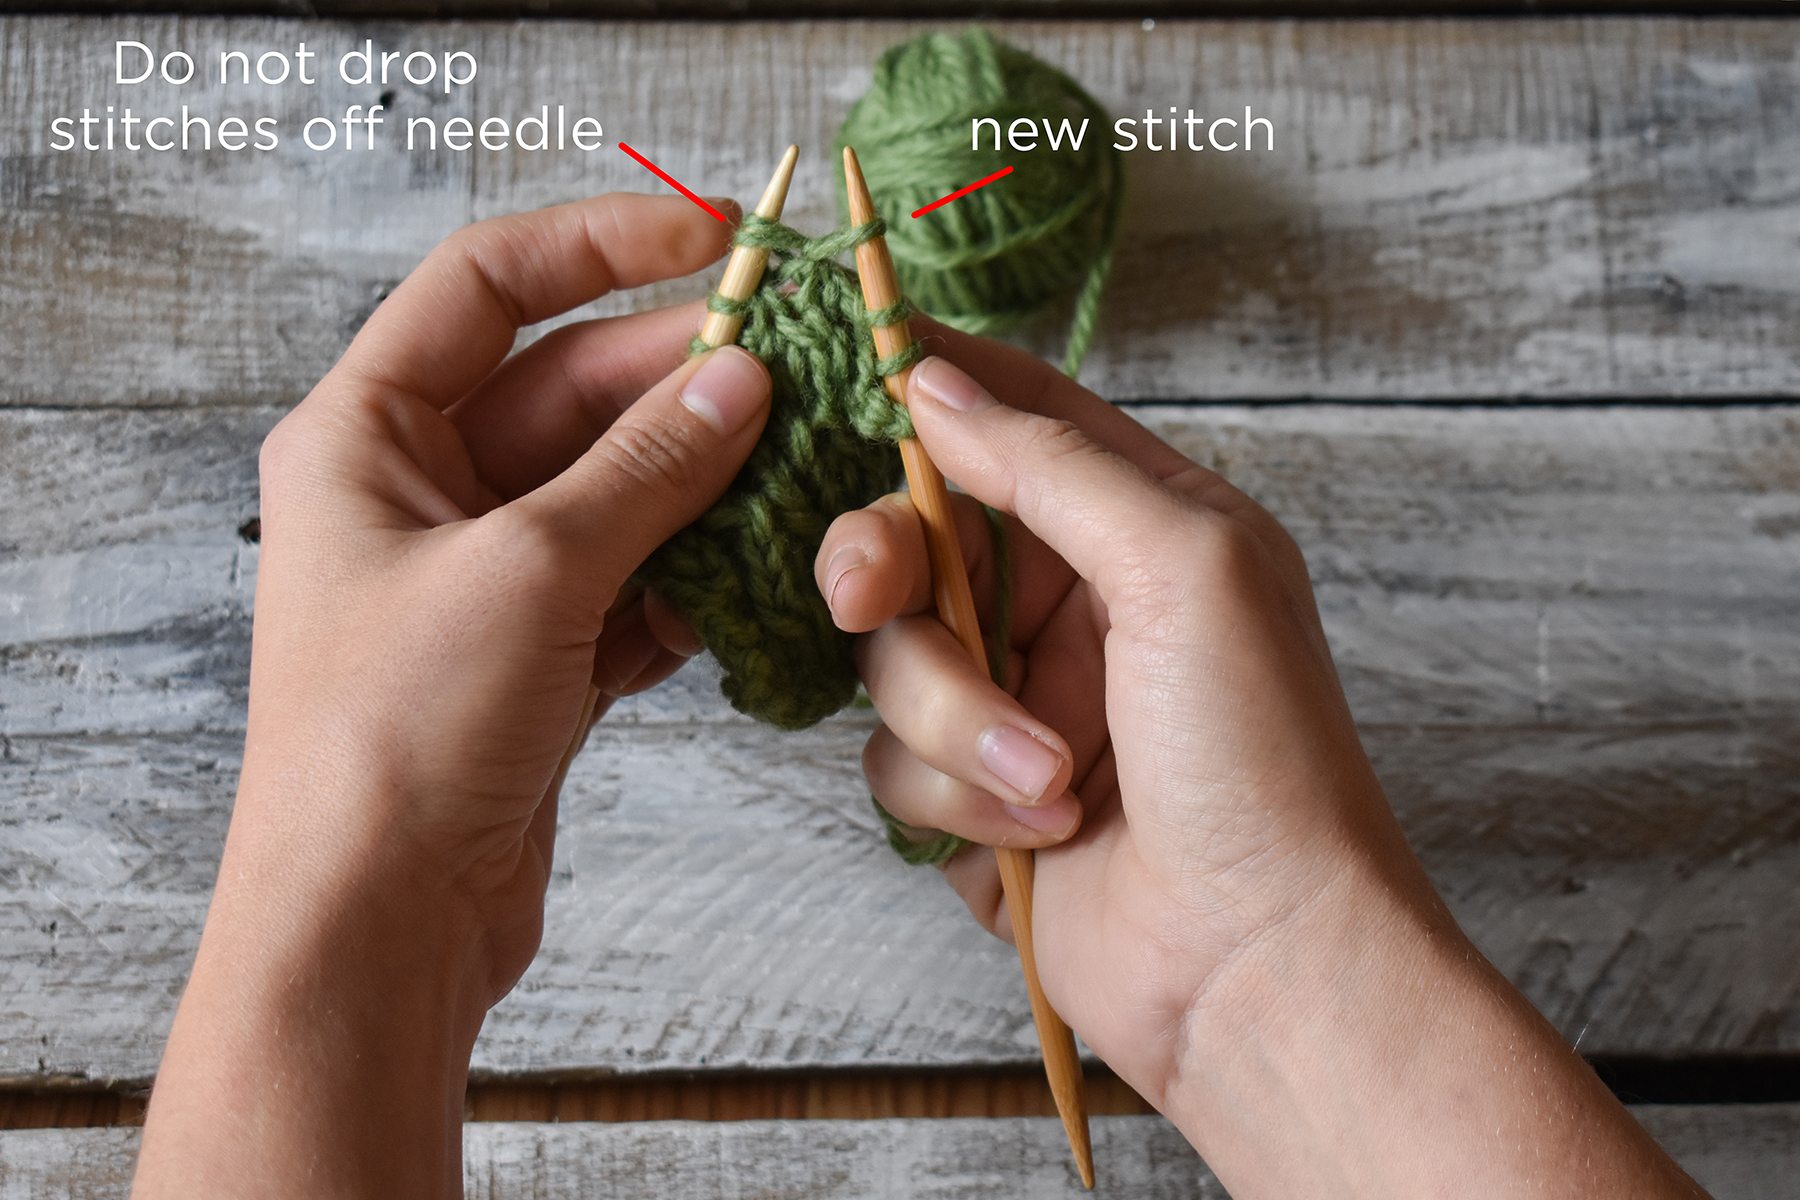
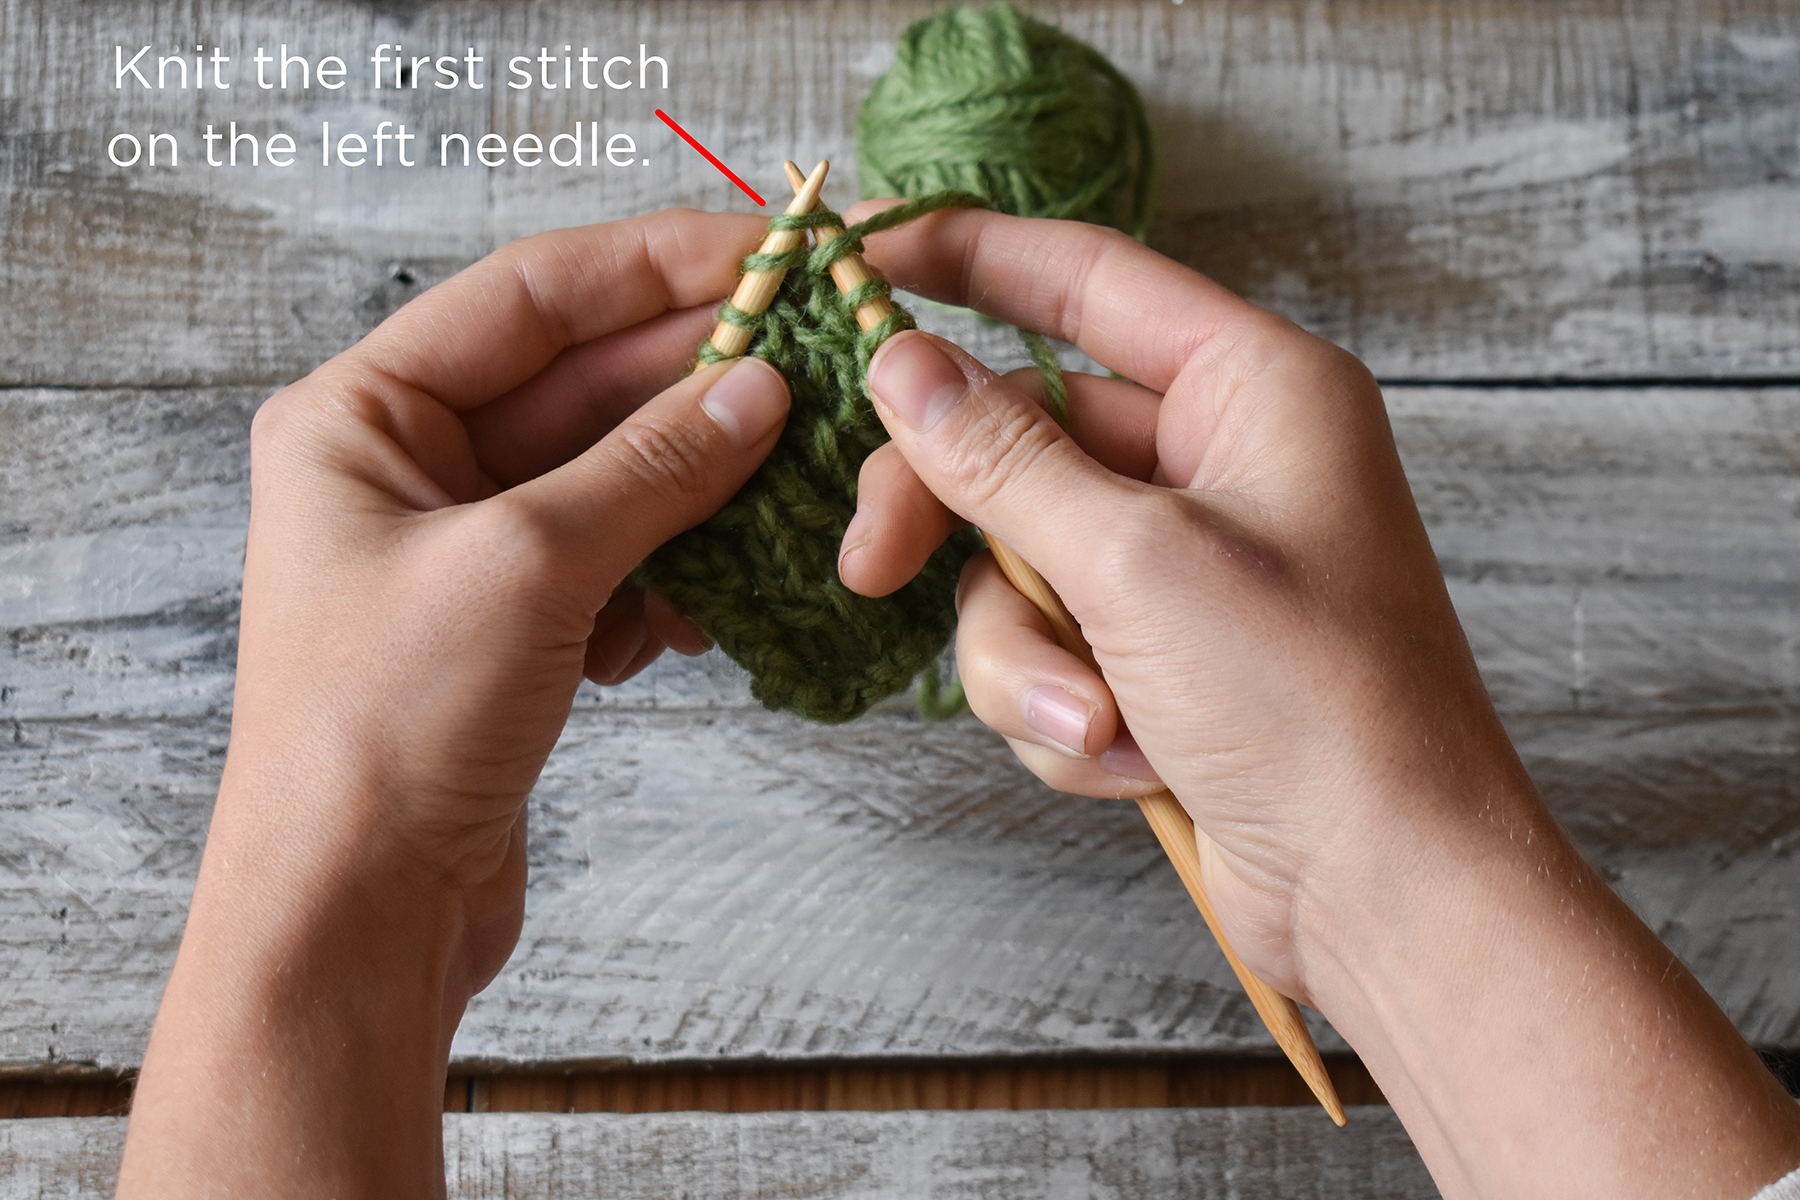
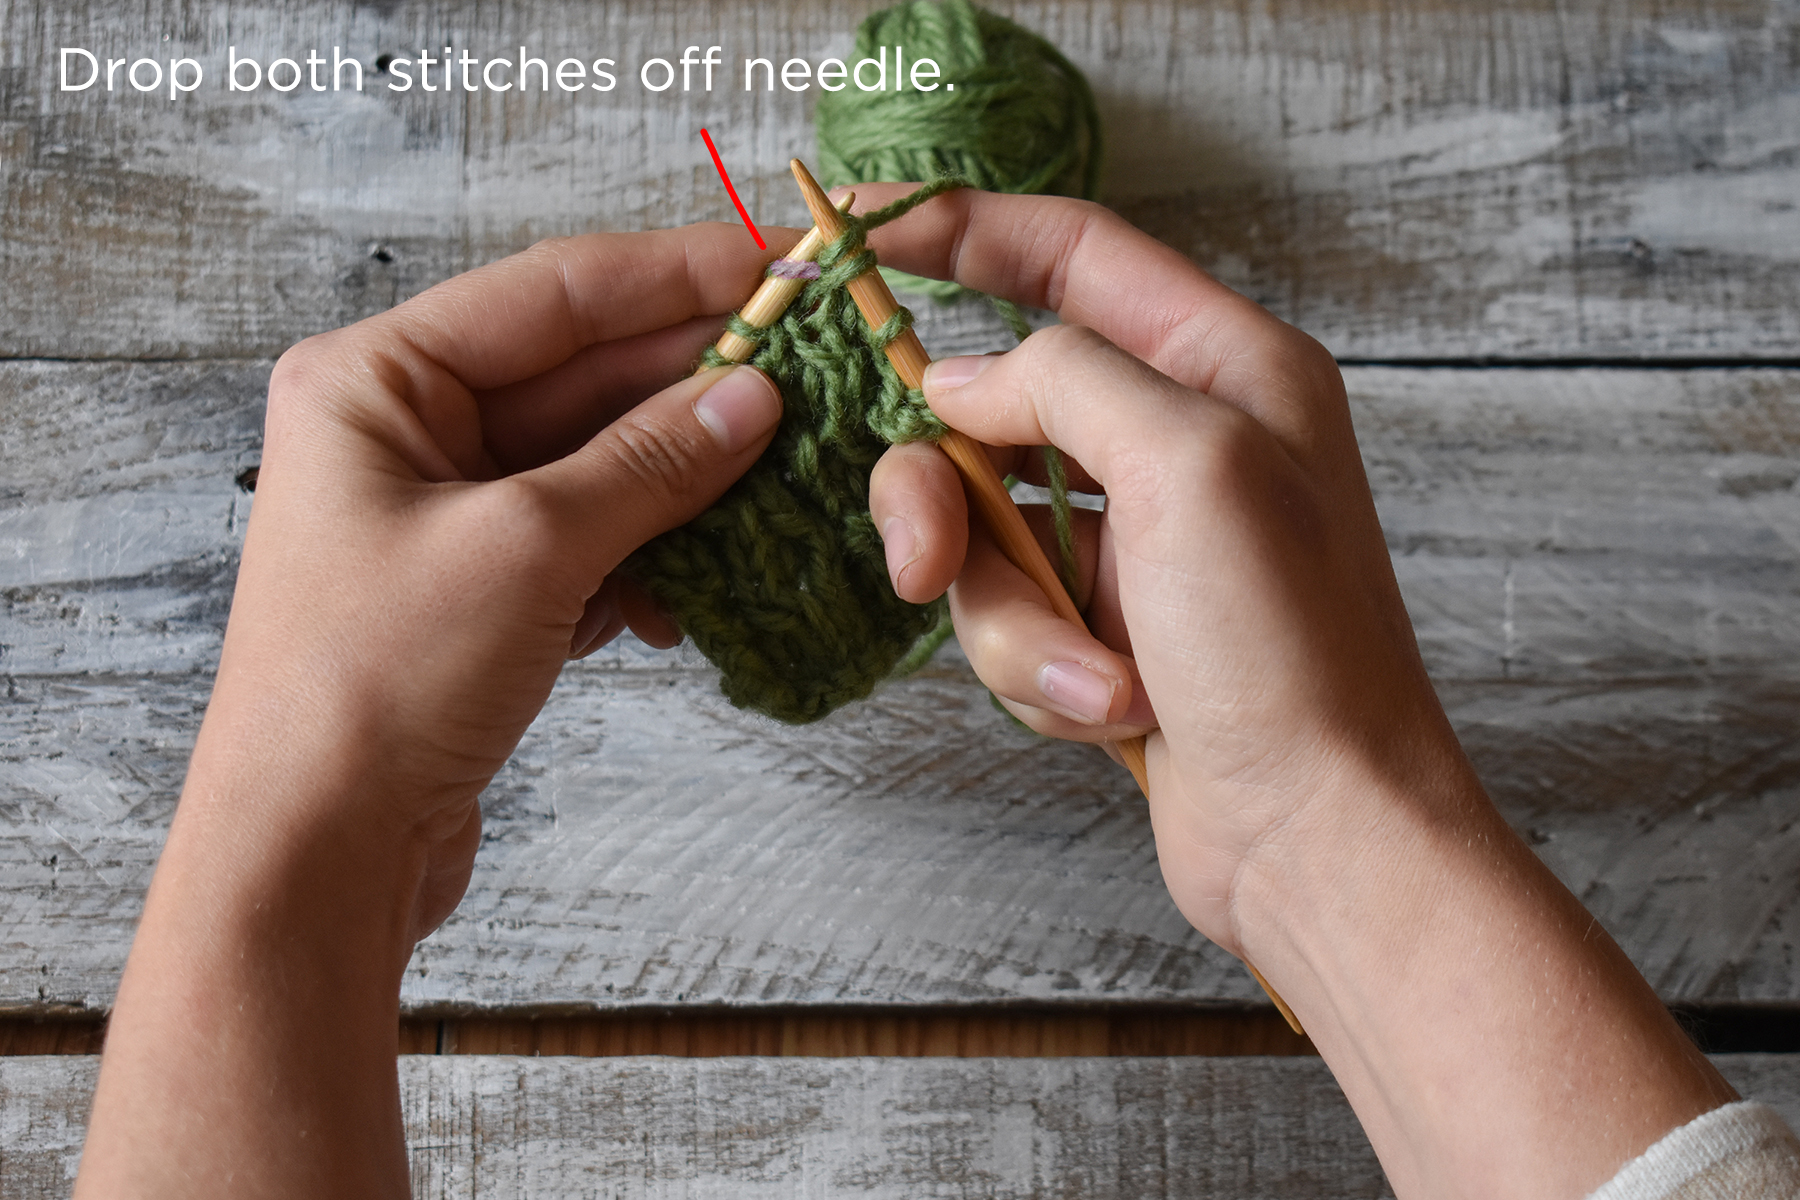
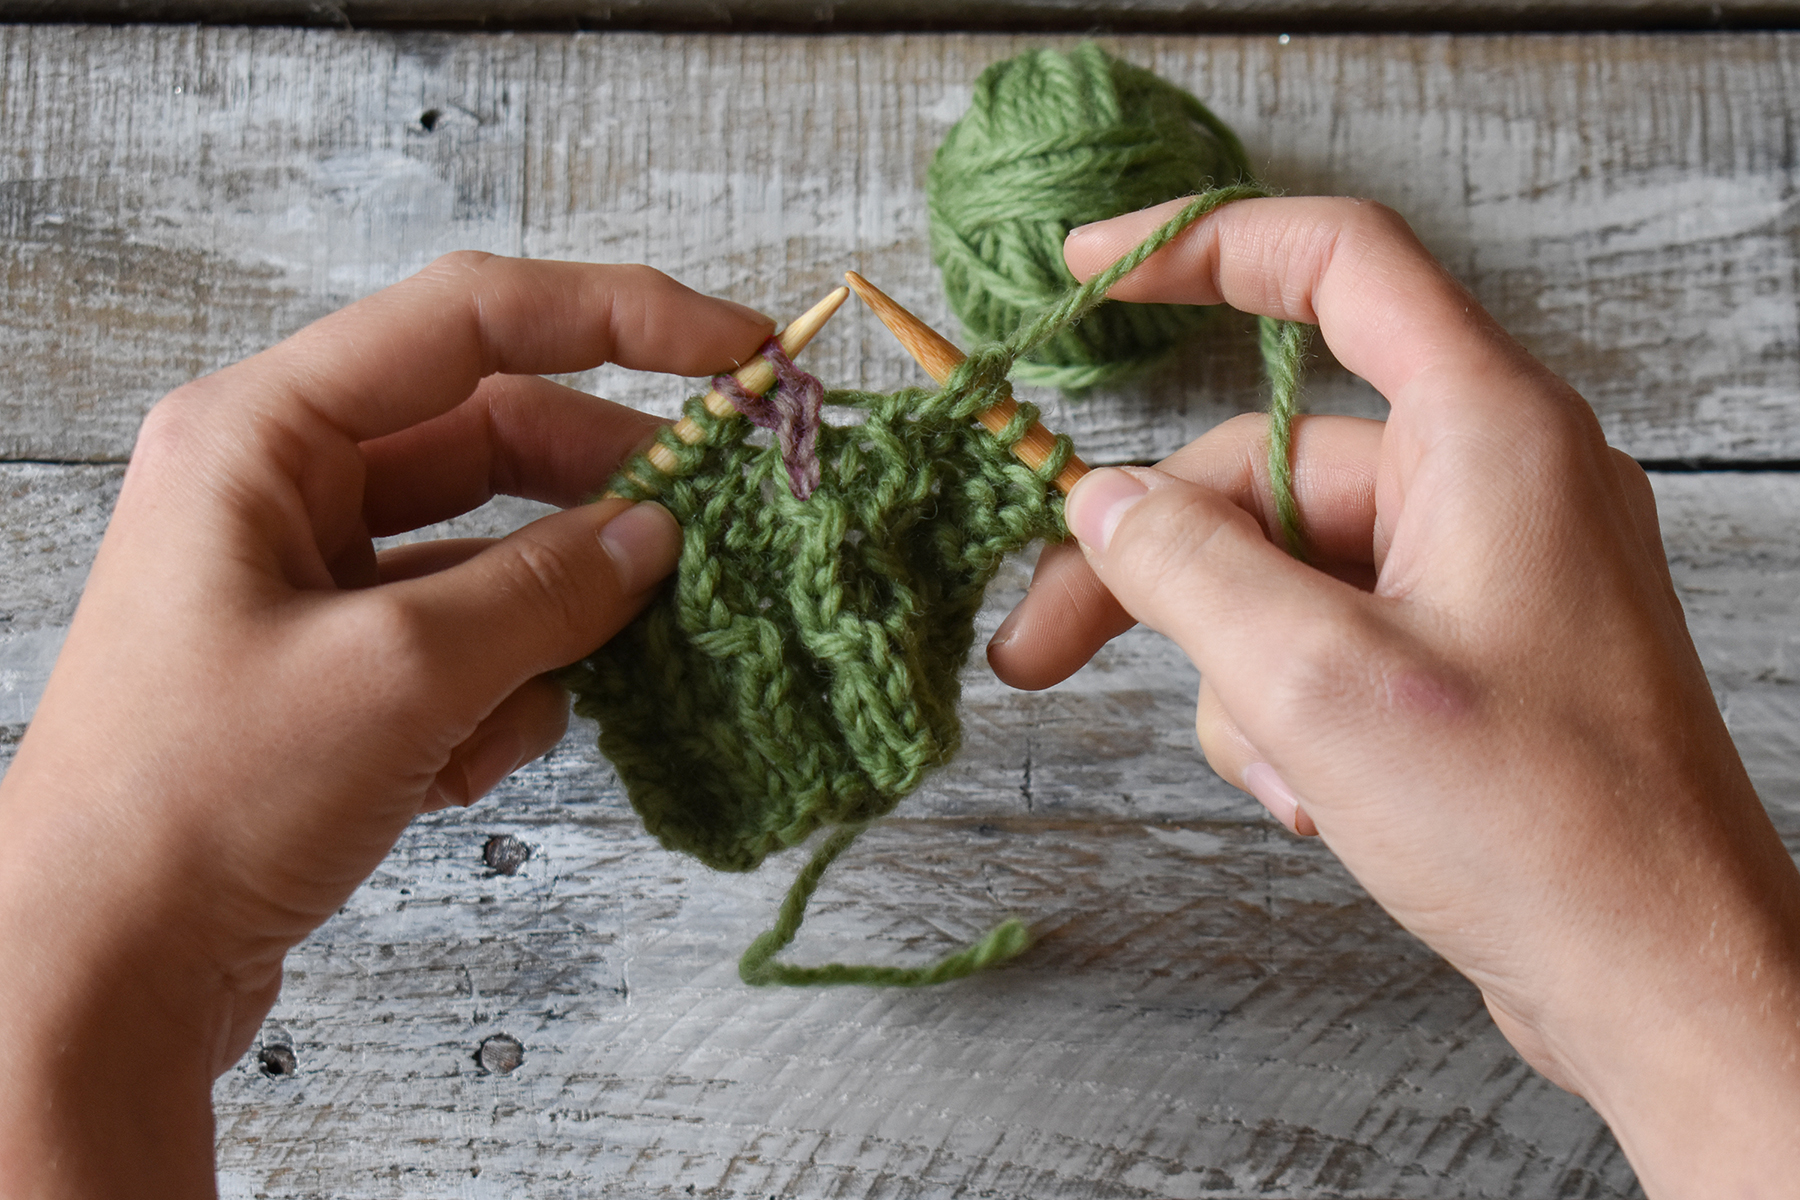
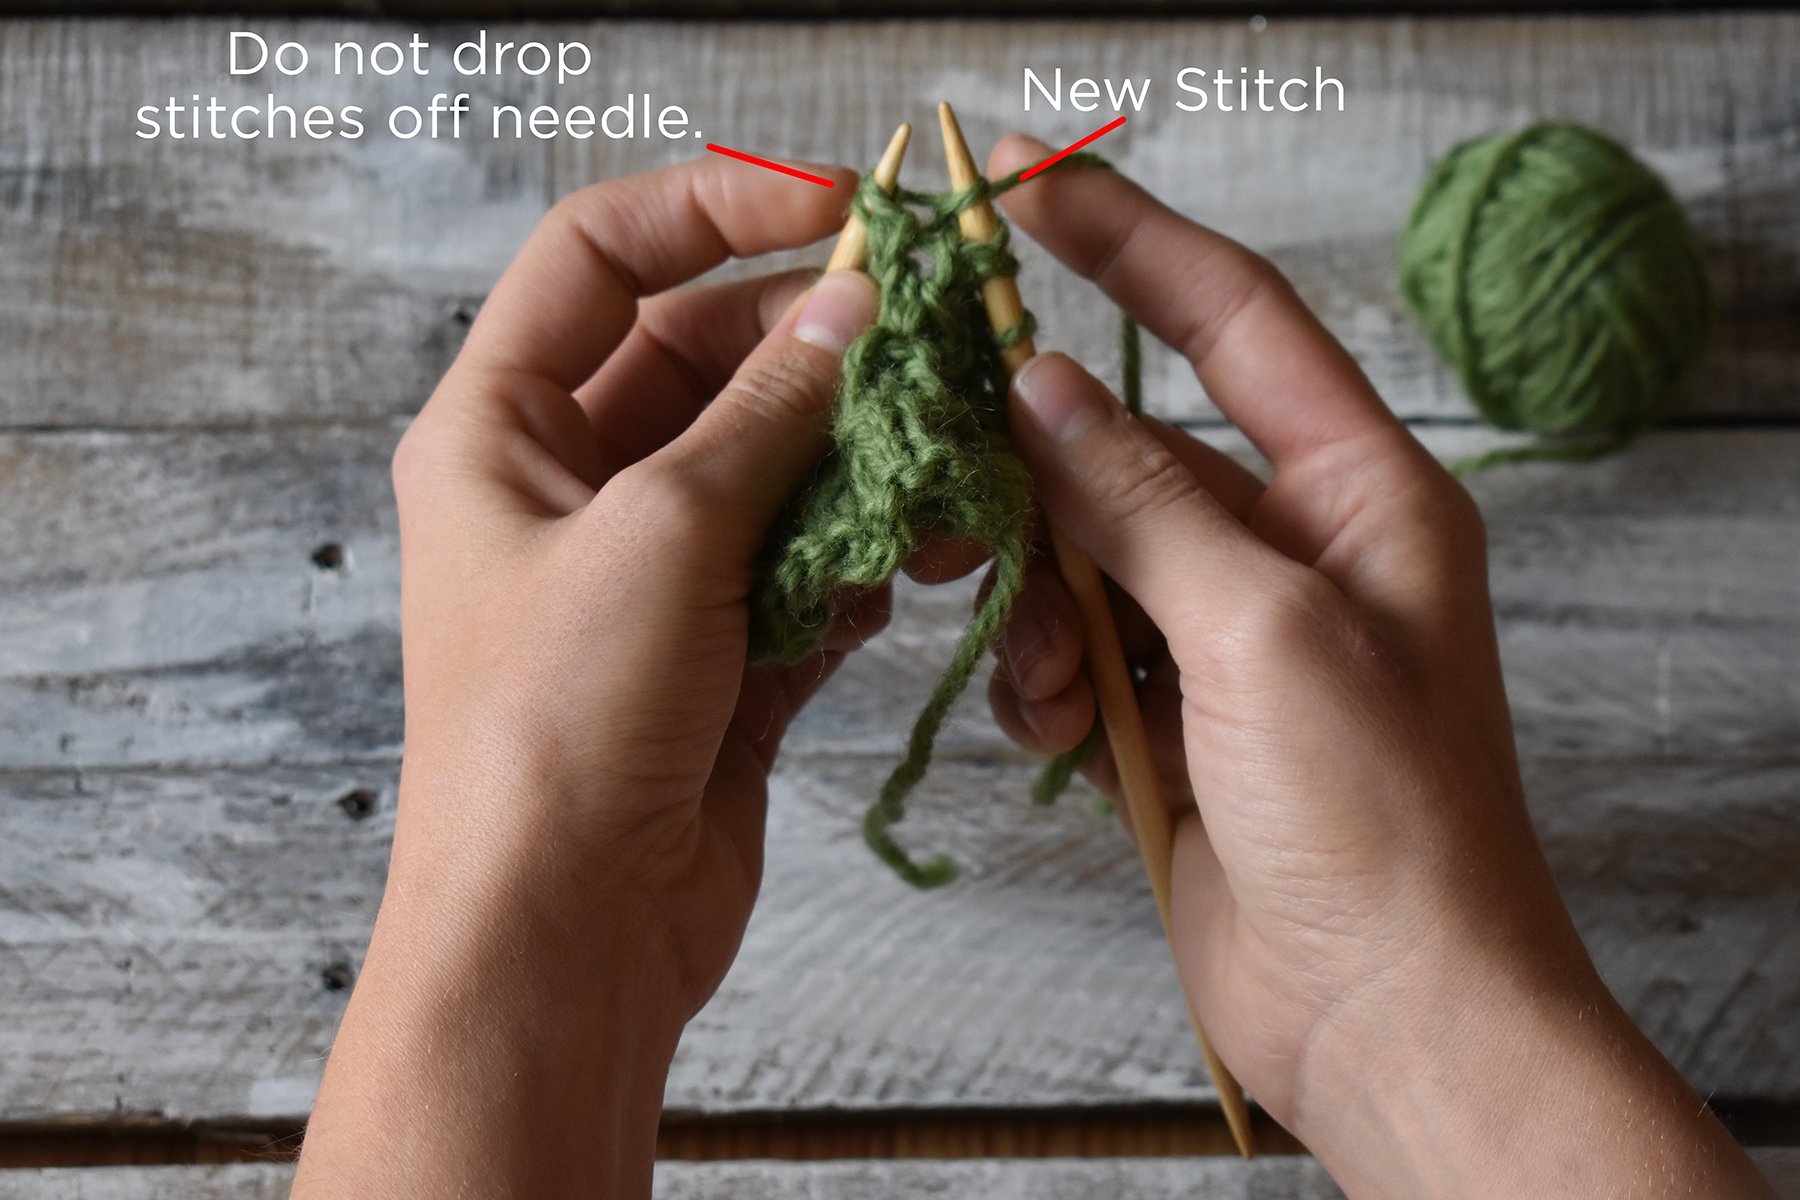
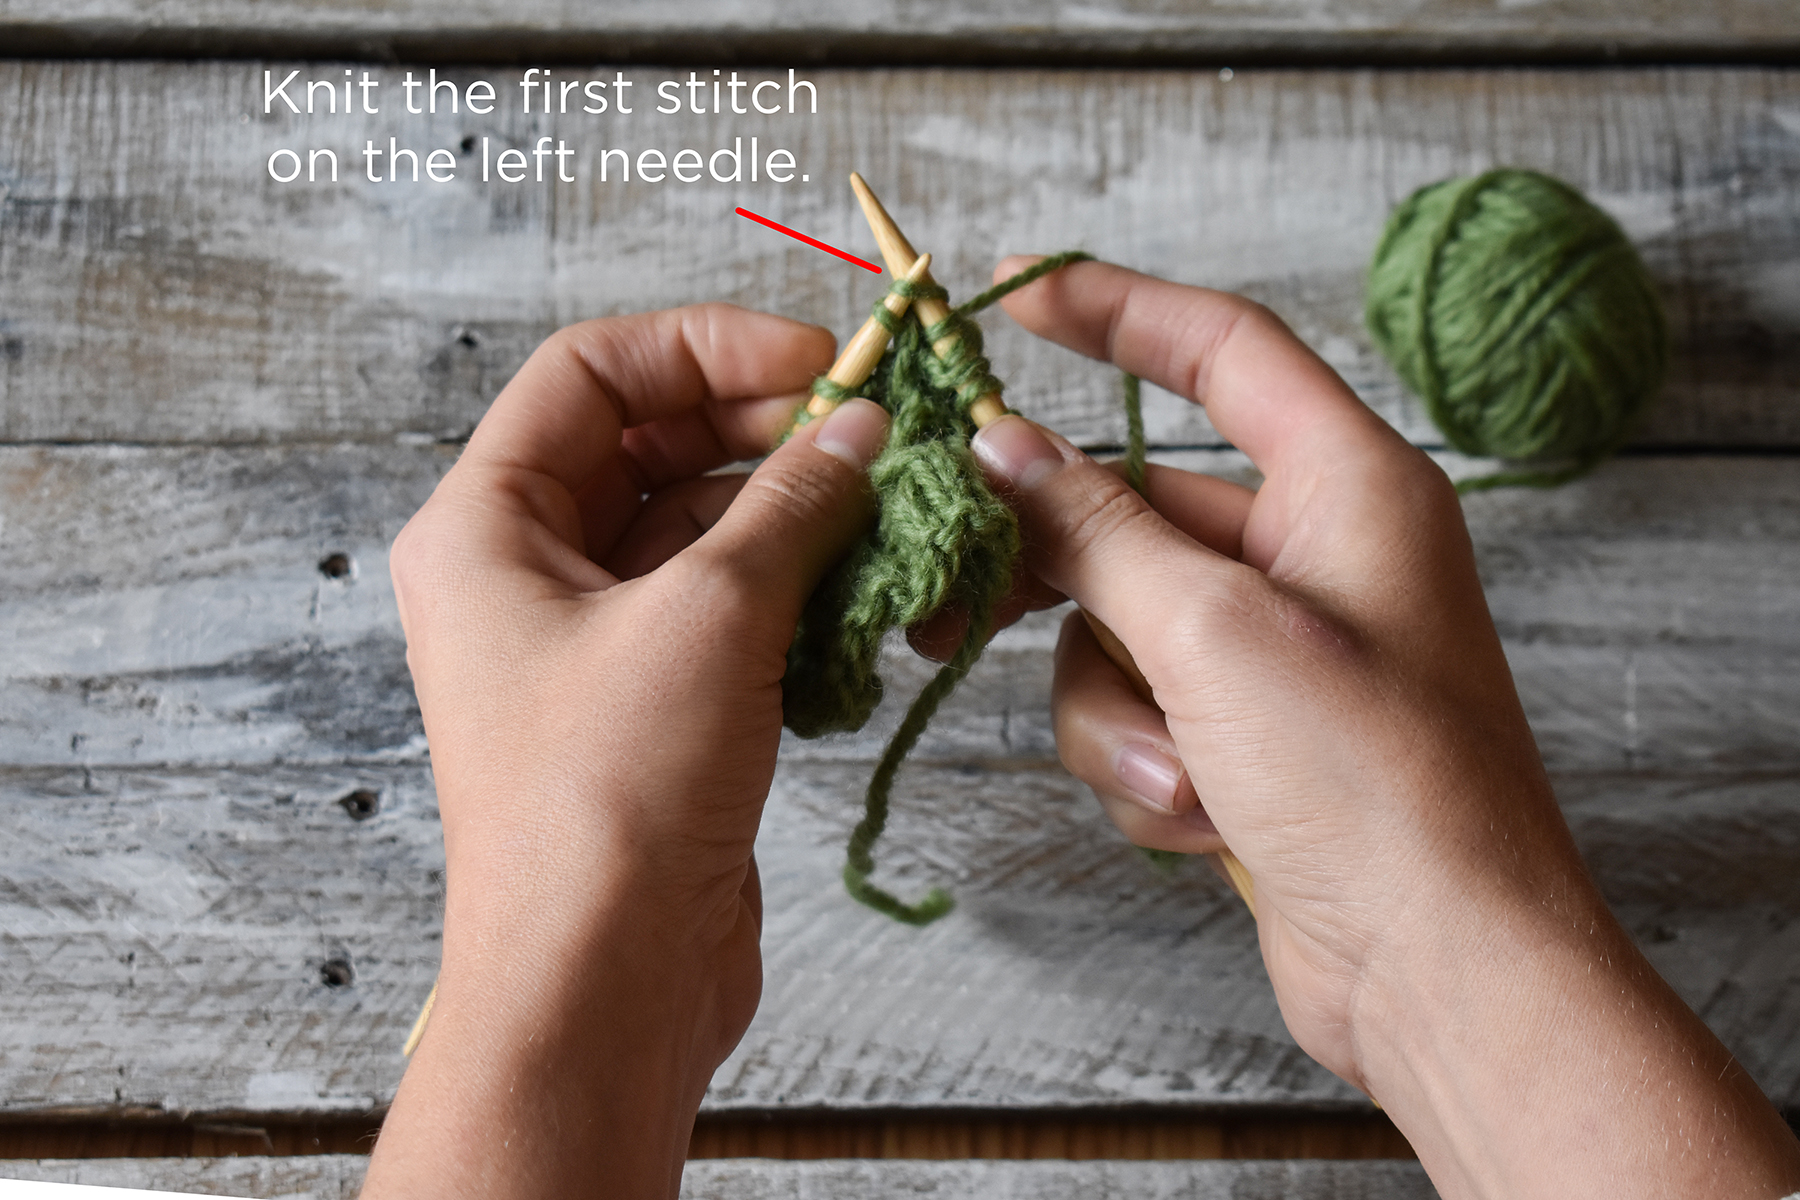
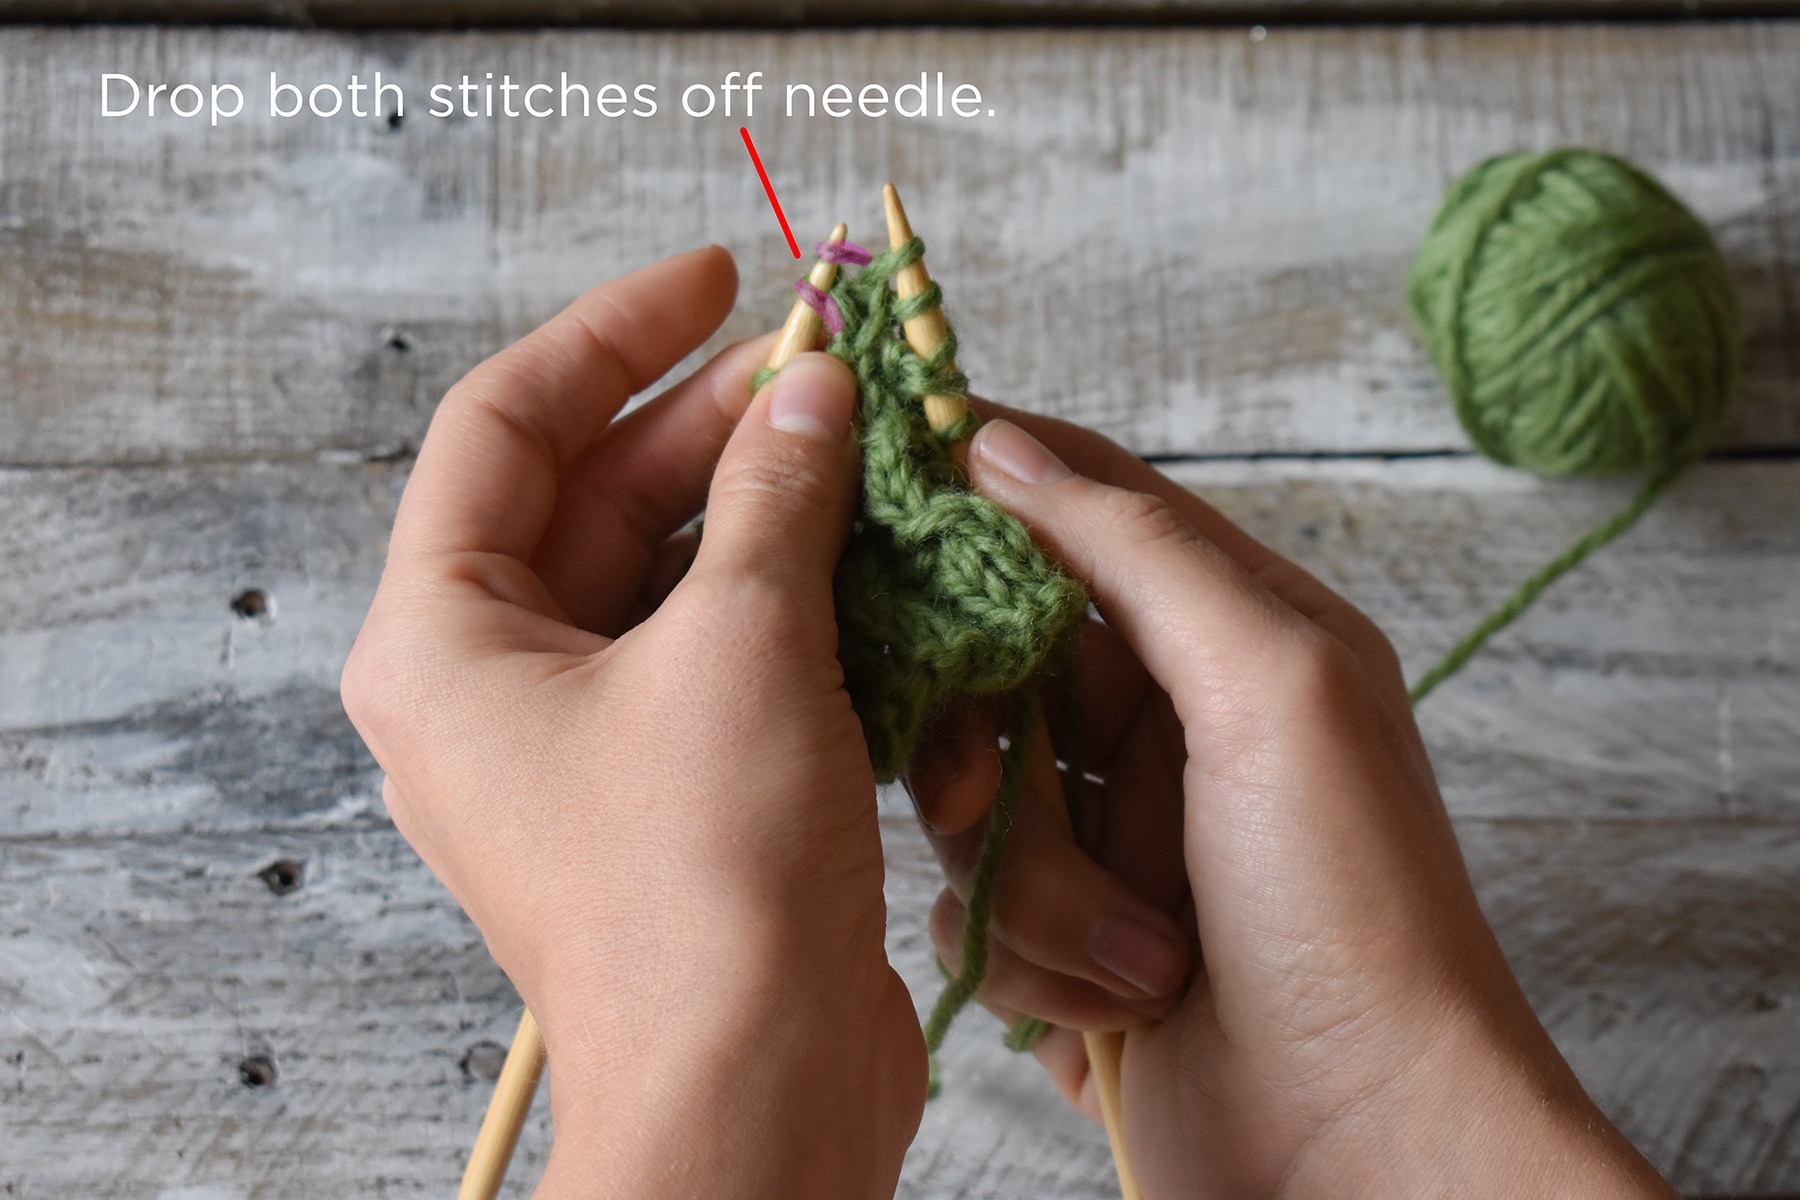
Right TwistStart by making a swatch. Swatches are not only crucial for getting the finished item you want but are also great for practicing new stitches. Work in your pattern until you’ve reached the two stitches you need to twist. I’ve highlighted these stitches in purple so it’s easier to see. We want to change the position of these two stitches by moving the left stitch over the top of the right stitch.Begin by knitting two stitches together, but do not drop the stitches from your needle. As you can see, the two stitches remain on the left needle, but there is now a new stitch on the right needle. Next, knit the first stitch on the left needle. Drop both of the stitches from the left needle. You now have completed the Right Twist, and have two new stitches on the right needle. Easy, right?Left TwistWork in your pattern until you’ve reached the two stitches you need to twist. I’ve highlighted these stitches in purple so it’s easier to see. We want to change the position of these two stitches by moving the right stitch over the top of the left stitch.The first step is to knit only the second stitch on the left needle. This stitch is highlighted in purple. As you can see, the first stitch on the left needle remains in place. After knitting the second stitch, do not drop the stitches off the left needle. Next, knit the first stitch on the left needle. Drop both of the stitches from the left needle. You now have completed the Left Twist, and have two new stitches on the right needle.Here is what each set of twisted stitches will look like. Notice that the Left Twist leans to the left, and the Right Twist leans to the right. In the Trinket Socks, Right Twists and Left Twists are alternated to create an undulating panel.
The Right and Left Twists are a great addition to your knitting toolbox. You’ll find that they’re quite fun to work, and they can really make a stitch pattern interesting. I hope you’ve found this tutorial to be useful.
Notice those panels of twisted stitches – pretty!
Remember, you can find the Trinket Socks kit, as well as the rest of the 12 Days of Winter Kits at your local yarn store. Happy knitting!
This is part 10 in a 12 part series highlighting designs from our 12 Days of Winter, Series 3 Edition.
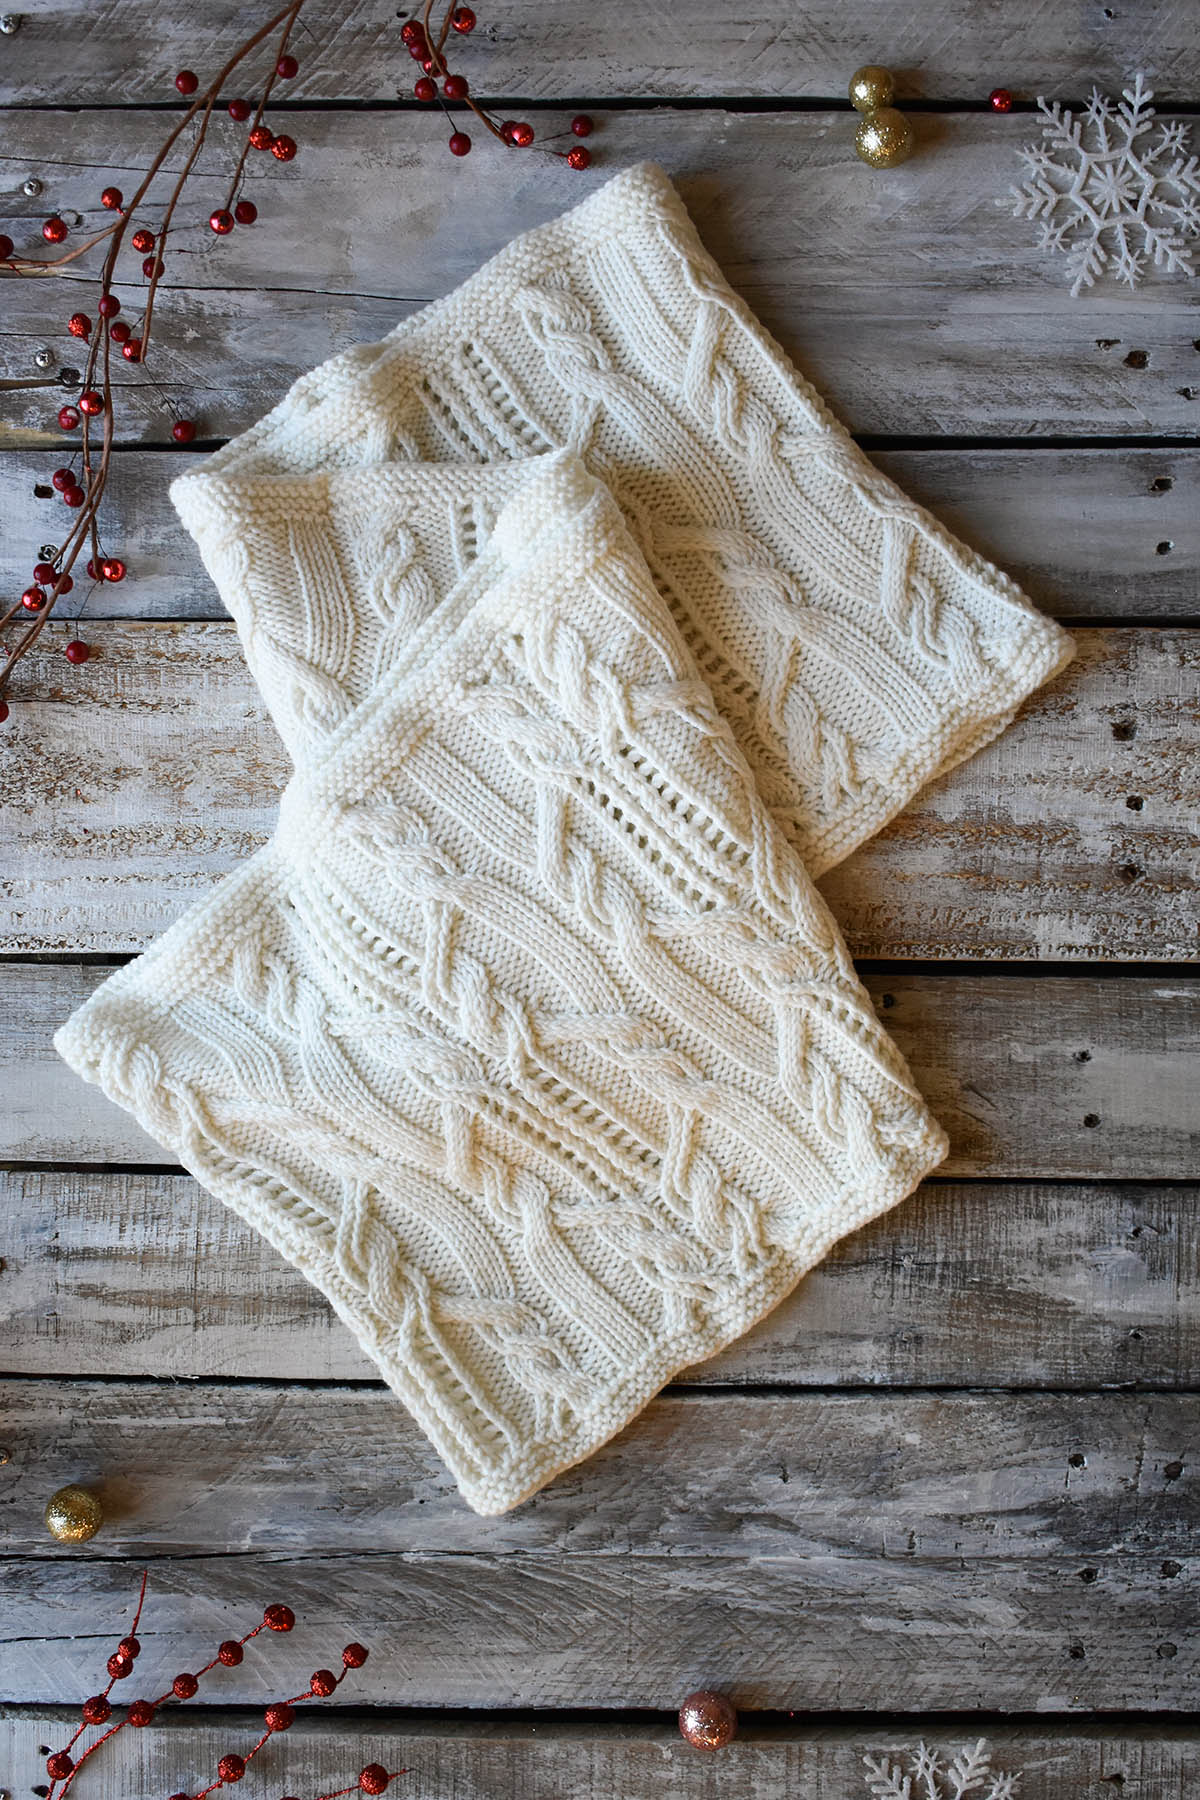
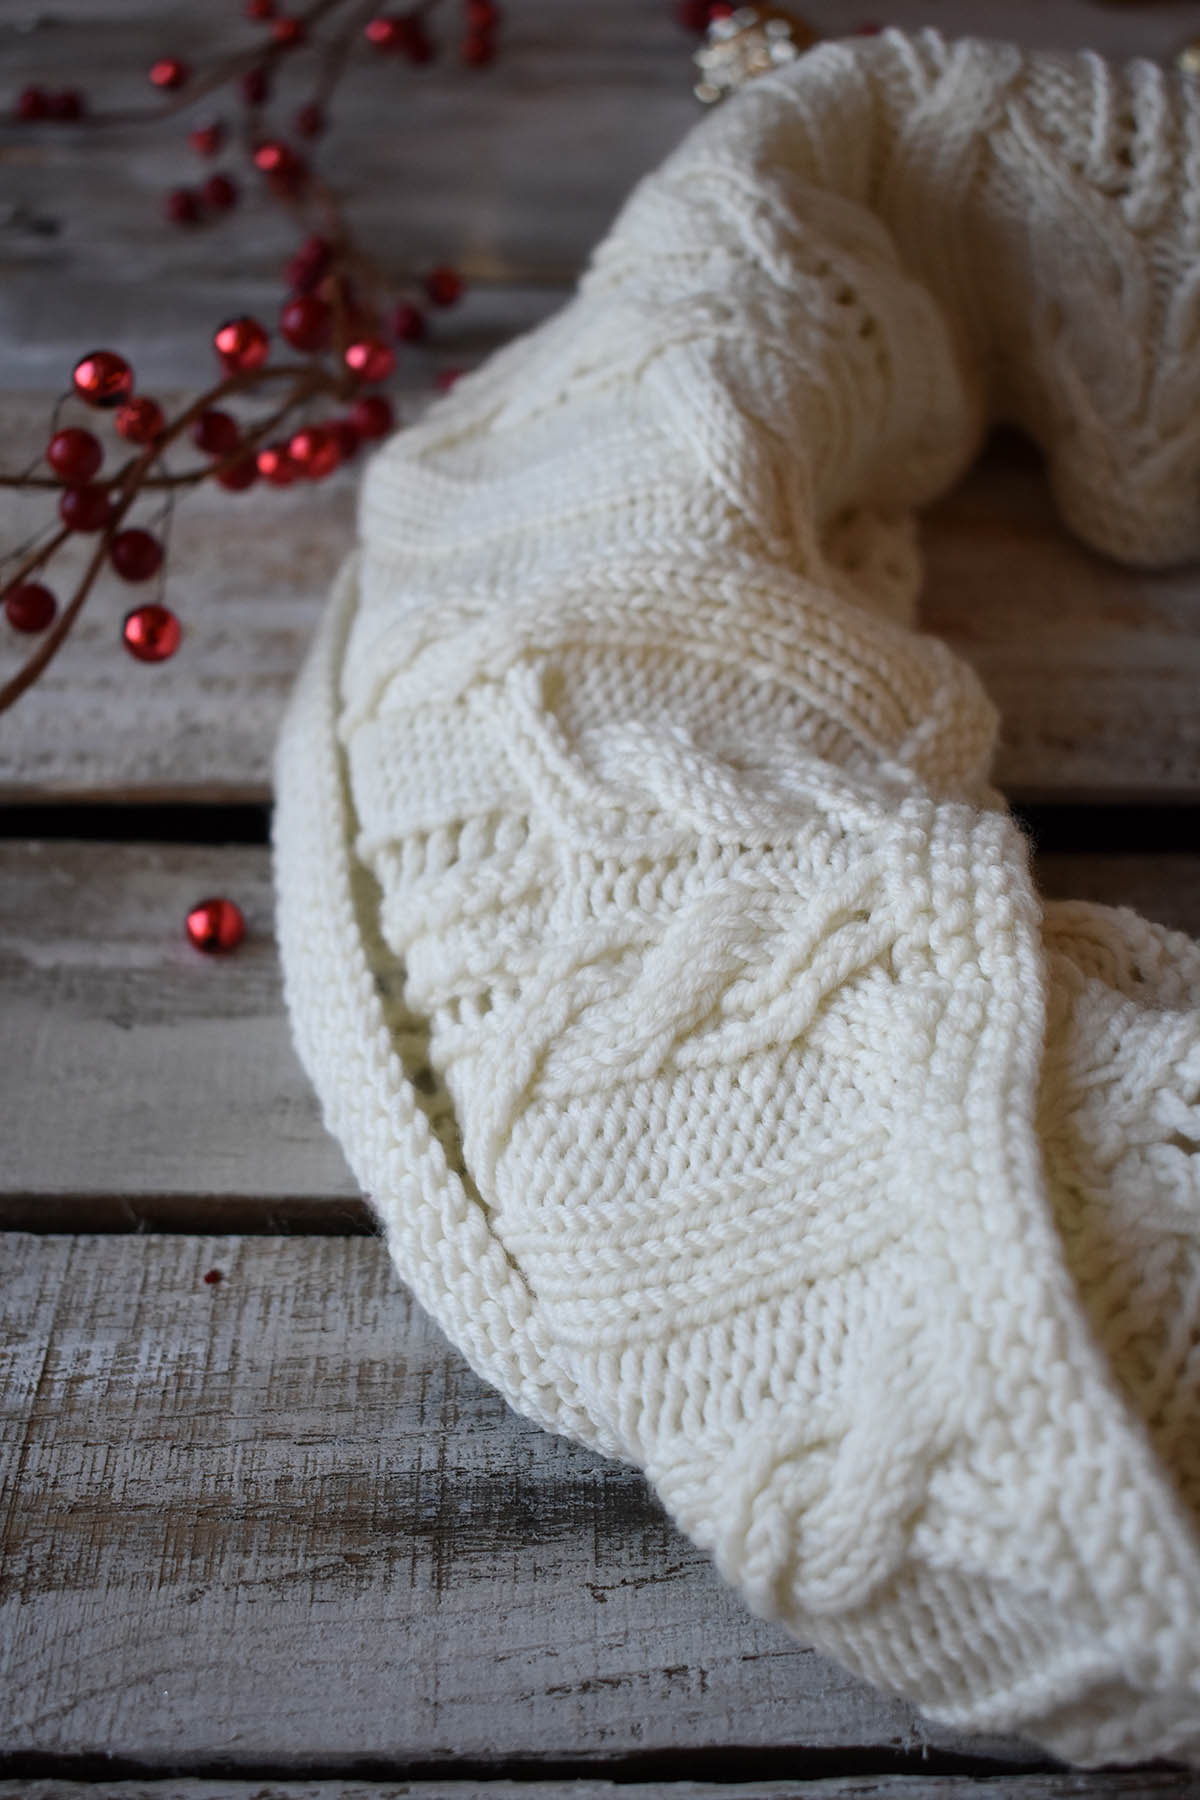
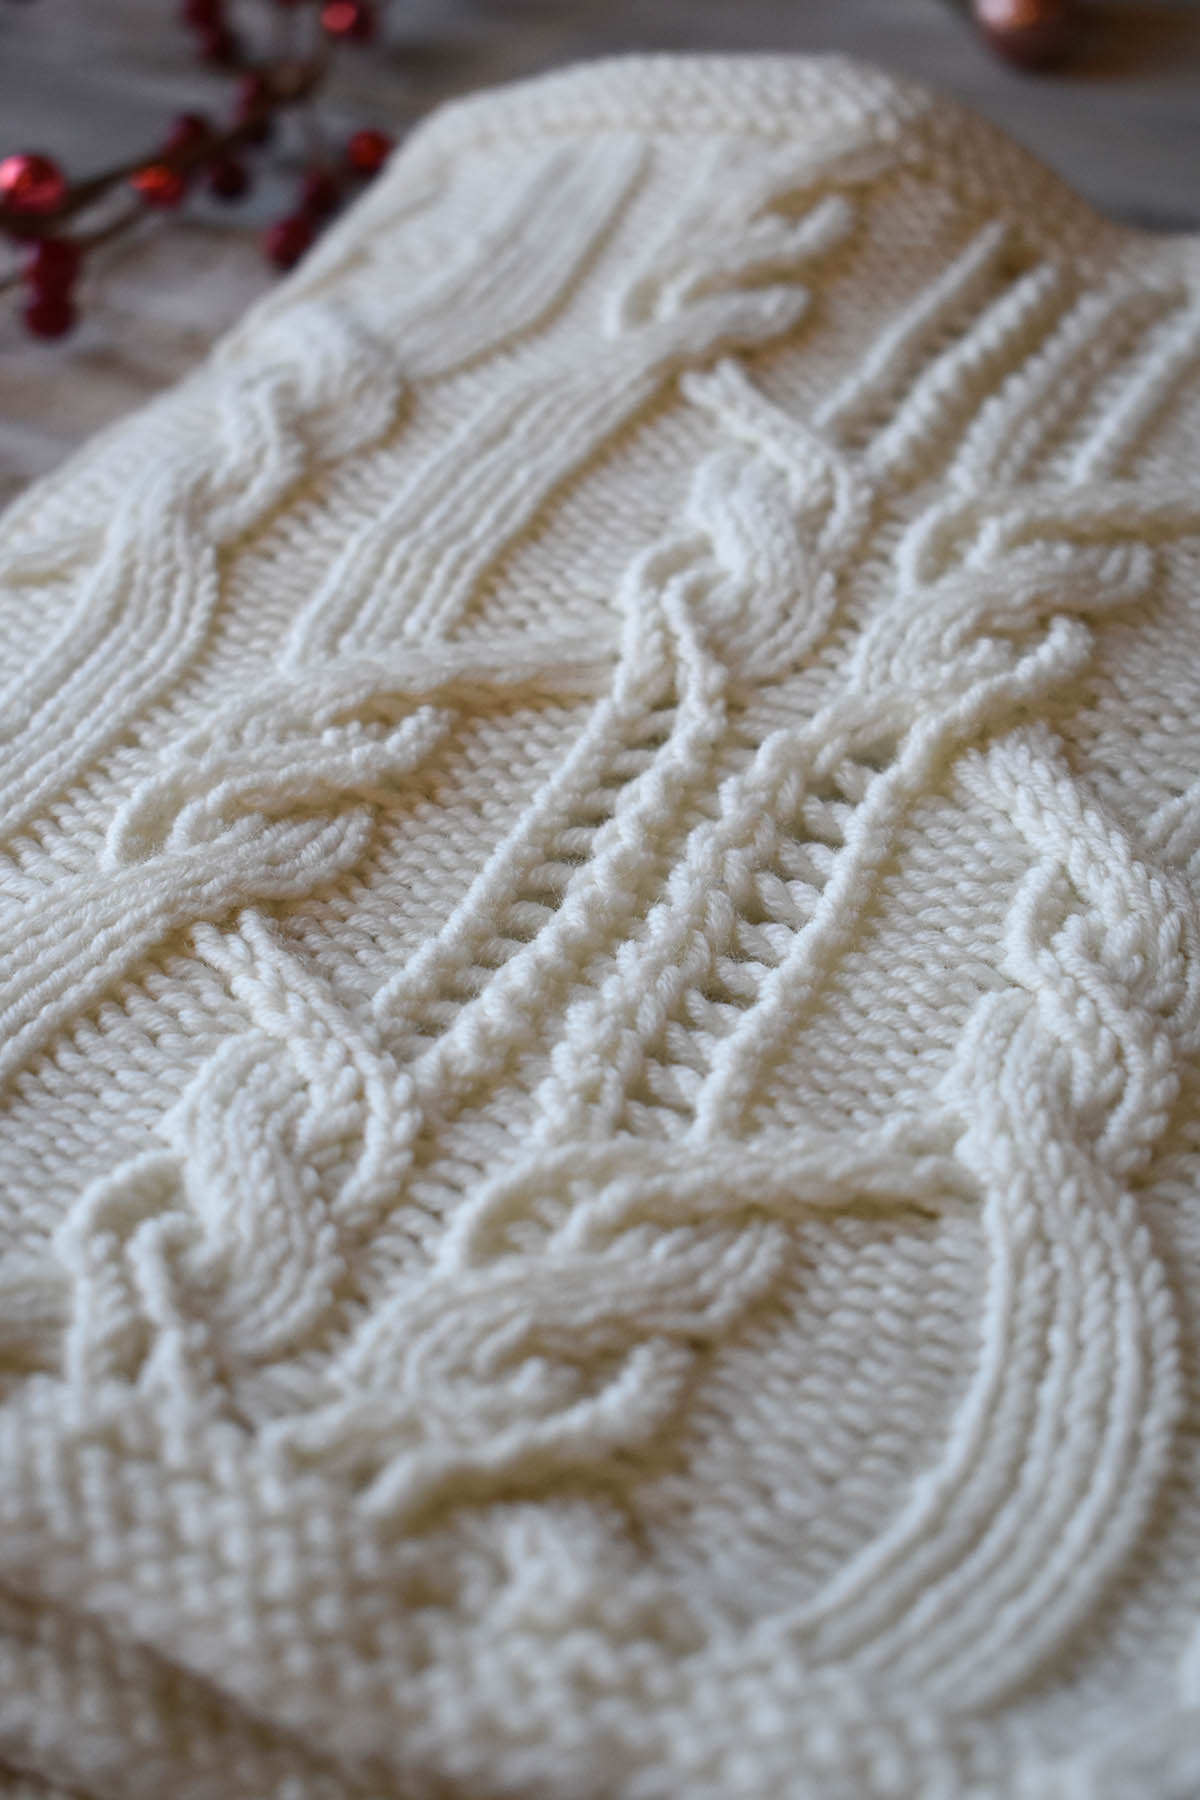
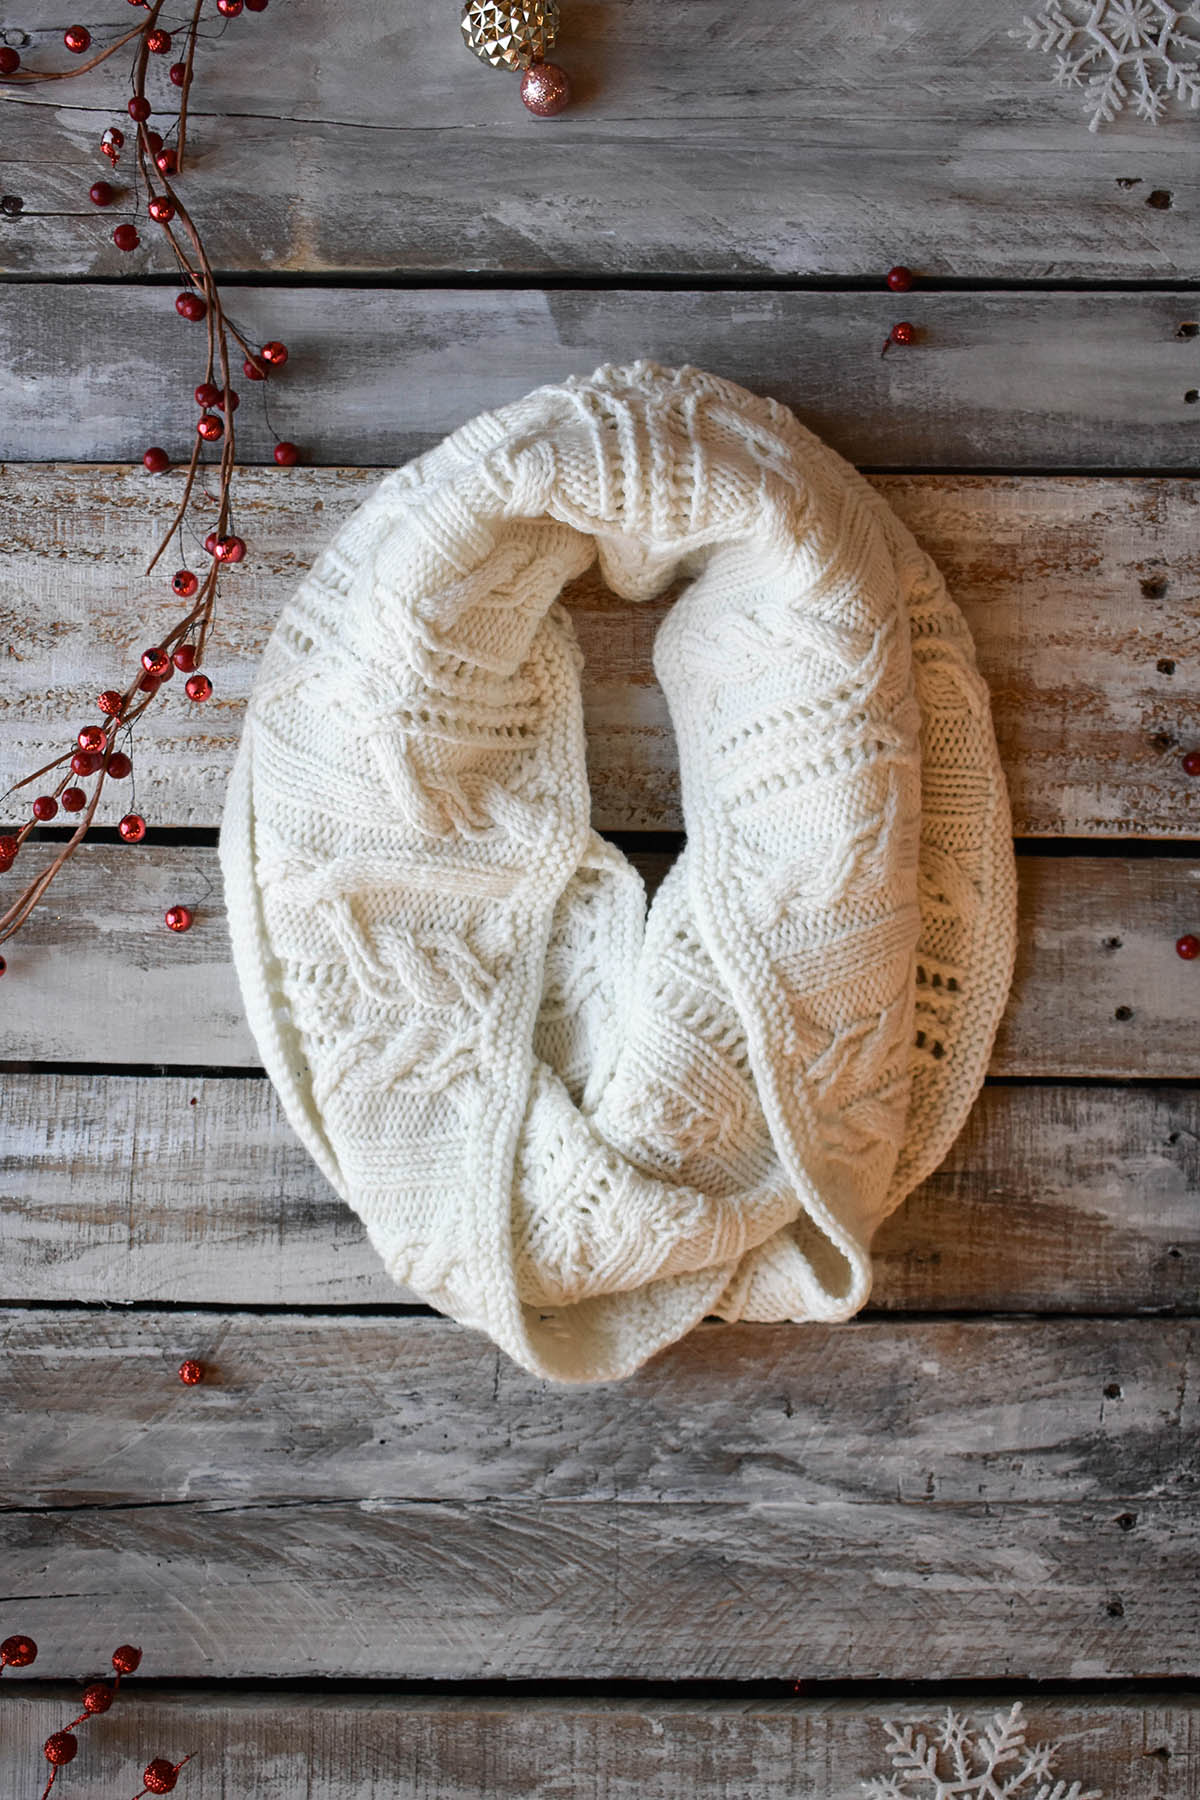
It’s Day 10 of the 12 Days of Winter Kit Collection. Today, the Snowdrift cowl designed by Adrienne Larsen. This design combines cables, twisted stitches, and eyelets to create a show-stopping winter accessory. It’s knit up in Fibra Natura Dona – one of our favorite yarns for knitting cables because of its superior stitch definition. Did we mention that it’s incredibly soft, too? For today’s post, we’ve asked Adrienne to share her passion for cable design with us. Here is what she had to say:
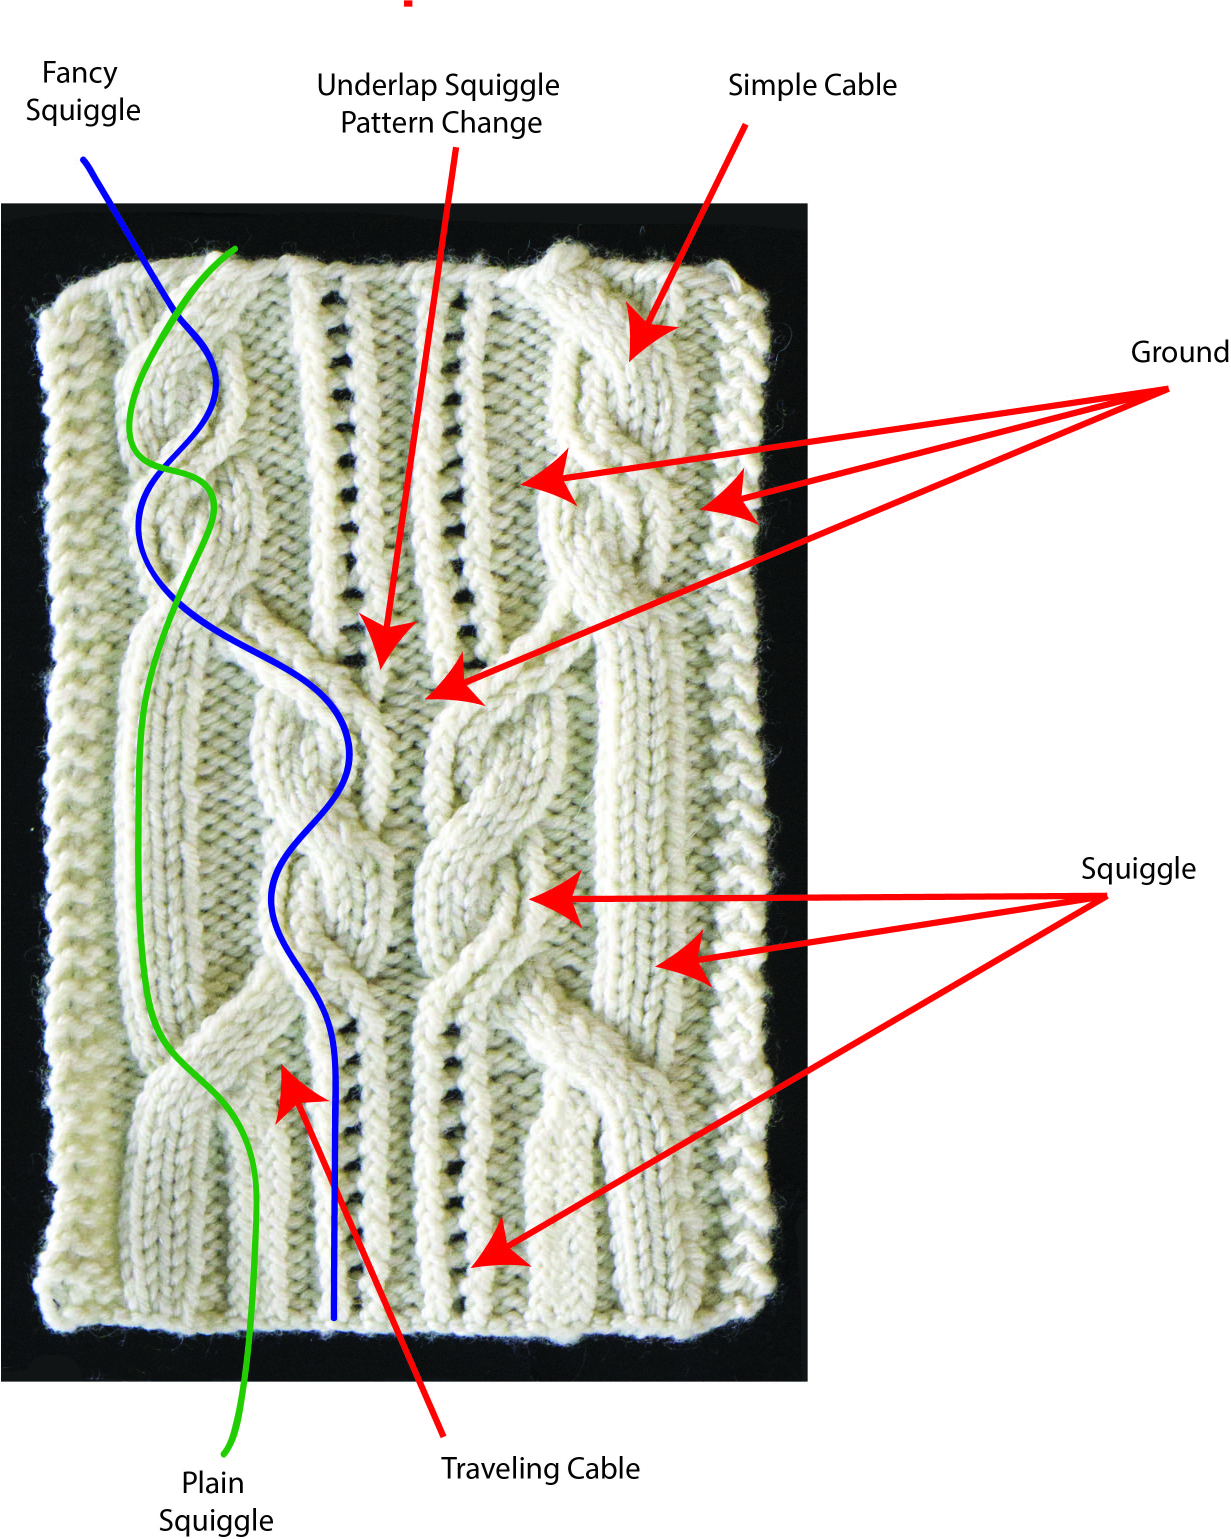
“I love cables. I love how they look and I love thinking about how they work. When creating a new cable pattern, I always break into two main elements: the ground and the squiggle.
The ground is pretty self-explanatory. The ground is what the cable is sitting on: the background. It is usually reverse stockinette stitch because it’s simple and doesn’t pull focus from the main event: the squiggle. If you want to add a little zing, the ground could be seed stitch or garter stitch. If you prefer a really smooth look, it can even be stockinette.
The squiggle is where you can really get creative. You can do a simple cable, which sits in place, and just crosses over itself, like in a 2×2 Right Cross. The squiggle can also move back and forth over the ground as a traveling cable. The stitches in the squiggle usually stay together and move on top of the ground. It can also move under or over other squiggles.
The stitches in a squiggle are classically groups of knit stitches. In this pattern, I decided to change things up by adding some twisted stitches and purls to some of the squiggles. If you look, the twisted stitch squiggles and the plain squiggles always stay that way, even when they move under or over each other.
I also added yarn-overs to some of the stationary squiggles. I didn’t like that you could see the underlapping stitches in the cables in the yarn-over squiggles, so I only placed them when they were stationary. I also only changed from twisted/purl combination squiggles to yarn-over squiggles after during an underlap, when possible where it could be hidden.
That’s just a few things that are considered when cable patterns are designed!”
-Adrienne
We hope you’ve enjoyed learning a bit more about Adrienne’s approach to cable design. We think it’s fascinating and feel so lucky to have her designs in this kit collection. Remember, you can find the Snowdrift kit and the rest of the 12 Days of Winter kits at your local yarn store.
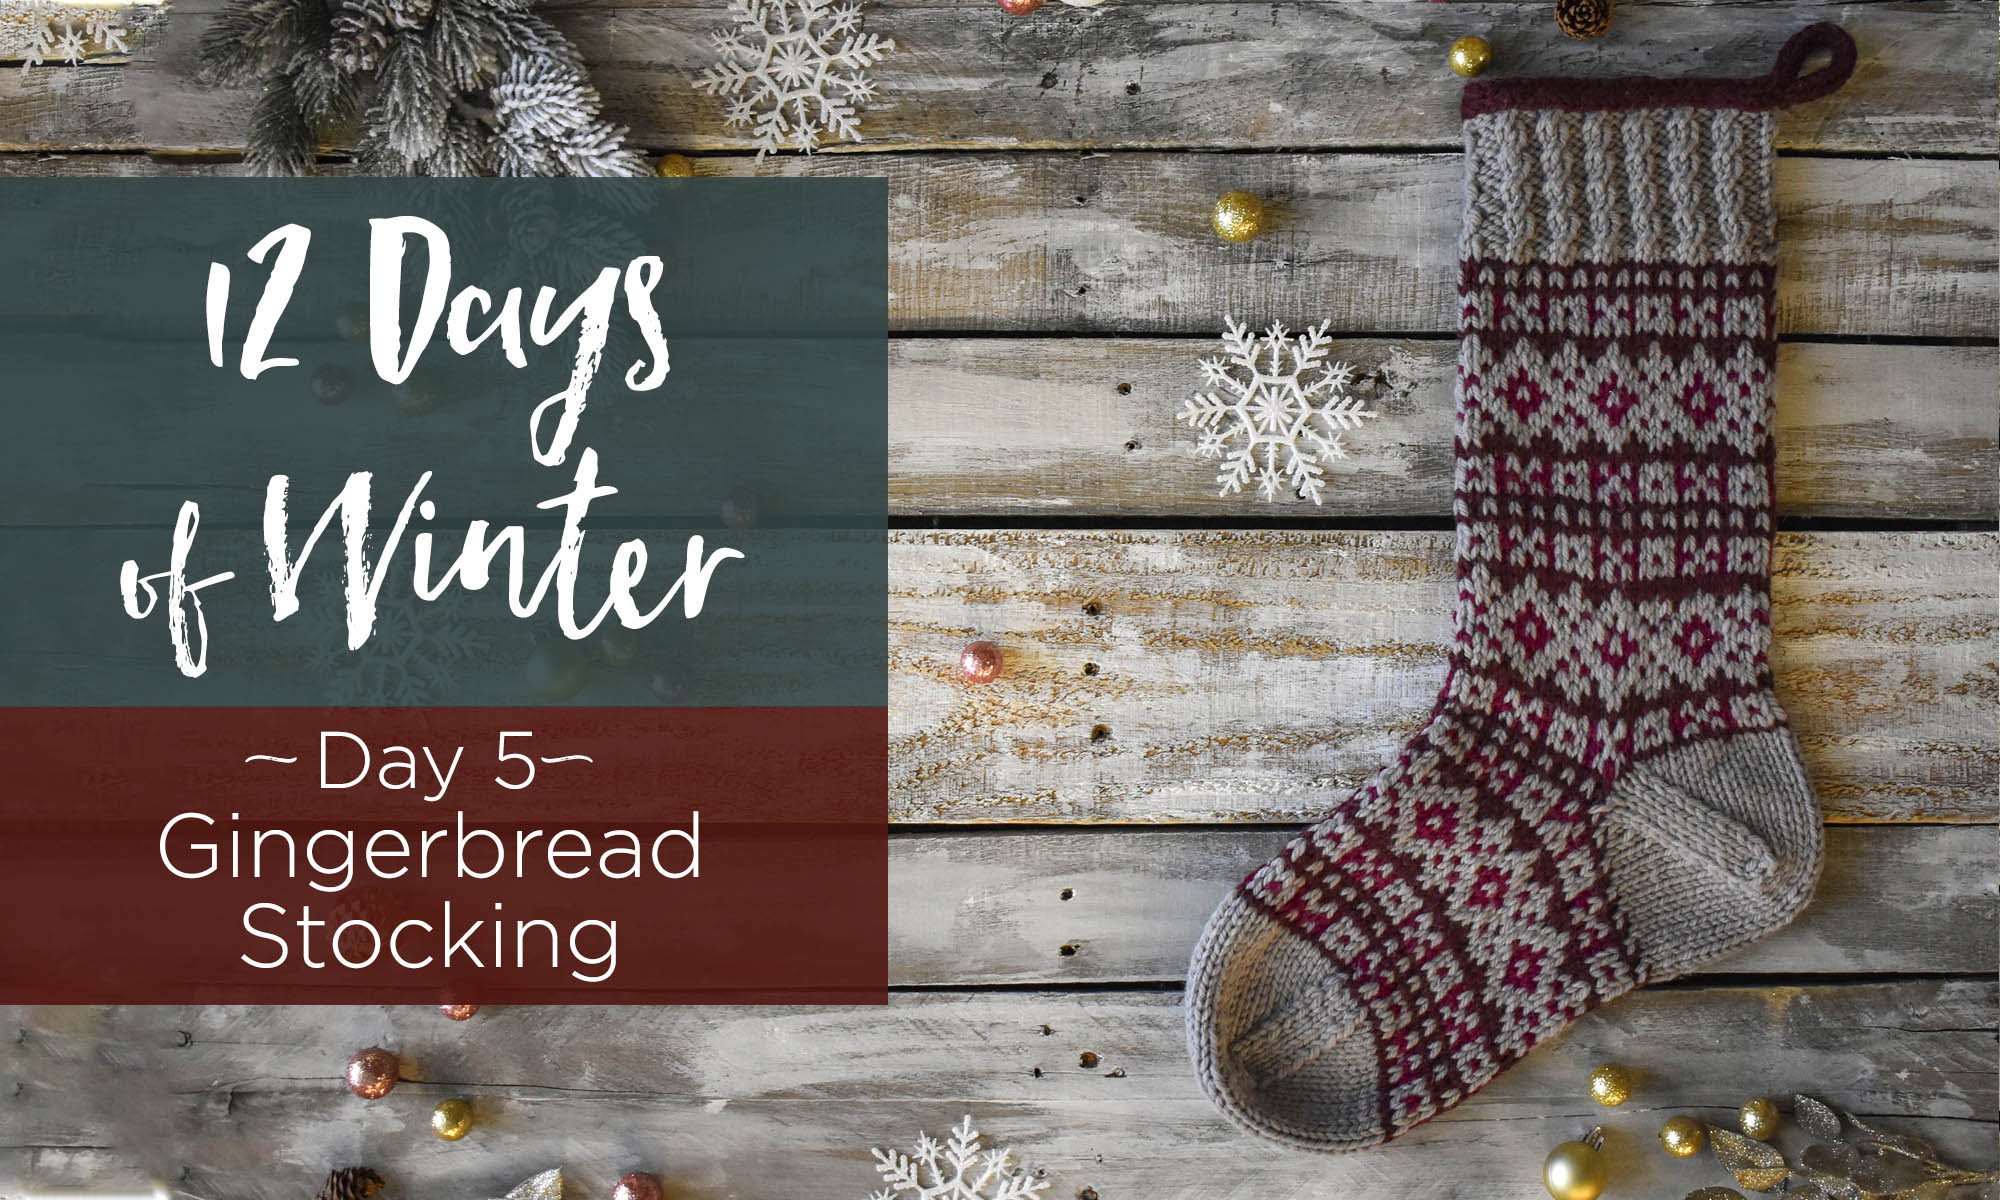
This is part 5 in a 12 part series highlighting designs from our 12 Days of Winter, Series 3 Edition.
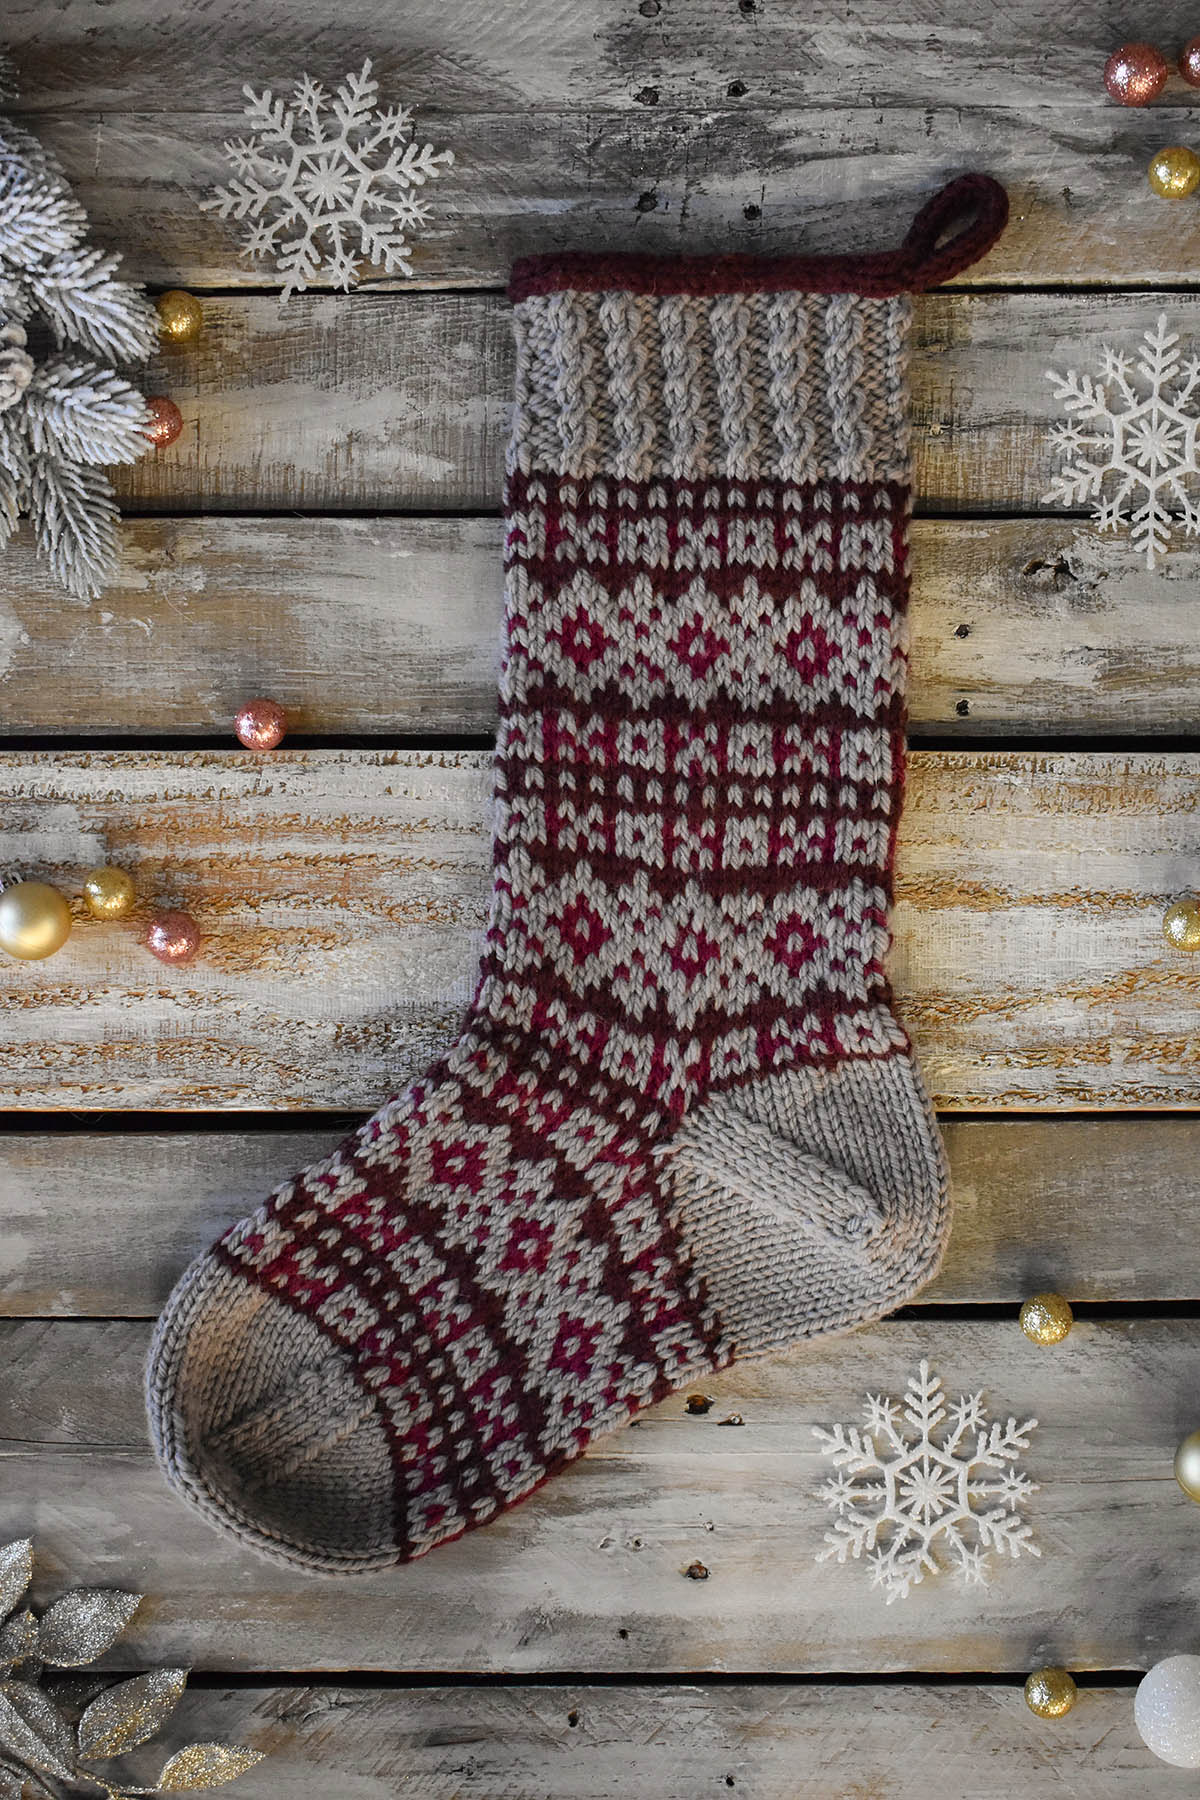
It’s Day 5 in the 12 Days of Winter Kit Collection, and it’s a personal favorite. Say hello to the Gingerbread Stocking! I have to start this off with a bit of a sad story, but I’ll end it with something sweet, I promise.
When I was about three years old, I was given a very large green stocking with my name embroidered in red on the cuff. My favorite thing about it was that it had a big ol’ Santa Claus face attached to it and he had a huge beard. It was kitschy, and I loved it for more than 20 years. So here is the sad part…before I moved out of my home state I got rid of nearly everything I owned because I knew I’d be traveling for a while. I put together a box with my holiday decor to store at my in-laws’ house. Then, heartbreakingly, I accidentally dropped that box off at Goodwill. The next winter, when I realized all of the decorations were missing – including my stocking – my heart sank. I lost this silly stocking that meant so much to me!
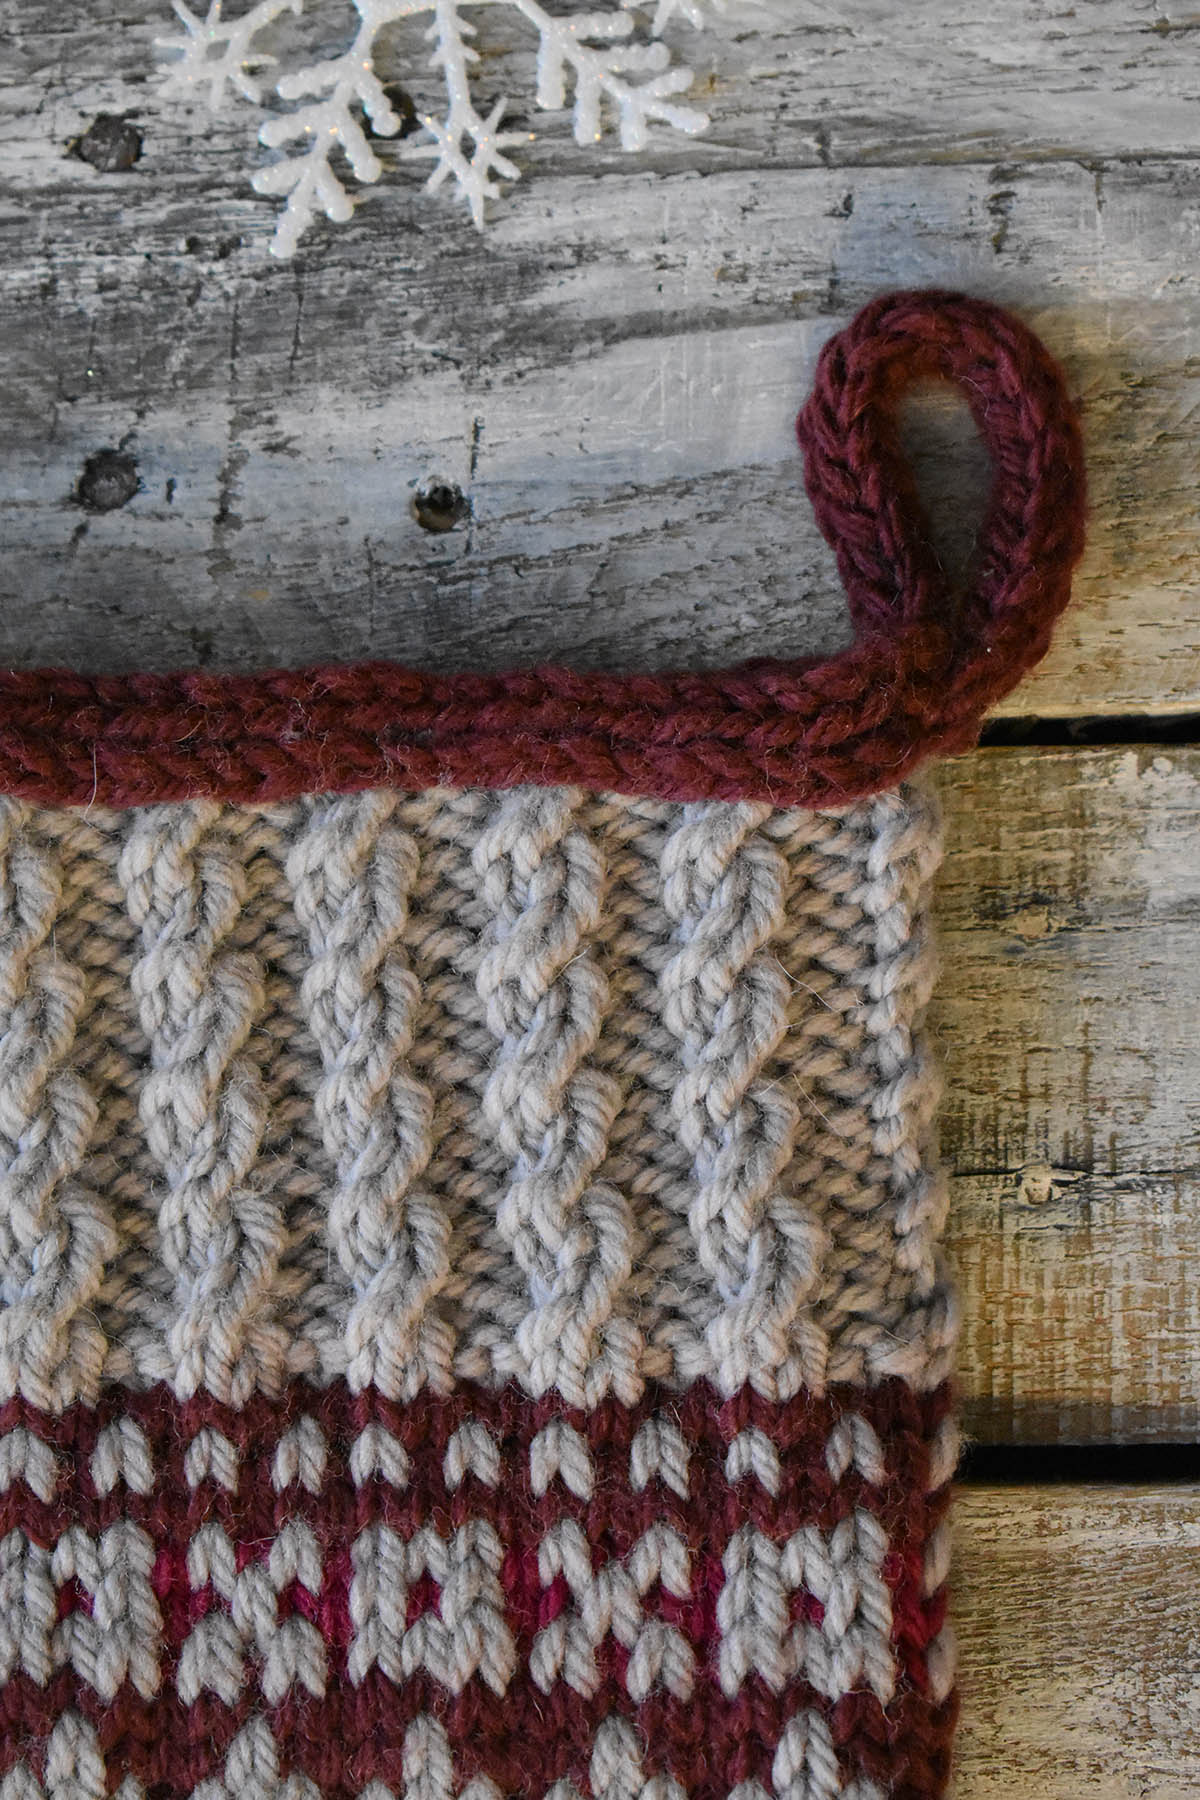
Twisted stitches create the cables along the cuff. An I-cord edging creates the hanger.
As sad as I was about that stocking, life is short, it was a material item, and you have to move on (even though it still stings!). So, for the 12 Days of Winter Kit Collection this year, I decided it was time to design a stocking. After all, handknits are so special. That’s how the Gingerbread Stocking was born. I chose Deluxe Bulky Superwash because it’s easy to care for, thick enough to create a sturdy stocking, and it makes for quick knitting. Not to mention the fact that I love the expansive palette. I chose classic, deep colors for this design, and that got me thinking about one of my favorite winter treats: gingerbread.
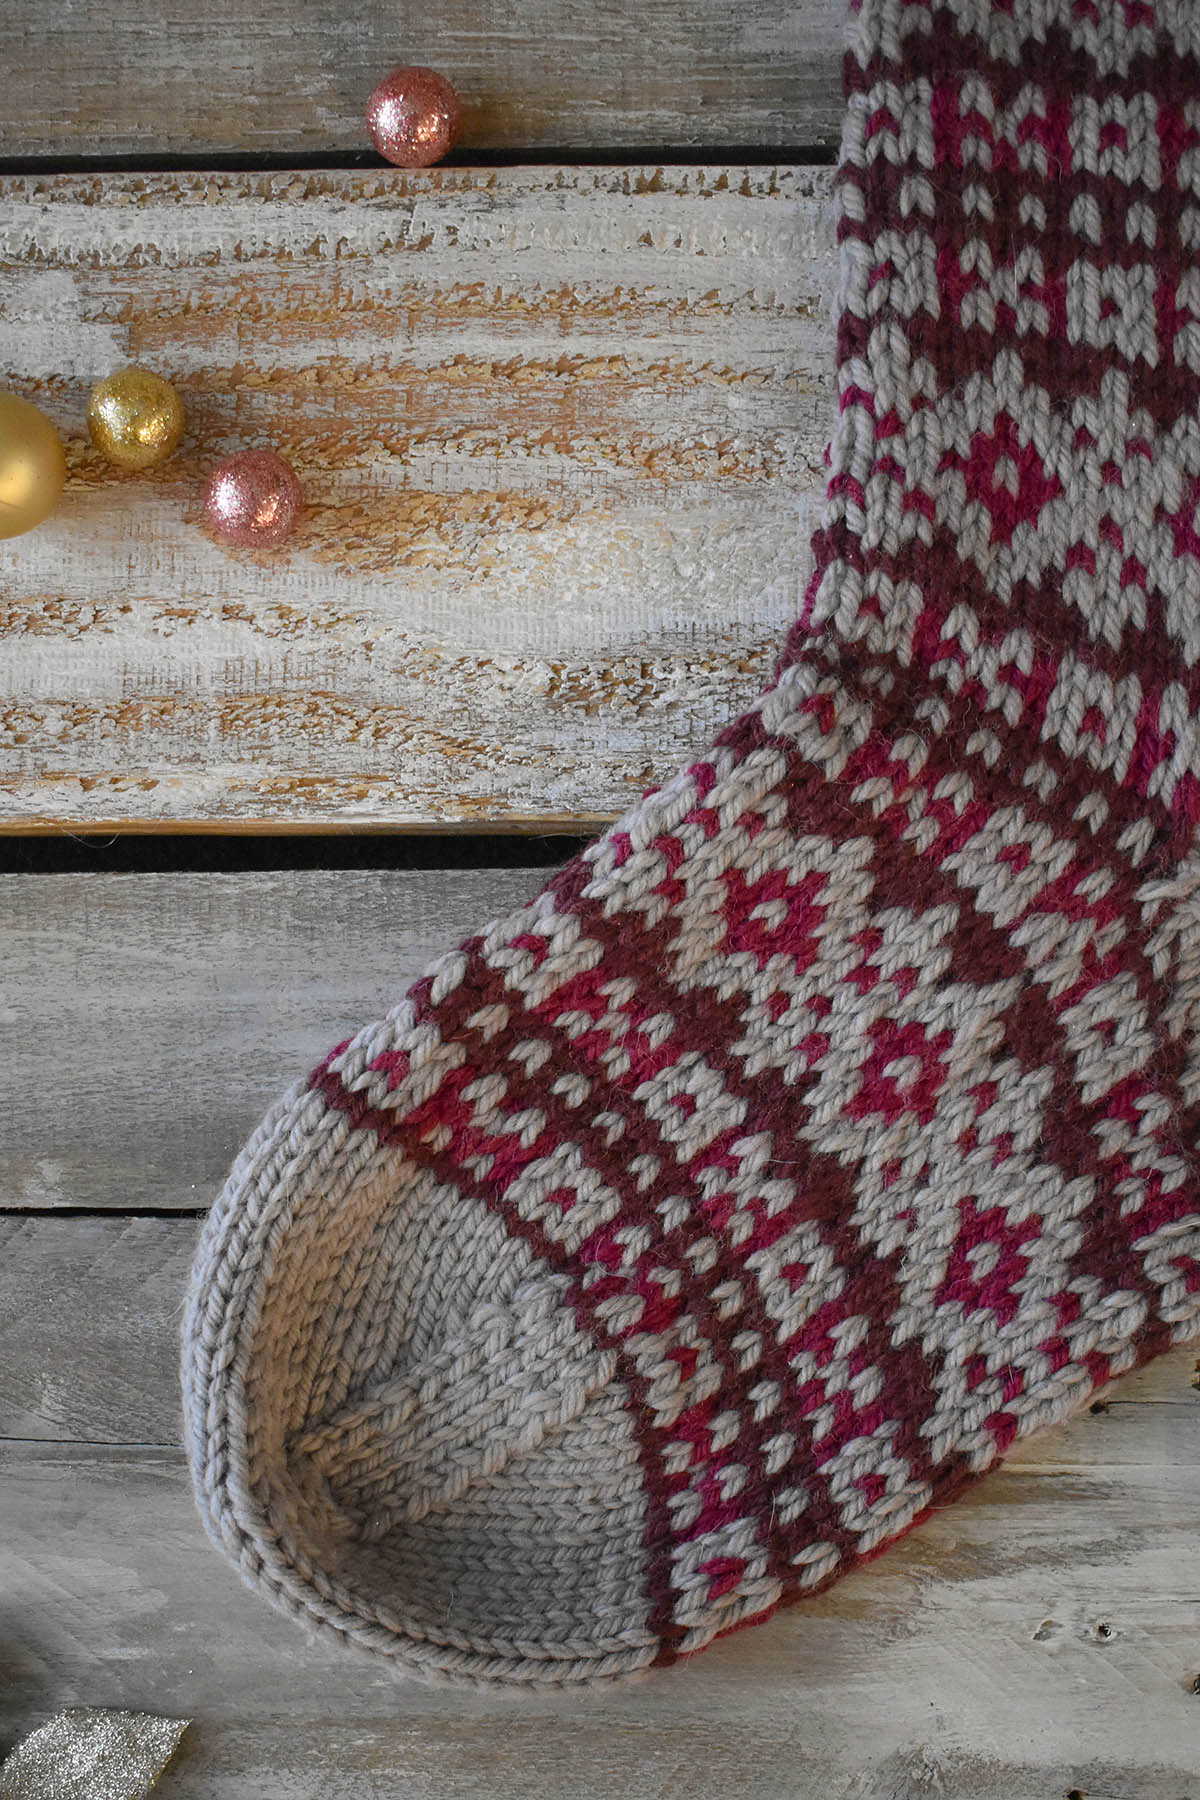
The Fair Isle motif used throughout these socks reminds me of the decorations that adorn gingerbread houses. It’s a super-fun knit, and I worked this thing up in a matter of days. Worked in the round from the cuff down, this stocking features an after-thought heel. (Side note, we have a great tutorial on after-thought heels from the first 12 Days of Winter series that you can find here.)
In honor of these stockings and my love for gingerbread (or anything that contains molasses or ginger), I thought I’d share a recipe for gingerbread loaf – I told you I’d end this post with something sweet!
Ingredients
4 Tbs. unsalted butter
1⁄2 cup sugar
1⁄2 cup molasses (yummy!)
1⁄2 cup finely chopped crystallized ginger (also yummy!)
2 eggs
1 1⁄2 cups all-purpose flour
1 tsp. baking soda
2 tsp. ground ginger
1⁄2 tsp. ground cinnamon
1⁄2 tsp. ground allspice
1⁄4 tsp. ground plain
1⁄2 cup almond milk (or milk of your choice)
Directions Start by preheating your oven to 350 degrees and greasing a 9×4 loaf pan.
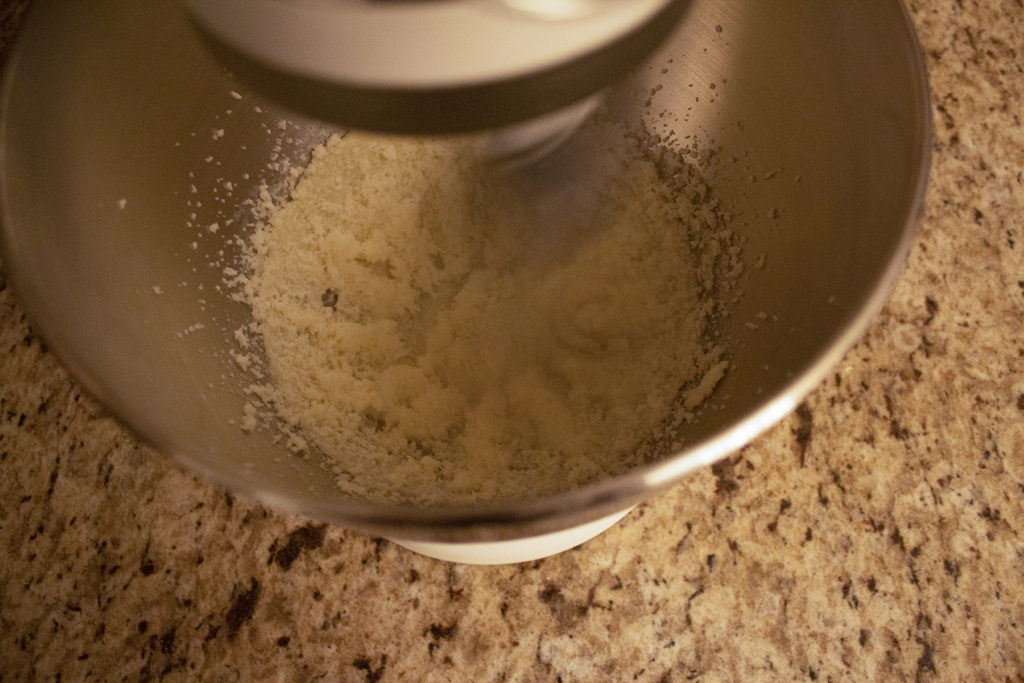
In a bowl, beat the butter and sugar together until fluffy. Then, add the molasses and crystallized ginger. I highly recommend separating the ginger a bit so it doesn’t just clump together. Beat in the eggs, one at a time.
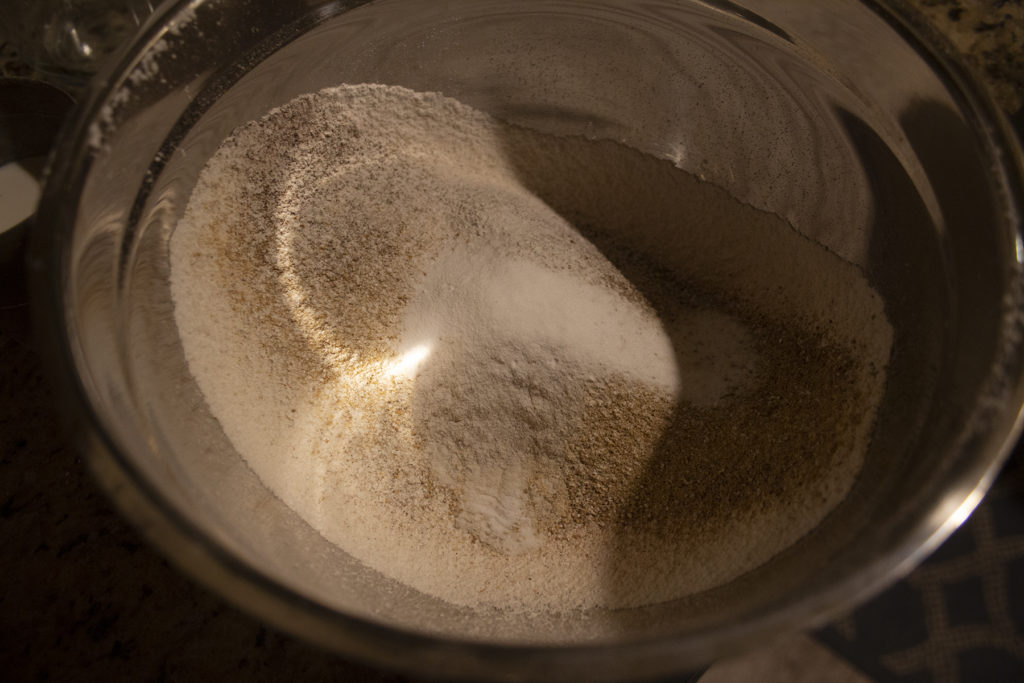
In a separate bowl, sift the flour, spices, and baking soda together. In several batches, alternate stirring the flour mixture and the milk into the butter mixture. Take care not to overmix.
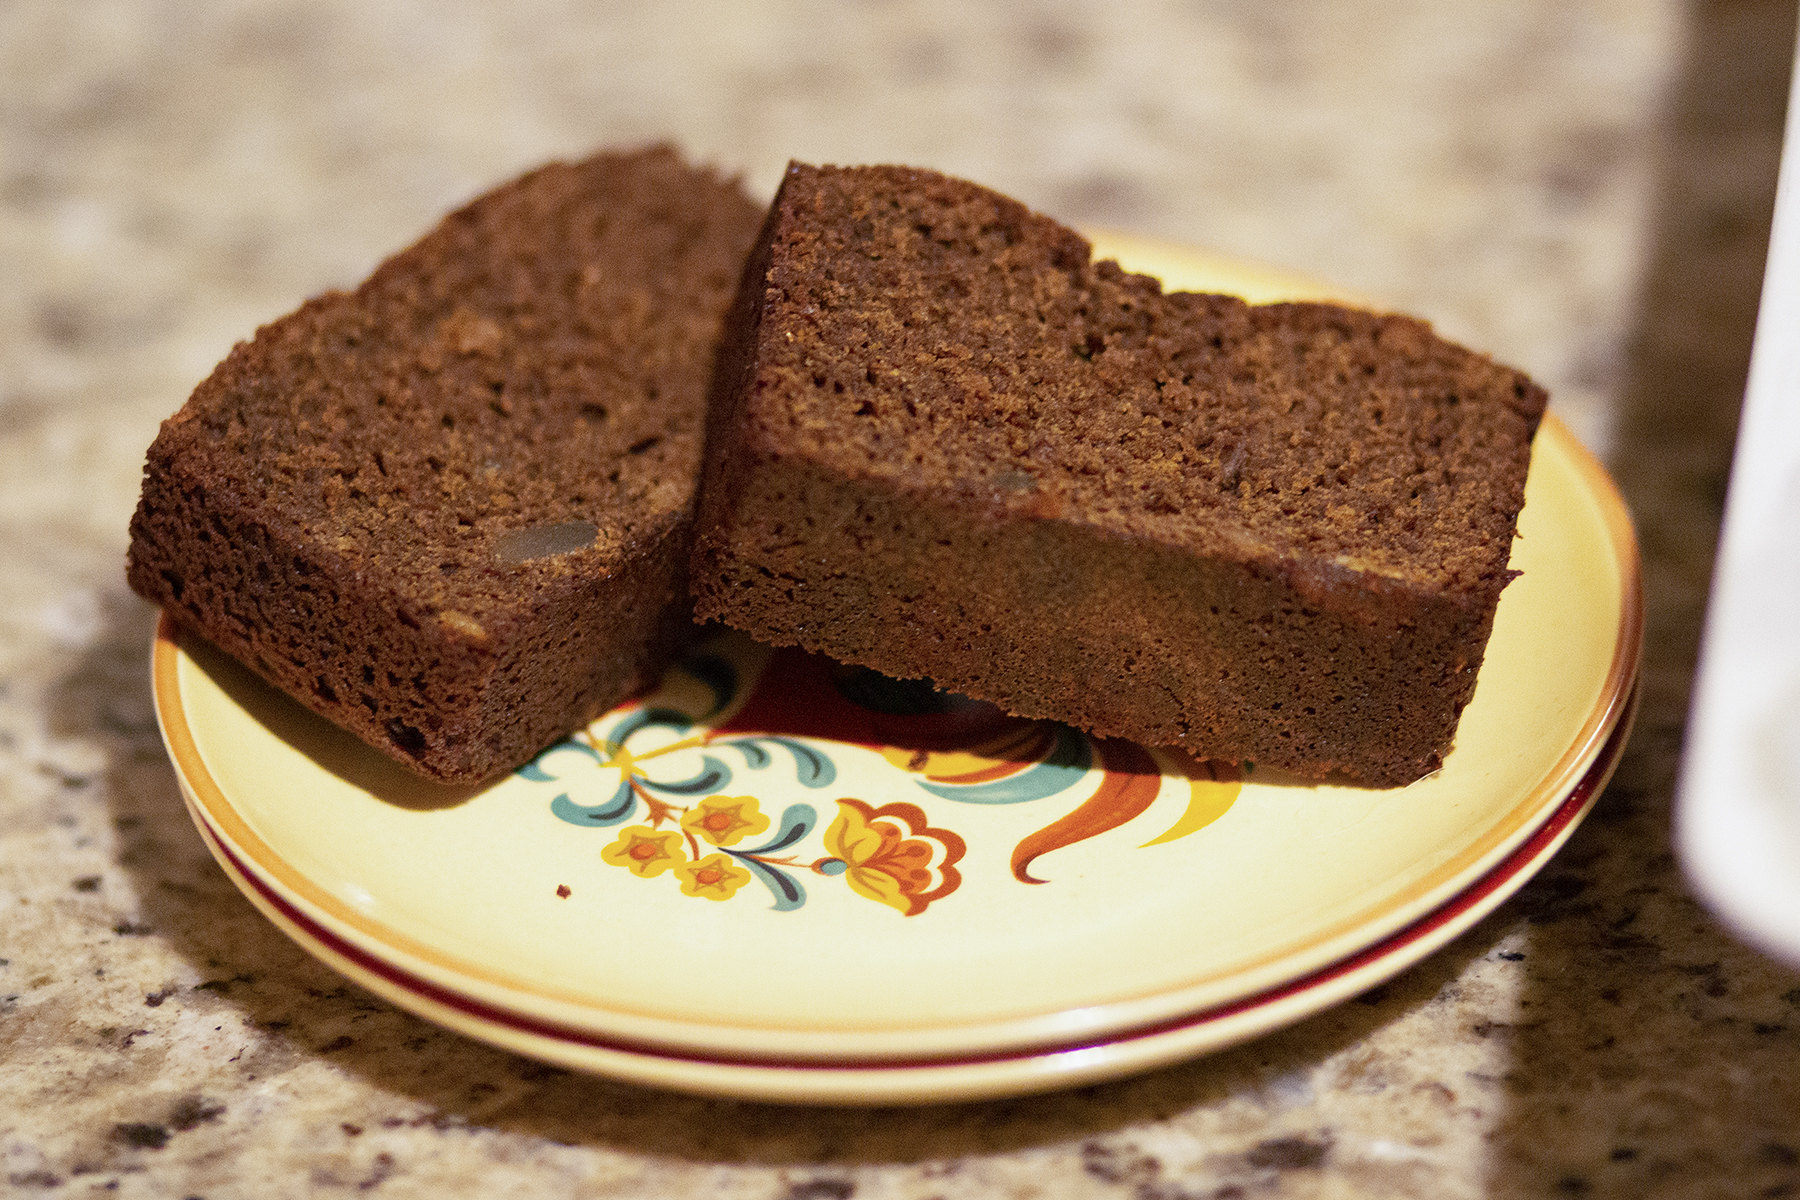
Pour the batter into the loaf pan, place in the oven, and bake for about 45 minutes, or until a knife inserted into the center comes out clean. Let cool or serve warm (my personal preference), and try not to eat it all at once!
Yummy!
I hope you’ll enjoy knitting the Gingerbread Stocking as much as you’ll enjoy indulging in this gingerbread loaf. What’s better than pairing knitting with baked goods? Remember, you can find the Gingerbread Stocking kit and the rest of the 12 Days of Winter kits at your local yarn store. Happy crafting!
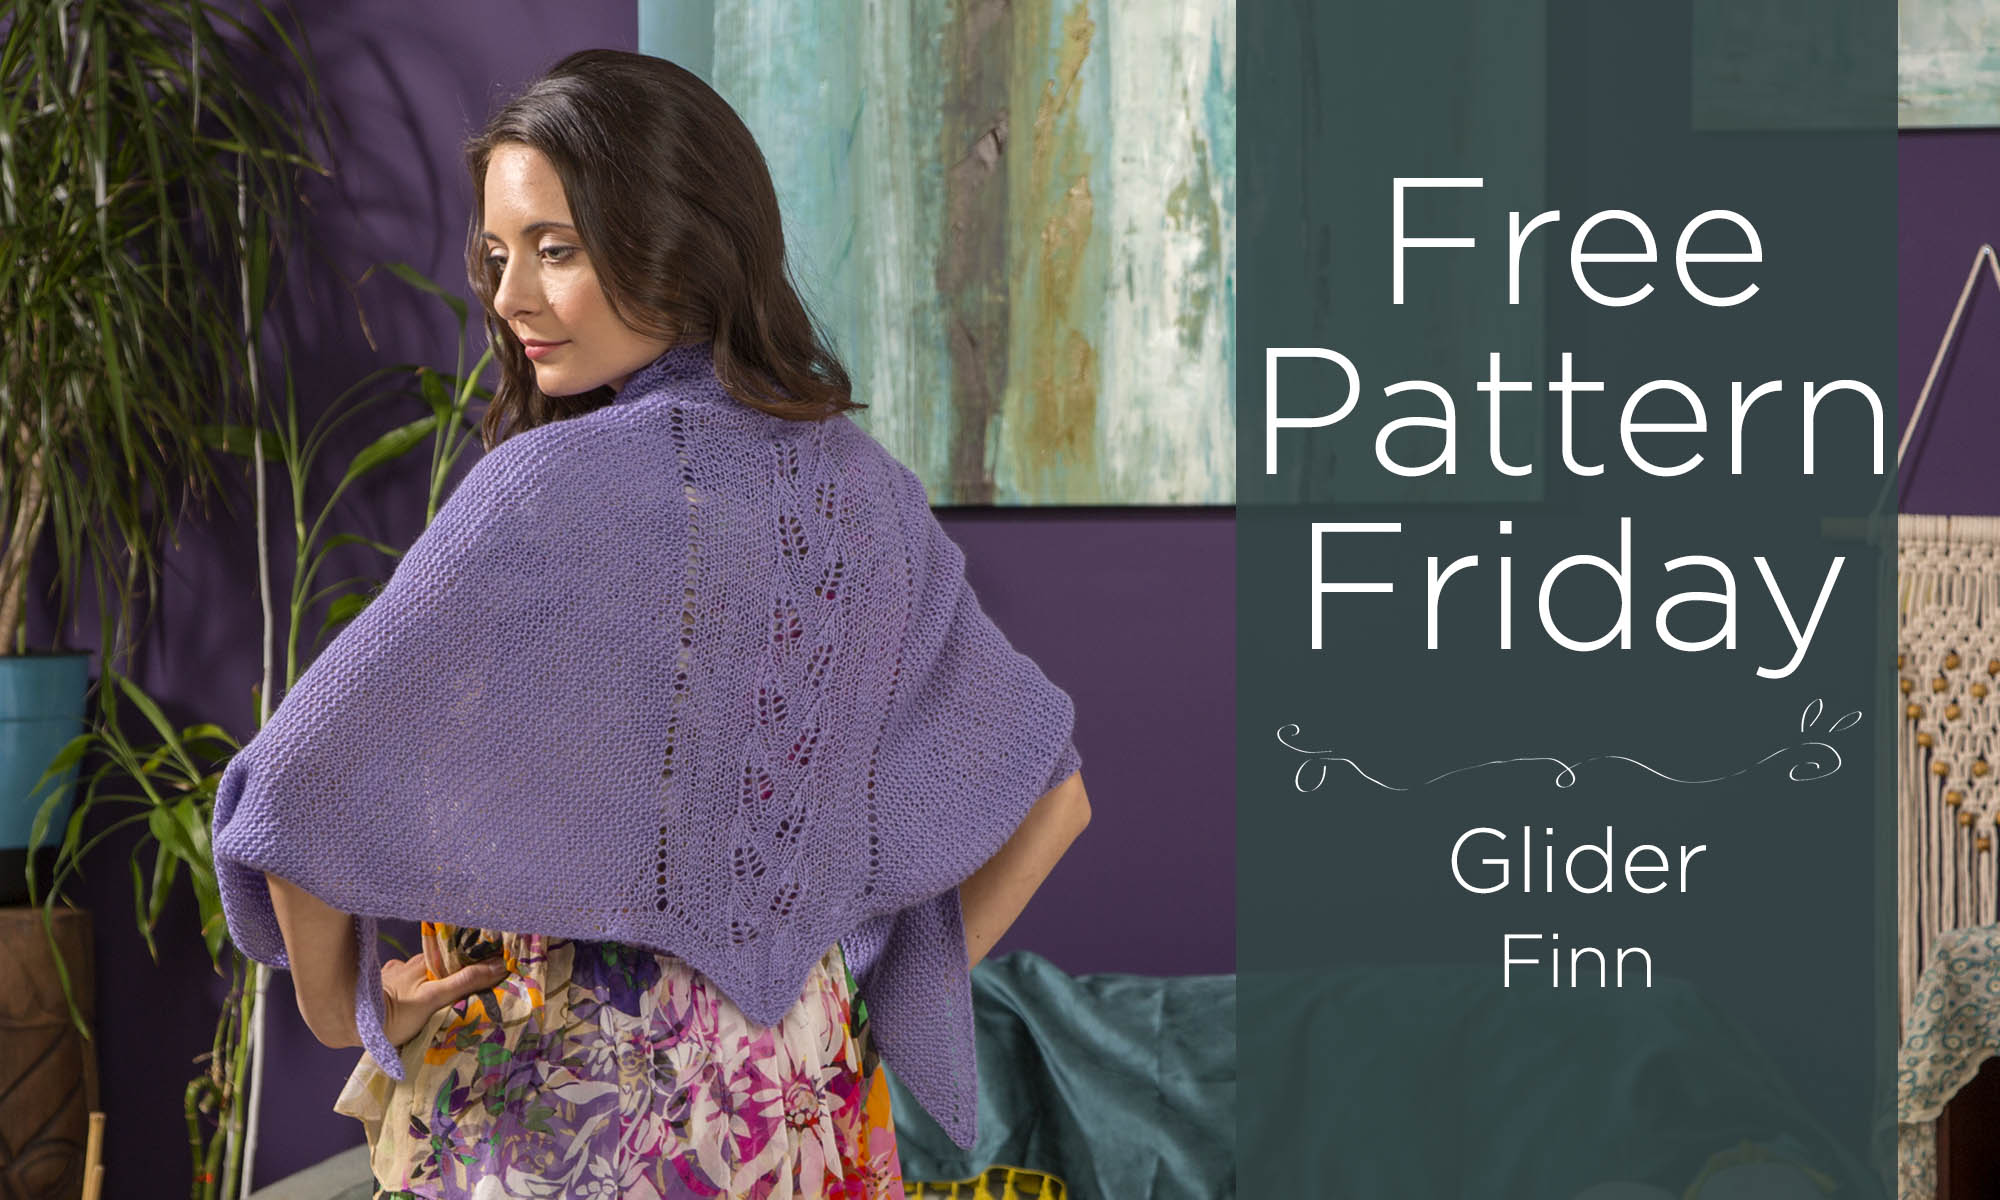
It’s Free Pattern Friday!
Today, the Glider Shawl in Finn (pattern link here). Perfect for a breezy day or a night out, this shawl adds warmth without the bulk. Originally part of the Vibrance in Lace collection from last Fall, we’ve decided to set this lovely pattern free.
Finn, a yarn featuring a blend of superwash merino, alpaca, and acrylic, is the perfect match for this pattern. It is soft to touch, with a subtle halo thanks to the alpaca. I don’t know about you, but something about halo-y yarn and lace makes my heart sing.
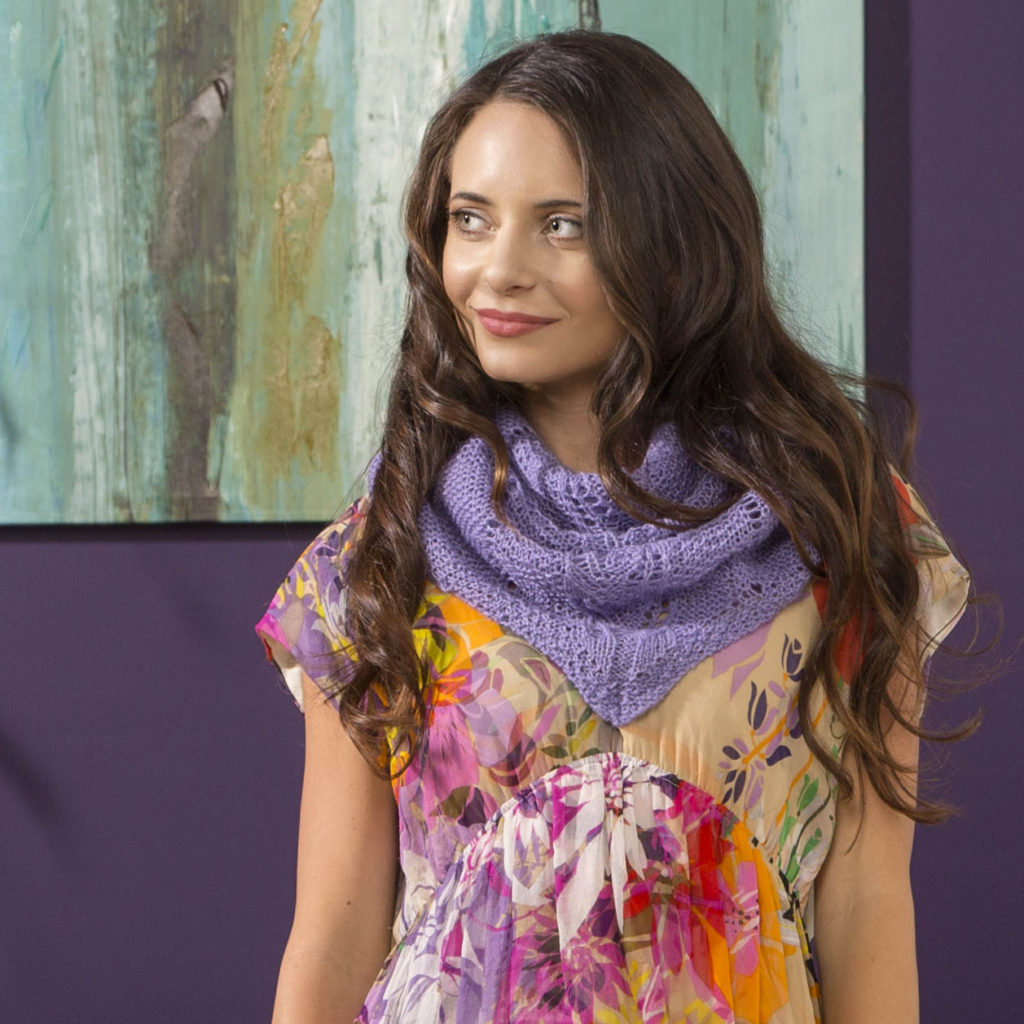
Knit from the bottom up, beginning with the tip, the shawl’s original shape adds decorative interest to any outfit. The lace panel in the back adds a delicate and feminine touch, while the rest of the shawl is worked in simple, soothing garter stitch. Draped around your shoulders or worn bandana-style, the Glider Shawl is sure to become a multi-season favorite.
We hope you have a relaxing weekend filled yarn-y goodness. Happy Crafting!
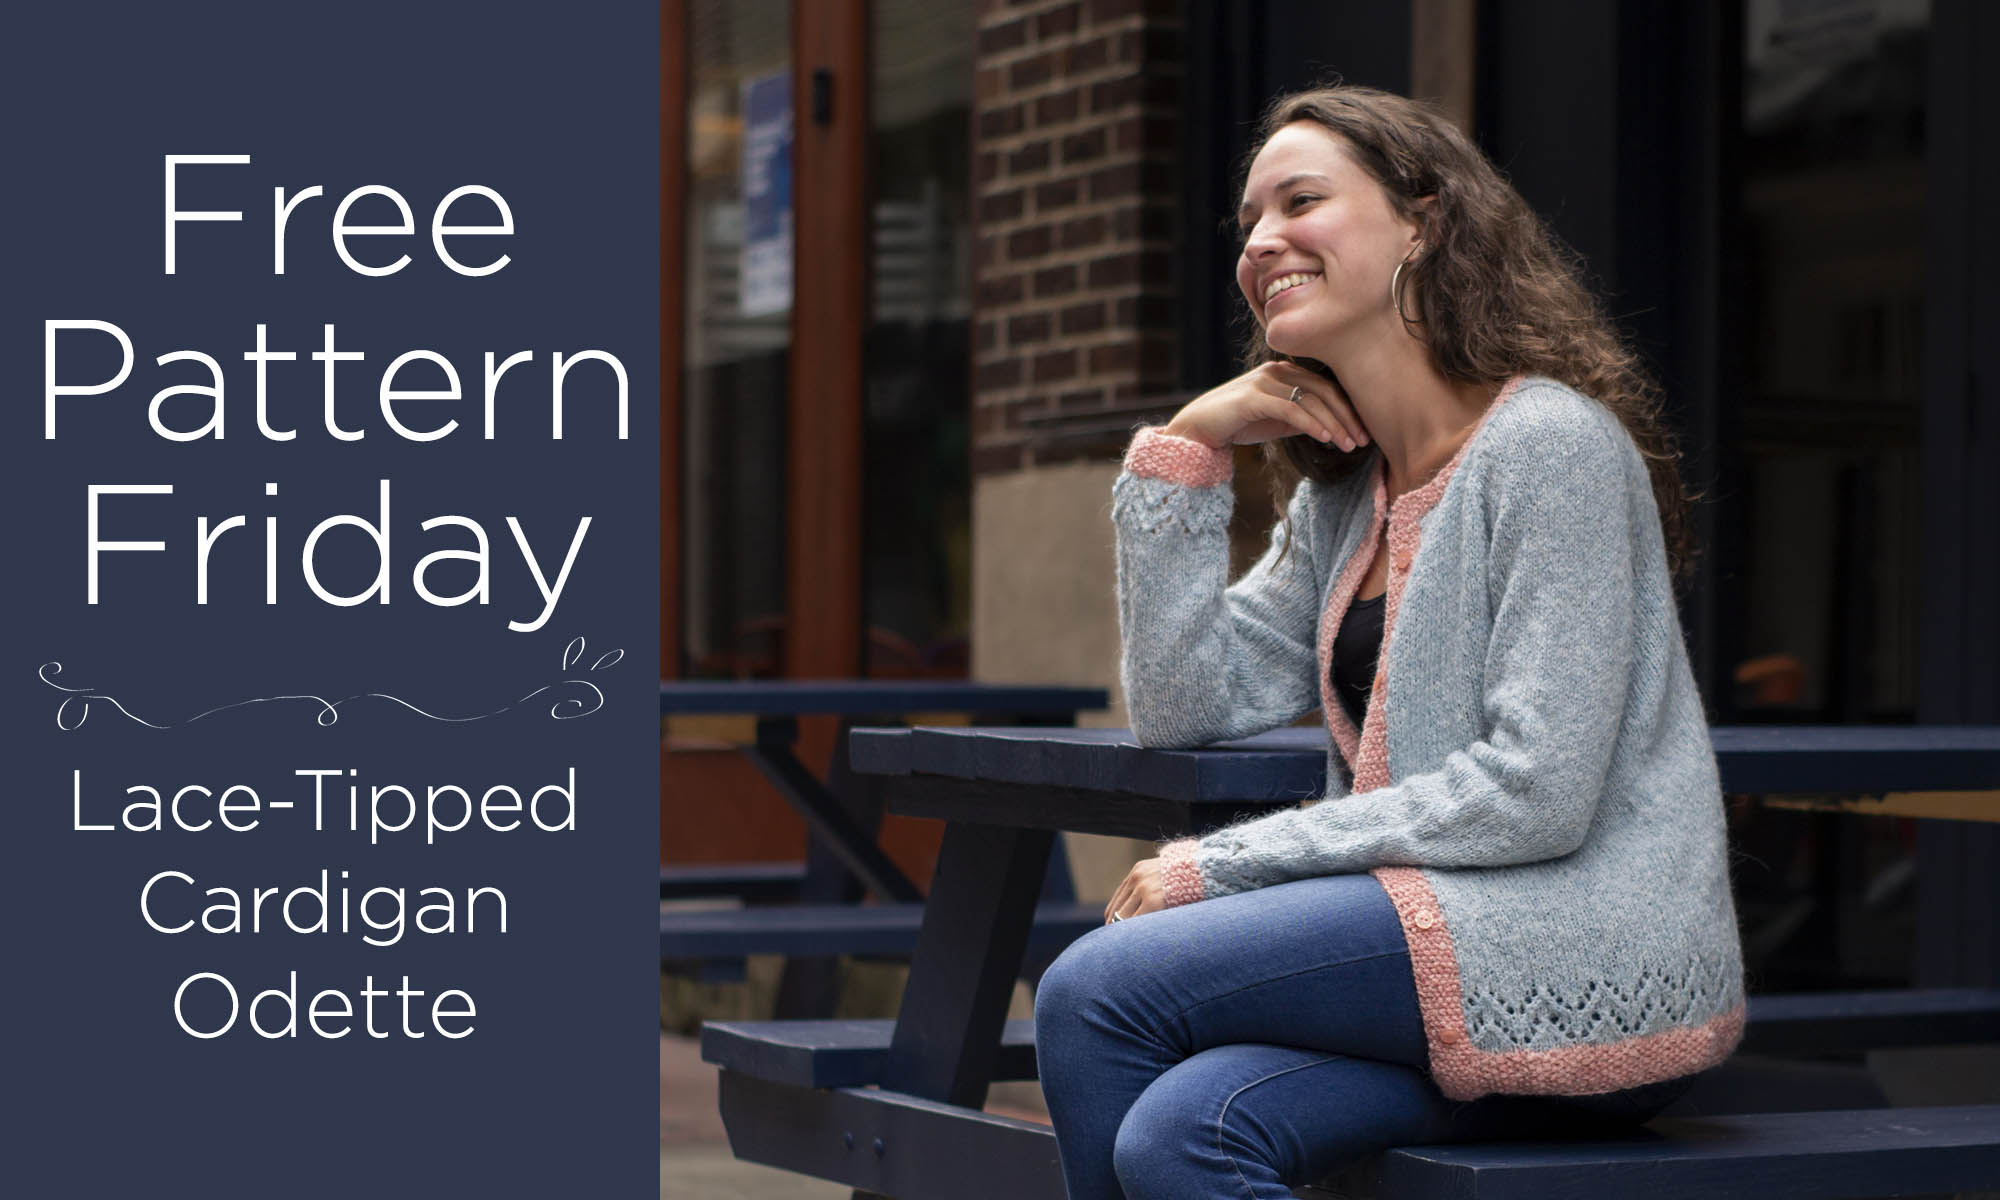
It’s Free Pattern Friday!
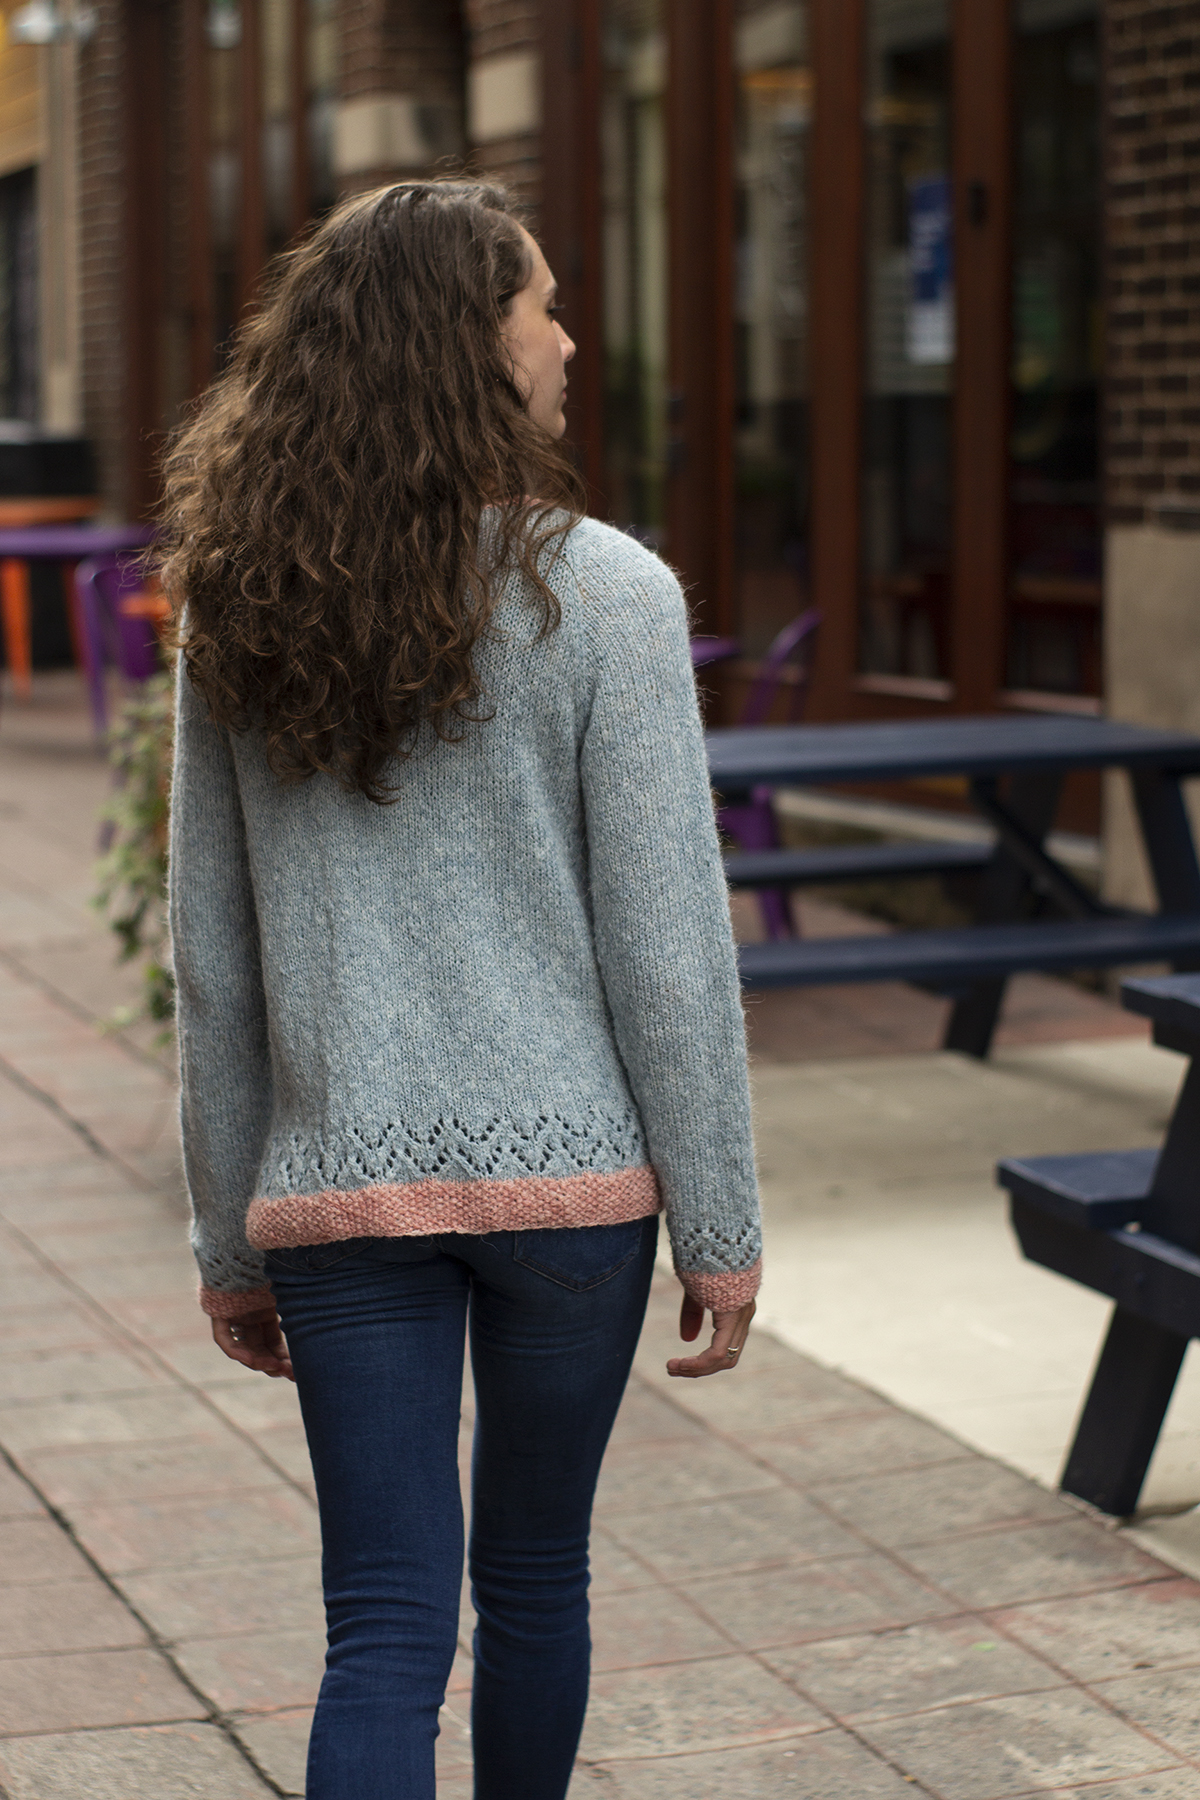
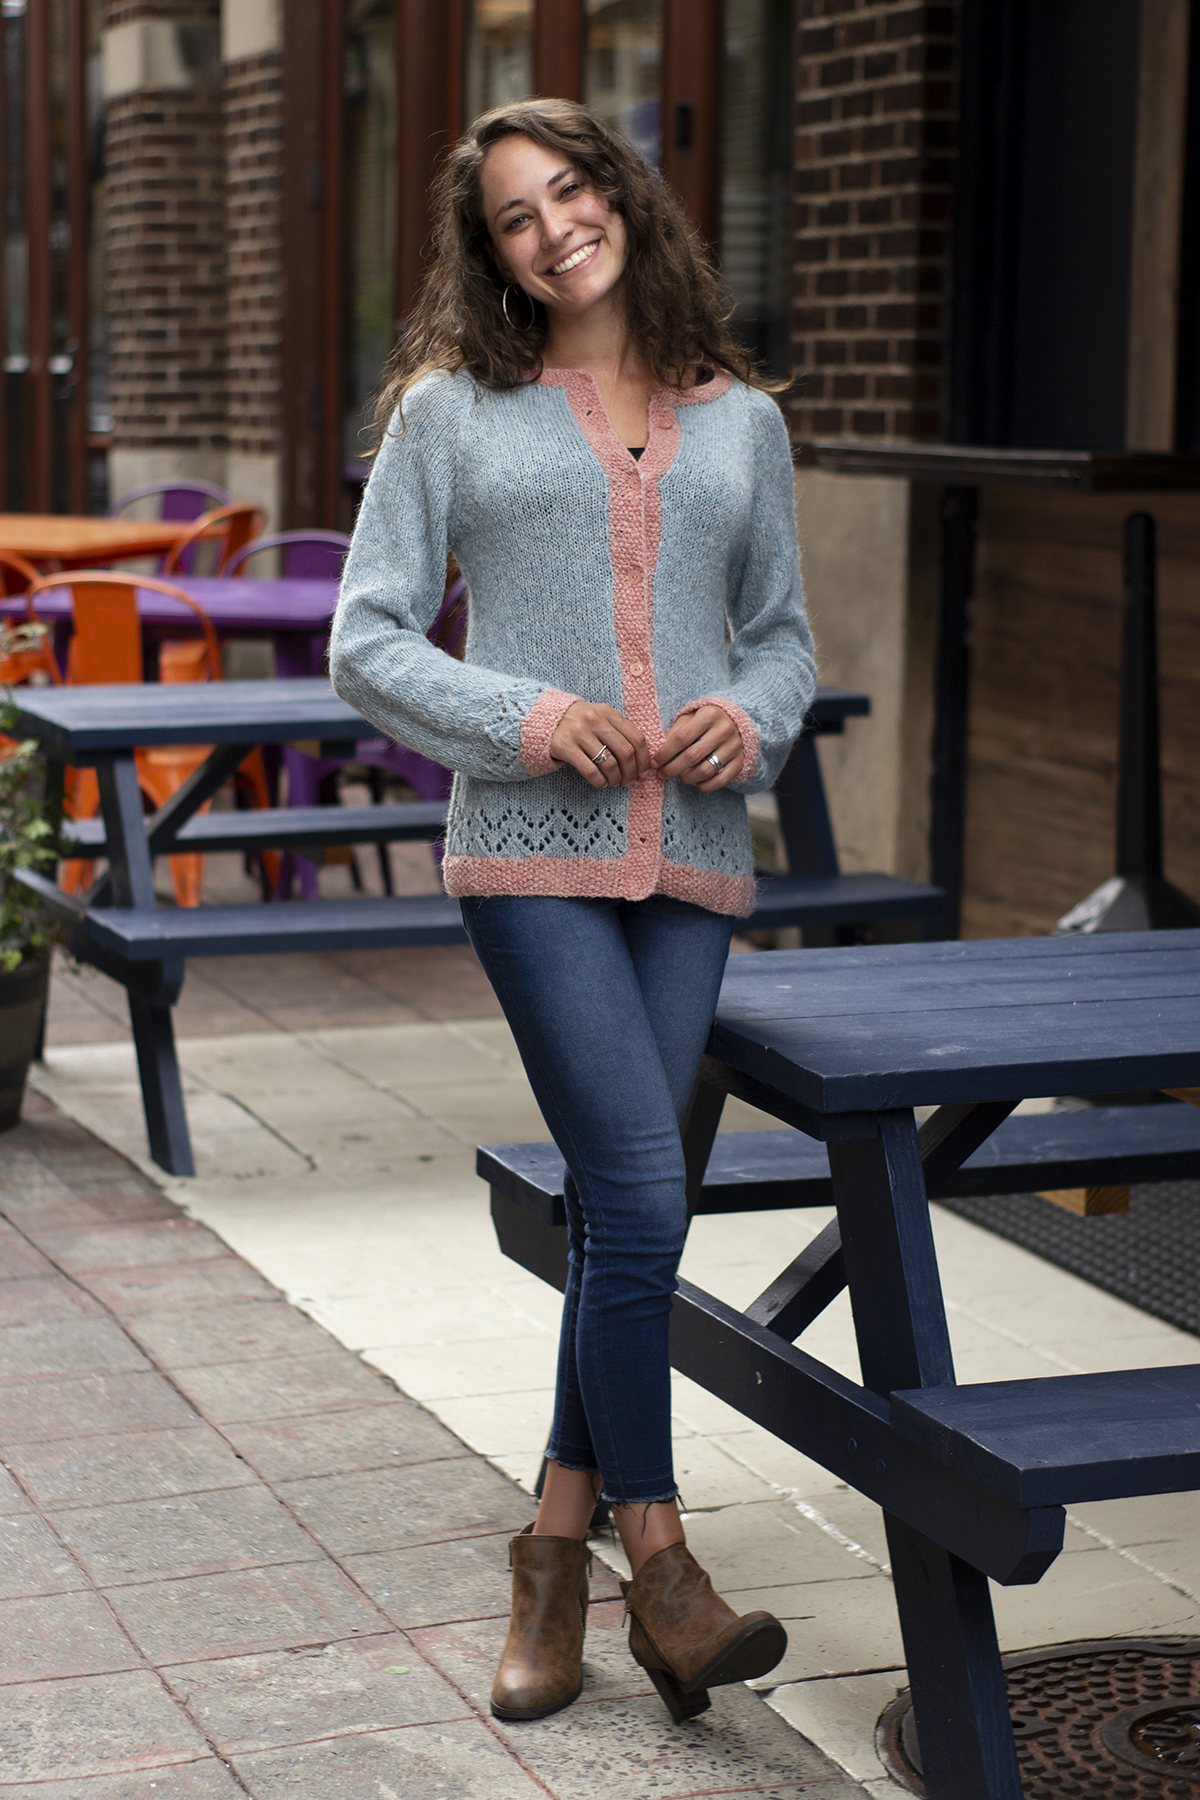
Today, the Lace Tipped Cardigan in Odette (pattern link here).
Down here in the South, it’s tempting to say, “finally, some sweater weather!” But yesterday, a friend in Chicago sent me a picture of themselves outdoors. This isn’t them, but it certainly gives the feel.
I can’t put my arms down!
Fortunately, this week’s free pattern is warmer than you might think!
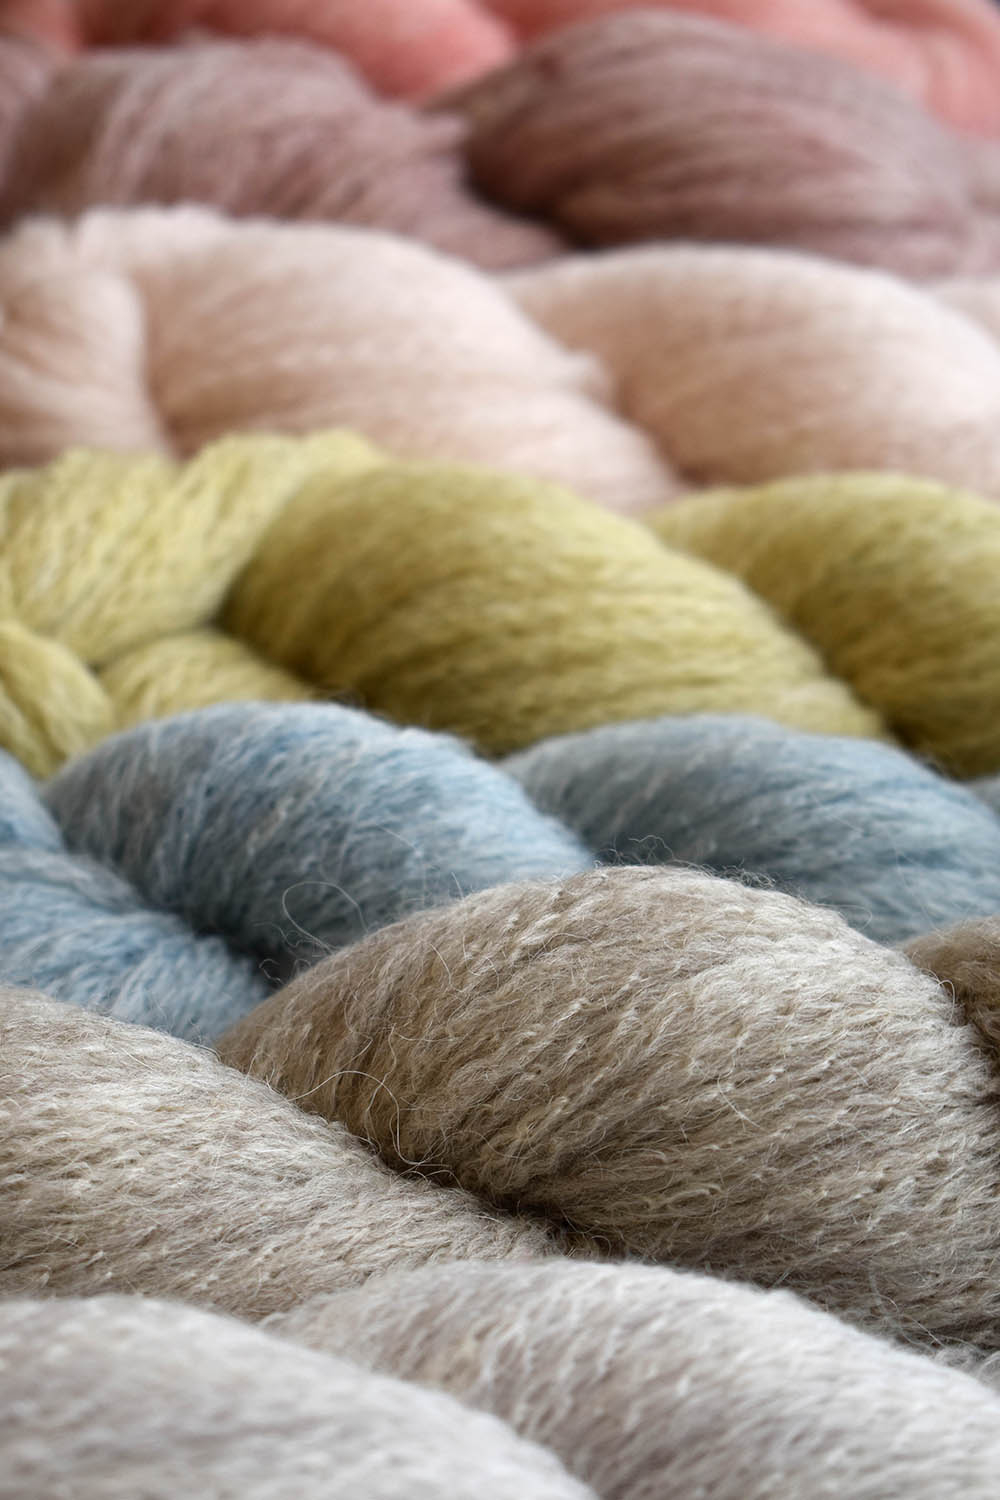
The Lace Tipped Cardigan is worked in Odette. Although it’s a light-feeling yarn, the merino and alpaca held in its chainette construction give it enough loft to trap the warmth.
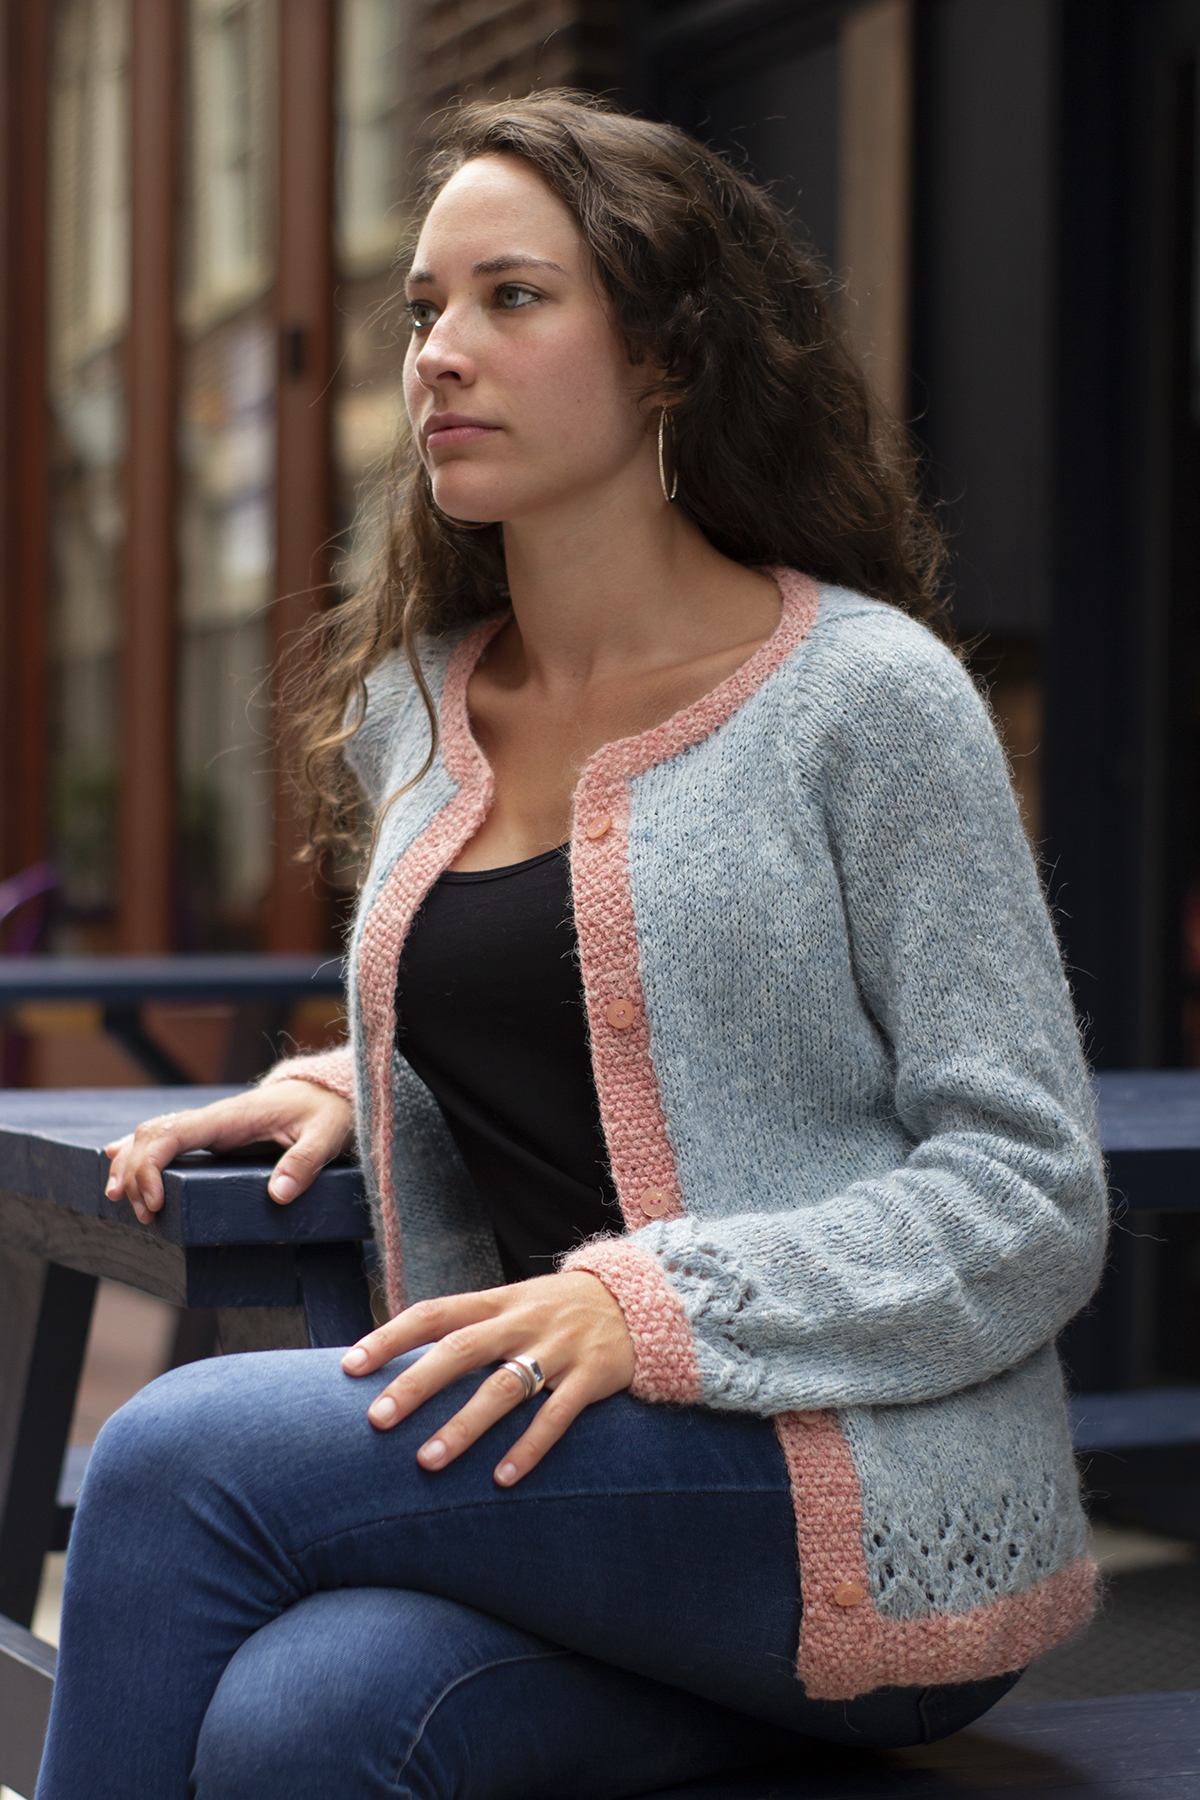
It also gives a beautiful textured feel, and subtle variations in color.
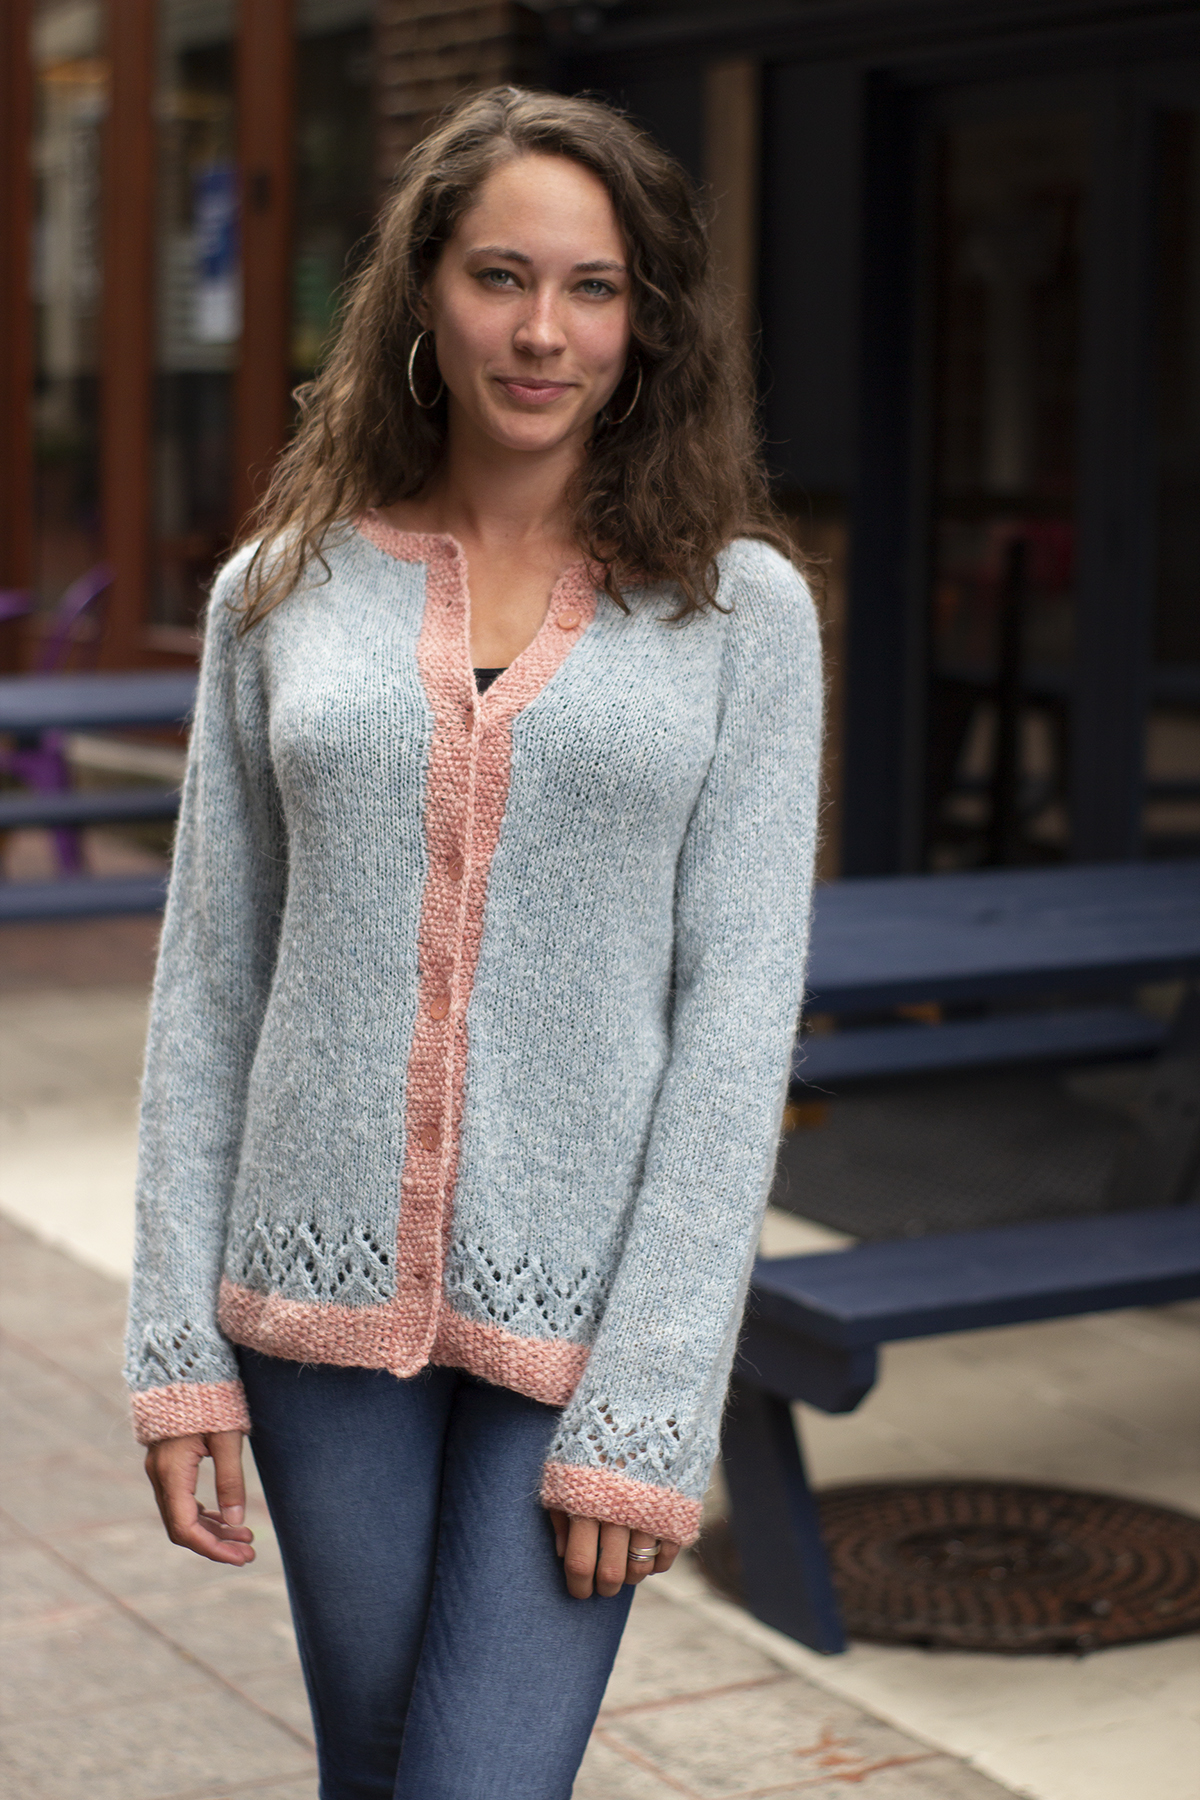
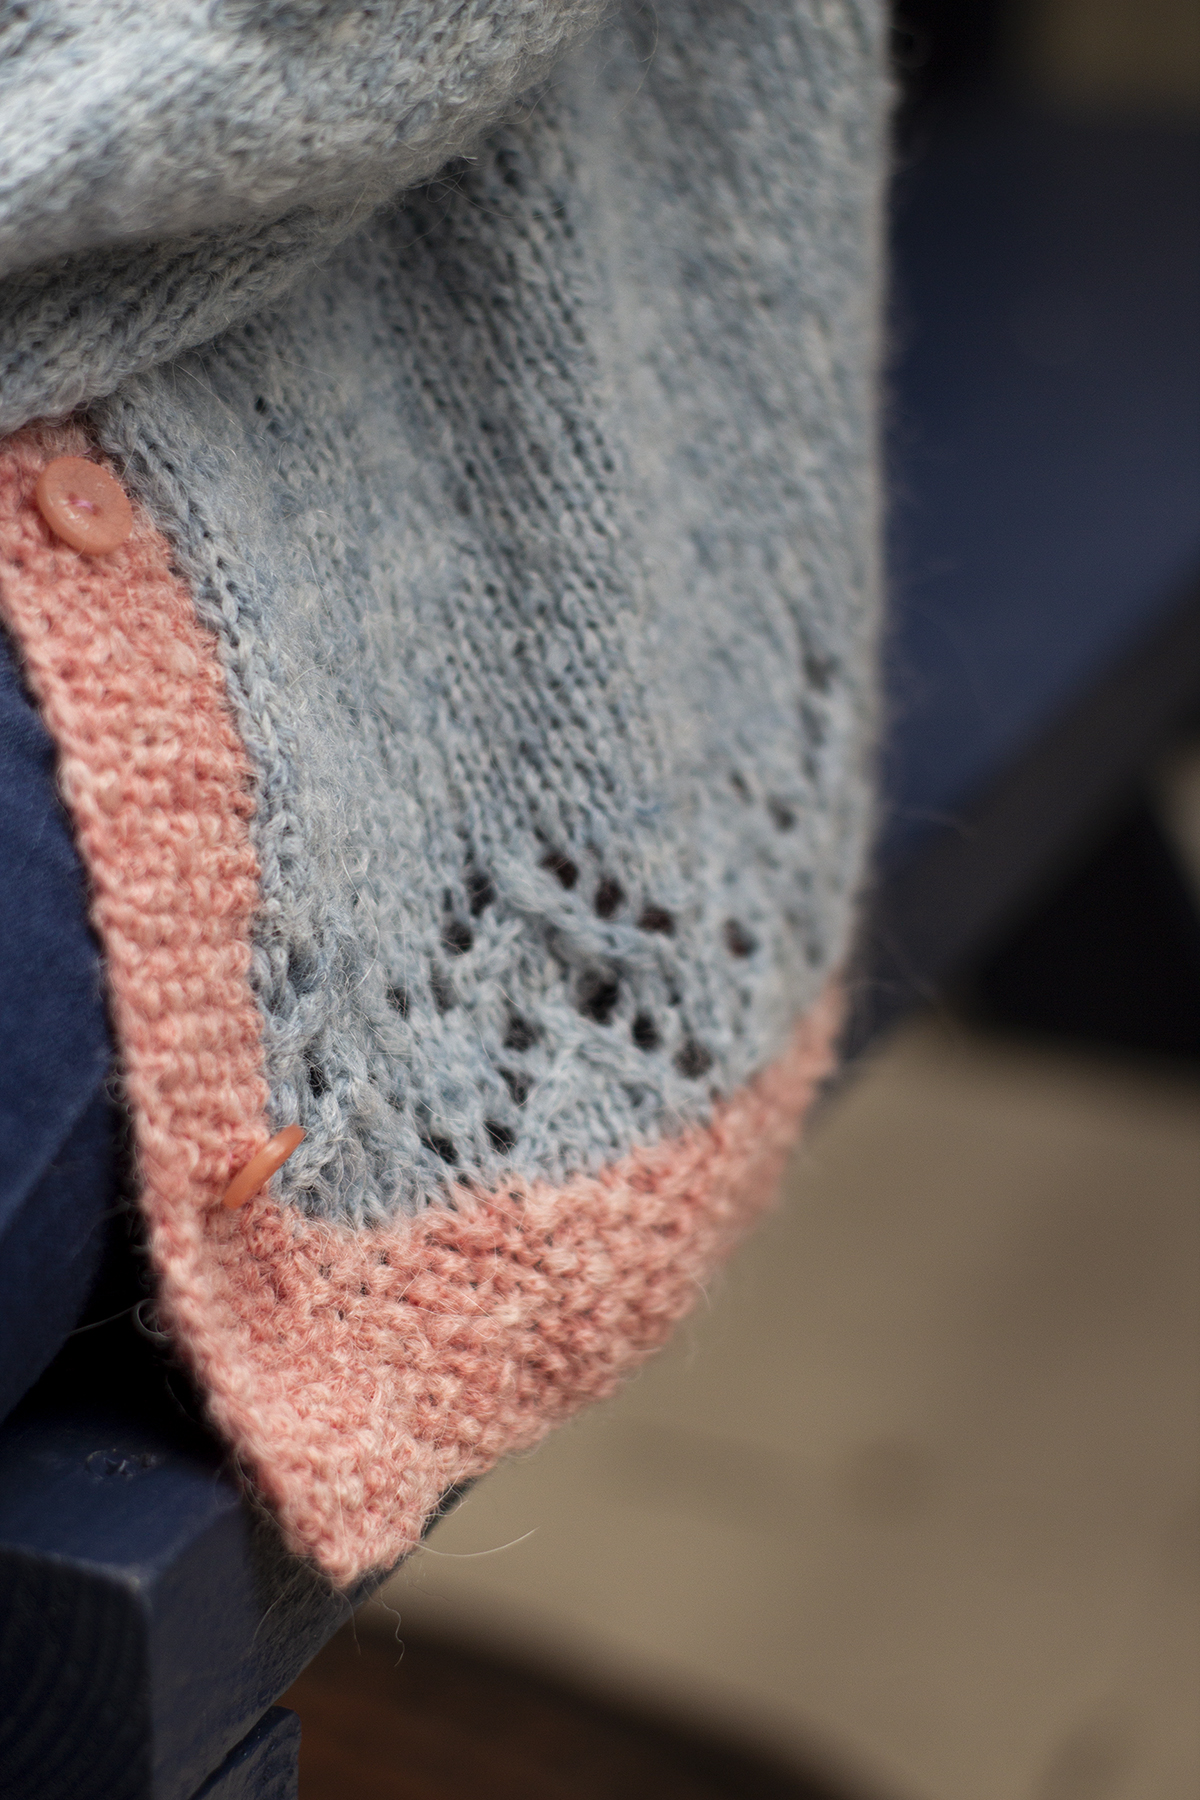
Because it’s so light, it still has a delicate look. The lace border helps with that as well.
The other thing to love? You can still have a lightweight, airy look while working on a US Size 7 (4.5mm) needle.
Like most of our designs, the Lace Tipped Cardigan has sizing from XS to 5X. Toss it over a top and jeans, and you’re ready for anything!
We hope you have a toasty and wonderful weekend.
Happy crafting!
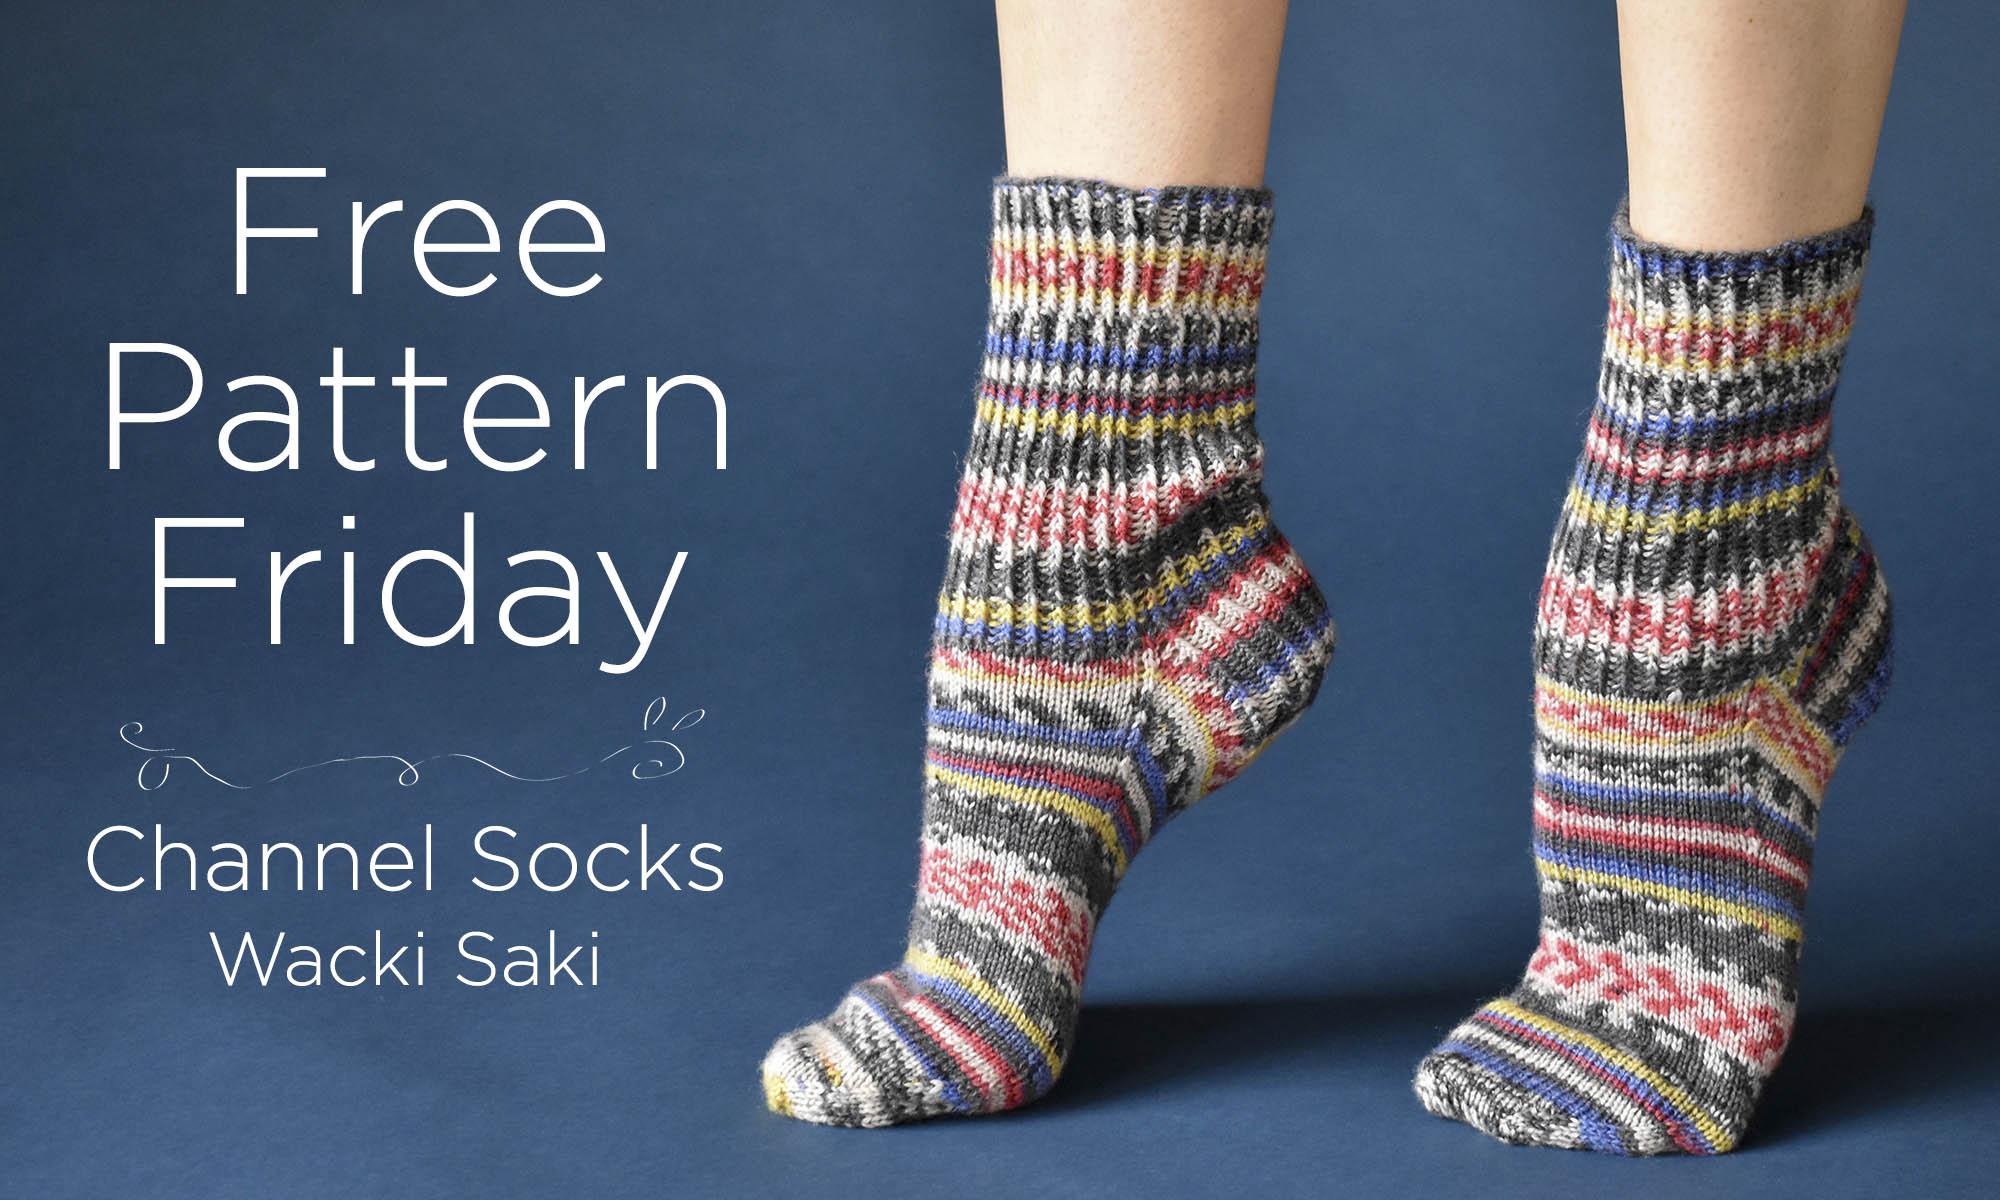
It’s Free Pattern Friday!
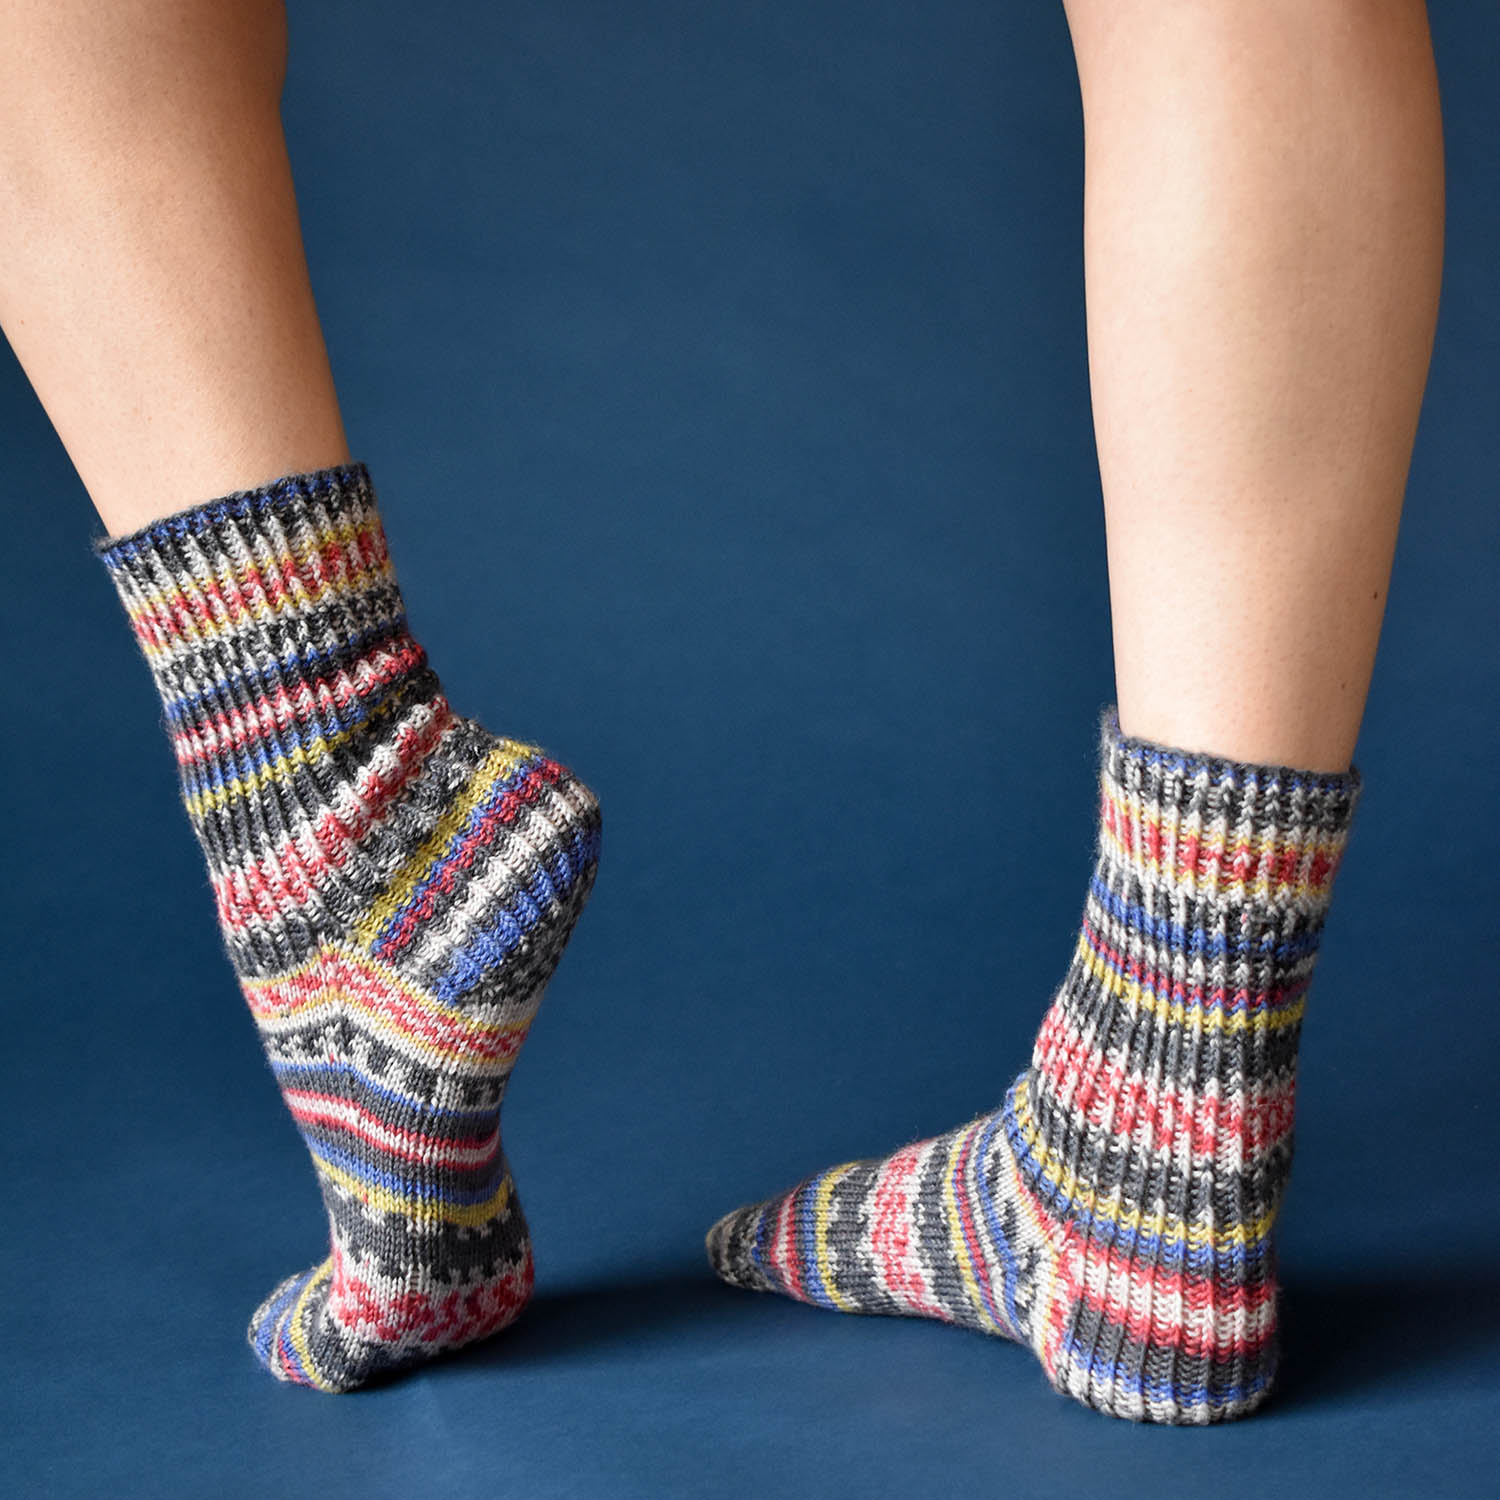
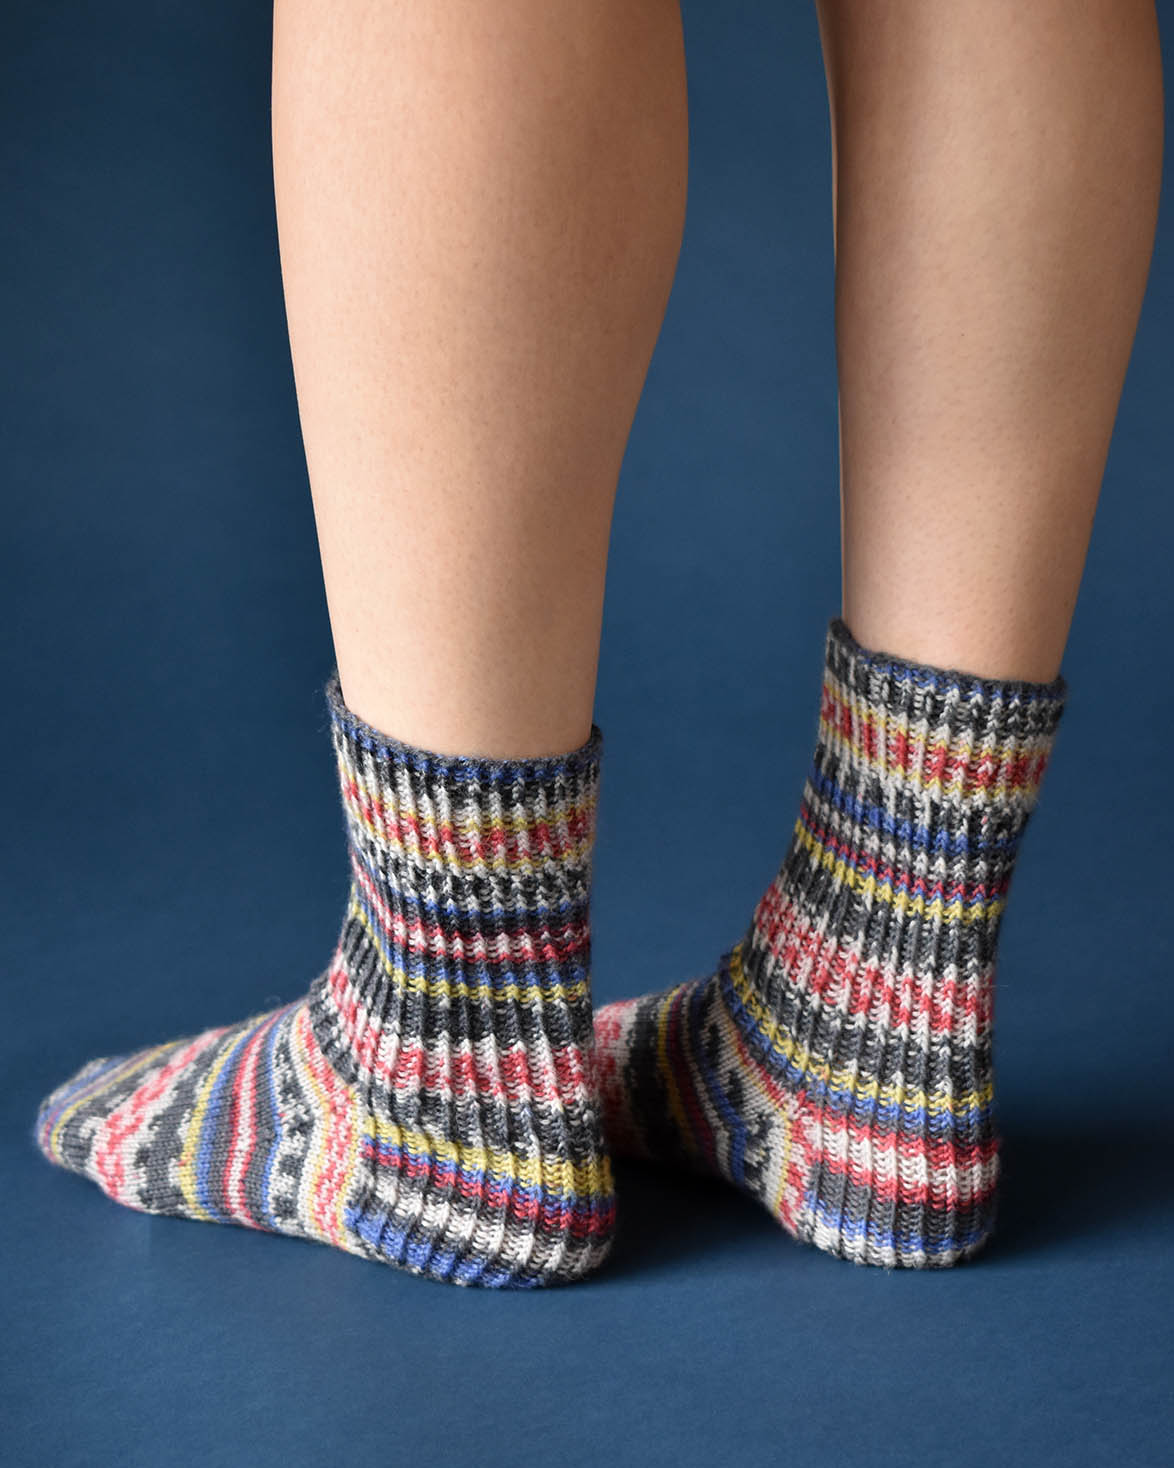
Today, Channel Socks in Wacki Saki (pattern link here).
We love Wacki Saki for its bold patterning. Here, Rachel Brockman wisely went with a simple pattern that lets the yarn colors do the heavy lifting.
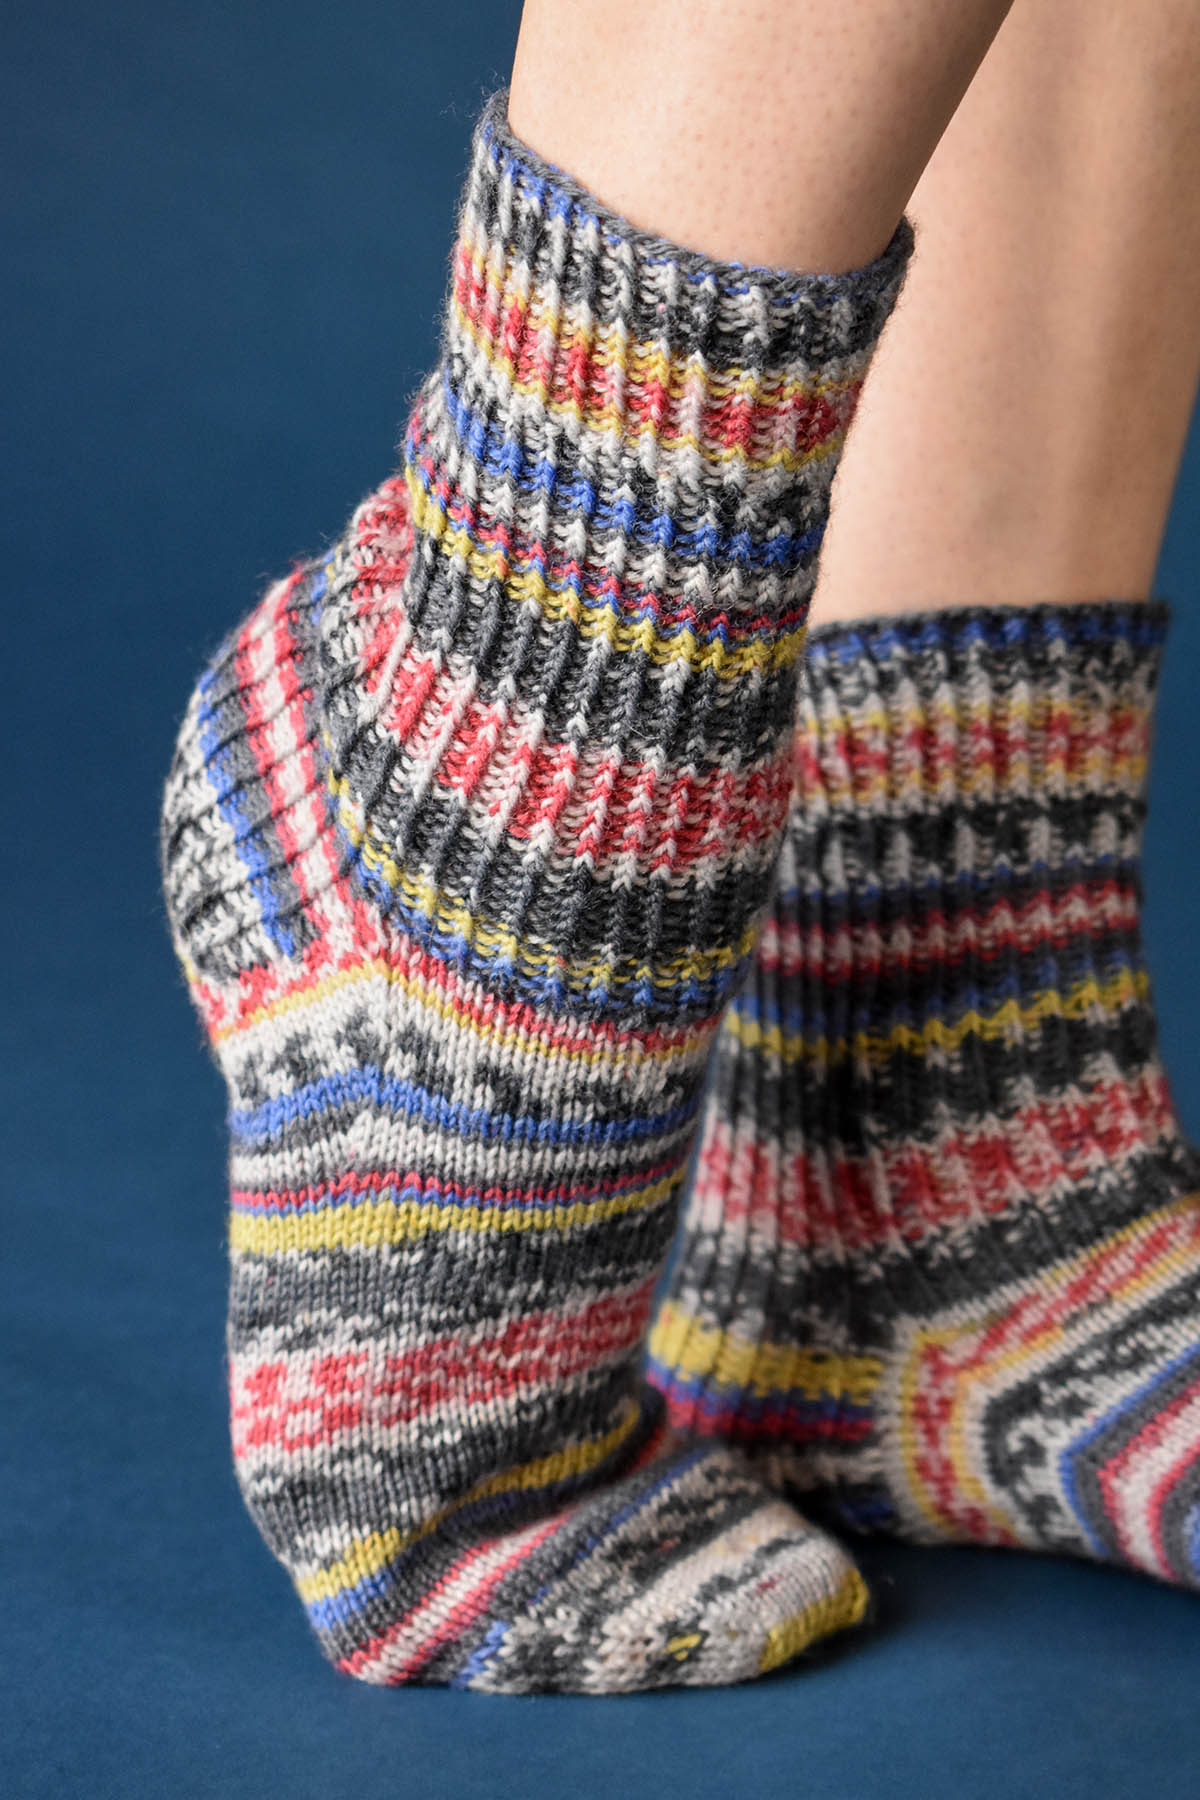
Worked cuff down, these socks feature a heel flap and gusset.
The twisted stitch ribbing flows right onto the heel.
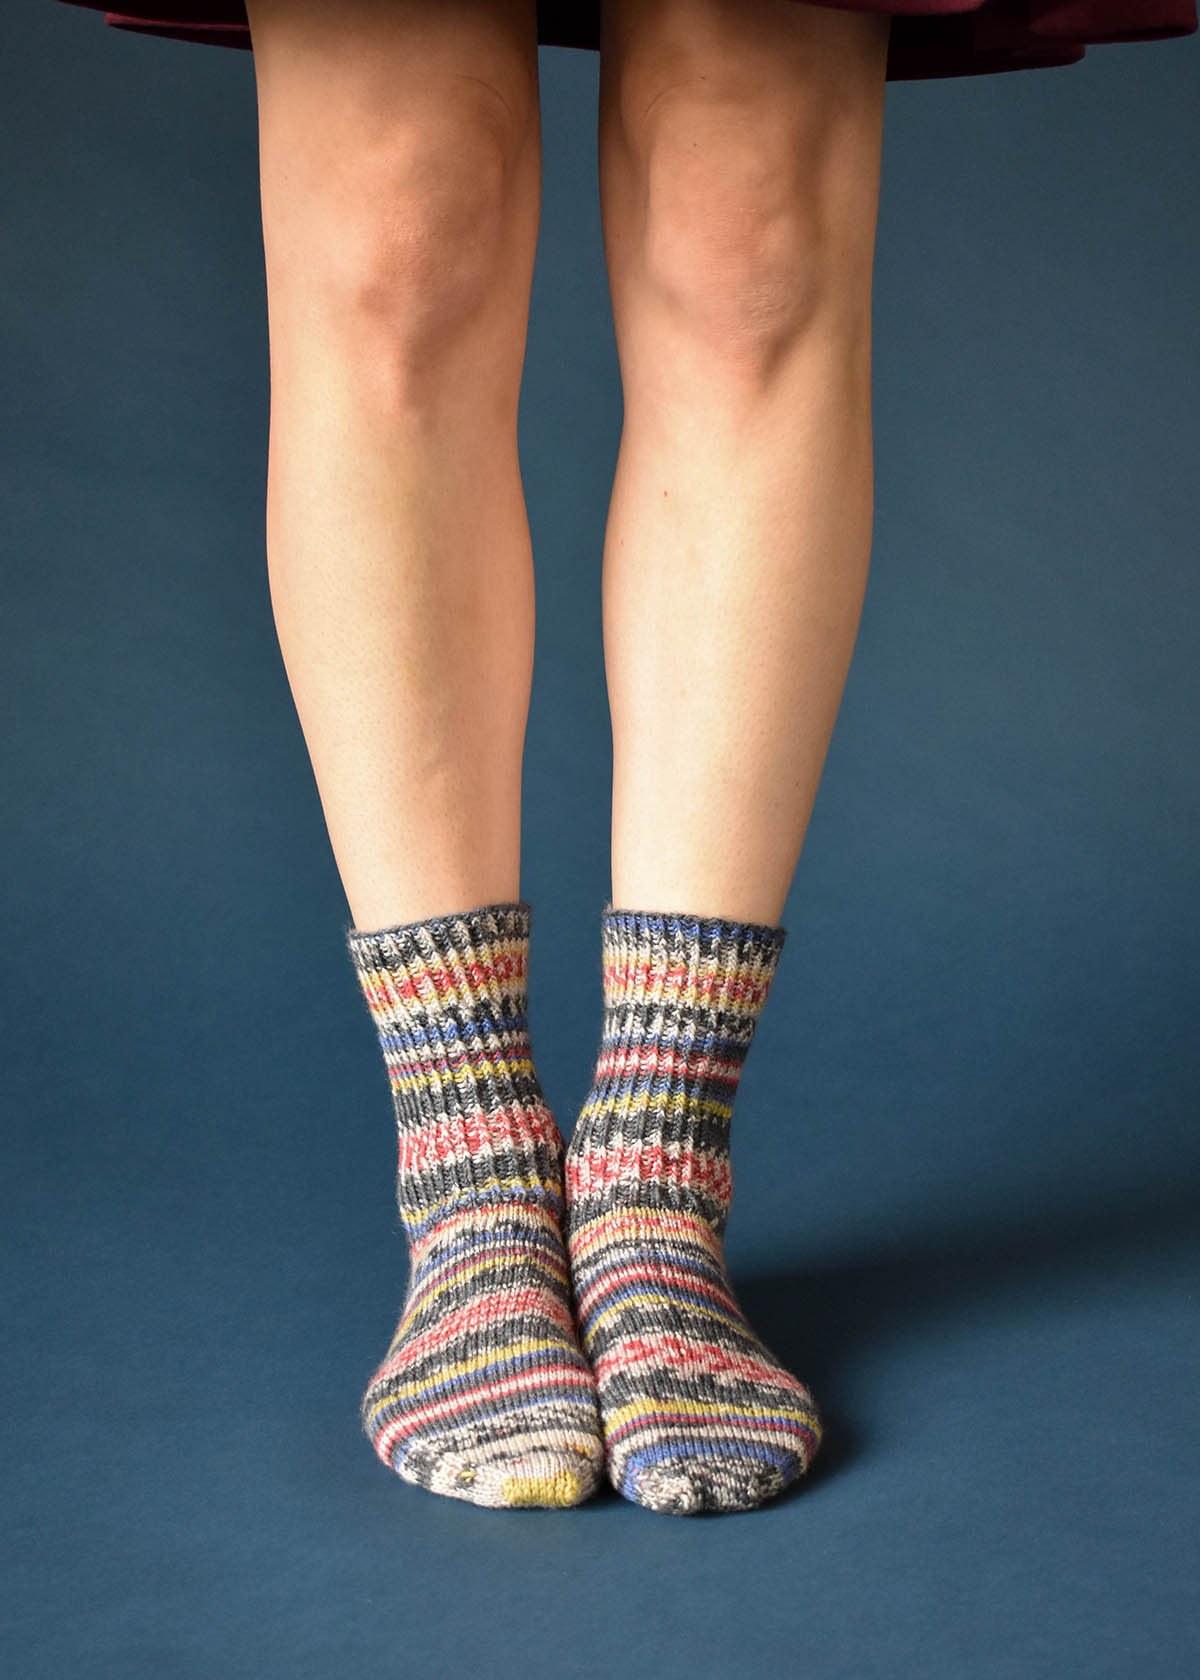
The stockinette feet are comfy, while the twisted stitches on the leg create a snug fit. These beauties will stay up!
Super fun colors to match your personality. Have happy feet all day!
Saying “happy feet” gives me an excuse to share this video, which brings me joy because it’s a puppet tap-dancing, so of course you never actually see him below the waist. I choose to believe that he’s wearing crazy socks on those webbed flippers.
We hope you dance your way through this weekend.
Happy crafting!