Natural Dye Series: Goldenrod & Deluxe Worsted Naturals

Hi everyone! It has been a while, and by that, I mean literal years since I’ve shared some of my adventures in natural dyeing. In the past, I’ve shared posts about dyeing with lichen, marigold, and even azaleas (link to other posts in our Natural Dye Series), but today we’re going to take a look at one of my favorite sources for natural dye: goldenrod!

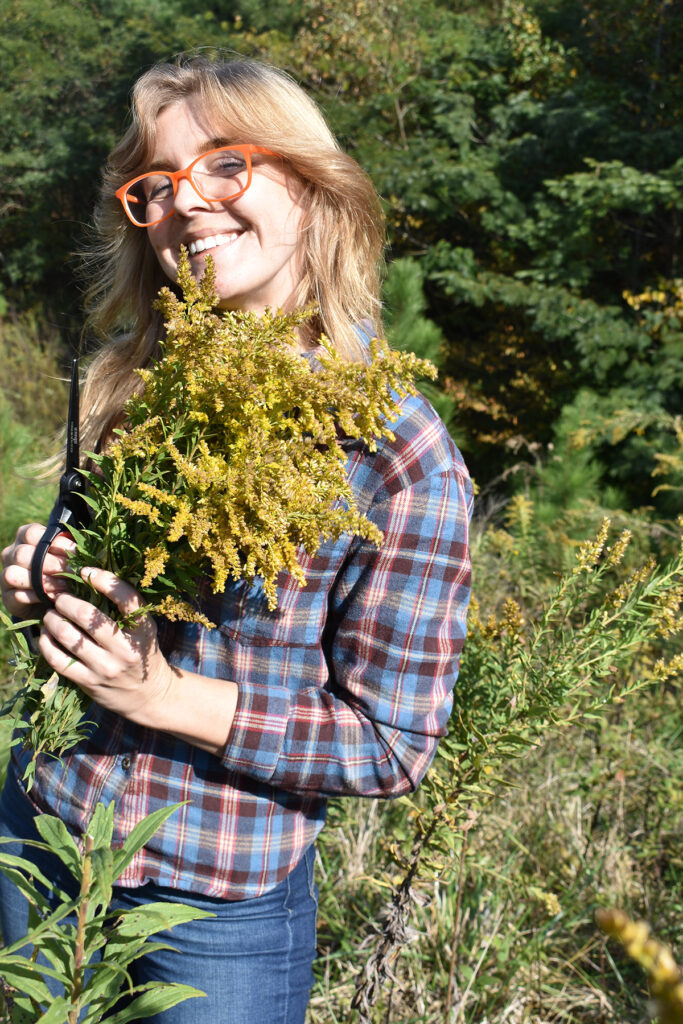
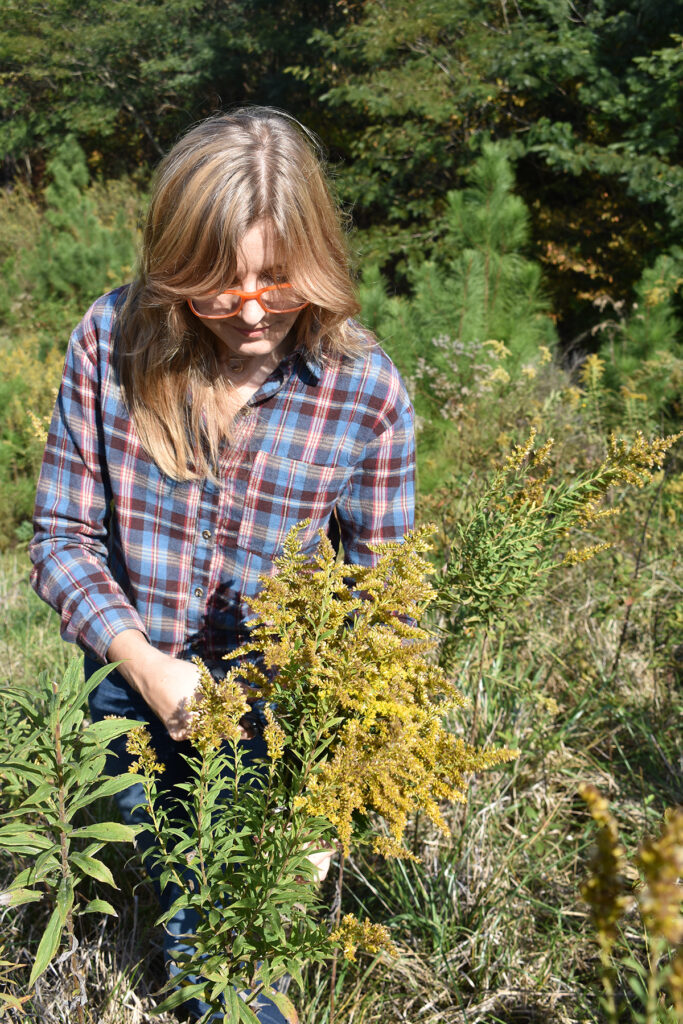
I recently learned that goldenrod is often mistaken for ragweed, a plant guilty of causing brutal allergies. It’s interesting because the two look dramatically different in my opinion, but apparently the confusion exists! I’ve heard this from our own AJ, and just over the weekend, a friend of mine told me the same thing. That’s too bad because goldenrod is a beautiful plant that attracts pollinators, and it deserves all of the love. The sight of these yellow flowers along the roadside always brings me joy and gives me the itch to dye yarn. Our office happens to be extremely close to some fields of goldenrod that bloom in late October, so I couldn’t resist the opportunity to cut some flowers and play!
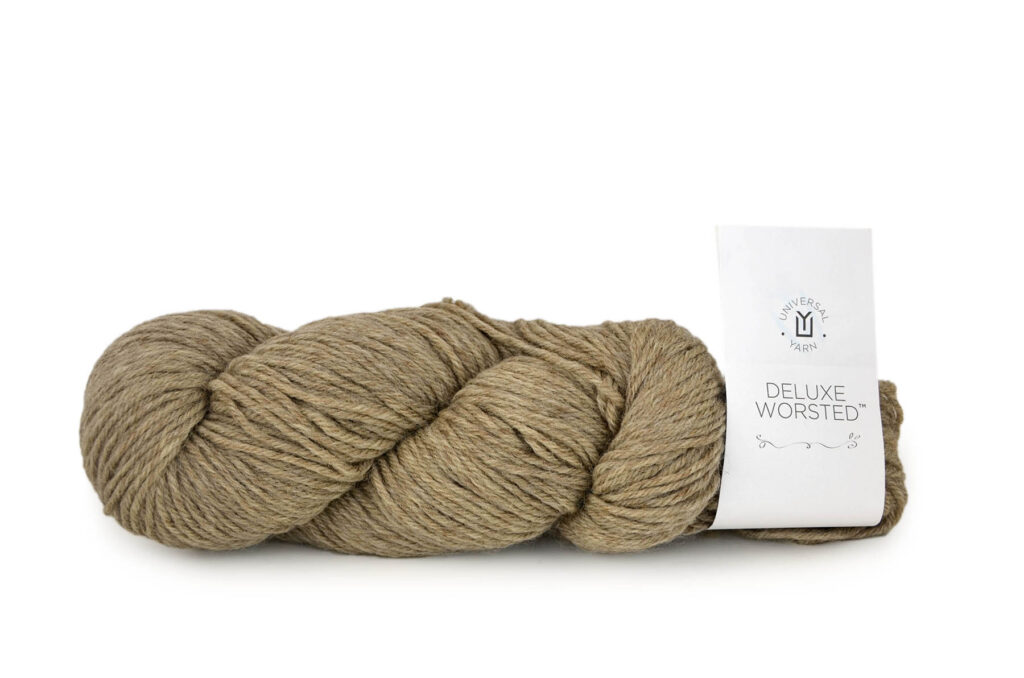
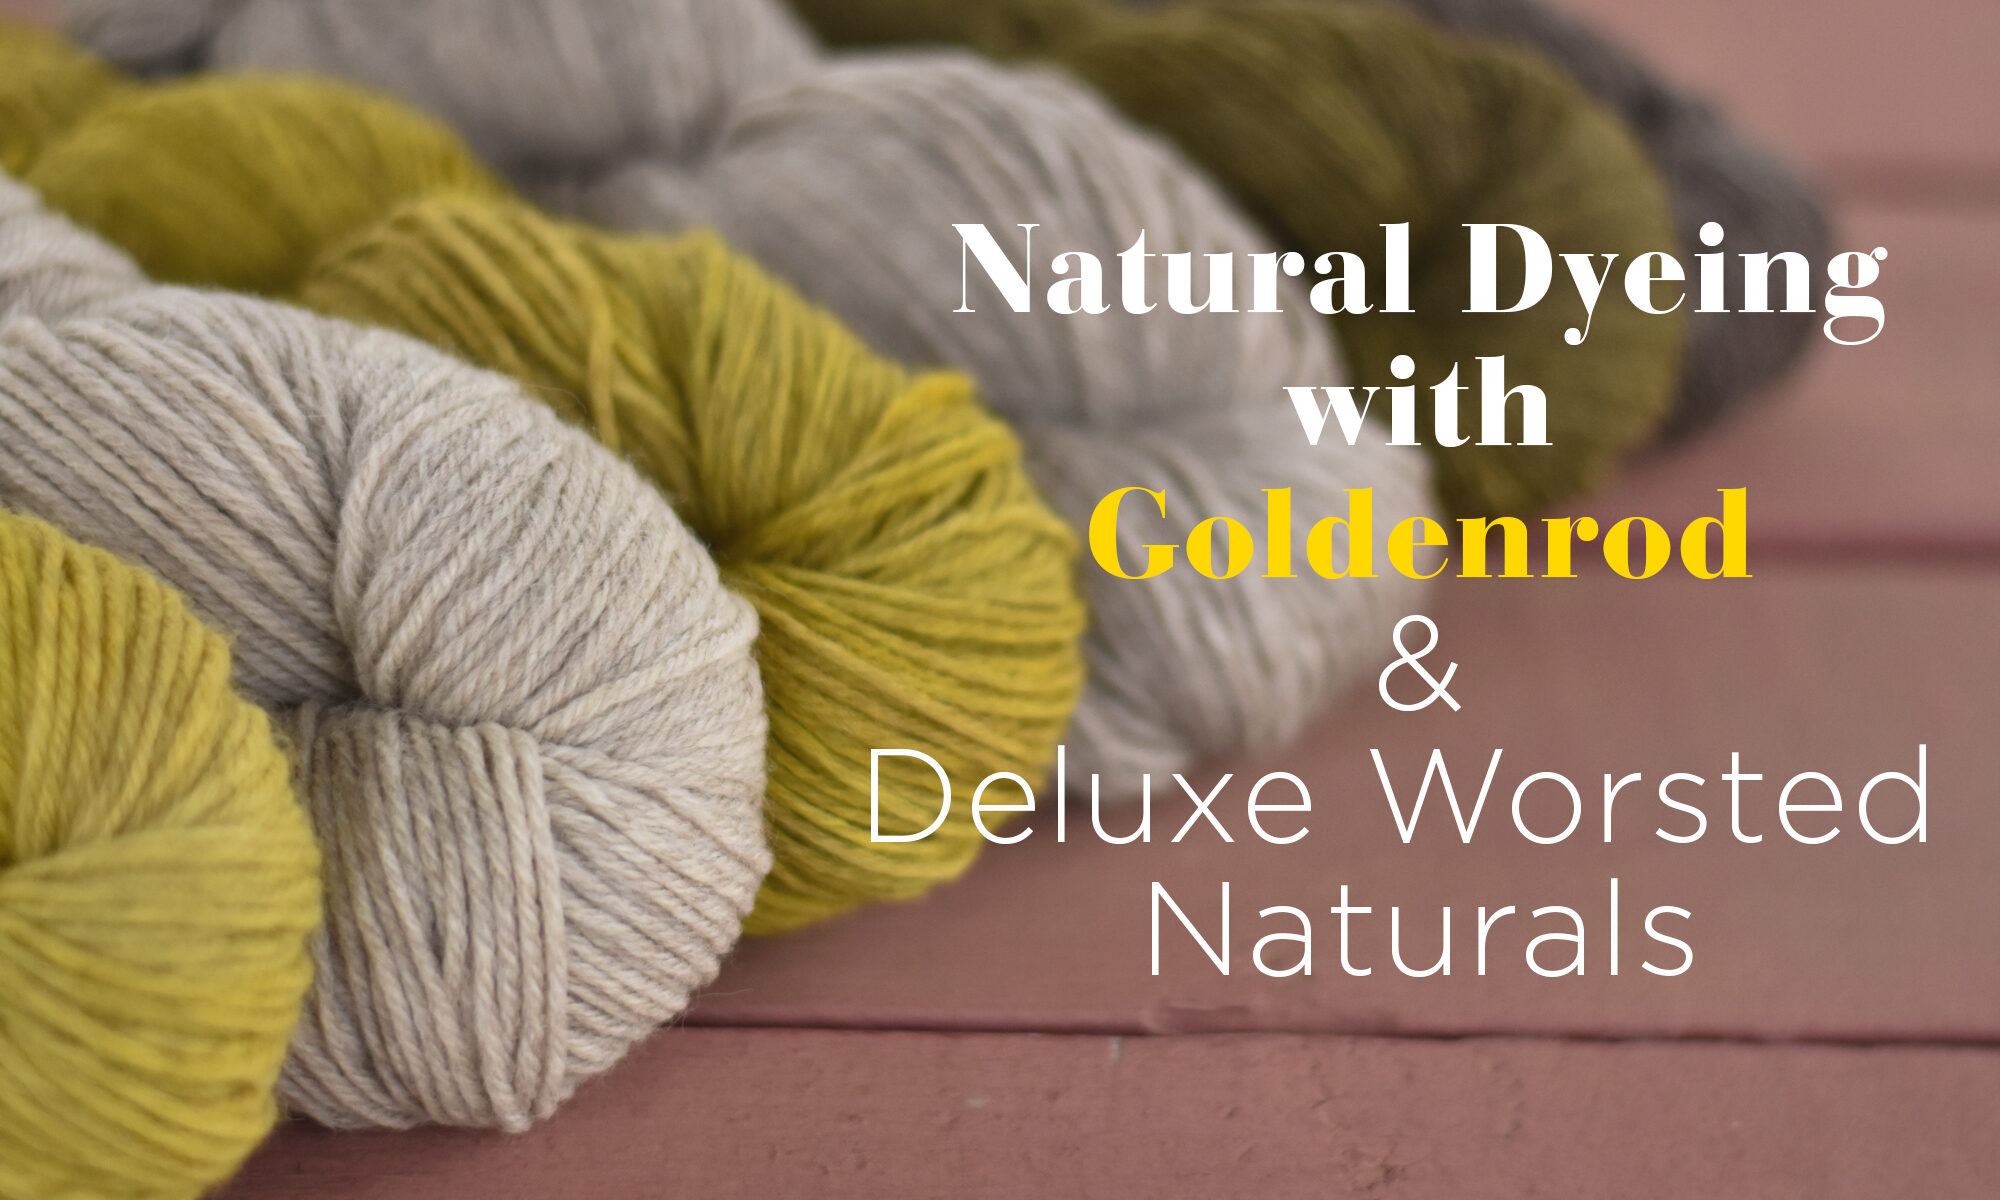
Unlike my previous posts about natural dyeing, this time I wanted to try something different, so I opted for our 100% non-superwash wool, undyed Deluxe Worsted Naturals. A woolly classic, this yarn comes in five gorgeous natural shades – from light cream to deep brown. Their heathered appearance got me wondering how neat would it be to see how they compare when dyed together. I certainly wasn’t disappointed!
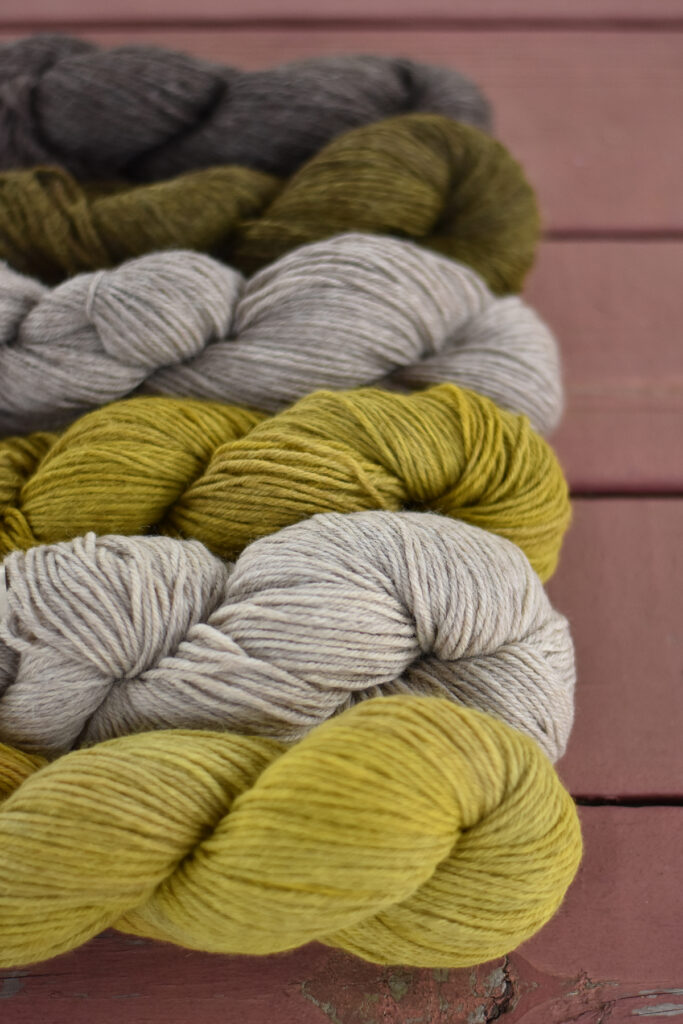
Although 40001 Cream would make a great base for dyeing, it’s pretty similar in color to our Ready to Dye selection and I really wanted to try something different. So for this experiment, I chose 40002 Millet, 40003 Musket, and 40004 Pewter. I figured these shades would yield the most interesting results thanks to their heathered appearances. They work well together as a gradient undyed, and the natural dye made that gradient all the more magical!

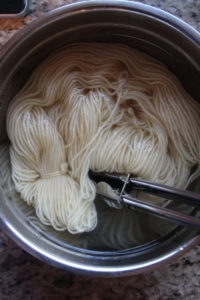
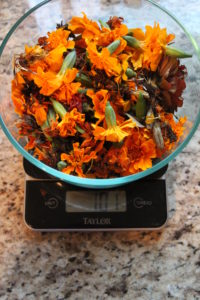
I’m not going to get into a tutorial today, because I followed the same steps I used for marigold dyeing. You can see that post for instructions here (link). I will say the primary difference is that I left some of the greenery on the plants, created the dyebath, and strained it before adding the yarn. Since I dyed three skeins or 300 grams, I needed at least 300 grams of goldenrod to ensure the dye would be saturated enough to have an effect.
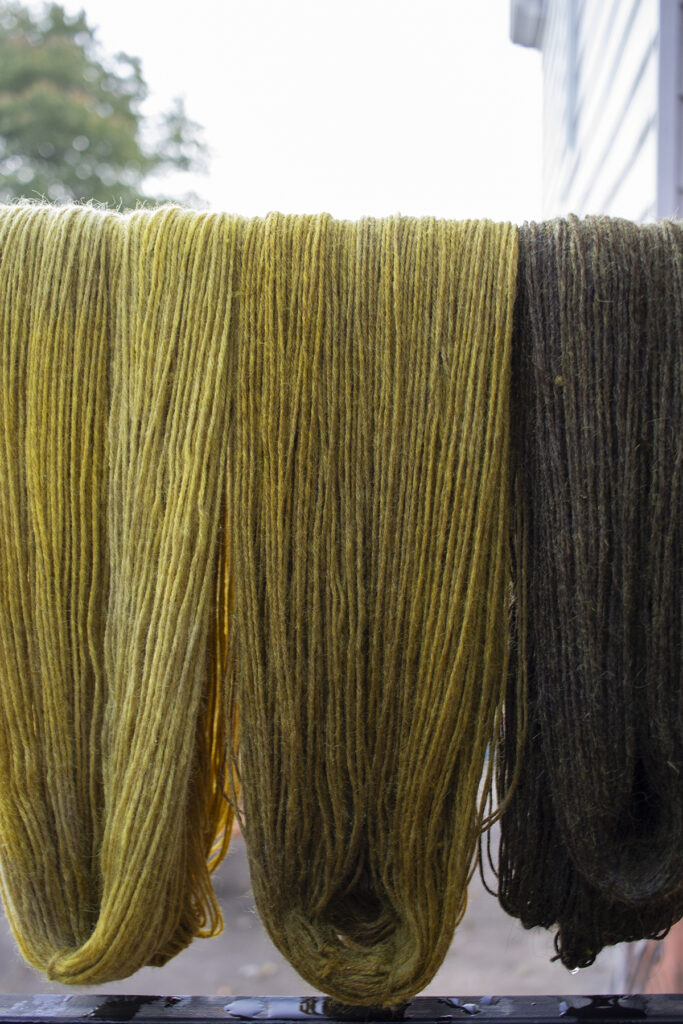
Honestly, I’m so smitten with the results. I can’t believe how beautifully they turned our – er, I can, but I’m still awestruck! I want to drop everything and knit a beautiful scarf, cowl, or shawl that takes advantage of the gradient. They make such a beautiful trio. Let’s take a look at how each skein compares to its undyed counterpart.
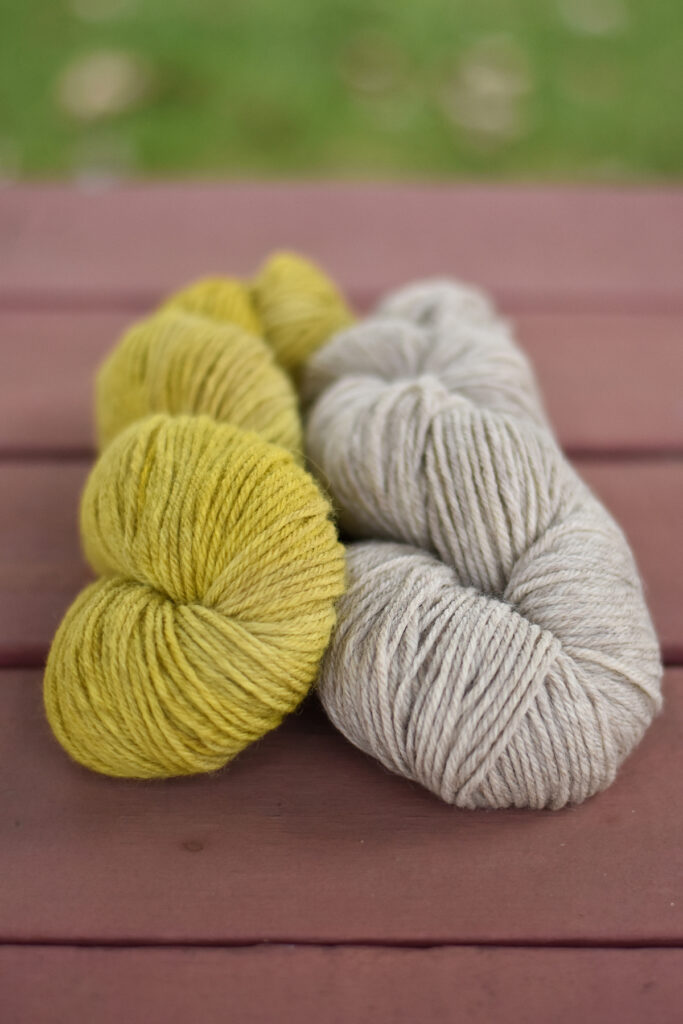
40002 Millet

Starting with the lightest we have 40002 Millet. This will always be one of my favorite shades of Deluxe Worsted. It took the dye like I expected. It is the brightest of the bunch and most closely resembles the goldenrod blossoms.
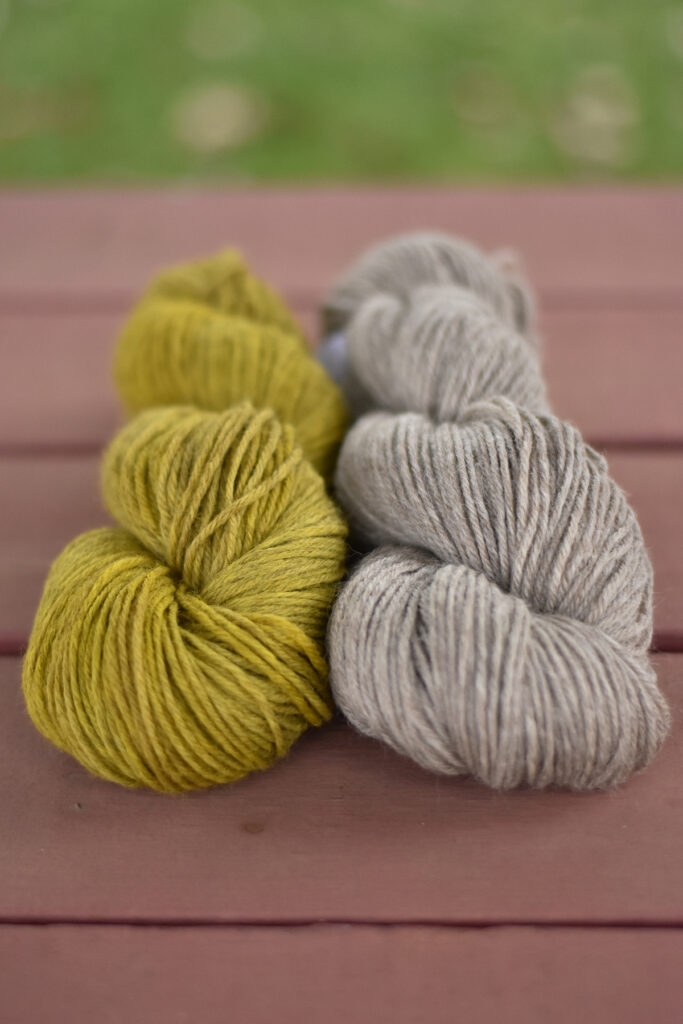
40003 Musket

Next, we have 40003 Musket. I think I prefer this result over the Millet – it just has a bit more depth to it that I find very interesting. The gold reminds me of whole grain dijon mustard (yum!) and I’d love to see this knit up into some plump cables.
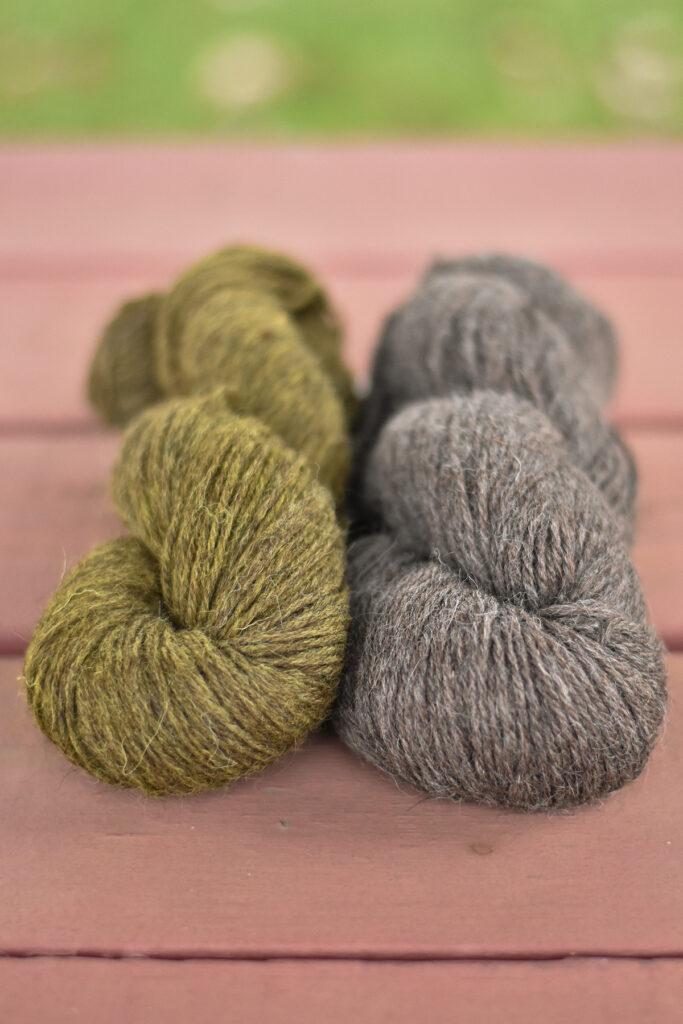
40004 Pewter

Finally, we have what must be my favorite: 40004 Pewter. I mean, wow! This was the hue I was most unsure about. I wondered whether the dye would really show up at all. To my pleasant surprise, it certainly took and created a color that reminds me of antique brass.
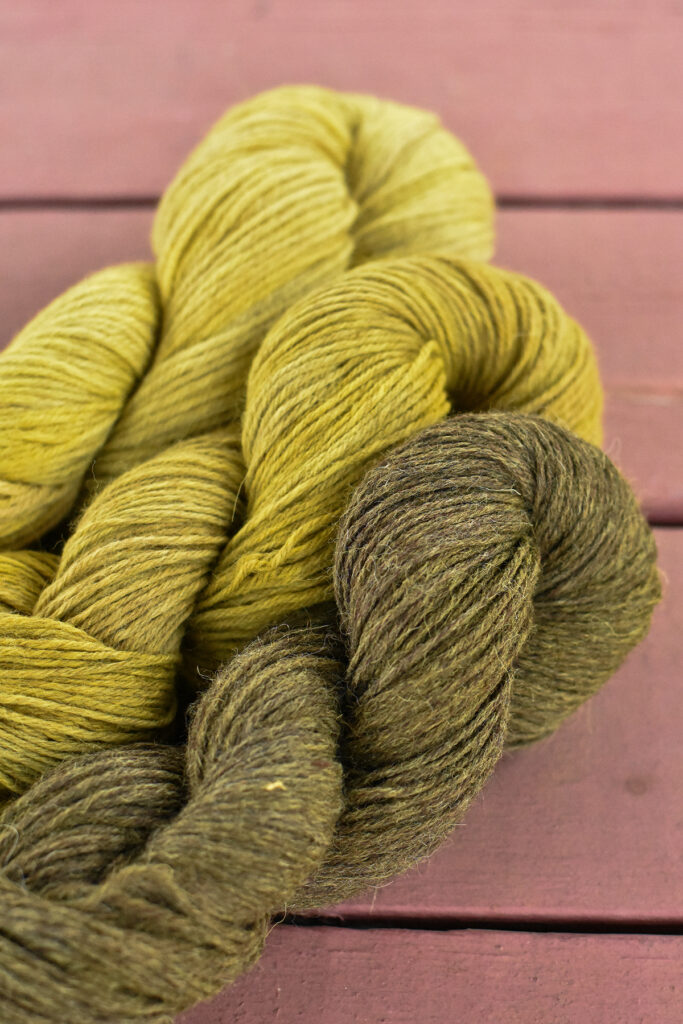
Top to Bottom: 40002 Millet, 40003 Musket, 40004 Pewter

And there you have it – the results of my exploration in dyeing with goldenrod and Deluxe Worsted Naturals! Which color is your favorite? How would you knit or crochet them? Let me know in the comments!


Natural Dye Series: Azaleas

Yarn dyed green

You might remember that back in October I introduced the first post about my adventures in naturally dyeing our Superwash Merino Worsted Weight yarn. In that post (link), I gushed about how much I love the warm hues of autumn. Well, it’s spring now – though it certainly feels like summer here in Charlotte. That means it’s time to play with some yarns that are a bit more warm-weather friendly.

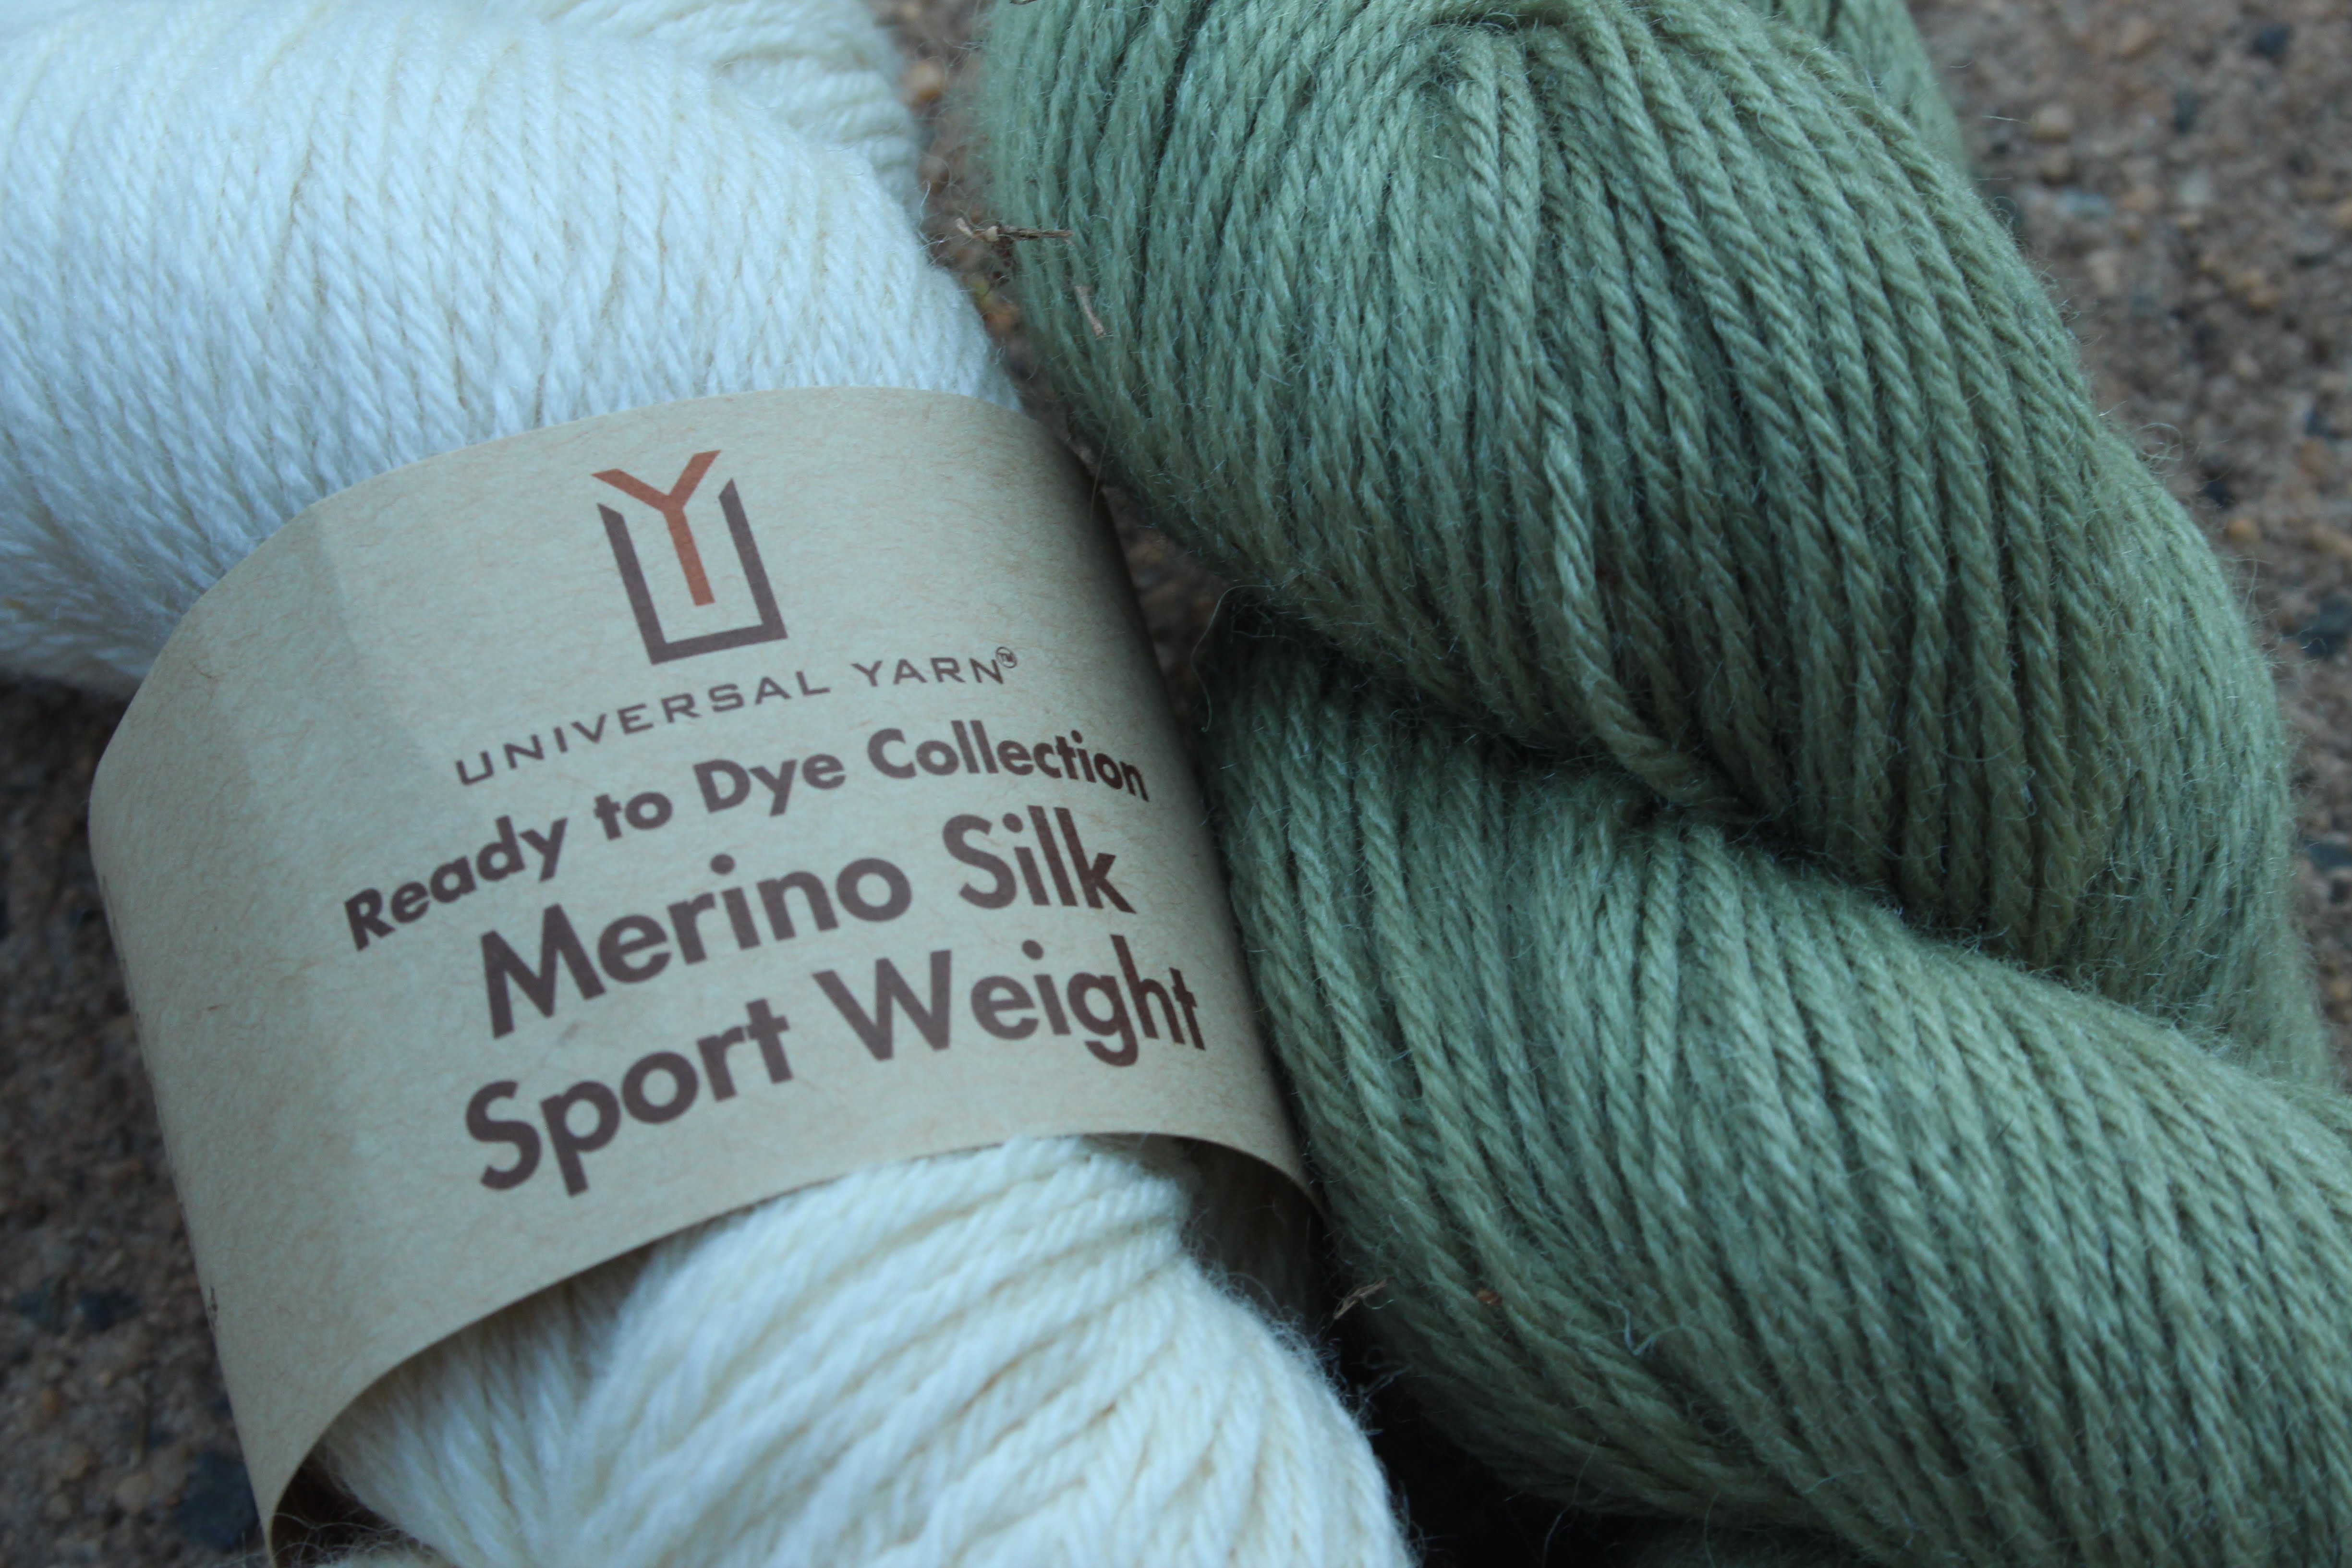
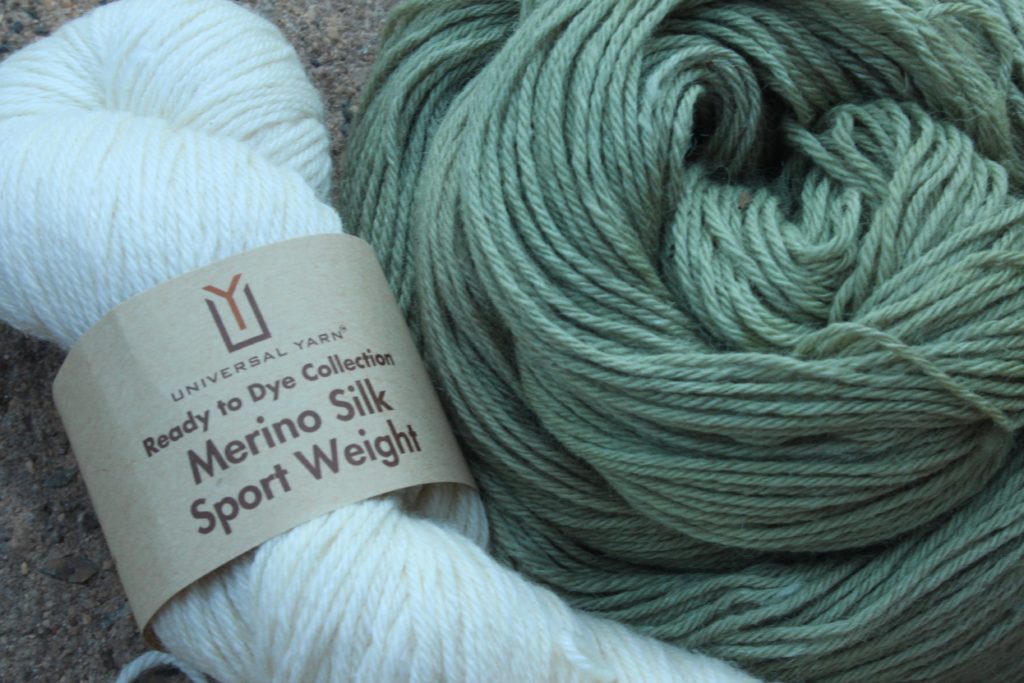
Today I’m using our soft and silky Universal Yarn Ready to Dye Merino Silk Sport Weight. It’s a gorgeous sportweight yarn with enough silk to make it appropriate for garments and accessories to throw over your shoulders on summer nights.

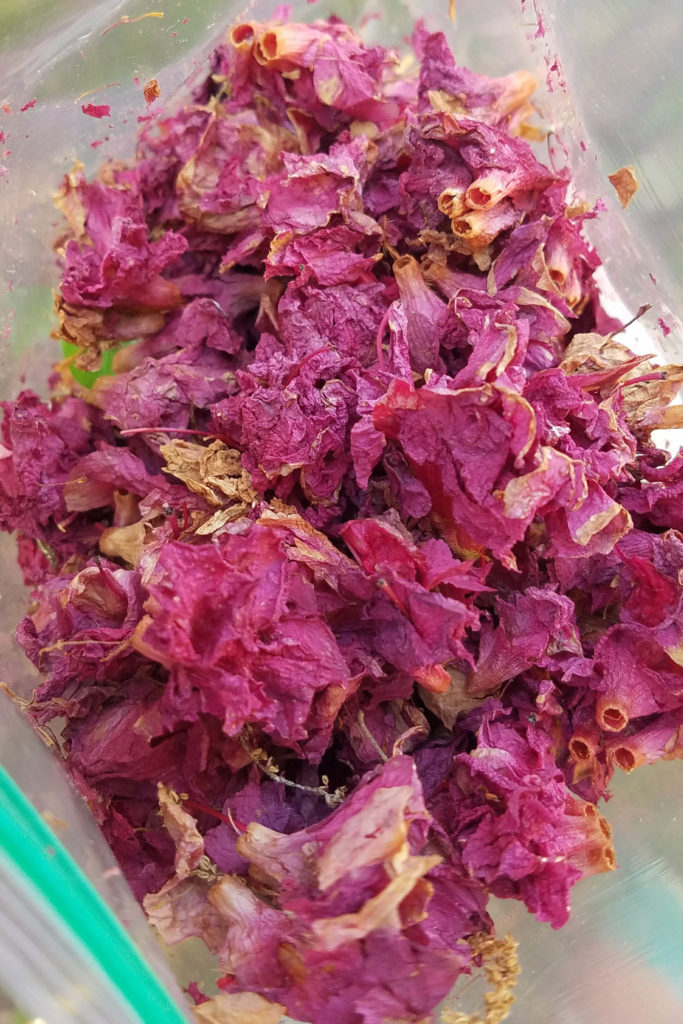
Whenever possible, I like to harvest dyes from the plants growing in and around my yard. I can choose what to grow, and there are endless ways I can experiment. Natural dyeing is, without a doubt, full of surprises, and you’ll understand what I mean when you see the results of my adventure with azalea dye.

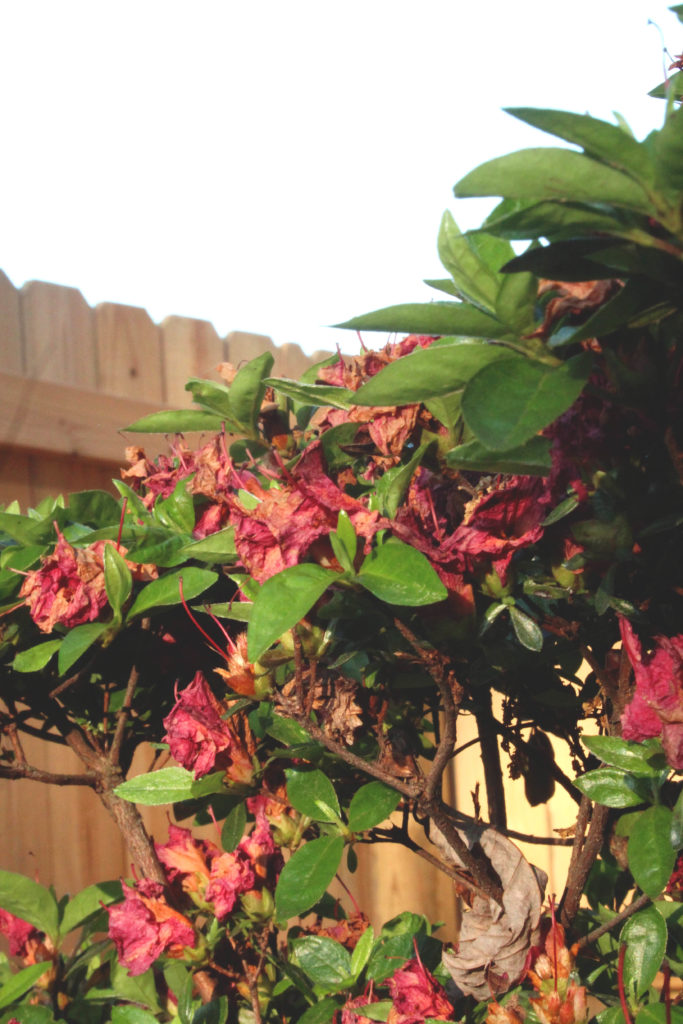
I have a few azalea shrubs around my house. Just weeks ago they were full of brilliant pink blossoms, but now they’ve dried. I was plucking some weeds from my herb garden when it hit me: I have so many dried blossoms! Why not try to dye with them?
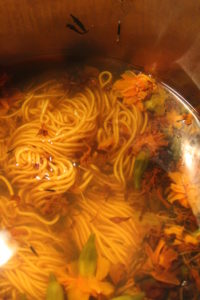
I grabbed a freezer bag and stuffed them full of the dried blossoms. Side note: If you use a freezer bag like I did (why didn’t I just grab a bowl?!), remember to simply rinse it and re-use it!
After collected my blossoms, I weighed them. I took into consideration the weight of the bag and ended up with approximately 37g. I could have collected more – I barely put a dent in my shrubs!

For today’s tutorial you’ll need:

  • 1 skein of Universal Yarn Ready to Dye Merino Silk Sport Weight
  • Approximately 30-40g of dried azalea blossoms
  • Alum – you can find this in the baking/spices section of your grocery store.
  • Two stainless-steel pots that you don’t plan to use for cooking – I purchased mine for a few dollars at a thrift store.
  • Tongs – they don’t need to be stainless steel but choose some that you won’t use for cooking.
  • A kitchen scale – I can’t recommend this one enough. Although it isn’t essential, if you’re a knitter, you should have one! It’s useful for much more than dyeing.
  • Measuring cups/tablespoon
  • White distilled vinegar
  • Salt
  • Water

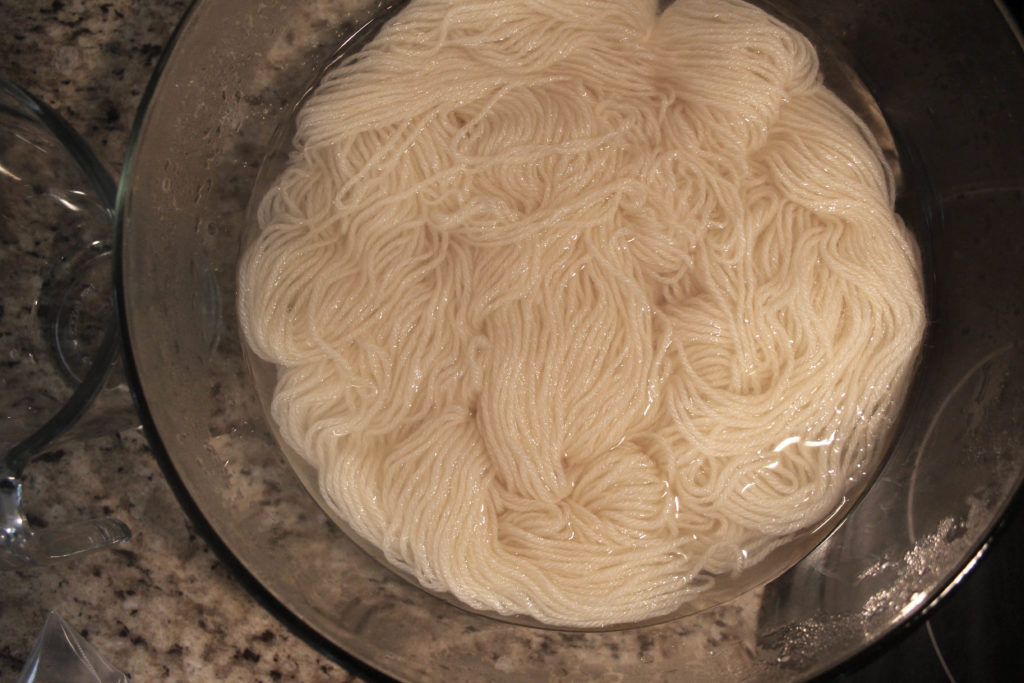
Step 1: Create a mordant and soak your yarn.  You can find specific instructions for creating a mordant in my first post (link here). If you’ve been following along and have a jar of mordant already, simply reuse the solution.

Step 2: While your yarn is soaking, prepare your dyebath.

  • Fill your stainless-steel pot with enough water to allow your yarn to flow freely.
  • Dissolve 1 tbsp of salt into the water.
  • Pour ½ cup of vinegar into the water – salt and vinegar help to brighten the dye.
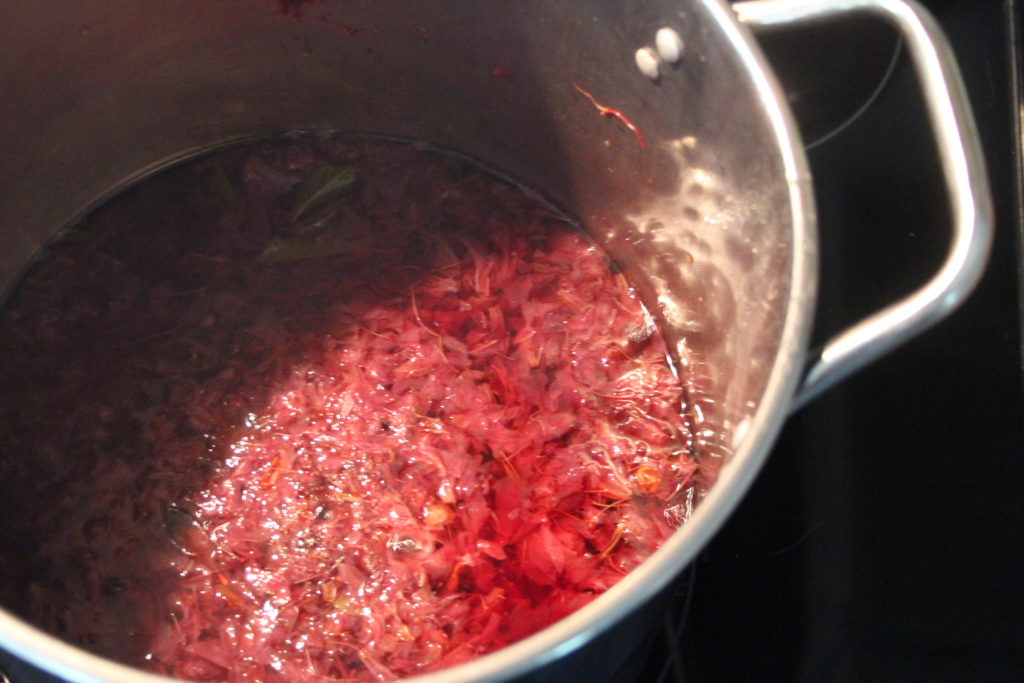
  • Add your azalea blossoms and use the tongs to stir the pot.
  • Bring to a simmer over your stovetop. Allow simmering for 30 minutes to an hour.
  • Lower the temperature so that the water is just under a simmer. If you want a specific temperature, you’ll want the water to be about 190 degrees F.

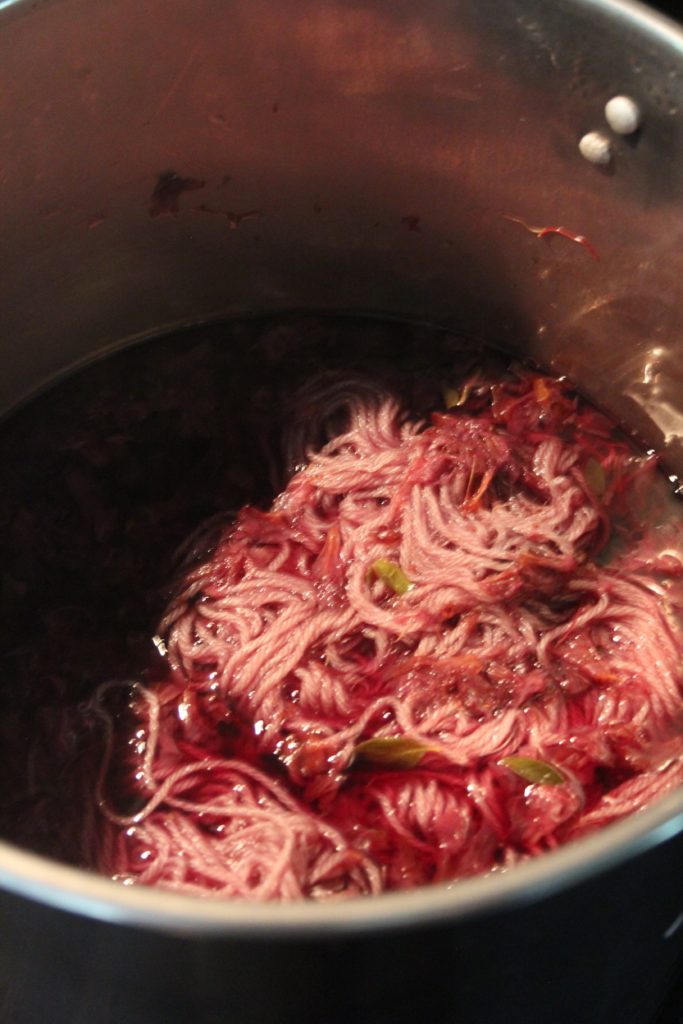
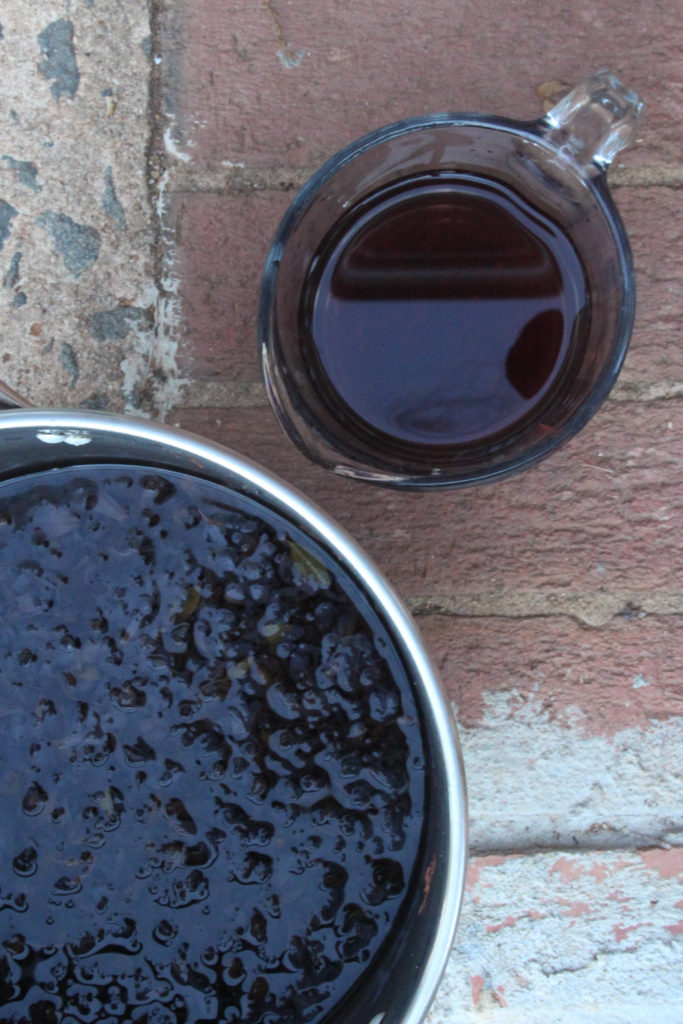
You can see that the dyebath turned into a rosy color.

Step 3: Remove your yarn from the mordant bath, gently squeezing the excess mordant from the yarn.

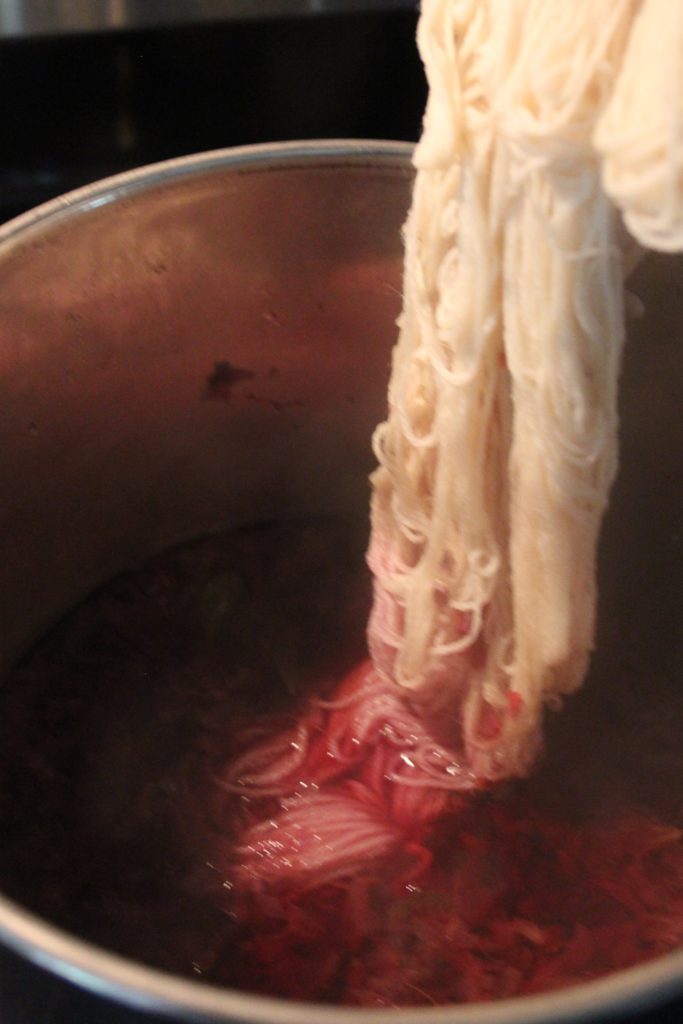
Step 4: Carefully place your yarn into the dyebath.

Step 5: Allow the yarn to soak in the dyebath for about an hour. Turn off the heat and set the pot aside. Do not remove the yarn yet.

Step 6: Allow the yarn to cool in the dyebath – I let mine cool overnight.

Step 7: Remove your yarn and rinse thoroughly. I recommend stepping outside and giving it a few vigorous shakes to remove the remaining plant matter.

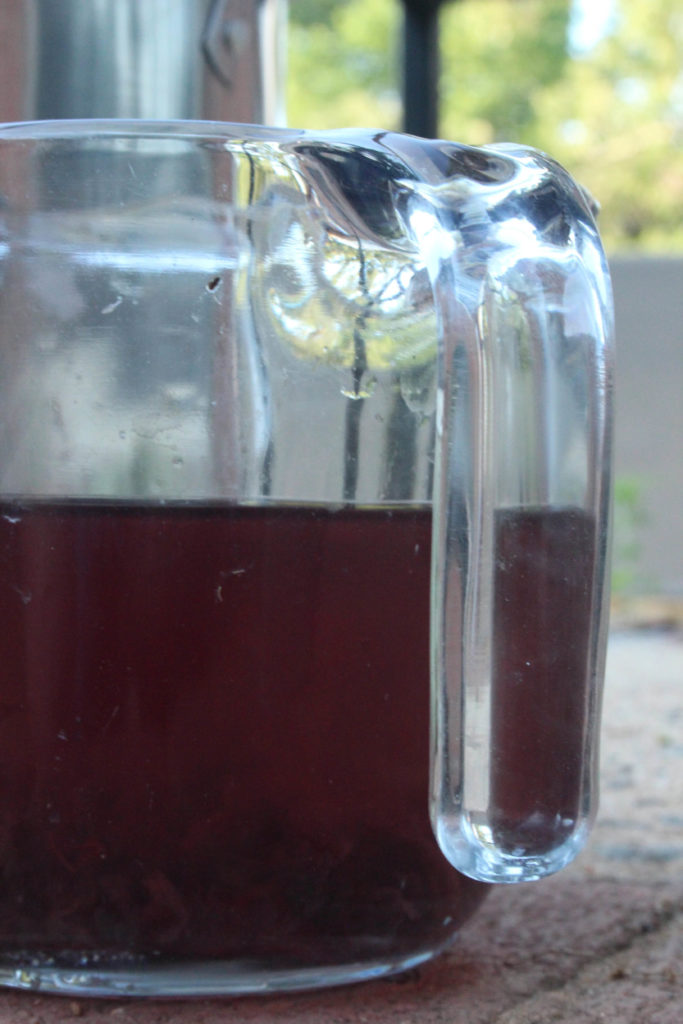
Before I reveal the yarn, I want to take a moment to emphasize how surprising natural dyeing can be. As you can see, the color of the dyebath was initially pretty pink. After about an hour it looked much more like a silvery-purple. I was really excited about those results. Even when the water cooled it remained a deep purple.

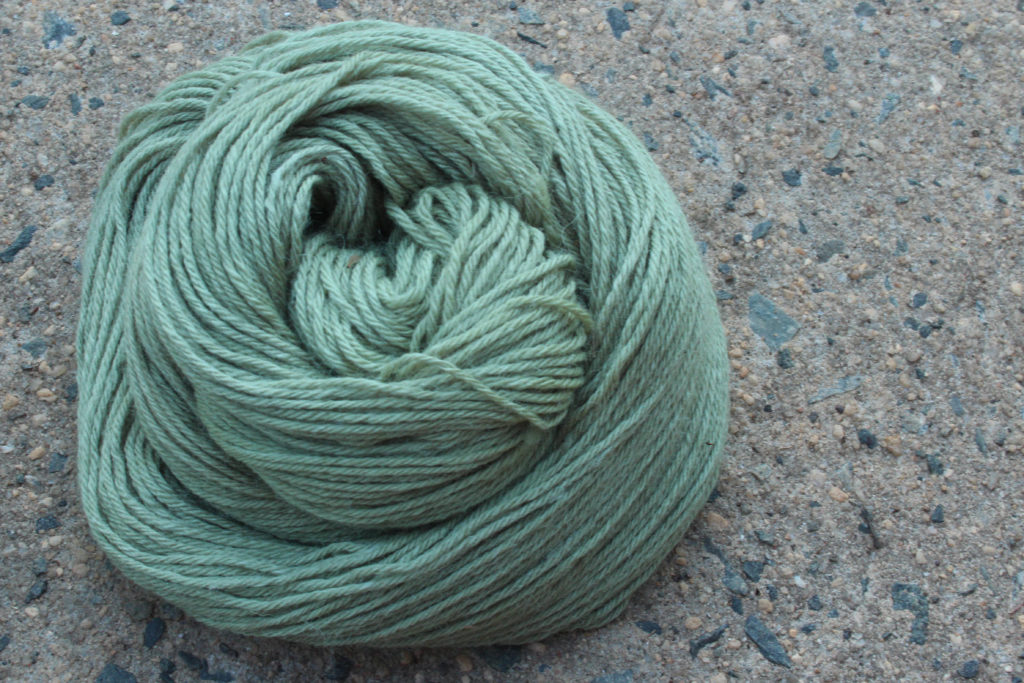
So, you might imagine my surprise when I discovered that my azalea dye turned into this…

Universal Yarn Ready to Dye Collection

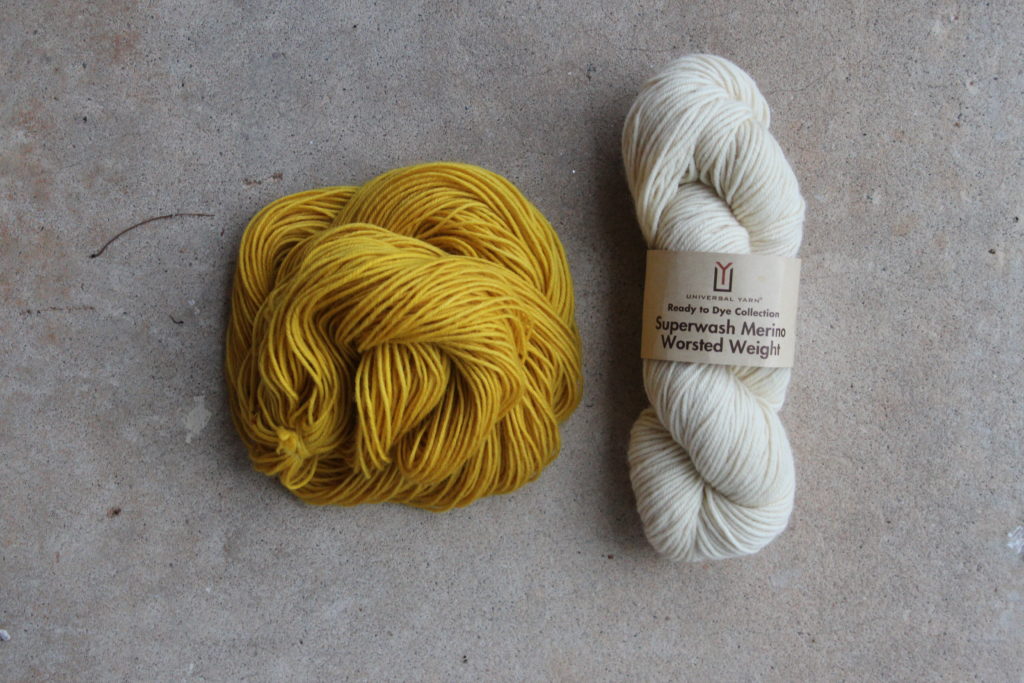
Isn’t it the loveliest shade of green? I’m over the moon about the results of this dye experiment, and I’m sure I’ll be using azaleas for dyeing again soon. The transformation is pretty stunning.

Before and After dyeing with Ready to Dye yarn

Natural Dye Series: Part II

Happy Halloween! Nothing will make you feel as though you’re creating a witches’ brew like dyeing with lichen. It’s a unique way to get into the holiday spirit.

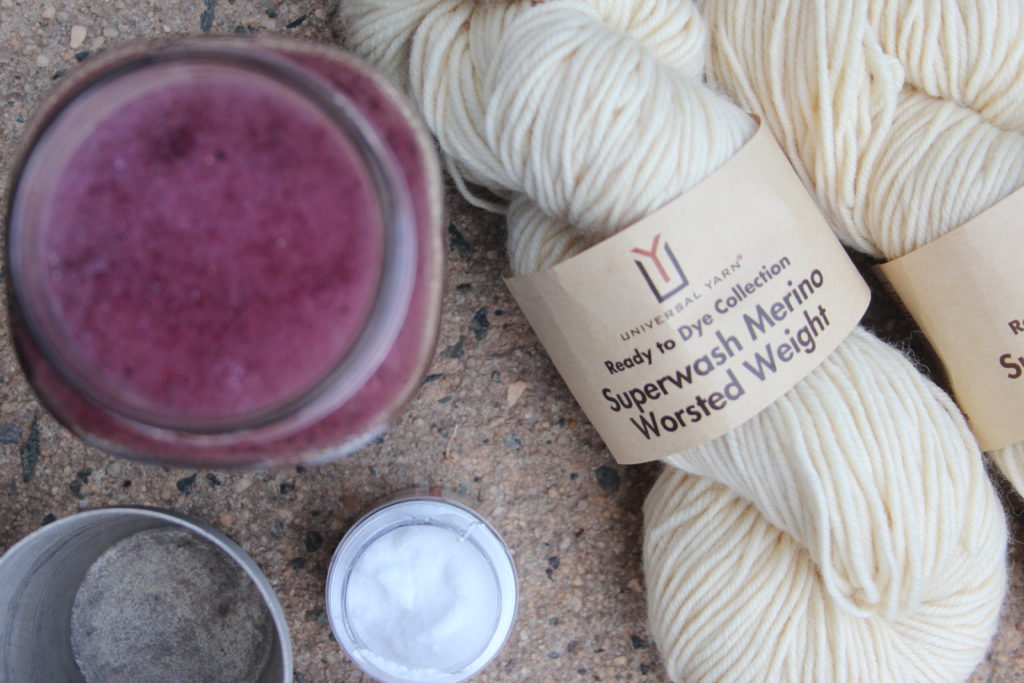
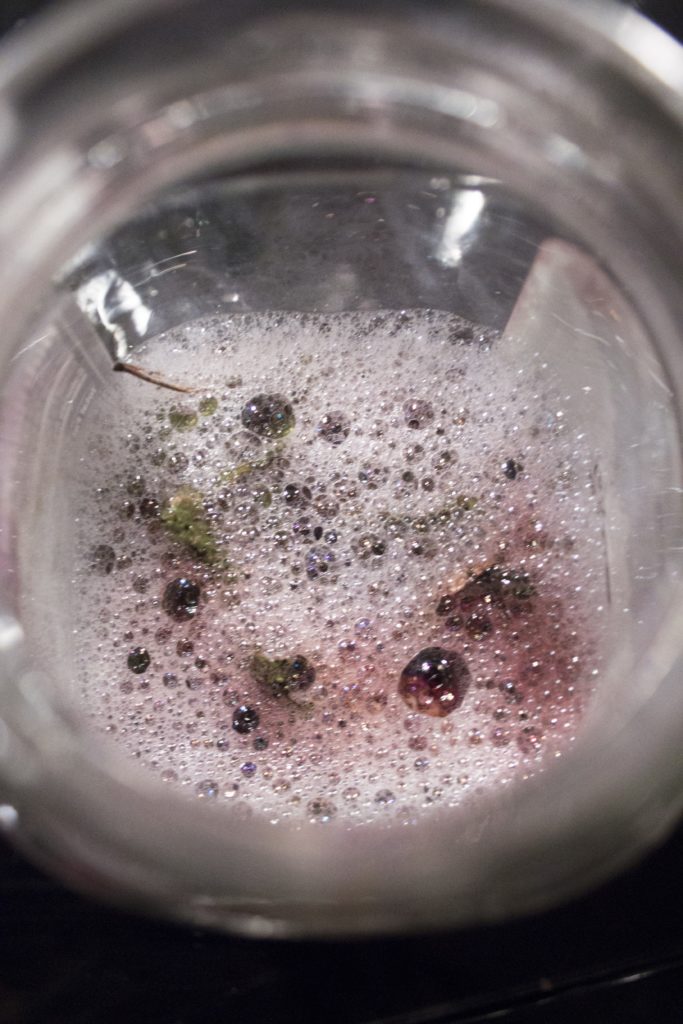
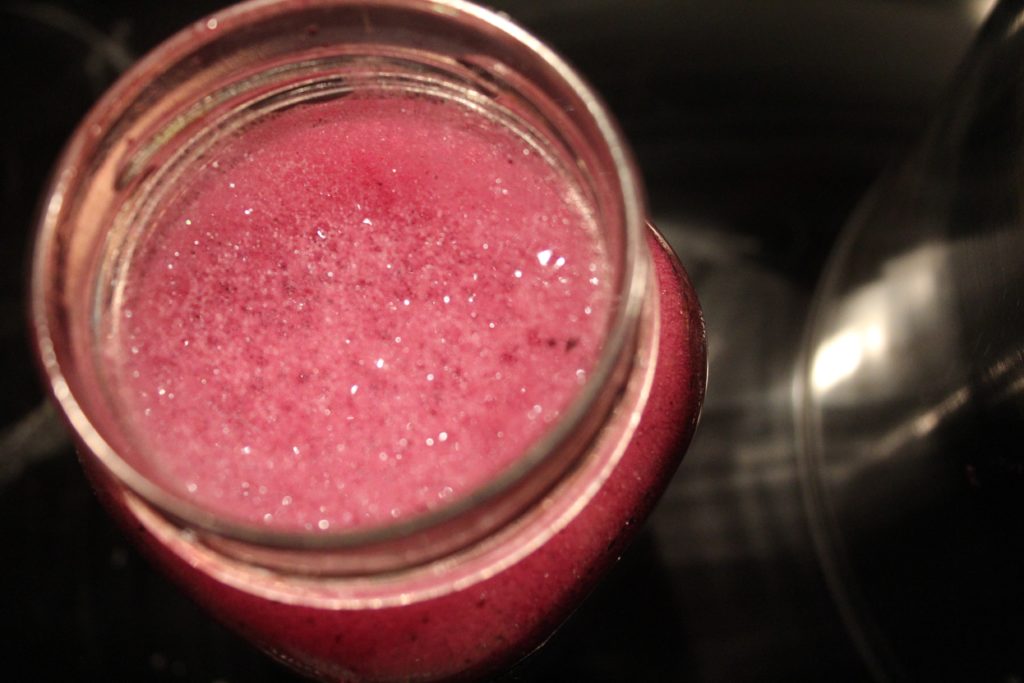
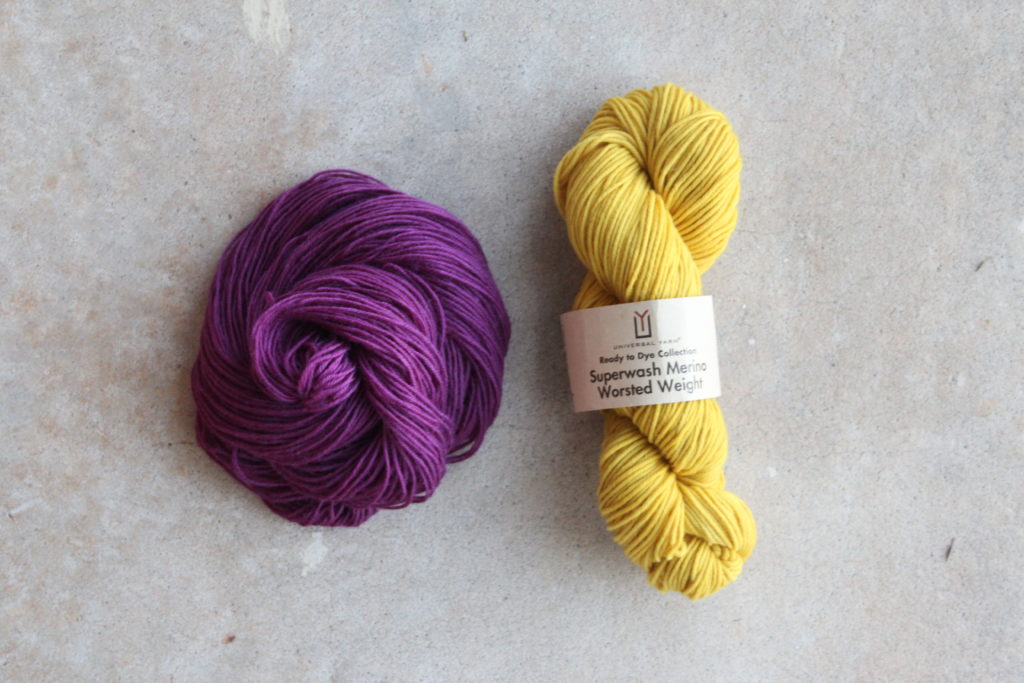
In the second installment of the Natural Dye series, I’m going to show you how to use lichens as a natural dye. If you thought the marigold dye from Part I was fun, you will love this installment. Remember the foamy, magenta liquid in the jar from Part I? That’s the lichen dye.

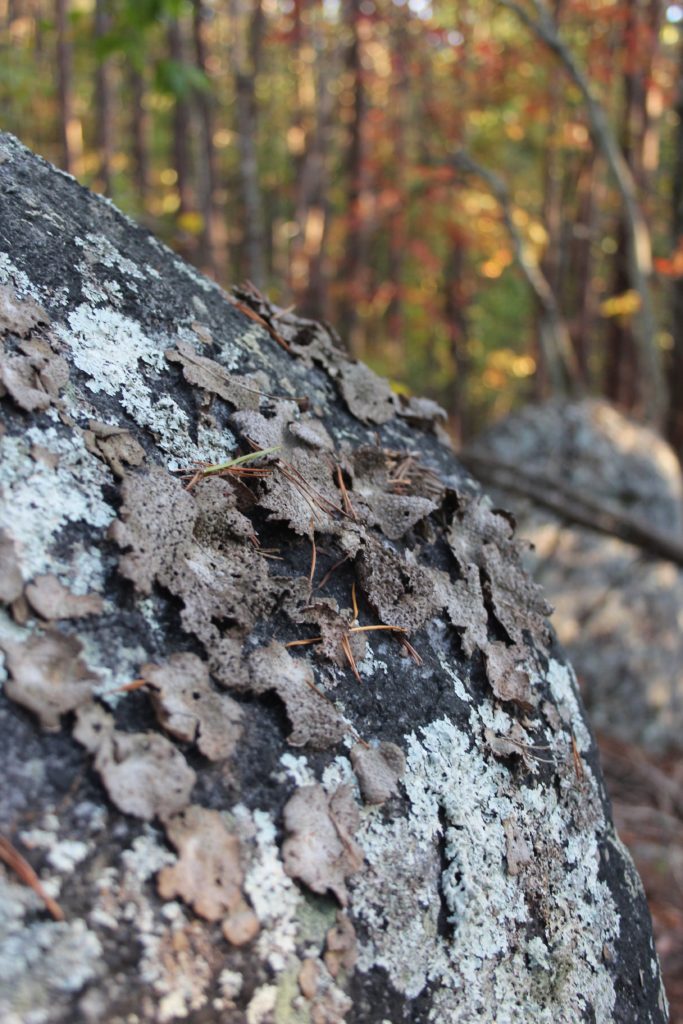
This dye takes about a month to prepare, but it is well worth the wait. Something about it is magical because you’d never expect such a vibrant color to come from a leathery, grey-brown lichen.

For today’s tutorial you’ll need:

  • A glass jar – canning jars or recycled sauce jars are perfect
  • Measuring cups
  • Ammonia
  • Water
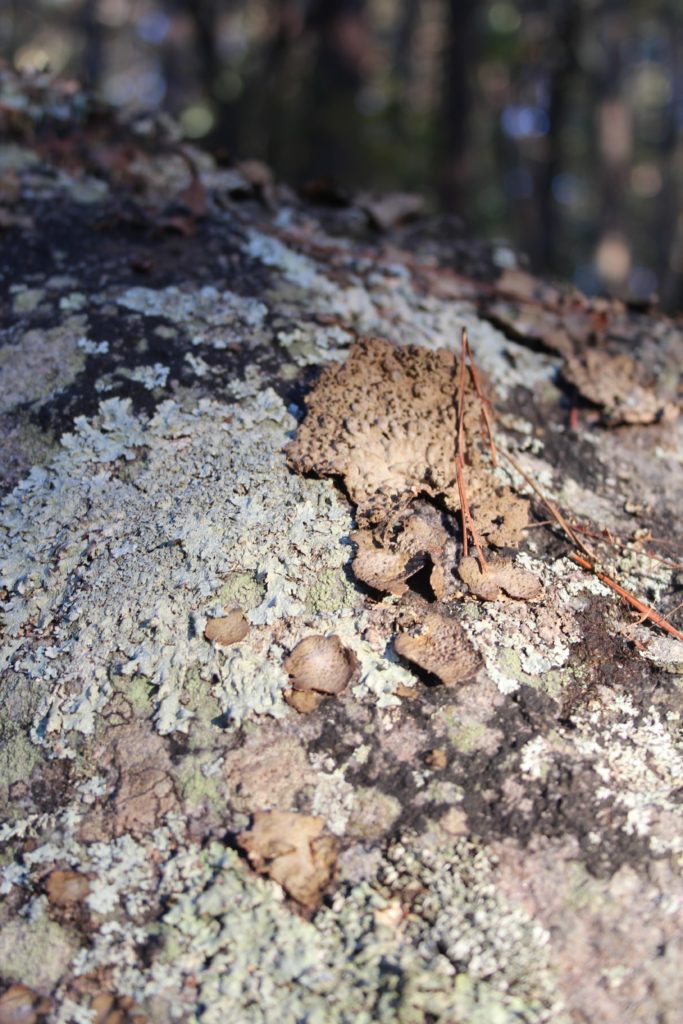
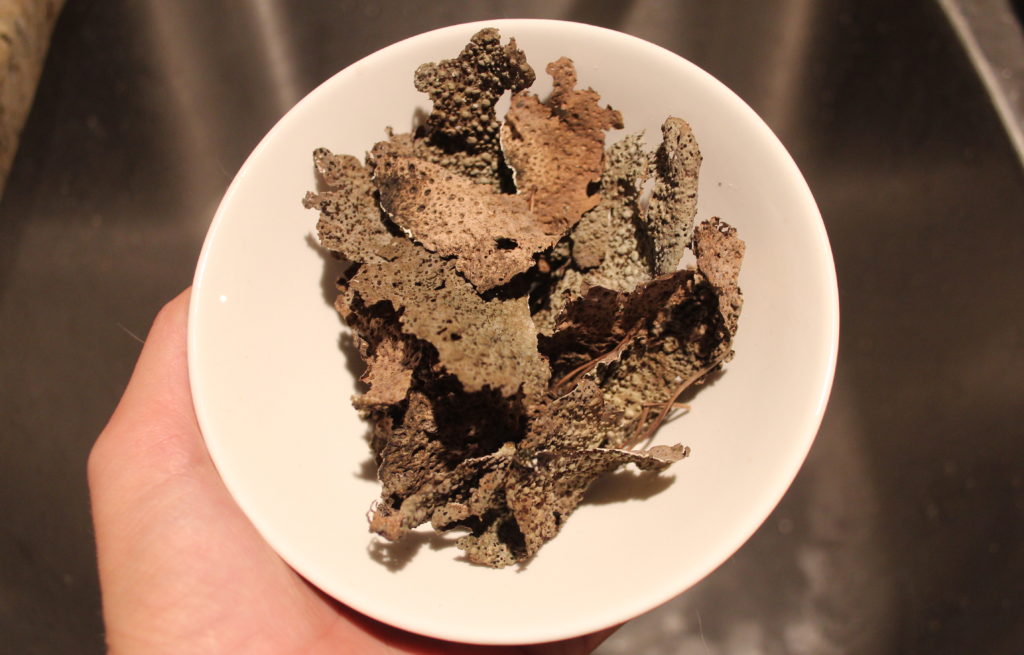
  • A handful of umbilicaria pepulosa (pictured below) – this type of lichen is abundant on boulders, and there are several variations. For results closest to mine, try to find this lichen. You may achieve different results with another variation, but that is part of the fun of natural dyeing!

Before you get started, I want to include a note on ethics and lichen dyes. Unlike our marigold tutorial, in which I grew and harvested my own plants, lichen dyeing requires you to search public and/or forested land. Be considerate and mindful of your impact on the land and how you may be disturbing the ecosystem. Do not collect more than you’ll need – a little goes a long way. Avoid scraping lichen from stones as much as possible as lichen is slow-growing and may not regenerate. I went out on a windy day over the weekend and found more than enough on the ground surrounding the boulders.

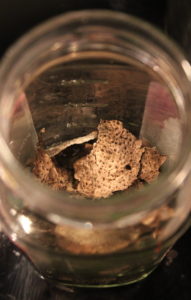
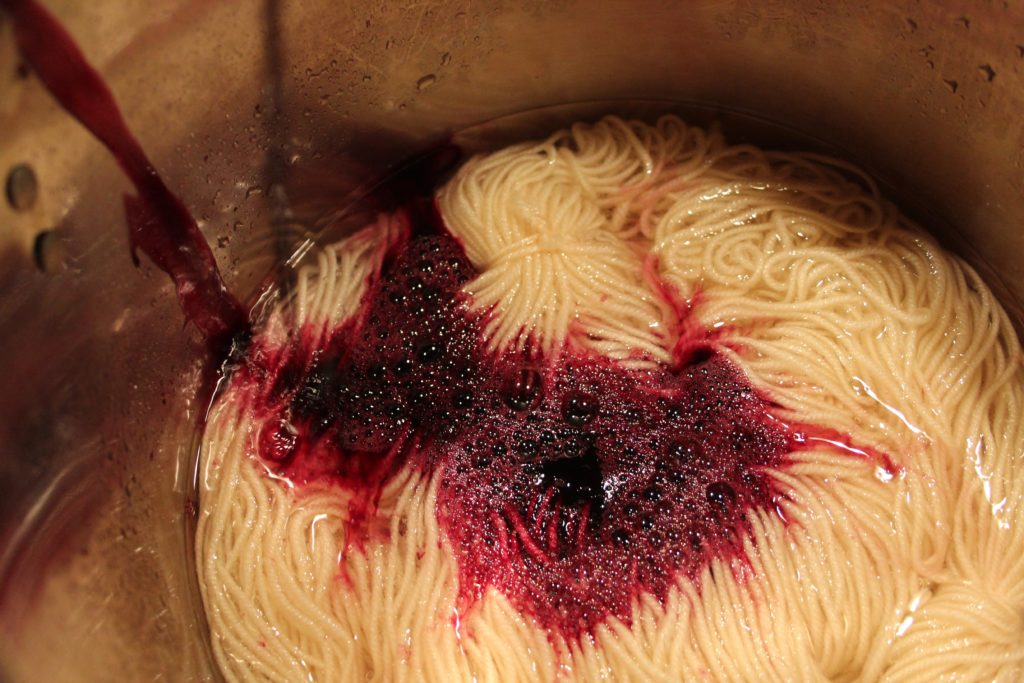
Once you have your lichen, you’re ready to go. To achieve a magenta dye from umbilicaria, an ammonia extraction is required. After you’ve collected your lichen, place your handful into a jar.

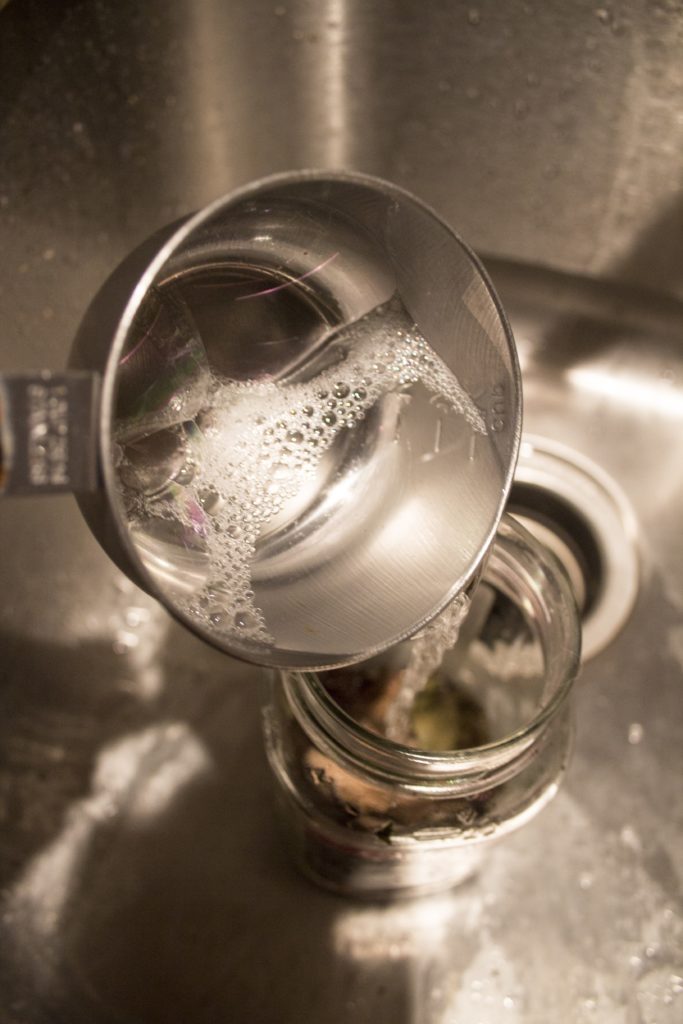
Next, create a 50/50 solution of water and ammonia. I’ve measured out 1 cup each. Pour the solution over the lichen, leaving about an inch of air at the top of the jar. You should notice the solution briefly change to a brilliant shade of red or purple that will fade to brown.

Close the lid tightly and shake to your heart’s content. Give the jar a few shakes each day for about three weeks. Once a week, take the jar outside and carefully remove the lid and swirl the contents of the jar to allow oxygenation. Repeat the process over the next few weeks until the liquid is purple or magenta. This process can take more than three weeks. Do not rush it– it is a practice in patience. I’ve dyed this way many times and have found that I can achieve a gorgeous dye after about a month.

Since I already have another jar of concentration ready to go, I’m going to dive into dyeing.

For this part of the tutorial you’ll need:

  • 1 skein of Universal Yarn Ready to Dye Superwash Merino Worsted Weight yarn.
  • Jar of concentrated dye
  • One stainless-steel pot that you don’t plan to use for cooking – I purchased mine for a few dollars at a thrift store.
  • Tongs – they don’t need to be stainless steel but choose some that you won’t use for cooking.
  • Measuring cups
  • Water

In Part I, you used a mordant to help fix the marigold dye to the fiber. That step isn’t necessary for this lichen. In fact, it can actually dull the color.

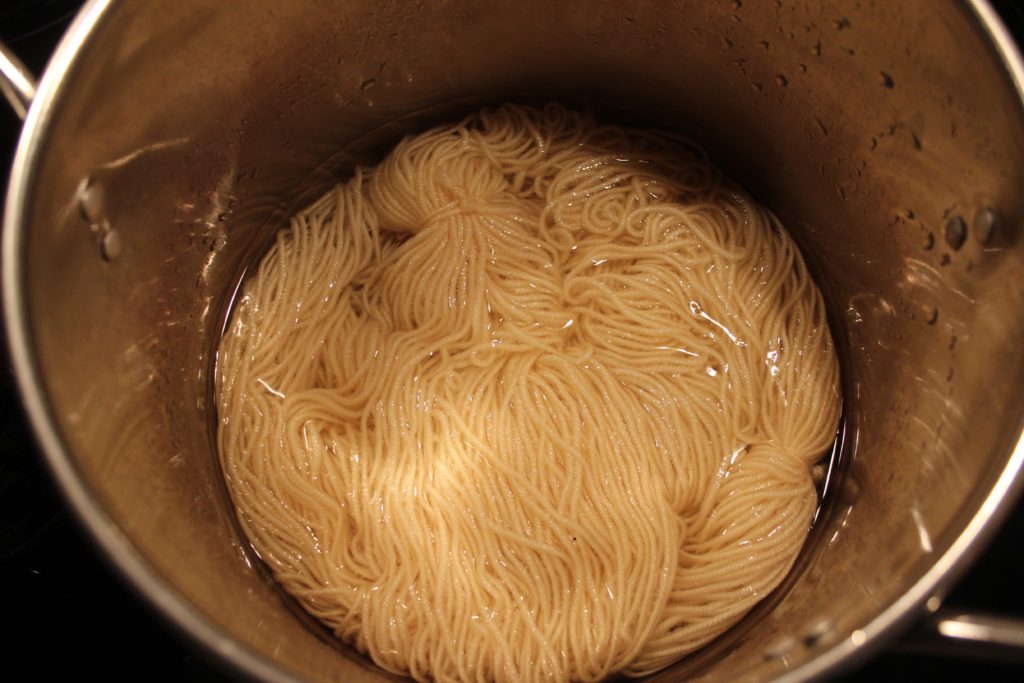
Fill a stainless-steel pot with 4-5 cups of water and place your yarn inside. Set aside for approximately 30 minutes.

Pour off approximately 1 cup of the concentration into the pot. Gently stir and turn the yarn to incorporate the dye into the water. I suggest you open your windows for ventilation as you’ll be warming an ammonia solution over the stove-top.

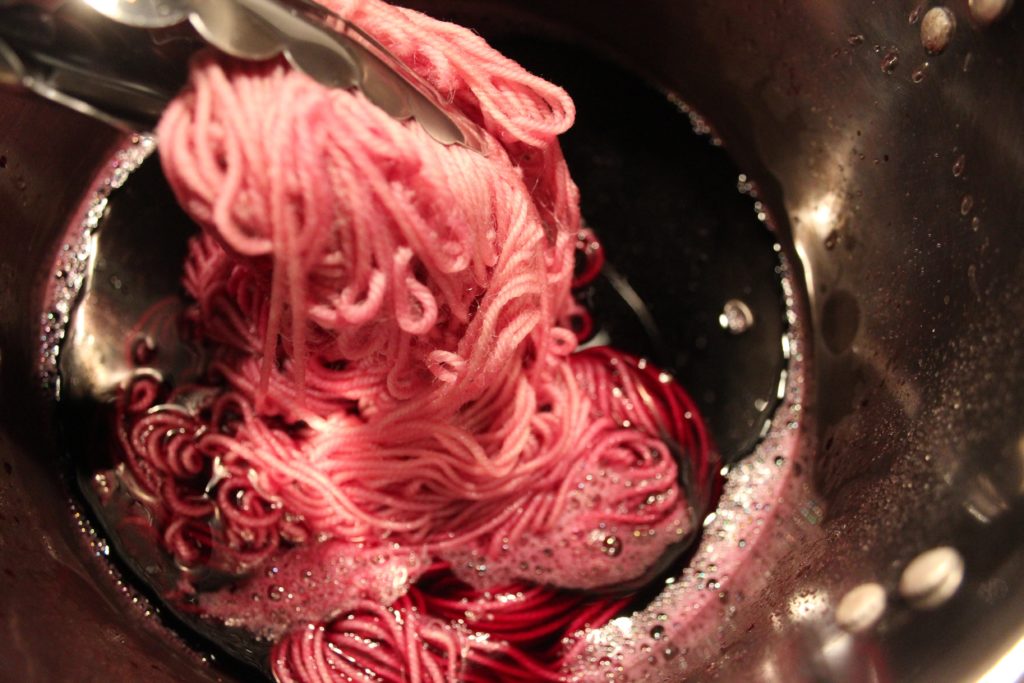
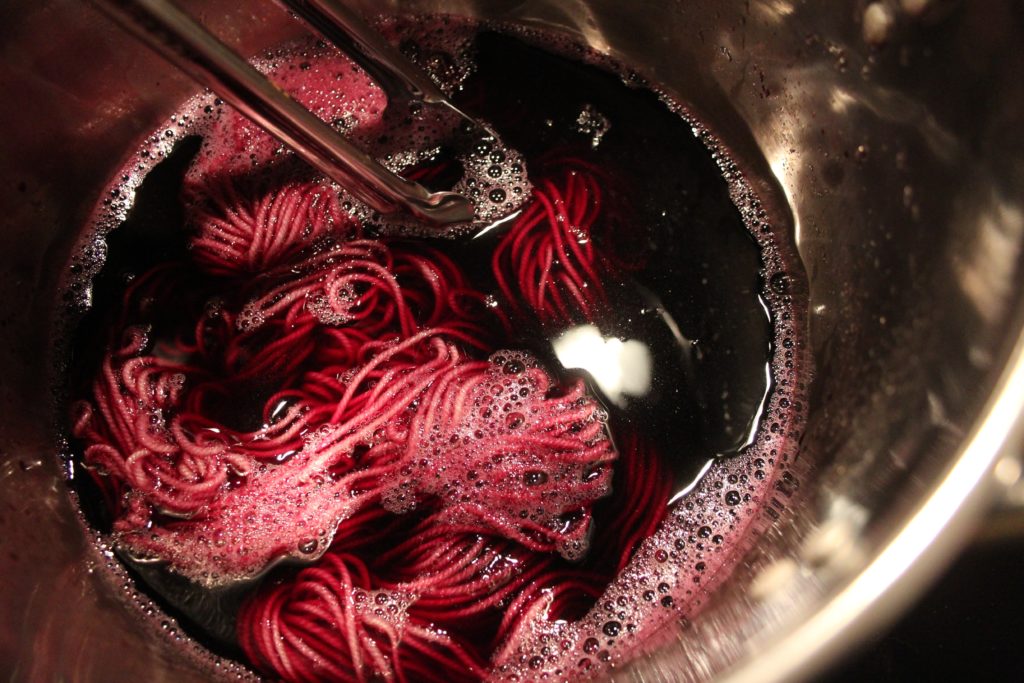
Bring water to just under a simmer. If you have a thermometer it should be about 190 F. Allow the yarn to soak in the dyebath for approximately one hour, occasionally turning the yarn gently with your tongs. Notice how brilliantly saturated the color becomes.

\

Remove from the heat and allow the yarn to cool in the dyebath overnight.

Remove the yarn from the dyebath and thoroughly rinse. I do recommend a gentle detergent or wool wash as the ammonia can be quite pungent. Hang and allow to dry completely. Then, pat yourself on the back for your patience. I told you it was worth the wait!

I’m working on a pattern that uses the yarn from Parts I and II of the Natural Dye series. In the future, I’ll show you how to use natural dyes on some of our other Ready to Dye yarns.

Natural Dye Series: Part I

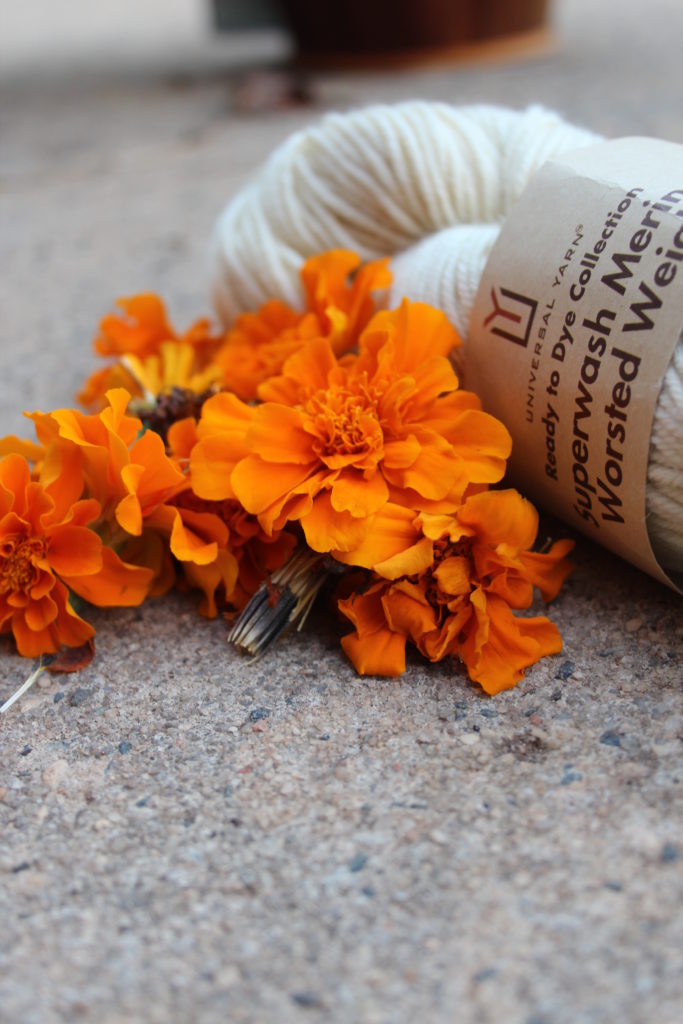
One of my favorite things about this time of year is the abundance of warm colors—the trees are changing, goldenrods are abloom, and my marigolds continue to flourish. All of these things—leaves included, are wonderful resources if you’re interested in dyeing yarns naturally.

Over the next few weeks, I’m going to post some tutorials on naturally dyeing yarn, all using our Ready to Dye Collection. First, we’ll use marigolds to make a gorgeous golden dye. Then, we’ll dive into an especially exciting dye: umbilicaria lichen. Finally, we’ll work on a project that incorporates the colors of both yarns. I hope you enjoy this series!

For this collection, I’ve chosen our Superwash Merino Worsted Weight yarn. It’s plump, soft, and perfect for a satisfying quick knit. After dyeing your yarn, I promise you’ll want to knit it up immediately.

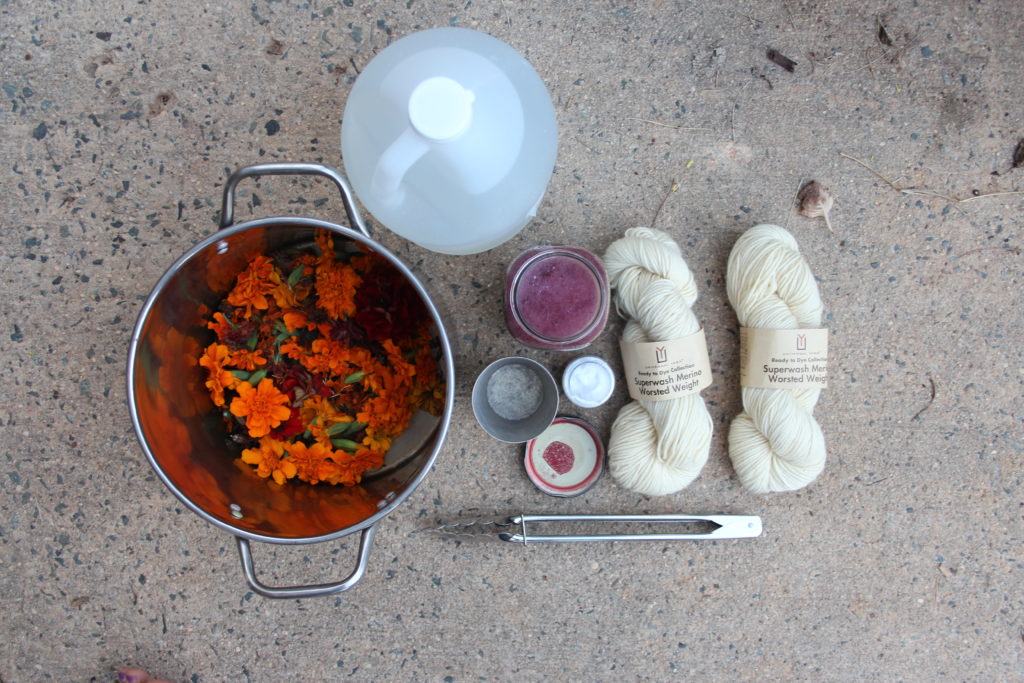
For today’s tutorial you’ll need:

  • 1 skein of Universal Yarn Ready to Dye Superwash Merino Worsted Weight
  • Approximately 100 g of marigolds
  • Alum – you can find this in the baking/spices section of your grocery store.
  • Two stainless-steel pots that you don’t plan to use for cooking – I purchased mine for a few dollars at a thrift store.
  • Tongs – they don’t need to be stainless steel, but choose some that you won’t use for cooking.
  • A kitchen scale – I can’t recommend this one enough. Although it isn’t essential, if you’re a knitter, you should have one! It’s useful for much more than dyeing.
  • Measuring cups/tablespoon
  • White distilled vinegar
  • Salt
  • Water

The first thing you’ll want to do is create your mordant. Mordant is what fixes the dye to the fiber.

  1. Dissolve 1 Tbsp of alum into ¼ cup of hot water.
  2. Fill a stainless-steel pot or bowl with enough water to cover your yarn so that it can move freely.
  3. Pour your mordant into the water.
  4. Add your yarn and soak for about an hour.

While your yarn is soaking, you can prepare the dyebath.

  1. Fill your stainless-steel pot with enough water to allow your yarn to flow freely.
  2. Dissolve 1 tbsp of salt into the water.
  3. Pour ½ cup of vinegar into the water – salt and vinegar help to brighten the dye.
  4. Add your marigolds and use the tongs to stir the pot.
  5. Bring to a simmer over your stovetop. Allow to simmer for about 30 minutes.
  6. Lower the temperature so that the water is just under a simmer. If you have a thermometer it should be about 190 degrees F. I’m a bit irresponsible, and I usually eyeball this part. I haven’t had any issues yet, but use a thermometer if you’re worried.

Remove your yarn from the mordant bath. Gently squeeze (do not wring) the excess mordant from the yarn (you can place the remaining mordant into a jar to save it for another dye project if you’d like). Carefully place your yarn into the dyebath.

Continue to soak the yarn in the dyebath over low heat (maintaining a temperature just under a simmer) for approximately an hour. Gently turn the yarn with your tongs occasionally. After an hour, remove the pot from the heat. Set aside to cool. I usually leave my yarn in the dyebath overnight.

Remove your yarn from the dyebath and thoroughly rinse. You can use a wool wash or gentle detergent if you wish. You’ll need to gently shake out bits of flowers and plant matter.

Hang and allow to dry completely.

Finally, admire your results!