Afghan Knitalong – Don’t Be A Square!

It’s knitalong time!

Cupcake colors_med

Designer Amy Gunderson is guiding us through a new project: the Don’t Be A Square Afghan.  This will be a geometry-themed project with a different square every other week.

What to expect: The squares will highlight different techniques and color combinations.  Look forward to intarsia, cables, applied elements, and unique textures.  We’ll be posting video tutorials – this will be a great opportunity to learn something new.

Skill level: There will be enough to interest an experienced knitter, but if you’re a newer knitter, don’t be afraid to jump in.  We’ll guide you along the path.  Instructions will be both written and charted.

As for timing, we’ll be done with the whole thing just in time for Mother’s Day next year.  You’ll have a ready-made gift.

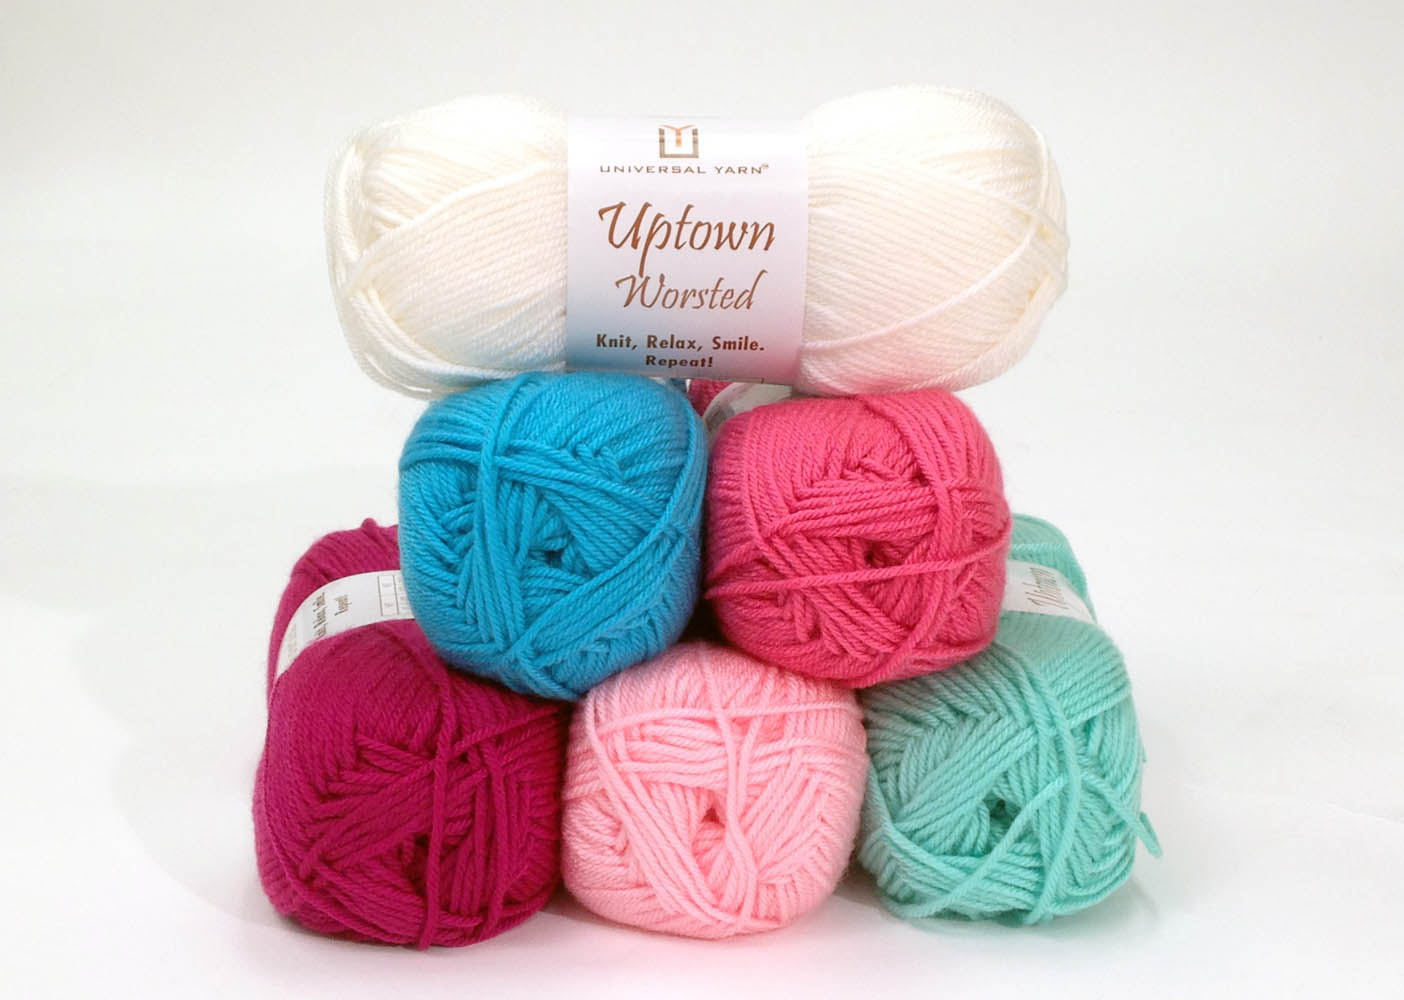
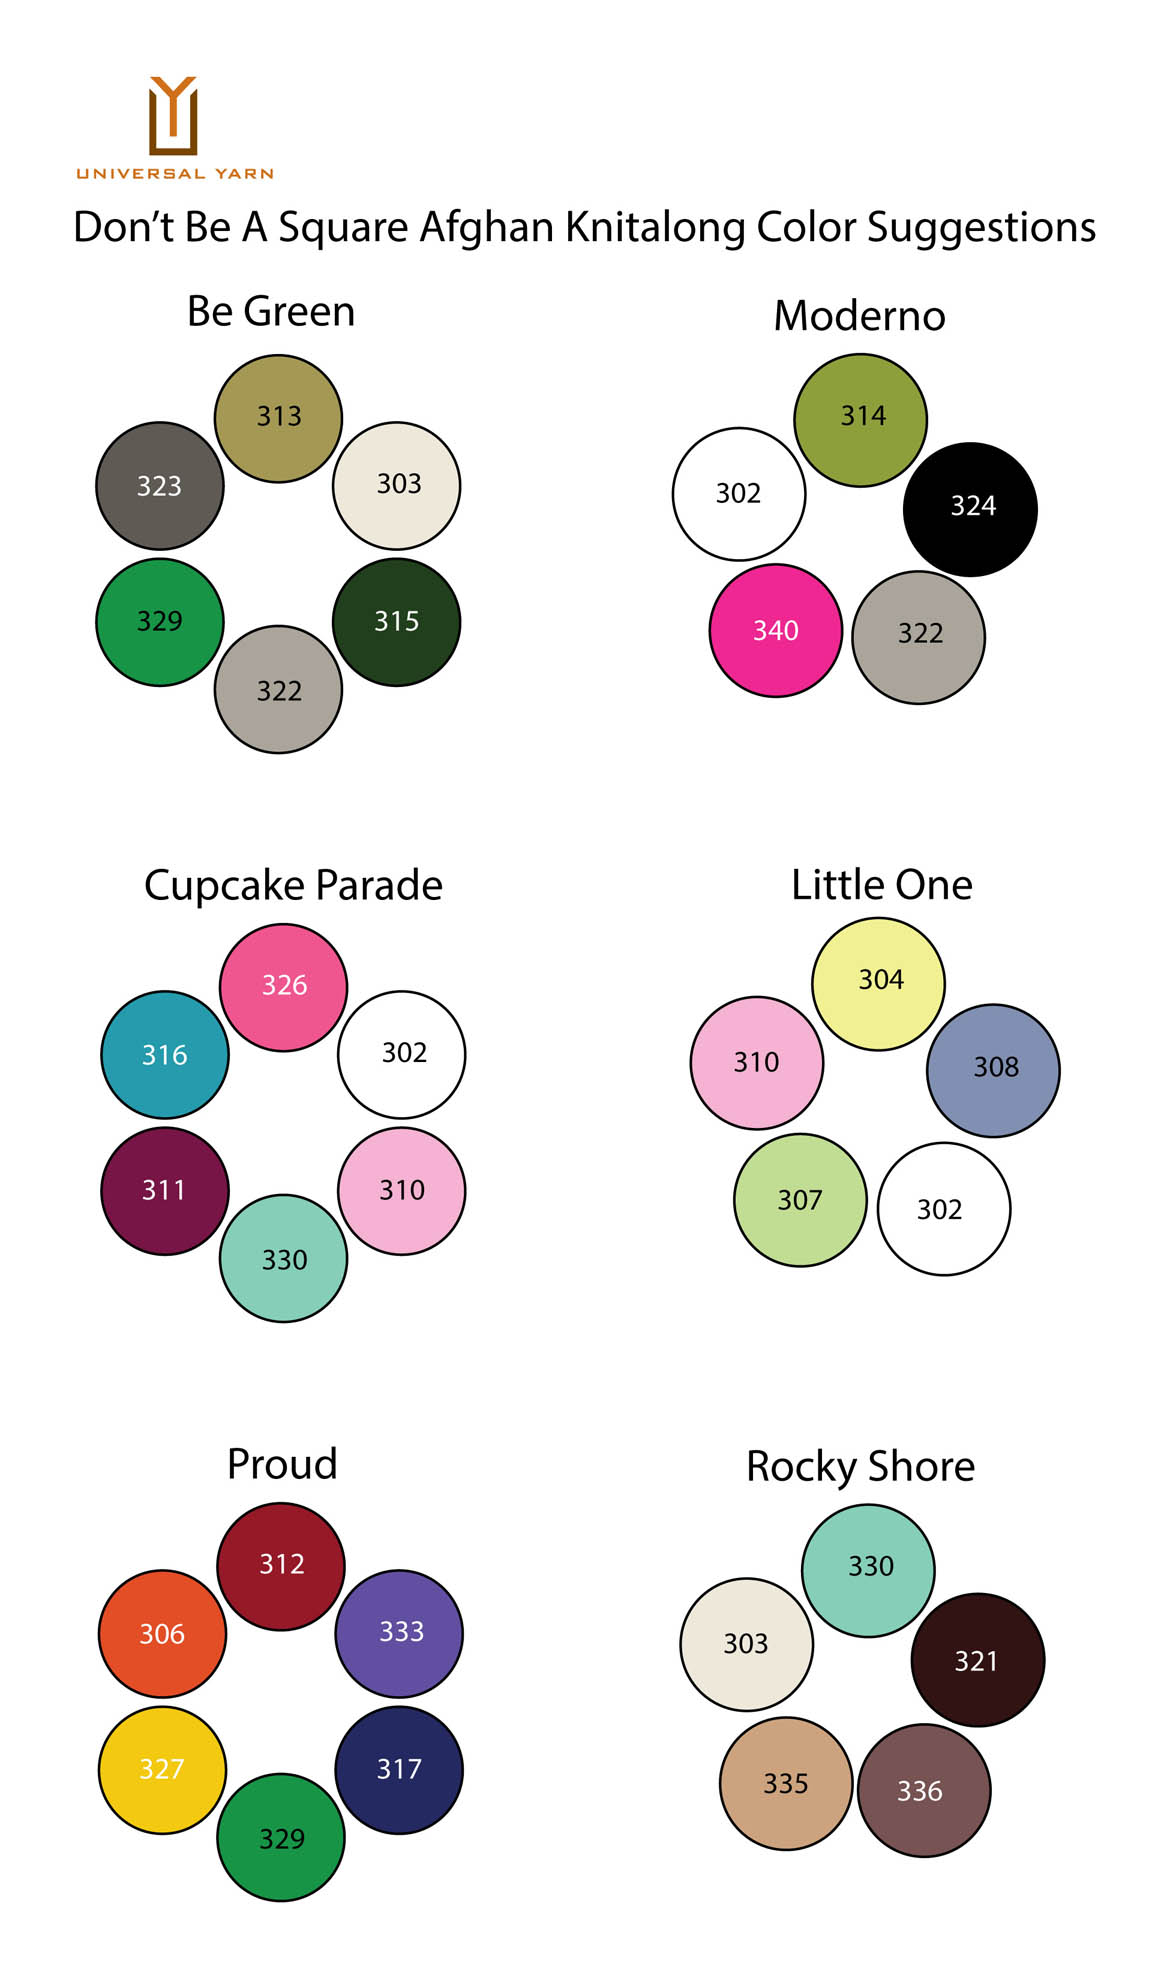
Want to get ready?  Amy has highlighted some suggested color combinations in our Uptown Worsted 100% anti-pilling acrylic below.  We strongly recommend at least four colors.

coloroptions_circles with logo med

How much yarn?  Amy: “Each block, barring heavily cabled blocks, will require about 30g of yarn. So the finished 20 blocks will require, at minimum, about 600g or 6 balls. I’d like to recommend preparing for 2 balls of each color if a person is using 5 or 6 colors because the 600g doesn’t take into consideration edging.”

Gauge: 17 sts x 21 rows = 4″ in St st.

Finished Size? Amy: “Made in Uptown Worsted, each square will be about 8½” square.  The finished afghan will be 4 x 5 squares, or 34” x 42½ ”.  Made in Uptown Baby Sport, the finished size would be about 75% of the size of the worsted afghan. Made in Uptown Bulky, it would be about 30% bigger.”

Pick your colors, grab your needles, and start swatching.  We’ll be back in March with the first block and some handy tips!
Free Pattern – Heart Pouch

Stopping by woods

We’re snowed in here at Universal Yarn.

Well – we’re not snowed in at Universal Yarn.  Once the statewide winter storm warning was issued, we were all sensibly sent home.  It’s been a day of playing in the snow, then coming inside to warm up under a cozy blanket with crafty projects.

Watching my teenager play in the snow has been a treat.  Today, all the cares of school have been stripped away.  Worries about grades, about not measuring up to her peers, about whether she’s meeting the expectations that are placed on young women, they all vanish into the basic joy of dodging snowballs.

I wish that this wild child could find her way to the surface more often and remind herself that she is beautiful and strong and smart.

We all have someone in our lives whom we love.  Someone who makes us laugh.  Someone who makes us shake our head with how wonderful they are.  Someone who sometimes doesn’t see in themselves the wonderful things that we see.  They might be a child or a relative or a trusted friend.  But they make our lives better.

Heart Pouchin Uptown DKToday I am making a little gift for my daughter.  A small Valentine’s Day pouch in Uptown DK, sized just right for a compact mirror.  And with it, I’ll include a rhyme:

If I had one wish

Just for you

You’d see yourself

The way I do.

We’re making the pattern and chart available for free (click here) in case you want to try something similar on this snowy day – or any day.


Knitter’s Toolbox: Lifelines

We’ve had a couple of people who have lost their way along the Mystery KAL Harder Path, and we’d like to make it a little easier for you to find your way back. So let’s talk about lifelines!

Lifelines are one of those McGyver tricks that every knitter should have in their toolbox. They can save you from getting frustrated at a mistake and ripping your whole project out. And they could not be easier to do.

All you’re going to need is your project, a length of smooth contrasting colored yarn a little longer than the width of your project, and a tapestry needle. This swatch and lifeline are both in our Uptown Worsted 100% anti-pilling acrylic (180yds/100g).
Step One
Thread your lifeline onto the needle. Run it through your work, alongside the knitting needle. The lifeline is going to be right where your active loops currently are.

Step 2

On your next row, knit as you normally would, disregarding the lifeline. It’s just going to hang out in your work, staying in the same row of loops you threaded it through.
Step 3

Here’s where it comes in handy. In the next picture, we’ve dropped some stitches! But wait – the lifeline is in place! Instead of unraveling all the way back down to the cast-on edge, the dropped stitch hit the lifeline and stopped. We still have to pick up the stitch, but it’s not the disaster that it could have been.

Step 4

Let’s say I realized I made a mistake about 20 rows ago (gasp!) and need to rip back to the point of the error. Thankfully, I put in a lifeline right before I was starting on the tricky bit, so I can just rip back and the lifeline will keep my stitches aligned and ready to go back on the needle. I just slide my needle through the channel created by the lifeline. I’m good to go!

Step 5

I’m putting in a lifeline as I begin Clue 2 of my Mystery Sweater. If something goes wrong, I can just rip back to that point, reset my needle, and start Clue 2 again. No muss no fuss.

We hope this helps!

ETA: Run your lifeline AROUND your stitch markers, not through. Otherwise you can’t move the stitch markers to the next row. You can guess how I learned this!