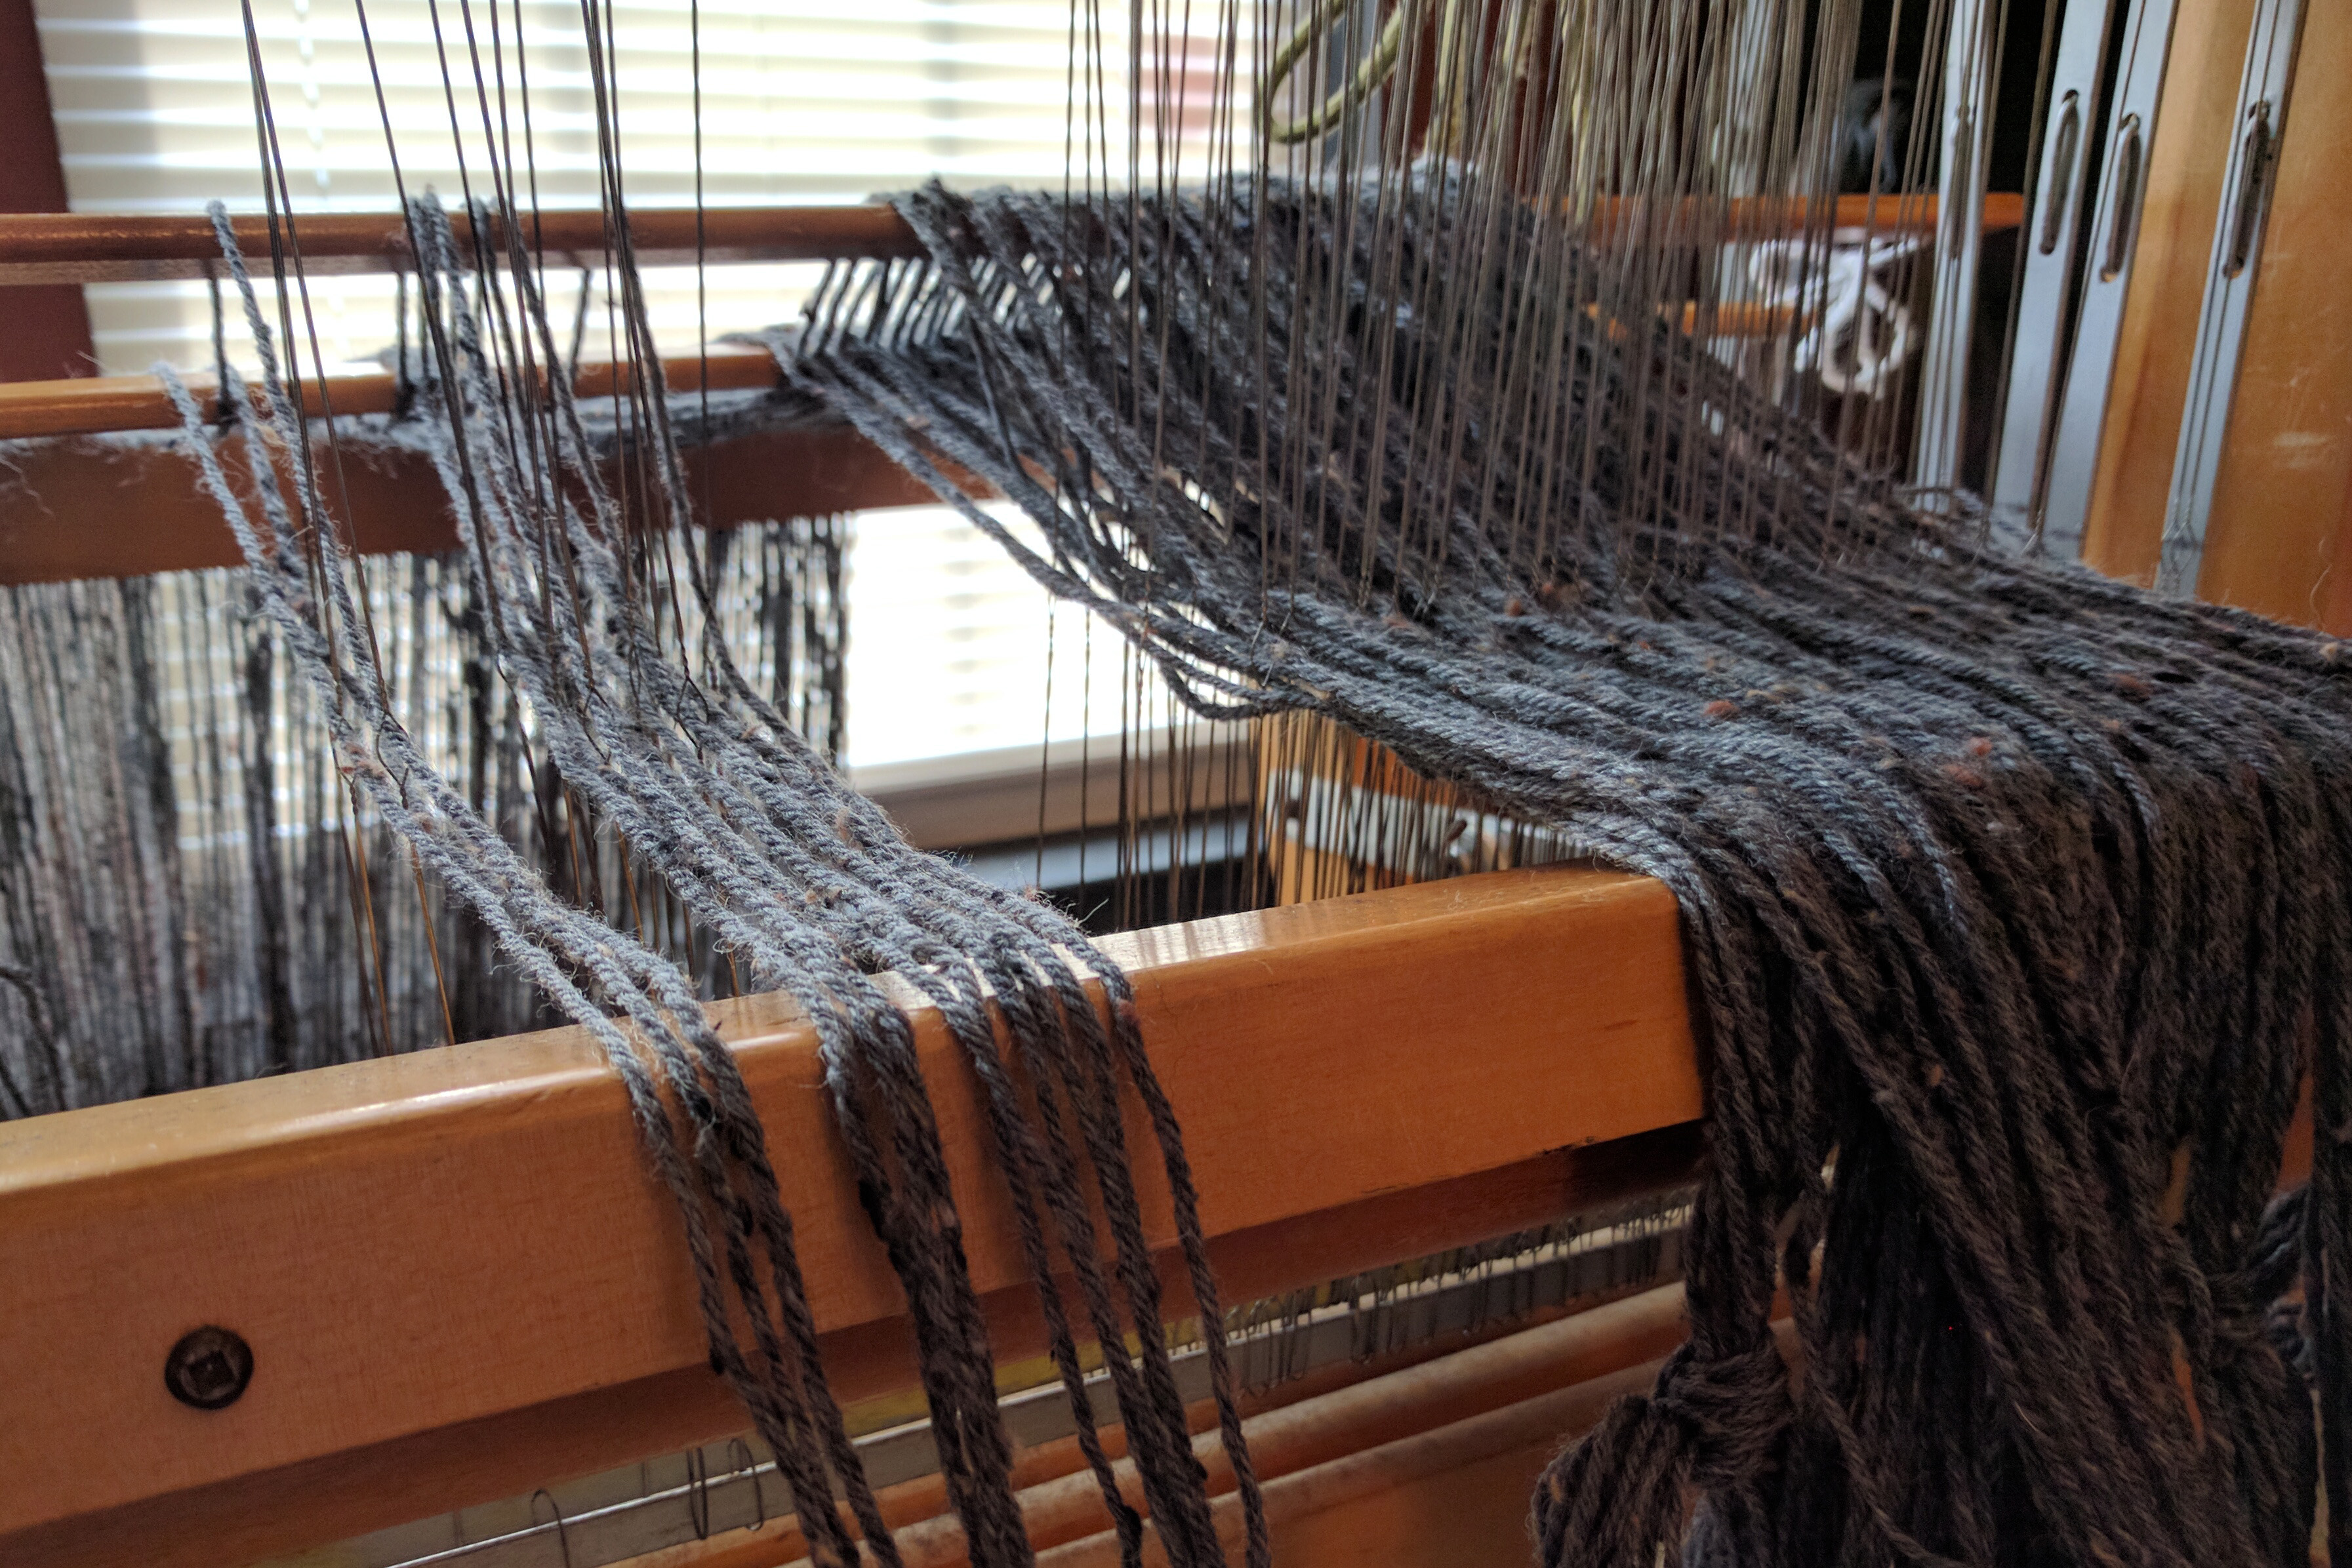
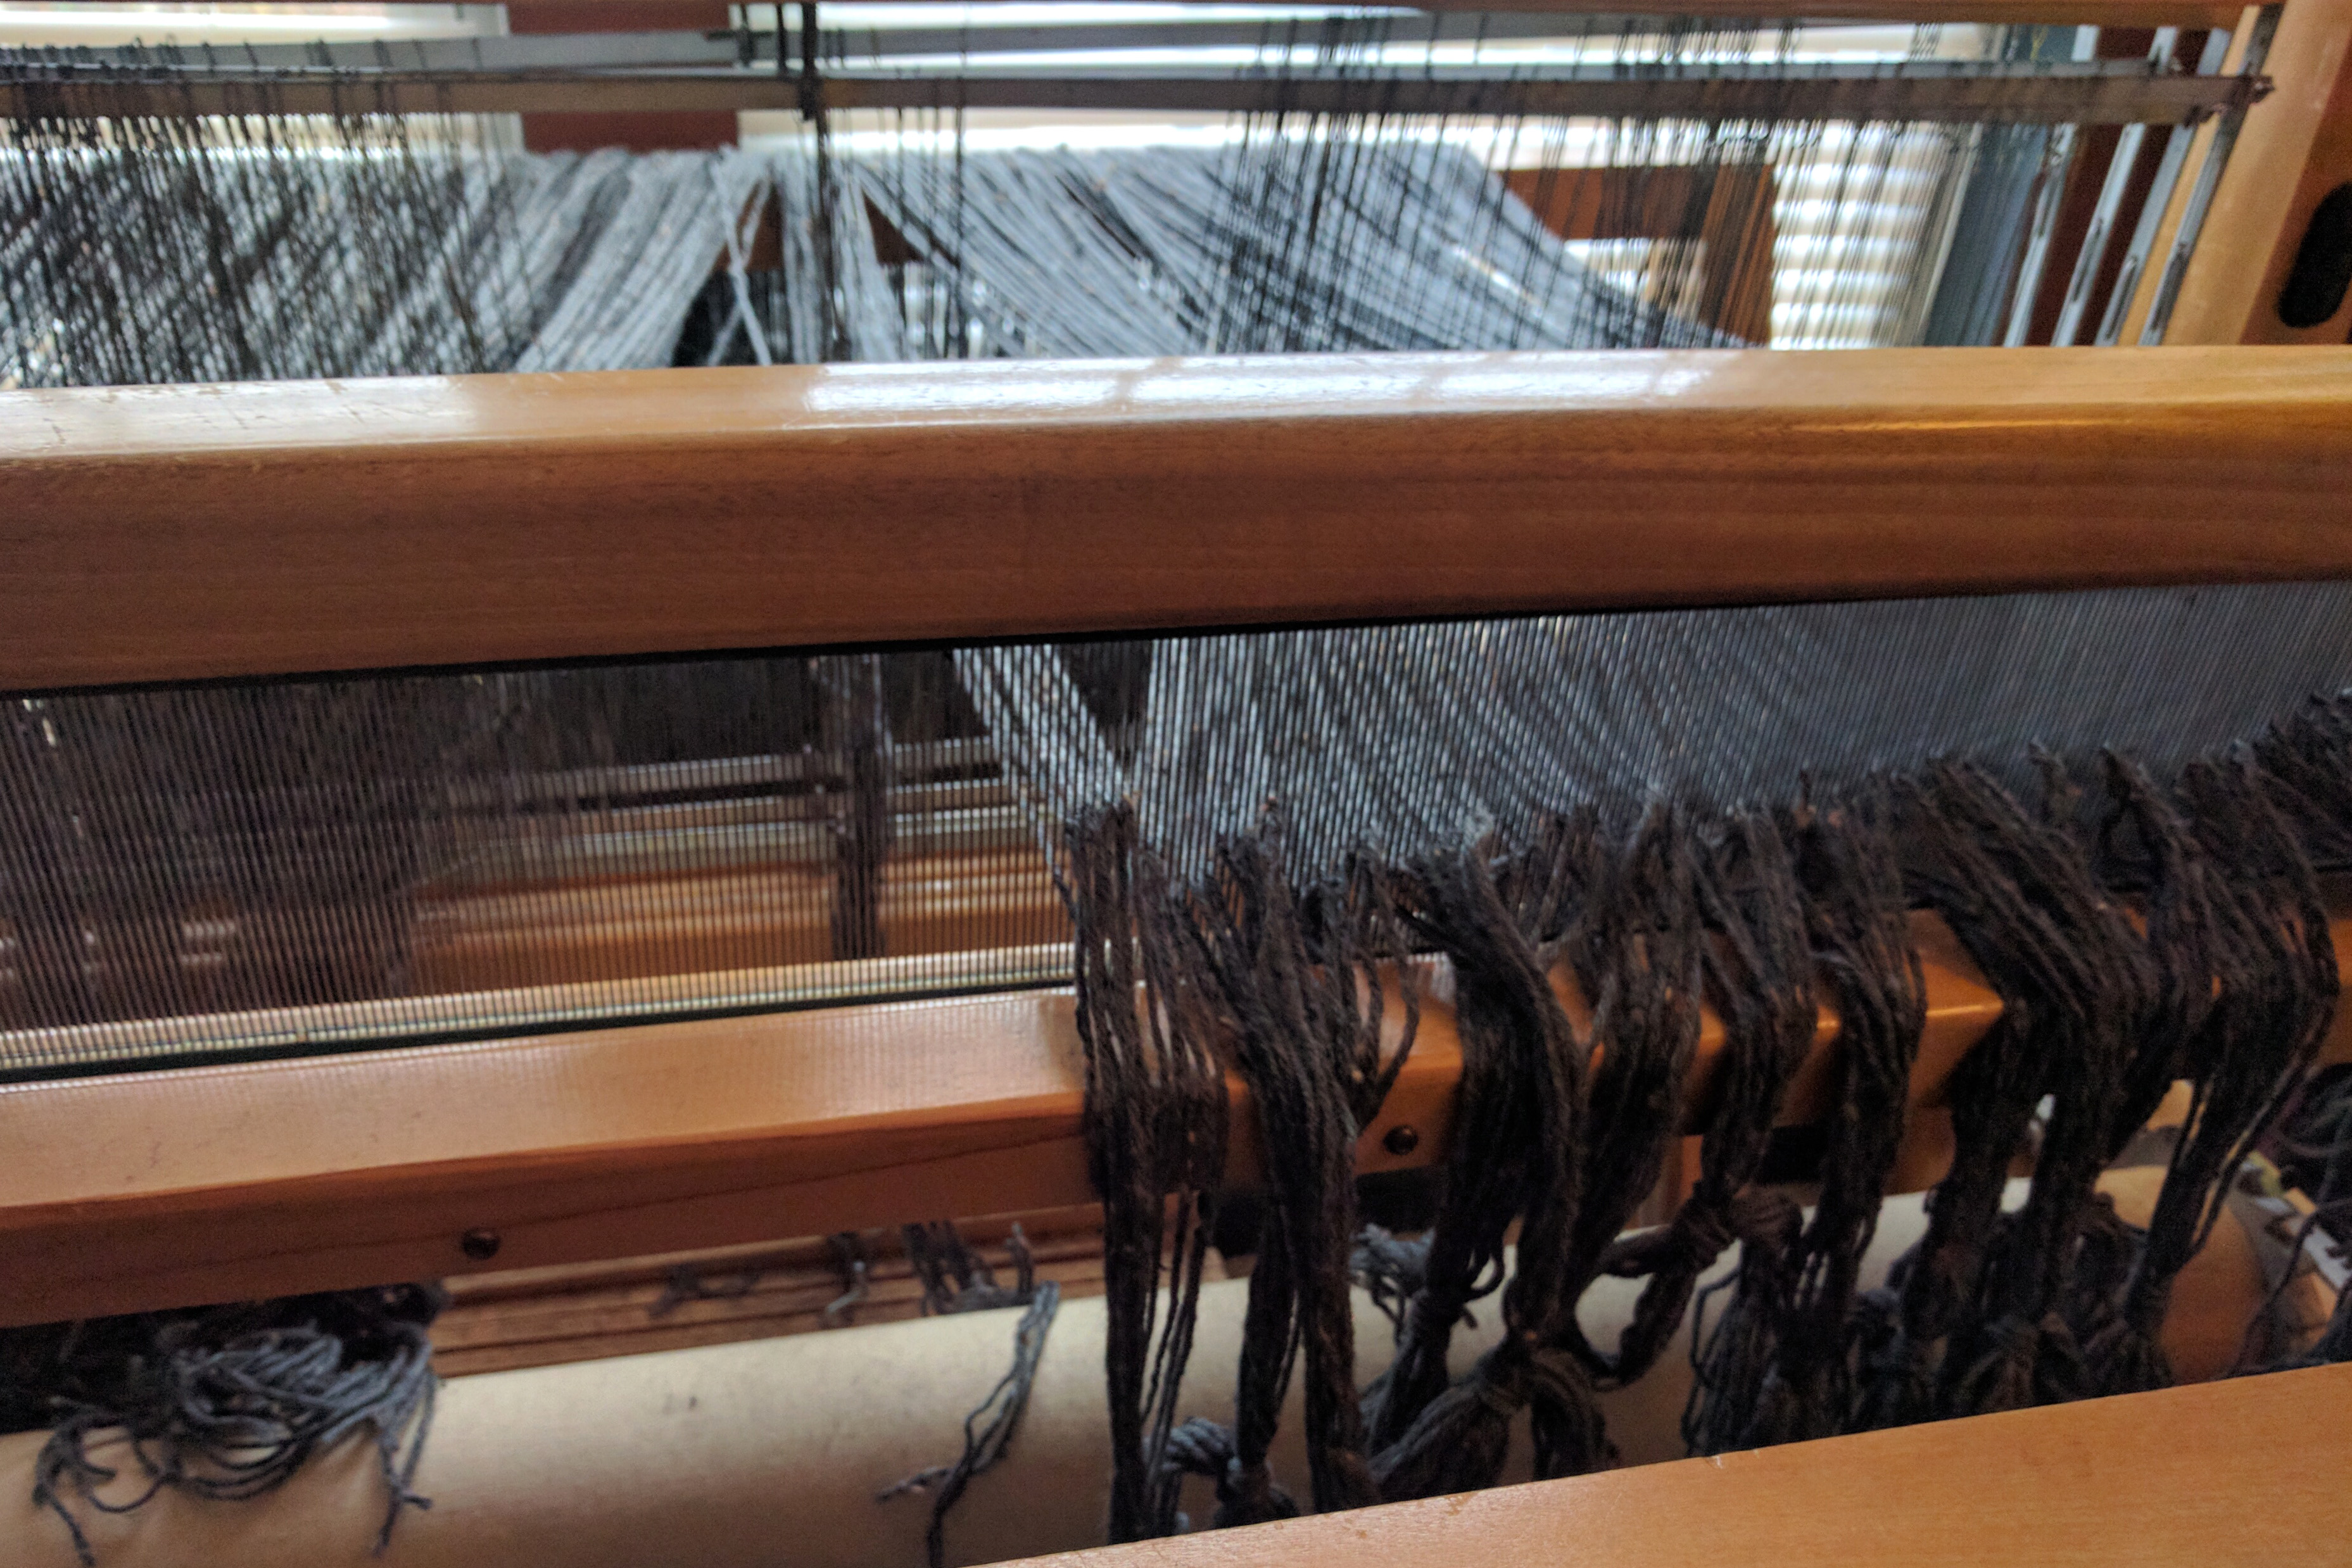
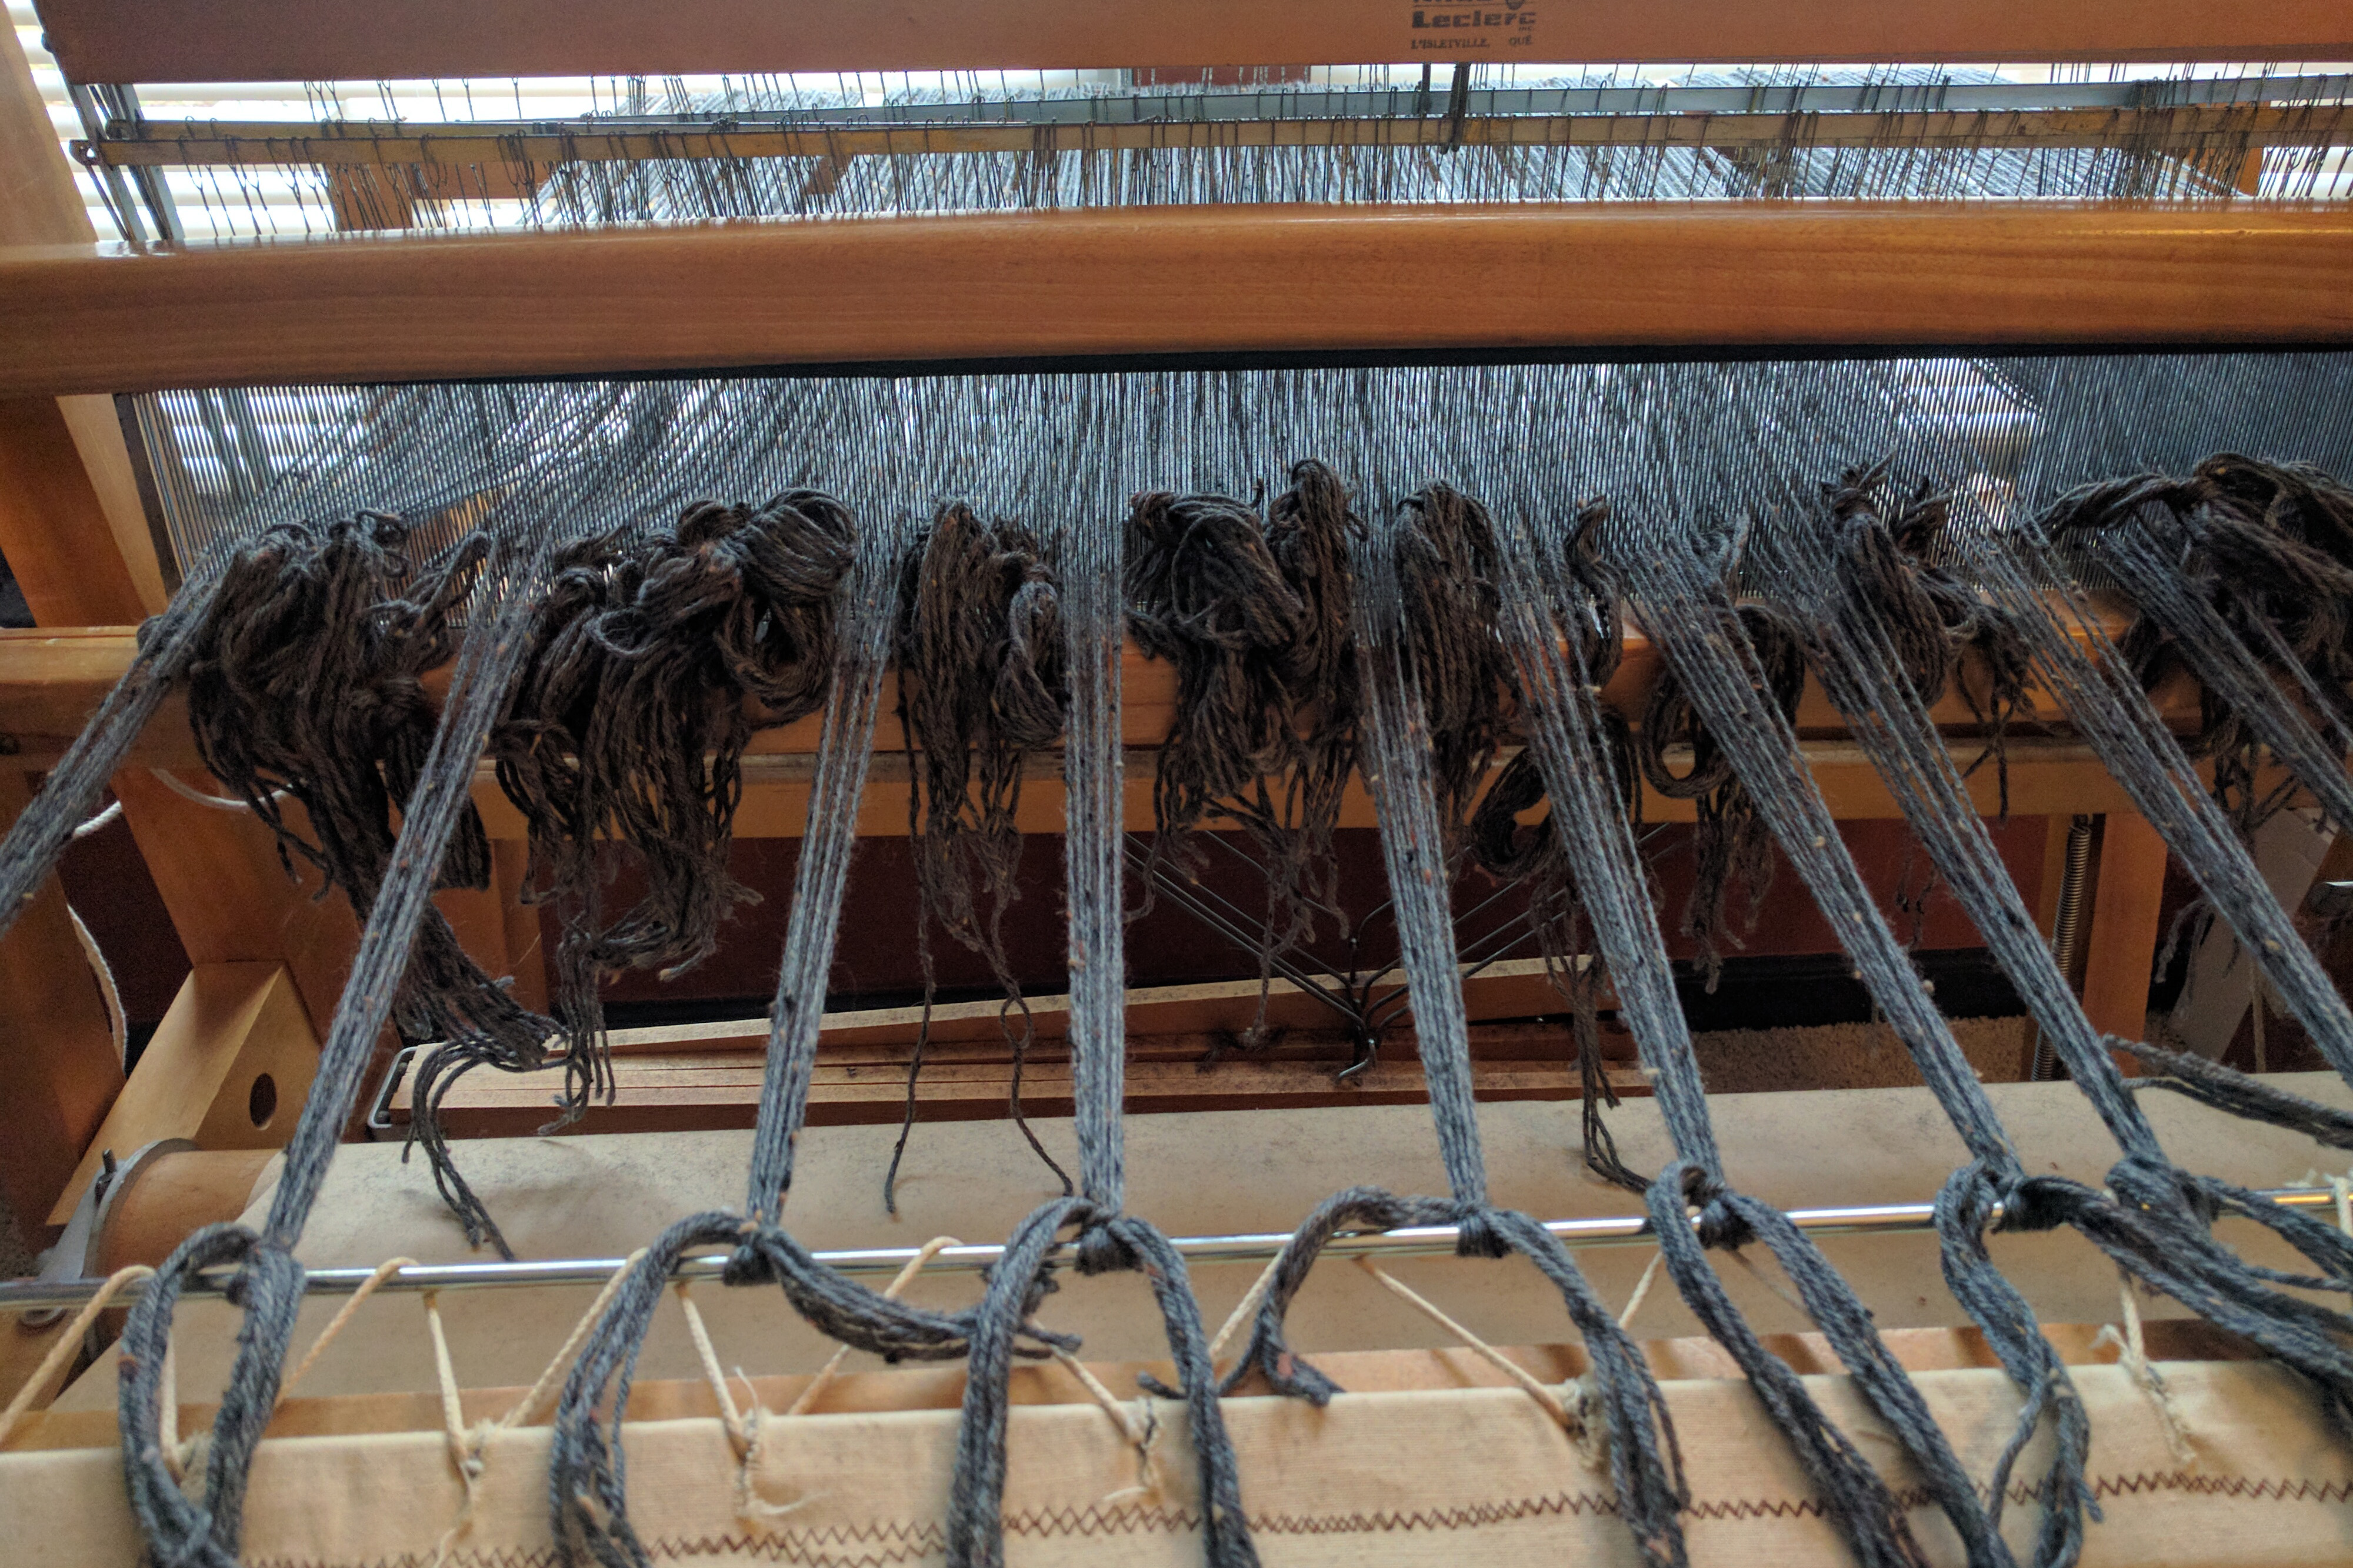
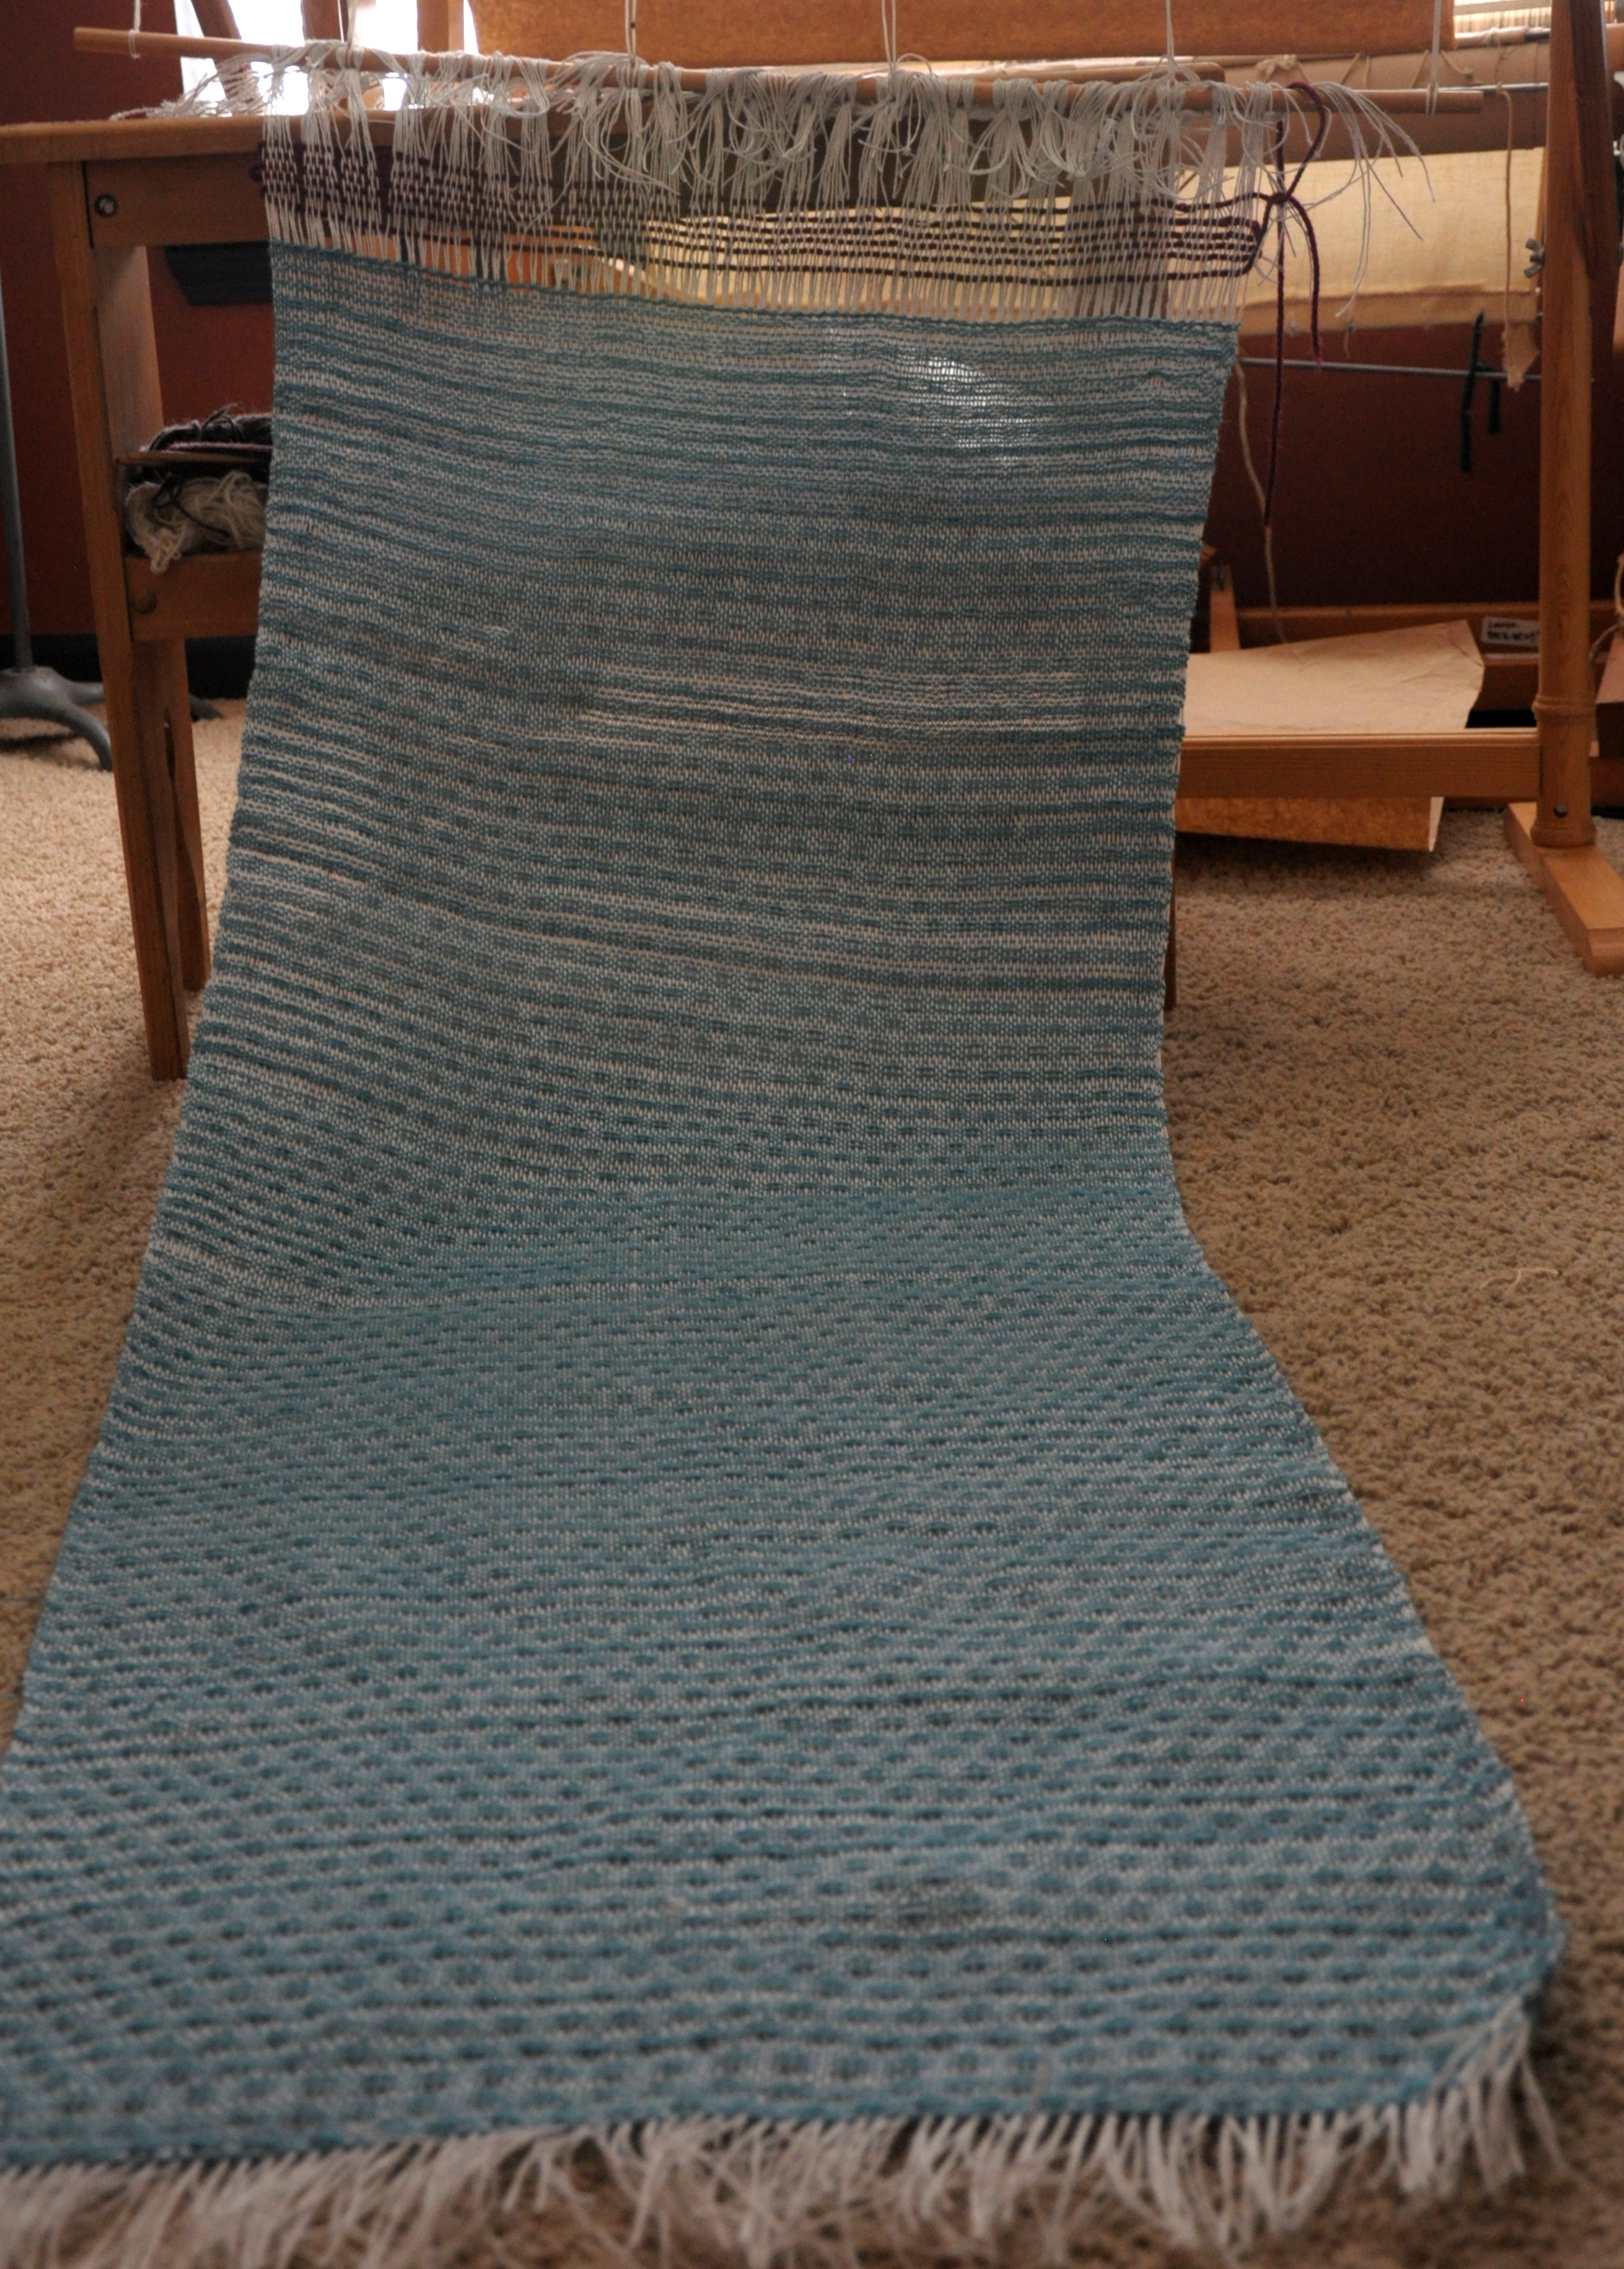
Last time on Weaving Wednesday, I talked about warping for my lace stole in Universe. Once I got over relearning how to warp my floor loom, it was smooth sailing!
Here are the specs on this project:
- Yarn: Universe, color 10-07 Woolen
- Reed: 10 dent
- Total ends: 241
- Width on loom: 24″ (desired finished width is 20″)
- Warp Length: 100″ (desired finished length is 60″)
(Update: There is now a written version of this pattern available here)
My warp is 40″ longer than my desired length. I know that there will be a good 10% take-up in finishing. Plus I left plenty of extra length at each end for fringe.
Since I knew I was going to be doing some different lace patterns, I actually kept good notes on just what I wove in my beginning header so I could repeat it on the other end – go me!
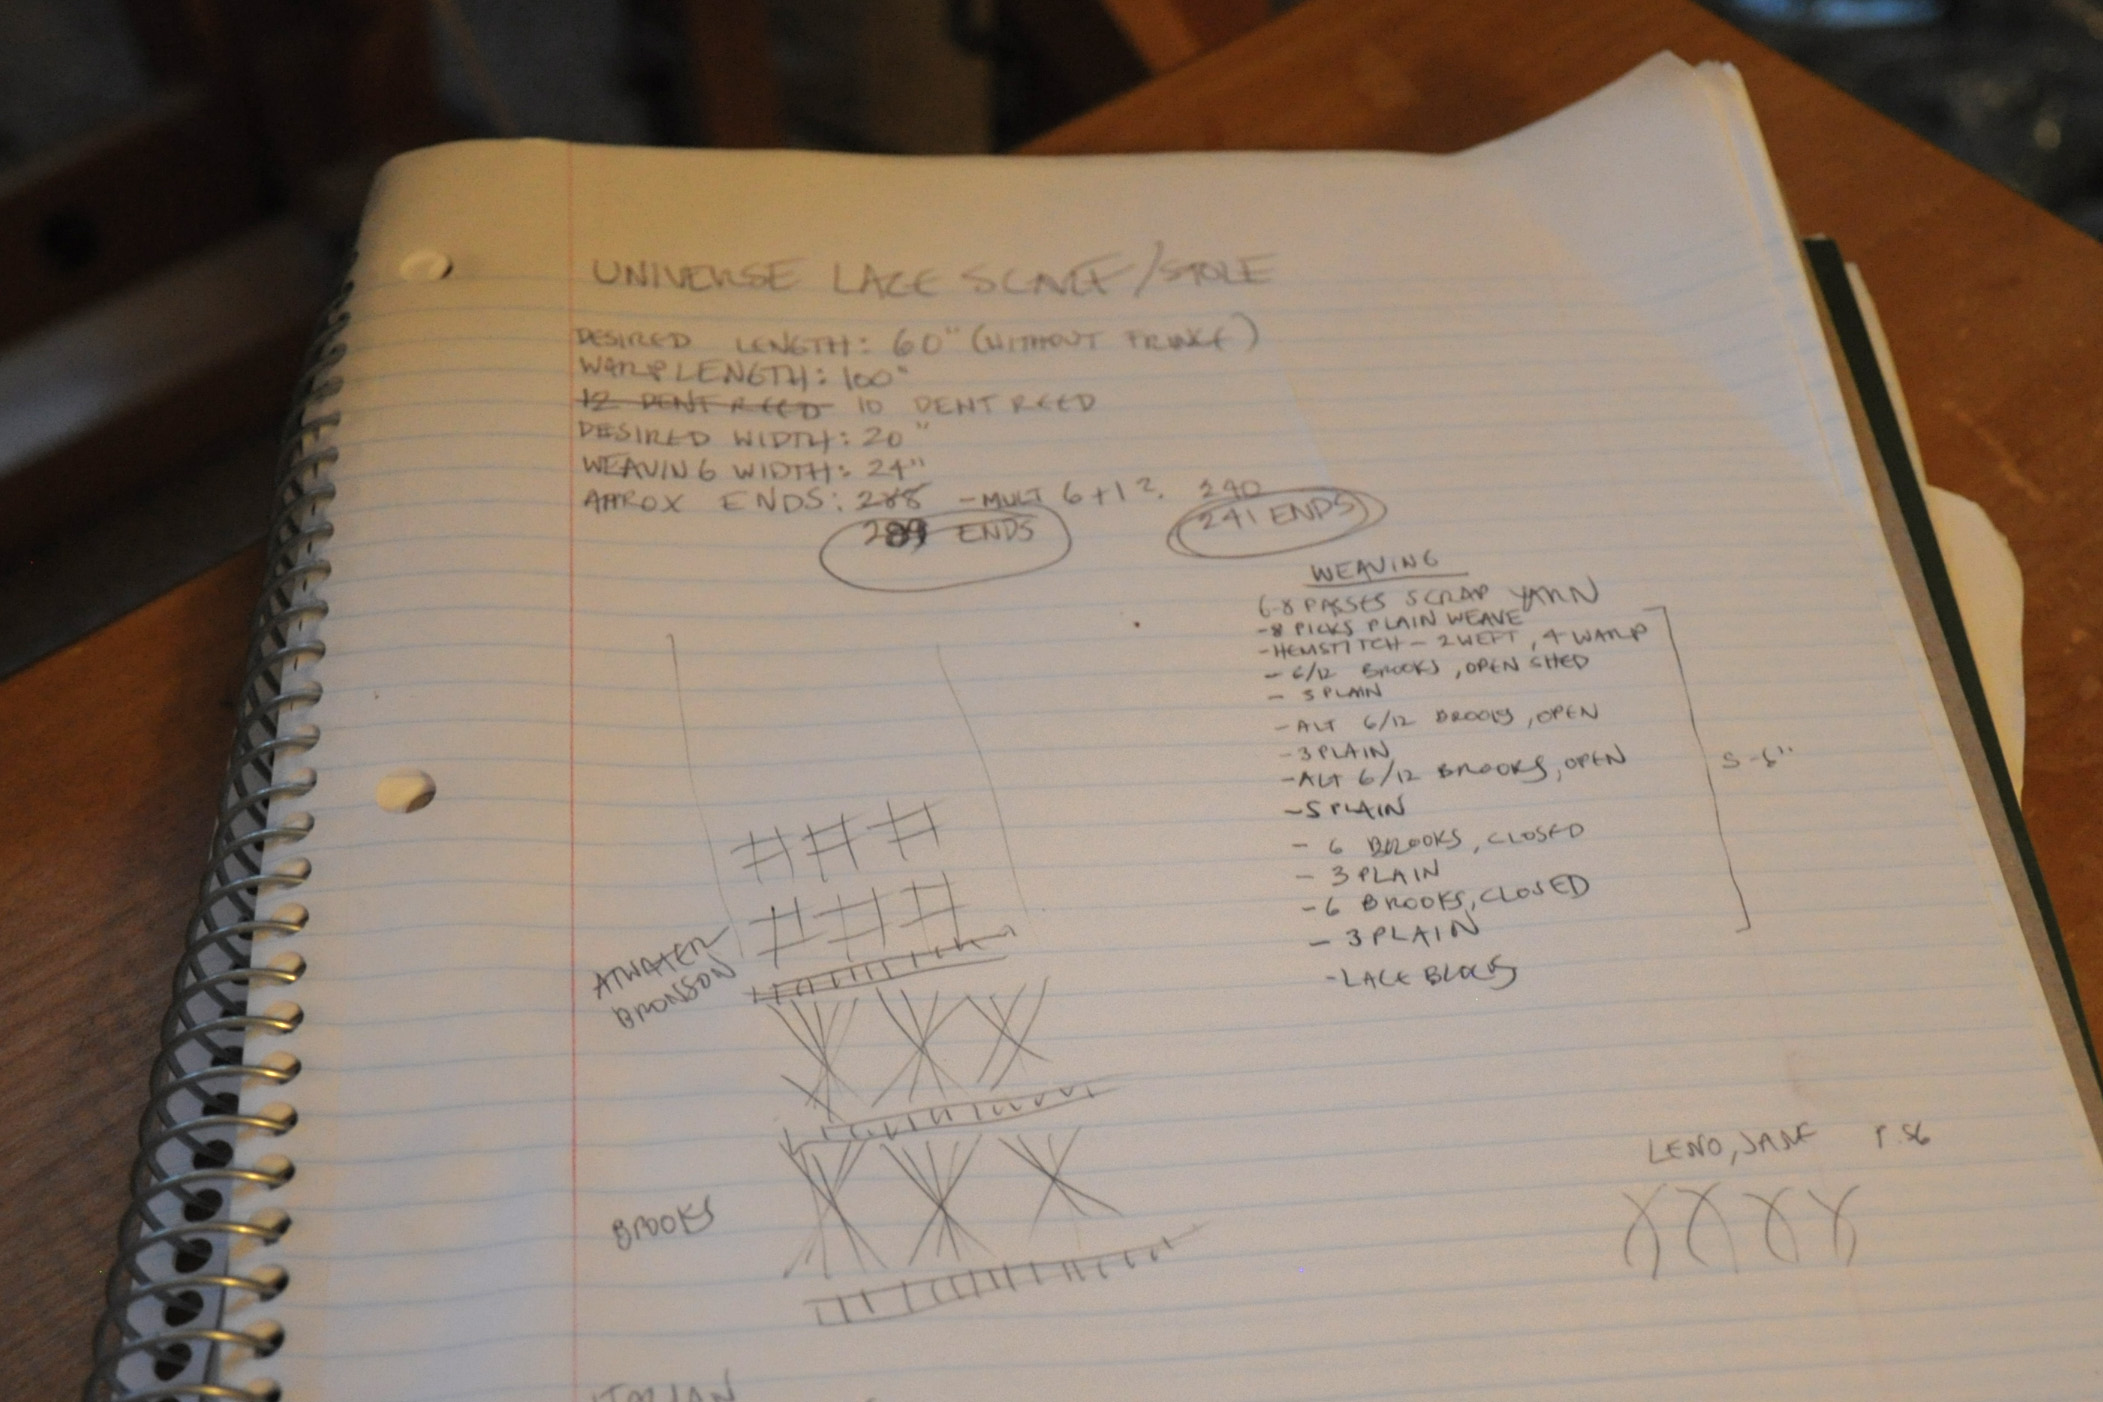
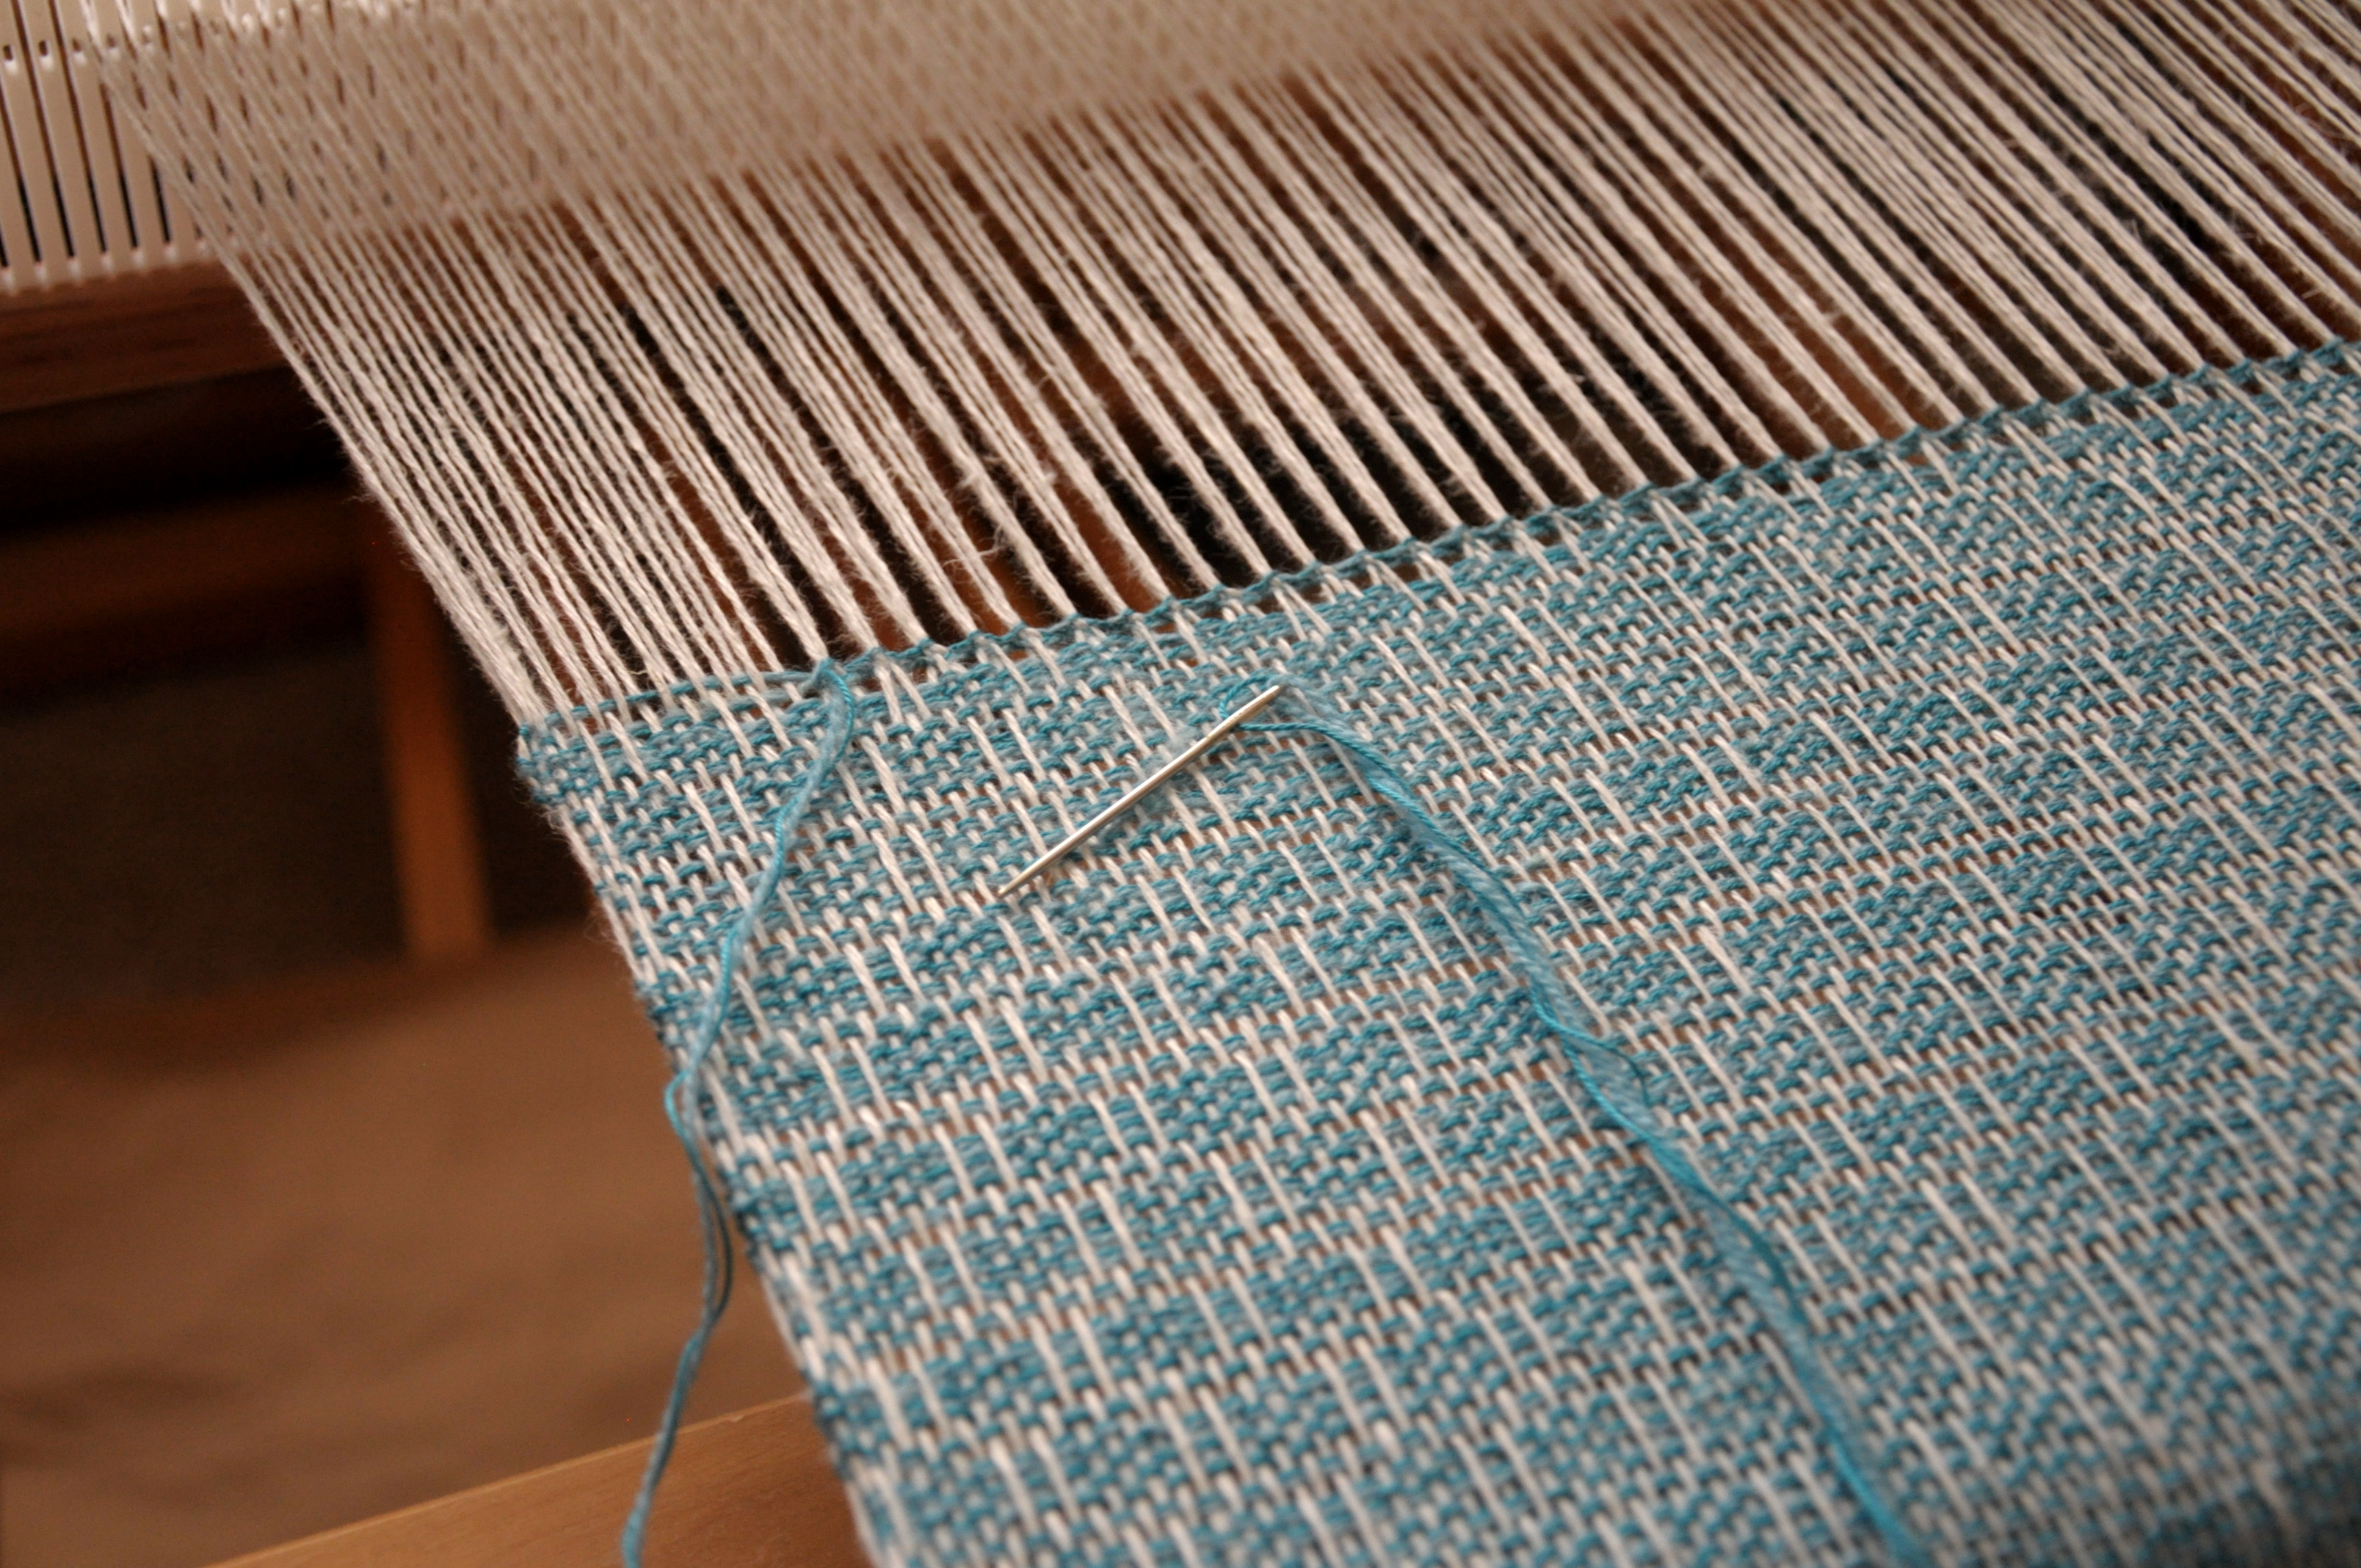
After tying on to the front rod, the weaving fun began. I started out as I usually do, with a few picks of waste yarn to even out my warp, followed by some hem stitching.
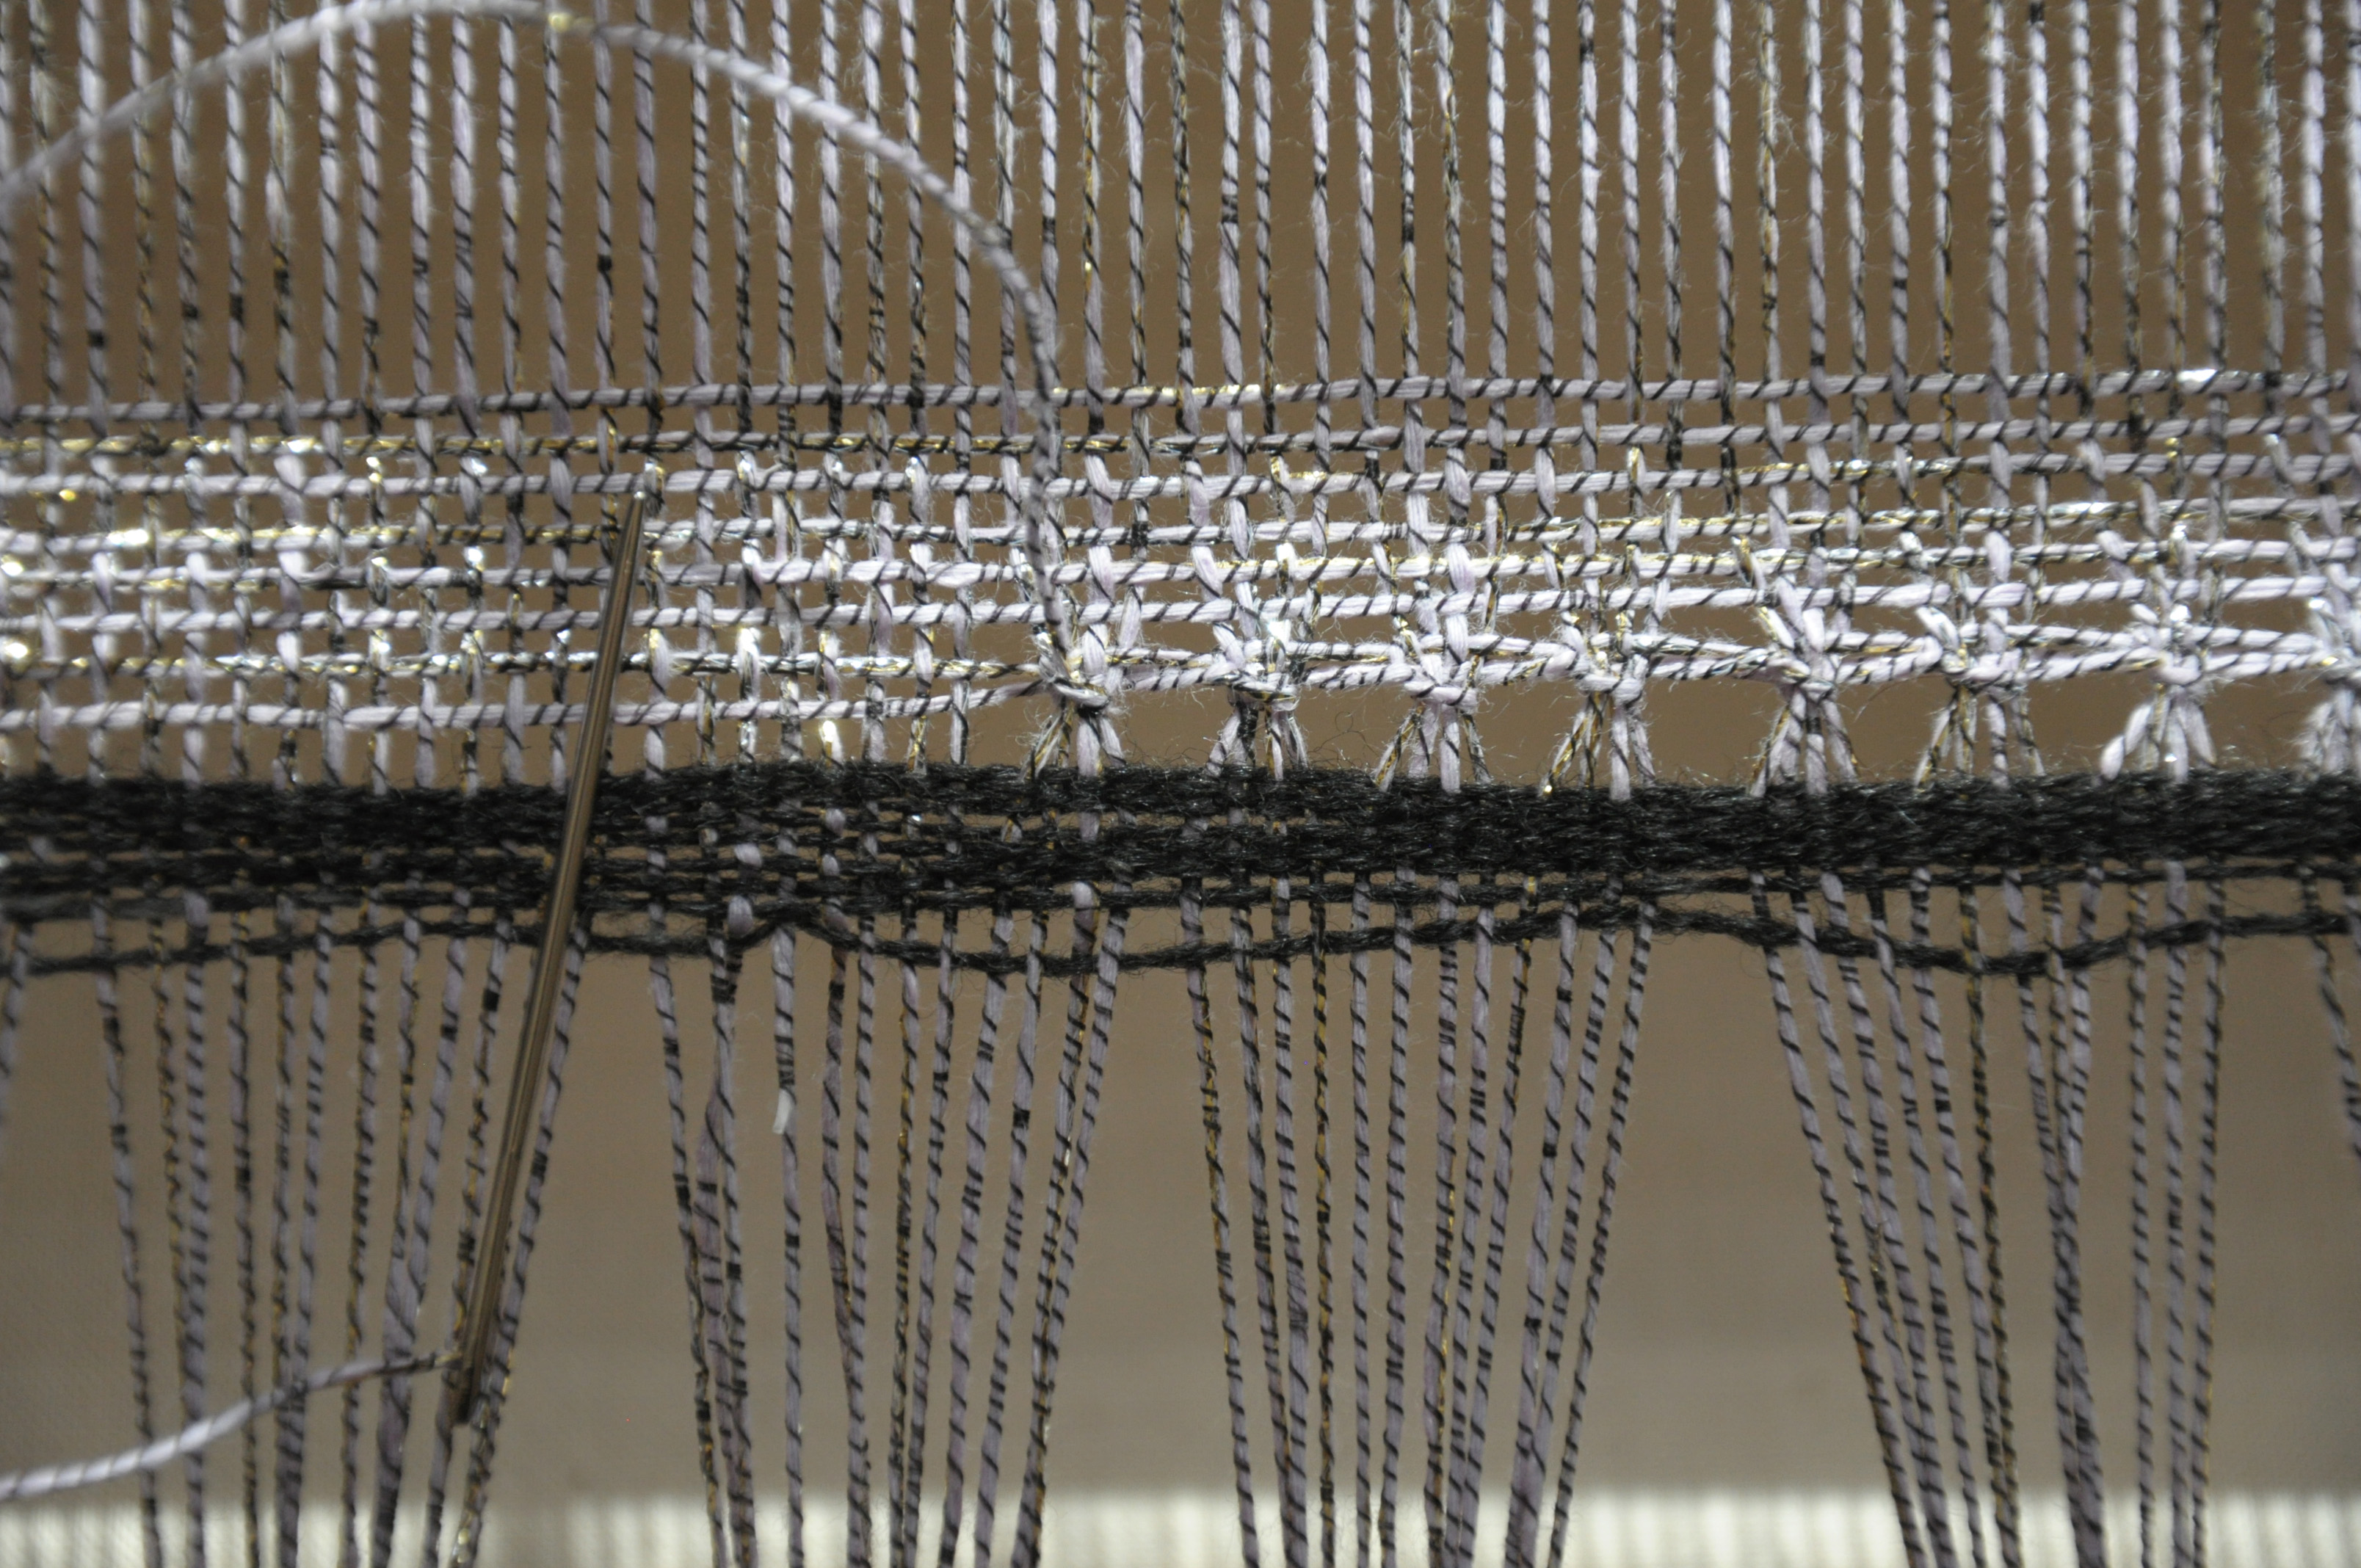
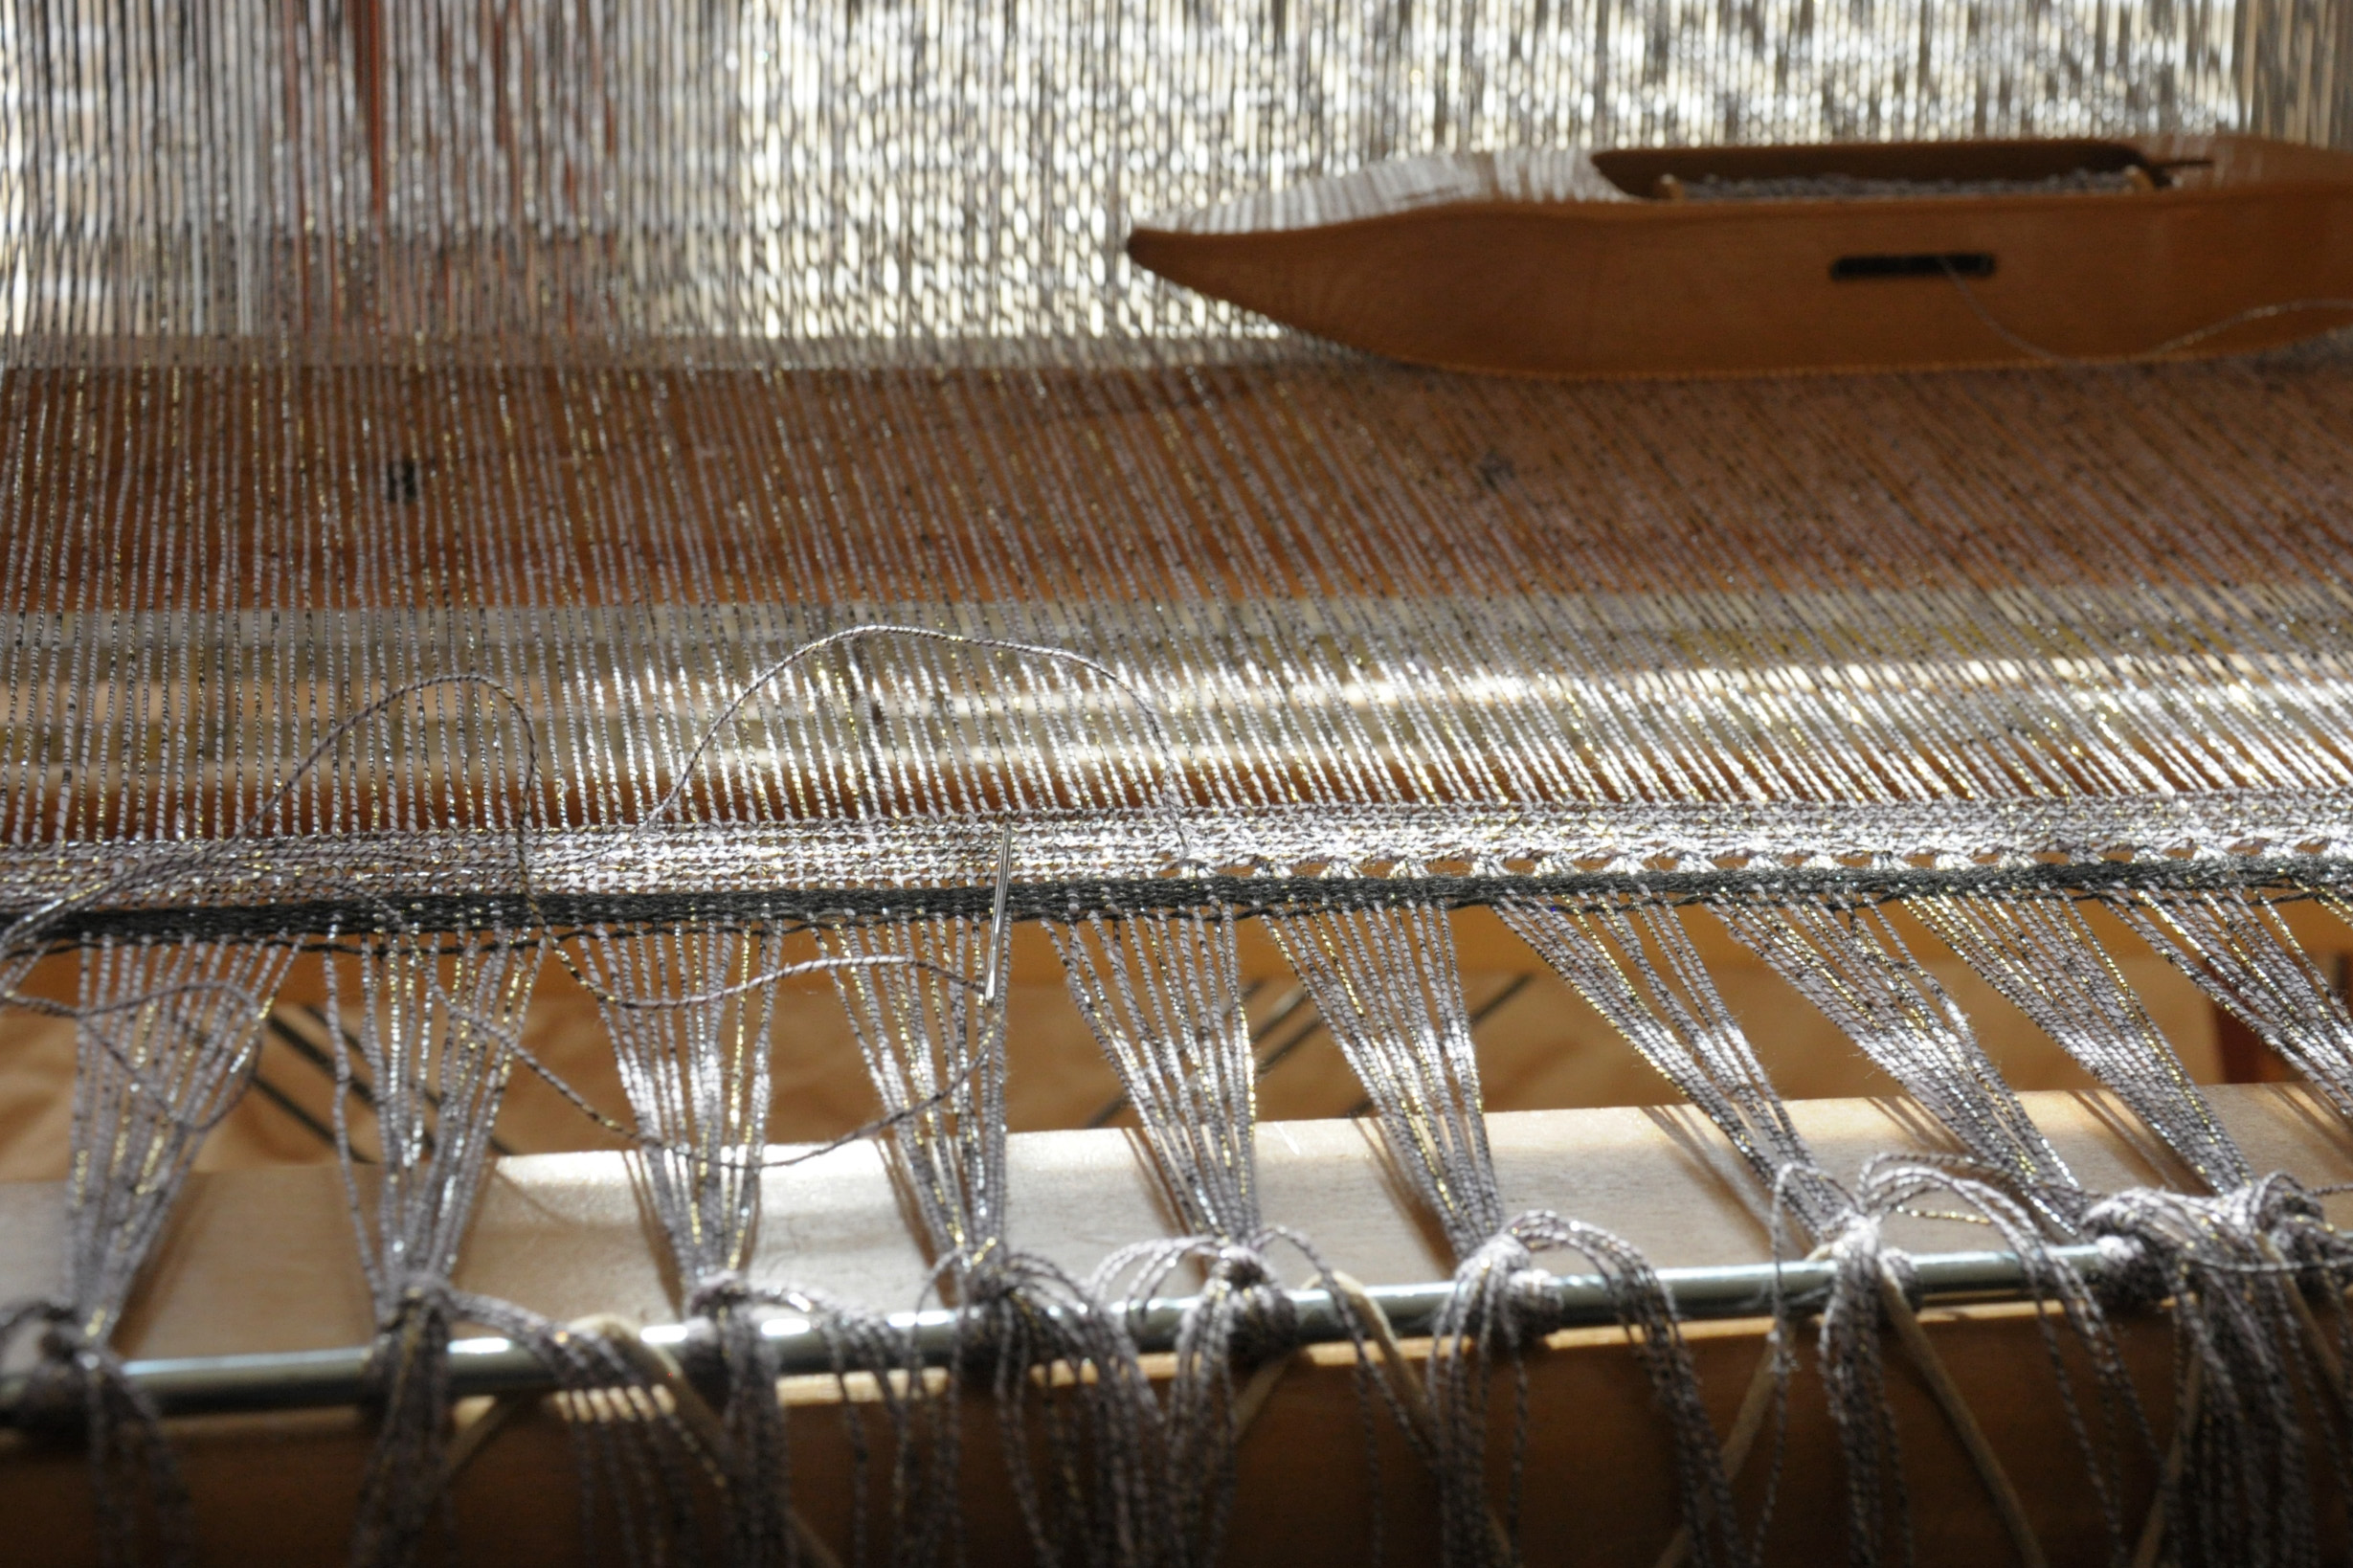
I knew I wanted to do some kind of a lace sampler for this project. I decided to do a “header” at the beginning of the project, a matching header at the other end, and an all-over pattern for the main body of the stole.
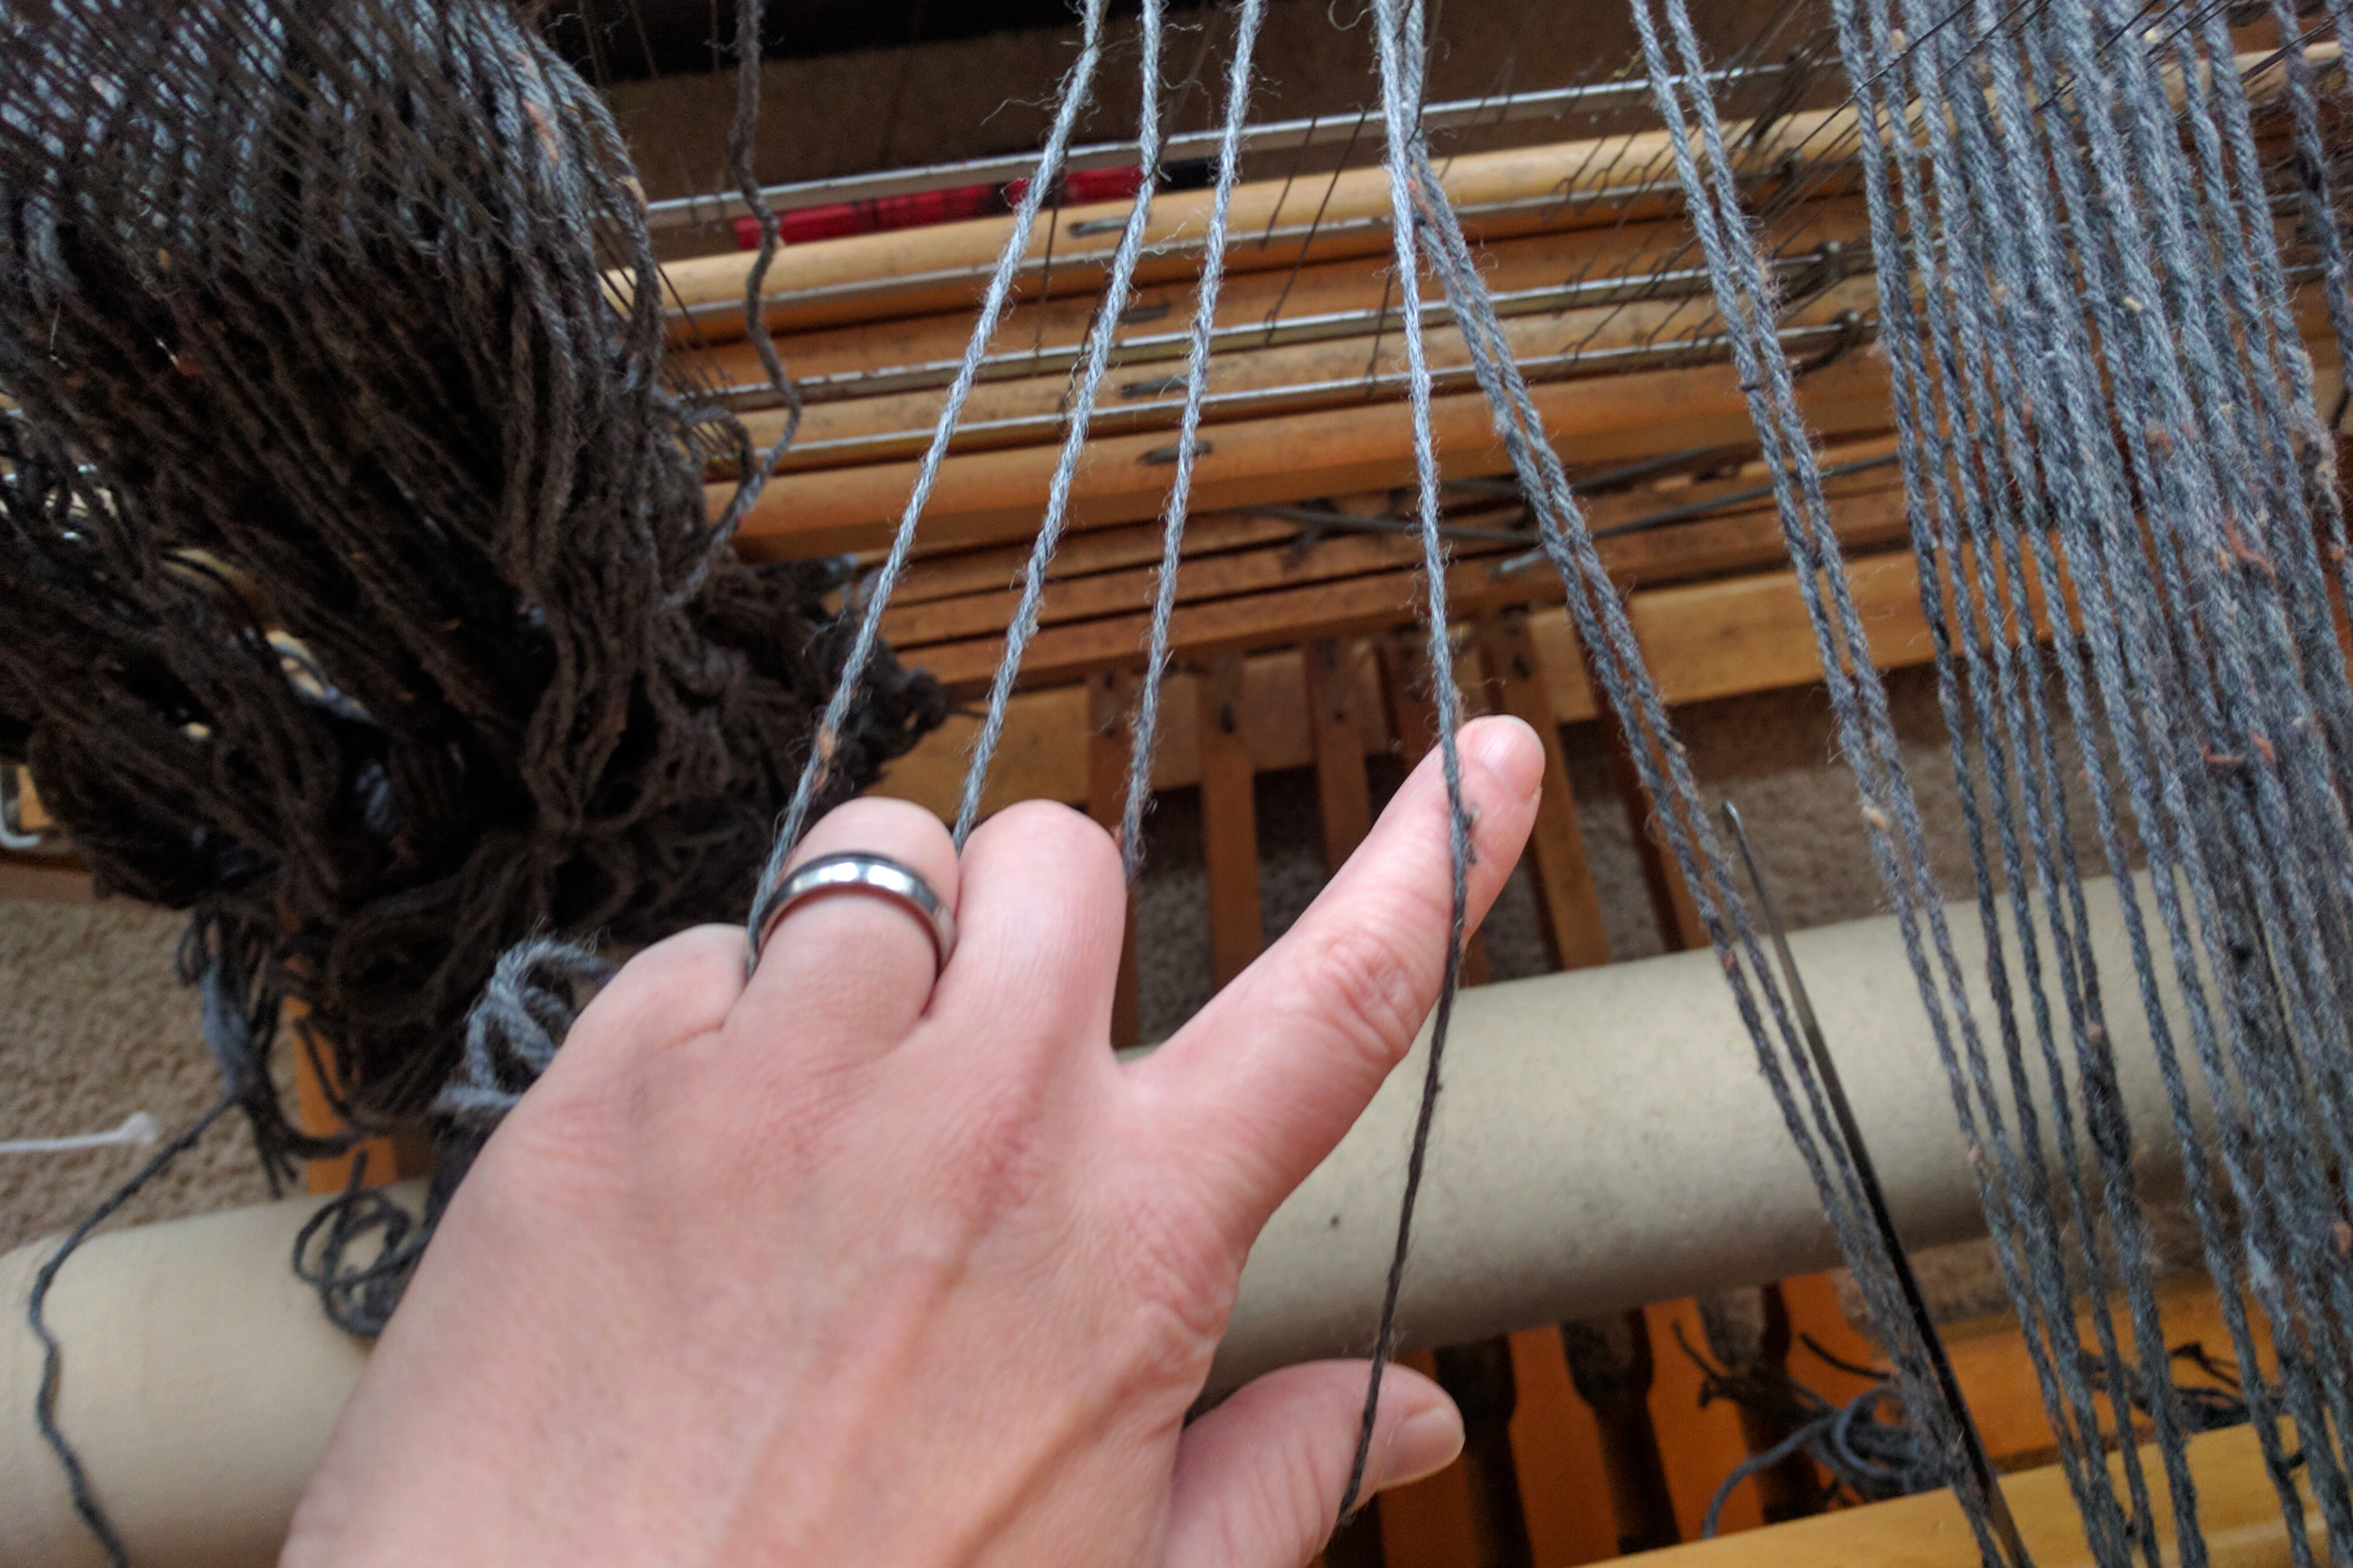
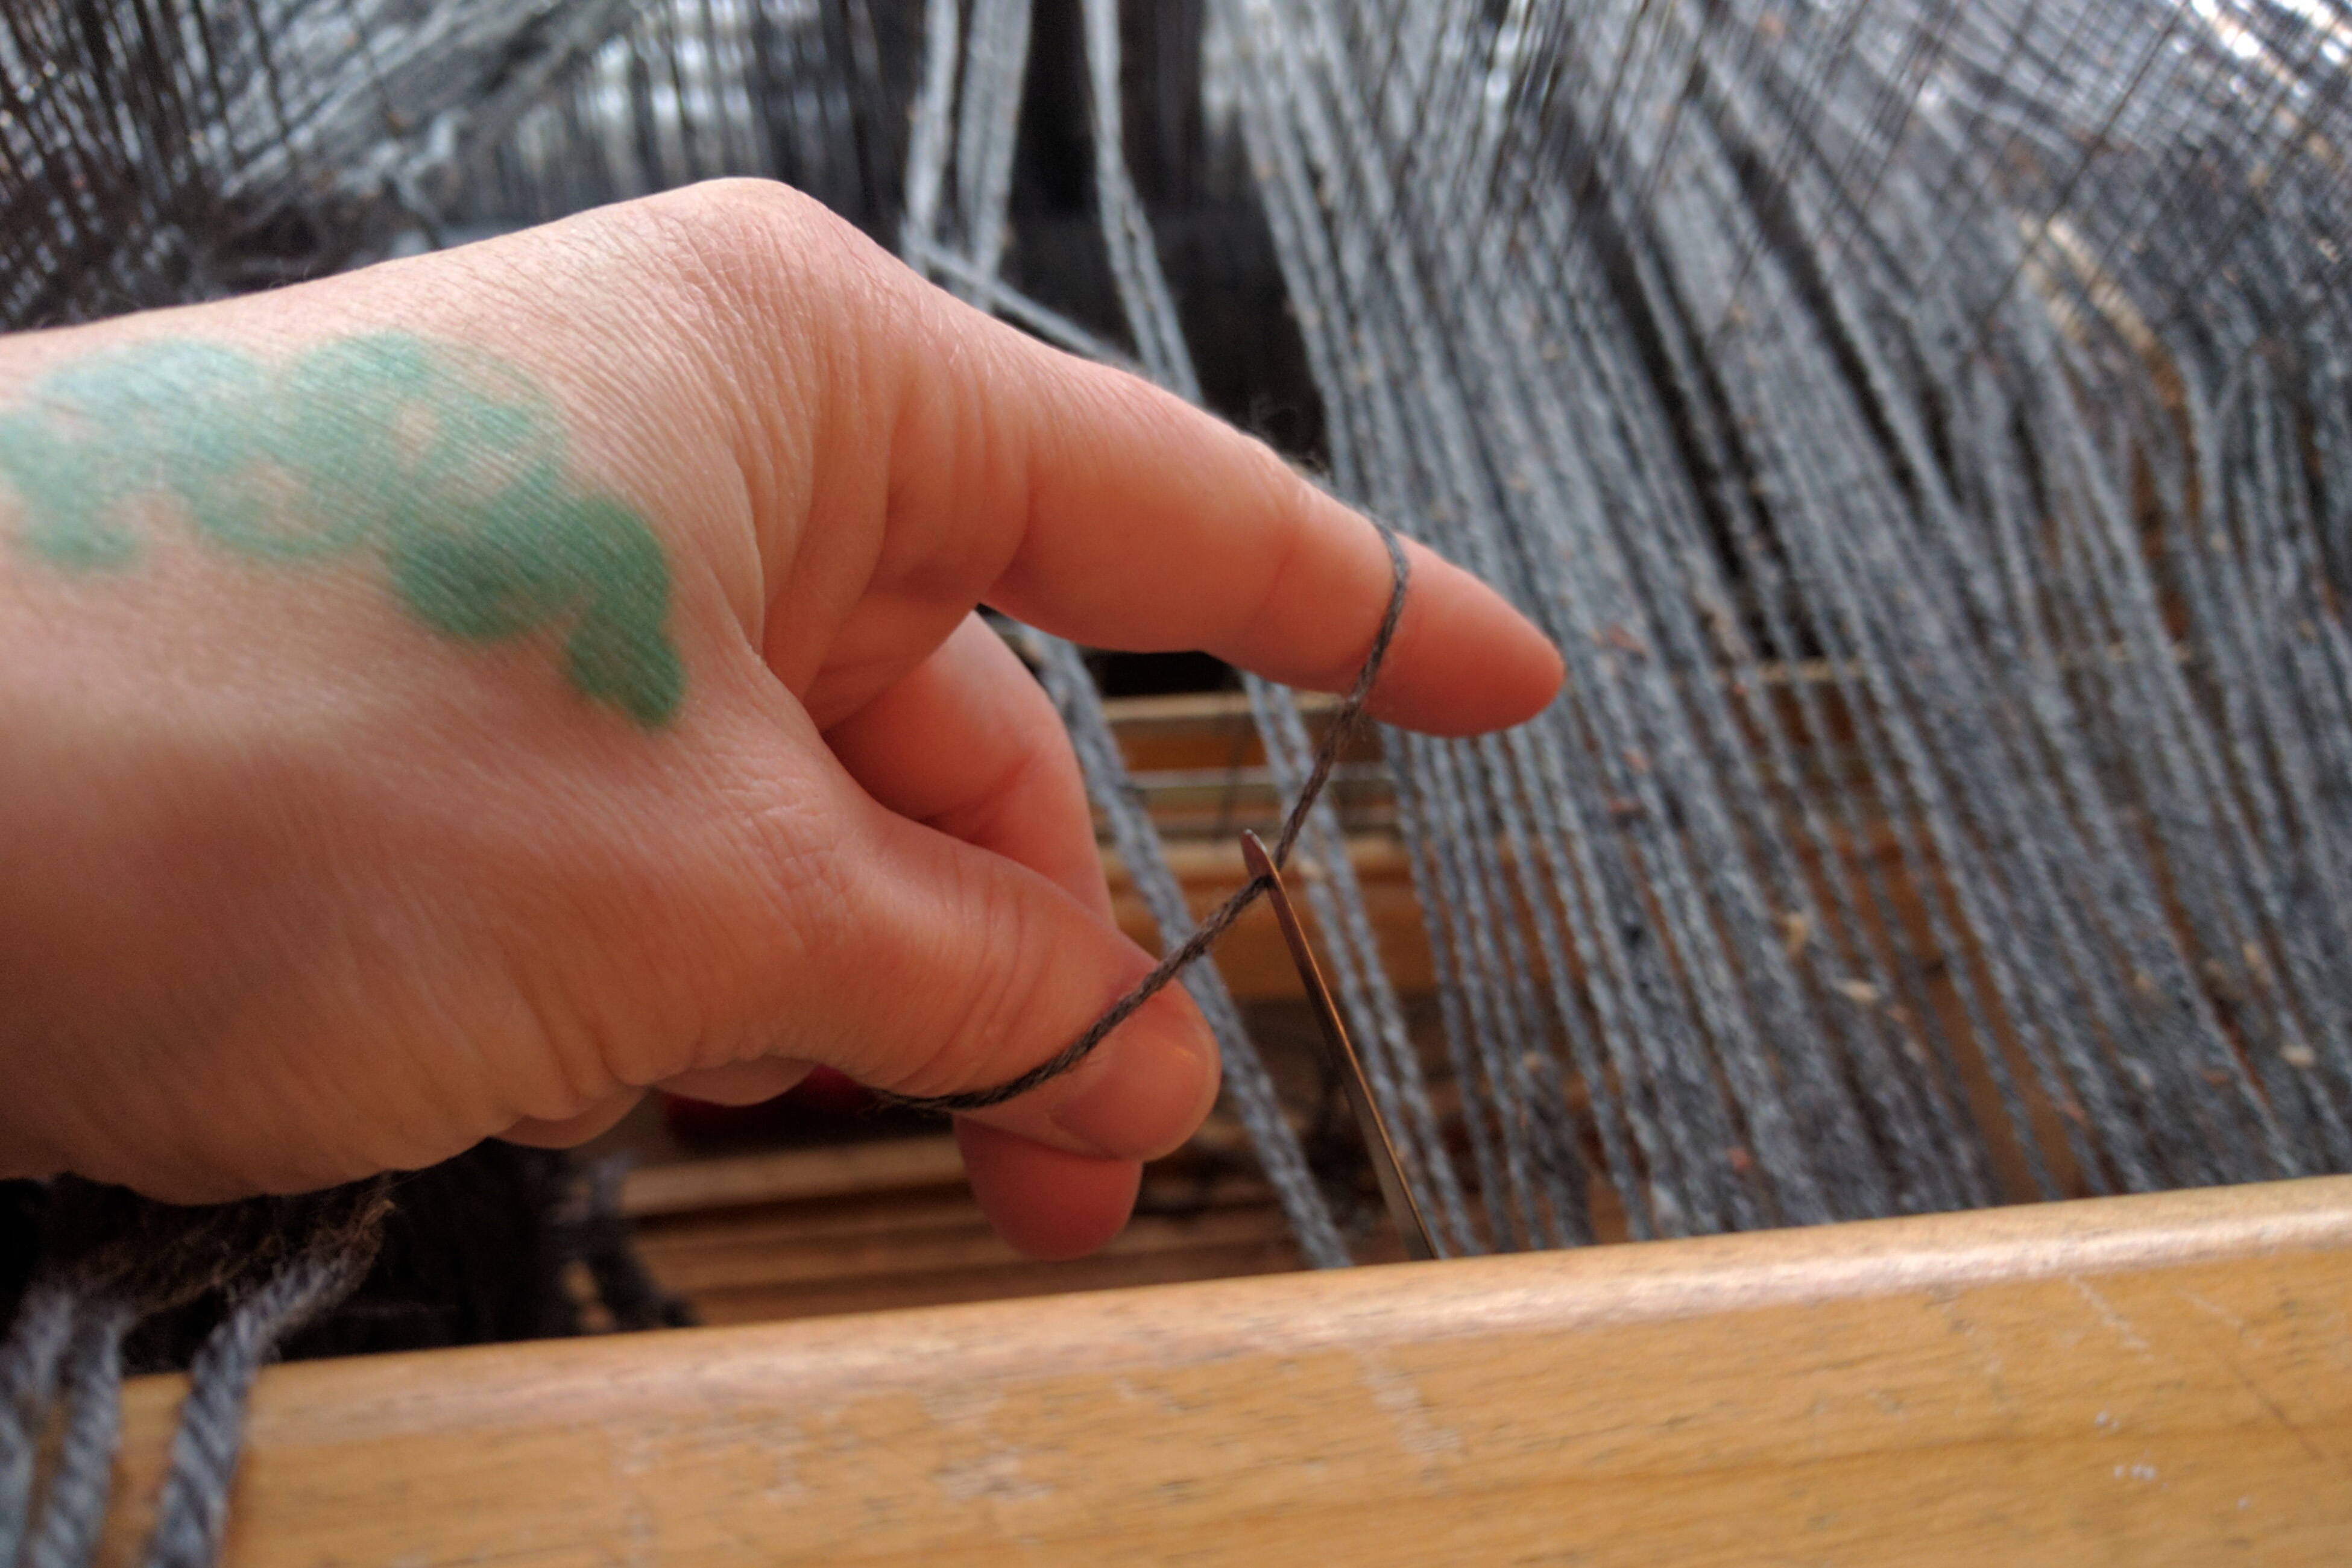
I began with a type of “finger controlled” lace at the beginning called Brooks. “Finger controlled” means that I am literally moving the warp threads with my fingers and passing the yarn between it, rather than using the shafts to raise and lower warp threads.
The first type of Brooks I did is worked on an open shed, meaning I pressed down on one of my treadles that holds half the warp threads. This caused half the warp to raise.
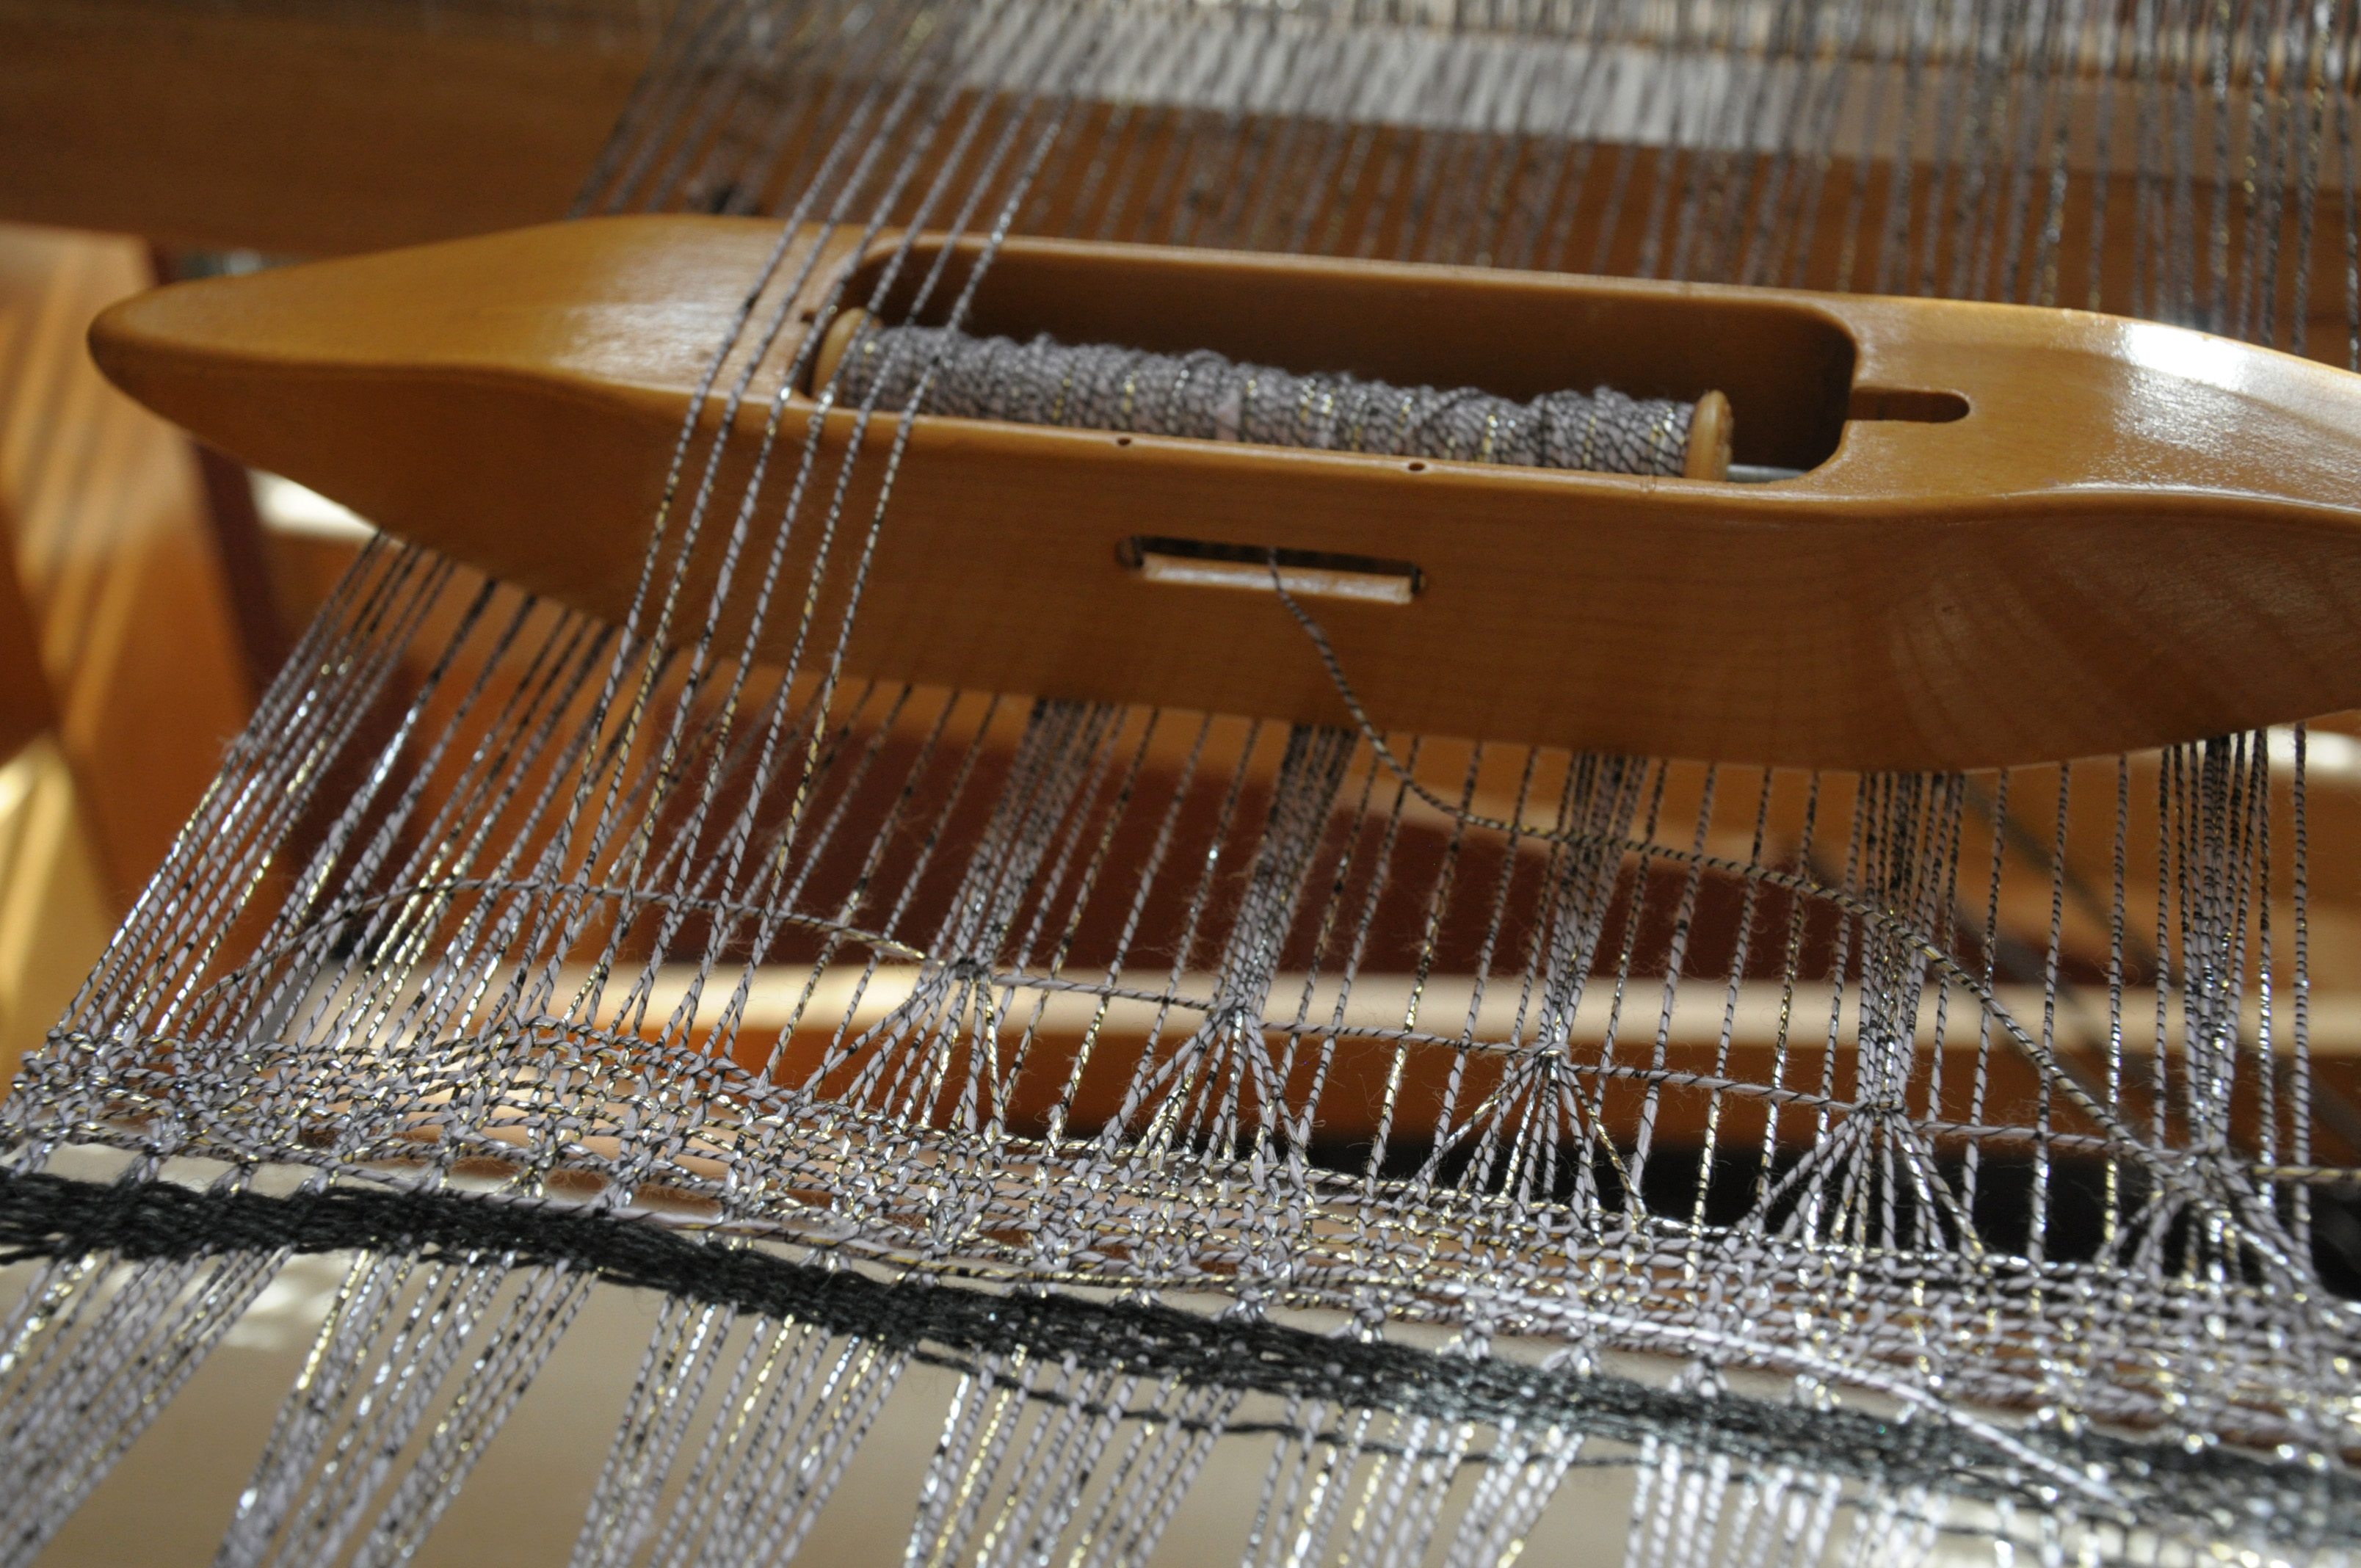
I found Brooks lace quite simple to do – easier than I had imagined. I passed the shuttle containing the warp yarn around a section of the raised warp threads (6), along the entire width of the piece.
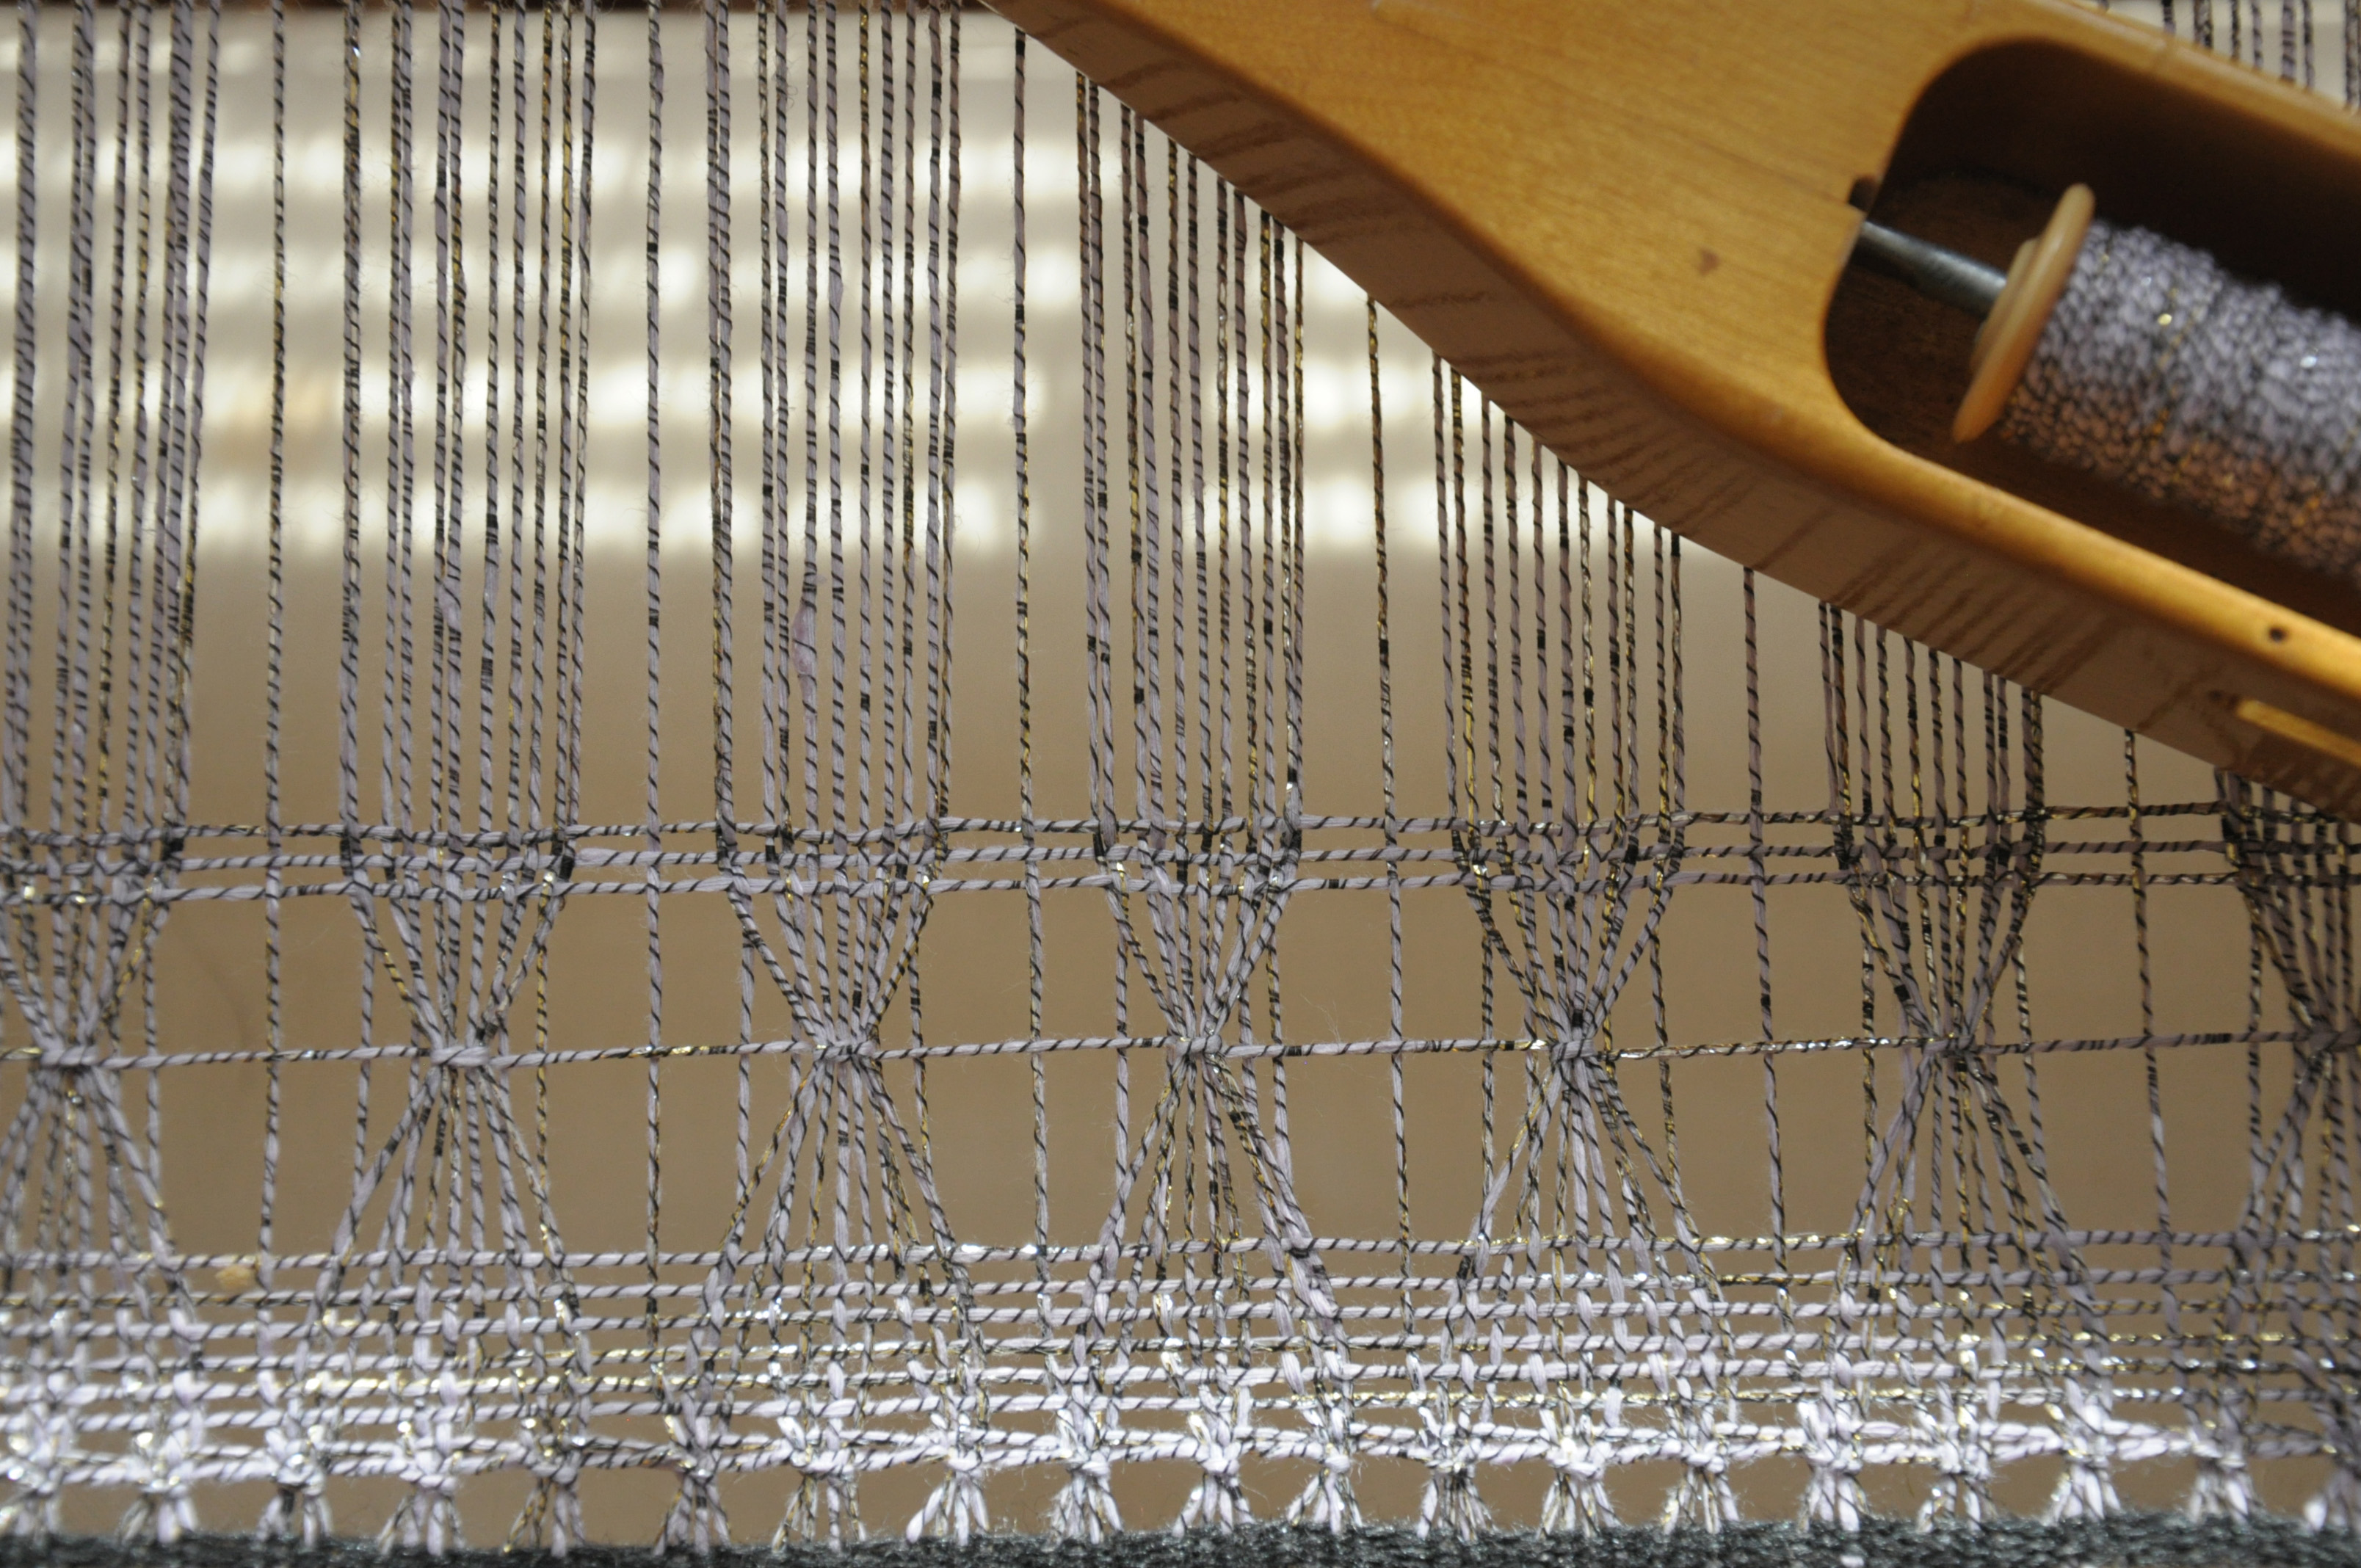
I adjusted each of the wrapped sections so they were at about the same height and then worked 3 rows of plain weave. They look like little bows – so pretty.
After this first pass of Brooks, I decided to do another row, but offset from the first row.
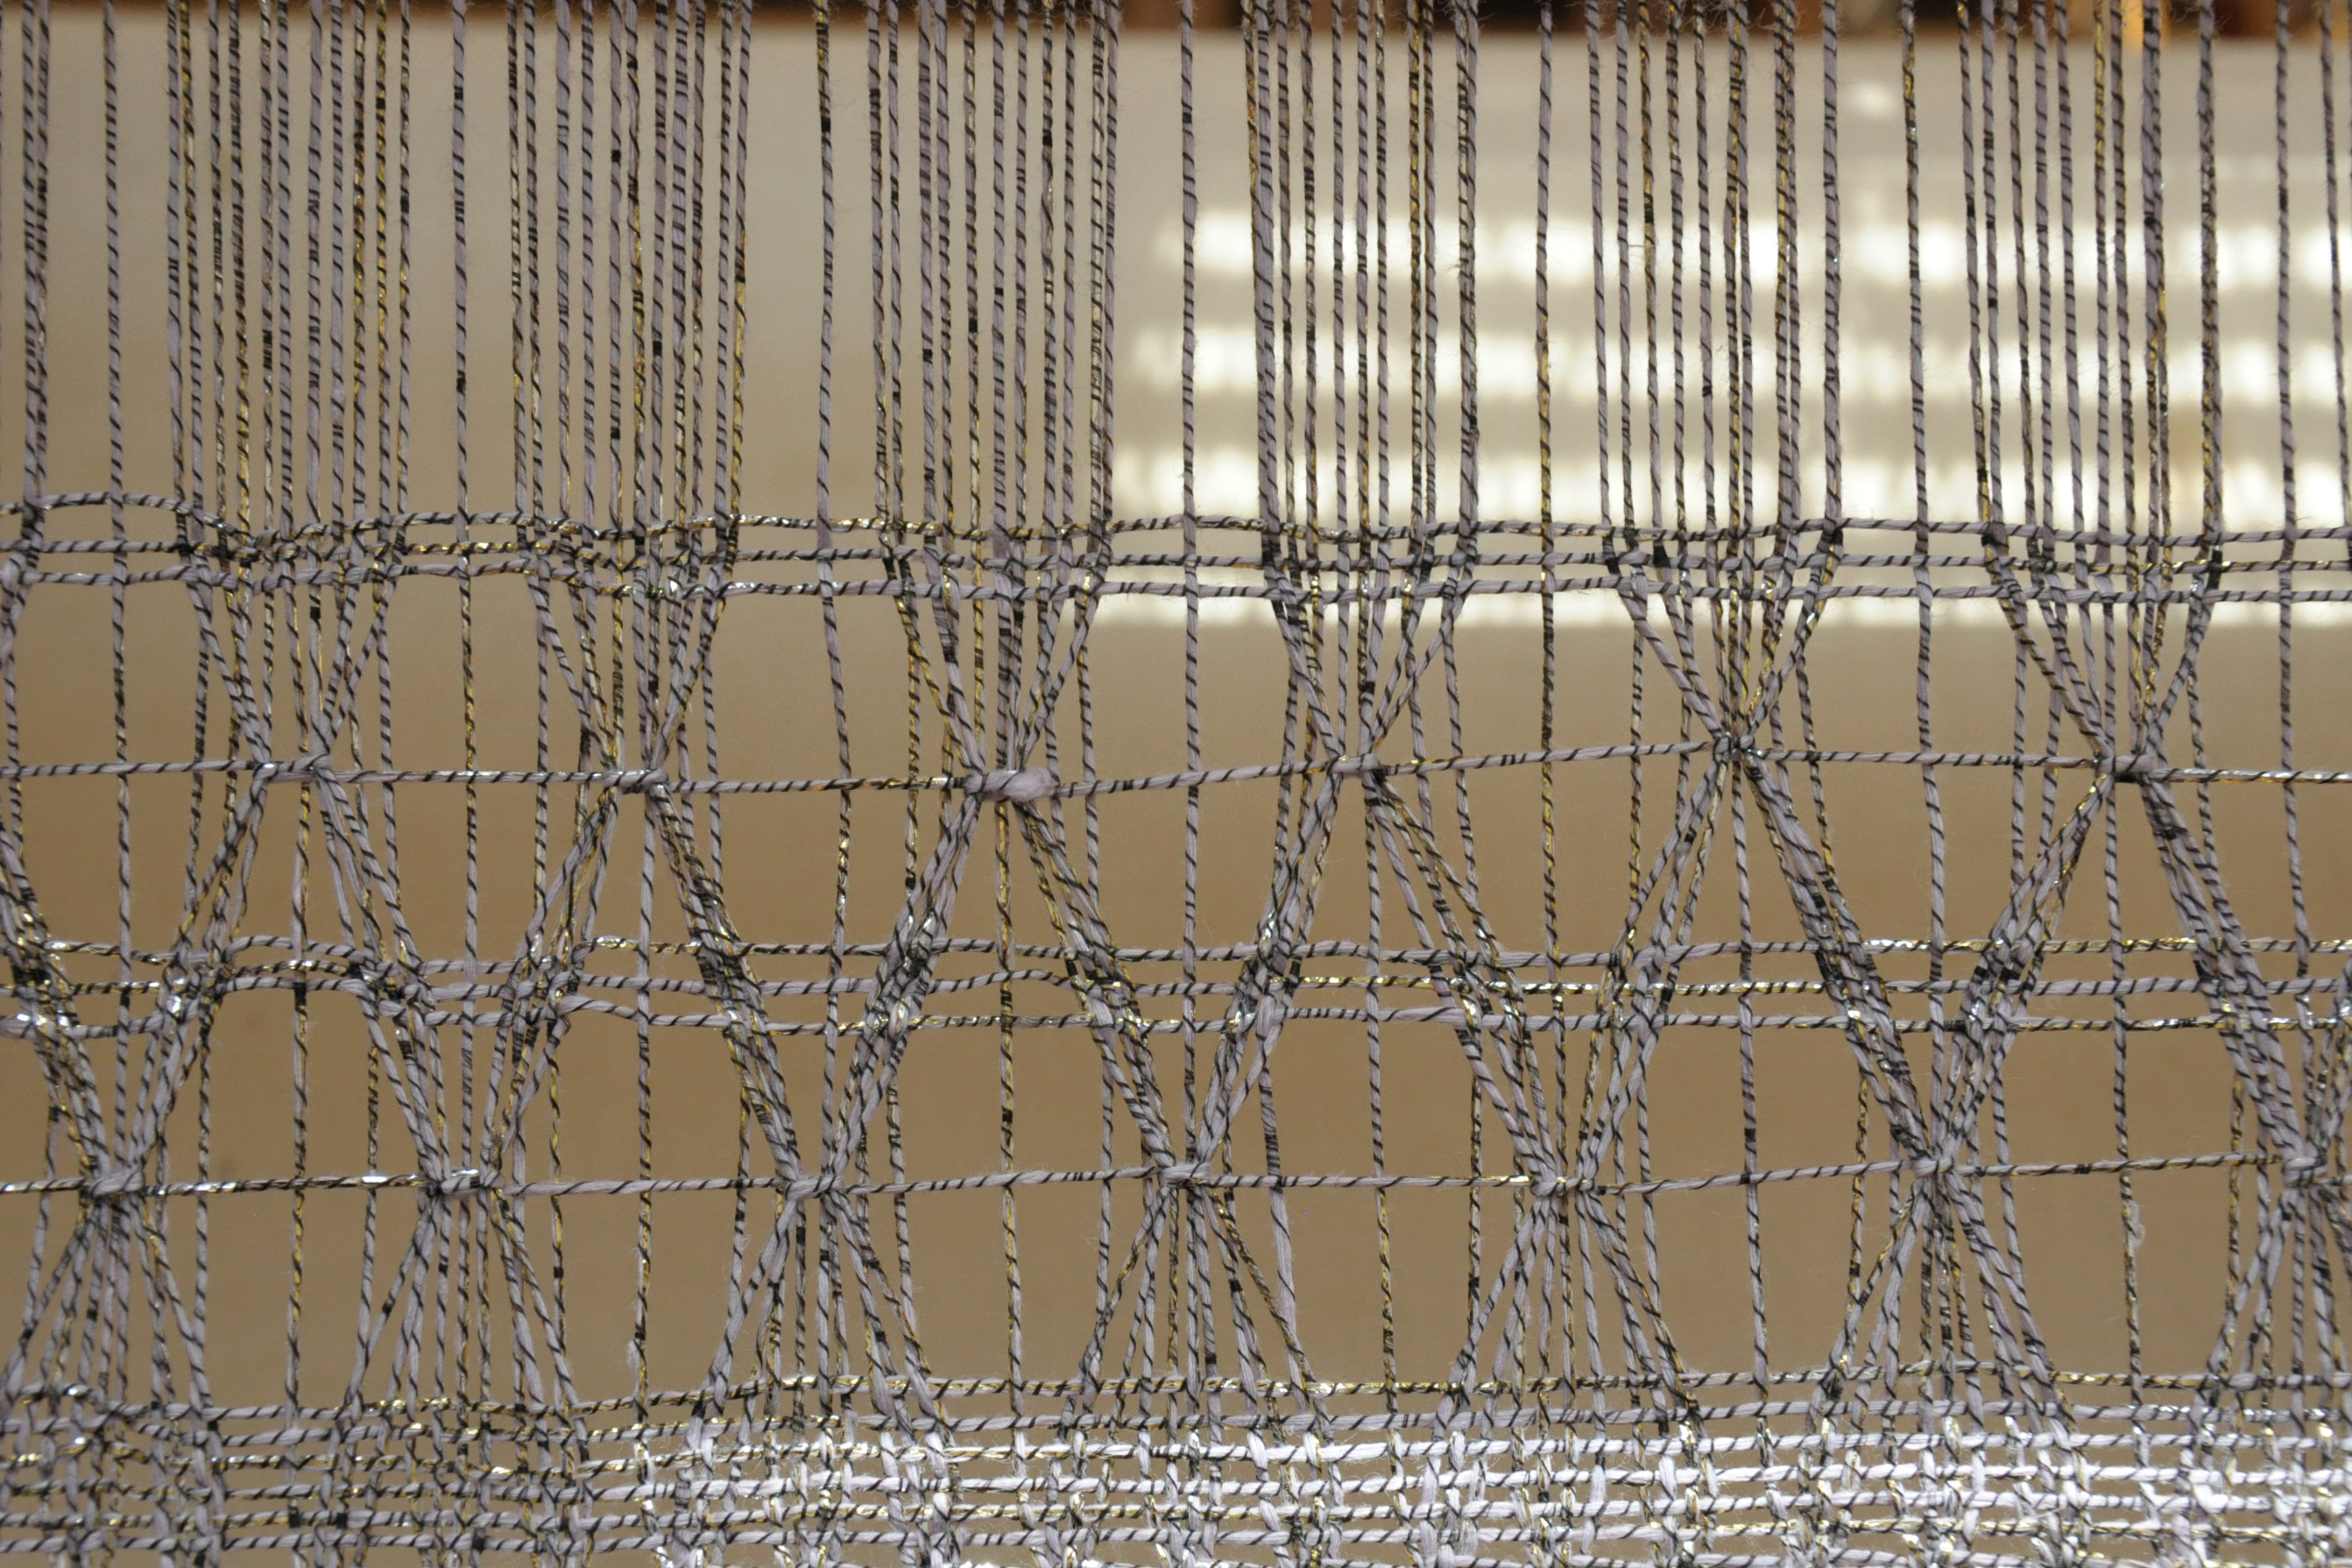
And then another row offset again.
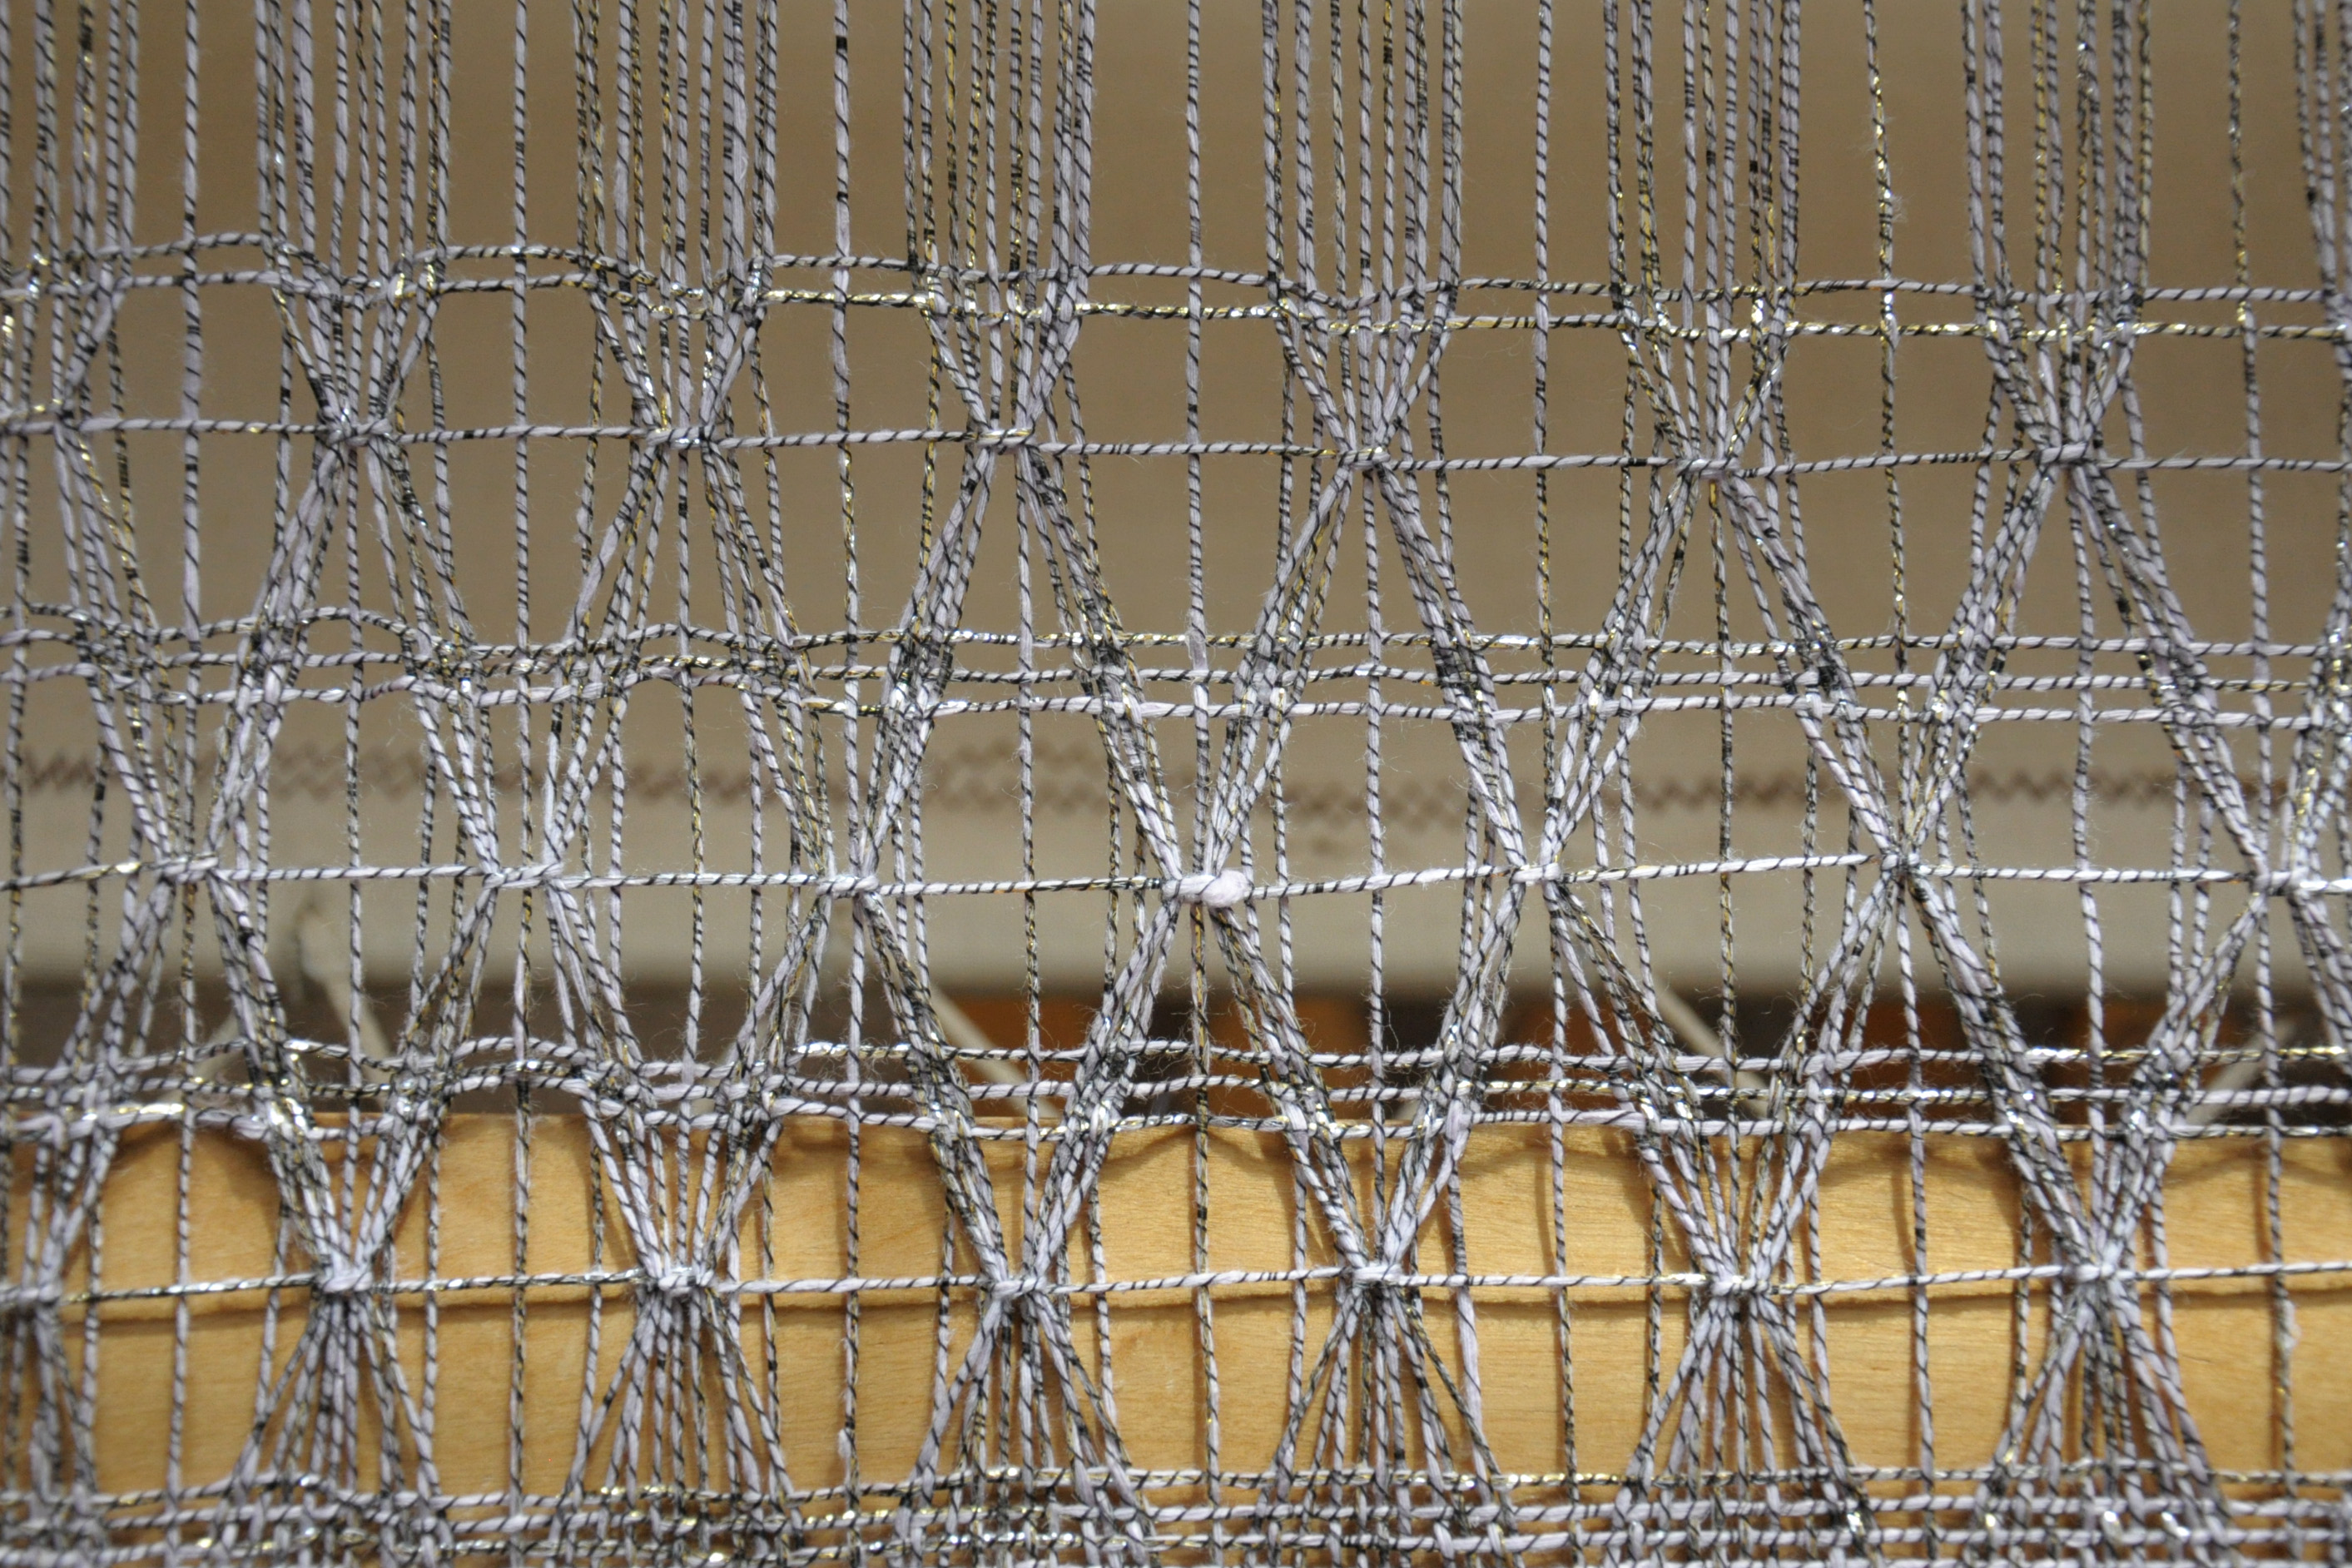
As pretty as this was, I was getting a little bored and was ready to move on. That’s half the beauty of a sampler!
And look, so it’s so sparkly!
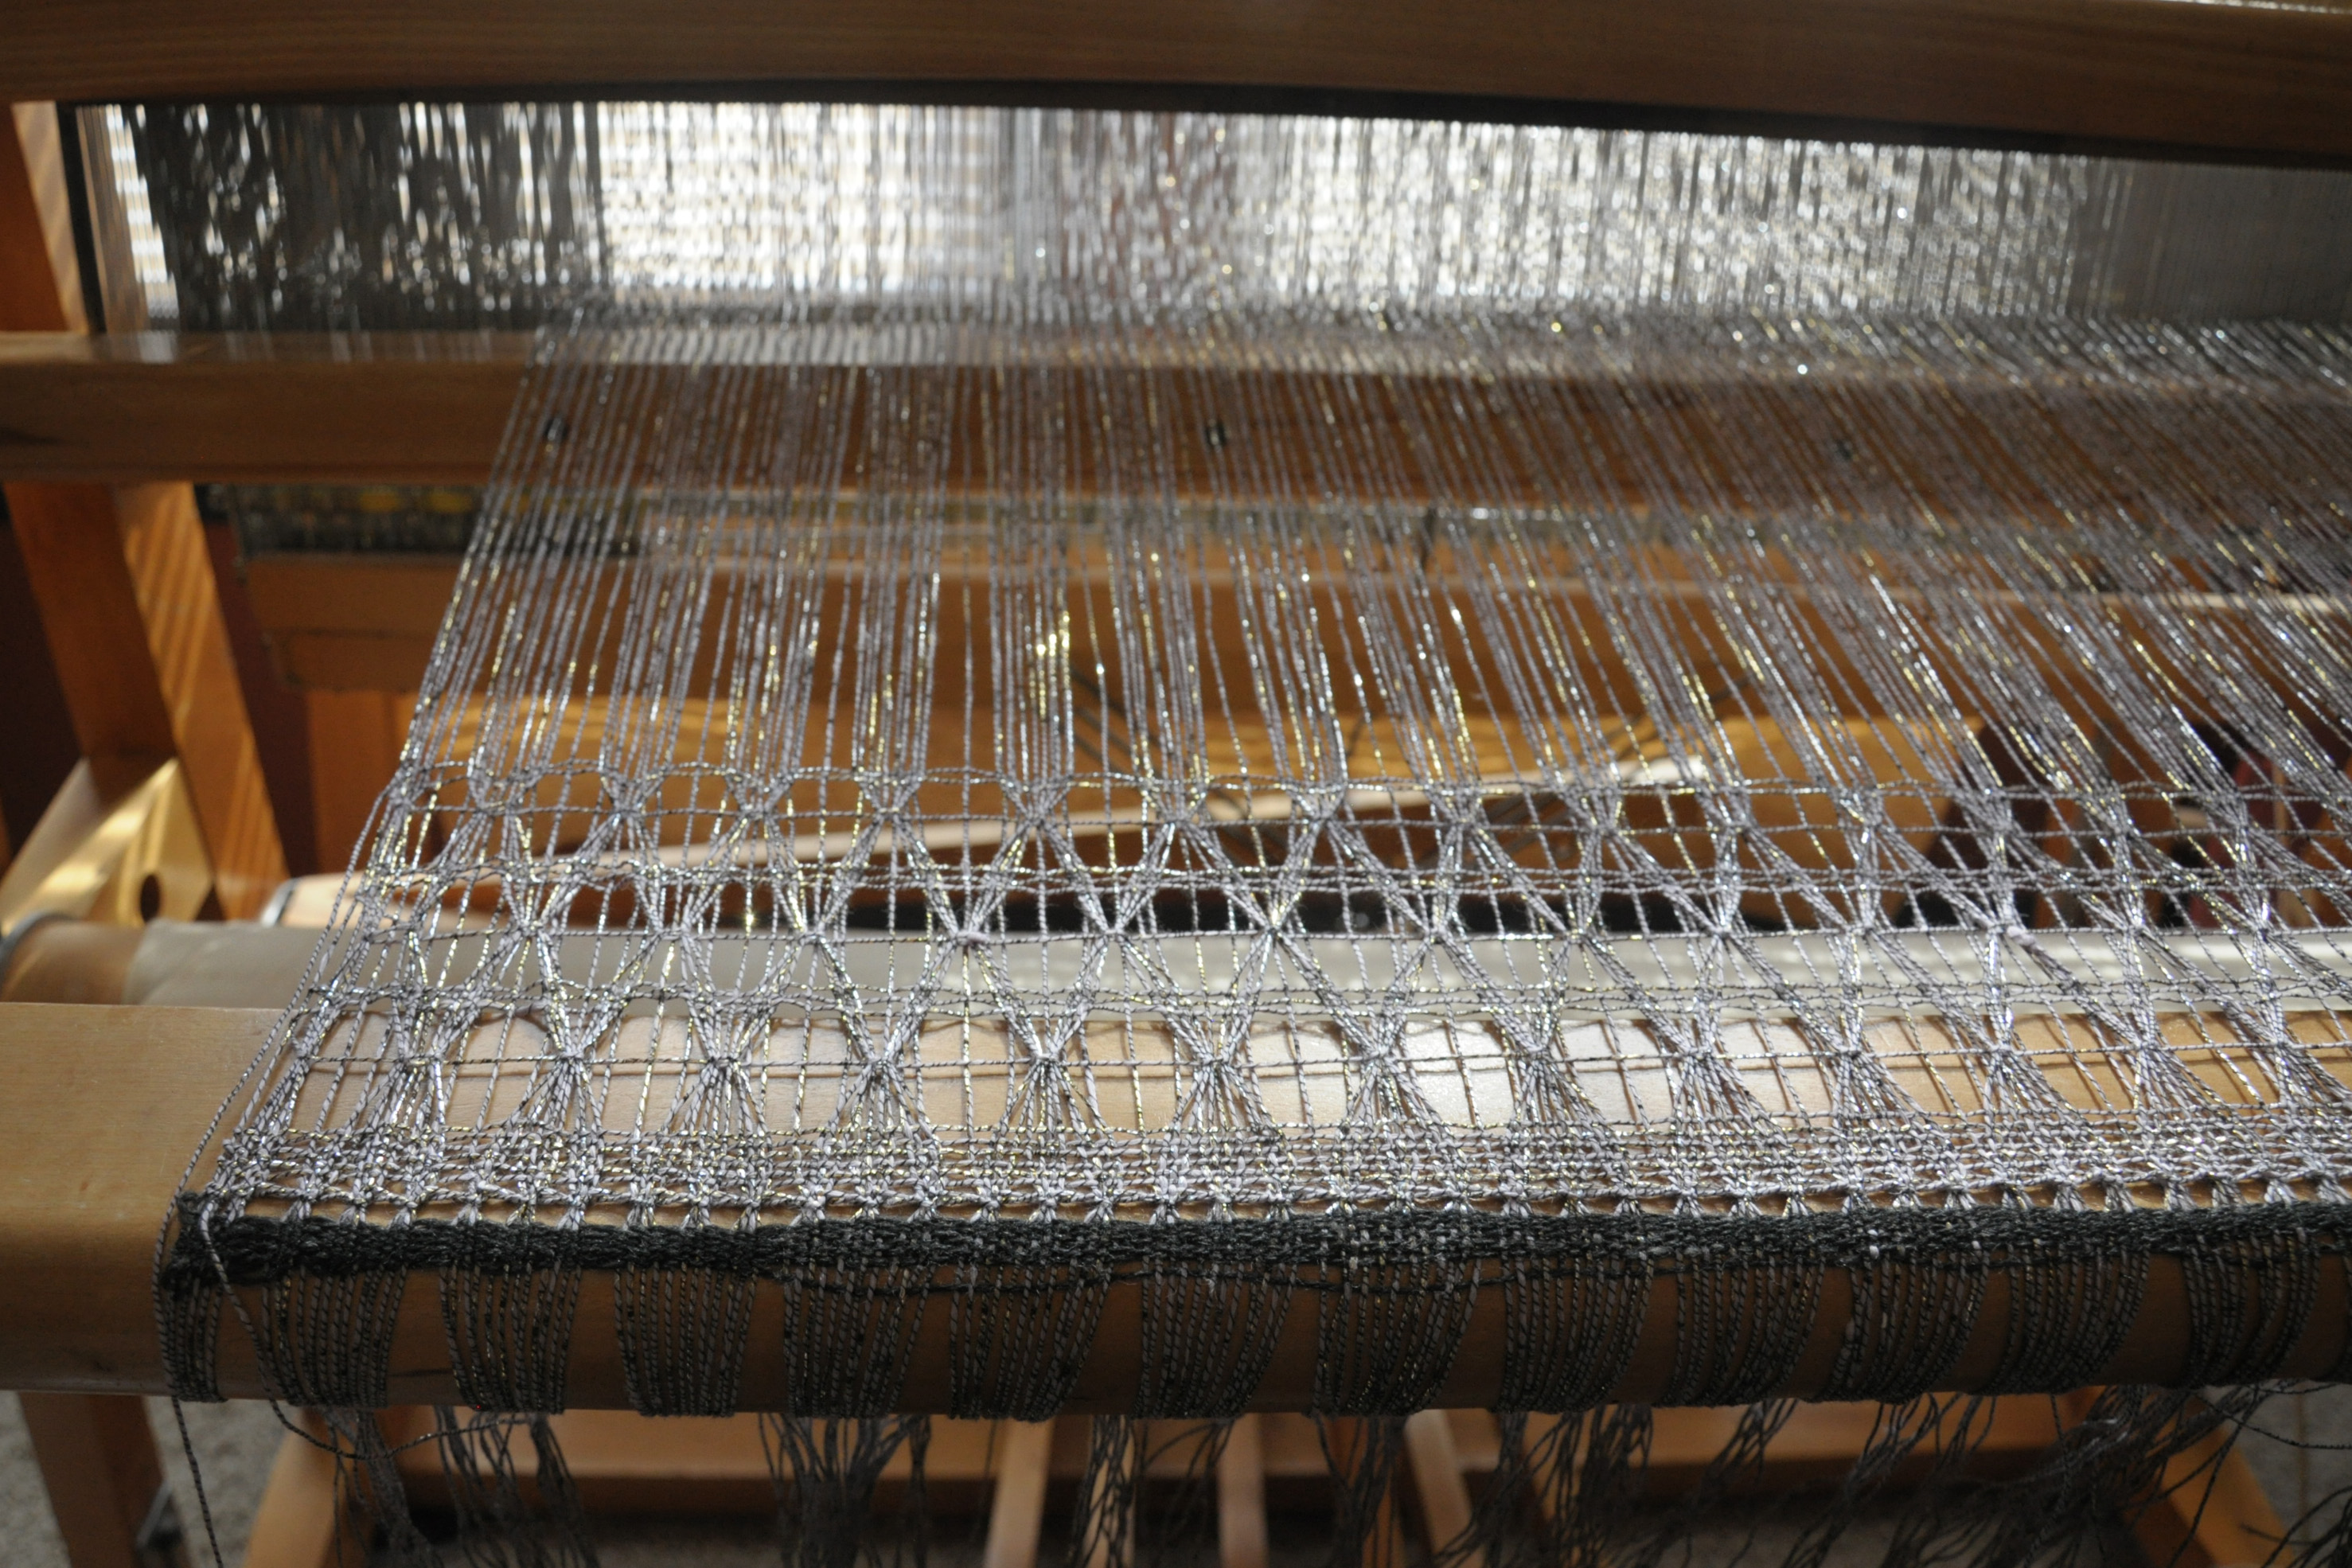
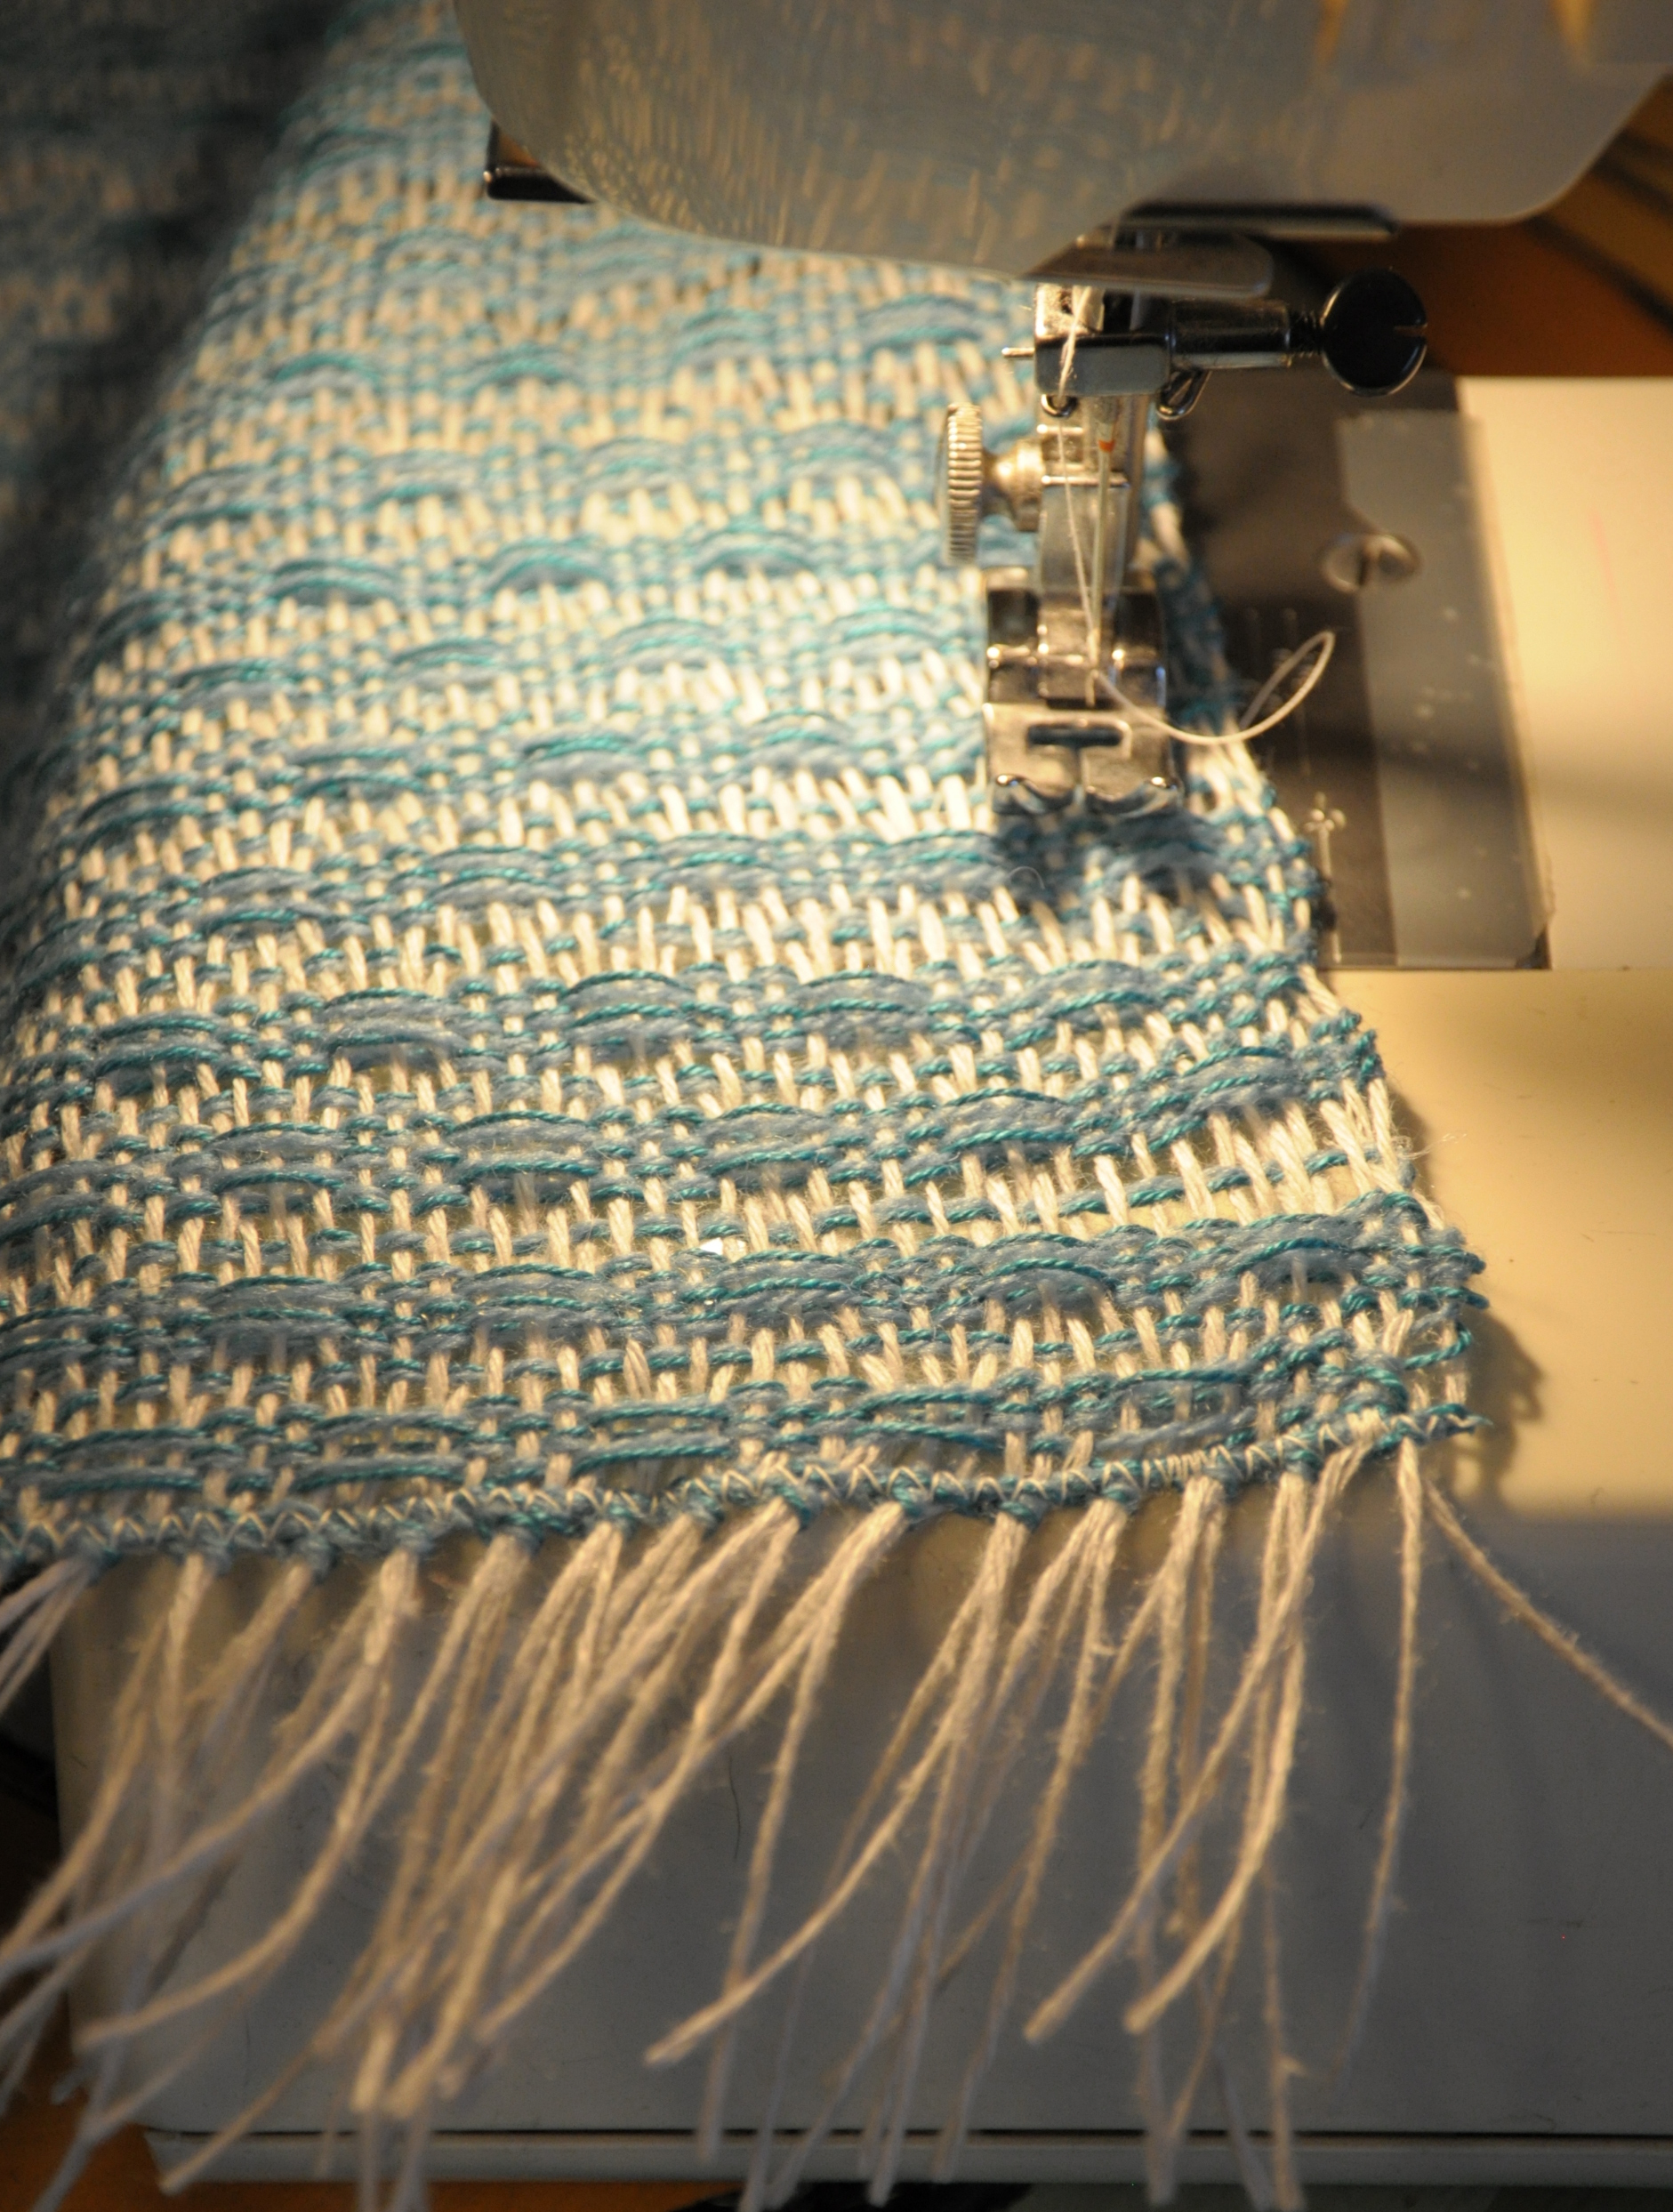
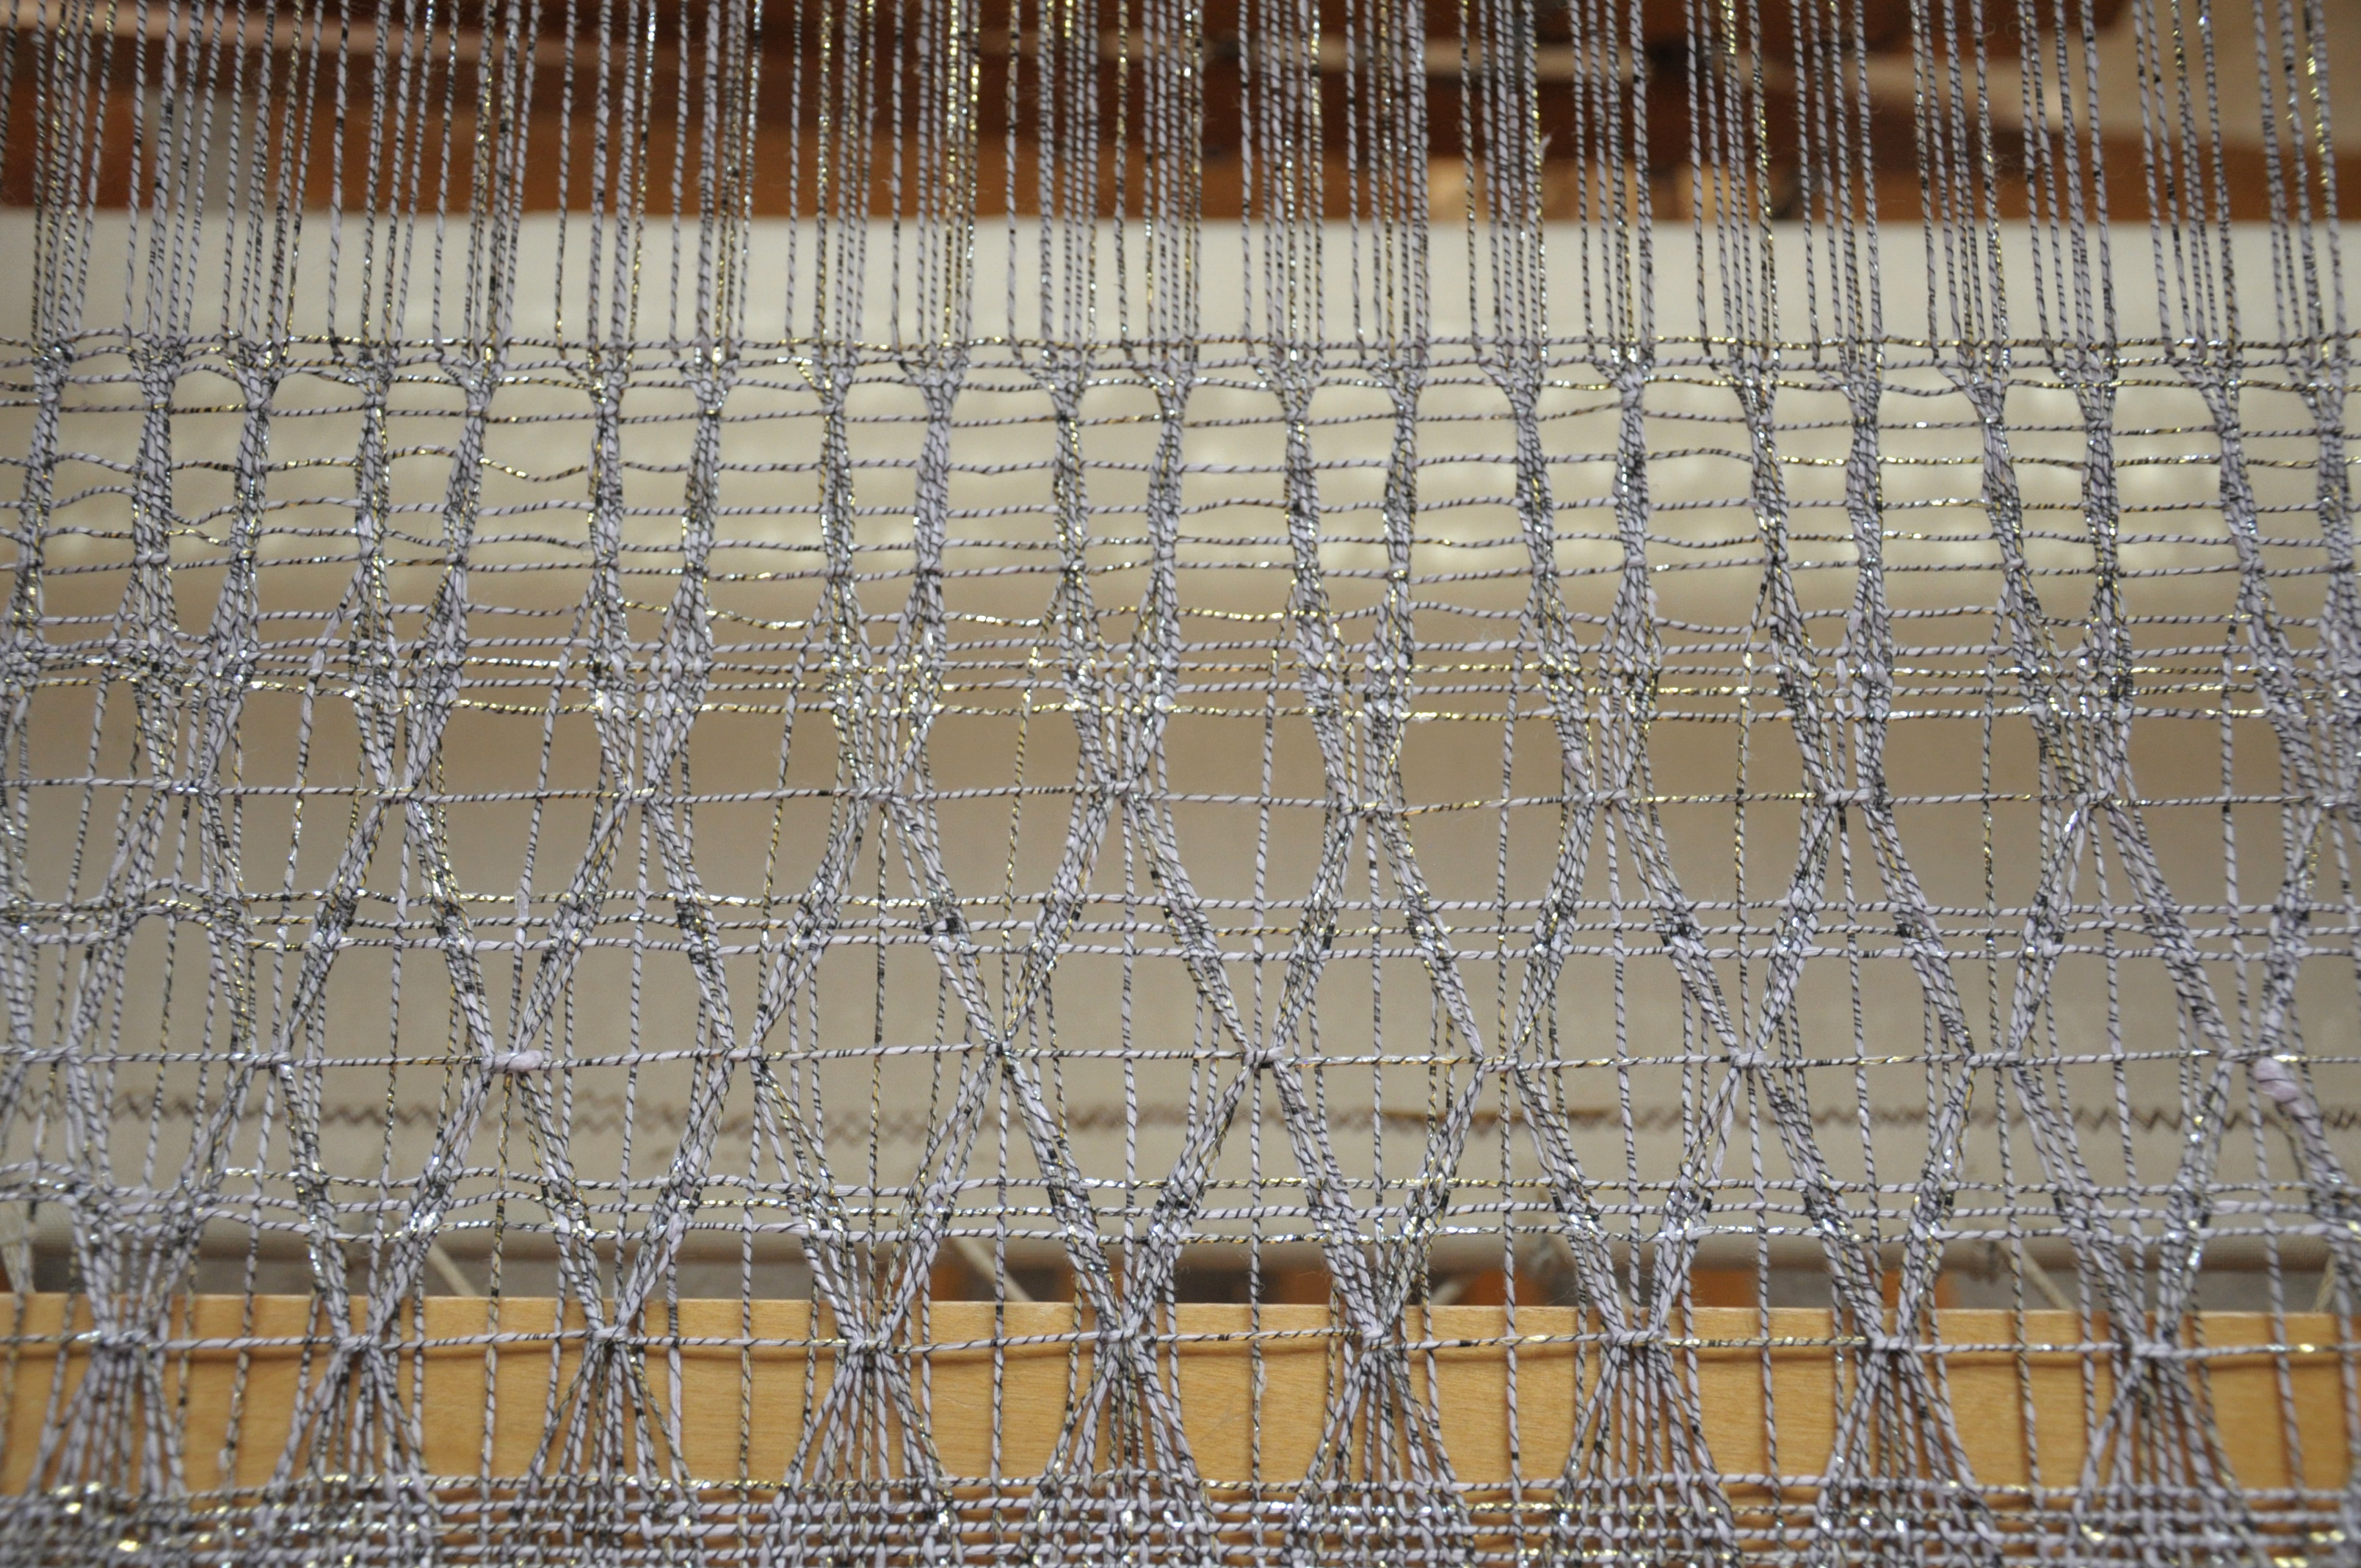
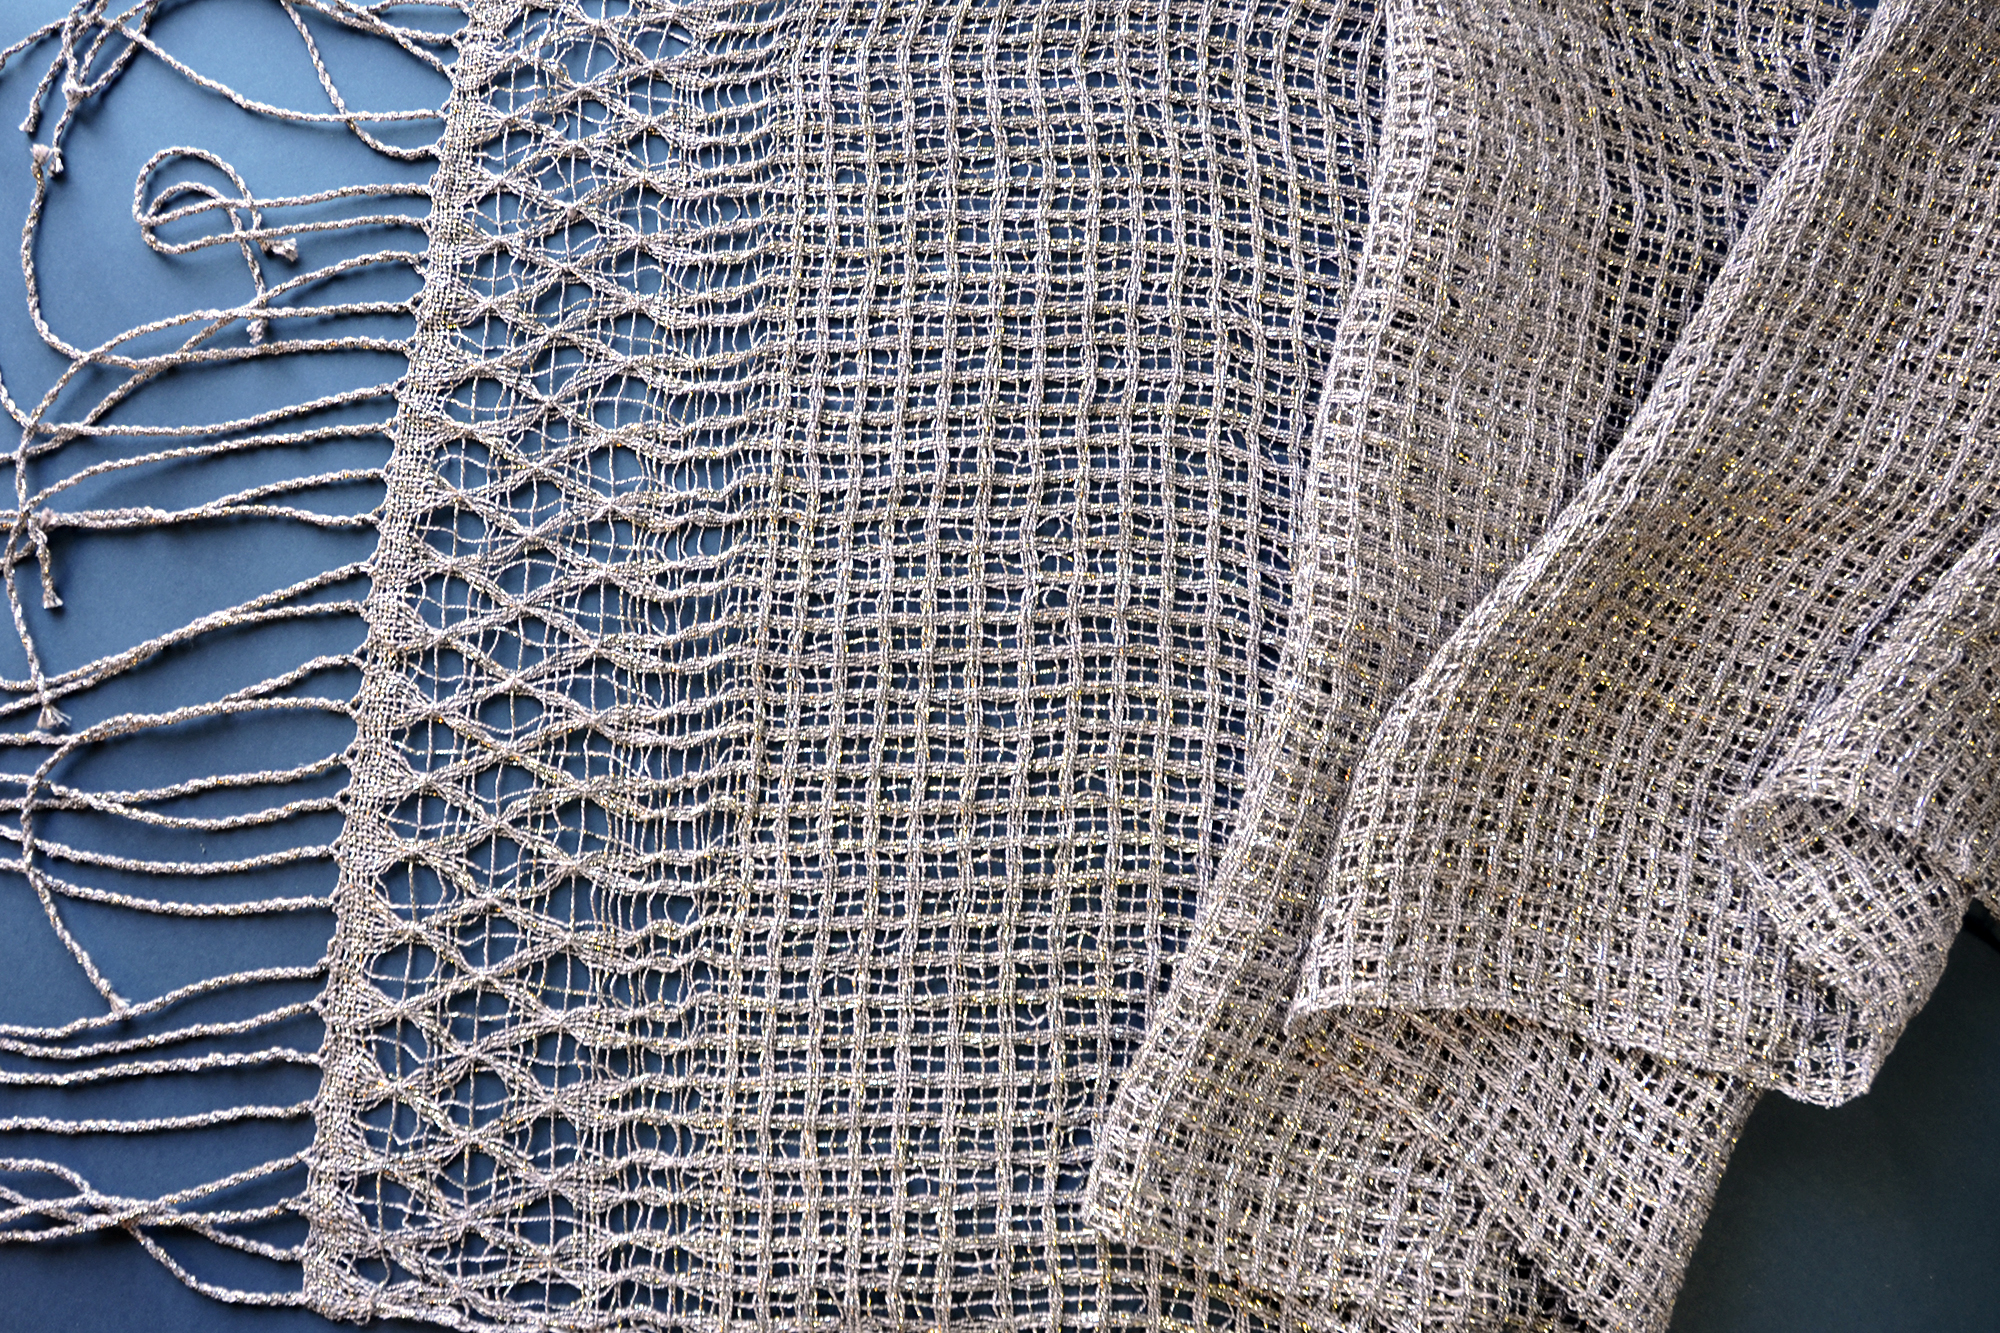
Next, I tried Brooks lace, but worked on a close shed. That means when I wrapped my weft yarn around the warp, I went around all threads across the width of the piece. I did two repeats of this with 3 passes of plain weave in between. I was less impressed with the appearance of this on the loom, but decided to keep it in the piece in hopes that I’d like it better after finishing (and I did!)
Next, it was time to move on to my main lace pattern: Atwater Bronson. This type of lace produces little blocks. I warped my loom for the most basic of Atwater Bronson – a single repeating block of lace. There are many incarnations of this lace. And it is quite possible to reproduce this on a rigid heddle with use of a pick-up stick.
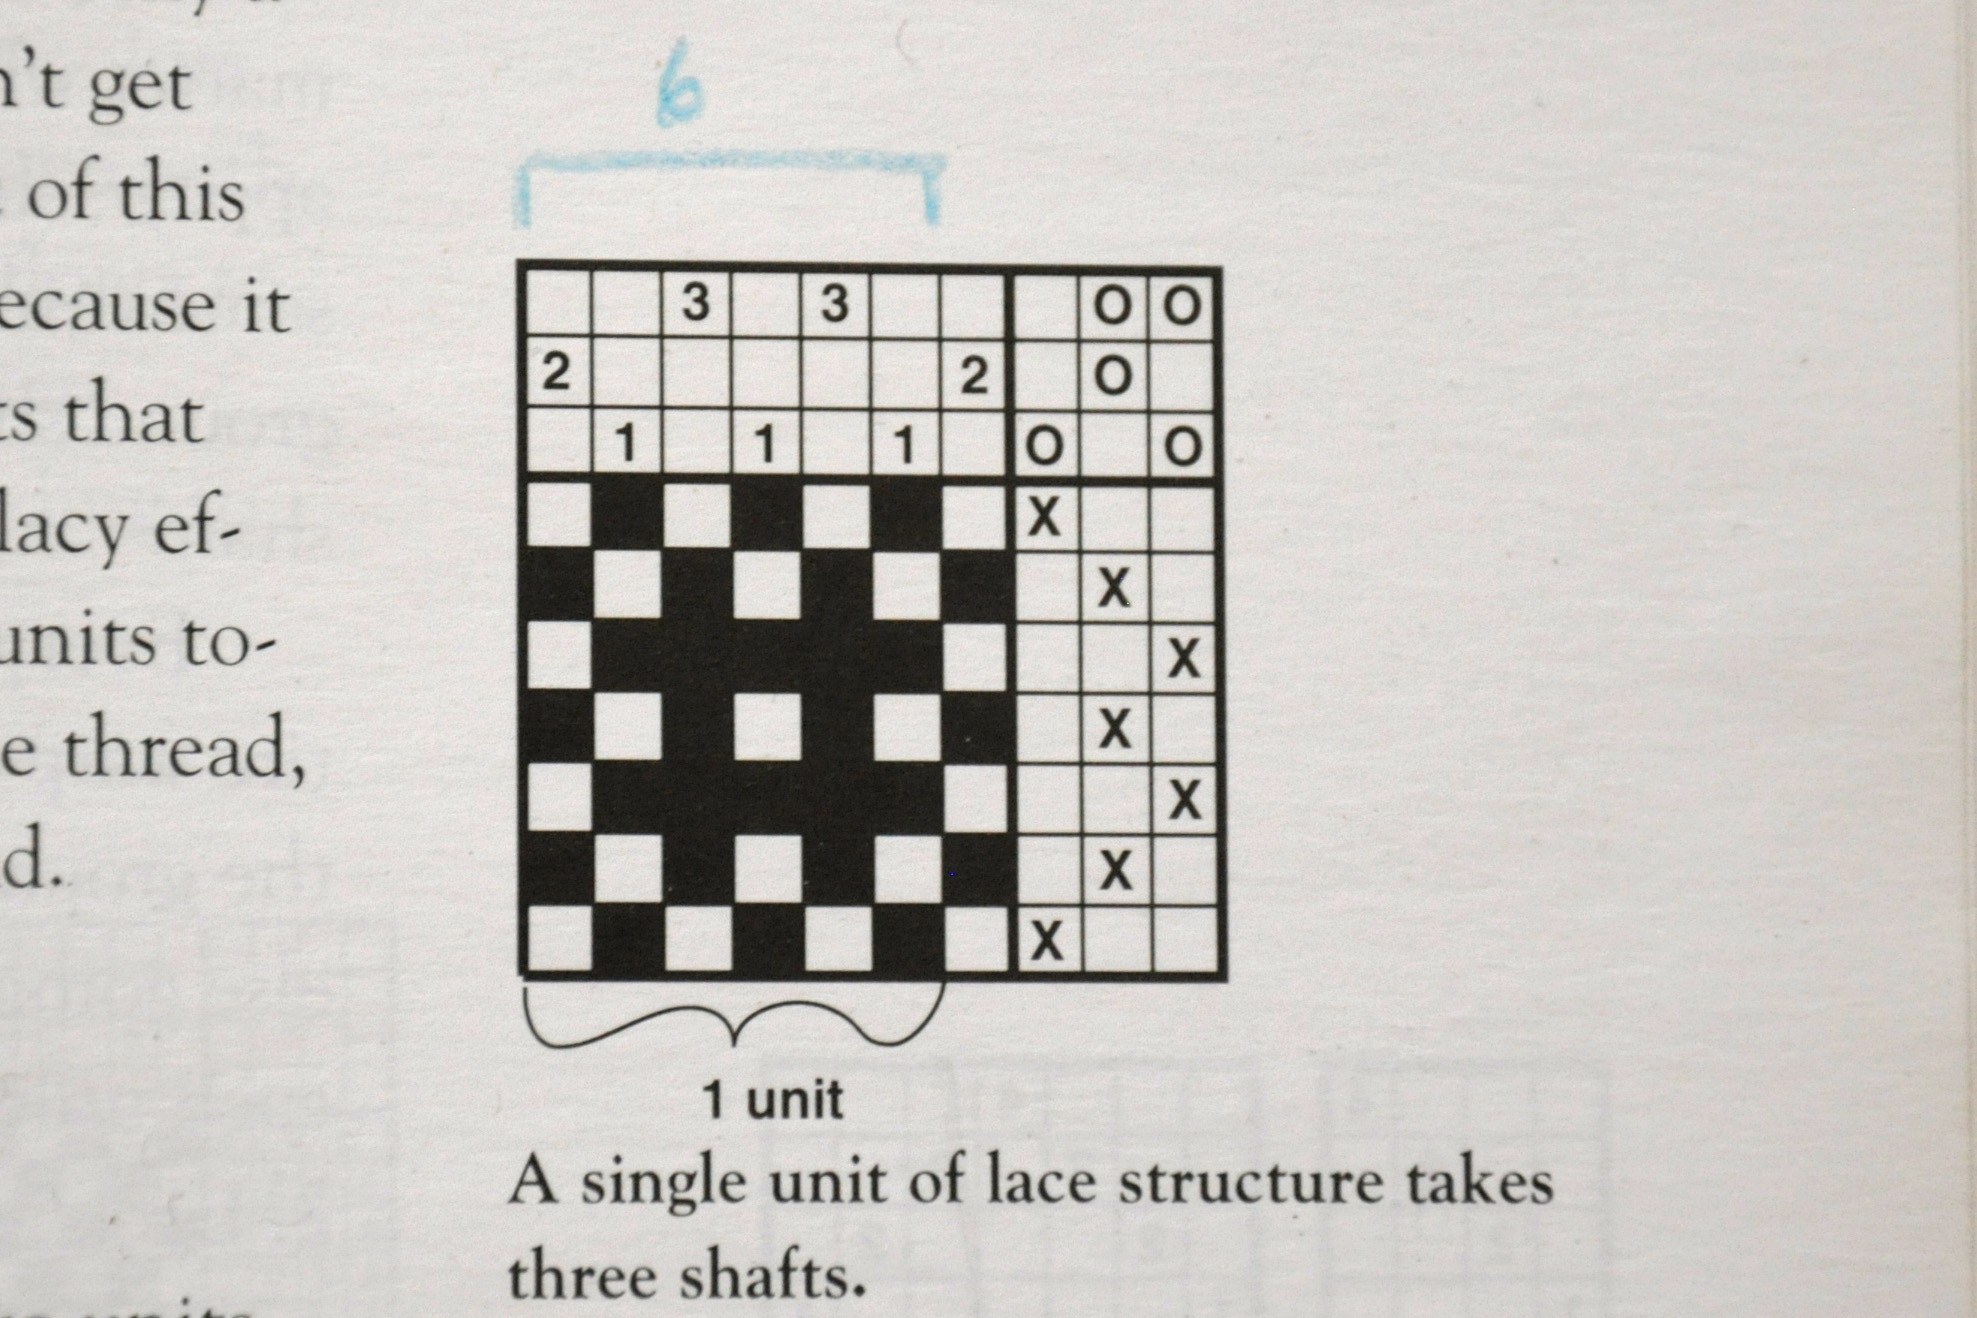
While the Brooks lace is considered a finger controlled lace pattern, Atwater Bronson is a type of “loom controlled” pattern. That’s because the loom is doing all the work of raising and lowering the warp threads. Well, at least my feet are doing the work of pushing the treadles to make this happen!
I really enjoyed the weaving part of this. I’m sure much of this was the ease of weaving on a floor loom, and the wonderful rhythm of the beater bar, treadles, and boat shuttle. But it was also easy to memorize and just overall very pleasant.
Here it is after a few repeats. Not too exciting!
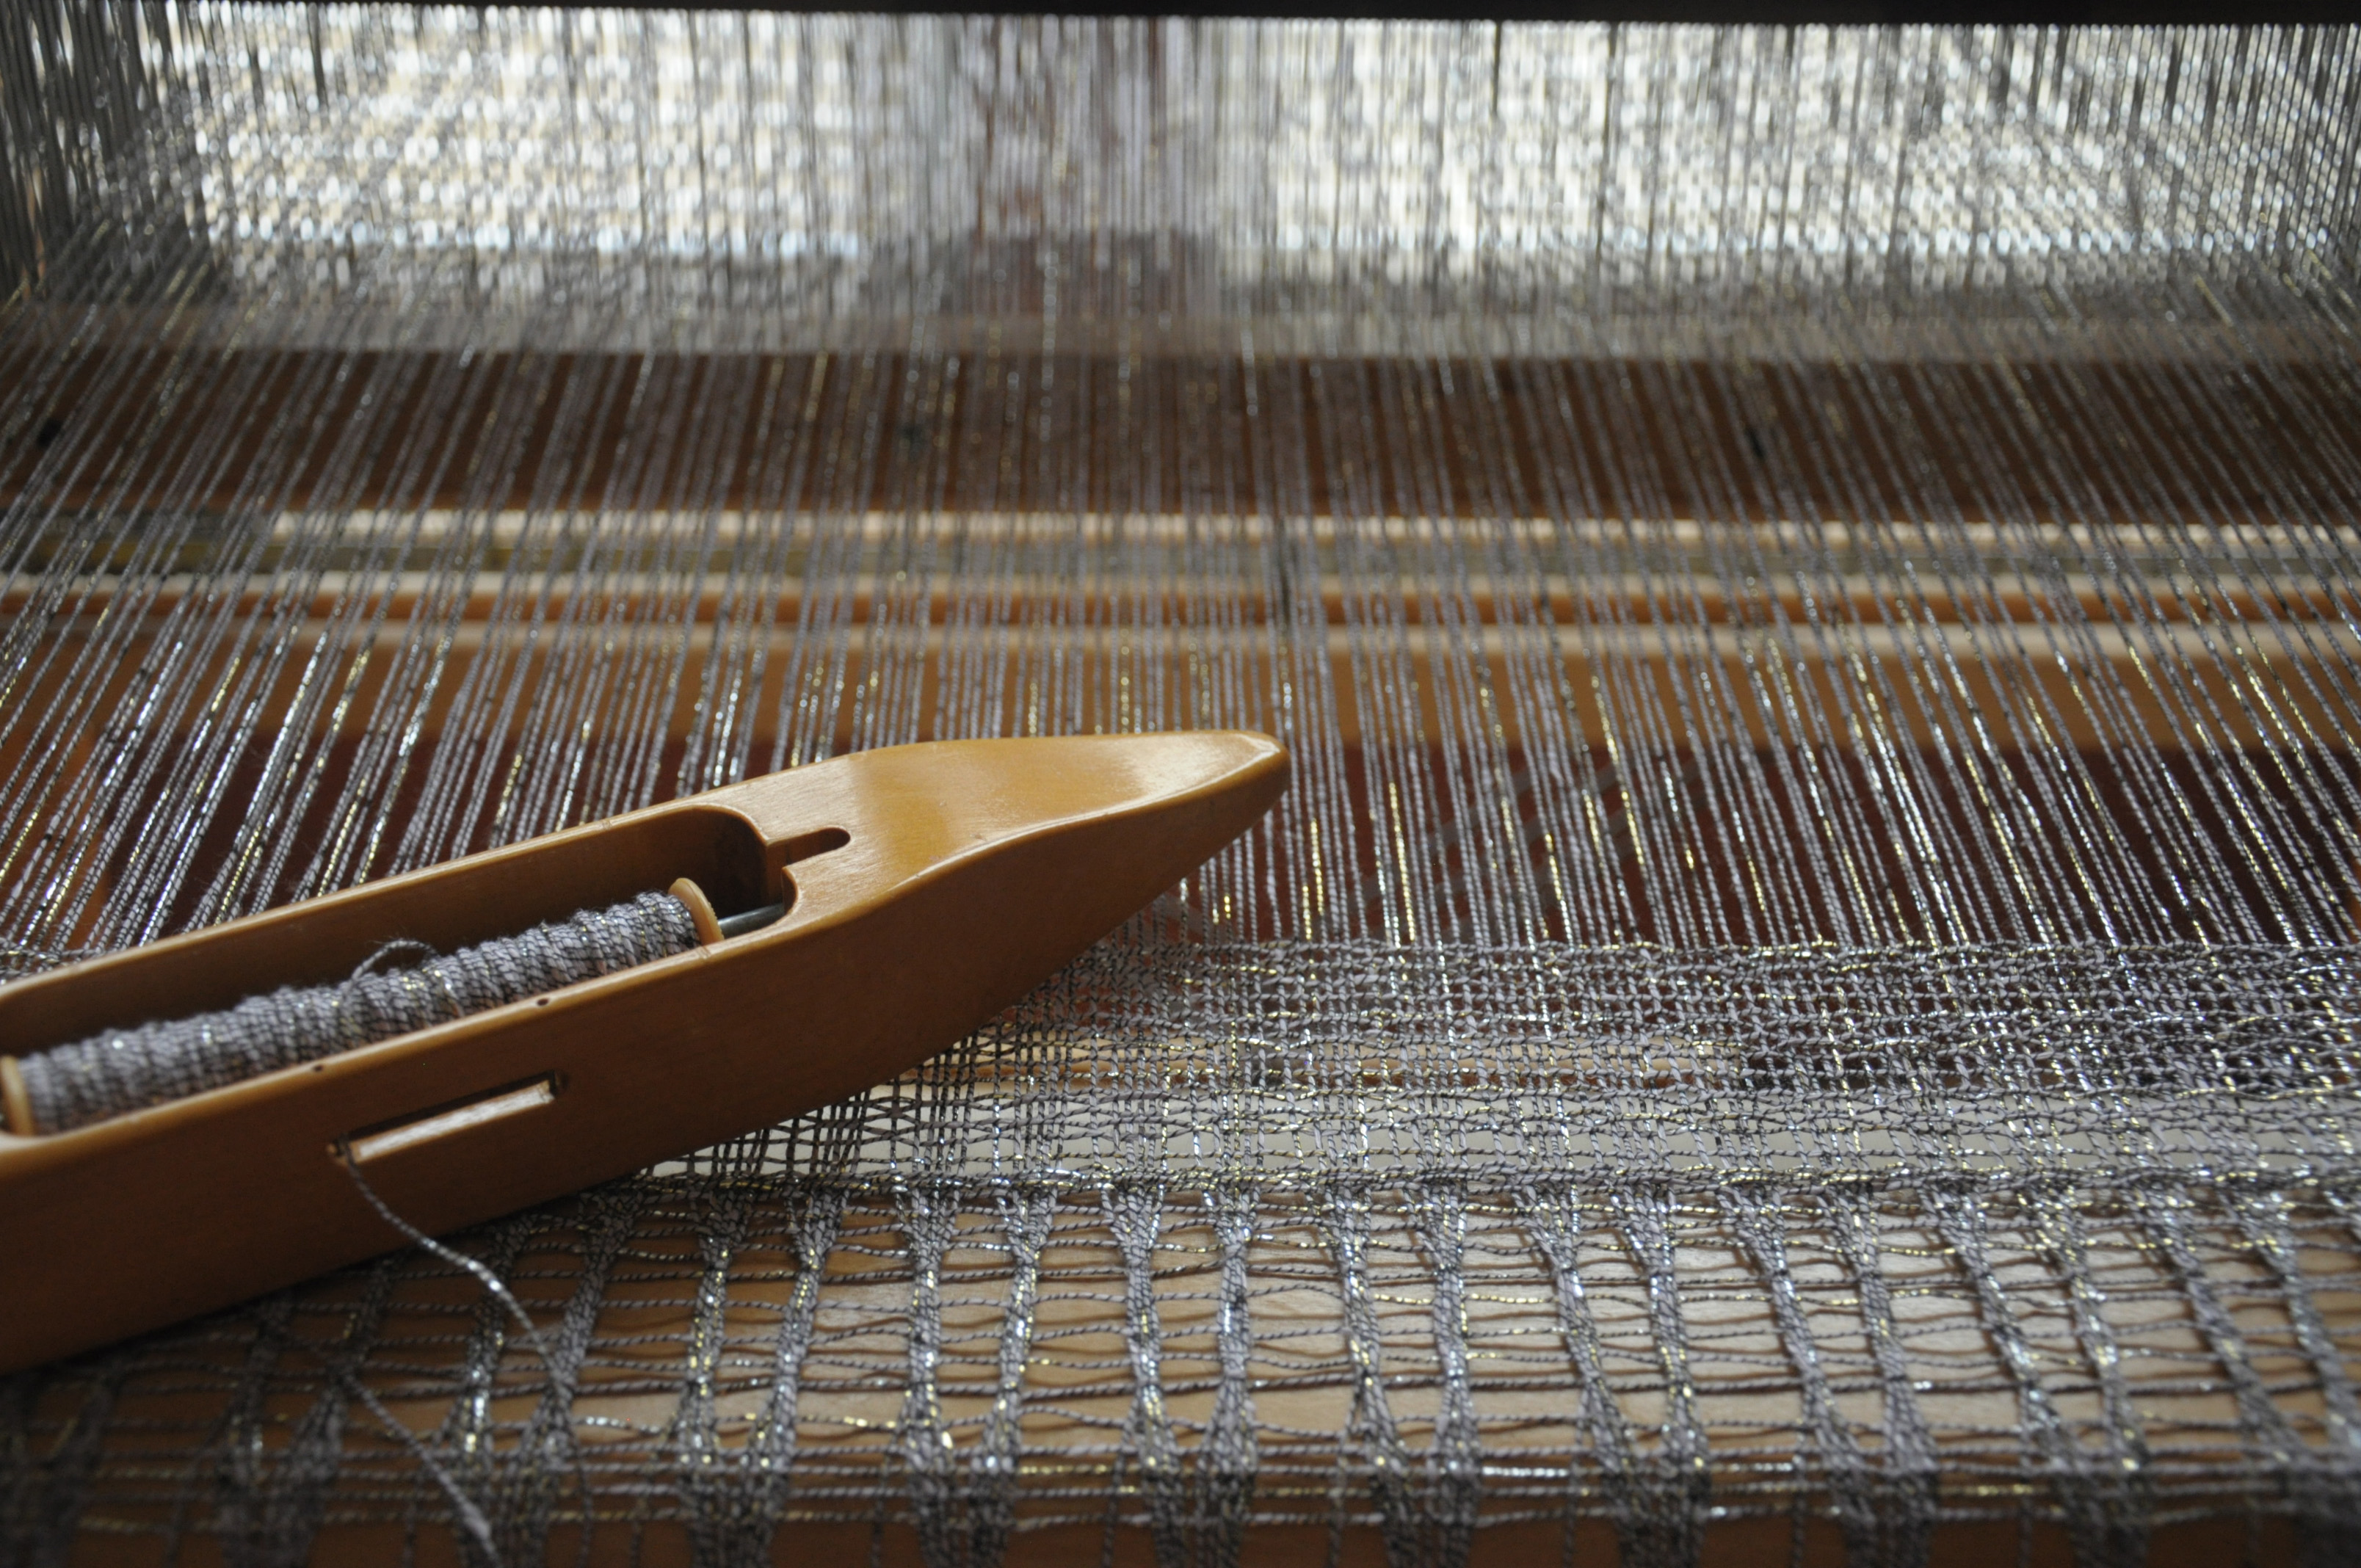
After more repeats, I could definitely see the pattern forming. But again, not that visually stimulating. I had to keep reminding myself that the magic would really happen off the loom and after washing.
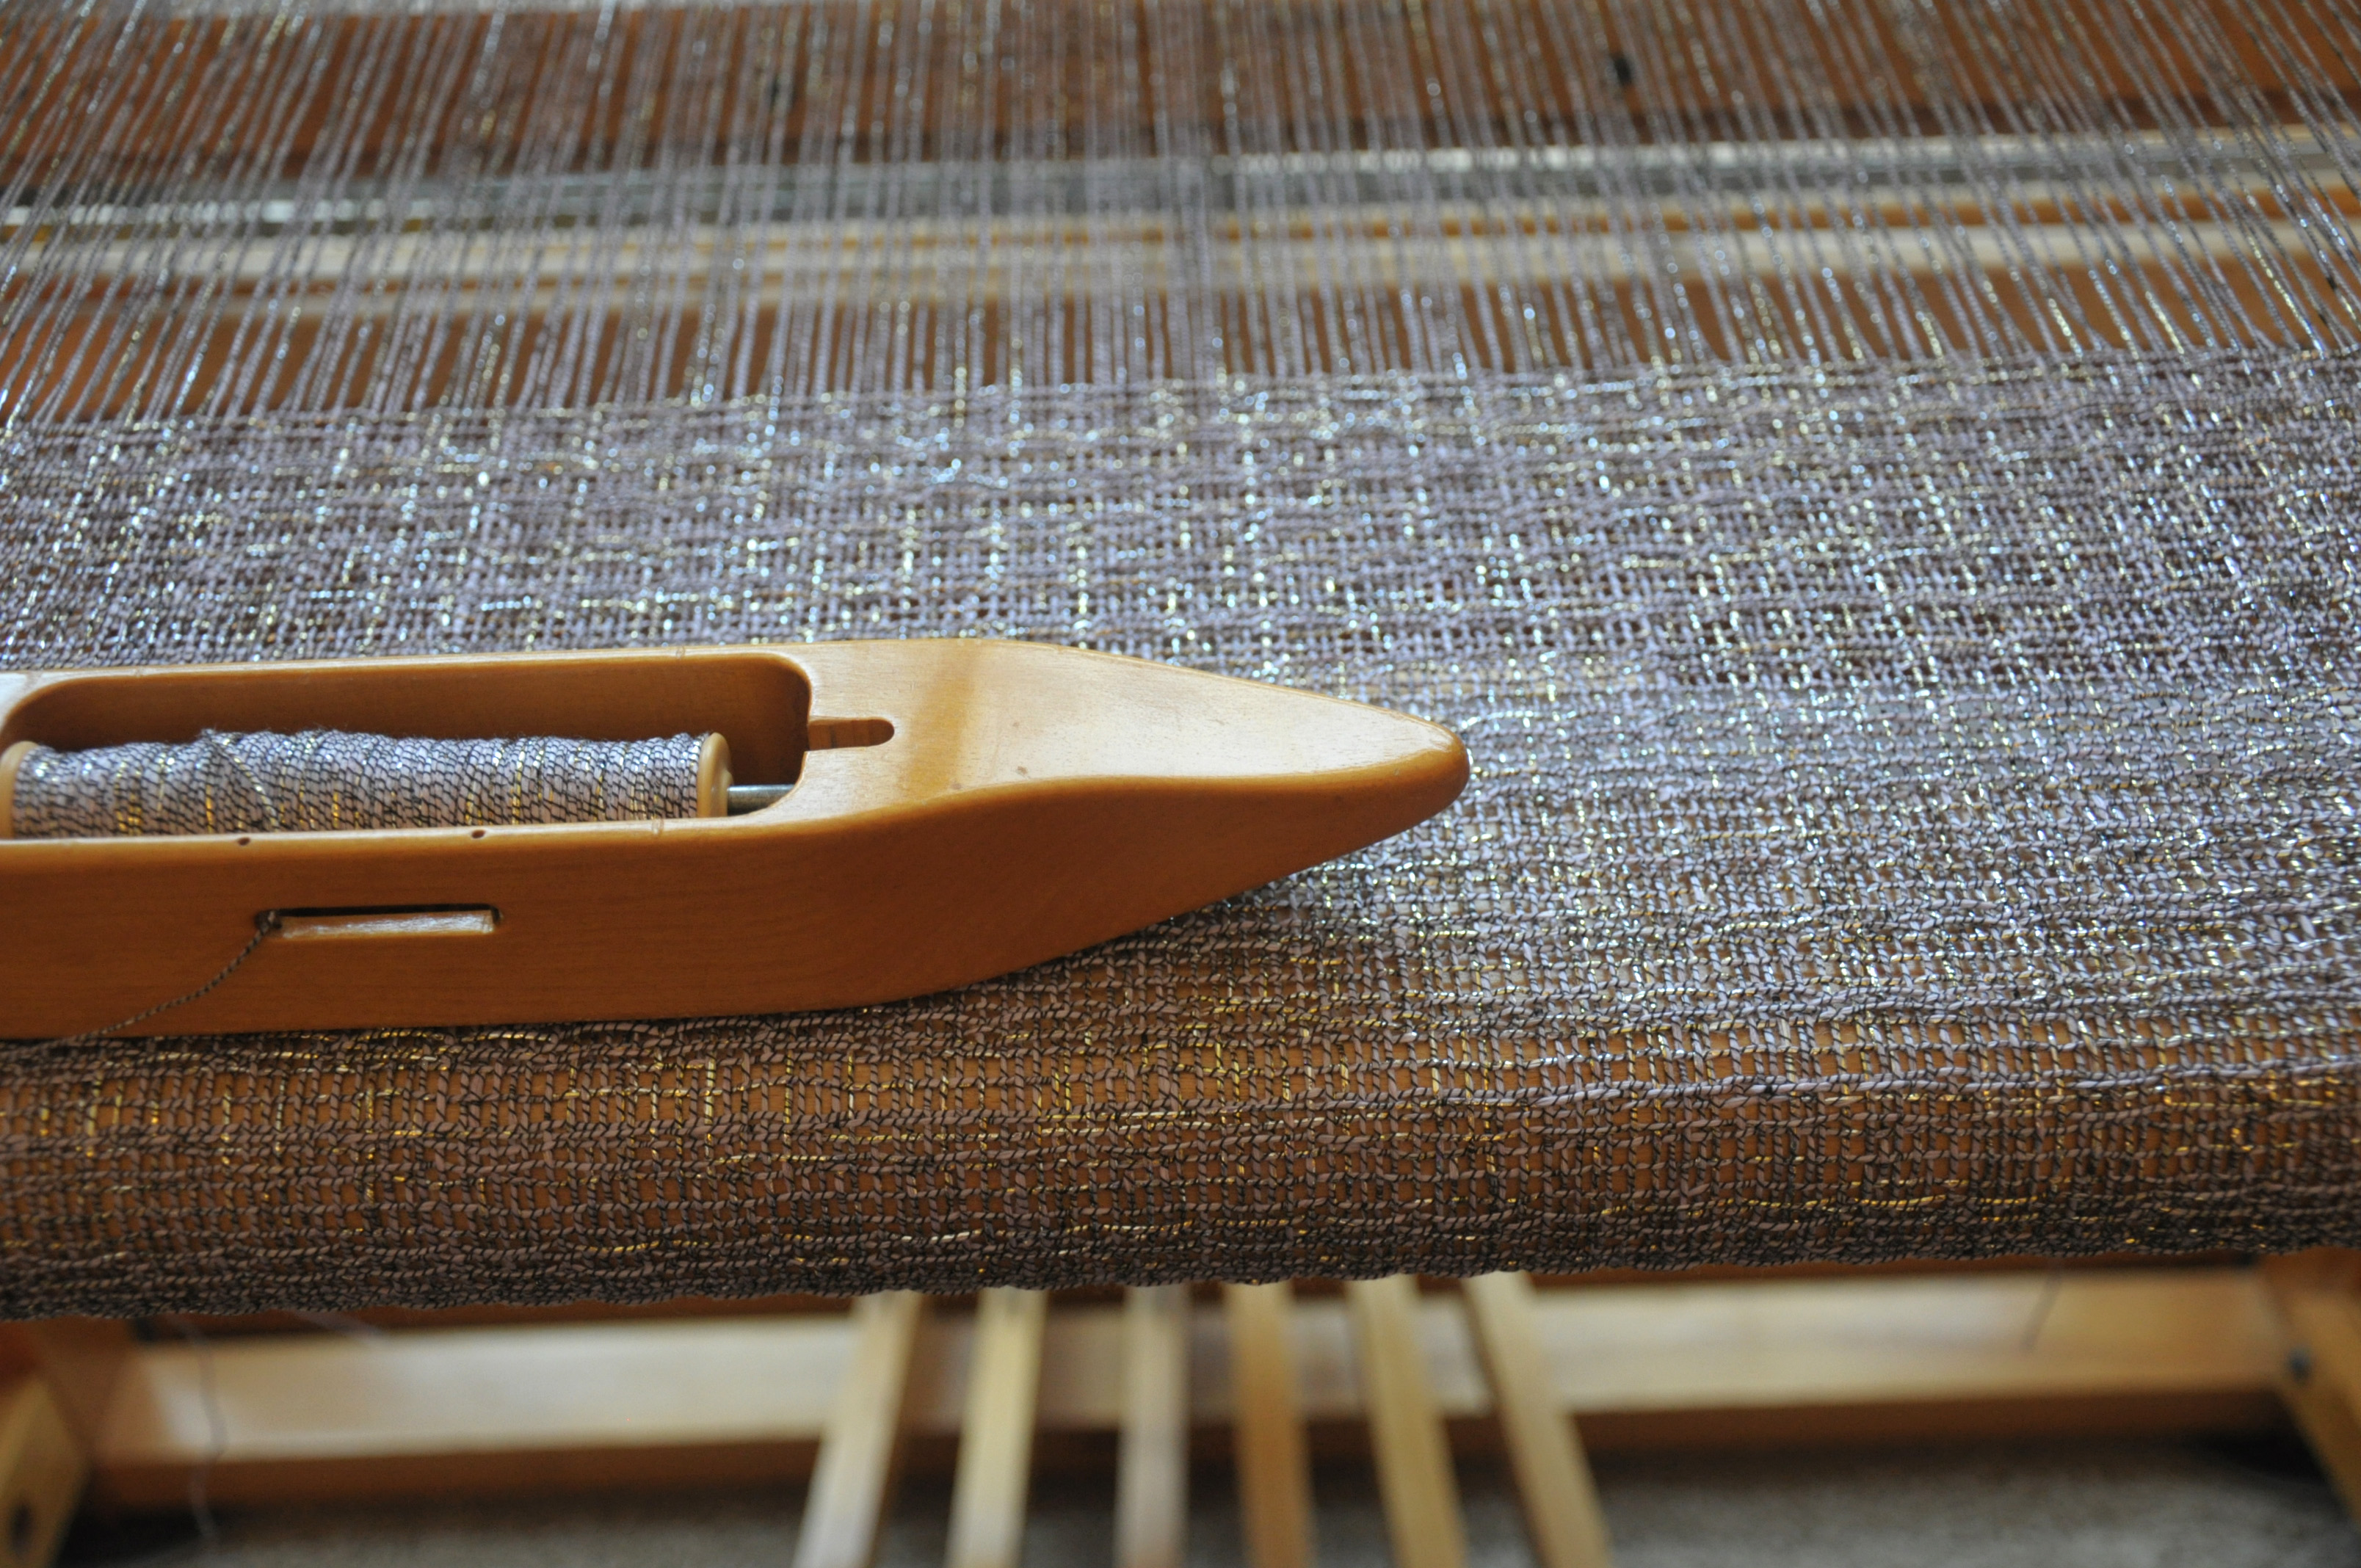
From an angle, you can kind of see the blocks in the pattern.
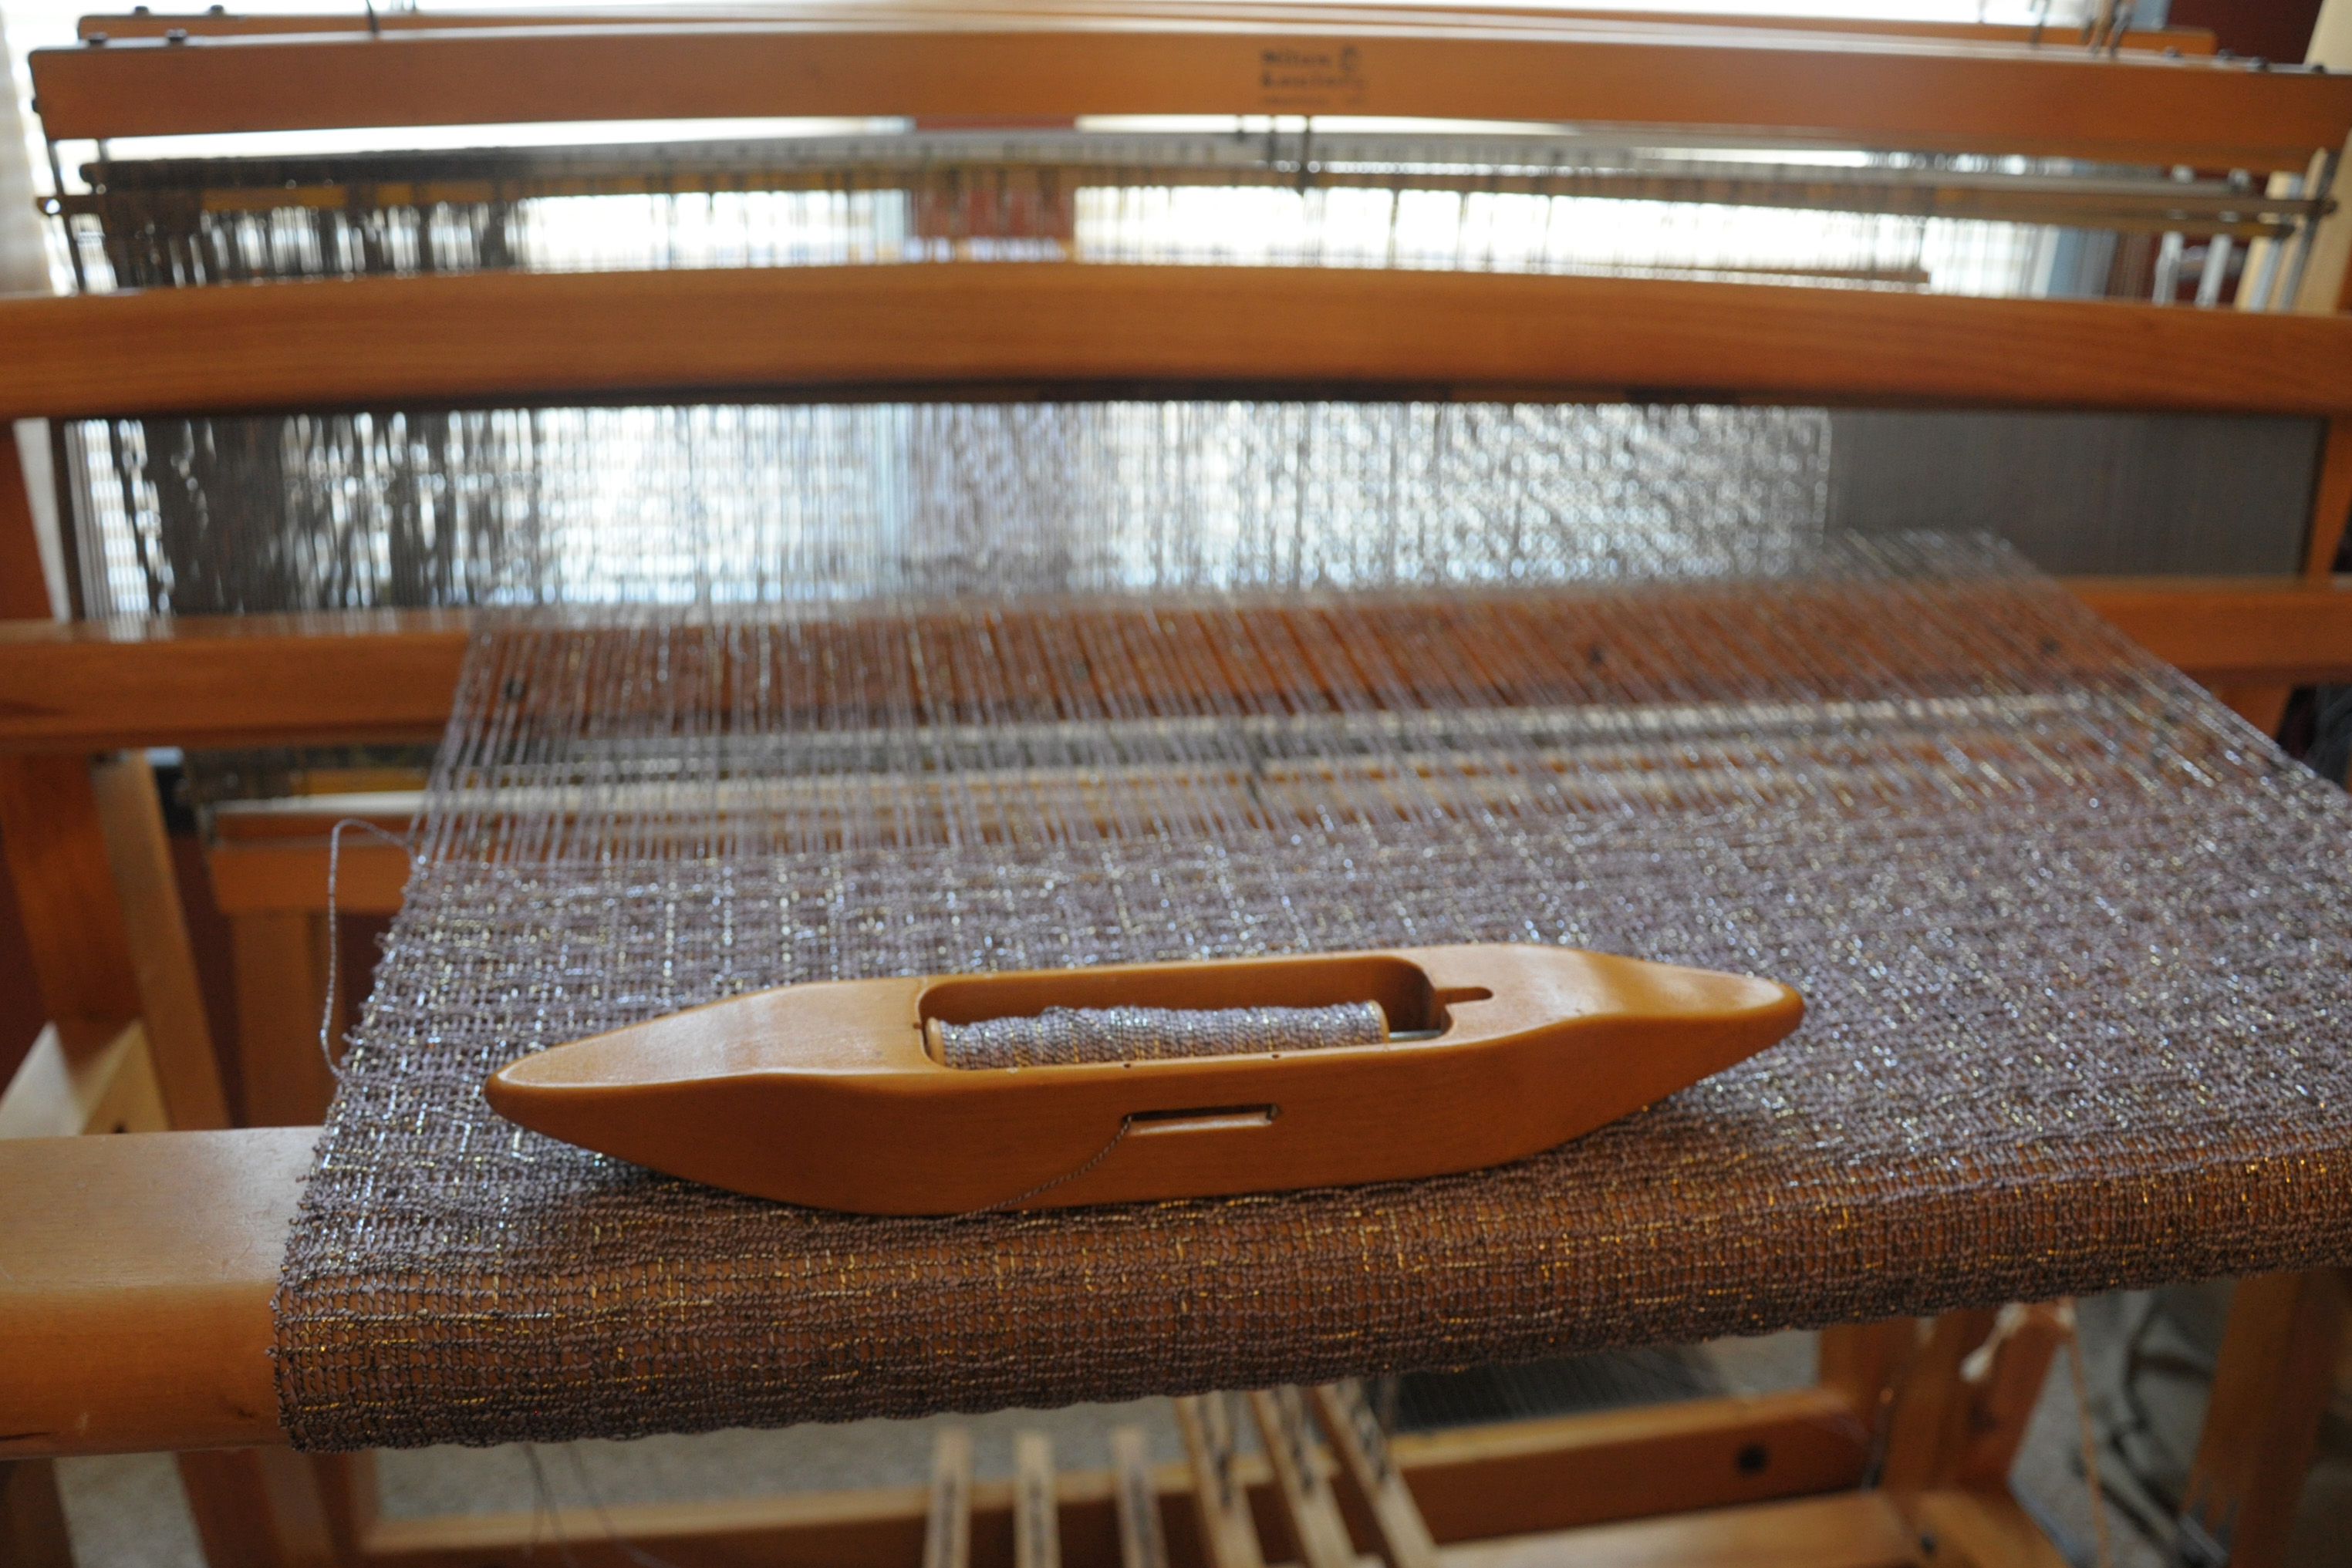
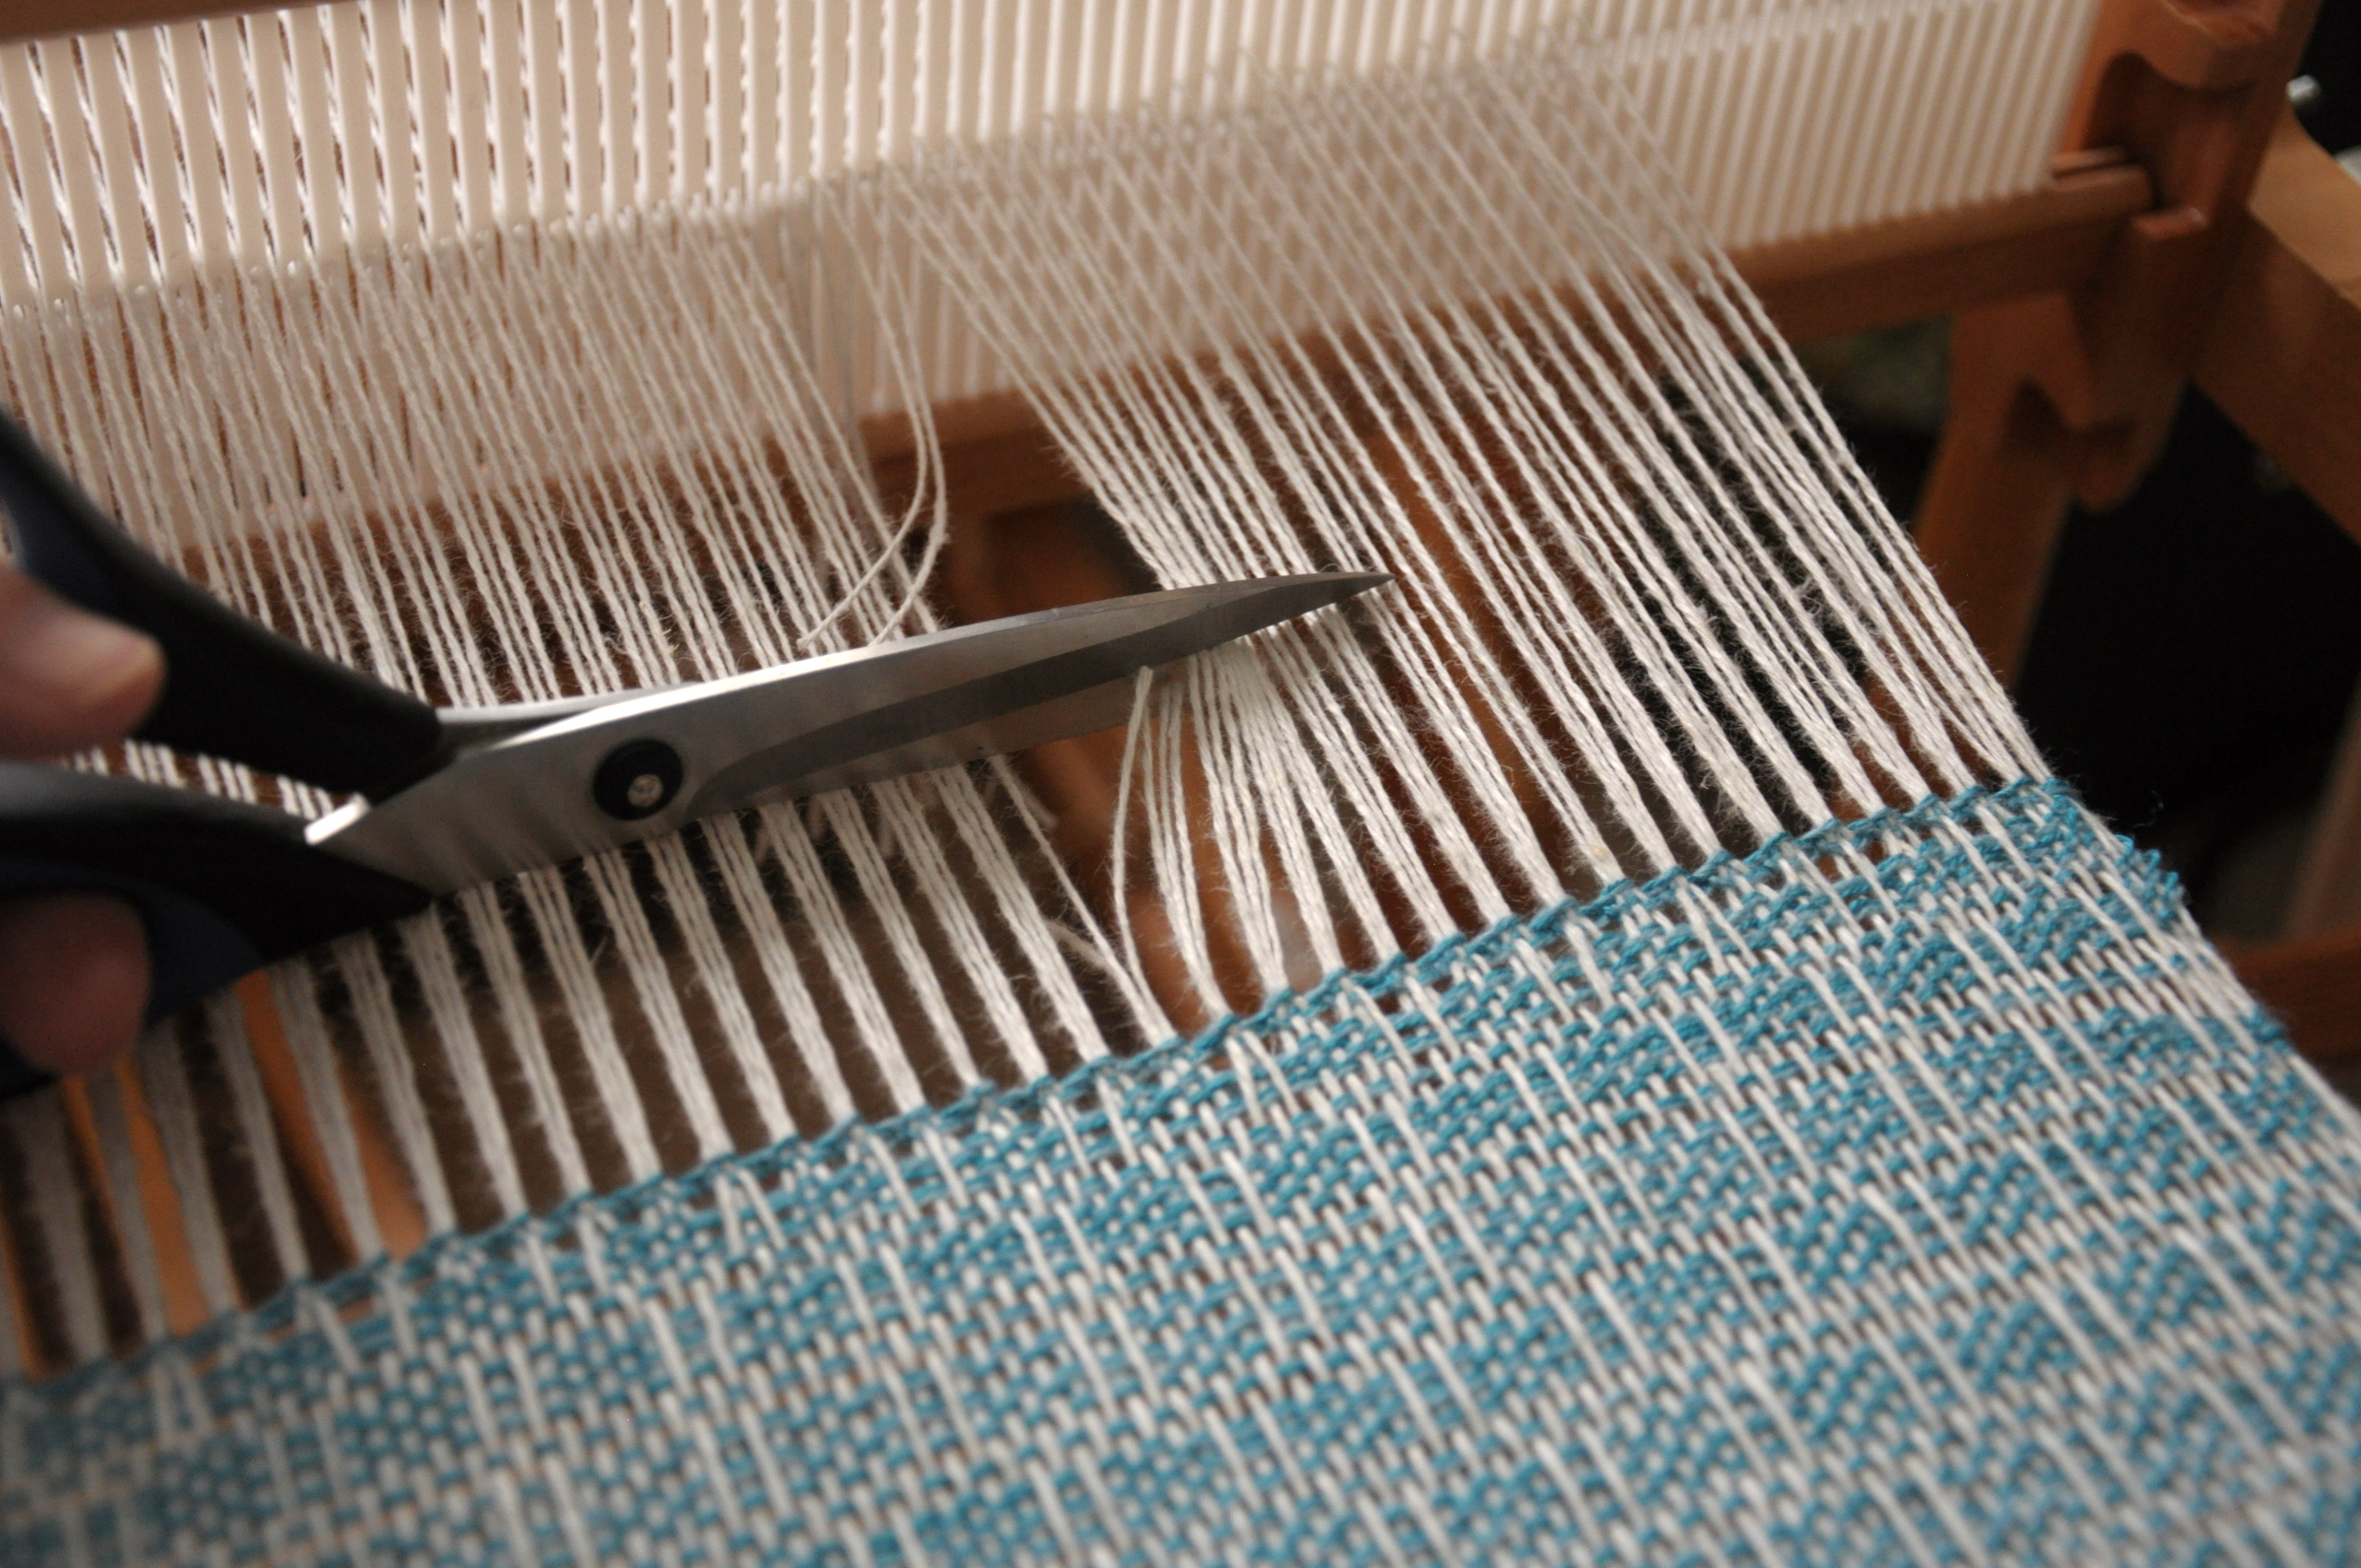
When the back bar with the end of my warp tied to it almost reached the back beam, I knew it was time to weave my other header. I reversed what I did for the beginning header and cut it off the loom.
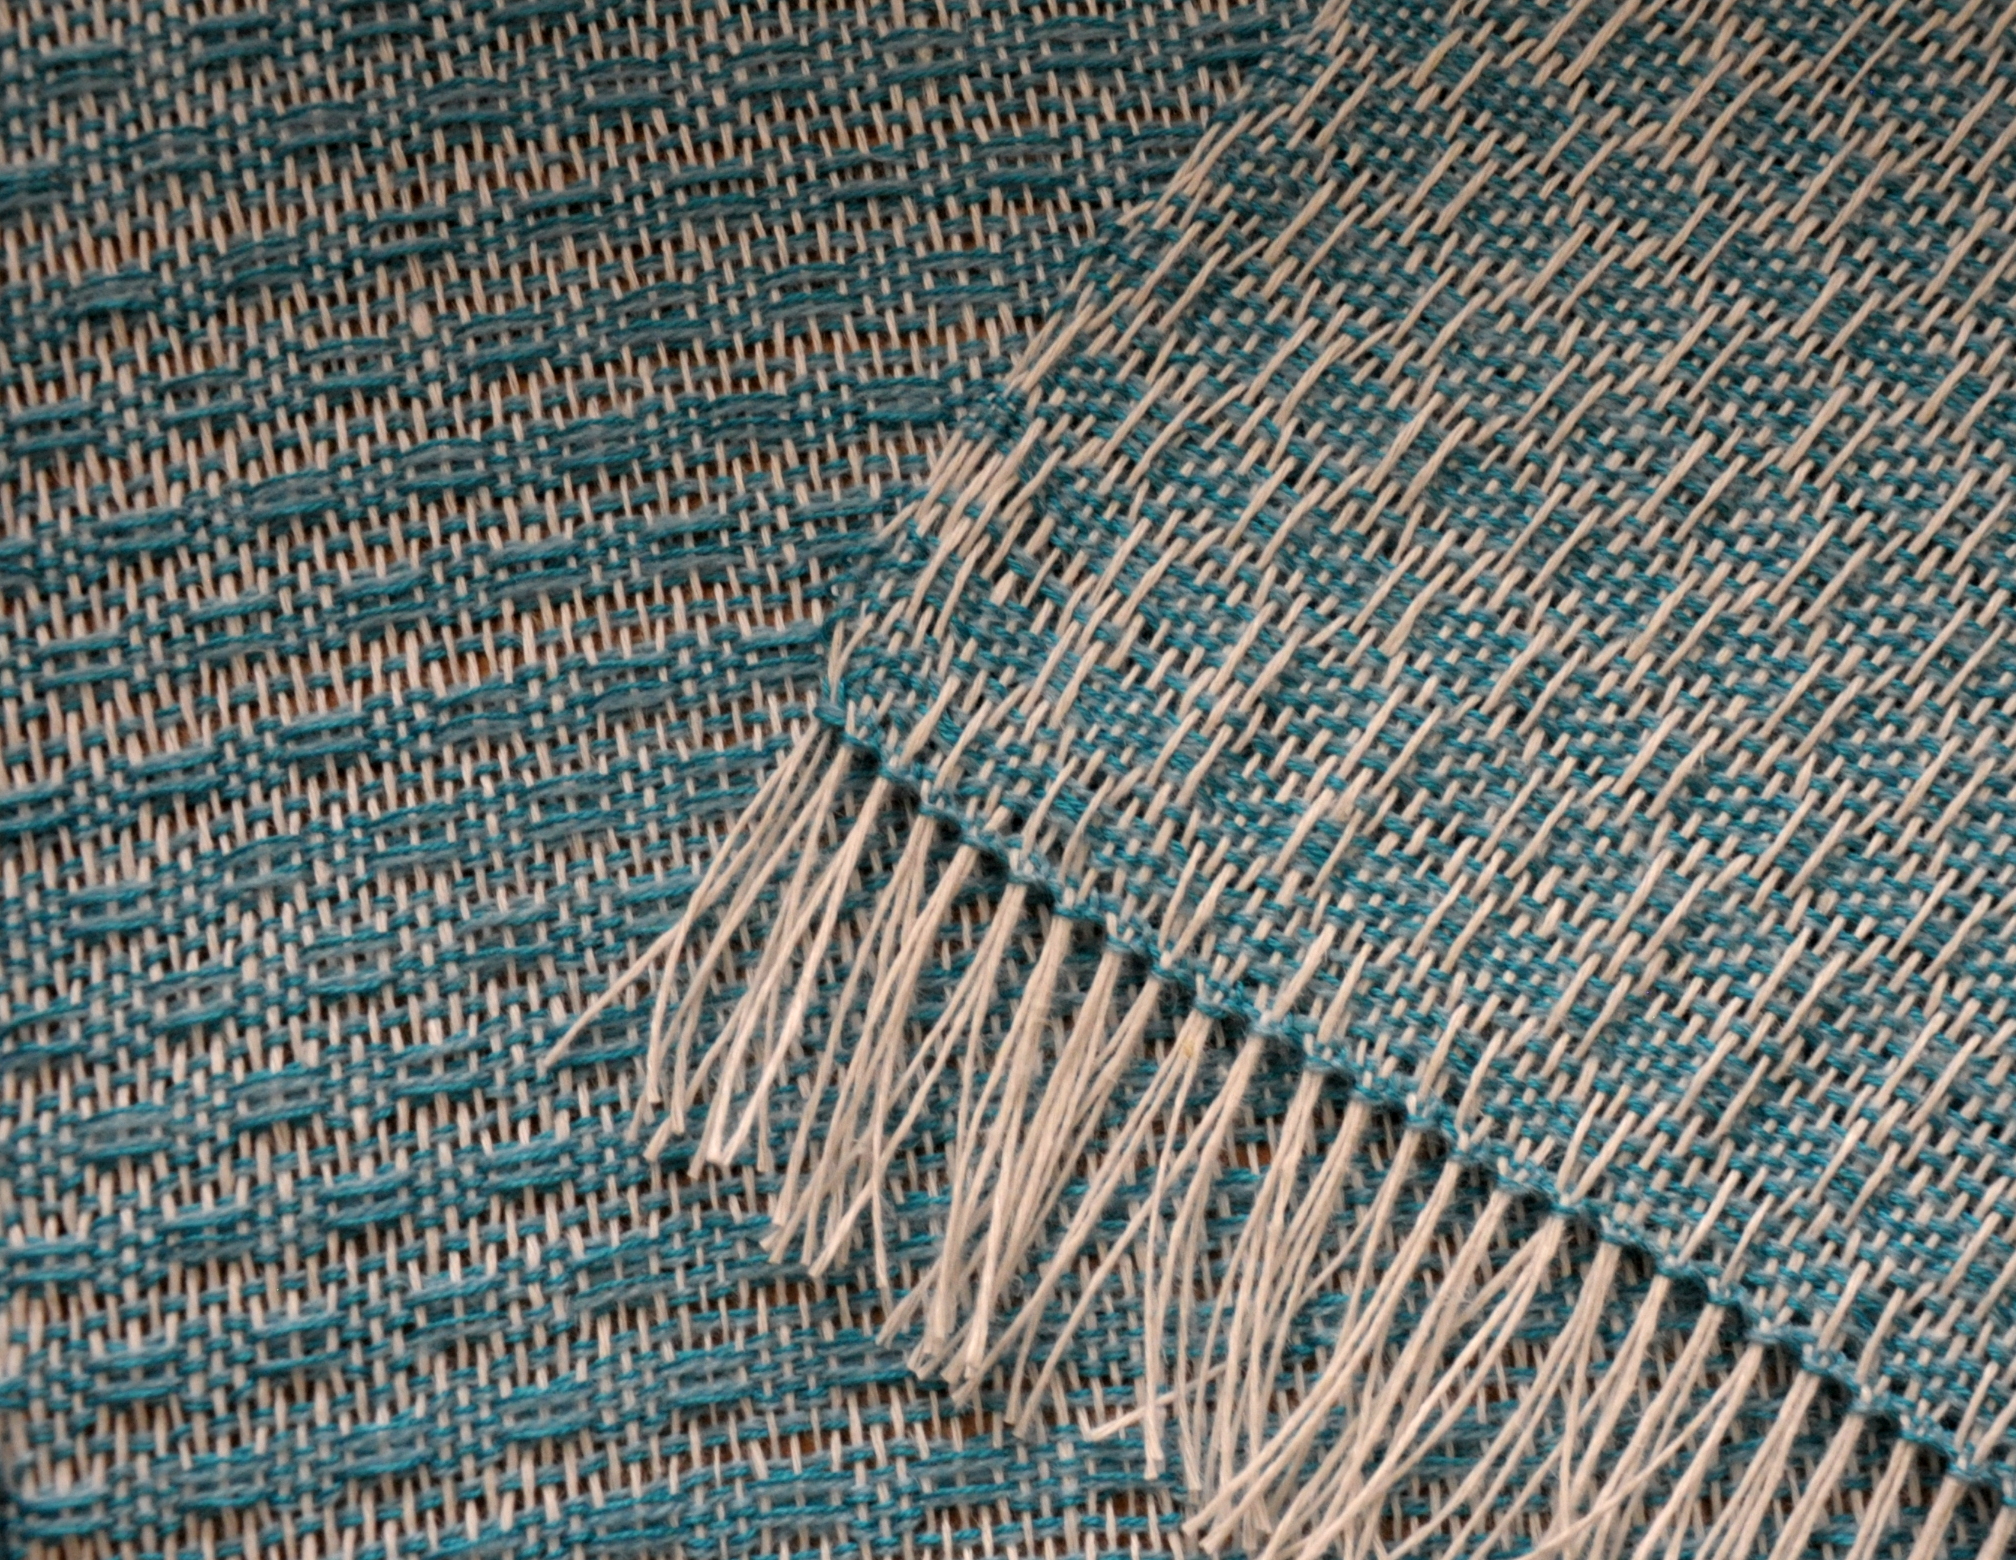
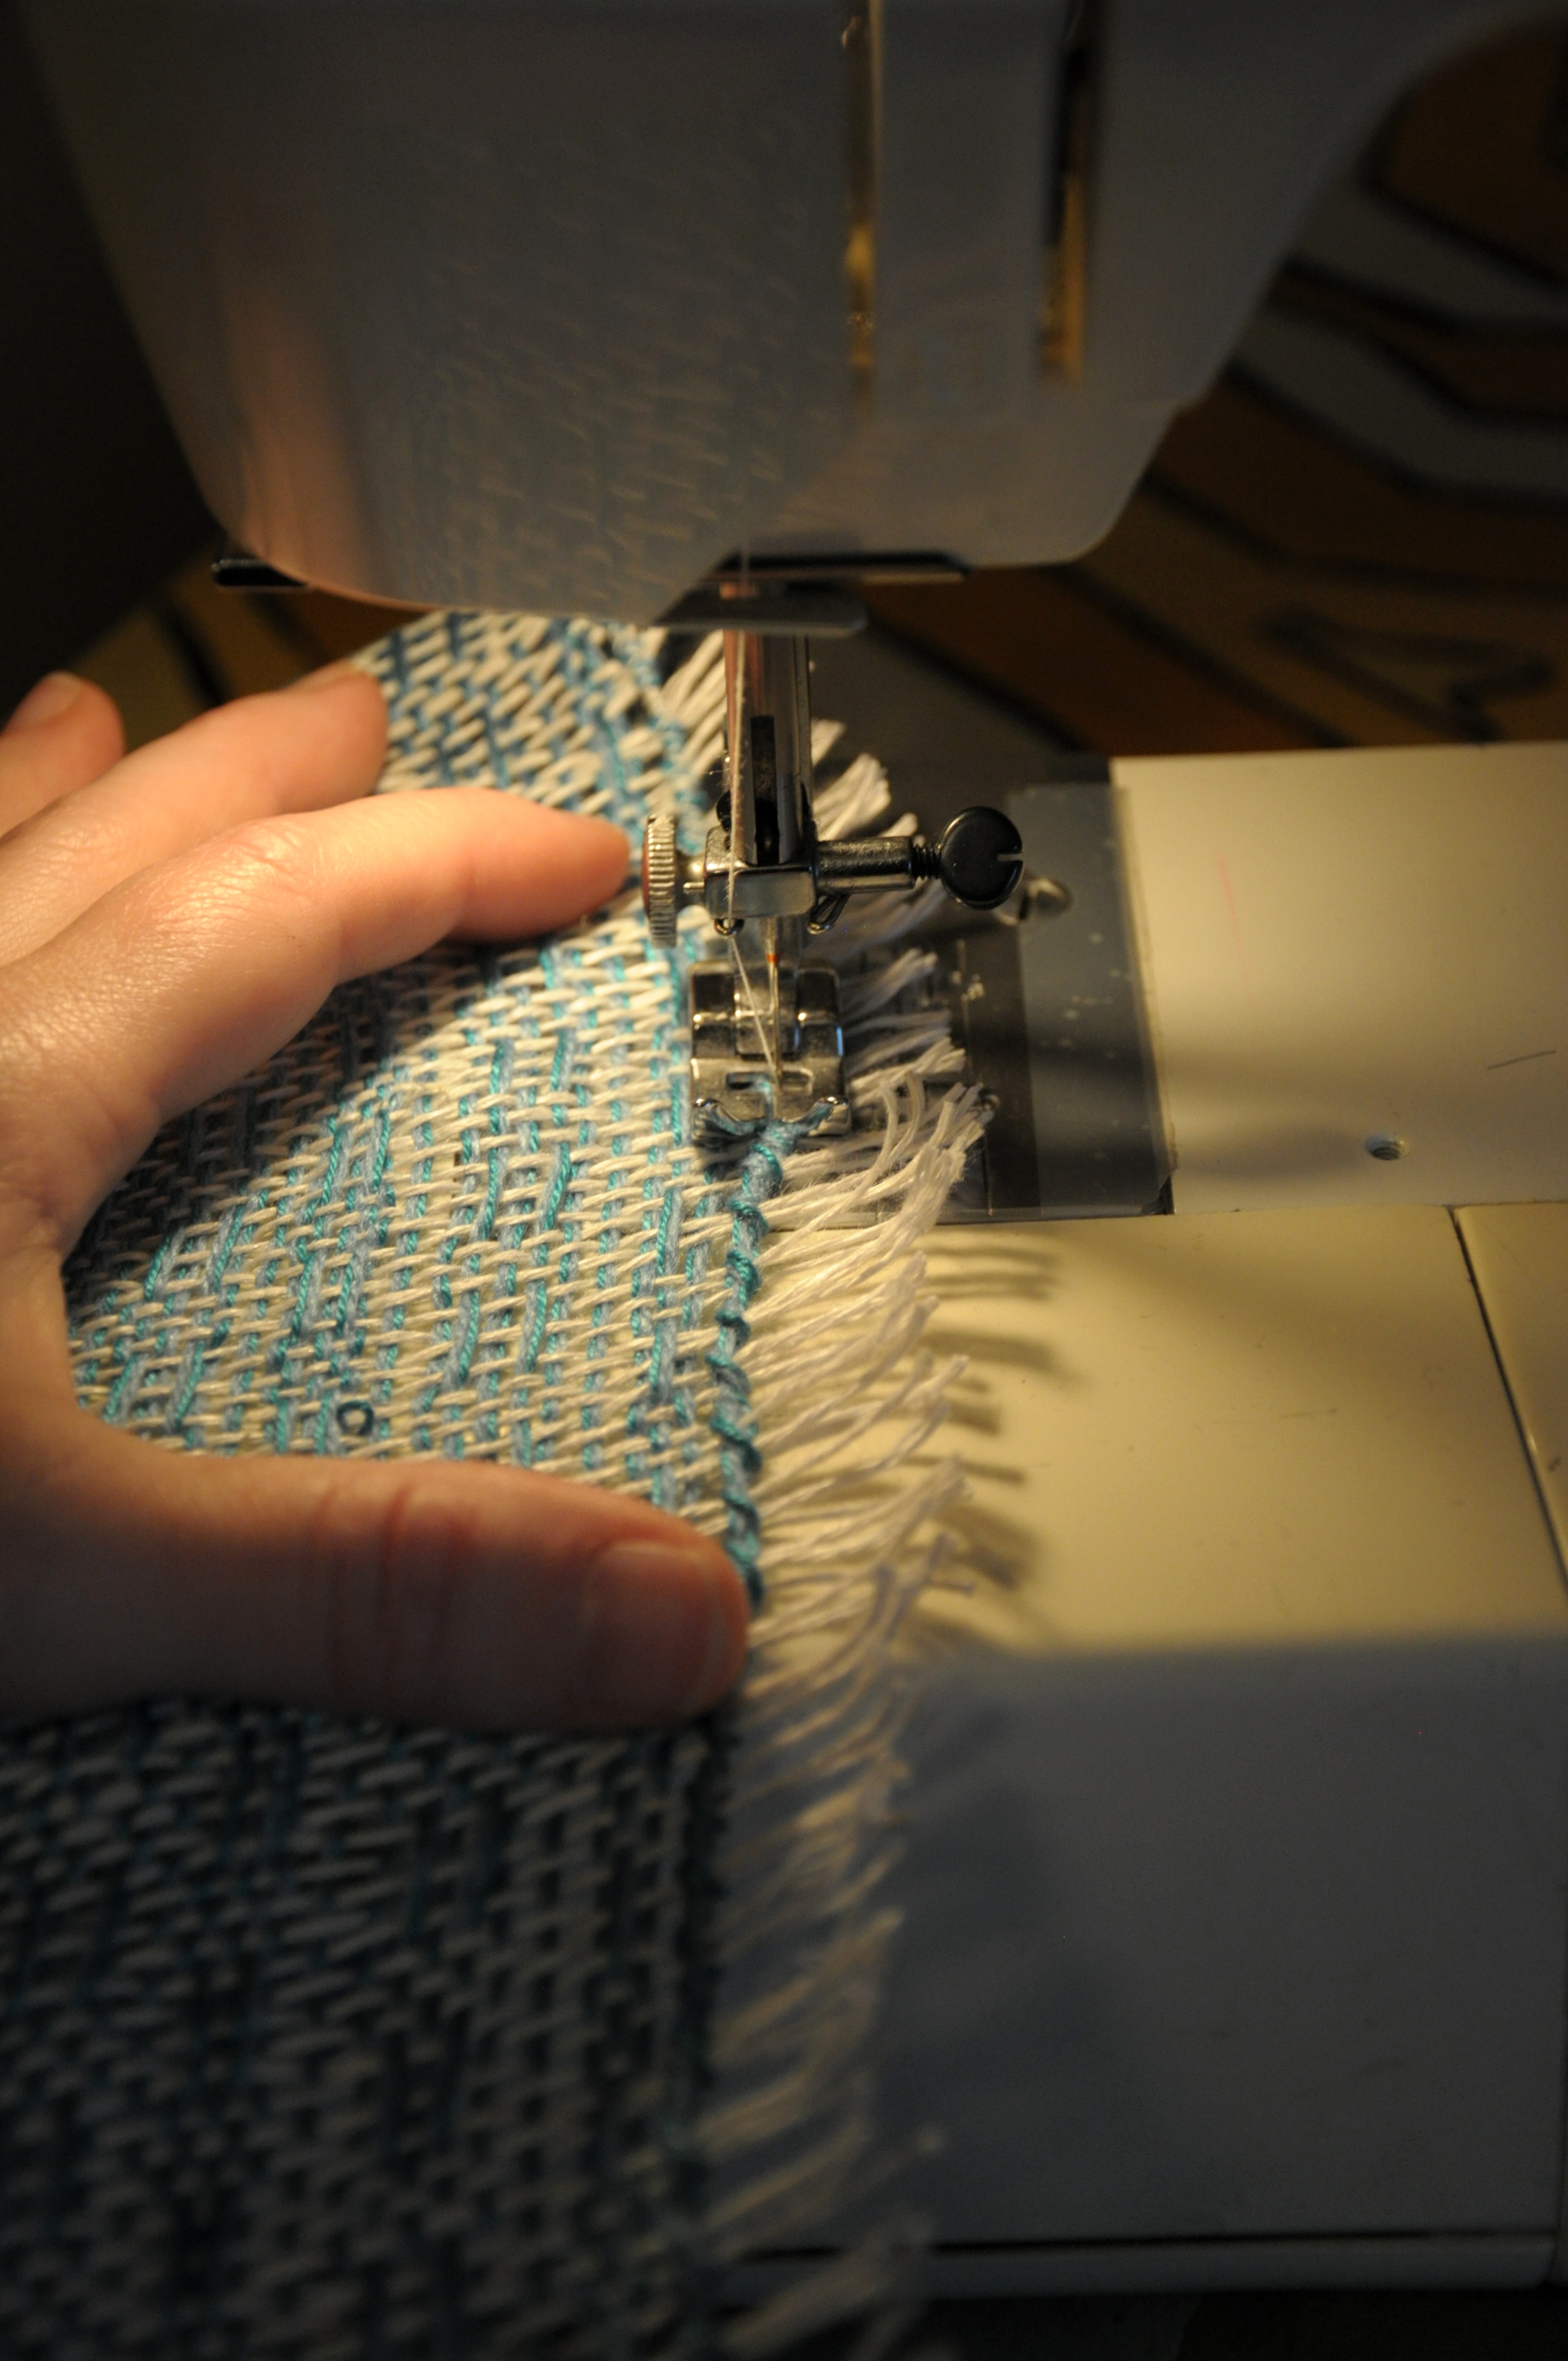
Because my yarn, Universe is several elements – cotton, linen, and metallic – all wrapped with a sliver of nylon, I knew I didn’t want to leave loose fringe. If I had, that nylon would have come unwrapped and the elements would have splayed out. Which, now that I think of it, might have looked cool. But it wouldn’t have worn well. So I busted out my handy fringe twister and made twisted fringe. This allowed me to knot the ends, securing the yarn without fear of it unraveling.
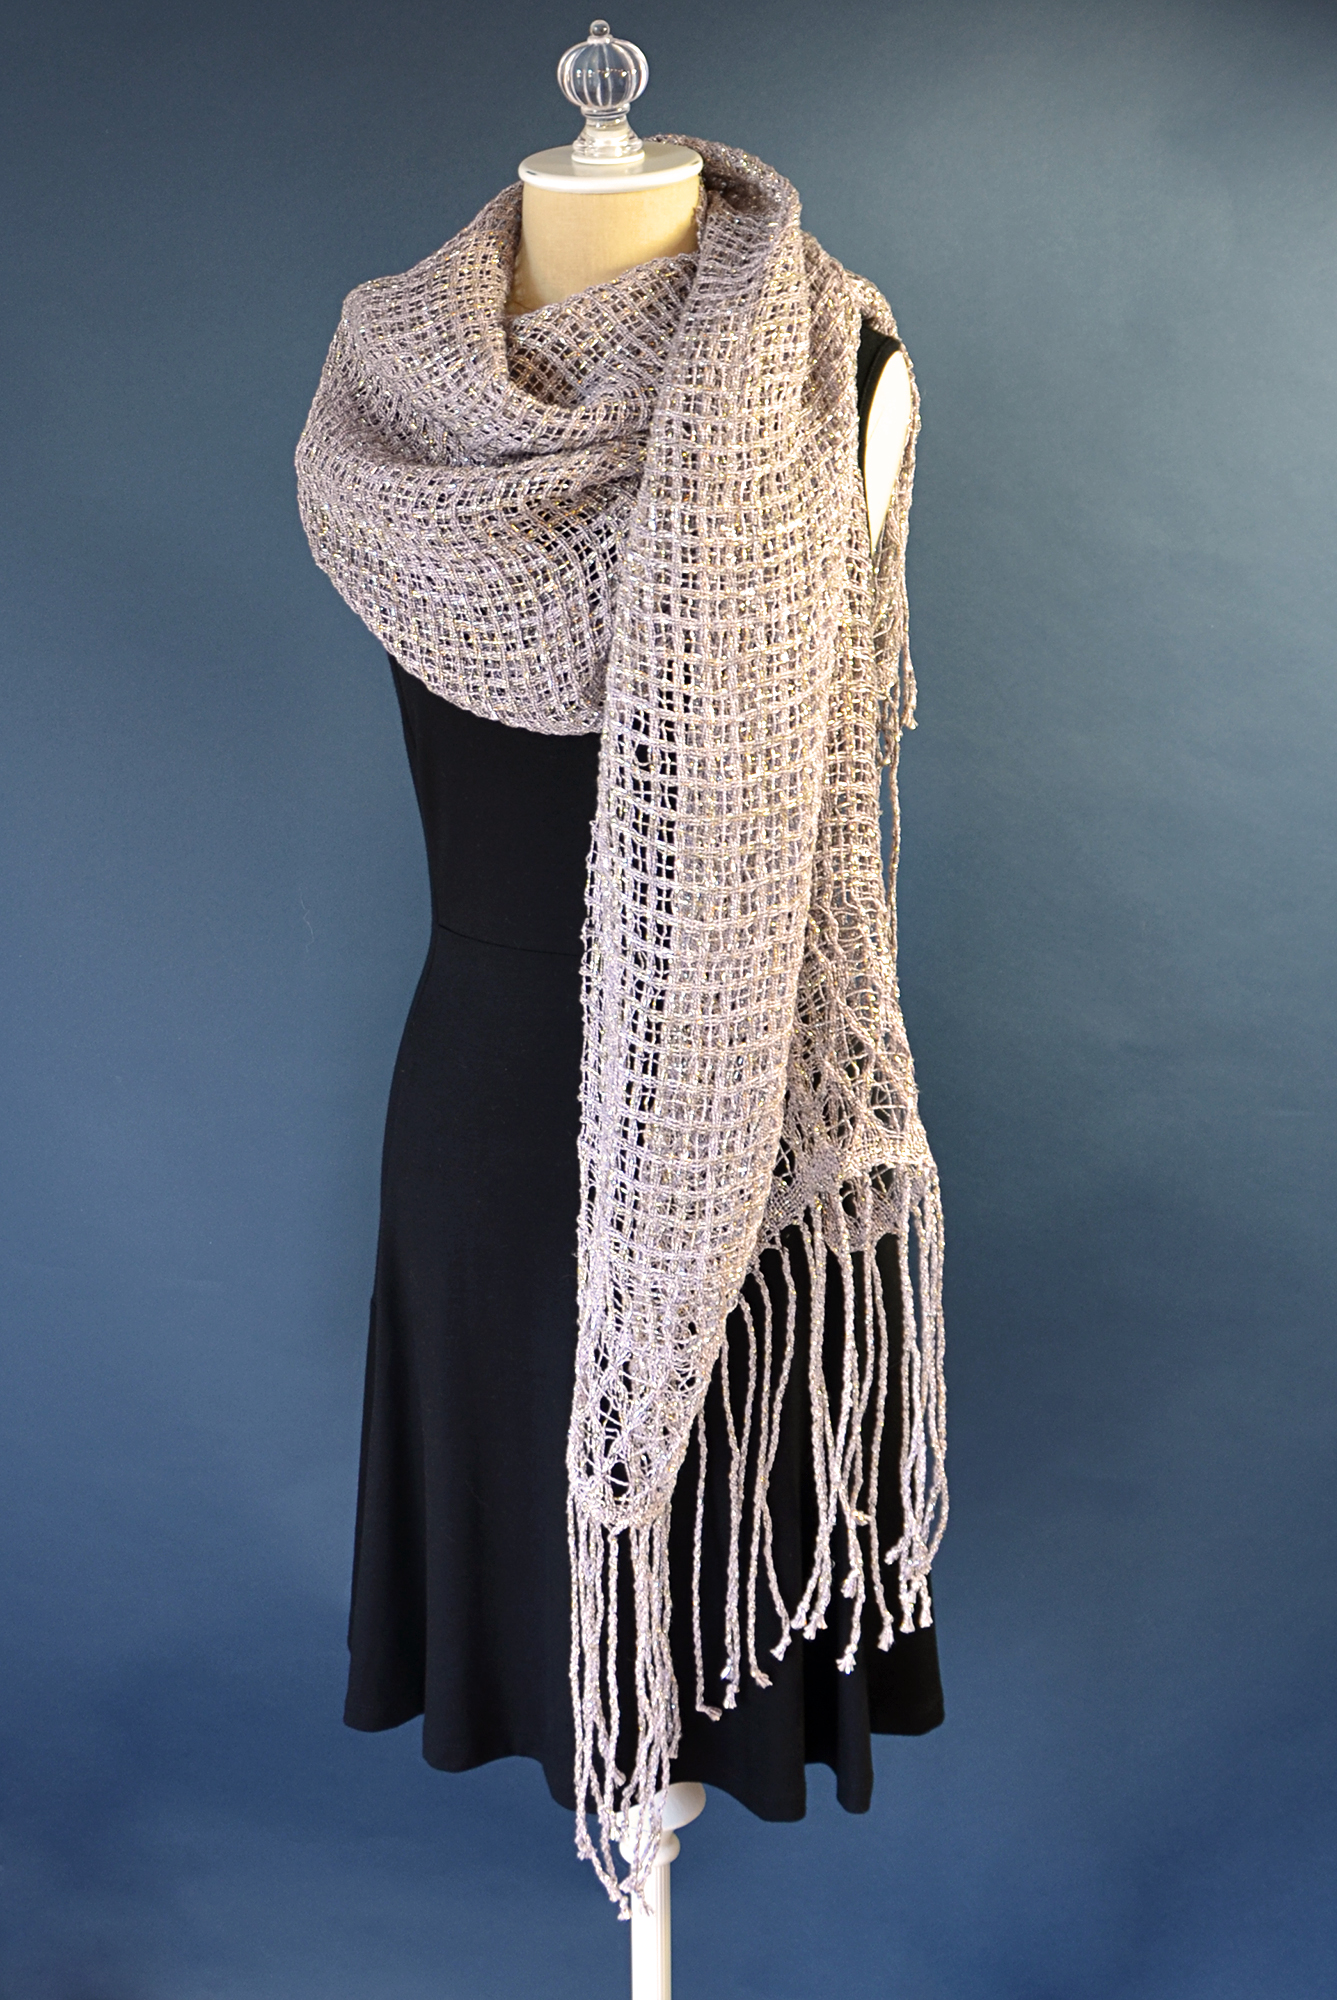
After doing the fringe, I was excited to dunk my stole in a bath to see what happened. And what happened was a much more intense transformation than I anticipated. Both the Brooks lace and the Atwater Bronson lace opened up a lot. The Atwater Bronson looks like little windows that the Brooks iterates above and below. I couldn’t be happier with how this turned out!
On Molly:
When it’s laid flat, I can really see those little “windows” formed by the Atwater Bronson.
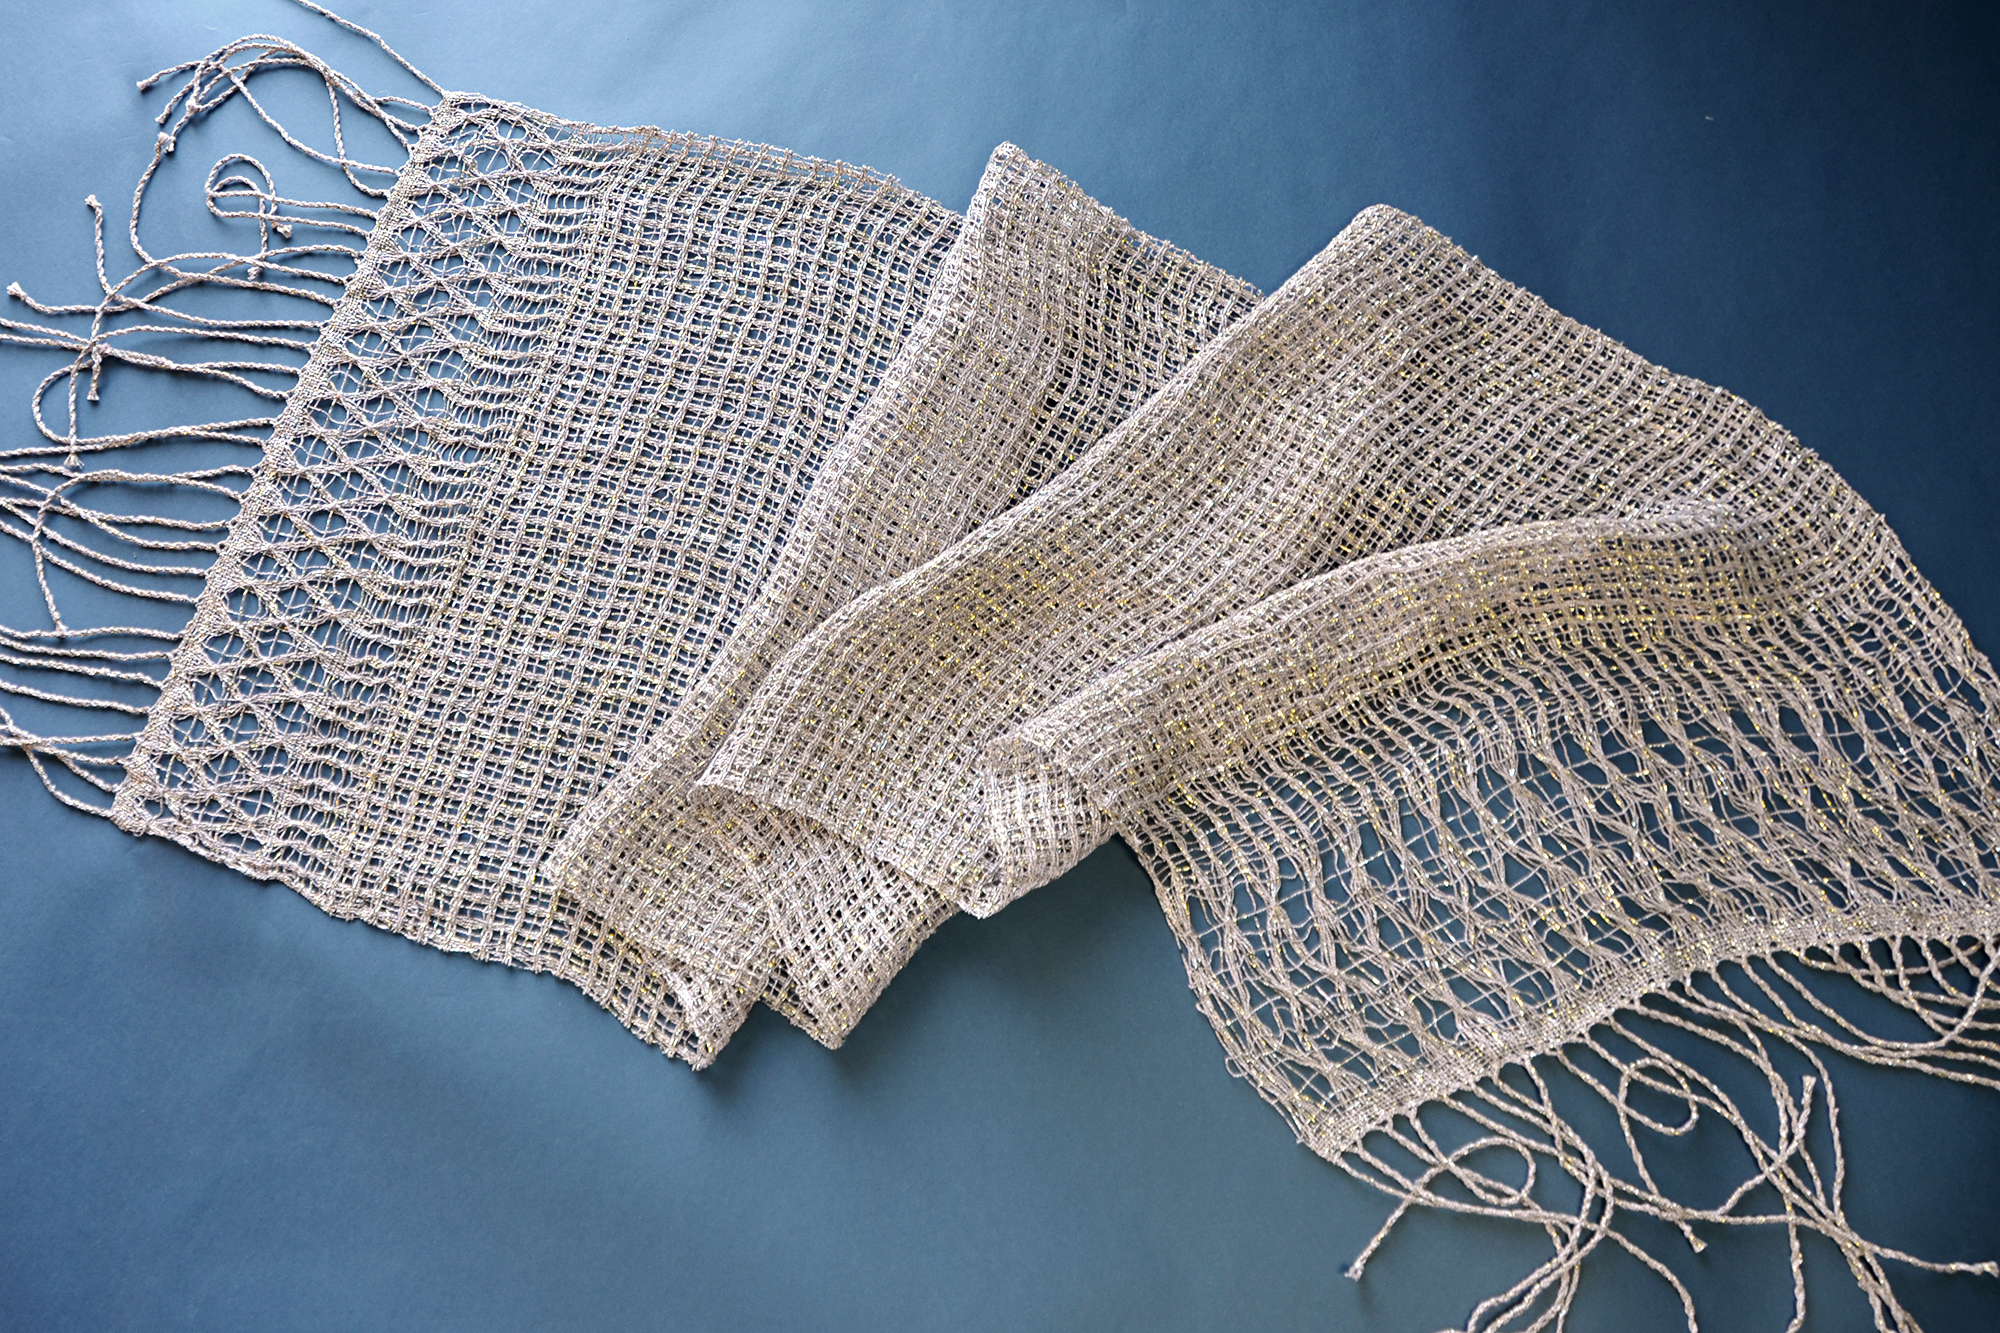
And somehow this turned out larger than I imagined it would. Finished measurements without fringe are 23″ x 66″. Which is fine with me – that’s a great size for a stole!
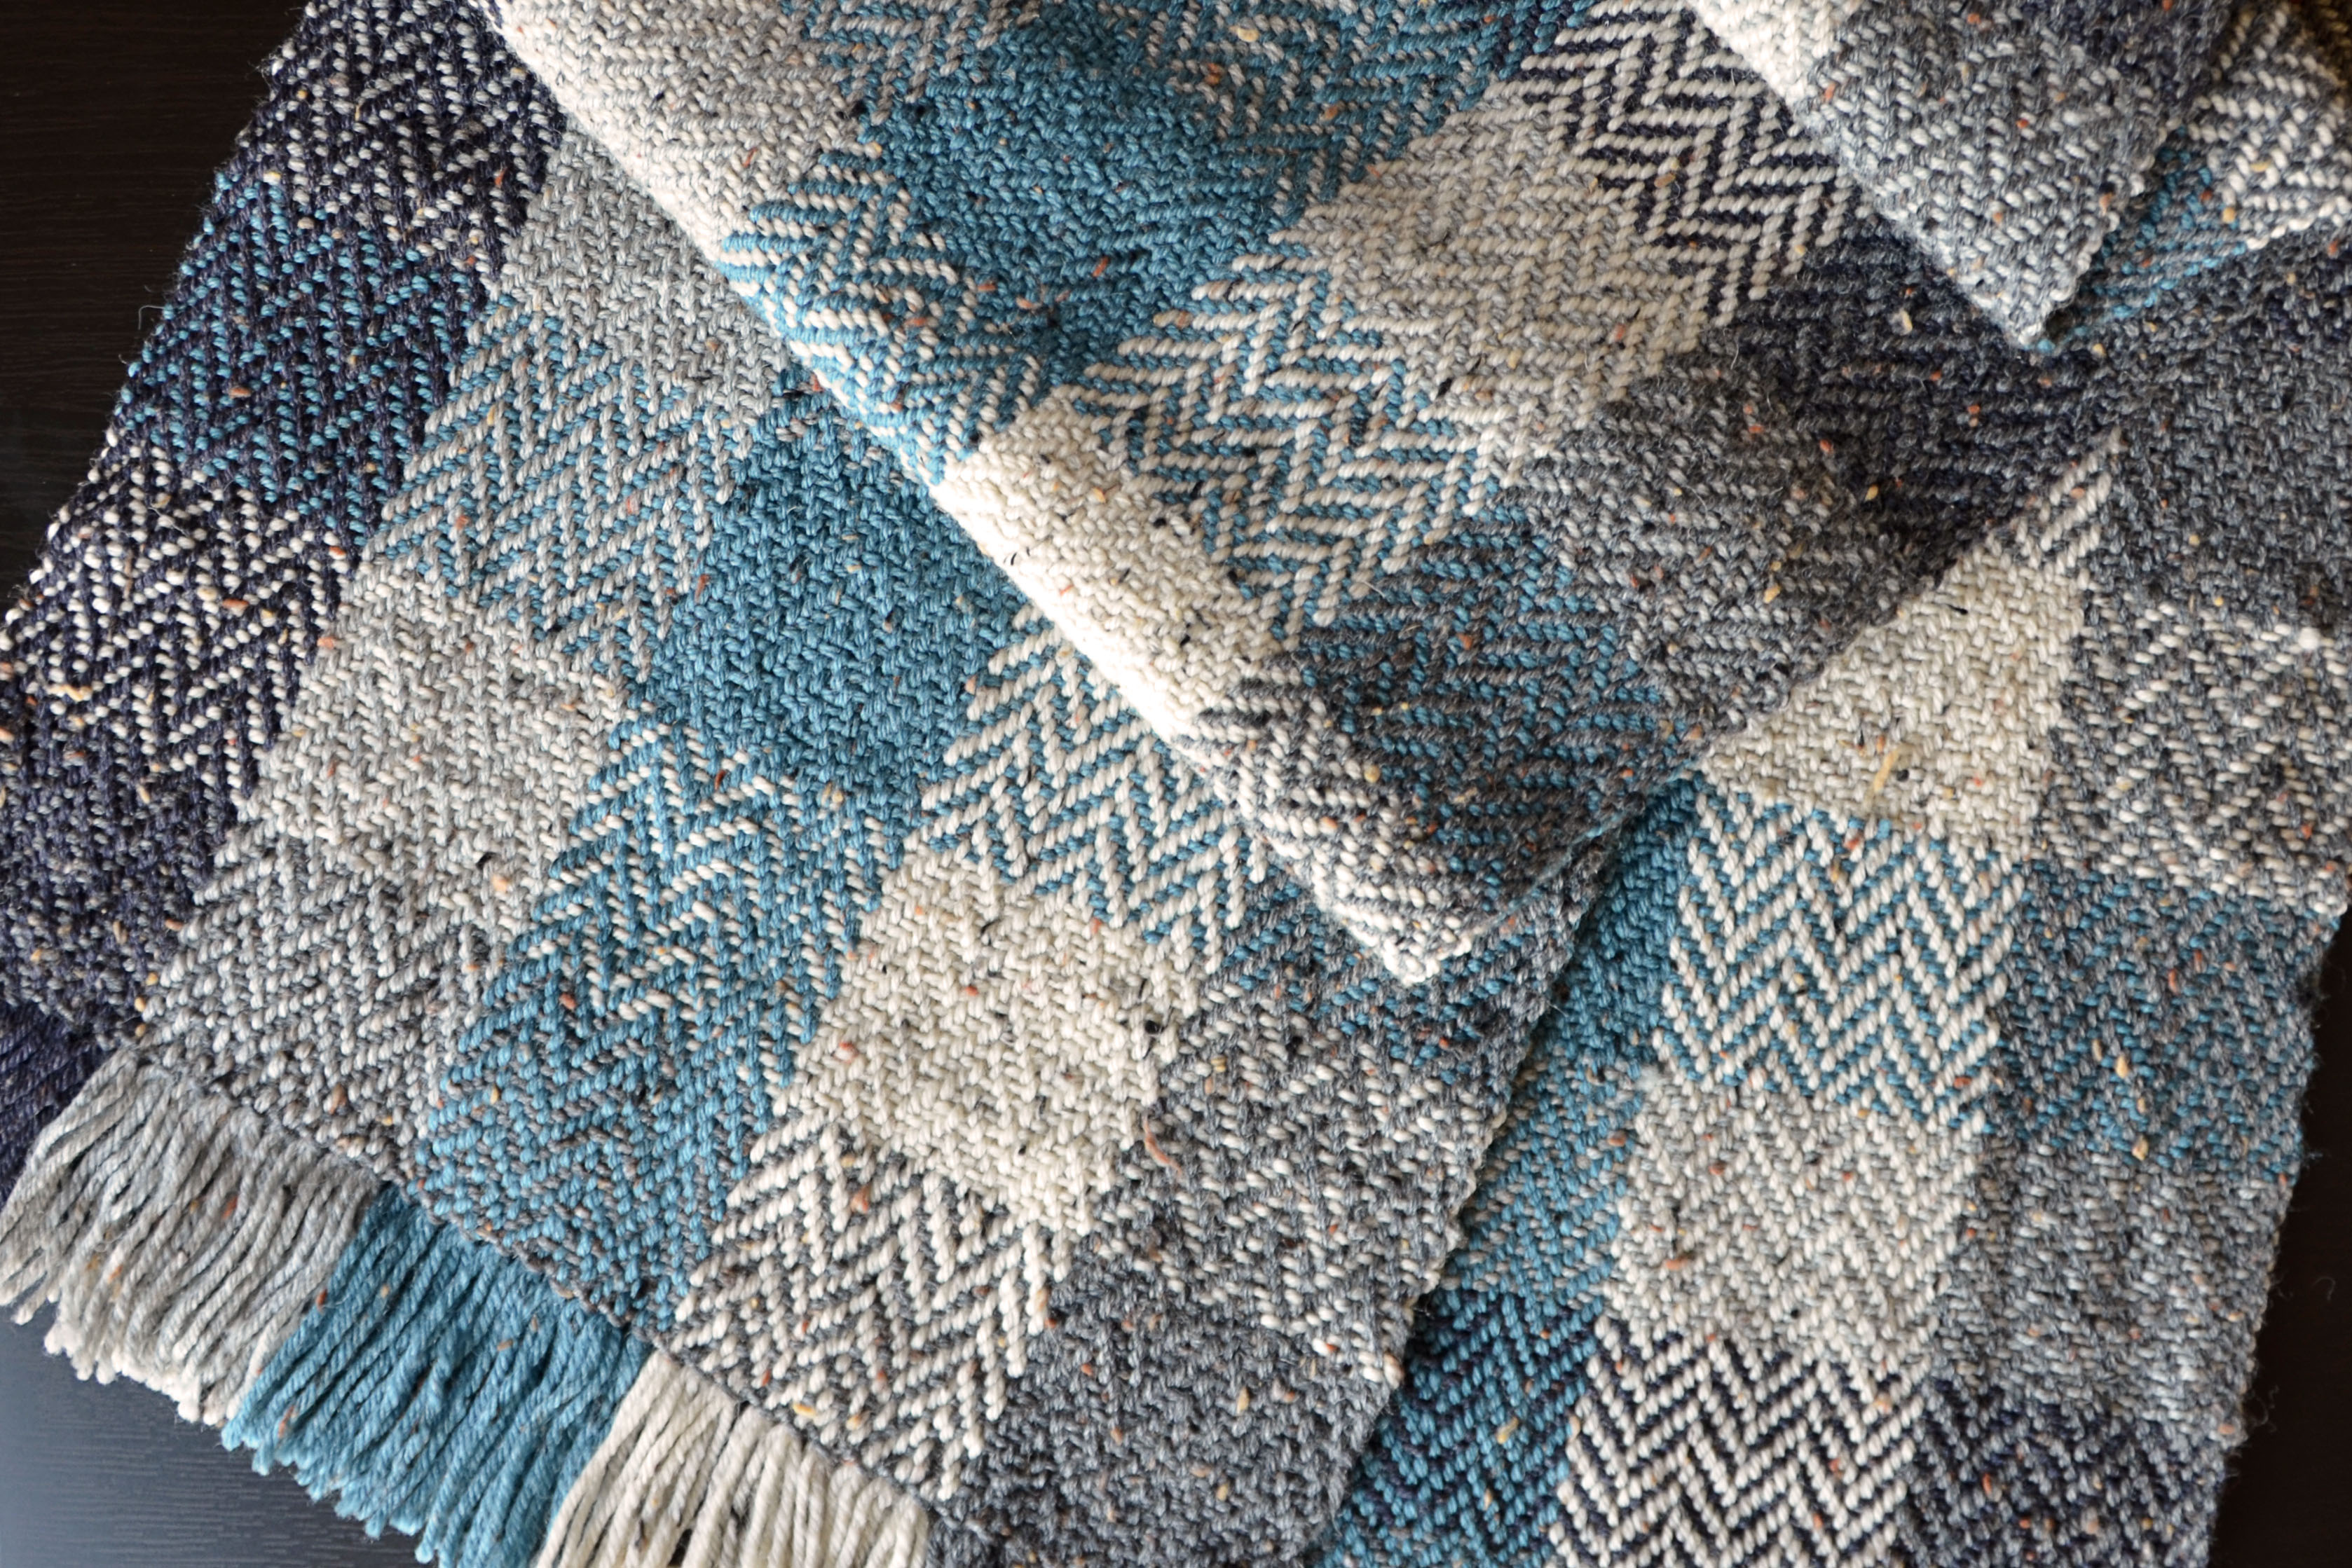
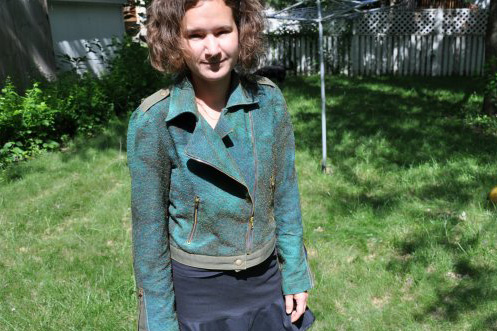
Join me next time for my biggest weaving project yet – matching woven motorcycle jackets made from Deluxe DK Tweed Superwash!
