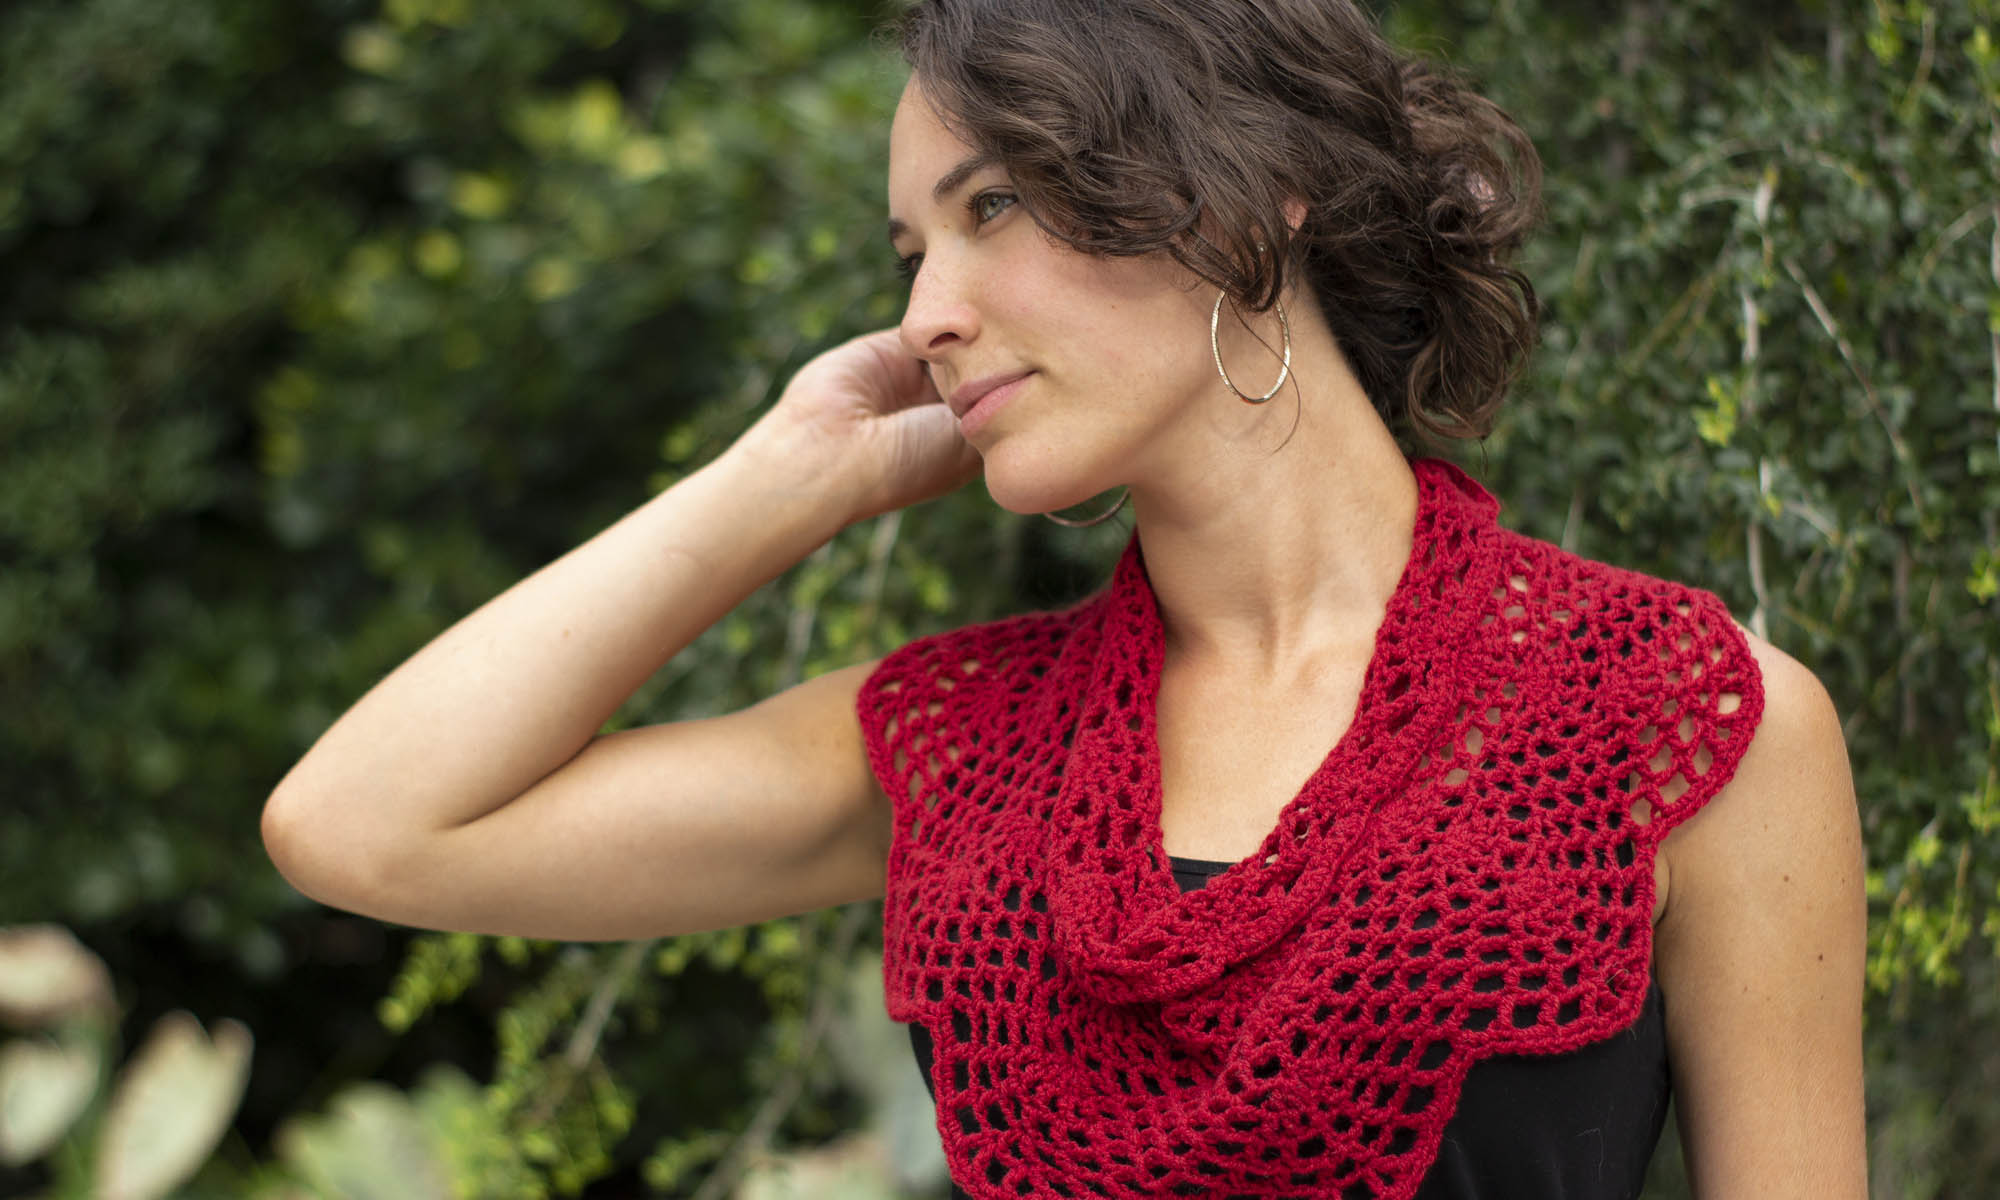

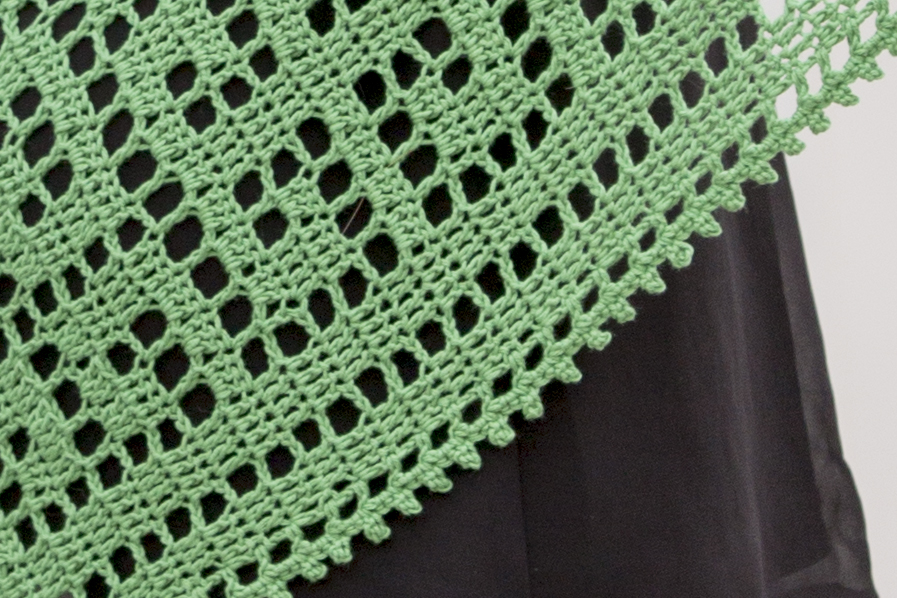
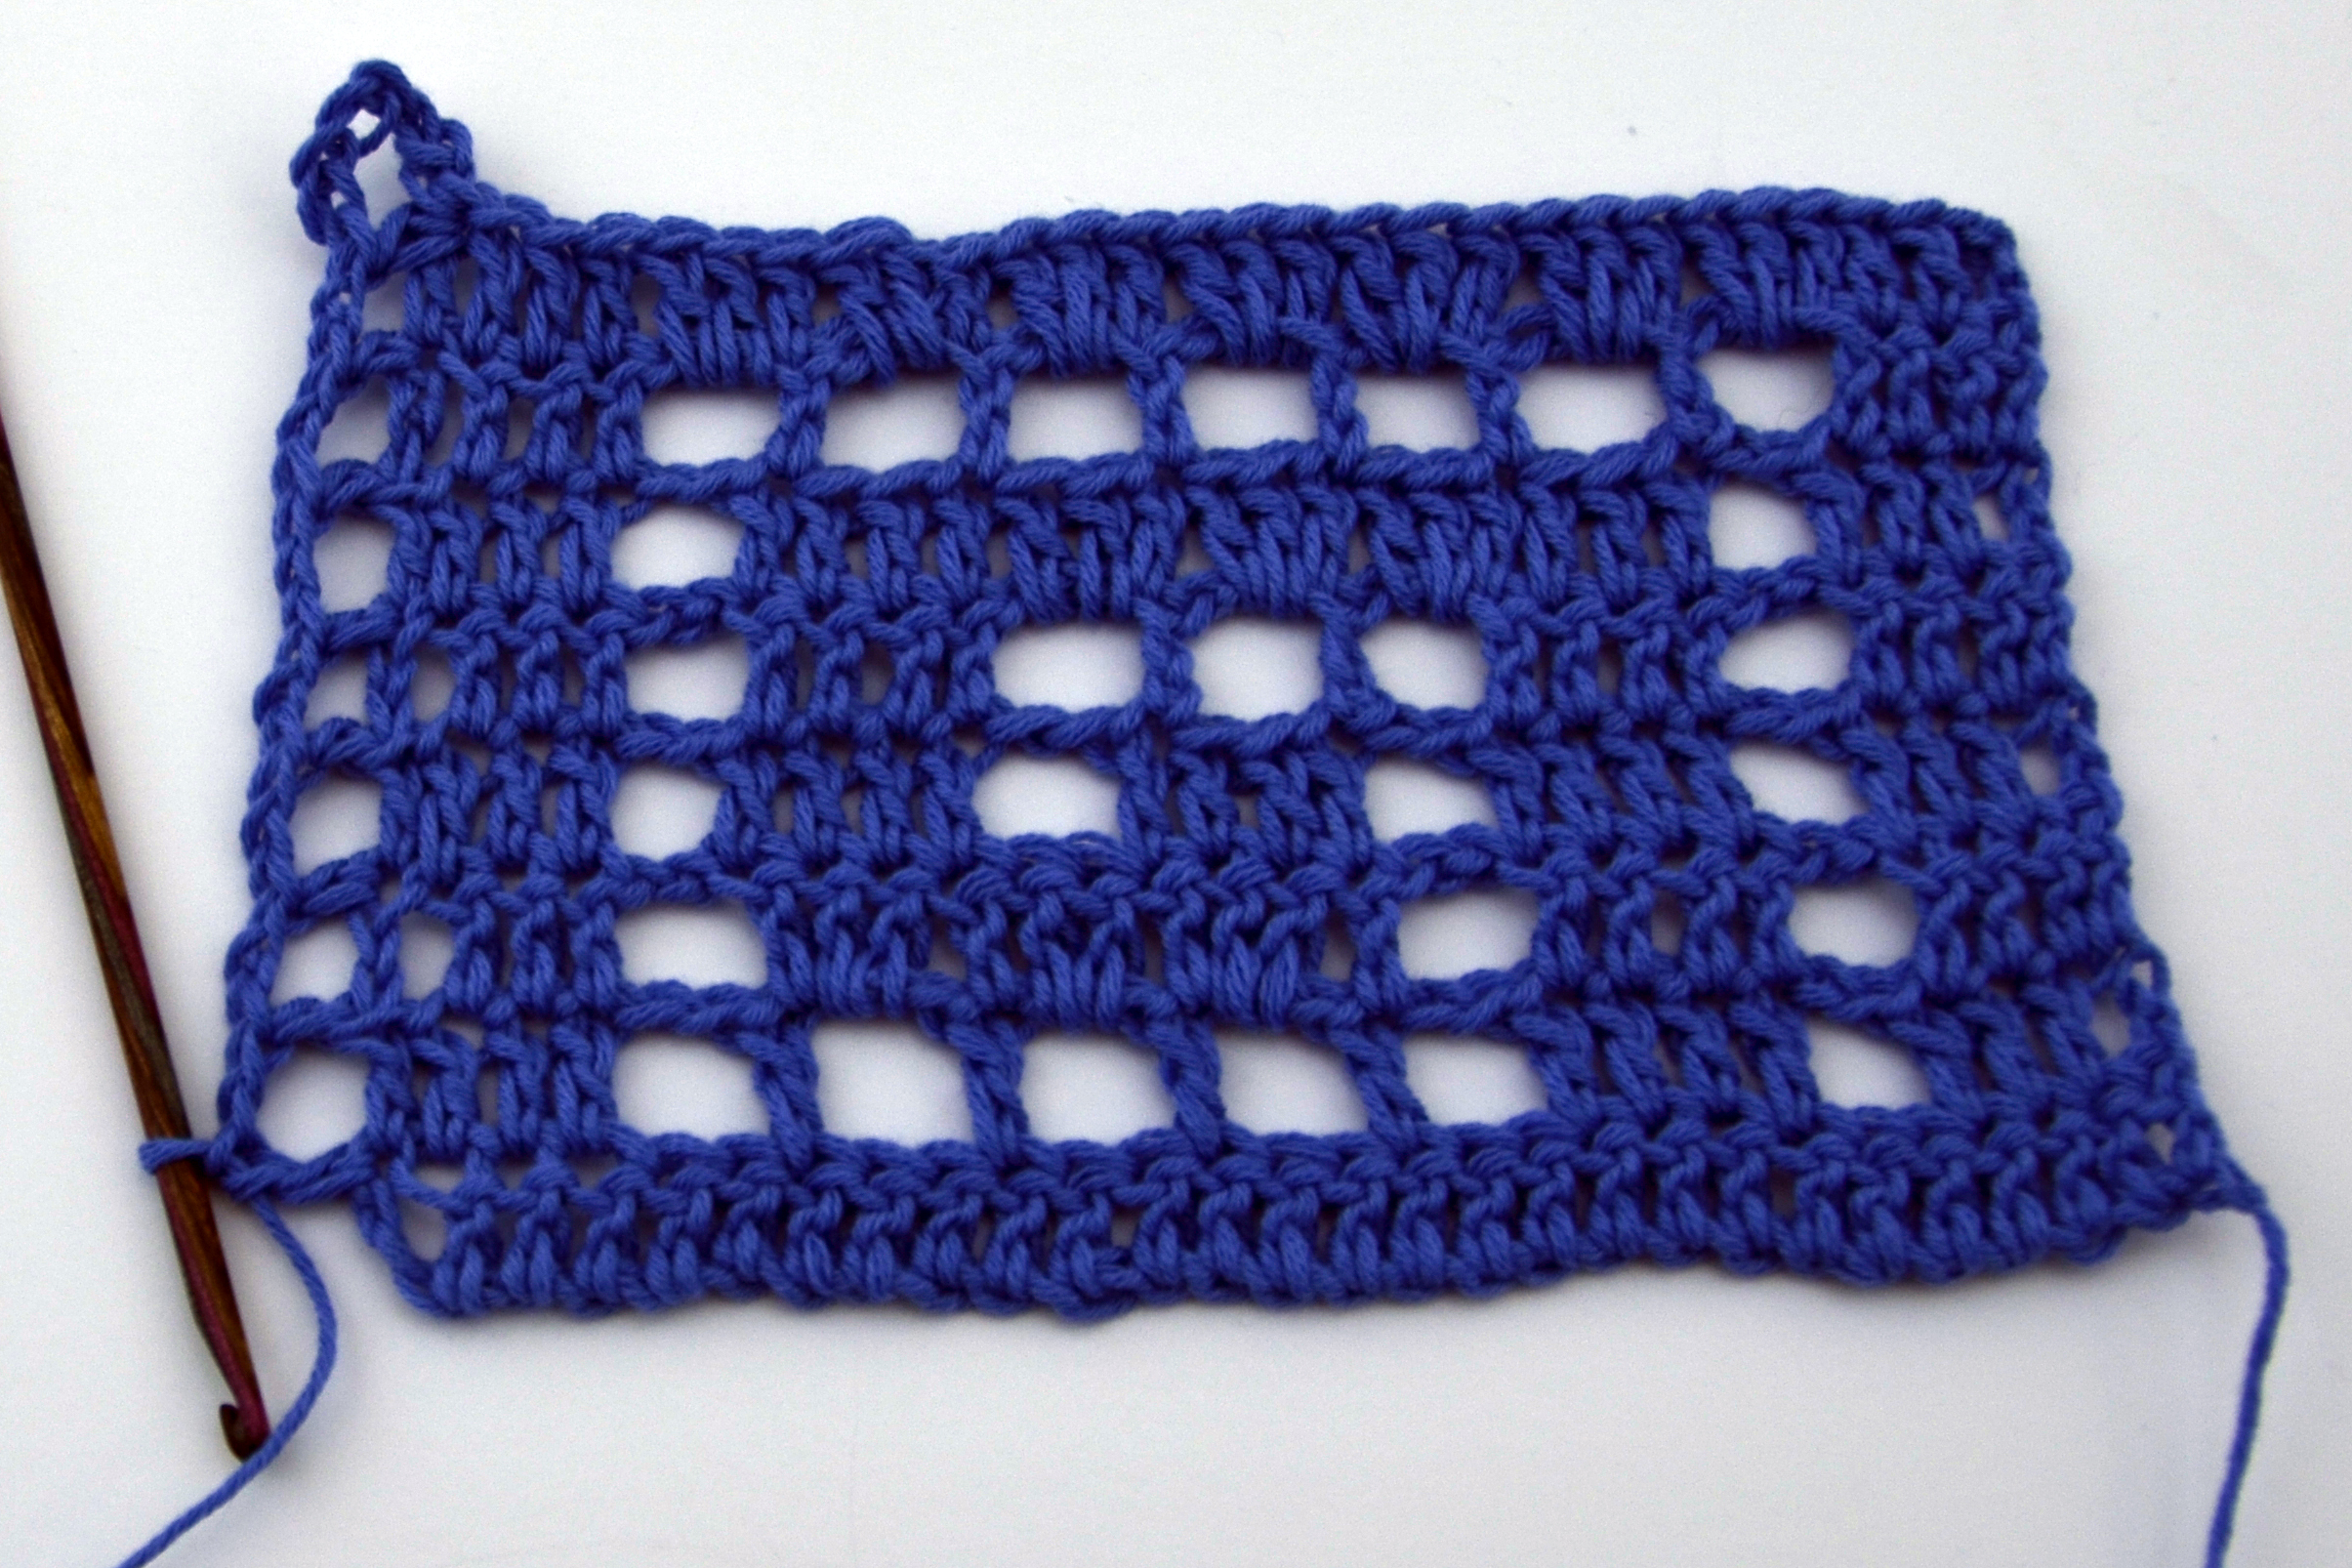
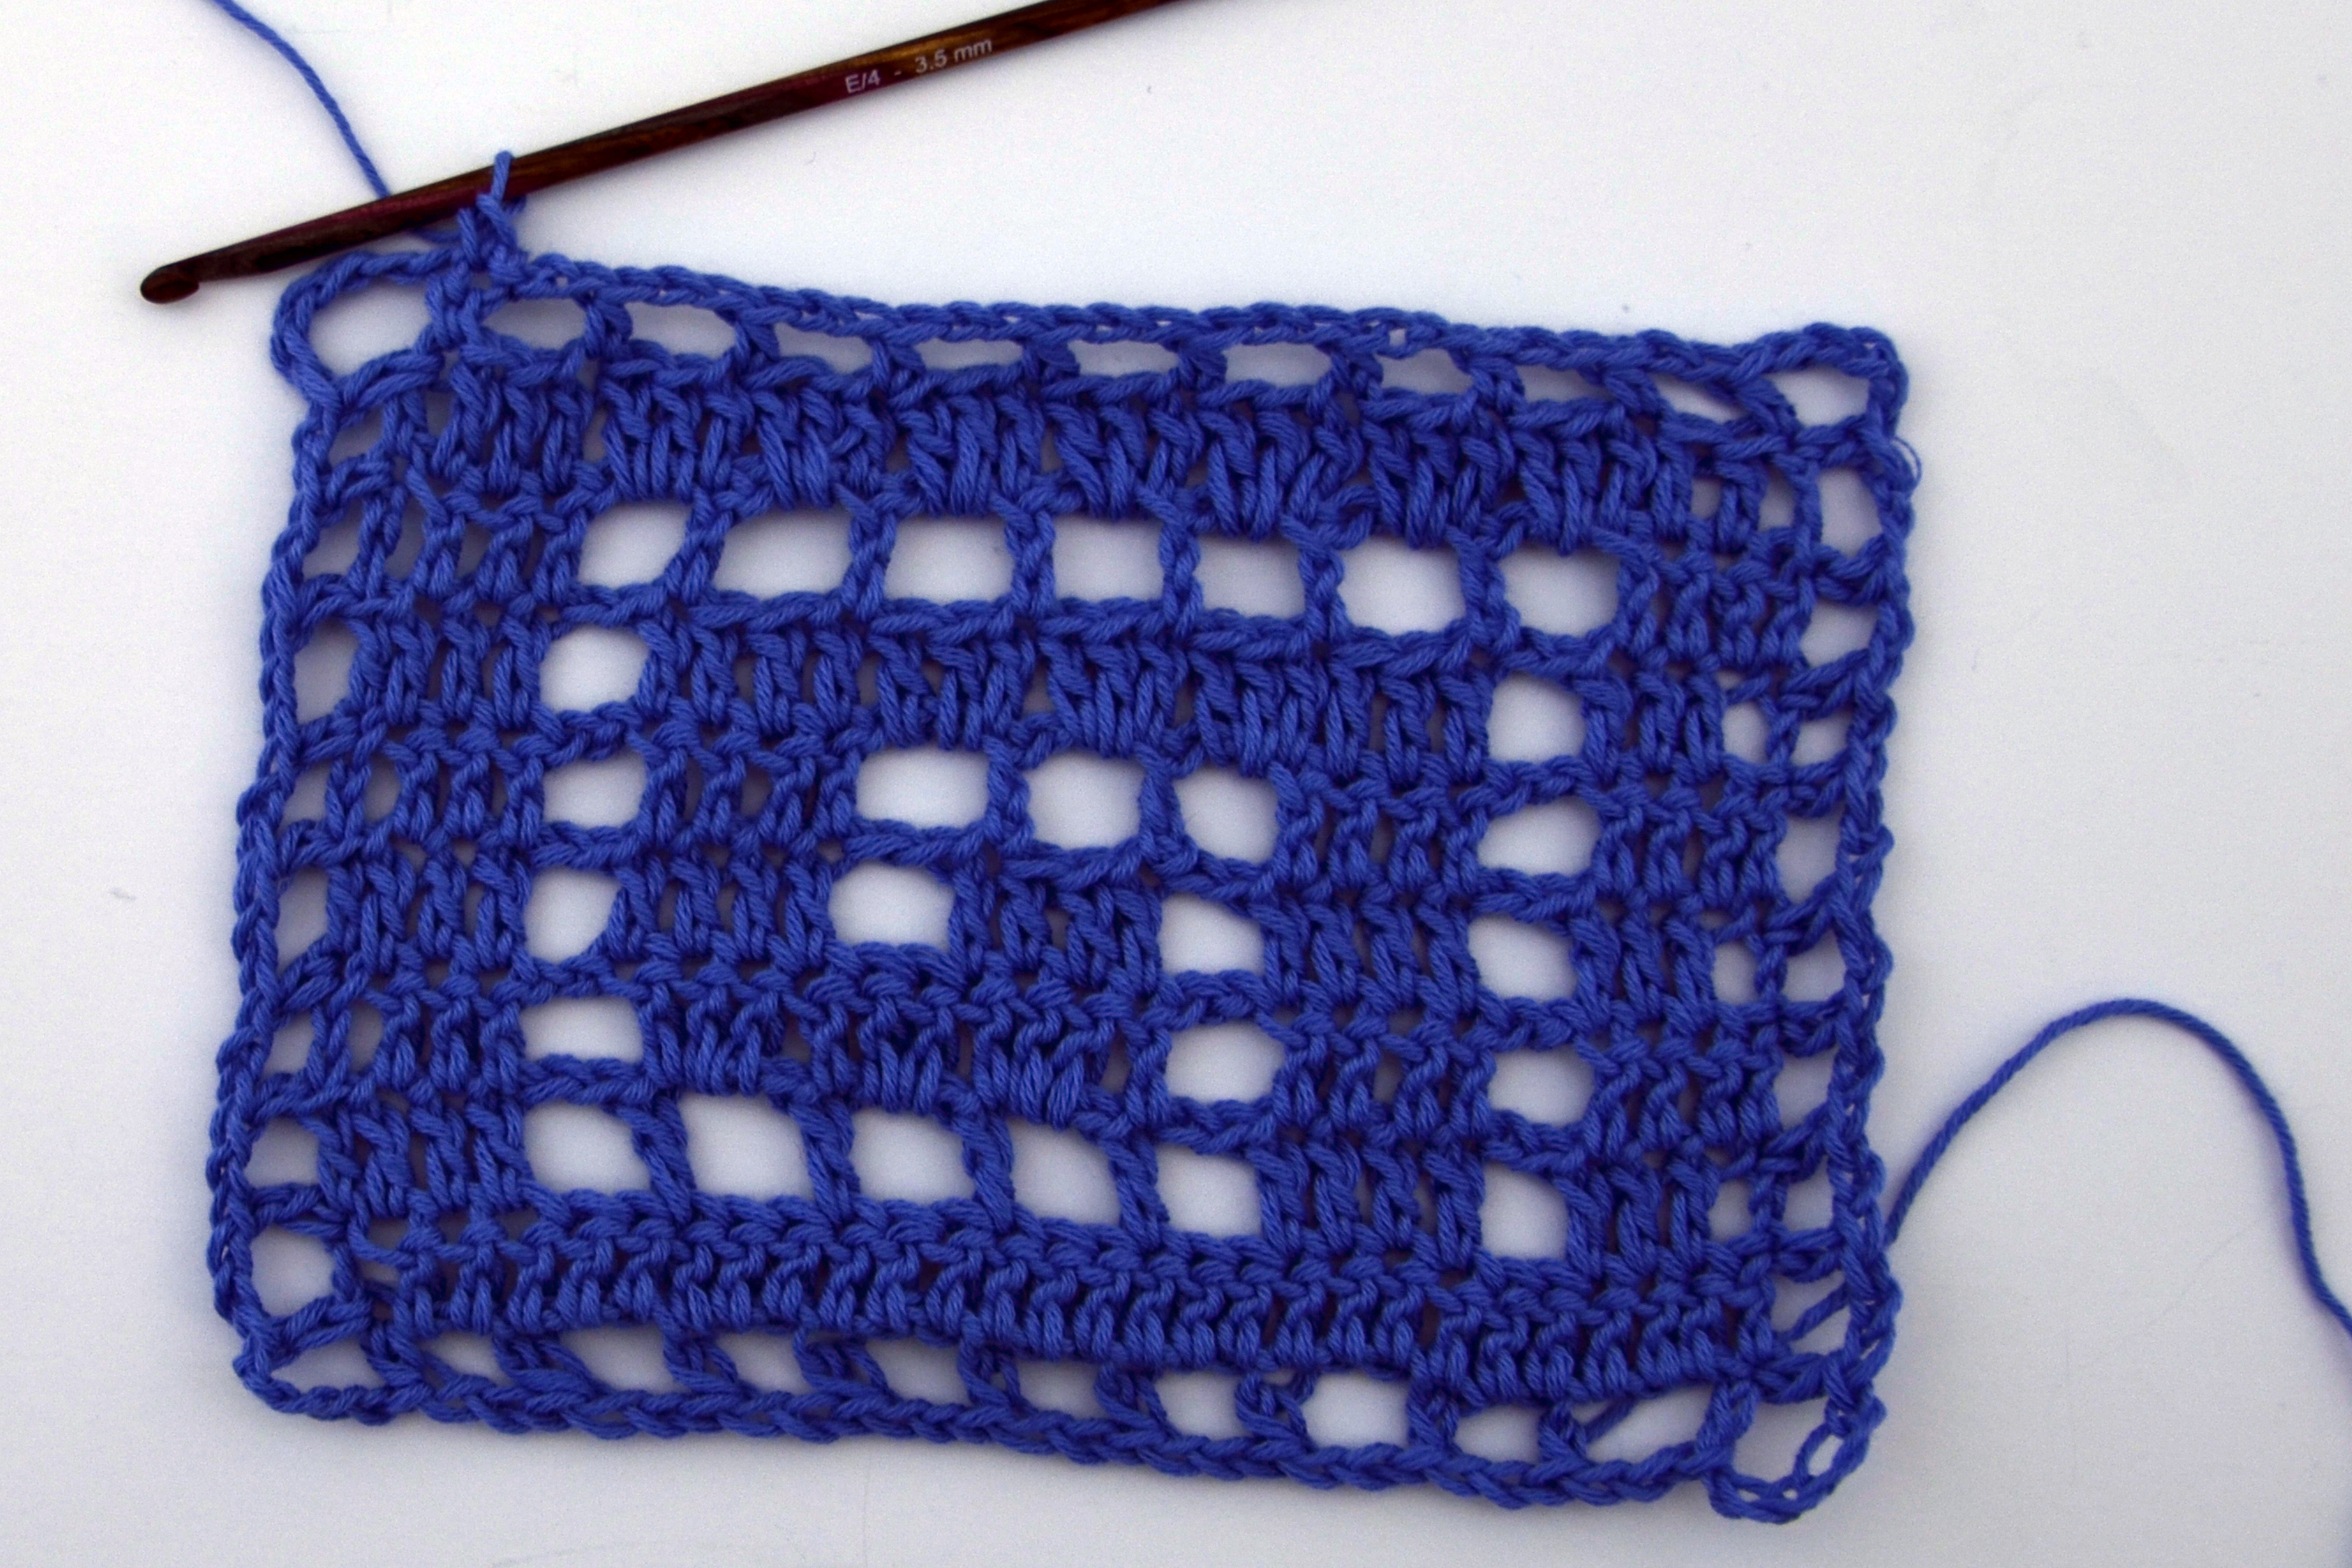
Last week we covered the basics of filet crochet, and everything you need to know to make the body of the Delphi Stole from Contrarian Shawls 2.

Detail shot of Delphi Stole edging:
Now we’re going to finish off our little swatch with a simple, yet effective picot edging. Though i fastened off my last stitch of the swatch, there is no need to do this in the actual project. After the last row of the stole body is worked, you just continue on with the edging.
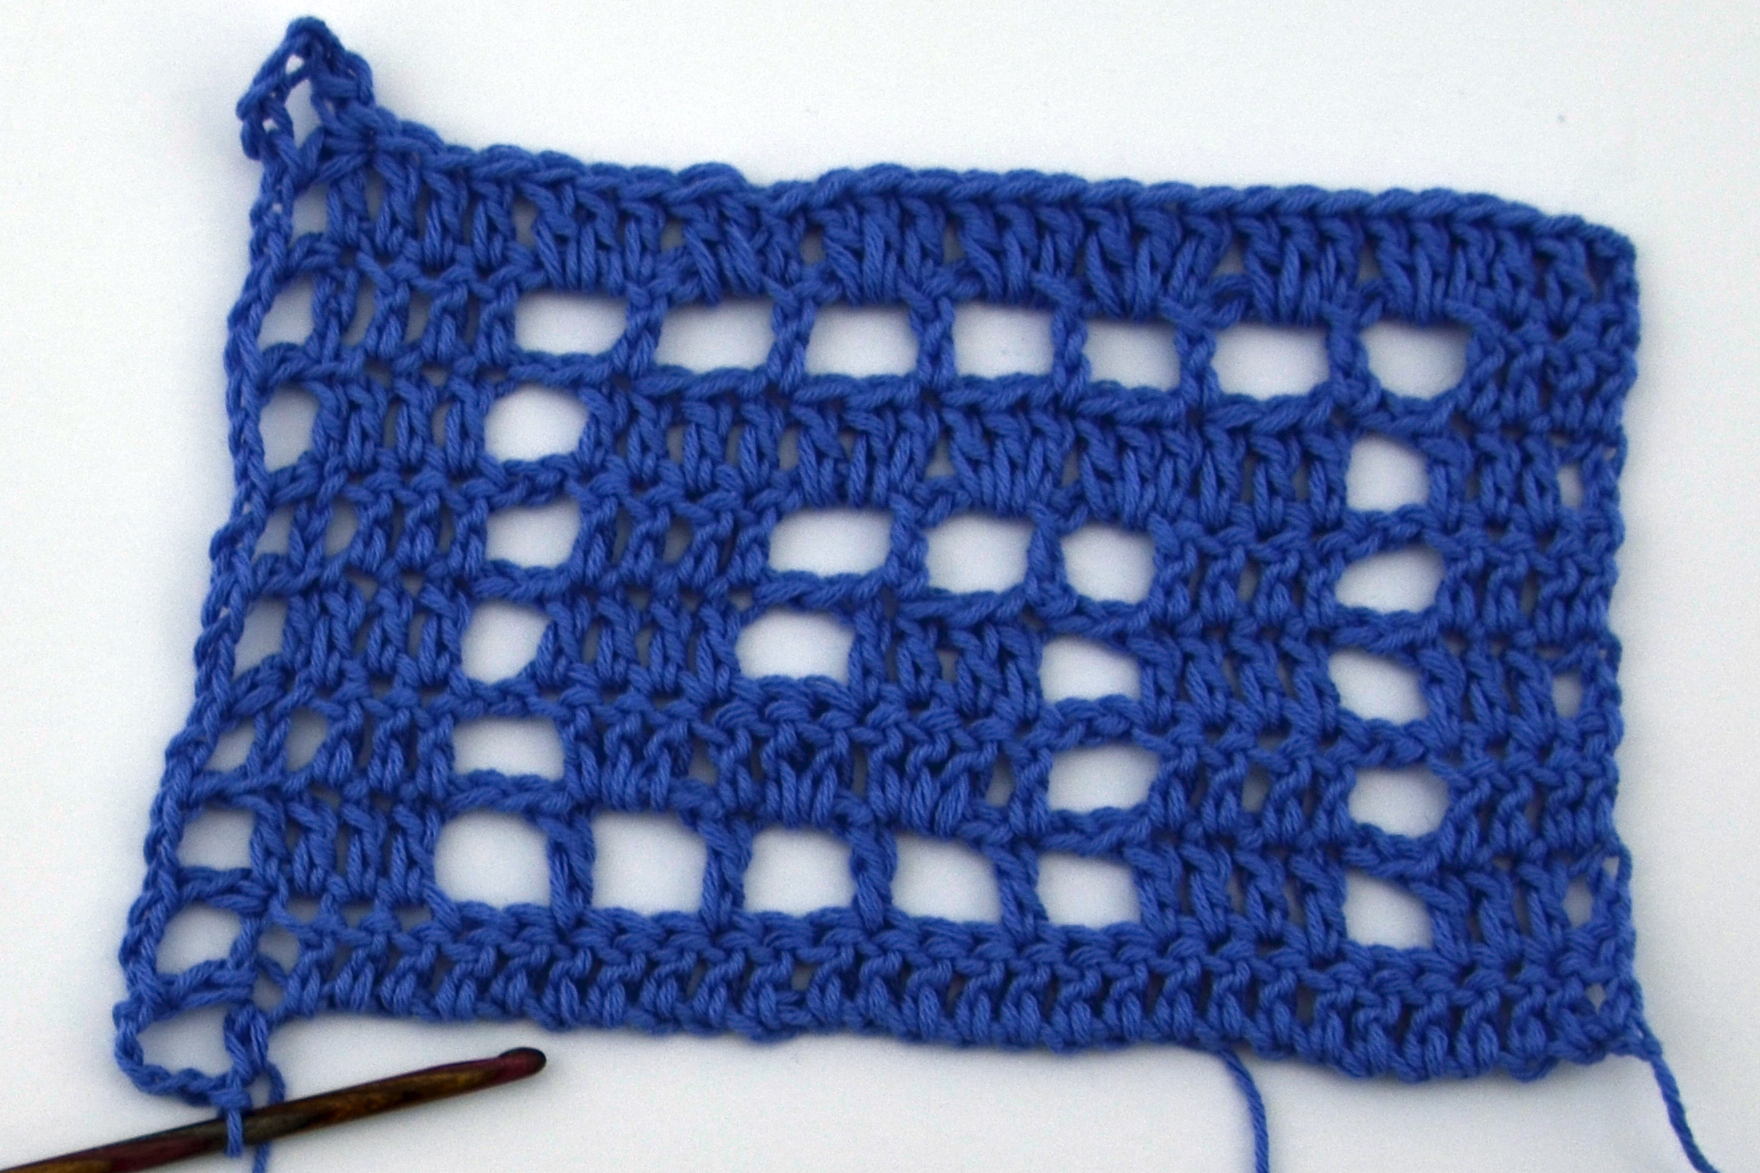
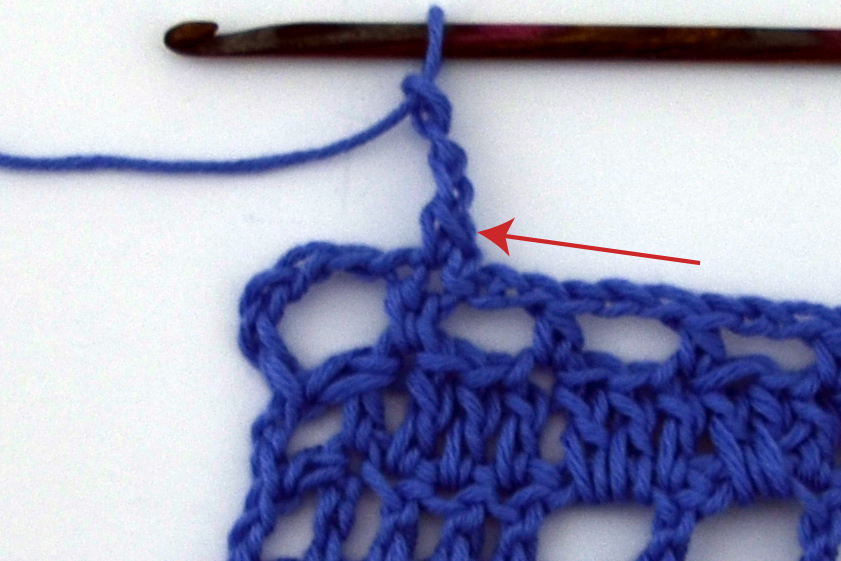
The edging is worked in two rounds. First, let’s talk about round 1. We’re going to create our first corner space by working [chain 1, hdc, chain 5, hdc] into the top of the last double crochet (dc) made from the final row of the stole body.
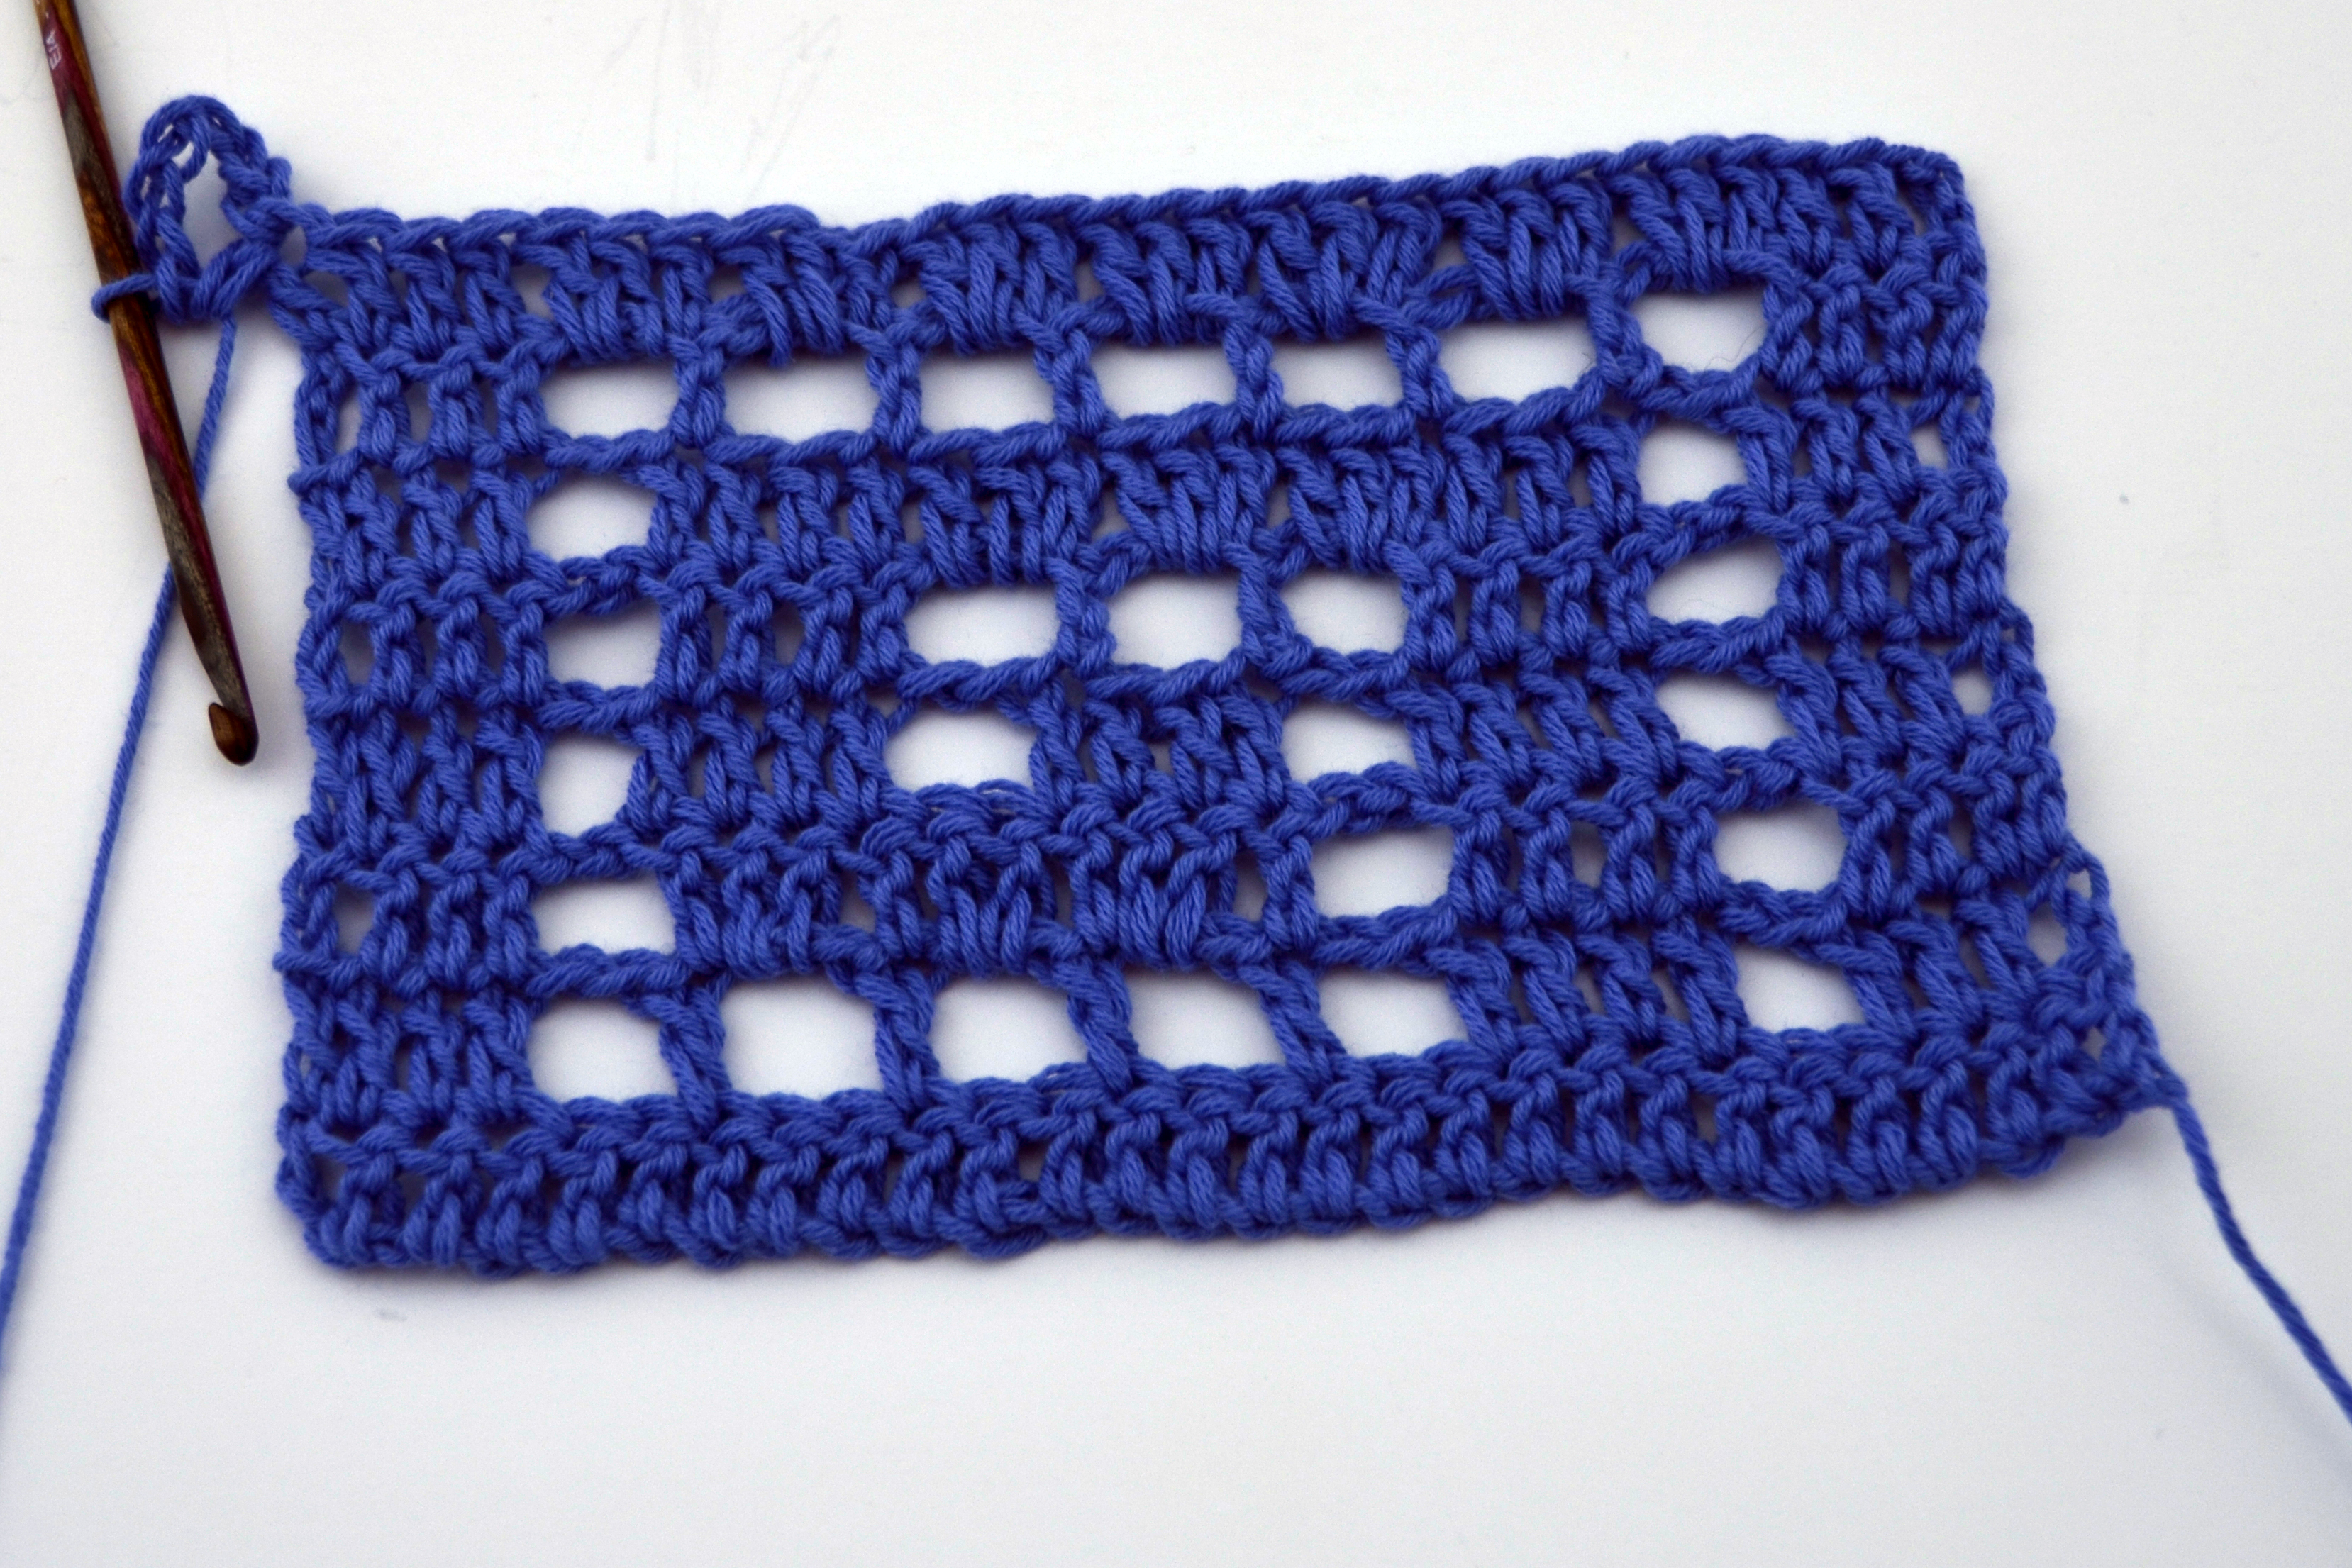
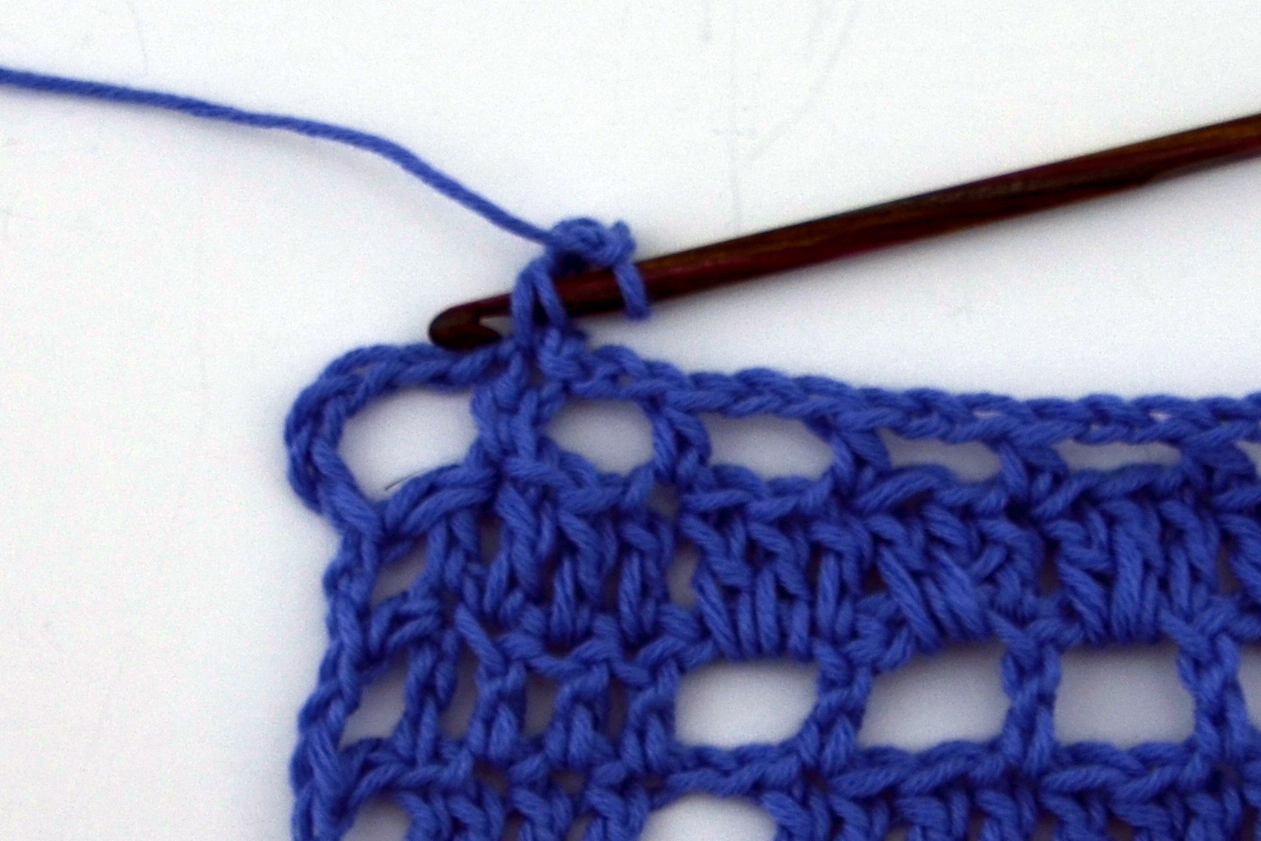
Next, we’re going to be working half double crochet (hdc), chain 2, all the way along the side. We will always be working a chain 2, skipping the sides of the double crochets from the body, and then working a hdc into the top of a dc.
Here’s how things look after we finish the first side:
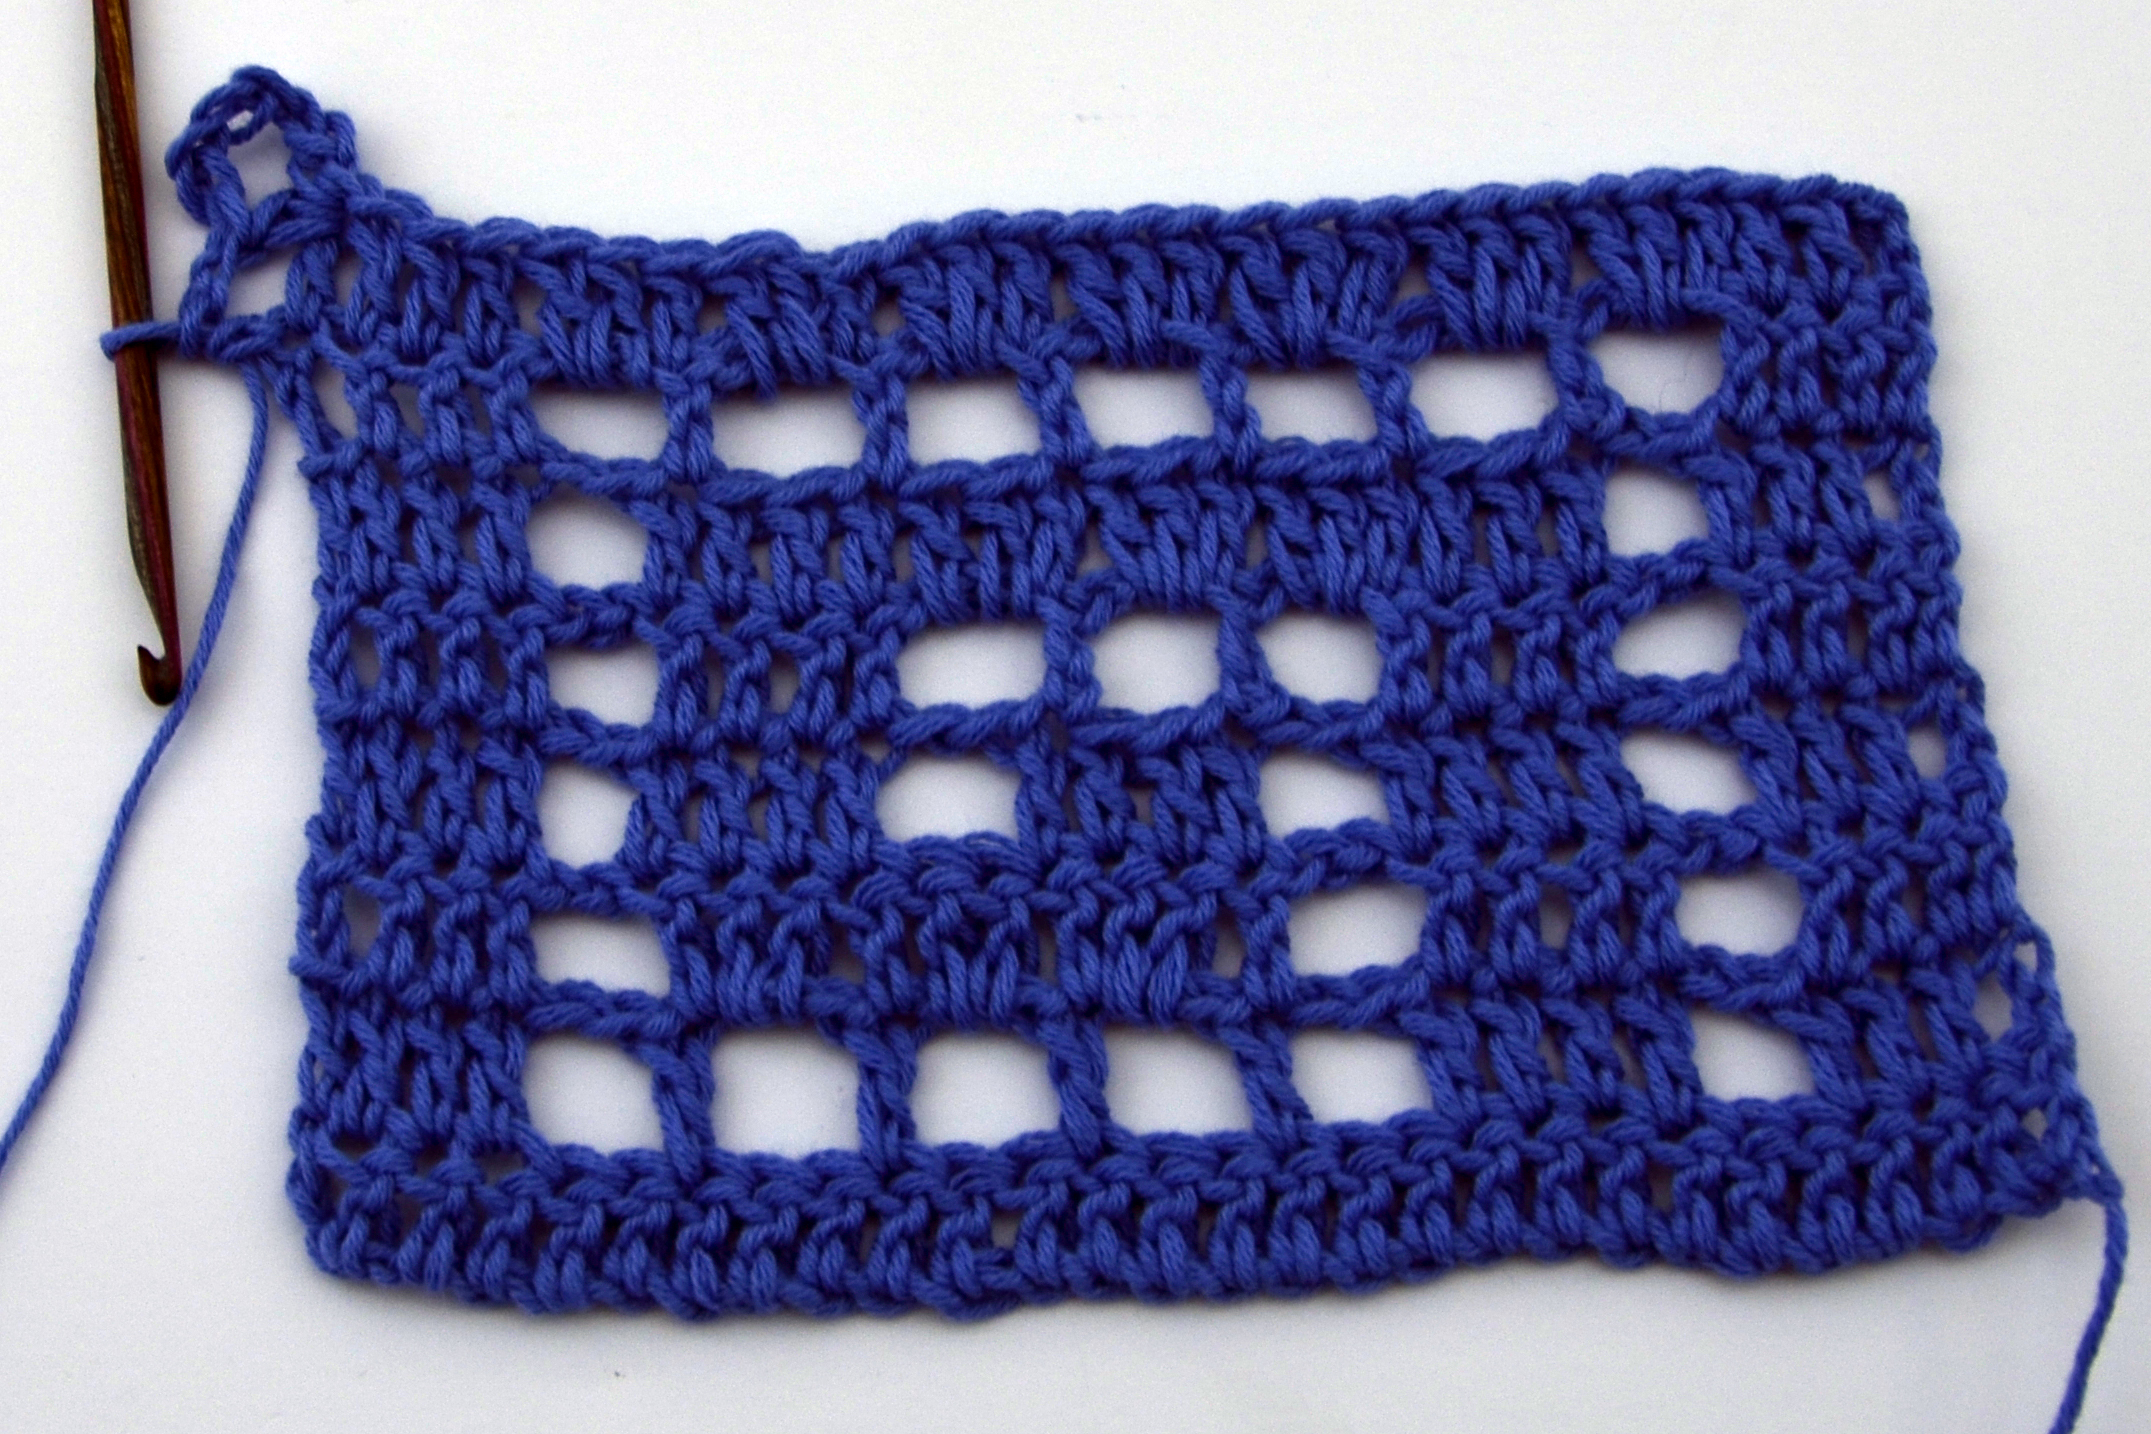
To make the next corner, we’ll do what we did for that first corner (hdc, ch 5, hdc), but in the bottom of the first double crochet from row 1 of the body:
Then, working along the beginning chain edge, we’ll work [ch 2, skip 2 dc/ch, hdc in next dc] all along the lower edge:
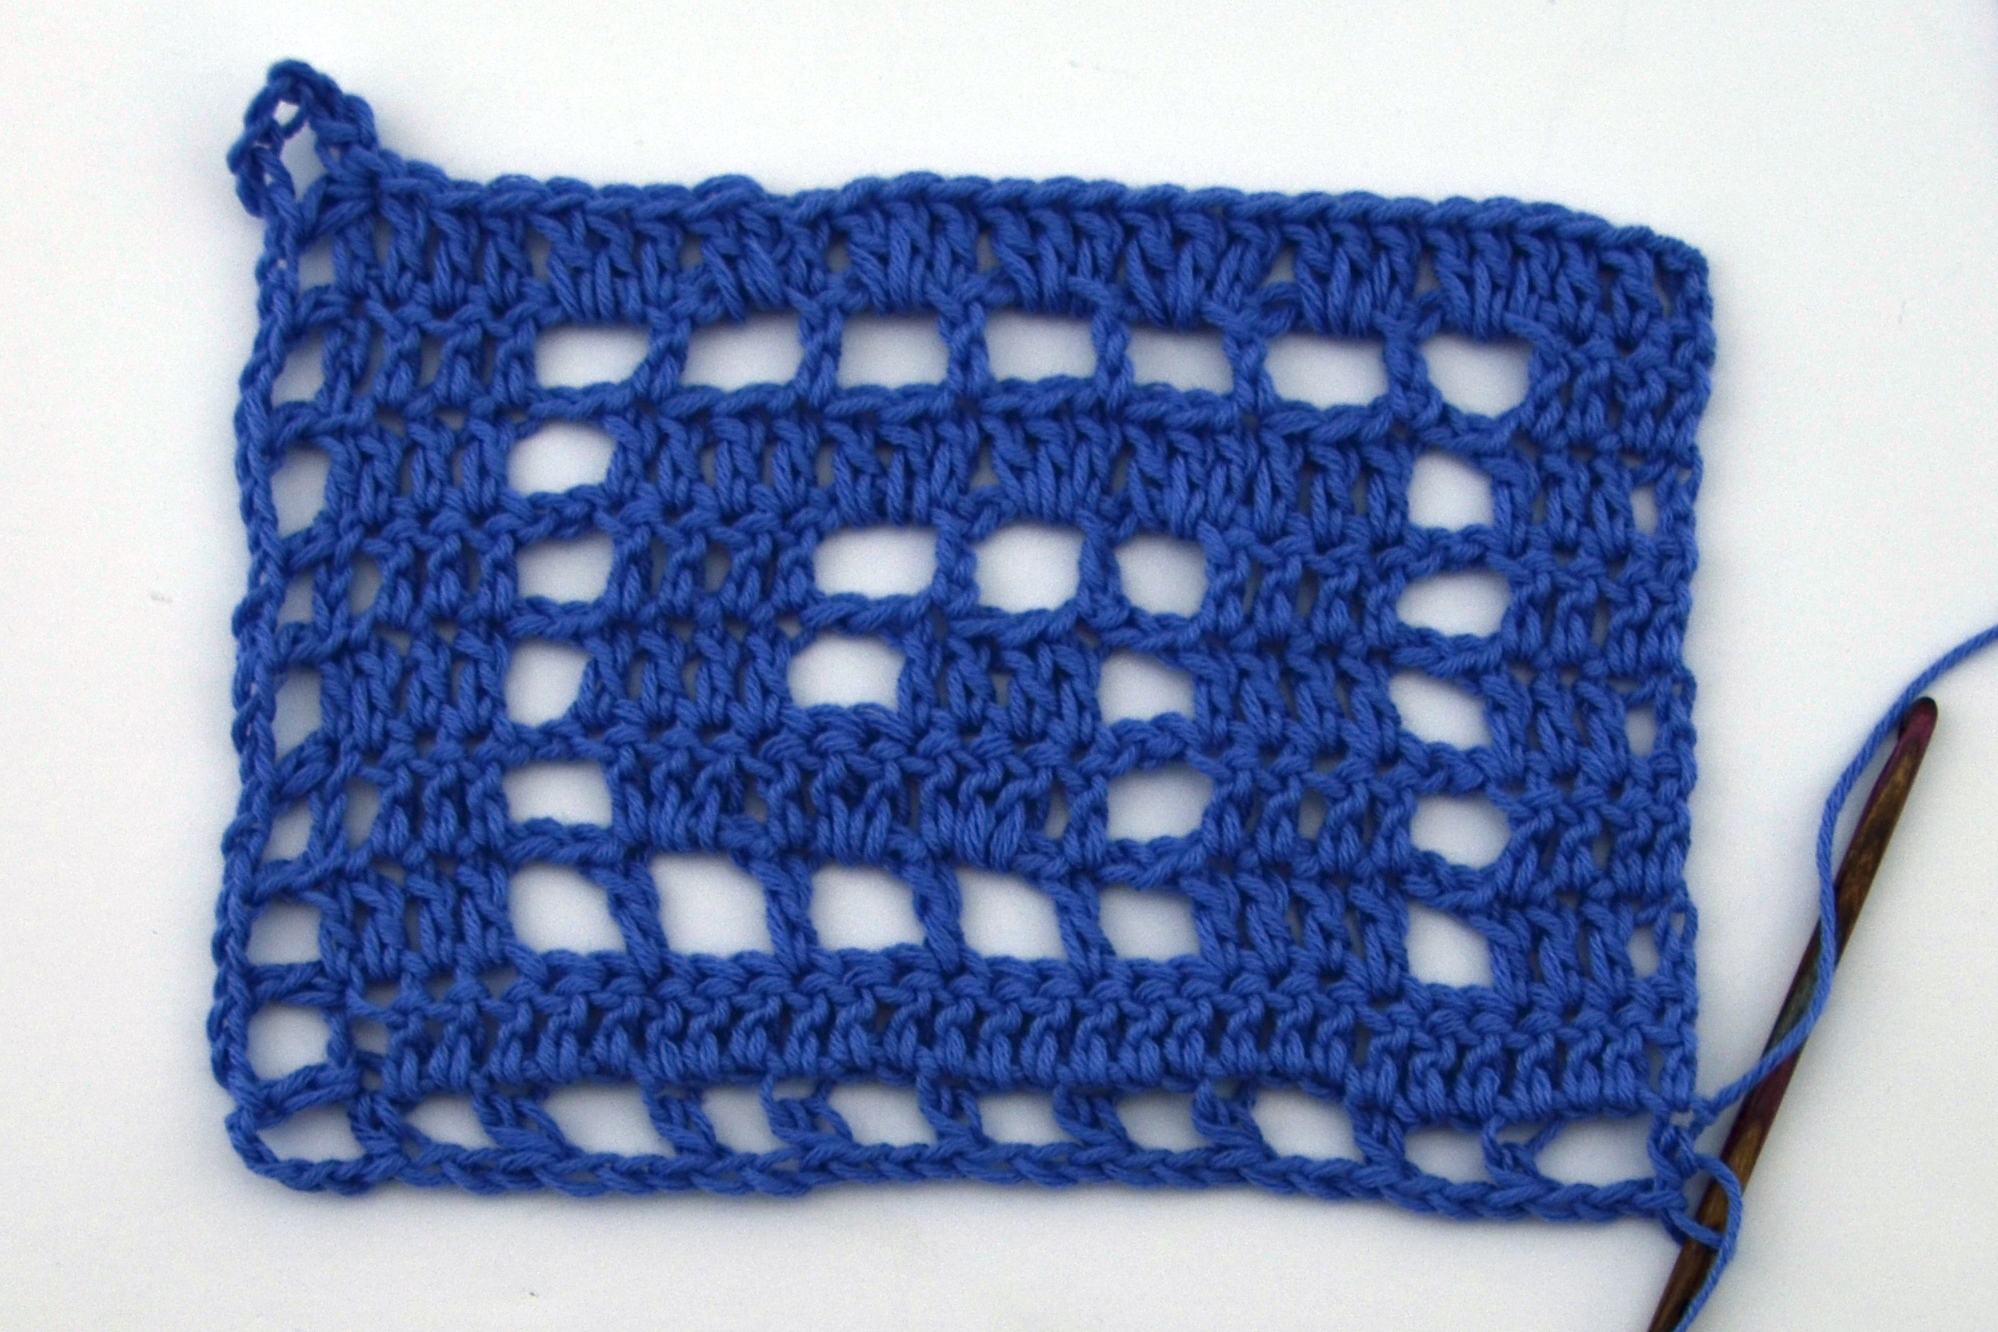
And so on, until you’ve made your way back to that first hdc. Join with a slip stitch to the top of that hdc.
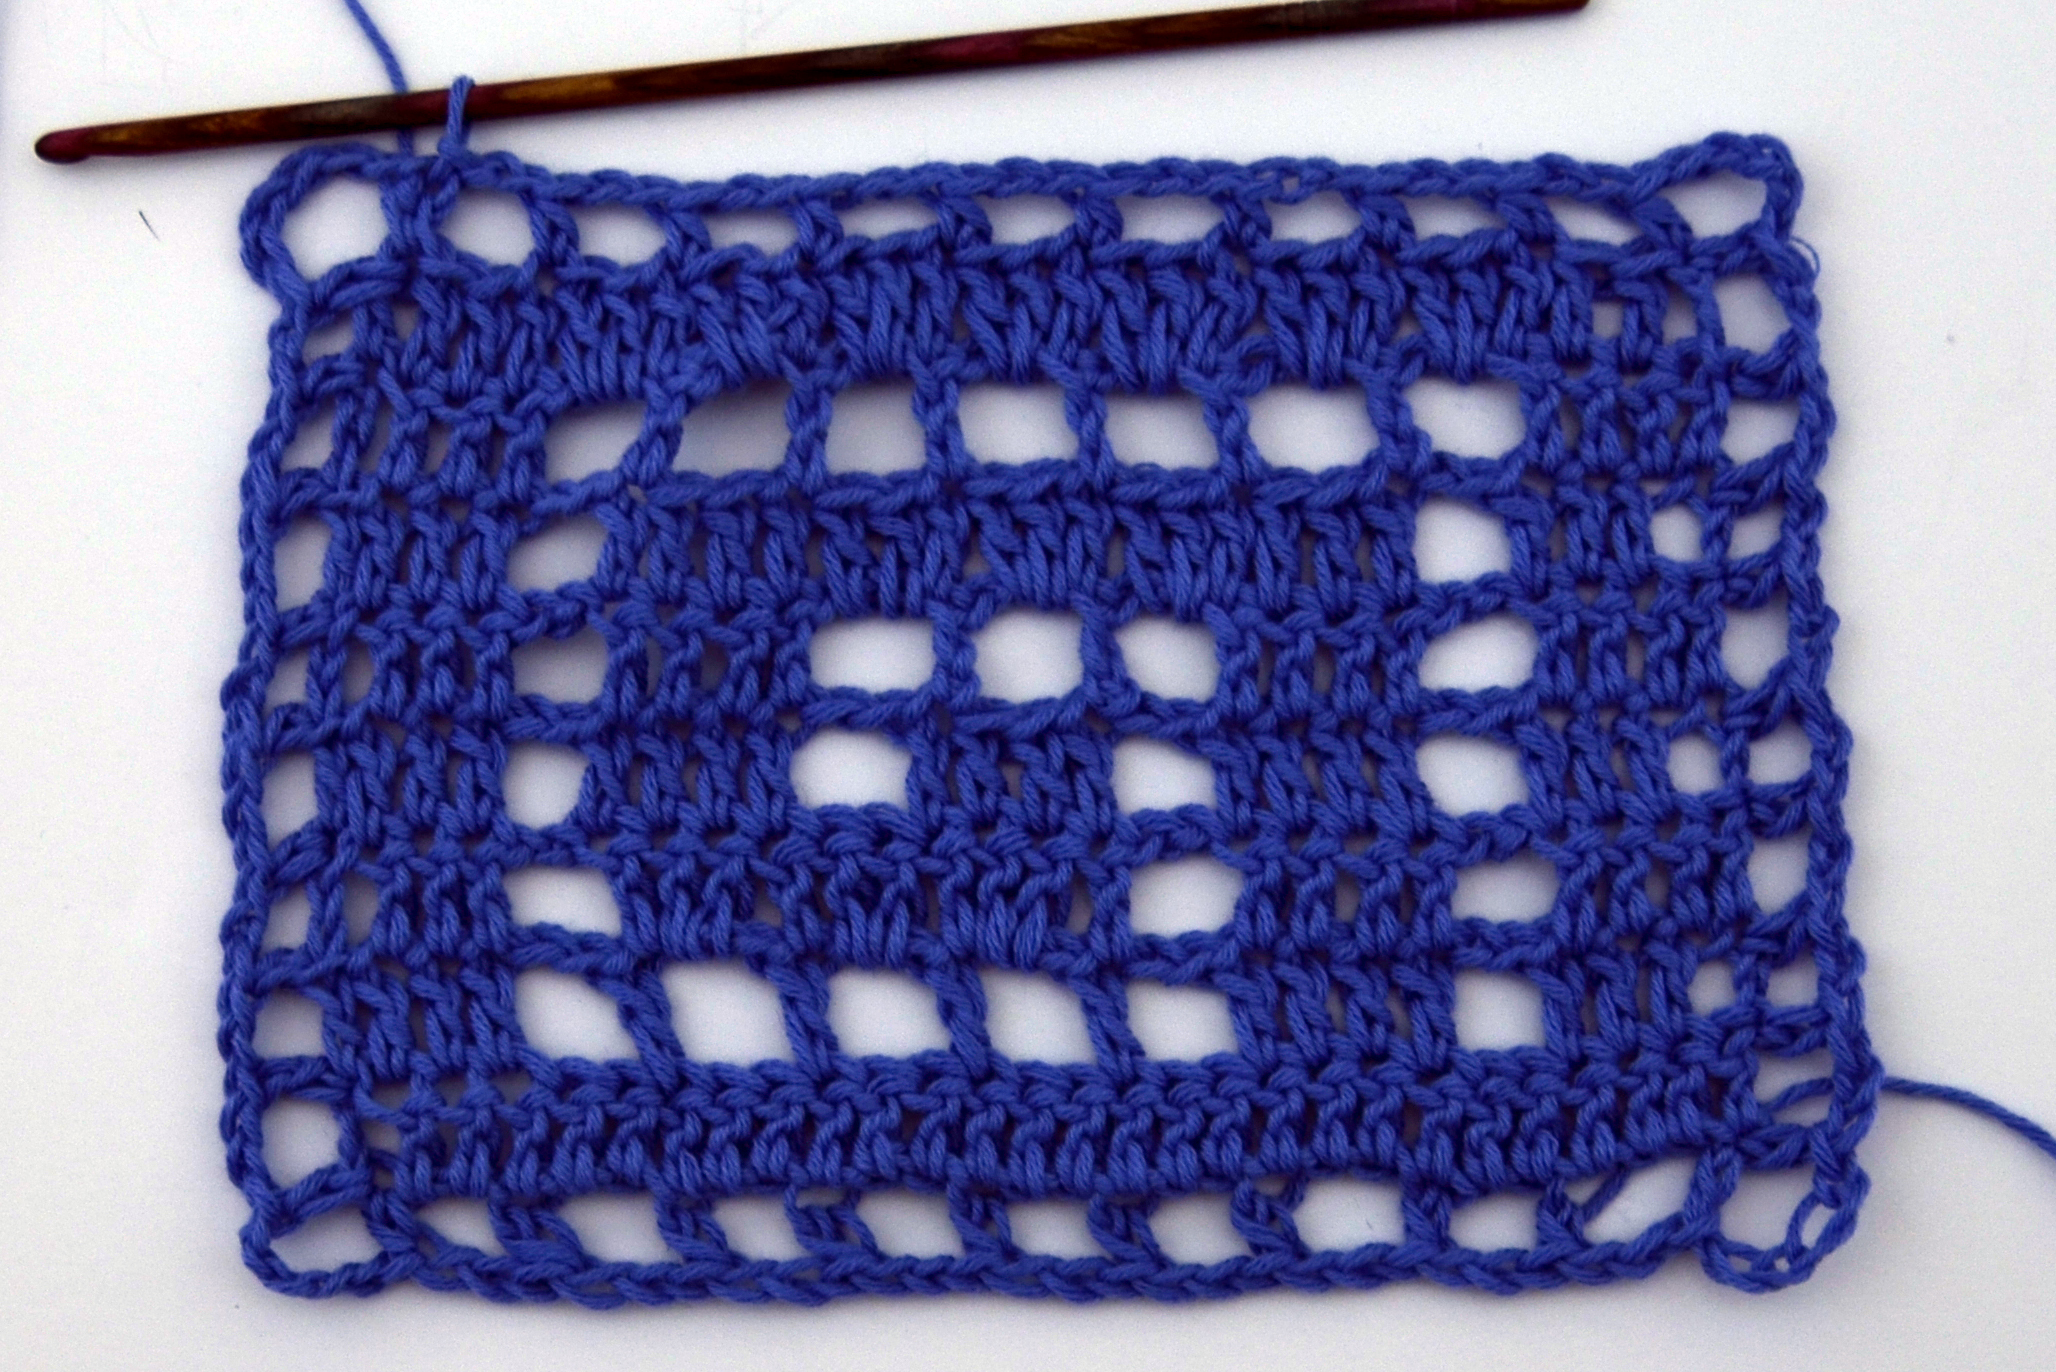
Round 2 is mostly single crochet (sc), with a picot thrown in every third sc. These picots serve two purposes: 1) they add a tiny amount of dense weight that helps the stole to drape and be a bit more “grounded”; 2) the picots serve as perfect little spots to run blocking wires through, allowing you to block your piece with ease.
To begin round 2, ch 1, sc in top of same hdc.
Next we’re going to make a picot on top of the sc. The instructions for the picot are [ch 3, sl st in top of sc just made]. Now, the “chain 3” part of the instructions are clear enough. But the “slip stitch in top of single crochet just made” can be tricky. I mean, there are all sorts of ways you could sl st in that sc. You could work through the front loop; you could work through both top loops; you could work through the back loop. I do something a little different when I’m working picots – just a personal preference. I like to work through both the top loop and the front bar of the stitch. I find that this sort of anchors the picot more securely to the work and also forces the picot into a nice rounded shape. The arrow below is pointing to the top front loop of the single crochet, and then that loop just to the left is the front bar.
I like to insert my hook through both of these loops. But no matter what your preference is, be consistent with how you do it.
Here’s what our first corner looks like. I worked [3 sc, picot, 2 sc] into the chain 5 space, then [sc, picot] into the next hdc:

And, here it is again with round 2 complete:
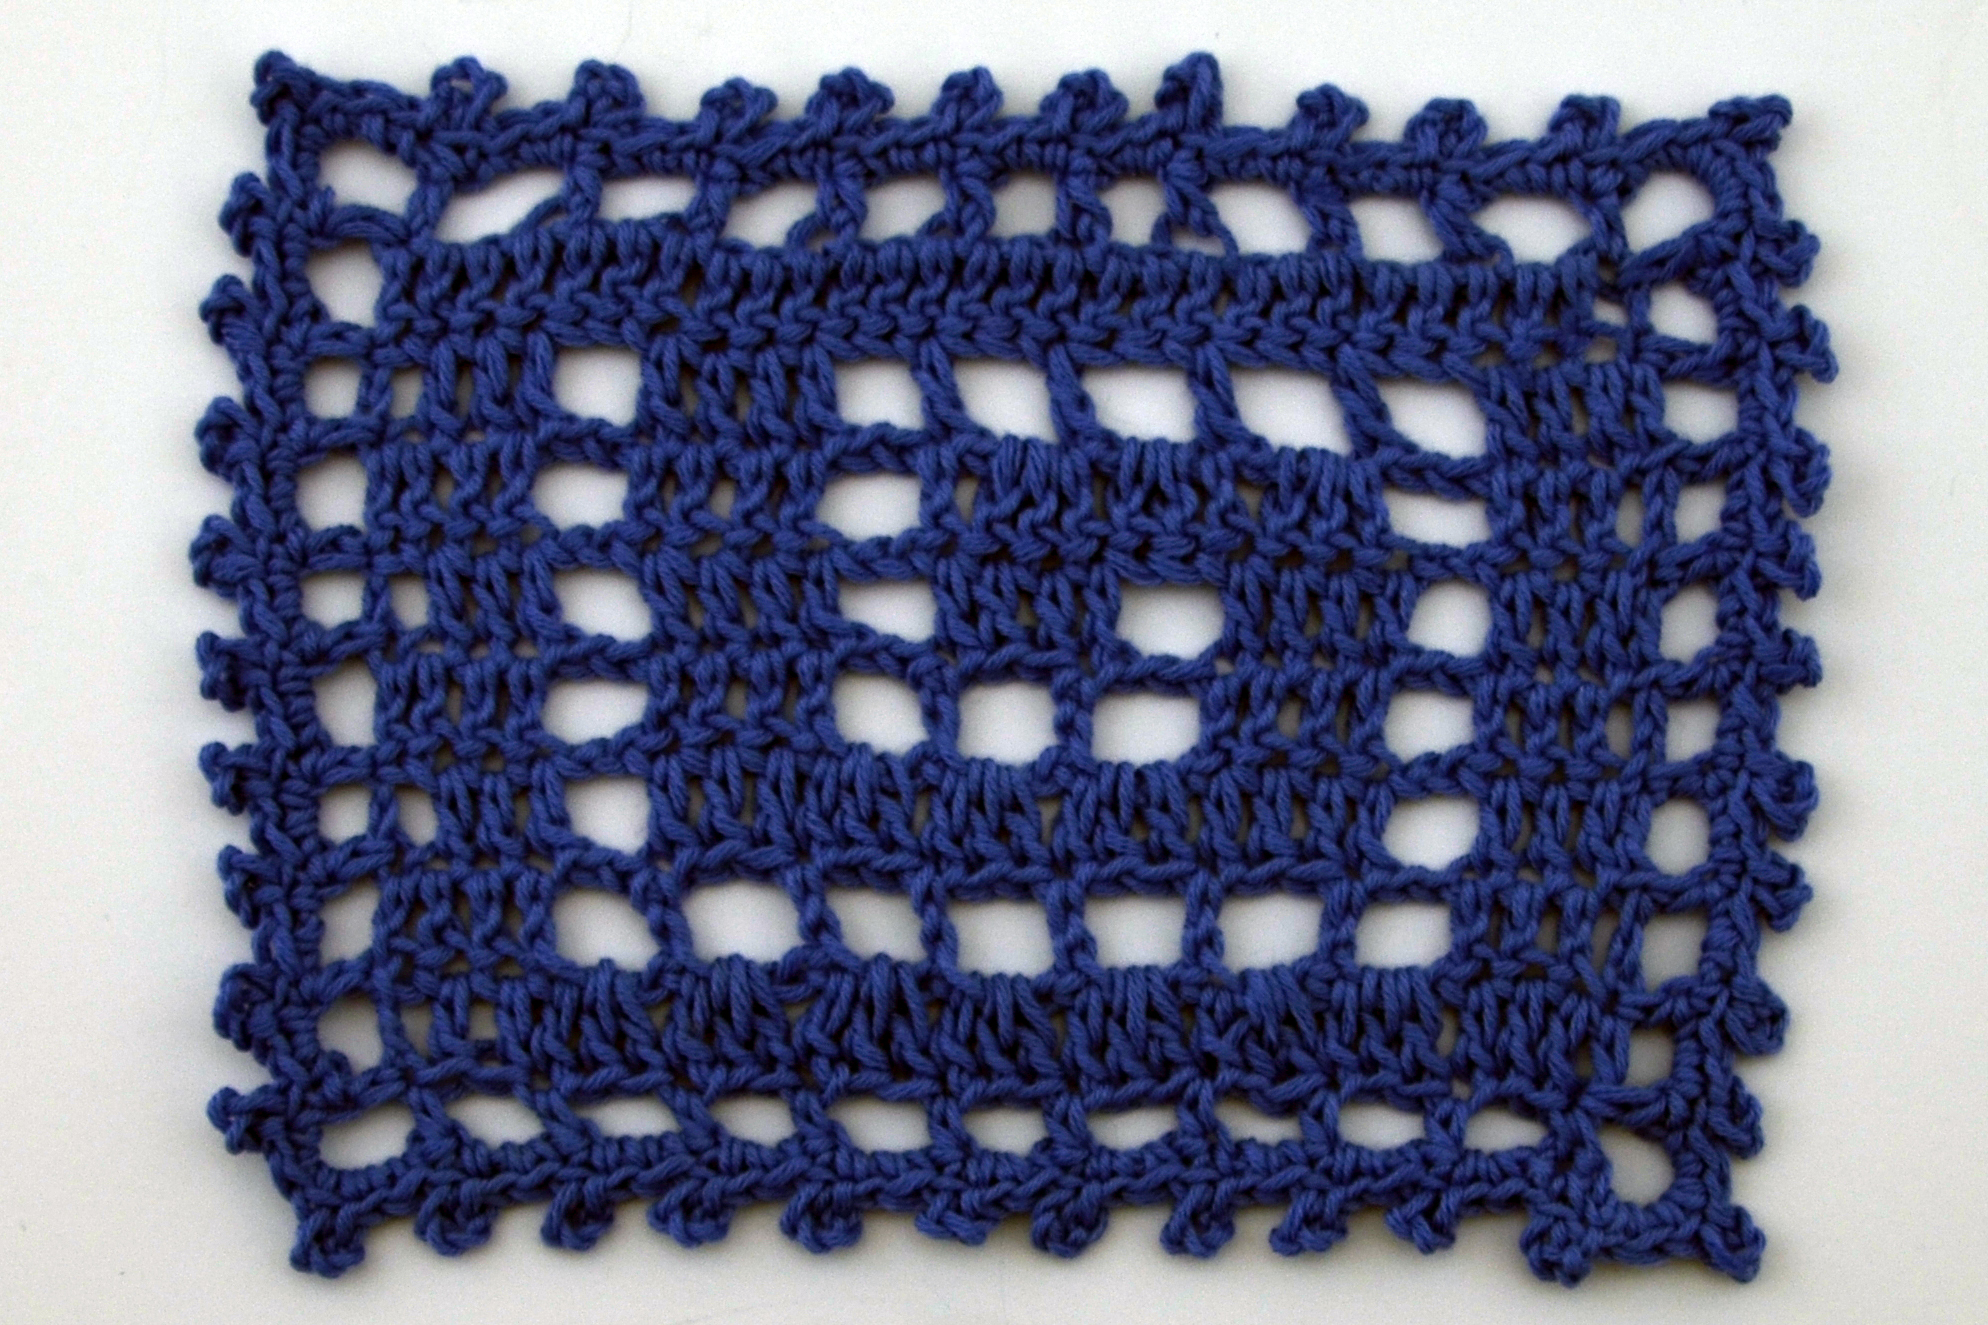
As mentioned in the pattern, all that’s left to do is weave in your ends, run blocking wires through your picots, and steam or wet-block.