

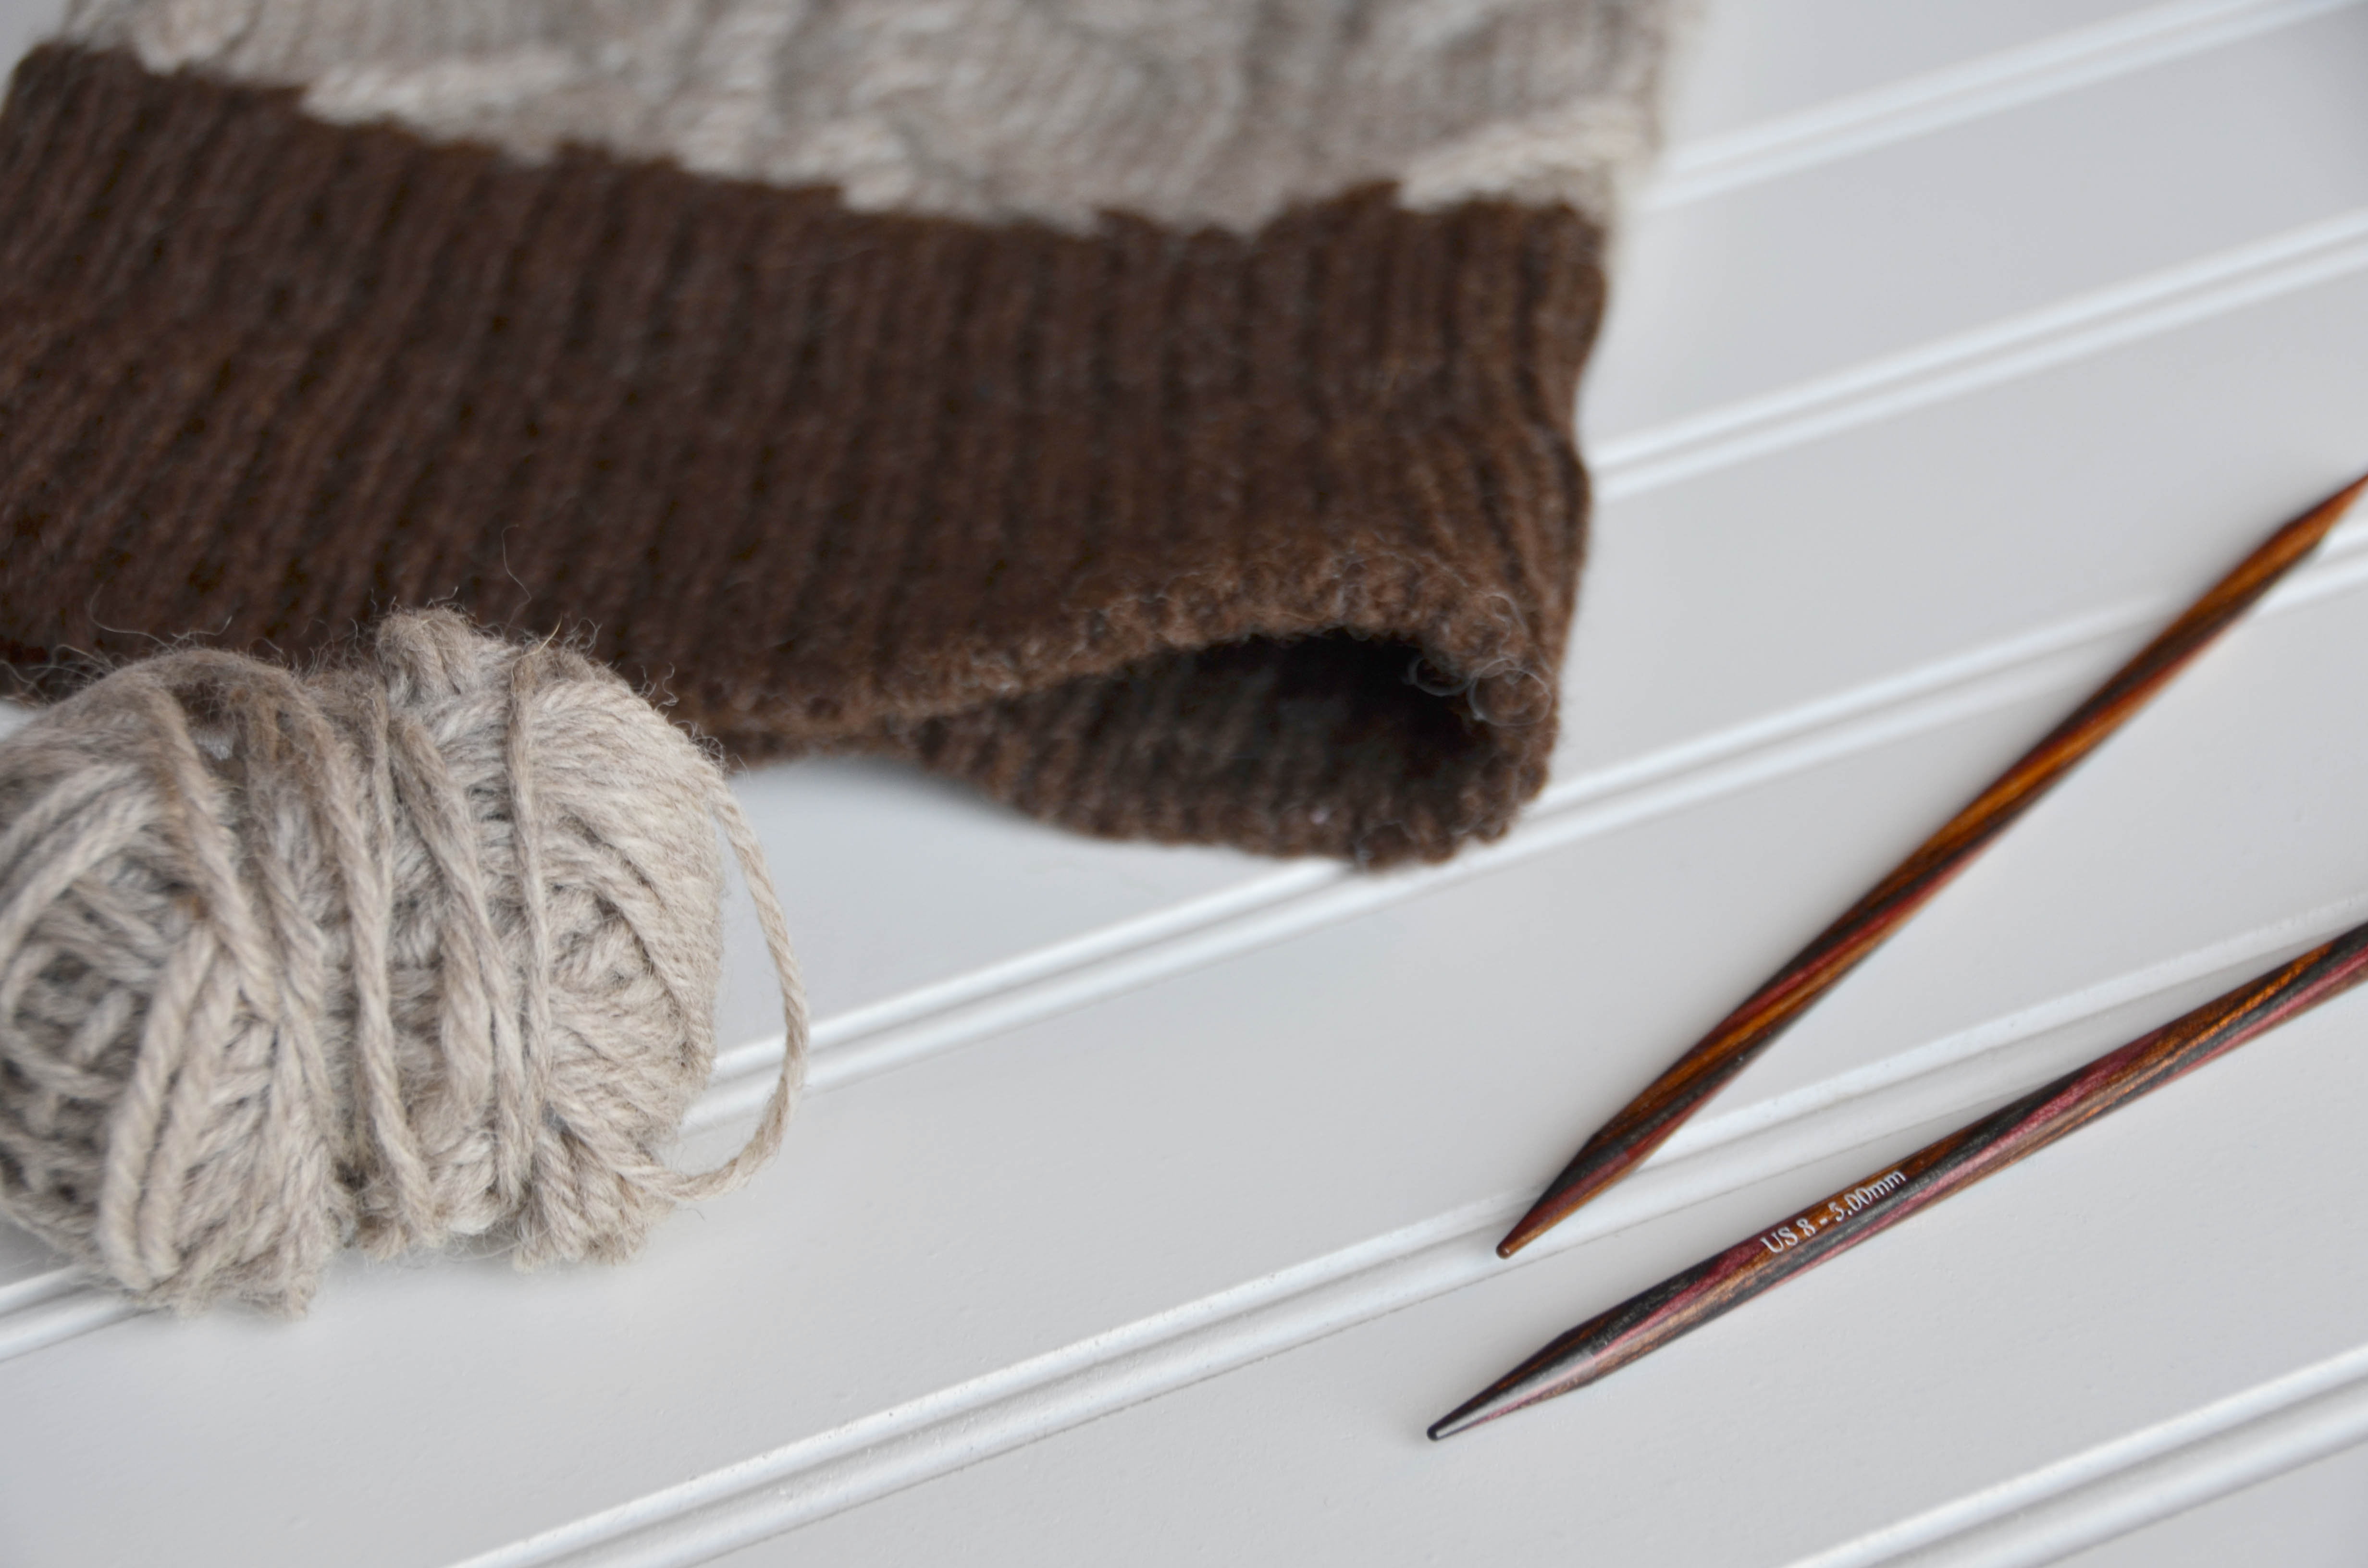
Today we’re introducing the Nutmeg Hat and Mitten Set. The neutral set is incredibly wearable for men and women alike. Personally, I love working with undyed wool. It is rustic in appearance and goes with nearly anything. While I’m a lover of color, I equally adore the natural shades of wool. You can see more of our Deluxe Worsted Naturals collection here.
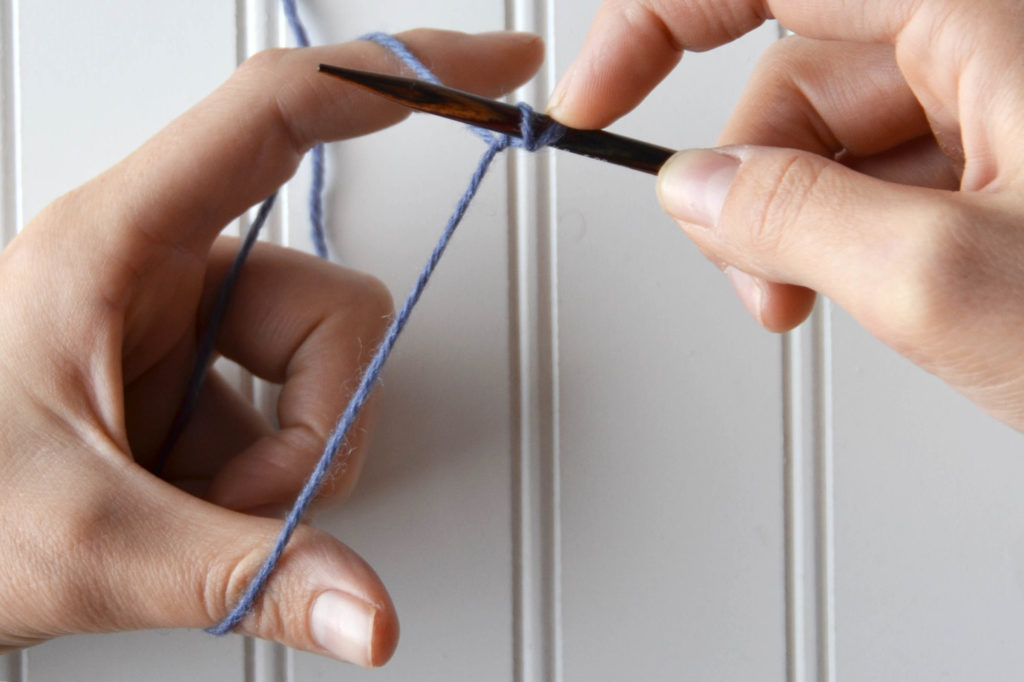
This set features all over cables and a contrasting cuff. I wanted to give this set a professional finish, so I used the long-tail tubular cast-on method.

I can easily recall a time when I felt intimidated by the Tubular cast-on method. Like many things in knitting (and in life), we often perceive new things to be more challenging than they really are. This cast-on method is one of those things. If you look at the Nutmeg set, you’ll notice that the 1×1 Ribbing seems to run seamlessly from the right side to the wrong side. Notice the lack of a cast-on edge in the photo below. You can’t tell where it was cast-on. That is the beauty of a tubular cast-on.
It takes more time than most other methods and it feels a bit fiddly at first, but it’s well worth it. It’s by far my favorite method when I’m using 1×1 Rib.
If you’d like a closer look at each photo, simply click it.
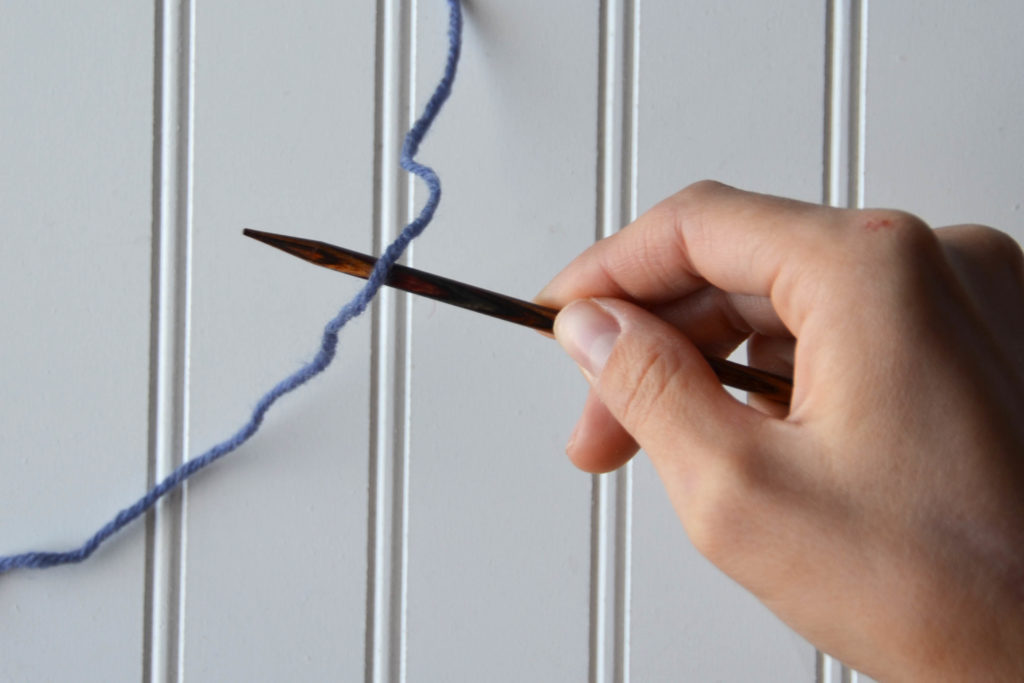
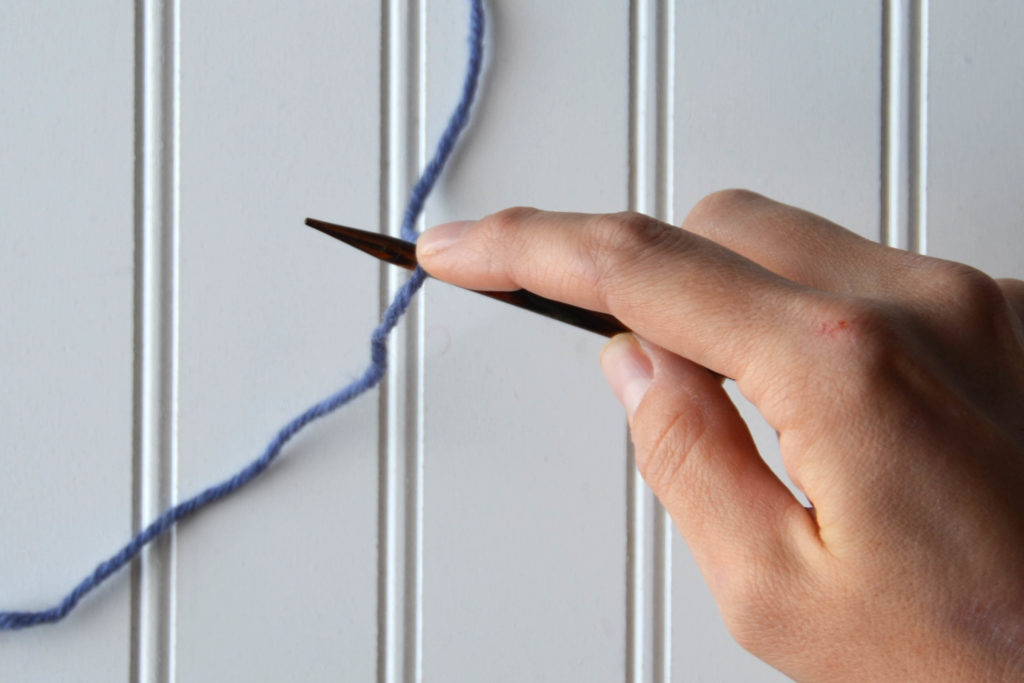
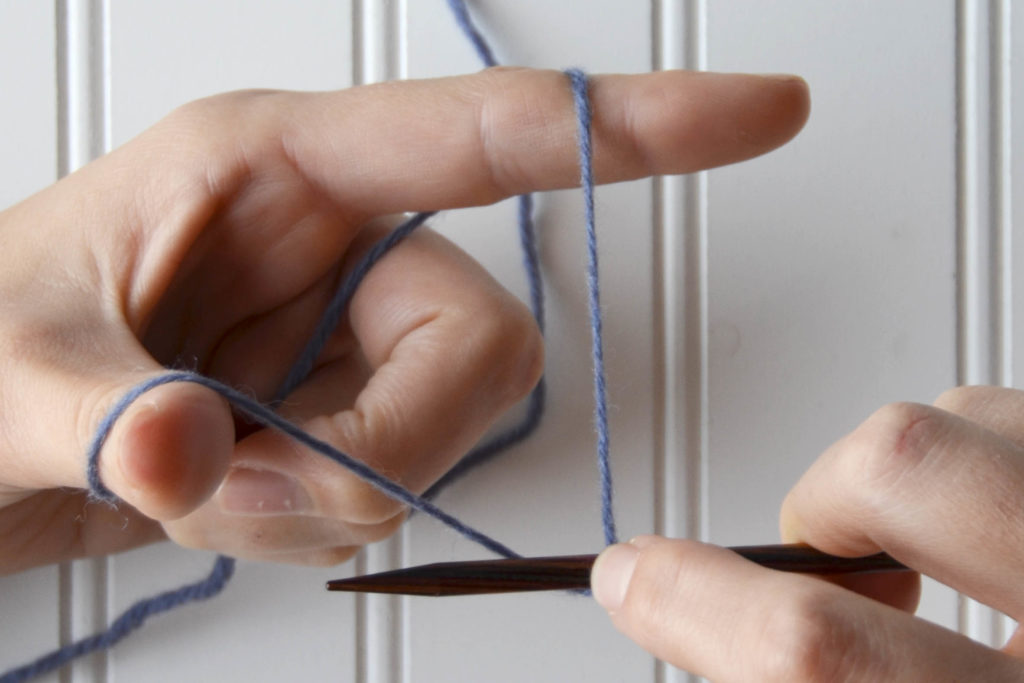
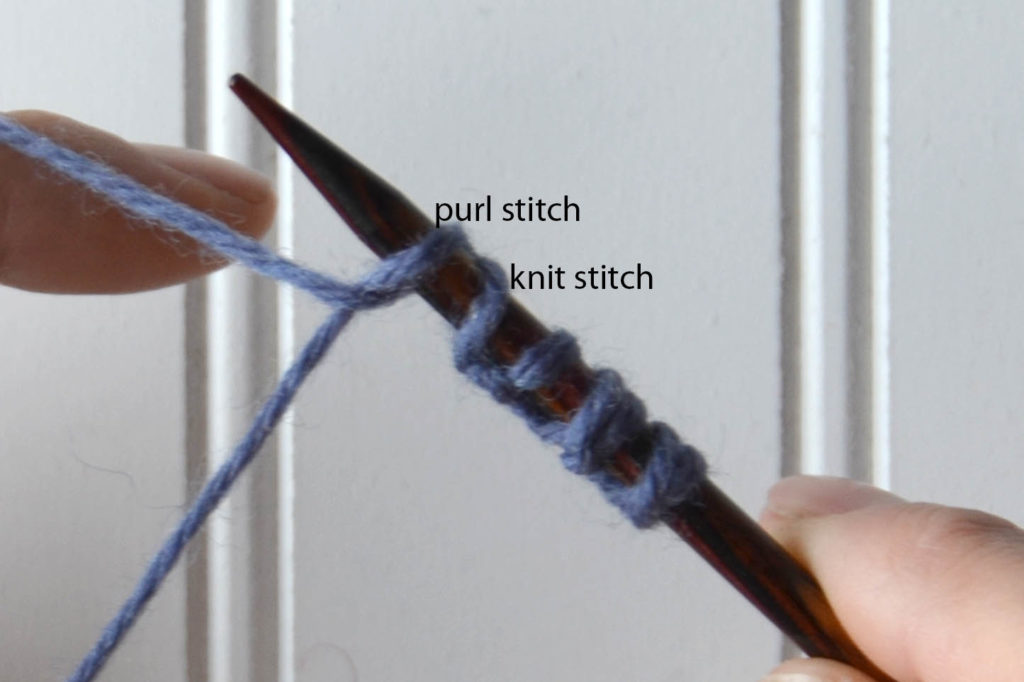
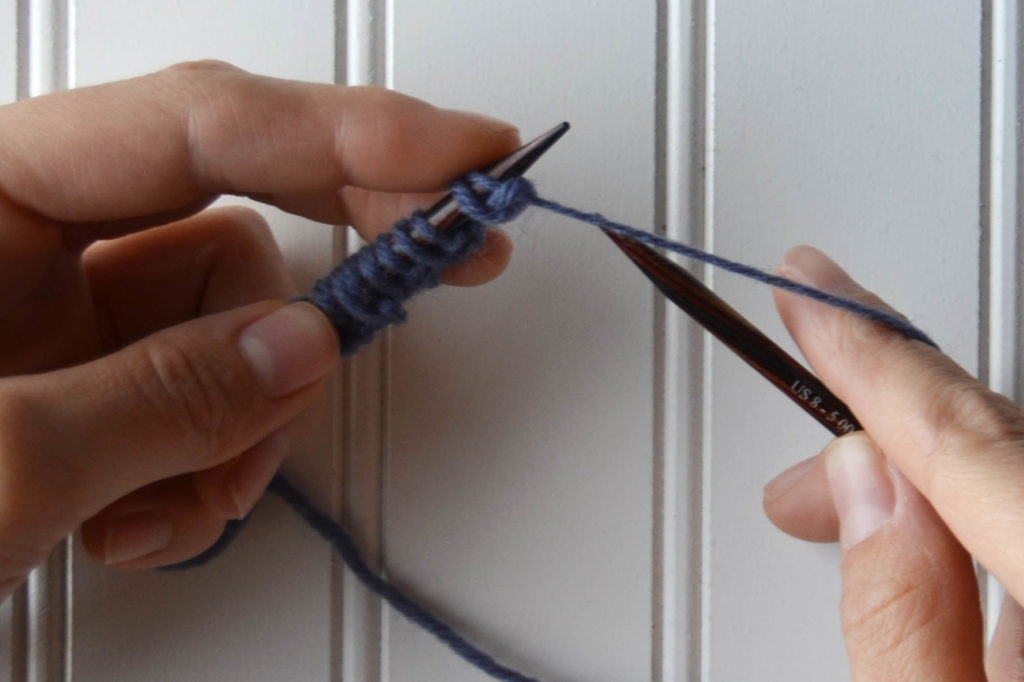
The motion for a purl stitch mirrors the knit stitch.
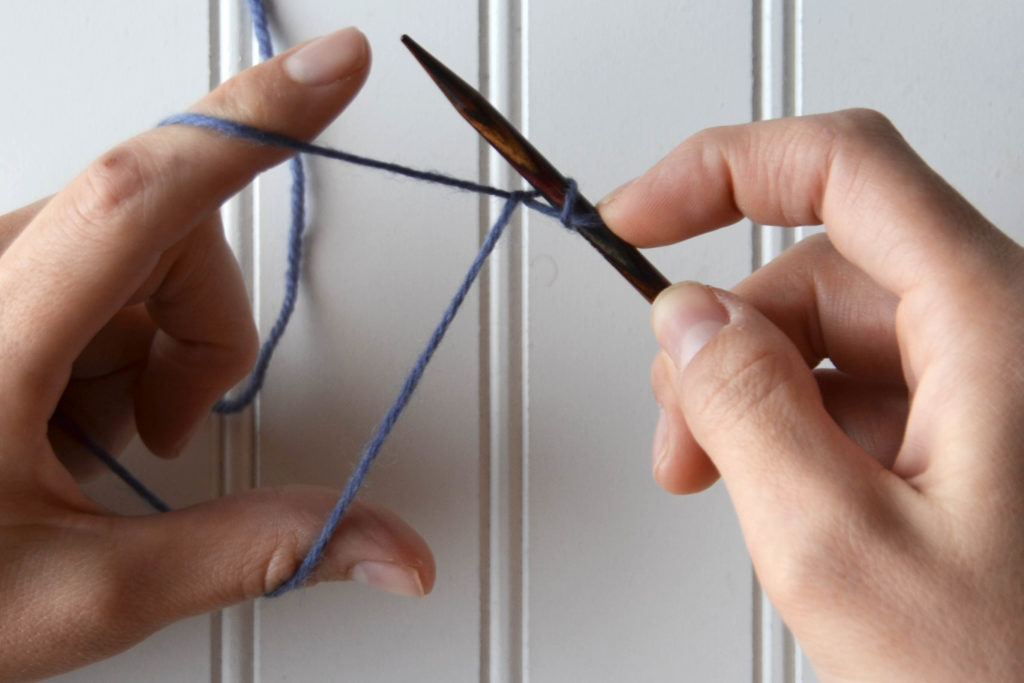
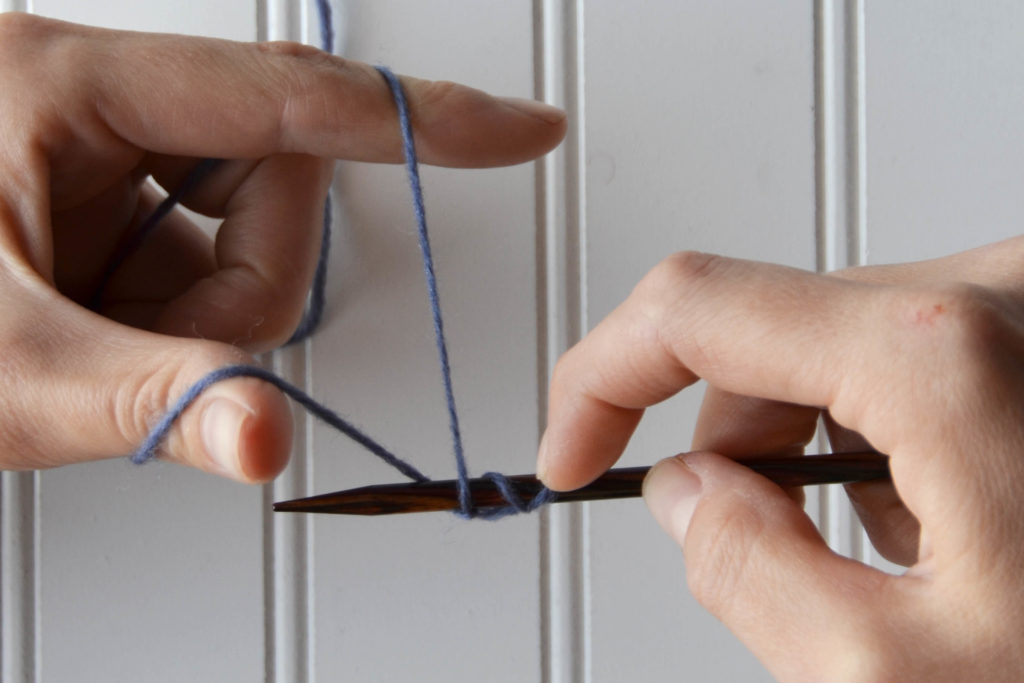
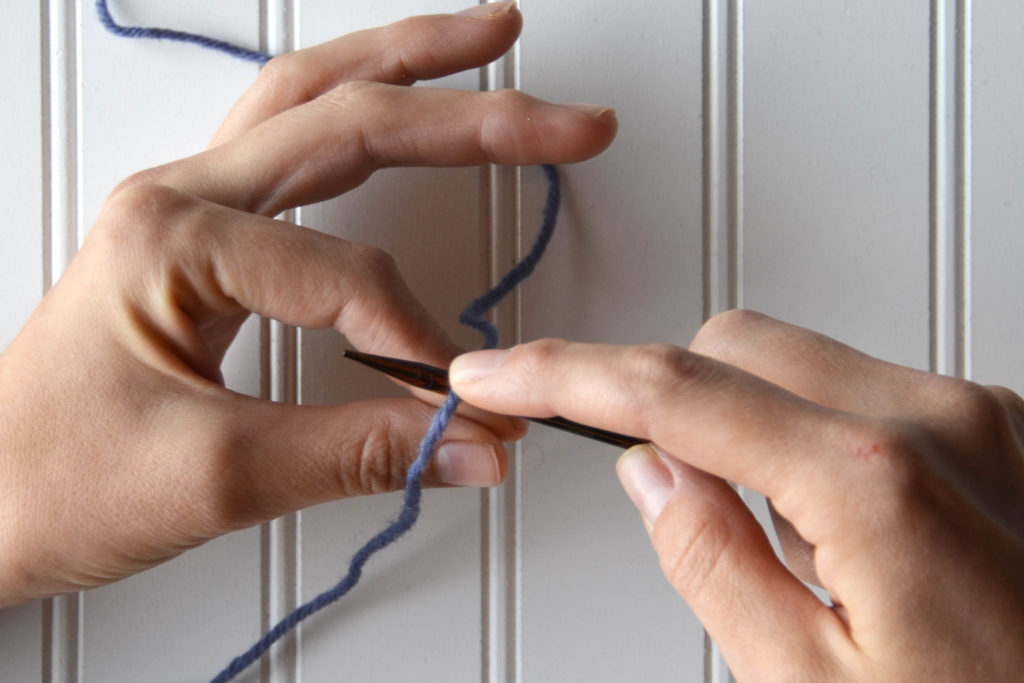
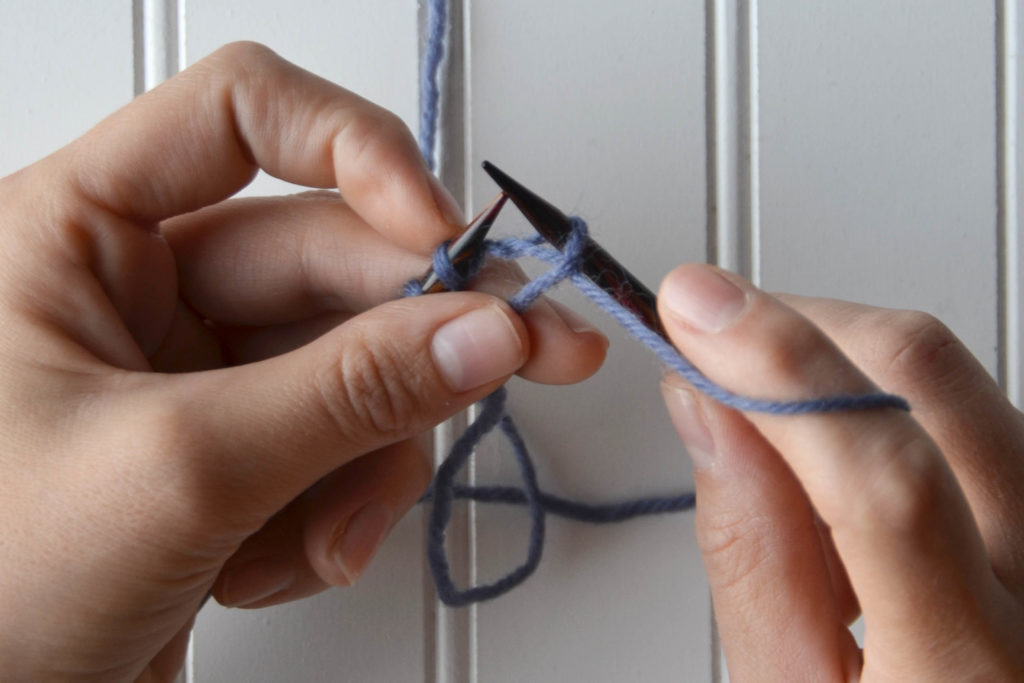
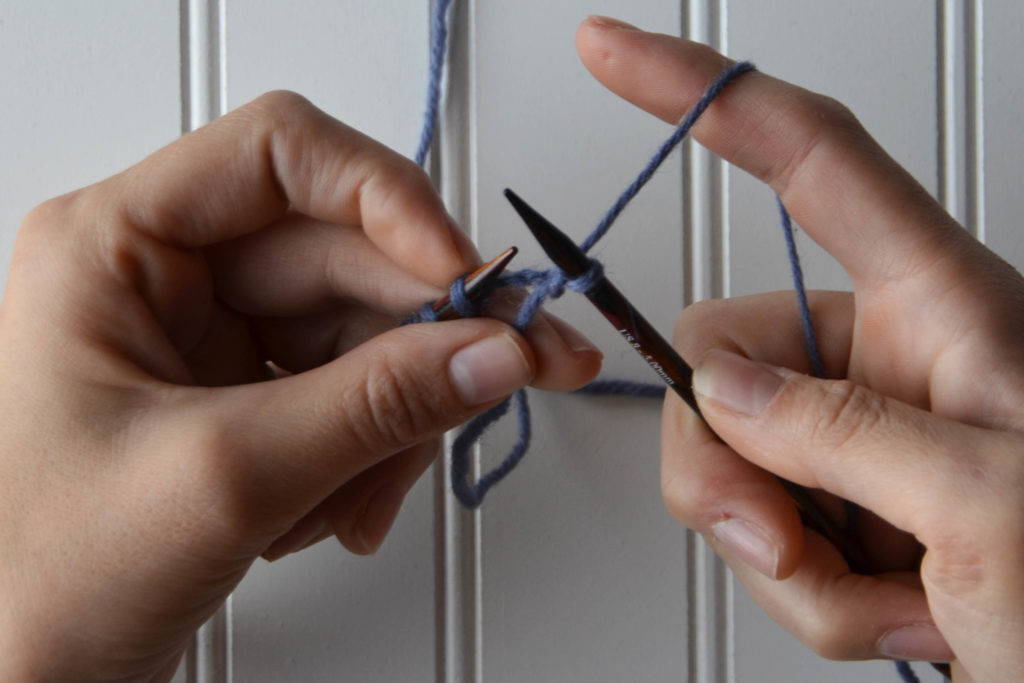
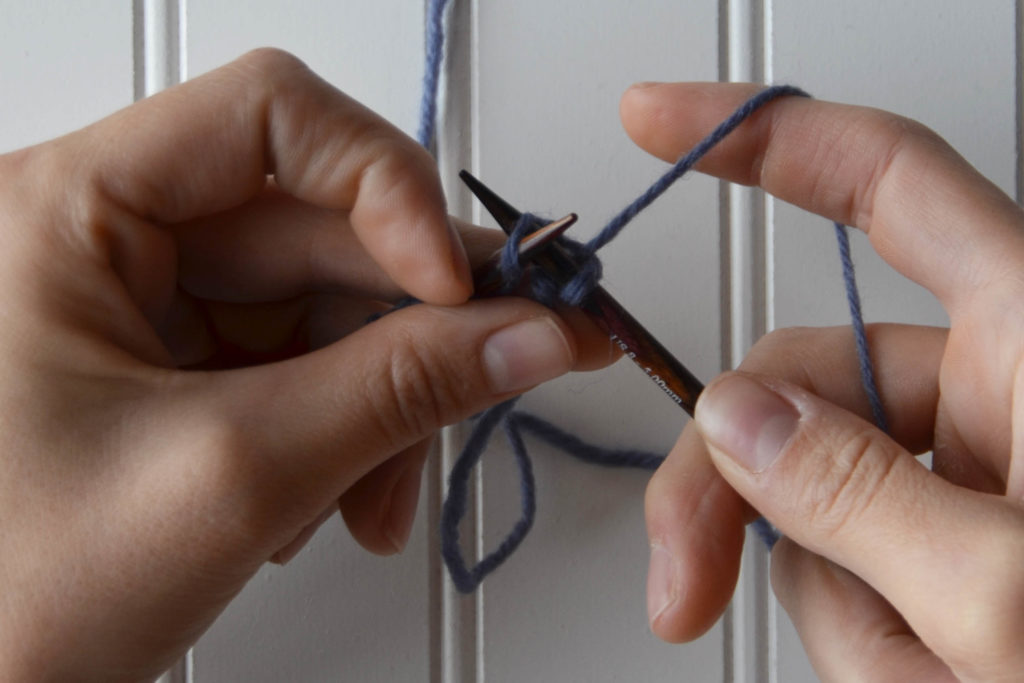
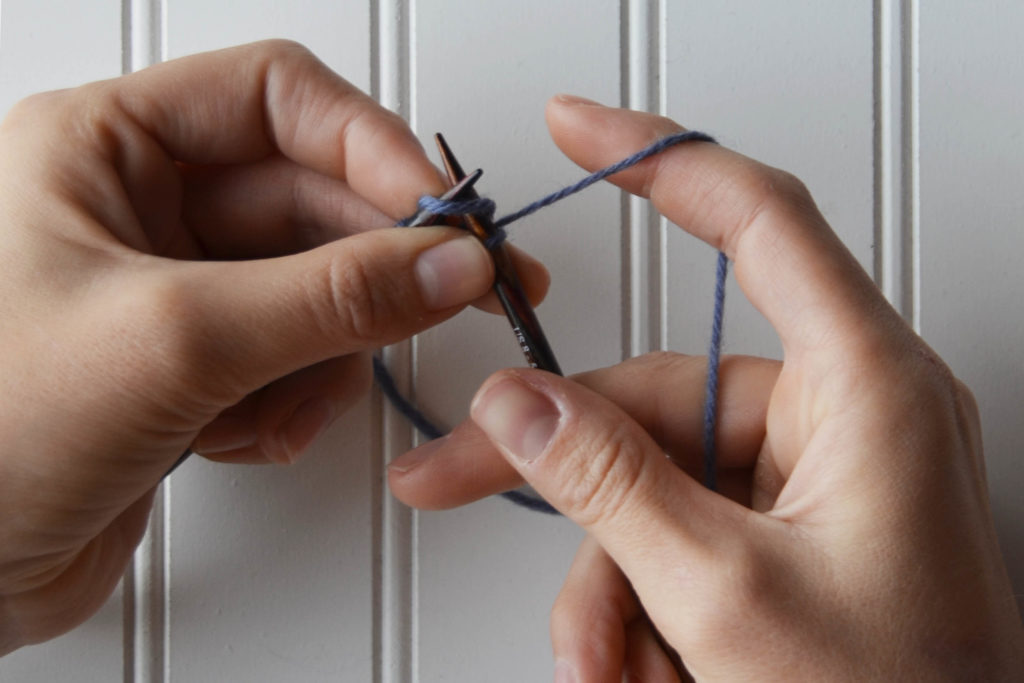
Continue in this manner, alternating between knit and purl stitches until you have the required number of stitches.
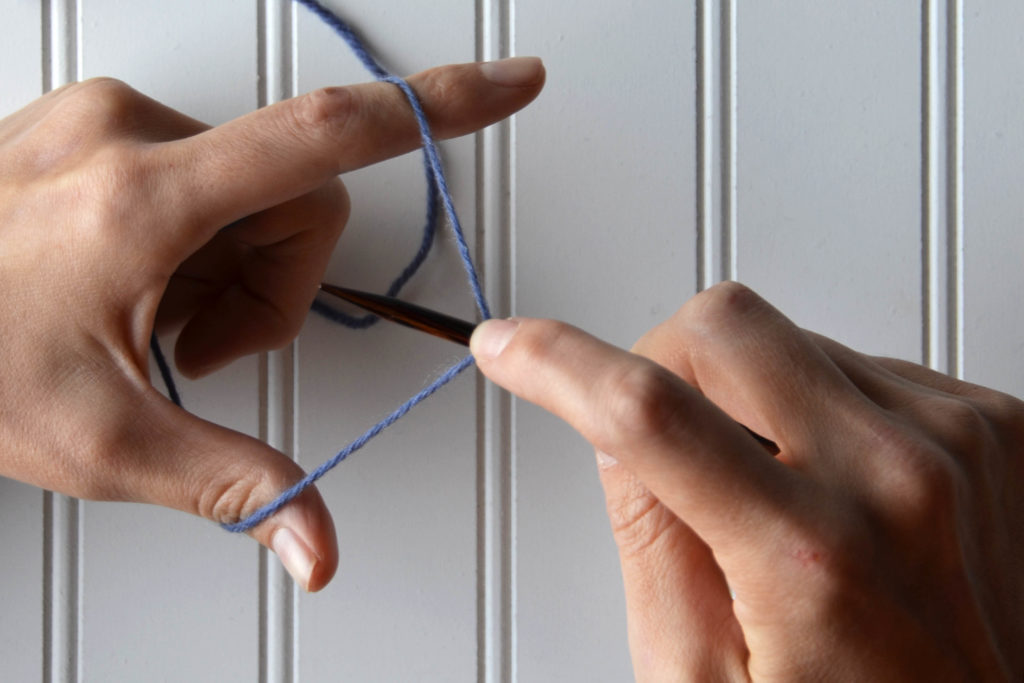
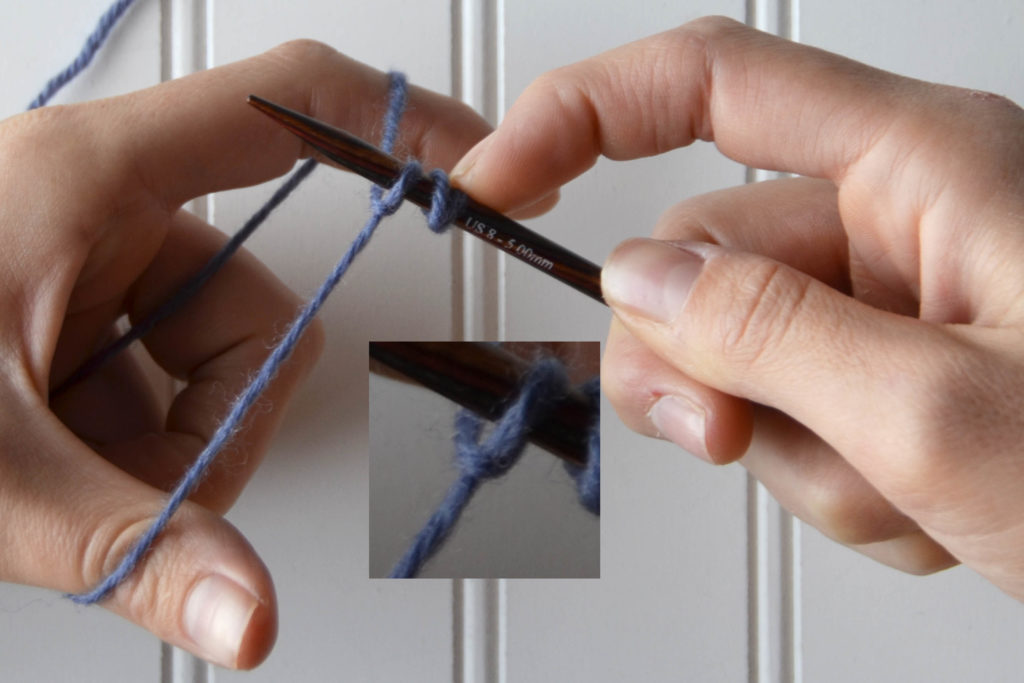
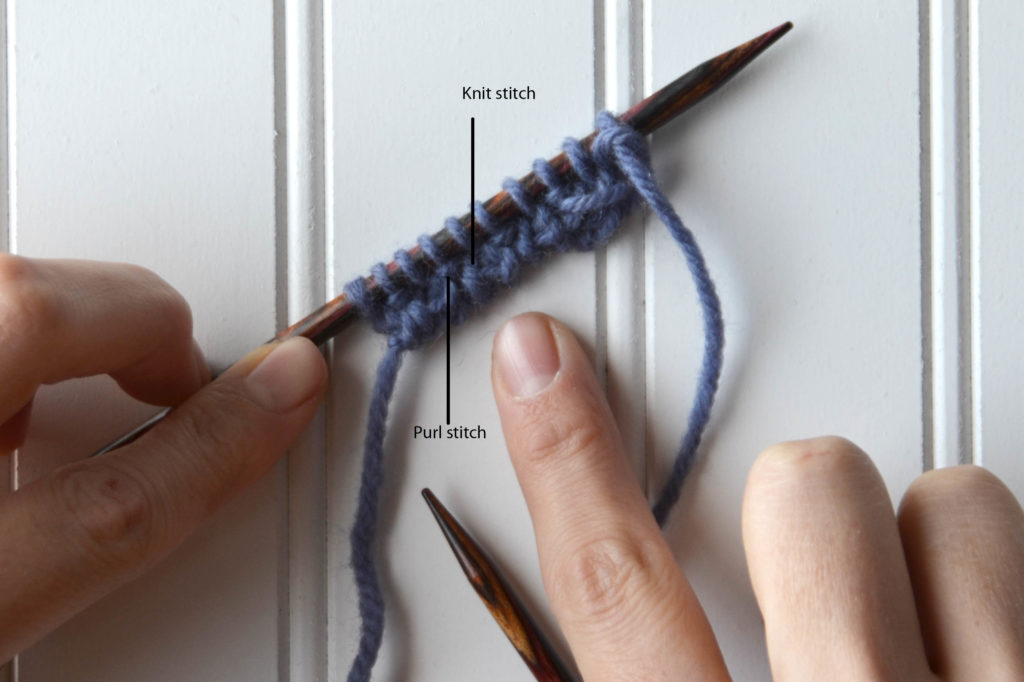
Once you have the correct number of stitches, carefully turn your work. I highly recommend using your index finger to hold the last stitch you cast on in place. Now you’ll begin working the first foundation row.
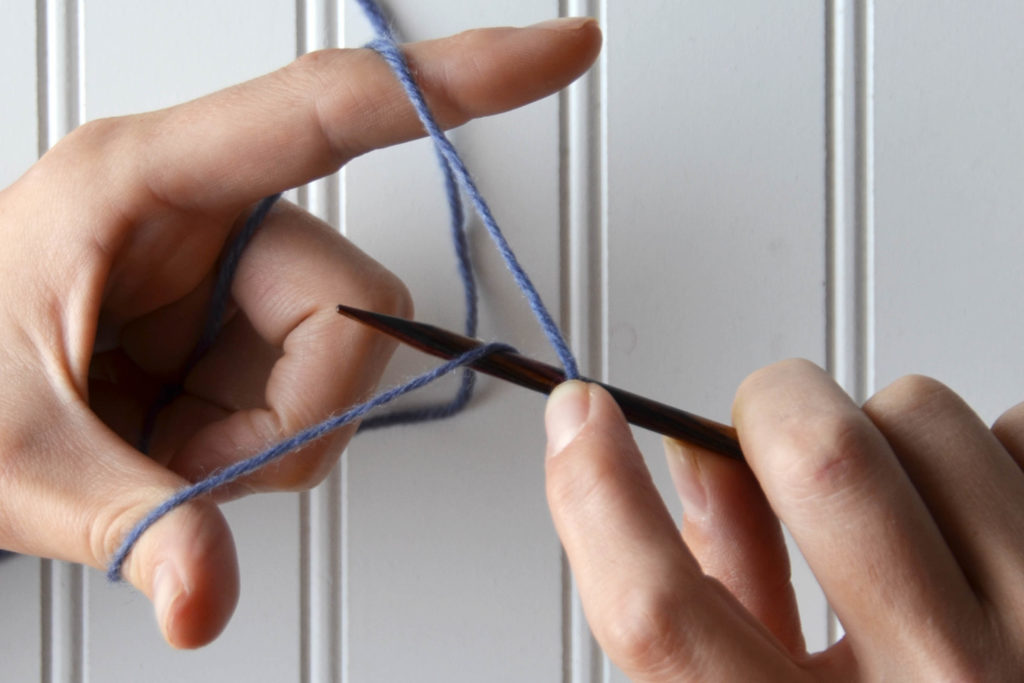
Continue to slip the purl stitches with your yarn in front and knit the knit stitches through the back loop to the end of your work. Turn your work. Now you’ll begin the second foundation row.
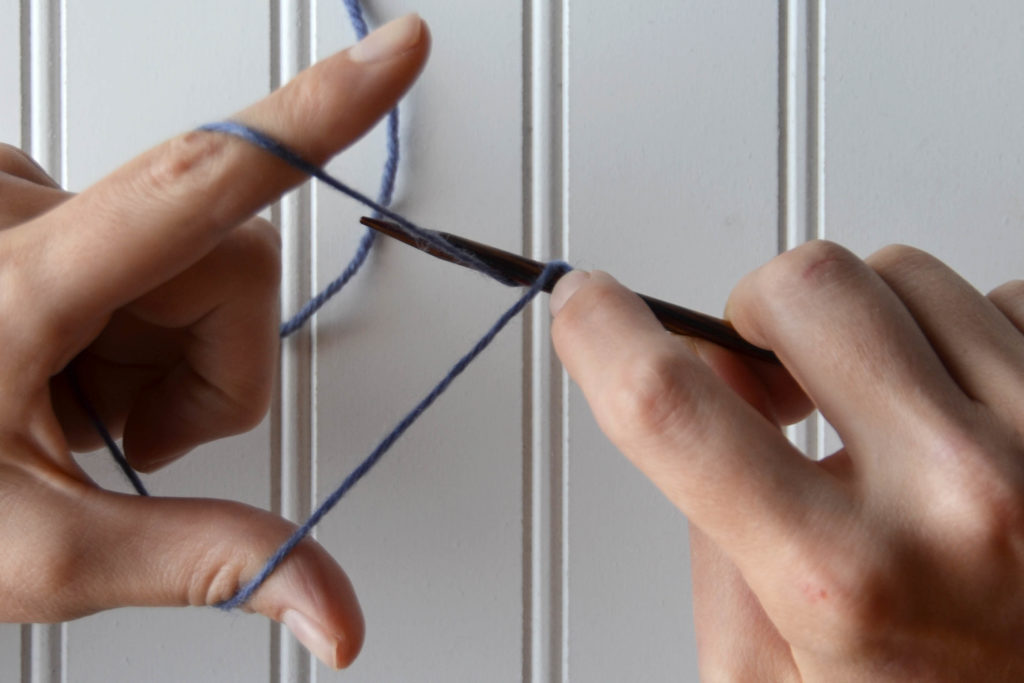
Repeat the last two steps to the end of the row
On the next row, simply work in K1, P1 ribbing by purling the purl stitches and knitting the knit stitches.
Once you’ve finished casting on, you can join your work in the round (as would be the case for the Nutmeg Hat and Mitten Set). There will be a small space you’ll want to seam. Typically I do this just before weaving my tail into the project.
This method works for projects that are knit flat or in the round. It gives your projects such a neat finish. It’s also much more stretchy than a traditional long tail cast-on.
You can find the link to the Nutmeg Hat and Mitten set here.
One Reply to “Day 5 of Winter”
Comments are closed.