

You might remember that back in October I introduced the first post about my adventures in naturally dyeing our Superwash Merino Worsted Weight yarn. In that post (link), I gushed about how much I love the warm hues of autumn. Well, it’s spring now – though it certainly feels like summer here in Charlotte. That means it’s time to play with some yarns that are a bit more warm-weather friendly.
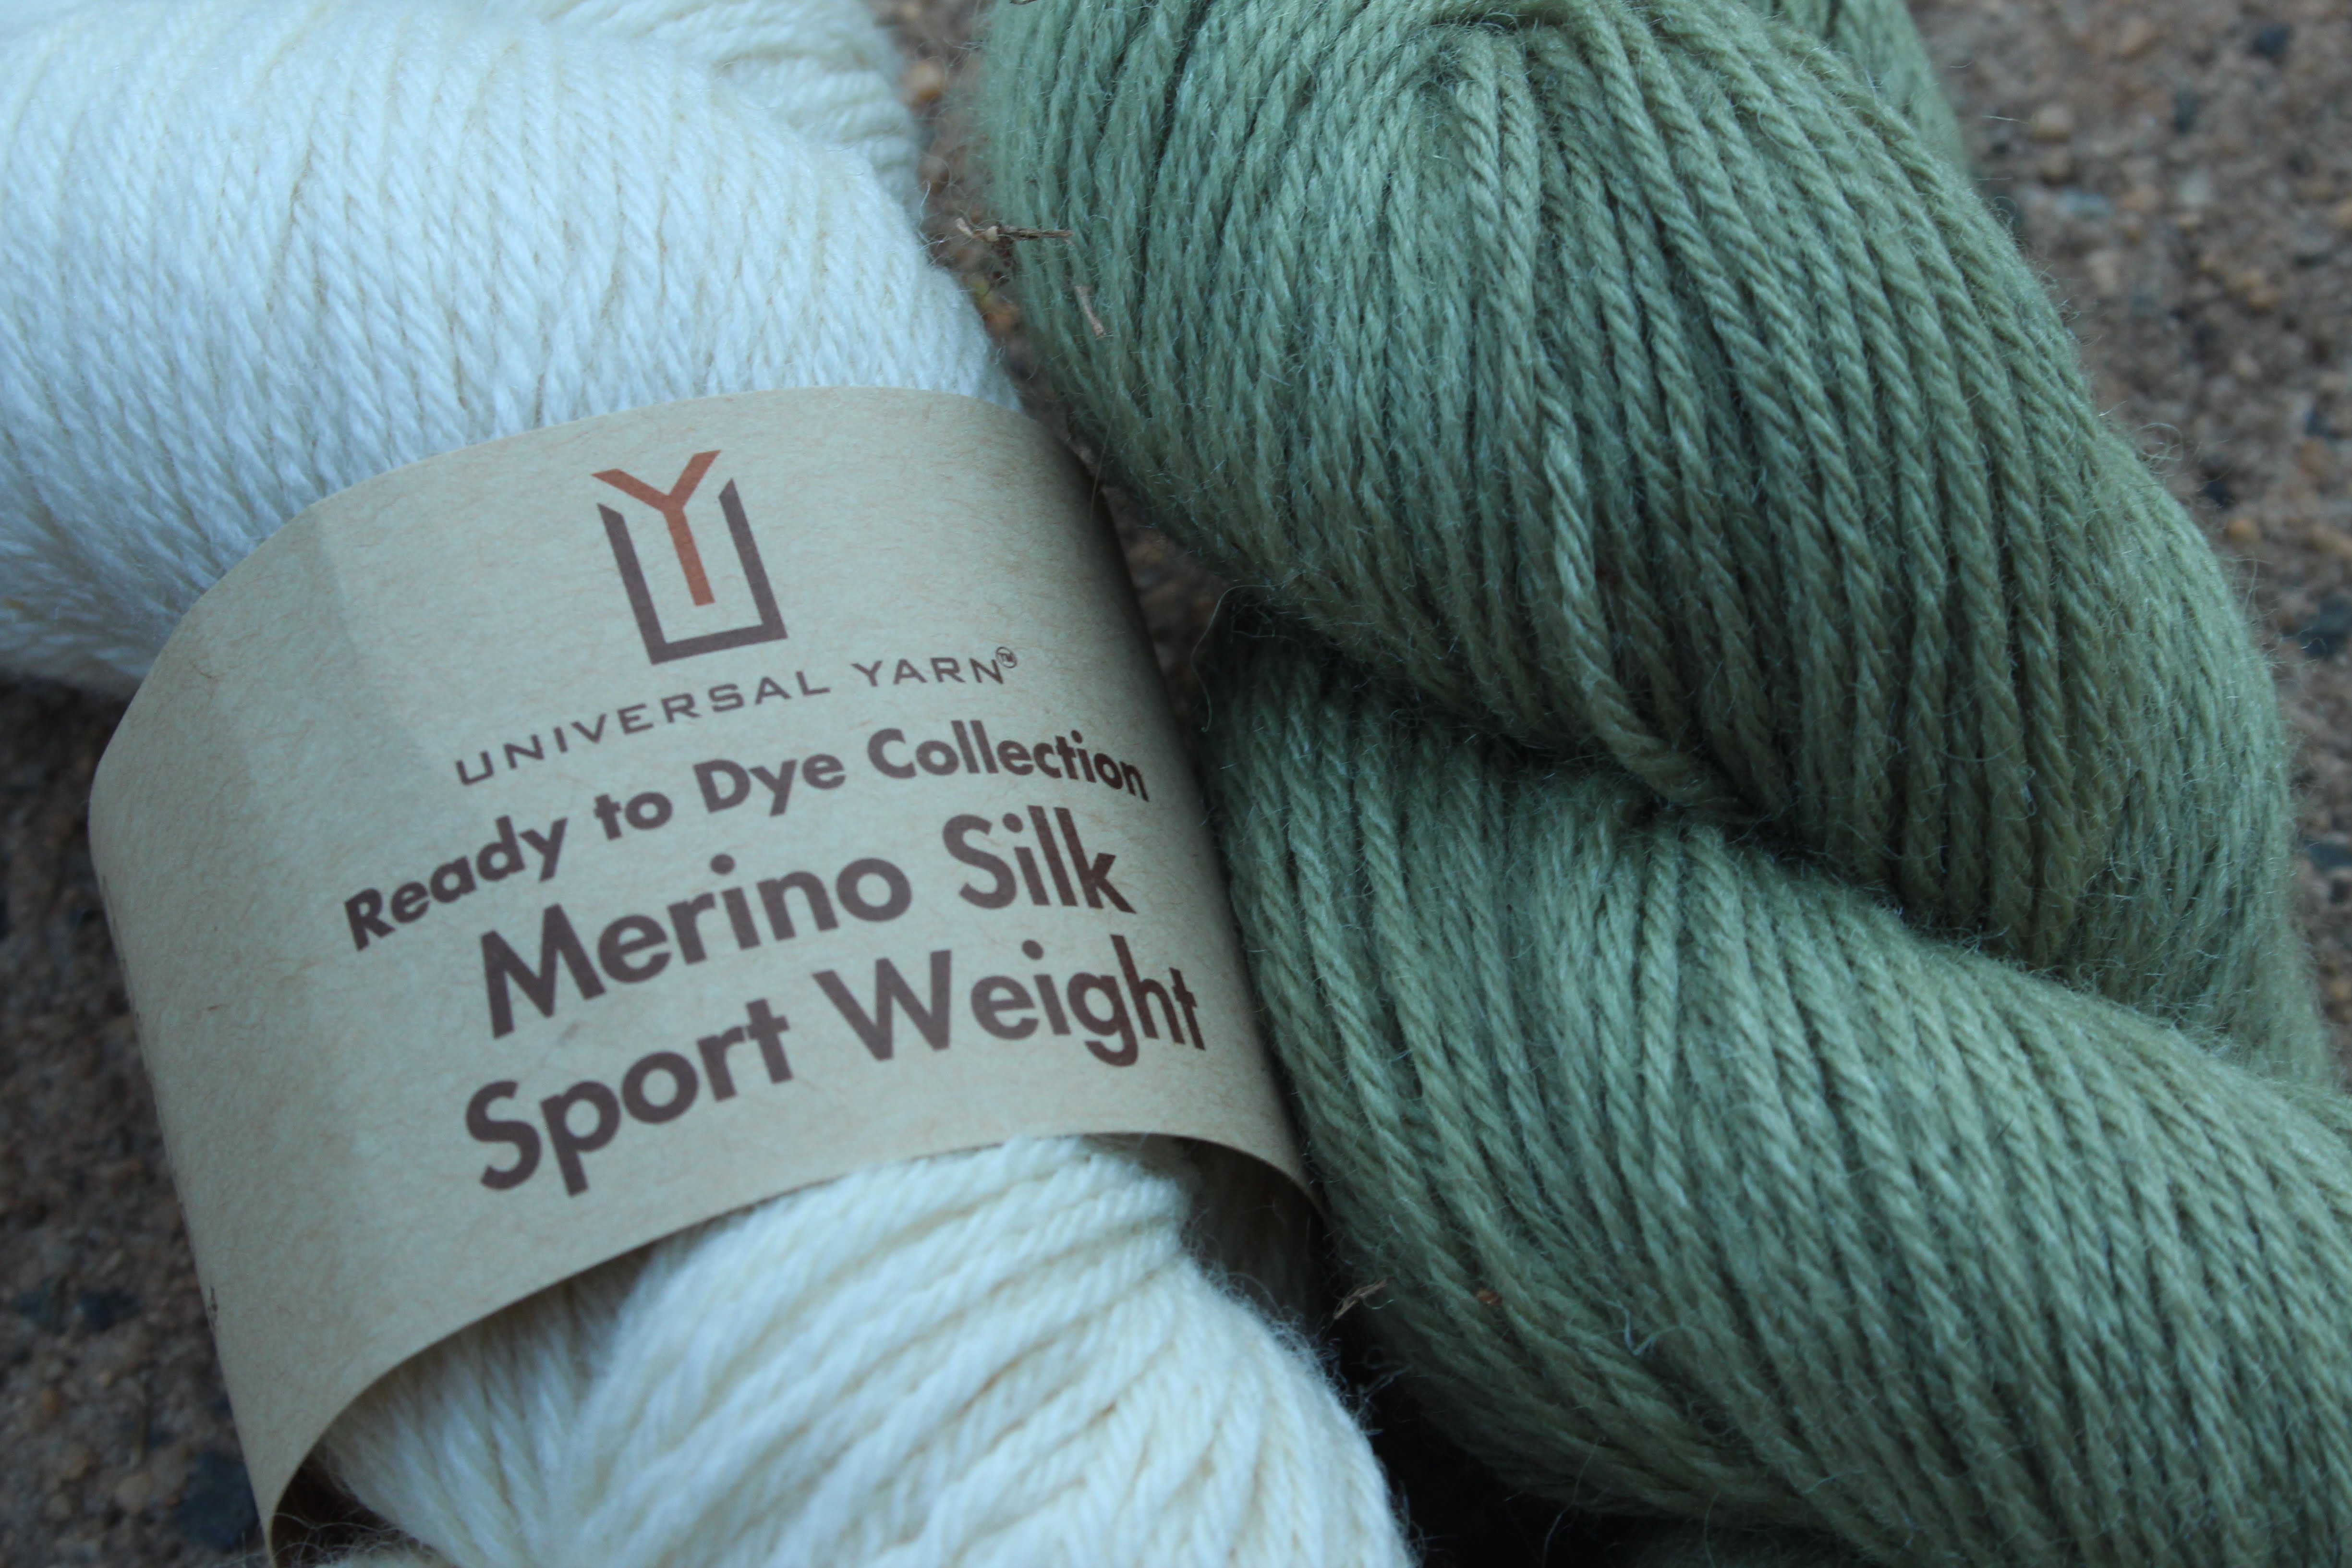
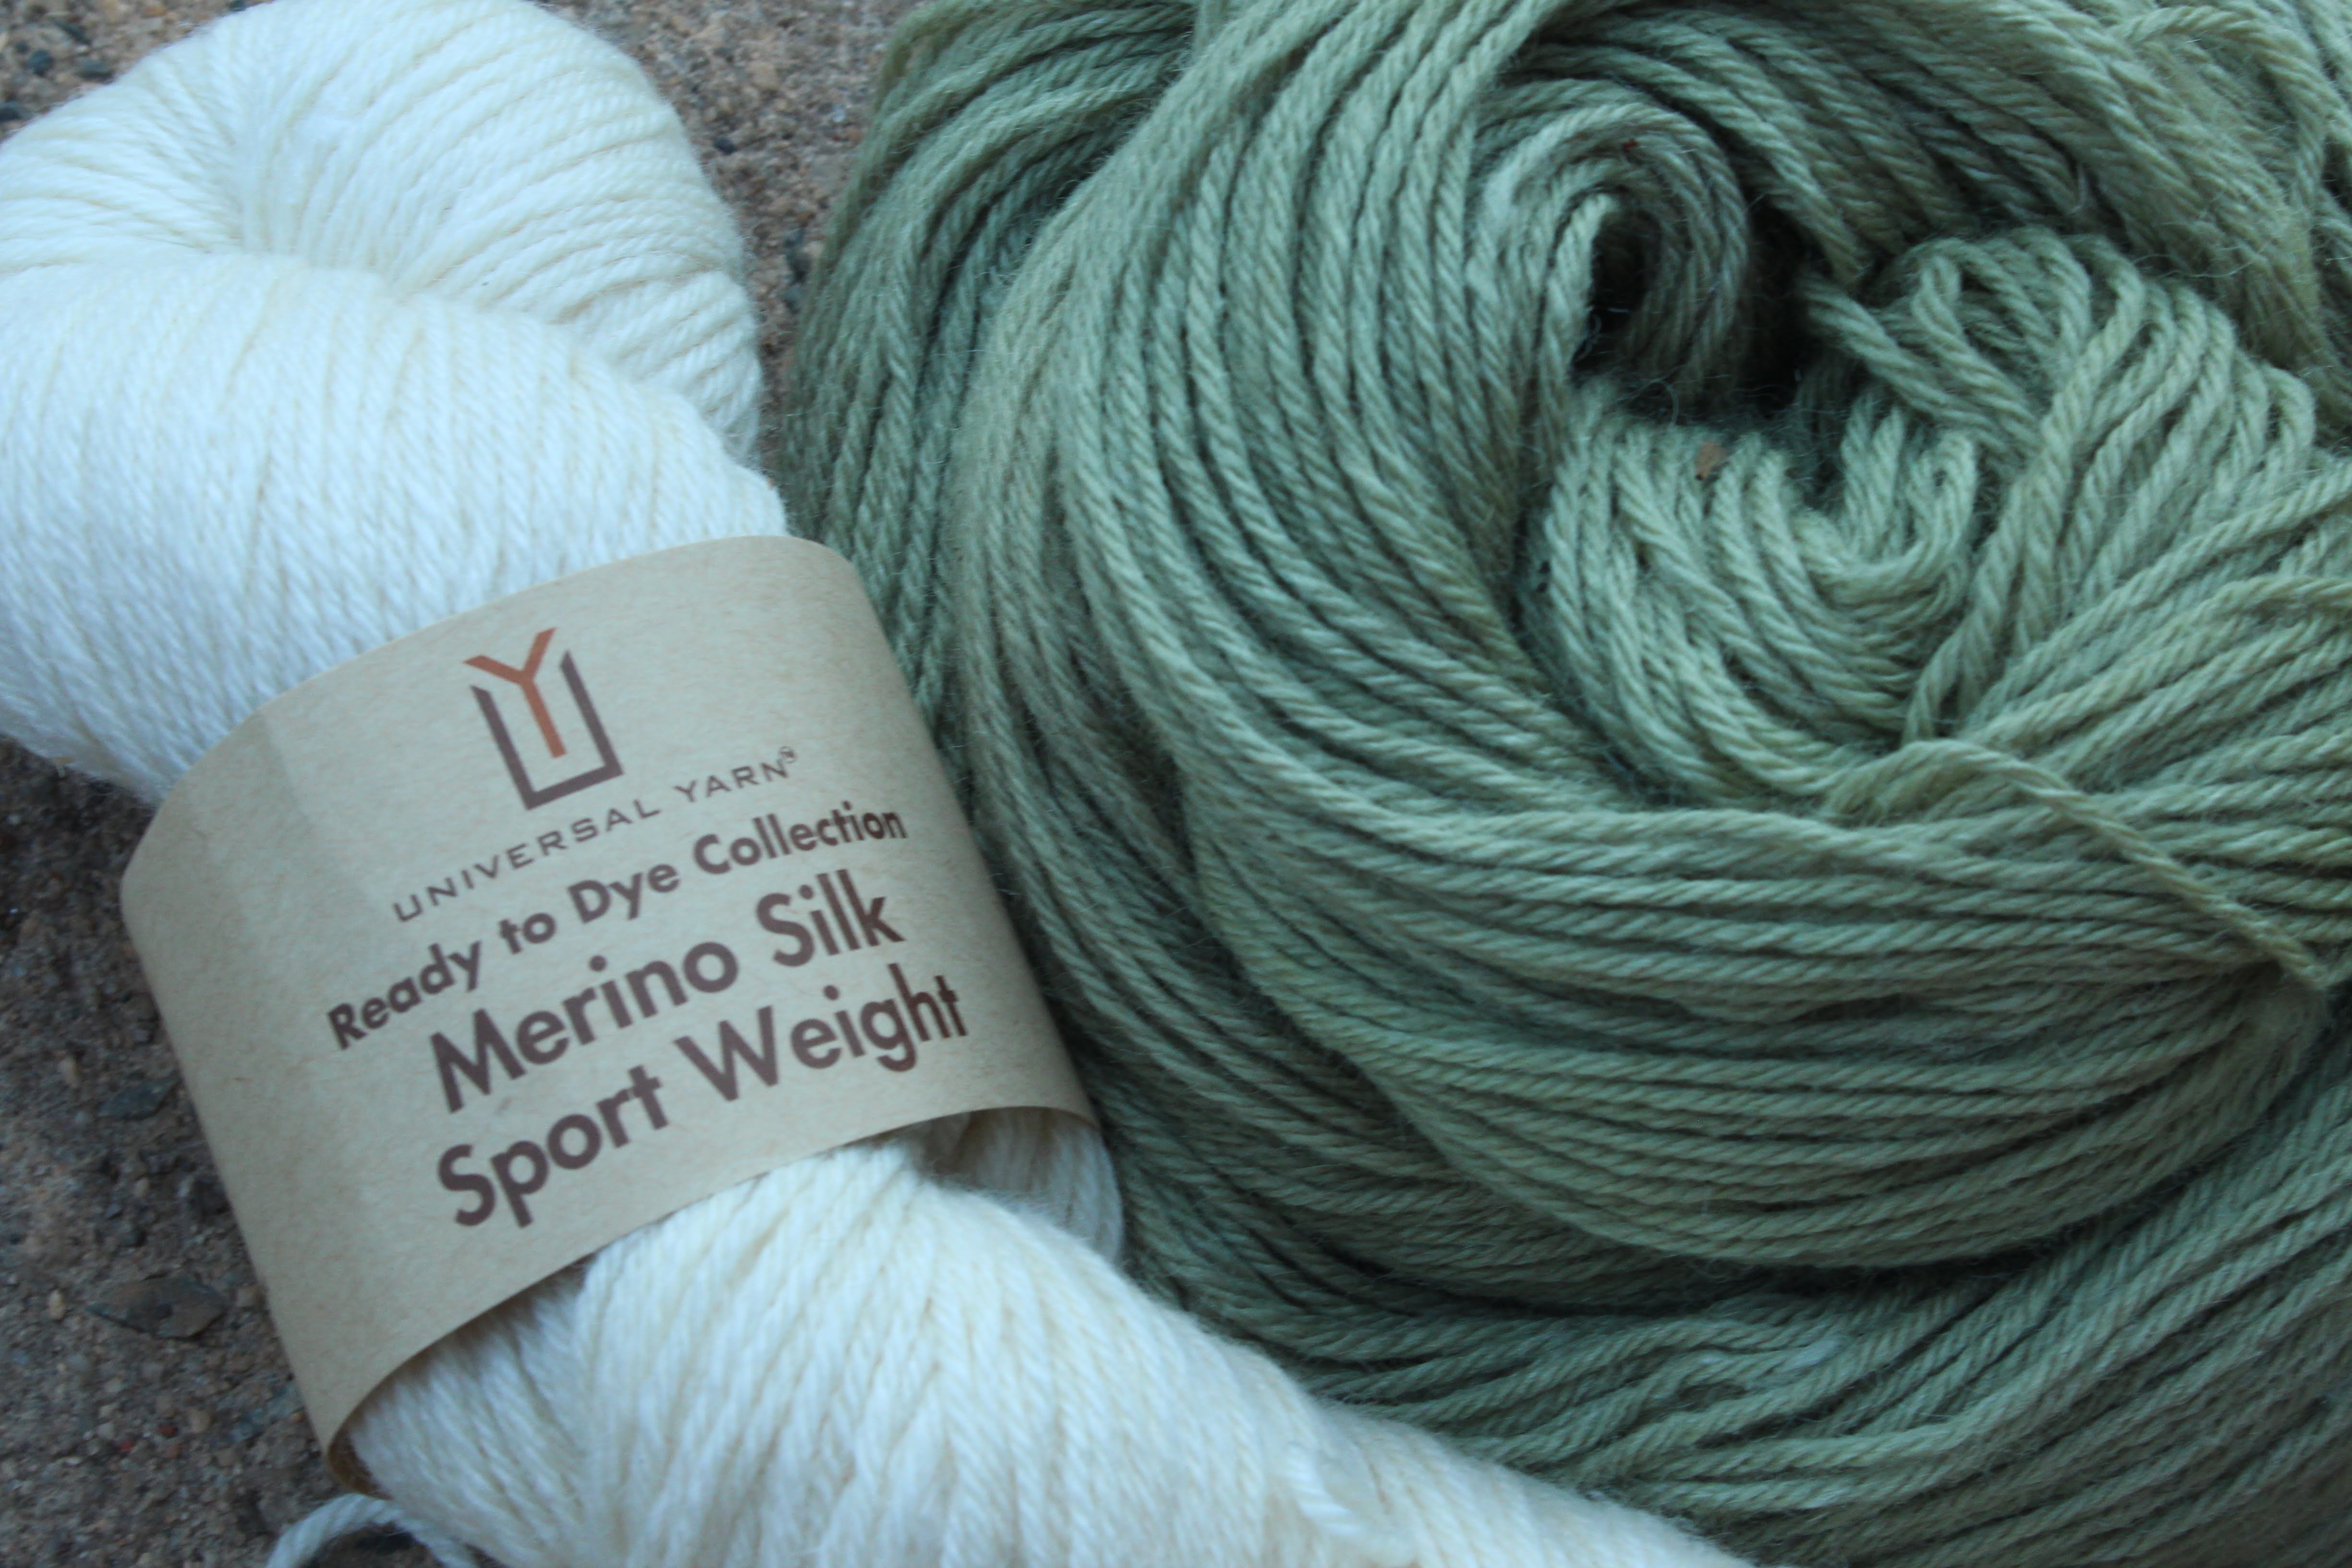
Today I’m using our soft and silky Universal Yarn Ready to Dye Merino Silk Sport Weight. It’s a gorgeous sportweight yarn with enough silk to make it appropriate for garments and accessories to throw over your shoulders on summer nights.

Whenever possible, I like to harvest dyes from the plants growing in and around my yard. I can choose what to grow, and there are endless ways I can experiment. Natural dyeing is, without a doubt, full of surprises, and you’ll understand what I mean when you see the results of my adventure with azalea dye.
I have a few azalea shrubs around my house. Just weeks ago they were full of brilliant pink blossoms, but now they’ve dried. I was plucking some weeds from my herb garden when it hit me: I have so many dried blossoms! Why not try to dye with them?
I grabbed a freezer bag and stuffed them full of the dried blossoms. Side note: If you use a freezer bag like I did (why didn’t I just grab a bowl?!), remember to simply rinse it and re-use it!
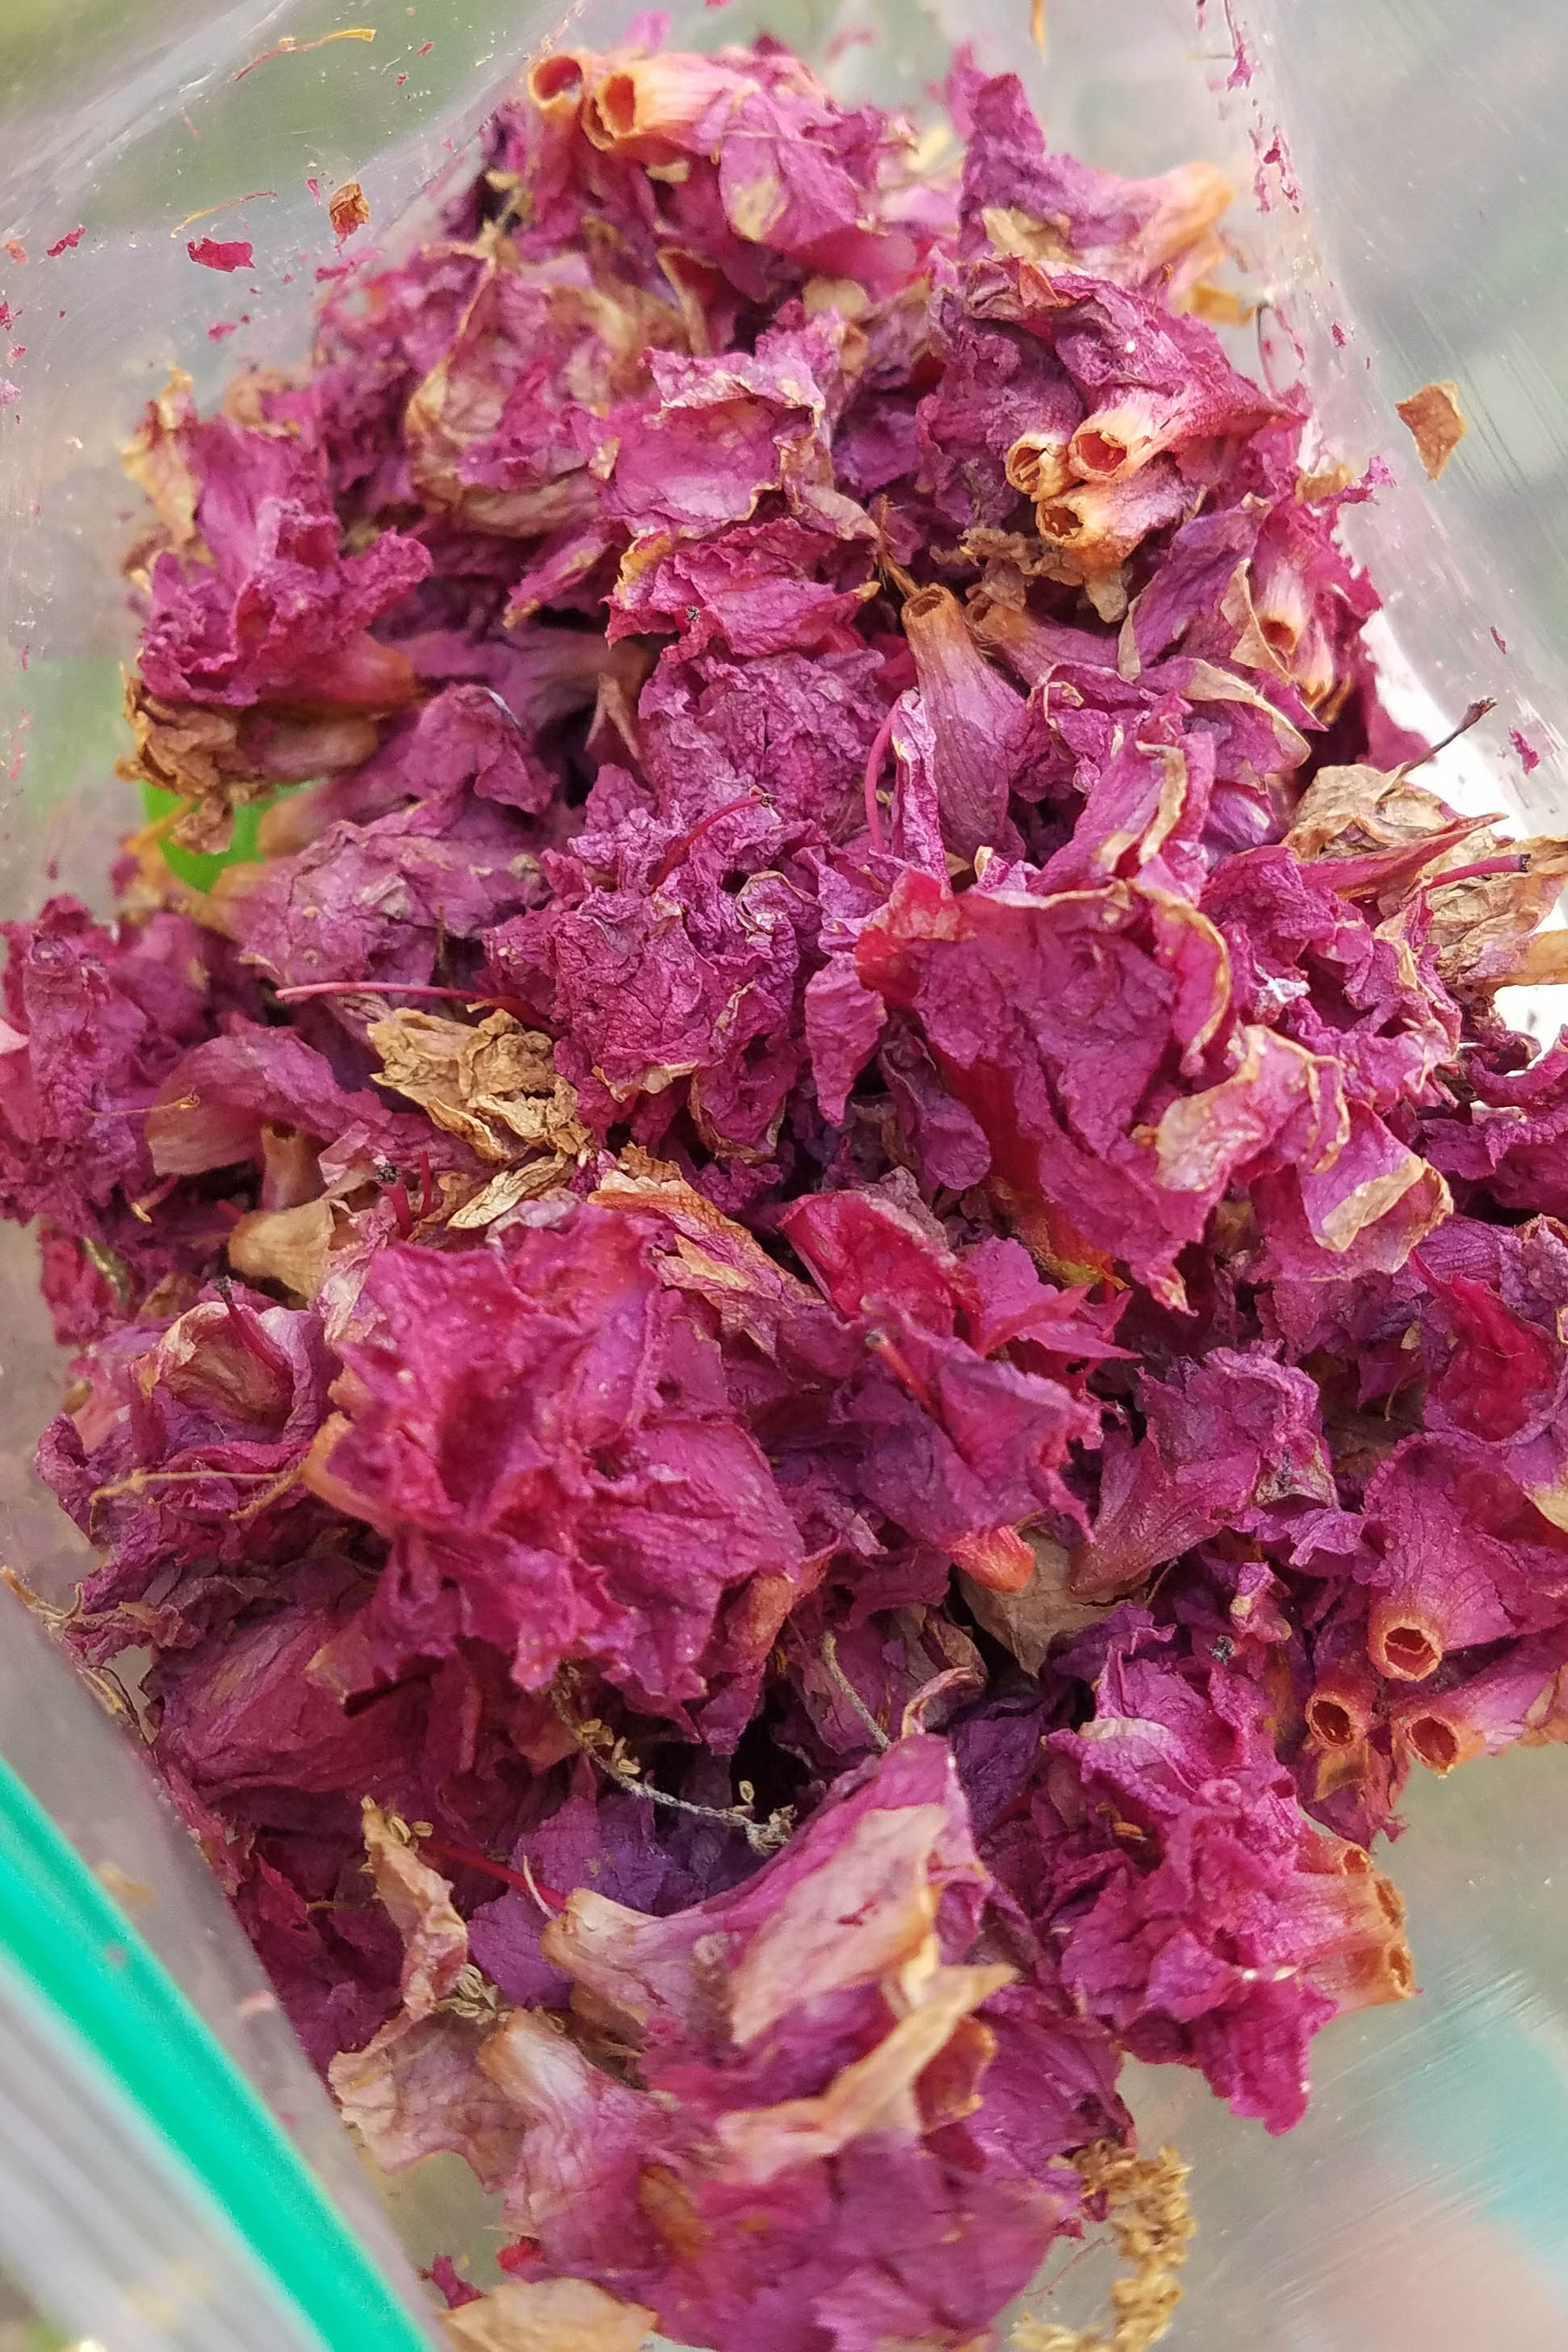
After collected my blossoms, I weighed them. I took into consideration the weight of the bag and ended up with approximately 37g. I could have collected more – I barely put a dent in my shrubs!
For today’s tutorial you’ll need:
- 1 skein of Universal Yarn Ready to Dye Merino Silk Sport Weight
- Approximately 30-40g of dried azalea blossoms
- Alum – you can find this in the baking/spices section of your grocery store.
- Two stainless-steel pots that you don’t plan to use for cooking – I purchased mine for a few dollars at a thrift store.
- Tongs – they don’t need to be stainless steel but choose some that you won’t use for cooking.
- A kitchen scale – I can’t recommend this one enough. Although it isn’t essential, if you’re a knitter, you should have one! It’s useful for much more than dyeing.
- Measuring cups/tablespoon
- White distilled vinegar
- Salt
- Water
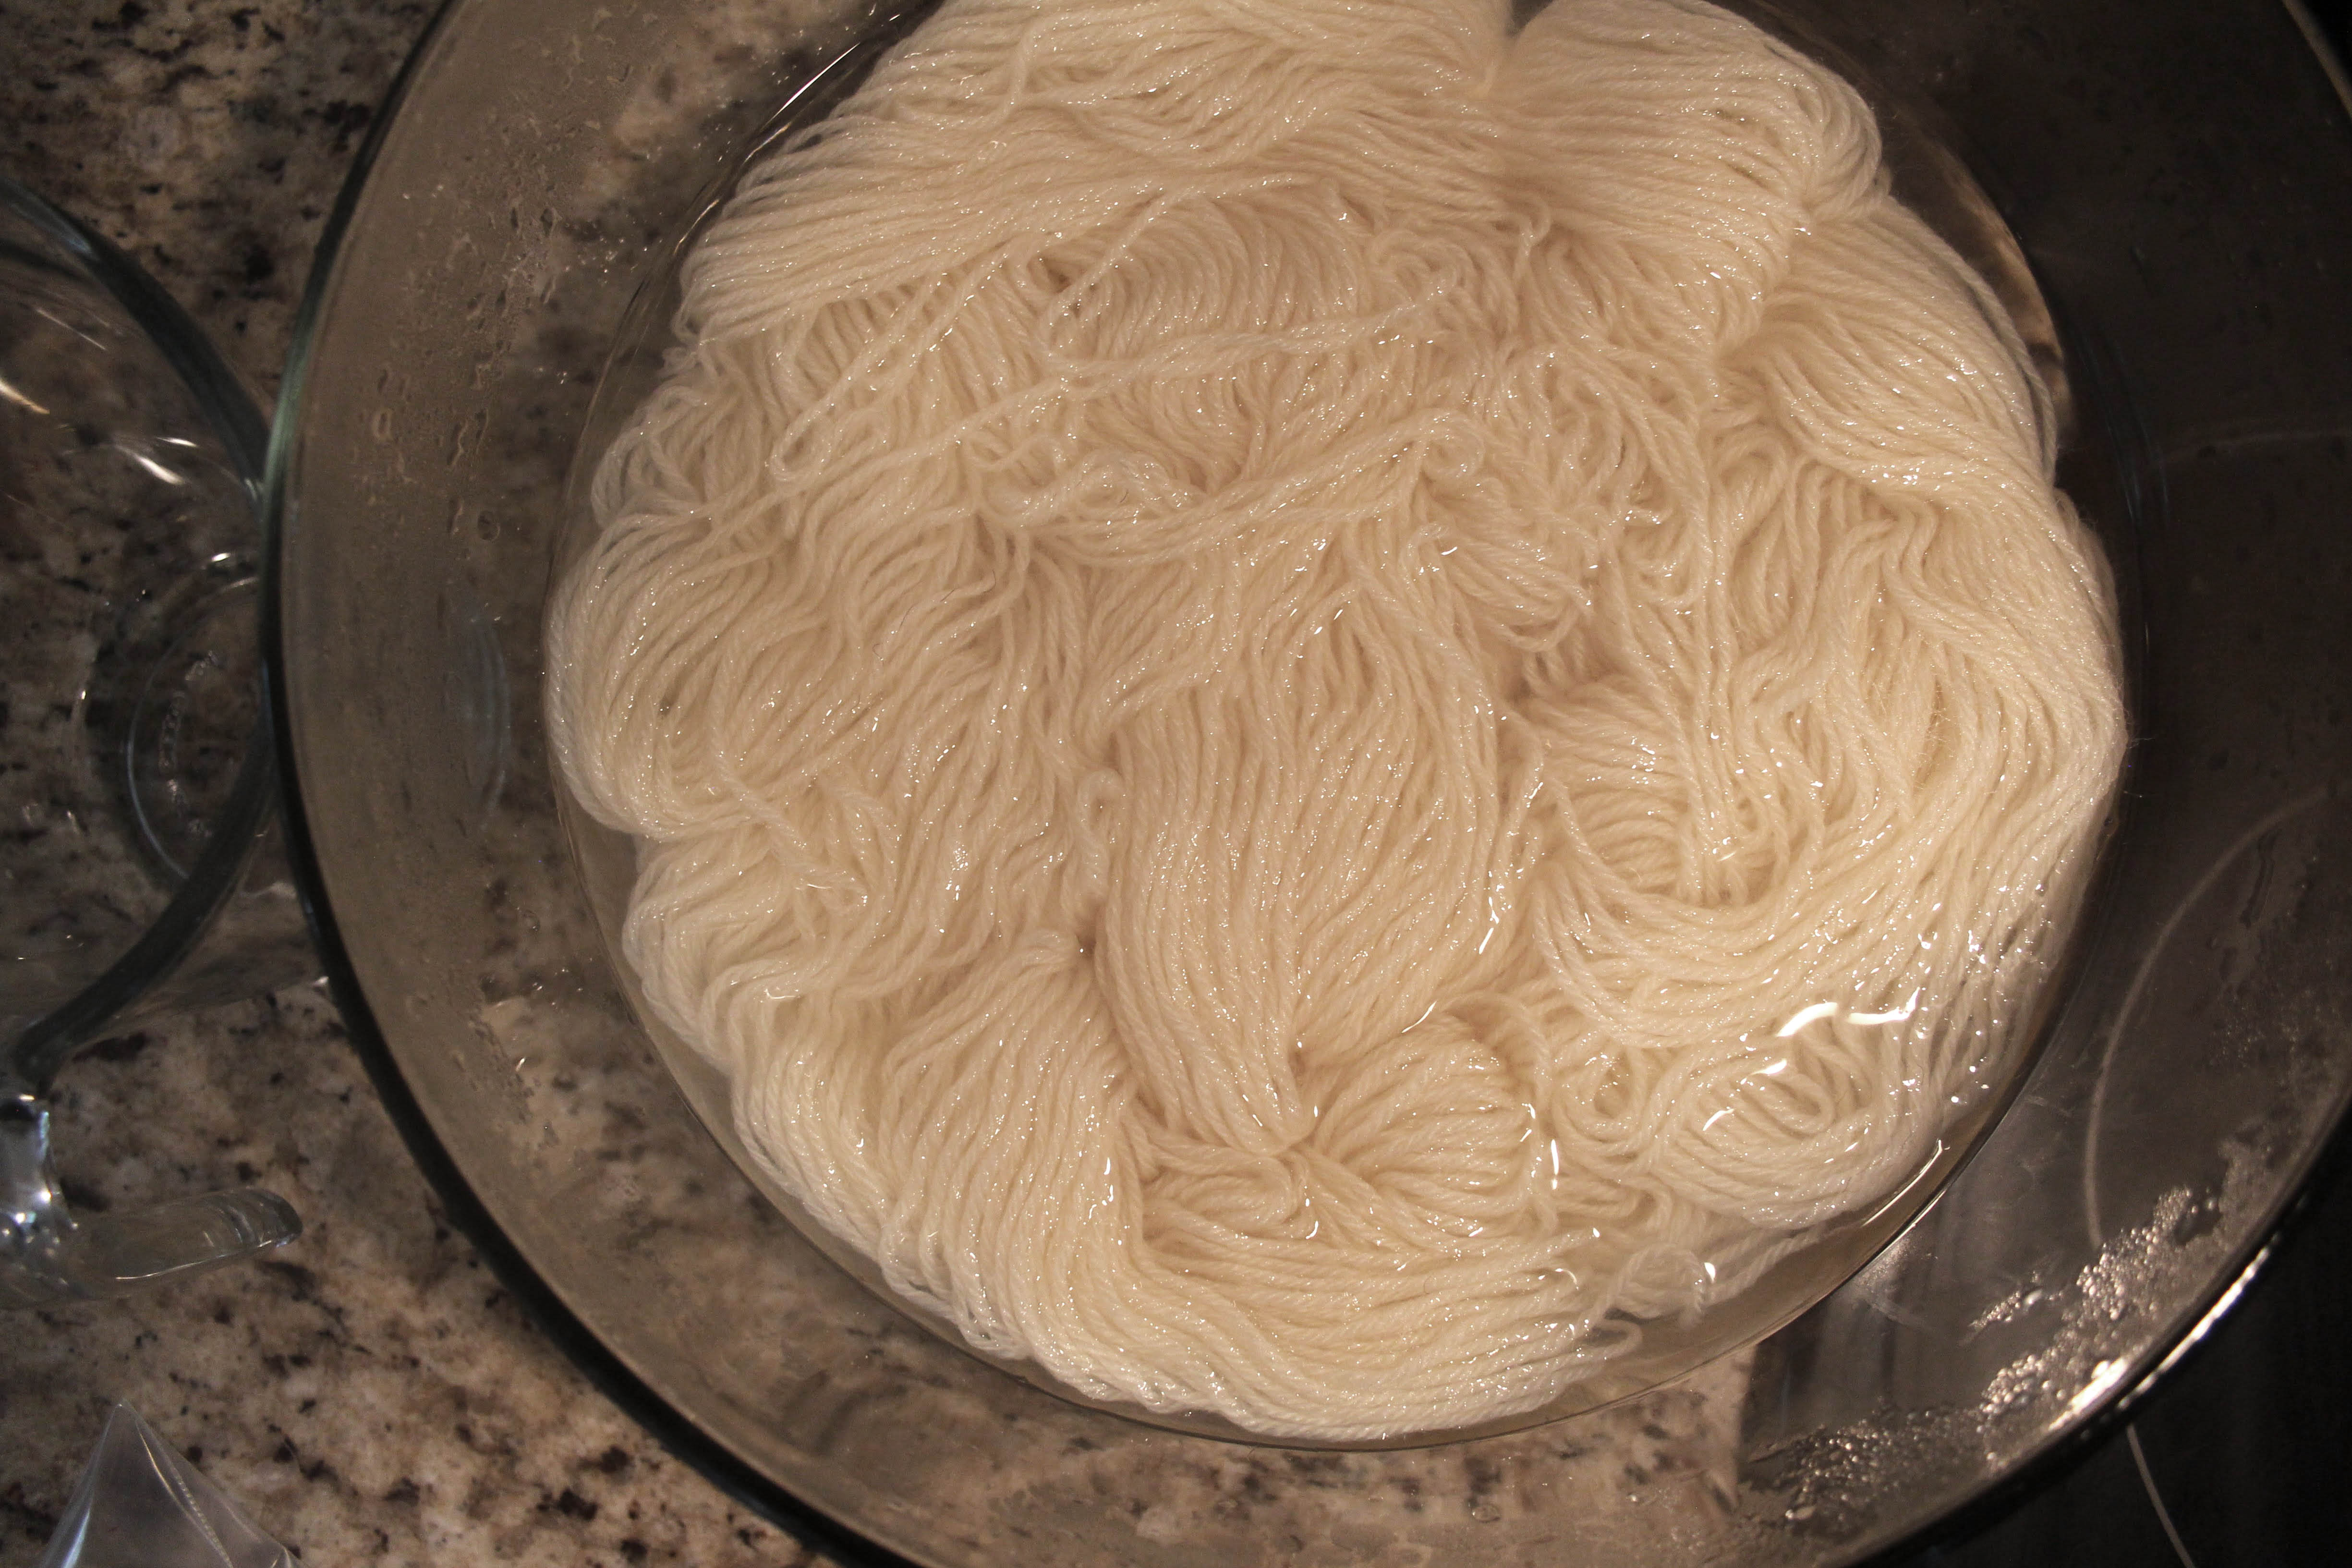
Step 1: Create a mordant and soak your yarn. You can find specific instructions for creating a mordant in my first post (link here). If you’ve been following along and have a jar of mordant already, simply reuse the solution.
Step 2: While your yarn is soaking, prepare your dyebath.
- Fill your stainless-steel pot with enough water to allow your yarn to flow freely.
- Dissolve 1 tbsp of salt into the water.
- Pour ½ cup of vinegar into the water – salt and vinegar help to brighten the dye.
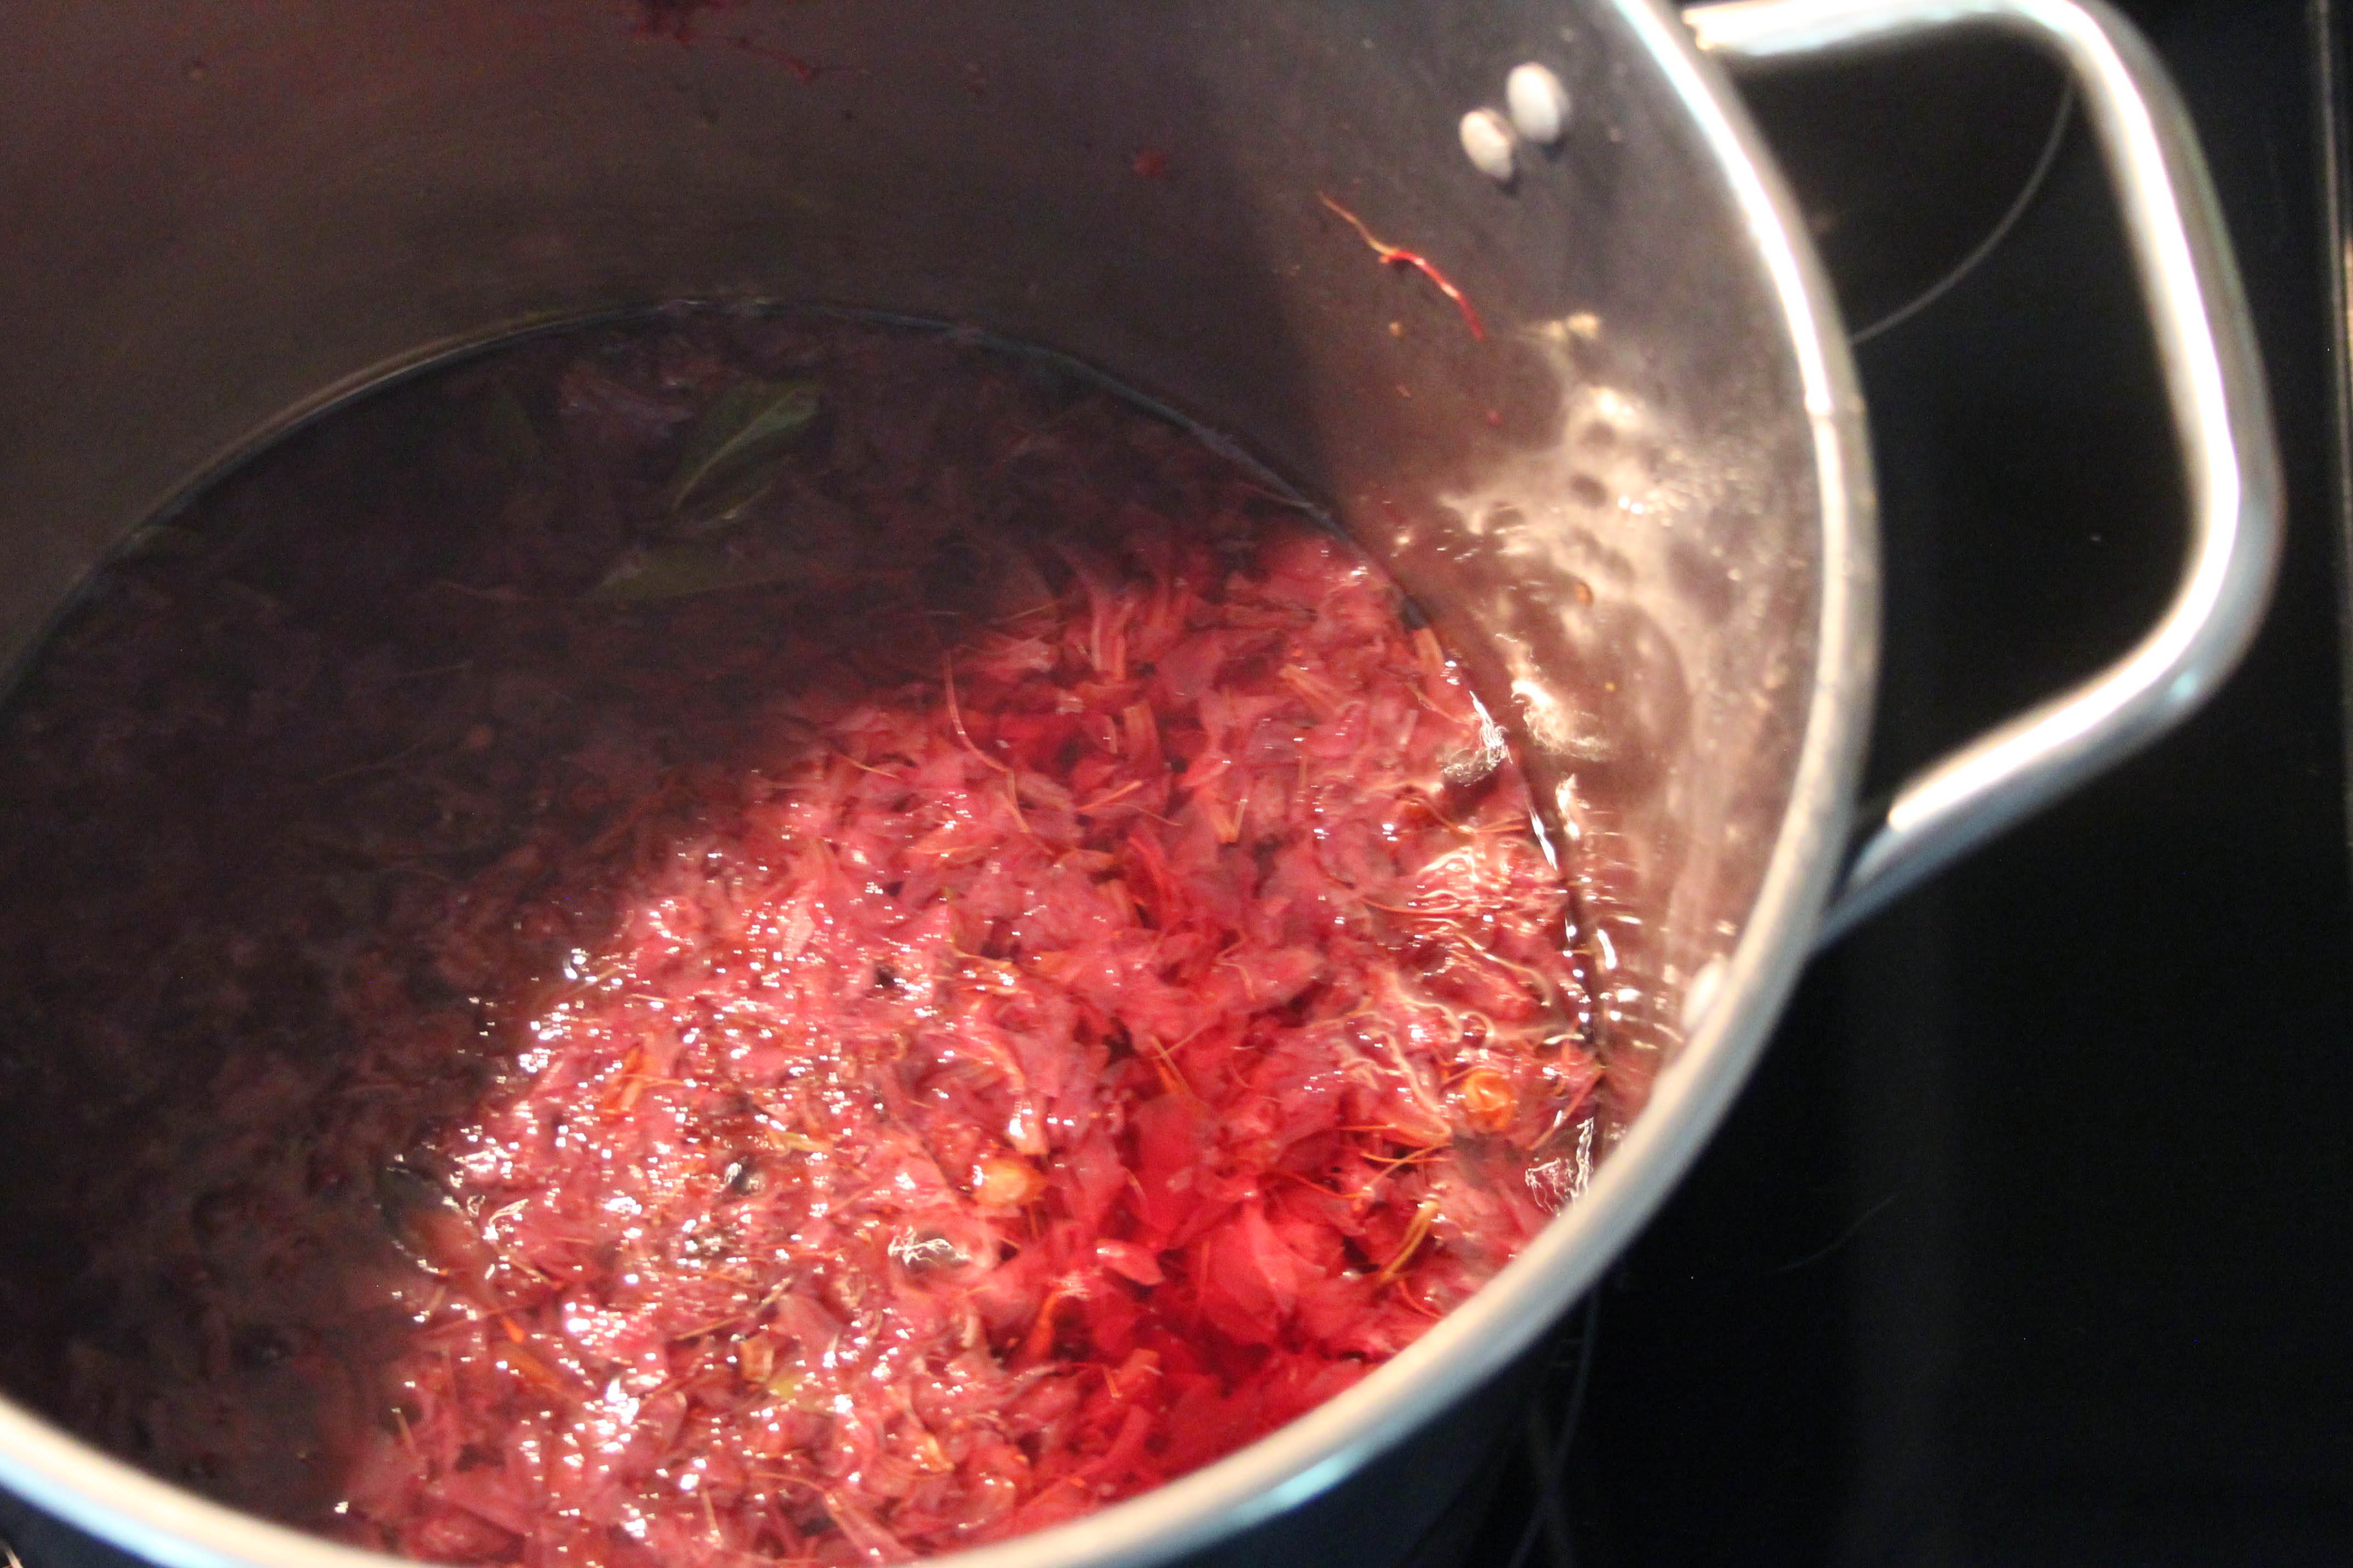
- Add your azalea blossoms and use the tongs to stir the pot.
- Bring to a simmer over your stovetop. Allow simmering for 30 minutes to an hour.
- Lower the temperature so that the water is just under a simmer. If you want a specific temperature, you’ll want the water to be about 190 degrees F.
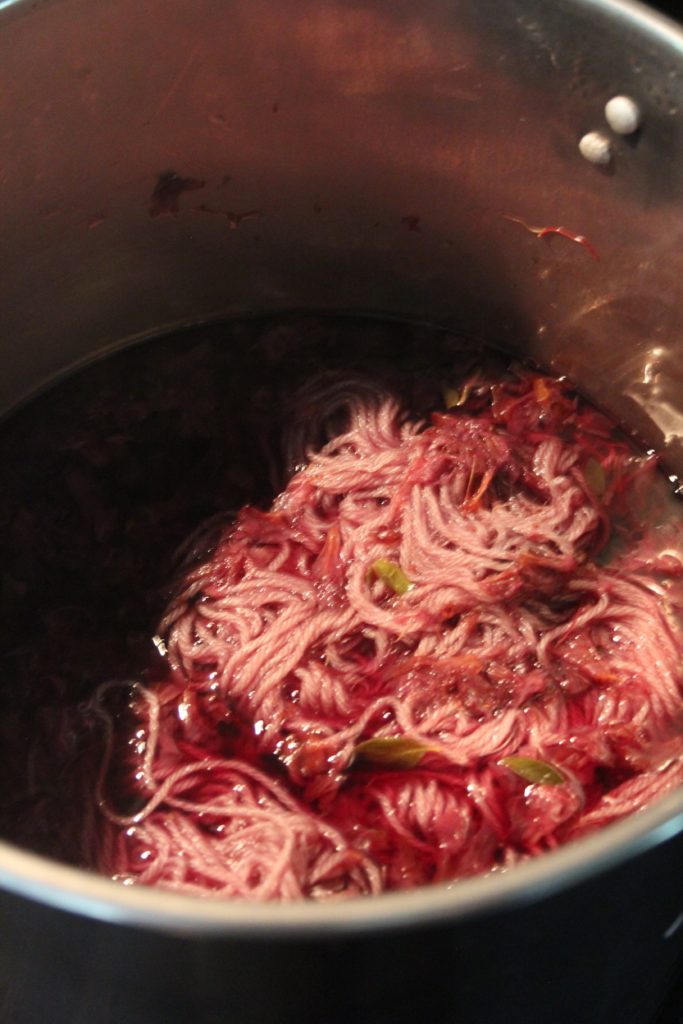
You can see that the dyebath turned into a rosy color.
Step 3: Remove your yarn from the mordant bath, gently squeezing the excess mordant from the yarn.
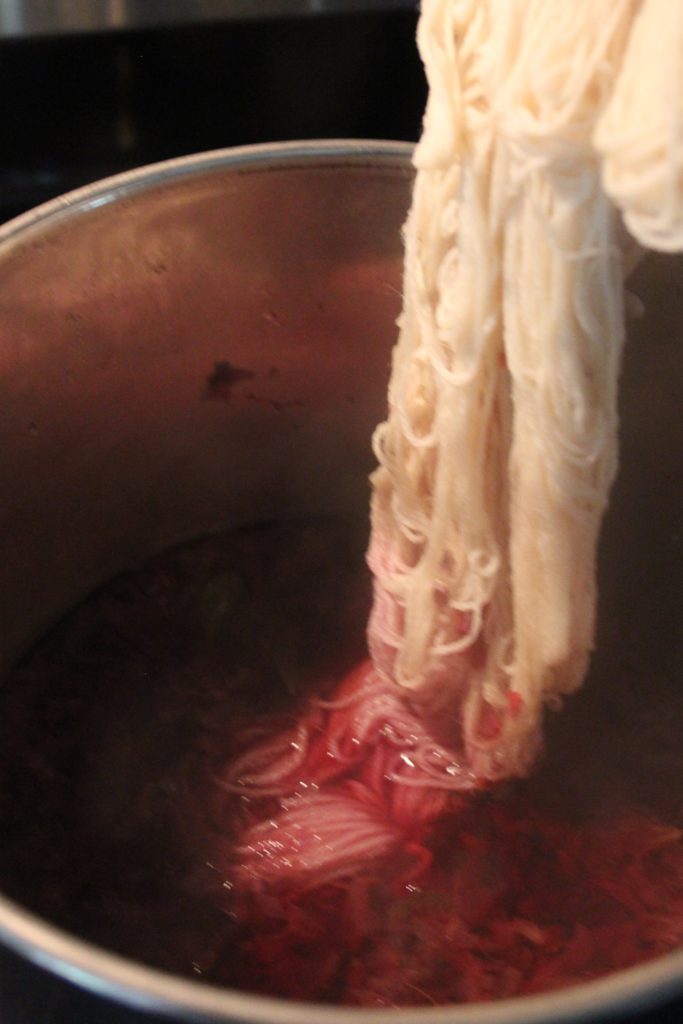
Step 4: Carefully place your yarn into the dyebath.
Step 5: Allow the yarn to soak in the dyebath for about an hour. Turn off the heat and set the pot aside. Do not remove the yarn yet.
Step 6: Allow the yarn to cool in the dyebath – I let mine cool overnight.
Step 7: Remove your yarn and rinse thoroughly. I recommend stepping outside and giving it a few vigorous shakes to remove the remaining plant matter.
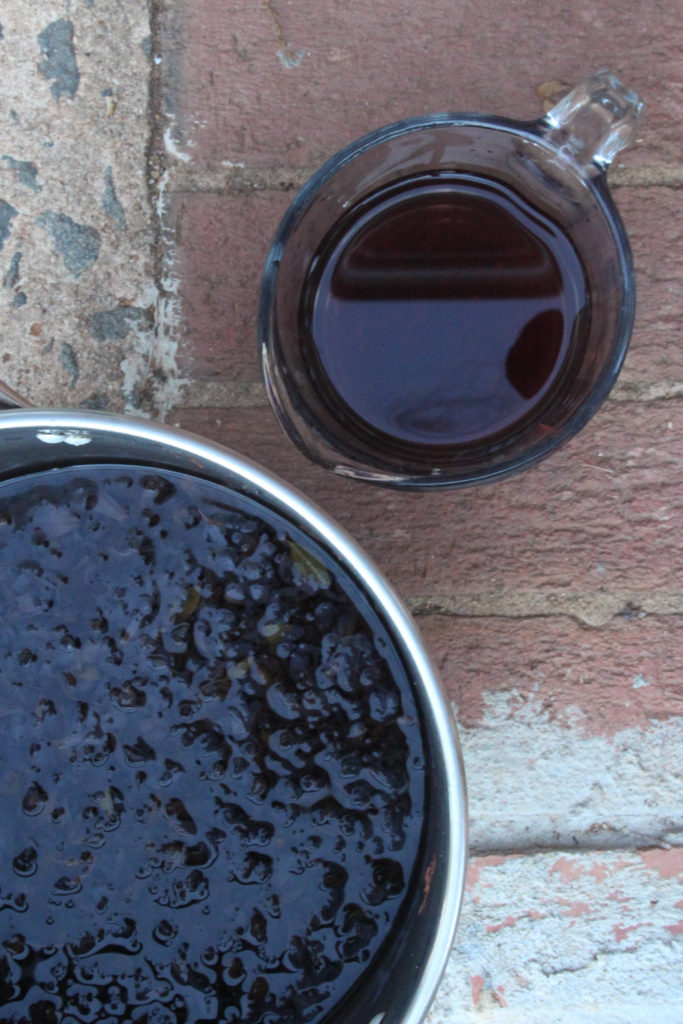
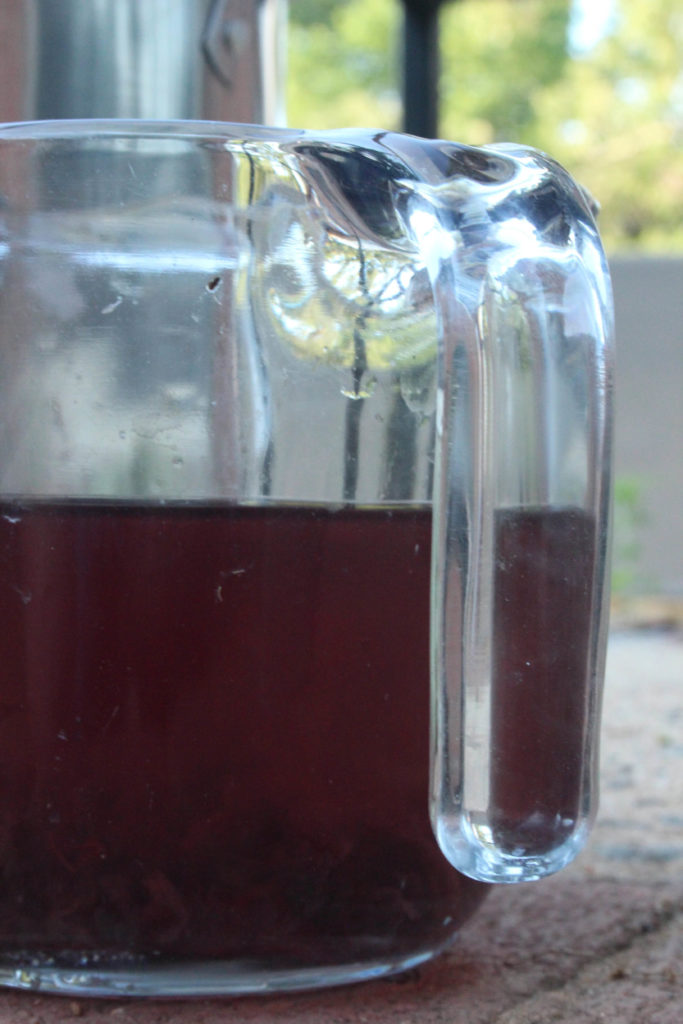
Before I reveal the yarn, I want to take a moment to emphasize how surprising natural dyeing can be. As you can see, the color of the dyebath was initially pretty pink. After about an hour it looked much more like a silvery-purple. I was really excited about those results. Even when the water cooled it remained a deep purple.
So, you might imagine my surprise when I discovered that my azalea dye turned into this…
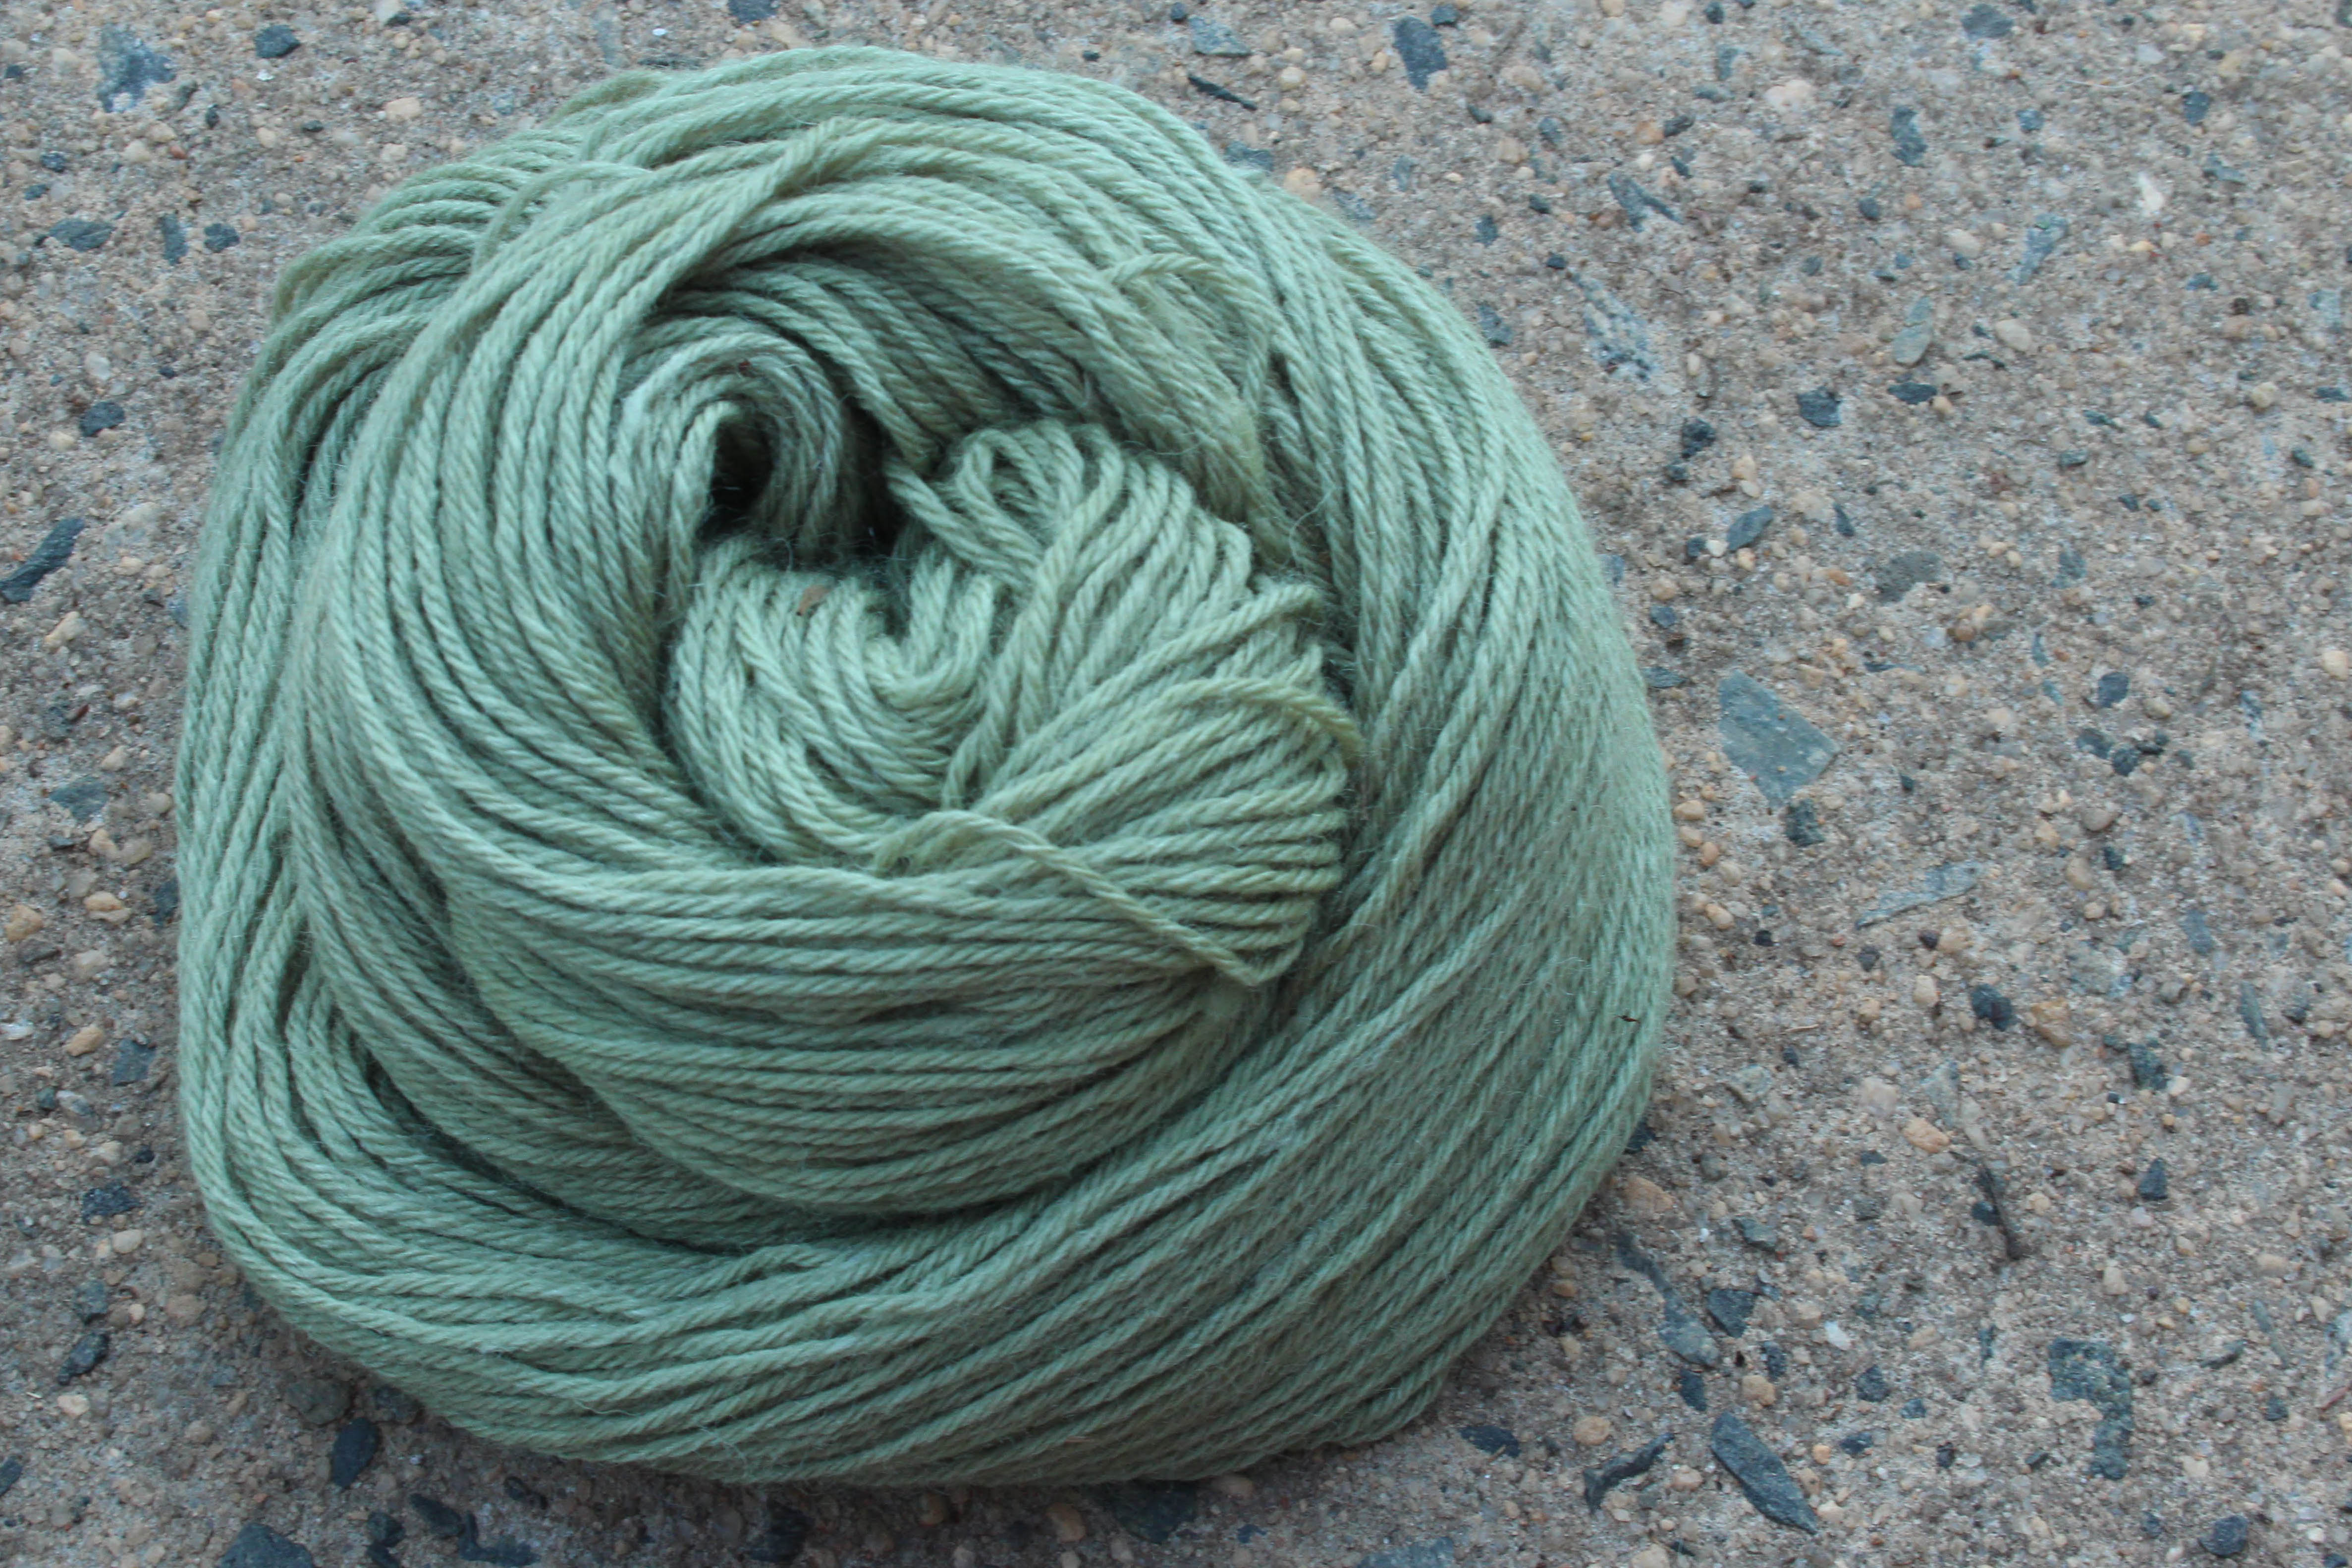
Isn’t it the loveliest shade of green? I’m over the moon about the results of this dye experiment, and I’m sure I’ll be using azaleas for dyeing again soon. The transformation is pretty stunning.
Nice!
Love itn Rachel!! 💞