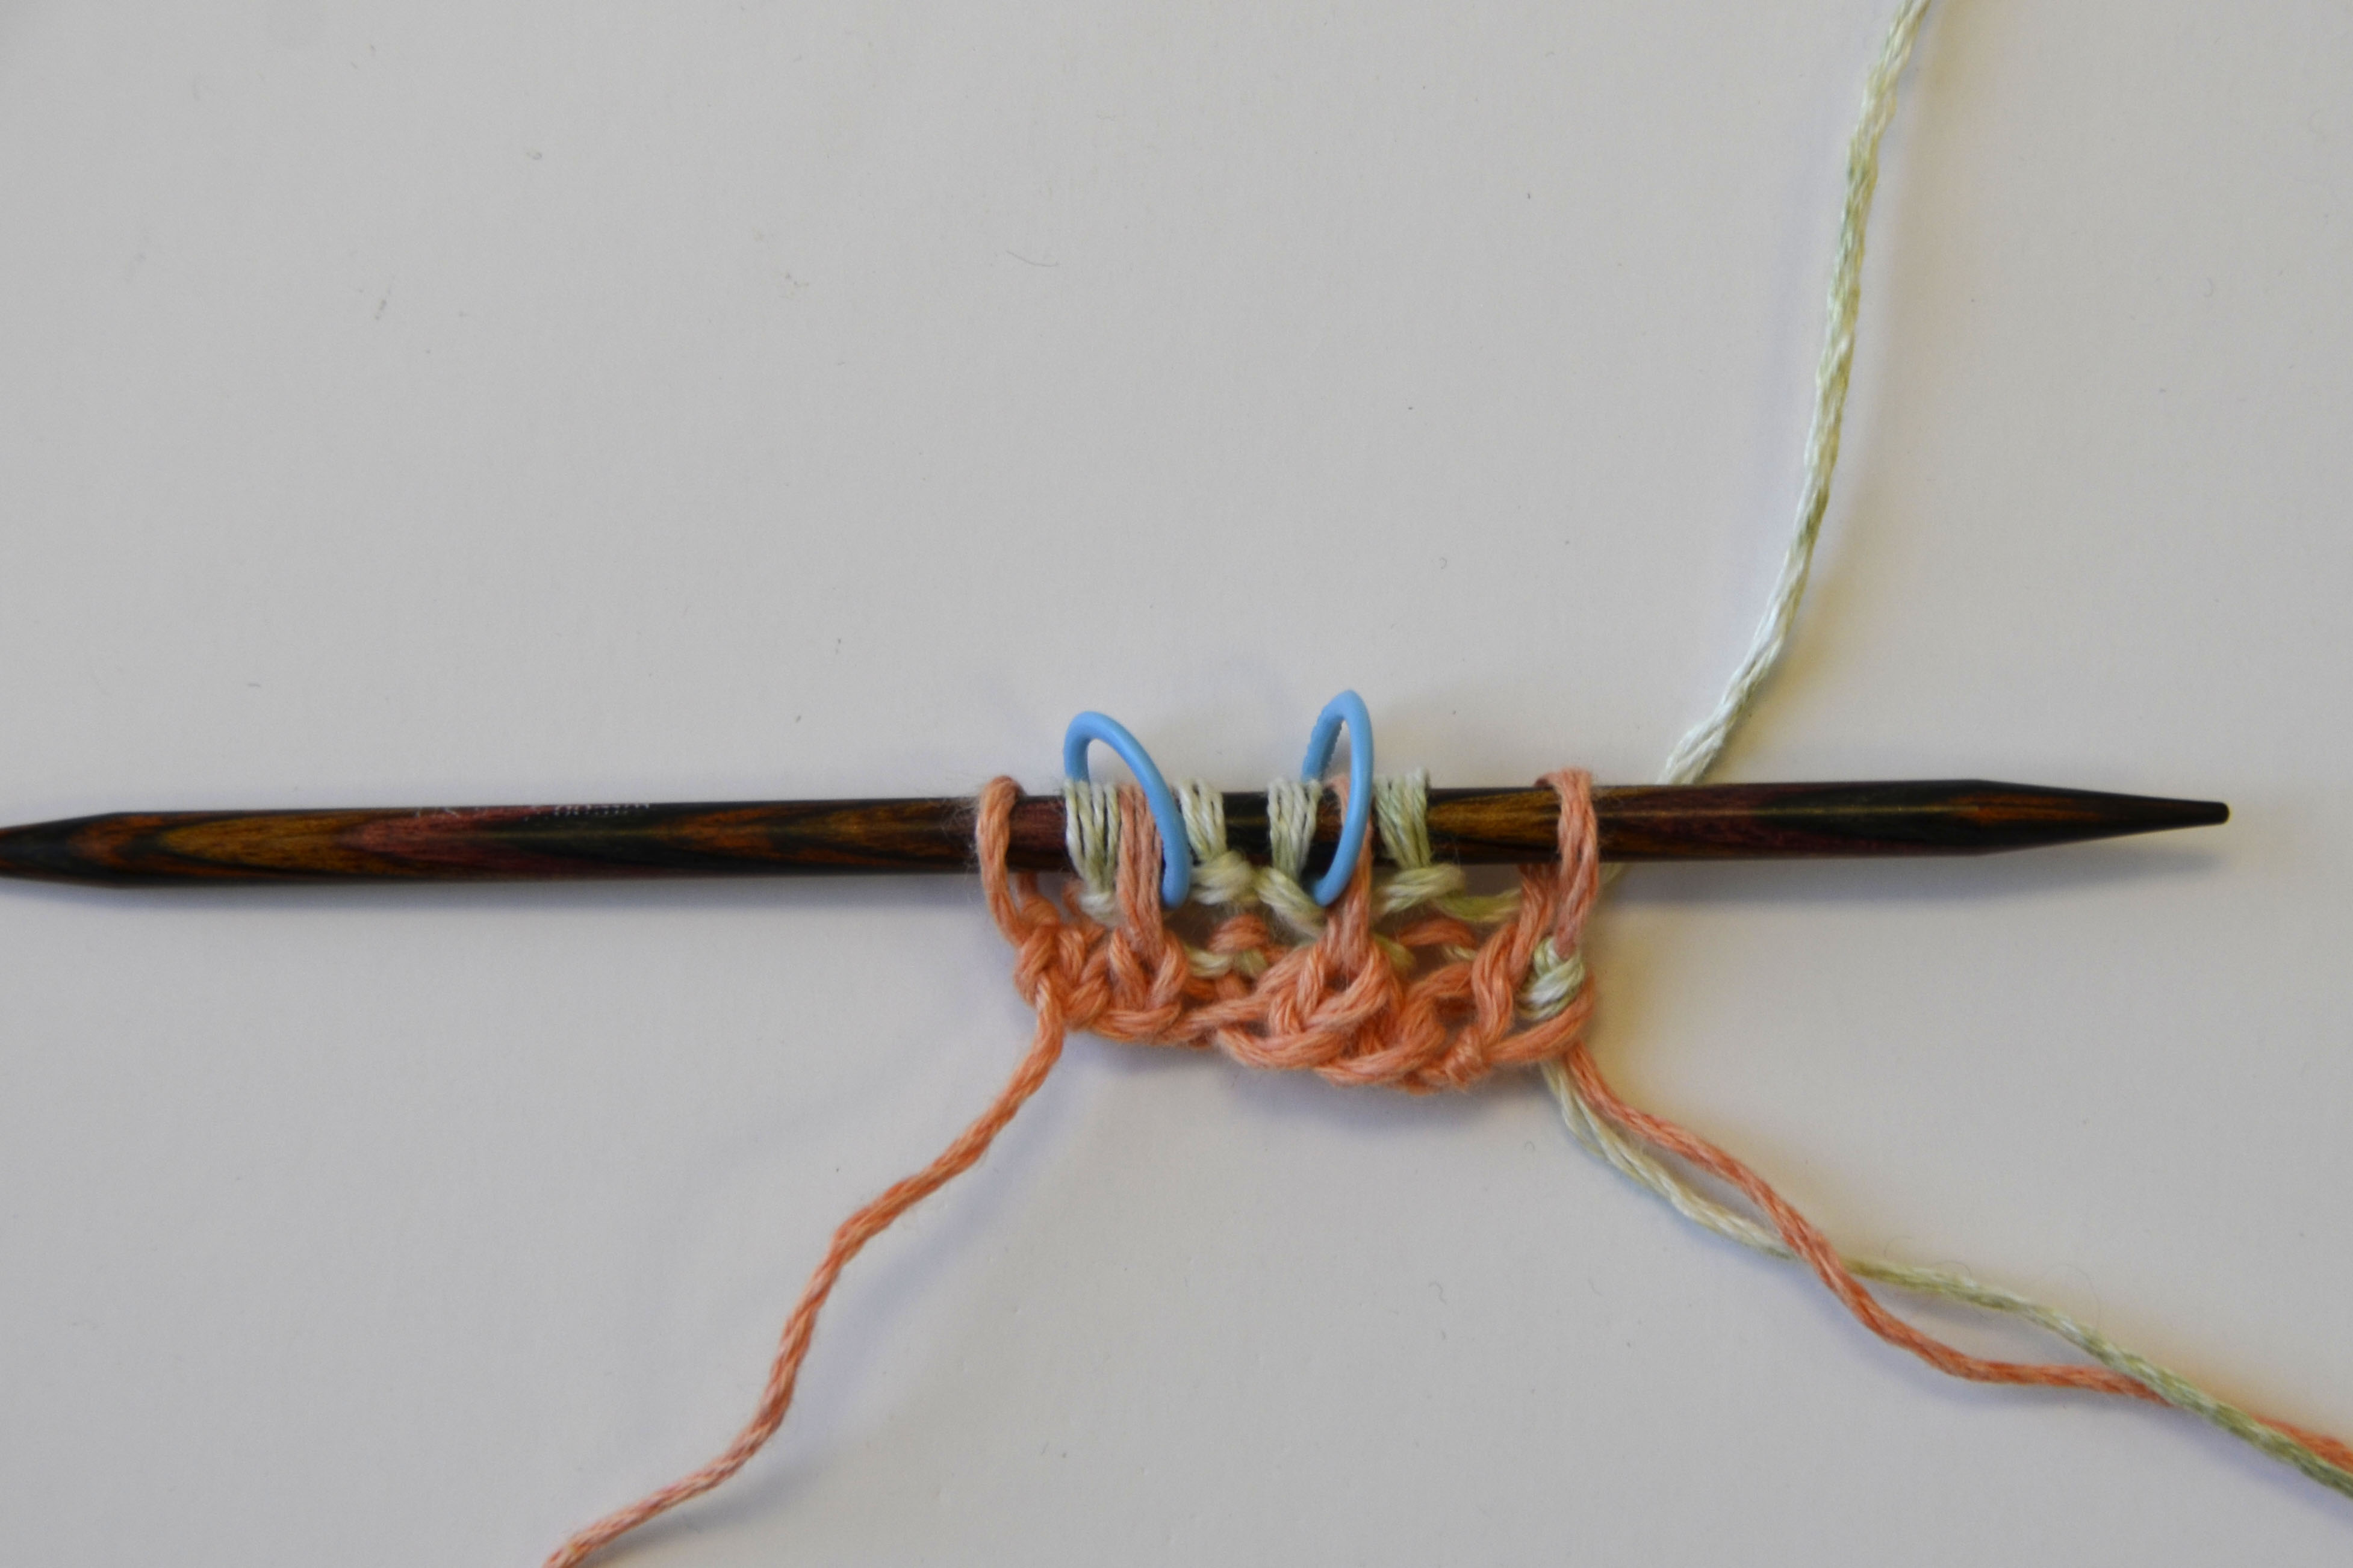
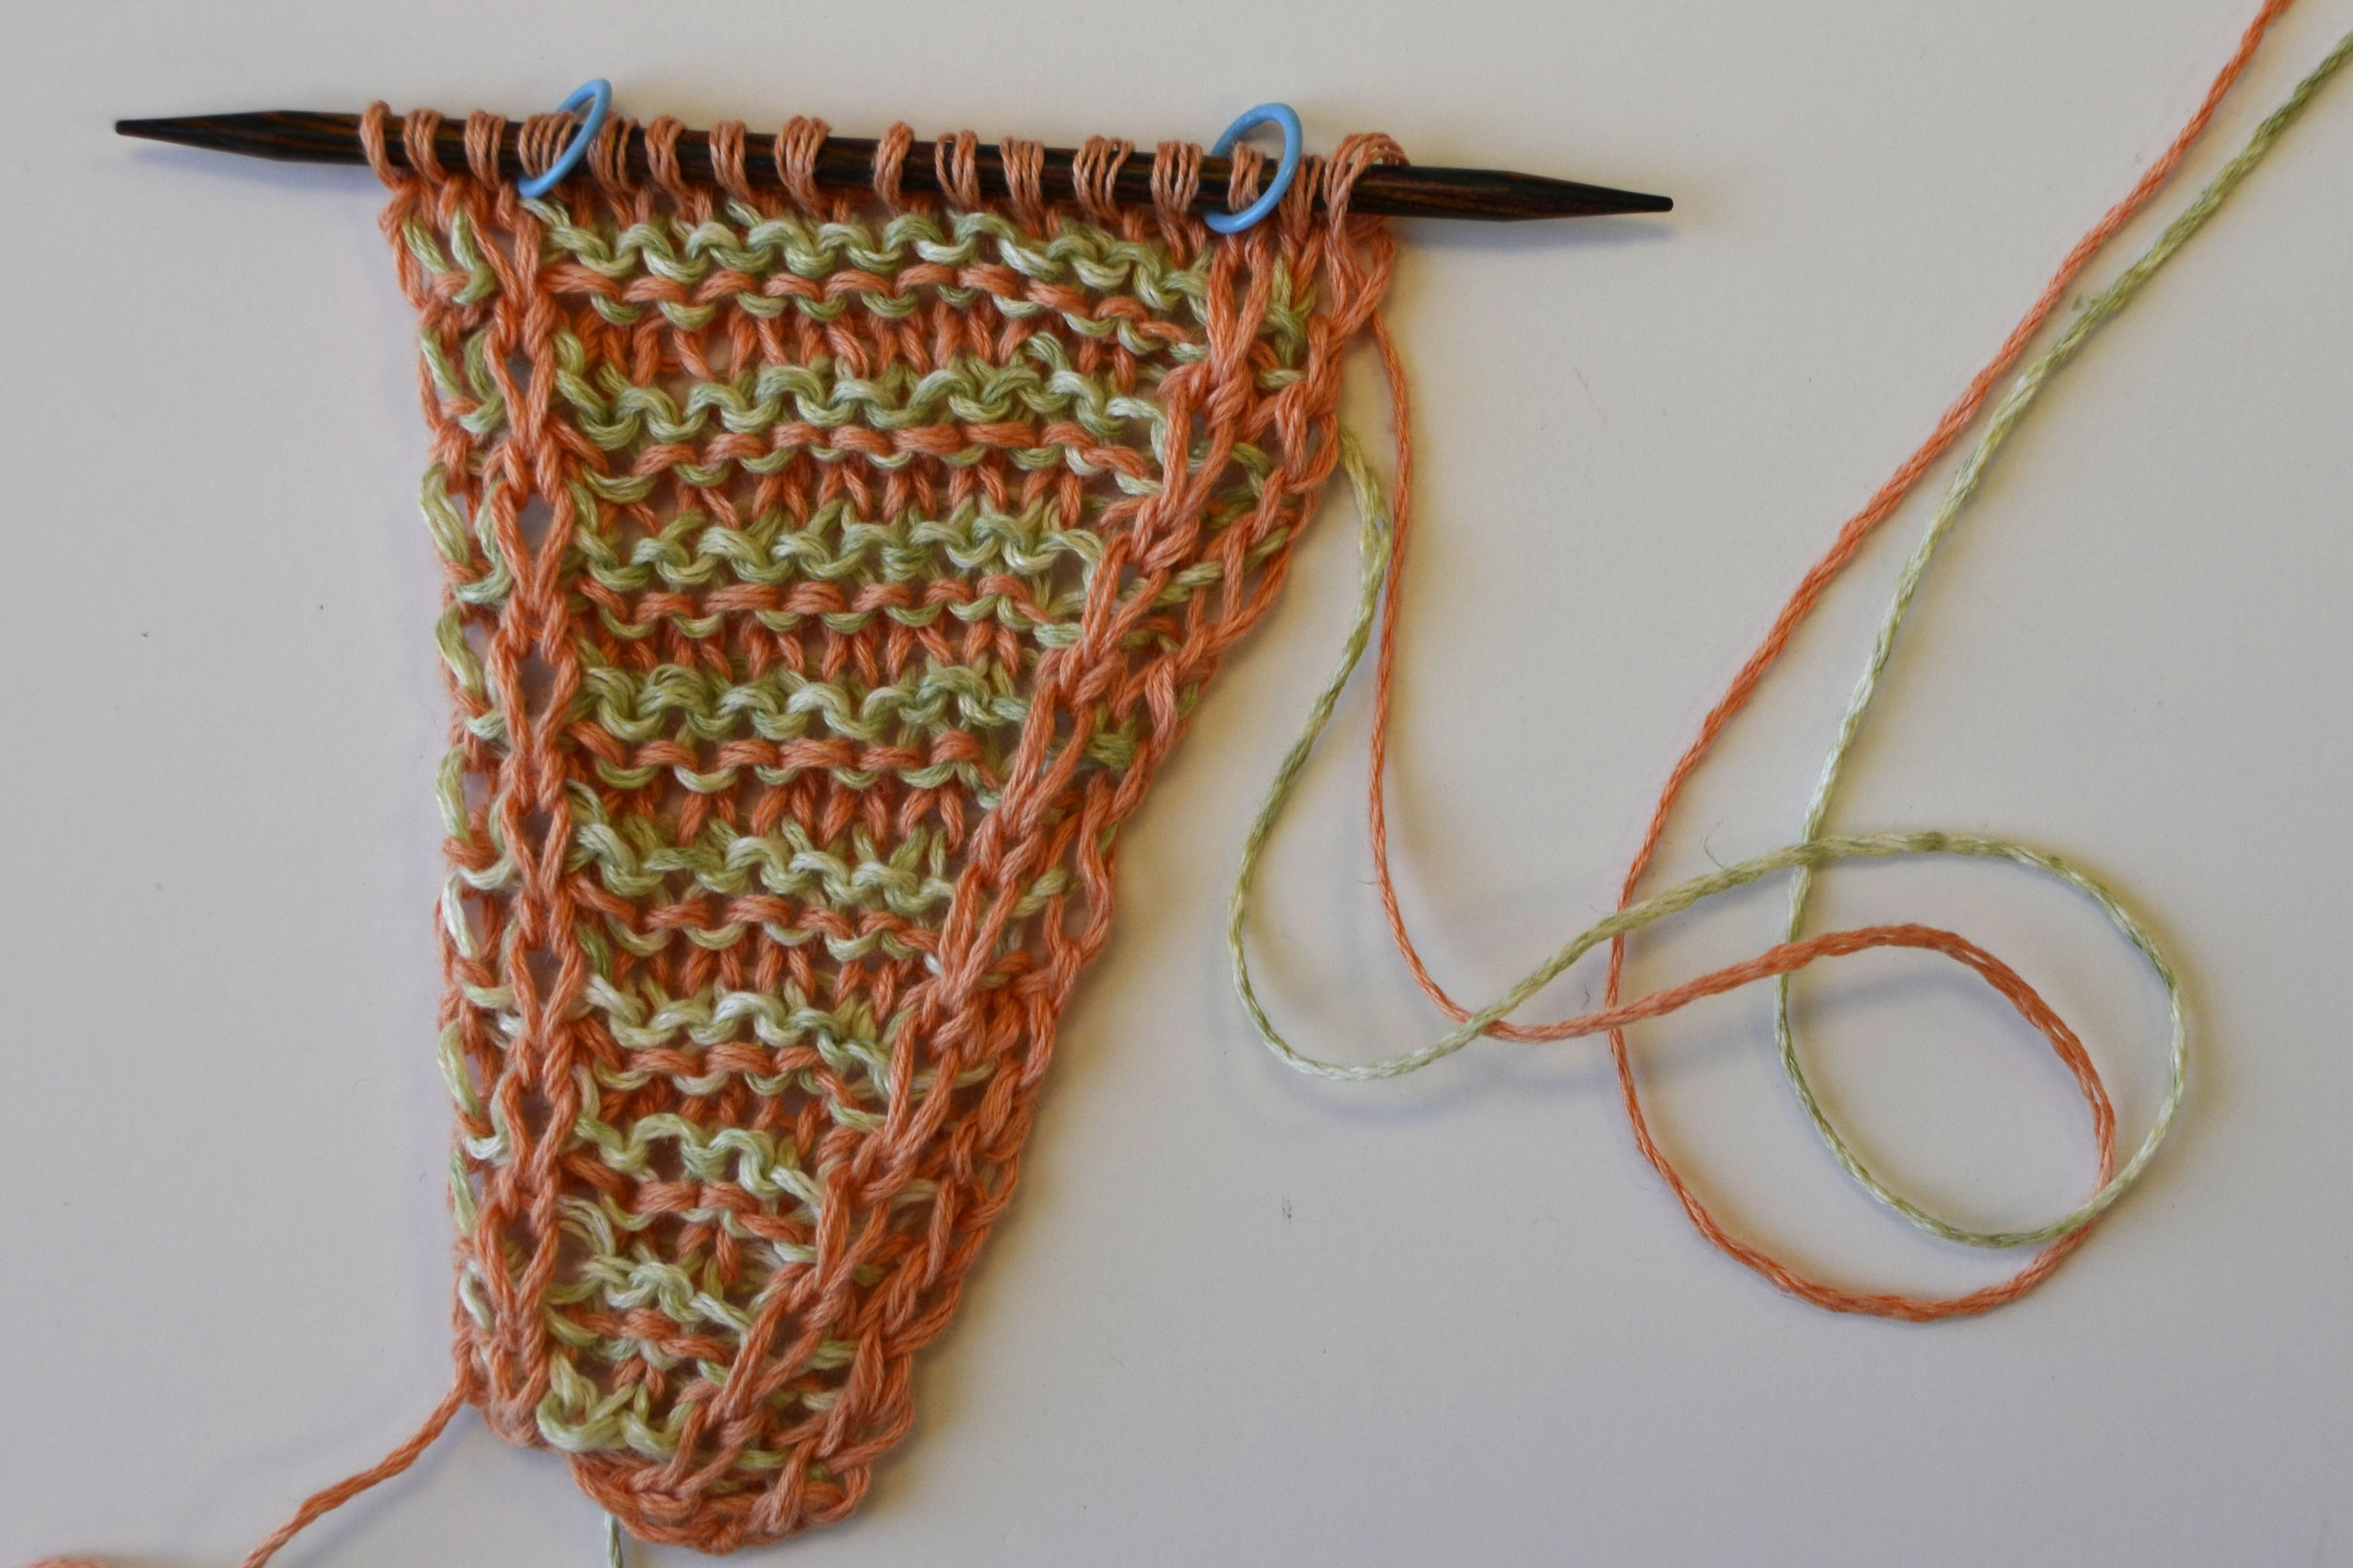
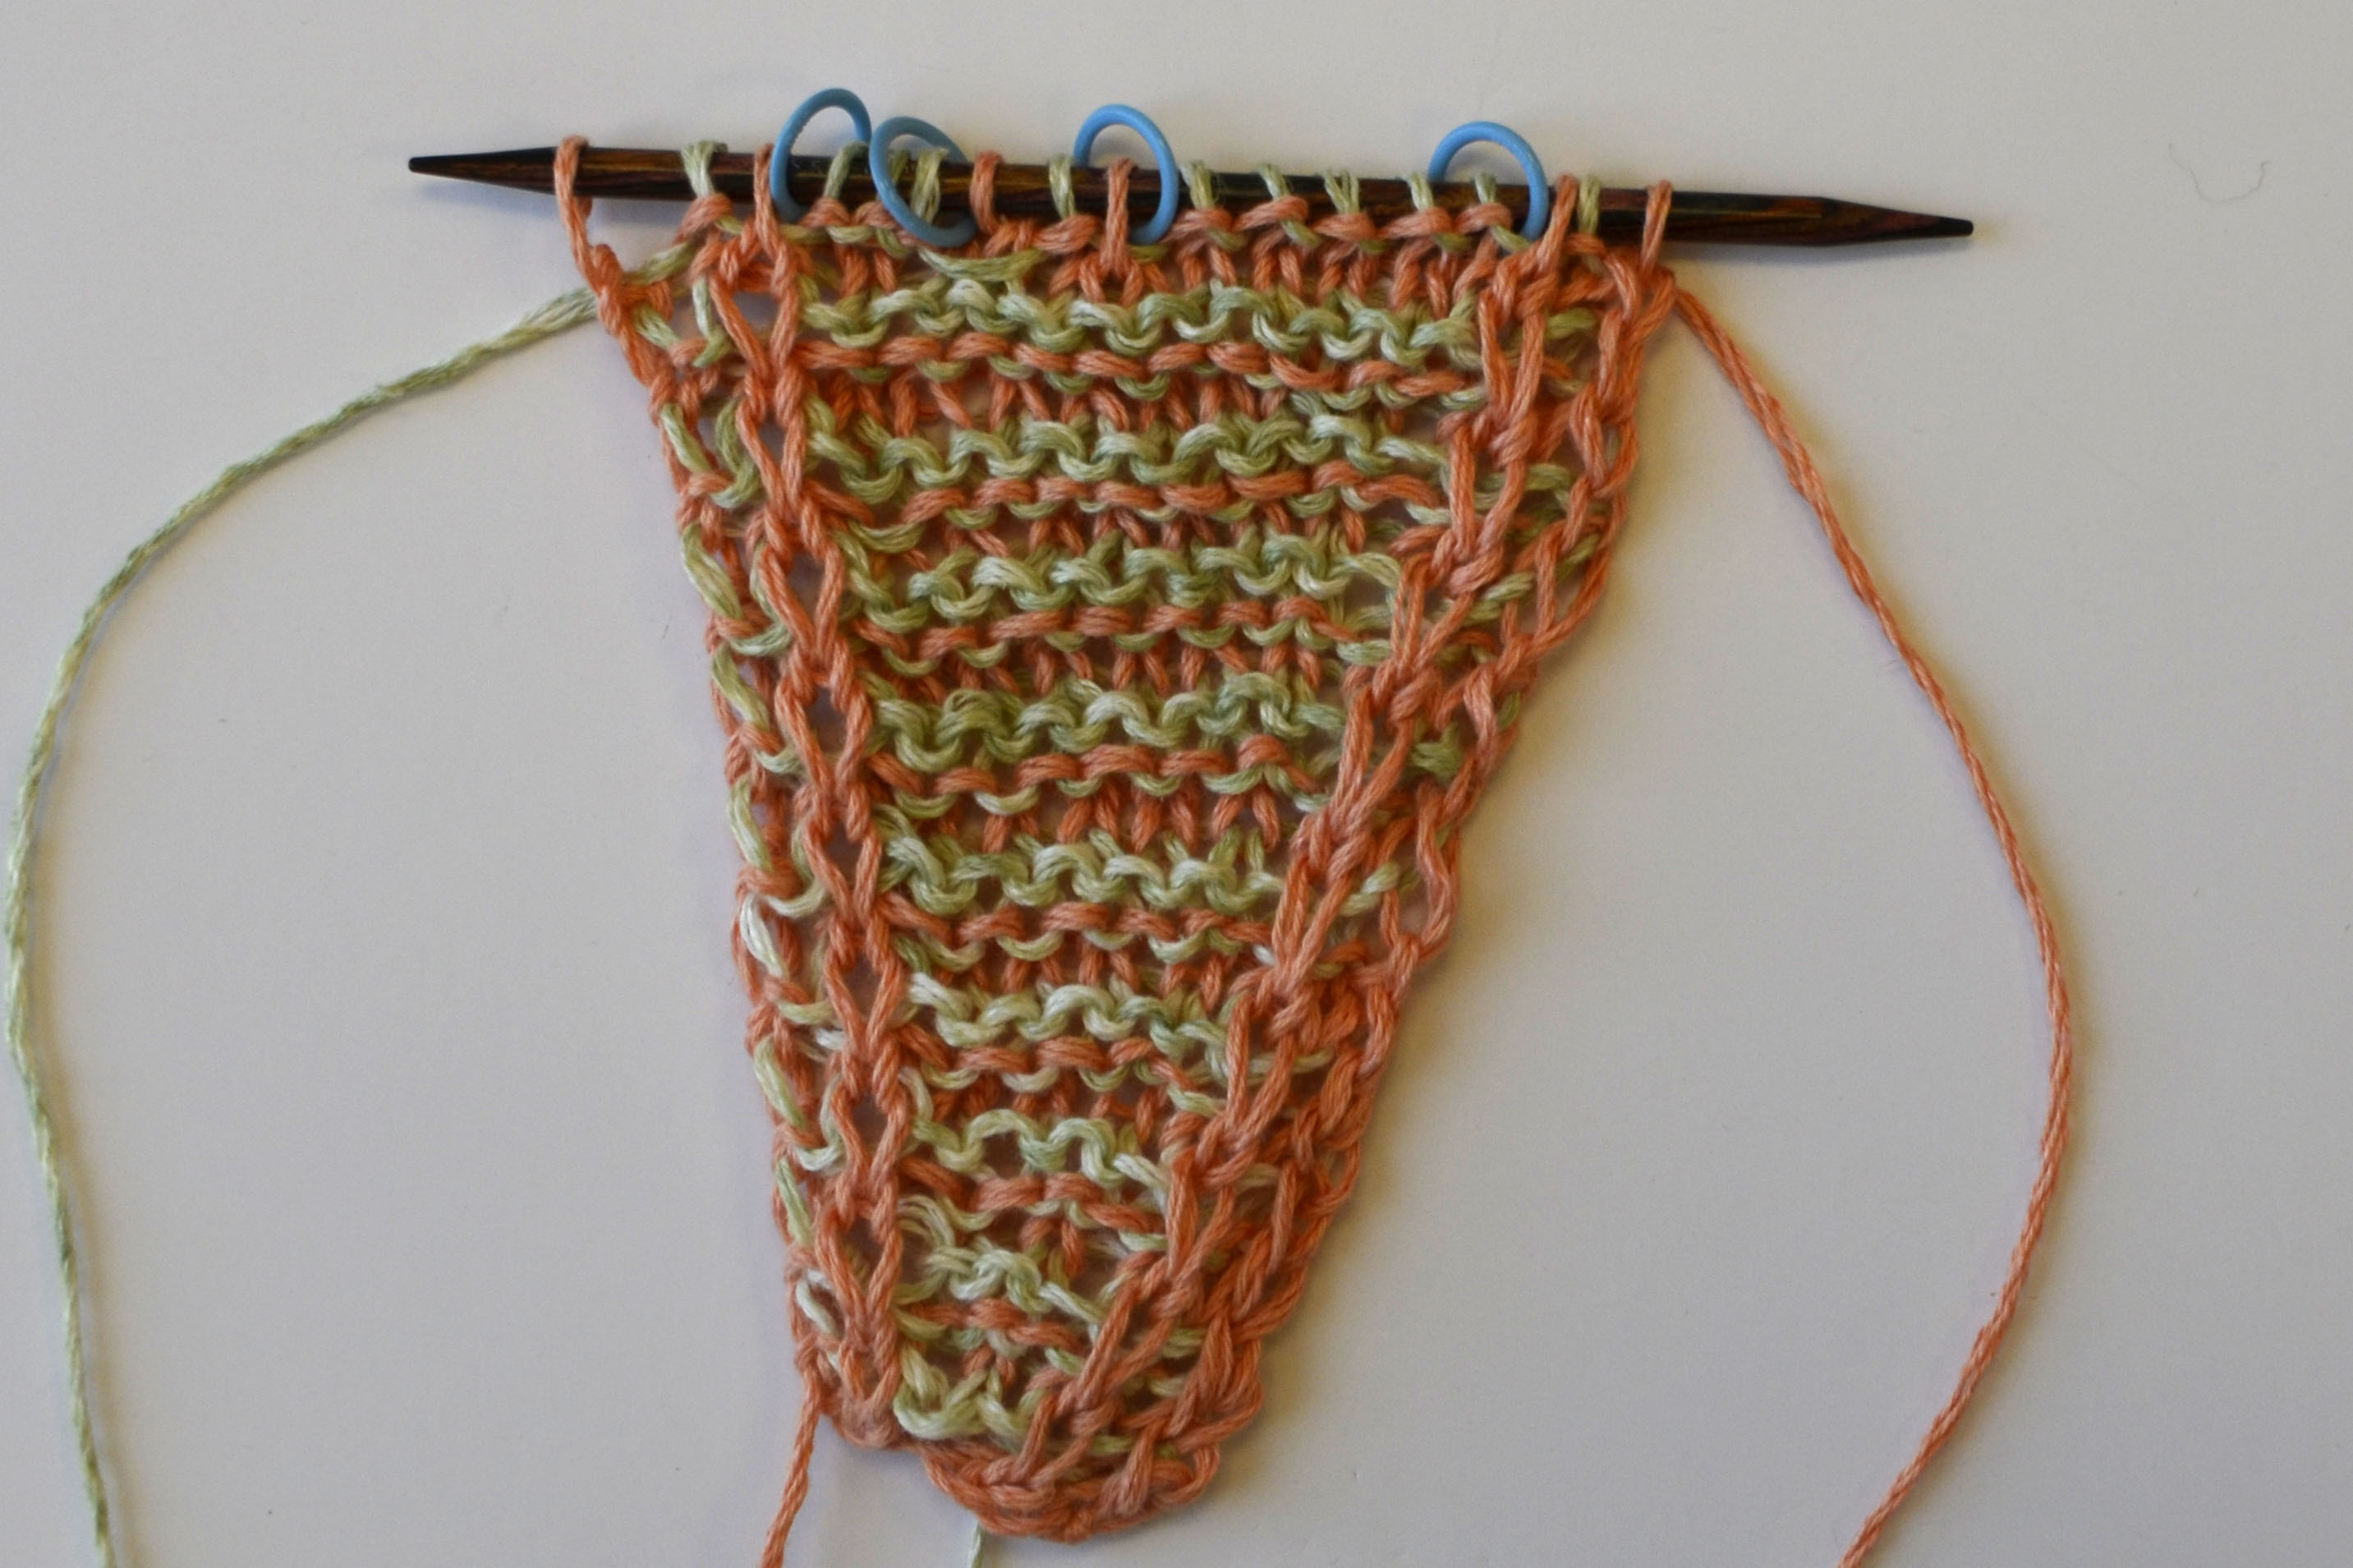
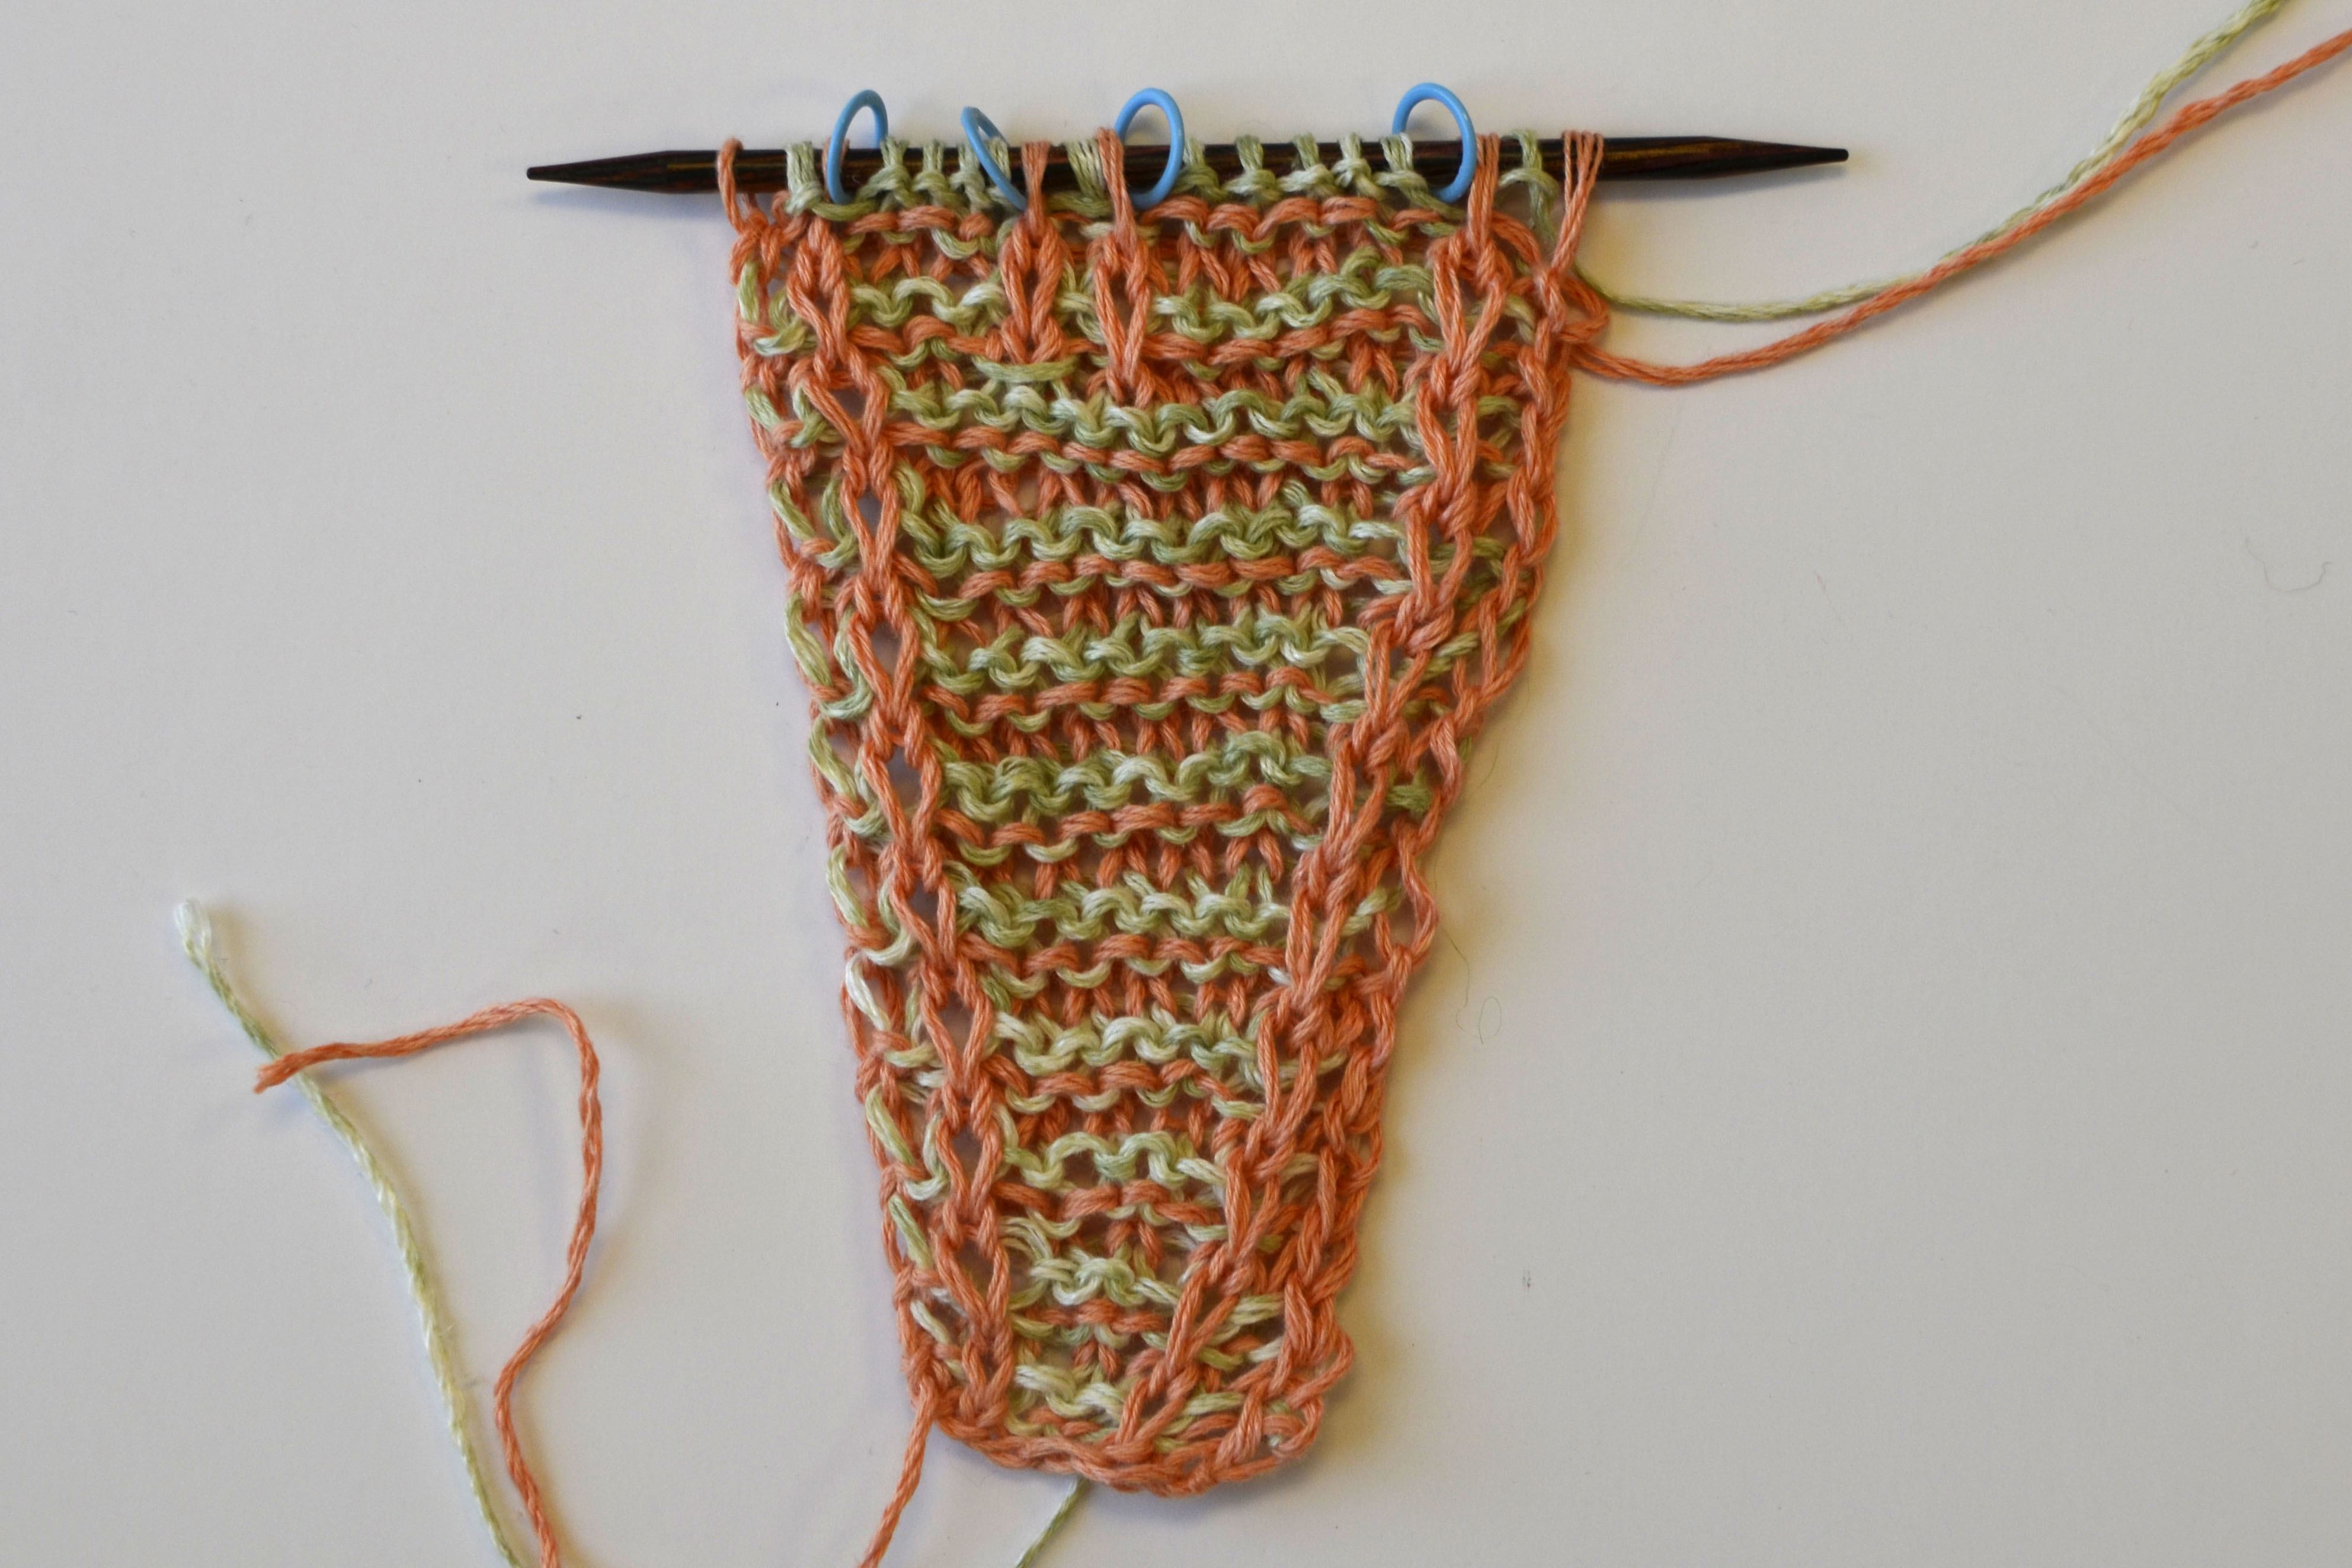
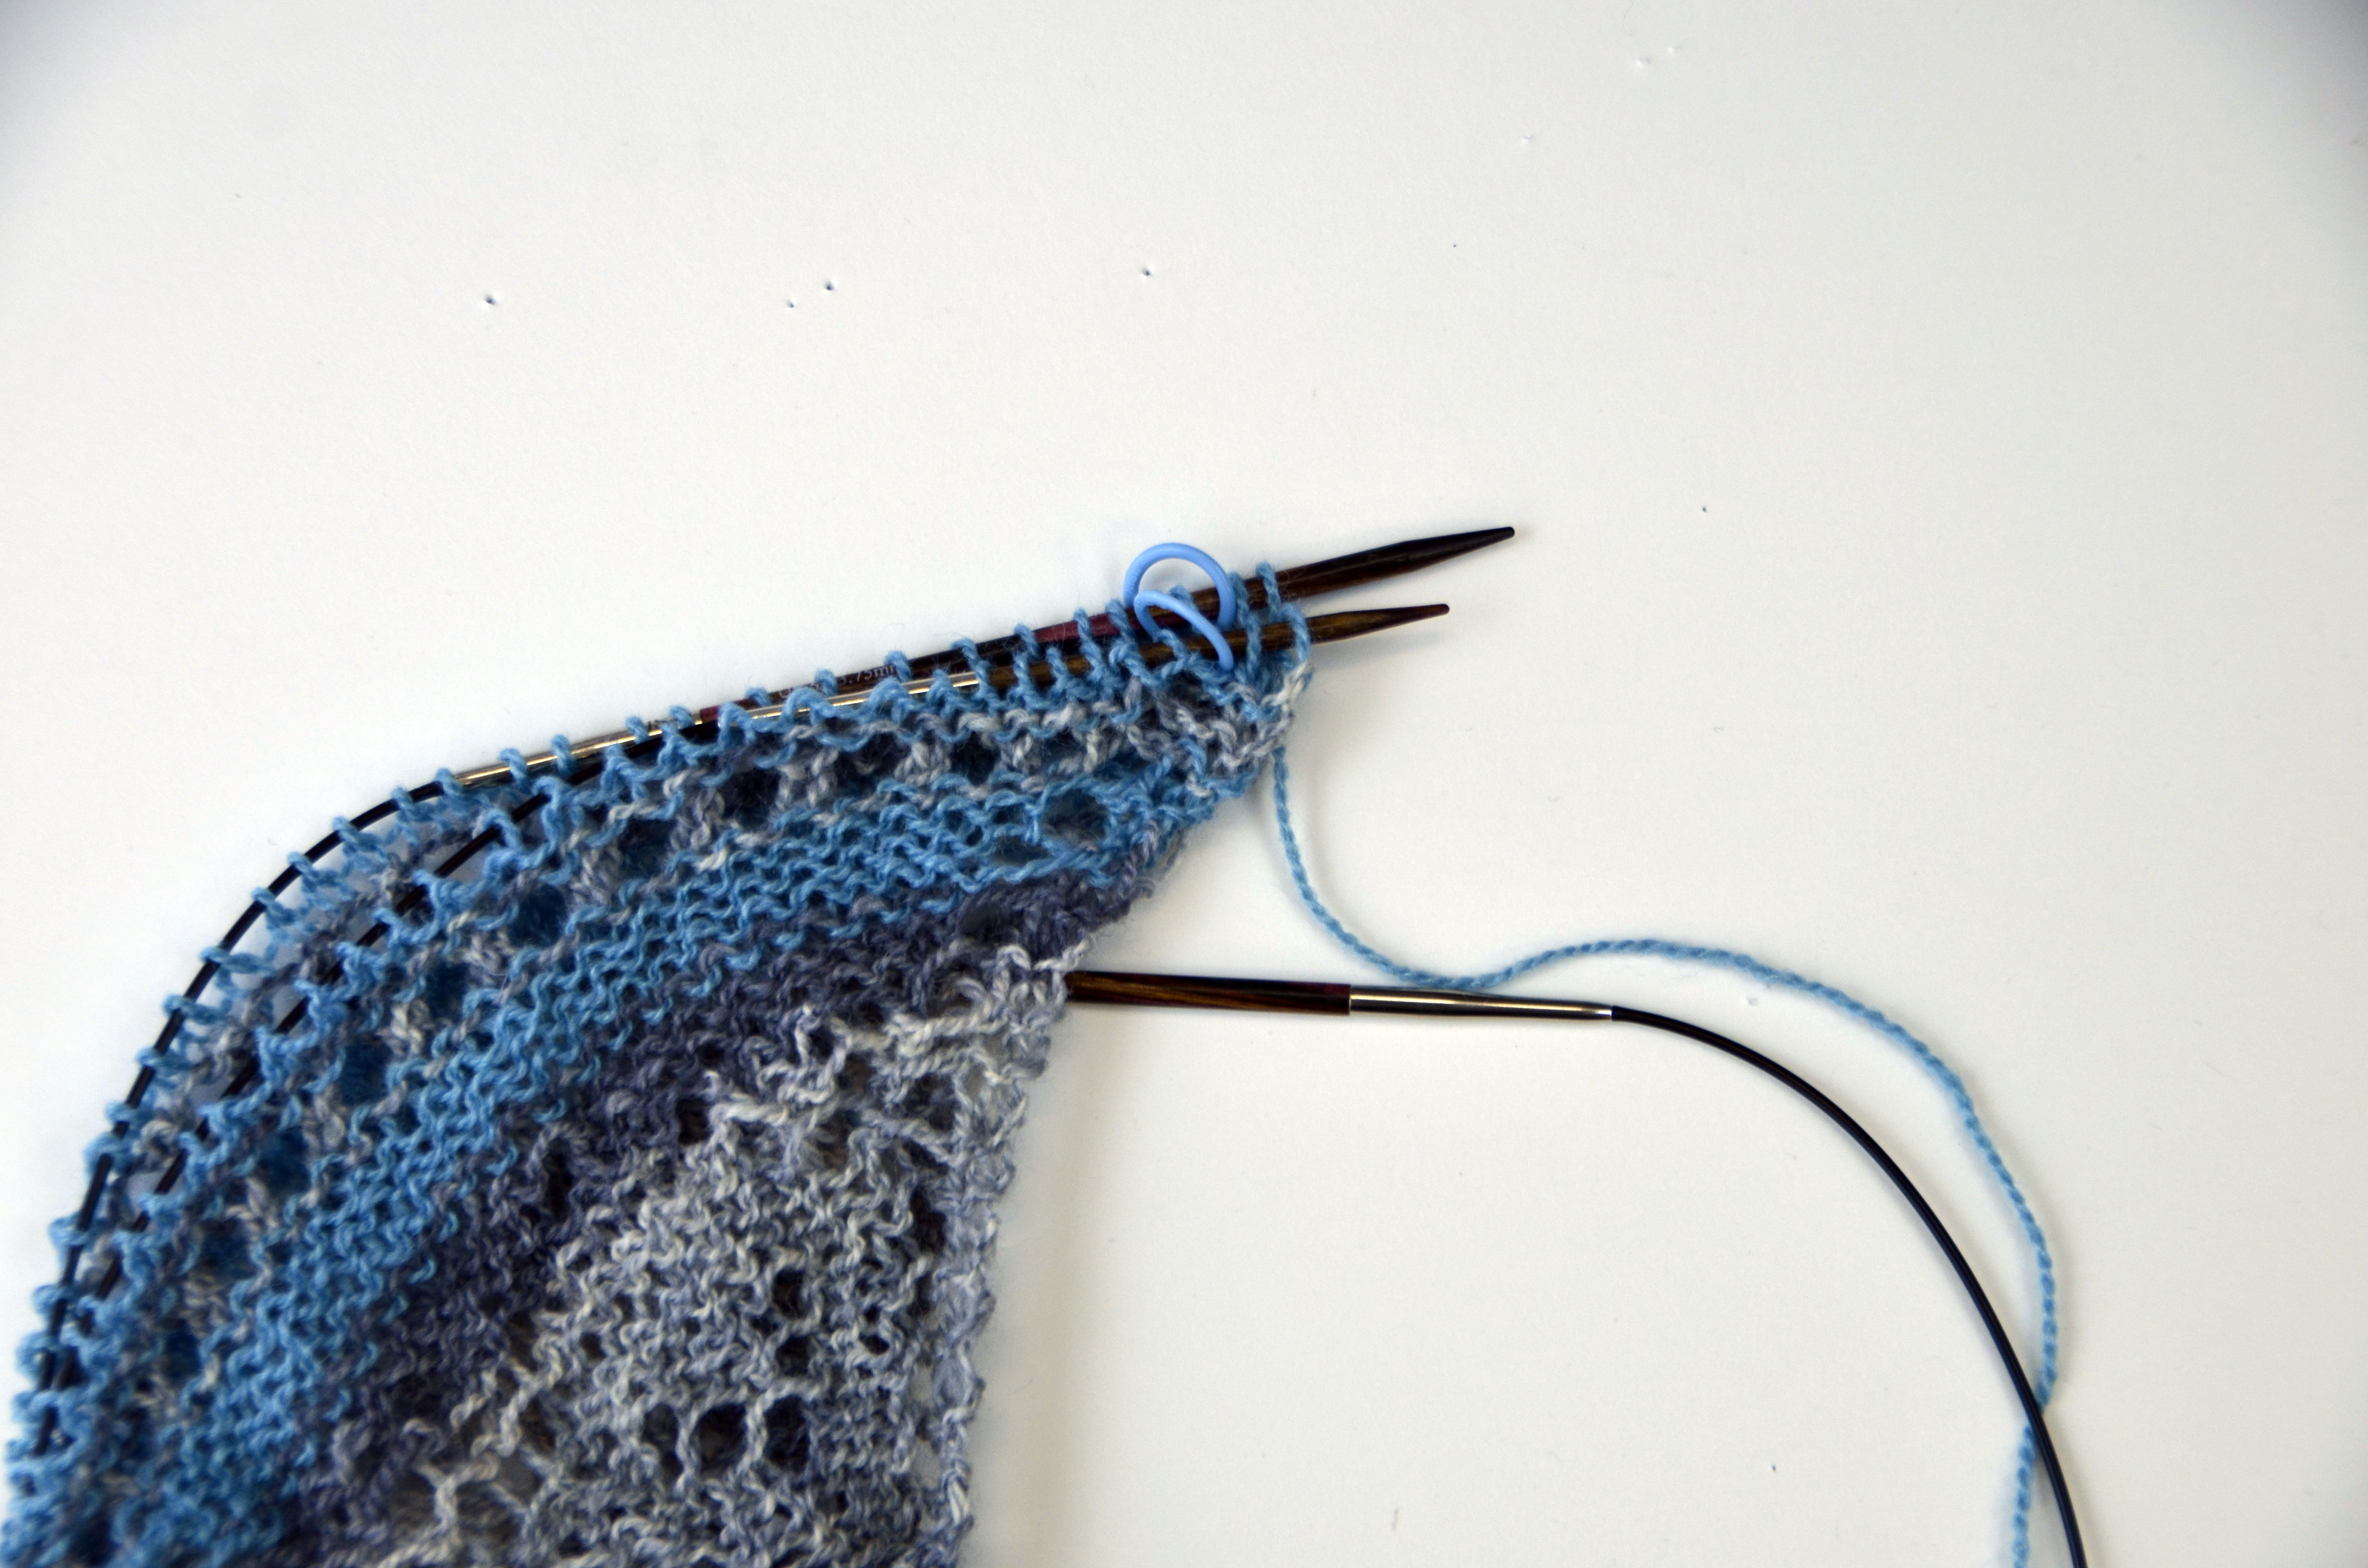
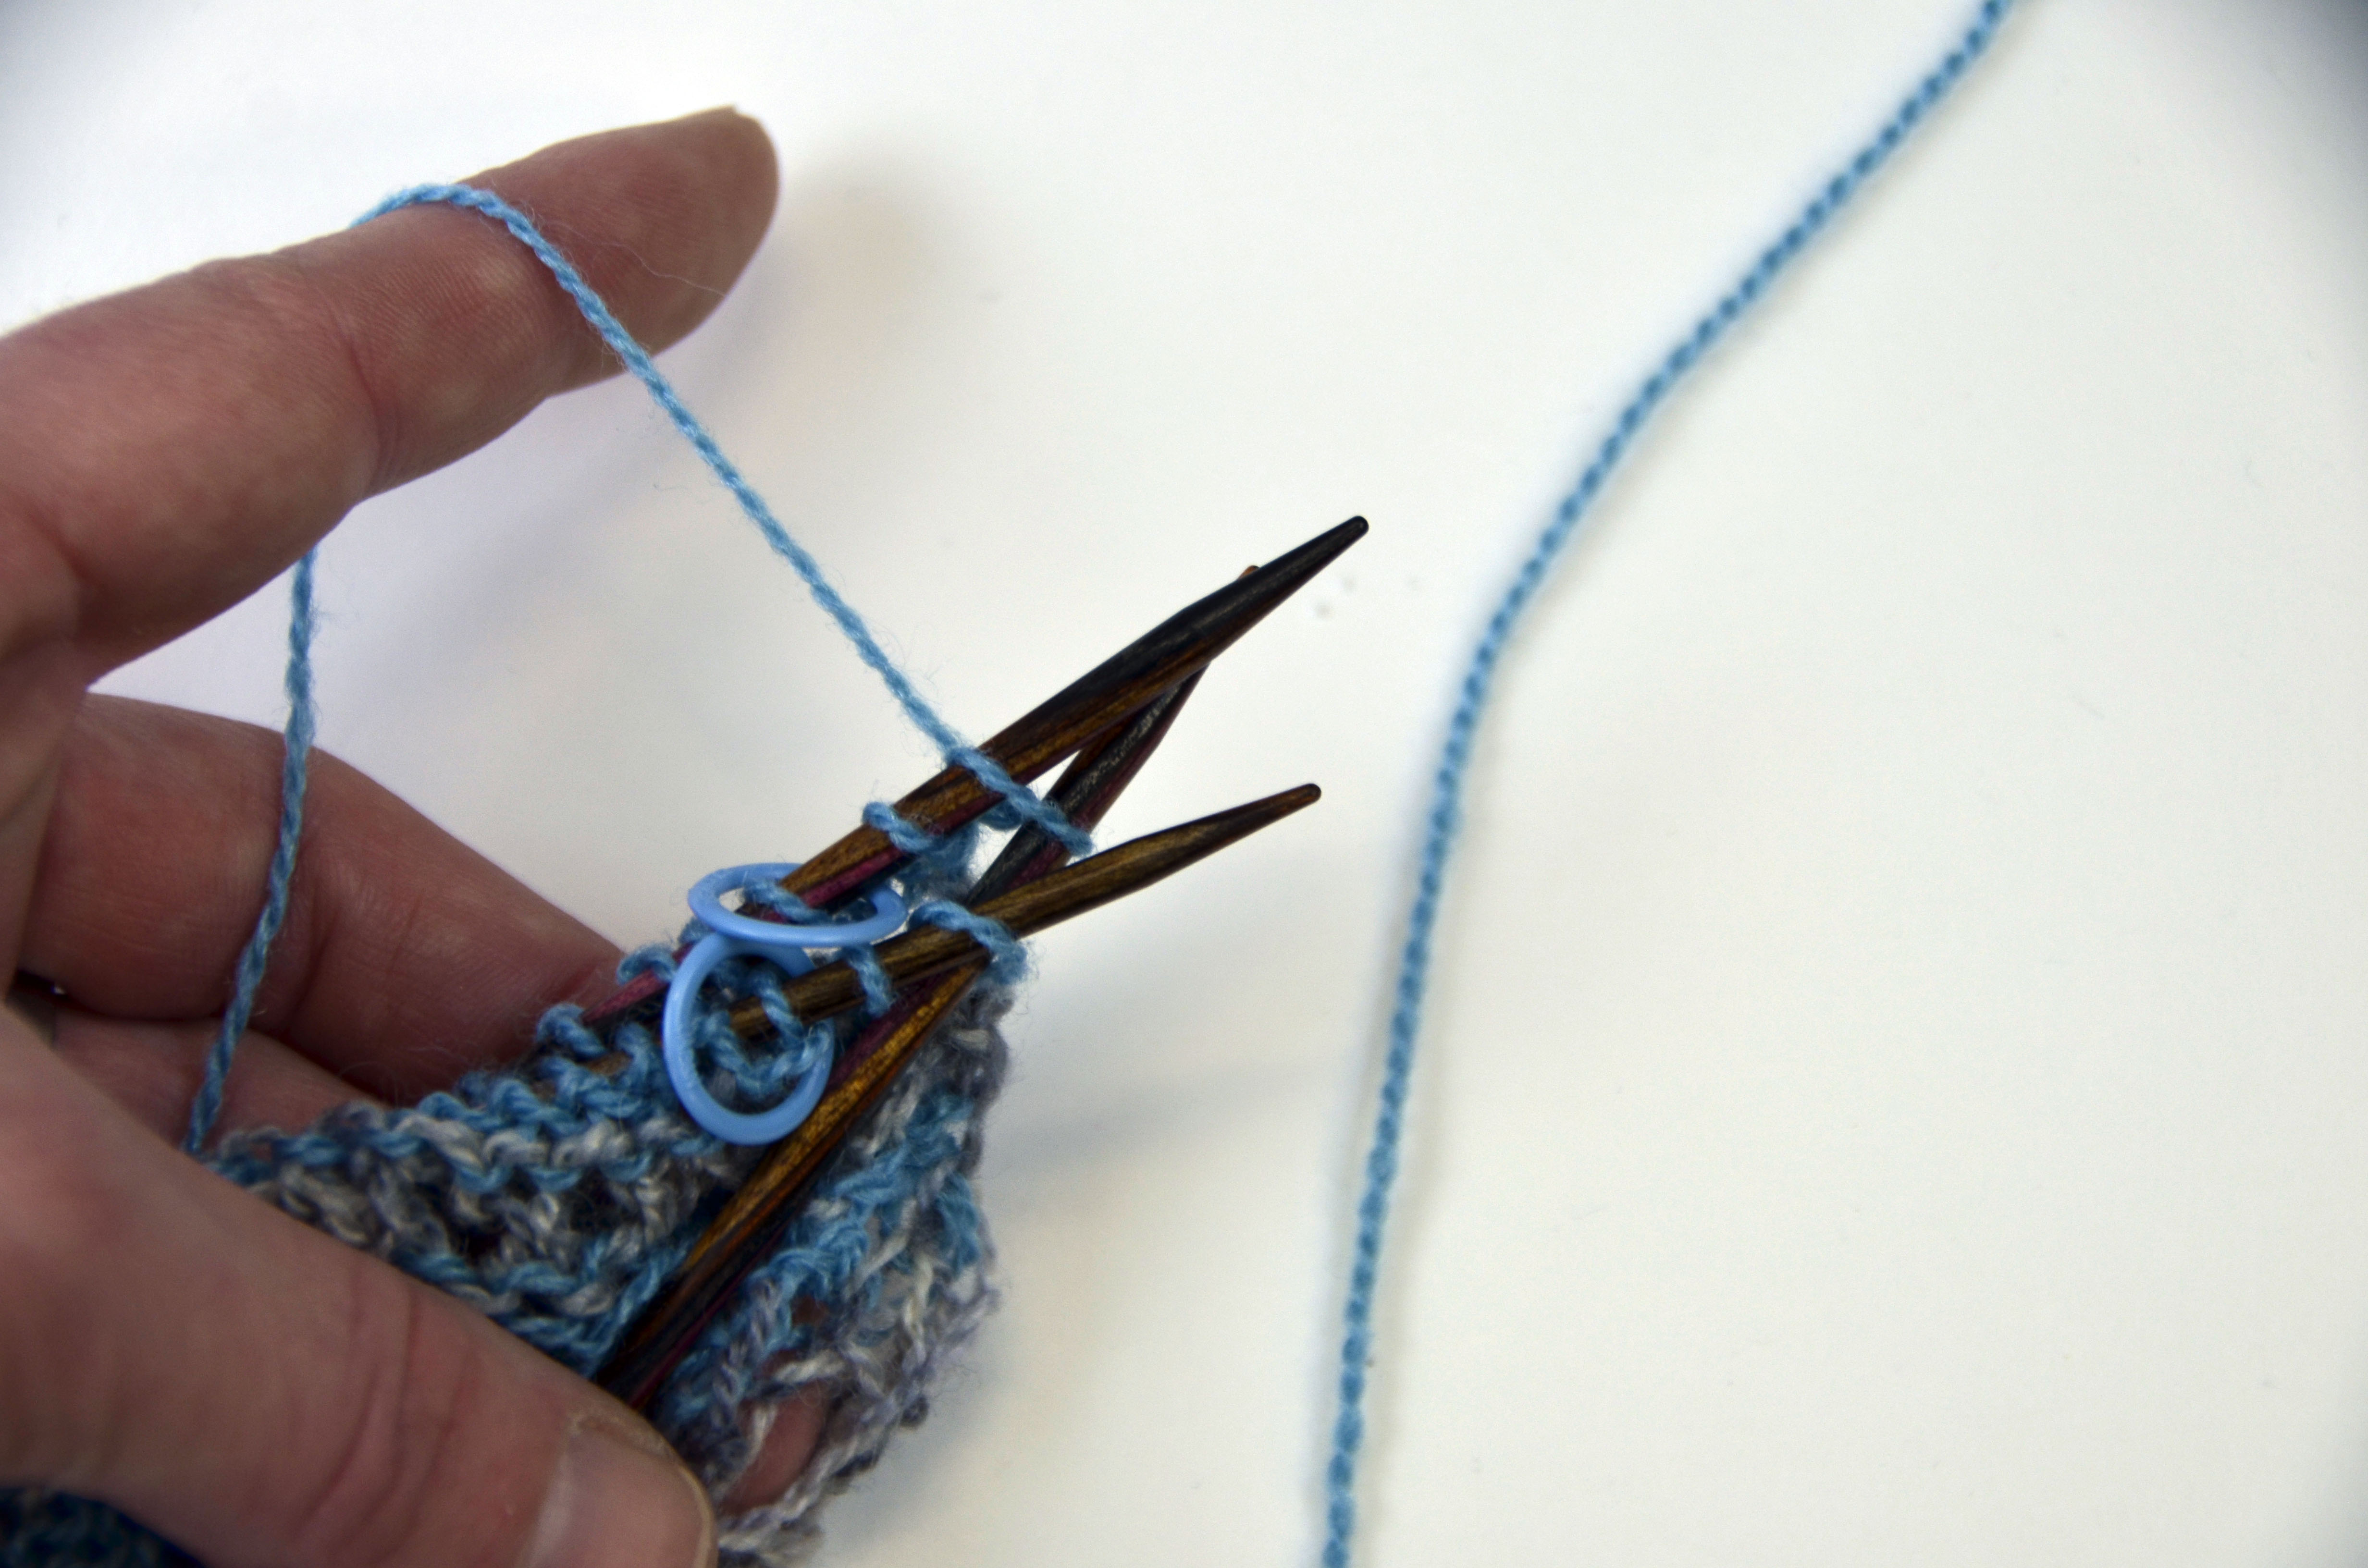
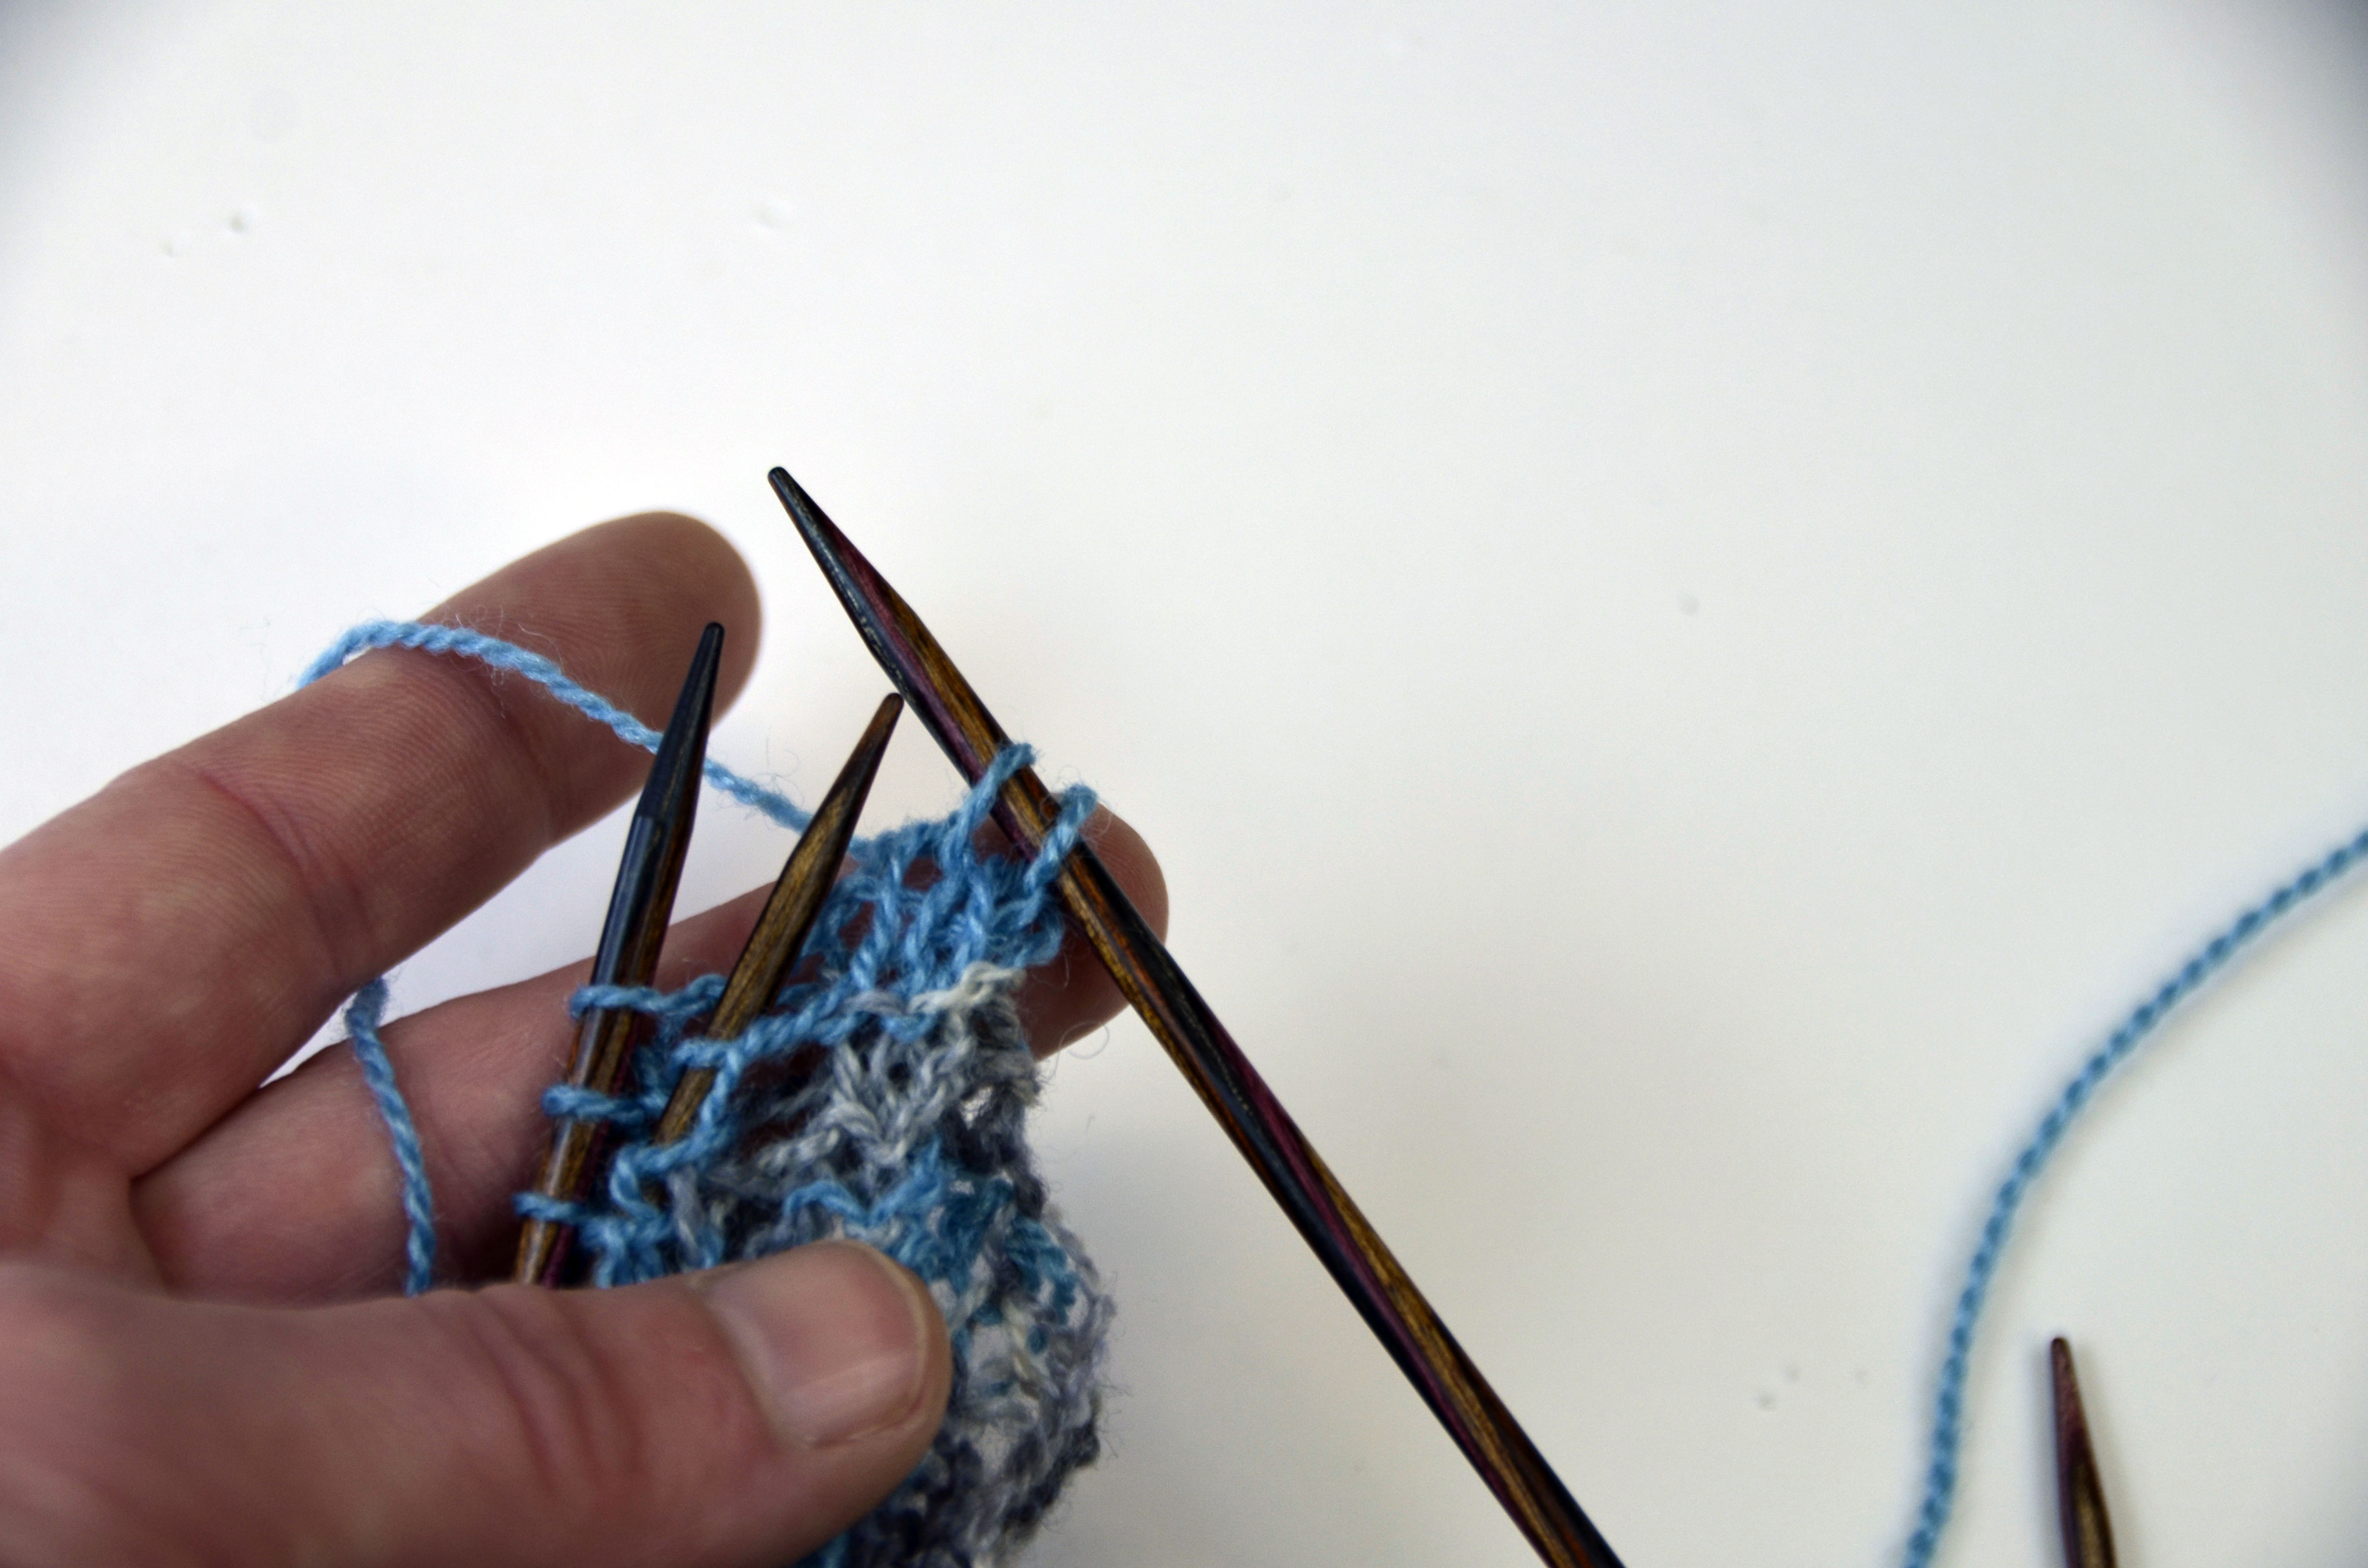
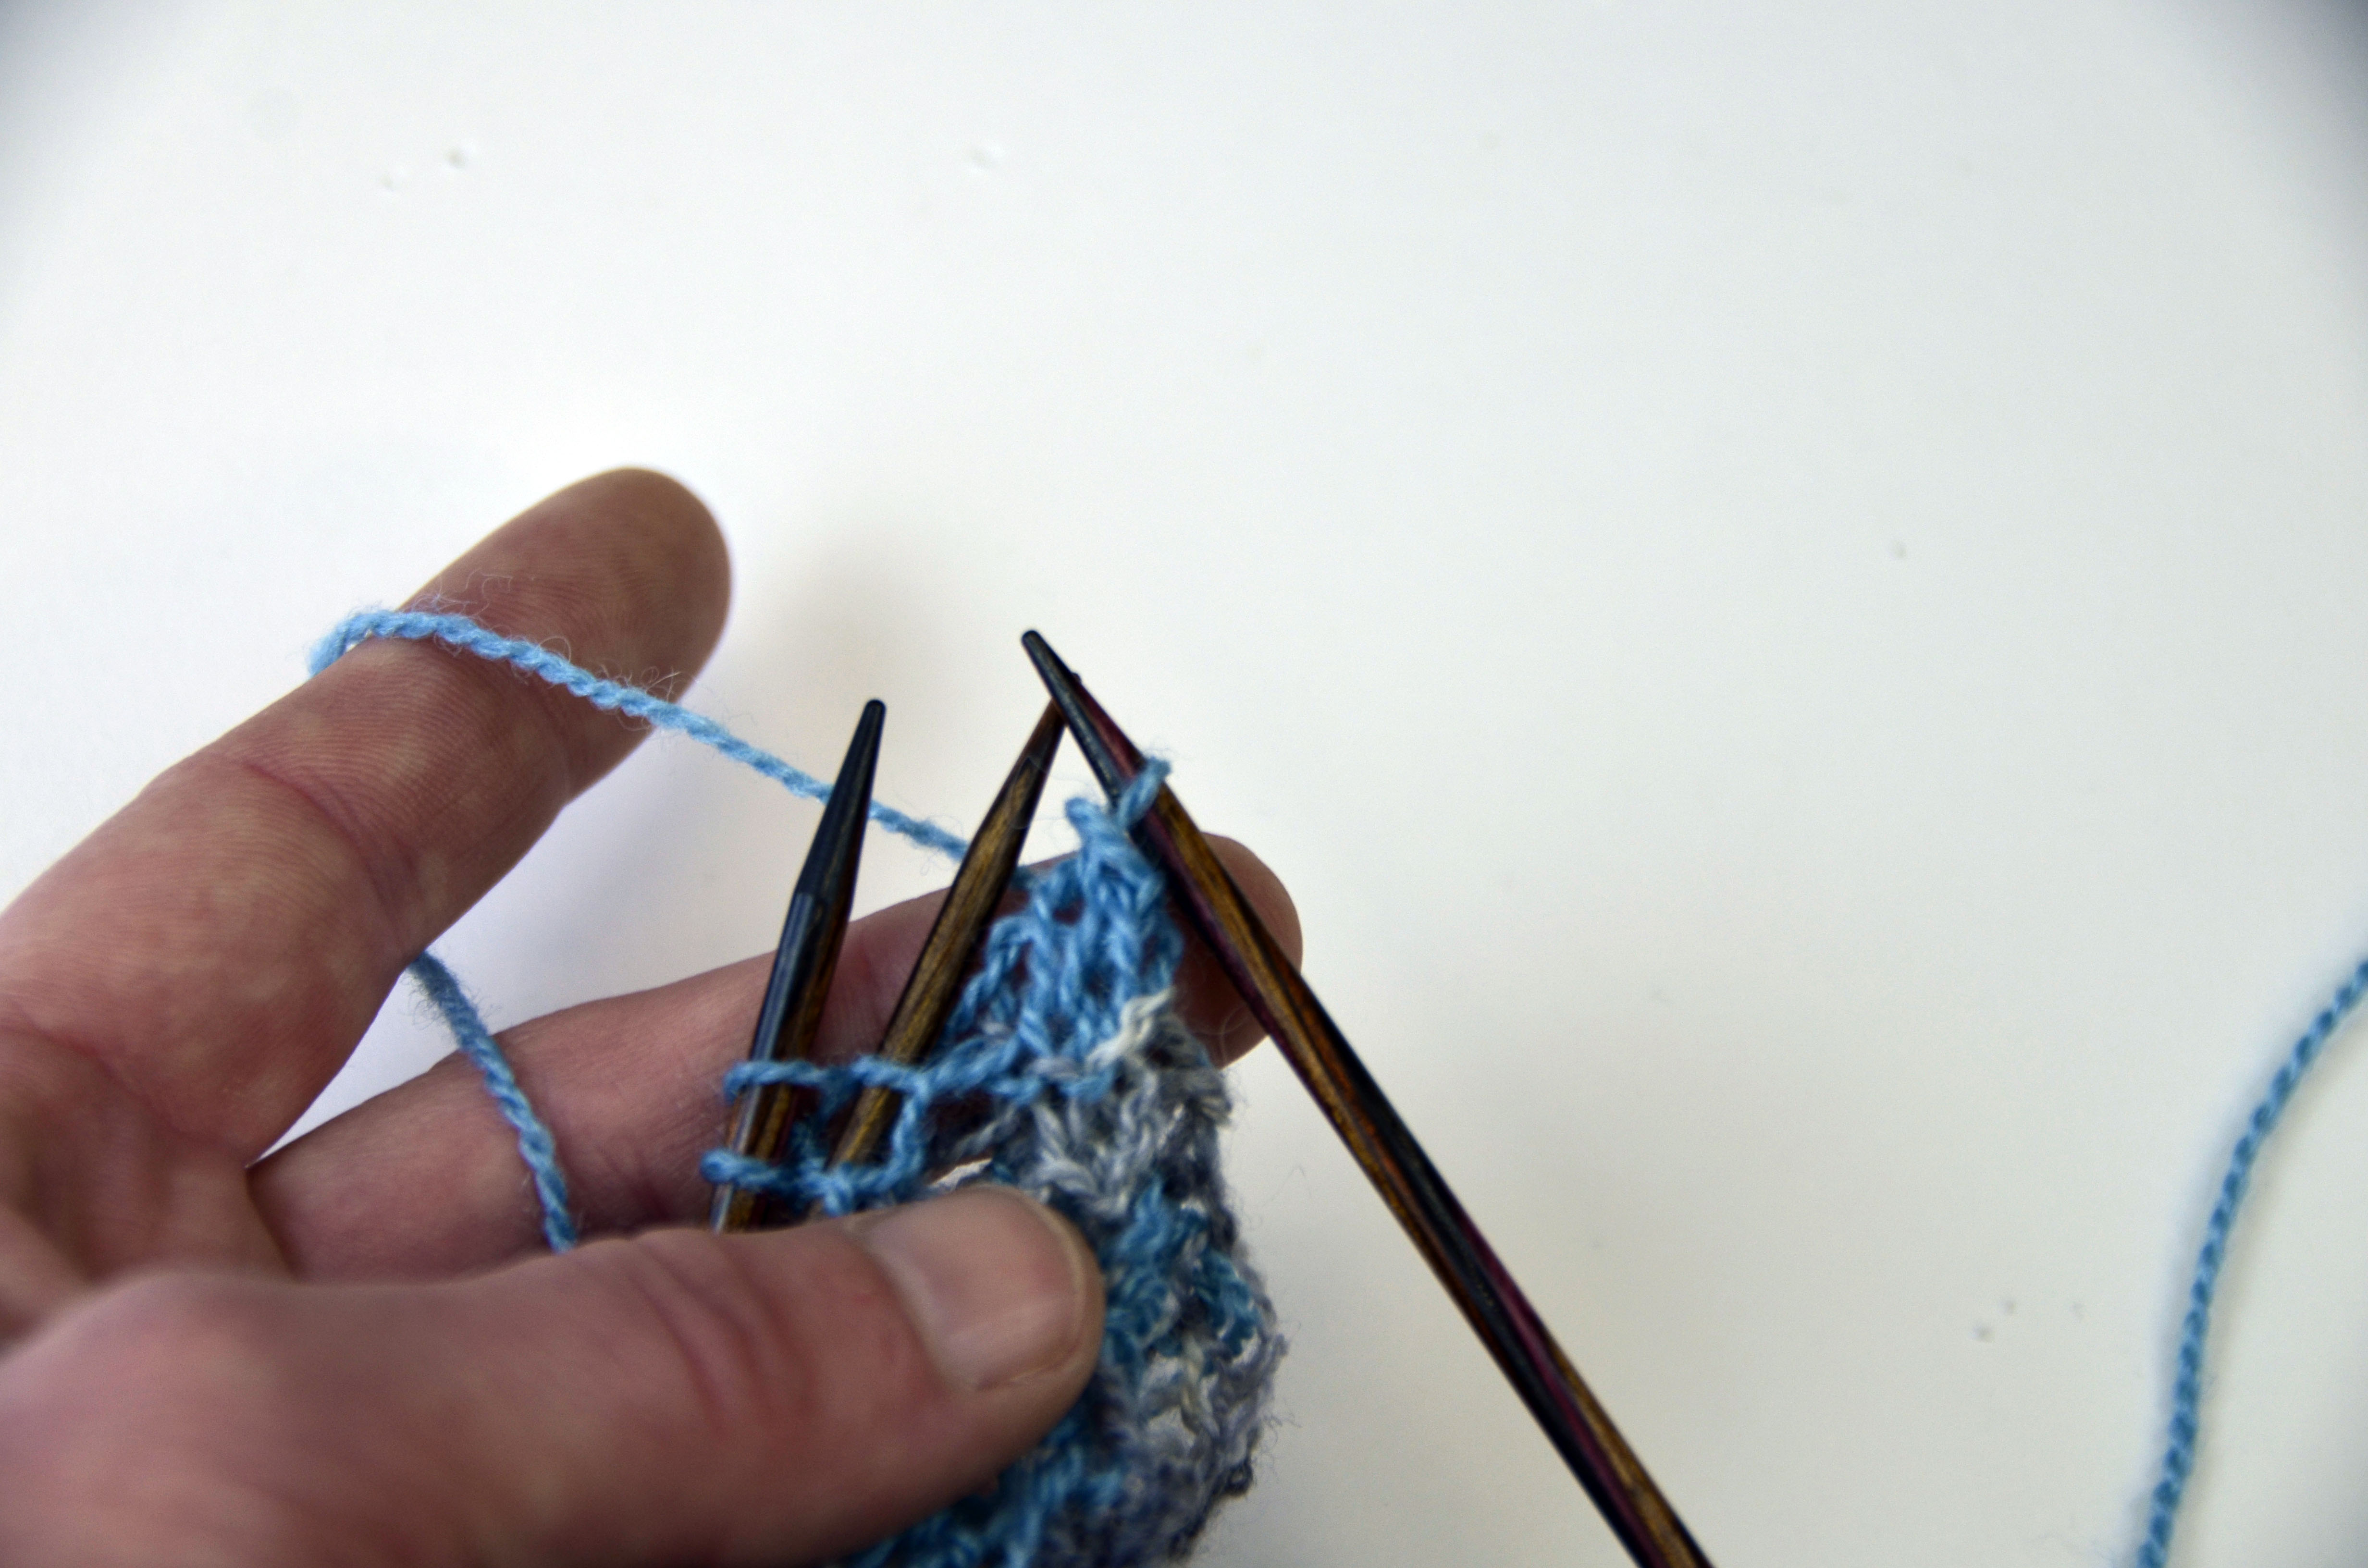
Herringbone Shawl – Understanding Construction

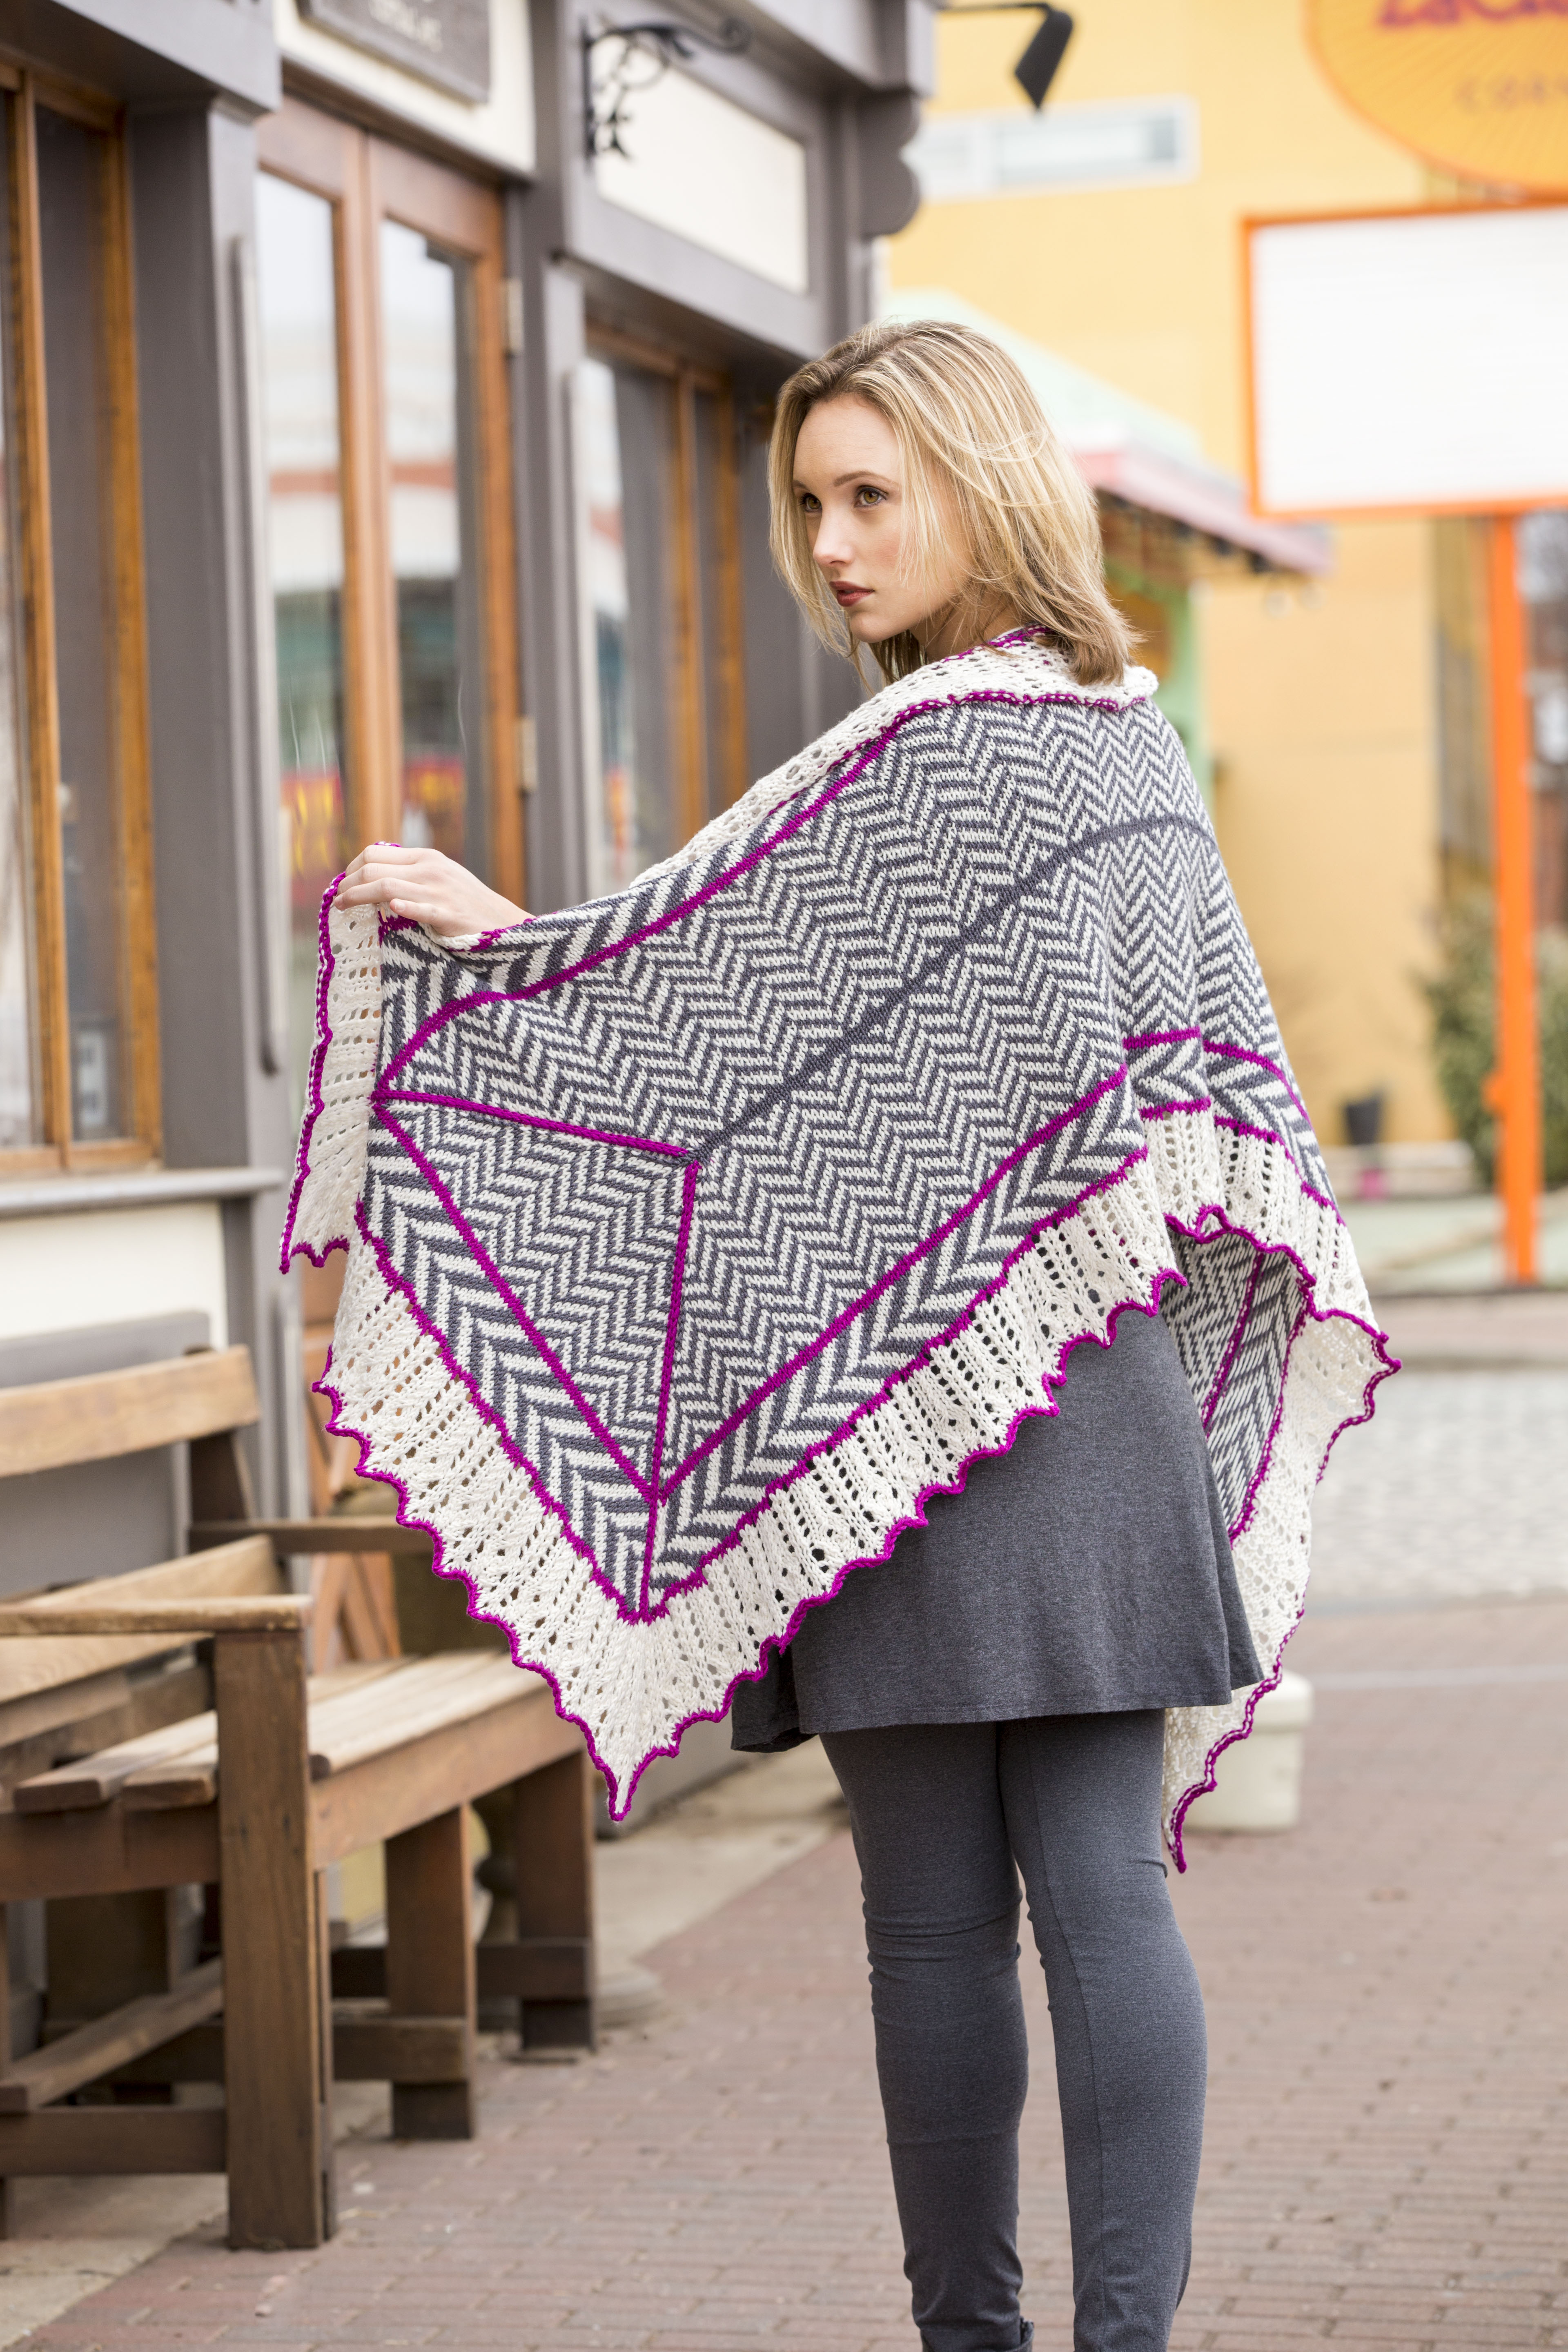
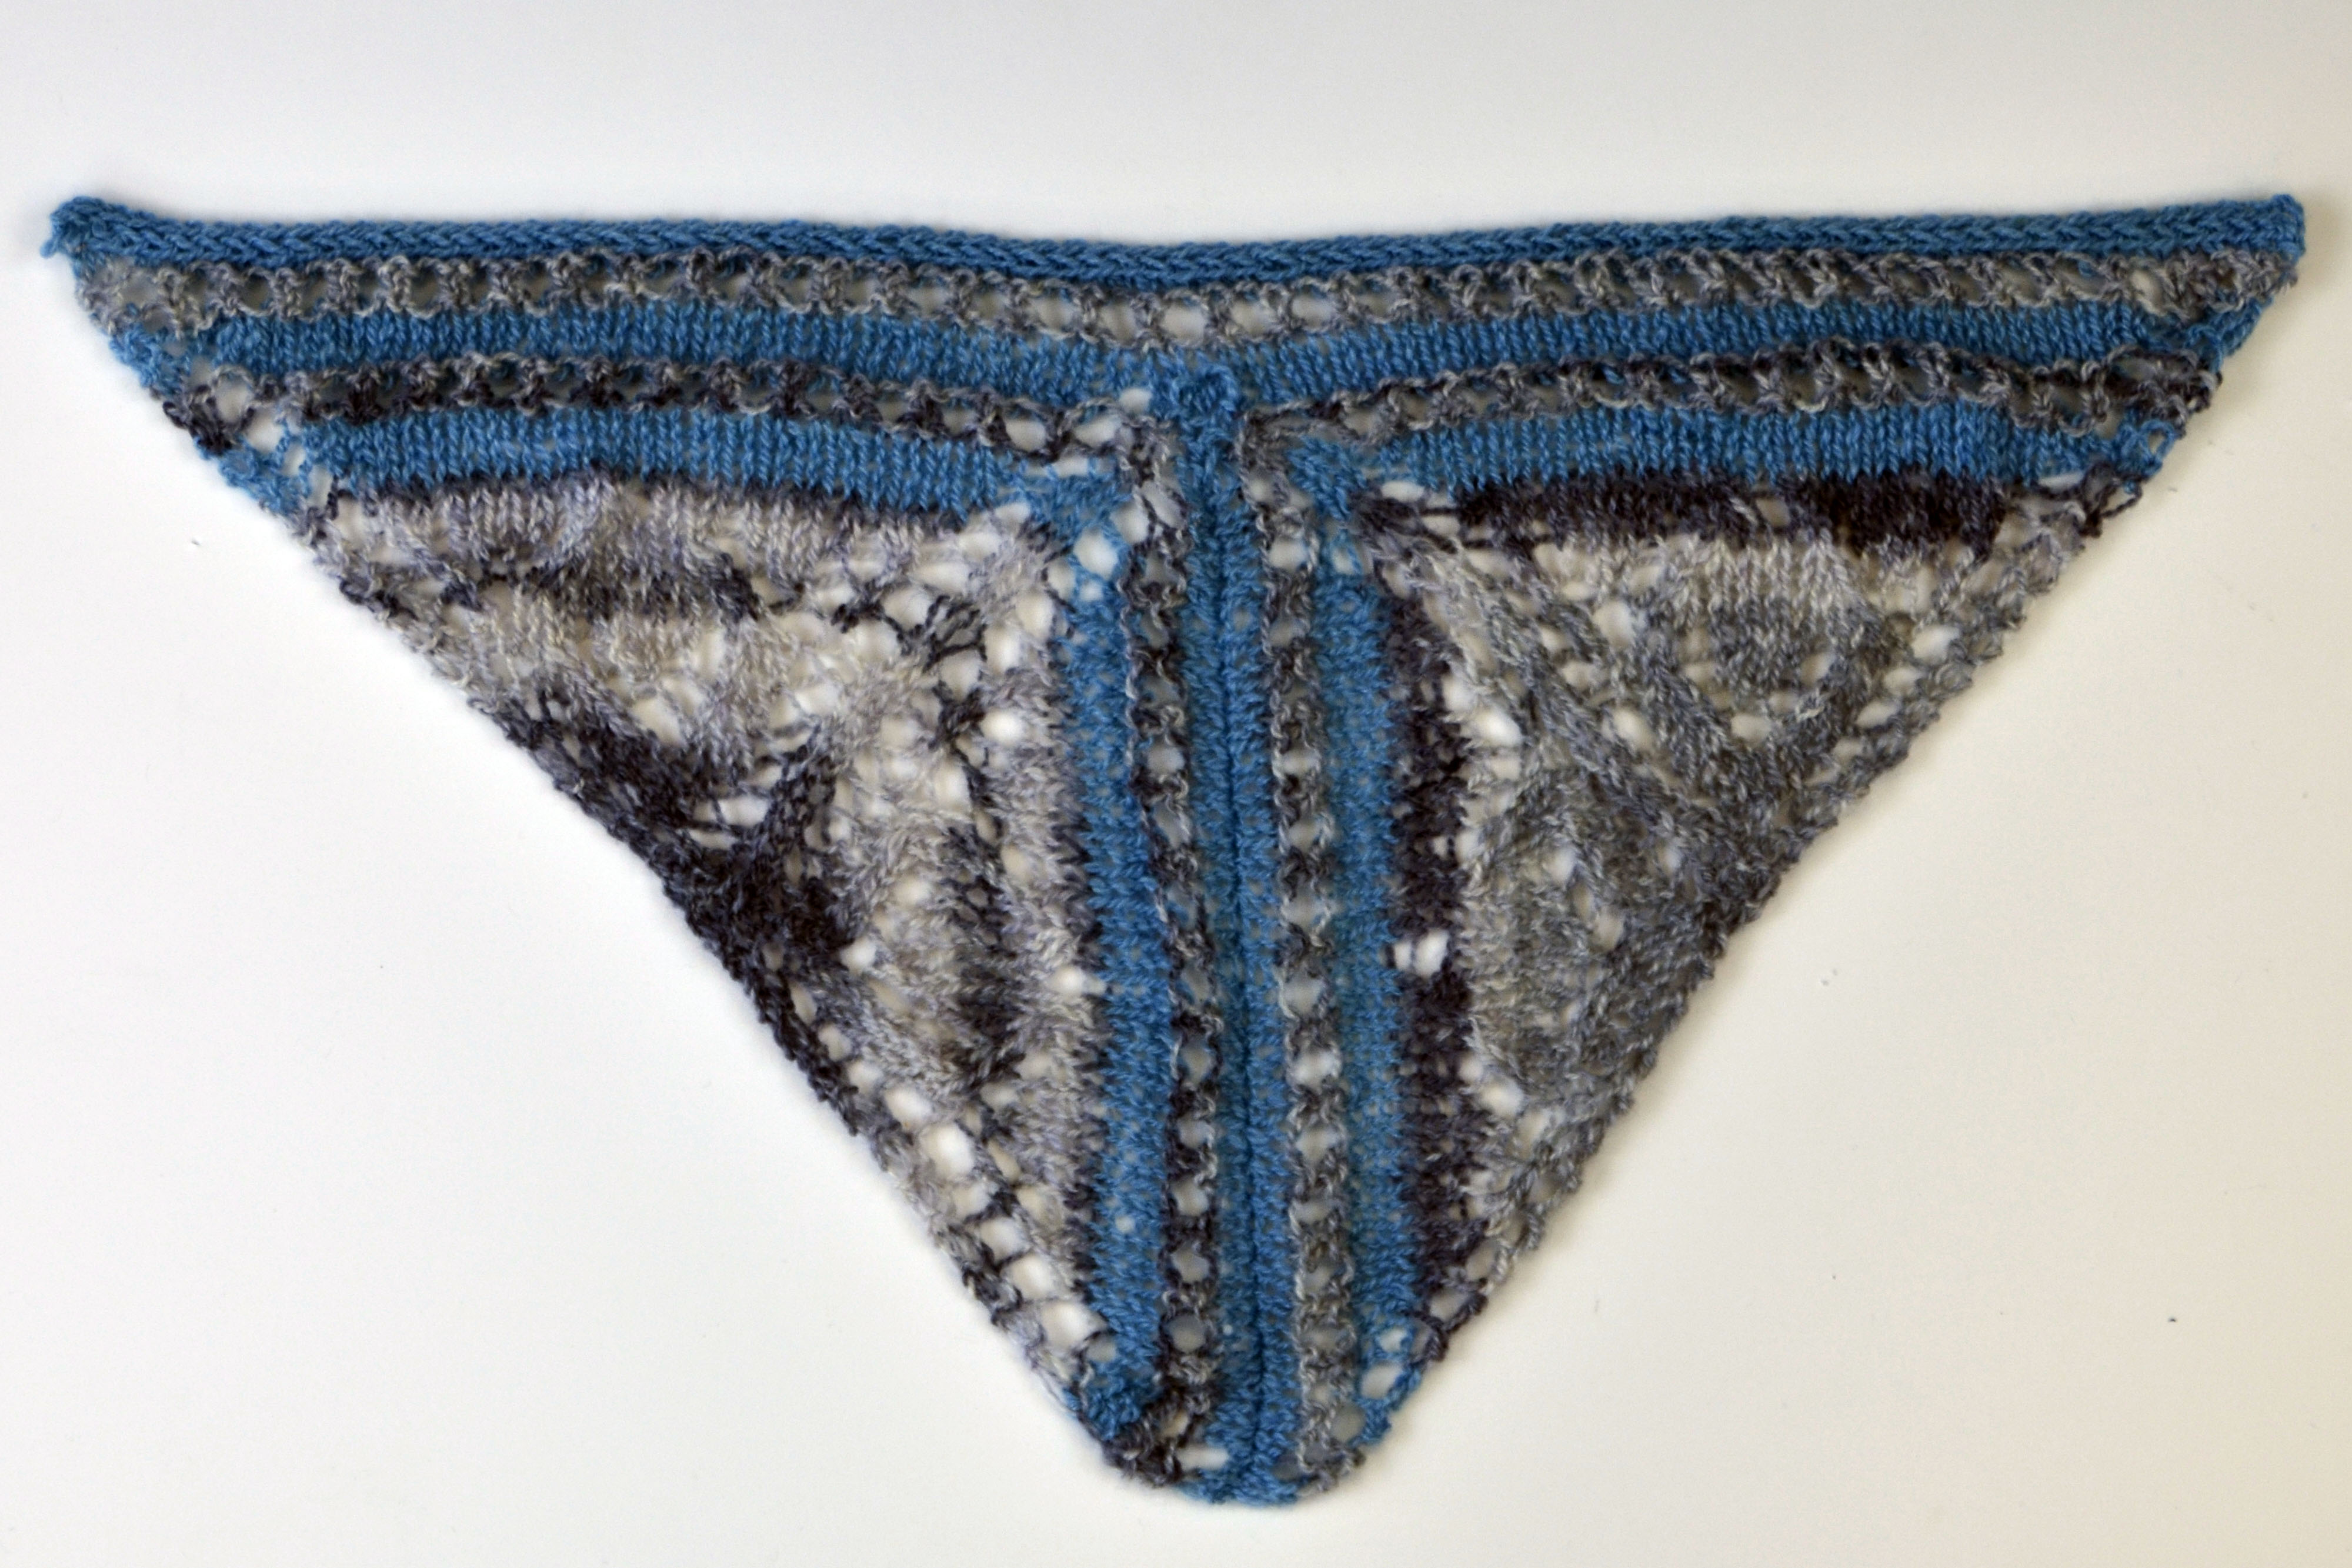
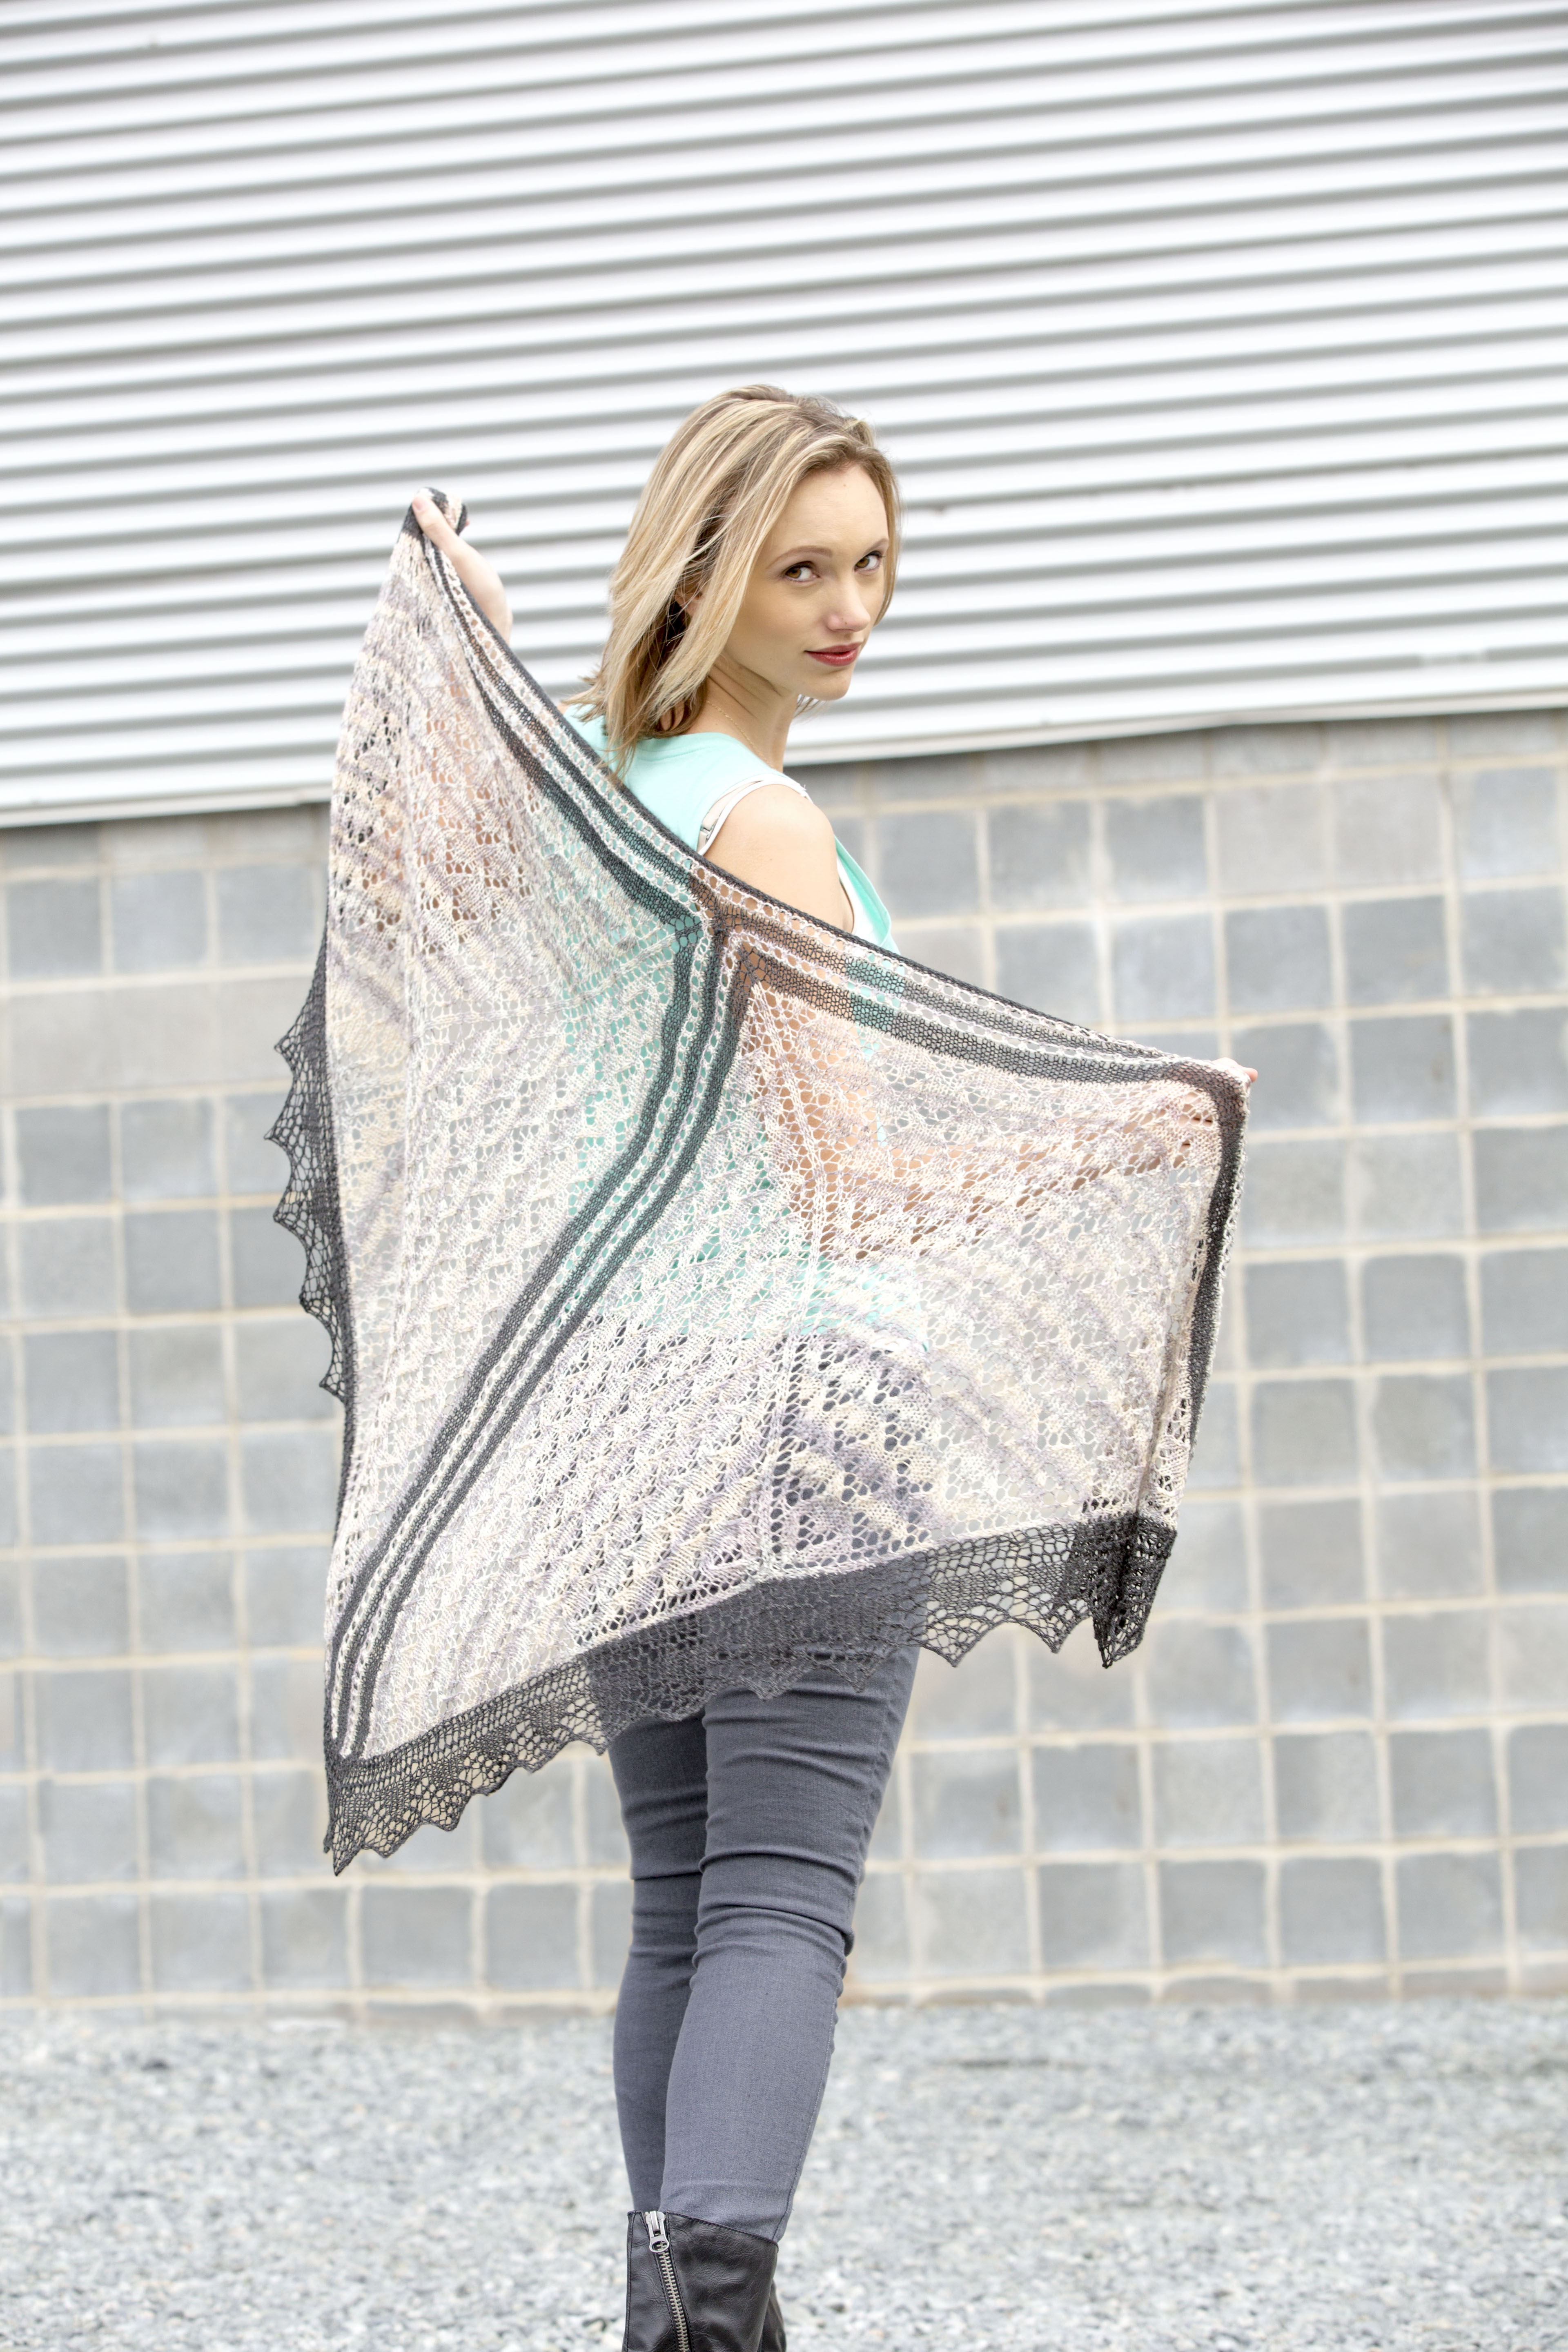
Today I want to talk about the cover project from Contrarian Shawls 2 , the Herringbone Shawl knit in Dona.

Herringbone_2_hires

If I had to pick a single knitting technique to call my favorite, it would have to be stranded knitting, or knitting with multiple colors in the same row or round. I knew I wanted to include a stranded project in this collection, and I knew I didn’t want it to be too fussy.

Stranding can be intimidating to knitters who have never done it before, particularly worked back and forth in rows. The dreaded wrong side purling of stranding strikes fear and loathing in the hearts of many a knitter! So when planning this project, I wanted to be sure not to turn off these knitters and made sure all the work was done in the round. (For the record, purling stranded knitting is like anything else – with practice, it’s not that bad!)

So how is a rectangular stole worked in the round you ask? That’s what we’re going to talk about today.

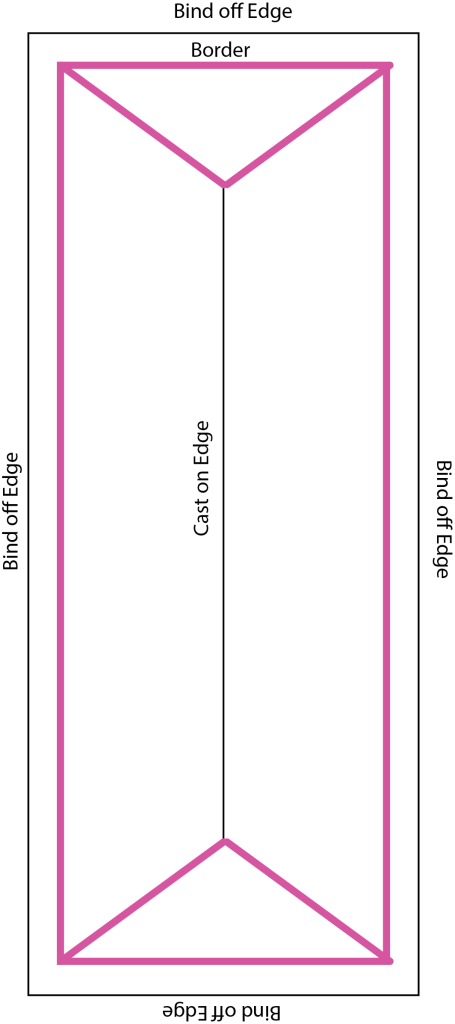
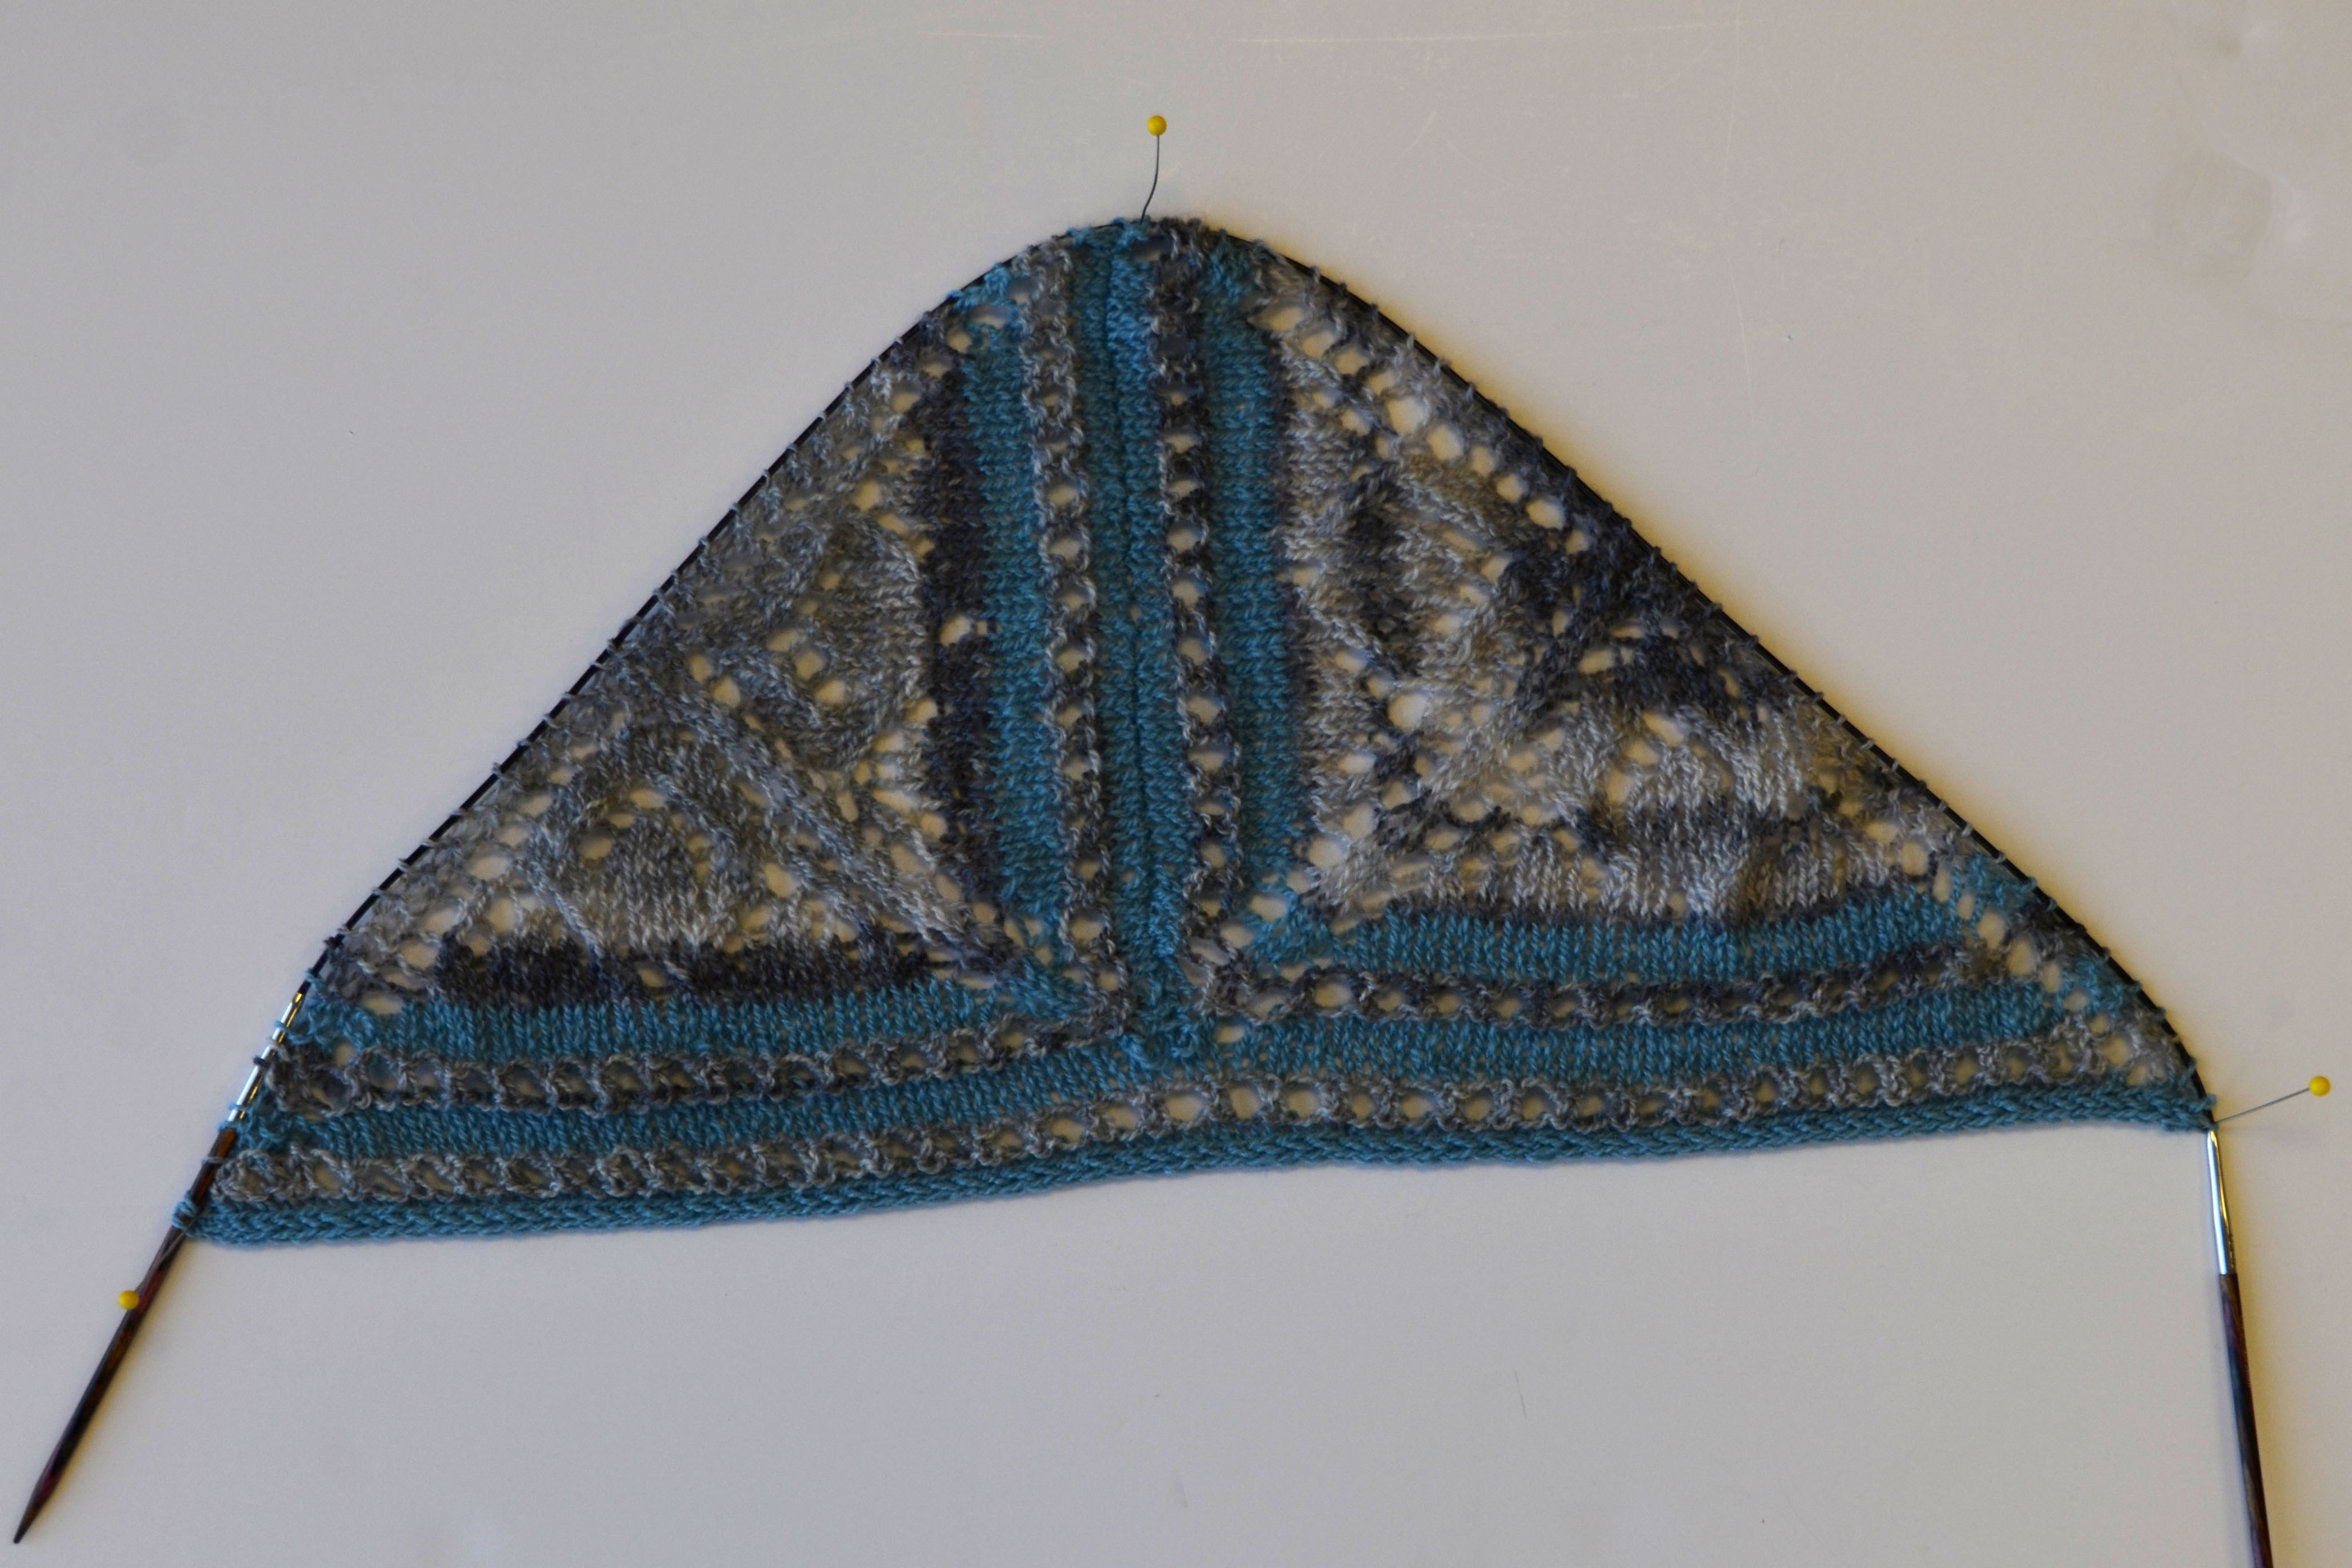
Here is a simplified diagram of the shawl, showing the cast-on in the middle:


Herringbone_diagram

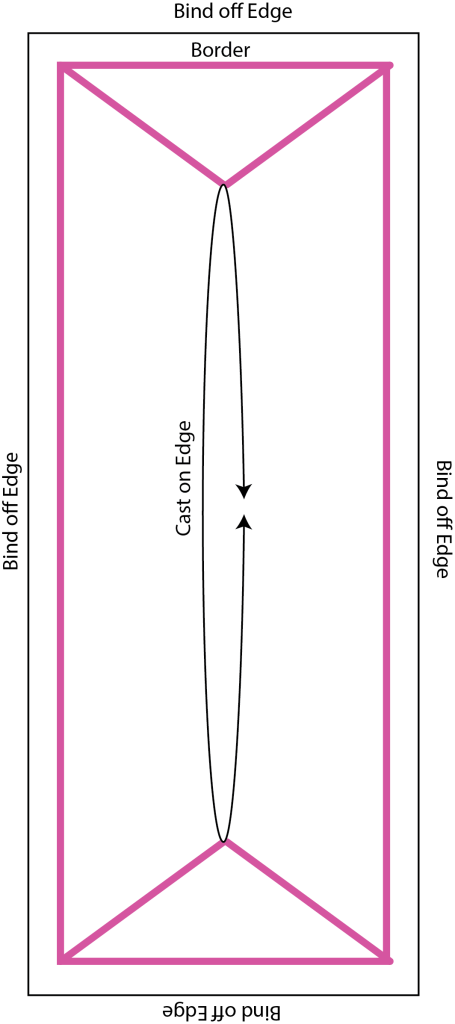
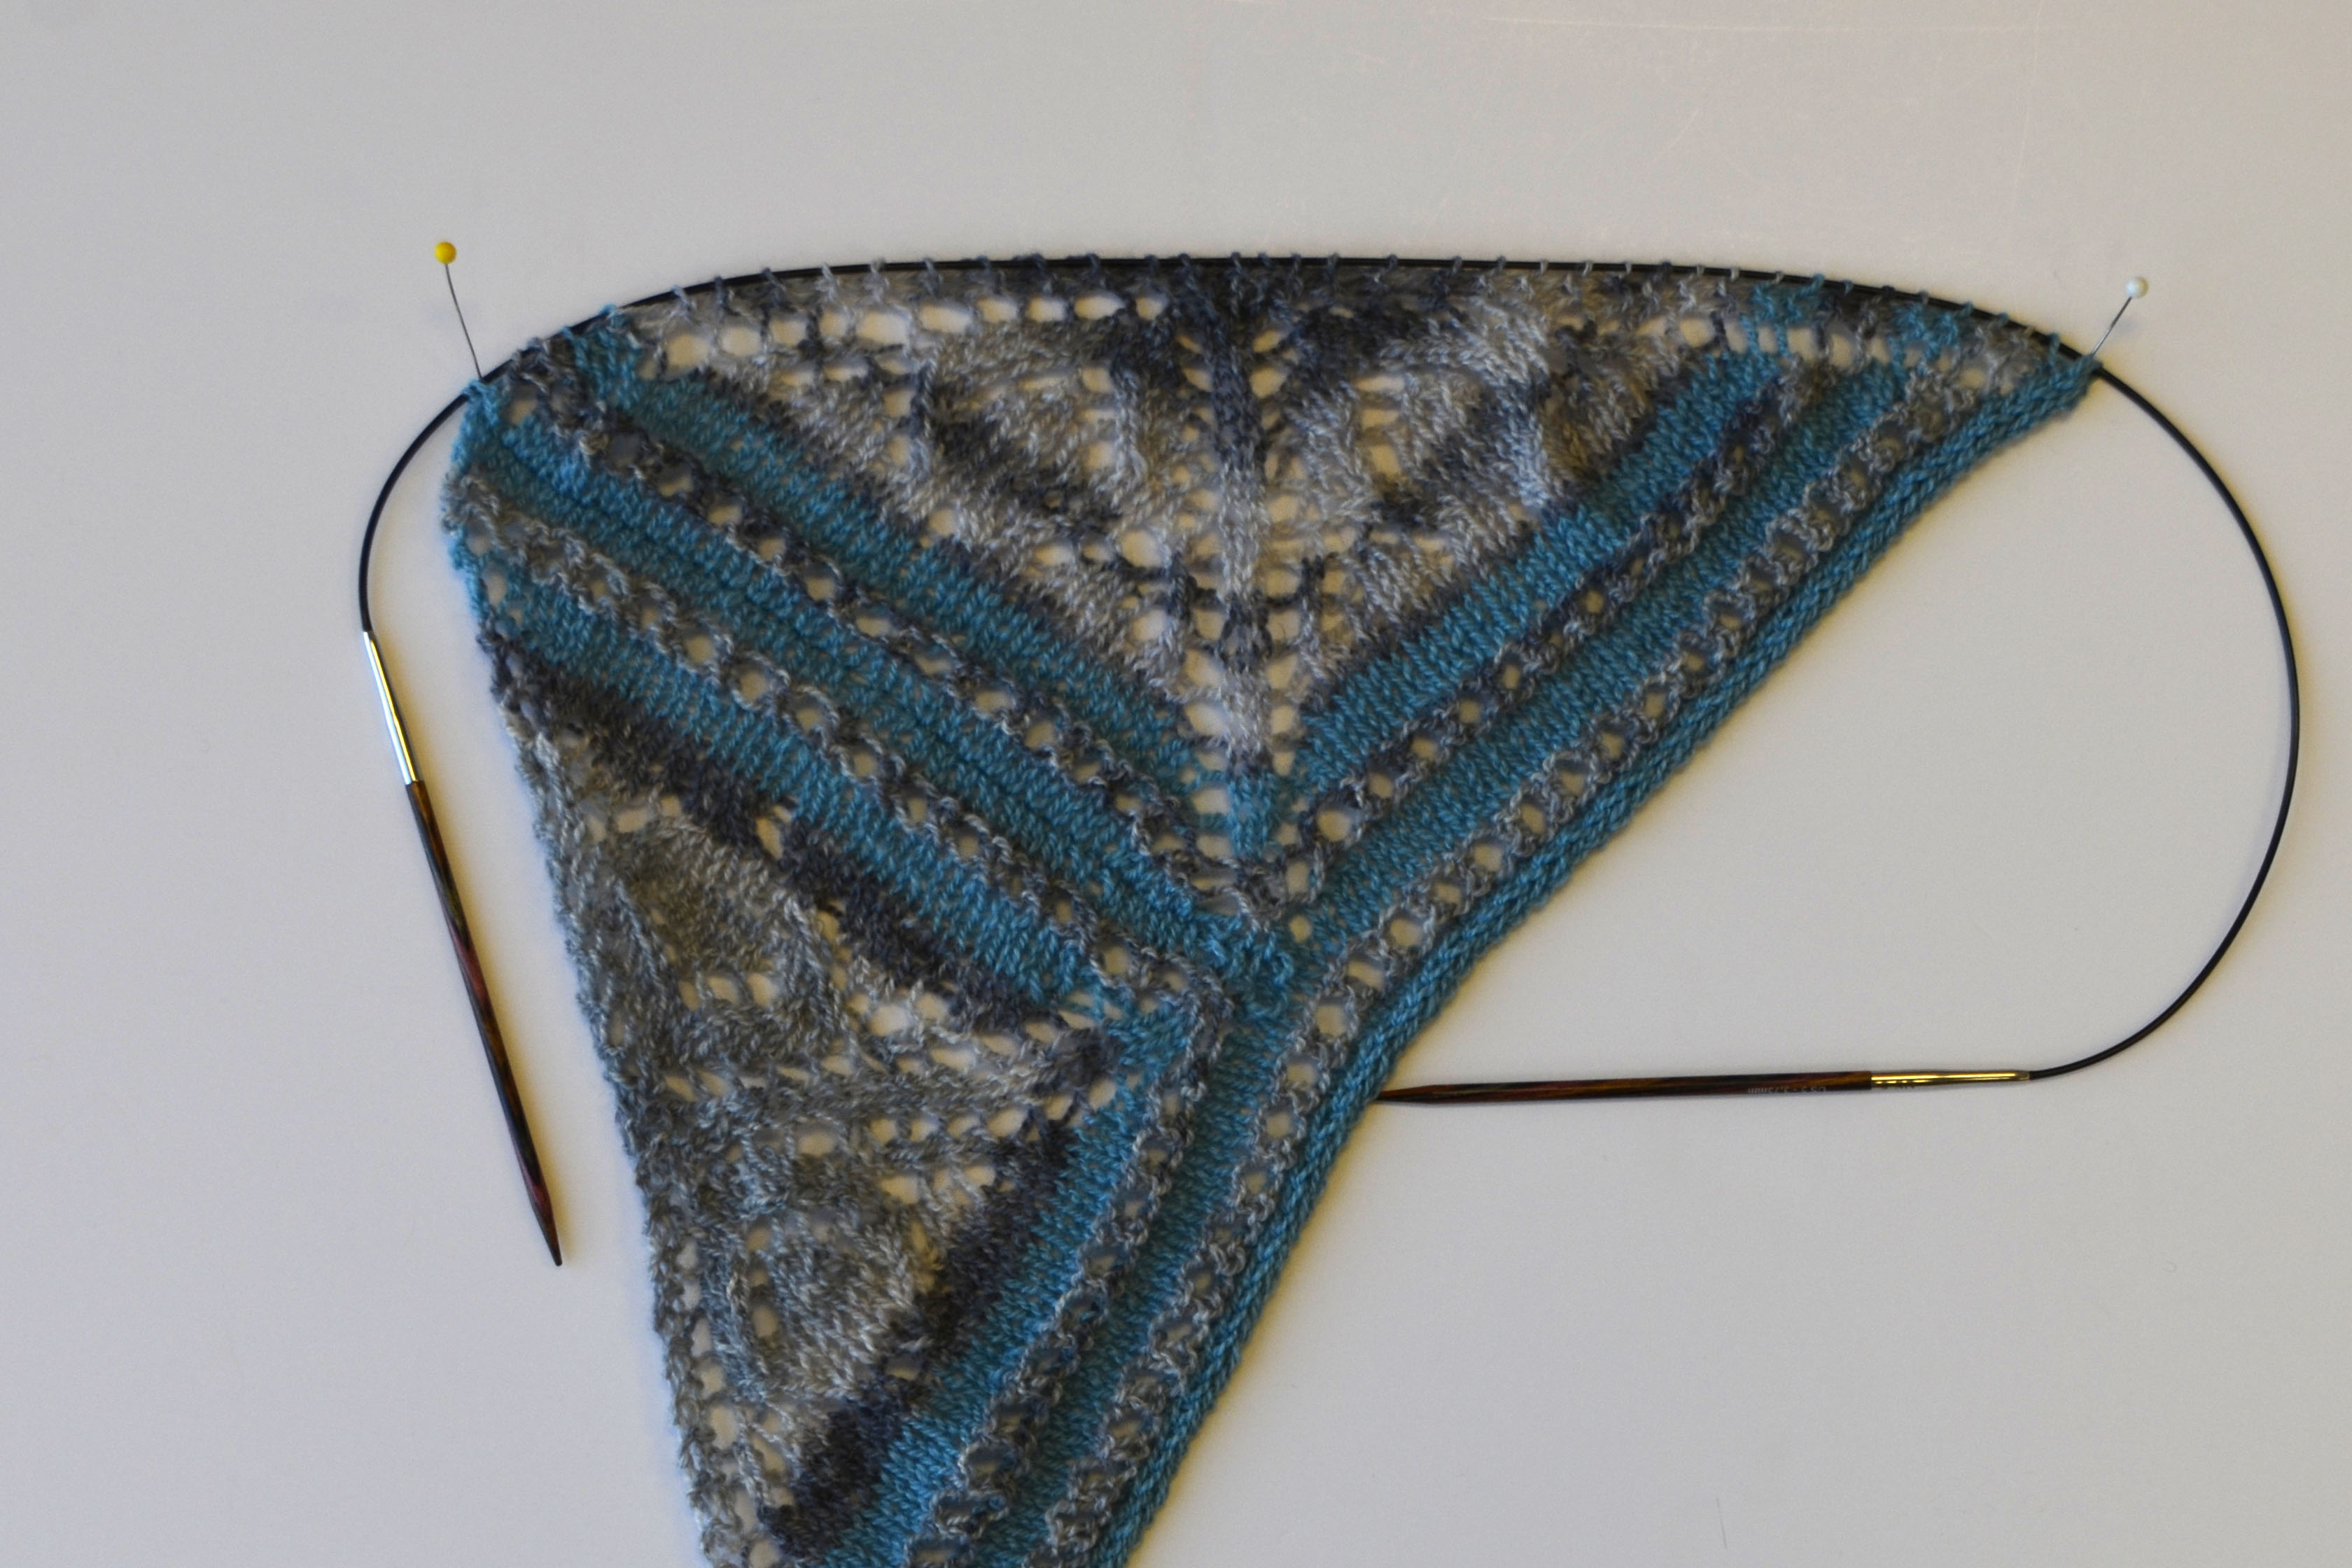
Though this is perhaps misleading, because in the diagram the cast-on edge as shown as a straight line. But in reality, you cast on but then join in the round, like this:

Herringbone_diagram_2

Later, after the shawl is bound-off, you go back and seam the cast-on edge together which forms the center line.

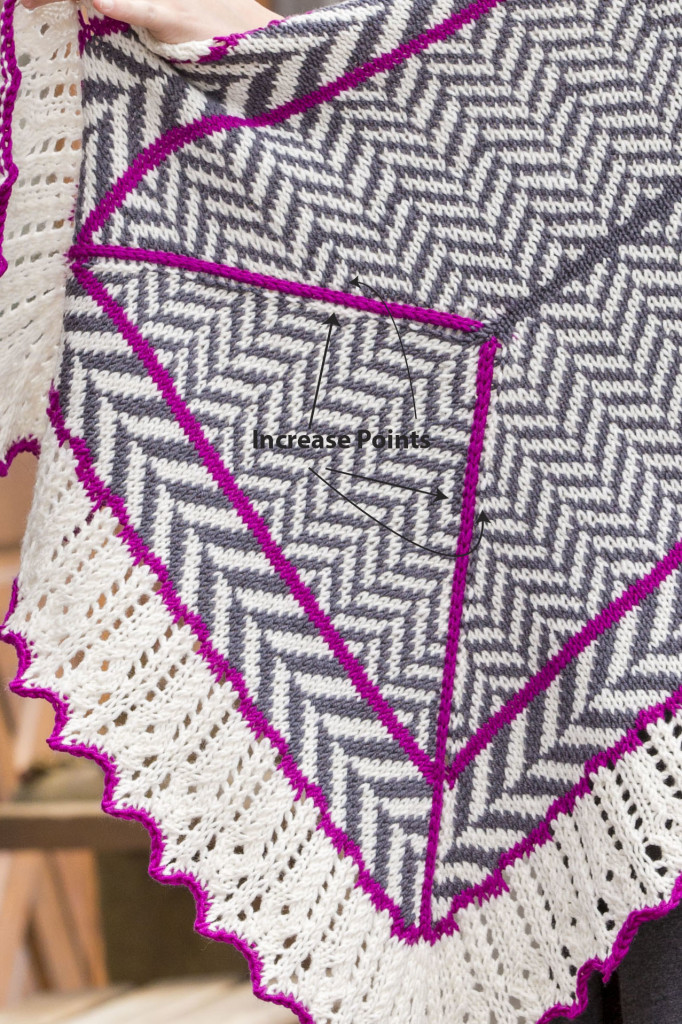
The shaping is mitered, so you’re increasing along each of the 4 corners. There are 8 increases per round, 1 on each side of the pink contrast color lines:

Increasepoints

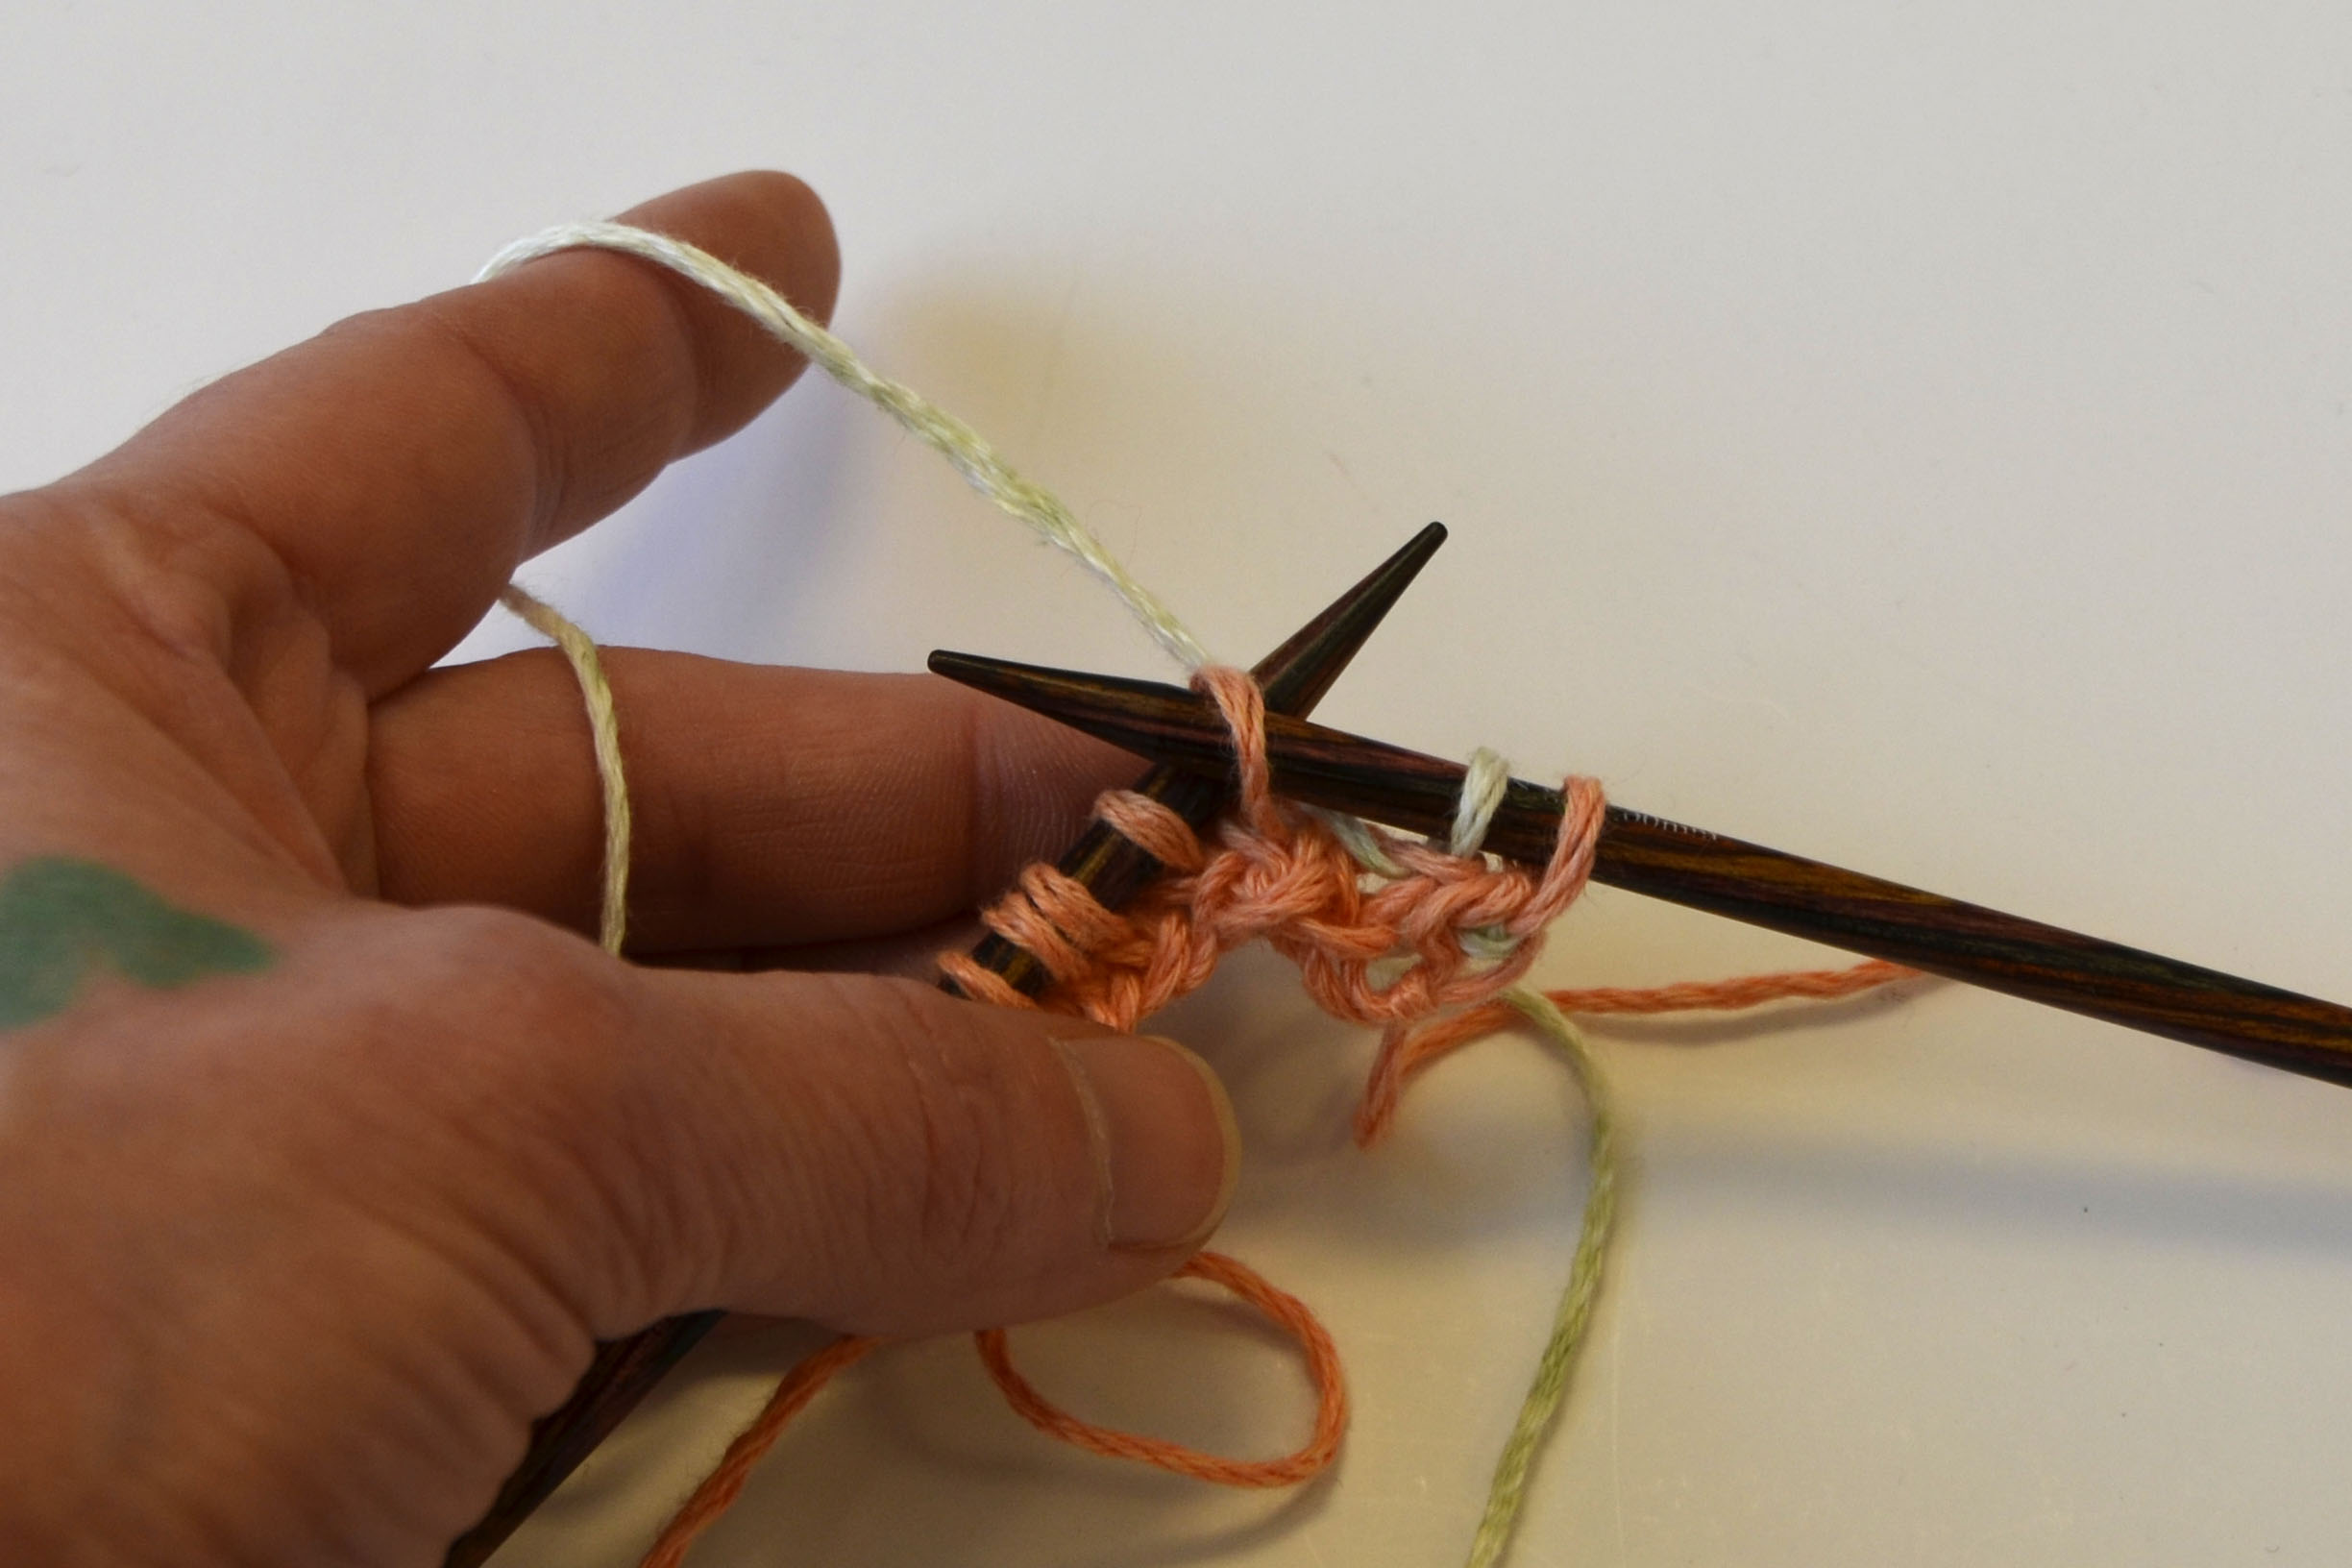
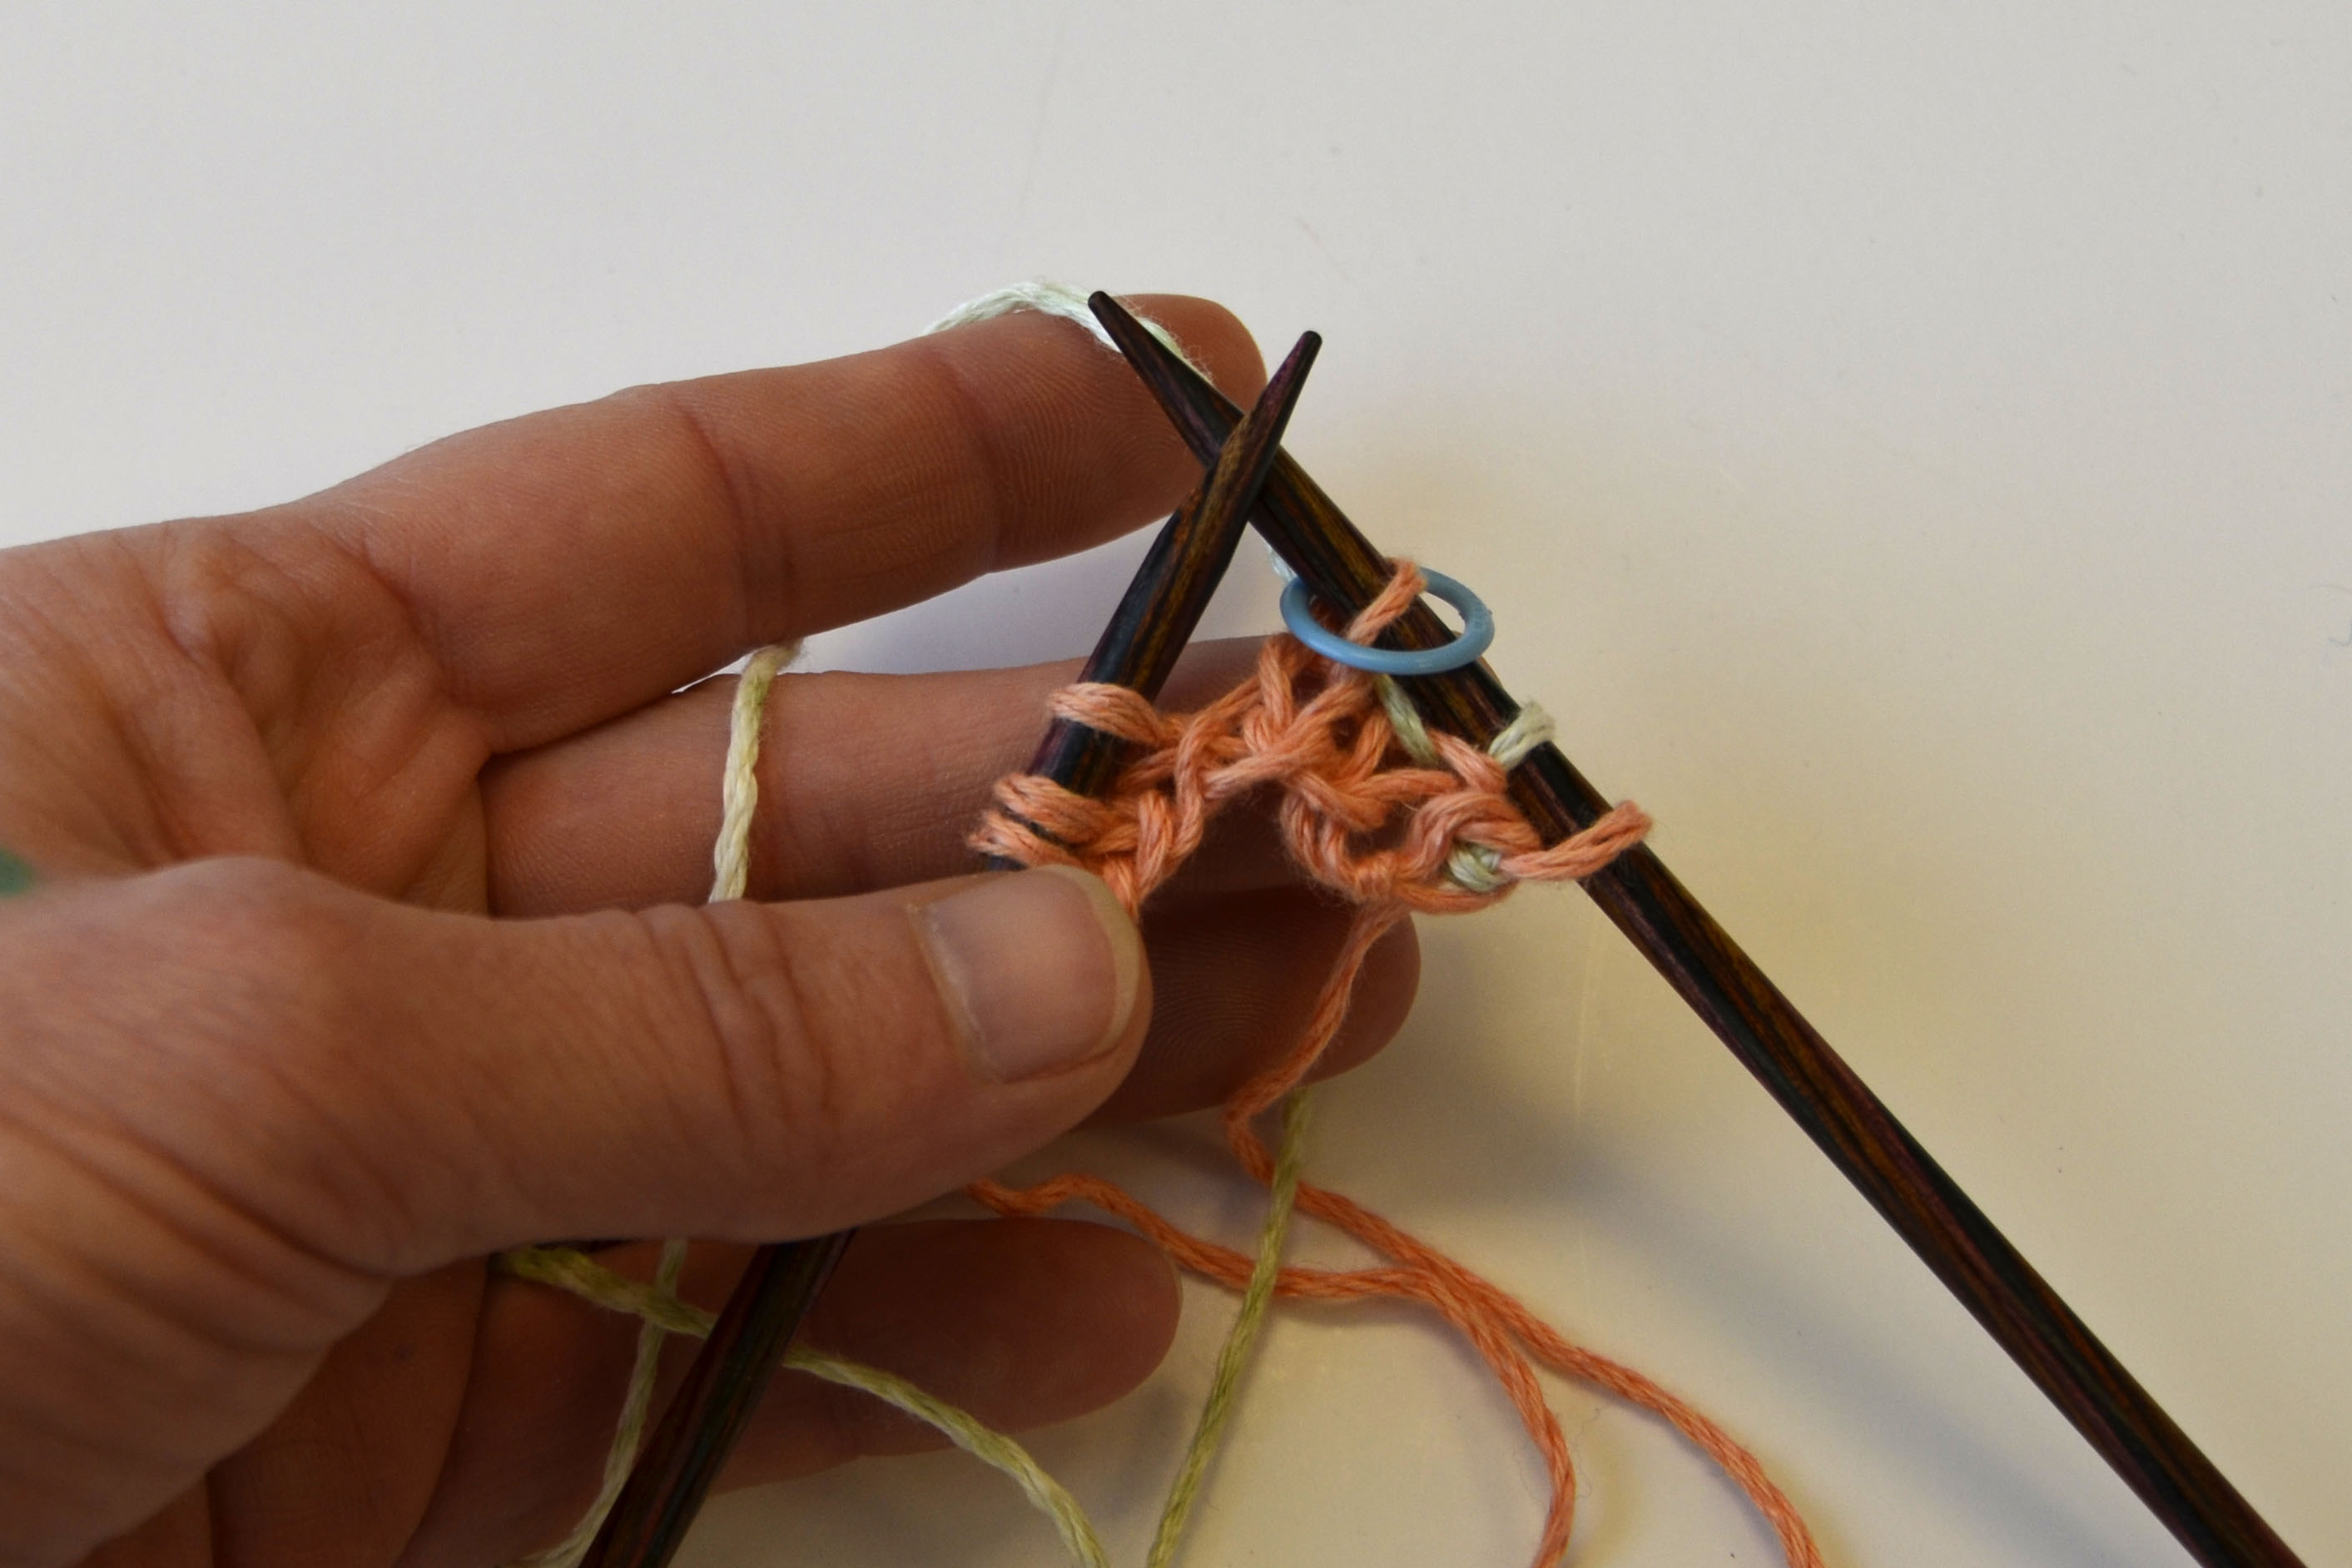
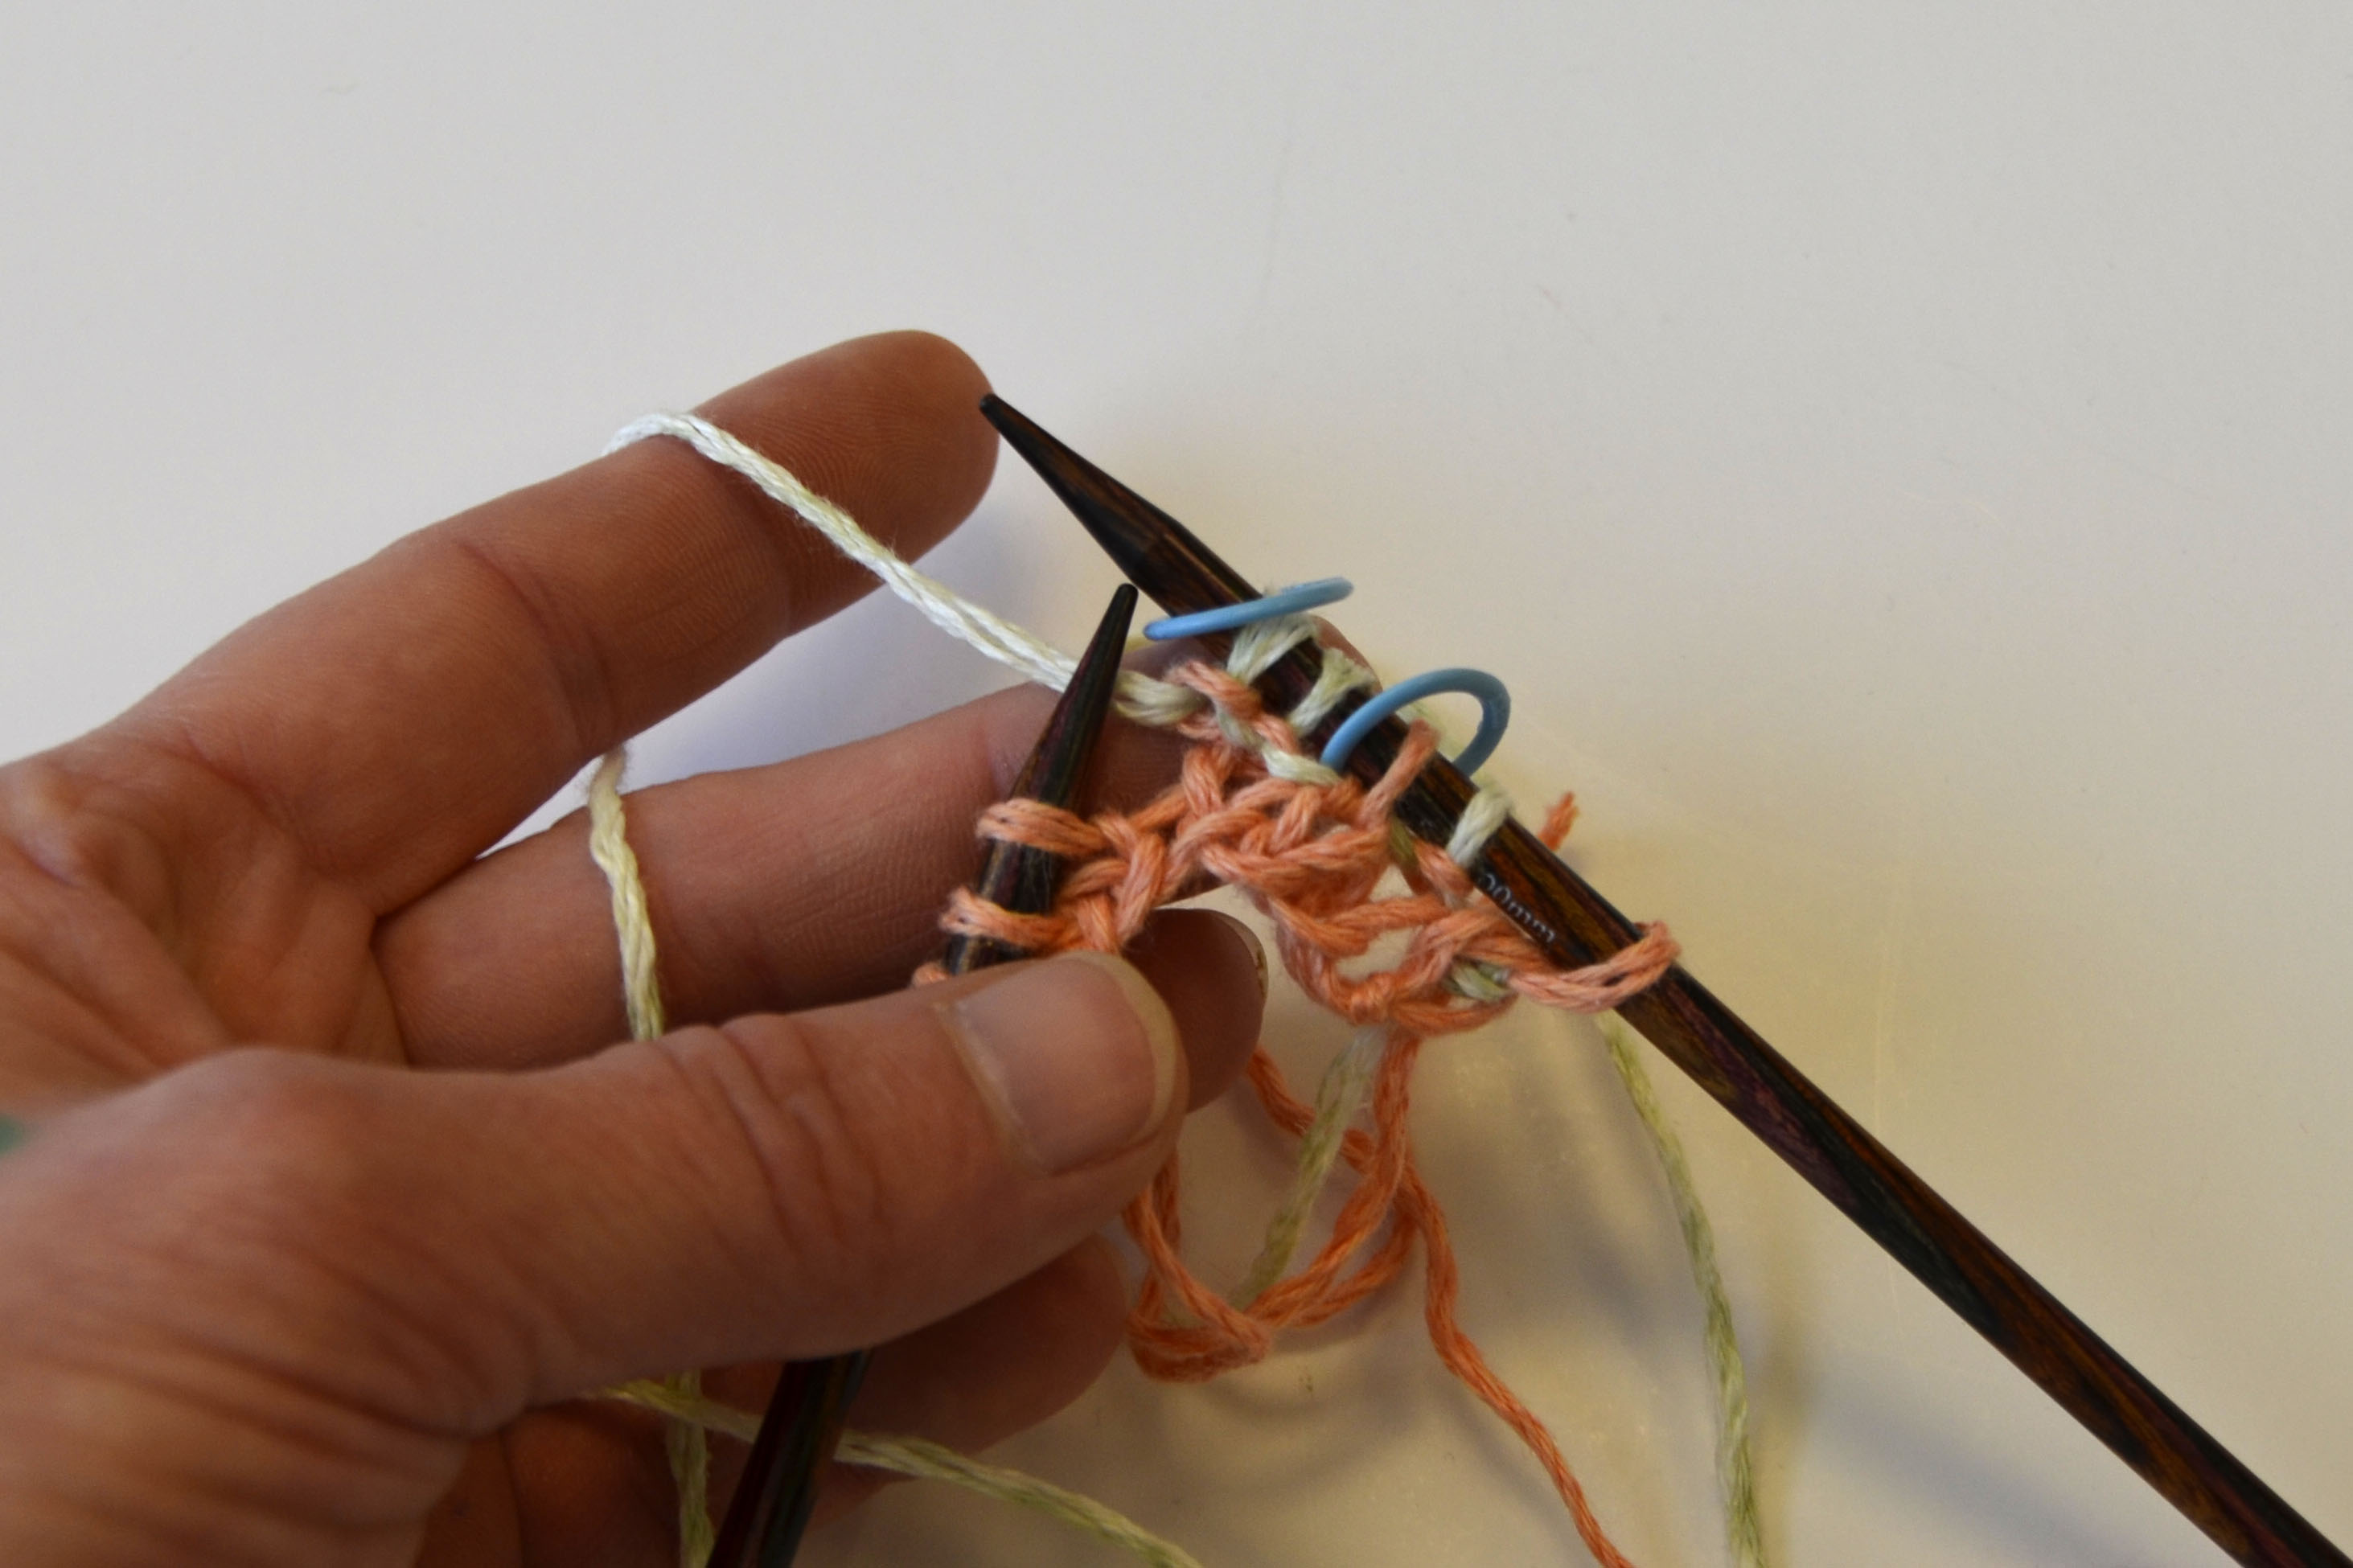
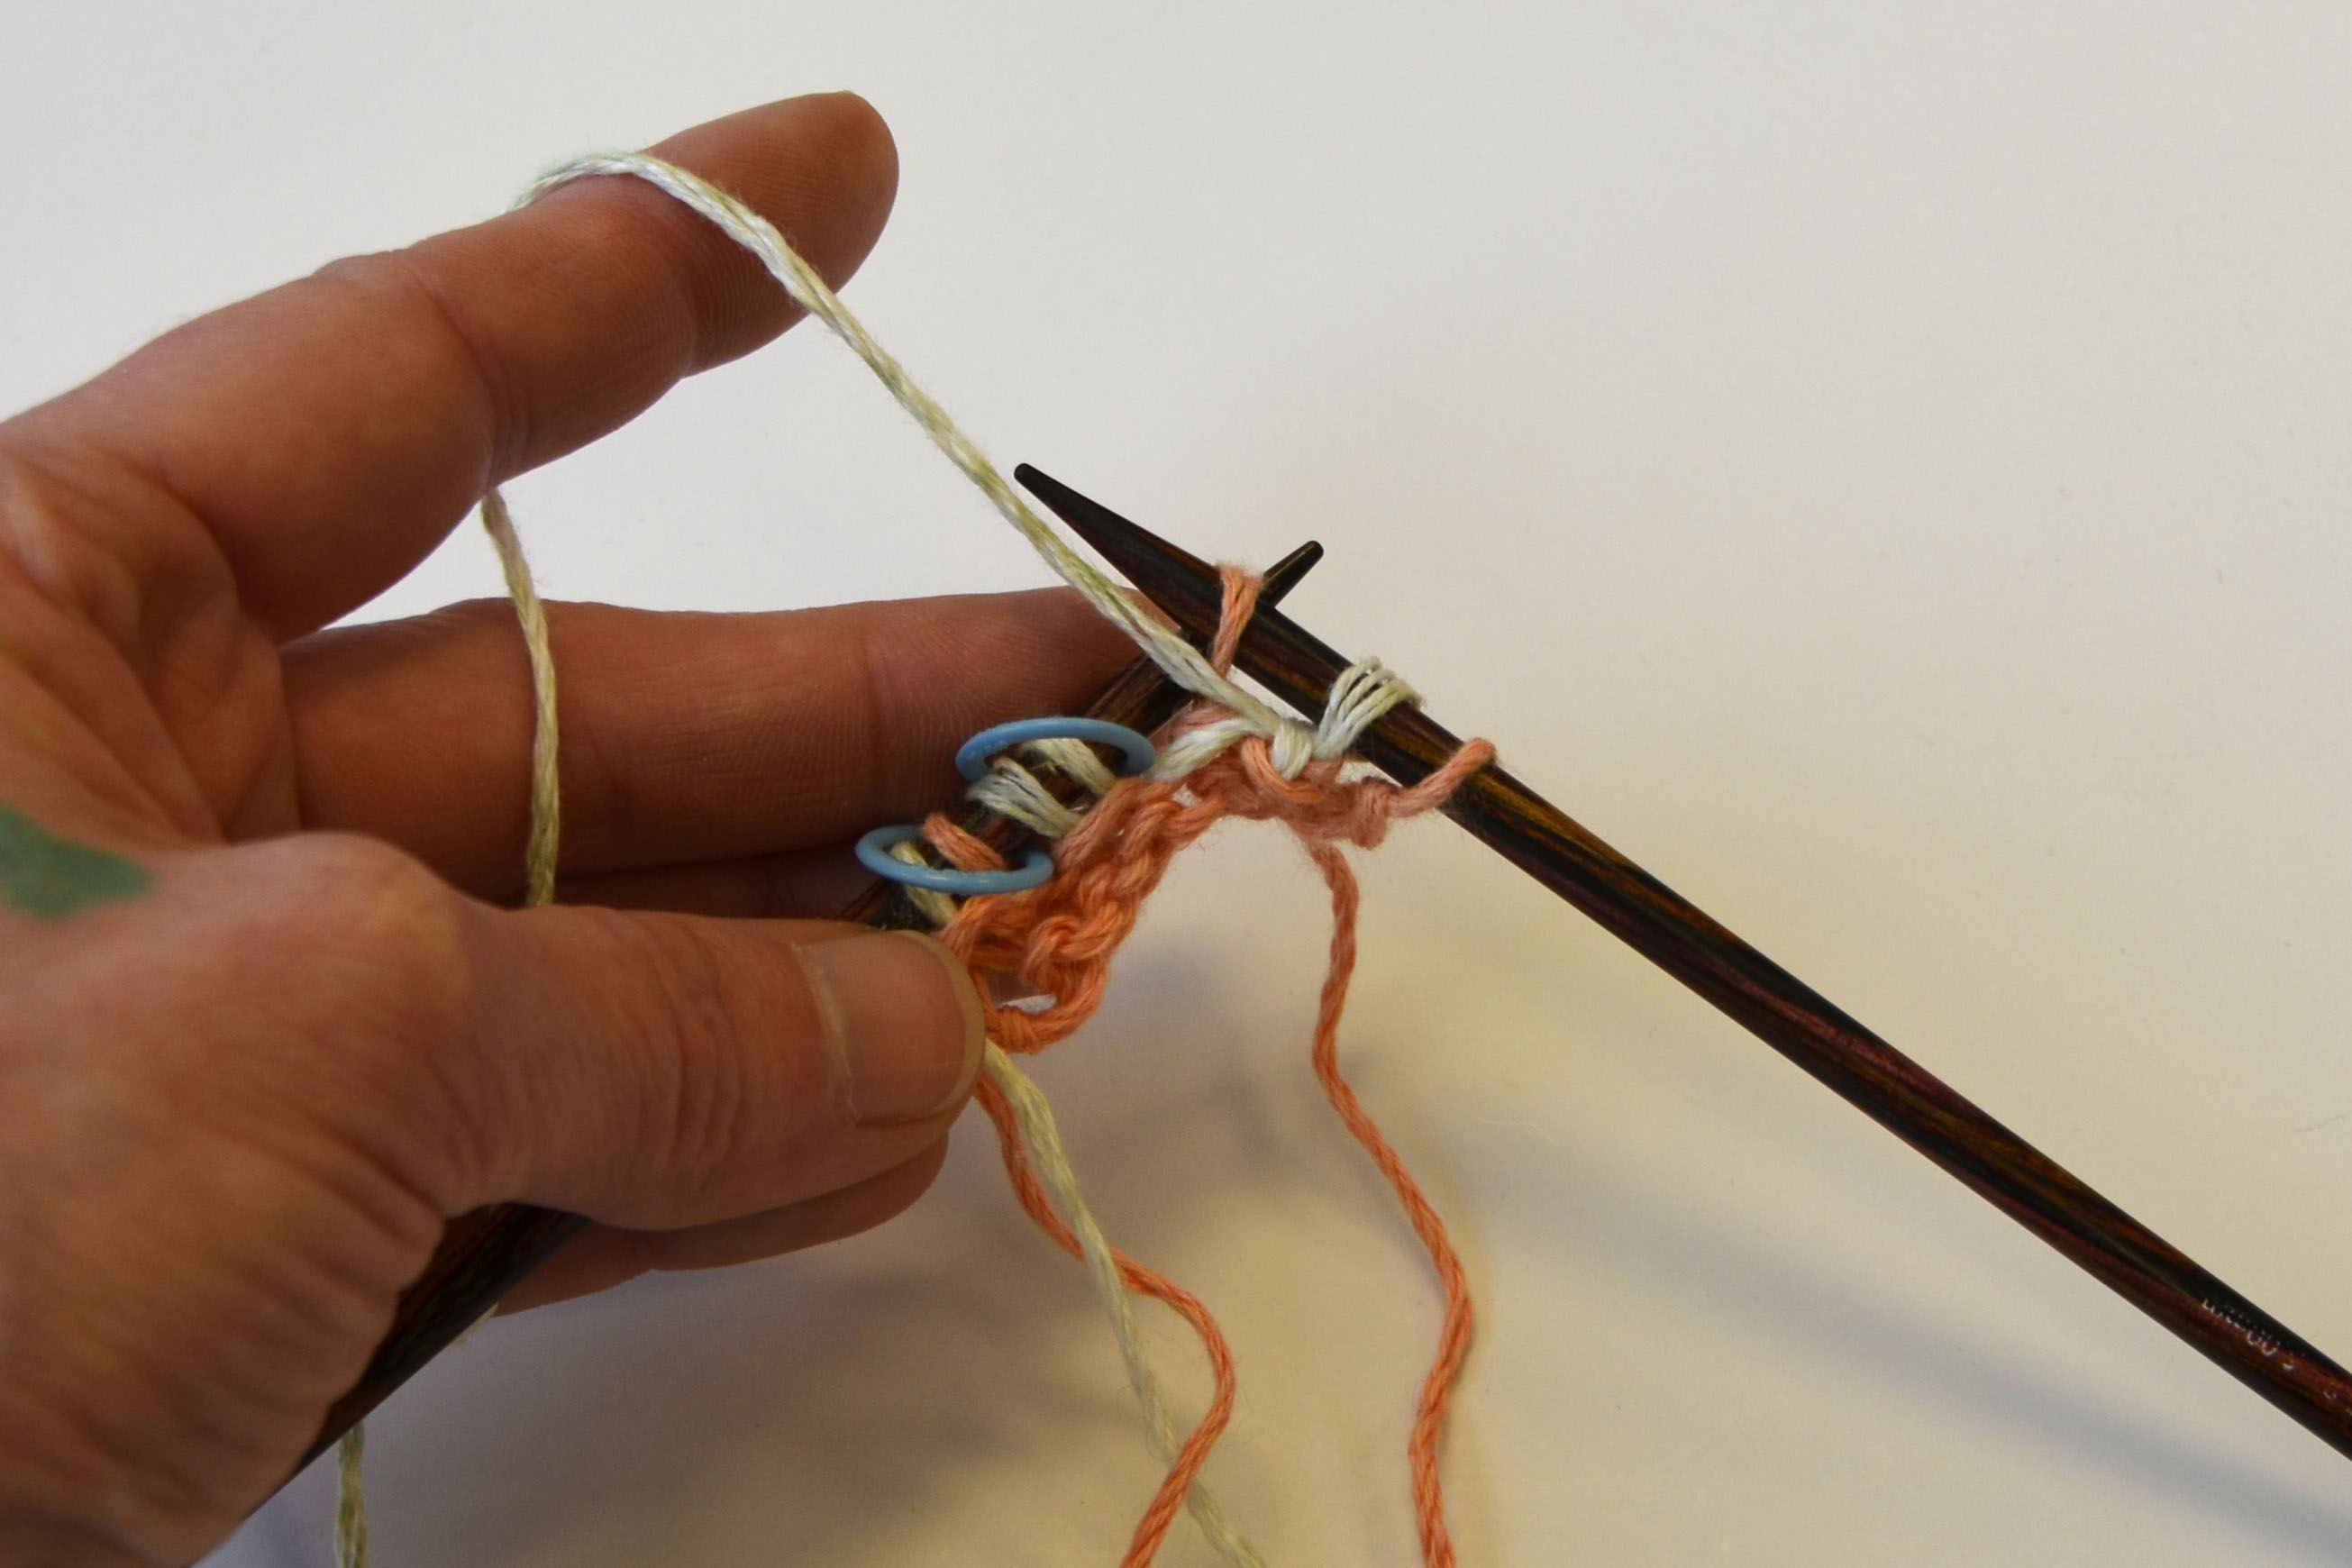
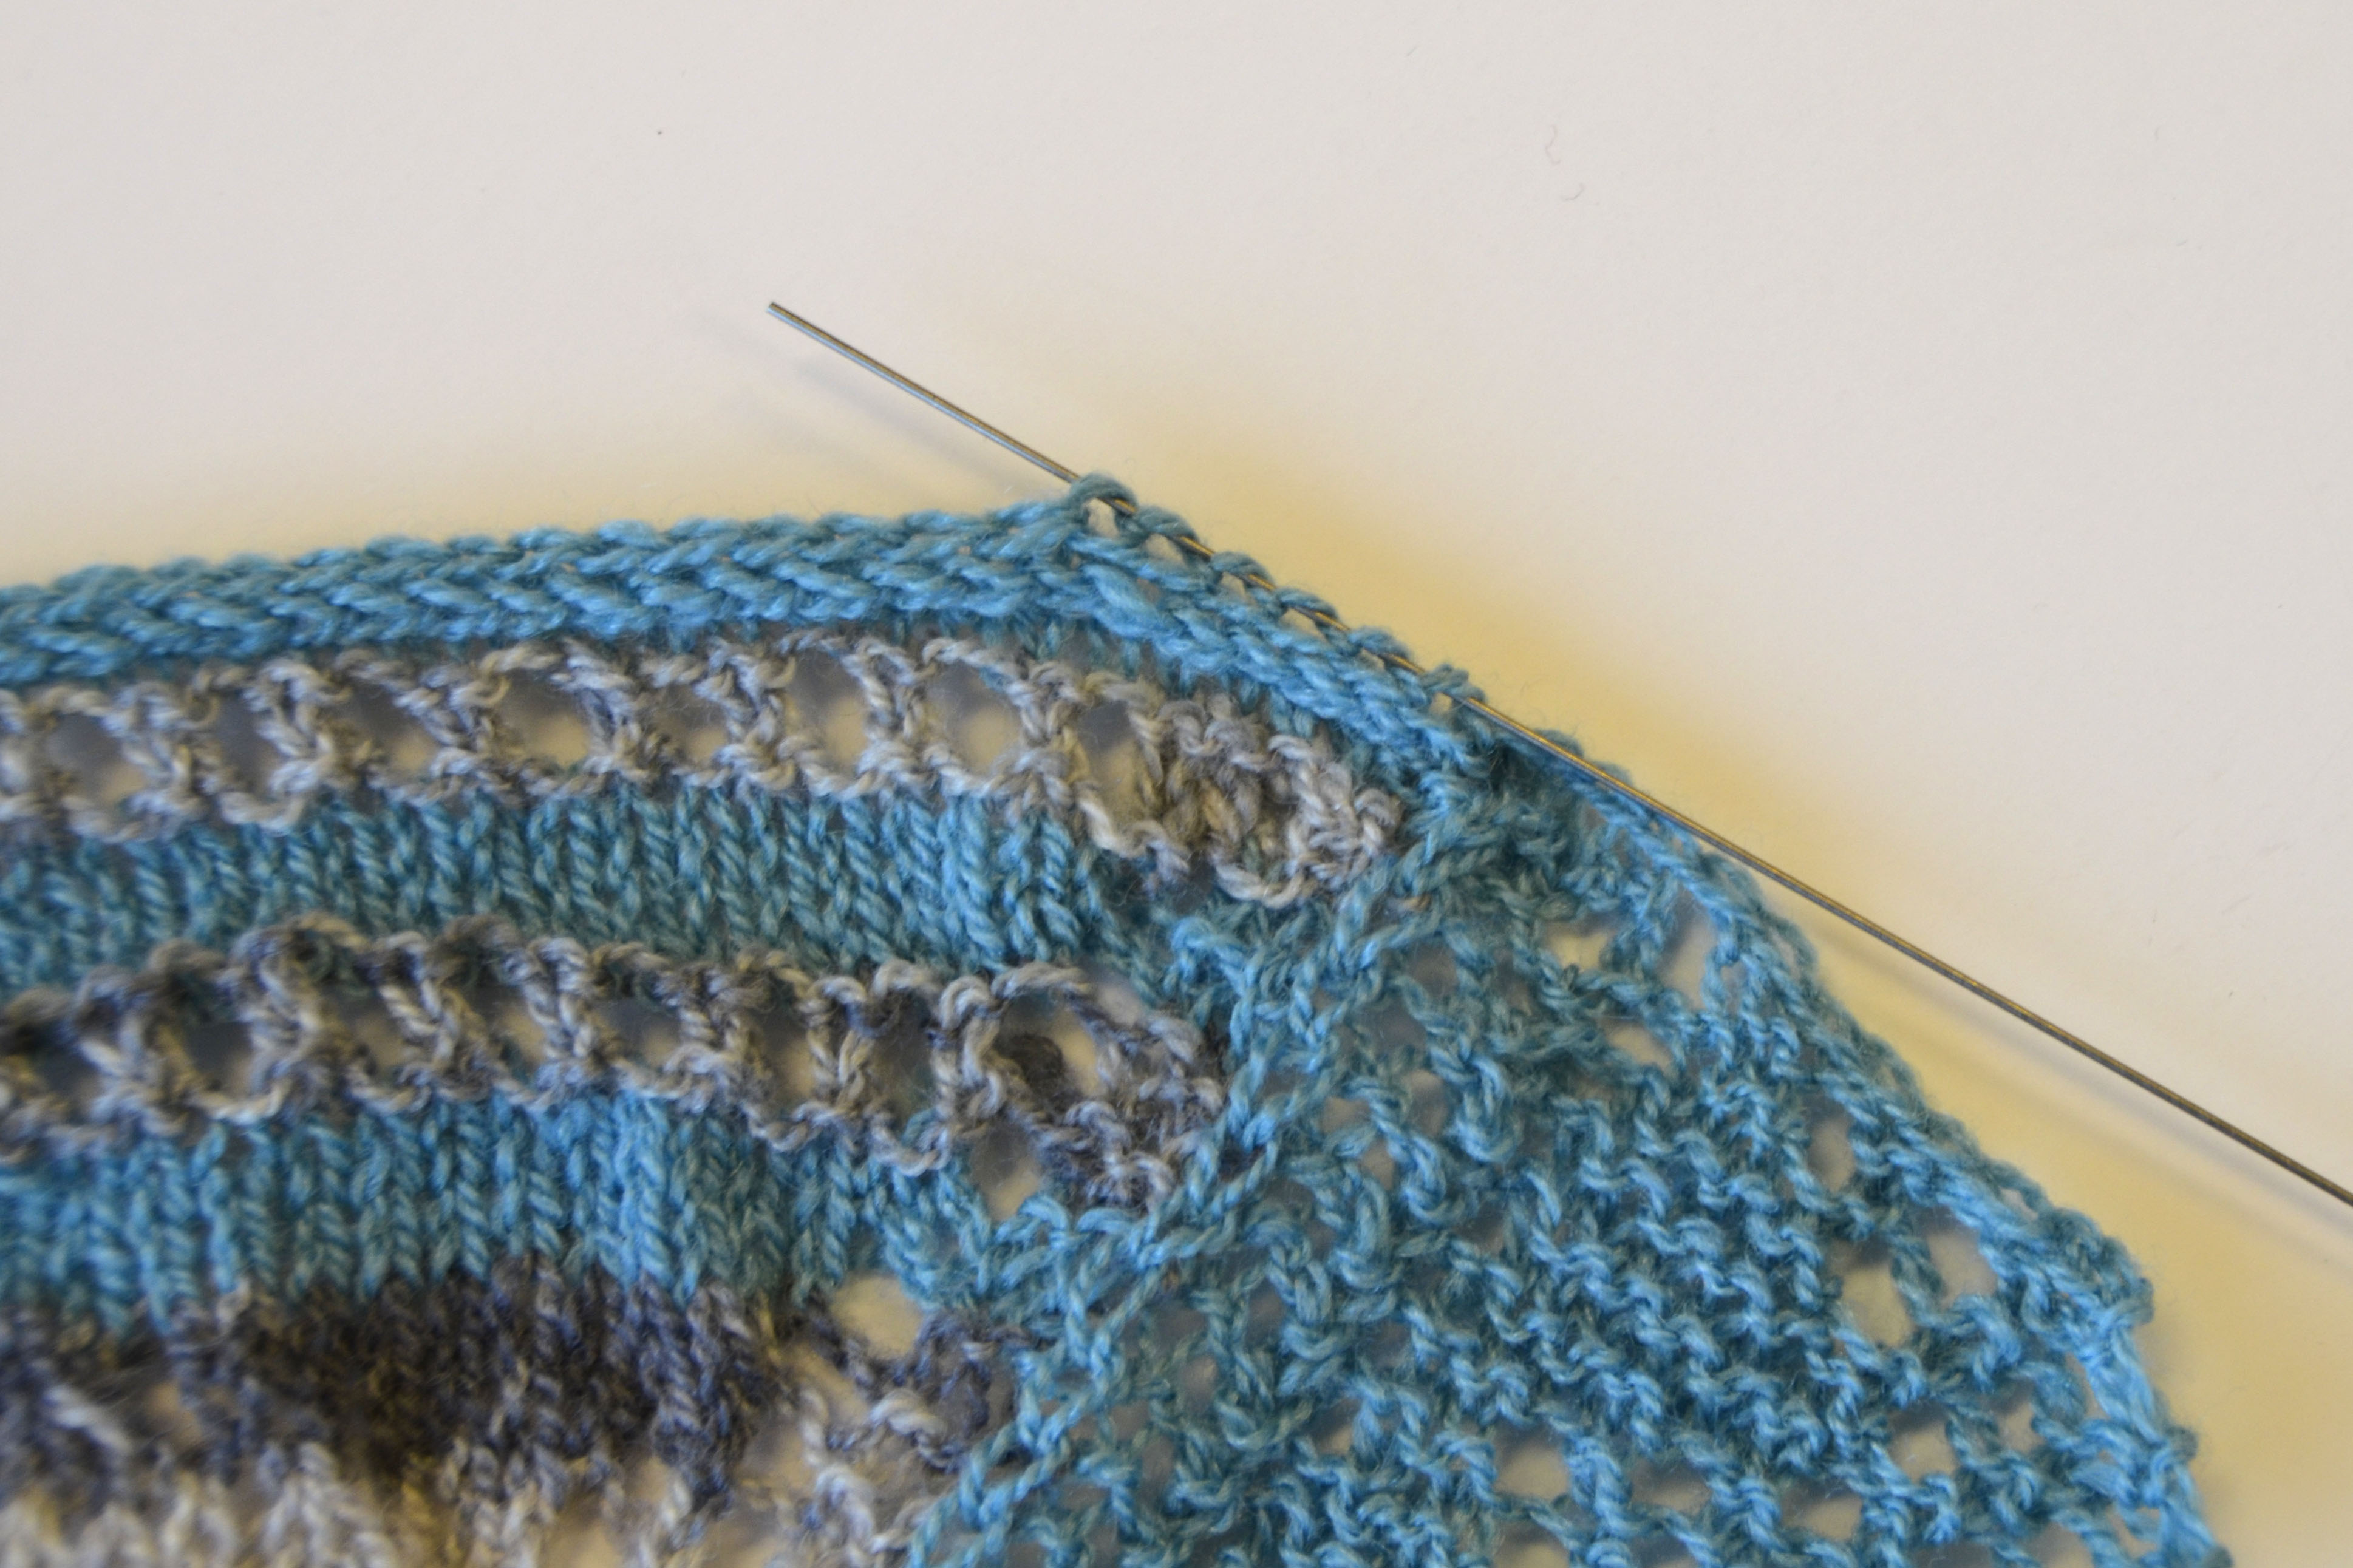
Speaking of those pink contrast lines, that’s another little technique that might sound harder than it really is. The pink lines are worked in intarsia, another method of changing colors in knitting. But instead of carrying the yarn along throughout the entire round, you only pick up that particular color when encountered.

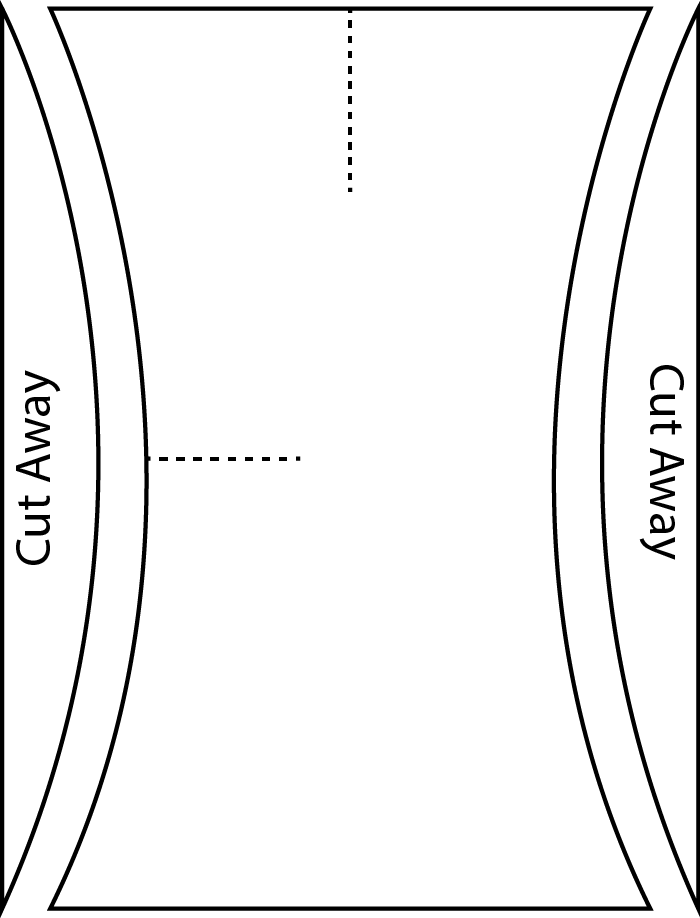
For the Herringbone Shawl, I recommend preparing yarn bobbins for these corner spots. Yarn bobbins can be purchased, or you can easily make them yourself. I’ve used cardboard before, but the ideal material for making bobbins is something just a little sturdier like plastic lids from margarine containers or the like.

Cut out a shape like this, and make little snips where the dotted lines are:

yarn bobbin

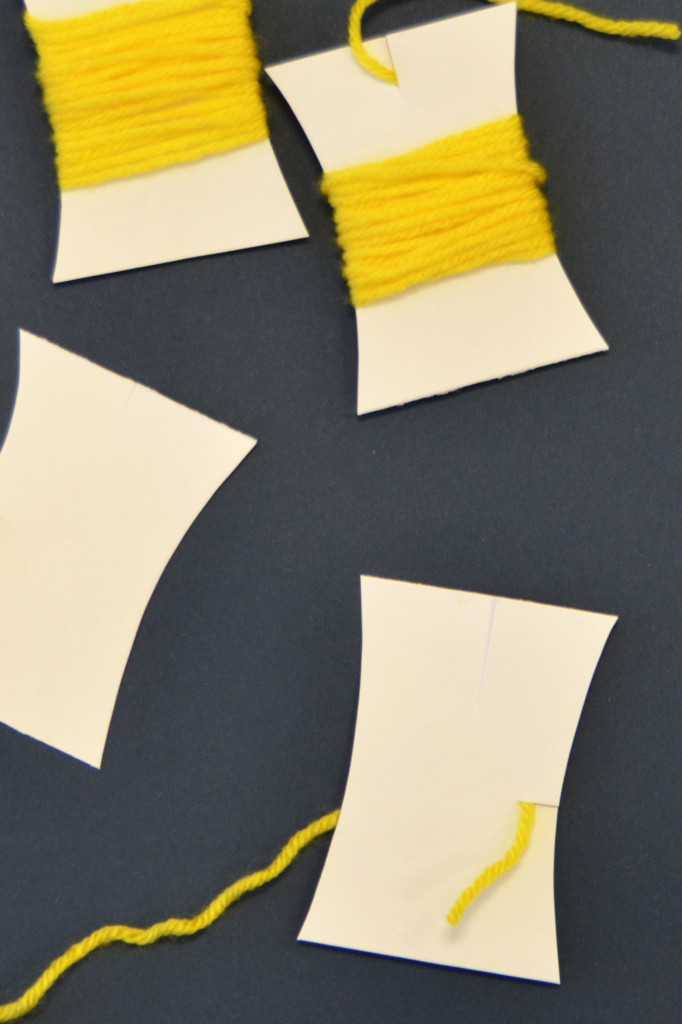
Then, secure the yarn tail to one of the snips on the yarn bobbin, wind the yarn around, bring the other end out of the top snip, and cut the yarn.

Herringbone_1

Use 1 bobbin for each corner. When it’s time to use this CC, free the yarn from that top snip in the bobbin. When you’re done with it for the round, just tuck it back in the snip. This will keep things organized and prevent you from having lots of loose and tangled ends on the back of the work.

When it’s time to knit the corners, drop the other two colors (MC and CC1), pick up CC2 (the pink), knit the 2 corner stitches, then drop CC2 and proceed with MC and CC1. That’s all there is to it.

Though I think the pink corner lines add a fun element to this piece, I could certainly see Herringbone without them. If you decide you’re not ready to introduce intarsia into your stranding, simply work these 2-stitch corners in the main color instead.

What colors will you knit your Herringbone Shawl in?

Traverse Scarf – the Basics

For the last several weeks, I’ve been touching on various elements of some of the projects from our new ebook, Contrarian Shawls 2. The past 3 weeks were spent on techinques from the Bisected Shawl, and the 2 weeks before that I covered how to do filet crochet with the Delphi Stole.

I want to turn this week to the Traverse Scarf, which I think is the most wearable and functional piece in the whole collection.

Traverse_1_hires_crop Traverse_2_hires_crop

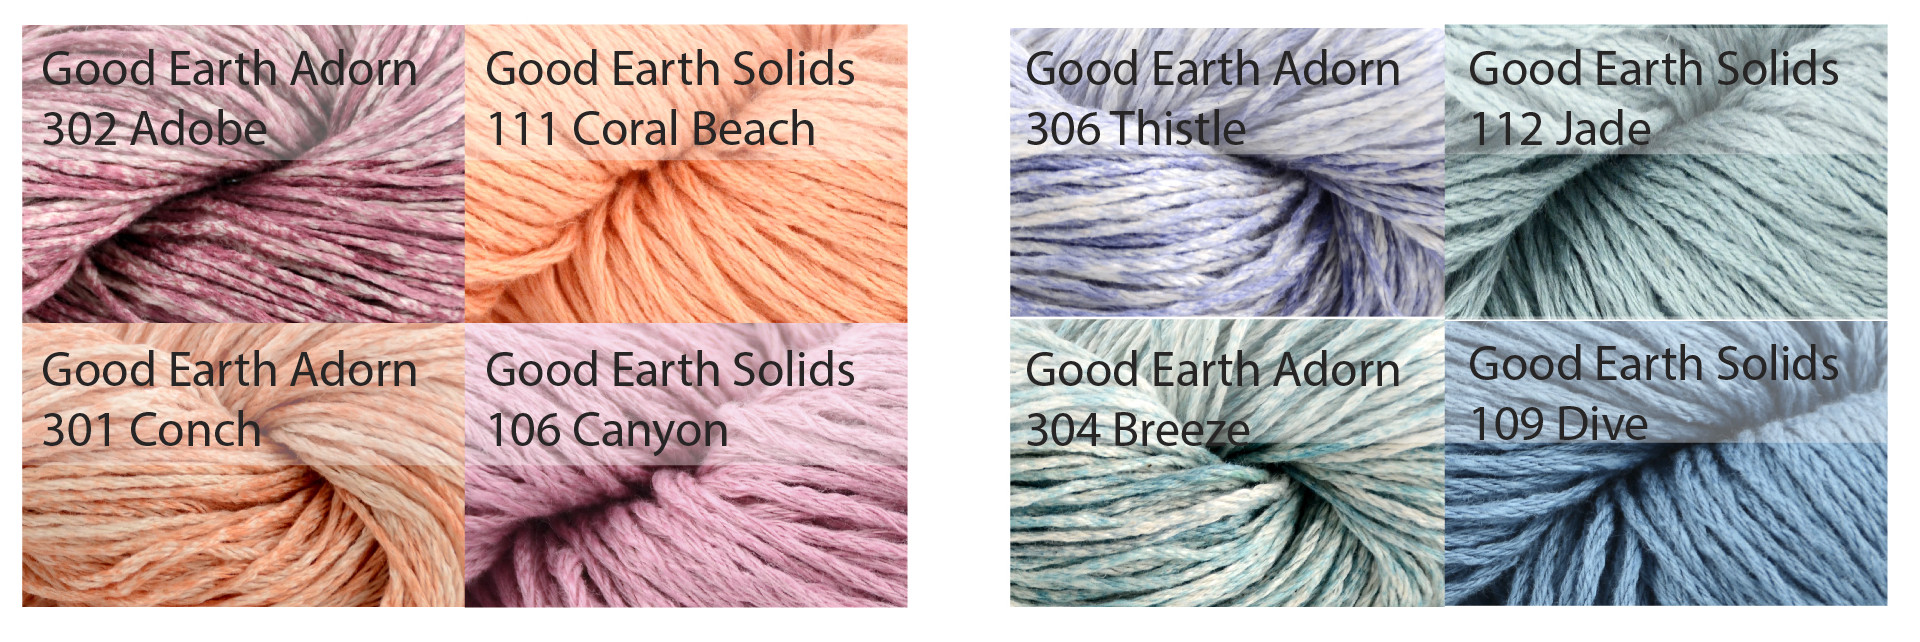
It’s definitely more scarf than shawl, and I think of it as a visually stimulating little trifle. Traverse Scarf uses 2 shades of Good Earth Solids and 2 shades of Good Earth Adorn (spray print). More later in this post on color choices. Good Earth is a linen-cotton blend, making this a great item for warmer months.

Traverse Scarf is knit from one end to the other. It is a symmetric scarf, so any increases made in the first half have symmetric and mirrored decreases in the second half. Those lines of color in the scarf are Good Earth Solid, and they are created via slip stitches. There is only one color used in each row of this scarf, with the exception of the small section in the center back of the piece.

Today I want to talk about starting out this scarf and establishing the rhythm of increases and getting a feel for the pattern.

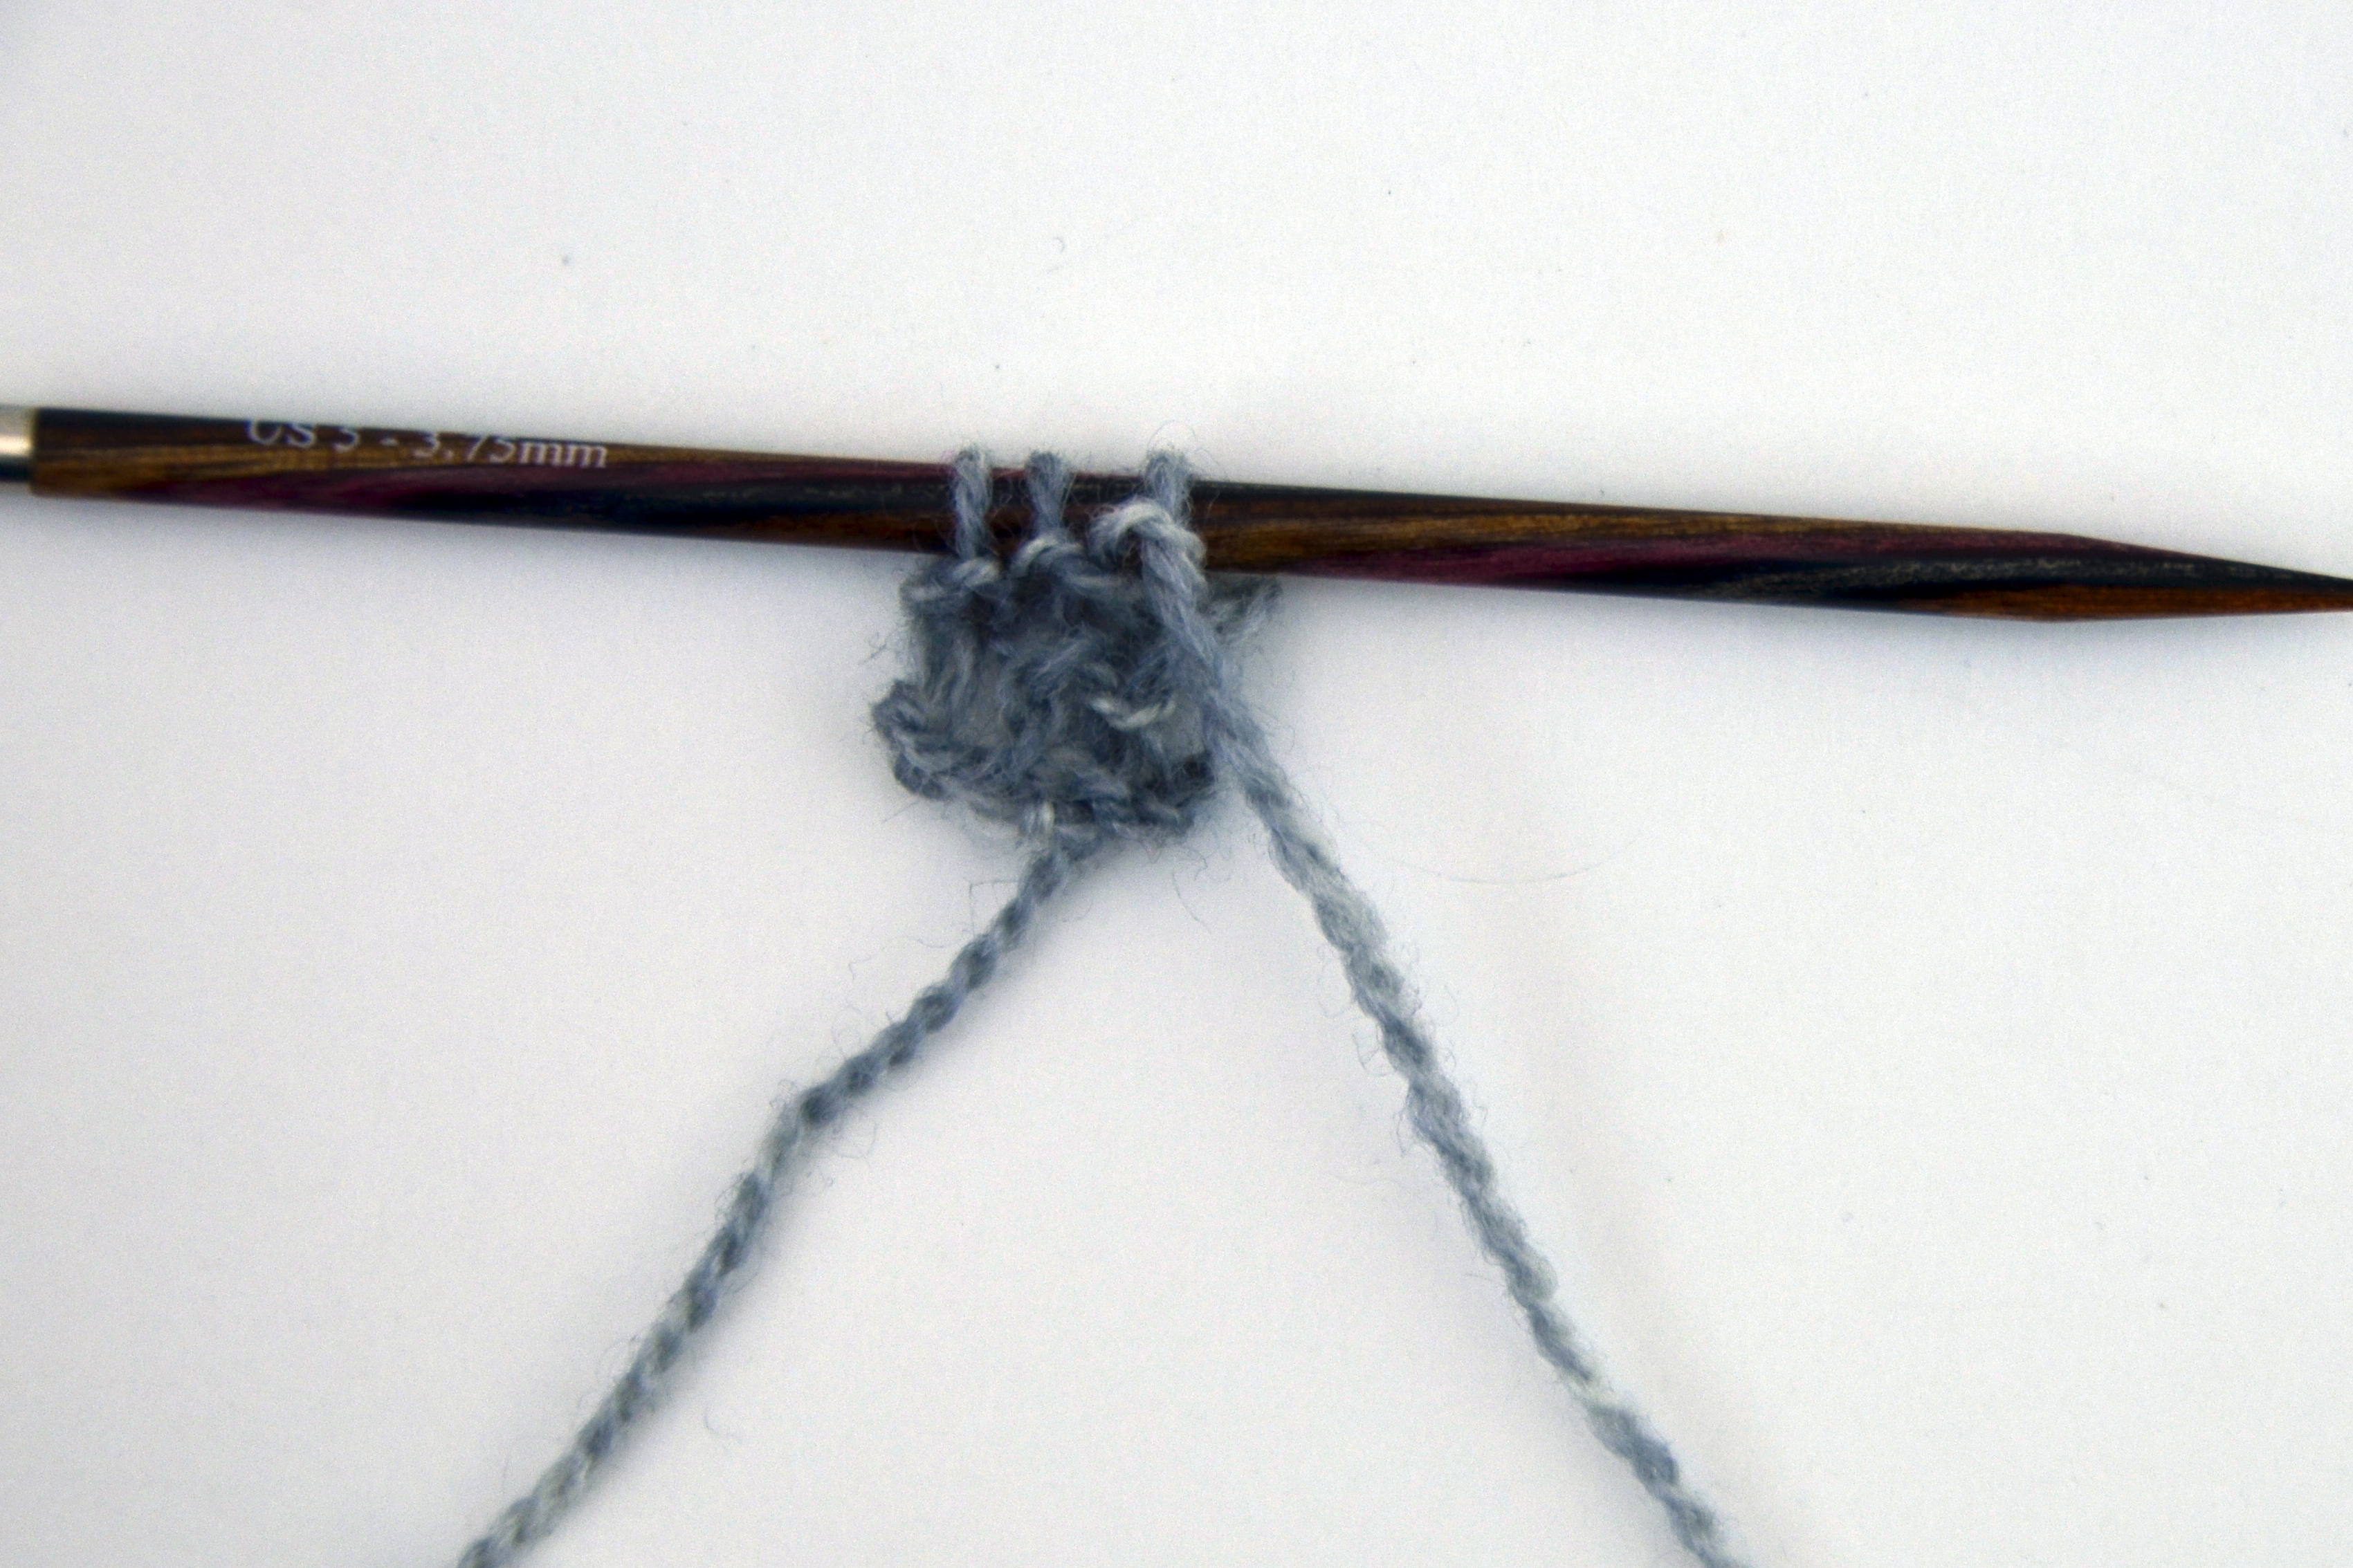
The first step is to cast on 7 stitches with the CC (Good Earth Solids) and then to purl  1 row.

Traverse_1

Next, we will establish our first two Slip Stitch Columns (abbreviated SSC in the pattern). The next 2 rows will be worked in MC (Good Earth Adorn). On right side rows, the SSC is worked as: slip 1, p1, slip 1. Stitches are always slipped purlwise (inserting the right needle into the stitch on the left needle as though to purl) with the yarn held in back, or to the wrong side of the work.

Here I am slipping the first stitch. Slipping a stitch simply means to transfer it from one needle to the other. In this case, we’re transferring the stitch from the left needle to the right needle.

Traverse_2

So I slipped 1, purled 1, and now I’m slipping the next stitch, the last of the 3-stitch SSC.

Traverse_3

Next I place a stitch marker on my needle. I will always slip this marker when I encounter it. The purpose of stitch markers is generally to remind you of something. In this case, it is to separate the SSC from the increase section.

Traverse_4

Now I’m going to make my first increase by purling into the front loop, then the back loop of the next stitch (abbreviated pfb). Then I place another stitch marker to indicate the other edge of my increase section. Since I’ve worked my pfb, my increase section now consists of 2 stitches.

Traverse_5

Then I finish off my row by working another SSC over the last 3 stitches.

On the following (WS) row, I will work my SSC as: slip 1, k1, slip 1. Because stitches are always slipped with the yarn held on the wrong  side of the work, my yarn is in front as I’m slipping the stitch.

Traverse_6

And here’s what it looks like after the cast-on and the first 3 rows. It’s a start!

Traverse_7

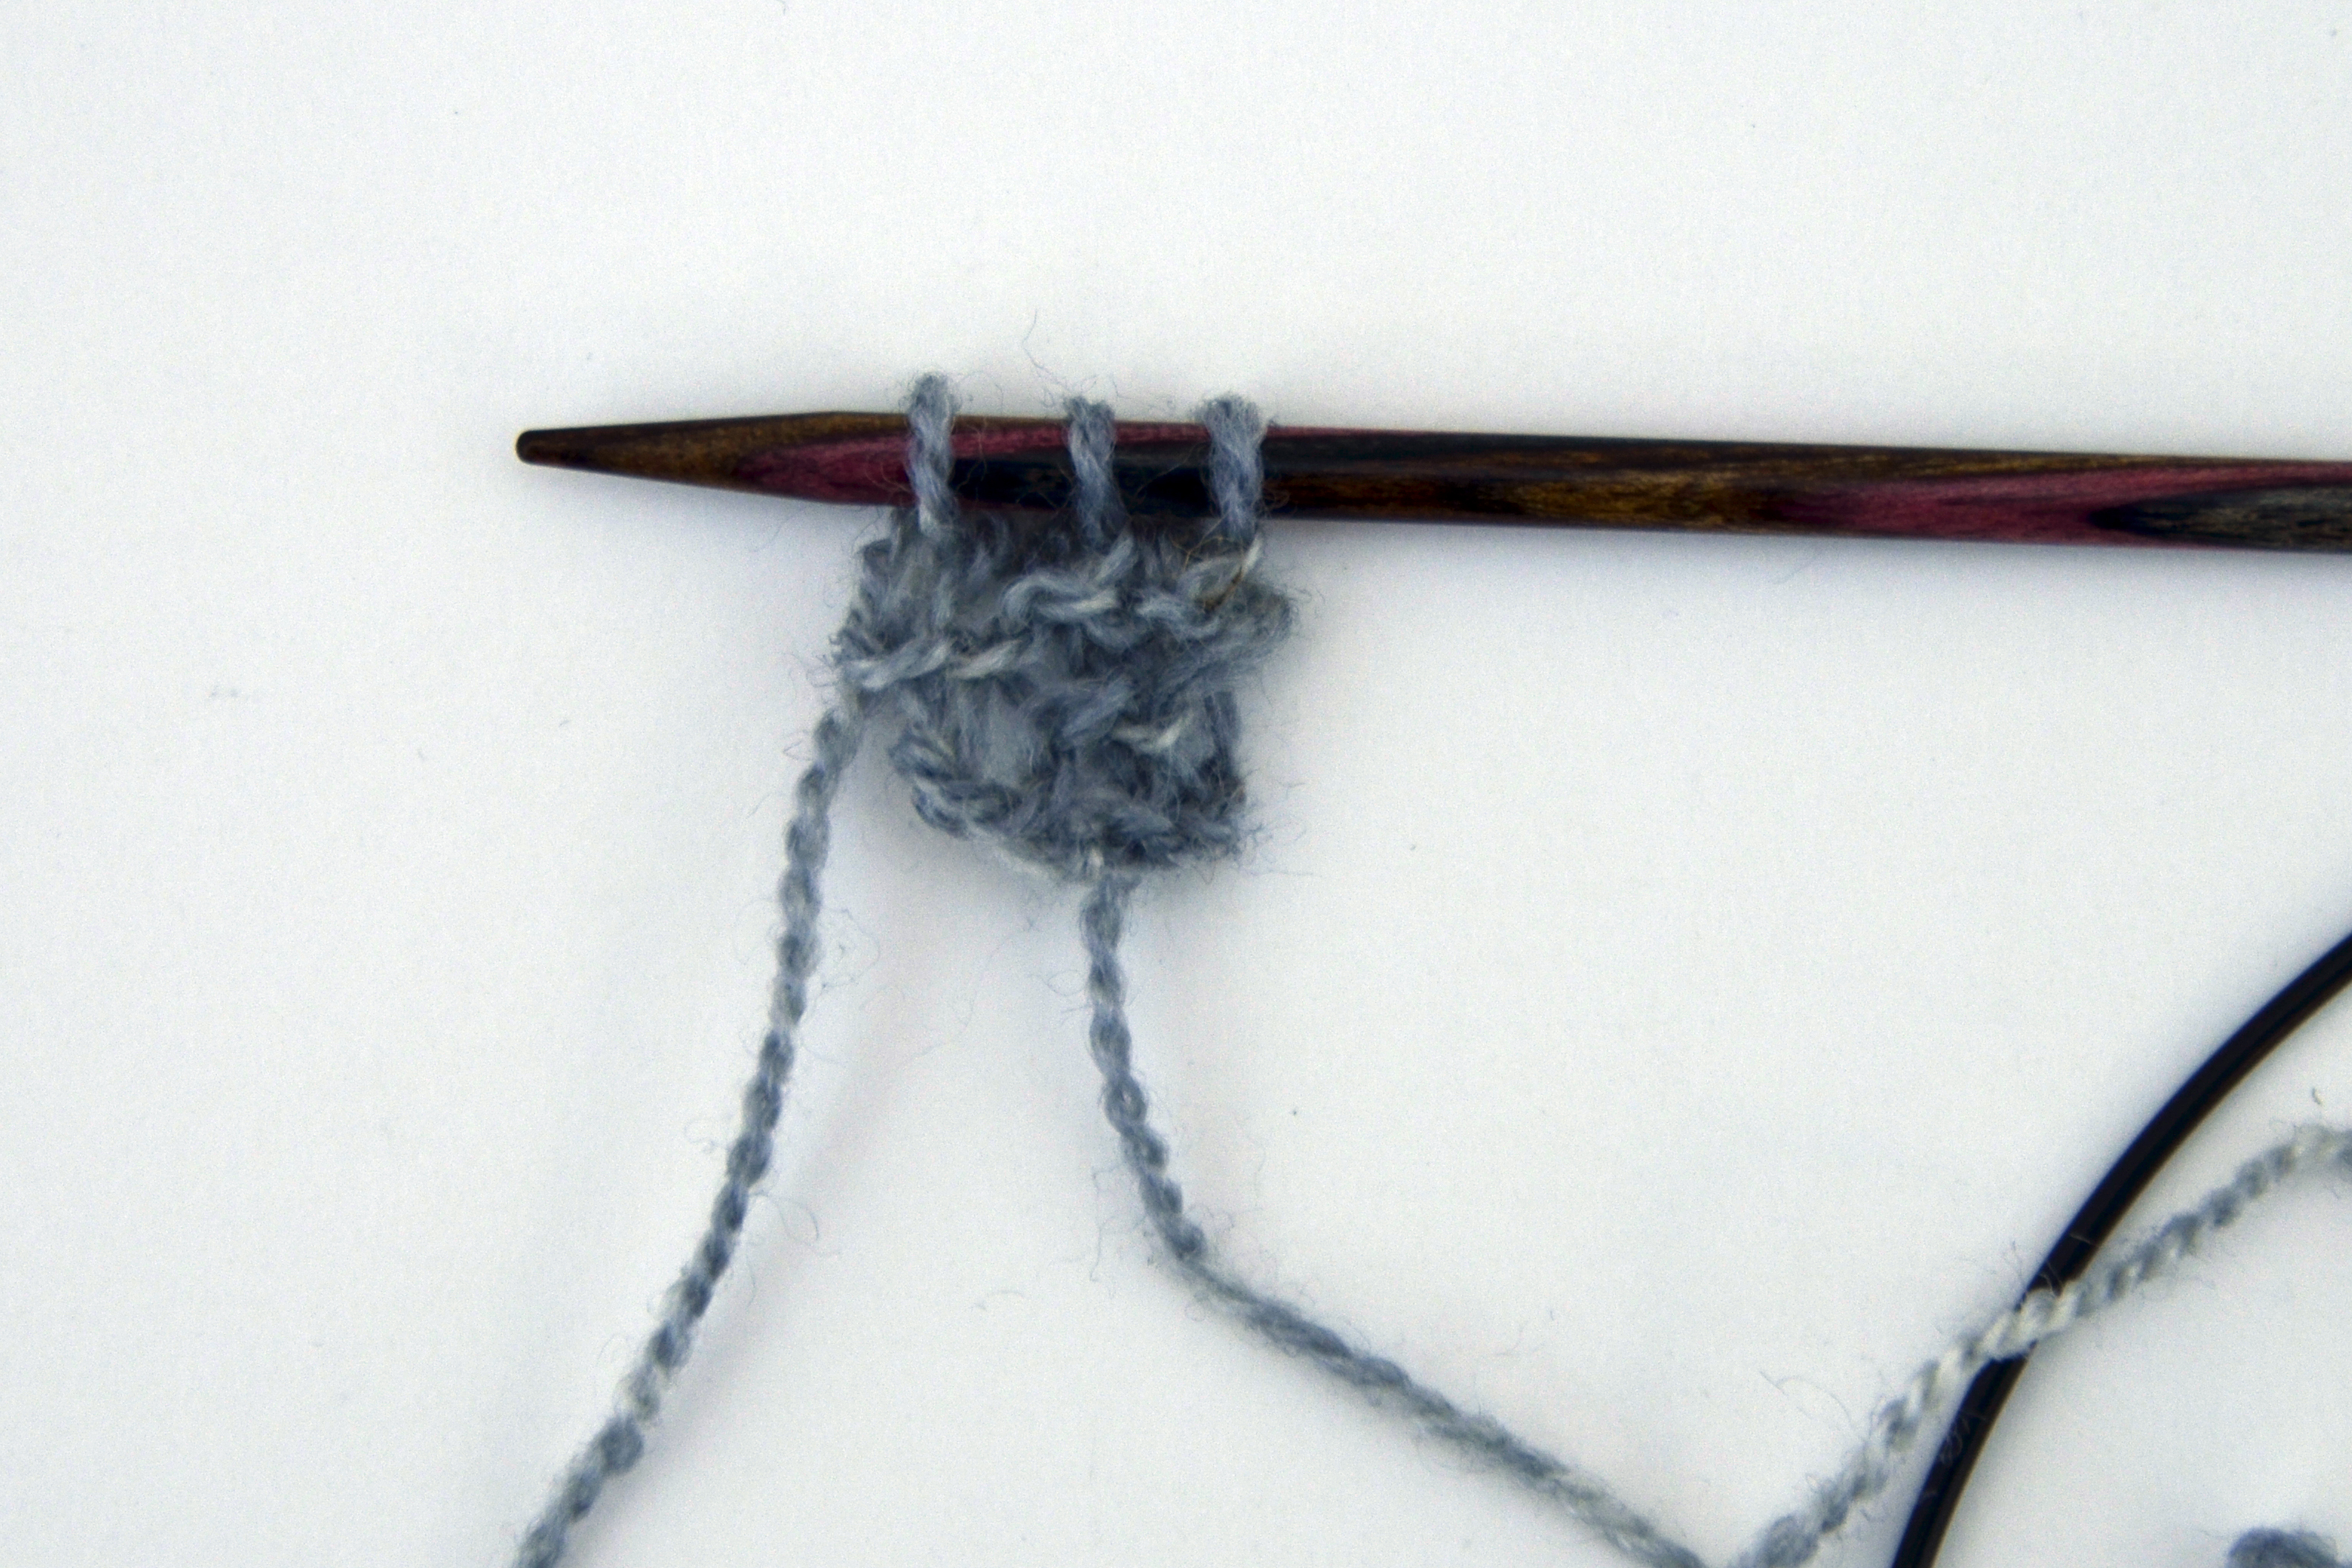
Here’s how things look after the first increase section. My markers are still separating the slip stitch columns from the center section which has grown from 1 stitch to 10.

Traverse_8

Increases always occur every 4 rows, on right side MC rows, by purling into the front and back of the stitch just after that first marker.

Traverse_8_withtext

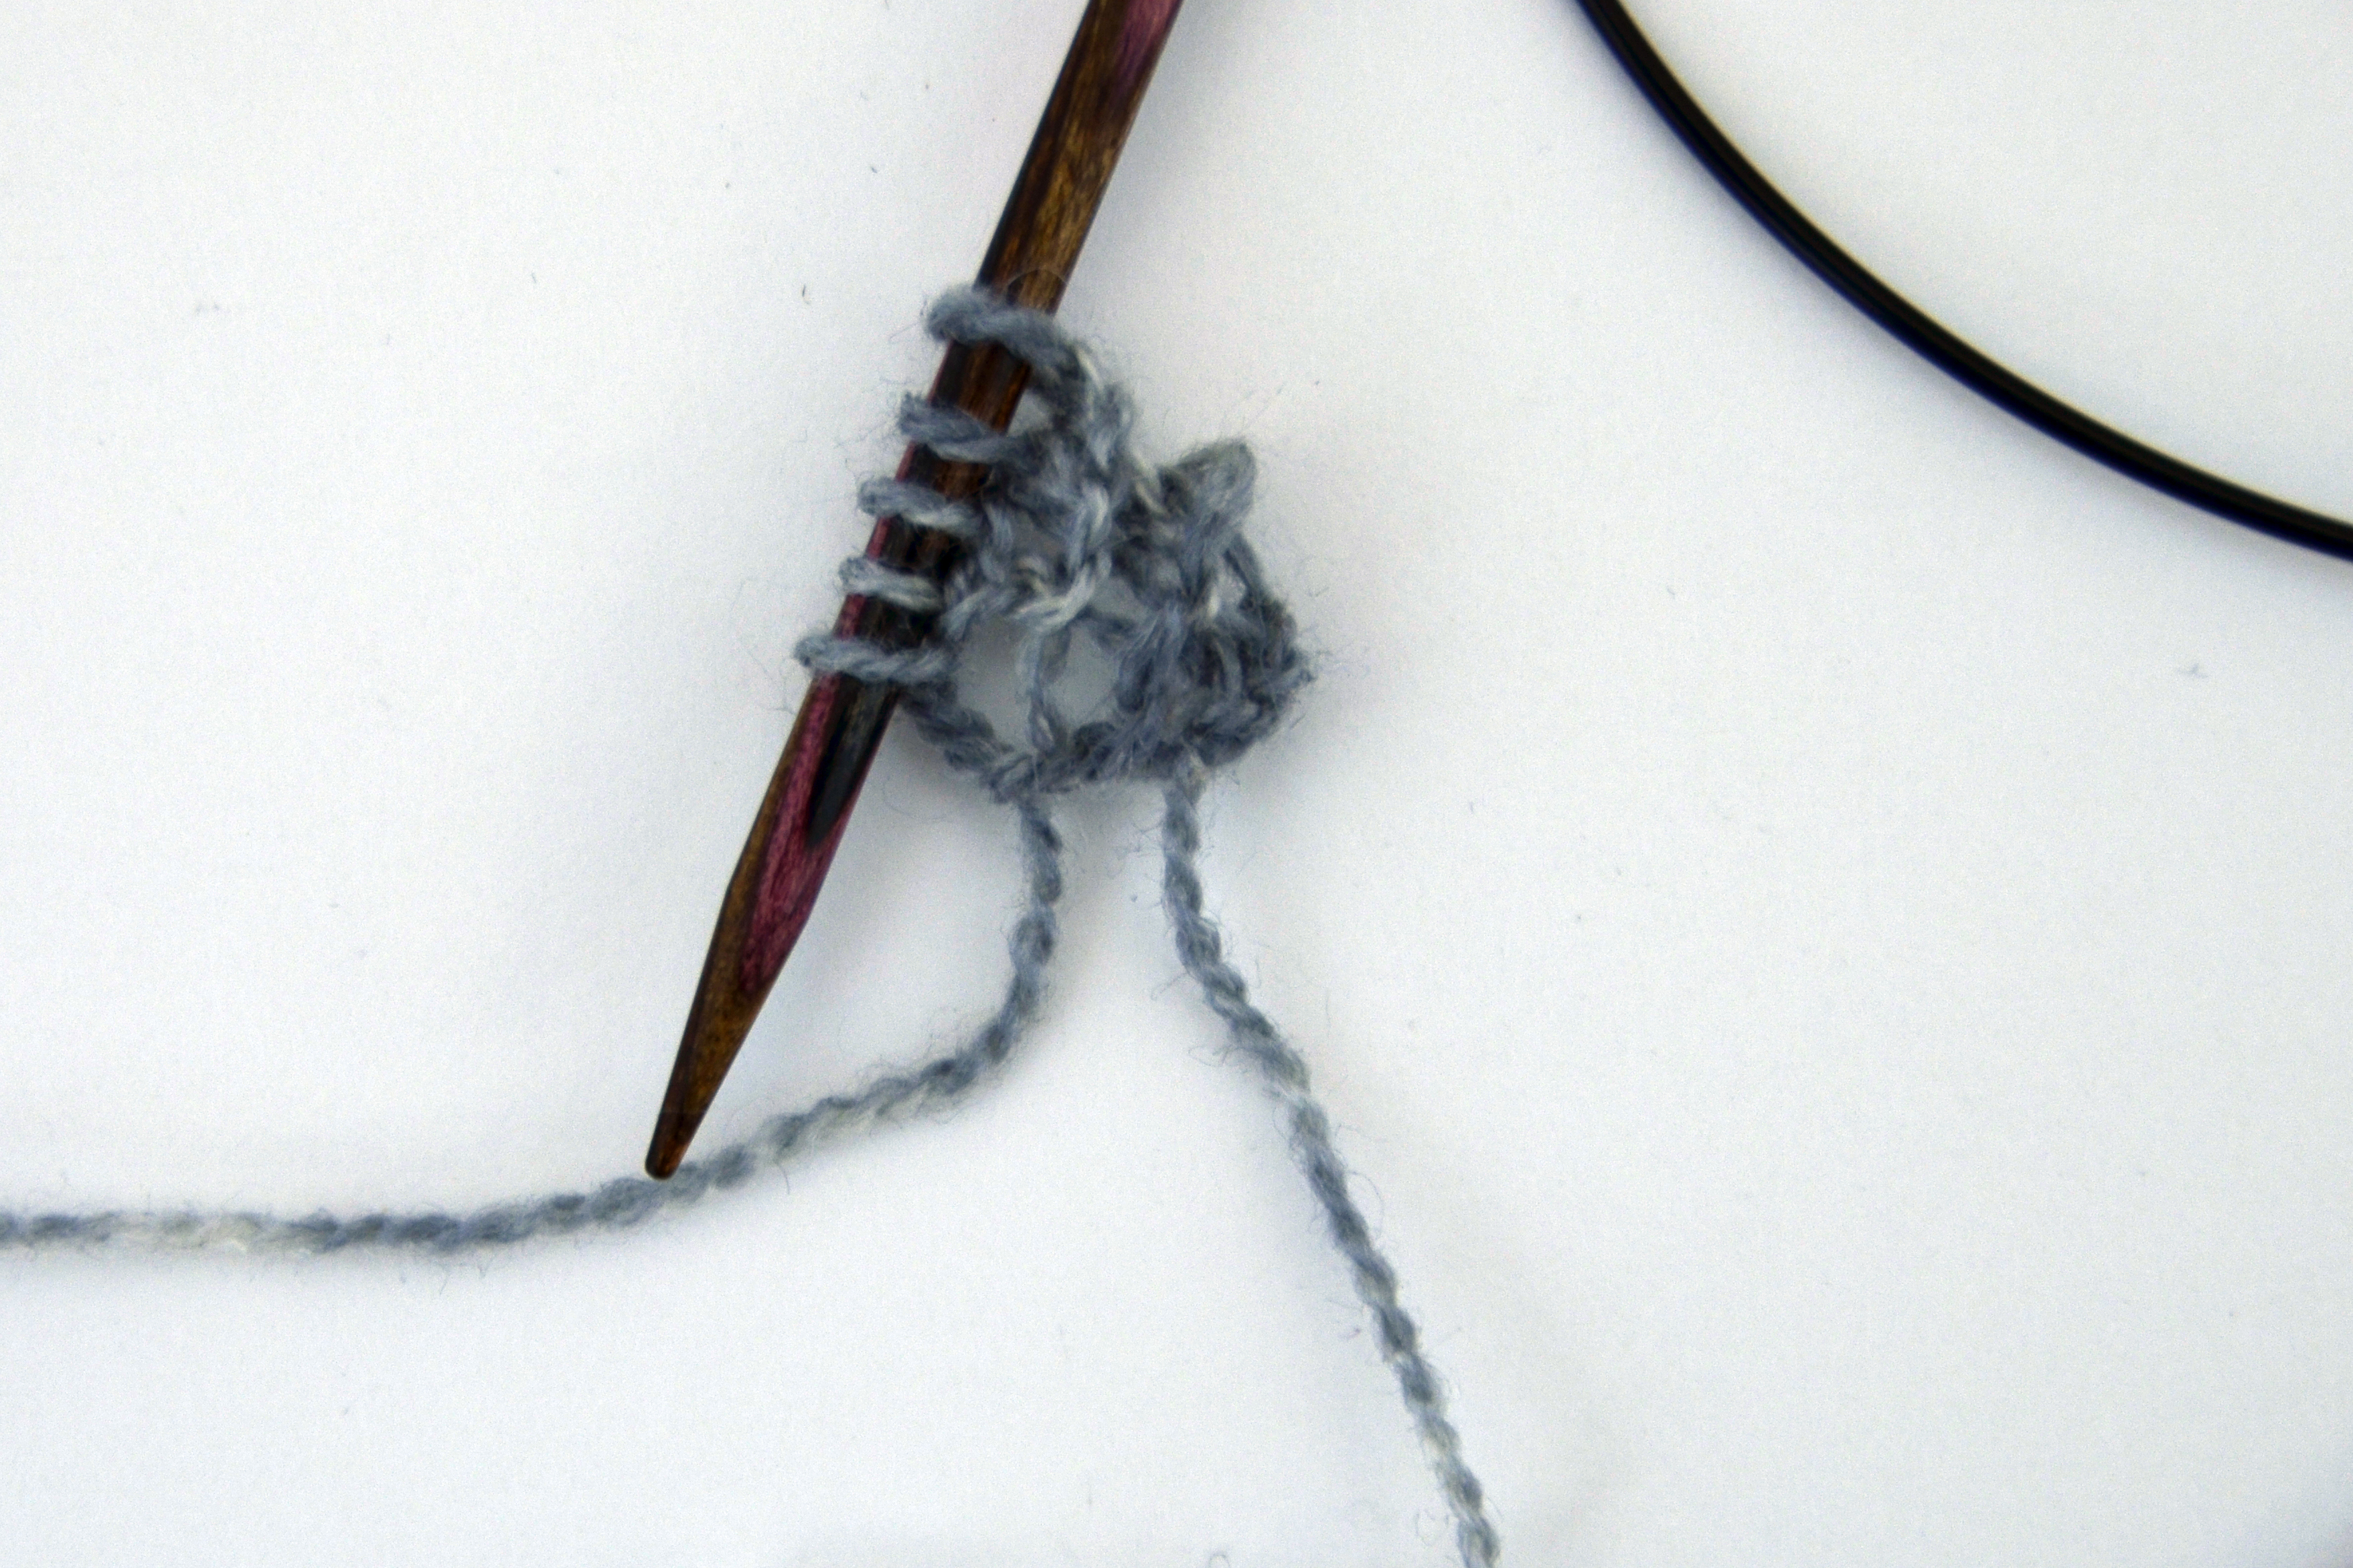
Next, we will introduce the next SSC. Here’s how things look after the first row of this new section. There is the SSC at the right hand side, then 5 stitches, then our new SSC, then our new increase section, and finally the last SSC at the left hand edge.

Traverse_9

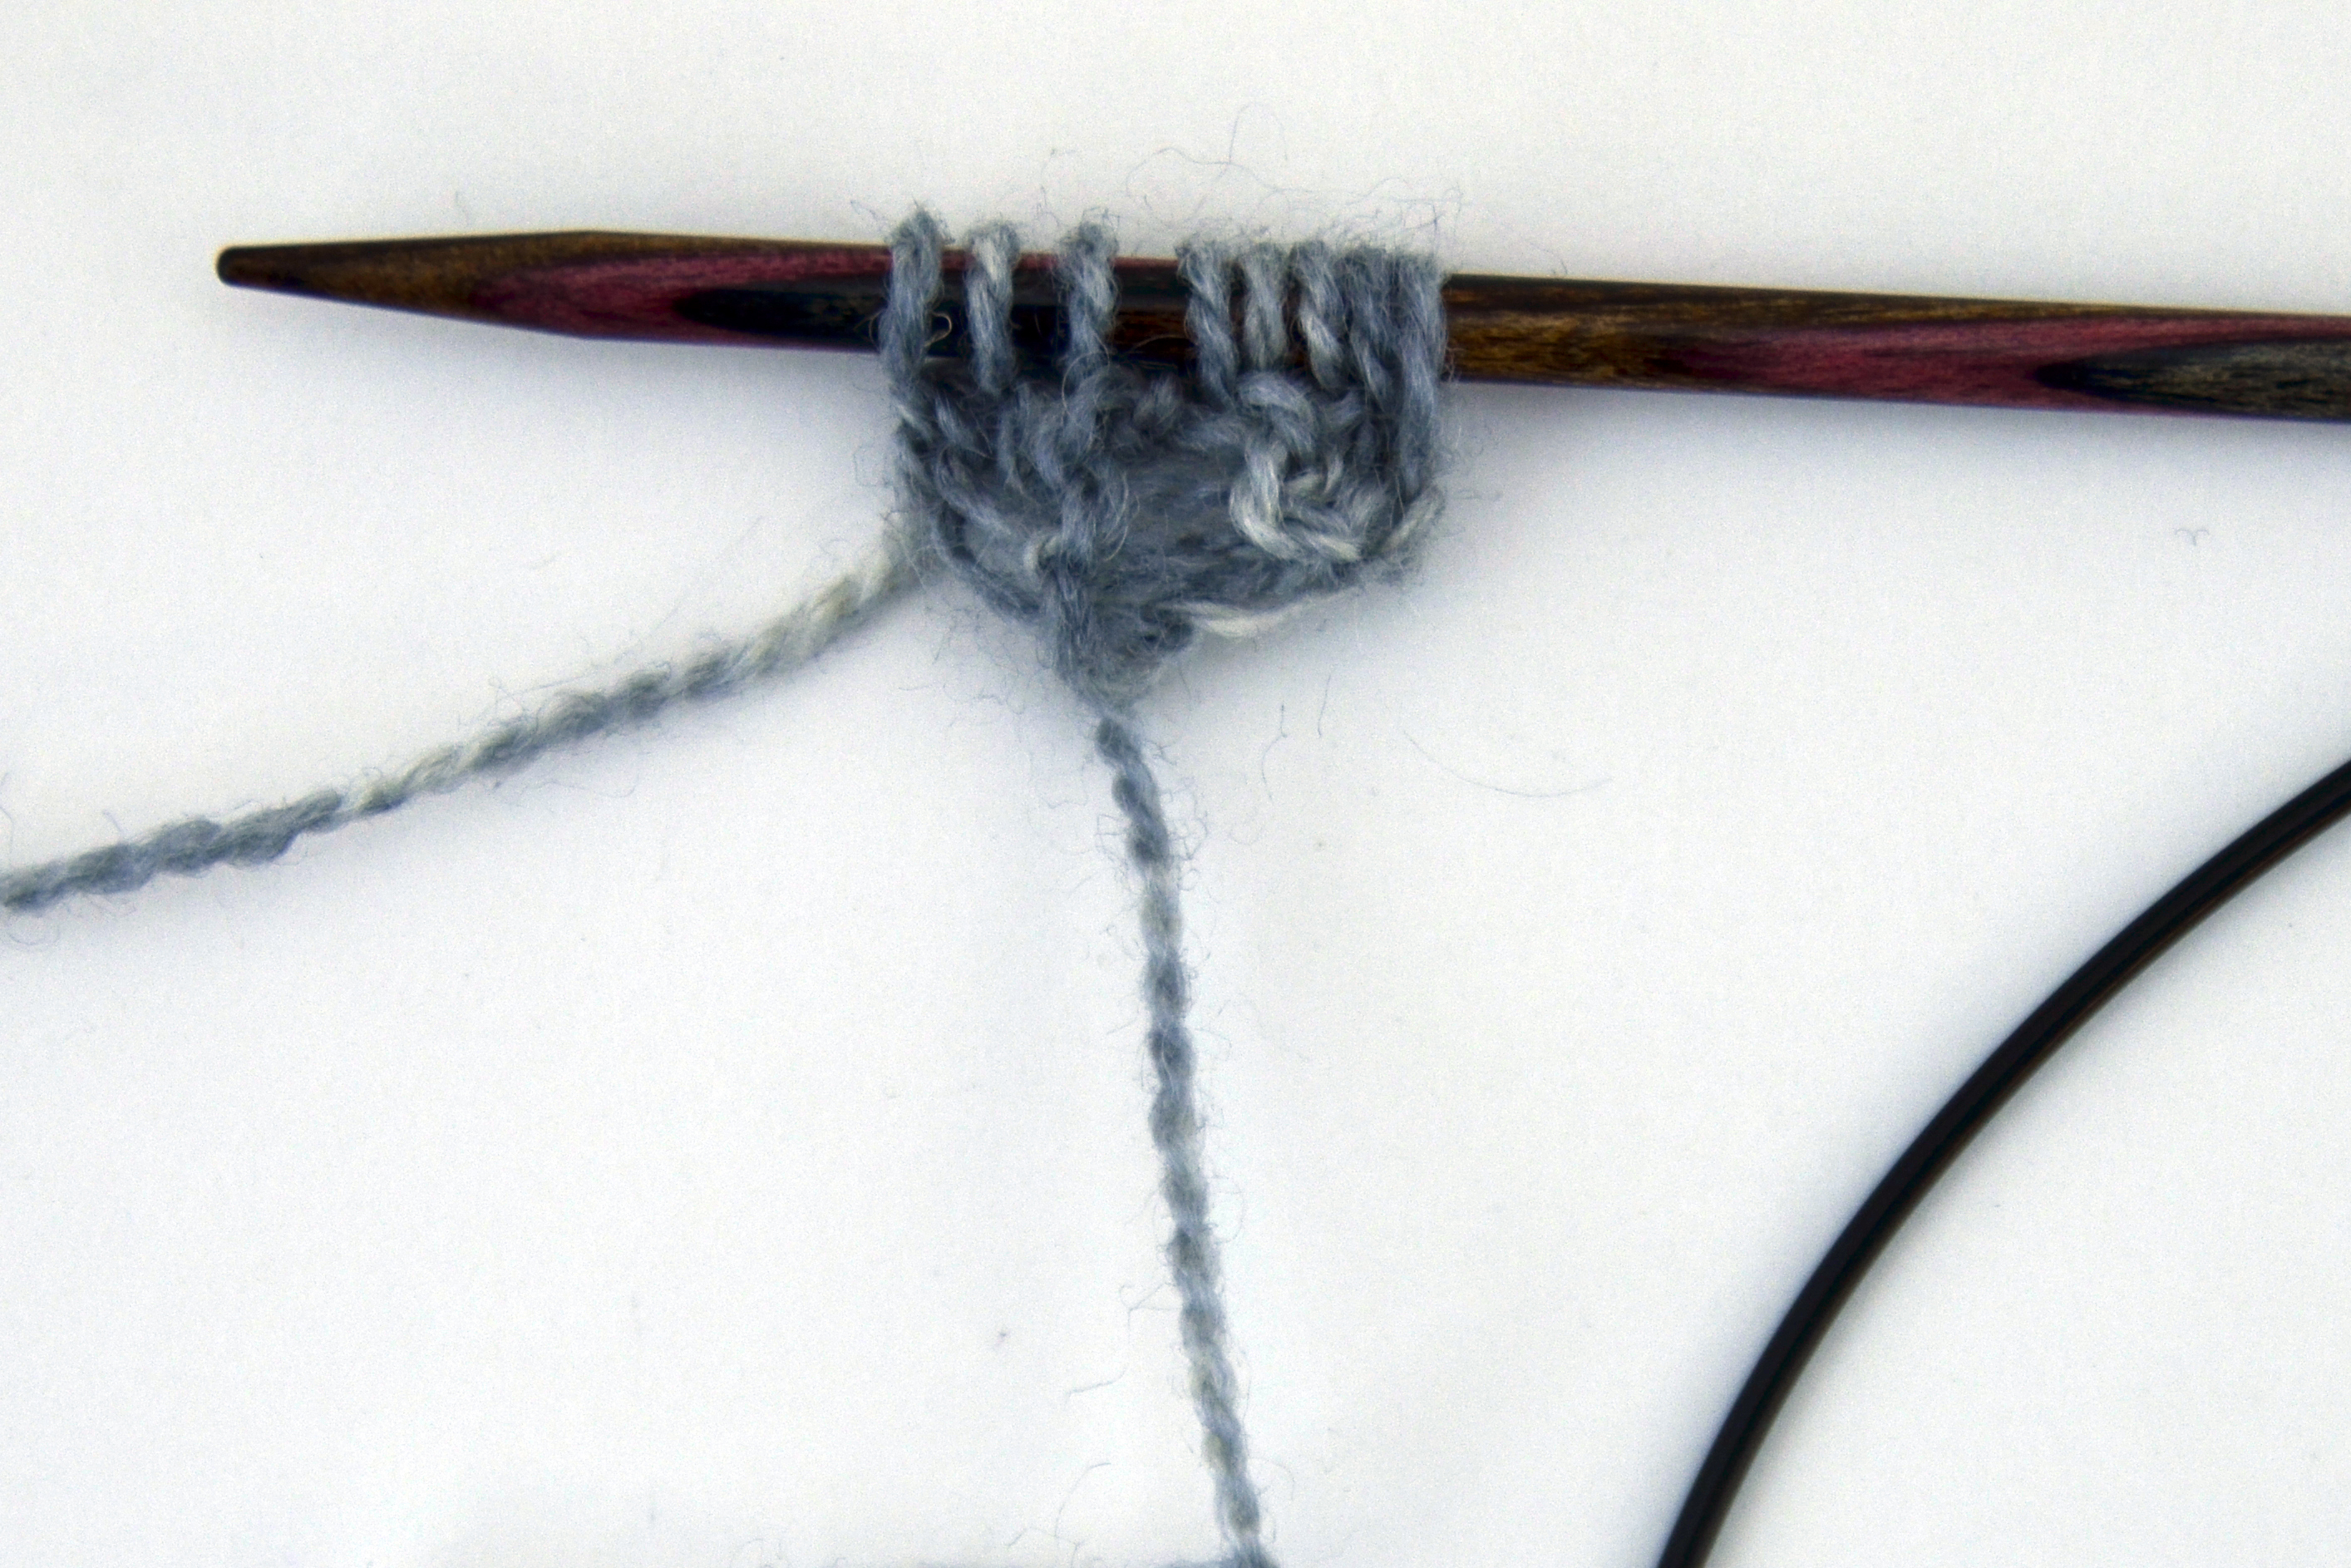
And here’s how we’re looking after a few more rows after introducing our new SSC. By slipping CC stitches on MC rows, we are carrying up that solid color and making what look like colorful outlines.

Traverse_10

The new point of increase is indicated by the white line below.

Traverse_10_text

The rest of the first half of the scarf continues to have you work increases and introduce more slip stitch columns regularly. For me, this is one of those nice projects that doesn’t involve any kind of tough knitting acrobatics –  the stitches are simple, but it’s still interesting with enough going on to hold my attention.

Like the project but not the colors? There are plenty of other options!
Traverse Scarf takes 1 hank each of 4 different colors. Here is a warm colorway option, and another cool option:

AlternateColorways_)

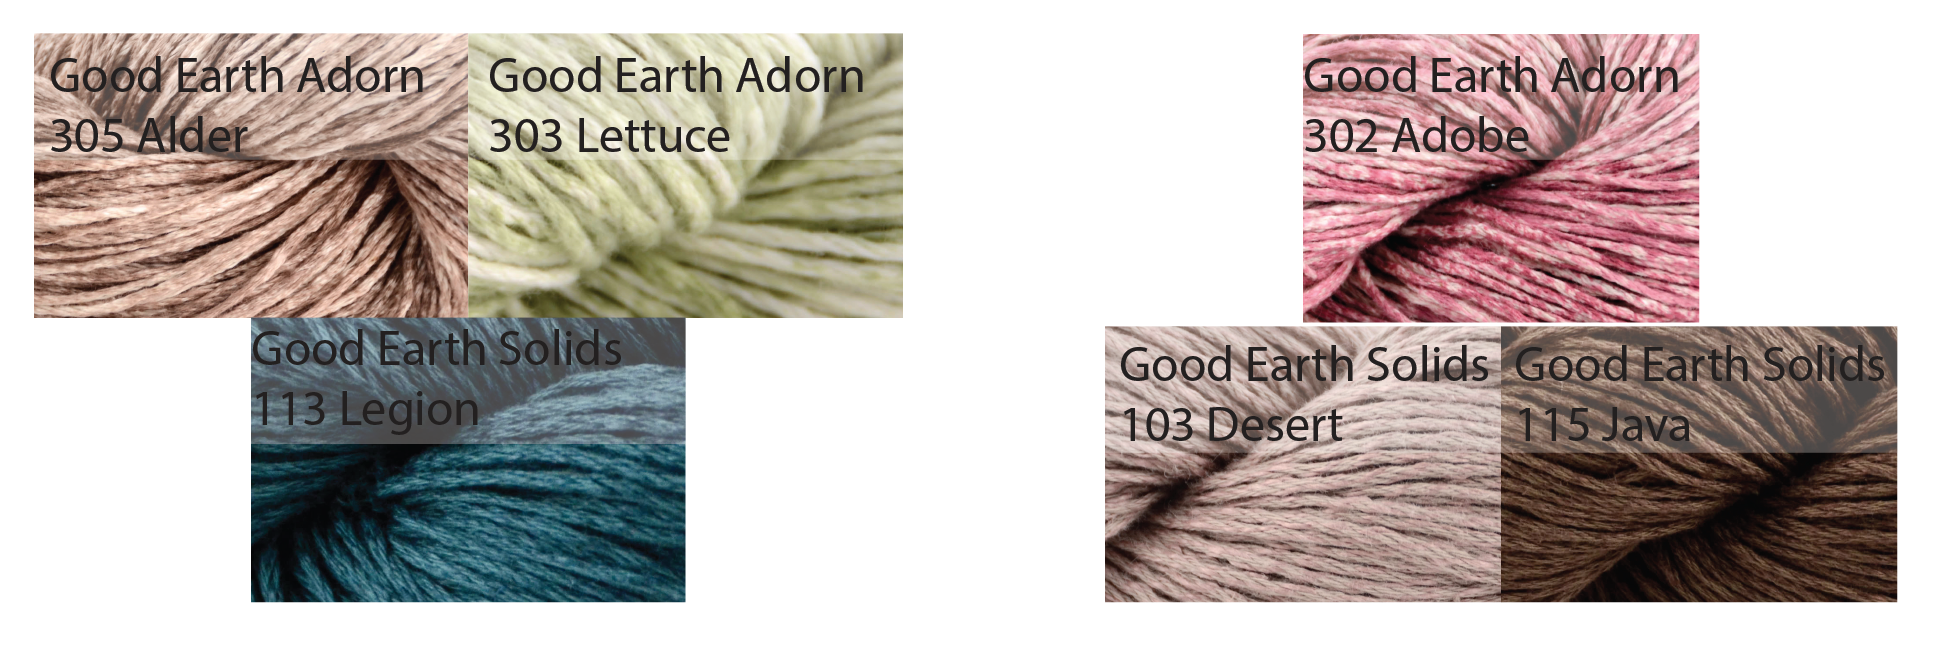
This project would also look nice with two colors of Adorn and one solid, or vice versa:

AlternateColorways_2

Or you could use just one color each of Adorn and a solid – the sky’s the limit! You can browse all the colors of Good Earth and Good Earth Adorn on our website.

I’ll be back next week with some more how-to goodies from Contrarian Shawls 2.

Bisected Shawl – Knit-on Edging

We’re at the end of the road on our 3-part journey to learning the ins and outs of the Bisected Shawl. Two weeks ago we learned how to do a top-down triangle and complete the first part of the shawl. Last week we tackled putting the two halves together. Today, we’re going to finish off our swatch with a knit-on edging.

A knit-on edging is literally an edging that is knit onto an existing piece of knitting. Many top-down shawls incorporate a knit-on edging along the bottom part of the shawl. One reason a knit-on edging can be a good choice, is that because it is worked sideways, it is stretchy enough to be blocked. It can be difficult to produce a nice bind-off for the lower part of a shawl such that it can accommodate the stretch needed to block. Another reason knit-on edgings are nice, is that there are a multitude of ways to make a decorative pattern that wouldn’t always be possible otherwise.

To begin, we first need to pick up stitches along our the two angles of our triangle.

Edging_1

You’ll be picking up roughly 1 stitch for every other row, or every ridge along your garter stitch edge. Picking up stitches along a garter stitch edge is easy! Just slide your needle through the outermost loop of the stitch, and that’s it. Picking up stitches is different than picking up and knitting. In picking up and knitting, there is a strand of yarn involved. Here, we are simply placing loops on a needle.

Here’s the first half picked up.

Edging_2

And here we are with all stitches picked up and ready to add our edging. For my small swatch, I ended up picking up 80 stitches. It’s important in this pattern that the stitches picked up is a multiple of 8. We’ll see why a little later on.

Edging3

Next, we cast on our first edging stitches. Cast on 12 stitches to your needle.

Edging_4

Next, work Row 1 of the Edging pattern over the first 11 stitches.

Edging_5

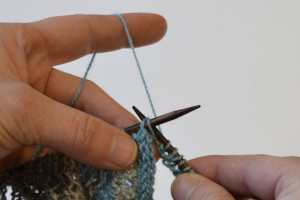
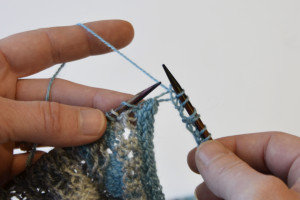
That very last Edging stitch is how we connect to the picked-up set of stitches. At the end of every right side row of the Edging, knit the last Edging stitch together with a stitch from the shawl body (picked-up stitches).

Edging_6 Edging_7

Then turn, and work row 2 across the Edging stitches. Continue by repeating Rows 1-16 of the Edging, continuing to knit 2 together at the end of every right side row, attaching the Edging to the shawl as you go.

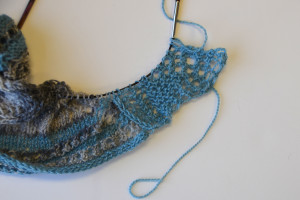
Here we are after 1 repeat of the Edging:

Edging_8

The reason it was important for us to pick up a multiple of 8 stitches in the beginning is based on the number of rows in every Edging repeat. There are 16 Edging rows, and we are consuming an Edging stitch on every other row, which is why we need multiples of 8. But along the way if you find that you’re off by a stitch or two, don’t sweat it. You can even yourself out by knitting 3 stitches together instead of 2 (an Edging stitch together with  picked up stitches). Or you can knit the same picked up stitch twice if you need an extra stitch.

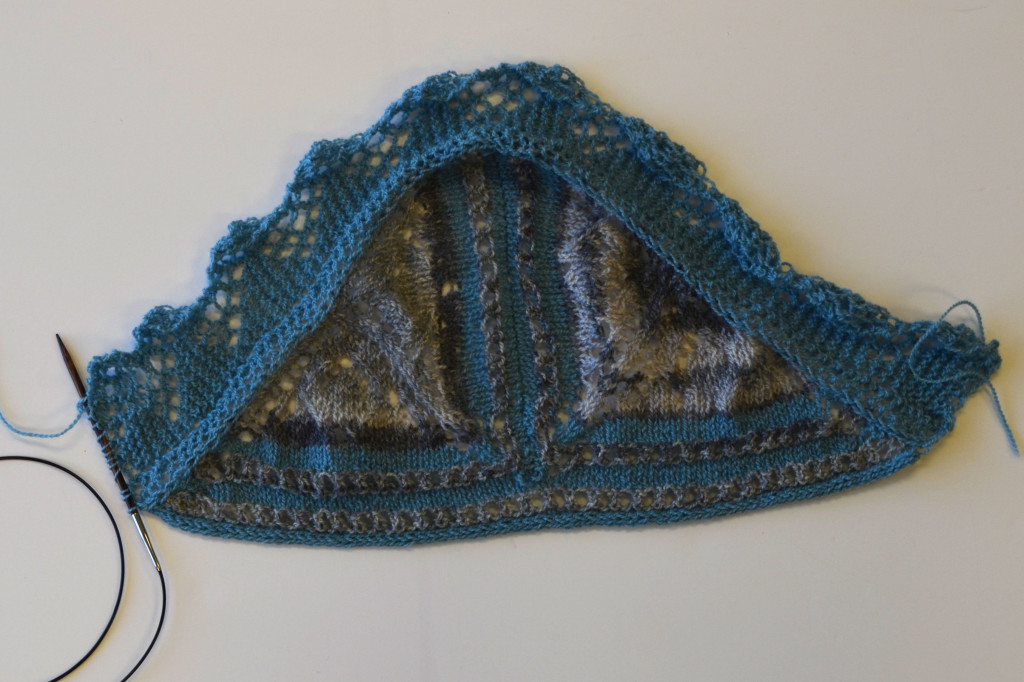
Here we are with half the Edging added, and then all the Edging.

Edging_9

Edging_10

Those last 12 Edging stitches left on the needle – you can just bind those off.

Now, perhaps the most important step of all: blocking. You may see this instruction in the finishing section of a pattern and wonder what the heck it means. Well, it can mean different things depending on the type of stitches in the project, the fiber content of the yarn, and the desired outcome. But in a general way, blocking means to even out your stitches either by making wet or steaming and then allowing to dry.

Lace is something that almost always benefits greatly from blocking. I tend to do a “hard block” on lace, which means I stretch it to its limits. If at all possible, I utilize blocking wires rather than using a million little pins. I’m so fond of blocking wires, that I typically keep this in mind when designing shawls. The Bisected Shawl is no different.

First I’m going to take a look at the top edge which we bound-off using the I-Cord method. I’m going to slide my blocking wire through the I-Cord bind-off, 1 stitch at a time.

Edging_11

I am simply inserting my wire from front to back along each individual stitch. You could also go back to front, or perhaps find a spot along the back side of the I-Cord to get your stitches onto the wire. The most important thing is to be consistent with your method.

Edging_12

Next I’m ready to do the Edging. I could use individual pins at each of the points of the Edging, but I prefer to use another blocking wire.

Edging_12.5

Now the wires need to be stretched. For this, I have a set of interlocking foam mats that are sold as play mats for kids. For my swatch, I only need one mat. If I were blocking a large project, I could assemble as many as needed to accommodate the size of my project.

Edging_13

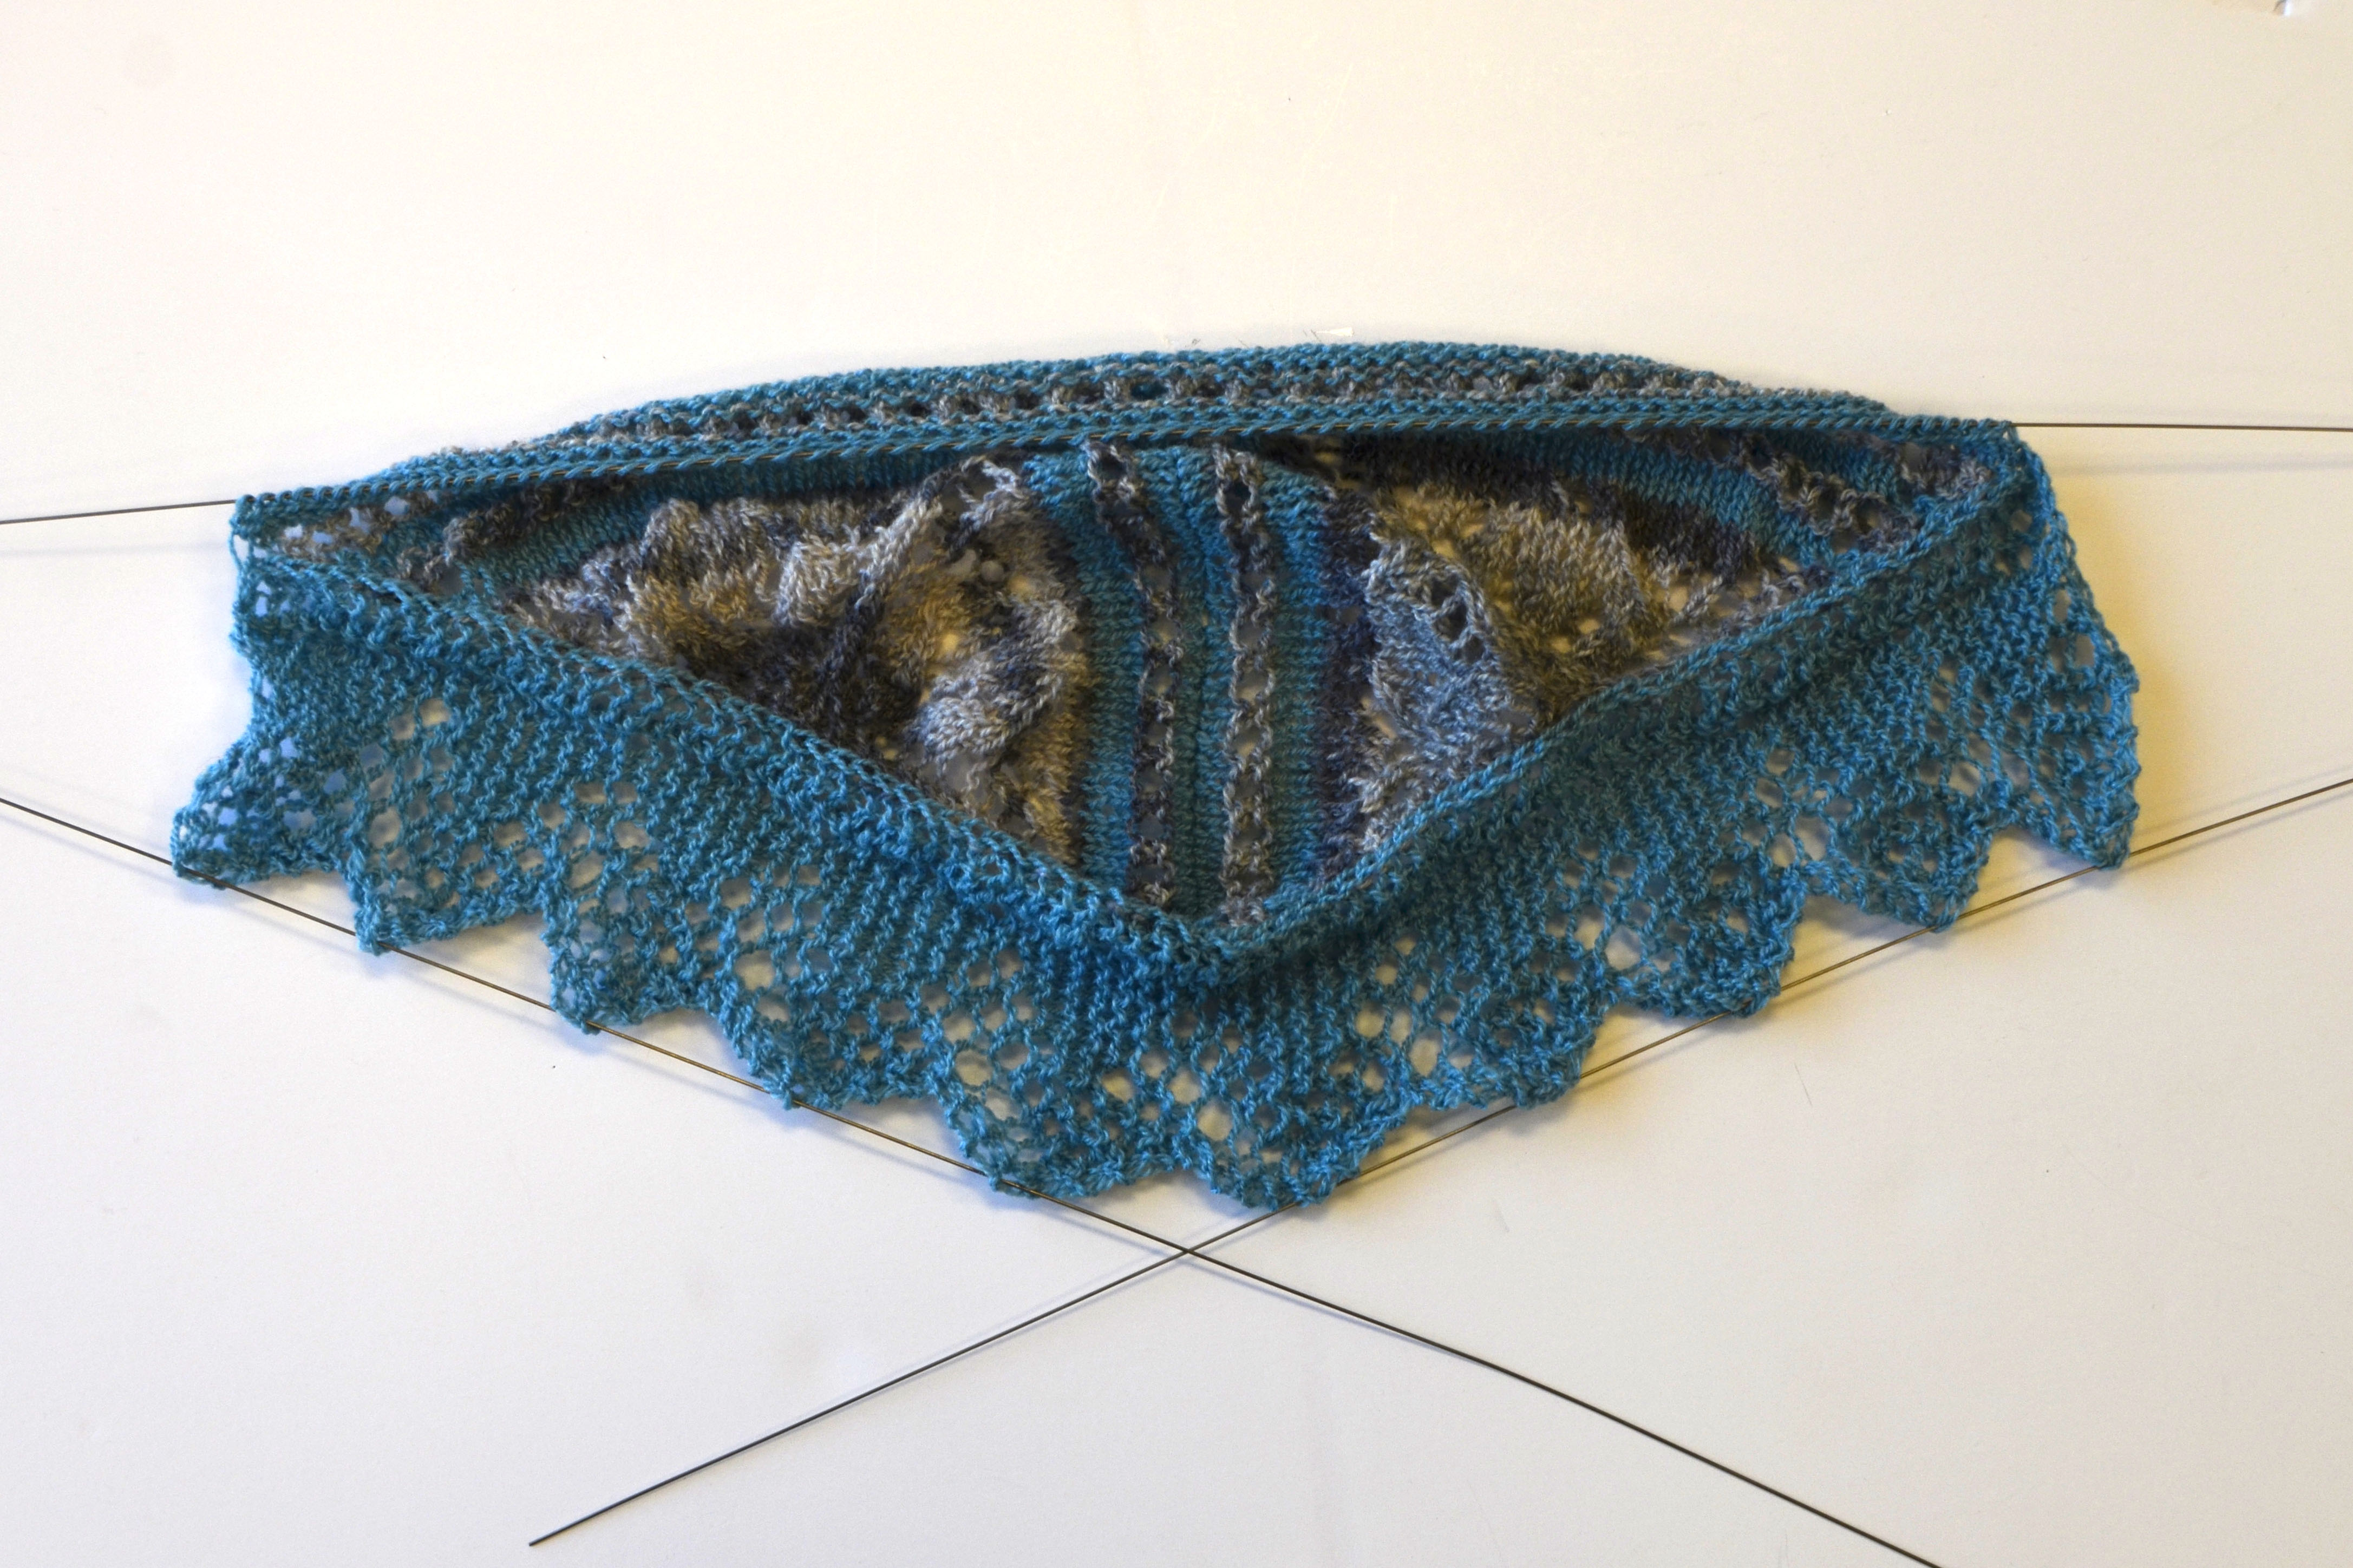
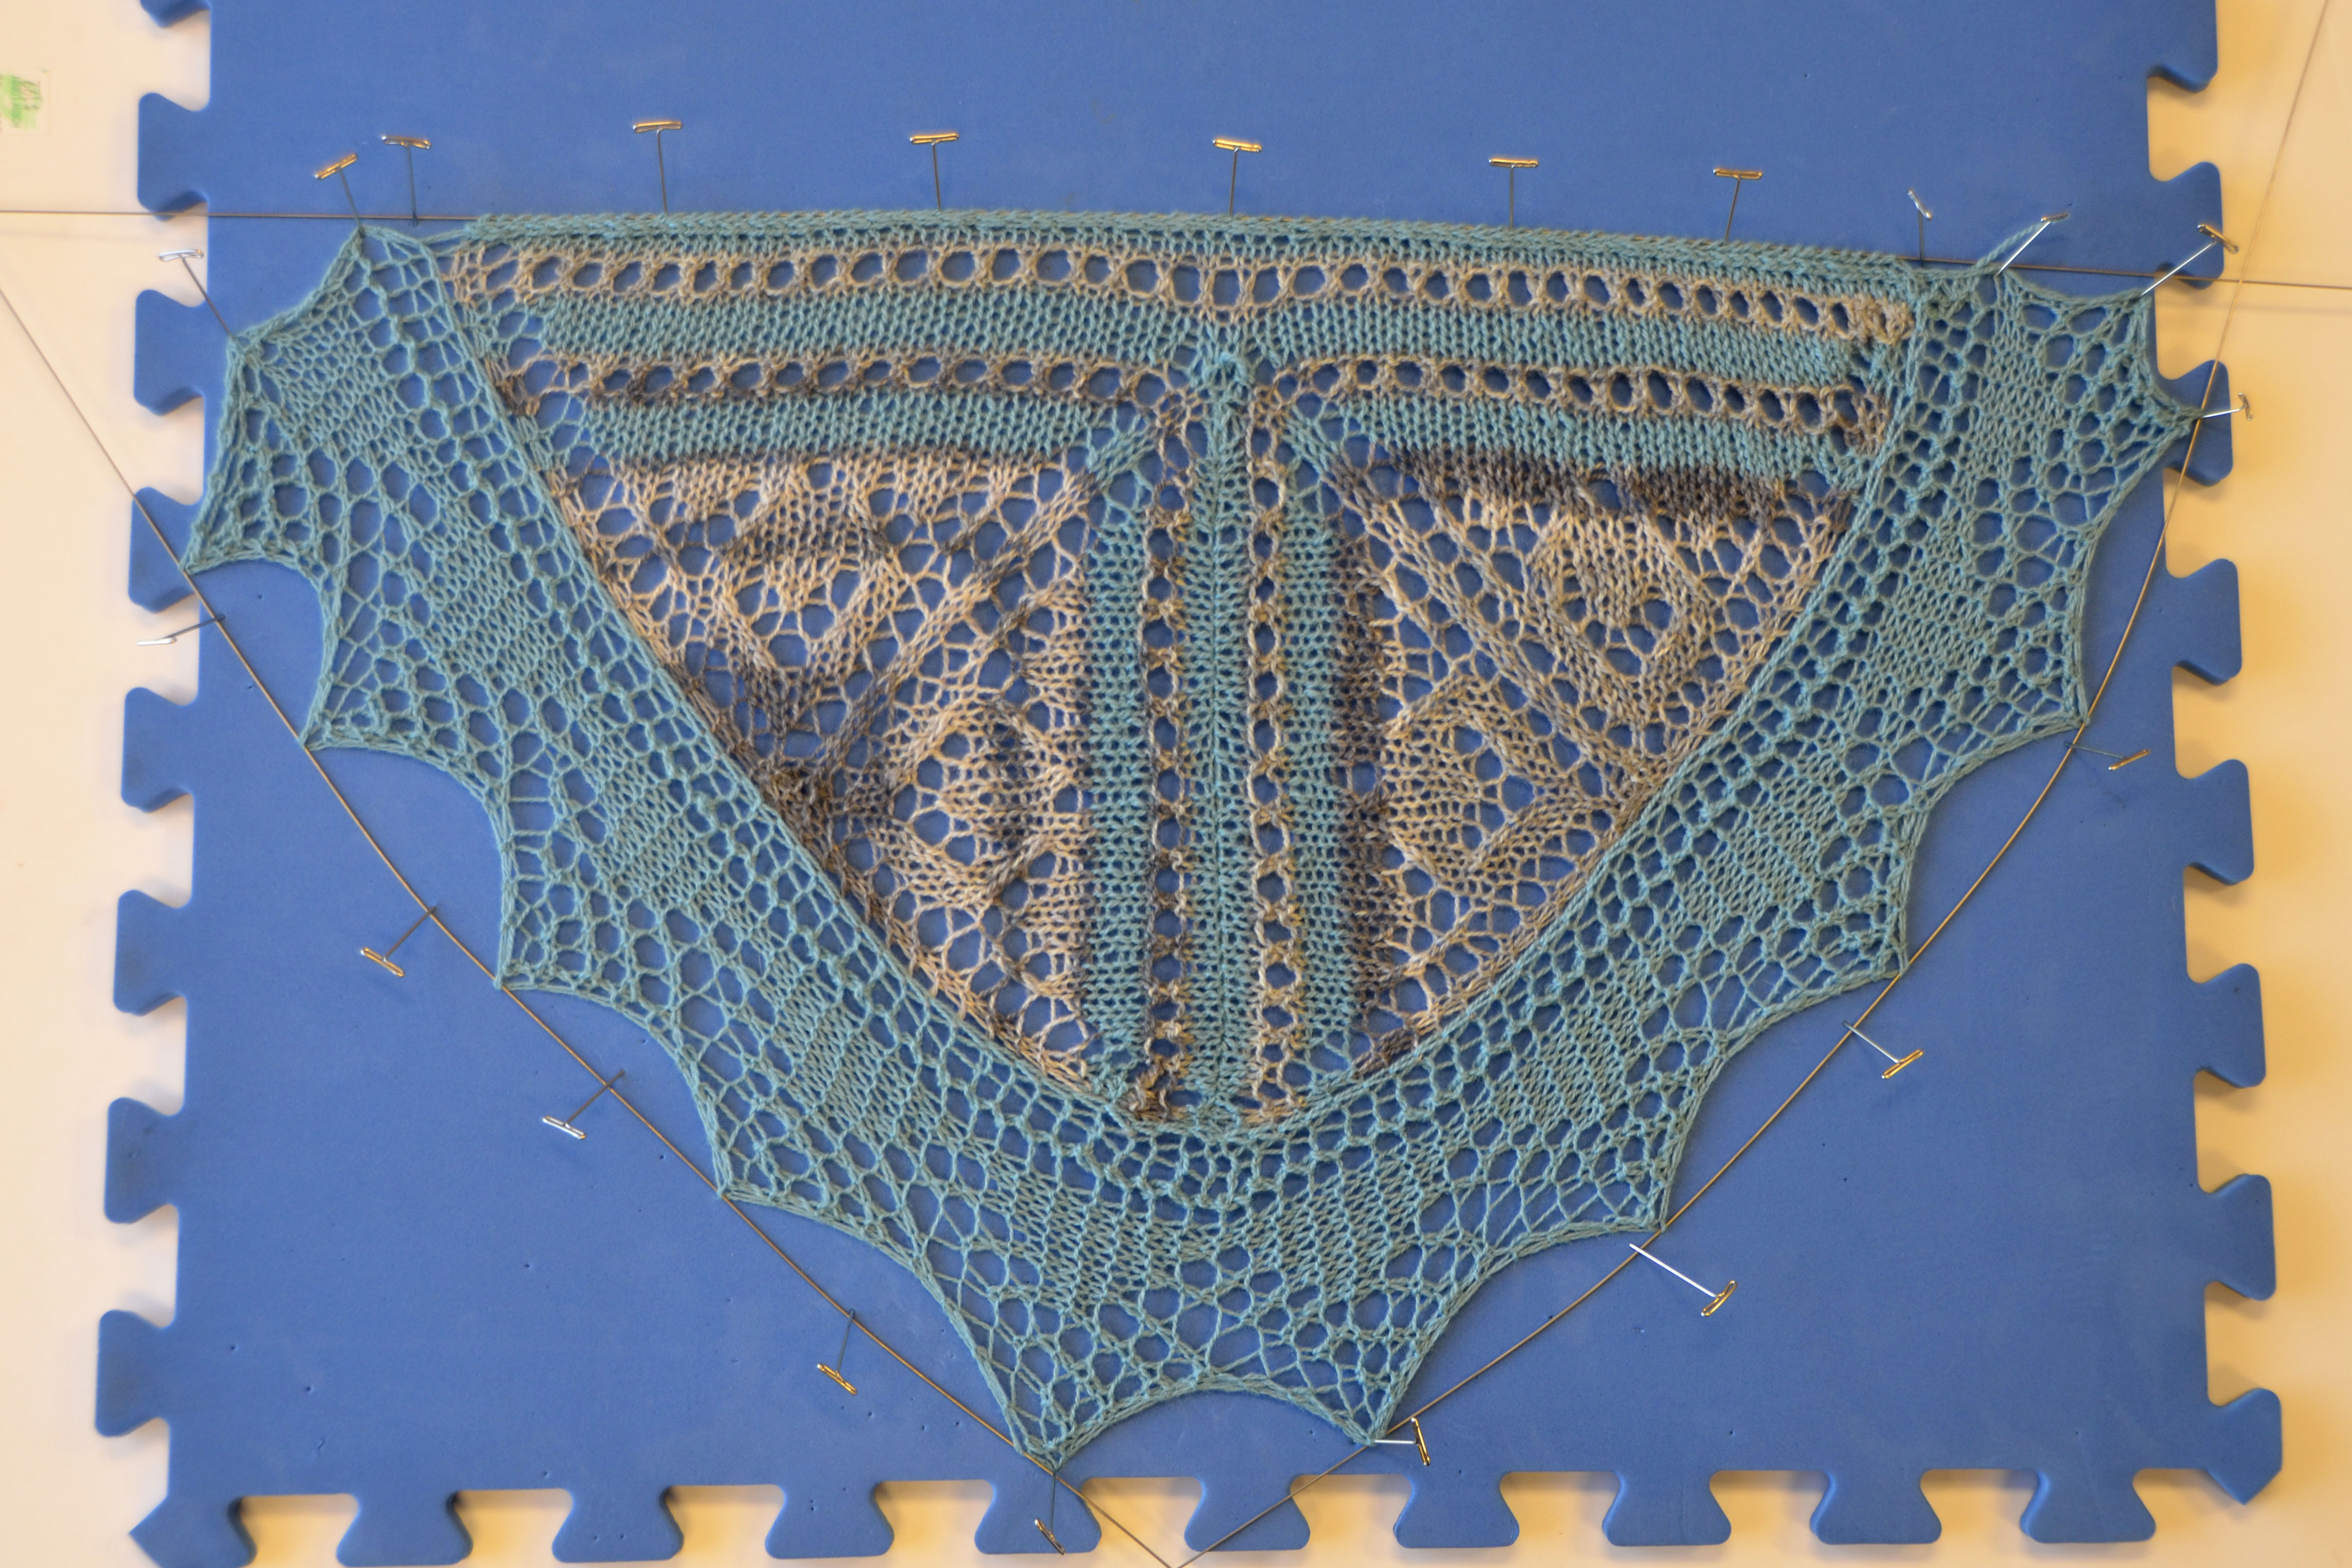
I pin into the foam mat, adjusting pins as I go, pulling as taut as I dare without skewing the shape of my knitting too much. After adjusting and making sure everything is symmetric, then I steam. After the piece is fully dry, I like to let it remain pinned overnight. This really lets the blocking “set”, so that the block stays for a long period of time.

Edging_14

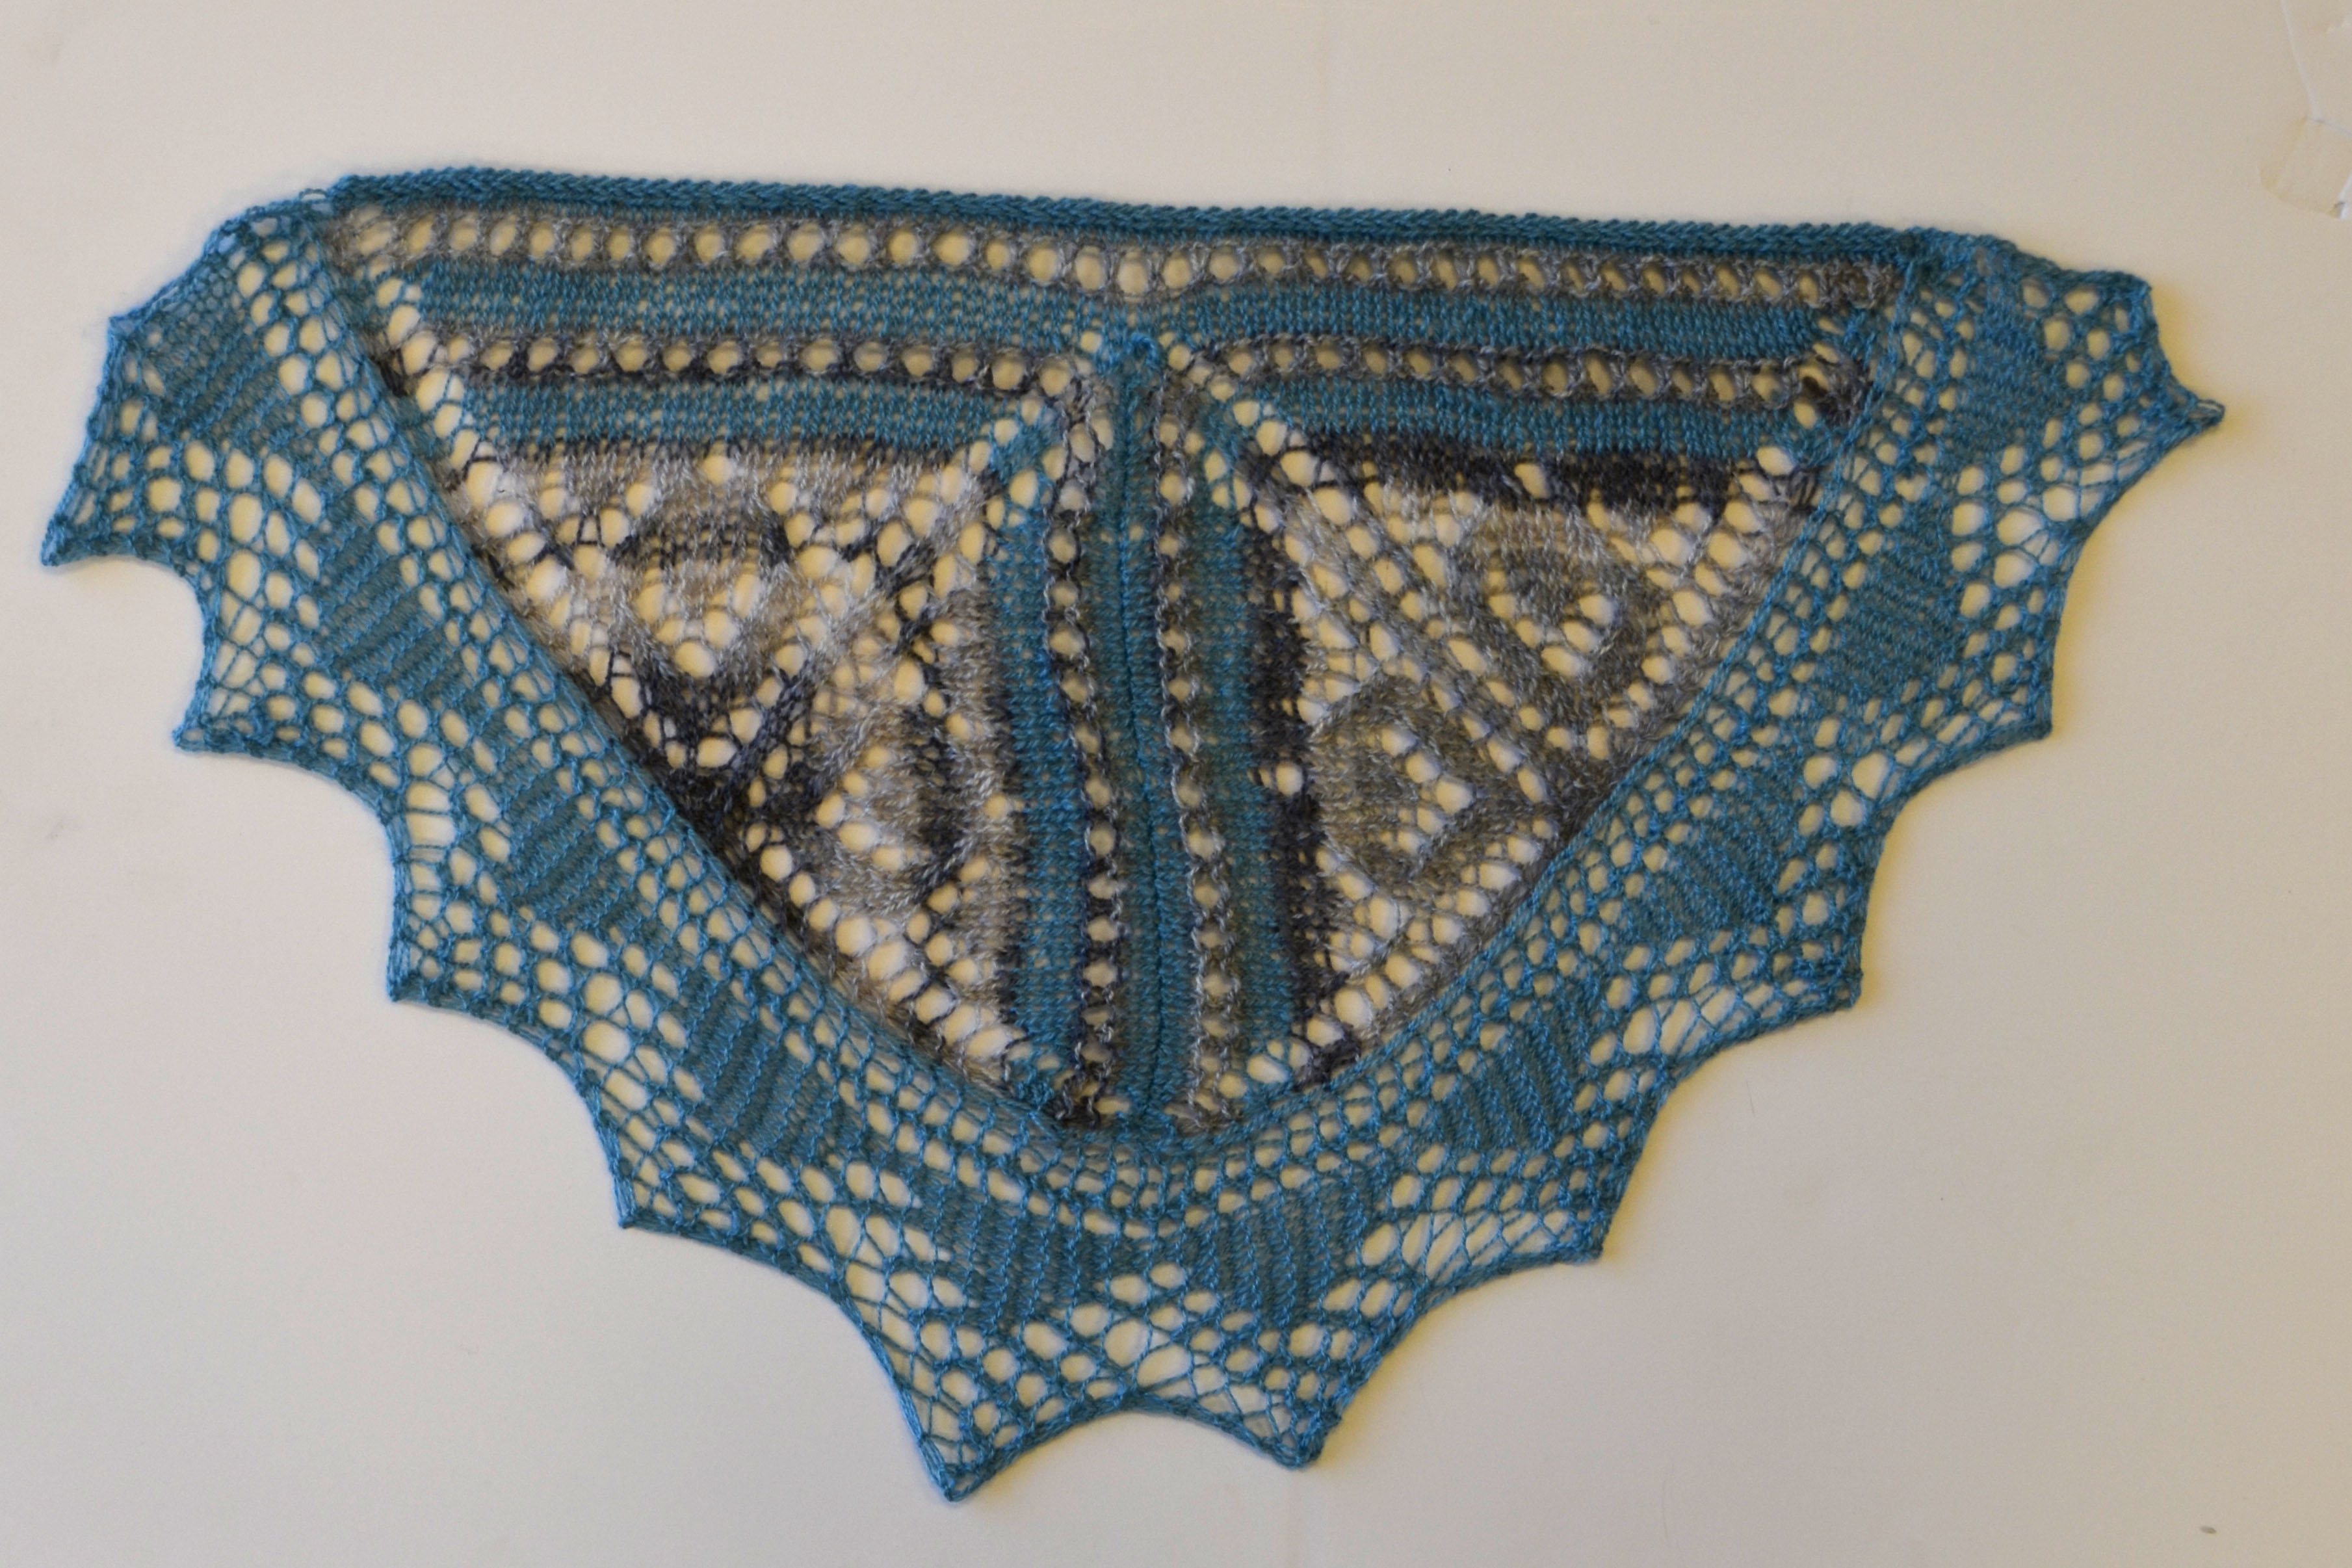
And here is my swatch, no longer a crumpled mess!

Join me next week when I talk about slip stitch knitting and the Traverse Scarf.

Bisected Shawl – Putting the Pieces Together

Last week we covered the basics of a top-down triangle and the starting garter tab. Now we’re going to start putting it all together!

As a refresher, we’re talking about the Bisected Shawl, one of the projects from ebook Contrarian Shawls 2.

BisectedShawl_2_hires

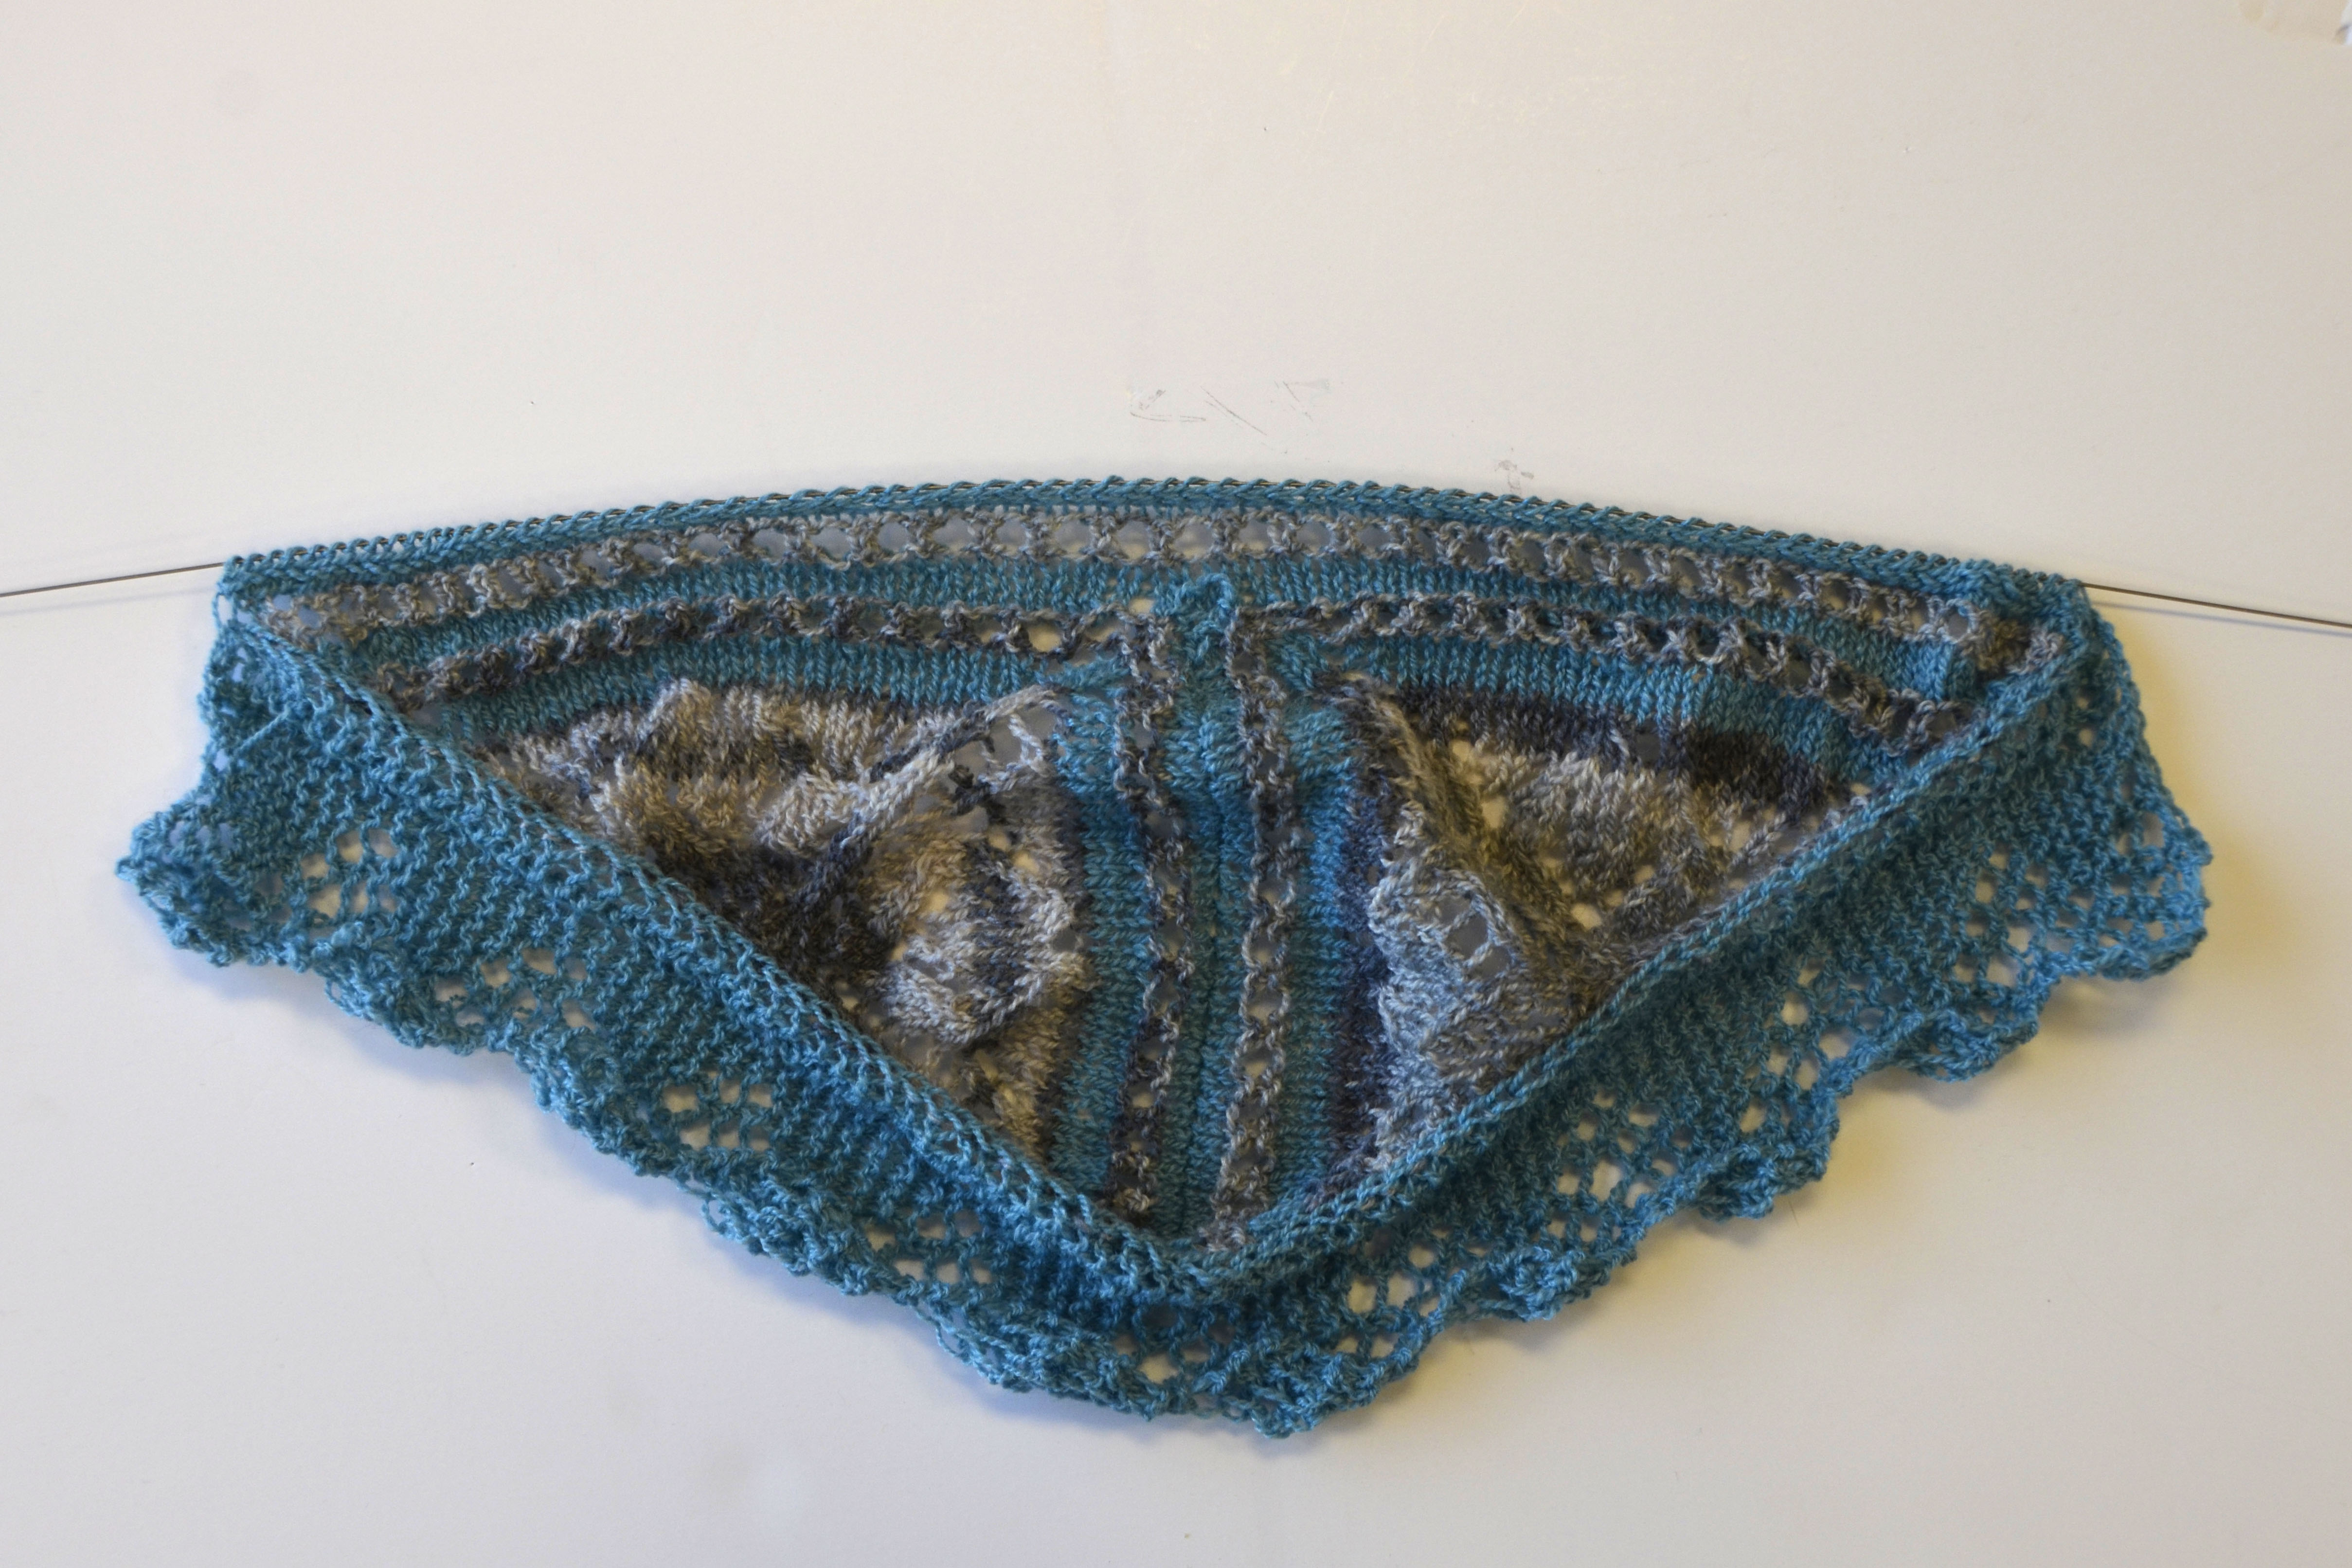
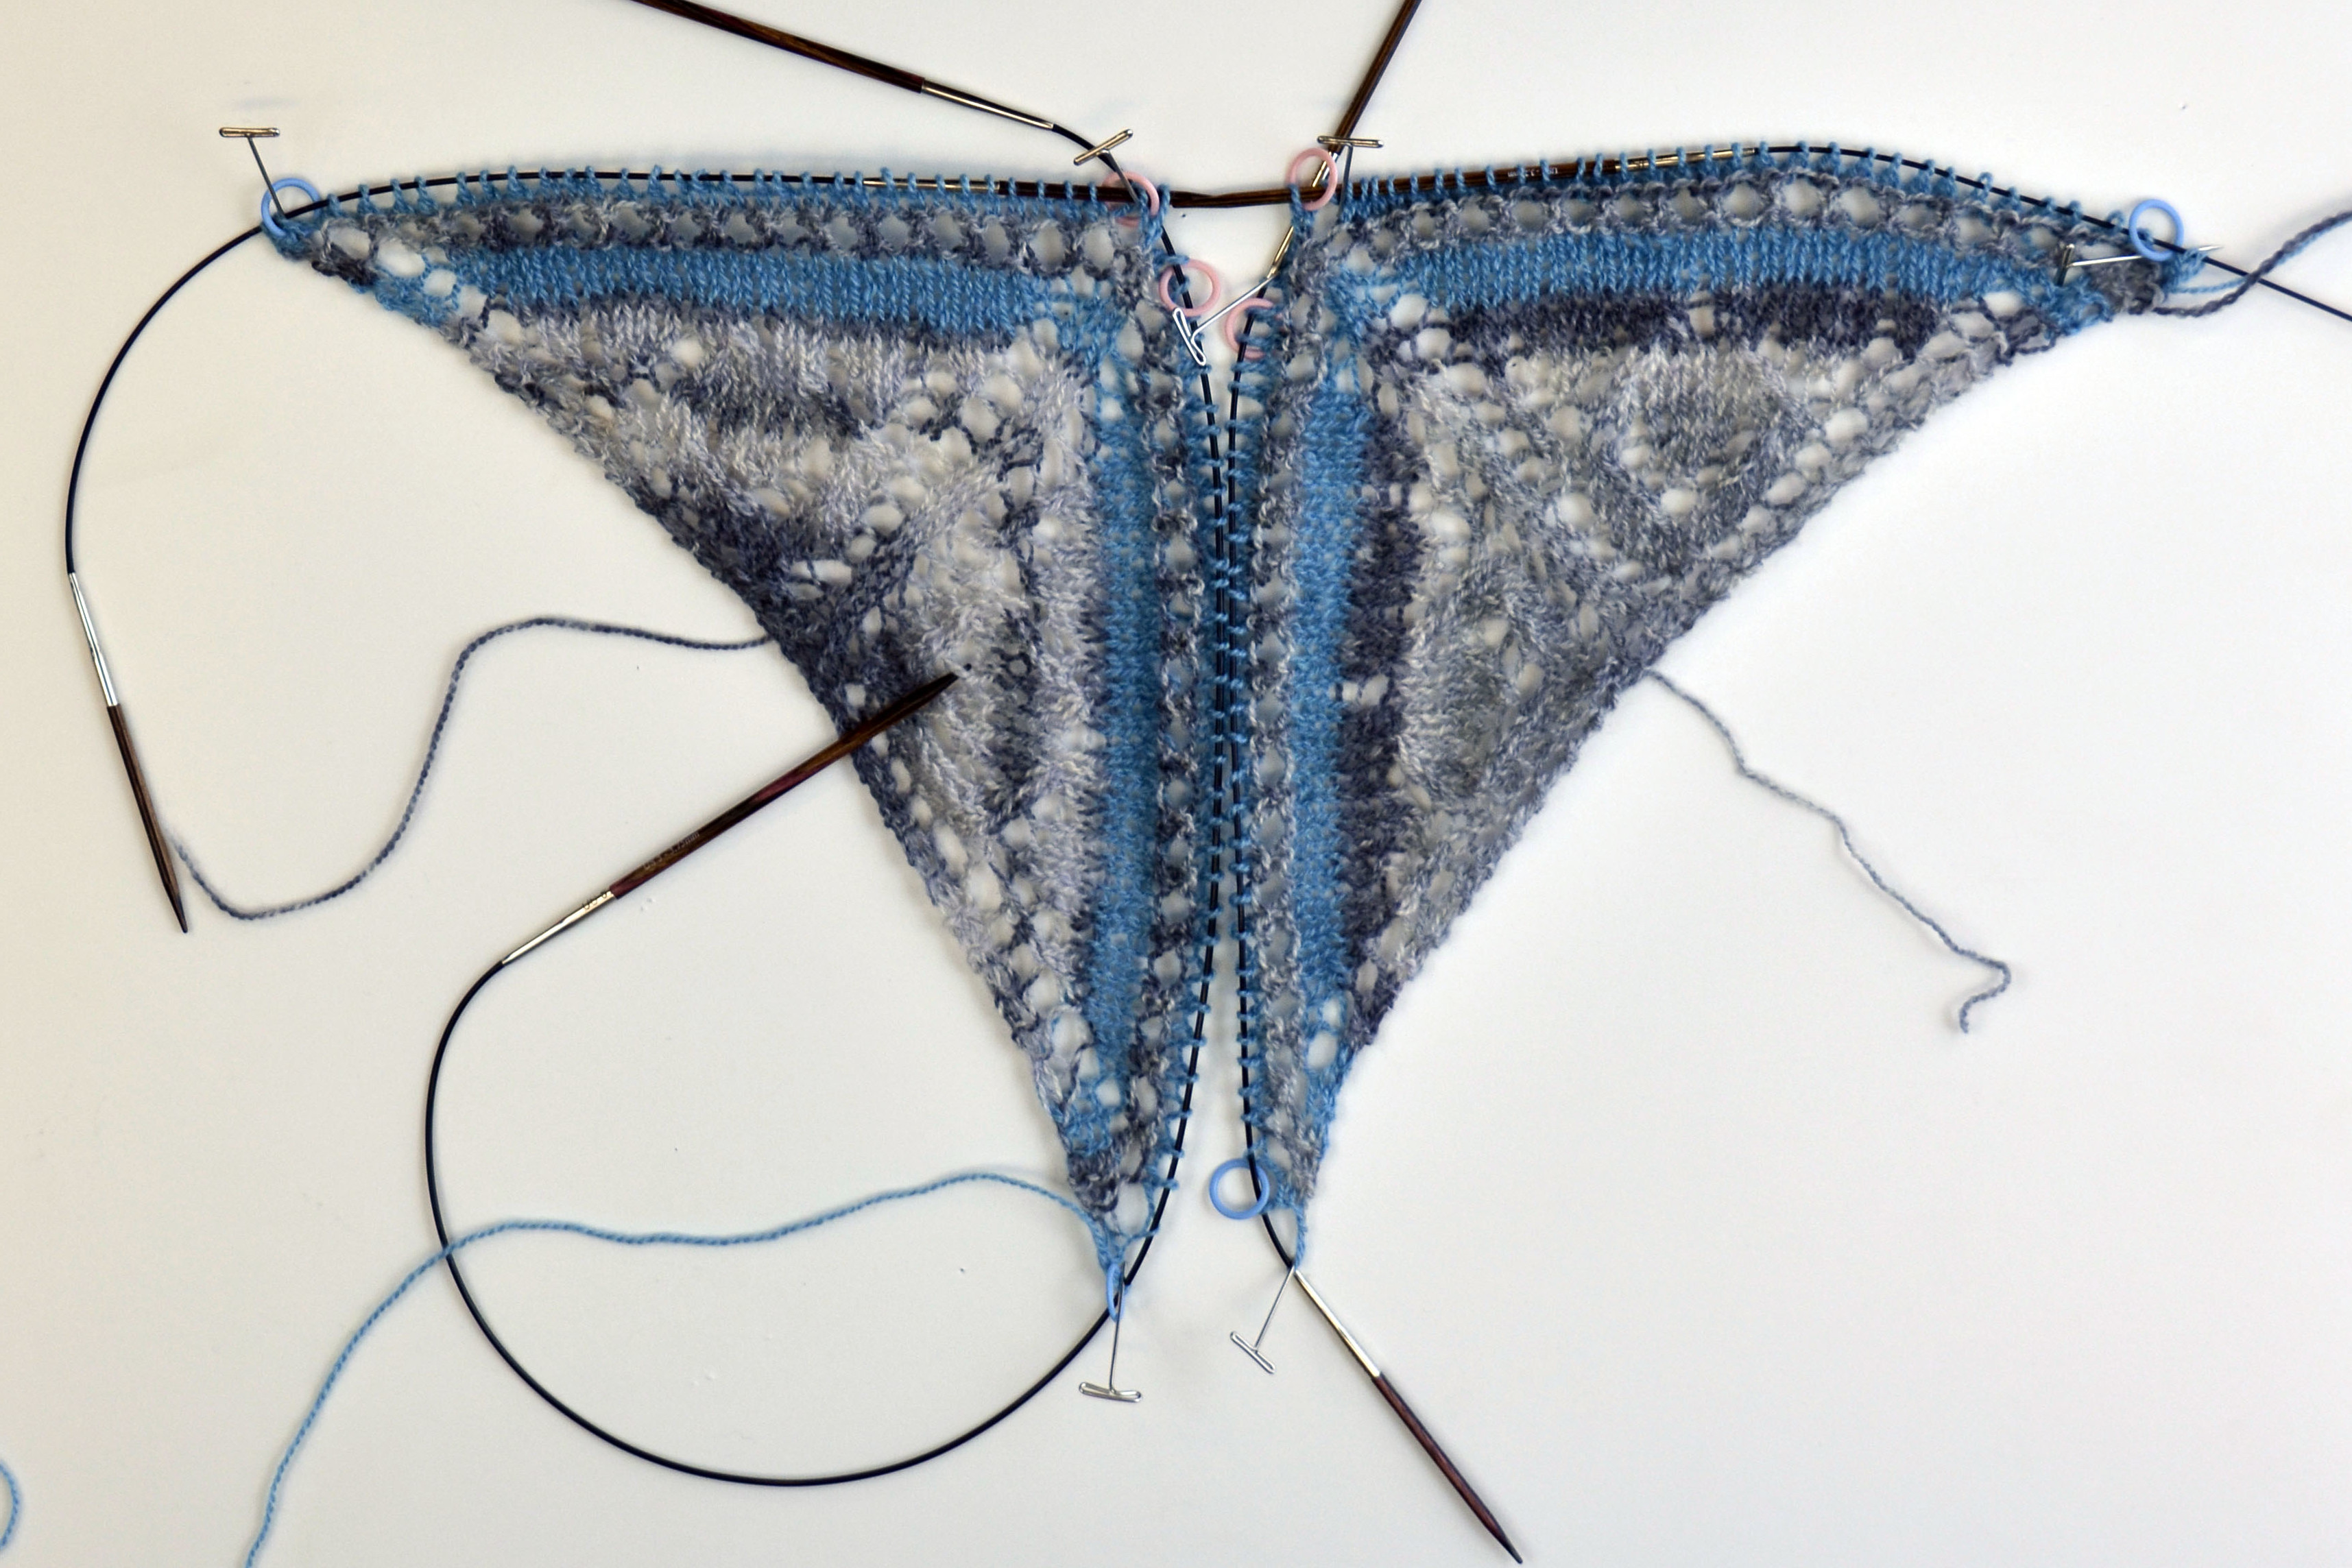
Since last time, I finished up both miniature versions of right and left wings and added the edging. Here they are sitting next to each other, all ready to be joined. As per the pattern, I have divided each wing in half and placed the stitches on separate needles.

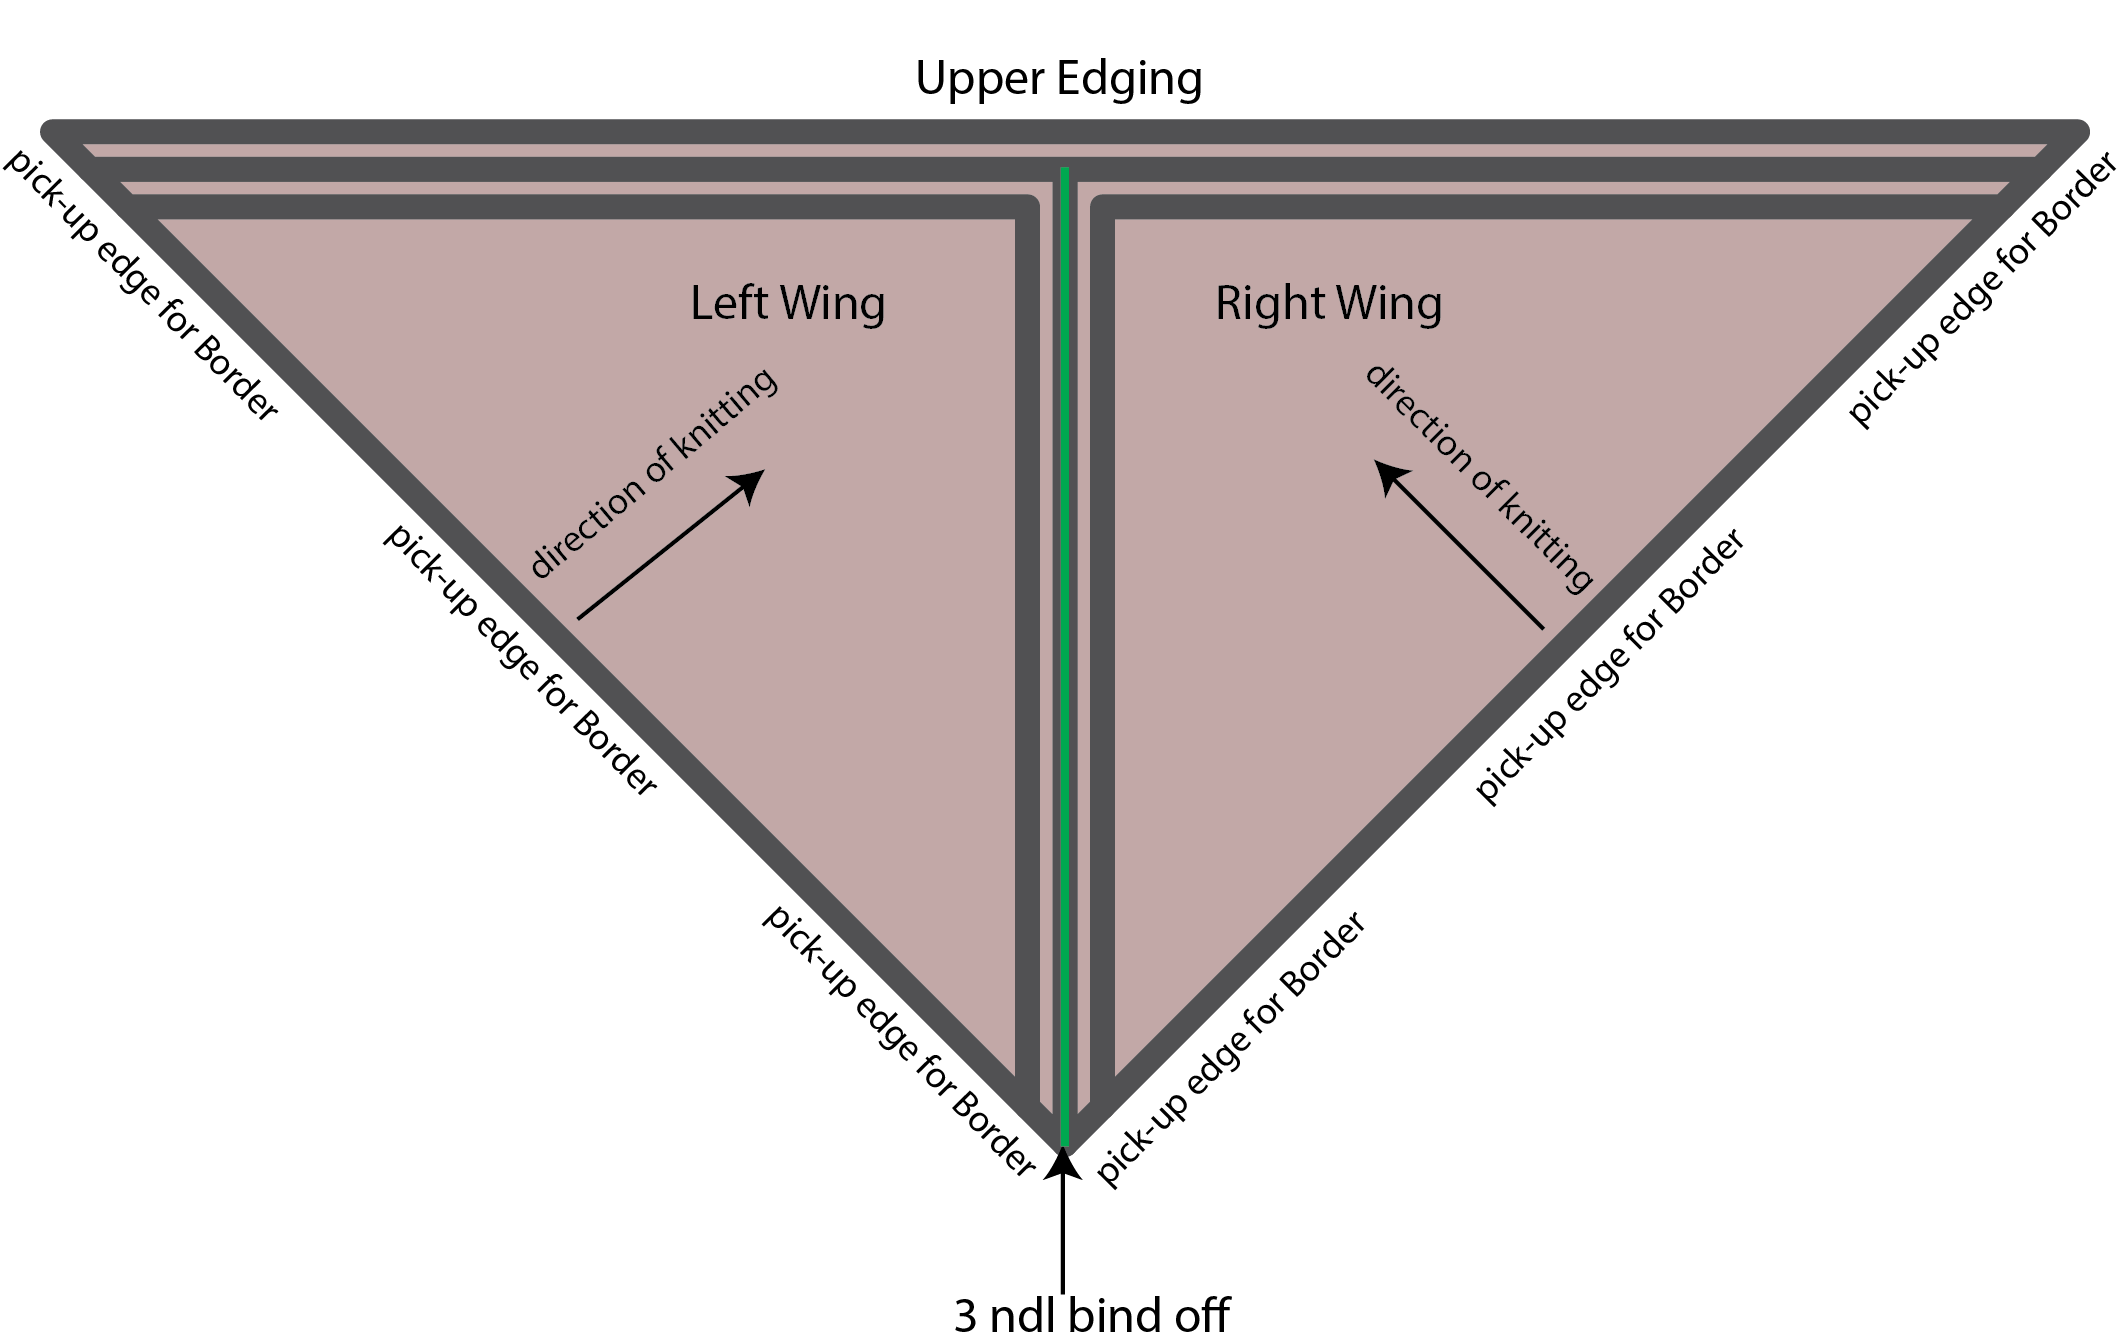
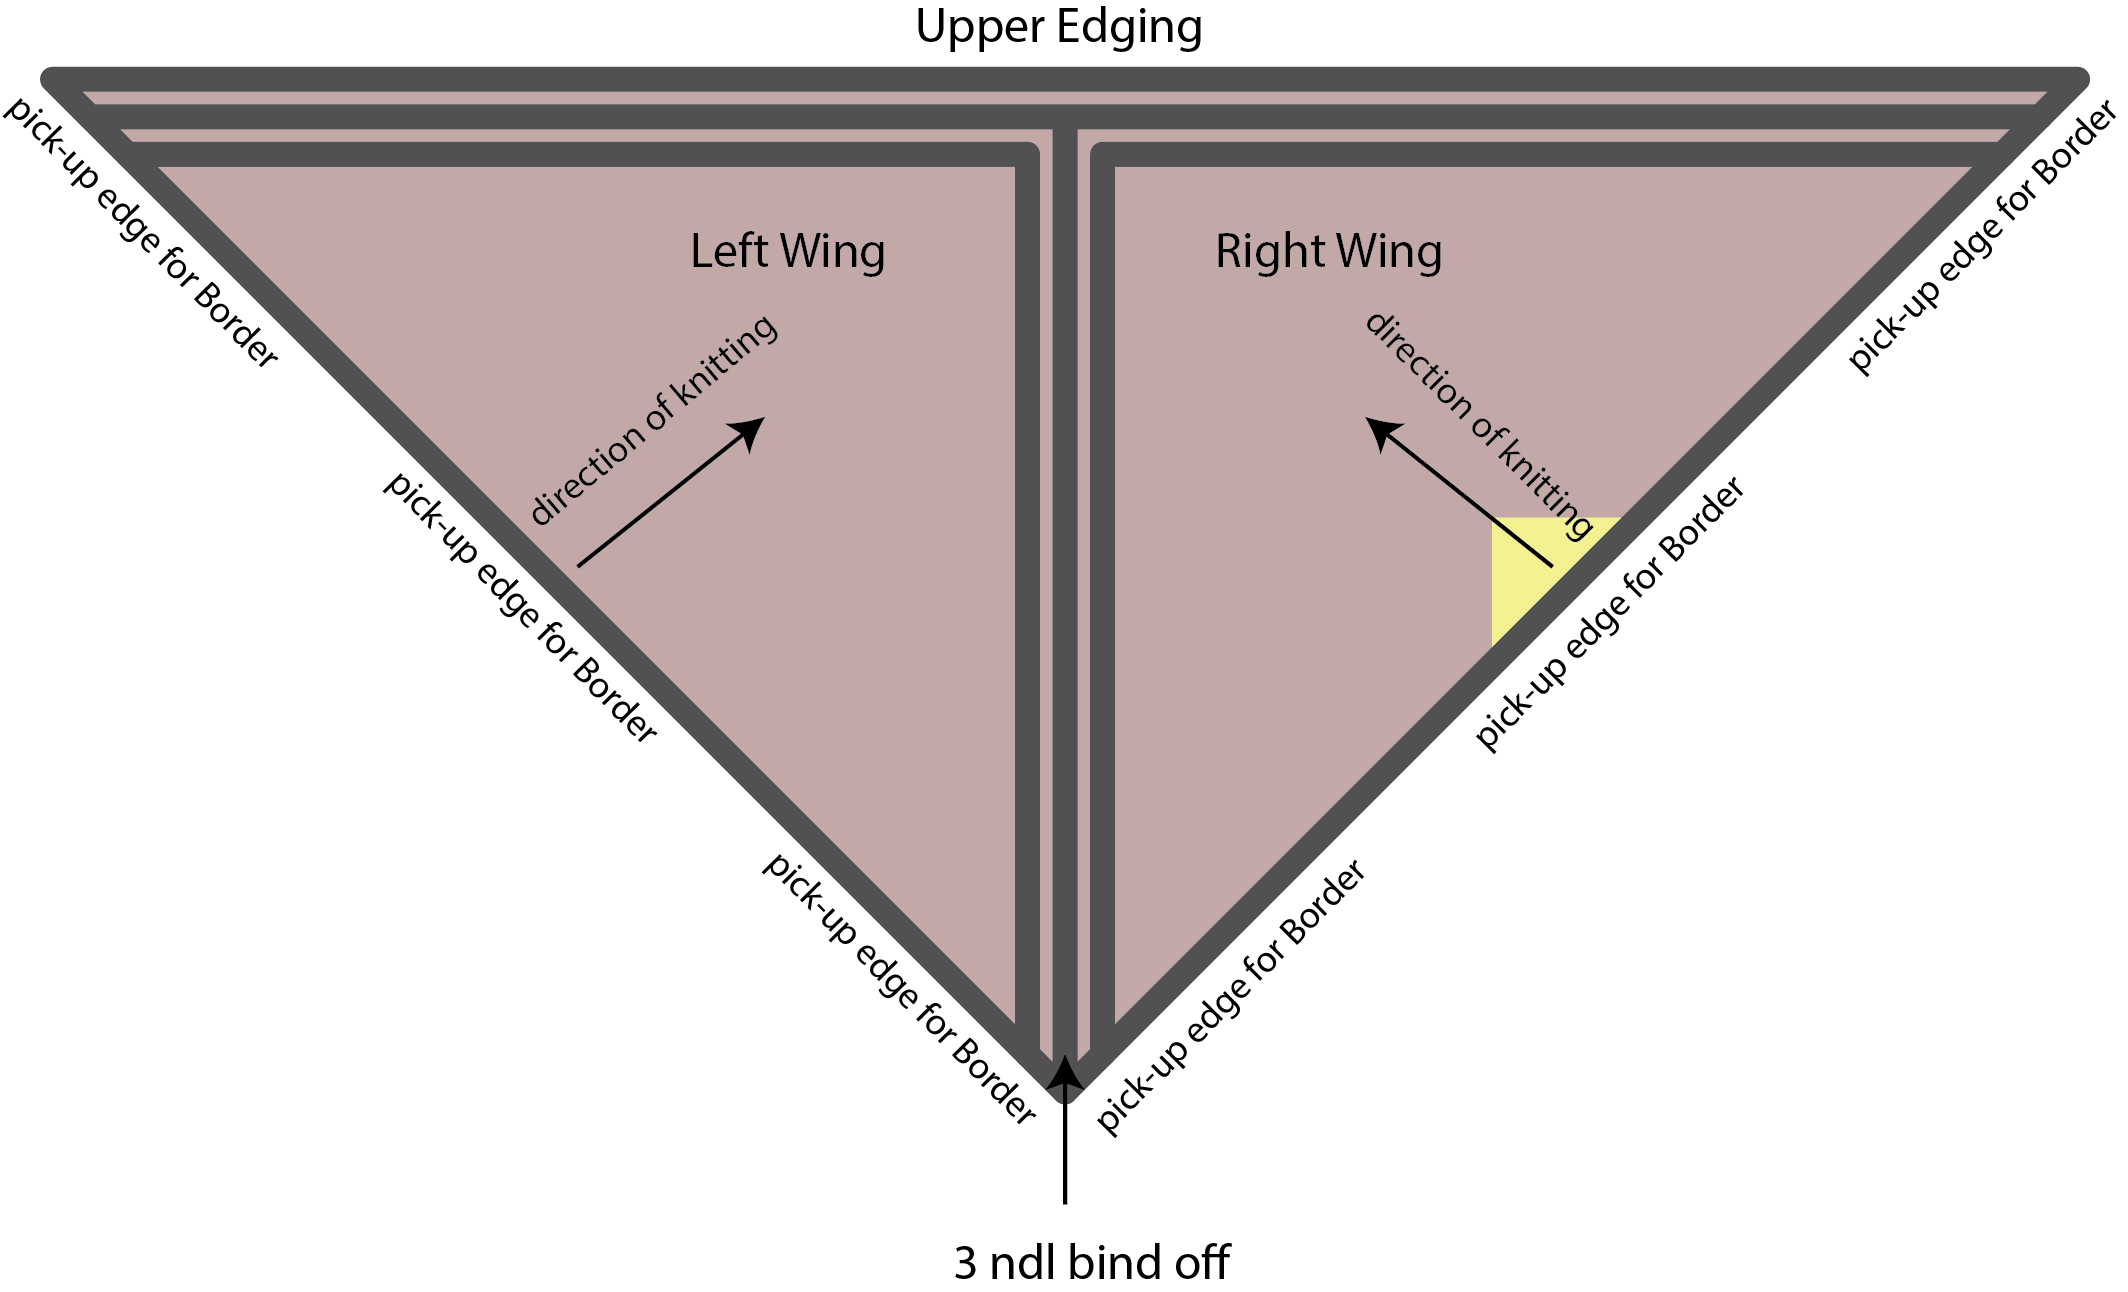
Here is a diagram of the shawl. That green line in the center represents the 3 needle bind off we’re about to do.

Bisected Shawl_3ndlbindoff

A three needle bind off is a way of joining two sets of live stitches. In this case, we’re joining half each of the right and left wings of the shawl. It’s called the three needle bind off because it require three needles. Though because I’m using circular needles, I only need to use the other end of one of the circulars as the third needle.

To begin, place the right sides of the pieces together:

3ndl_2

Next, knit 2 stitches together. That is, knit one stitch from the front needle and one stitch from the back needle together.

3ndl_3

Then knit two stitches together again (1 from each needle) so there are now 2 stitches on the right needle.

3ndl_4

Now is where the “bind off” part of this comes into play. Pass the first stitch on the right needle over the second stitch.

3ndl_5

3ndl_6

Next, k2tog, bind off 1 stitch, and keep doing this for the remainder of stitches to be joined. Here is the finished three needle bind off:

3ndl_7

And here’s what it looks like from the front:

3ndl_8

After I block the piece, that seam will flatten out and look virtually seamless. You can see that I’ve put the remaining stitches from both wings onto a single needle. I worked the top edging across these stitches and here’s what it looks like after weaving in ends and giving a light steaming:

3ndl_9

I’m using Whisper Lace in brand new colors 115 Mineral (solid) and 212 Stonework (multi). I’d love to see this color combination in a full-sized Bisected Shawl!

Join us next time when we tackle the final step of this shawl, the attach-as-you-go garter lace edging.

Bisected Shawl – Starting Out

The last 2 weeks we talked about how to do filet crochet and the Delphi Stole from ebook Contrarian Shawls 2.  Now we’re ready to move onto some knitting with the Bisected Shawl from the same collection.

BisectedShawl_2_hires

BisectedShawl_1_hires

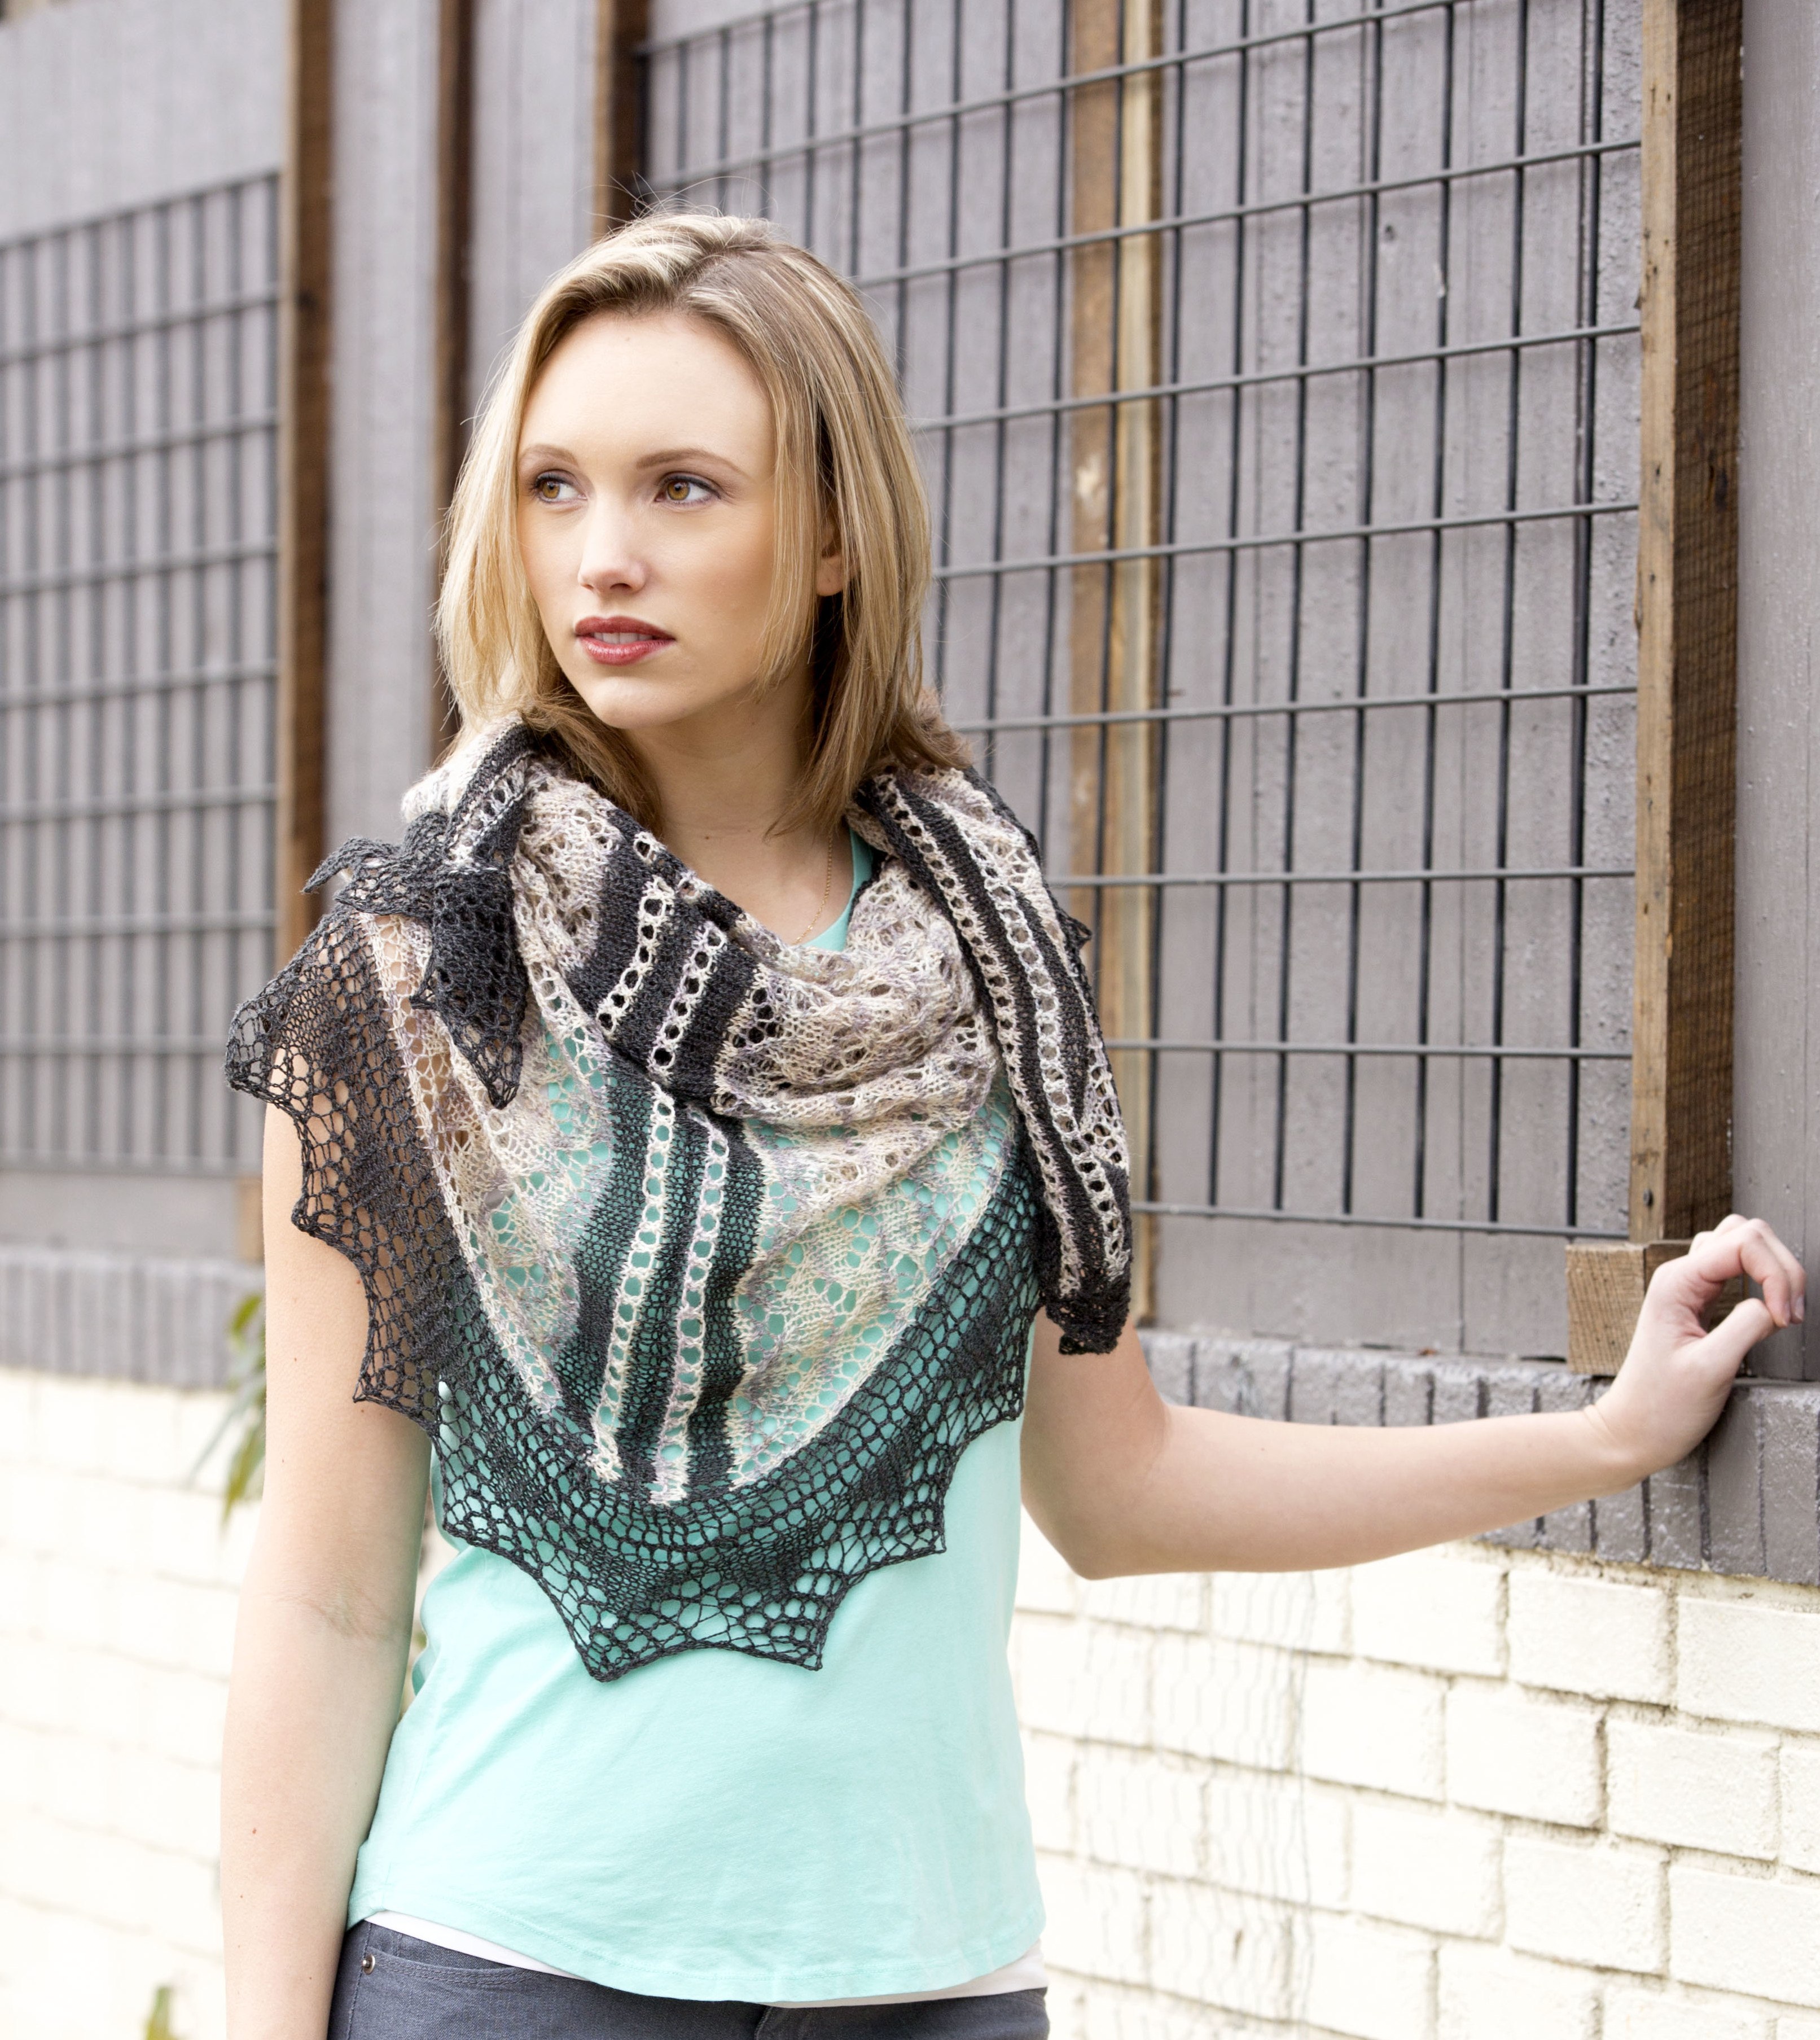
The Bisected Shawl is a really fun knit. It’s worked in several sections, and it’s fun to see the progress as you move along. The bulk of the shawl is worked in a multi color of Whisper Lace, while accents are worked in a solid. The lace pattern on both the shawl body and the border are not too tough. If you’ve done just a little bit of lace before (or even a lot), this would be a great project for you. Over the next few weeks, we’re going to be covering all you need to know about wrapping your head around this shawl project.

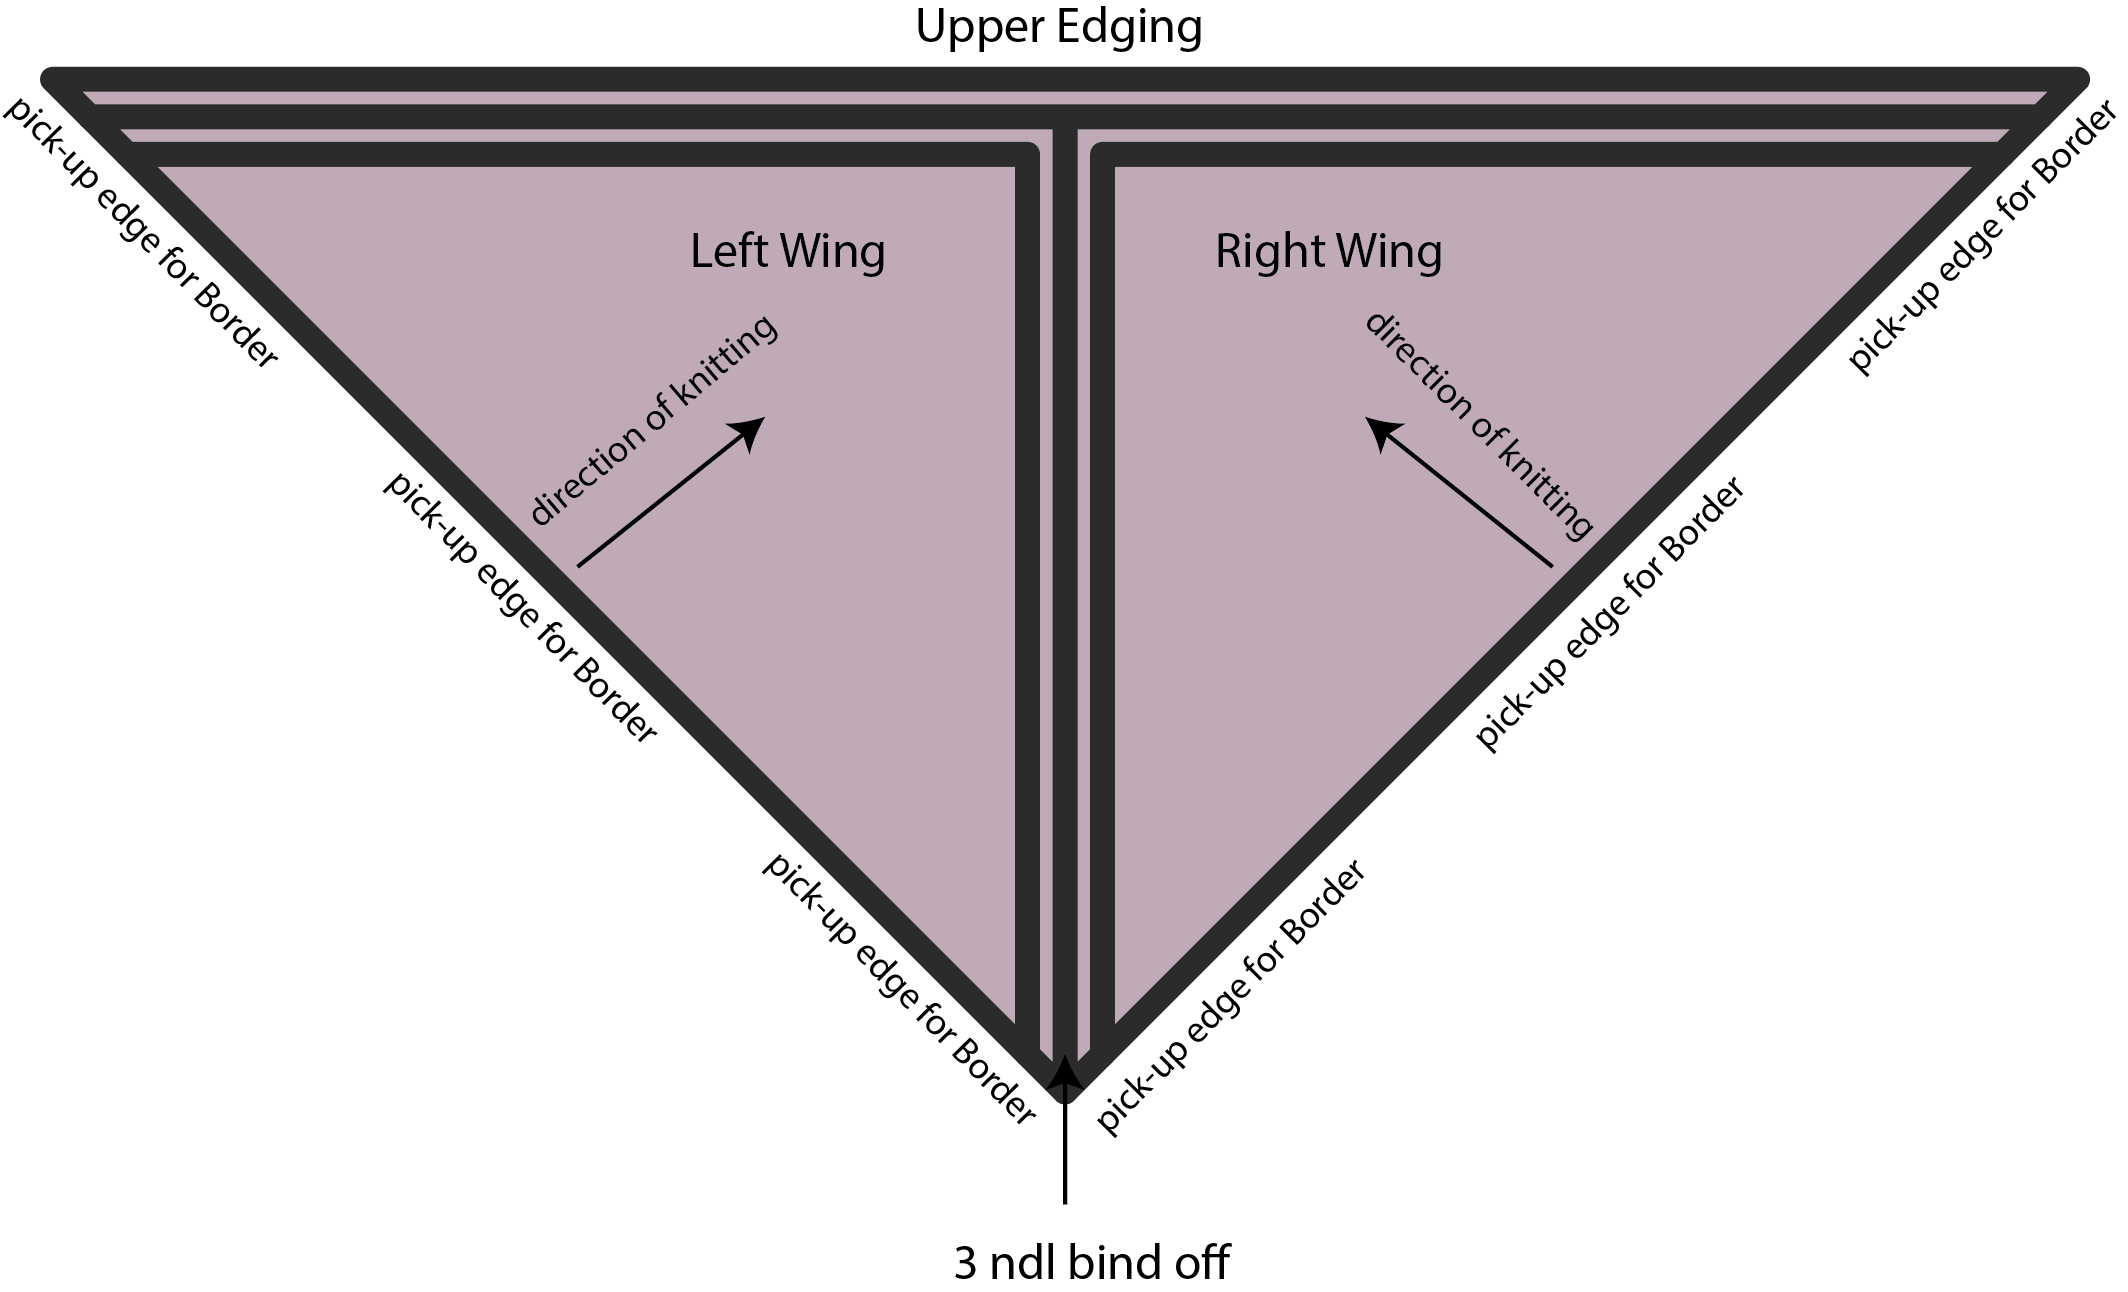
Below is the diagram of the shawl construction:

BisectedShawl_diagram

There are 4 main steps to the shawl:

  1. knit the Right Wing
  2. knit the Left Wing
  3. join the Right and Left Wings with a 3 needle bind off & work the Upper Edging
  4. Border

Today, we’re going to talk about steps 1 & 2, which are really the same step, but done twice! The wings are just top-down triangles, which may or may not be a familiar concept for you. Top-down triangles are a common way of knitting triangular shawls, or any triangular-anything, for that matter.

If you take a look at that diagram and the little “direction of knitting” arrow, that is where our Wing begins. And like many top-down triangles, this one begins with a garter tab.

A garter tab is just a small “tab” of knitting that makes for a continuous looking and seamless start. To begin the garter tab for the Right and Left Wings, we cast on 3 stitches and then knit 4 rows. Our tab looks like this:

GarterTab1

Doesn’t look like much, does it?

After this portion is complete, it’s time to pick up stitches for the beginning of the shawl.

First, we knit 3 (simply knit across the live stitches on the needle):

GarterTab2

Next, we rotate the tab 90 degrees clockwise and pick up and knit 2 stitches from the side of the tab (1 stitch in each garter bump):

GarterTab3

And finally, we pick up and knit 3 stitches along the cast-on edge:

GarterTab4

It just looks like a scrunched up mess, right? For an even more seamless start, you can try casting on the 3 stitches for the tab using a provisional method. So instead of having to pick up 3 stitches along the cast-on edge, you can just place live loops on your needle and knit them.

Next step is our set up row which will get us ready to begin the lace patterning. Markers are placed after the first 2 stitches and before the last 2 stitches of the row. Markers are also placed on either side of the 2 center-most stitches.

GarterTab5

As with most top-down triangles, 4 increases are worked on every right side row – 1 after the first 2 stitches, 1 on either side of the center 2 stitches, and 1 before the last 2 stitches. Geometry – it’s like magic!

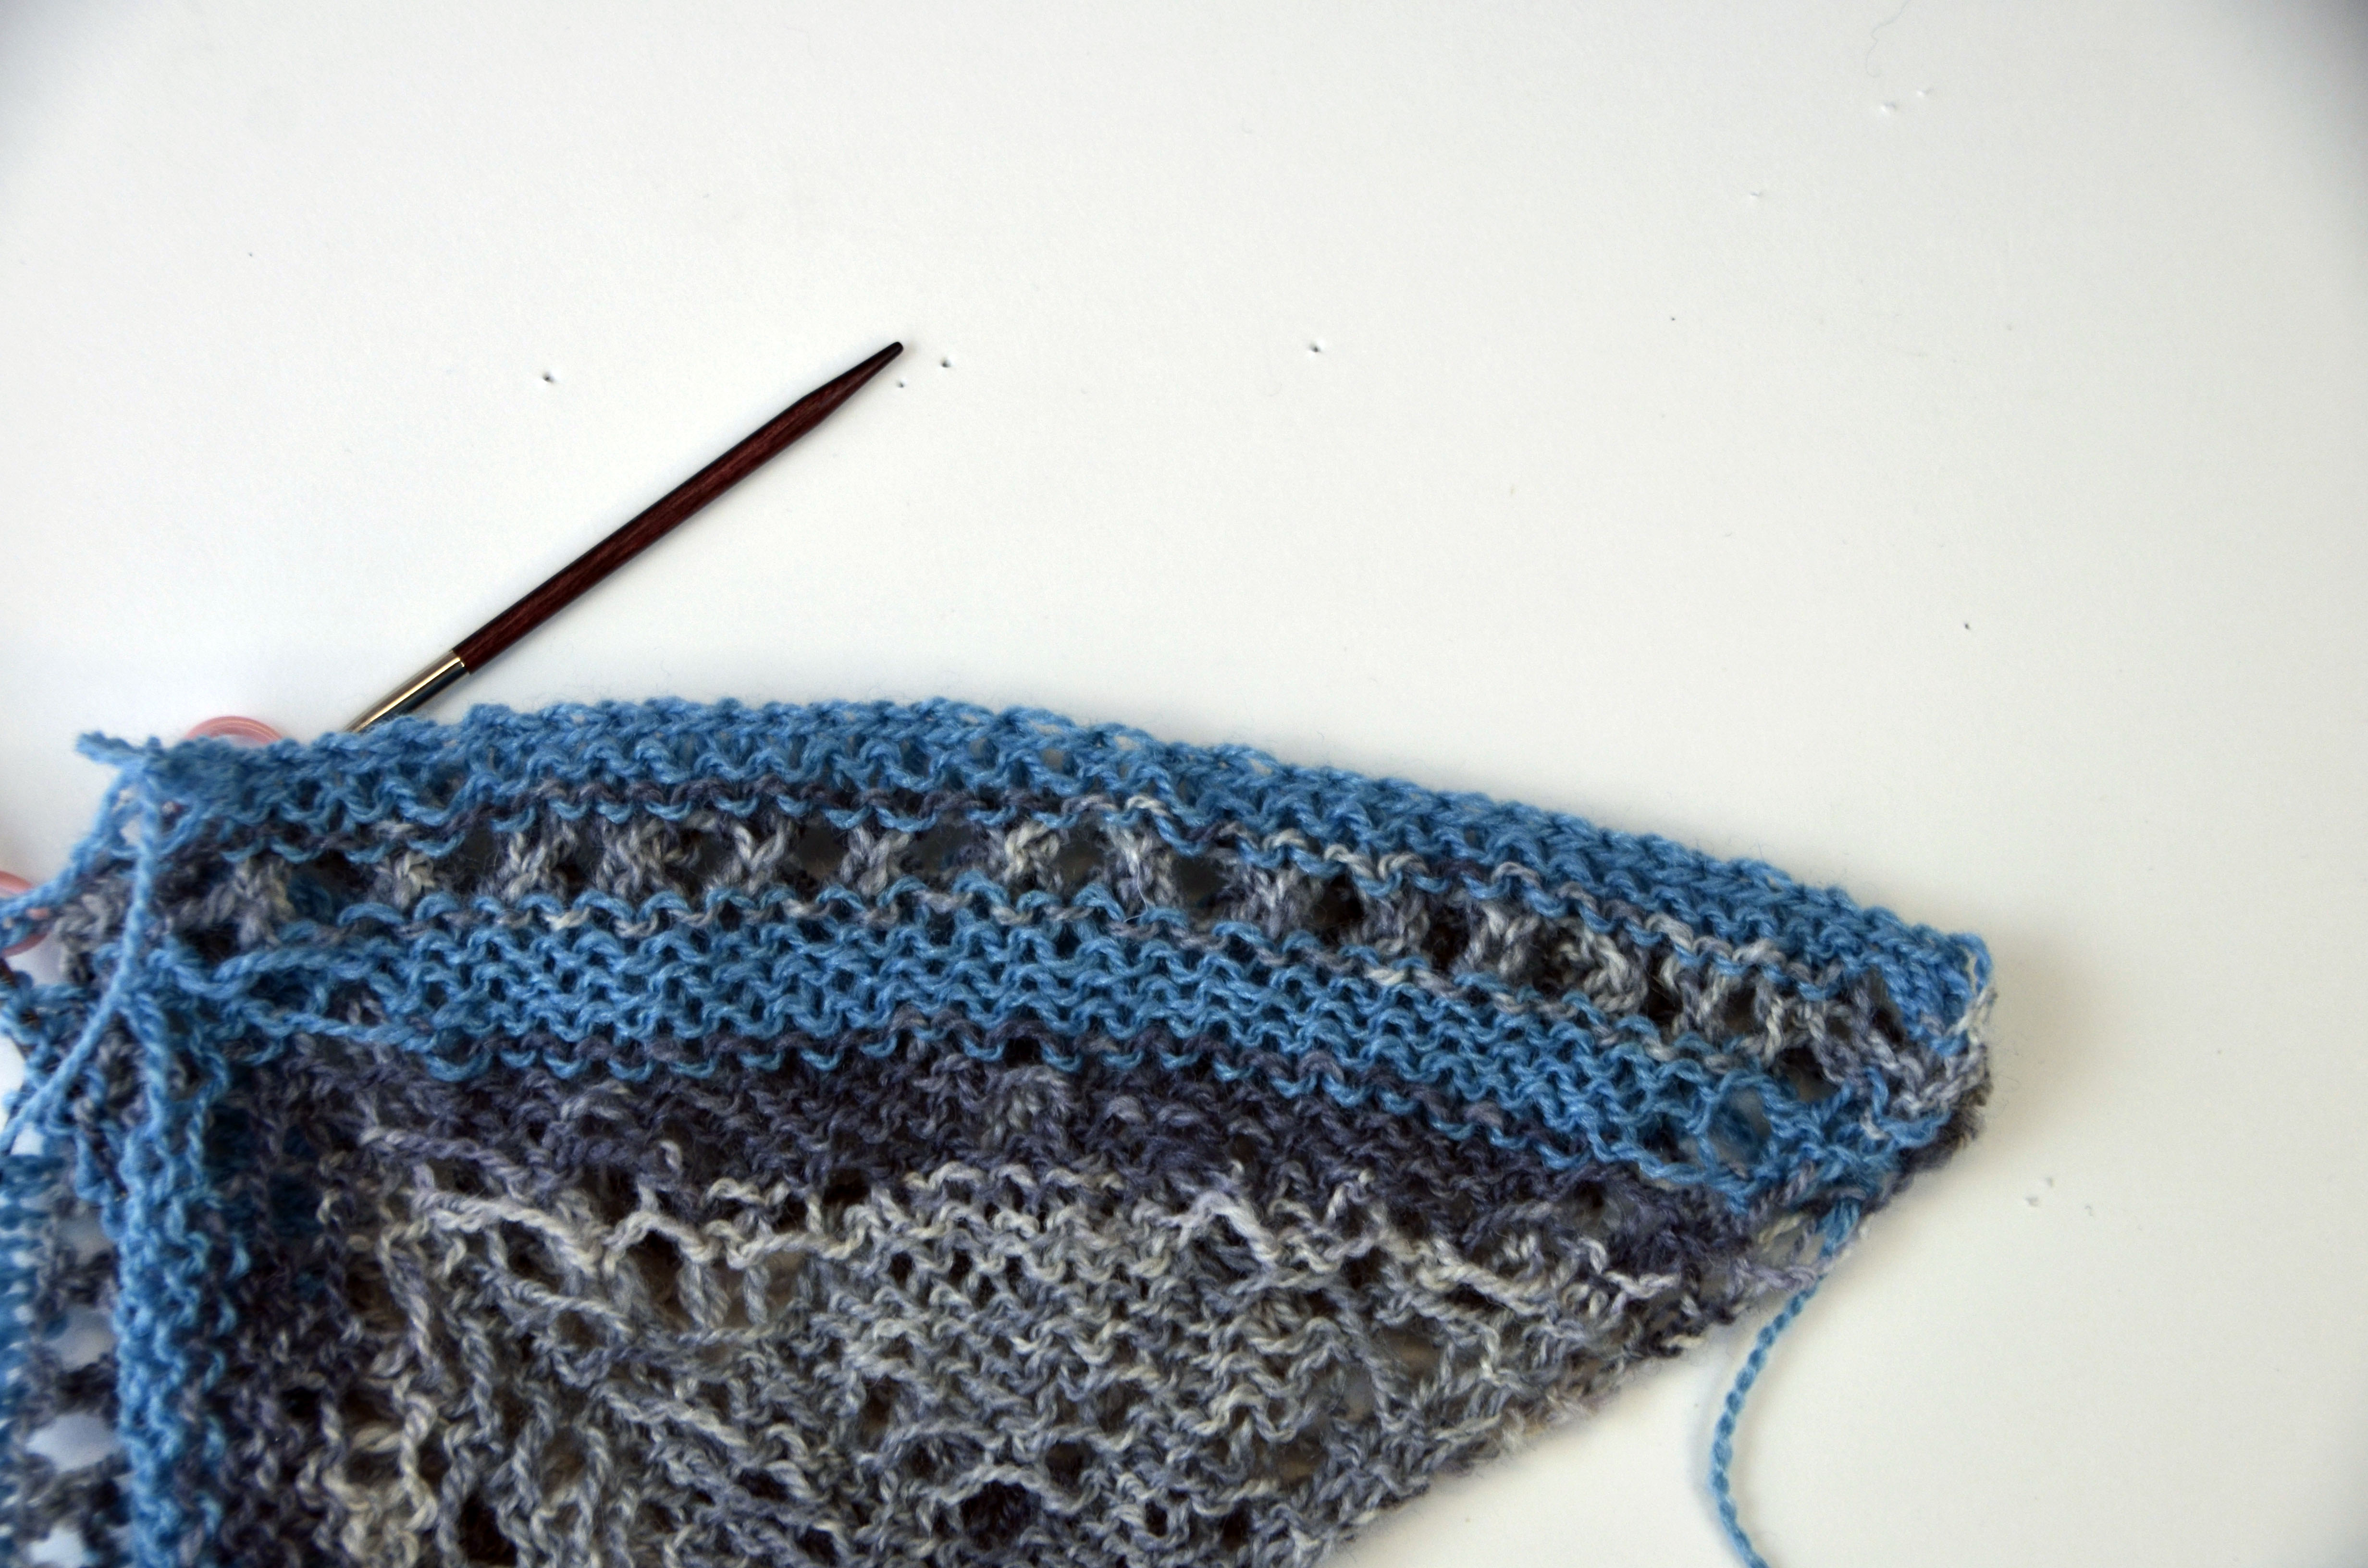
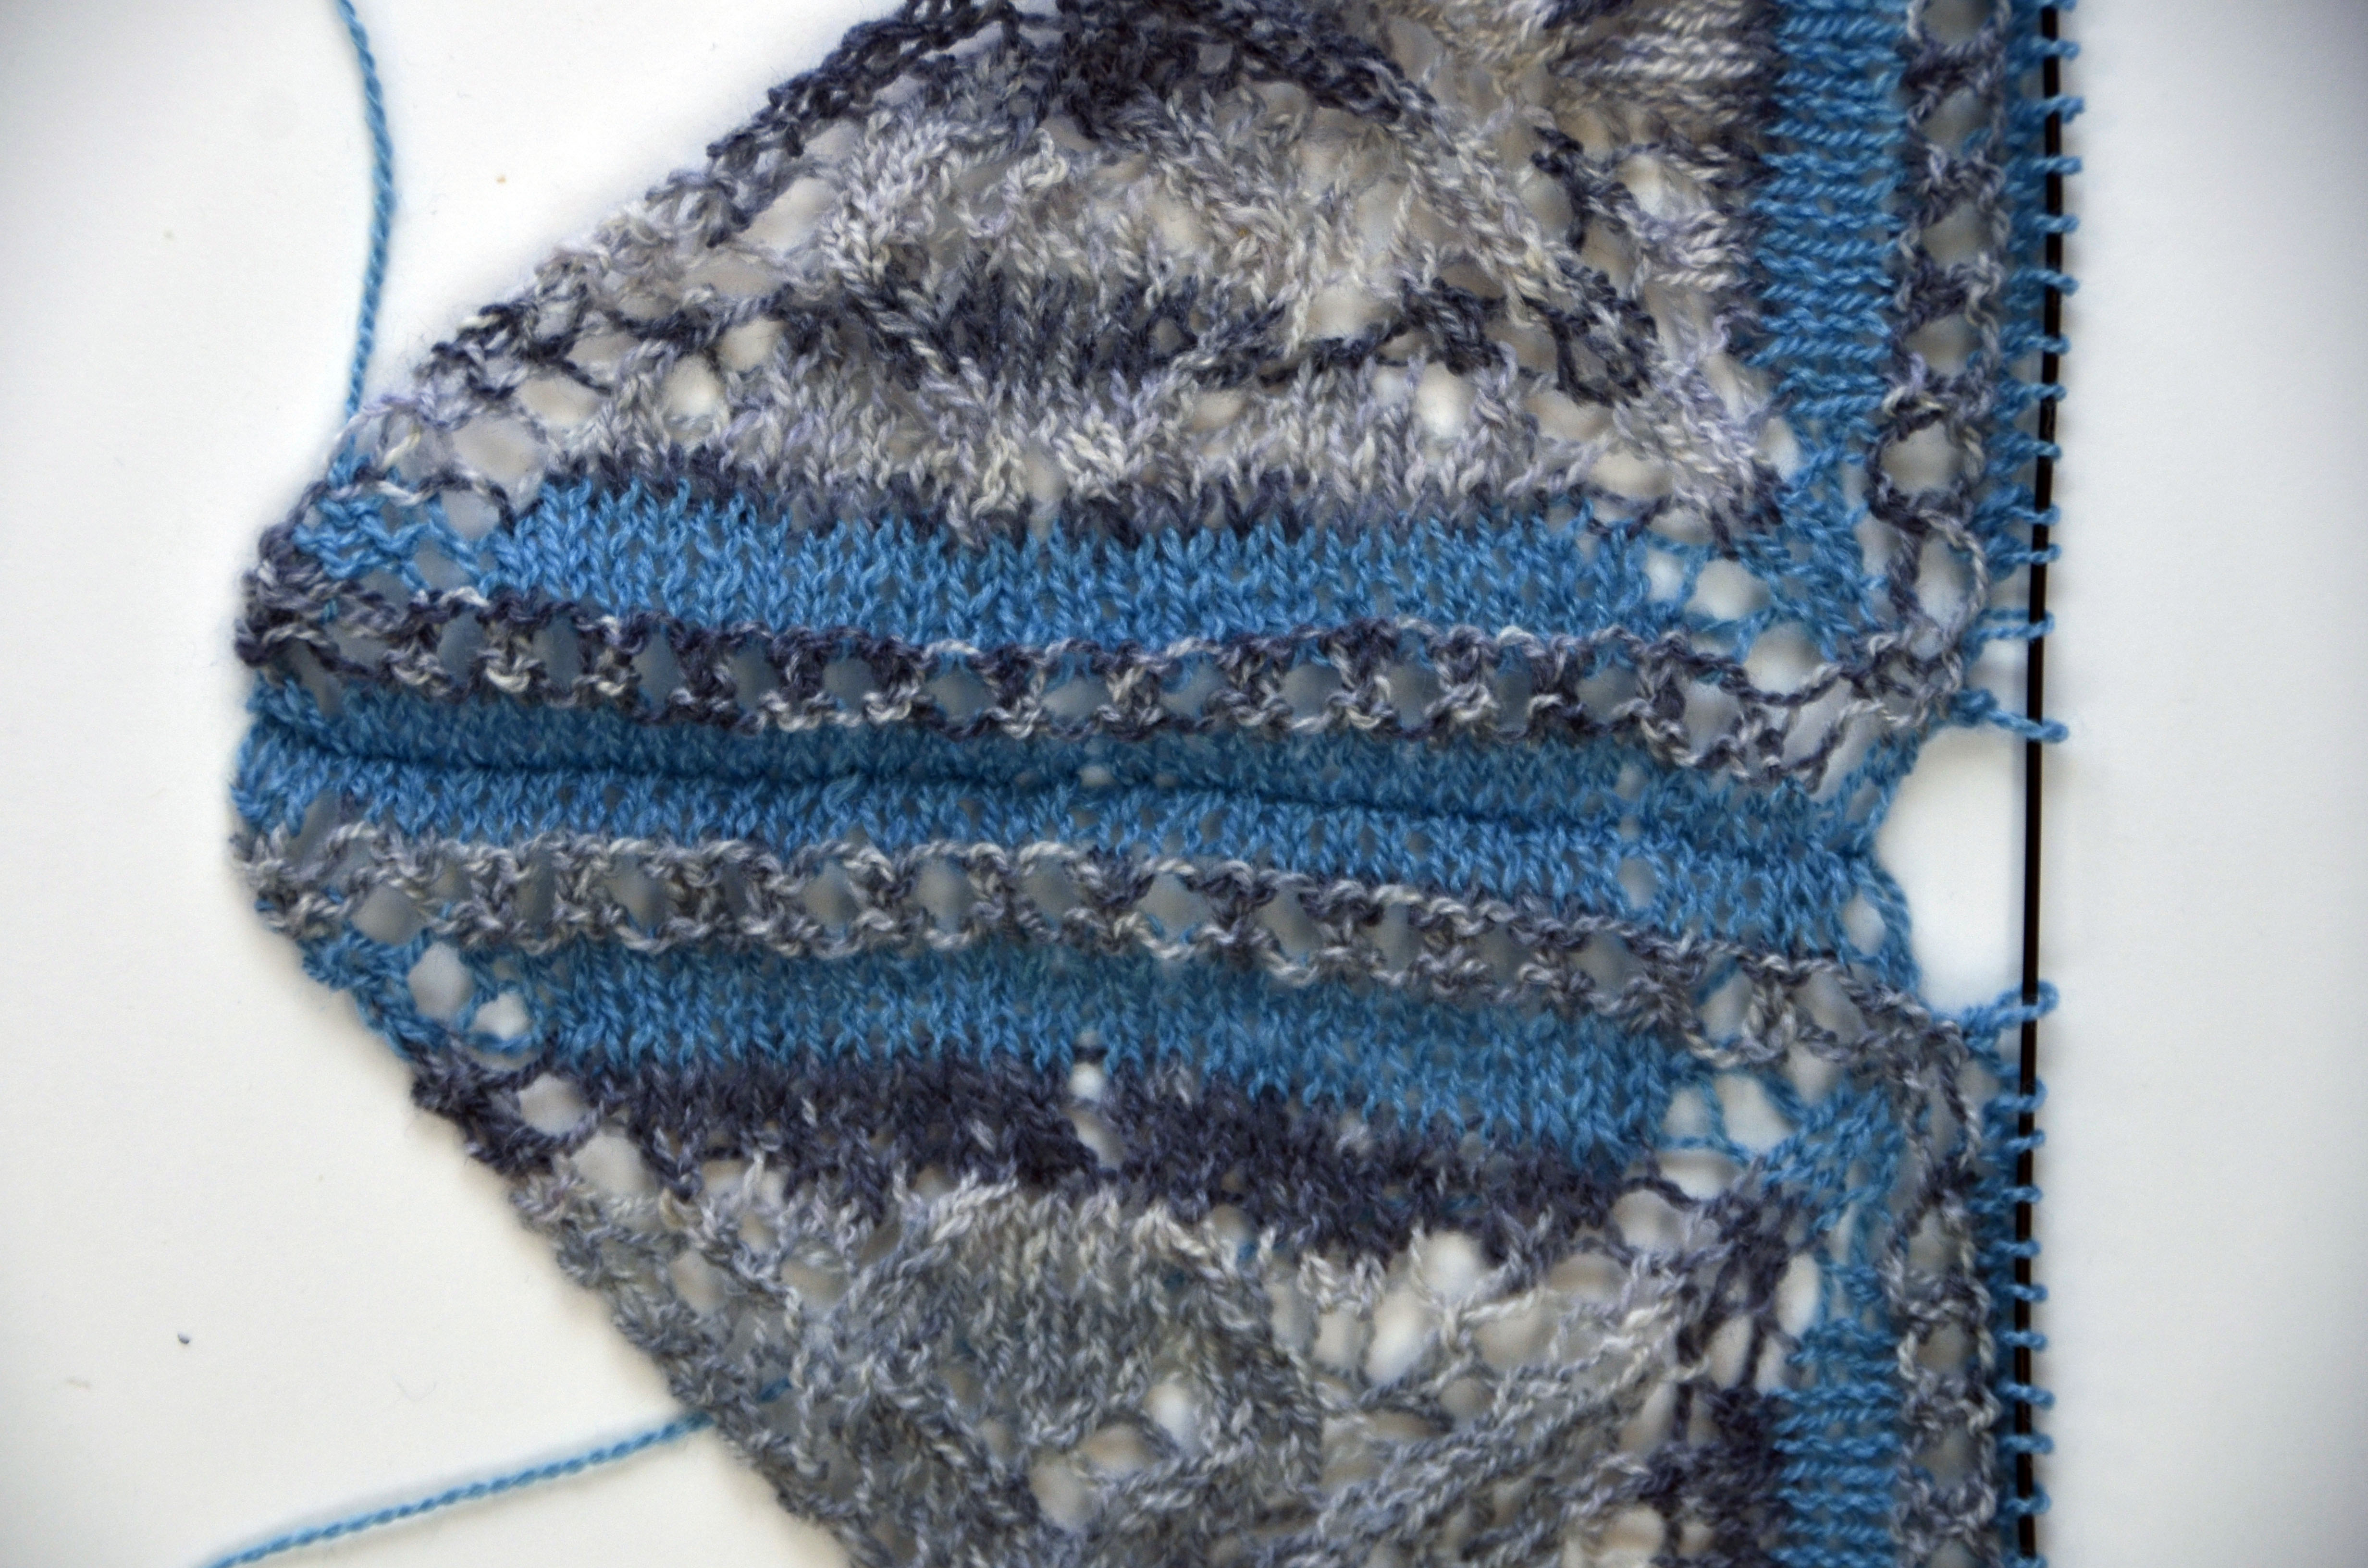
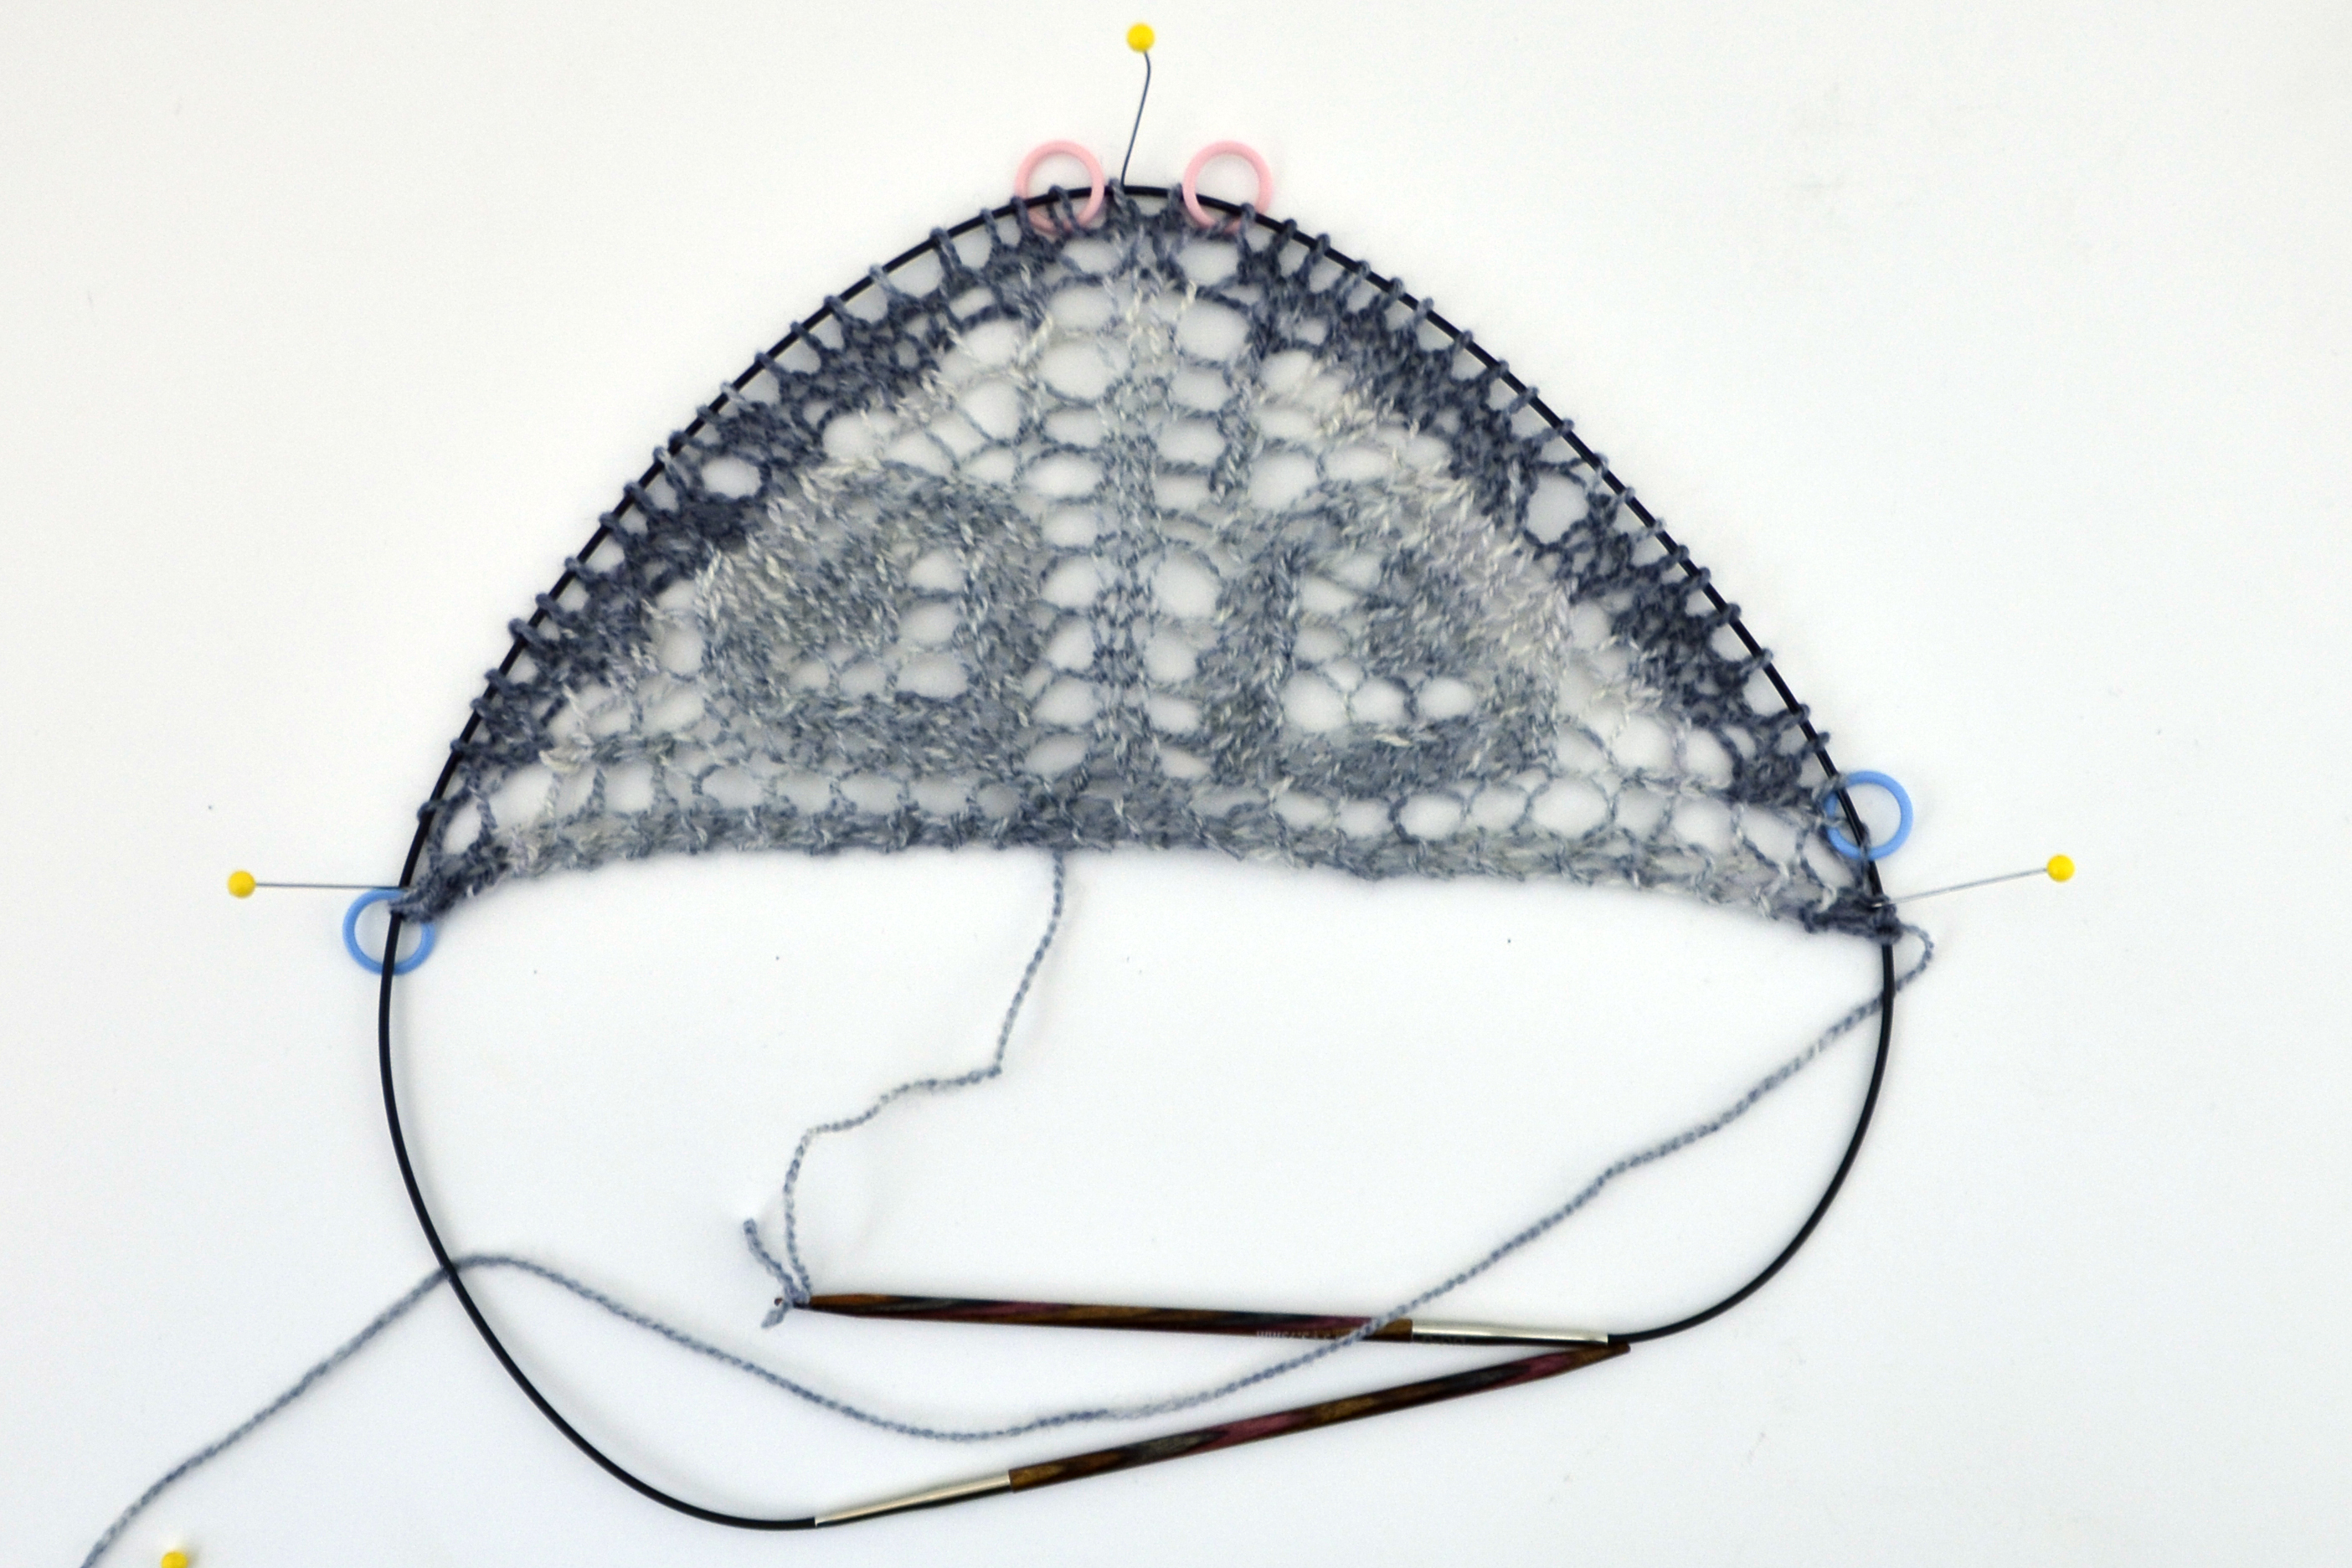
Here’s how our wing looks after the first  20 rows of the pattern. You can see that I started in the bottom center of the swatch where my cast-on tail is hanging. Yarnovers are increasing the triangle shape in the center and on the sides. I love how the garter stitch tab transitions seamlessly into the garter stitch edge stitches of the piece.

GarterTab6

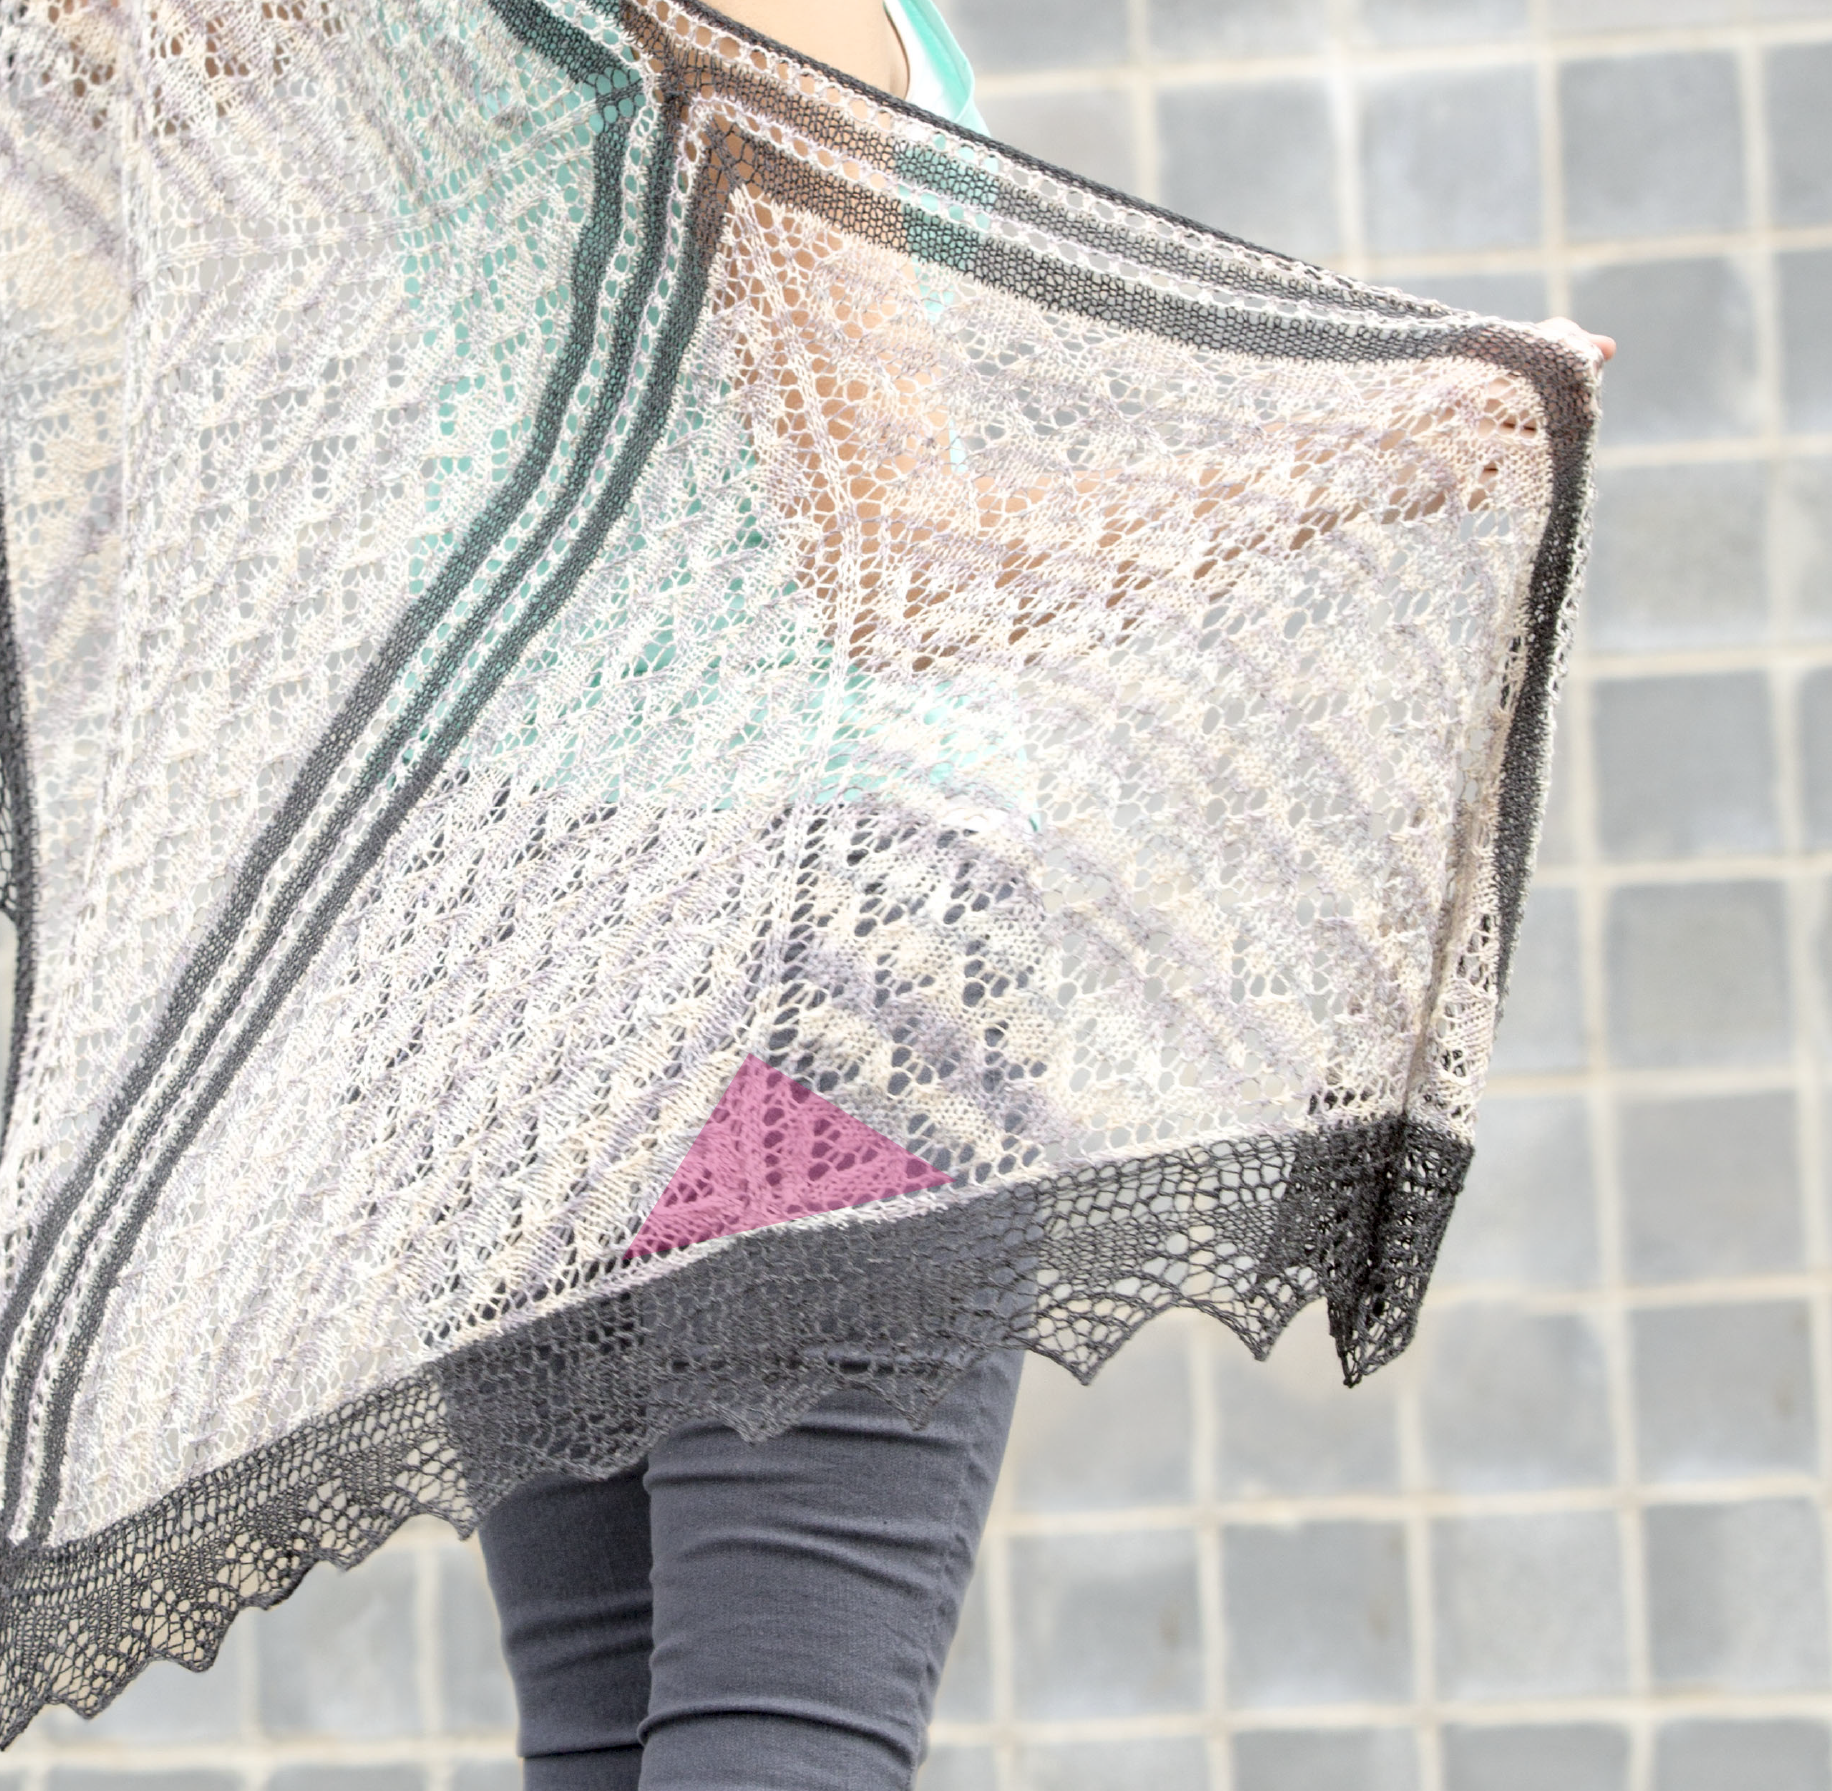
For reference, this small portion of the shawl is where the highlighted area would be in the diagram:

BisectedShawl_firsttriangle

And on the shawl itself:

BisectedShawl_2_beginningtriangle

Next time we’ll talk about joining the wings together and working our top edging.

Delphi Stole – Edging

Last week we covered the basics of filet crochet, and everything you need to know to make the body of the Delphi Stole from Contrarian Shawls 2.

DelphiStole_1_hires

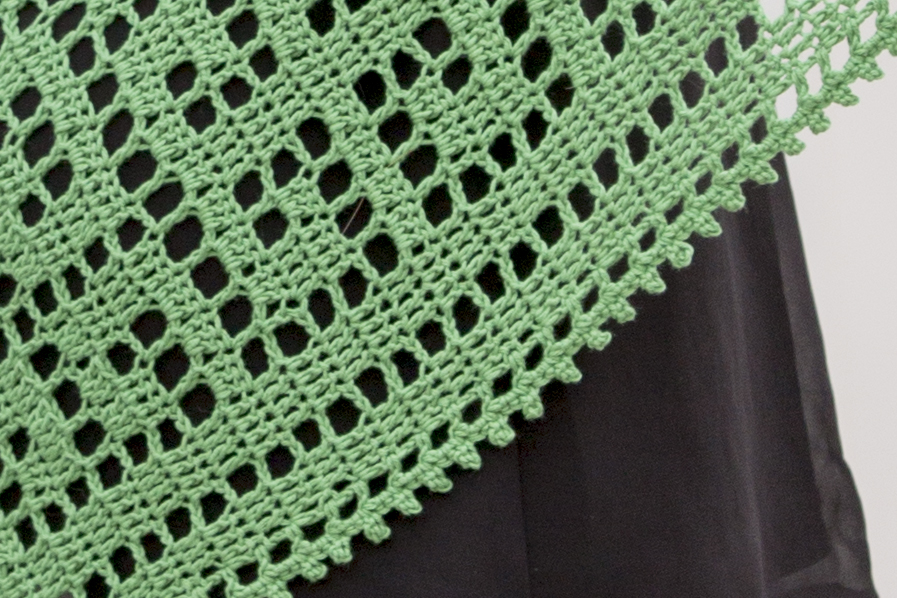
Detail shot of Delphi Stole edging:

DelphiEdging_detail

Now we’re going to finish off our little swatch with a simple, yet effective picot edging. Though i fastened off my last stitch of the swatch, there is no need to do this in the actual project. After the last row of the stole body is worked, you just continue on with the edging.

The edging is worked in two rounds. First, let’s talk about round 1. We’re going to create our first corner space by working [chain 1, hdc, chain 5, hdc] into the top of the last double crochet (dc) made from the final row of the stole body.

Edging1

Next, we’re going to be working half double crochet (hdc), chain 2, all the way along the side. We will always be working a chain 2, skipping the sides of the double crochets from the body, and then working a hdc into the top of a dc.

Edging2

Here’s how things look after we finish the first side:

Edging3

To make the next corner, we’ll do what we did for that first corner (hdc, ch 5, hdc), but in the bottom of the first double crochet from row 1 of the body:

Edging4

Then, working along the beginning chain edge, we’ll work [ch 2, skip 2 dc/ch, hdc in next dc] all along the lower edge:

Edging5

And so on, until you’ve made your way back to that first hdc. Join with a slip stitch to the top of that hdc.

Edging6

Round 2 is mostly single crochet (sc), with a picot thrown in every third sc. These picots serve two purposes: 1) they add a tiny amount of dense weight that helps the stole to drape and be a bit more “grounded”; 2) the picots serve as perfect little spots to run blocking wires through, allowing you to block your piece with ease.

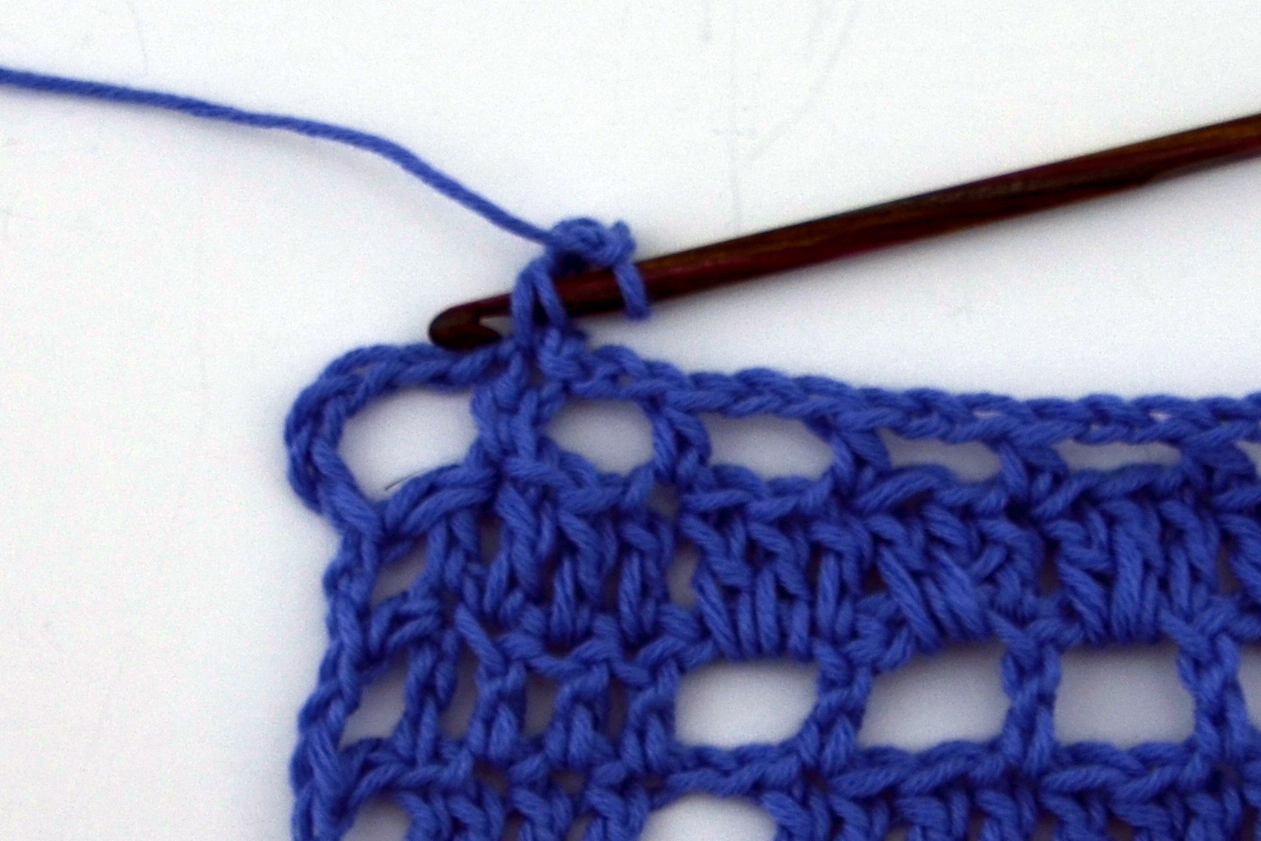
To begin round 2, ch 1, sc in top of same hdc.

Edging7

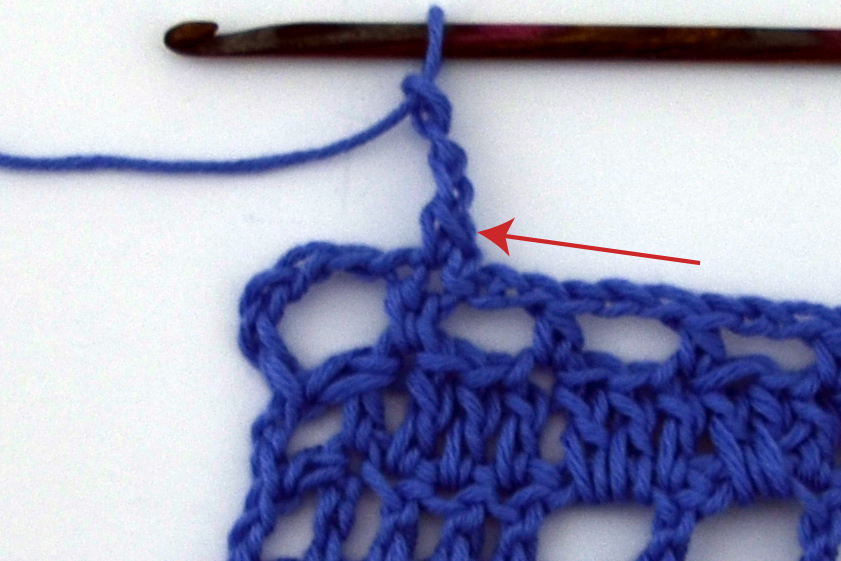
Next we’re going to make a picot on top of the sc. The instructions for the picot are [ch 3, sl st in top of sc just made].  Now, the “chain 3” part of the instructions are clear enough. But the “slip stitch in top of single crochet just made” can be tricky. I mean, there are all sorts of ways you could sl st in that sc. You could work through the front loop; you could work through both top loops; you could work through the back loop. I do something a little different when I’m working picots – just a personal preference. I like to work through both the top loop and the front bar of the stitch. I find that this sort of anchors the picot more securely to the work and also forces the picot into a nice rounded shape. The arrow below is pointing to the top front loop of the single crochet, and then that loop just to the left is the front bar.

Edging8_detail

I like to insert my hook through both of these loops. But no matter what your preference is, be consistent with how you do it.

Edging8.5

Here’s what our first corner looks like. I worked [3 sc, picot, 2 sc] into the chain 5 space, then [sc, picot] into the next hdc:

Edging9

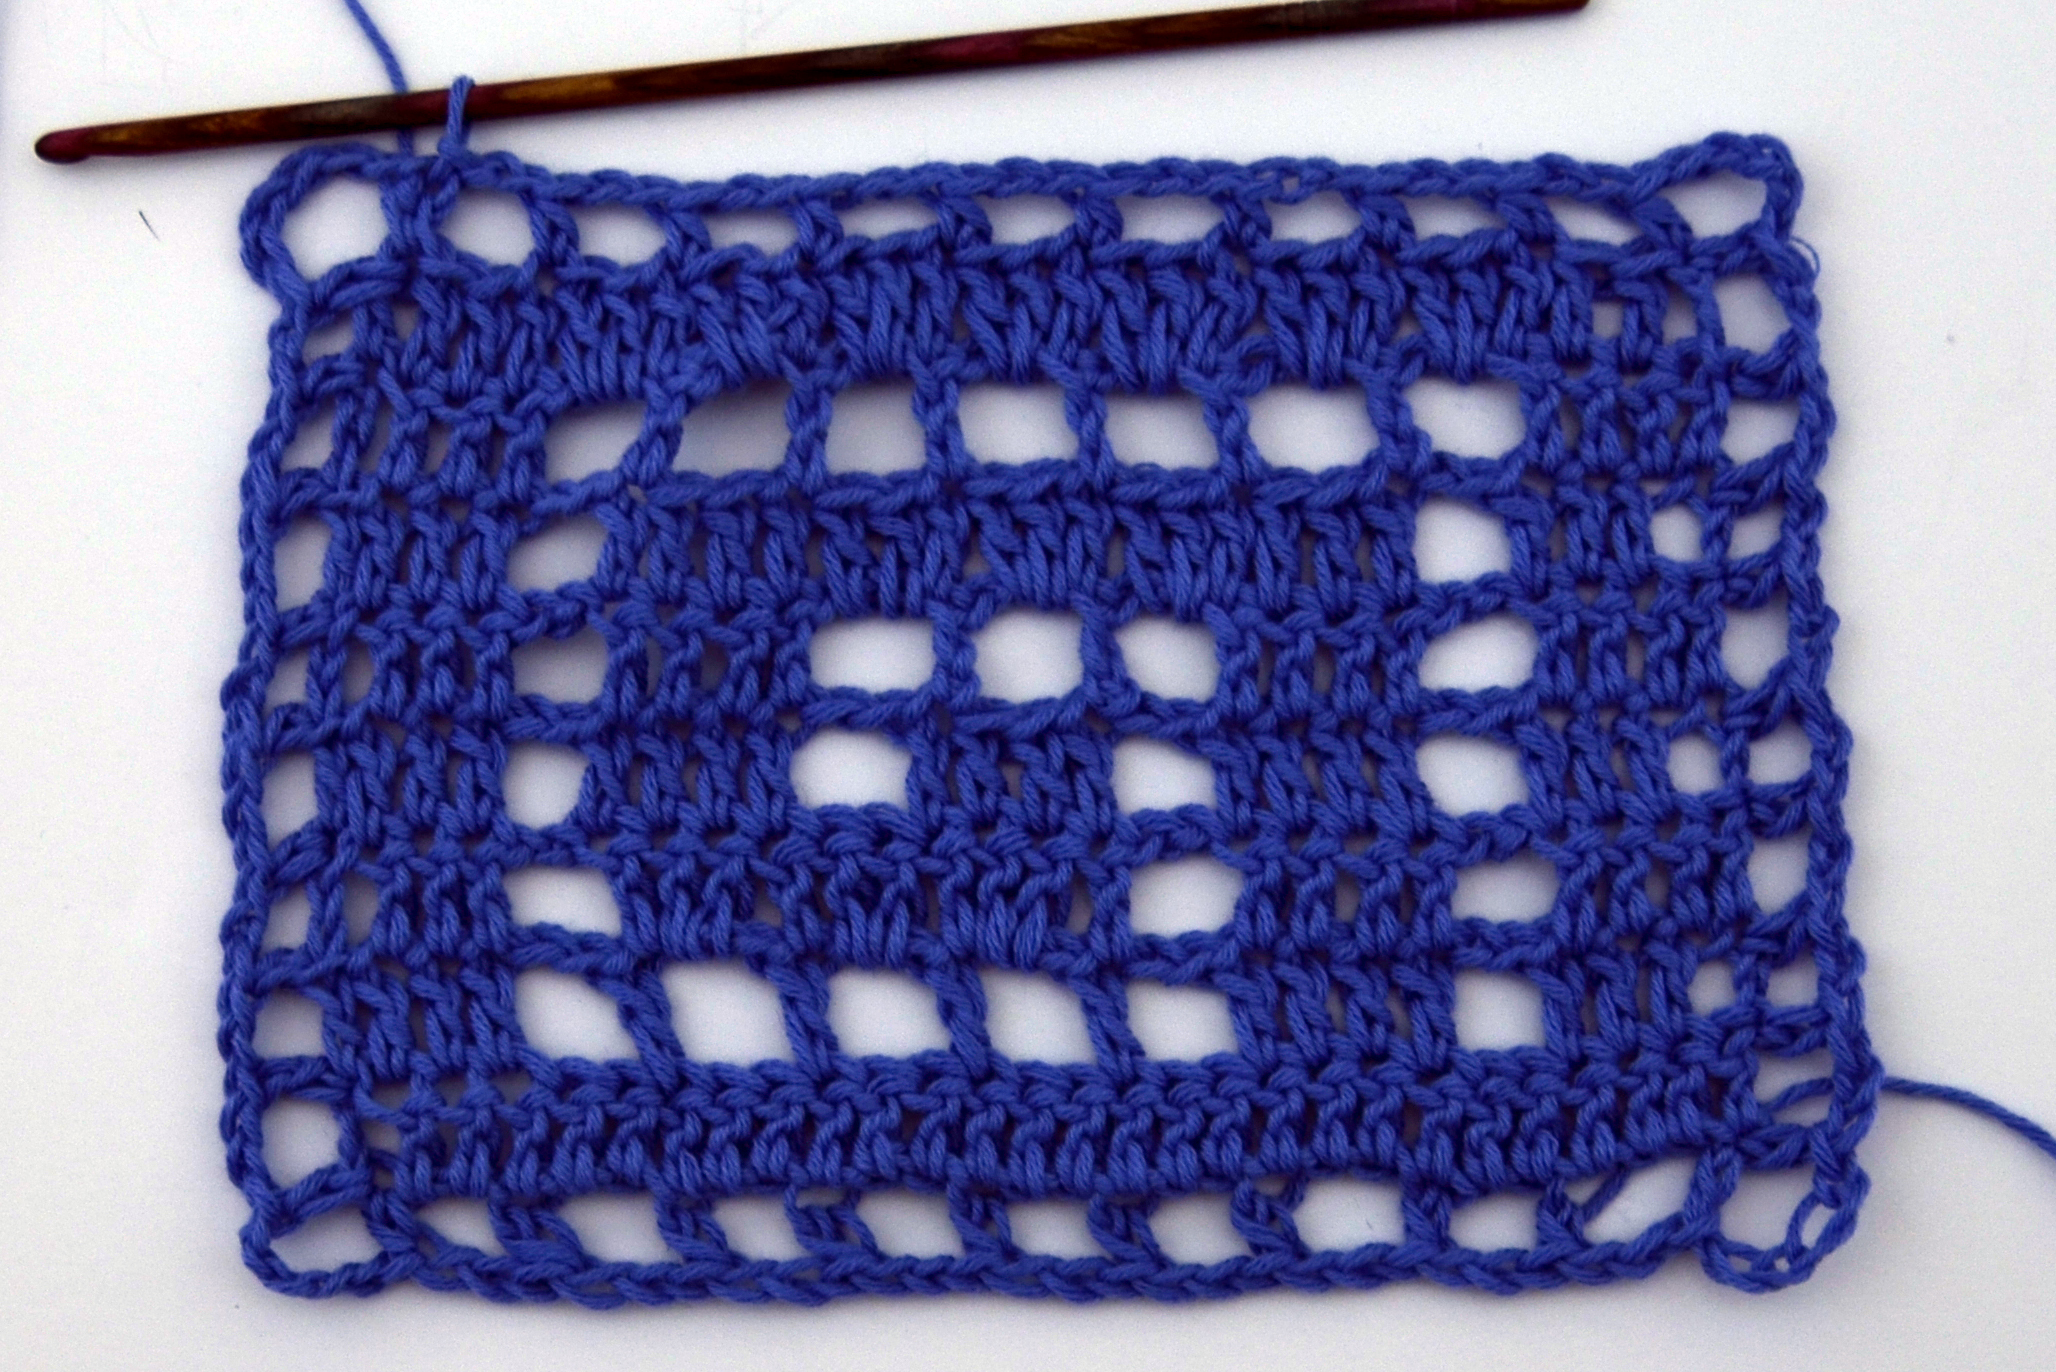
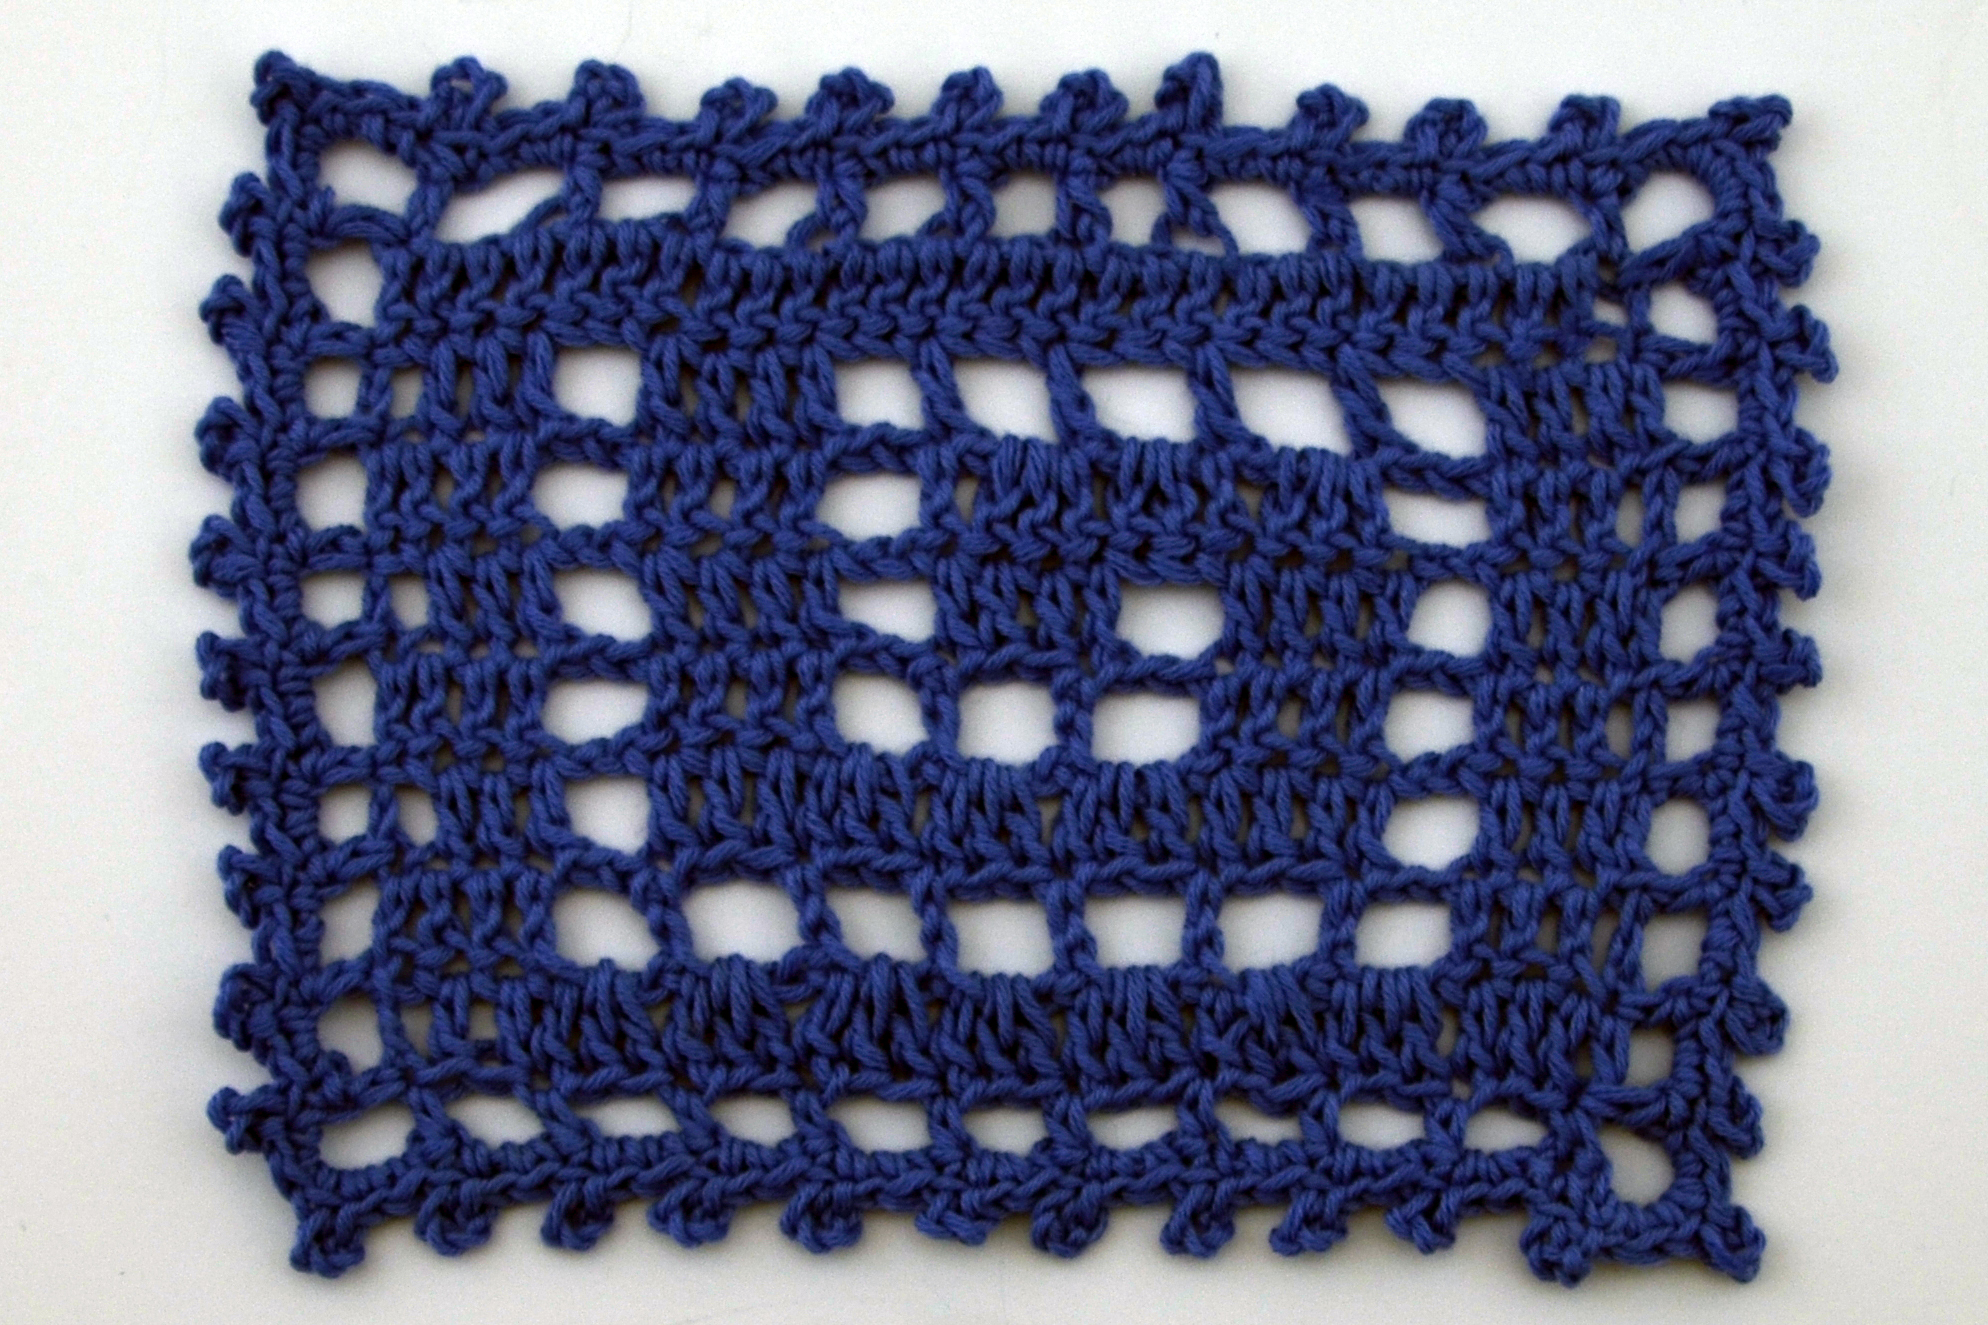
And, here it is again with round 2 complete:

Edging_10

As mentioned in the pattern, all that’s left to do is weave in your ends, run blocking wires through your picots, and steam or wet-block.

Delphi Stole – How to Do Filet Crochet

Have you seen our new ebook, Contrarian Shawls 2 ?

Contrarian Shawls 2 cover with sidebar

As the cover promises, this collection contains 10 shawl and scarf projects to knit and crochet in some of our Fibra Natura yarns. To be precise, there are 3 crochet and 7 knit projects in this book. All of the patterns are available for download on Ravelry or Craftsy.

This collection is dubbed “contrarian” because each project is a little (or a lot) out of the norm for a shawl project. There are a lot of different shapes and techniques in these shawls, so over the coming weeks and months I’ll be delving into many of the specifics of each project. It’s time for some skill building!

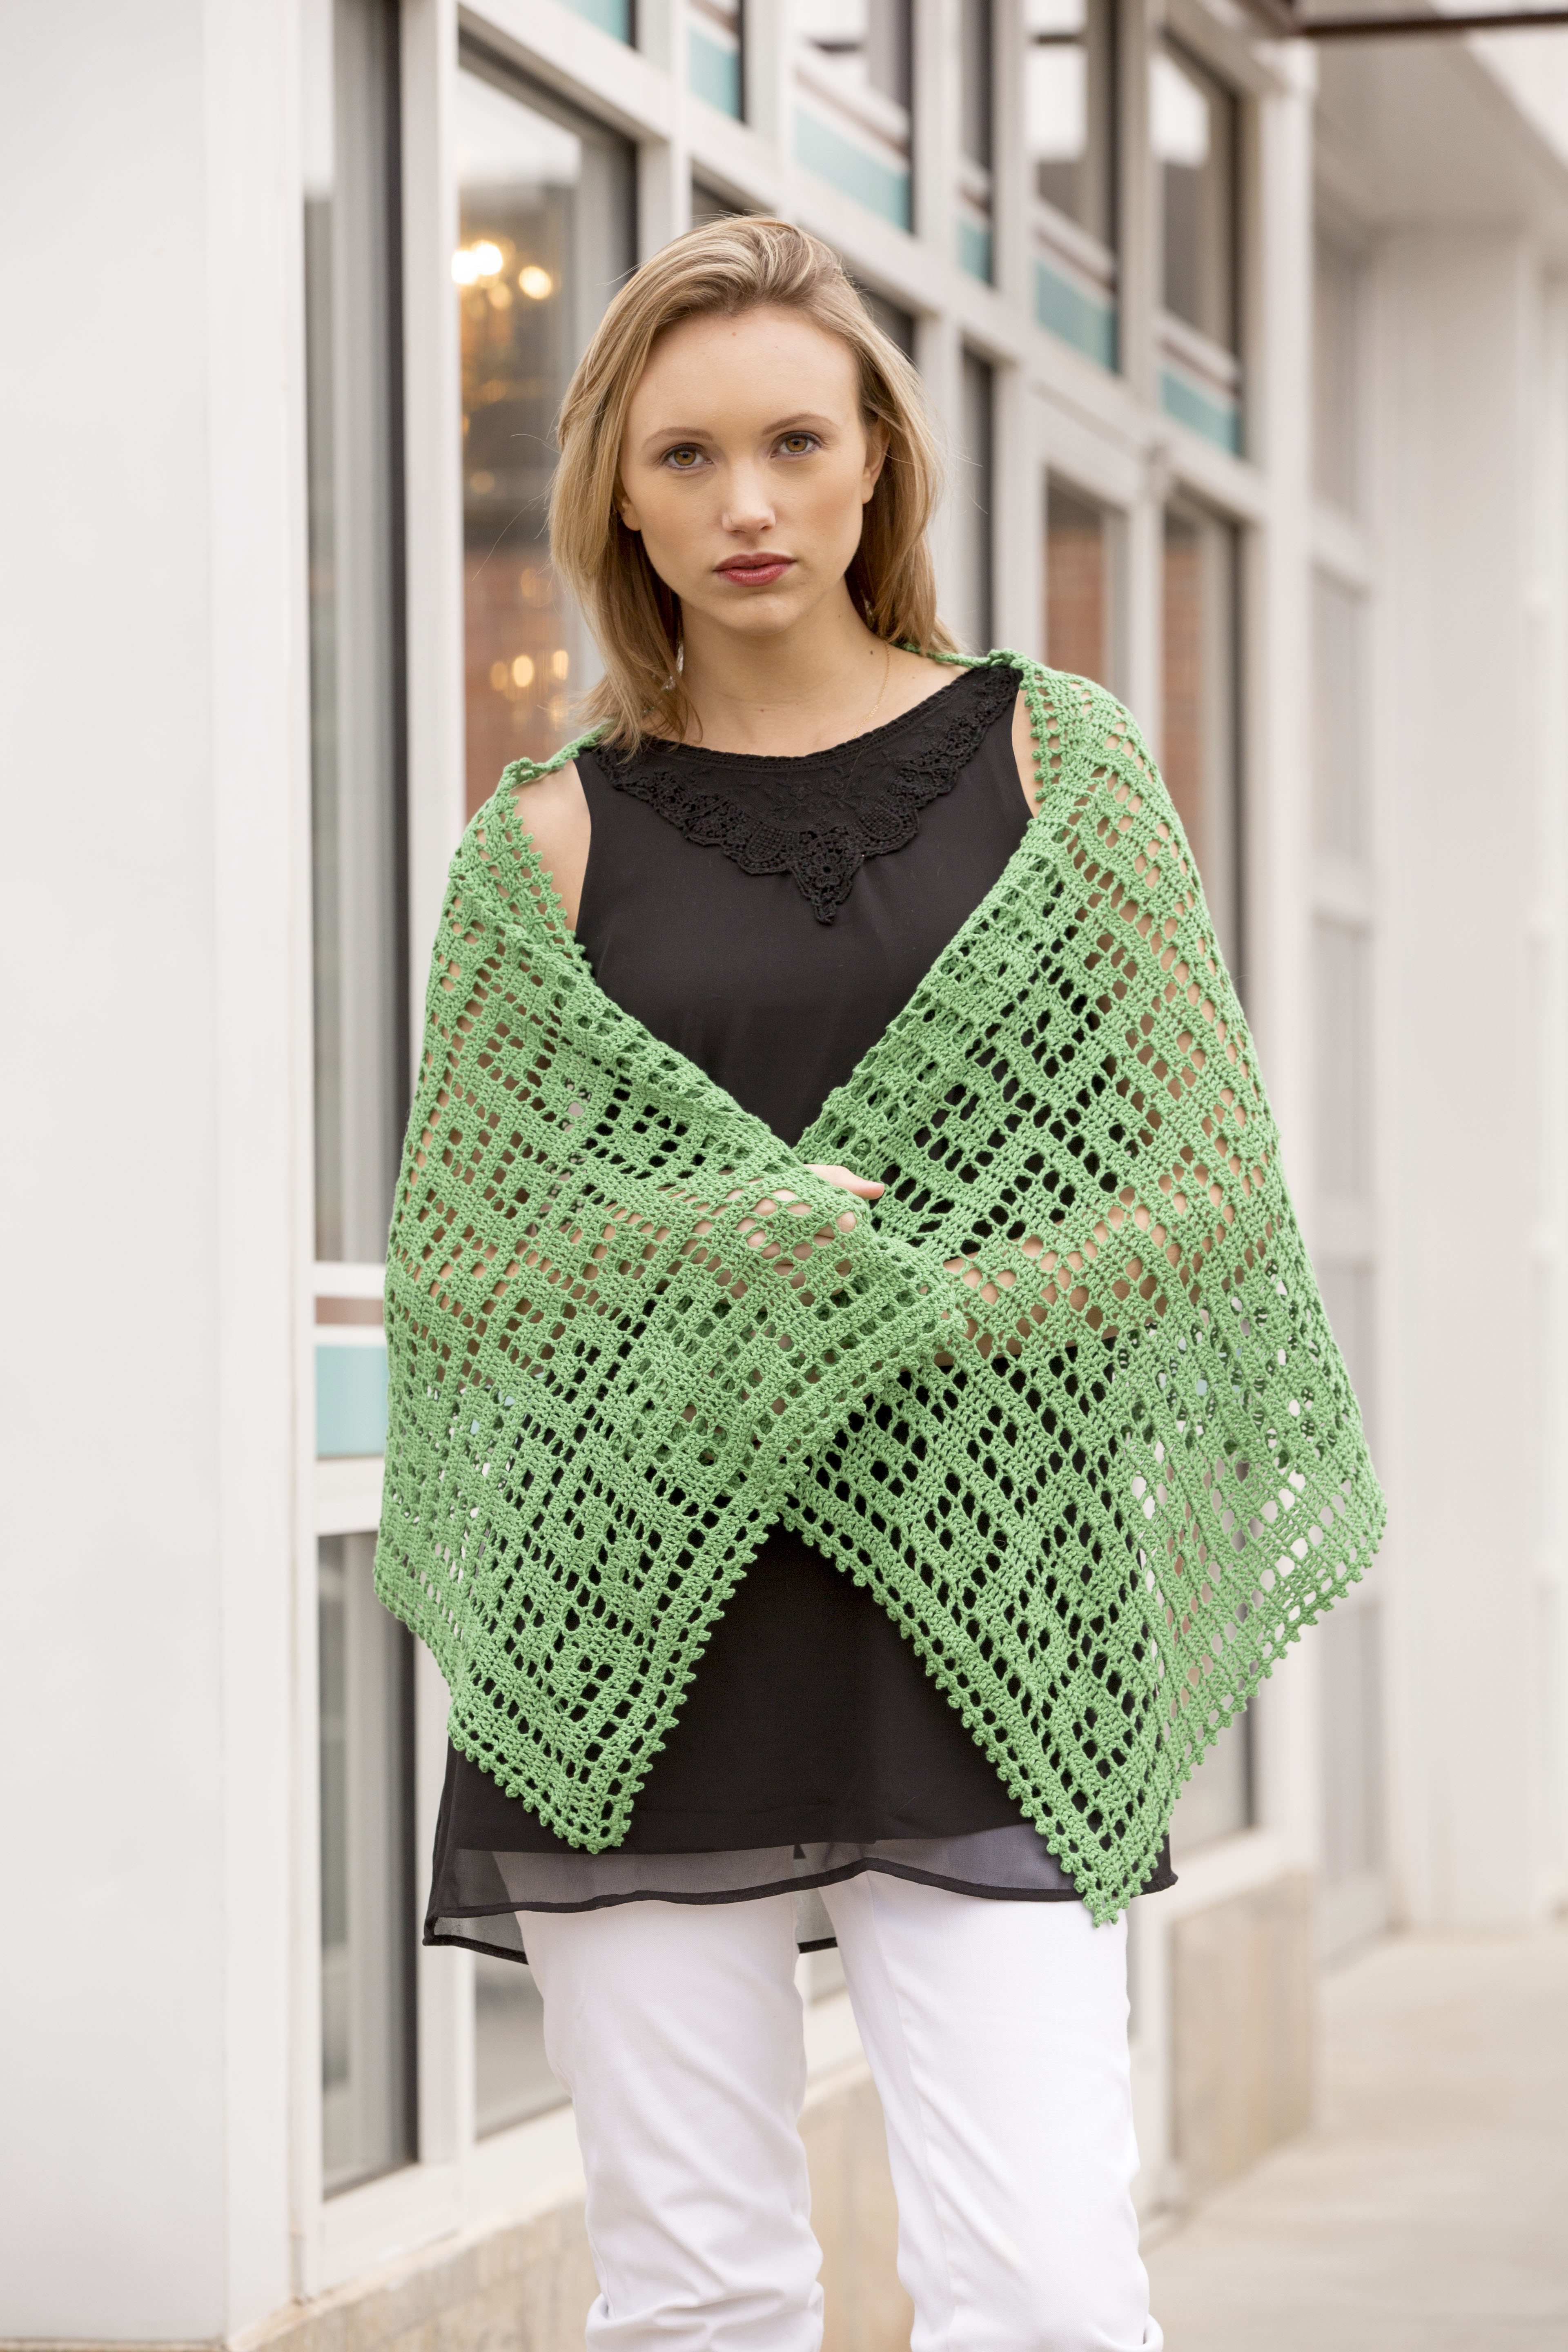
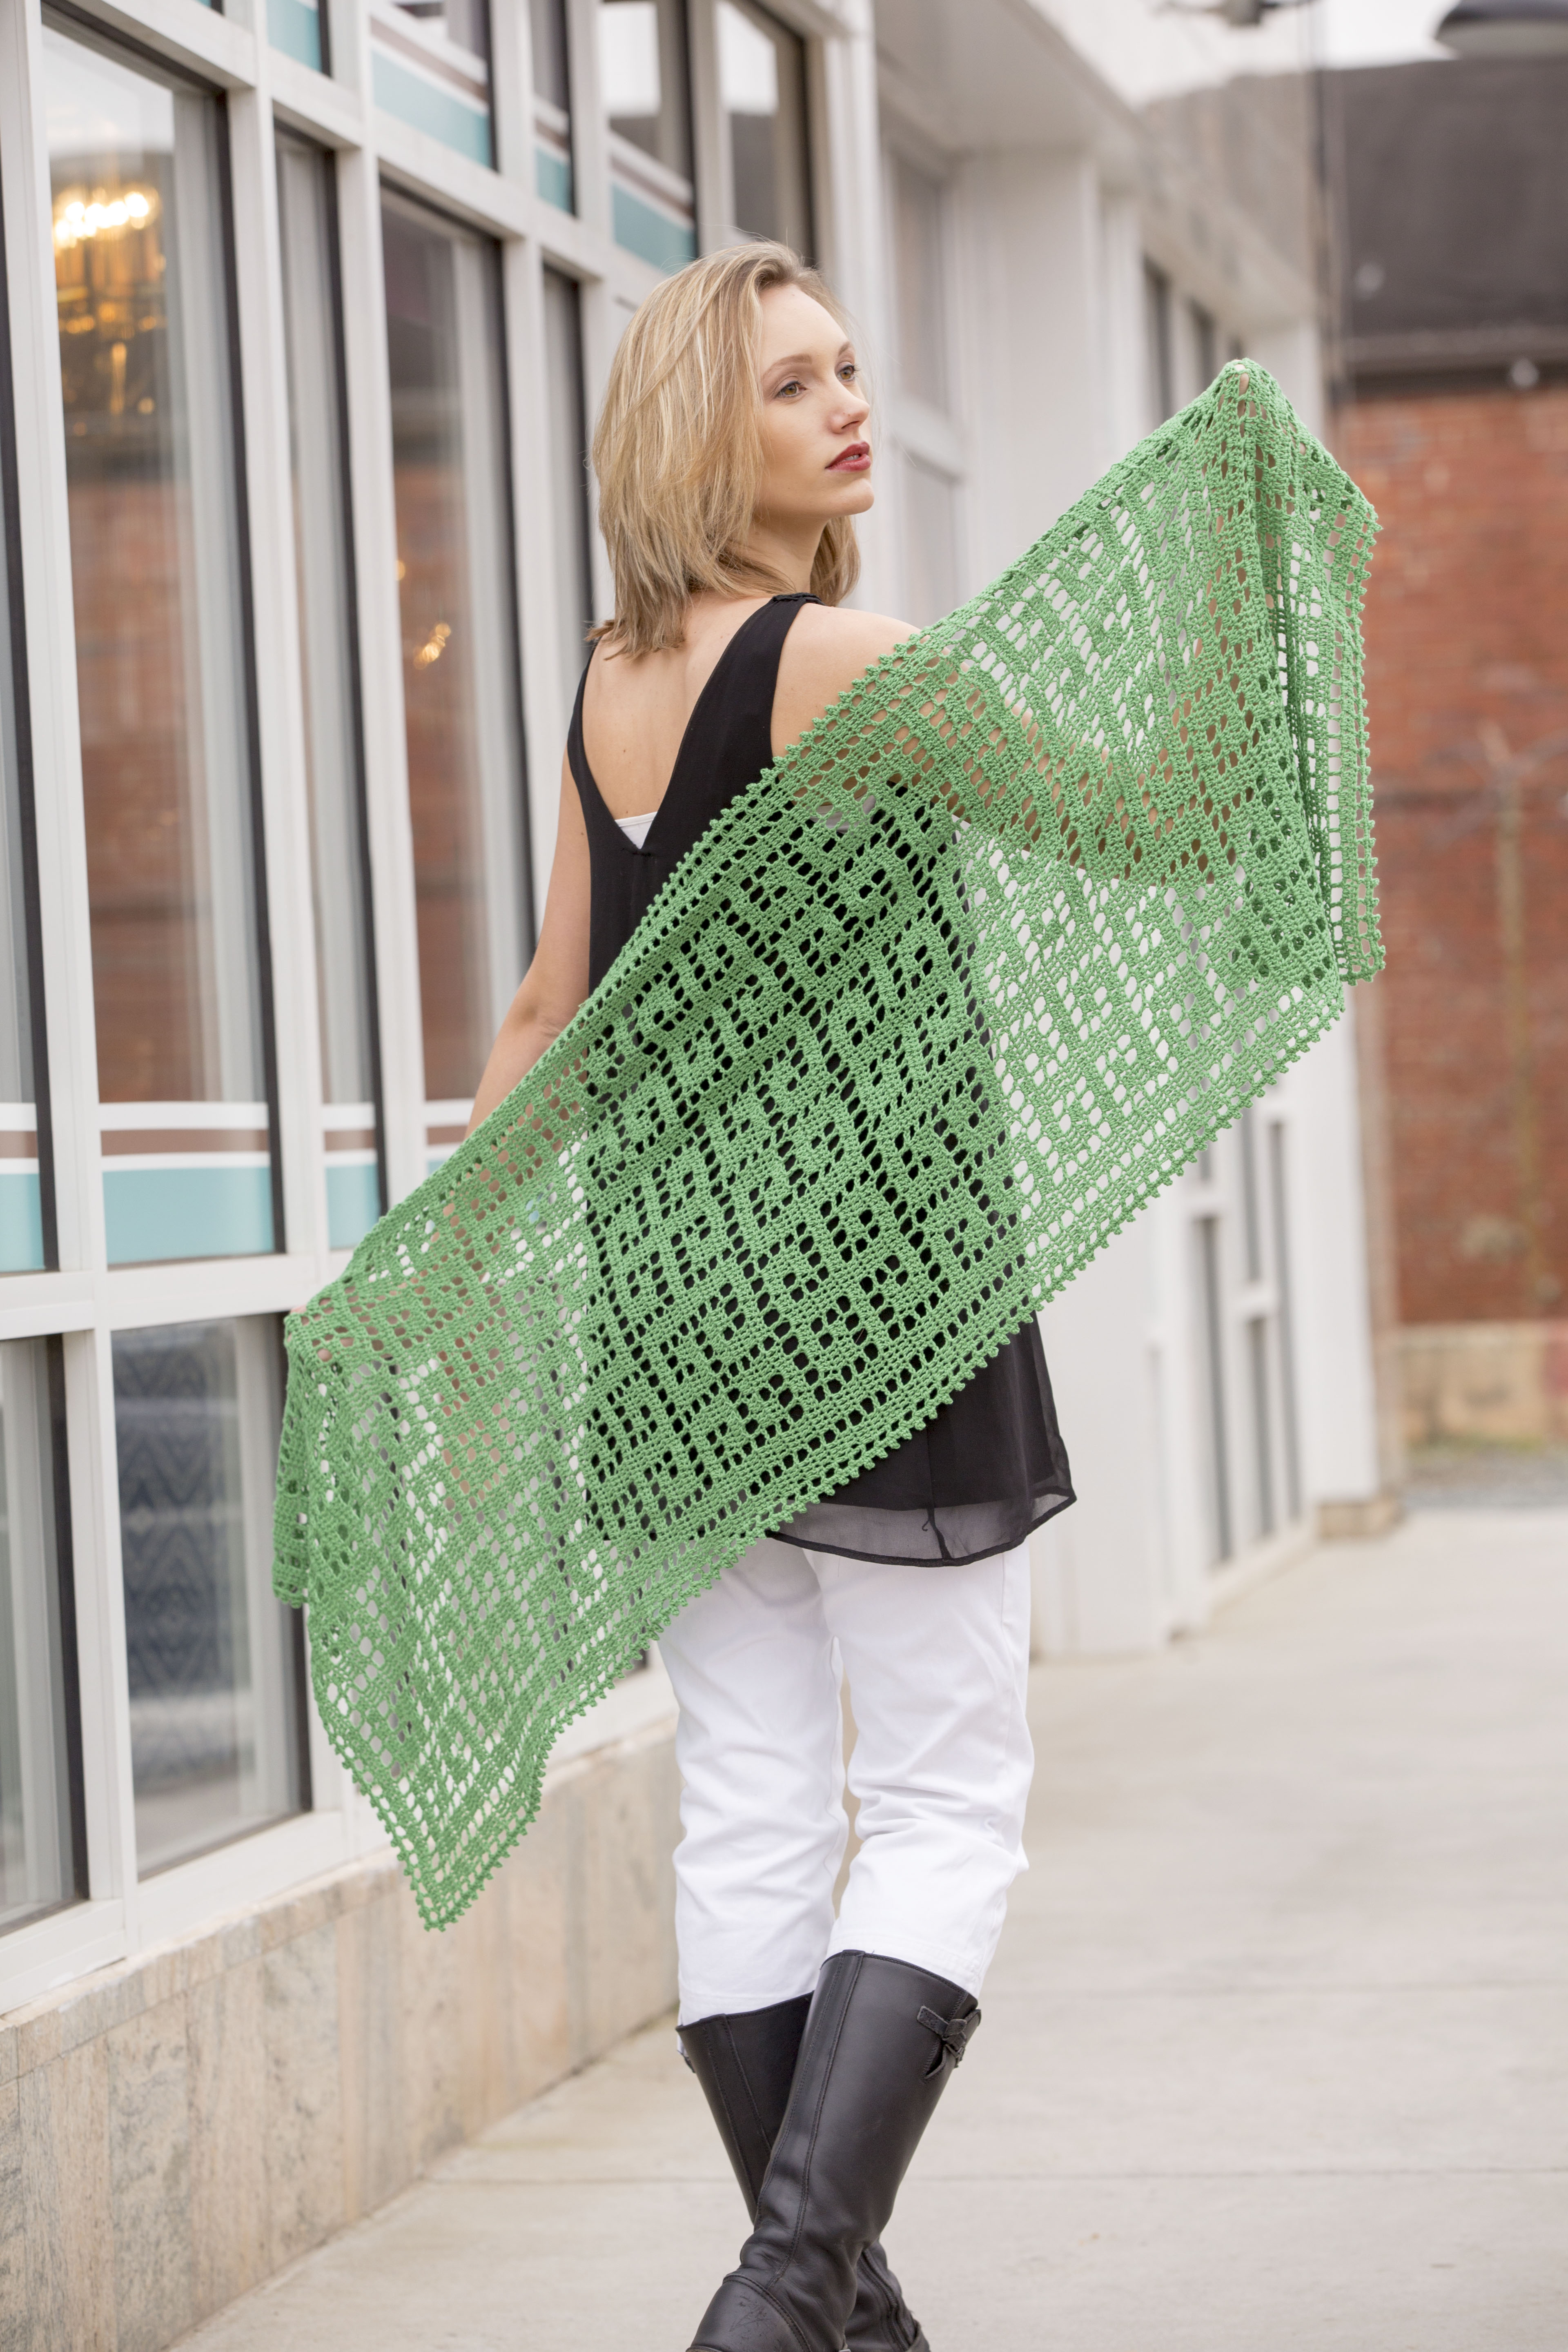
The first project I’d like to talk about this week is the Delphi Stole, crocheted in our 100% sportweight Pima cotton, Cotton True Sport. This is a lovely and fine cotton yarn. This stole requires only 6 balls, making it quite an affordable project.

DelphiStole_1_hires

Filet crochet consists of double crochet and chain spaces – it’s as simple as that. Even if you’re not a very confident crocheter, I’m confident this is something you can do!

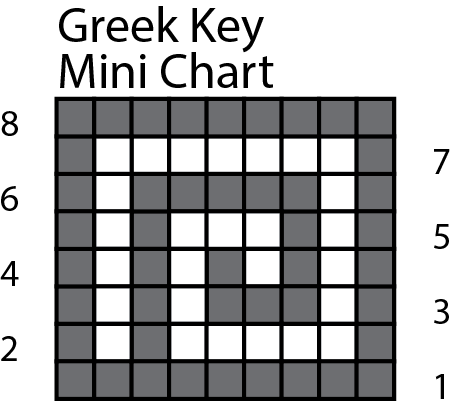
Here is a small example of what the filet chart looks like in the pattern:

This doesn’t look like most crochet charts that typically have crochet symbols on them. Because filet crochet is really just “Solid” squares and “Empty” squares, a grid like this tends to make more visual sense. A Solid square represents 3 double crochets, while an Empty square represents chain 2 + double crochet.

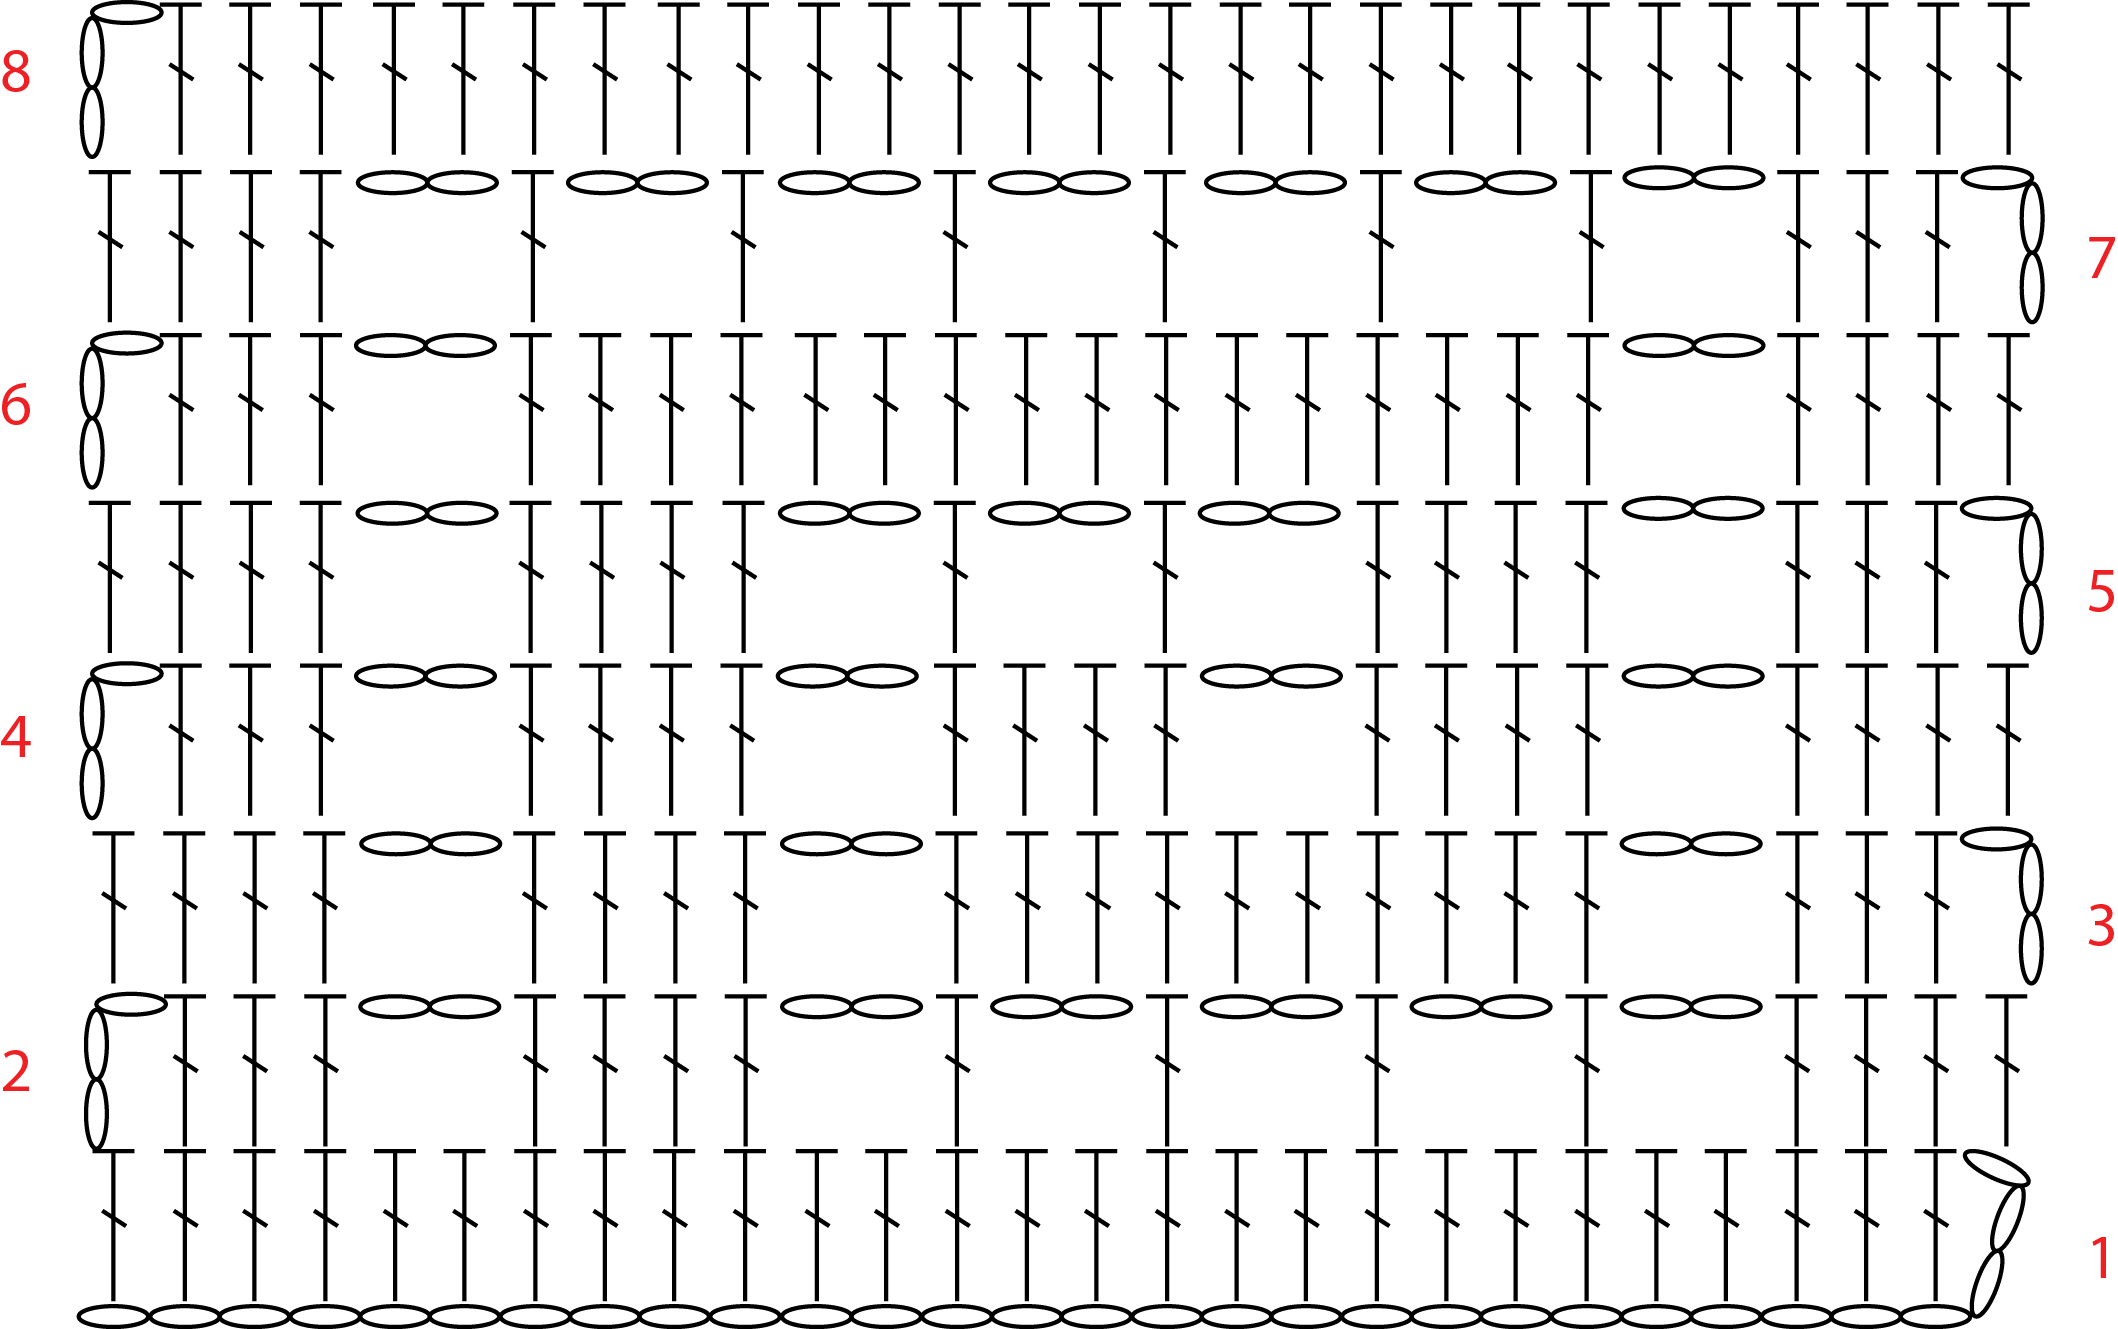
Here is what this same chart looks like done in a traditional crochet charted style:

Delphi_chart_crochet

A row in a filet crochet pattern is typically a multiple of 3 stitches plus 1. The chain 3 at the beginning of the row counts as the “plus 1”, and then each Solid and Empty square uses 3 stitches.

For a Solid Square worked on top of another Solid square, simply work 1 double crochet into each of the next 3 double crochets. If it’s worked on top of an Empty Square, work 2 double crochets in the chain-2 space, double crochet in the next double crochet.

For an Empty Square worked on top of a Solid square, chain 2, skip the next 2 double crochets, and then double crochet in the next double crochet. If worked on top of another Empty Square, chain 2, skip the chain-2 space, double crochet in the next double crochet.

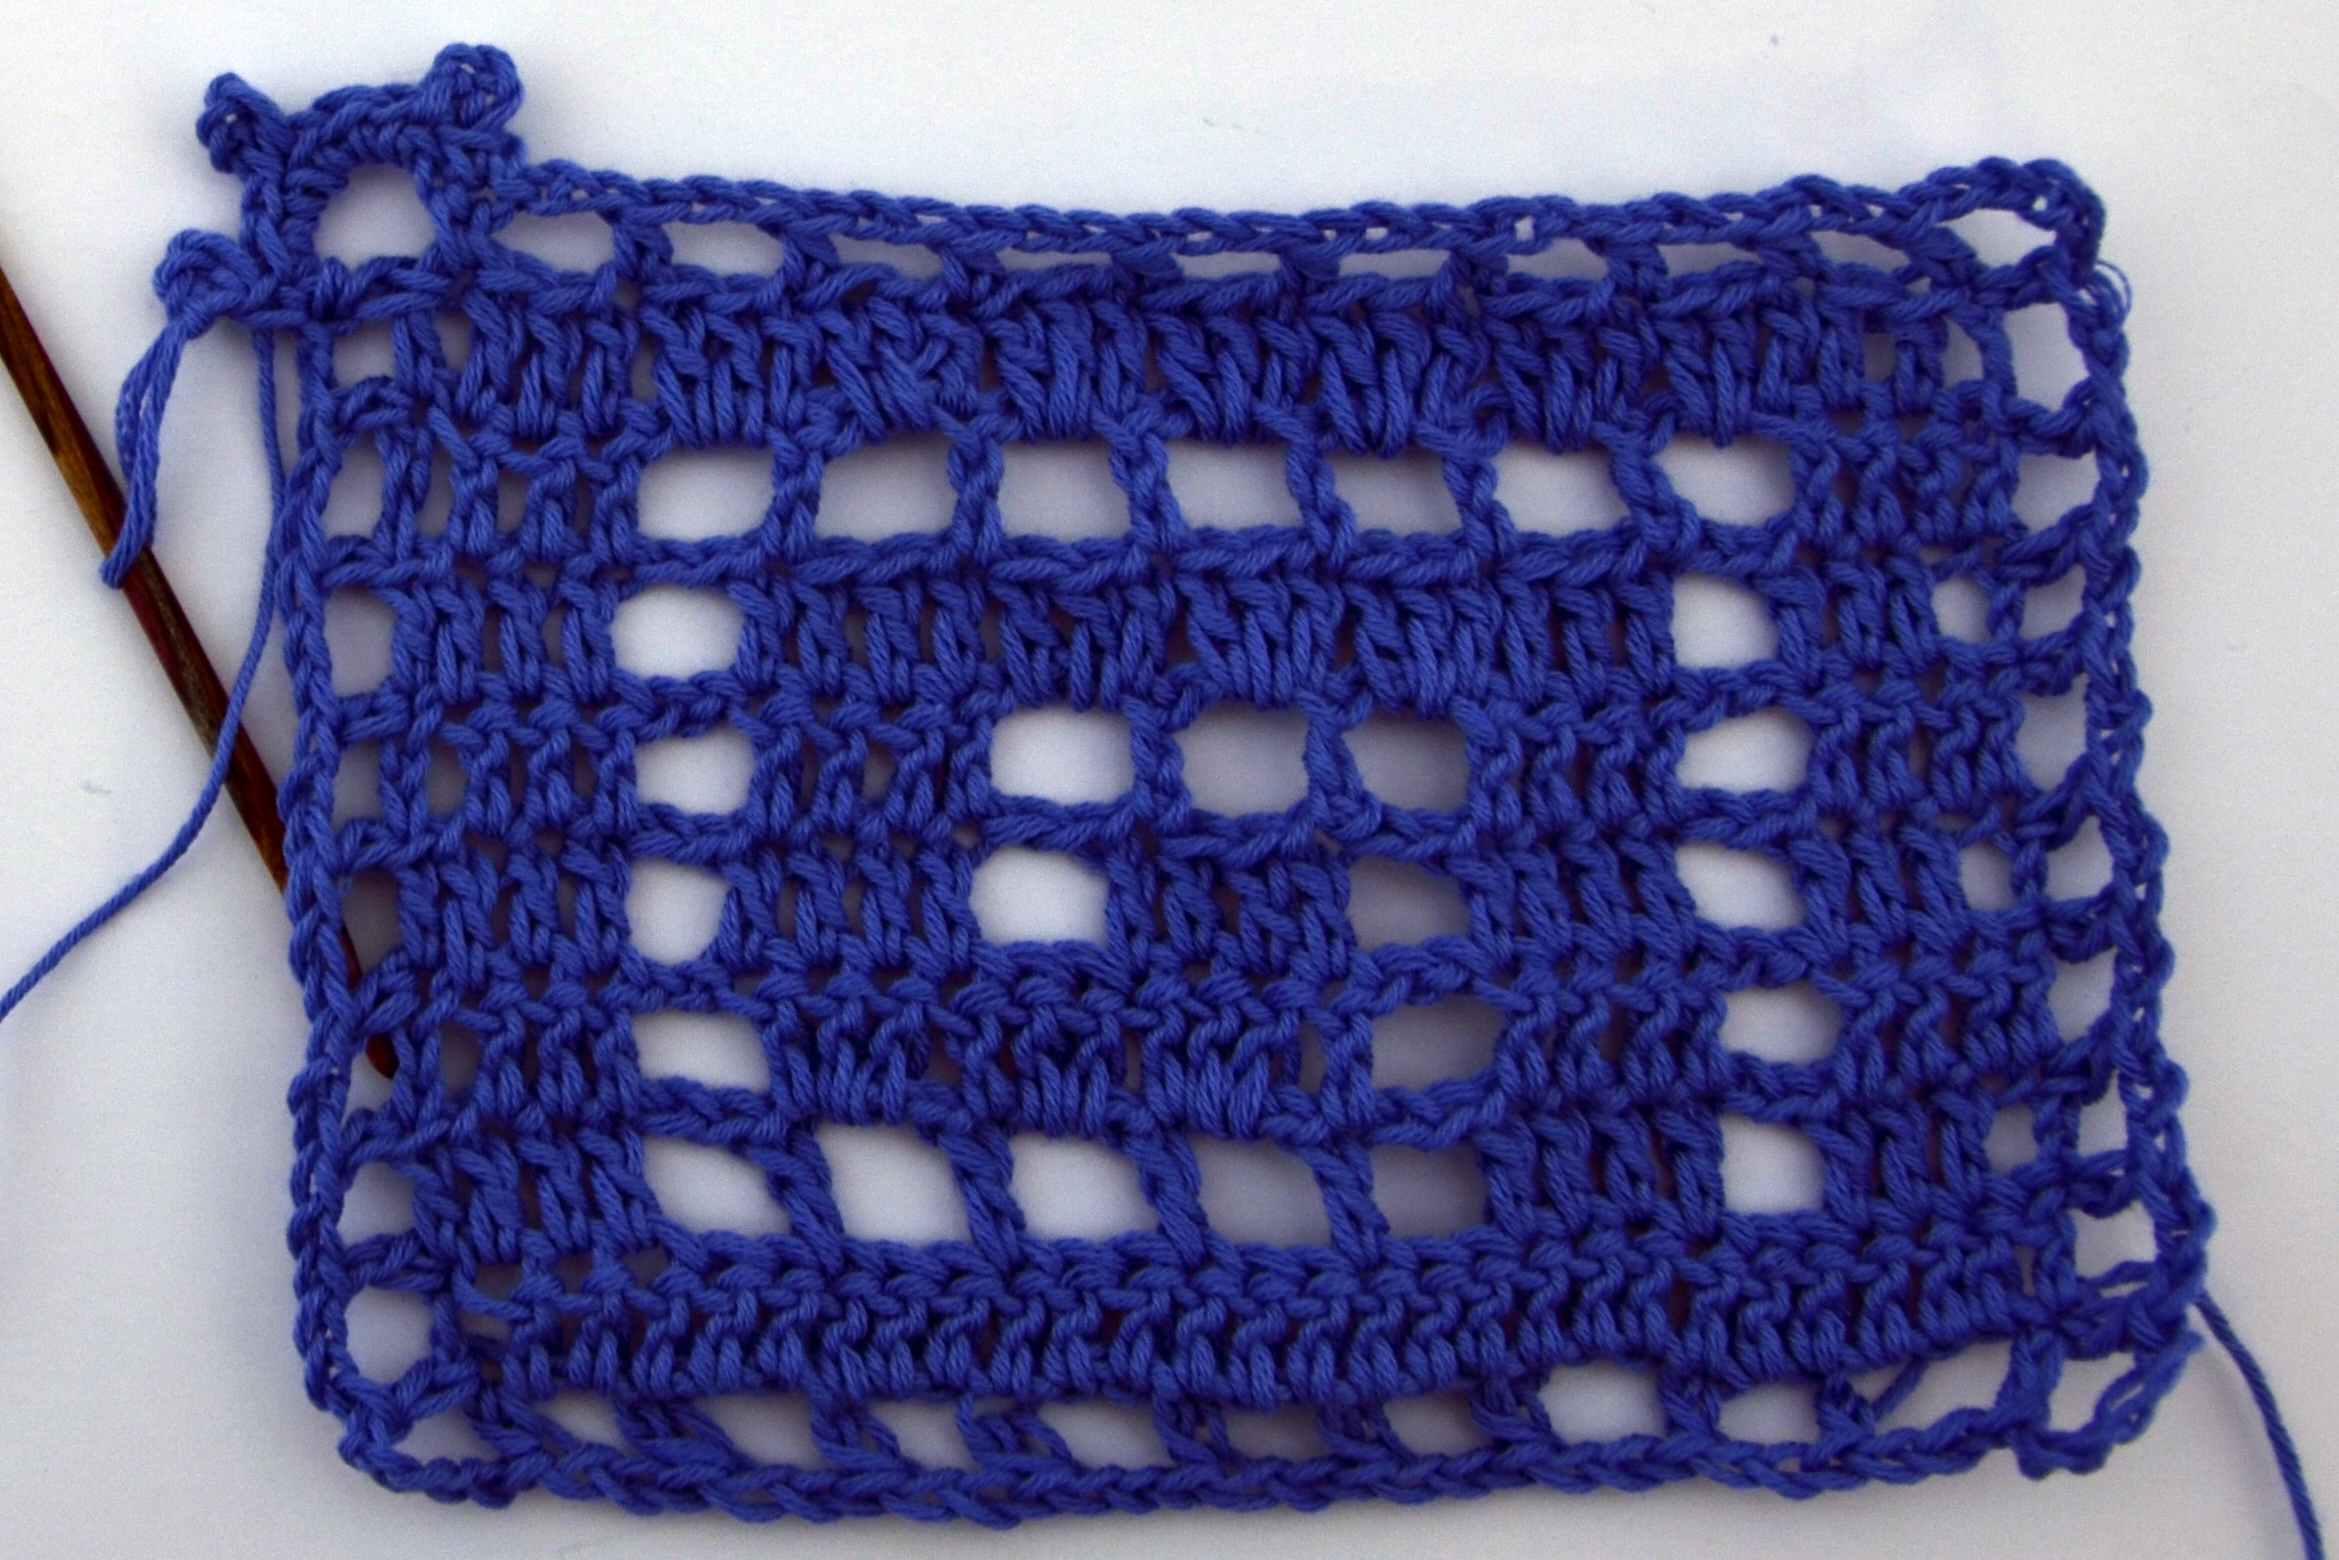
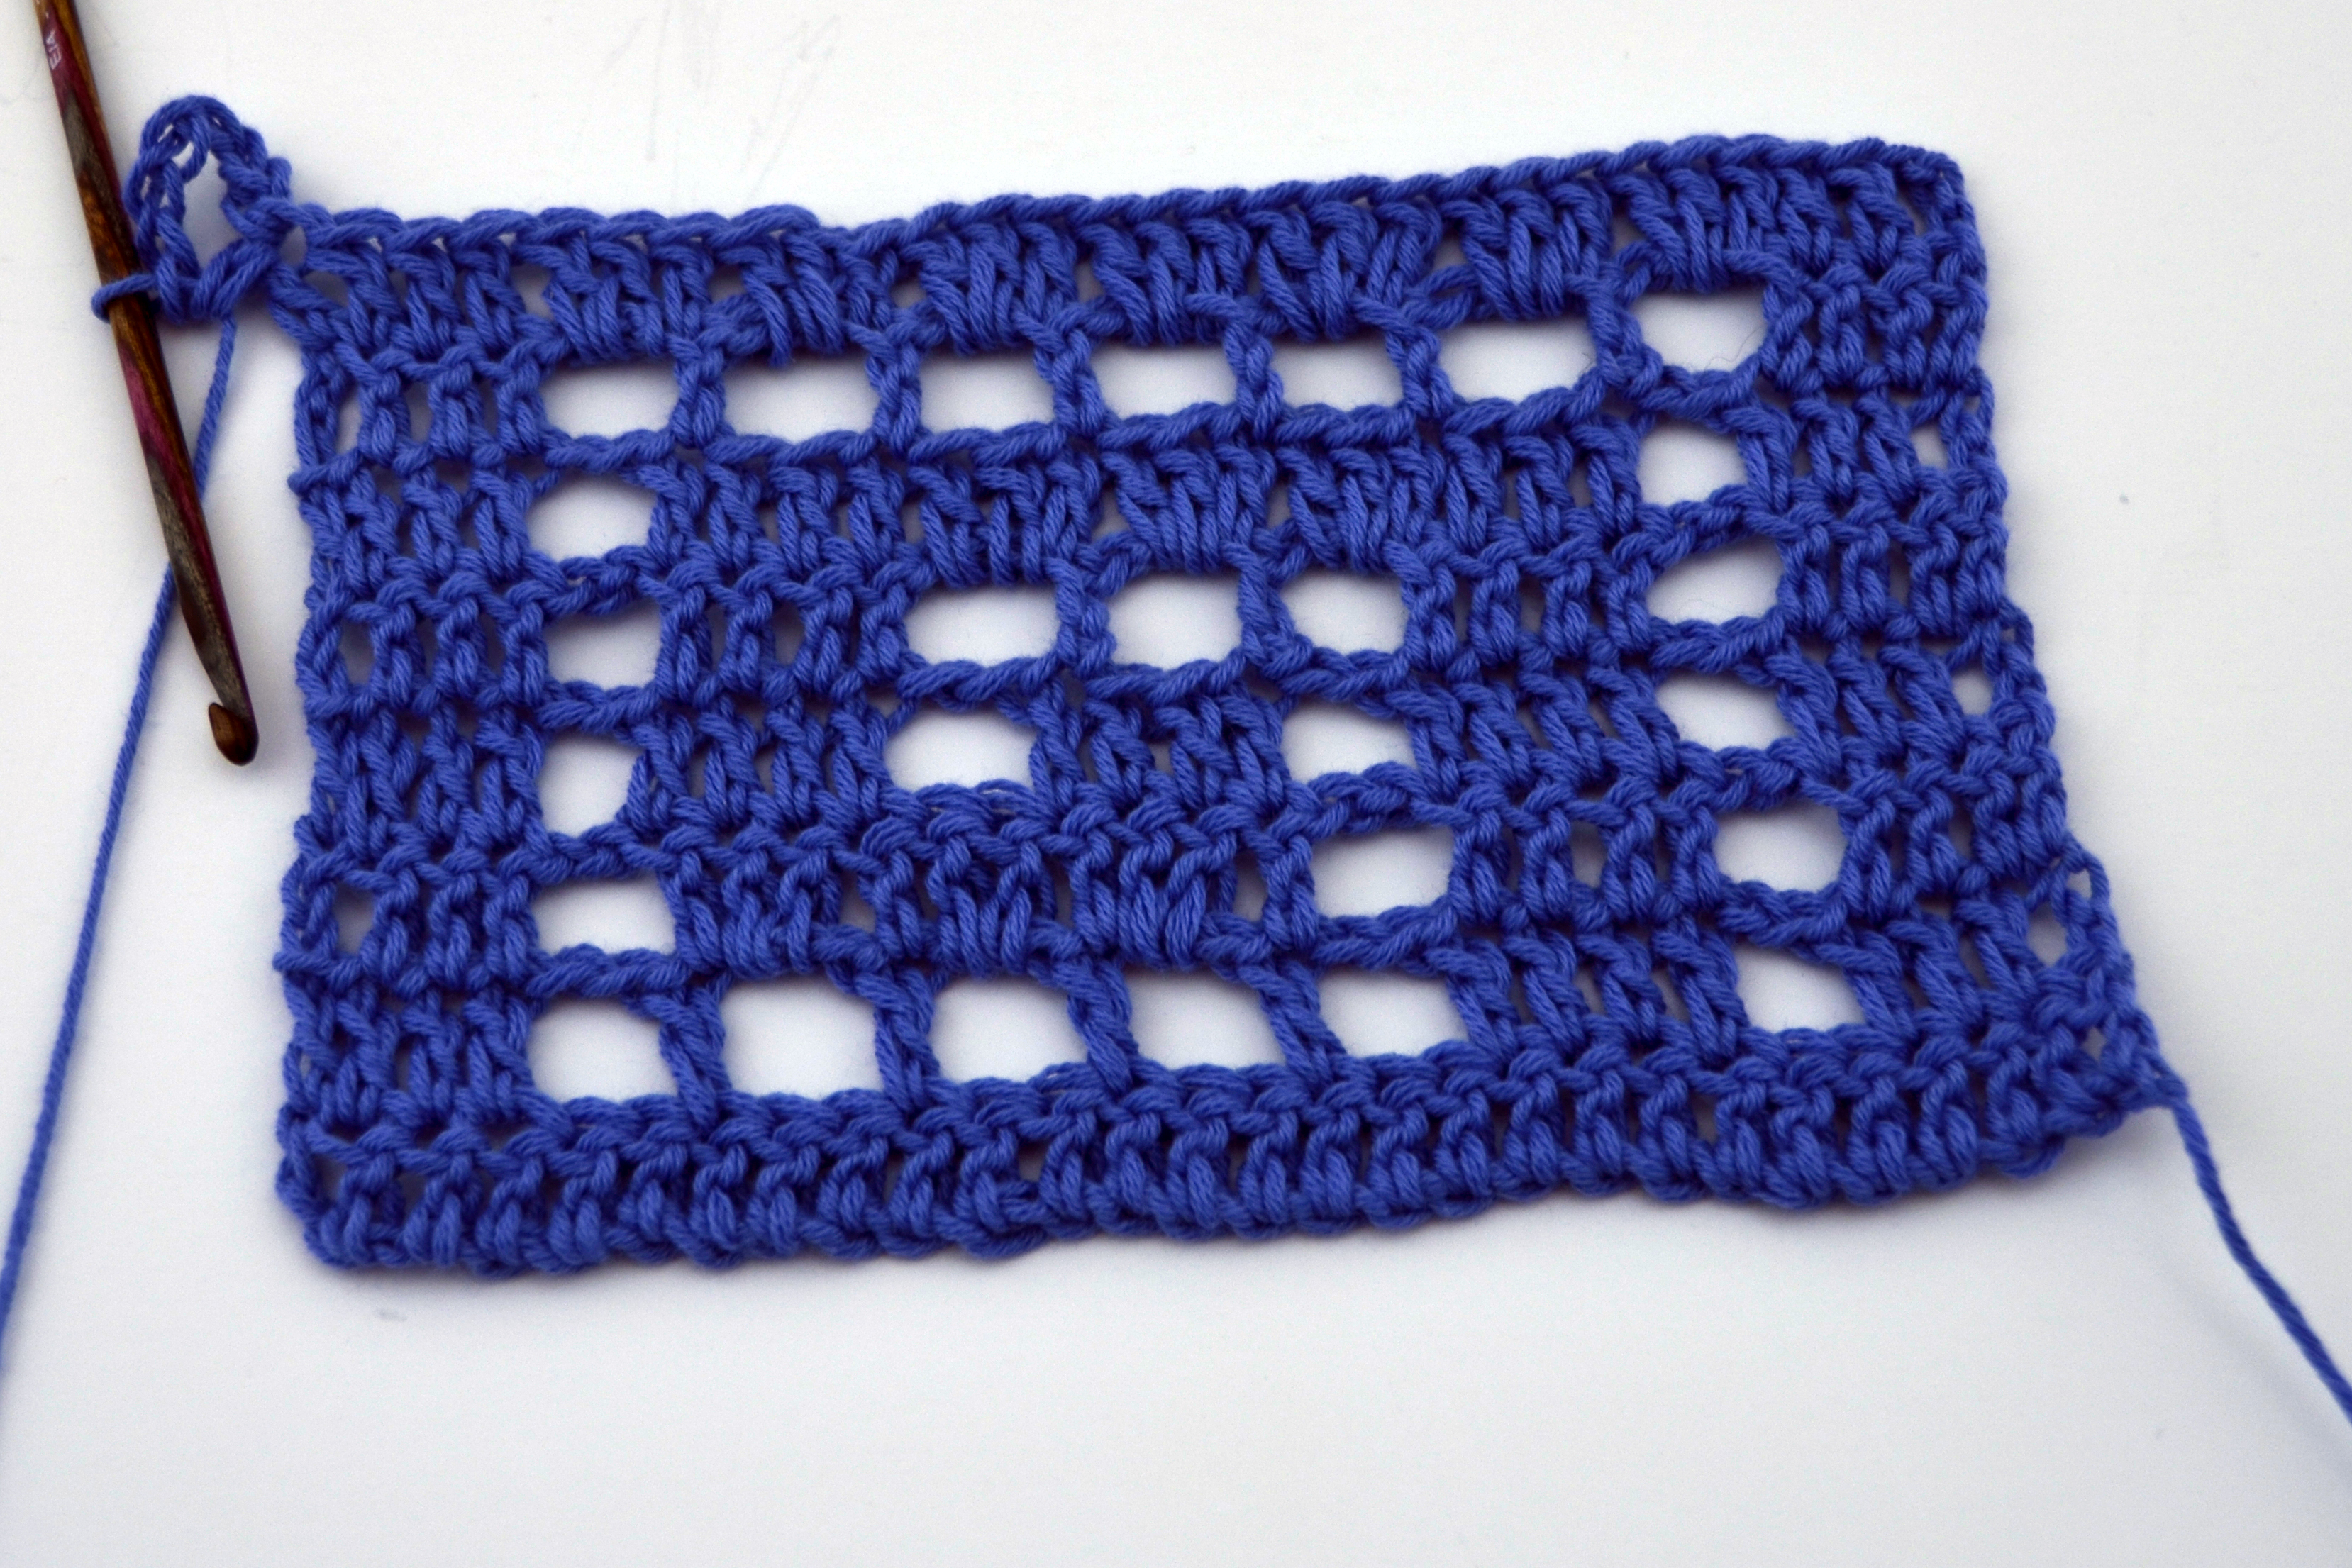
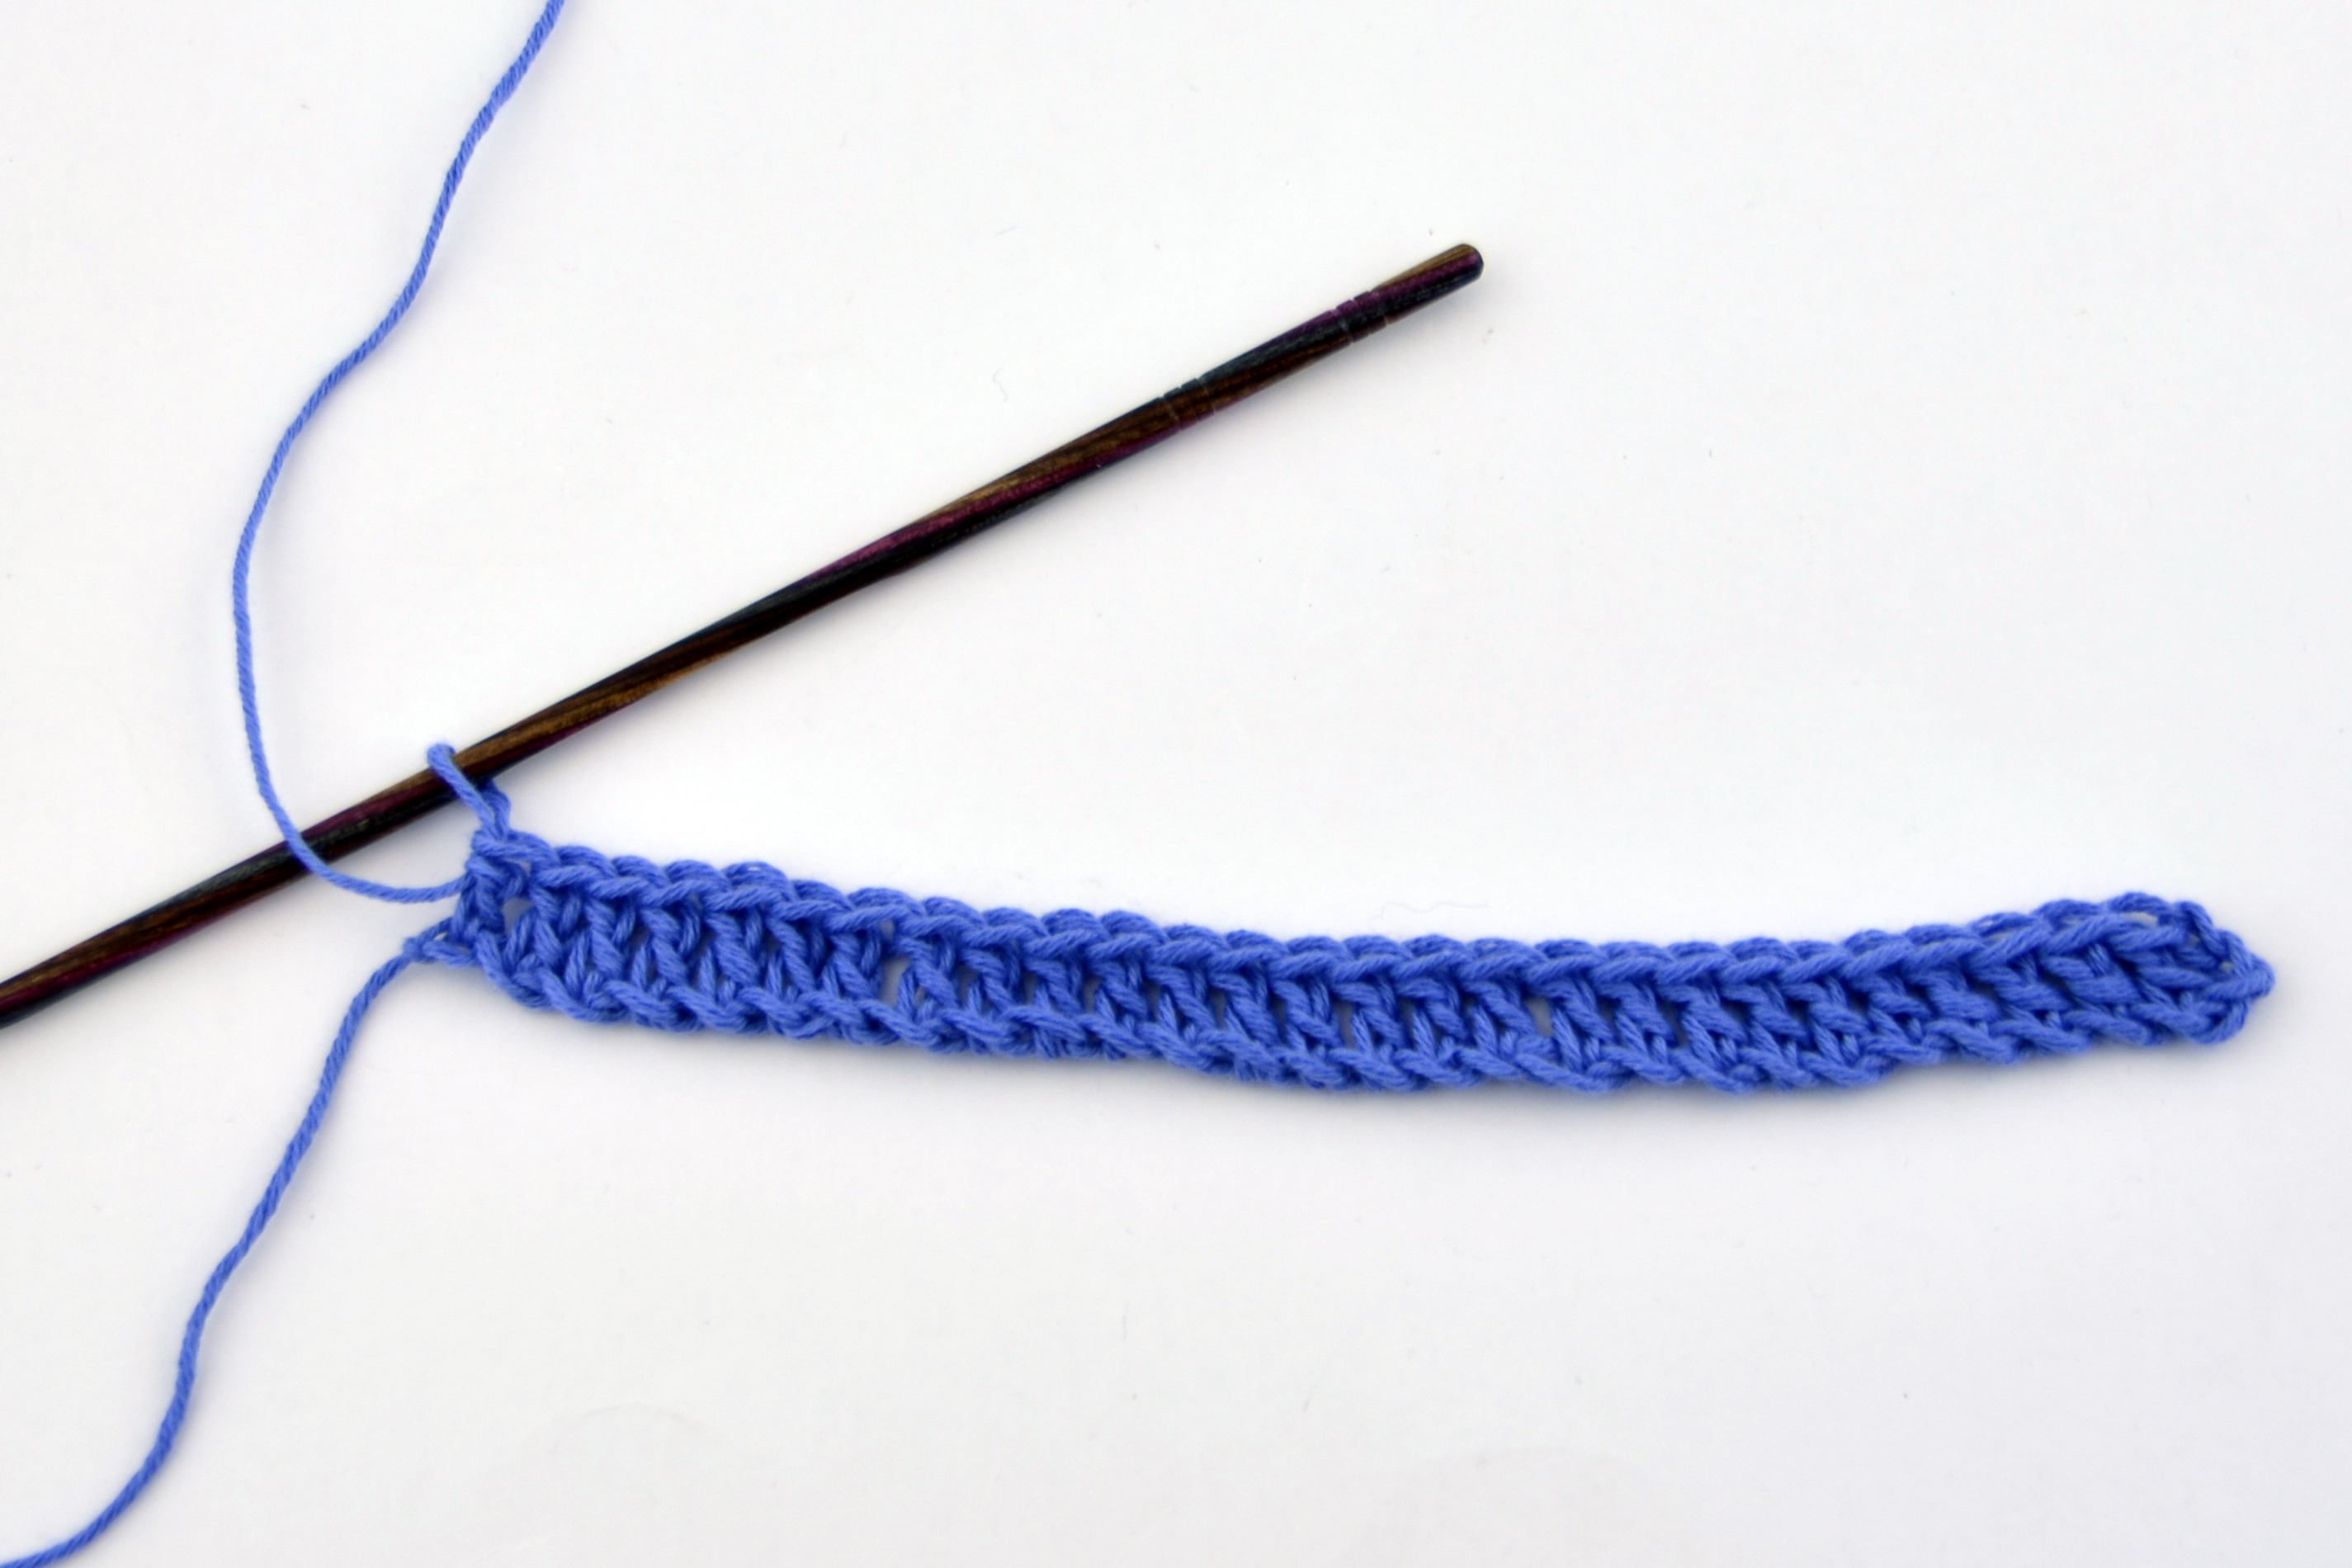
Let’s see our little mini-chart in action. If you’d like to follow along for practice, chain 30. For Row 1, double crochet in the fourth chain from the hook and each chain across, turn – 28 double crochets. Those first 3 chains count as a double crochet.

Delphi2

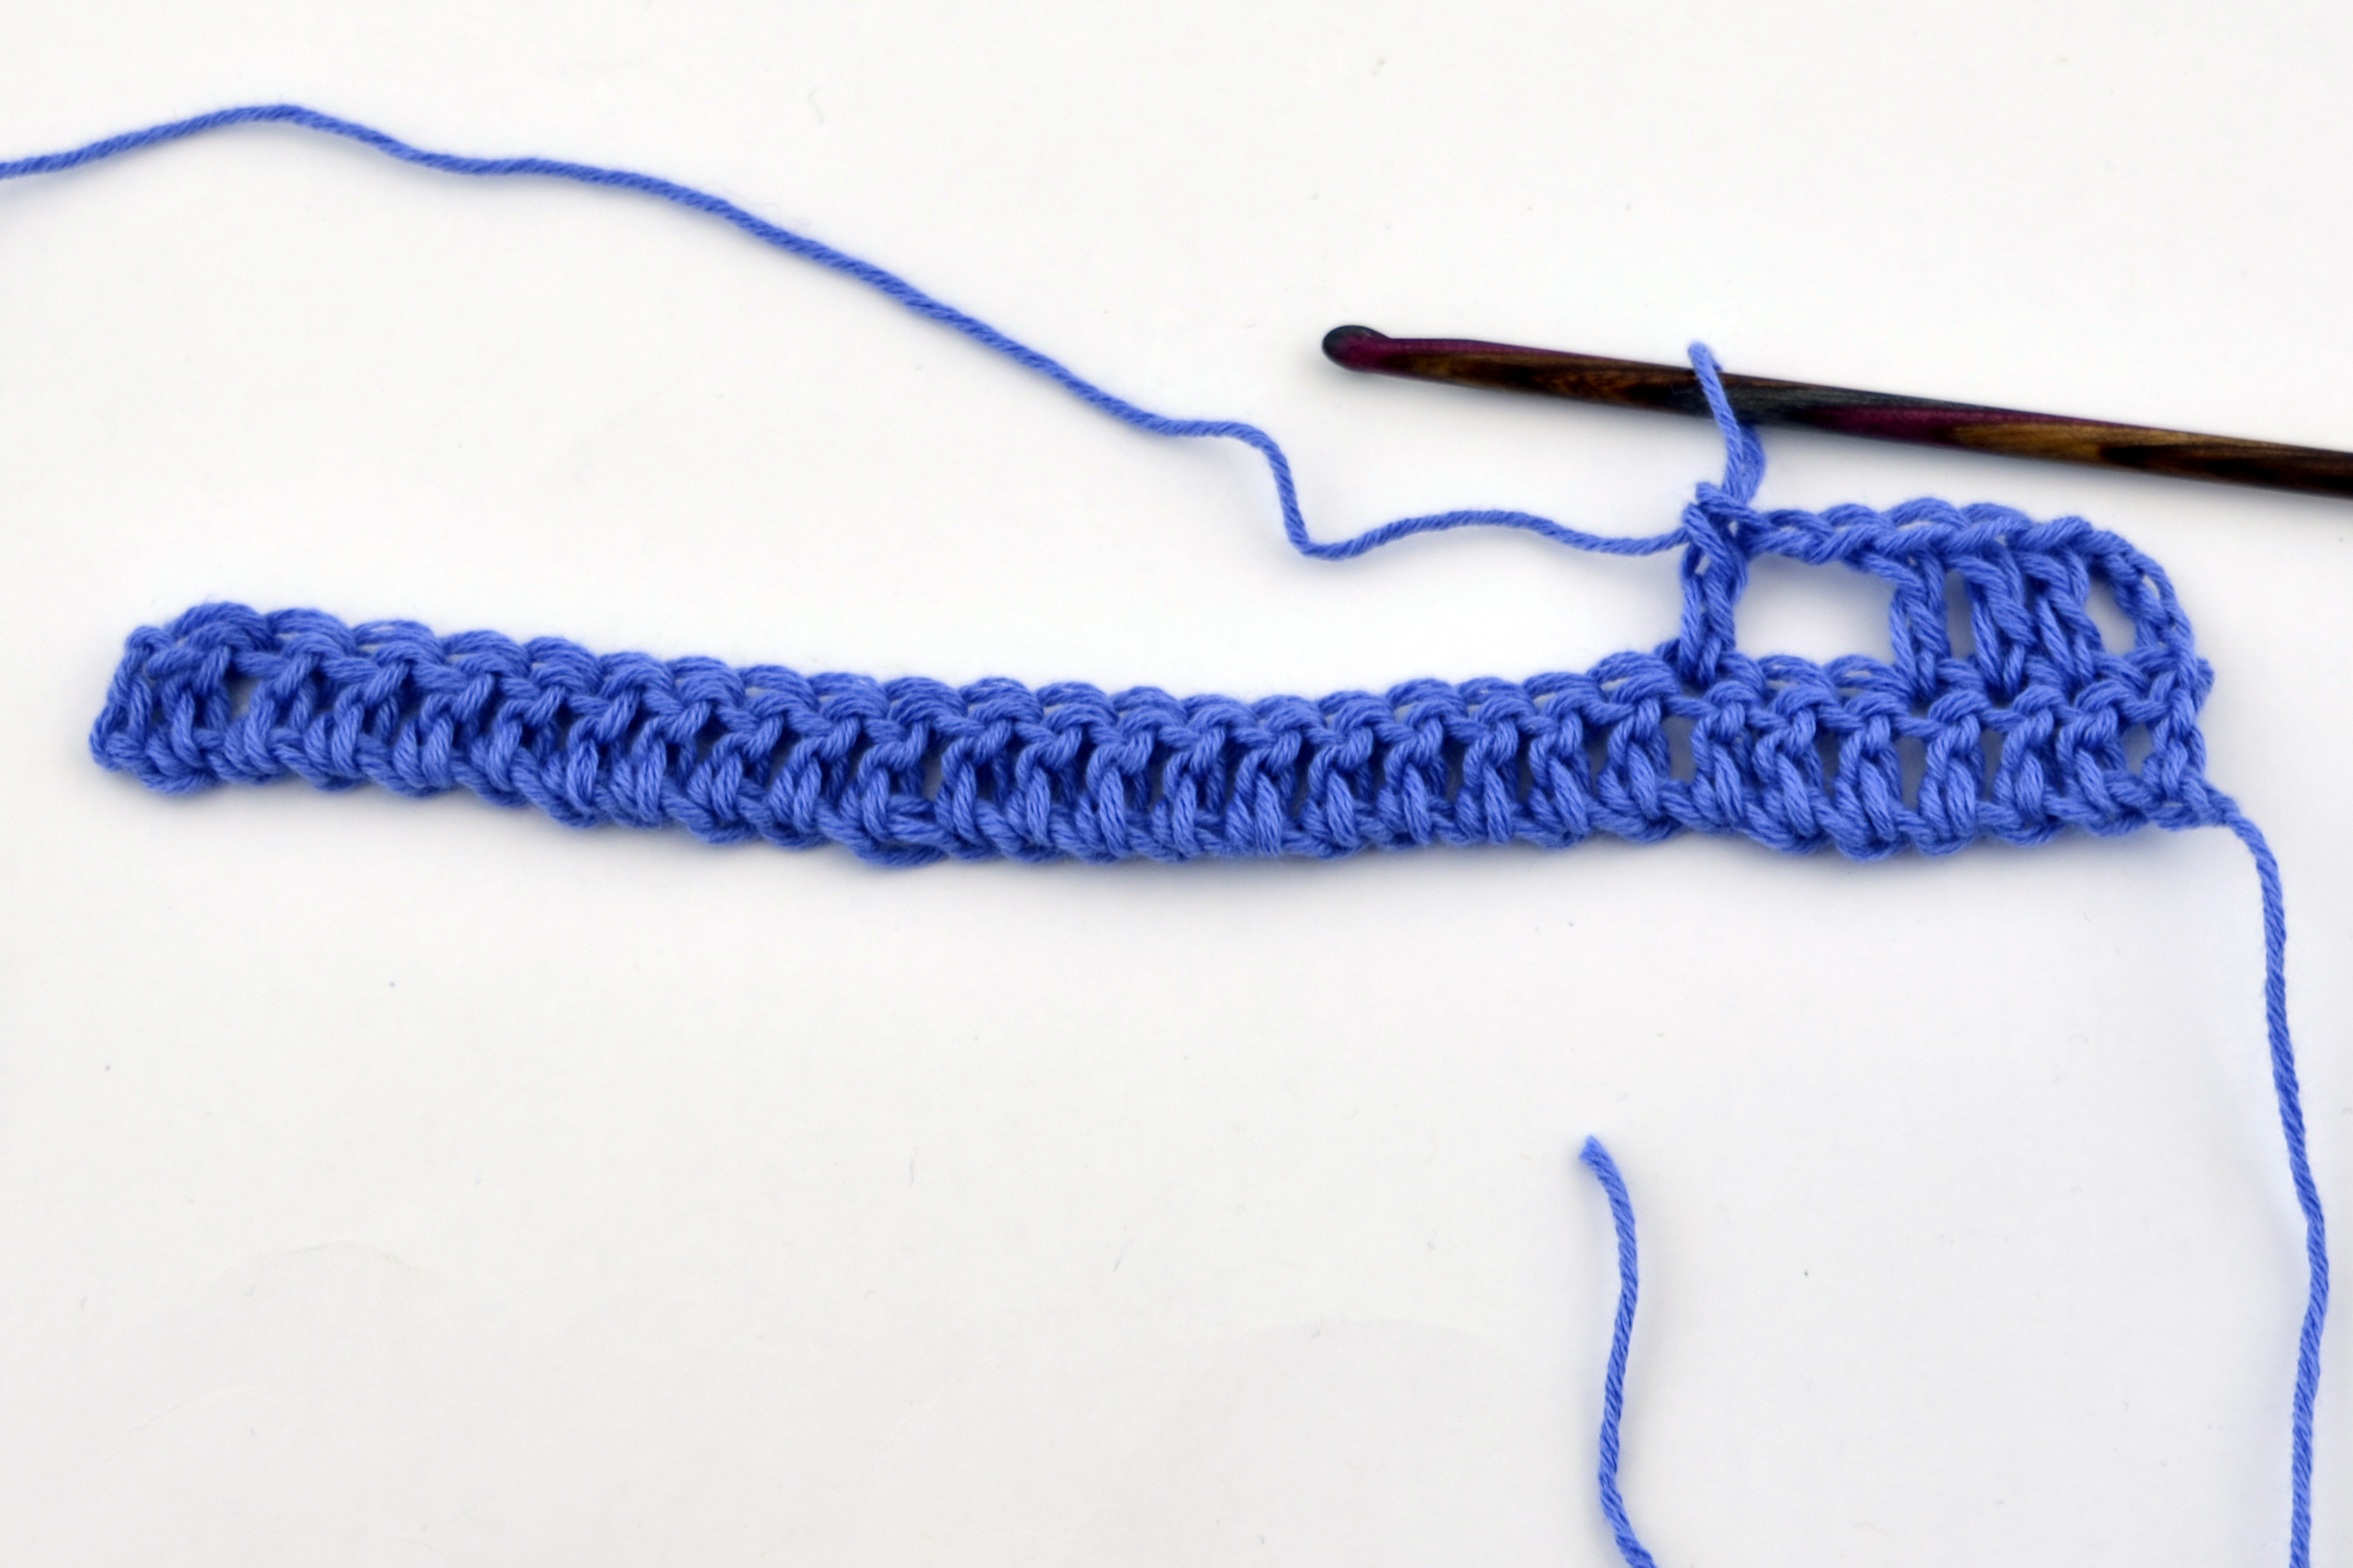
On the next row, chain 3 (counts as double crochet), double crochet in the next 3 double crochet (1 Solid square made), chain 2, skip next 2 double crochet, double crochet in next double crochet (1 Empty square made), and so forth.

Delphi1

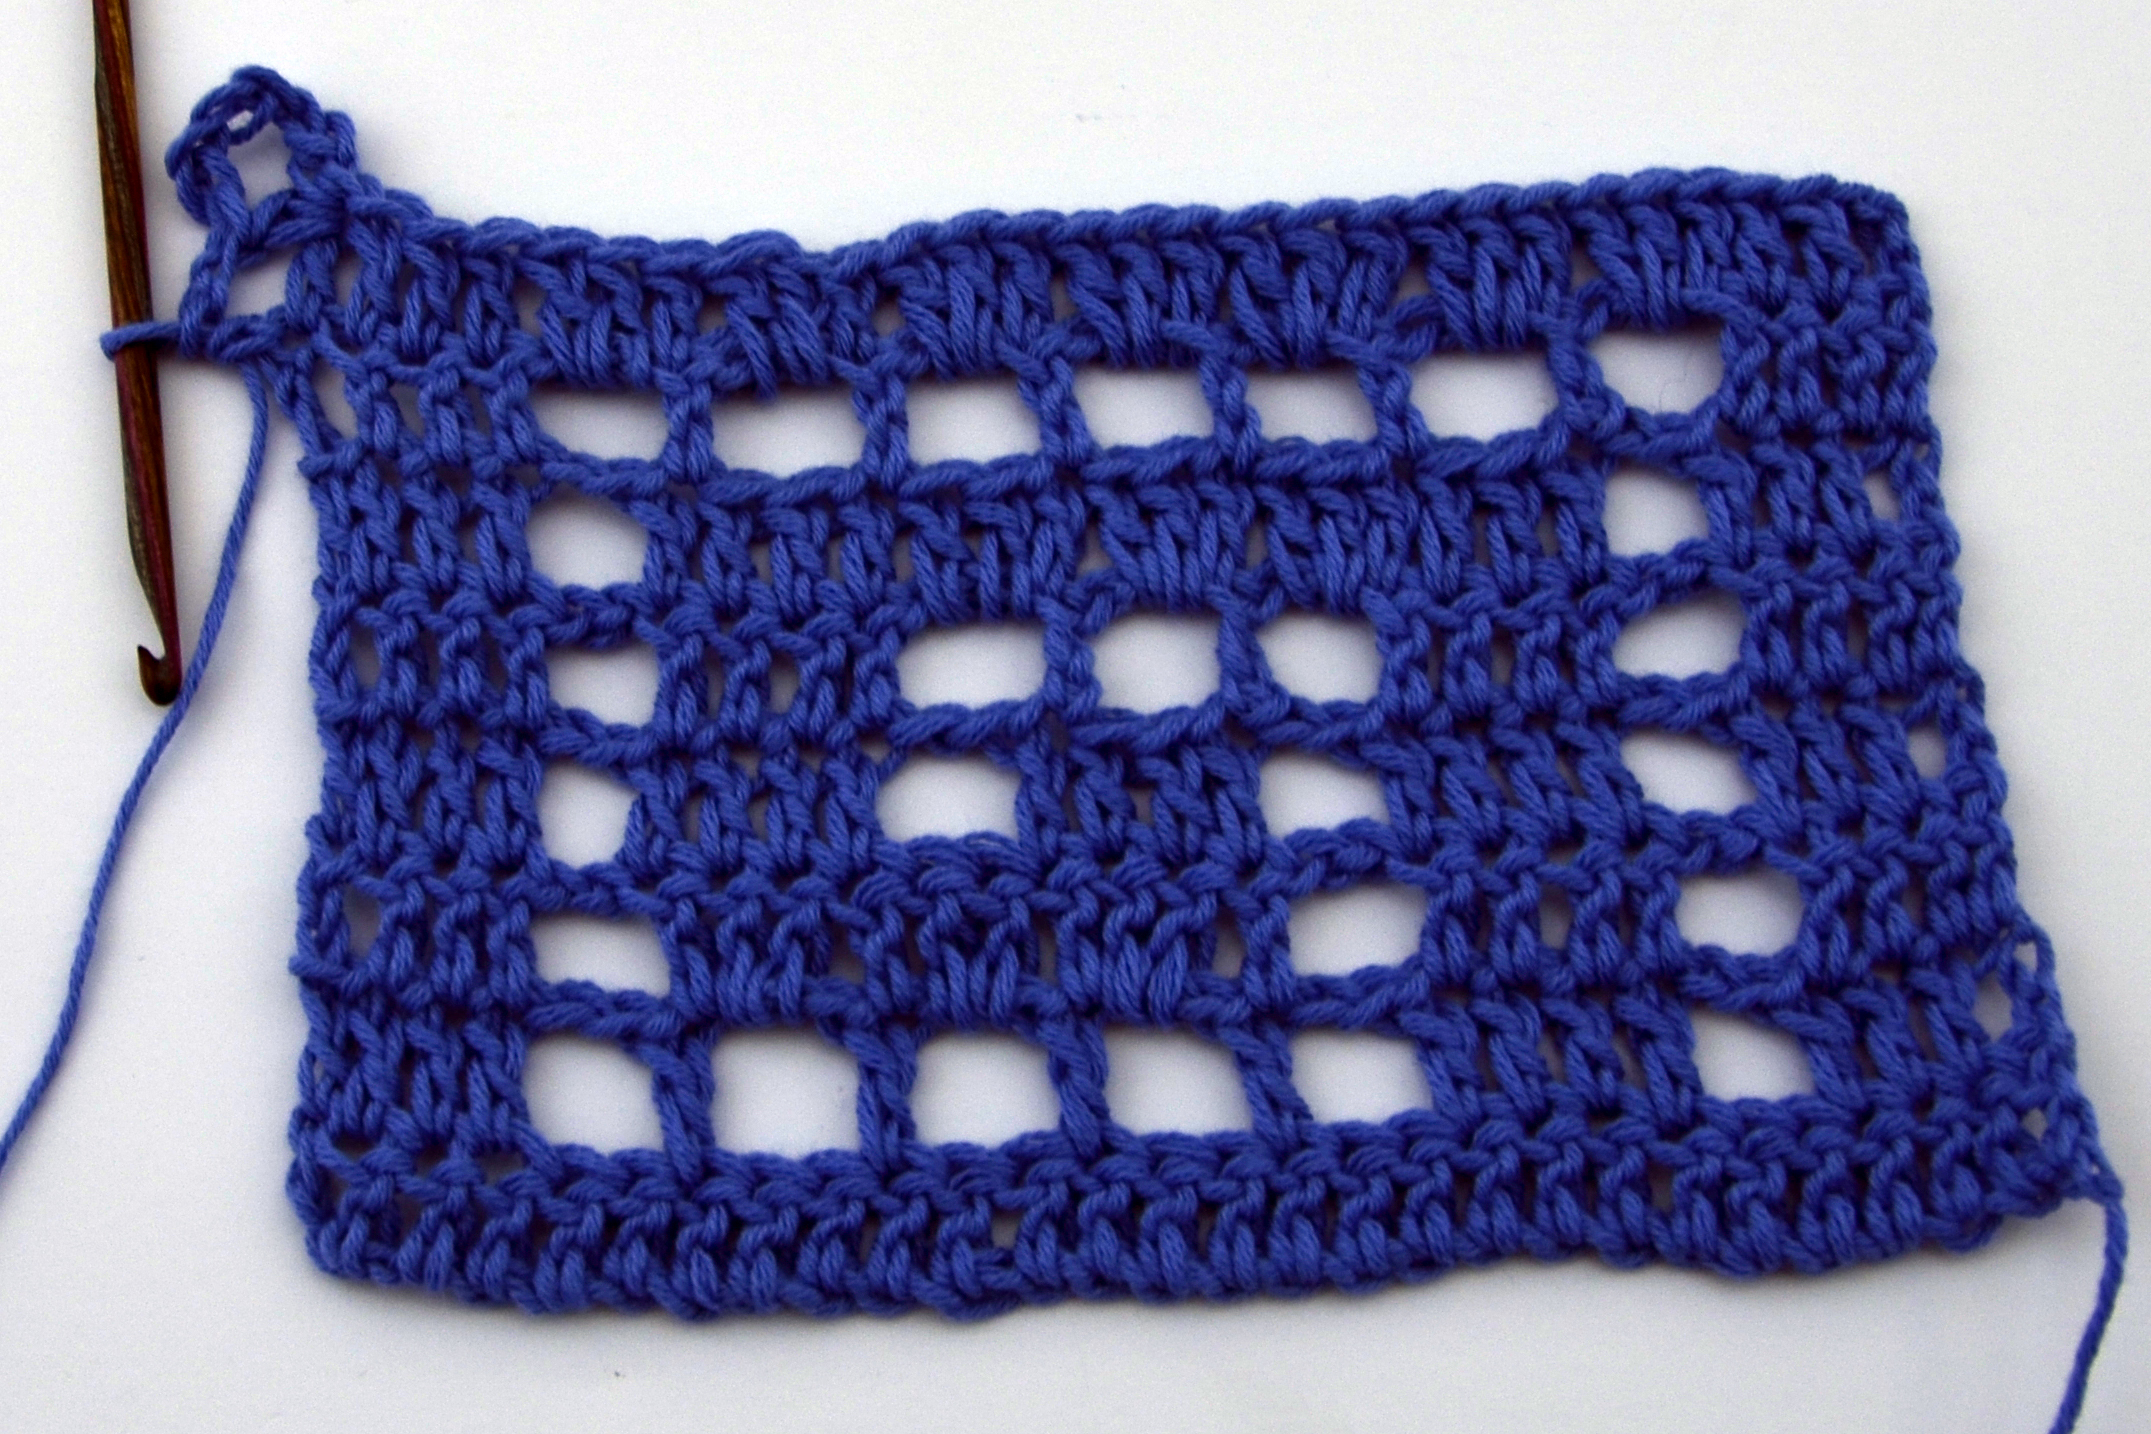
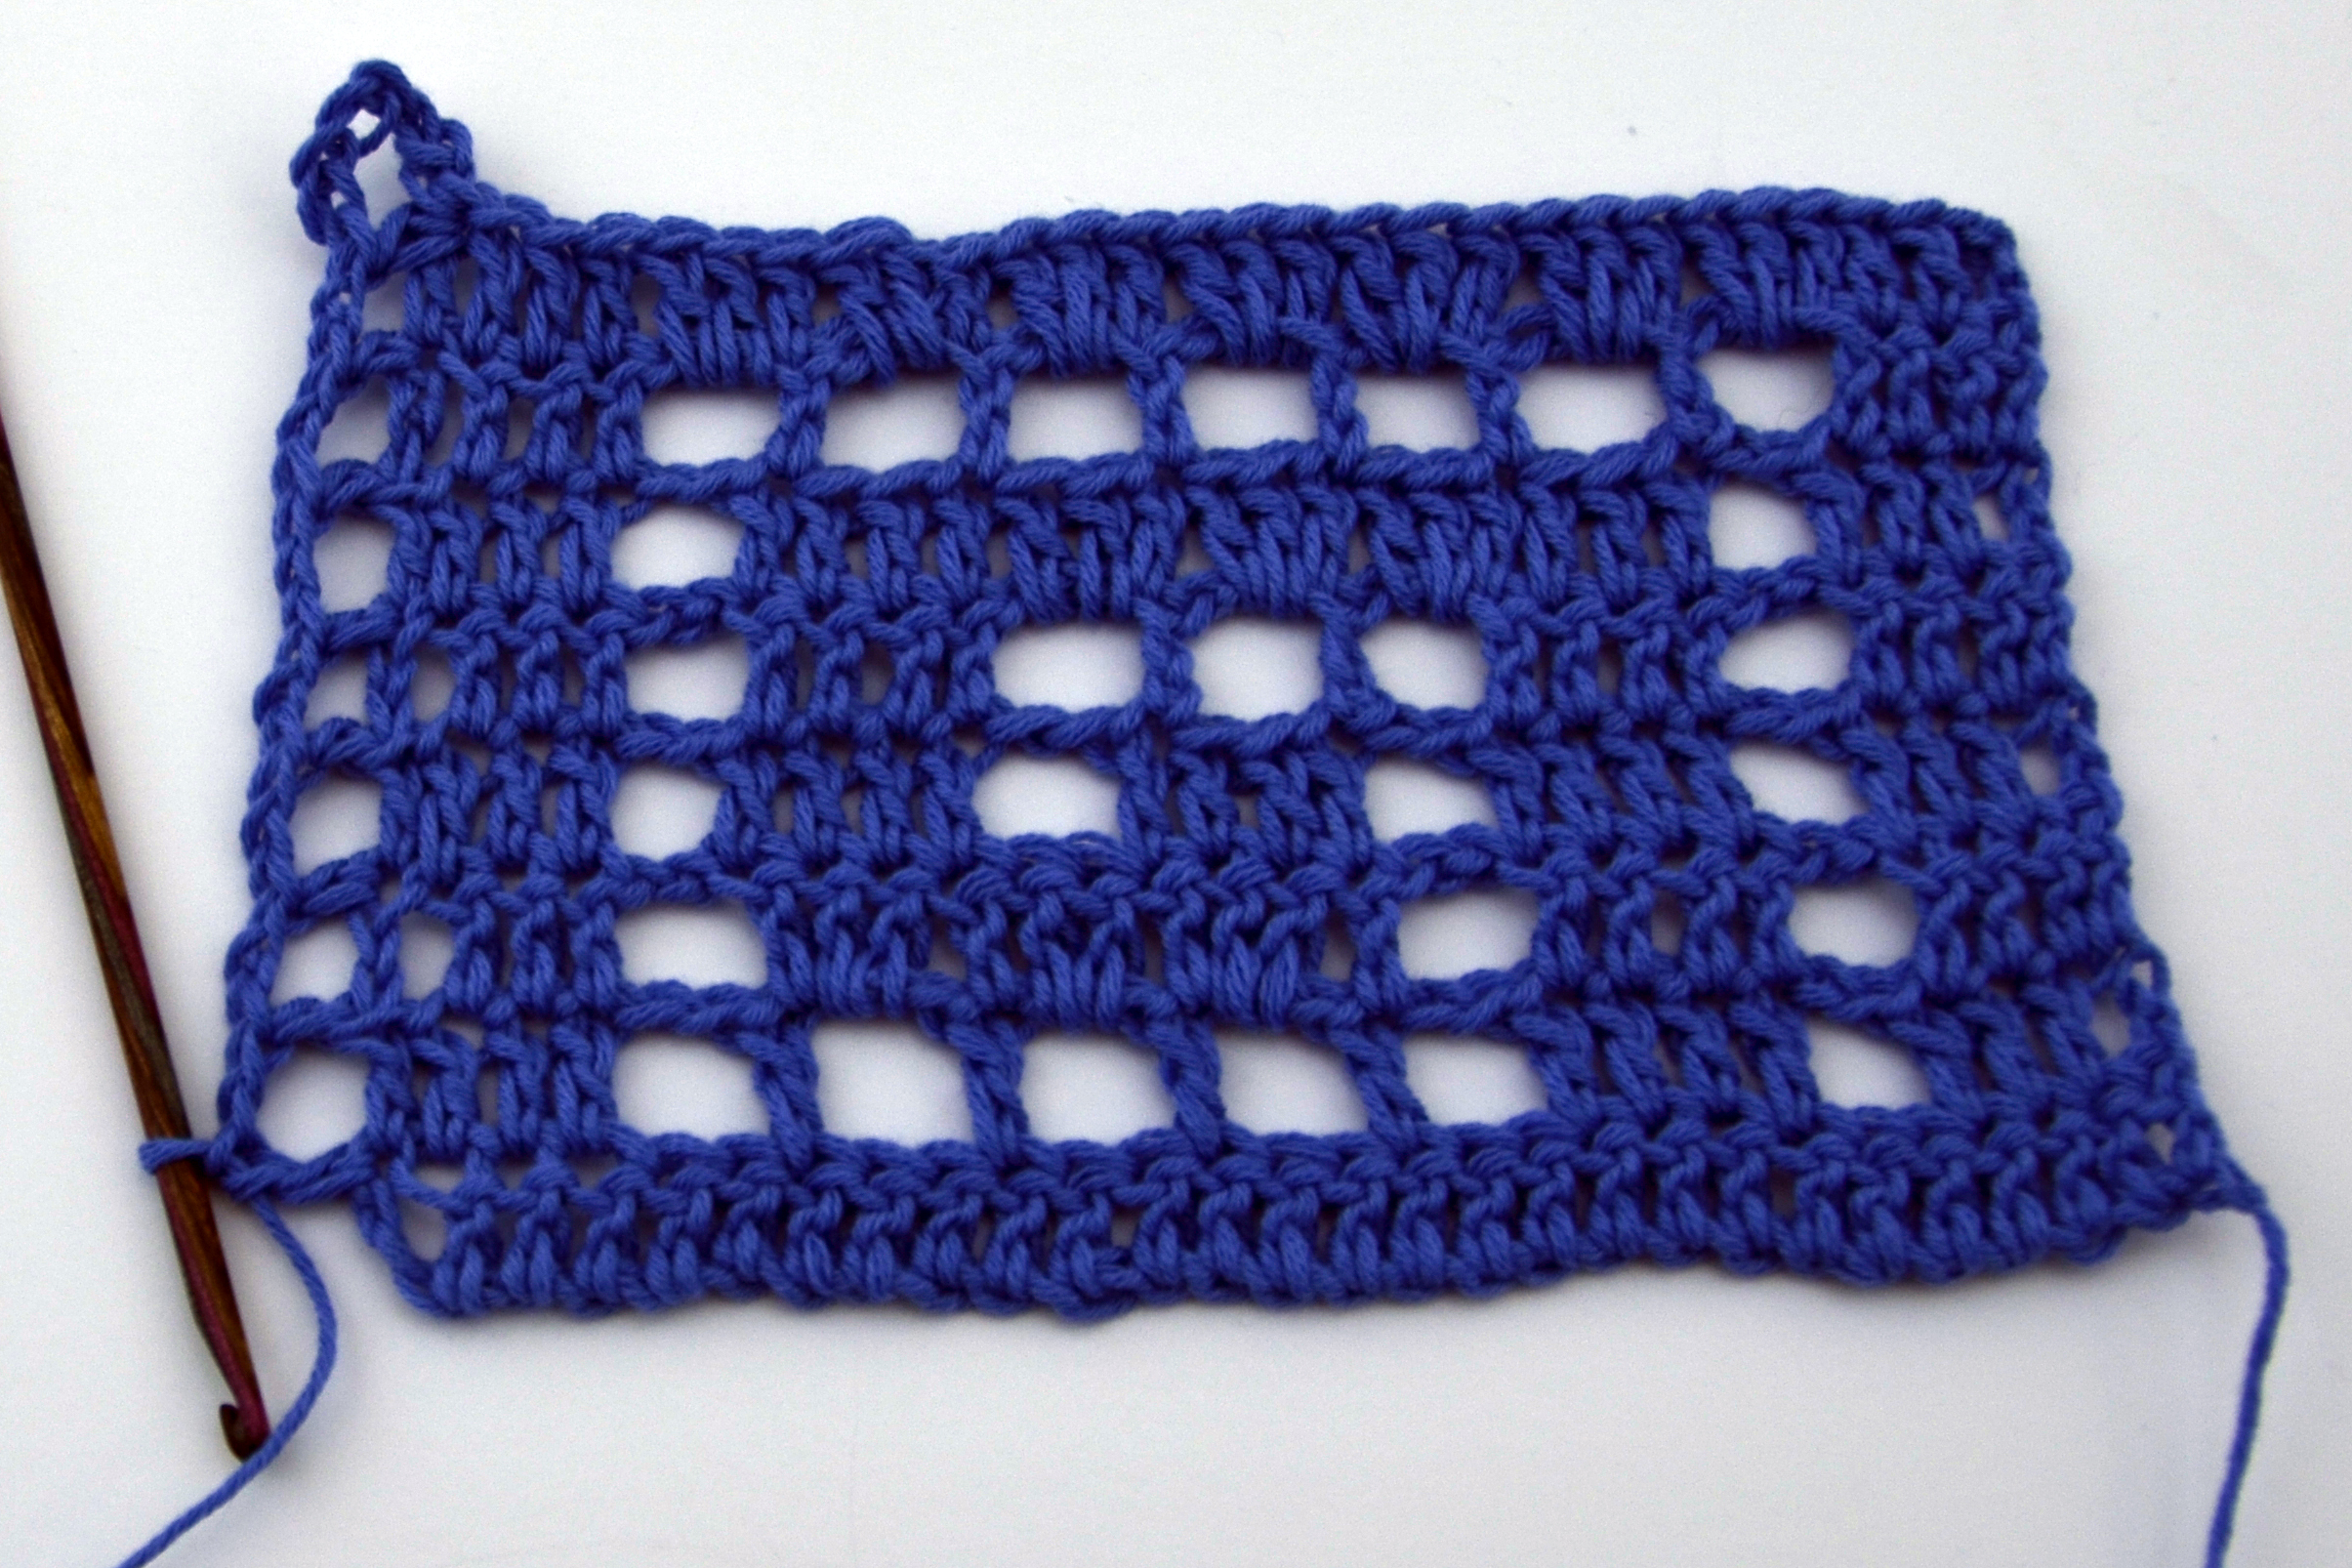
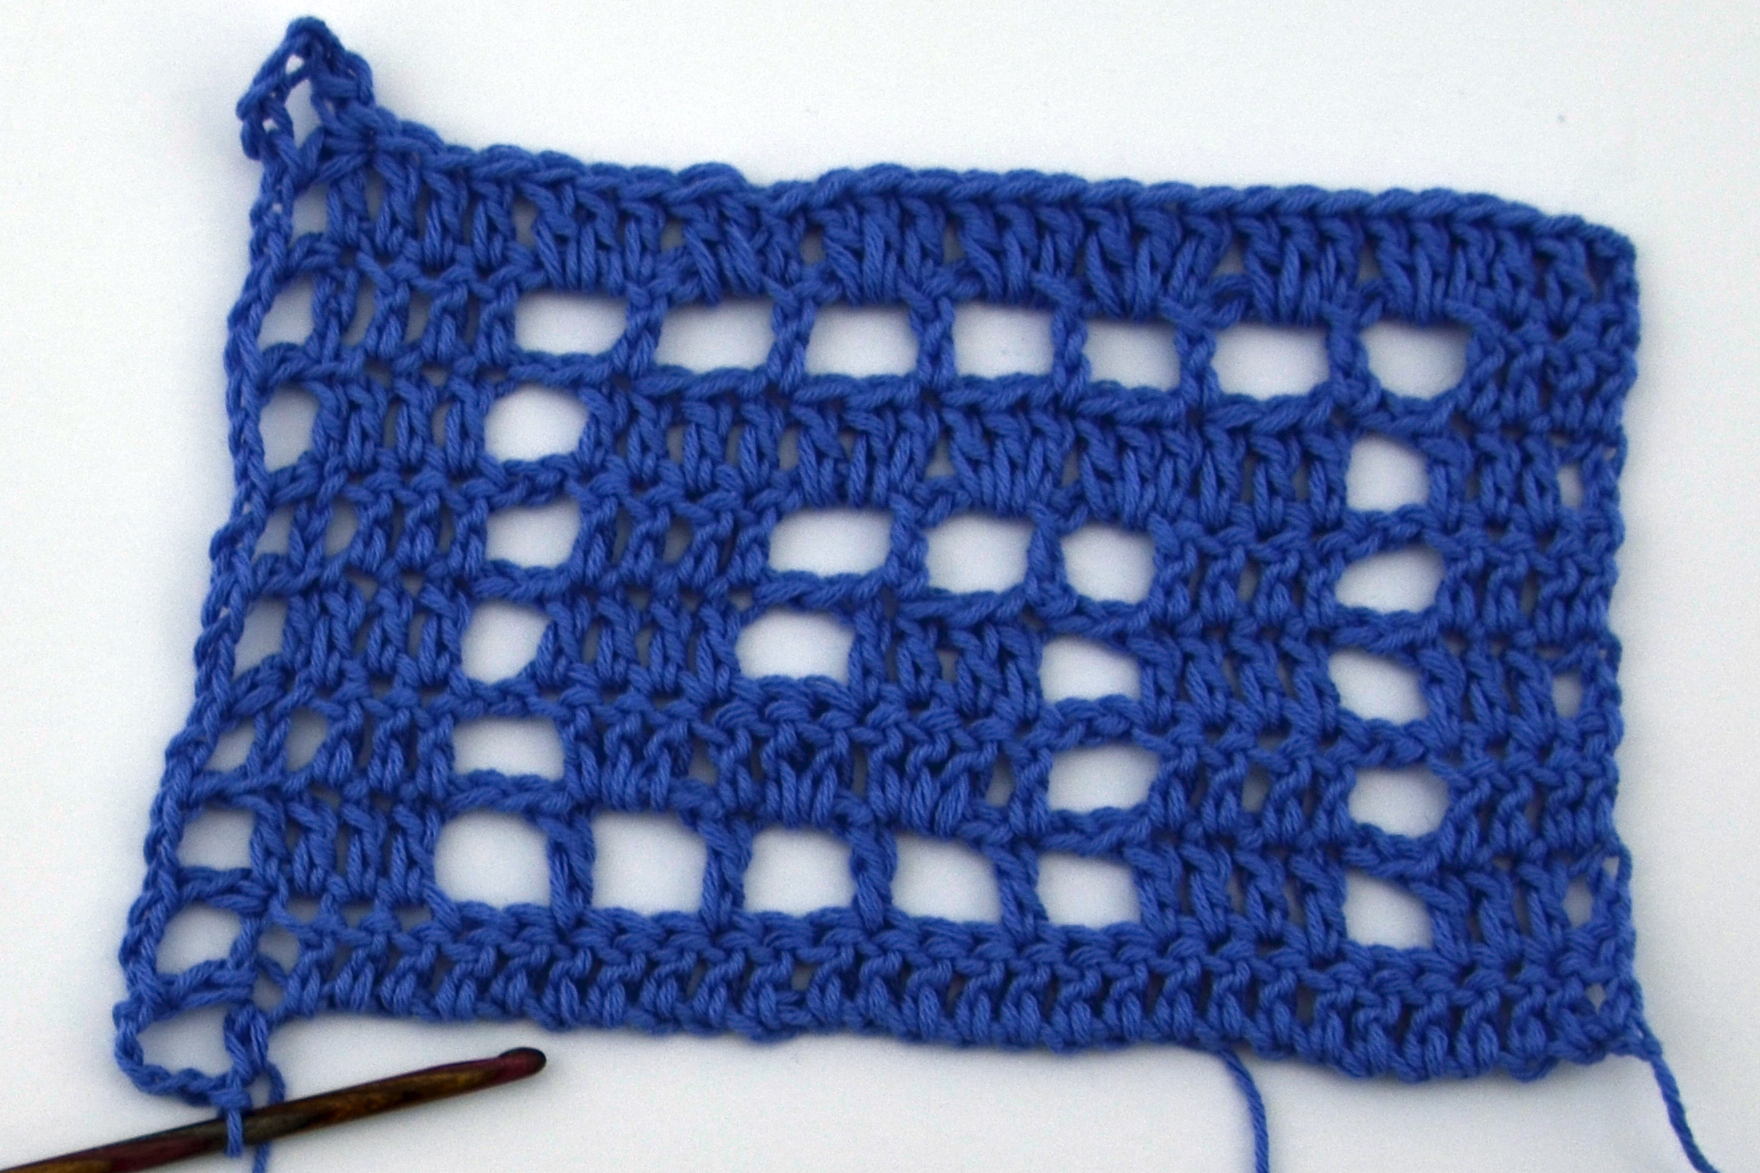
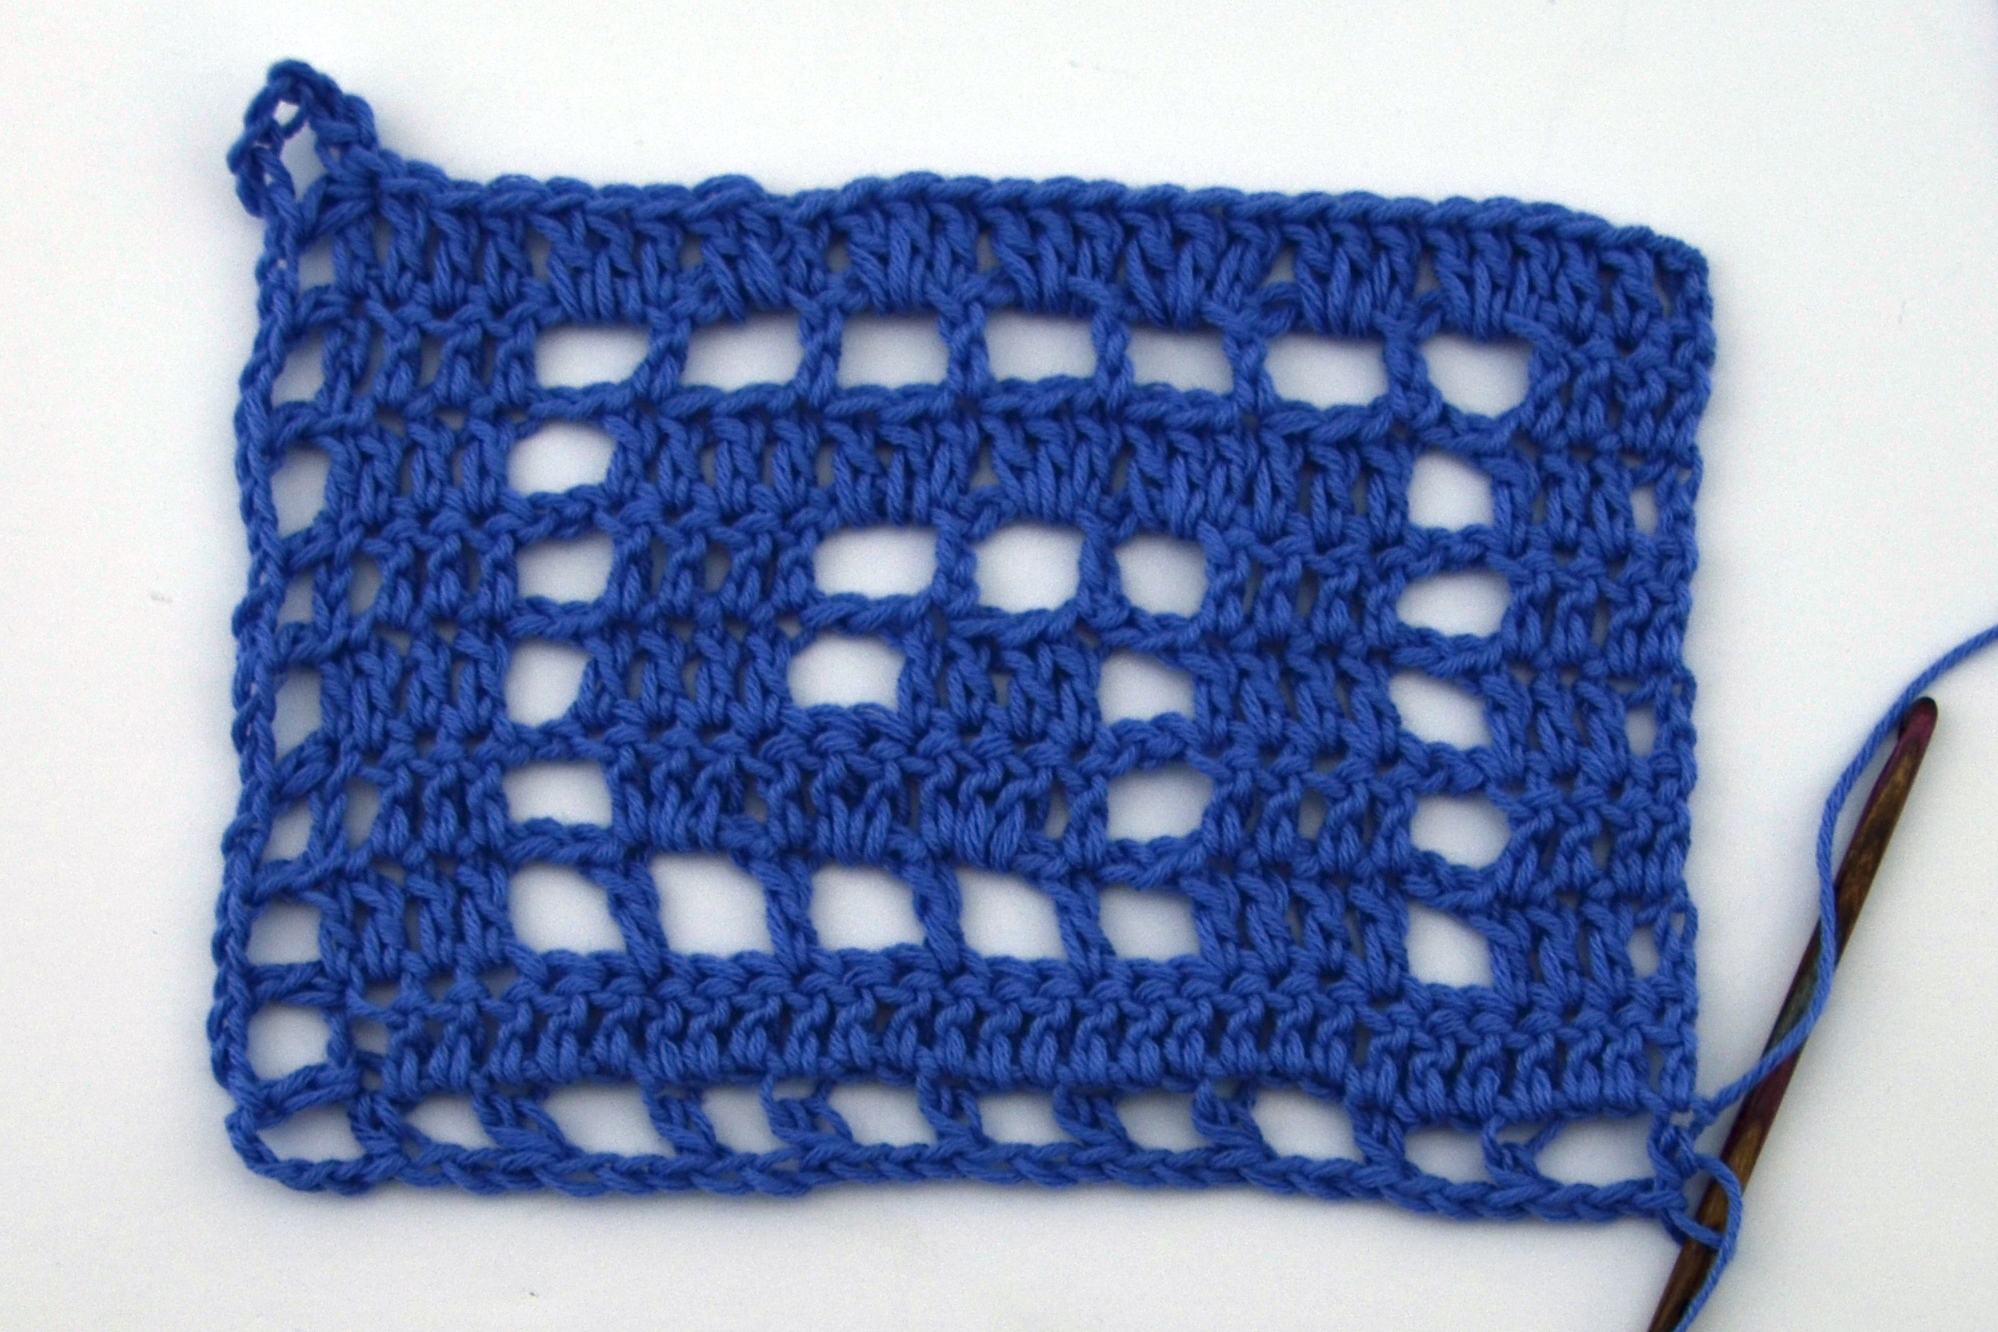
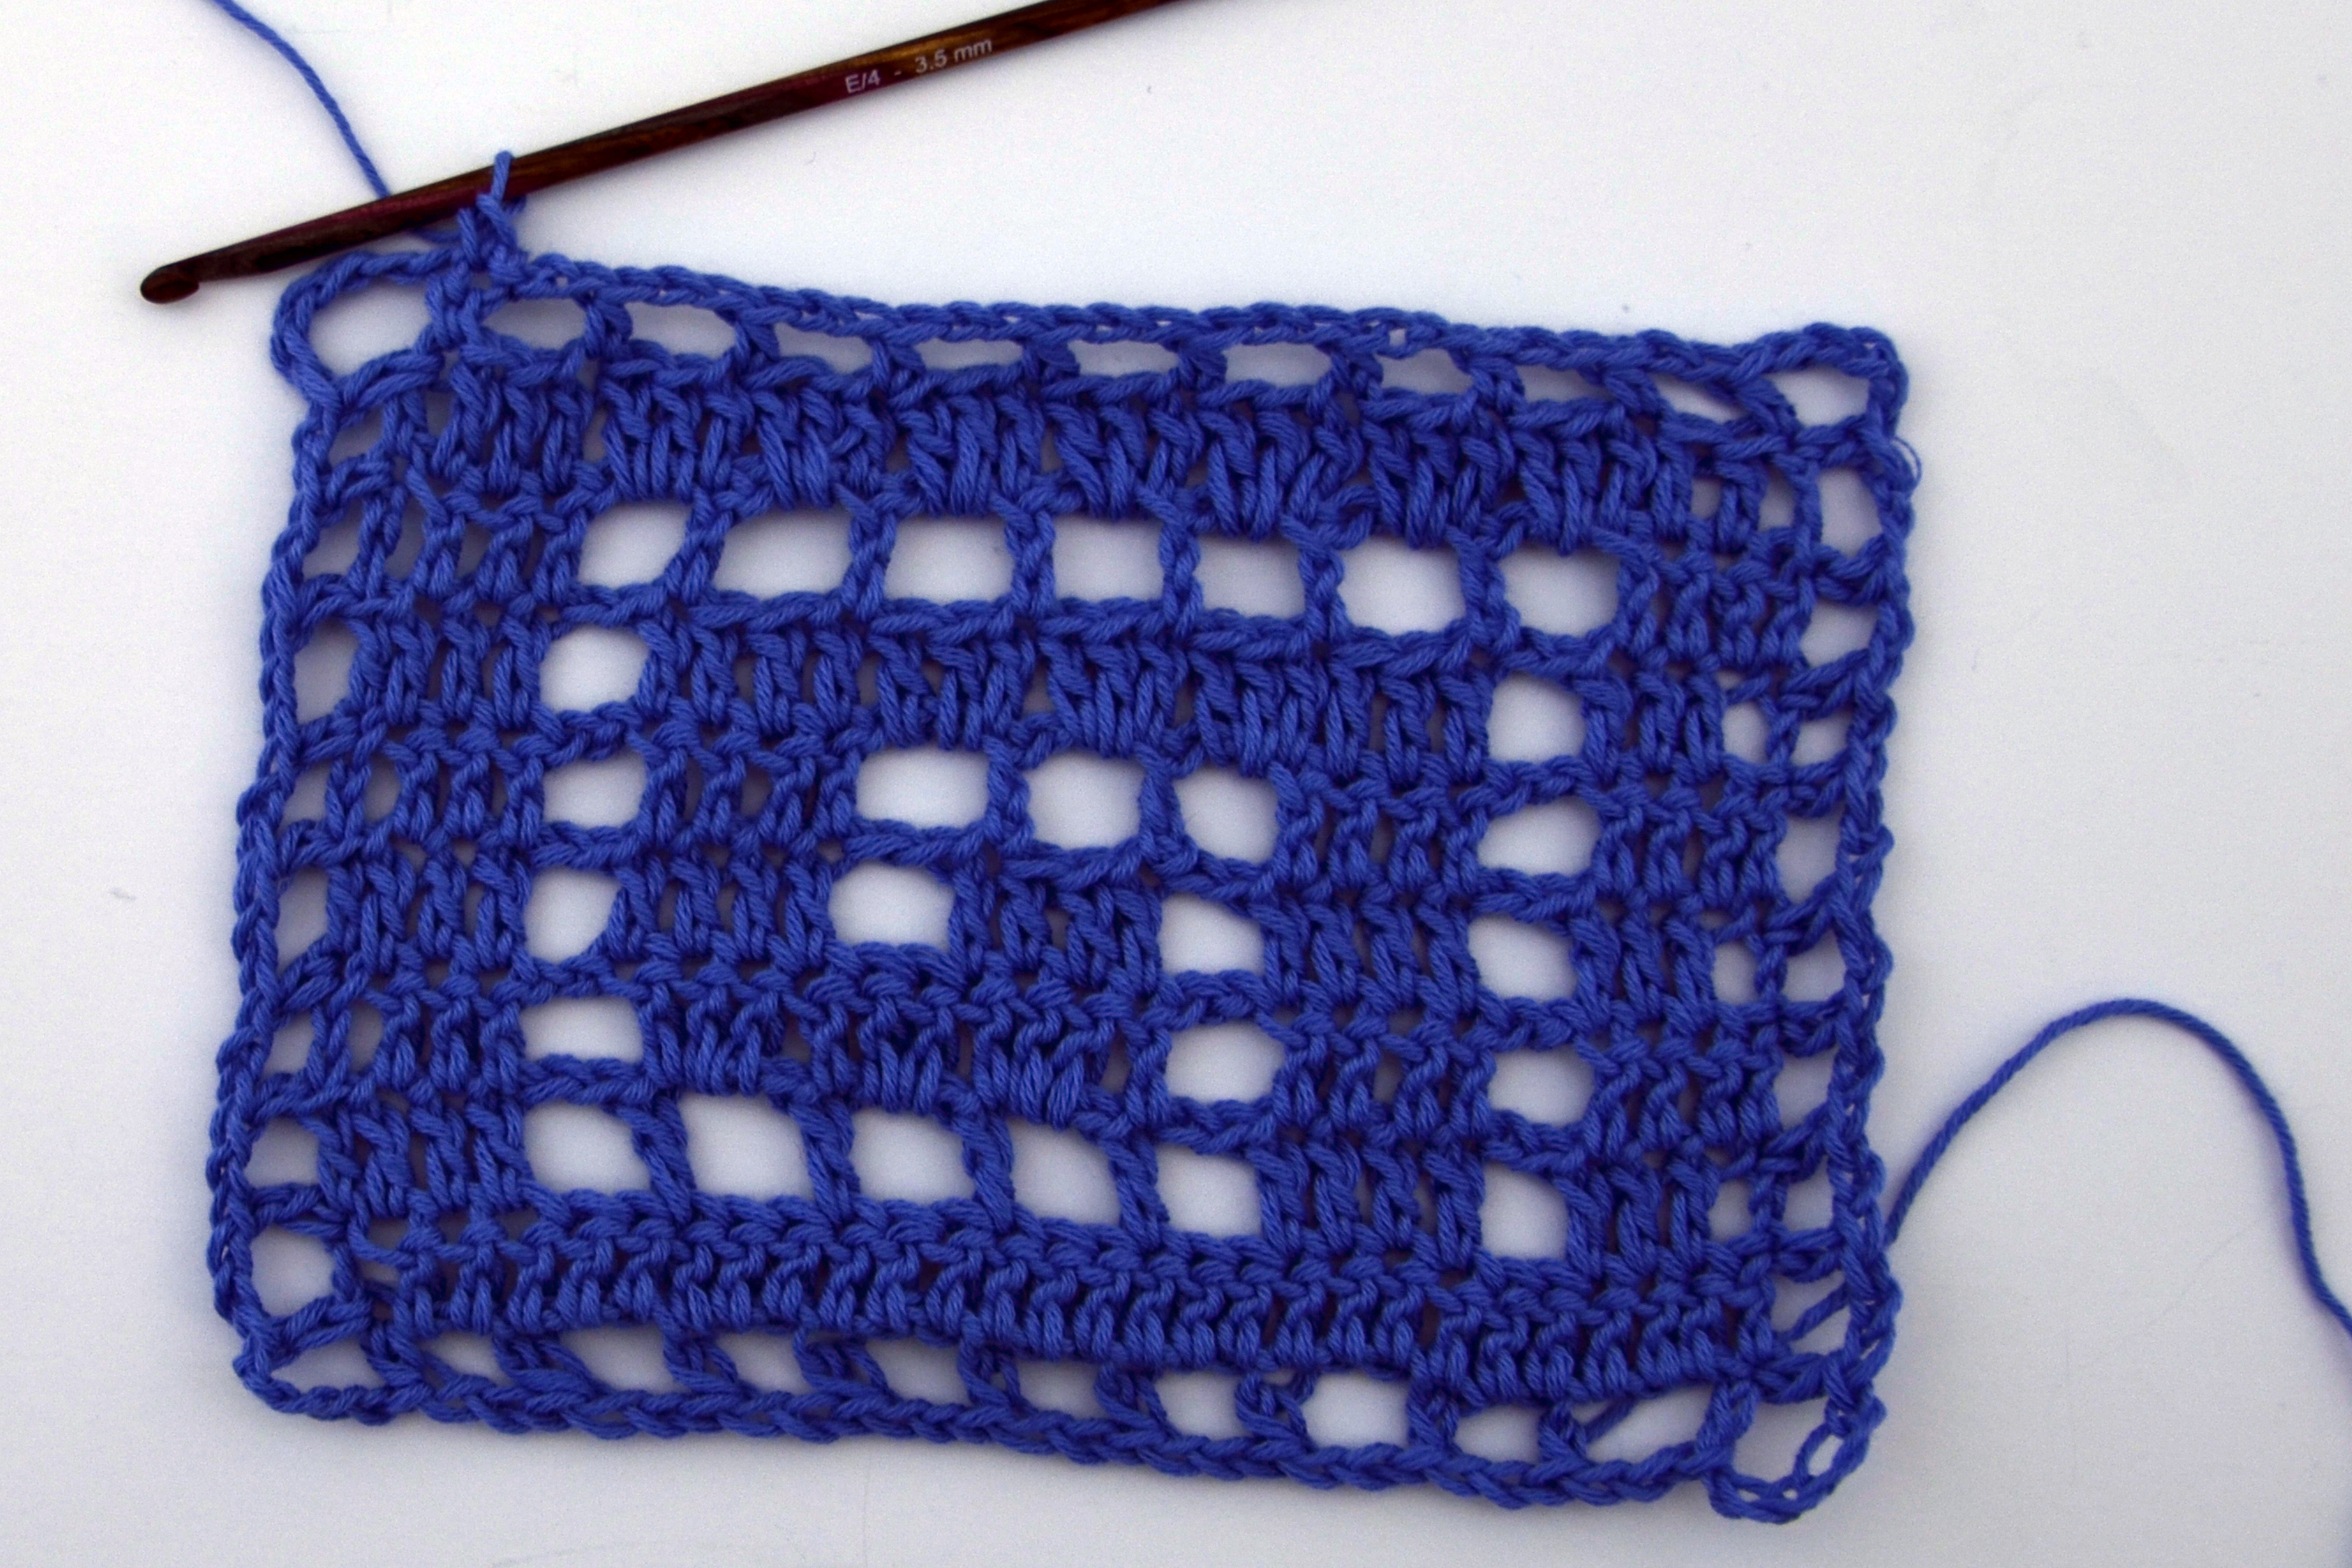
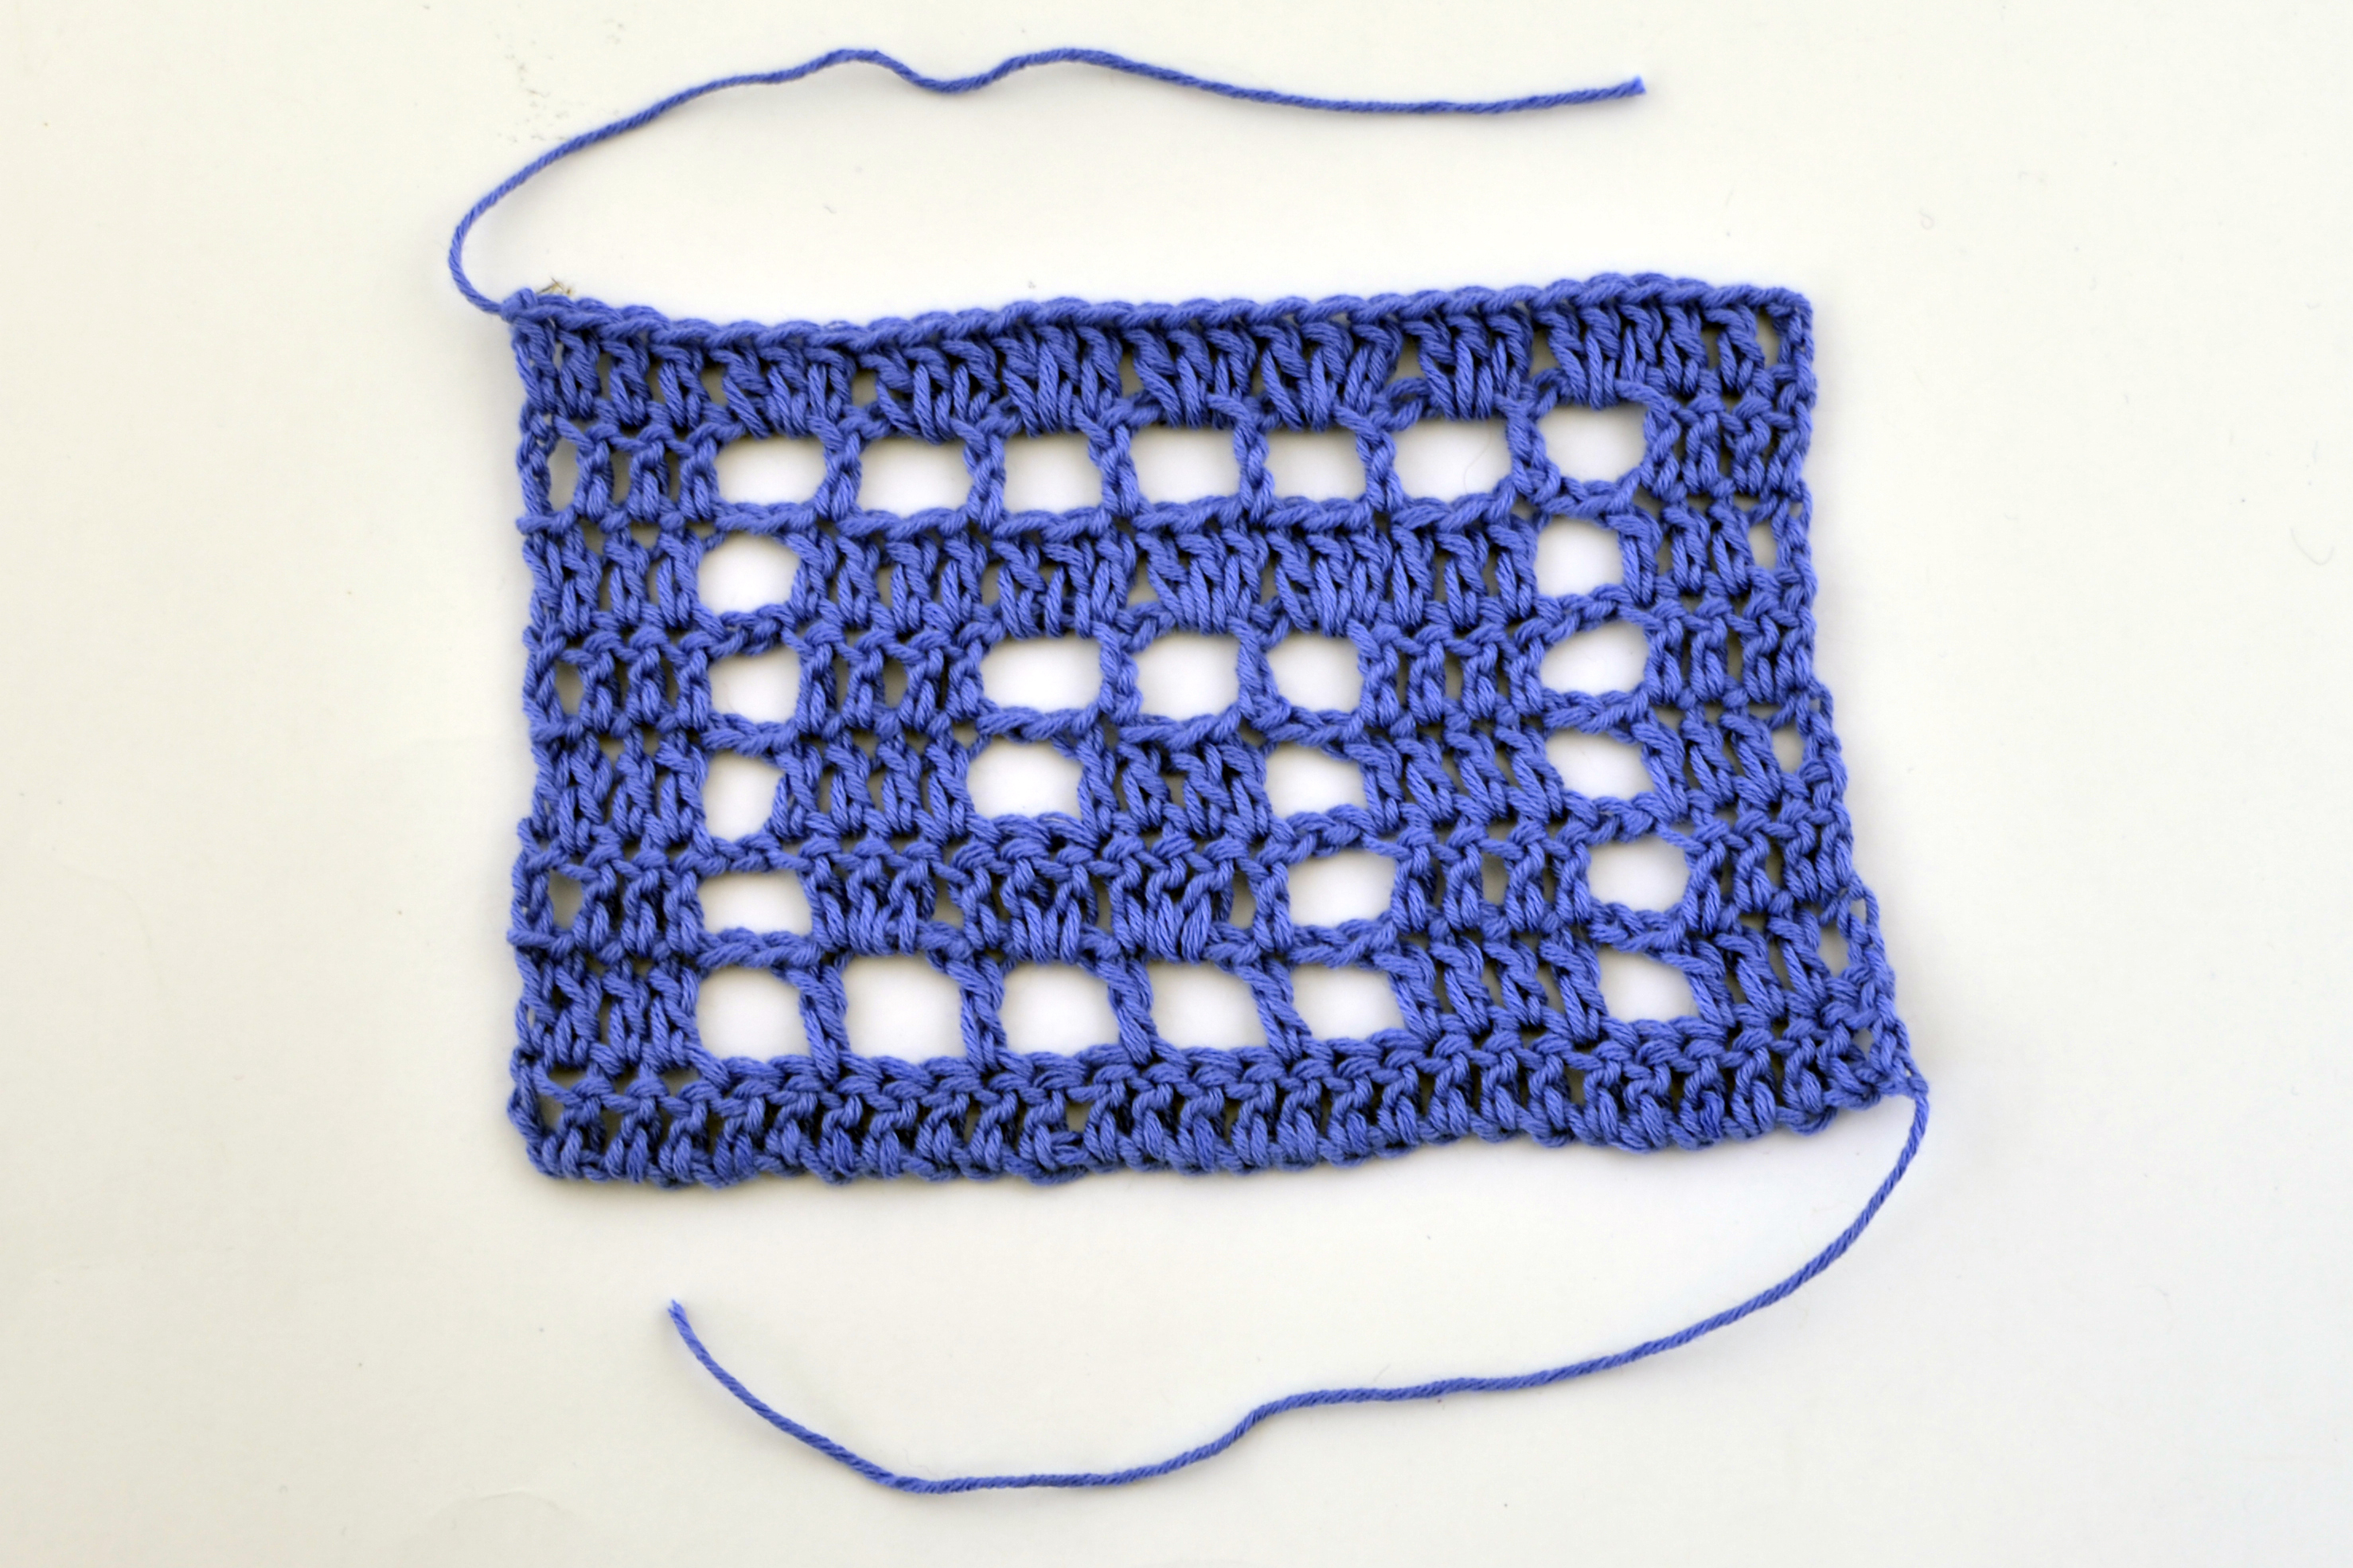
The finished swatch:

Delphi3

One little trick I’ve come up with when following a filet chart, is to be able to count the number of double crochets in a long strip of Solid squares at a glance. I find it helps me to keep track of my place more easily without having to constantly consult the chart. If I look at the chart and see, for example, 7 solid squares in a row, I know I will be working 22 double crochets in that spot (7 x 3 dc each + 1). If there are 5 solid squares in a row, I’ll be working 16 double crochets in that spot (5 x 3 dc each + 1). And so on.

I’ll get back to this same swatch and project next week where we’ll be talking about how to add an edging to this shawl.

DelphiStole_3_hires