Indigo Dyeing, Part 1

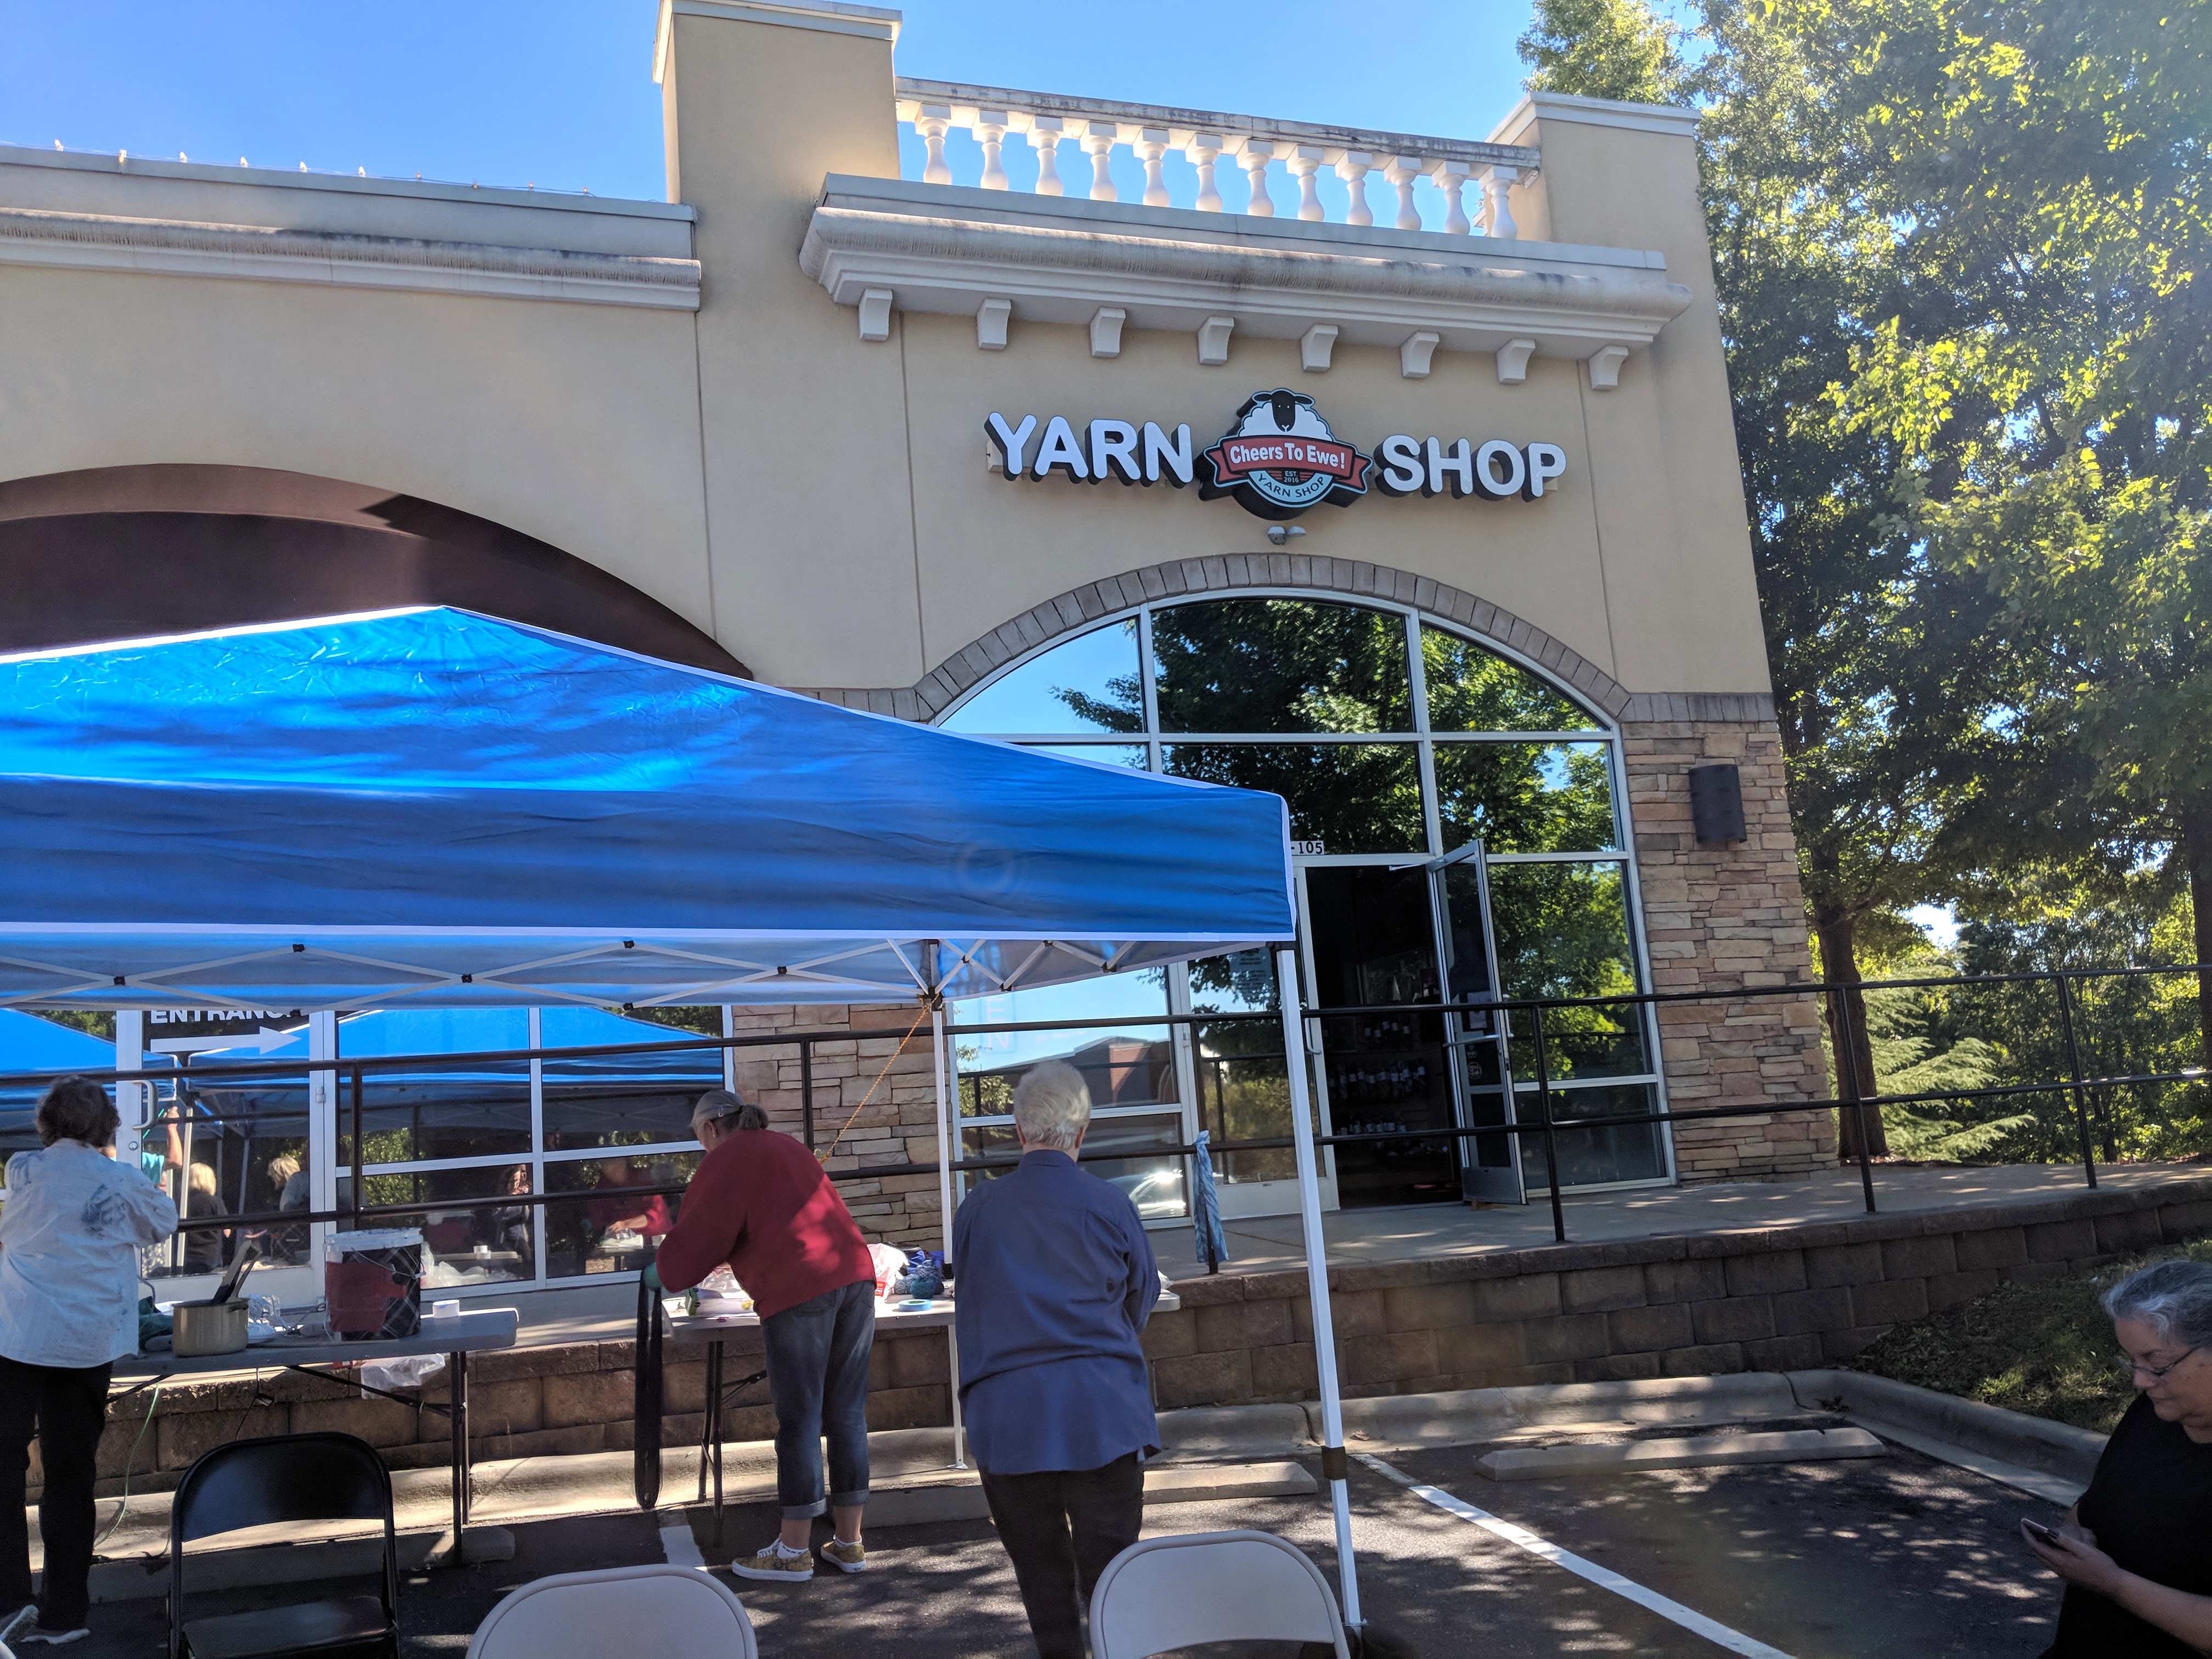
I knit, crochet, sew, weave, and do a lot of other random crafty things. Dyeing, however, has been unexplored territory for me. When my good friend Sandi asked if I’d like to join her for an indigo dyeing class at LYS Cheers to Ewe, I said yes immediately. I love trying new things! So please keep in mind, this post is absolutely not written by an expert yarn dyer.

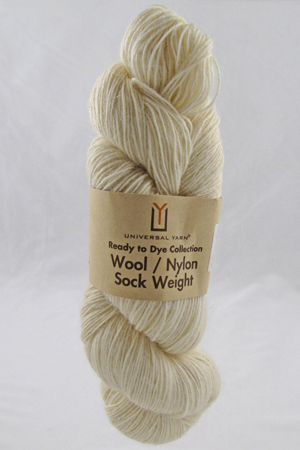
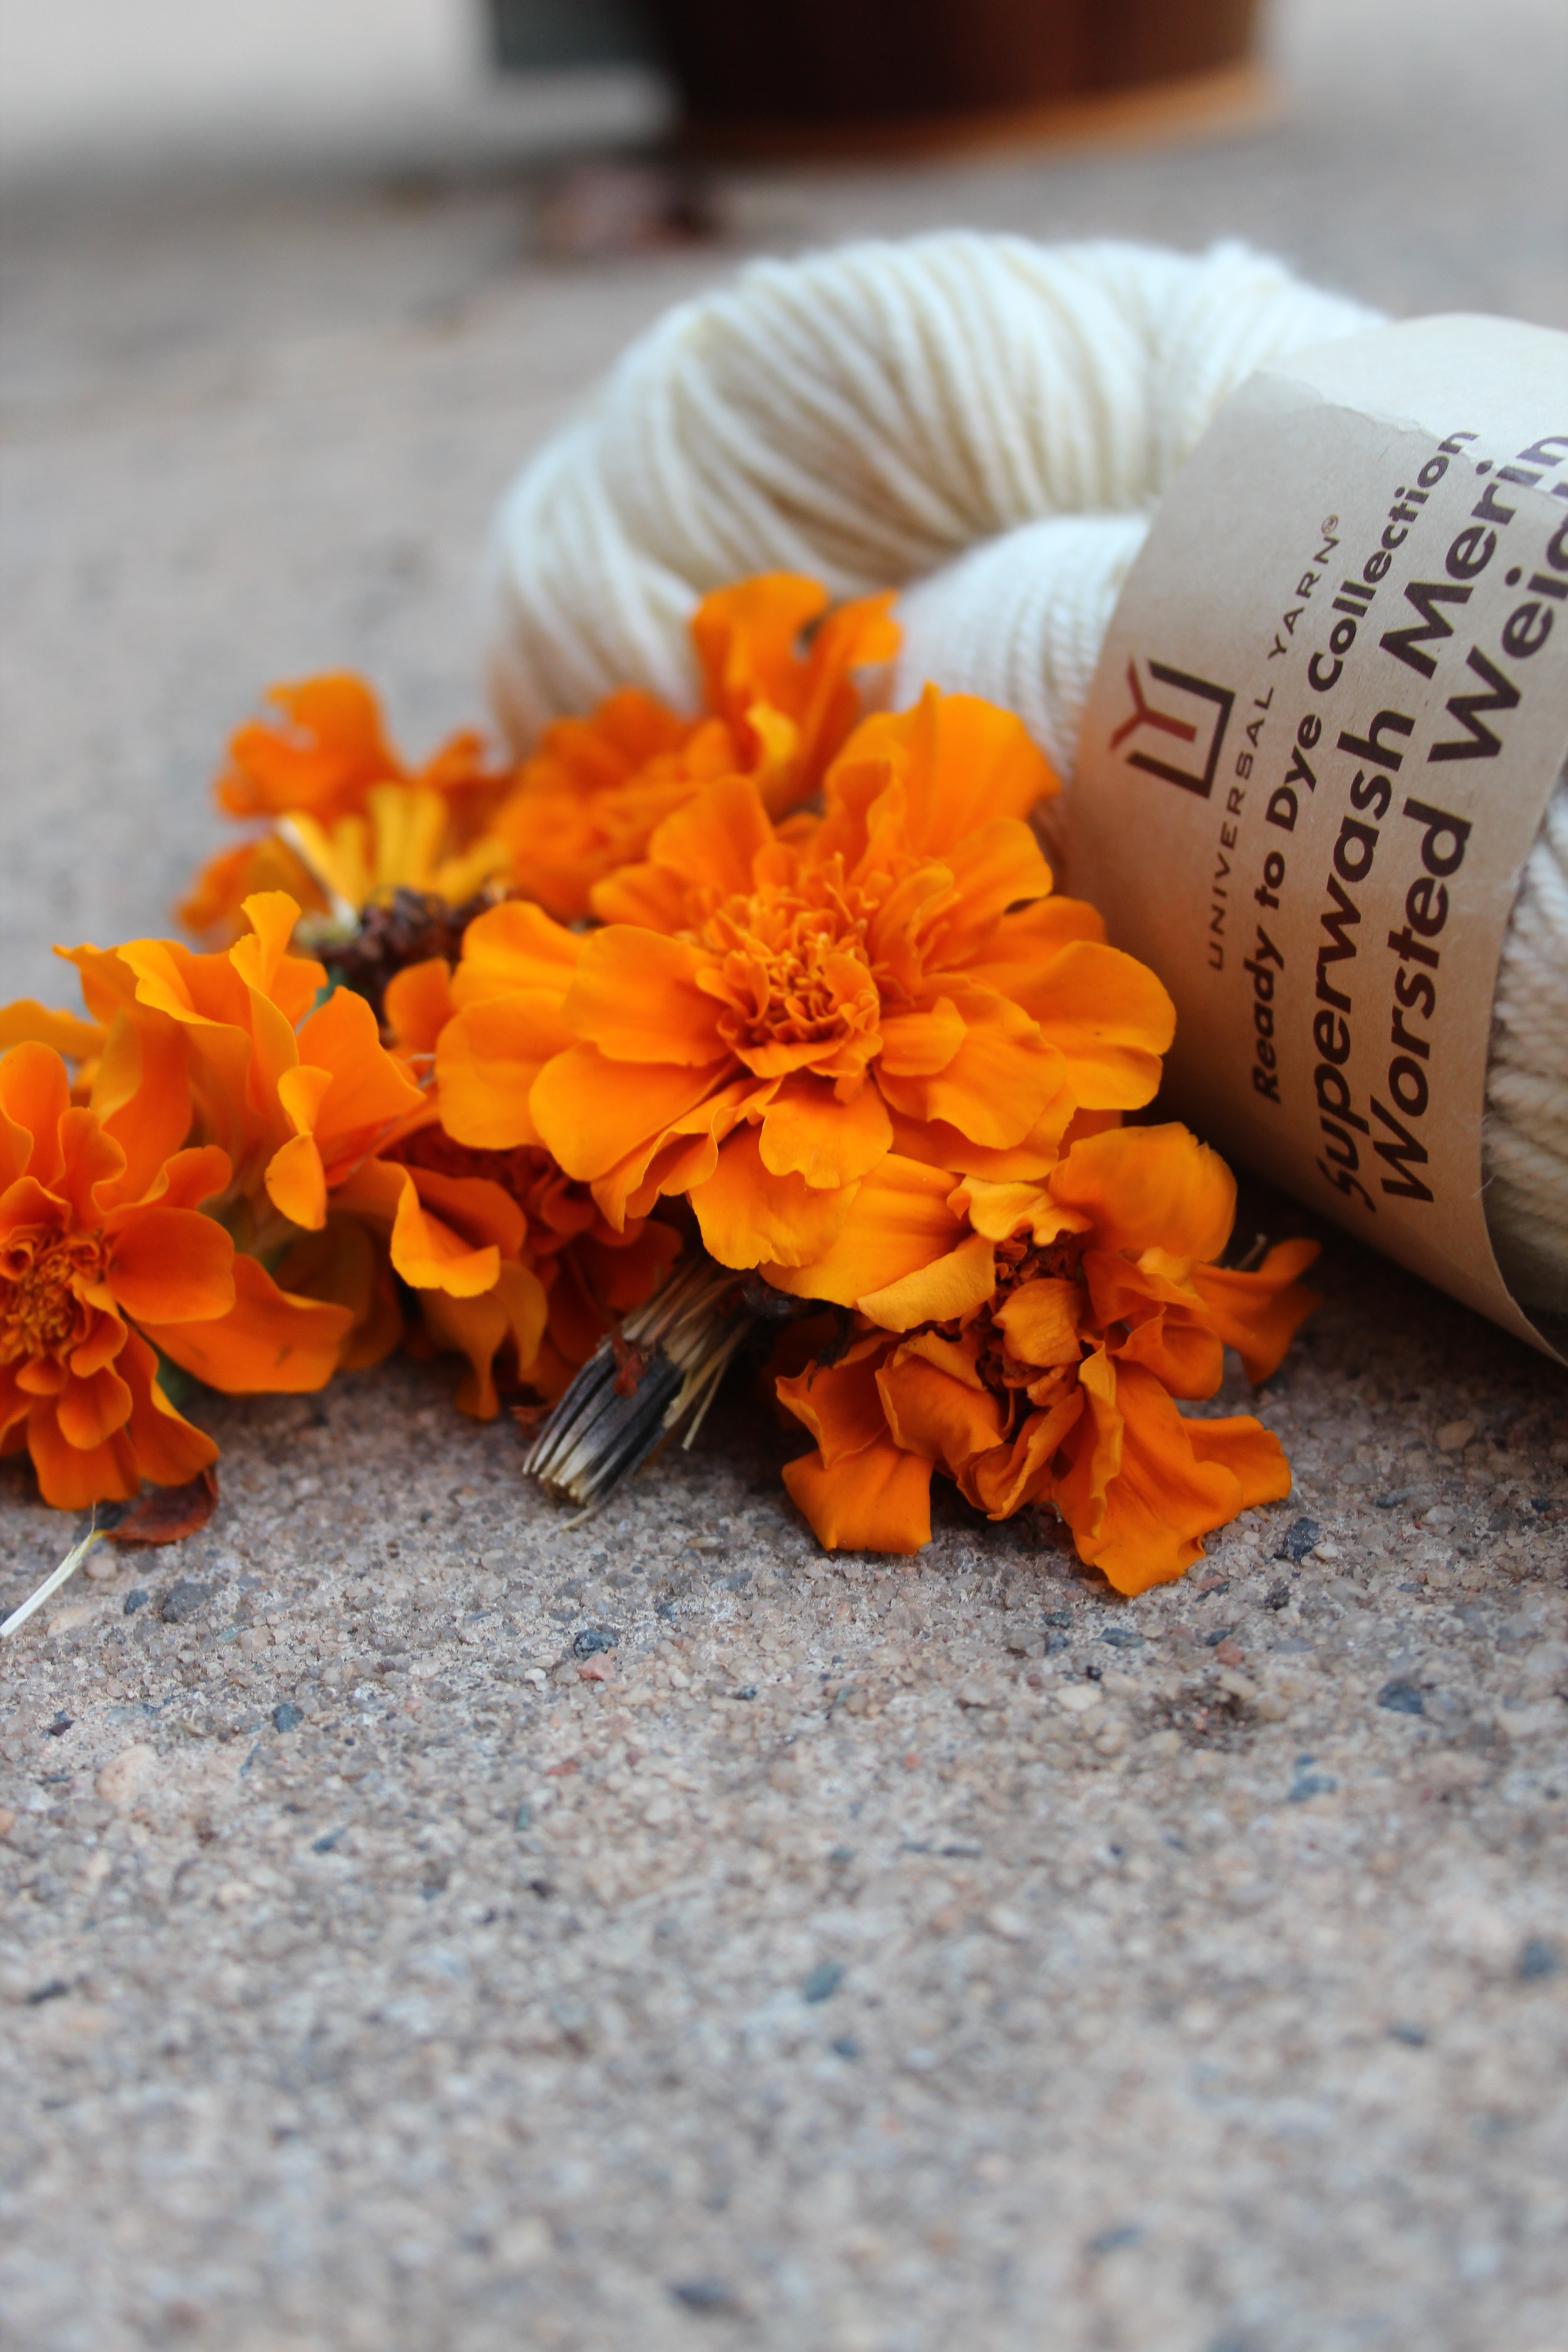
We happen to sell a nice variety of yarn especially for hand dyeing. Appropriately enough, we call it our “Ready to Dye” collection of yarns. I chose two skeins of our 02 Wool/Nylon blend to dye.

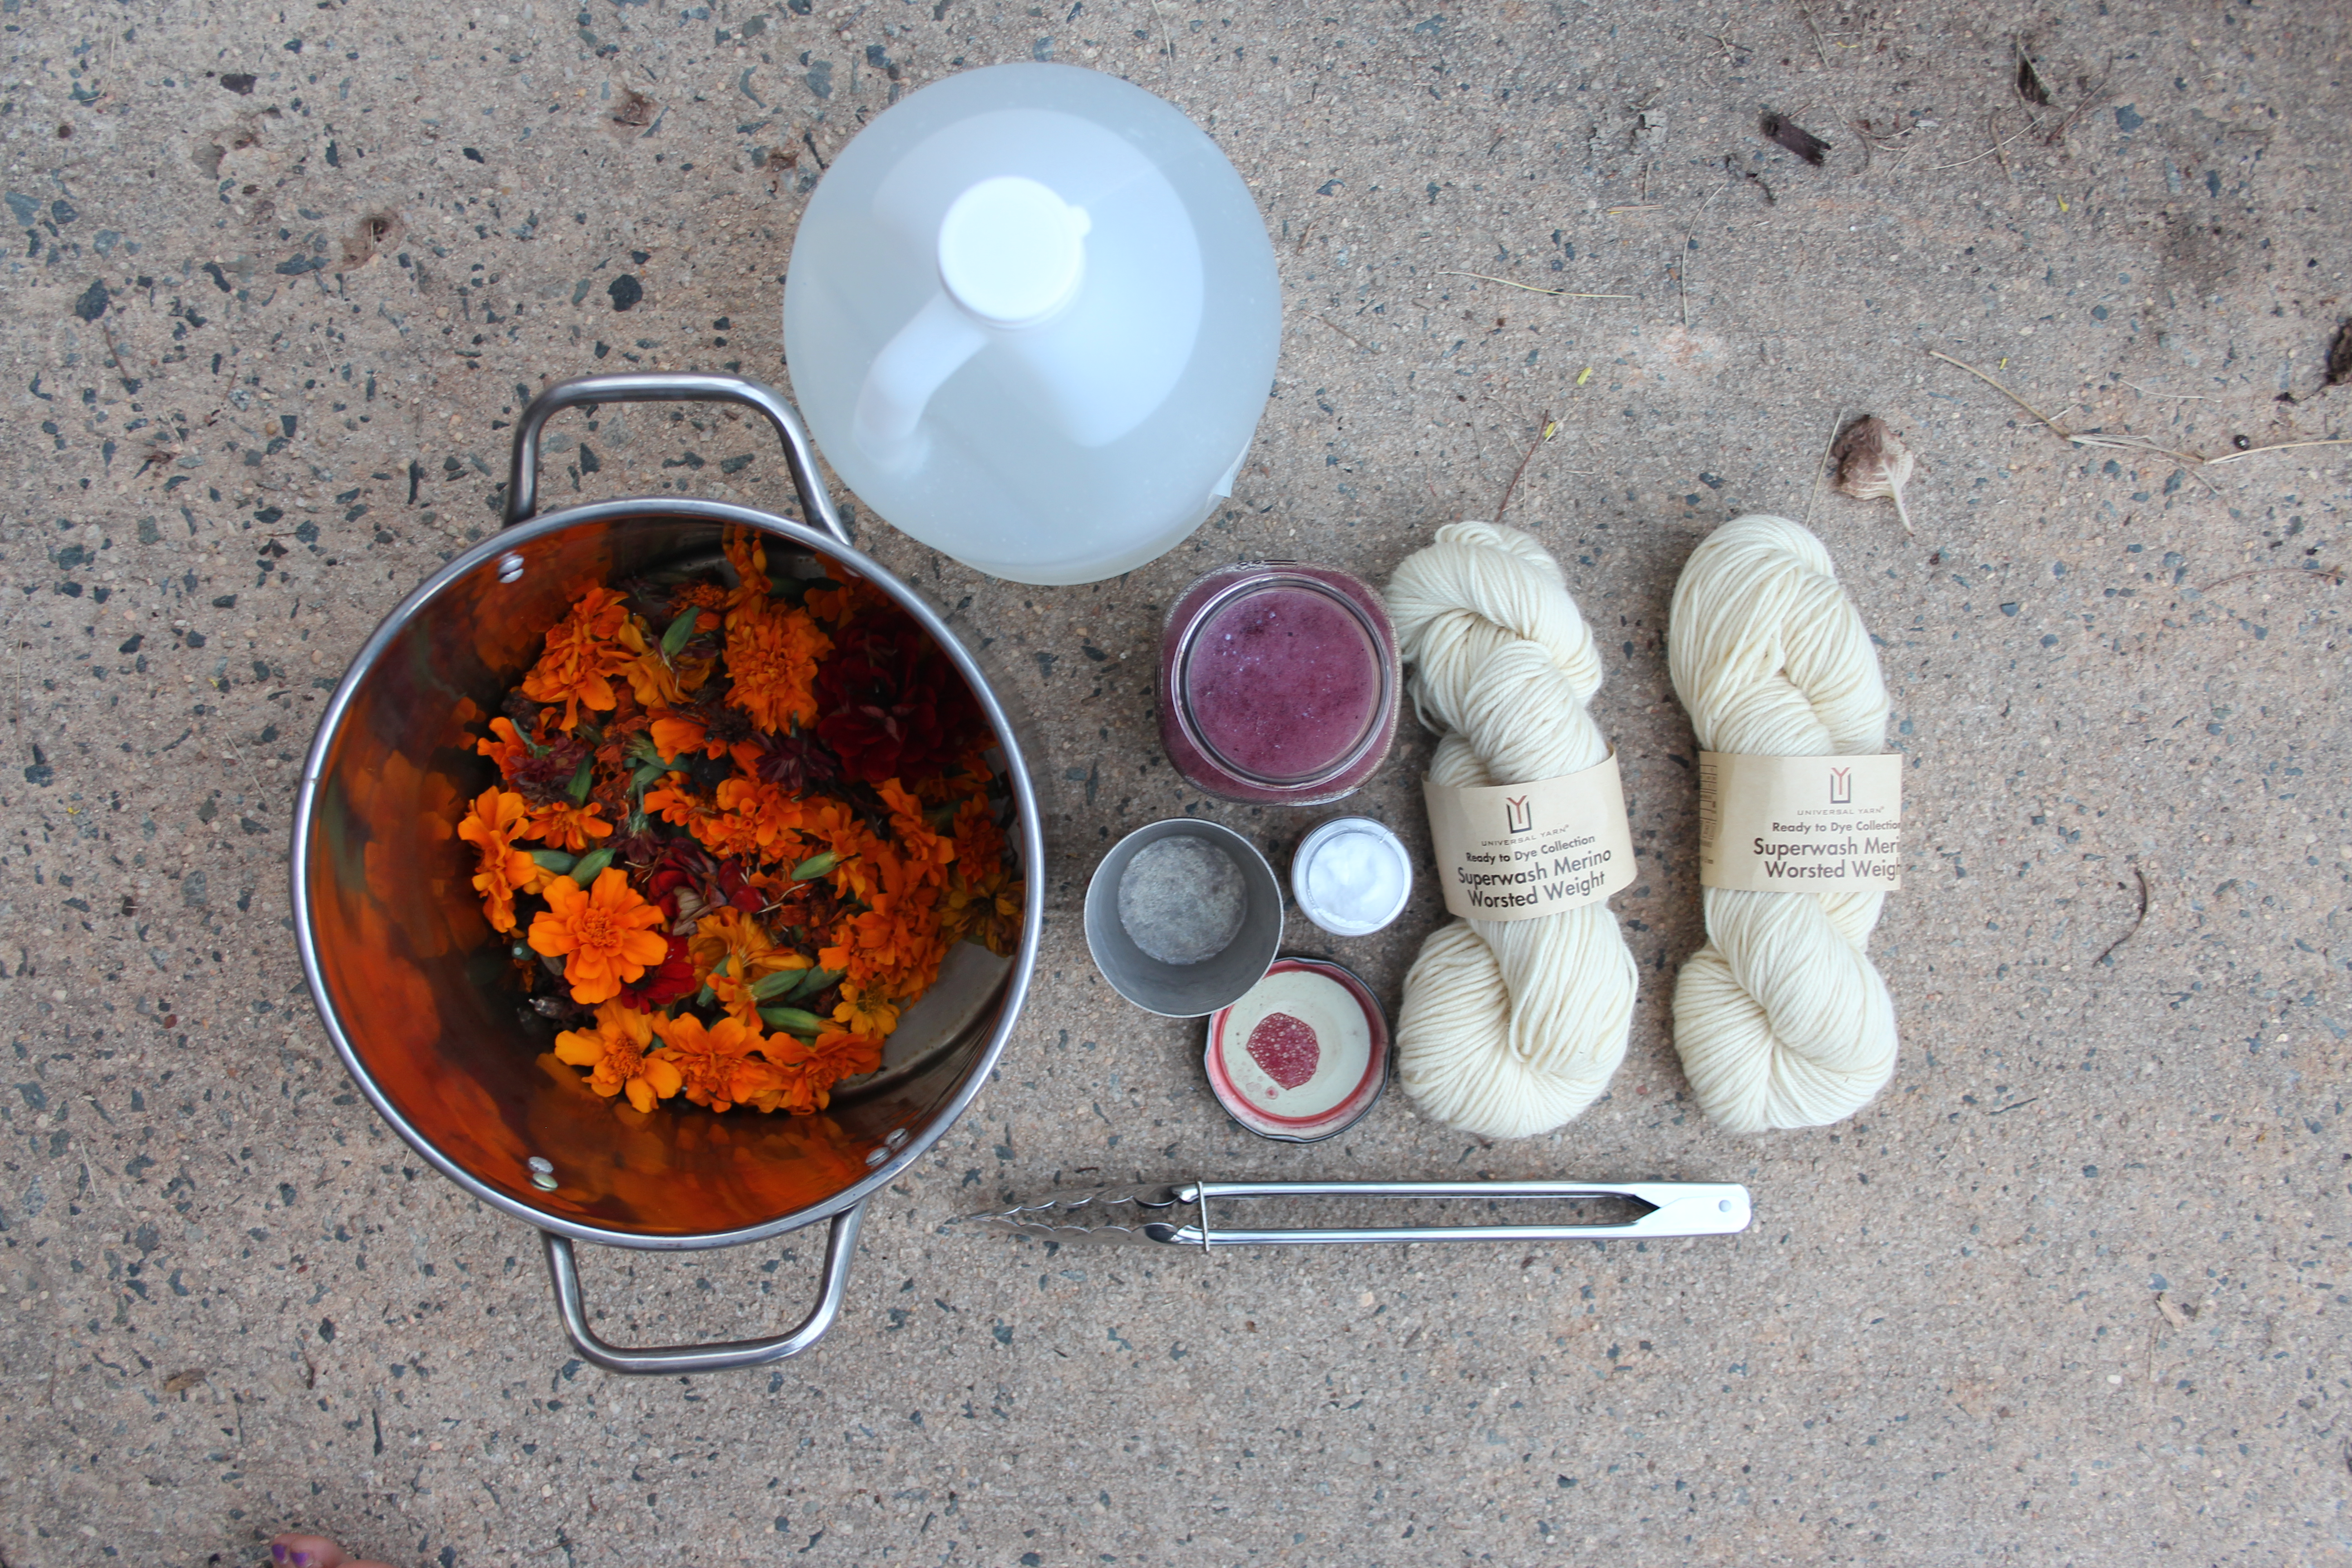
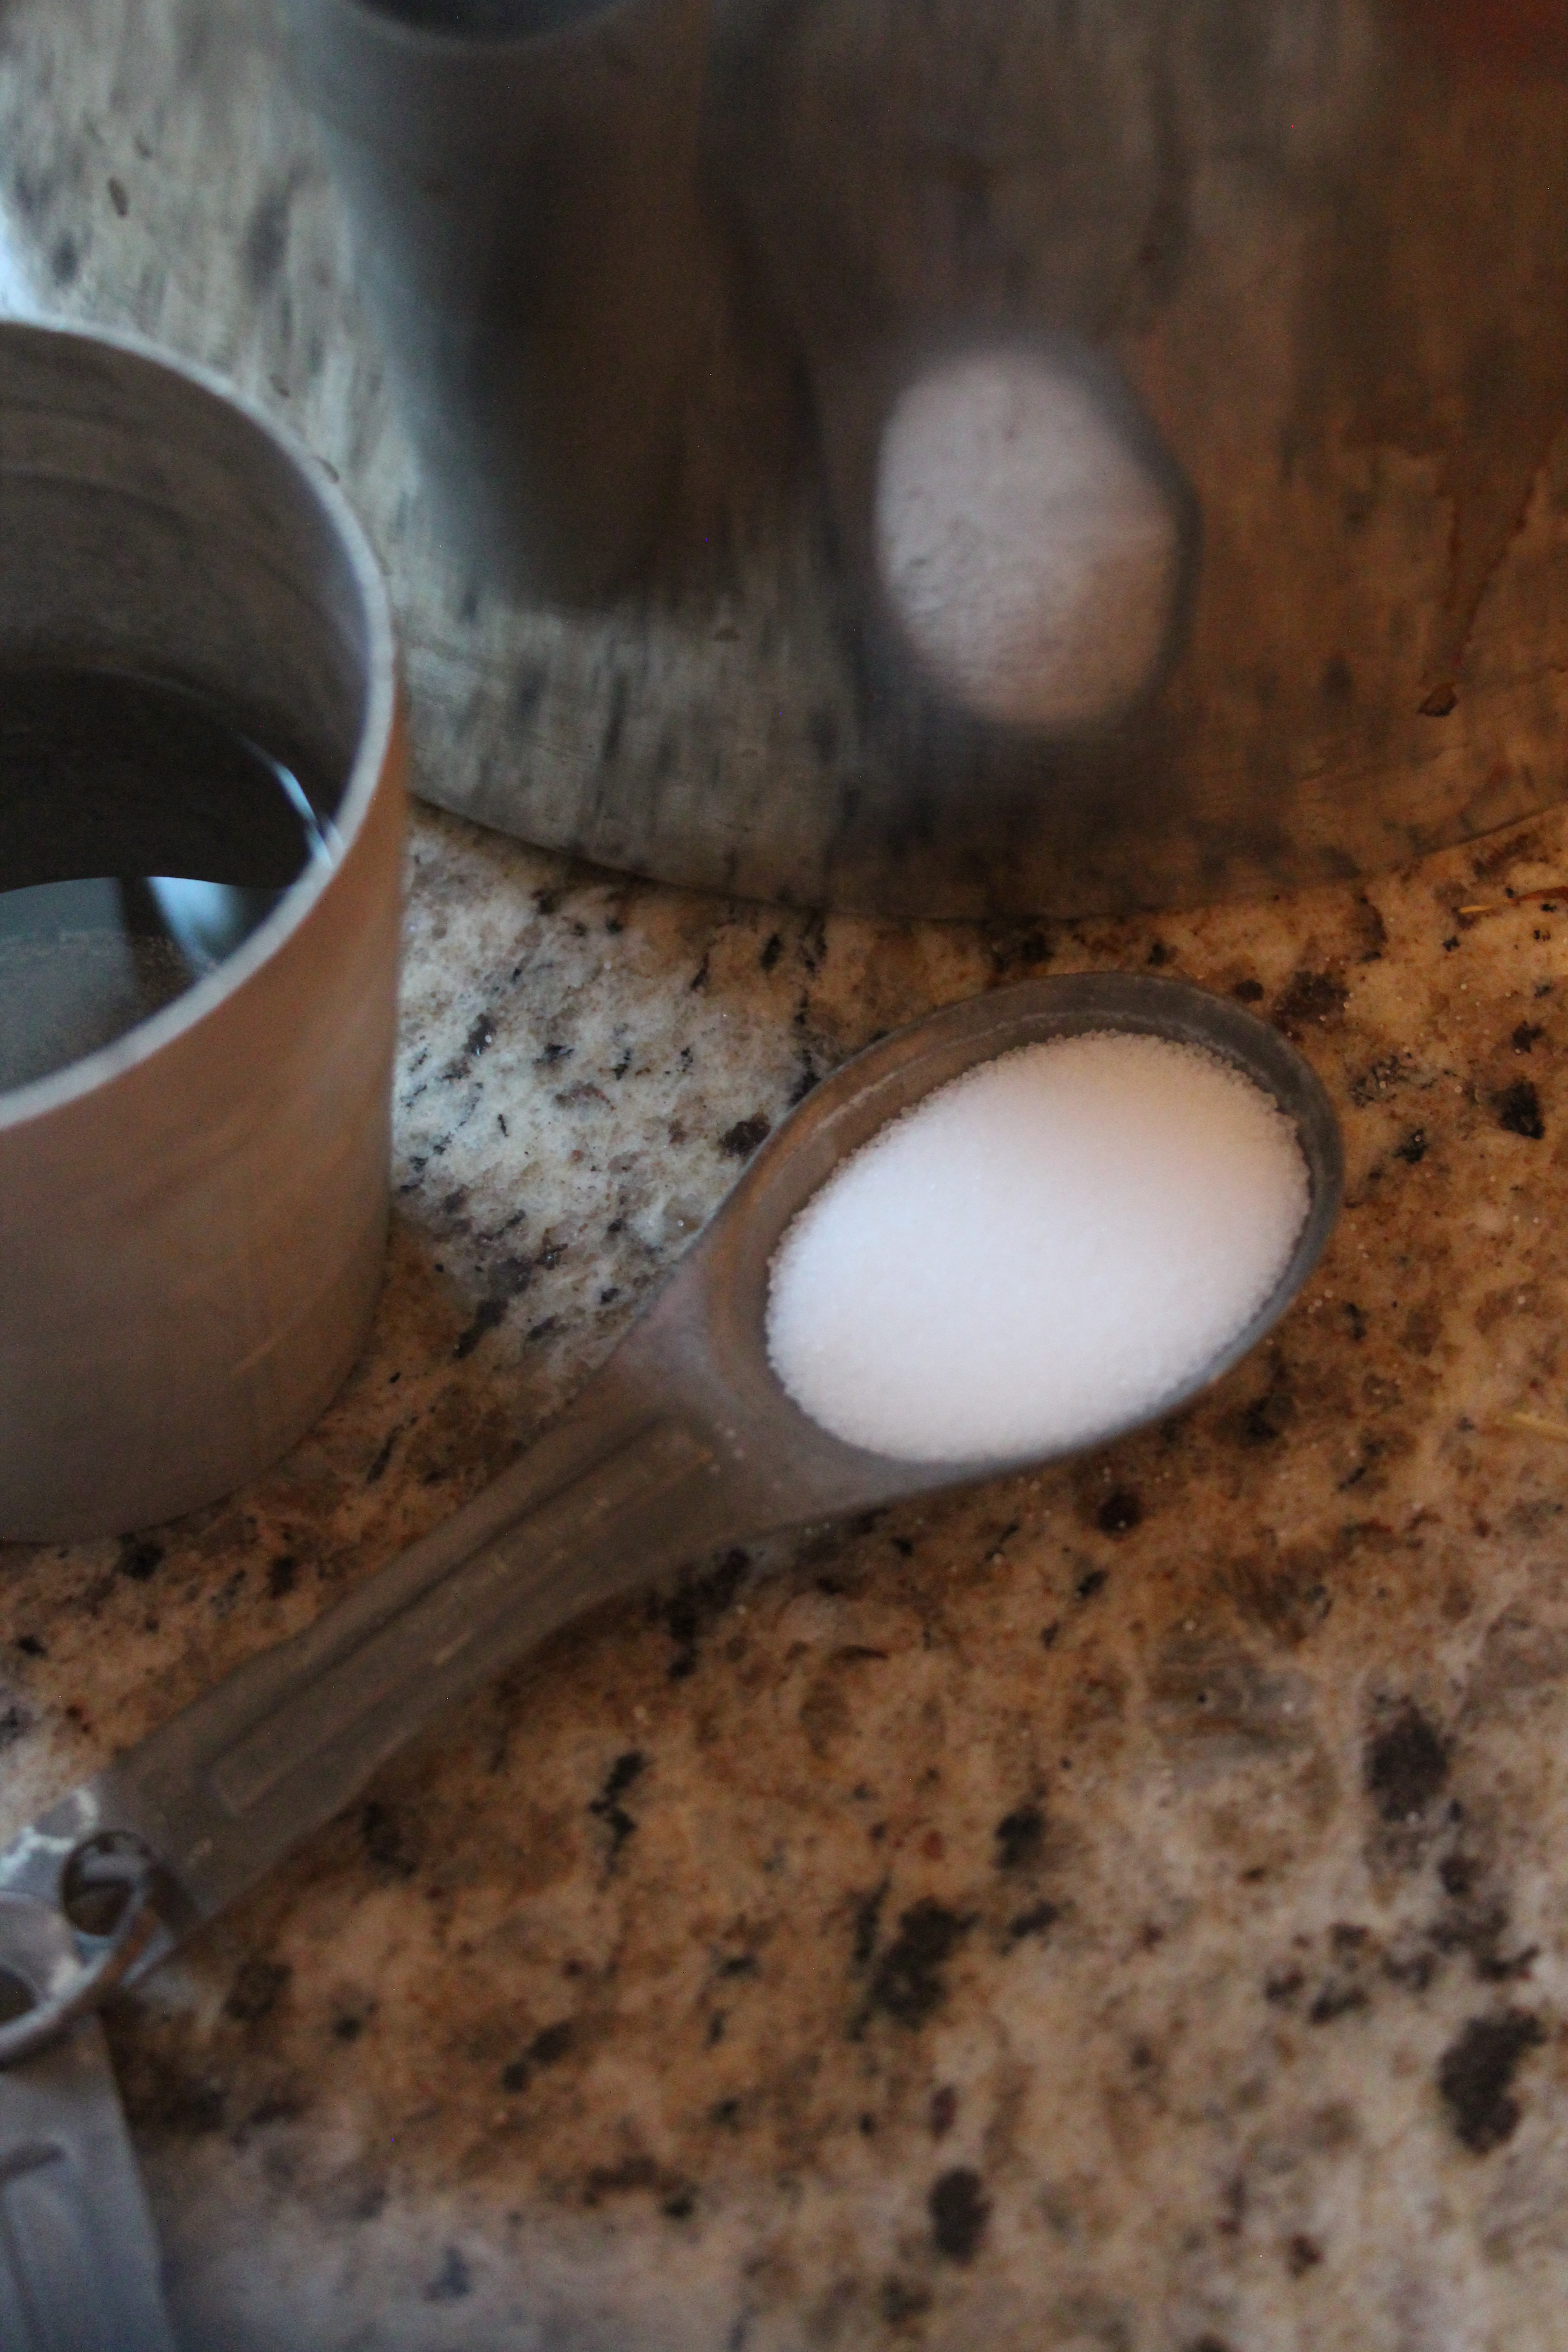
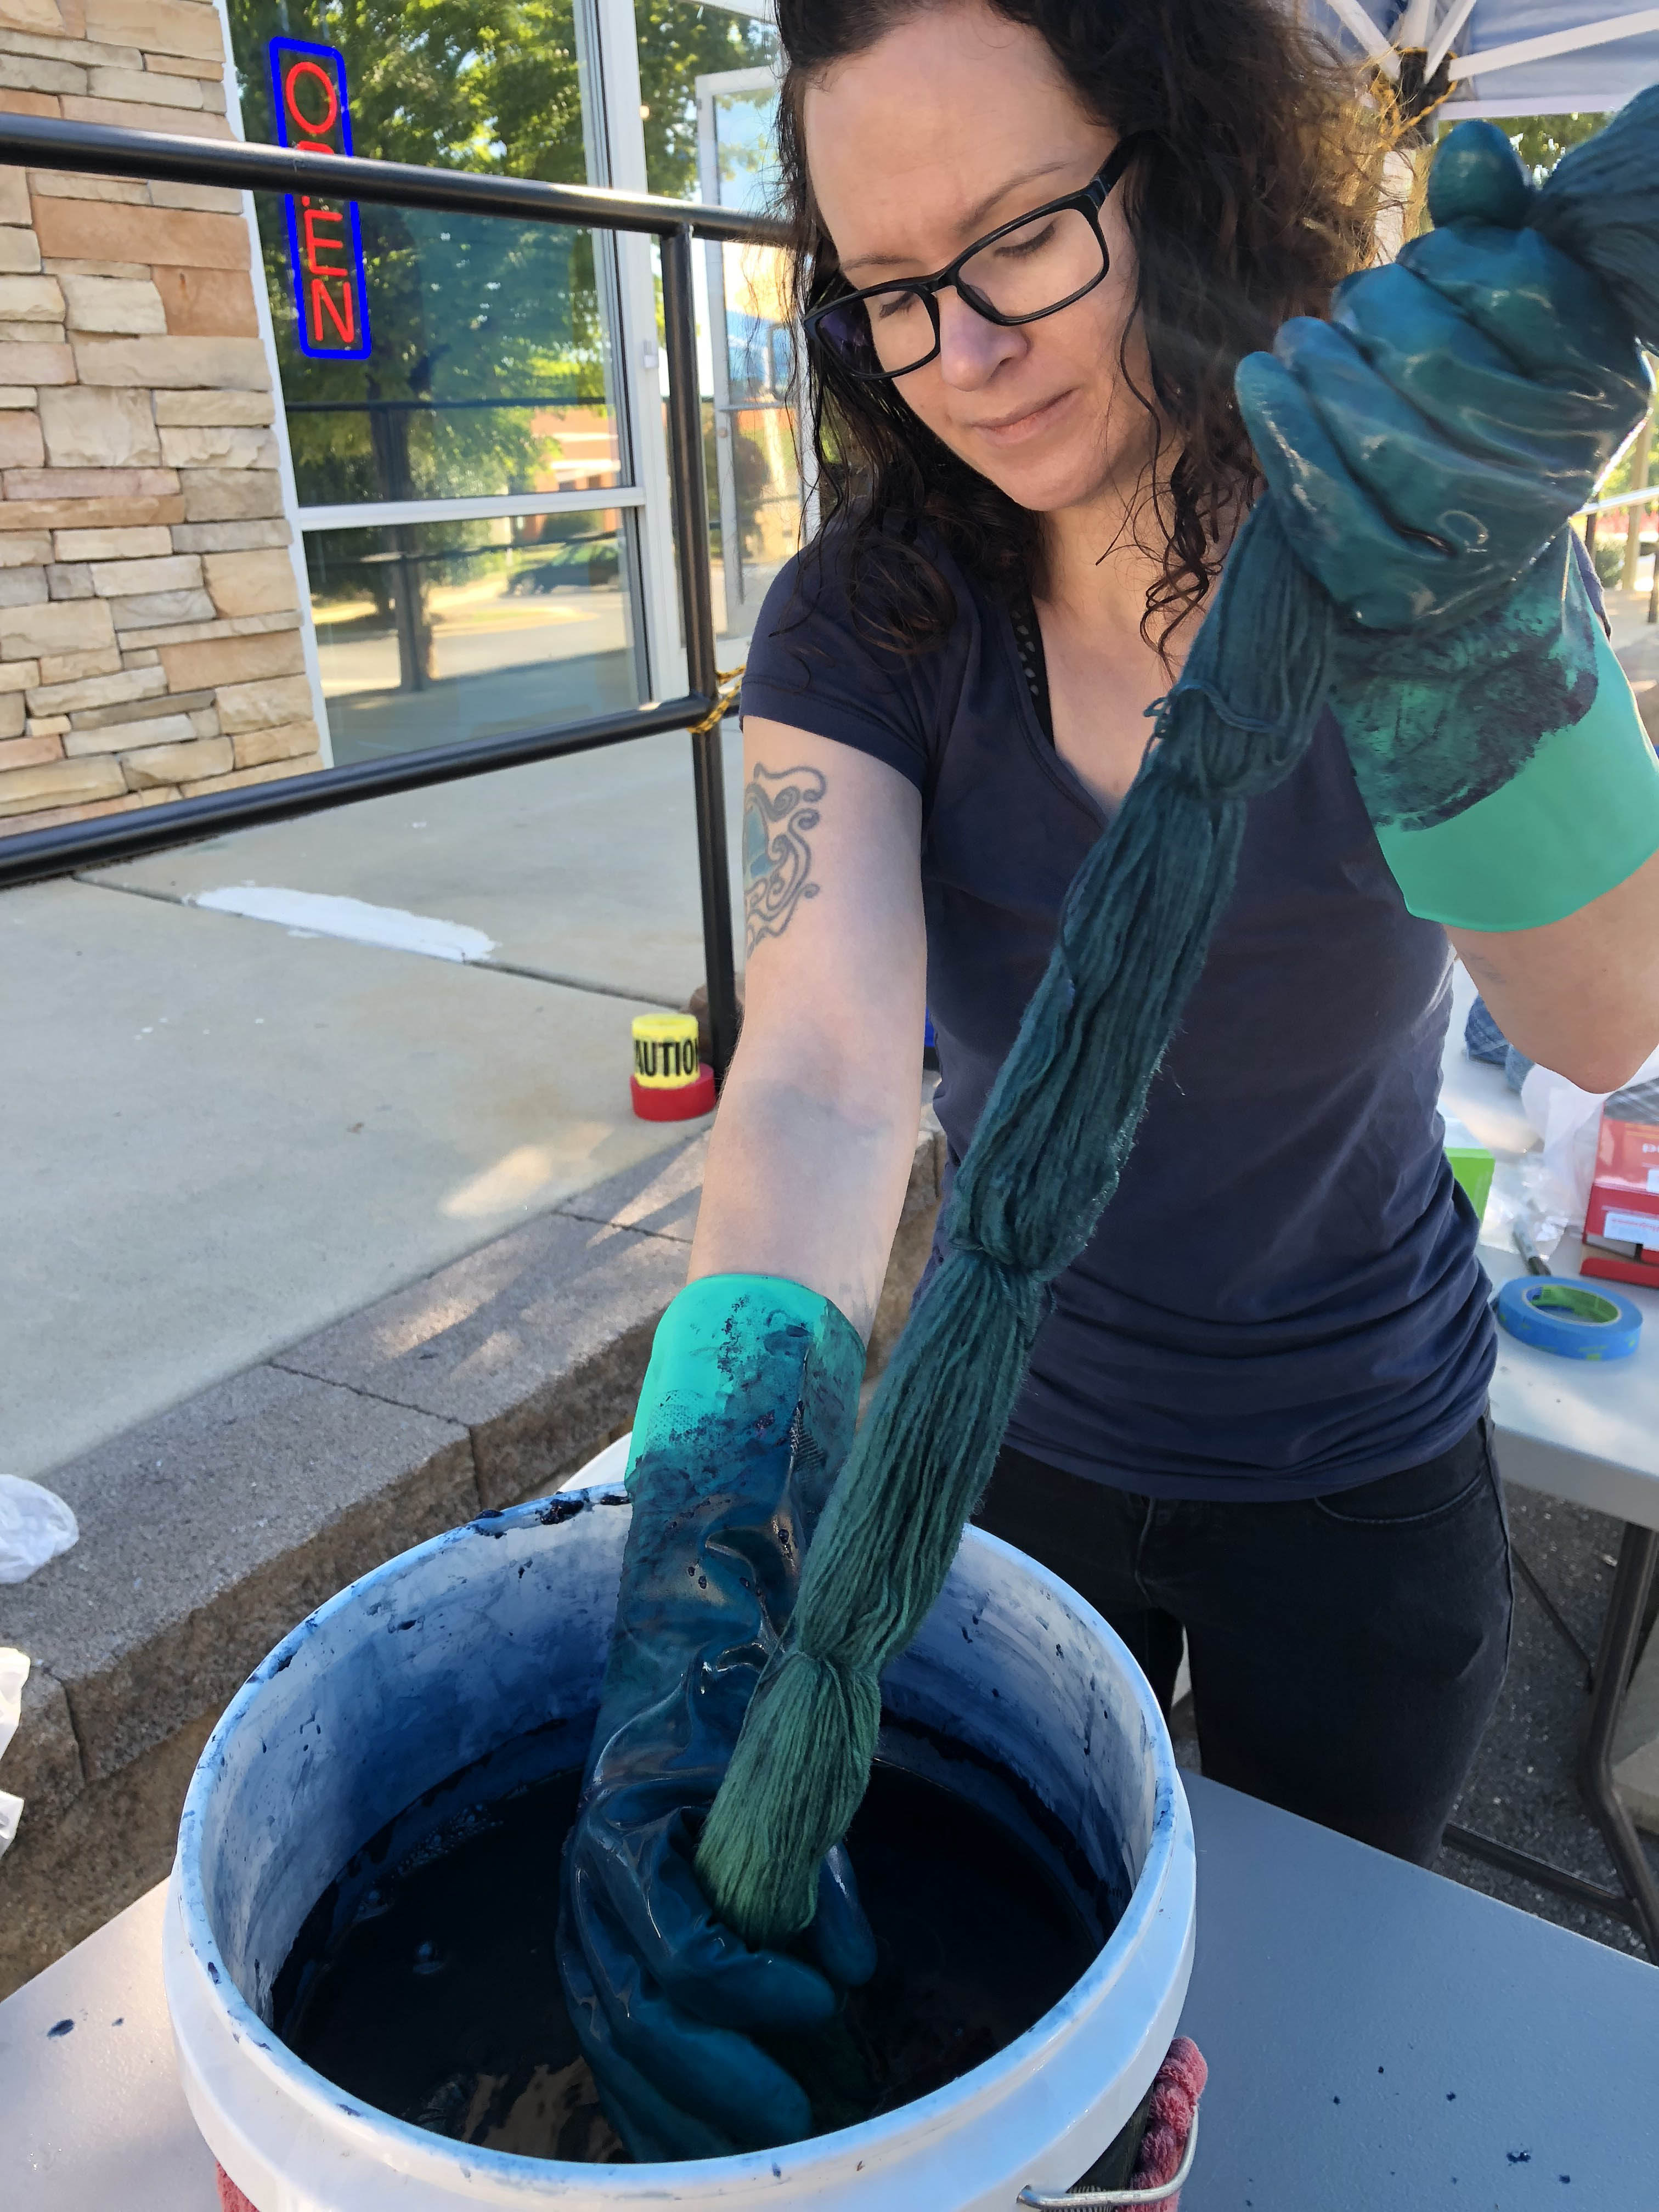
This class was taught by local fiber artist, Sue Helmken. When Sandi and I showed up for class with our yarn, Sue was already preparing indigo dye baths. This is a process that involves carefully mixing water, soda ash, salt, sodium hydroxide, and indigo. Though I’m fascinated by the science of it all, I was just as happy to be able to show up, dye my yarn, and skip the prep. But this is something I would love to explore more in the future. If only there were more hours in the day!

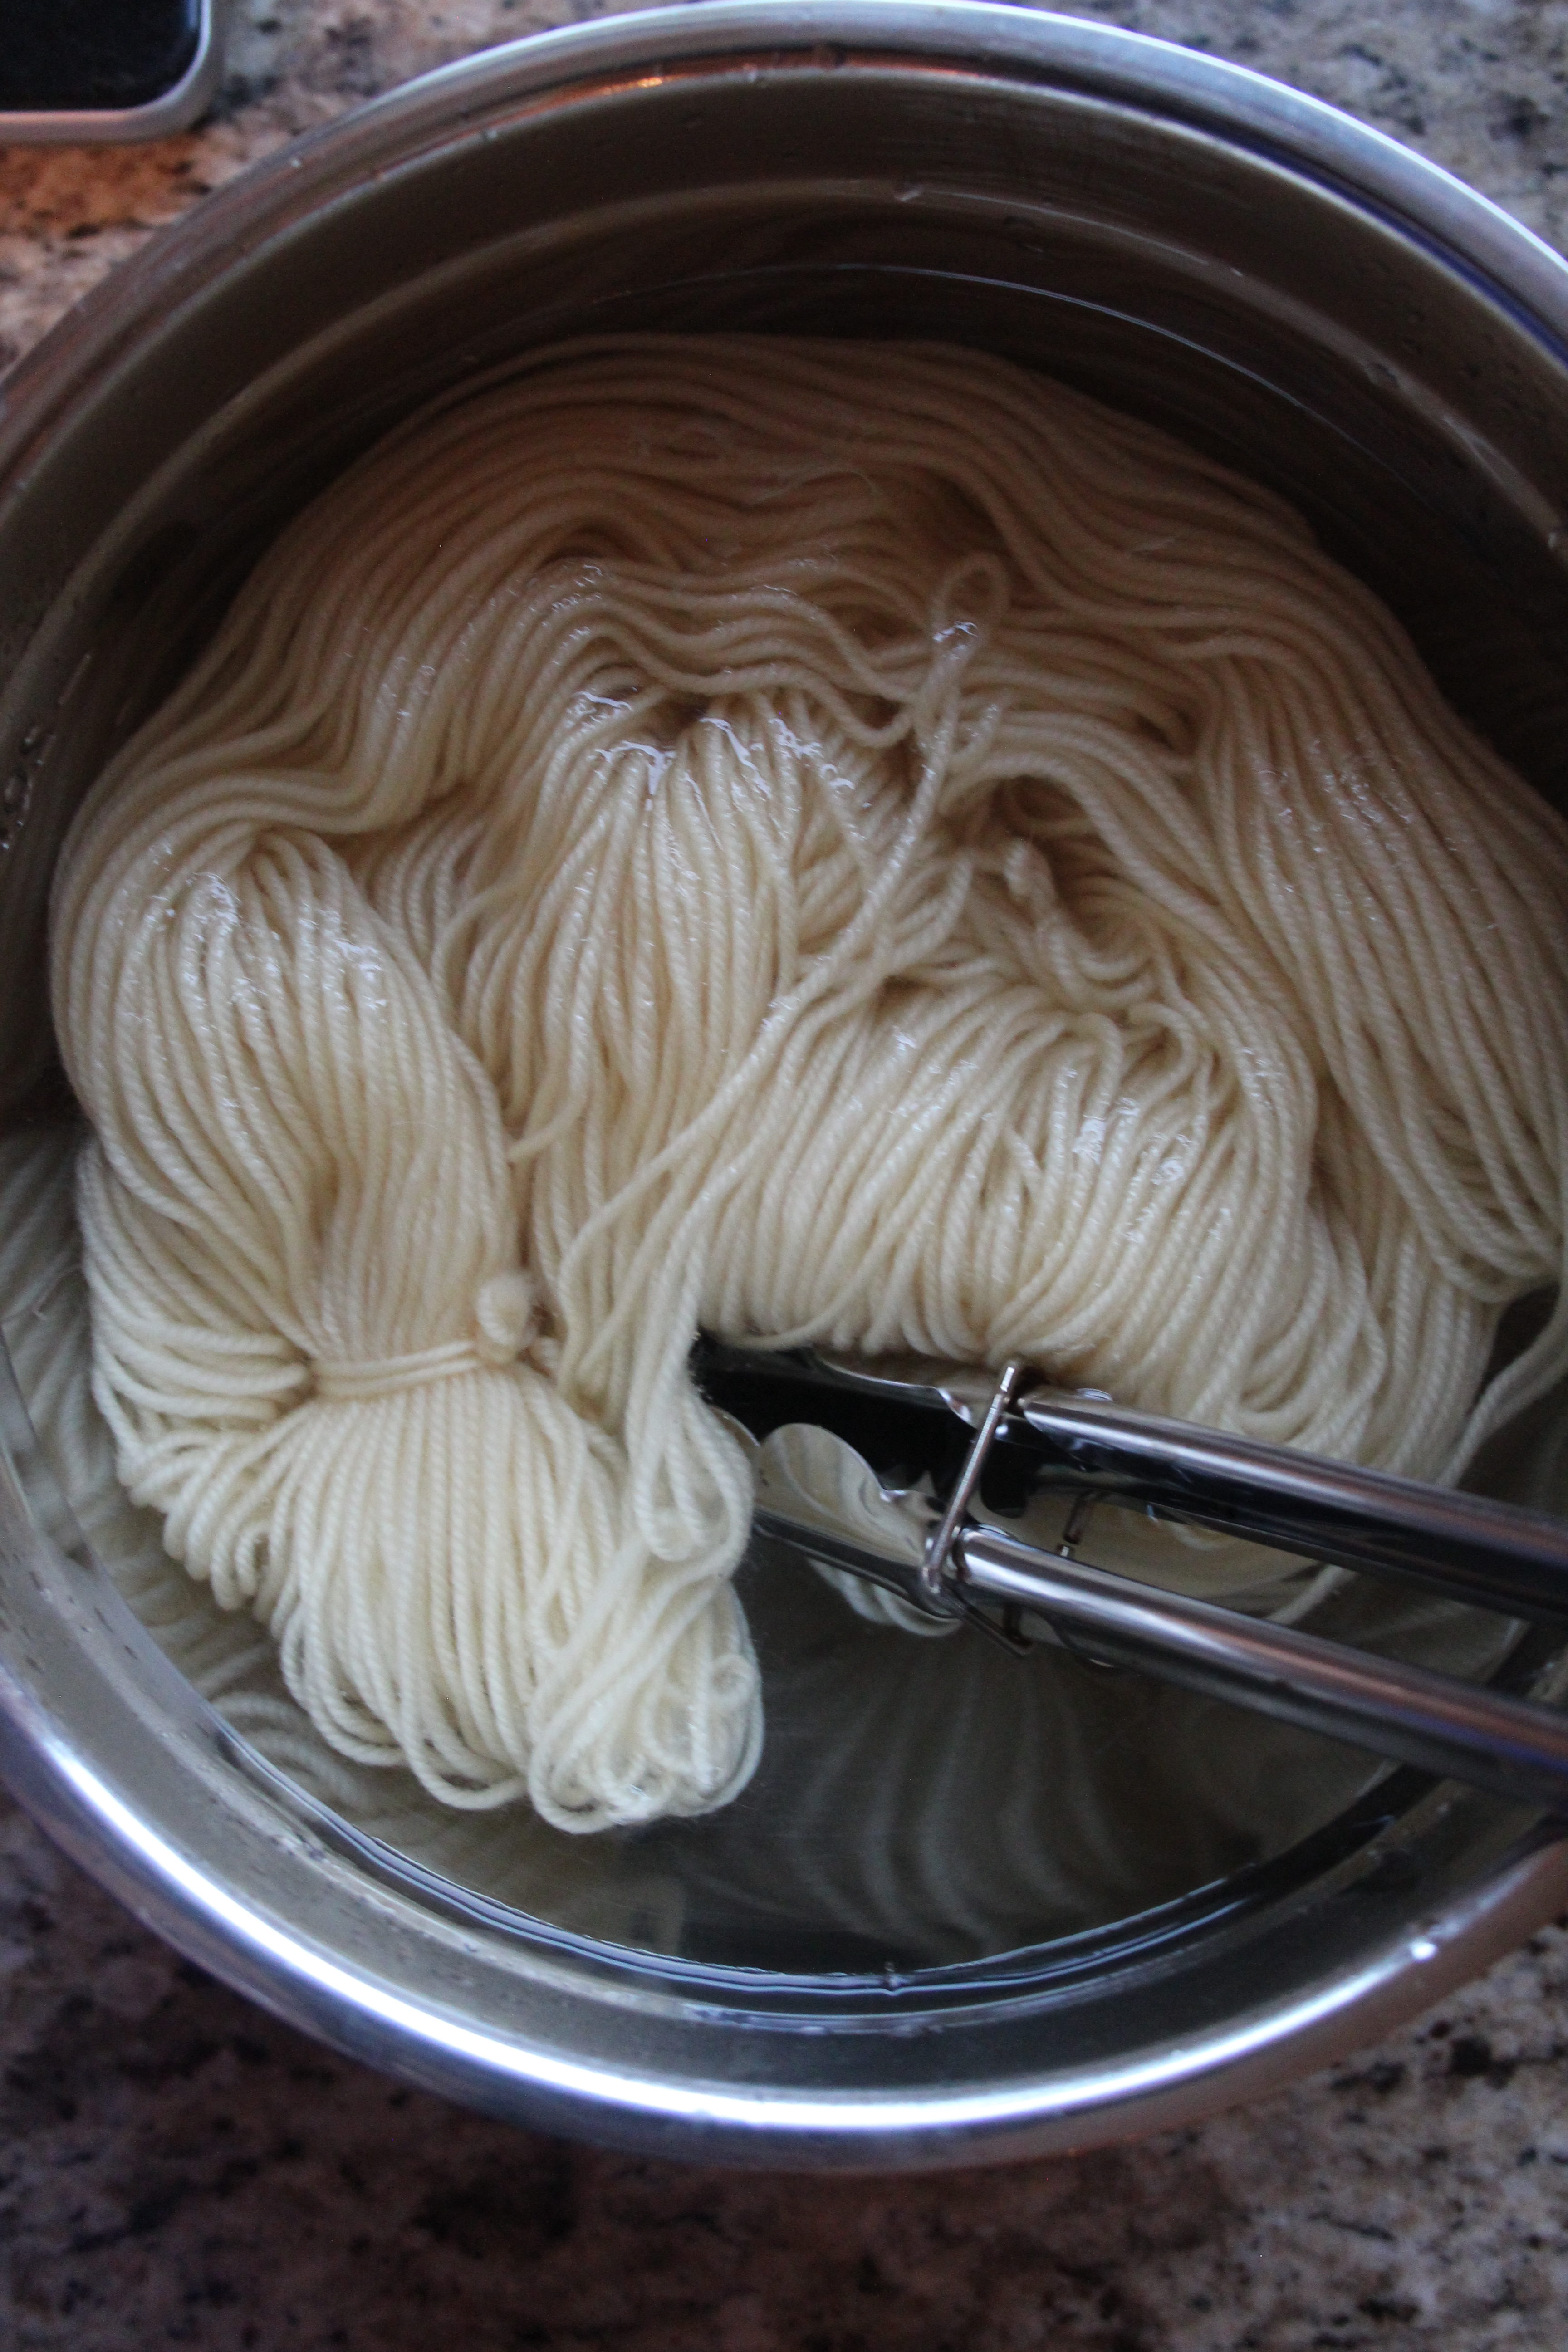
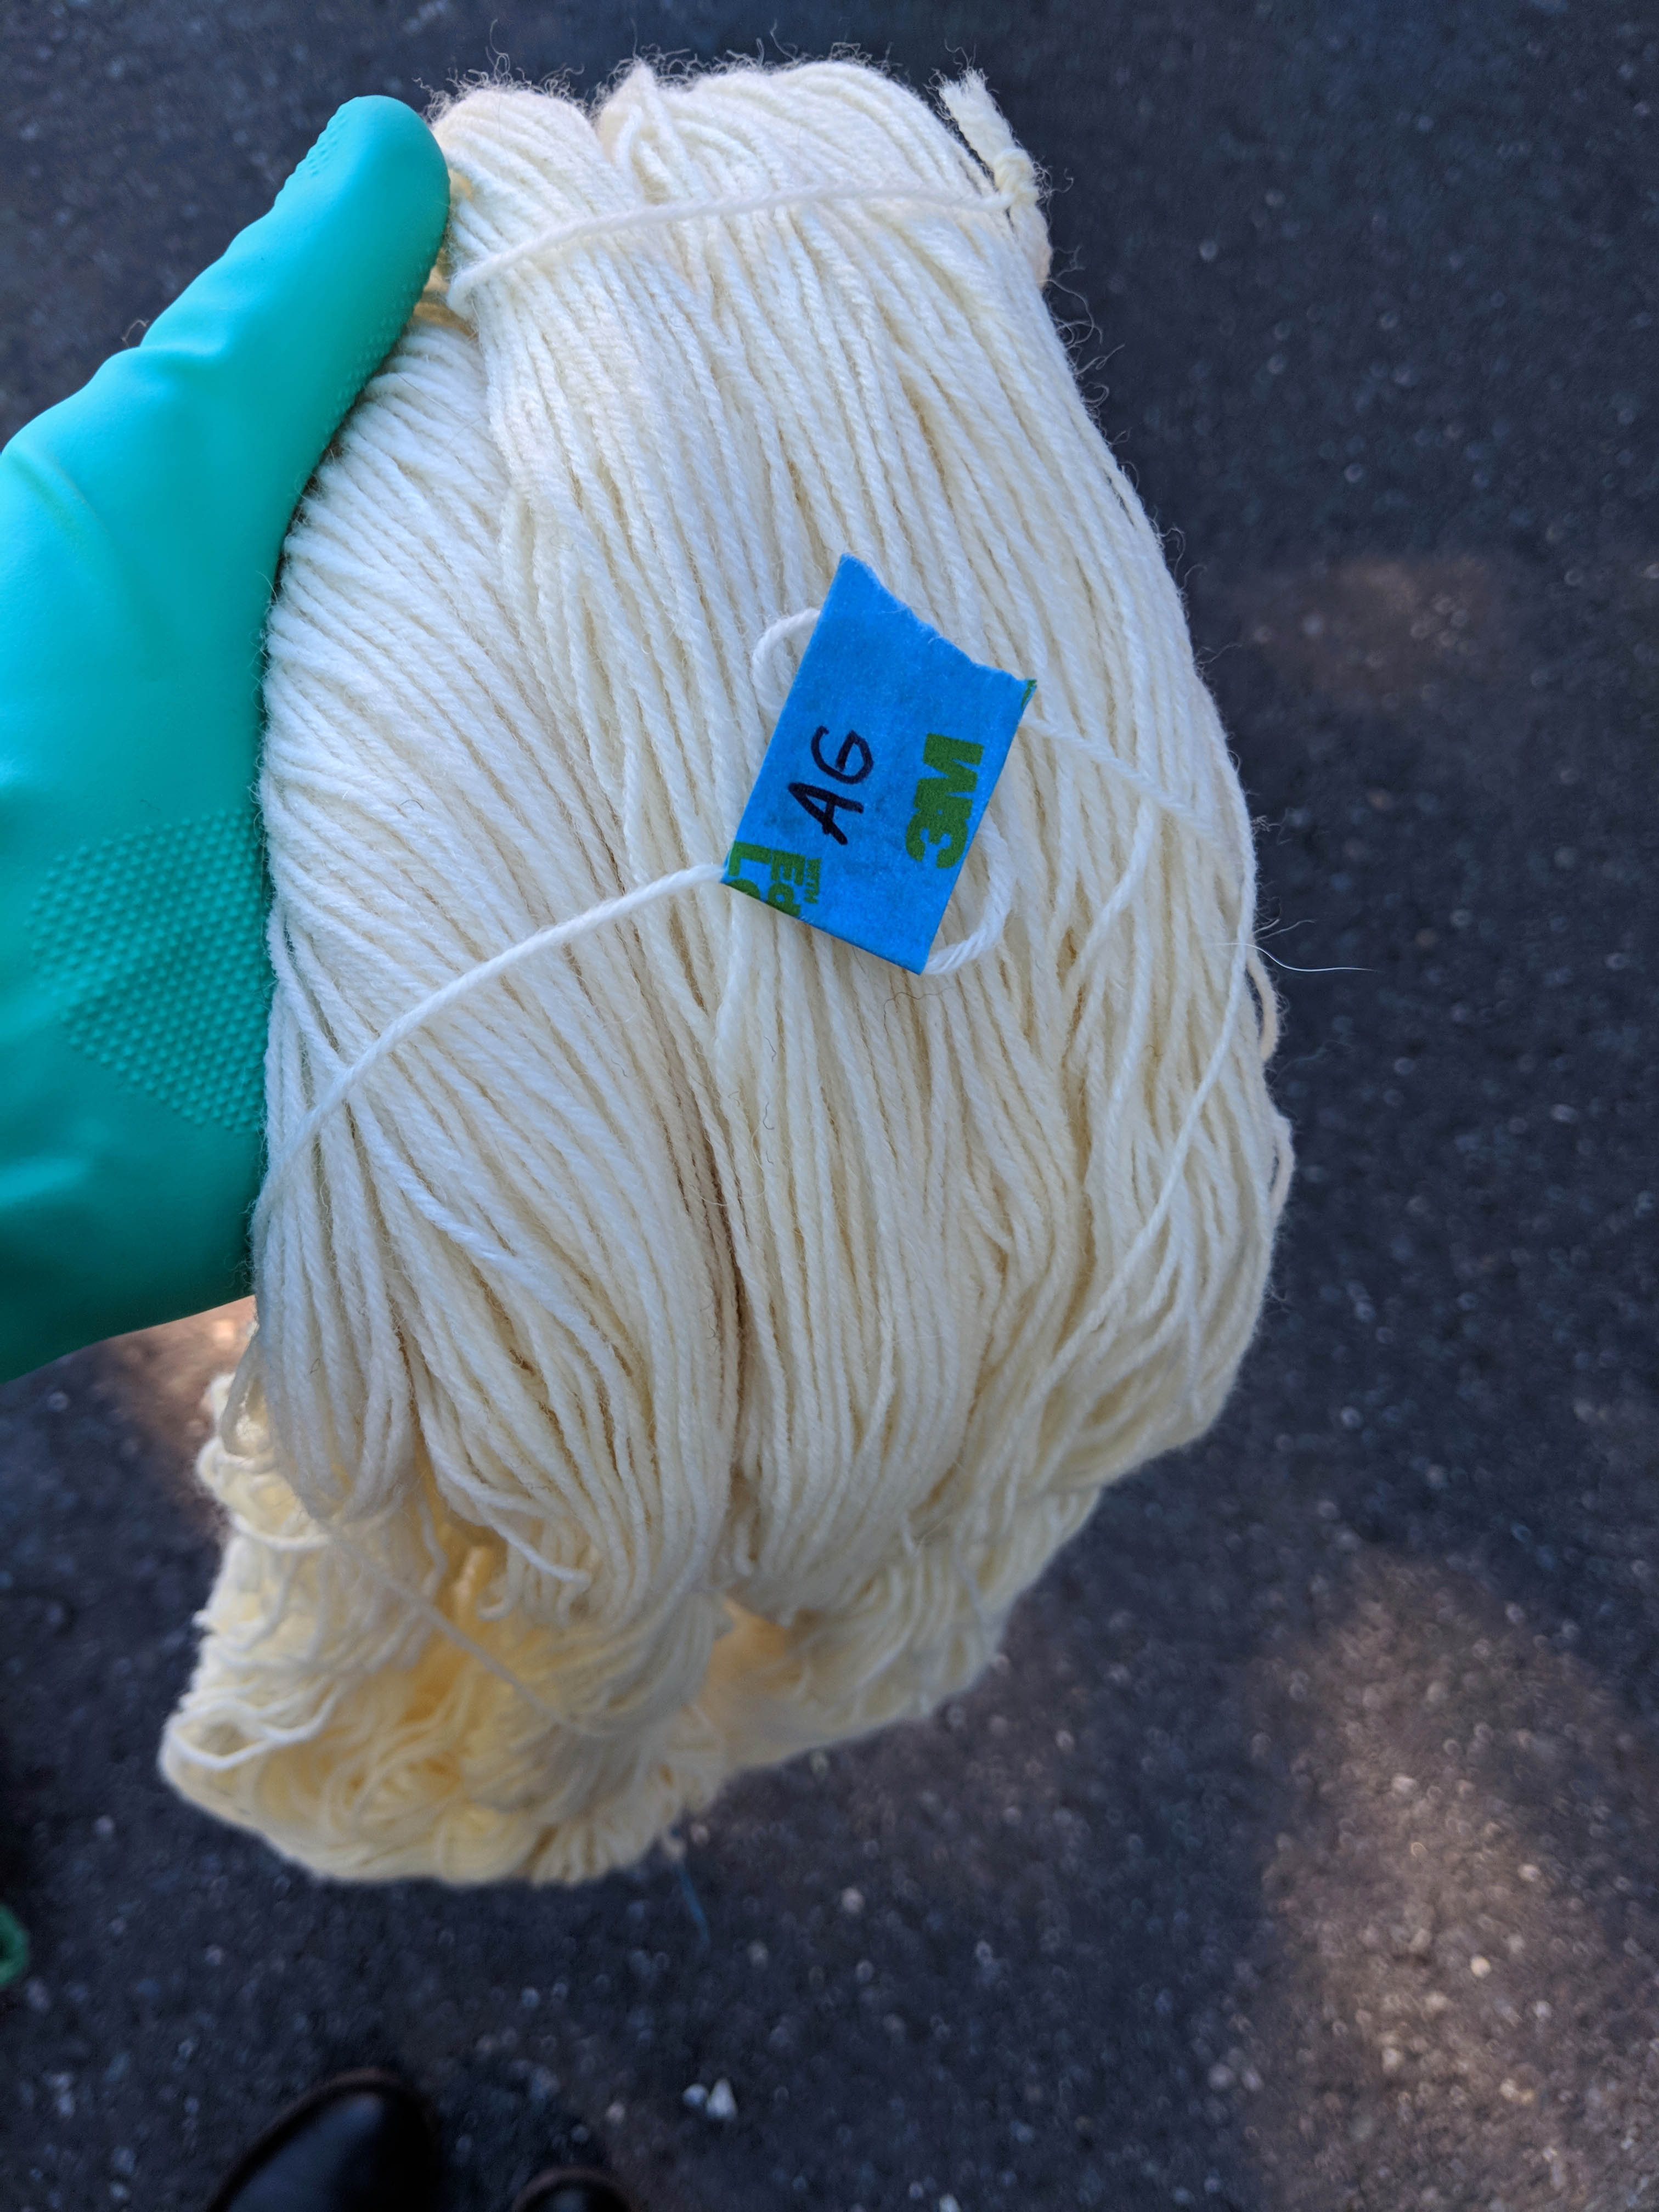
Since all of our hanks of undyed yarn looked the same, we had to tag skeins with our initials to tell them apart.

I plan to do a weaving project with my beautiful blue yarn, so I thought it would be fun to dye the hanks a bit differently.

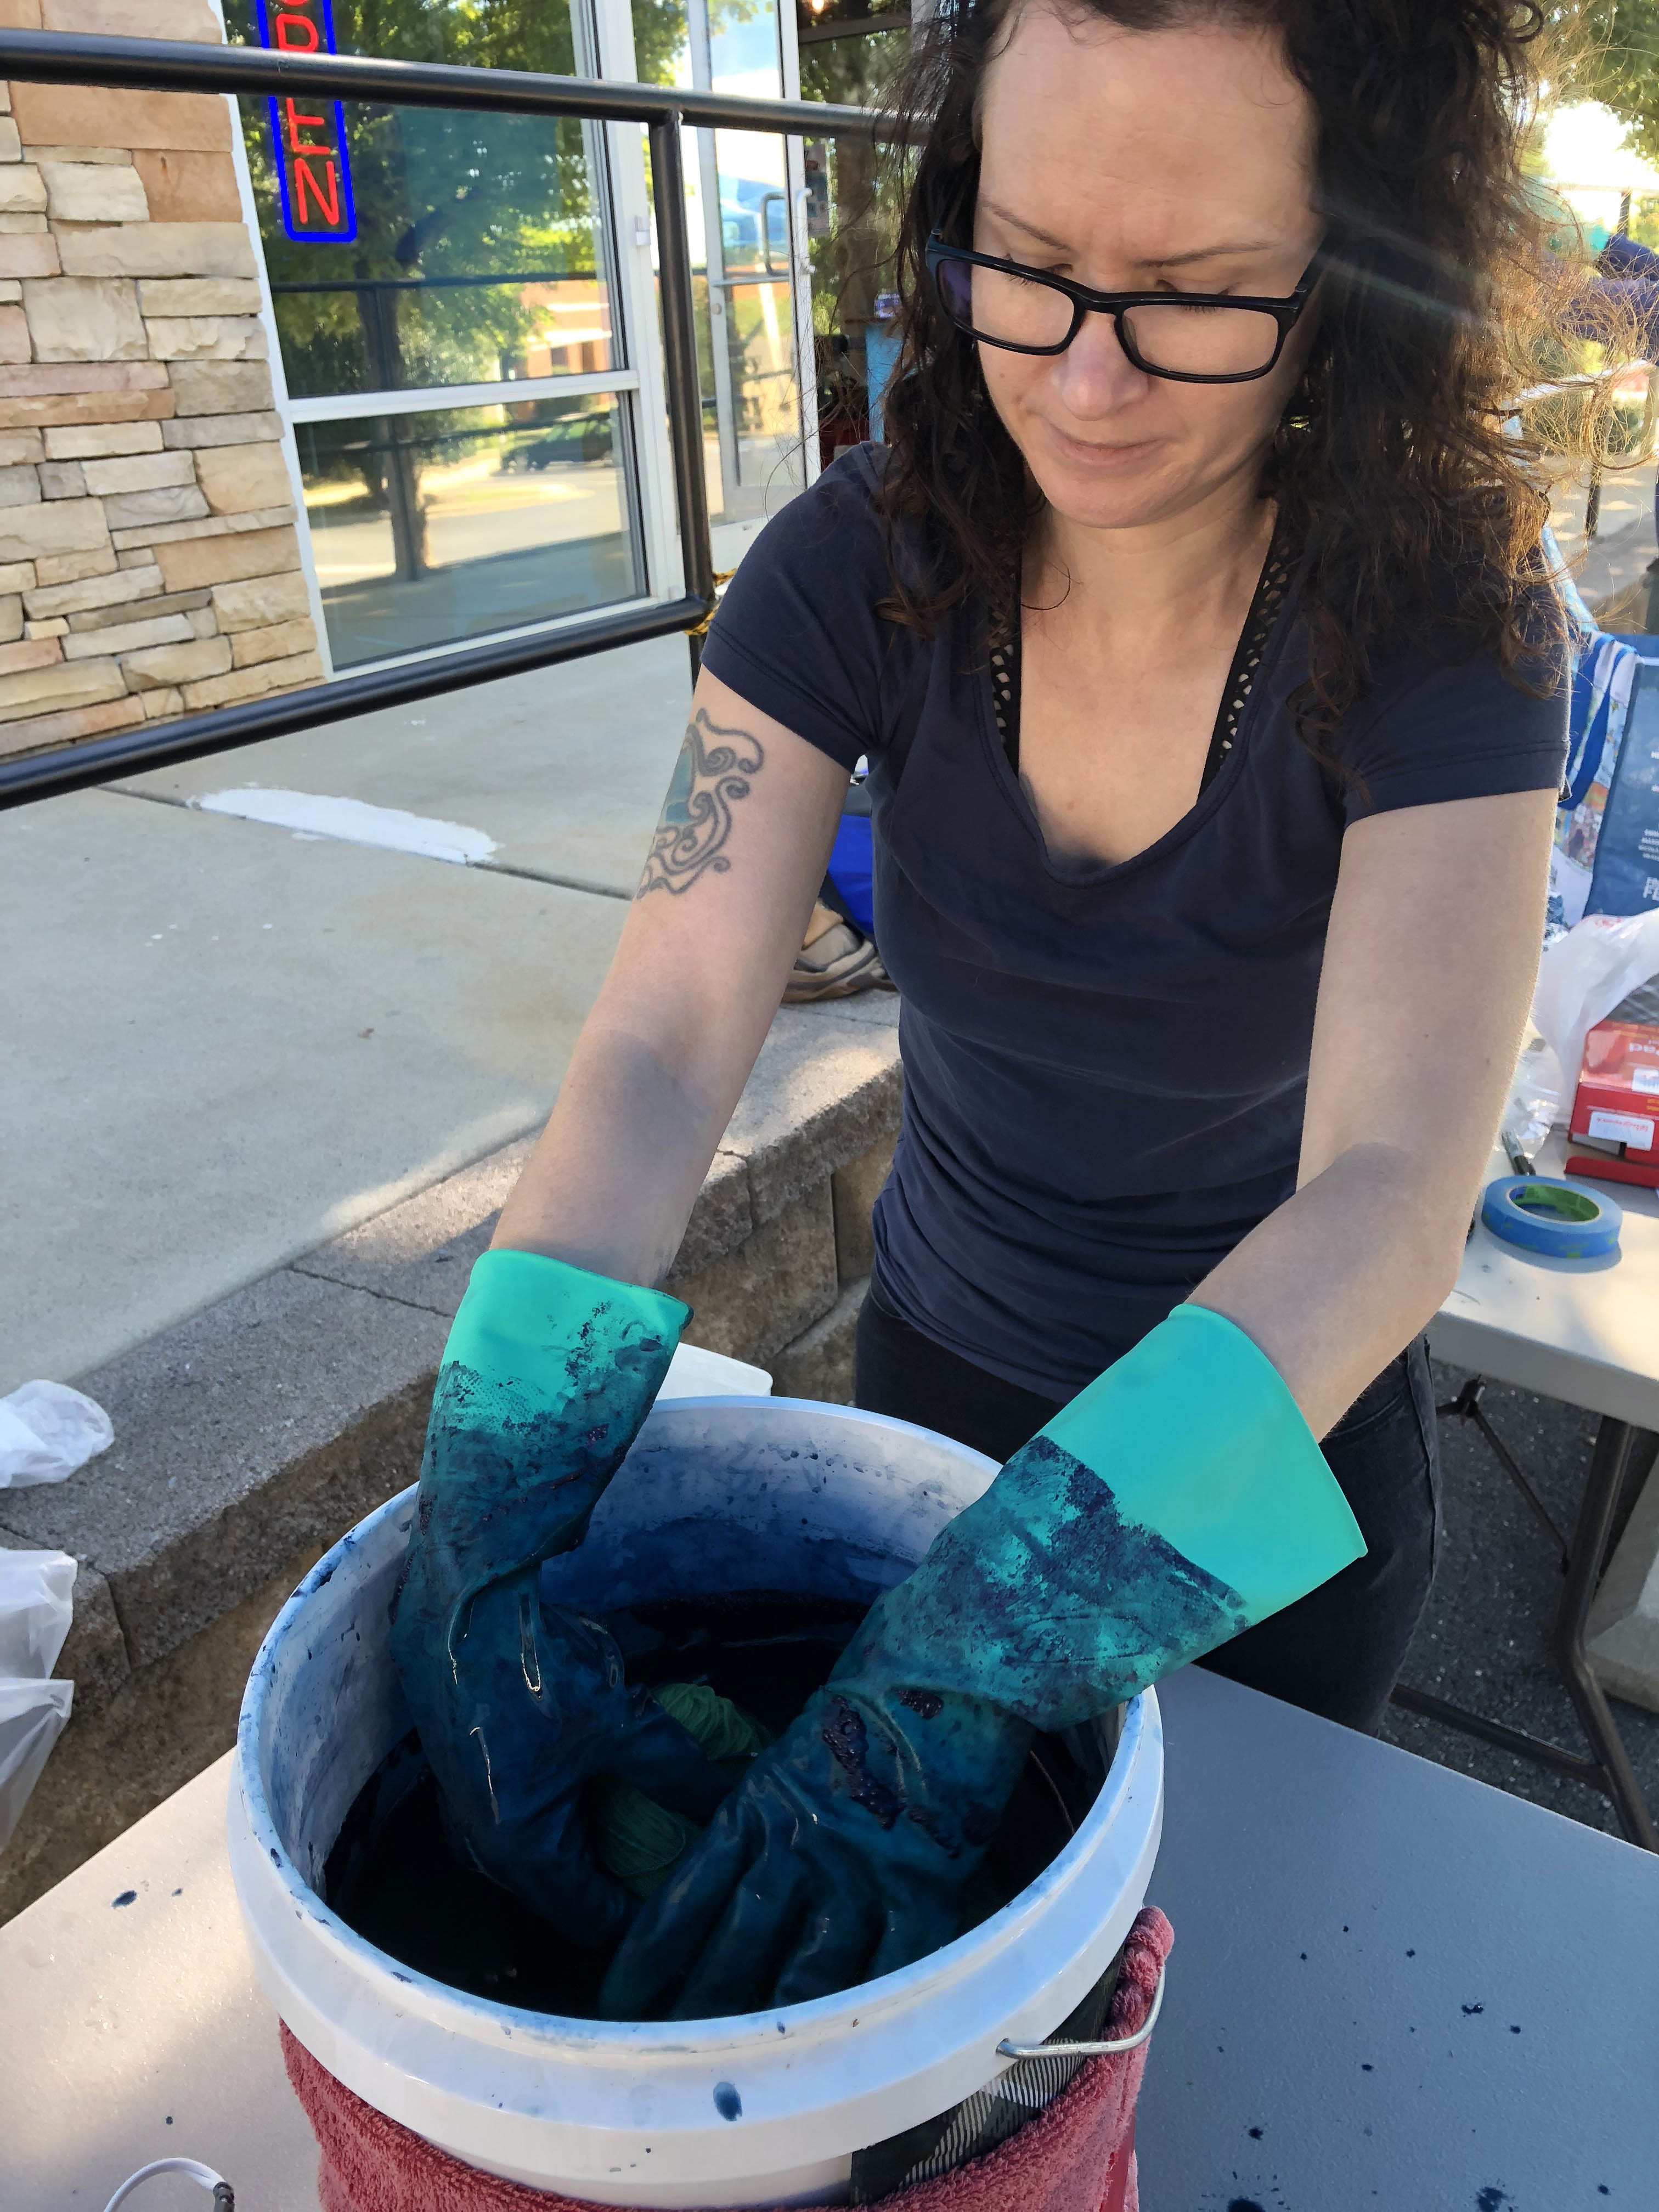
Squeezing out the dye from my yarn. Even with gloves, I still managed to leave with blue arms!

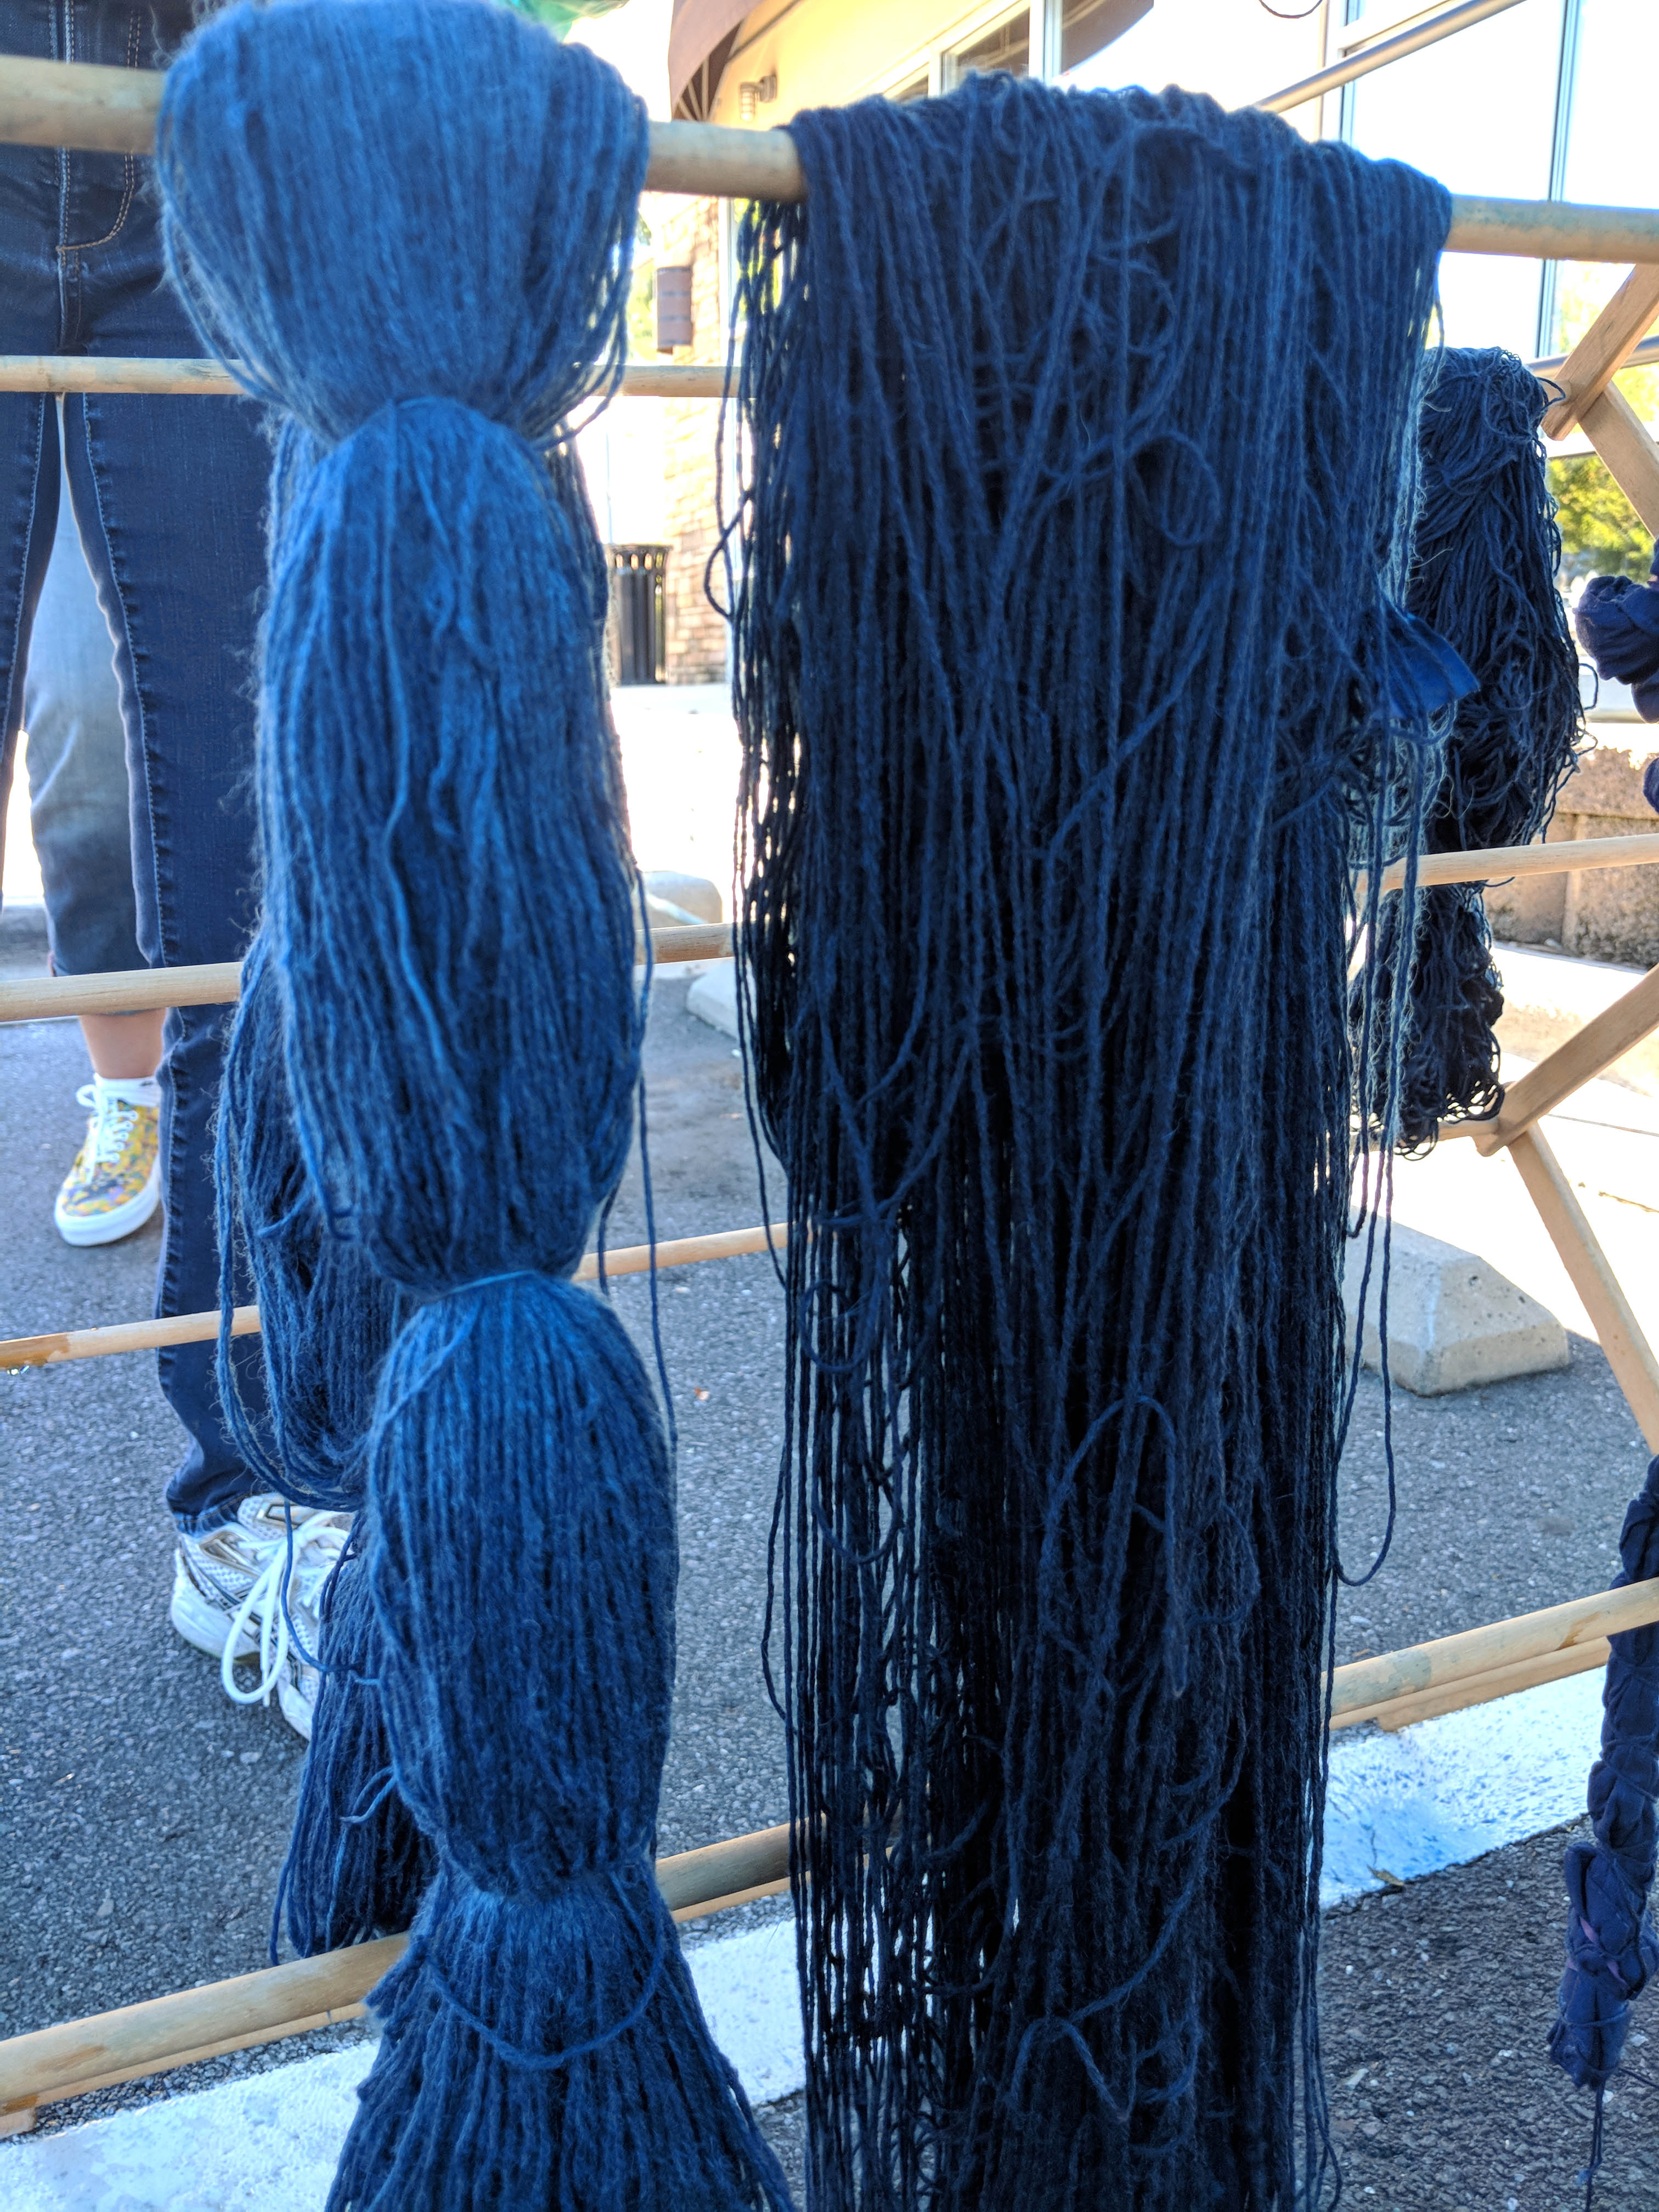
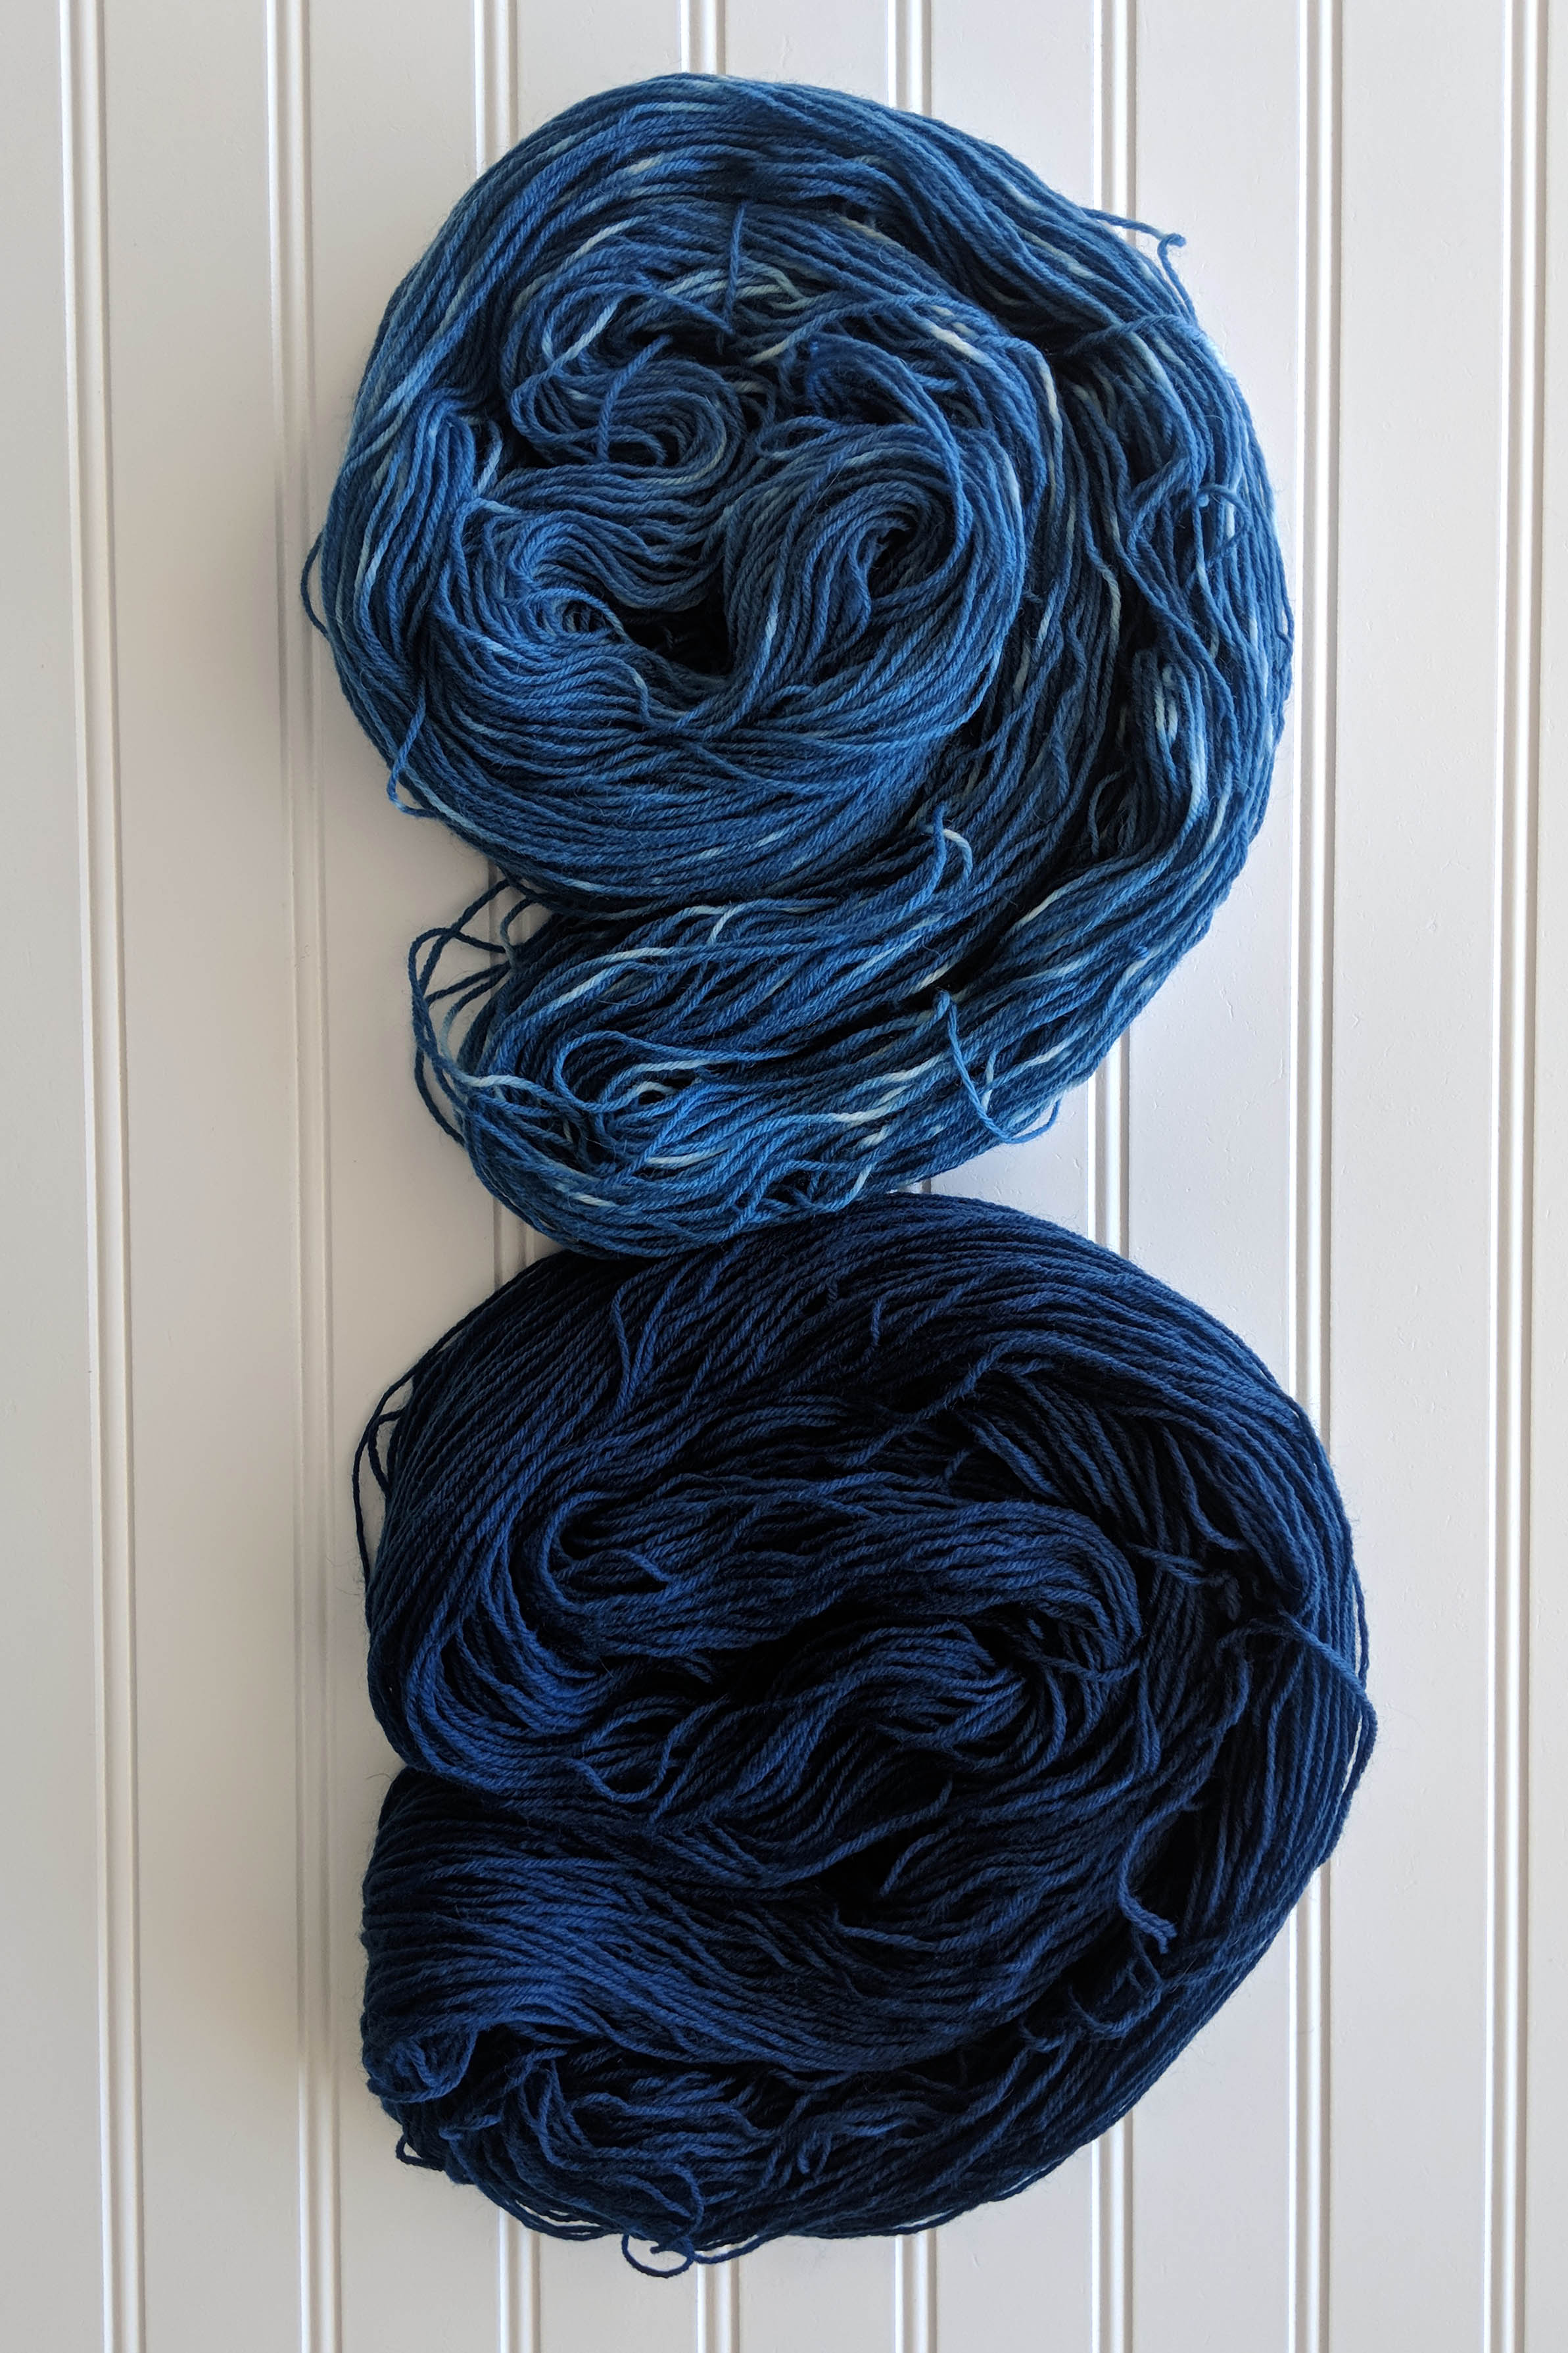
To achieve different effects in the two hanks, I processed one of them in the dyebath twice for a deeper color. And for the other, I tied off a few spots tightly so that the dye wouldn’t reach them, and only processed it once.

The results were just what I expected. That’s always nice!

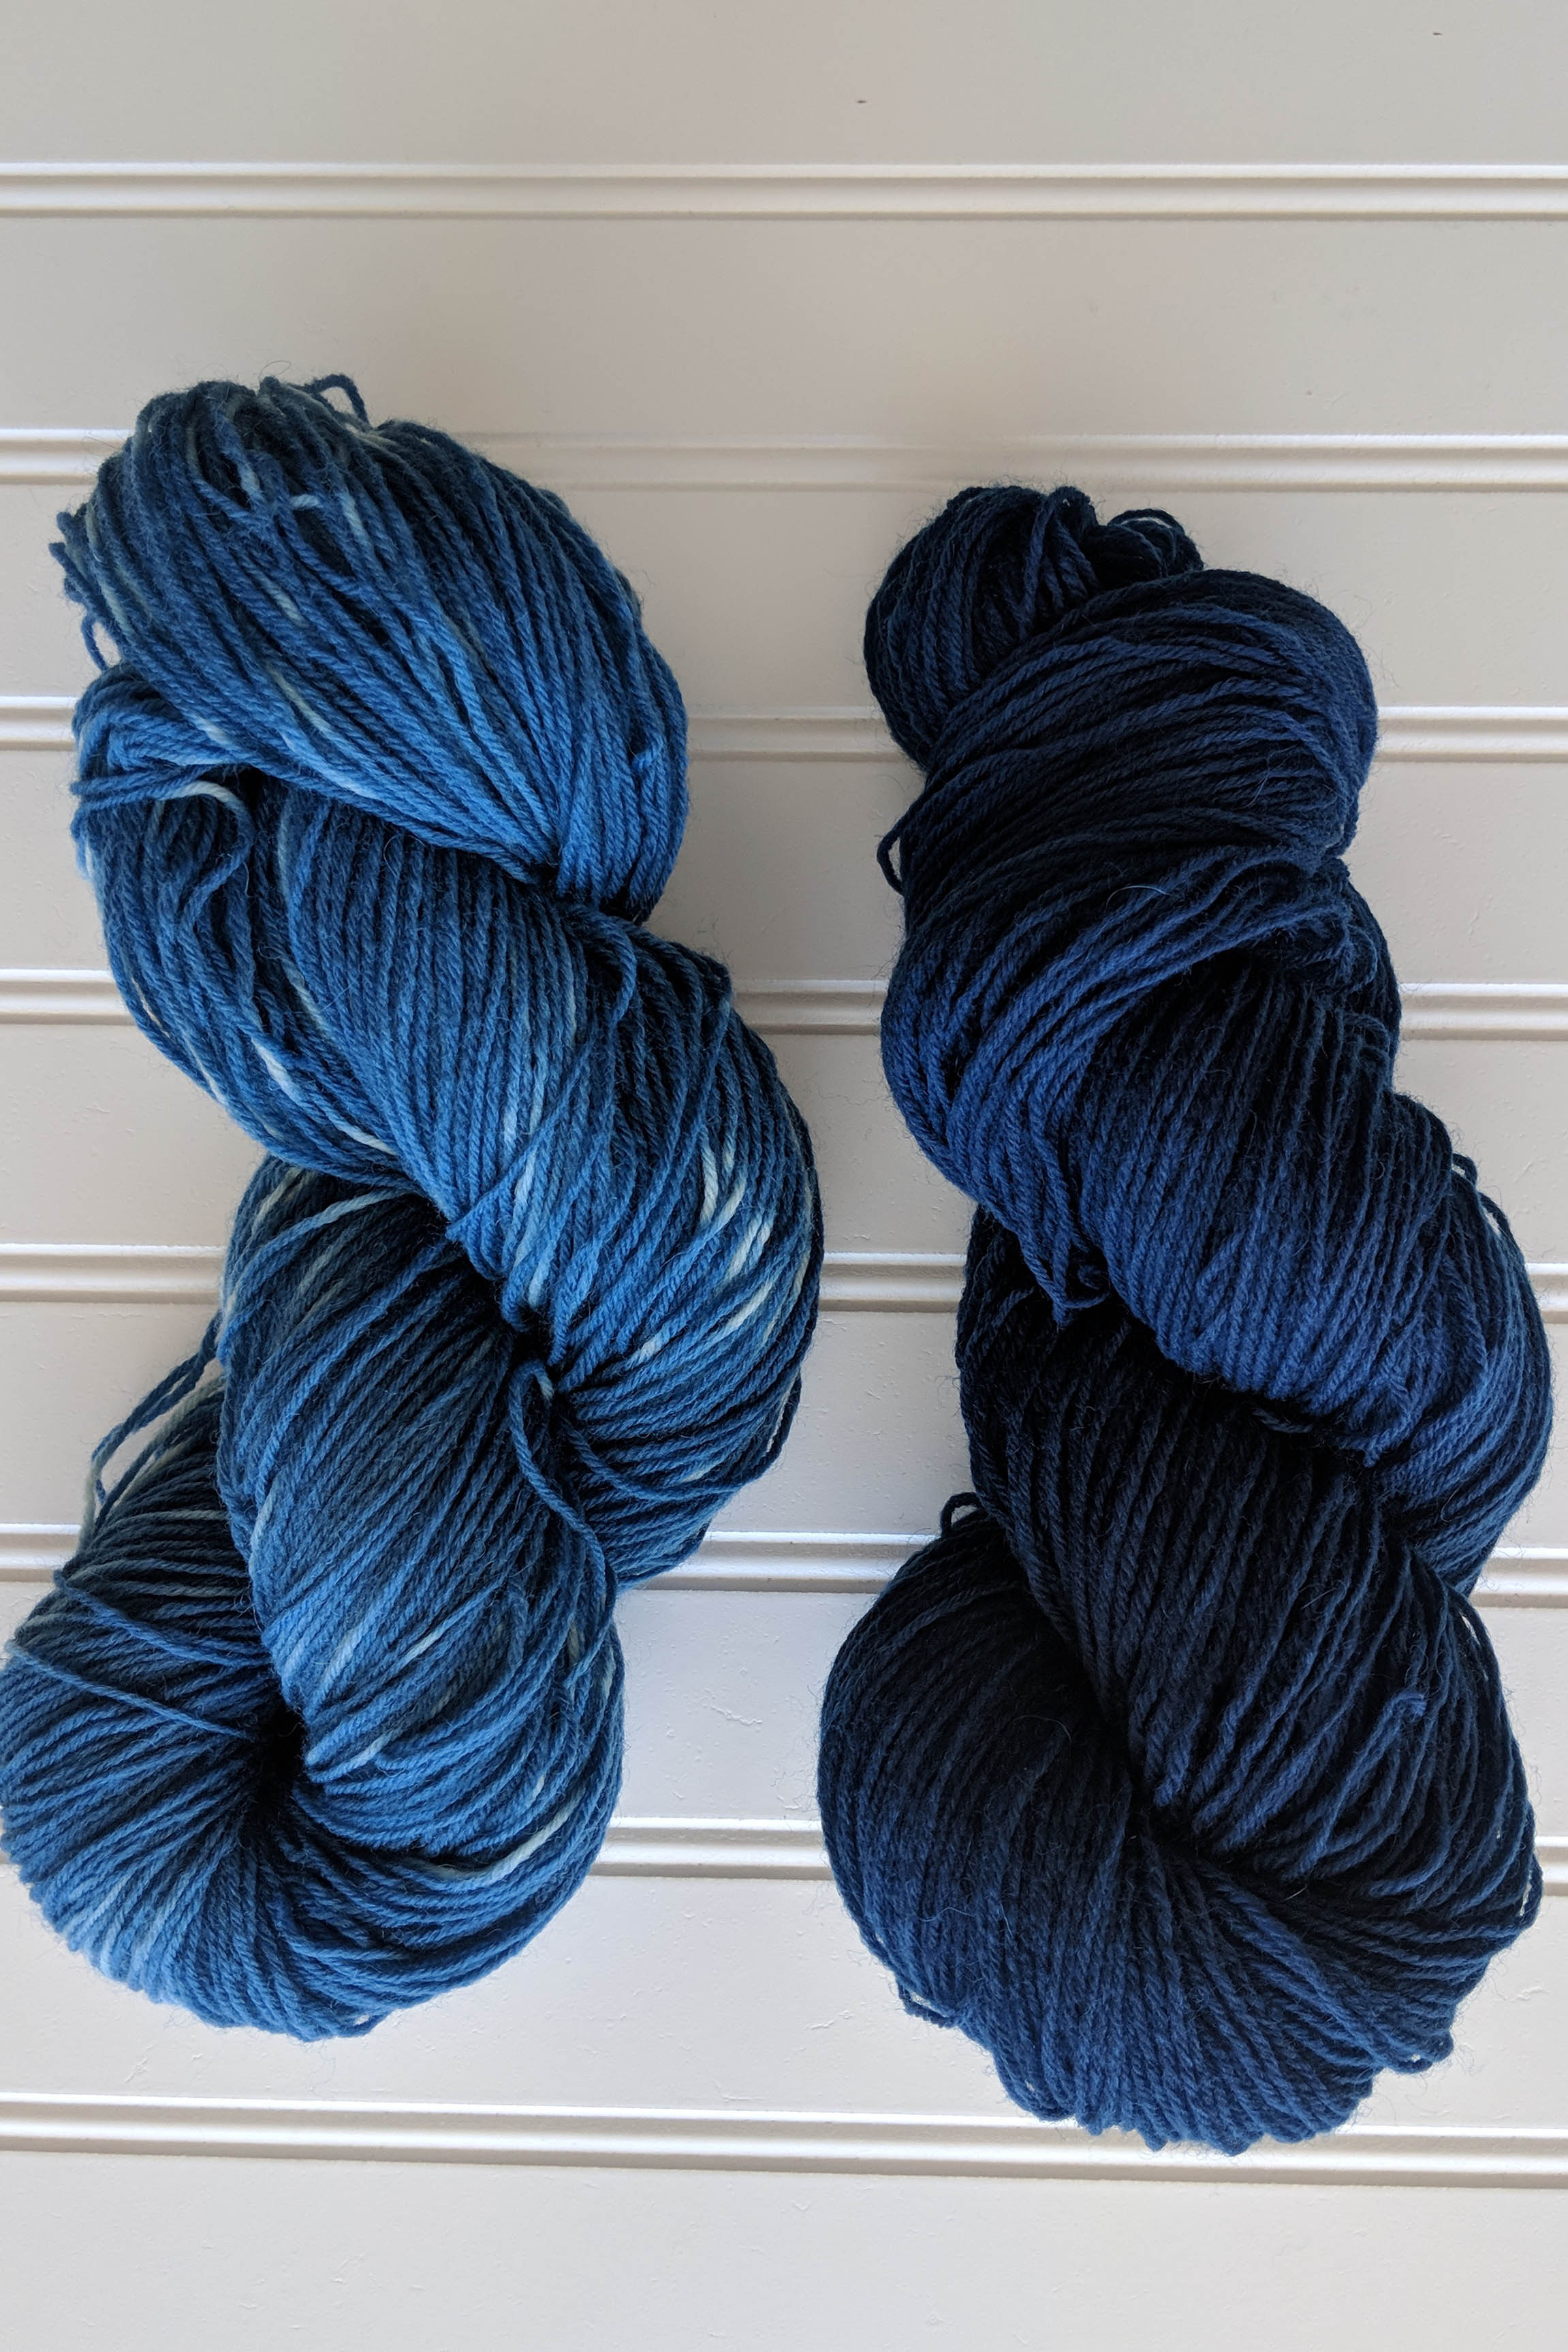
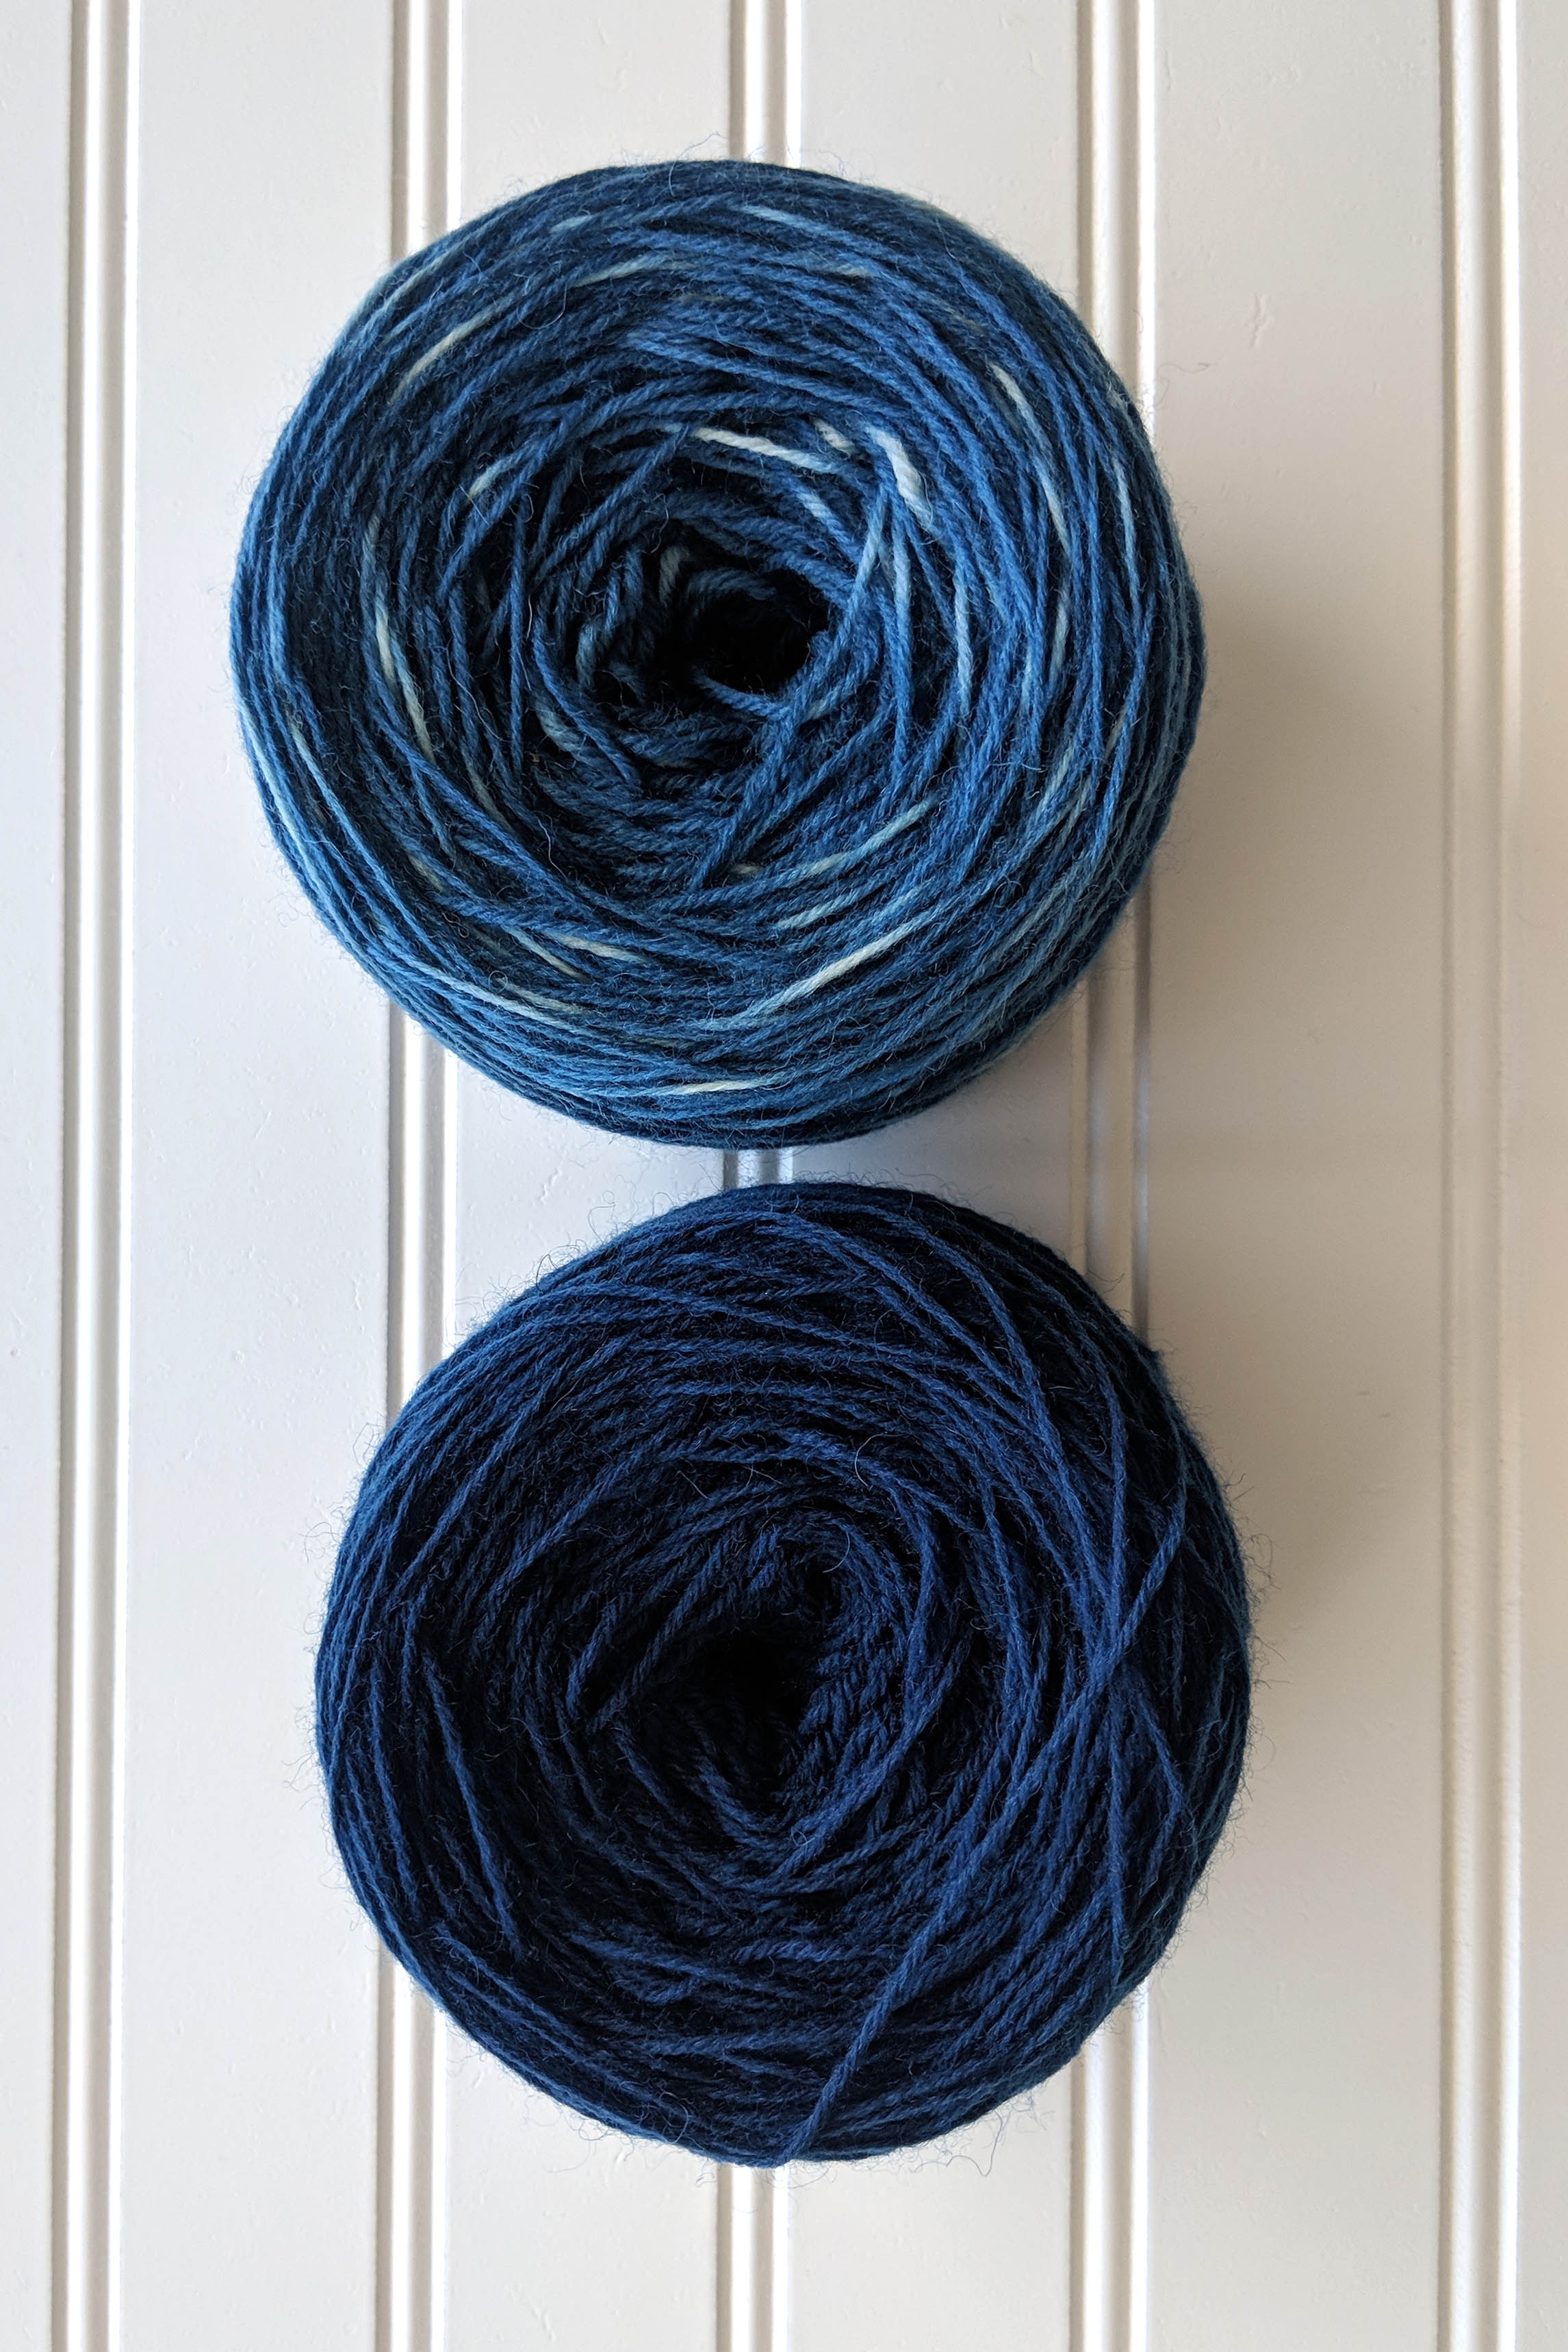
I’m planning to use one skein for warp and one for weft in a weaving project. Stay tuned!

Natural Dye Series: Part I

One of my favorite things about this time of year is the abundance of warm colors—the trees are changing, goldenrods are abloom, and my marigolds continue to flourish. All of these things—leaves included, are wonderful resources if you’re interested in dyeing yarns naturally.

Over the next few weeks, I’m going to post some tutorials on naturally dyeing yarn, all using our Ready to Dye Collection. First, we’ll use marigolds to make a gorgeous golden dye. Then, we’ll dive into an especially exciting dye: umbilicaria lichen. Finally, we’ll work on a project that incorporates the colors of both yarns. I hope you enjoy this series!

For this collection, I’ve chosen our Superwash Merino Worsted Weight yarn. It’s plump, soft, and perfect for a satisfying quick knit. After dyeing your yarn, I promise you’ll want to knit it up immediately.

For today’s tutorial you’ll need:

  • 1 skein of Universal Yarn Ready to Dye Superwash Merino Worsted Weight
  • Approximately 100 g of marigolds
  • Alum – you can find this in the baking/spices section of your grocery store.
  • Two stainless-steel pots that you don’t plan to use for cooking – I purchased mine for a few dollars at a thrift store.
  • Tongs – they don’t need to be stainless steel, but choose some that you won’t use for cooking.
  • A kitchen scale – I can’t recommend this one enough. Although it isn’t essential, if you’re a knitter, you should have one! It’s useful for much more than dyeing.
  • Measuring cups/tablespoon
  • White distilled vinegar
  • Salt
  • Water

The first thing you’ll want to do is create your mordant. Mordant is what fixes the dye to the fiber.

  1. Dissolve 1 Tbsp of alum into ¼ cup of hot water.
  2. Fill a stainless-steel pot or bowl with enough water to cover your yarn so that it can move freely.
  3. Pour your mordant into the water.
  4. Add your yarn and soak for about an hour.

While your yarn is soaking, you can prepare the dyebath.

  1. Fill your stainless-steel pot with enough water to allow your yarn to flow freely.
  2. Dissolve 1 tbsp of salt into the water.
  3. Pour ½ cup of vinegar into the water – salt and vinegar help to brighten the dye.
  4. Add your marigolds and use the tongs to stir the pot.
  5. Bring to a simmer over your stovetop. Allow to simmer for about 30 minutes.
  6. Lower the temperature so that the water is just under a simmer. If you have a thermometer it should be about 190 degrees F. I’m a bit irresponsible, and I usually eyeball this part. I haven’t had any issues yet, but use a thermometer if you’re worried.

Remove your yarn from the mordant bath. Gently squeeze (do not wring) the excess mordant from the yarn (you can place the remaining mordant into a jar to save it for another dye project if you’d like). Carefully place your yarn into the dyebath.

Continue to soak the yarn in the dyebath over low heat (maintaining a temperature just under a simmer) for approximately an hour. Gently turn the yarn with your tongs occasionally. After an hour, remove the pot from the heat. Set aside to cool. I usually leave my yarn in the dyebath overnight.

Remove your yarn from the dyebath and thoroughly rinse. You can use a wool wash or gentle detergent if you wish. You’ll need to gently shake out bits of flowers and plant matter.

Hang and allow to dry completely.

Finally, admire your results!