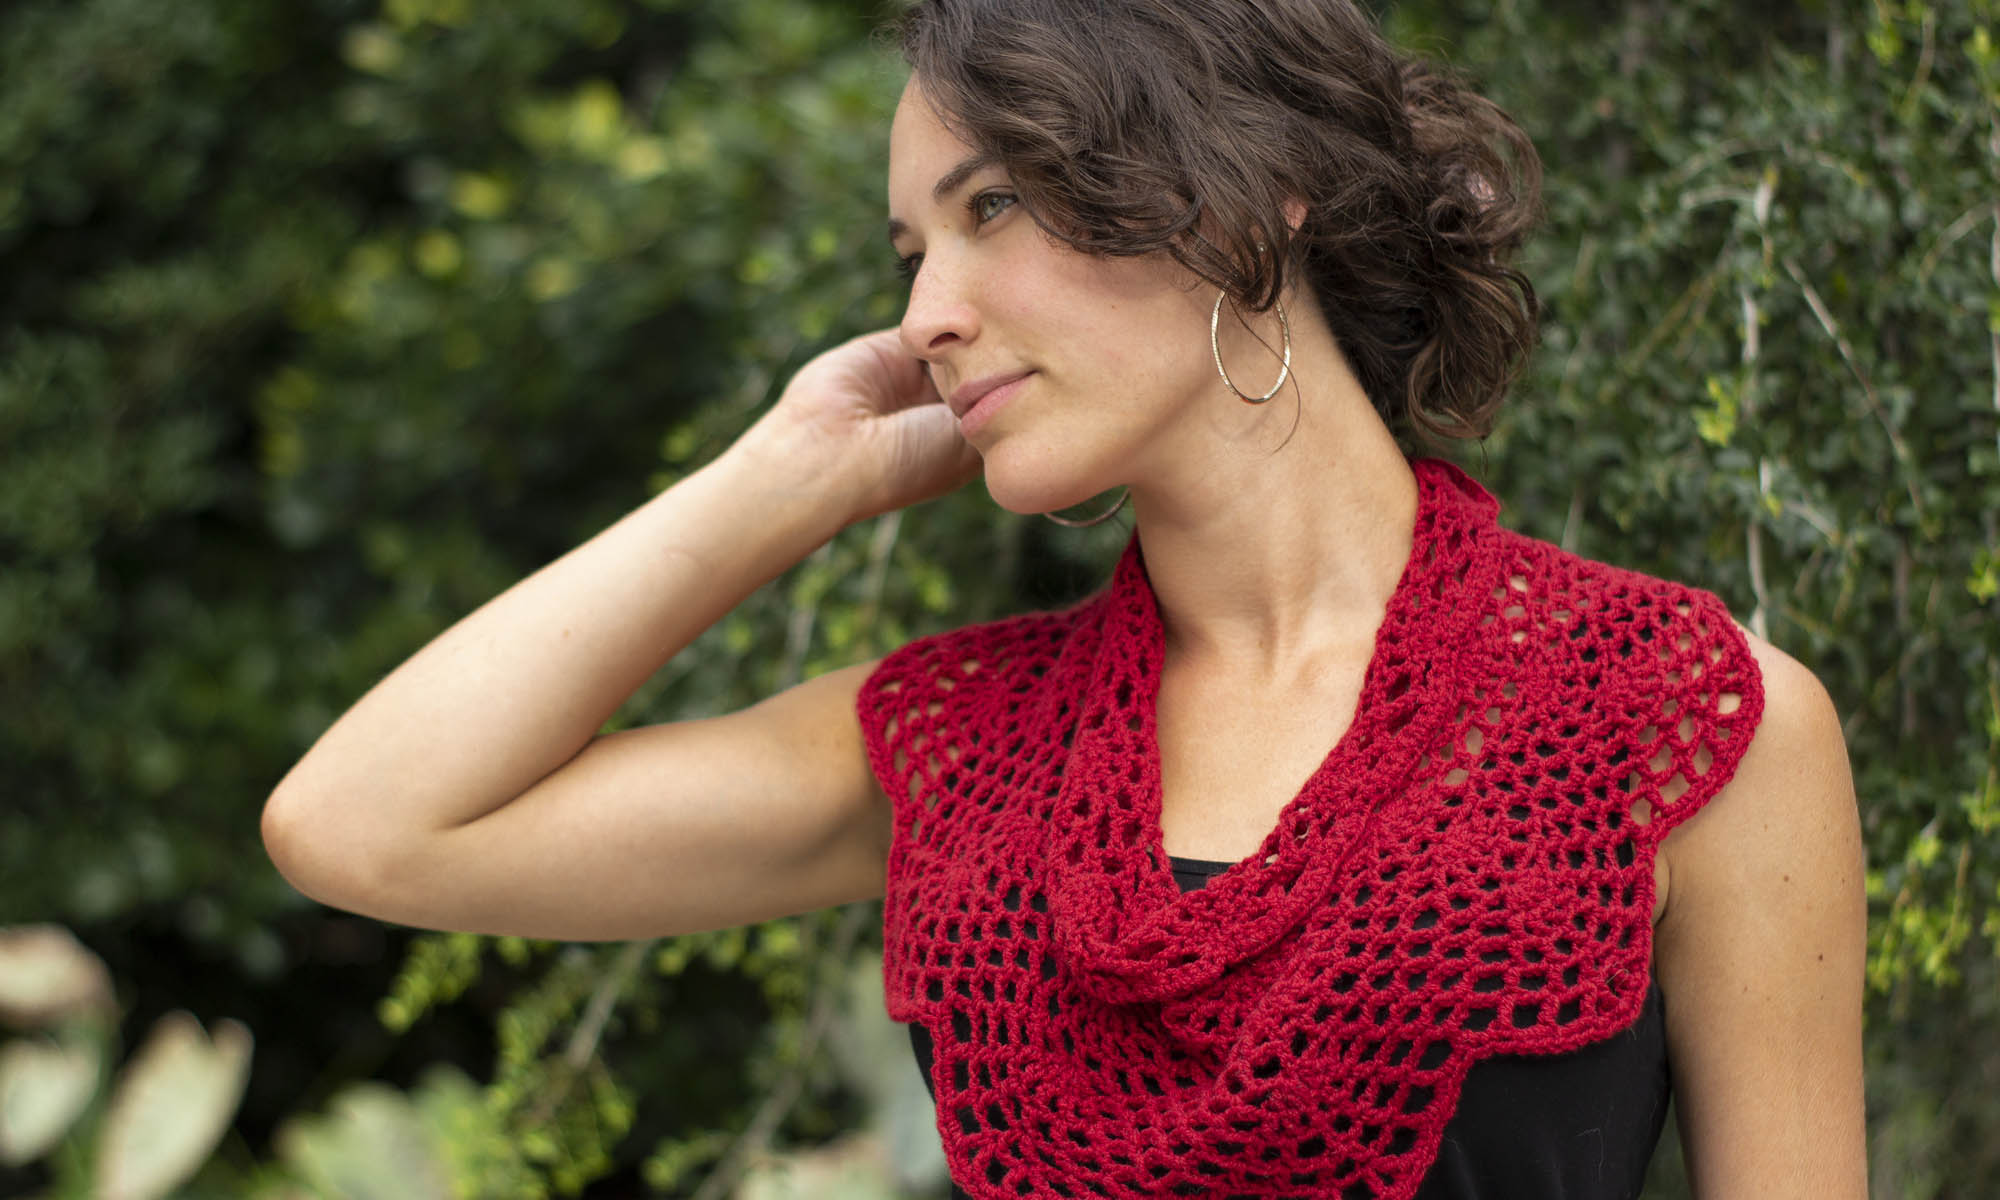
Welcome to Week 5 of the Bella Cash Socktober Mystery Knitalong! You’ve nearly made it to the finish line! We have continued to enjoy seeing peeks at your Sweet Dumplin’ Socks progress, and we can’t wait to see more!
Use this graphic on Ravelry and on social media to share about the knitalong.
Just like my last post, I want to give a refresher about the knitalong for those who might be joining in late. Don’t worry – if you haven’t started, newcomers are more than welcome. To play a little catch-up, here is where you can find my previous blog posts:
Each week in October I’ll be revealing a different portion of the pattern. The pattern is updated on our website every Wednesday and you can find it here (link). Grab your colors of beautiful merino/cashmere/nylon Bella Cash here (link).
This is a mystery knitalong, but if you don’t want to commit without seeing the socks first you can find spoiler images here (link).
If you join, we’d love for you to spread the love and share your progress on social media using the hashtag #UYSocktoberMKAL and tagging us on Instagram (link) and Facebook (link). Join in with chatter here on the blog and in our Ravelry forum (link).
Please add your project to Ravelry, too! You can find the Ravelry listing here (link). You can use the graphic above and on the Ravelry listing for your project page, too.
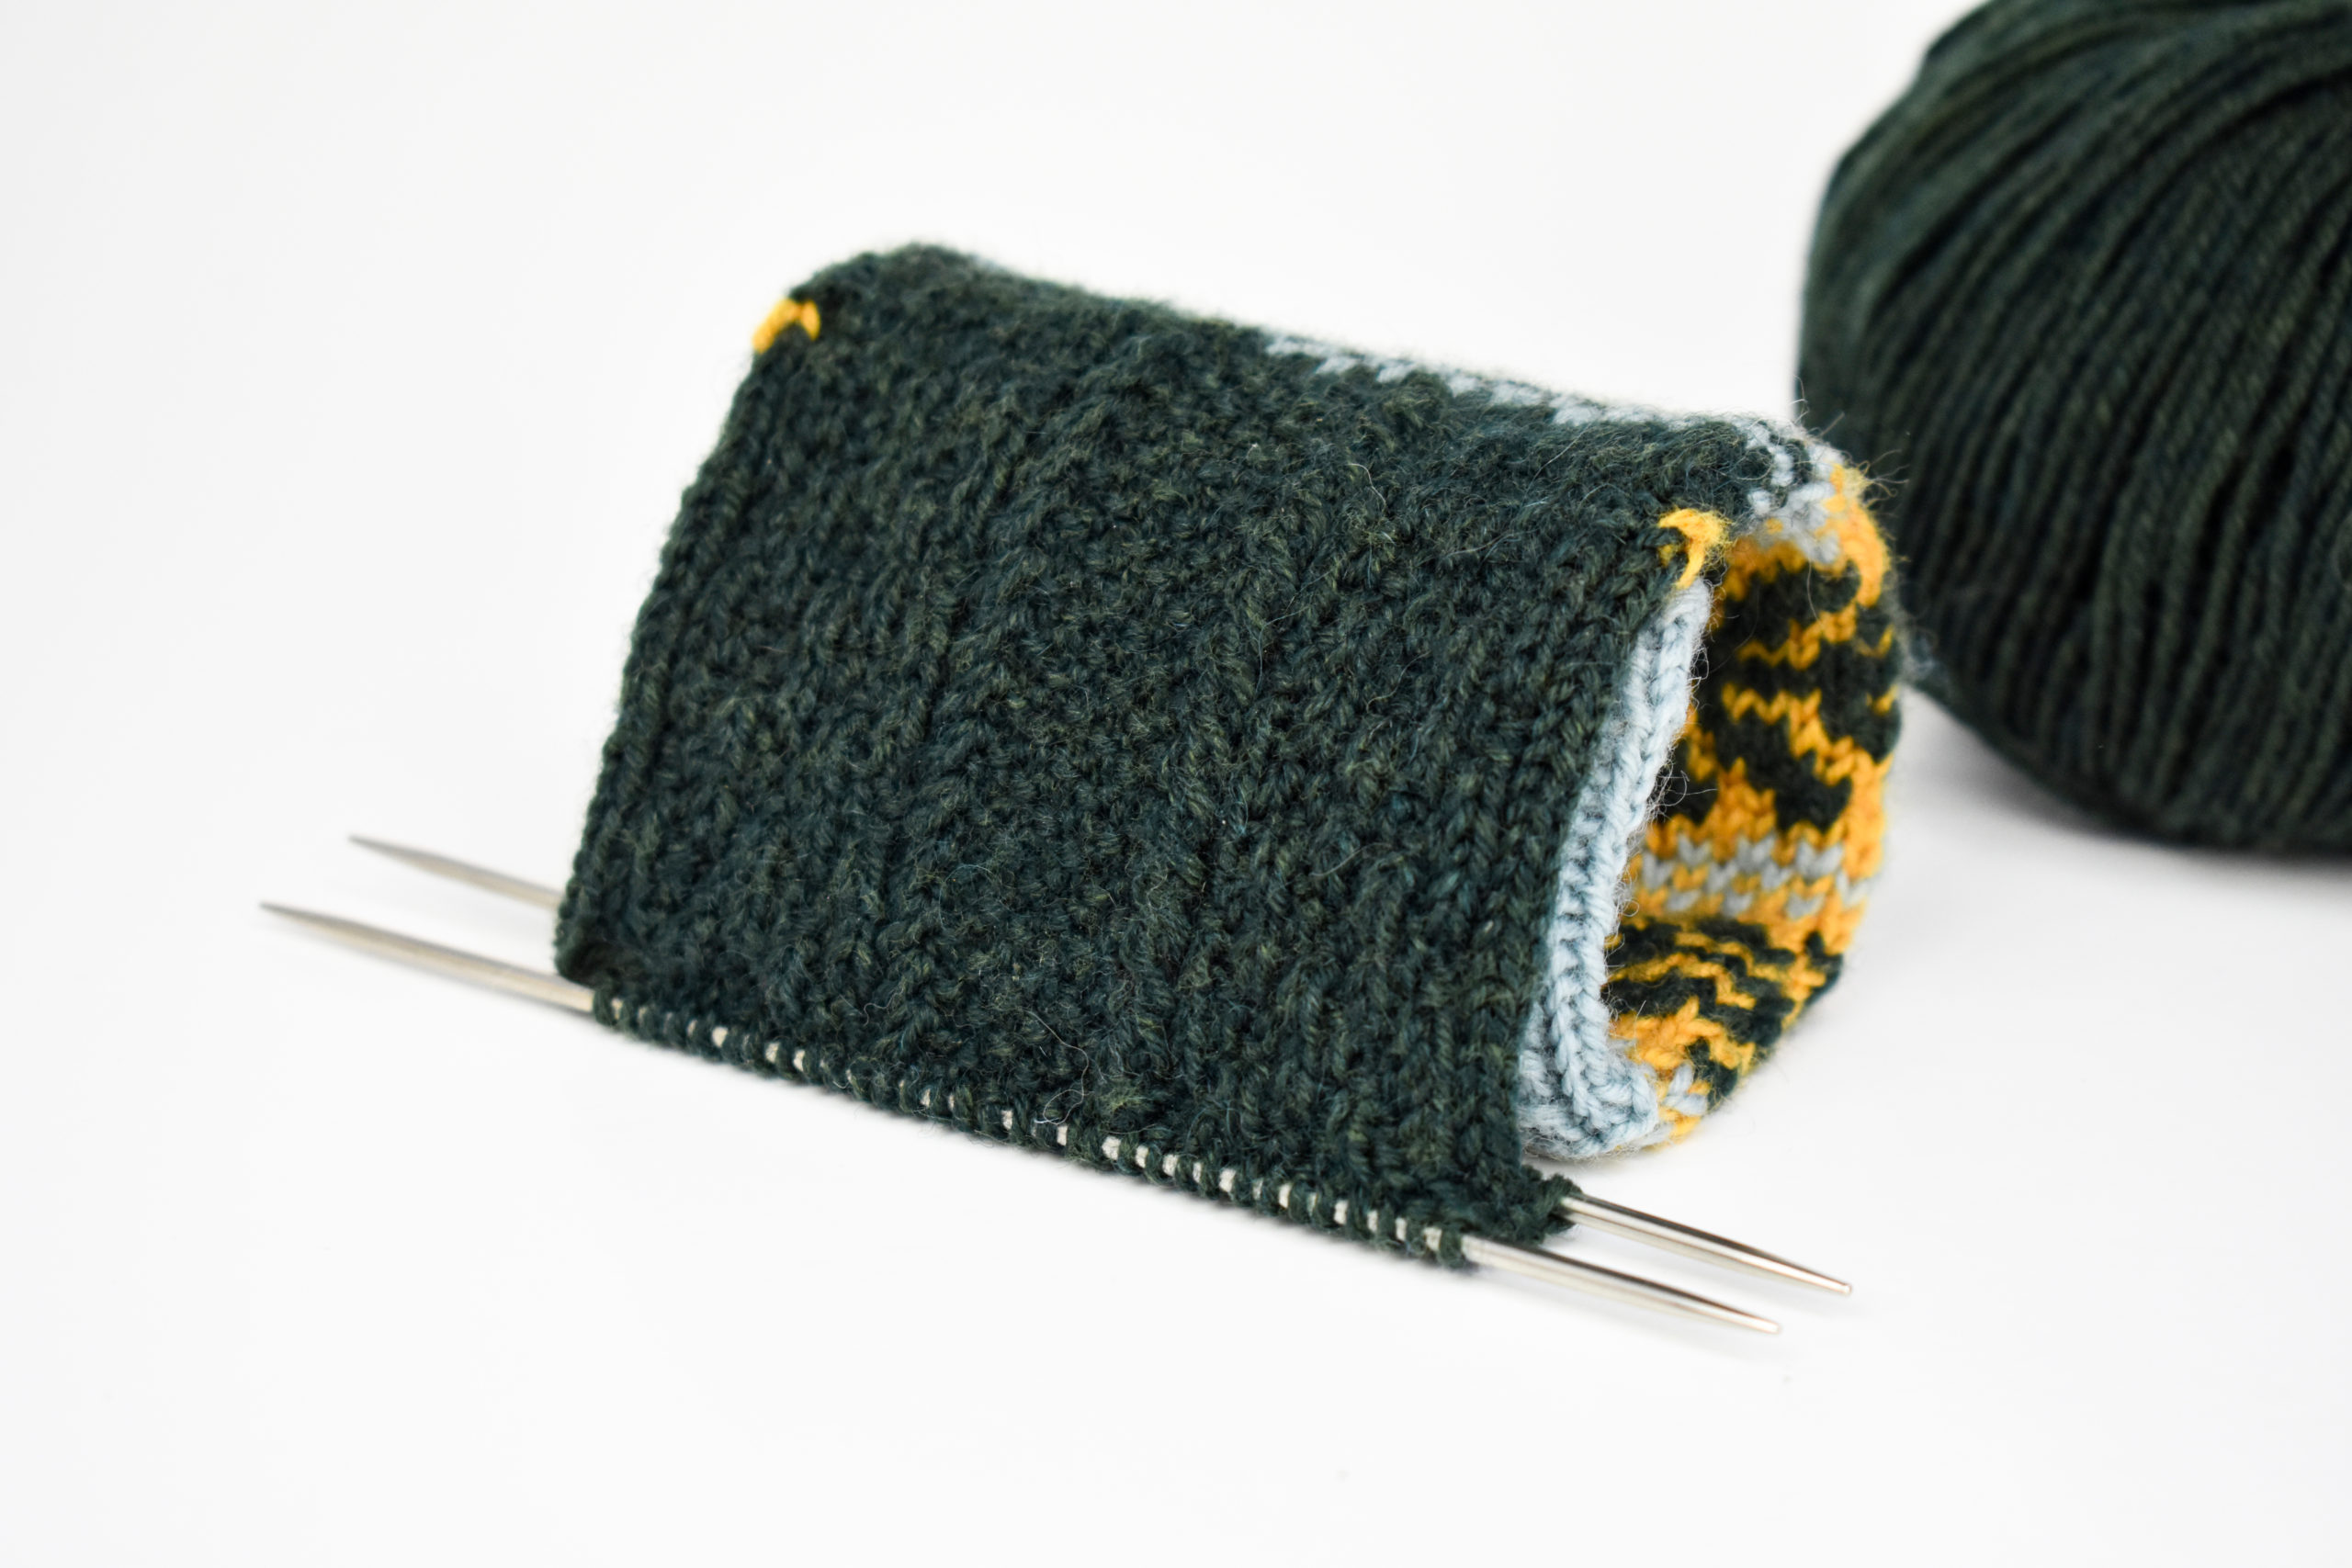
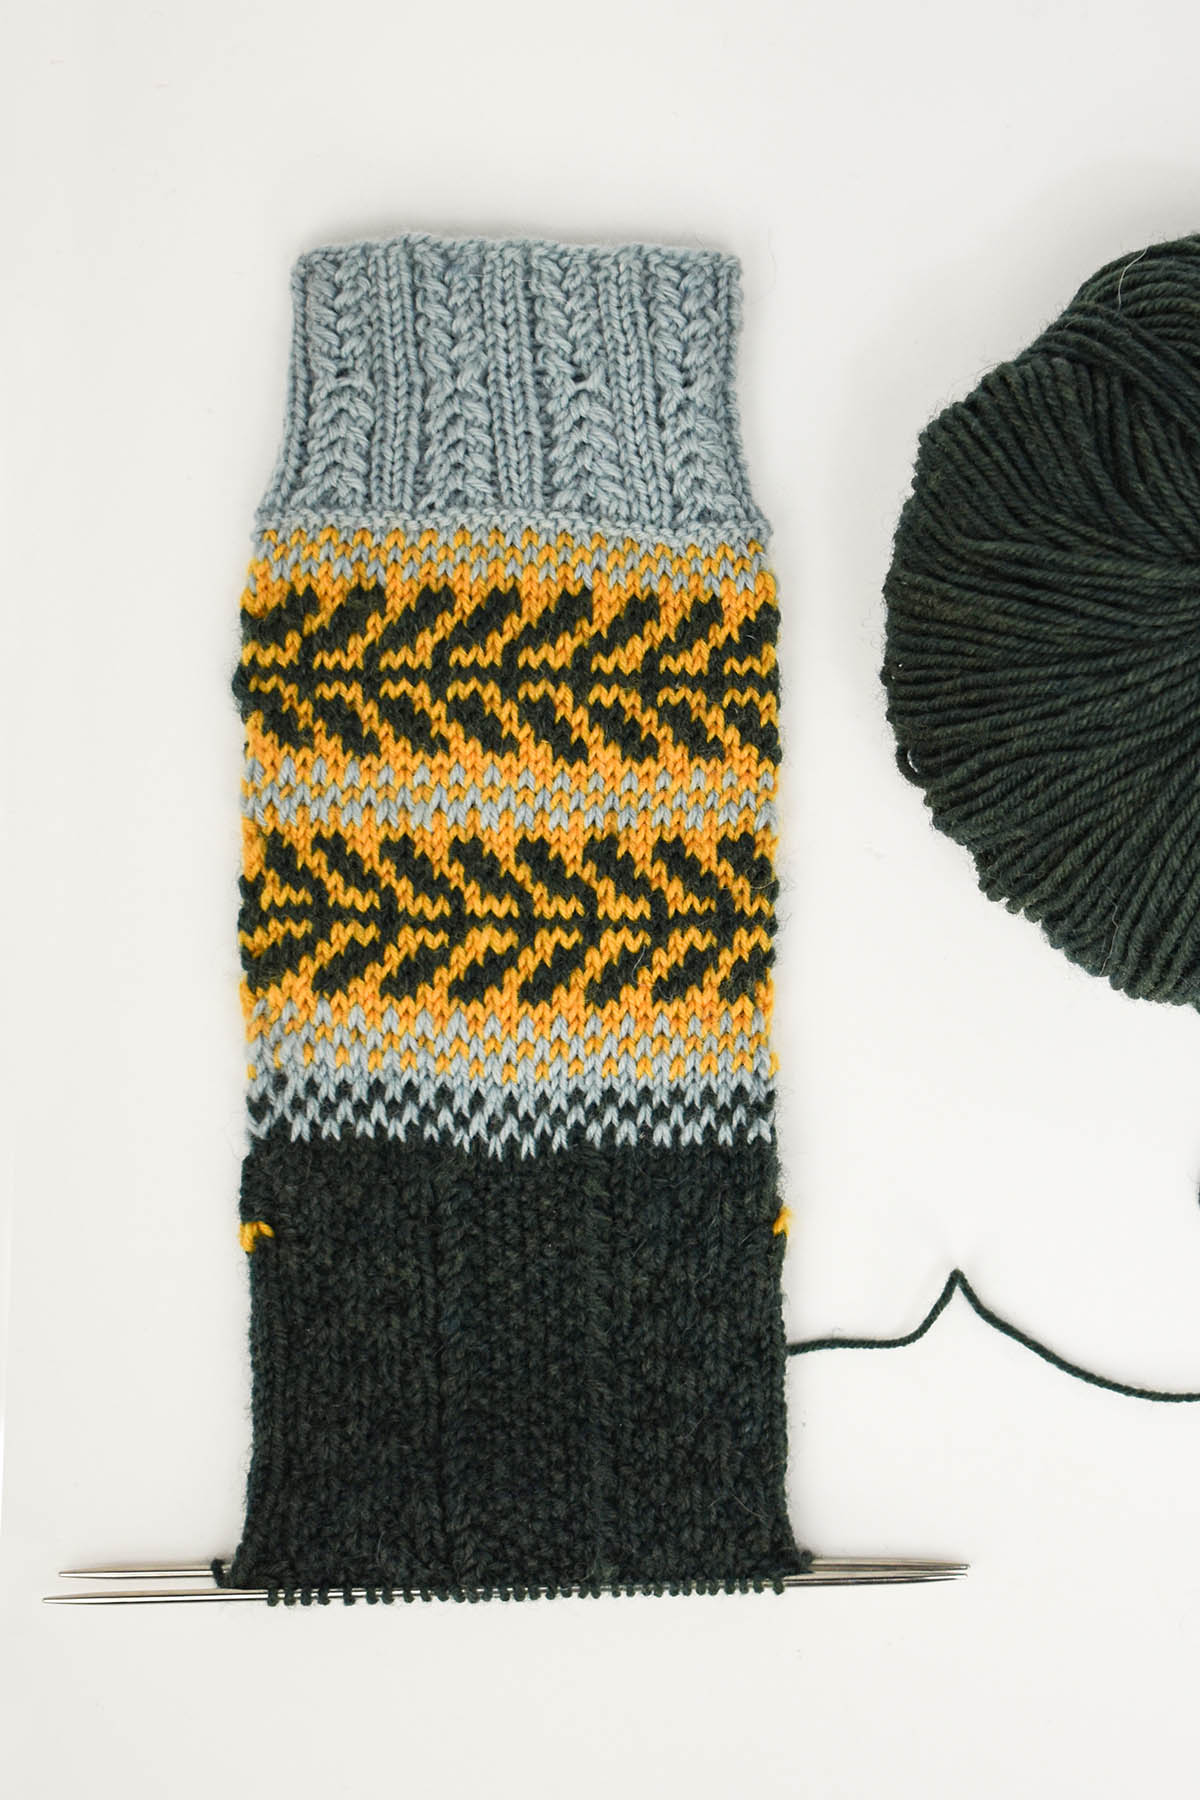
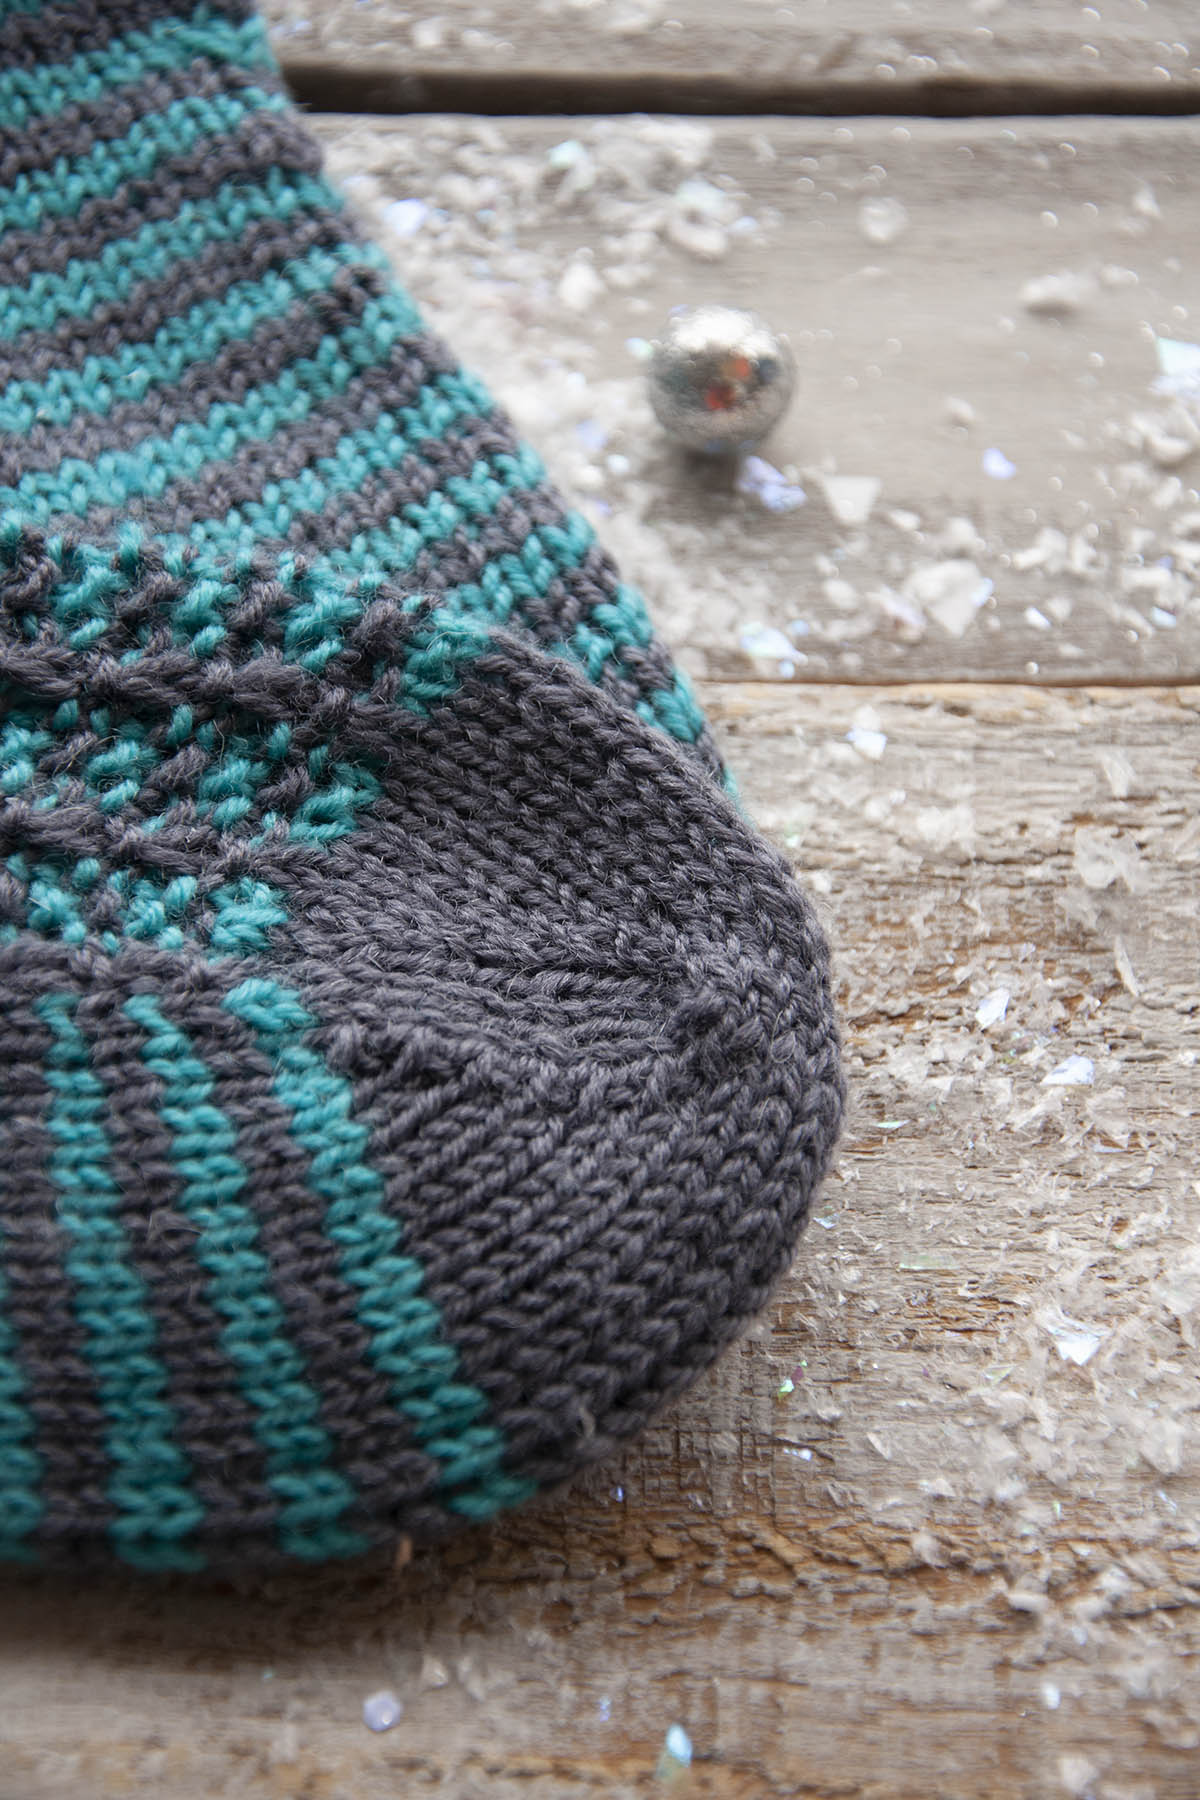
Detail of the Foot pattern of the Sweet Dumplin’ Socks.
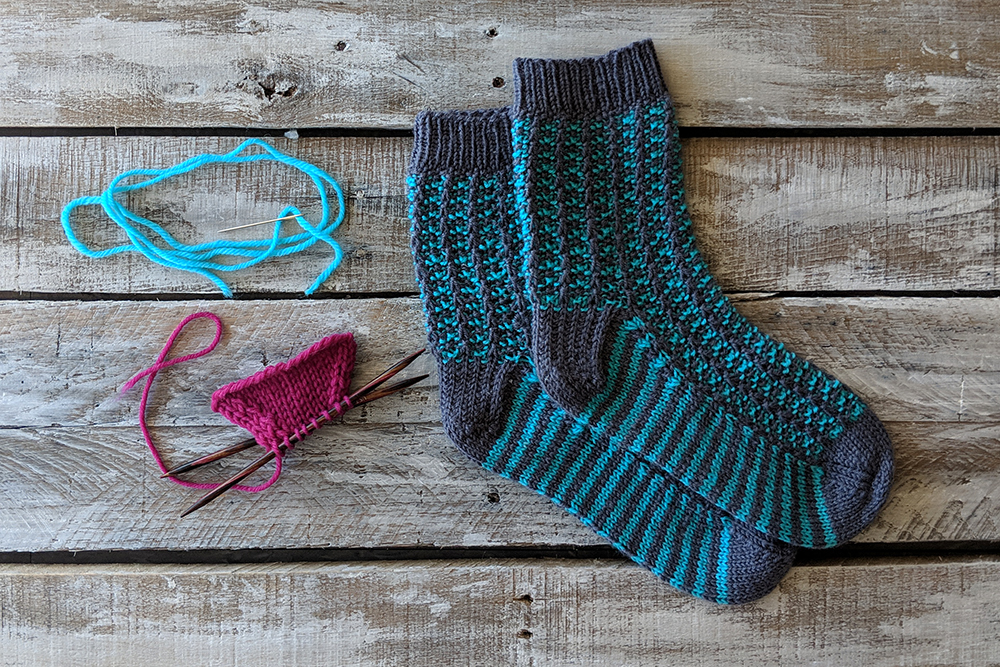
Last week you worked on knitting the foot, which features fun twisted stitches and is full of texture. I hope you enjoyed it! This week you’ll be reintroducing color to your socks. A nice touch on the toe and a good pop in the heel. You’re in the final stretch and are finally going to be able to cozy up in your brand new socks!
This week you’ll indulge in two techniques that we already have tutorials for. First, you’ll finish the toes by grafting using Kitchener stitch. You can find a helpful tutorial on how to work this stitch here (link). After you finish your toes, you’ll need to pick up stitches from the waste yarn you placed last week to create the heel. We shared a photo-tutorial for working afterthought heels here (link).
So are you ready to get started? The next portion of the pattern is now available for your knitting pleasure! Next week I’ll share our progress at the office as well as some photos of the socks you’ve shared. I can’t wait because there are some really beautiful versions of these socks being created!
Remember, you can share your progress on social media using the hashtag #UYSocktoberMKAL and tagging us on Instagram (link) and Facebook (link). Join in with chatter here on the blog and in our Ravelry forum (link).
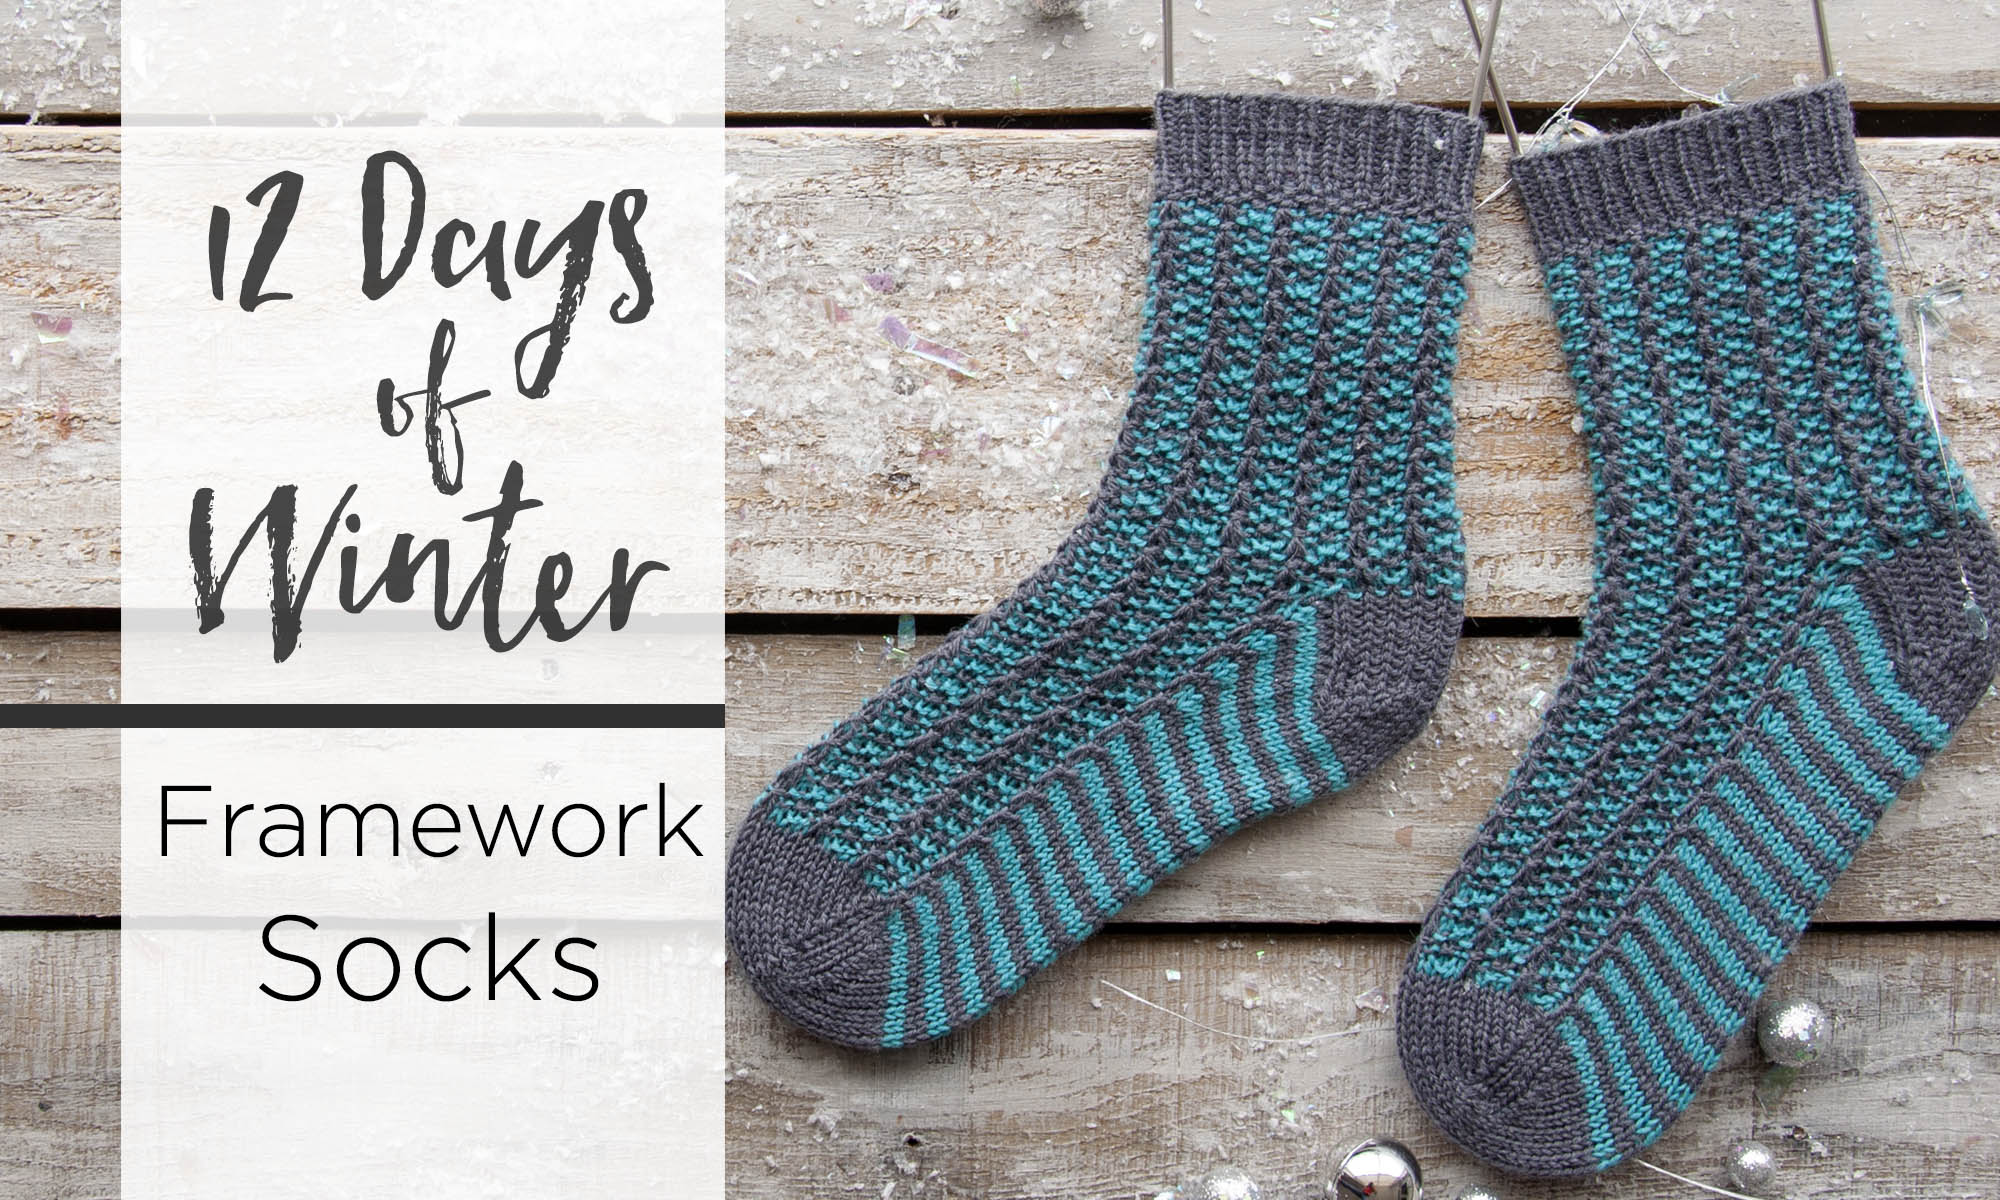
This is part 7 in a 12 part series highlighting designs from our 12 Days of Winter, Series 2 Edition.
Socks! Though I’m a pretty dedicated sweater knitter, I also love to knit socks. When I first started knitting about a decade ago, I was obsessed. Cuff down, toe up, afterthought heel, gusset – I loved it all.
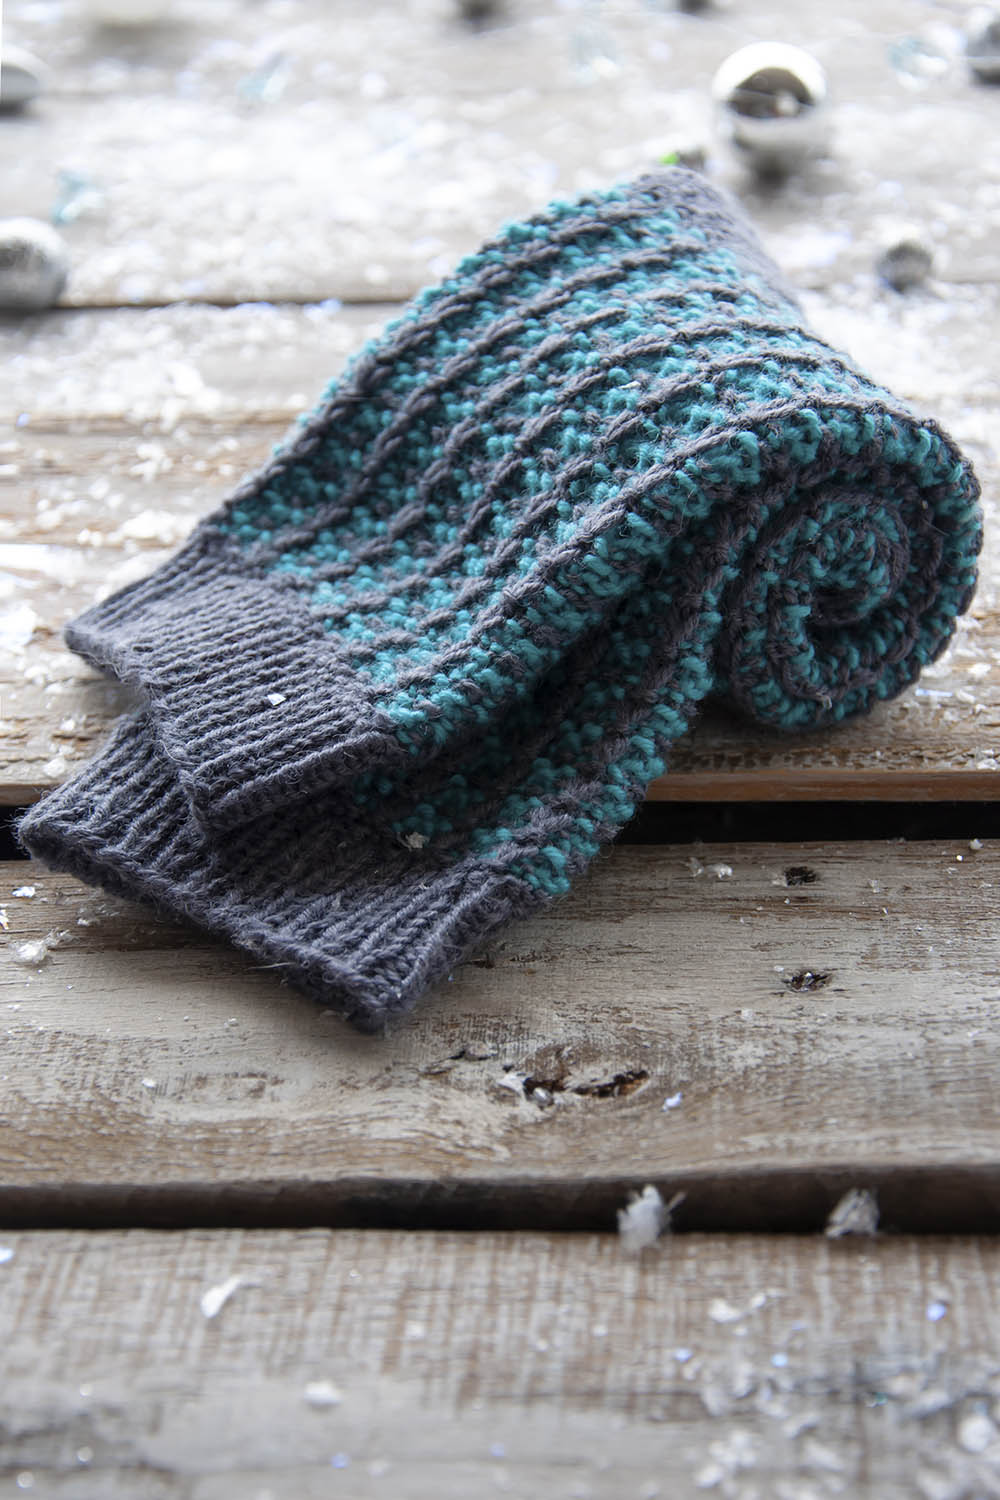
Framework Socks (pattern link) in Bella Cash are knit from the cuff down in two colors of this machine washable cashmere (ooohhhh) blend. A slip stitch pattern creates the interesting texture on the leg and foot, but that’s not what I’m focusing on today.
I’m here to talk about the toe finishing on a top-down sock. The best way to join remaining stitches at the toe of a sock is by grafting, AKA Kitchener stitch. This is a technique that basically creates a row of knit stitches that is formed while joining two sets of live stitches. It is far superior to a seam because – who wants an uncomfortable seam on their toe?
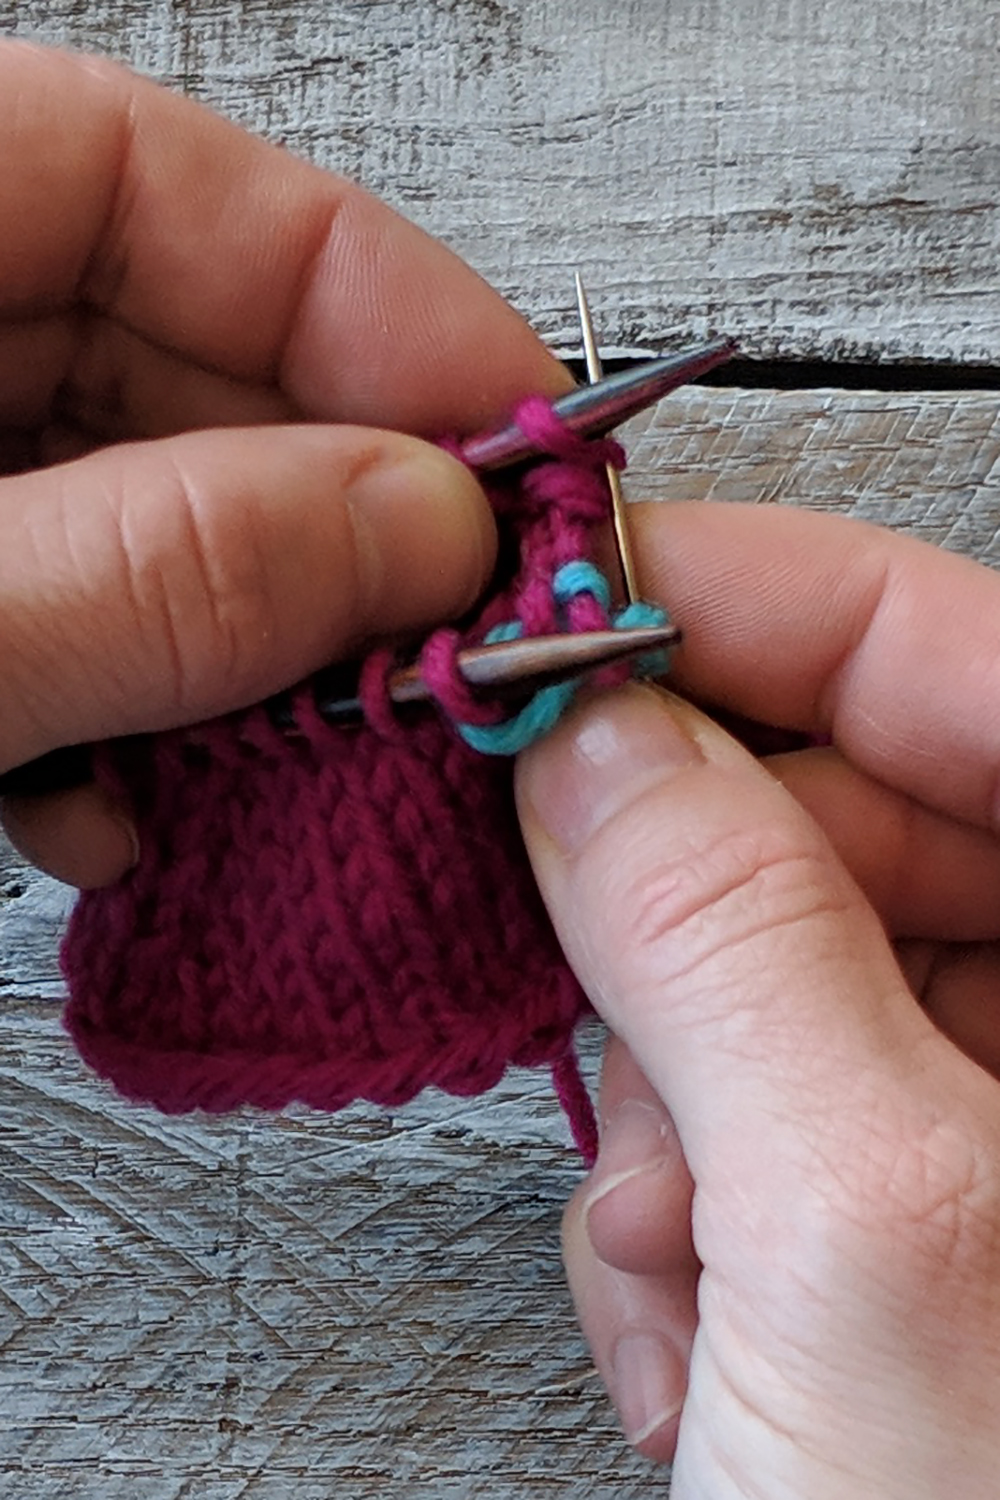
I will be showing you how to graft with a contrast colored yarn so you can more easily see what’s going on.
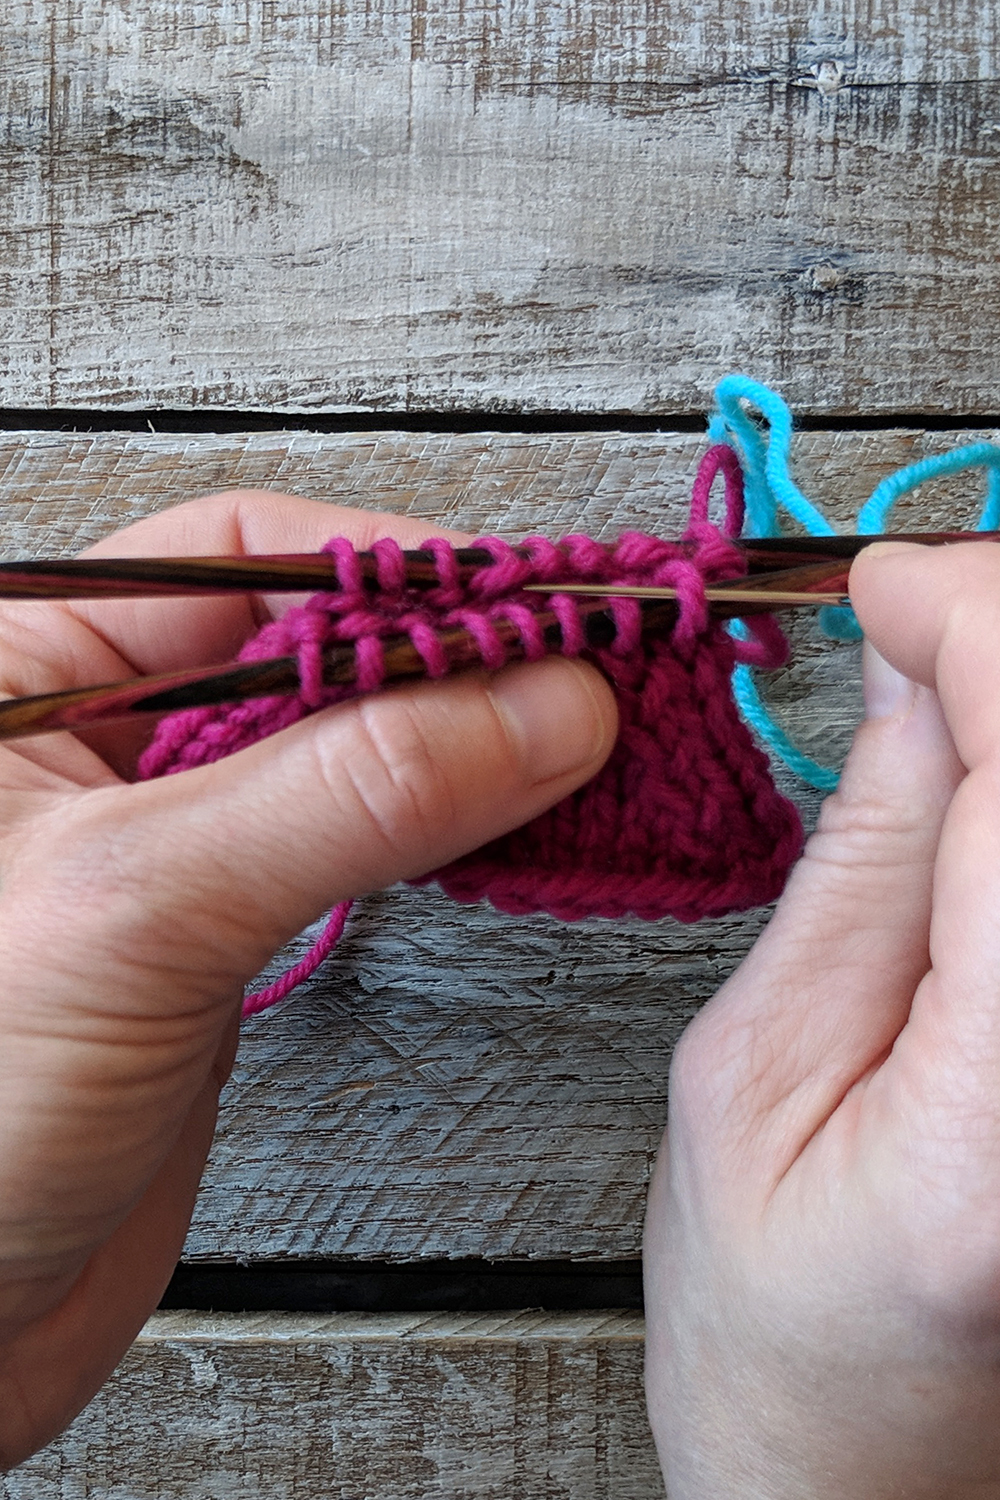
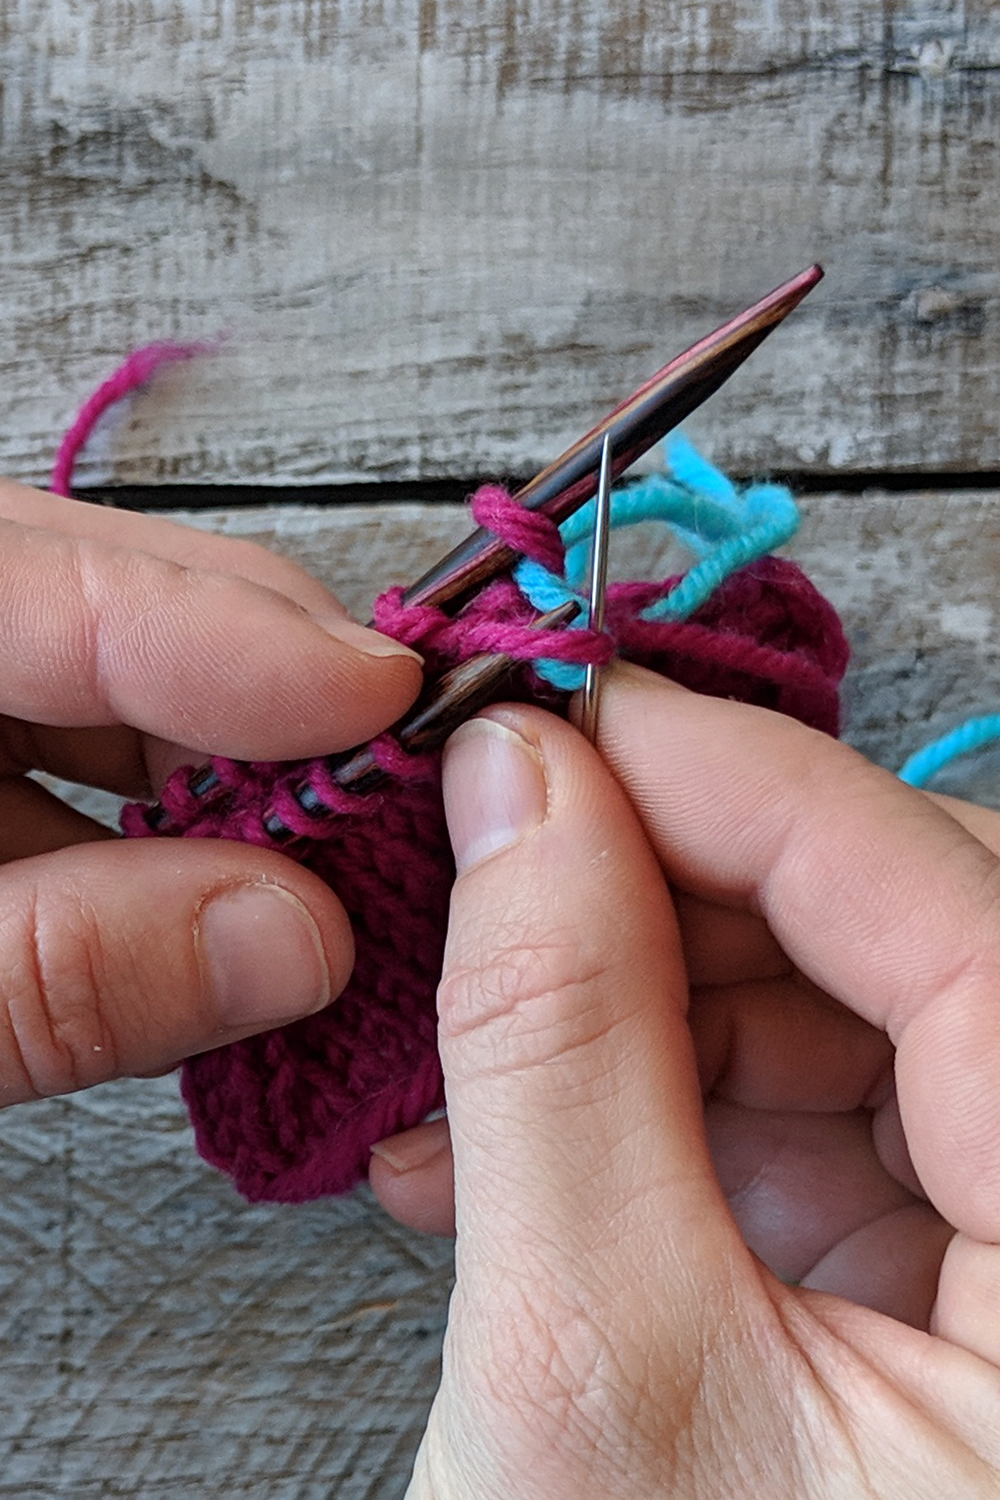
The first thing to do is to cut your yarn after the last row of your pattern, leaving a tail about 3-4 times the width of the toe. Thread this tail through a tapestry needle. Place half your stitches on one dpn (front), and the other half on a second dpn (back).
Preliminary Step 1: Insert your needle purlwise through the first stitch on the front dpn.
Pull the yarn through the stitch, leaving it on the dpn.
Preliminary Step 2: Insert your needle knitwise through the first stitch on the back dpn.
Pull the yarn through the stitch, leaving it on the dpn. Set-up is complete. Now for the repeating action of grafting!
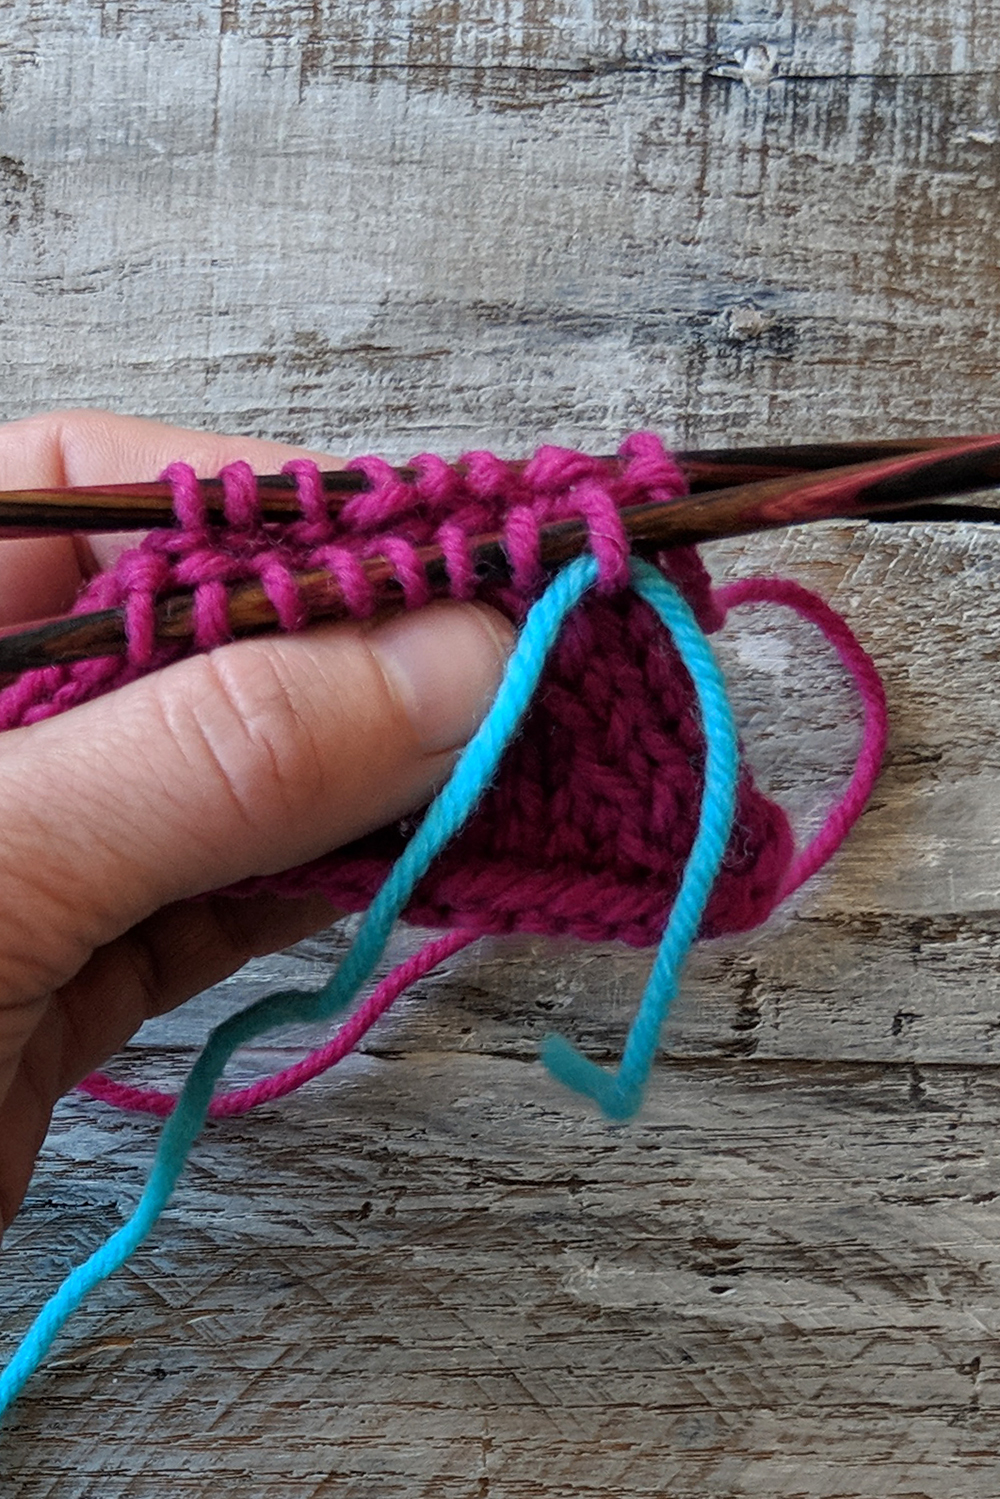
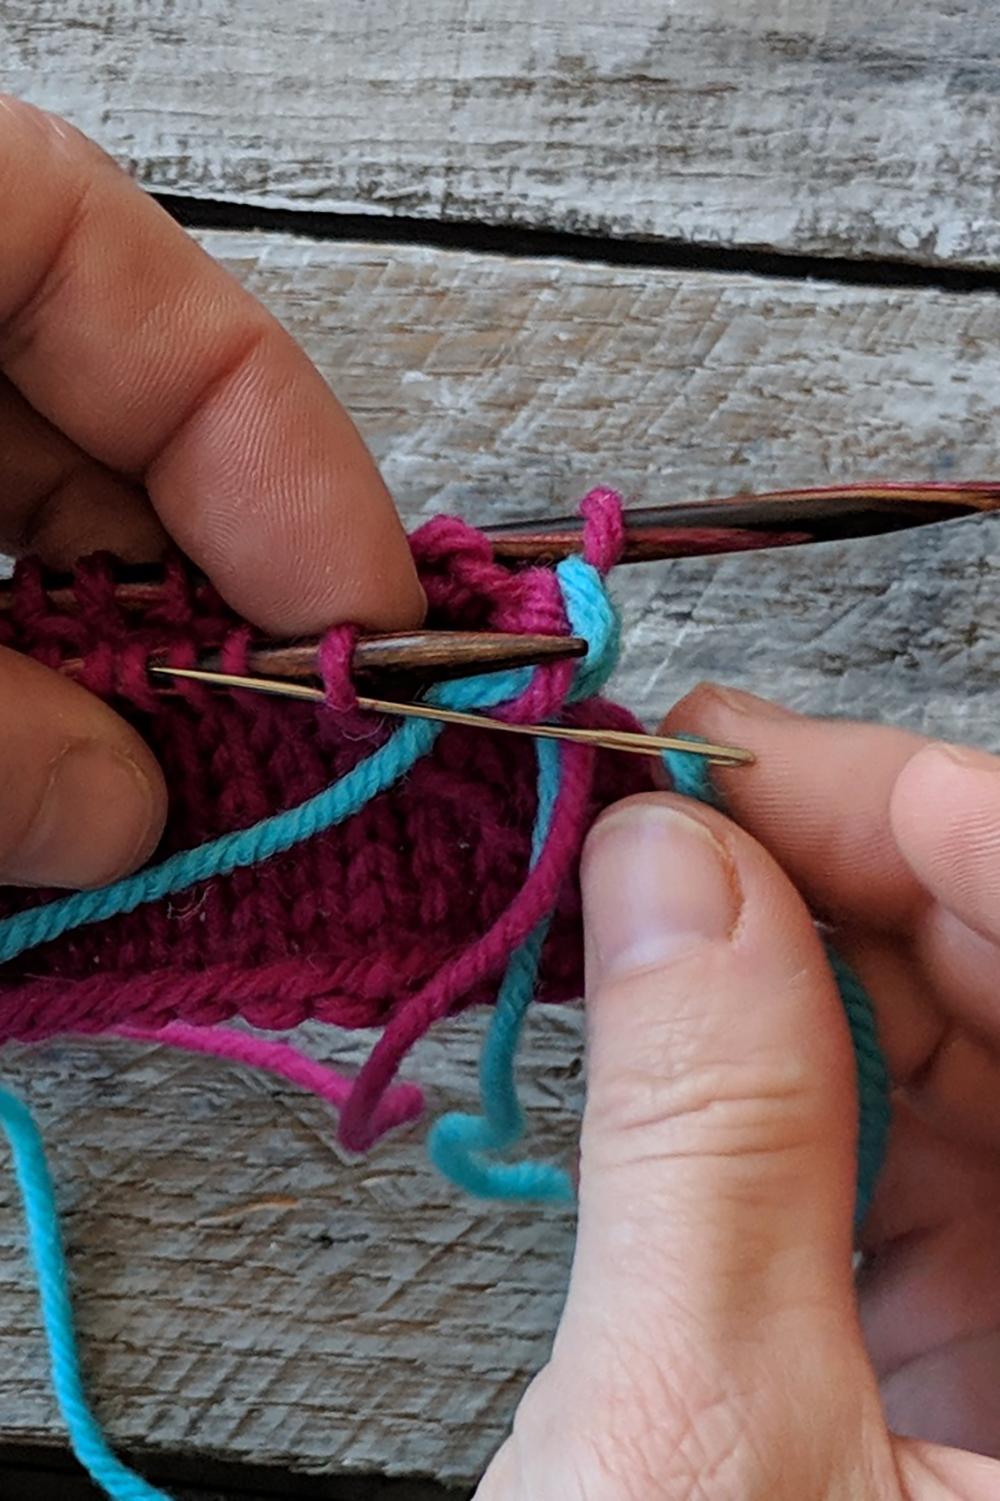
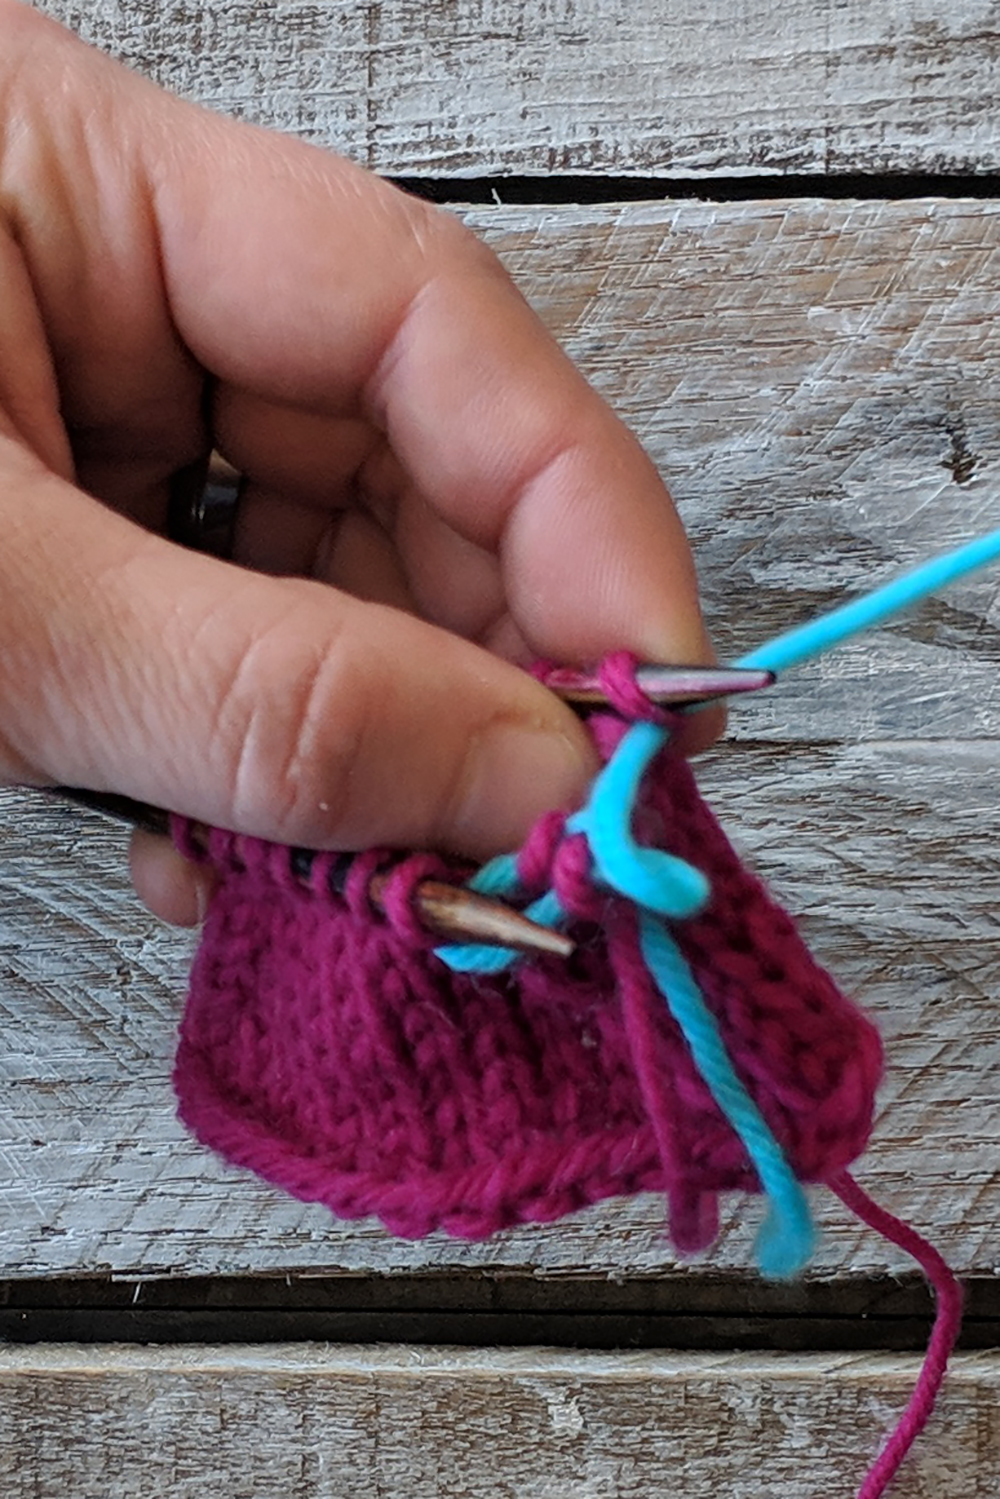
Step 1: Insert your needle knitwise through the first stitch on the front dpn and let this stitch slide off the dpn.
Step 2: Insert your needle purlwise through the next stitch on the front dpn but do not slide off the dpn.
Pull the yarn through.
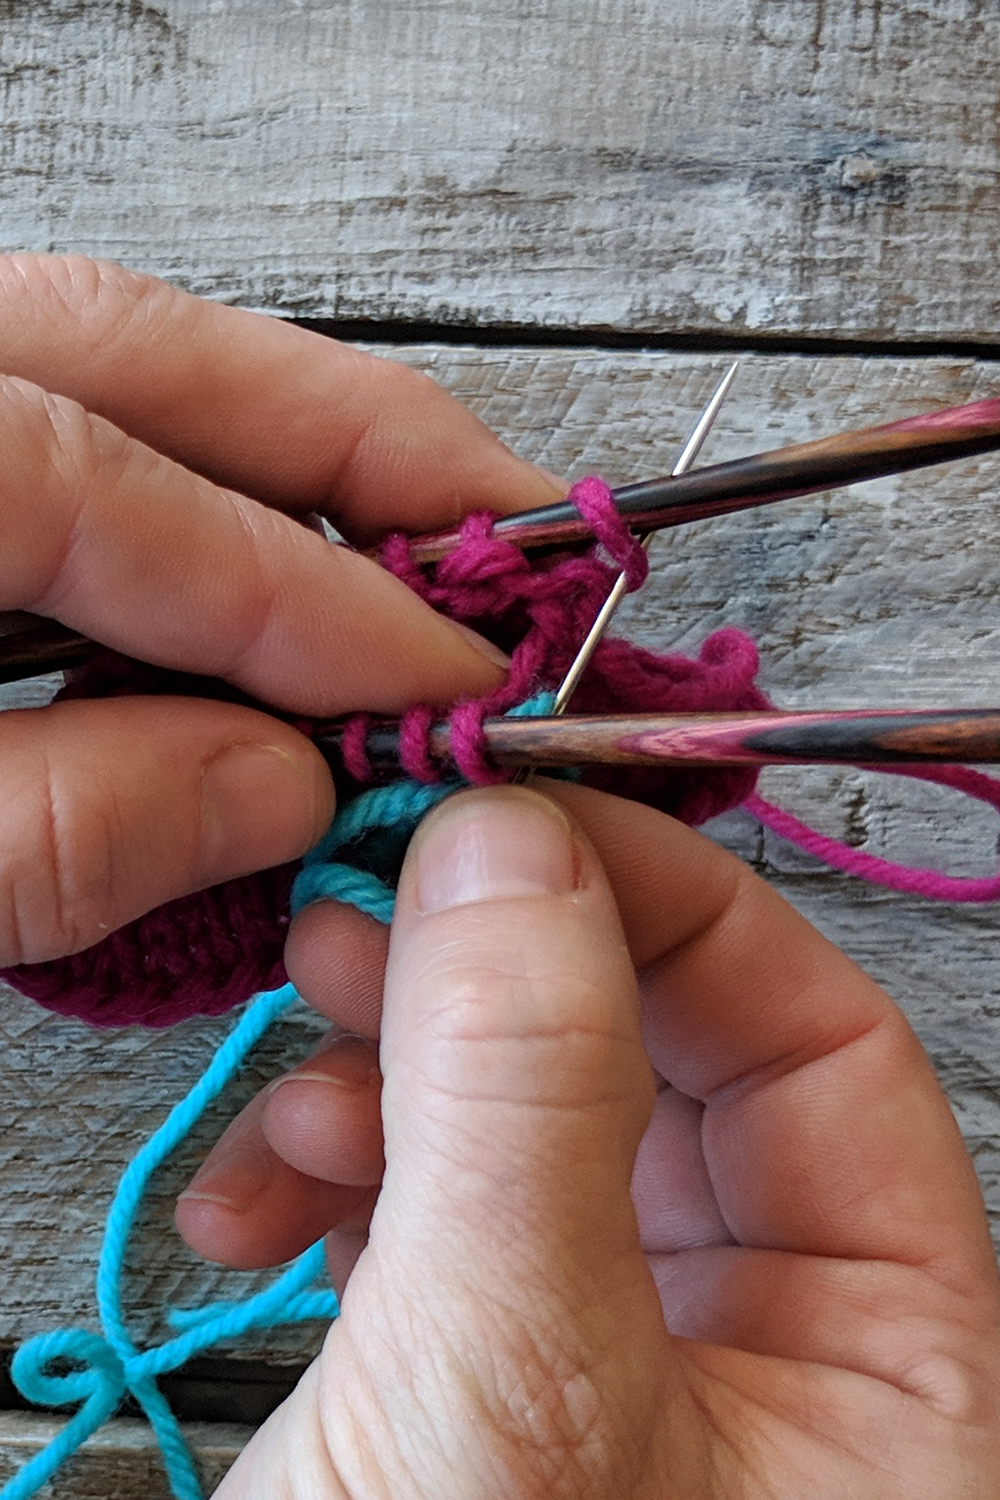
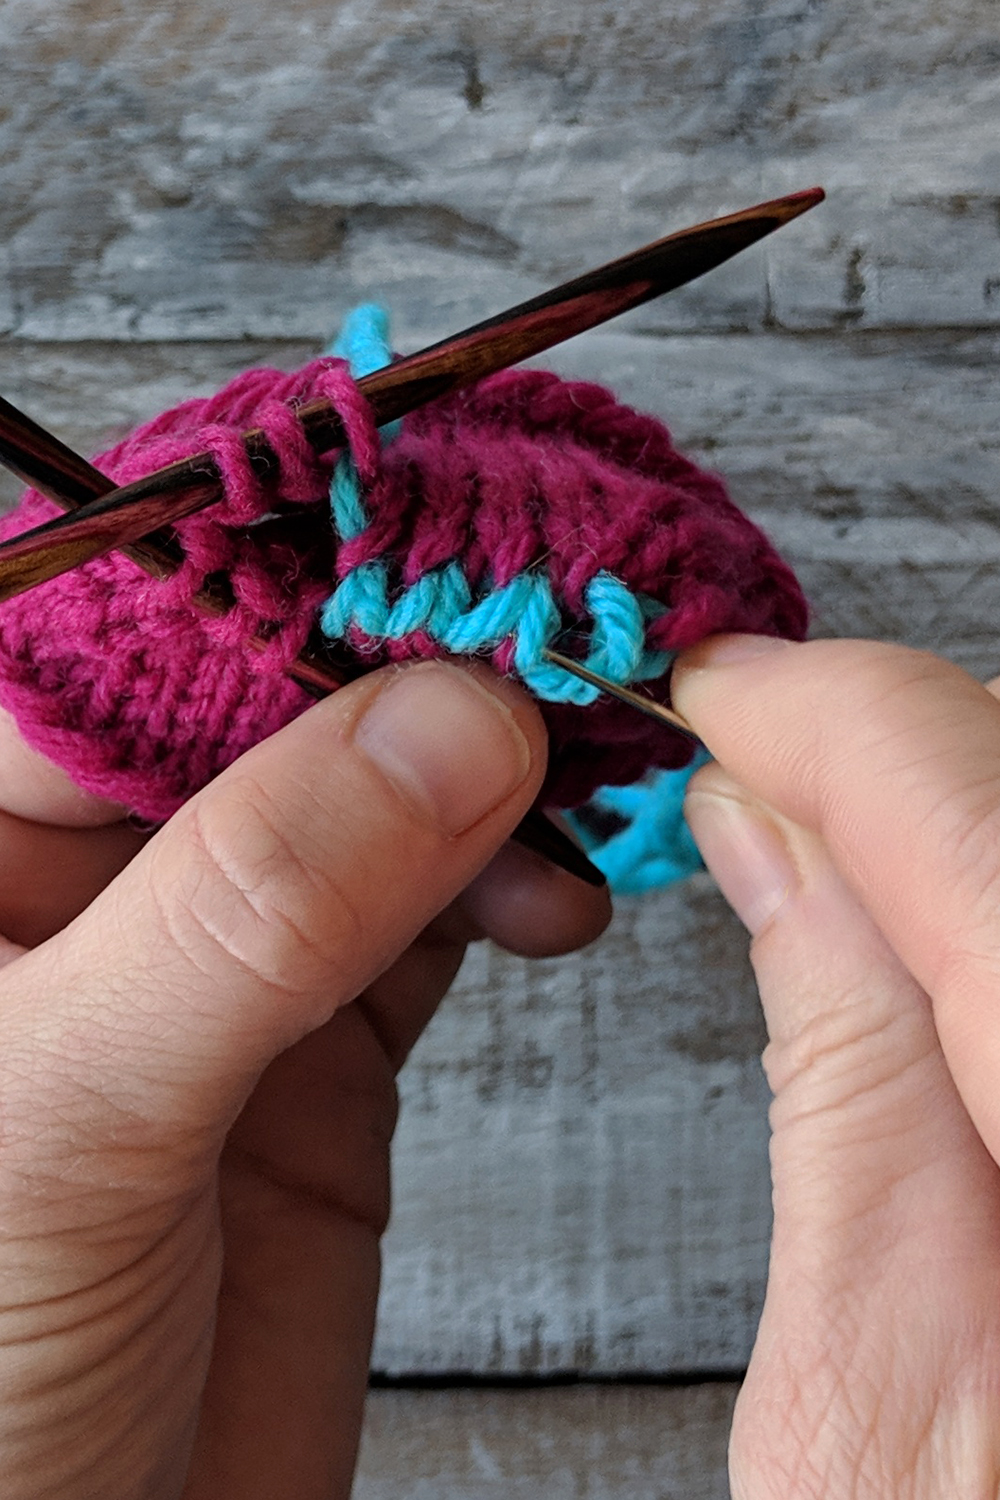
Step 3: Insert your needle purlwise through the first stitch on the back dpn and let this stitch slide off the dpn.
Step 4: Insert your needle knitwise through the next stitch on the back dpn but do not slide off the dpn.
Pull the yarn through.
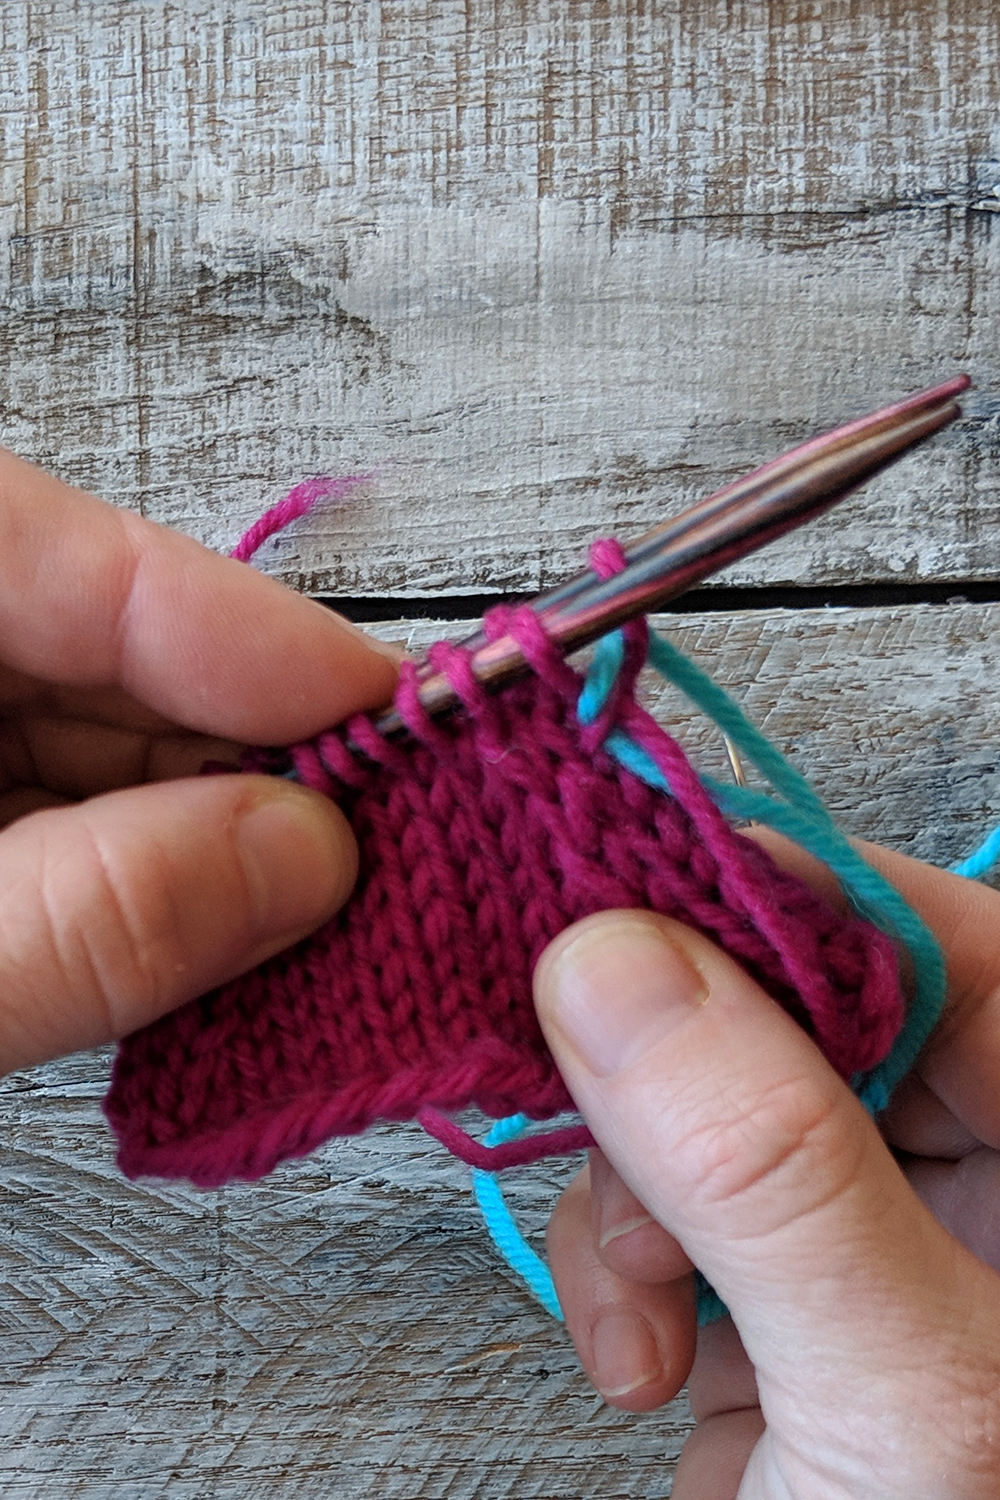
Repeat steps 1 through 4. When I’m grafting, I always have this running through my head: “Knit, Purl, Purl Knit.” It helps to keep me on track. If you’re grafting for the first time, I definitely recommend having a quiet space in which to practice. Once you get the hang of it, it’s easy enough to visually know where you are in the process. But in the beginning, it does require a bit of concentration.
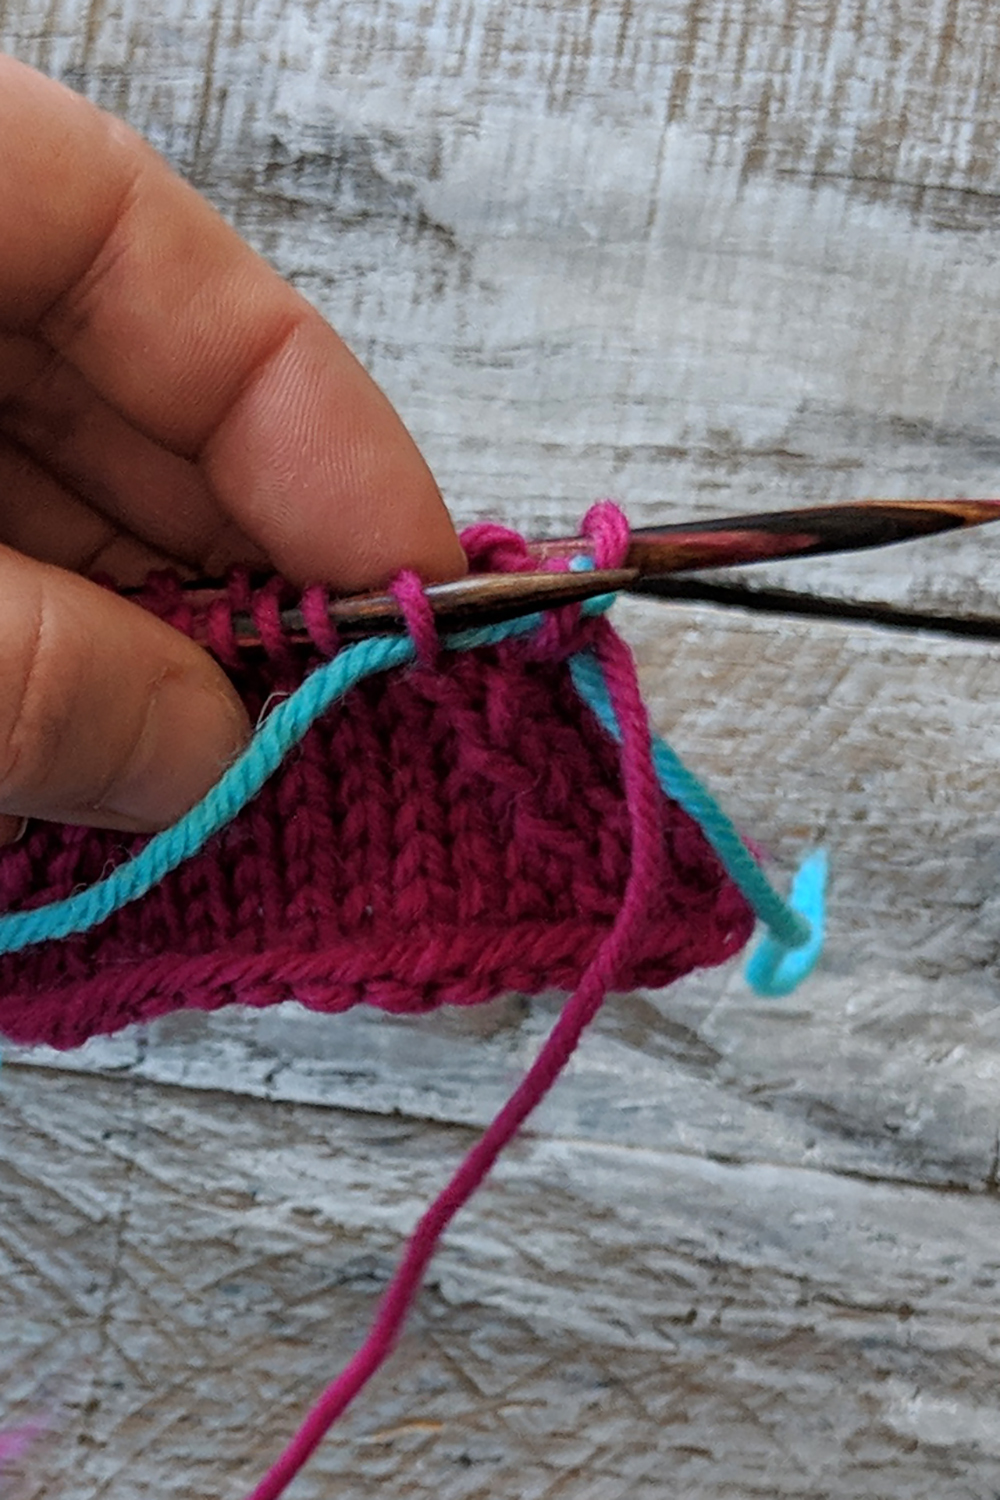
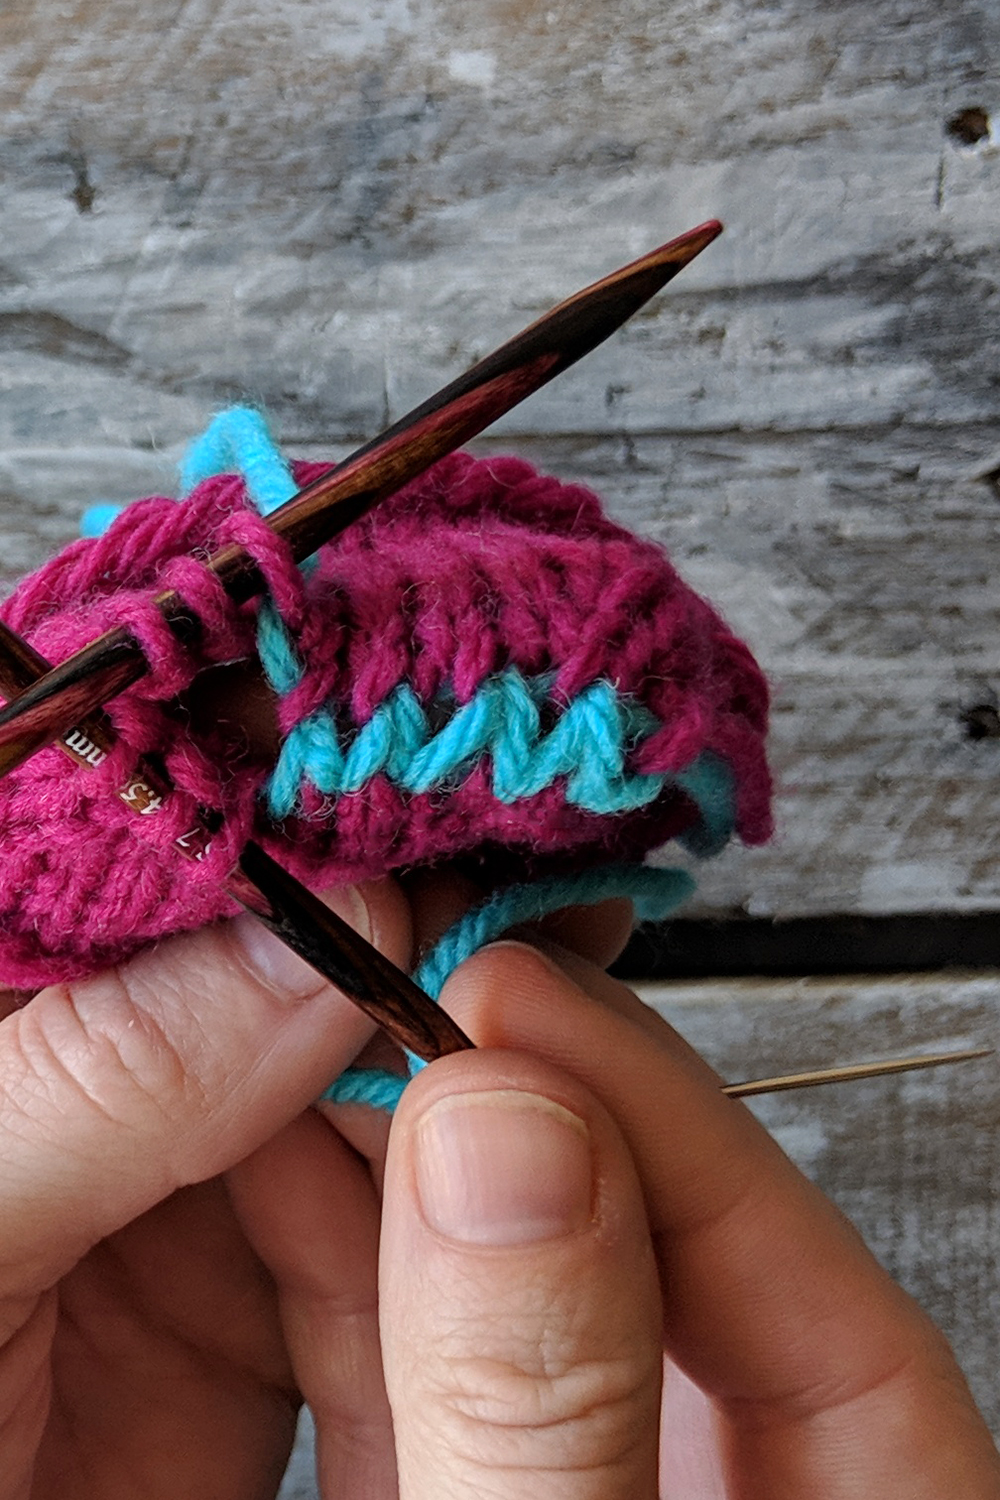
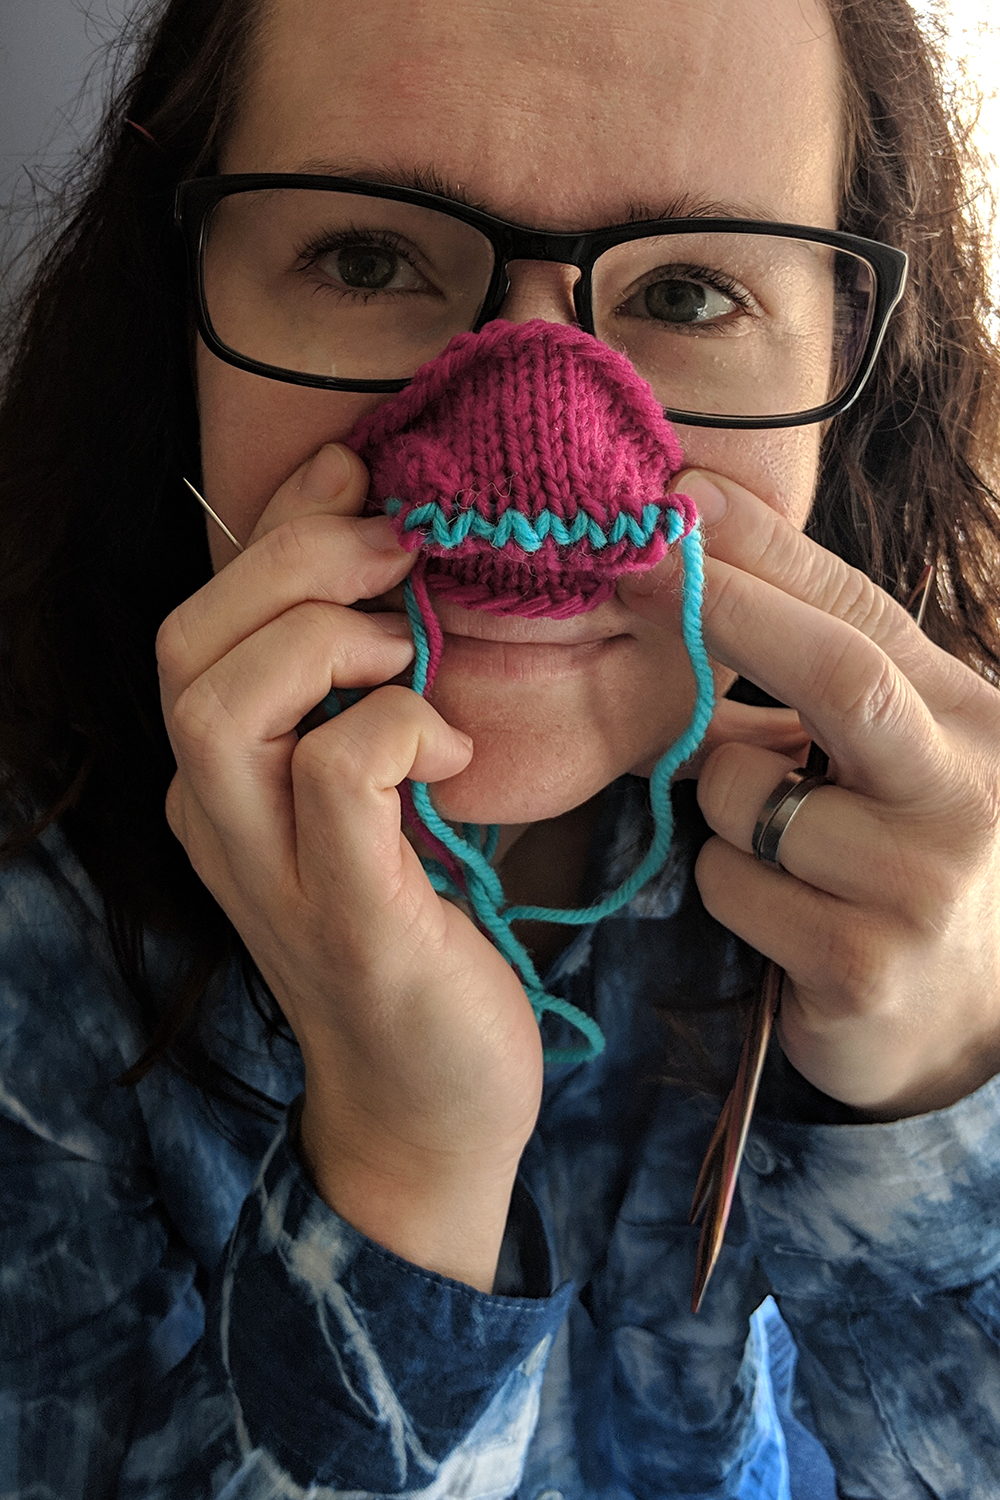
Heres what my practice toe looks like after a few more passes. You can see how the contrast yarn is forming a row of Vs, just like a row of stockinette stitch.
I didn’t tighten up my yarn enough while grafting, so the stitches look sloppy. But its okay! I can just take the tip of my tapestry needle and snug up the loose stitches, traveling the slack off to the side.
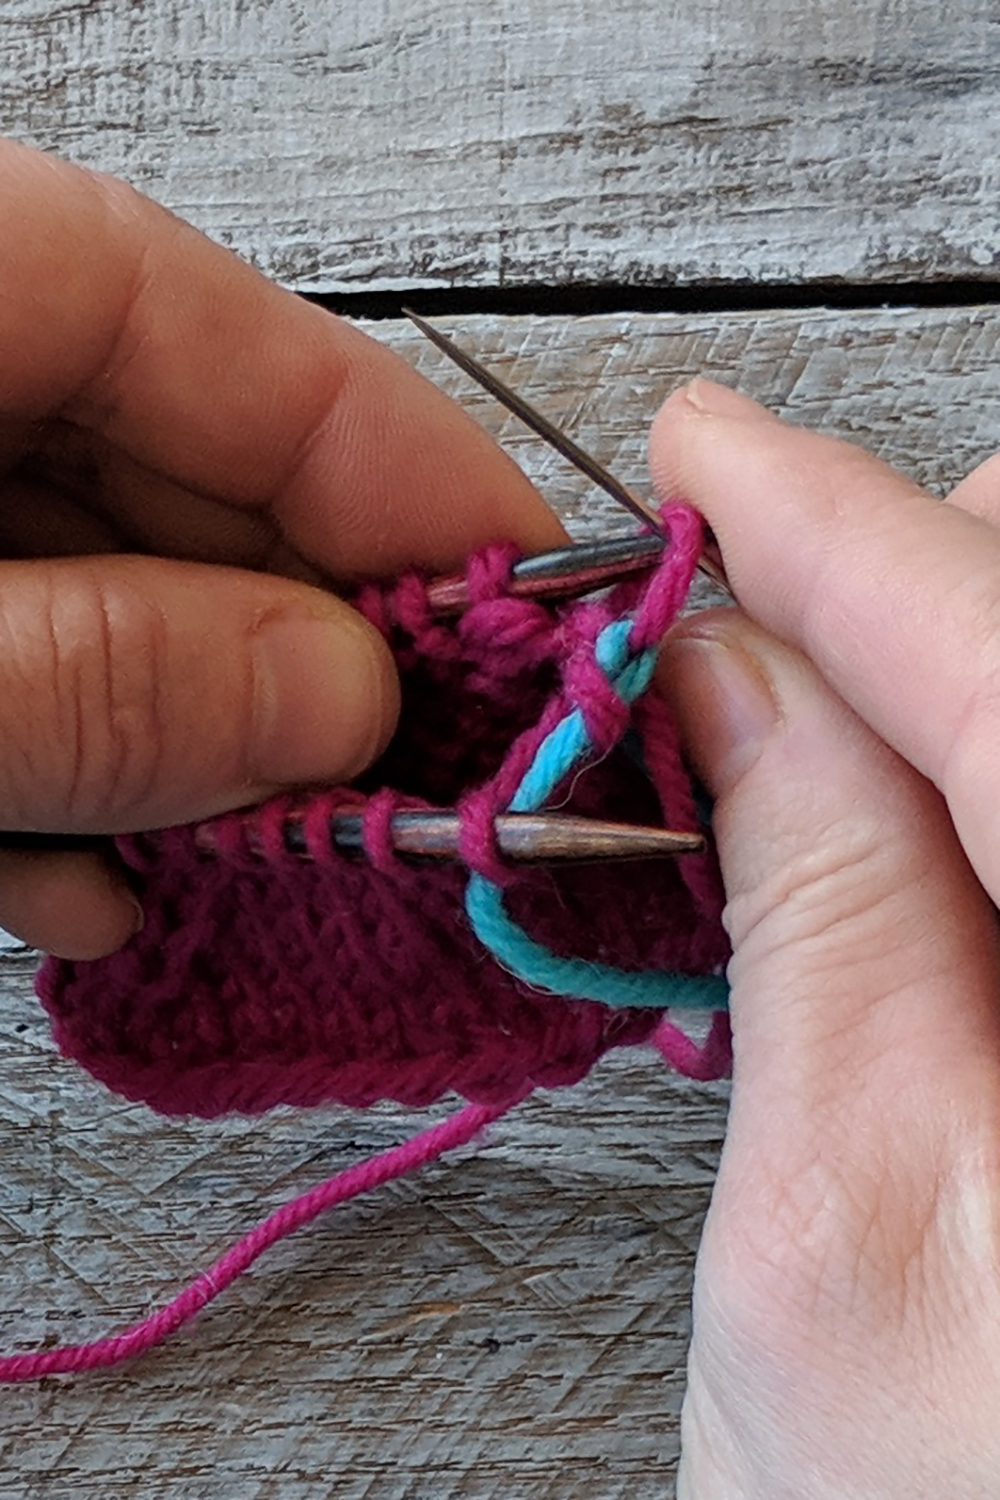
The final two steps when there is just one stitch remaining on each needle is: knitwise through the front stitch, purlwise through the back stitch. Pull the remaining yarn tail through. The end!
And actually, if you’re making a practice toe, you should definitely wear it on your face as a mask.
Remember, you can find the Series 2 12 Days of Winter Kit Patterns on Ravelry.