Day 9 of Winter – Series 2 Edition

This is part 9 in a 12 part series highlighting designs from our 12 Days of Winter, Series 2 Edition.

Ornaments are meant to be special. Often they are passed down to us. Perhaps they’ve been collected from some treasured place, or maybe they are handmade. After all, what is more charming than lovingly made handmade items?

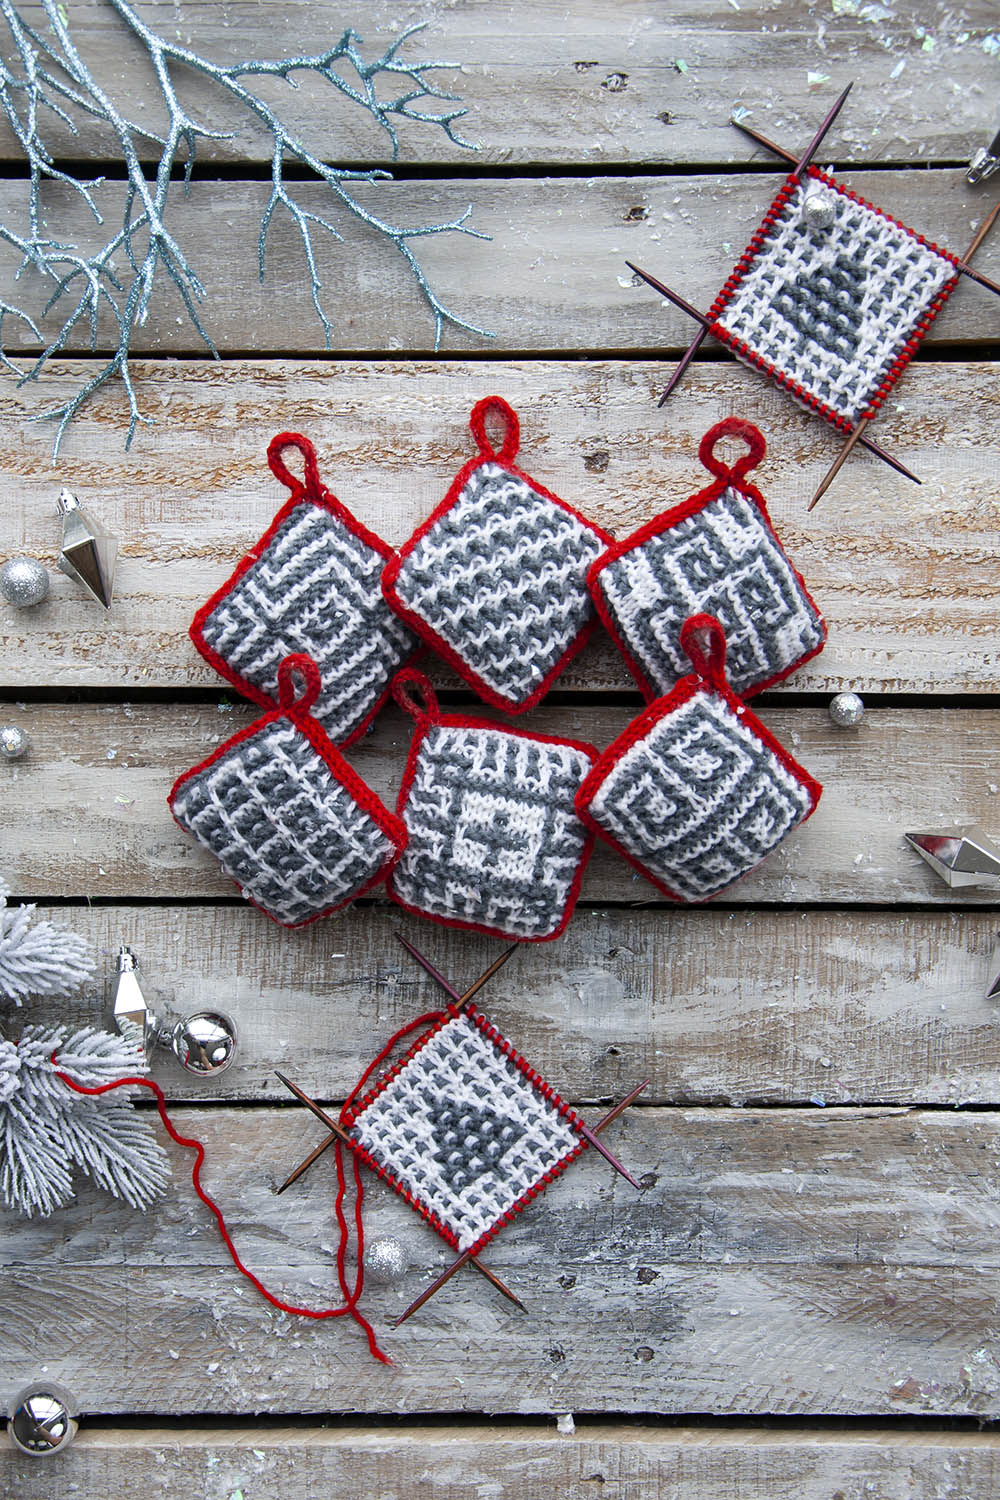
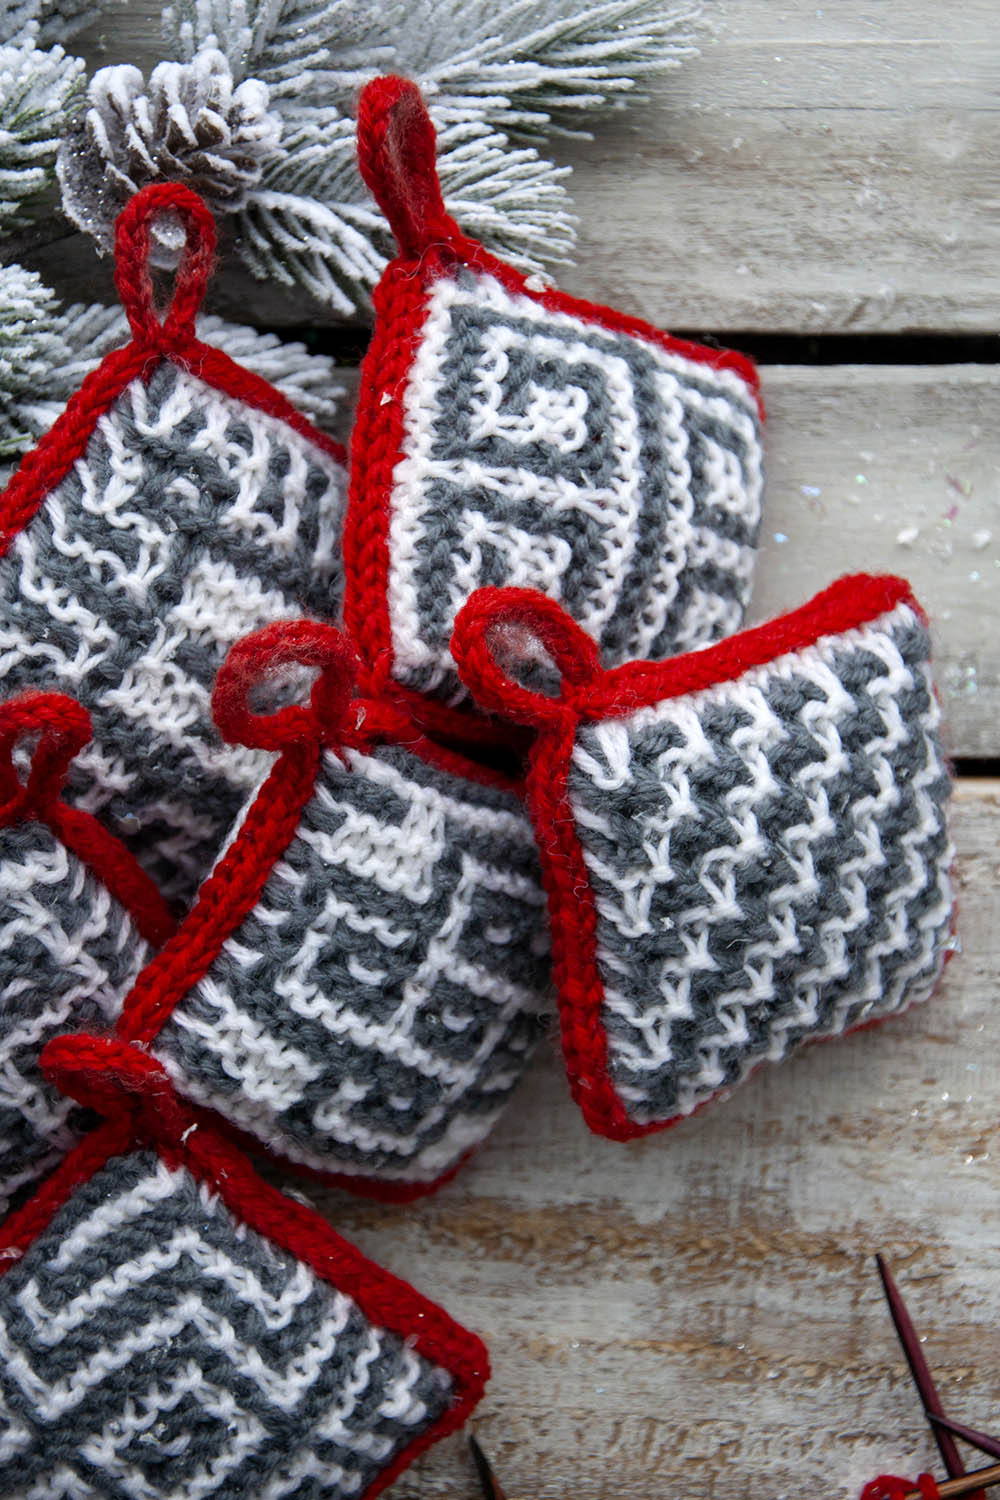
The  Mosaic Ornaments pattern calls for 3 balls (1 of each color) of Deluxe DK Superwash. Though there are seven different mosaic designs included in the pattern, the yarn amounts are enough to make at least 40 ornaments. Quite a bargain, eh?

Each ornament begins by knitting the two sides separately. They are then joined with a three-needle I-Cord bind-off. Sound tough? It’s not, because I’m adding a step that takes this from a three-needle bind-off to just (the usual) two needles. Keep on reading to see how I like to do it!
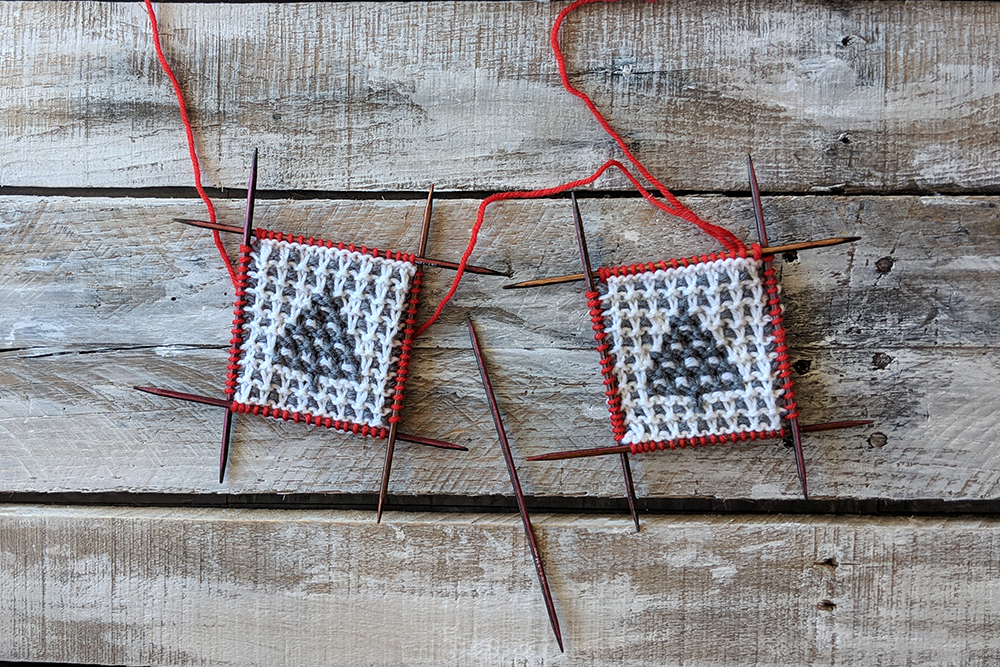
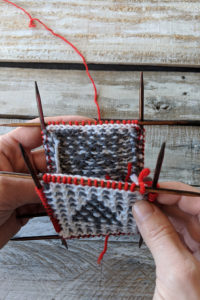
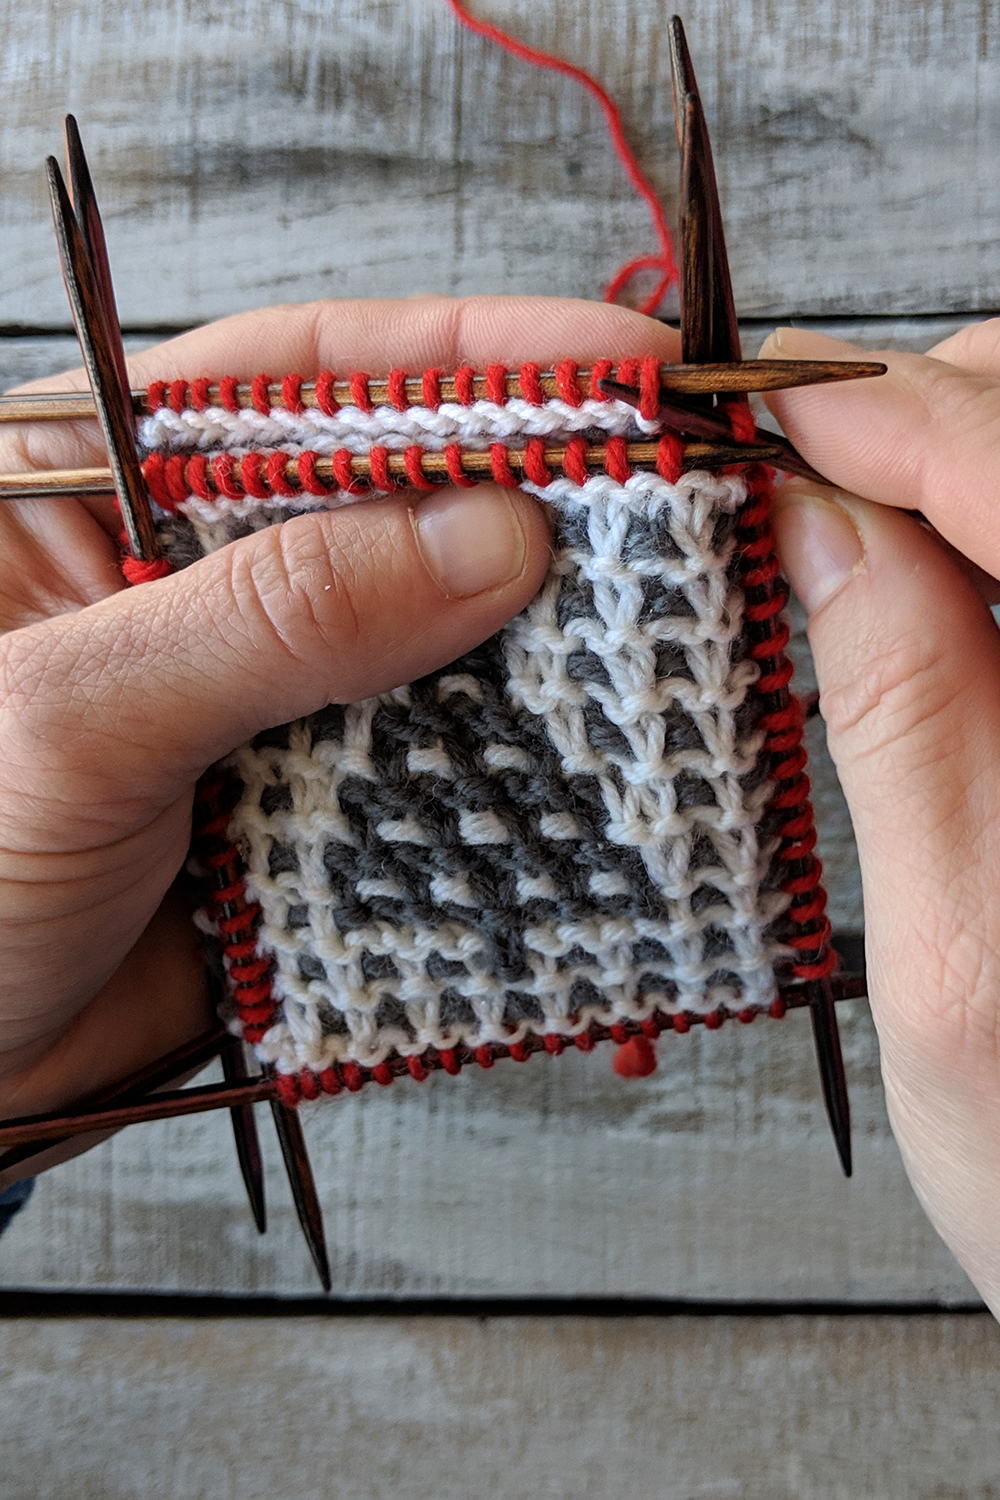
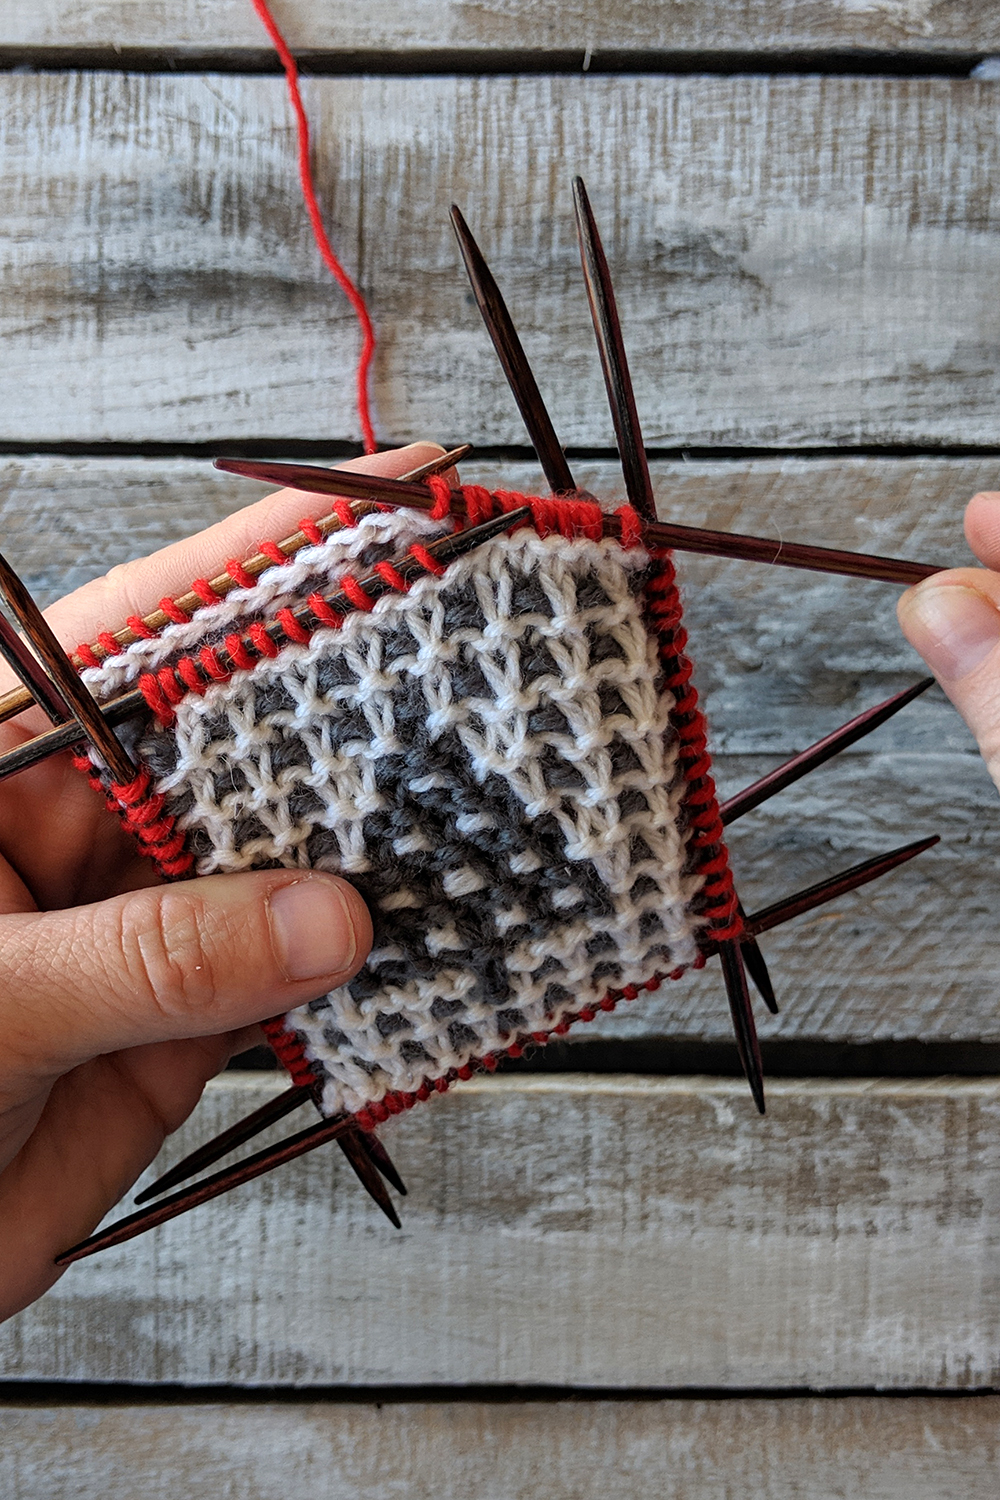
Here you can see that I have two sides of the Trees ornament, all ready to be joined.

What I haven’t shown in these images is that the first step is to pick up and knit stitches all the way around each square with the contrasting red color. So that’s where we are at now – stitches have been picked up around each square.

Next, place both pieces with their wrong sides facing together.
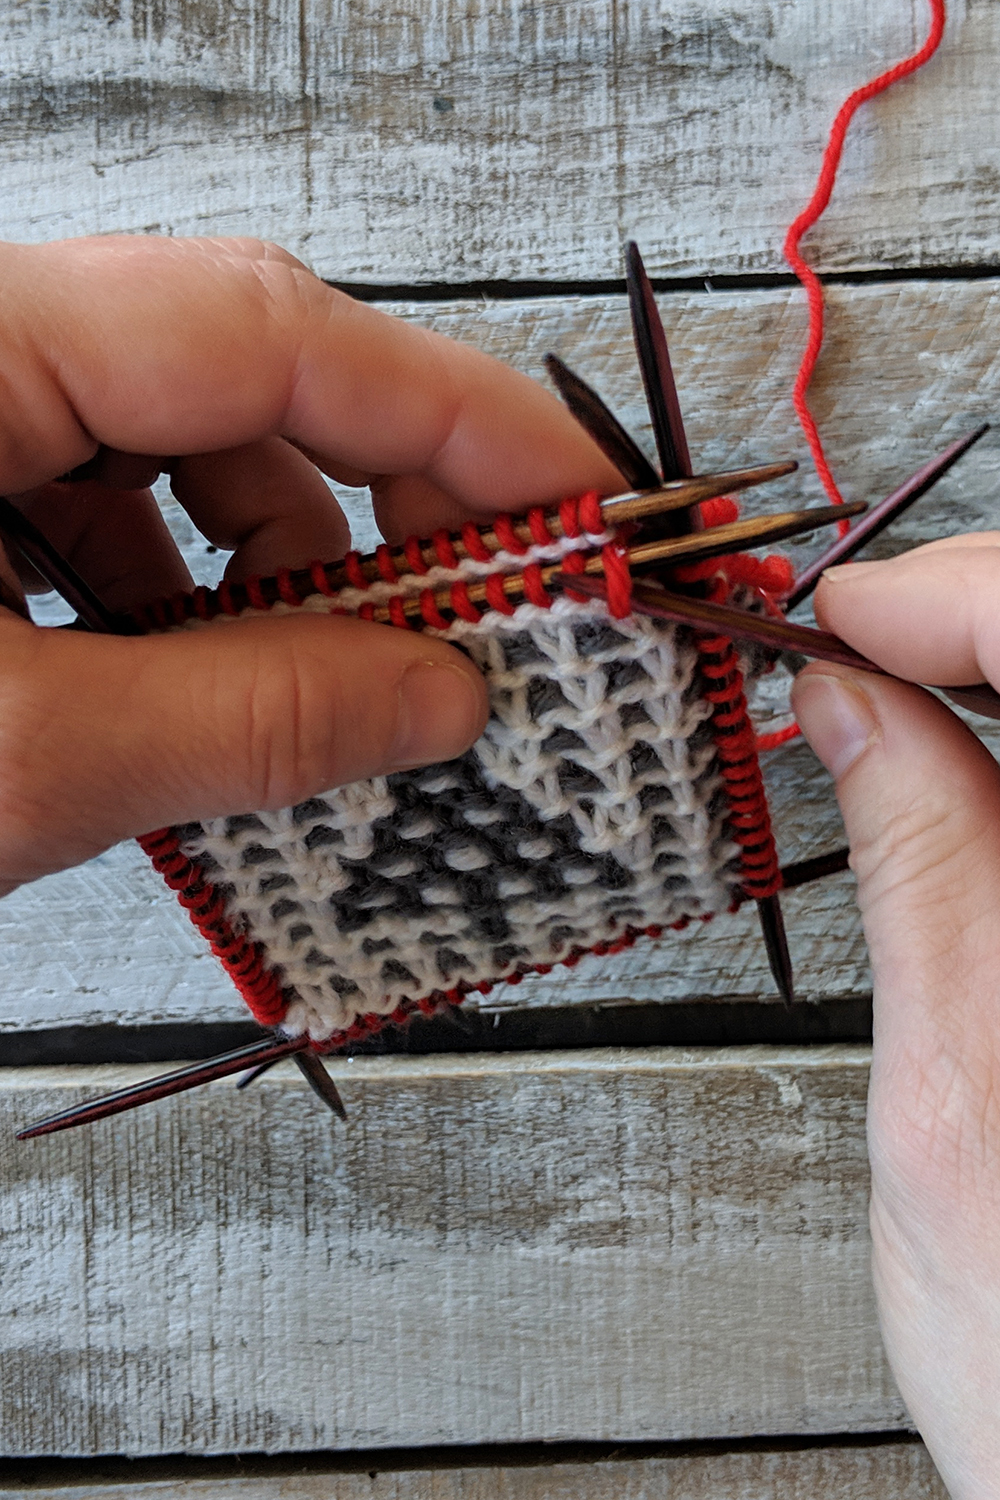
This is similar to the prep for a tubular bind-off.

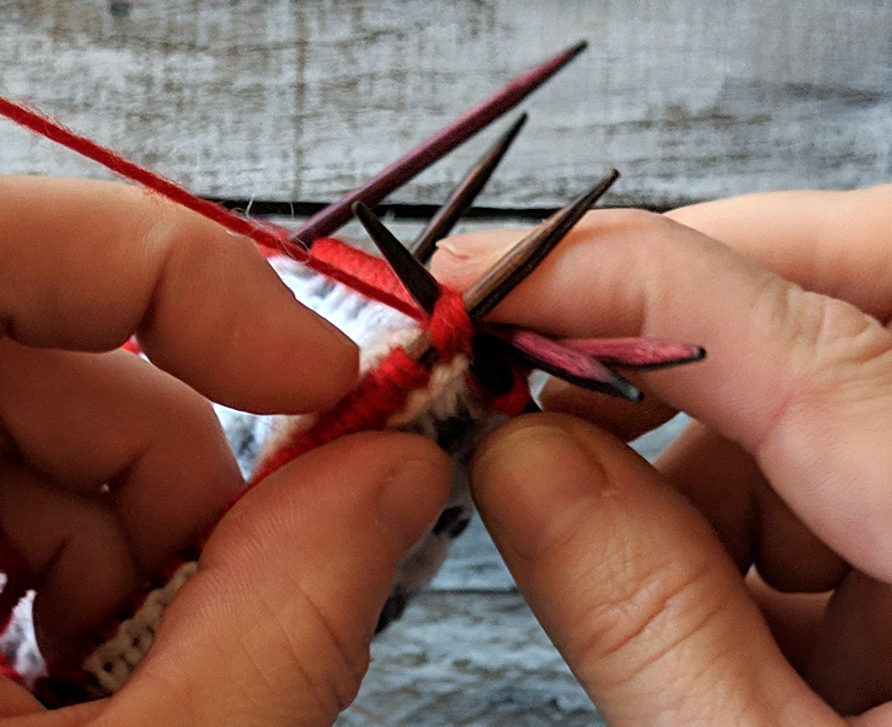
What I’m doing now is certainly not absolutely necessary, but I find it makes the process so much easier. With a separate double pointed needle (dpn), first I slide a stitch from the front needle onto the spare dpn.

Next, I slide a stitch from the back needle onto this same dpn.

Keep going, alternating front and back needles/stitches until all stitches from one front and back needle have been transferred to the spare.
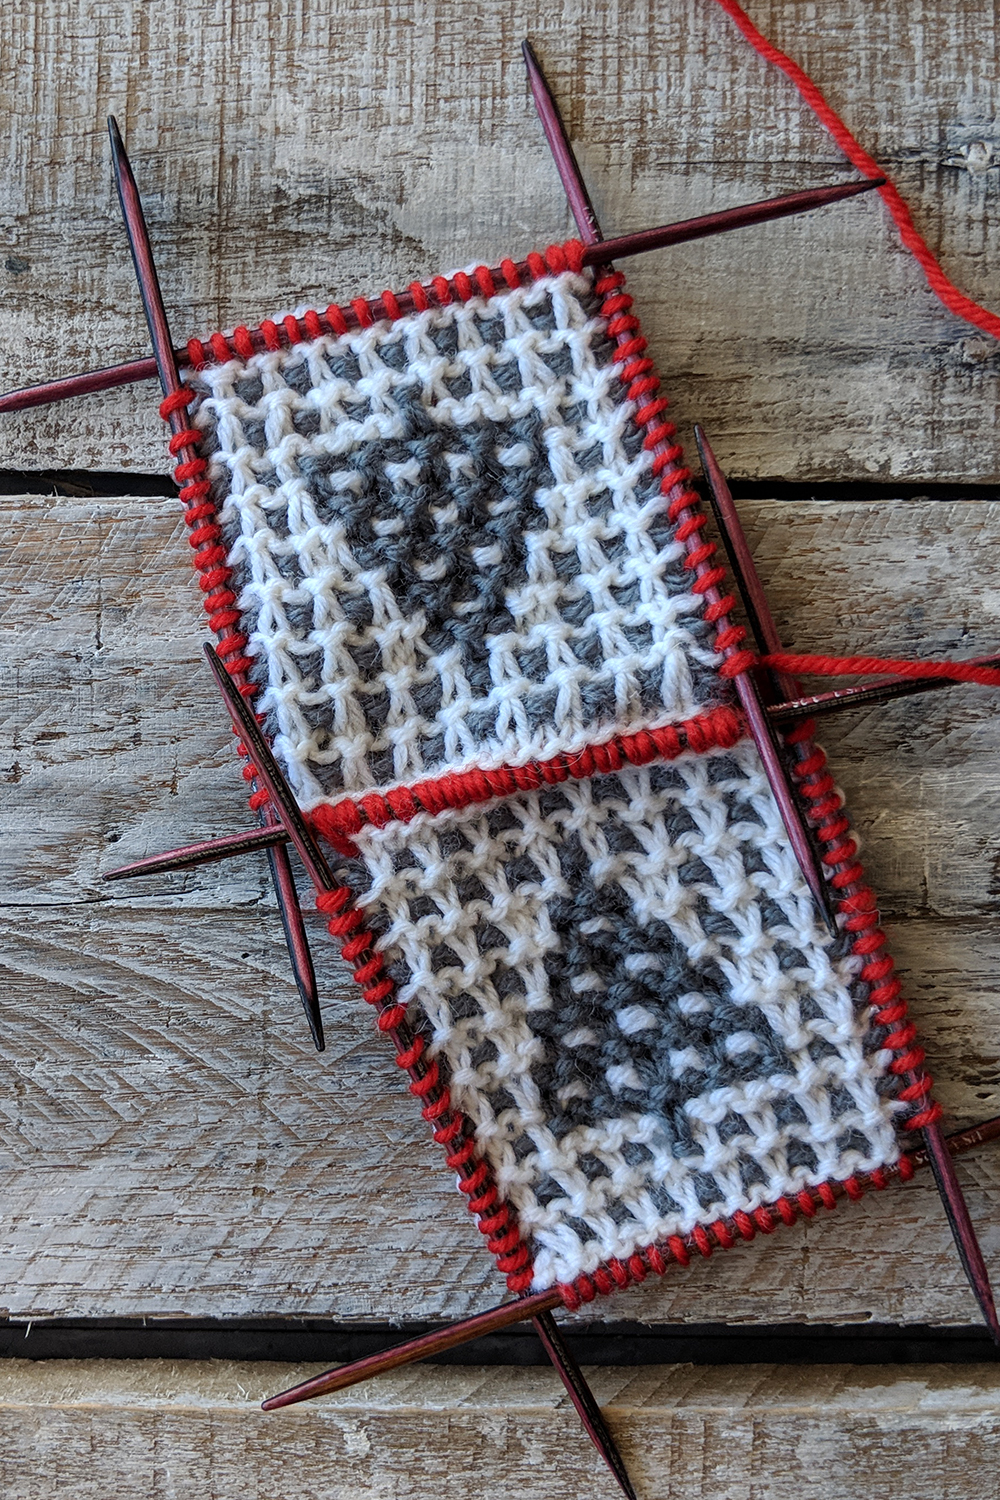
All the stitches from each needle are transferred. We’re ready to bind off!

Now that the stitches from both needles have been combined onto one needle, all we’re really doing is an I-Cord bind-off, but with one extra step.
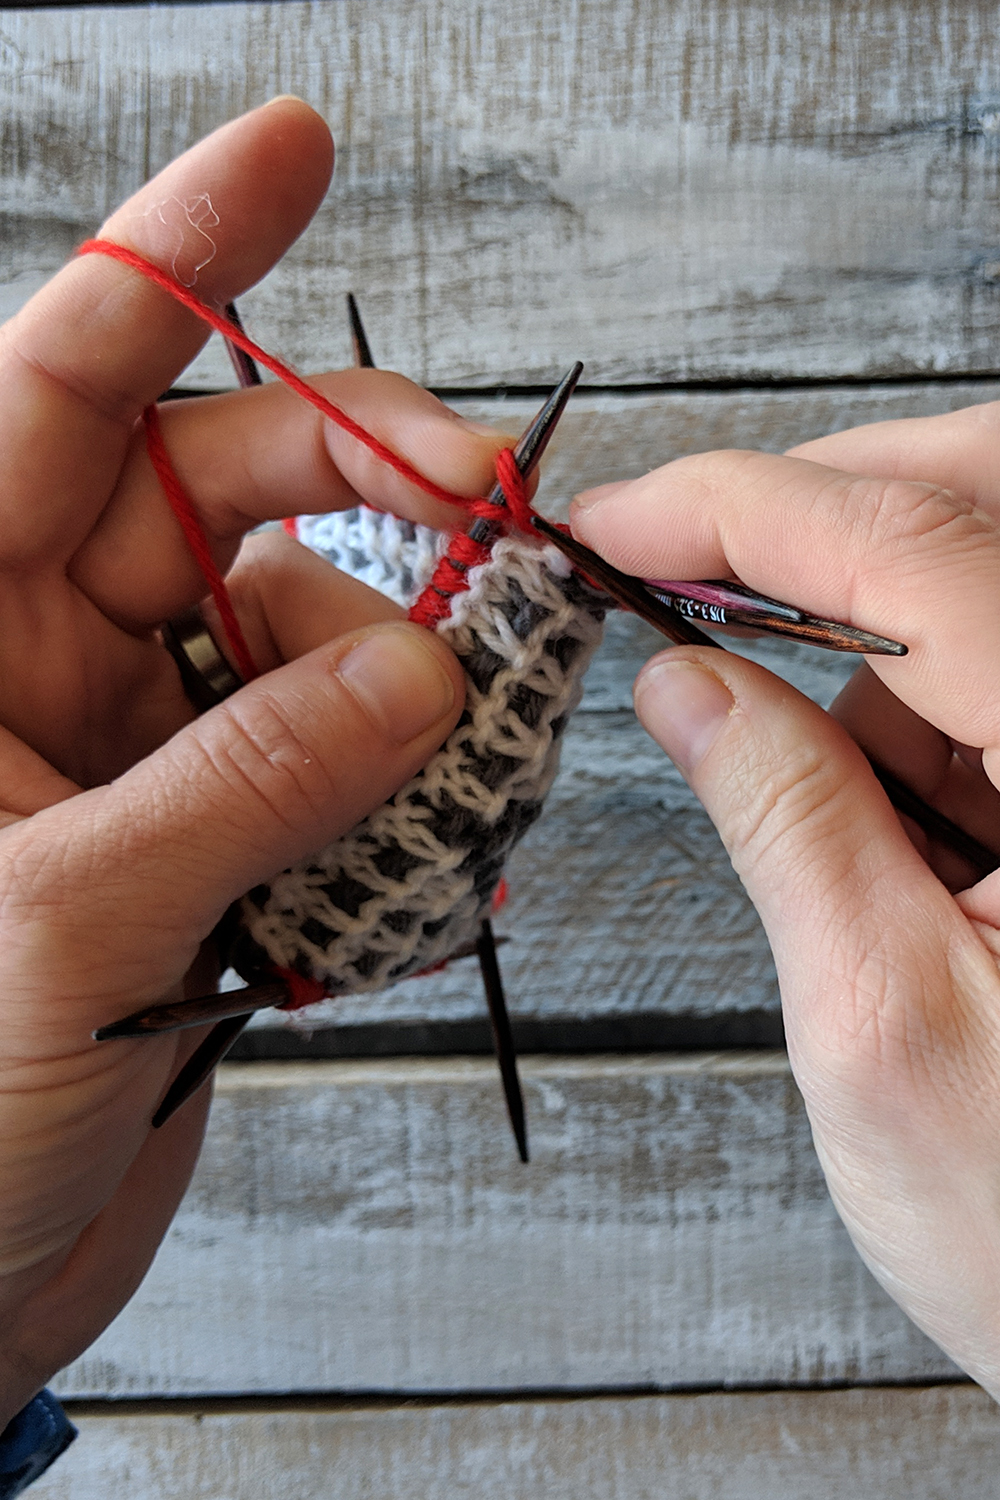
To start, cast on two stitches using the knitted method. These are our I-Cord stitches.

Next, knit 1 (the first cast-on stitch), then k3tog tbl (knit three stitches together through the back loops). These three stitches are: the second cast-on stitch, a stitch from the prior front needle, and a stitch from the prior back needle. Slip the resulting 2 stitches back to the working left needle. Then: * K1, k3tog tbl, slip these 2 sts back to the left needle; rep from *

This baby 2-stitch I-Cord is works well to join the sides of the ornament and gives a nice finished look to the project, as well.
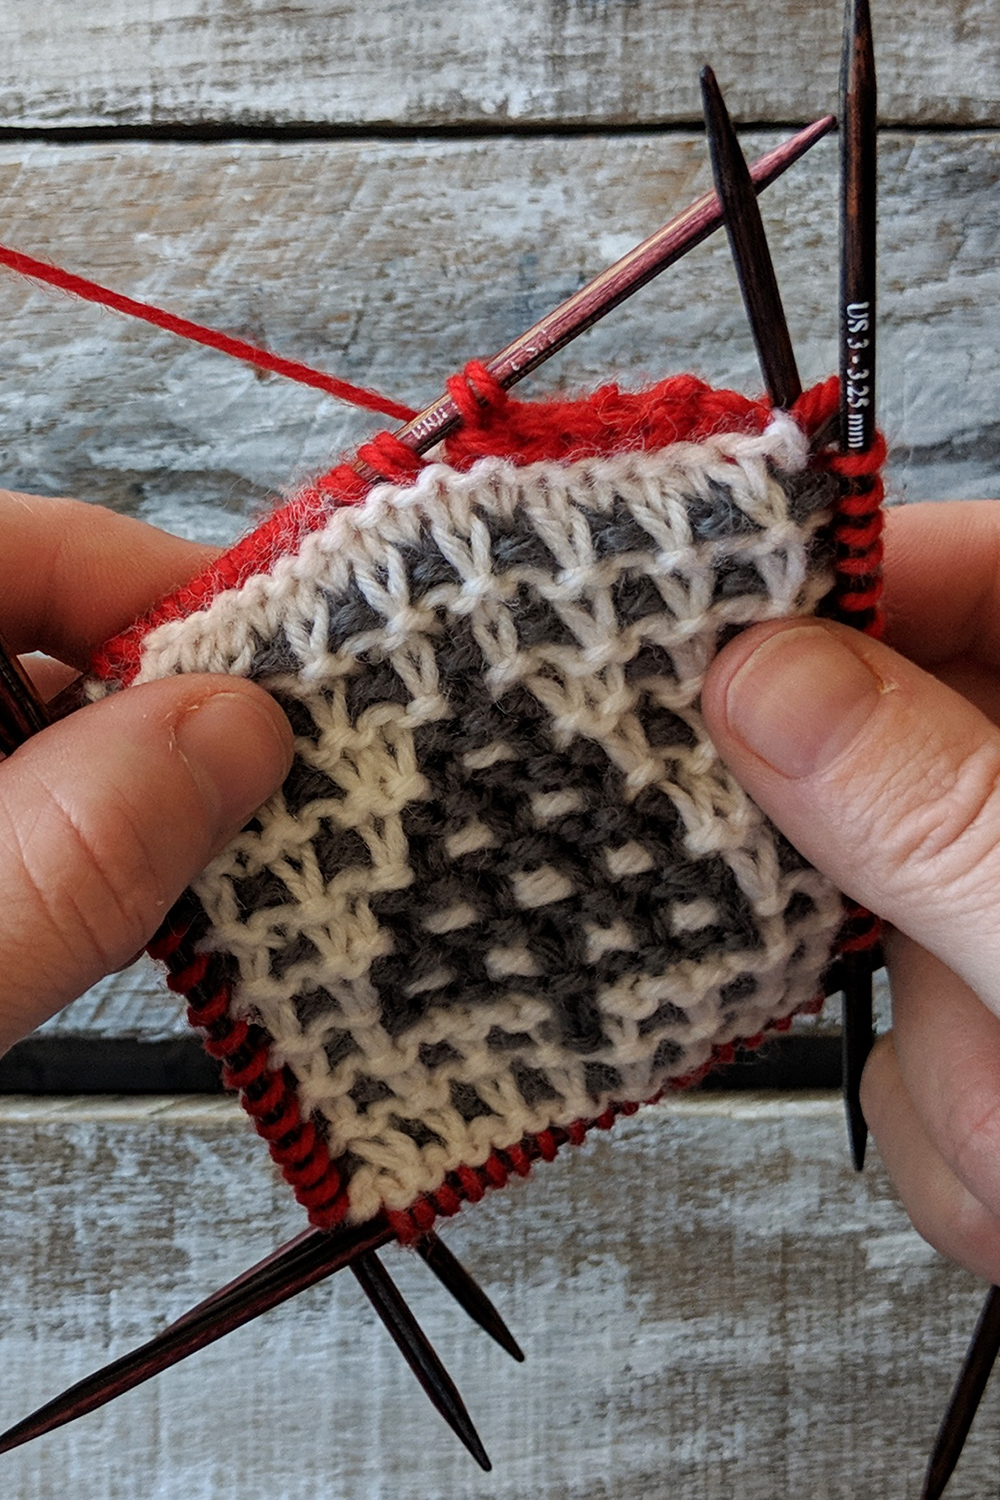
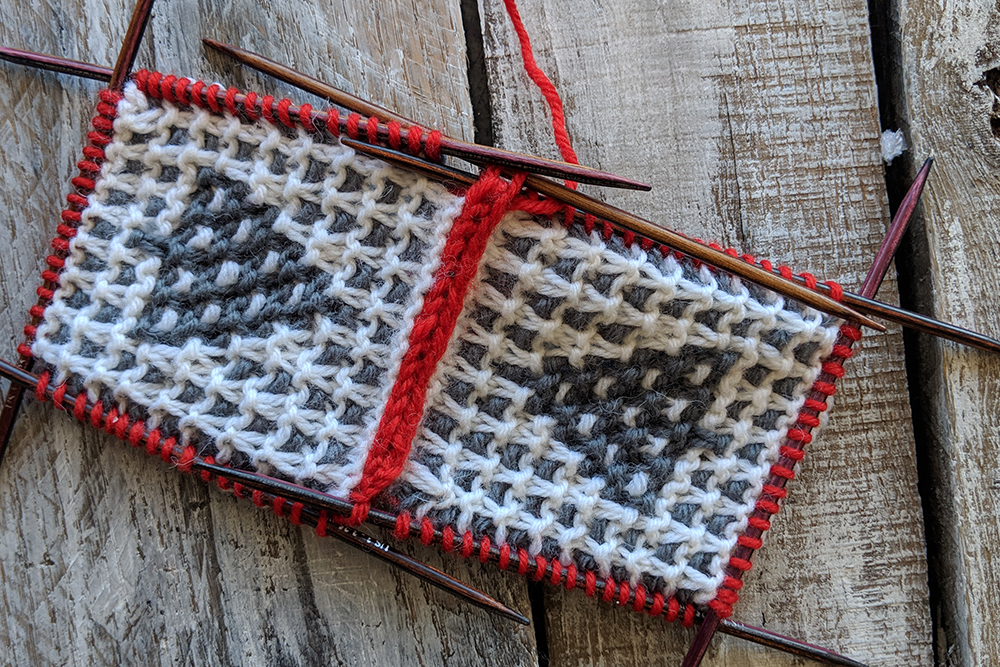
Here’s what it looks like after the side is partly joined.
All done!

Remember, you can find the Series 2 12 Days of Winter patterns on Ravelry!
Halloween Projects

It’s that time of year! Little ghouls and ghosties run amok in the neighborhood, and we love crafting fun things for them – and for us!  Let’s take a look at a few free patterns.

We want candy. More candy. And not the cheap stuff.

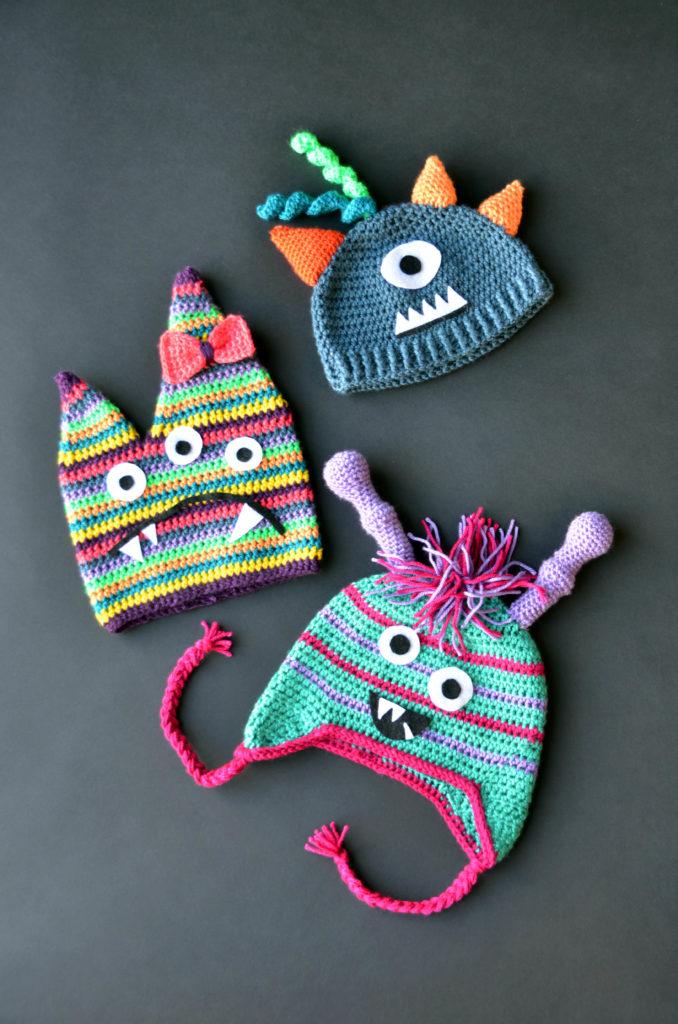
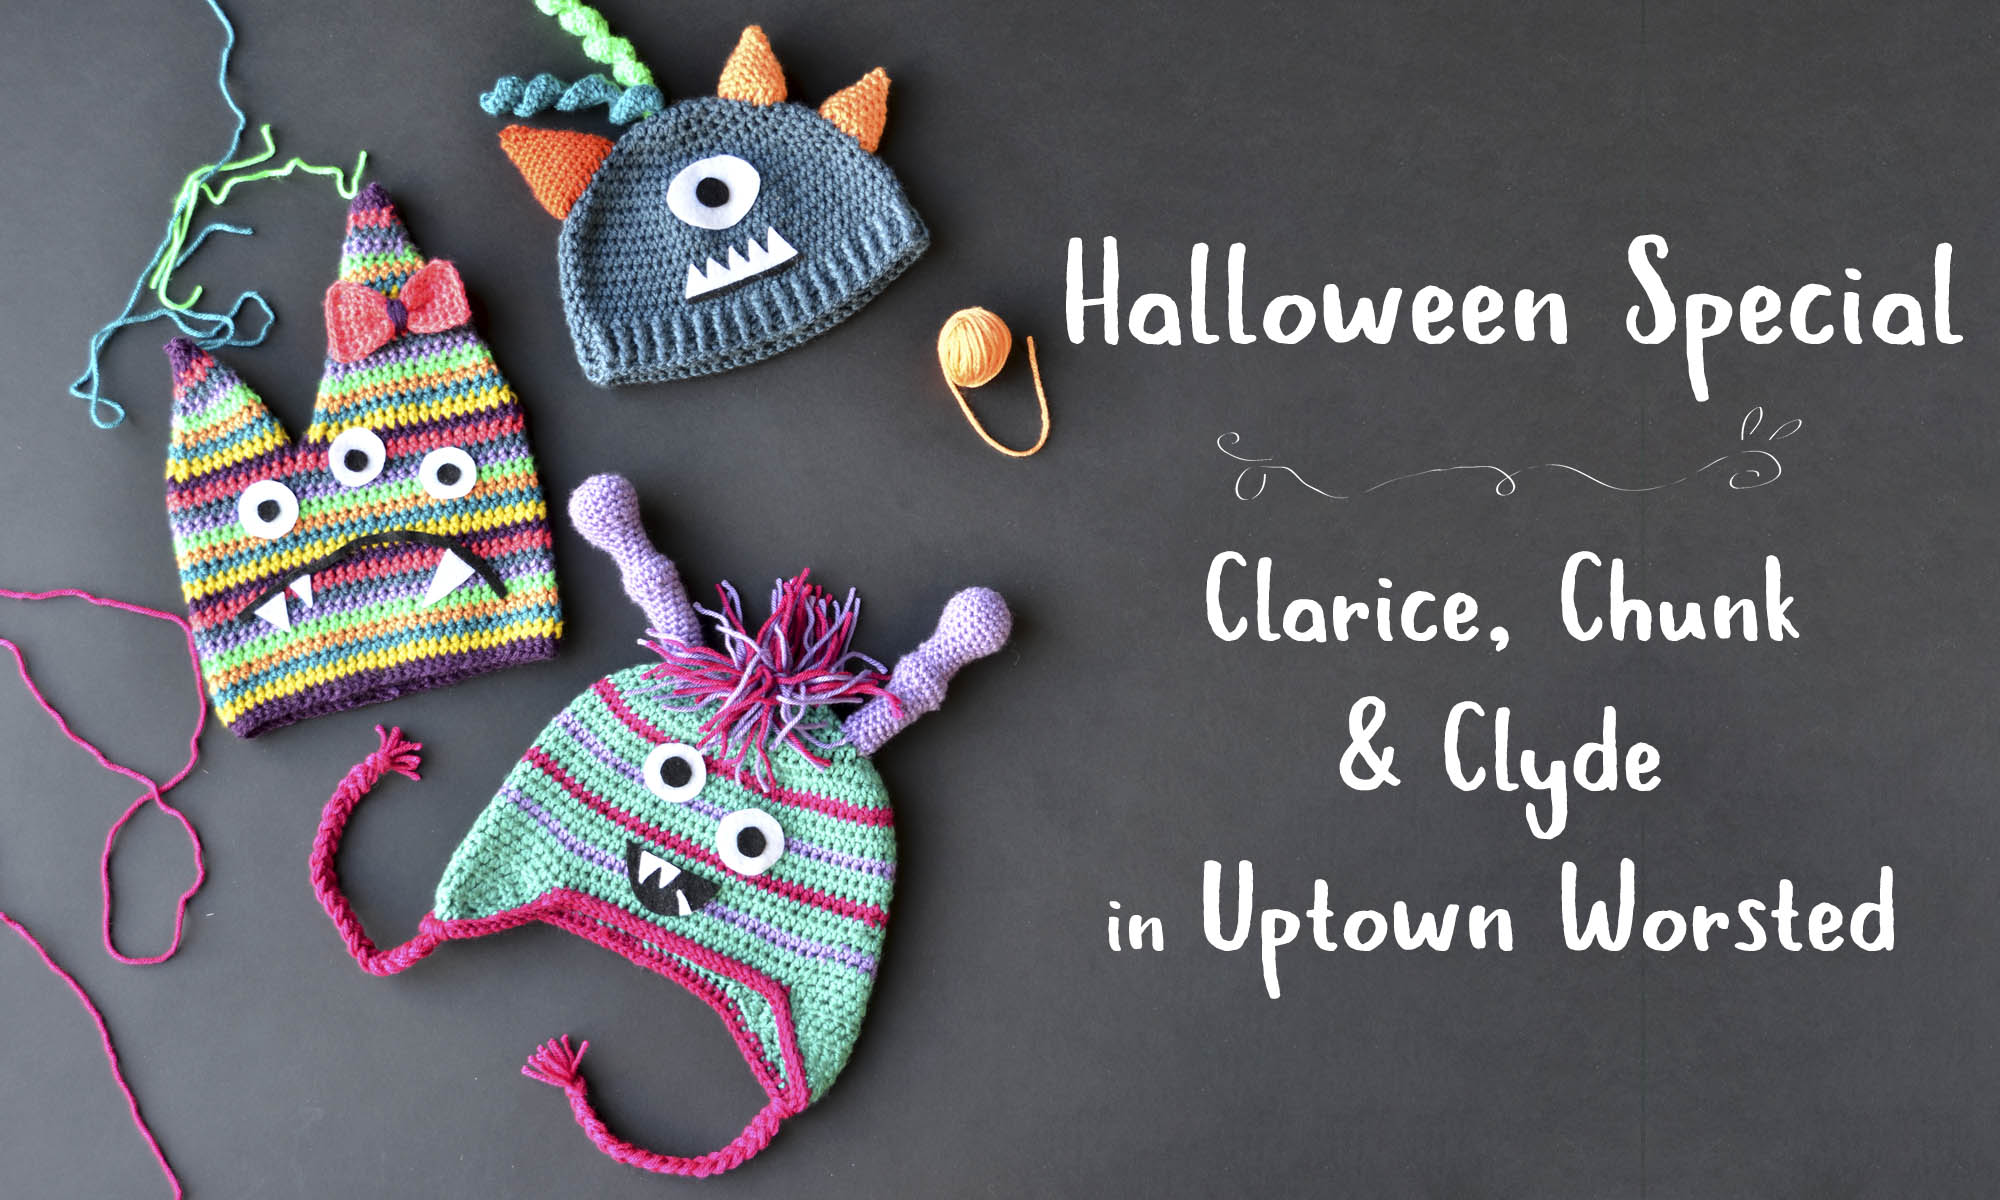
First, Clarice, Chunk, and Clyde in Uptown Worsted (pattern link here).

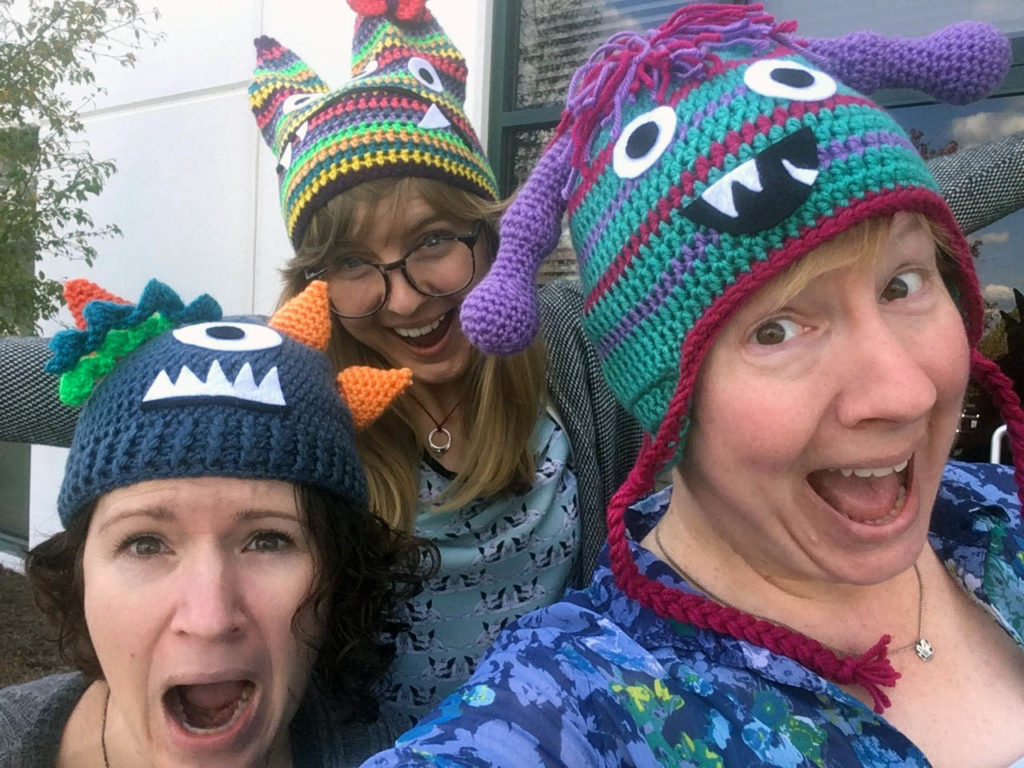
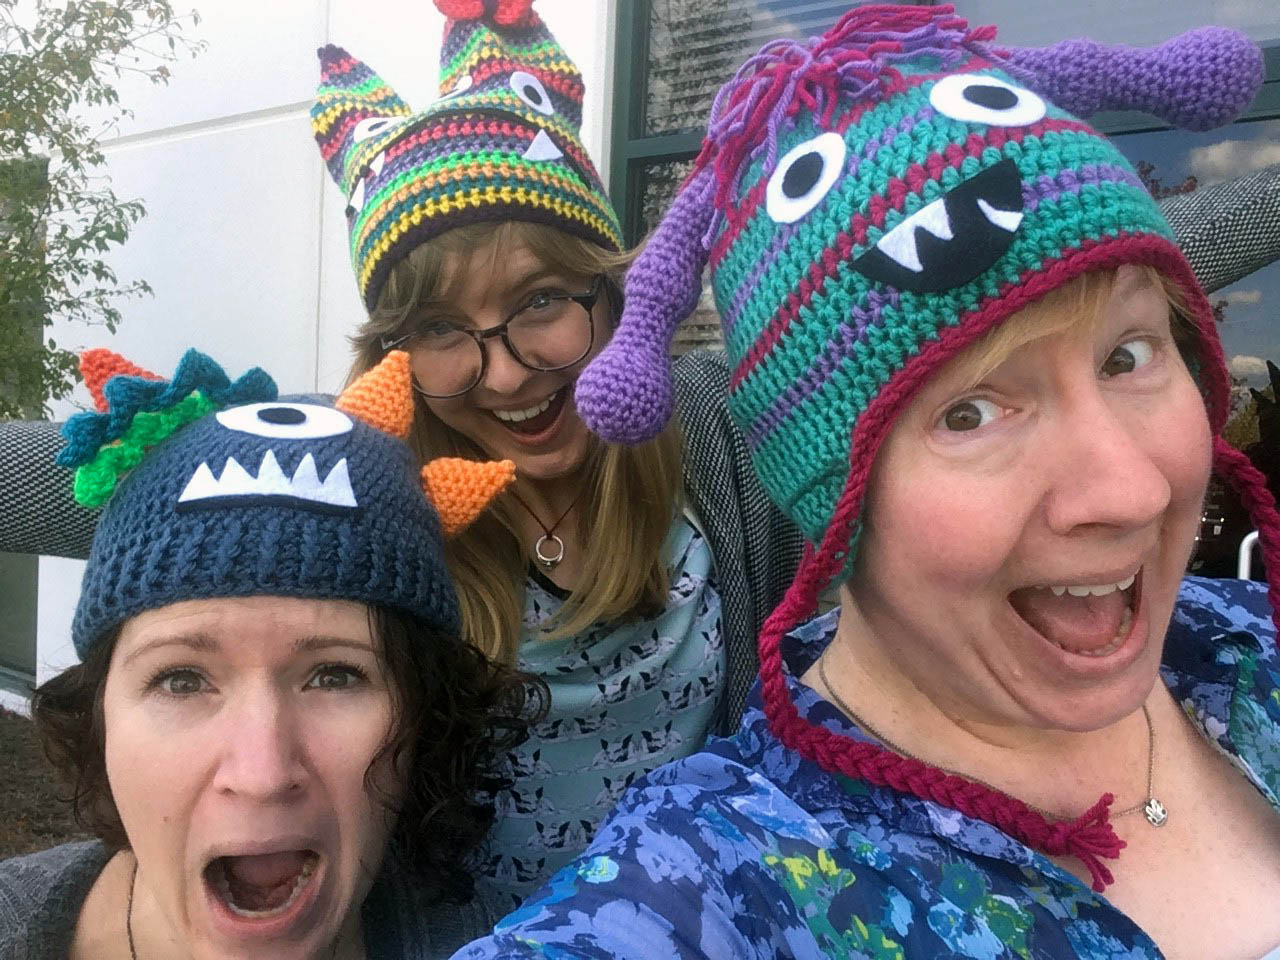
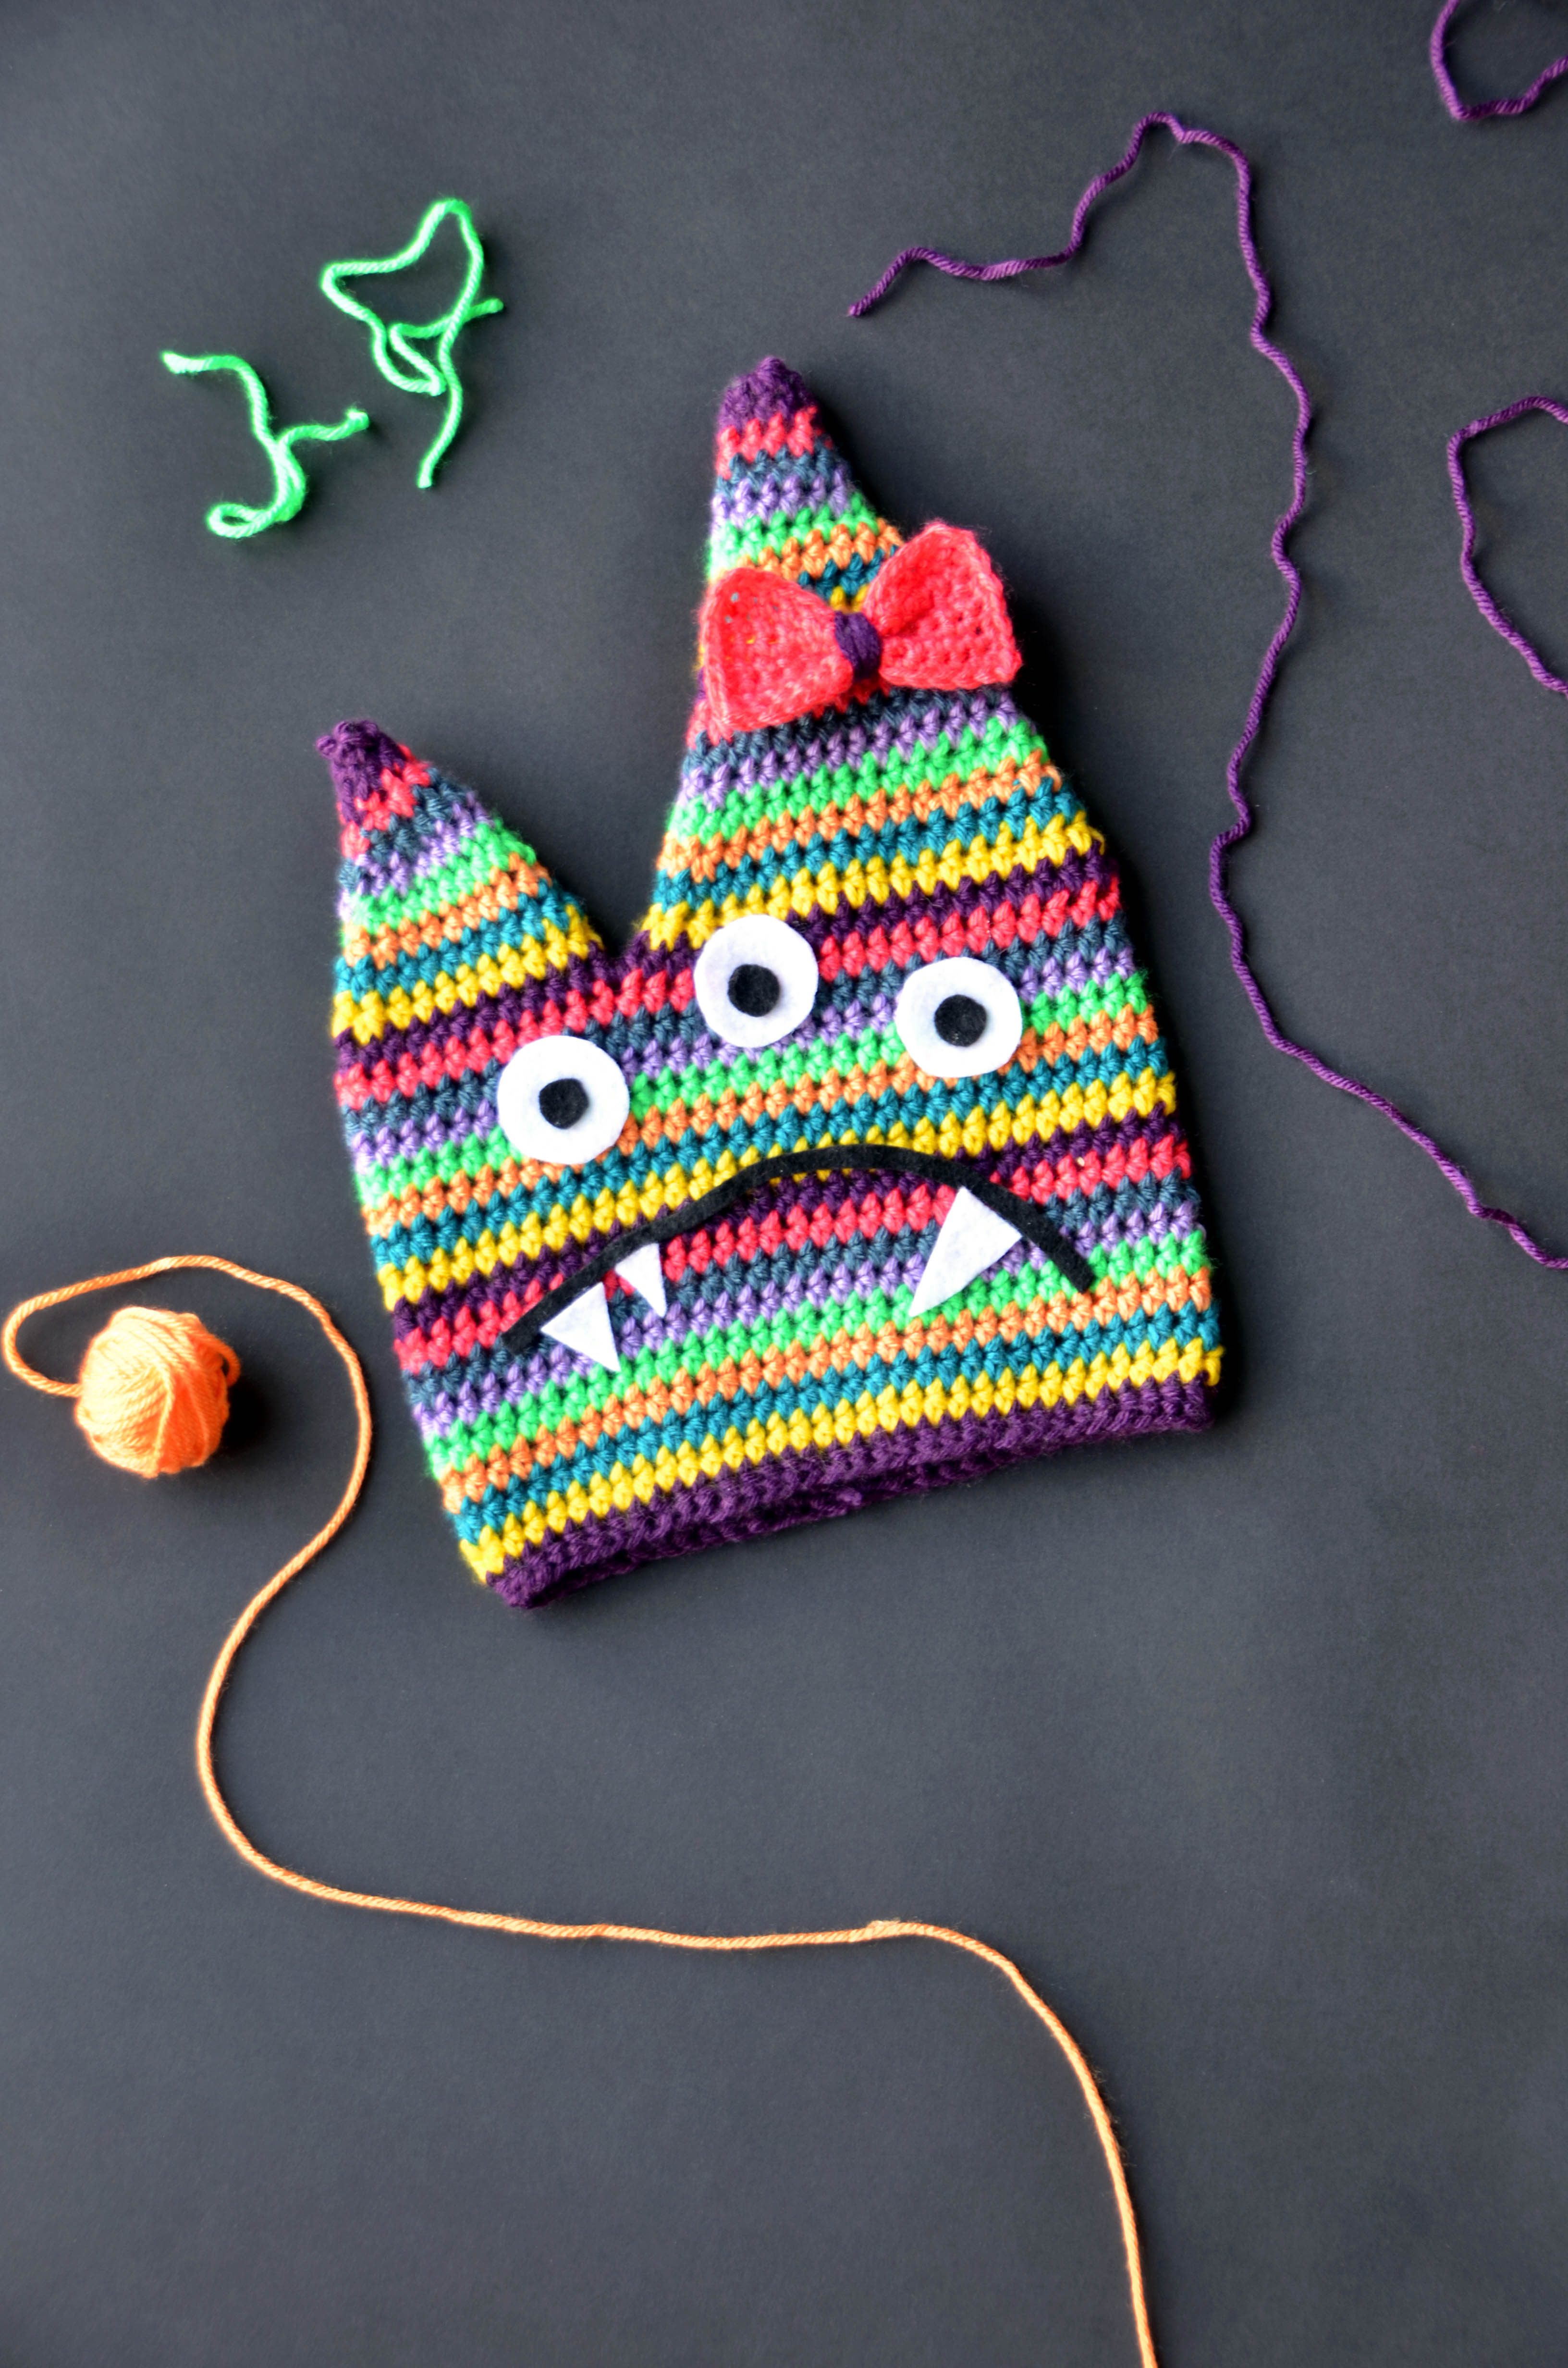
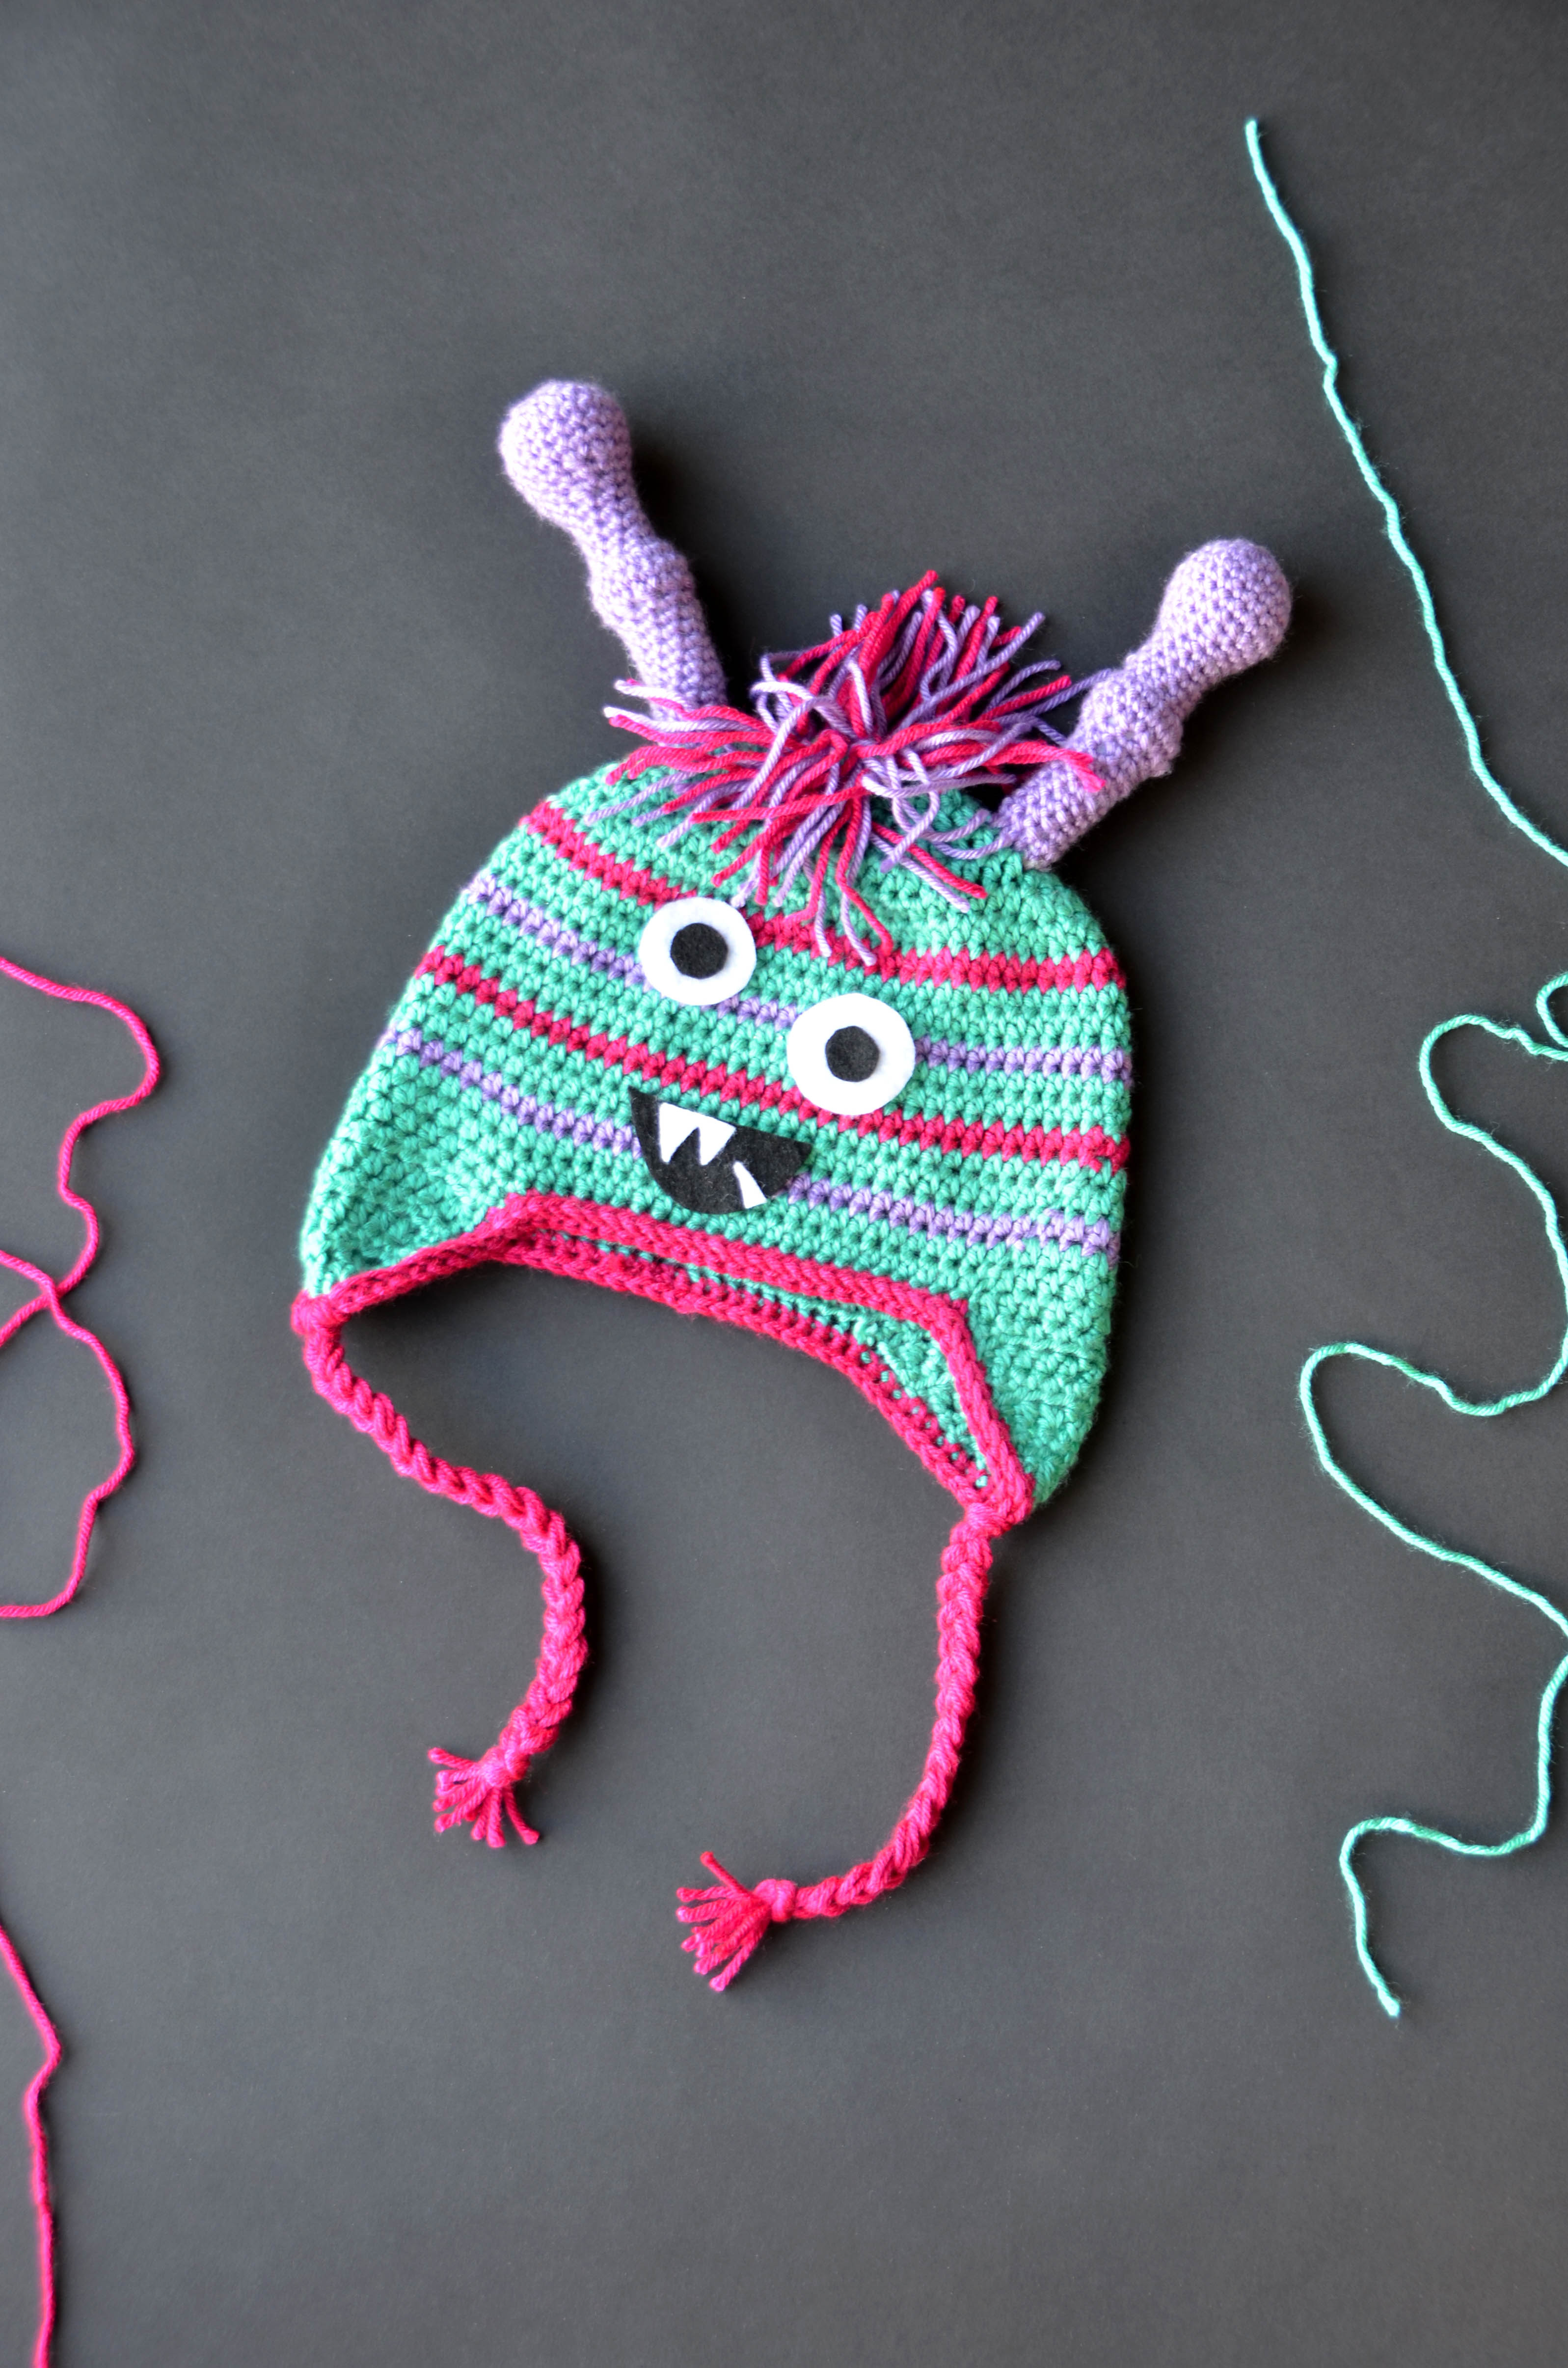
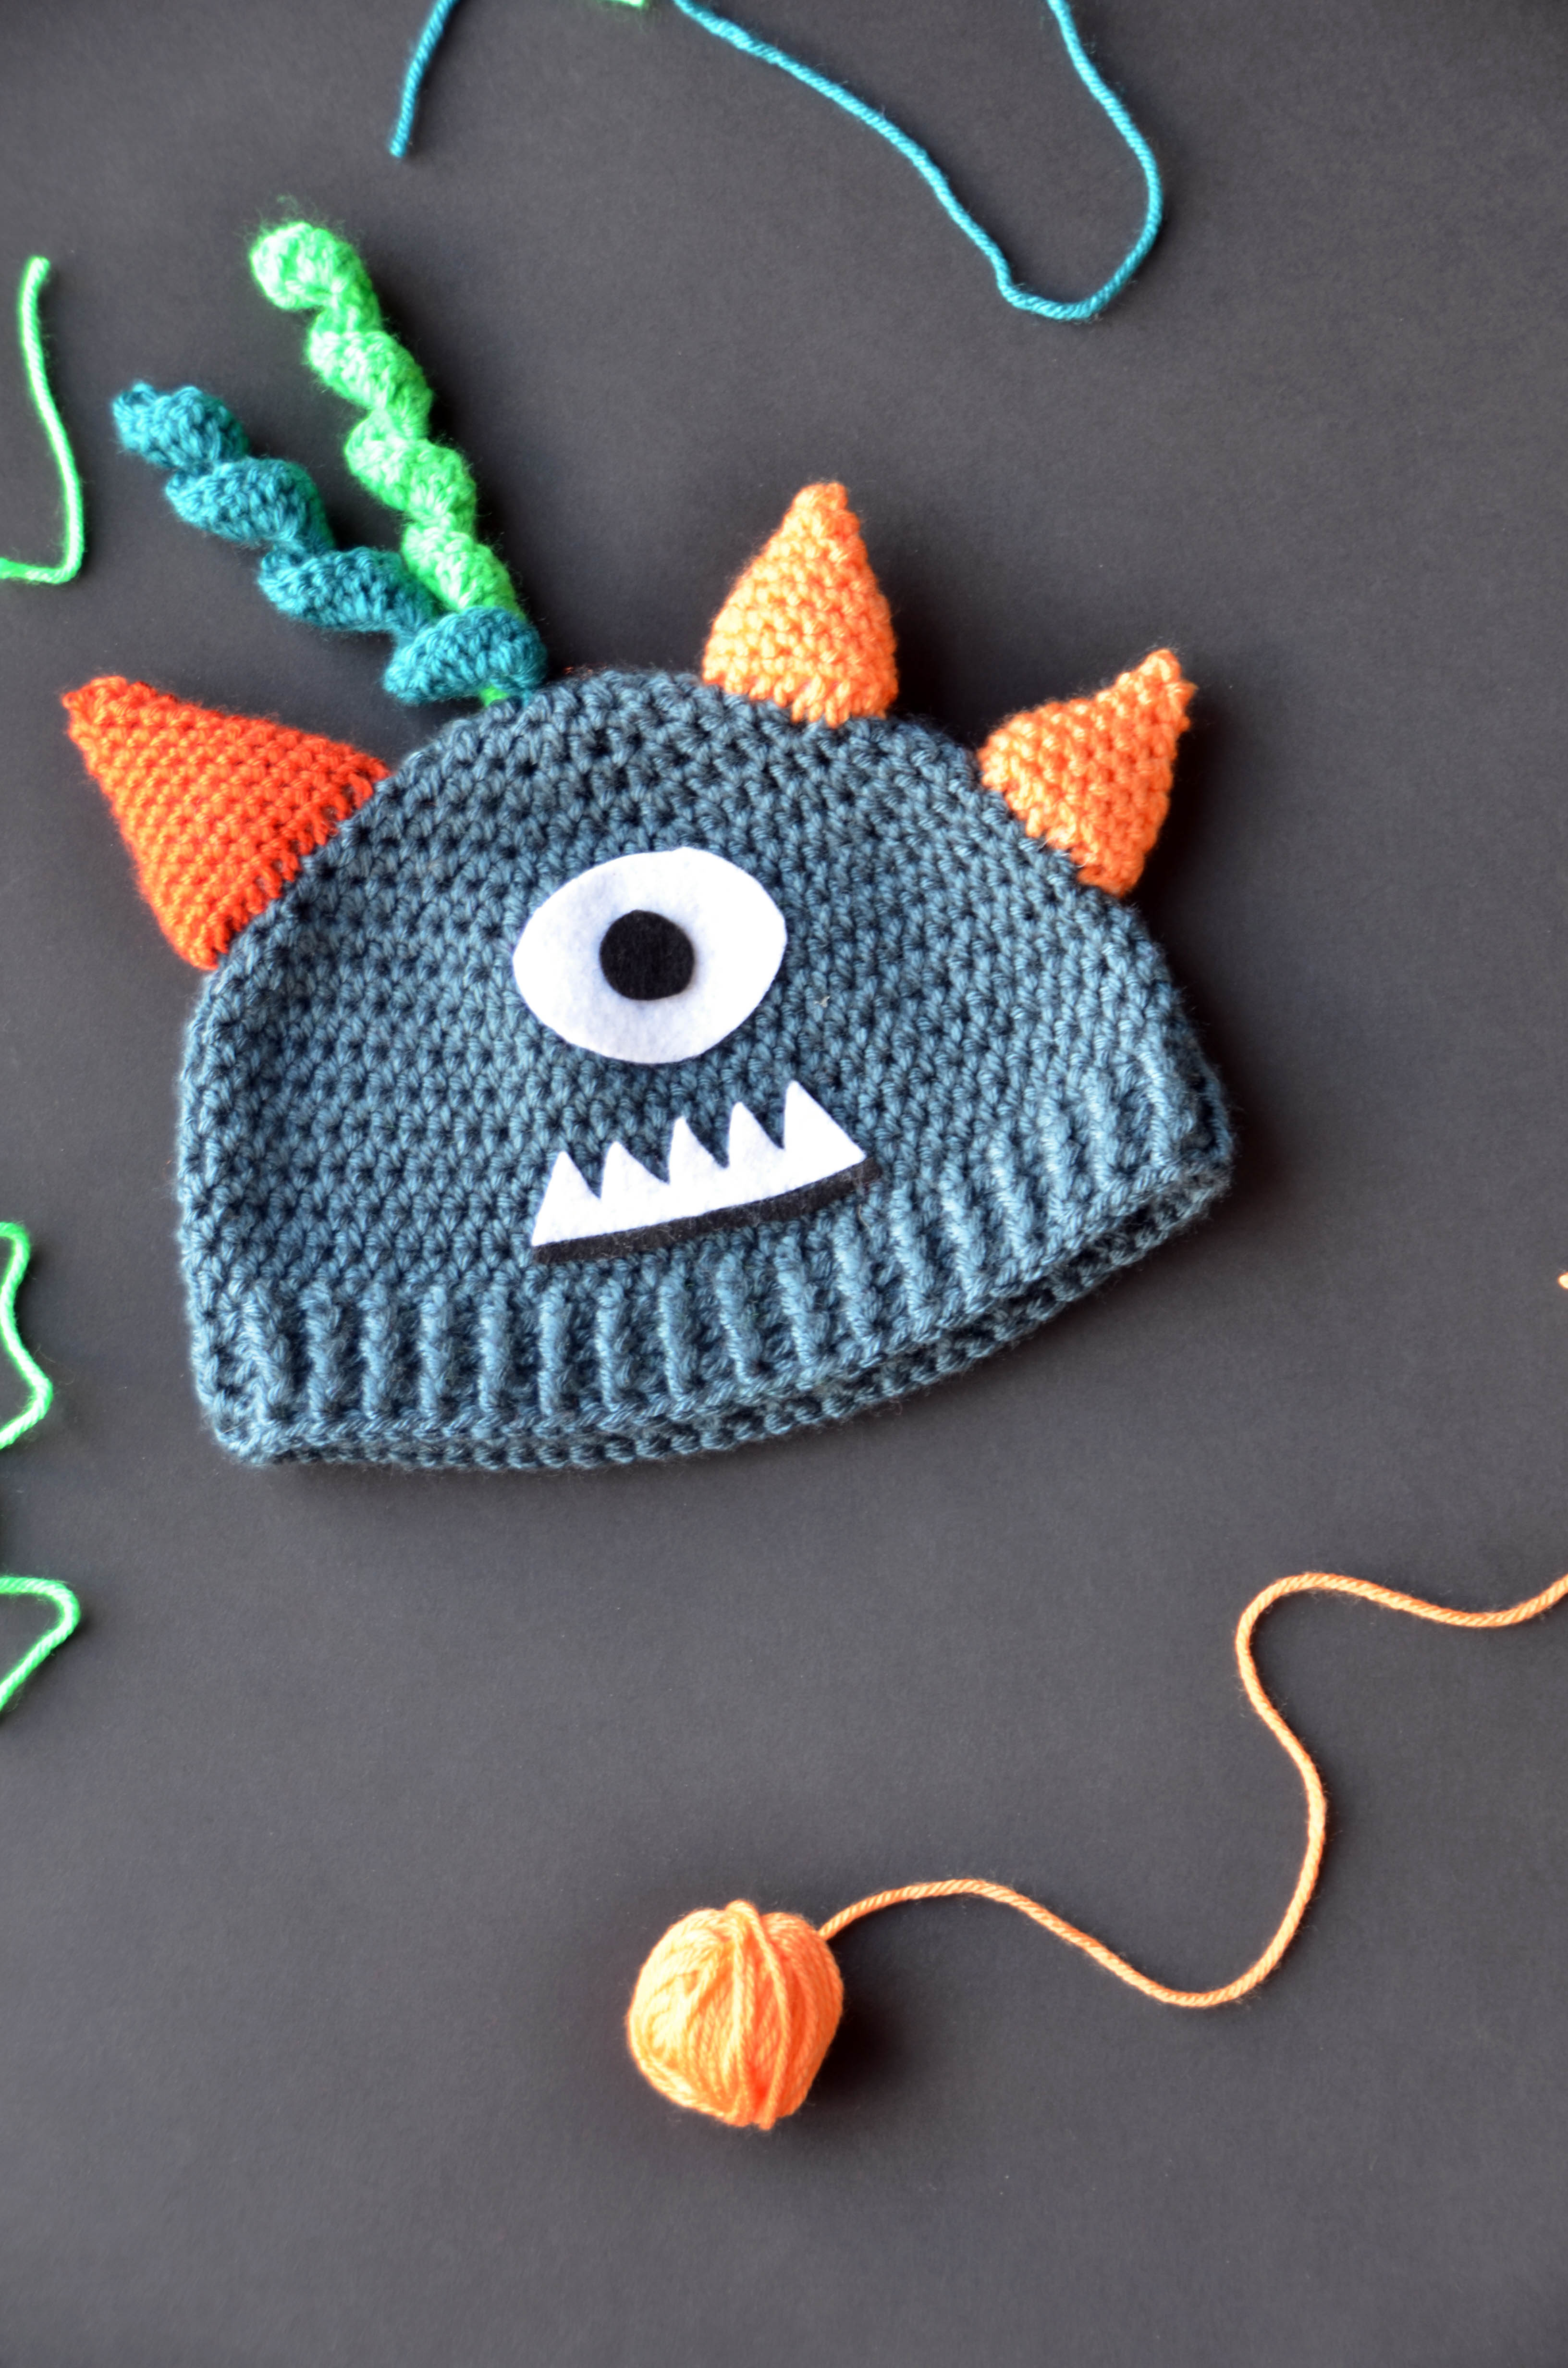
There is so much personality in these three crocheted monsters! Sized for children through adults, these friends are free patterns in machine washable Uptown Worsted.  We decided to make ours in the adult size, so we could have some fun here in the office!

selfie of three women wearing colorful crocheted hats with monster faces on them
(L-R: Amy, Rachel, and Heather, always up for some wholesome fun)
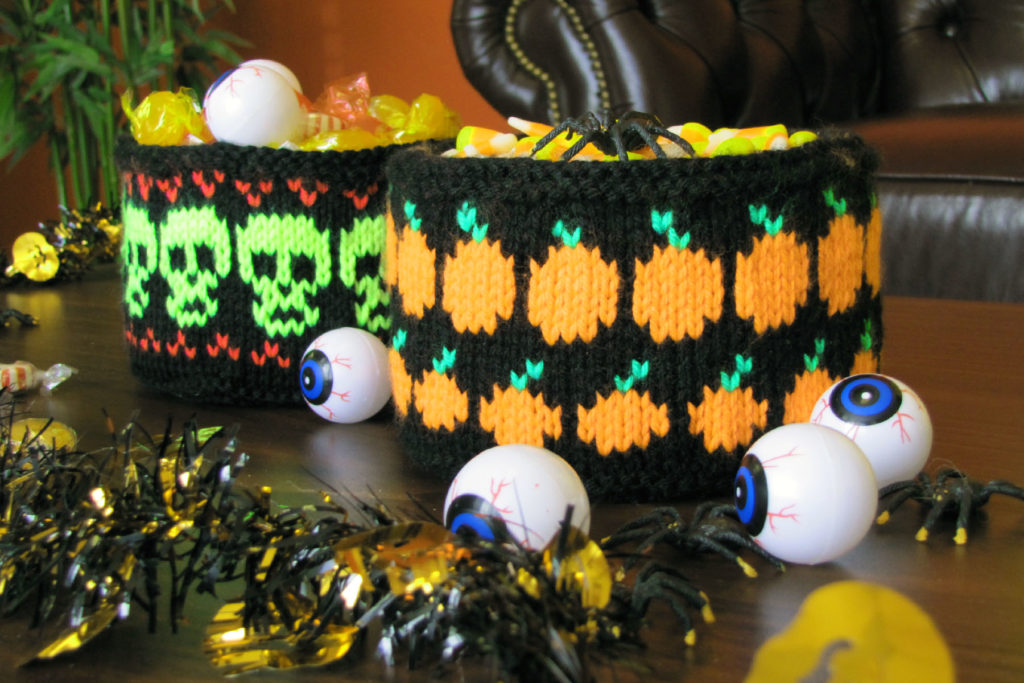
Photo of two knitted Halloween bowls filled with candy
I *guess* you can have some.

Next, Neon pumpkin and Skull Baskets in Uptown Worsted (pattern link here).

These Fair Isle knits have a piece plastic needlepoint canvas inside to help them hold their shape.  It’s optional, but we go through a lot of candy here, so we thought it was a good idea to help them stand up to the frequent “walk-by grabbing.”

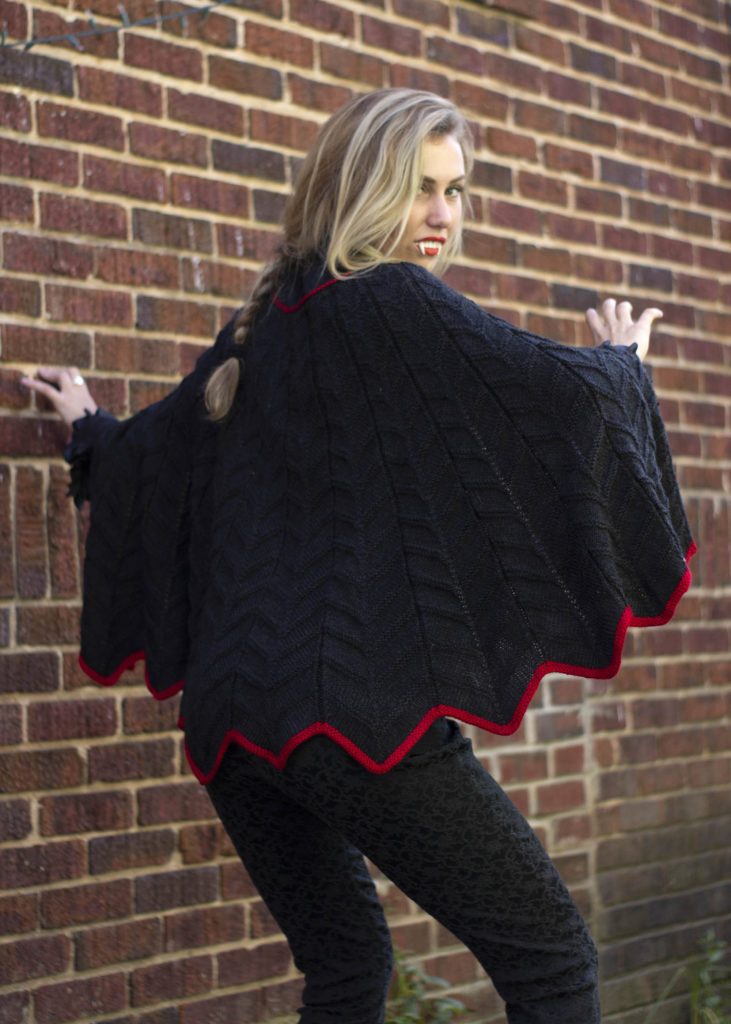
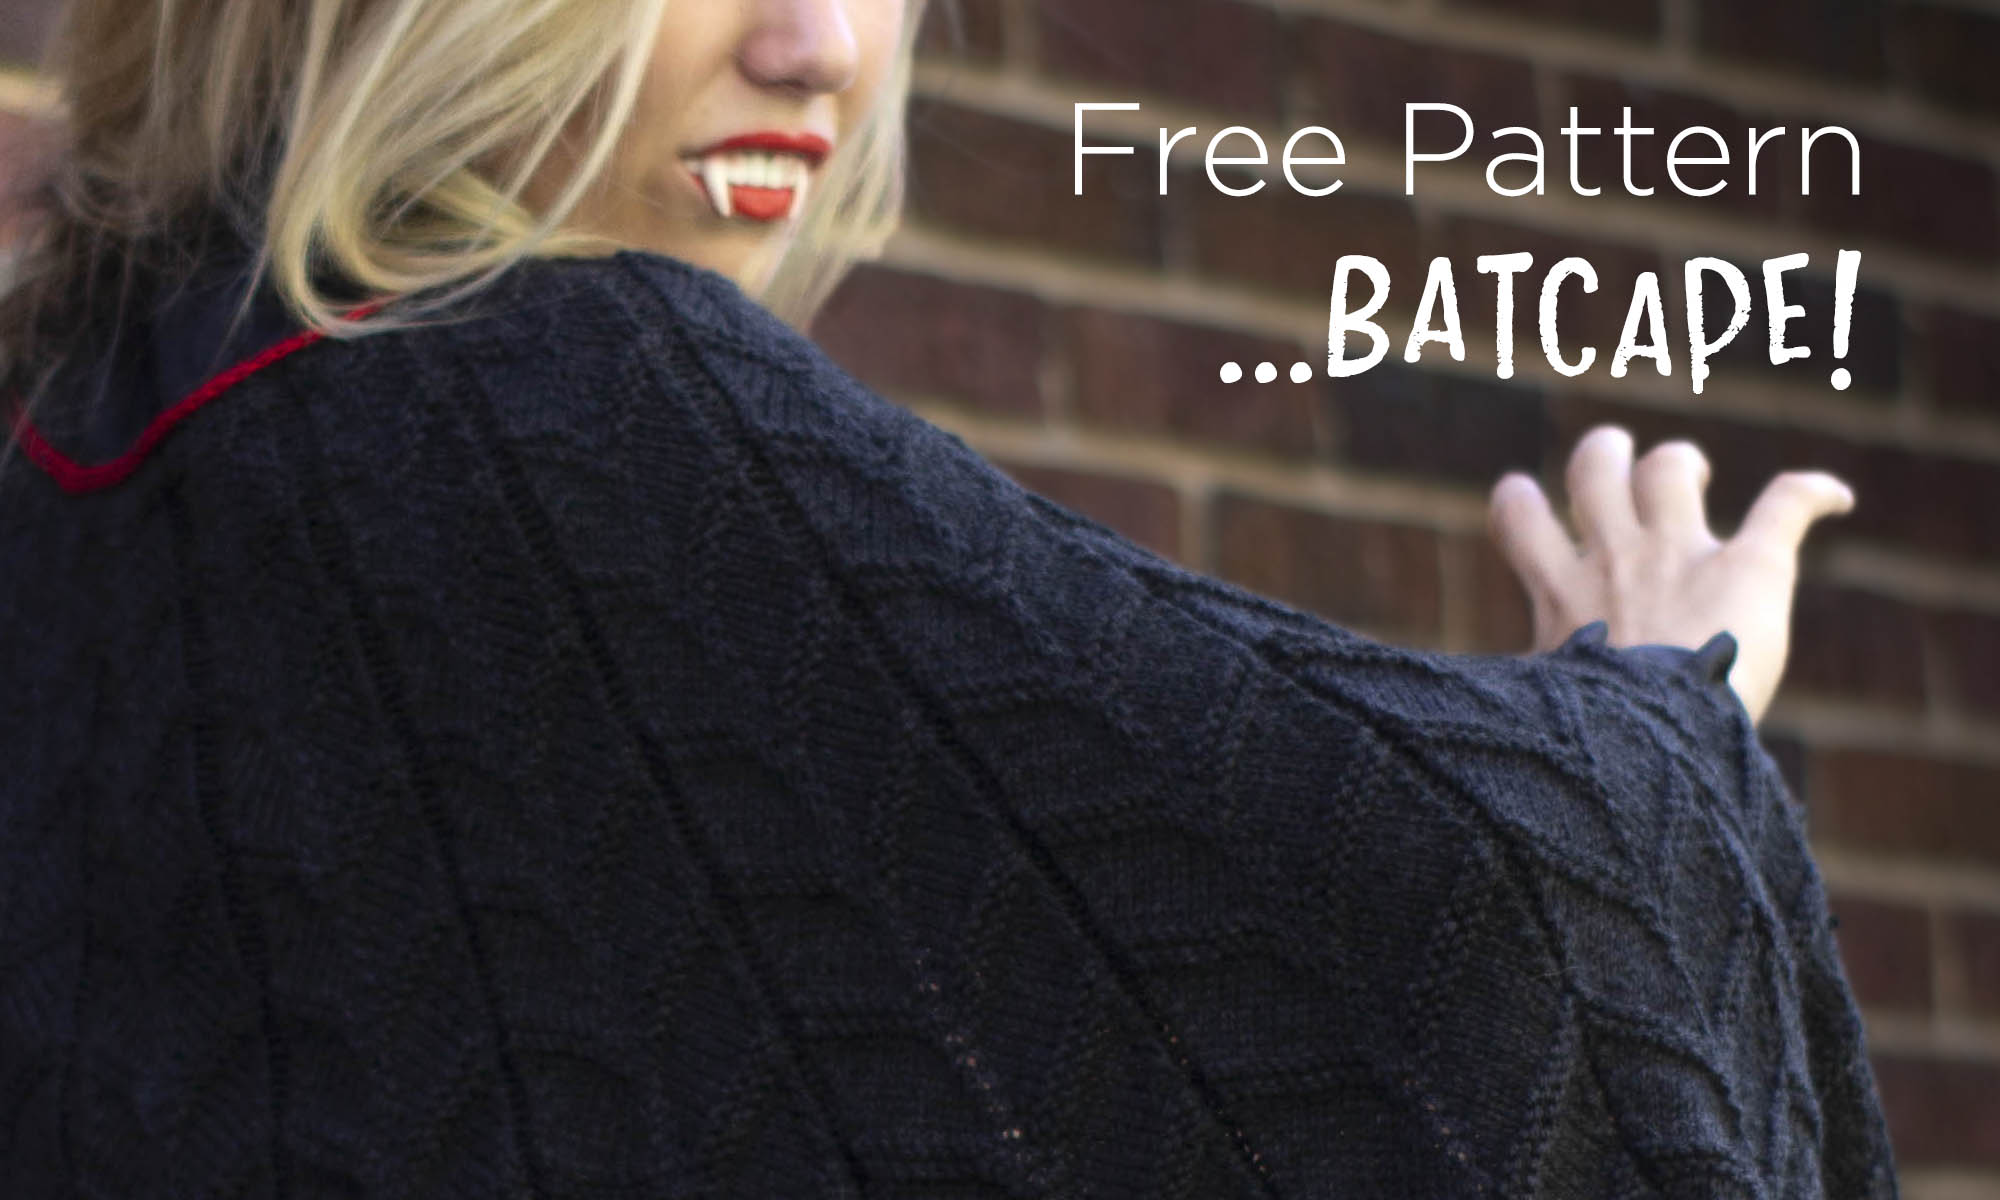
Image of woman in knitted black cape looking over her shoulder
I don’t sparkle, but I’m still fierce!

Also, Batcape! in Uptown DK (pattern link here).

We released the Batcape last week and blogged about it.  Maybe you saw it, but if you didn’t, we don’t want you to miss it. 🙂

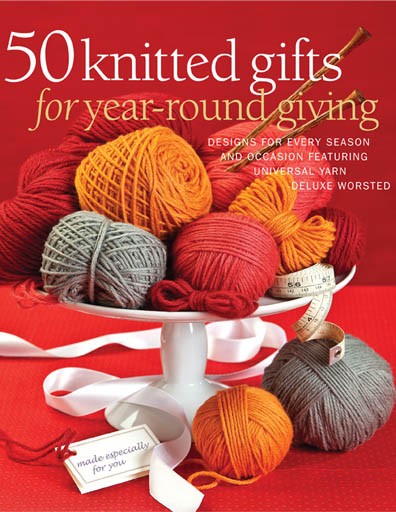
Cover of book 50 Knitted Gifts

Moving to printed patterns, there are some real gems in the book 50 Knitted Gifts for Year-Round Giving, from Sixth and Spring.  The book features great projects suitable for any occasion.  The Halloween selections do not disappoint!

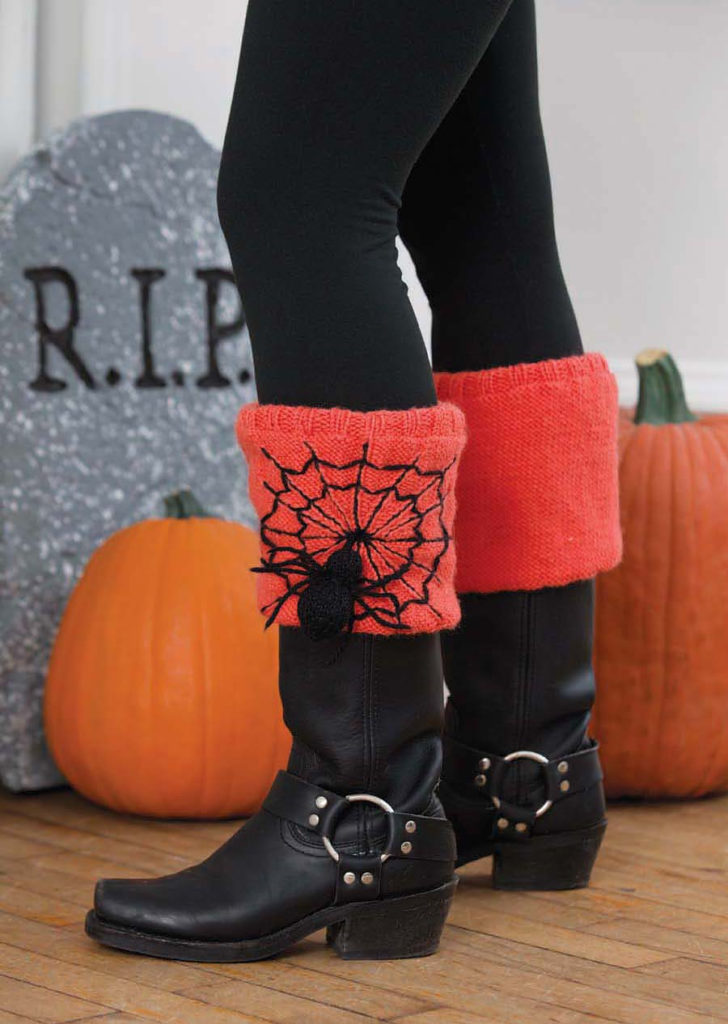
Orange knitted boot toppers with spiderweb embroidery

Spiderweb Boot Toppers (Ravelry link)

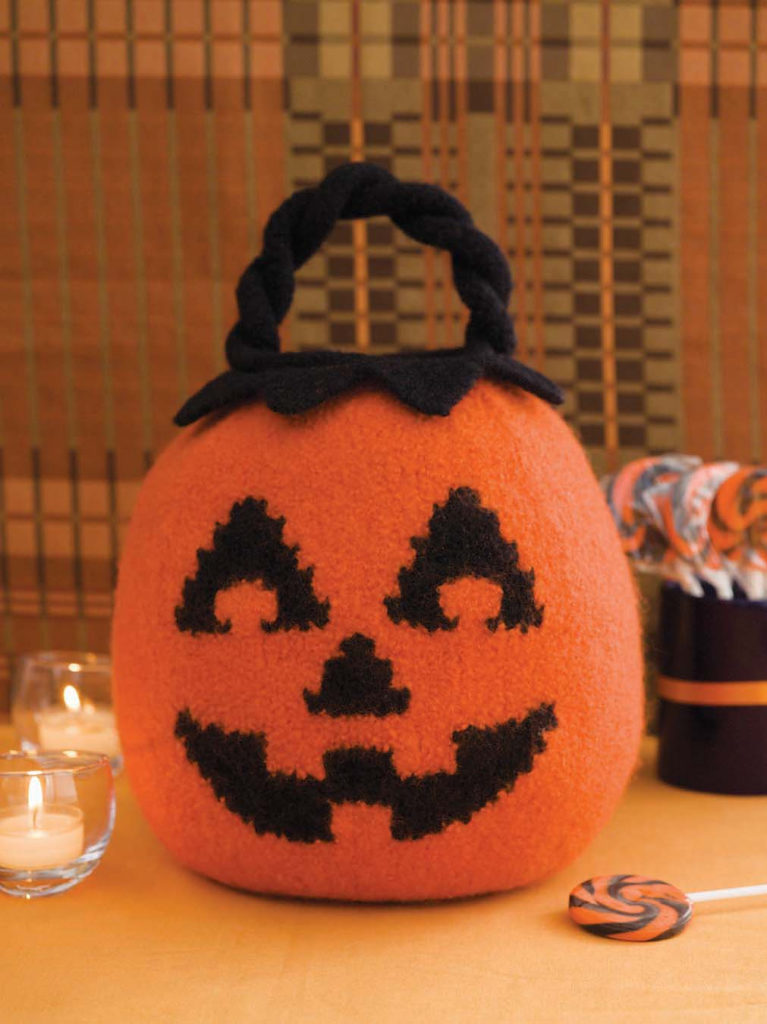
Knit felted Jack-o-lantern Halloween decoration

Felted Trick-or-Treat Bag (Ravelry link)

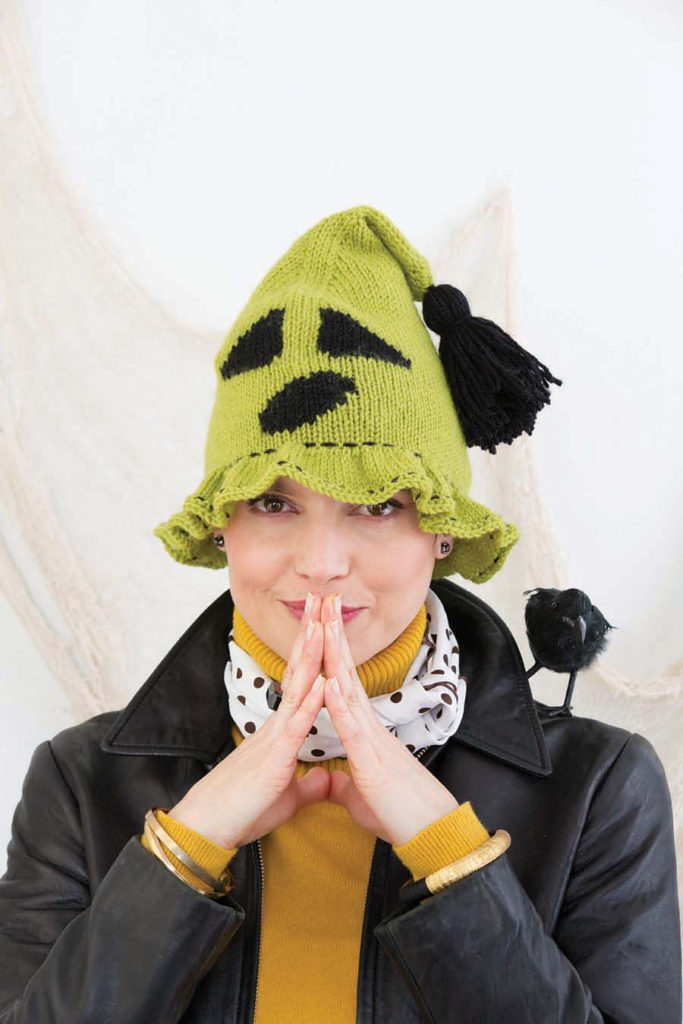
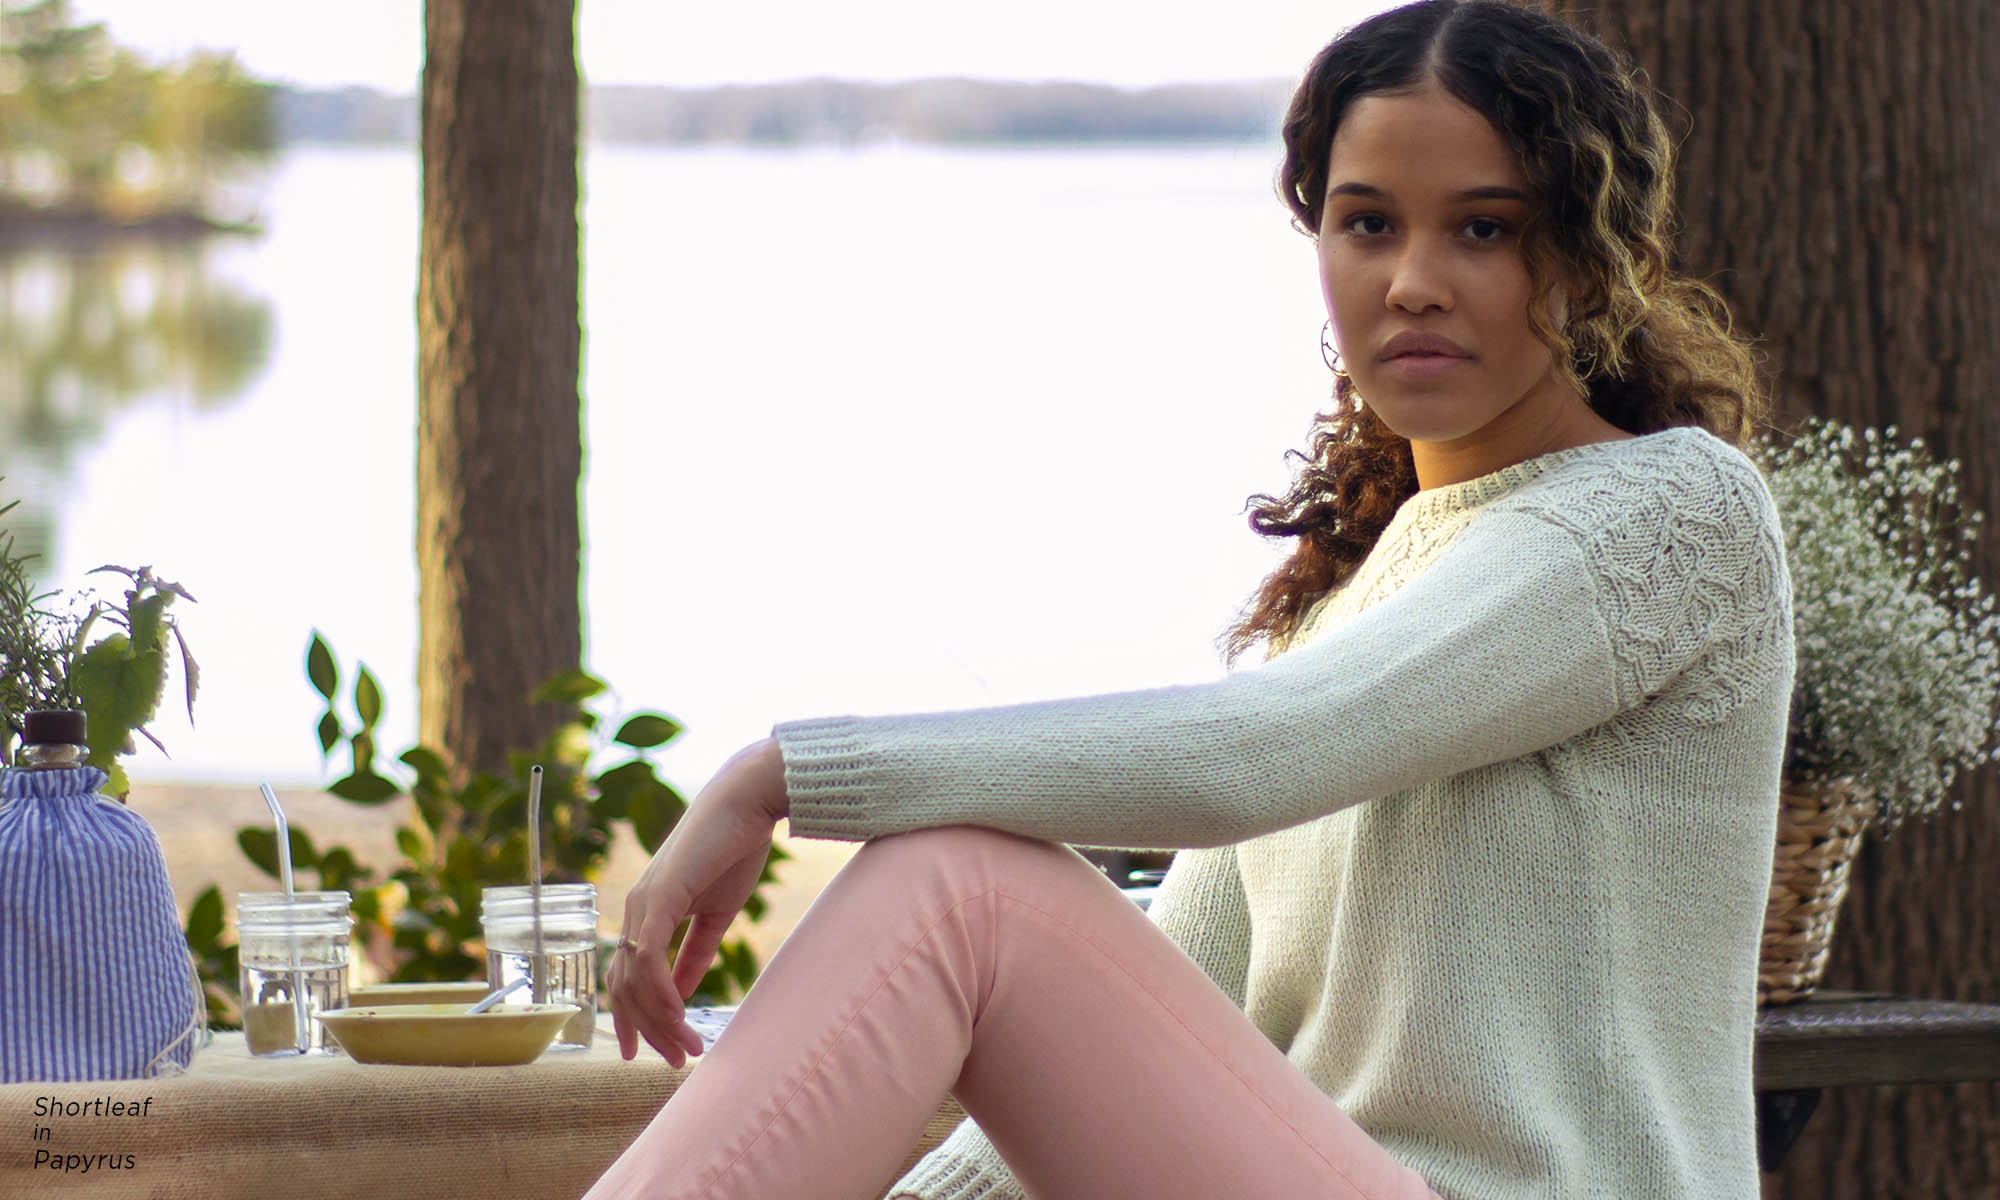
Woman wearing light green knit hat with ghost face design

Ghoulish Ghost Hat (Ravelry link)

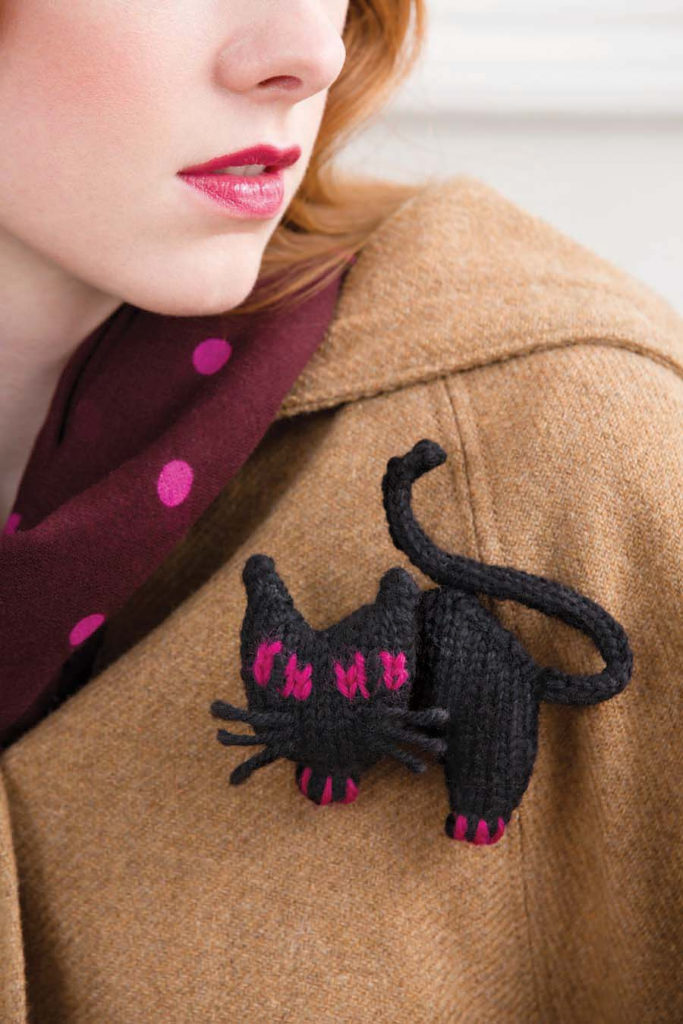
Knitted brooch in the shape of a black cat with hot pink eyes

and Black Cat Brooch (Ravelry link).

The book has some great patterns for Thanksgiving, too, but one holiday at a time.

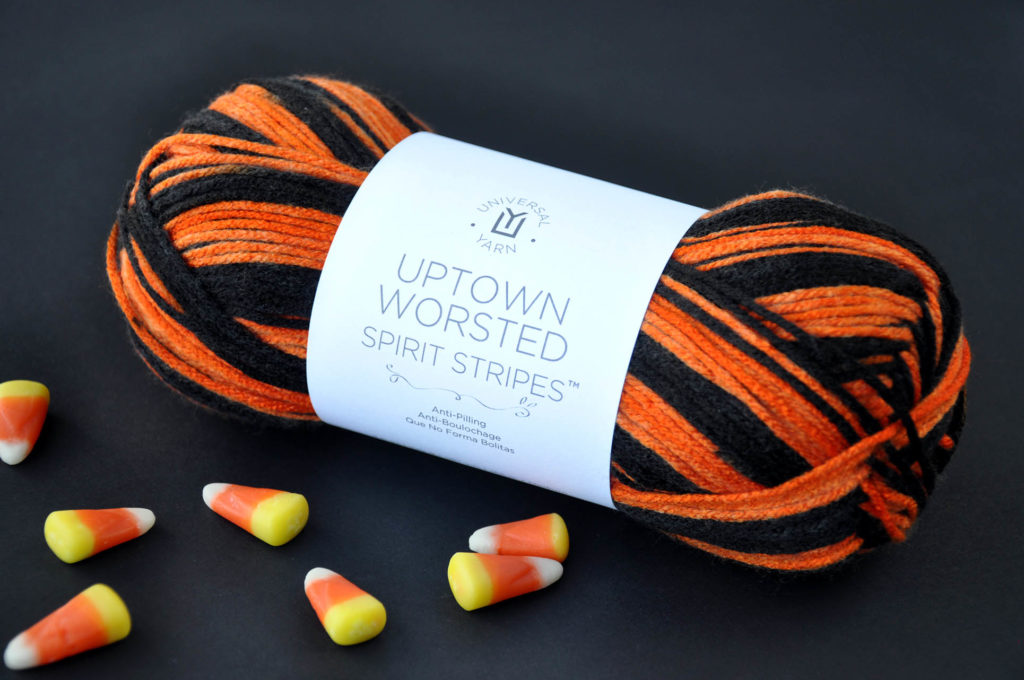
The last thing we’re going to throw out there, for ultimate ease, is a crocheted color pooling scarf in Uptown Worsted Spirit Stripes color 509 MVP.

Image of orange and black skein of Uptown Worsted Spirit Stripes yarn

Hands off the candy corn, though.

We hope you have an appropriately spooky Halloween.

Happy crafting!

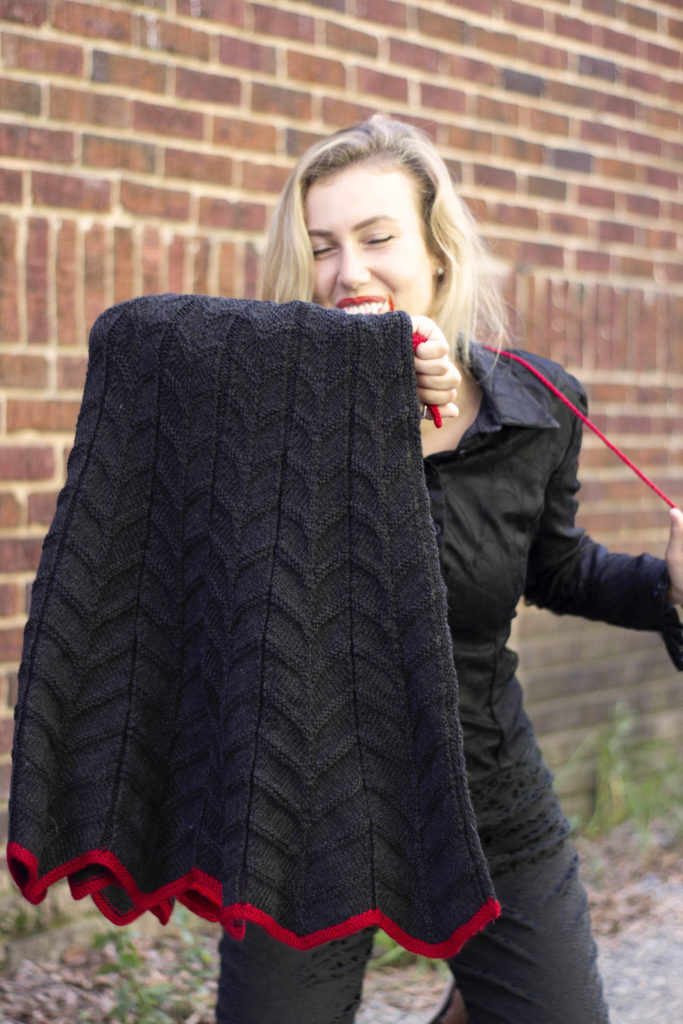
Halloween Projects – Batcape!

Halloween is almost here – but there’s still time to make yourself something spooky!
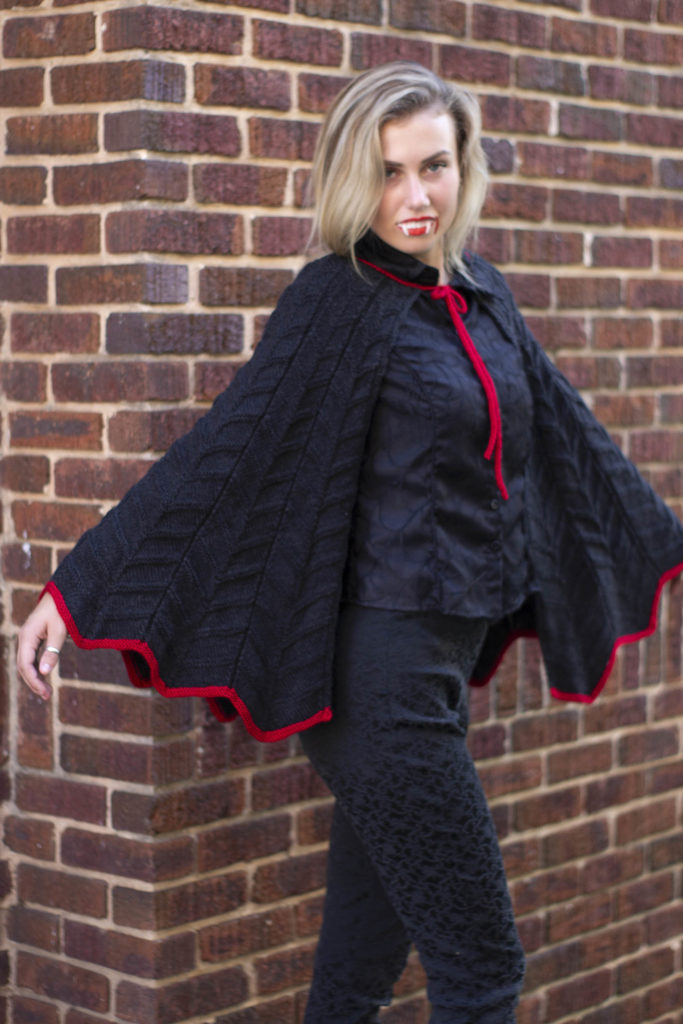
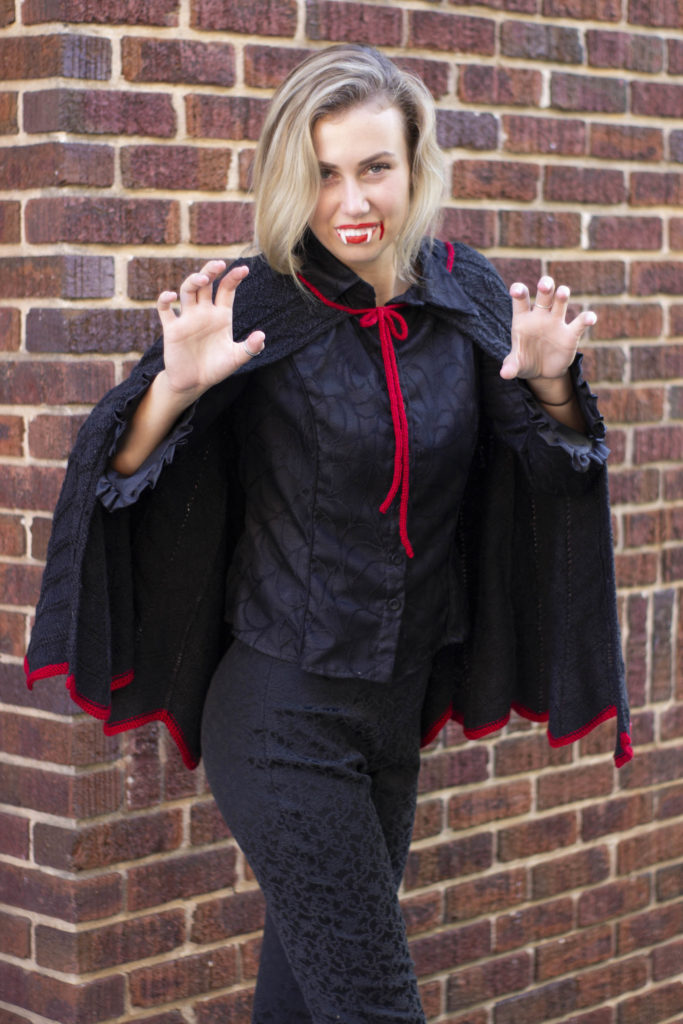
Here’s a brand new pattern – the BATCAPE in Uptown DK (pattern link here)!
(I looked for a dramatic sound effect that could be played for maximum suspense.  This was the first hit, so here you go.)

The pattern is written for one size, but it can be easily scaled up or down by adding or subtracting multiples of 6 from the cast-on.

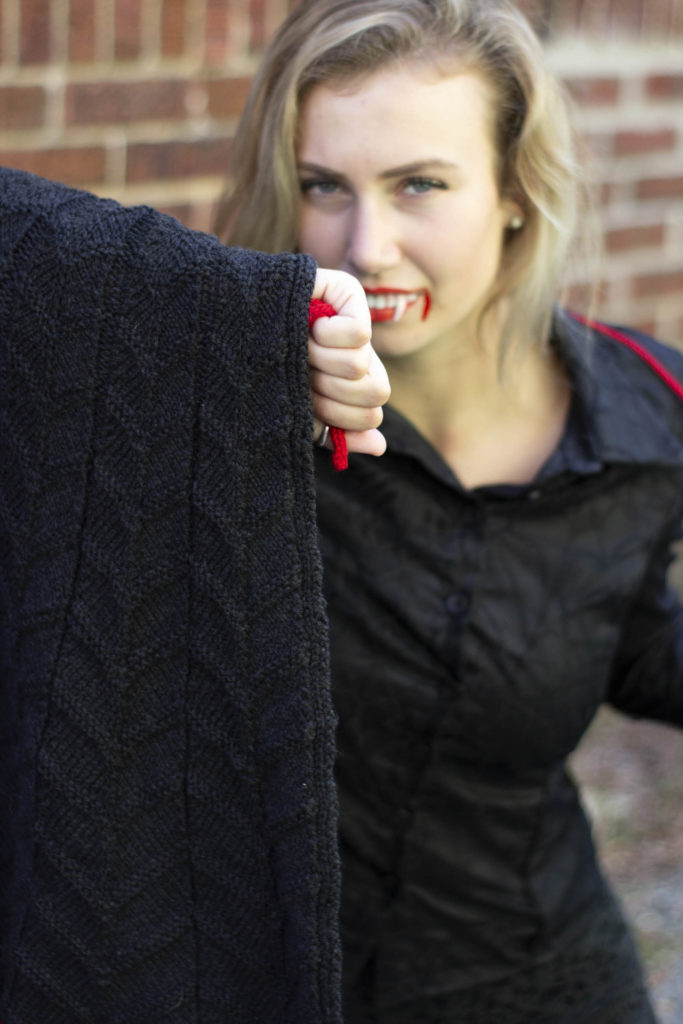
We’d also like to give credit to our model Lilly, because it was super hard to keep a straight face goofing around with this cape and wearing plastic fangs.

The chevron pattern is knit in one piece from the top down. A contrasting i-cord is added at the end.

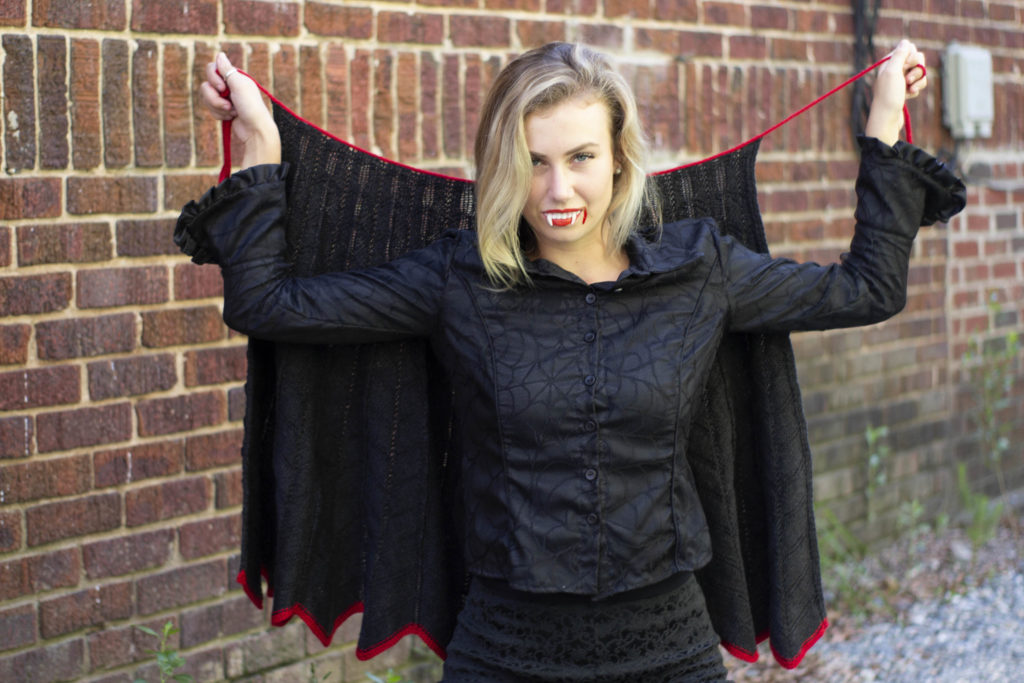
Woman in knitted black Halloween cape.

The perfect accessory for handing out treats.  Or for trick-or-treating in.  We’re not going to judge.

Happy holidays!

Free Pattern – Independence Tank

What are you wearing for Independence Day?

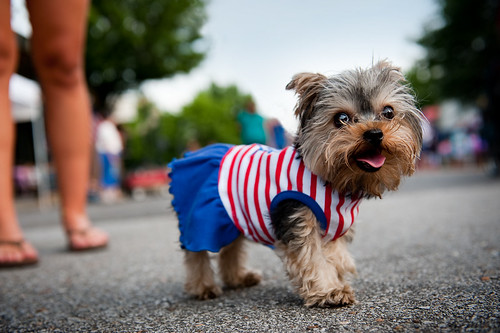
Yorkshire Terrier dog in red white and blue costume
“Woof!”
Baby goat kid in American patriotic ribbon
“Naaaah!”
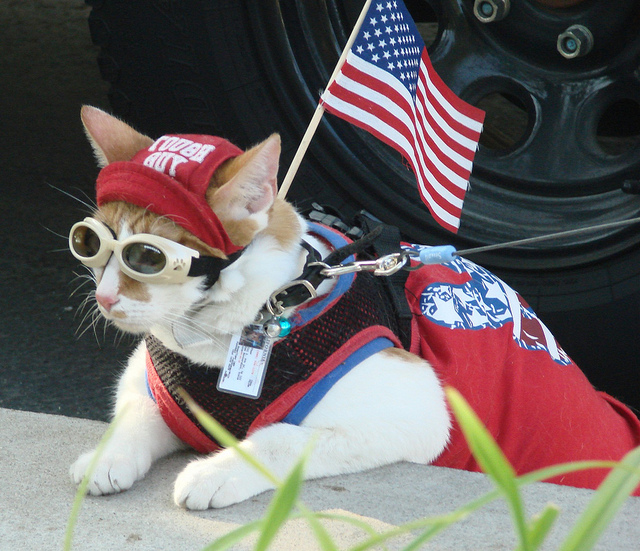
cat in American patriotic costume and goggle
“When I get out of this I will kill you.”

How about a brand new free pattern?

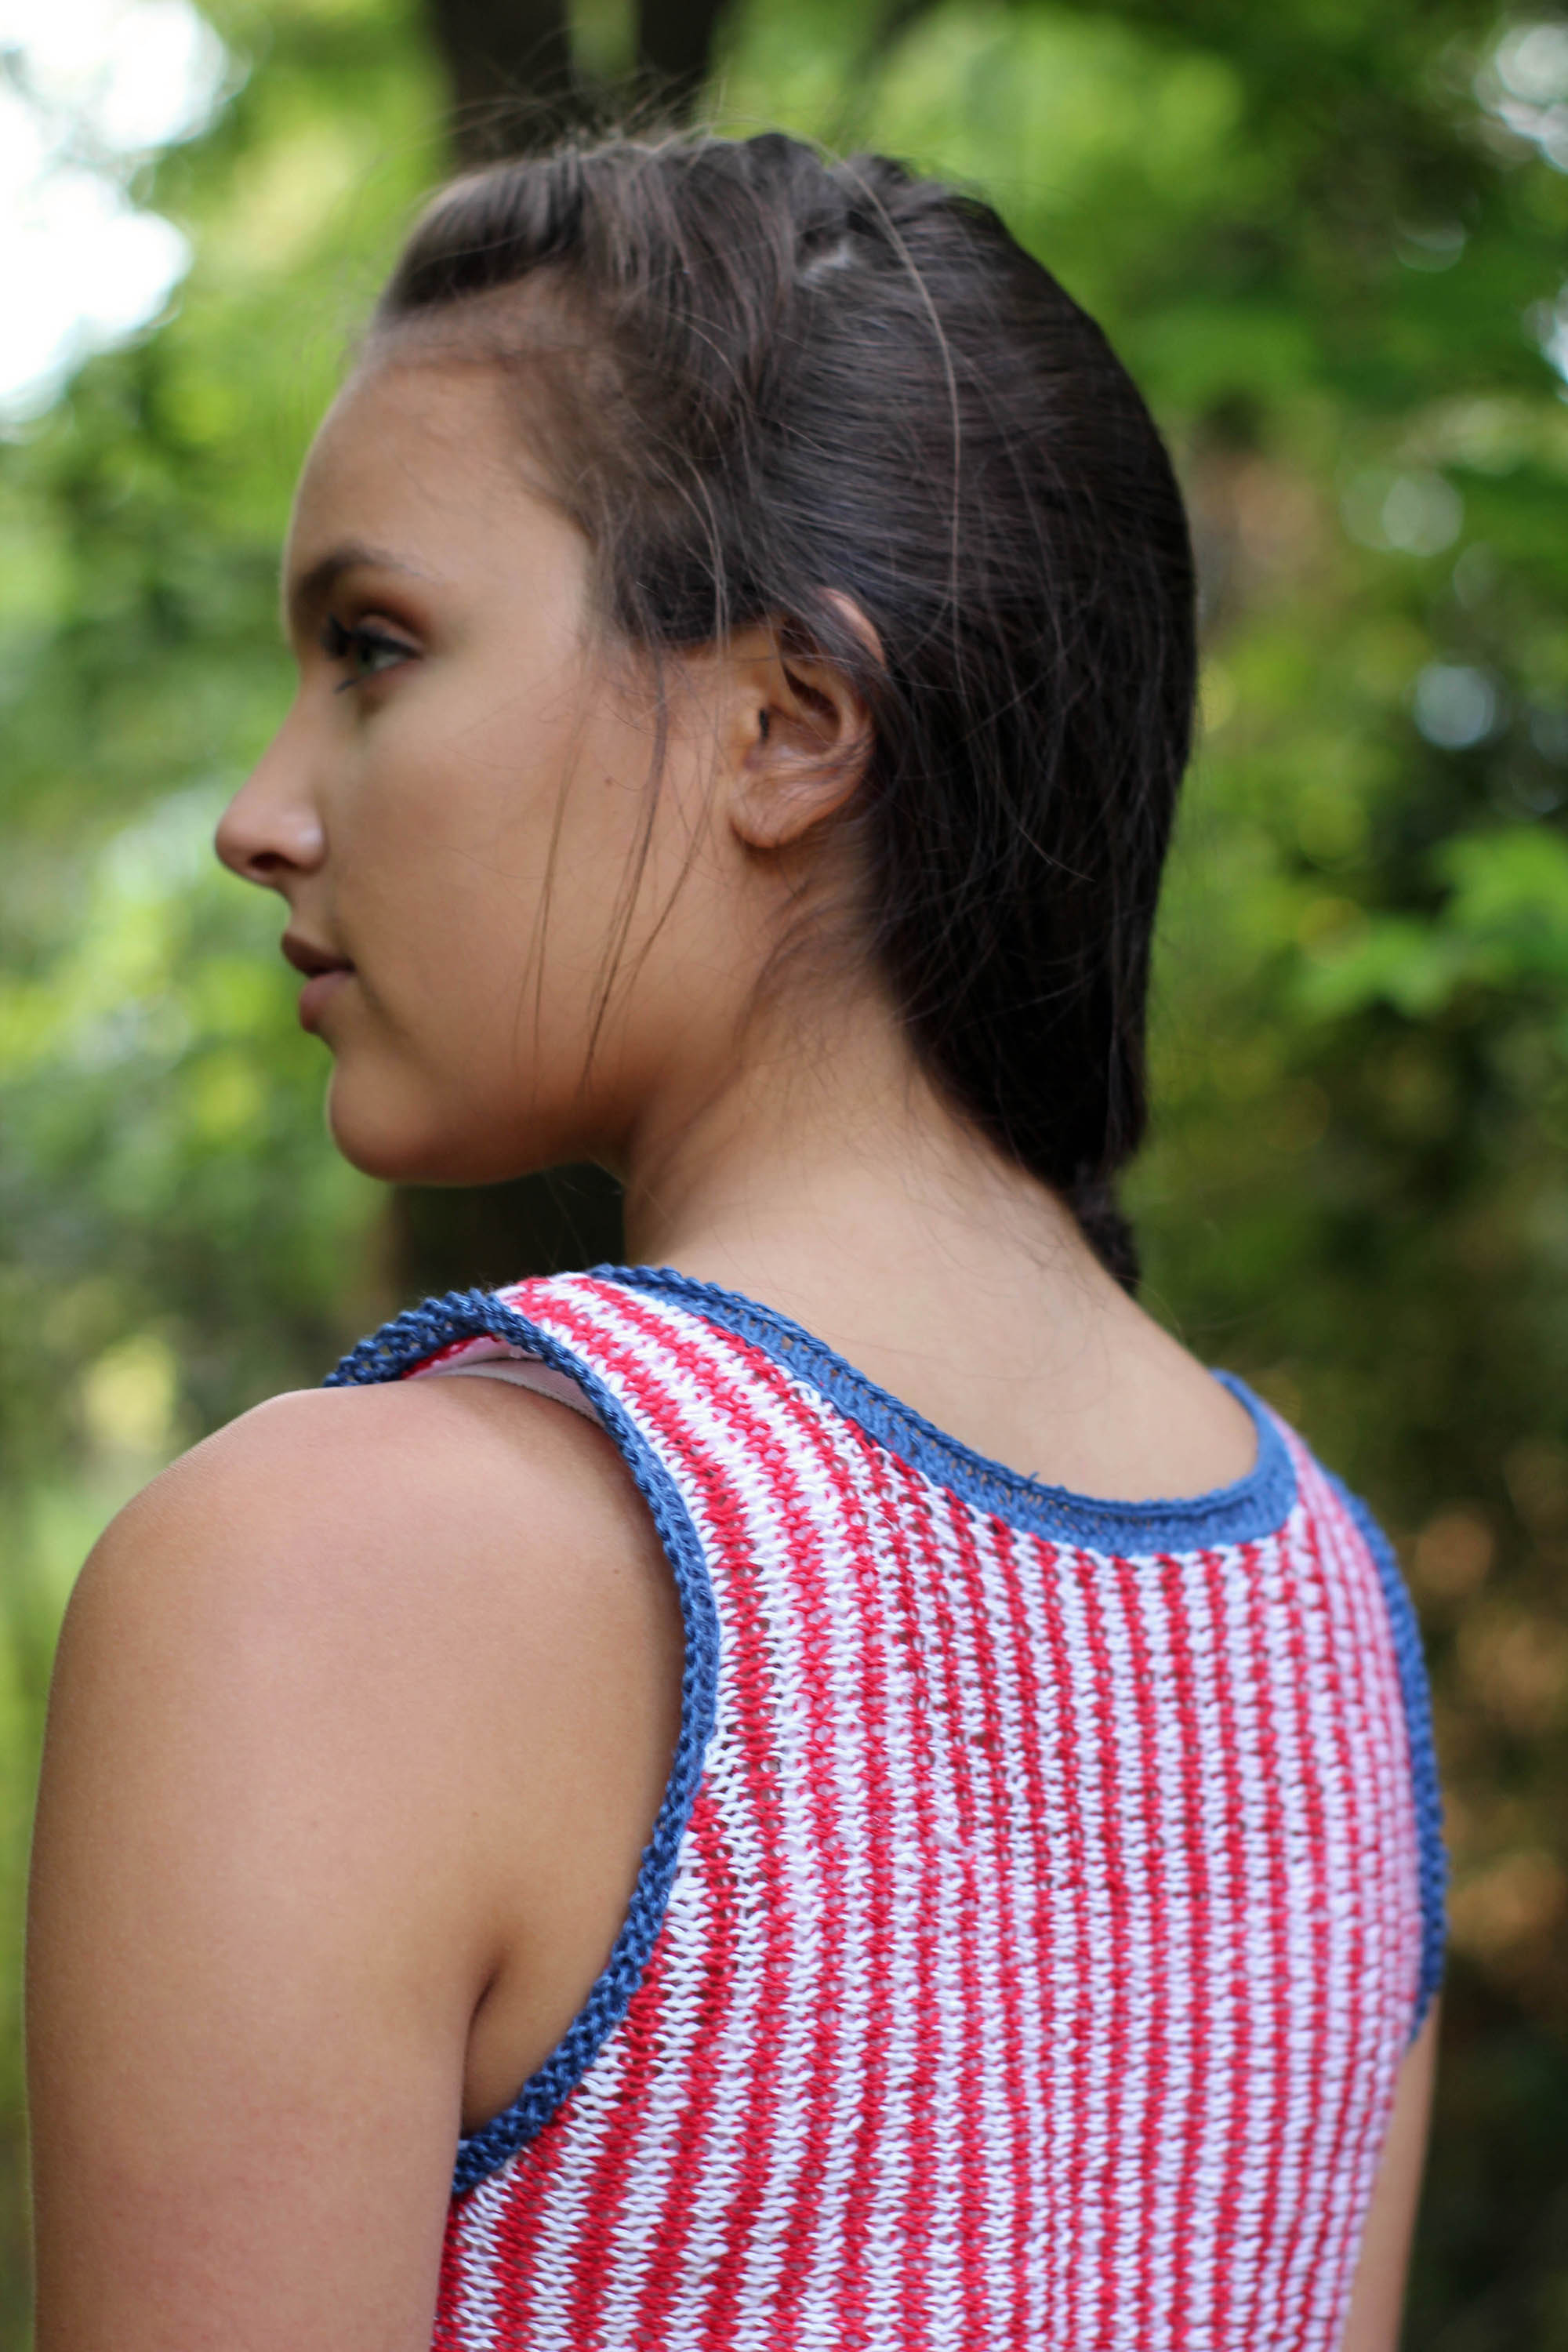
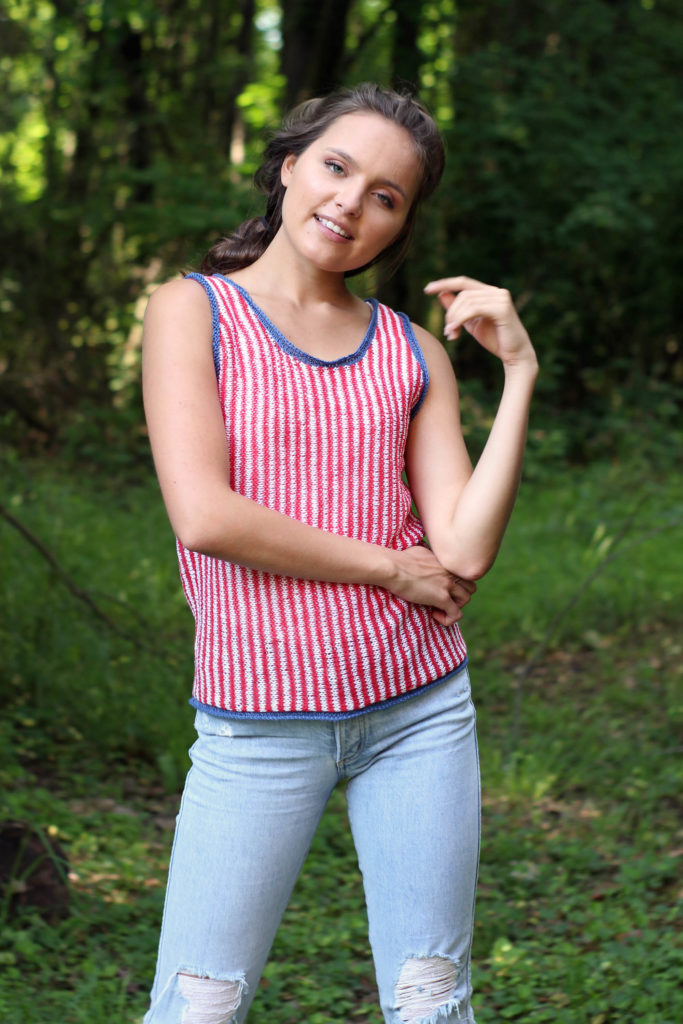
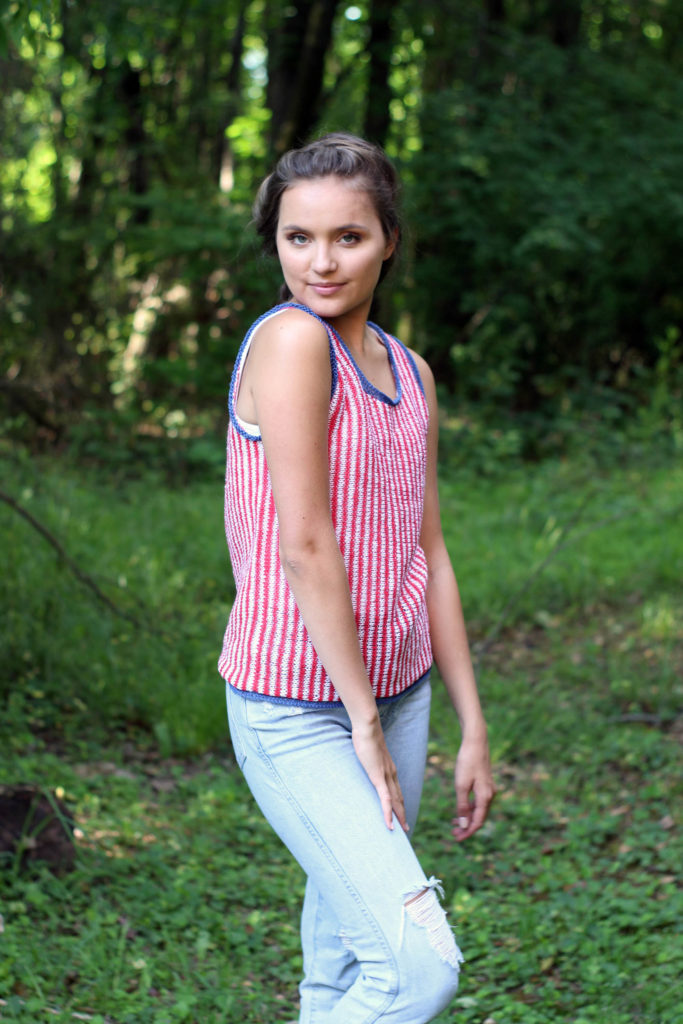
woman in red white and blue striped tank top knit in Flax

The Independence Tank in Flax (pattern link here).

Cool and light, 100% linen Flax is a great choice for summer projects.

Red, White, and Blue for Independence Day.

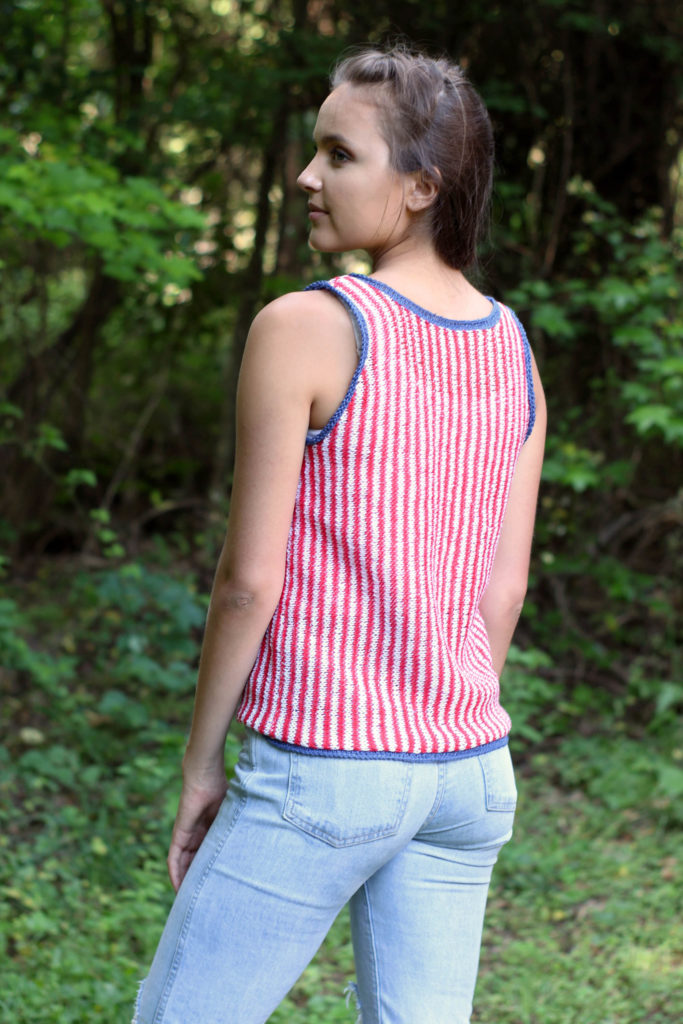
Knit front and back pieces from side to side, then join.

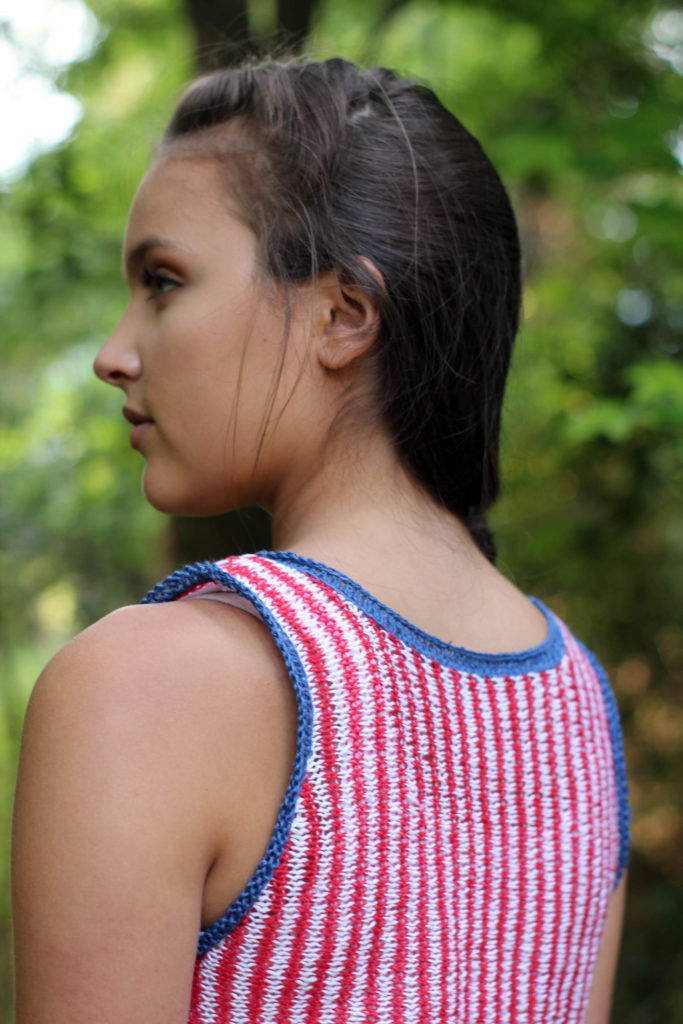
Independence Day tank made in Flax, worn by young woman

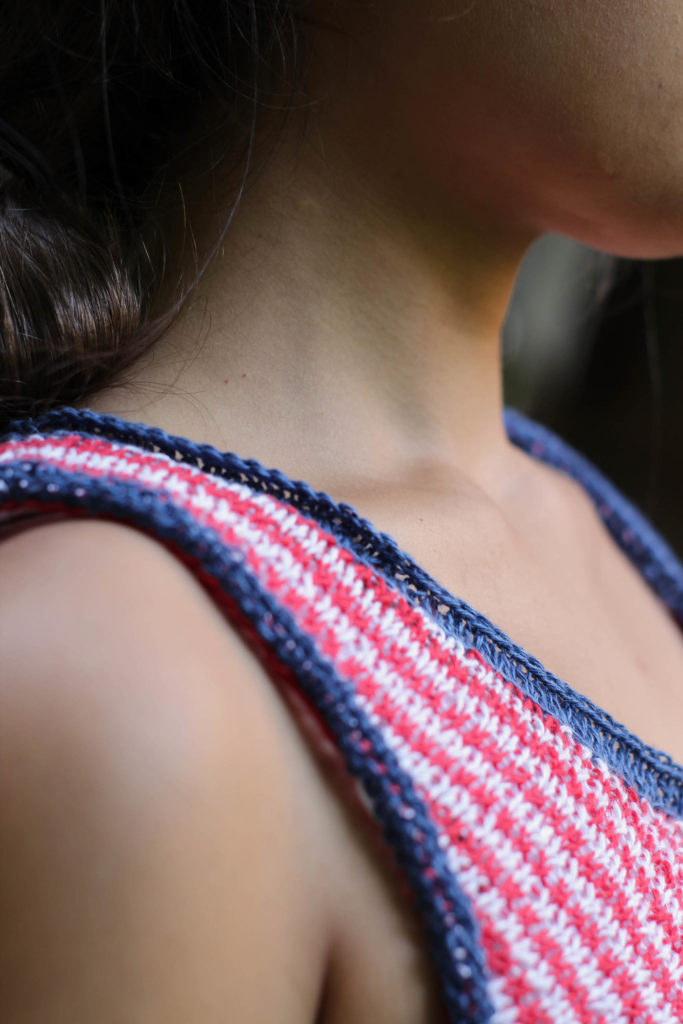
Add a few stockinette rows for a rolled edge.  Presto, a lightweight top perfect for a day out, or a night watching fireworks.  This would look awfully cute any other day of the year, too, in whatever colors you like.

Detail of linen tank top knitted in Fibra Natura Flax

We hope you have a fantastic Independence Day.  And if you’re going to spend it outdoors, don’t forget your sunscreen – and a hat!

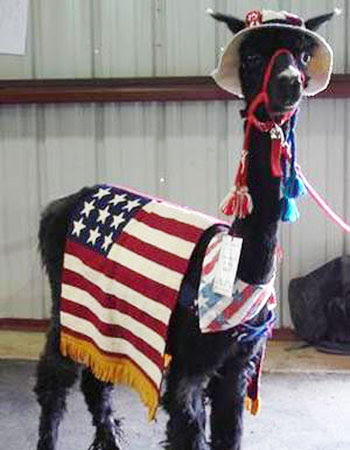
Alpaca draped in American flag
“Why yes, I do look fabulous.”

Weaving Wednesday – From the Heart

MOM spelled out in pink yarn on background of weaving

You may have heard that Mother’s Day is nearly upon us. It’s kind of hard not to know, as commercialized as this holiday has become over the years. But mothers do need to be celebrated so truly I’m glad for the reminder as the day approaches.

Over the years I’ve given a wide variety of gifts to my mom for this special day. I usually try to give her something handmade, because she’s my mom, and I know she appreciates the thought behind it. At this point in her life, I can think of all kinds of things she doesn’t really need. She doesn’t need a scarf or a hat or a sweater. She doesn’t need knick-knacks or other little trifles, though I’m sure I could find something that would amuse her. What she does treasure are memories.

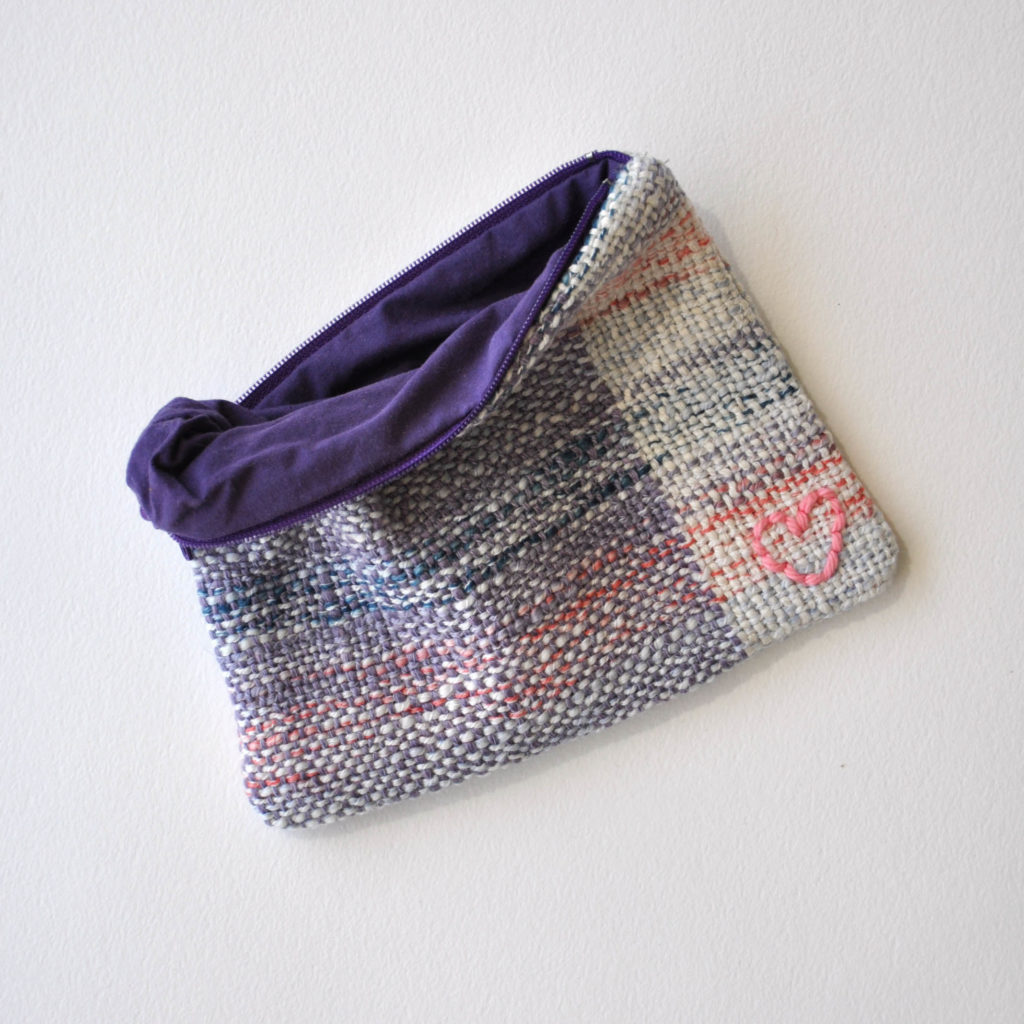
I decided to make her a little something to hold these memories, and settled on a small woven pouch. My life is so busy it’s tough to find a spare moment. Weaving goes so quickly, especially on a rigid heddle, so this made it easy to decide how I would make the pouch.

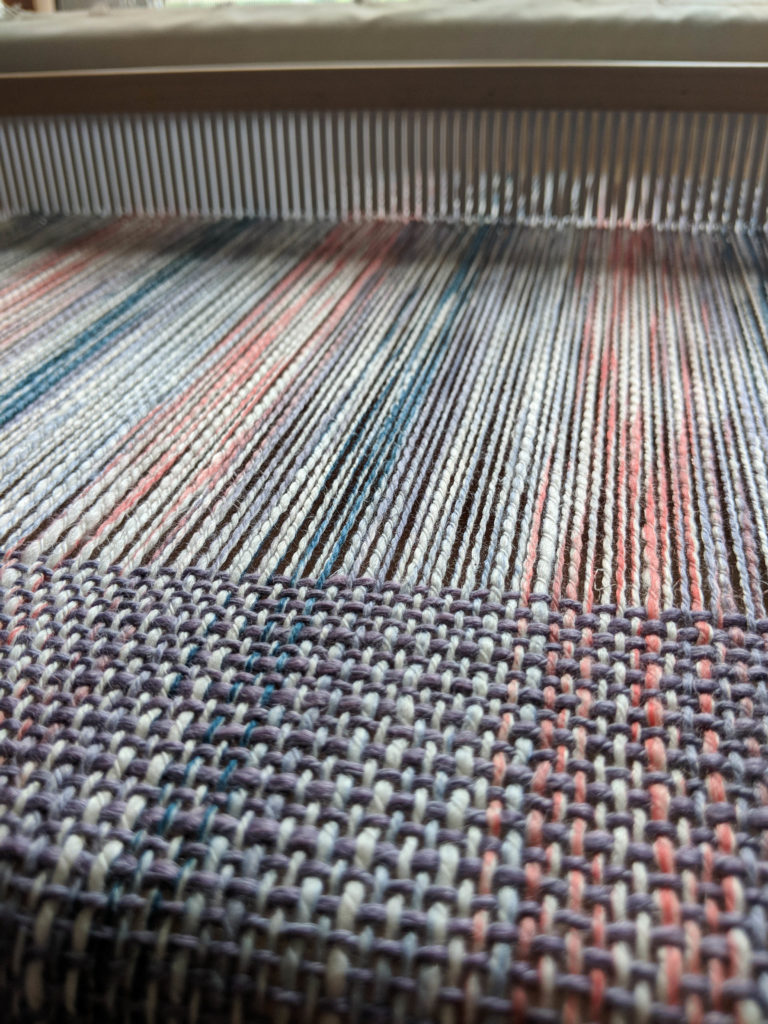
For anyone wanting to duplicate this, here are the specs for my piece of woven fabric:

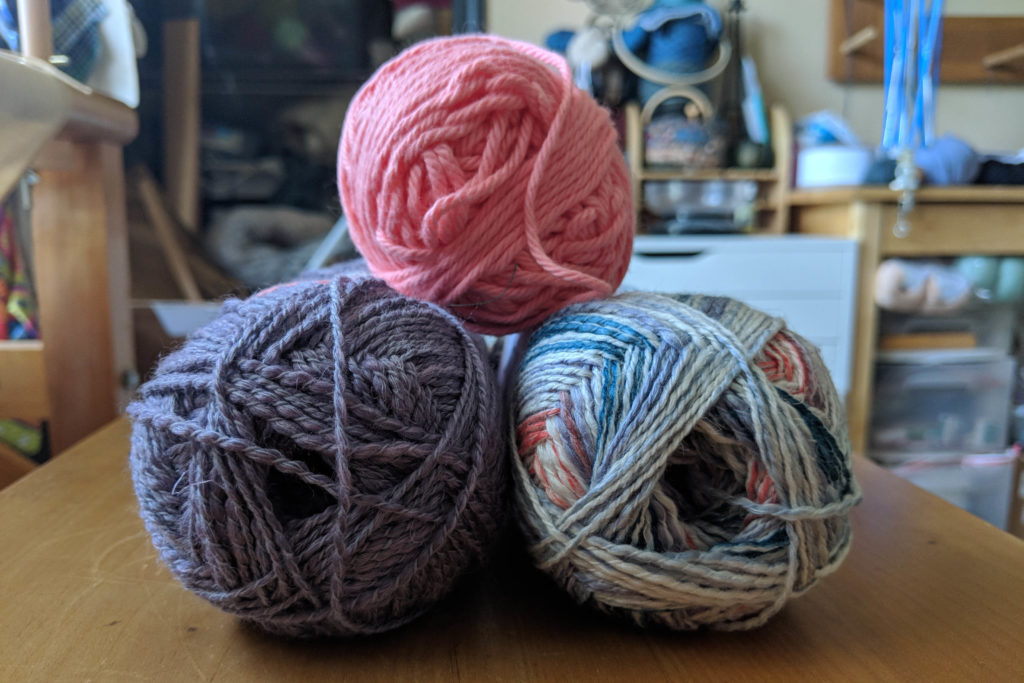
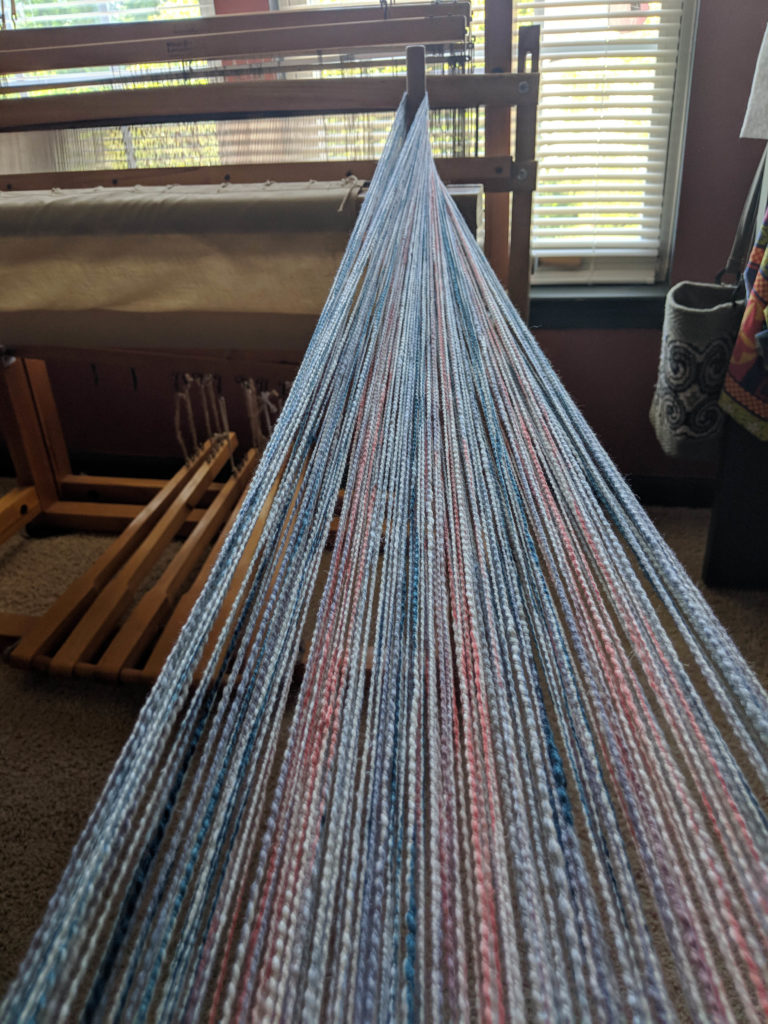
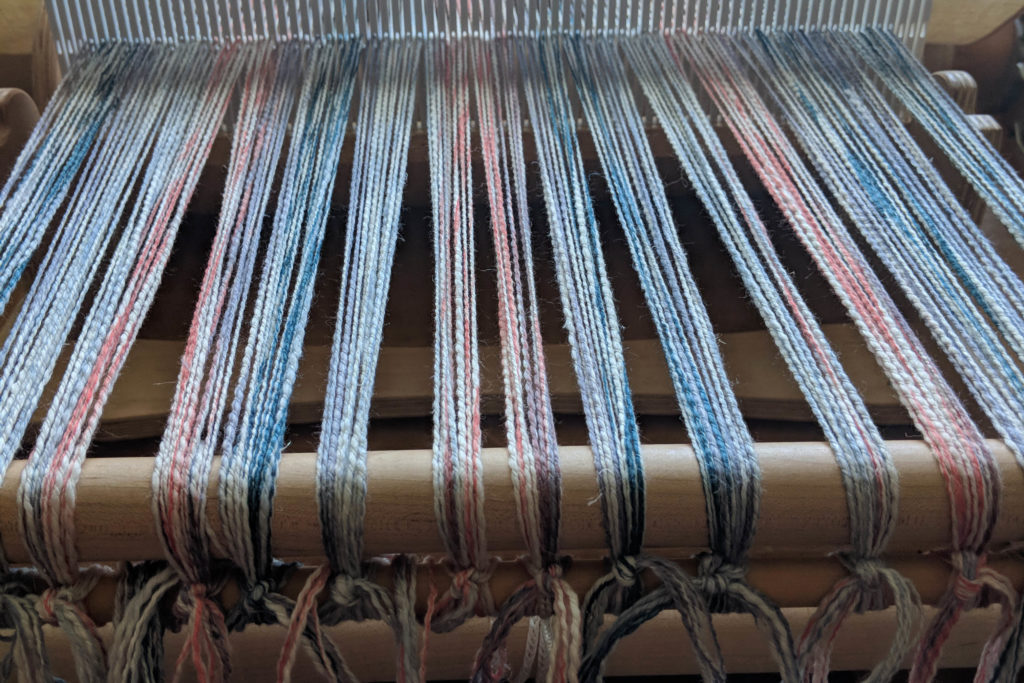
I warped with Unity Beyond, using the direct method.

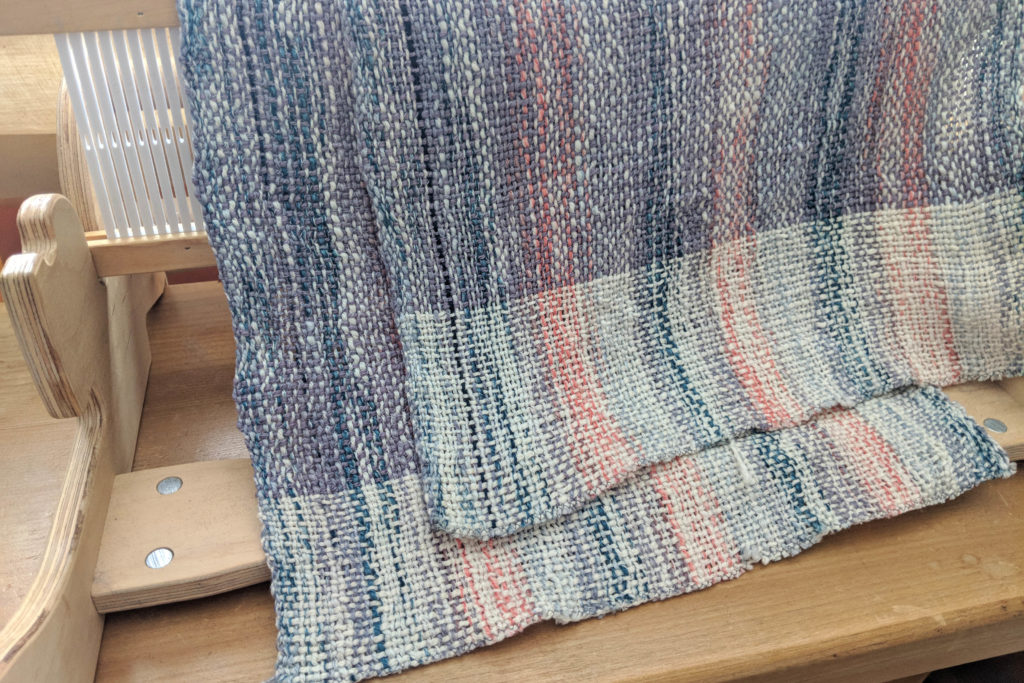
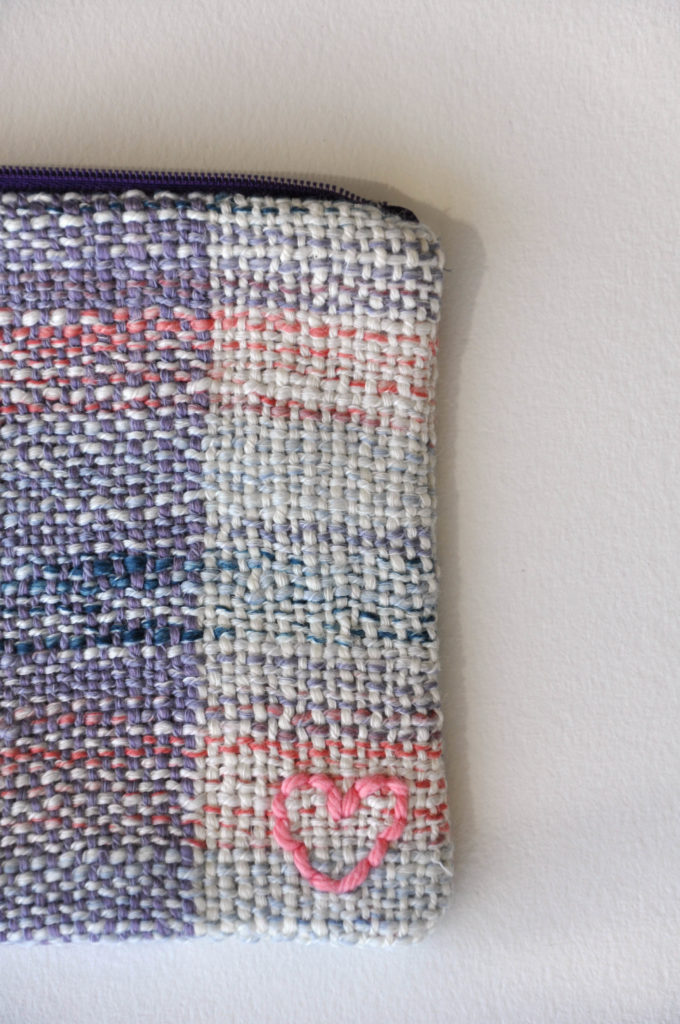
I then wove about 3 inches of plain weave with #109 Natural, switched to #107 Purple Fog until the last bit of warp, and then finished out with 3 inches of #109 Natural.

I cut my fabric from the loom, finished the ends with a machine zig-zag, and then washed and pressed my fabric.

For the pouch pattern, I roughly followed this very simple tutorial: (link). If you’re not super comfortable sewing, this would be a great project for you. And if you’re more experienced, this will be a total breeze.

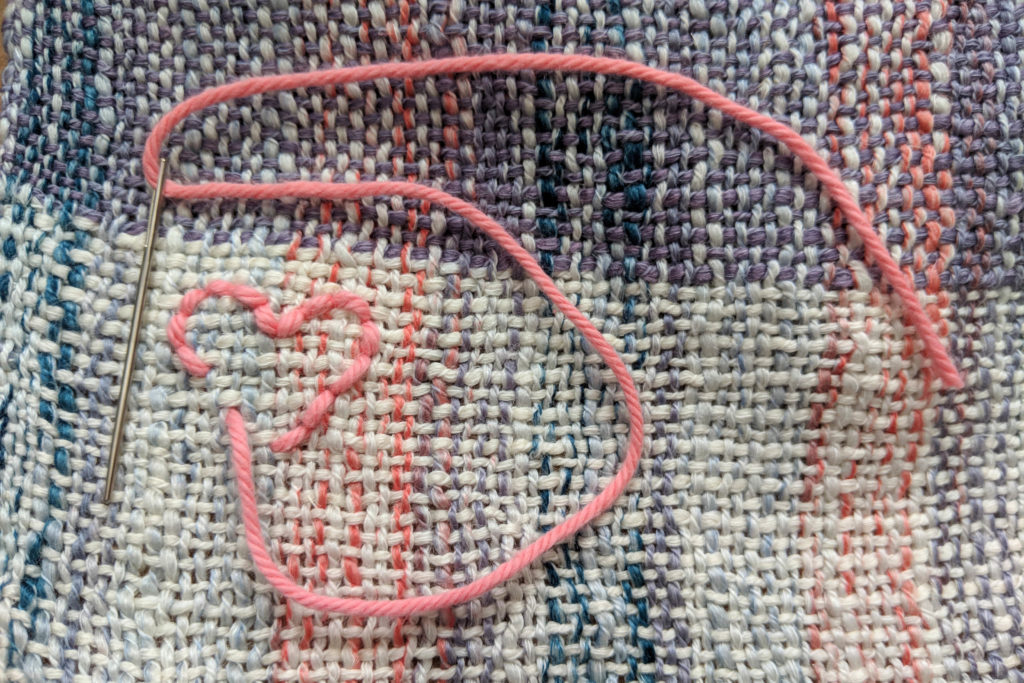
Before getting to the sewing part, I had decided that I wanted to add a little personal touch. I had a little ball of Cotton Supreme in my stash that coordinated well, and decided on a little heart. My embroidery skills are quite rudimentary, so use your imagination to come up with something better than this!

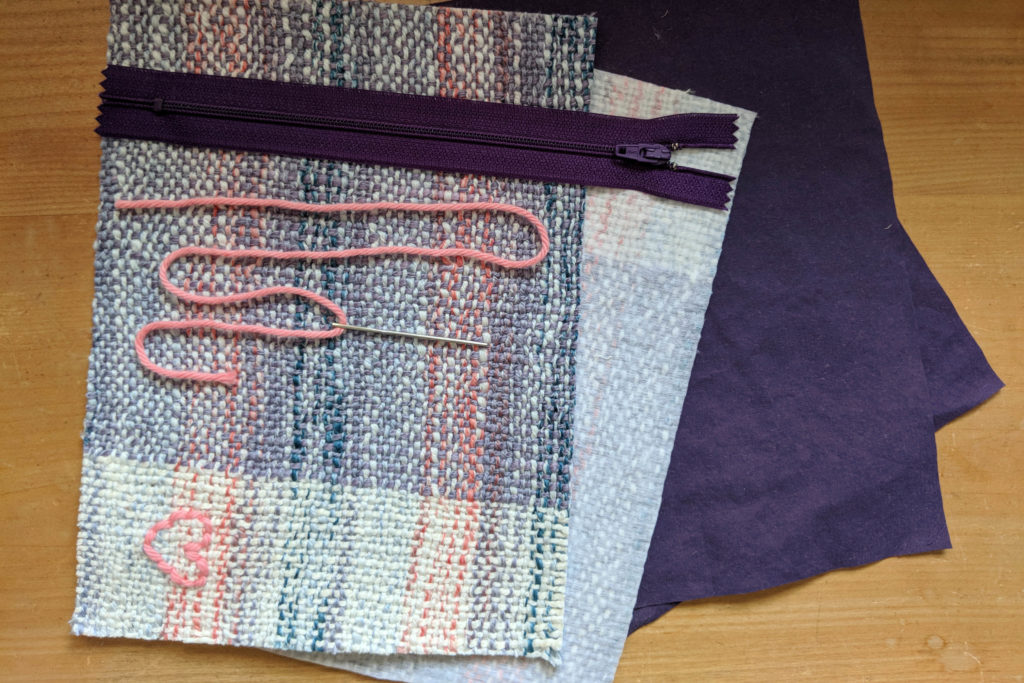
One thing to keep in mind with handwoven fabric, is that your weaving will likely want to come apart if you cut into it. Handwoven fabric, especially using handknitting yarns, does not have as high a thread count as commercial fabric on a bolt. Before cutting into my fabric, I used a fusible interfacing which I just ironed onto the back side of the fabric. The interfacing has an adhesive which helps to secure the fibers in the yarn.

After doing this, I cut out two pieces from my woven fabric 7″ x 9″. I also cut two lining pieces from some stash fabric (an old pillowcase, actually!) also 7″ x 9″.

At this point, I followed the tutorial that I mentioned above (here it is again: (link) And voila, just a short time later, I had a pouch:

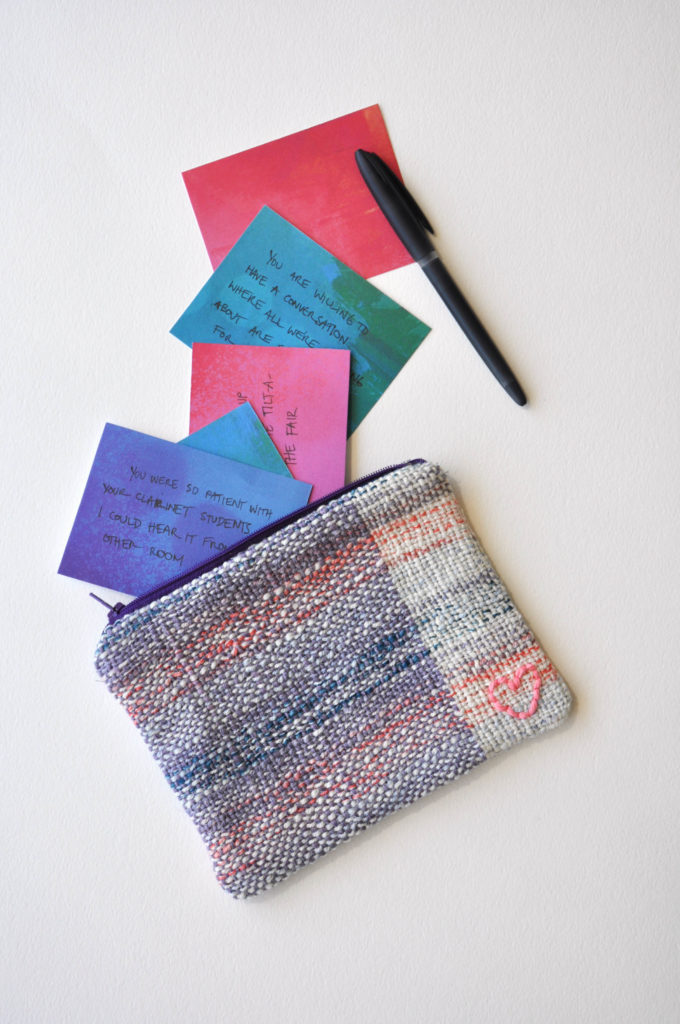
In the papercrafting section at my local store, I found some pretty watercolor looking paper in a cardstock weight that coordinated with the colors of my yarn. I cut some pieces that were about 3″ x 4″. I spent some time one evening writing down positive memories about my mom, one memory per card. It was fun and quite therapeutic.

One memory was: “when you threw up after riding the tilt-a-whirl at the fair”

I think my mom will enjoy reading through these, perhaps being reminded of things she’s forgotten or things she never thought I noticed.

Whether you’re a parent or a child, I hope this Mother’s Day is a good one for you!

Emergency Monster Hats

Halloween is hands down my favorite time of year. The air is just starting to get crisp, meaning I can finally break out my handknits. There’s always candy. Everywhere. All the time. Cider, campfires, beautiful changing leaves; I could go on.

Clockwise from the top we have Rachel wearing Clarice, Heather wearing Chunk, and me (Amy) wearing Clyde)

But of course the most fun thing about Halloween are the costumes. I finally settled on my own costume idea for this year a week or two ago. But there was a period of panic where I just couldn’t come up with an idea I was happy with. Enter: monster hats (pattern link).

Hi. I’m Clarice. I know it doesn’t look like it but I’m actually very happy.

Now monster hats are really pretty fun any time of year. They’re really not season-specific. But, in a pinch, they can make an excellent costume.

Hhhii, I’m Chunk. I like you.

All three are crocheted in numerous shades of Uptown Worsted, our super-soft anti-pilling acrylic. This is a great hat yarn because it feels good on the head and is not itchy. It’s also quite affordable and buying several skeins in different colors won’t break the bank.

I believe she was not in her right mind while making me. I mean, one eye? At least it’s a large eye. I am Clyde, by the way.

There lots of different add-on elements going on in each of these hats. The idea is that you can follow the patterns as written if you like. Or you can come up with your own unique monster using different combinations of spikes, horns, different numbers of eyes, etc.

We want candy. More candy. And not the cheap stuff.

So if you’ve found yourself with out a costume and Halloween only a week away, why not be a monster?

You can find the patterns for all three hats on our website here (pattern link). Happy Halloween!

Free Pattern Friday – Bruges Noel Shawl

It’s Free Pattern Friday!

brugesnoelshawl_hh_hi-res
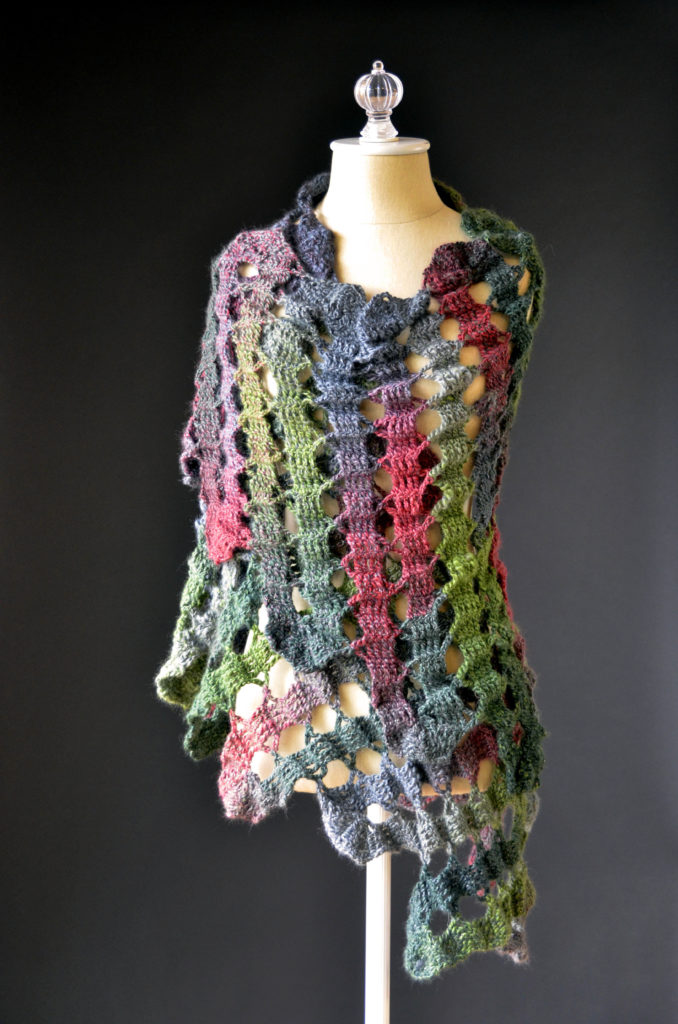
Today, the Bruges Noel Shawl in Classic Shades Metallic.

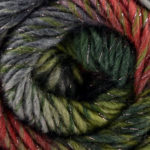
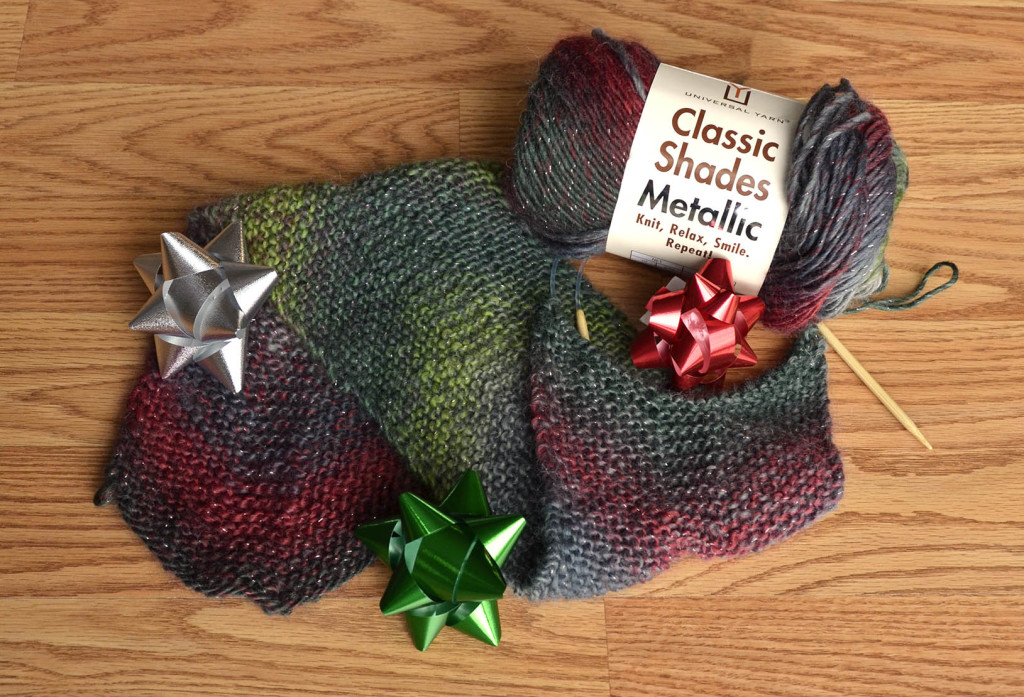
cshades-metallic-607-zenith-hi-resThis is the perfect time of year to highlight one of our most holly jolly colorways, 607 Zenith in Classic Shades Metallic.  We’ve previously shown off this color, in this 2014 blog post with a knitted project, shown below.

CS Metallic Holiday Swatch blog

Red, dark ash, green, and some silver sparkle.  Love this yarn!
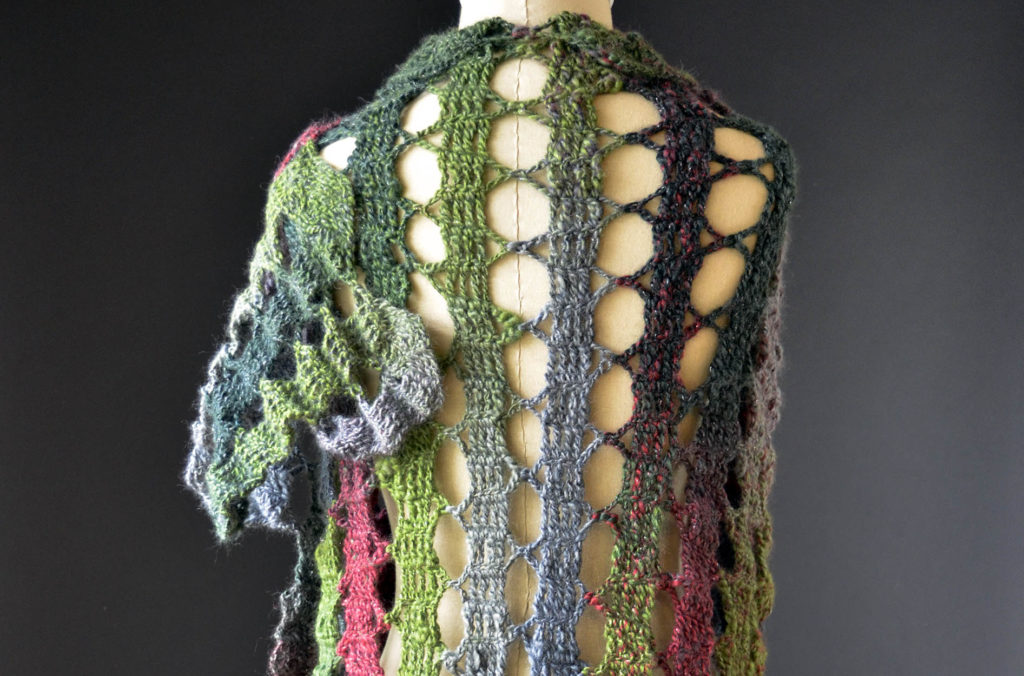
brugesnoelshawl_hh_alt-blogThe Bruges Noel Shawl is a triangular shawl that is worked sideways from one tip to the other. The stitches used are traditional crochet Bruges lace, constructed with strips of double crochet and connected with chain spaces. This shawl is worked in one piece.  At 84″ (7 feet) long, this is a great shawl to wrap around yourself and show off.  It’s a fun crochet project with the right amount of sparkle.

If bling isn’t your thing, this would work up at exactly the same gauge in self-shading Classic Shades, which has the same fiber content without the metallic strand.  But if ever there were a time of year to sparkle a little, this is it.

We hope your weekend is merry and bright.

Happy crafting!

brugesnoelshawl_hh_back-blog

Free Pattern Friday – Holly Jolly Socks or Stockings

It’s Free Pattern Friday!Holly Jolly socks or stockings 1_blog

Today, Holly Jolly Socks or Stockings in Uptown Worsted Tapestry.

Ho ho ho!  Have you been very good?  A little bit good?  Well, Knitting Santa says you’ve been good enough, so we offer this holiday sock/stocking pattern as a gift!

Uptown Worsted Tapestry (180yds/100g) is a machine washable favorite for babies and adults, but there are a couple of colors that really stand out for the holidays.

Official uniform of Santa’s workshop.

812 Yule Time, with its classic red, white, and green color scheme, is used in the popular free Elfkin set for sizes 6 months to 6 years at right.  We’re also partial to color 806 Emerald, which has a lovely blue spruce feel to it that fits right in under the tree.

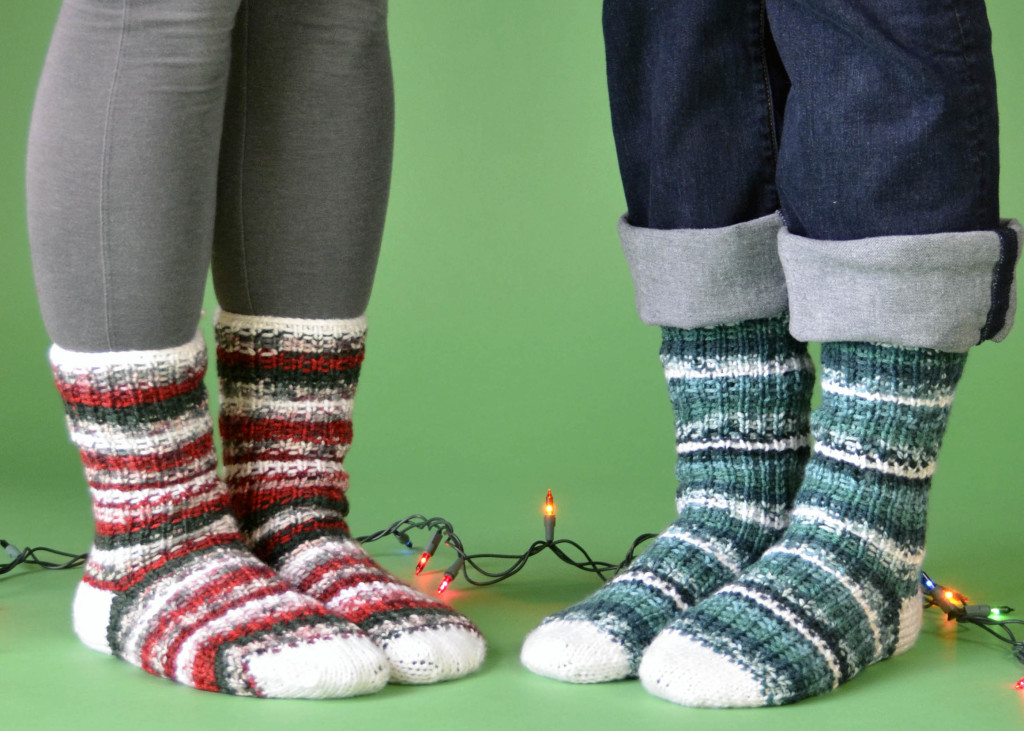
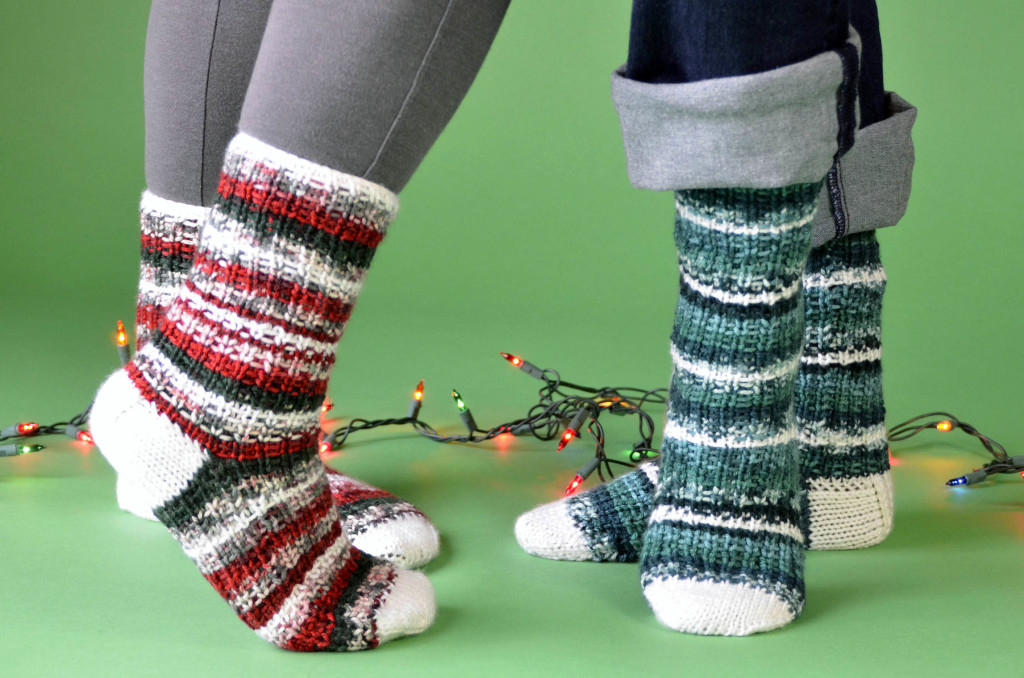
These socks are worsted weight, knitted on US size 6(4mm) double-pointed needles.  As you can see, they’re small enough to fit as socks great for sliding across the floor to see what Santa left you.  They also include a small crochet loop so you’re free to hang them as stockings if you wish.  We use size 6 needles for a tight fabric so no little gifts fall through the holes.

Holly Jolly socks or stockings 3_blogKnitted toe-up with a Turkish heel, one ball of Tapestry and one ball of Uptown Worsted 302 White Glow for the heels and toes ought to do it for small sizes.  If your feet are longer than 9″, consider grabbing an extra ball of Tapestry.  This handy guide to foot sizes from the Craft Yarn Council may be helpful in estimating, although I wear a US women’s size 8 1/2 or 9 with 9 1/2″ long feet and these socks fit me just fine.

We hope you have a great weekend of crafting and good times.

Happy knitting!

Holly Jolly socks or stockings 2_blog

Mother’s Day Yarn Art

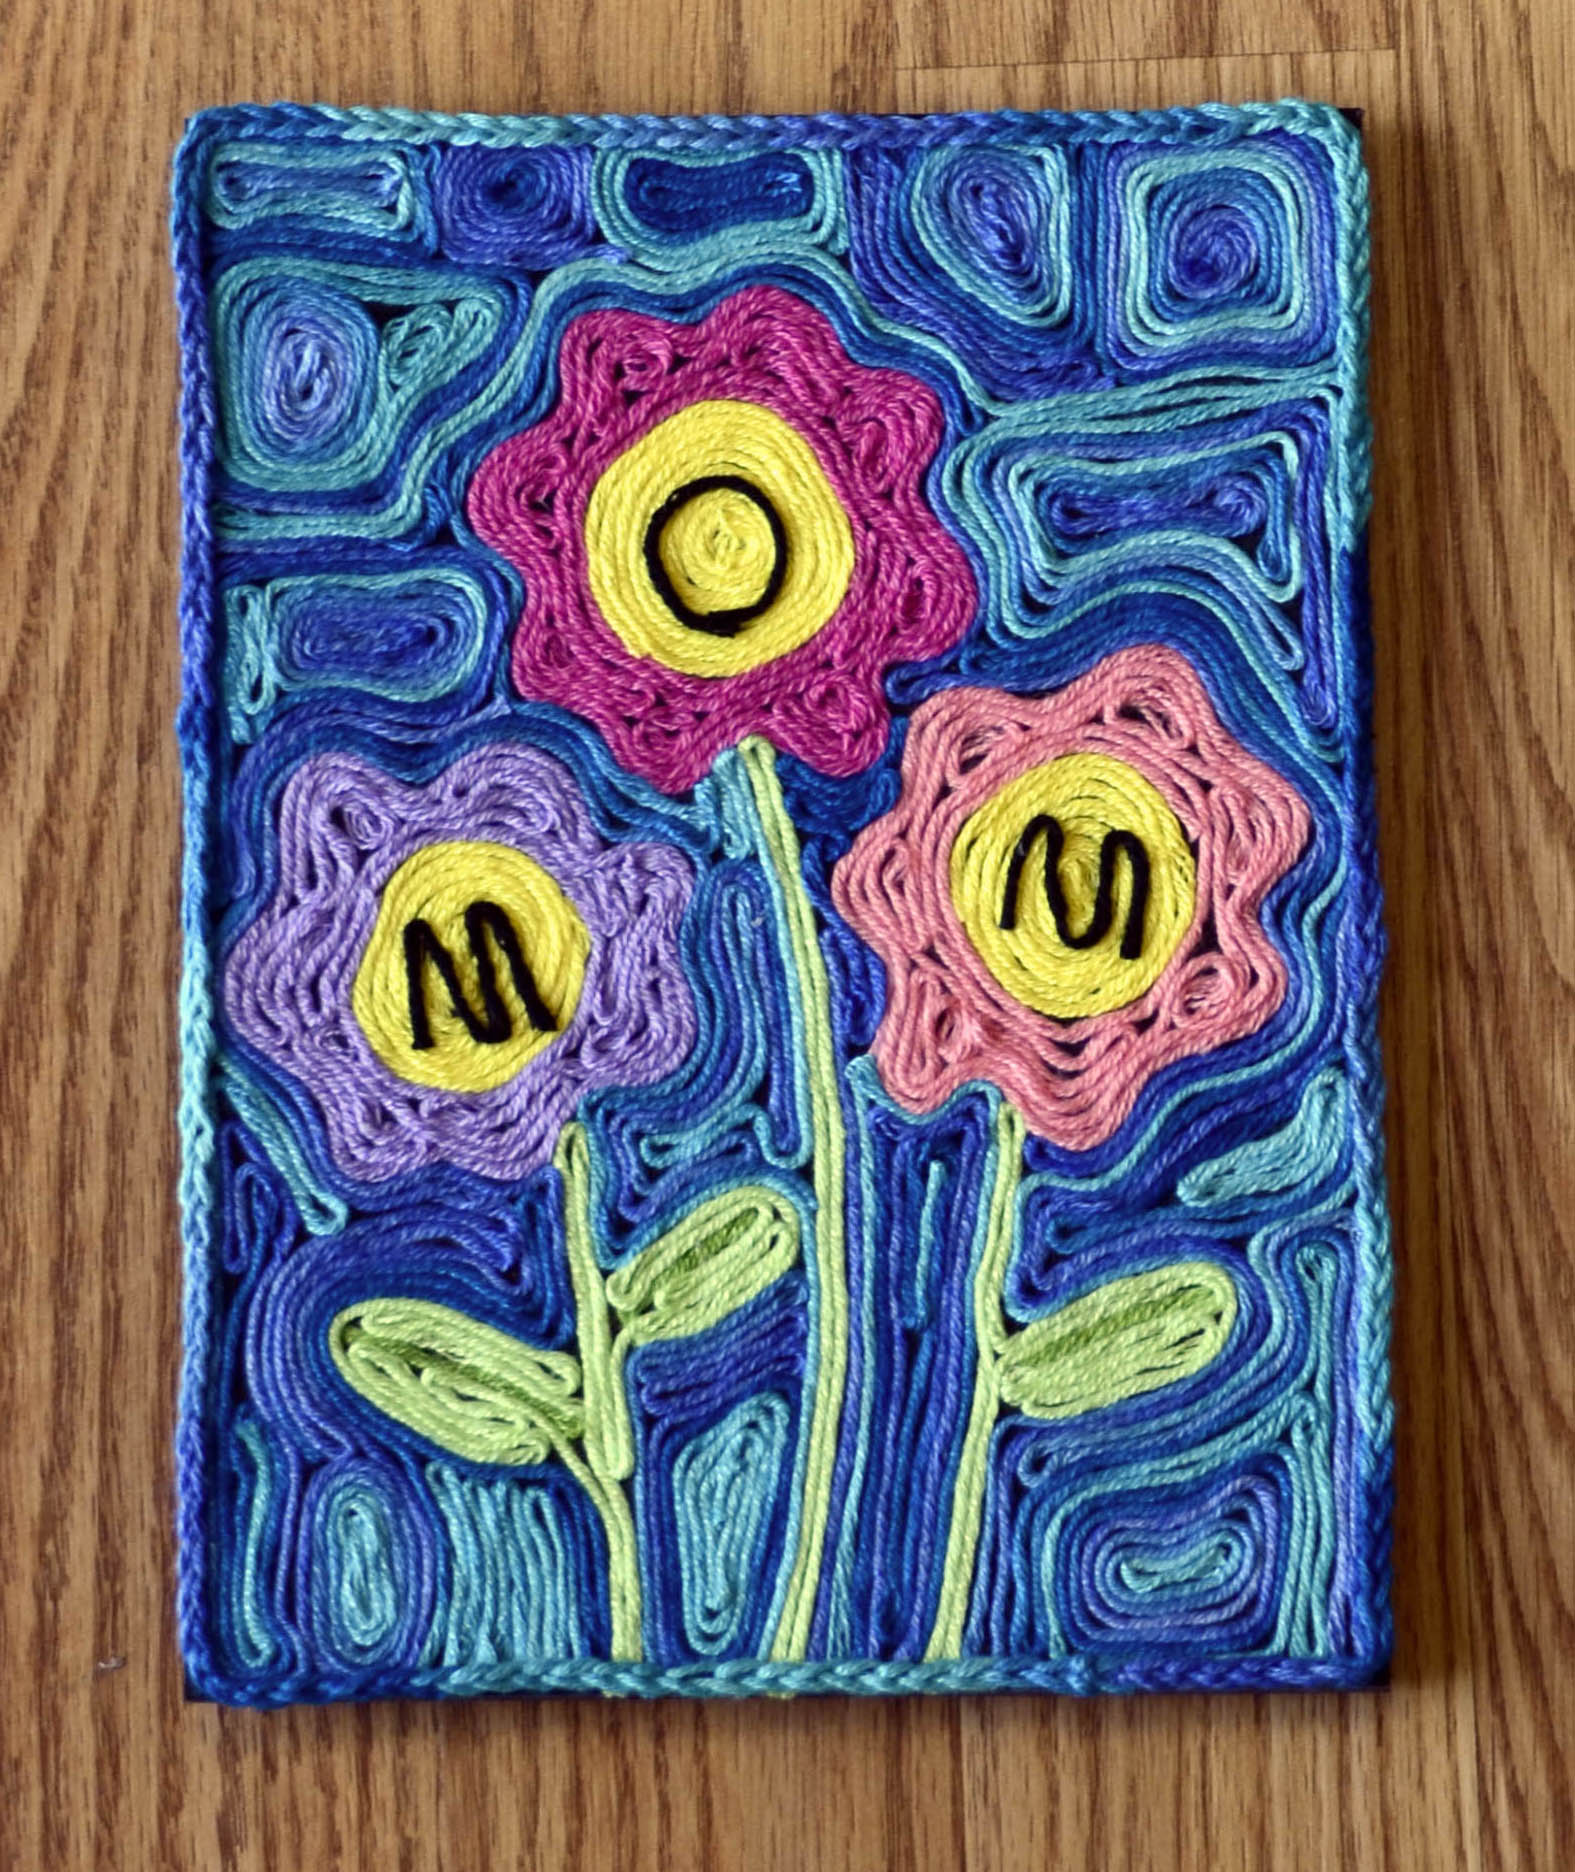
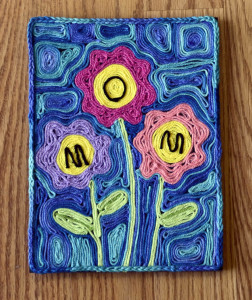
Mother’s Day is tomorrow!  Are you ready?  Me neither!  Fortunately, Amy came up with marvelous way to put together a handmade gift from your stash in a flash.  Yarn art!

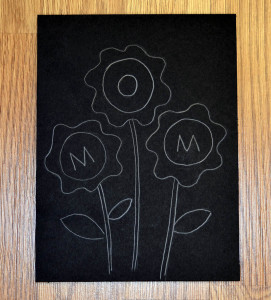
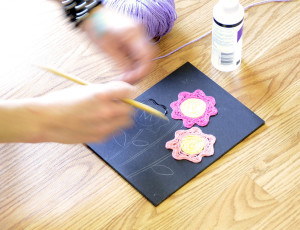
Step one is to find an image that you want to use and draw or trace it onto your card.  We used a cut-down sheet of foam core board.  We’re going to be using adhesive for this craft, so construction paper or thinner paper is a little iffy – we don’t want it to buckle or ripple from the moisture of the glue.

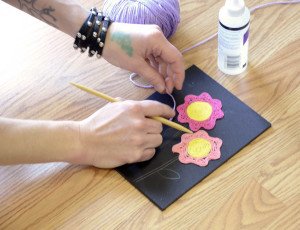
Card 1 Card 2

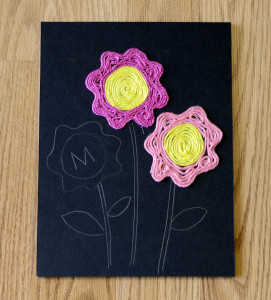
Amy freehanded her design, but you could also use clip art.  You can see it above with a couple of flowers already filled in with Bamboo Pop.  We’ll show you how to do that in the next step!Card 3 Card 4


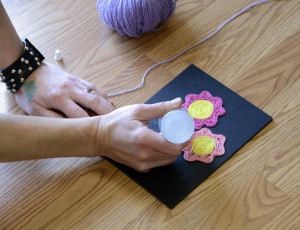
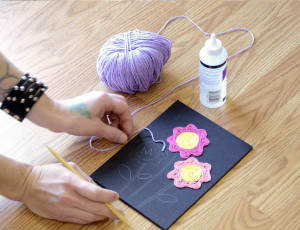
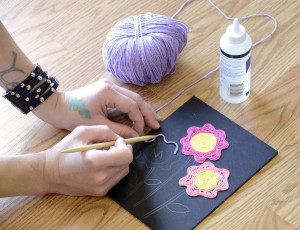
Outline your design with glue (we used Alene’s clear gel tacky glue).  It’ll be easier to do a small section at a time rather than the whole thing – it’s easy to accidentally smear your yarn through the glue if the whole card is covered in it.

Card 5 Card 6

Card 7

Position your yarn over the outline and stick it down.  We used the point of a pencil to press the Bamboo Pop to the card.  It keeps glue off the fingers and it’s more precise.

After you do your outlines, fill in the area inside, then if you wish you can cover any remaining space.  Be as creative as you want.  Incorporate straight lines, whirls and swirls, unusual colors or shapes – it’s all up to you!

Card 8 Card 9

I love the touch Amy included of the chain stitch around the edge of the card!

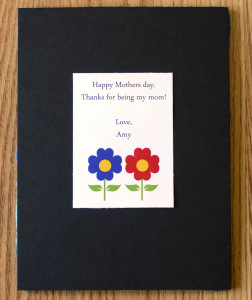
Finish it off with a personalized message on the back.  Draw your own, or use clip art or illustration from the internet.

Voila! A personalized card that you made yourself without making yourself crazy.  We’ll hope that Amy’s mom gets the card before she reads this post!

Happy crafting!


Throwback Thursday – Santa Hat

It’s Throwback Thursday!

TT_Santa Hat_blog

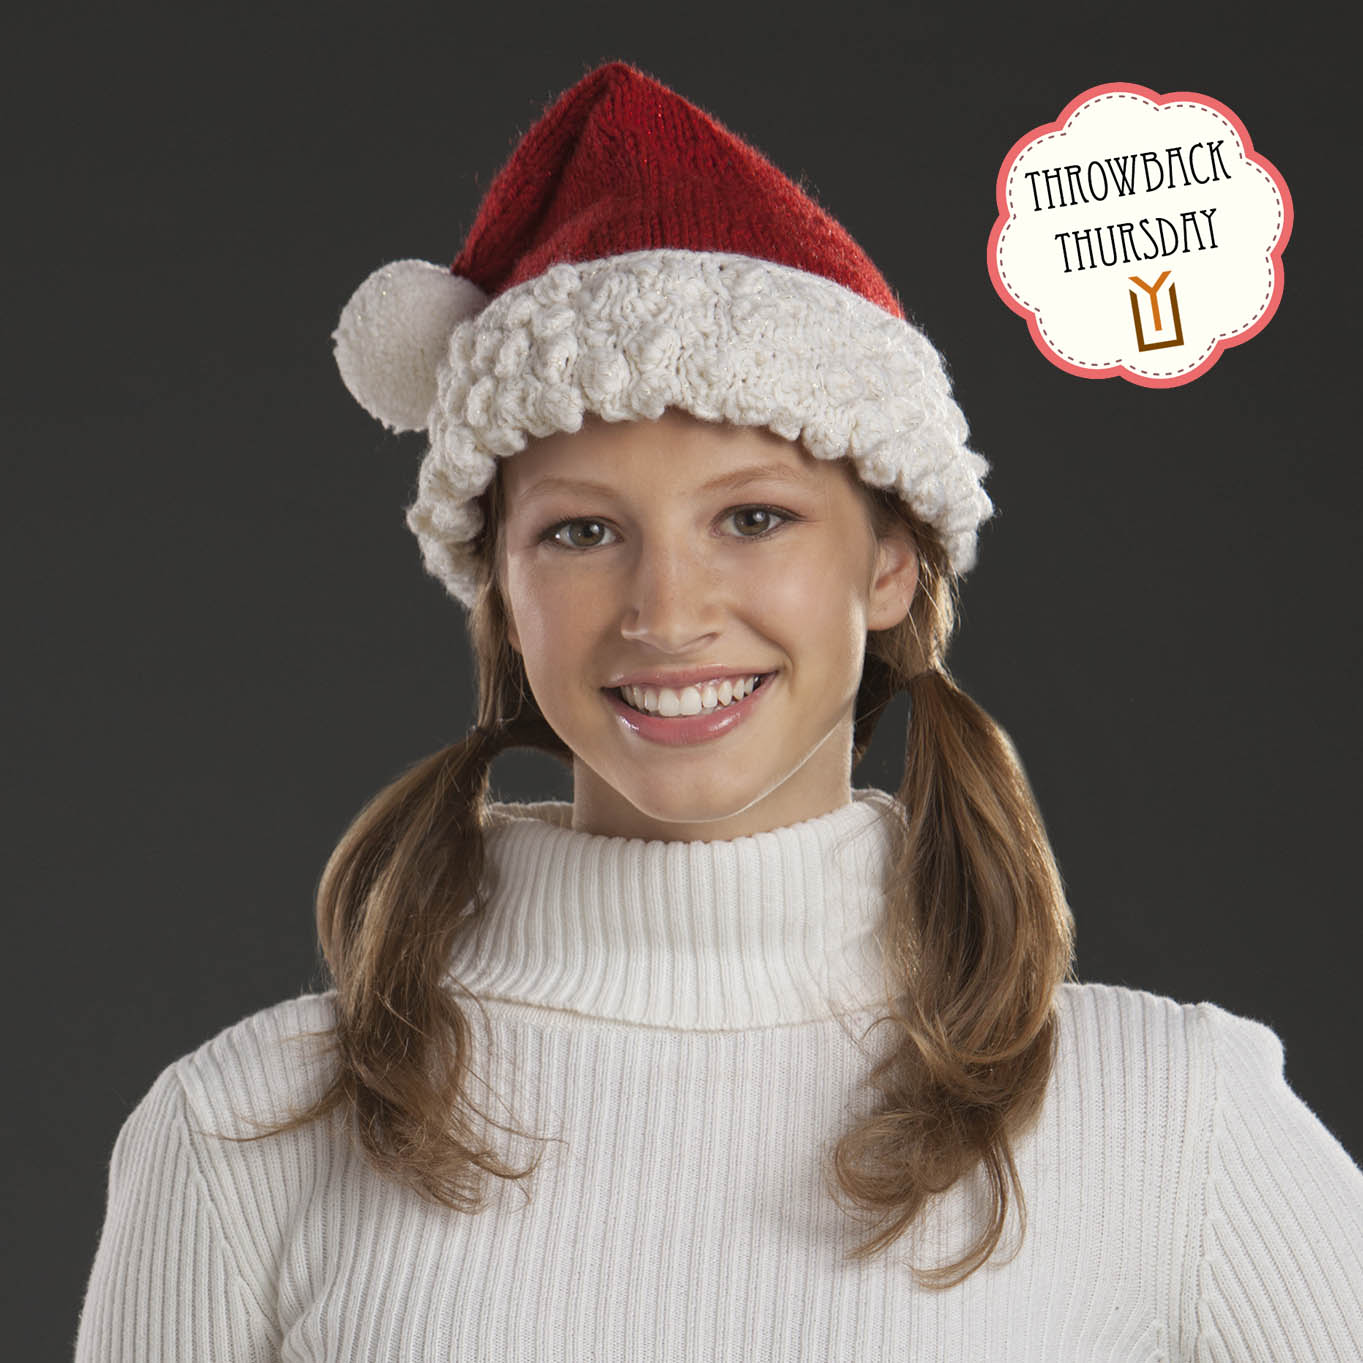
Today, the Holiday Santa Hat by Michael del Vecchio!

Originally designed for Classic Worsted Holiday, this would look great in any worsted weight yarn.  Naturally you’re not limited to red and white – be a psychedelic Santa if you want! – but we do have recommendations in our solid color worsted weight yarns.

Uptown Worsted has 312 Racecar Red and 302 White Glow.

Deluxe Worsted has 3691 Christmas Red and 12270 Natural.

Deluxe Worsted Superwash has 738 Christmas Red and 728 Pulp.

This pattern is designed to be knit flat, handy for those who aren’t comfortable with circular needles.

I love Michael’s use of bobbles in this pattern to give texture.  Make a provisional cast-on and knit the bobbled brim, then attach the red to the cast-on edge and knit the rest of the hat.  A festive pom-pom finishes it off.  I’m still backed up on my holiday knitting, so I might just use a Luxury Fur Pom-Pom to save time rather than making my own.

Wishing you a festive holiday season – and happy knitting!