
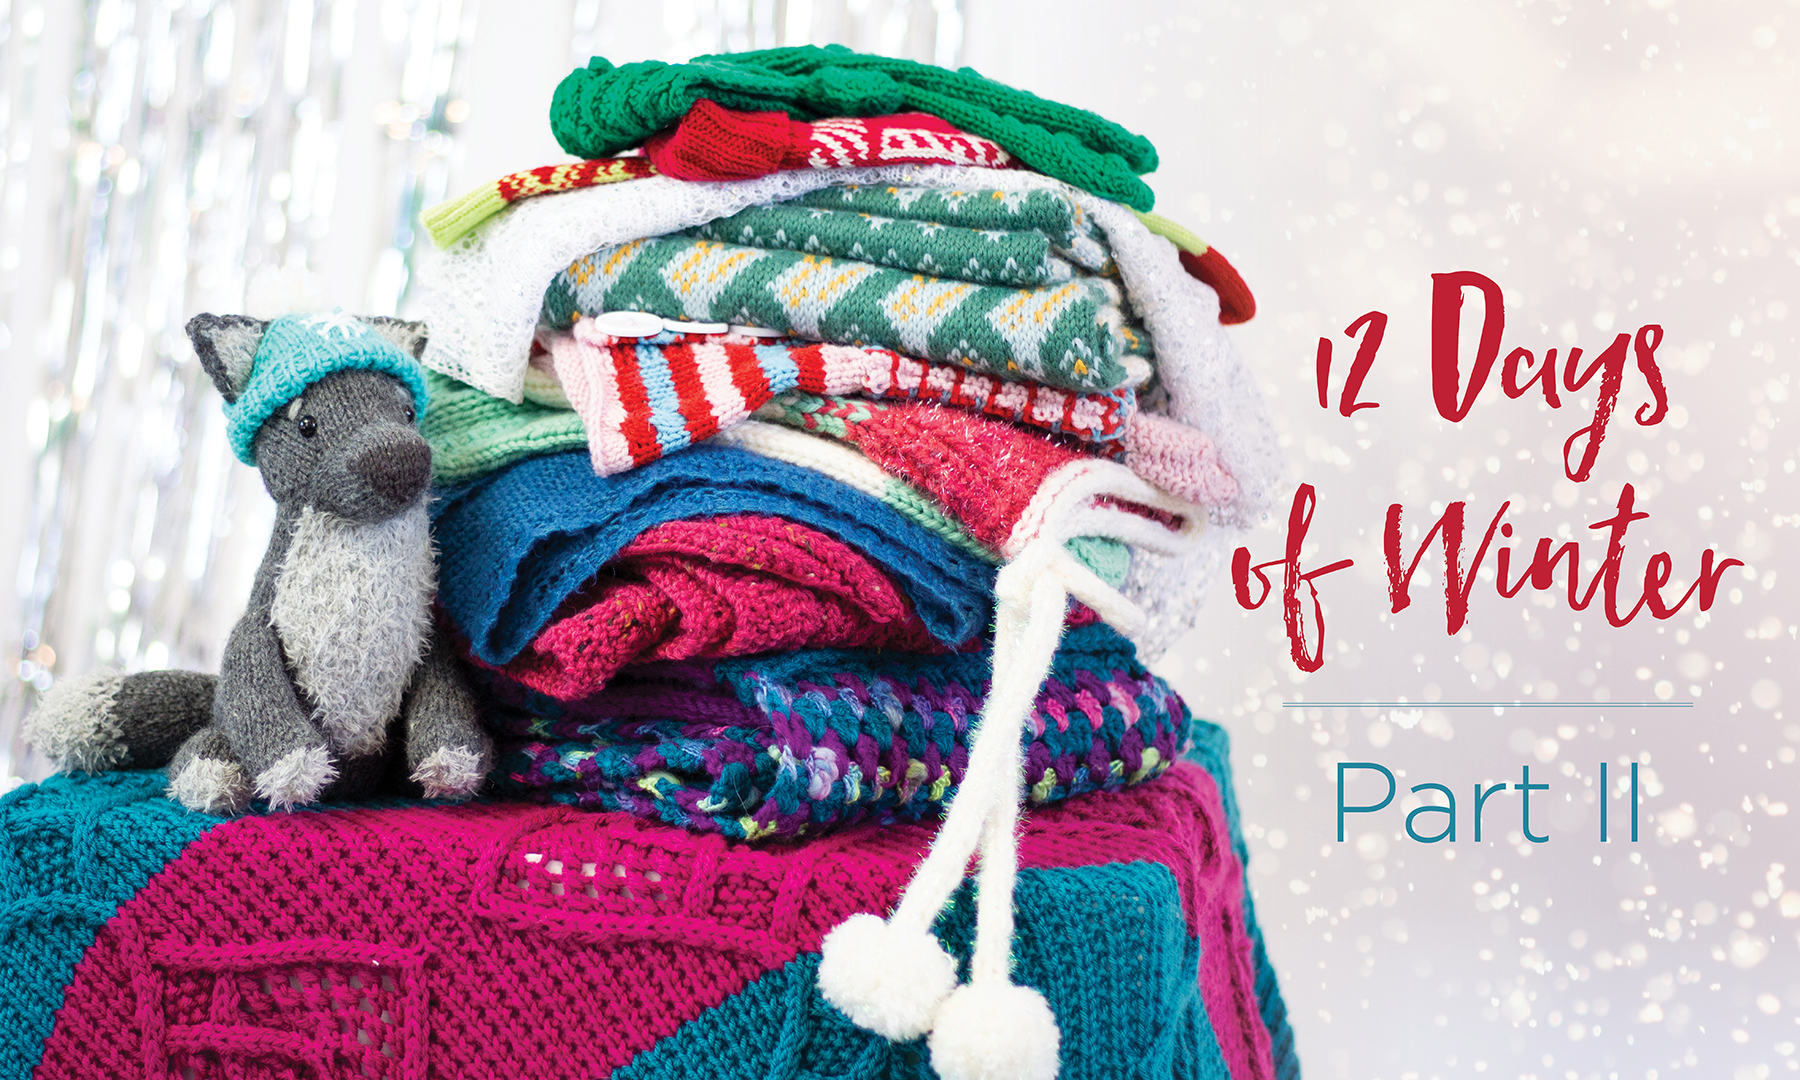
This is part 2 in a four-part series highlighting designs from our 12 Days of Winter, Series 6 Edition.
In today’s installment of our blog series on our annual 12 Days of Winter Kit Collection, I’ll be highlighting three delightful knitting patterns: Hubble the Winter Wolf, the Hemlock Set, and the Pomegranate Path set.

You may be asking yourself, “what do these three projects have in common?” The answer, my fiber-loving friend, is warm, woolly textures! With an emphasis on our “Deluxe” family of yarns, these projects utilize our three worsted lines: Deluxe Worsted, Deluxe Worsted Superwash, and Deluxe Worsted Tweed. A trifecta of worsted weight wools, if you will!
Additionally, these projects showcase texture. In Hubble the Winter Wolf, we’ve sprinkled in some Minou for fluffy interest, and in both the Hemlock Set and Pomegranate Path, we’ve incorporated plump cables throughout. The final thread tying these patterns together is headwear! A pom pom topper for a stuffed best friend, a headband for a dressier outing, and a beanie to ensure your warmth for the duration of the season! Shall we take a closer look?
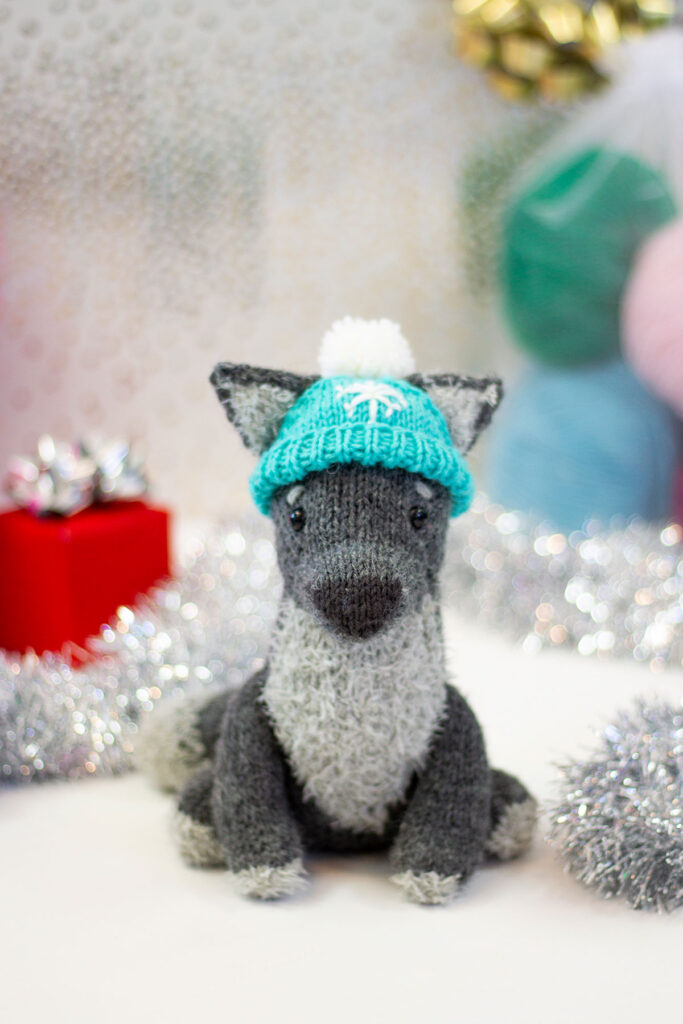
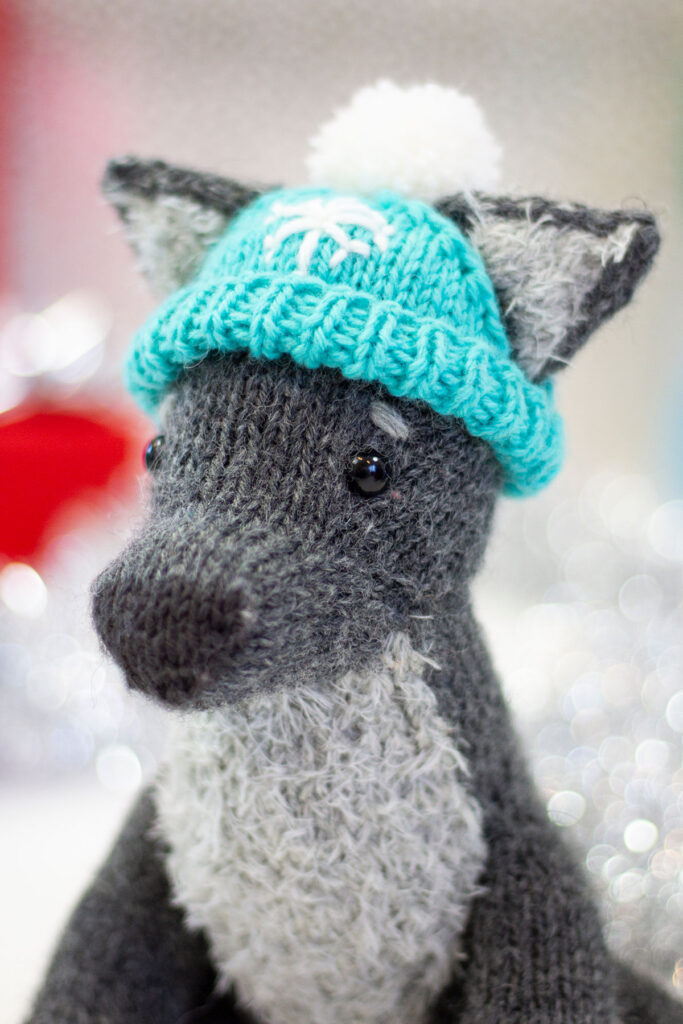
Hubble the Winter Wolf
I’ll be honest – this pattern is my pride and joy in the collection! This design took lots of experimentation and was an absolute joy to put together. If you’d like to know a little about the design process, it began with lots of ripping back, sketches, and jotting down scribbles of notes in my graph paper notebook (side note: every knitter who enjoys charts, designing, or modifying patterns will benefit from a graph paper notebook, throw one in their stocking!).
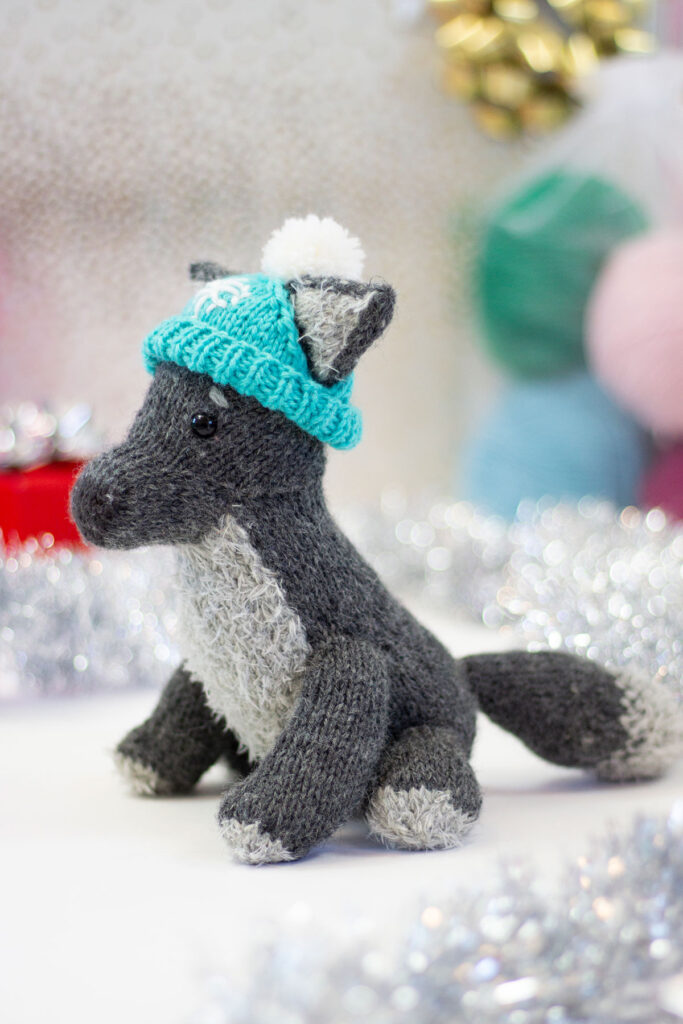
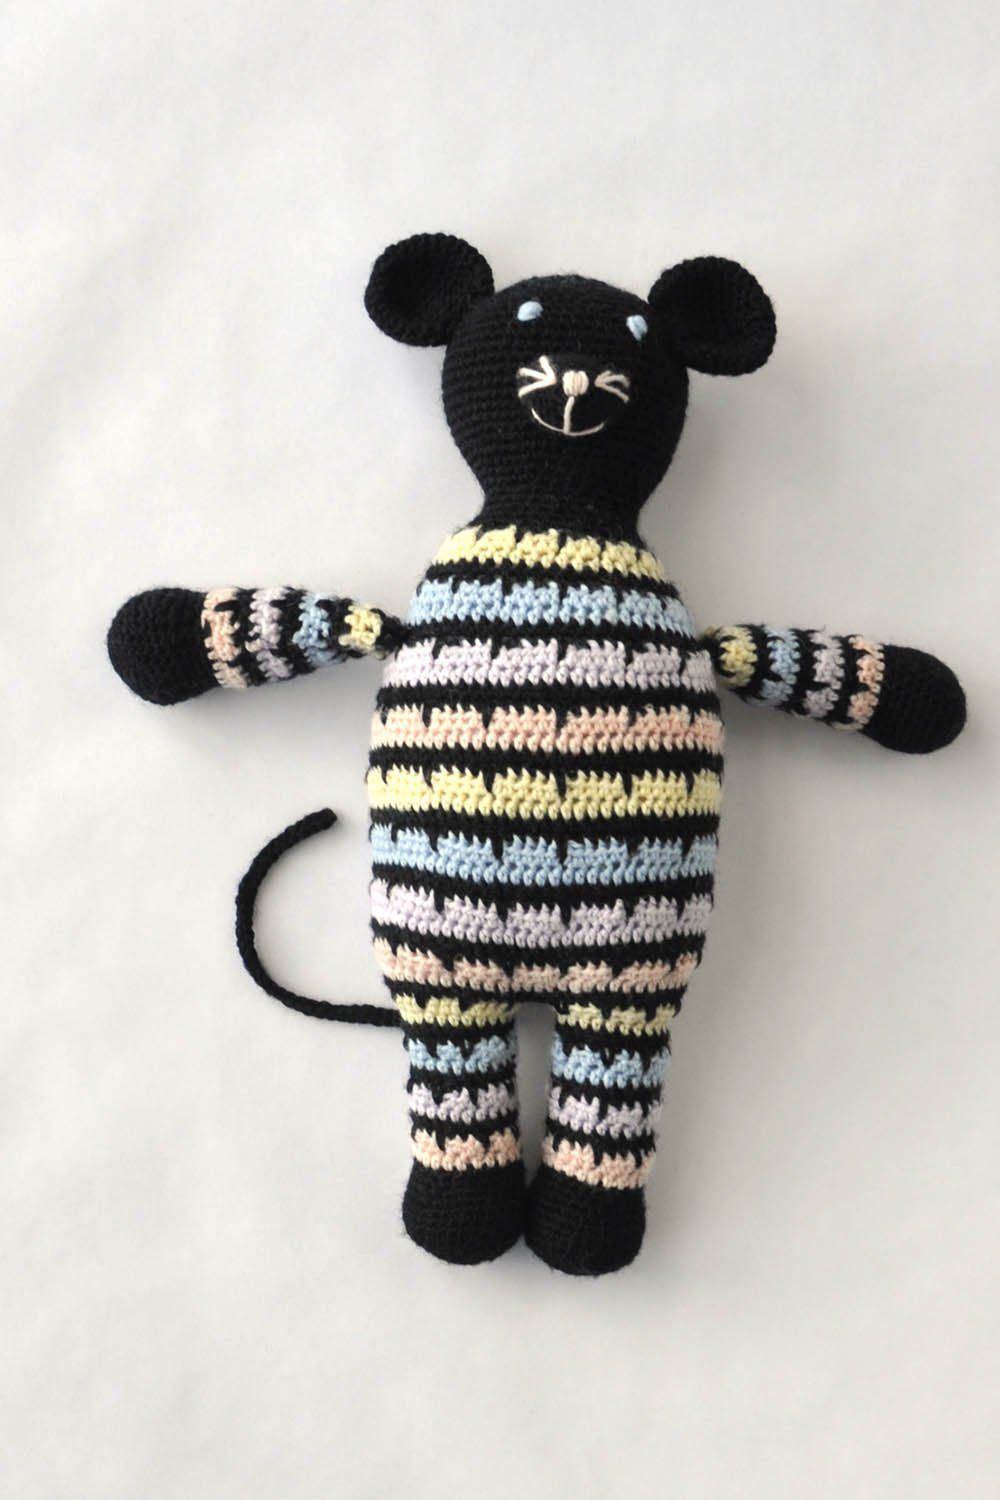
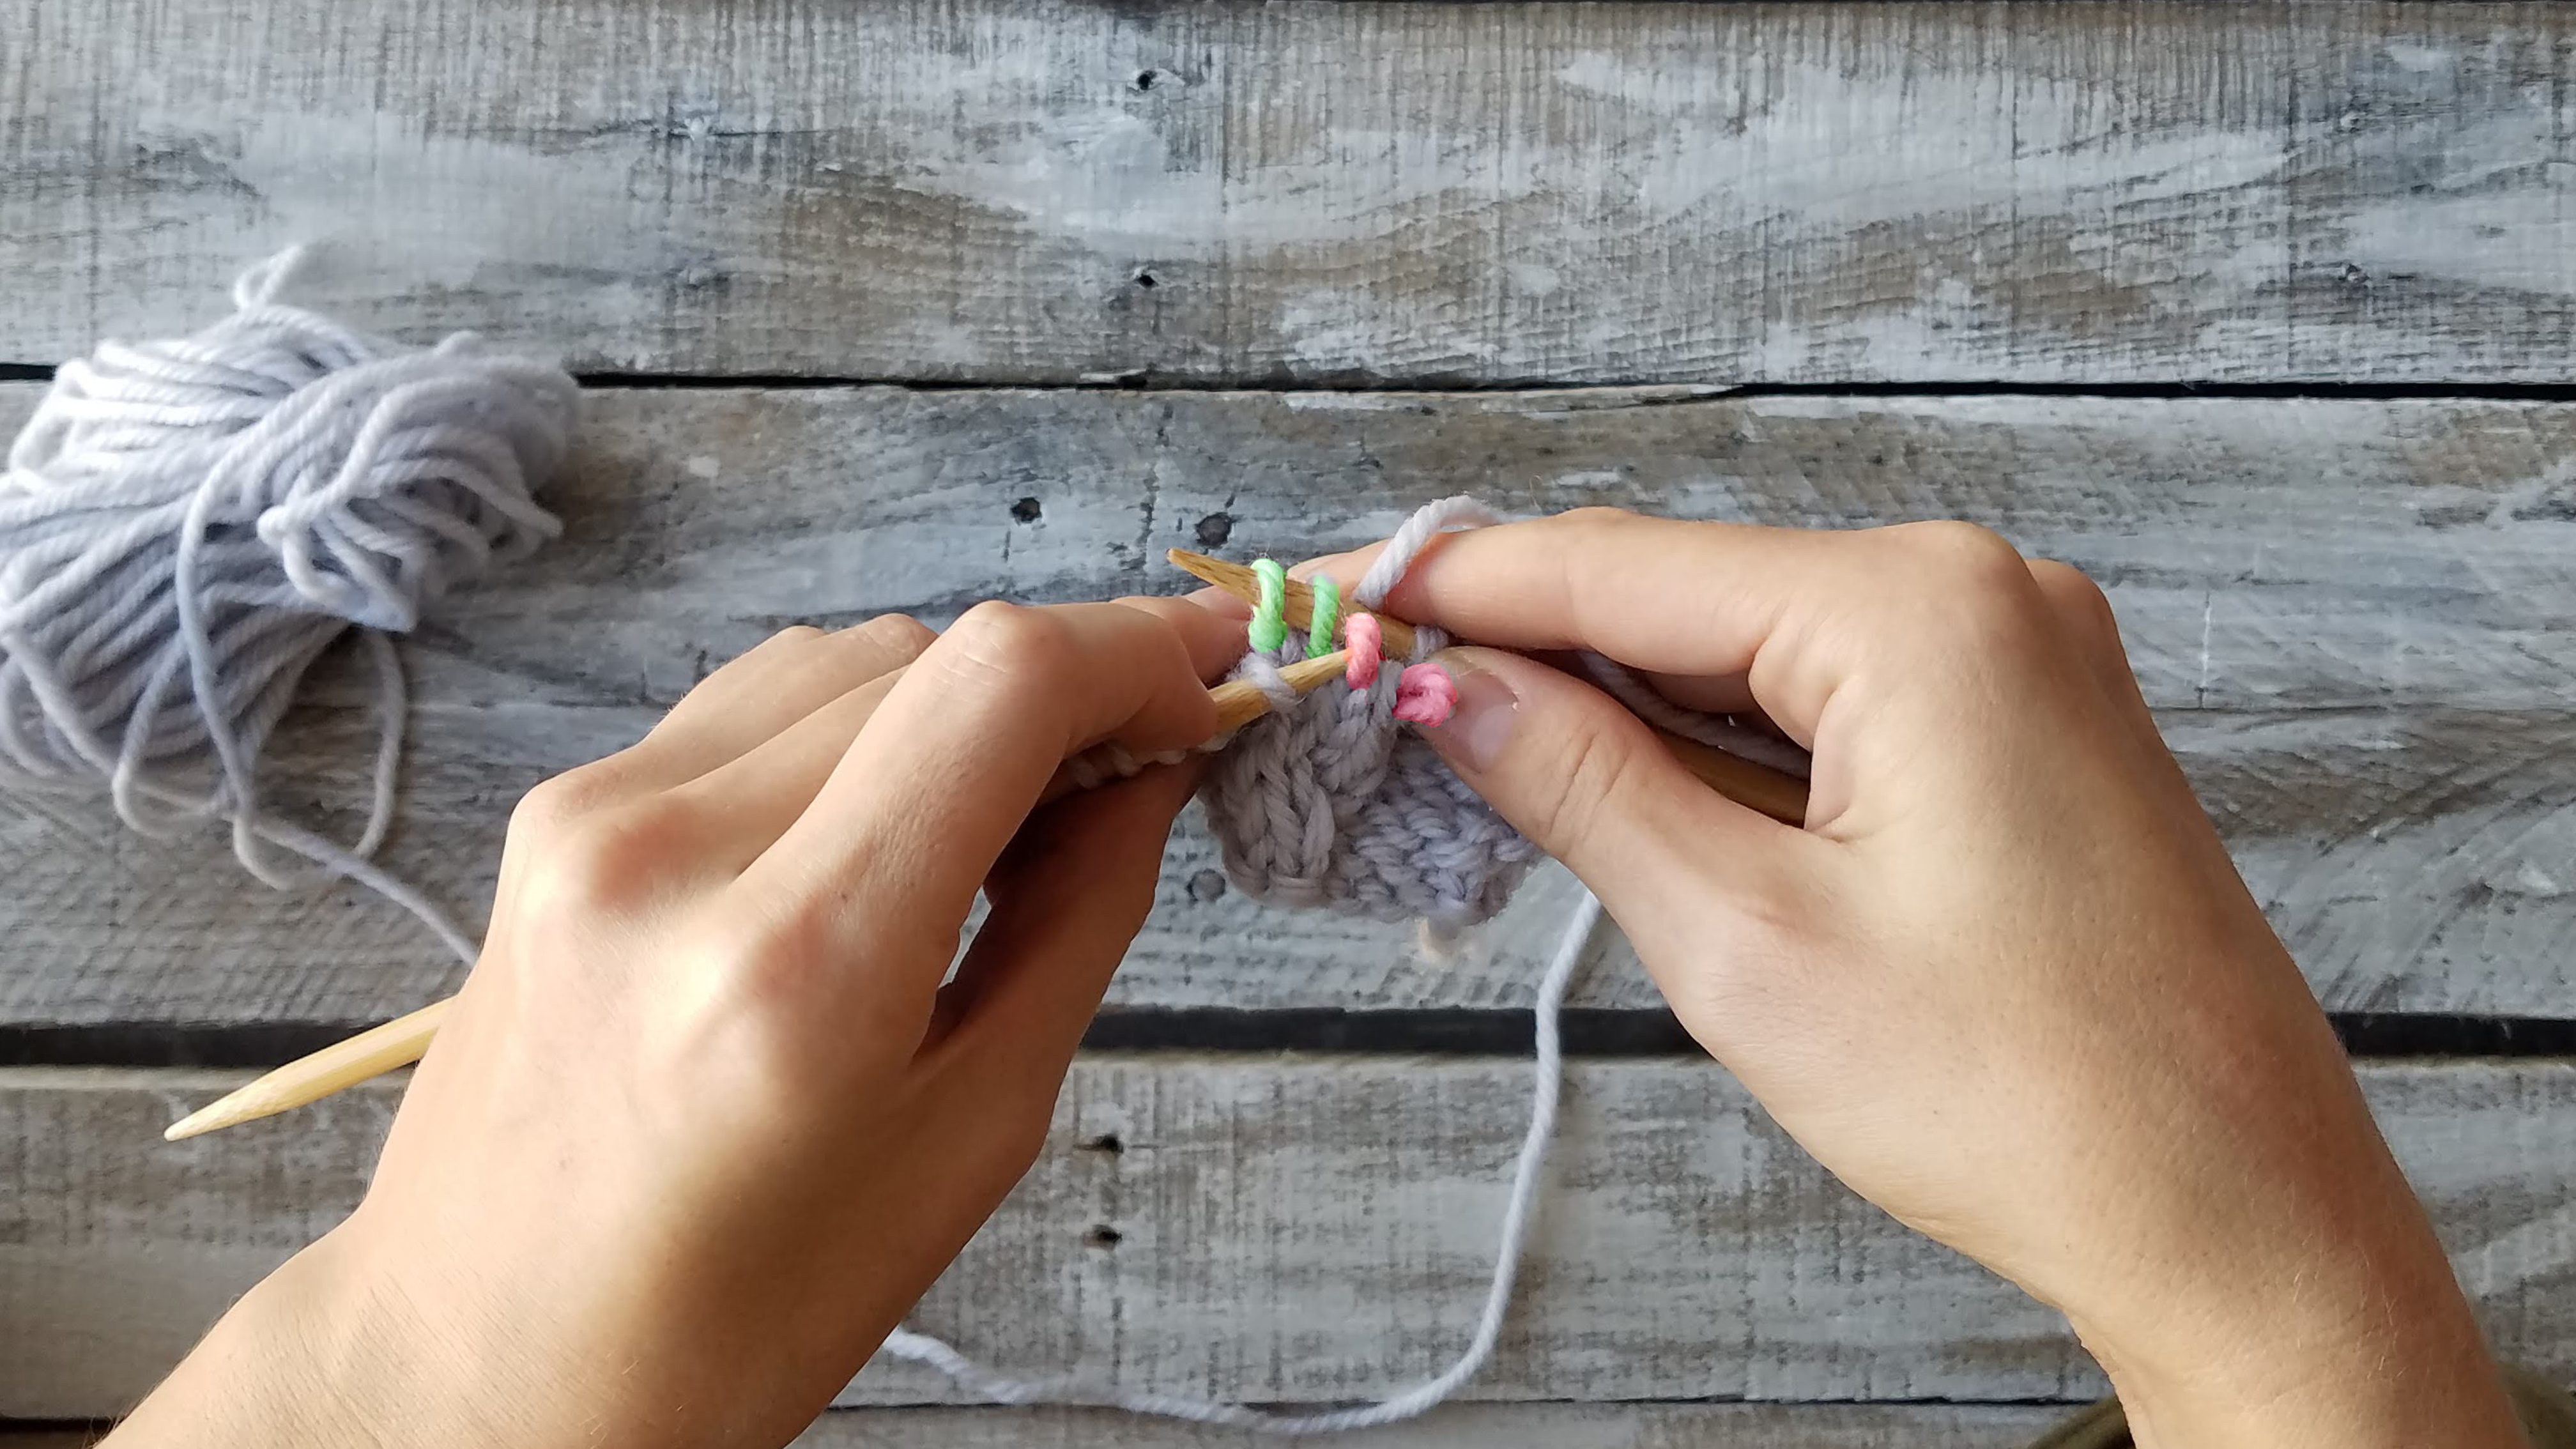
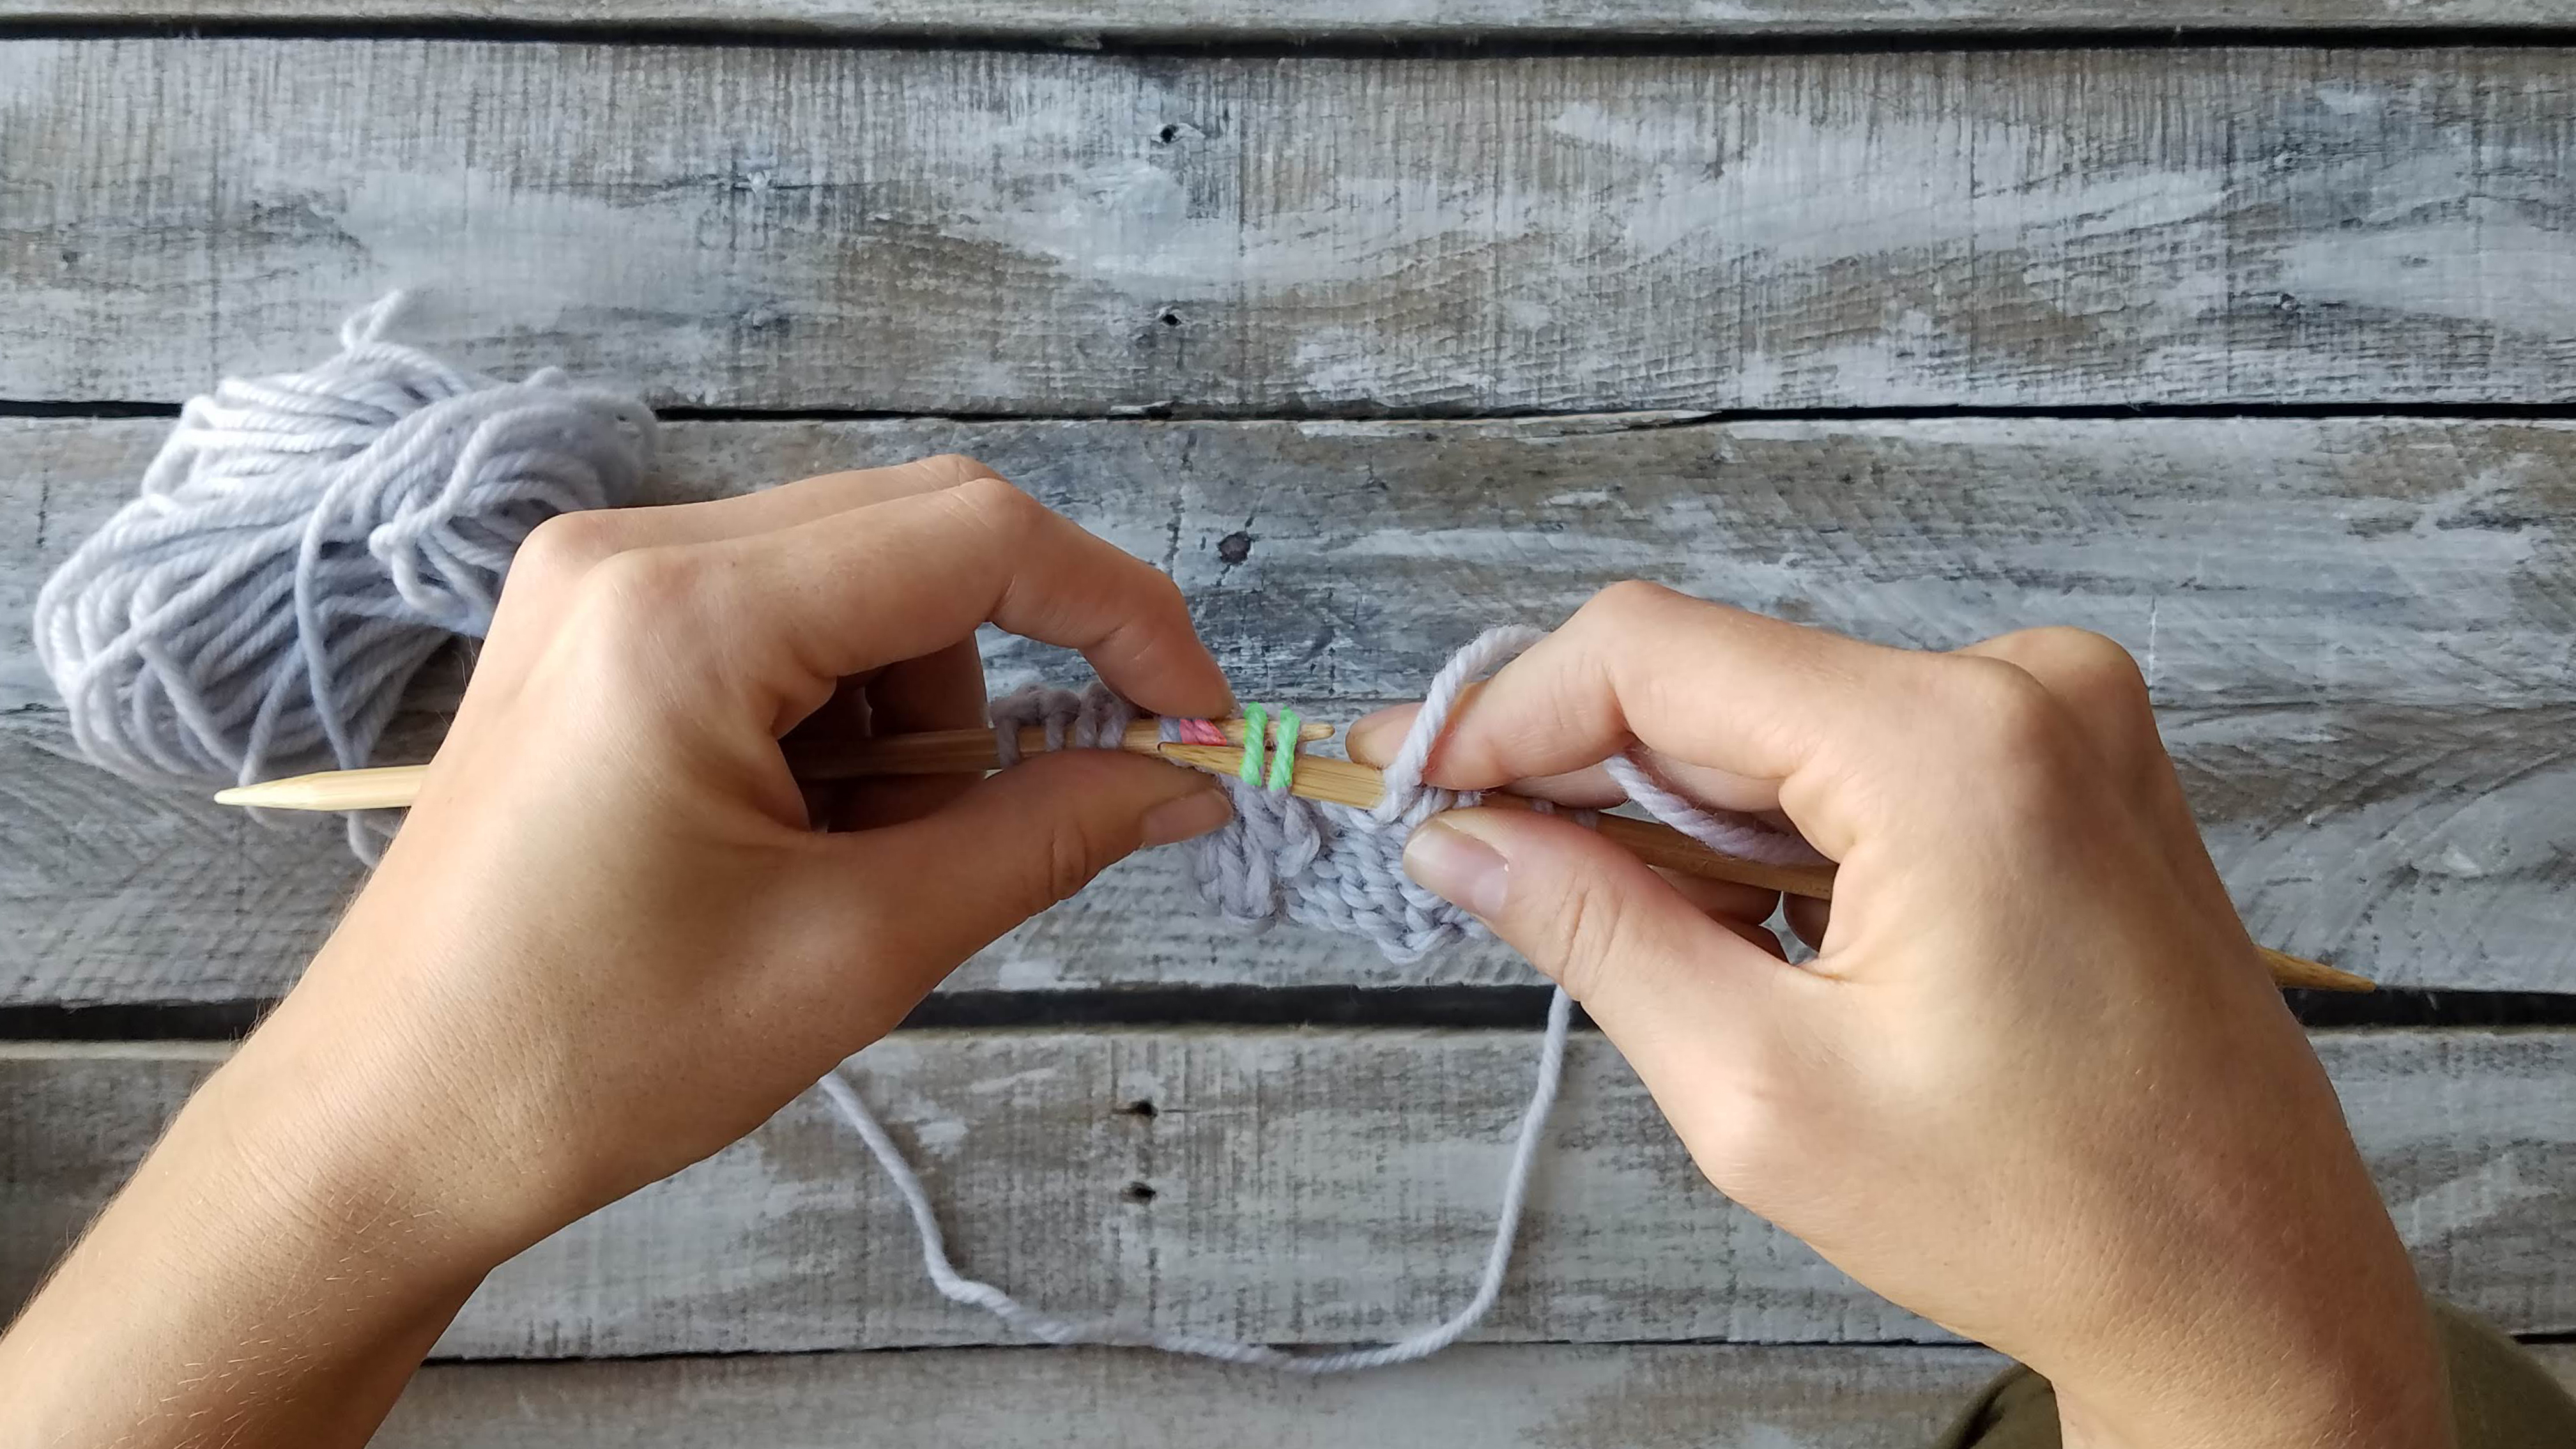
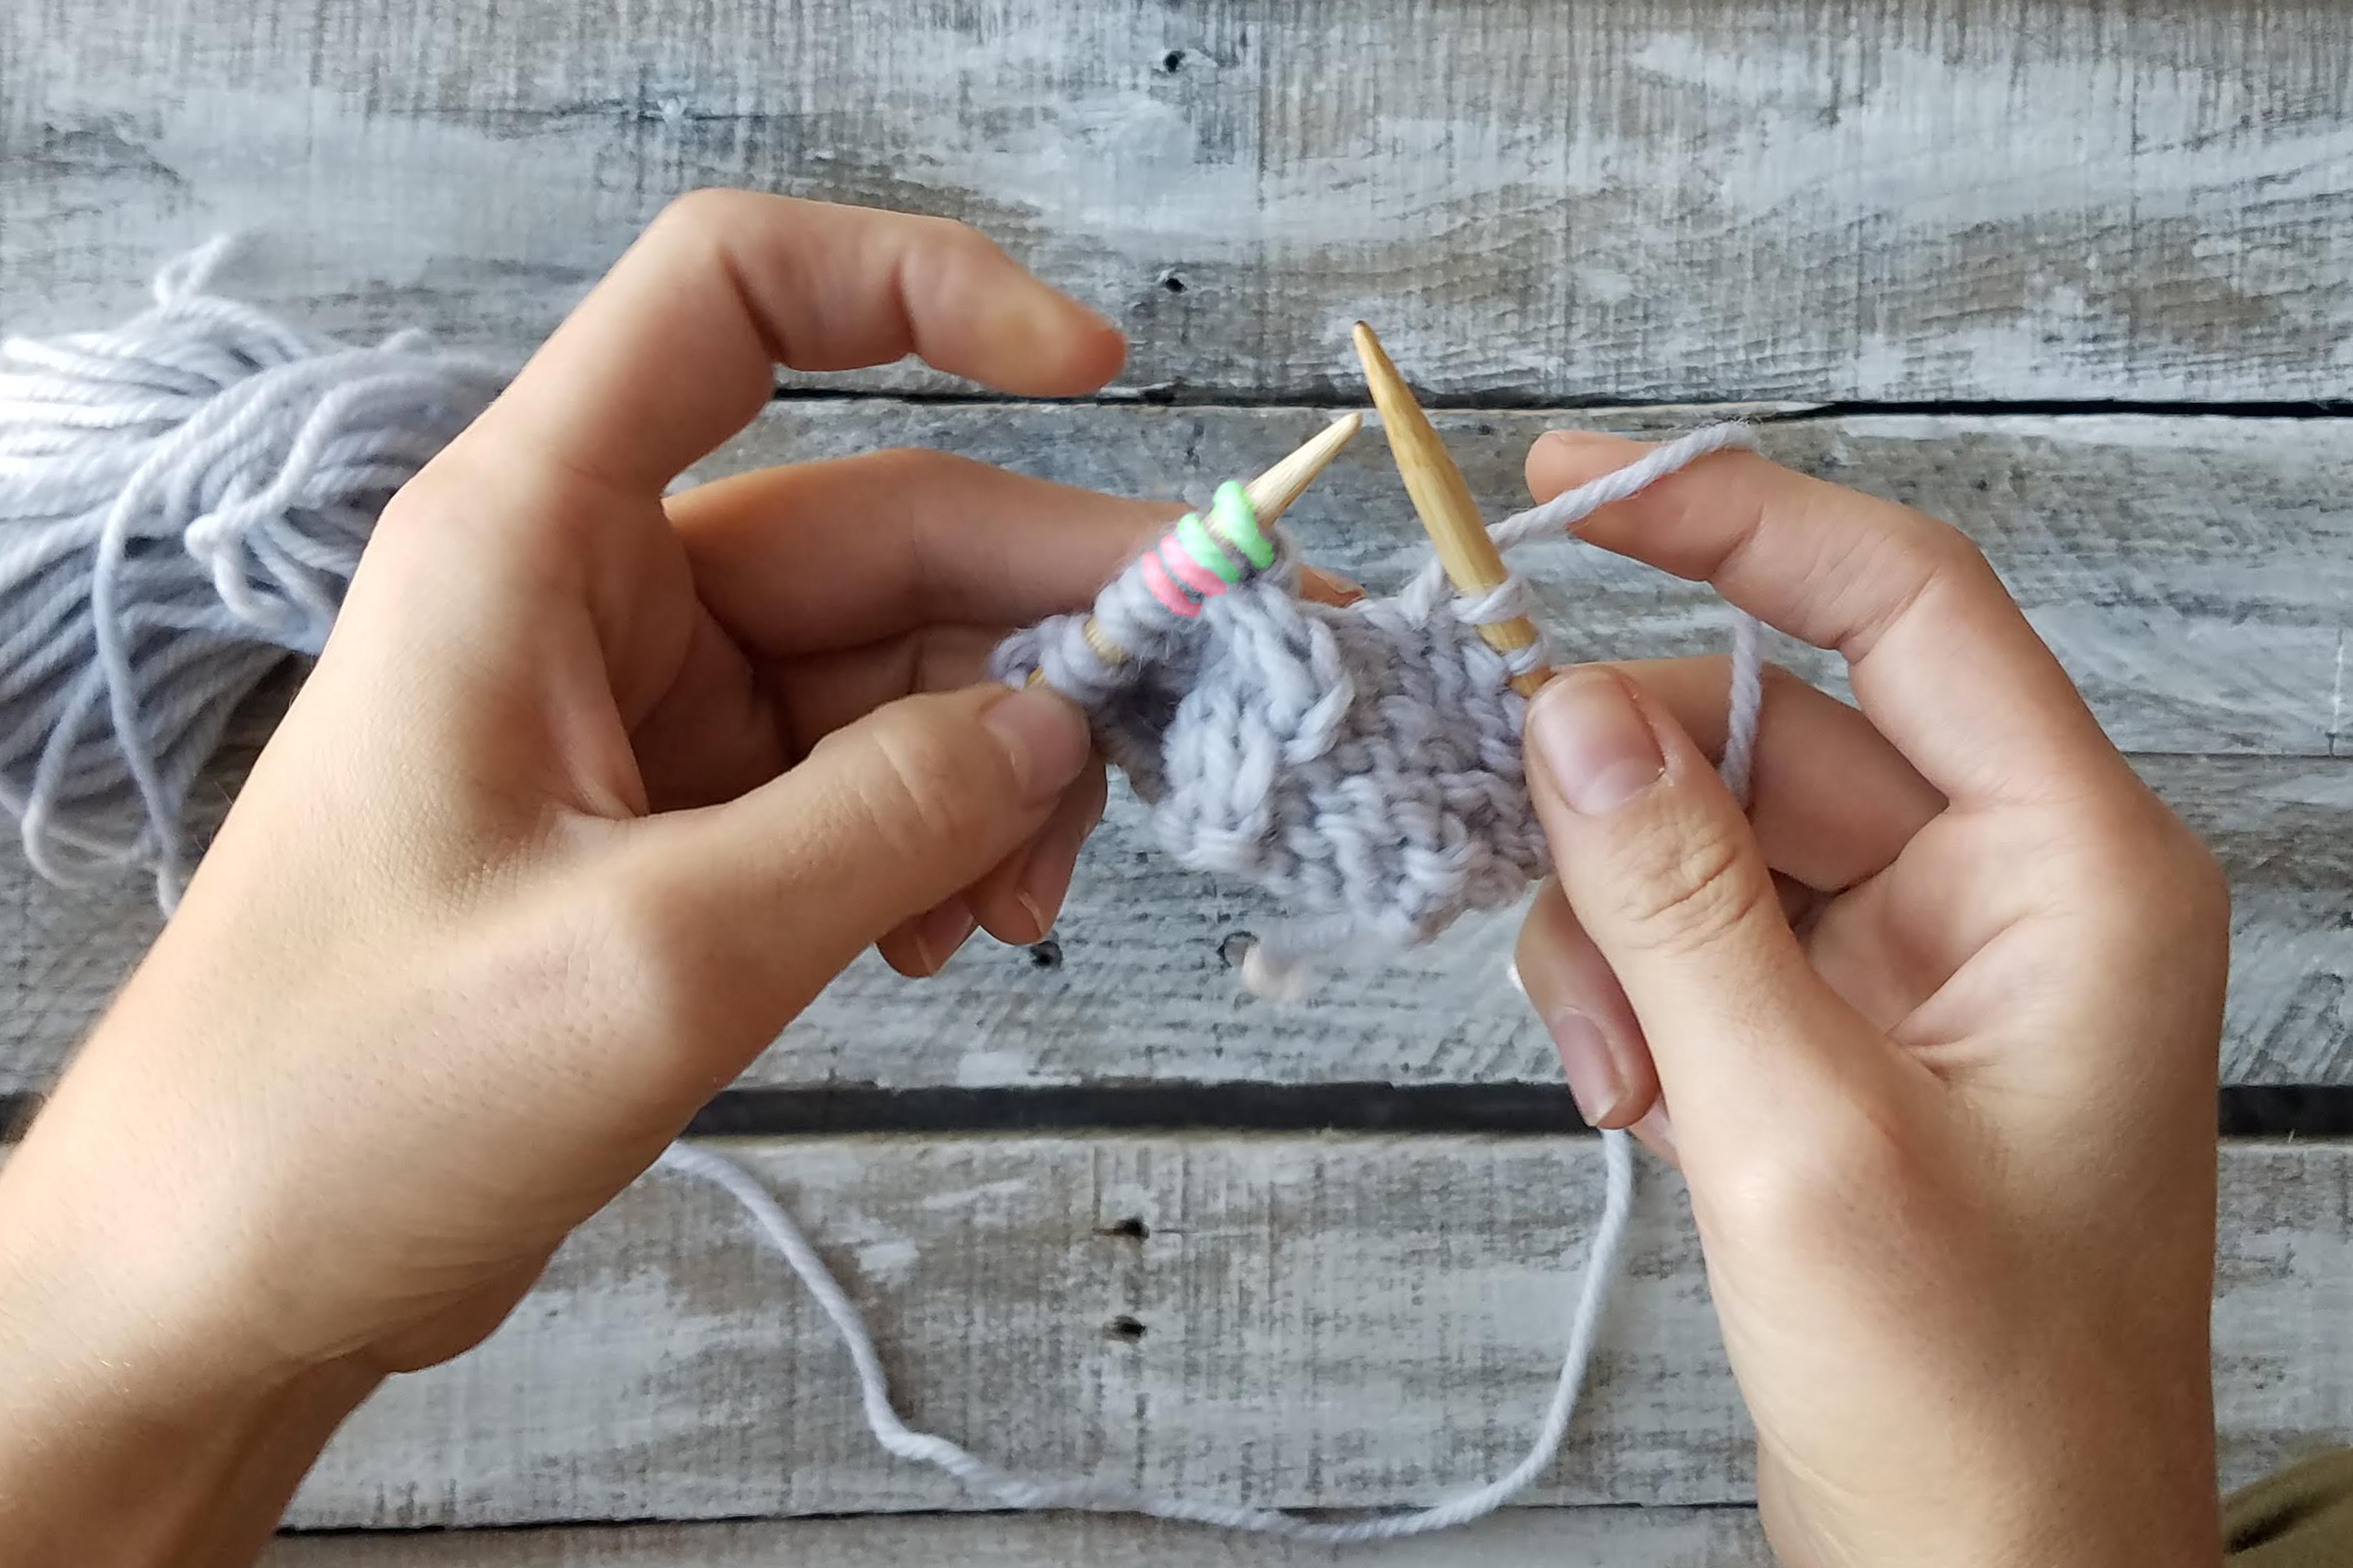
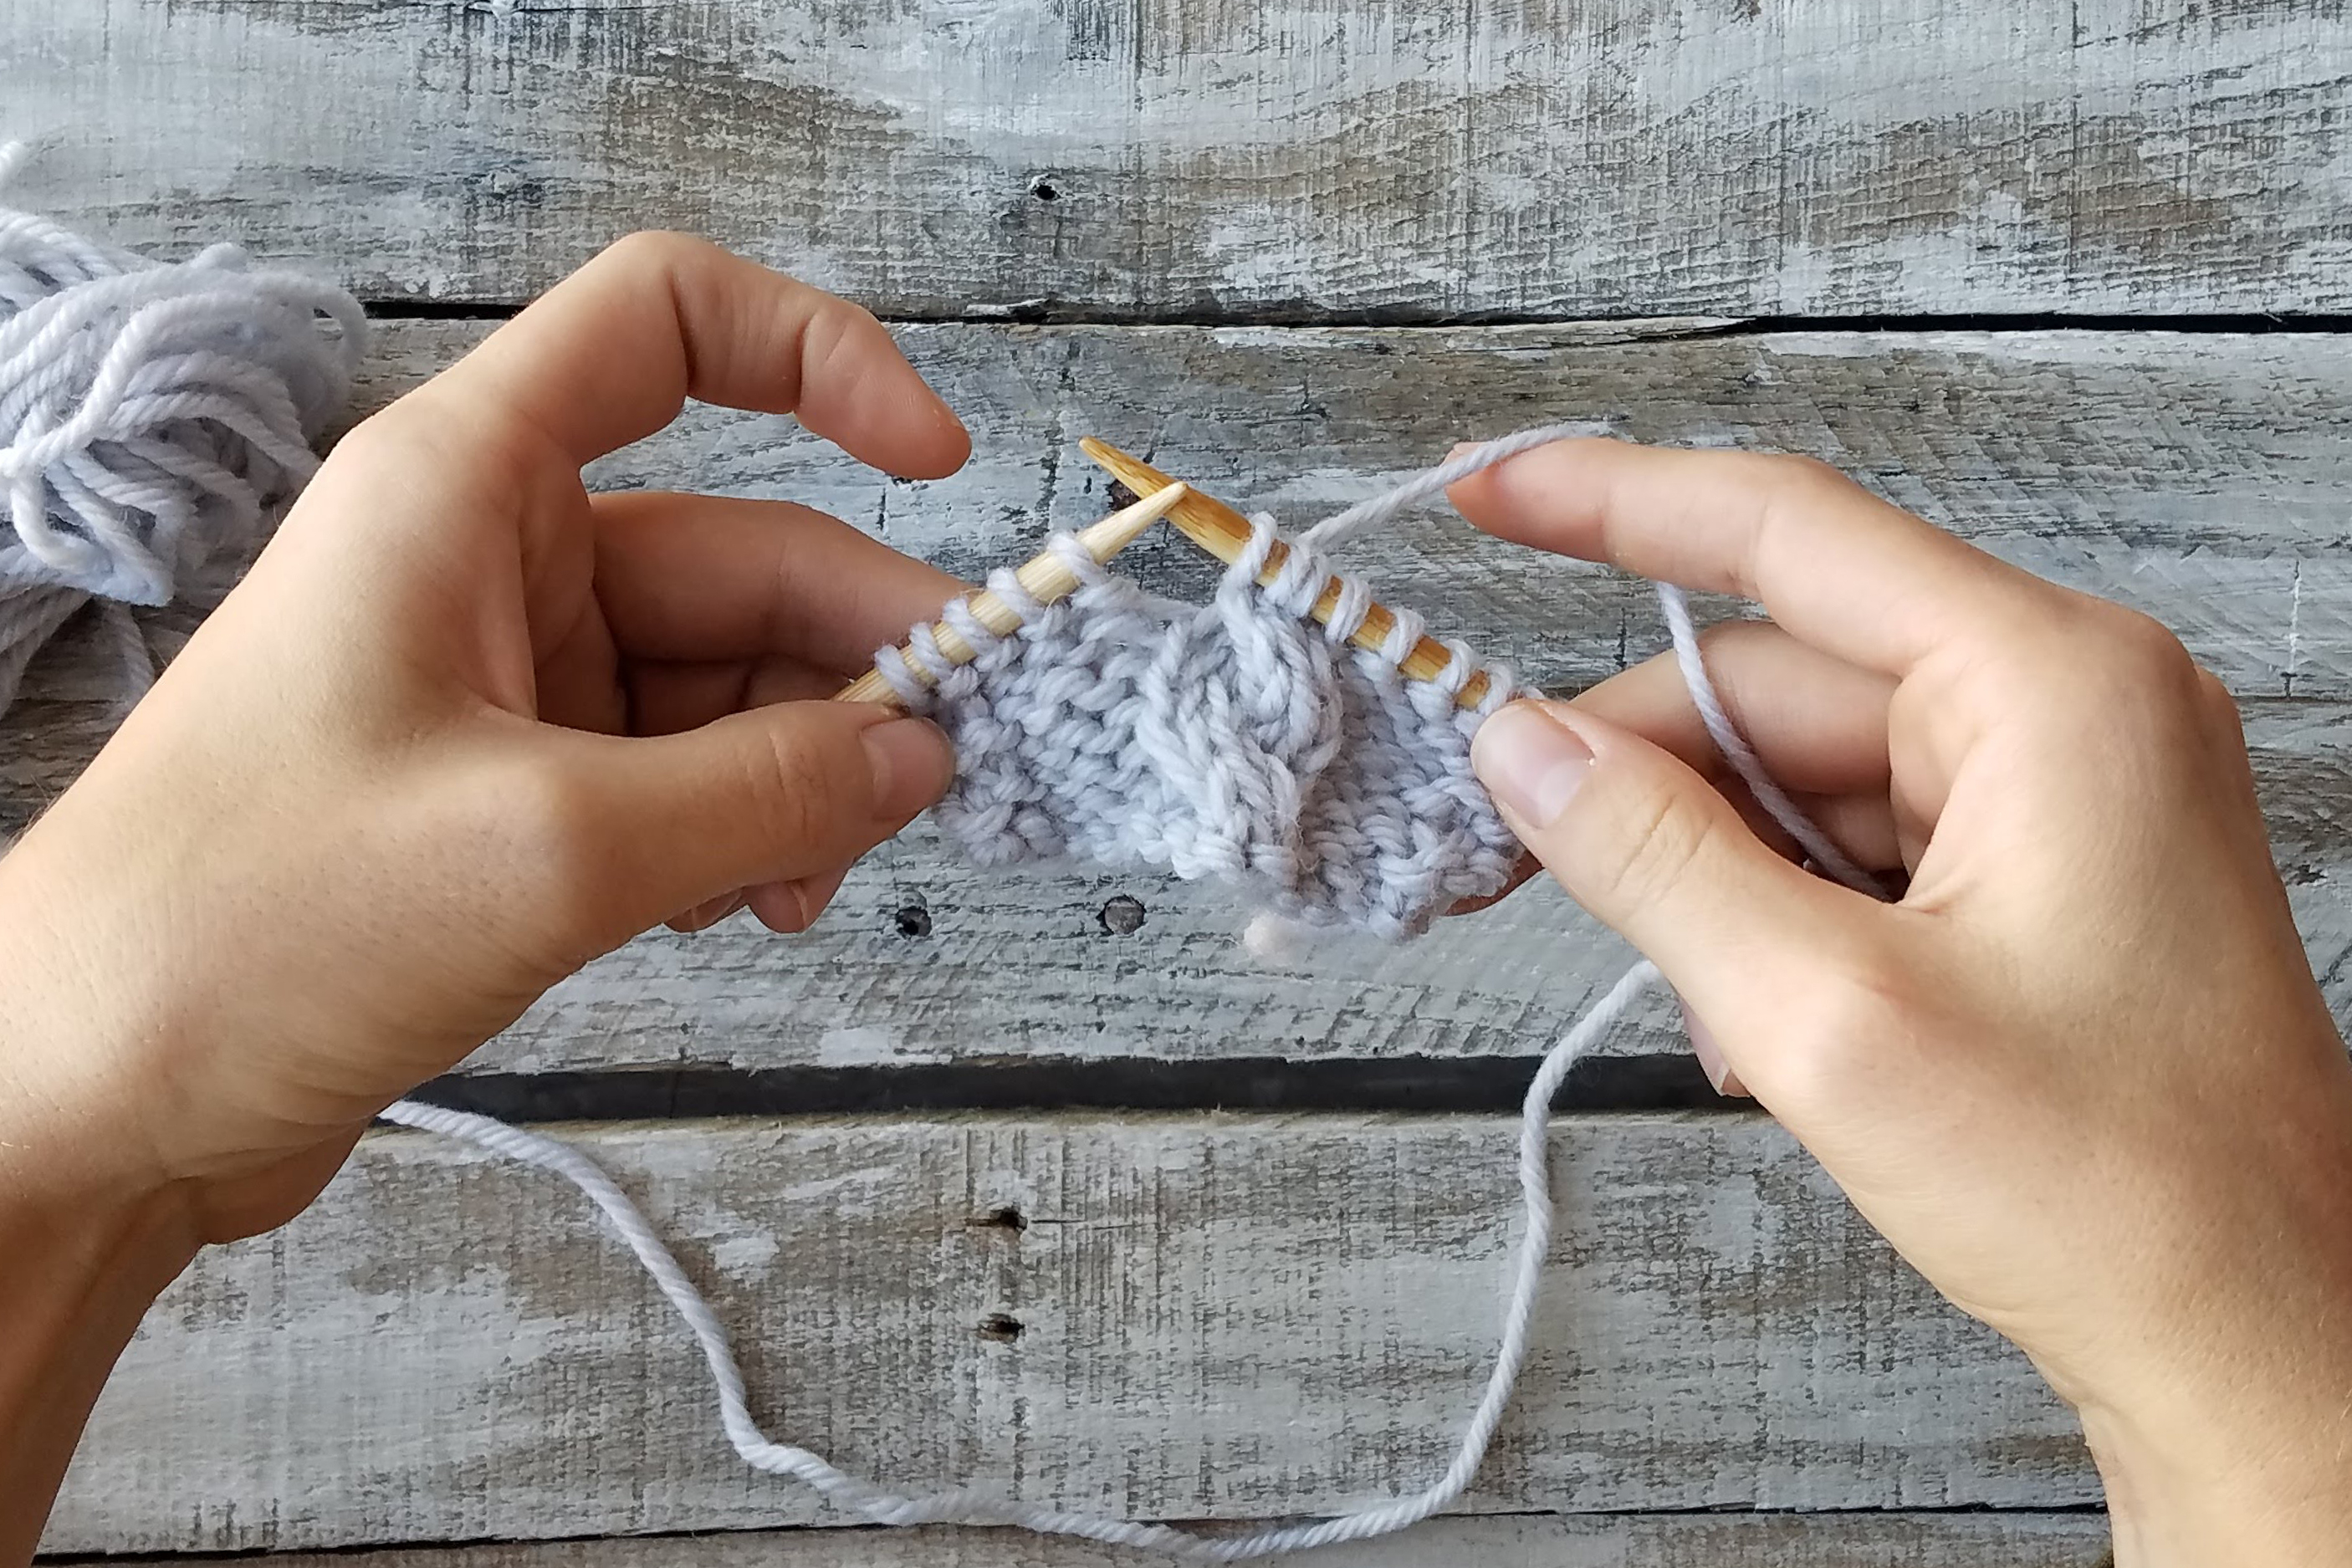
Hubble is knit modularly and is mostly seamless. He begins with the nose, which is worked flat. Then, stitches are picked up around the nose and joined in the round to create the snout. Some stitches are placed on hold while you utilize the rest of the live stitches to shape the head. Then, stitches are picked up again from an opening at the bottom of the head and everything is worked in the round, using a surprisingly simple intarsia in-the-round method. The ears are worked separately and sewn to the head. The legs and tail are picked up directly from the body and worked in the round, although I’ve included notes on how to modify them to be sewn on if that’s your preference. Finally, he’s finished with a simple hat that’s worked in the round from the bottom up and completed with a touch of embroidery and a pom pom. If that sounds like a lot, fear not! I’ve included some diagrams and photos that will help set you up for success.
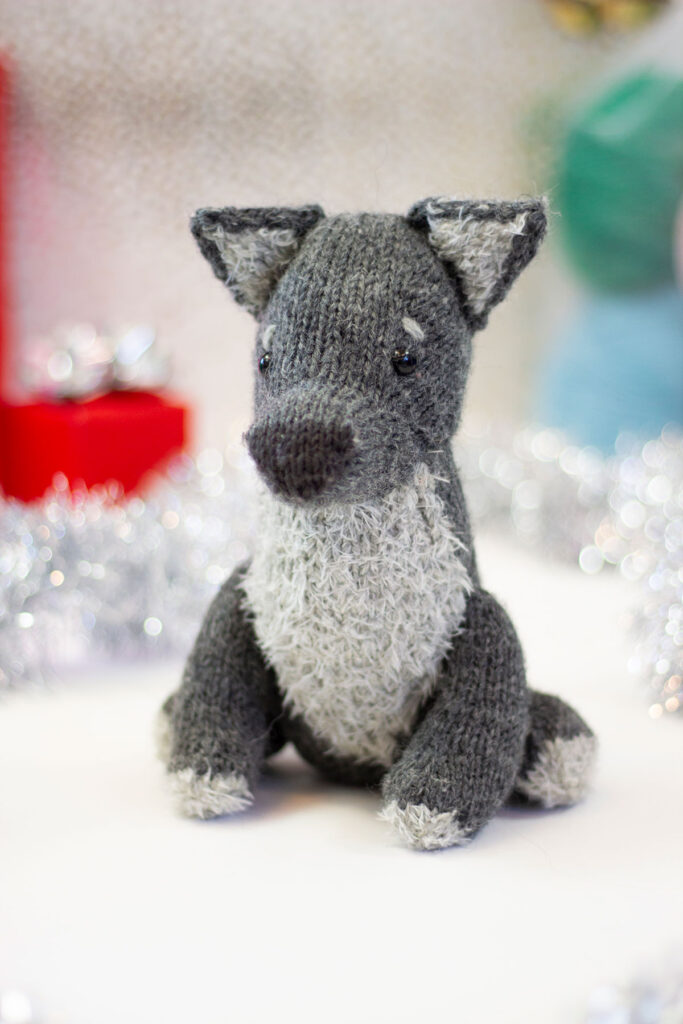
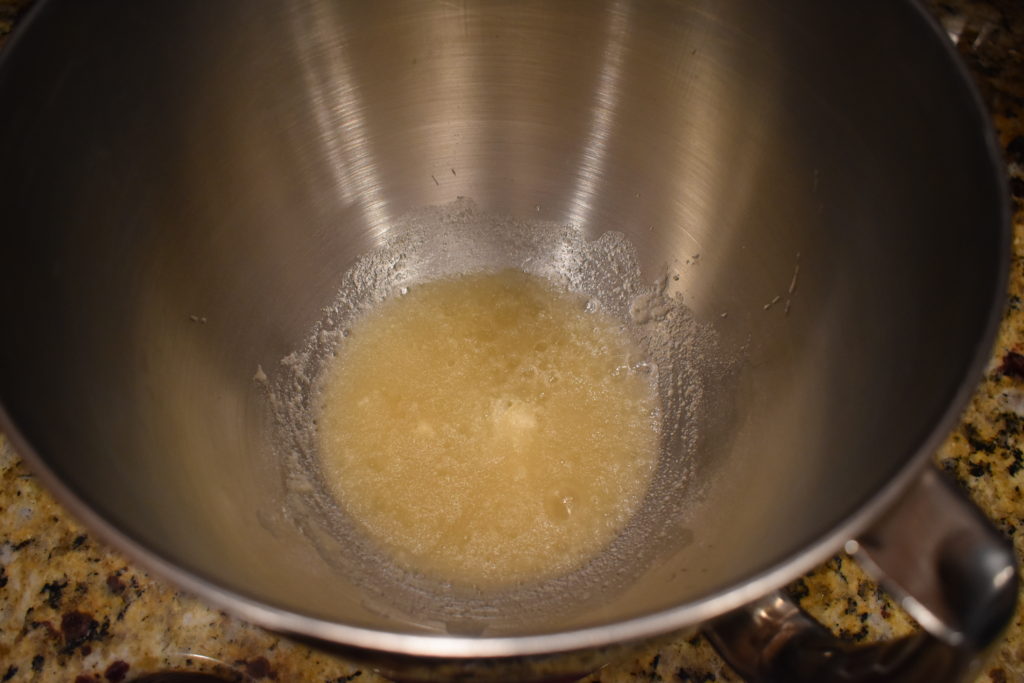
This precious toy is knit using two heathered shades of Deluxe Worsted, a 100% non-superwash wool that I turn to again and again. The breadth of colors, smooth 4-ply construction, and soft yet rustic feel of this yarn make it perfect for every type of project. I chose two shades of grey to bring Hubble to life: #12503 Charcoal Heather and #12502 Smoke Heather. To add a more realistic element to the design, I opted to hold a strand of Minou in #104 Kitten together with Deluxe Worsted in select sections, including the chest, ears, tail, and paws. The pop of color is given through the hat, where I chose Deluxe Worsted again in the color #71662 Turquoise. Scrap yarn in white and black are suggested for the embroidery, pom pom, and nose.
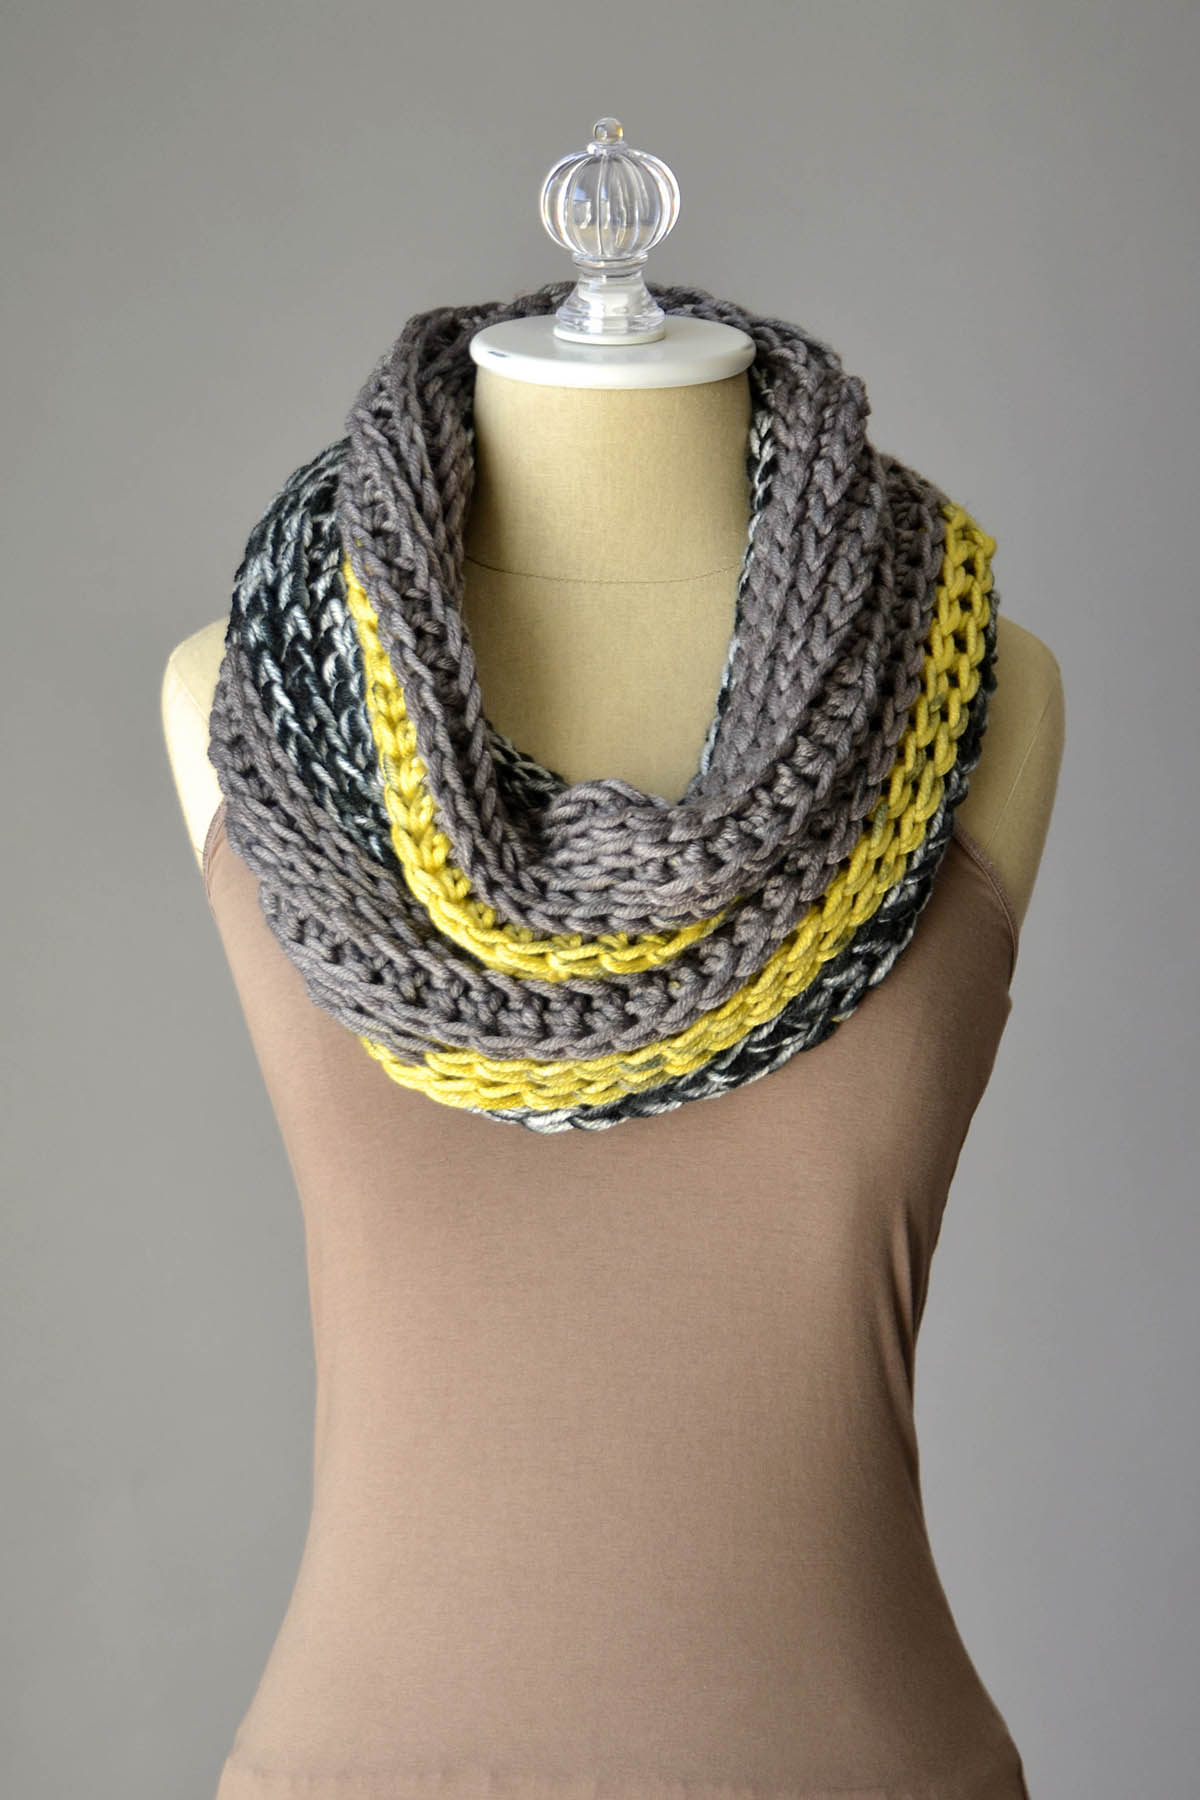
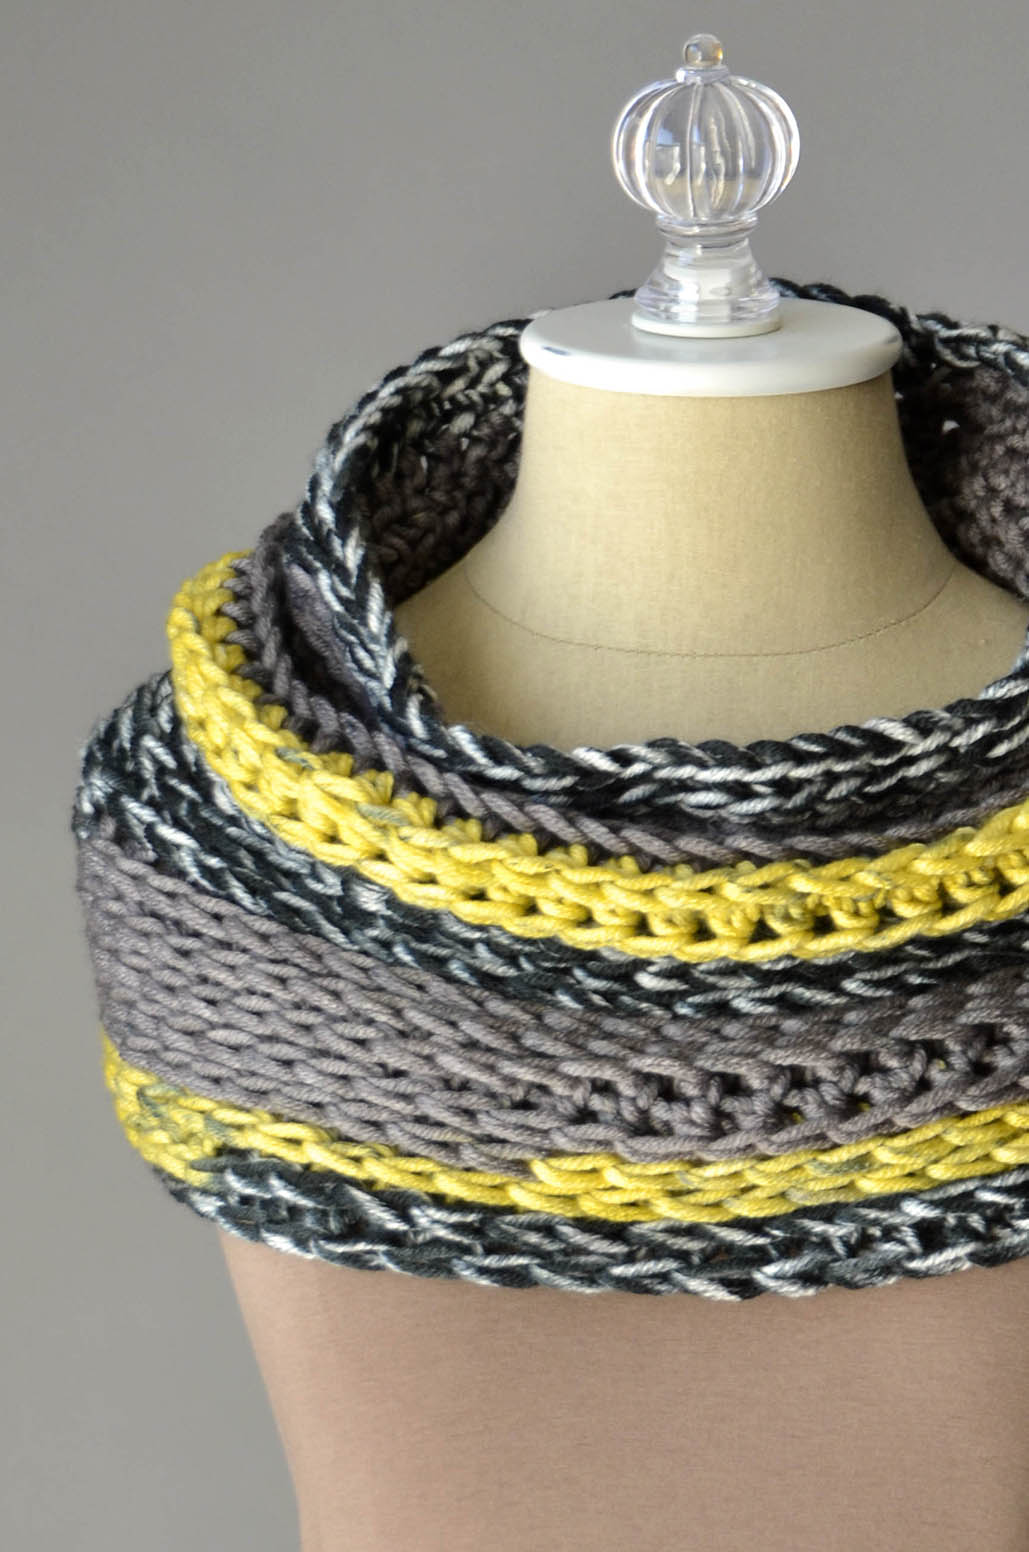
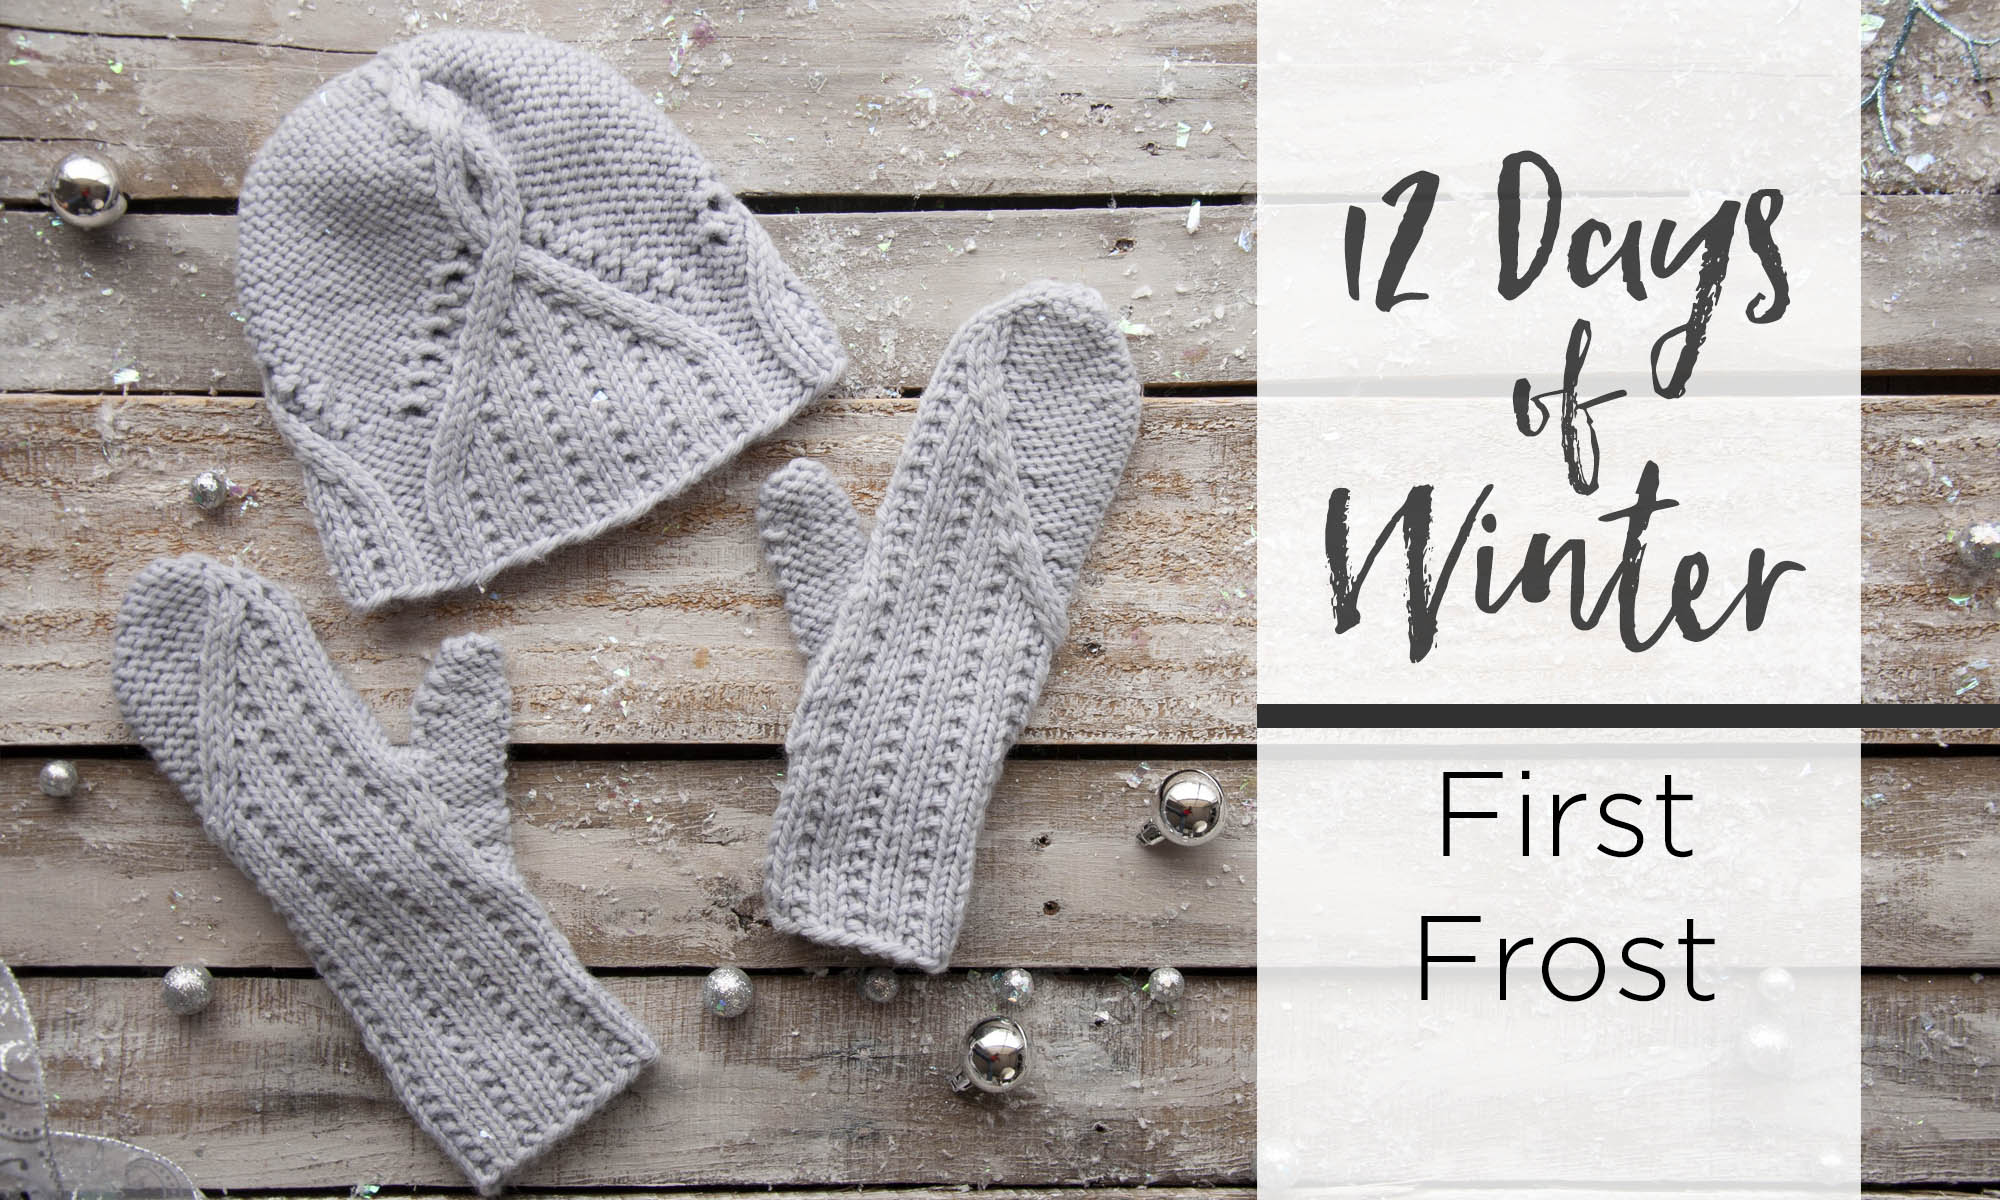
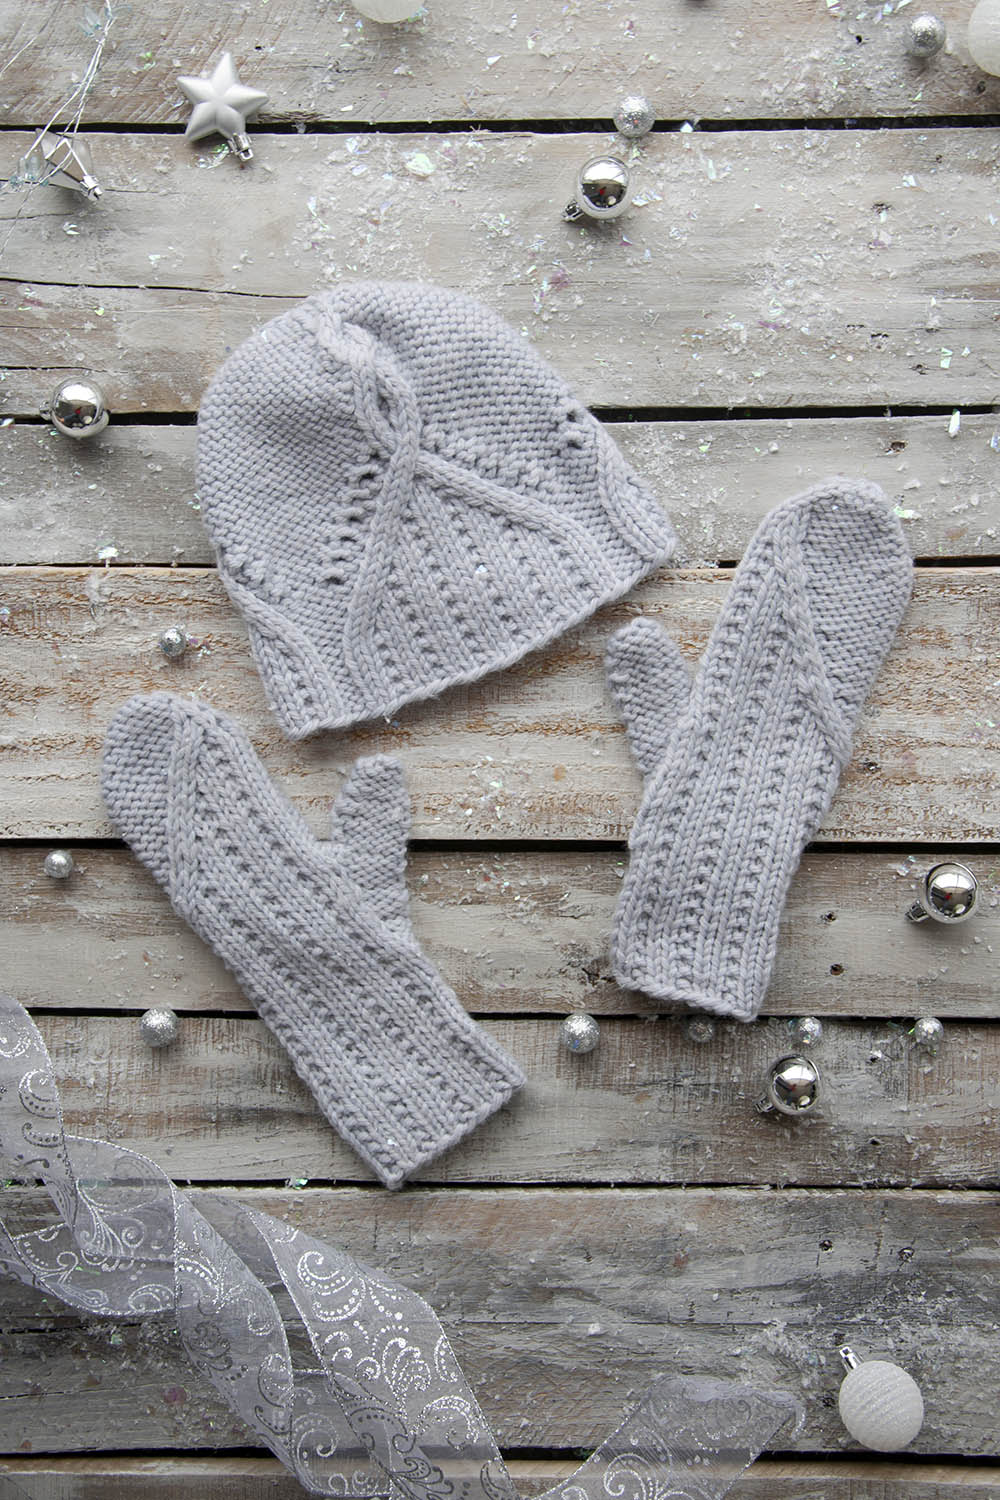
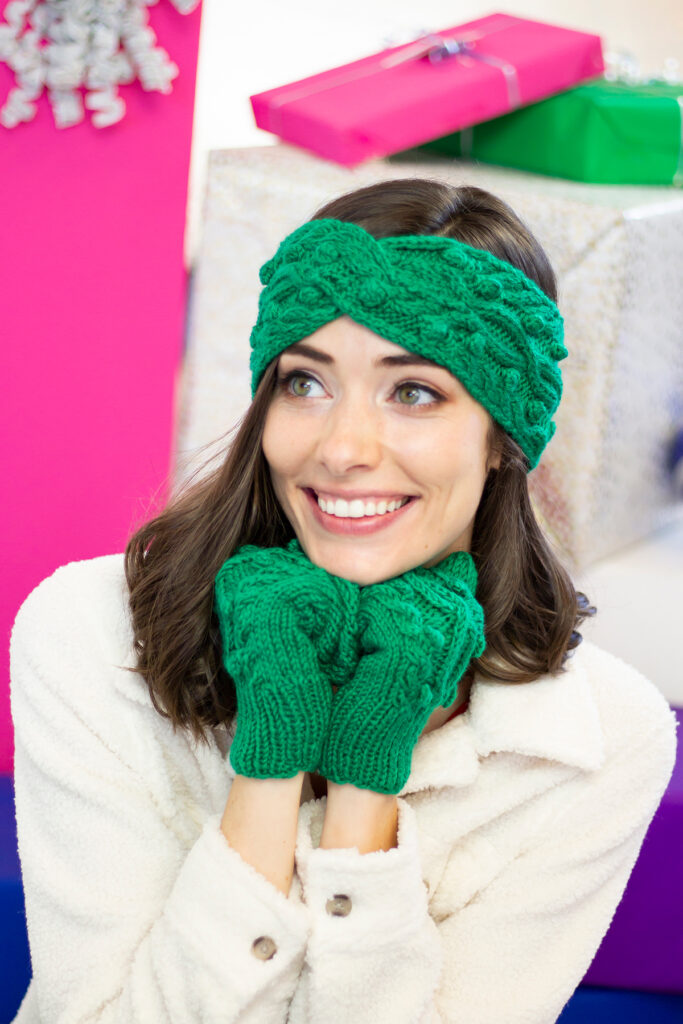
Hemlock Set
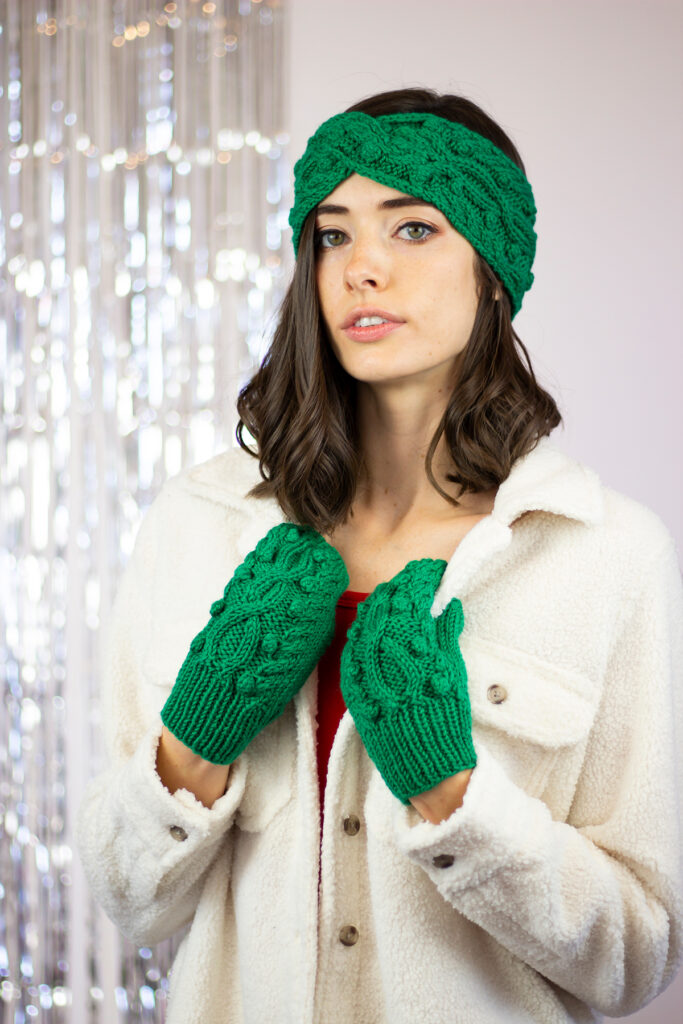
When planning any pattern collection, I know I can always rely on designer and social media extraordinaire, Aubrey Busek, to create elegant, thoughtful designs that are infinitely wearable. When she brought her sketches for the Hemlock Set to the table, I knew we needed to include them in the collection. After all, what could be more wintry and festive than mittens and an ear warmer to ward off the chilly temperatures?
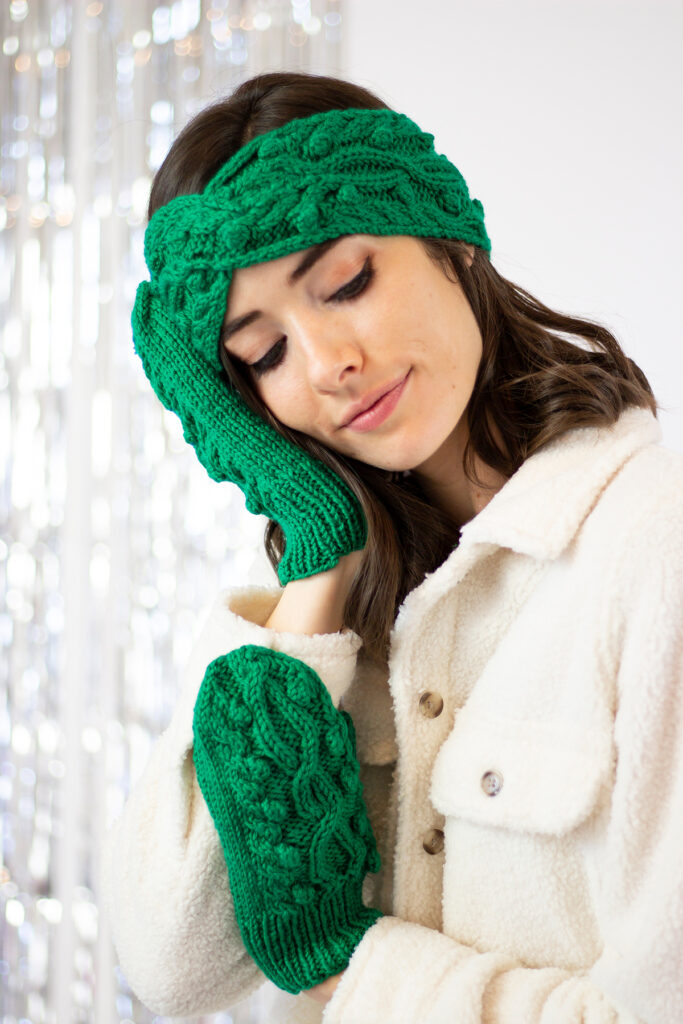
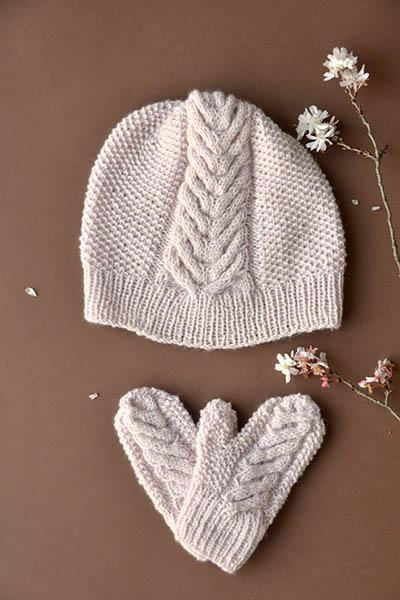
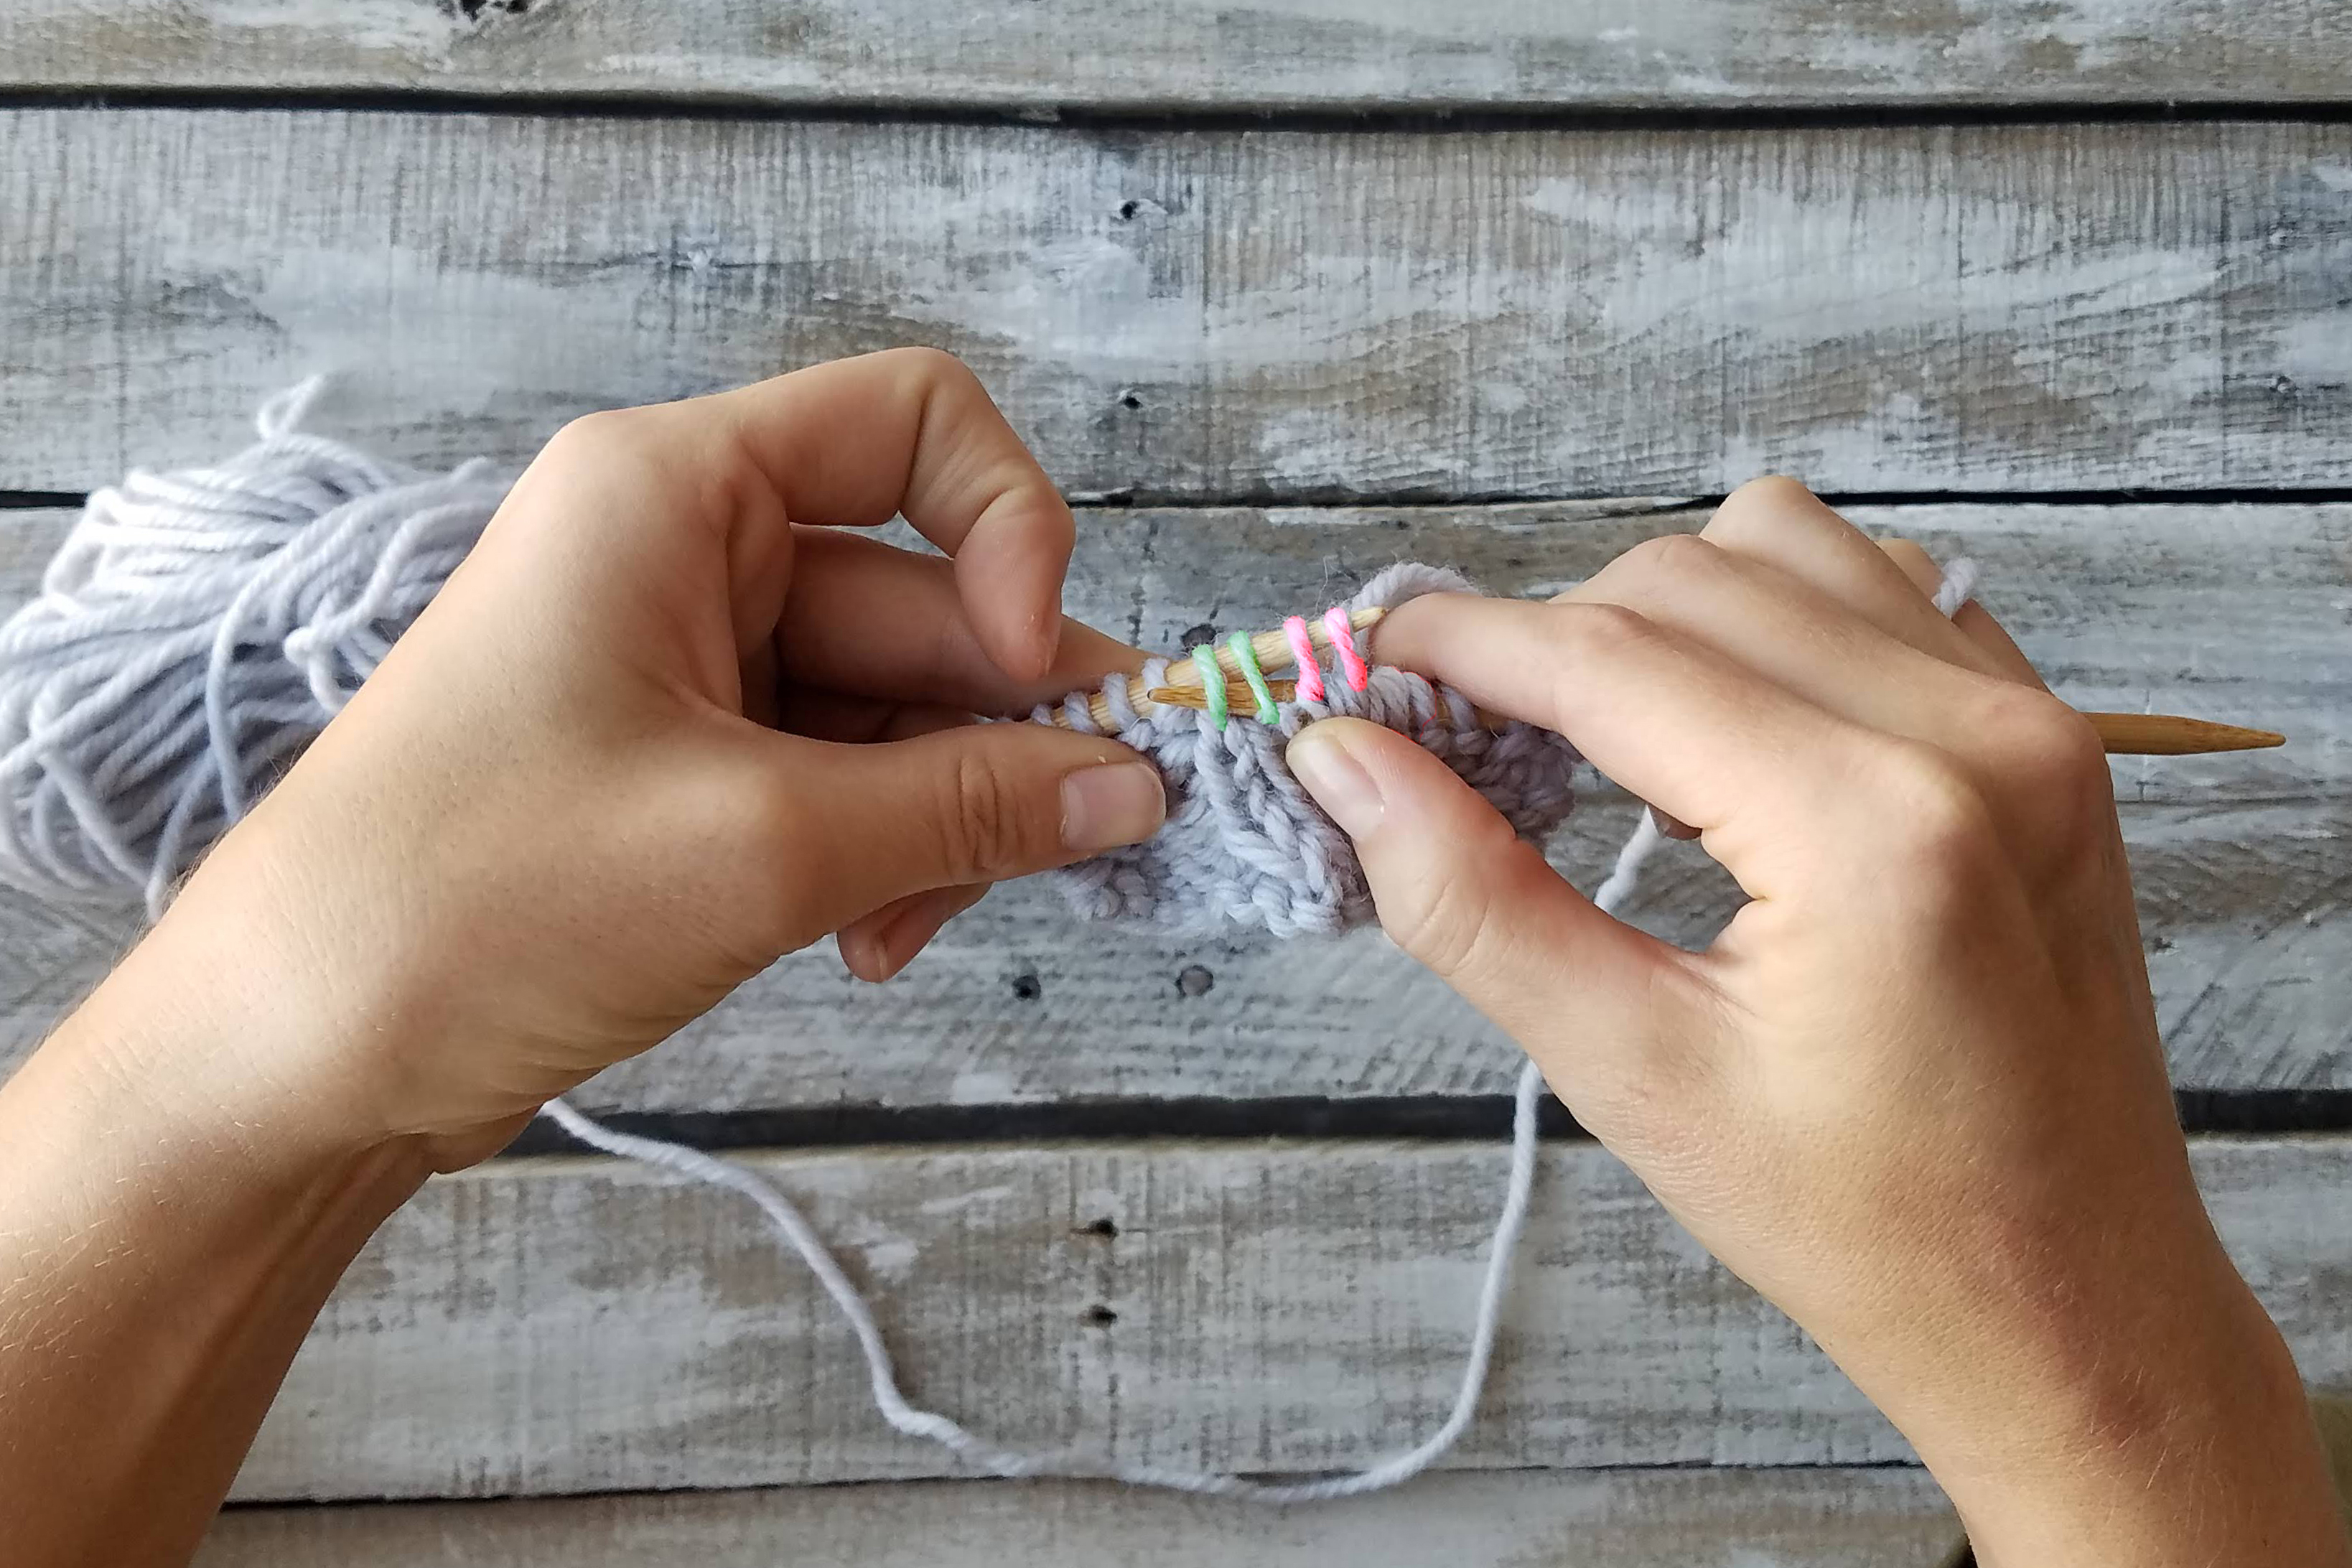
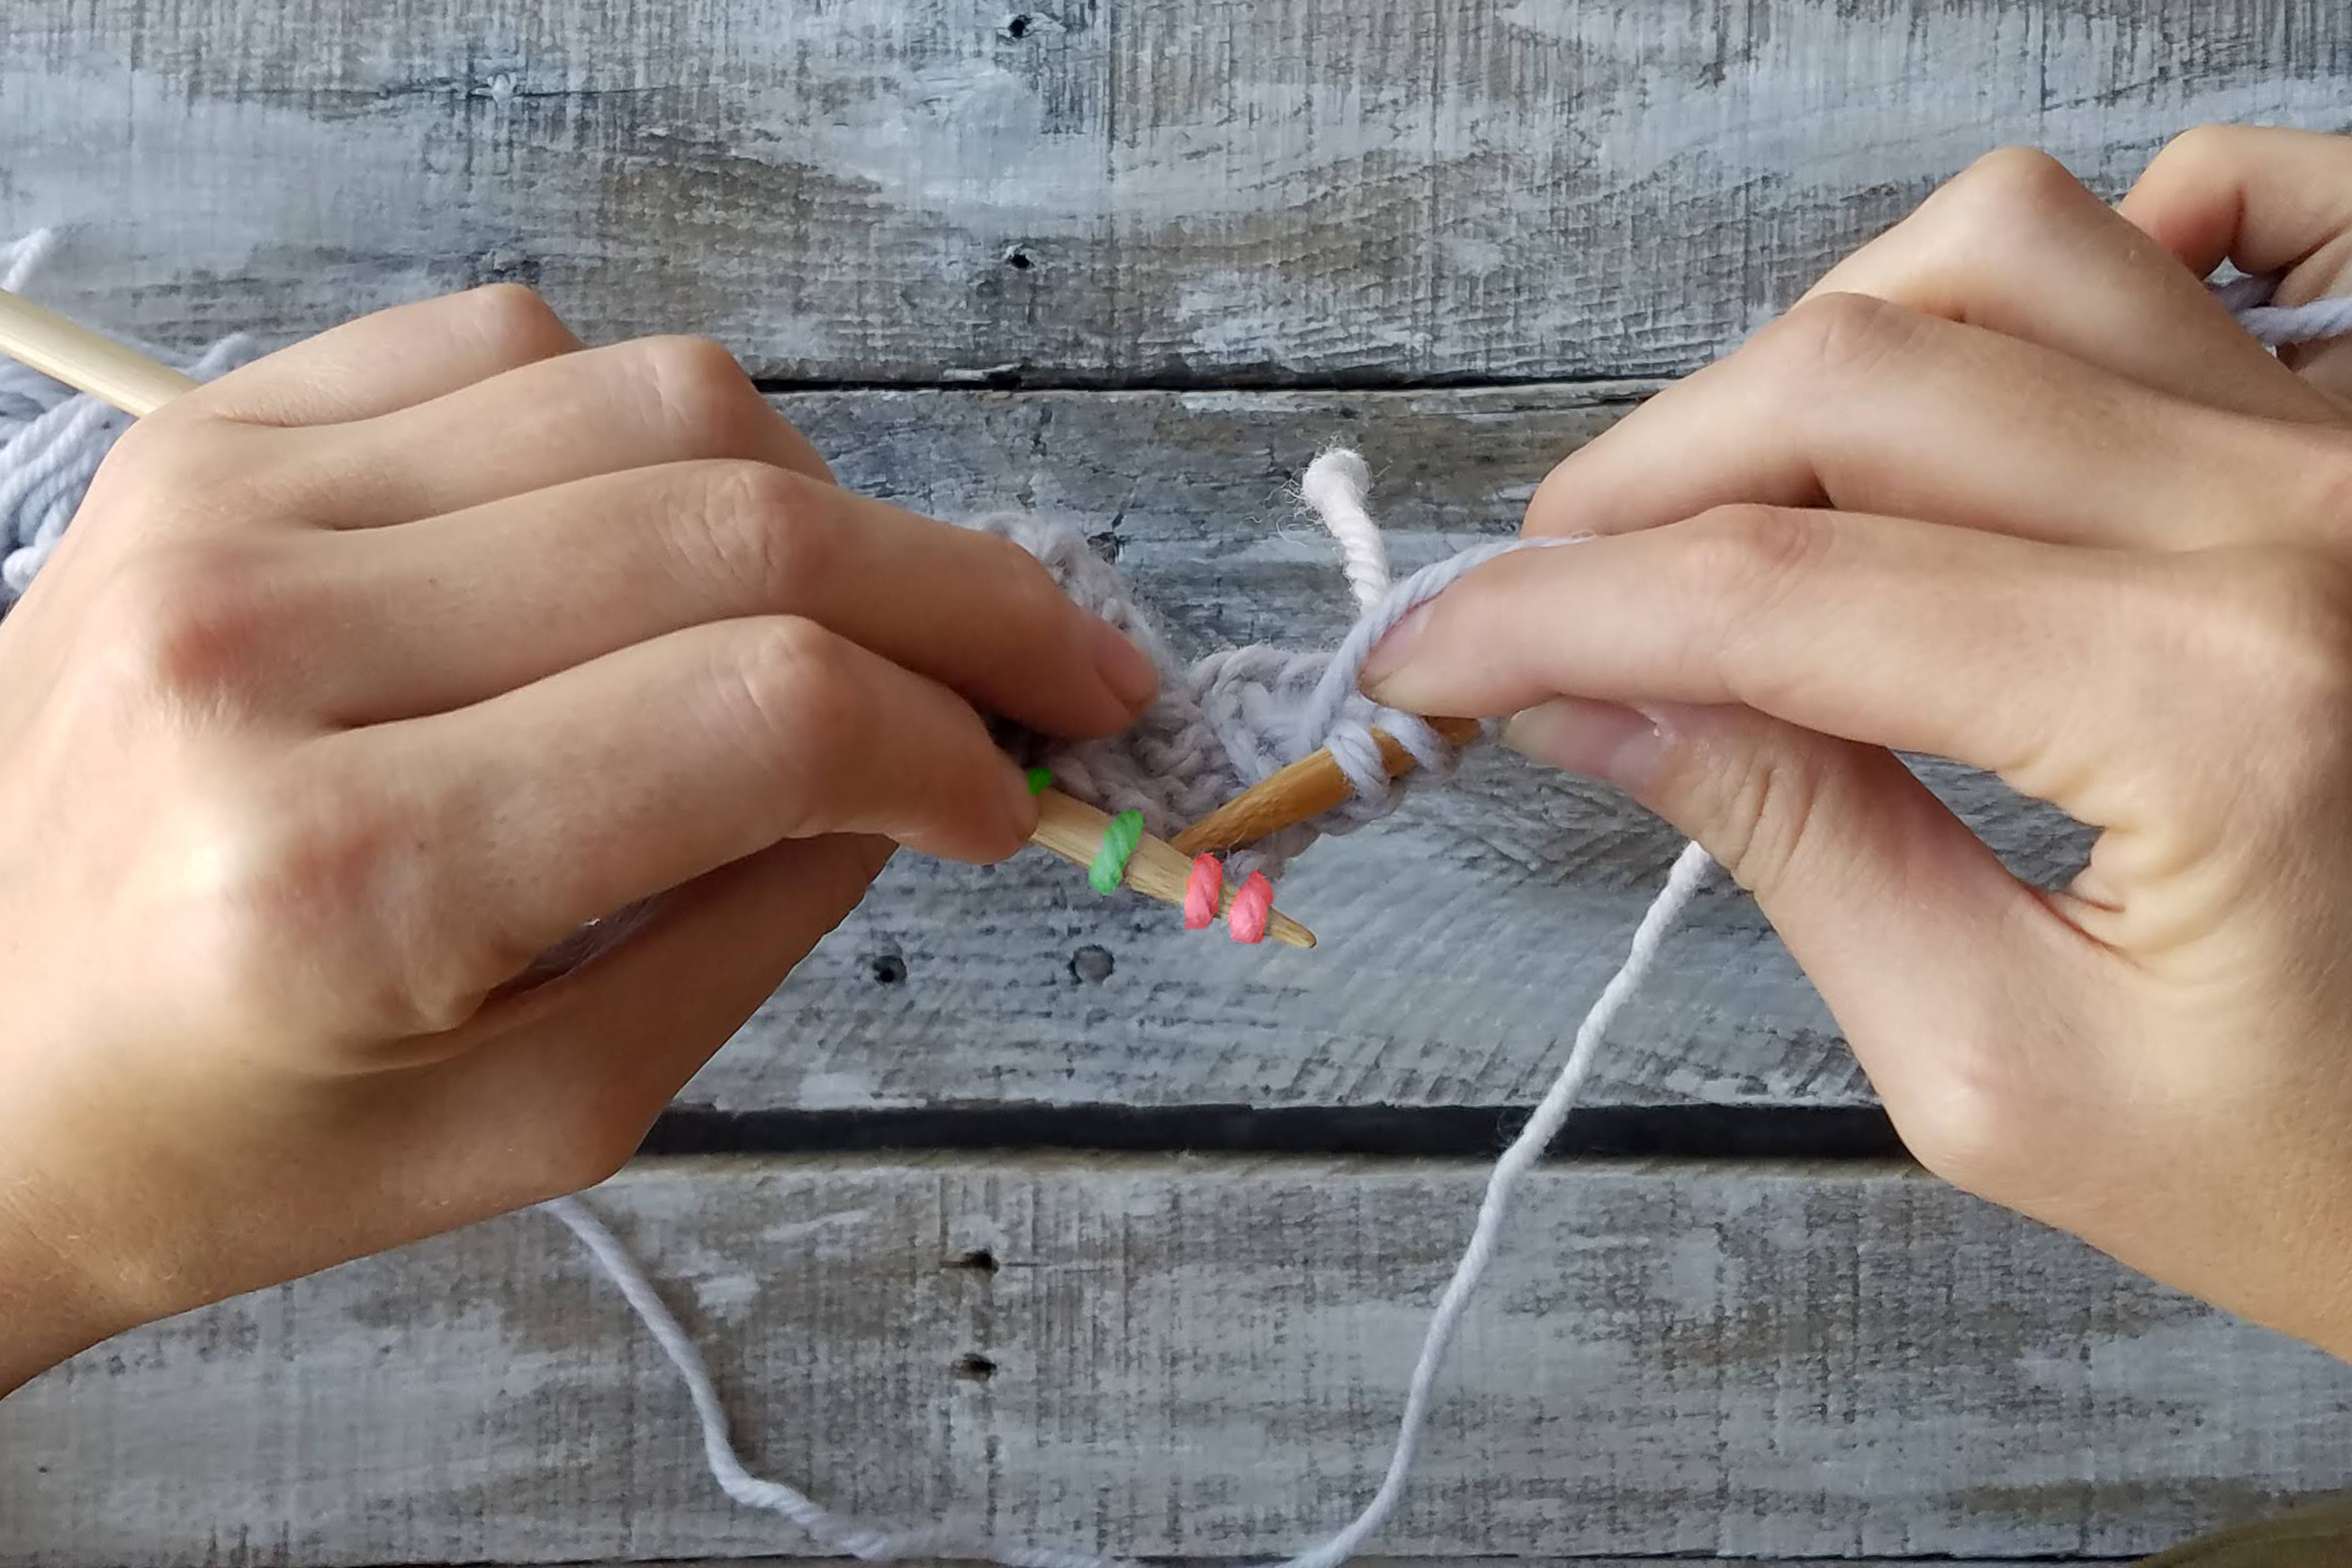
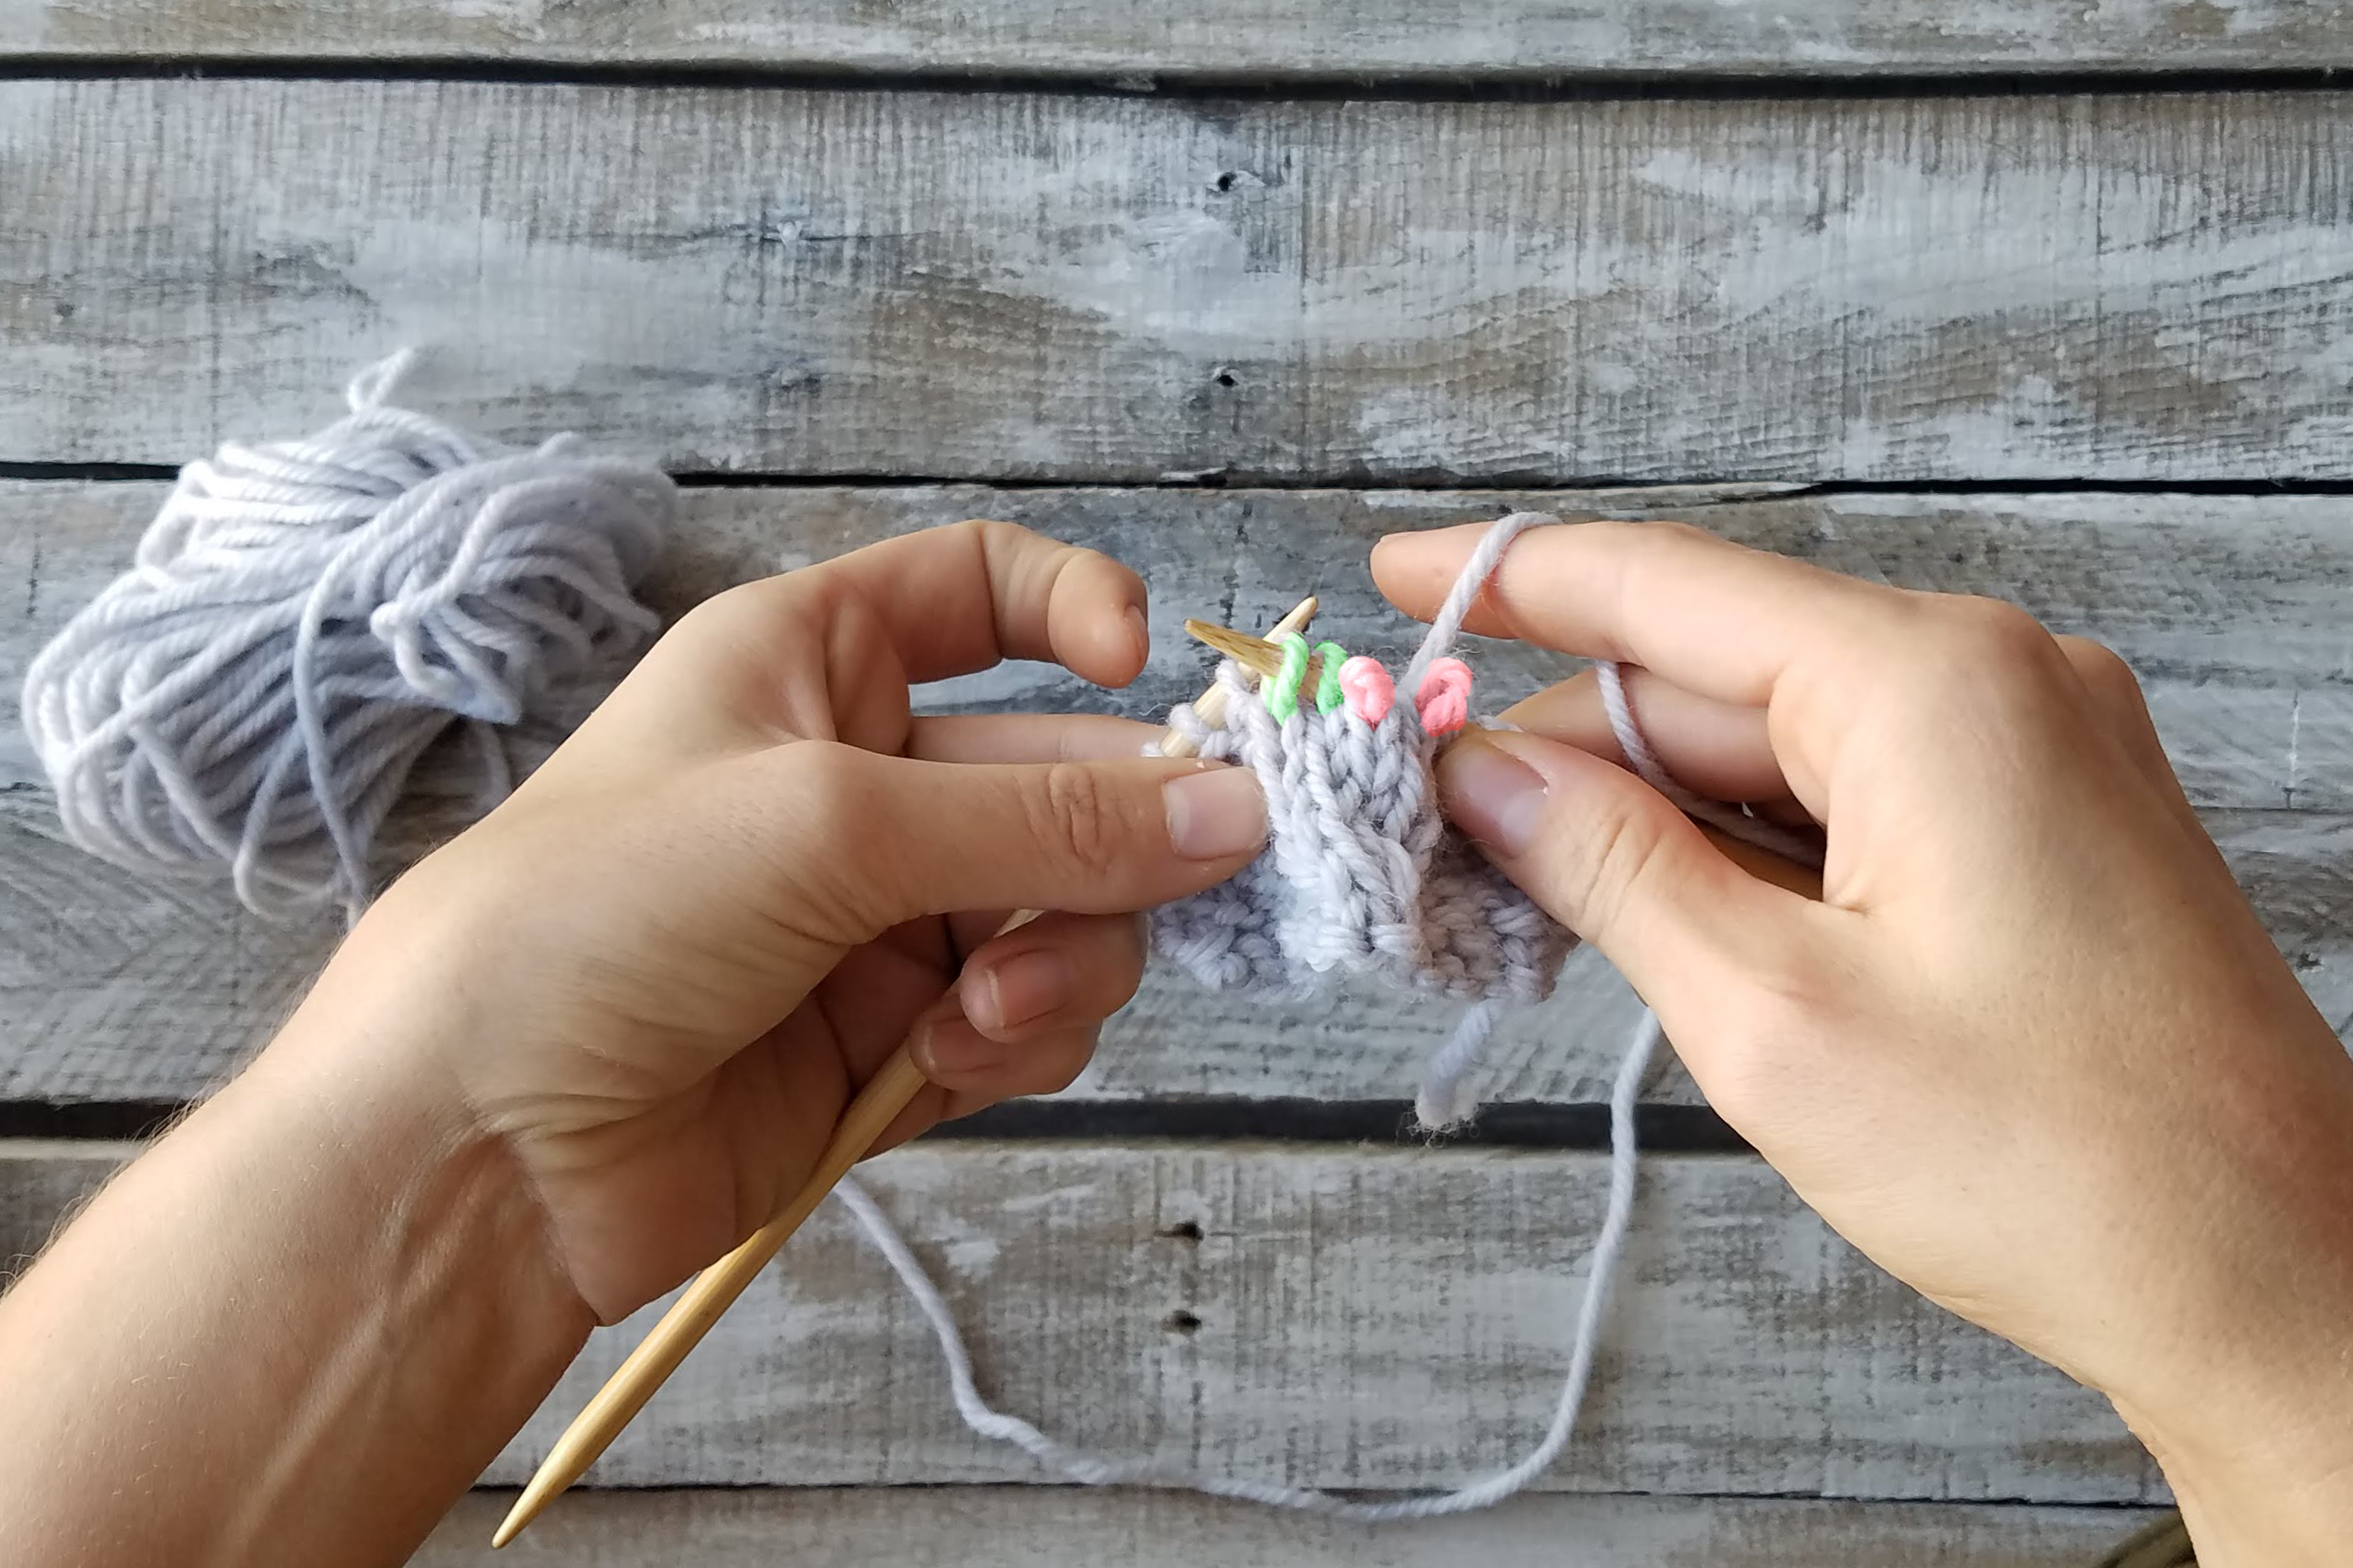
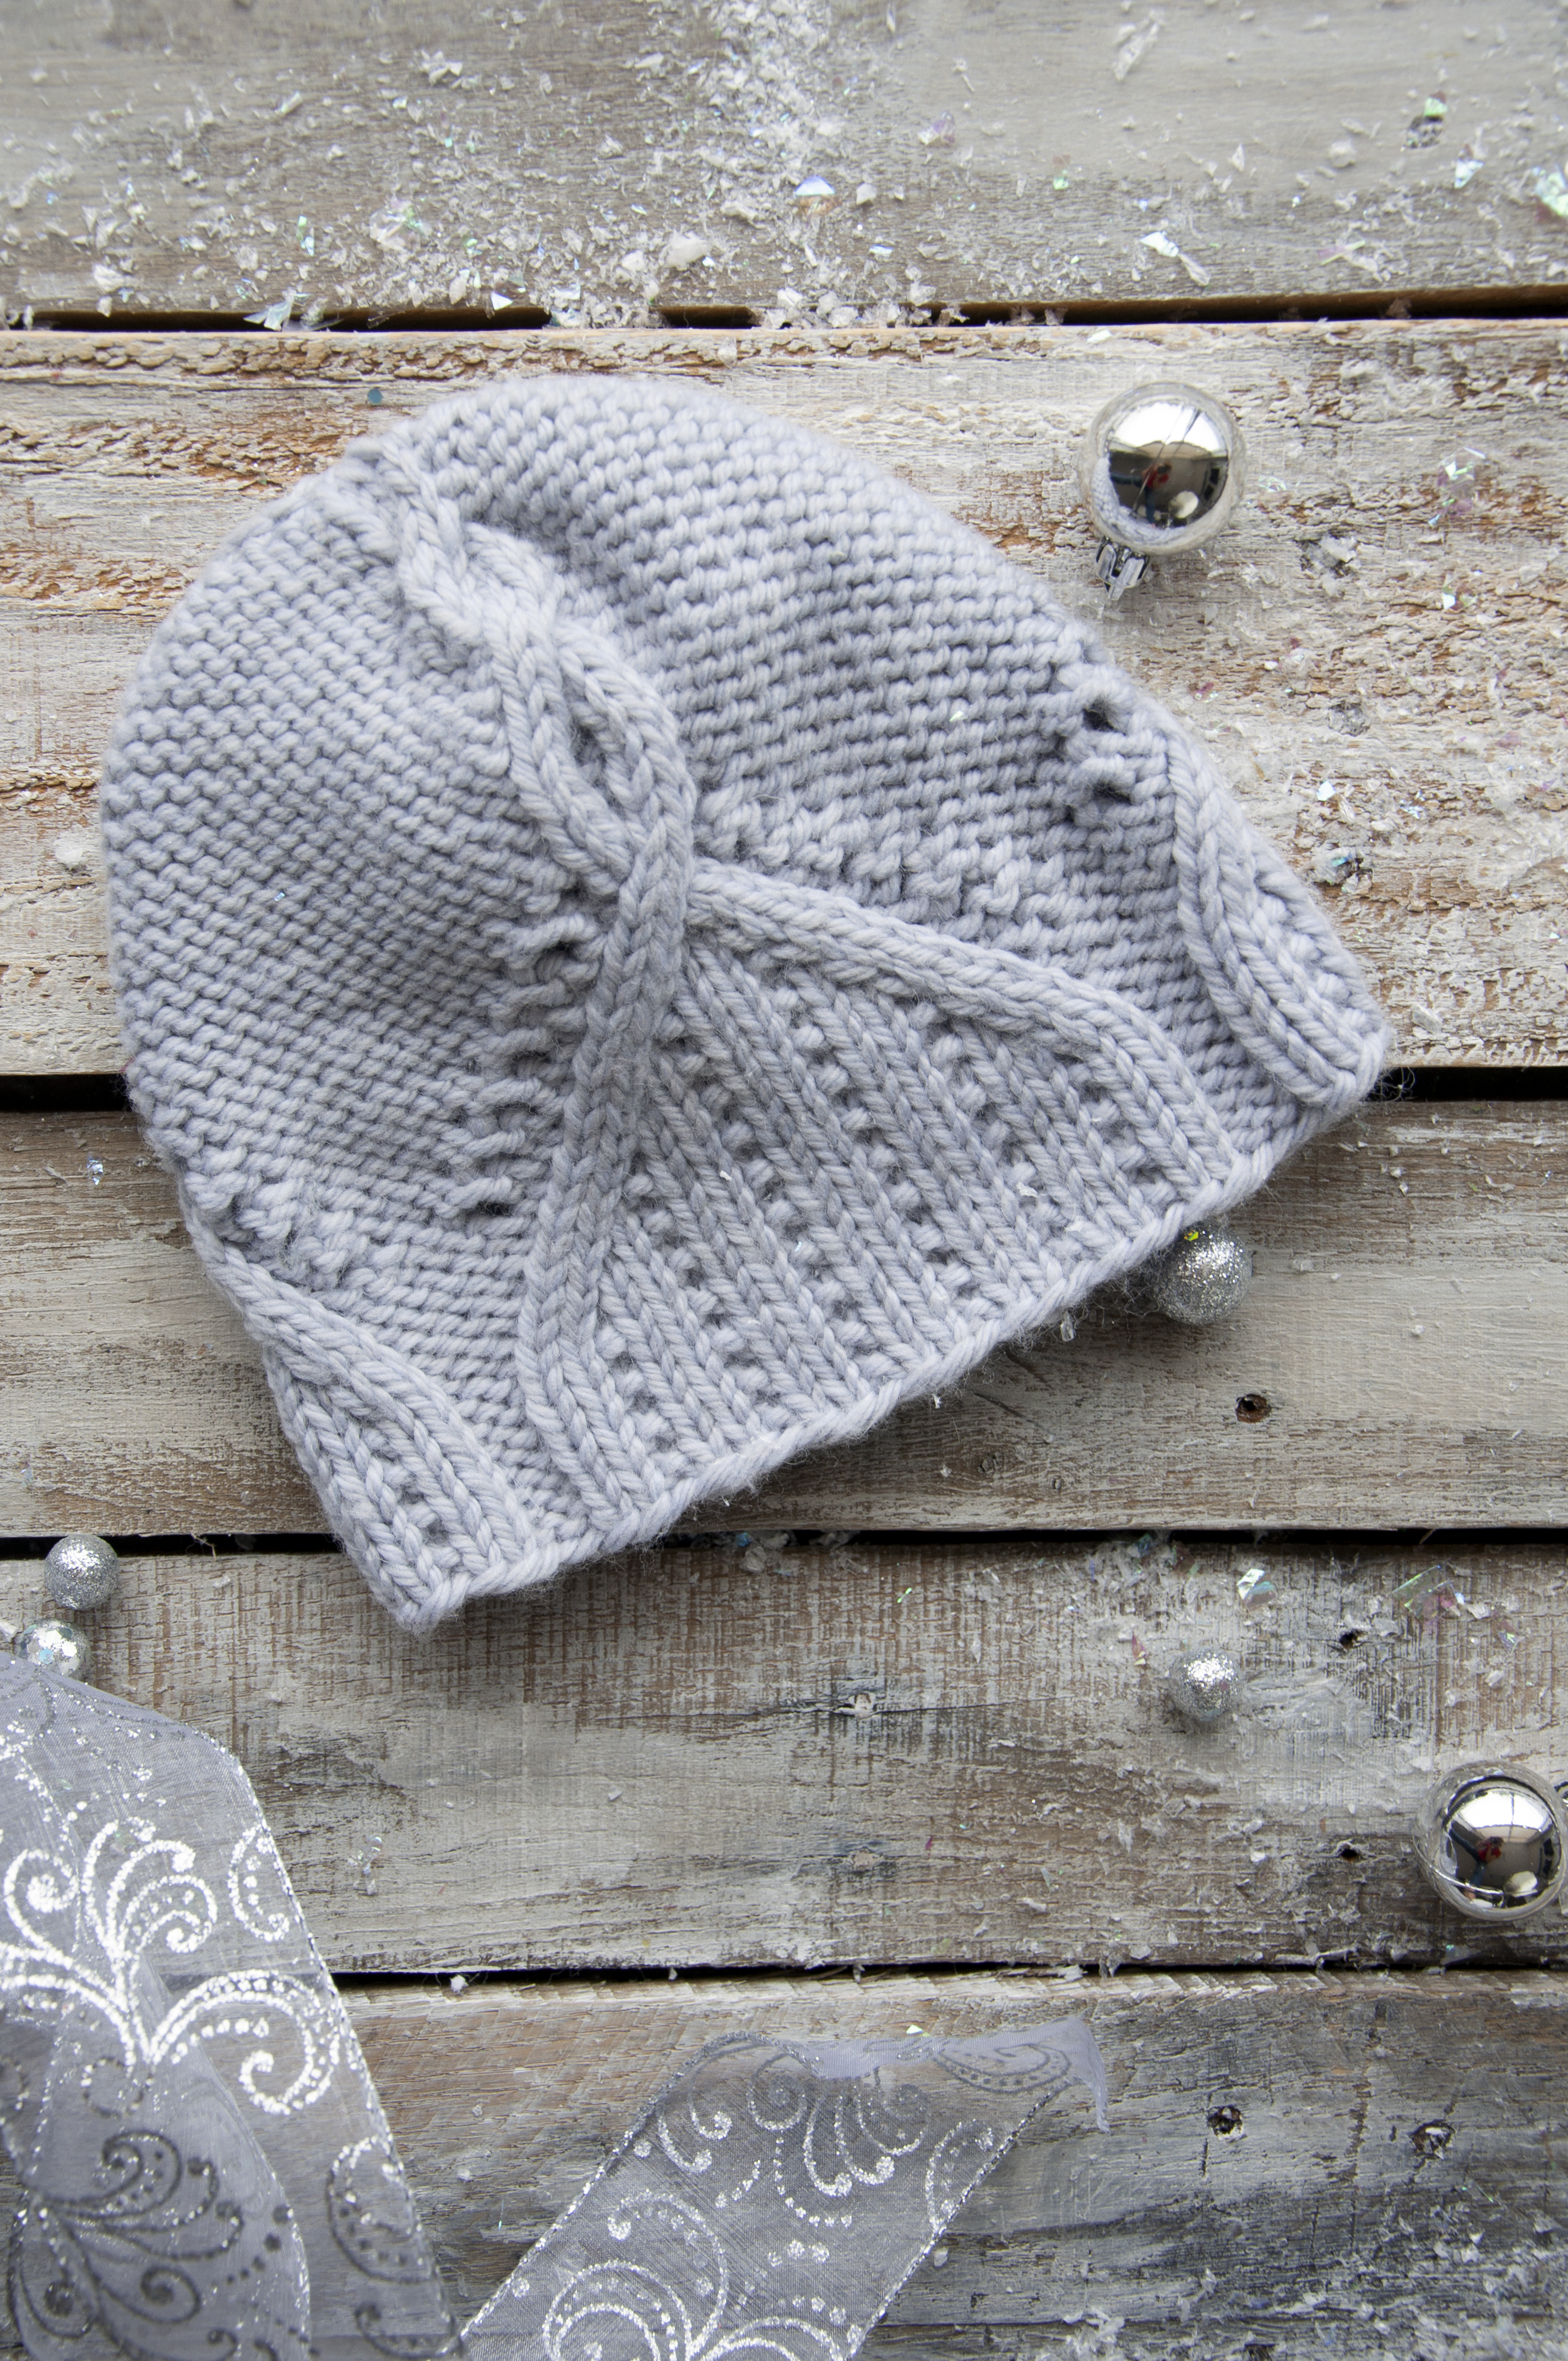
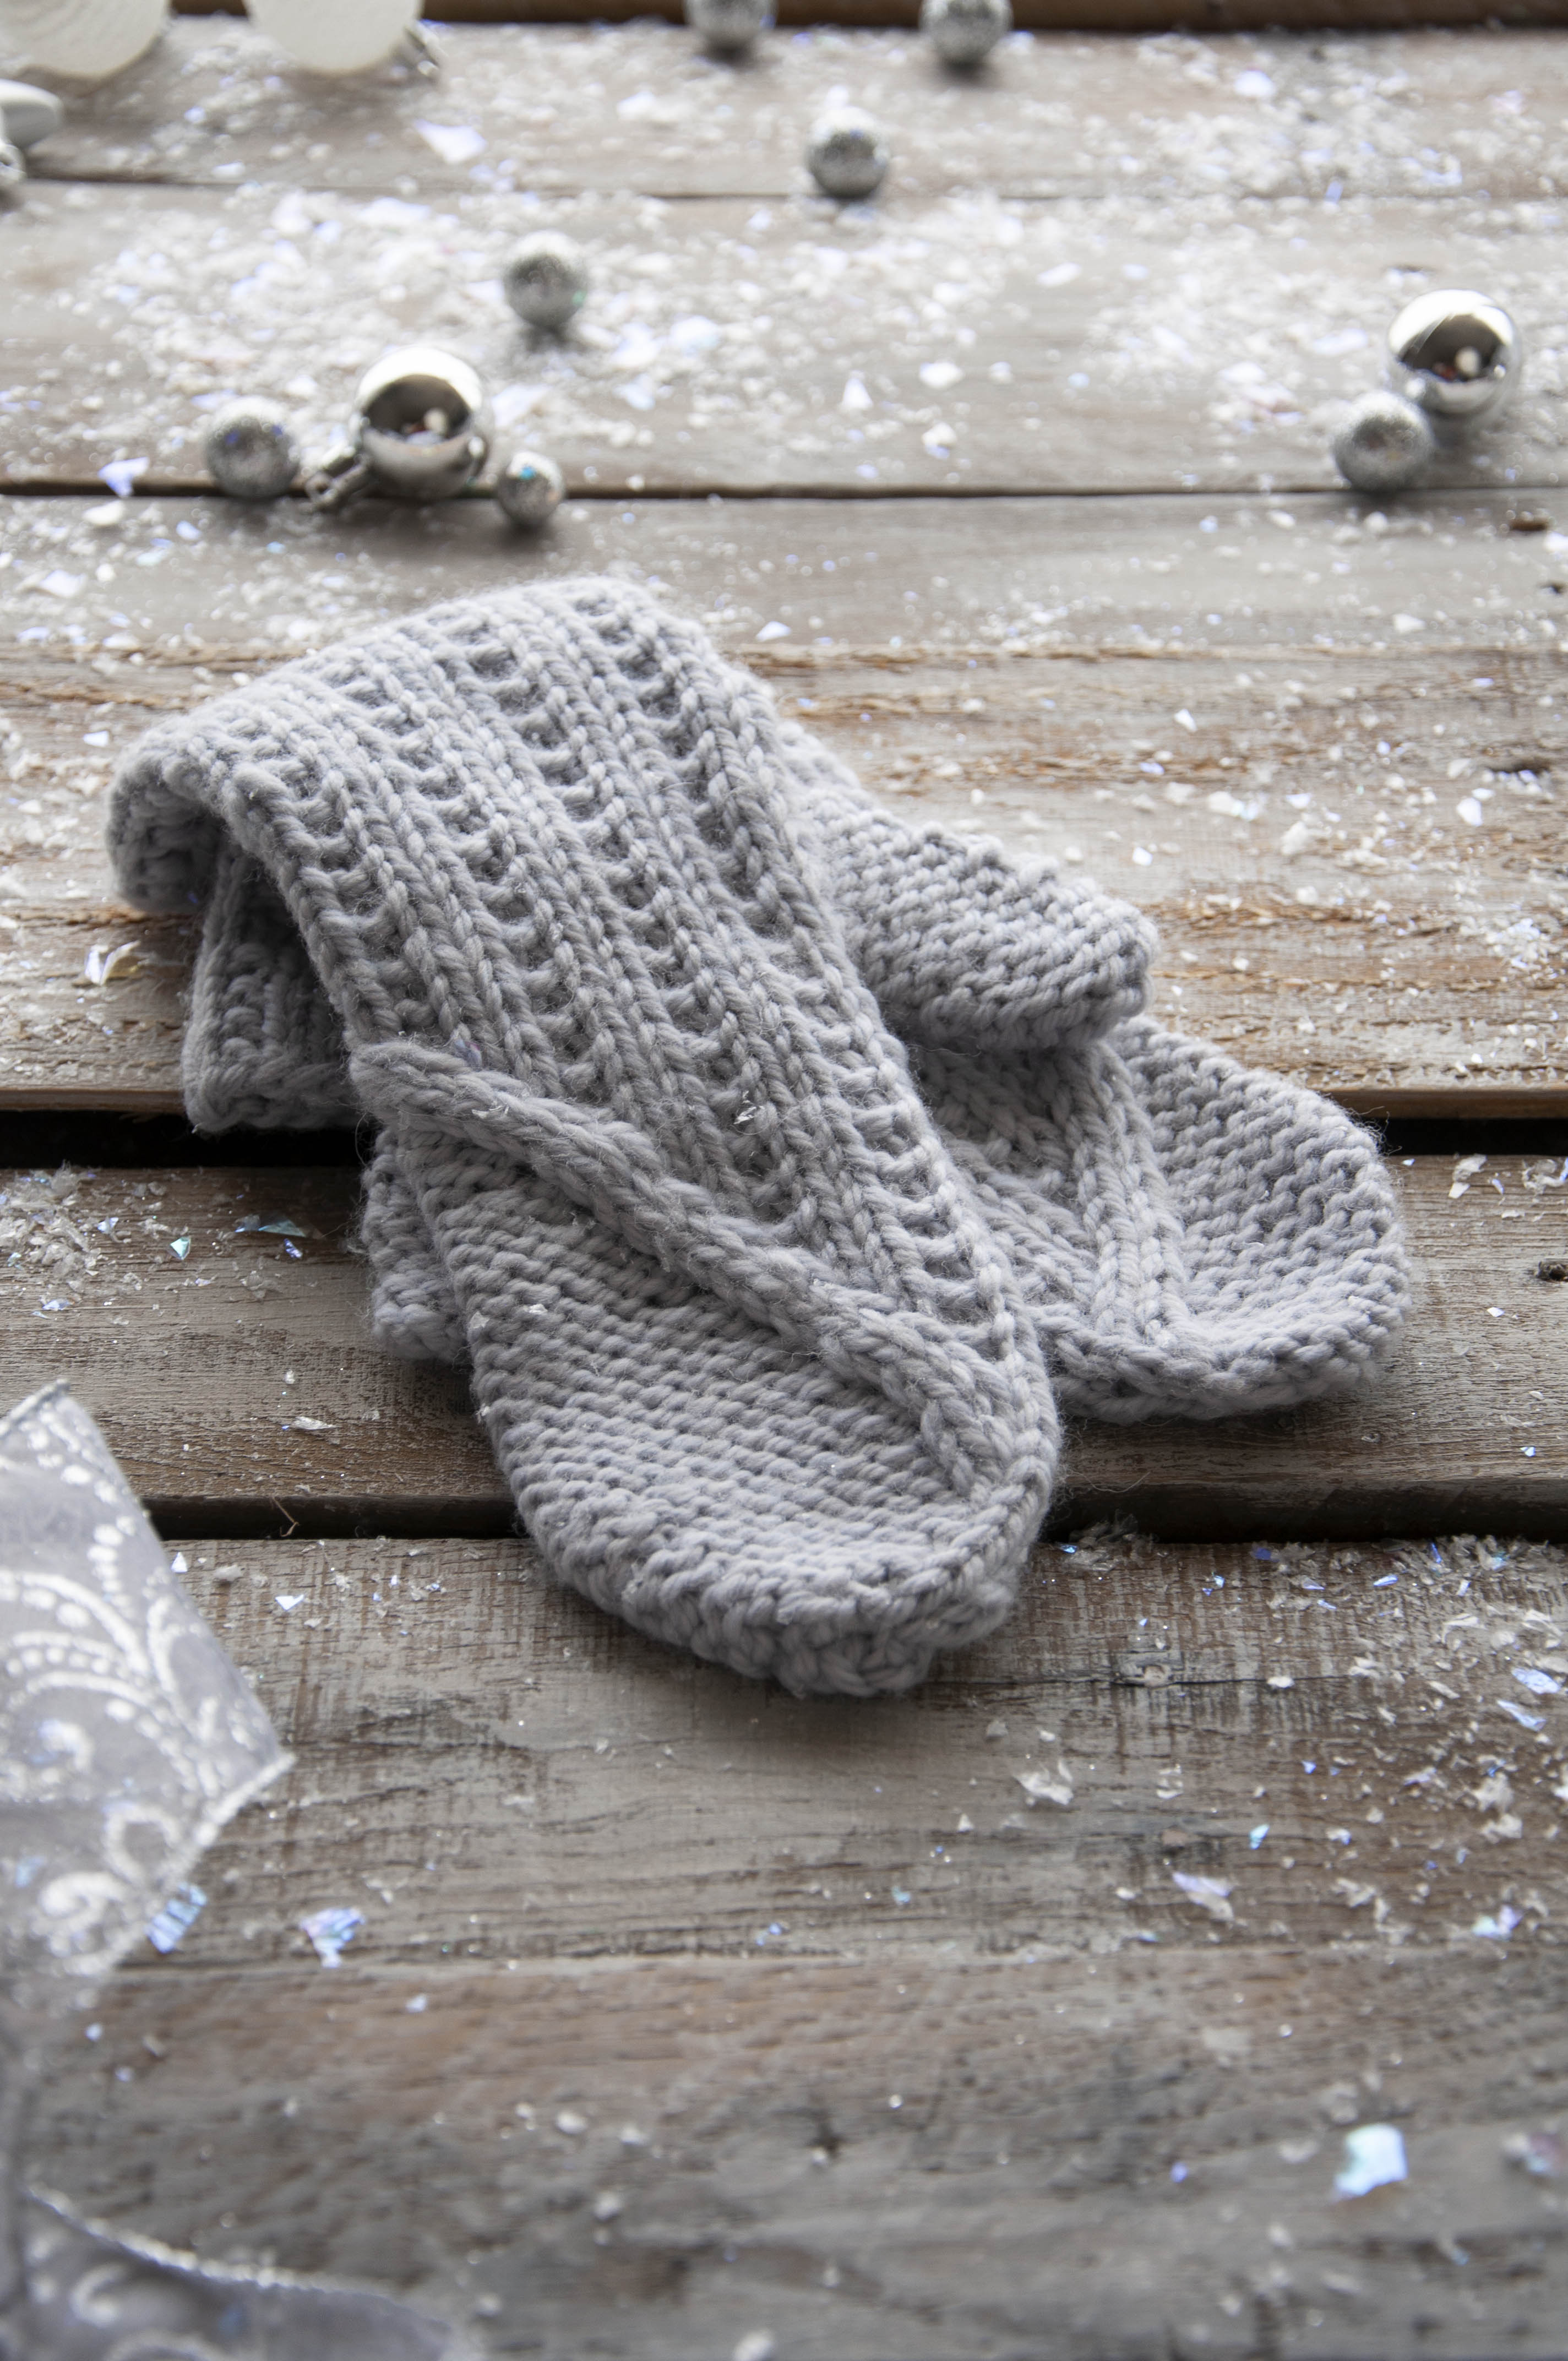
The Hemlock set is a matching accessory set featuring a headband and mittens. It’s an addictive and enjoyable project that works up pretty quickly, making it a great last-minute gift project that’s certain to please. For this project, we opted for soft, easy-care Deluxe Worsted Superwash in the festive new color, #774 Mistletoe. How fitting, right? The cables themselves seem to mimic the hanging holiday plant, and the bobbles echo their small berries.
The cables twist and turn their way across the mittens and around the headband. My favorite detail is the cross at the center of the headband – it’s like a cable within a cable, very meta! Plus, it’s easier to achieve than you might assume! It’s simply formed by separating the work in half, working to a specific length, and making a cross that forms an “X” before rejoining the two halves together once more. Easy, peasy!


Techniques you’ll explore while making the Hemlock Set include ribbing, stockinette stitch, cables, bobbles, basic shaping, working flat, and knitting small circumferences in the round. Personally, if you’re new to any of these methods, I recommend making the headband first and graduating to the mittens. The choice, of course, is yours!
Last year, Aubrey shared her love of bobbles in two of her designs, the Enchanted Scarf and Crystalline Cowl. She even created a helpful tutorial to demonstrate how bobbles are constructed. You can check that out at this link.

The final design we’re spotlighting today is another accessory set, Pomegranate Path. Rich texture and saturated color come together in this staple set. No winter wardrobe is complete without a scarf and a warm hat. This set is knit using Deluxe Worsted Tweed Superwash, which is undoubtedly a fan favorite! This yarn is predominantly made of superwash wool, with a touch of viscose and acrylic for the tweedy nubs. That means it’s machine-washable, making it a great yarn for gift knitting because you won’t have to worry about the recipient having an accidental felting disaster! Keeping with our bright holiday theme, we chose one of the more recent additions to the line, color #921 Beet.

Pomegranates are considered the jewel of winter – and why not? They generally ripen during this season, add a brilliant pop of color to a dreary day, and double as decor and a tasty treat! Yes, we primarily named this design for the bold, beautiful color, but we see the connection between the textures and the fruit, too! For example, a slender border of seed stitch pays homage to the juicy seeds that fill the pomegranate. And, much in the same way you enjoy the fruits of your labor when preparing and eating a pomegranate, you’ll love the process of knitting different twisted stitches and cables throughout this project!
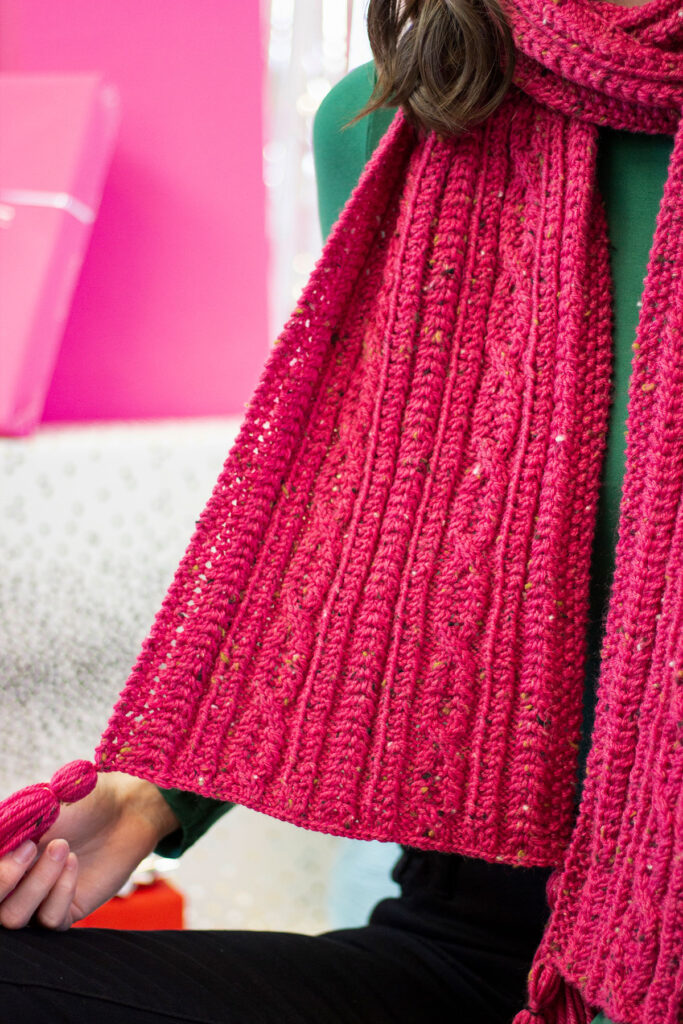
In the past year, I rekindled my love of scarves. I just cannot get over how enjoyable knitting a richly textured accessory can be. And hats will always be among my favorite types of projects to knit. This pattern offers plenty of interest, and we have several helpful tutorials to help you along the way. You might enjoy the Right and Left Twist tutorial (link), cabling without a cable needle is optional, but useful (link), and these handy chart-reading tips will help you with any project that includes them (link)!
Join us tomorrow for Part III of this blog series, where Aubrey will dish about a shawl, stole, and cozy blanket!
Remember, these exclusive kits can be purchased at local yarn store retailers near you. Not in stock at your local shop? Ask them about drop shipping – order through them, and we ship to you! Each kit comes with a printed version of the pattern and the yarn required to make it. Use our store locator to find your nearest Universal Yarn retailer!
Happy stitching,
Rachel