Sewing Moto Jackets

Finally, after sampling for my fabric (and getting a cool scarf in the process),

herringbonescarf4_deluxedktweedhires

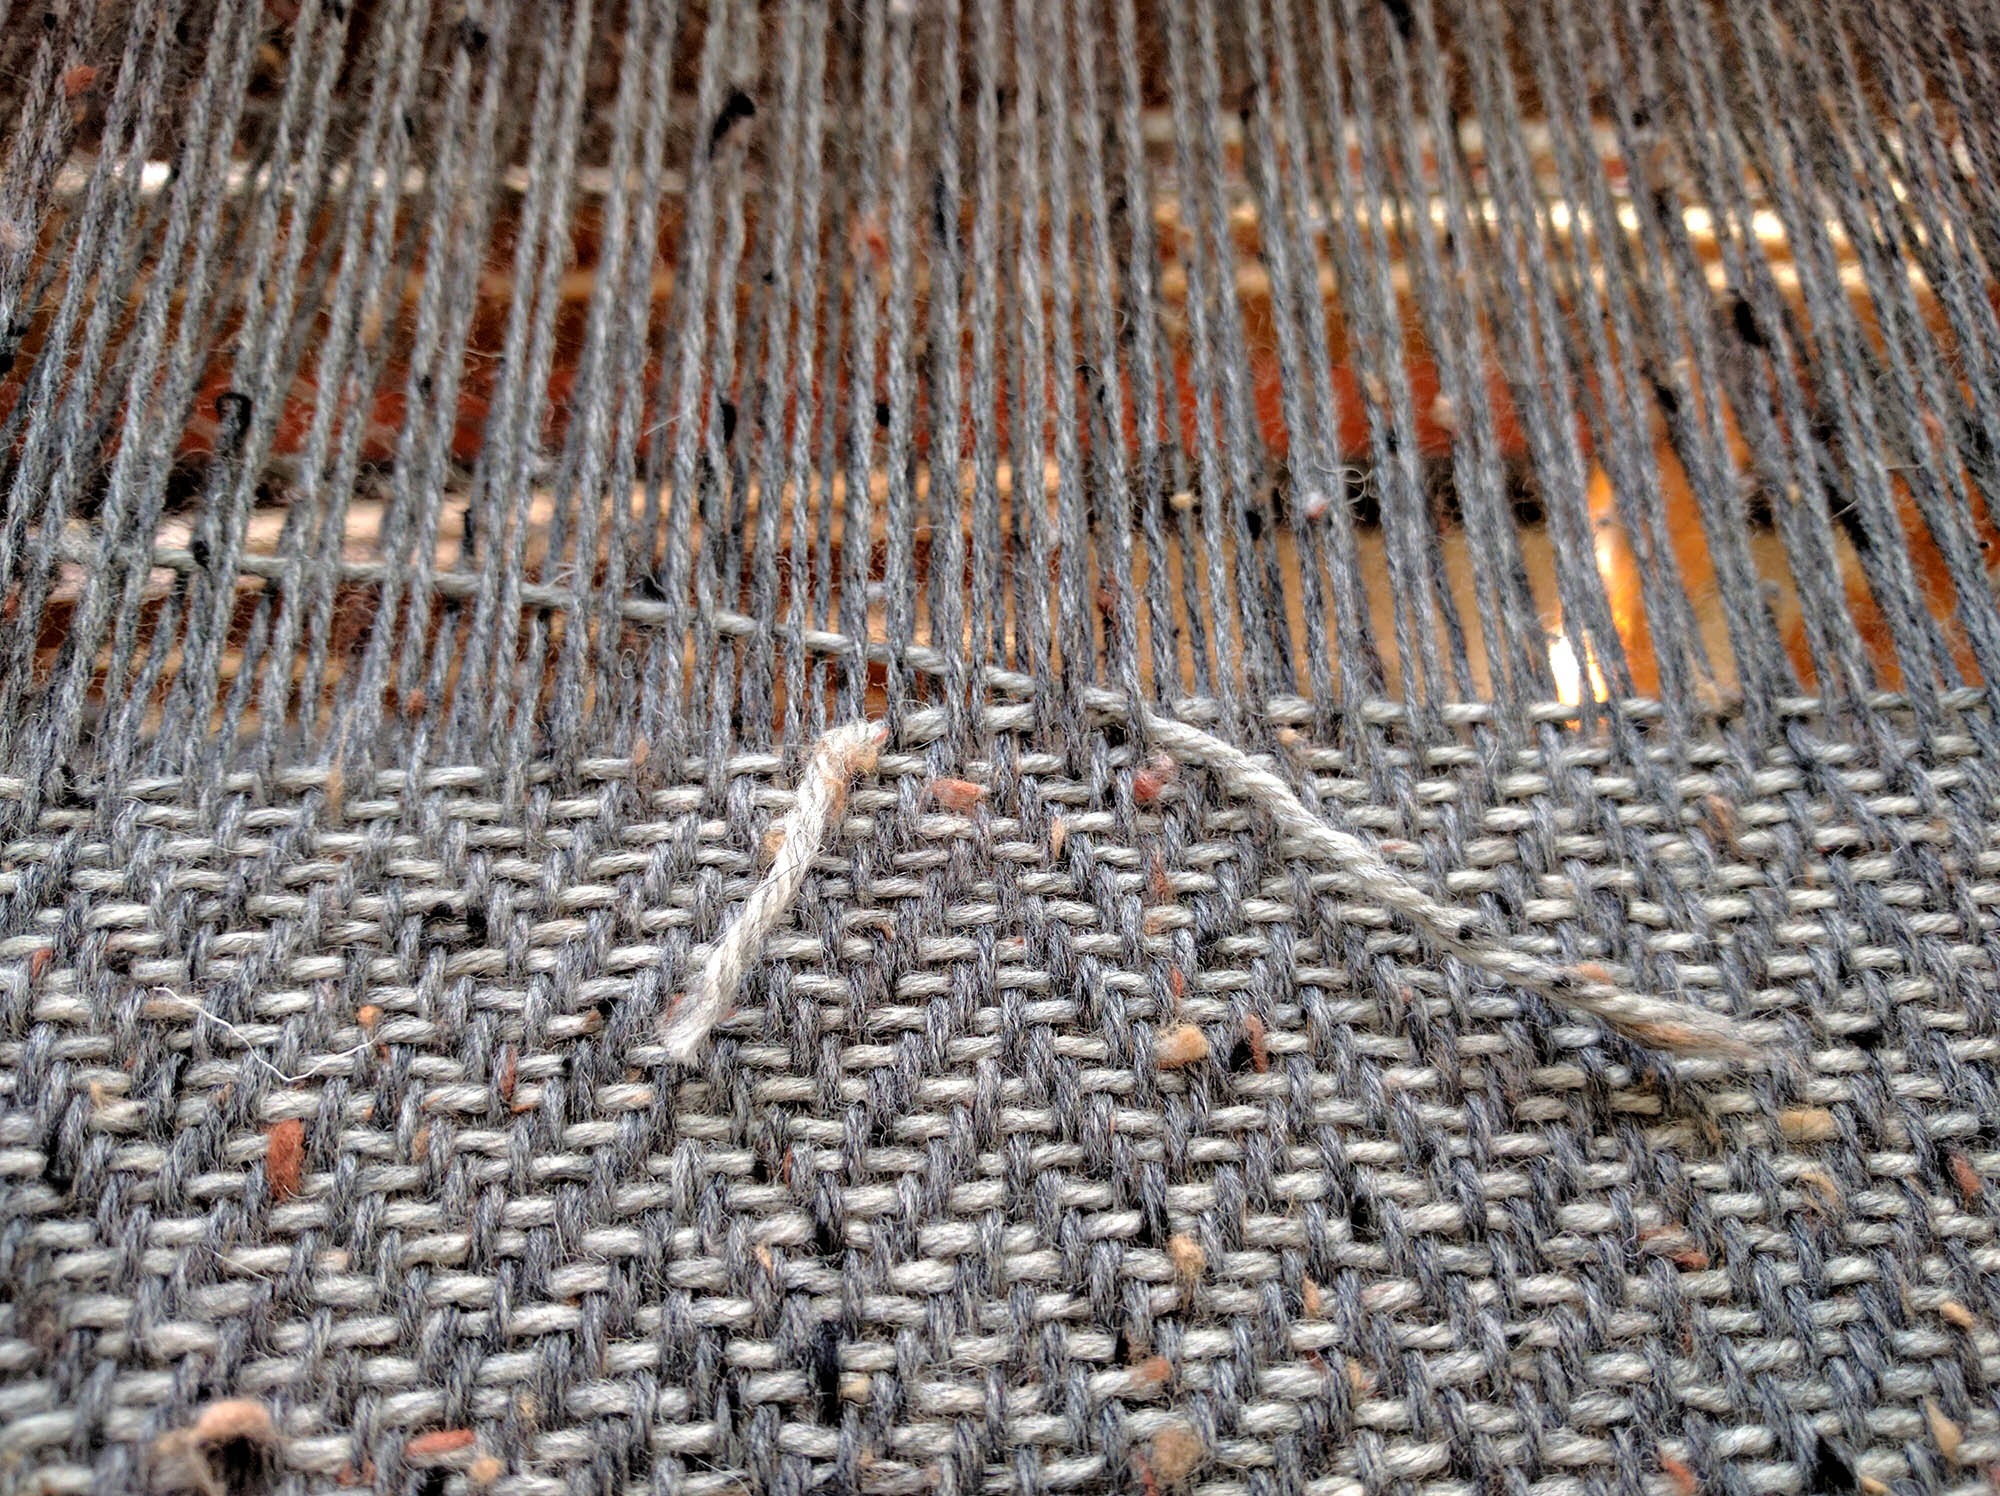
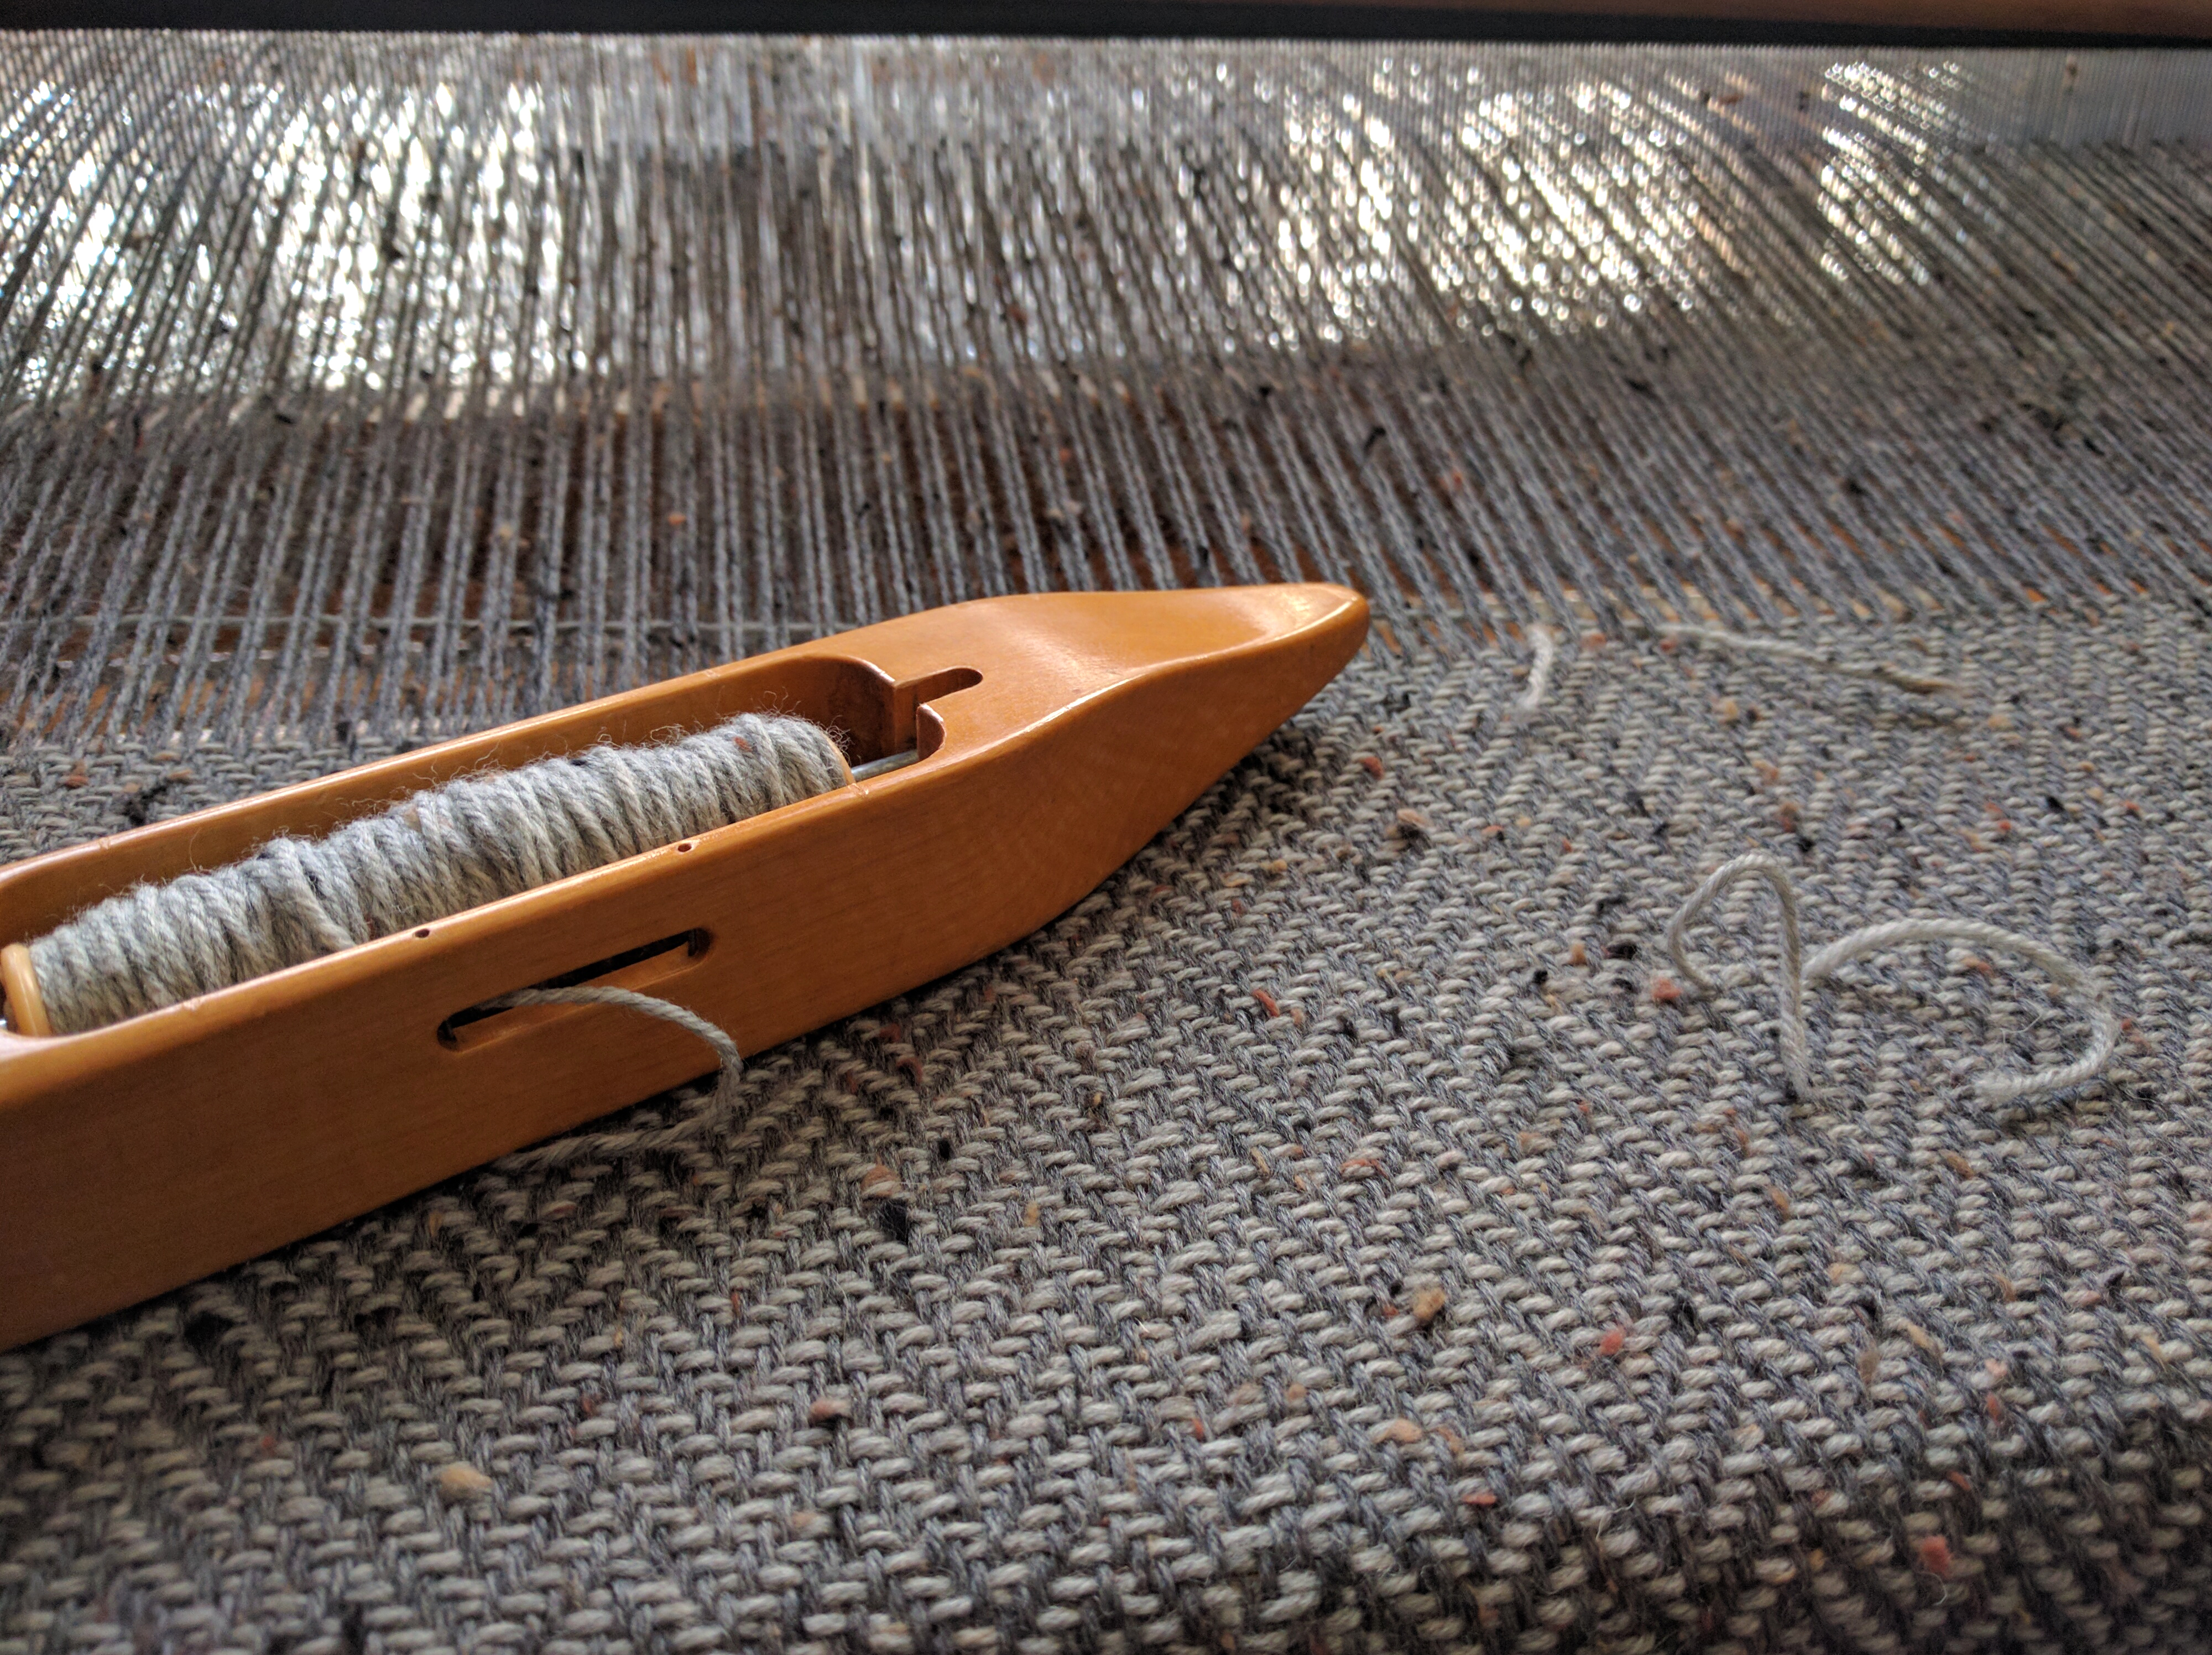
warping 280 inches of 432 ends,

warping_2

and weaving the actual fabric

weaving_8_blog

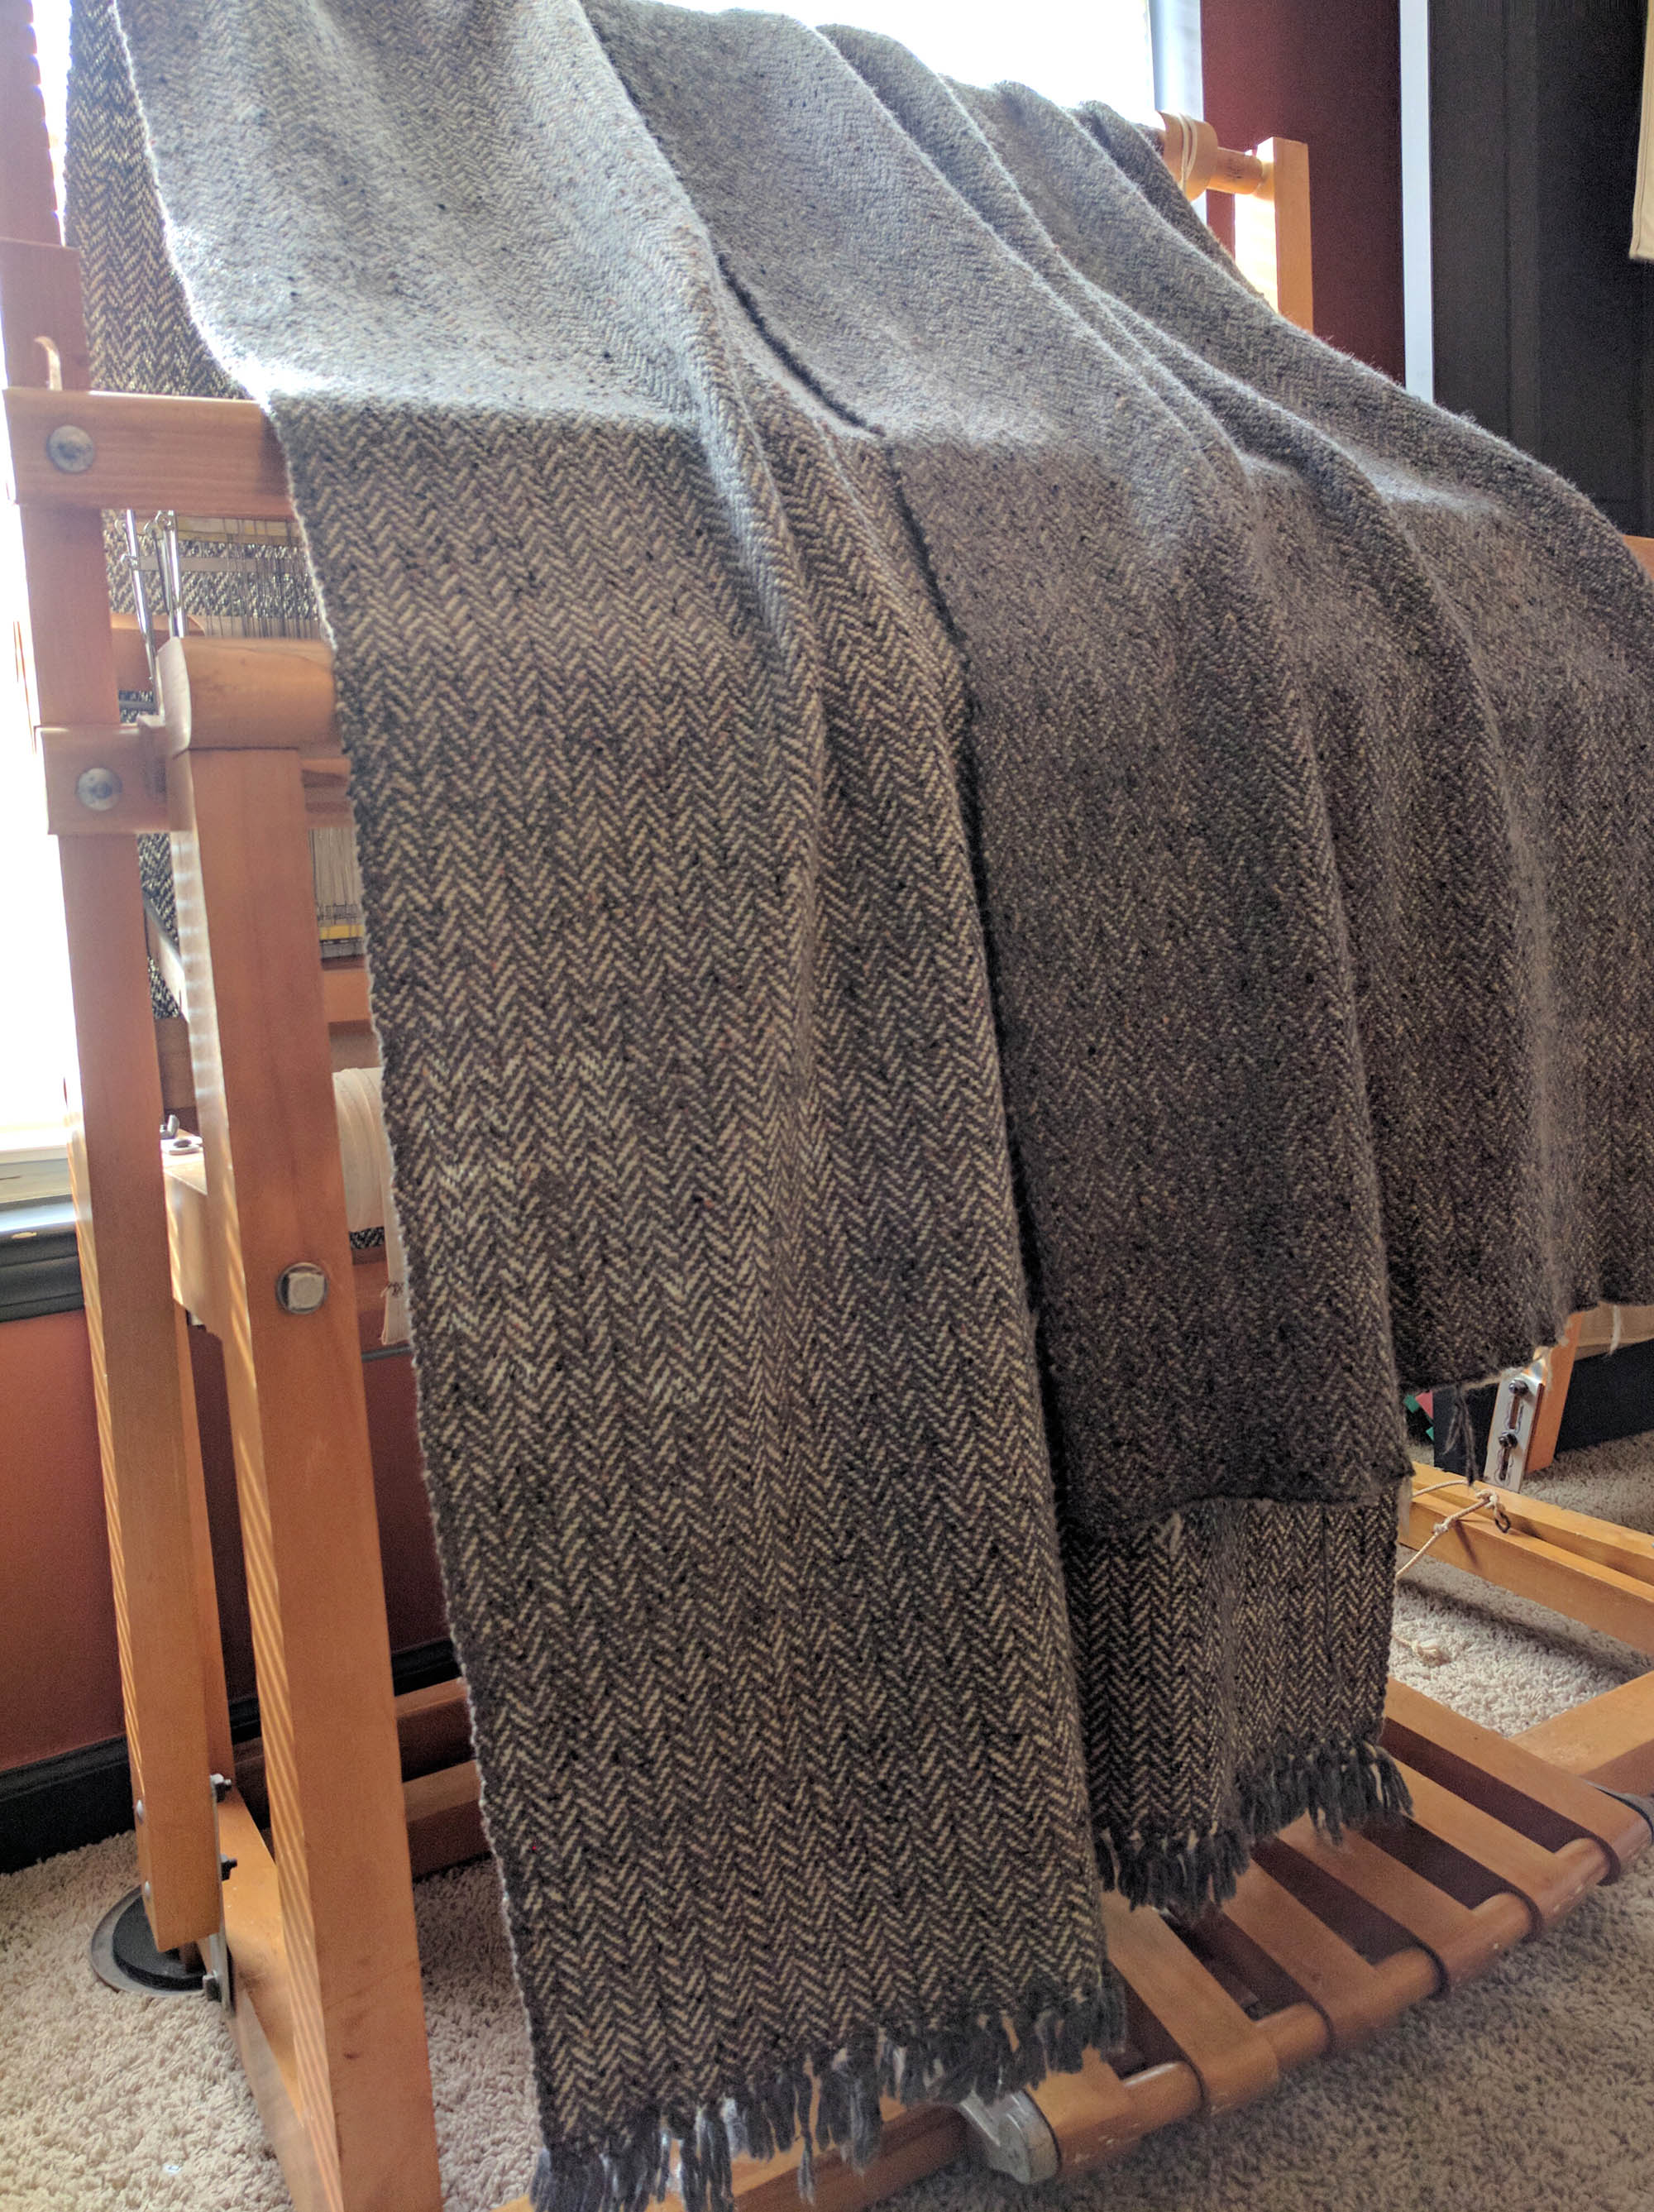
it was time to sew jackets!

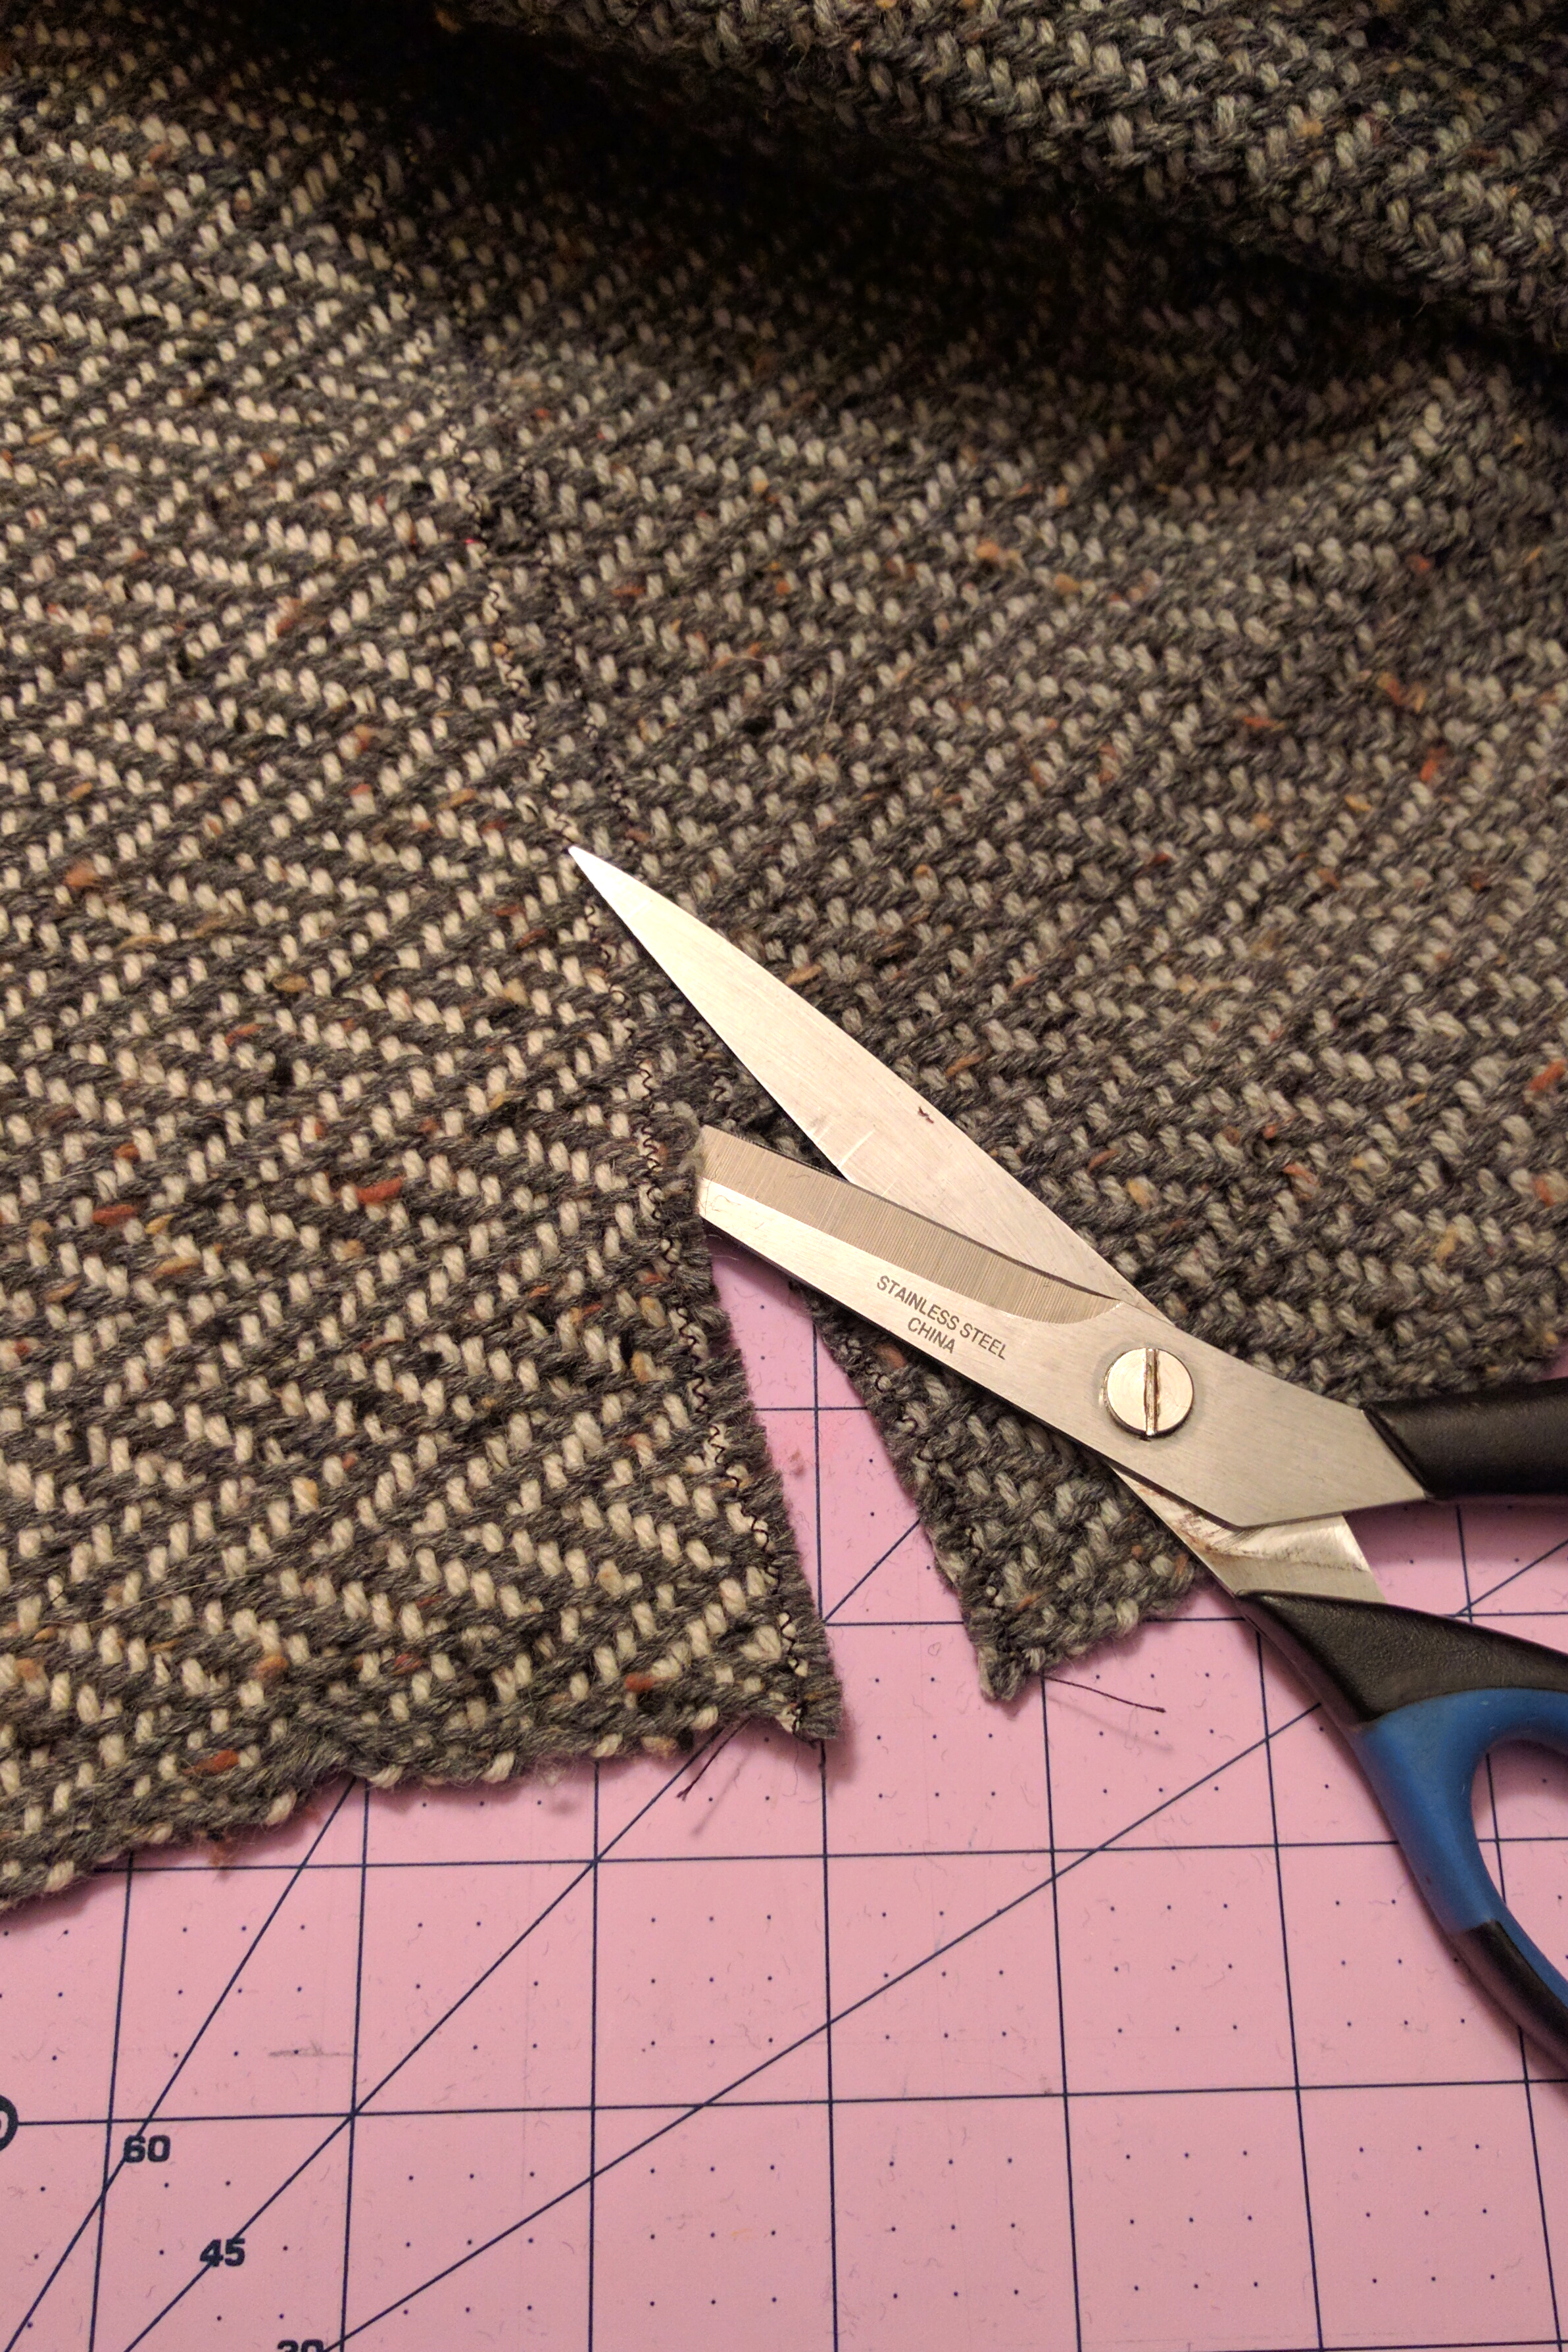
The first step was to interface all of my handwoven fabric. I got enough lightweight fusible interfacing for all my yardage. The reason for doing this is so that when I cut into the fabric for my pattern pieces, it will prevent the edges from coming unwoven.

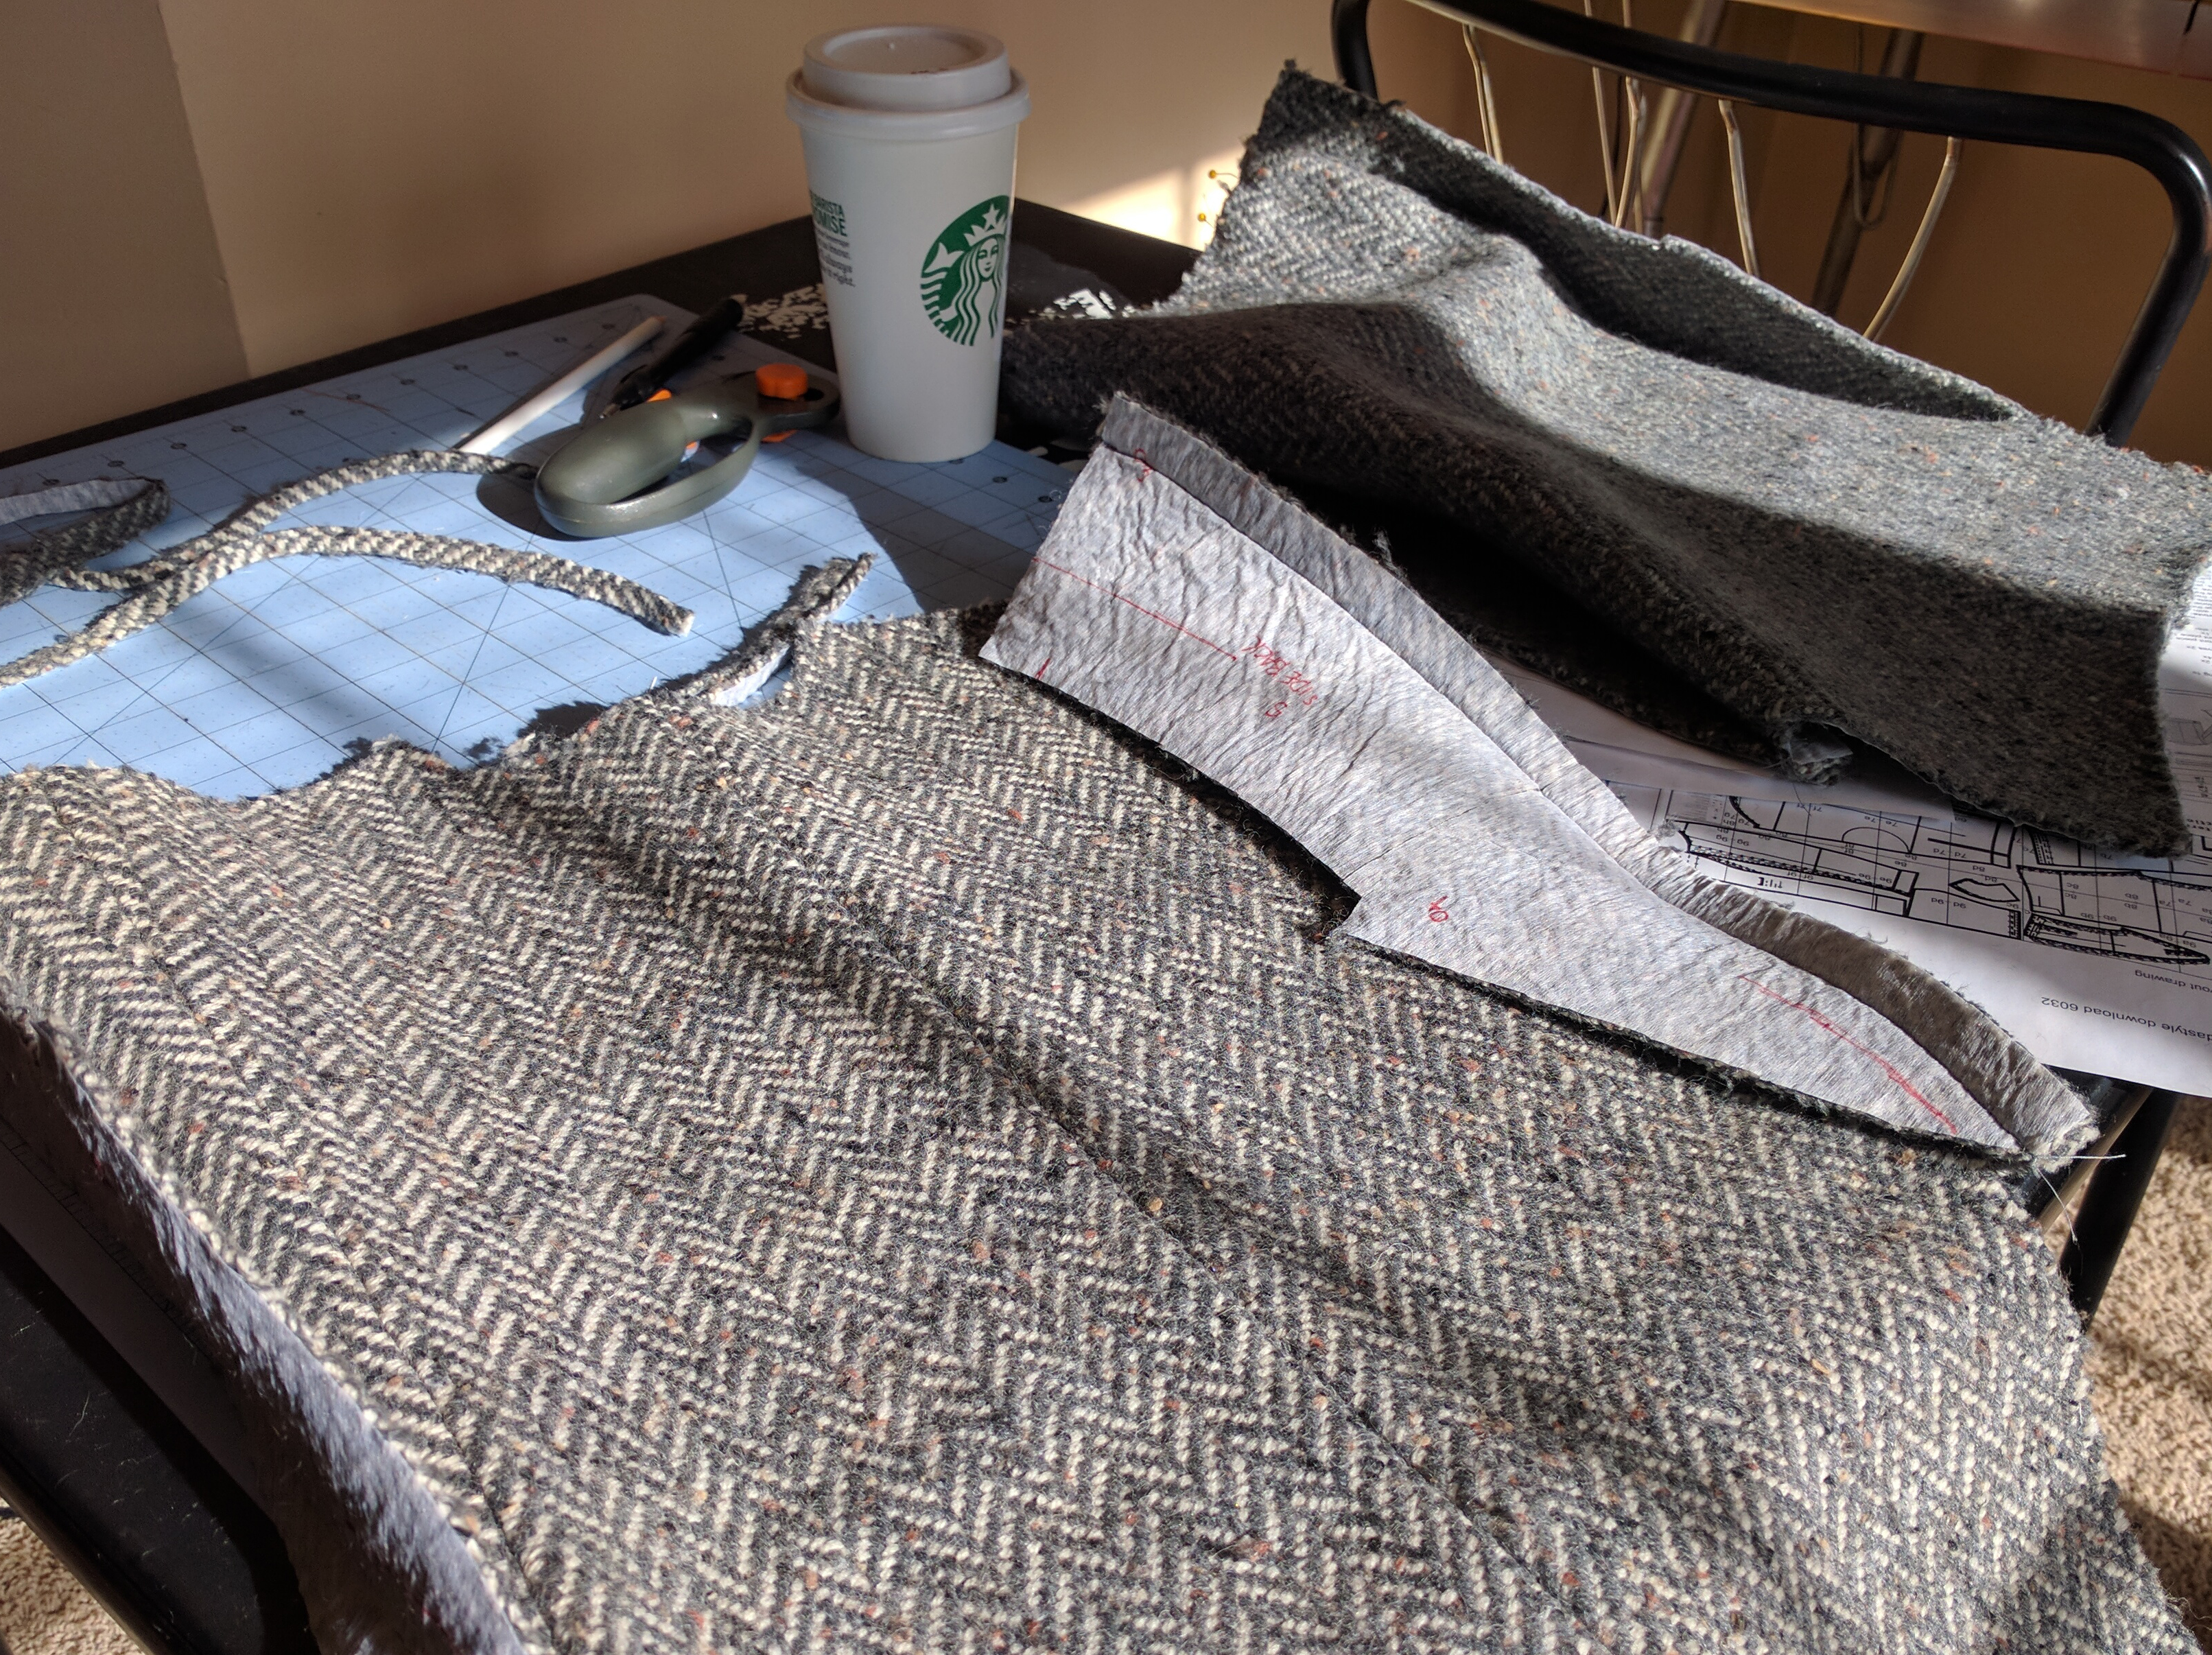
Two jackets-worth of pattern pieces and lining is a LOT of cutting!

Sewing_1

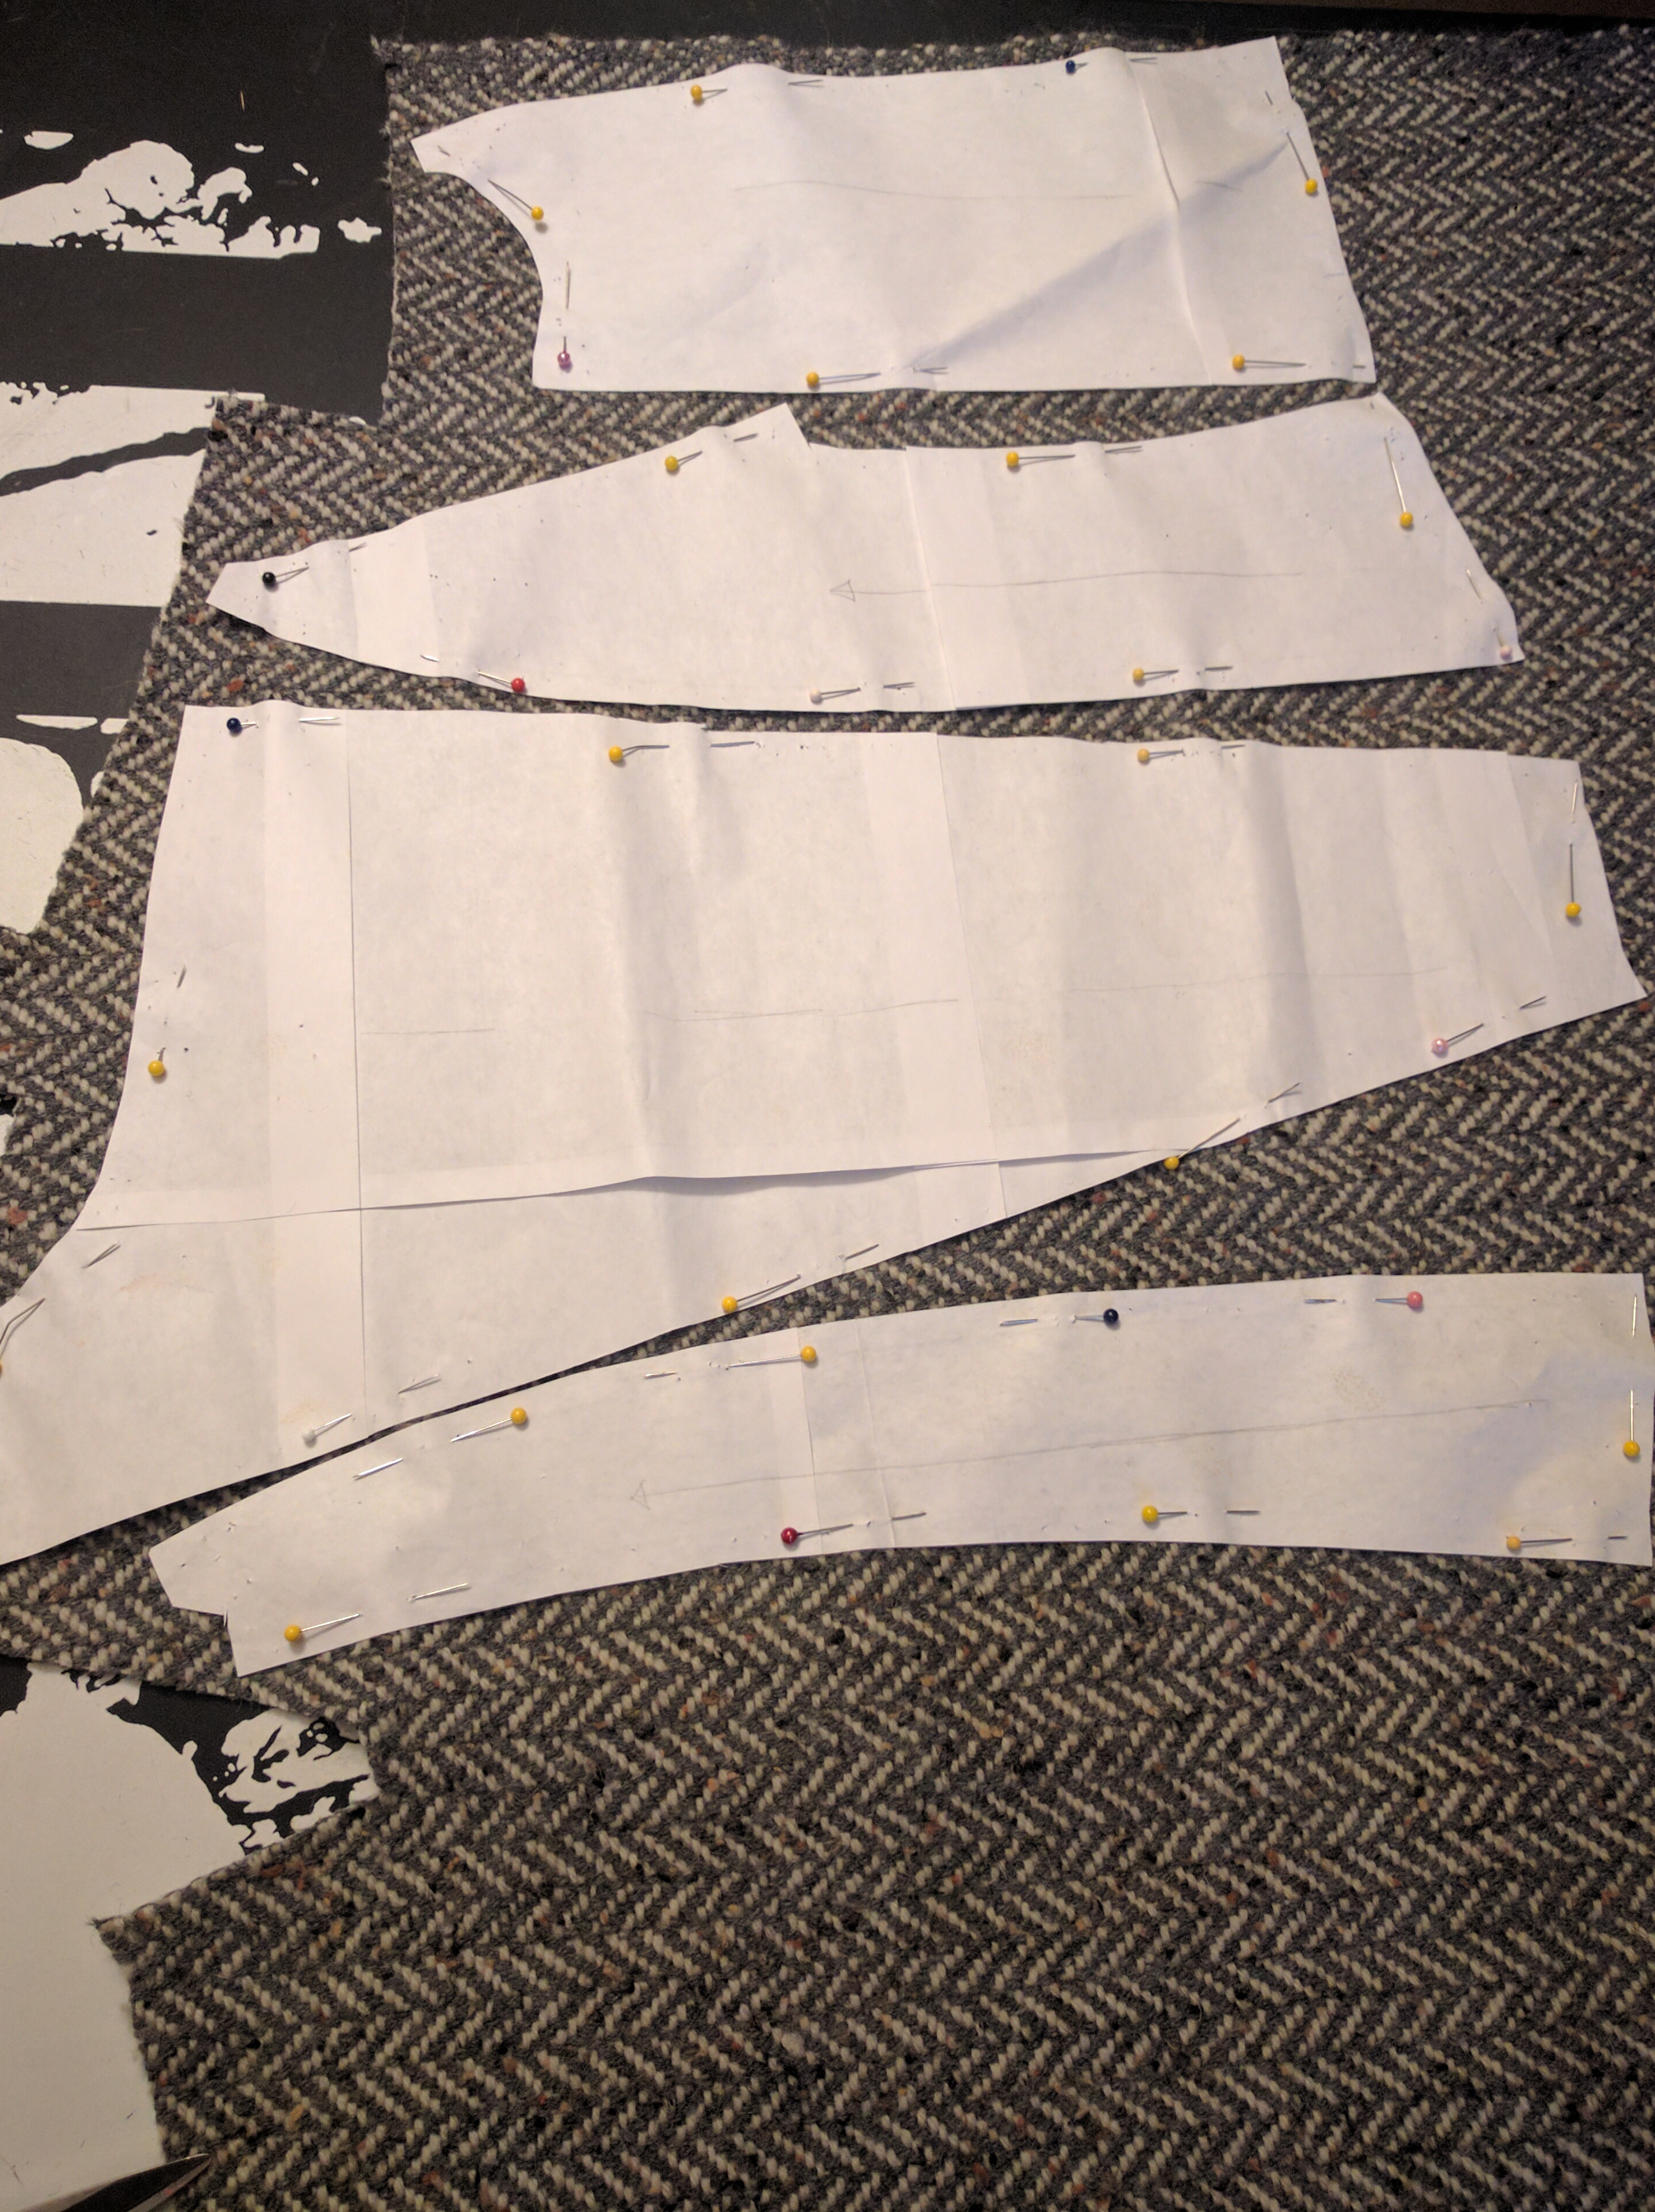
Every bit of fabric is precious since I wove it, so a certain strategy is involved when laying out those pattern pieces.

Sewing_2

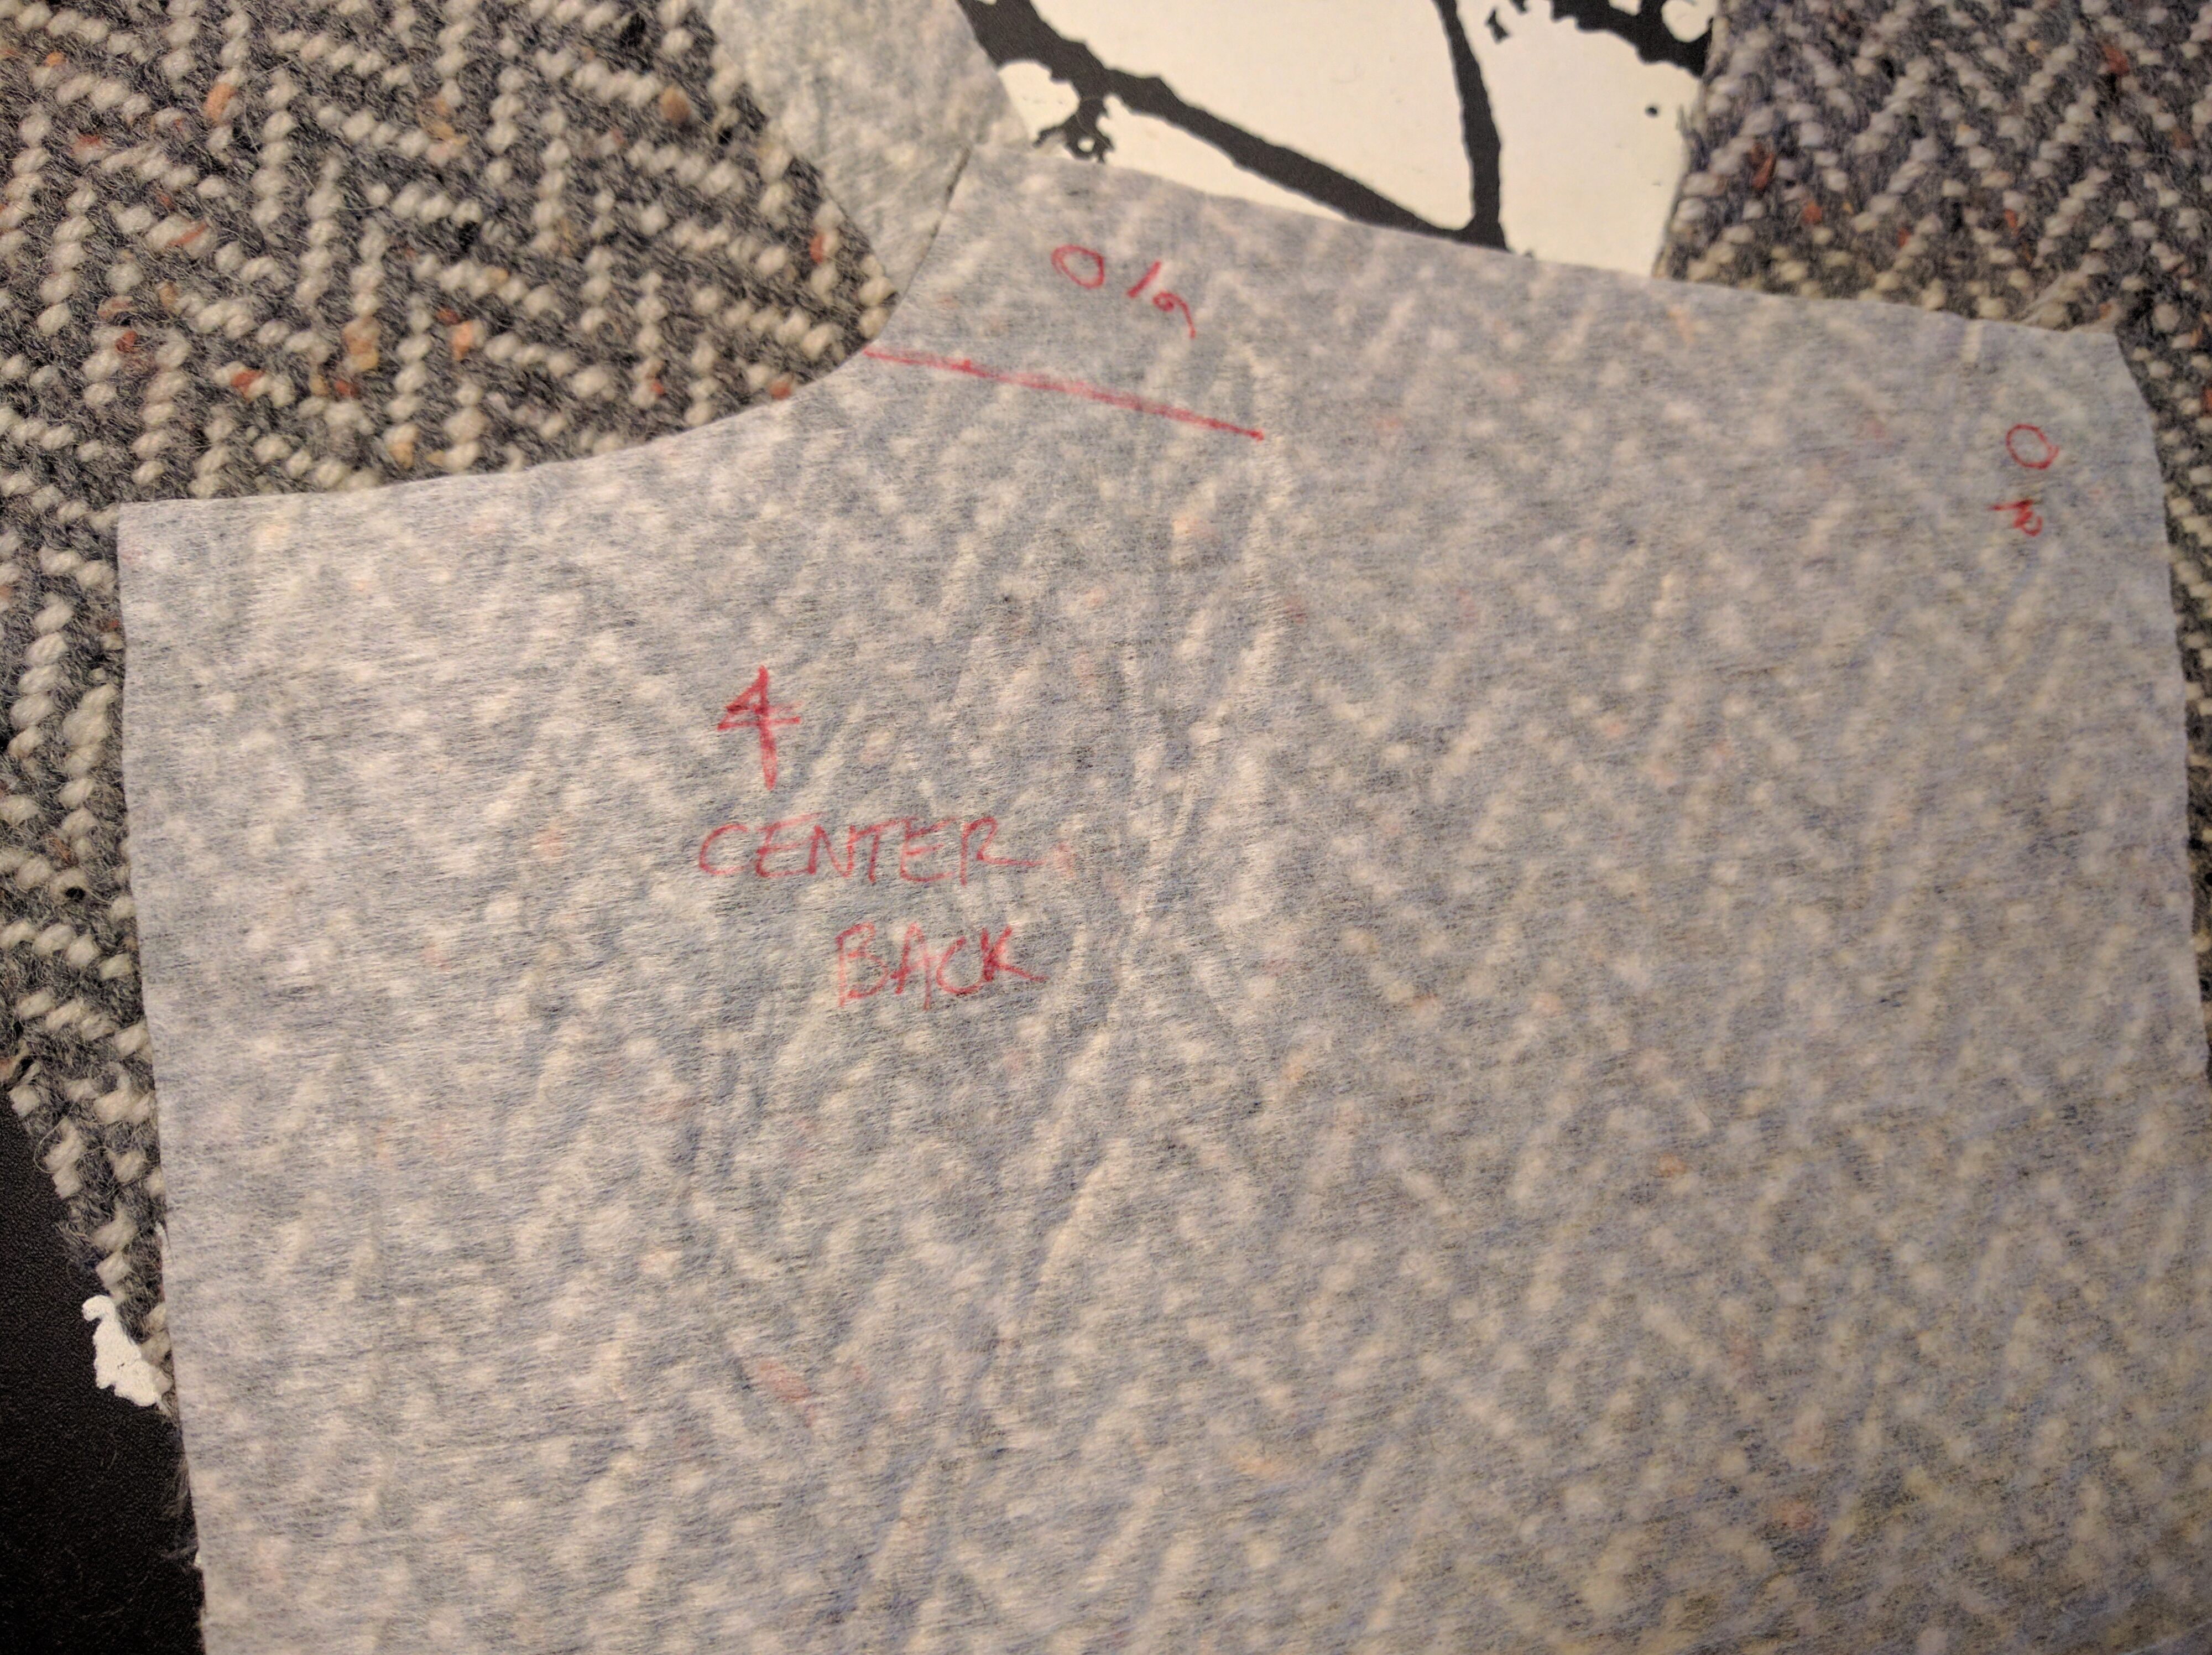
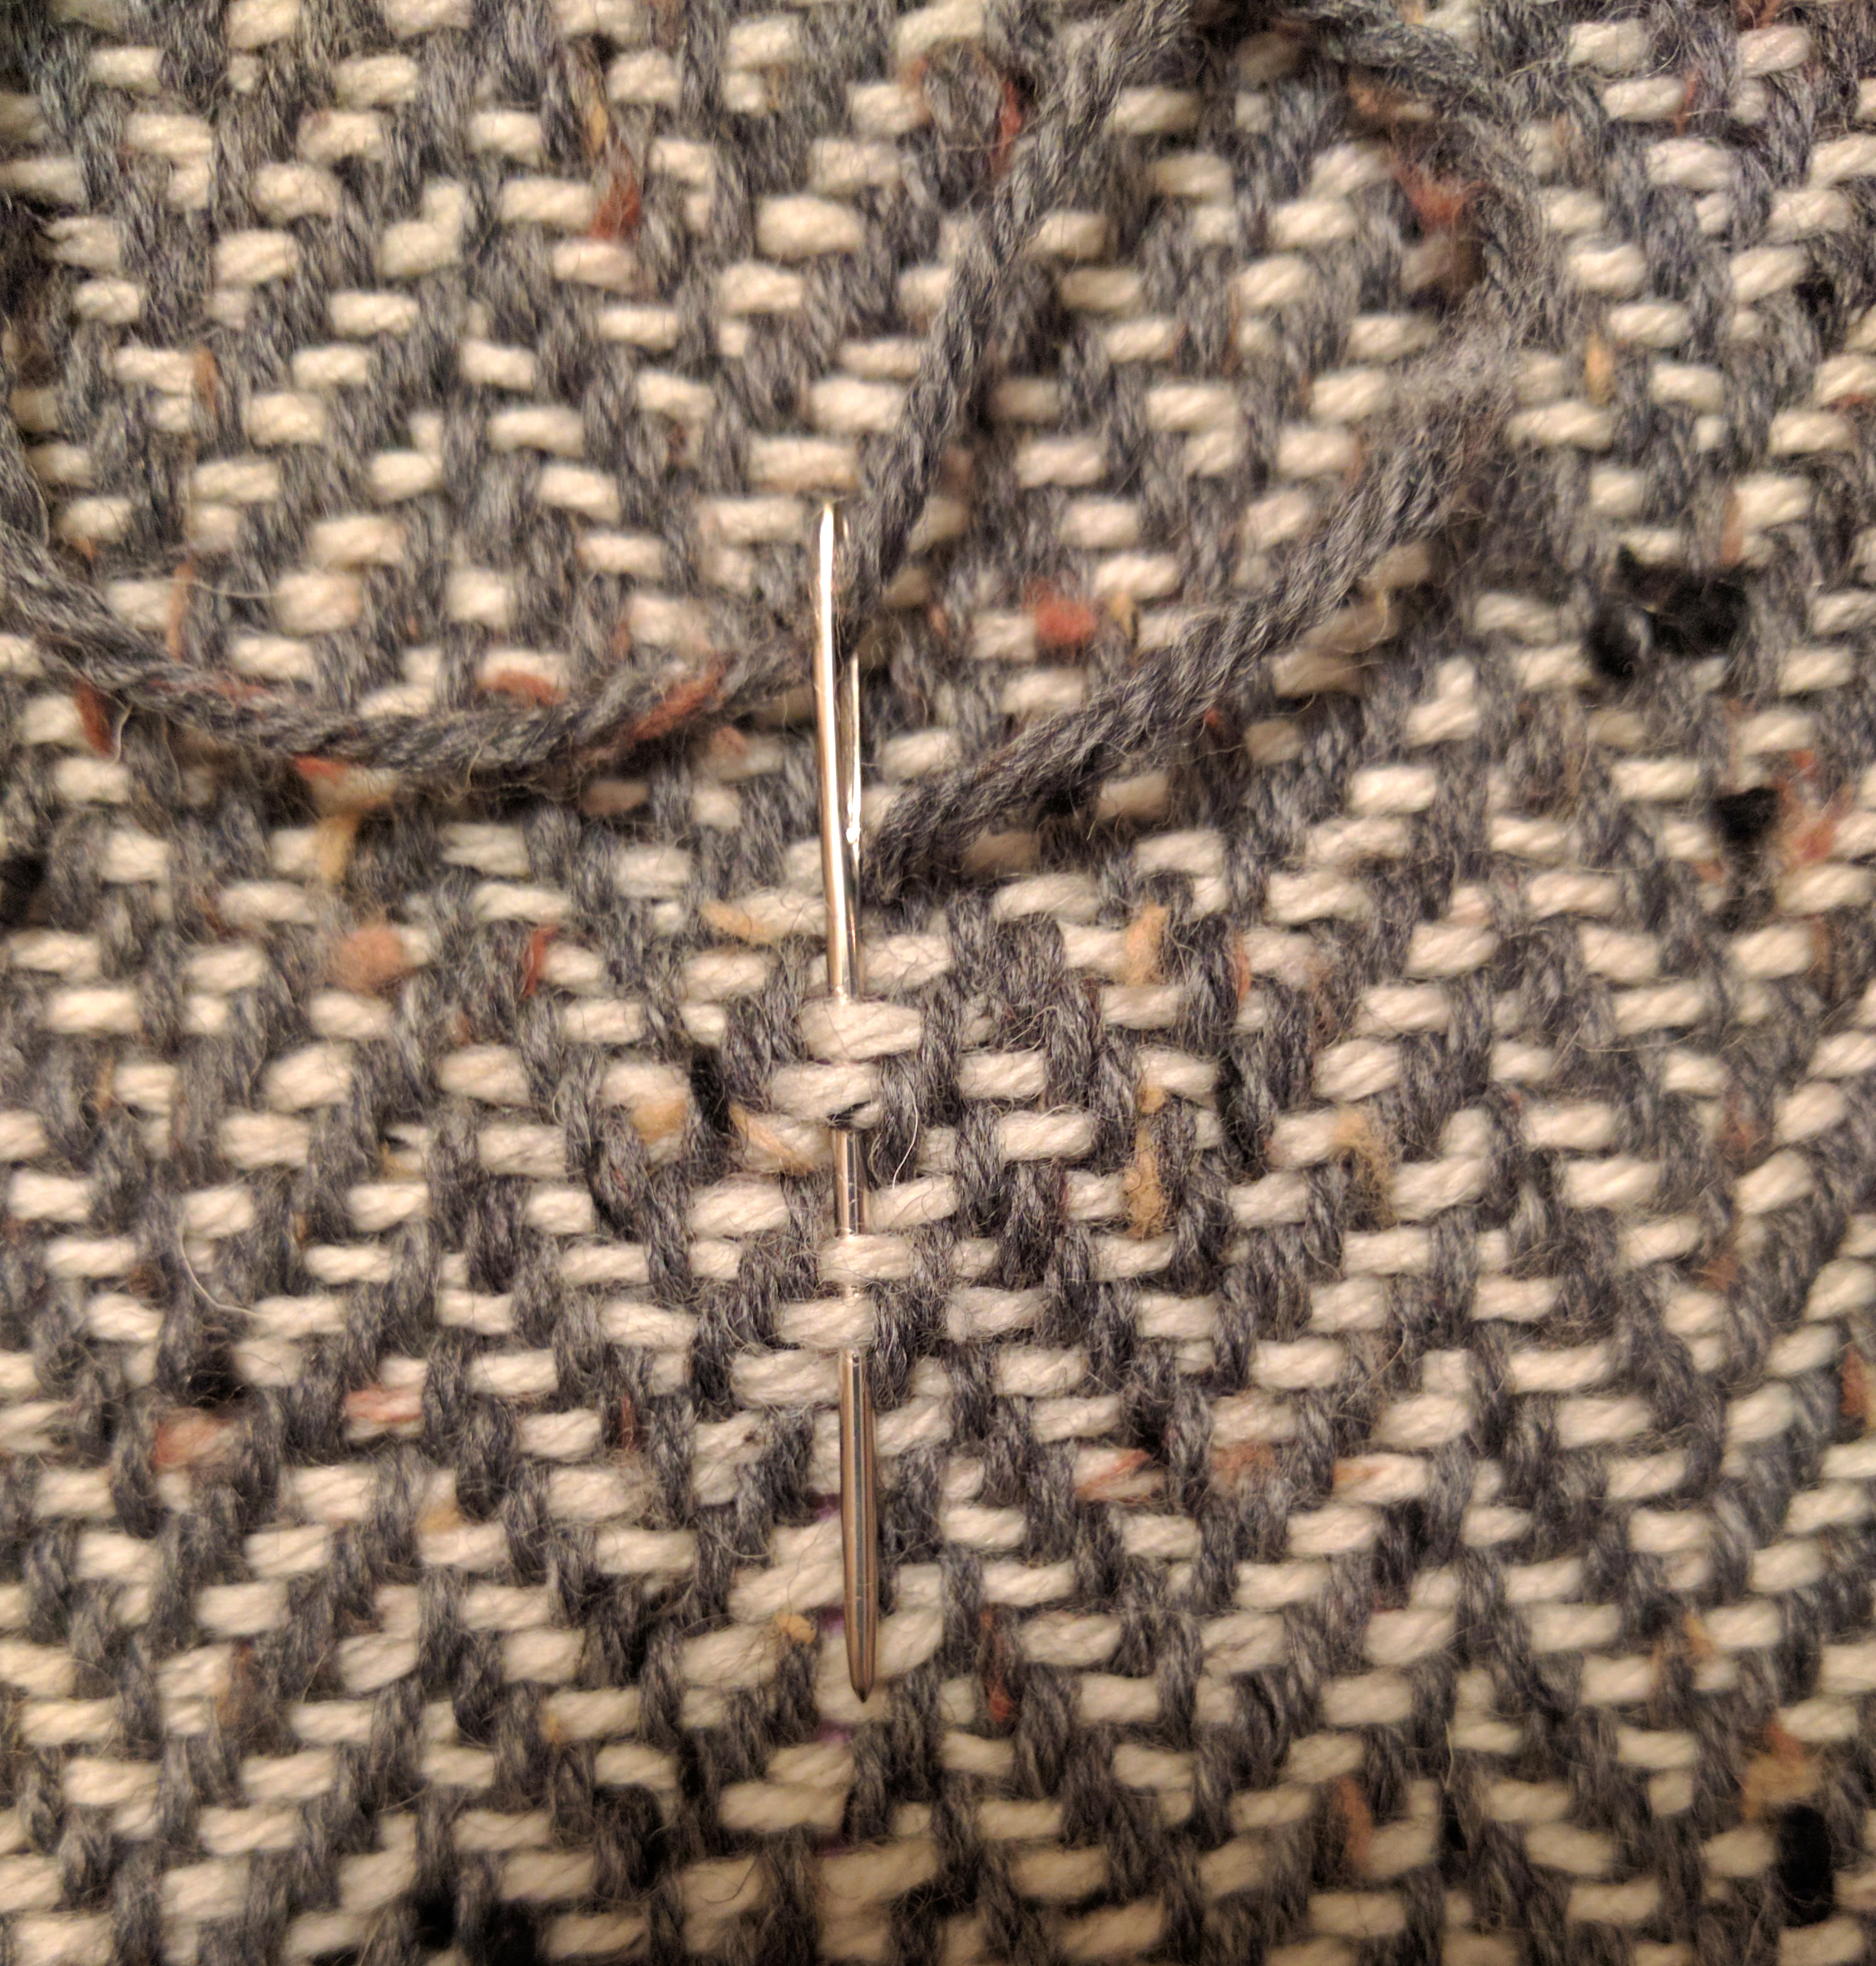
With the interfacing on the back of my fabric, it made it easy to make pattern markings and actually be able to see them.

Sewing_3

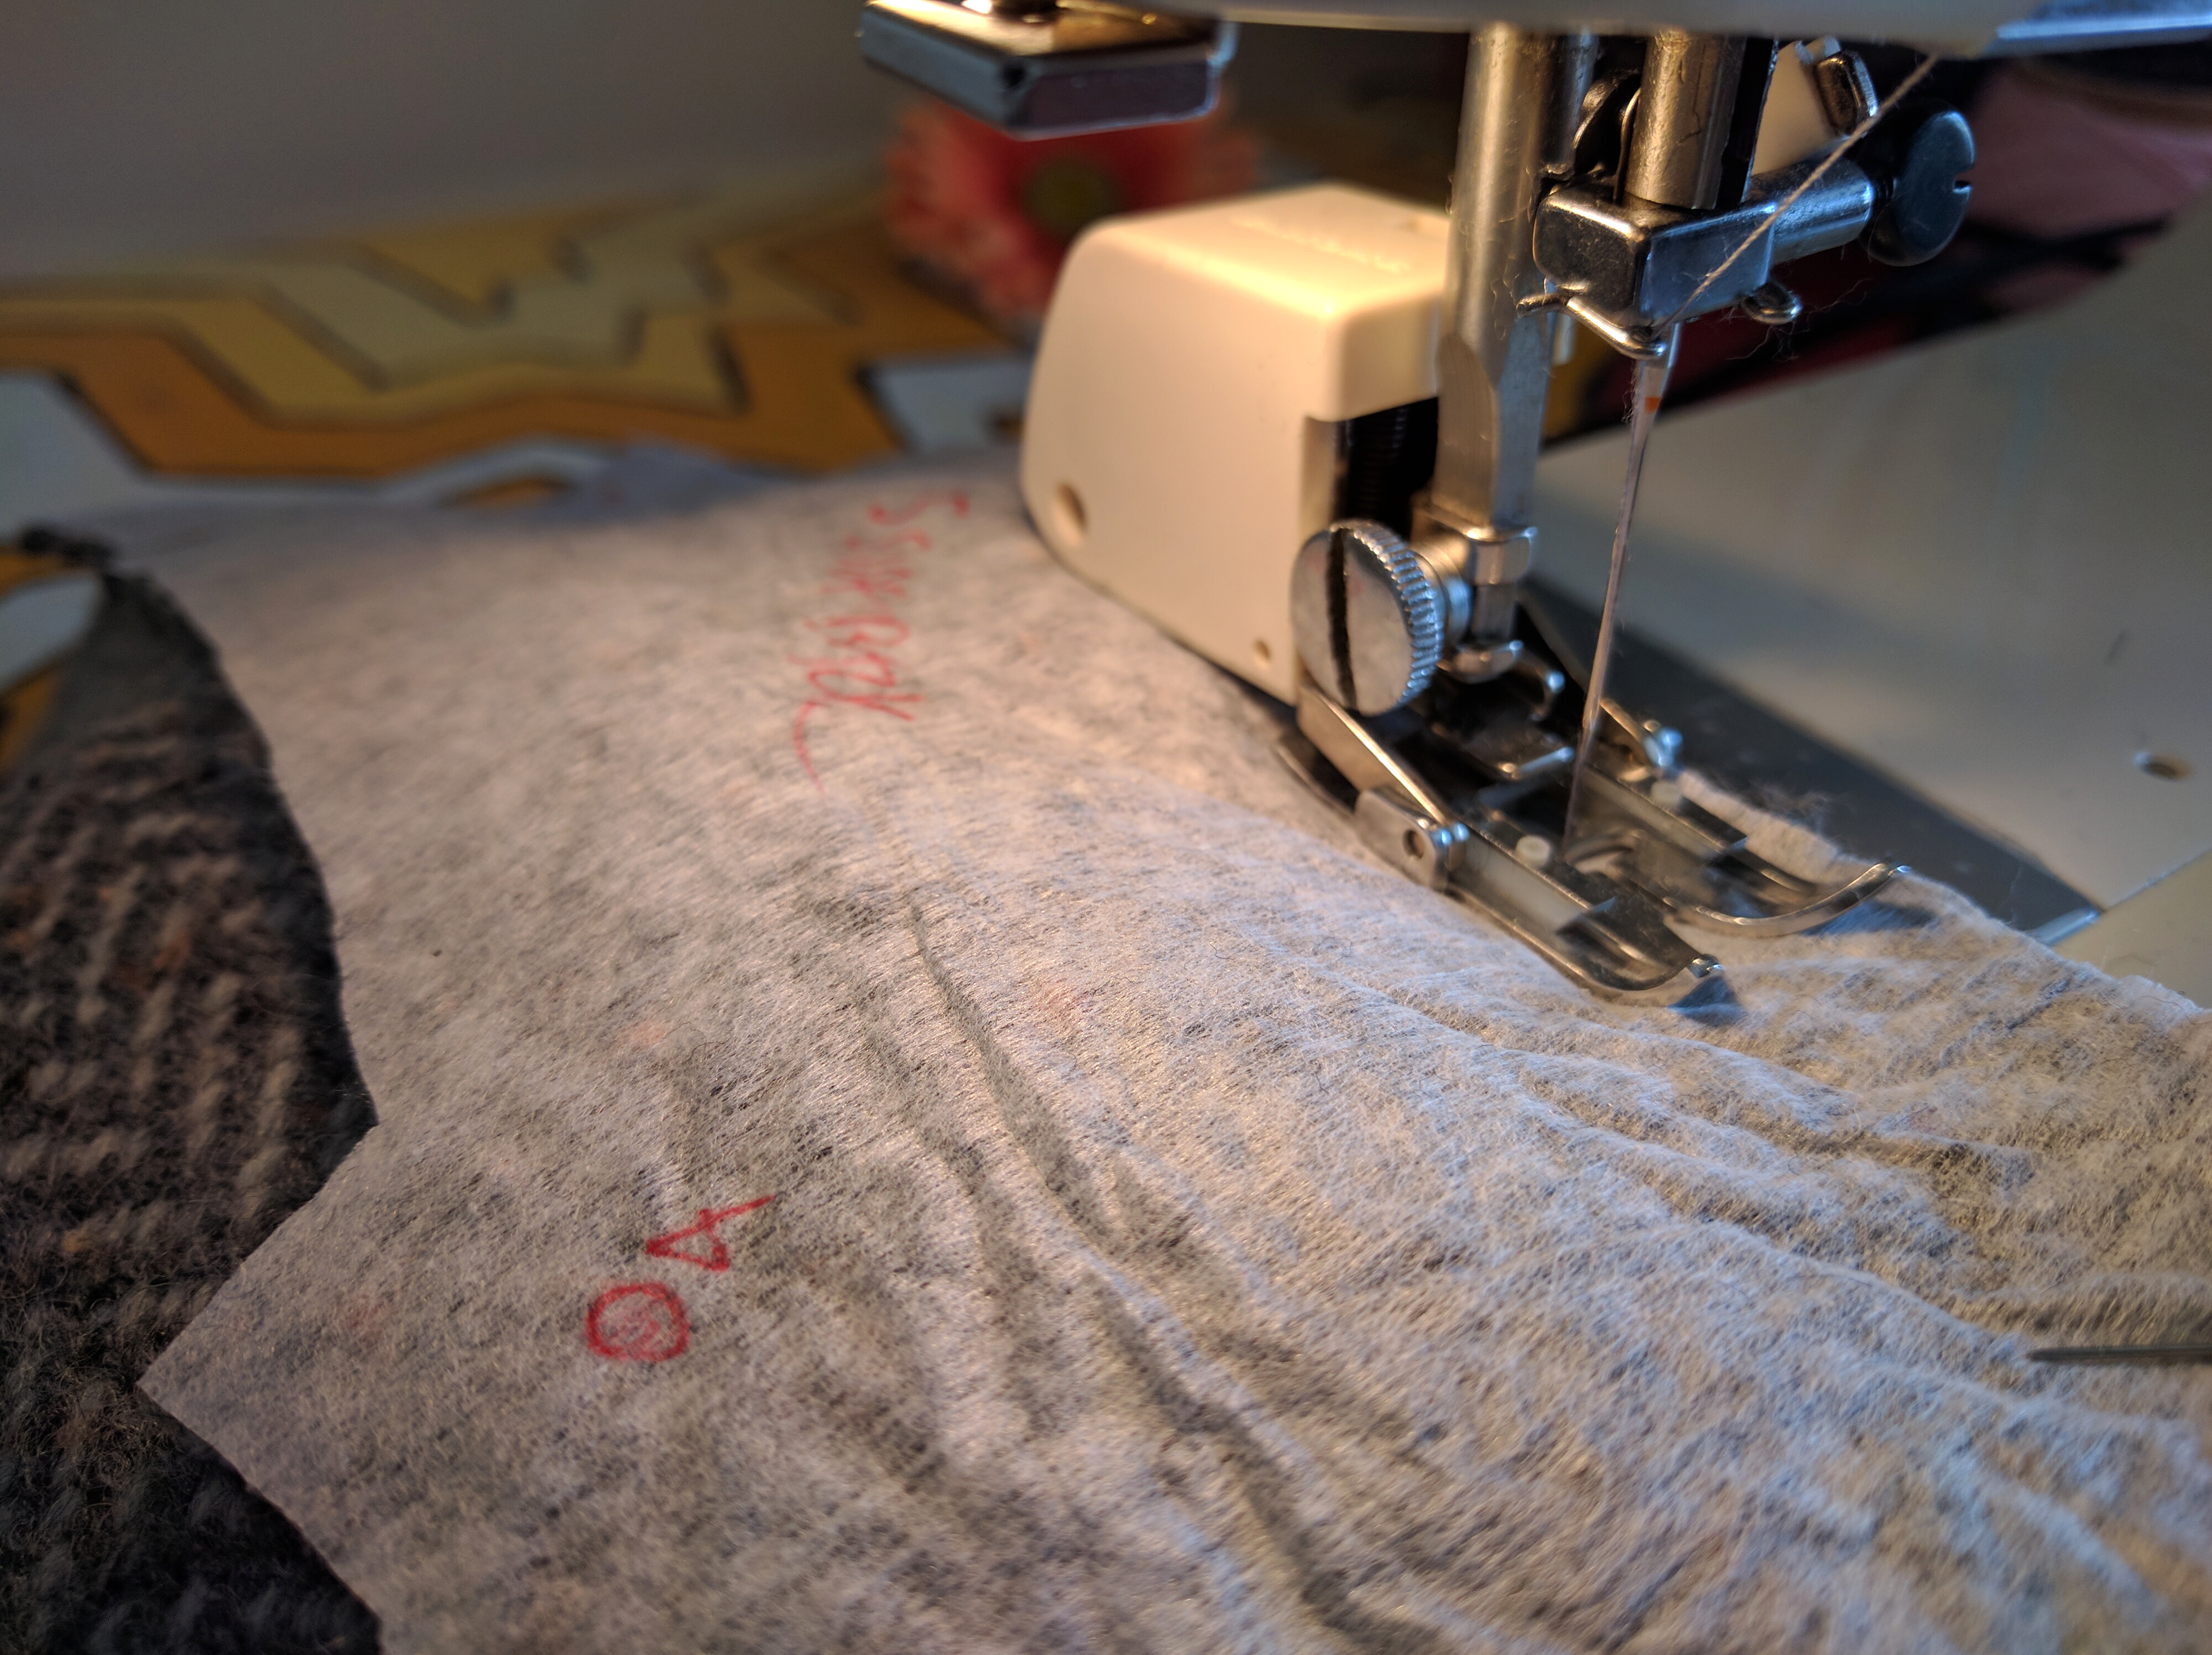
I used a special foot on my sewing machine called a “walking foot” for some of the bulky seams. It helps to manage bulky layers of fabric so that they feed evenly through the machine.

Sewing_4

Sewing moto jackets requires a lot of coffee.

Sewing_5

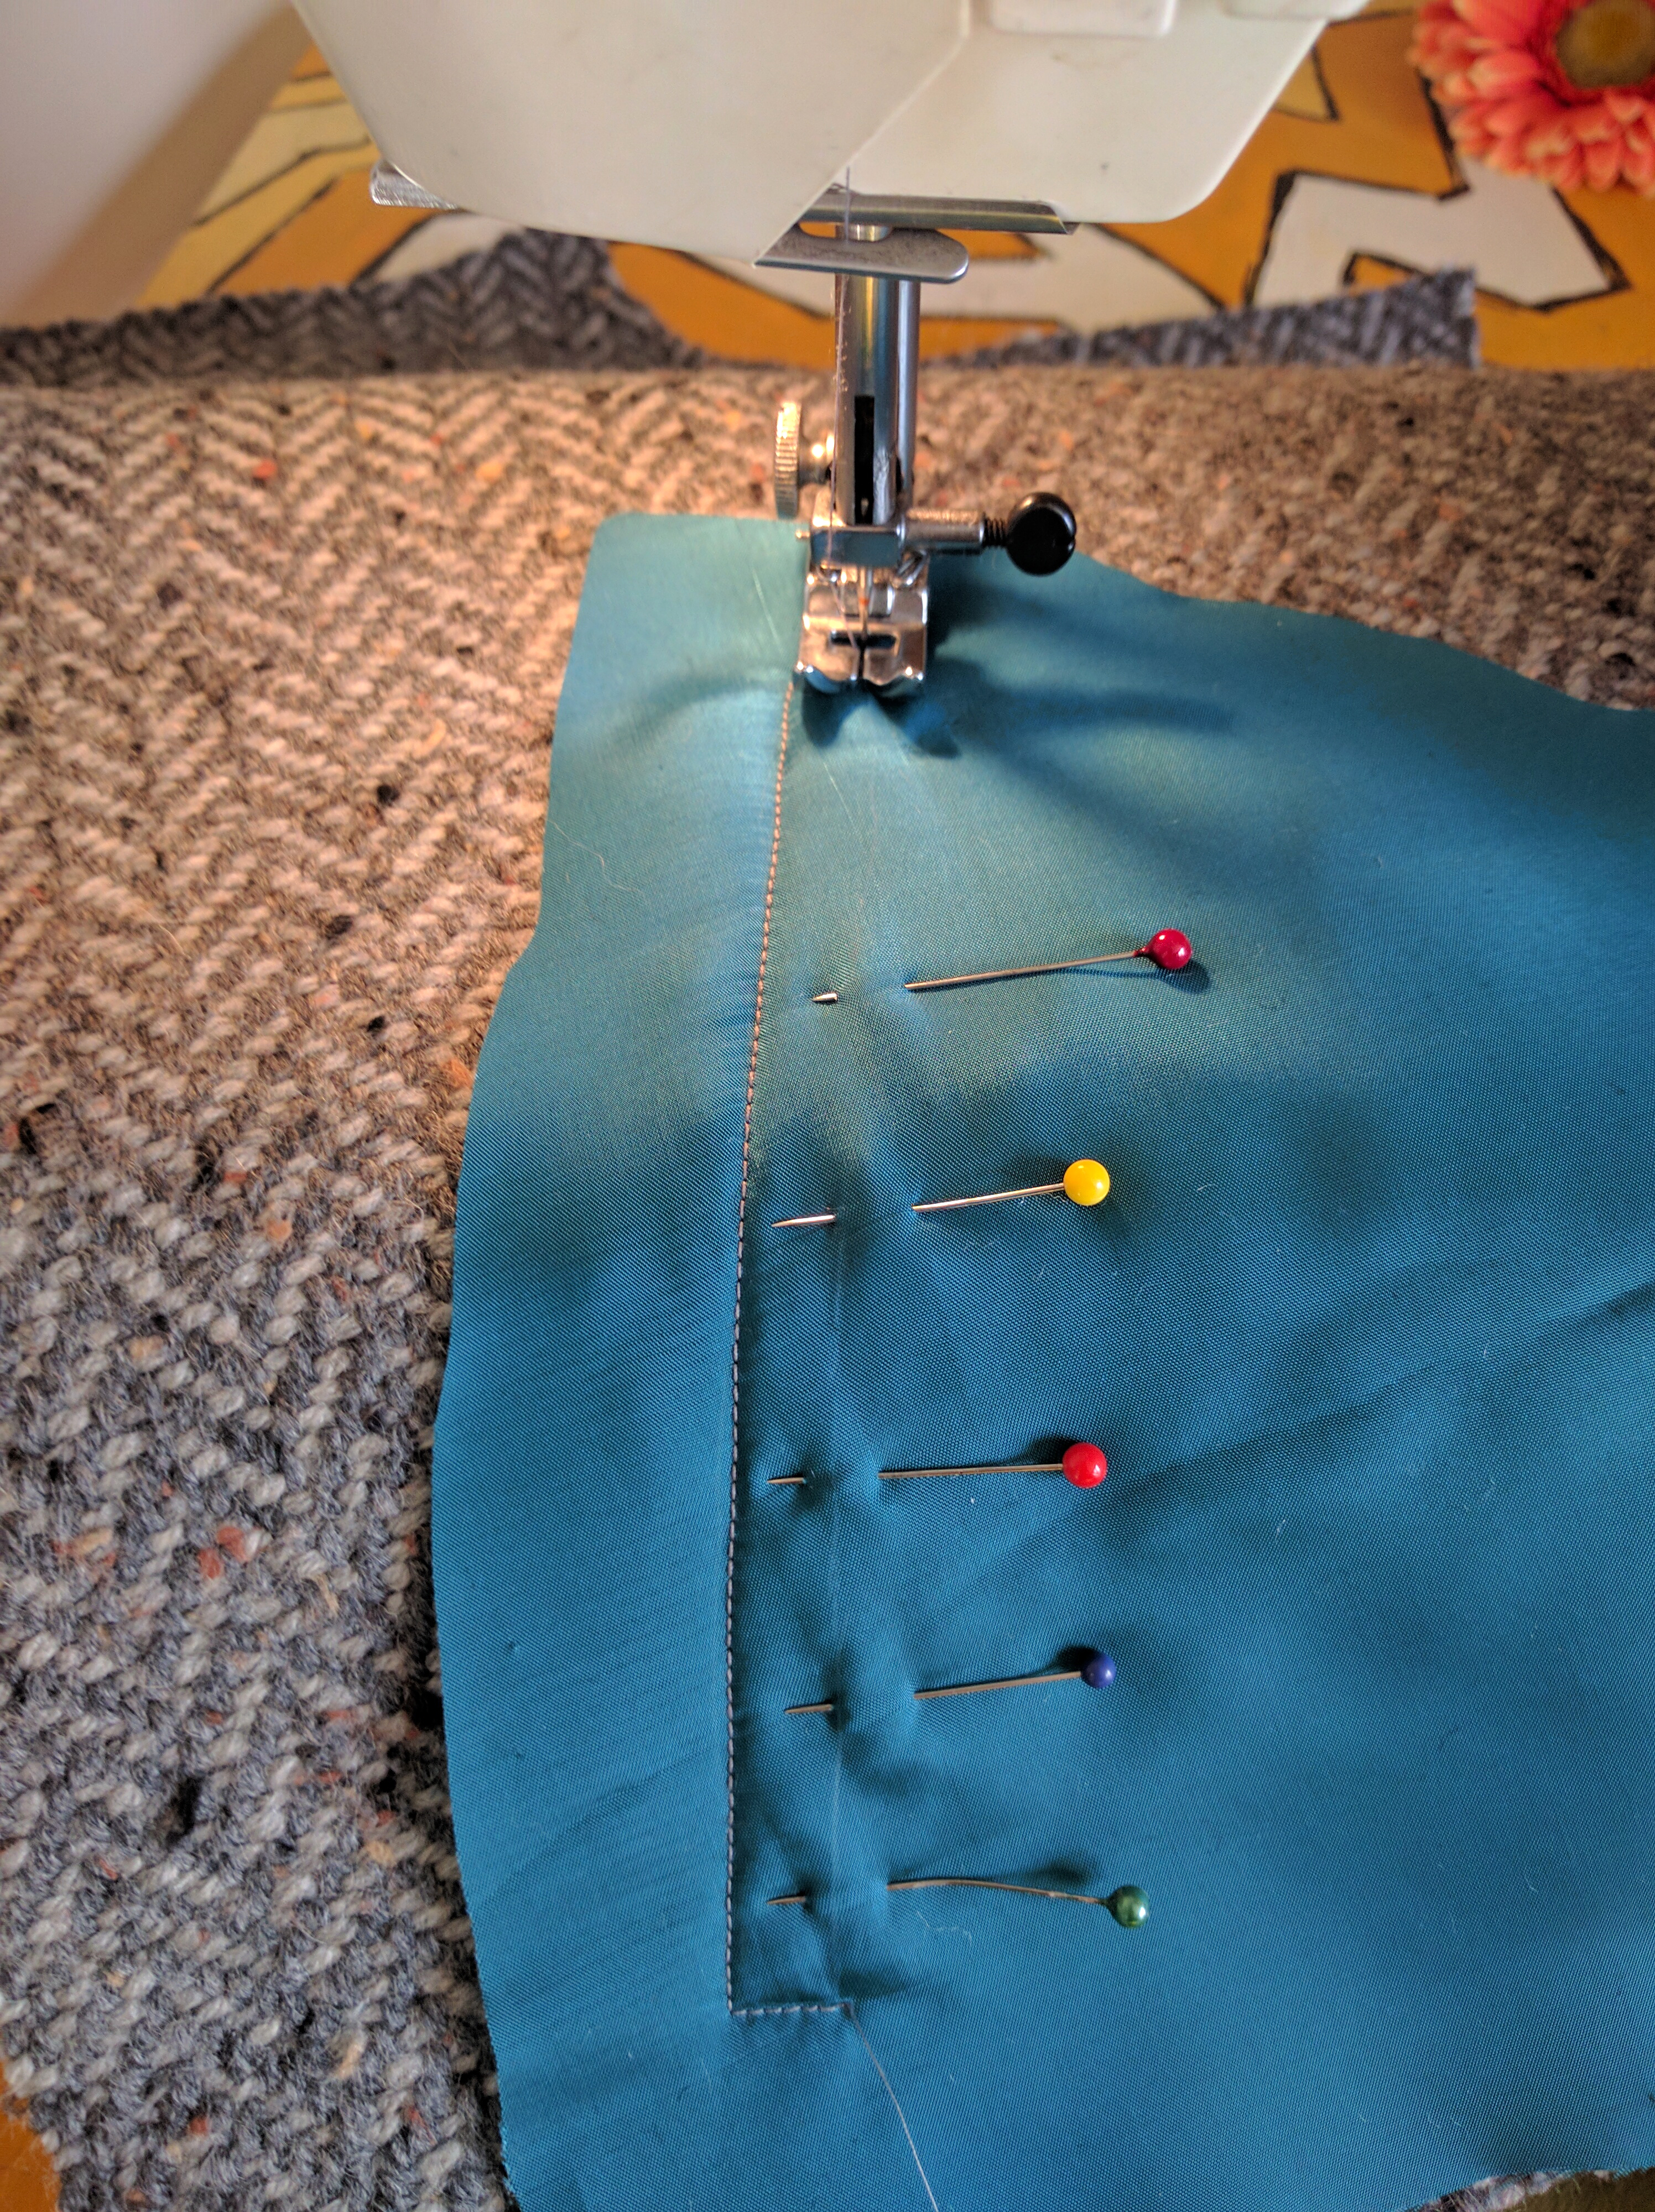
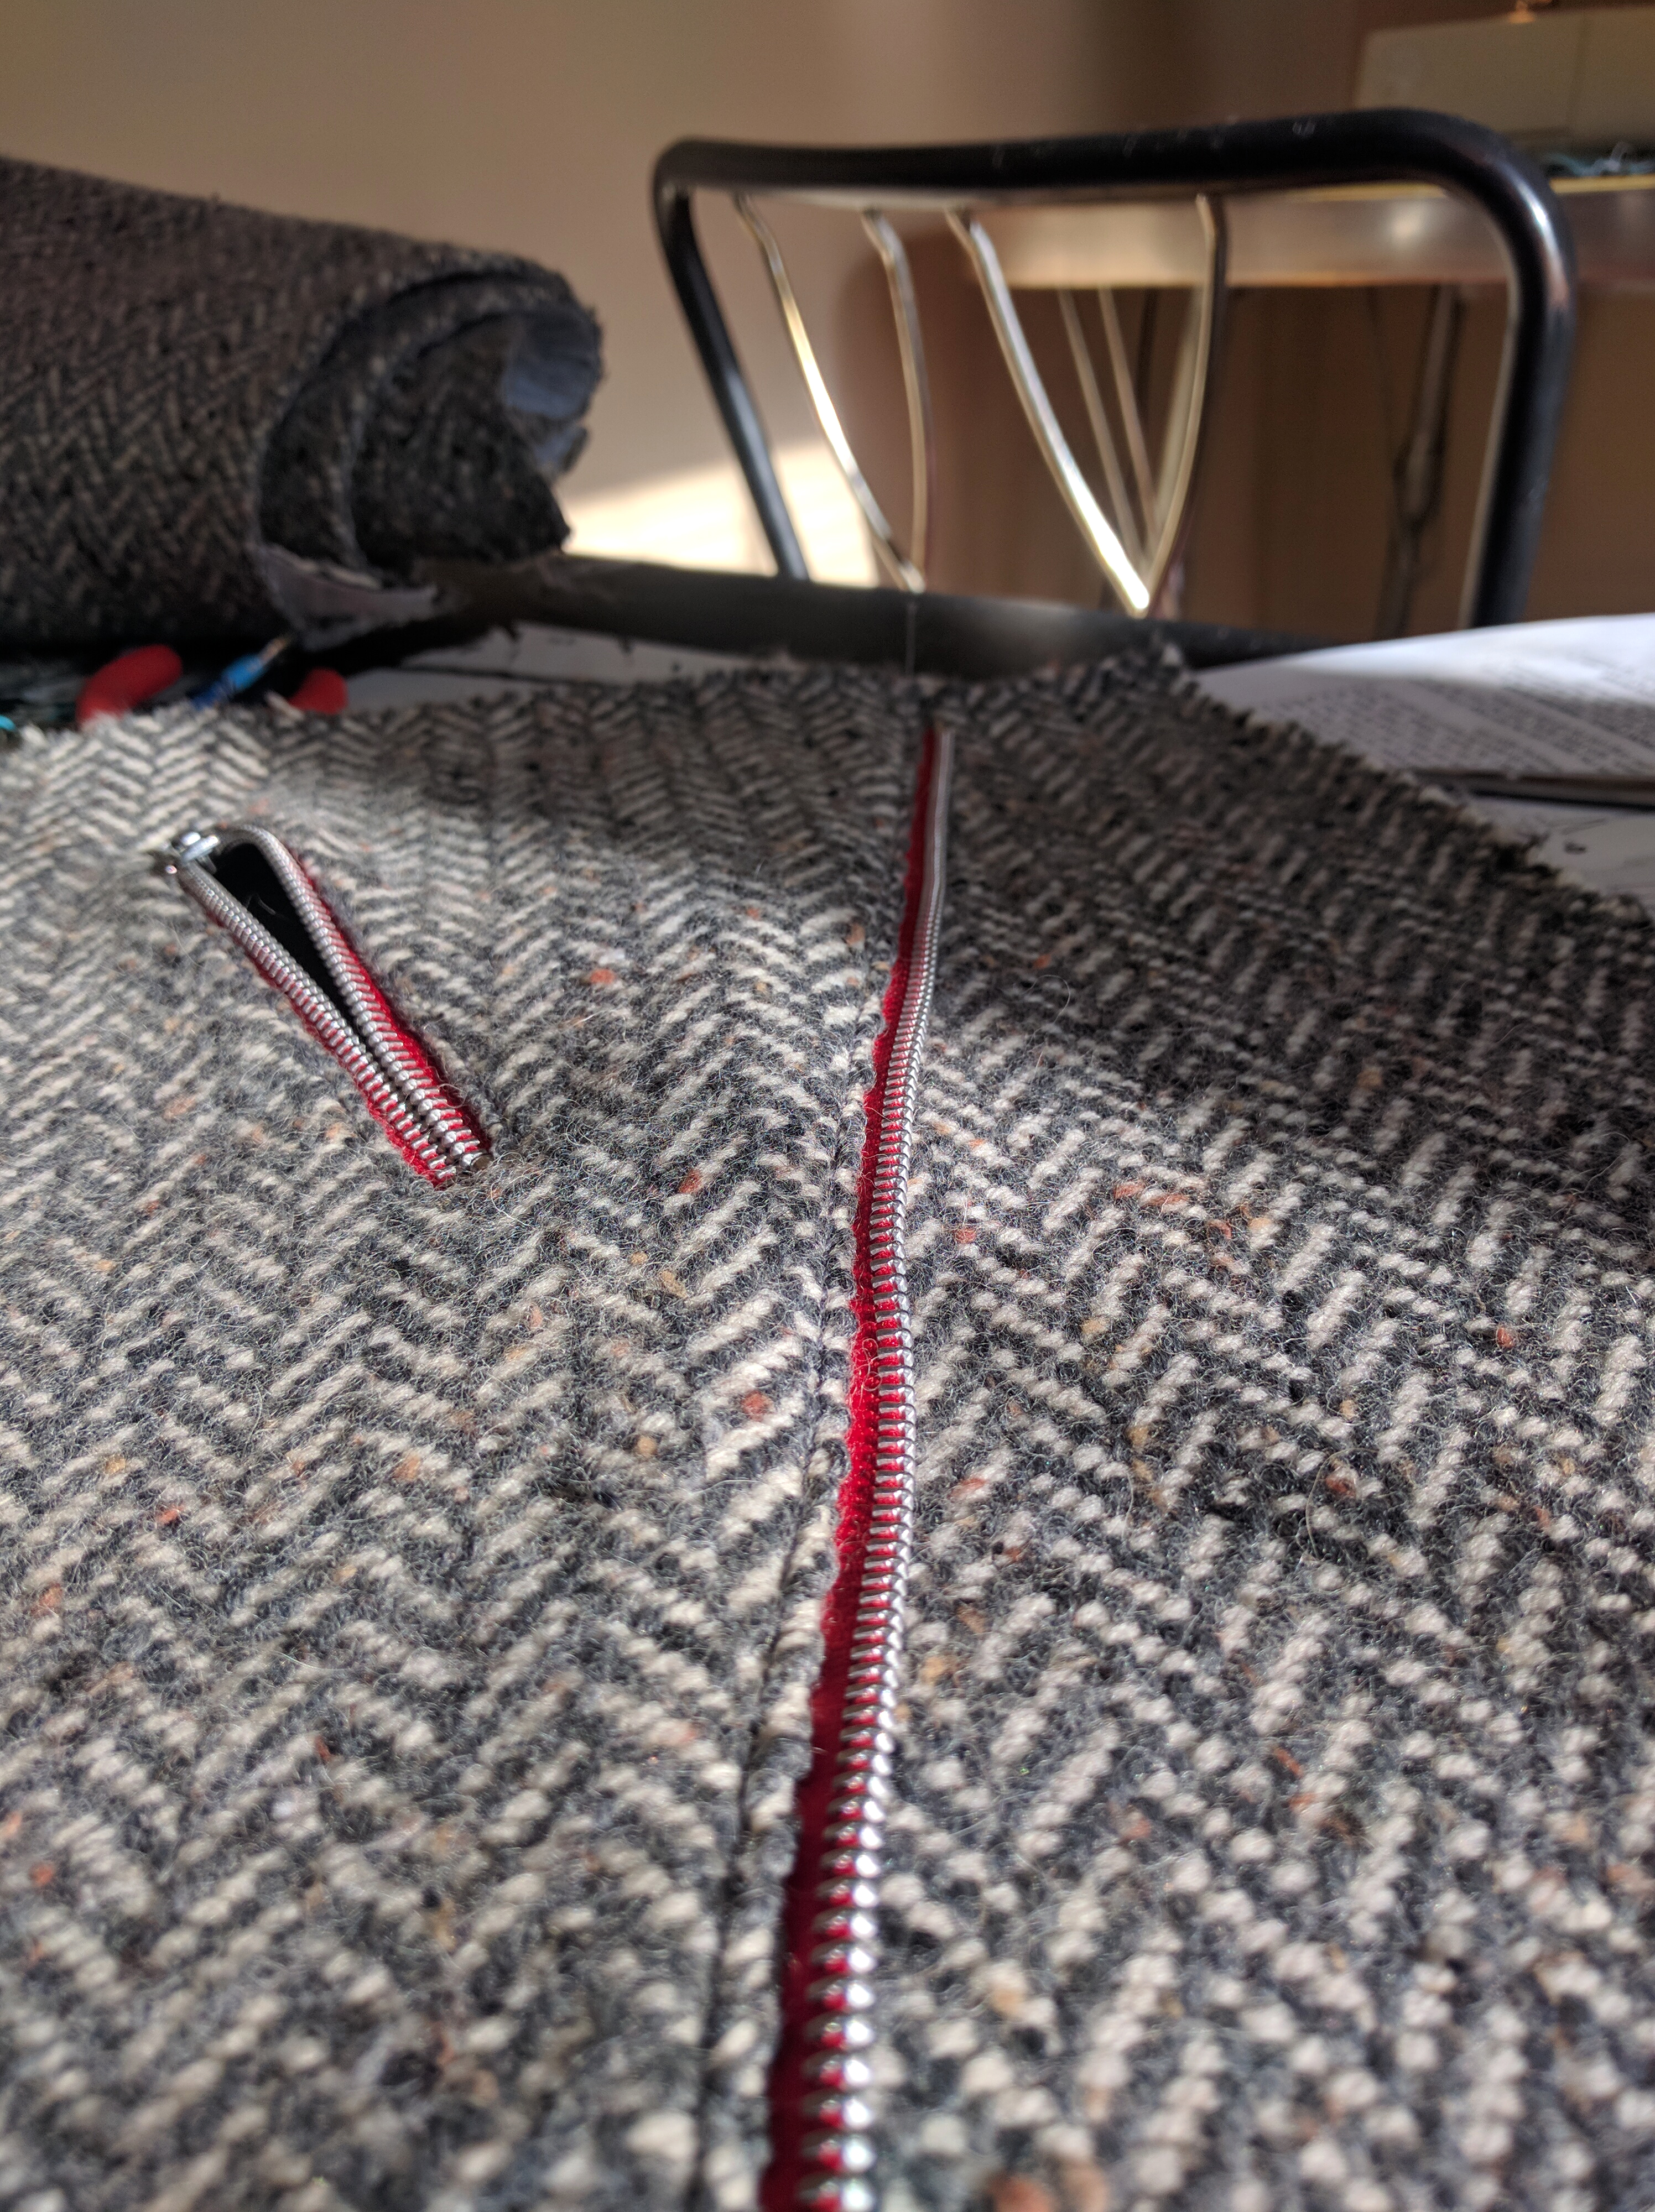
Since this is a weaving column, I’m taking it easy on sharing every single detail of the sewing process. But zipper installation fascinates me, so here are some in-progess shots of the pocket zippers. Above, I’m sewing the lining onto the right side of the fabric.

Sewing_6

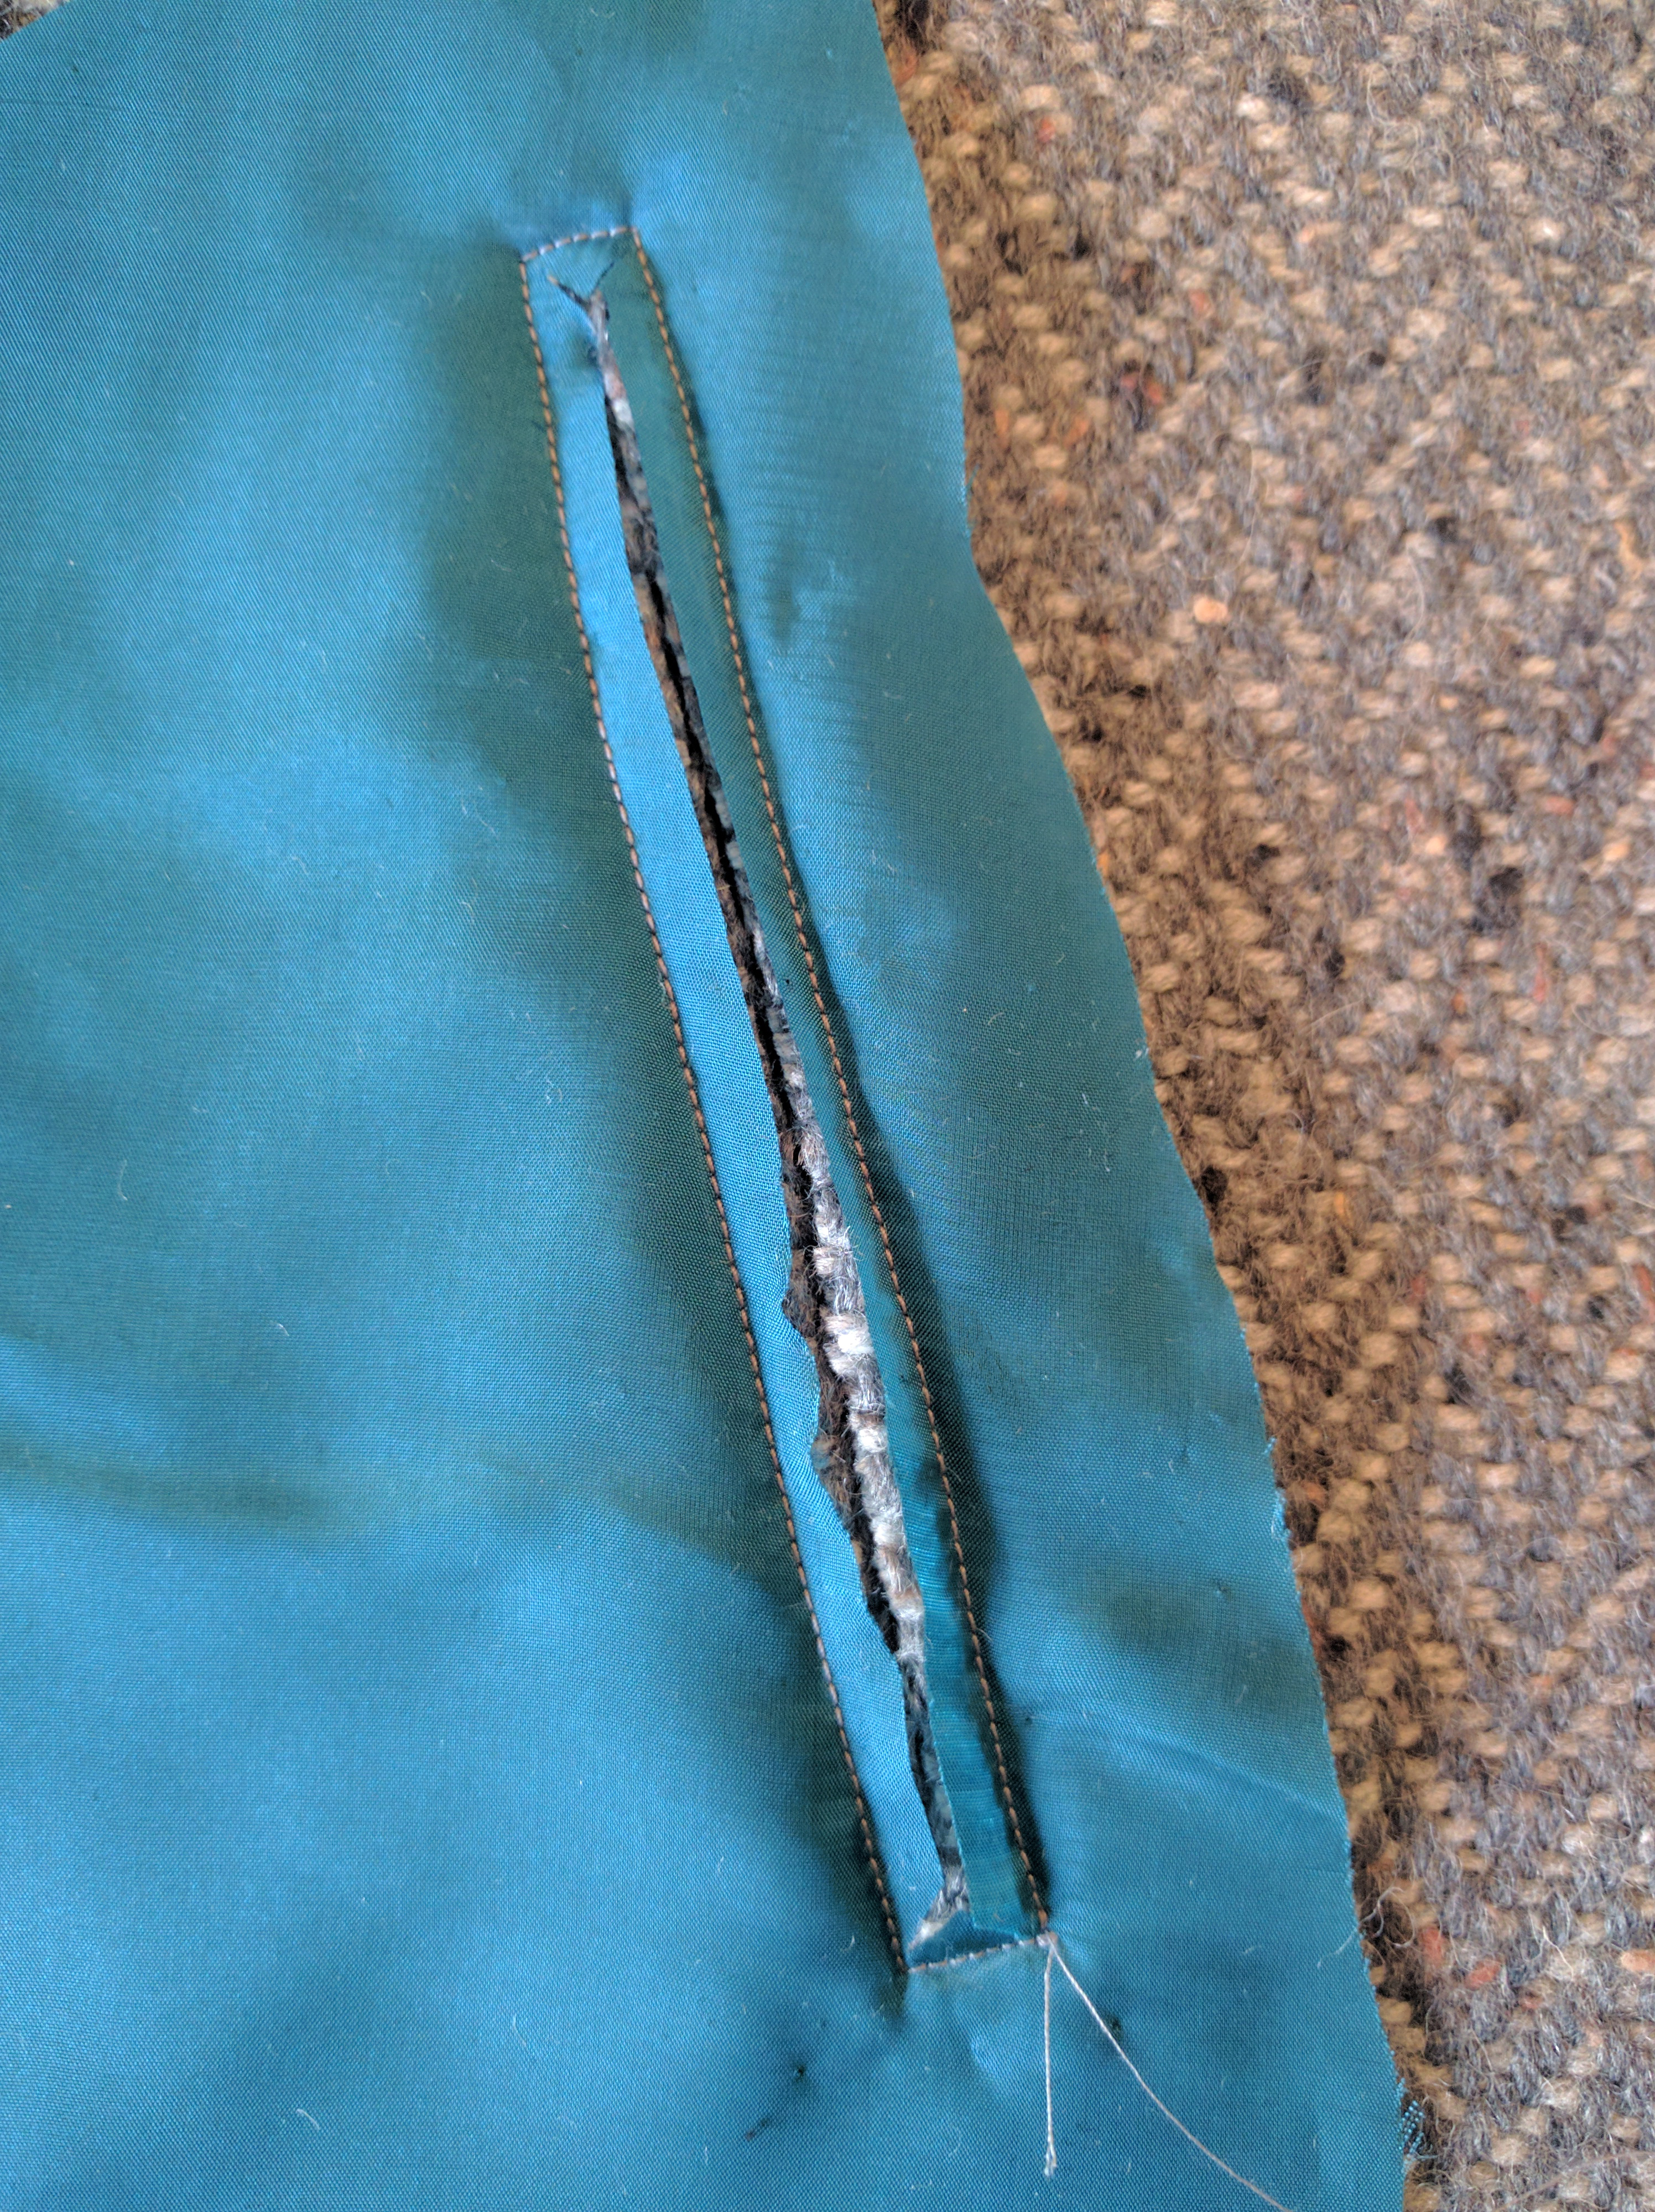
Then the pocket opening is slashed down the center.

Sewing_7

Next, the lining fabric gets pulled to the wrong side and pressed. It’s so clean and tidy looking!

Sewing_8

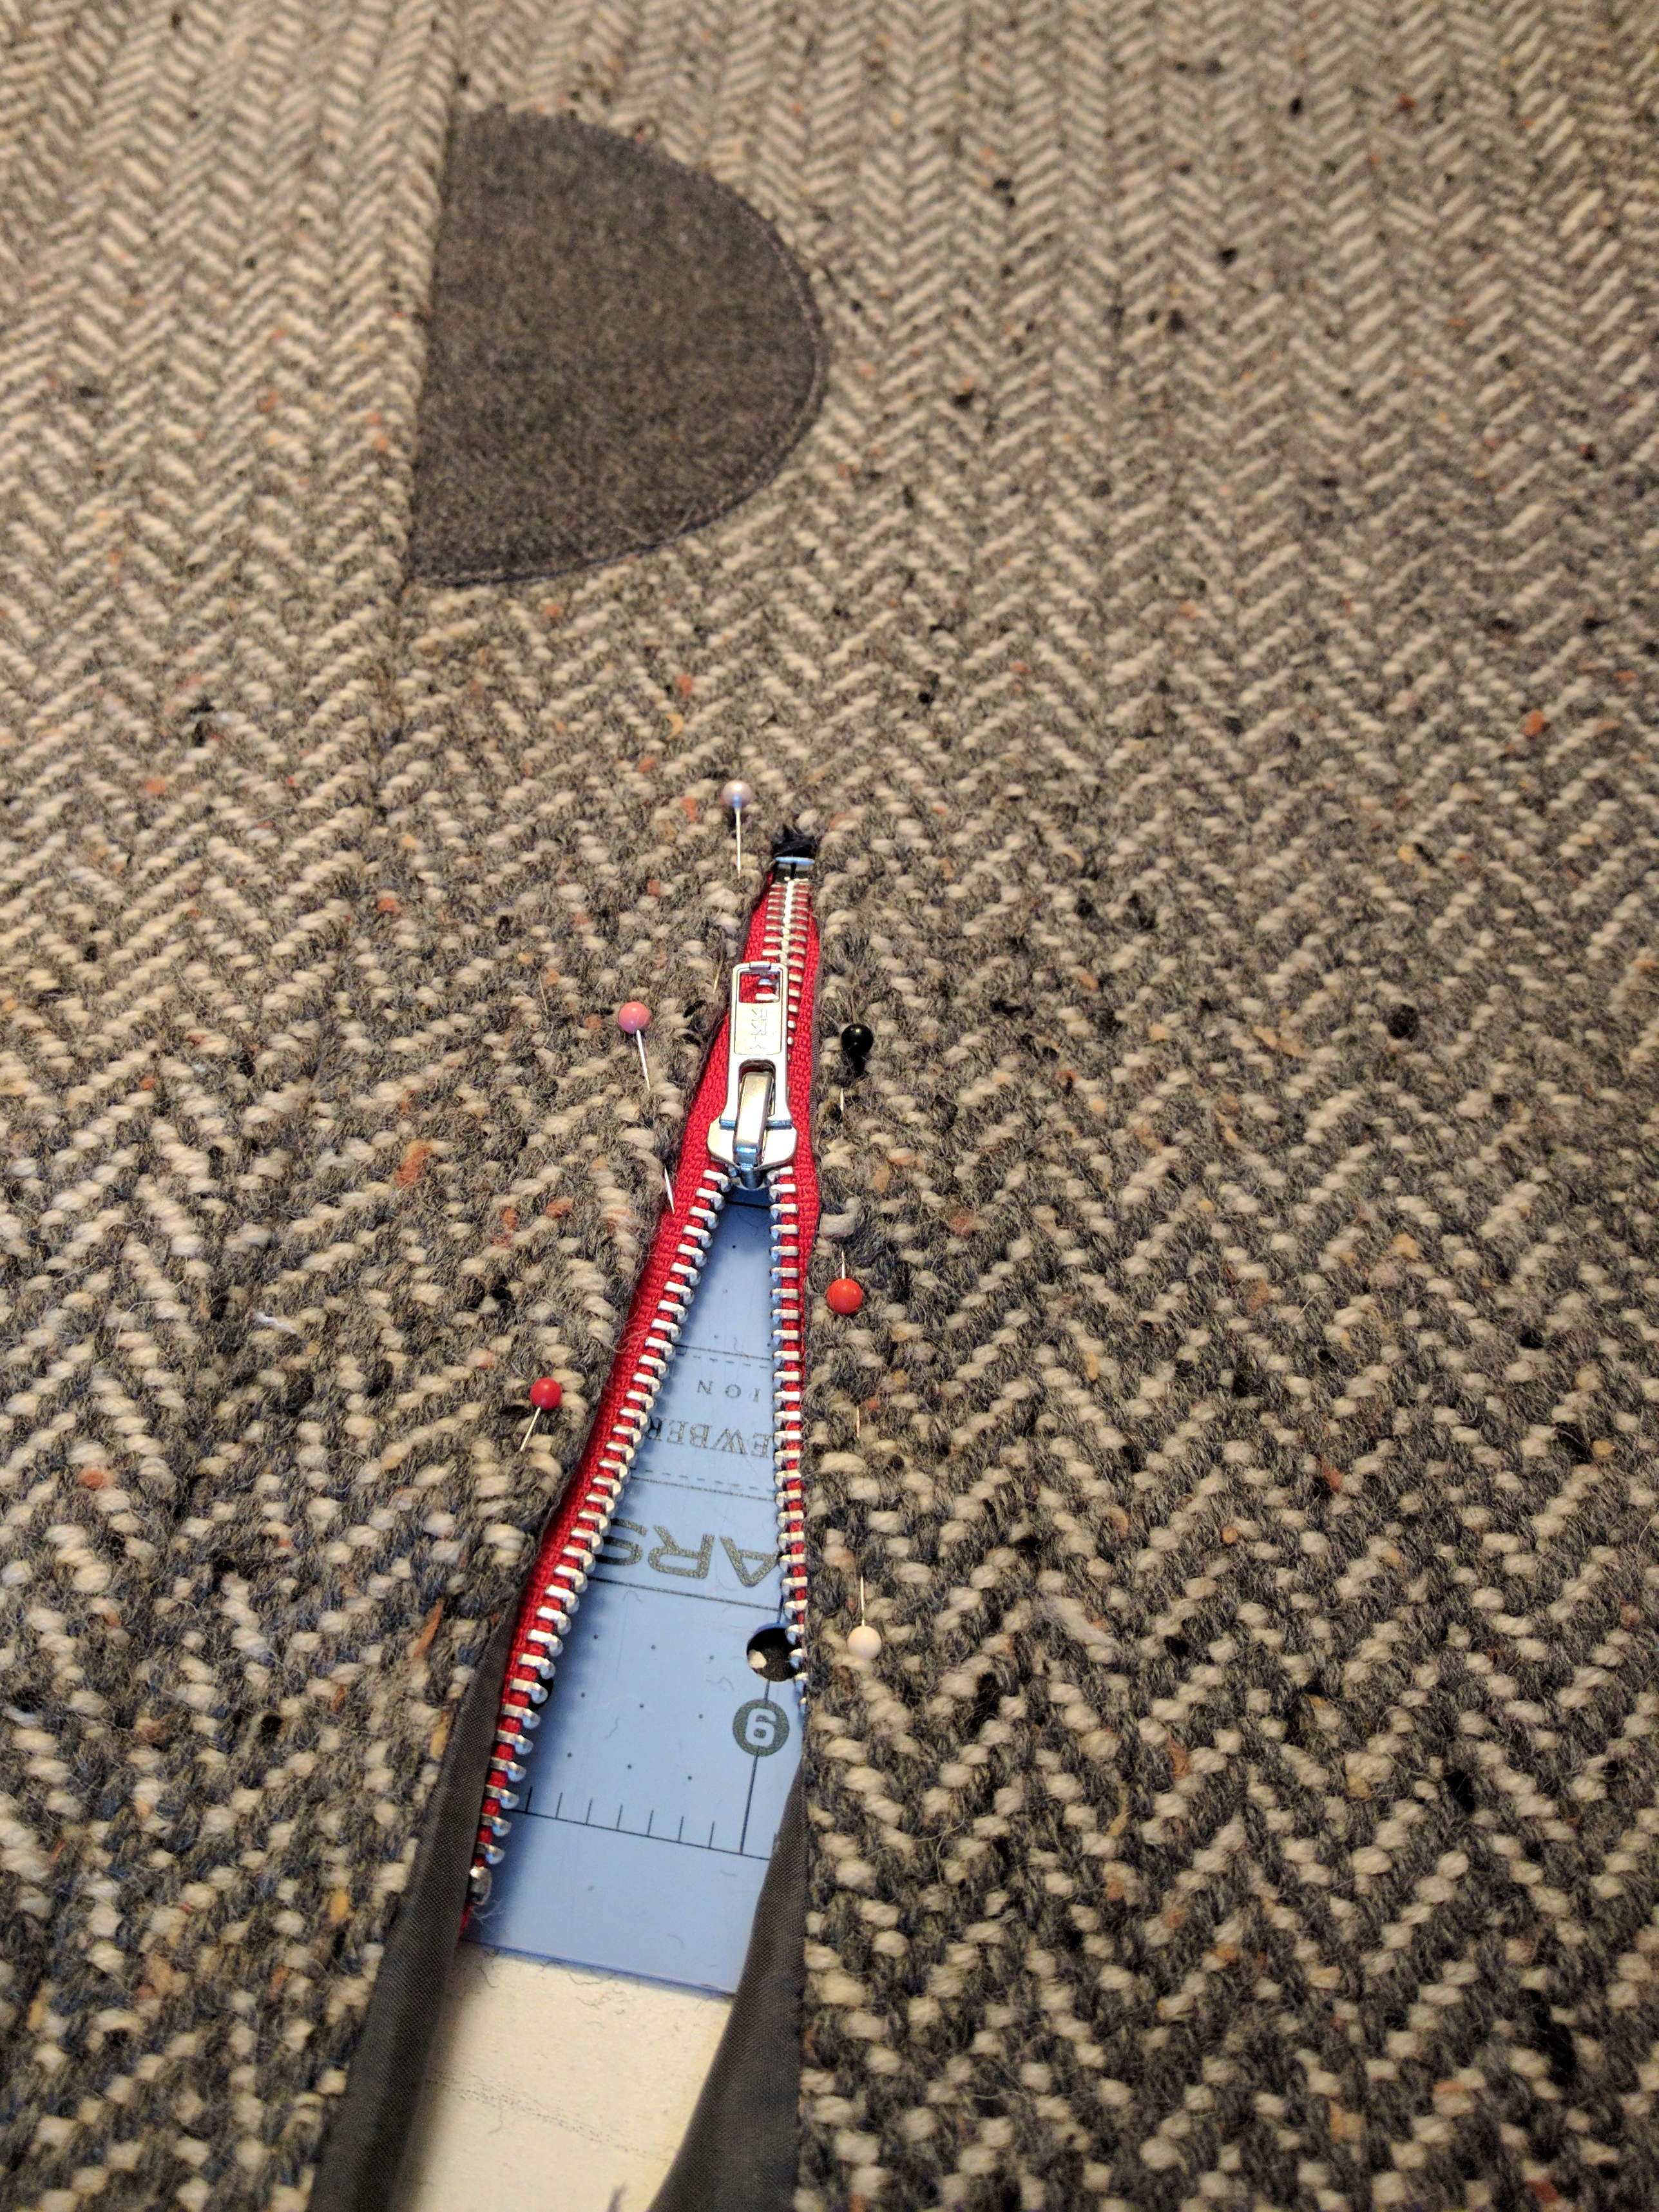
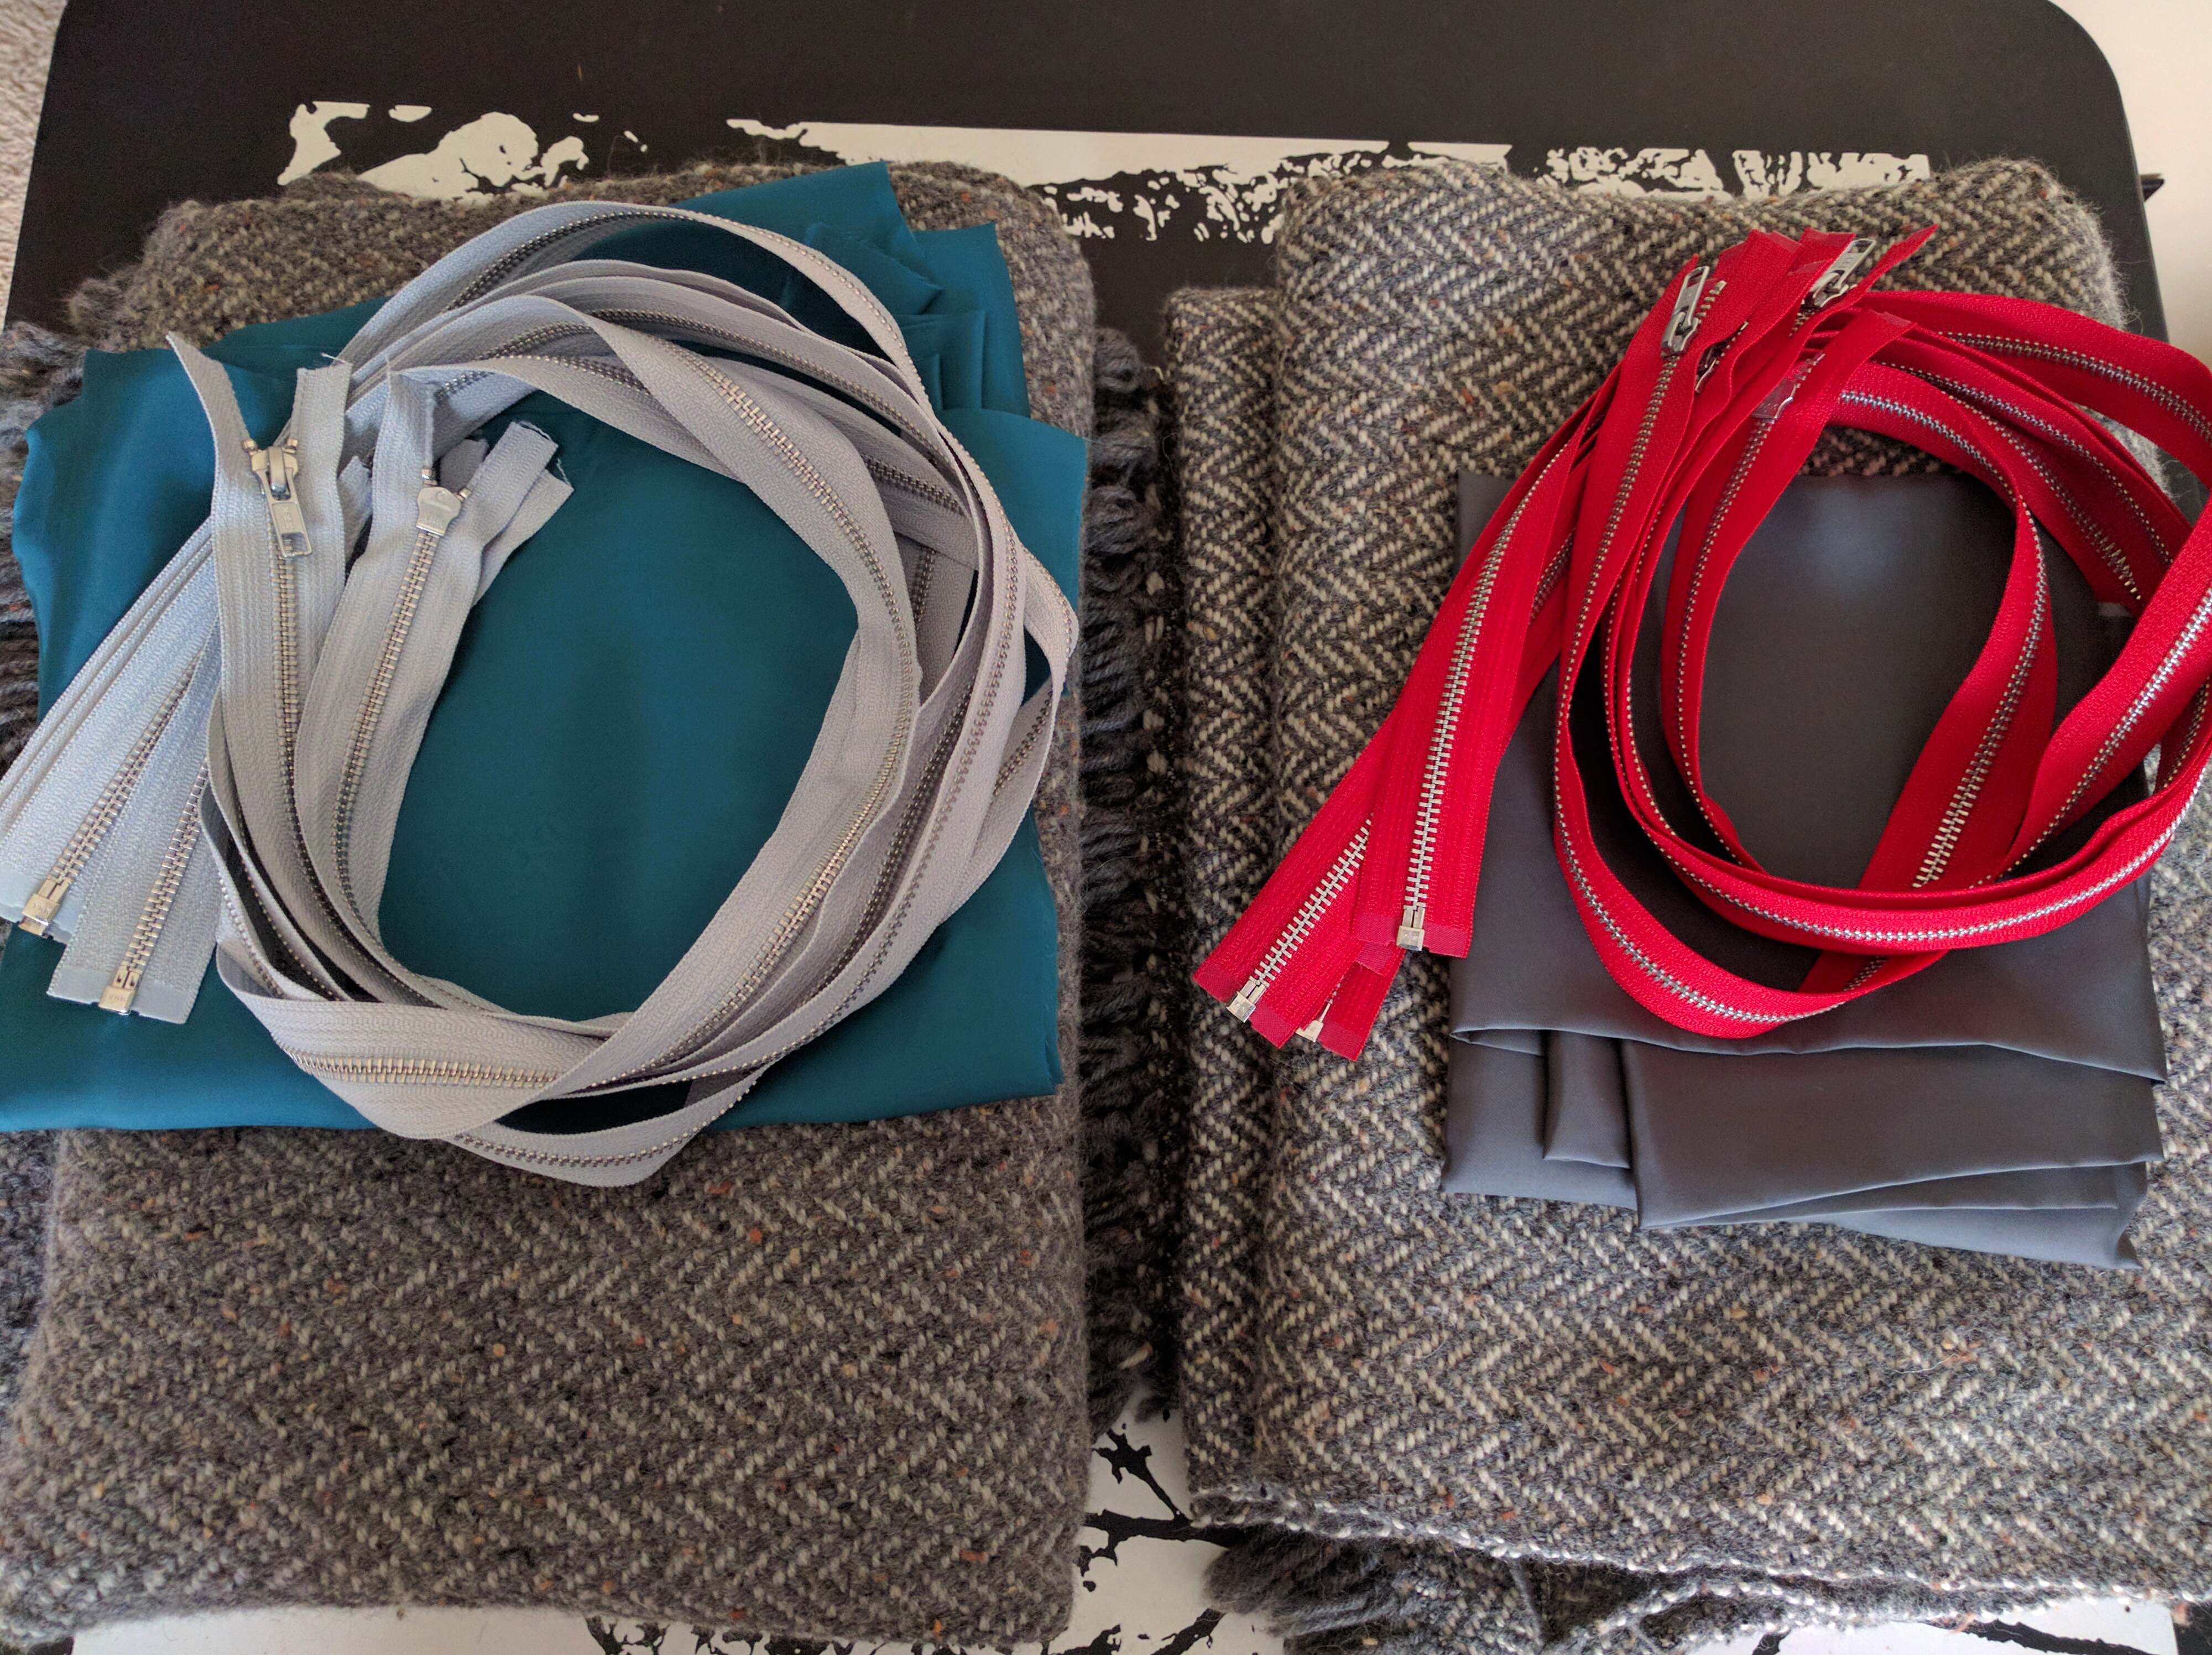
And finally the zipper is pinned underneath and sewn down. I love a good zipper installation. Which is good, since each jacket requires 5 zippers. Whew!

Sewing_9

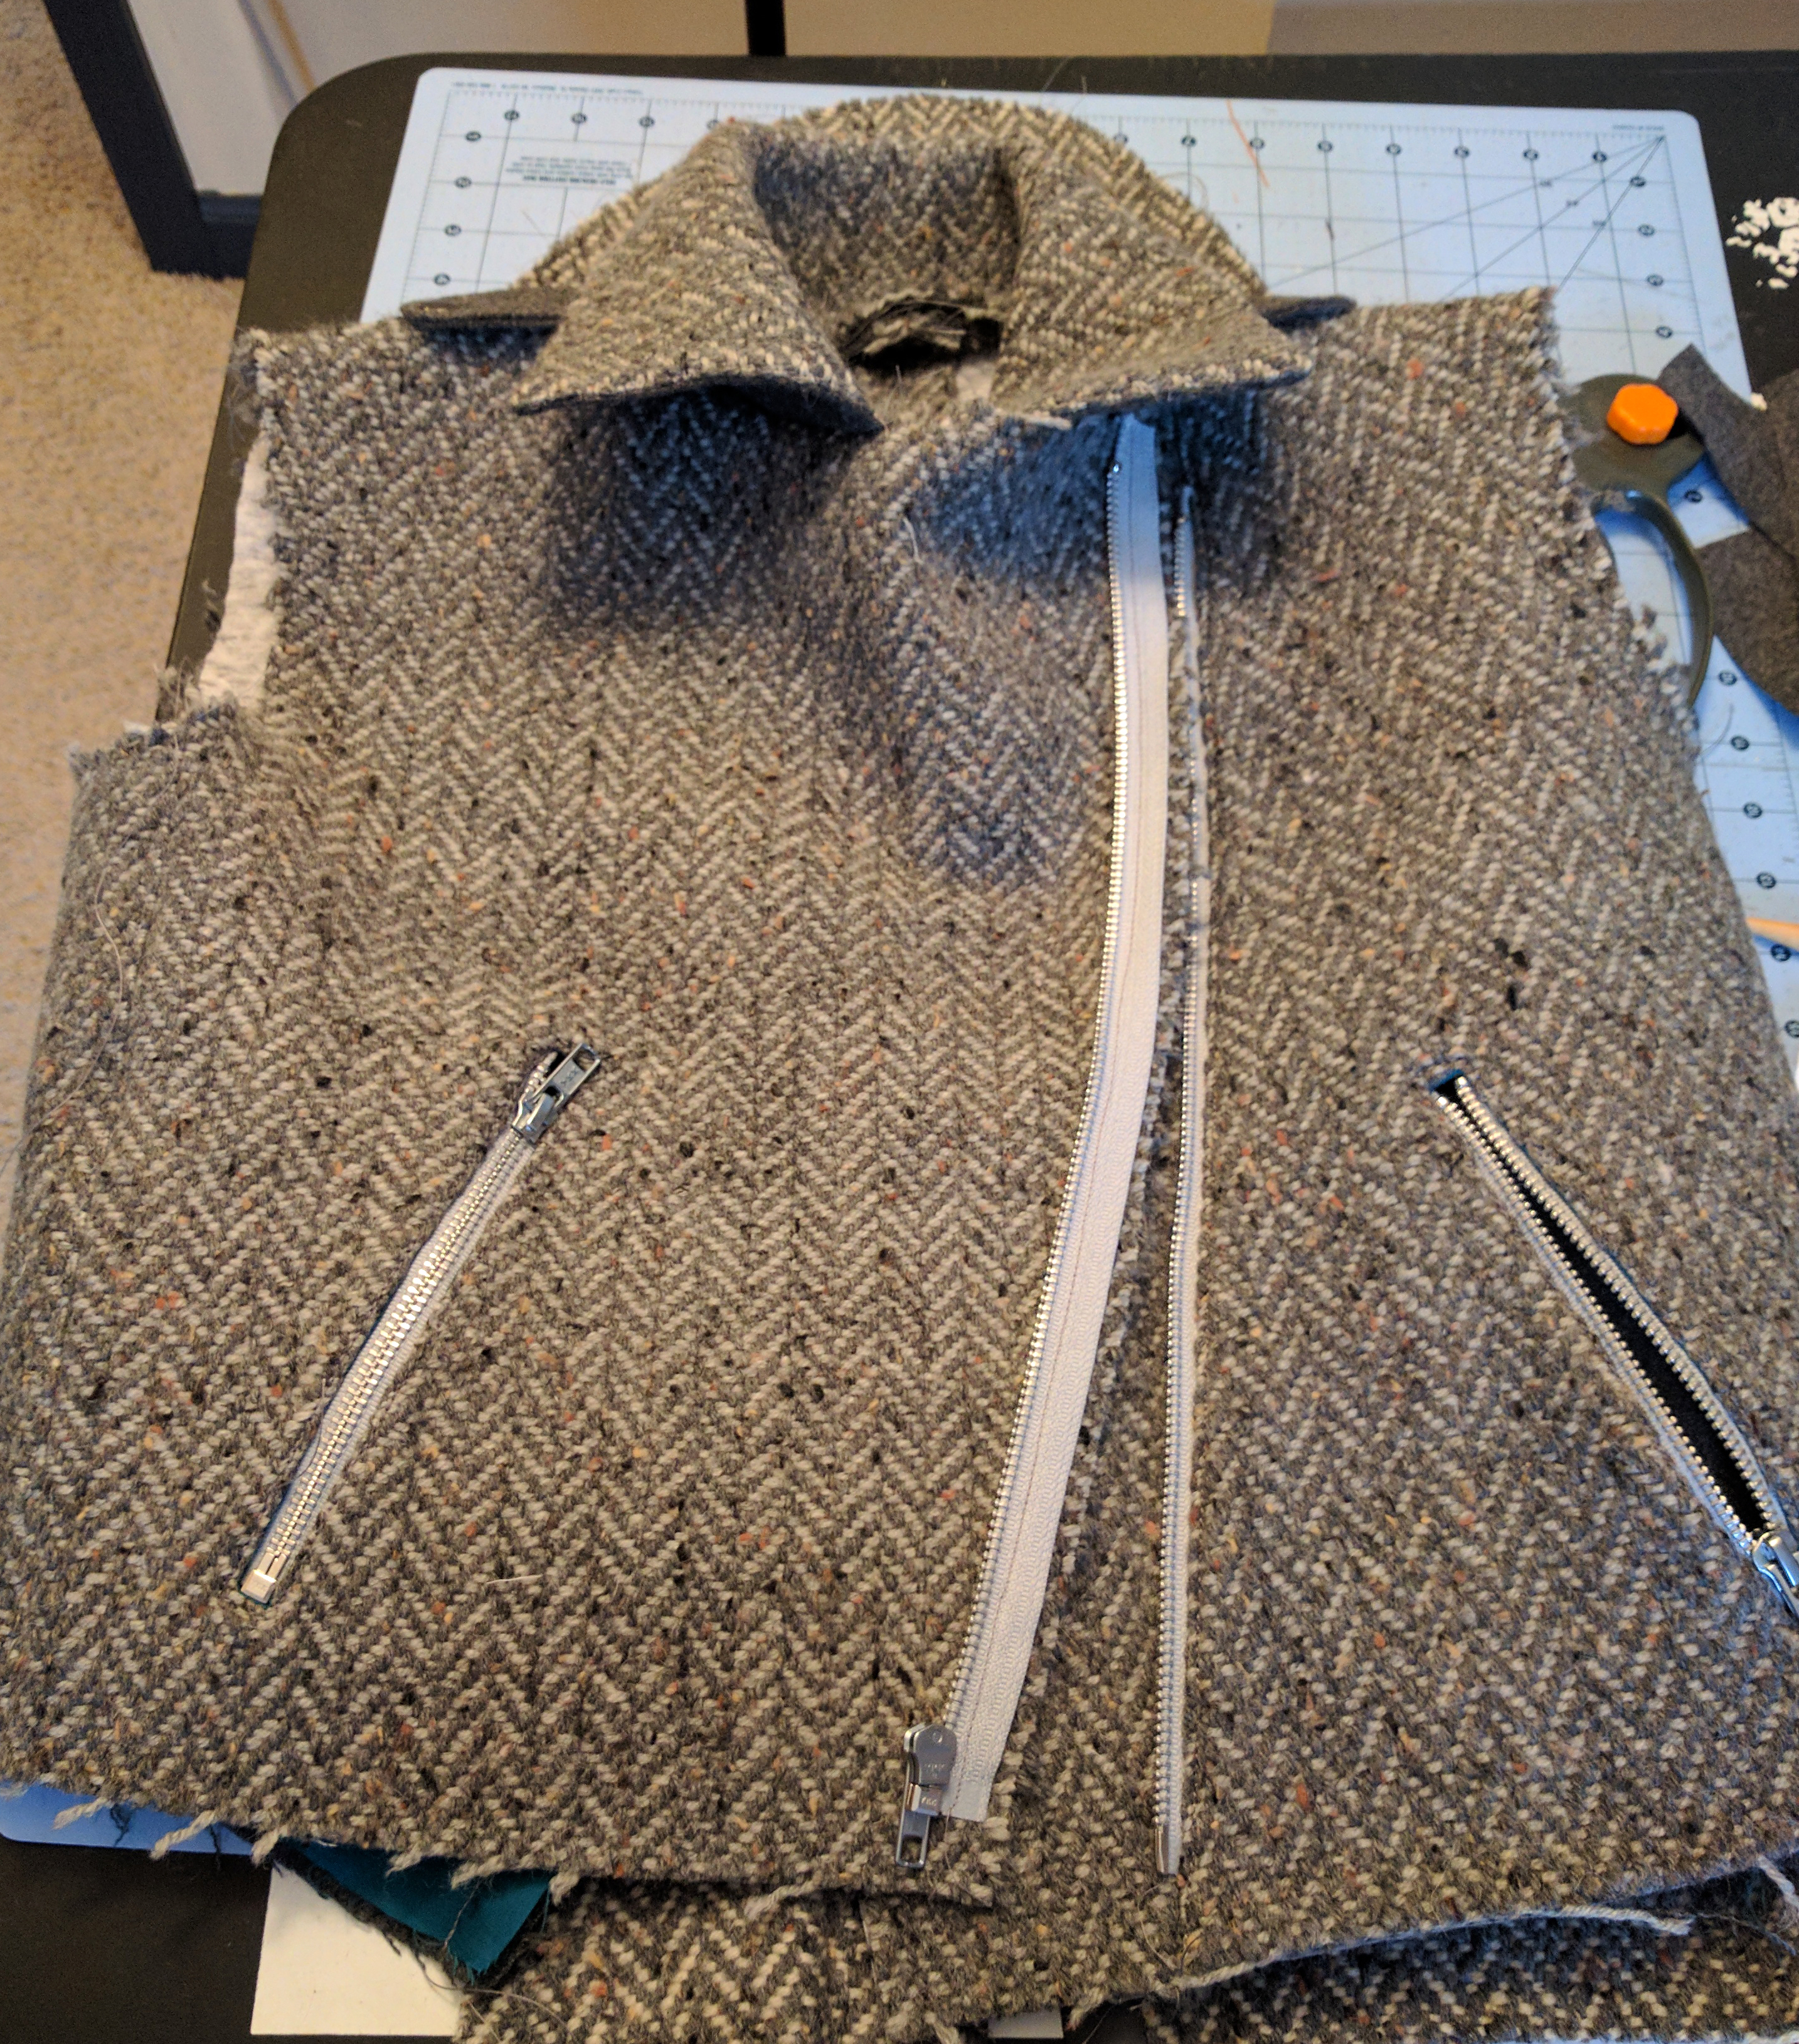
Here we have something that is actually beginning to resemble clothing. Yay!

It's like magic that this can turn into a moto jacket, right?
It’s like magic that this can turn into a moto jacket, right?


If you’re planning on being at TNNA in San Jose this weekend, stop by the booth and check out the finished jackets. Otherwise, I’ll be back on the blog next week for final photos and wrap-up.


Weaving Fabric for Moto Jackets

And the adventure continues! You can read the first two posts in my moto jacket series here and here.

After warping my loom with my monstrously long and wide warp – 280″ long x 36″ wide using Deluxe DK Tweed Superwash, I was delighted to weave the fabric. I wove the same herringbone pattern that I used in my sampler scarf (seen here).

This piece of fabric I’m weaving will be for two jackets. My warp is color 414 Charcoal in Deluxe DK Tweed, and the photo below shows color 413 Smoke as the weft.

One bobbin of yarn lasted for about 3" on my 36" wide warp.
One bobbin of yarn lasted for about 3″ on my 36″ wide warp.

Back when I was winding my warp, I thought to tie some bright thread around some of the warp threads at the halfway point. I’m going to be changing my weft color halfway through since the jackets will be slightly different in color. This thread reminds me it’s time to switch colors!

This contrasting thread tied to the some of the warp threads lets me know I'm at the halfway point.
This contrasting thread tied to the some of the warp threads lets me know I’m at the halfway point.

Not too long into the second half of my warp, I realized I had a couple of problems. I managed to mis-thread two heddles, which resulted in a glitch in the patterning. See below for one example.

Uh oh!
Uh oh!

I could have fixed the problem right there – I could have broken the warp thread, threaded an afterthought heddle and tied on a new strand, but I opted to leave the mistakes in place and fix them after the fact.

If I had noticed sooner, I would have fixed them right away. But because I had made it this far and knew I’d be doing some repair work anyway, I figured I might as well do the whole length at the same time.


Cutting doesn't have to be scary!
Cutting doesn’t have to be scary!

After cutting my fabric from the loom, I simply knotted the warp ends together – no hemstitching. I then zig-zagged the edges with my sewing machine, and also sewed lines at the halfway point. I figured it would be a lot easier dealing with two 3 yard pieces of fabric rather than a 6 yard piece. I then cut the fabric apart at that halfway point.

Fixing my warp mistakes.

After my two halves were cut apart, I threaded a tapestry needle and wove the correct placement for my mistaken threading. It was a little tedious, but very doable and wasn’t nearly as bad as I thought it might be.

And here are my yardages basking in the sunlight prior to washing. I threw both of the pieces of fabric into my machine and washed and dried them on gentle cycles. Because I wove a fairly dense fabric, the fabric changed very little after finishing. But I already knew that would be the case since I was a good little weaver and did a sampling first.

Zippers, lining, fabric: go!

My jacket will be made from the stack on the left – gray on gray fabric, teal lining, and gray zippers. Yonca chose cream to go with her gray for the fabric, matching gray lining, and bold lipstick red zippers.

My goal is to be finished with these jackets by next weekend’s TNNA. So if you’re planning on attending, stop by our booth and check them out. Otherwise, I’ll be back in a couple of weeks here on the blog with all the sewing details.