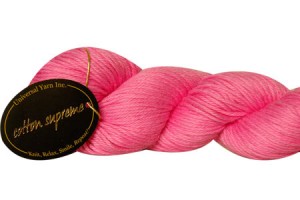
Here in North Carolina, the high daily temperature has been pretty steady around 95 for weeks now. Just the thought of wool makes me sweat. Last time on our weaving feature, I showed how successful even a novice like me can be weaving little hand towels with our Garden 10 cotton yarn. Today, I’m continuing the cotton trend with a different yarn, Cotton Supreme. Cotton Supreme is a worsted weight, super-soft cotton, awesome for knitting, crochet, and weaving alike.
I’ve been itching to try out some other techniques from the Weaver’s Idea Book, and decided on “loops”. Jane has a great little tutorial on making loops, or pile in your weaving. But first I had to decide how these loops might be functional in a piece of weaving. I decided that in Cotton Supreme, an all-over loops pattern would feel really great on the face as a washcloth, or could also work well as a dusting cloth.
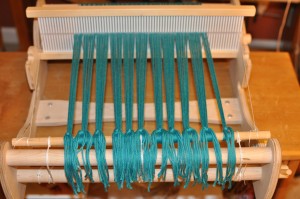
To start, I made a few calcuations. The suggested sett for a worsted weight yarn is 8 epi. I decided to warp on a 10 dent reed instead, ensuring an extra sturdy piece of fabric. If I’m going to be using this for face scrubbing or dusting, I want to be sure it’s plenty solid.
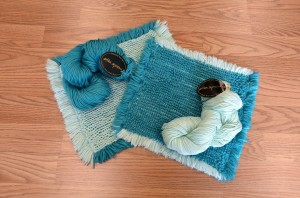
I decided to aim for a finished size of 9″ square, not including fringe, so I warped 91/2″ wide, assuming a 1/2″ shrinkage. At 10 epi x 95 ends, that’s a requirement of just 53 yards of Cotton Supreme. It occurred to me that I could make at least 2 washcloths at this size from just 2 skeins!
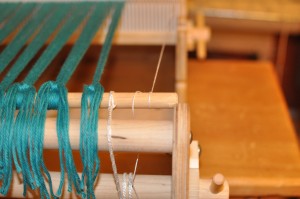
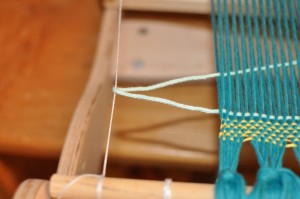
I also planned to have fringe not only at either end, but also at the sides. For this, I needed a couple of floating warps, something for the weft yarn to pass around creating extra length for the side fringe. I could have gone about this a couple of different ways. Because I did not plan on tying my fringe, I wanted to keep the side loops intact throughout the woven piece. For each floating warp, I tied a piece of strong cotton (leftover Garden 10 from our last project!) around the back beam, and then passed it through the outermost slot on each side of the heddle. When I tied the warp onto the front beam, I also tied on the floating warps.
After a few picks with scrap yarn, I was all set to weave loops. Every time I made a pass with my shuttle, I was sure to go around those floating warp threads to catch extra yarn for my side fringe.
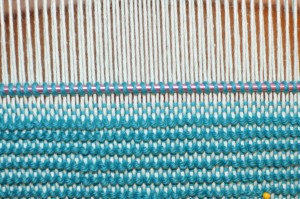
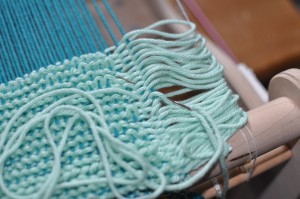
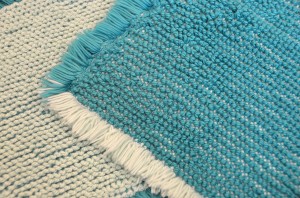
As you can see for the first washcloth, I used color 611 Turquoise for the warp, and then coordinating 617 Seafoam for warp. For the second, I reversed the colors. Because of the loops, more yarn is required for weft than warp, but 2 skeins of yarn was plenty for these 2 washcloths. My pattern was 2 picks of plain weave, 1 row of loops. Although a little tedious, the loops came easier every time I worked a row of them. For the second washcloth, I decided to do 3 picks of plain weave between rows of loops so I could be doing the loops coming from the right hand side of the work every time, rather than having to get up every few rows to work a down-heddle row of loops.
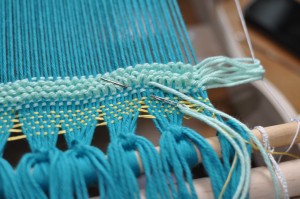
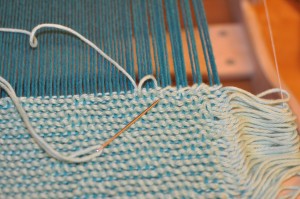
At the beginning, end and sides of the piece, I added hemstitching to keep the fringe in place.
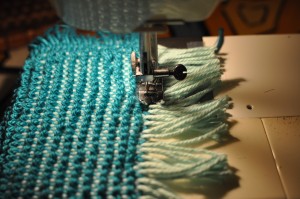
This project went so quickly! After completing each piece, I simply cut it from the loom. The hemstitching held things in place until I made it over to my sewing machine. For extra insurance that all those edges stayed in place, I did a simple zig-zag stitch around the perimeter.
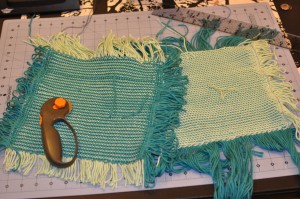
A rotary cutter and cutting mat made for easy and even trimming of fringe:
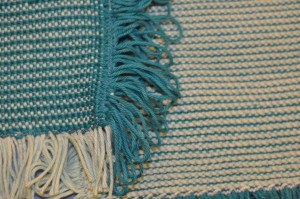
I really like the texture on the backside of the weaving too!
After sewing and trimming fringe, the washcloths took a trip through the washing machine and dryer. As with most weaving projects, these really came to life after washing! They didn’t shrink in width, but shrank in height by about 1/2″. The loops kind of settled into place and the pieces softened up even more.
At this sett, 10 epi, a bigger version of these would make an excellent bathroom rug. Or made to the right size, this same fabric could work really well as a cover for one of those hardwood floor brooms.
What else could loops work well for? I’d love to hear your ideas!
Join me next time for a lightweight summer scarf project!
