A couple of weeks ago, I was so proud of myself for making a sampler and feeling like I had a plan for my Garden 10 towels. I was able to try out some different pick-up patterns and see how the resulting fabric looked on both sides, determining whether or not I thought it would make a good pattern for towels. This experiment led me to choose the pattern for my first towel. But…I’m getting ahead of myself here.
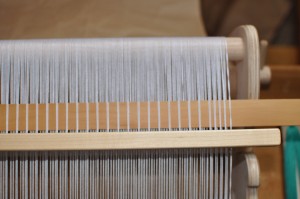
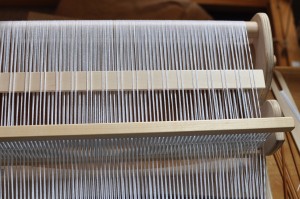
First, did you know Garden 10 comes in cones? I set out to warp up the Cricket using a cone of Garden 10 in white. It was so easy to warp from the cone because it sits upright all on its own without rolling away like a ball of yarn. Plus, the yardage is super awesome, at over 3000 yards.
I decided to plan conservatively for my towels and shoot for 3. After some quick calculations, I warped my loom the same as the sampler (20 epi using a 10 dent reed/2 epi), but warped it 14″ wide. I began and ended in a slot (an odd number of ends) so my pick-up patterns would be balanced. I decided that the measurement I wanted for the towels (before washing) was 14″ wide x 24″ long, not including hems. The length of my warp was 100″, which included 1 1/2″ at the end of each towel for hems, and an inch between towels.
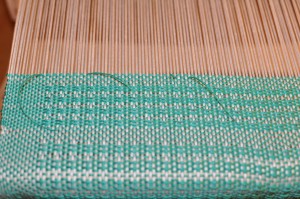
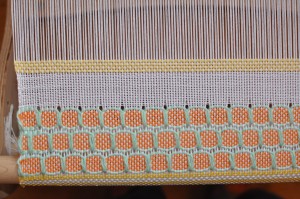
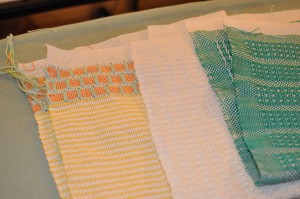
For the first towel, I picked a simple 3/1 weft float pattern from my sampler. To add a little visual interest, I decided to repeat the 6 row pattern 4 times, and then add a few rows of plain weave in between, and also at the sides. You can see where I did a 1 up, 1 down pattern on most of the pick-up stick, and then did an inch of plain weave pick-up at the edges.
After I did my first repeat (6 rows x 4 + plain weave), I measured this repeat and recorded all of this in my Weaving Journal (!).
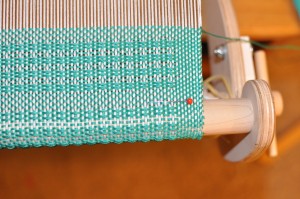
After measuring the repeat, I knew I’d need 10 total repeats to achieve my desired length. To keep track, I stuck a straight pin between repeats and made a hatch mark in my journal.
One nice thing about weaving with Garden 10 doubled, is the ability to stagger the woven in ends.
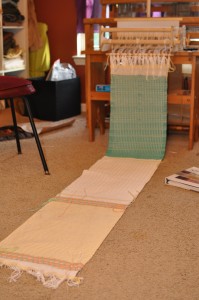
After finishing up border and hem on towel 1, I added 4 rows of plain weave with some scrap yarn and then went right into towel 2. Once I’m done with all 3 towels, I’ll take the whole lot straight over to my sewing machine and secure the ends.
And this is where my attention span wavered from my sampler. Waffle weave is something I’ve had in my head couldn’t really be achieved on a rigid heddle without a lot of trouble. After a quick internet search, I landed upon this great post over at Cotton Cloud’s blog. It’s just a 6 row repeat, so easy to memorize. I seem to have failed to take a photo of this towel in progress on the loom, but here’s a pick-up stick shot!
I didn’t end up being overly impressed with the waffle weave-ness of this pattern, but I still like it for an alternative texture.
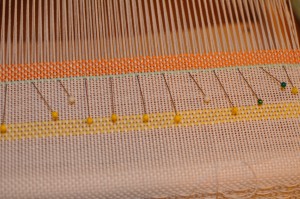
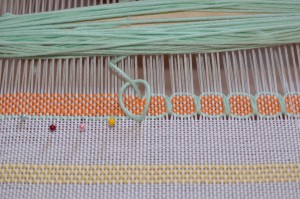
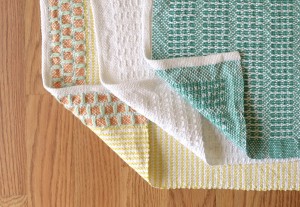
Onto towel 3. Once again, my wandering brain decided it was time for a new weaving trick. I flipped to chapter 2, Finger Controlled Weaves in The Weaver’s Idea Book. Danish Medallions caught my eye, so I decided to go for it! First I had to decide how wide I wanted my medallions to be. I decided I wanted to go for a fairly squared shape, so after weaving my plain weave in between the “outline” yarn, I did a little measuring. I could see that by skipping 4 warp threads, I would achieve my desired shape. First I located the very center of my warp, and counted out from there, placing straight pins where I wanted my first row of medallions to be.
All the straight pins were probably overkill – I could have just counted. But I like visual reminders for when my brain goes haywire!
Jane Patrick has a great photoguide for working Danish Medallions. I got the hang of it right away! Like any new technique, it felt tedious in the beginning. But after the first few I found my rhythm and didn’t want to stop. I did 3 repeats of the medallions, making the middle row offset.
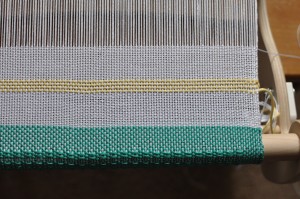
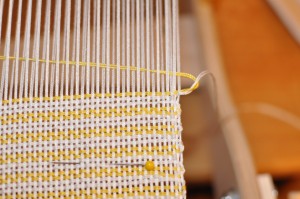
Next, I decided it was time for yet another new to me technique, stripes. I’m a sucker for yellow and white stripes – they’re so cheerful! Changing colors every 2 rows was super easy. Every other row, all I had to do was “link” the 2 colors so there wouldn’t be floats at the sides.
For me, it was just like twisting yarns in intarsia knitting. Again, I used straight pins to keep track of the length of my towel. Every 12 stripes, I made a hatch mark in my journal and moved the pin up.
At the other end of my third and final towel, I did another 3 repeats of medallions, added in my 1 1/2″ hem, and 4 rows with waste yarn.
Then the fun part – unrolling all the towels!
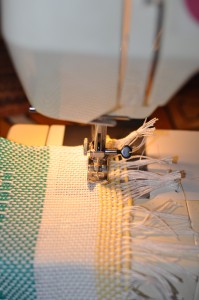
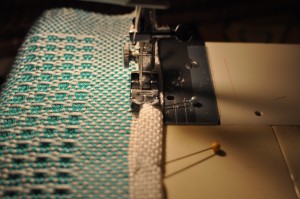
Now to the finishing. My first step was to secure the ends of each towel. I did this with matching thread and the zigzag stitch on my sewing machine.
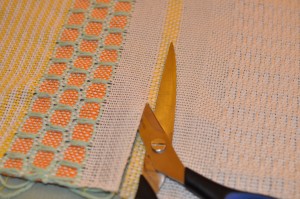
I made sure the needle went between the yellow waste yarn so it could easily be cut away.
Here they are all cut apart, before hemming.
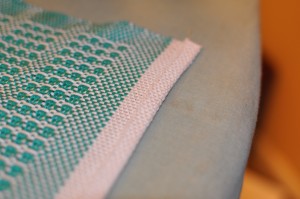
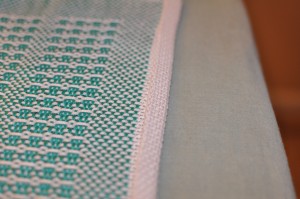
I folded in the edge of each hem by a little less than a third and pressed with my steam iron,
And then up one more time,
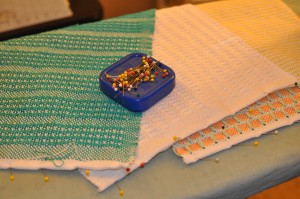
And then lots of pins!
I chose to use a narrow zigzag in order to catch the edge of the hem, rather than a straight stitch. If I was really going for fancy, I would have hand stitched each hem.
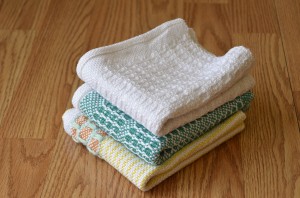
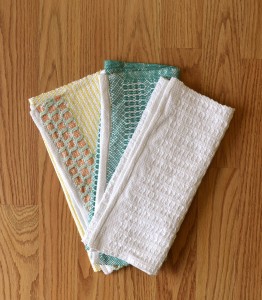
I then washed and dried the towels, warm water, nothing special.
It’s my mom’s birthday this week. These little towels will make a great gift and will work perfectly as hand towels in her newly painted half-bath. There’s nothing like a handmade gift for someone you love, right?
Catch up with me next time on Weaving Wednesday. There will be weaving (duh!), more cotton, and a fun new trick!


