Today, I have the pleasure of handing over the proverbial mic to Sandi Rosner, the creative director for our sister company, Premier Yarns. Sandi elected to participate in our knitalong using Flax.
From Sandi:
I’m thrilled at the opportunity to participate in this knit-a-long! I’m happy to have the chance to knit something for myself, and this versatile summer top is just the thing.
I’ve chosen to use Fibra Natura Flax for my Rocked. Why? Linen. I’ve recently moved from the mild, arid climate of Northern California to the steamy heat of North Carolina. With its lightweight absorbency and easy care, linen is a big part of my survival strategy as the dog days of summer loom. I asked Amy to choose a color for me, and she picked this lovely blue gray called Mineral. Over jeans and a tank, or a black cotton skirt and a cami, this top will be in heavy rotation all summer long.
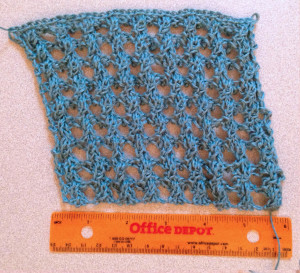
I cast on 38 sts with size 5 US/3.75 mm needles, and went straight into the Mesh pattern stitch. I worked 9 repeats of the 4 row pattern and bound off.
The first thing you’ll notice is that this swatch has a distinct bias to the left. Since the stitch pattern involves a Right Twist every 4 rows, this isn’t really surprising. That little maneuver is consistently pulling the fabric in the same direction causing the whole piece to slant. If this hold true through blocking, then the side seams of my top will want to twist around my body – not something I’m willing to try to pass off as a design feature. But I’m going to withhold judgement until after blocking.
I chose a rather unconventional blocking method – I threw my swatch in the washer and dryer with a load of laundry. Since I intend to machine wash and dry my finished top, I wanted to see 1) how the fabric transforms, and 2) how much shrinkage to expect.
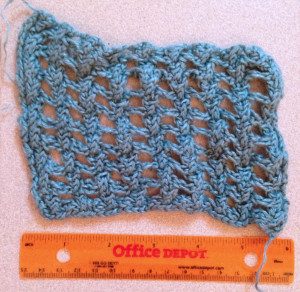
My swatch came out of the wash looking like a sad, rumpled little thing. What you can’t see is how much softer and more supple the fabric became. Flax can feel a little stiff and wiry in the knitting, but it softens up nicely in the wash.
You can also see that the bias problem was not entirely resolved by the wash. On to Step 2, a gentle steaming.
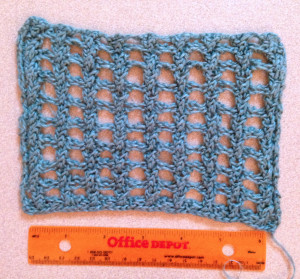
I took the swatch to my ironing board and applied a healthy shot of steam, without letting the iron actually touch the fabric – I didn’t want to flatten the texture. The steam relaxes the fibers and makes the piece malleable. I used my fingers to gently nudge, push and pull the piece into shape, then let it cool.
As you can see, the piece straightened out nicely. The fabric is smooth, with good stitch definition, and the bias is nearly gone. This will do.
My gauge came out at 22 sts and 32 rows = 4” in Mesh pattern. Not quite a match for the gauge called for in the pattern, but I like the fabric, and I’m willing to do the pattern modifications required to make it work.
Unlike the lovely model you see in the pattern photographs, I’m well past middle age. My body tells a tale of motherhood, gravity and many fine meals. I’d like 4-5” of ease for this top, so I’m going to aim for the largest size. I know I need a multiple of 4 sts + 6 for the pattern repeat, so I’m going to cast on 150 sts. This should give me a finished bust measurement of 53 ¾”.
For this style, I prefer my tops long enough to hang past the curve of my belly. Looking at the schematic, I can see that I want to add length in two places. I’ll add 2” before I begin the sleeve shaping. I also want the sleeves to fit loosely around my upper arms. I’ll add another 2” between the sleeve shaping and the neck shaping, making the sleeves 4” bigger around. With a total of 4” added length, and the bigger sleeves, this top will be both comfortable and flattering on my less-than-model-perfect body.
Hmm…I’d better ask Amy to set aside a couple more skeins in this lovely color, just in case.


