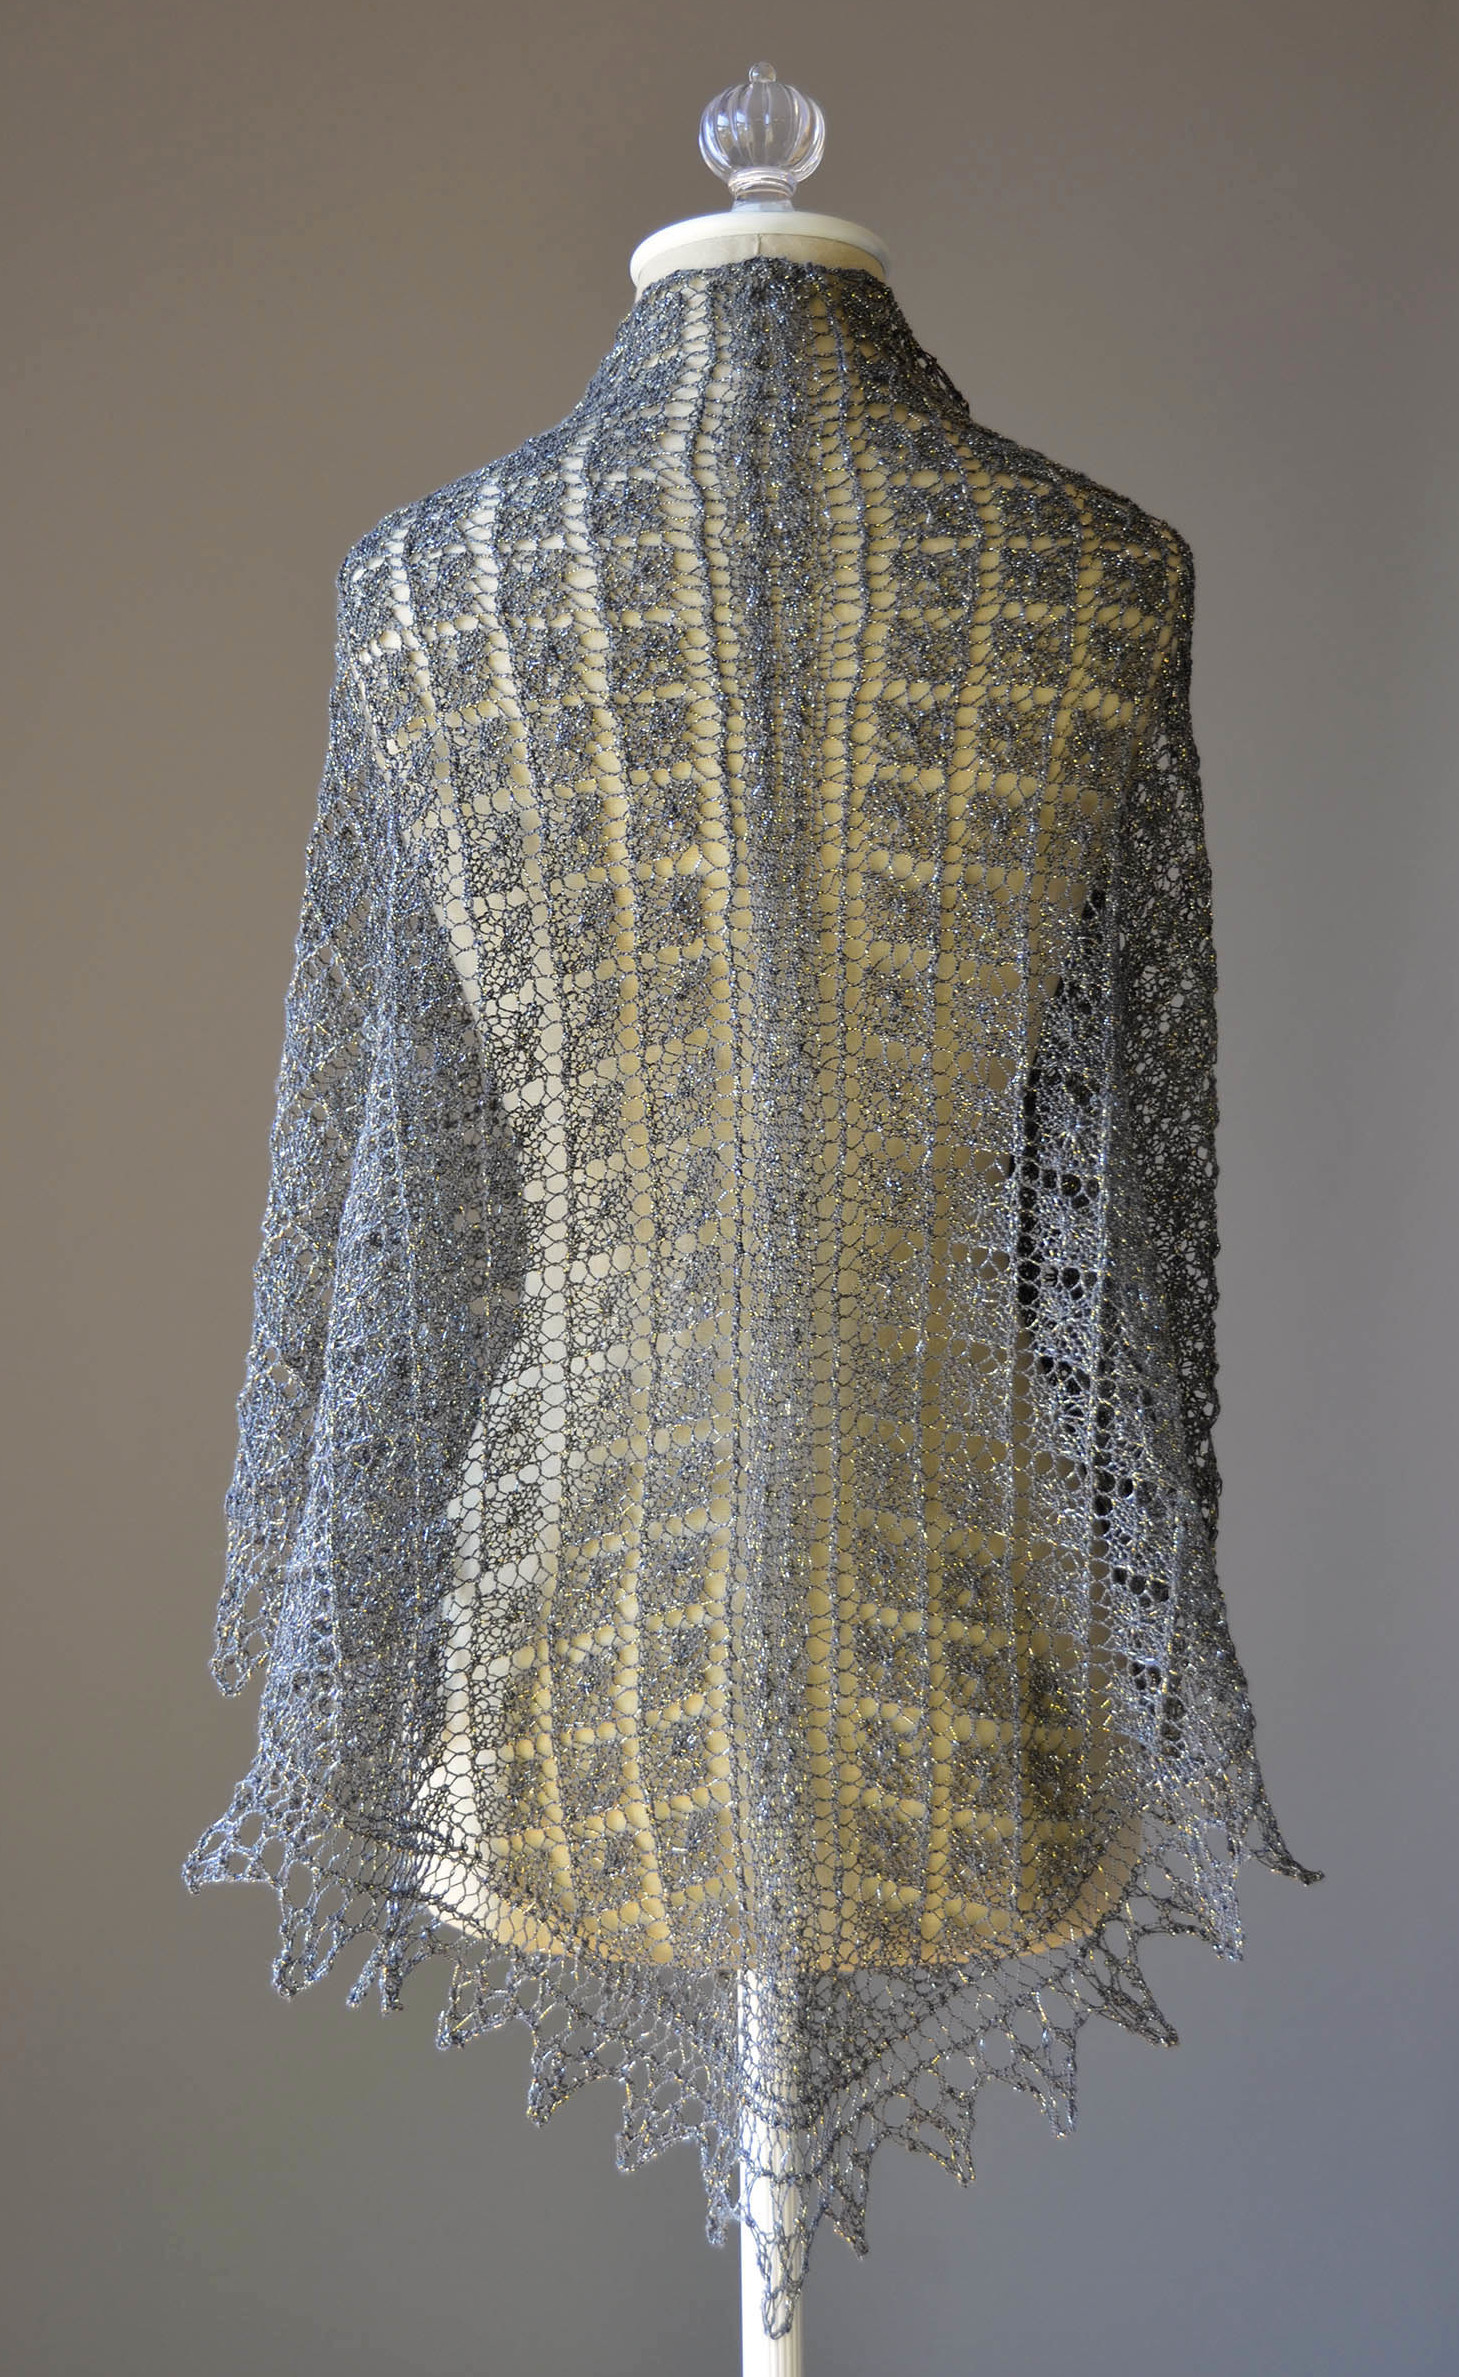
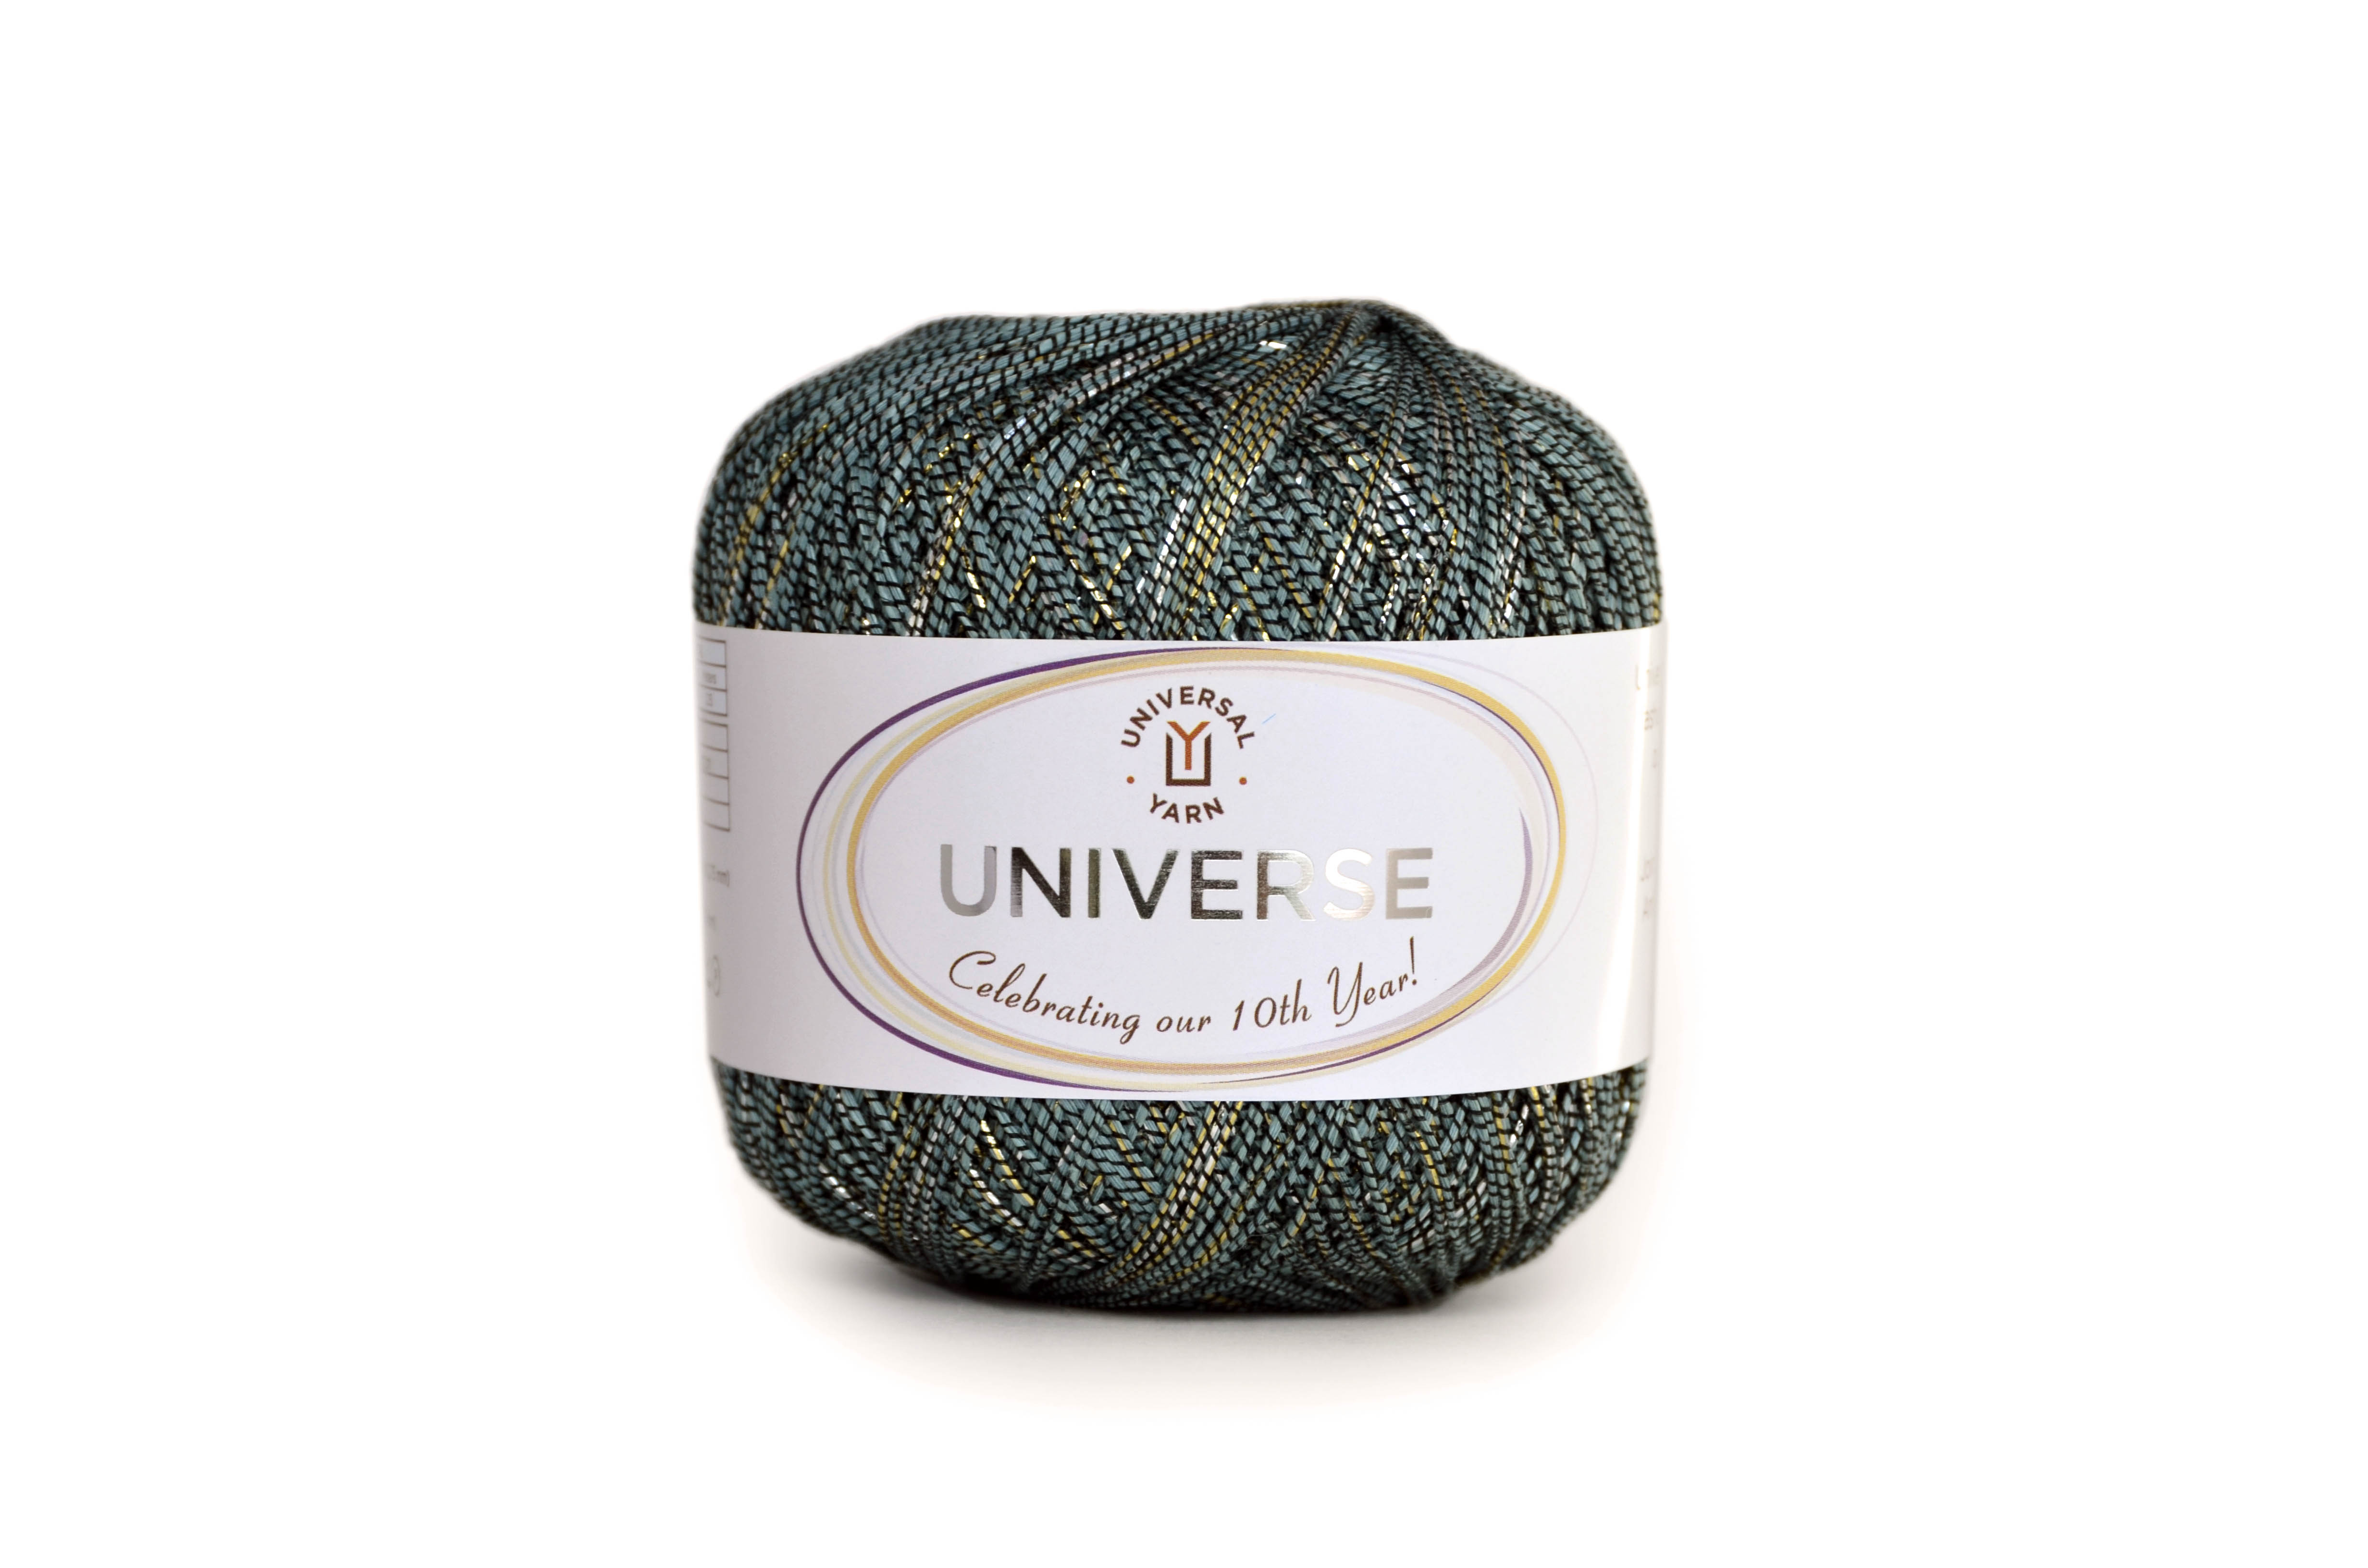
We got a question recently about how to do a technique in our Going Places Shawl, this lovely triangular shawl knit in anniversary yarn, Universe.
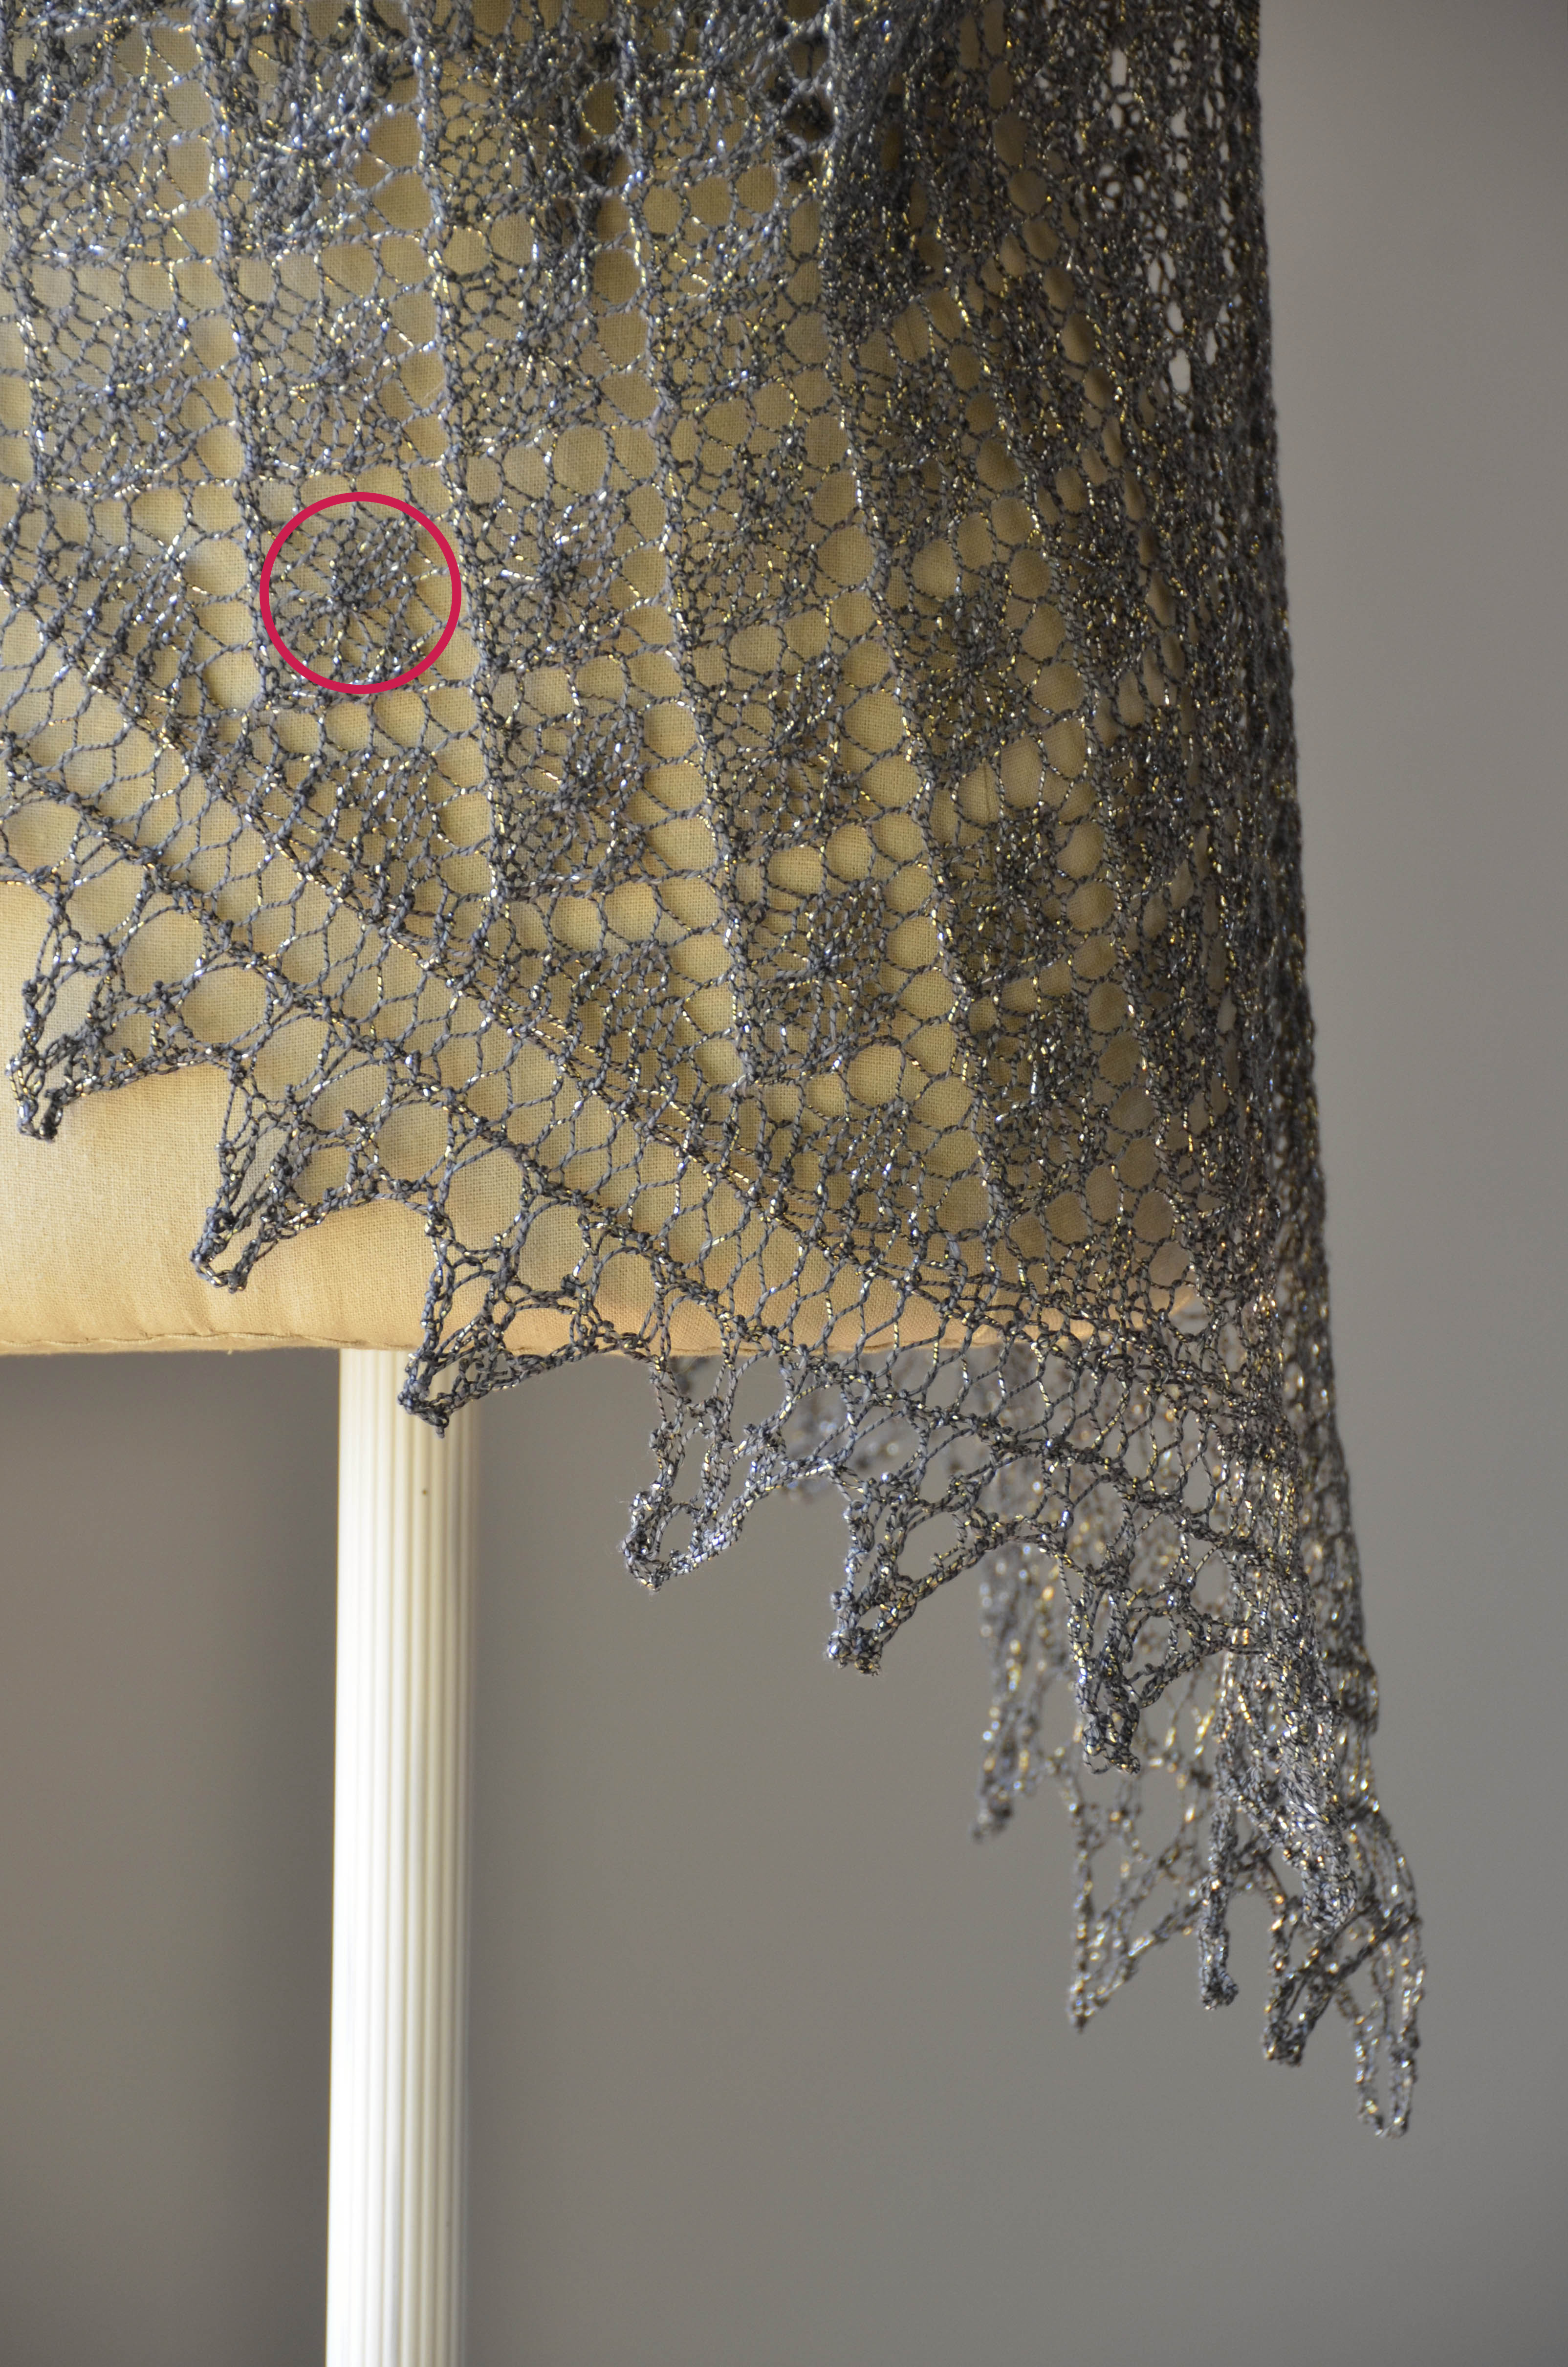
If you look closely at the diamond motifs in the shawl, you’ll see that there is a little decorative “blip” in the middle of each.
To achieve this “blip”, you will knit 3 stitches together, yarn over, and then knit the same 3 stitches together. If you’ve never done a seemingly acrobatic knitting maneuver like this before, it can seem a little daunting! Check out this video for a demonstration of the stitch in question:
And be sure to check out all of our beautiful patterns in Universe. We think you’ll be dazzled!
Please follow and like us:


on the pattern keys there is an o is that a yarn over
You got it, Caryl! The o is a yarn over.
I have a few questions regarding the edging pattern of this shawl.
1. Row 2 ends with a yarn over, and Row 3 starts with 4 purls. How do you purl an yarn over stitch?
2. Row 11 binds off 7 stitches, then works 7 stitches, which would end up with 8 stitches. However, when I bind off 7 stitches I’m one stitch short to work the remaining 7 stitches. I ended up binding 6 stitches, which left me with one extra stitch on Row 12, so I just purled the last 2 stitches together.
I finished this shawl and it is gorgeous!!!
But, am I not reading the pattern right?
Thank you for your help!
Hi, Daphne! We apologize for the delay in responding. Amy passes along this info, which we hope will answer your questions.
1. Row 3 of the edging actually begins with 4 knit stitches. A blank square represents a knit stitch on right side rows. To knit a yarnover, simply treat it like a regular stitch and knit into it.
2. At the beginning of row 11, you have 14 stitches. After binding off 7 stitches, there will be 7 stitches remaining. But it sounds like your solution worked out fine for you.
So glad you finished your shawl and are happy with it. Go you!
Thank you for your reply!
I was indeed reading the pattern wrong, I had the rows incorrect, right side as wrong and vice-versa. That will definitely make sense on my row 2-3 issue.
I am making a second one, so I will se how I work out the bind-off count. I’m sure I’m counting the bind-off incorrectly.
Thanks again!!!
Excellent! We love a happy ending. Do keep us posted on the second shawl. I feel like I’m following along with a knitting adventure!
I’m knitting on the edge, and still having 8 stitches on the needle on that 11th row, so will work it like before, but it’s going well!!!
Thanks for the support!!!
I’m having a hard time getting started on this. The instructions say to set up 16 stitches with 5, a marker, 6, a marker, and 5 more. Then the instructions switch to the chart at row 1. The chart seems to indicate there should be 7 stitches before and after the markers. I started working row 1 and needed to ssk over the marker and thought, ” that can’t be right!” I’ve gotta be reading something wrong, but I can’t figure out what it is that I’m missing!
Hi Jessica,
Yep, you will always slip the markers as you come to them.
So, before you start row 1 of the chart, you’re right – you have 5 sts, m, 6 sts, m, 5 sts.
On row 1 of the chart, this is how the first portion would read if it were written in words:
K1, yo, k1, yo, ssk, yo, k1. This row takes 5 stitches and turns them into 7 sts. You are increasing 2 stitches in this section. You will always increase 2 stitches in this section on every right side row.
So, you began with 5 stitches in this section, and turned them into 7 stitches. The second yo is paired with an ssk, so two stitches remain 2. But the first and last yos are not paired with a decrease – these are your increases. Does this make sense? You should not have to be working an ssk over the marker.
I’m a little confused on starting the edging – to cast on the 7 stitches am I adding them to the end of the wrong side row that was row 32 of the body, or am I breaking the yarn to start from the other end, or am I turning the dpn to work a row and THEN picking up the connecting stitch on the body?
I’ve really enjoyed this pattern, thank you for it!
Hi Lisa,
You will cast on 7 stitches to the first stitch from the shawl body. I like to use a knitted cast-on. There is no need to break the yarn.
I’m totally lost on the edging. Pattern says it is worked from top down. The edging is attached to every WS row. Do I bind off the body, then do the edging?
Hi Carol,
That was actually a typo in the pattern notes – it should read that the edging is attached to the shawl body at the end of every RS row.
If you take a look at the edging chart, you will see that there is a k2tog symbol at the end of every right side row of that chart. You will knit the last edging stitch together with a stitch from the shawl body at the end of every right side row.
You don’t need to bind off the shawl – the edging is attached to the live stitches. This type of edging is called a knit-on edging. Does that make sense?
So….I should have attached the edging as I knitted the body?
Hi Carol,
Kind of. The body section of the shawl should be finished first. Then, live stitches from the lower edge of the body are attached to the edging as you go.
Based on your last comment, it looks like you’ve got it all figured out? If so, that’s great. Let us know if you have any more questions.
I’m an expert, now. Lol. I watched a video of a knit-on edging. Thank you.