Free Pattern Friday – All-Star Pullover

It’s Free Pattern Friday!

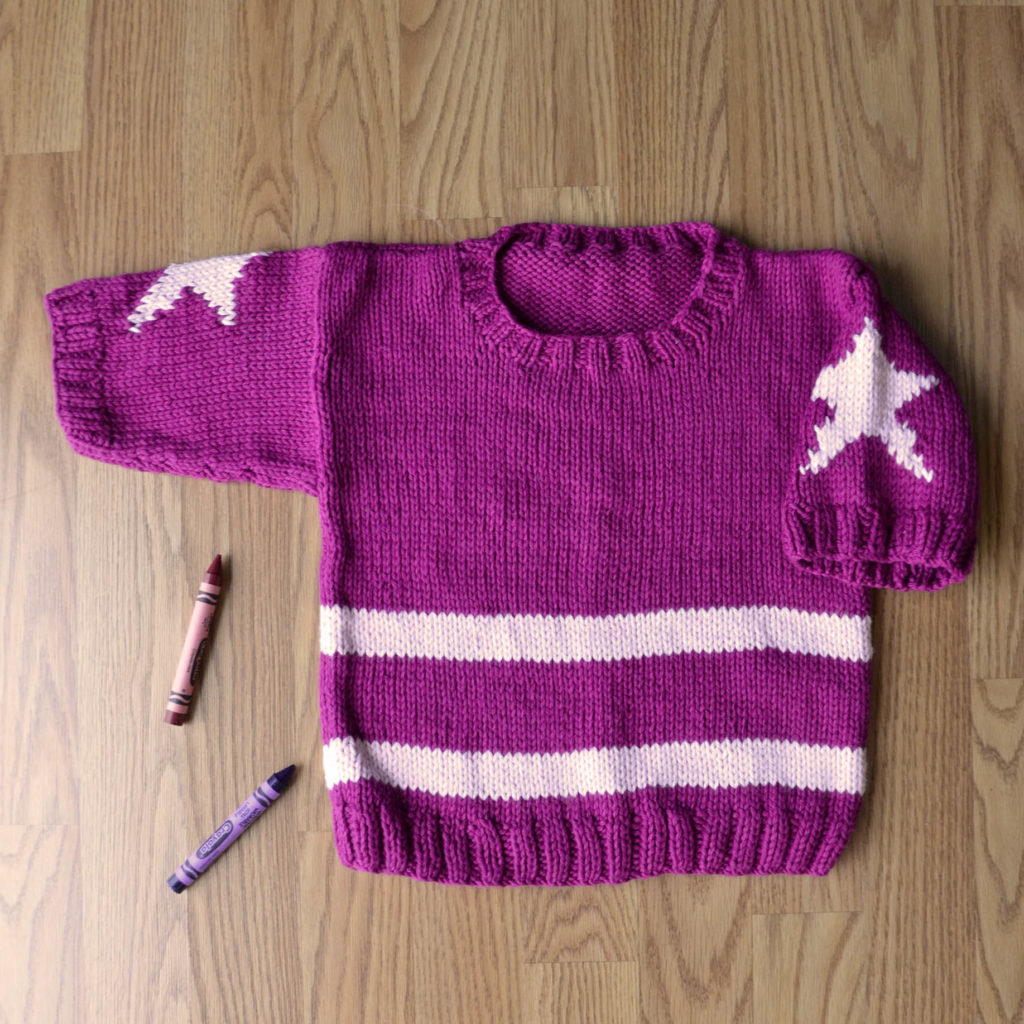
Cotton Supreme Little Star Top blog square

Today, the All-Star Pullover in Cotton Supreme.

Recently we had a shop mention that we hadn’t had a Free Pattern Friday in Cotton Supreme lately.  Well, we can’t have that; we love this yarn!

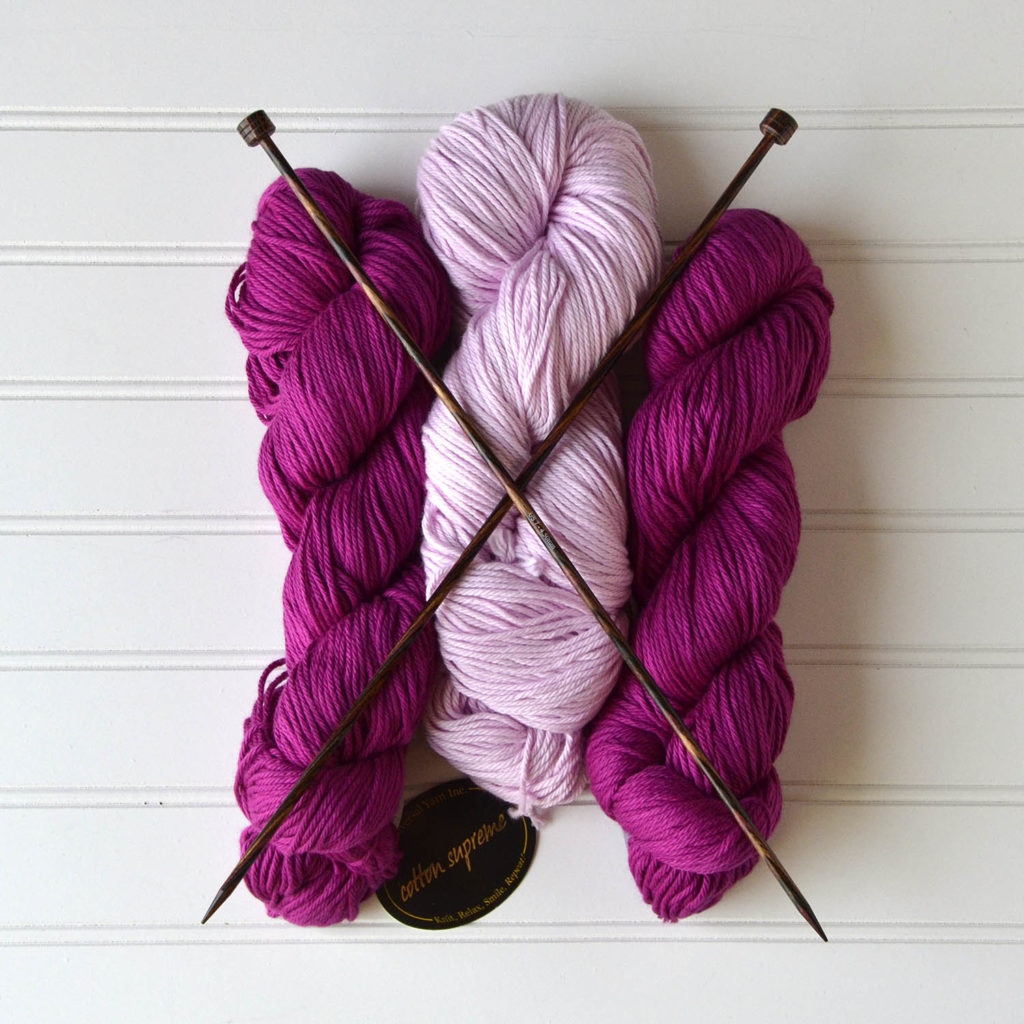
I don’t know about you, but I’ve knitted with some cottons that left my hands feeling like they’d been through the wringer.  Nobody should feel like crafting is something to slog through.  It should be a pleasure.  Fortunately, I’ve never had that problem with Cotton Supreme (180yds/100g).  It’s easy to work with, machine washable, and the colors are to die for.  All of which makes it a great choice for this little kid’s pullover.  Knit it flat, seam it up, and send your little all-star out to play.

This one would be really easy to customize, too.  Can’t you imagine this in team colors?  Or… and this is just my inner geek talking… move the intarsia star to the chest and you’ve got a little Captain America.

Captain America colors blog
Sky Surf 927 and White 502, and add 509 Red if you wish. I could knit this all day.

I’m filing this idea away as a potential gift for superhero-loving parents and kids.

We hope you have a safe Memorial Day weekend.

Happy knitting!

Cotton Supreme Little Star needles crossed_Instagram

Free Pattern Friday – Florin Scarf

It’s Free Pattern Friday!

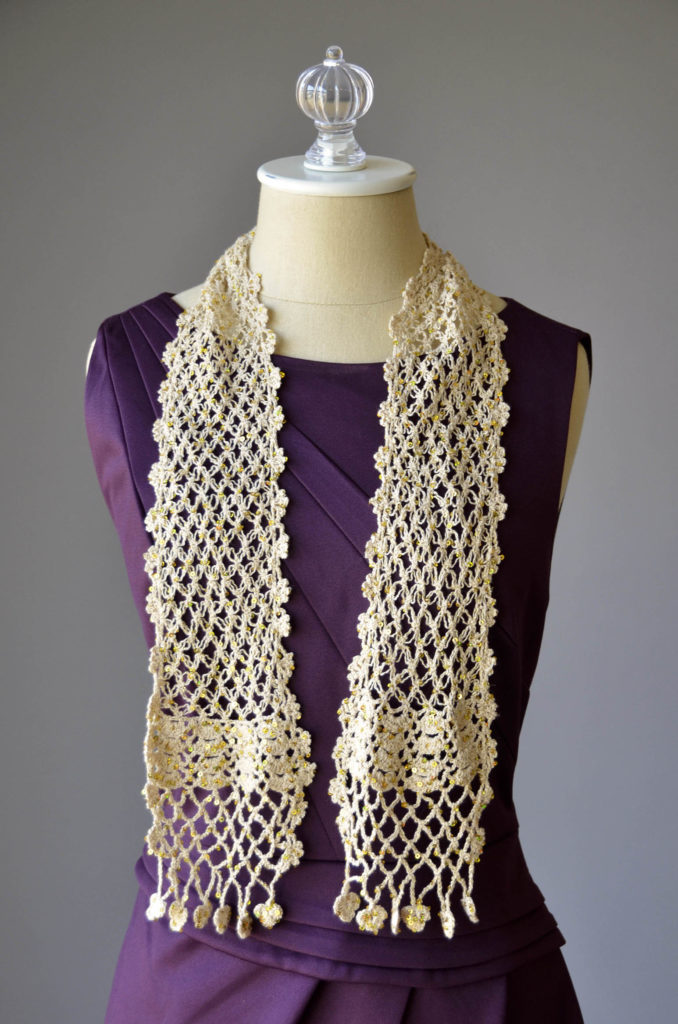
Florin Scarf long blog

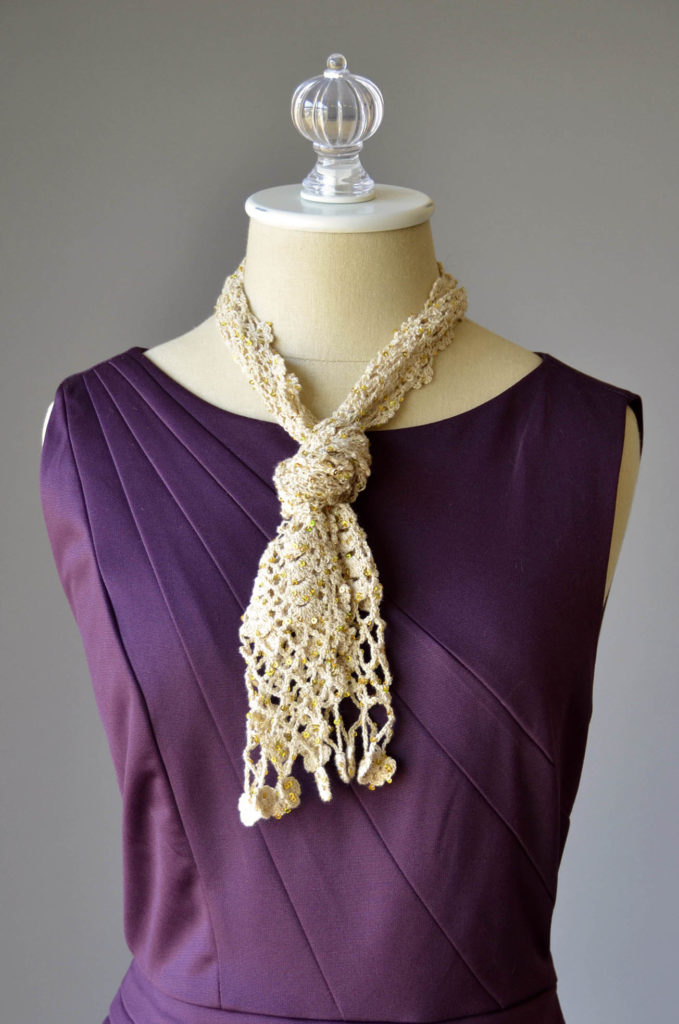
Today, the Florin Scarf in Cotton Gold.

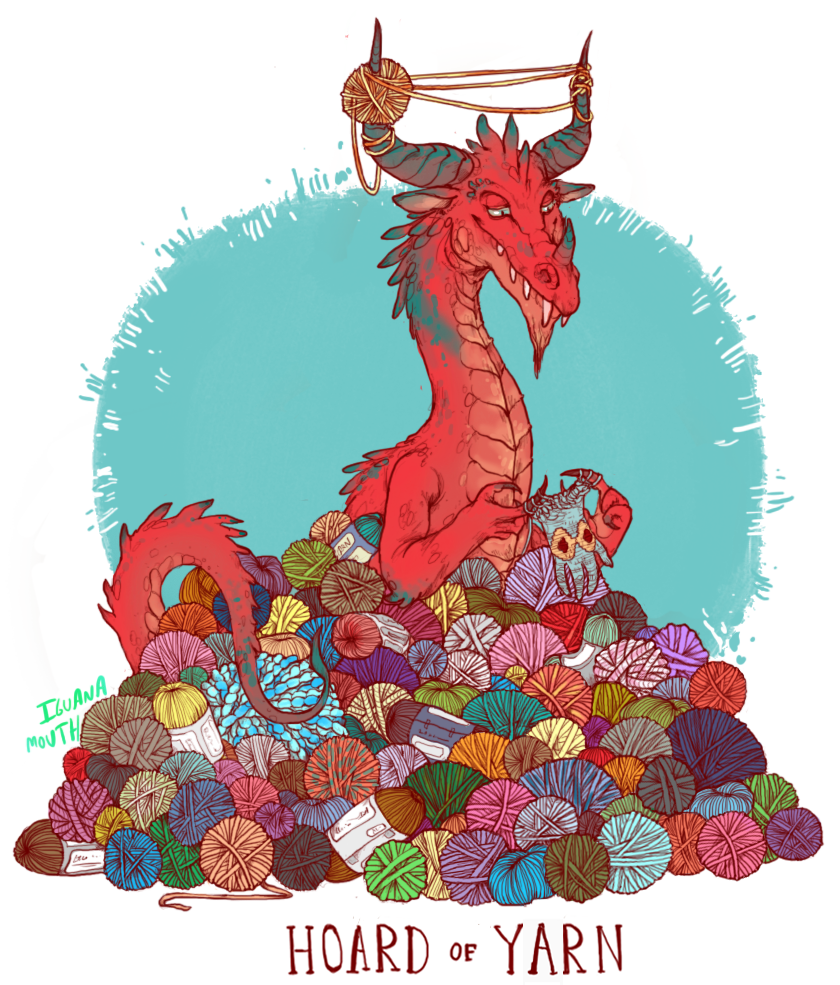
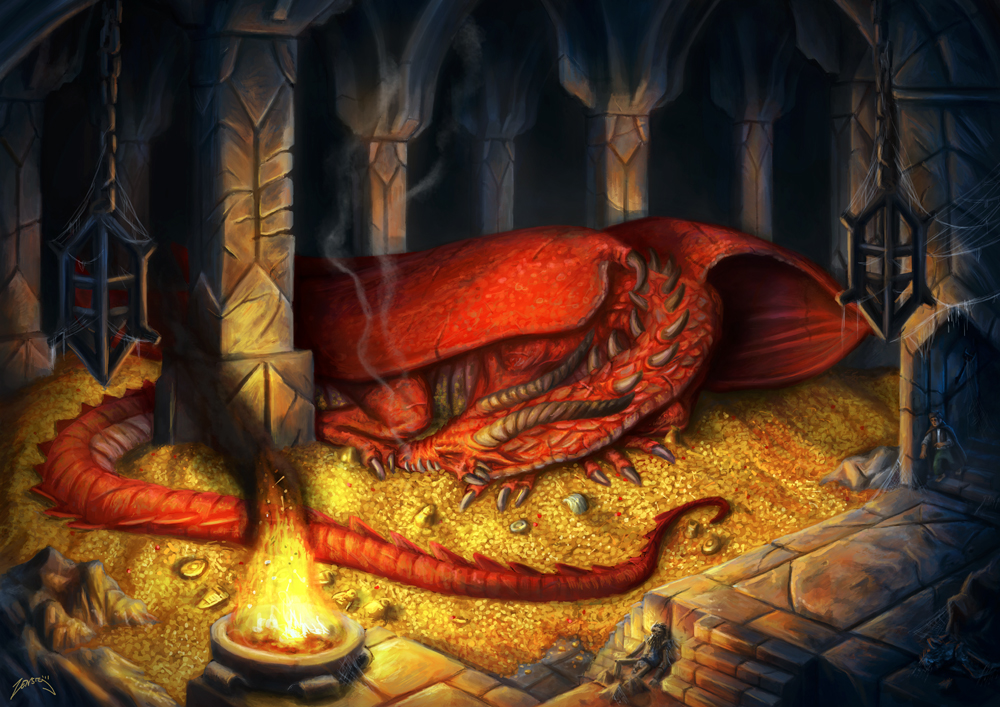
Crocheted in Rozetti Yarns sparkling sequined Cotton Gold (200yds/25g), this scarf is named Florin after the golden coins you might find in a dragon’s hoard.

Now that's a stash.
Credit: Lauren aka IguanaMouth

Wait, wrong hoard.  Although I do want that hoard.

Credit: Blensig on DeviantArt

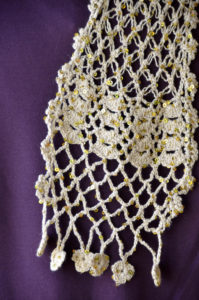
Florin Scarf detail blogThere we go.  The glittering gold sequins catch the light in dramatic fashion.  Having worked with this yarn personally, I can tell you that those sequins are really on there – I’ve never had one come loose.

Cotton Gold works great paired with another yarn to add some bling (Crinkle Cowl, anyone?), or on its own as in this one-ball scarf.

The body of the Florin Scarf is worked in two directions.  First, the main scarf body is worked to one end, and the End Section is crocheted.  Then the other End Section is crocheted into the beginning chain of the other side of the scarf body.  Finally, a border is worked around the entire outer edge of the scarf.  Lastly, put on your glittering masterpiece and feel like the fabulous person you are.

We hope you have an amazing weekend of crocheting and enjoying your yarn hoard!

Florin Scarf tied blog

String Heddles – How To

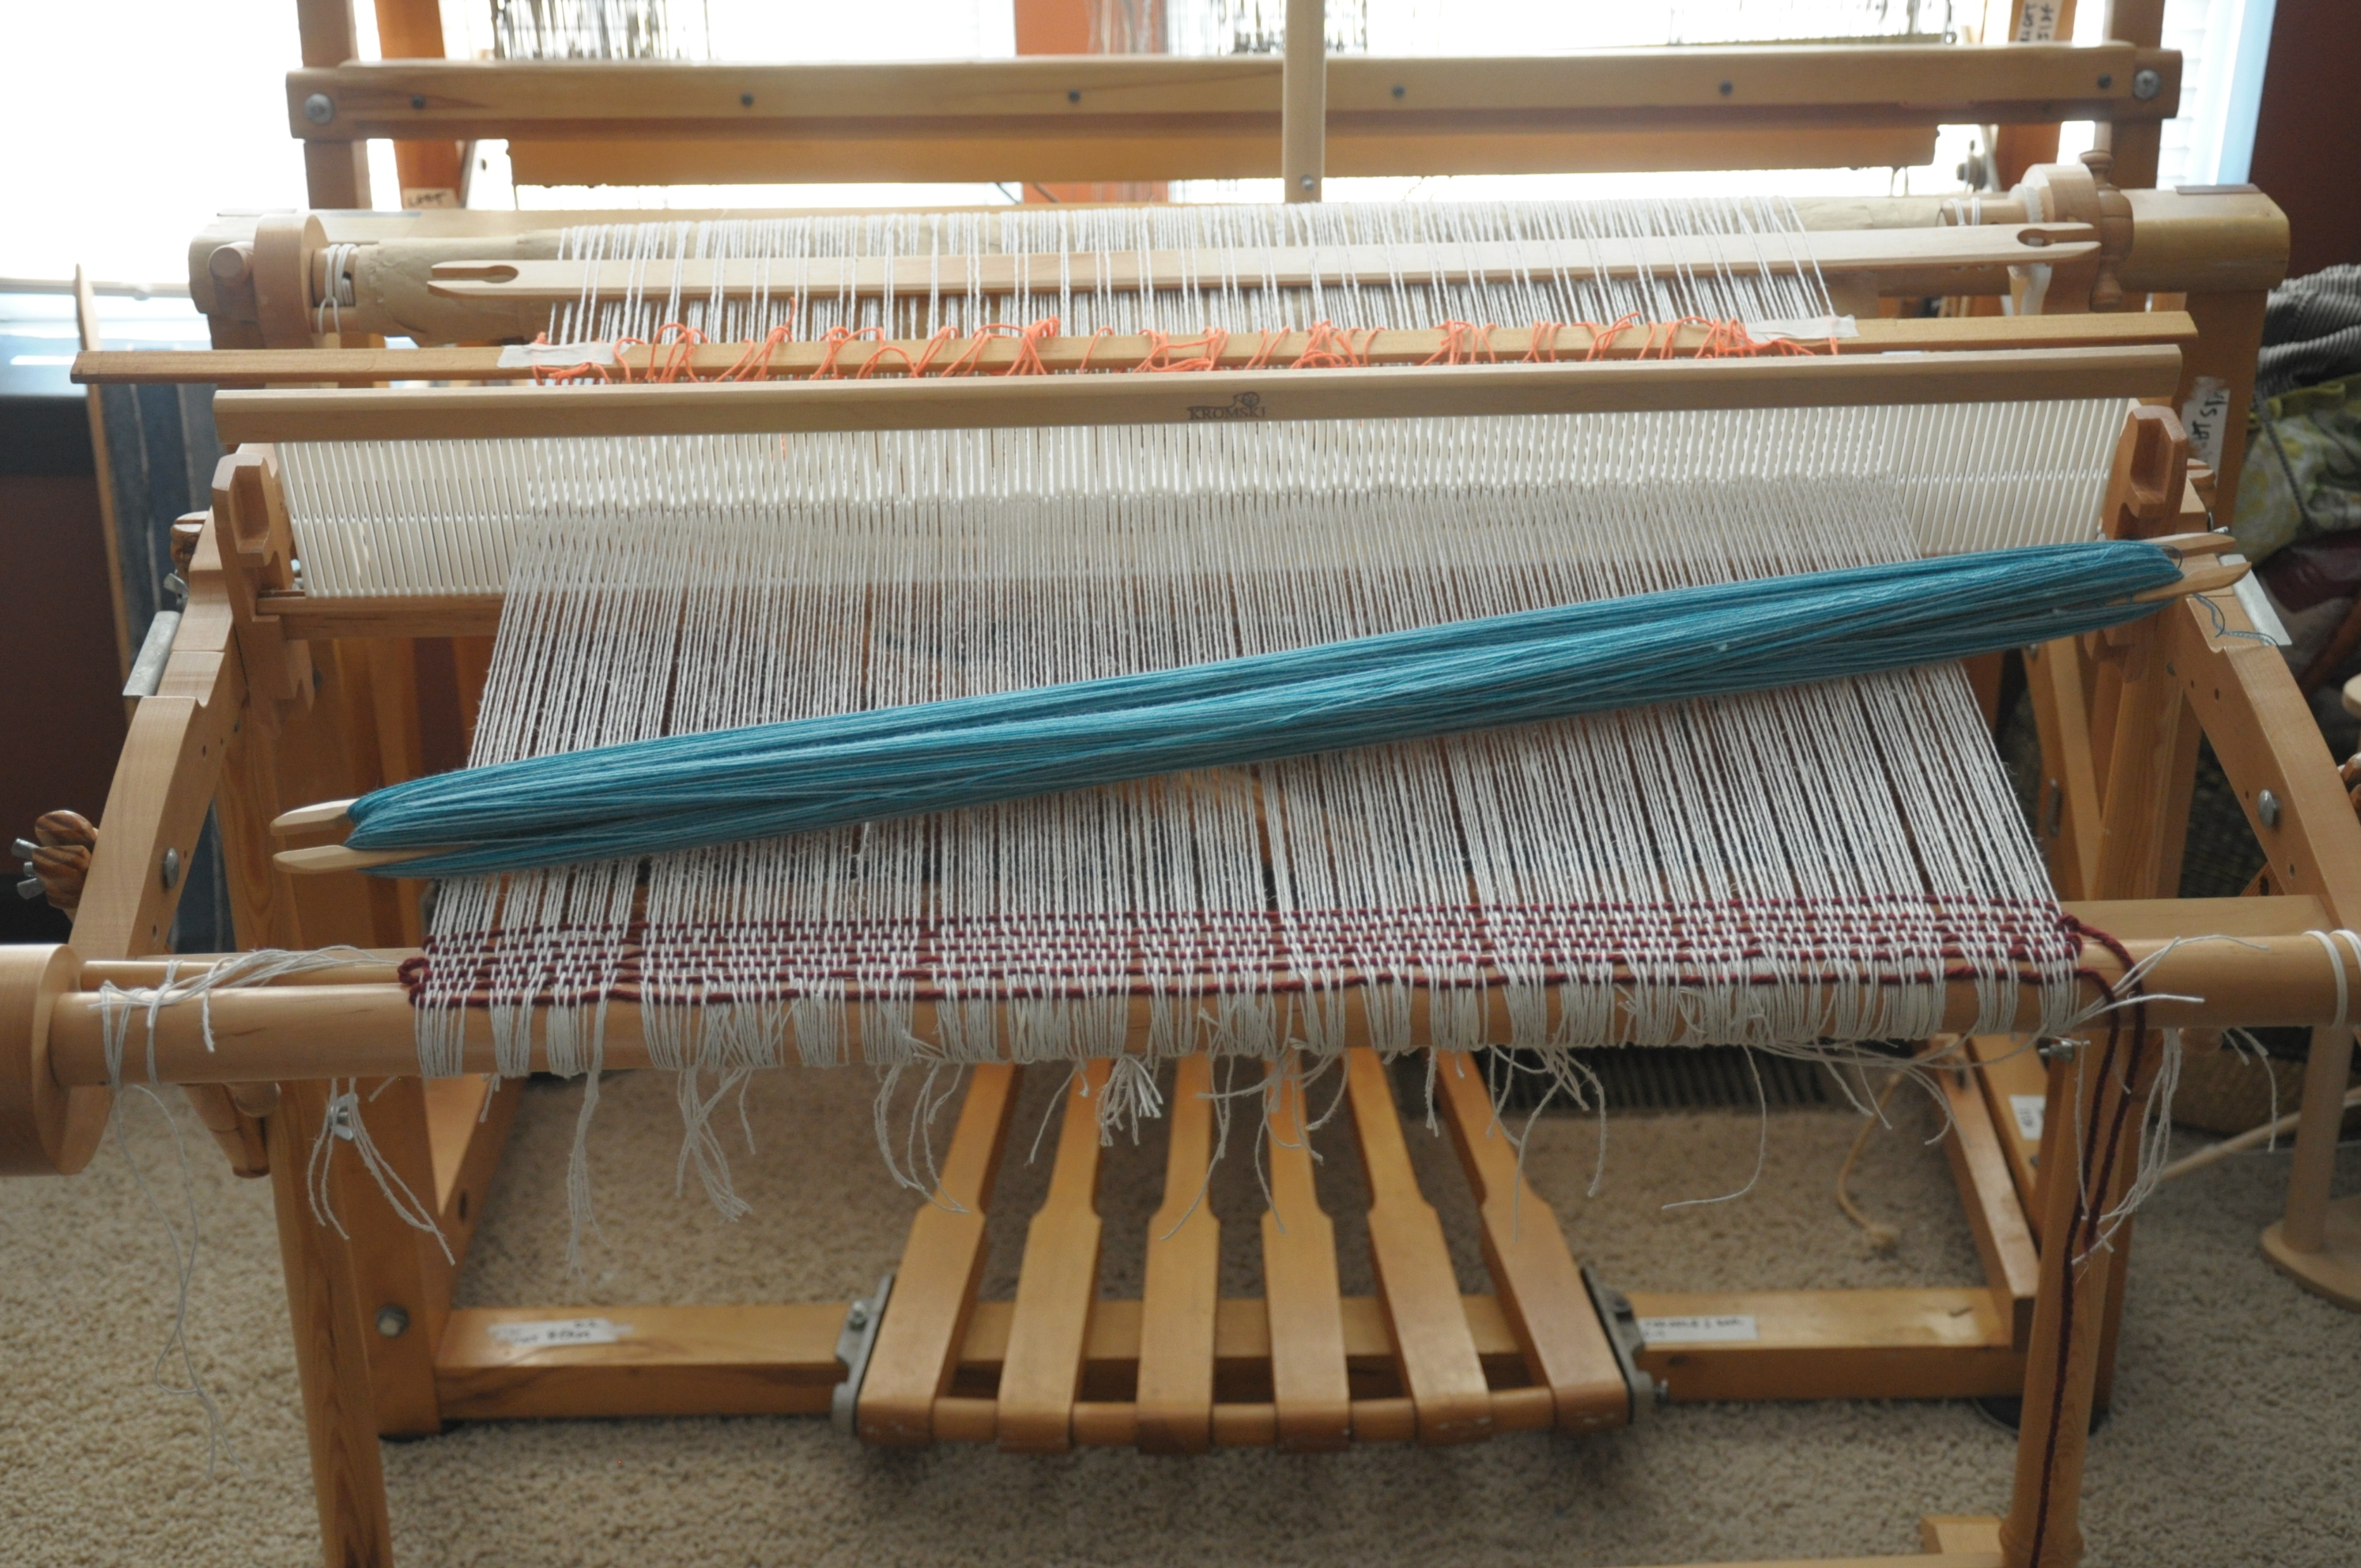
After warping for my Flame Lace Top, I was all set to get weaving! The weaving pattern requires the use of two pick-up sticks, so I got going on that first.

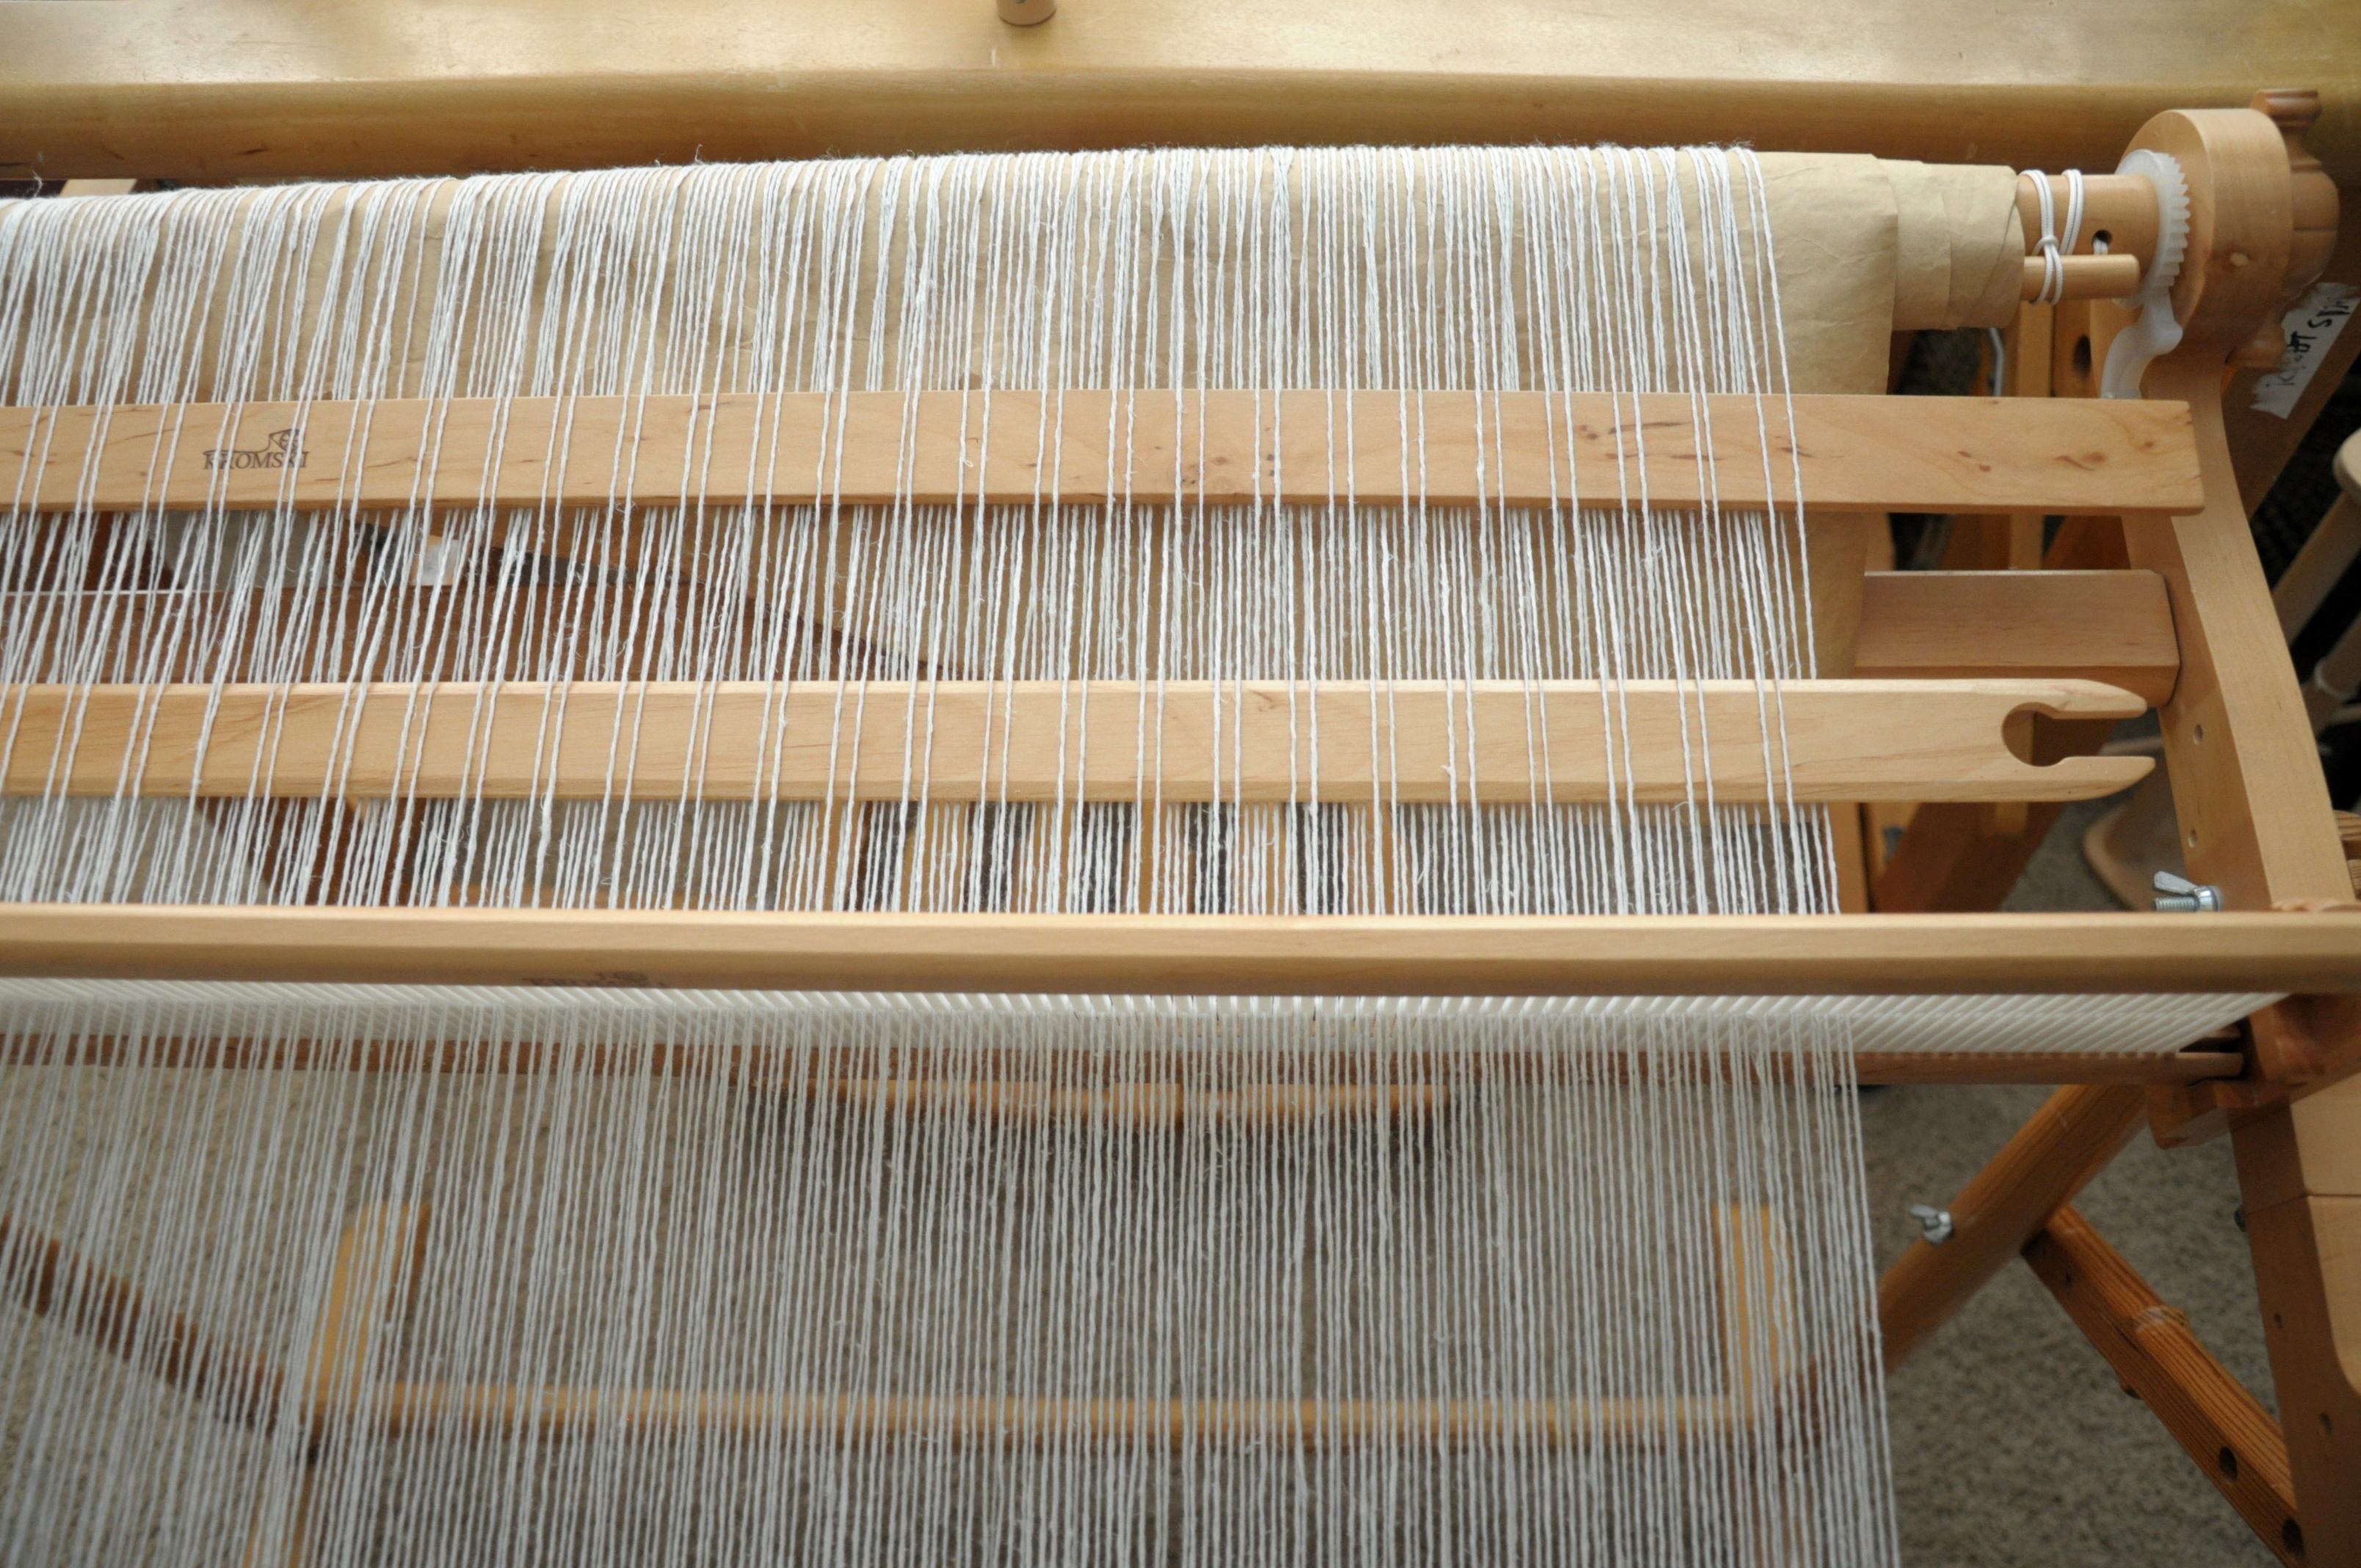
I put the rigid heddle in the down position in order to place the appropriate threads on my pick-up sticks. The back stick below represents pick-up stick 1, the front stick represents pick-up stick 2.

Heddles_1

I got set to weaving my pattern when it hit me – I can’t leave both sticks in place at the same time because they would interfere with the shed. Duh! Crap. What to do?

This particular loom accommodates 2 rigid heddles. I probably could have warped using both rigid heddles, and eliminated the need for one of my pick-up sticks. Or, I could pick up threads for the second stick every time I needed it. But that would be really annoying, needing it for 2 passes out of every 12, and especially on this wide loom.

And then I remembered – string heddles! Back when I first learned how to weave, I did so on a homemade giant frame loom. When I was learning how to do different patterns on it, I had run across the string heddle solution and implemented it then.

Leaving my second (front) stick in place, I got to work making my string heddles. I counted all the threads on the stick, which is how many heddles I need. Then I found some lightweight cotton scrap yarn to make the heddles. It’s best to use a smooth light yarn for string heddles – something that won’t stick to the warp. A mercerized cotton would work well, or even a nylon cord if you have it.

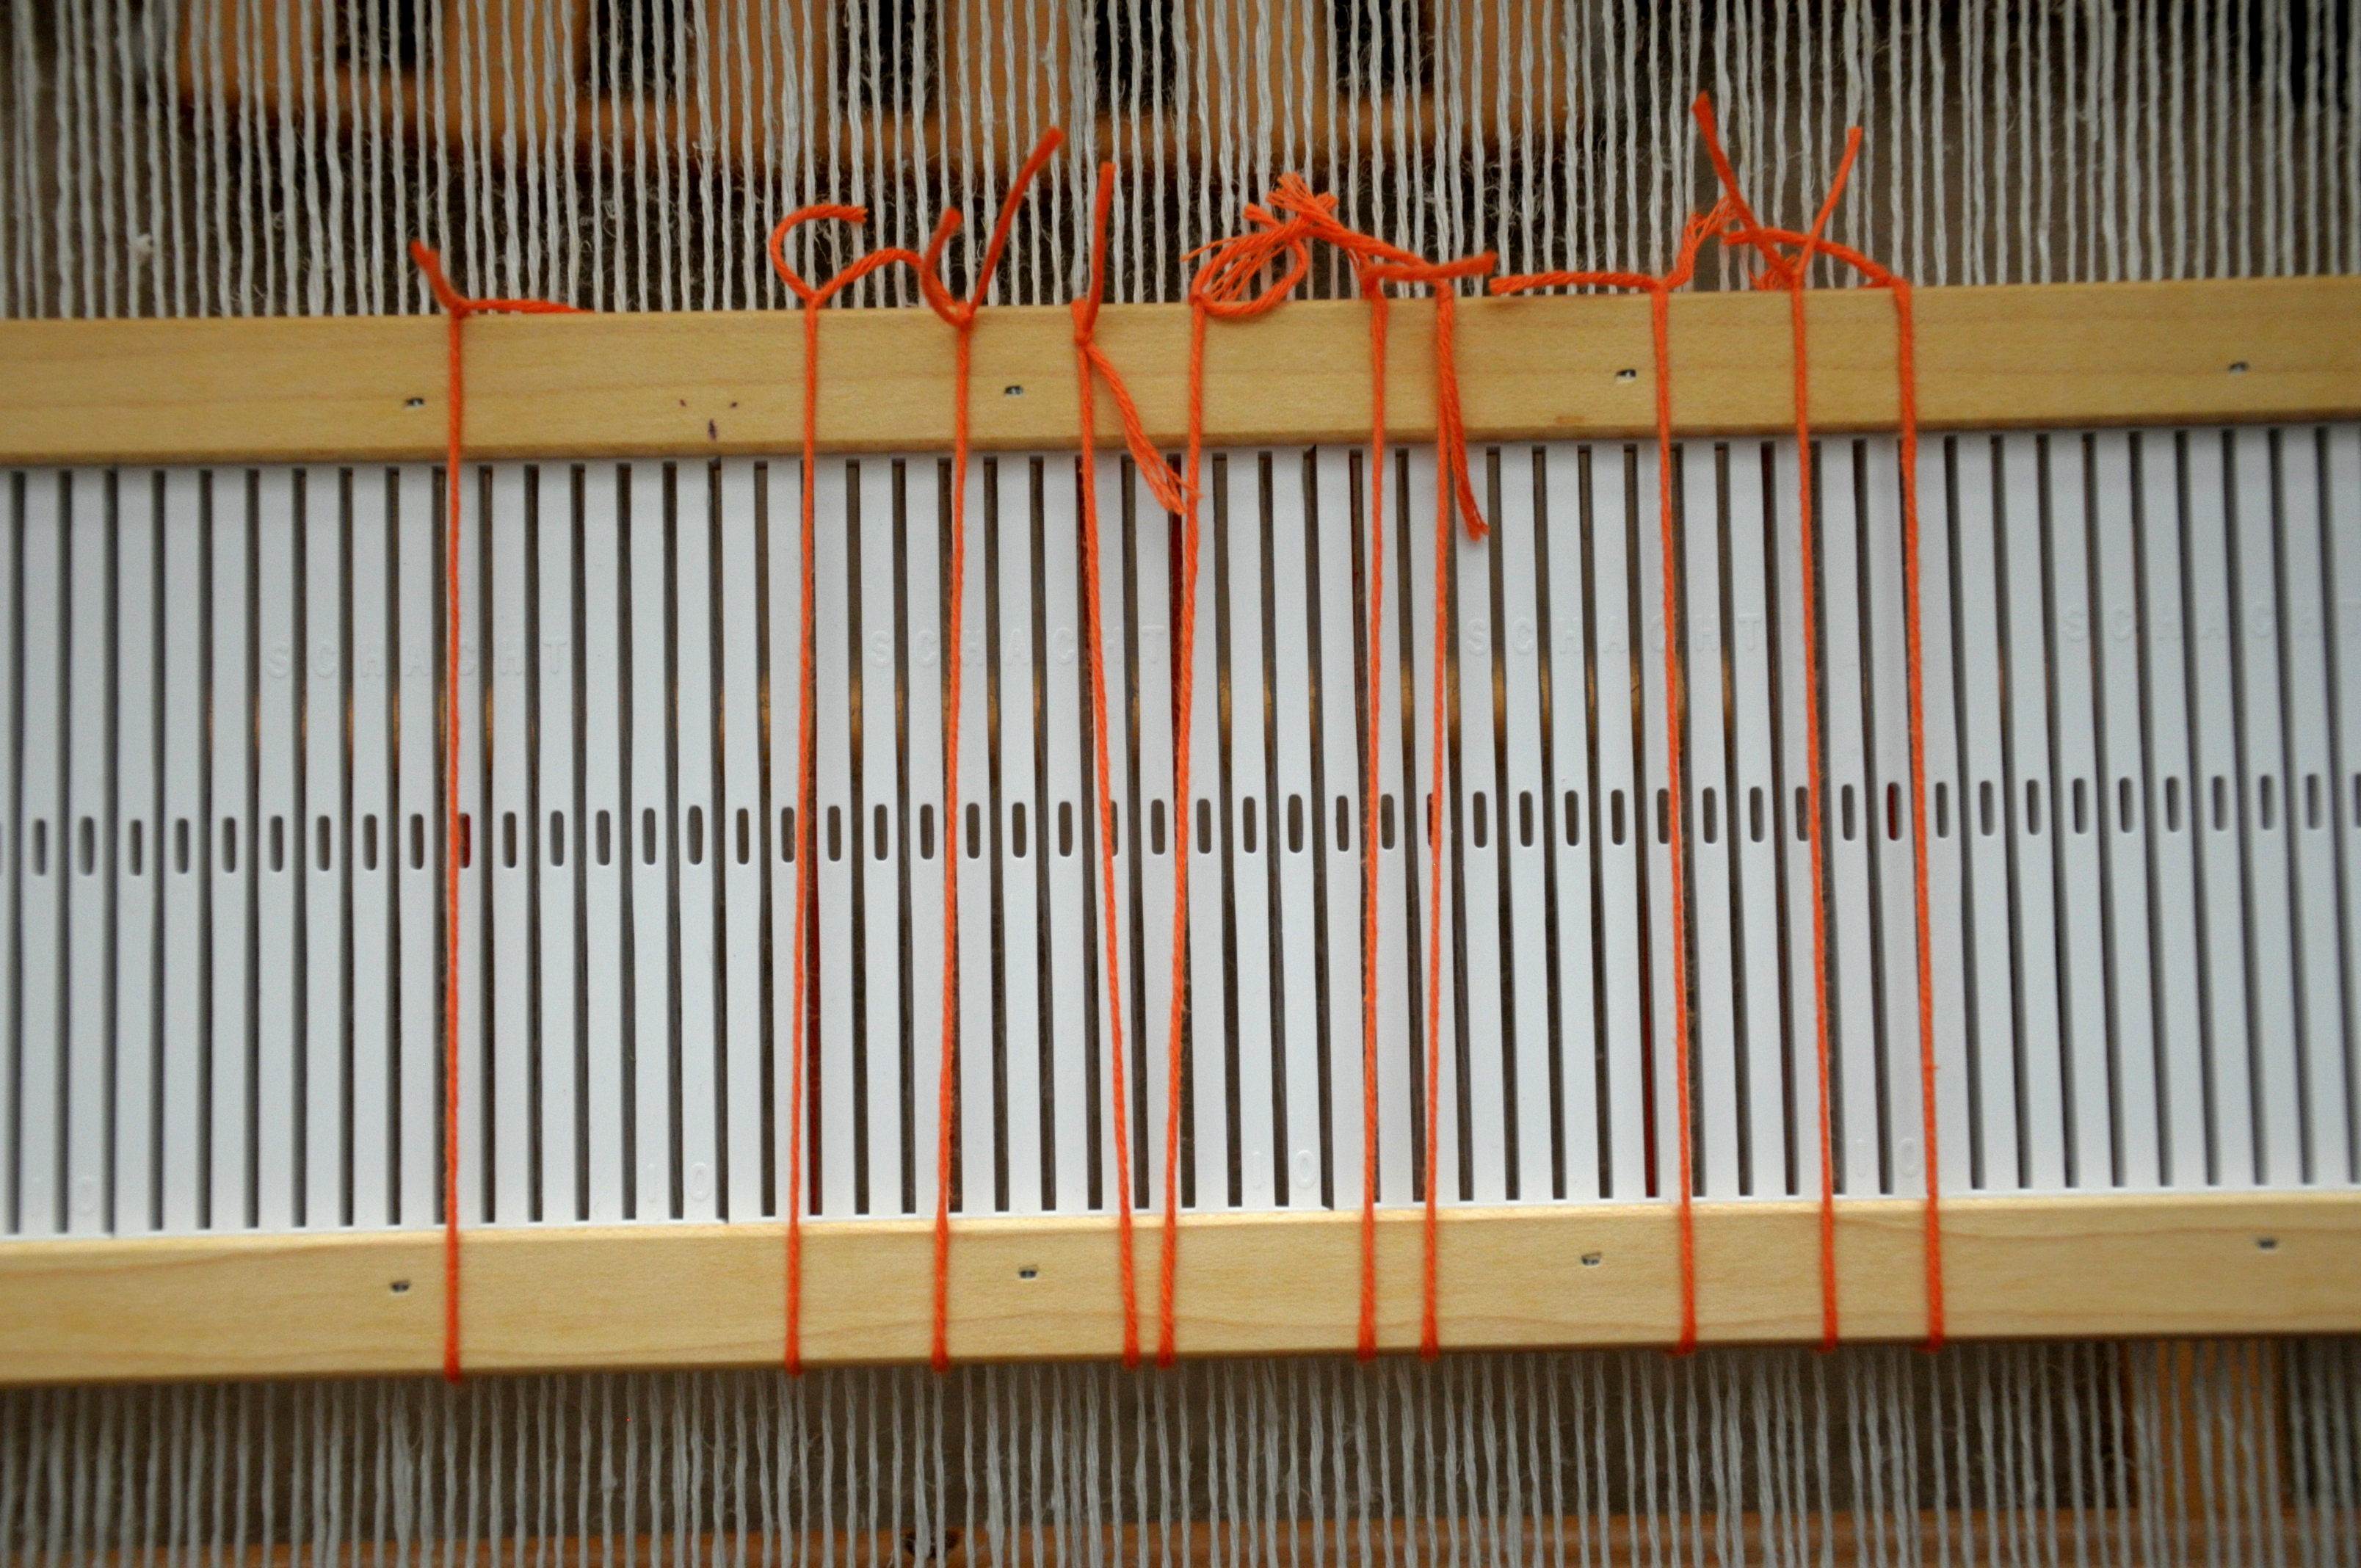
It’s important that all the heddles are the same length. Wrap yarn around an object, like a spare heddle shown here, and tie each one in a square knot to secure.

Heddles_2

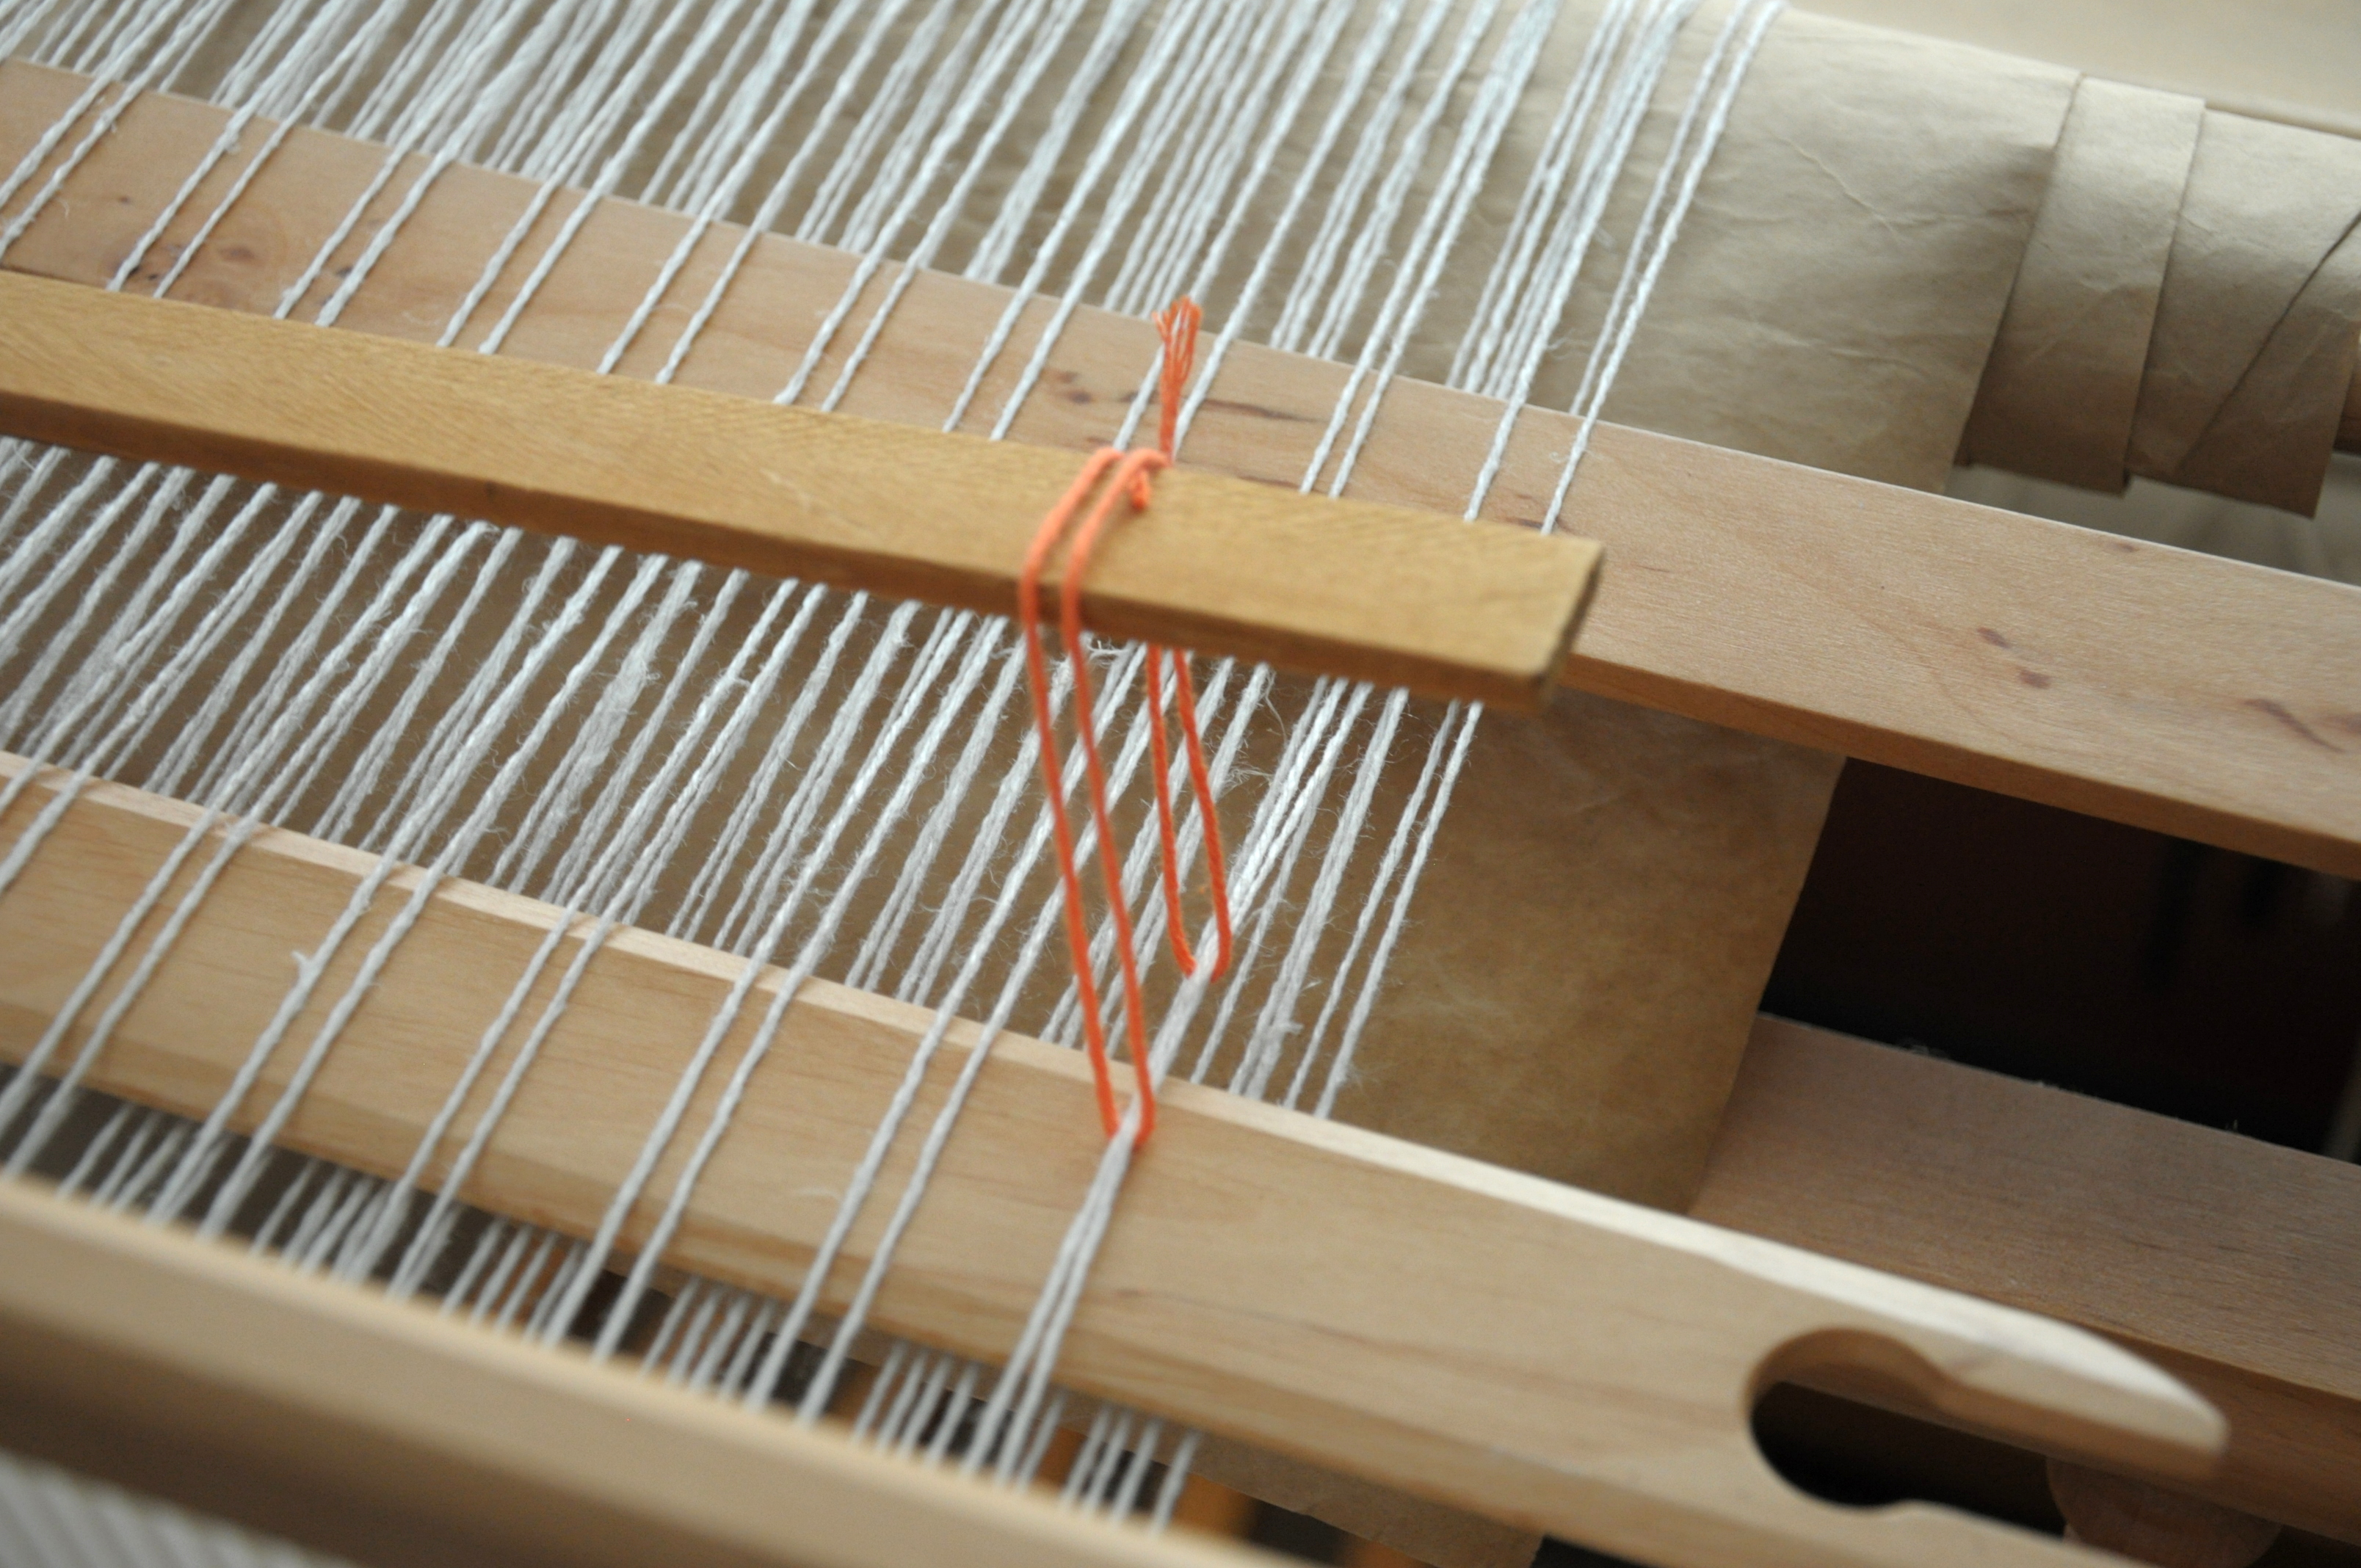
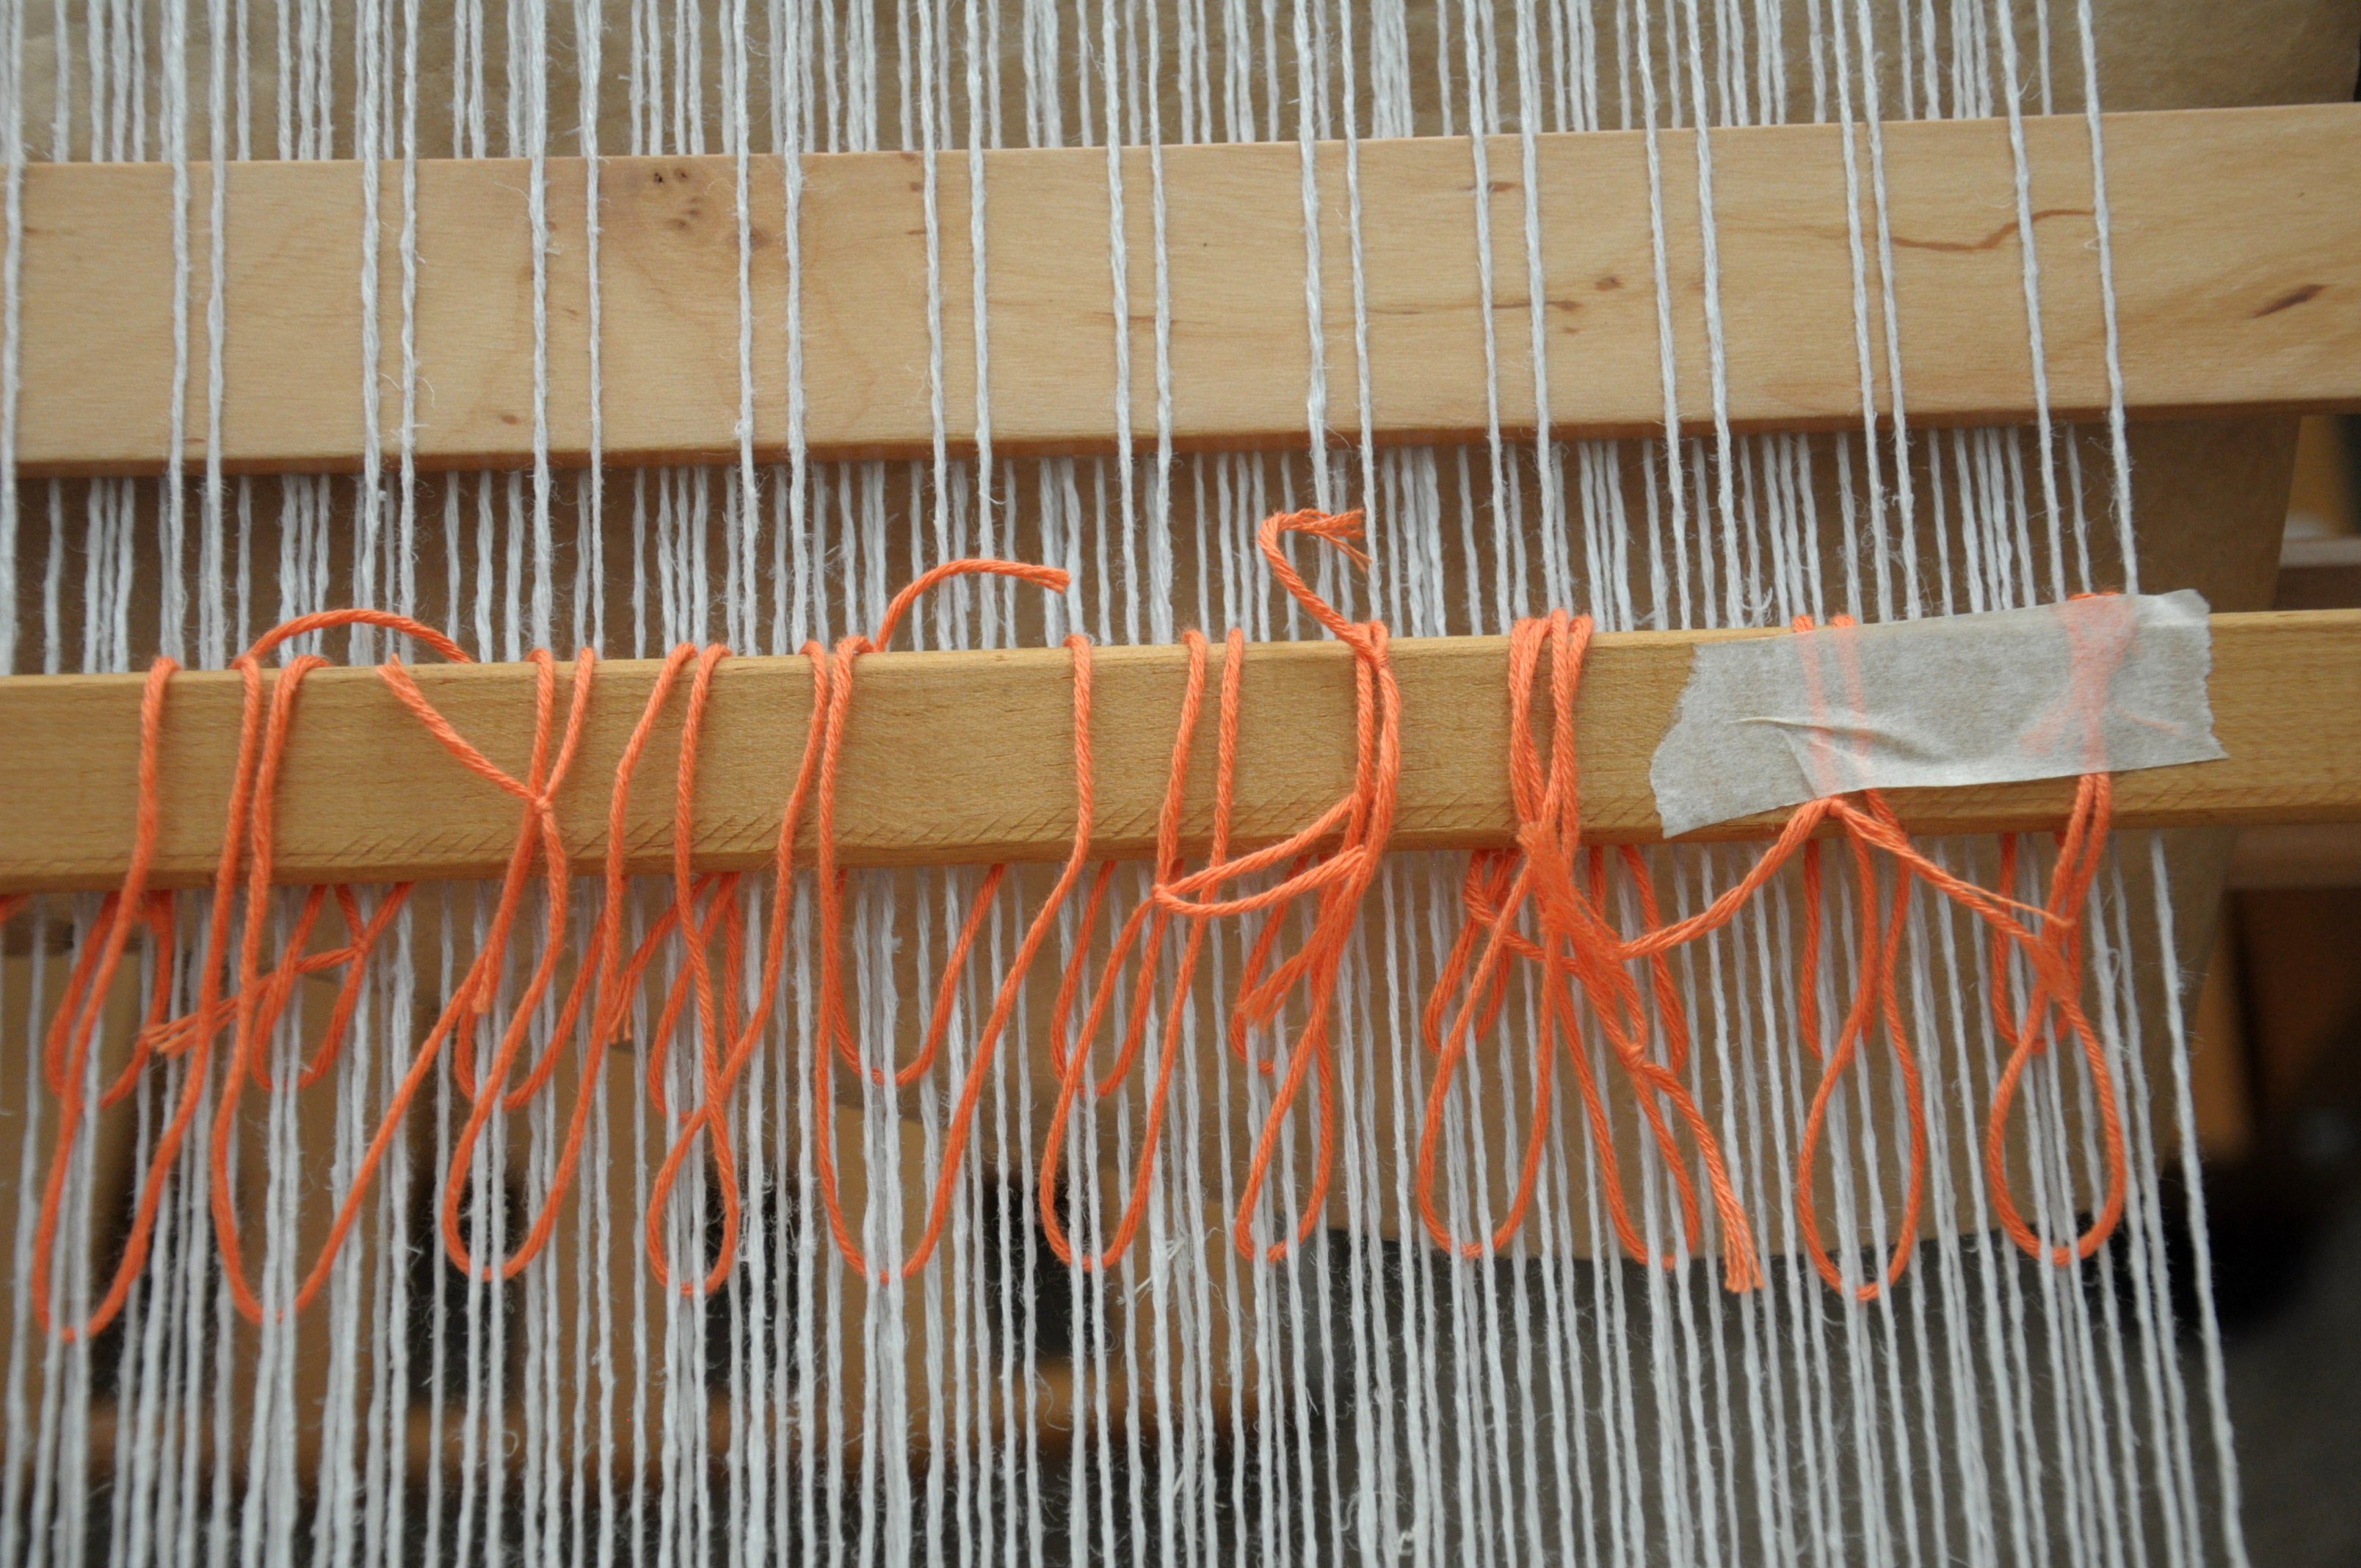
Then, the heddles need to get attached to the appropriate warp threads. Leaving my stick in place, I looped each thread around the warp, and then around another long stick.

Heddles_3

Once all the heddles are attached to the stick, I put a piece of tape on either end, securing those last several heddles so they don’t slide off.

Heddles_4

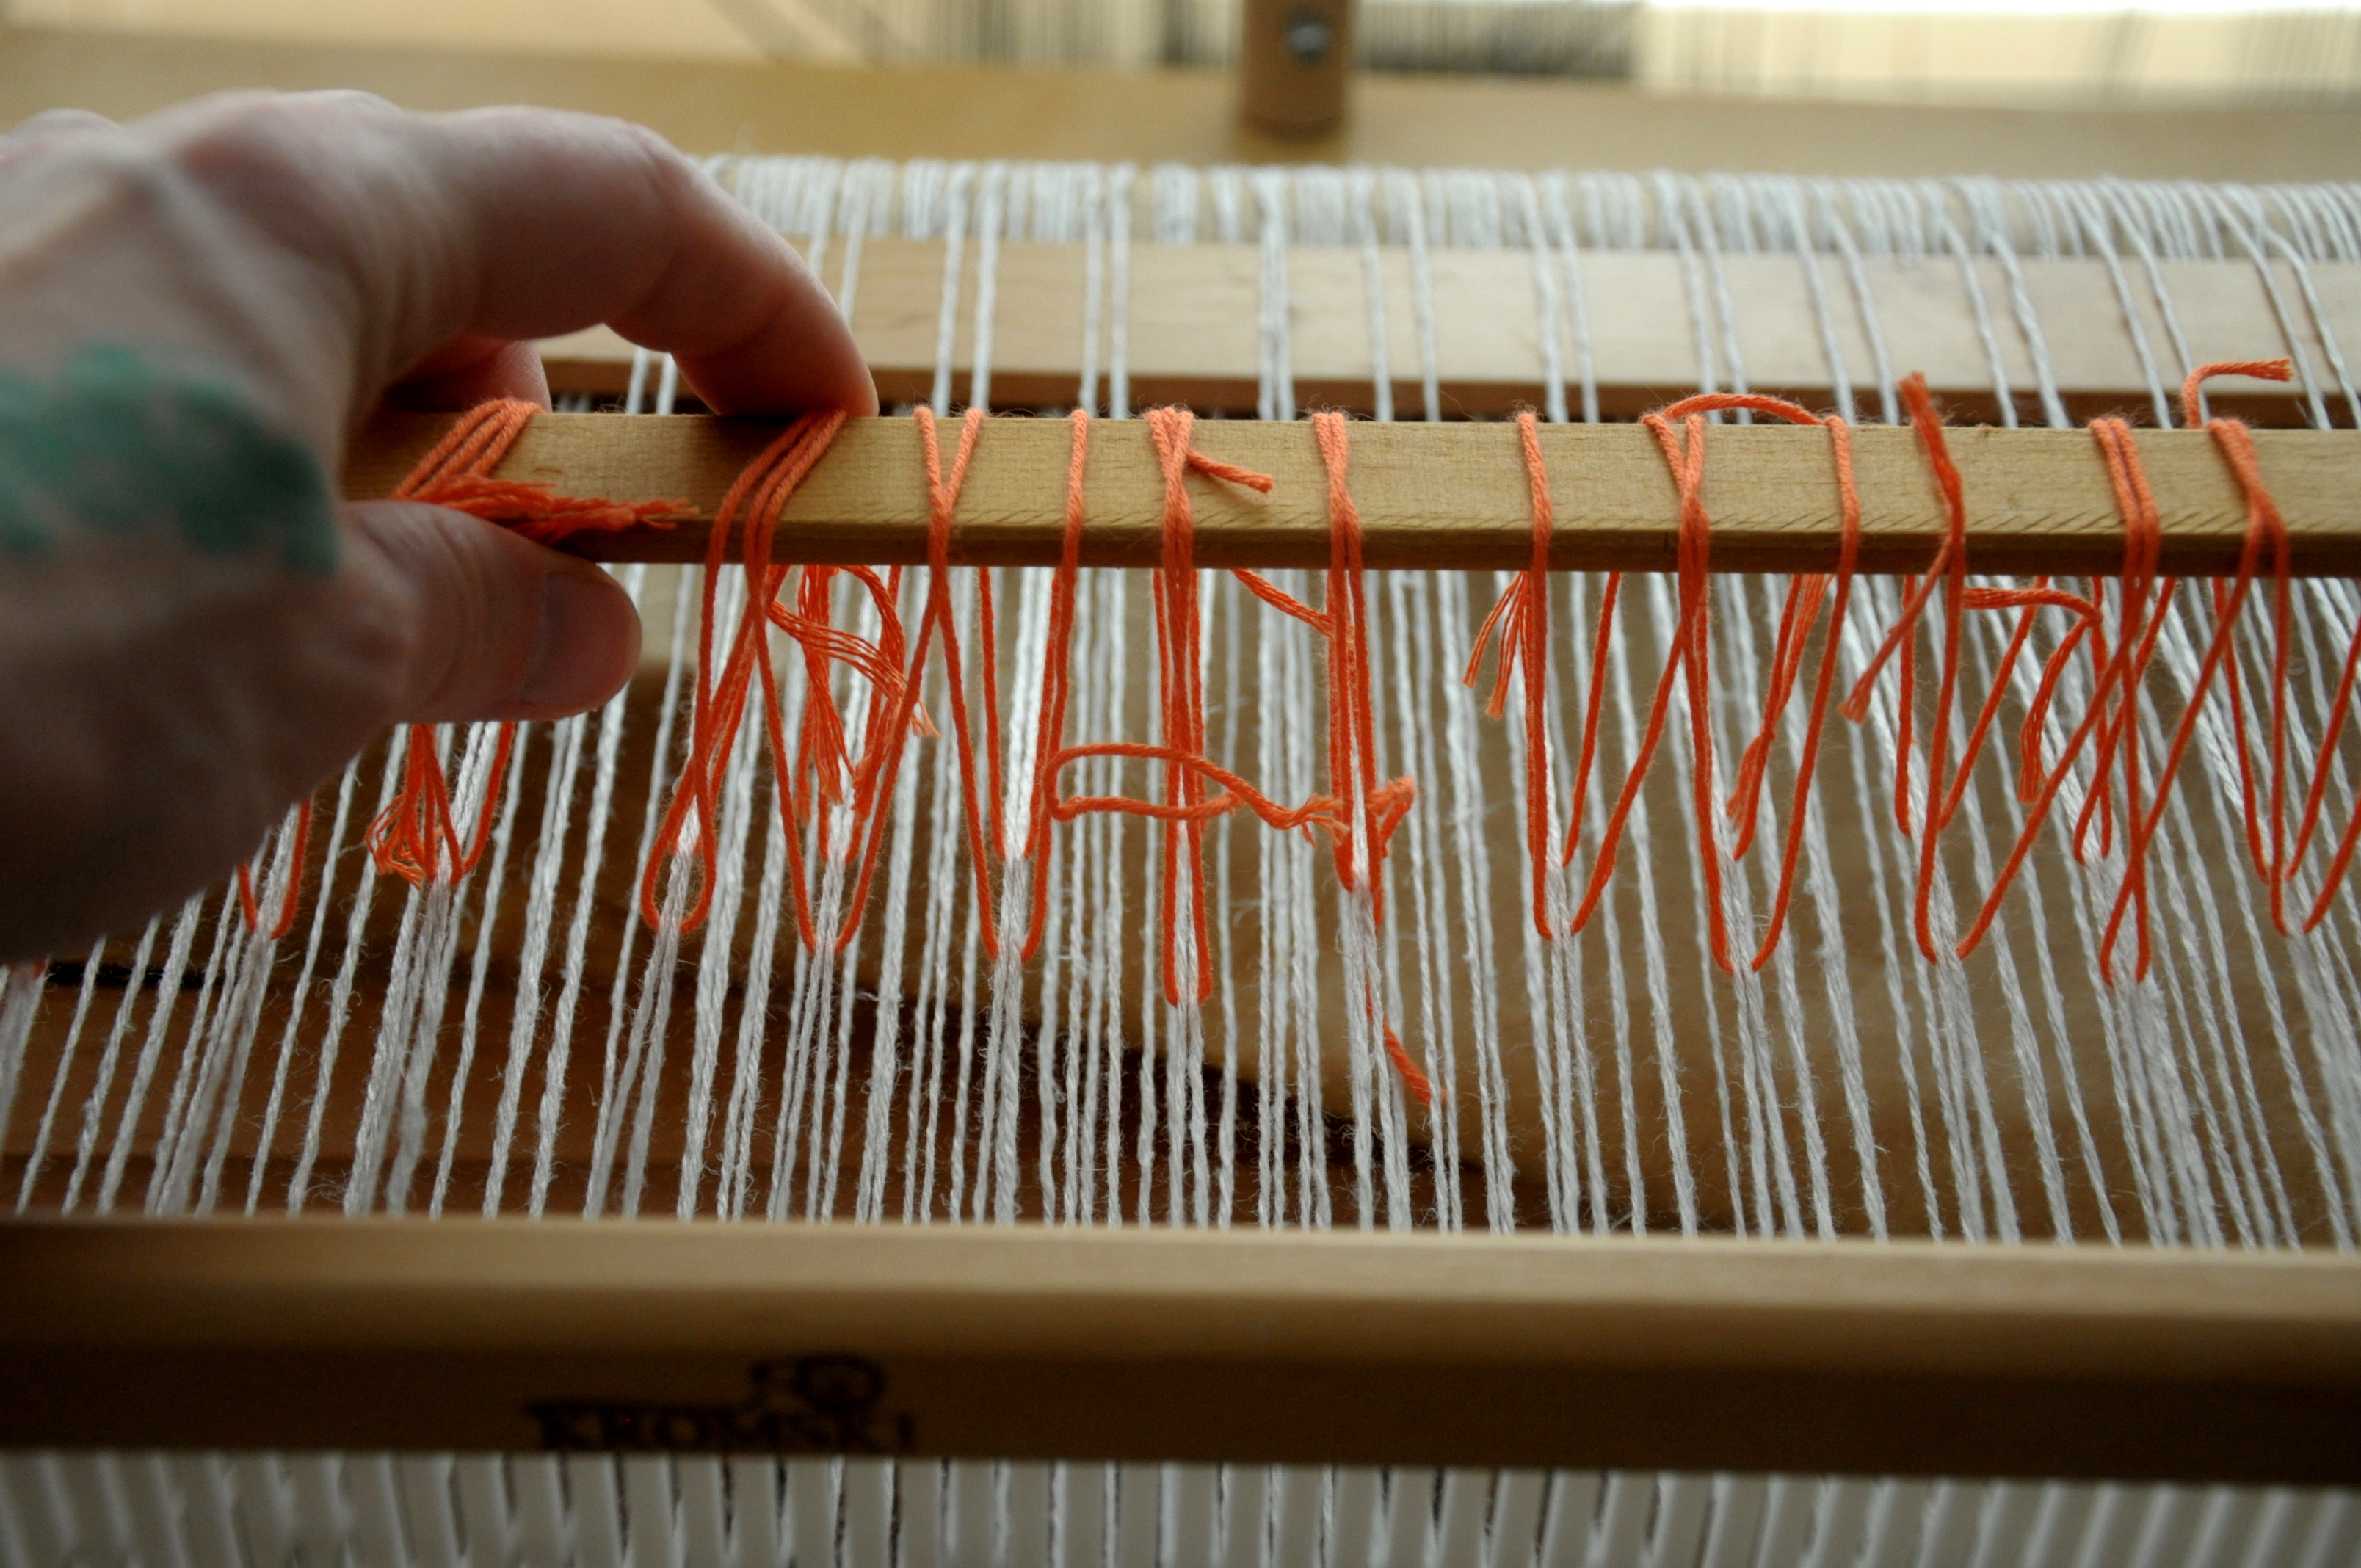
Once it’s time to use pick-up stick 2, make sure pick-up stick 1 is slid all the way to the back, move stick 2 forward and lift.

Heddles_6

That’s all there is to it! It’s one of those things, I think, that sounds harder and more complicated than it actually is.

And now it’s finally time to start weaving!

Heddles_7

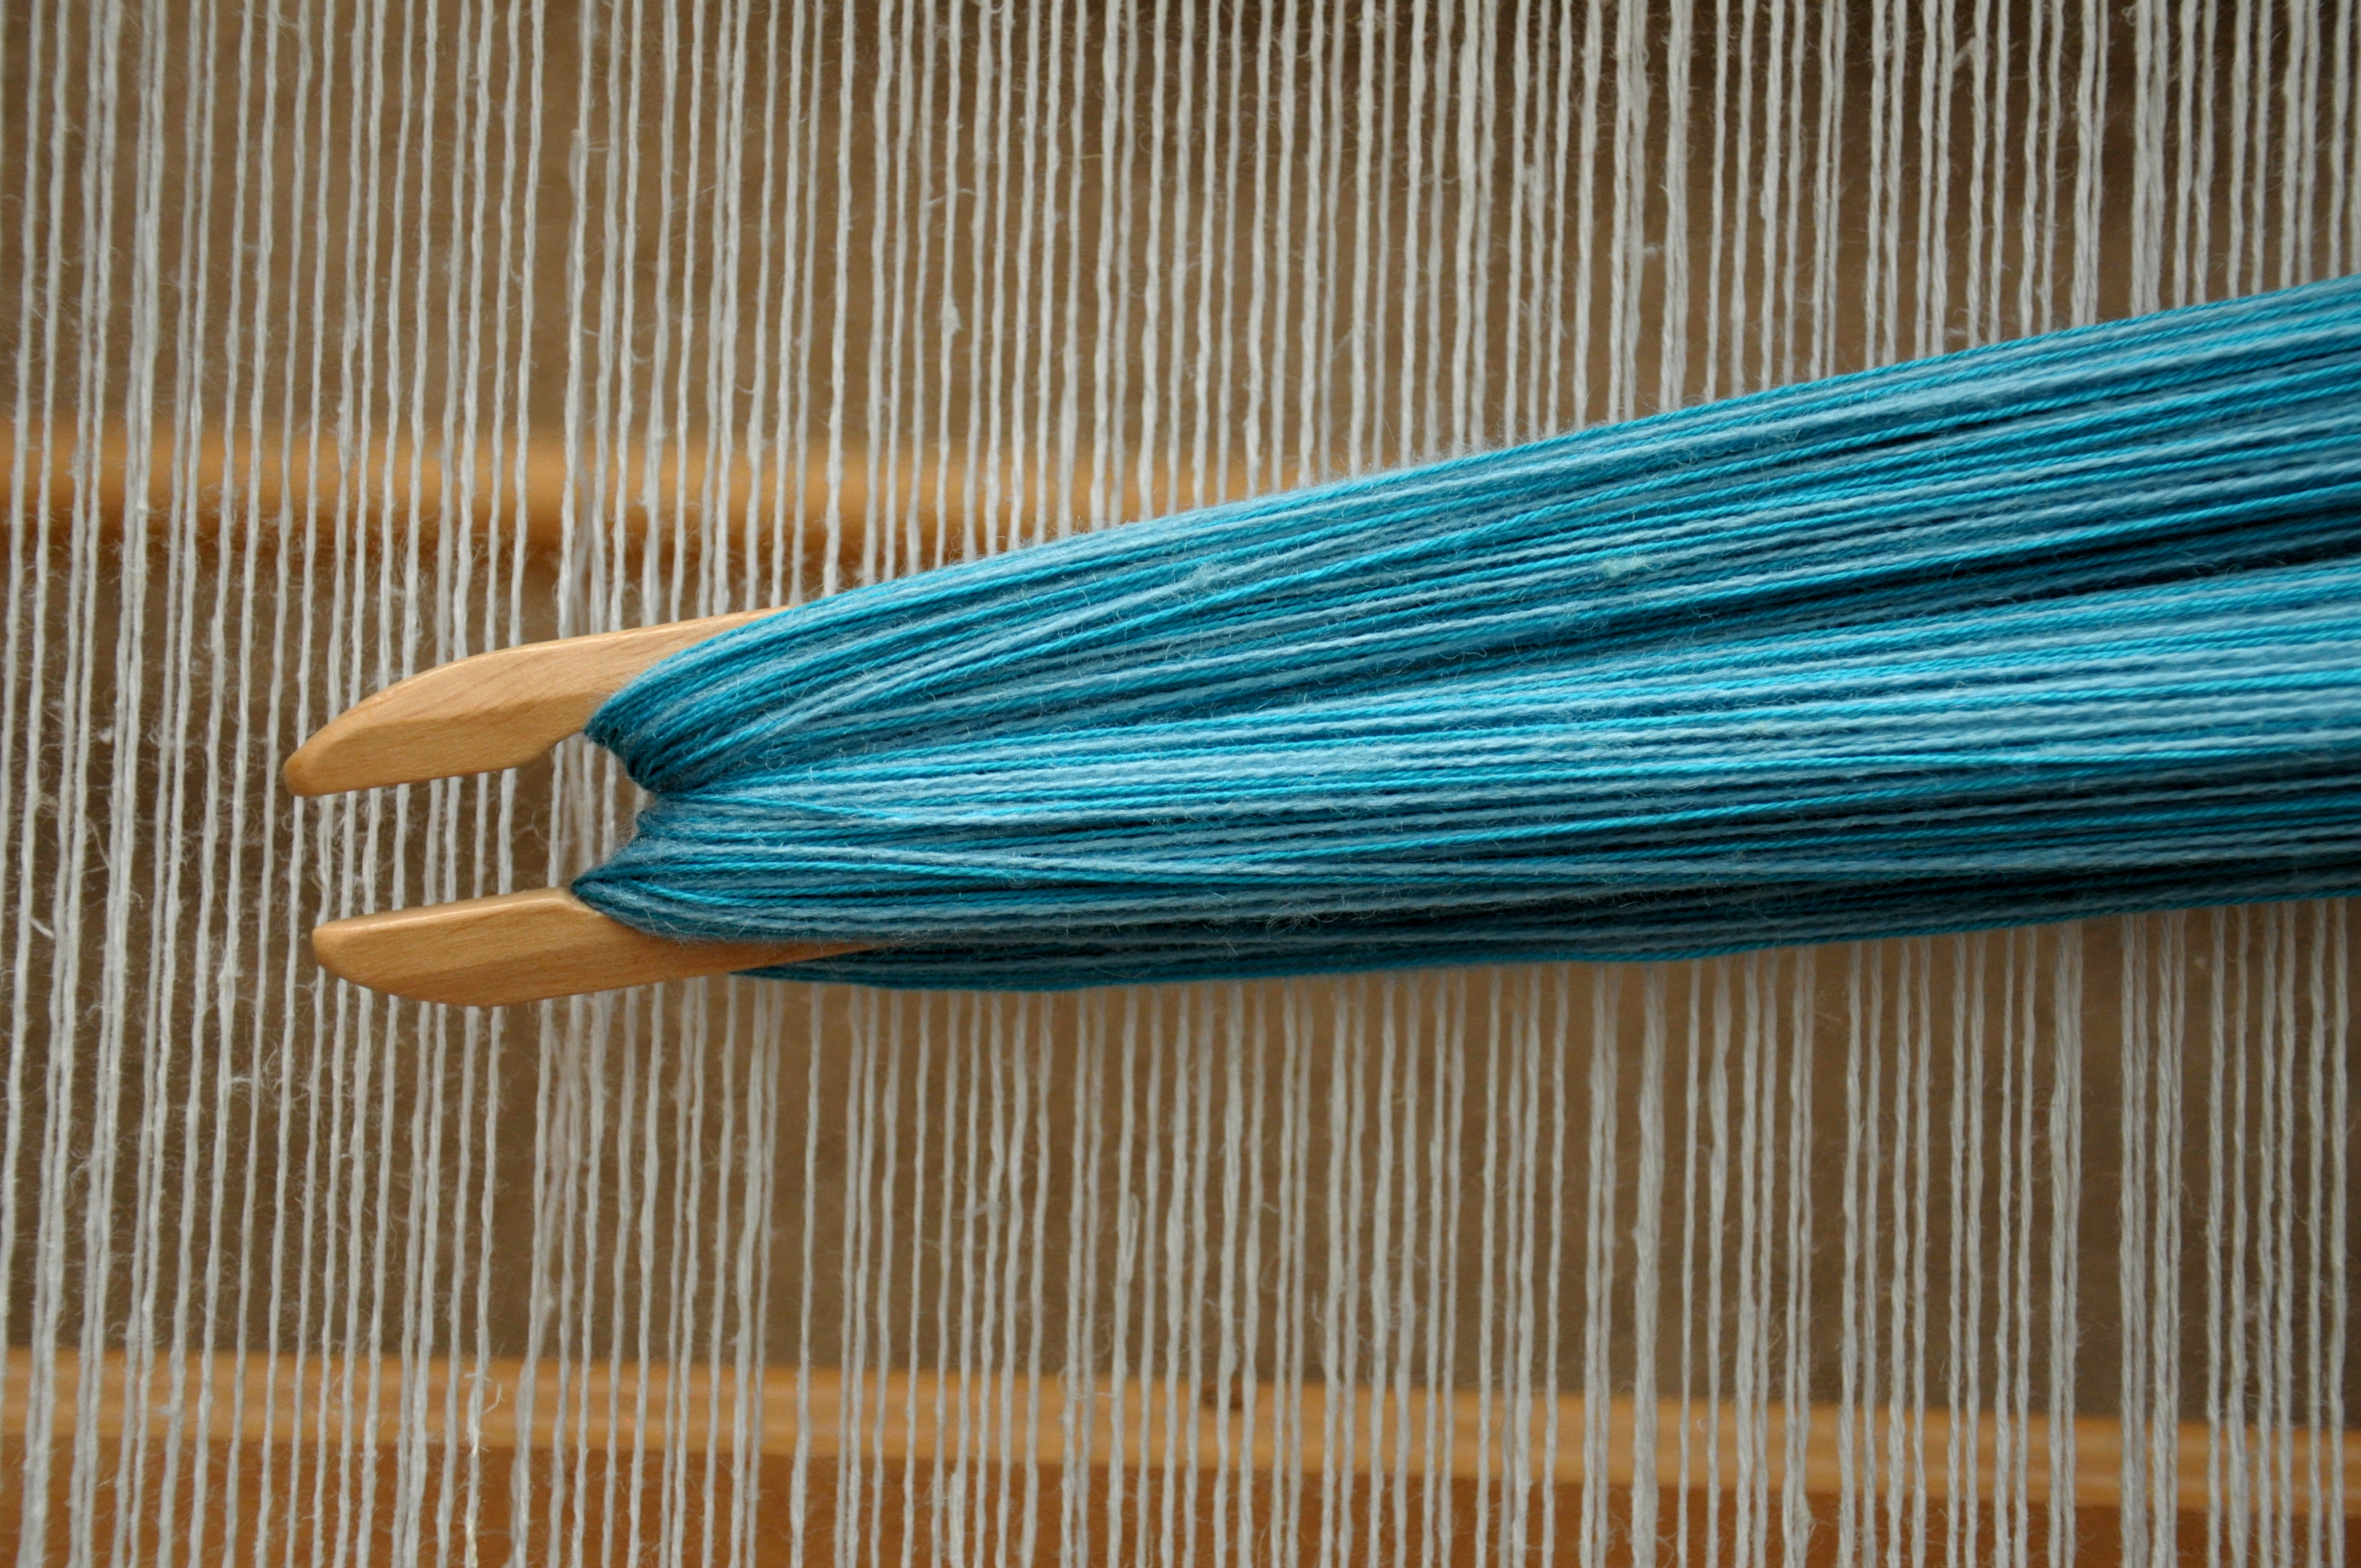
I adore how the Whisper Lace and Garden look together all wrapped on the shuttle ready to be something.

Heddles_8


See you next time for those string heddles in action.

Free Pattern Friday – Waves Cardi

It’s Free Pattern Friday!

WavesCardigan_Lumen_front_blog

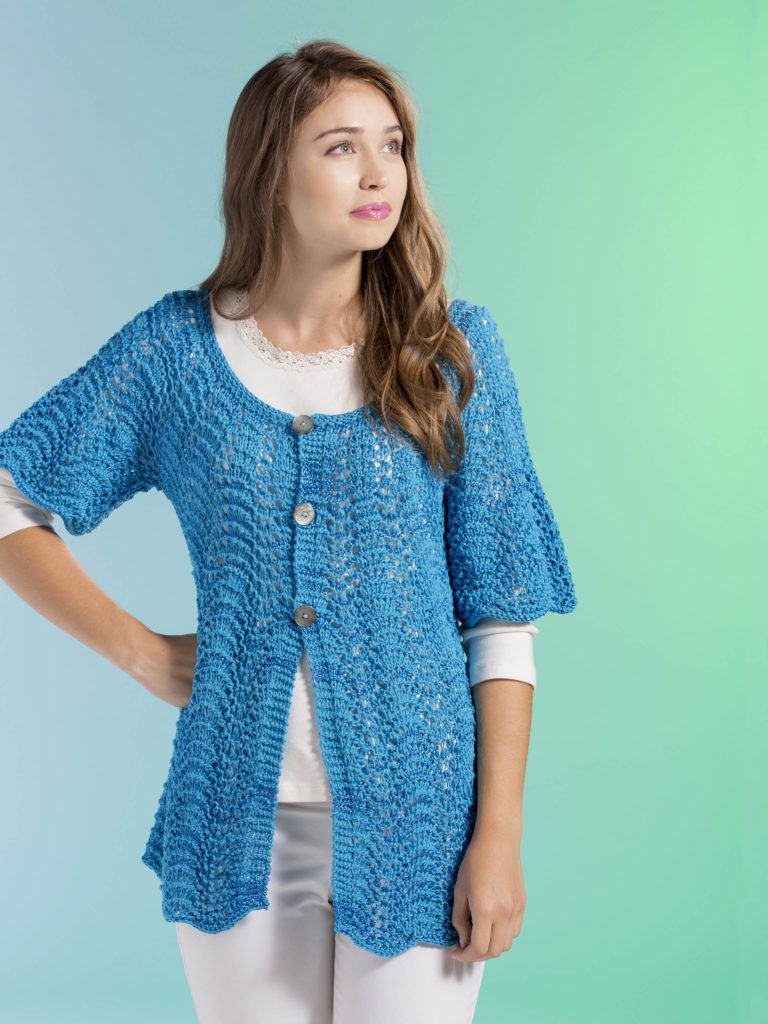
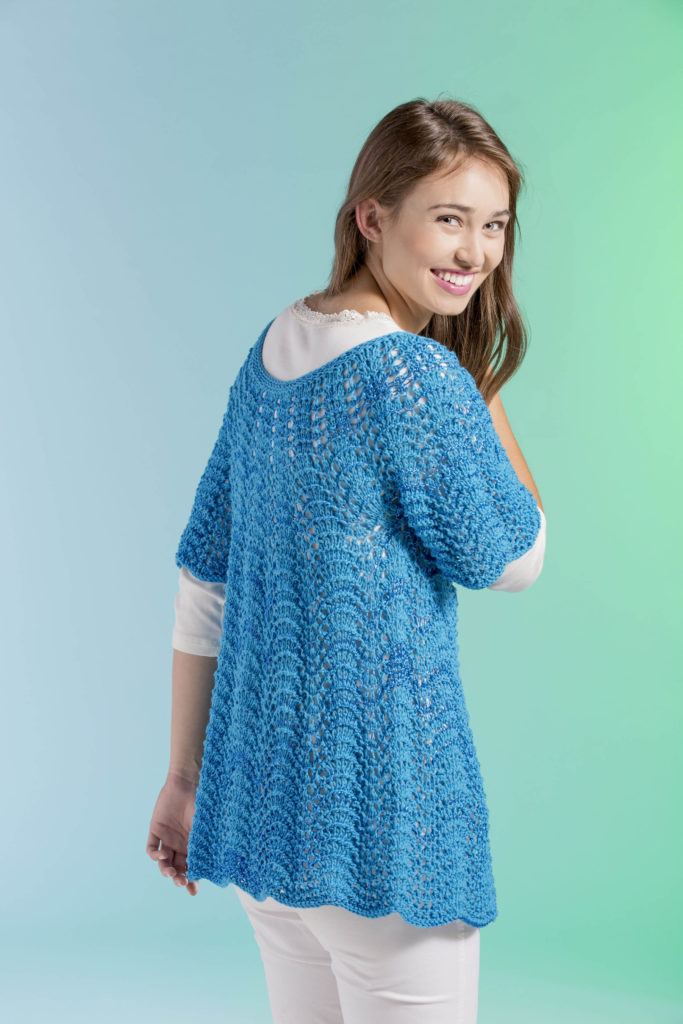
Today, the Waves Cardi in Lumen.

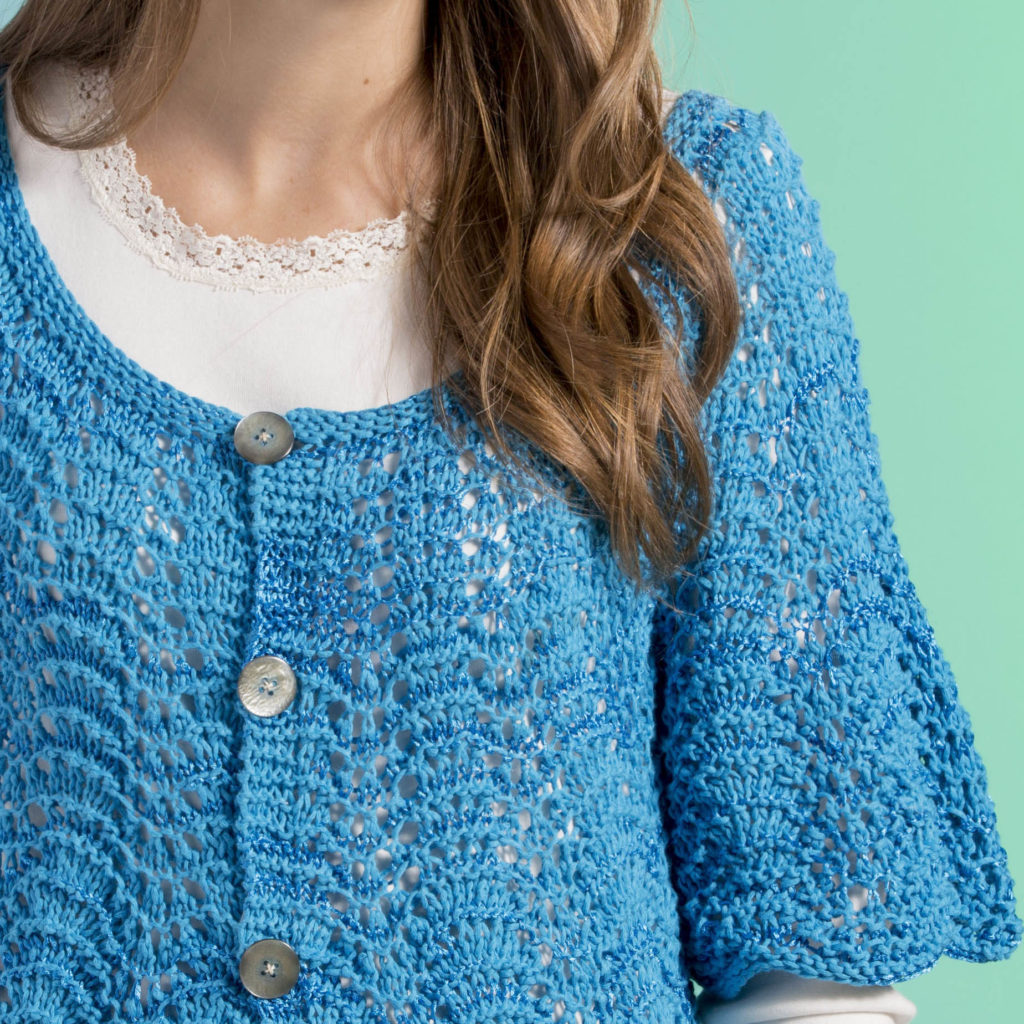
Feather and Fan is a classic for a reason.  It gives motion and texture to an otherwise plain knit.  And in this pattern, the addition of a few well-placed increases gives shape to a lovely cardi.

WavesCardigan_Lumen_front_detail_blog

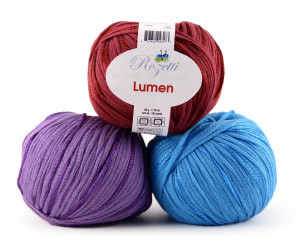
Lumen 3 ball stack blogWe’ve chosen Lumen (134yds/50g) for this design because its blend of fibers goes well with open lace to create a great warm-weather piece.  A mix of matte cotton and shiny viscose sections gives this garment a little extra shine to take it to the next level.

We hope you have an uneventful Friday the 13th, and a great weekend!

WavesCardigan_Lumen_back_180


Warping for Flame Lace Top

I’ve been so excited to get started on a new weaving project! Now that I’ve finally finished up my very old UFO, I’m ready for the next thing.

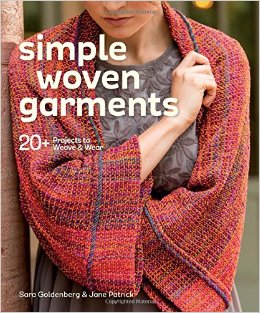
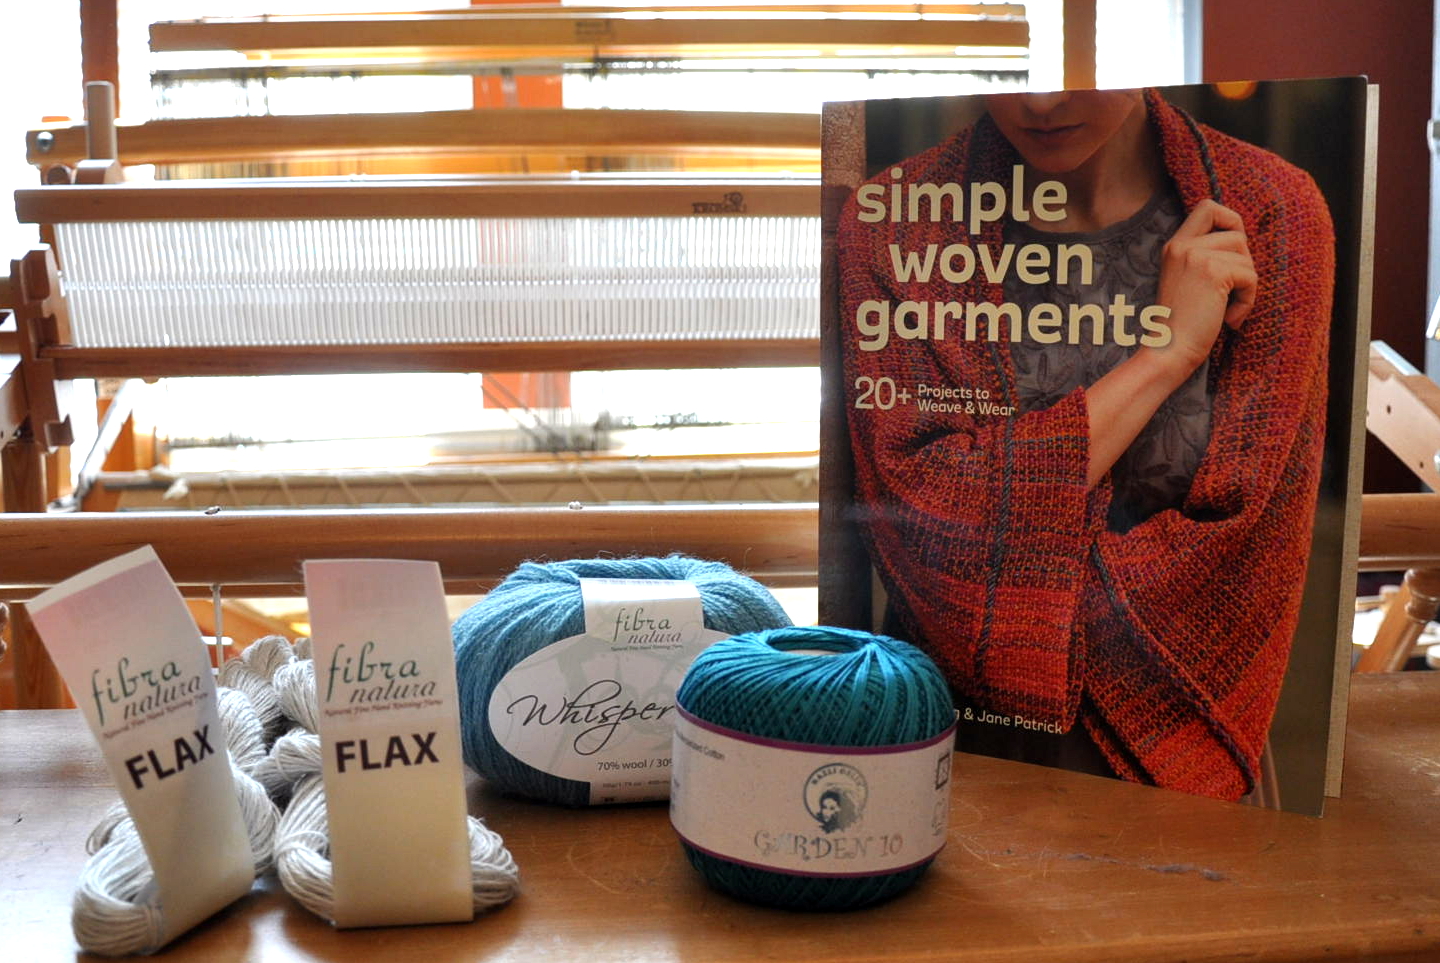
I recently got my hands on a copy of Simple Woven Garments, a fantastic book by Sara Goldenberg & Jane Patrick.
617cZvdAEfL._SX258_BO1,204,203,200_

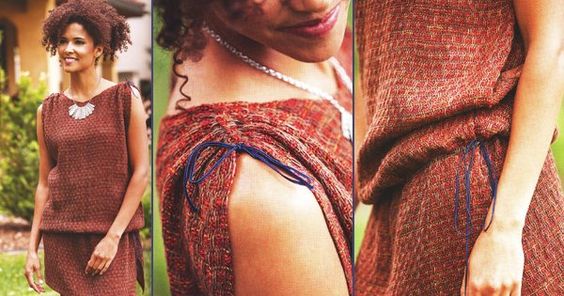
As the cover promises, there are instructions for over 20 garments in this beautiful book. It’s written in a very approachable way, and the photos are really inspiring. I flipped through the pages many times before finally settling on the Flame Lace Top (page 90)  to try first.
7051e25ed09687dcfb61e365b0d85b34

And after reviewing the required materials, I realized we have good substitutes for all the yarns used in the project, so it was settled. I think I’ll probably change some of the finishing details in this piece, but more on that in future posts. I think what most drew me to this project was the pattern in the weaving. I also think the gathered shoulders are pretty cute.

I took out my notebook, AKA weaving diary, and started first by recording all the beginning information for my project. Here is what I wrote:

Warp Yarn: Flax, color 17 Silver

10 dent reed

Weaving width: 24″/240 ends

Warp length: 100″

From this, I calculated how much Flax I needed for my warp. 240 ends x 100″ = 24,000″ or 667 yds. This comes out to just under 5 hanks of Flax.
FlameTop_1

My weft yarn, as you can see, will be Whisper Lace and Garden 10; 1 strand of each held together. Though I love the warm colors in the original project, I tend to be a cool colors kind of person.

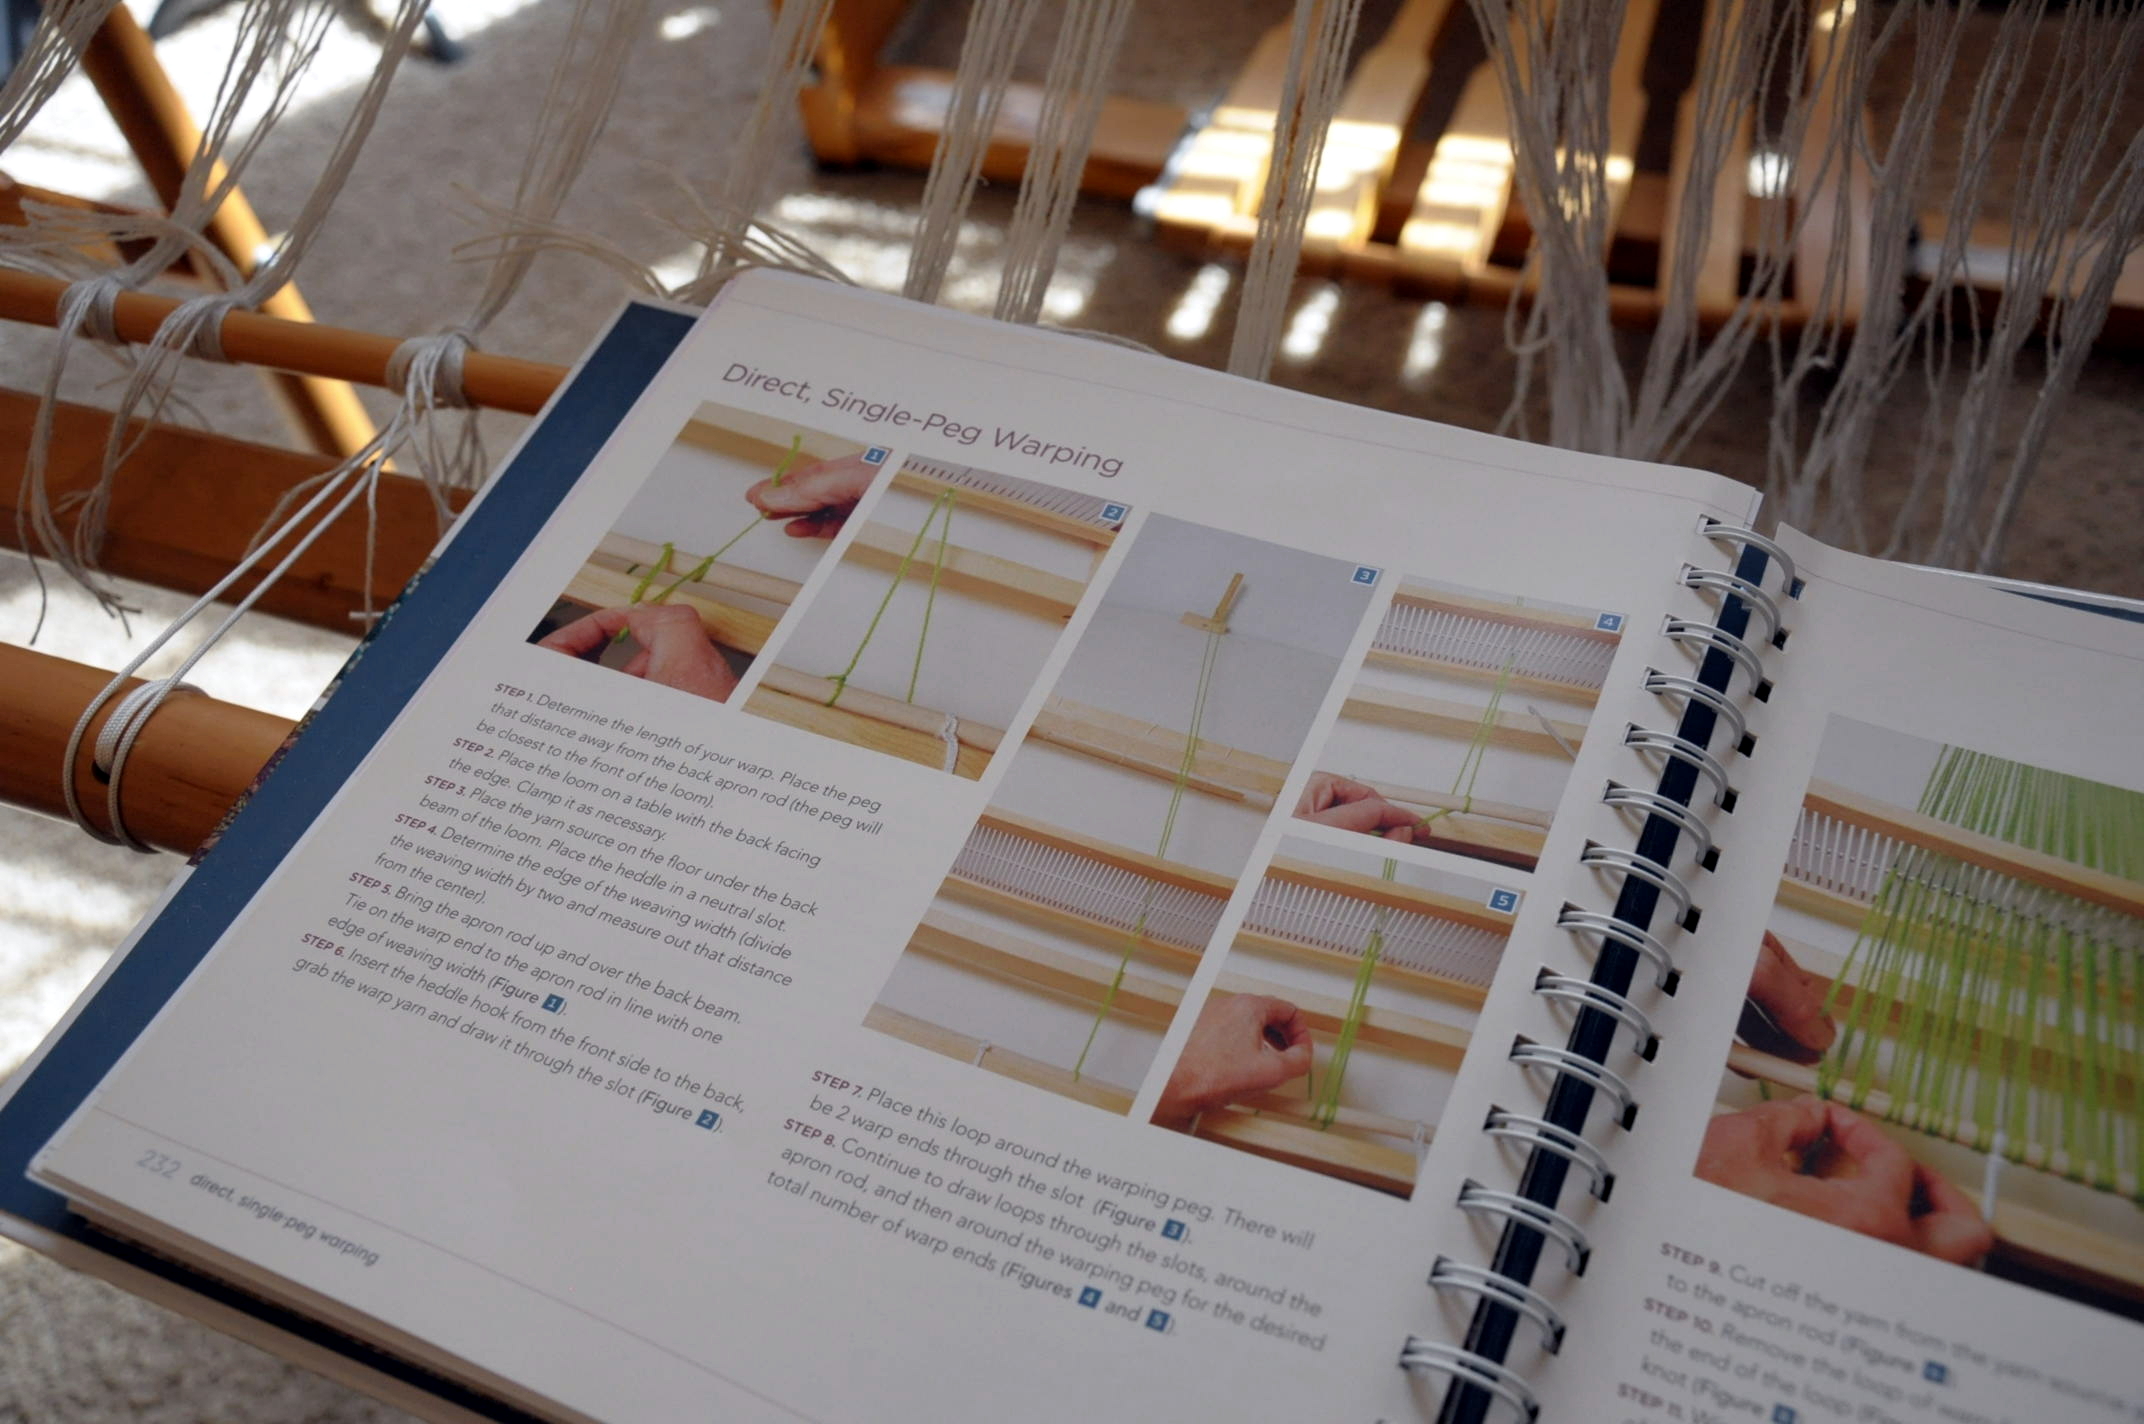
It had been long enough since my last warp, that I took a look at my copy of the Weaver’s Idea Book (also by the talented and informative Jane Patrick!) for a refresher. There are handy step-by-step photos of single-peg warping in the pages, which is the method I used.
FlameTop_4

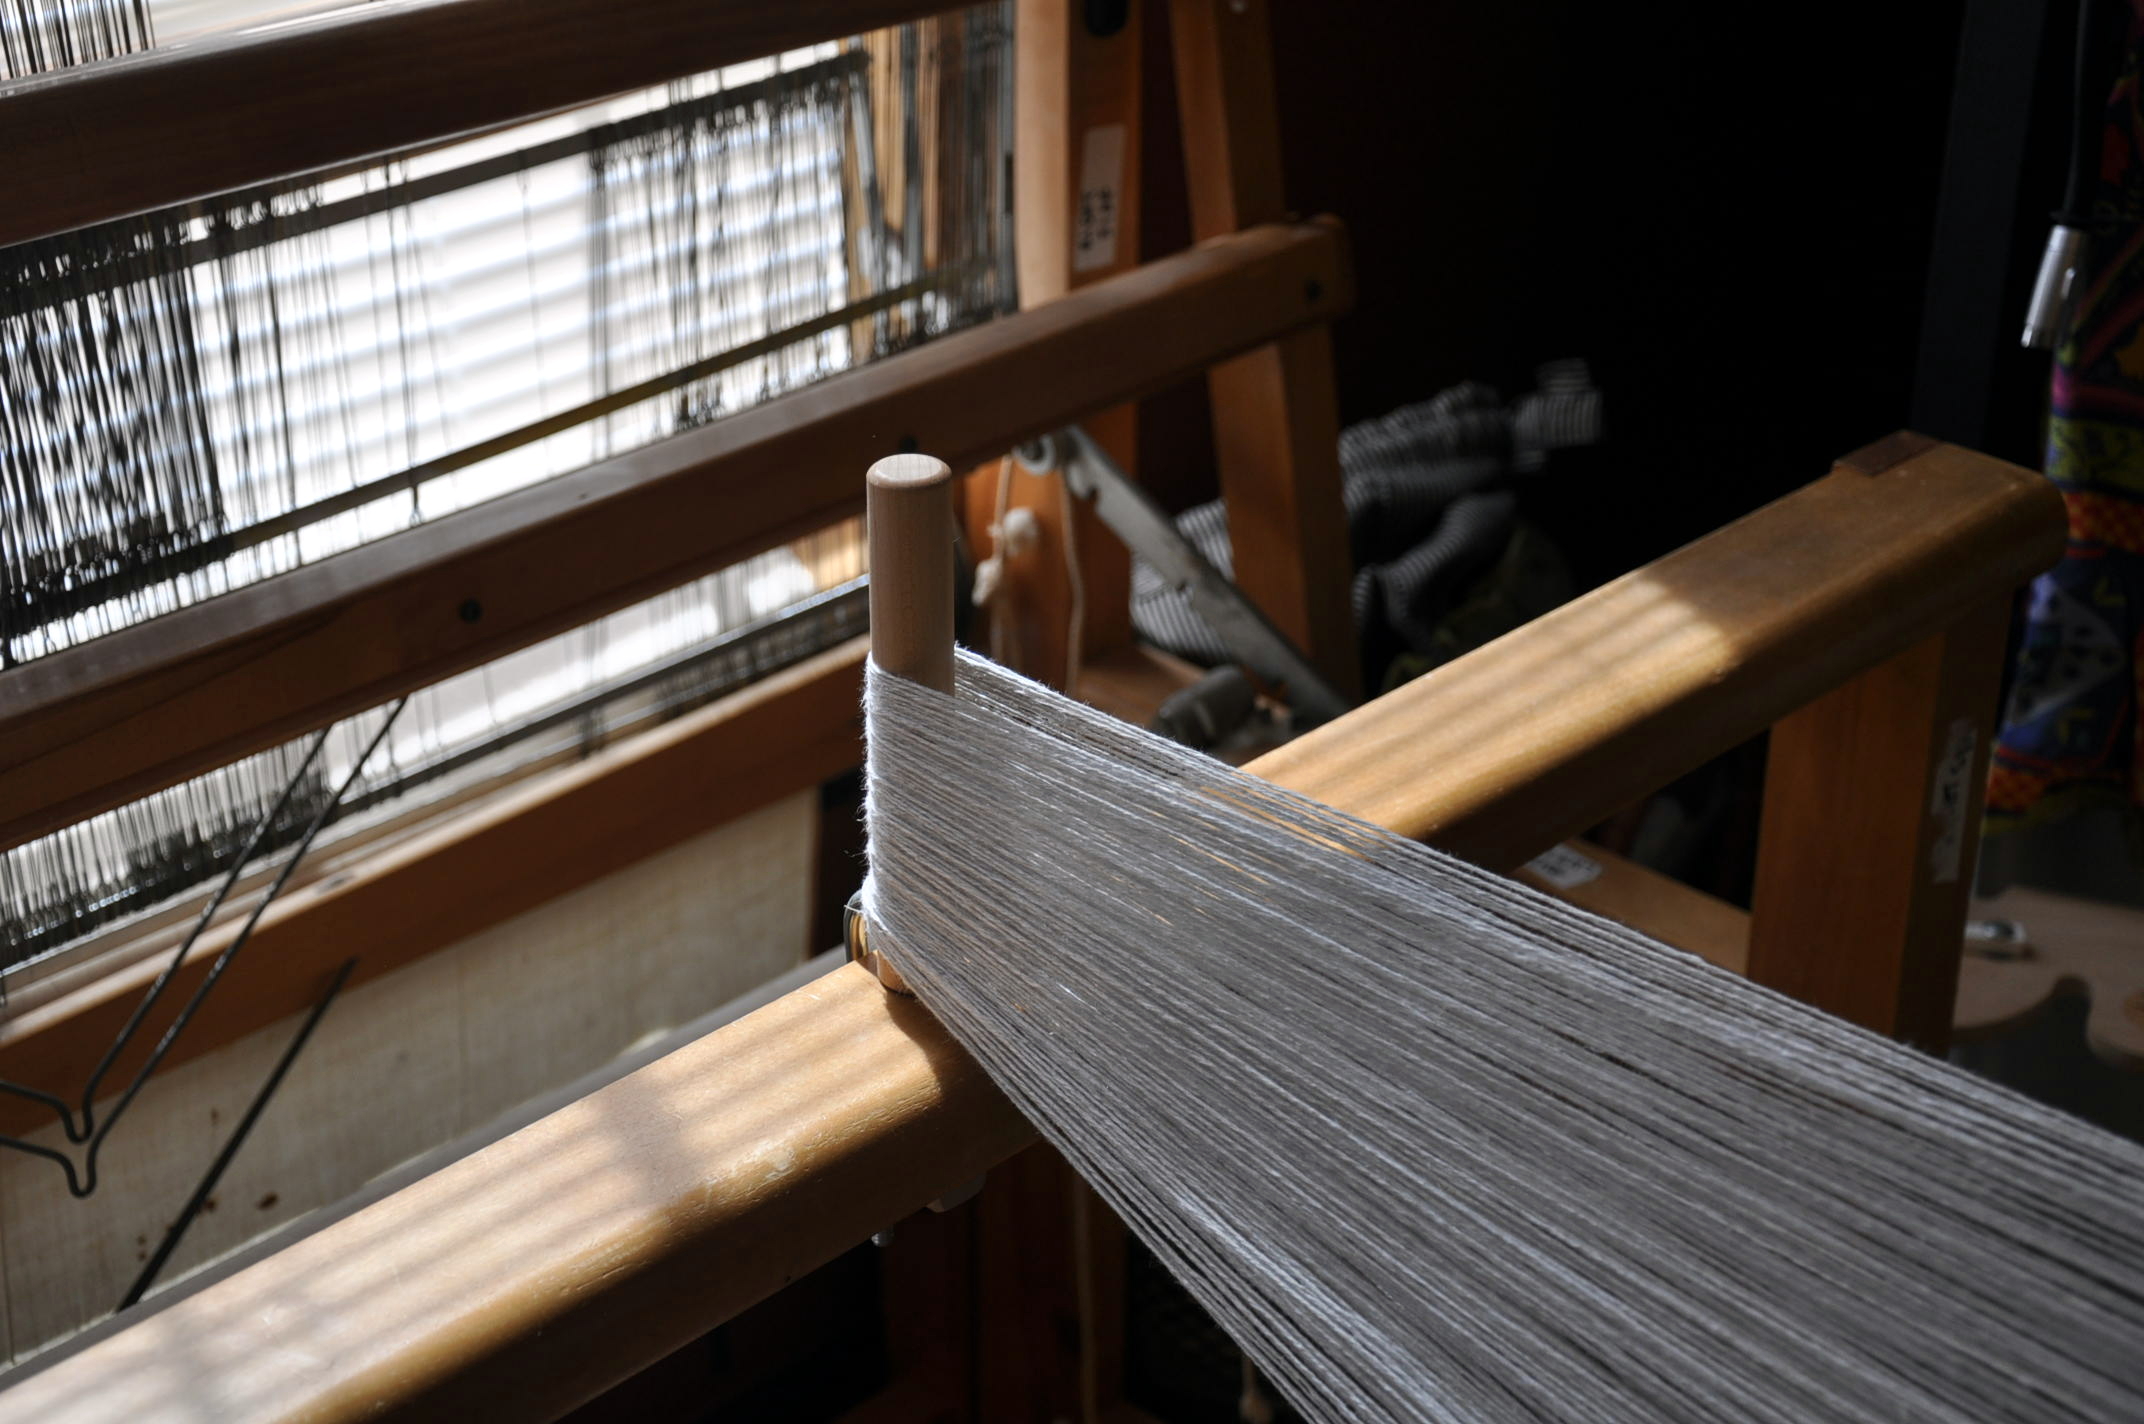
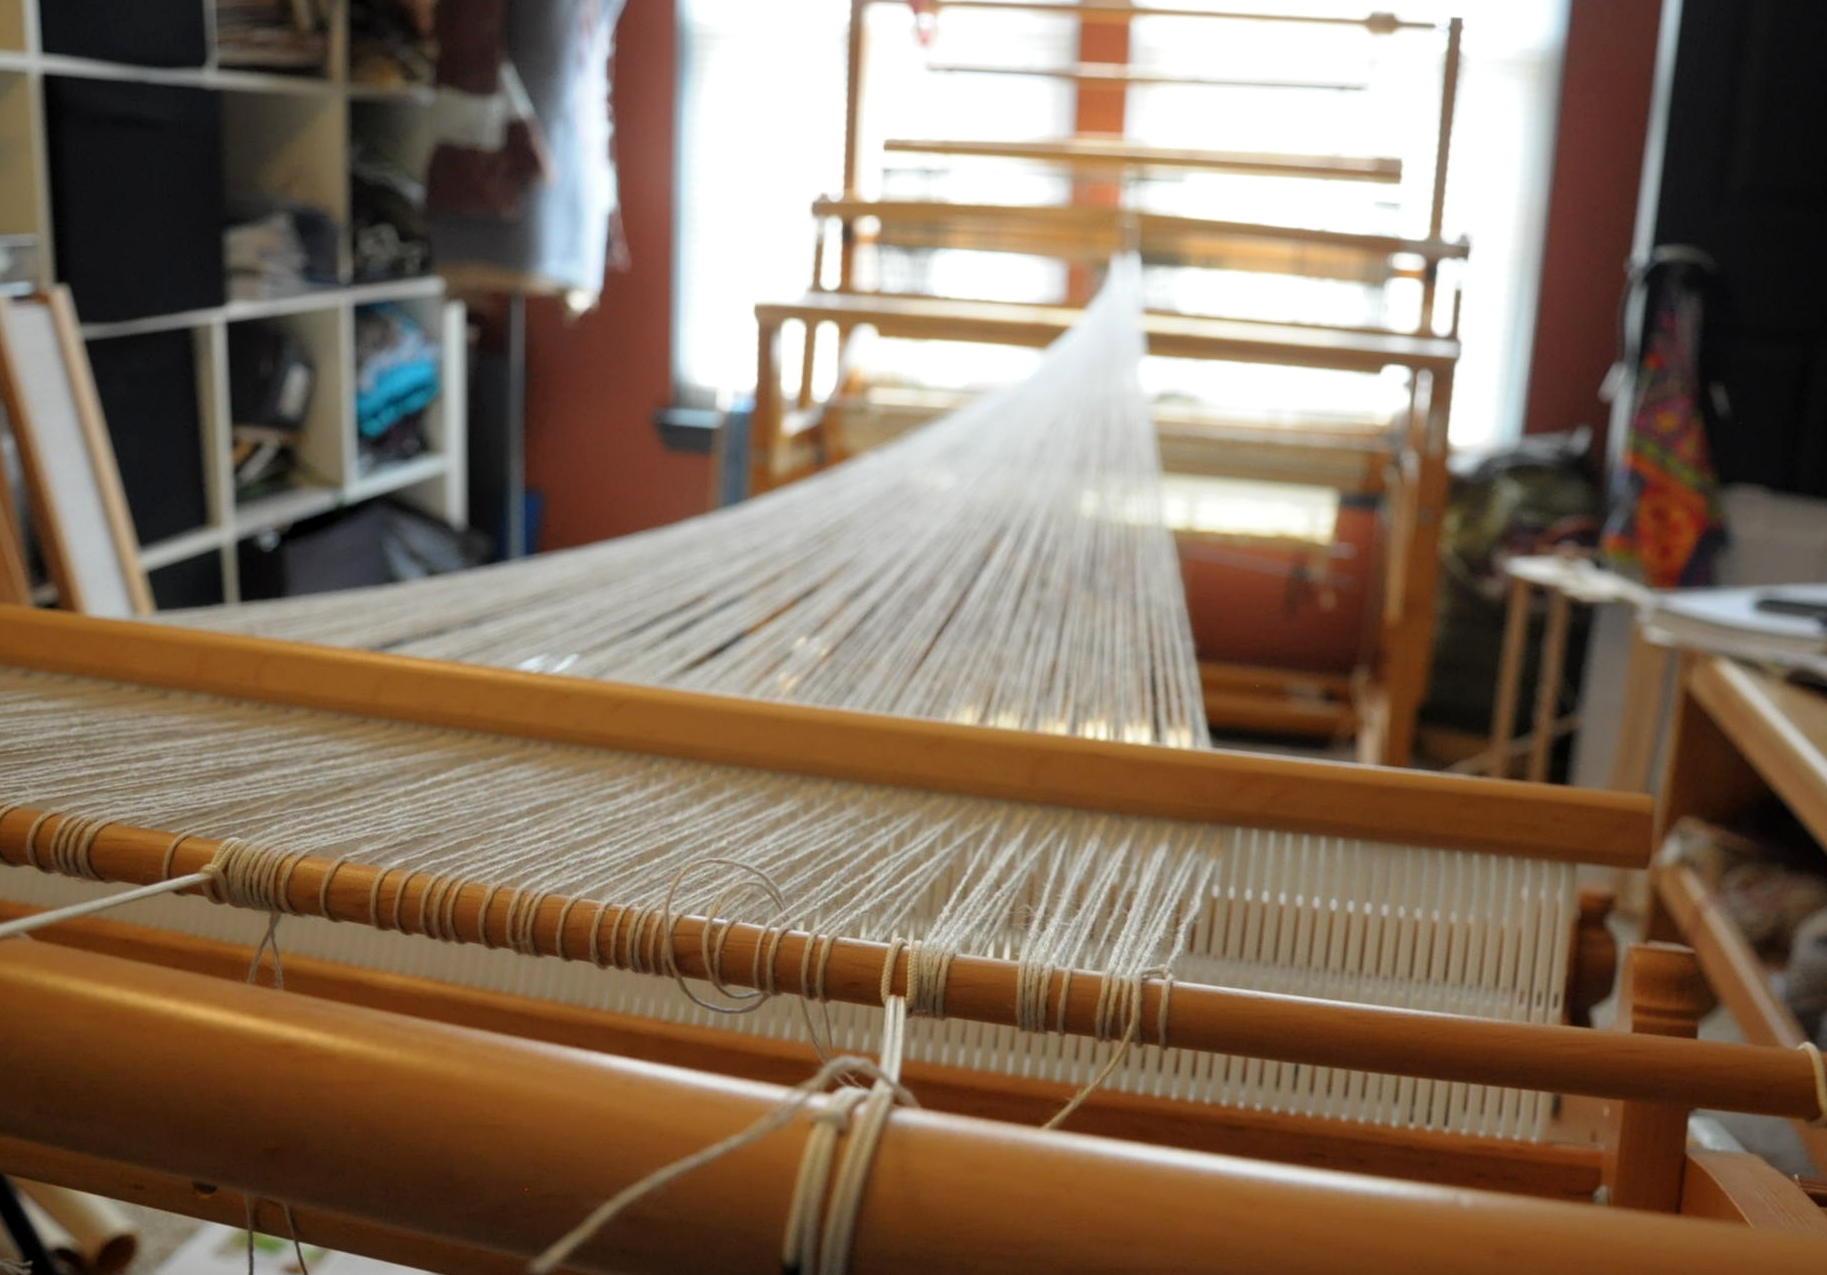
My personal favorite place to clamp my warping peg is to my shaft floor loom, a Fanny LeClerc. It’s the only time she every gets used and it makes me sad. Since moving into my current house a couple of years ago, poor Fanny sits looking beautiful in all of her multi-shaft glory, completely unused. Fanny, we will work together again soon, I promise.
FlameTop_2

If I clamp the peg to the front beam of Fanny and place my rigid heddle across the room on the other wall, it’s typically the perfect distance for a good-sized warp.
FlameTop_3

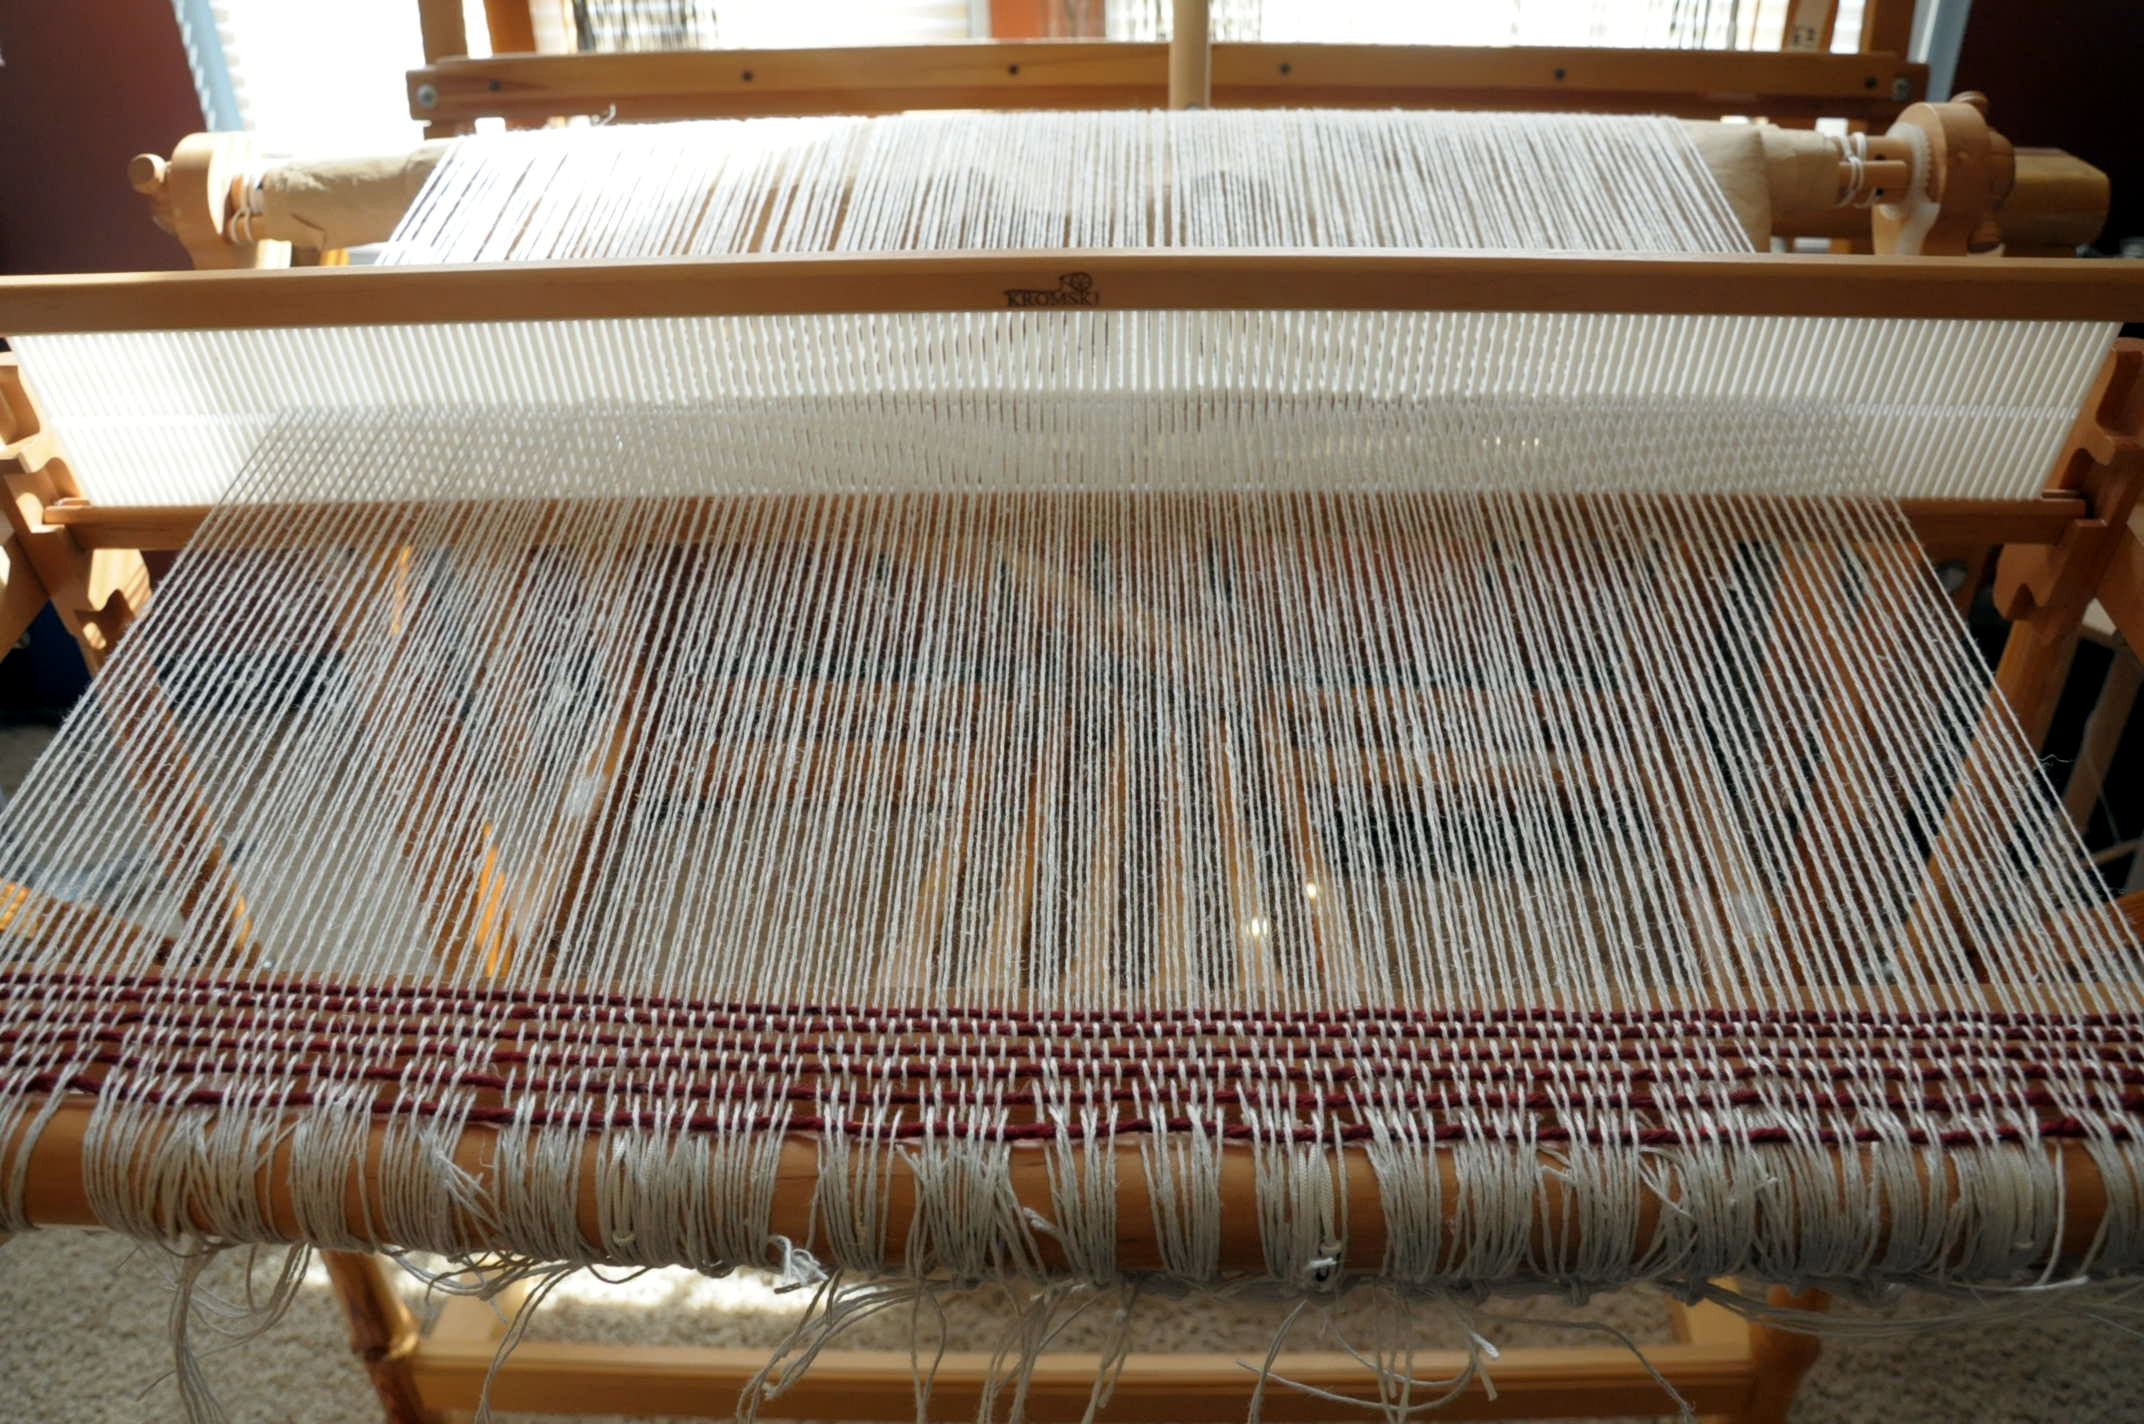
After warping, sleying the reed, and tying onto the front bar, I wove a few picks with waste yarn.
FlameTop_5

And there is the blank canvas that is a warp. It really does look to me like anything could happen here. That’s the fun, right?

Join me next time for the ins-and-outs of weaving on a rigid heddle loom using 2 pick up sticks. Fun times!
Free Pattern Friday – Reversa-Lace Scarf

It’s Free Pattern Friday!
CS Batik Reversible Lace Scarf over shoulder blog

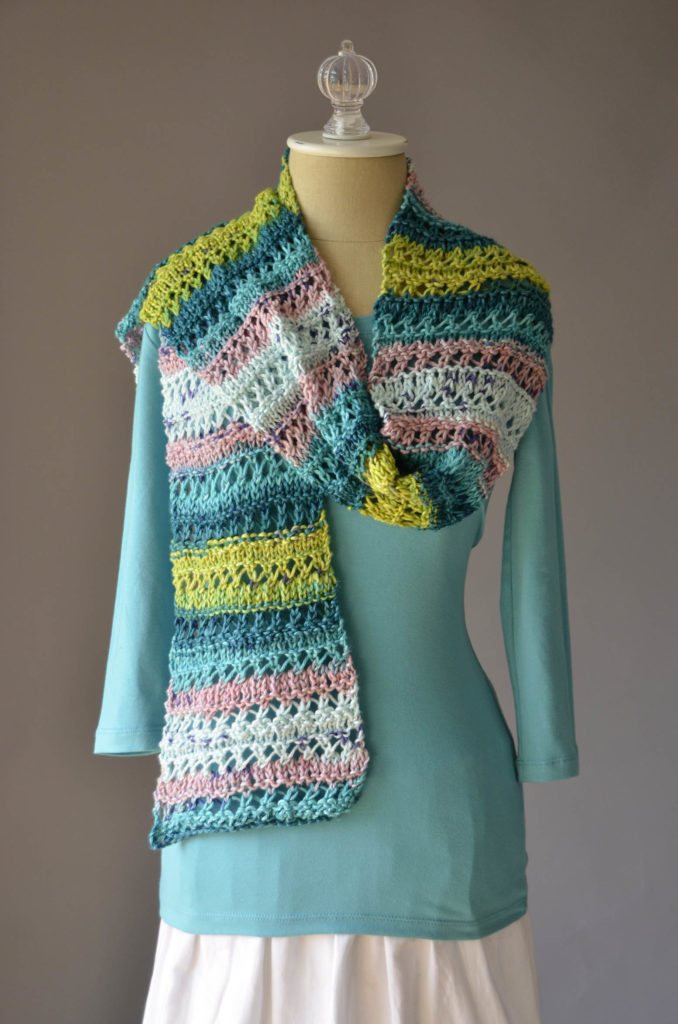
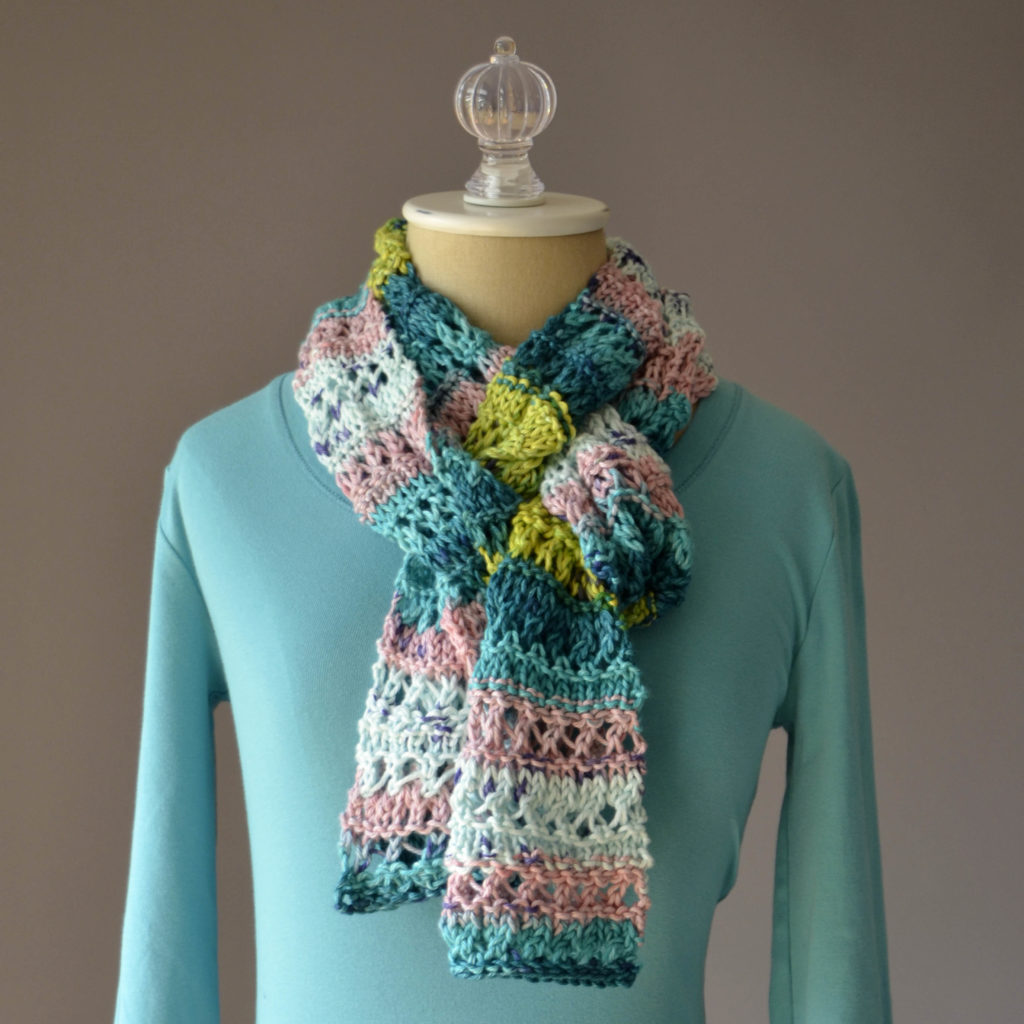
Today, the Reversa-Lace Scarf in Cotton Supreme Batik.

Self-striping yarn can be a blessing or a curse.  It looks so pretty, but sometimes when you actually knit it up it does unexpected things… and not in a good way.  That’s one reason Cotton Supreme Batik is a great choice for this pattern.  The striping repeats are very predictable, and they don’t overpower the lace pattern.

CS Batik Reversible Lace Scarf one wrap blogThis two-ball scarf in color 37 Mint Flower uses k2tog and yo to create its eyelets, making this a good basic lace pattern for beginners.  It’s more sophisticated than a simple netting, but there’s nothing too fiddly to deal with.

I love the way the striping matches up on both sides, and the way the lace shows rather than the yarn.  If you’re going to bother with a pattern, you want your work to show!

We hope you have a great weekend, with plenty of time to enjoy this beautiful May weather.

Happy knitting!

CS Batik Reversible Lace Scarf passthrough square

Better Late Than Never

I’m lucky to have a room in my house devoted to all things crafty. It contains my yarn stash, sewing machines, fabric, looms, and many other assorted odds and ends. I visit this room on a daily basis, usually to block a piece of knitting or to grab some yarn. Every day for the past, oh, 16 months, I’ve had to look at my poor little cricket loom, warped and ready to go. 16 MONTHS, people! I knew it had been awhile, but I didn’t realize just how long until I went back and looked at this blog post on sampling I did back in December of 2014.

Hanging head in shame.

But you know what? No. I refuse. Life is busy, I get distracted, and it’s impossible to get it all done. What’s important now, is that I’m all ready to finish what I started nearly a year and a half ago.

Way back when, I decided to do something new (for me) and “sample.” This is basically the weaving version of gauge swatching. And we all know how important gauge is, right? I was only sampling for a scarf, so it’s not as though gauge was a critical issue. It was more about making sure I was happy with the finished fabric. And it didn’t take heaps of time to sample, either, and I’m so glad I did it.

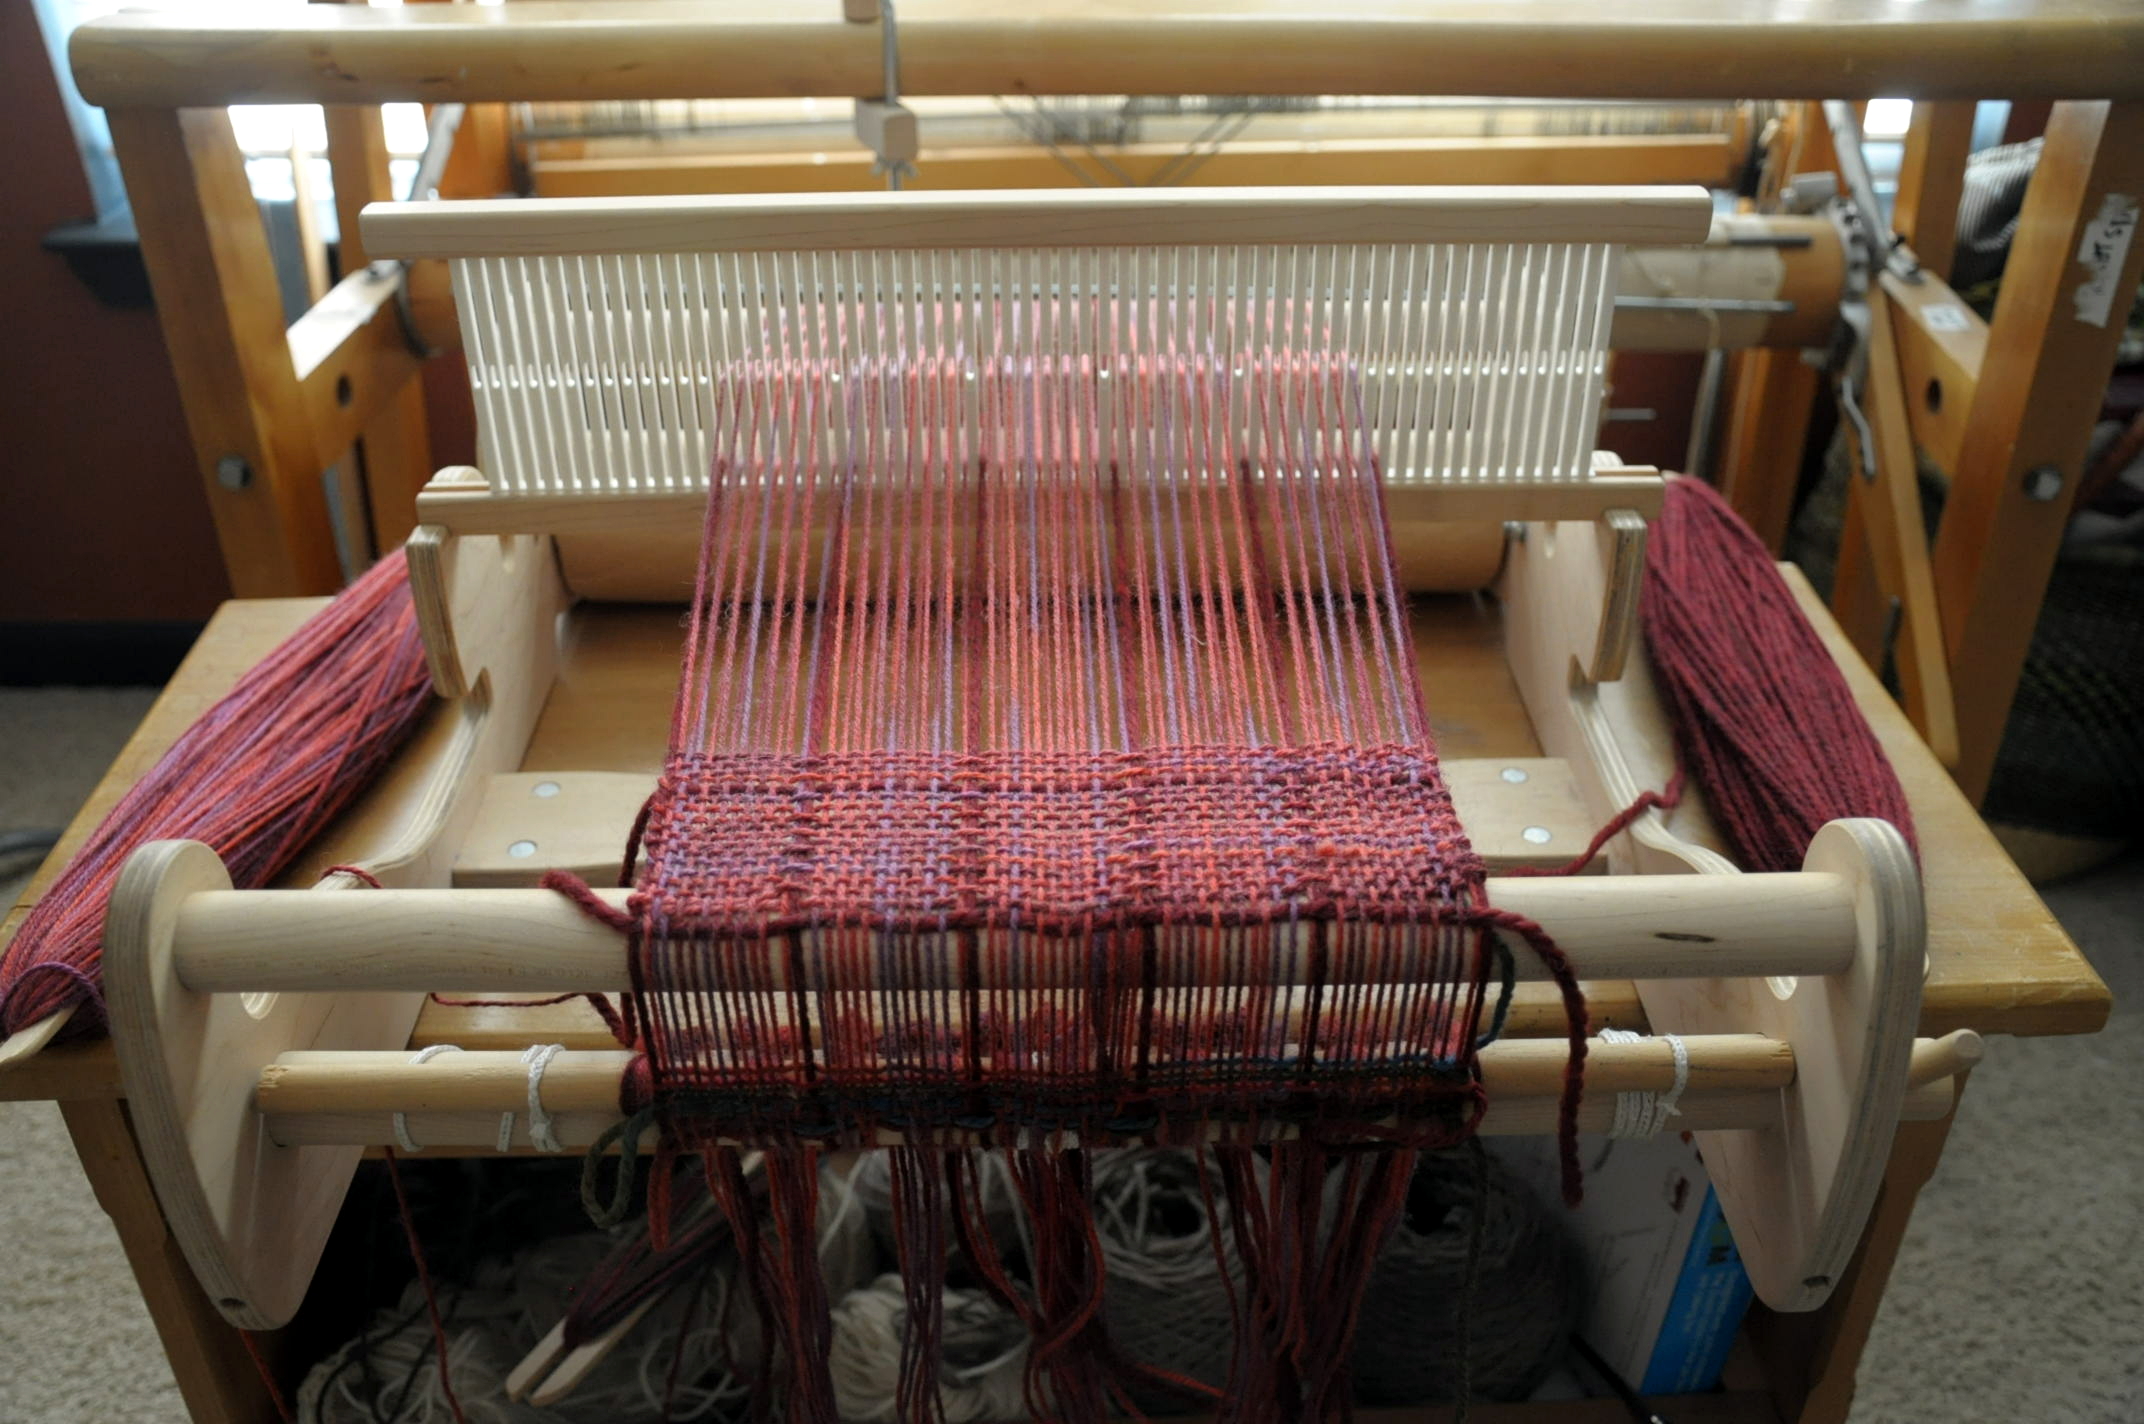
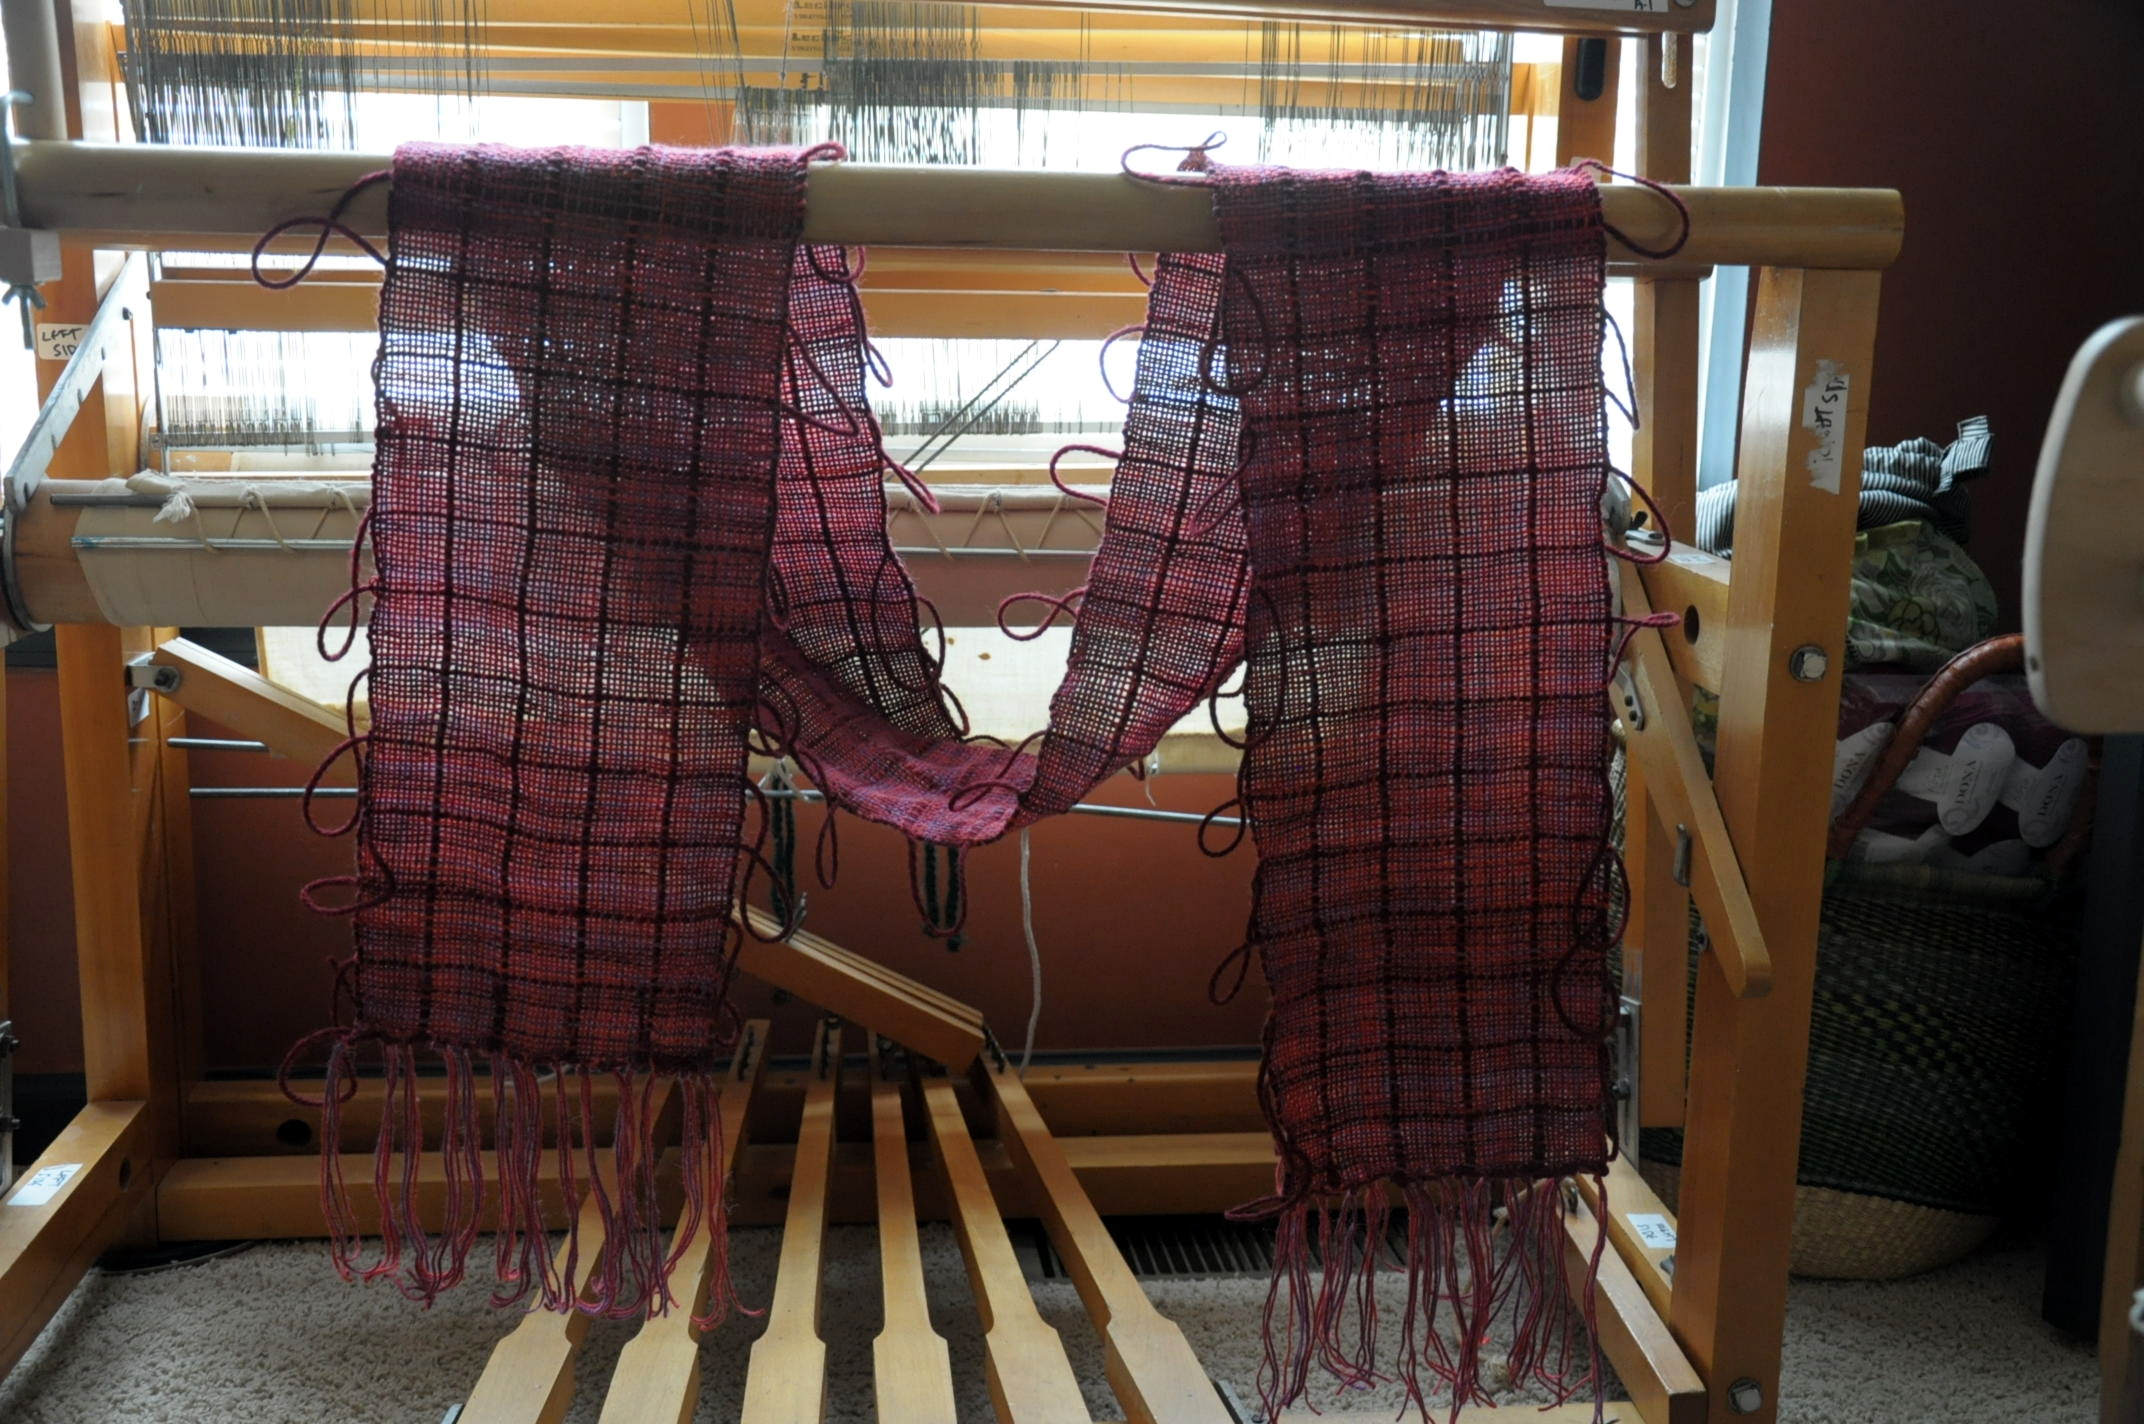
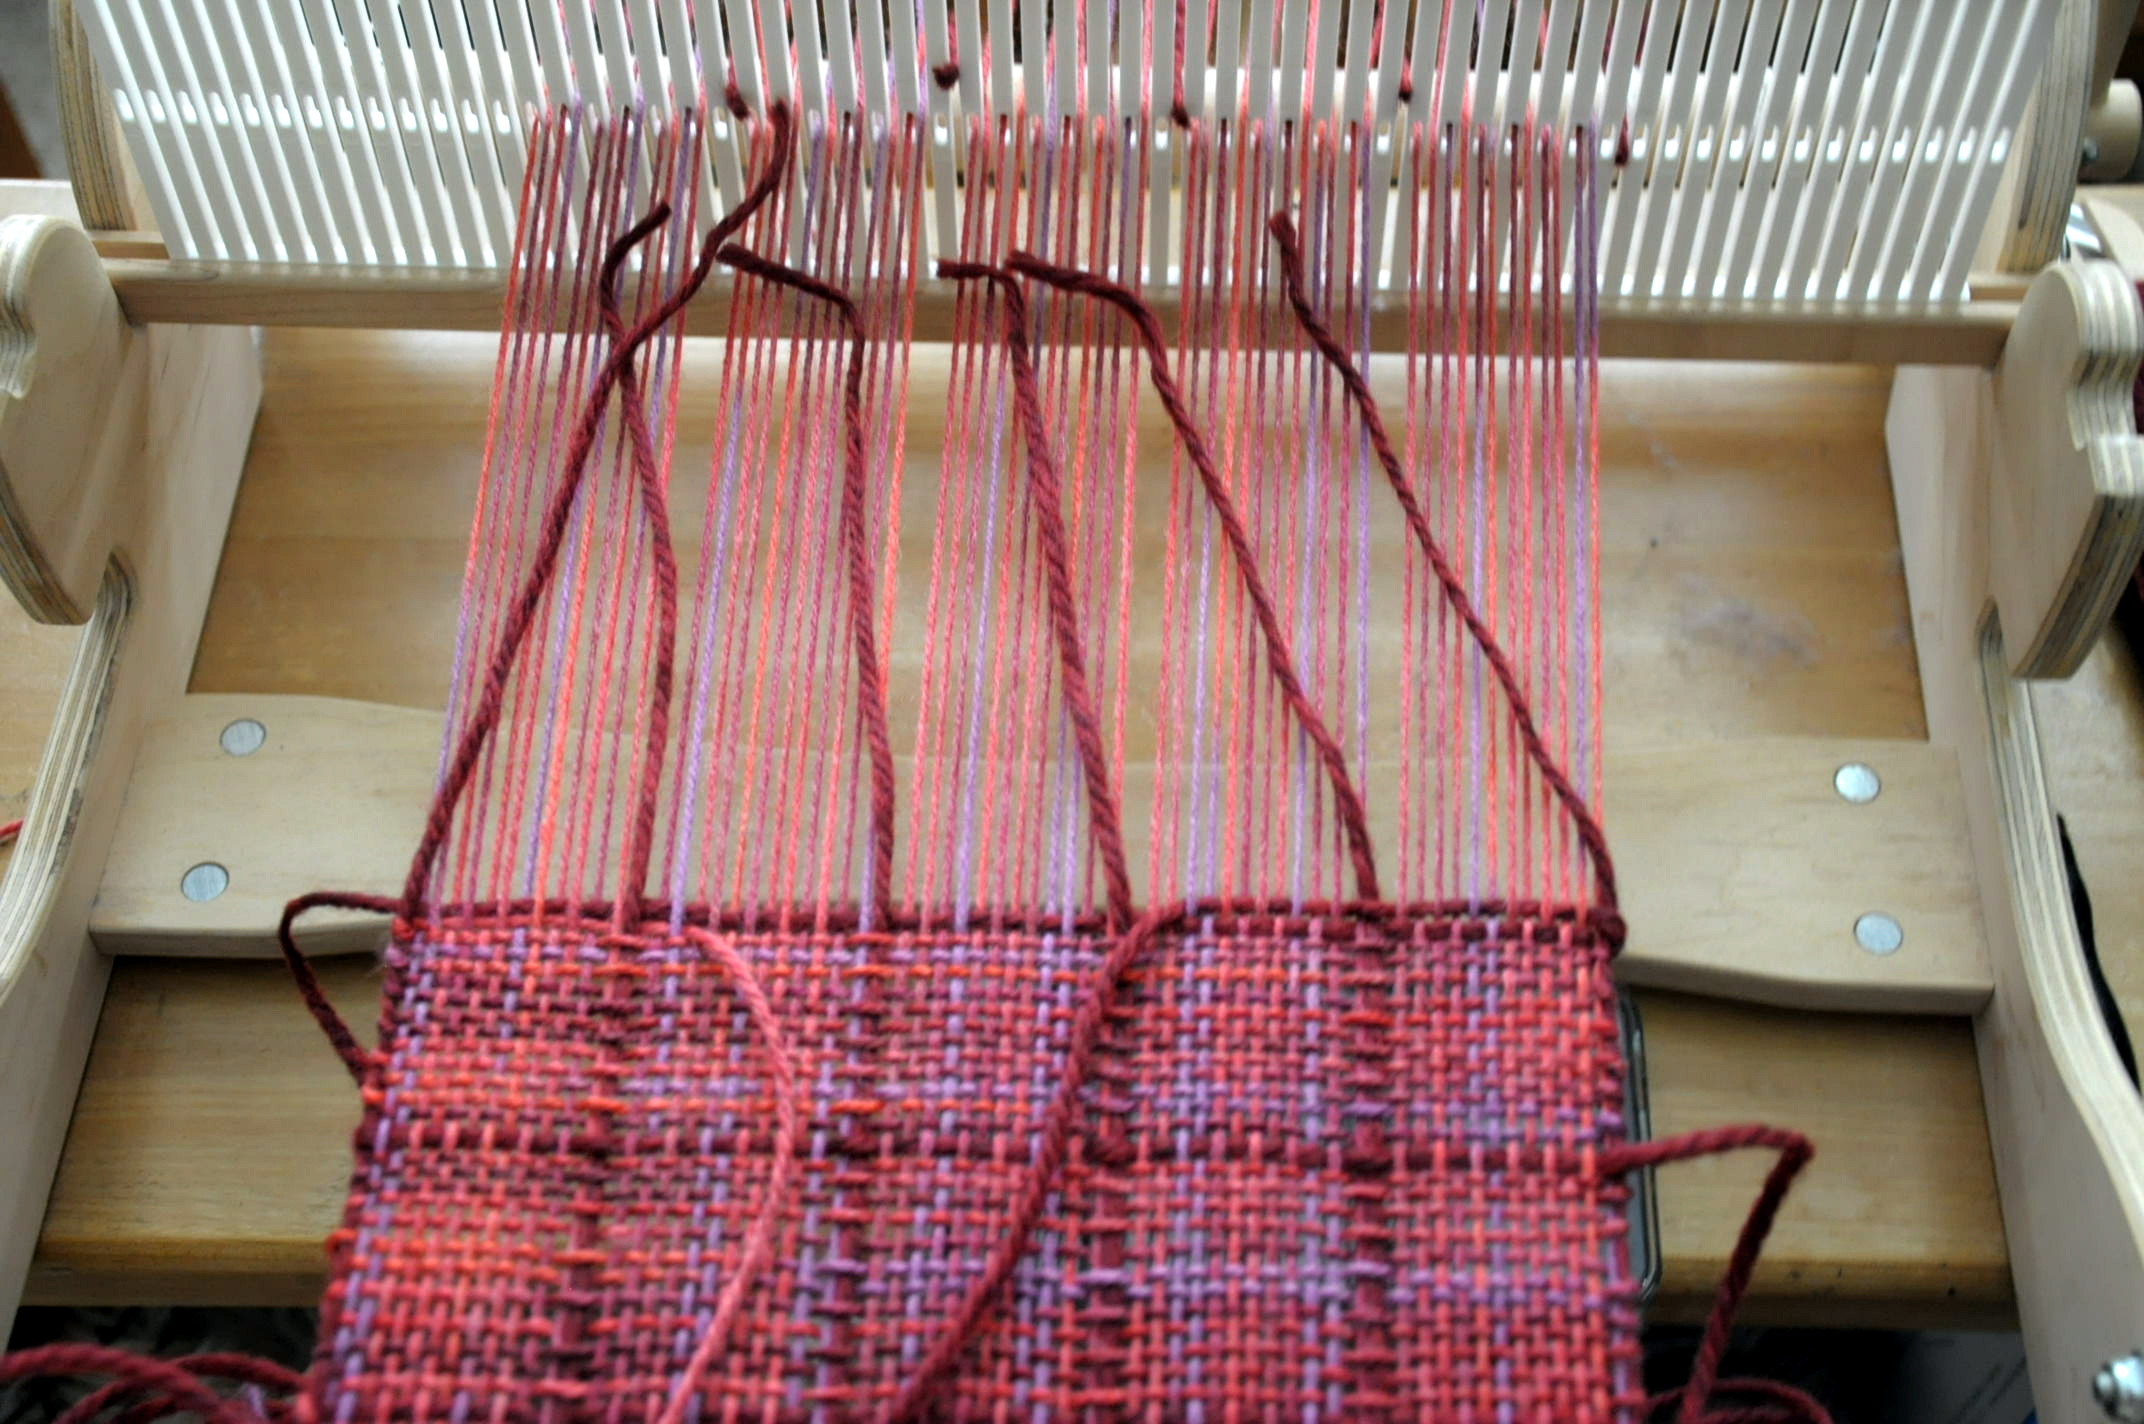
To sample, I had woven a small piece of fabric, cut it off the loom, and then tied the ends back onto the front rod of the loom so I could keep going. This is what was staring at me all of those months:

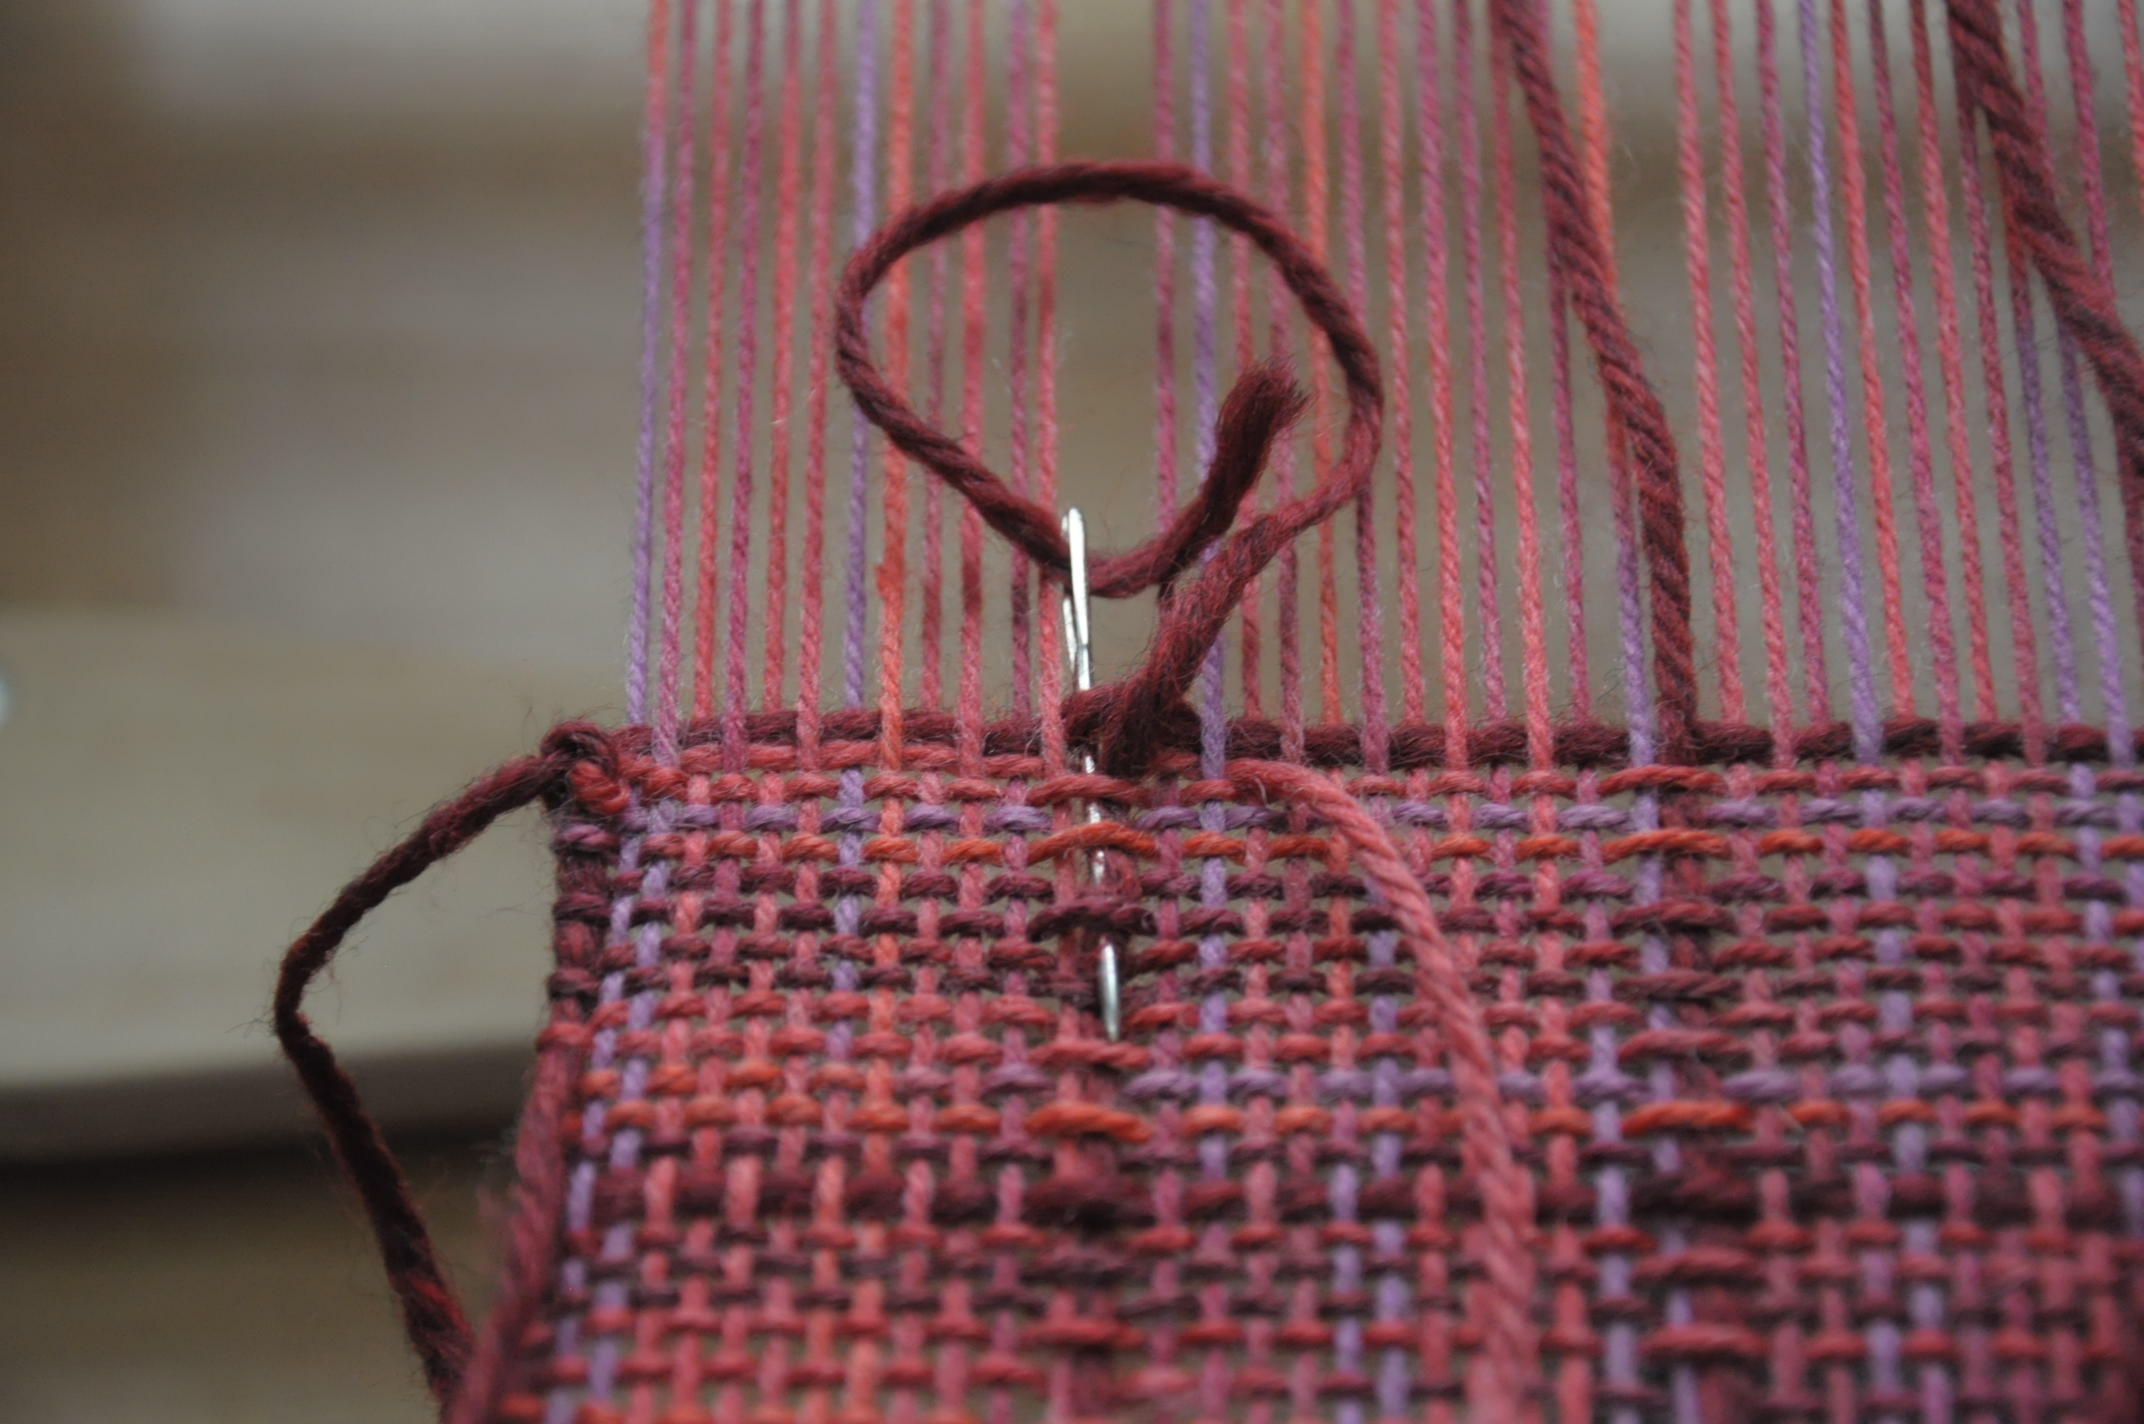
RedScarf_1

I had woven about an inch and a half after removing the sample, and that was about it. But I it was easy to remember my plain-weave sequence – 8 picks of the Infusion Handpaints, 1 pick of Deluxe Chunky.

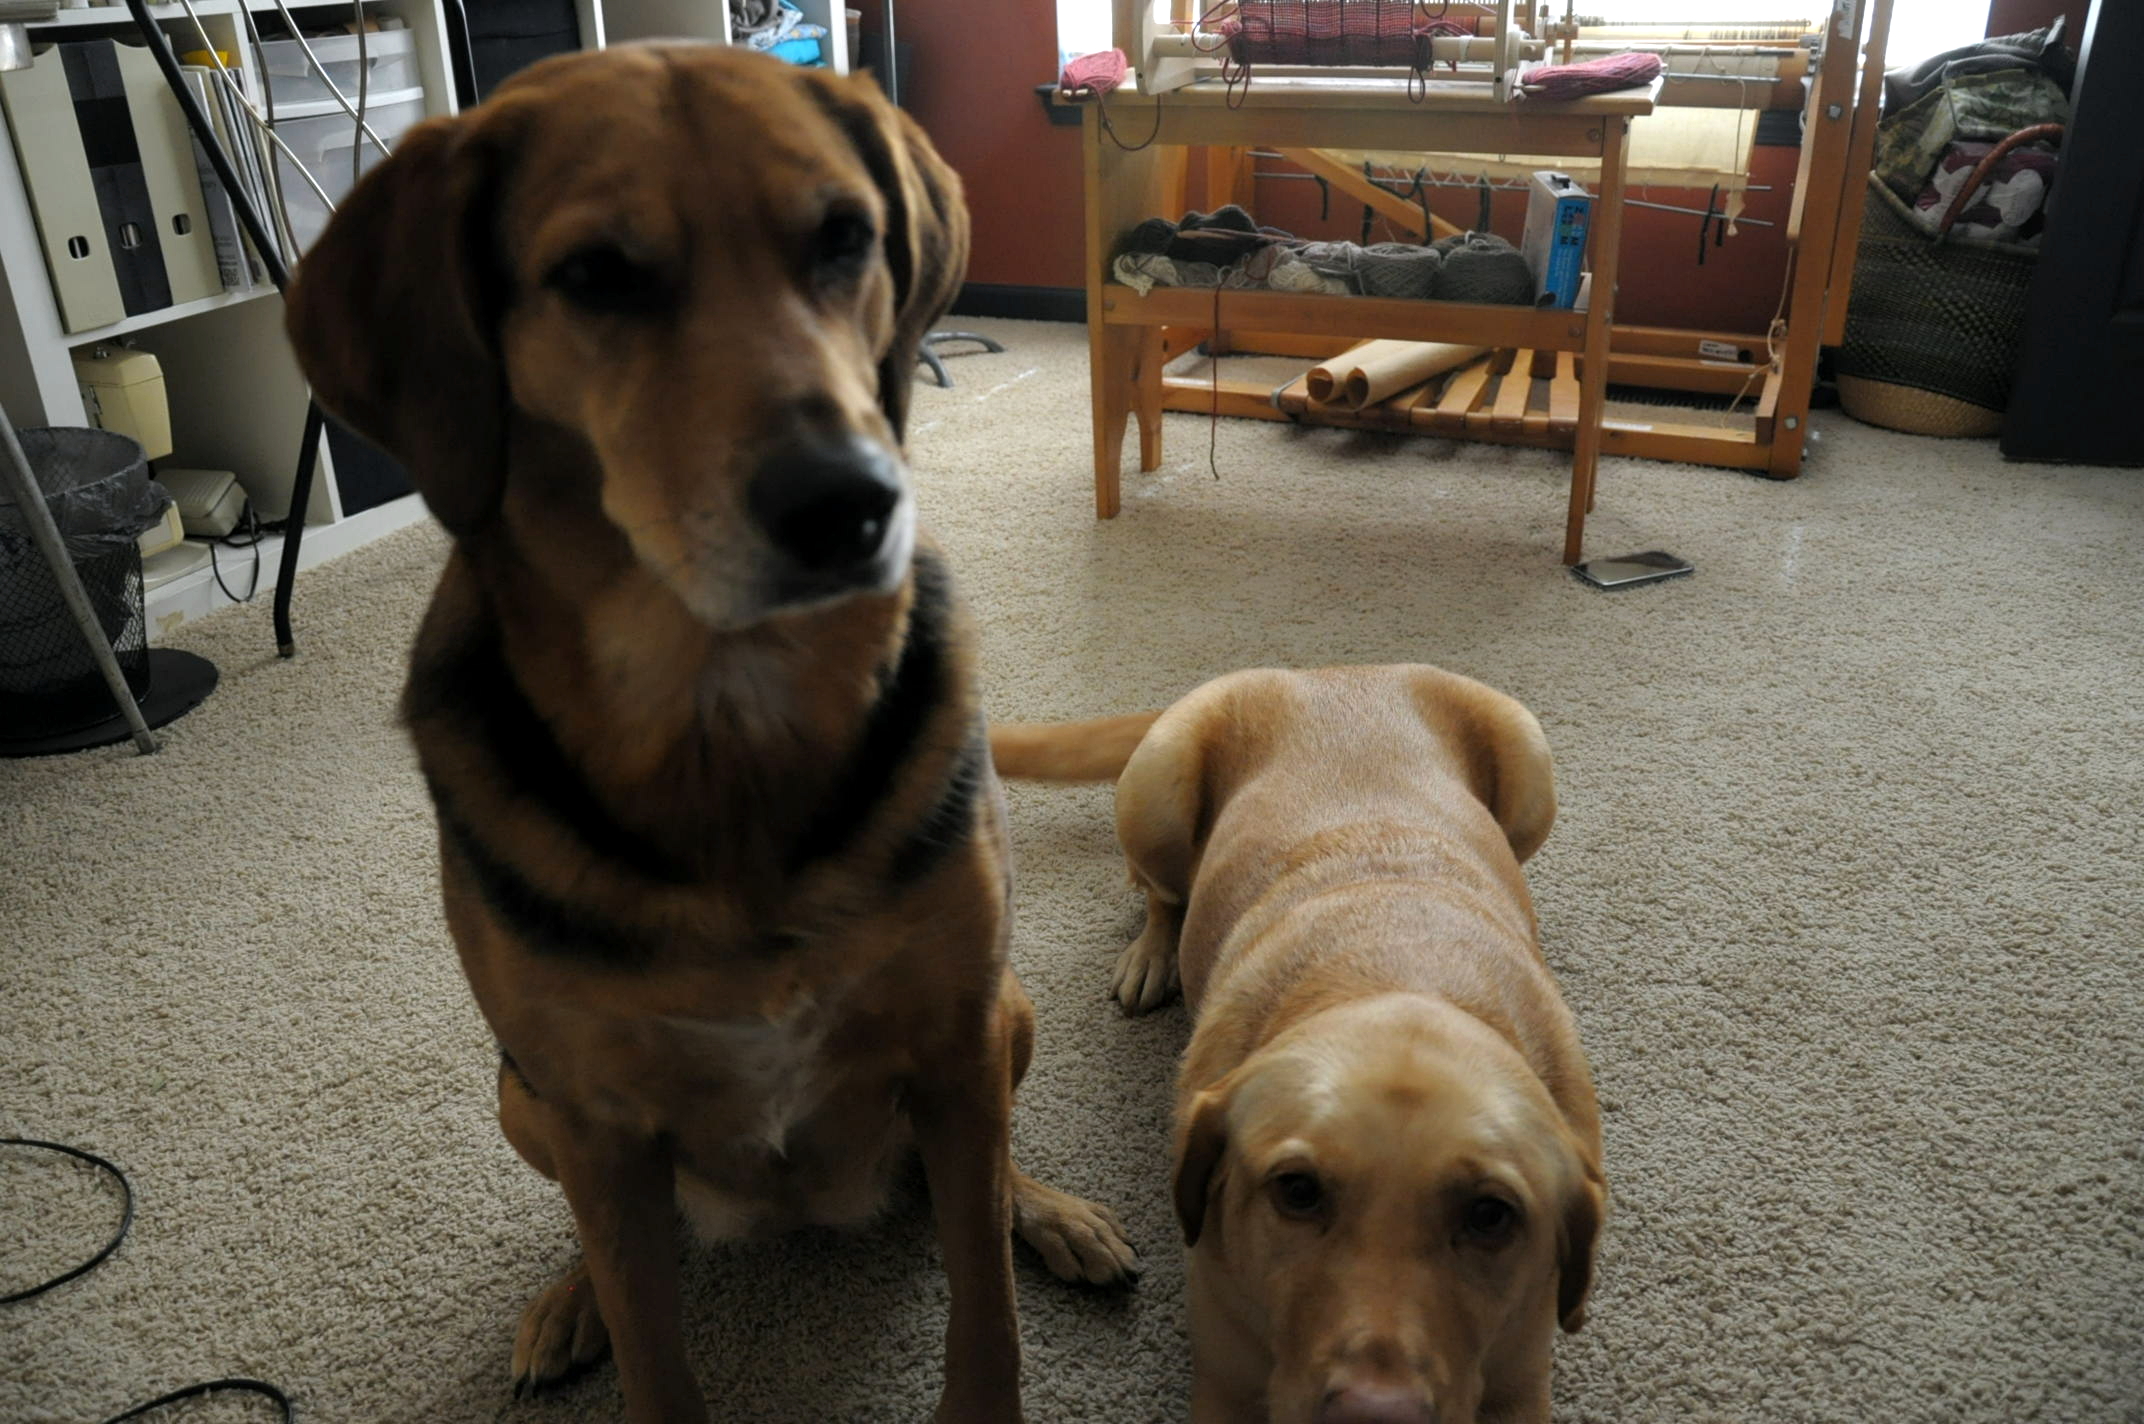
And I had a little help from my friends, so it was all good.

RedScarf_2

I employed the same technique as my sample, where I left loops of the Deluxe Chunky at the sides. This is because after felting the piece, I can just cut these loops right off because they will be secure.

RedScarf_3

Pretty soon I can start seeing my progress as I wind the finished weaving onto the front rod. Encouraging!

RedScarf_4

And then my last spacing paper falls out and I can see those warp ends getting closer…

RedScarf_5

And very close! Almost done!

RedScarf_6

Again, I cut the warp ends of Deluxe Chunky

RedScarf_7

And wove them in for an inch or so

RedScarf_8

All ready for felting:

RedScarf_9

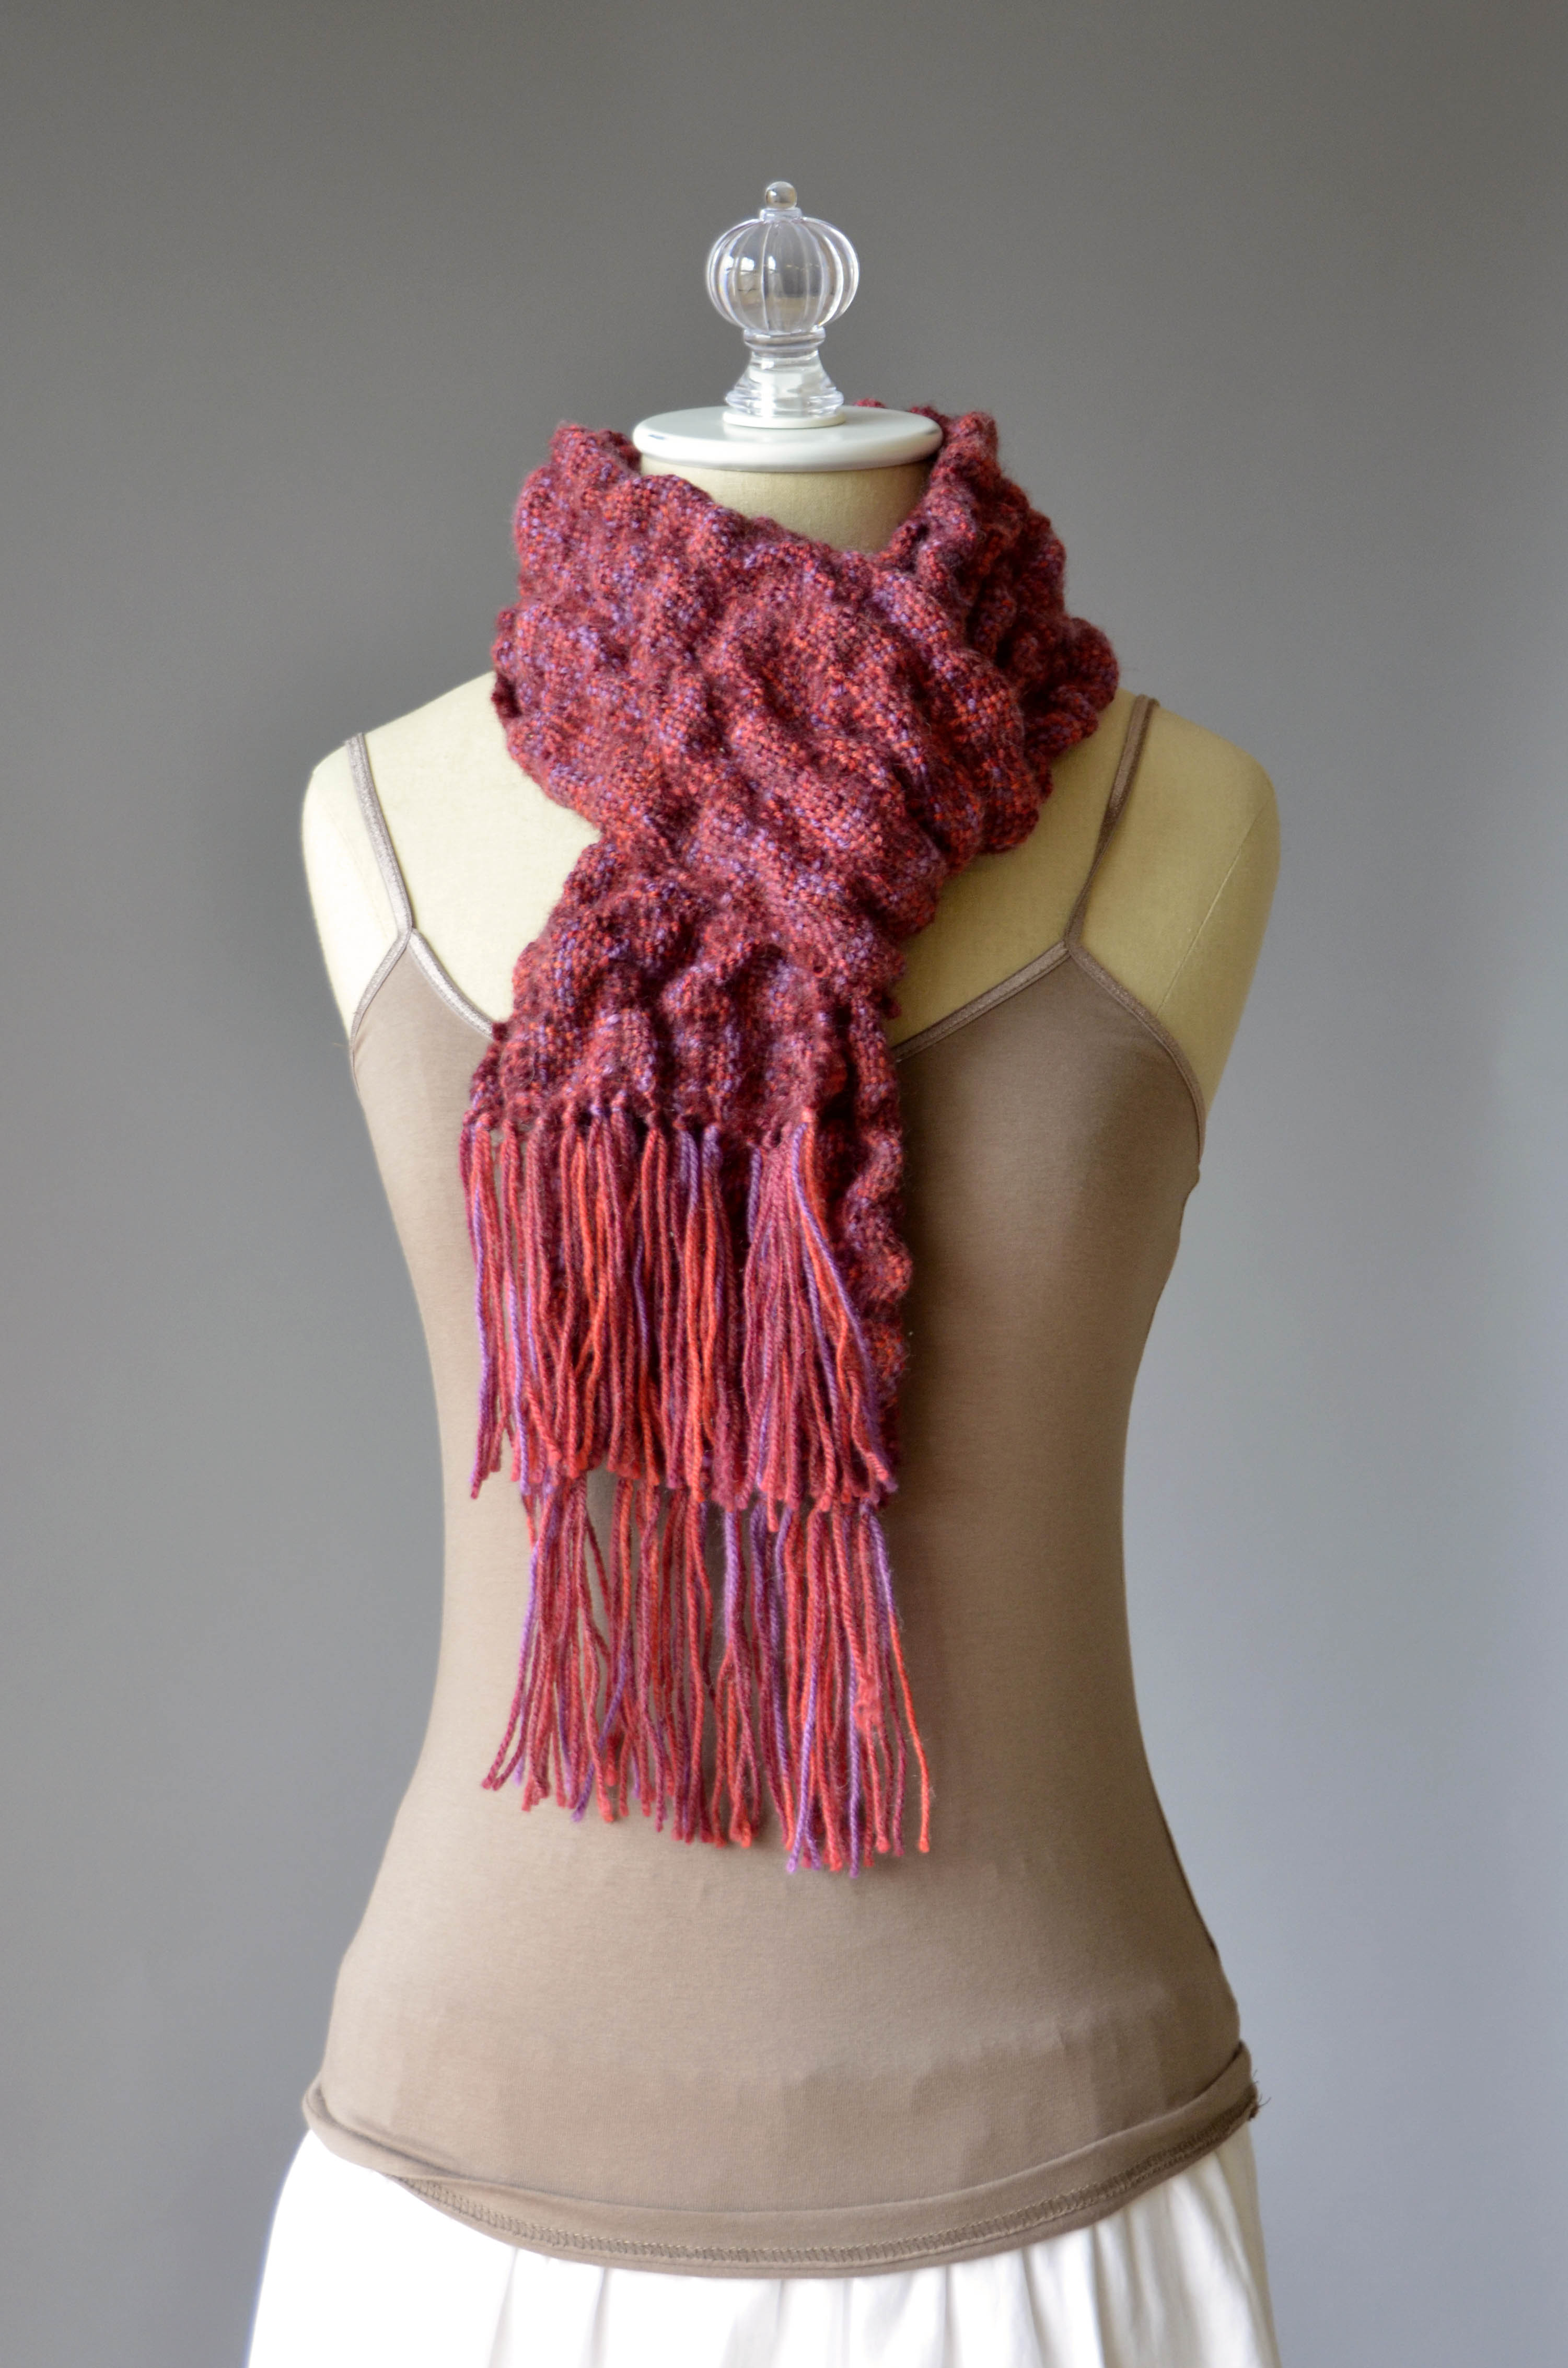
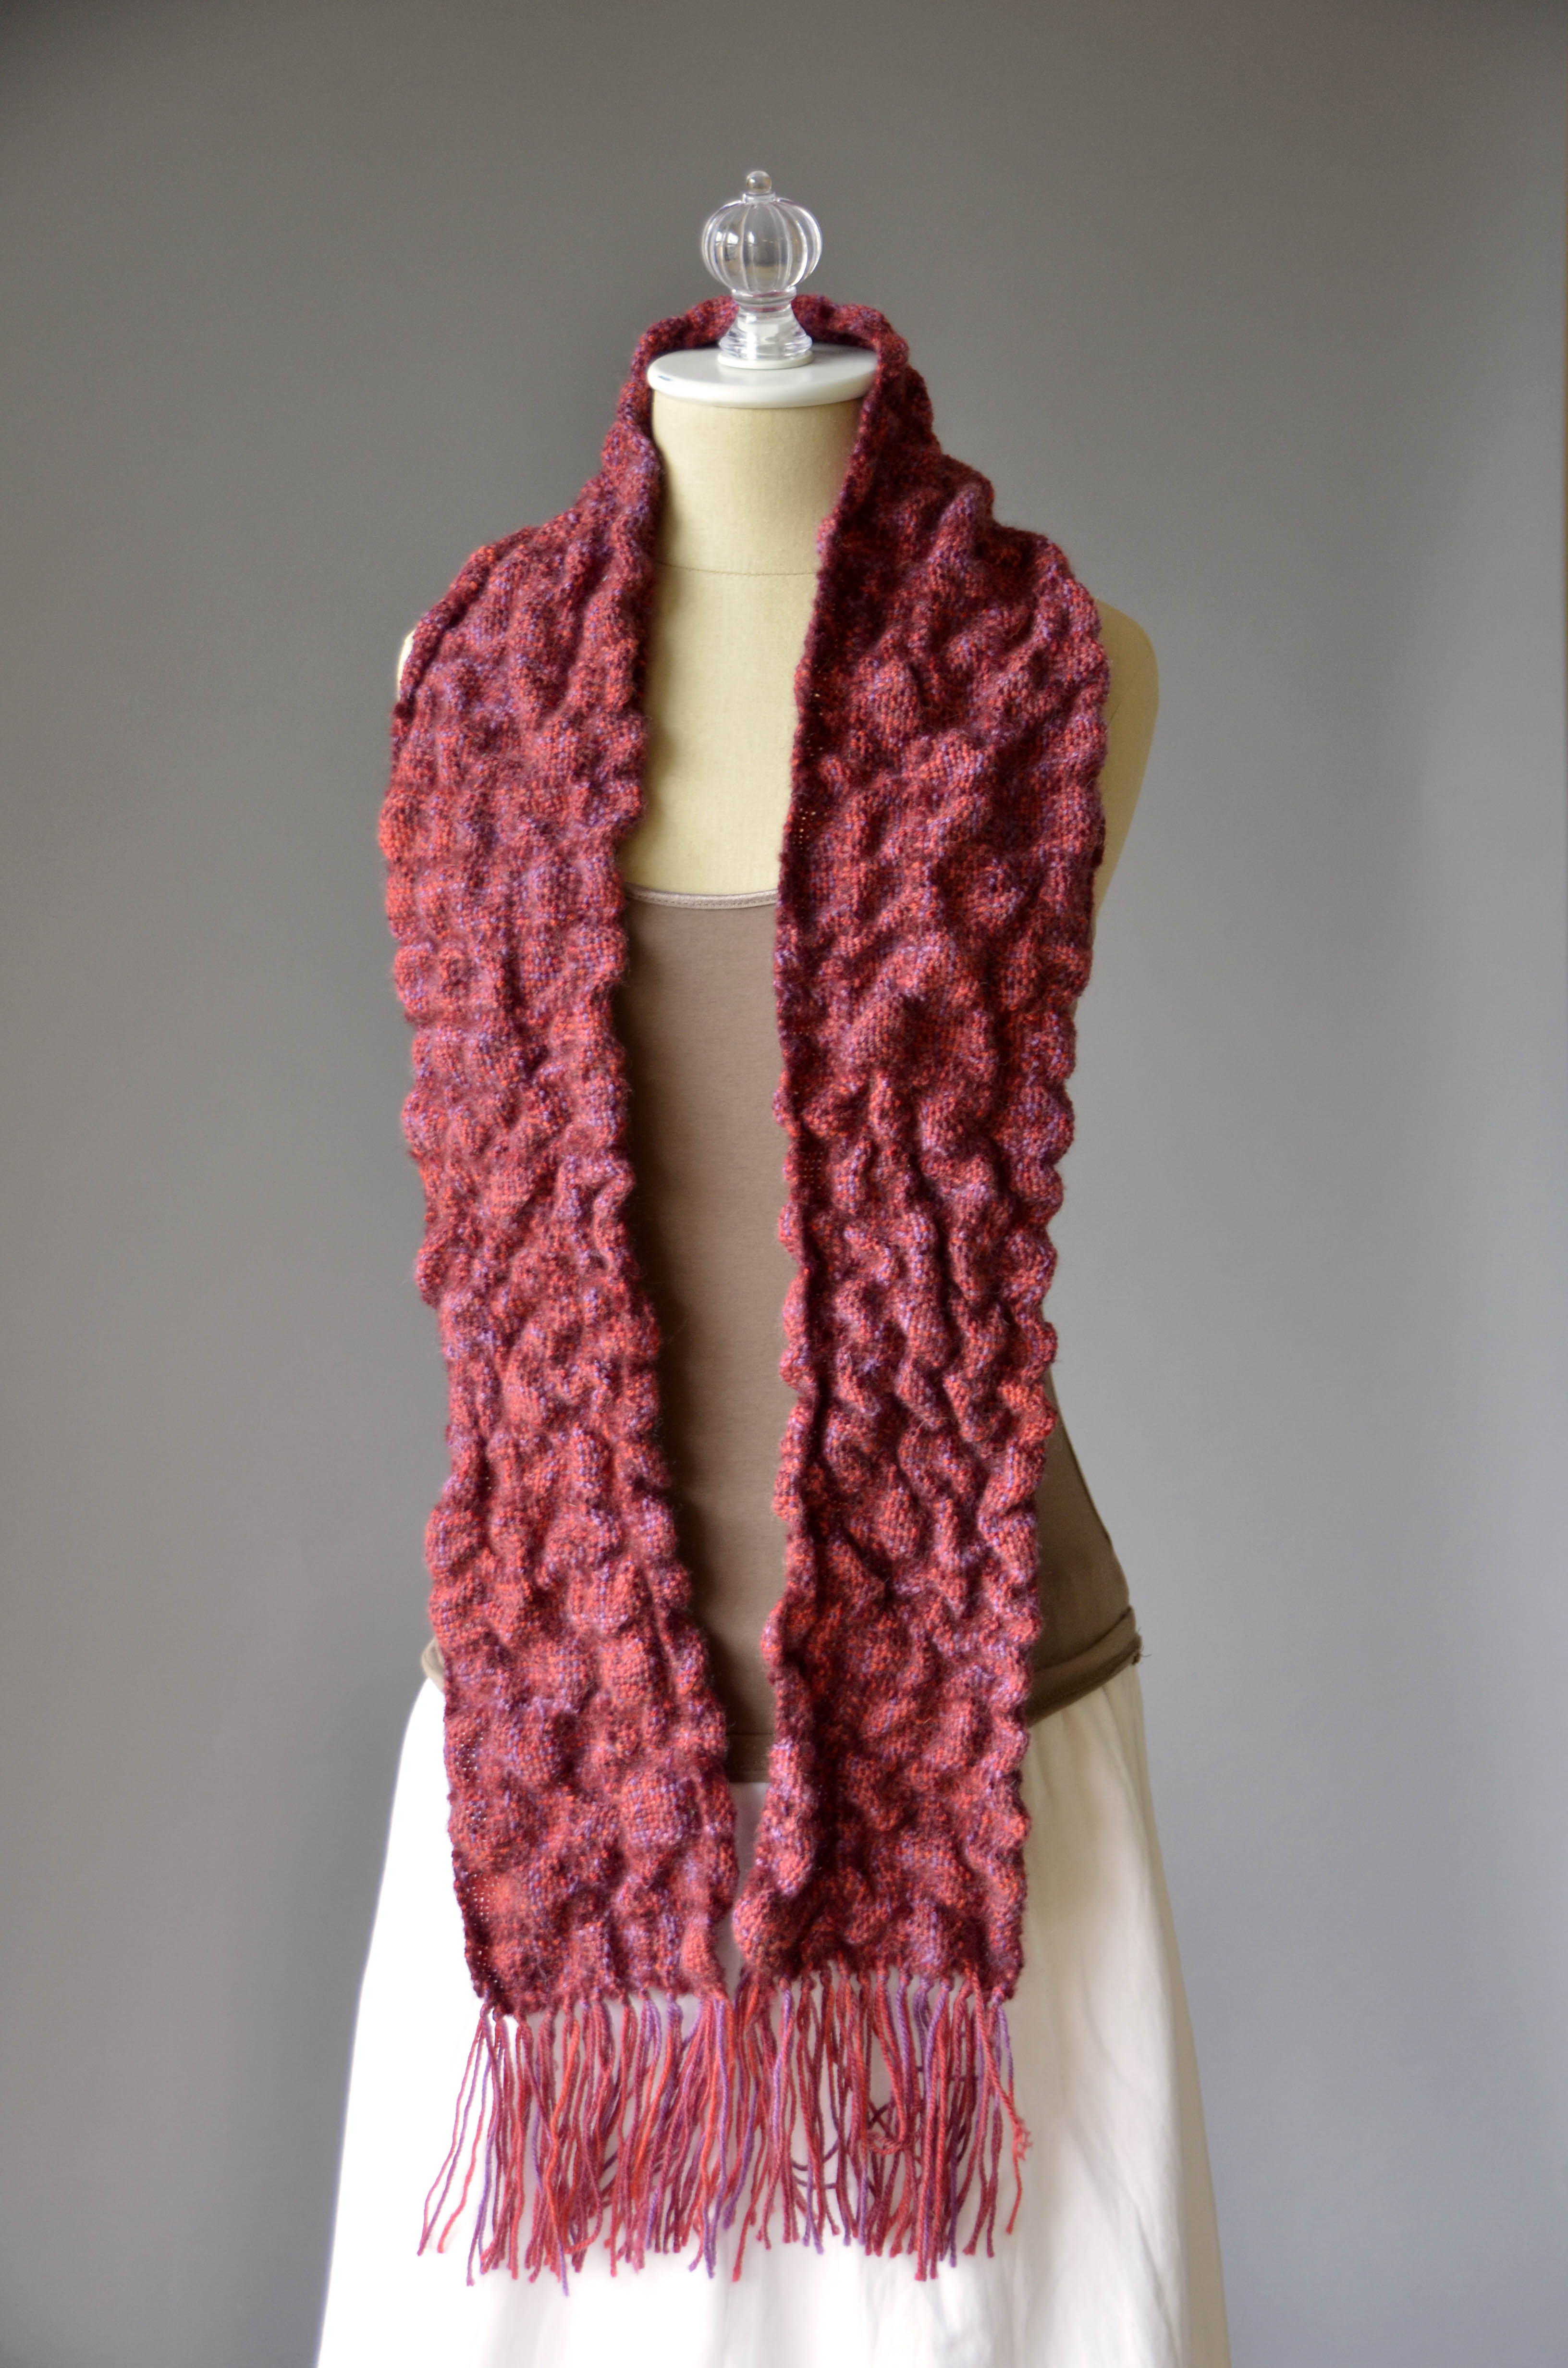
And Heather’s beauty shots:

Infusion Handpaints Scarf long hi-res Infusion Handpaints Scarf wrapped hi-res

So now it’s May and too warm for a wool scarf. But autumn will come soon enough and I’ll be so glad I finished this.

Join us next week for a fresh new start on my weaving journey with an actual seasonally appropriate project!