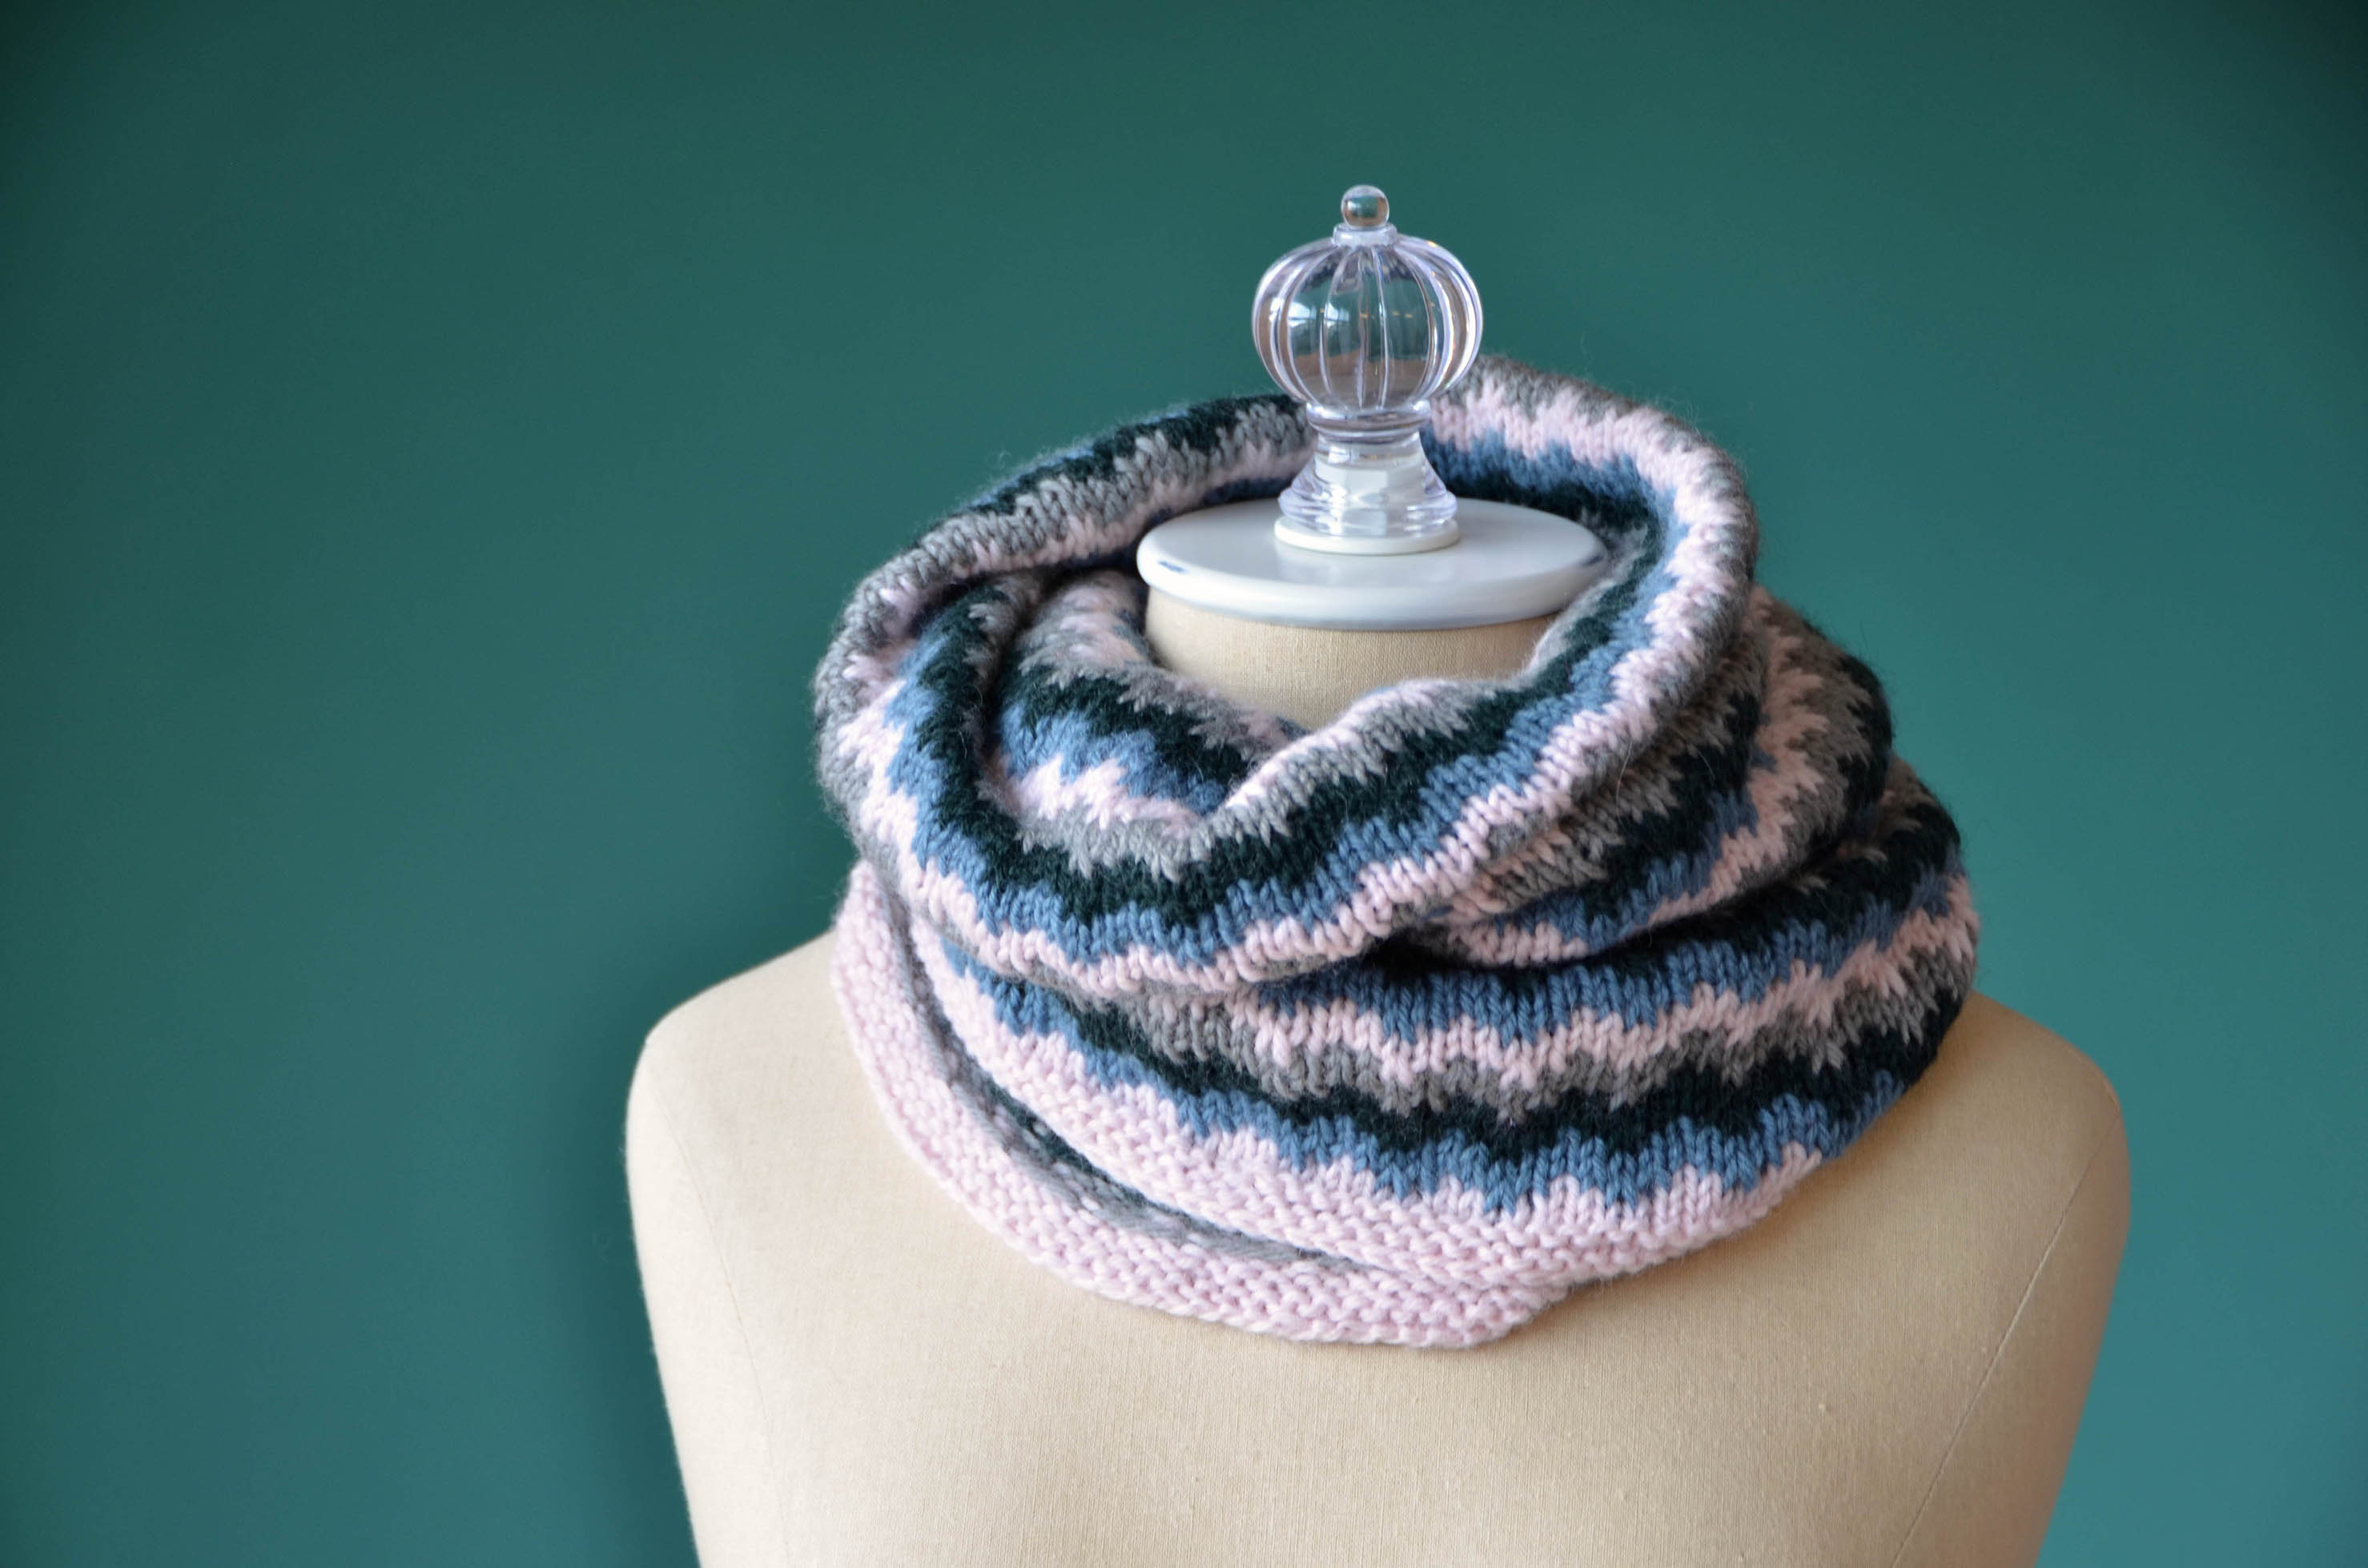
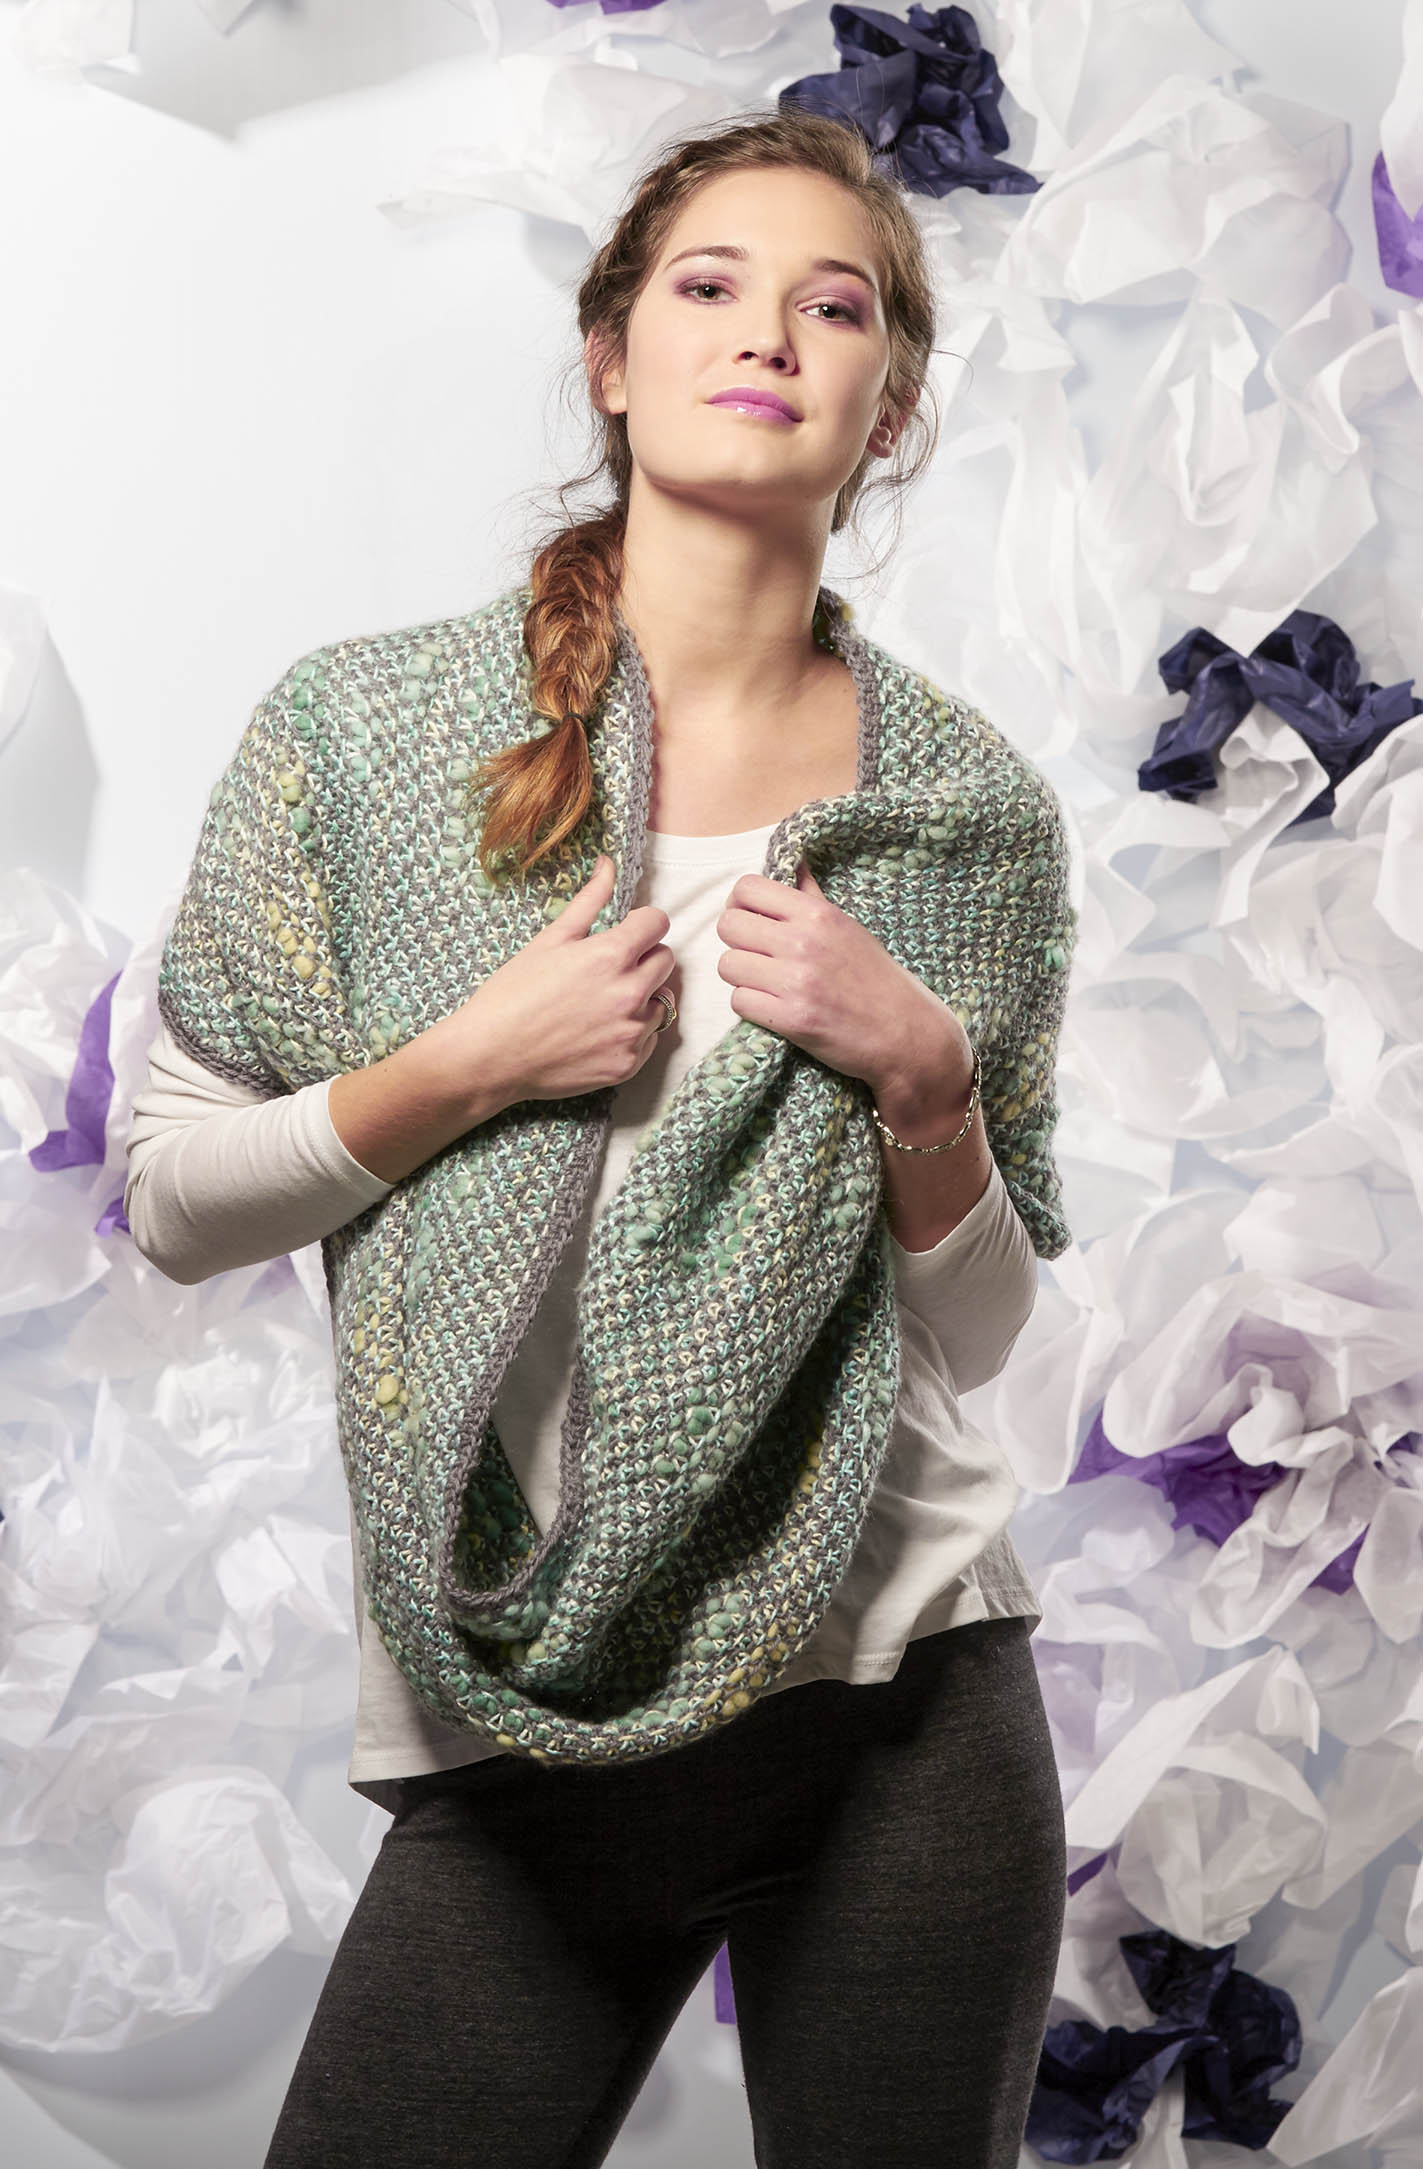
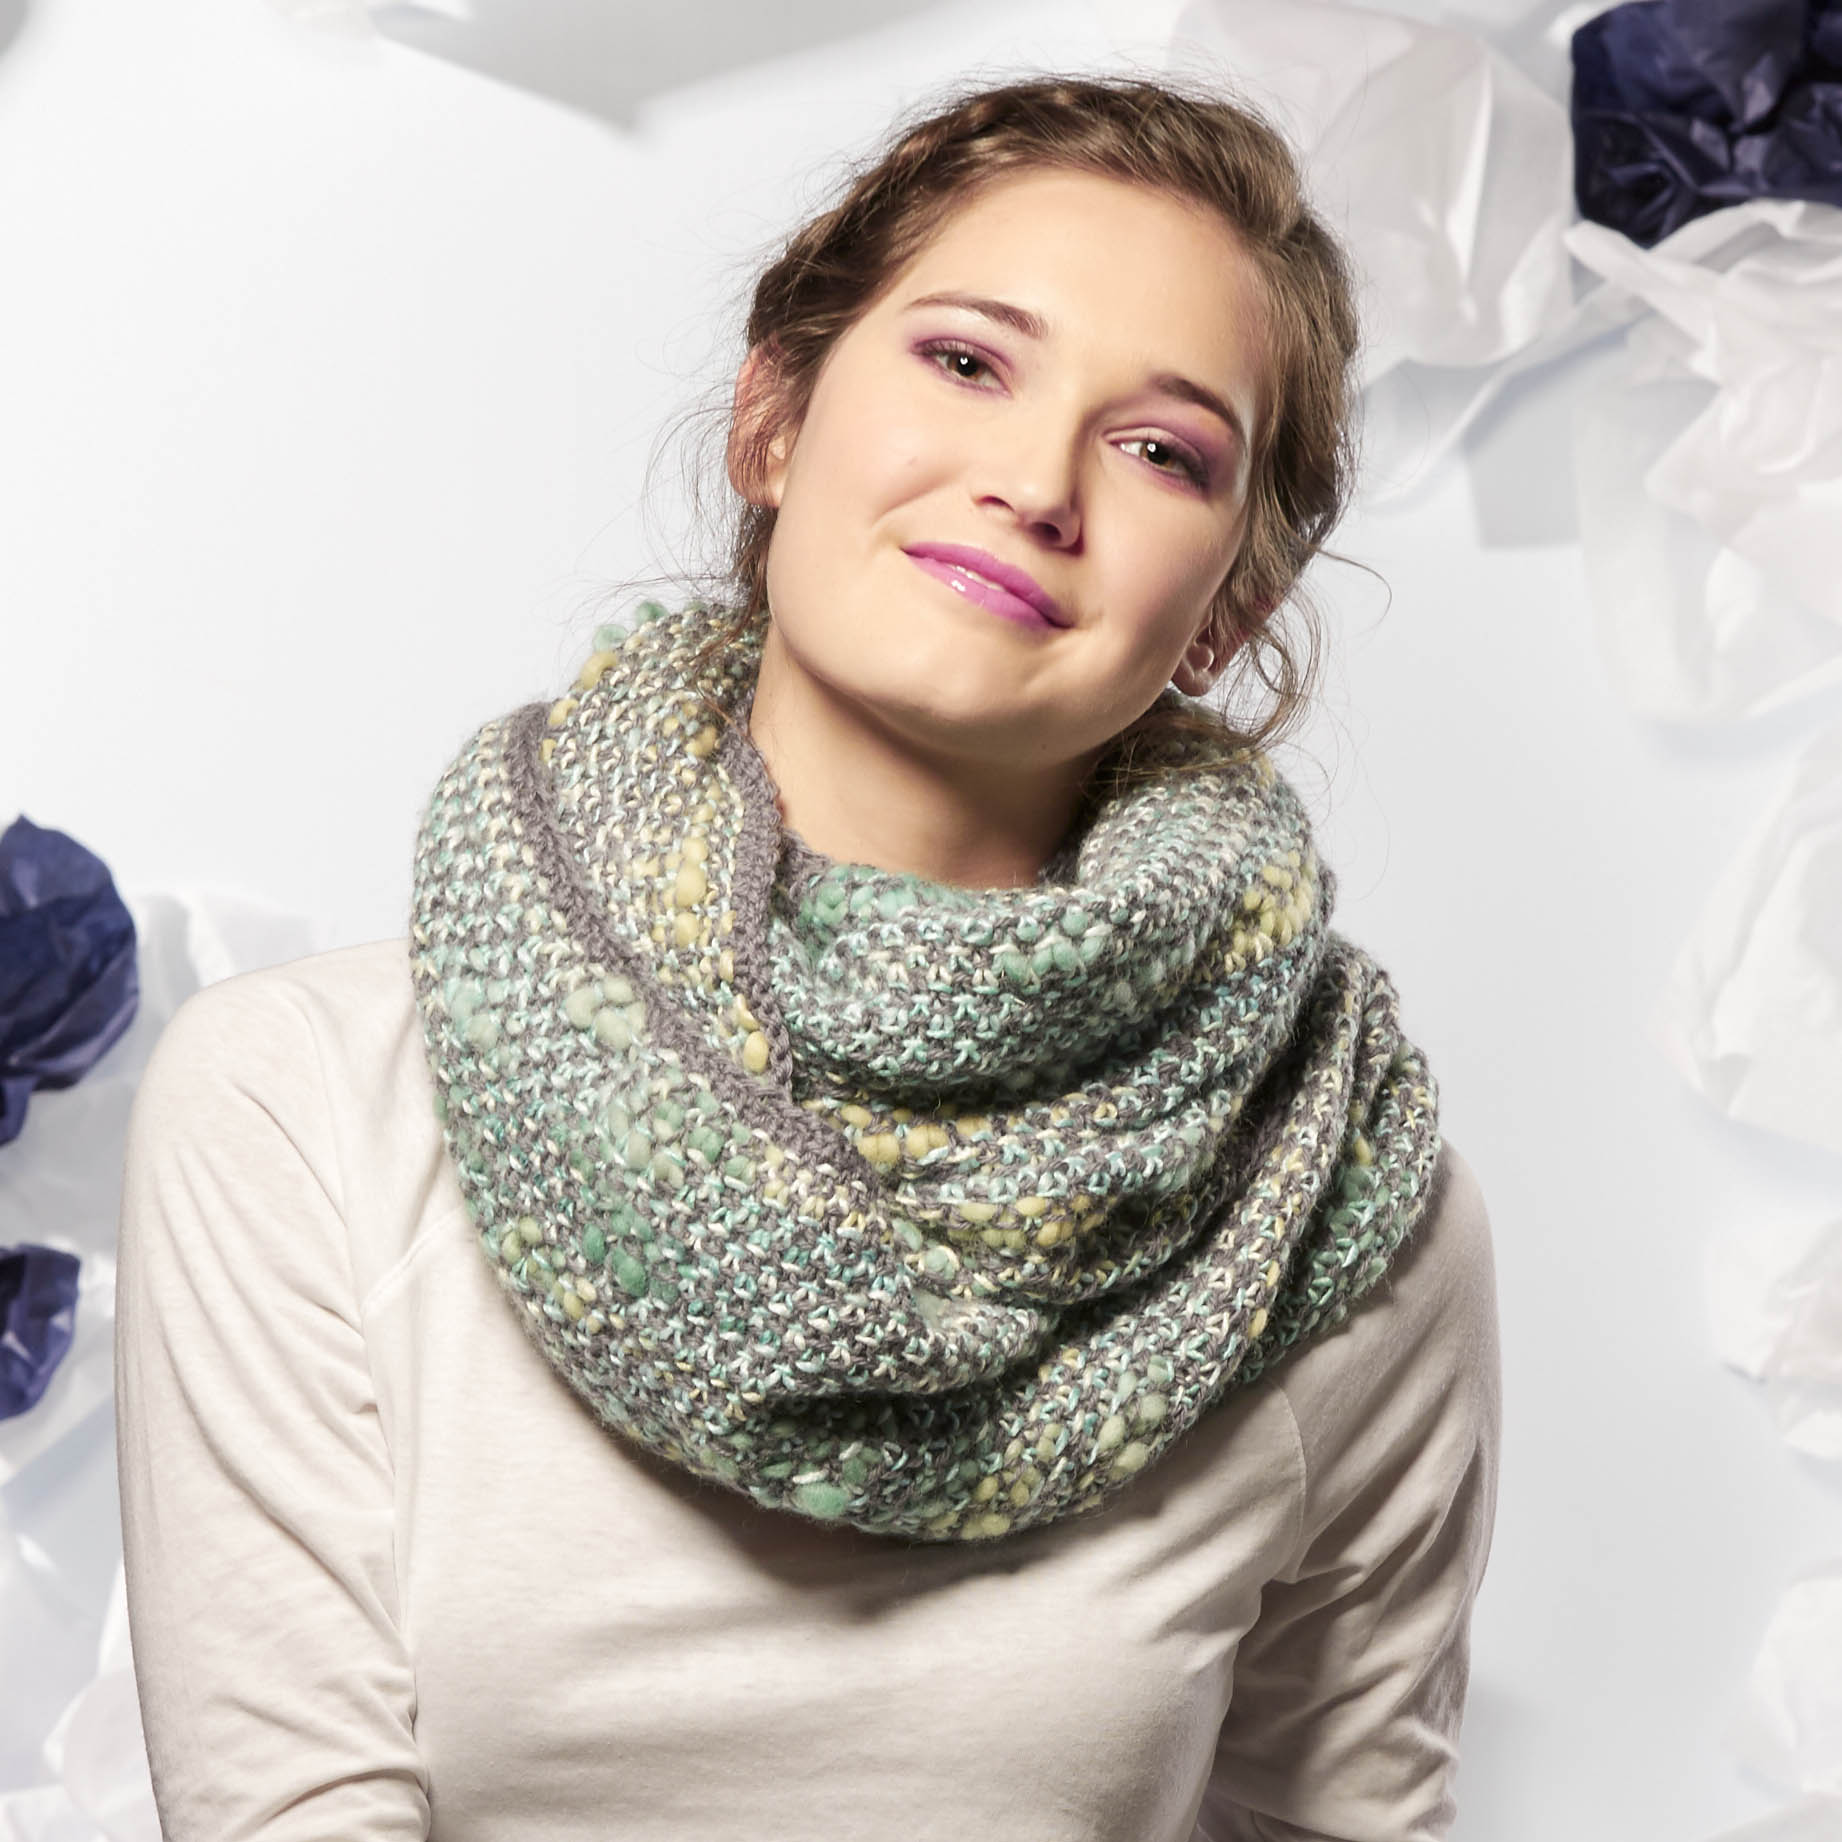
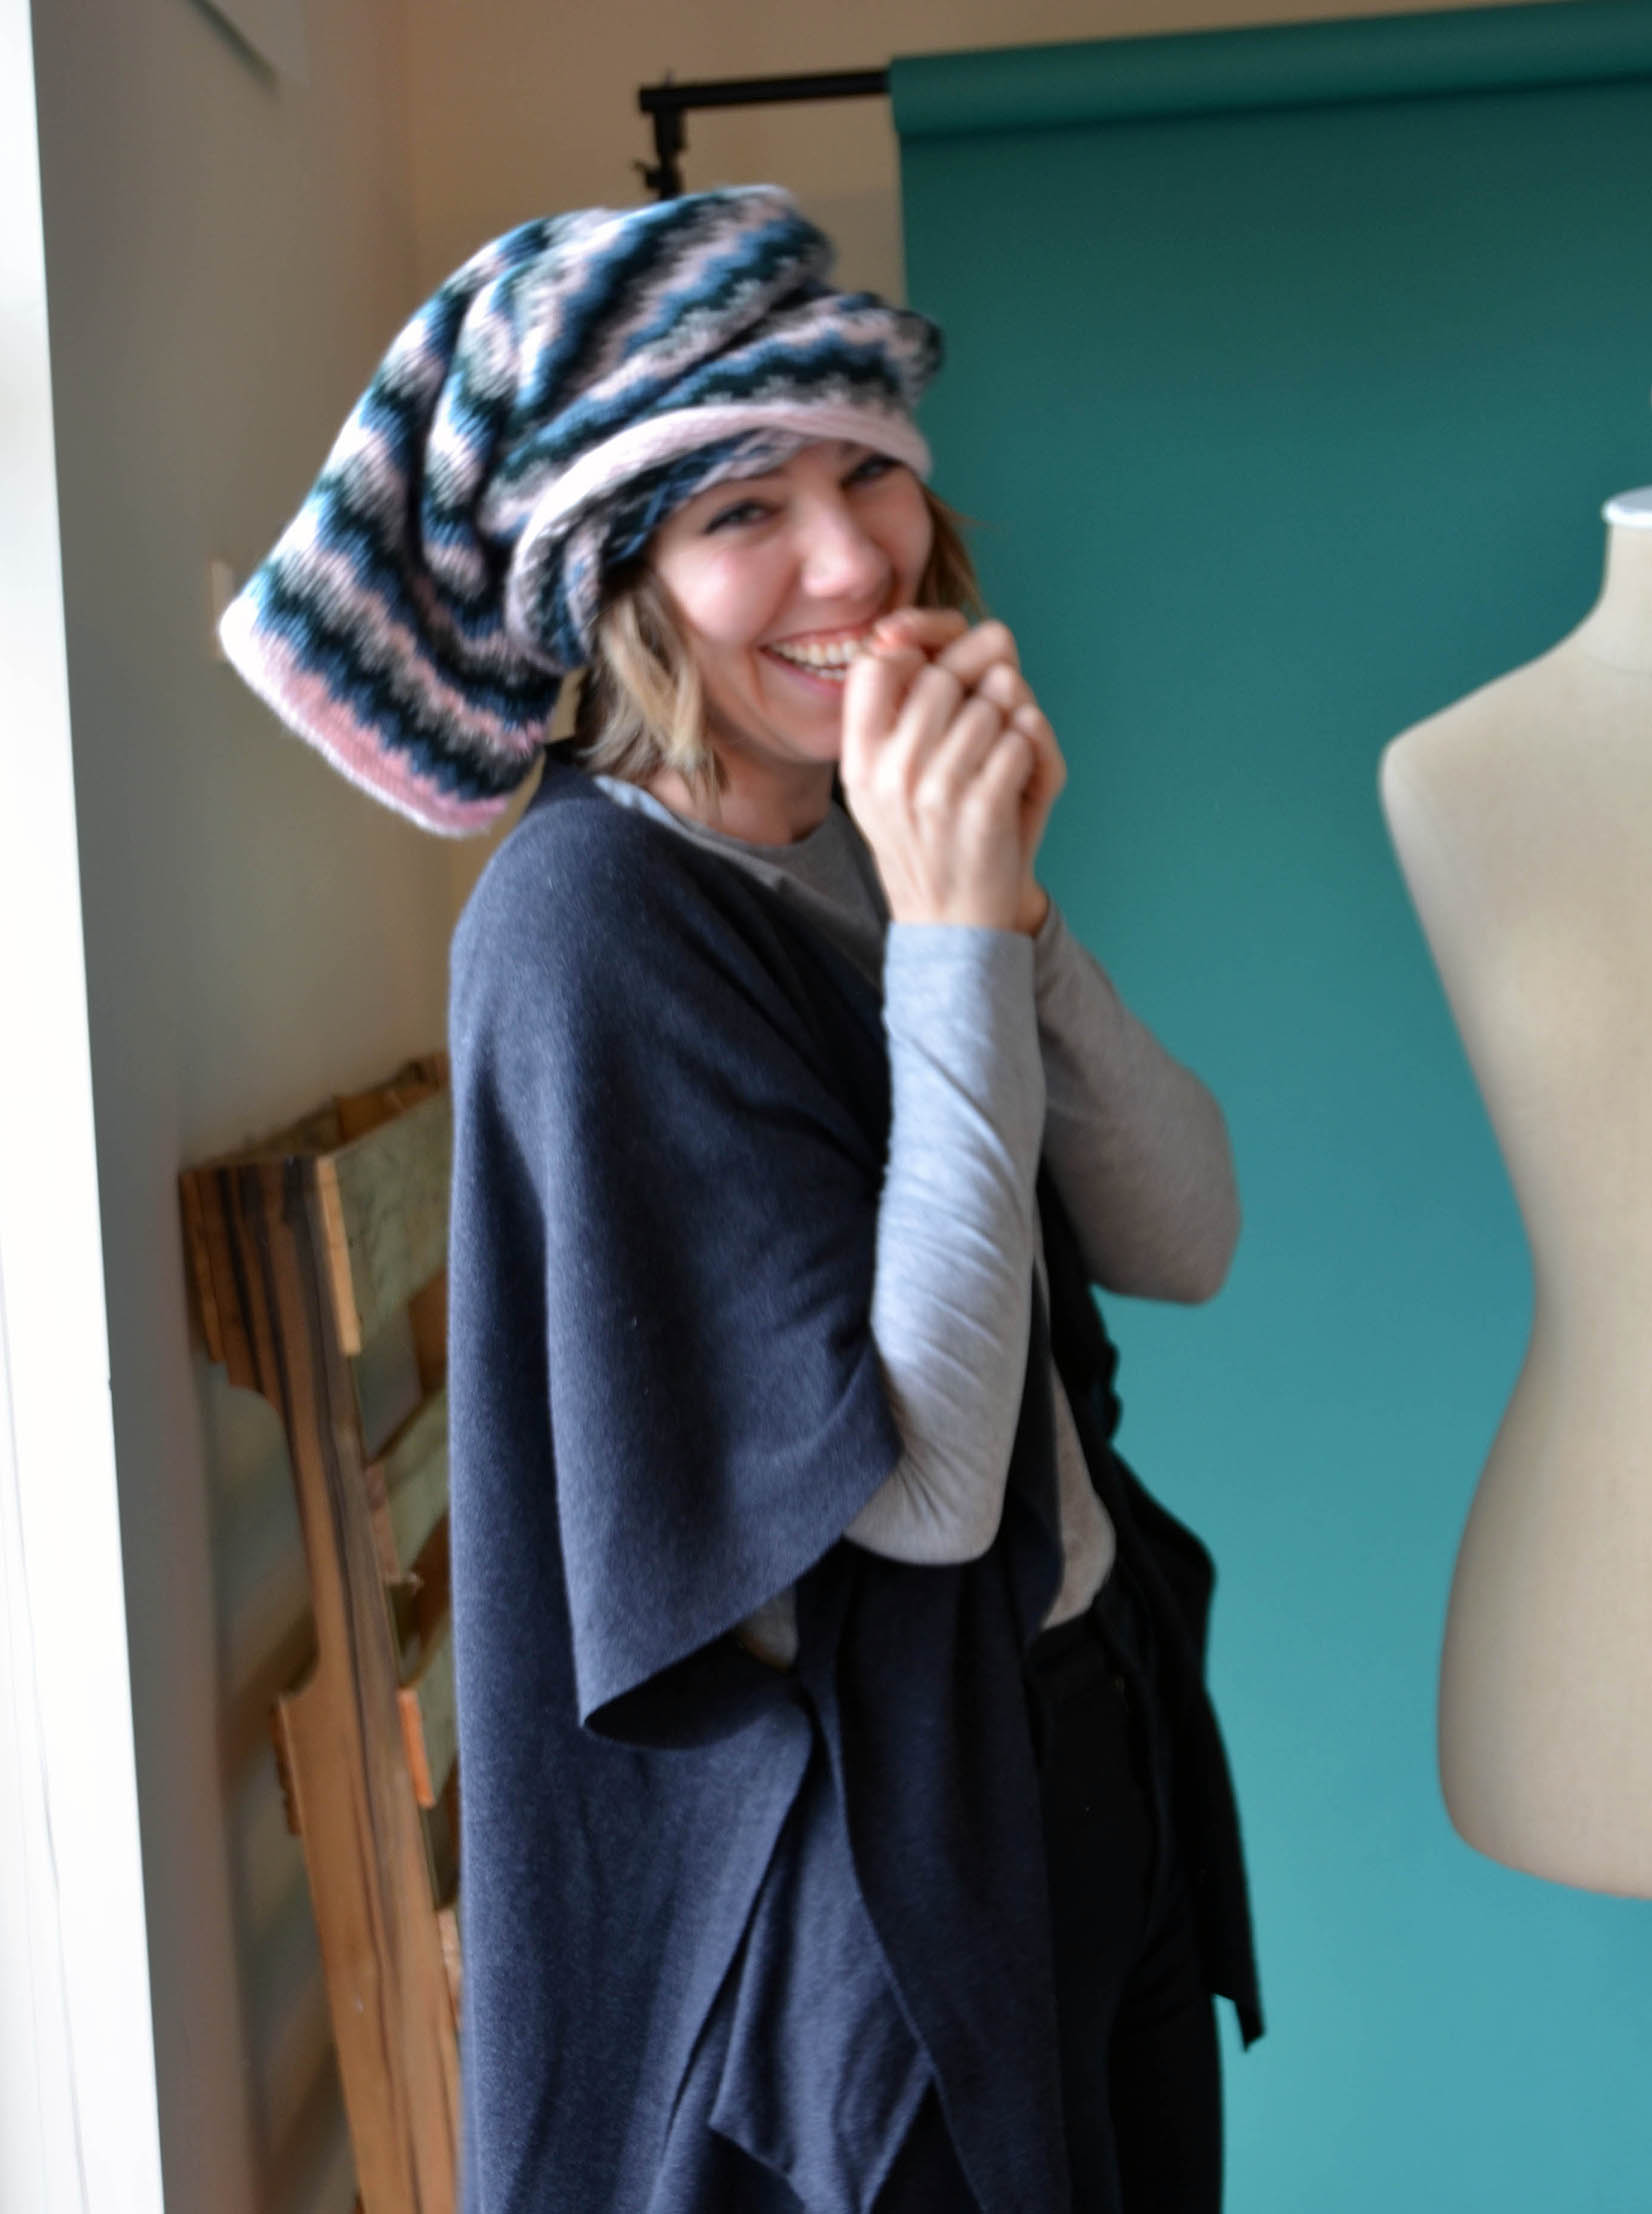
The cowl looks great doubled over and scrunched – or if you’re in a silly mood like designer Tori Gurbisz, wear it however you please. Very “Cat in the Hat,” Tori. You’ll definitely turn heads.
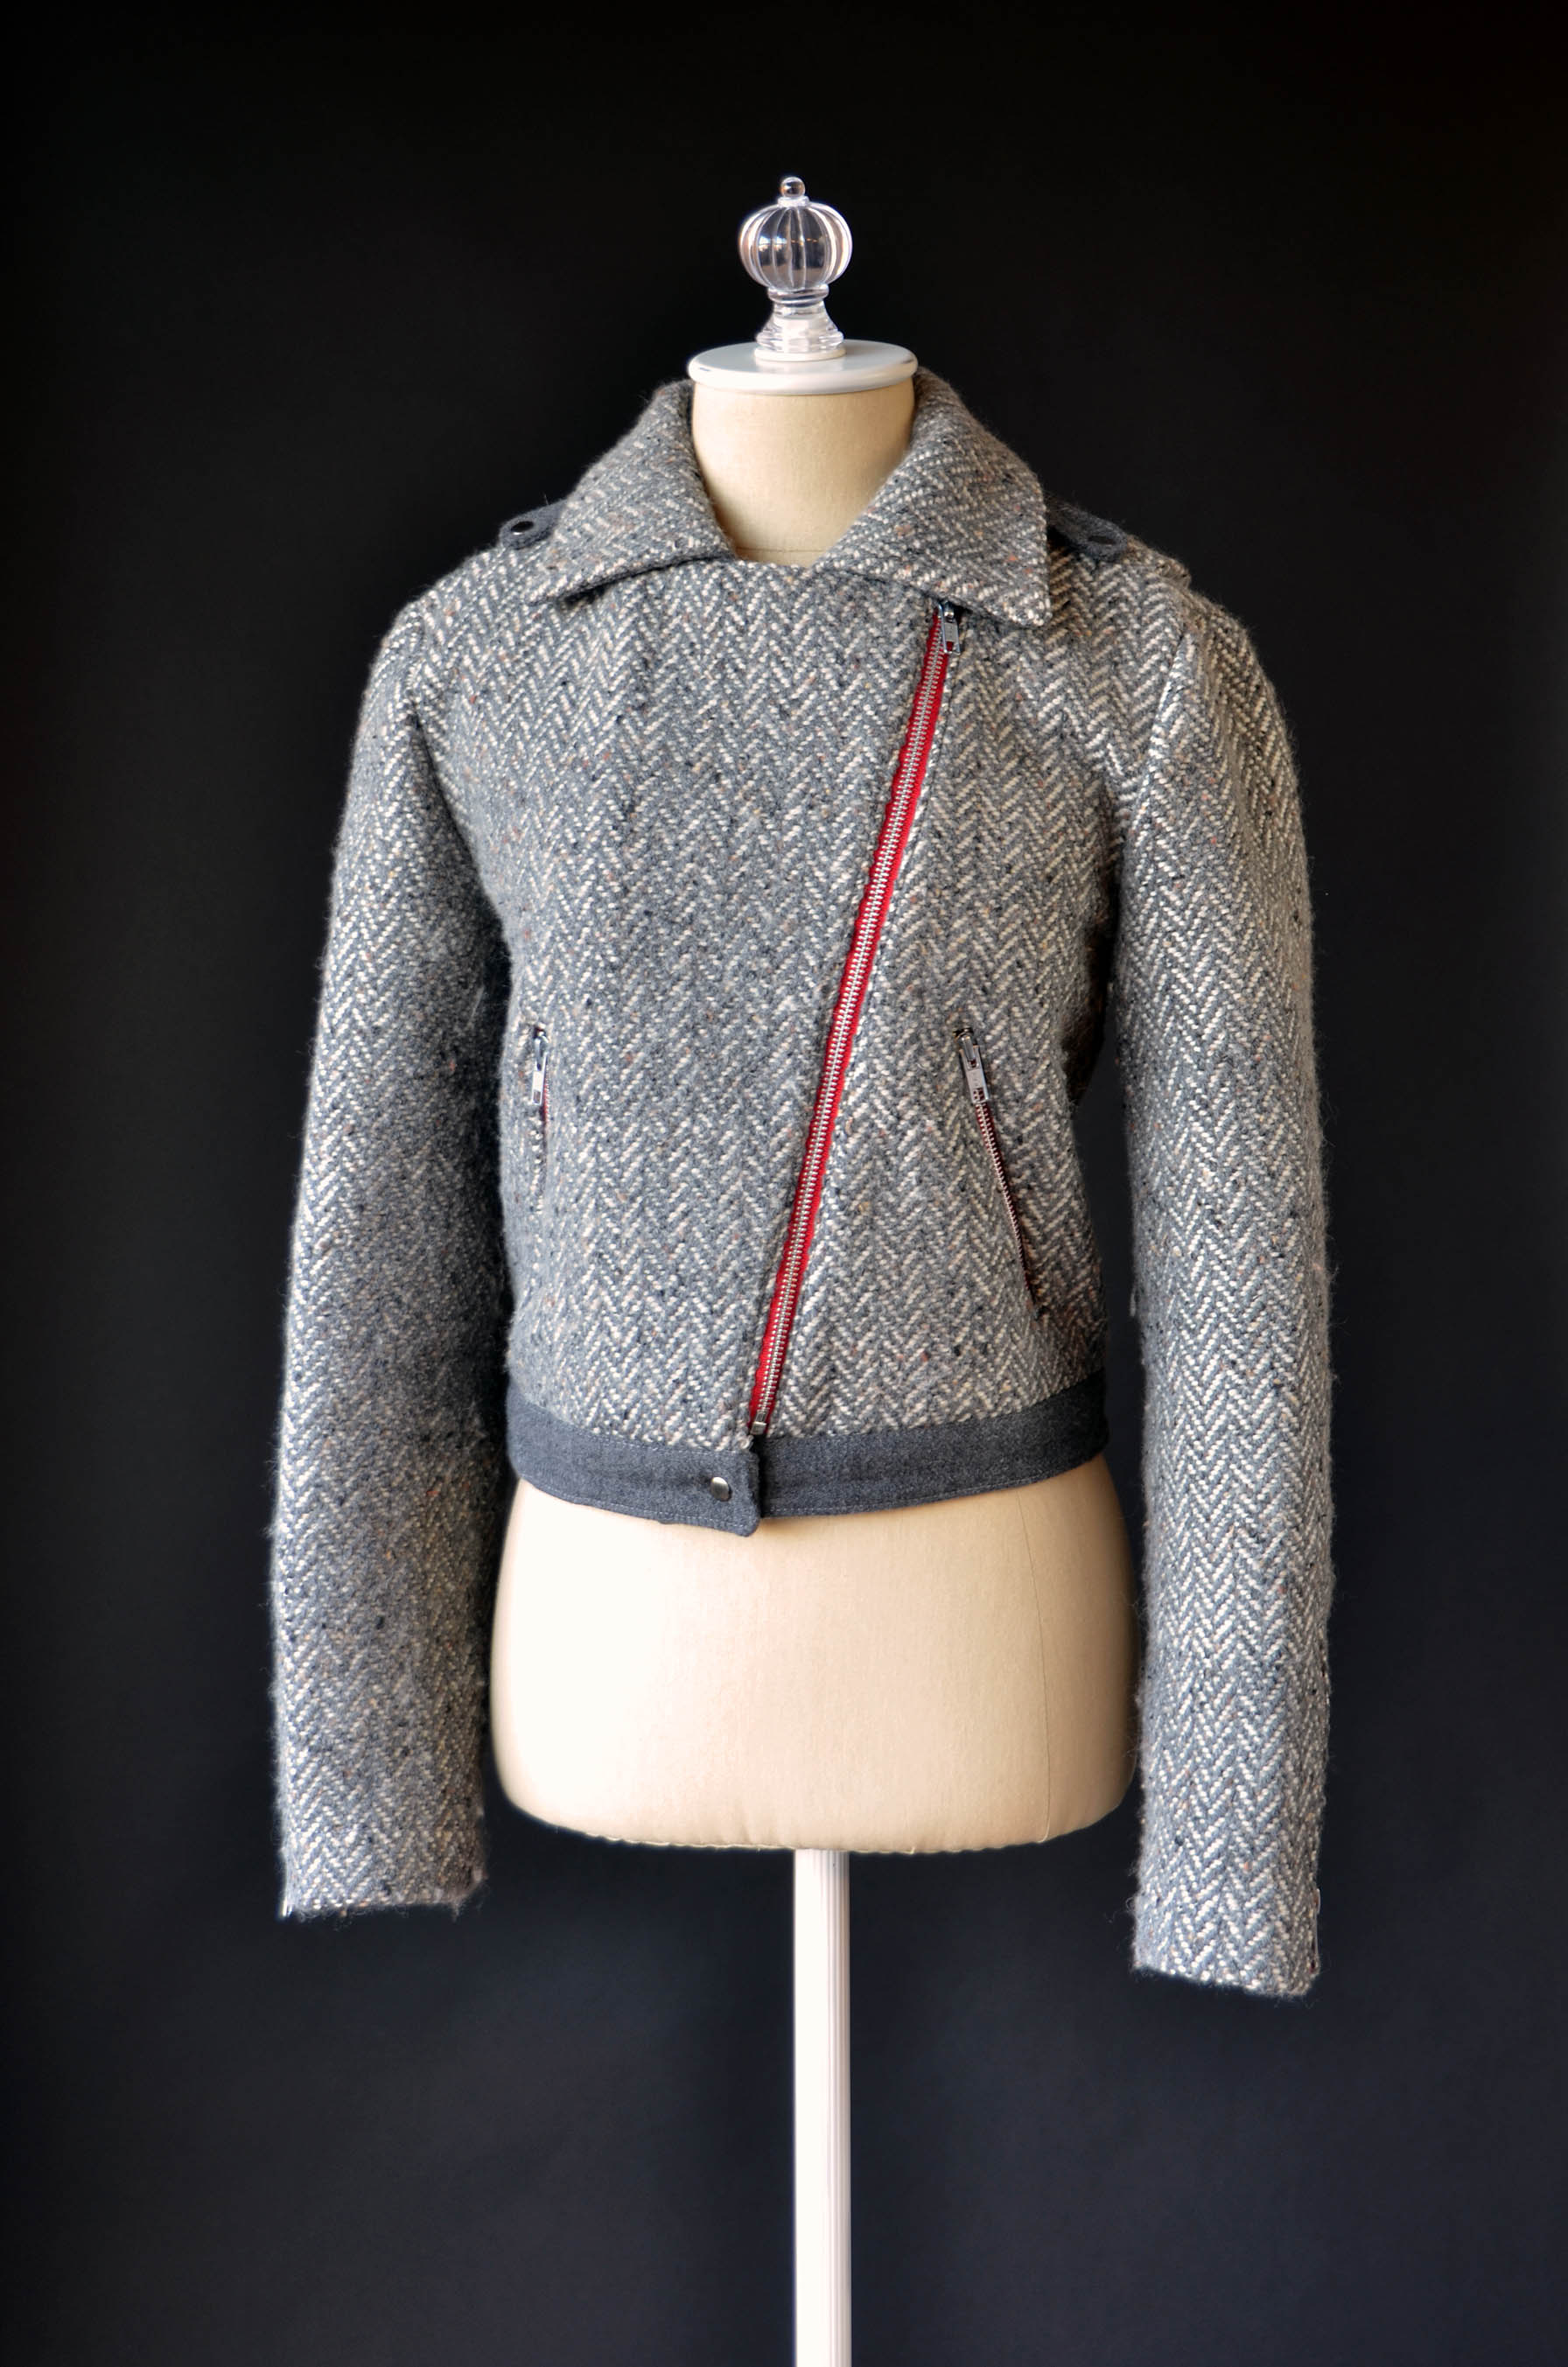
You can read through the entire tale of the moto jackets on previous blog posts here, here, here, and here. It took a few near all-nighters, but the moto jackets got finished by my goal of TNNA last weekend. Yay!
Here are myself and Yonca wearing them in the booth:
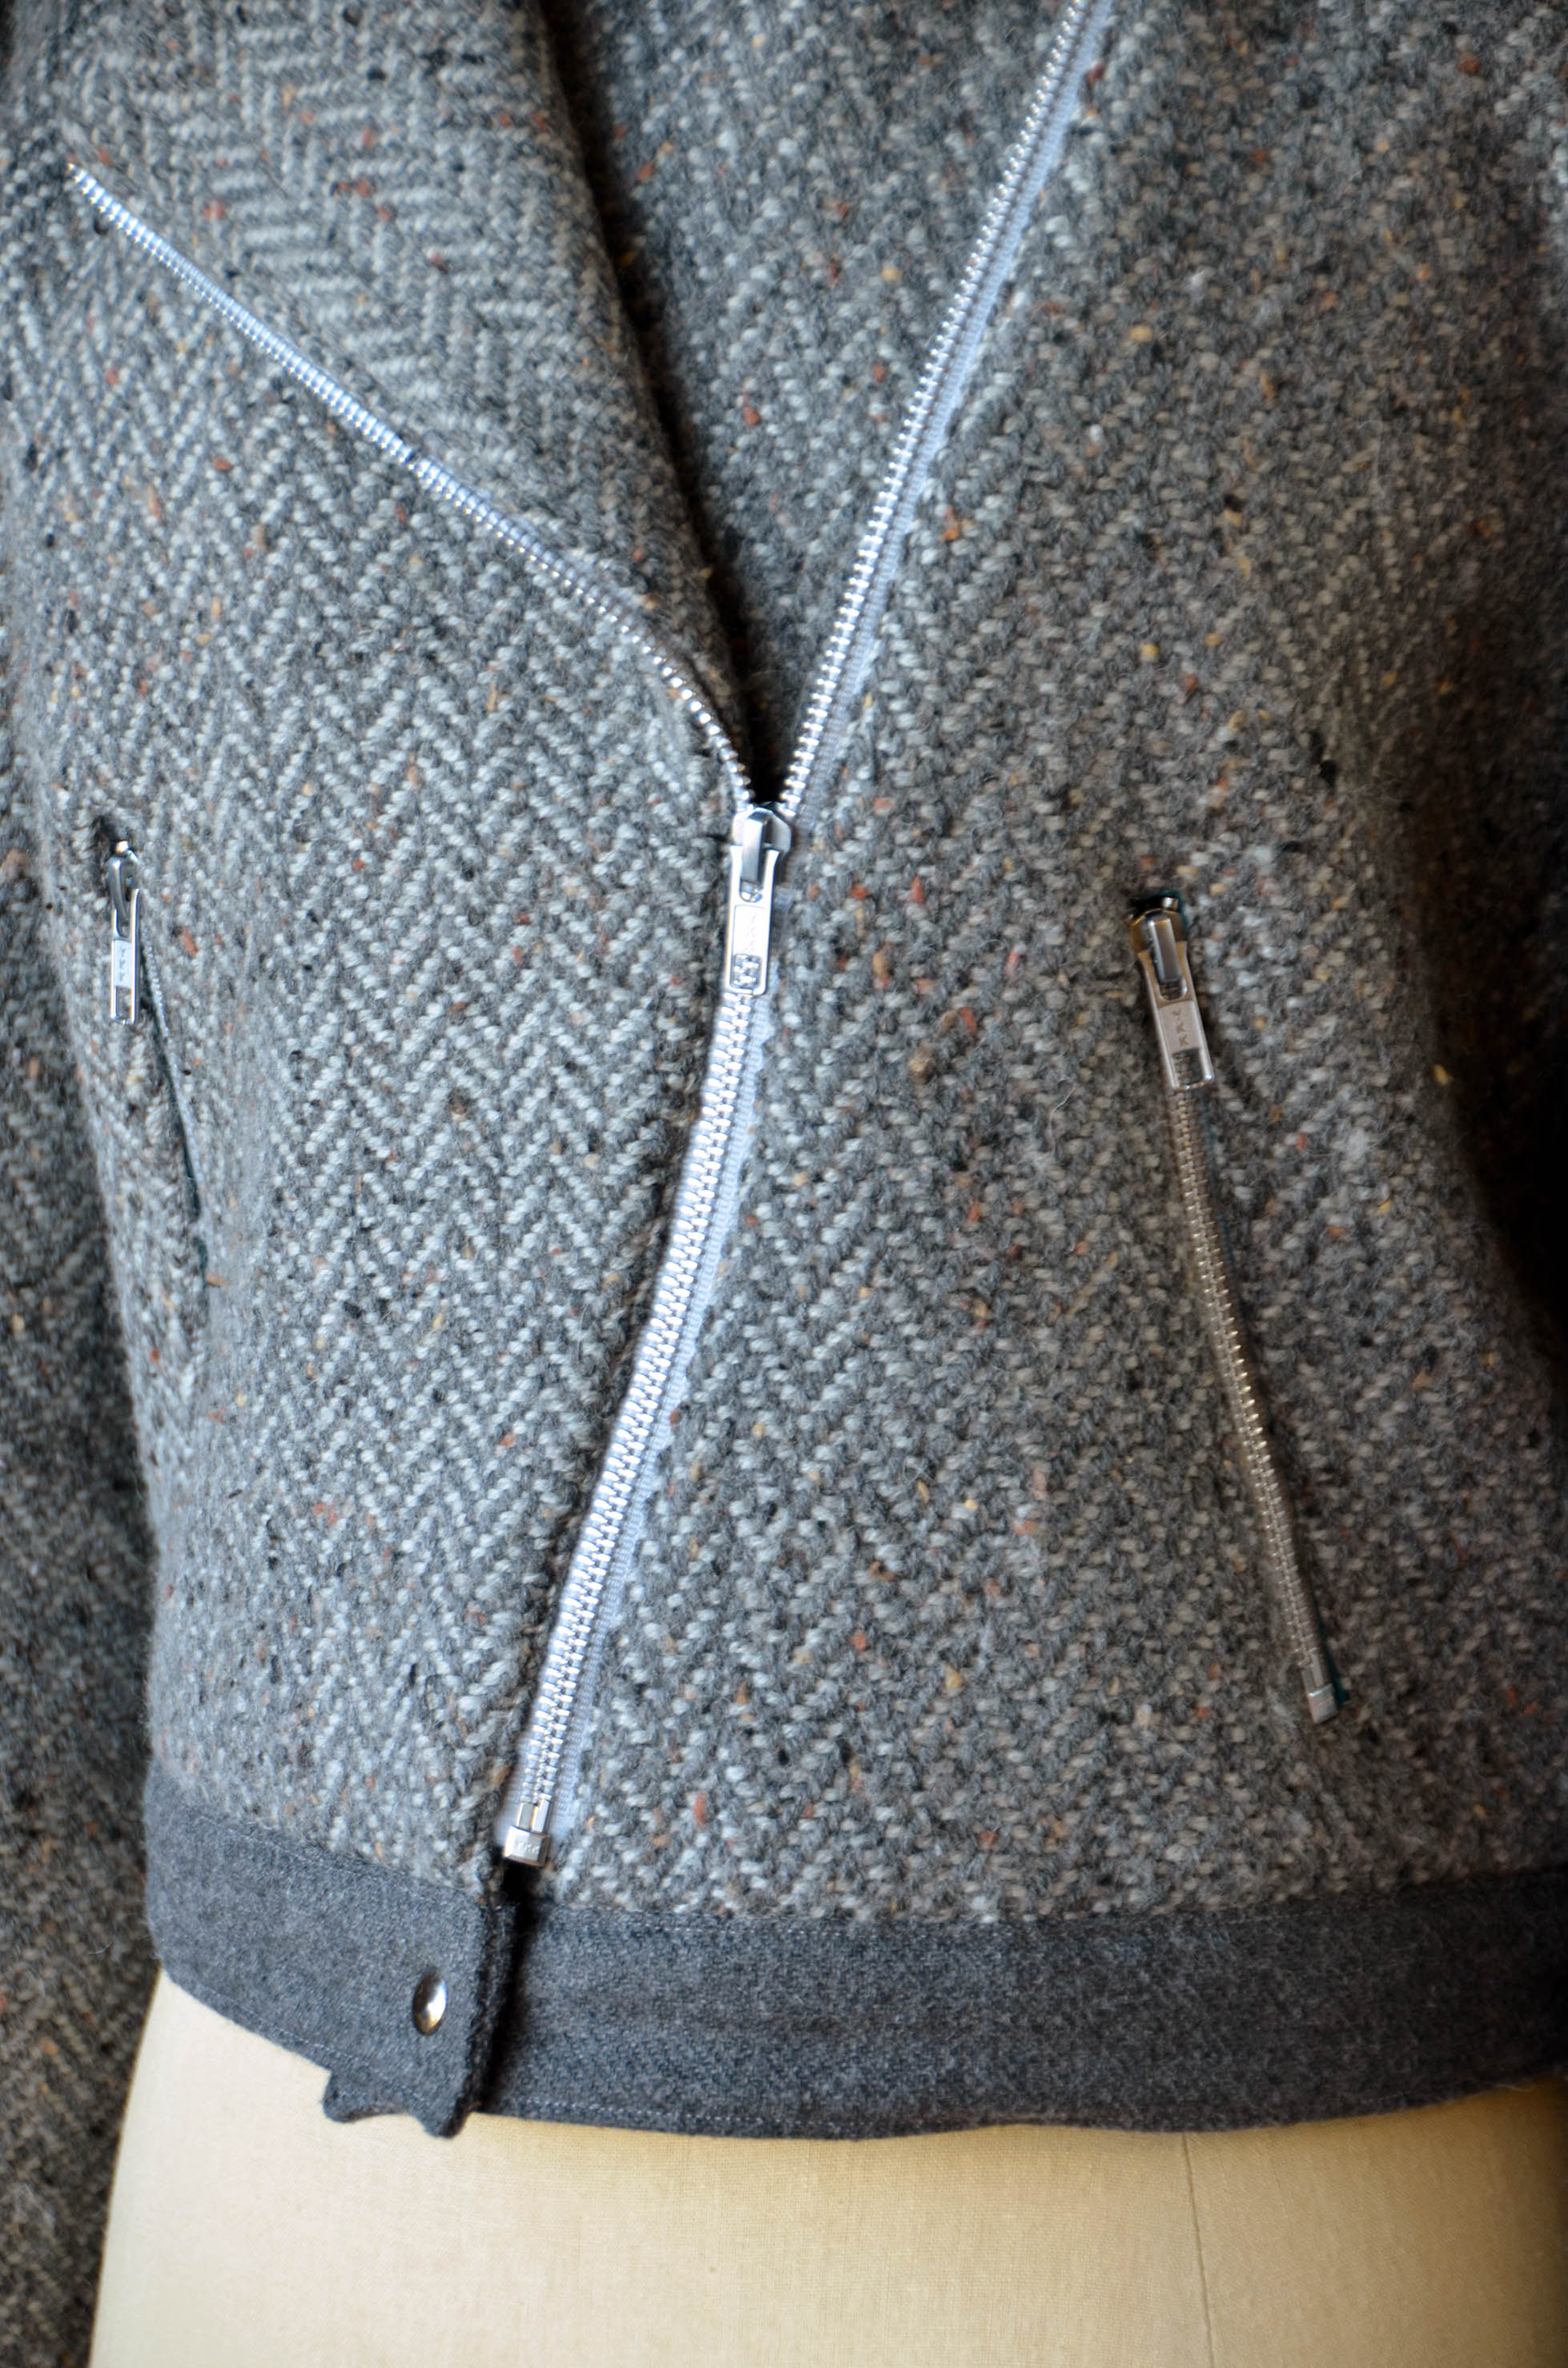
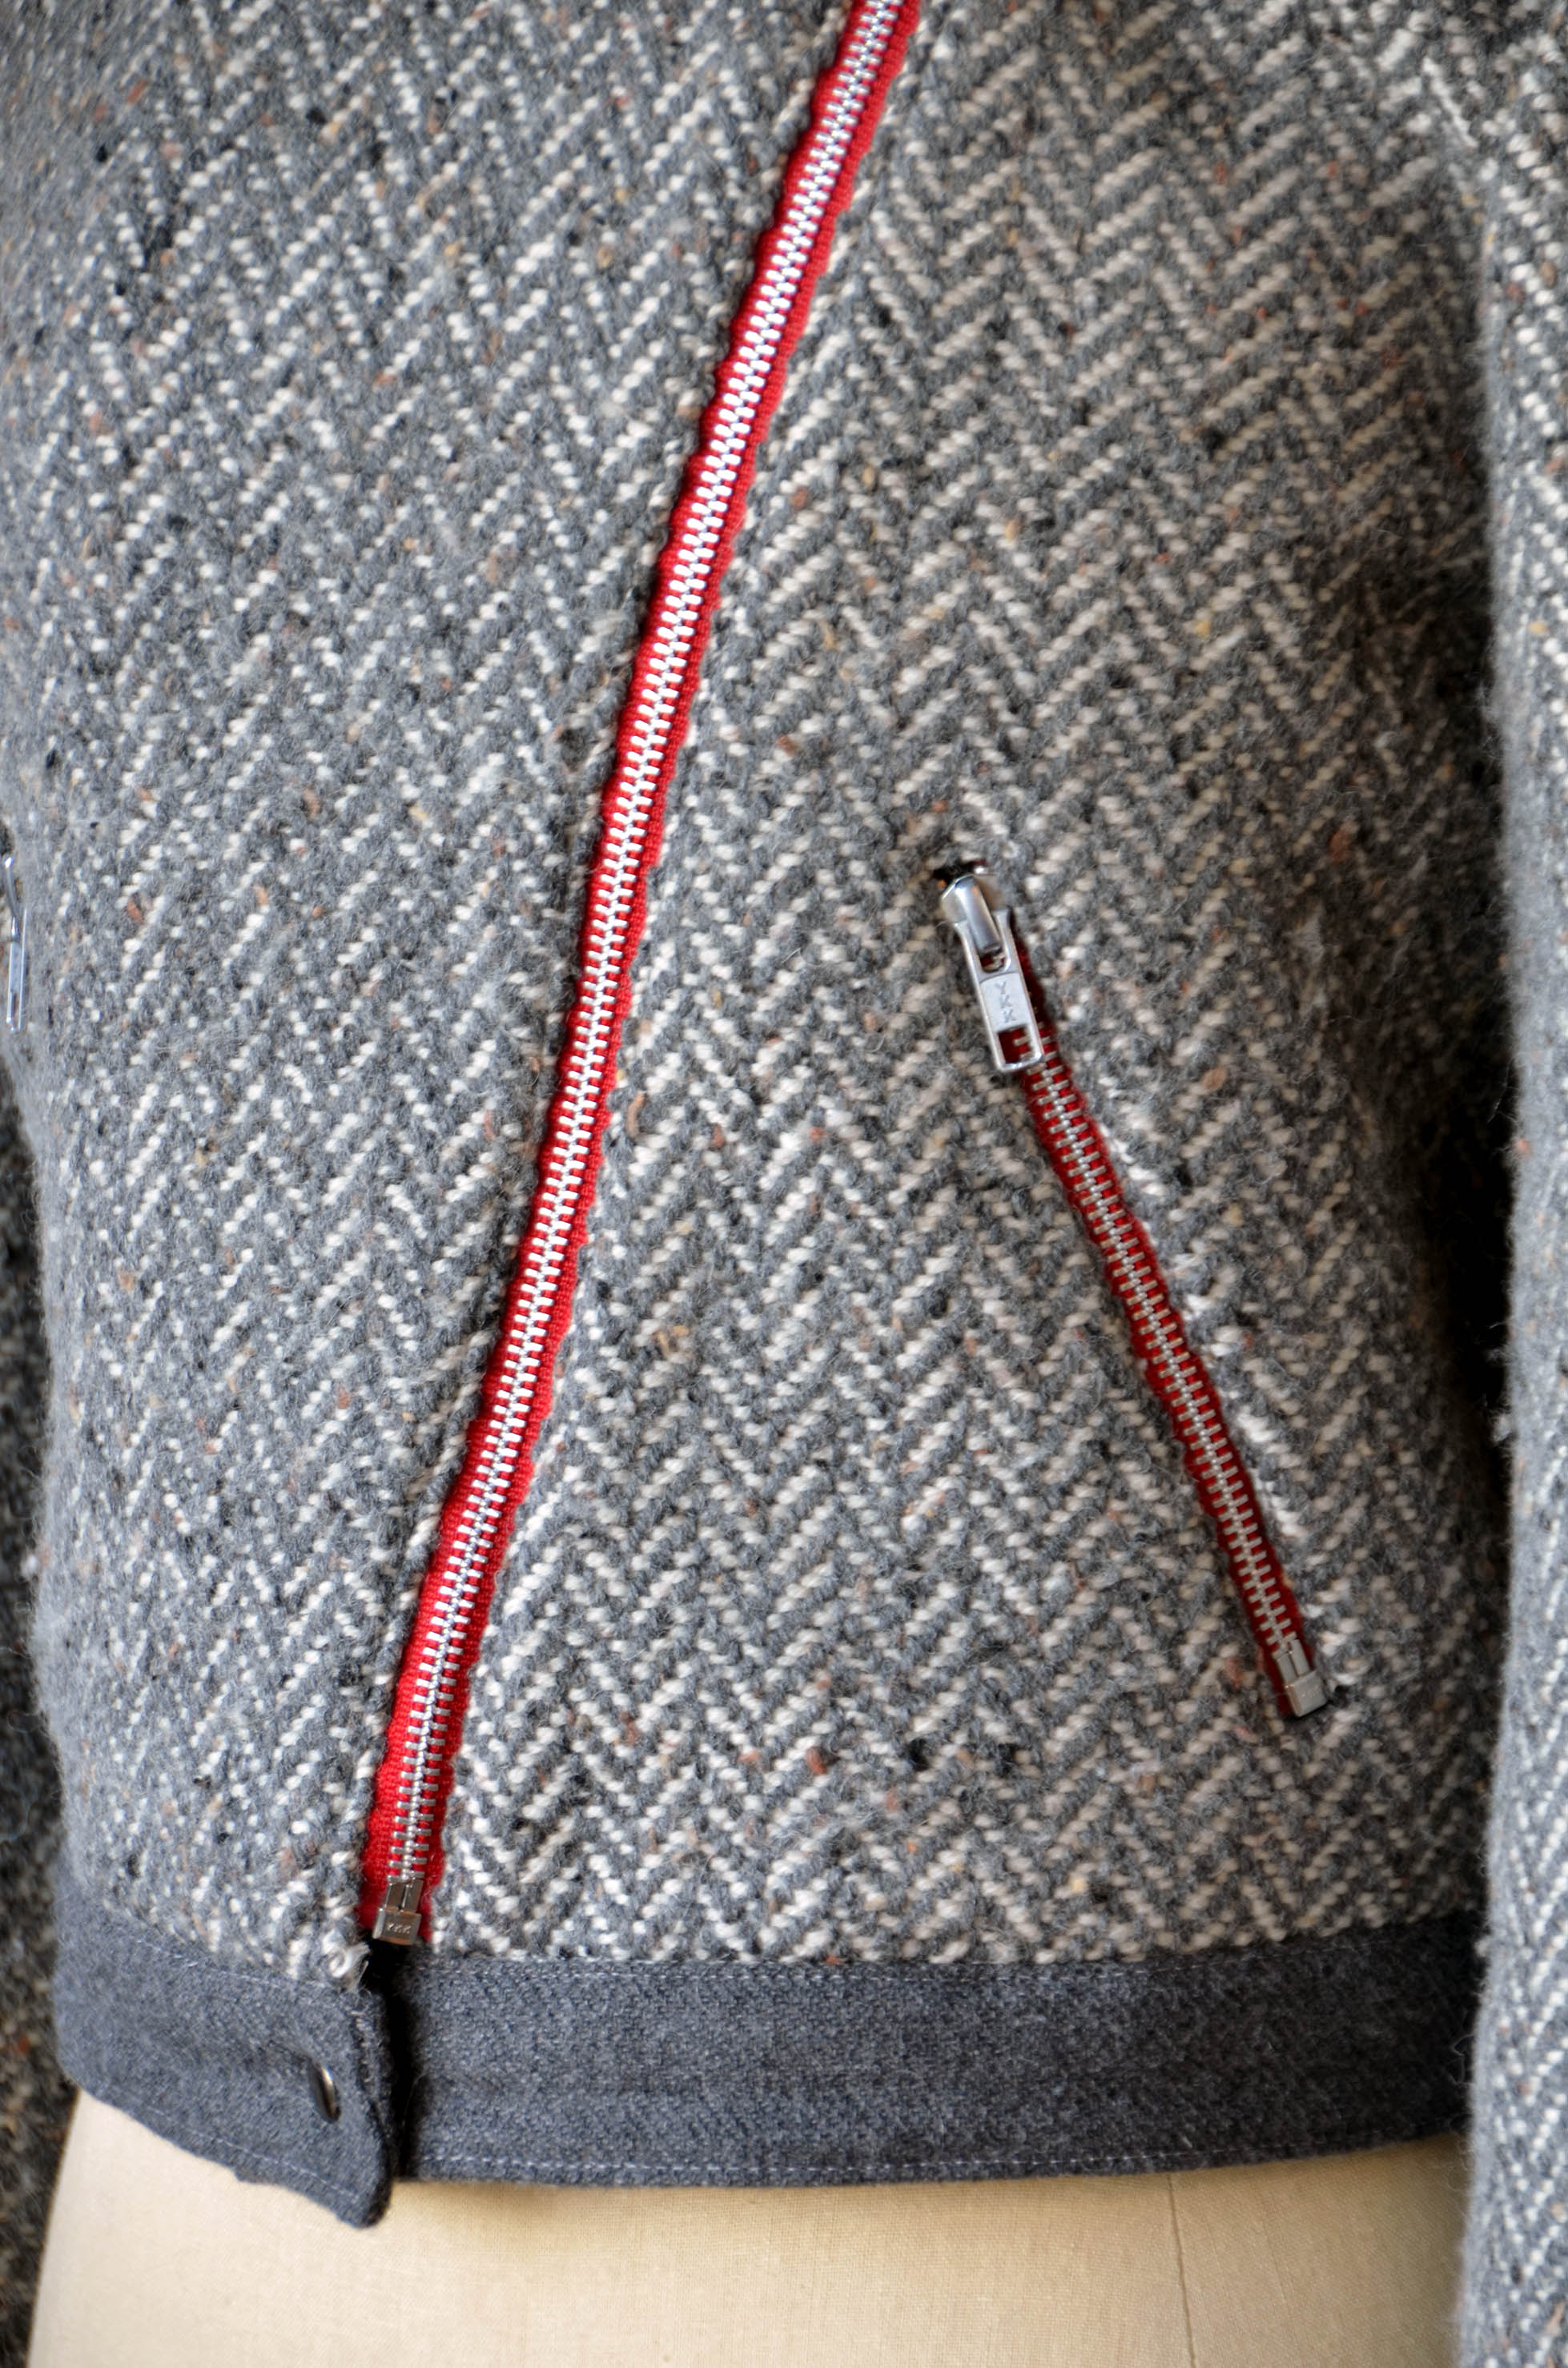
I love Yonca’s choice of red zippers!
For those who aren’t familiar with TNNA, it stands for “The National Needlearts Association” and is our industry trade show. The winter show took place in San Jose just this past weekend. It’s an opportunity for our LYS customers to swing by our booth and see all our new yarns, colors, and designs. We love meeting customers in person – thanks to everyone who attended!
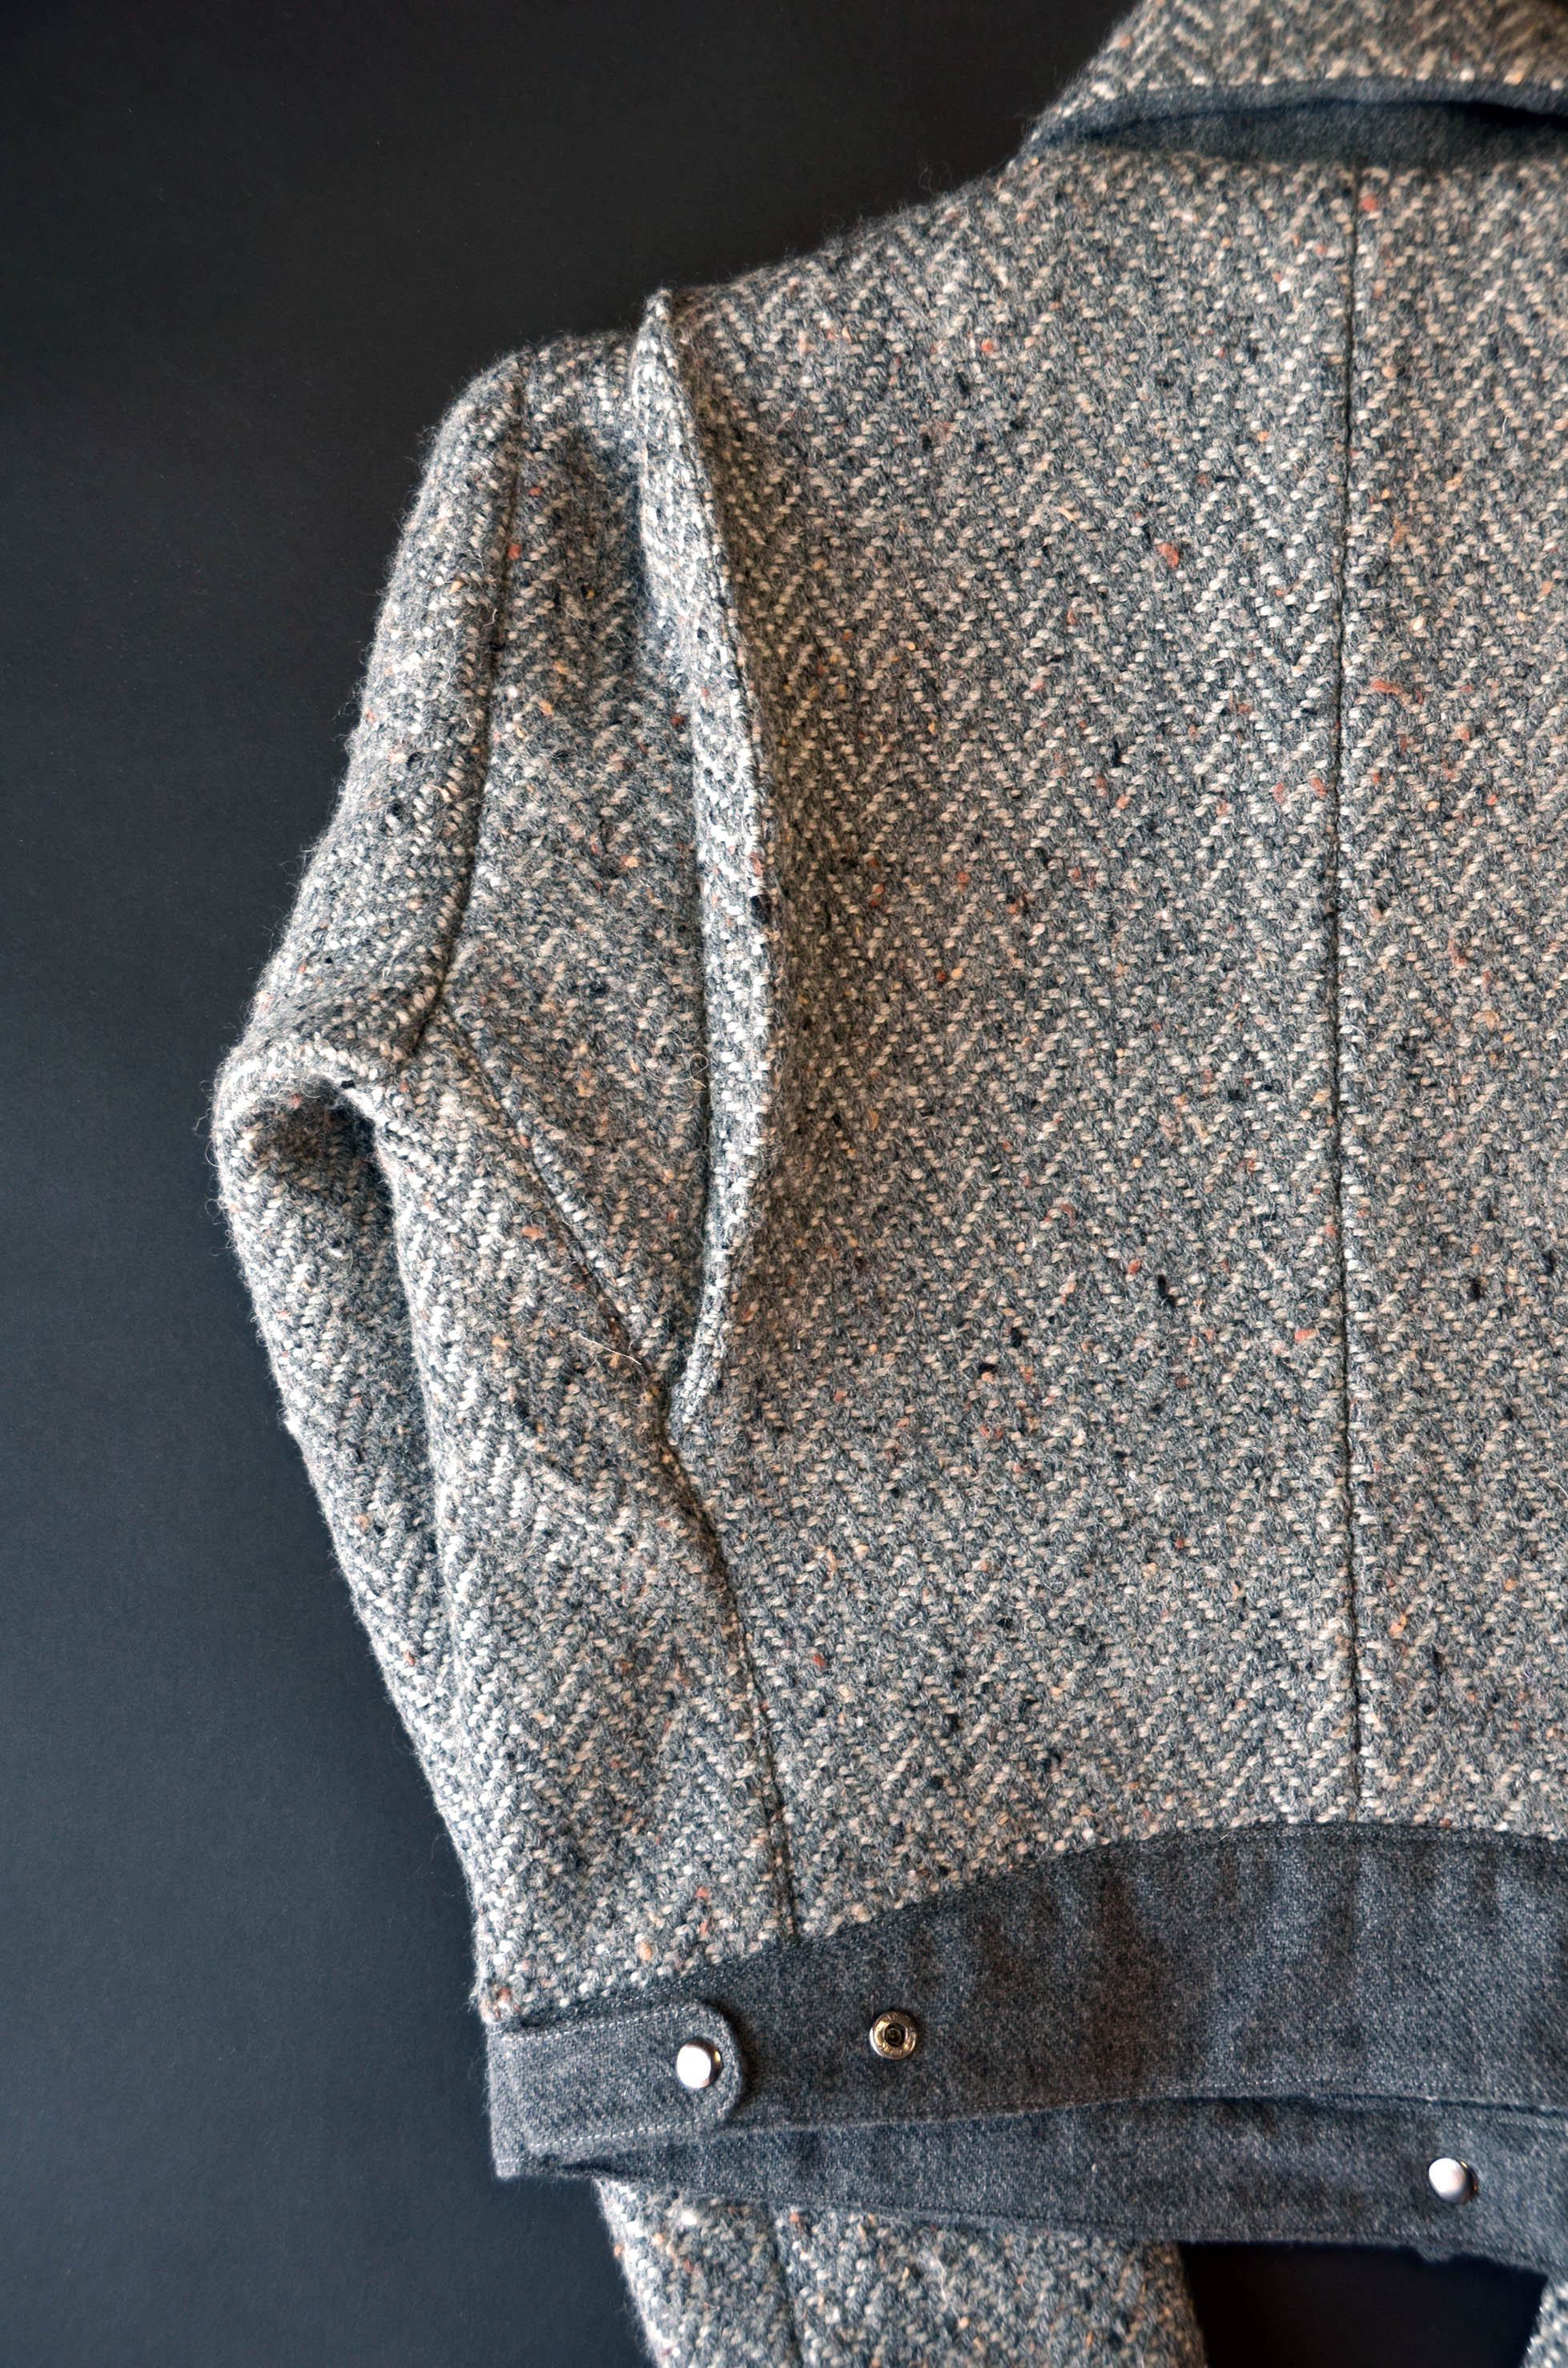
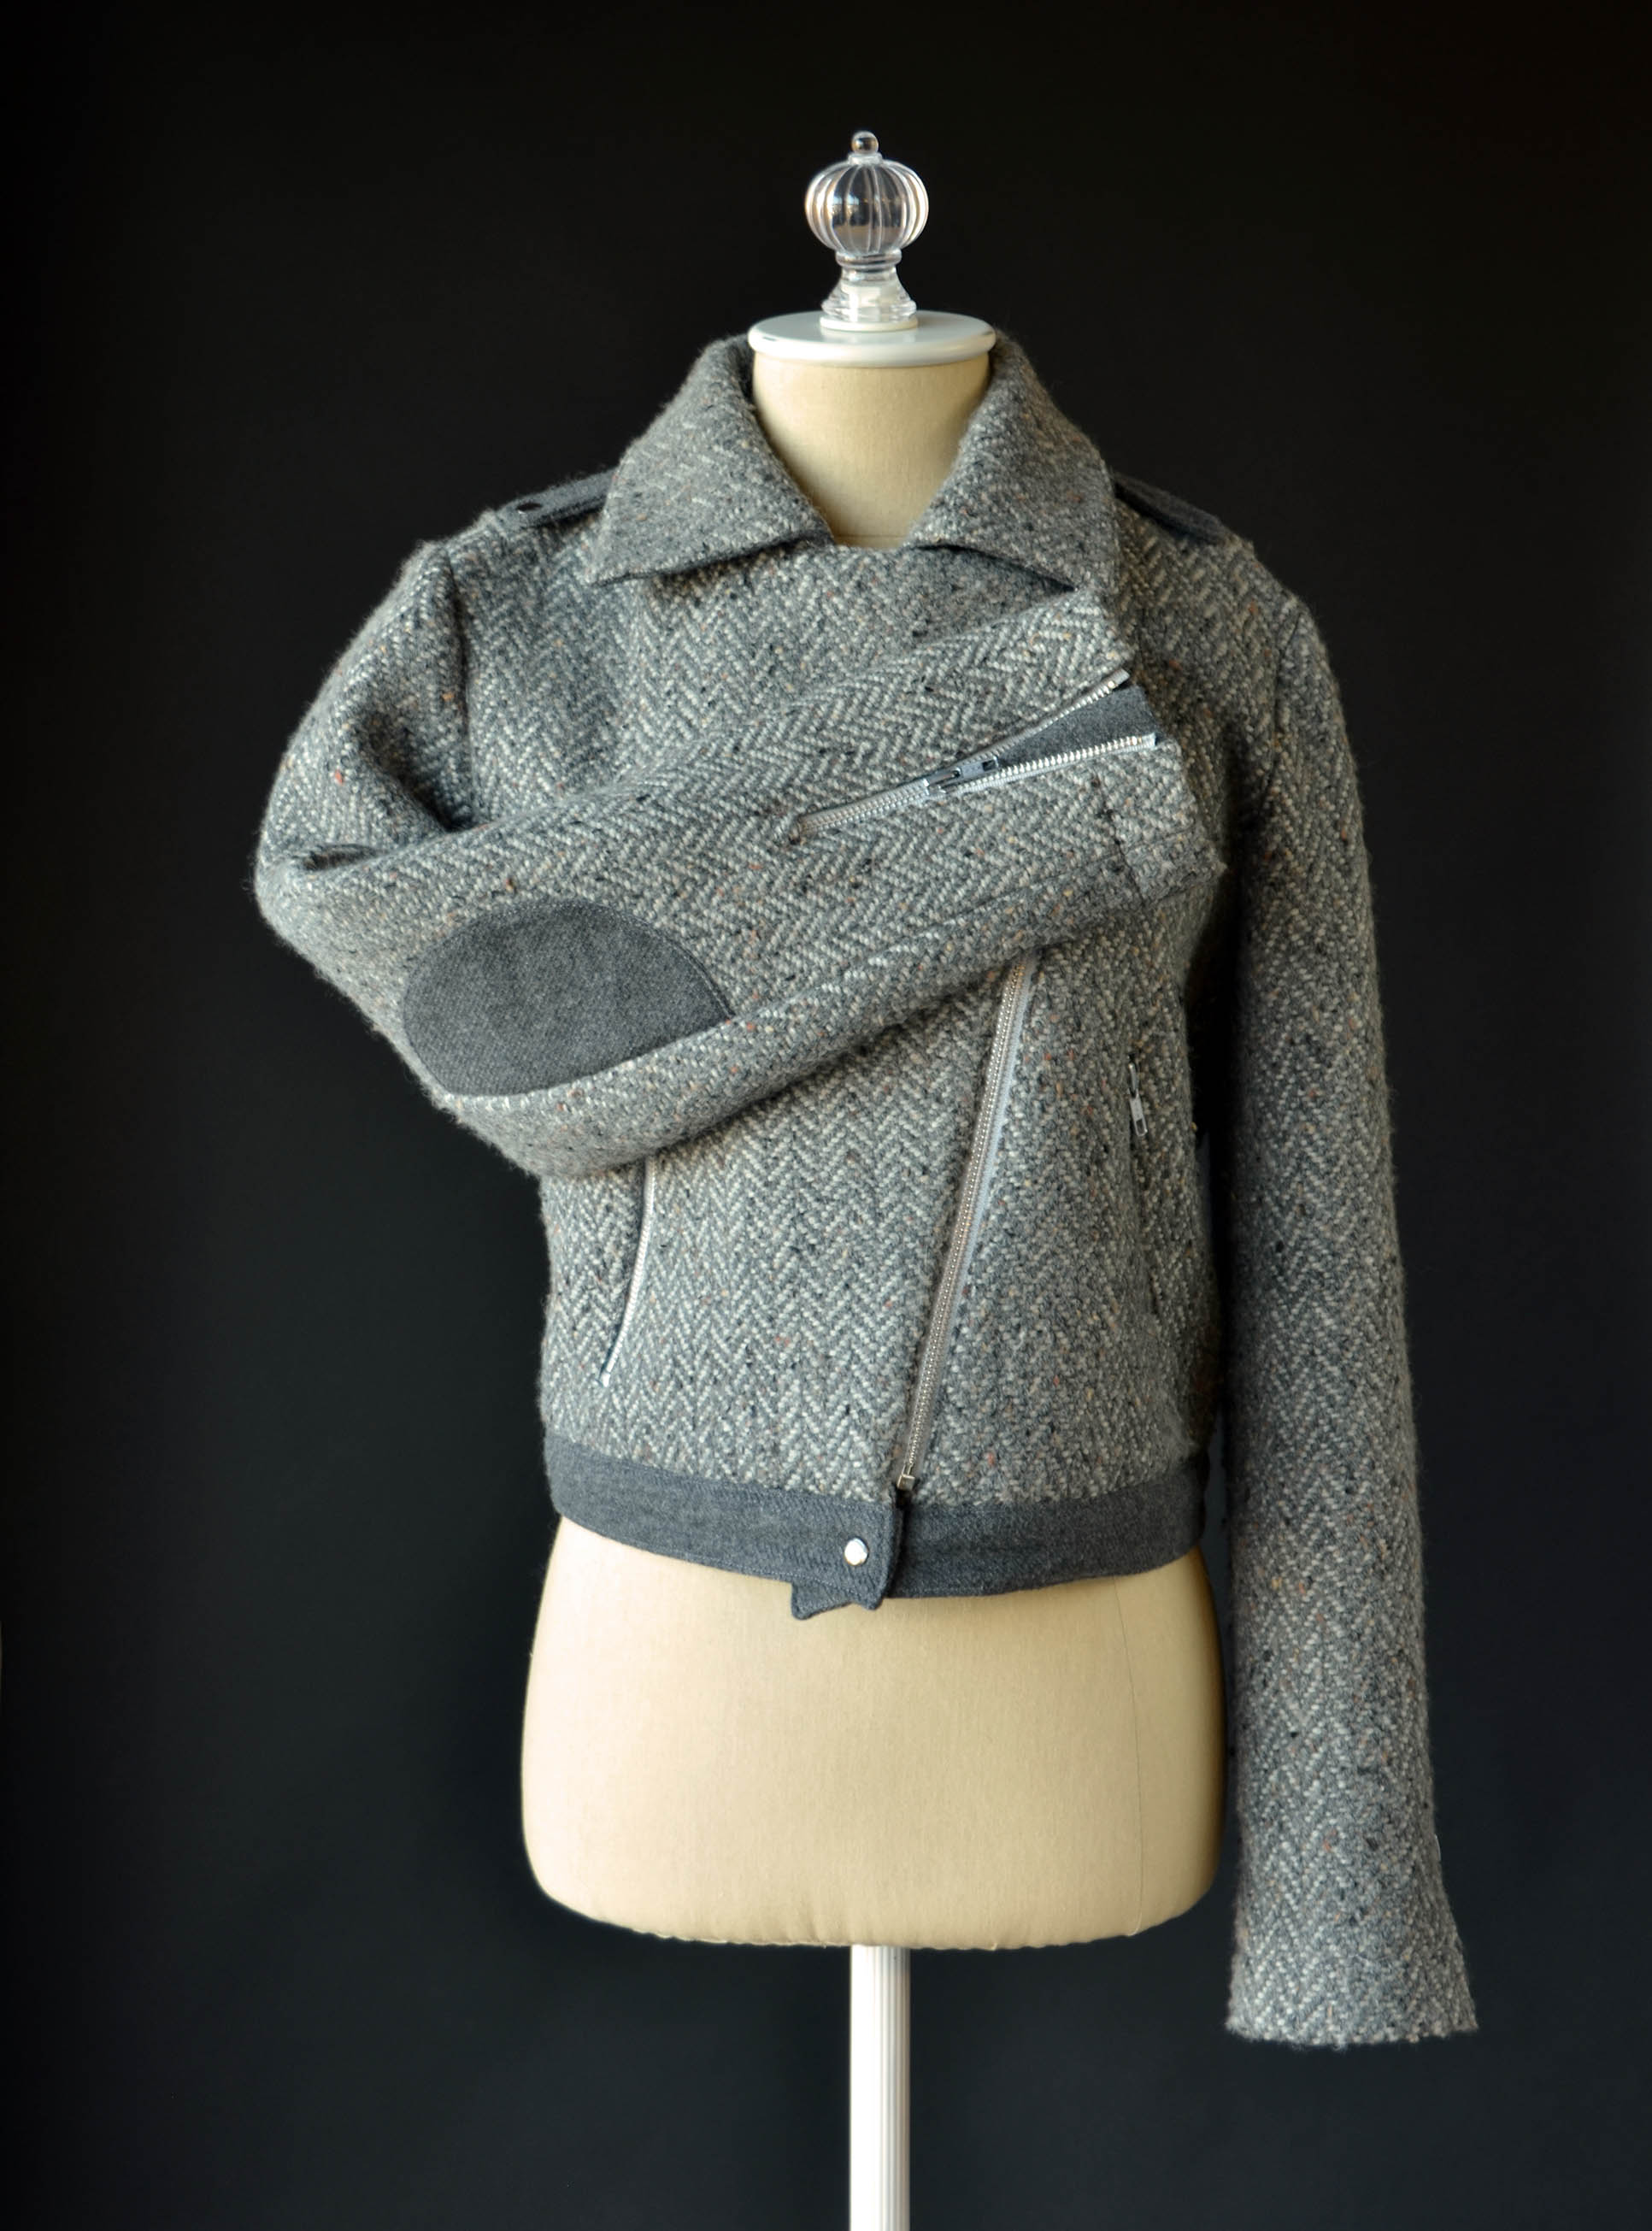
After returning from our long weekend, Heather kindly snapped some detail shots of the jackets.
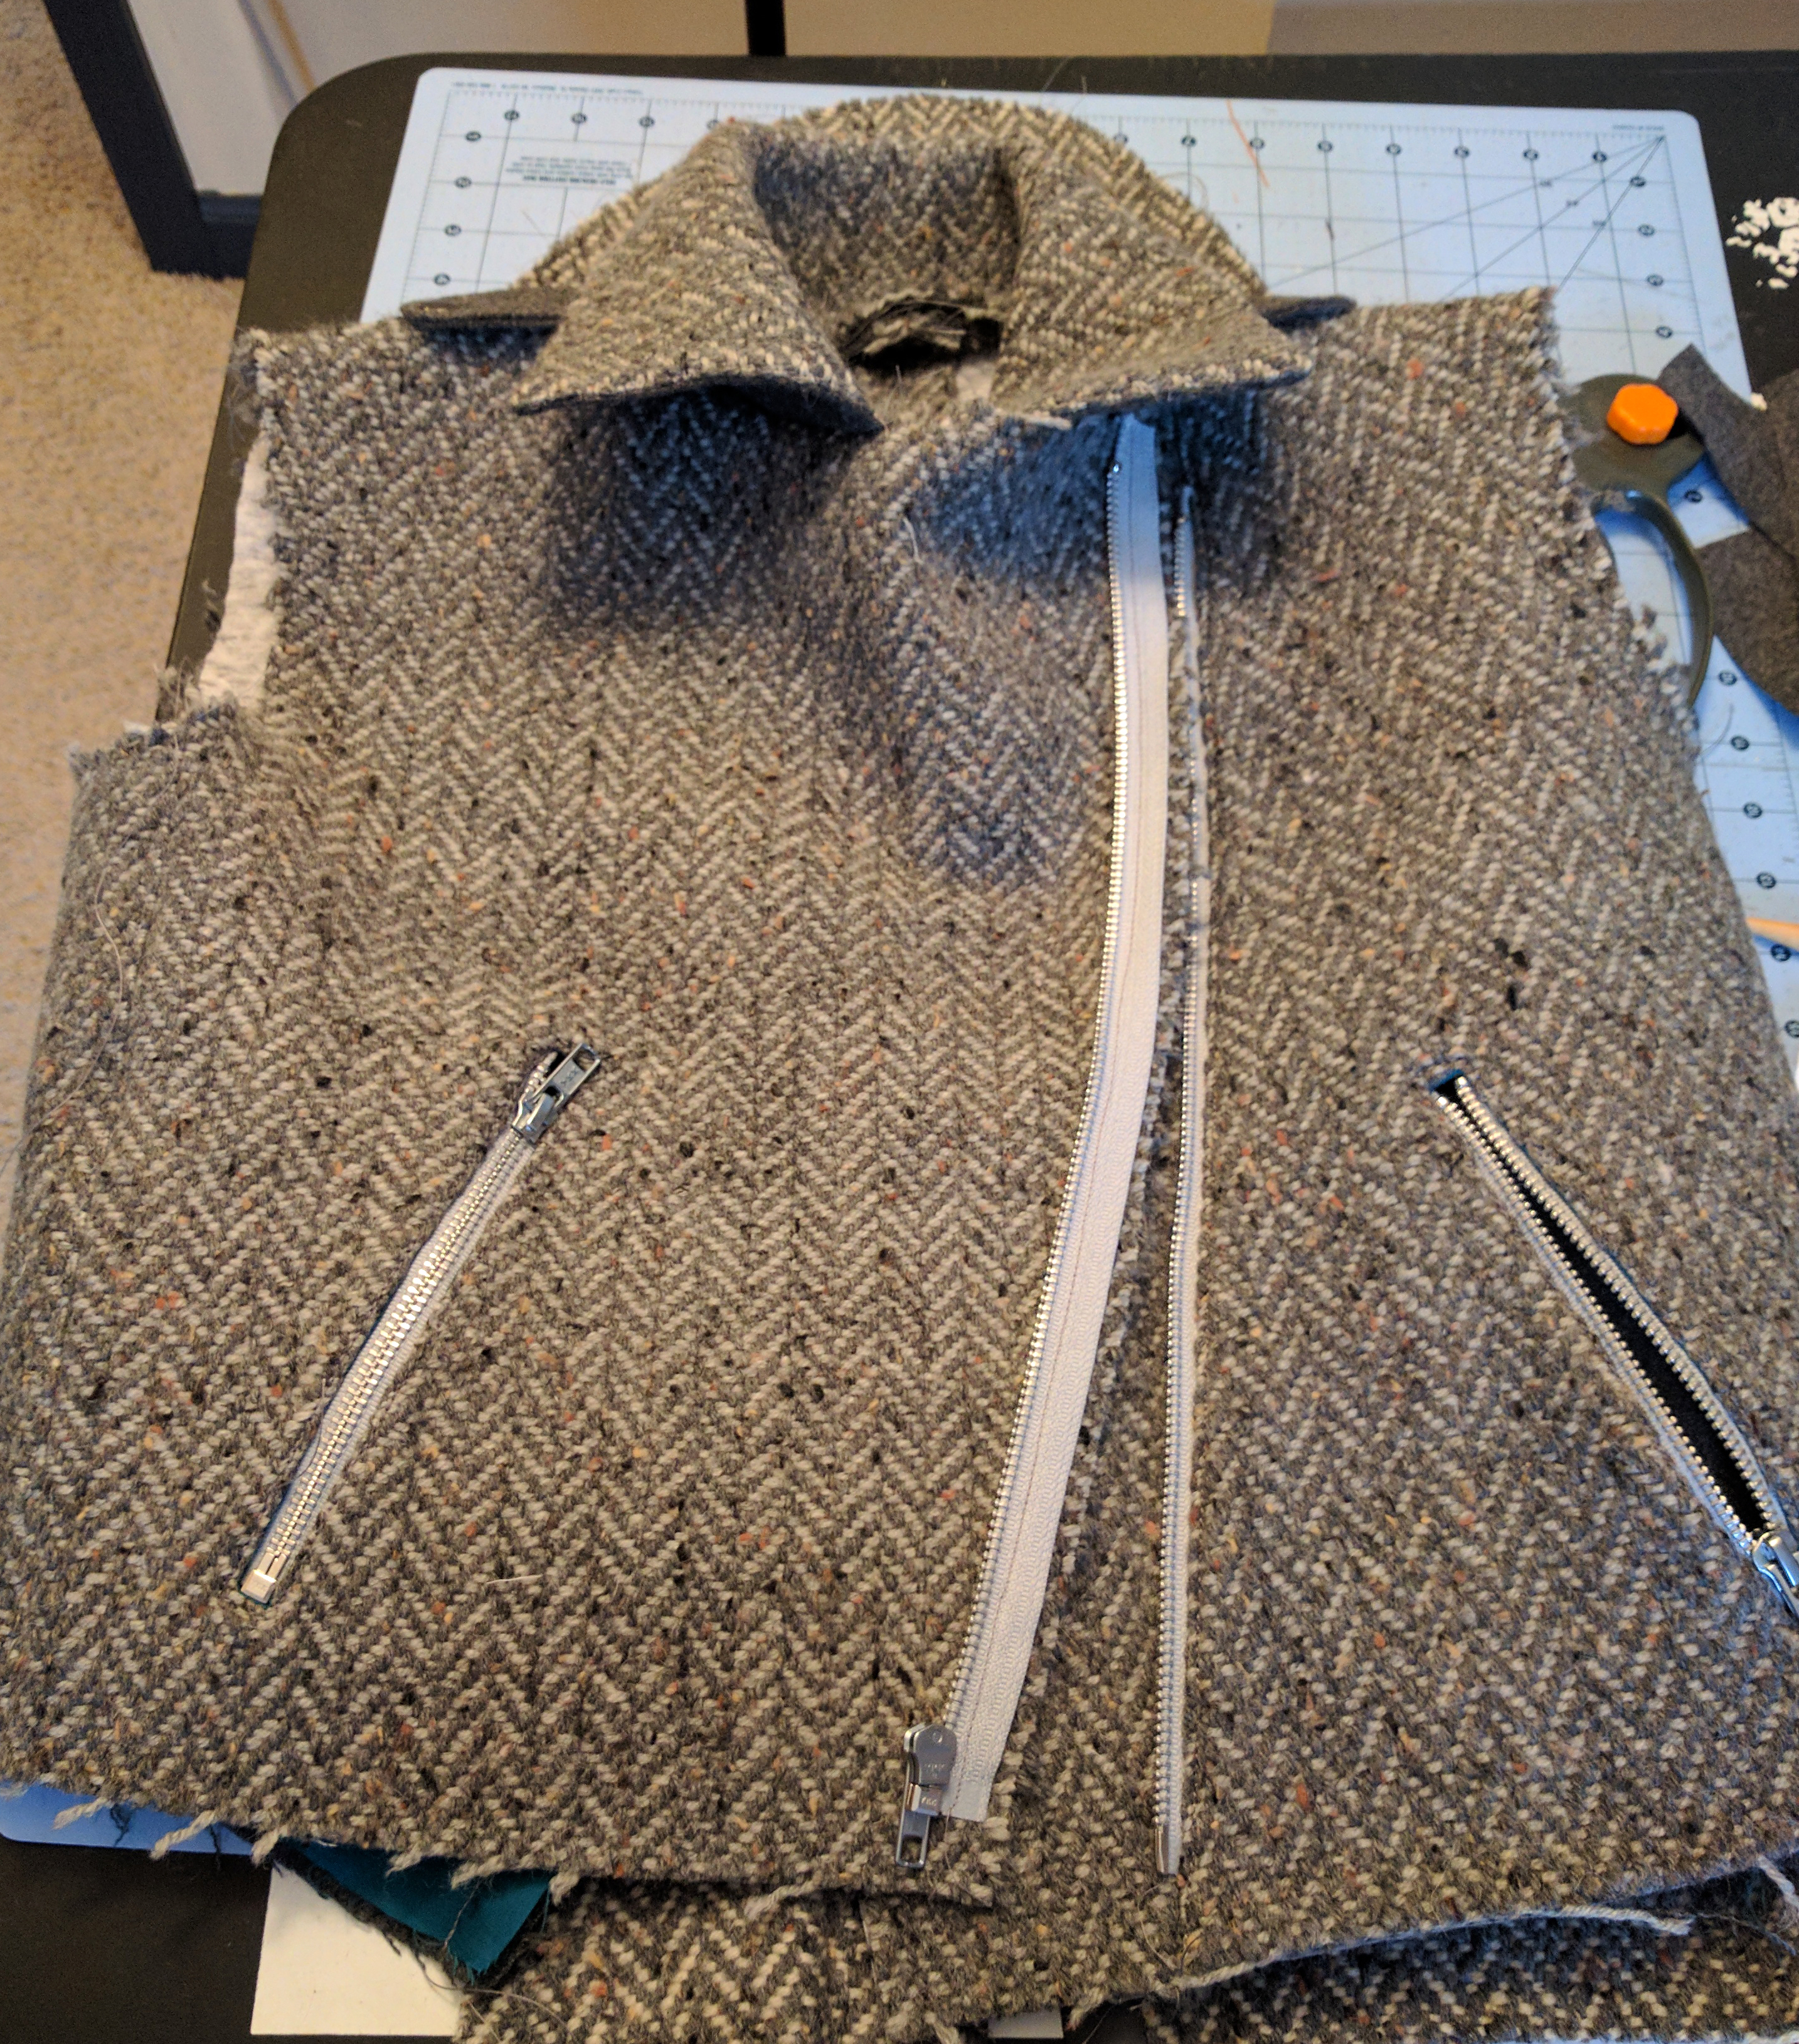
Each jacket has 5 zippers – that was 10 total zippers to shorten. Whew!My pop of color is on the inside of my jacket in the form of teal lining. Mmmm.I really do love this pattern that includes details like these pleats. They’re both stylish and functional, allowing for ease of movement in the back and shoulder area of the wearer.
The gray contrast fabric at the waistband, elbow patches, and a few other locations is a wool blend that was purchased.It’s amazing what a difference the details can make!
Next time, I’m going to be back at the rigid heddle loom with some of our Ready to Dye yarn and some experimentation!
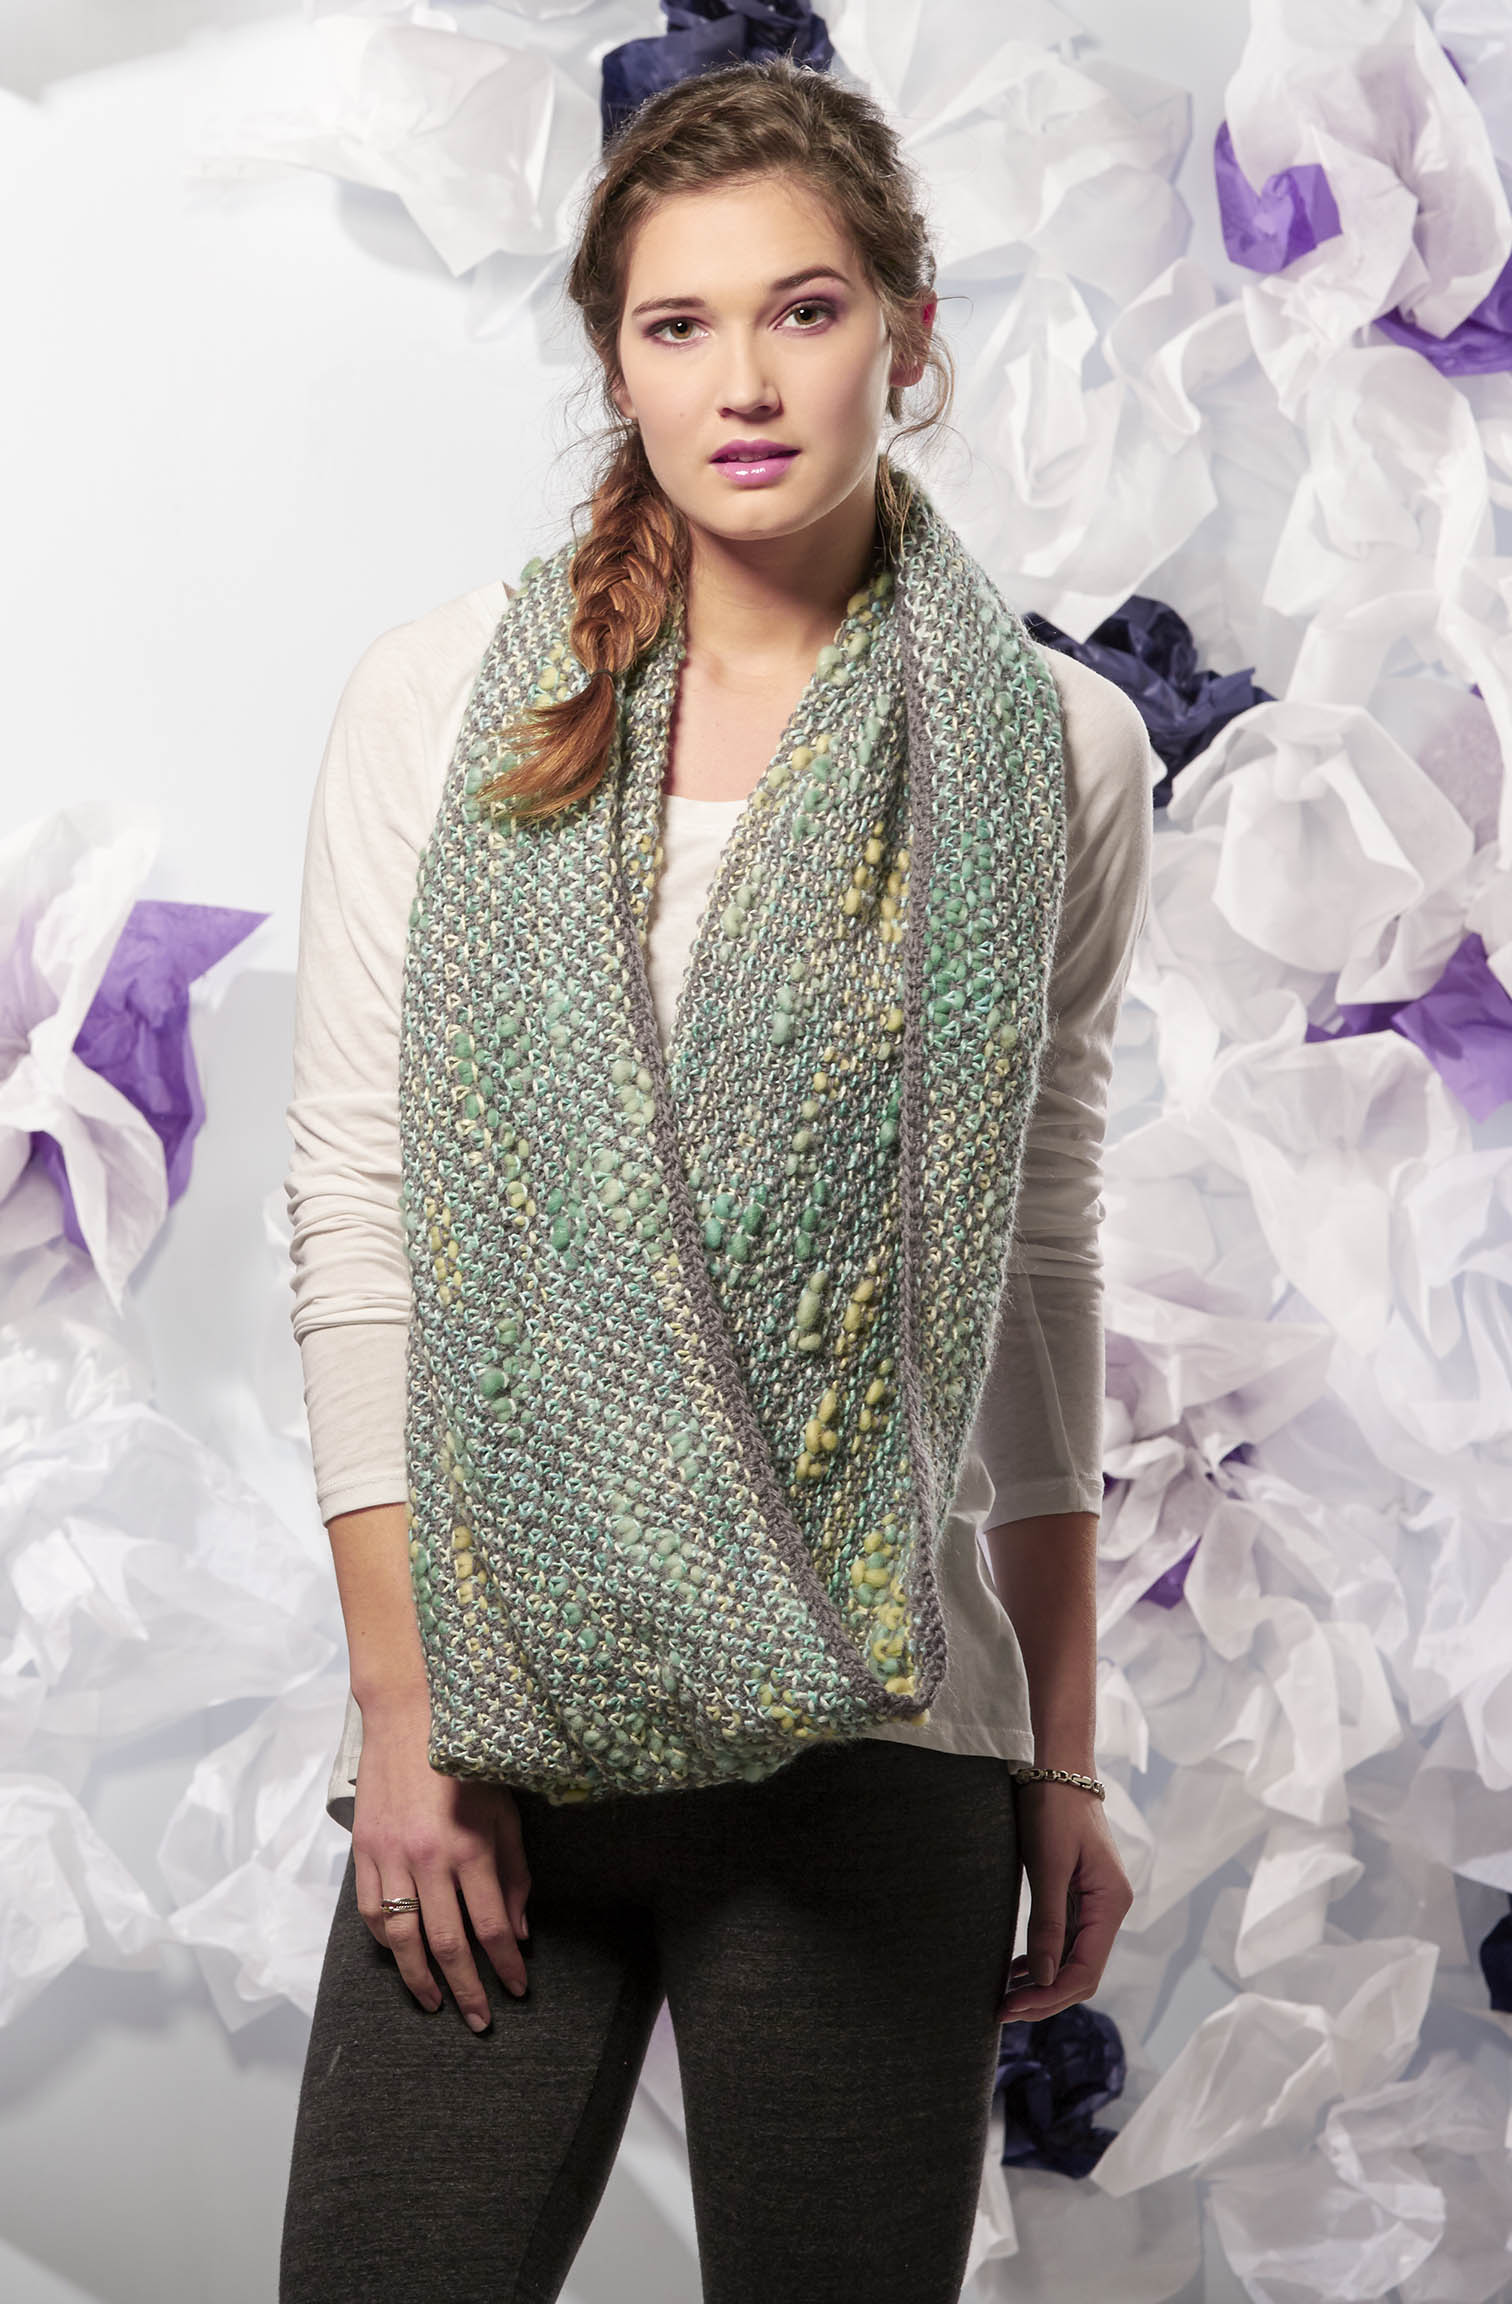
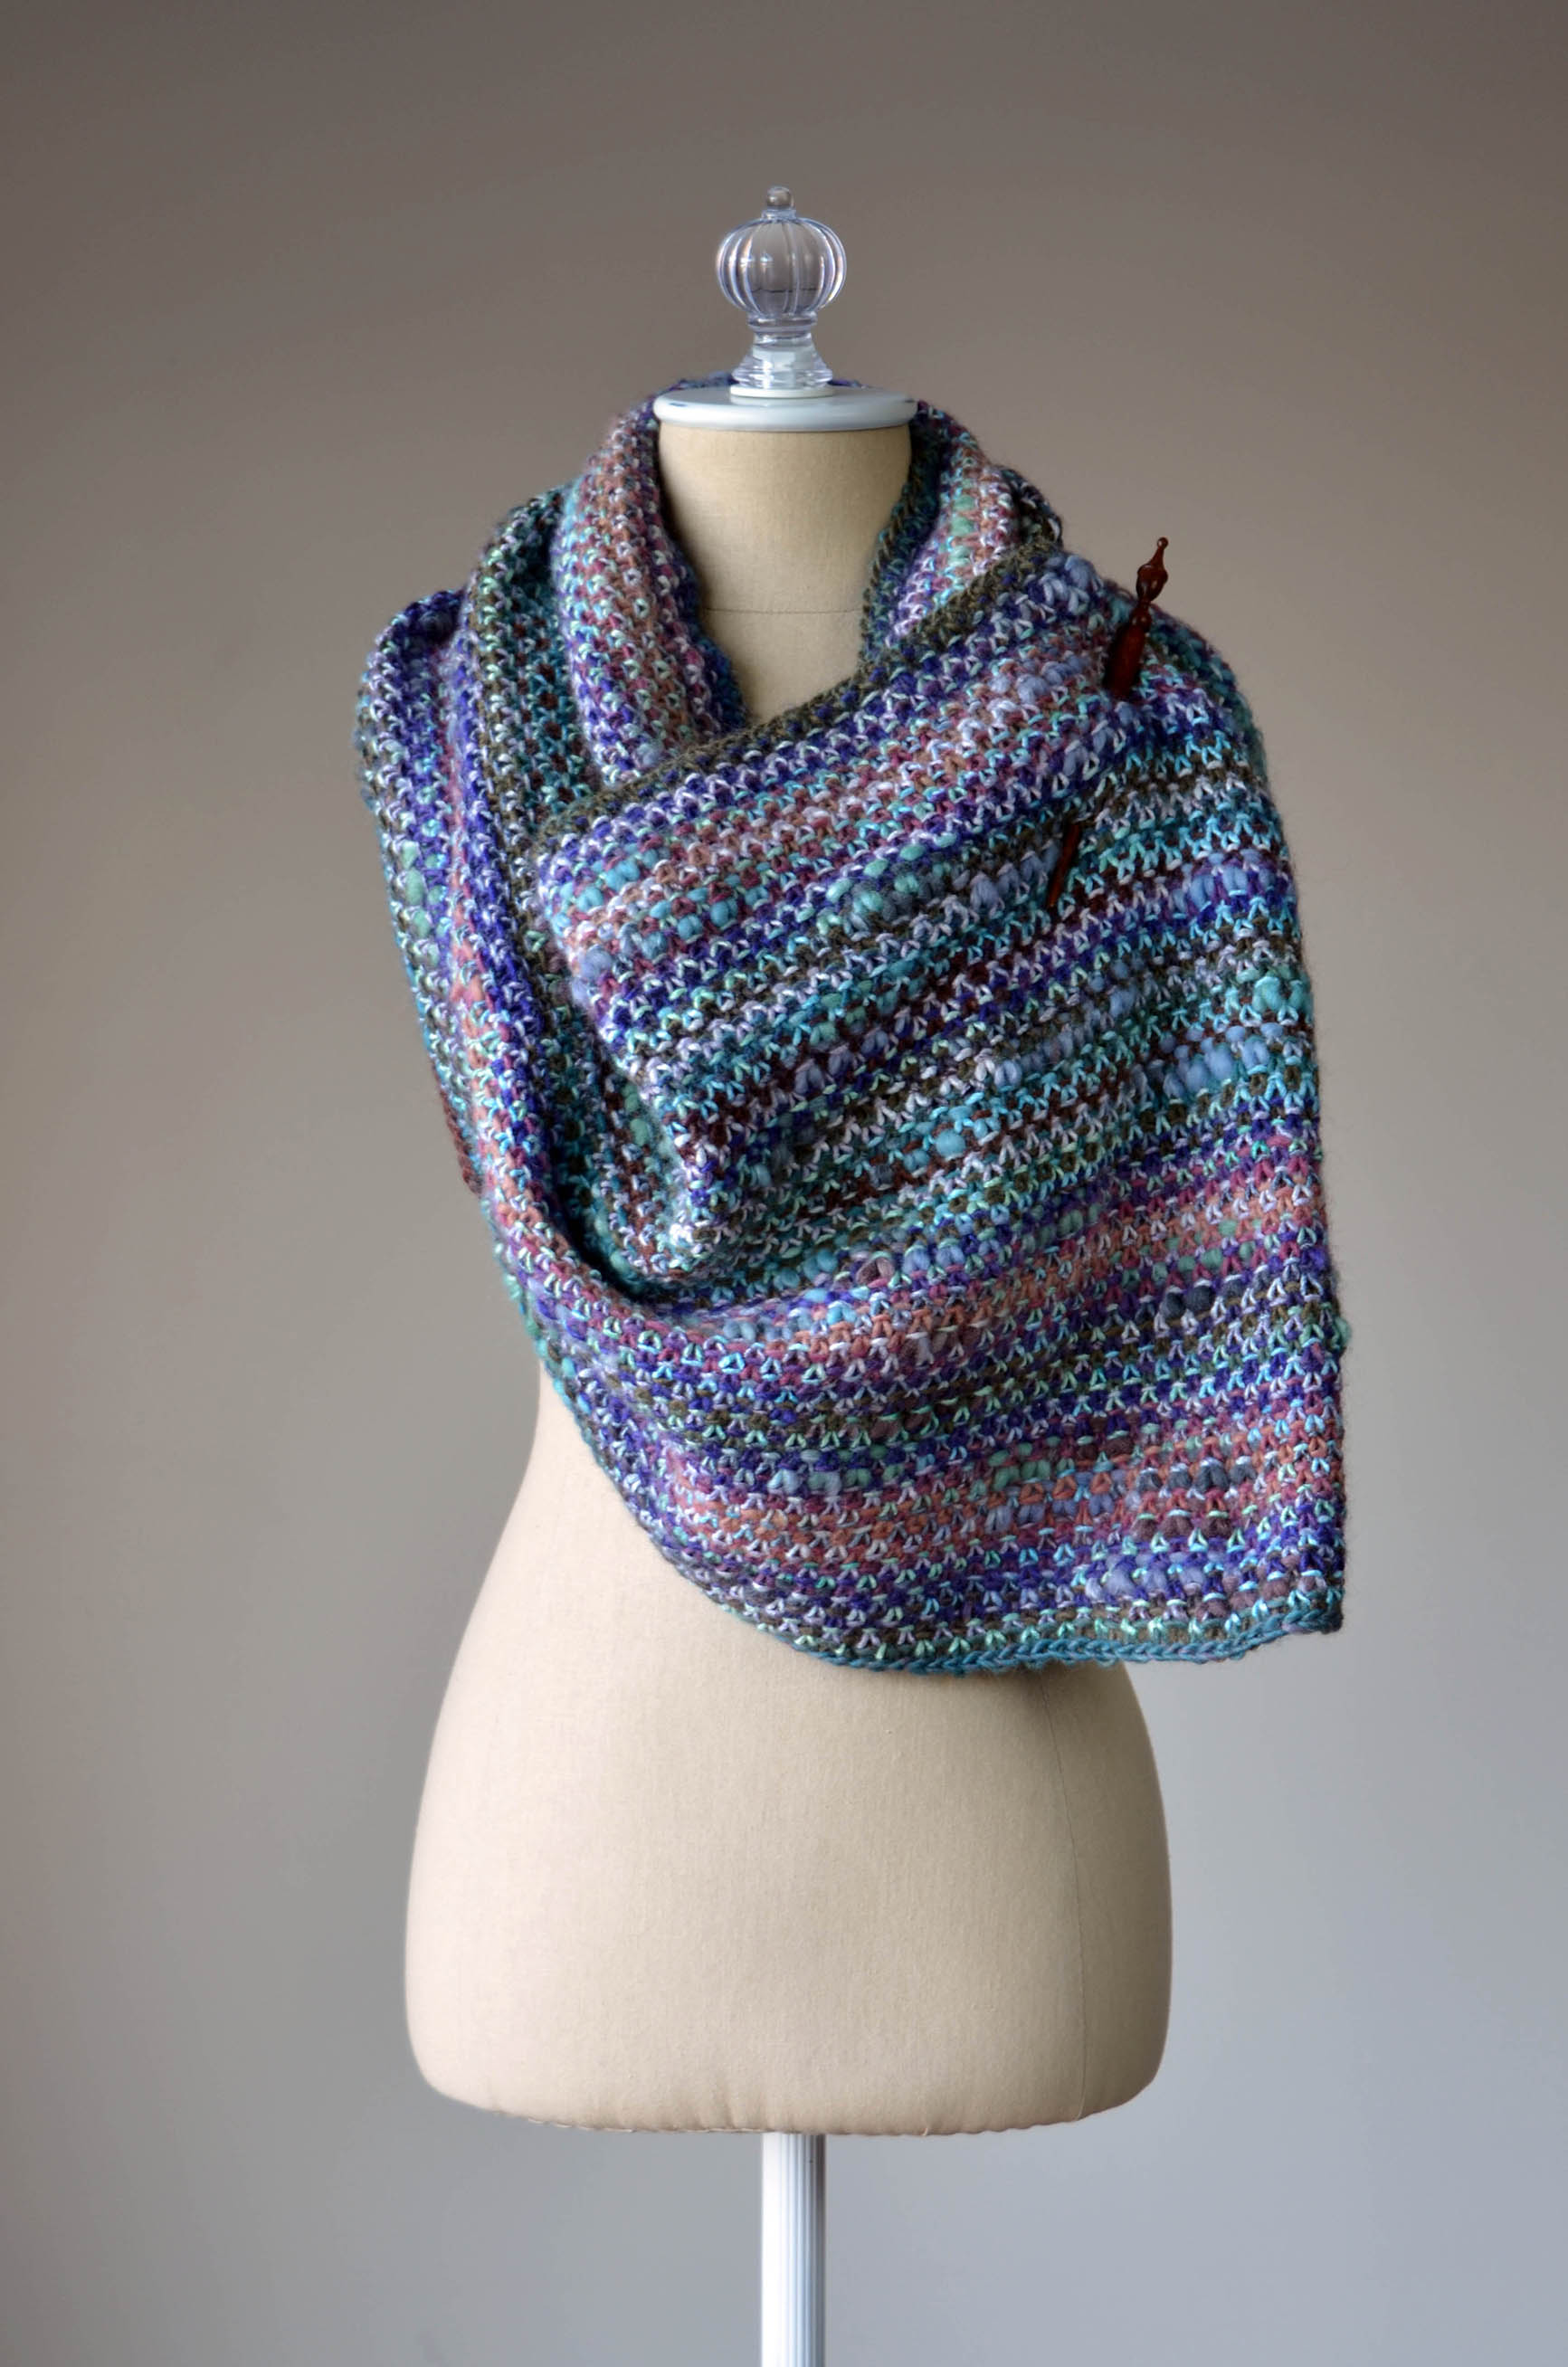
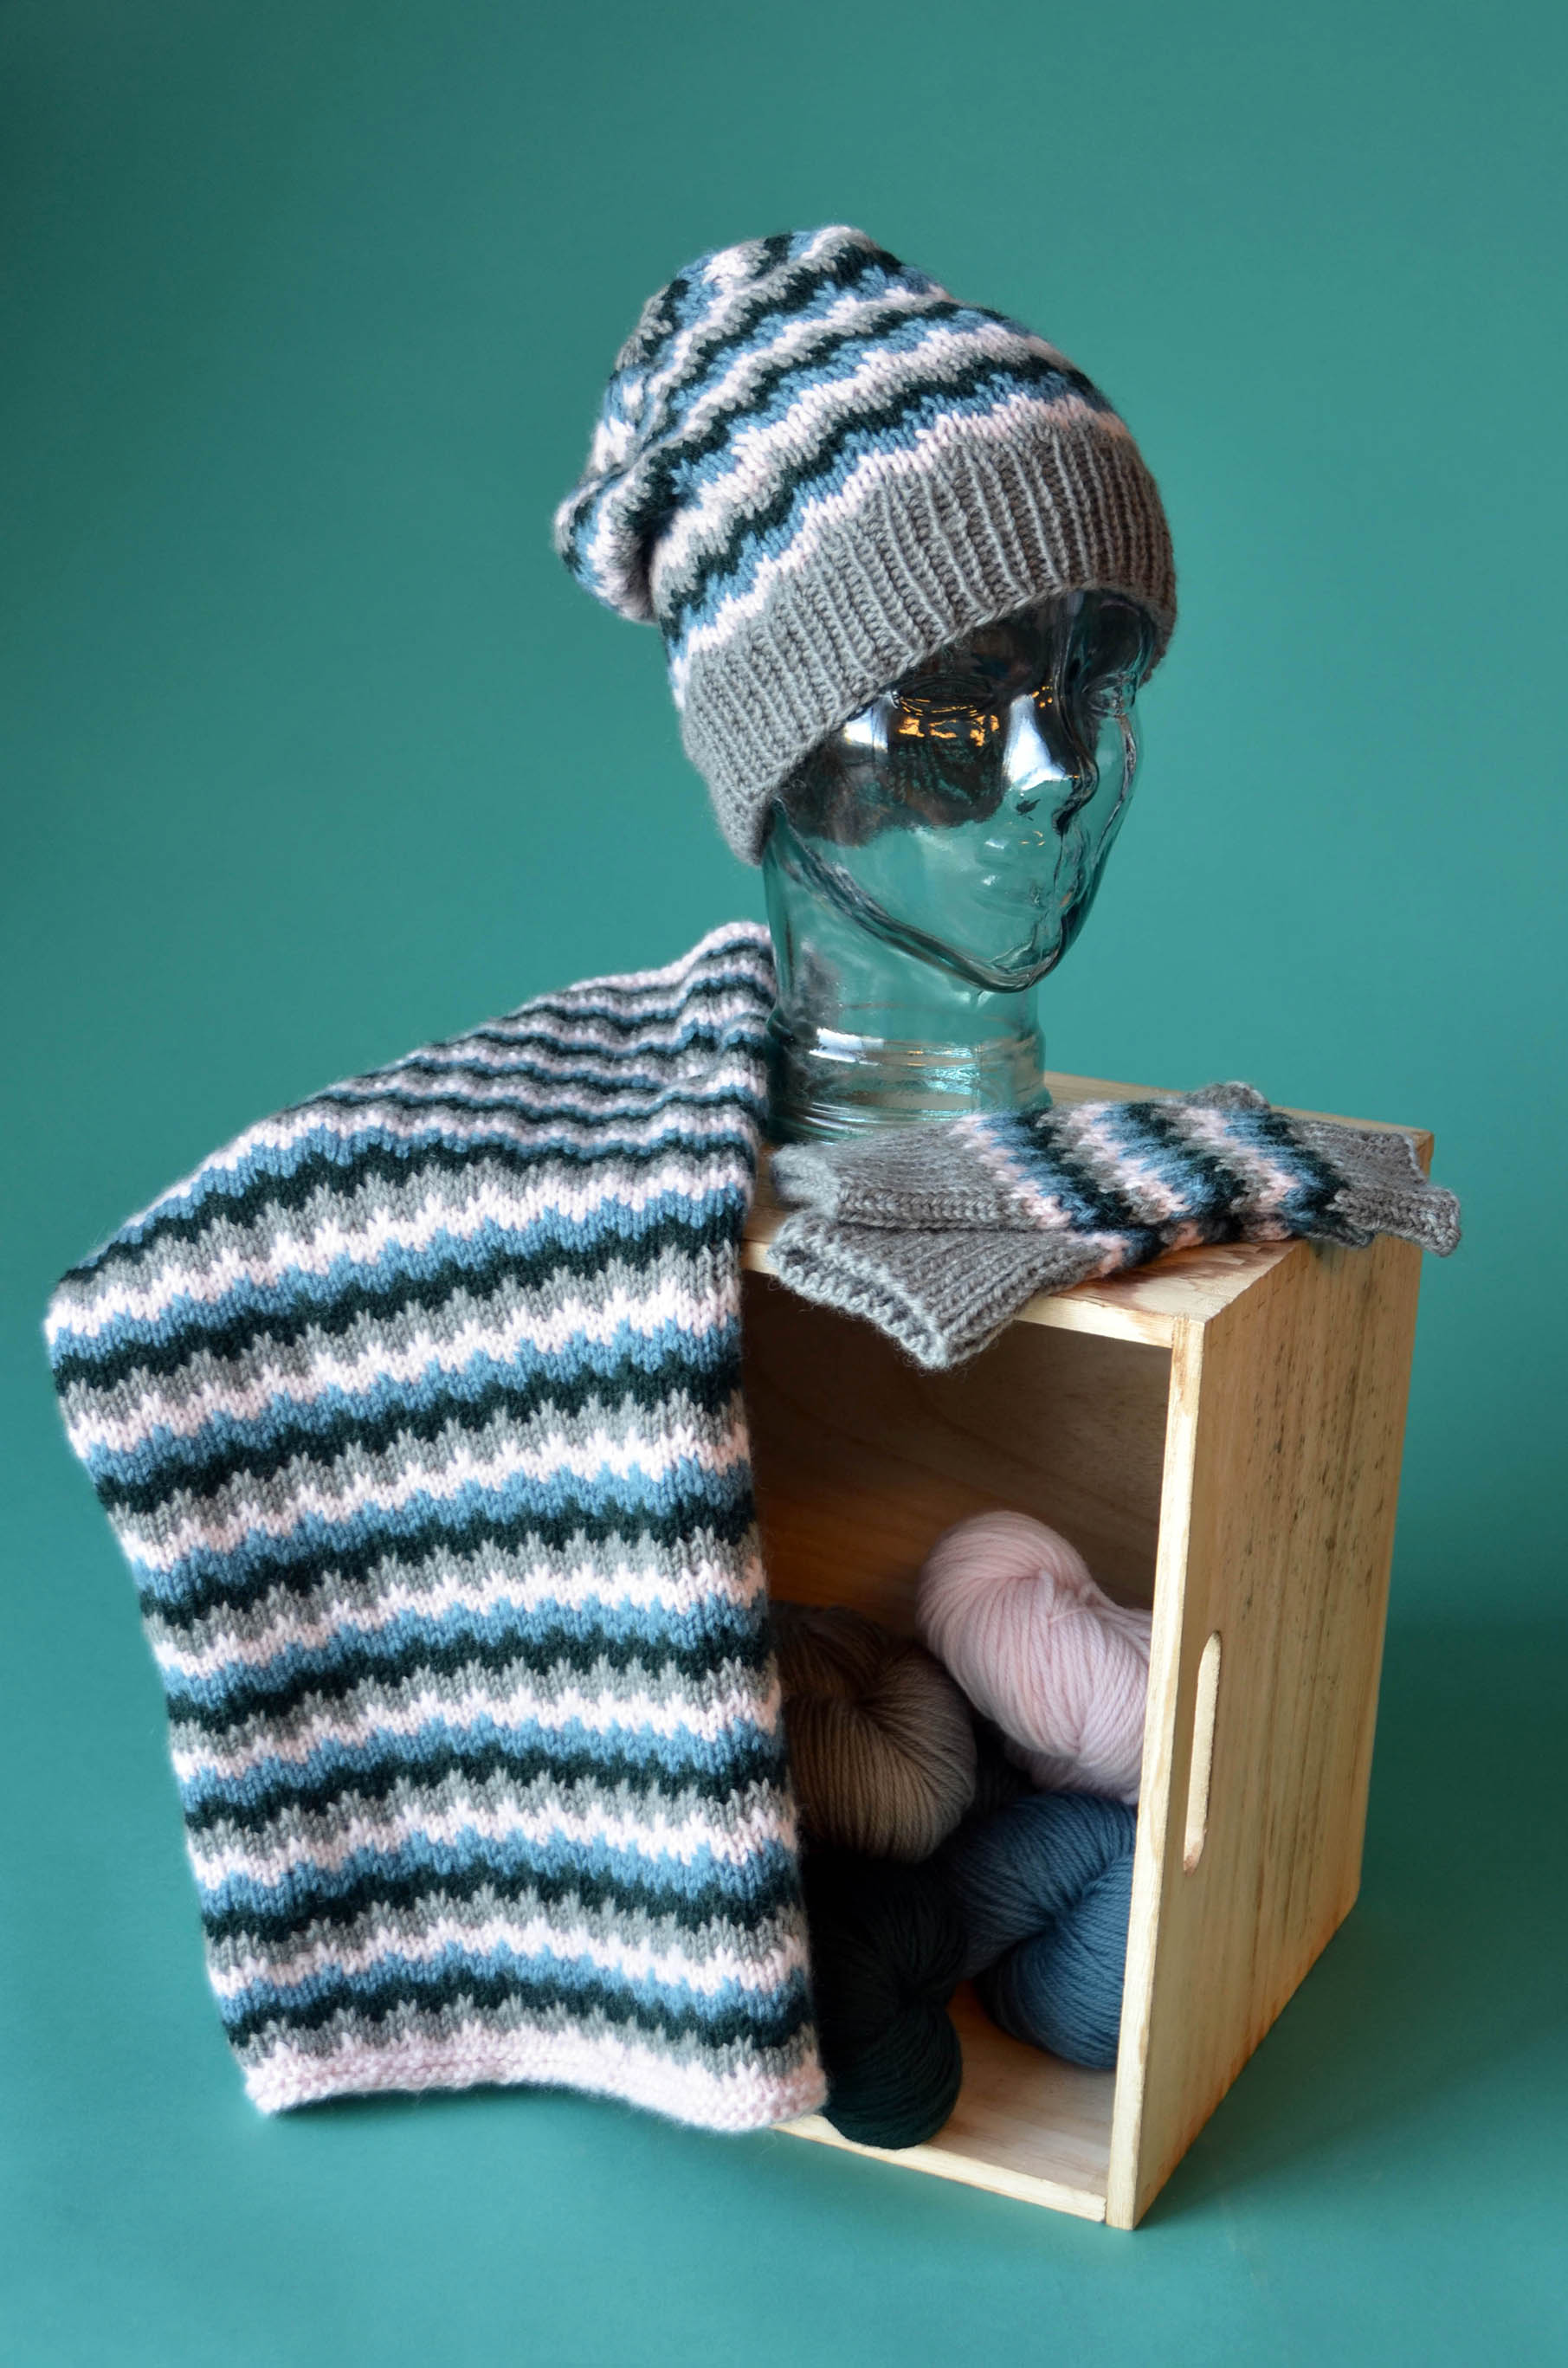
Luscious, right? Well, we also did a long version, for those who like to loop their cowls around.
This version uses one skein of Deluxe Worsted wool as a backdrop for the variegated Bamboo Bloom. We chose a more subdued color palette for this combo. The large version is the same height as the small, but twice as long. Here are the stats! FINISHED MEASUREMENTS
Height: 15¼”
Circumference: 61”
Needles: US Size 11 (8 mm) 32” circular needle or size needed to obtain gauge
Notions: Stitch marker, tapestry needle
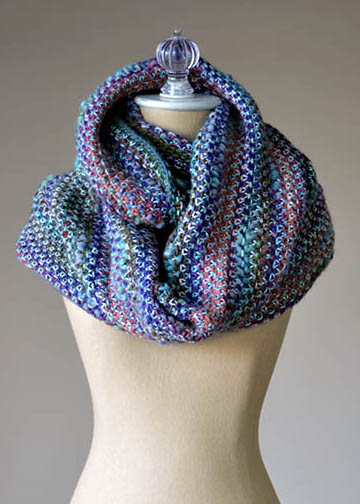
We’re loving this pattern and are having a great time with other color combinations as well. Here’s one that features two hanks of Bamboo Bloom Handpaints in 311 Bonsai and two skeins of Wisdom Yarns Poems in 602 Bruges.
The pattern is a simple linen stitch that you can easily master. In the coming days, we’ll be sharing other color combinations in this rewarding pattern.
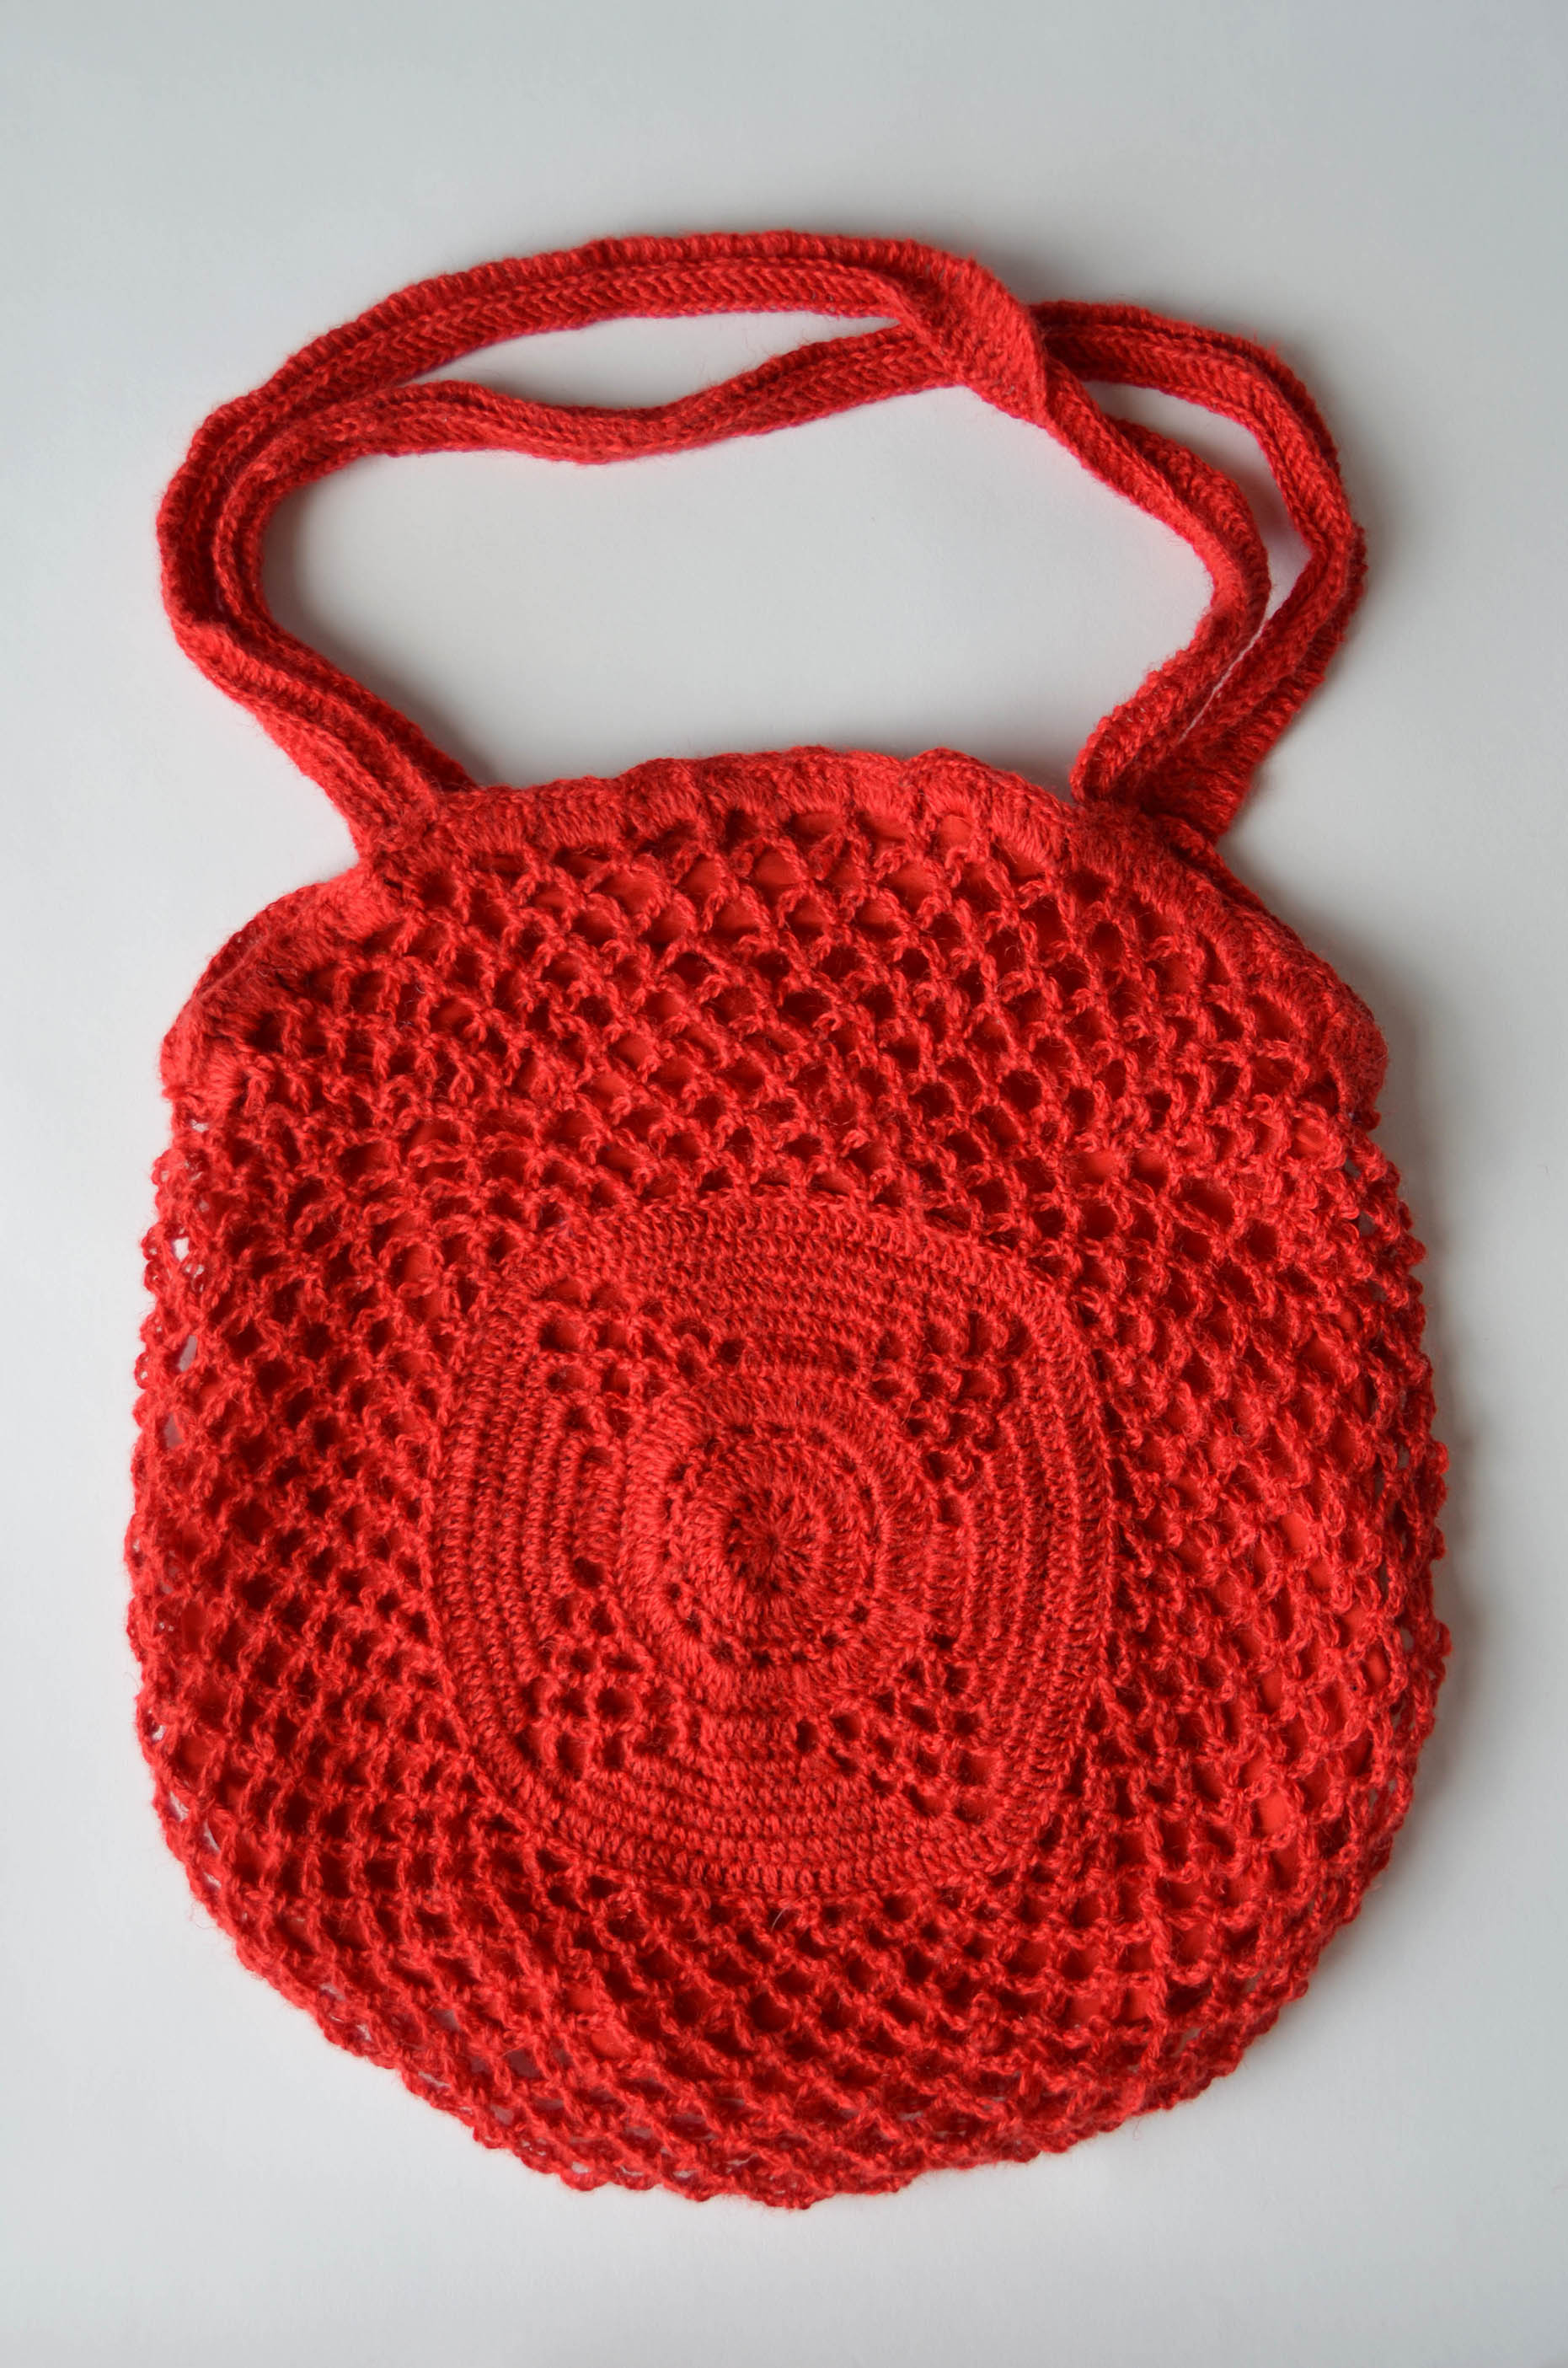
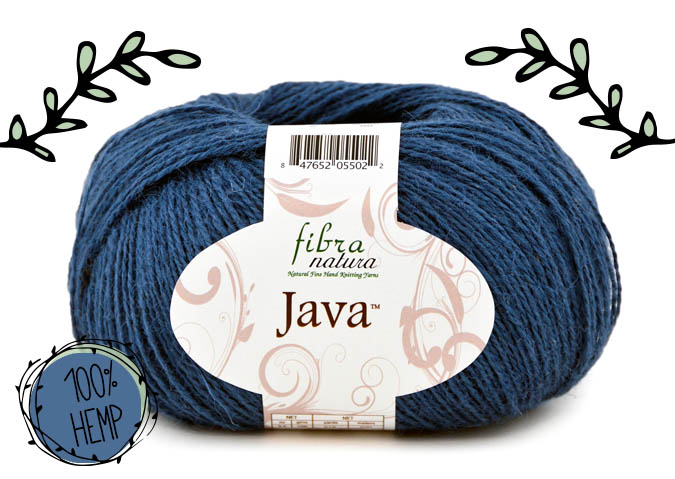
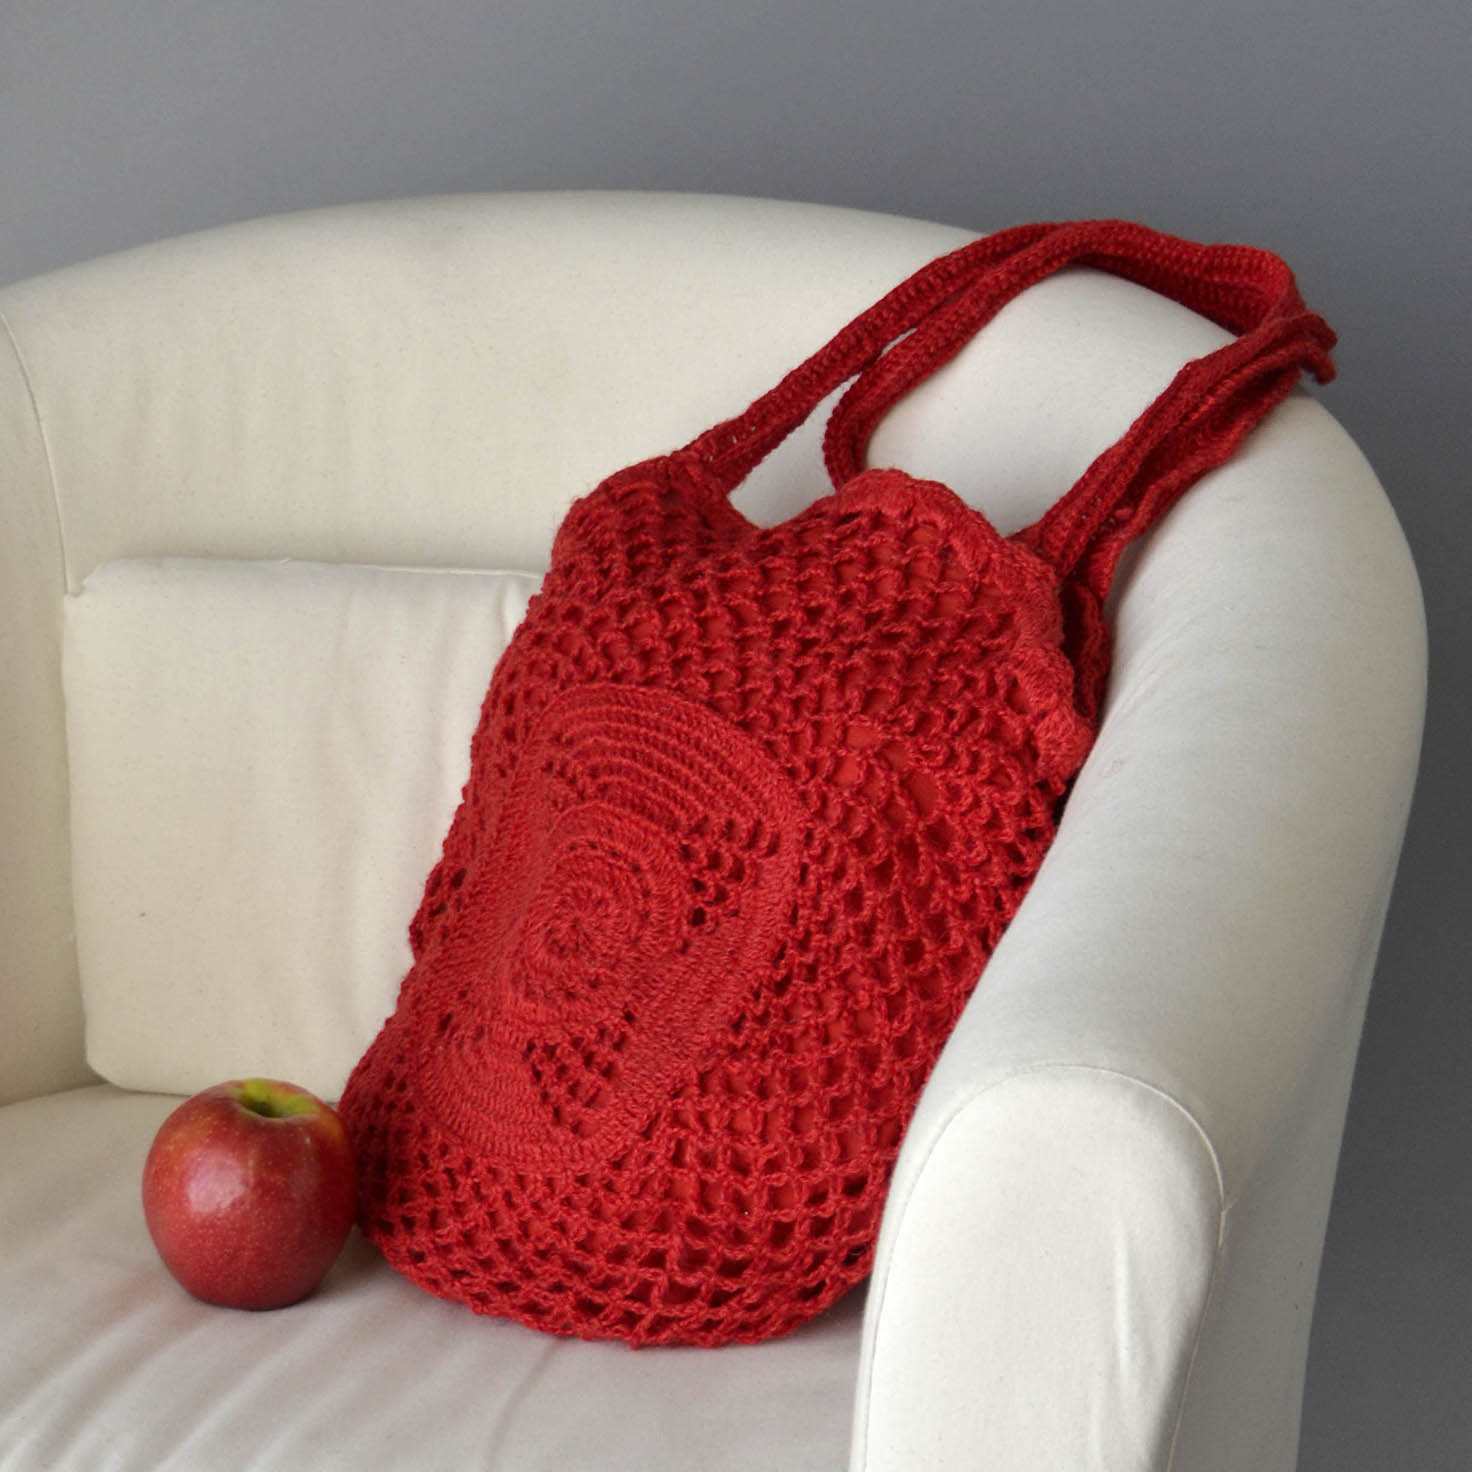
What a pretty, practical crochet project! Two balls of Fibra Natura 100% hemp Java makes this charming bag. Make each side separately from the center out, then use the halves as templates for cutting out a lining. Join the second side to the first, then add the lining and handles and you’re good to go.
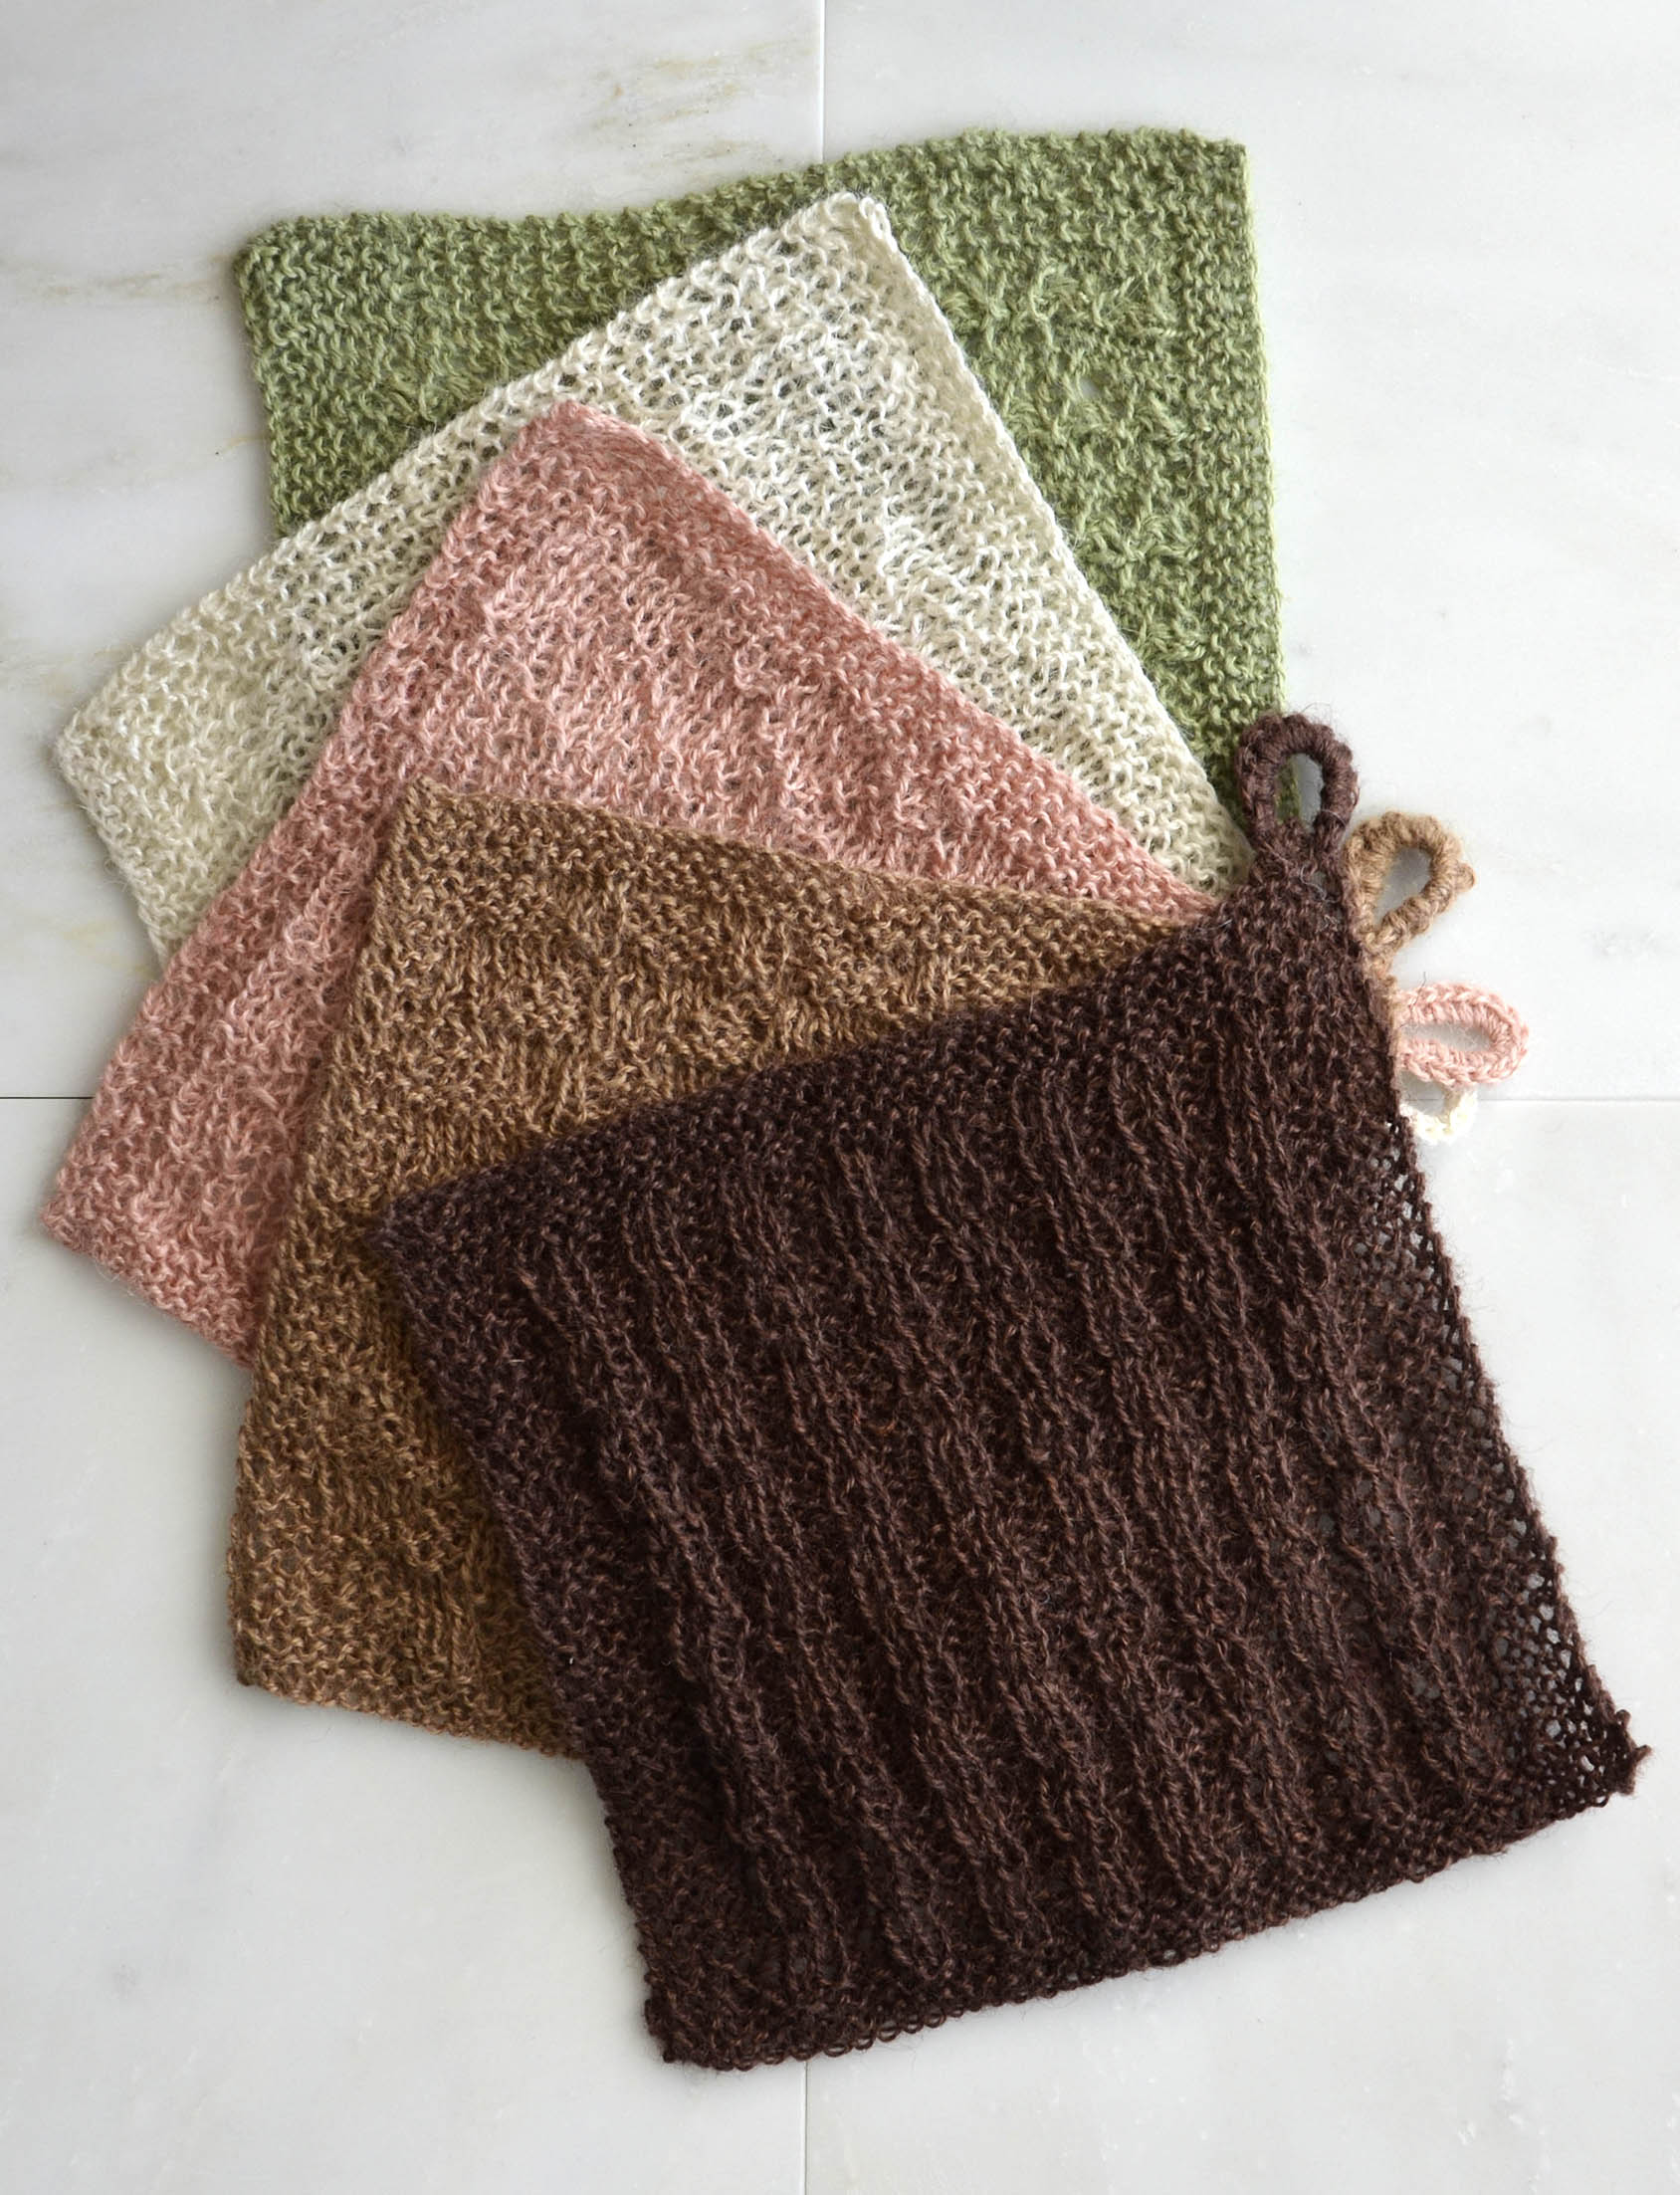
We’re big boosters of Java, partly because it’s such an earth-friendly yarn. Hemp is a hard-wearing renewable plant fiber that will soften some with washing. We like it for all sorts of home decor projects, like the knit sampler washcloths pictured at right.
Without a lining, this crochet piece would make a good market bag. With the lining, it’s a versatile warm-weather accessory.
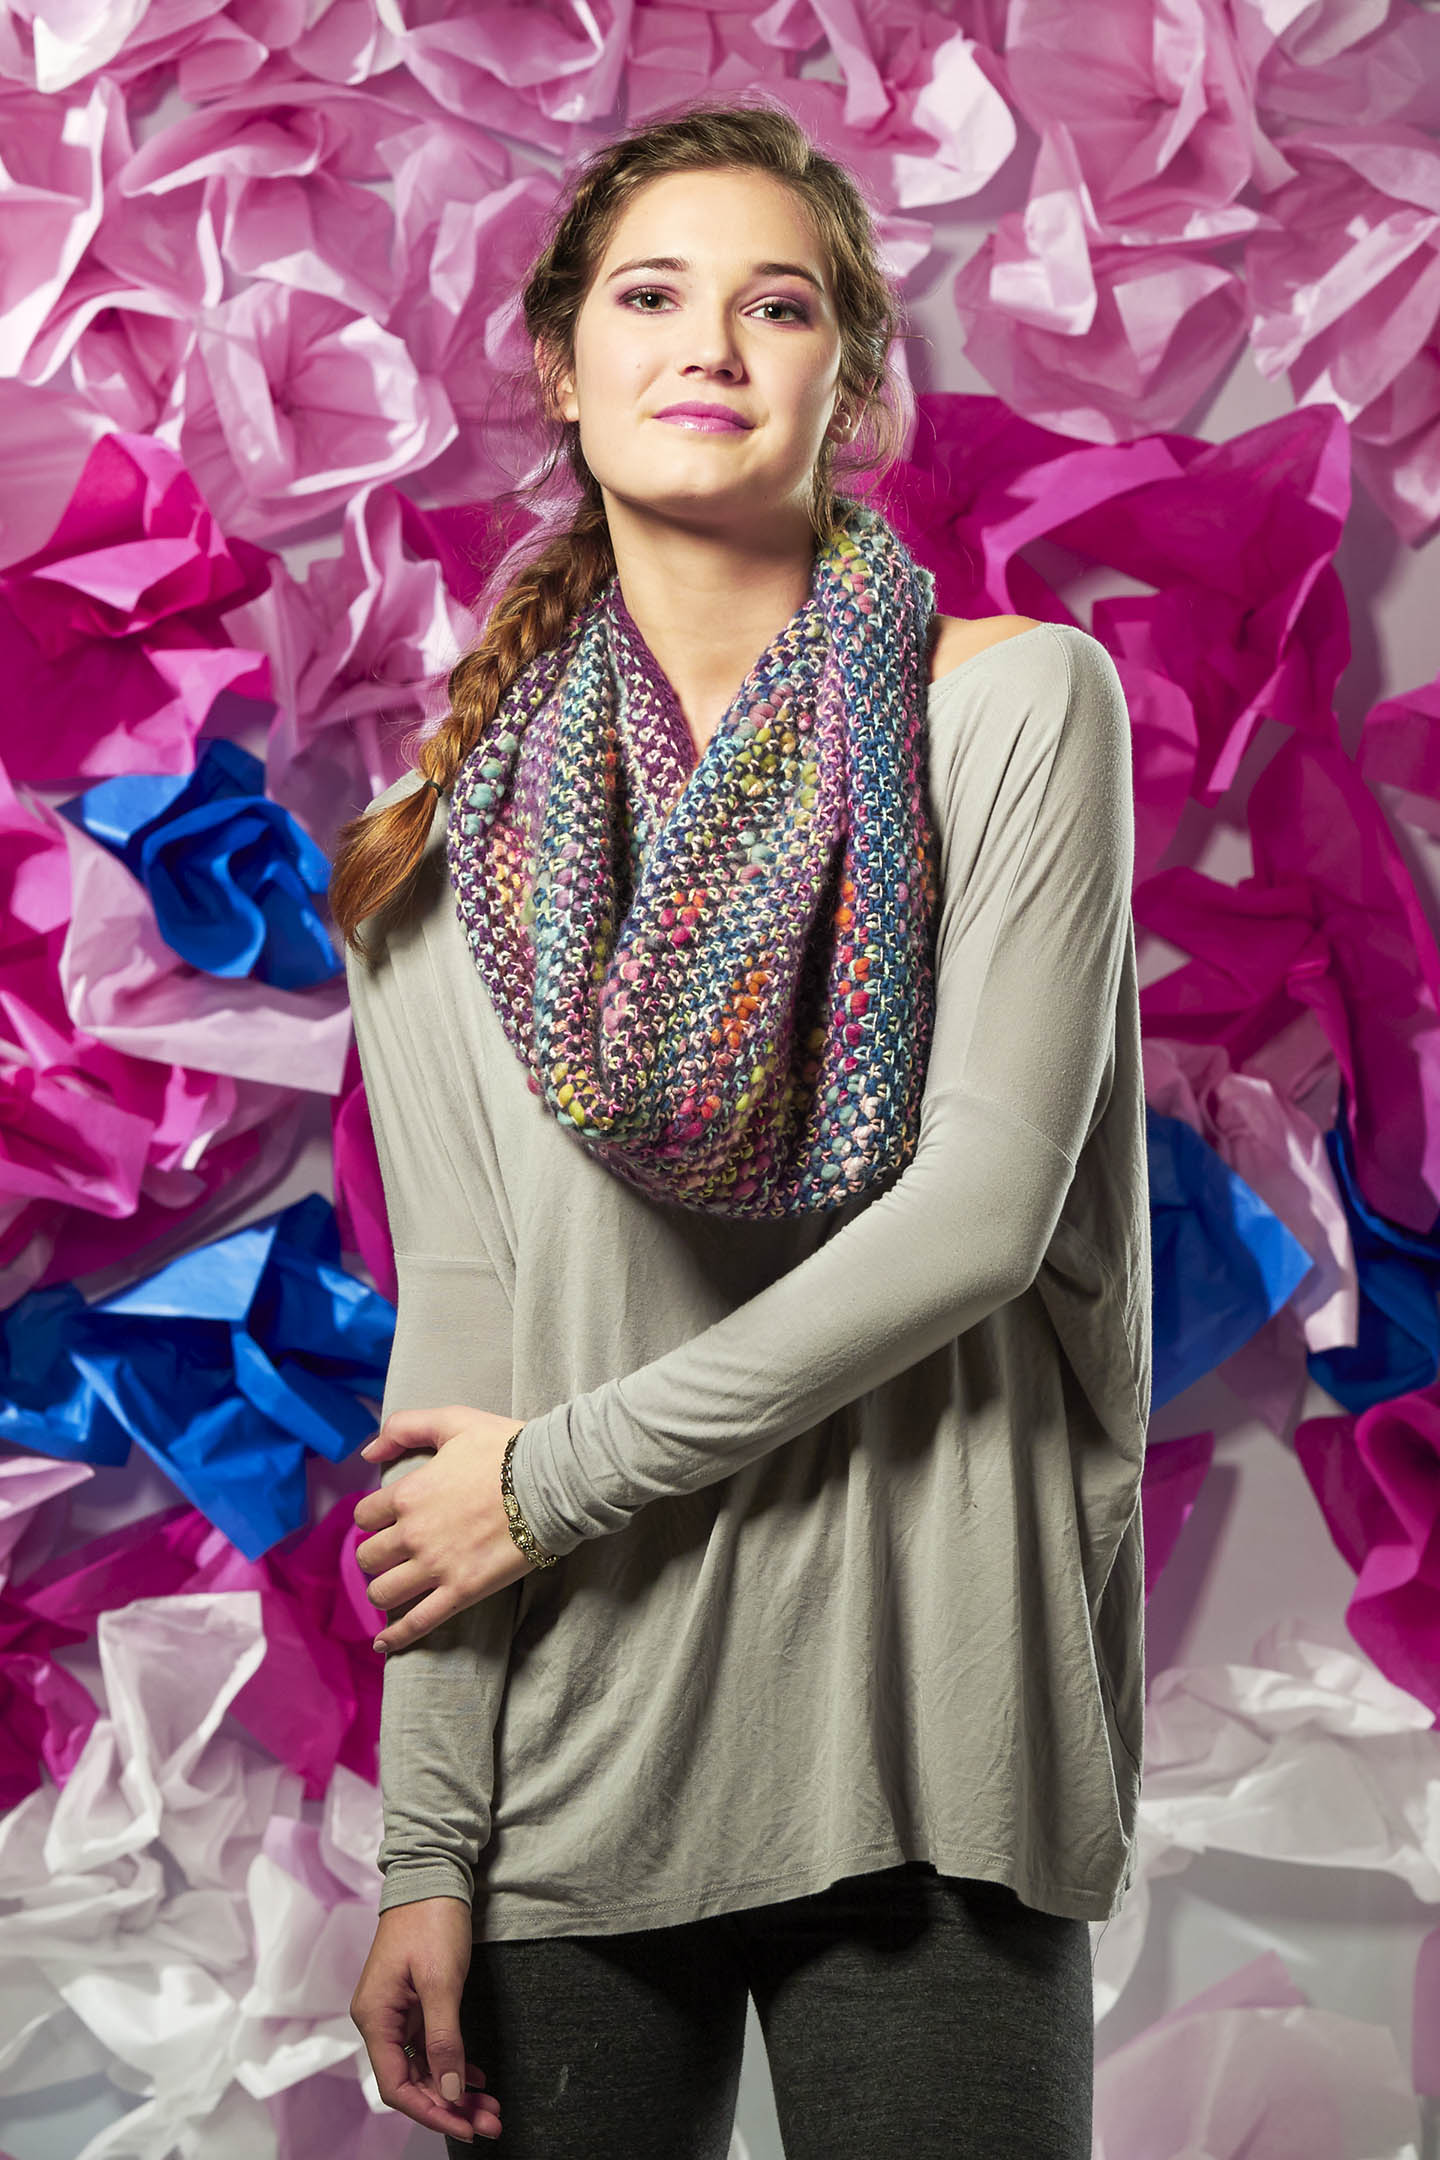
We love going to LYSes and getting feedback on yarn and designs. That’s what we were doing when we brought a Bamboo Bloom Handpaints cowl around to local shops to get their take. Like us, they fell in love with it.
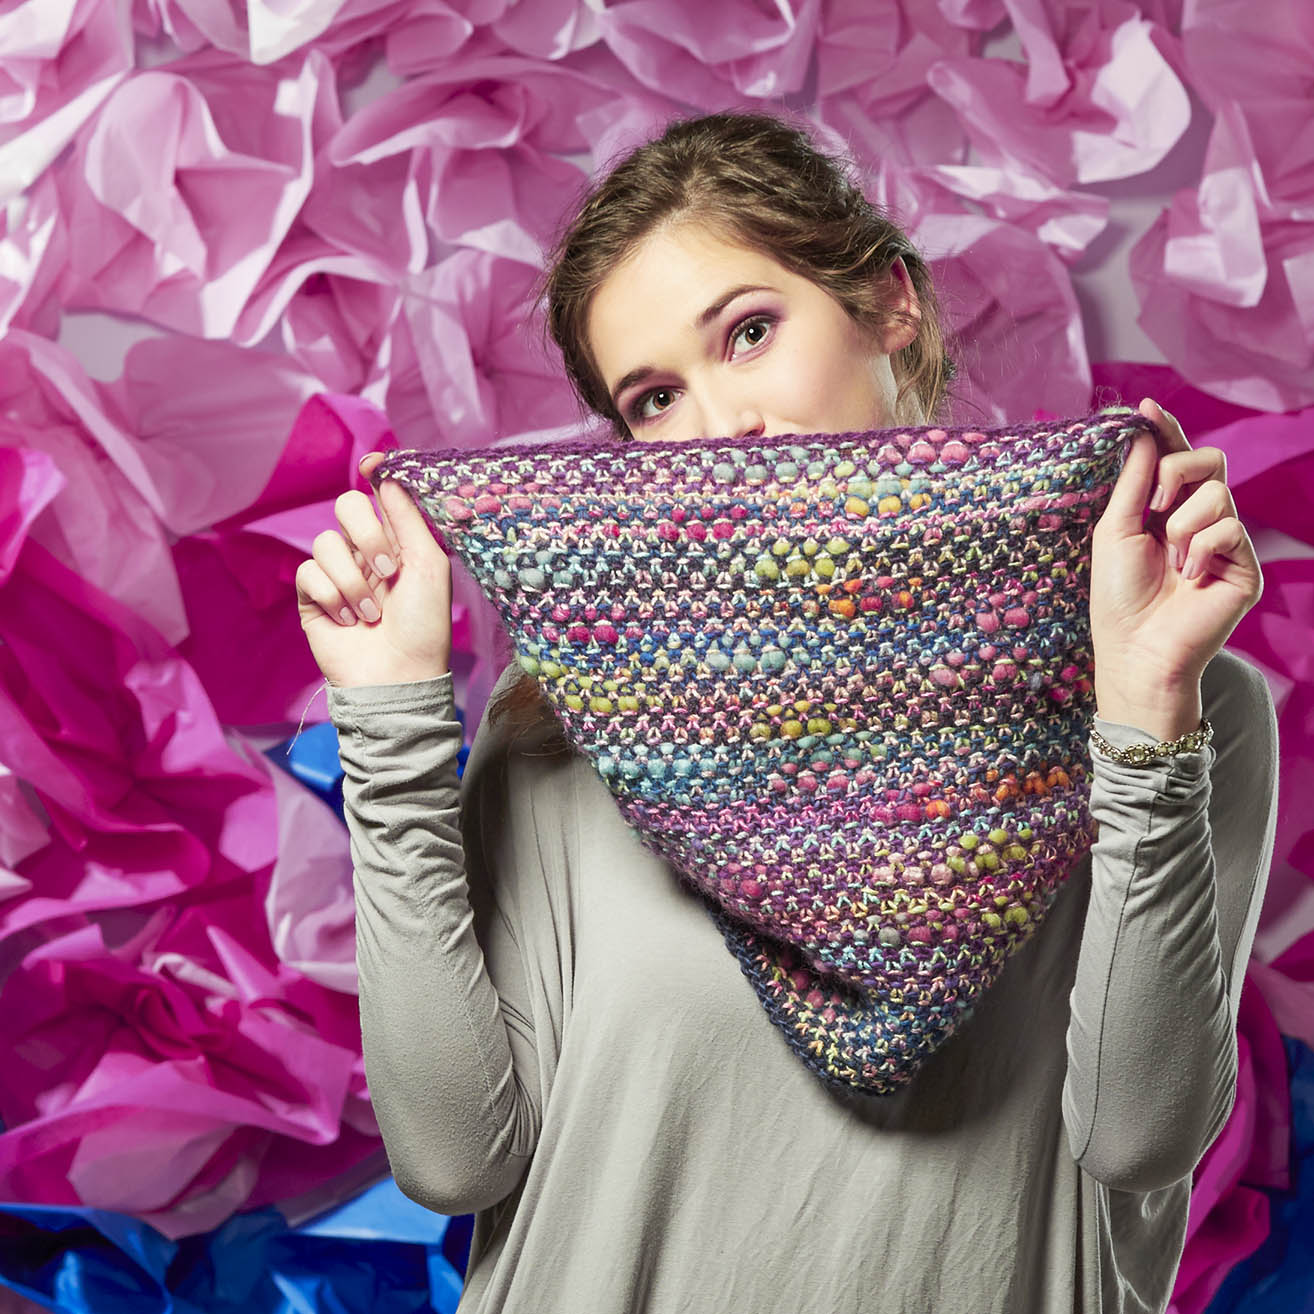
This is the Hanasaku Cowl, designed by Tori Gurbisz. Hanasaku means “bloom” in Japanese. With its bursts of color the name seemed apt. We were going to hold off on releasing this until Spring, but we just could’t wait. Besides, winter is a great time for this burst of color.
It’s available in both large and small versions – the small version is pictured above. As pictured, the pattern calls for:
MATERIALS
Small
Wisdom Yarns Poems (100% wool; 50g/109 yds)
• 601 Arles (MC) – 1 skein
Universal Yarn Bamboo Bloom Handpaints (48% rayon from bamboo, 44% wool, 8% acrylic; 100g/154 yds)
• 313 Kanji (CC) – 1 skein
Needles: US Size 11 (8 mm) 24” circular needle or size needed to obtain gauge
Notions: Stitch marker, tapestry needle
This pattern is only available at your LYS. The experts there can download it for you and help you put together the perfect color combo. It’s a simple knit, made in the round. If you can work a knit stitch and use a circular needle, you can create this cowl.
We’ll feature the longer version in another blog post.
The first step was to interface all of my handwoven fabric. I got enough lightweight fusible interfacing for all my yardage. The reason for doing this is so that when I cut into the fabric for my pattern pieces, it will prevent the edges from coming unwoven.
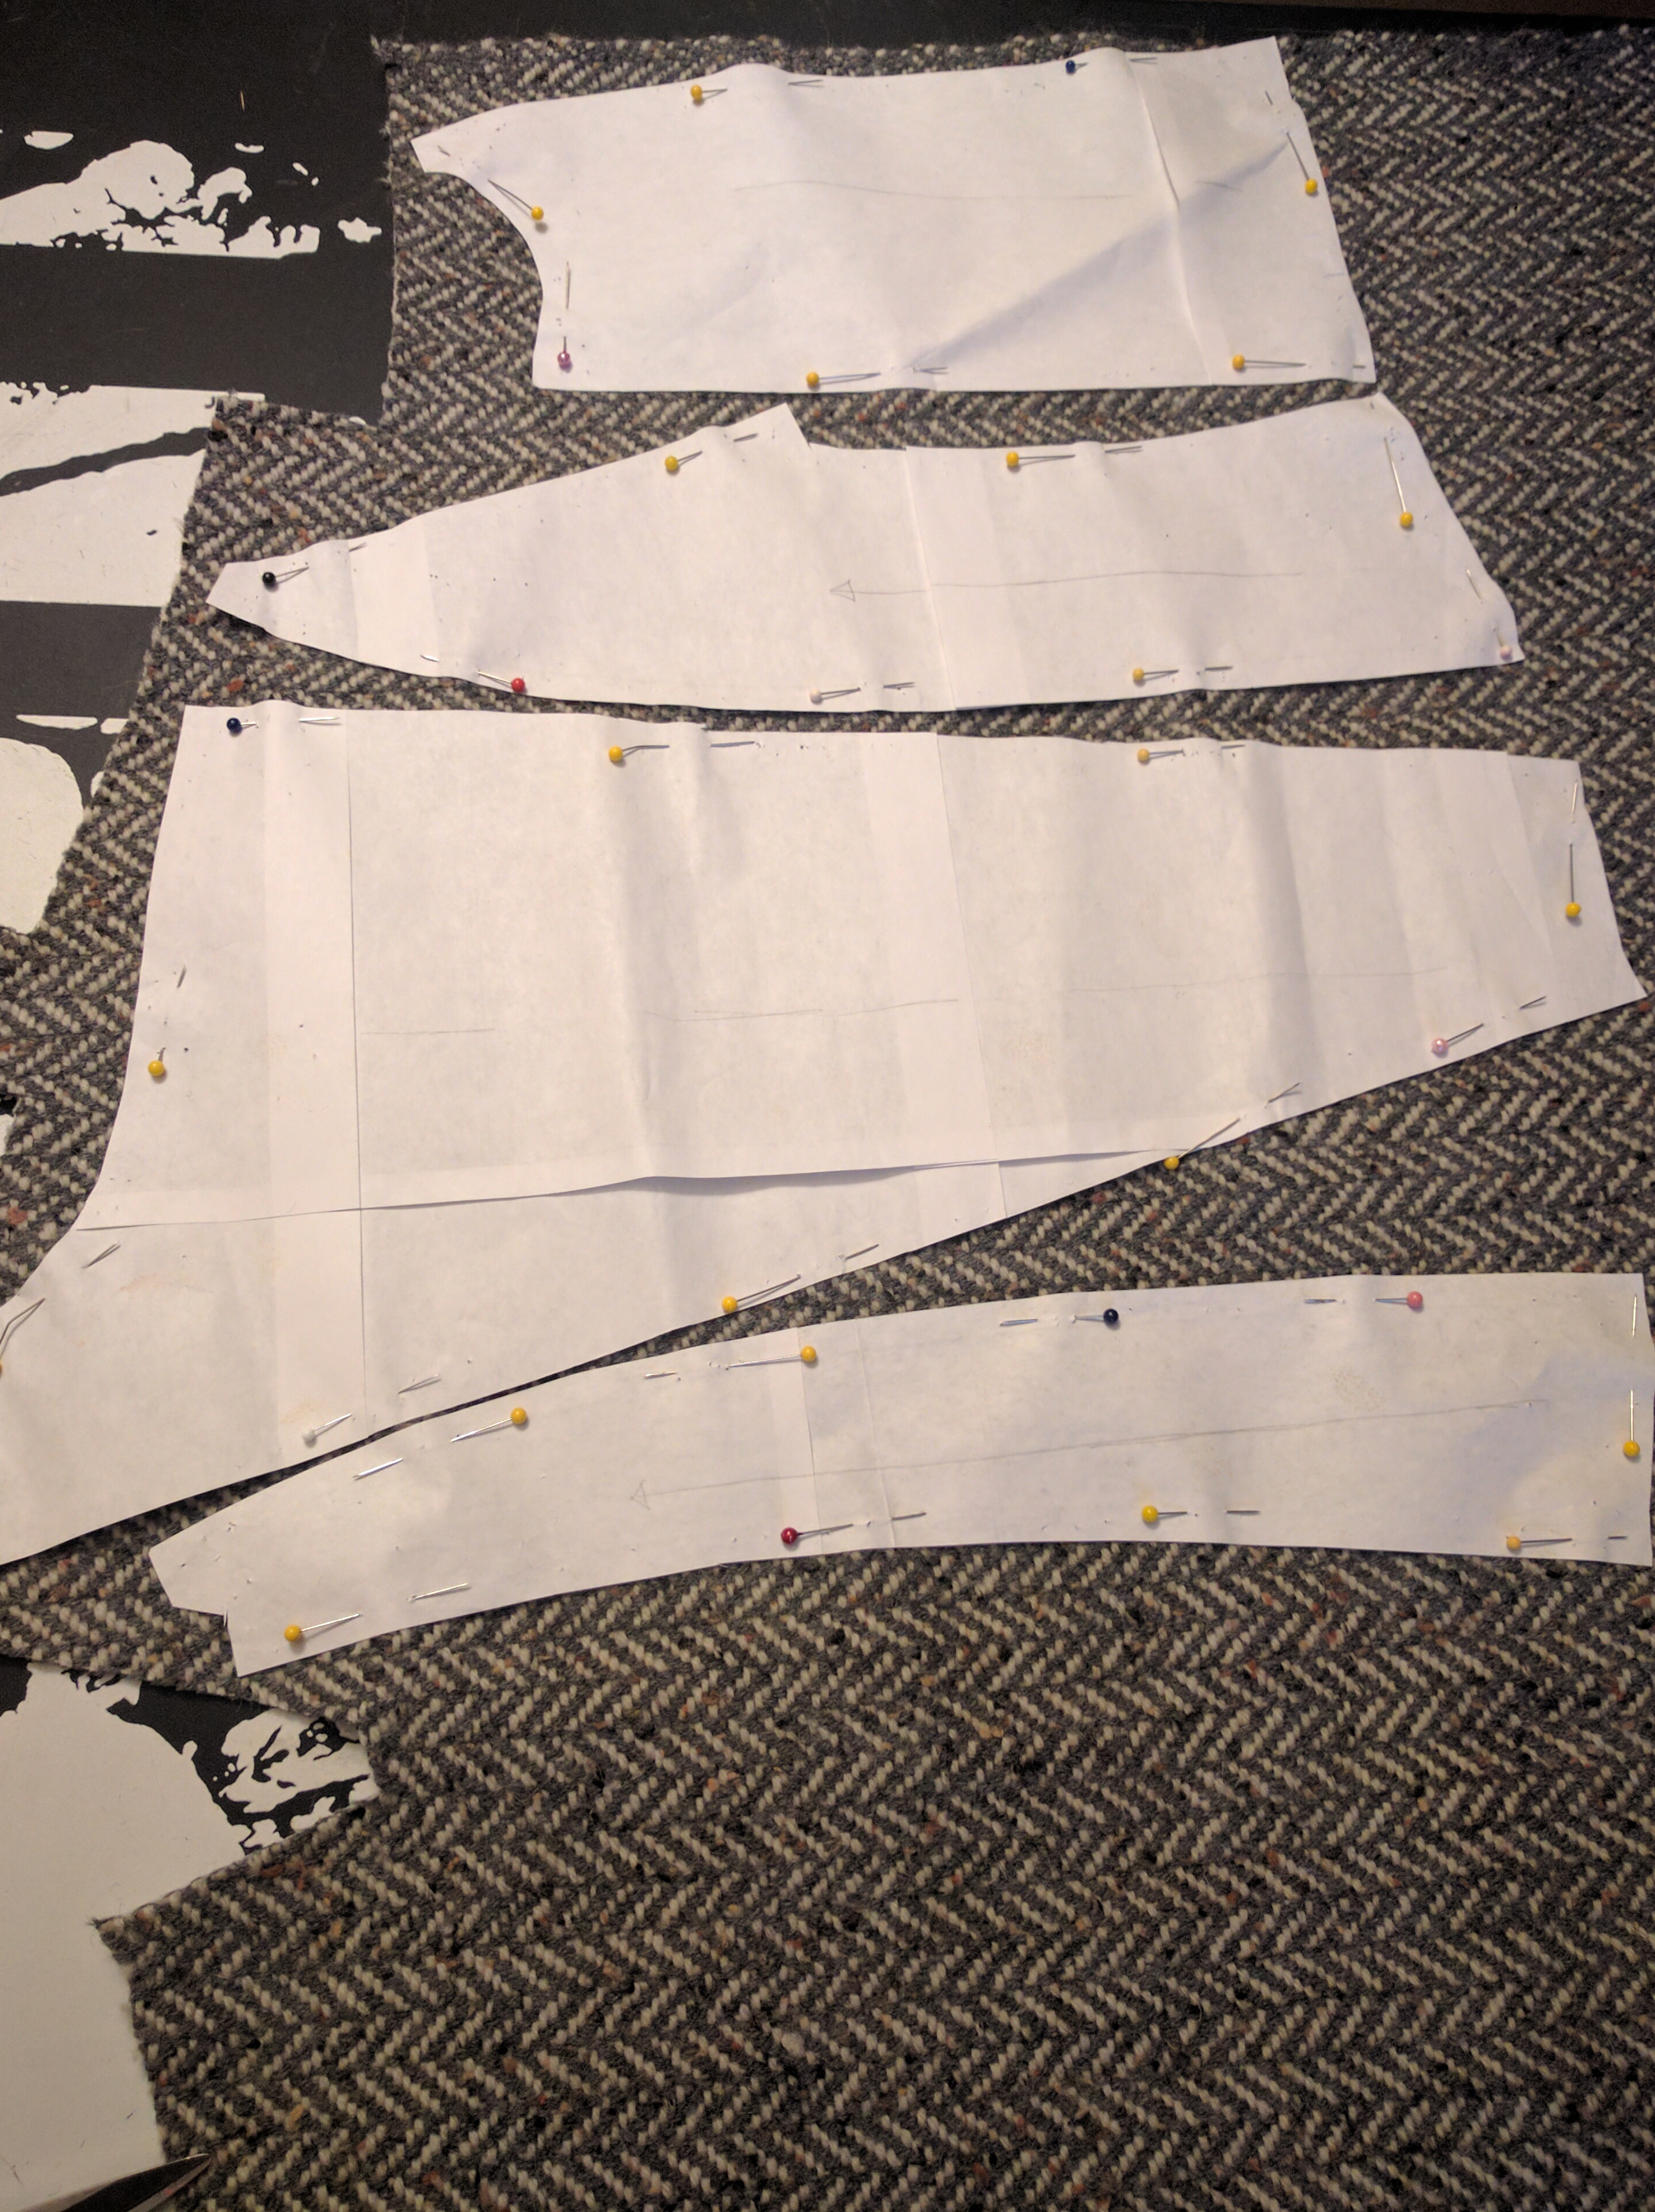
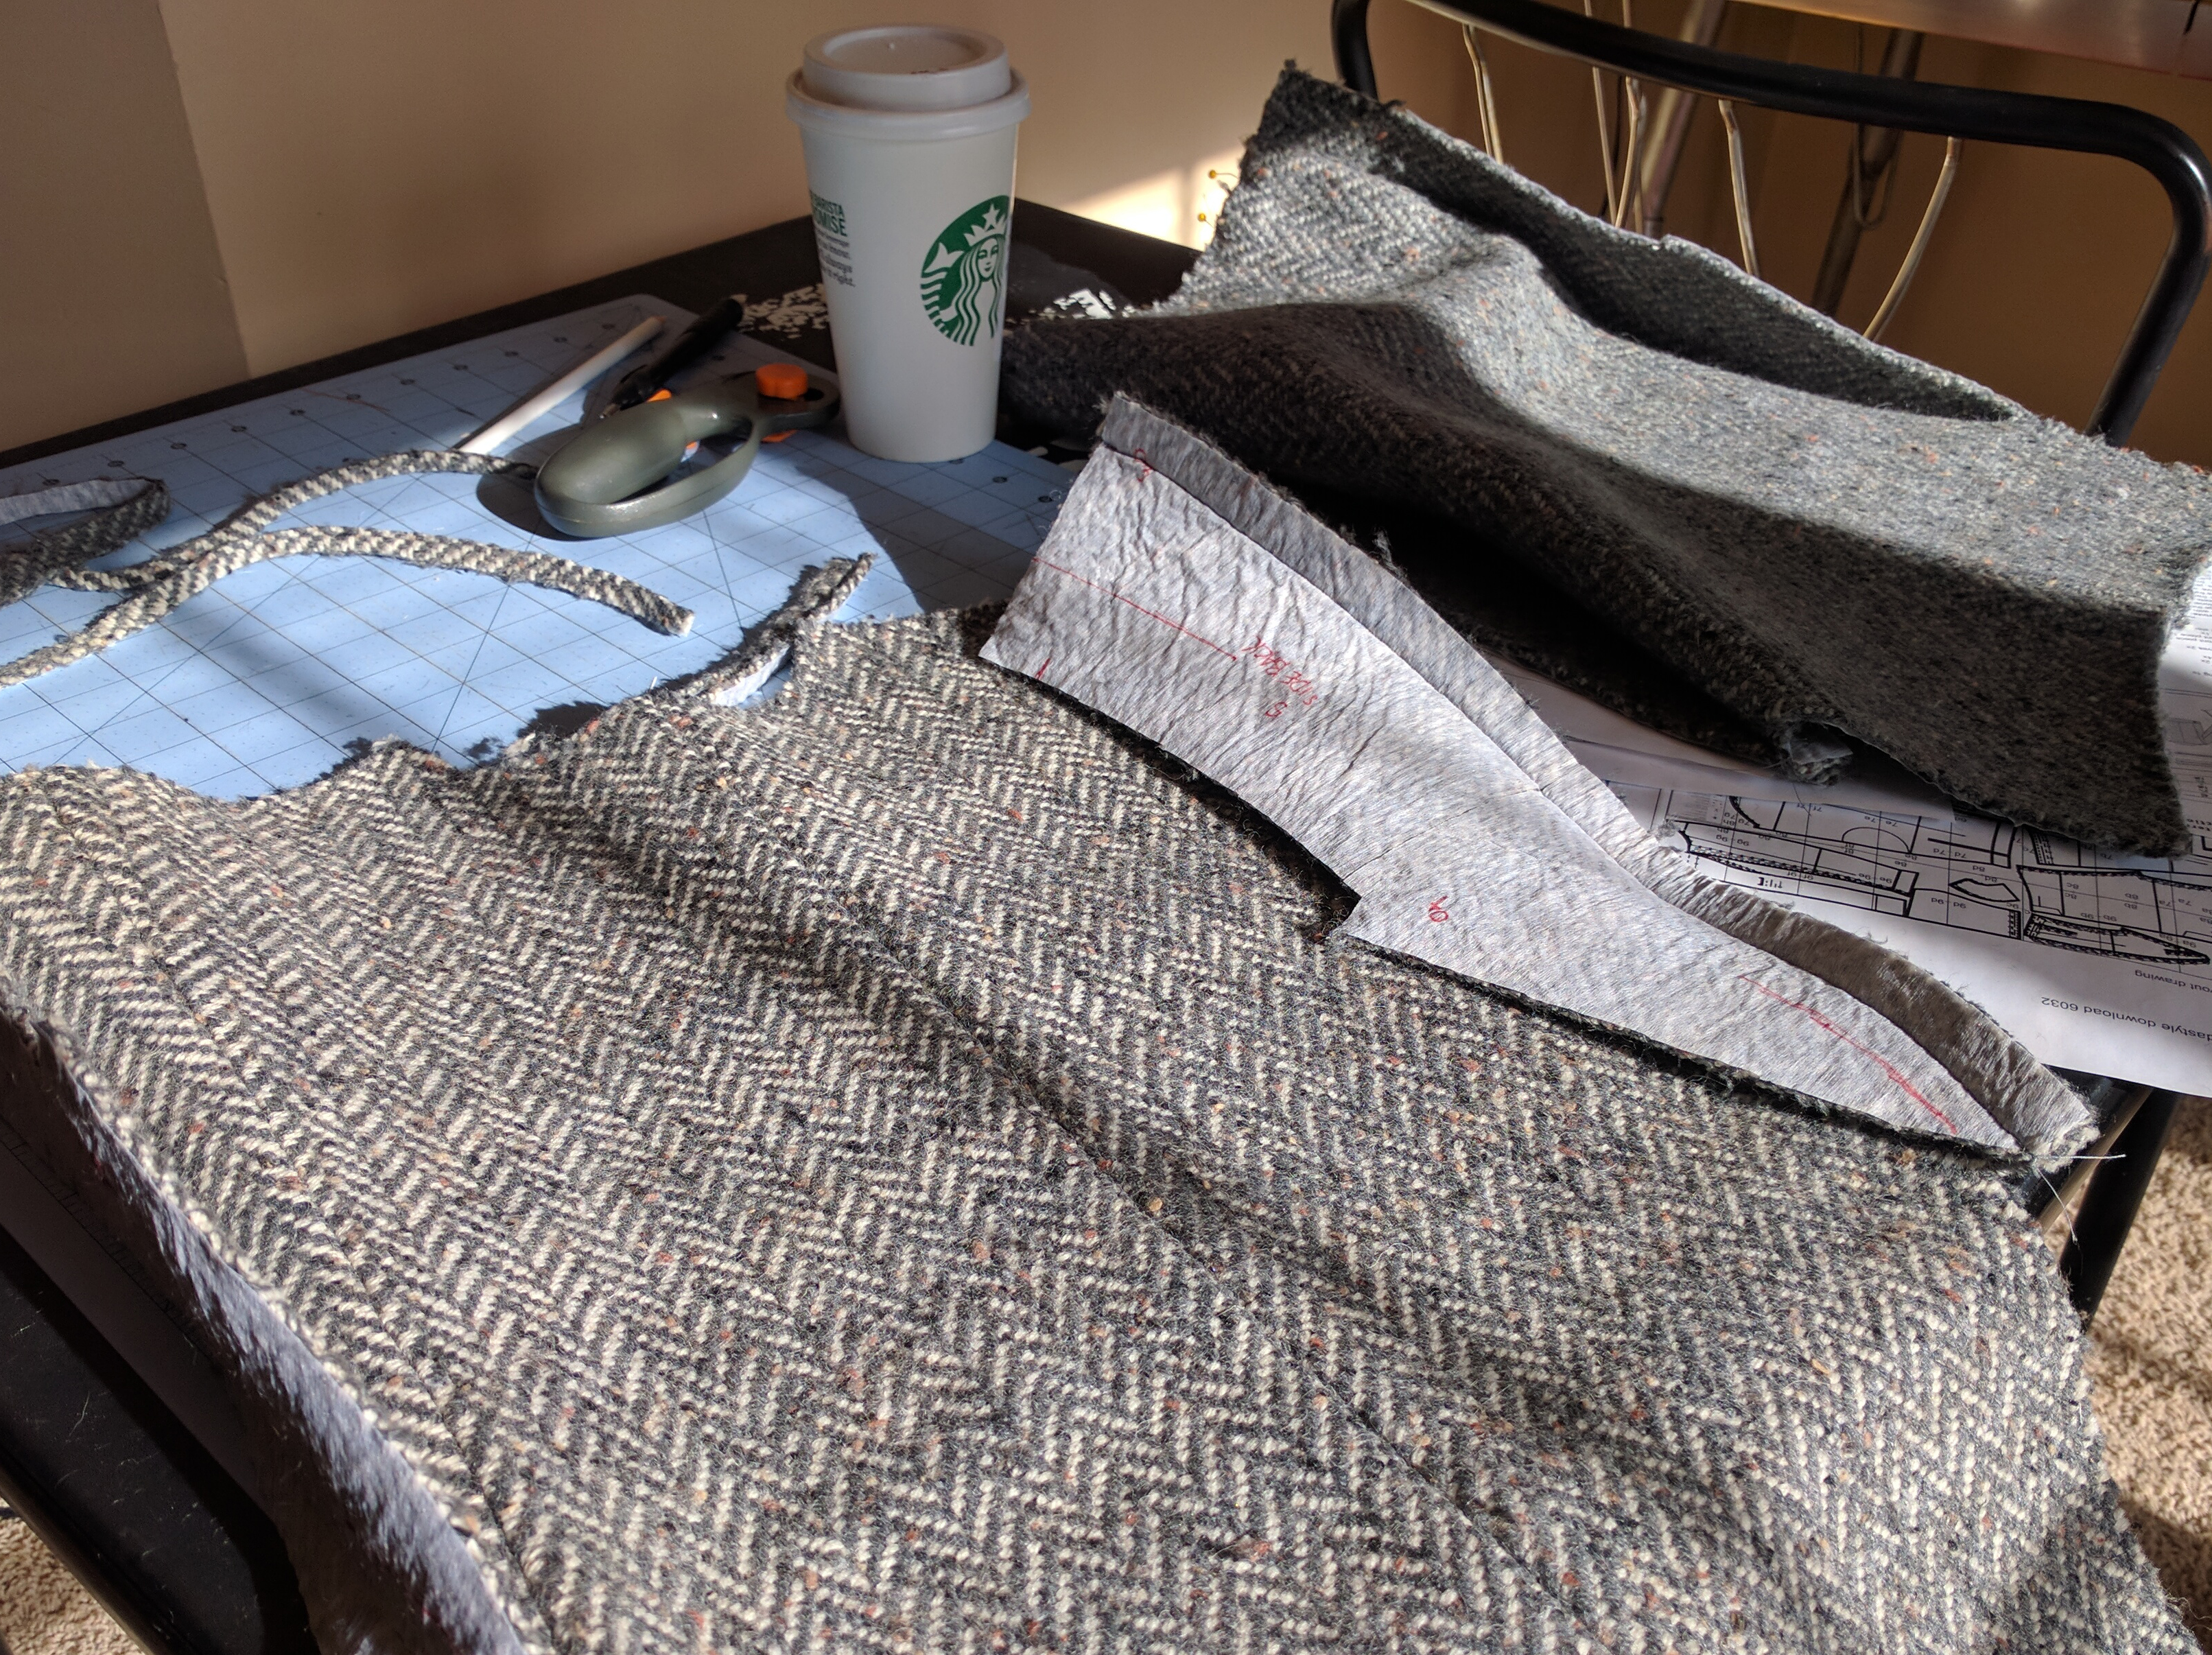
Two jackets-worth of pattern pieces and lining is a LOT of cutting!
Every bit of fabric is precious since I wove it, so a certain strategy is involved when laying out those pattern pieces.
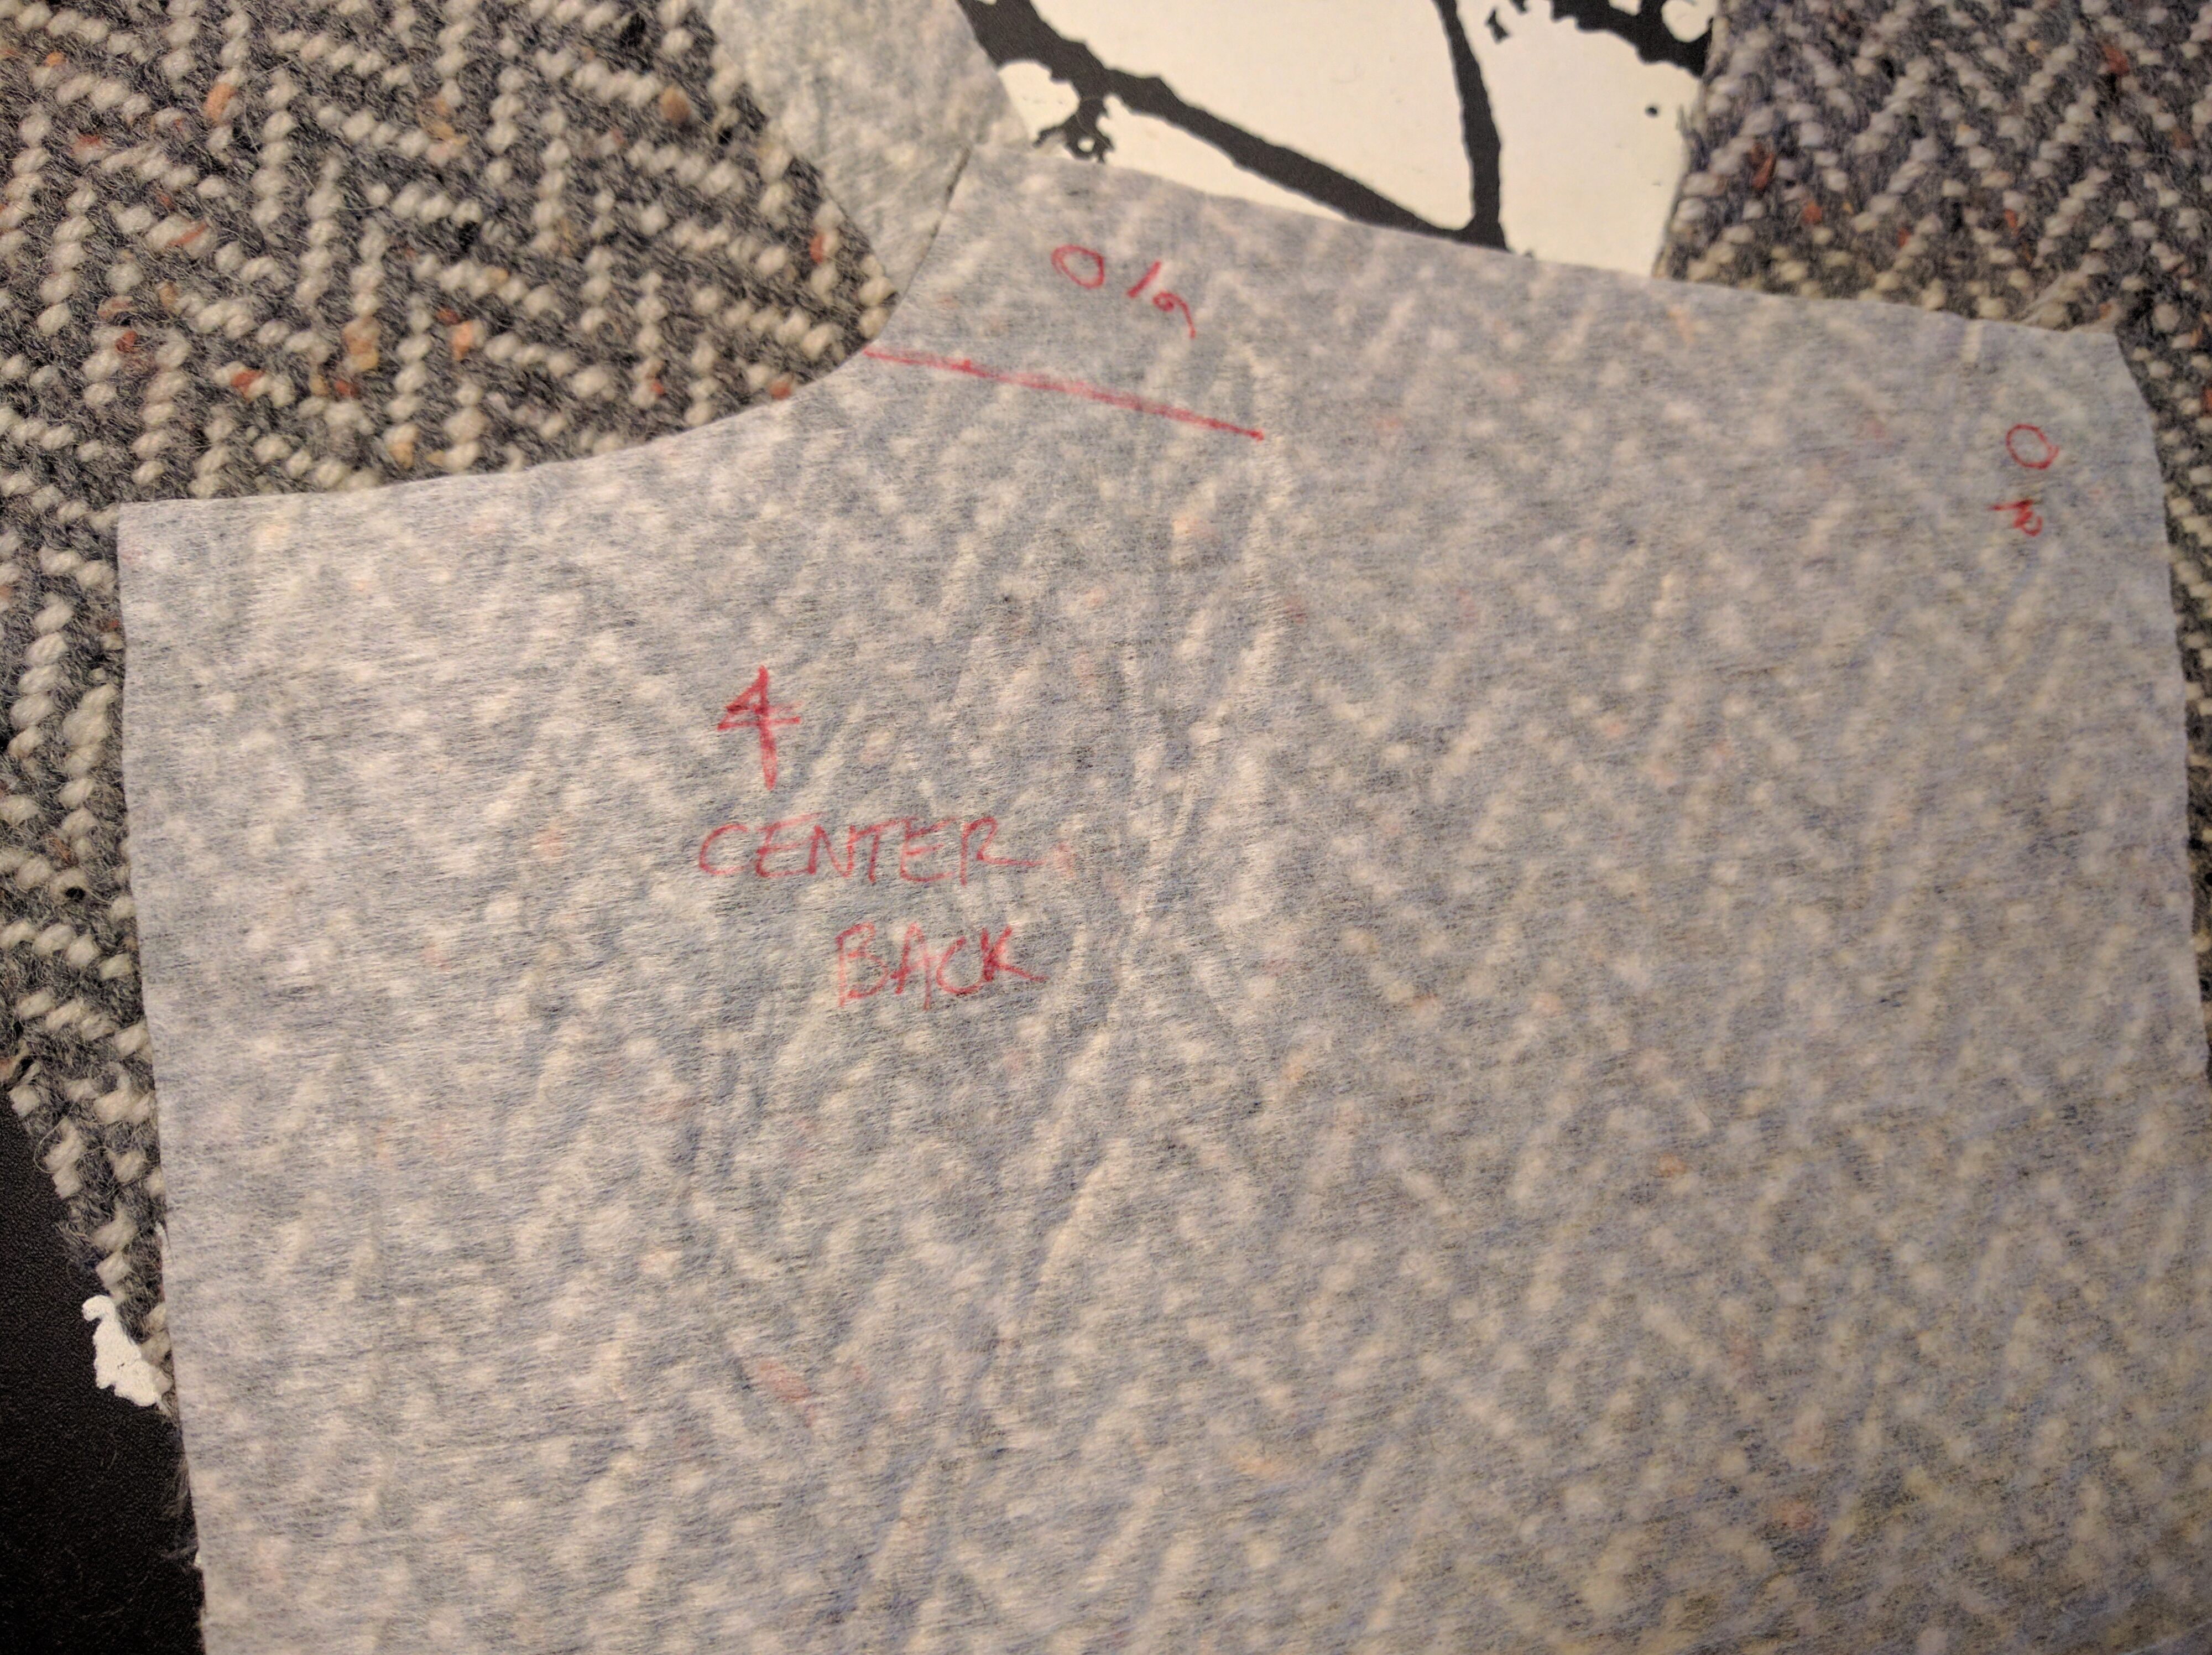
With the interfacing on the back of my fabric, it made it easy to make pattern markings and actually be able to see them.
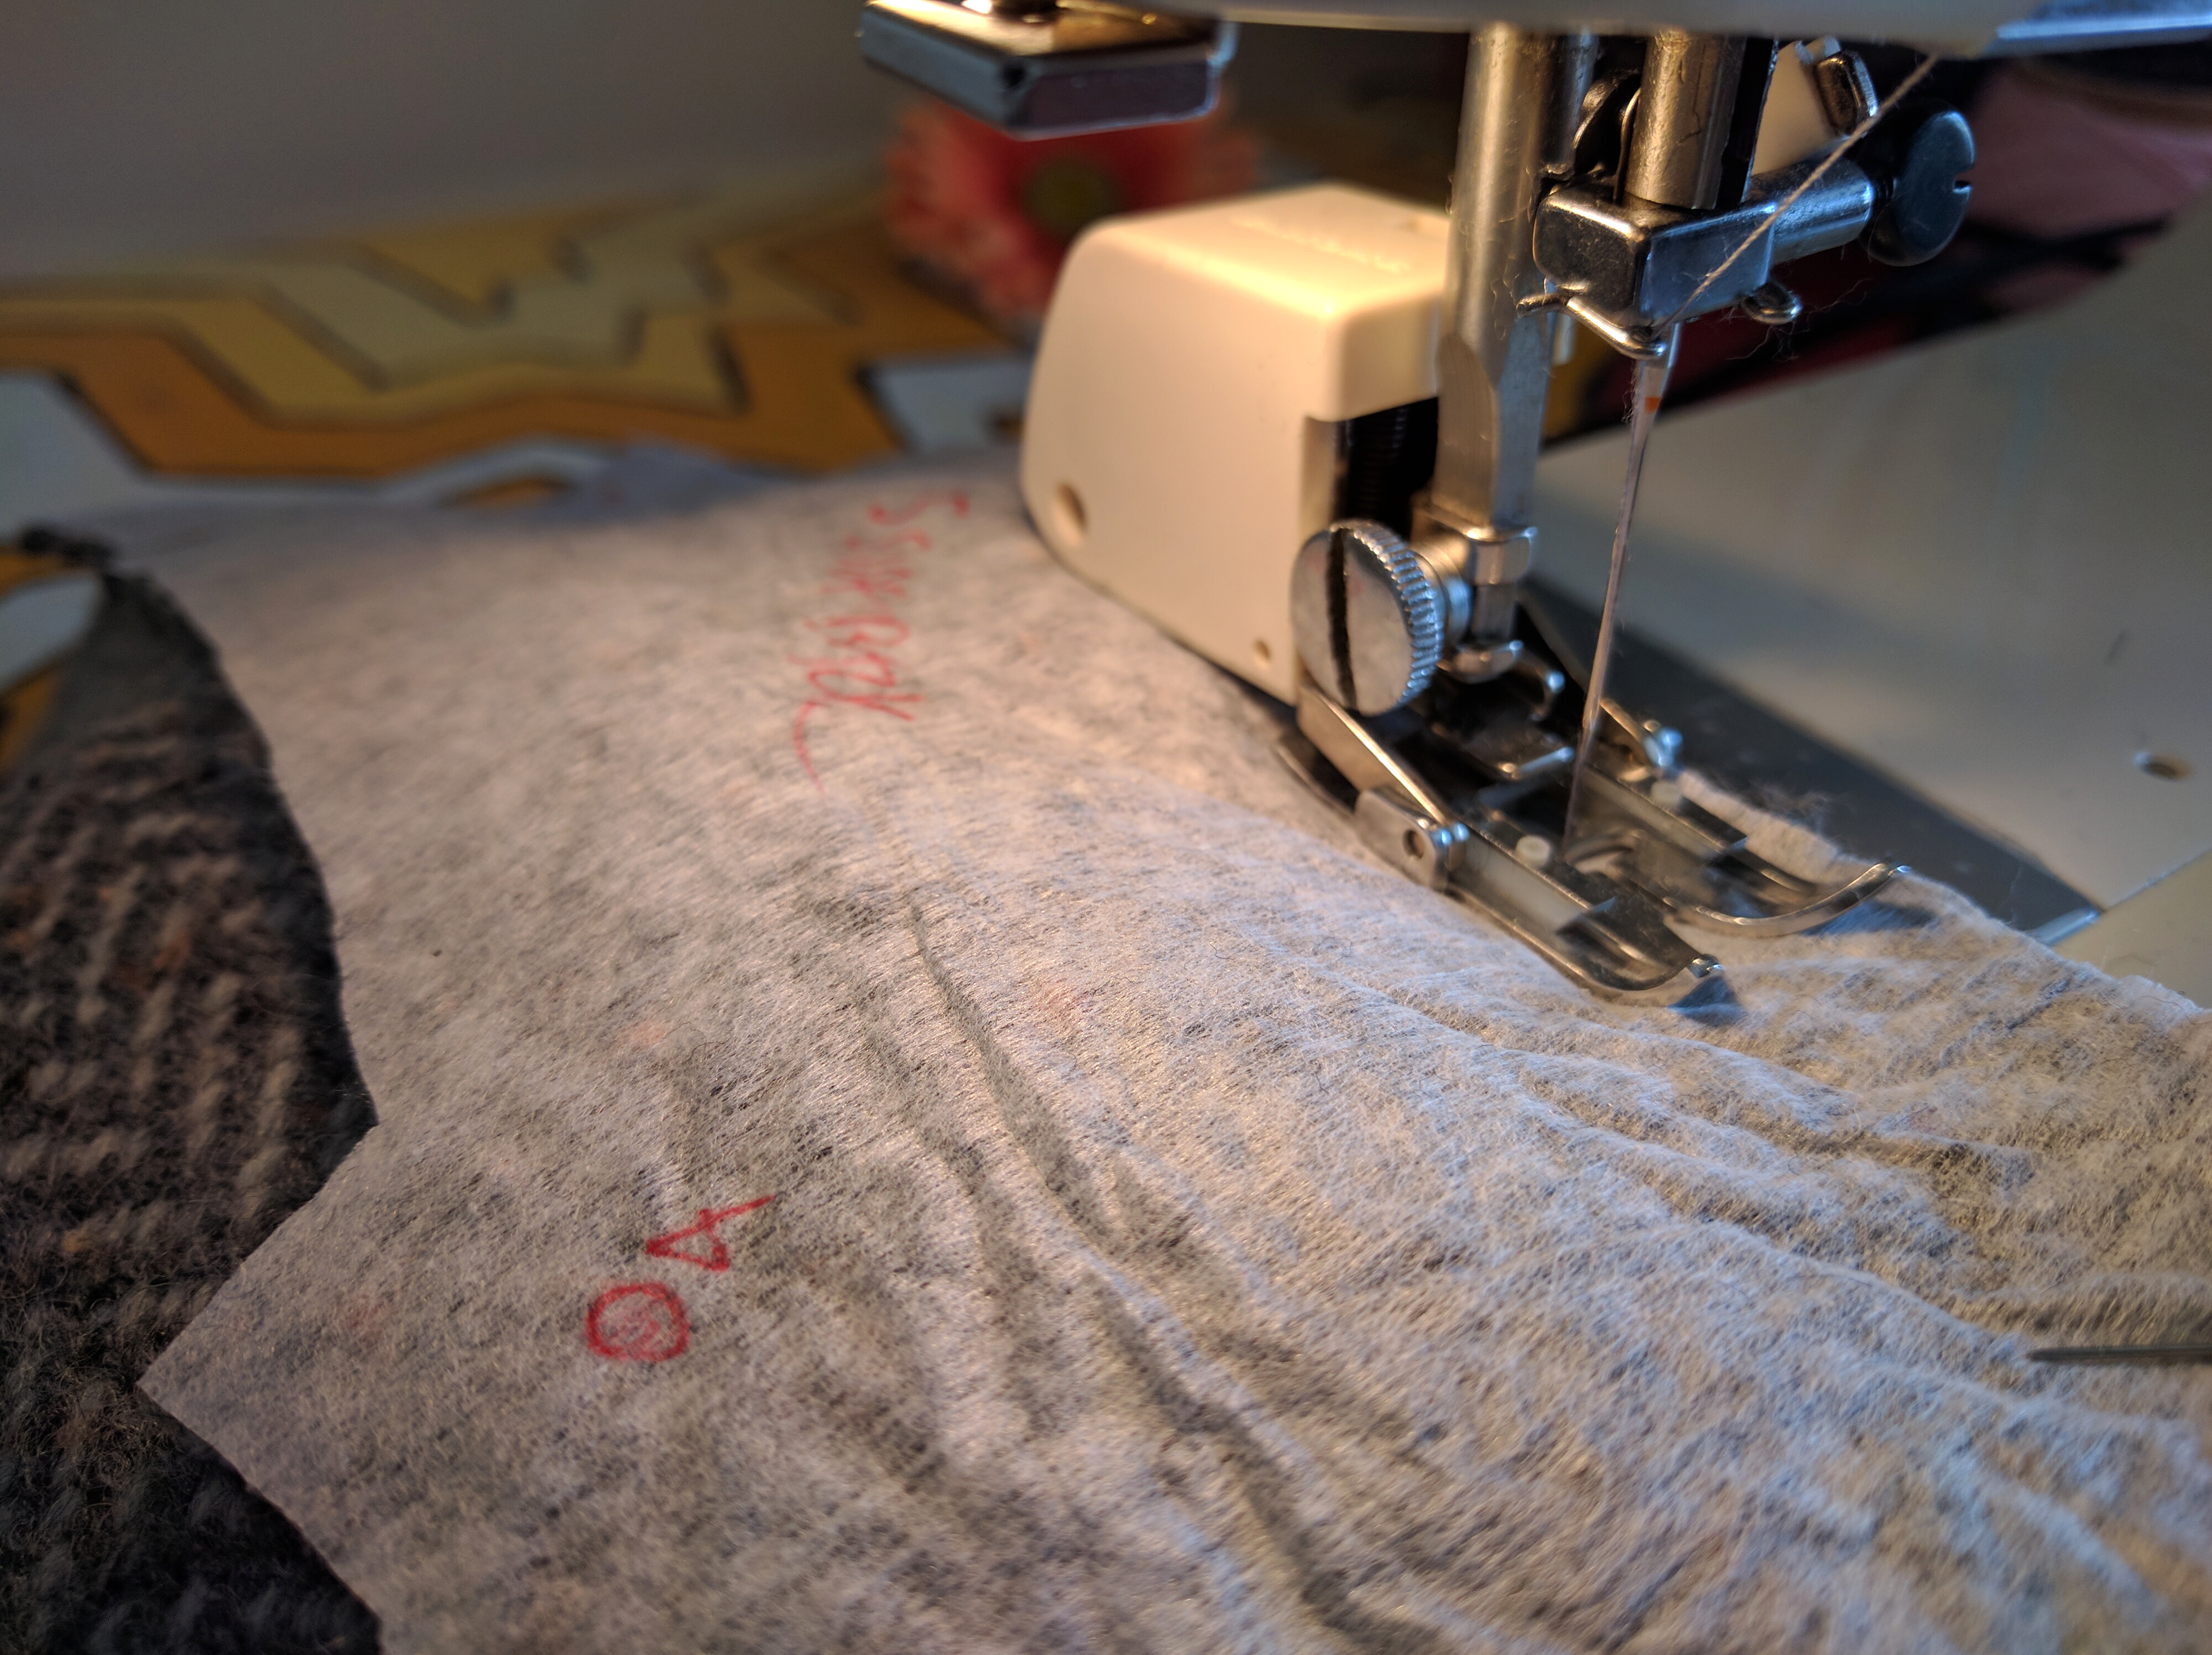
I used a special foot on my sewing machine called a “walking foot” for some of the bulky seams. It helps to manage bulky layers of fabric so that they feed evenly through the machine.
Sewing moto jackets requires a lot of coffee.
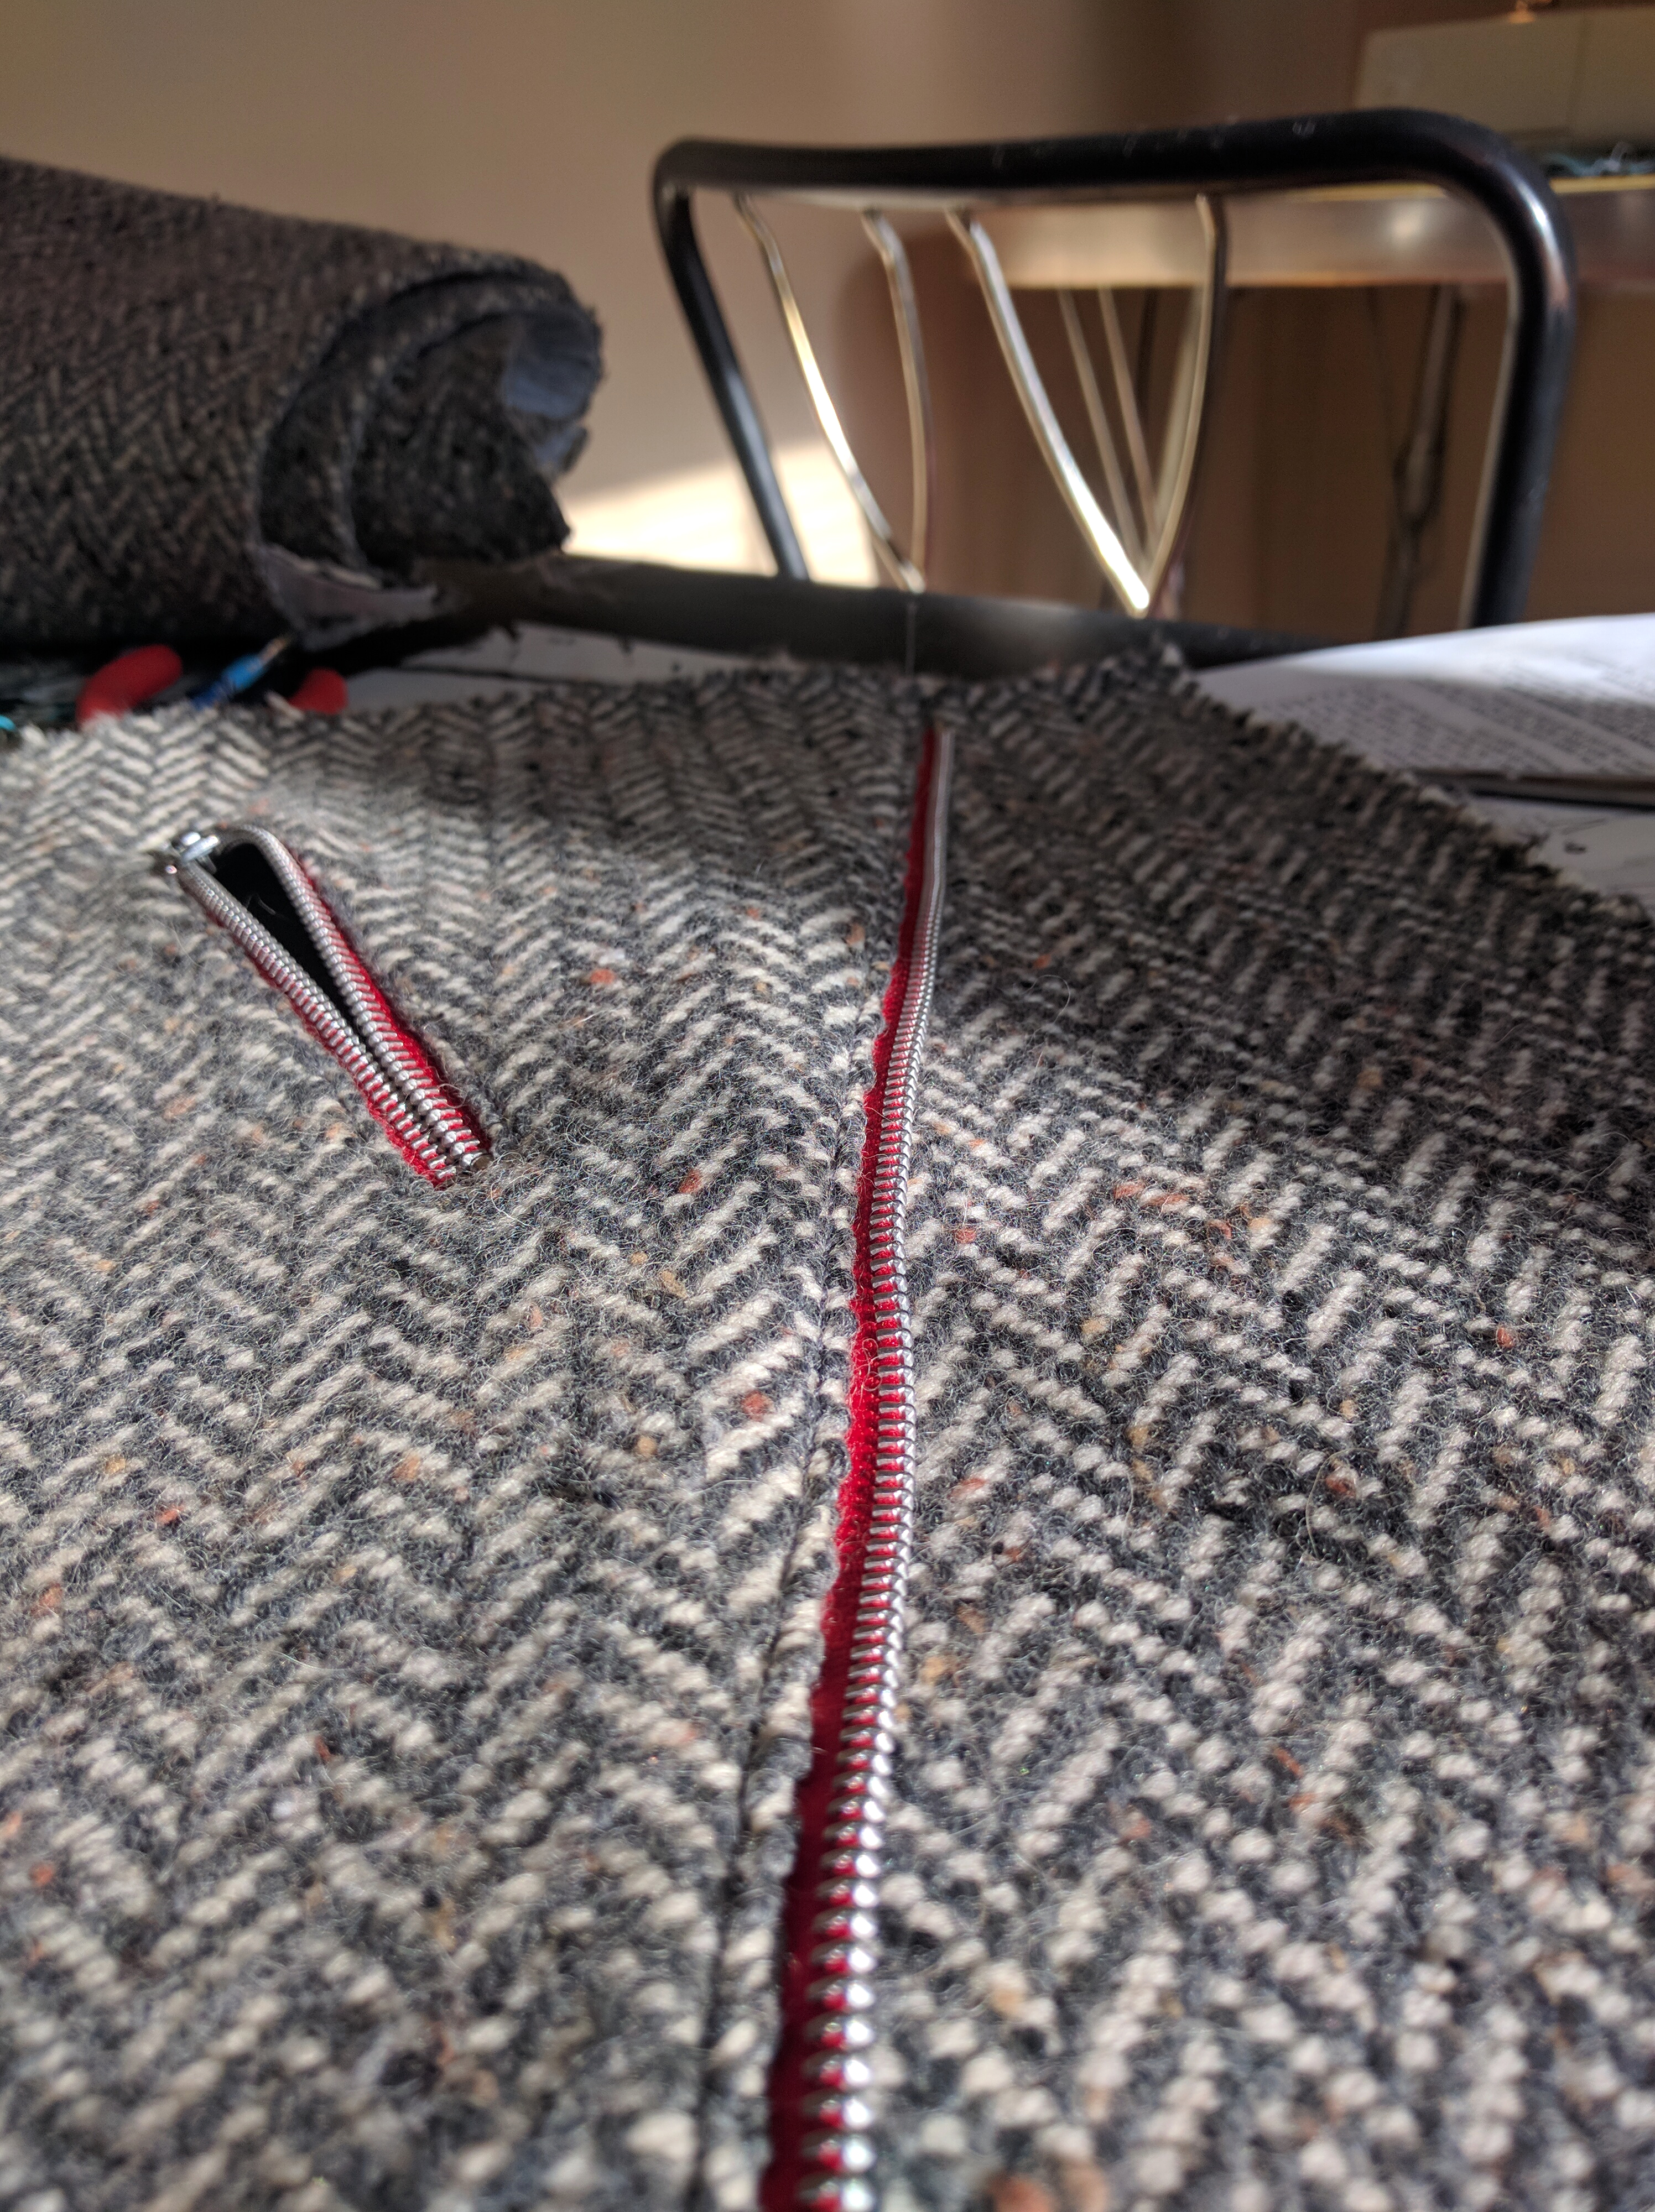
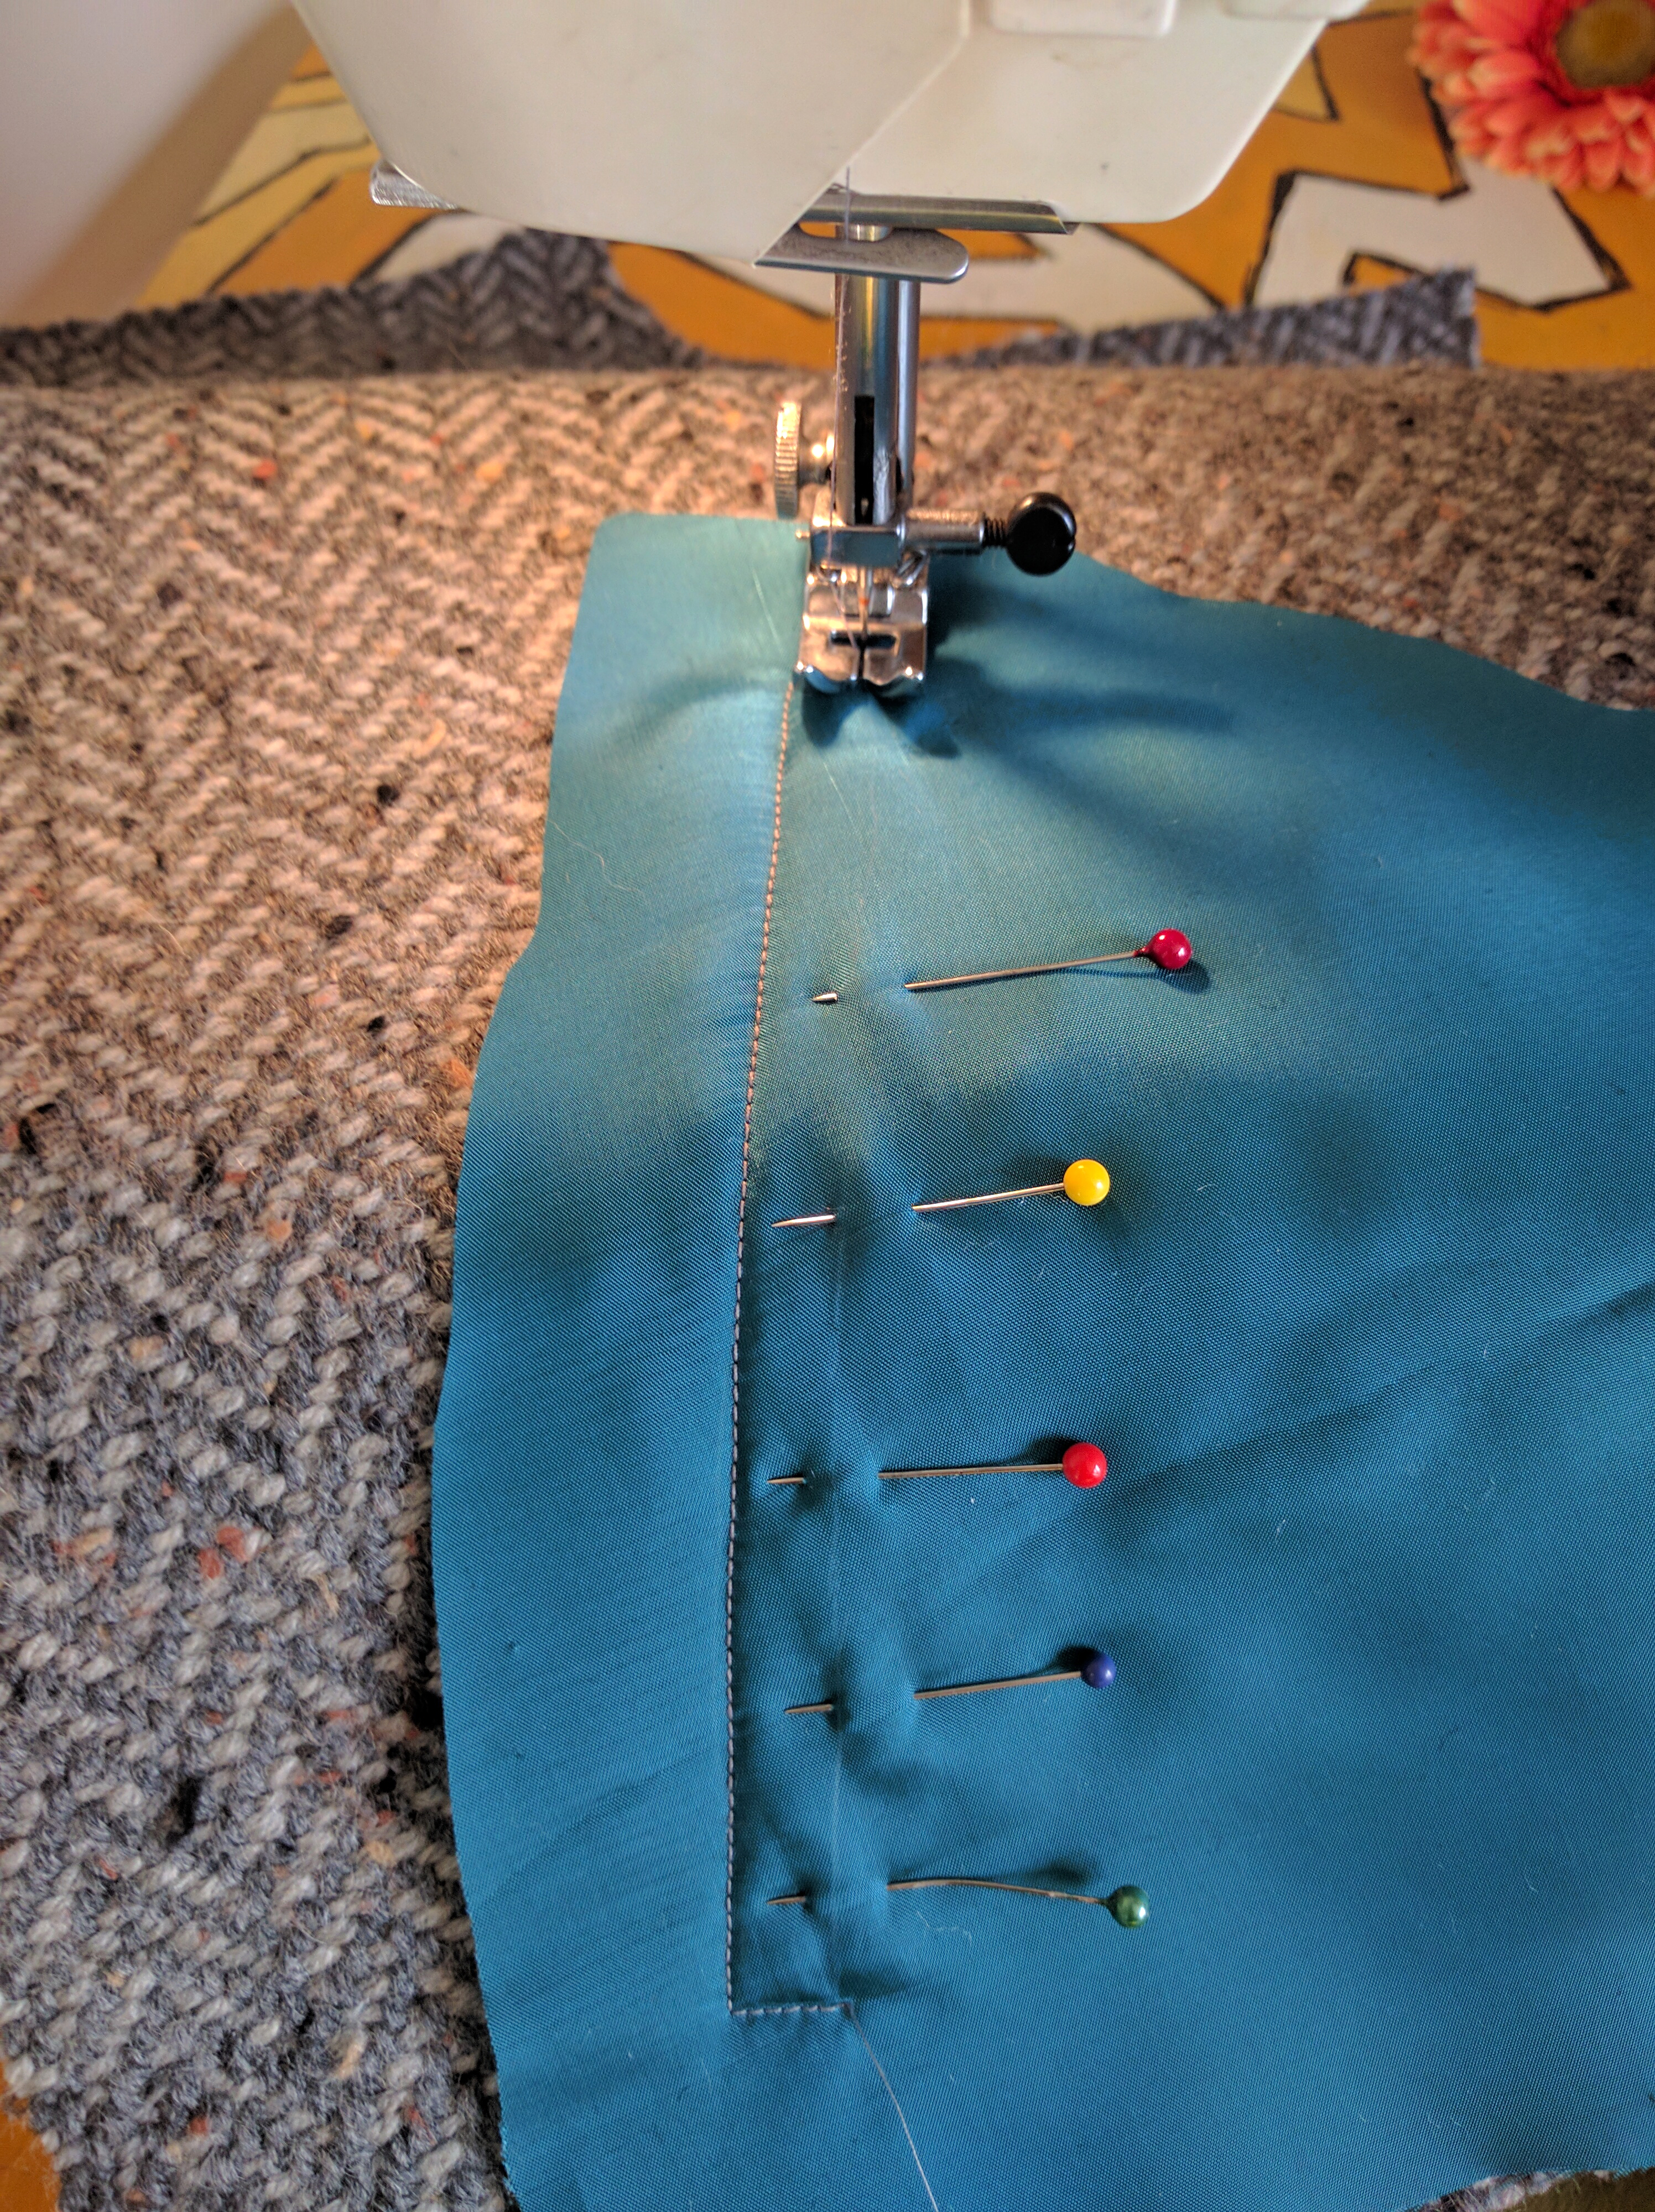
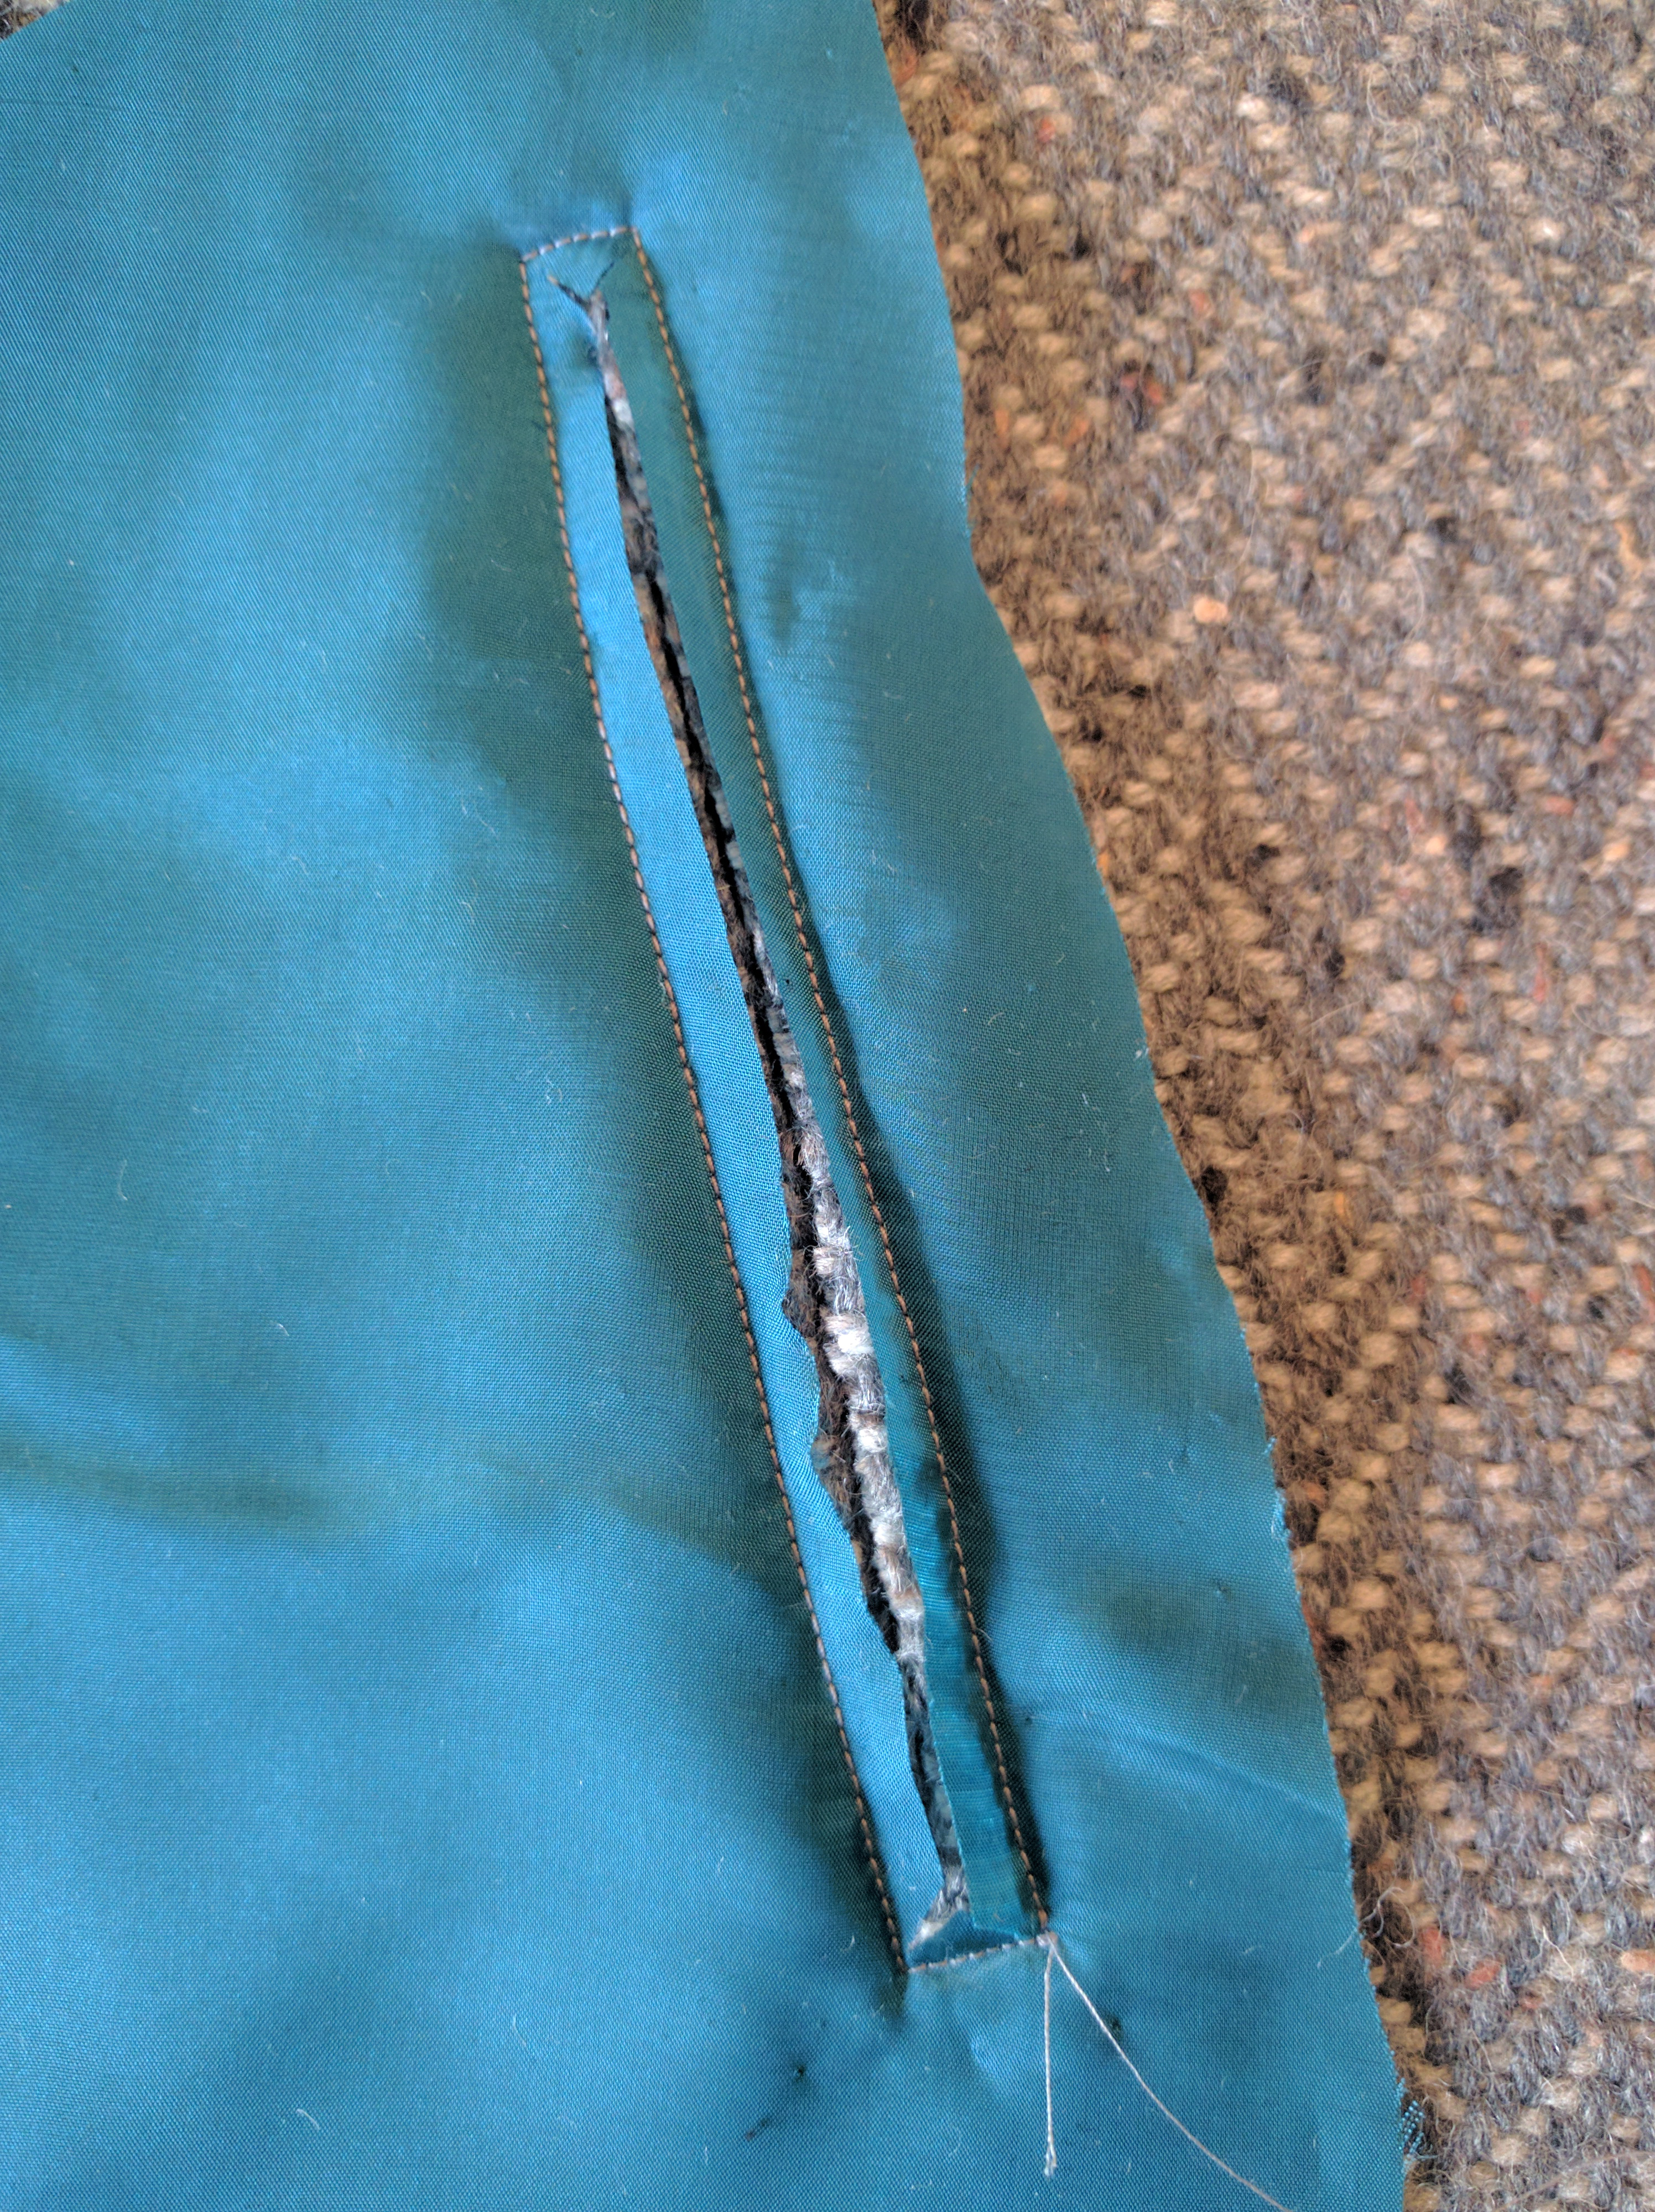
Since this is a weaving column, I’m taking it easy on sharing every single detail of the sewing process. But zipper installation fascinates me, so here are some in-progess shots of the pocket zippers. Above, I’m sewing the lining onto the right side of the fabric.
Then the pocket opening is slashed down the center.
Next, the lining fabric gets pulled to the wrong side and pressed. It’s so clean and tidy looking!
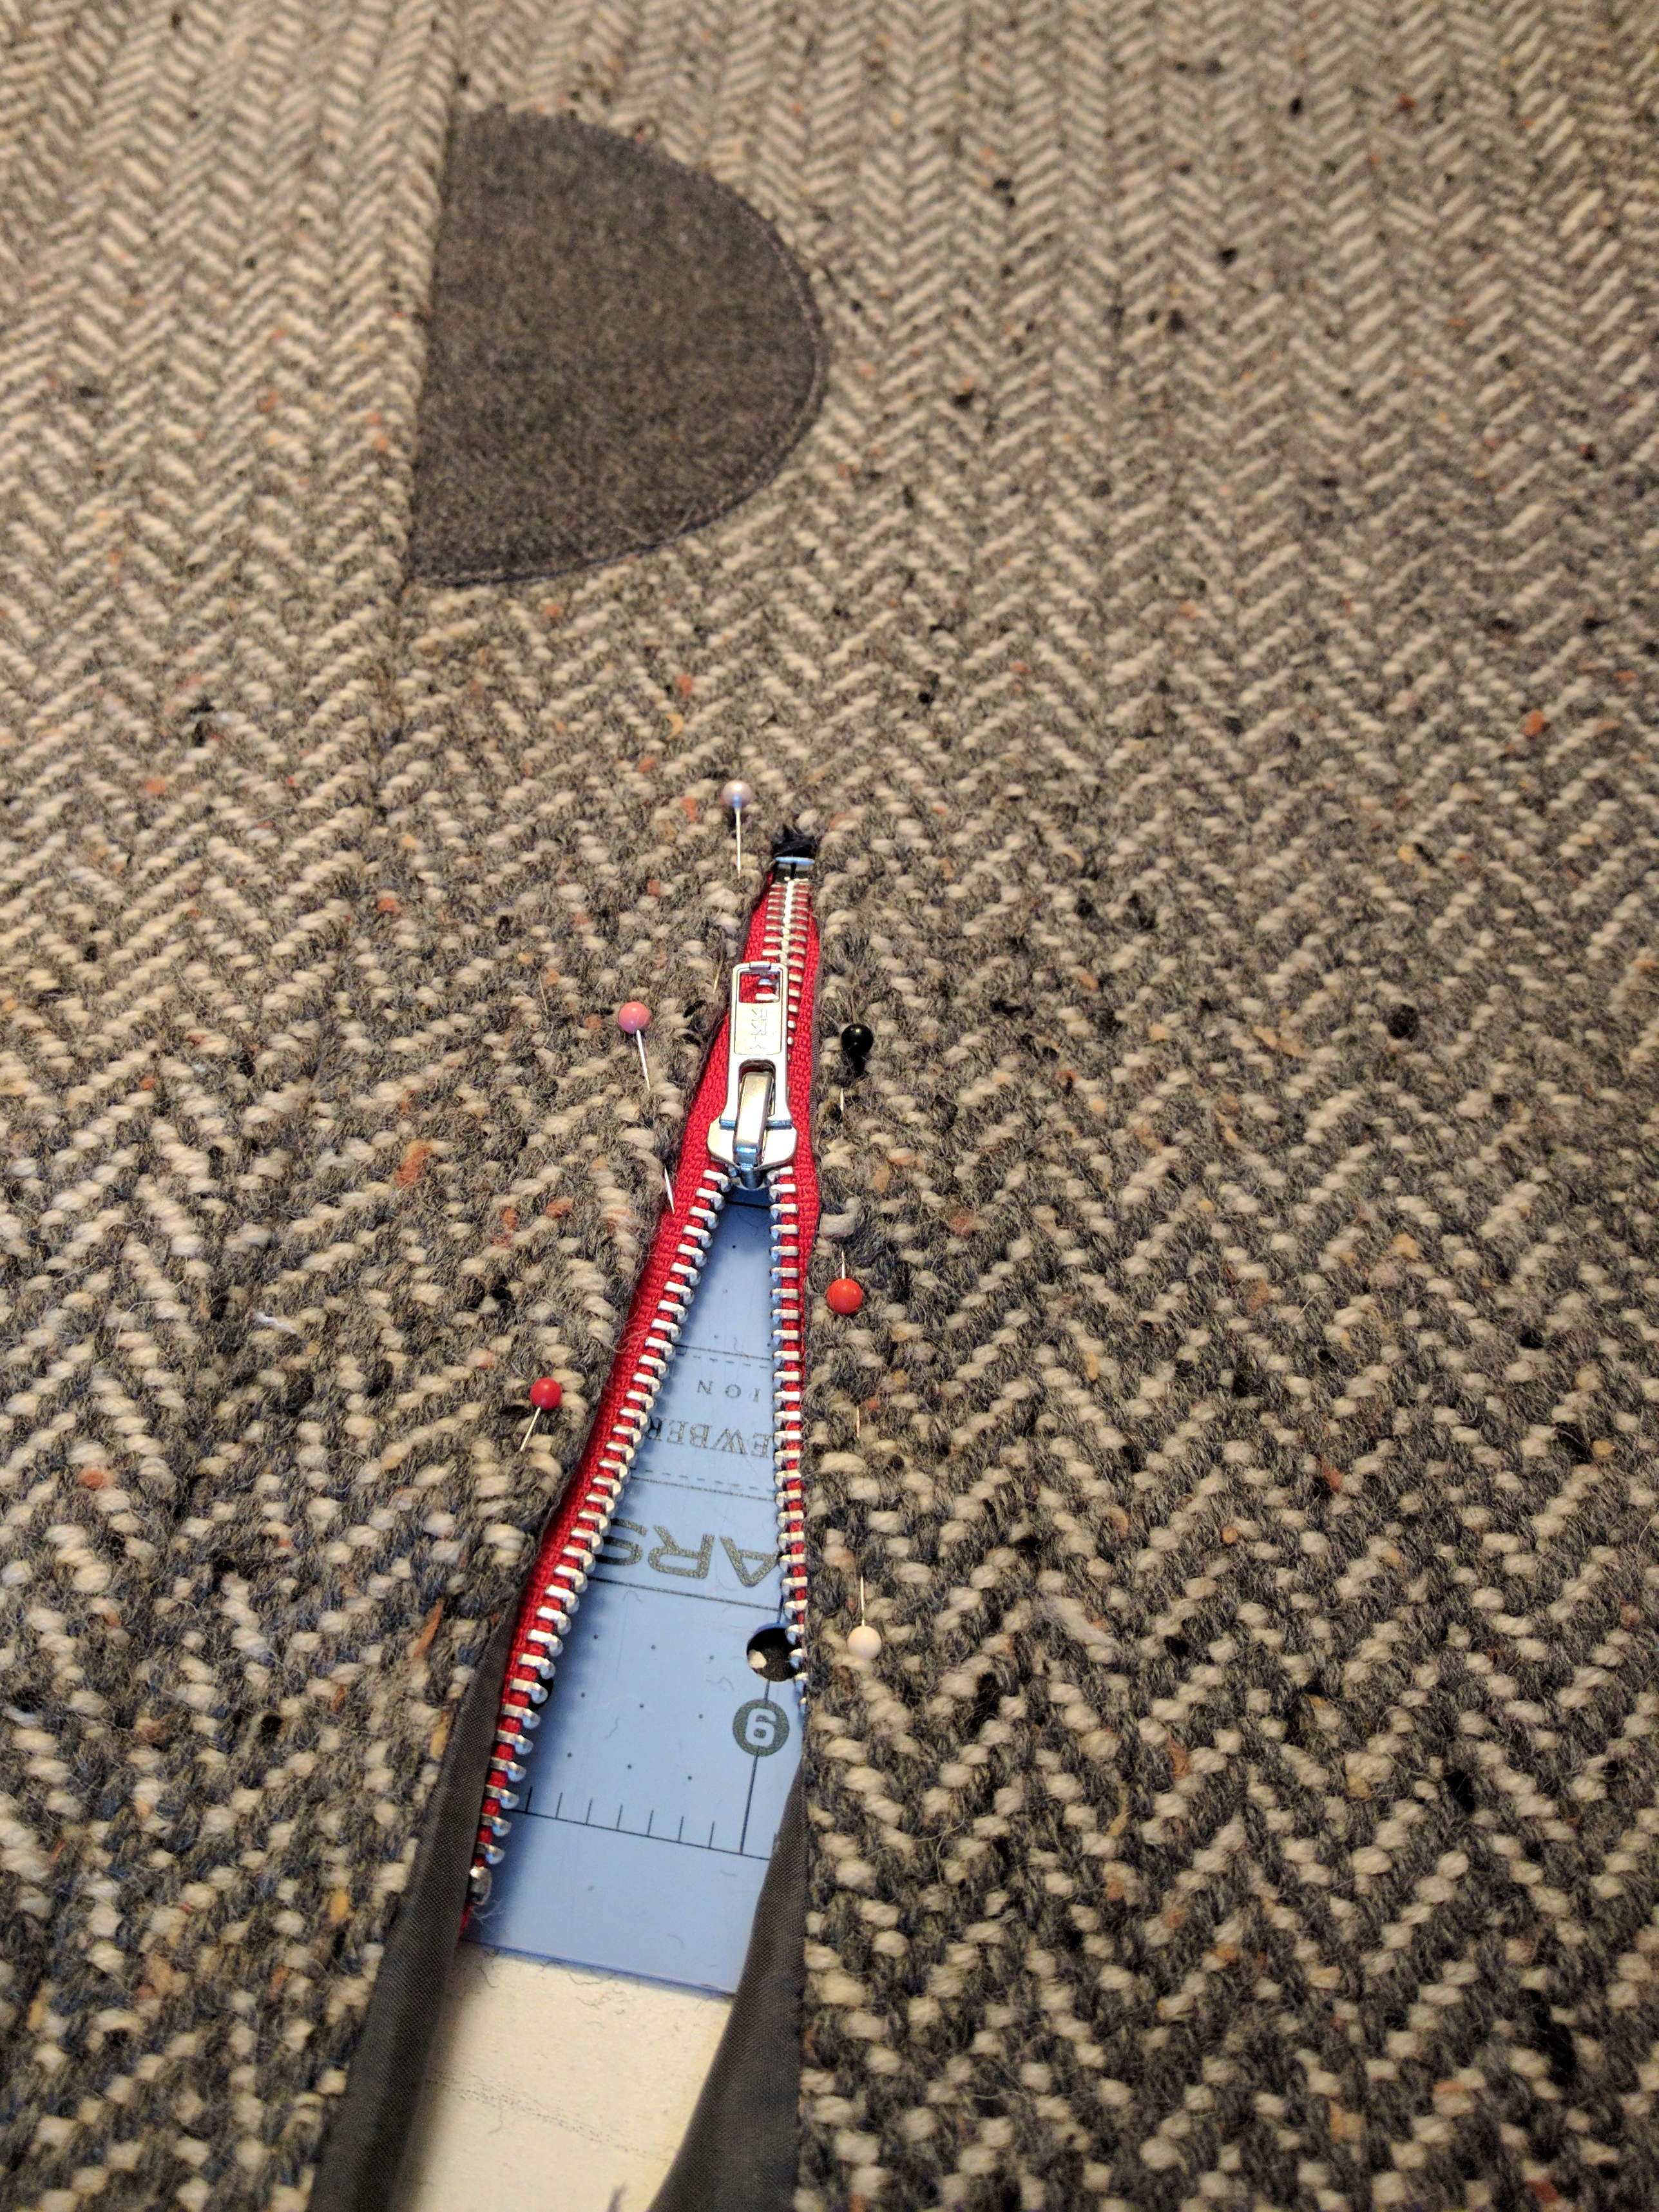
And finally the zipper is pinned underneath and sewn down. I love a good zipper installation. Which is good, since each jacket requires 5 zippers. Whew!
Here we have something that is actually beginning to resemble clothing. Yay!
It’s like magic that this can turn into a moto jacket, right?
If you’re planning on being at TNNA in San Jose this weekend, stop by the booth and check out the finished jackets. Otherwise, I’ll be back on the blog next week for final photos and wrap-up.
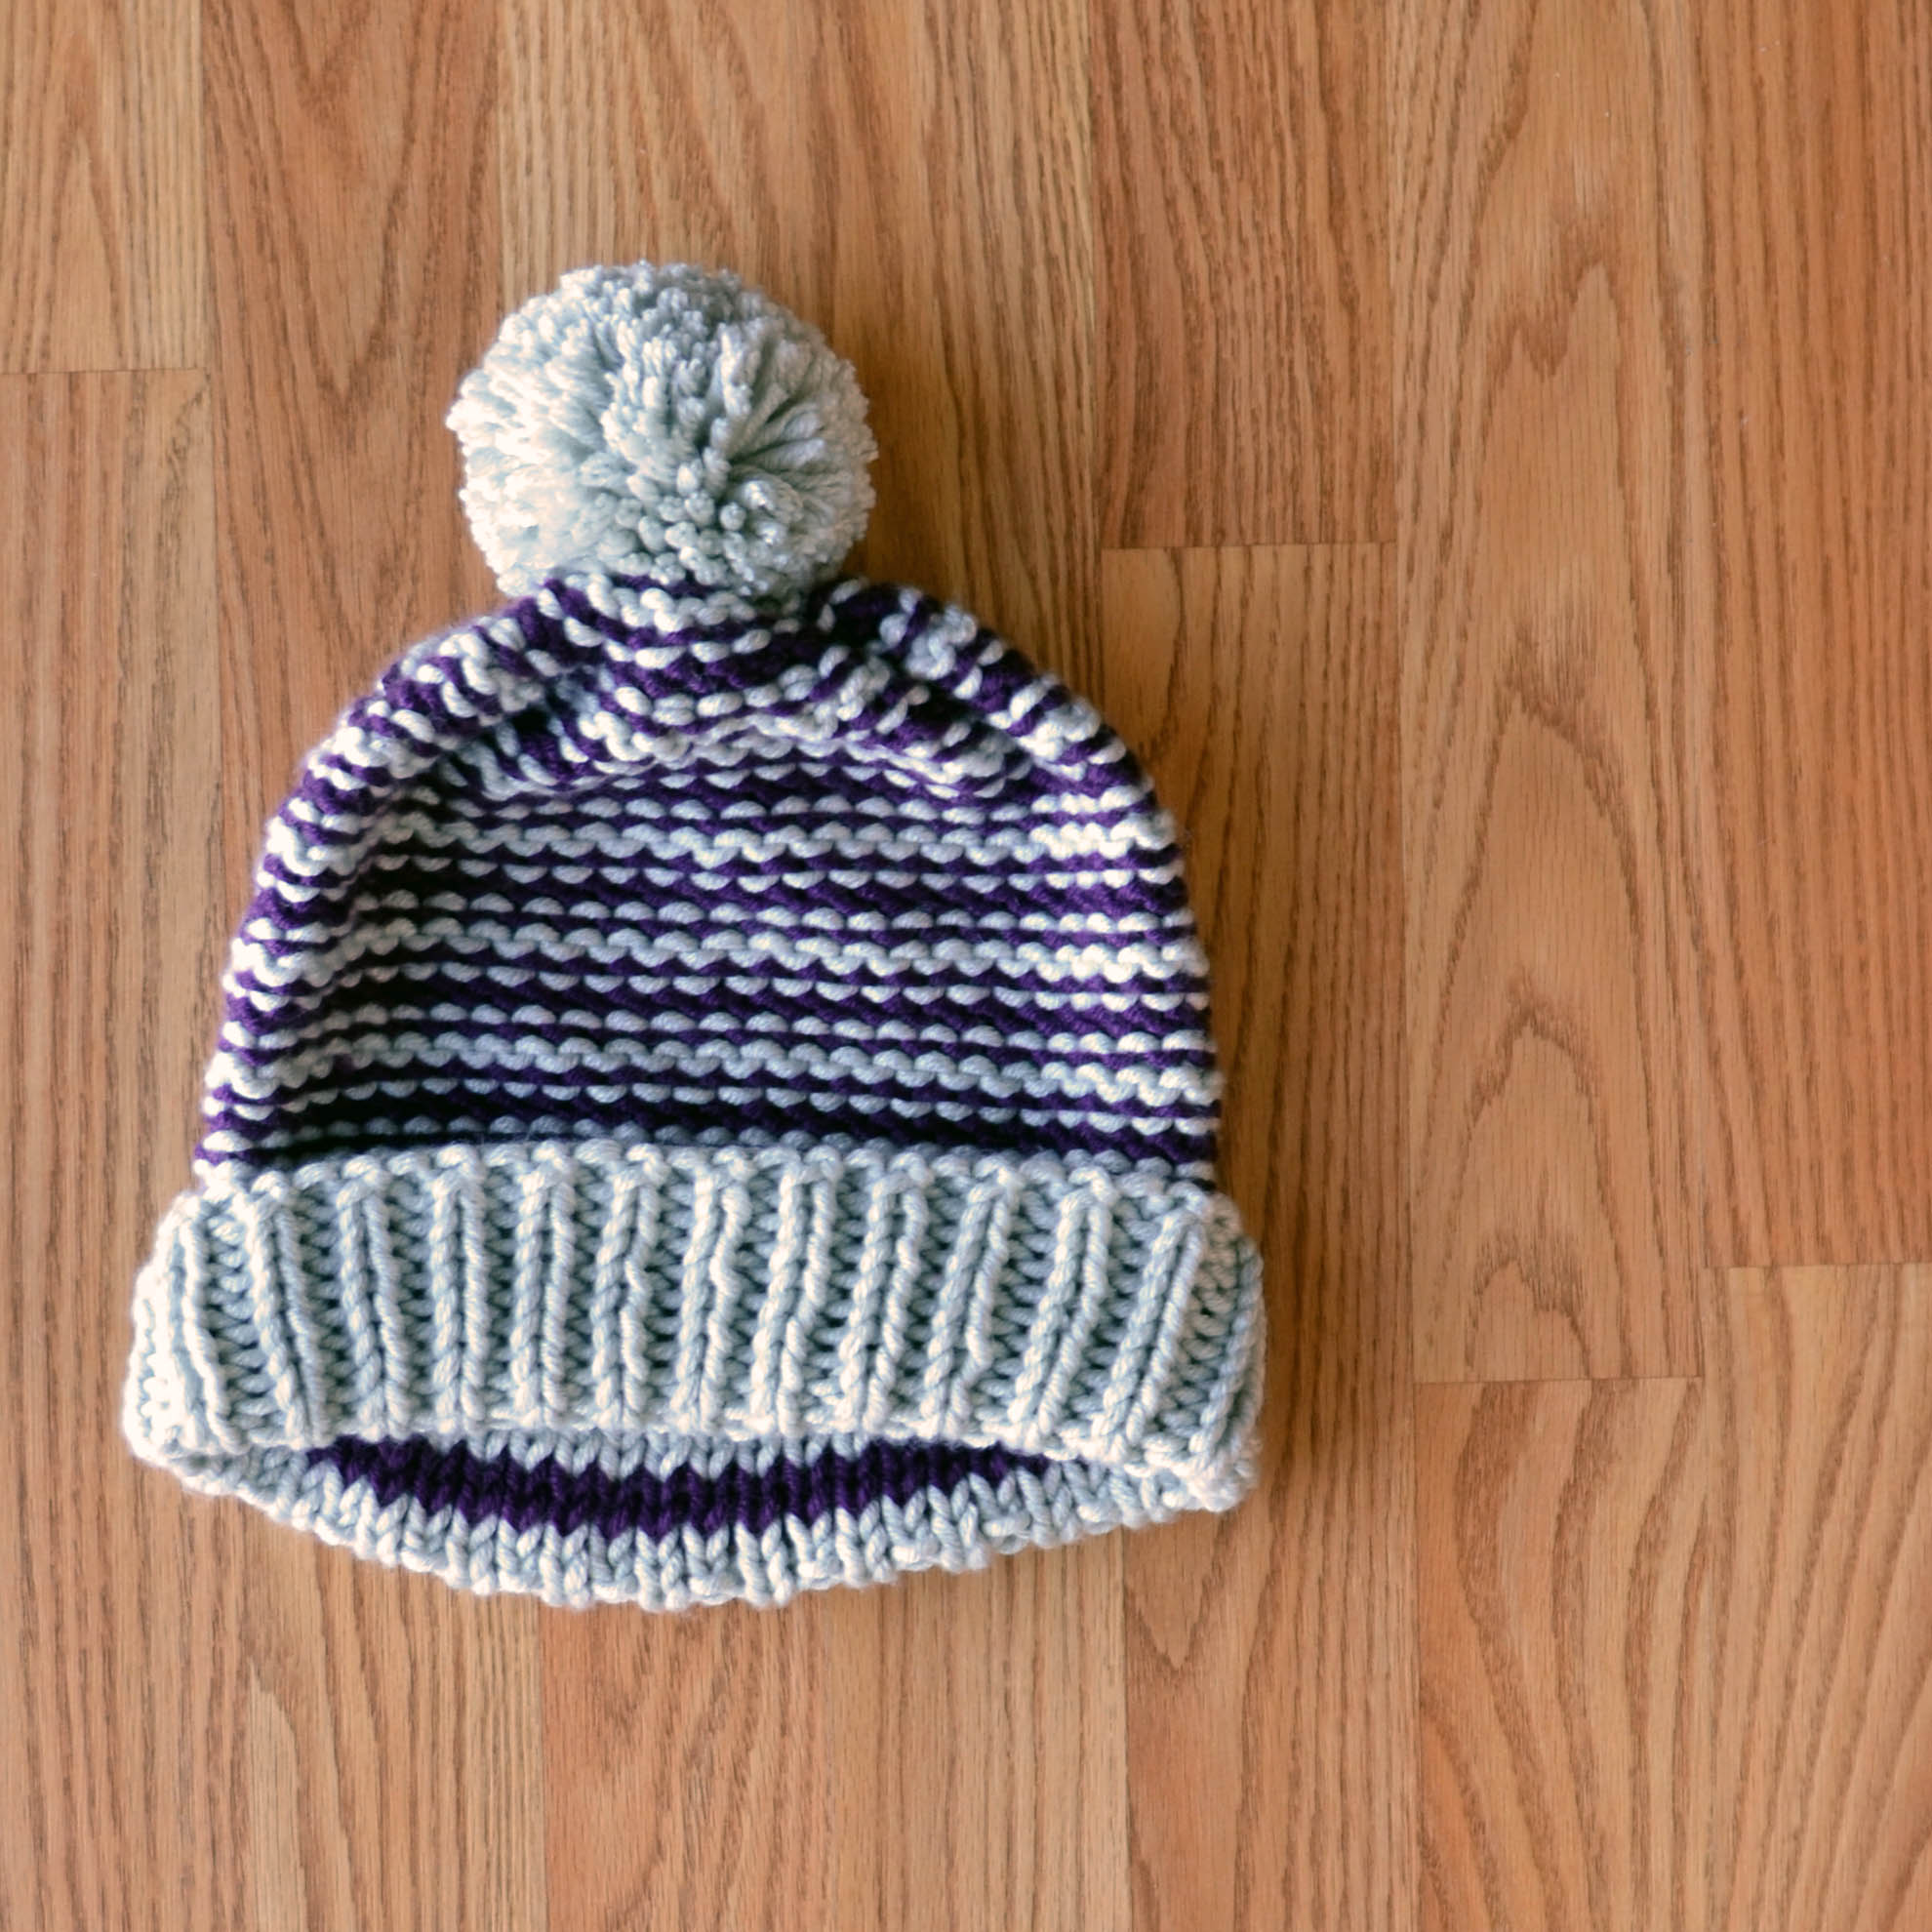
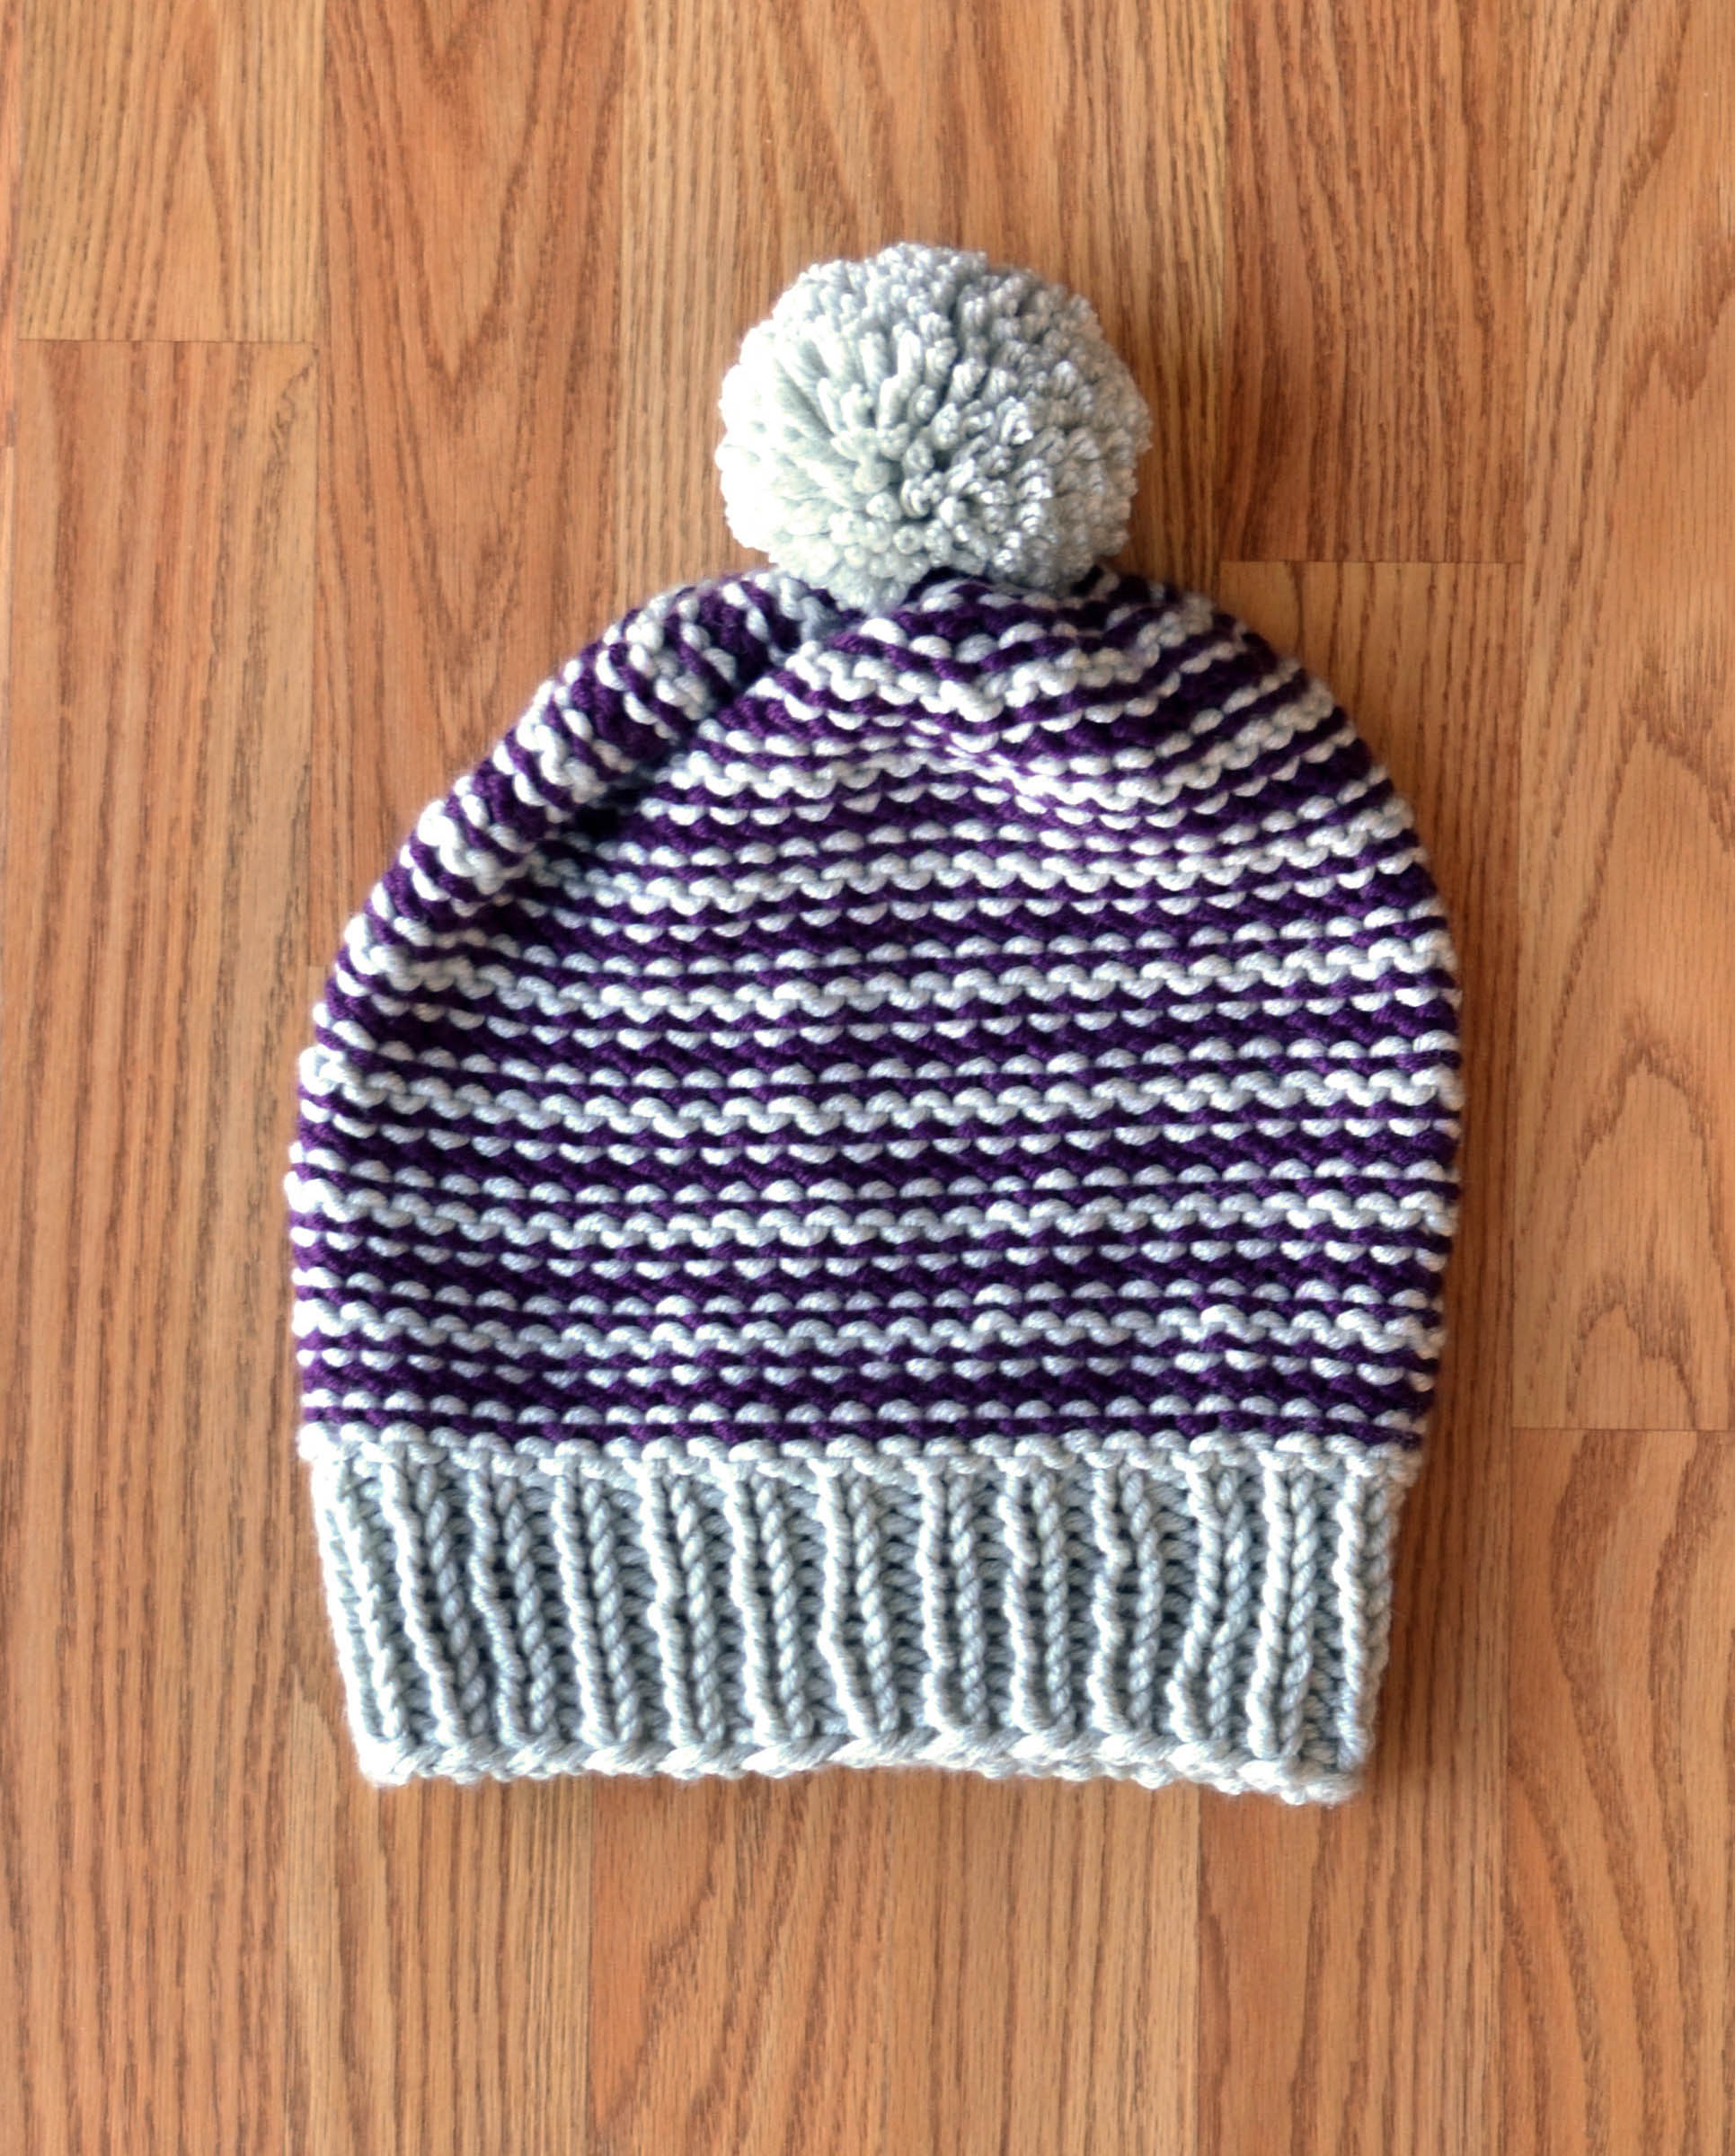
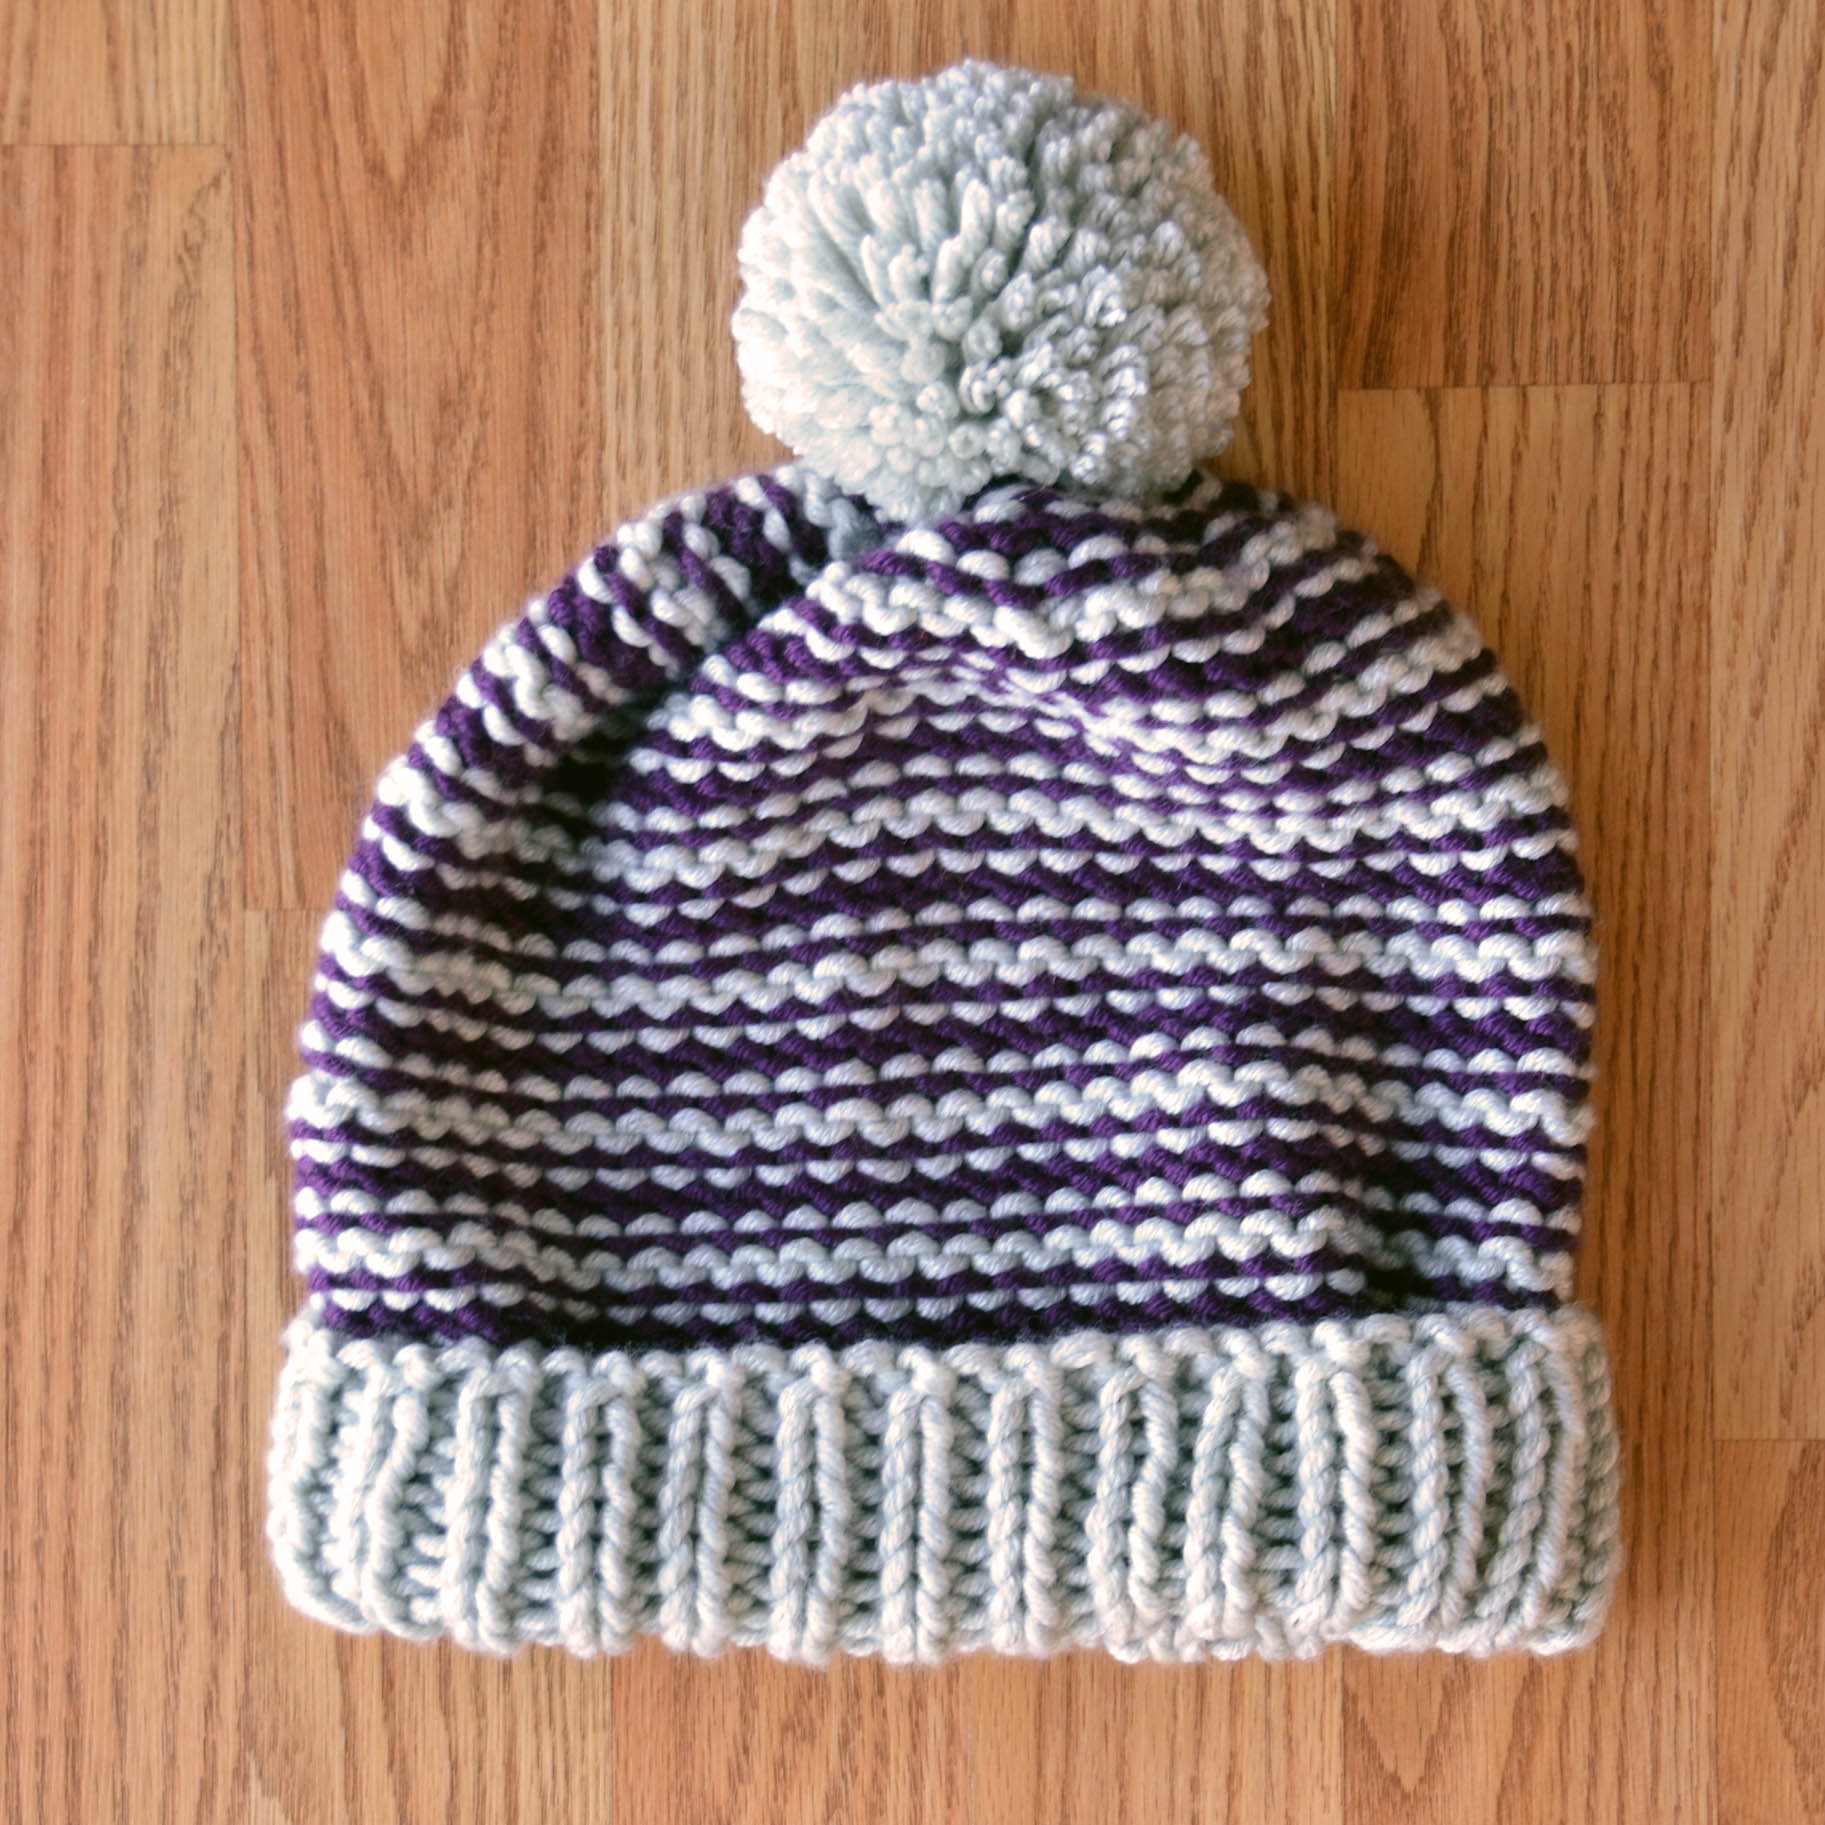
Sometimes you just want to make something fun and quick, you know? Inside Job fits the bill.
This basic hat flies by in our Uptown Bulky anti-pilling acrylic yarn (87yds/100g). It’s worked from the bottom up in the round, with US Size 11 (8mm) needles for the ribbing and US Size 13 (9mm) needles for the brim. Top it with a cute pompom, and voila!
What makes this hat a little different is that it’s worked in reverse stockinette. The plain striping shows on the inside, and the more intricate patterning shows on the exterior. Hence the name “Inside Job.”
And the adventure continues! You can read the first two posts in my moto jacket series here and here.
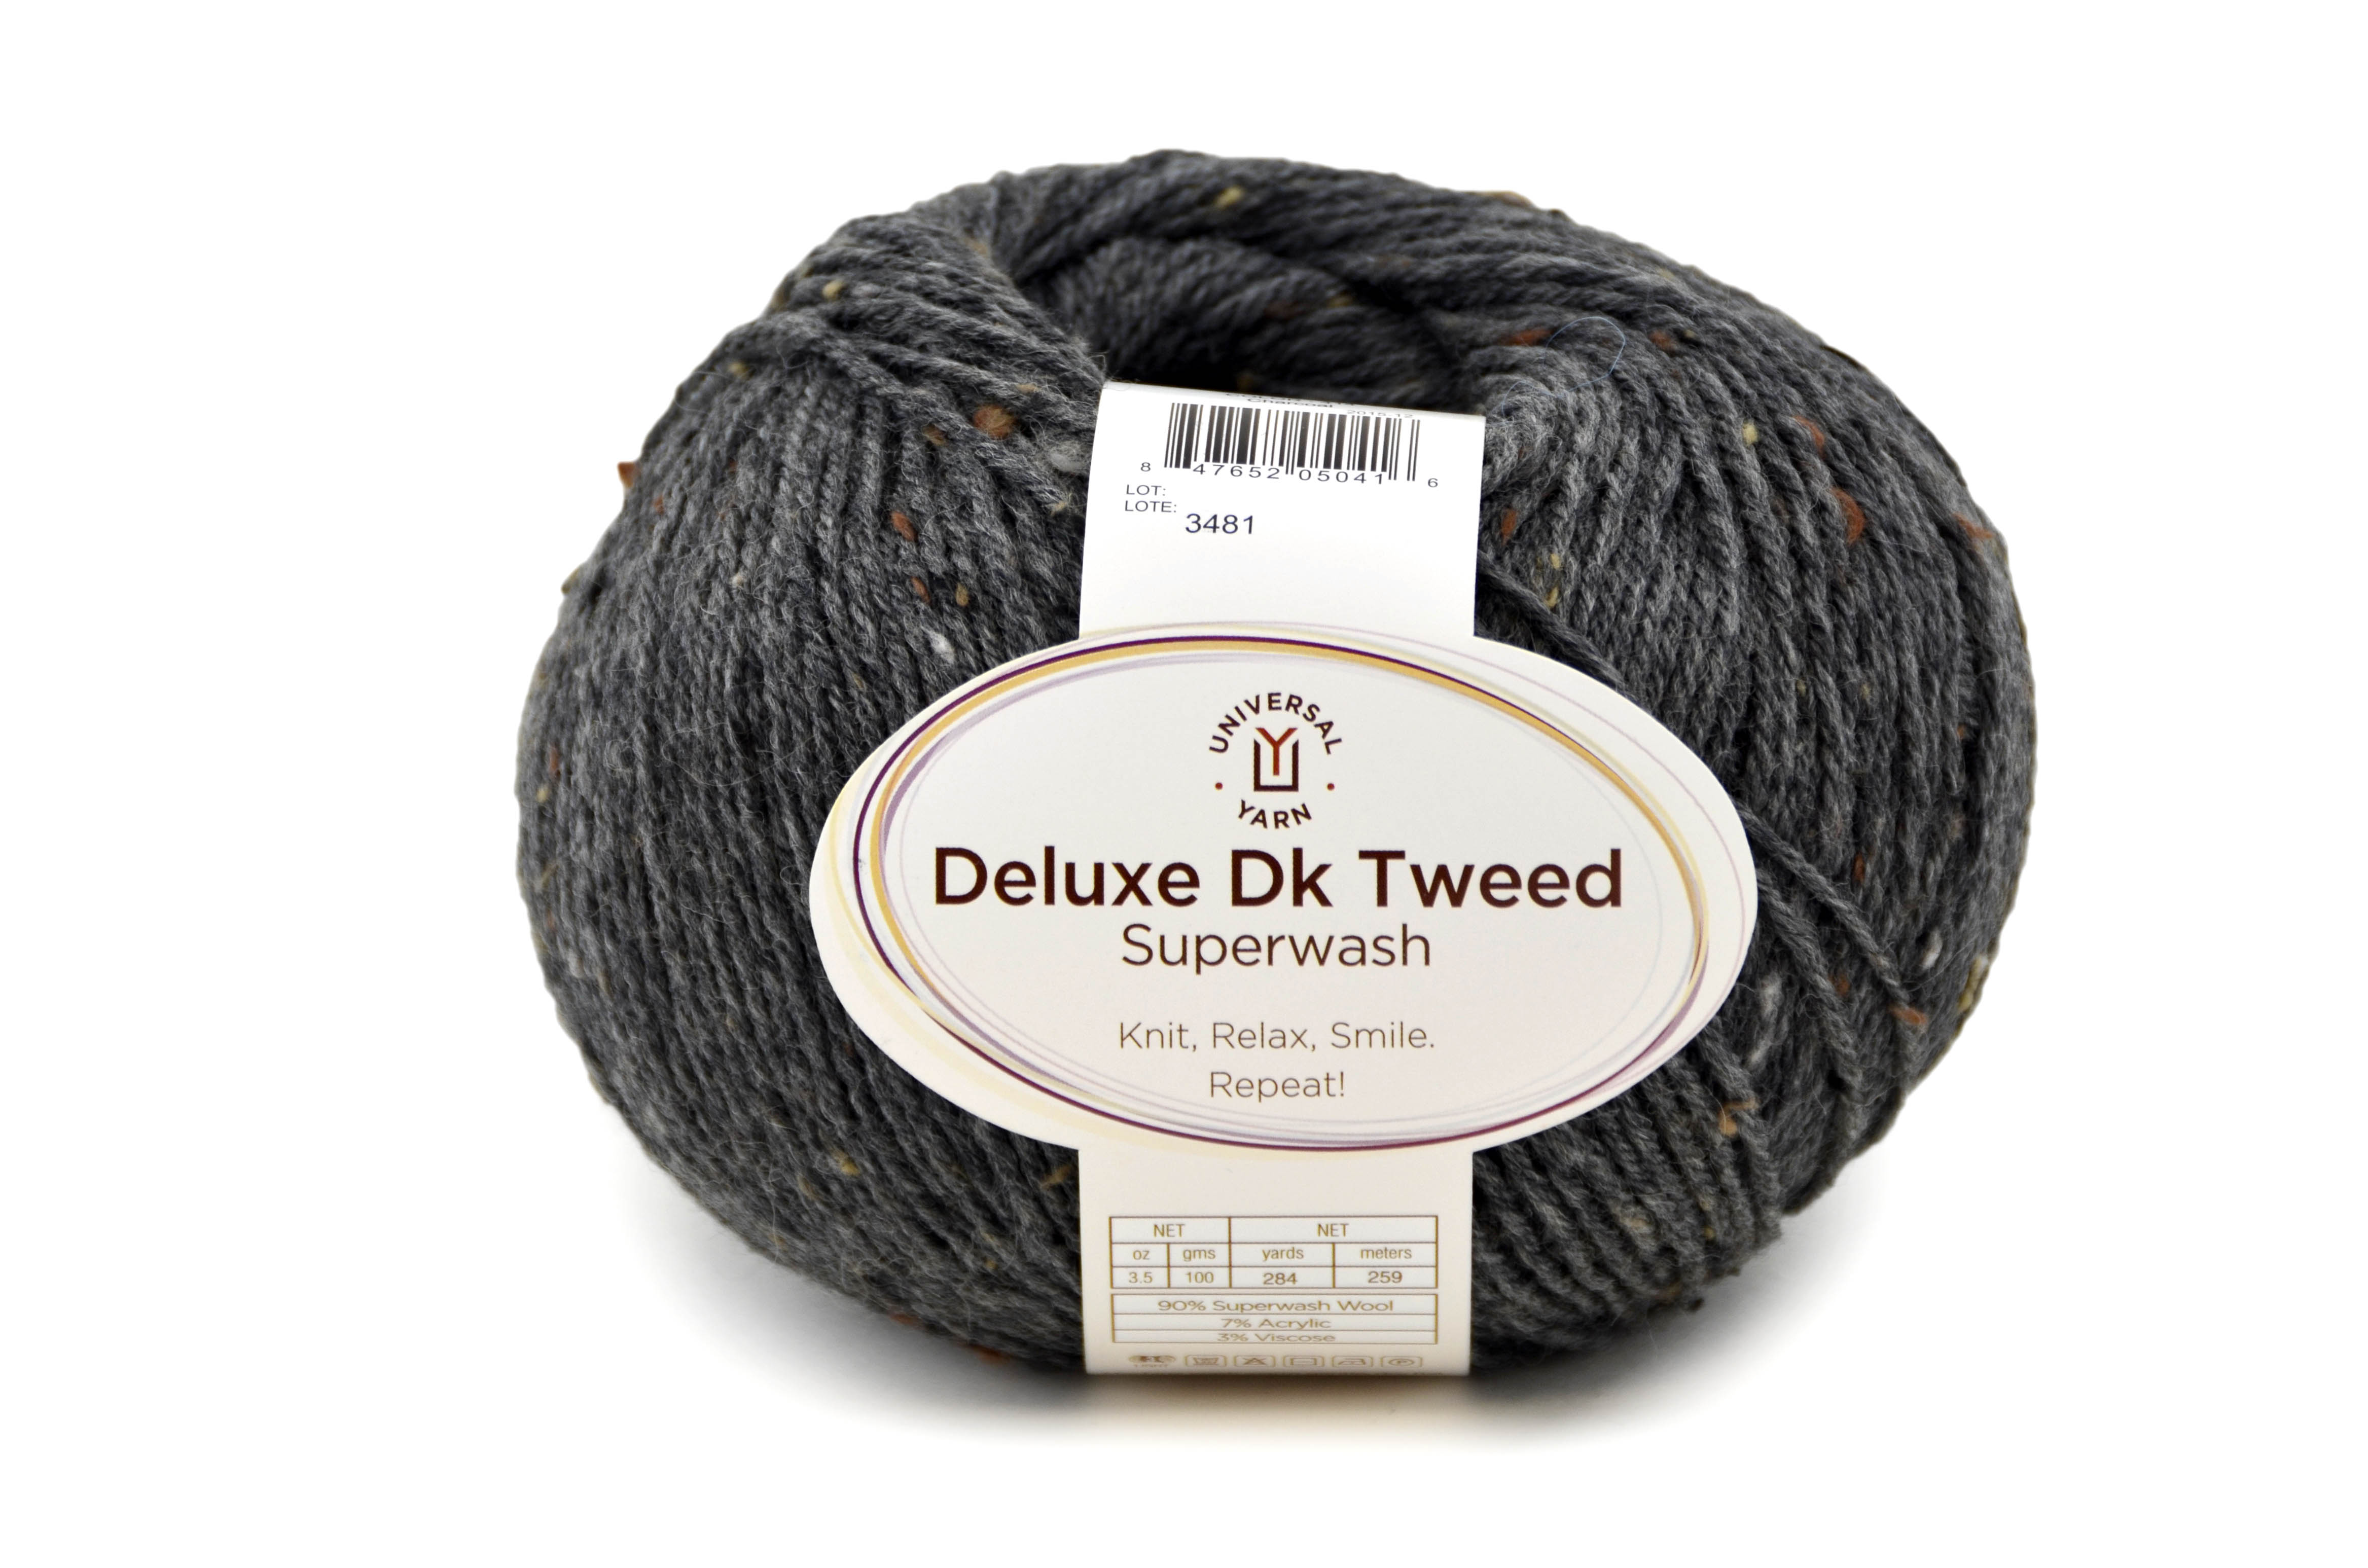
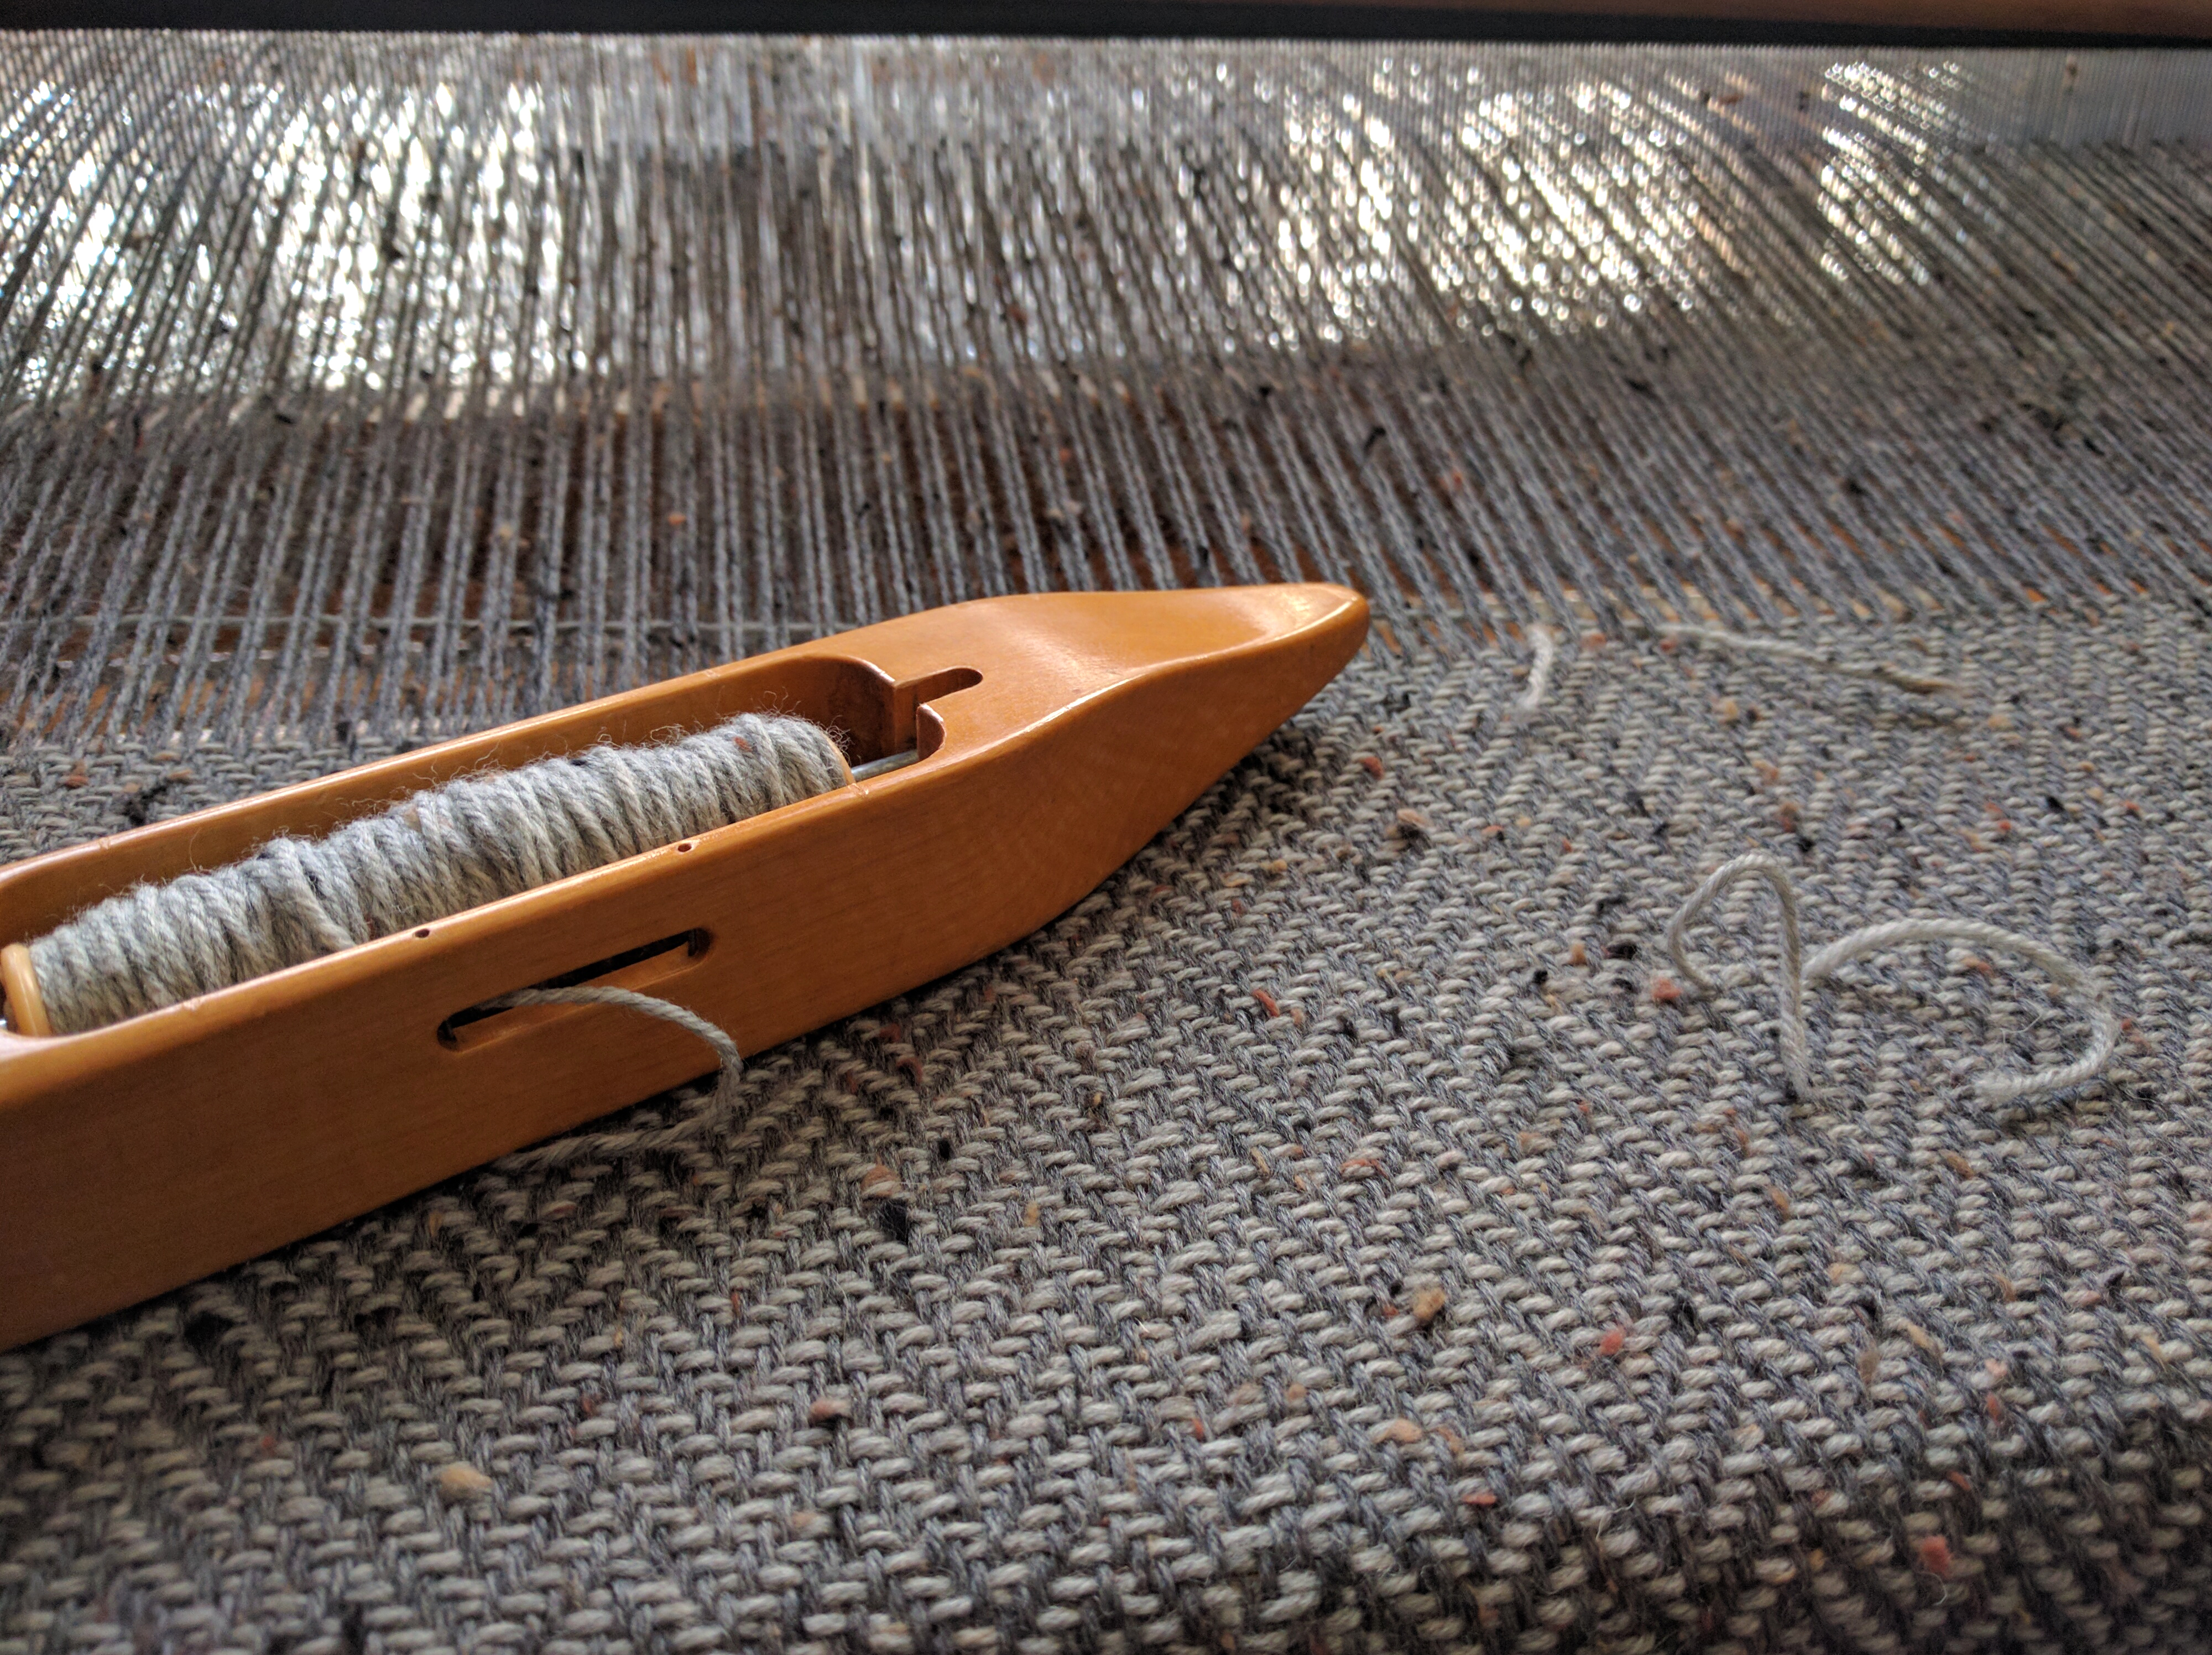
After warping my loom with my monstrously long and wide warp – 280″ long x 36″ wide using Deluxe DK Tweed Superwash, I was delighted to weave the fabric. I wove the same herringbone pattern that I used in my sampler scarf (seen here).
This piece of fabric I’m weaving will be for two jackets. My warp is color 414 Charcoal in Deluxe DK Tweed, and the photo below shows color 413 Smoke as the weft.
One bobbin of yarn lasted for about 3″ on my 36″ wide warp.
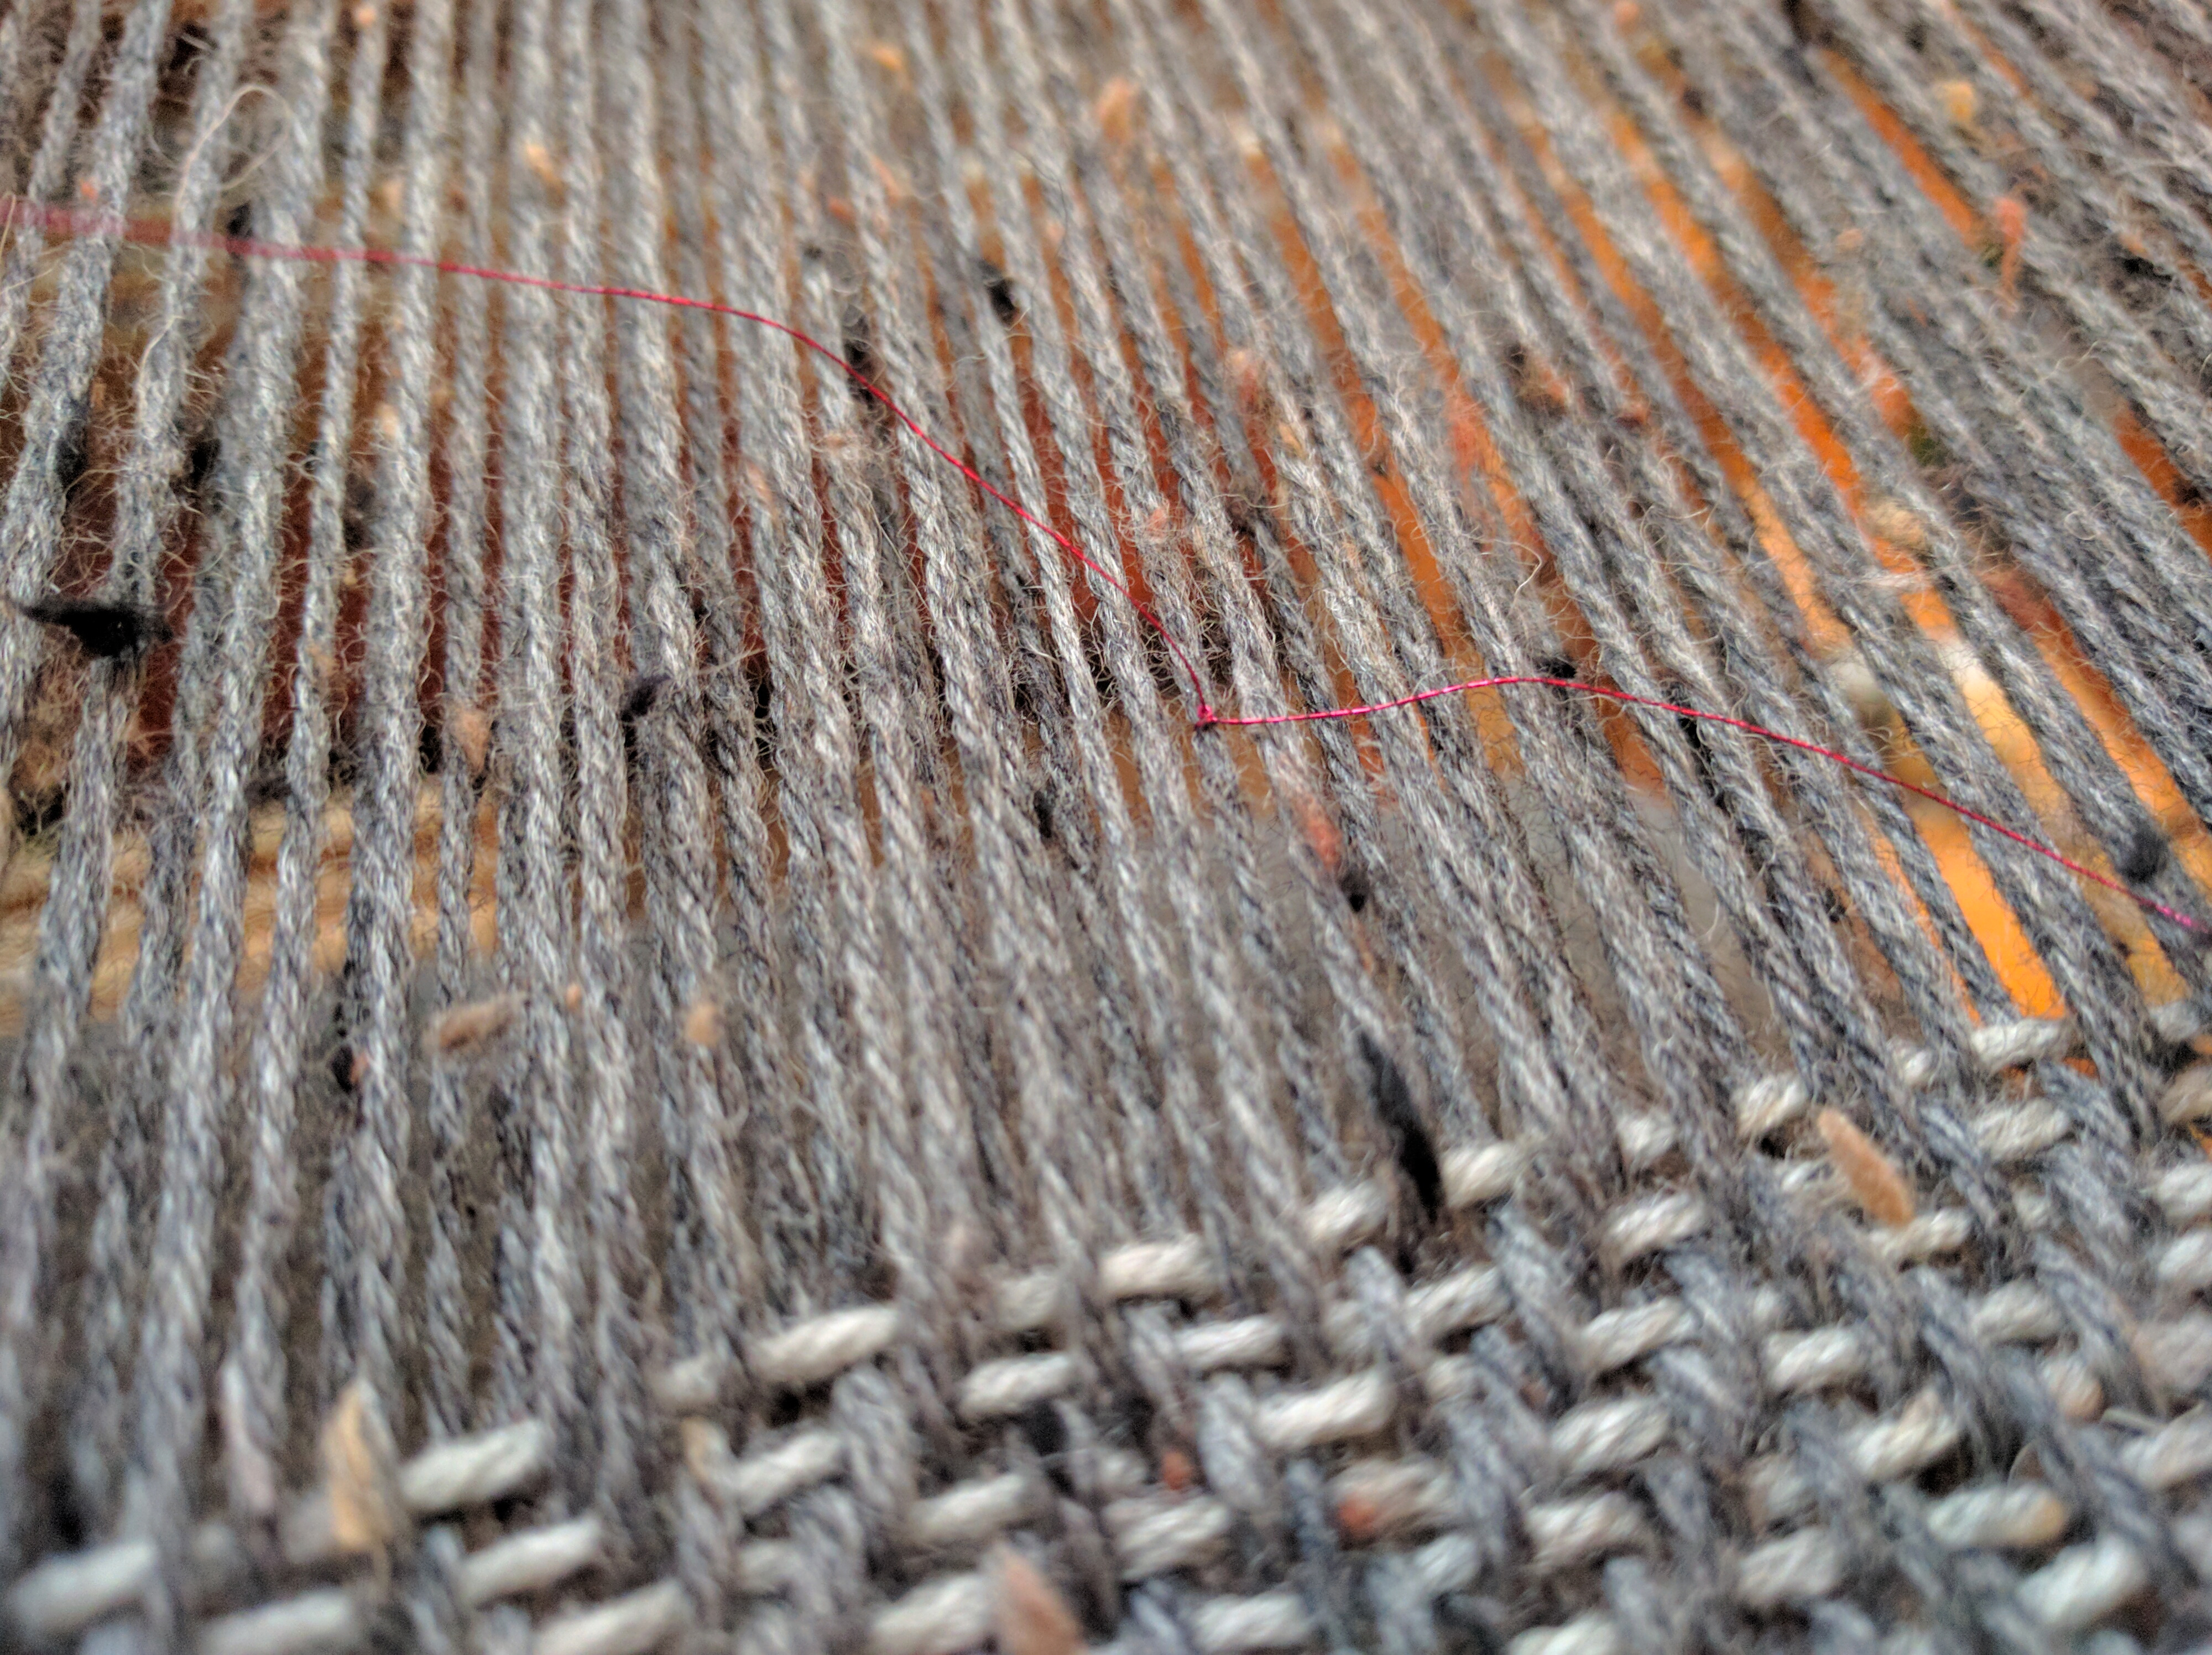
Back when I was winding my warp, I thought to tie some bright thread around some of the warp threads at the halfway point. I’m going to be changing my weft color halfway through since the jackets will be slightly different in color. This thread reminds me it’s time to switch colors!
This contrasting thread tied to the some of the warp threads lets me know I’m at the halfway point.
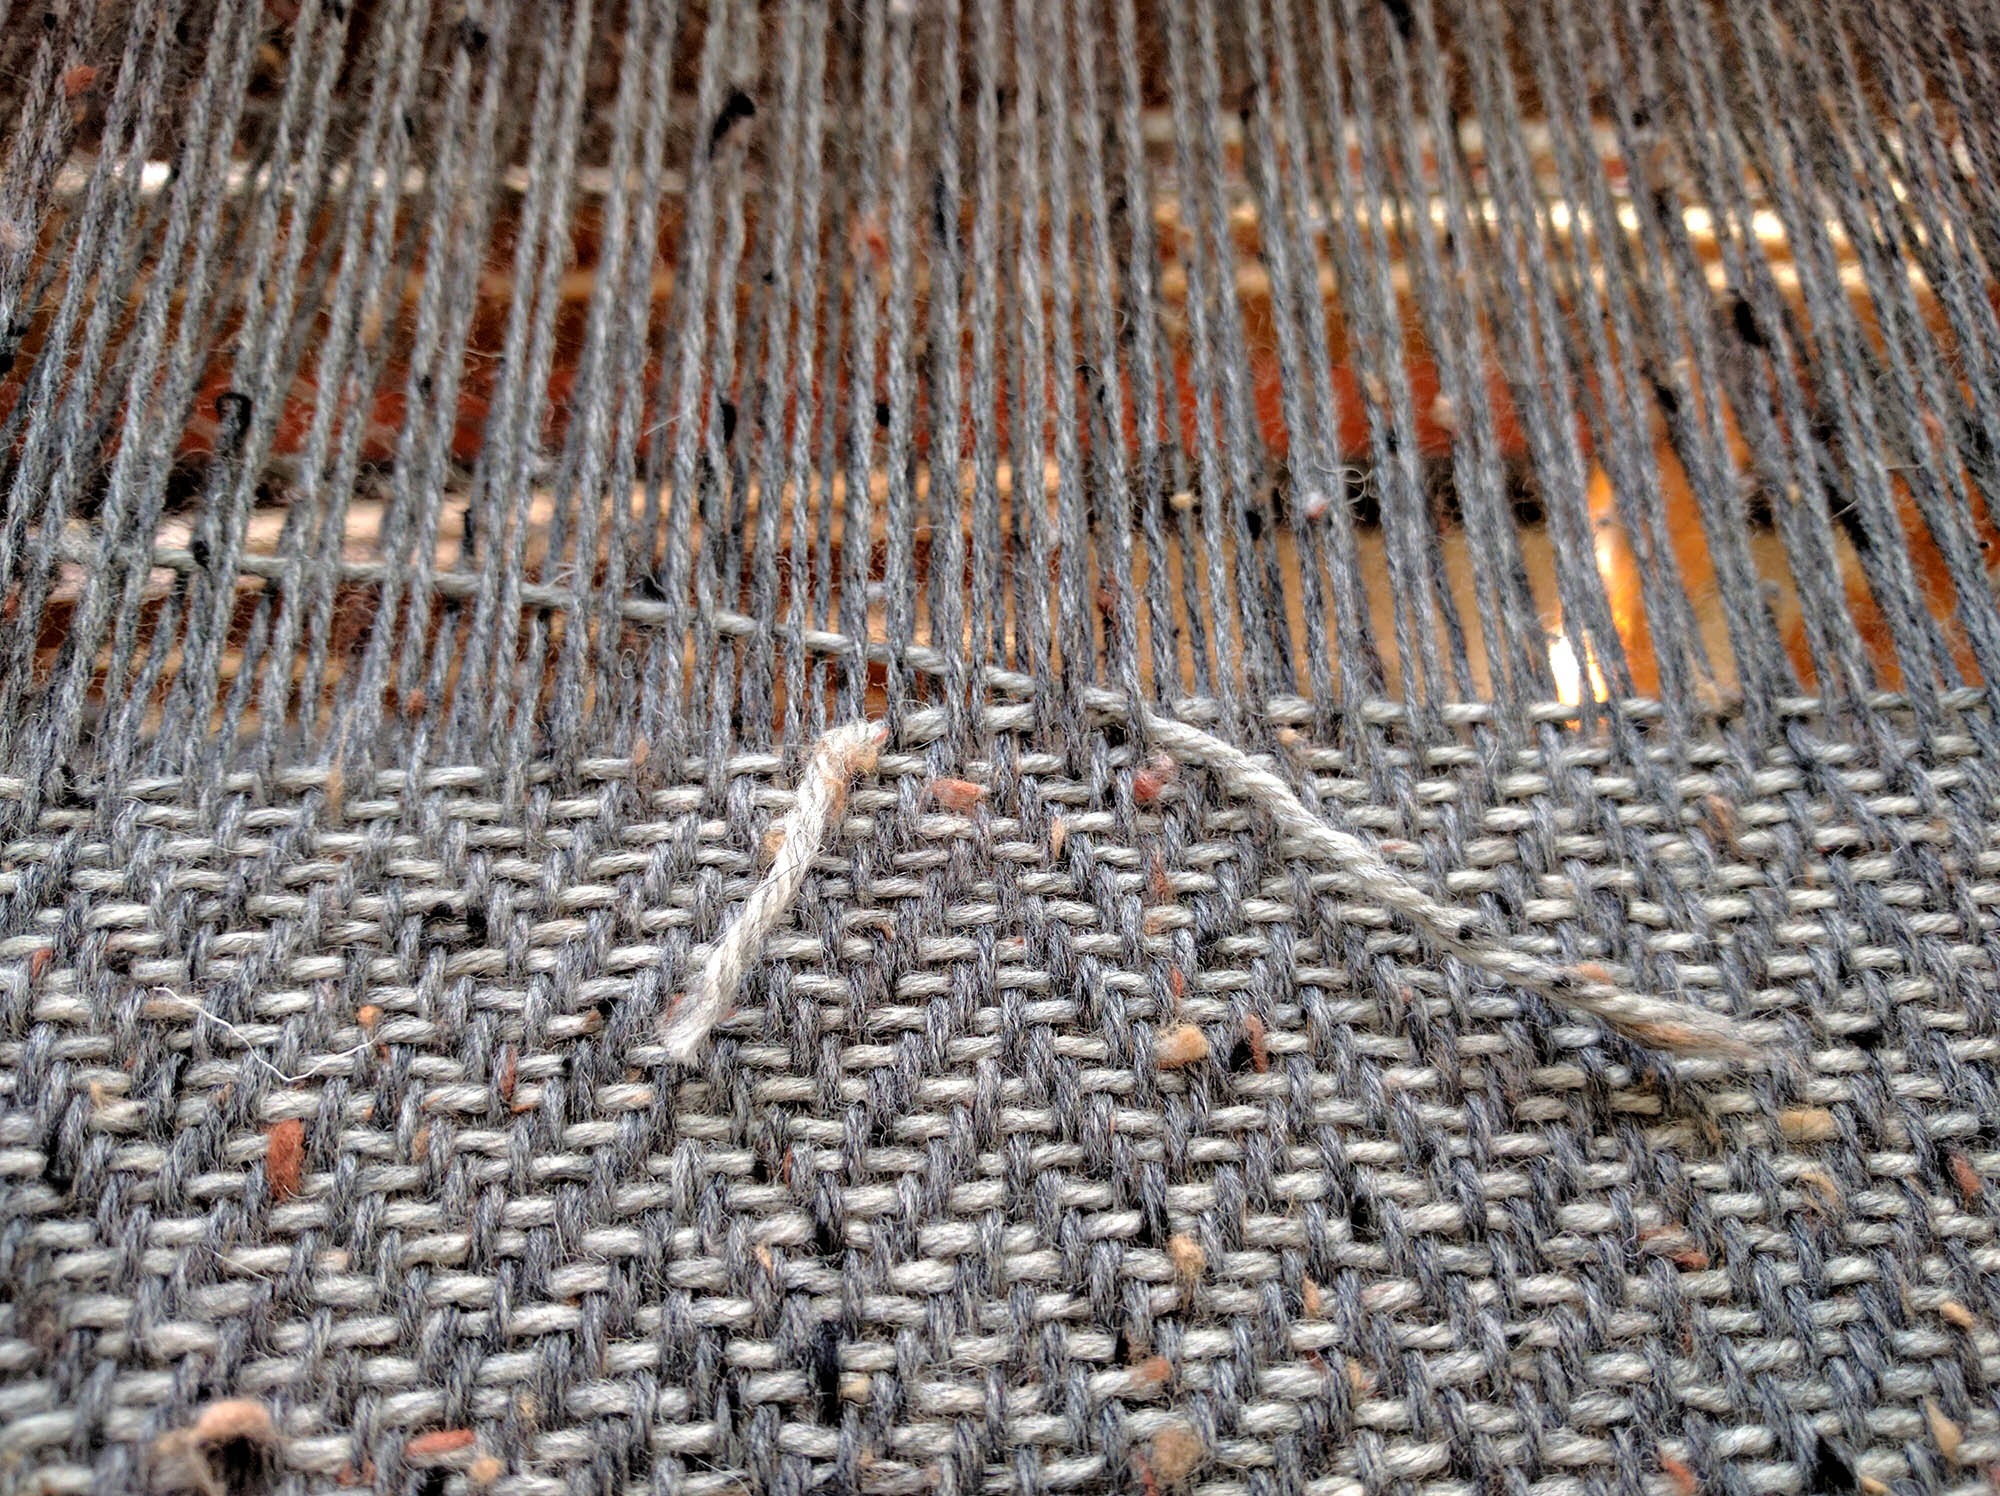
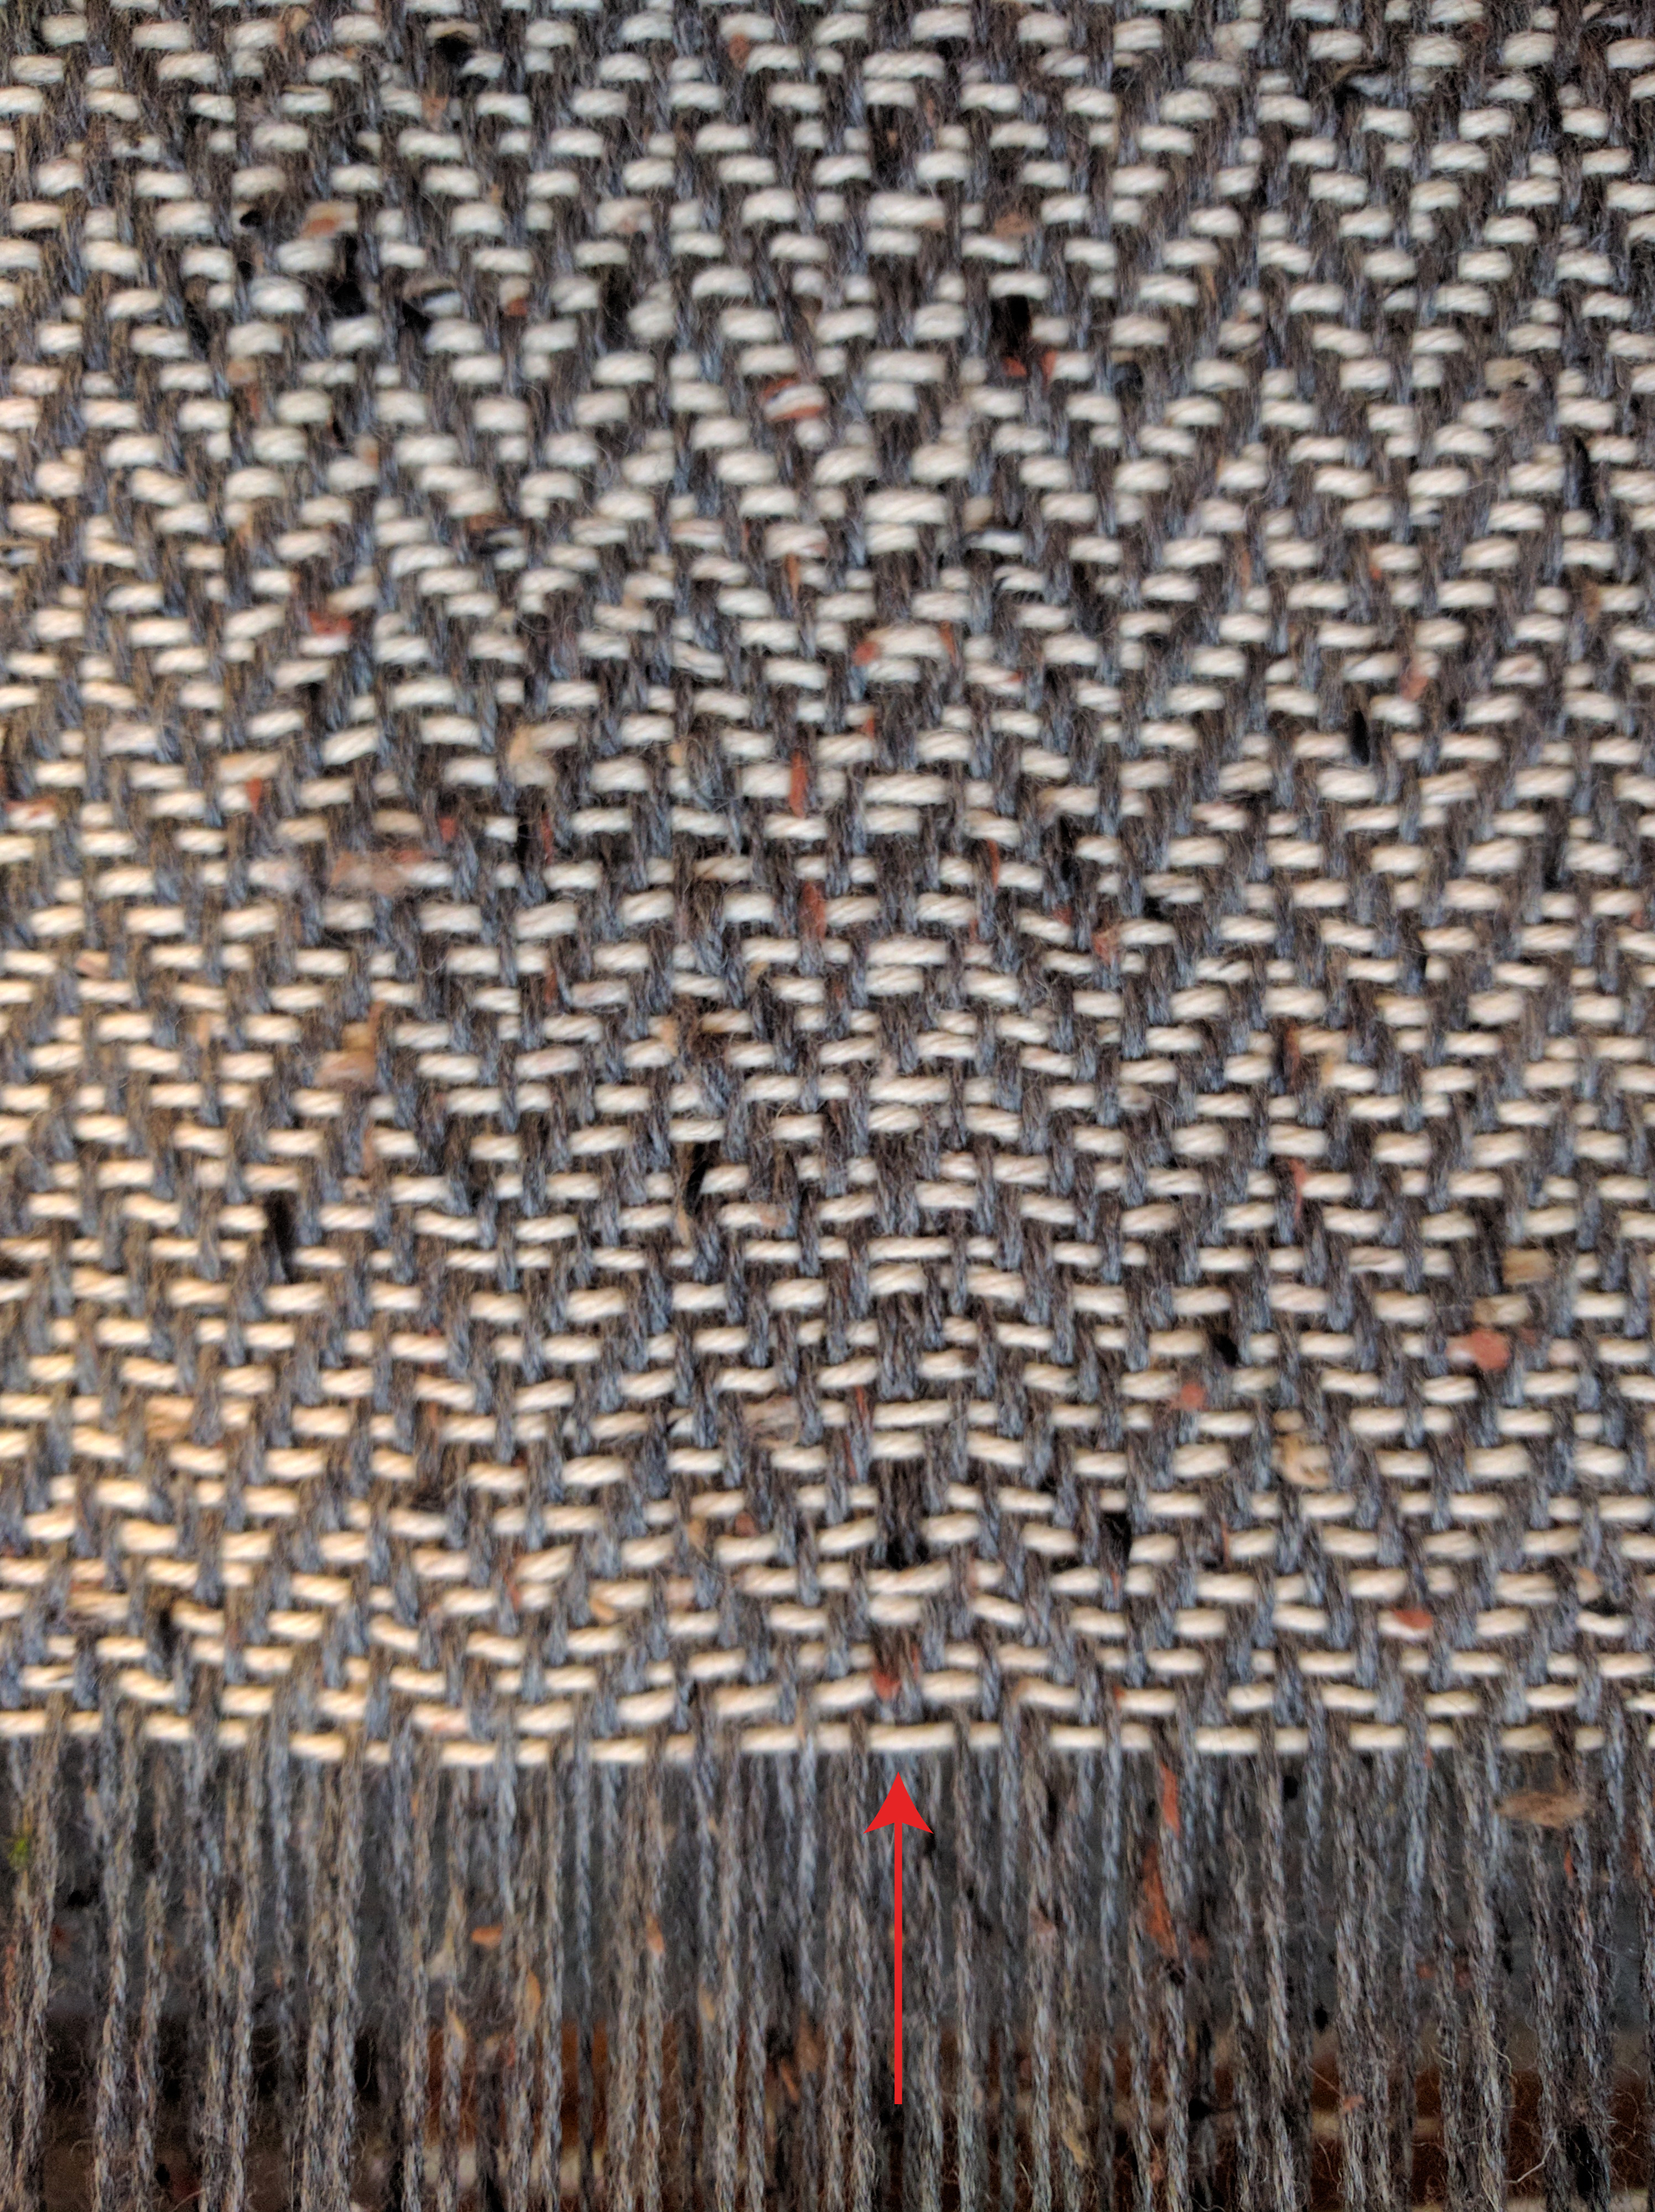
Not too long into the second half of my warp, I realized I had a couple of problems. I managed to mis-thread two heddles, which resulted in a glitch in the patterning. See below for one example.
Uh oh!
I could have fixed the problem right there – I could have broken the warp thread, threaded an afterthought heddle and tied on a new strand, but I opted to leave the mistakes in place and fix them after the fact.
If I had noticed sooner, I would have fixed them right away. But because I had made it this far and knew I’d be doing some repair work anyway, I figured I might as well do the whole length at the same time.
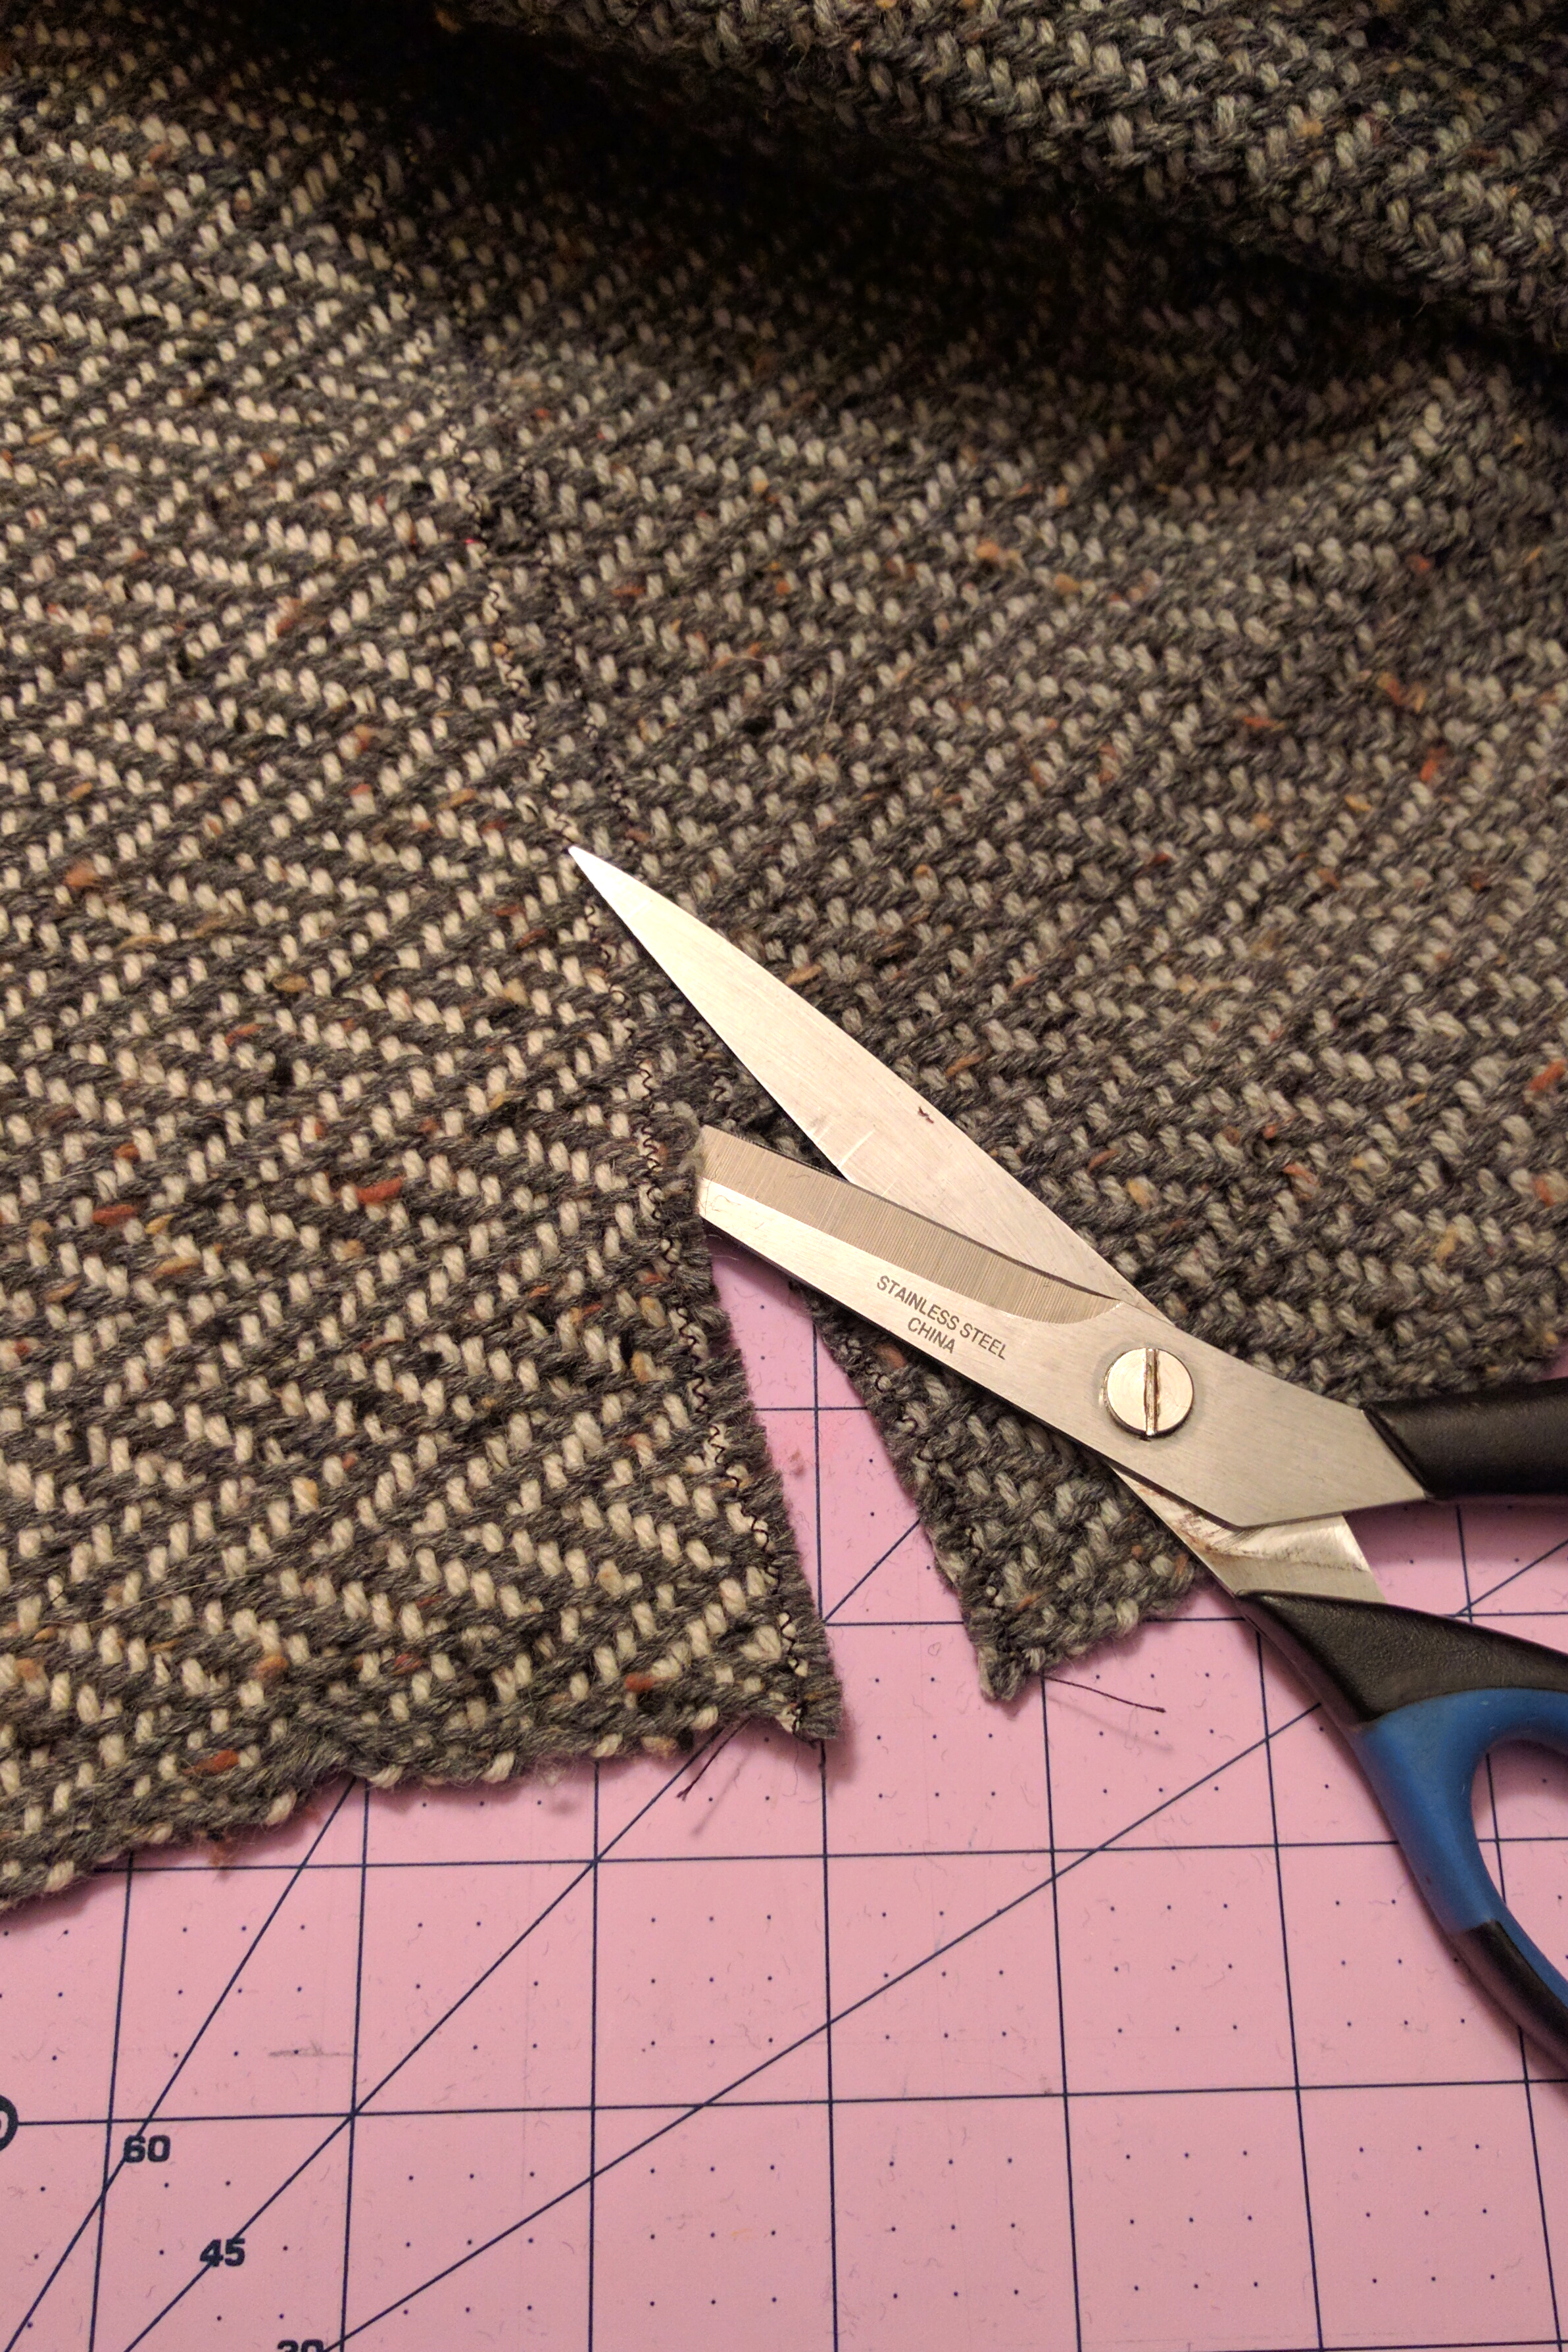
Cutting doesn’t have to be scary!
After cutting my fabric from the loom, I simply knotted the warp ends together – no hemstitching. I then zig-zagged the edges with my sewing machine, and also sewed lines at the halfway point. I figured it would be a lot easier dealing with two 3 yard pieces of fabric rather than a 6 yard piece. I then cut the fabric apart at that halfway point.
Fixing my warp mistakes.
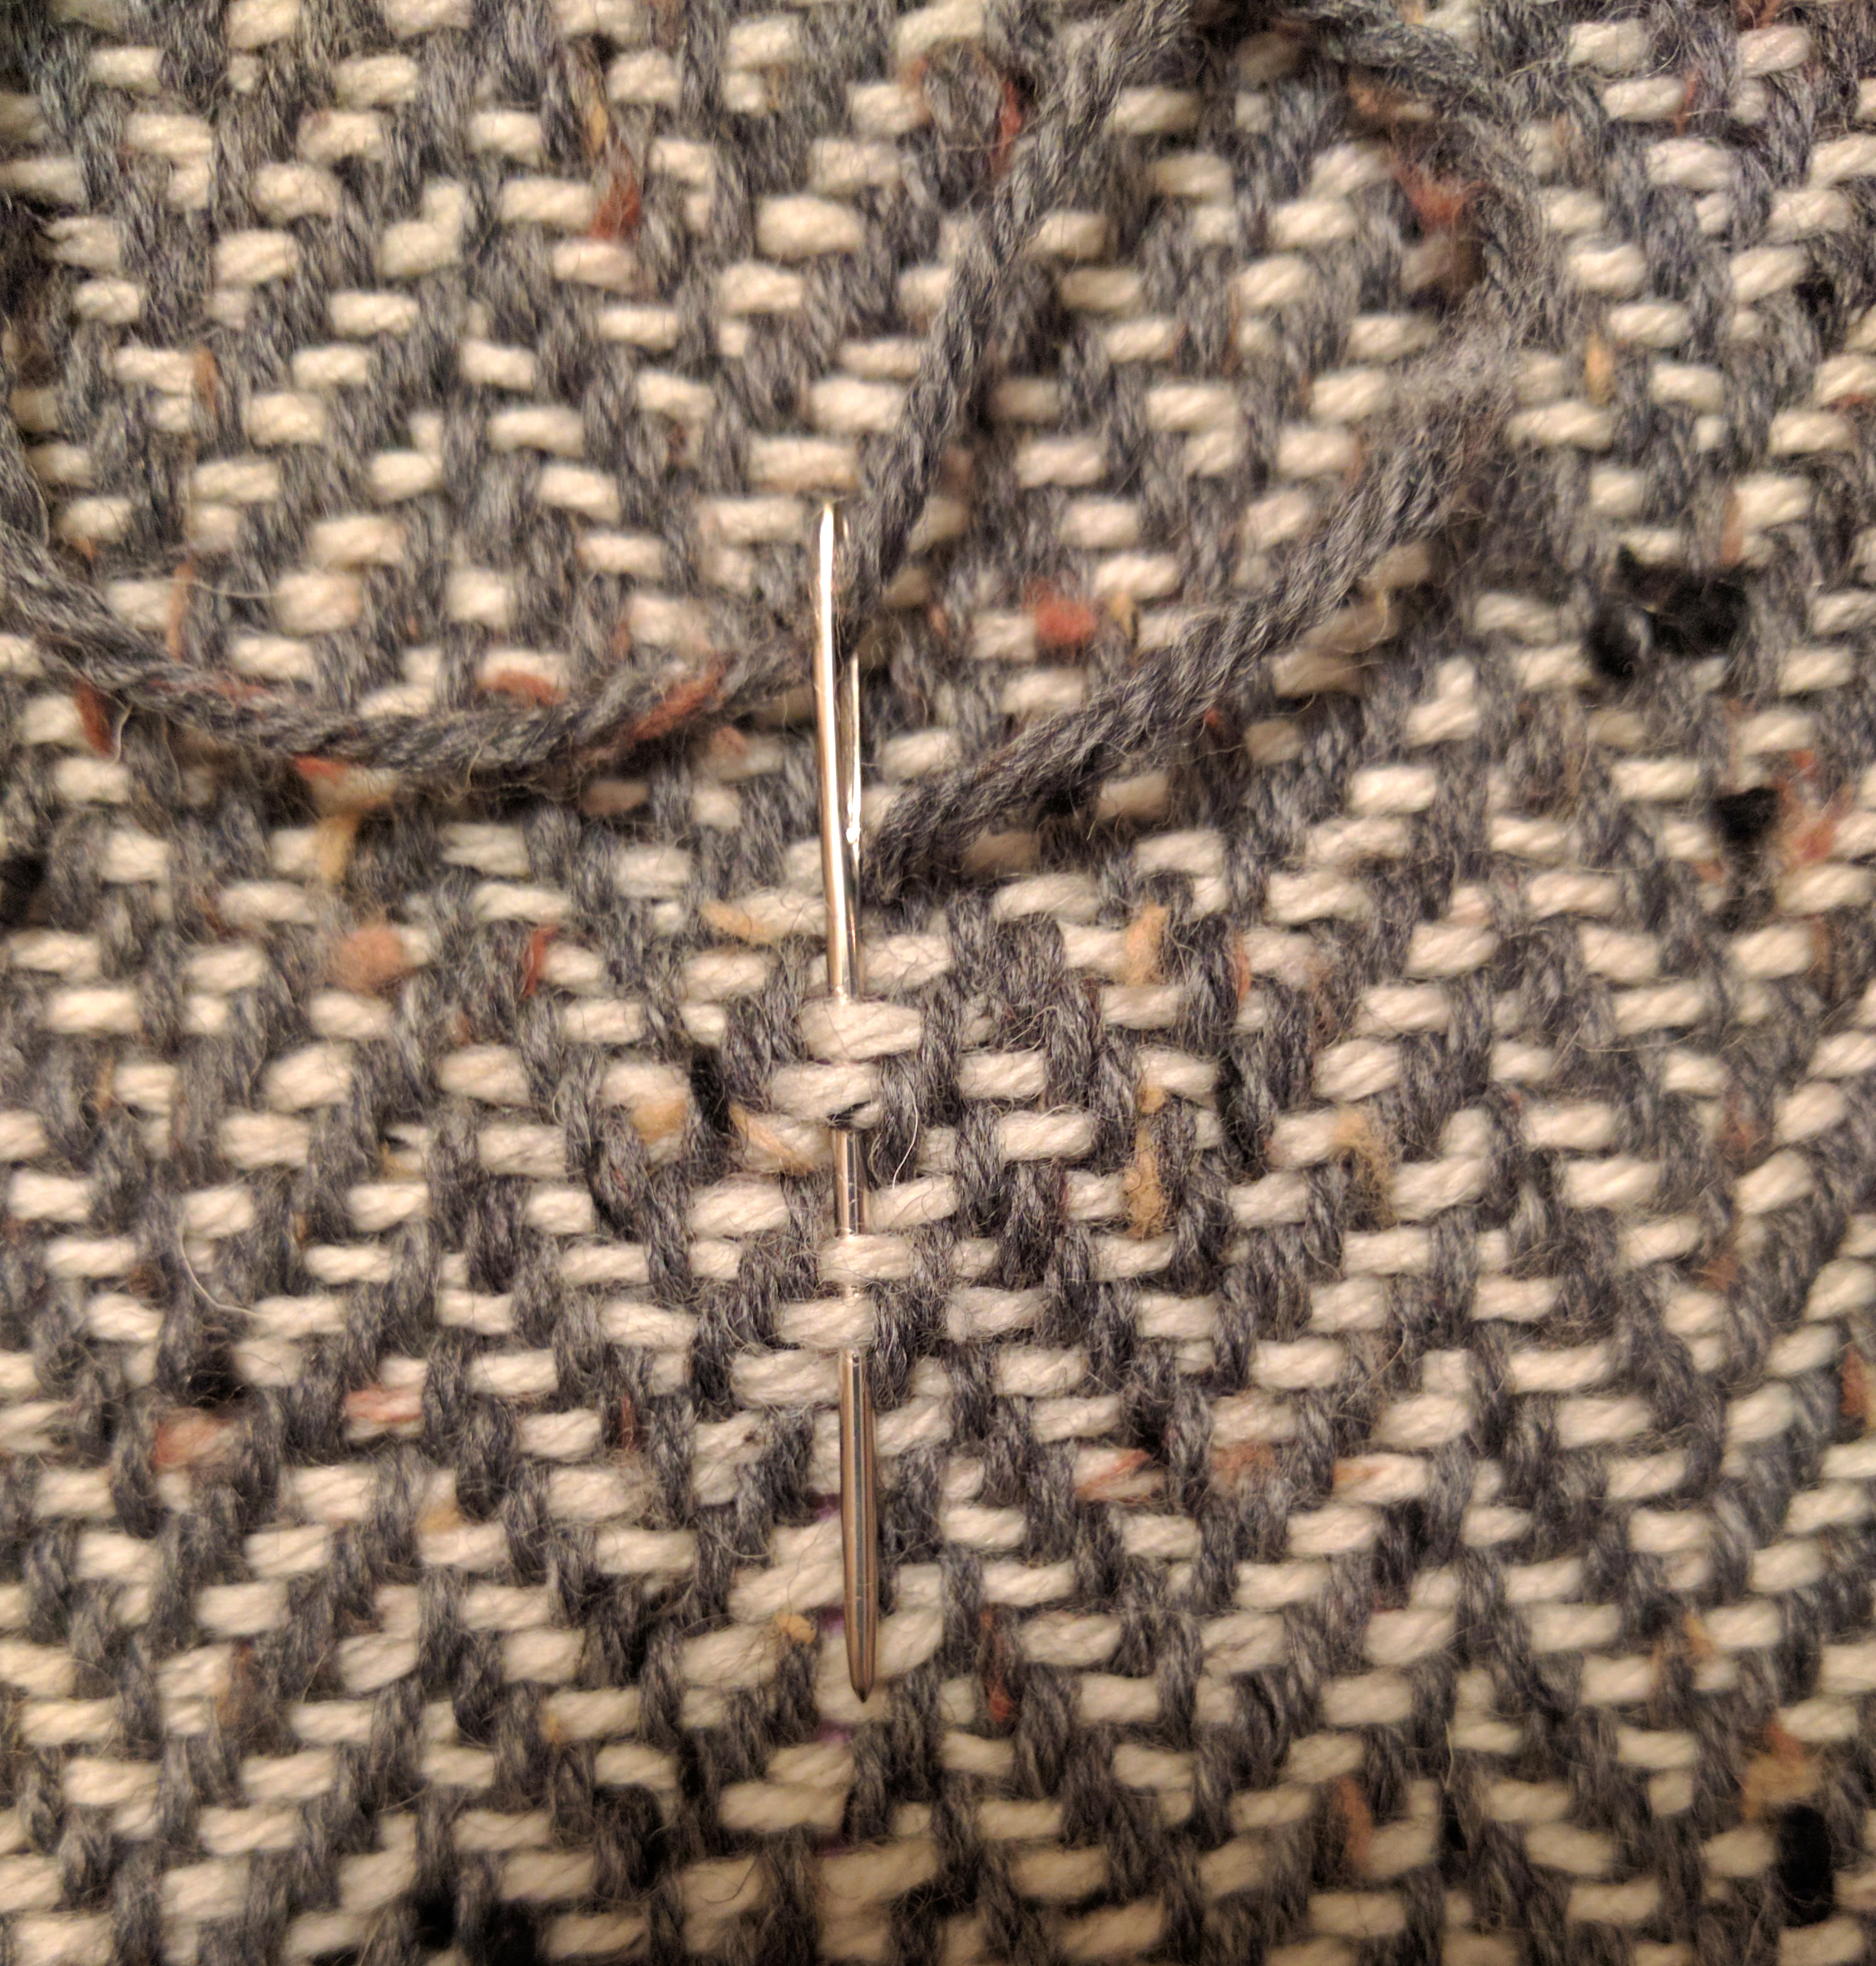
After my two halves were cut apart, I threaded a tapestry needle and wove the correct placement for my mistaken threading. It was a little tedious, but very doable and wasn’t nearly as bad as I thought it might be.
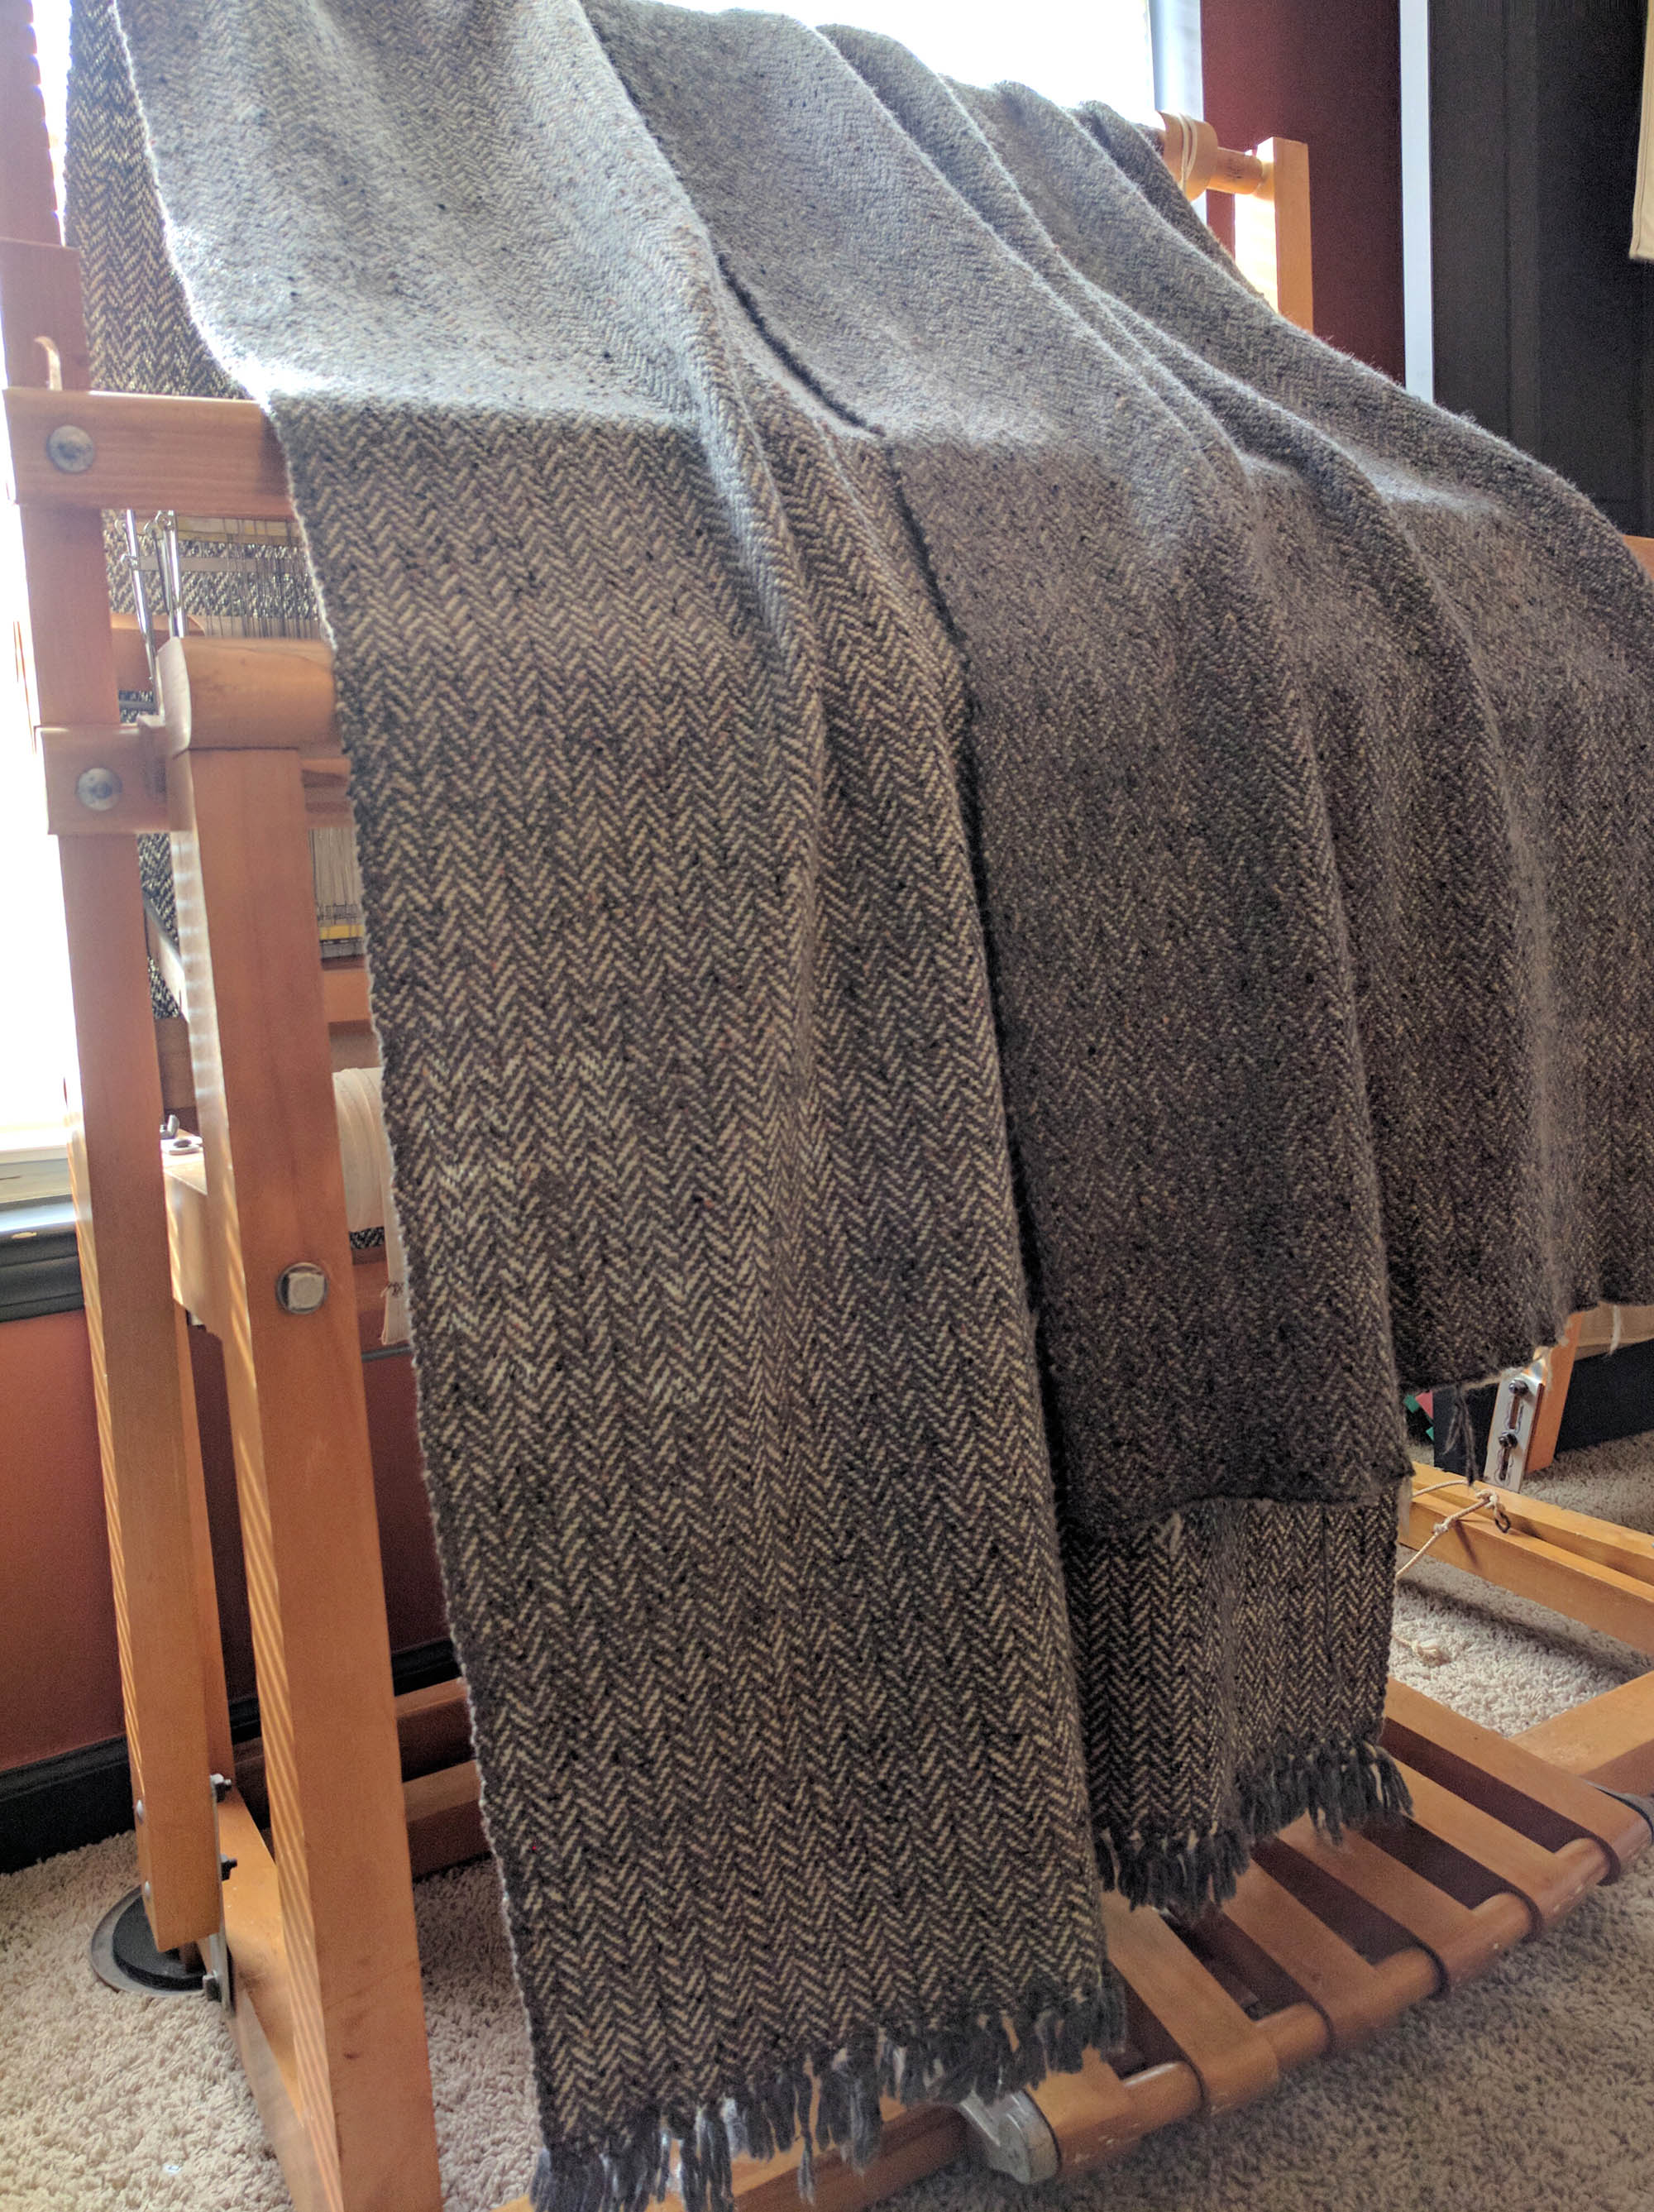
And here are my yardages basking in the sunlight prior to washing. I threw both of the pieces of fabric into my machine and washed and dried them on gentle cycles. Because I wove a fairly dense fabric, the fabric changed very little after finishing. But I already knew that would be the case since I was a good little weaver and did a sampling first.
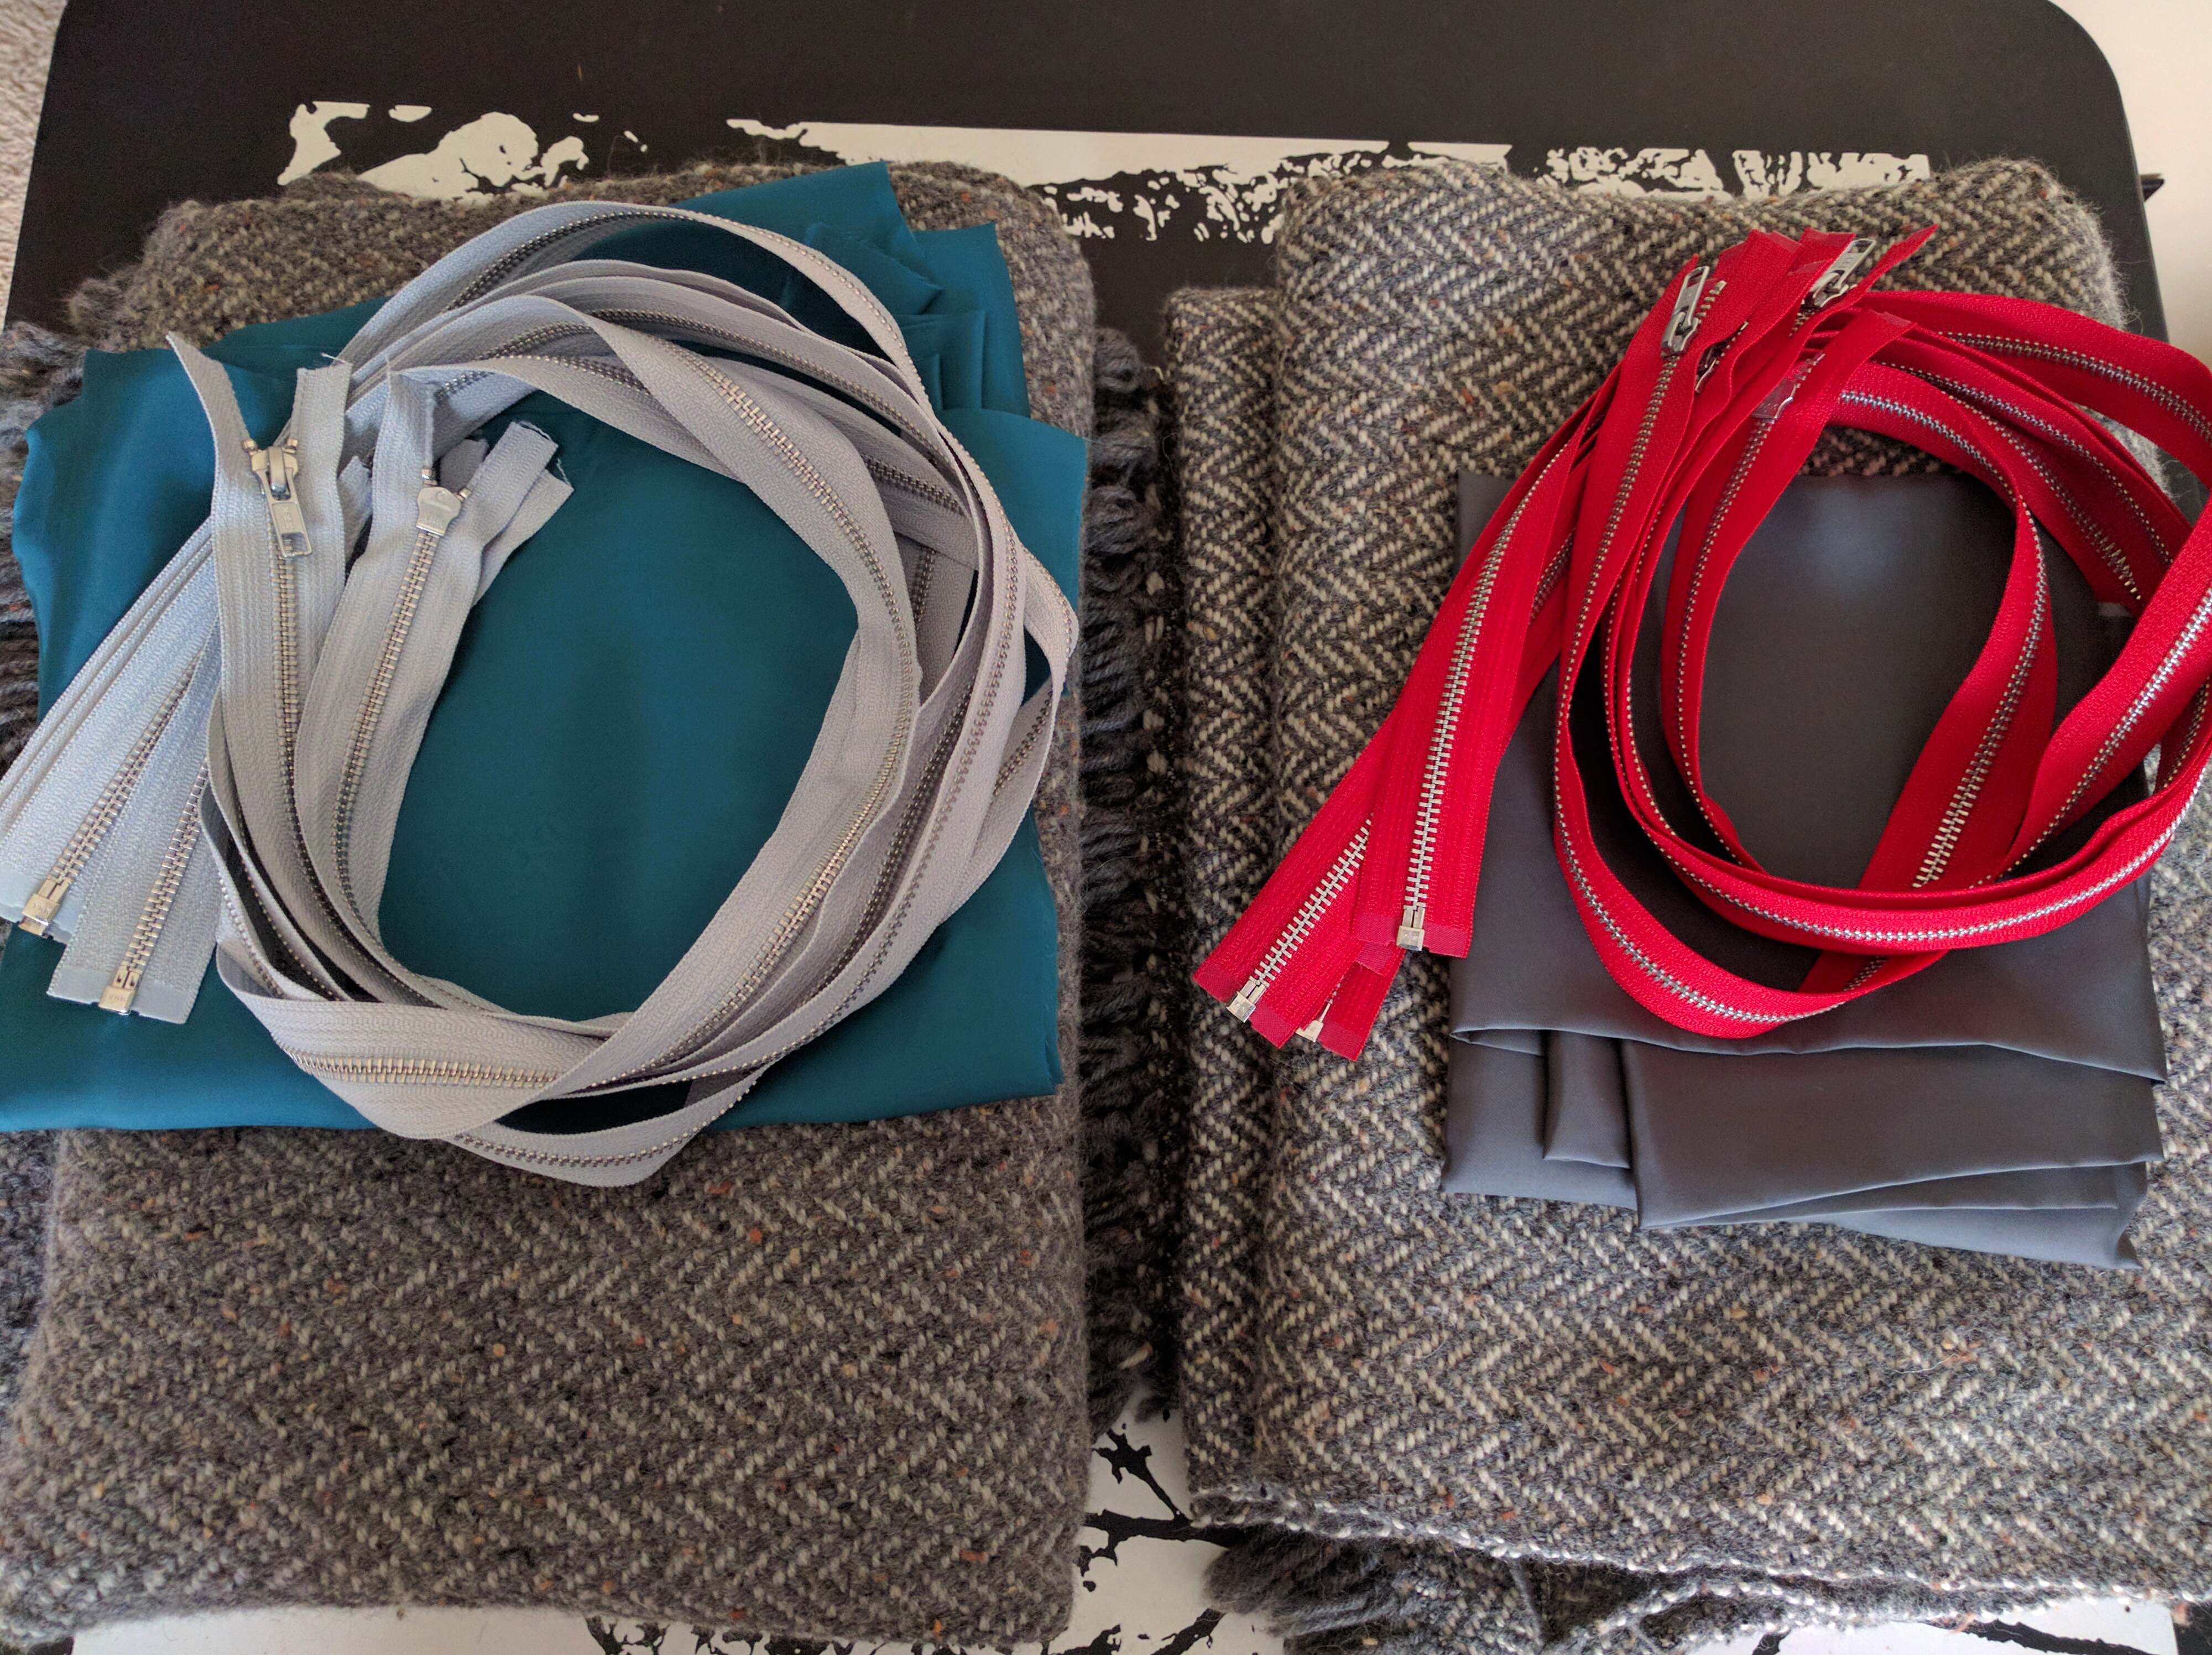
Zippers, lining, fabric: go!
My jacket will be made from the stack on the left – gray on gray fabric, teal lining, and gray zippers. Yonca chose cream to go with her gray for the fabric, matching gray lining, and bold lipstick red zippers.
My goal is to be finished with these jackets by next weekend’s TNNA. So if you’re planning on attending, stop by our booth and check them out. Otherwise, I’ll be back in a couple of weeks here on the blog with all the sewing details.
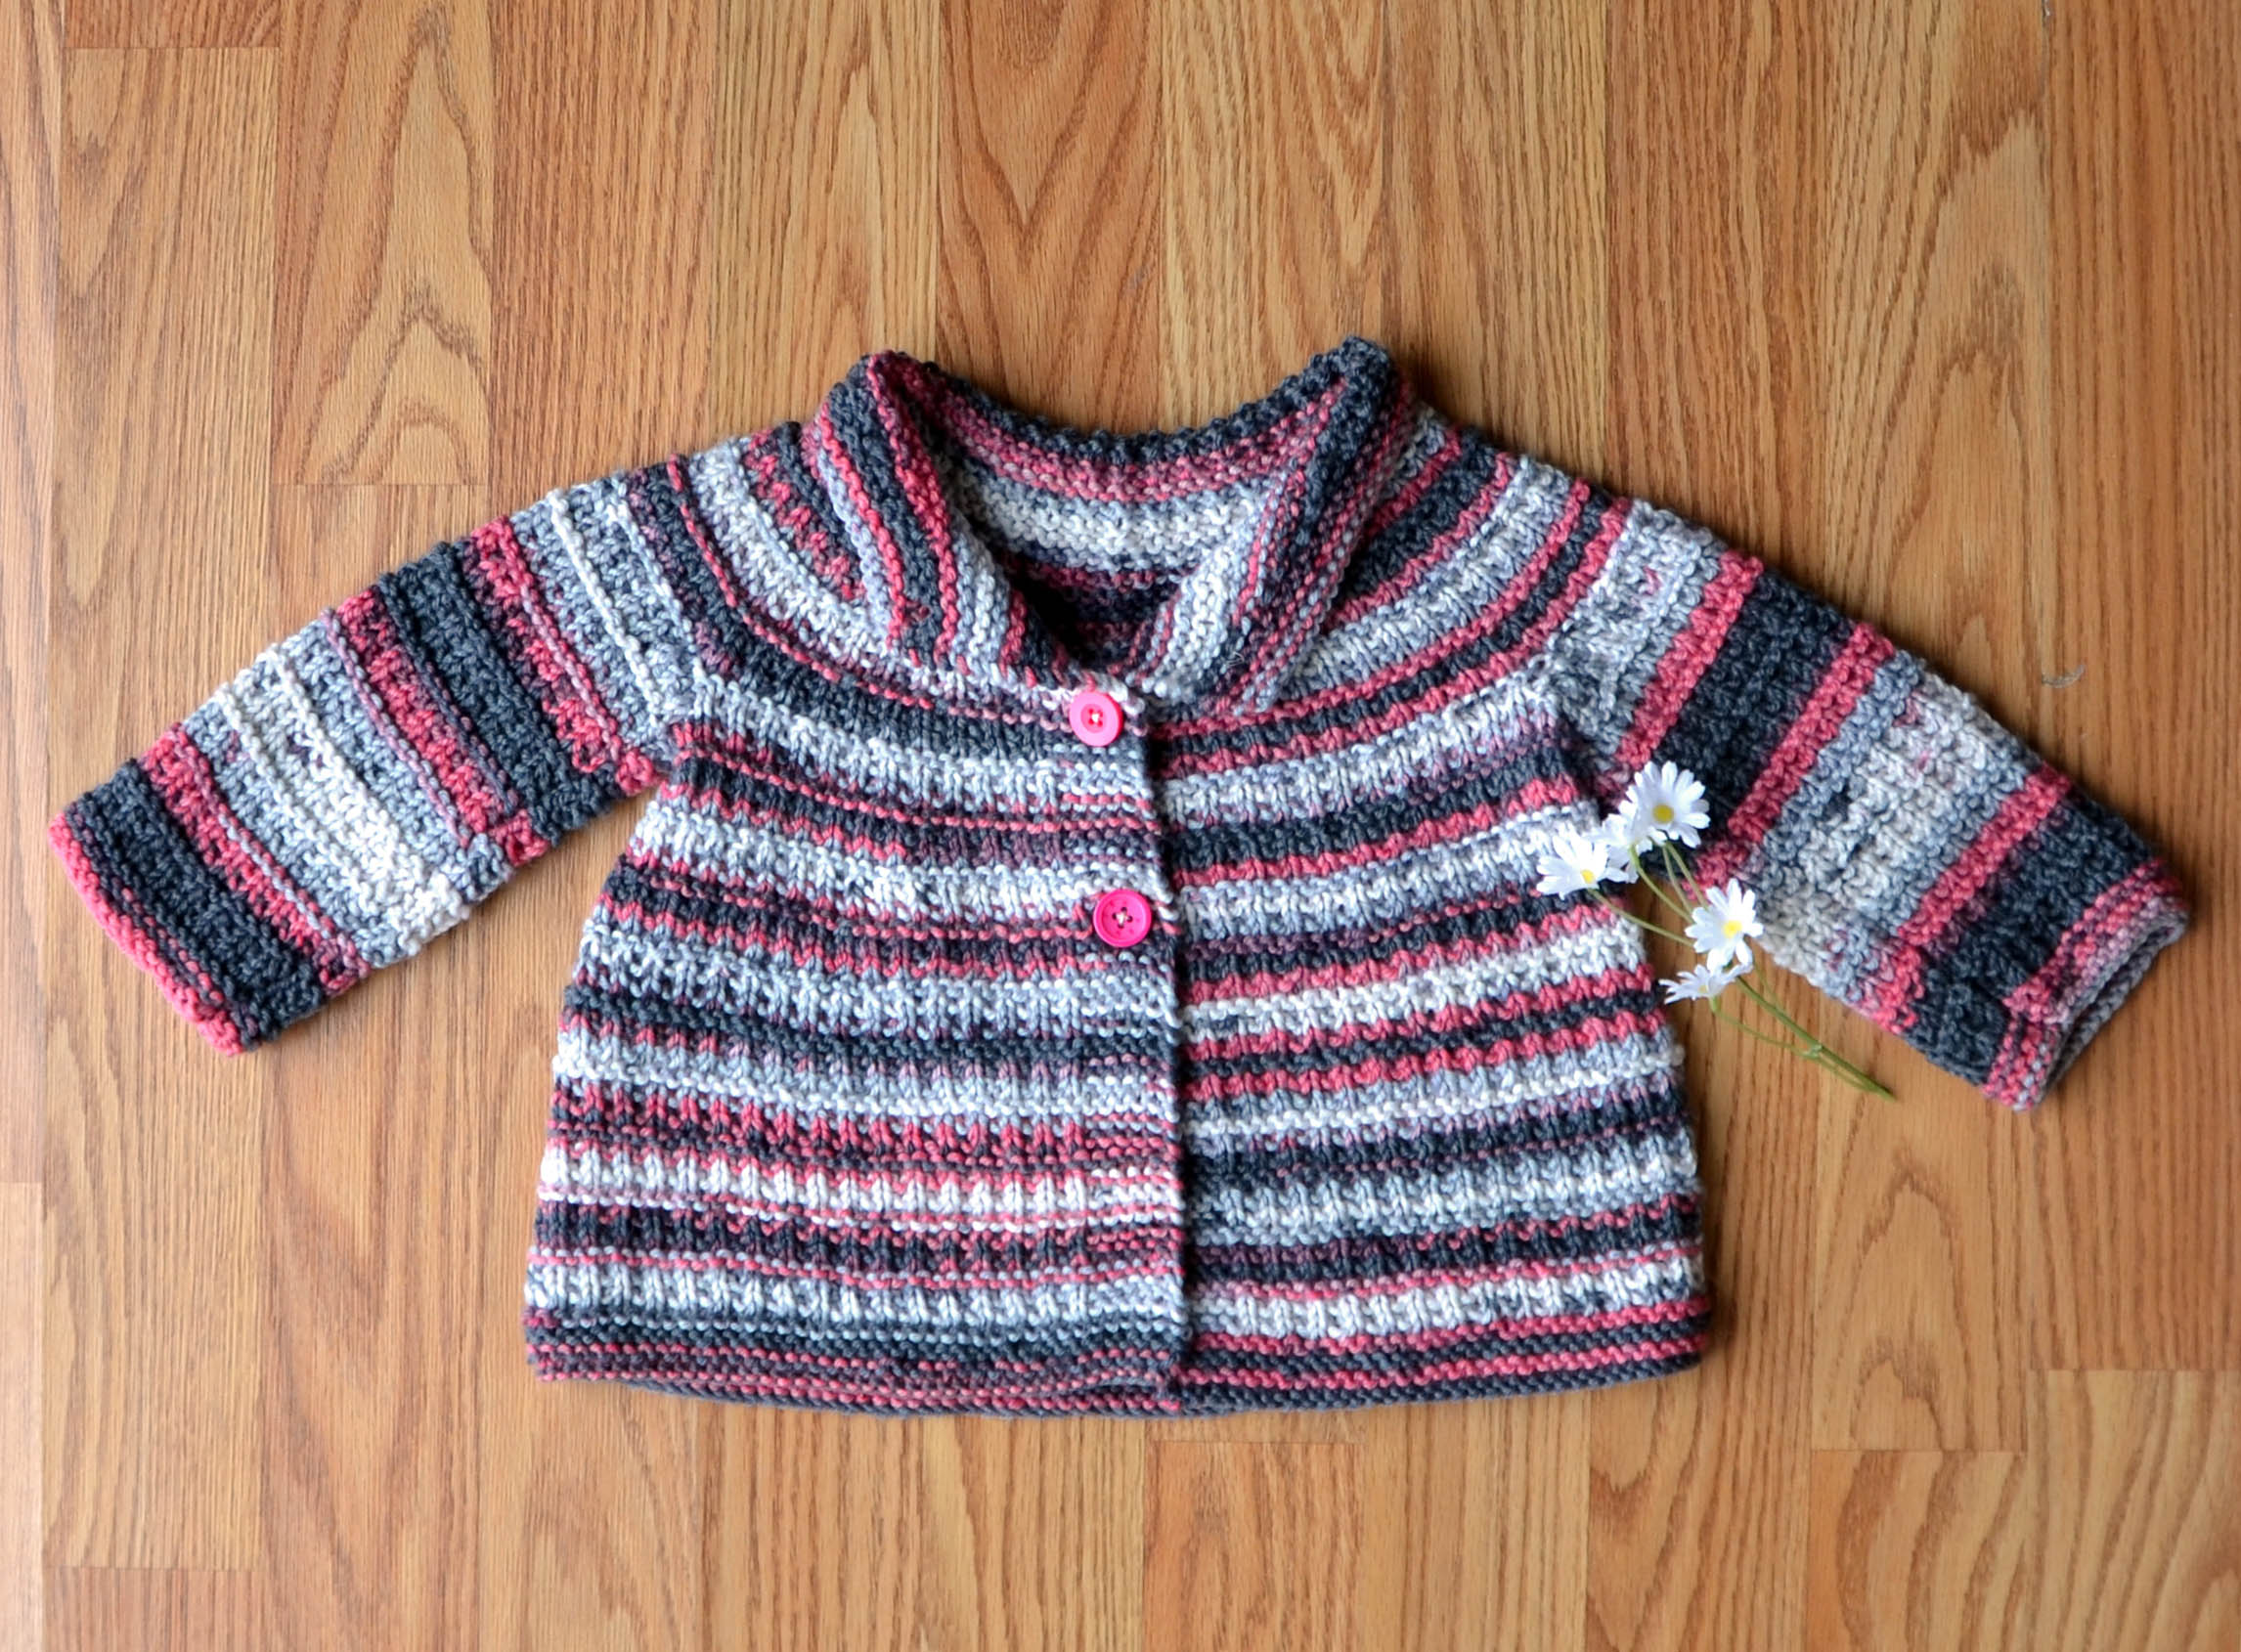
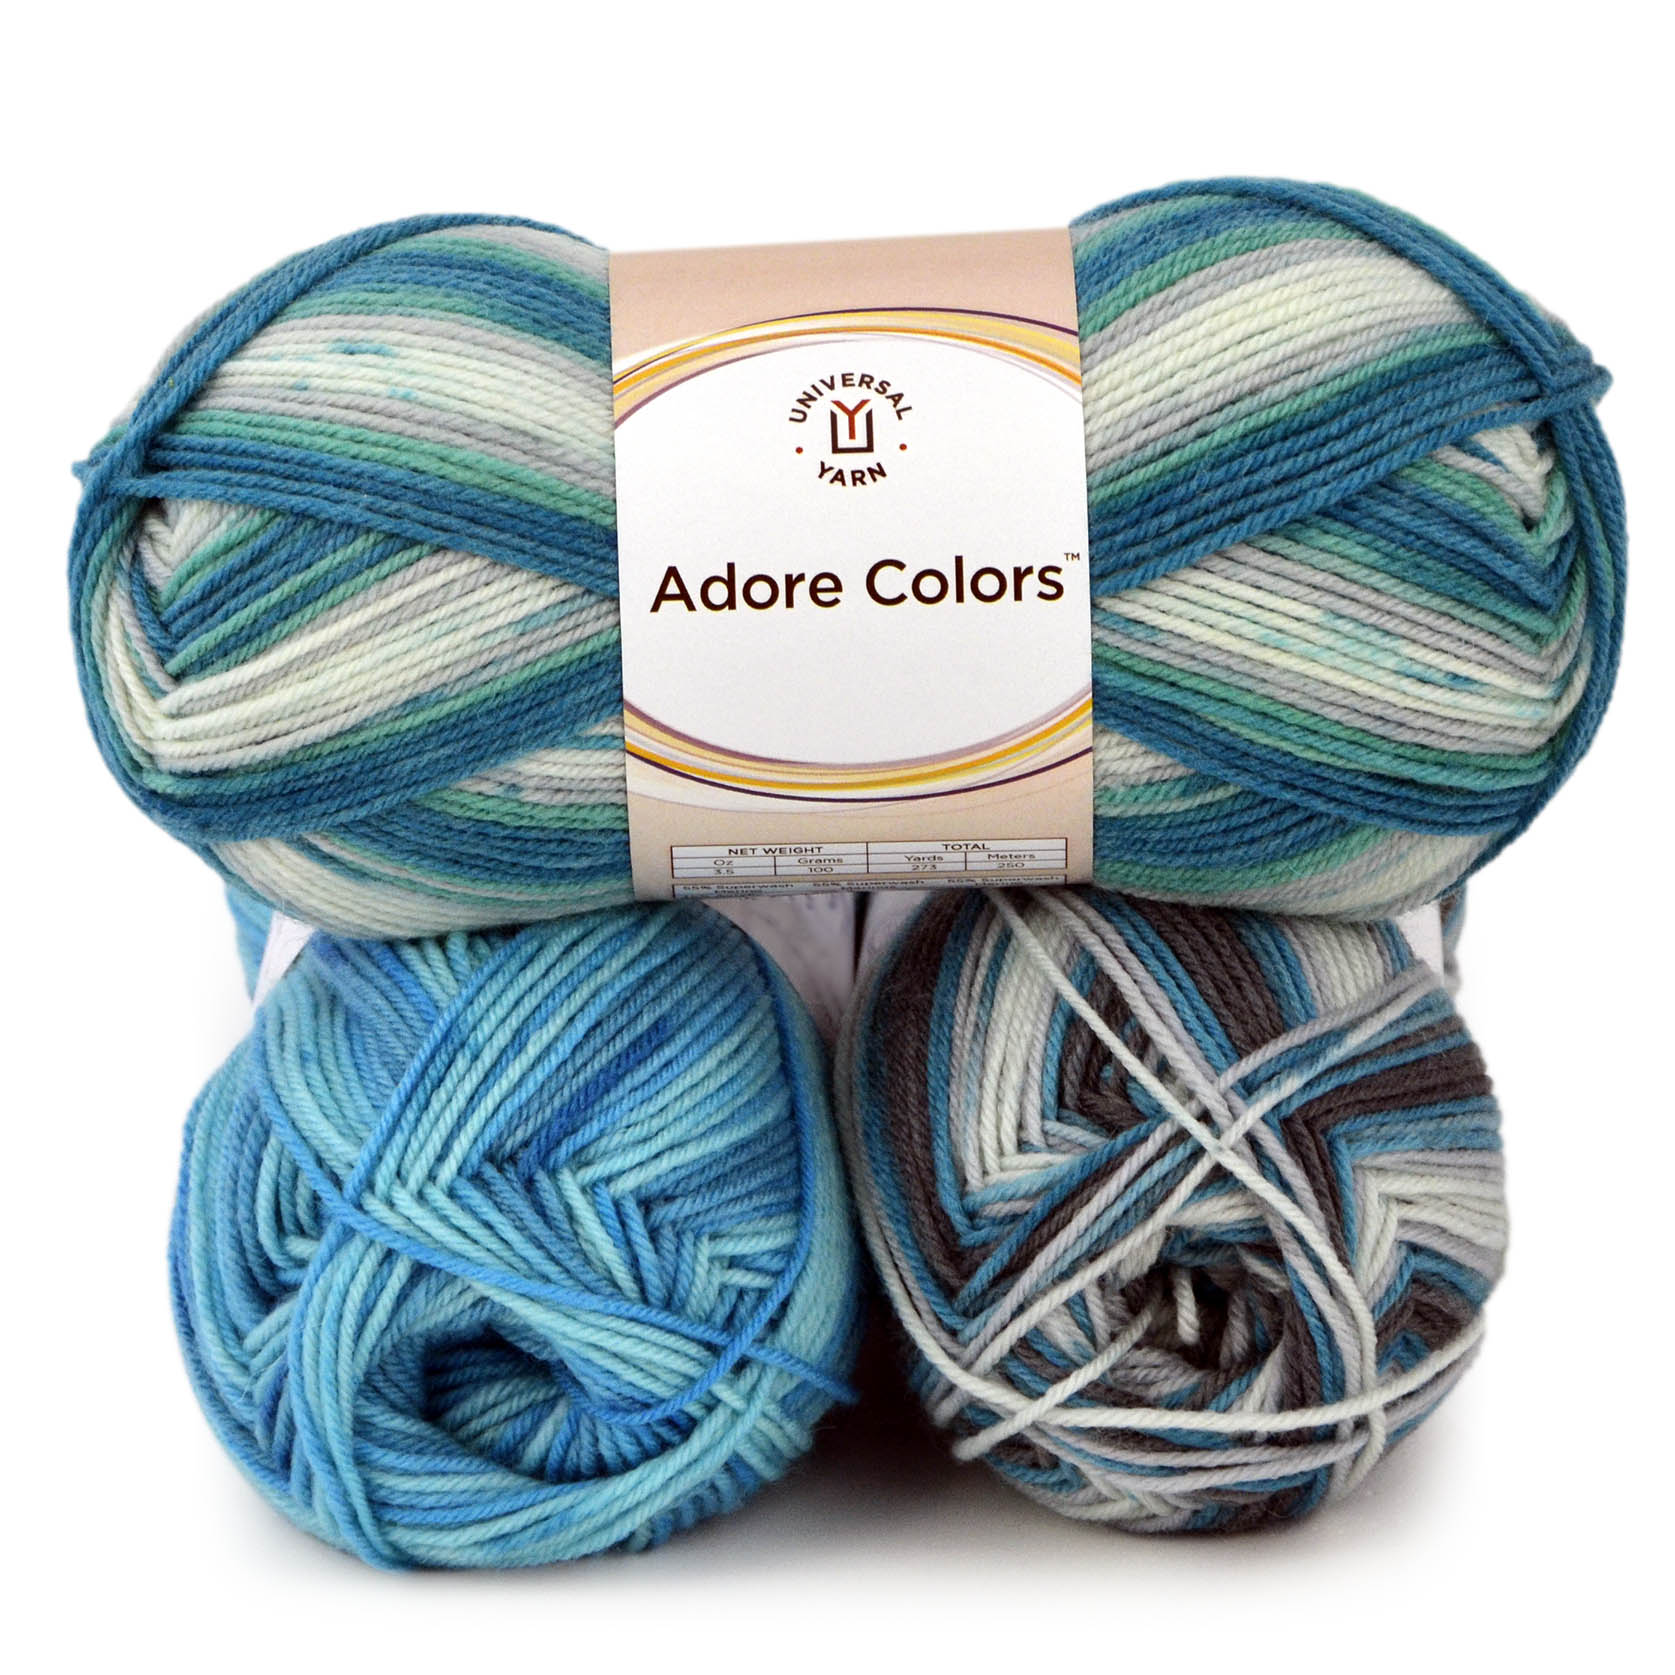
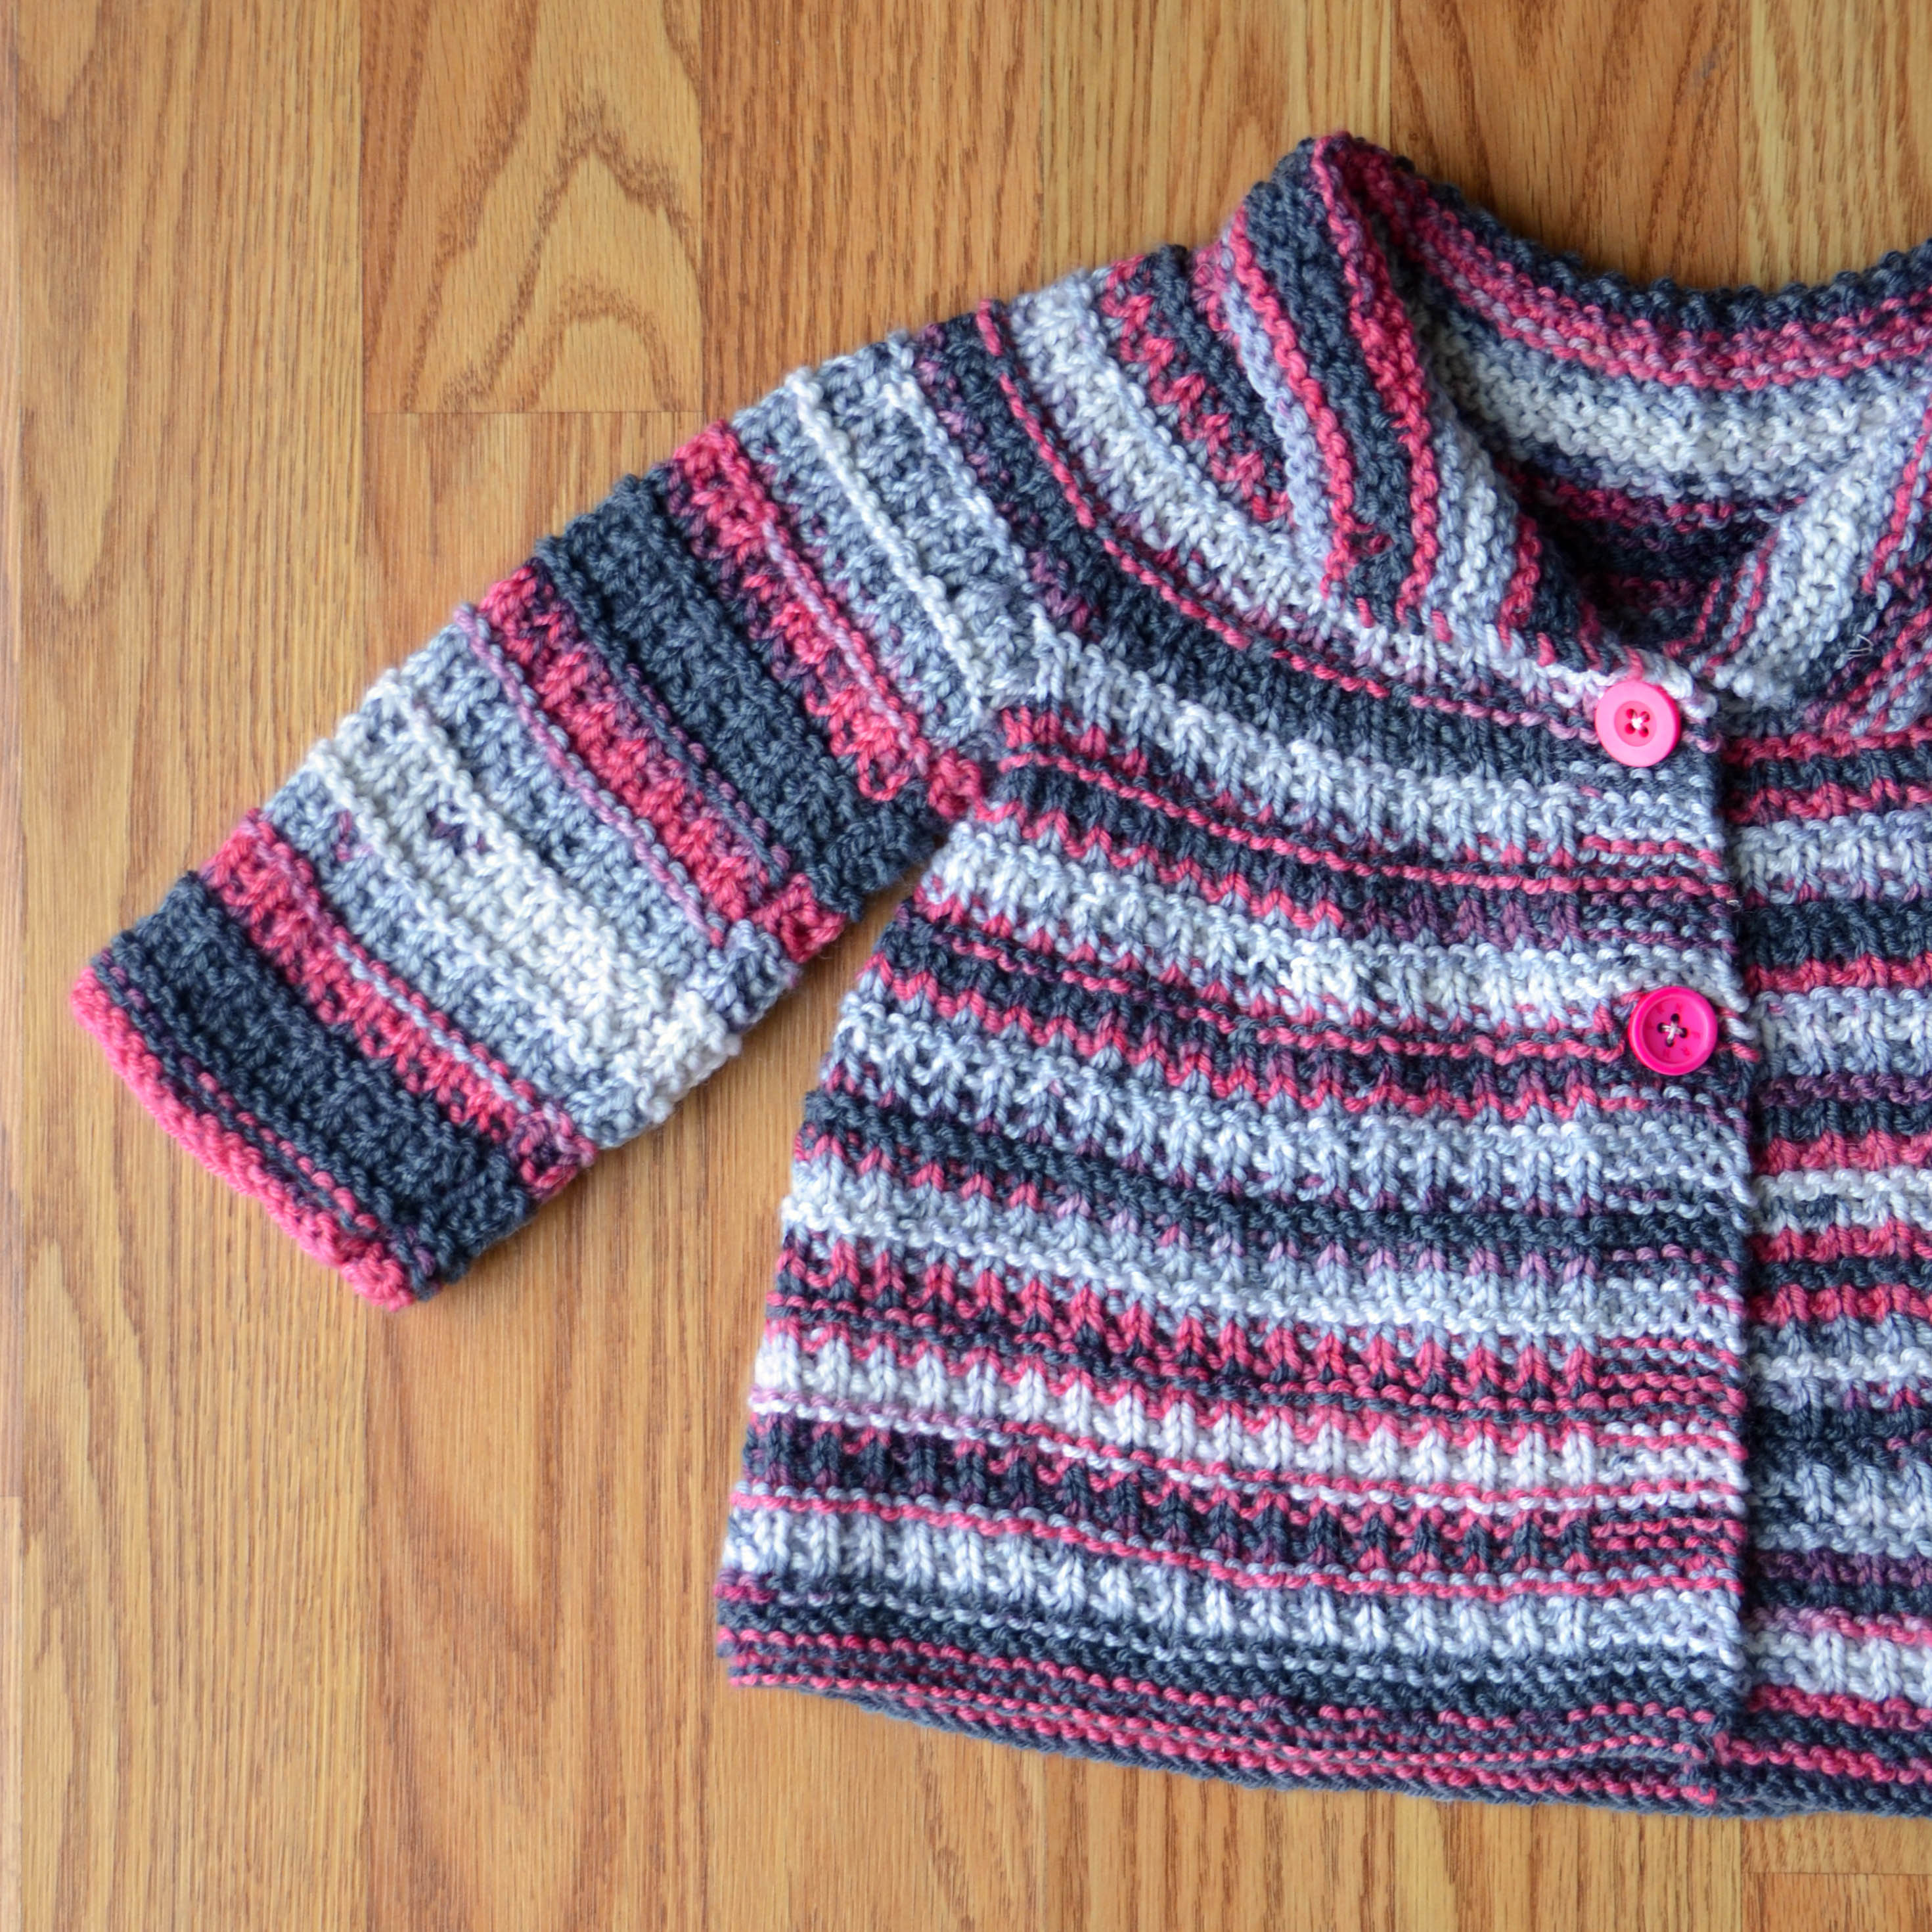
Self-striping yarn looks so cute in baby knits! It’s a great way to add color without complicating the design. Adore Colors is a great choice for this, and it doesn’t hurt that it’s a soft, machine washable blend of our anti-pilling acrylic and superwash merino. Lucky baby. Well, not just baby – this jacket is sized up to 6 years.
Work the cardi from the bottom up in one piece until you get to the yoke. Sleeves are worked flat to the yoke. Then join the sleeves and the body and work upward. You’ll want three or four buttons, depending on size. There’s one button hidden under the collar, so you can fasten it closed around the neck in case of really cold weather.
We hope you enjoy this cute little jacket – and that you and yours stay warm!


 The entire four-color set takes two skeins of the gray, plus one skein of each other color in Deluxe Worsted 100% wool (220yds/100g).