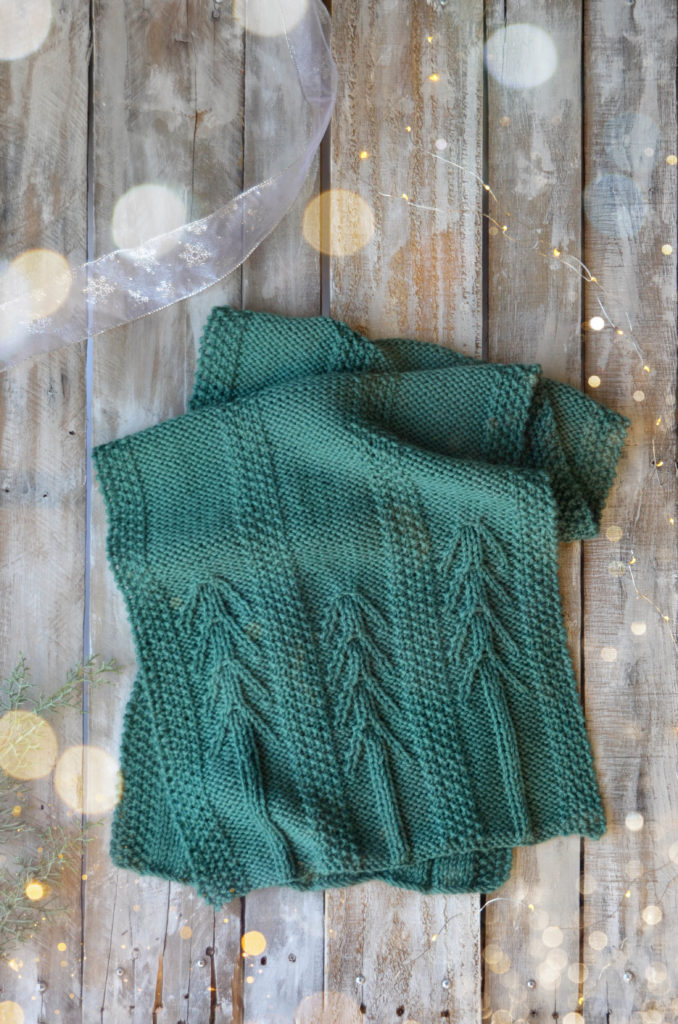
The Pine View scarf is a perfect winter accessory. It’s large, warm, and has an excellent amount of squish because it’s knit in our Deluxe Chunky.
This pattern only uses charts, but don’t let that intimidate you! The stitches are not at all complicated. You’ll get a nice rest at the center of the scarf, too. Personally, I prefer charts over written instructions because I’m a visual person. Charts enable you to see the stitches before you create them.
With that said, some charts can seem overwhelming. You might feel as though you’re getting lost in the grid full of symbols. Fear not, because I’d like to share some helpful tips and tricks for reading charts.
1. Familiarize yourself with symbols.
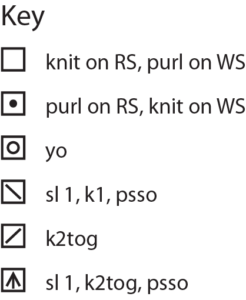
Take time to review the key and ensure you understand what each symbol means.
2. Flat or in the round?
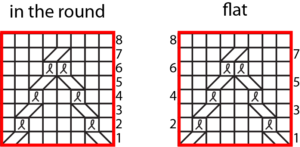
Is the pattern flat or in the round? When you knit in the round, charts are read from right to left on every row. Pine View is knit flat, meaning that on right side rows you’ll read right to left, and on wrong side rows you’ll read left to right.
Charts that are knit flat have numbers on both the right and left sides. Charts knit in the round only have numbers on the right side.
3. Stay on track!
Highlighters – Don’t cross out rows—you want to be able to go back and read previous rows in case you make a mistake. And, if you’re like me, you will make mistakes! I probably use highlighters most frequently. Simply highlight the rows you’ve completed, and read from the row above.
Washi Tape – For those who prefer not to see previous rows at all, washi tape is a great solution. It can easily be removed from the paper, so you can hide previous rows and simply peel back the tape to see them.
Stitch markers – For charts that have repeats, use stitch markers. It honestly makes a world of difference. A mistake is less likely to offset the entire row if you’re using stitch markers between each repeat.
You can find this pattern, Day 6 of our 12 Days of Winter collection here.


