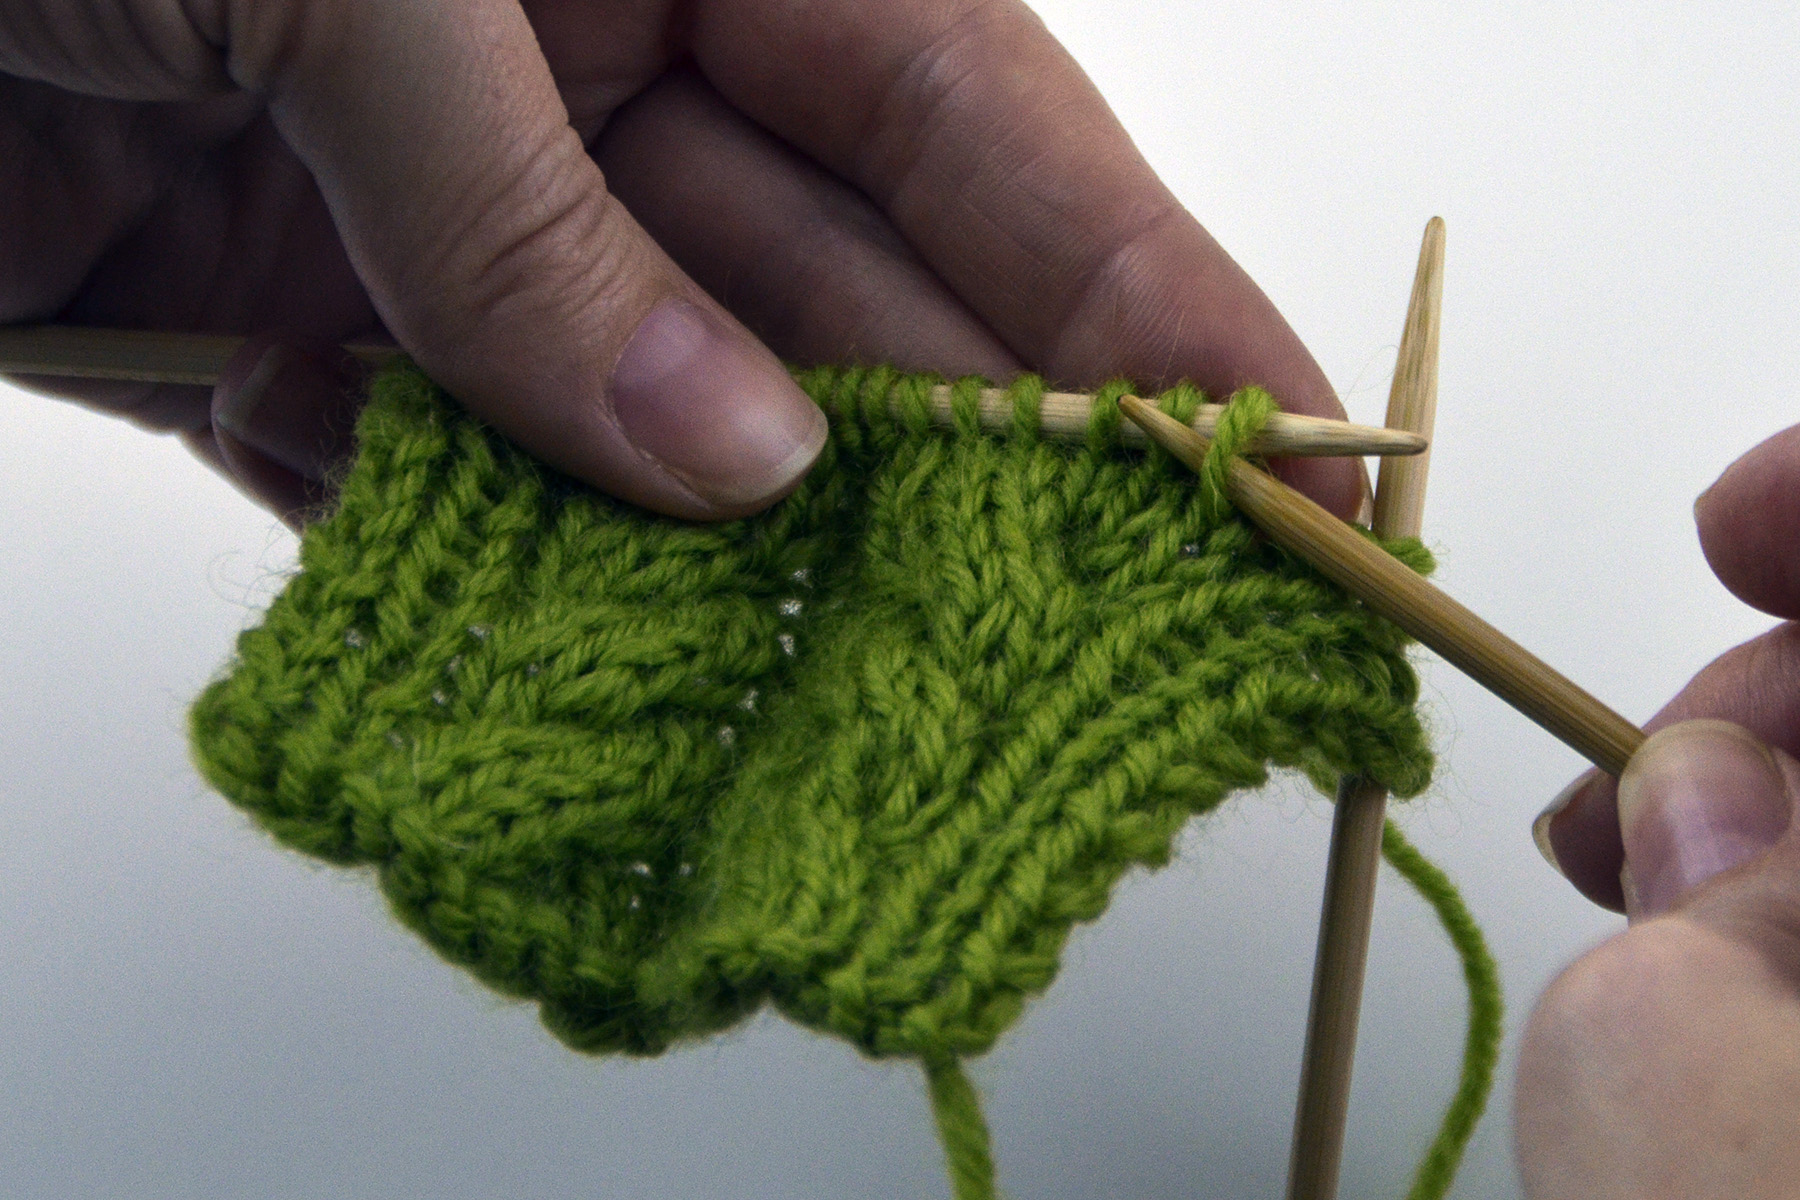
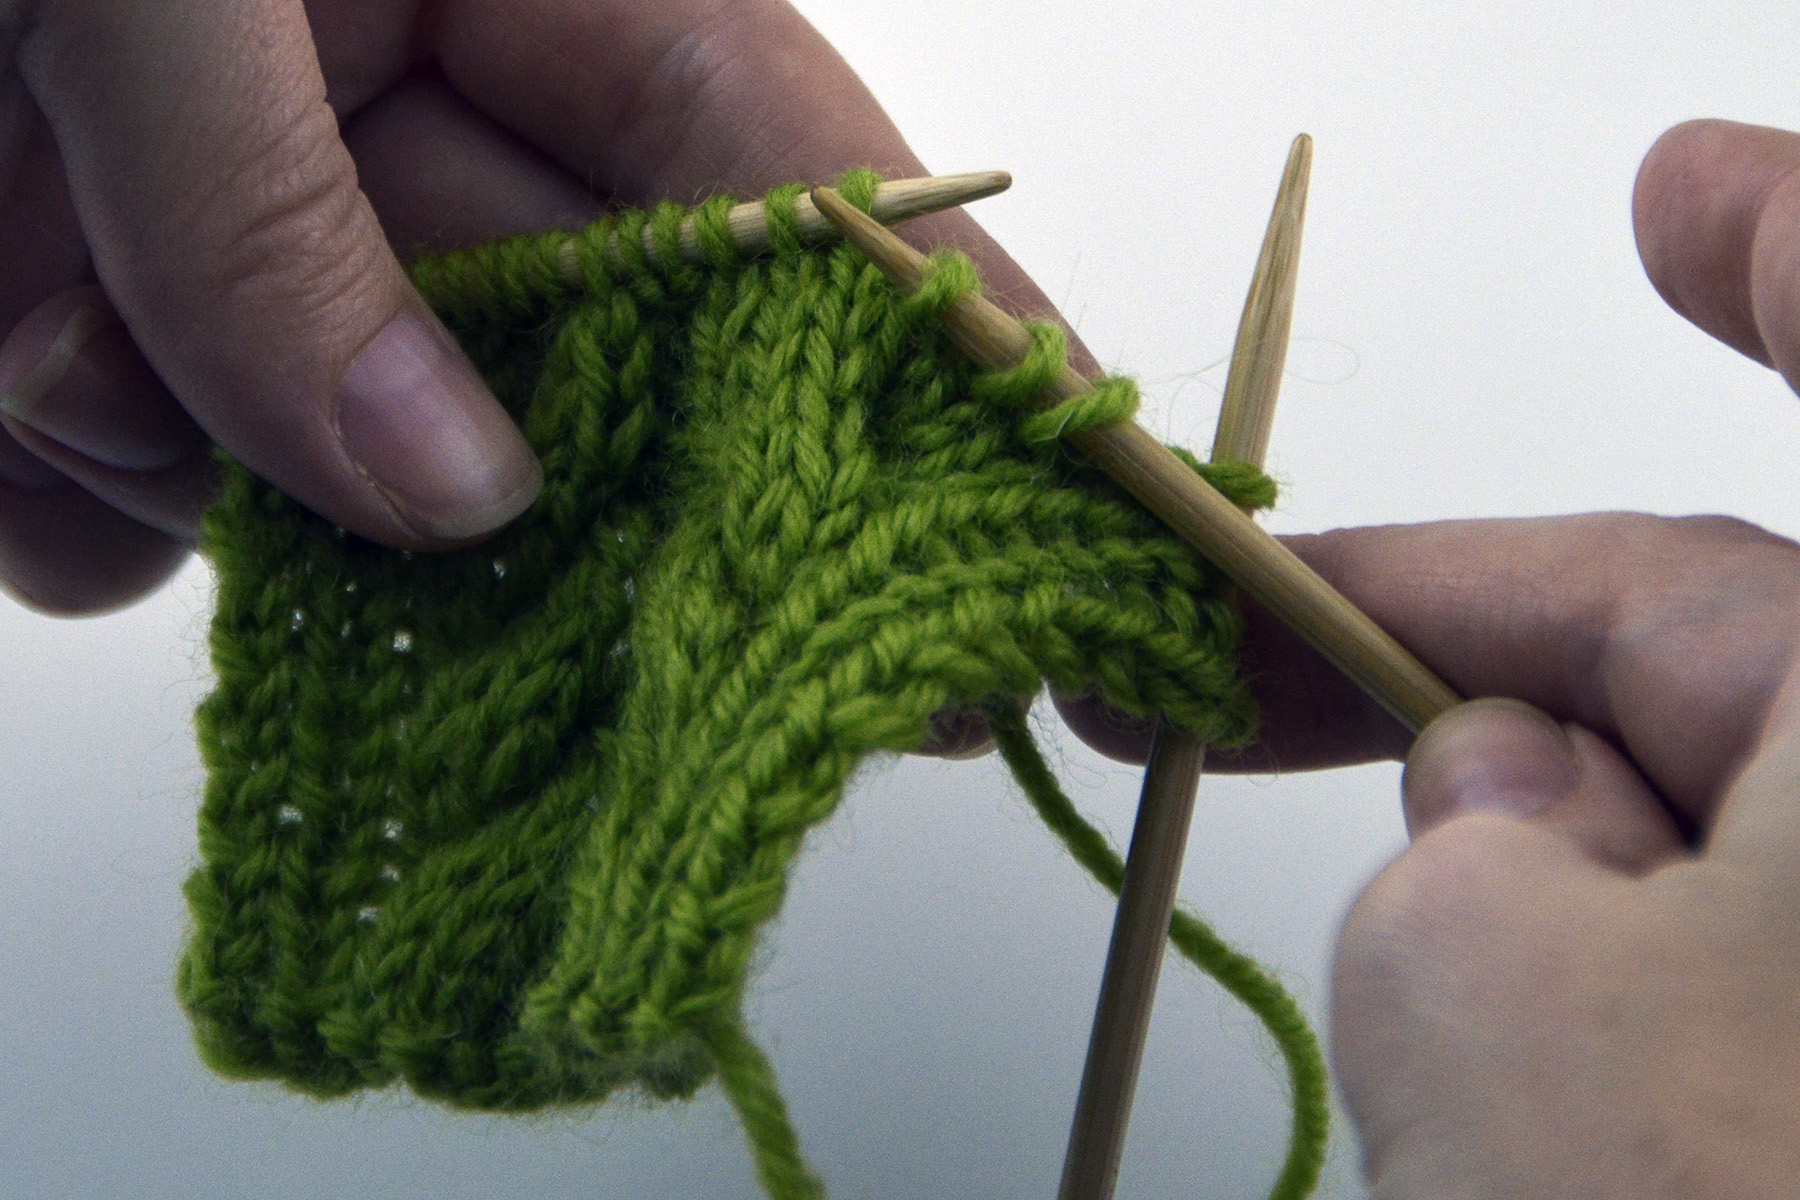
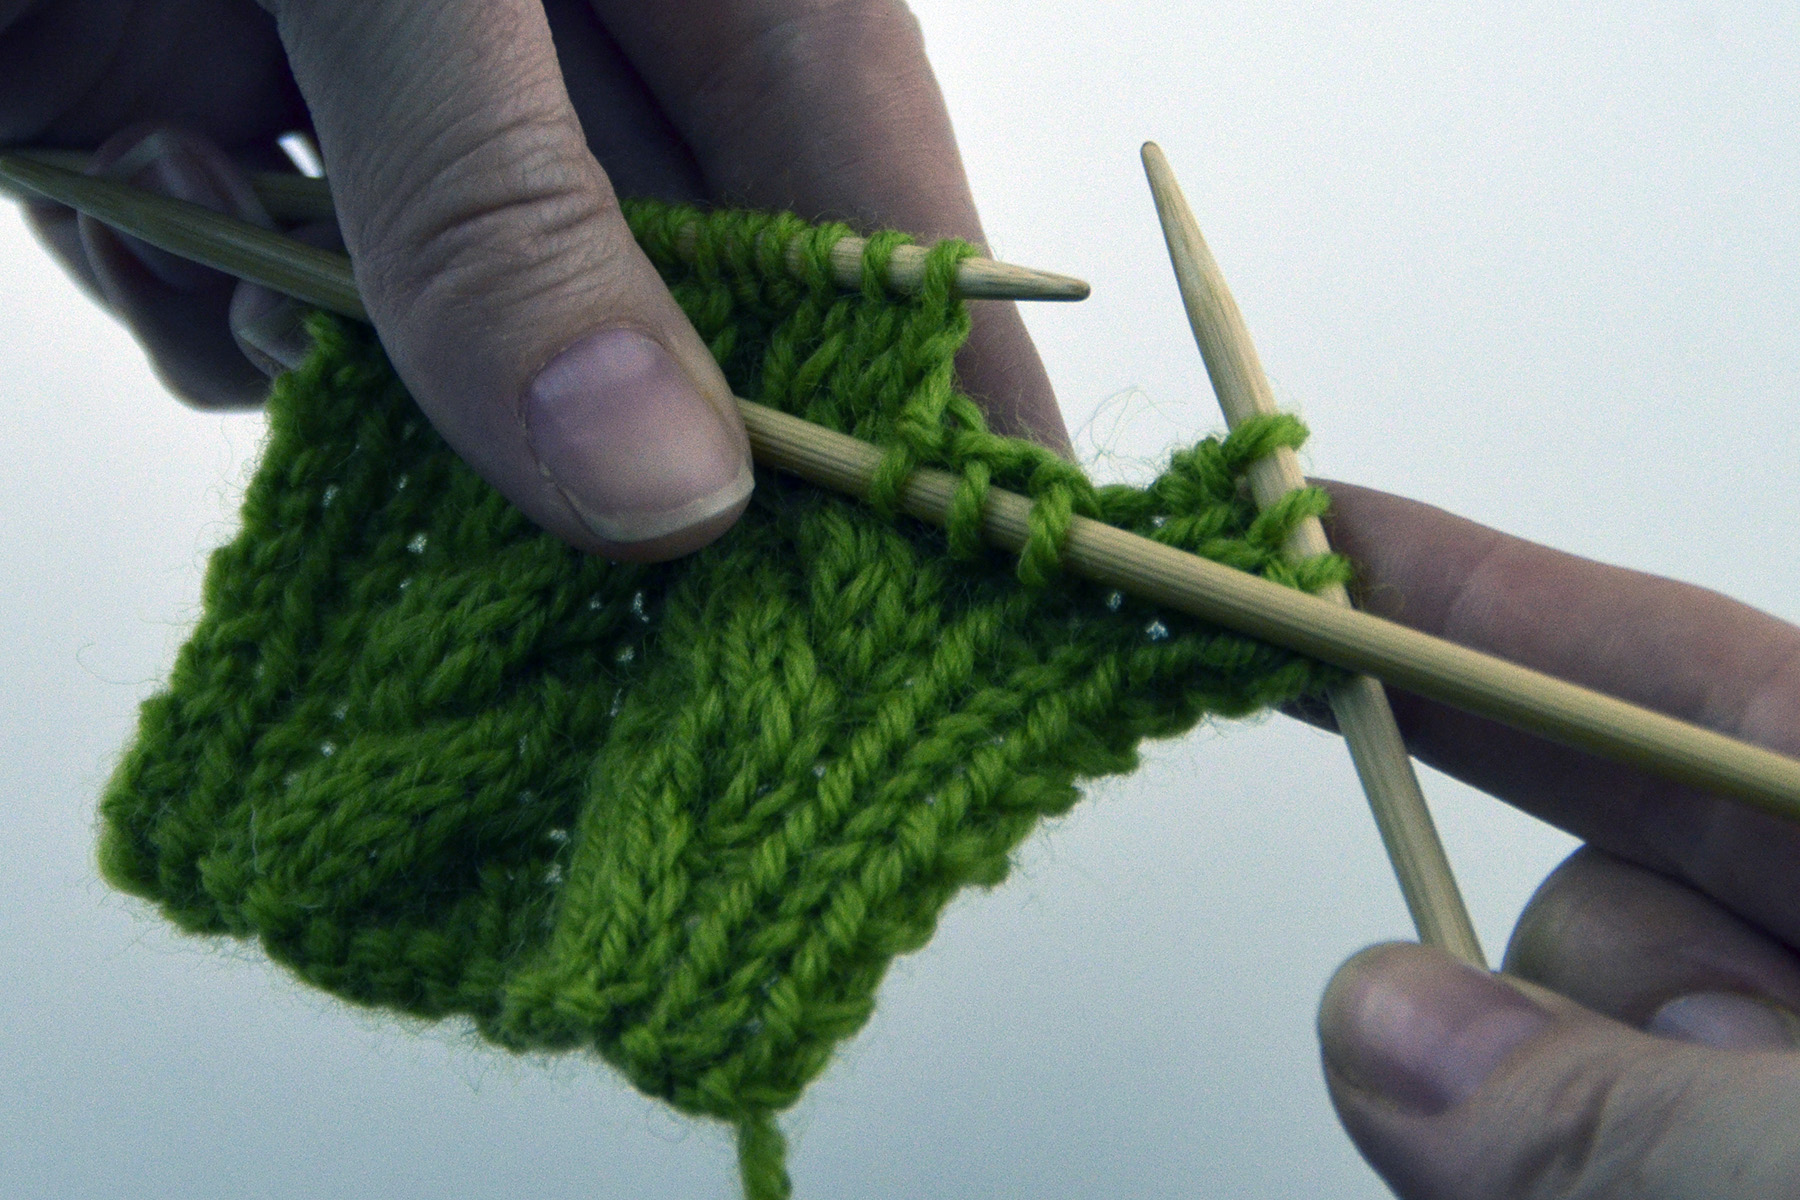
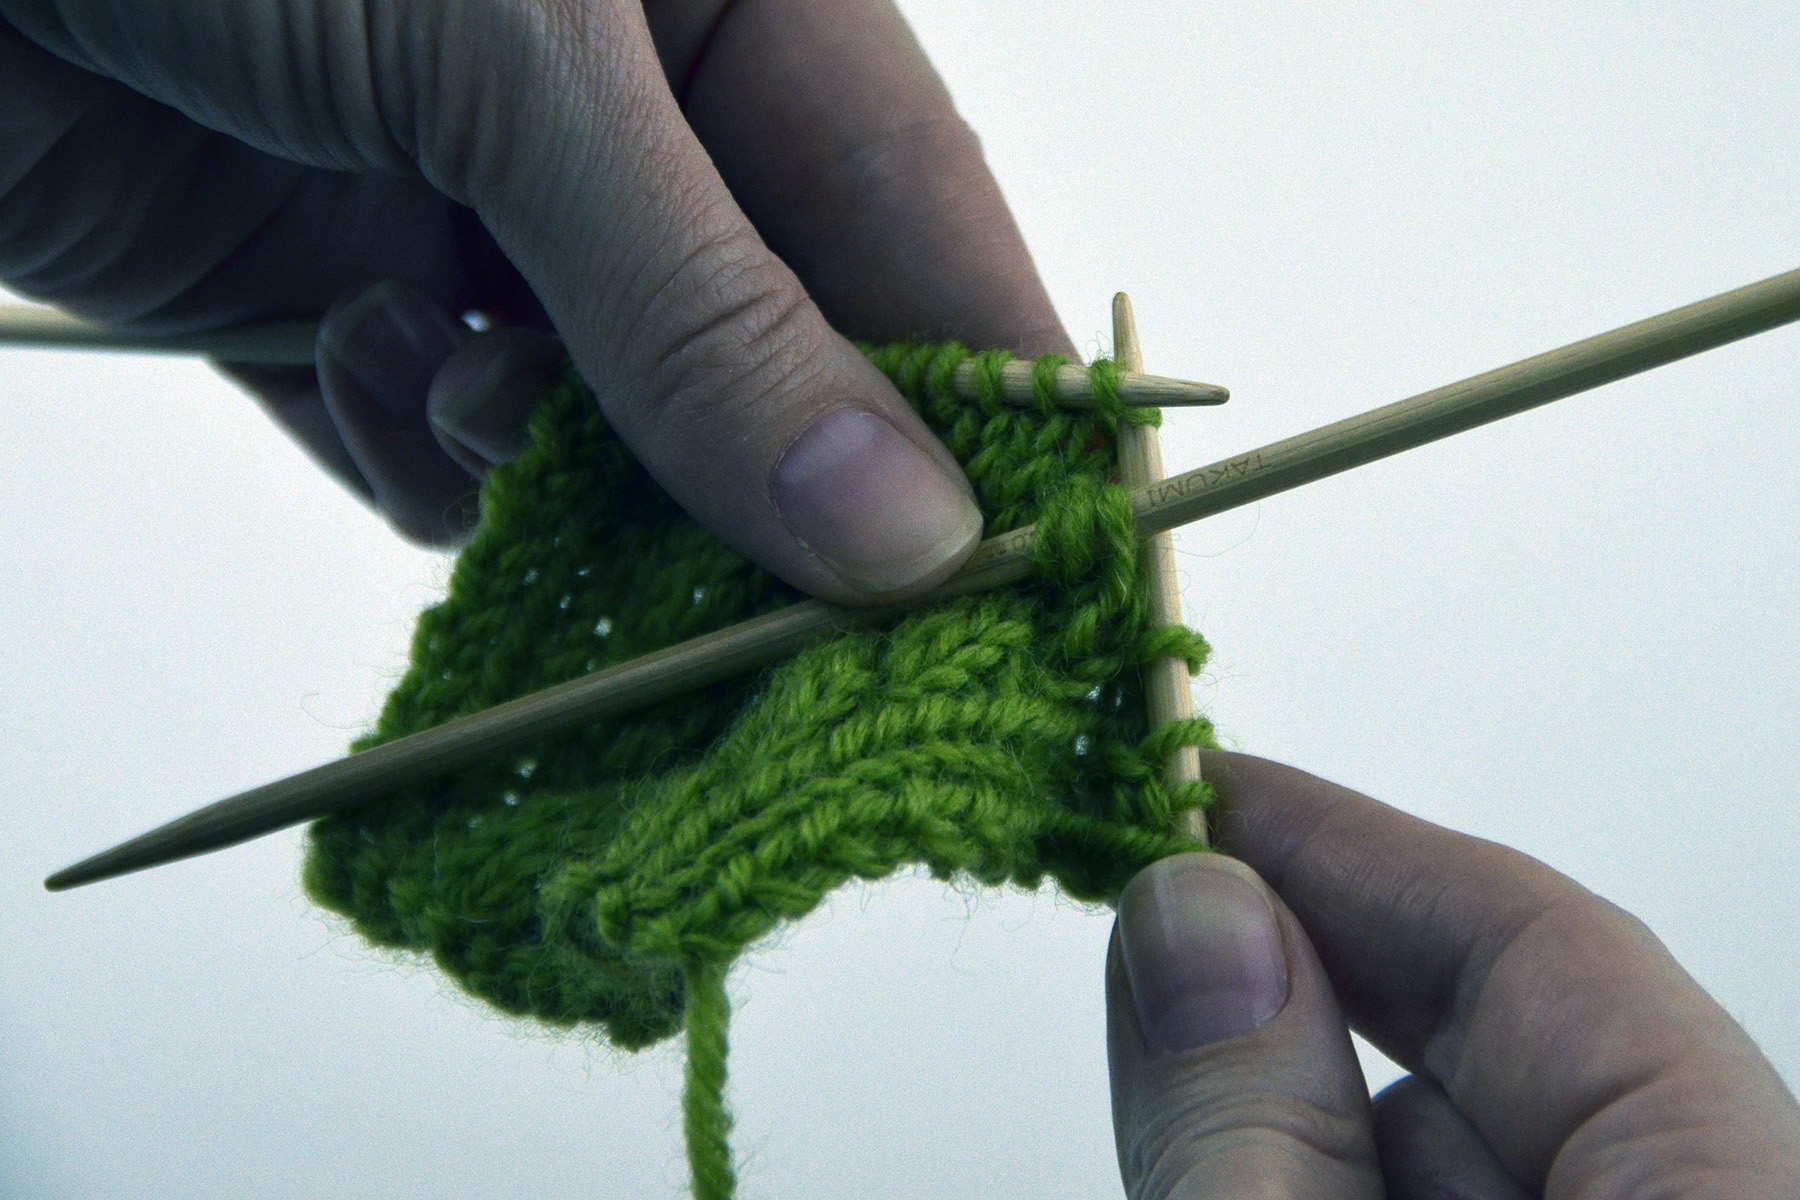
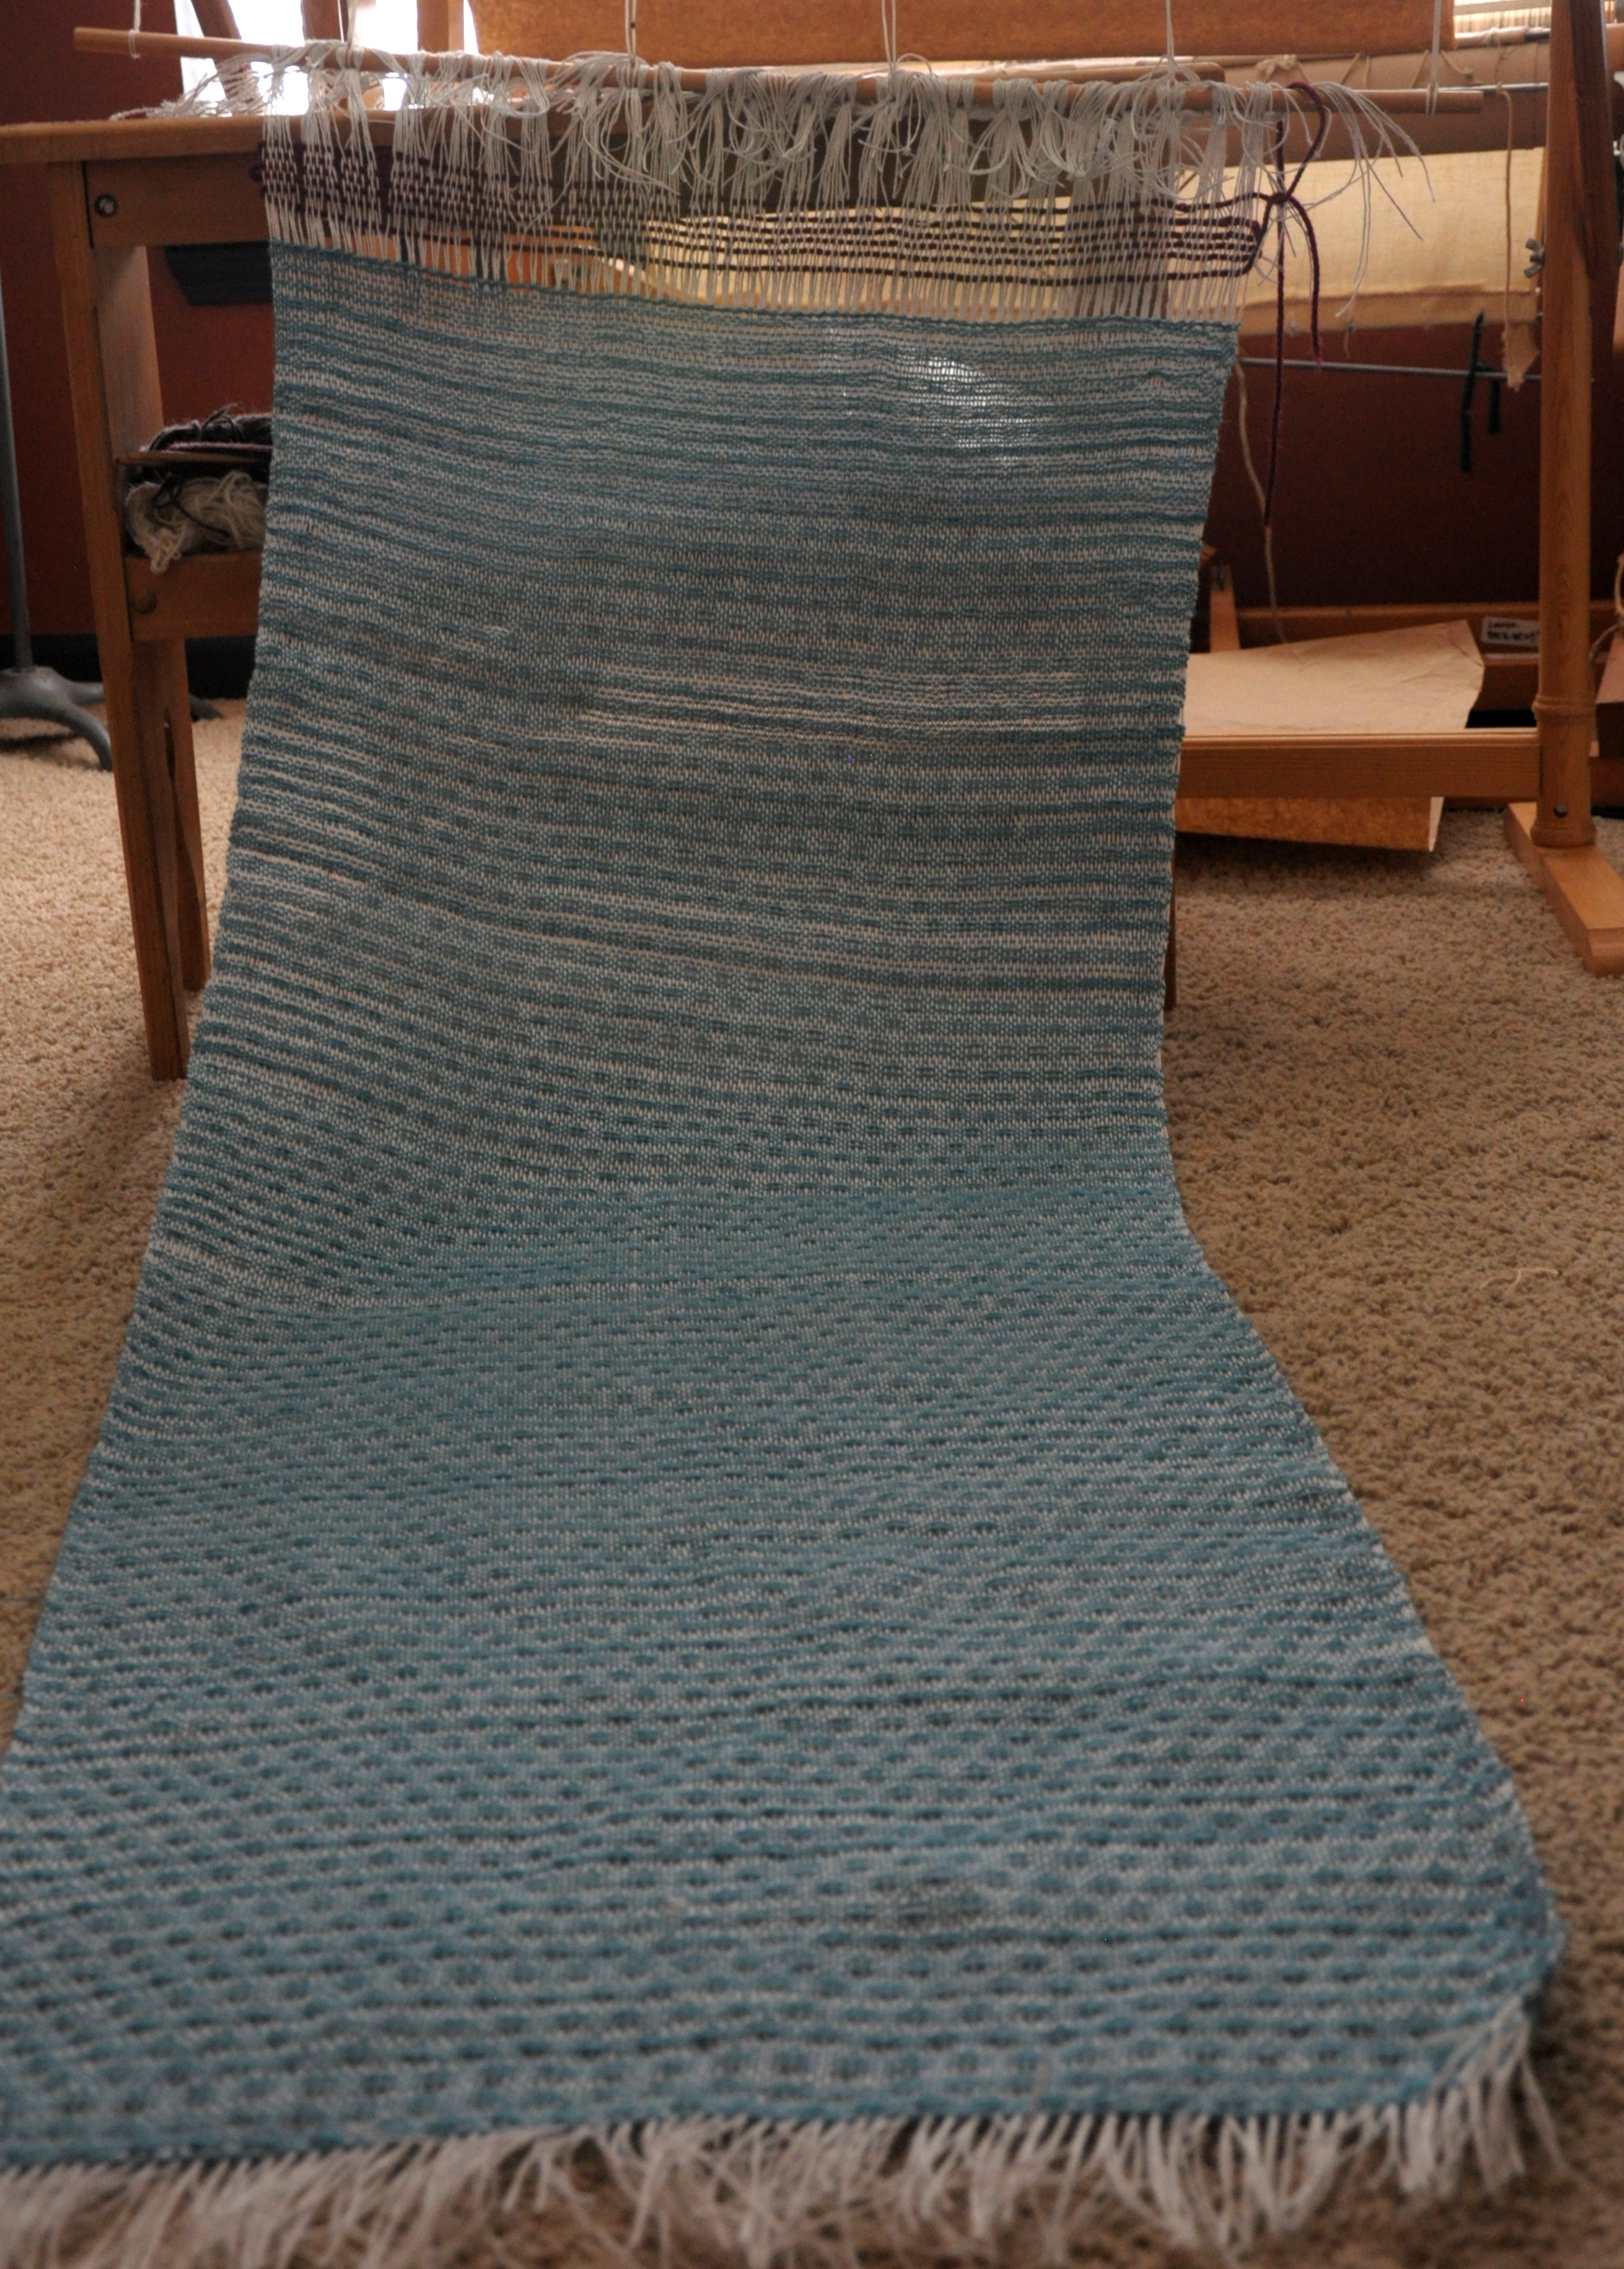
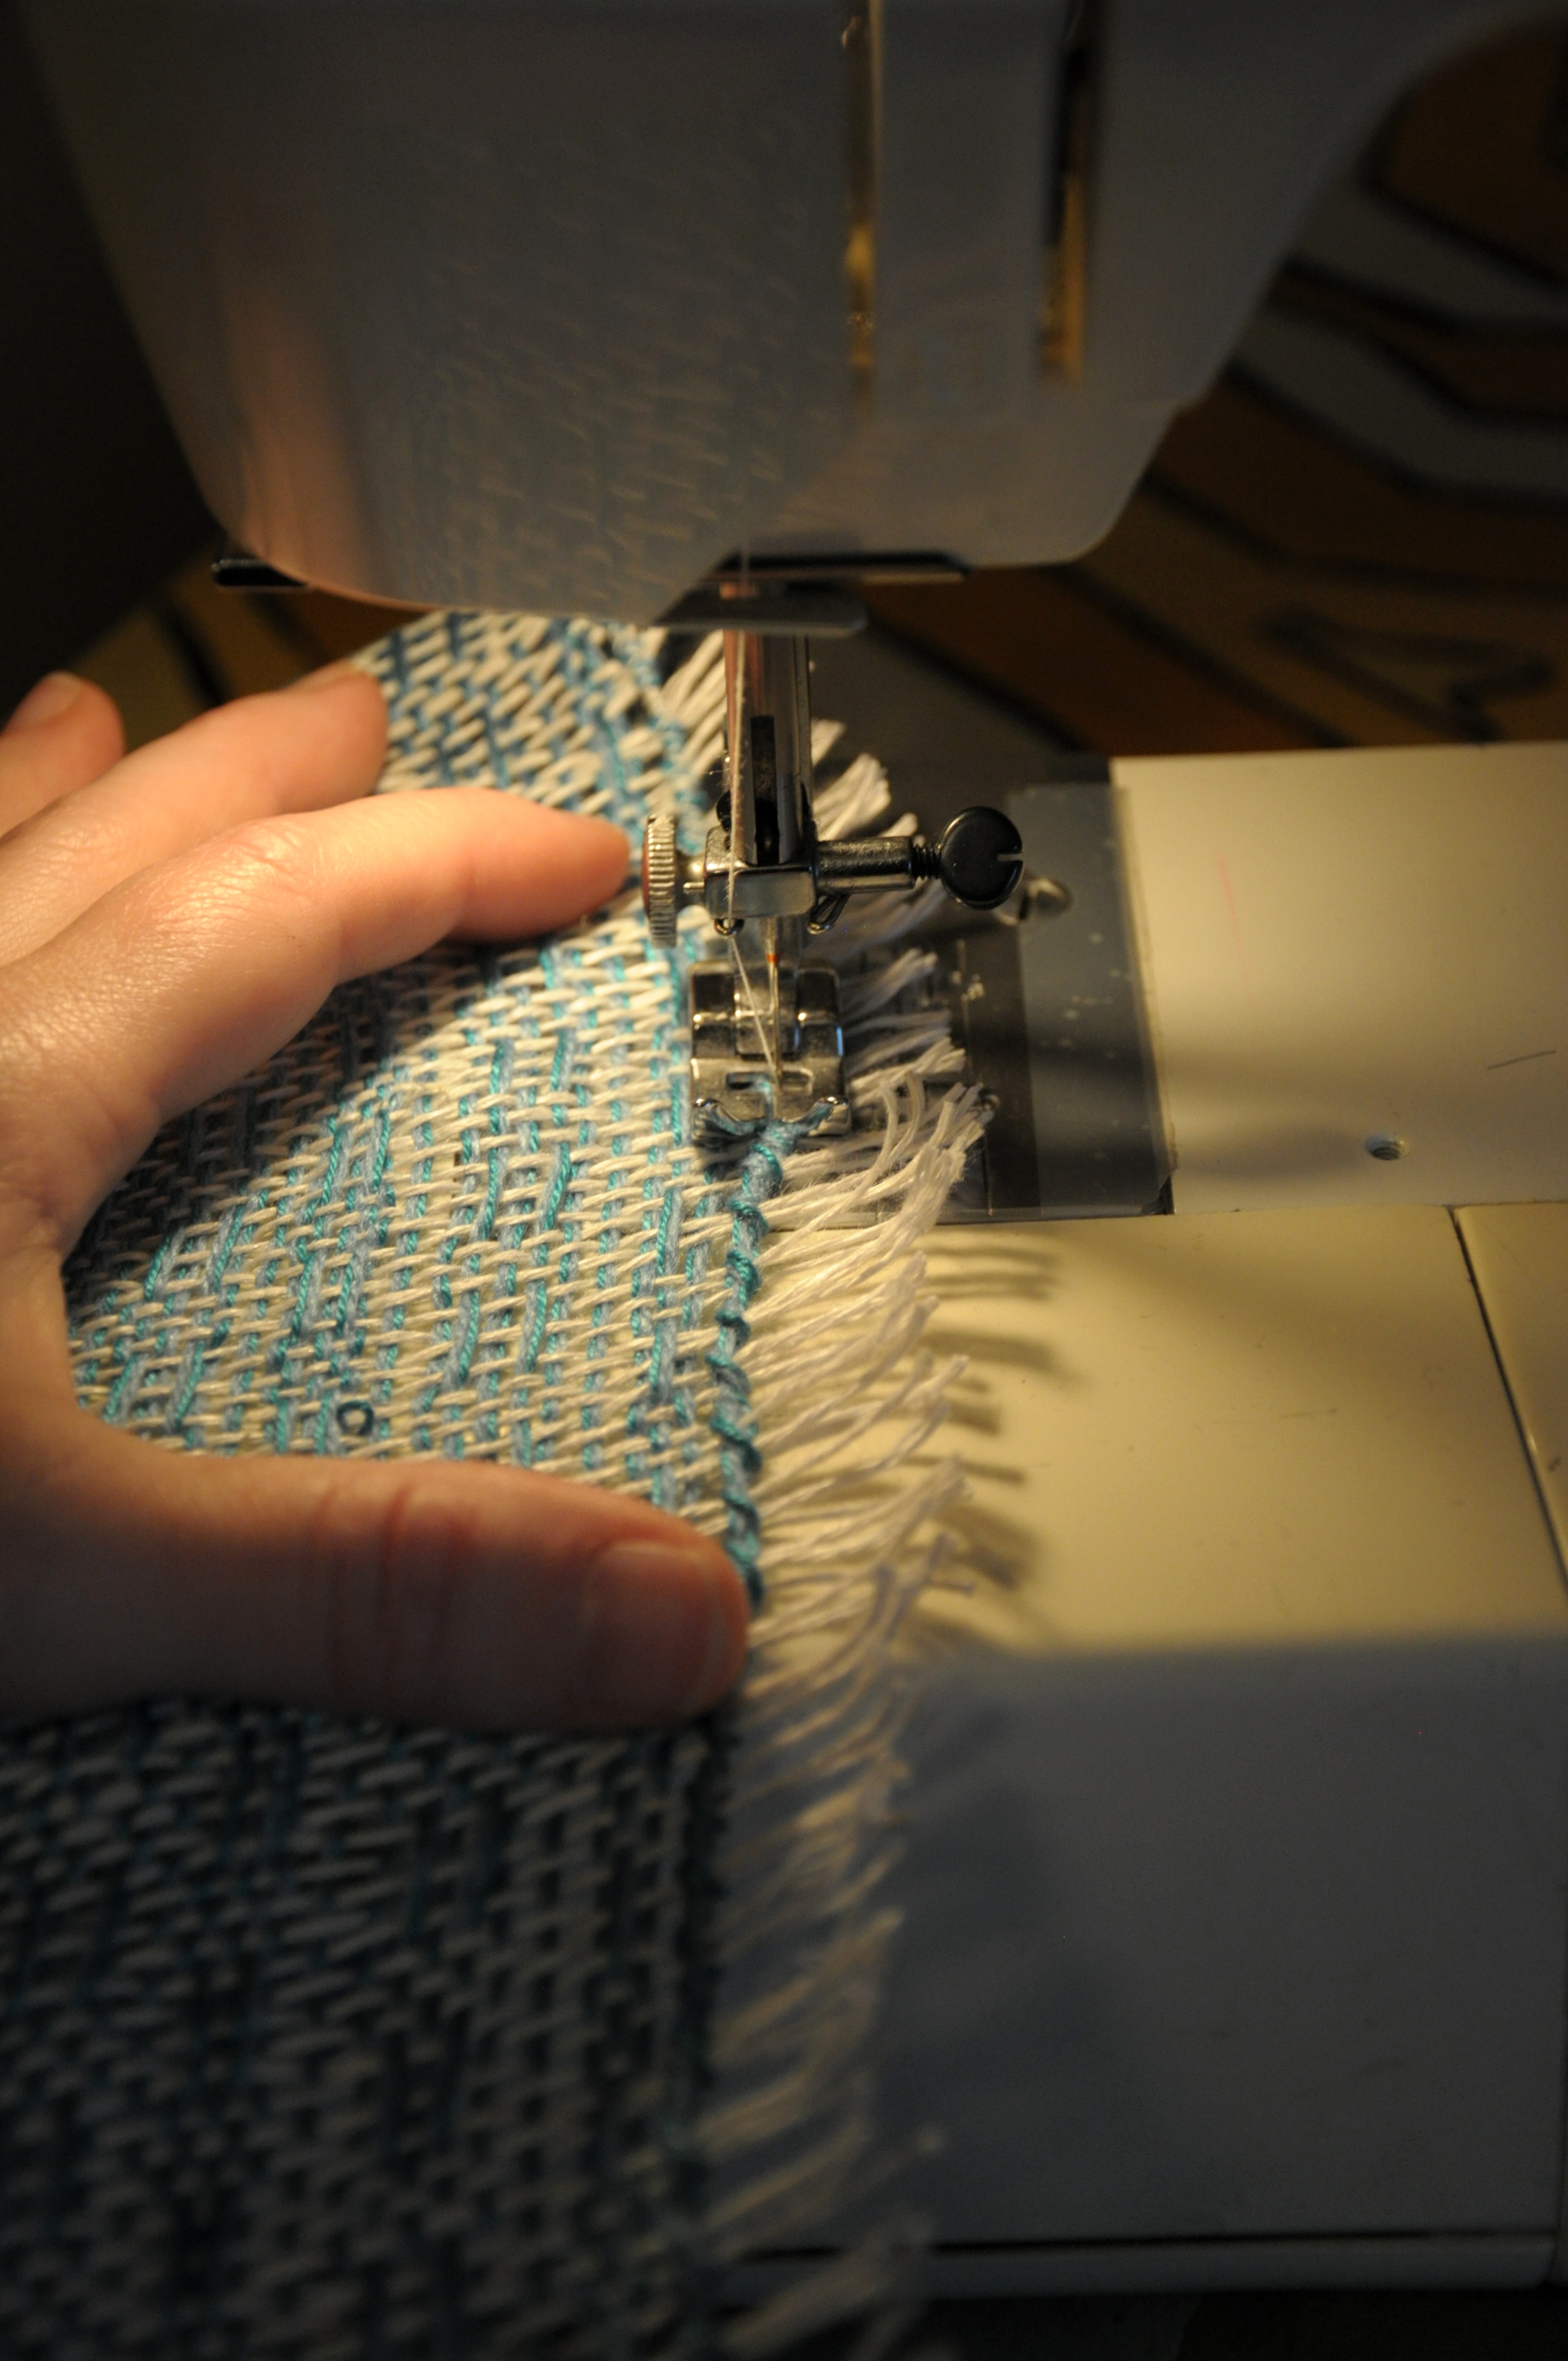
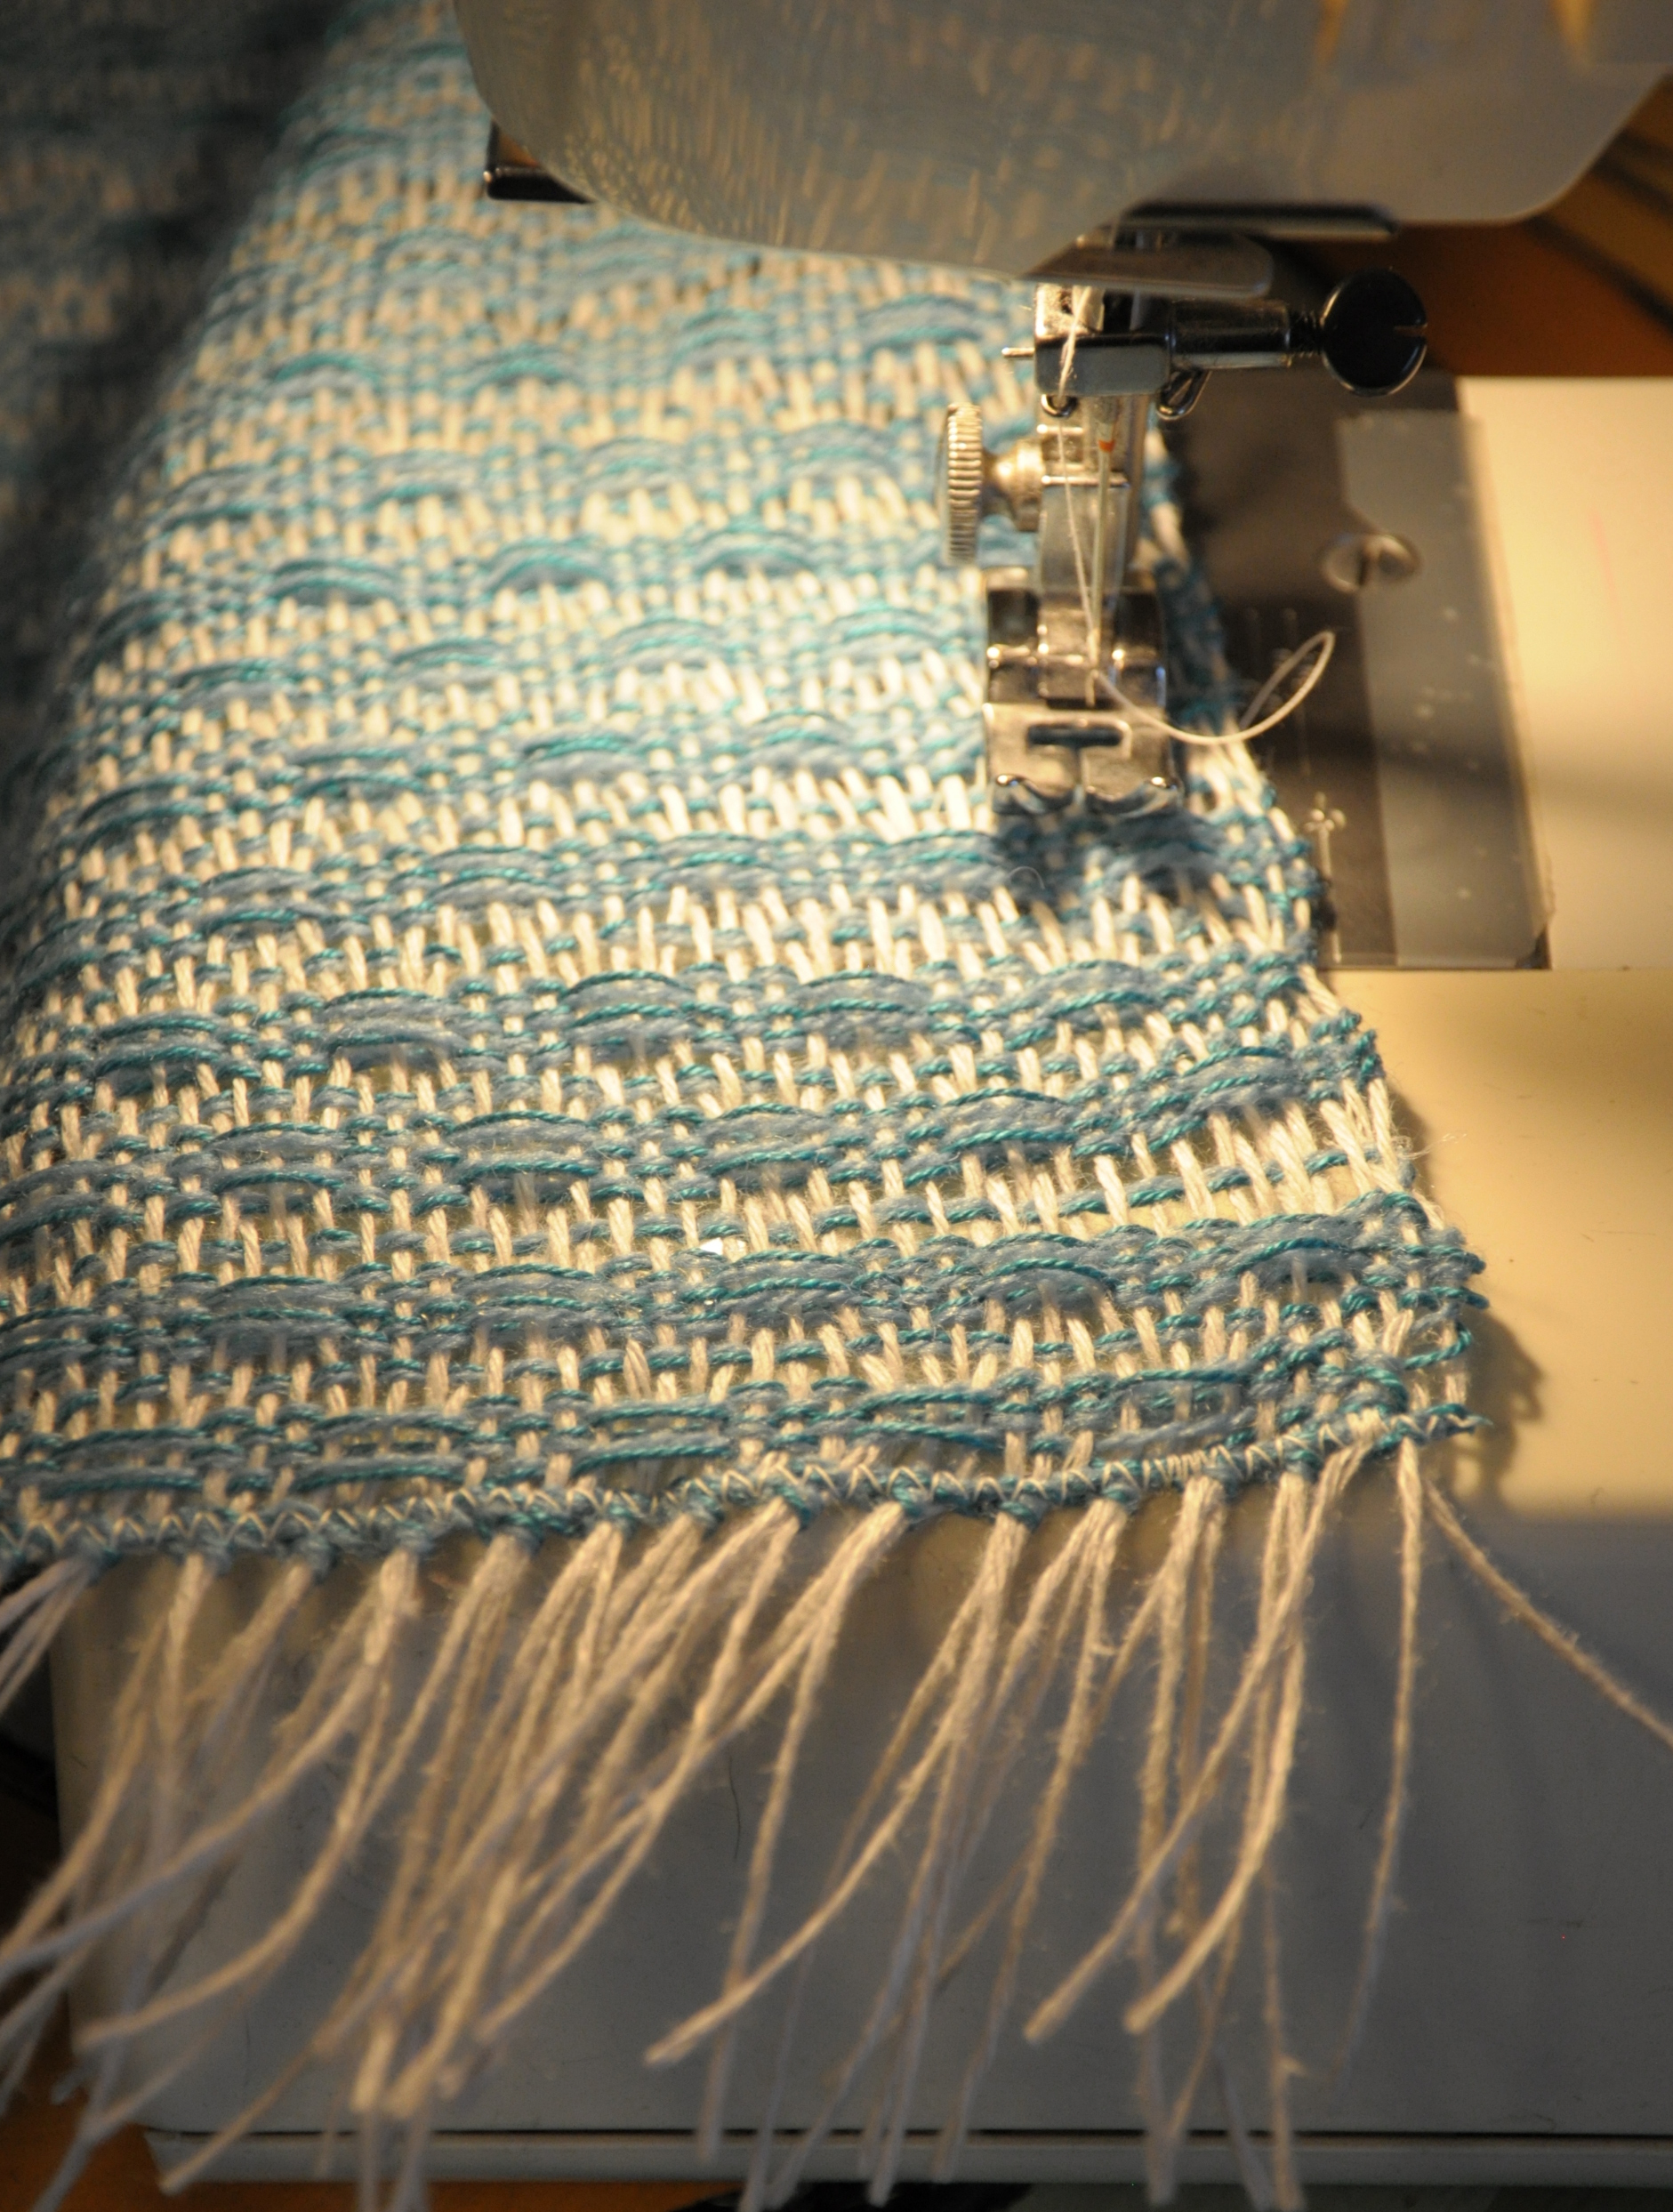
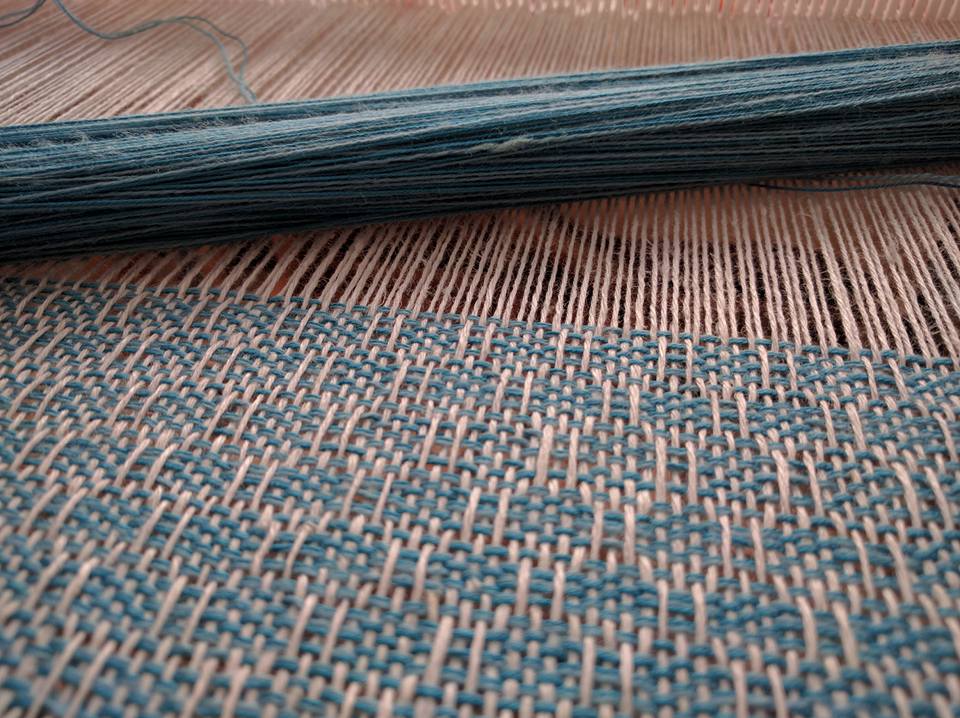
The Mighty Spit Splice

How’s everyone coming along with their Deluxe Cable Collection knitalong projects? As I’ve been knitting along on my own Wesley Heights project I have already worked my way through a few skeins of yarn.

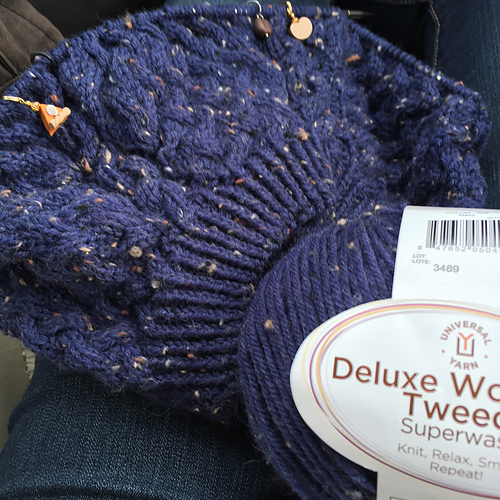
View of my back piece in progress:

Back

I would like to share with you one of the best reasons for knitting with 100% wool, such as our Deluxe Worsted or Deluxe Chunky: the spit splice. Once I get into the right frame of mind, I don’t mind weaving in ends too much. But I don’t exactly enjoy it, either. The fewer, the better! By joining ends of wool yarn in the middle of a piece of knitting using the spit splice method, you don’t have to go back and weave these in later.

Here’s how to do it:

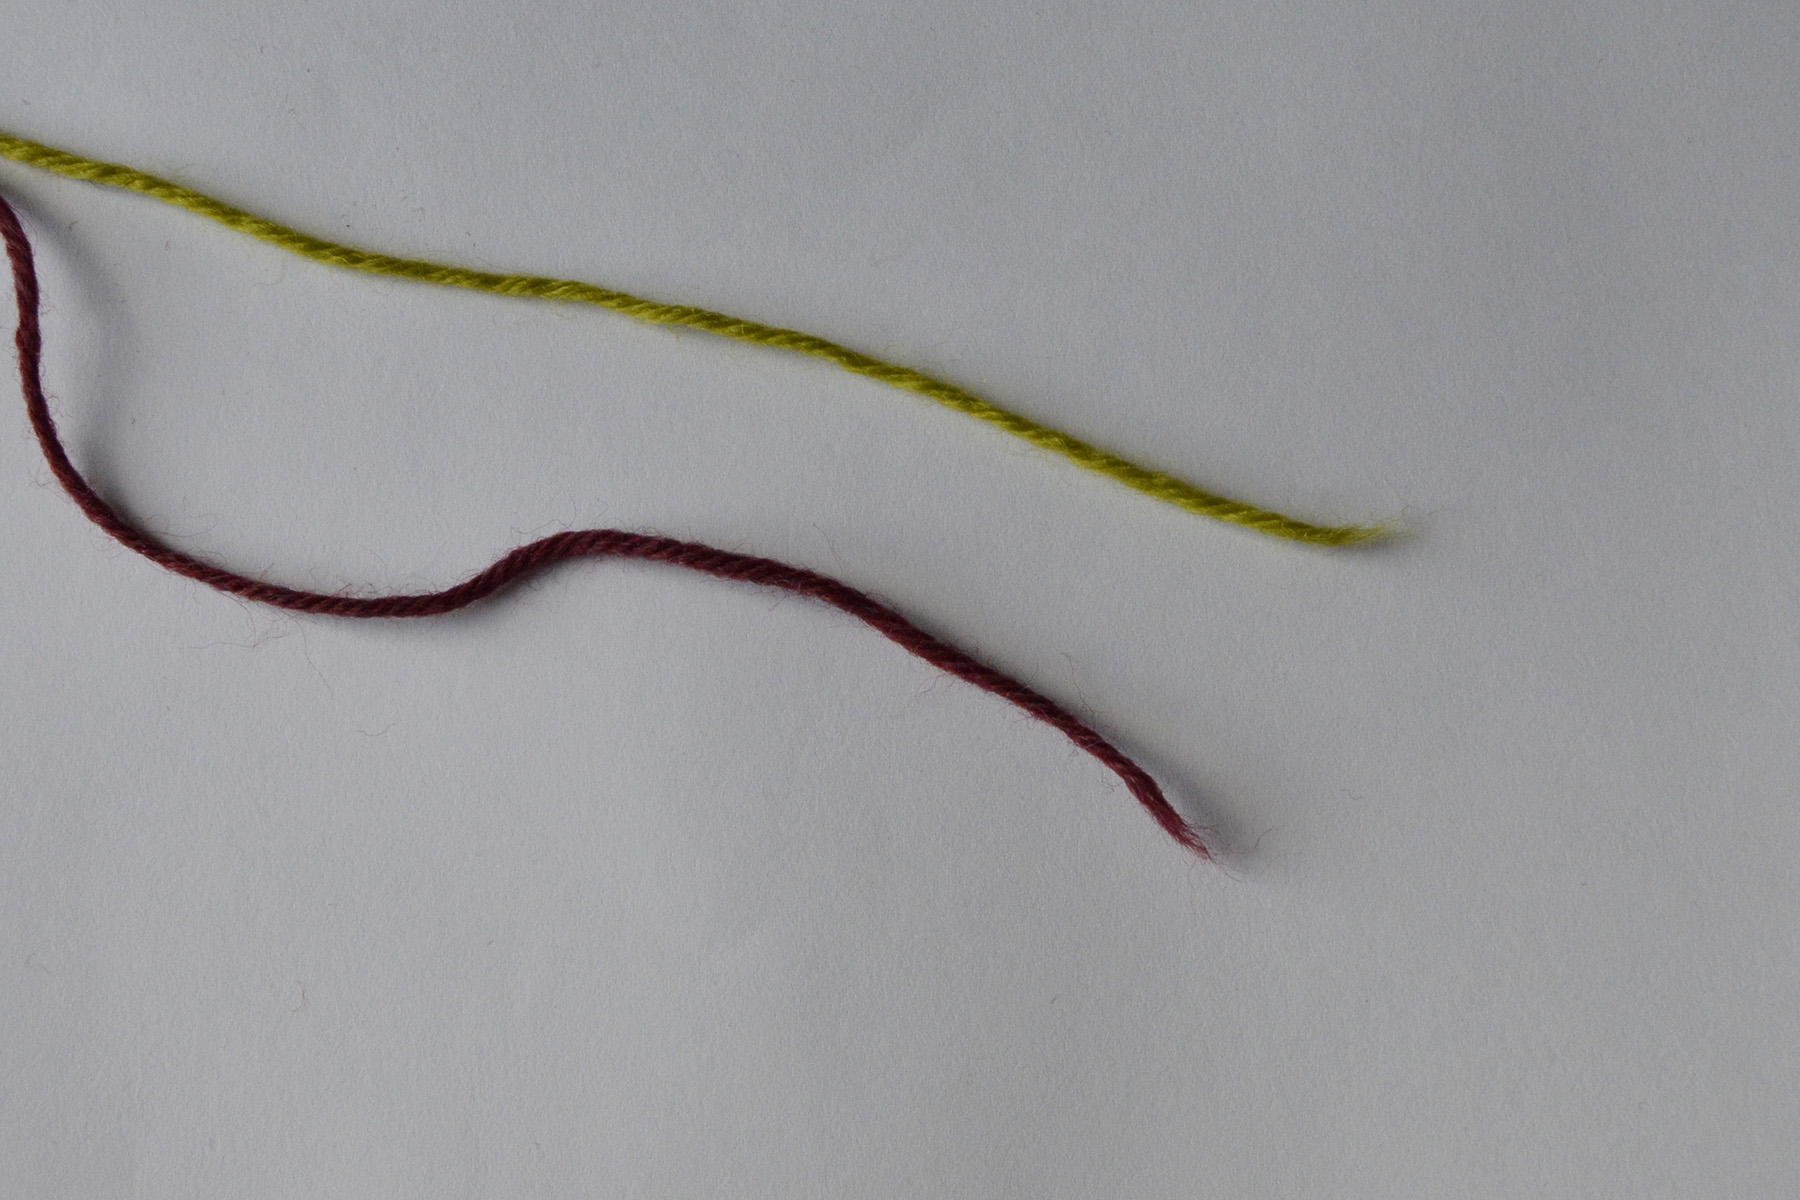
(shown in 2 colors for illustration purposes only)

SpitSplice1

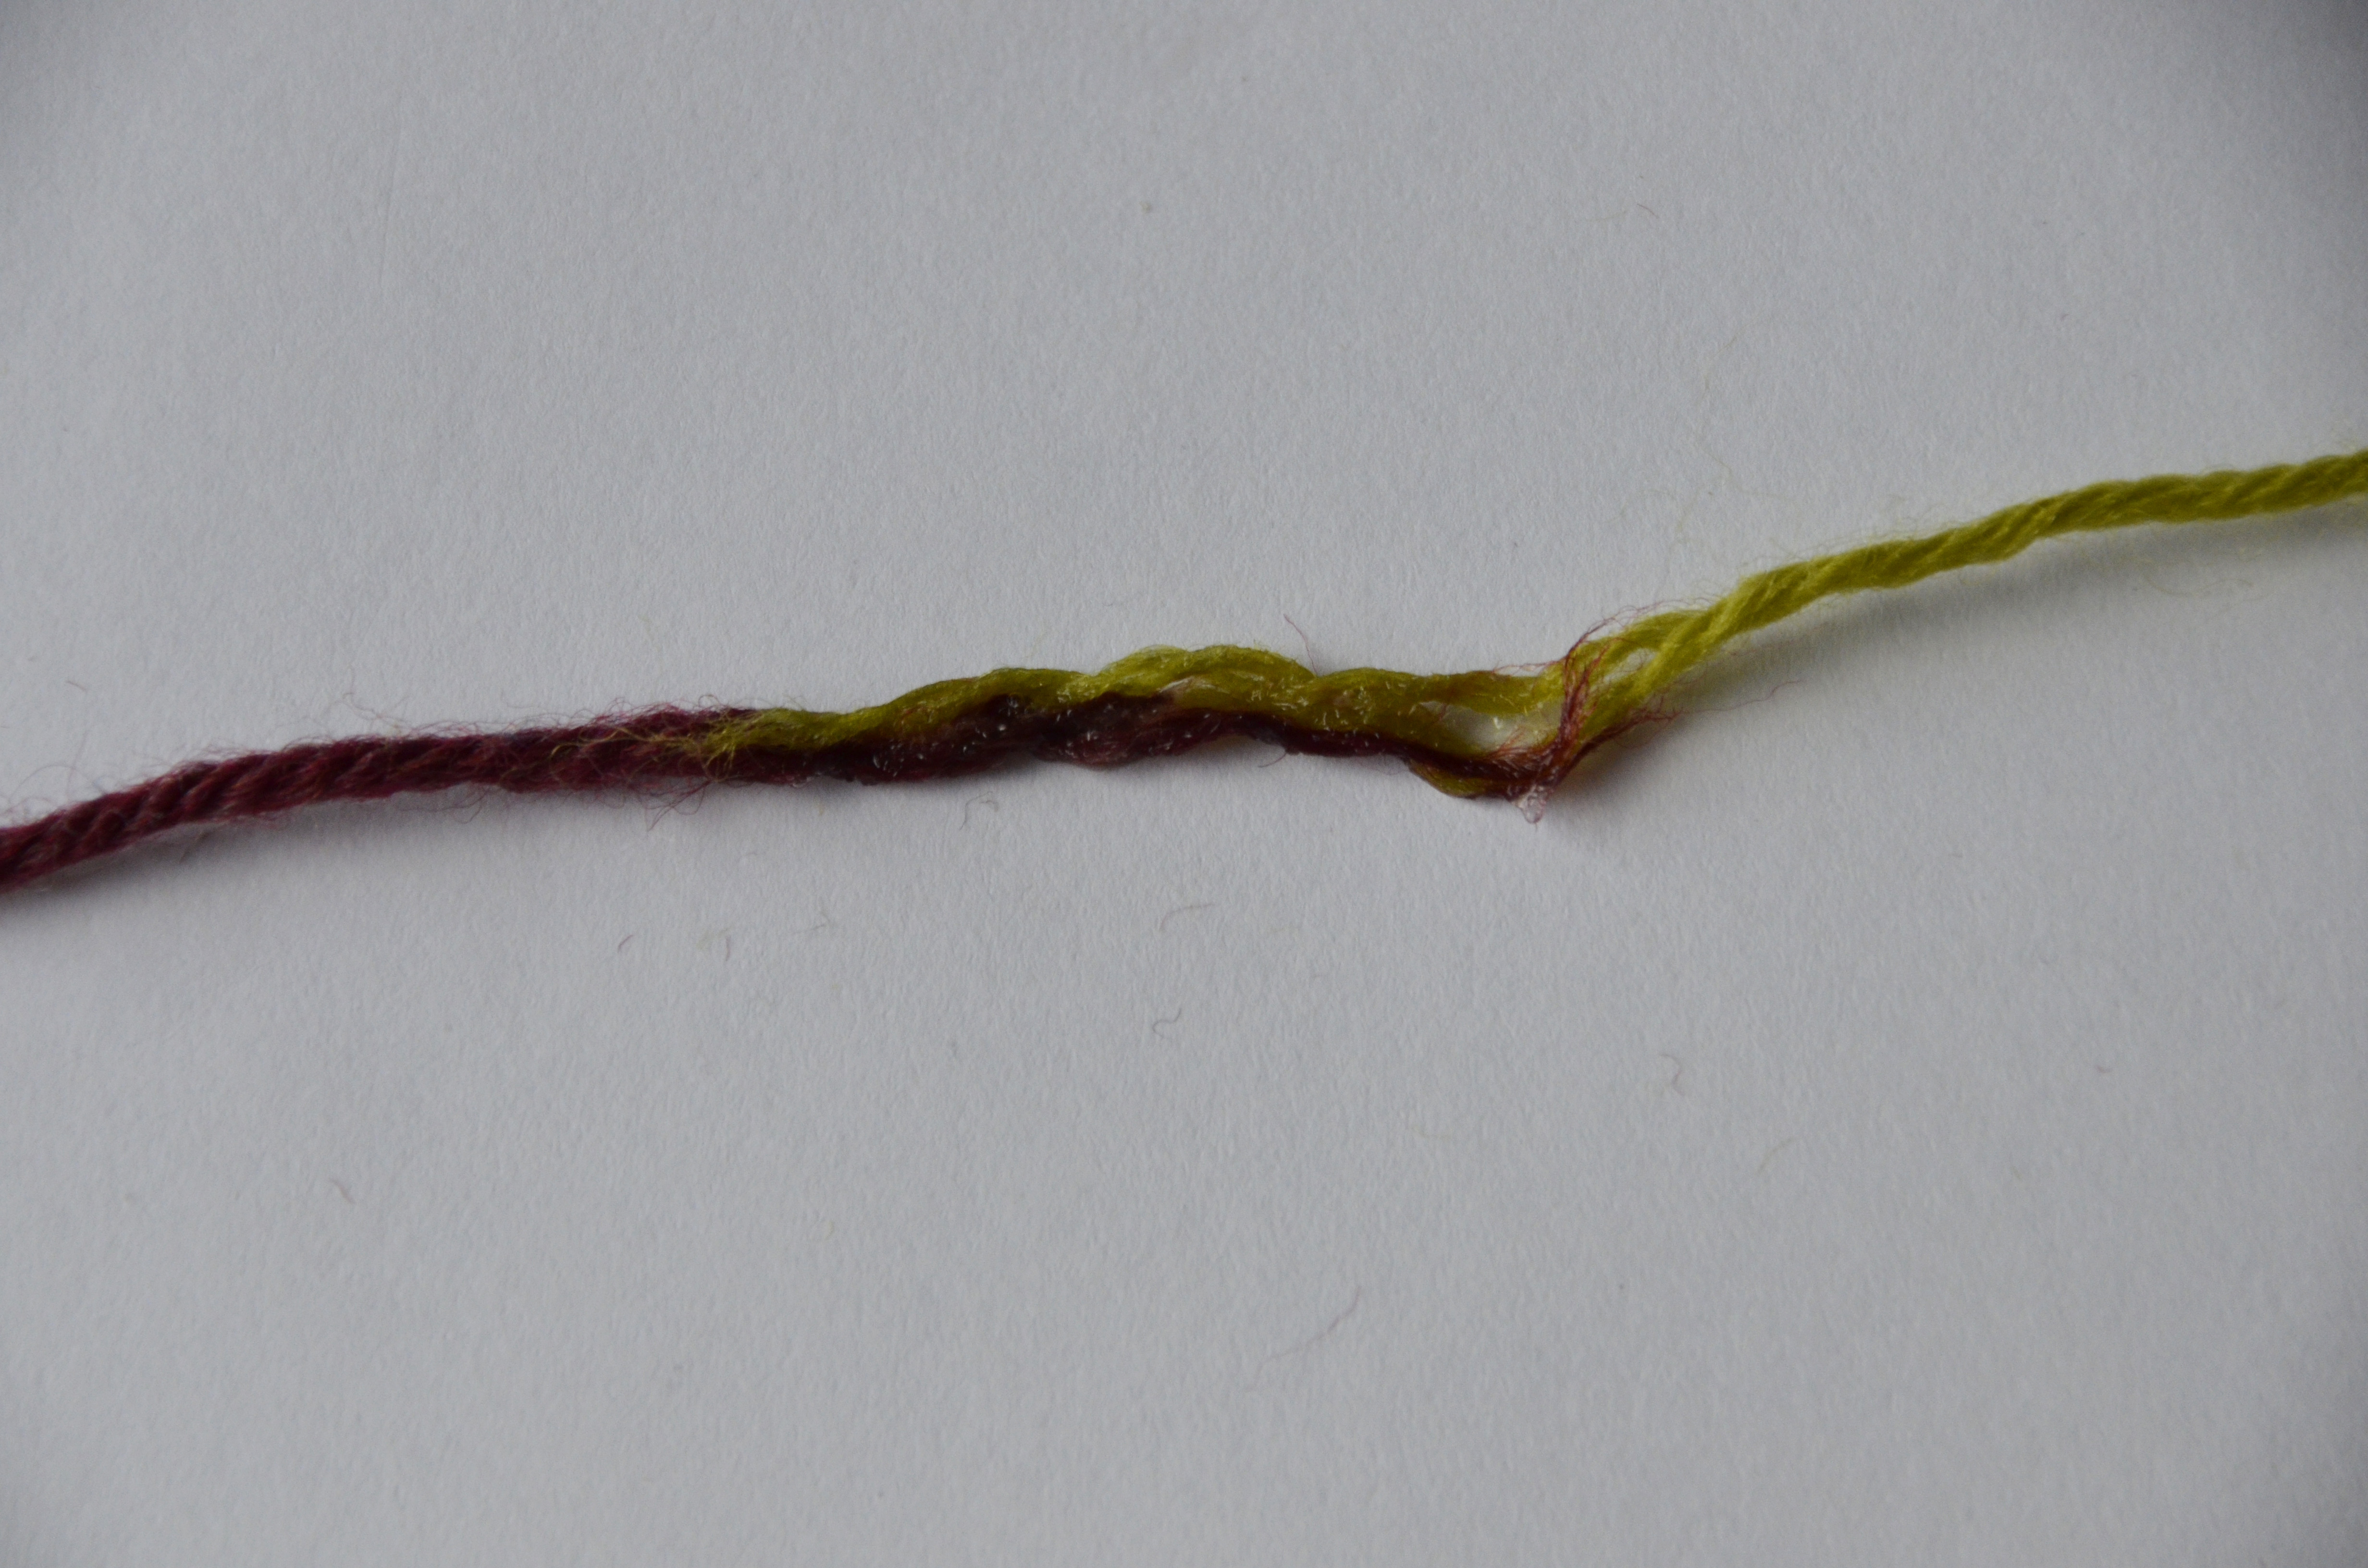
Step 1: Split the plies from each end into 2. Deluxe Worsted is made up of 4 plies, so I’ve split it into sections with 2 plies each. Do this for about 1 1/2 – 2″ along each end.

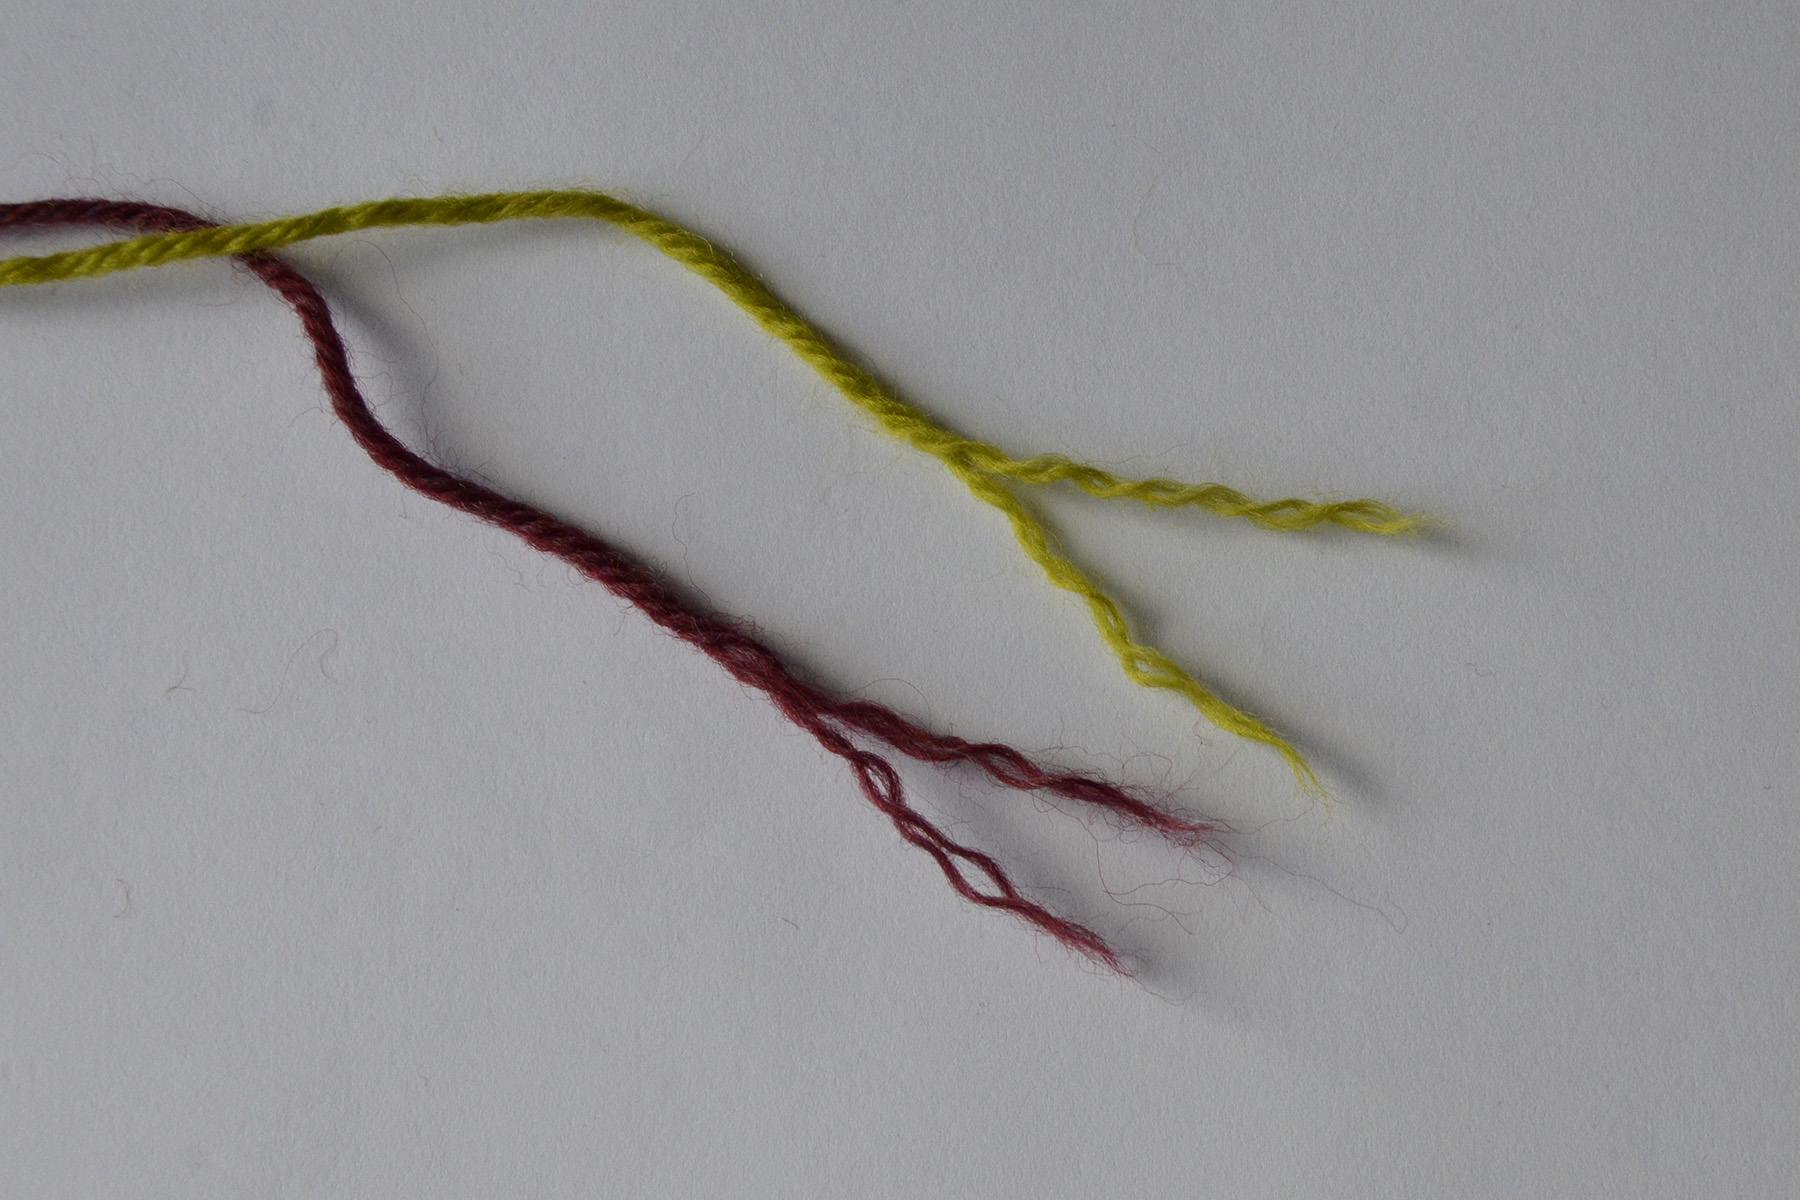
SpitSplice2

Step 2: Cut or tear half of each strand about 1″ from the end. By reducing the bulk of each strand in half, it will make your join as smooth and seamless looking as possible.

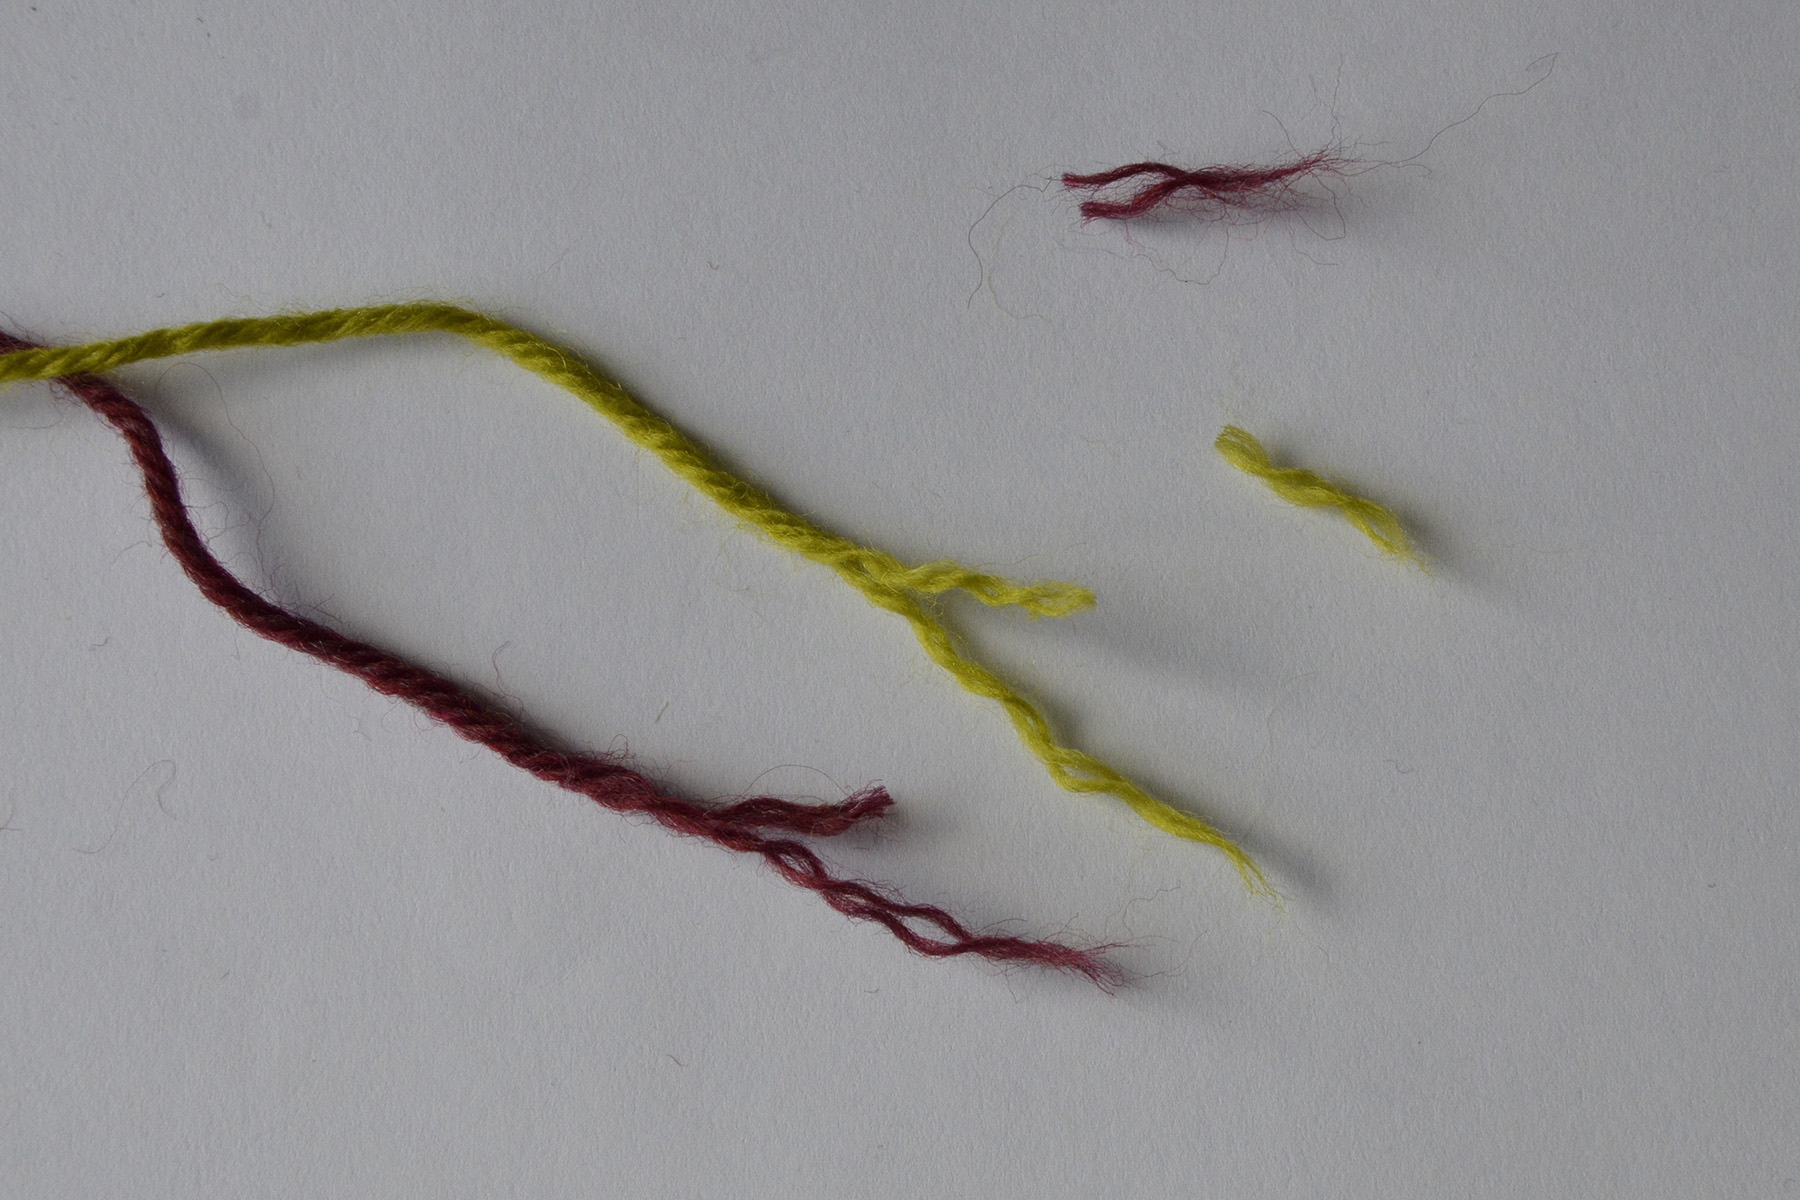
SpitSplice3

Step 3: Place the strands together, fitting the 2-strand sections together.

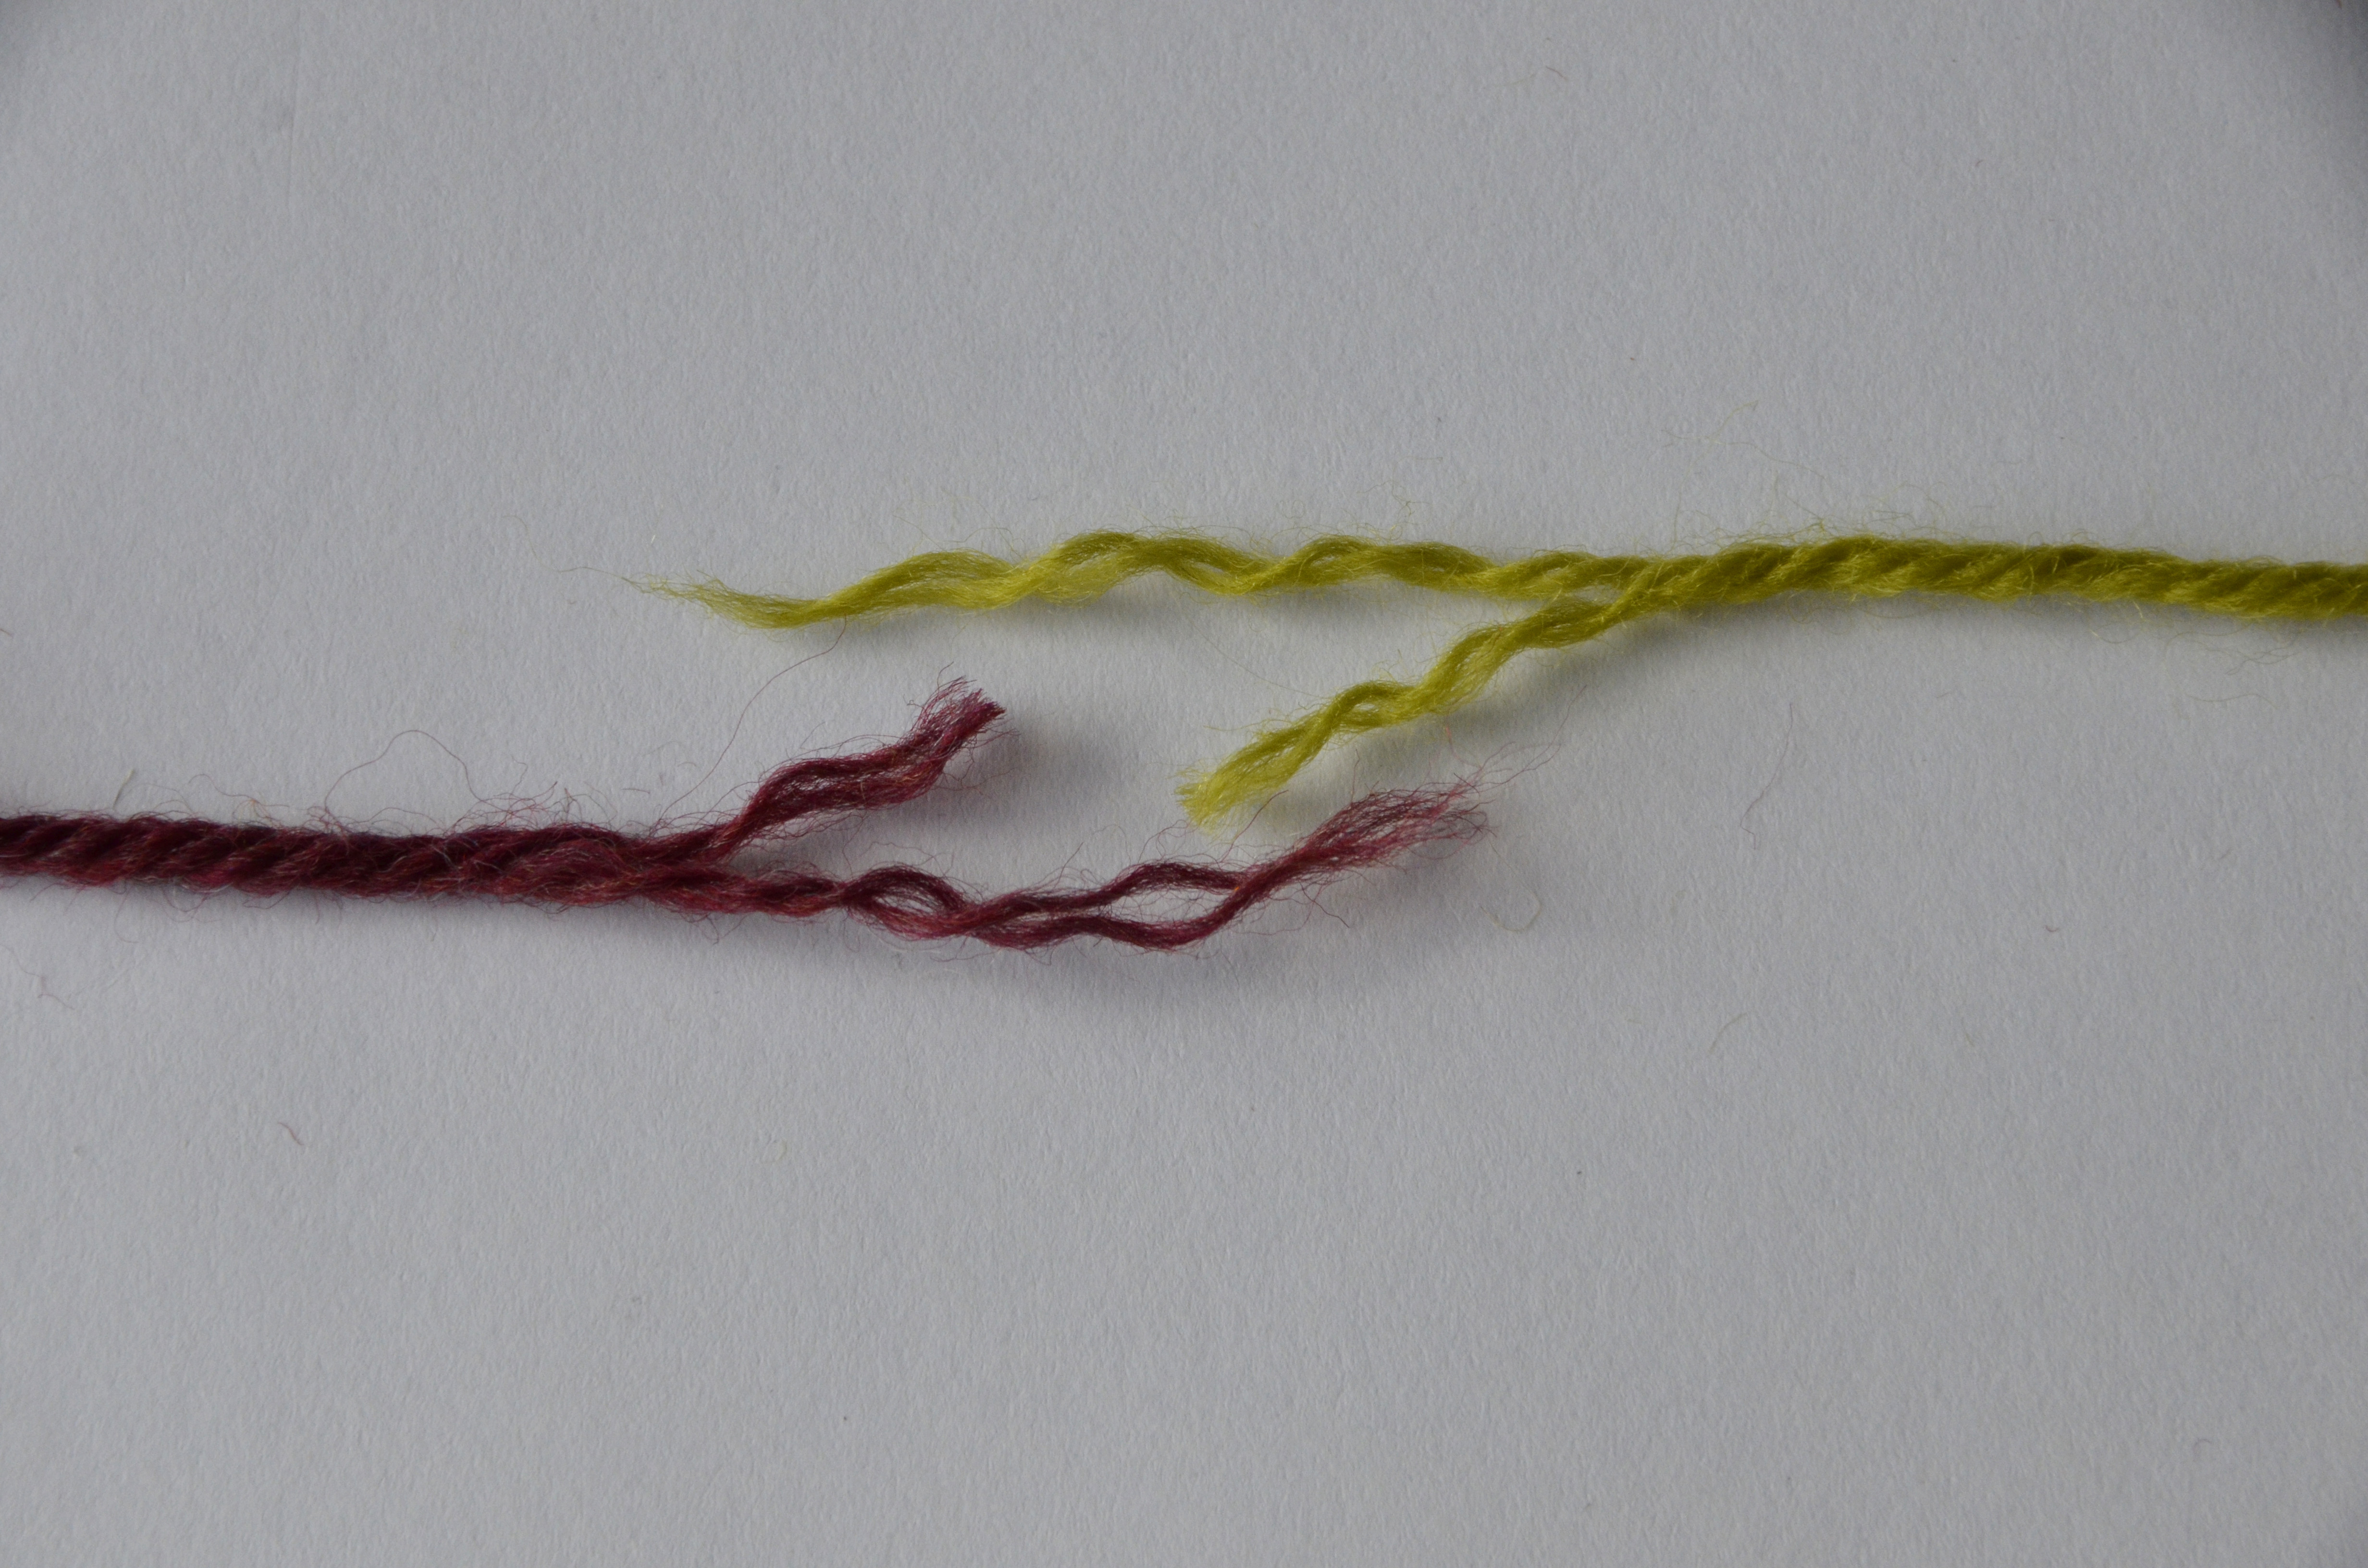
SpitSplice4

Step 4: Spit! I have no qualms about spitting on my yarn. But if the thought of this grosses you out, just use a little water.  Get the strands moist, but not drenched. You just need enough moisture to help bind the fibers.

Pro tip: Don’t spit splice light colored yarn if you have been drinking red wine.

SpitSplice5

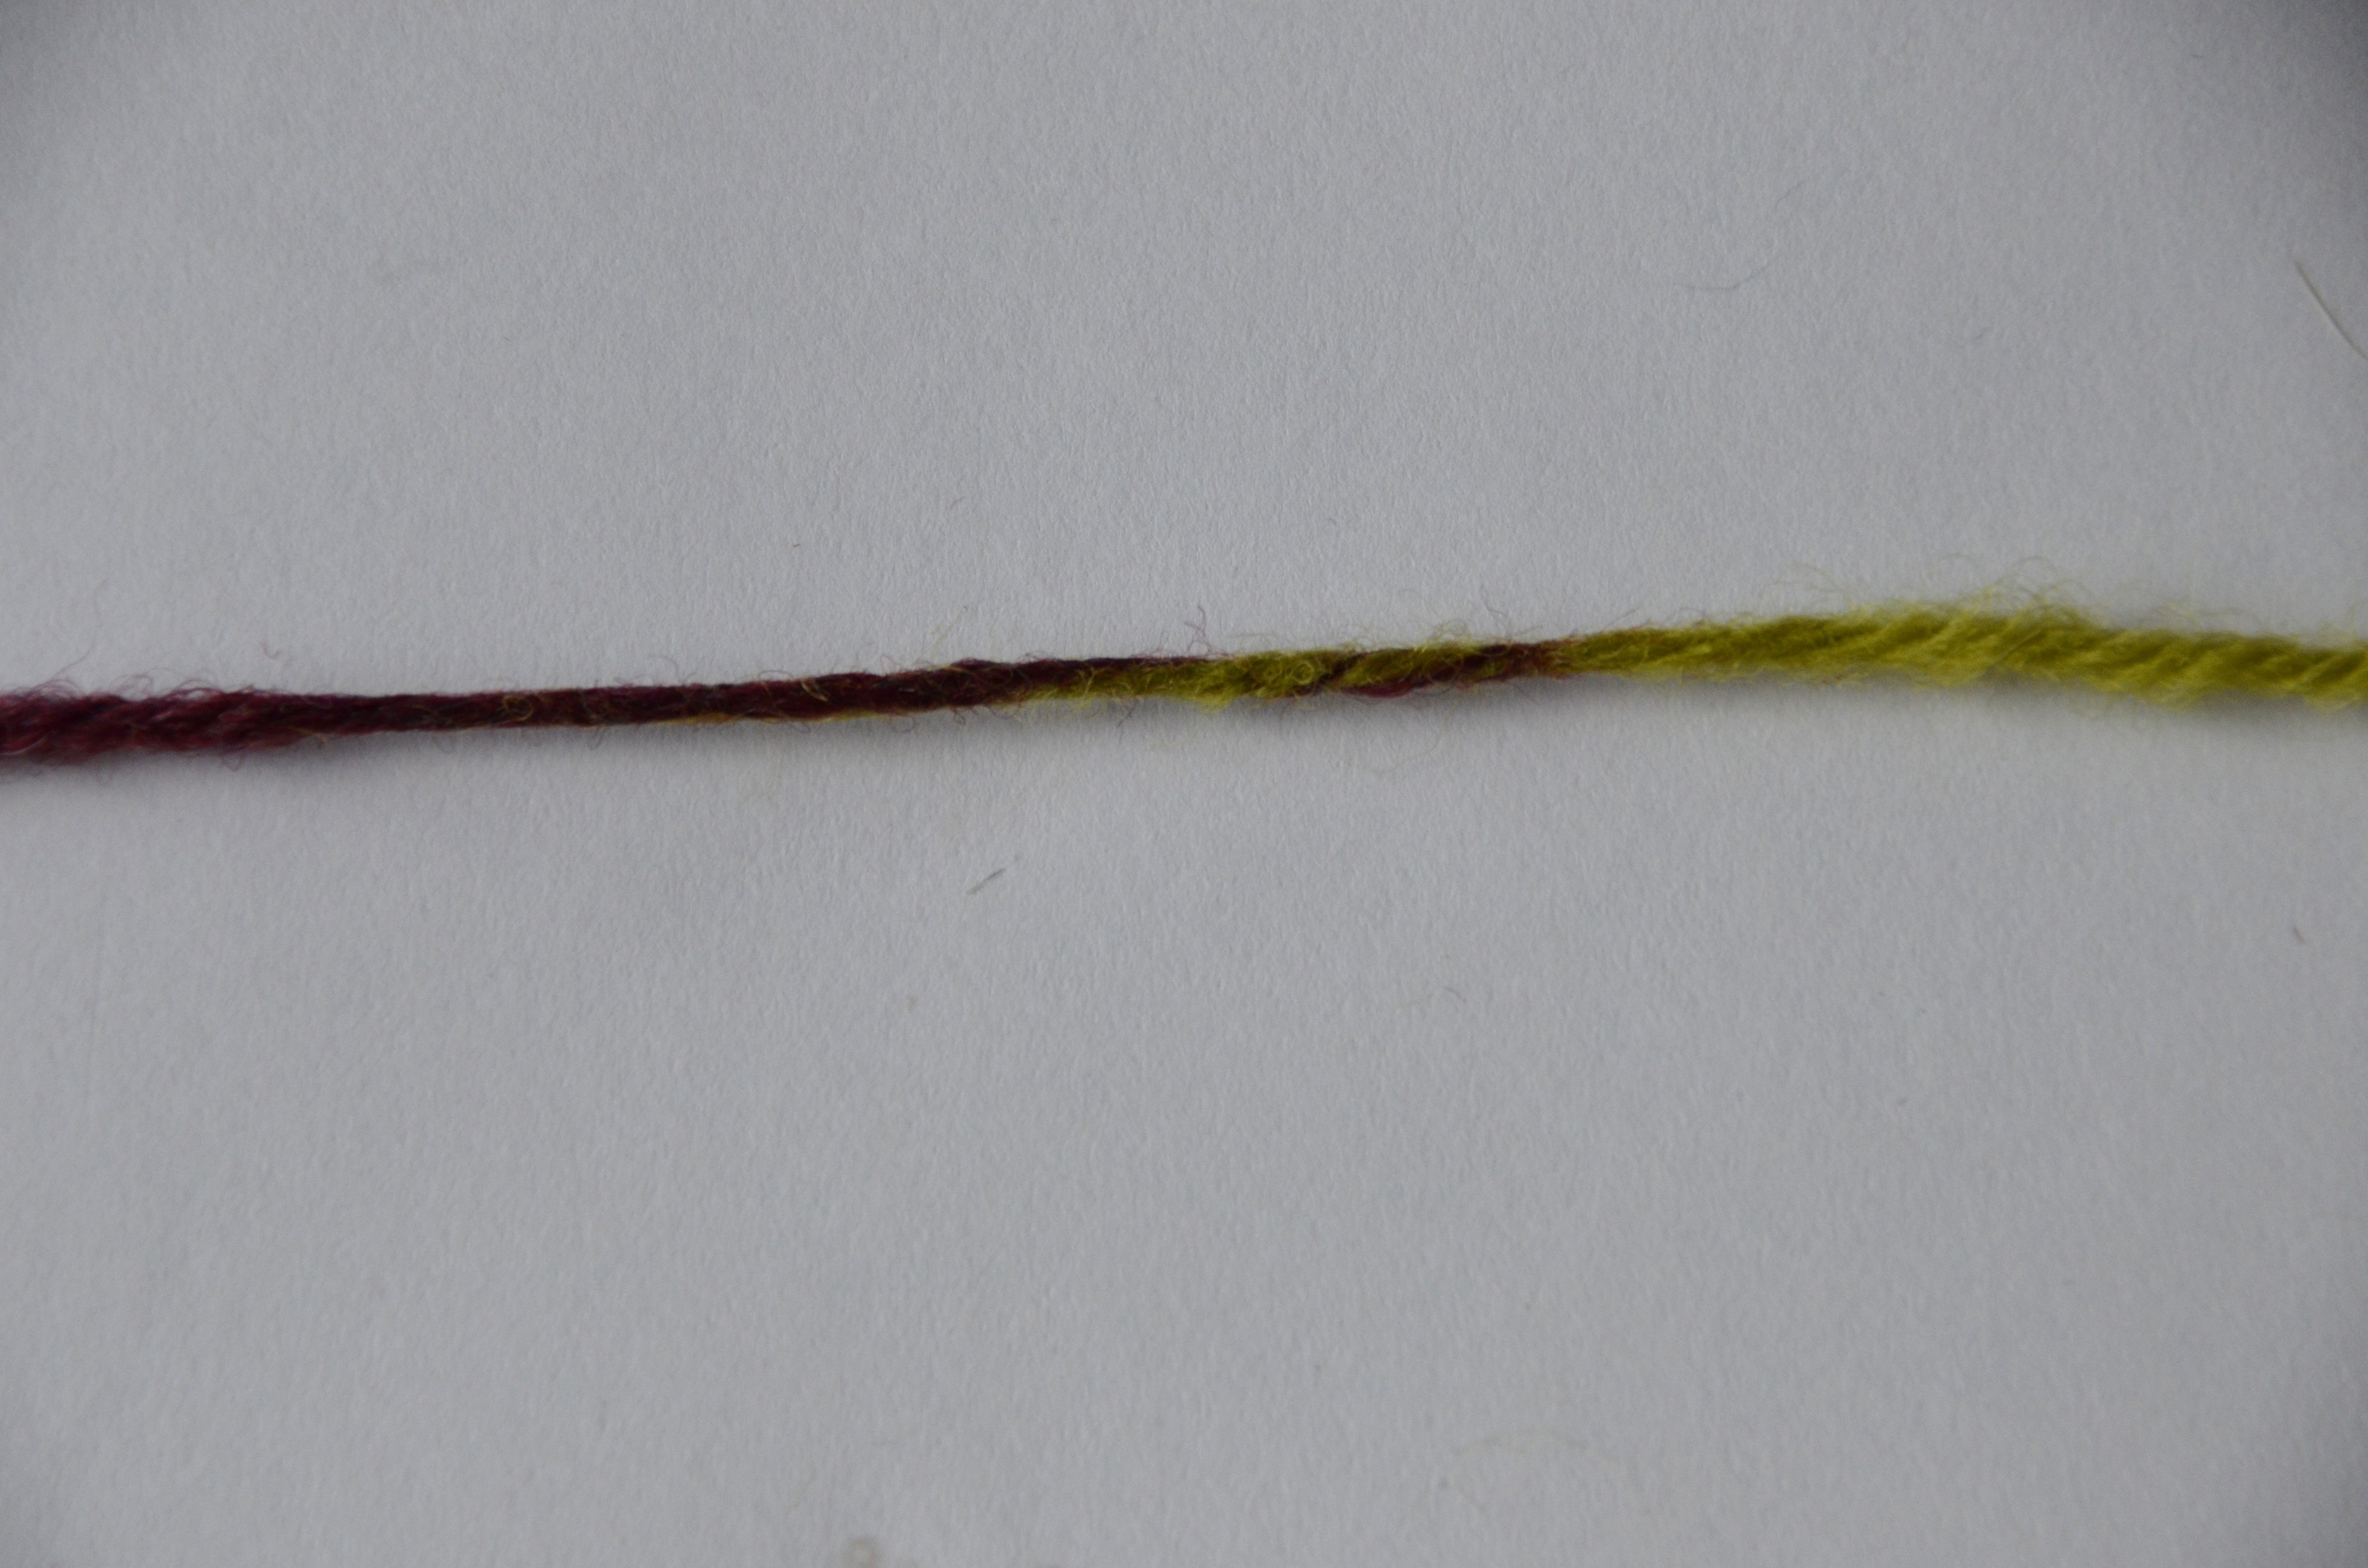
Step 5: Rub the strands between your palms to create friction. Do this rapidly for a few seconds up and down the joined section. Tug gently on the join to make sure it has adhered. If it hasn’t, rub the strands a bit more.

SpitSplice6

And that’s it! You’re ready to keep knitting on your piece with the knowledge that you have 2 fewer ends to weave in later.

What are you knitting from the Deluxe ebook? I’d love to hear about it over in our Ravelry group.

Twists and Cables

Today marks the official start of our Deluxe Cable Collection Knitalong. Woohoo! You can read previous posts on our website here and find our Ravelry group where we discuss the knitalong here.

Many of us here in the office jumped the gun and have already started knitting our projects, or at the very least have begun to gauge swatch.

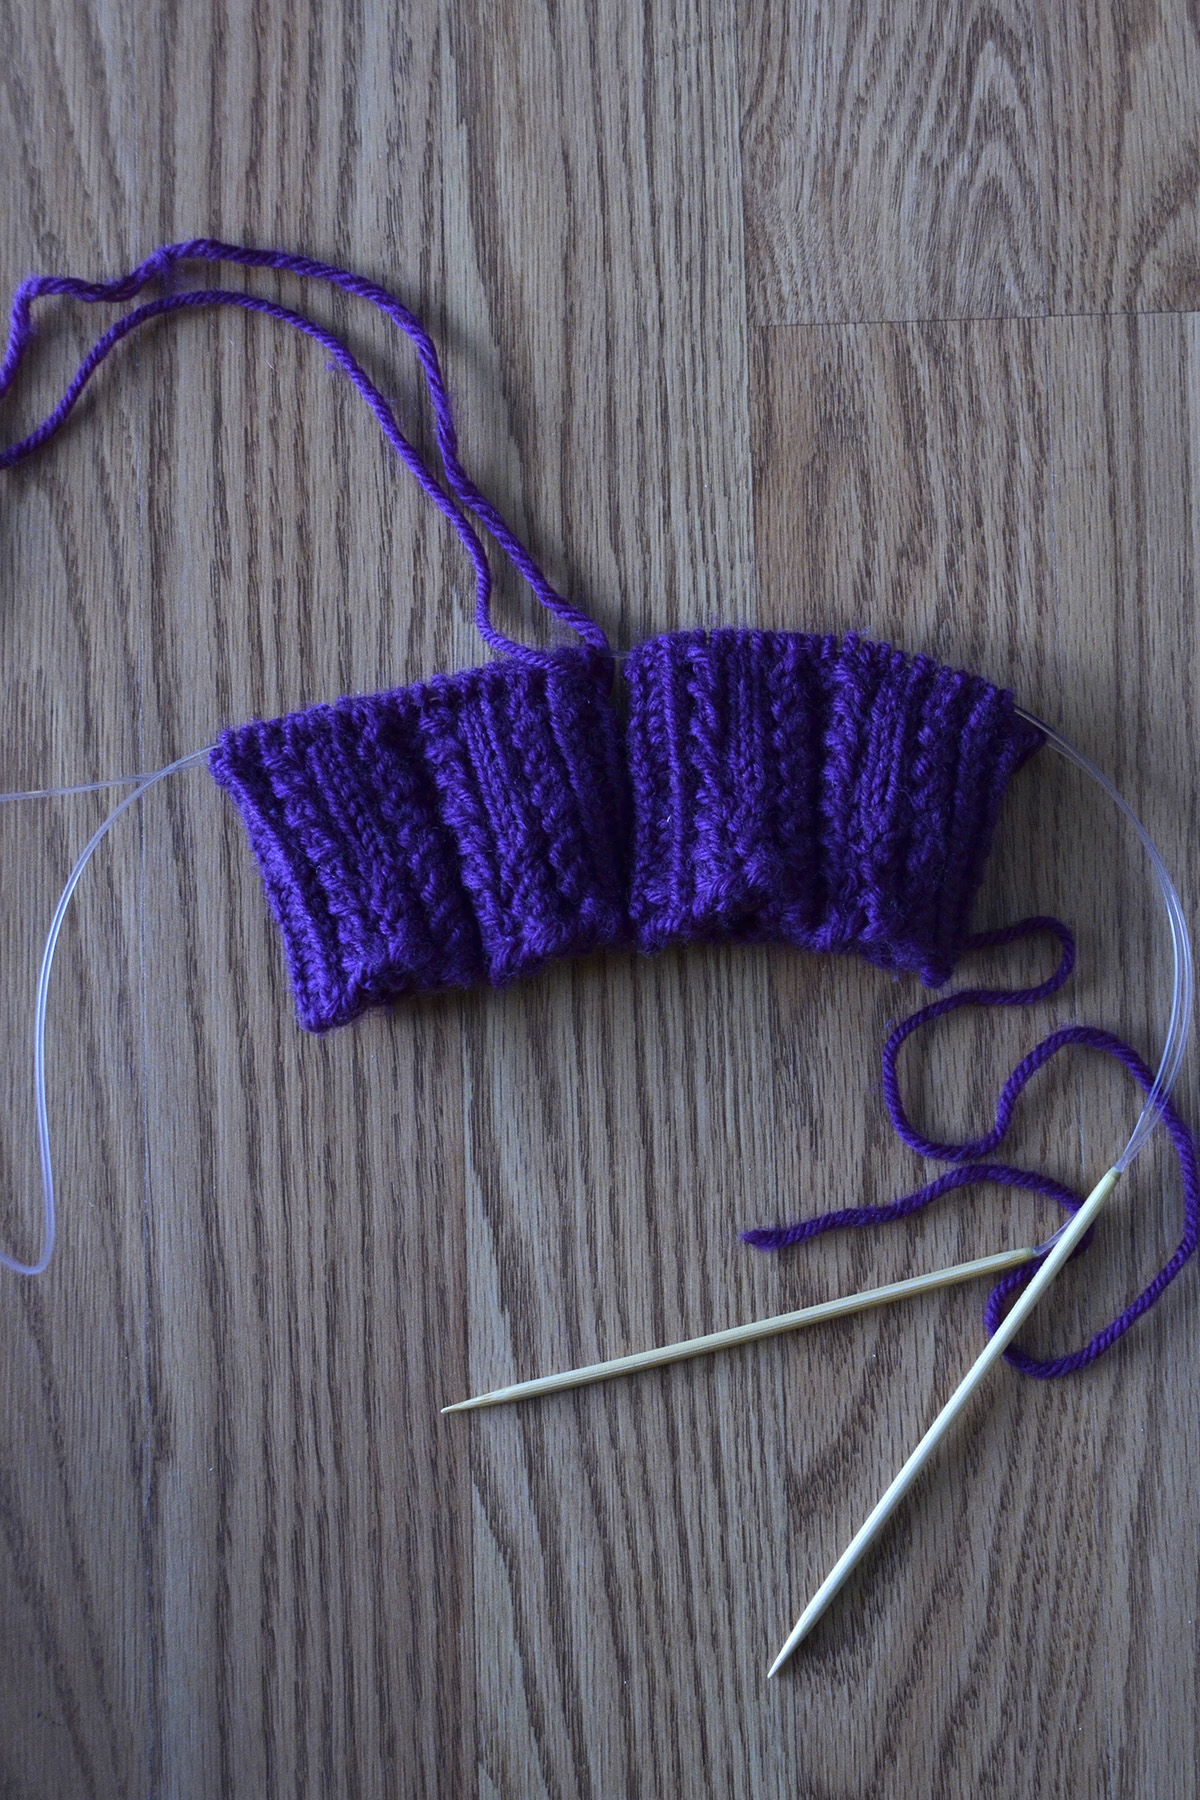
Here are Heather’s Tillery socks in progress:

Tillery_beginning

As you can see, she is doing her socks two at a time on a circular needle to avoid SSS (second sock syndrome). I have faith, Heather – you’re going to finish them both! I hope Heather’s hair is still purple when she finishes these socks – they’ll tie together nicely.

Hattie’s Ashwood Run is coming along well. This is going to look so luscious in Deluxe Worsted Tweed Superwash.

image_medium

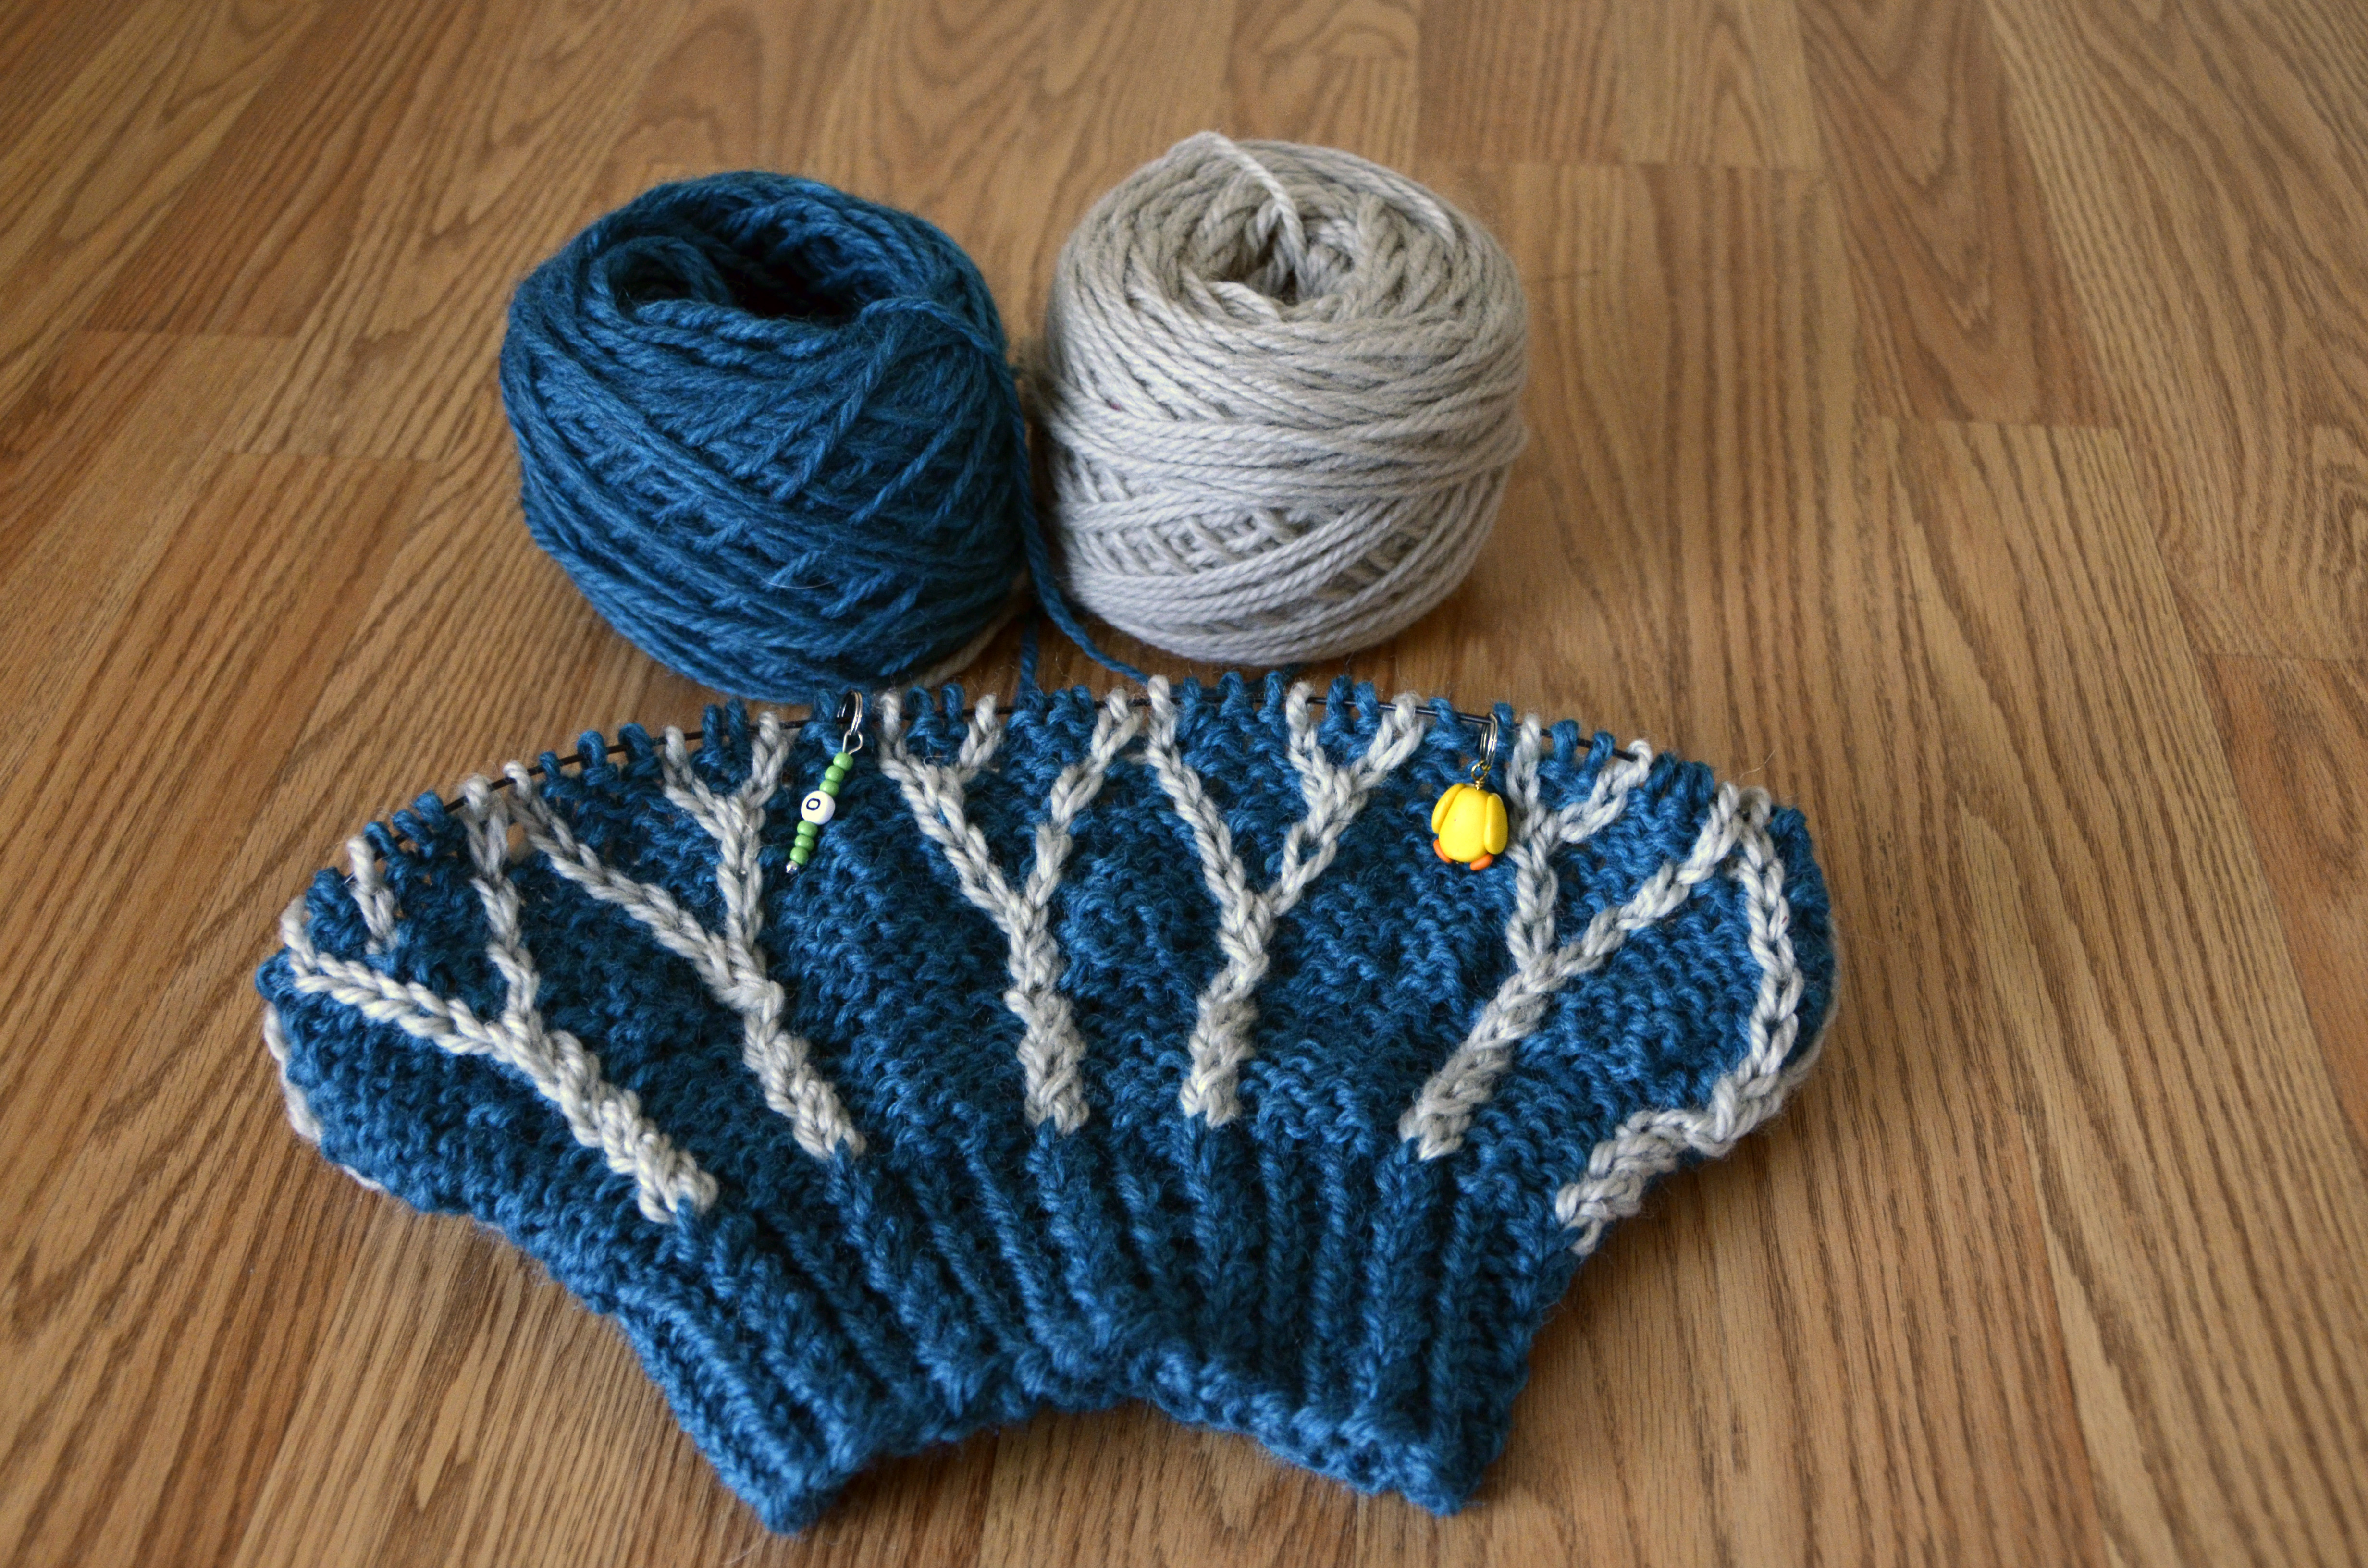
I’m making more progress on my 2 color version of the Rutherford Beret:

Rutherford_2

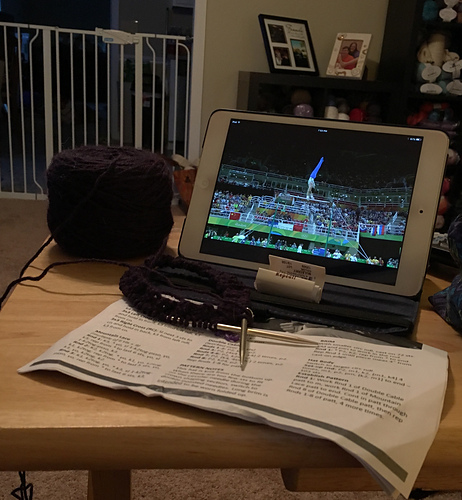
And new knitter, Angie has cast on for her Cold Mountain Hat whilst watching gymnastics:

0009018851_medium

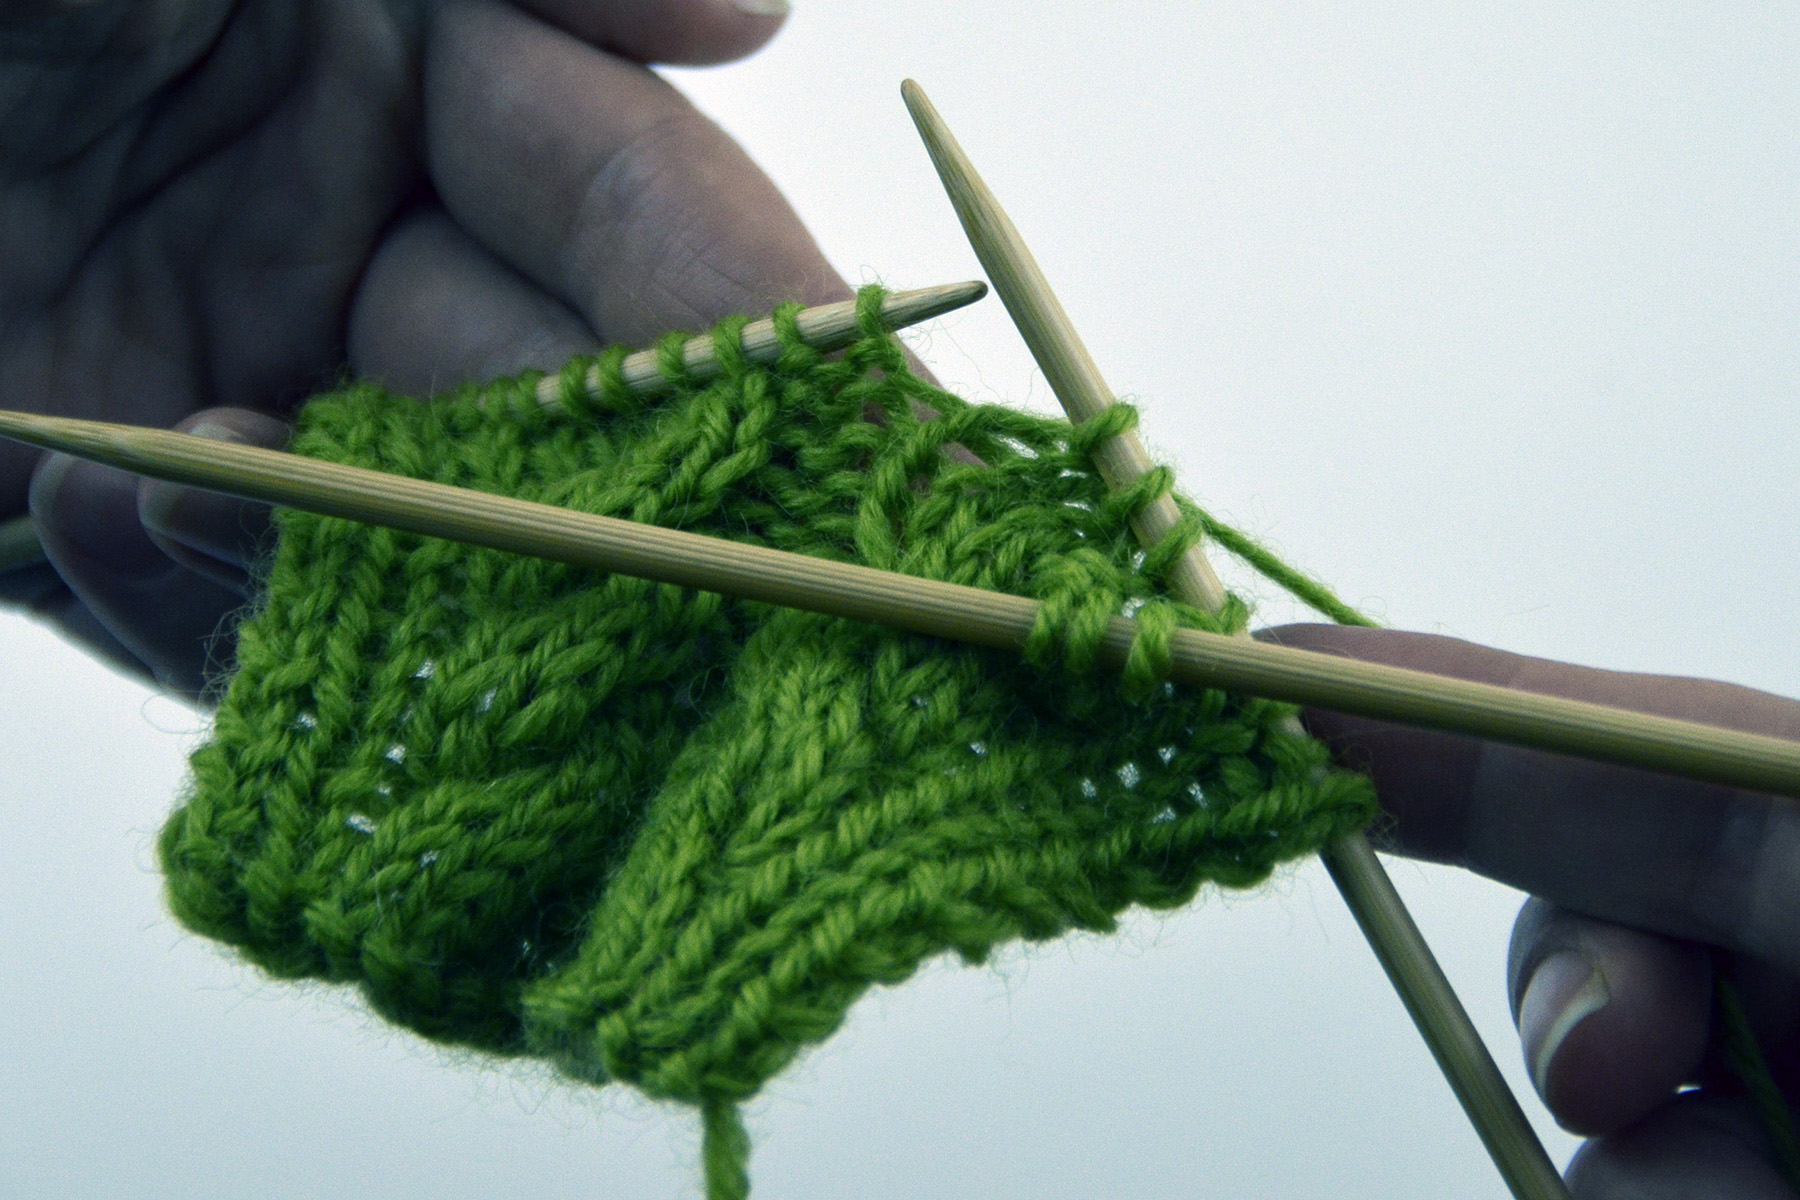
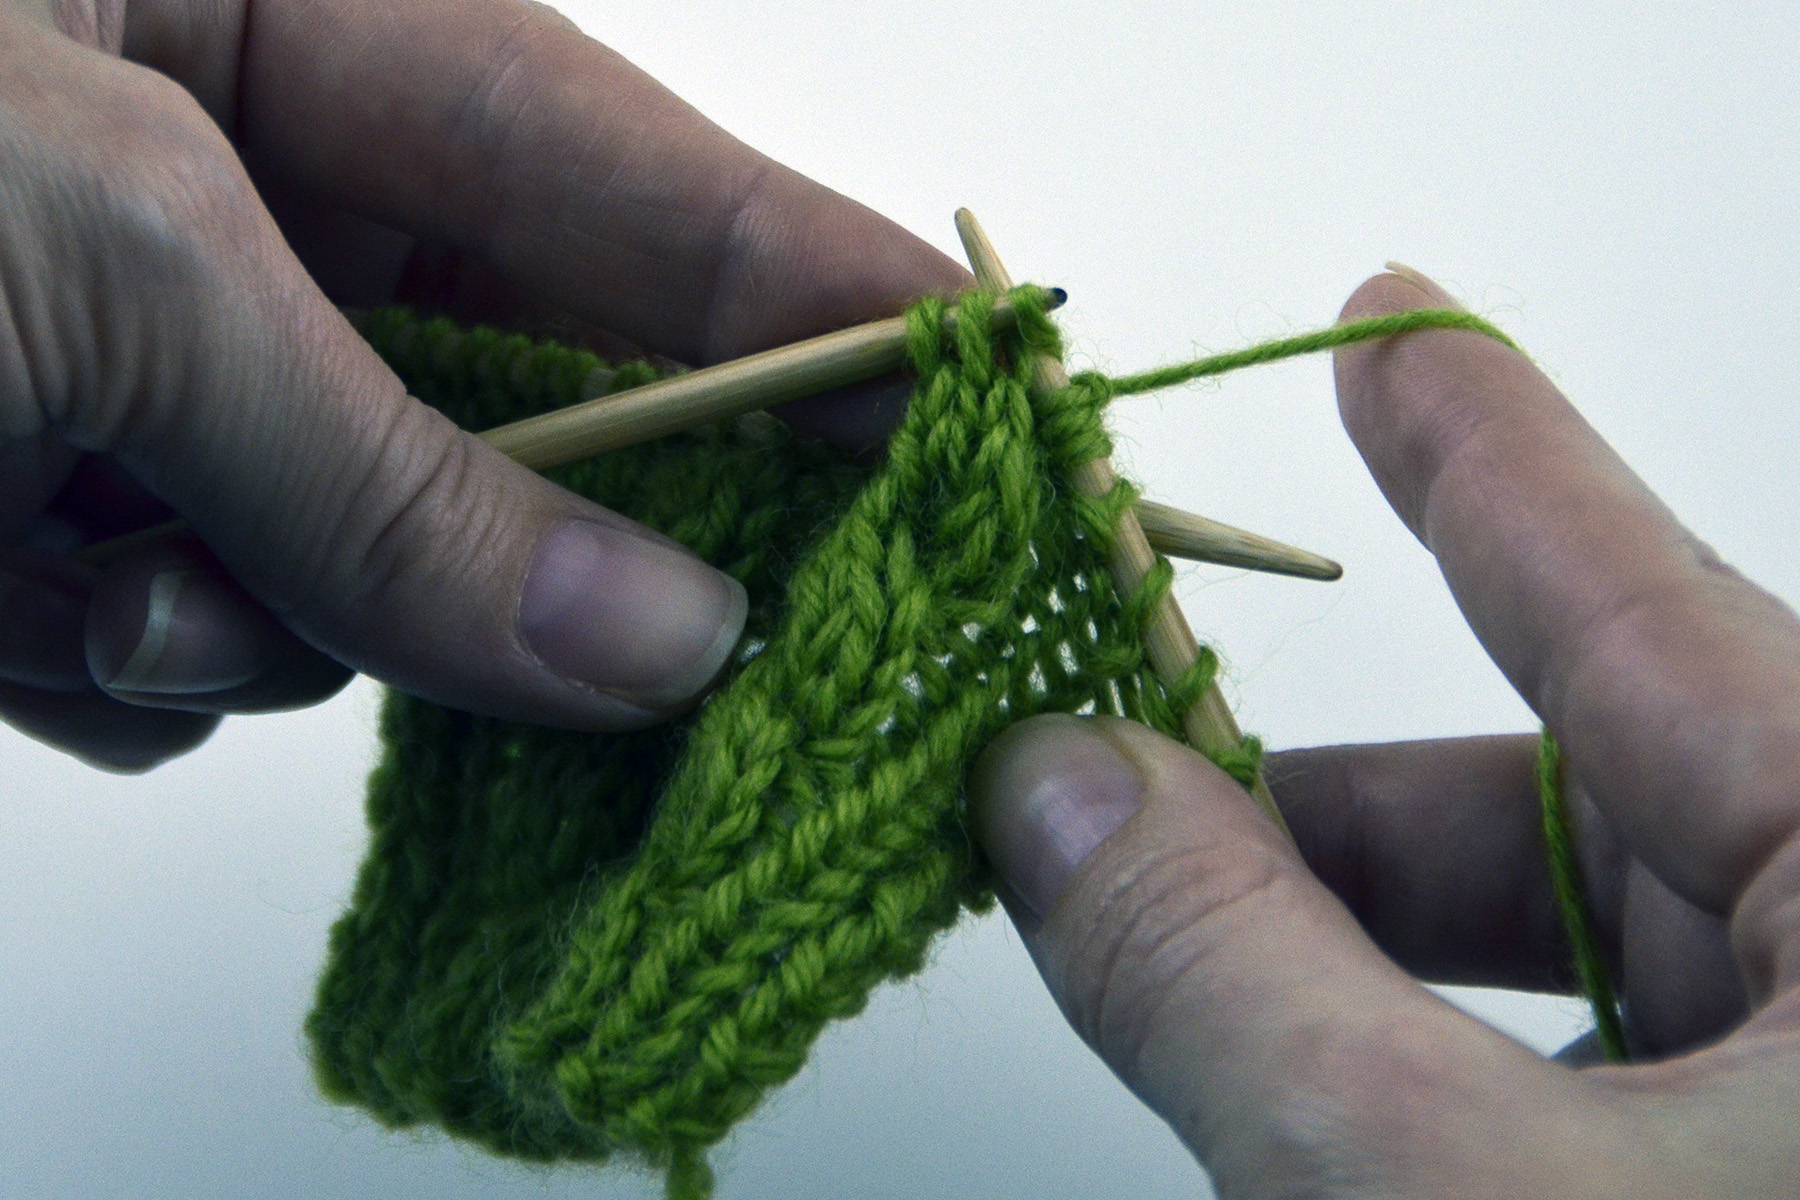
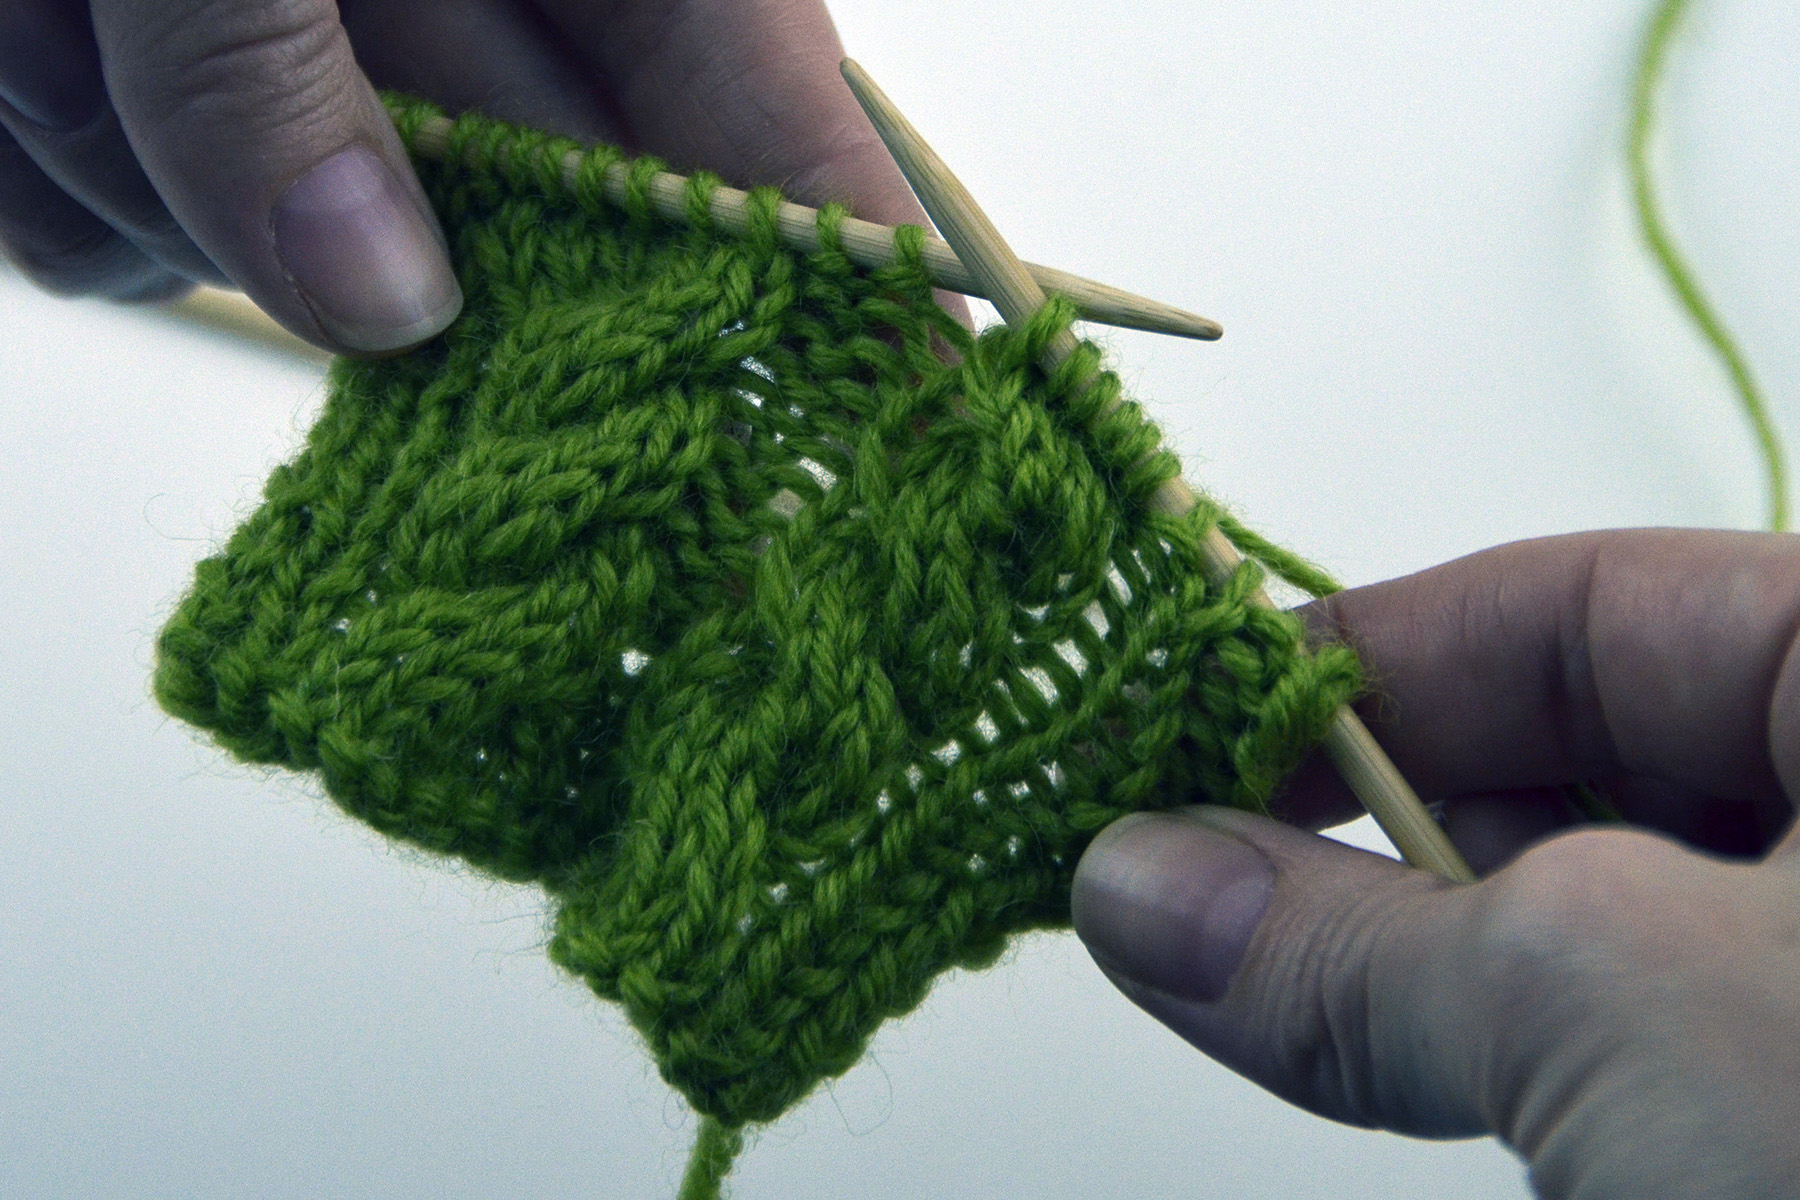
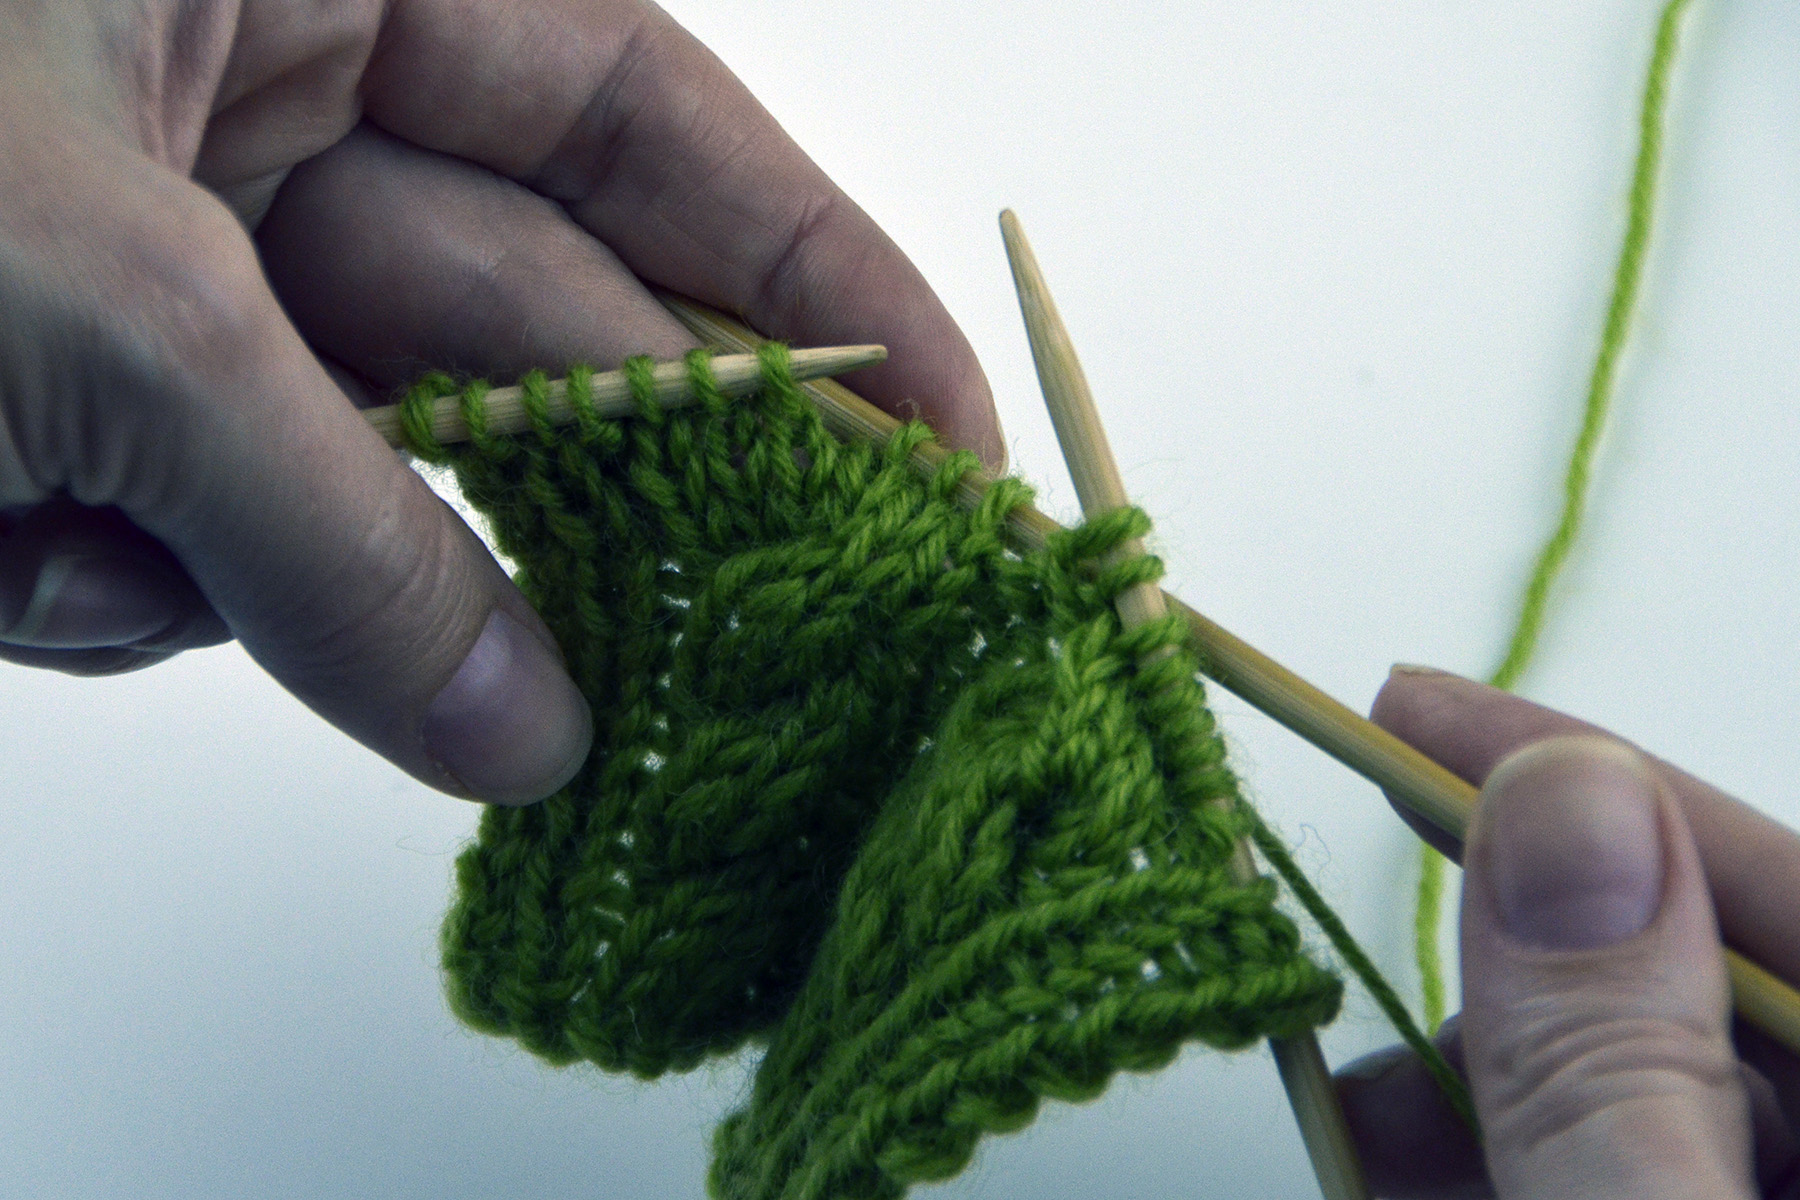
Angie has never done cables before, so we’re going to start with a photo tutorial on basic cable crosses. In the pictures below, I’ve used 3×3 cables, but this concept would apply to 2×2, 4×4 or any other cable.

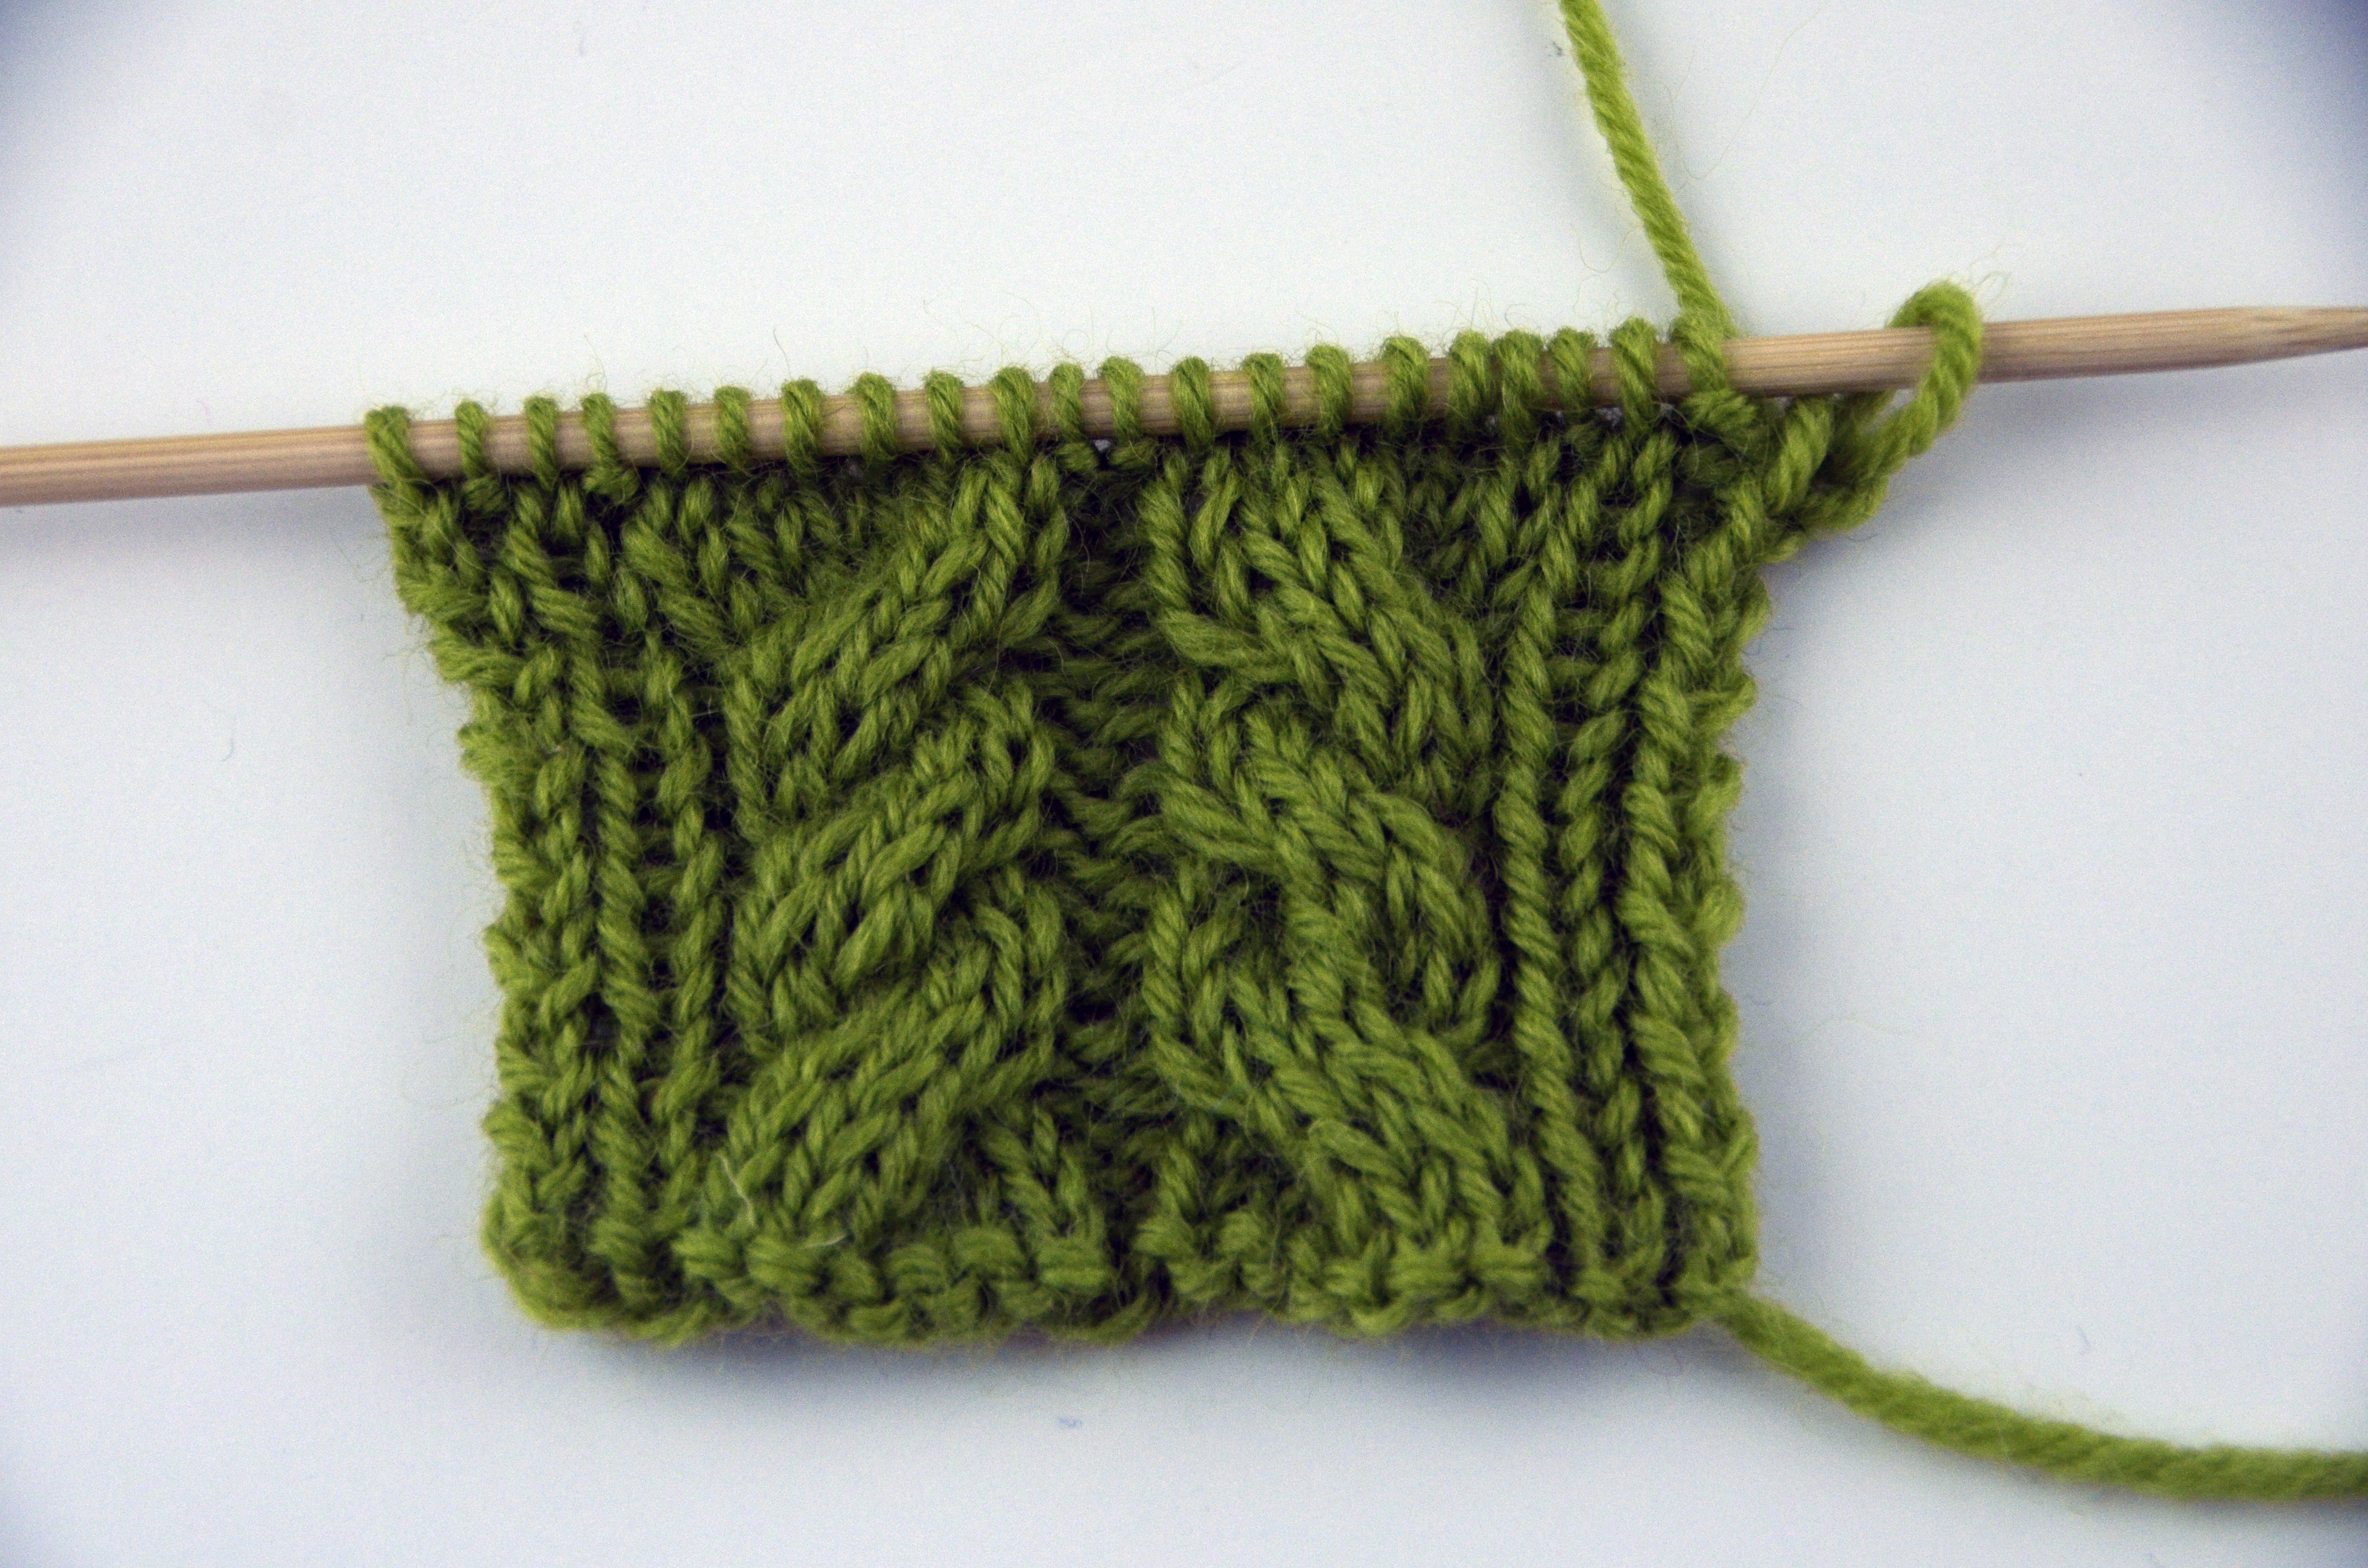
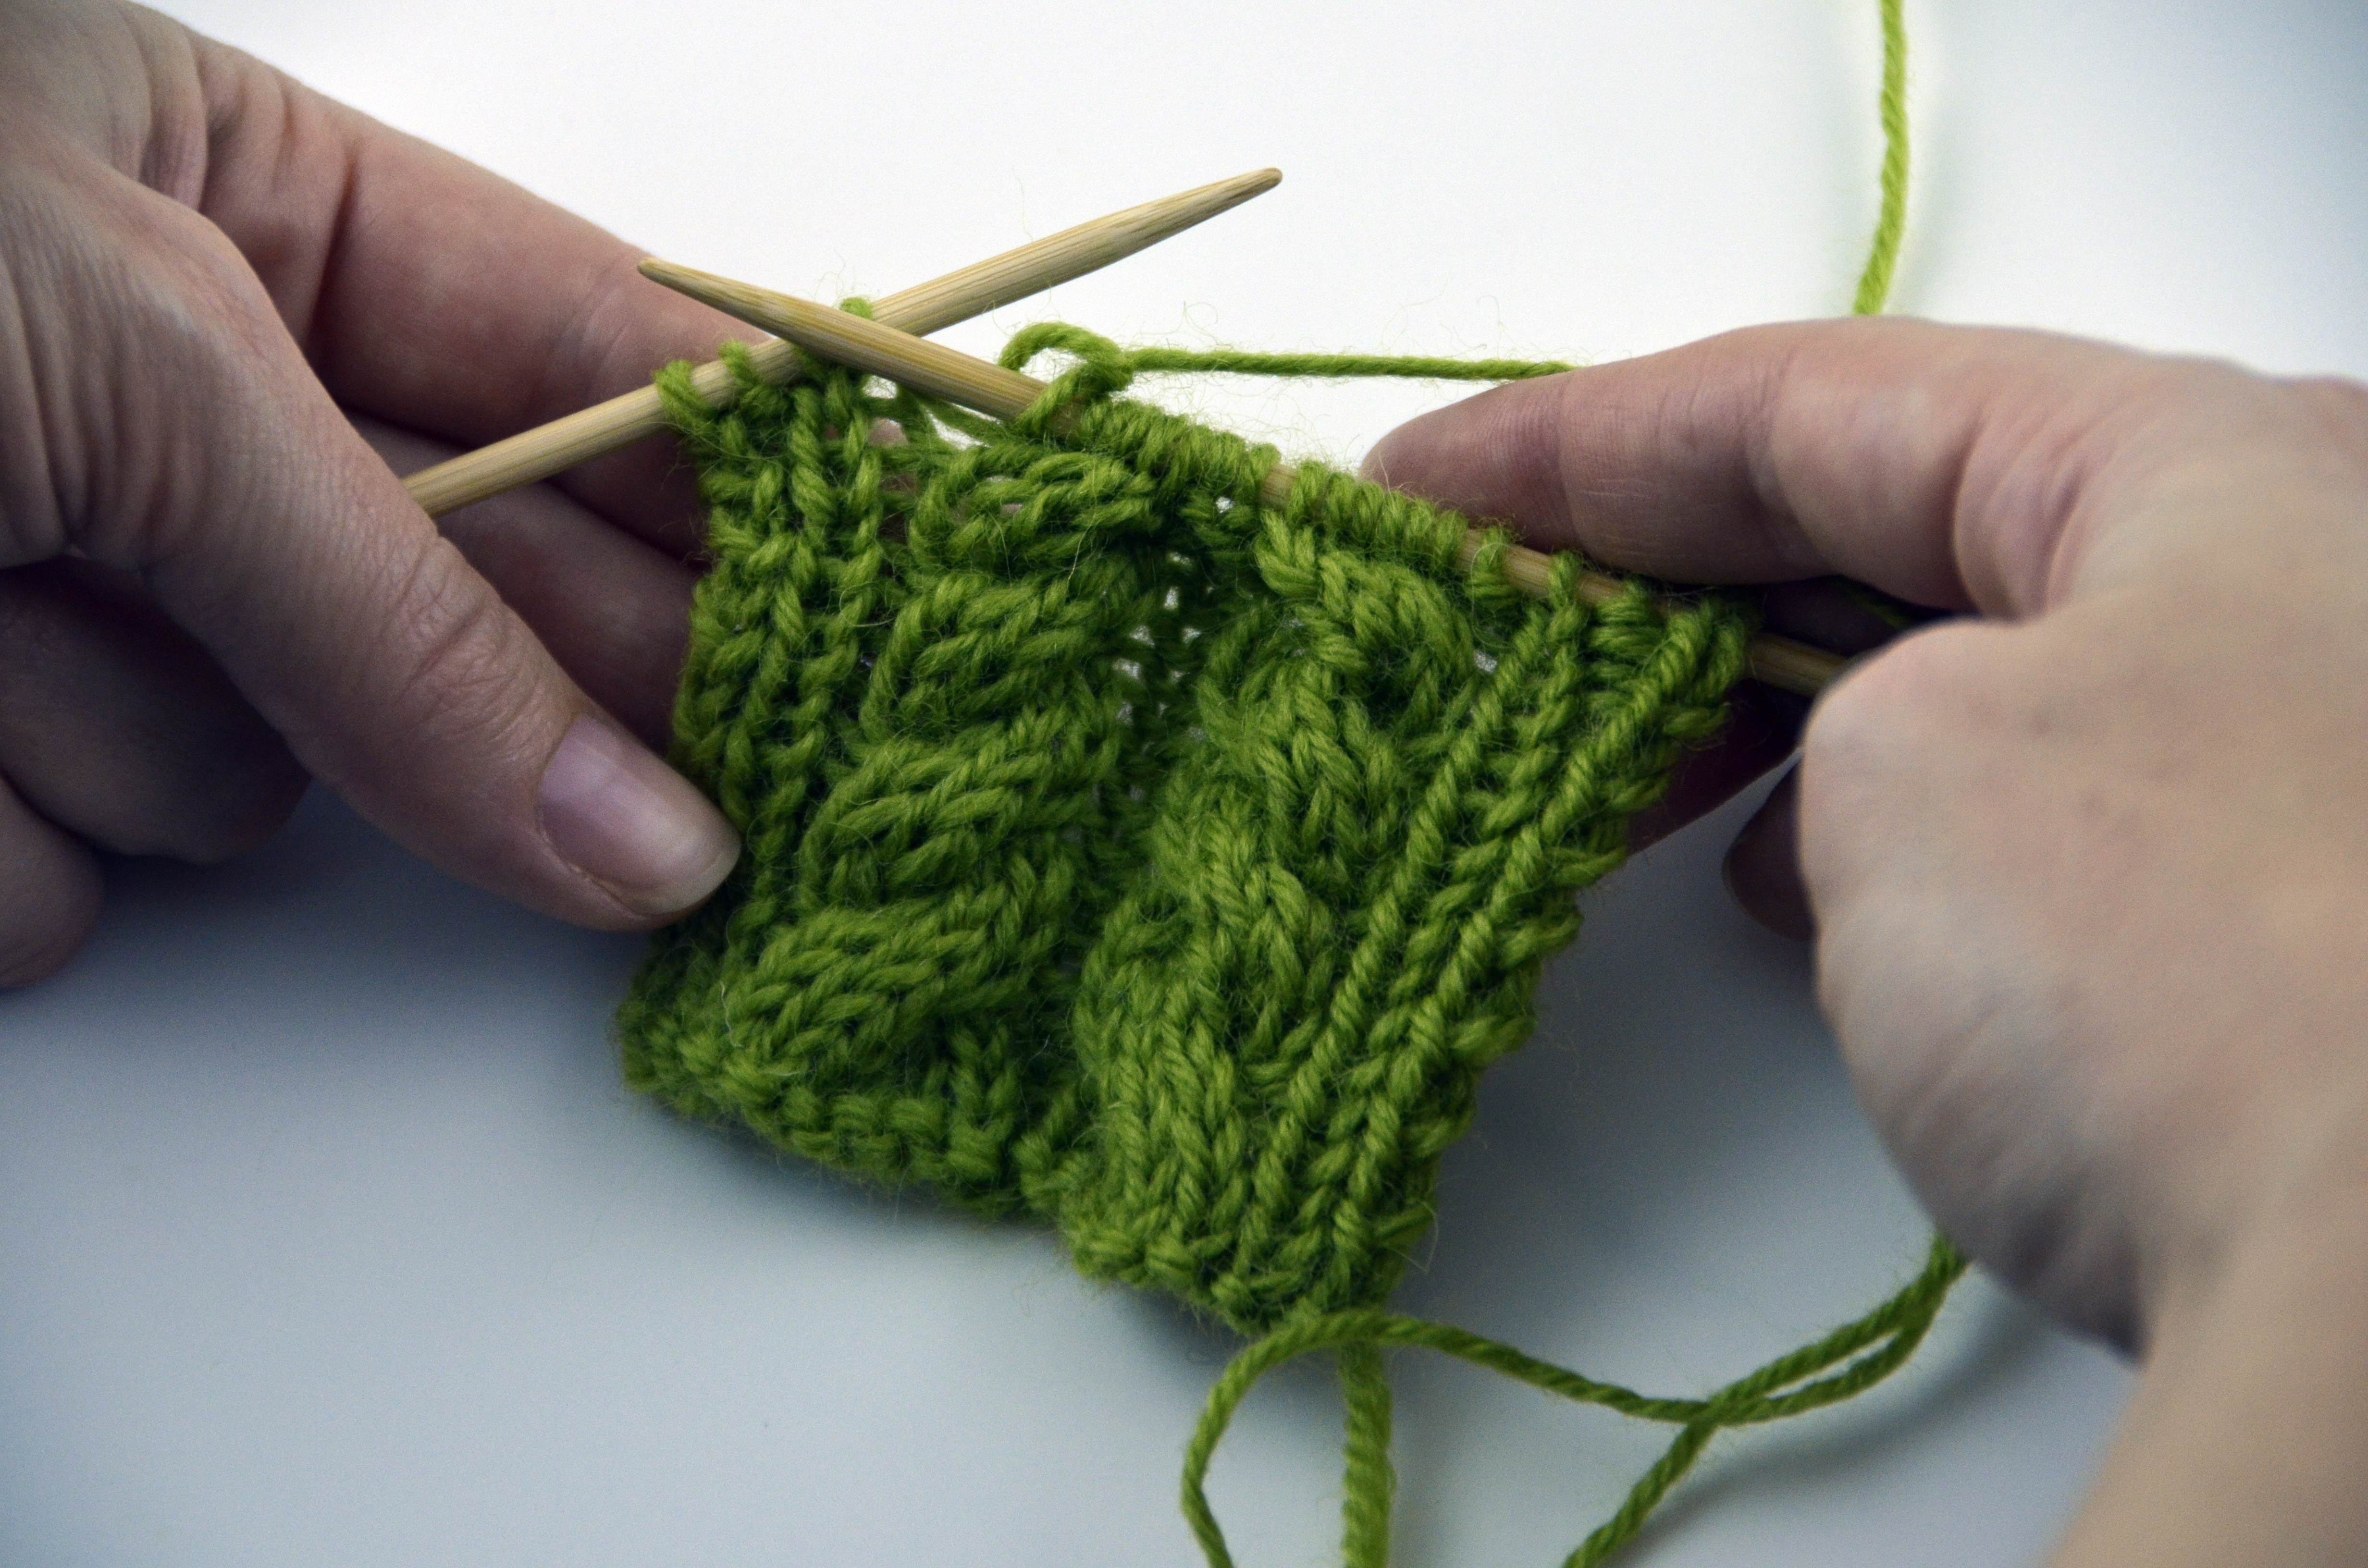
My swatch below consists of 2 cables – the cable on the right is a 3×3 Left Cross and the cable on the left is a 3×3 Right Cross. They are called Left and Right Crosses because the cables appear to be twisting to either the Left or Right.

CableCross_1

Left Cable Cross

Step 1: Work in pattern to the cable.

CableCross_2

Step 2: Slip the next 3 stitches to a cable needle (or a spare double-pointed needle as shown)

Here is the first stitch being transferred.

CableCross_3

And here are the following 2 stitches after being placed on the spare dpn, for a total of 3 stitches on hold.

CableCross_4

Step 3: Hold these 3 stitches on the spare dpn in front of your work.

CableCross_5

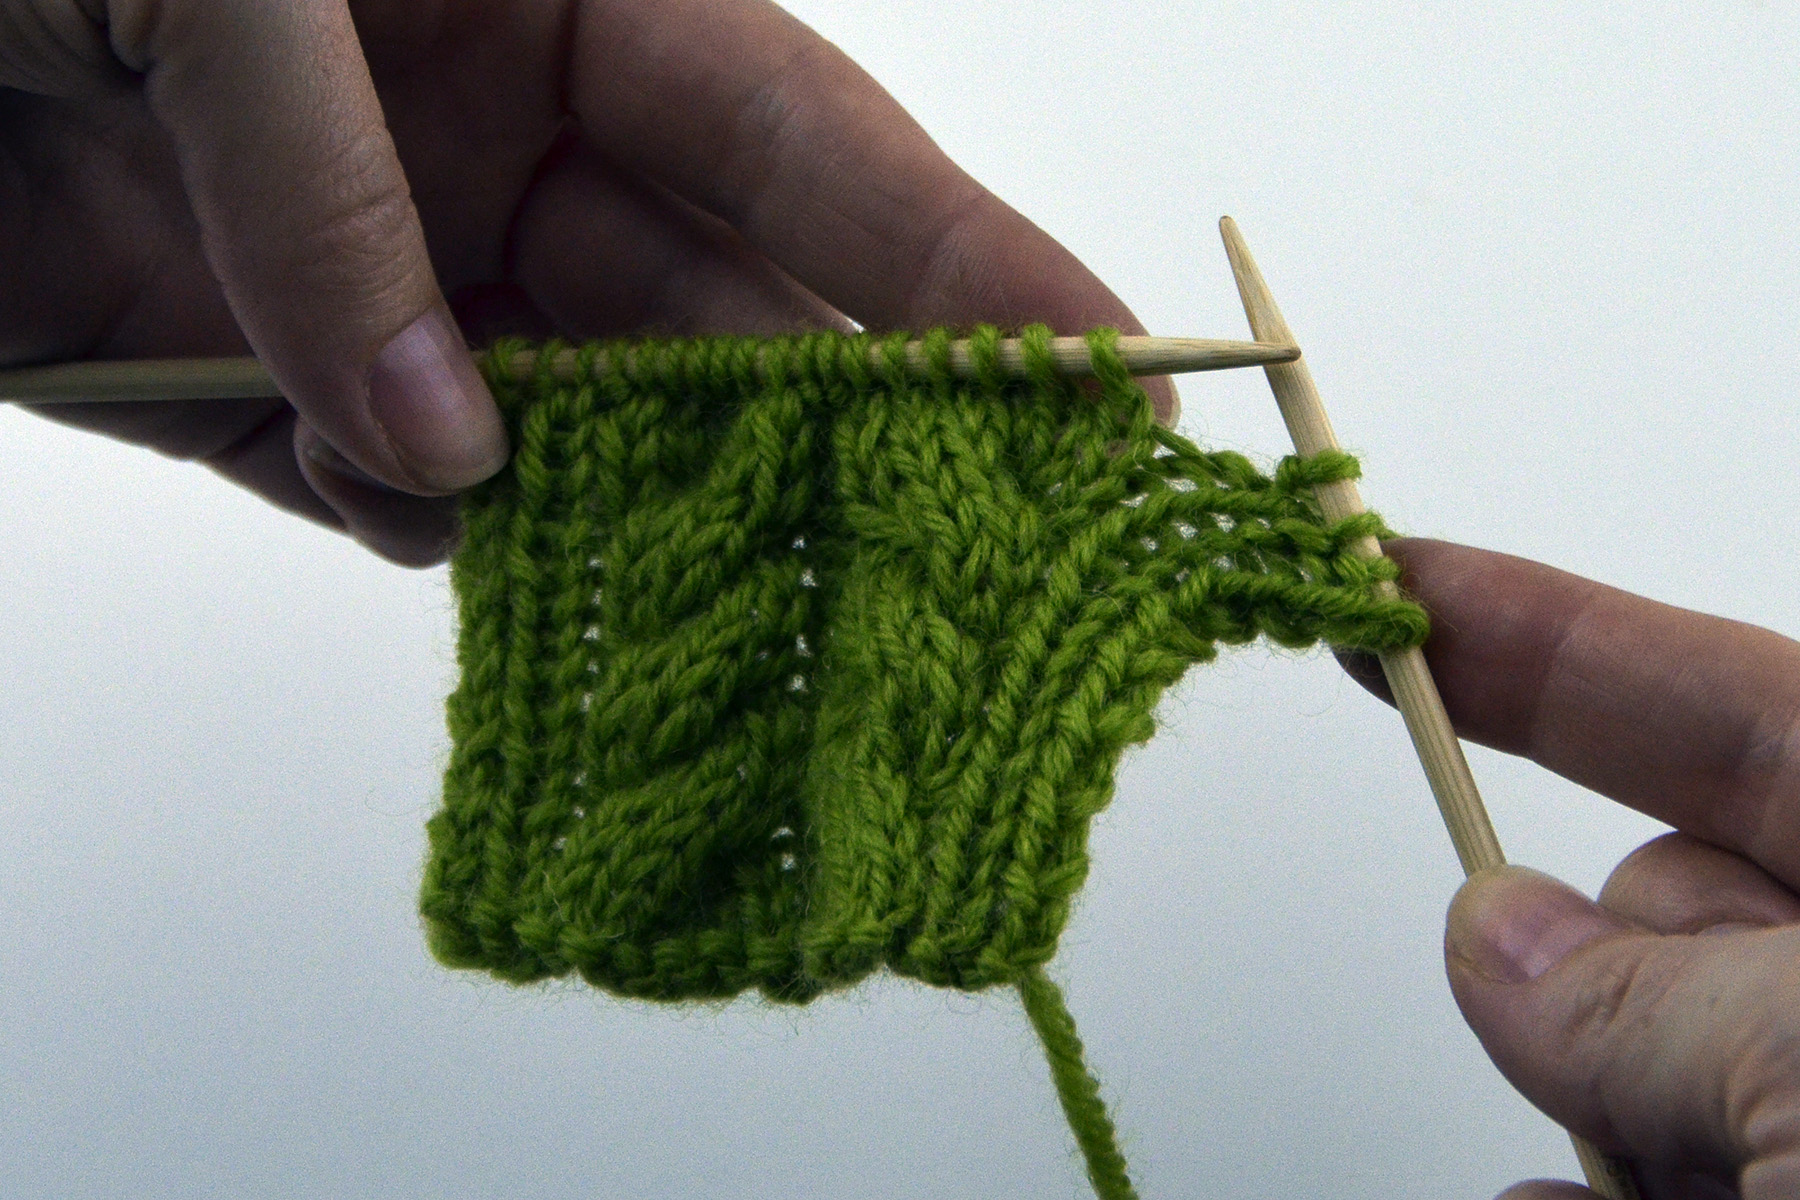
Step 4: Knit the next 3 stitches from the left needle.

CableCross_6

CableCross_7

This is going to feel a little awkward, and the work will feel a little tight. Don’t worry, this is normal!

Step 5: Knit the 3 stitches from the cable needle.

CableCross_8

And here is our completed 3×3 Left Cross.

CableCross_9

A 3×3 Right Cross is very similar to a 3×3 Left Cross. Begin the same, by slipping the next 3 stitches to a cable needle. But this time, hold the cable needle in back of the work

CableCross_10

Knit the next 3 stitches from the left needle, then knit the 3 stitches from the cable needle.

CableCross_11

Cables are just stitches that are crossed over one another. I’m a big advocate of charts for most stitch patterns, but especially with cables. Cable charts do a good job of illustrating visually how your stitches will travel.

As I’ve mentioned before, there are some projects that use twisted stitches instead of (or in addition to) cables.

Here is a video on working Right Twists and Left Twists:

You can see a video on working Right Purl Twists and Left Purl Twists here:

Keep following along for more how-tos during our knitalong. Do you have a question about your project from the Deluxe Cable Collection ebook? Post your question here, or ask over in our knitalong group on Ravelry.

Deluxe Knitalong: Gearing up

And I do mean gearing up! Yarn, needles, hard hat, safety glasses, dark chocolate. You know, the usual.

Deluxe Cable Collection cover FINAL

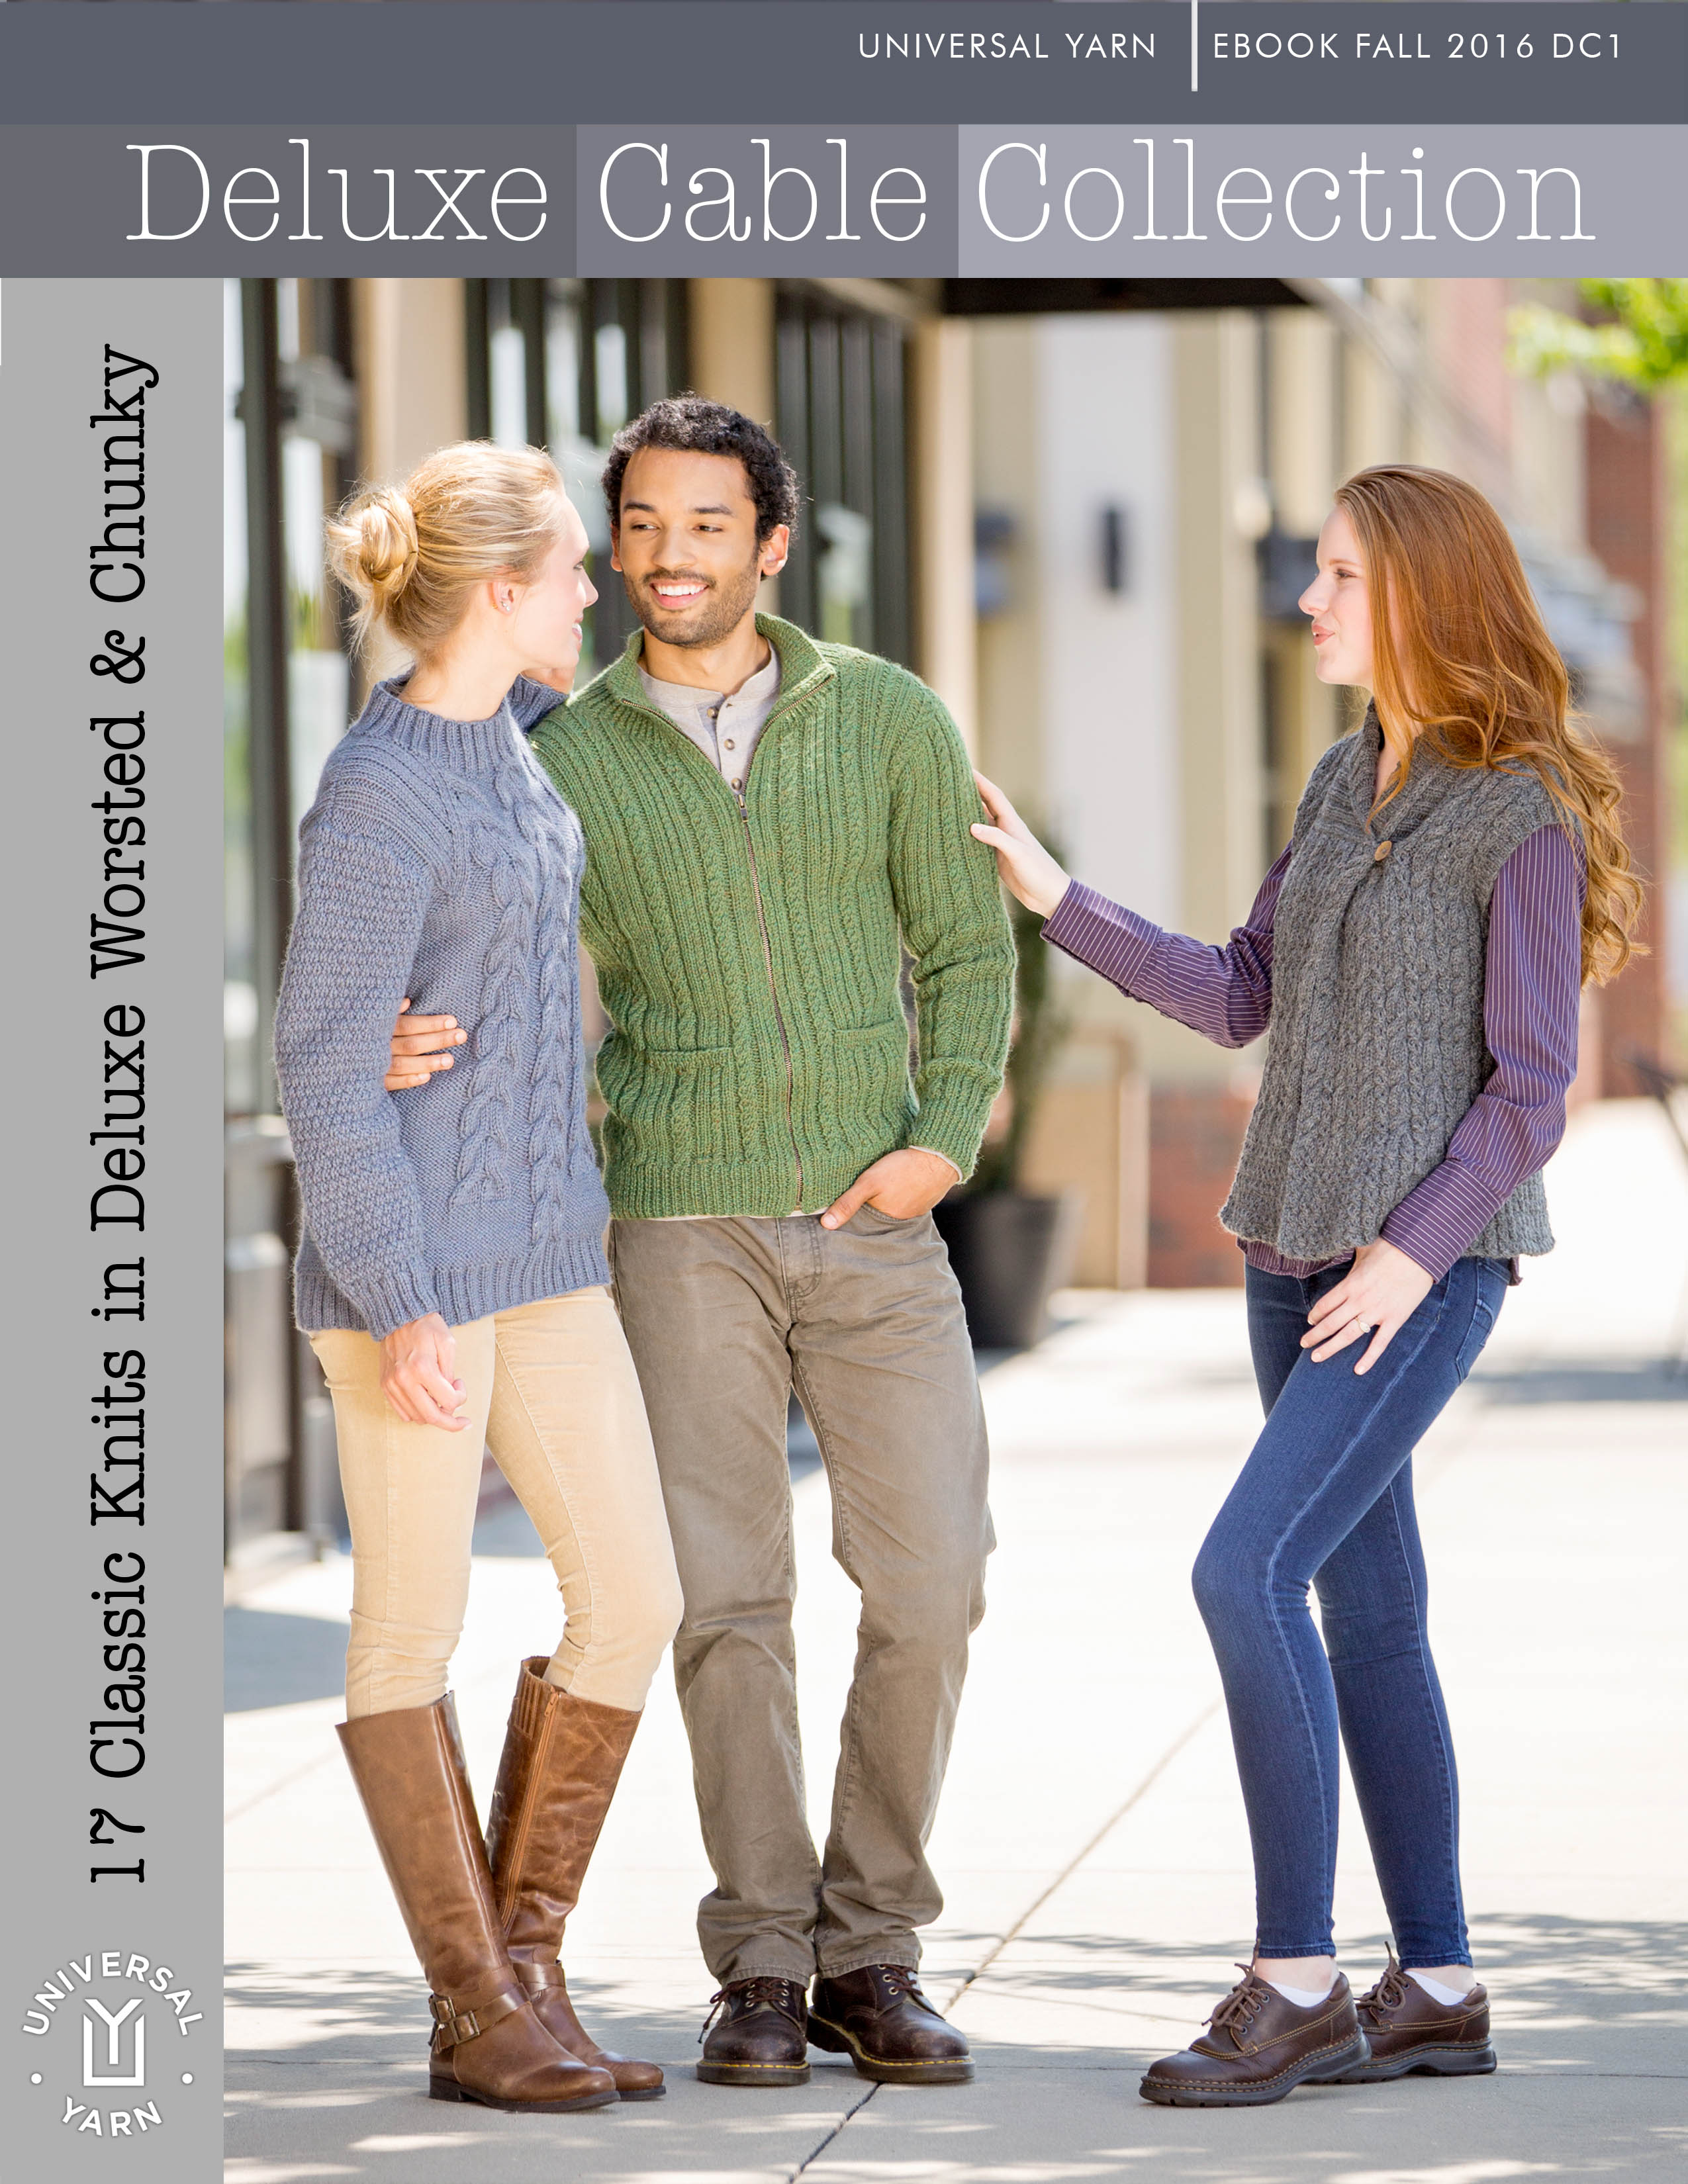
In case you haven’t heard, we’re having a knitalong! You can read all about it here, and join in the fun on Ravelry here. We’ve all chosen our projects and yarn here in the office and are anxious to cast on. Everyone is knitting something different from our newest ebook, the Deluxe Cable Collection. The official start of the knitalong is next Tuesday, August 9th. Let me introduce you to the players:

Hattie

Hattie has decided to knit Ashwood Run for her daughter. What a lucky daughter! She has actually cast-on already as she is a total over-acheiver.

She’s opted to change her yarn from Deluxe Worsted to Deluxe Worsted Tweed Superwash in color 908 Navy. Ashwood Run is knit seamlessly from the top down, beginning with a ribbed collar. Hattie is a seasoned knitter, so she decided to use a stretchy cast-on, the German twisted. Look out for a tutorial featuring this cast-on in upcoming weeks.

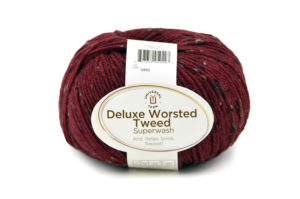
AshwoodRunPullover_532_hiresDeluxe Worsted Tweed ball shot hi-res
DW Tweed 908 Navy hi-res

Angie

Angie is the newest member of our customer service team, and is no stranger to yarn. She’s been crocheting since forever, but is pretty new to knitting. I kind of had to twist her arm to get her to join in (not too hard), and she decided to knit Cold Mountain Hat.

As shown in the book, this hat uses both cables and lace. But because Angie hasn’t ventured too far outside just knit and purl stitches, she’s decided to do stockinette instead of the lace so she can focus all her mental energy on learning cables. Good move!

For anyone else who has never crossed stitches to make knitted cables before, there will be a tutorial on basic cable crosses here soon as part of the knitalong posts.

Cold Mountain Hat:

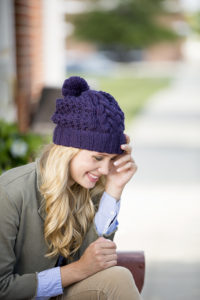
ColdMountainHat_492_hires

Heather

Heather is our fantastic social media person who also does a million other things here at Universal Yarn. She’s decided to knit two projects from the collection, but we’ll focus on the first today, Tillery Socks.

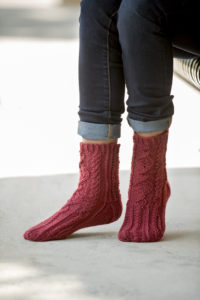
TillerySocks_2575_hires

To me, socks are such a small item that I’ll generally just cast on for the project and consider that my swatch. But I am pretty impressed with Heather, because she actually swatched for her socks! Here’s what she has to say:

Before casting on for my Tillery socks, I swatched for gauge with Deluxe Worsted Superwash in Navy, 48 stitches in the round just as is called for in the pattern.  The swatch was machine washed warm and tumbled dry warm with a load of laundry.  I did this because I’m not the only one who does laundry in my house, and I can easily imagine a situation where these will accidentally get thrown in with all the other clothes, so I wanted to be sure these would last an accidental washing or two.

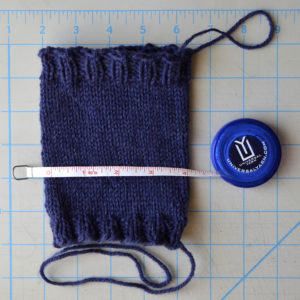
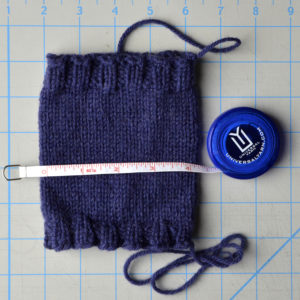
The washed swatch had the same gauge as the unwashed –  22.25 sts x 32 rows.  The ribbing pulled in height-wise after washing just a hair, but the gauge is over stockinette so that’s not going to matter for me.  The gauge is tighter than called for in the pattern – I’m sure if I went to a size 5 I’d be dead on –  but the benefit of swatching in the round like this is that I was able to pull it over my foot and ankle and determine that it fits.  So I’m sticking with my size 4 and tighter gauge, confident that this is going to be a cozy and beautiful pair of socks.

Before Washing:

DW Superwash swatch before washing hi-res

After Washing:

DW Superwash swatch after washing hi-res

Tori

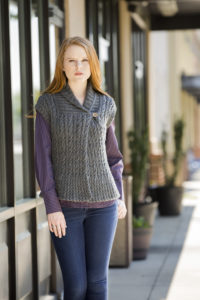
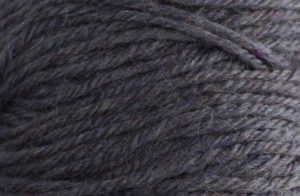
We’re so happy to welcome Tori as our newest member of the design team here at Universal! Like a woman after my own heart, Tori selected color 13104 Slate in Deluxe Worsted to knit the Eastover Vest. Slate is a really lovely deep, heathered gray.  I am a sucker for gray. As written, the Eastover vest is knit in pieces and seamed, but Tori is considering working this in one piece.

EastoverVest_207_hires

DW 13104 Slate REV hi-res

Jannie

Jannie has been knitting and crocheting for about a year now. I’m super impressed that she decided to learn how to do both after starting work here. Jannie chose the Greensboro Cardigan and this will be her first garment ever.

She has doubts about her abilities, but I have complete confidence that she will tackle this and come out on the other side with a brand new sweater. She does say that she’s up for the challenge, and her first goal is to get through swatching in less than a week! She thinks this will be  a great learning experience and is looking forward to the process. Yay!

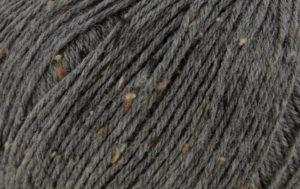
Jannie also opted to change from Deluxe Worsted to Deluxe Worsted Tweed Superwash, and she’s going with  914 Charcoal (more gray!).

Greensboro_095_hires

DW Tweed 914 Charcoal hi-res

Jen

Jen (who works in accounting) is a total knitting pro. She’s making the Ballantyne Tee in color 22285 Cactus in Deluxe Chunky. Jen is going to be applying her “standard” mods to this tee:

  • knit in the round
  • convert to an A line shape by adding in some waist decreases
  • possibly doing the cable pattern only on the front to make the project go faster

BallantyneTee_467_detail_hires

DW 12282

Katie

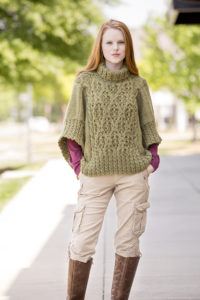
Katie is our customer service team lead, and also an avid knitter and crocheter. She’s decided on the Catawba River Poncho in Deluxe Chunky. Katie will knit this in Deluxe Chunky Naturals (the undyed version of Deluxe Chunky), color 50003 Musket. This will make for a nice neutral piece that will go with just about anything.

CatawbaRiverPoncho_311_hires

DW 40003_hi-res

Amy

(Me) I’m going to be knitting at least 2 projects – Rutherford Beret and Wesley Heights. More on Wesley Heights later. I needed some instant gratification so I went ahead and cast on for the beret. A hat in Deluxe Chunky goes so fast!

DerringerBeret_454_hires

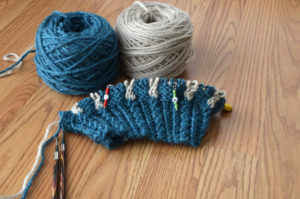
Rutherford Beret and Tallulah Cardigan have similar stitch patterns that consist of traveling, twisted stitches over a reverse stockinette background. I thought the beret could look cool in a two color stranded version with a contrast color forming the traveling lines. So that’s what I’m doing!

I started out by using the main color only for the brim (91906 Azure Heather), and then added in my contrast color (71006 White Ash).

Rutherford_1

Pop on over to our Ravelry group and give a shout out if you’re joining us for the knitalong – we’d love to hear from you!

Color Pooling: I Meant to Do It!

Have you ever heard of color pooling in the worlds of knitting, crocheting, or weaving? Briefly, color pooling is when a patterned yarn “pools” in particular colors sections. This pooling may or may not be intentional. It is very common to see unintentional pooling in variegated-type yarns, where the color repeats are very short.

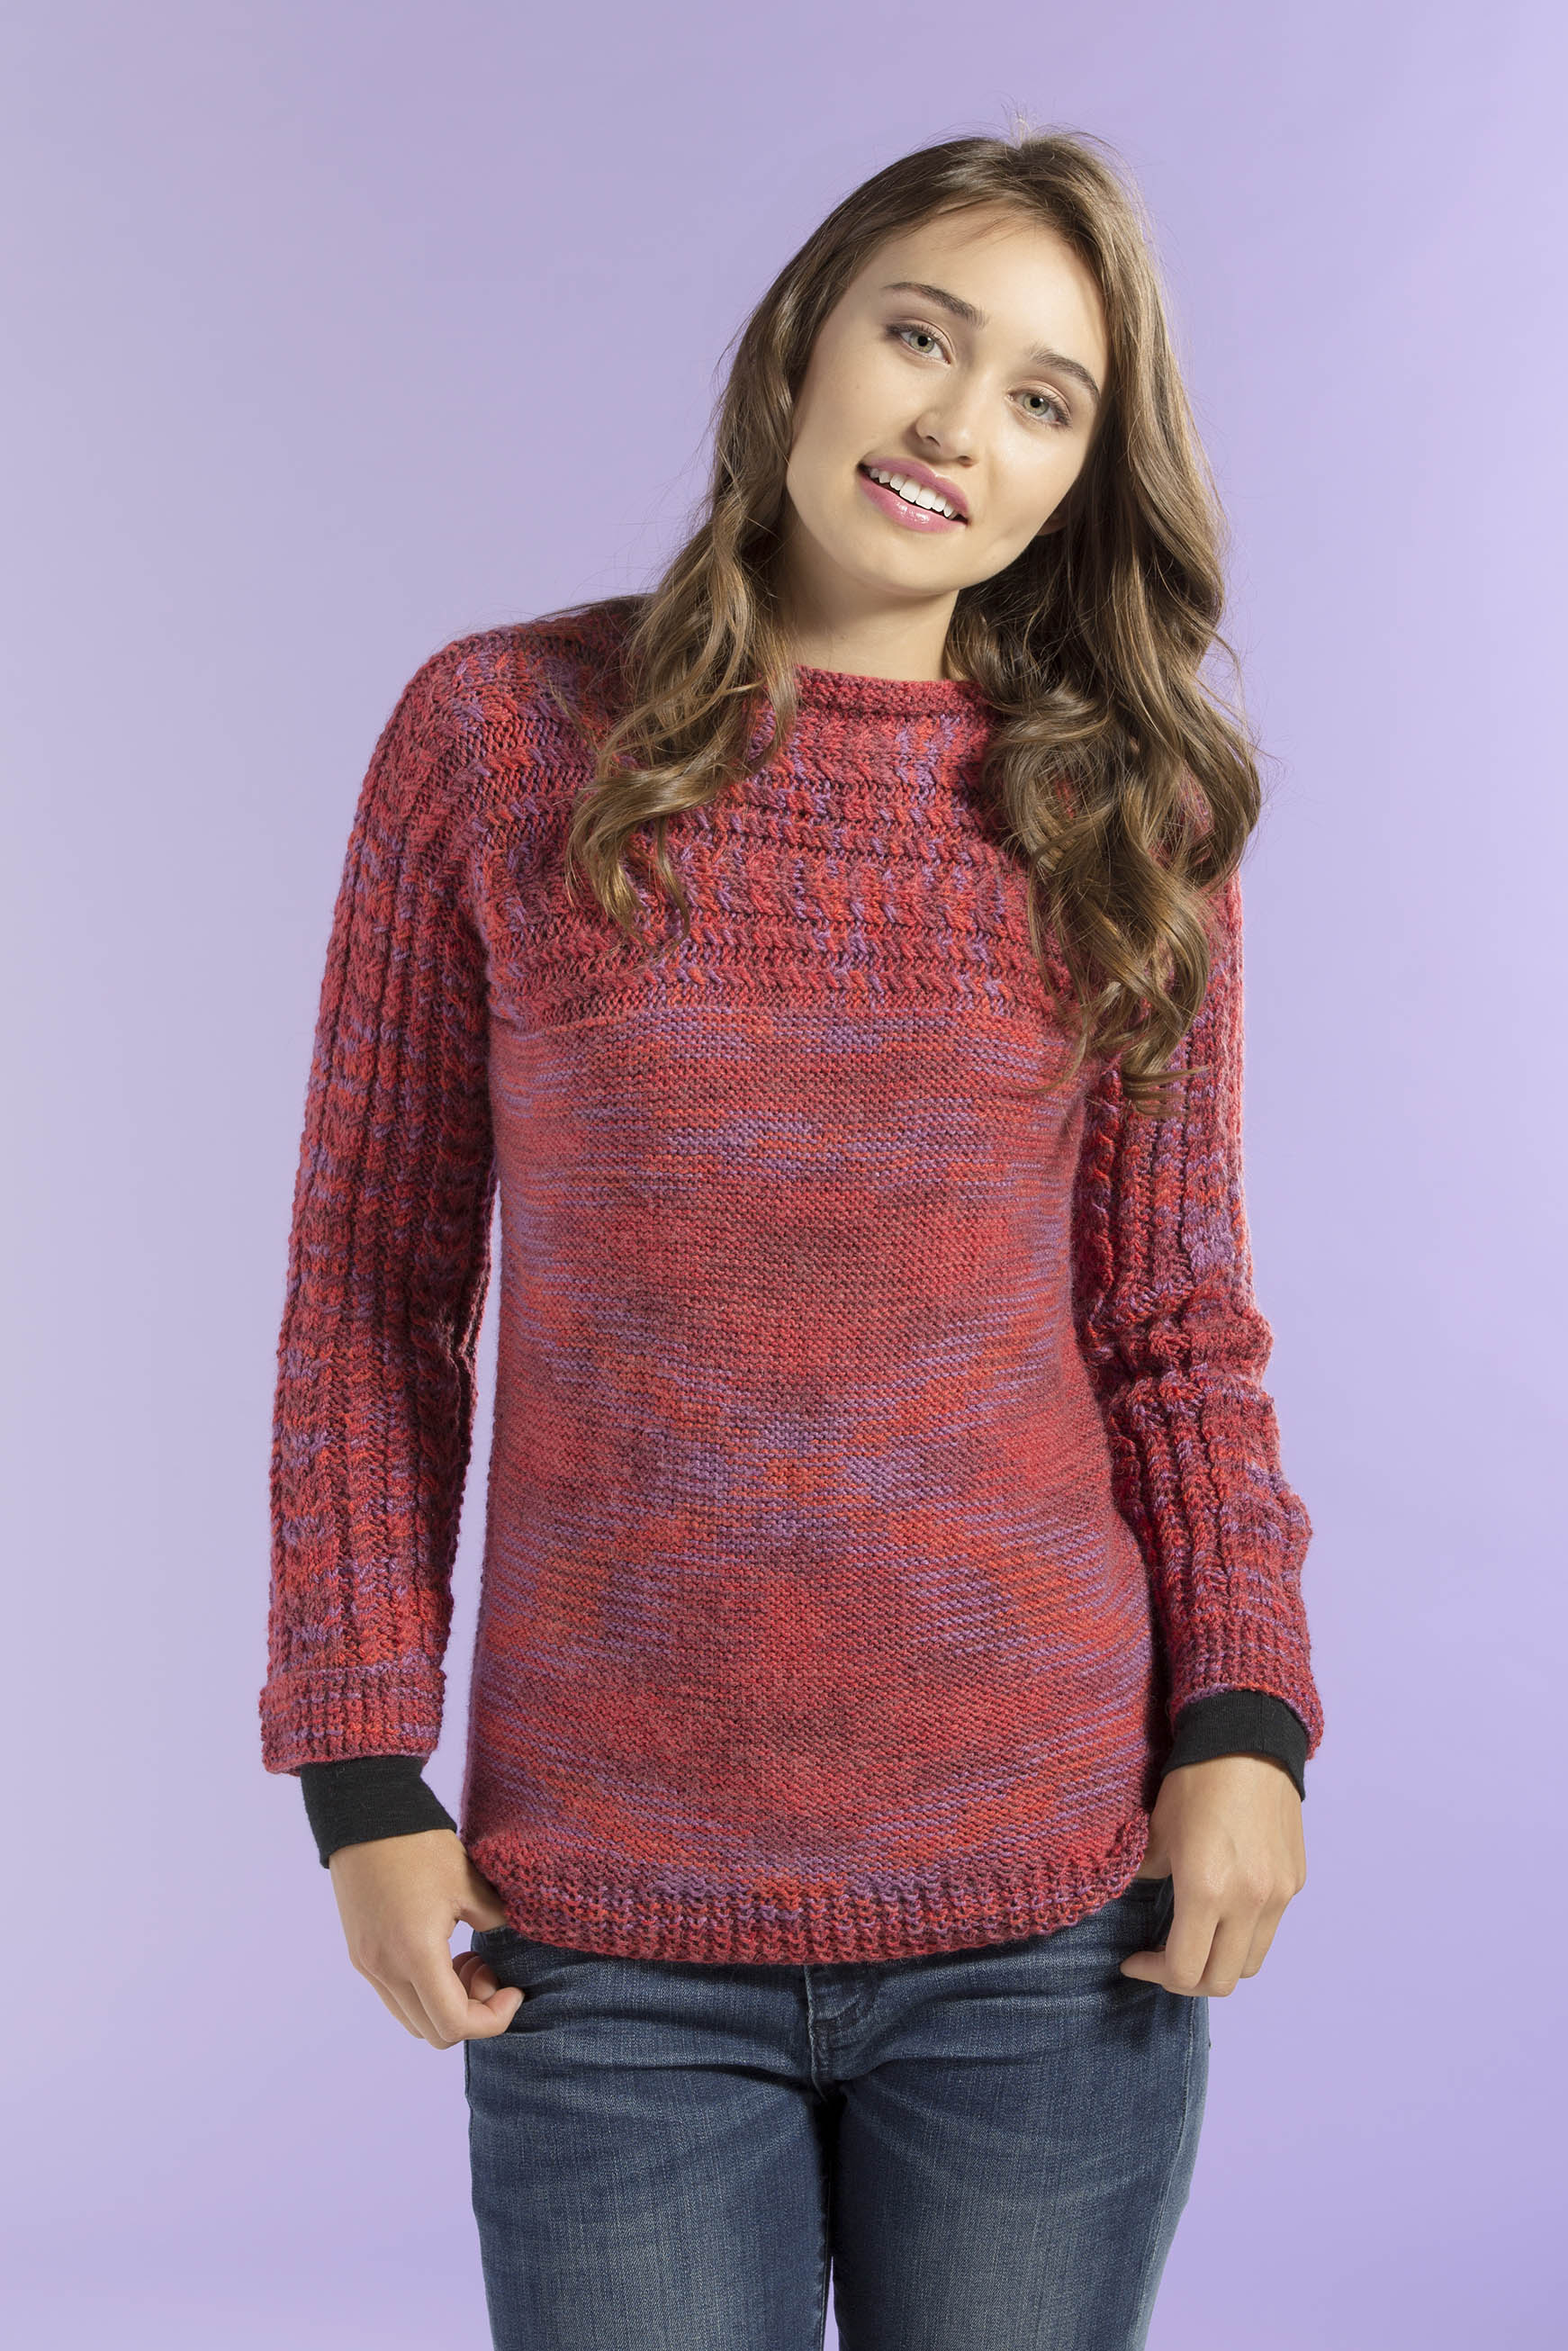
An example of unintentional color pooling that looks really cool can be seen on the front our Siren Sweater, knit in Infusion Handpaints.

Infusion Sideways Yoke Pullover_front_blog

See the argyle thing going on there? Though unintentional in this sweater, it is very possible to intend to make argyle from a yarn like this.

Even printed yarns with longer color repeats can be intentionally pooled. A good example of this is the Pennant Scarf, designed by Erin McKenna Halsey for our Uptown Worsted Spirit Stripes yarn. (You can find a crochet version of this scarf here)

Again, we see an argyle pattern form. The reason for this pattern, my dear friends? Math! By knowing how long each color repeat is and how much yarn a stitch consumes, it is possible to figure out how to make your patterned yarn do amazing things!

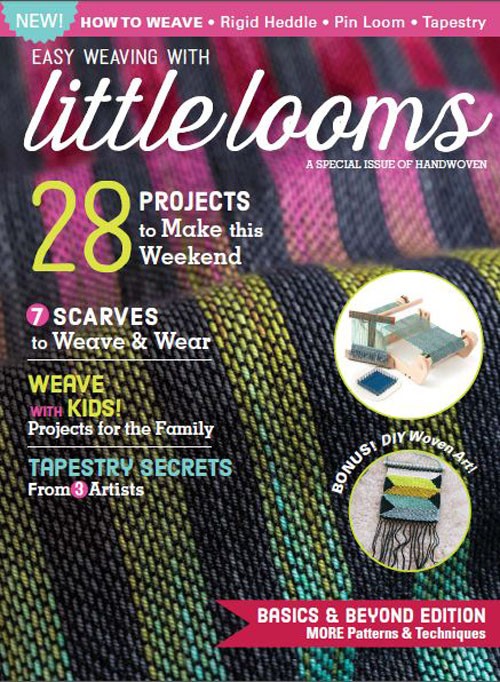
However, the weaving project I’m going to share today is a much simpler way of intentionally pooling color. My project was inspired by recent Little Looms Magazine by Interweave Press.  The image on the cover of the magazine is actually a close-up of the scarf I decided to make.

SPSUM16

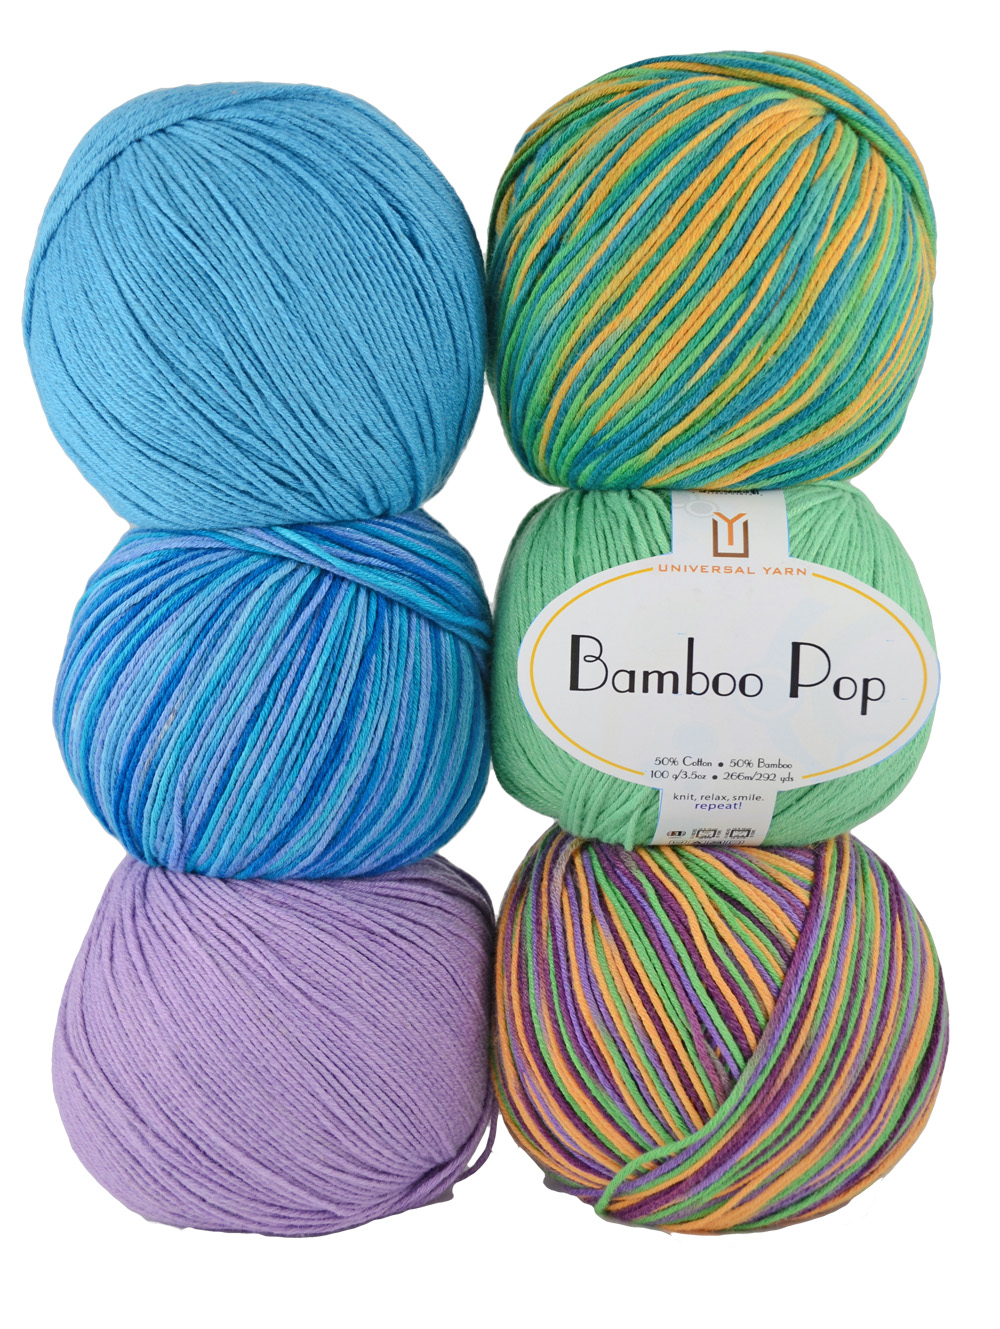
After looking at the other photos of the scarf inside, I realized our Bamboo Pop multi colorways would be perfect for this project.

StackedBalls_smaller

For my scarf, I chose Bamboo Pop #218 Stripe (multi) and #112 Black (solid) for the warp. I’ll be weaving with Whisper Lace #111 Ebony as weft. It’s a lighter weight than Bamboo Pop, and will allow for a warp-faced weave.

To warp, I first tried direct-warping my 16″ Cricket loom with my Bamboo Pop multi sections. The secret to this scarf is all about finding the point at which the color sections in the multi yarn repeat. I discovered that 110″ was my ideal point to wrap around the warping peg. The color repeated back on itself at that length (and also did at shorter lengths, but I like a long scarf and want to plan for fringe). But I found that it was very difficult to keep my color sections lined up with this warping method.

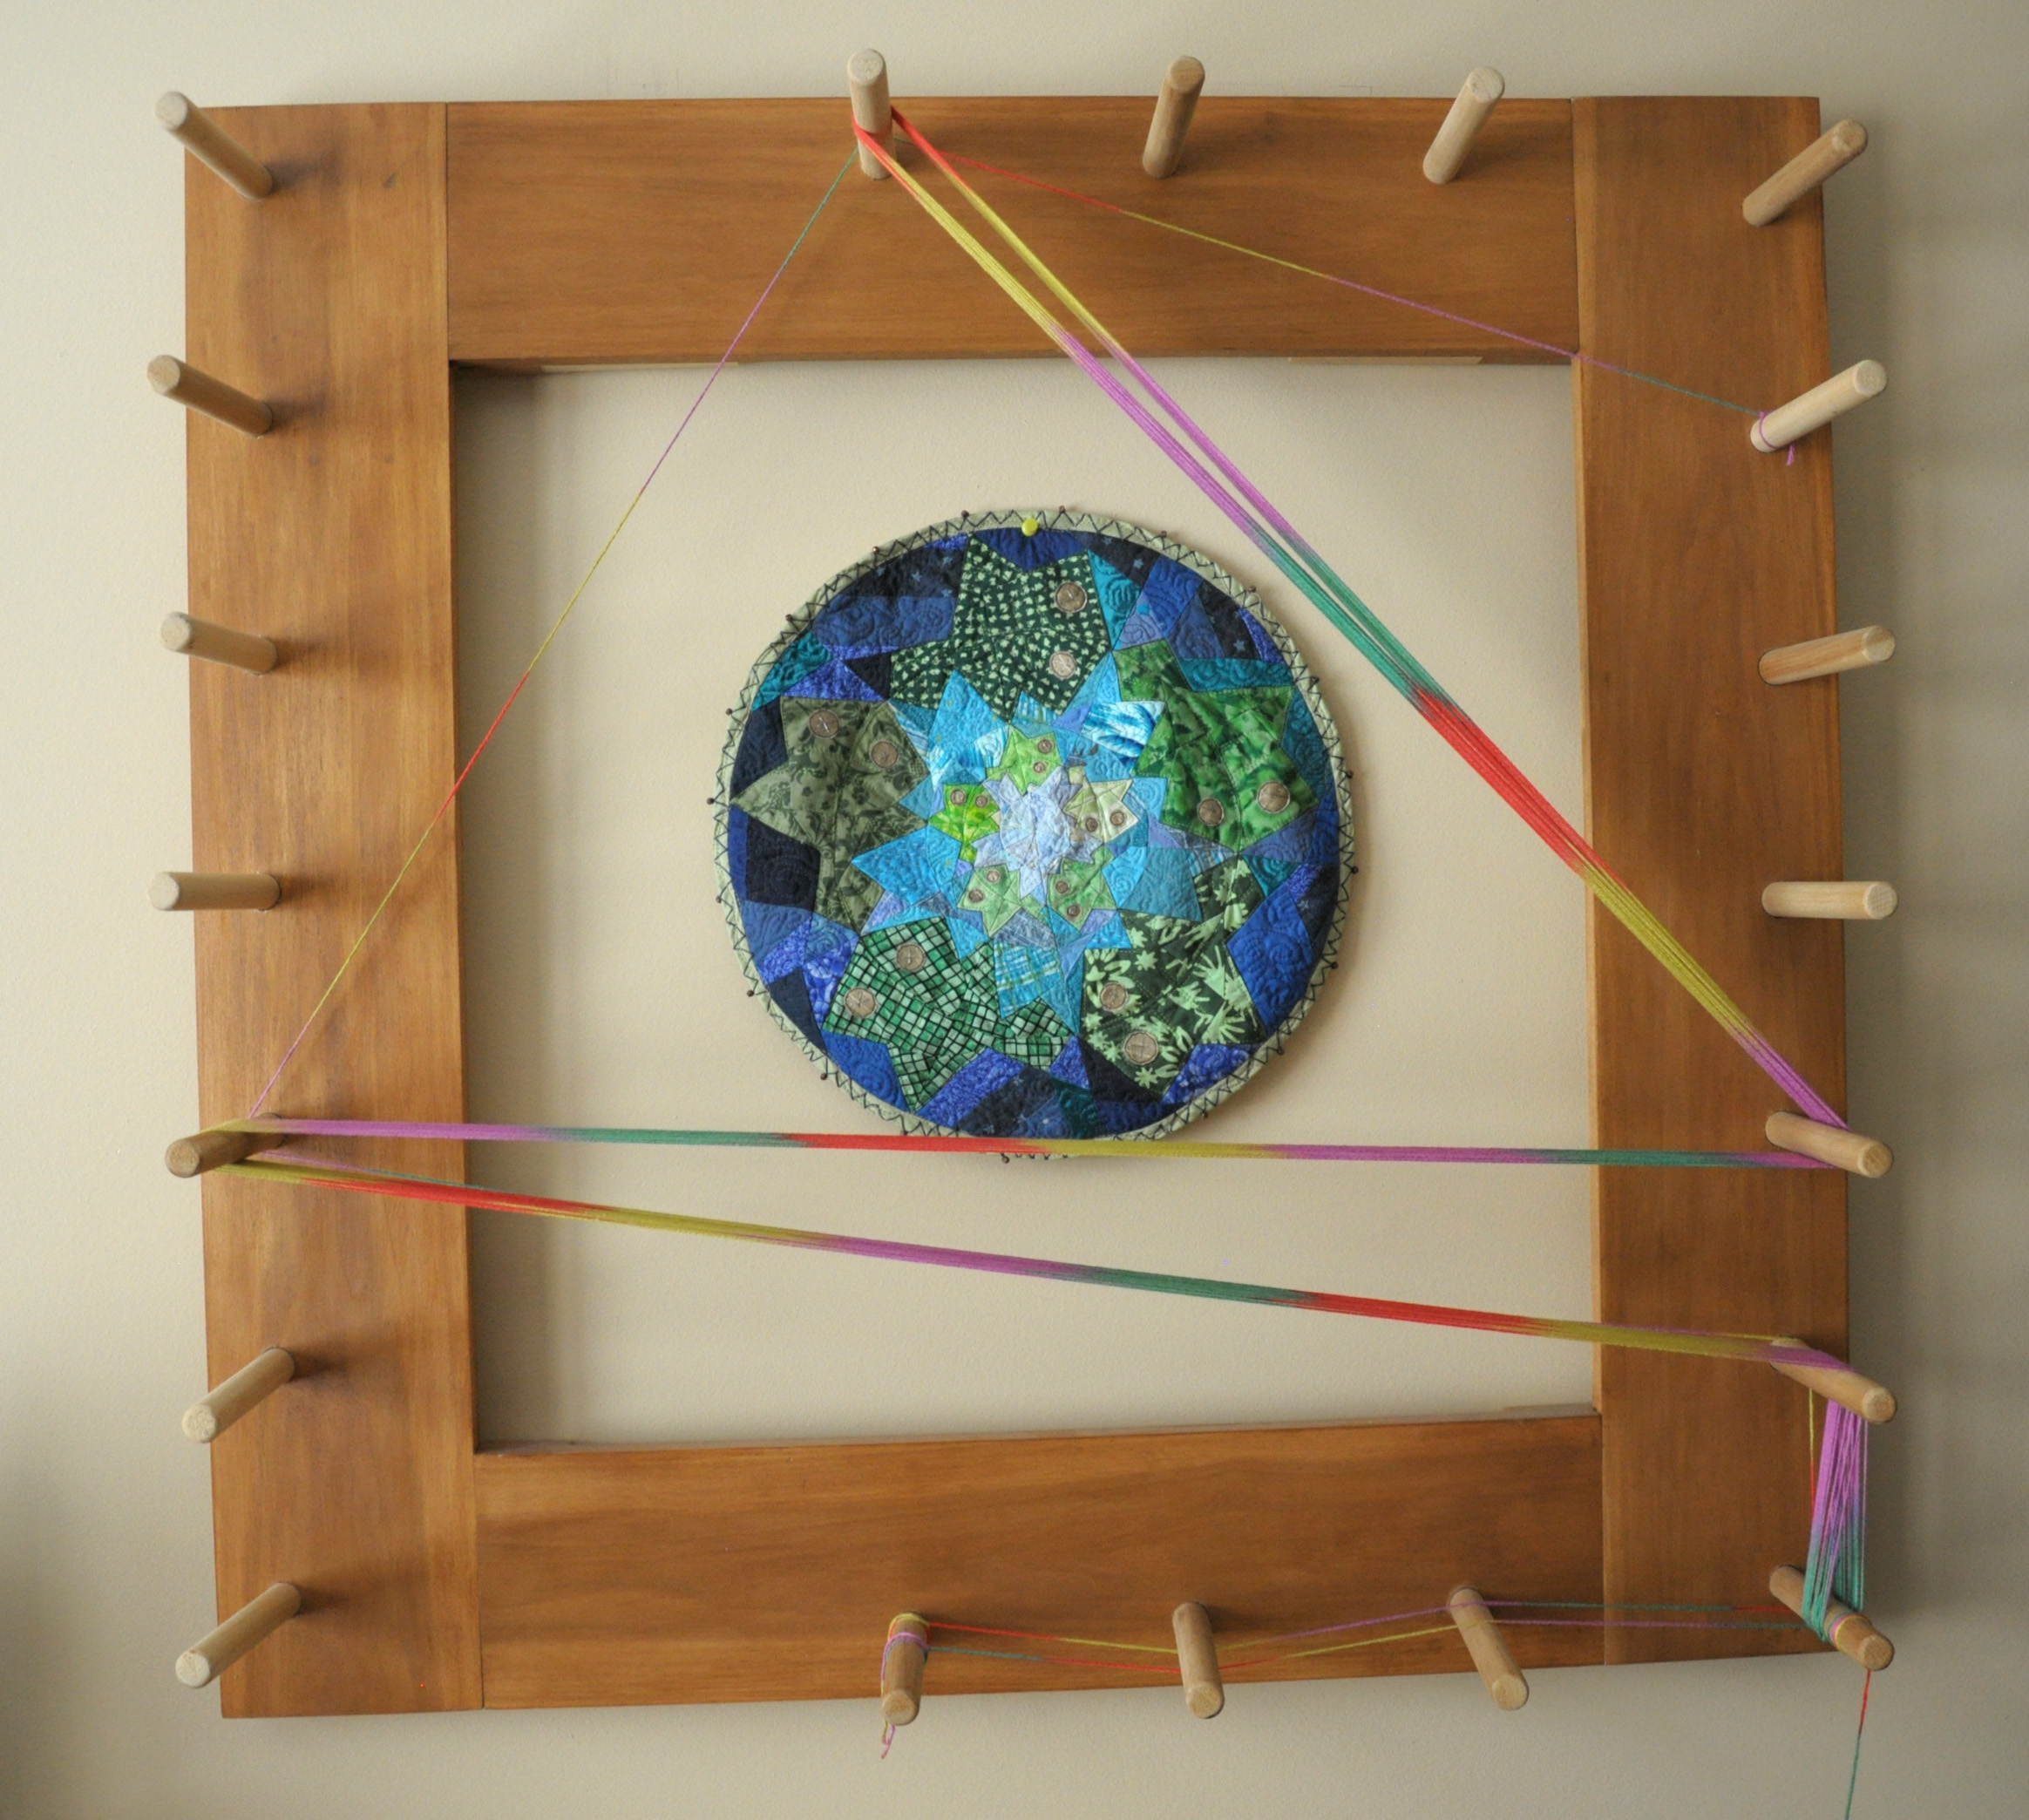
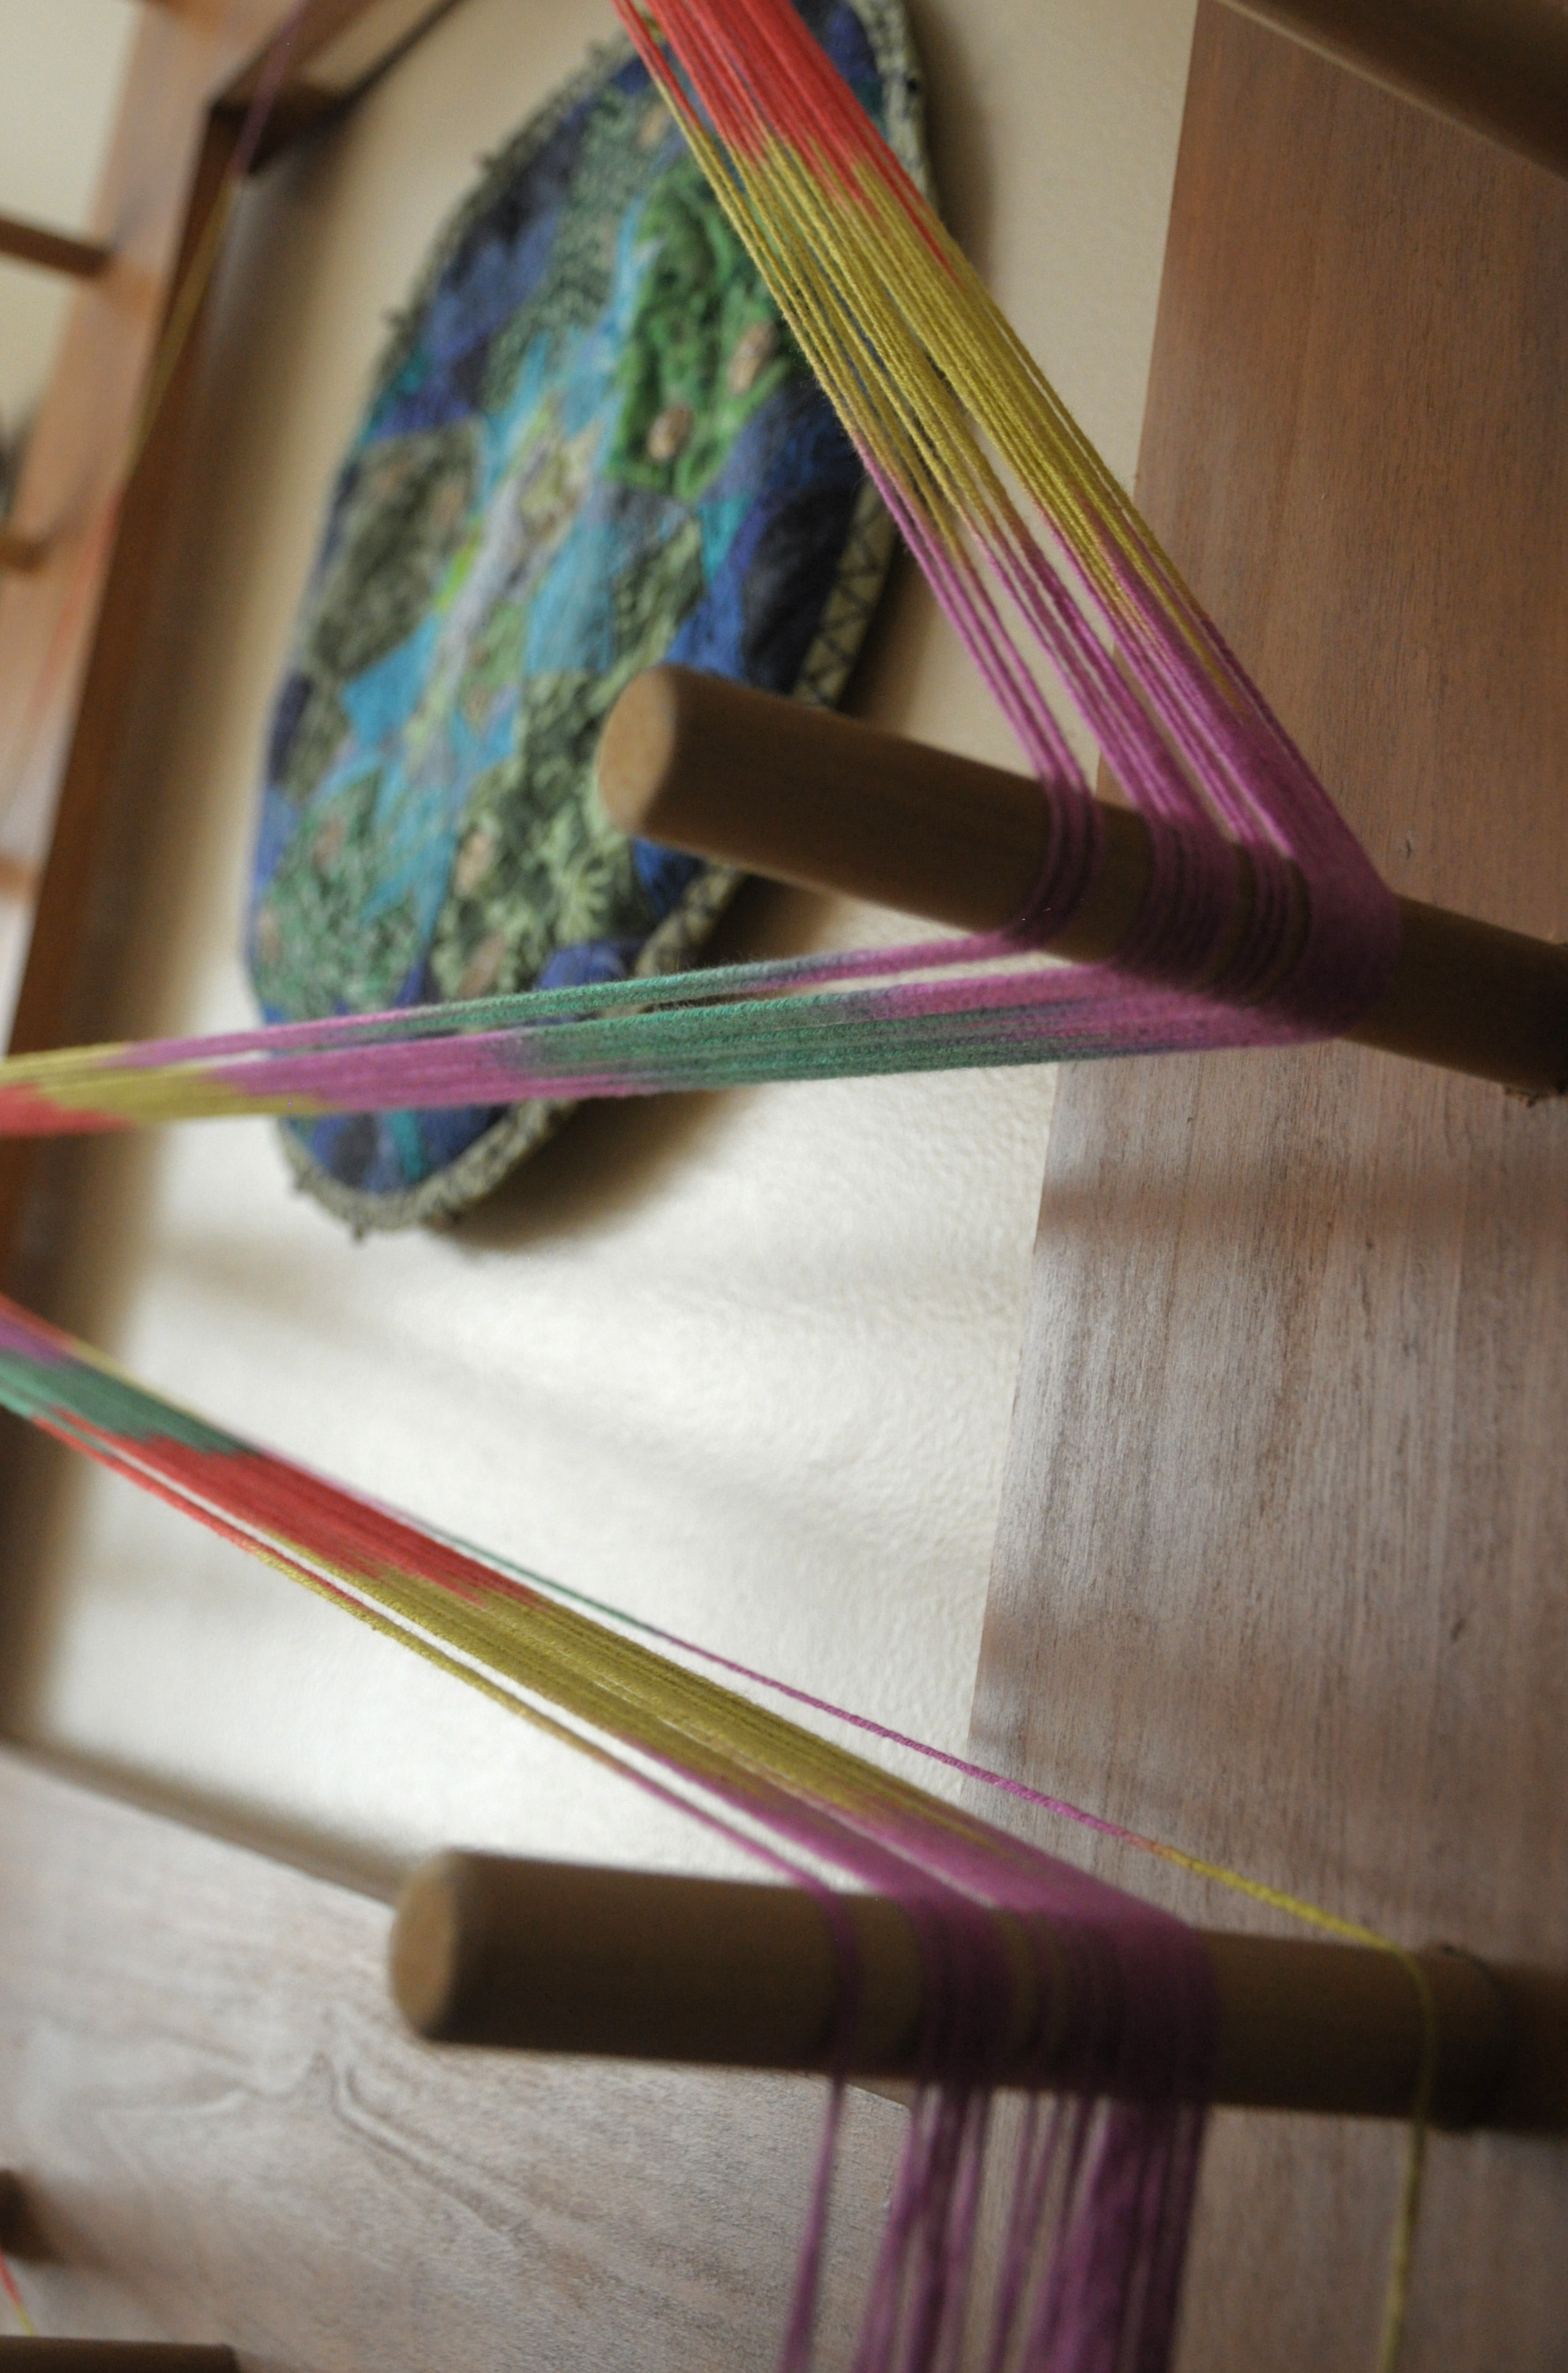
Plan B: use a warping board. I happen to have a warping board that I made several years ago. You can make smaller versions of this, or you can buy them. Or you can simply use two warping pegs clamped a certain distance apart. But the nice thing about a warping board is that it allows you to wind a long warp over a short distance, by wrapping the yarn back and forth between the pegs.

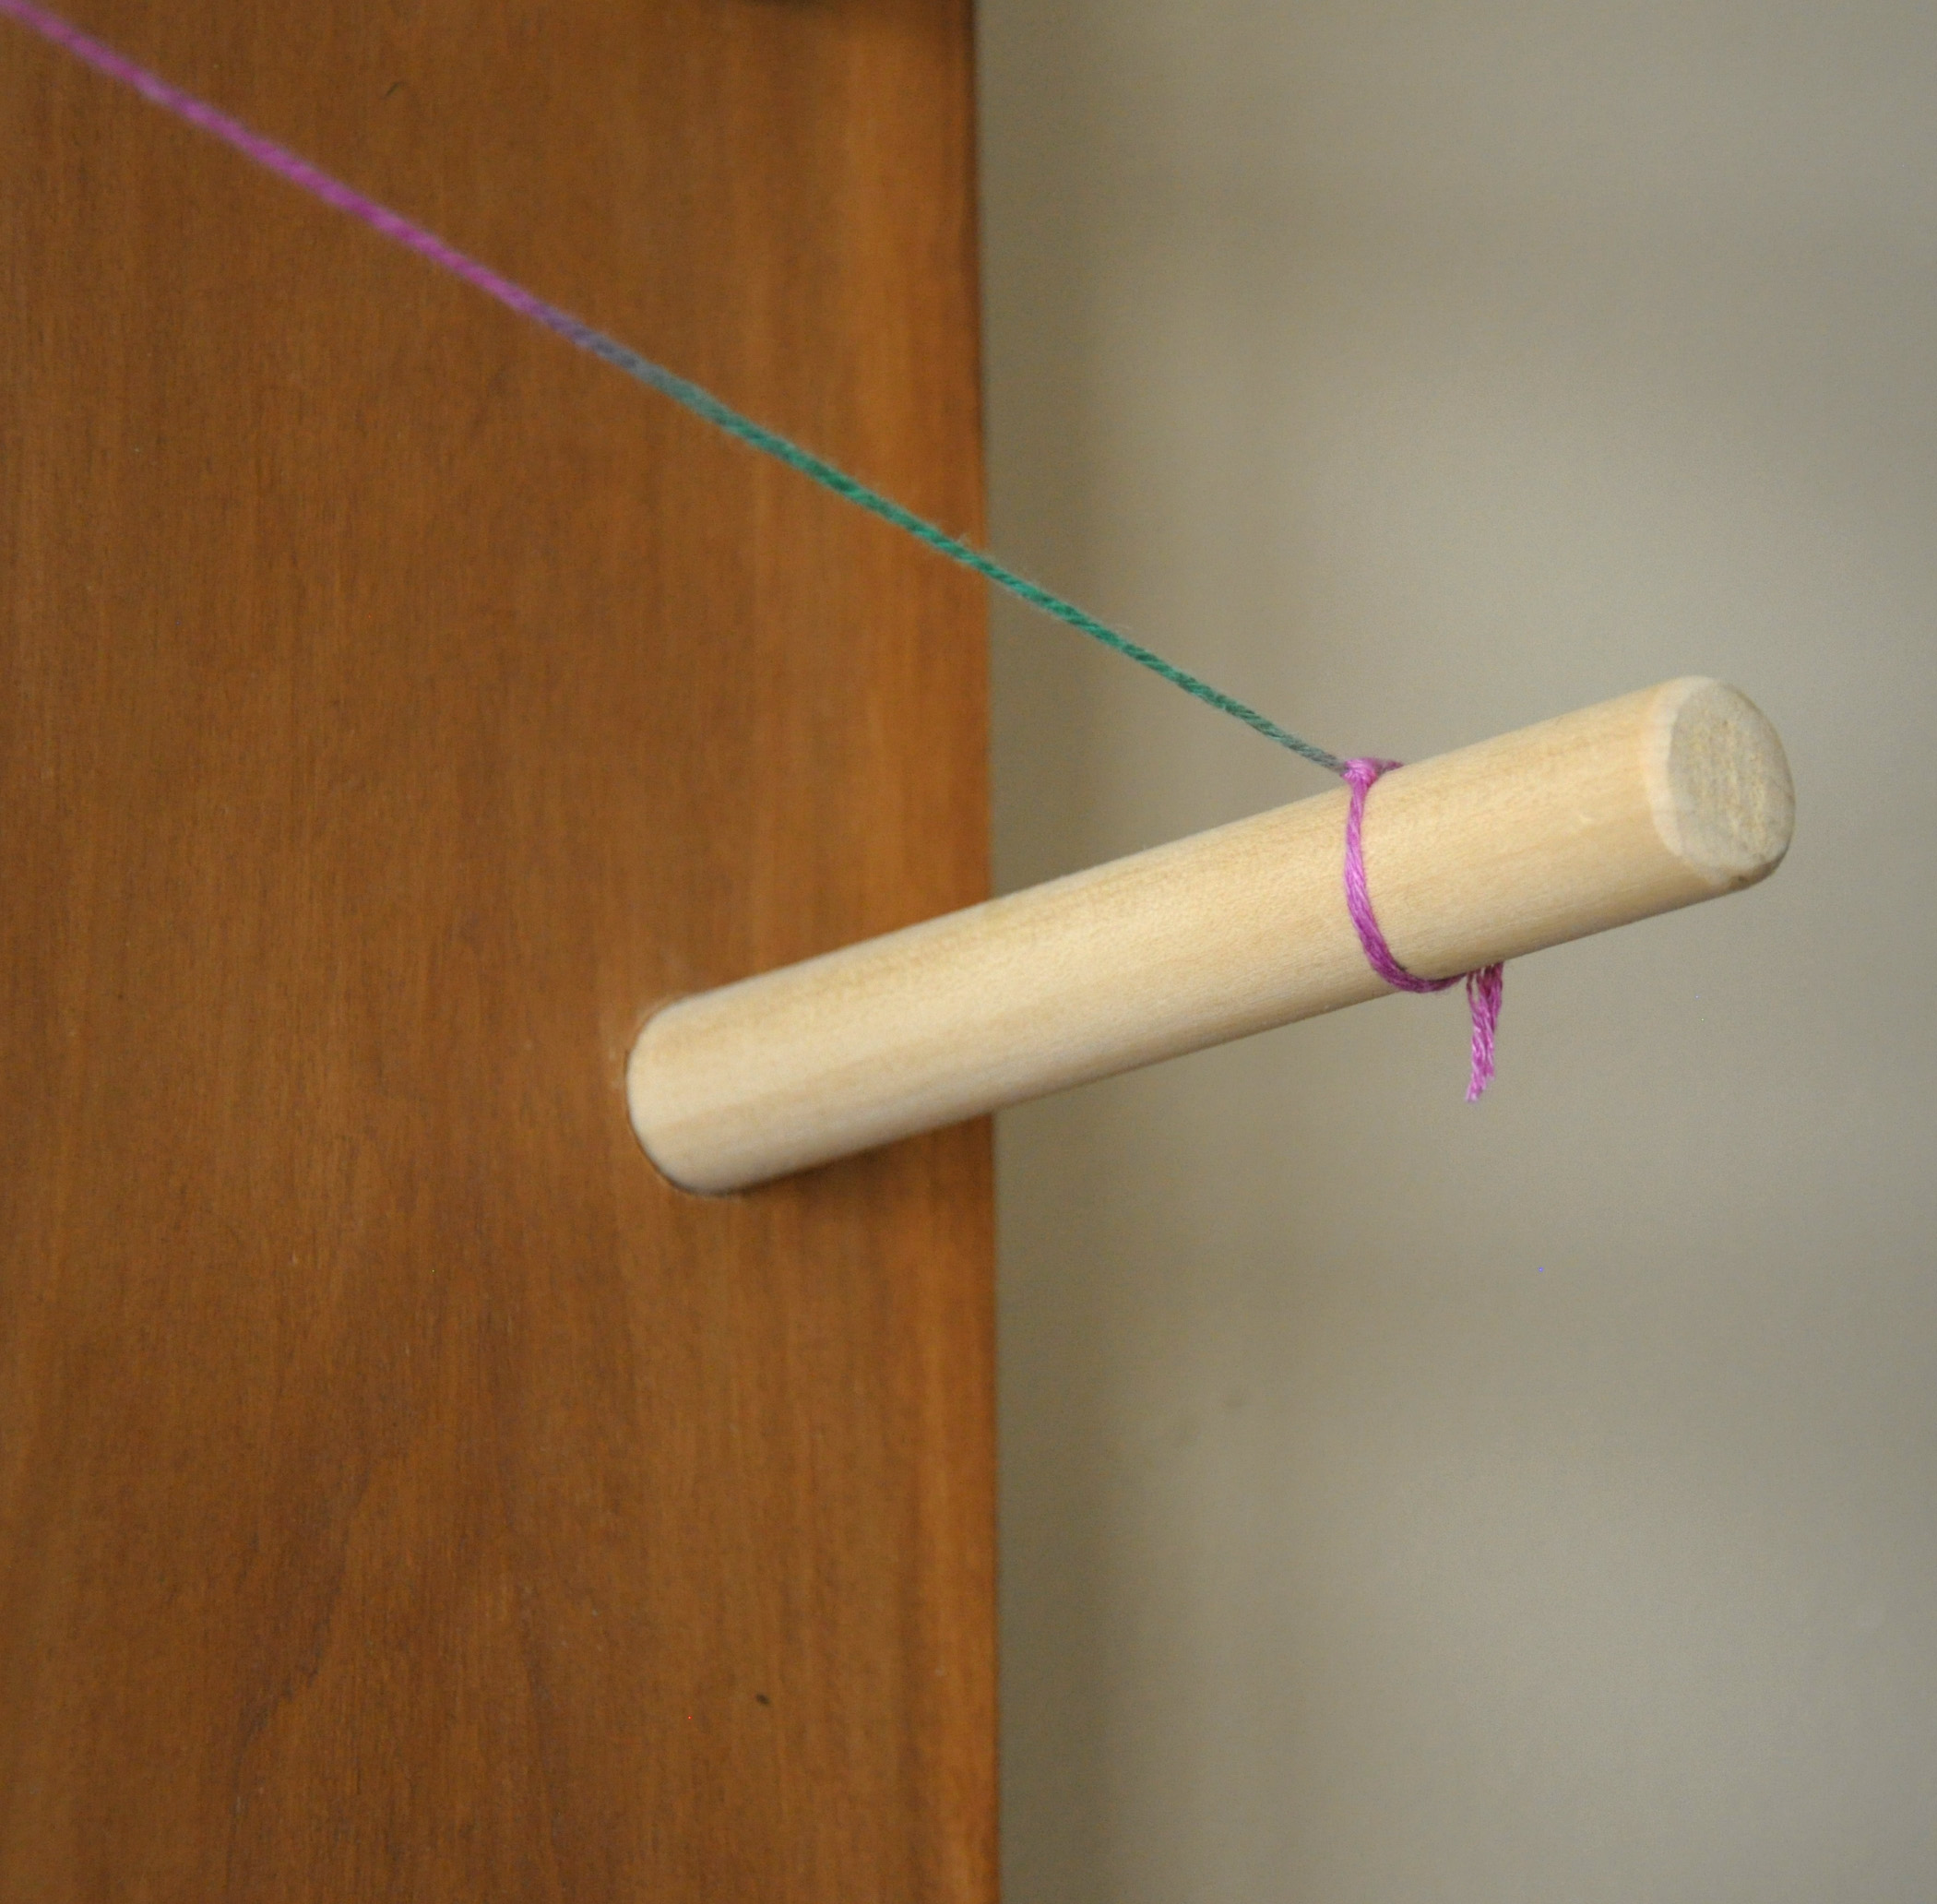
In this particular project, it was super helpful to have all those pegs. It allowed me to find the perfect distance in which my colors repeated. To begin, I first tied a guide string.

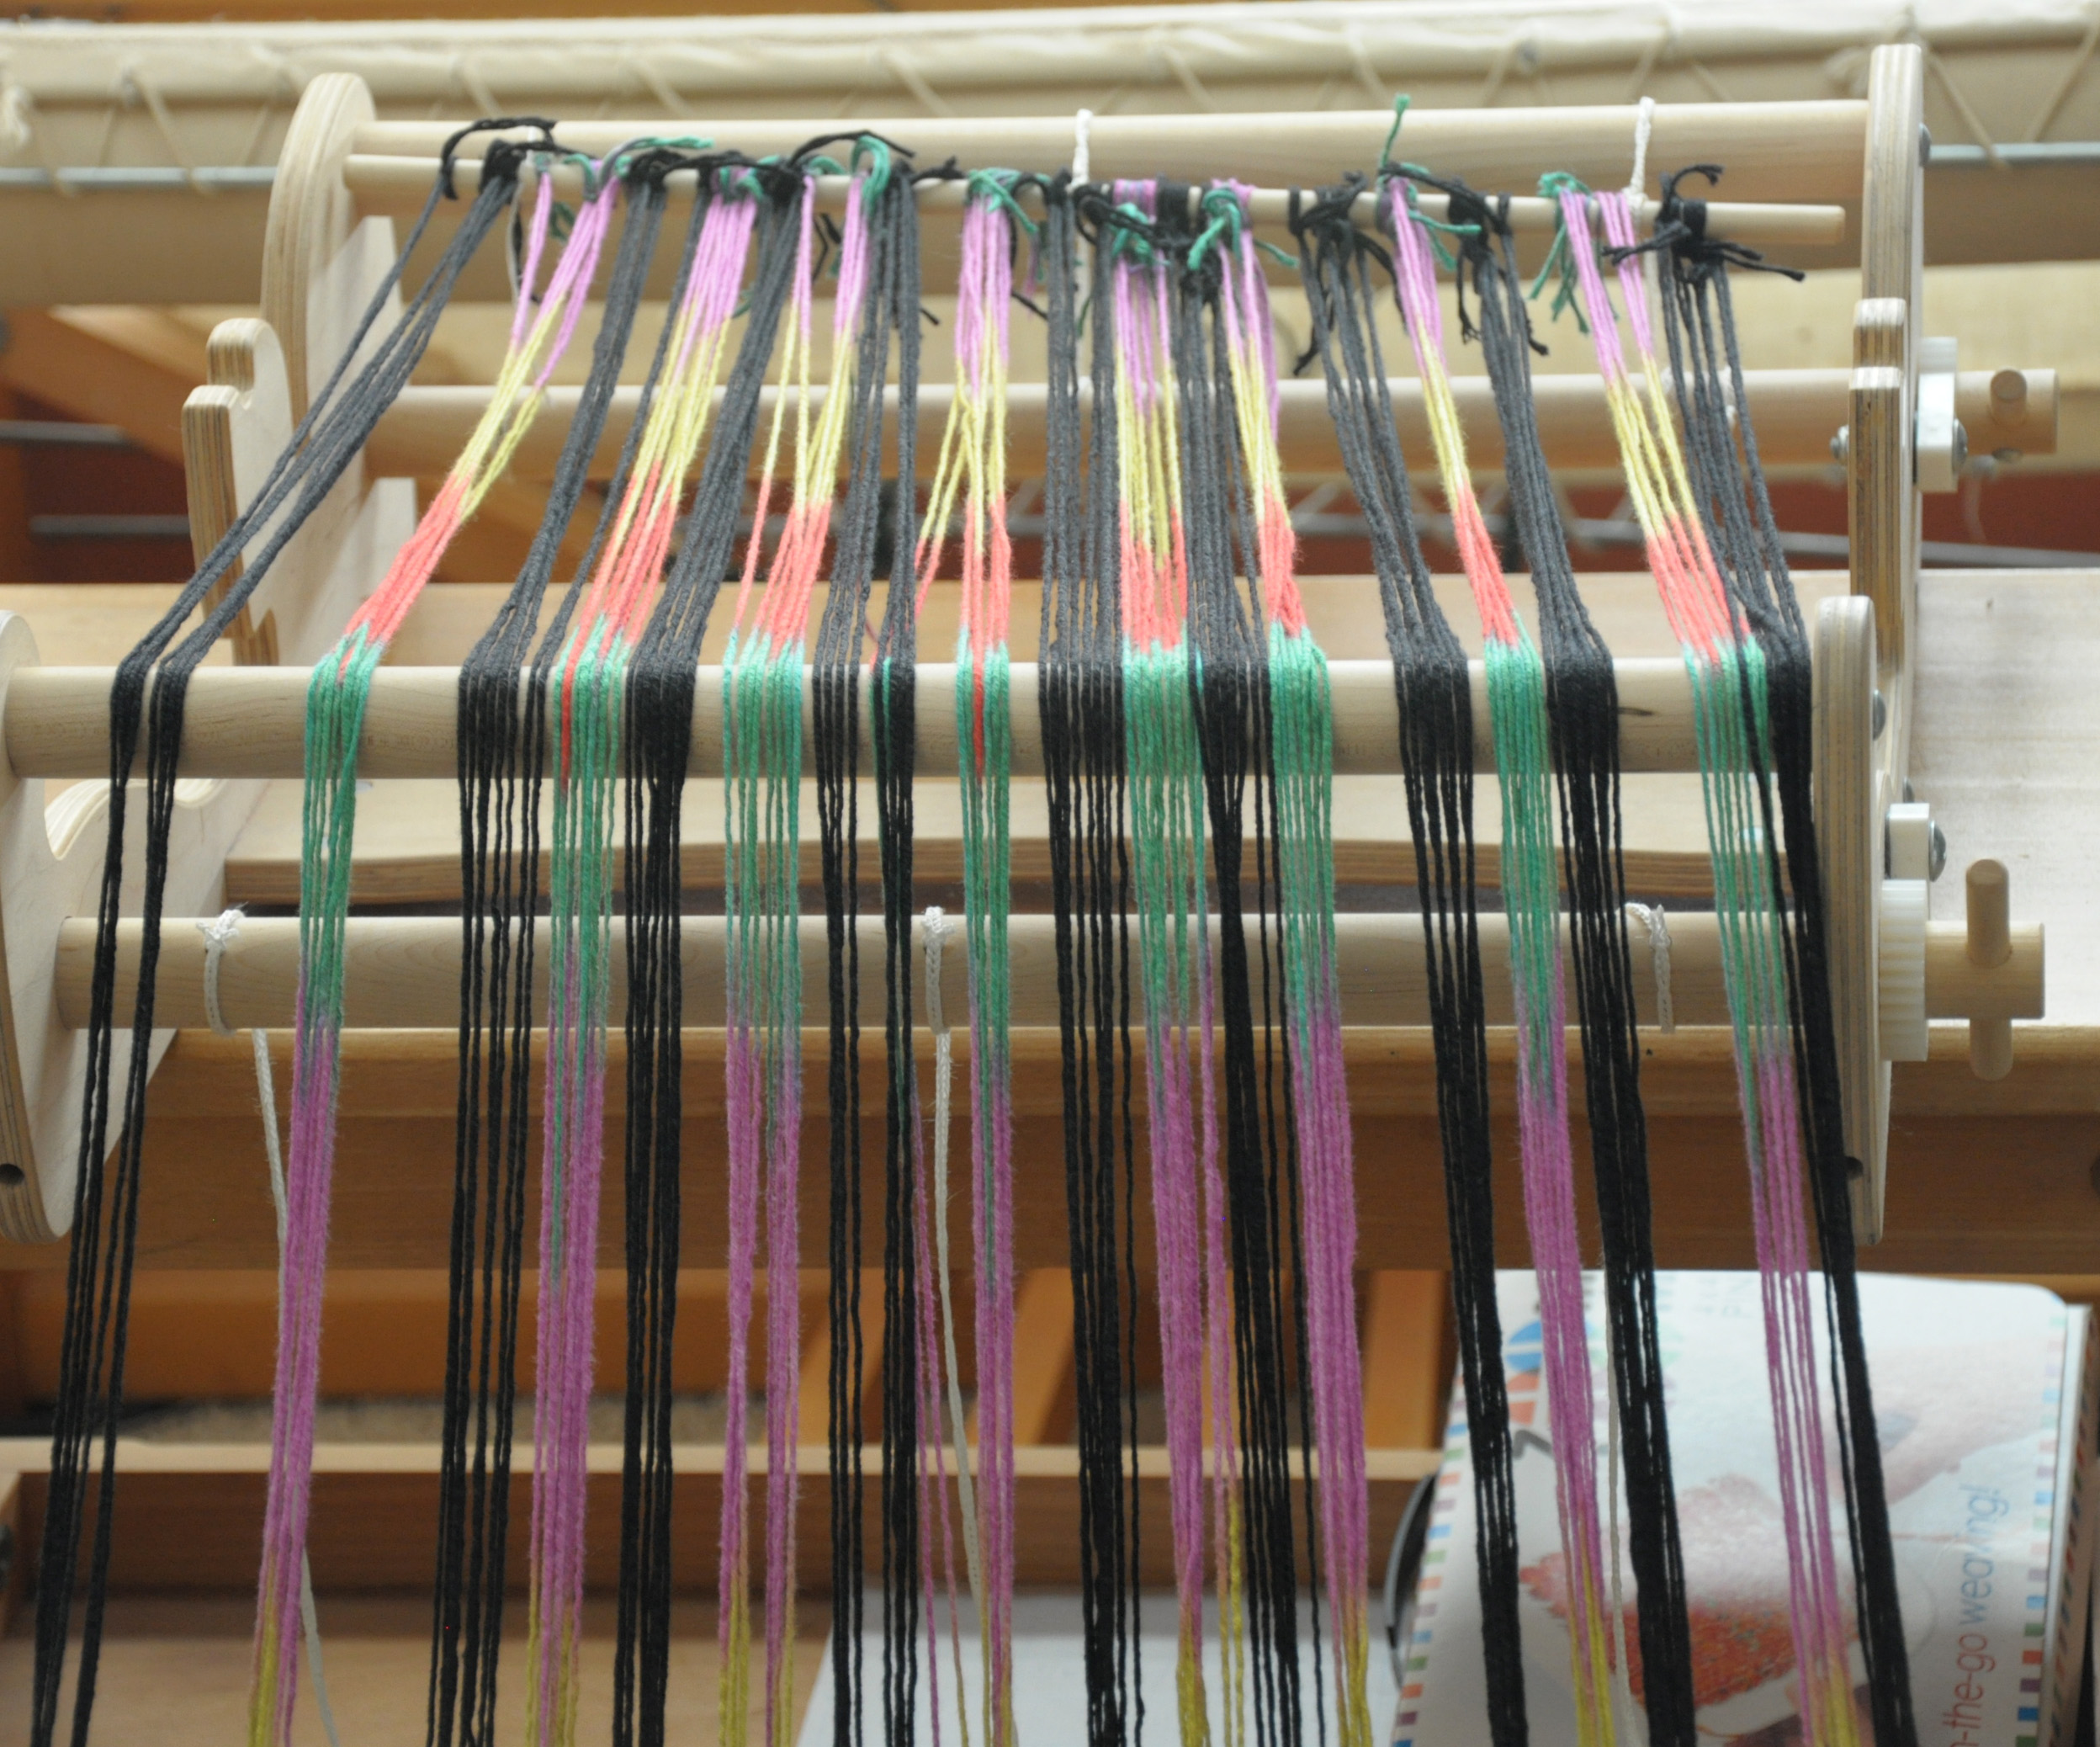
ColorPool_2

ColorPool_1

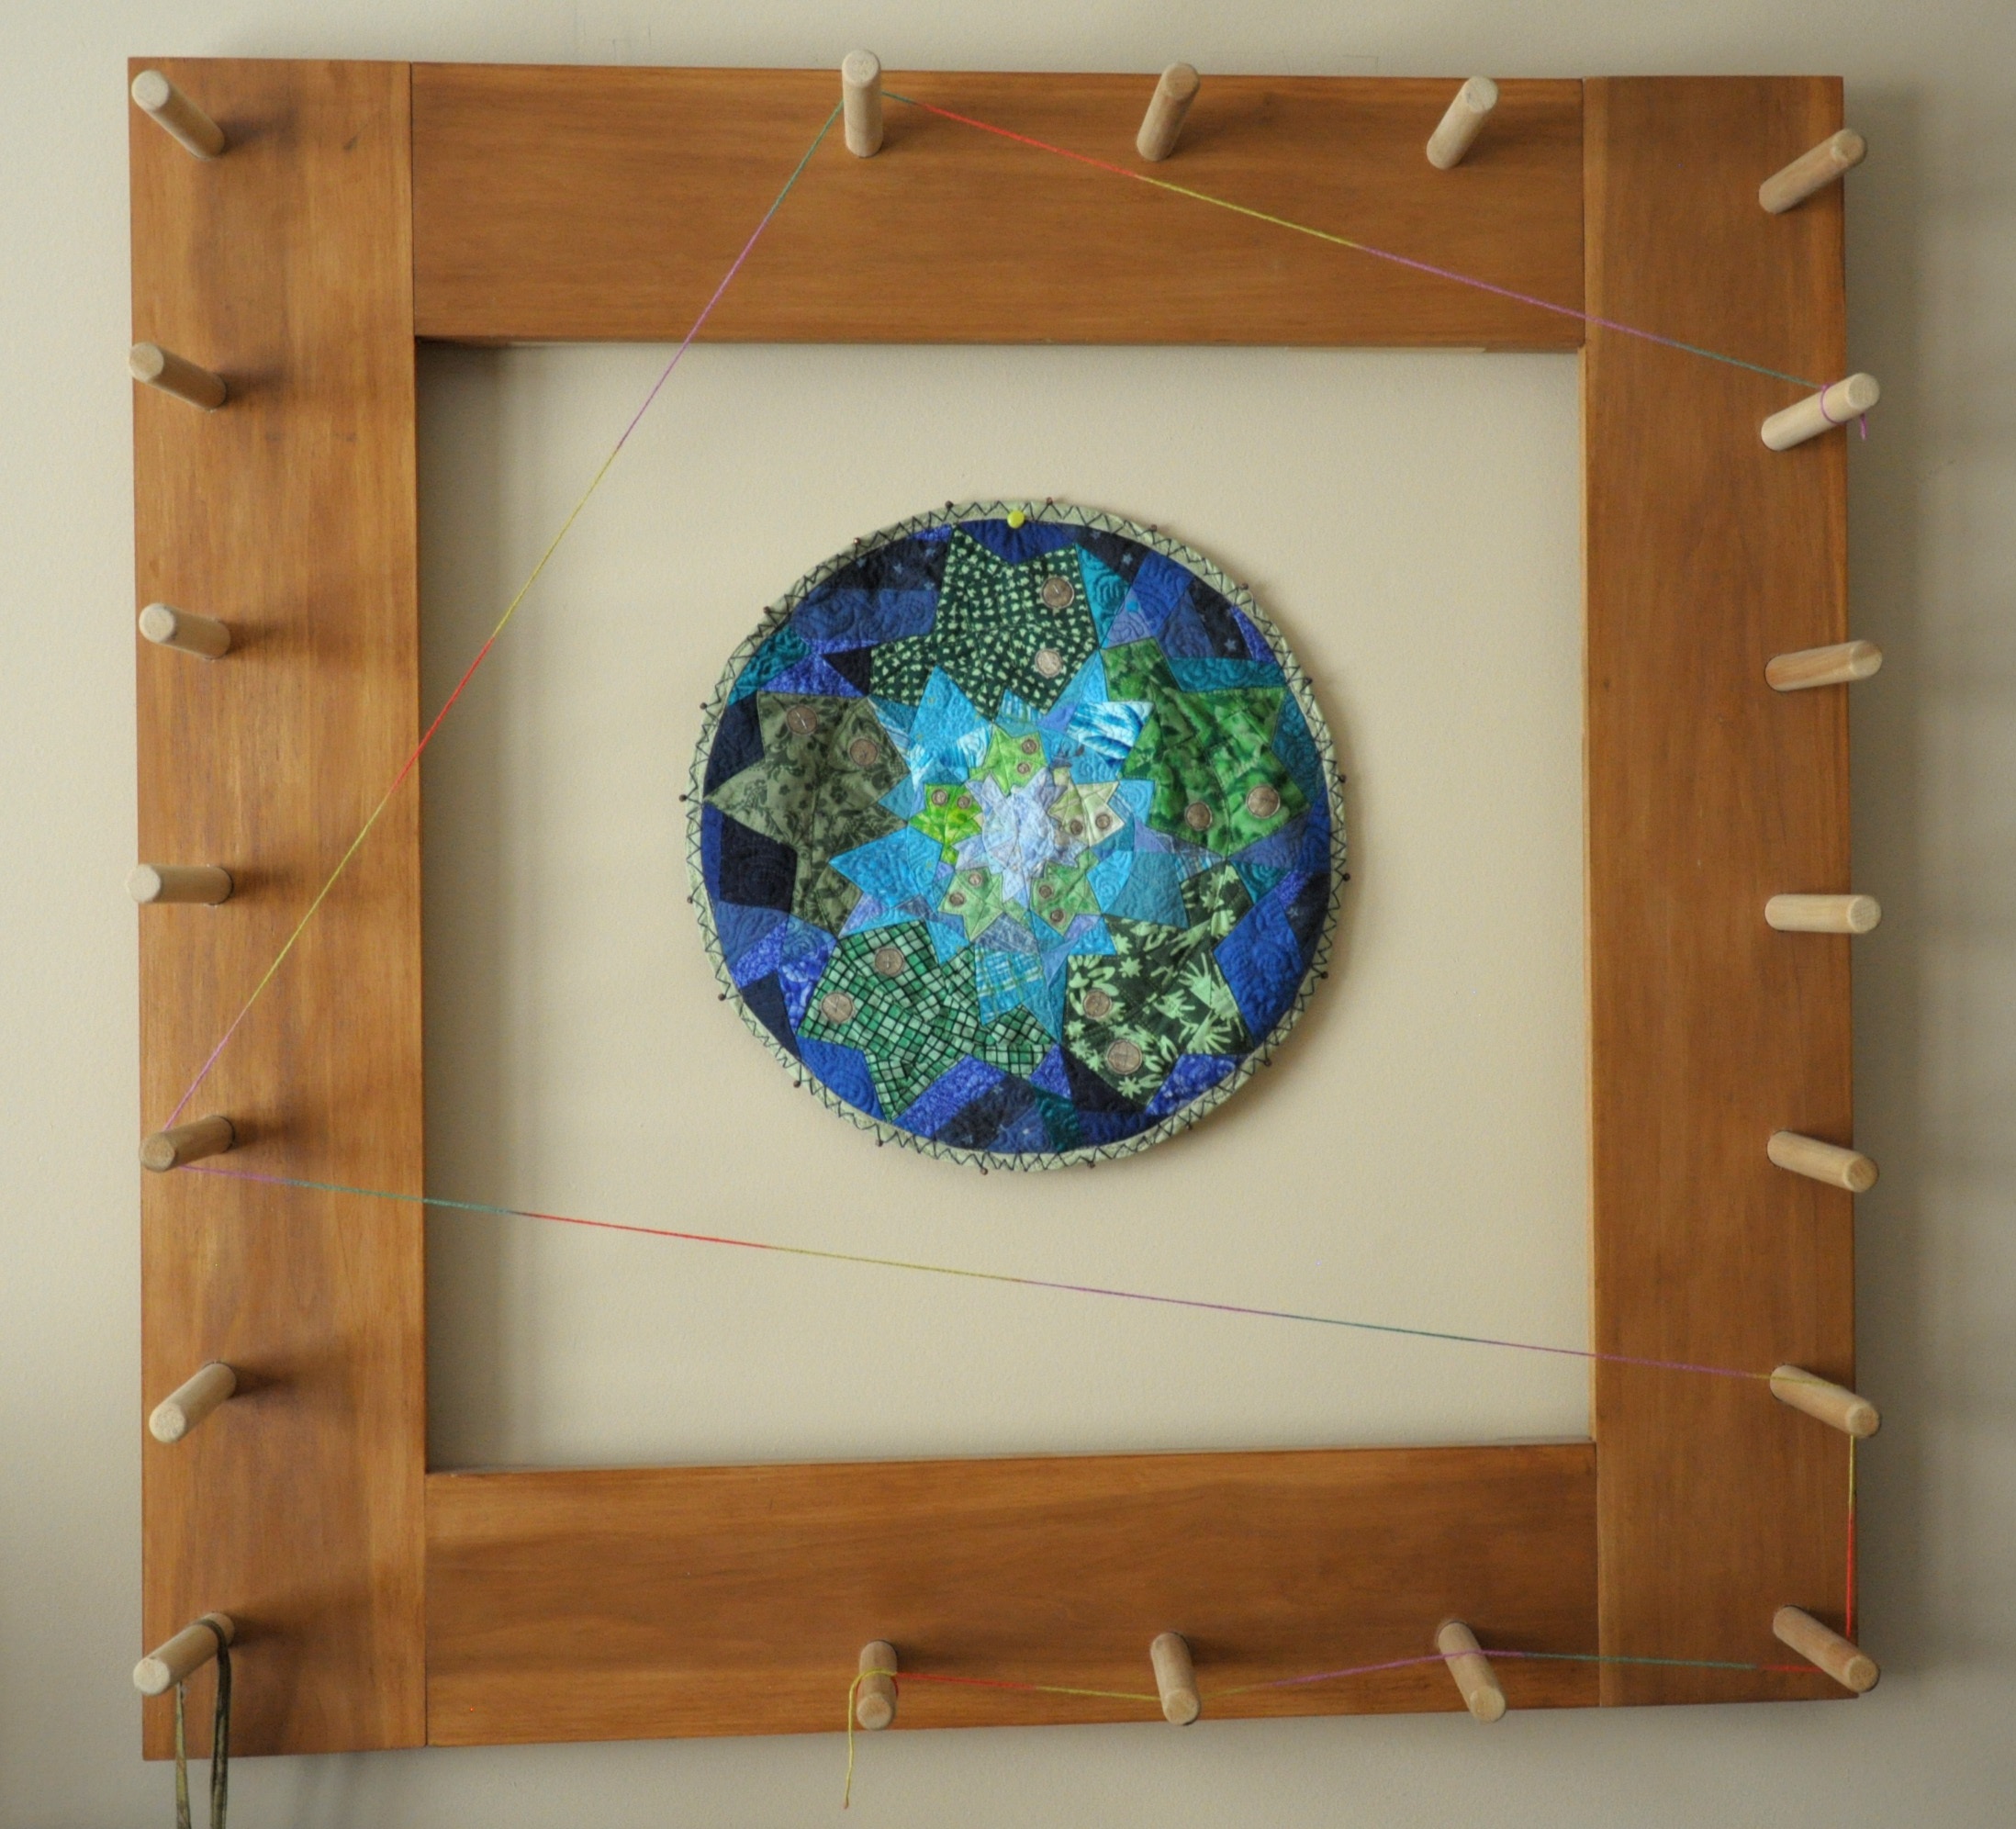
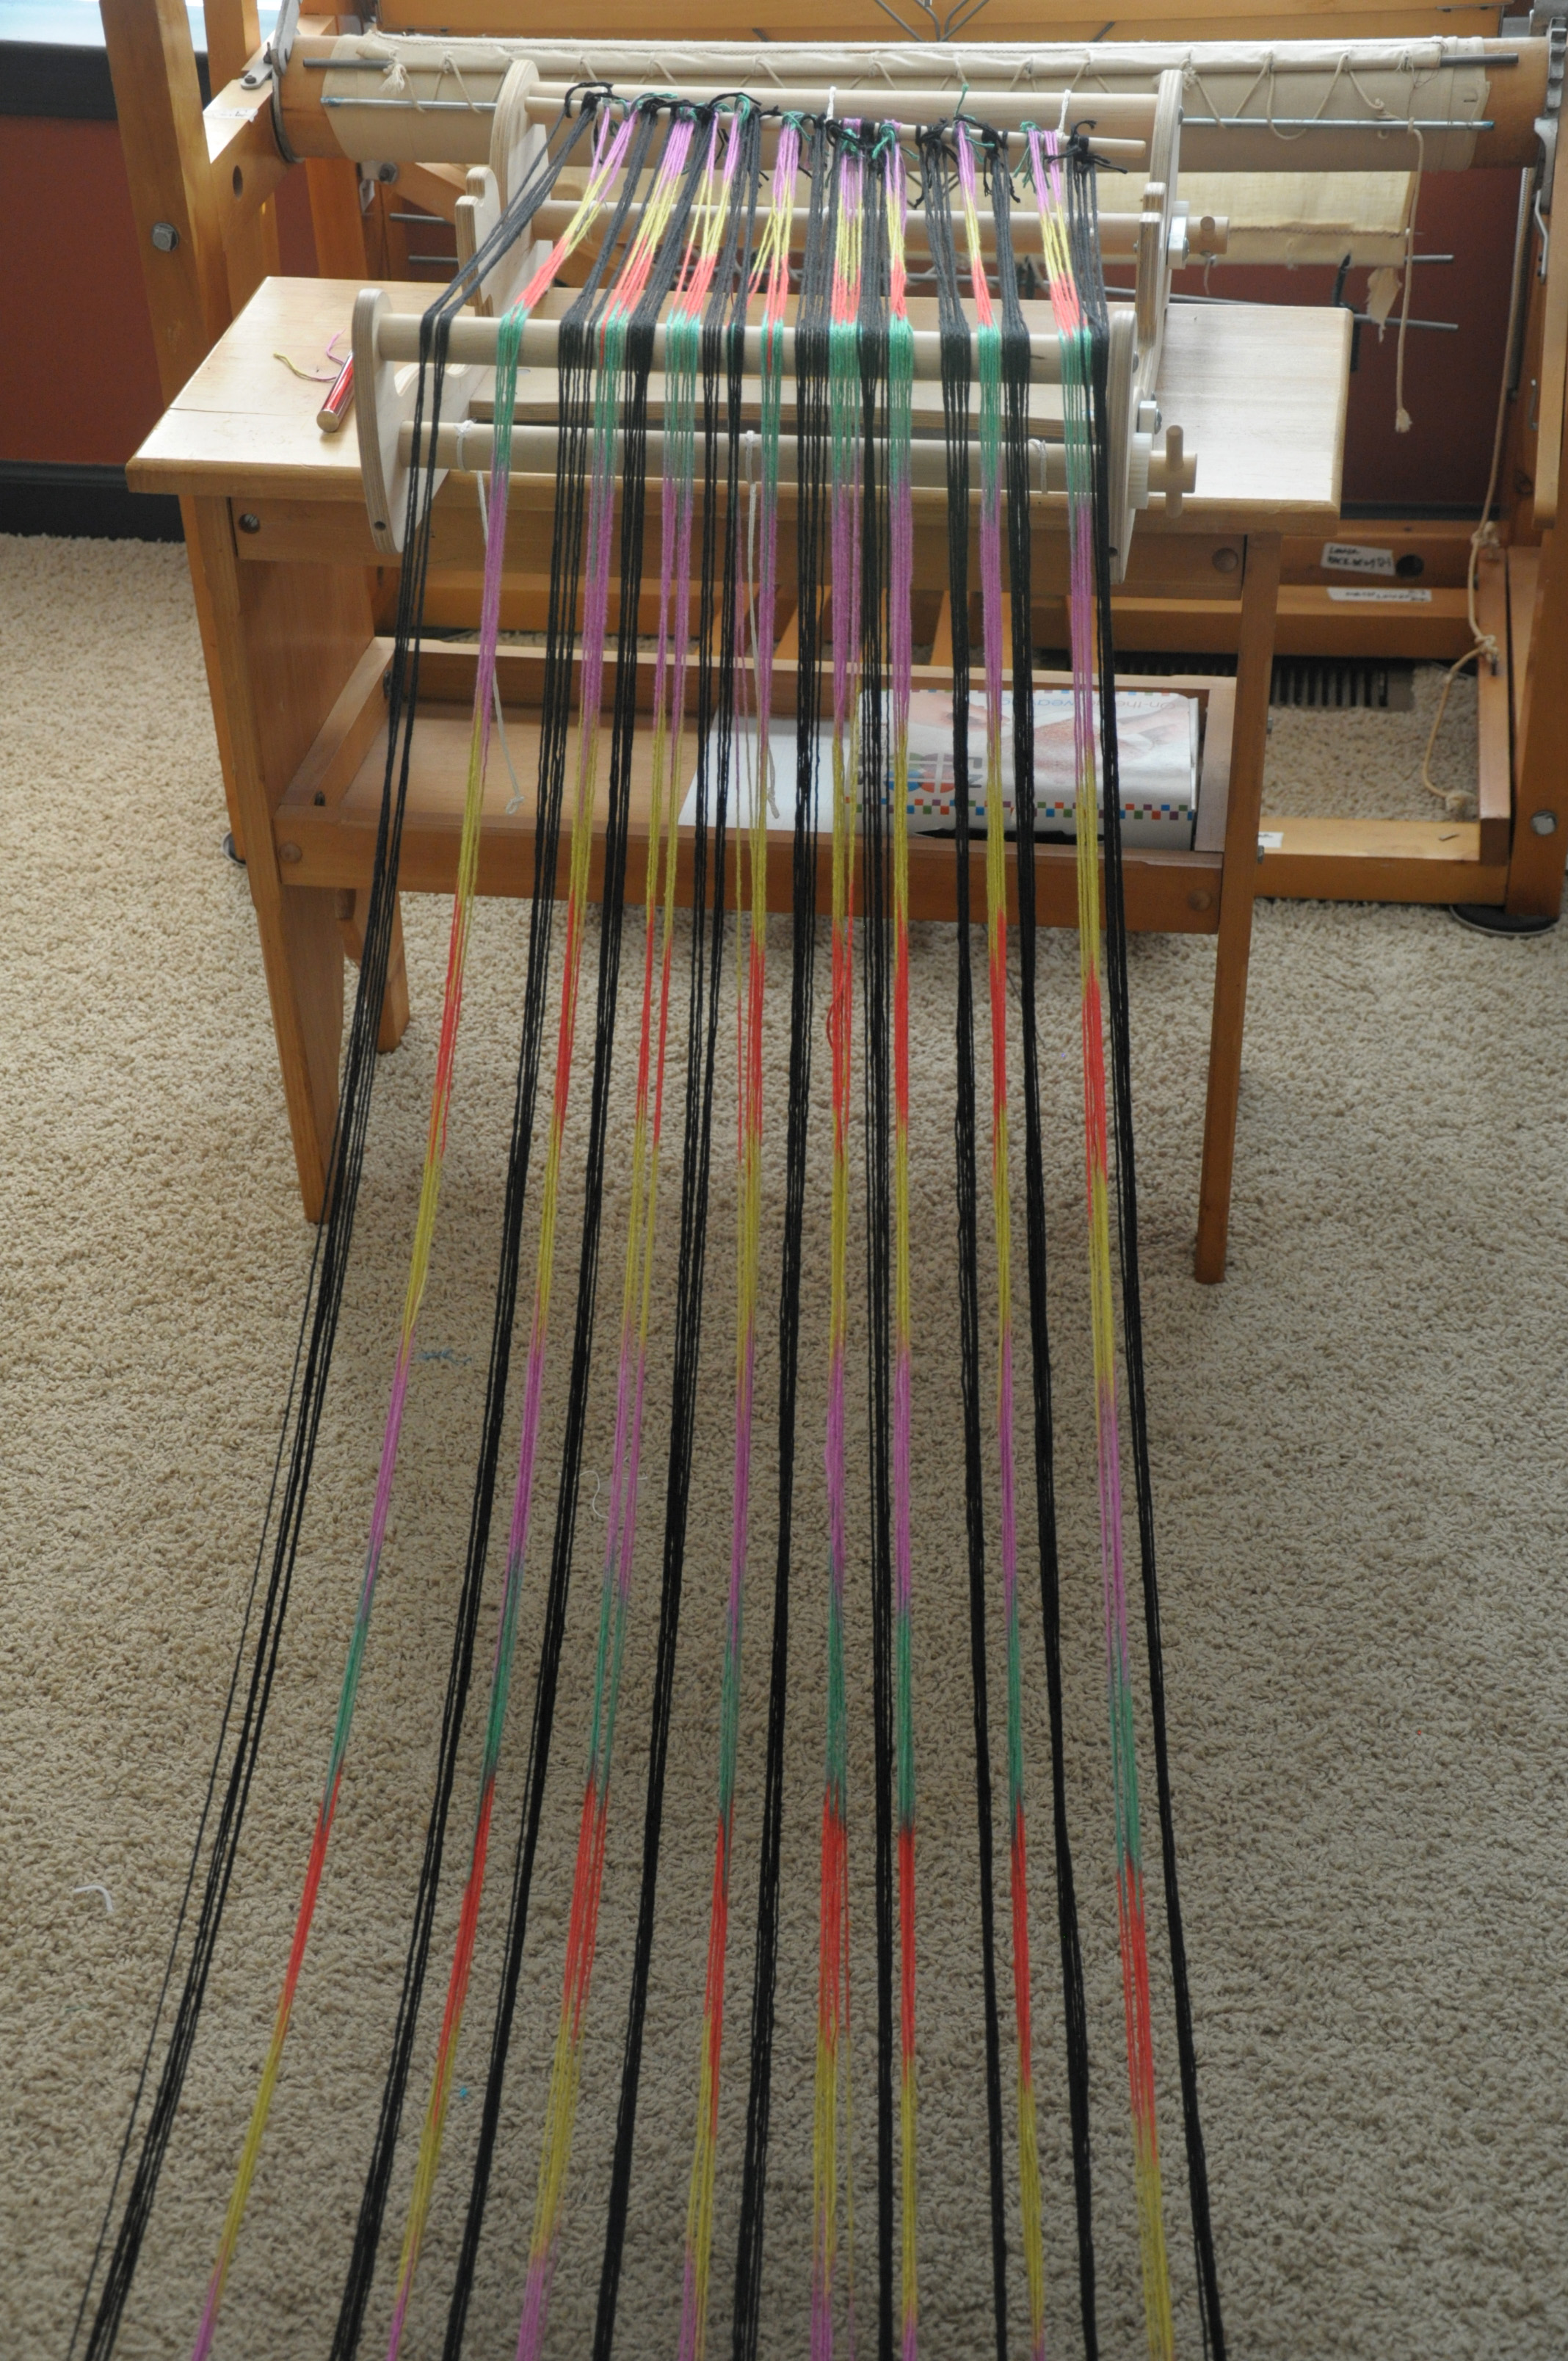
Then I wrapped along and around my pegs until I found my perfect distance. Then I tied the other end to the last peg. A guide string is just that – a guide that the warp will follow as you’re wrapping it around the warping board.

ColorPool_3

But, as you’ll see, I ended up having to adjust my path because the colors were not quite lining up.

ColorPool_4

I took about a million pictures of this warp – it was so pretty!

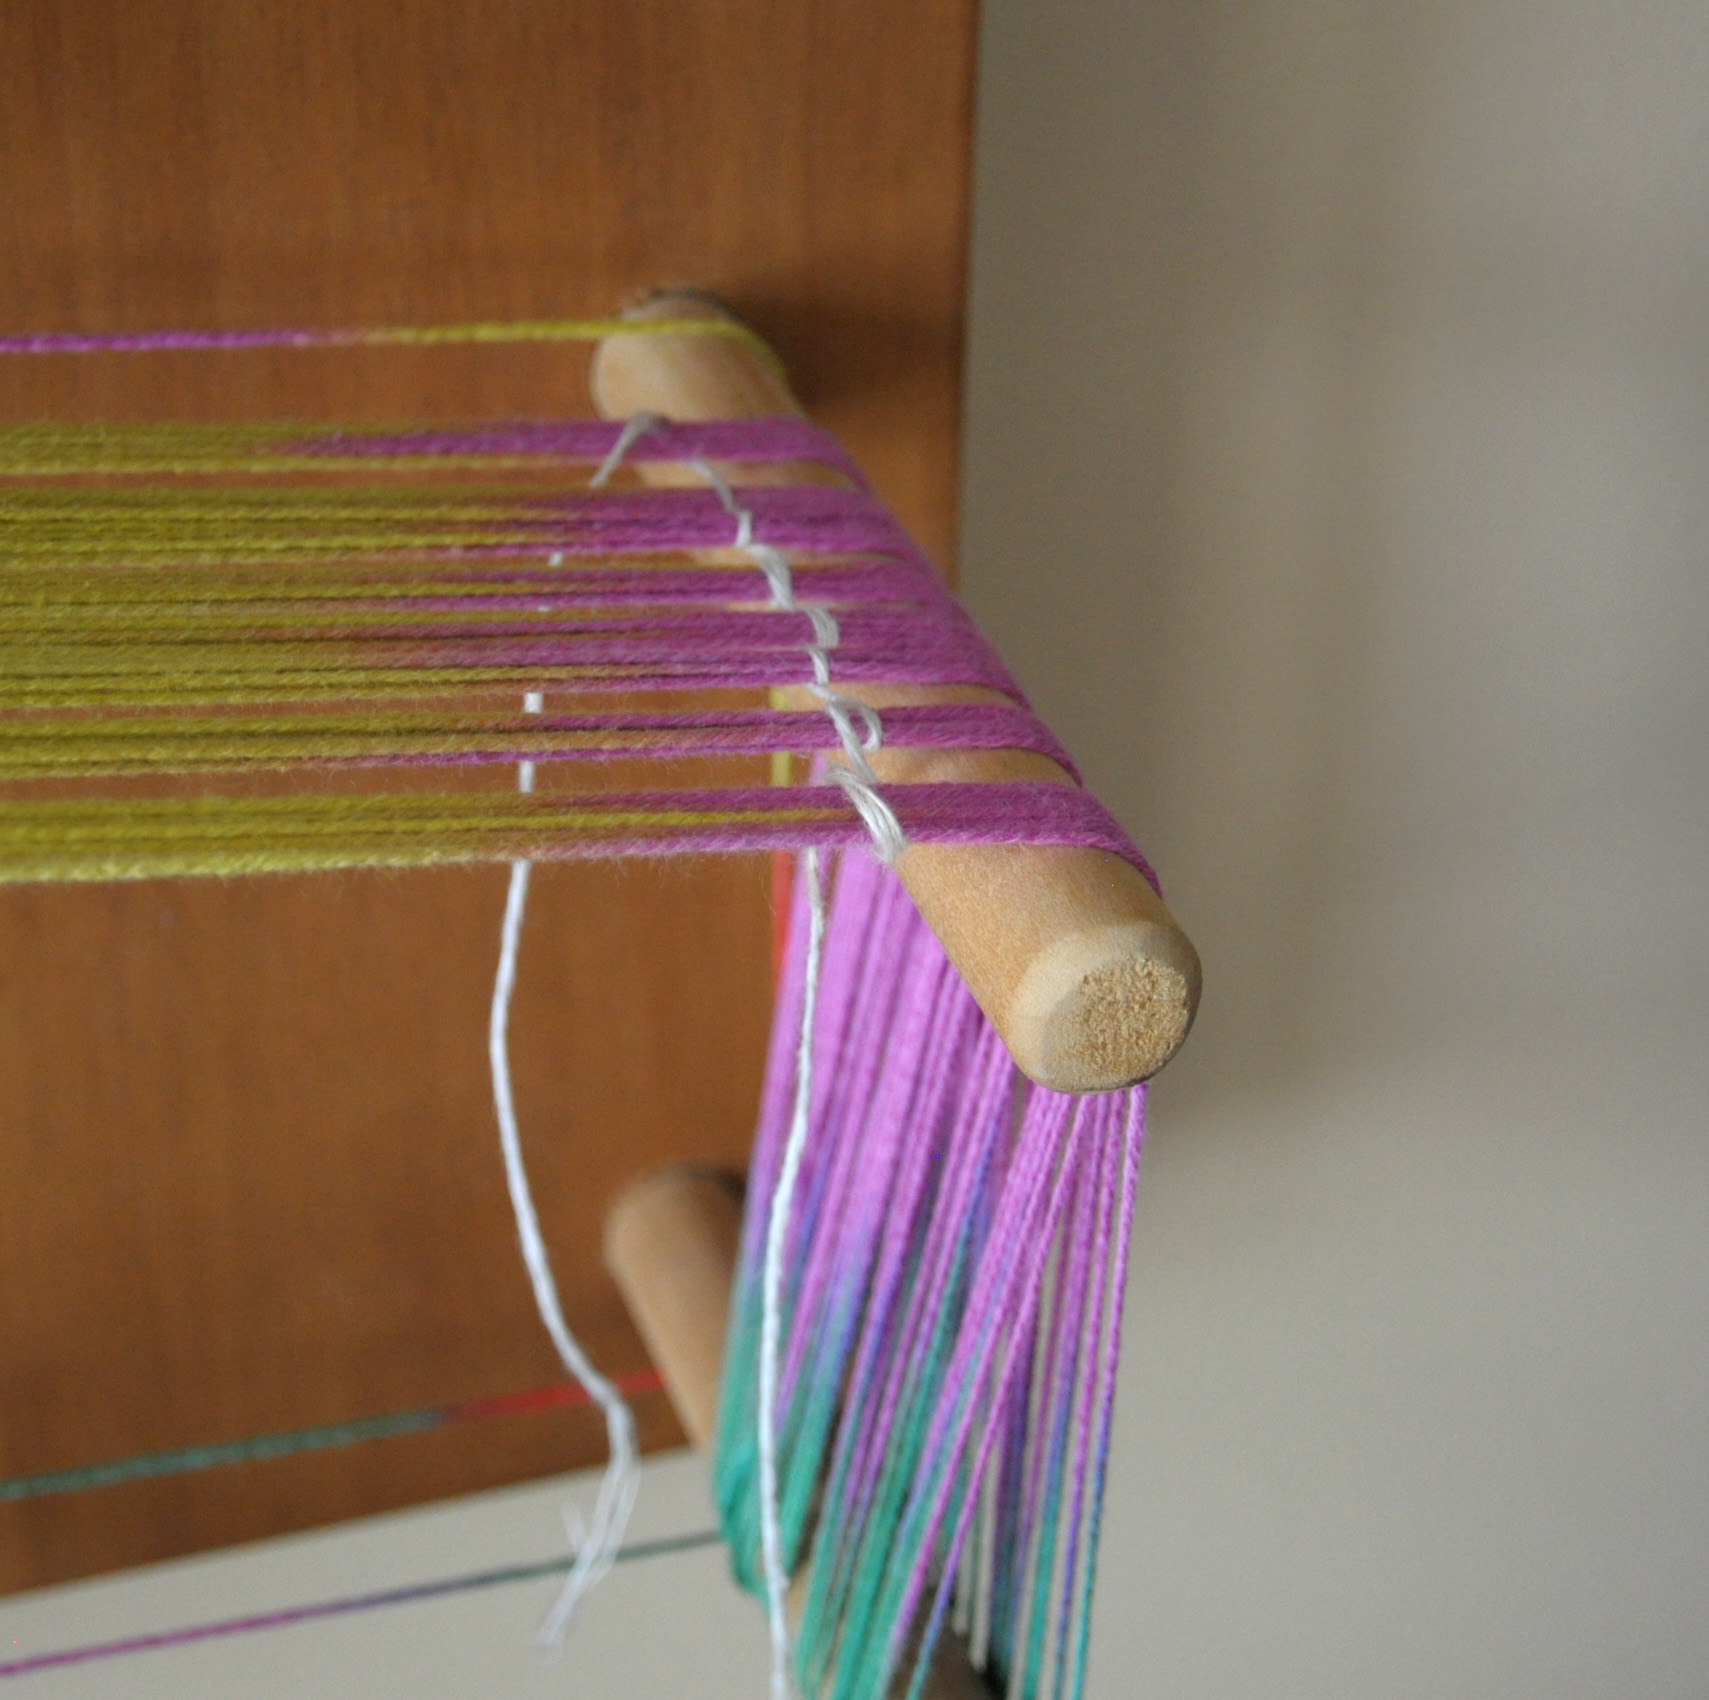
When direct-warping to the rigid heddle, it’s easy enough to count my warp ends. But when using a warping board, I like to use a string to help. I knew that I was going to have 8 stripes of my multi, at 8 ends each. So I just wrapped my contrasting yarn around the warp every 8 ends.

ColorPool_5

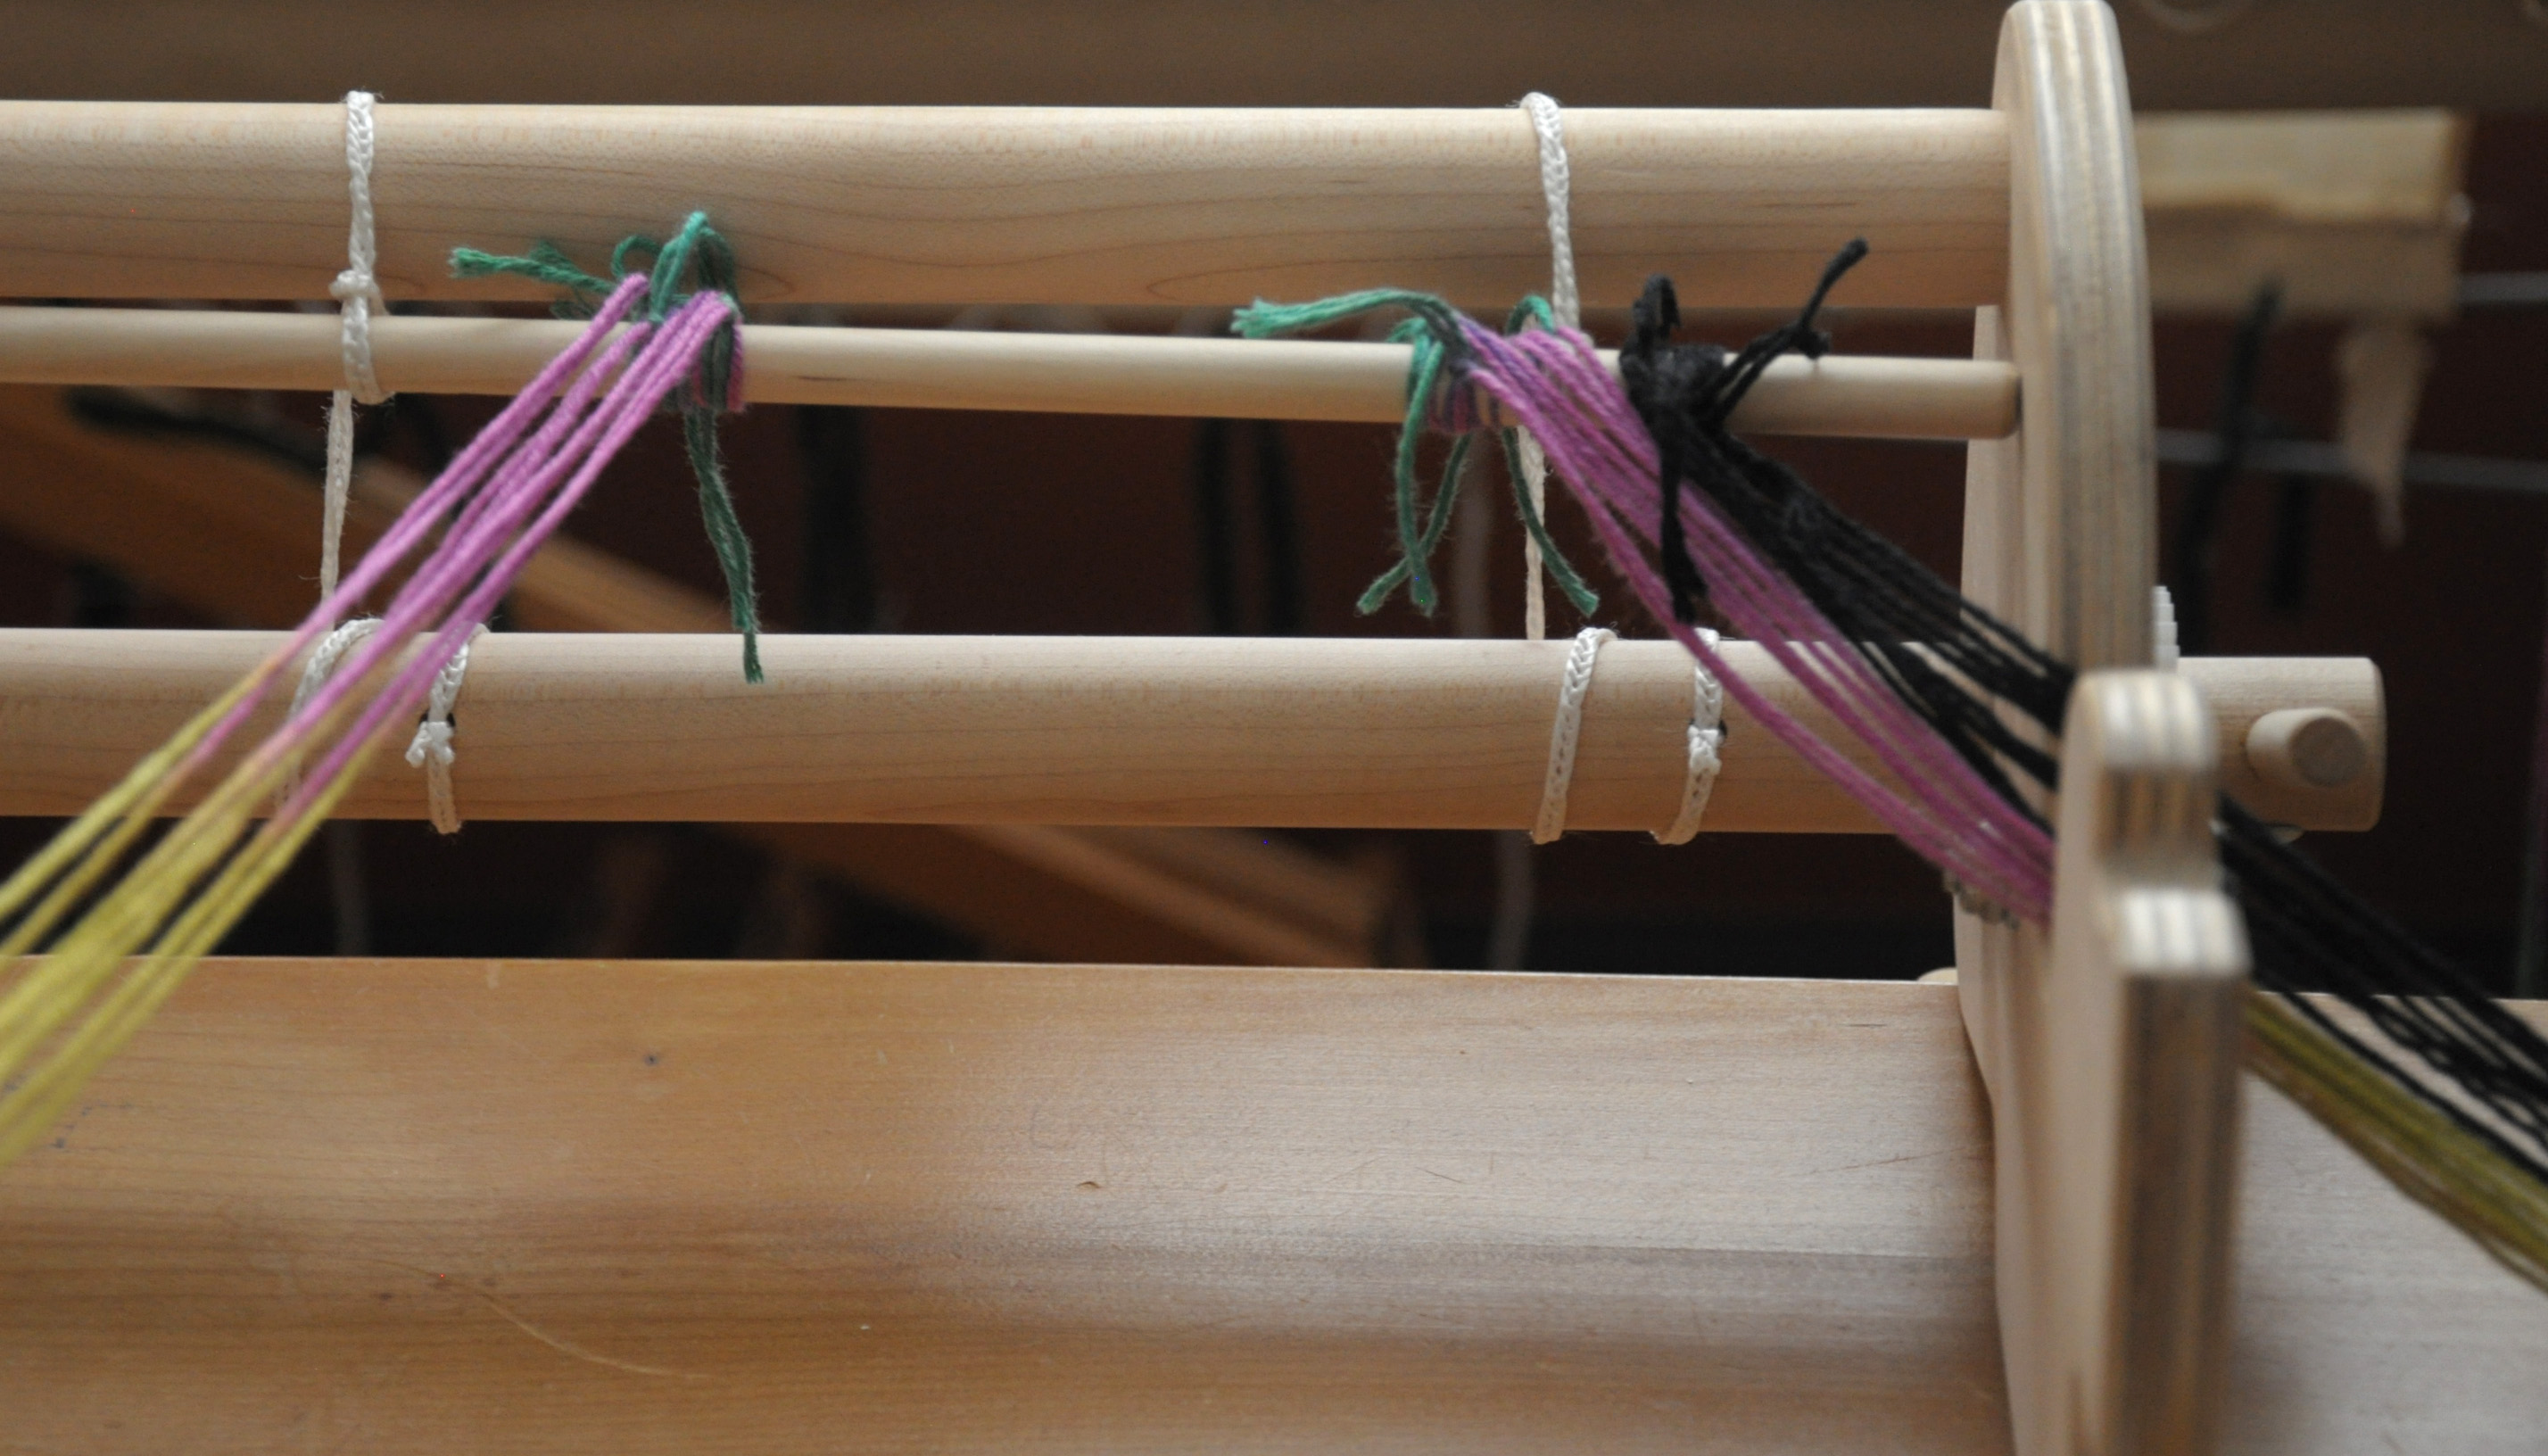
After warping my 9 stripes-worth of black, I was all ready to tie-on. In retrospect, I could/should have only cut one end of my warp. If I had done that, I could have simply looped one end around my back dowel, rather than having to tie all the ends on. It’s been awhile since I used a warping board!

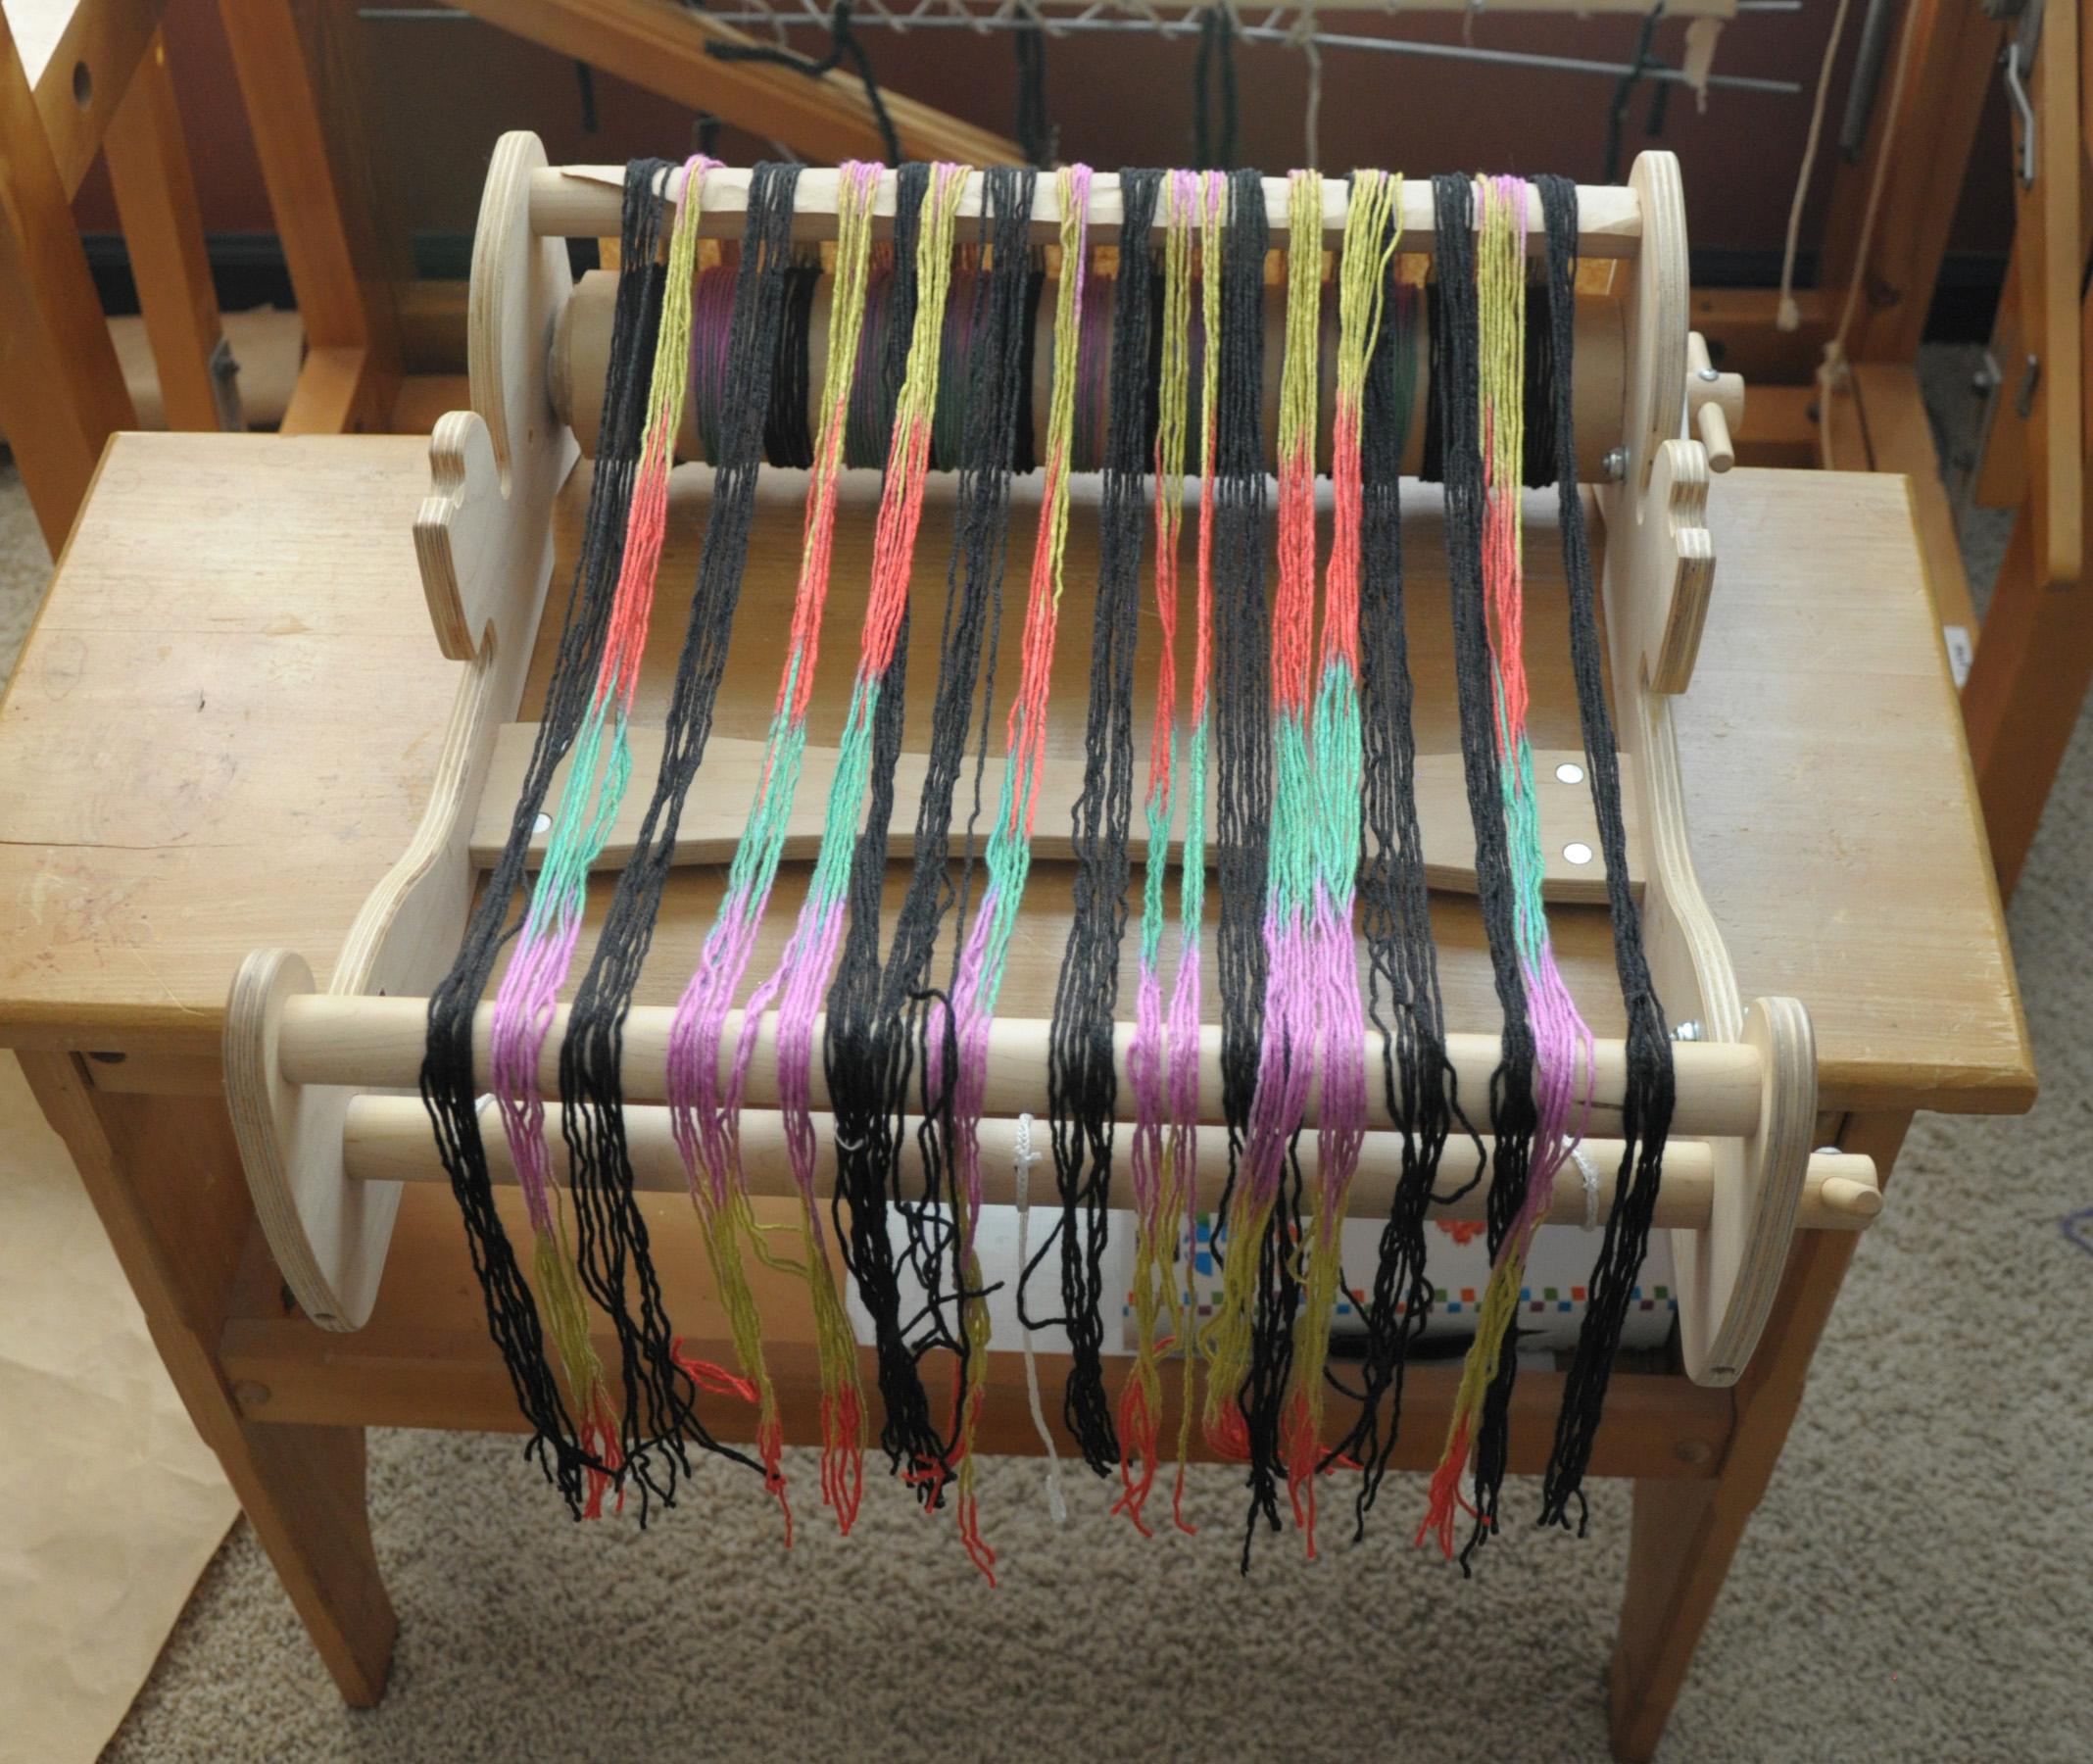
ColorPool_6

After tying all the ends on, I made sure they were even and ready to be wound on.

ColorPool_7

ColorPool_8

After winding:

ColorPool_9

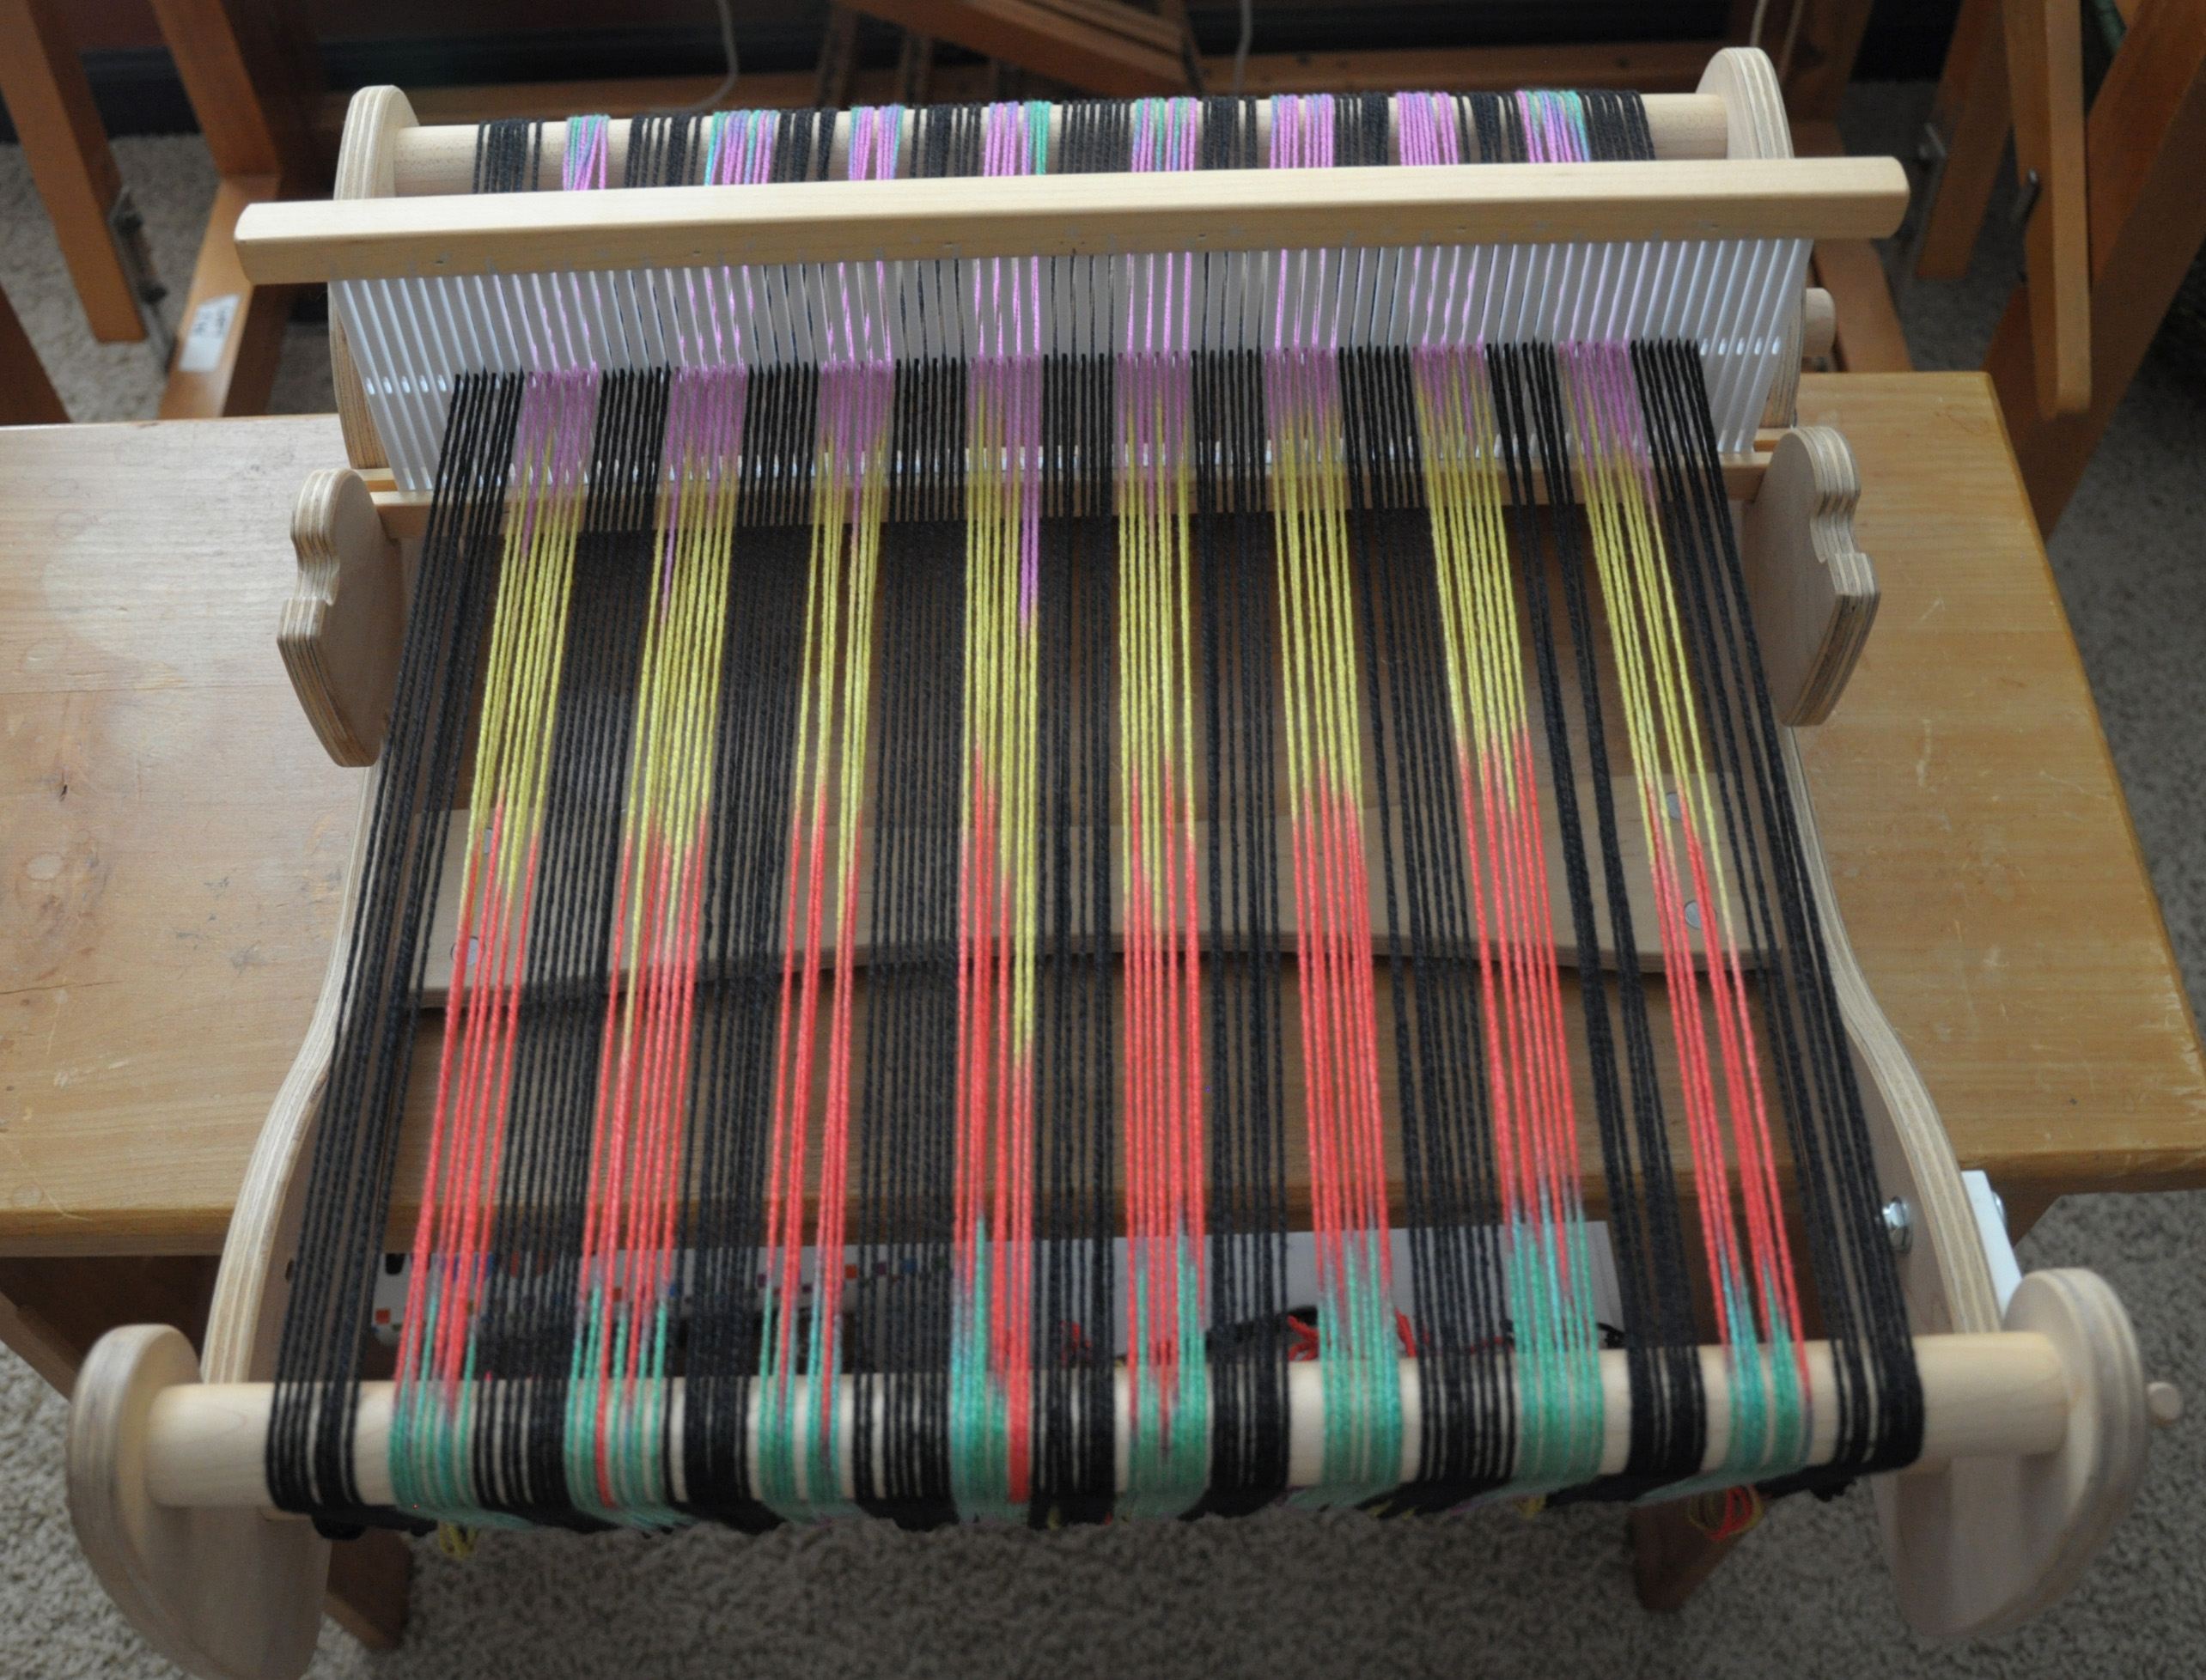
And after tying onto the front dowel.

ColorPool_10

You can see that my color sections are not perfectly lined up, but that’s okay! I really love the way they sort of bleed into each other. I can’t wait to weave this scarf.

ColorPool_11


Deluxe Cable Collection Knitalong

It’s been a labor of love, and I’m pleased to say that our Deluxe Cable Collection ebook is now live!

Deluxe Cable Collection cover FINAL

This digital collection features a 17 projects all made in either Deluxe Chunky and Deluxe Worsted. Let me introduce you to them! All details of the knitalong will be at the end of this post.

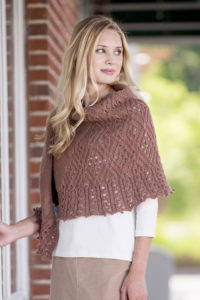
Let’s start with accessories. First, we have Dilworth Shawl, knit up with 4 hanks of Deluxe Worsted 13111 Russet. Though there are a few 3-stitch crosses that call for use of a cable needle, if you’re comfortable cabling without a needle, it would be easy enough to do so. All other crossed stitches are worked using right and left twists. It’s knit from the top down into a crescent shaped, and is finished off with a sweet picot bind-off.

DilworthShawl_2890_hires

DilworthShawl_554_hiresDilworthShawl_563_detail_hires

Next, we have a couple of hats. The Rutherford Beret in Deluxe Chunky and Cold Mountain Hat in Deluxe Worsted. Both hats take just 1 hank each.

ColdMountainHat_492_hires DerringerBeret_454_hires

There are a few of us here in the office making hats. Angie in customer service is a newer knitter, and is going to take this opportunity to learn how to do cables for the first time on Cold Mountain. Exciting! Social media guru, Heather, is planning a 2-color version of Cold Mountain, and I’m planning a 2-color version of Rutherford.


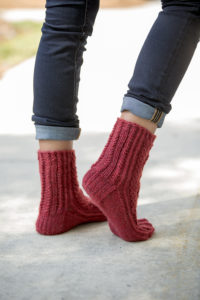
Tillery Socks round out the group of accessories for the ebook. Knit from the top down, this is another crossed-stitch pattern that doesn’t require a cable needle. The pair takes 1-2 hanks, depending on foot size. Heather is also planning on knitting a pair.

TillerySocks_511_hires TillerySocks_2575_hires


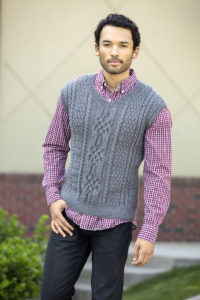
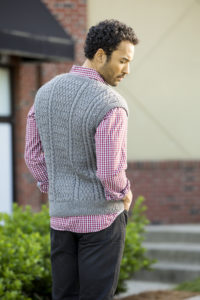
There are also several projects designed for men. We have the Chapel Hill Vest, featuring a super fun cable down the front while keeping things a little simpler in the back:

ChapelHillVest_006_hires ChapelHillVest_050_hires


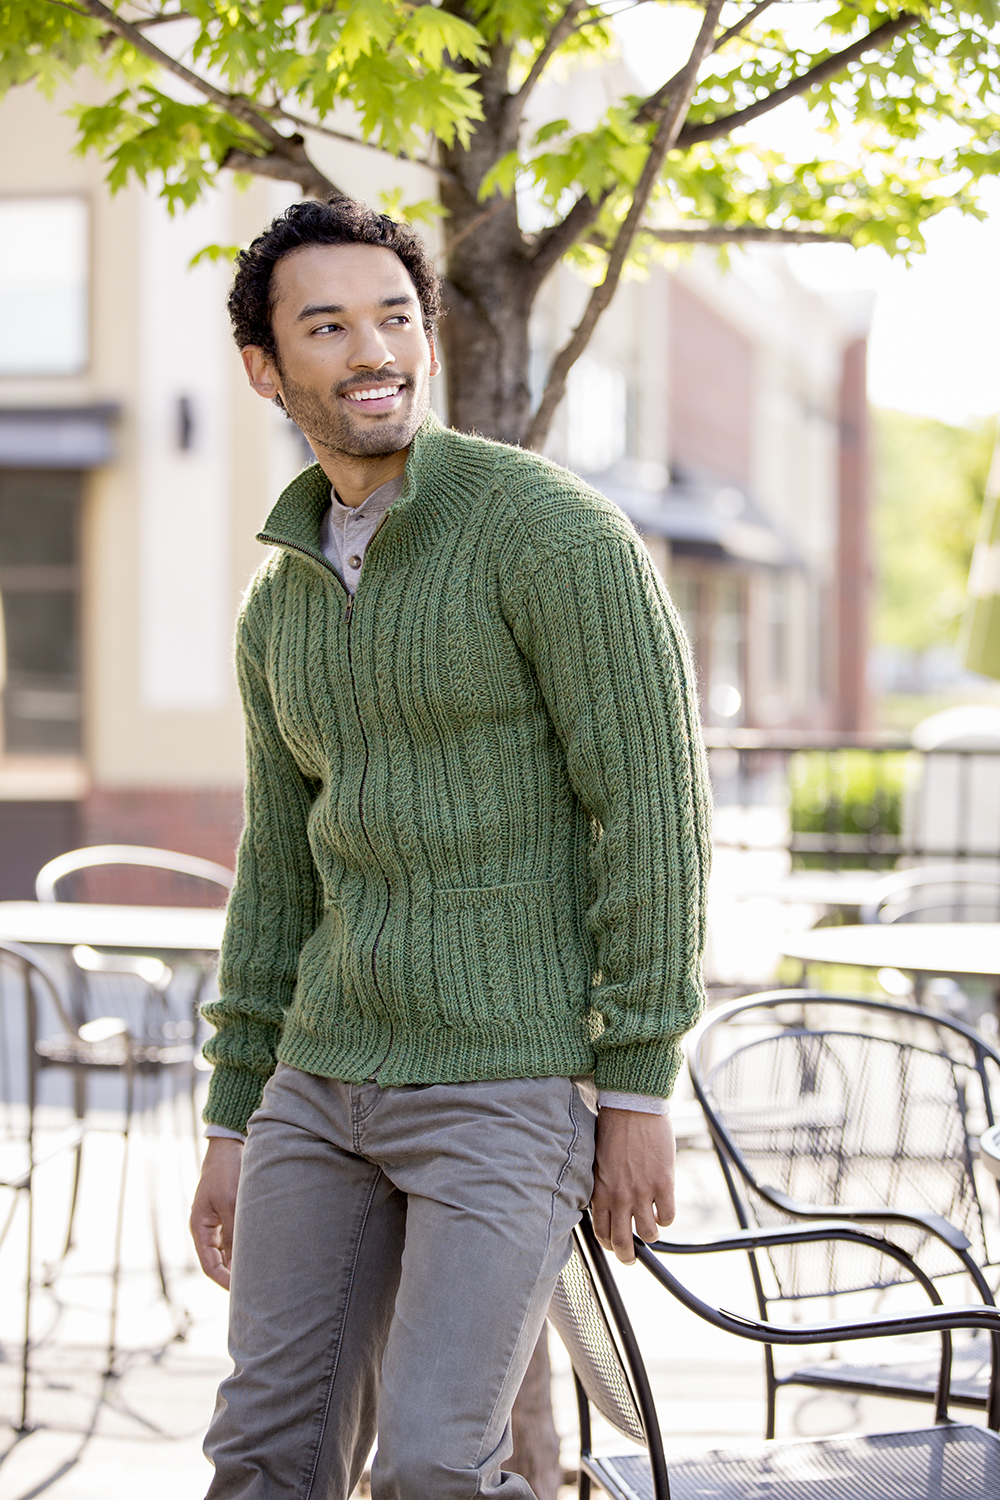
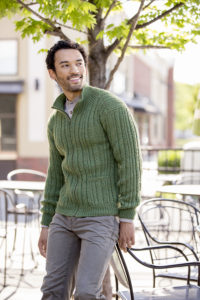
The Greensboro Cardigan in Deluxe Worsted is flattering with its all-over vertical lines of twisted cables and rib, yet ultra practical with a zipped front and pockets. Our graphic designer, Jannie plans on getting her feet wet with cables on this project. She’s chosen to use Deluxe Worsted Tweed Superwash, as the gauge is the same as regular Deluxe Worsted. This is a sweater that could easily be worn by men or women.

Greensboro_095_hires

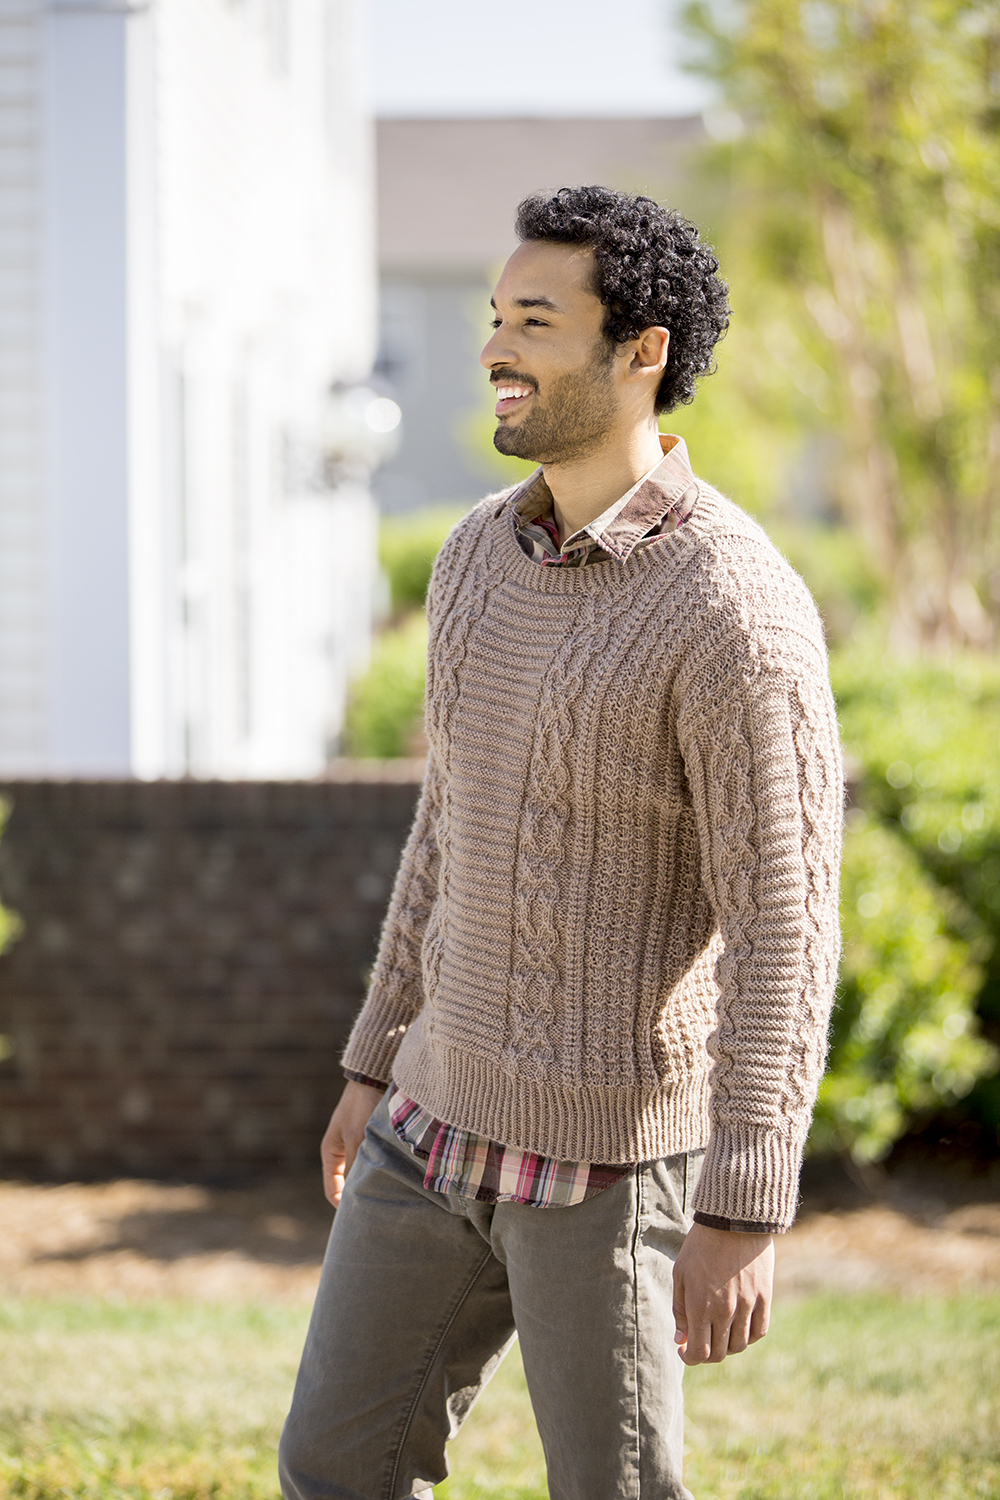
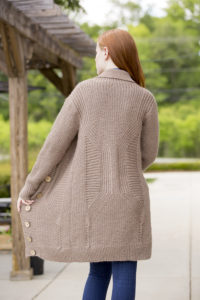
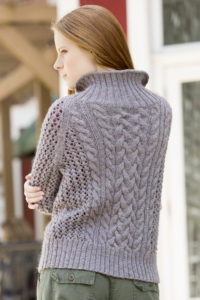
Wesley Heights rounds out our pieces designed for men. A sampler of sorts, this is yet another piece from the collection that doesn’t require the use of a cable needle. I’ve been having a really hard time making up my mind on my knitalong pick! But I’ve finally decided that I am going to knit Wesley Heights, but modify it to have a zipped front and standing collar like Greensboro.

WesleyHeights_052_hires


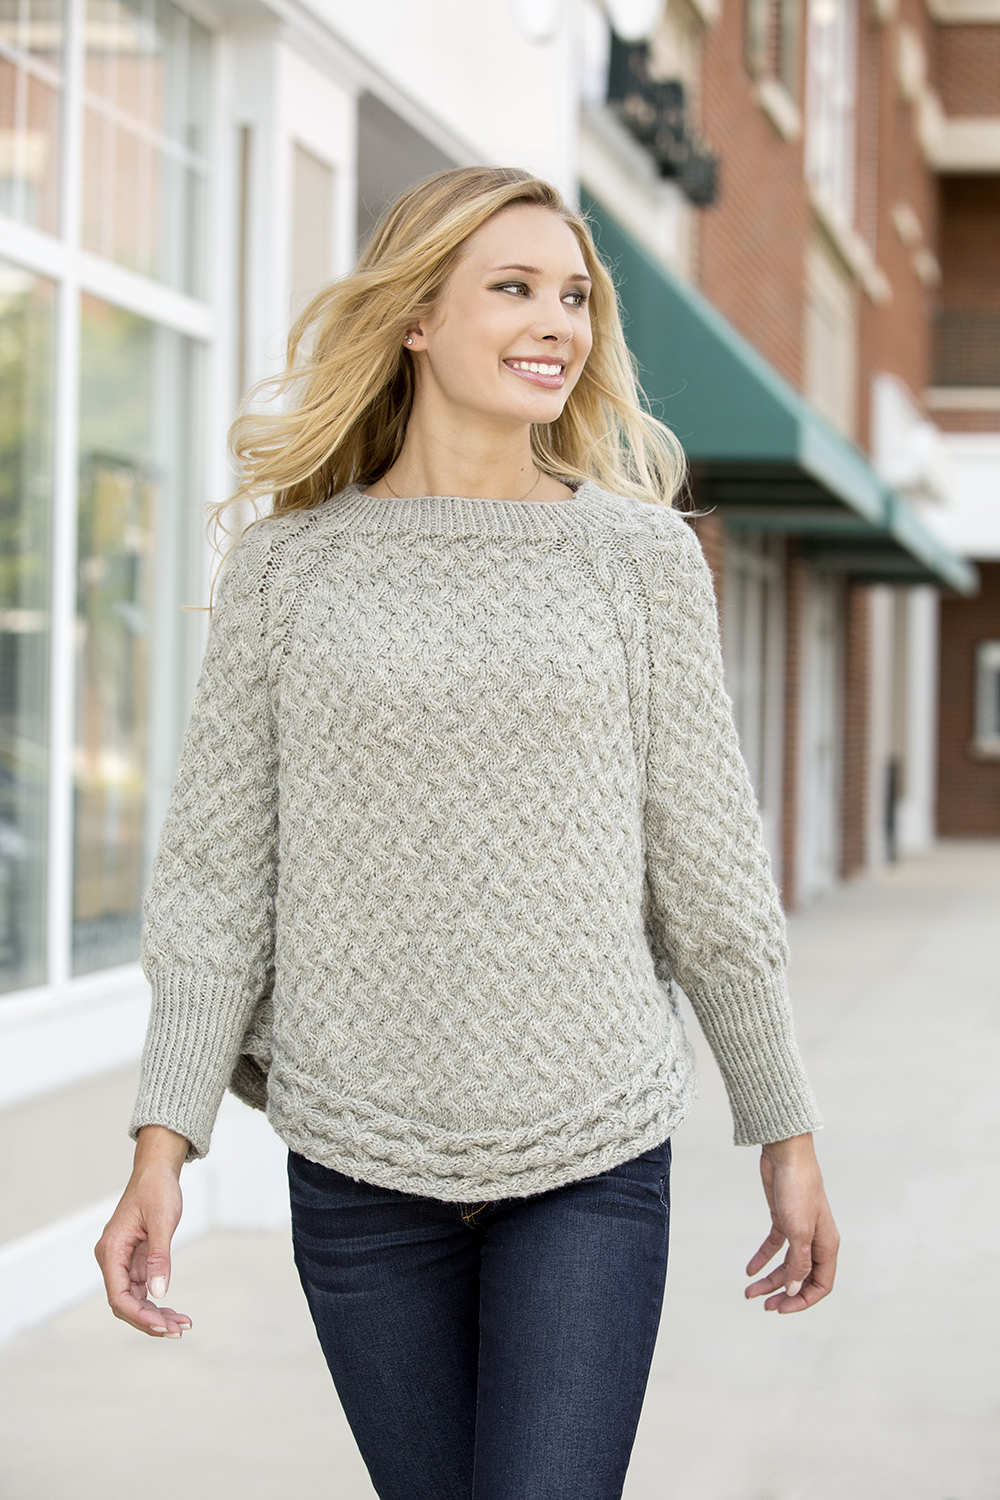
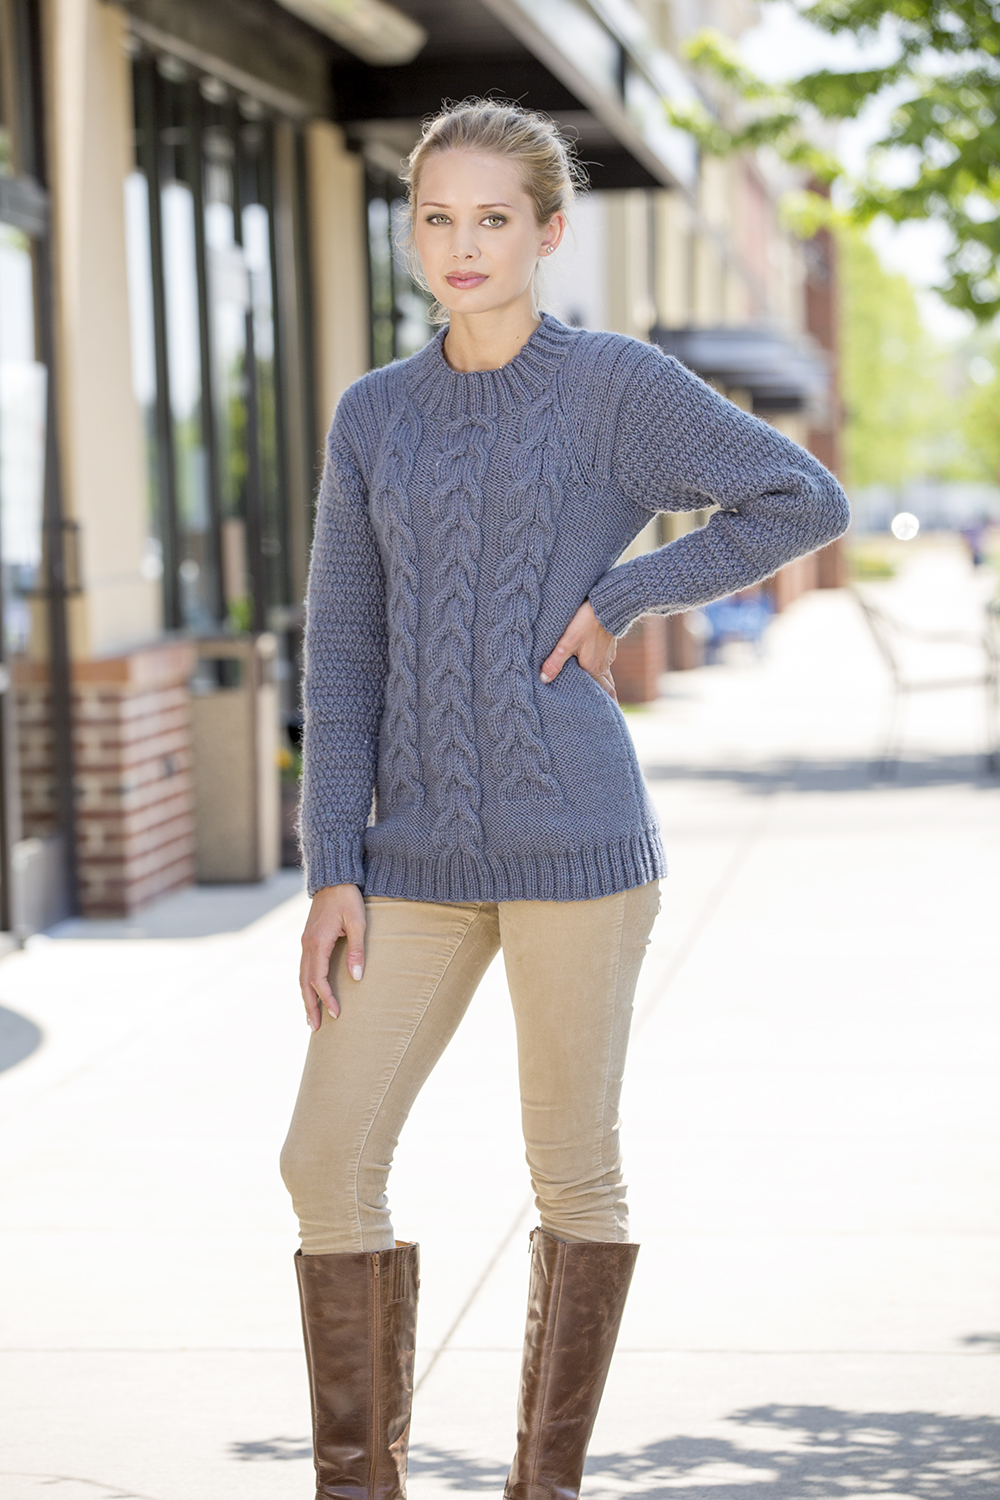
There are lots of sweaters for women to choose from in this collection! First, we have Ashwood Run in Deluxe Worsted. This is sort of a poncho-raglan pullover hybrid, a really fun shape. It’s knit seamlessly from the top down, and has a knit-on cabled border along the curved hem. Hattie (here in the office) asked her daughter to pick out a project from the ebook. To Hattie’s surprise, her daughter chose Ashwood Run, the same sweater Hattie wanted to knit for herself. Apparently they almost never agree on anything!

AshwoodRunPullover_532_hires


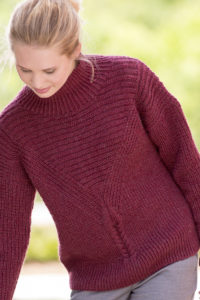
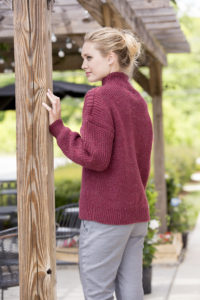
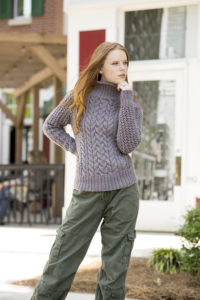
Then we have Hickory Grove Cardigan and Hickory Grove Pullover, both in Deluxe Worsted. Both sweaters feature traveling lines of twisted stitches, welting, and small cable details.

HickoryGroveCardigan_366_hires HickoryGroveCardigan_389_hiresHickoryGrovePullover347_detail_hiresHickoryGrovePullover_363_hires


Cold Mountain Pullover incorporates the same stitch patterns as Cold Mountain Hat above. The lace sleeves and sides allow for a little extra ventilation in an otherwise cozy-warm wool sweater.

ColdMountain_446_hires ColdMountain_2102_detail_hires


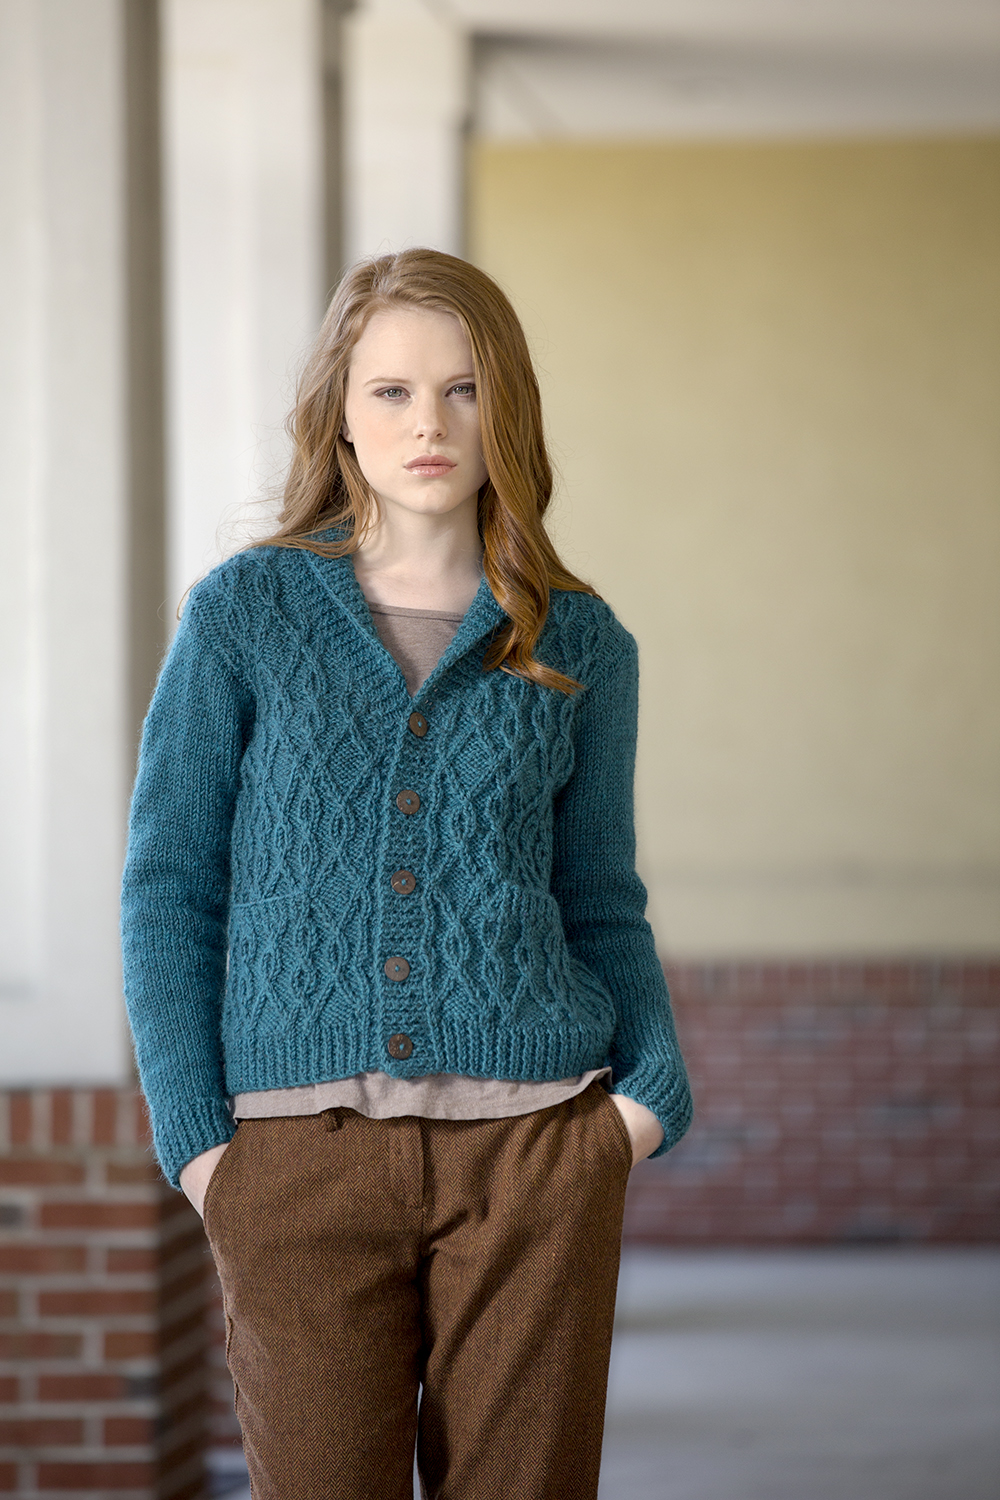
Tallulah Cardigan is a relatively quick knit in Deluxe Chunky. It has set-in pockets, shawl collar, and an intriguing lattice of twisted stitches. No cable needle required on this one. If I can manage to finish both my Rutherford Beret and modified Wesley Heights, I think I’m going to need my own Tallulah in gray.

TallulahCardigan_132_hires


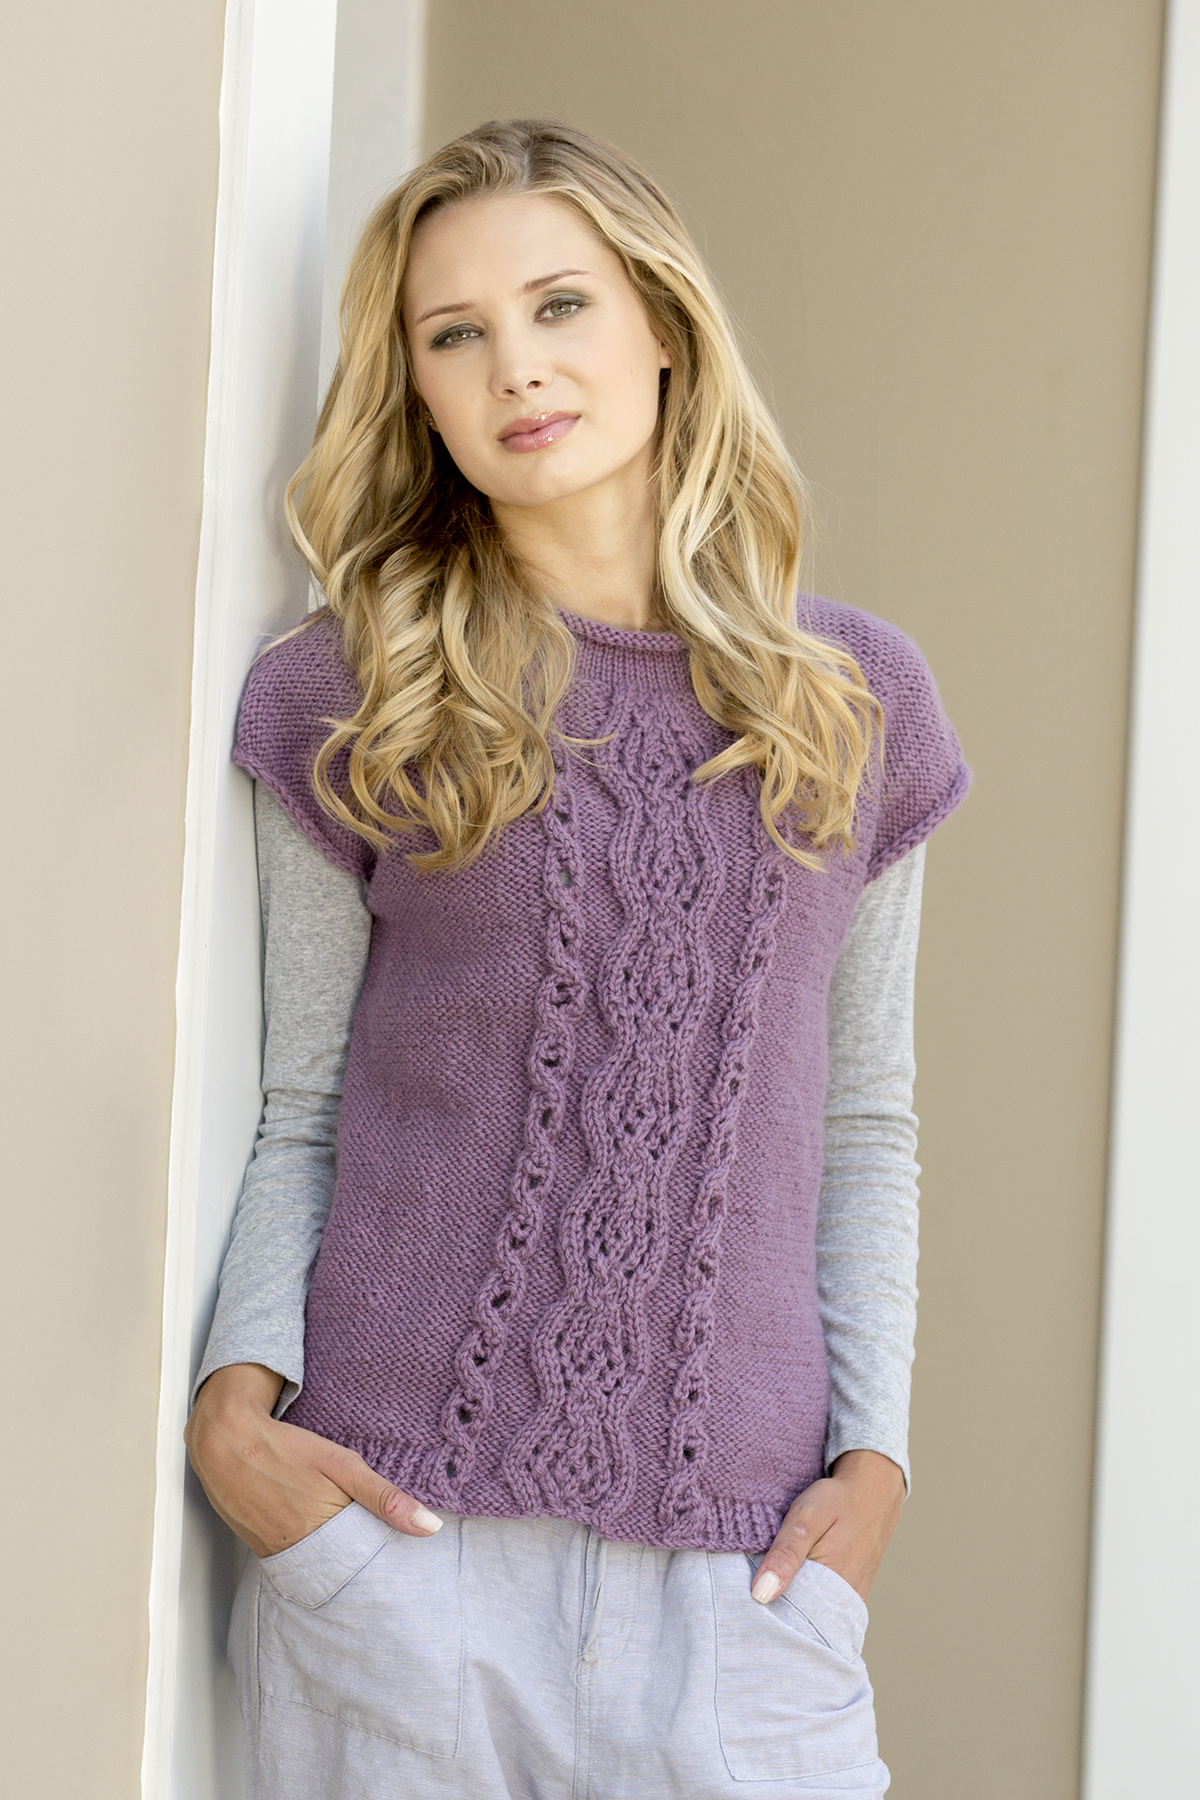
Jen in accounting has already picked her color for Ballantyne Tee – 22285 Cactus. This is another quick knit with Deluxe Chunky. It makes a great layering piece for those of us who get too hot wearing wool with long sleeves. The feminine cable panel seen on the front also runs up the back. A rolled stockinette collar finishes things off.

BallantyneTee_467_detail_hires


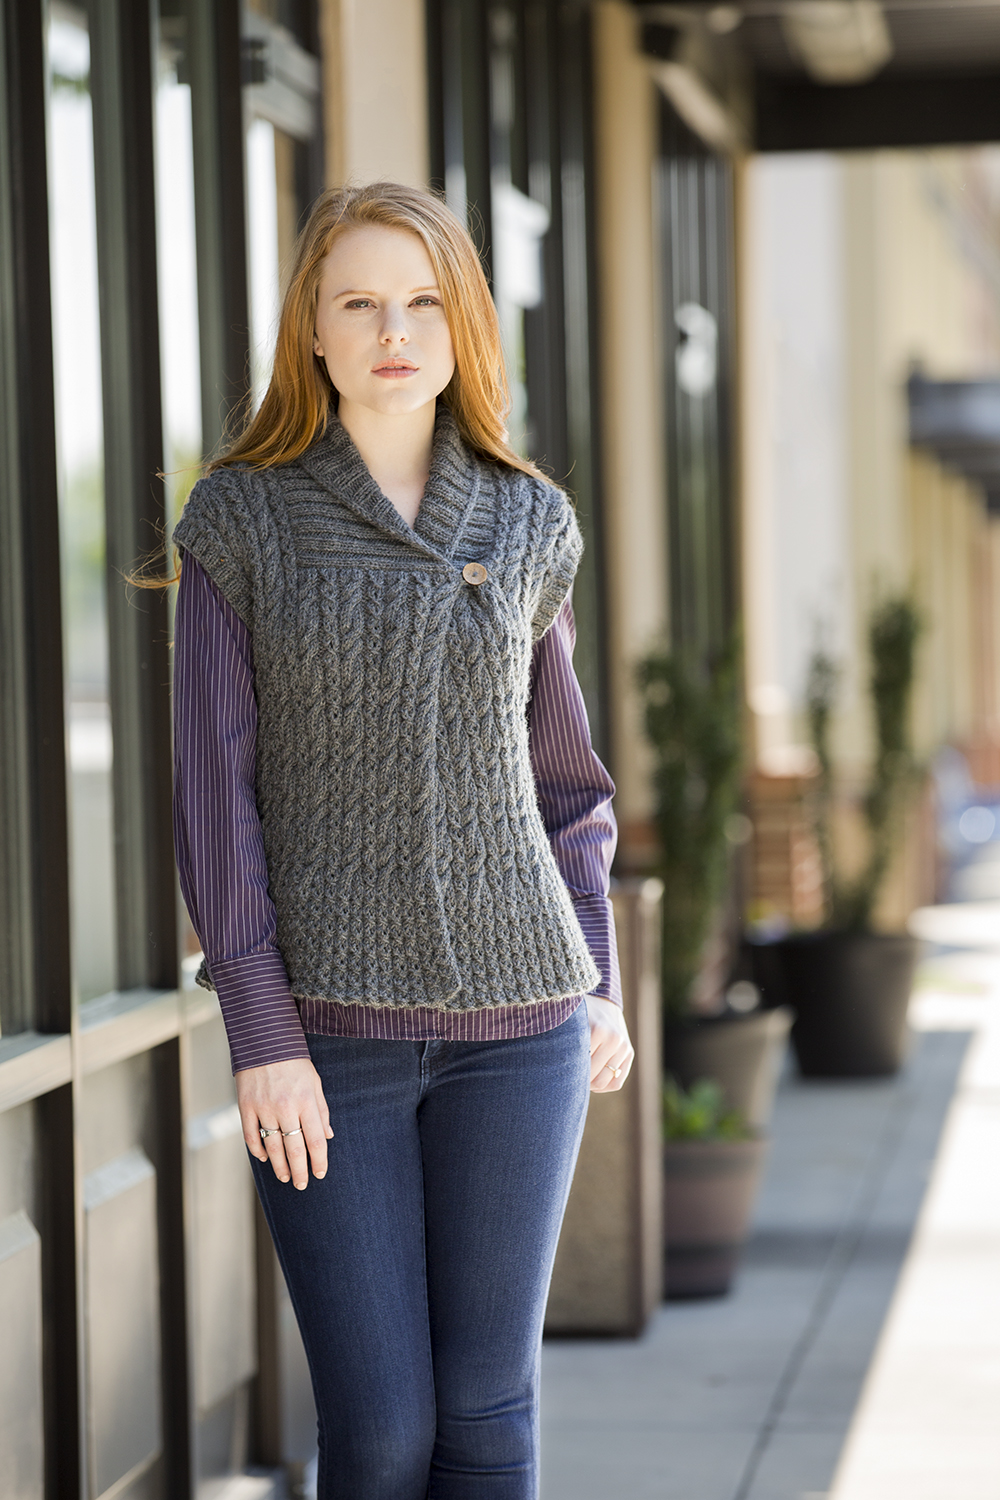
Eastover Vest in Deluxe Worsted provides another great short-sleeved option in this collection. The fronts overlap for several inches across the bust and close with a single button. The lower eyelet ribbing provides the slightest “flounce”, giving this vest a bit of a girly feel. Our new designer Tori has chosen to knit this piece in 13104 Slate. There are lots of gray lovers here in the office!

EastoverVest_207_hires


Mount Mitchell Tunic features 3 bold cables along front and back. Slanting lines give the appearance of raglan sleeves, but this sweater actually has set-in sleeves. Another fairly quick knit in Deluxe Chunky.

MountMitchellTunic_307_hires


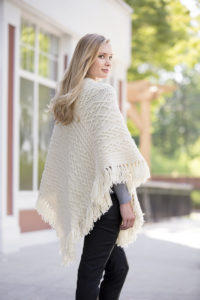
To round out the collection, we have a couple of ponchos. First up is the Cumberland Poncho knit in Deluxe Worsted. This is a one-size-fits-most garment, formed of two identical rectangles. Celtic looking cables are worked using right and left twists – another cabled project that doesn’t require a cable needle!

It can be worn with the points in front and back, or set off-center. Our sales manager, Yonca has slated this as her knitalong project.

CumberlandPoncho_593_hires CumberlandPoncho_621_hires


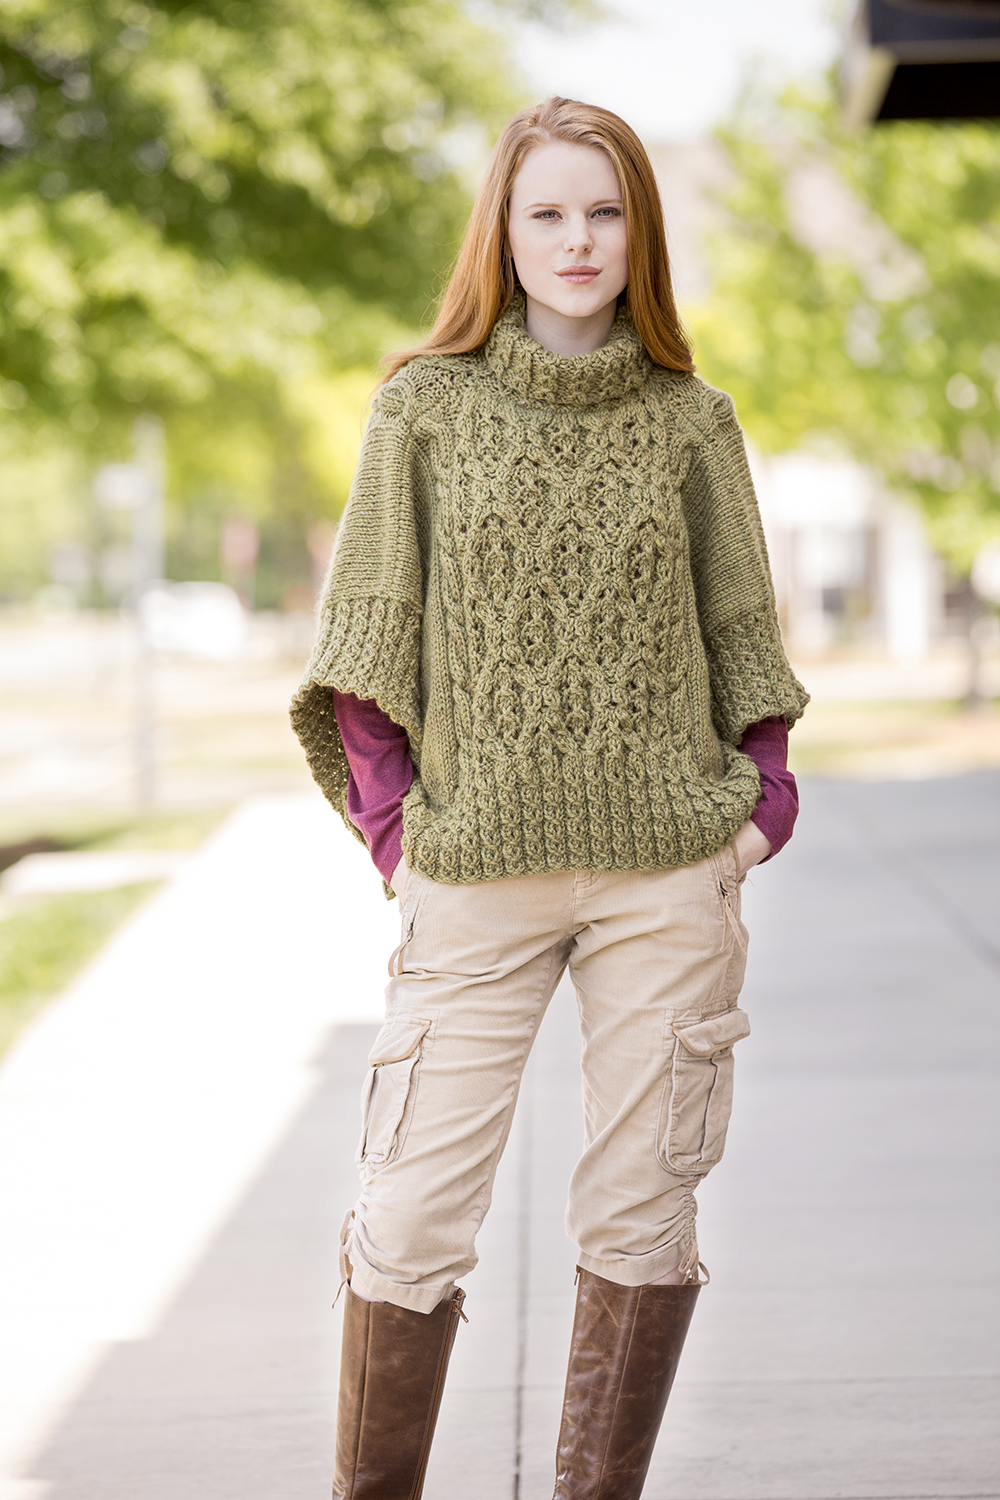
The Catawba River Poncho in Deluxe Chunky has a different construction than Cumberland. Front and back pieces are knit from the bottom up and joined at the shoulders. The collar is worked separately and sewn to the body. It’s a flattering, easy to wear piece with rich texture. This one was also on my short-list for the knitalong! Katie, our customer service lead plans on tackling this project. I think I’m going to be so jealous of her poncho that I might have to make this one, too.

CatawbaRiverPoncho_311_hires


Knitalong graphic hi-res

The plan for our official Deluxe Cable Collection Knitalong is pretty simple. To participate, all you have to do is:

  1. Pick any project from the Deluxe Cable Collection (some of us here in the office can’t choose, so we’ll be knitting more than one!)
  2. Decide on your yarn/color. Any of the projects that call for Deluxe Worsted could easily be substituted with Deluxe Worsted Superwash or Deluxe Worsted Tweed Superwash.
  3. Join in either here on the blog (you can subscribe on the home page of the blog, upper right-hand of your screen) , or over on Ravelry. (link to Deluxe Cable Collection knitalong thread on Ravelry) I’d love to hear from you – what you’re thinking about knitting, in-progress photos, etc. Even if you’re shy, come by and say hi!

I’ll be updating our Ravelry thread and checking in frequently. I’ll also be posting here on the blog with in-progress photos from my projects and other folks’ projects here in the office. I’ll have helpful tips, photo-tutorials, videos, and I’ll be available for any questions you might have about your own project. It’s going to be so much fun!

The official launch of the knitalong will be Tuesday, August 9th. Grab your needles, pick your color, and get ready to cable!


Ready to Wear

In case you missed the first few posts in this series on my Flame Lace Top, you can find the warping post here,  how to make string heddles here,  actually weaving the fabric here, and taking the fabric off the loom here.  I’m using Flax as warp, and Whisper Lace with Garden 10 held together as warp.

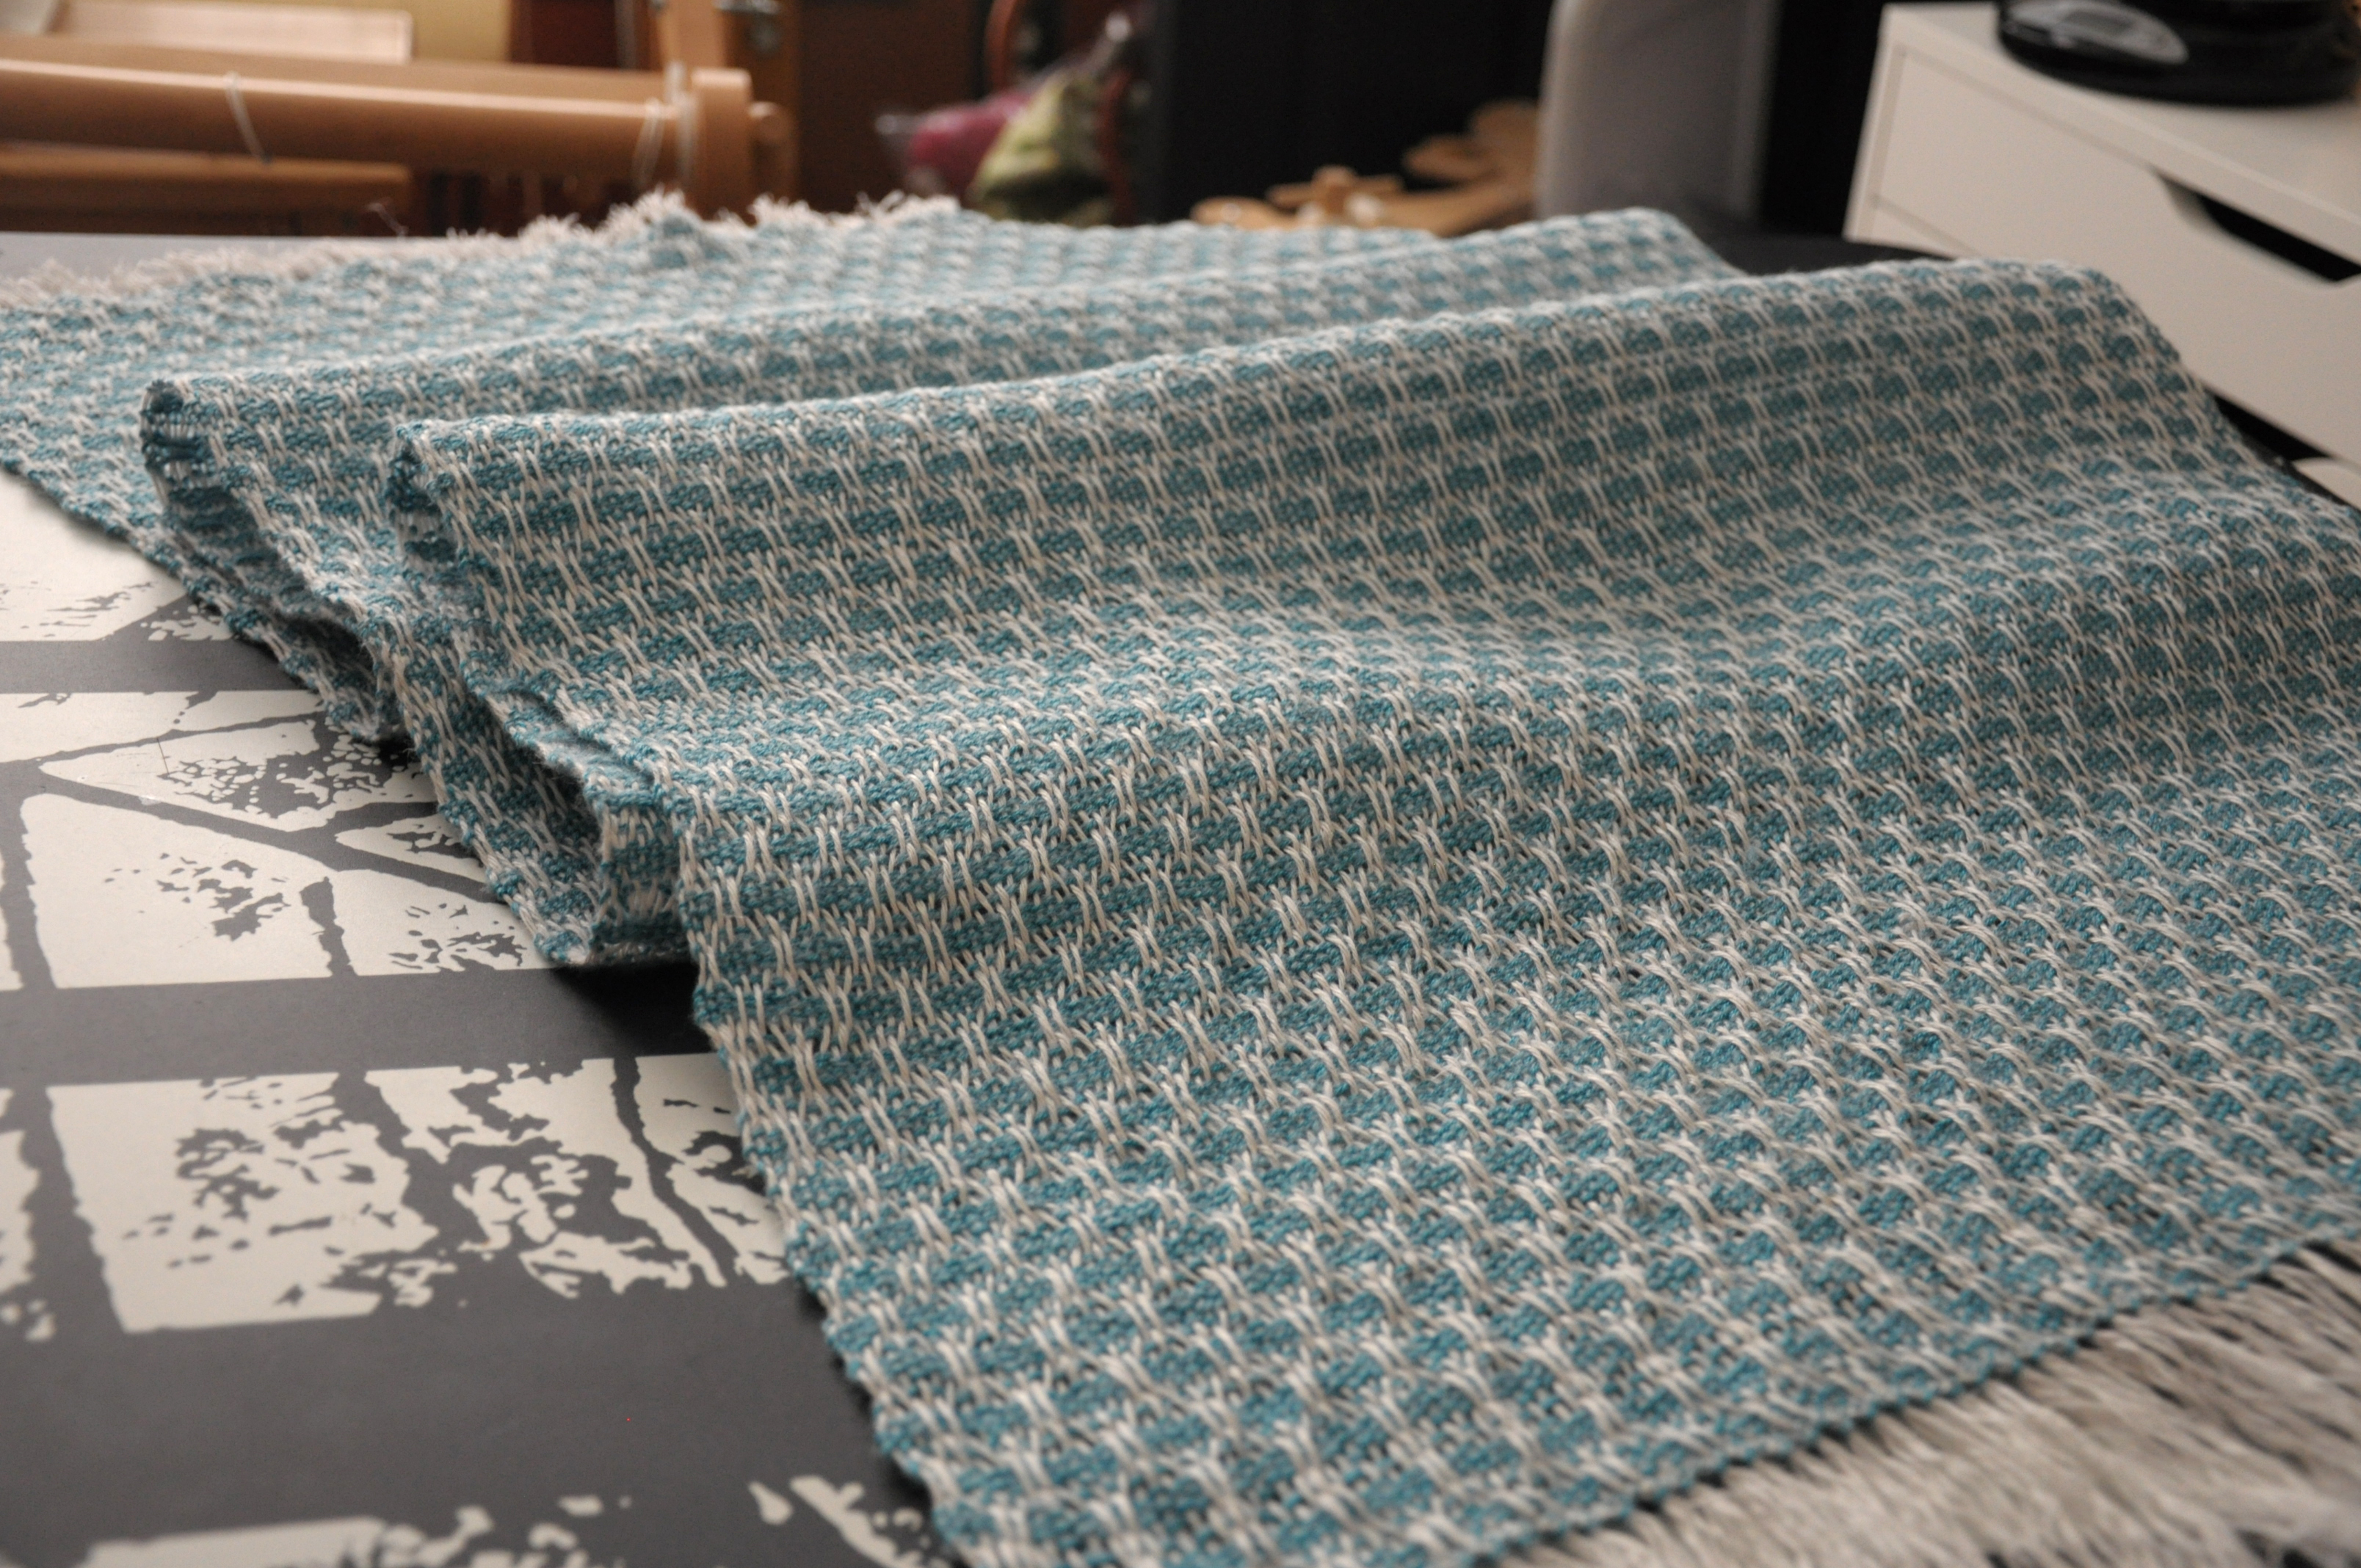
After taking my fabric off the loom, I decided to machine wash on gentle and then laid flat to dry. After lightly pressing the fabric with my iron, I was all ready to start sewing and cutting:
Sewing_1

What really drew me to the Flame Lace project in the Simple Woven Garments book was the weave structure. Though I think the garment in the book is really cute, I’m not a big fan of that shape for my body. Going into this project, I knew I was going to make some changes. But I didn’t fully decide on those changes until I got started. And even then I made improvisations along the way.

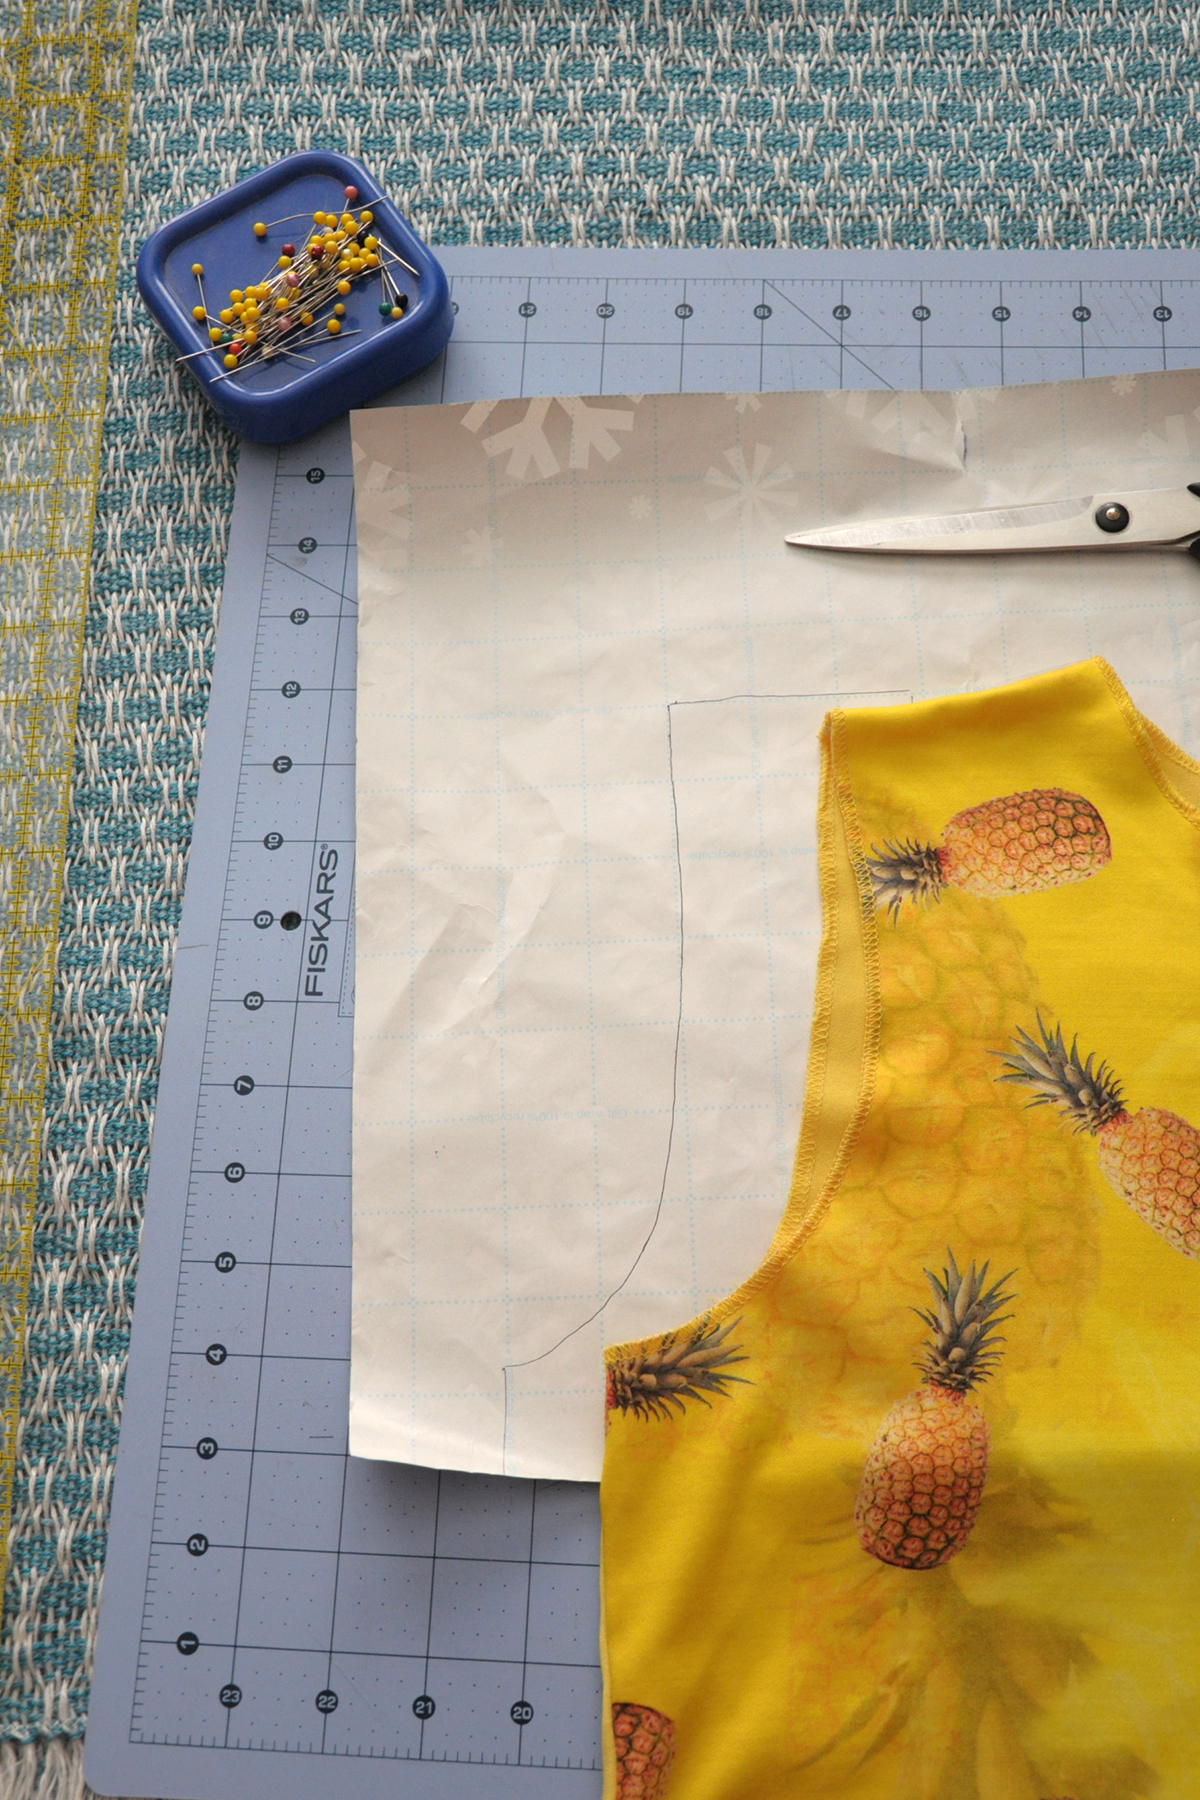
The first thing I decided to do differently than the original was to shape my armholes. The easiest way for me to determine my armhole depth and shape was to grab a top I already own and use that as a guide. I’m a big fan of using wrapping paper that has grid lines on the back for things like this.
Sewing_2

To make a template for my armholes, I laid my top on the back side of the wrapping paper and traced one side. I opted to freehand the neck hole, as I wanted it to sit a bit lower than the one on the shirt I was using as an armhole guide. After cutting out the first side, I folded the paper in half and traced to get the second side – an easy way to make sure it was symmetric.
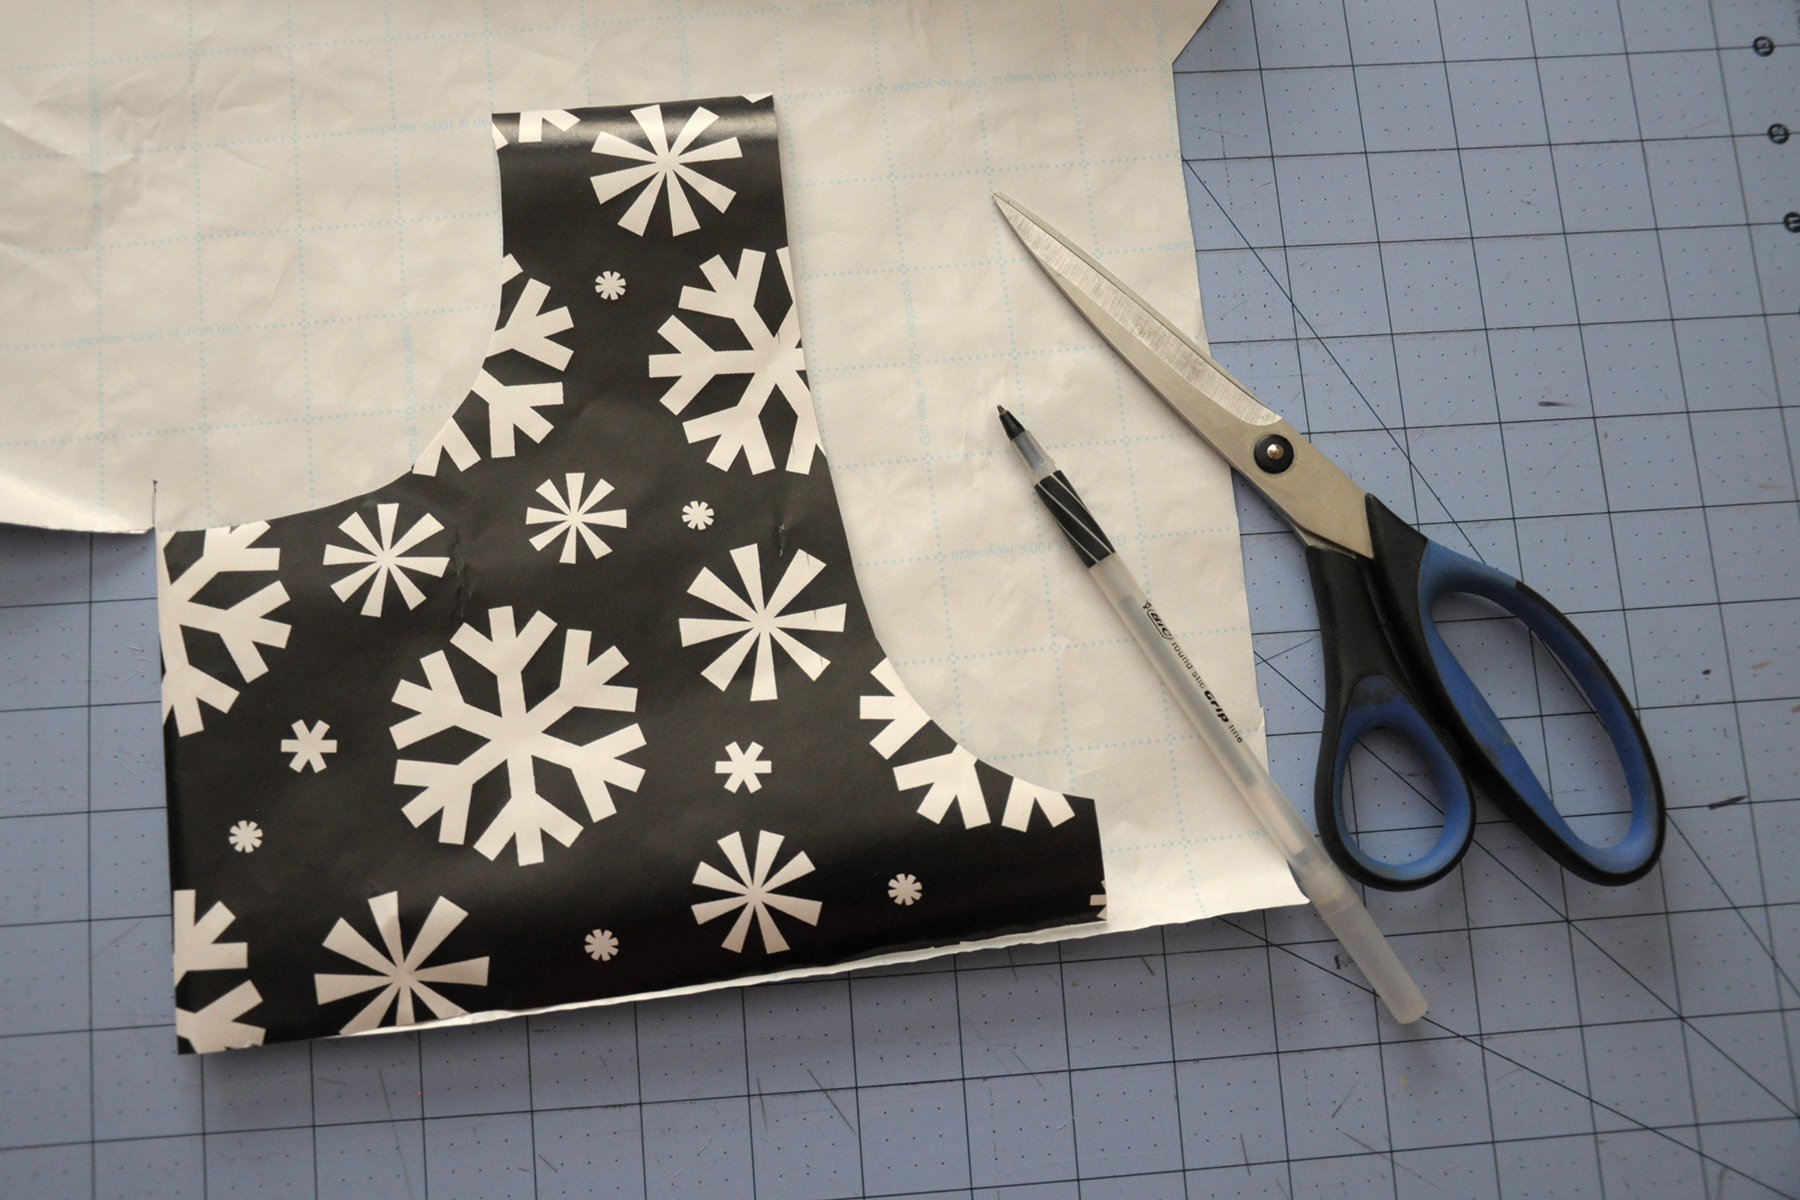
Sewing_3

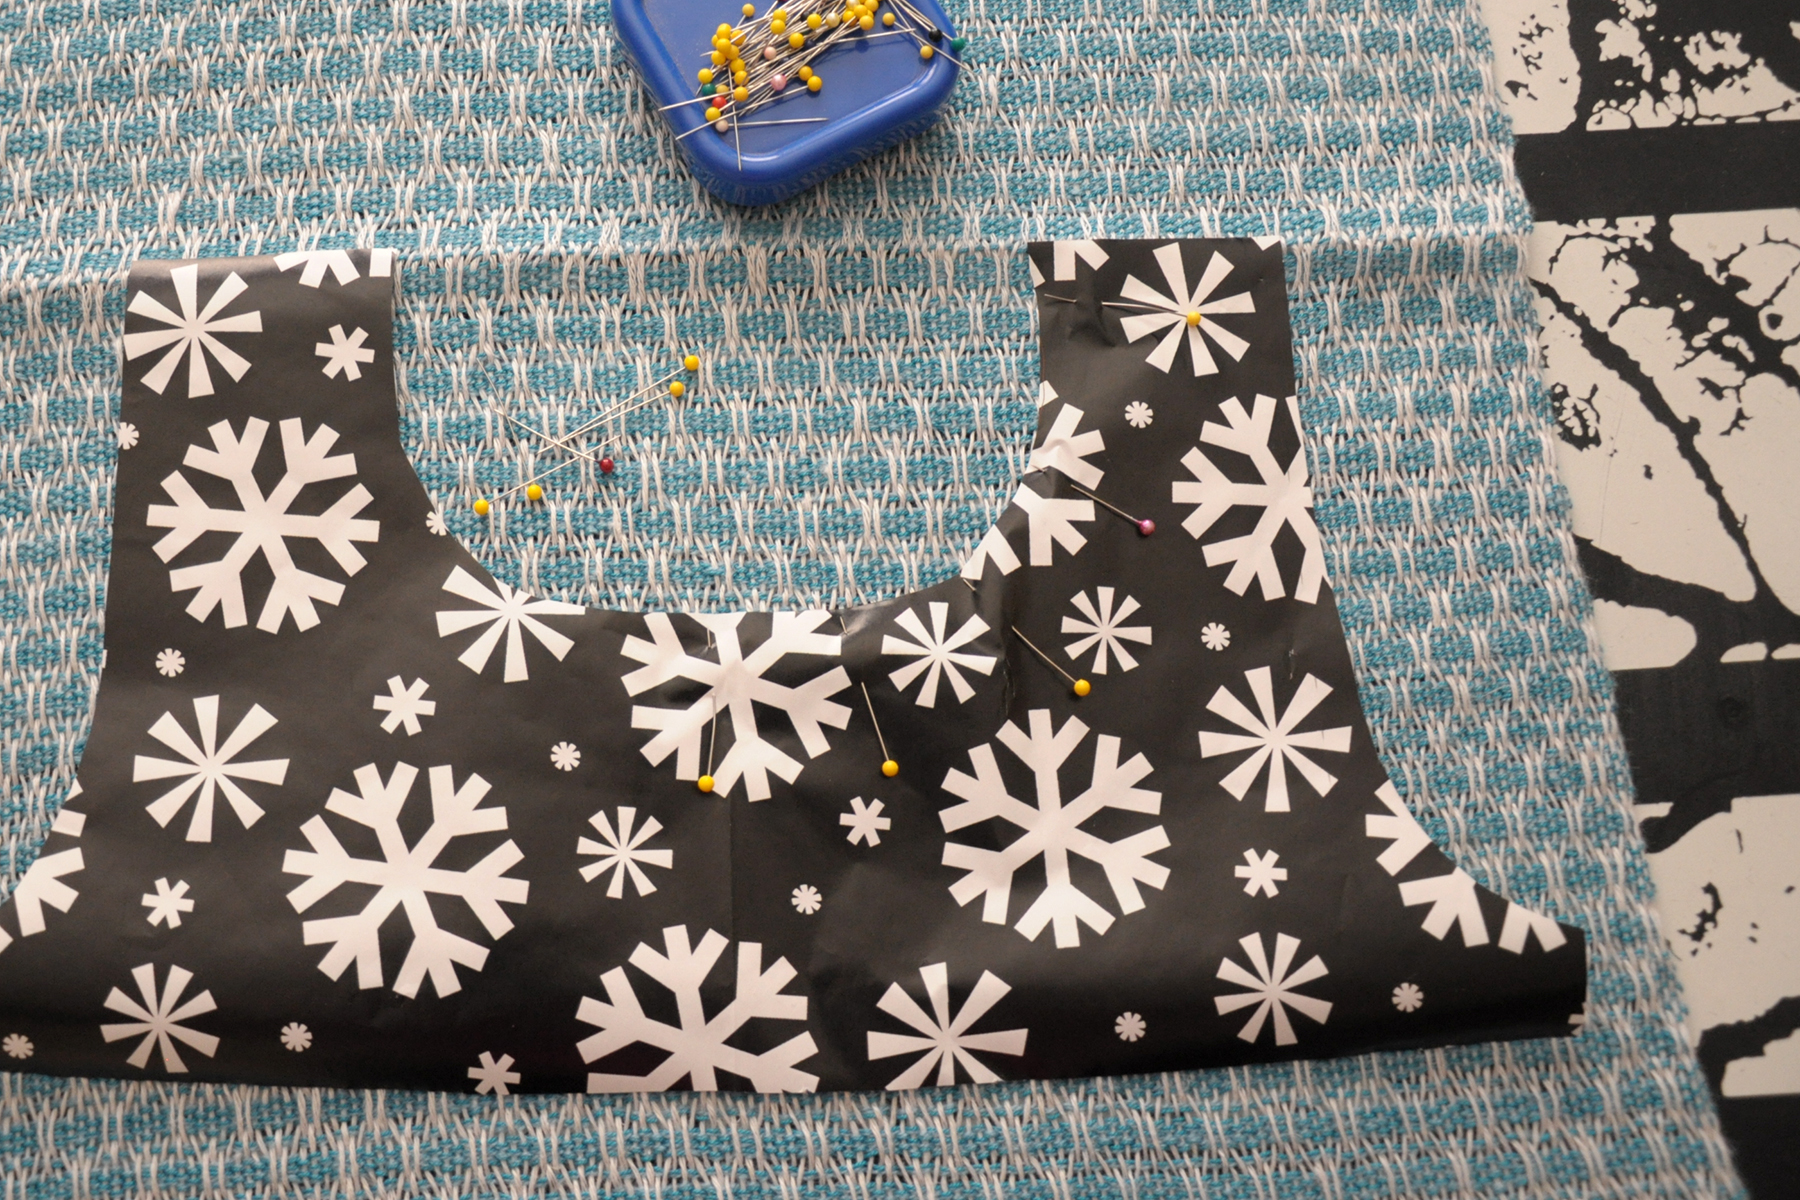
After cutting out my armhole template, the next step was to pin it to my fabric. But before I could do that, I needed to determine where the shoulder seam would be. Rather than cut out separate pieces for front and back from my fabric, I was using the entire length of the fabric for my top.

I decided as I was tracing my armholes that a hi-lo hem would be cool. I opted for about a 5″ difference in front and back hems, folded my fabric, and then pressed it with my iron to indicate my shoulder seam.

Then I pinned my template to the fabric:
Sewing_4

My two best tips for sewing: don’t skimp on ironing or pins.

Now, before any cutting can happen, it’s important to secure the fabric with the sewing machine. If I was cutting store-bought fabric for a garment, I would simply pin the pattern to the fabric and cut. But because I’m using my handwoven fabric that has a much lower thread count (fewer threads per inch) than most commercial fabric, I needed to take care that the weaving doesn’t come apart.

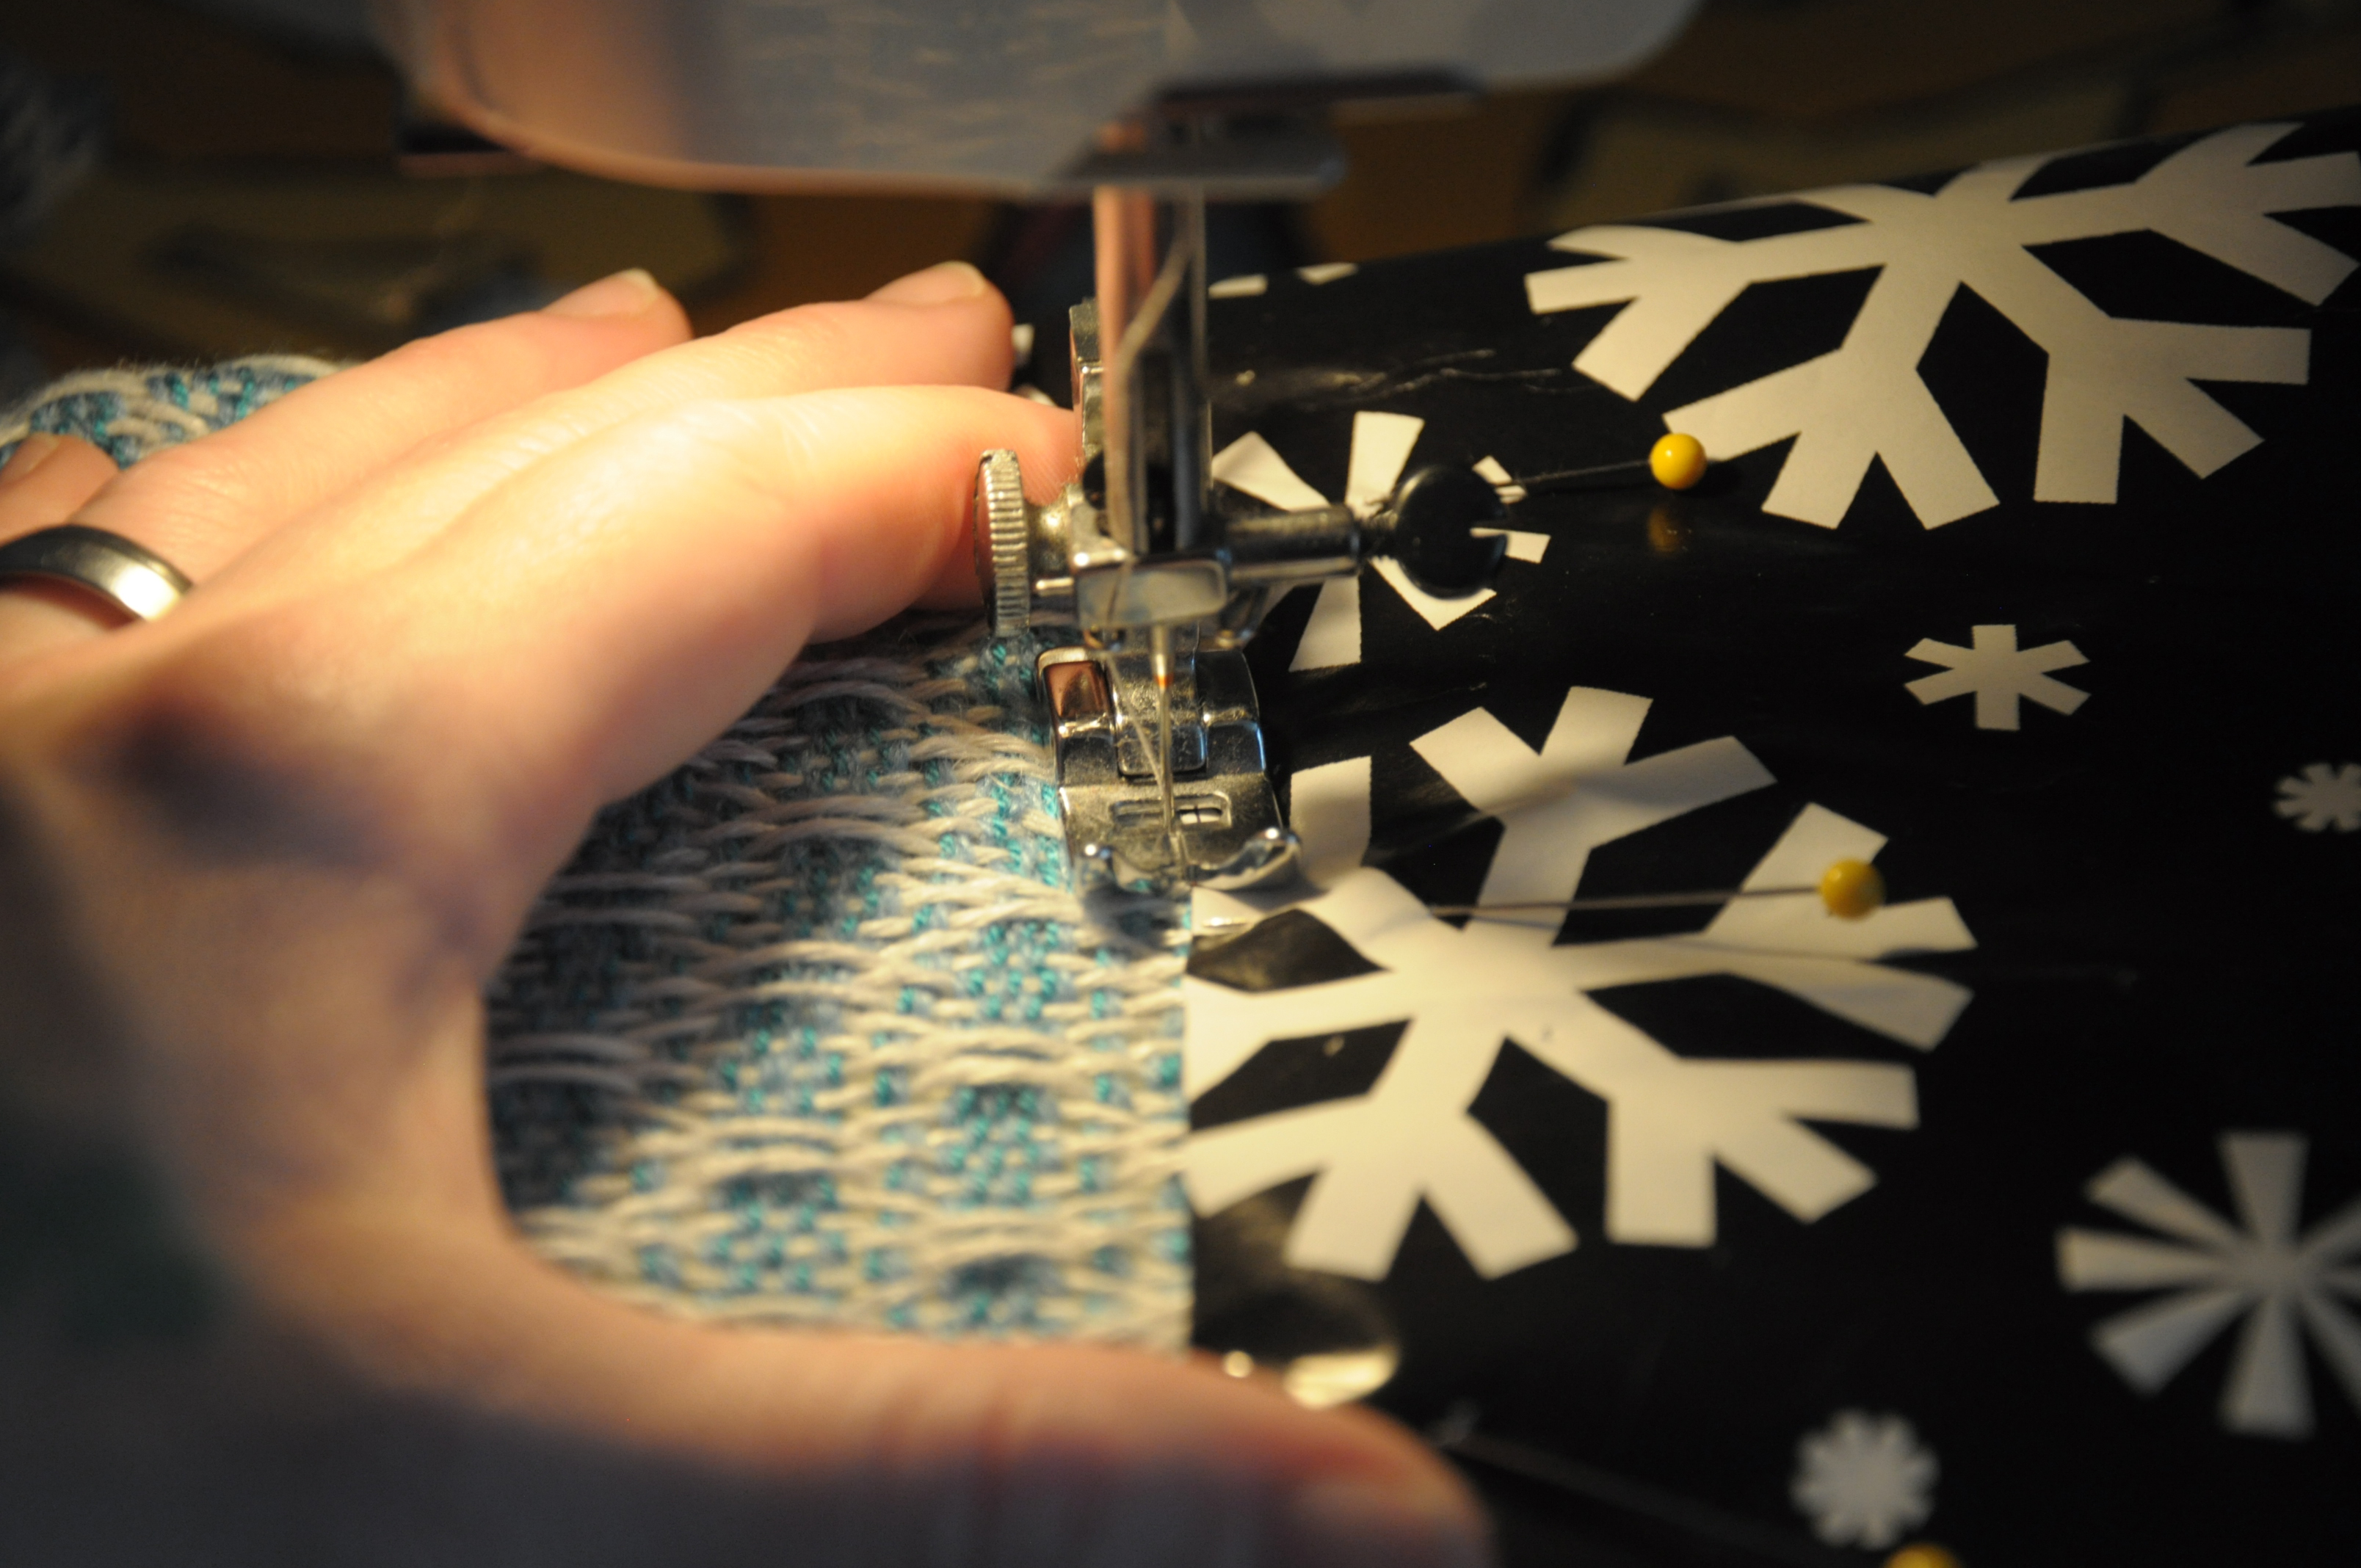
My first step was to sew a folding guide line for myself. I sewed a straight line of stitching just along the sides of my template:
Sewing_5

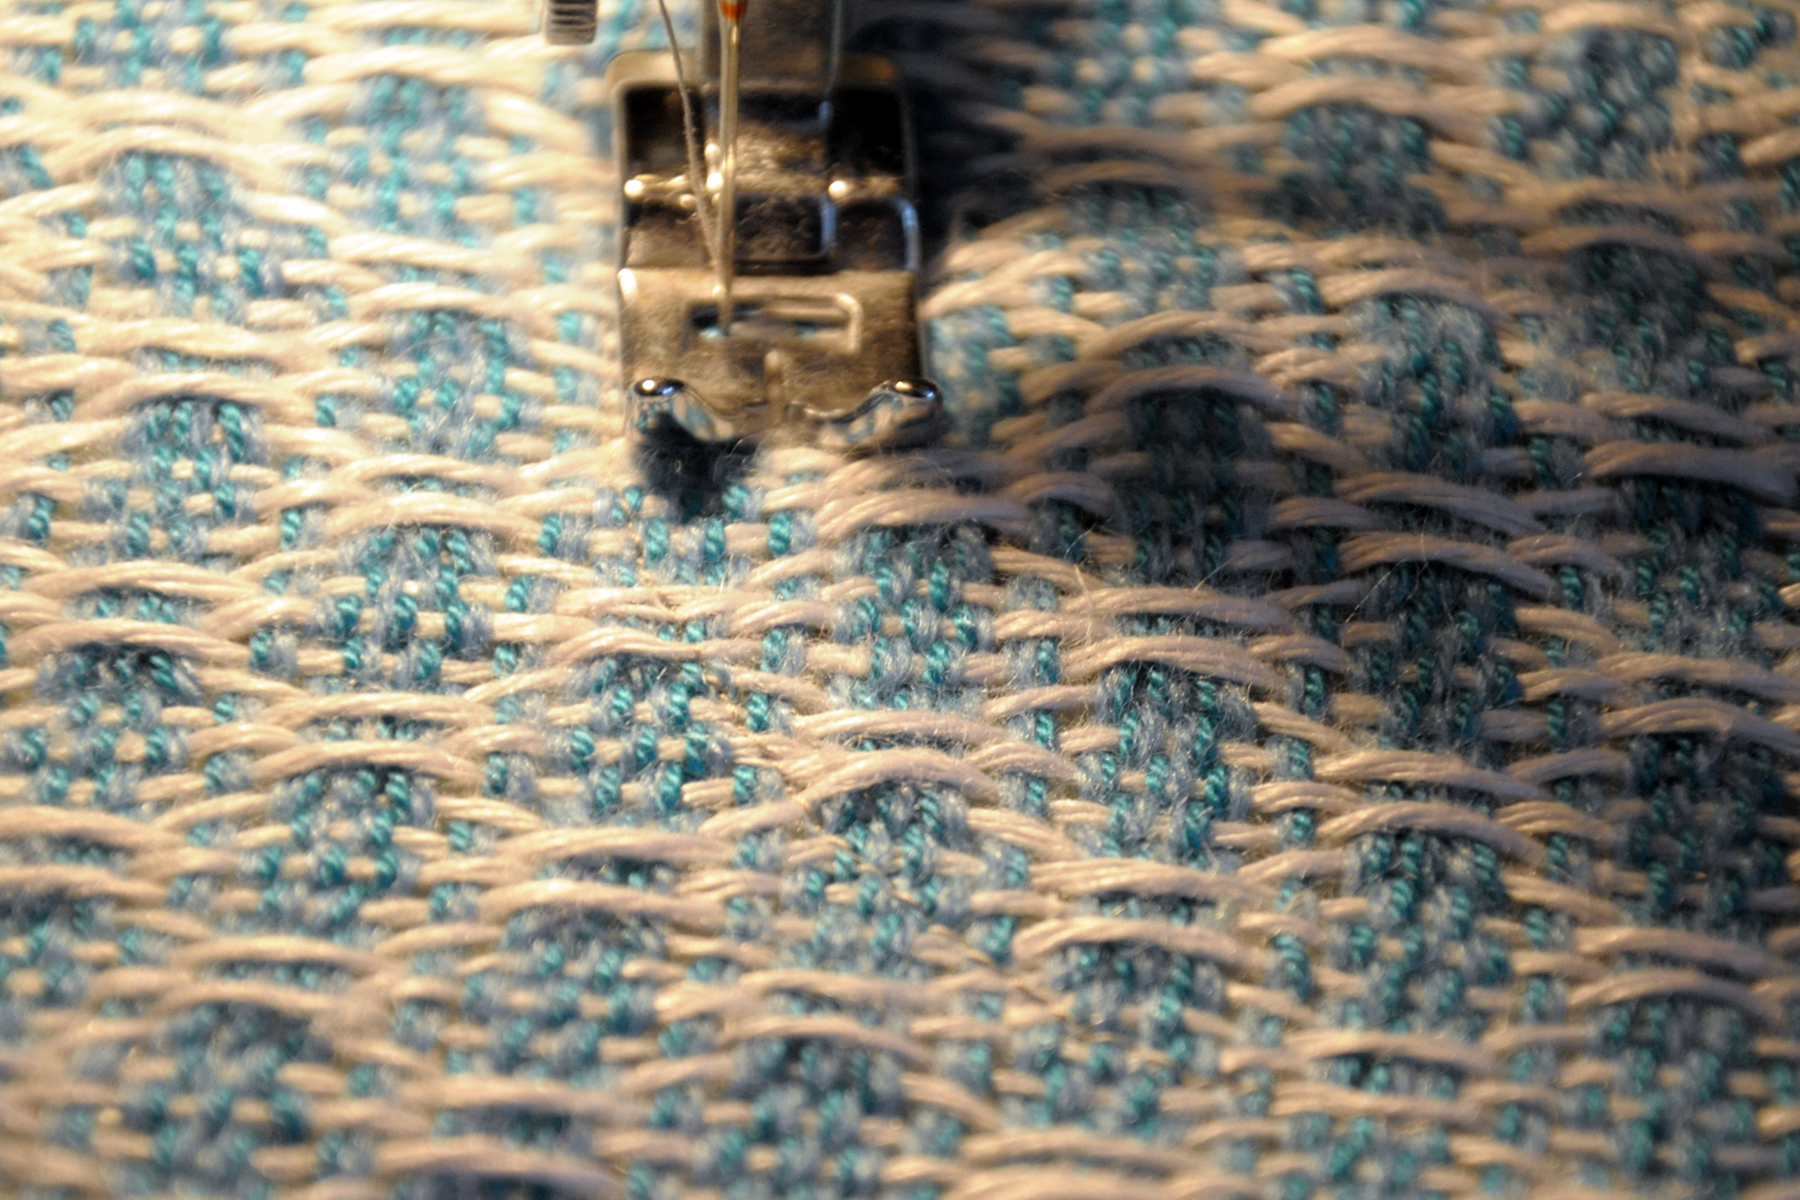
After removing the paper, I sewed two more lines, but this time with a narrow, short-length zigzag stitch. These are the really important lines, because they’re securing the threads of the weaving and preventing them from unraveling. I used my presser foot as a measuring guide for my lines The foot is about 1/4″ to 3/8″ wide from the center of the needle to the outside edge, making my total seam allowance be about 5/8″.
Sewing_6

I’m using light gray thread – can you see it? I barely could and had a splitting headache by the time I was done from squinting so hard. I wanted the thread to blend into the fabric and it blended too well!

Can you see it now?

Sewing_7

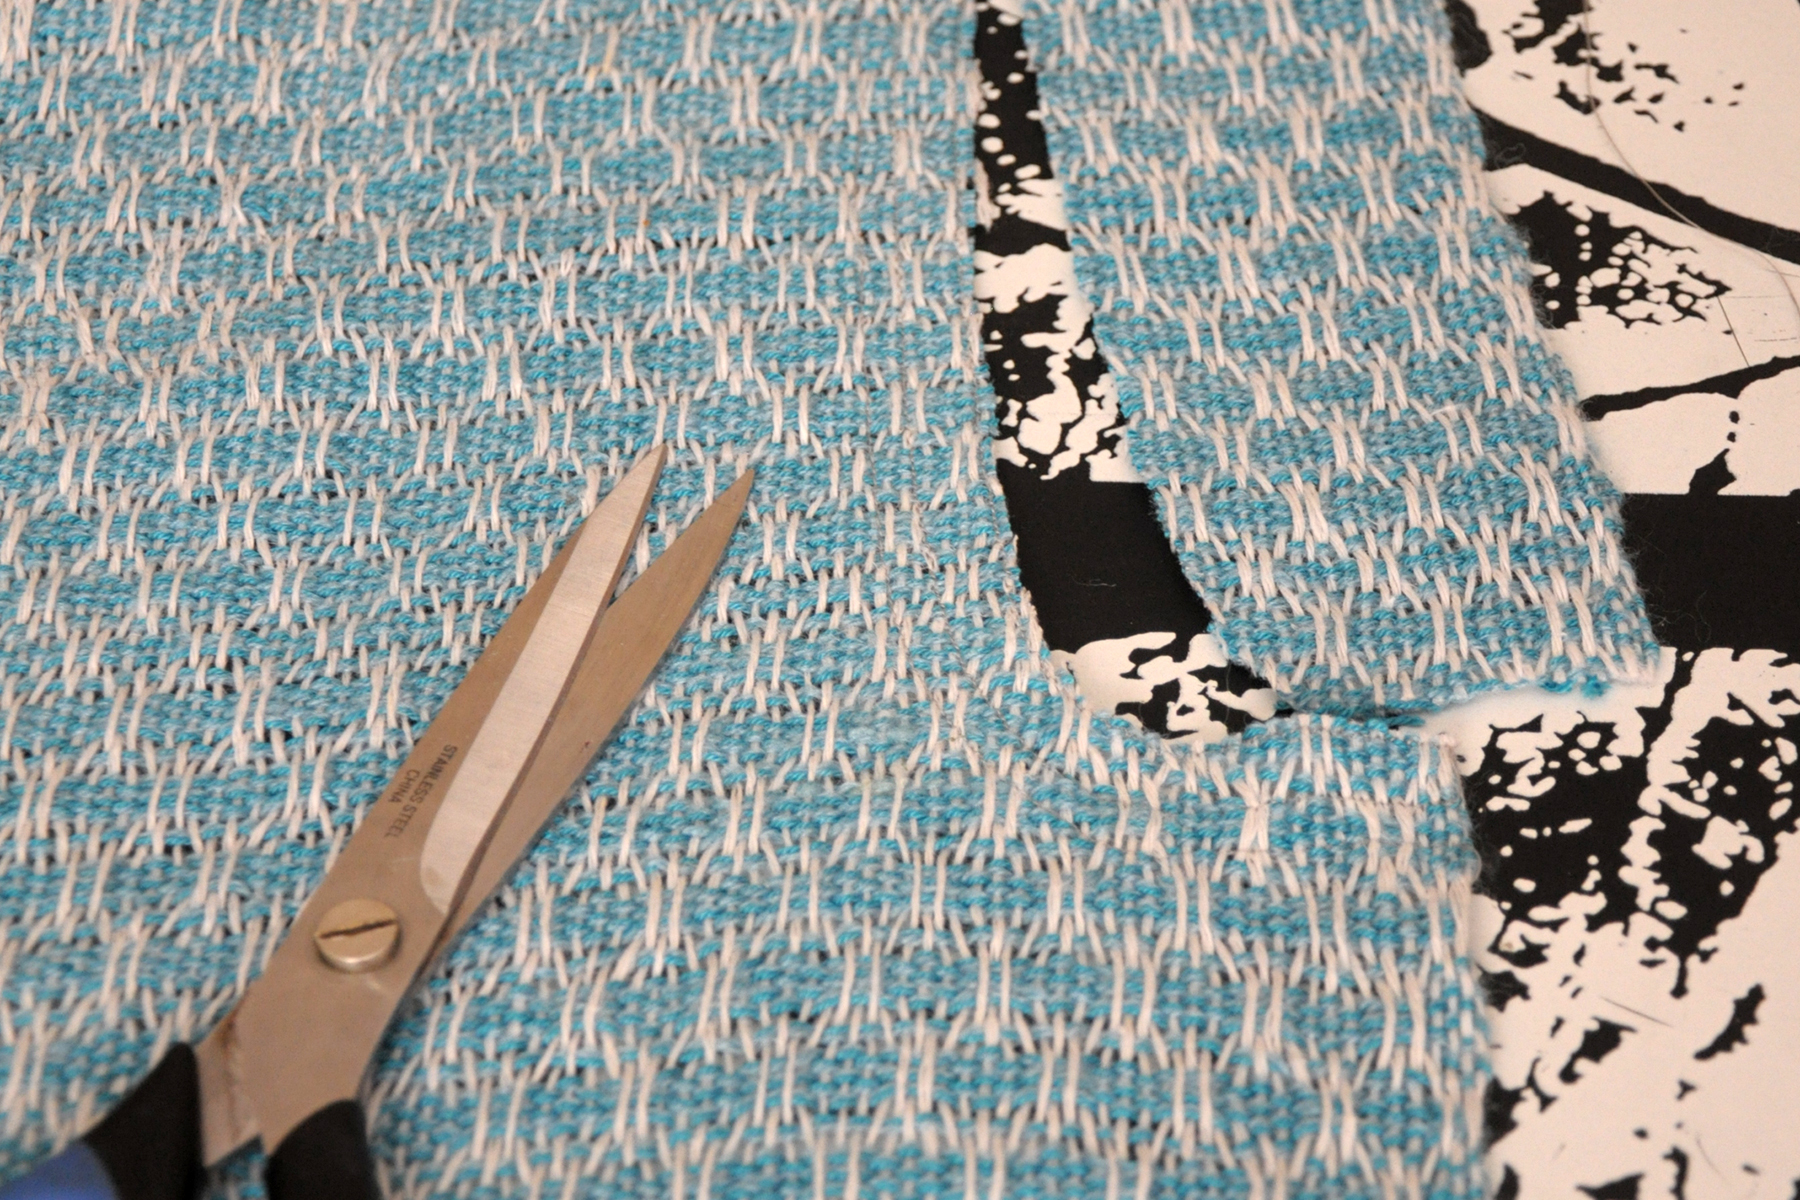
Now that these important lines were stitched I could safely cut out my neck and armholes. I made sure to cut outside  all lines of stitching, right up against the last zigzag line.
Sewing_8

Once the neck and armholes were cut out, I had to prep the curves so I could fold them under. If you’ve ever sewn a garment with curved lines, you know that you have to snip the curves so they can be eased to the inside of the garment. Again, because I was working with hand woven fabric, I had to secure the fabric before making these snips. I set my machine to a very, very short straight stitch, and made 2 parallel lines of stitches on either side of where I intended to cut. That way, when I cut through the fabric, it wouldn’t unravel.

My apologies – I seem to have forgotten to photograph this step!

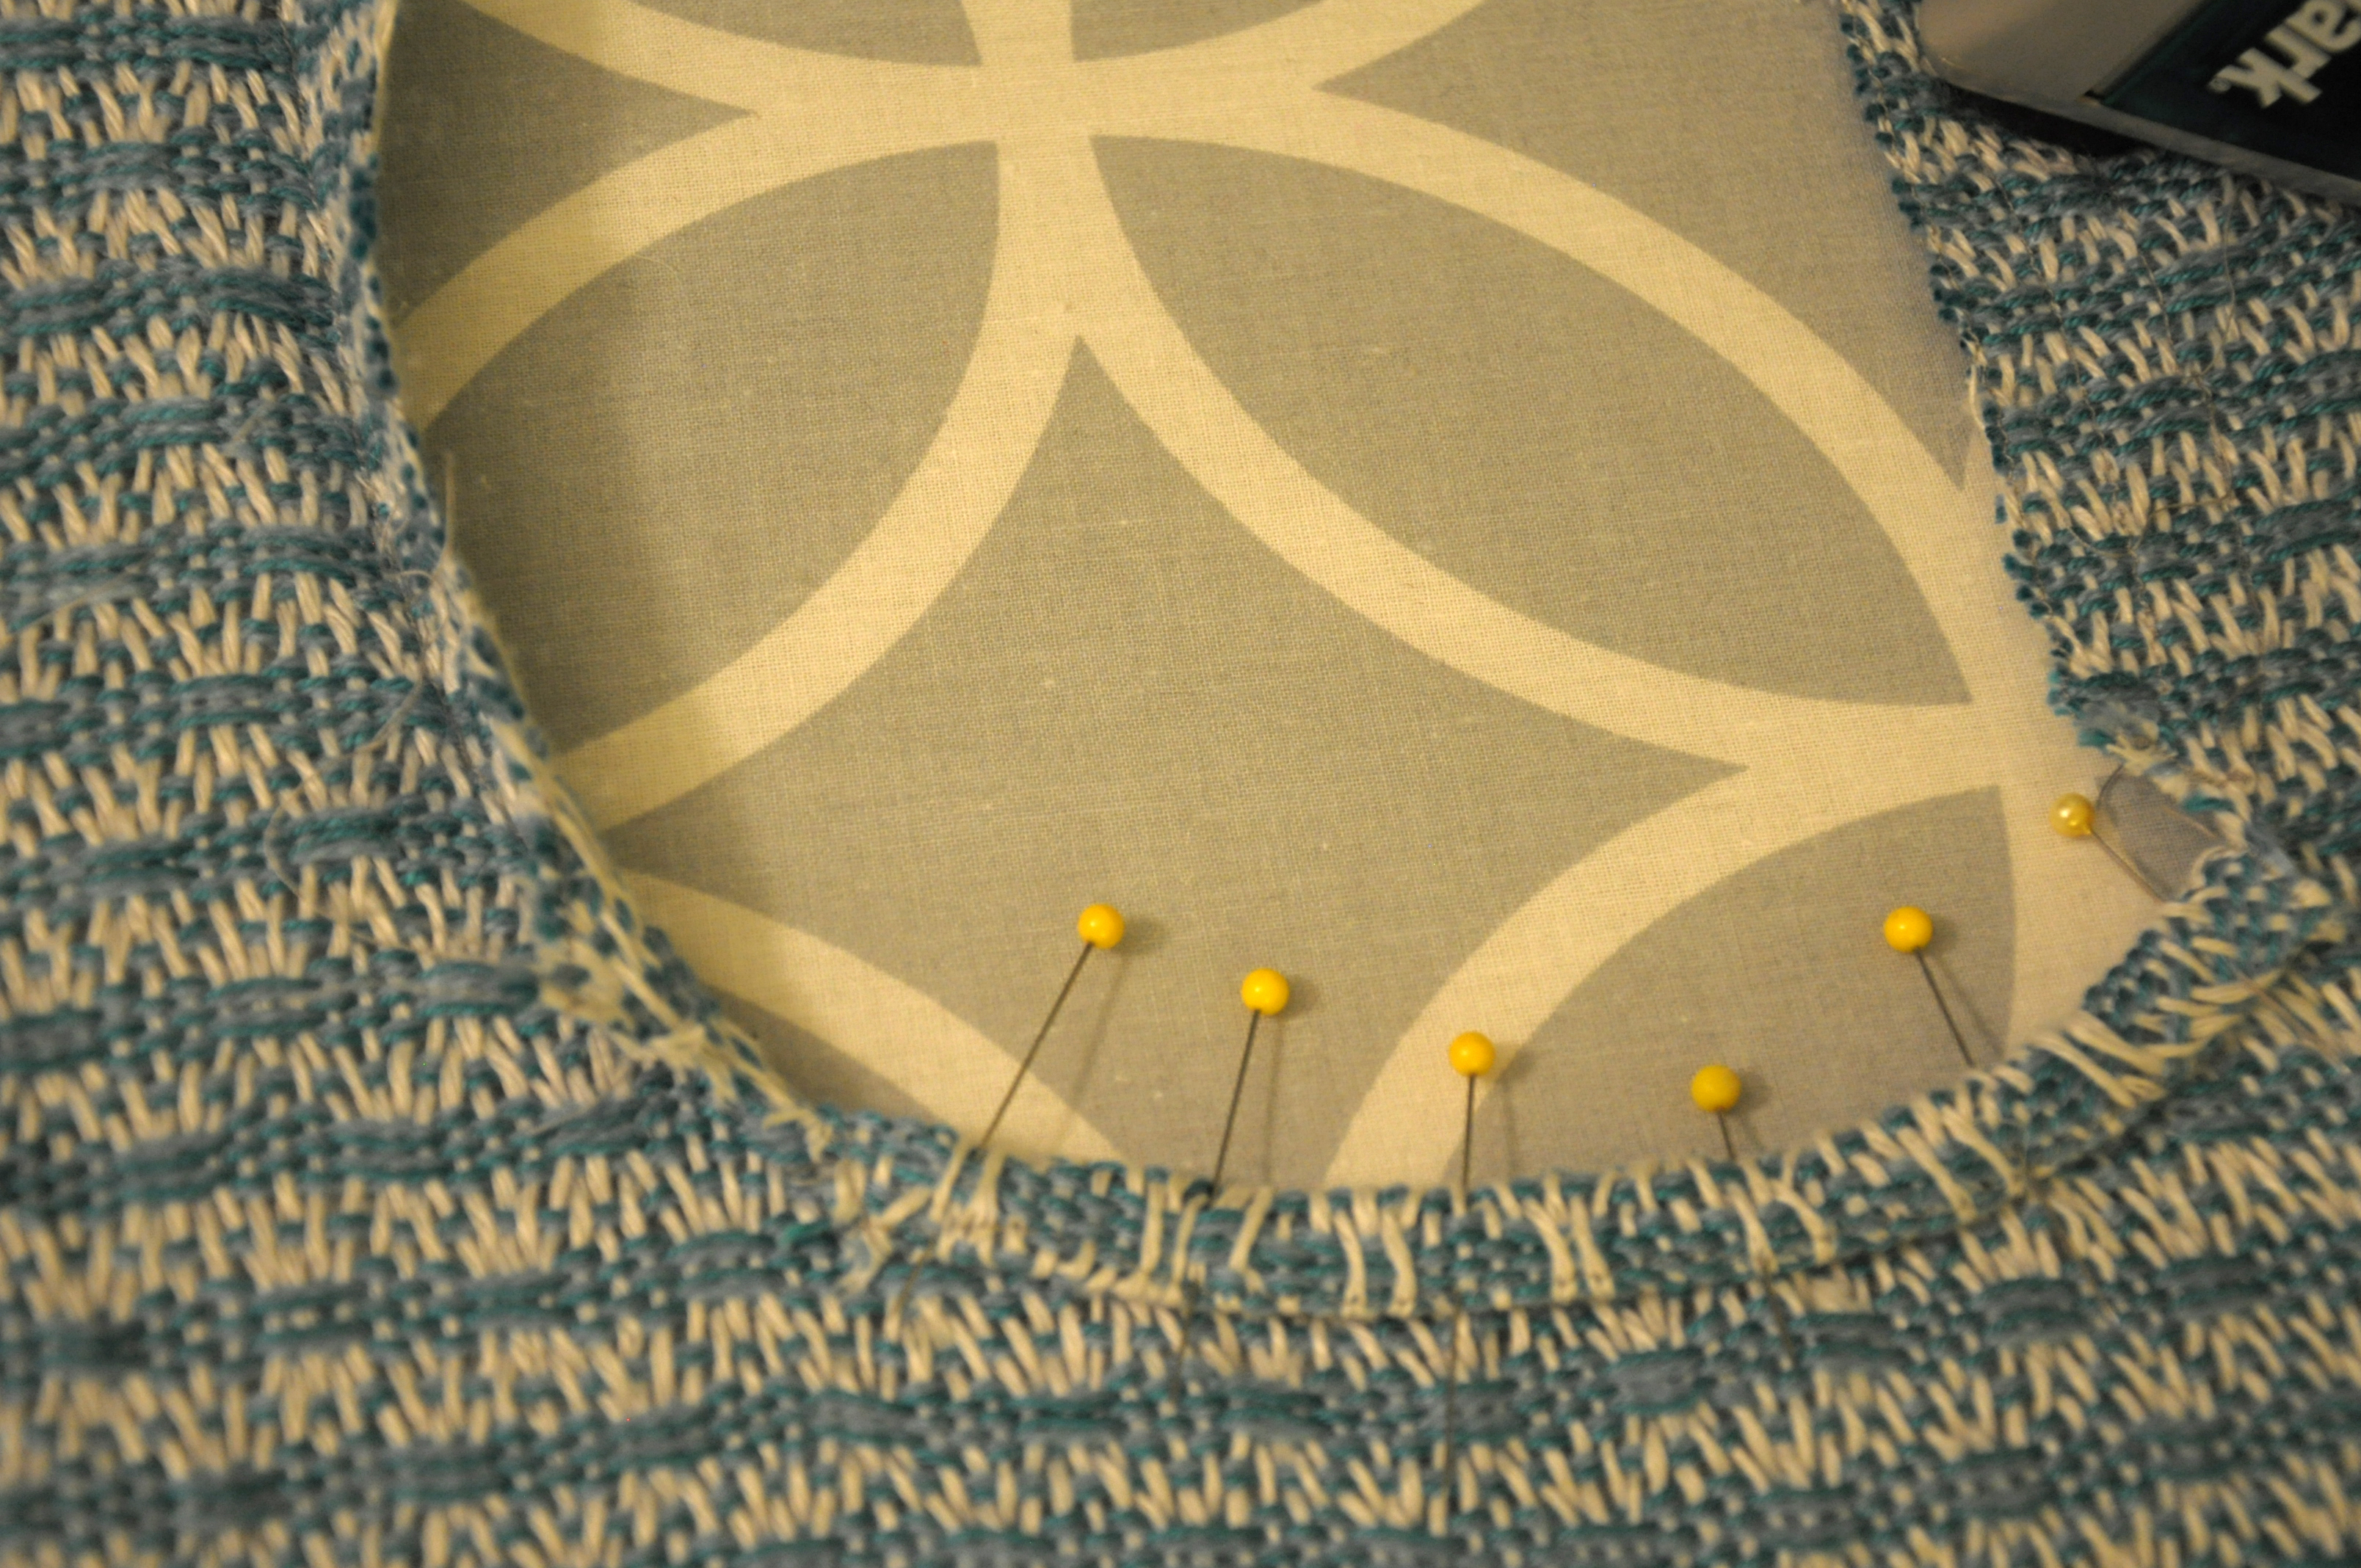
Anyway, next, it’s onto the ironing board again. And more pins! For a double-rolled hem, I first pressed in my openings on my very first straight line of sewing. Remember, my guide line? Then,  I pressed in again on my first zigzag line.
Sewing_9

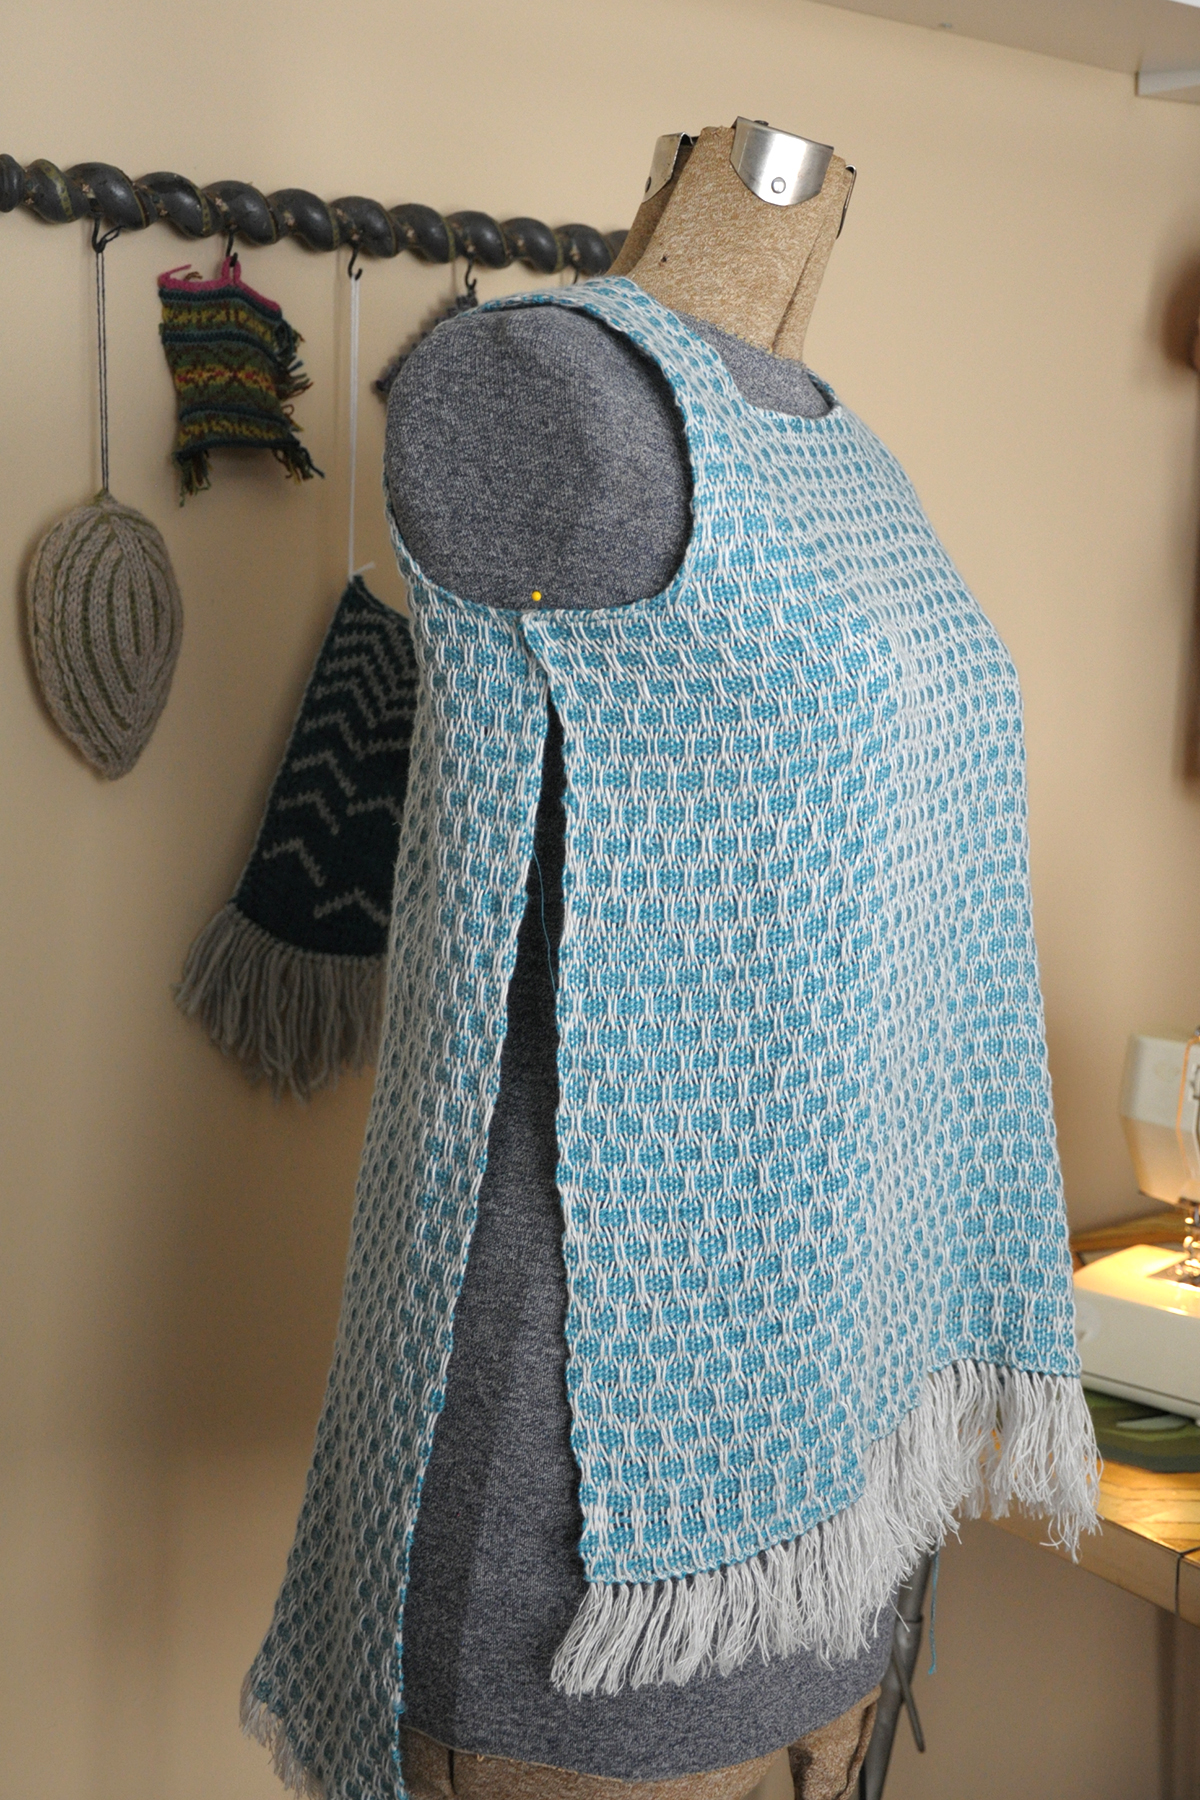
Once I pinned and sewed my neck and armhole openings (this time, with thread I could actually see), I tried it on Betty to see how we were coming:
Sewing_10

Hey, it looks like it could actually be something! To wear!

There were just a few things left to do. First I trimmed away that fringe. Fringe is actually in style right now and I could have left it, but opted to cut it away instead.

Next, I needed some side seams. Because the sides of the fabric are the selvedges, I found no need to do double rolled hems because the edges are “finished” already.

The final width of my fabric after washing, by the way, was about 19 1/2″. Which means, if I were to sew the sides together with 1/2″ seam allowances (taking up a total of 2″ in seams), then my finished top would be about 37″. Perfect! I have a 34″ bust, so having a few inches of ease in this woven top will work well, since woven fabrics really don’t have any give.

My hips, however, are significantly larger than 34″. I’m a pear shape and my hips are about 39-40″. I couldn’t sew the full length of my side seams or I won’t be able to fit into this baby.  I also could have made the top shorter than intended so that it sat above the fullest part of my hips, but I didn’t want to do that.

Instead, I opted to sew only part of the side seam and give myself side vents to accommodate my curves.
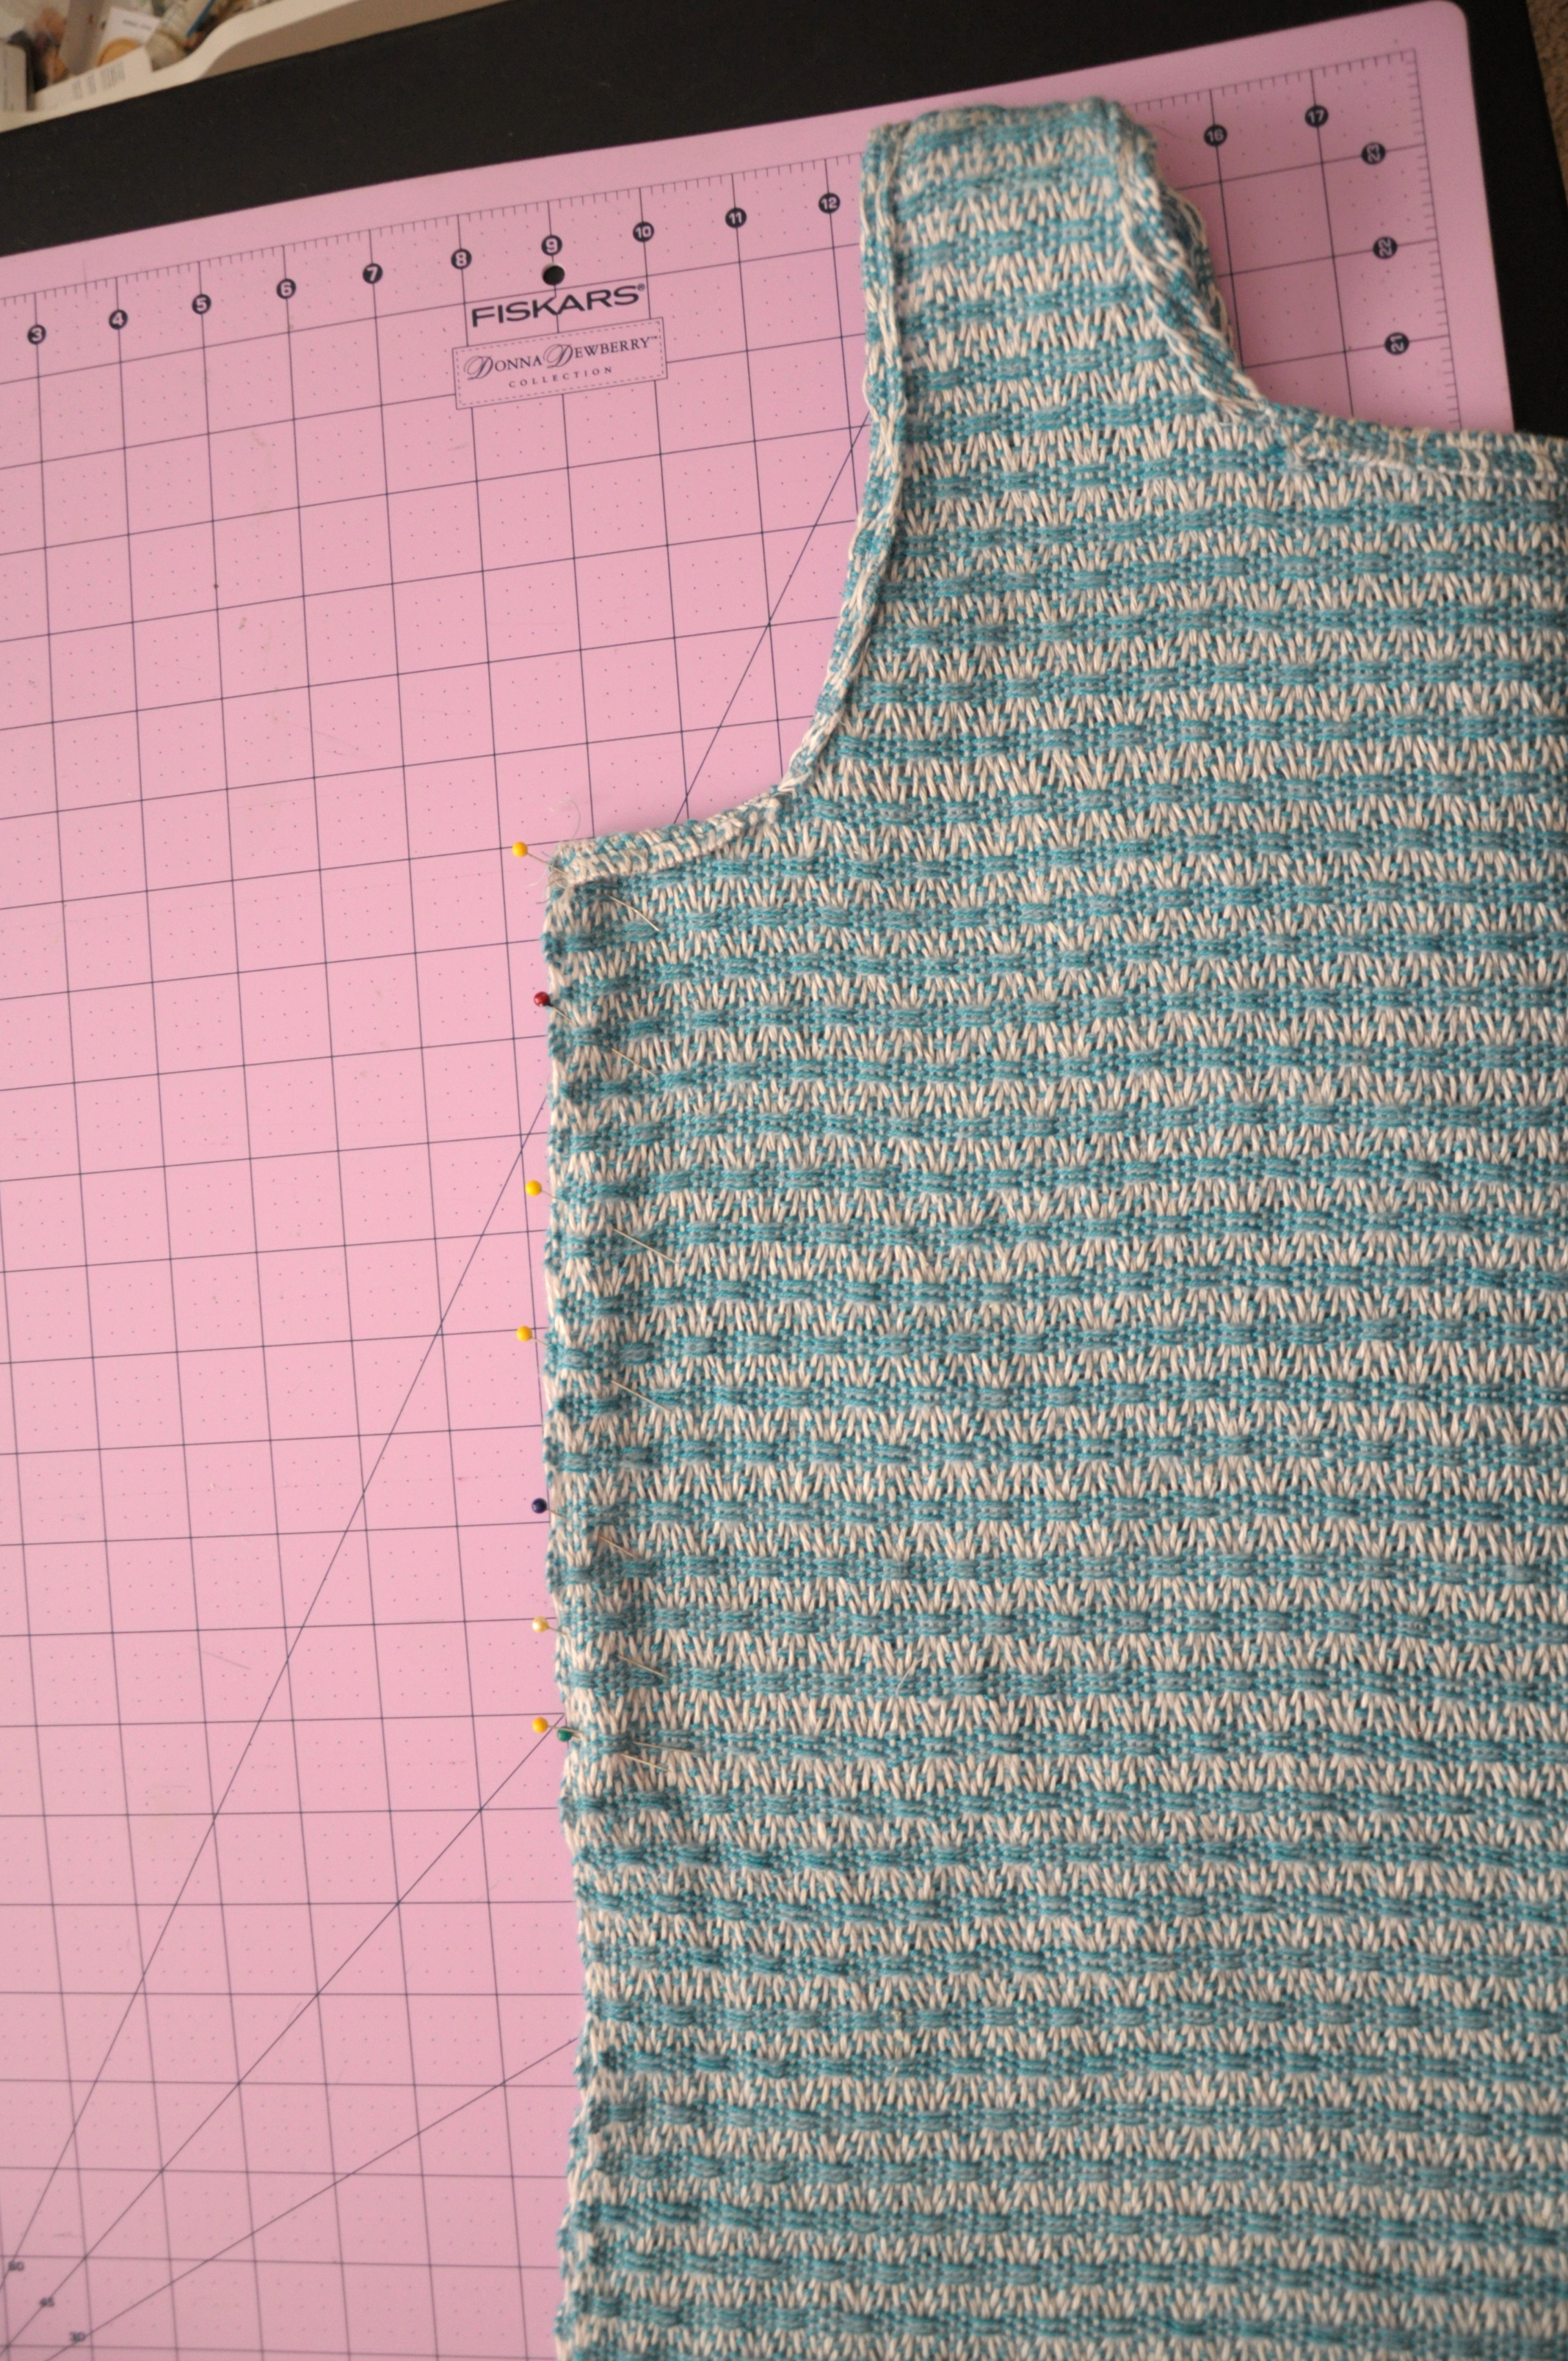
Sewing_11

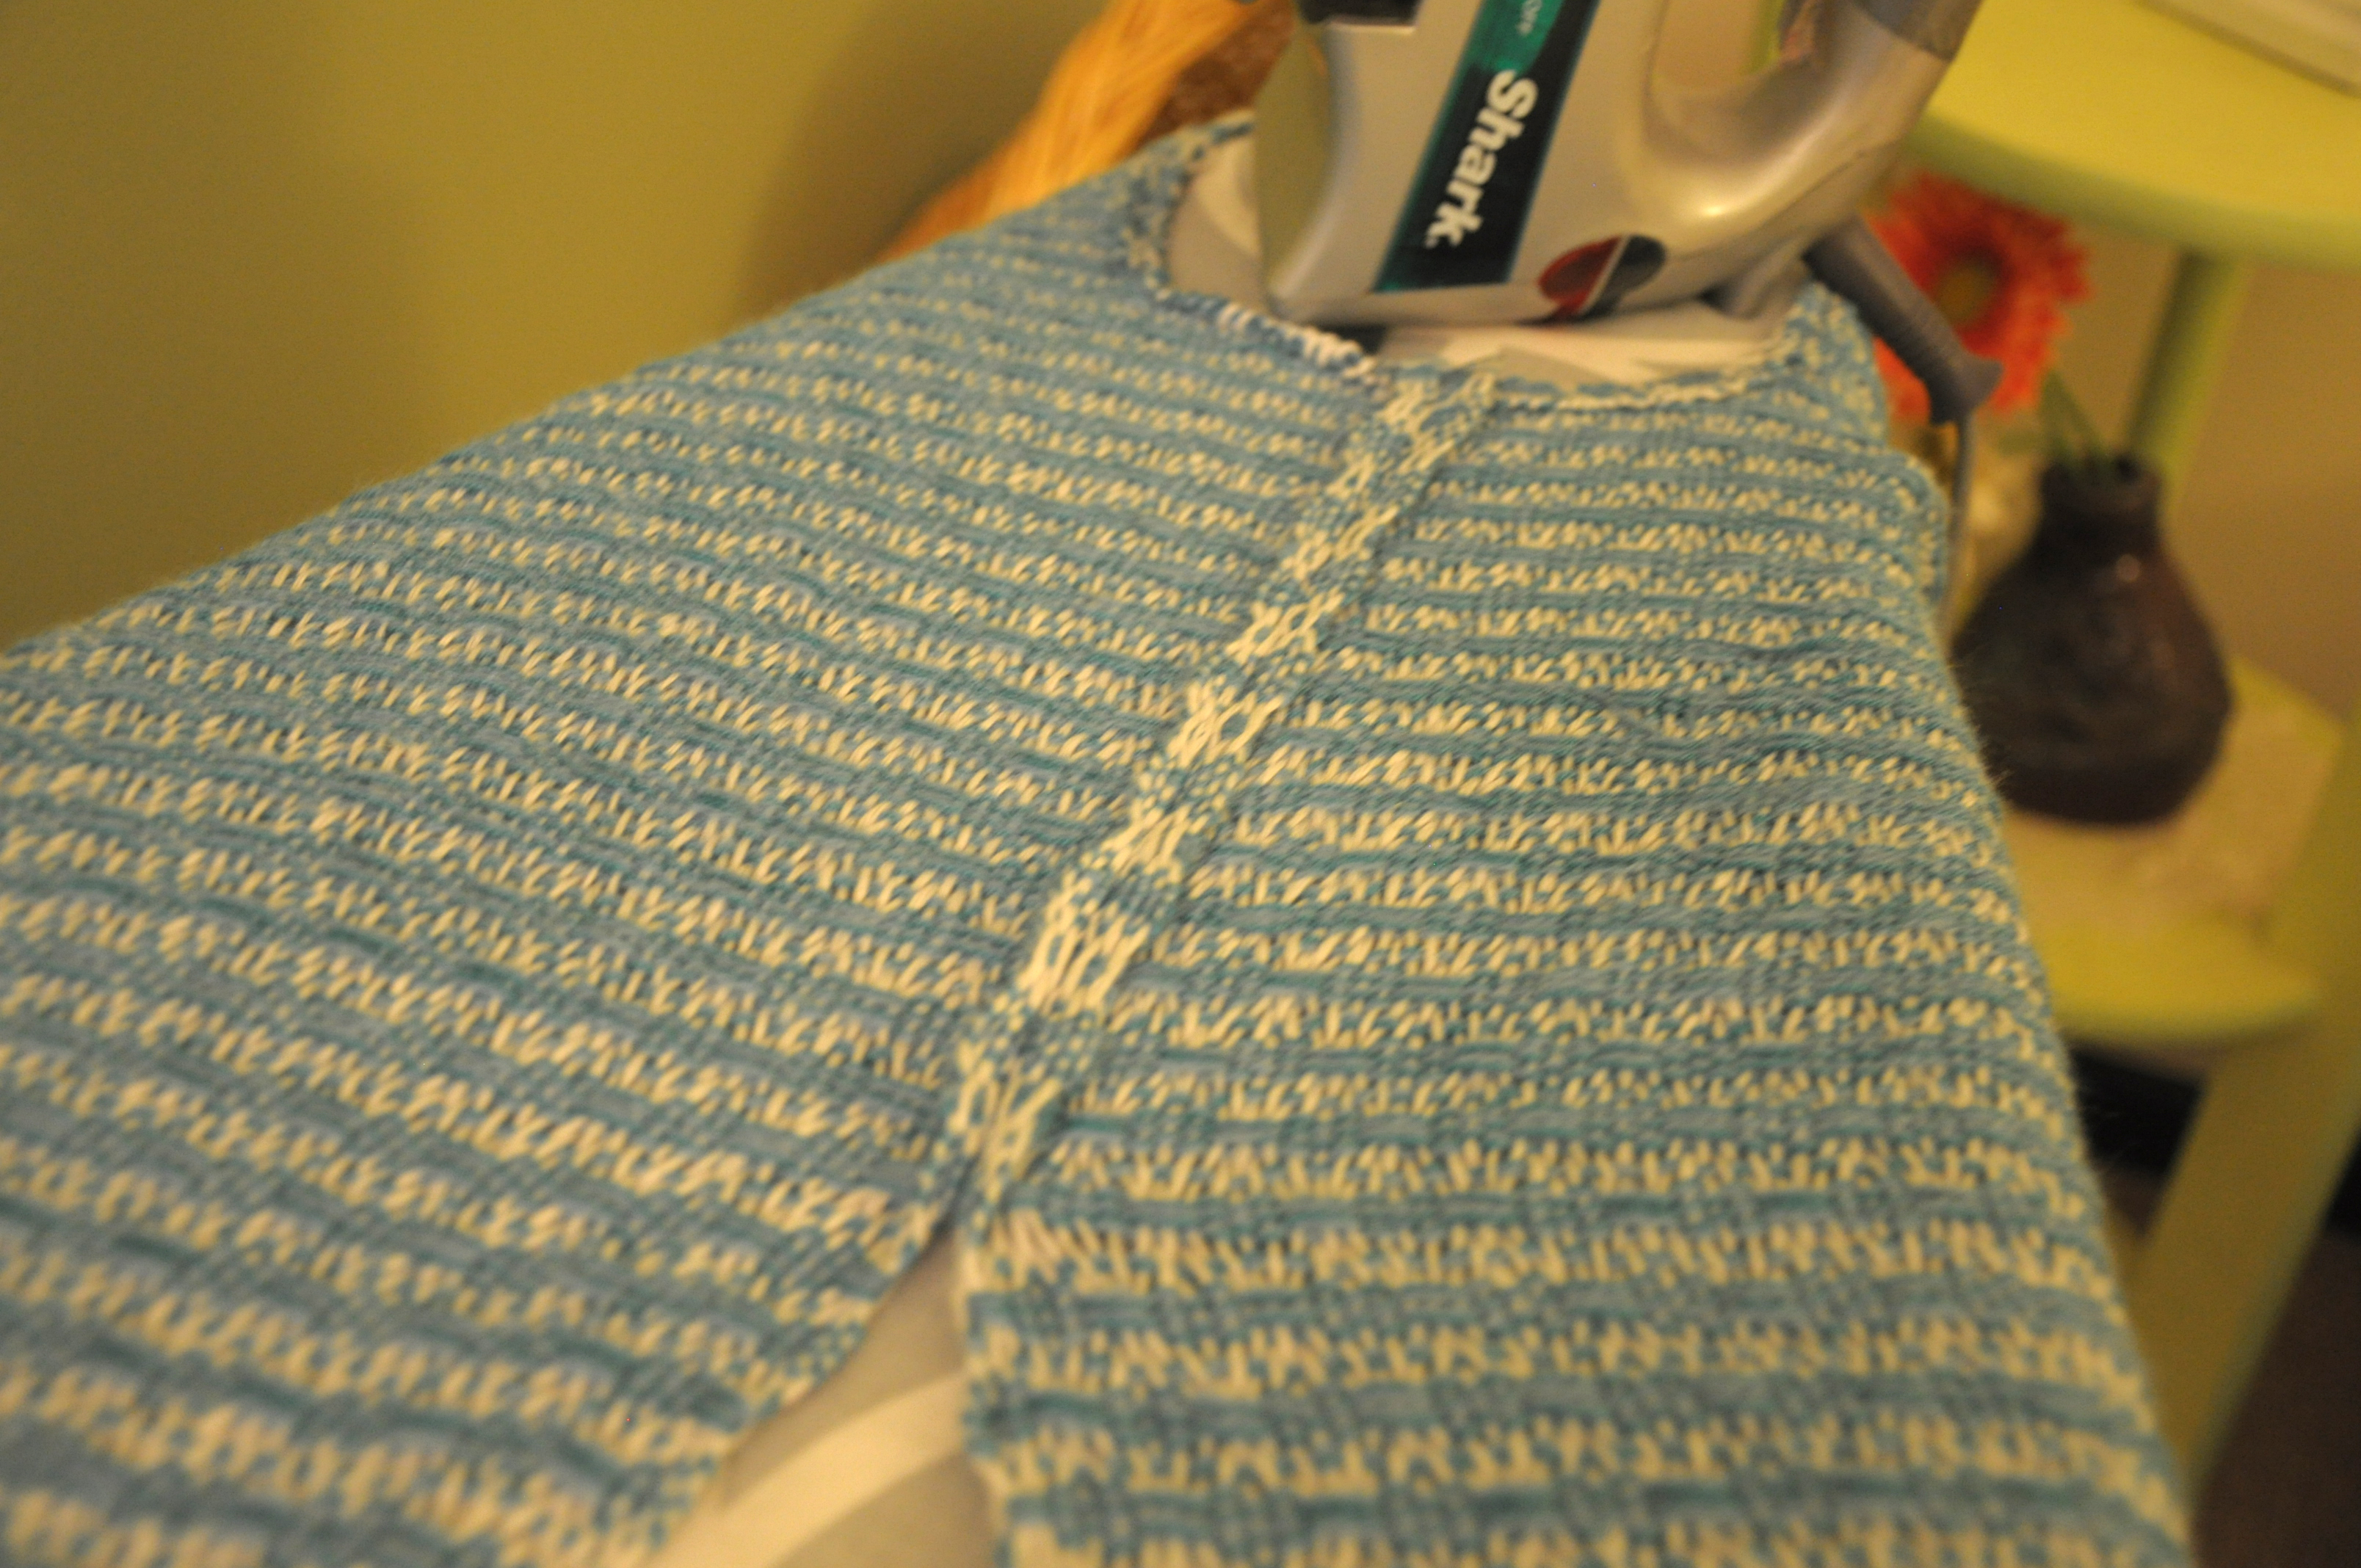
After sewing the side seams, I pressed them open. Remember my other rule – don’t skimp on the ironing. I then made a single-fold hem on the unsewn portion of the sides, and made a double-fold hem on the bottom. After that, more ironing! It’s important to iron sewn seams to sort of settle them into place. It also makes them look more finished. I like to shoot a little steam on seams of knitted items too to help them relax.
Sewing_12

And here are some final shots:

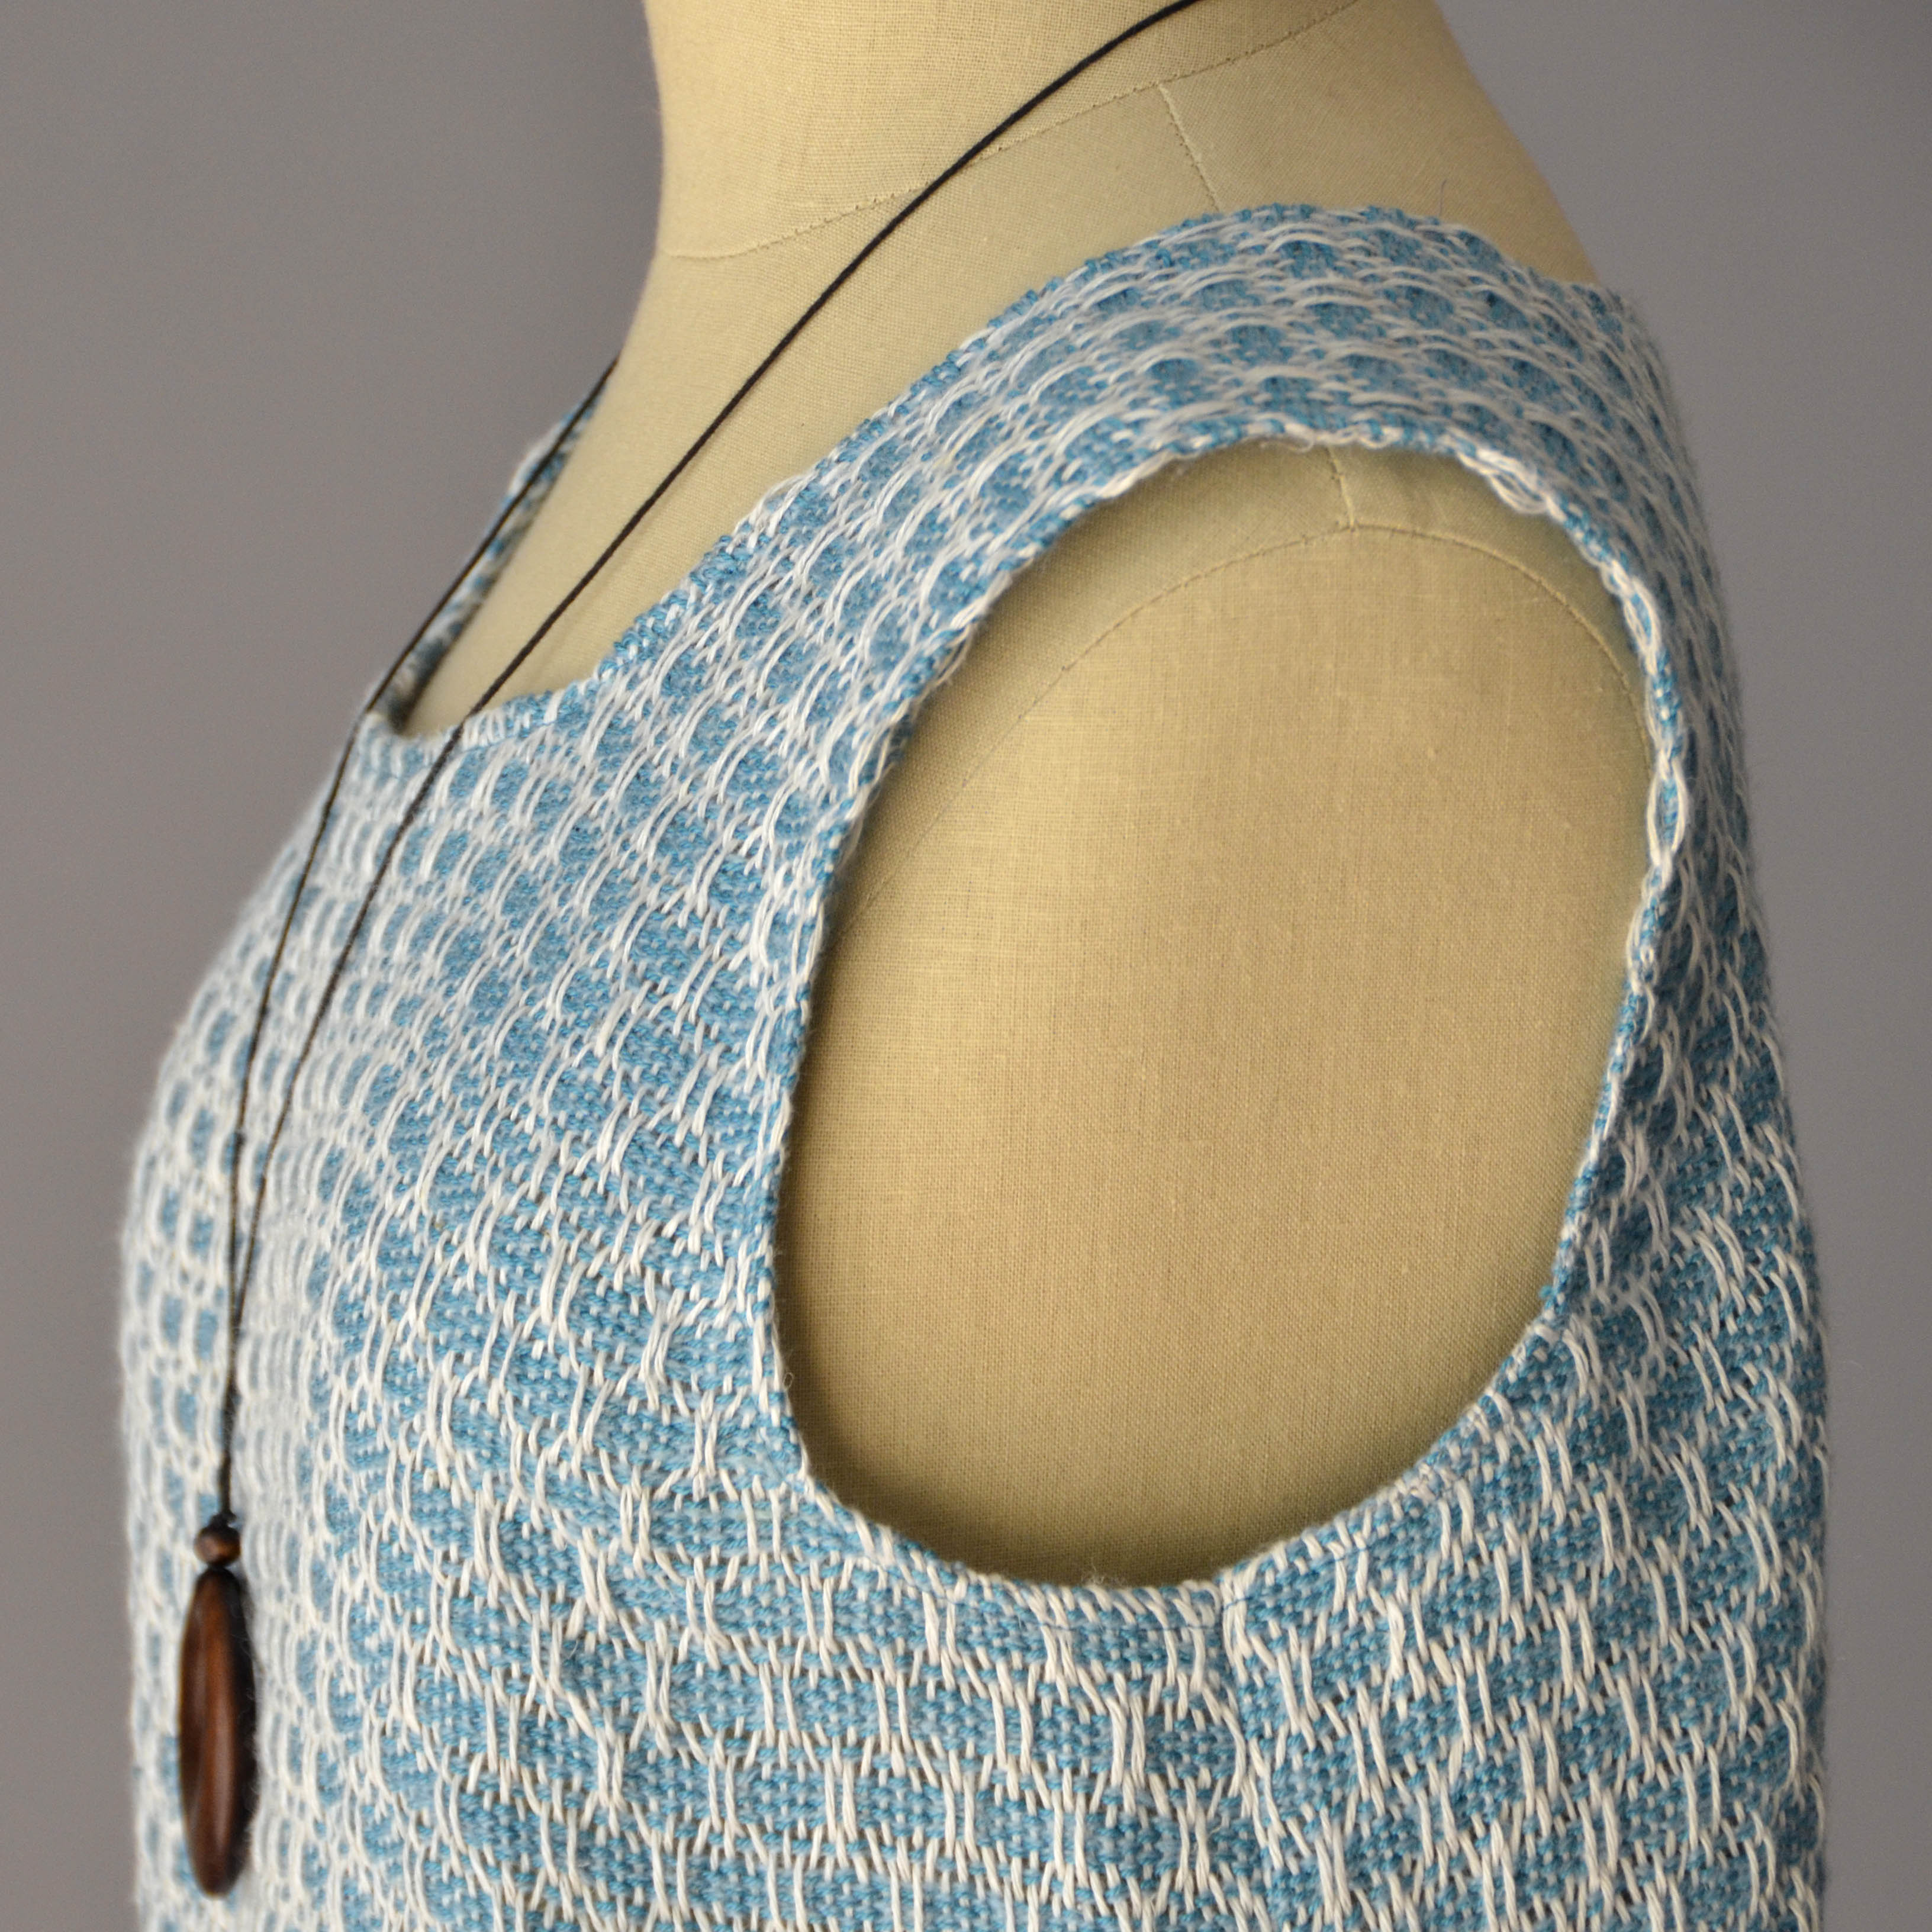
Flame Lace side closeup square hi-res

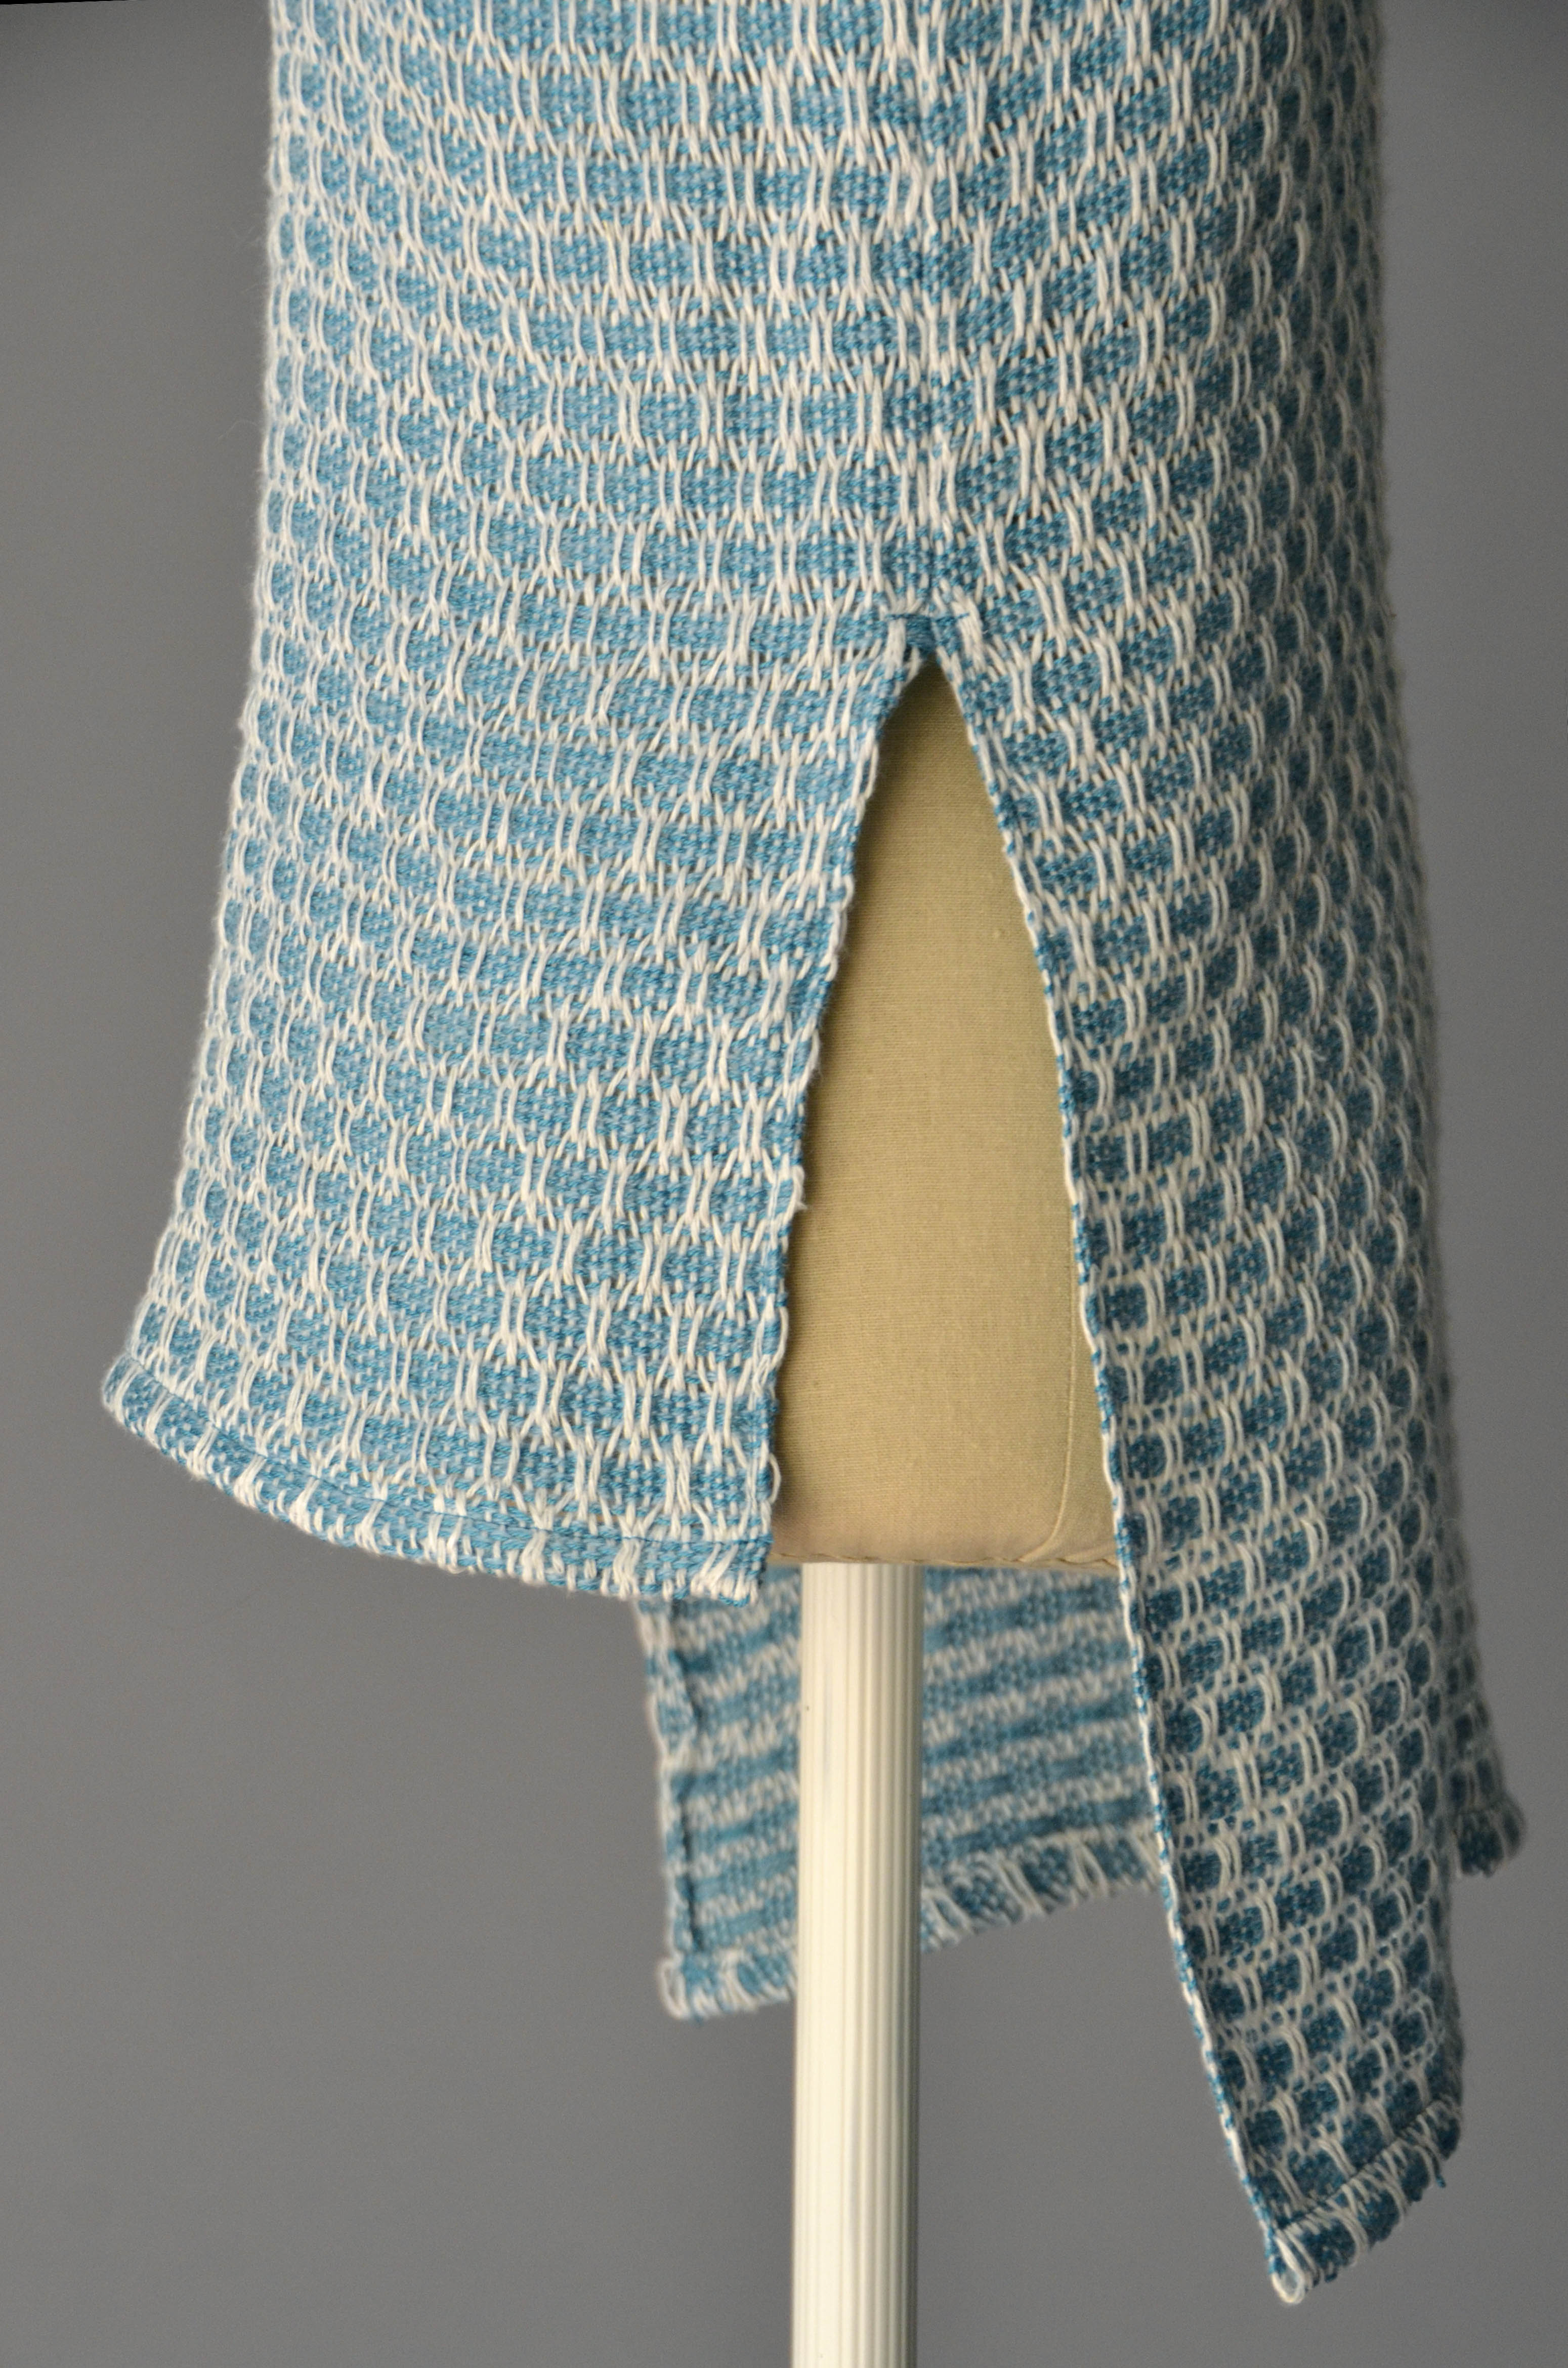
Flame Lace hem hi-res

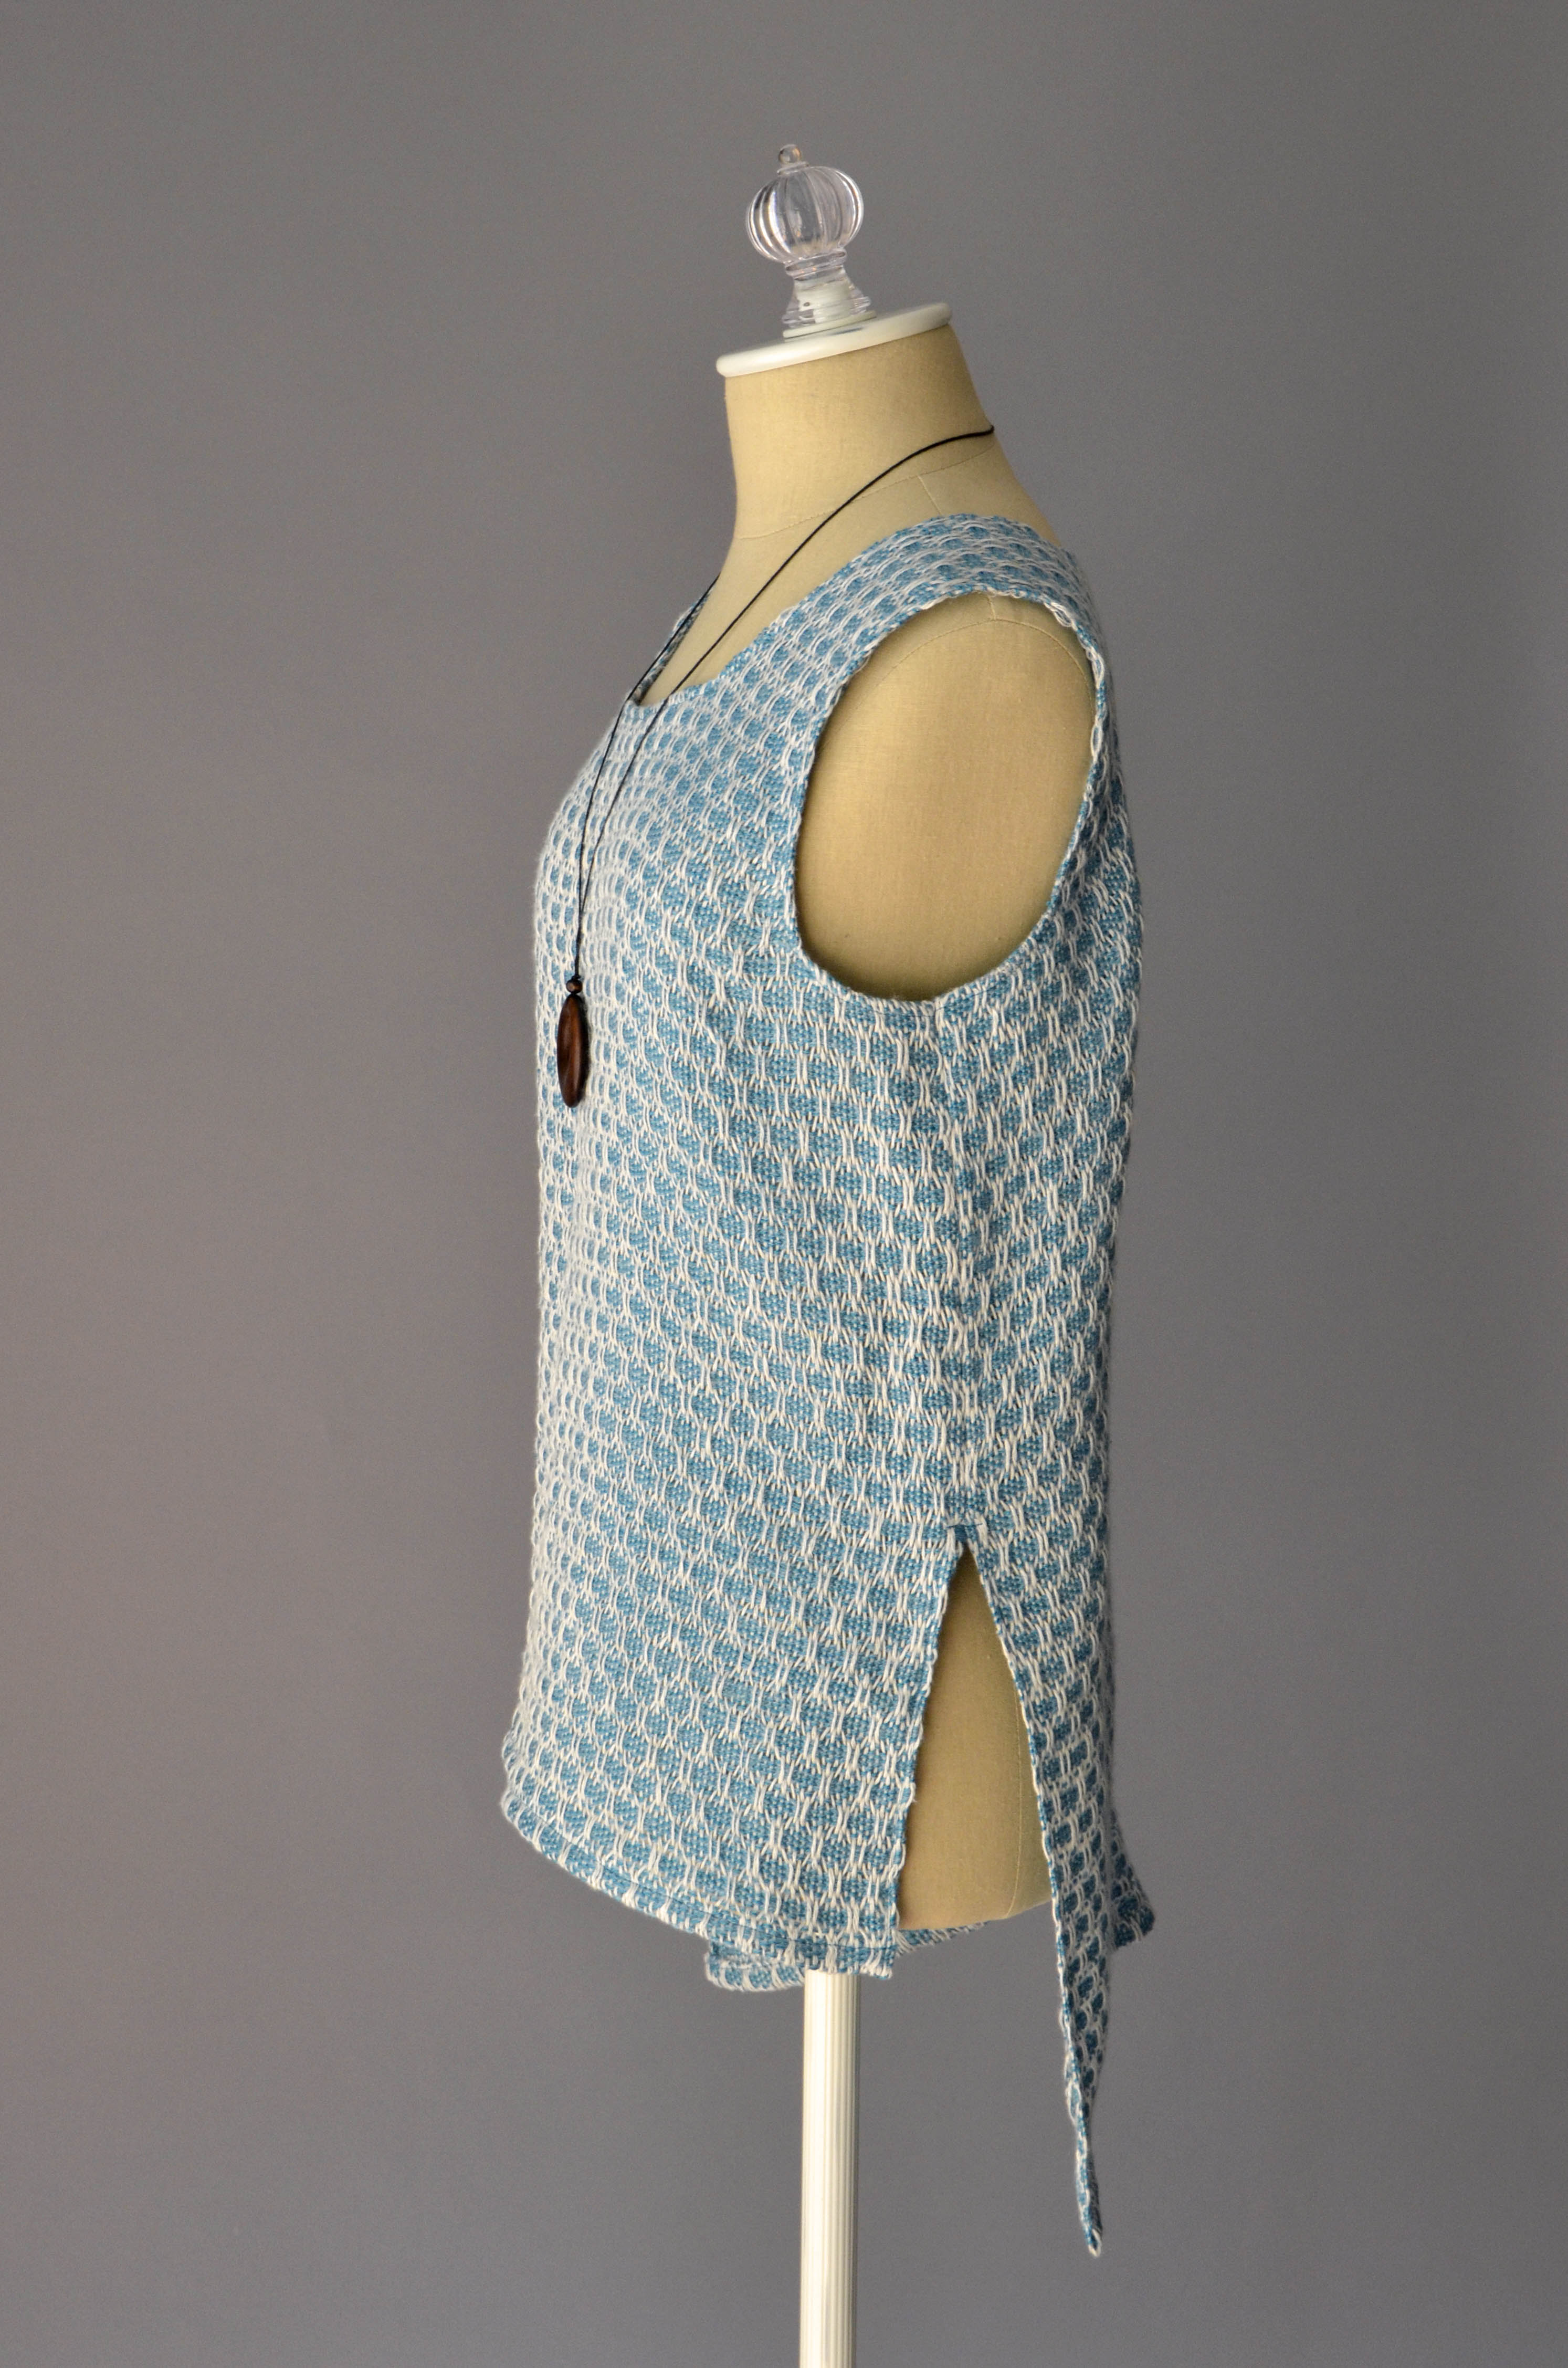
Flame Lace on form hi-res

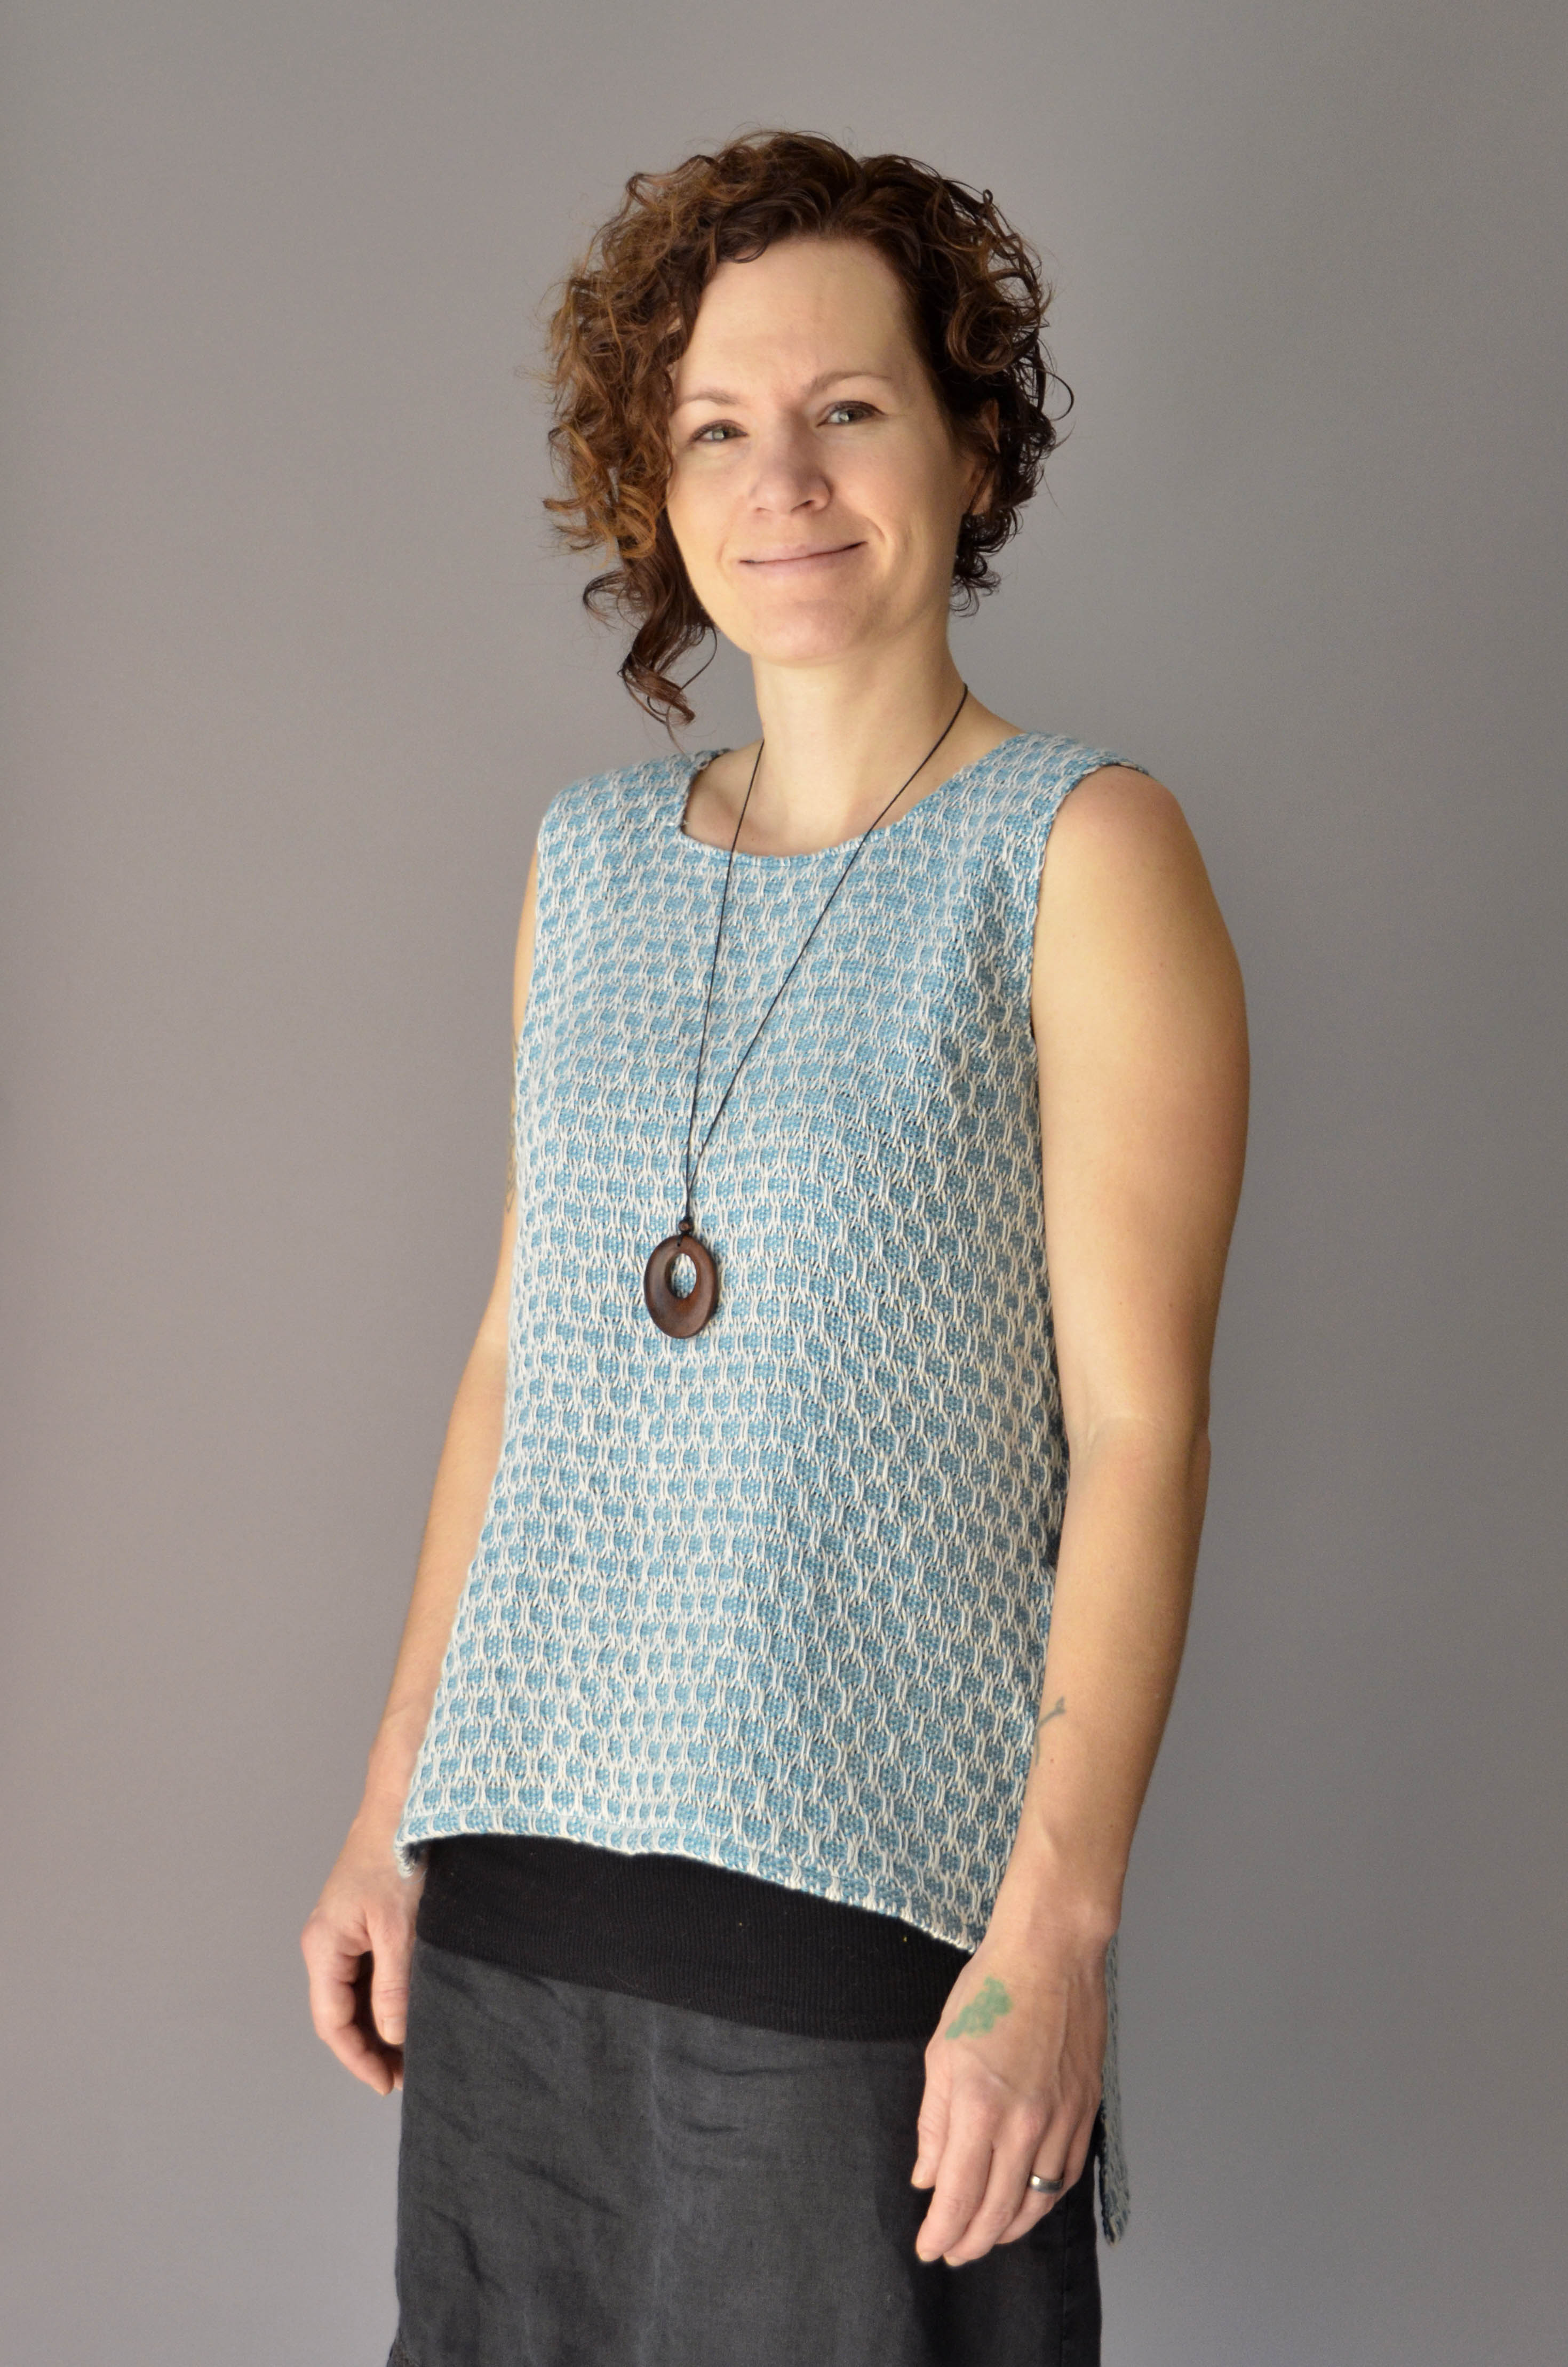
Flame Lace on Amy crop hi-res

All in all, I’m please with how this turned out. Though I have quite a bit of sewing experience, I’ve done very little sewing with my own hand woven fabric, which is definitely a whole different ballgame than sewing with purchased fabric. This project has definitely sparked ideas for more garments. Now all I need is to find the time to implement them!

Join me next time as I explore how to make the most of Bamboo Pop multi colorways and planned pooling!
 

Off and Running

I am delighted to say that the fabric that will become my Flame Lace top is finally off the loom! As much as I enjoy the meditative process of weaving, it always feels so good to near the end of a project. In life and crafting, I’ve found that there are all types of people: starters, enjoyers, tinkerers, thinkers, finishers, and on the list goes. I can dabble in many varieties of creativity, but I fall staunchly into the “finisher” category. I enjoy the process, but I love to see things through to completion.

In case you’ve missed the first few posts in this series on my Flame Lace top (from Simple Woven Garments,) you can find the warping post here,  how to make string heddles here,  and actually weaving the fabric here.  I’m using Flax as warp, and Whisper Lace with Garden 10. held together as warp. Today, I finished the final inches of weaving and prepared for taking my fabric off the loom.

Luckily, I recorded my notes on what I did for hemstitching at the beginning of the piece so I could match it at the end. The older I get, the more things I write down, or I can expect to never remember them again! The hem on this top is eventually going to be folded under and sewn, so this isn’t crucial, but I’m all about the details. Having the notes about precisely what I did at the beginning allowed me to do the same at the end of the piece.

Hemstitching_1

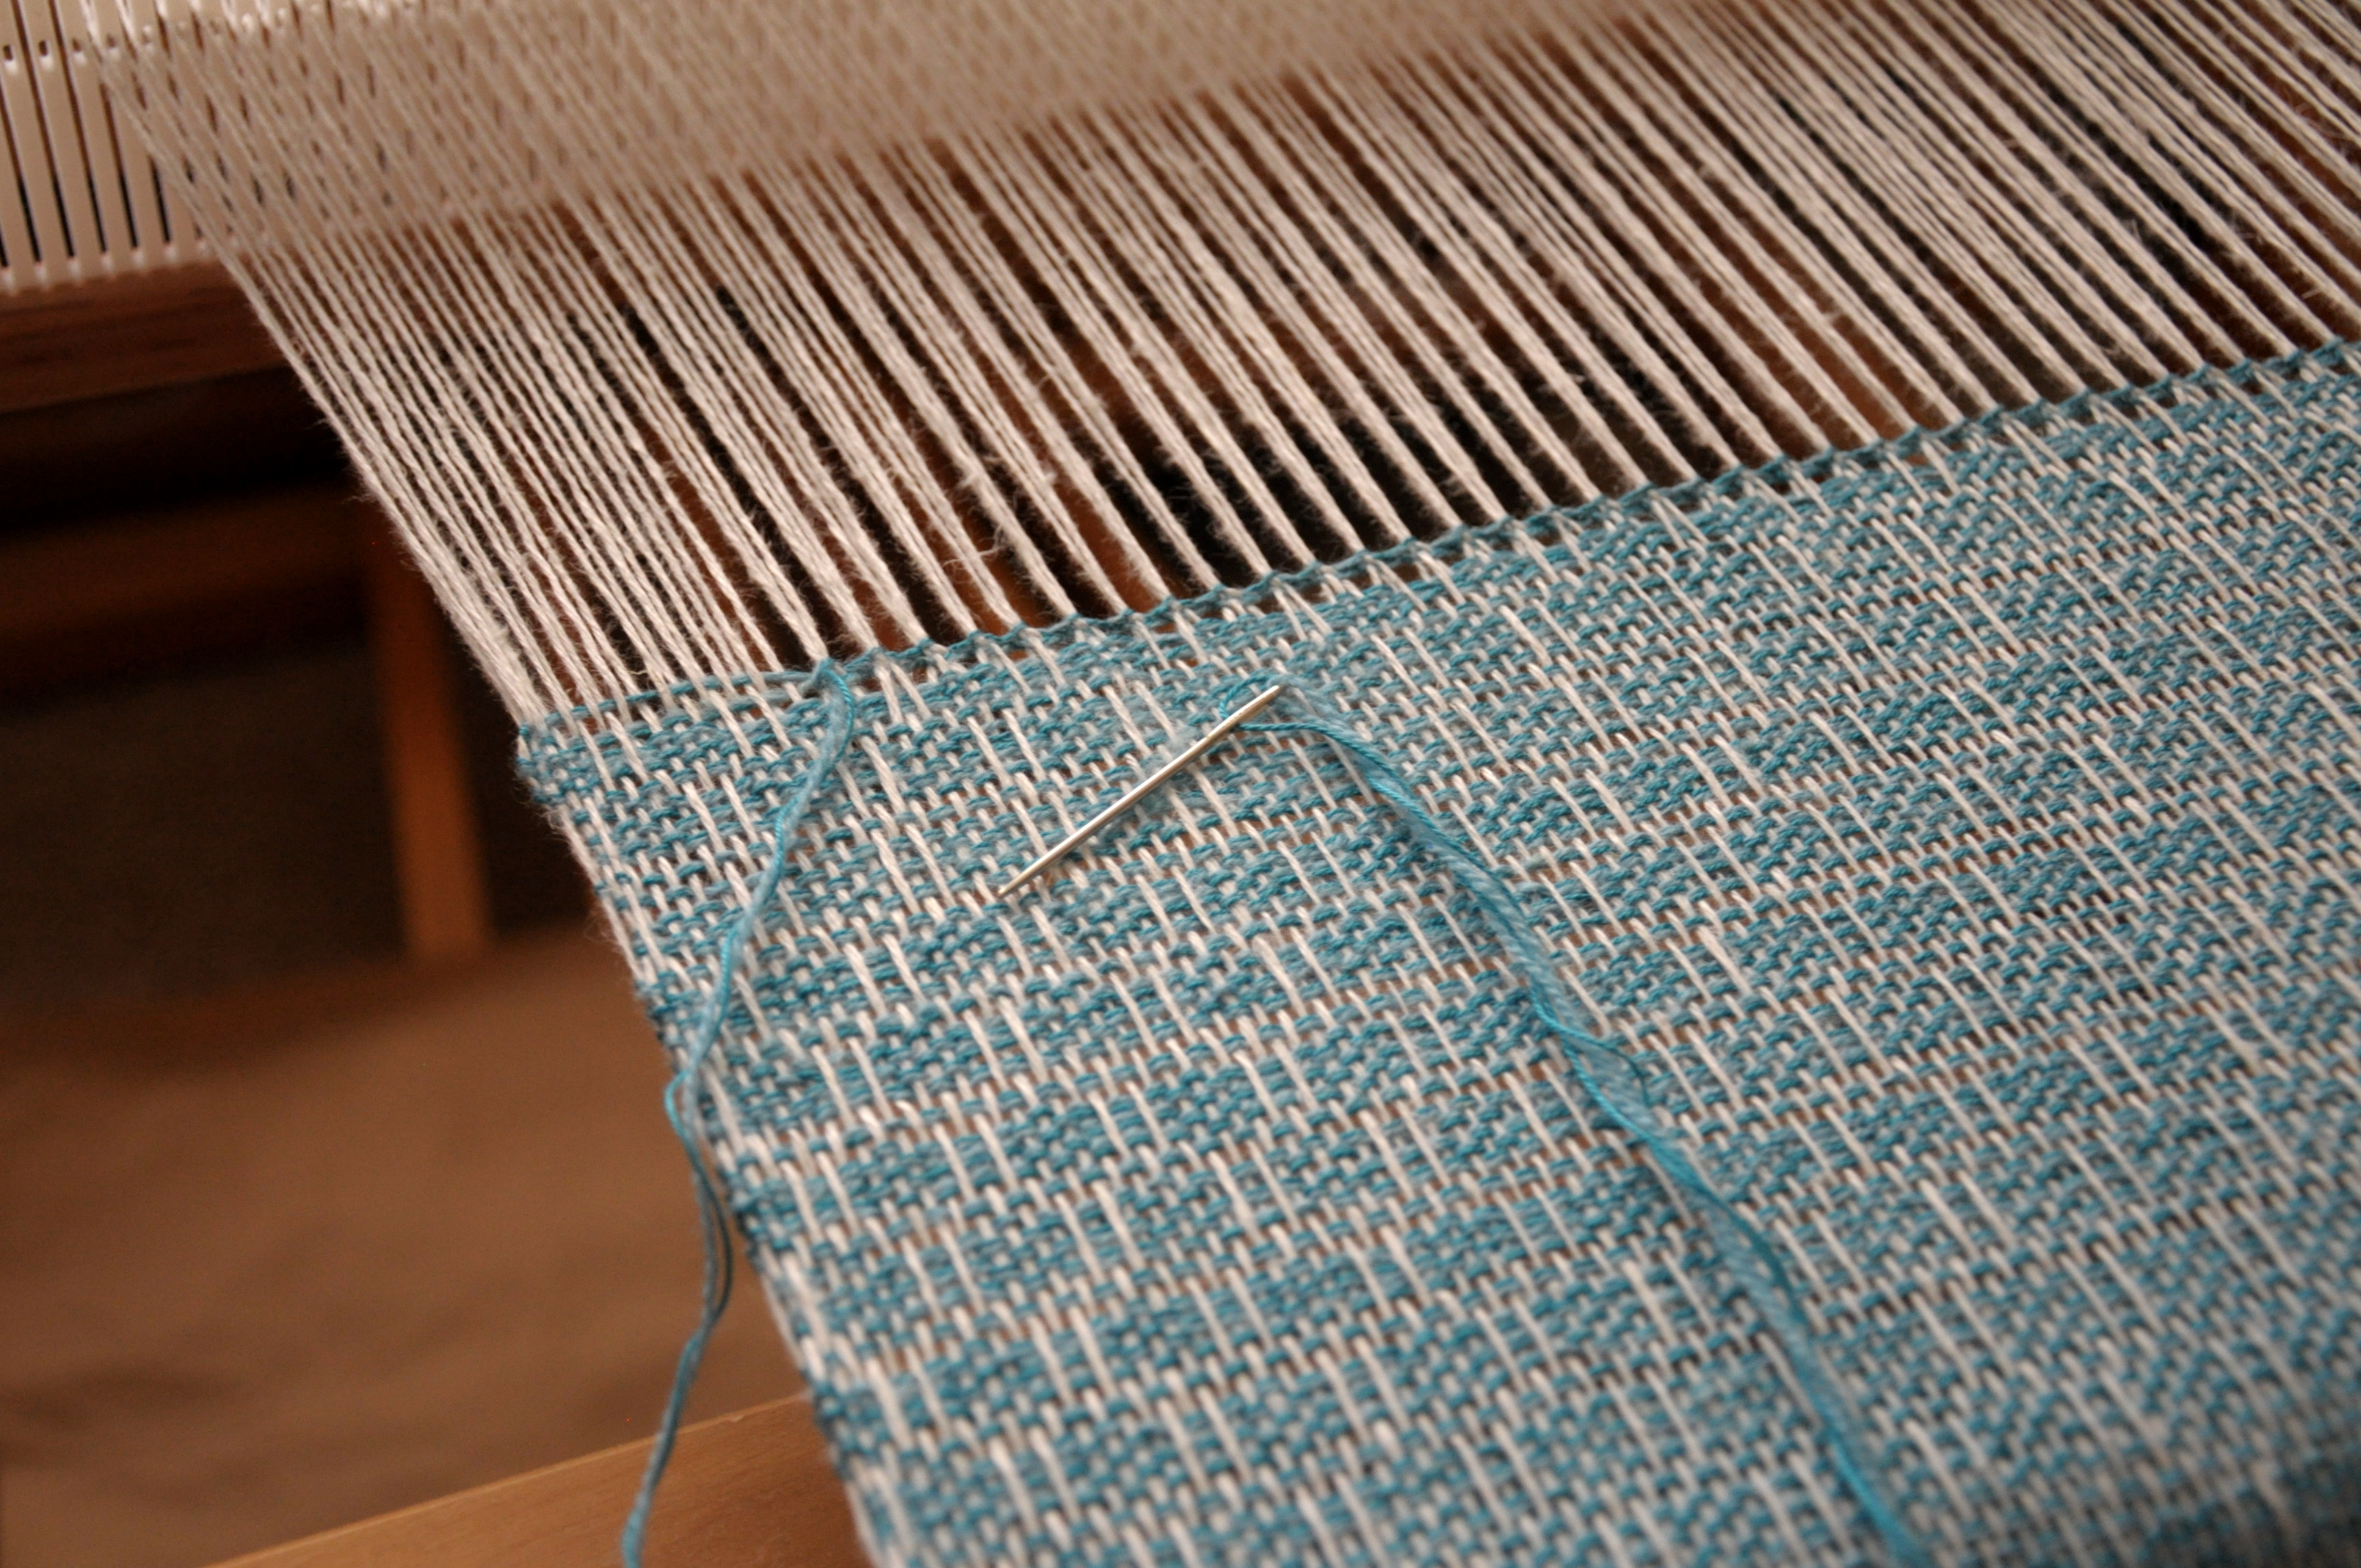
While doing my hemstitching, I went over 3 warp threads and under 2 weft threads. Because I’m headed straight to the sewing machine after this, all I need to do now is snip this baby free from the loom.

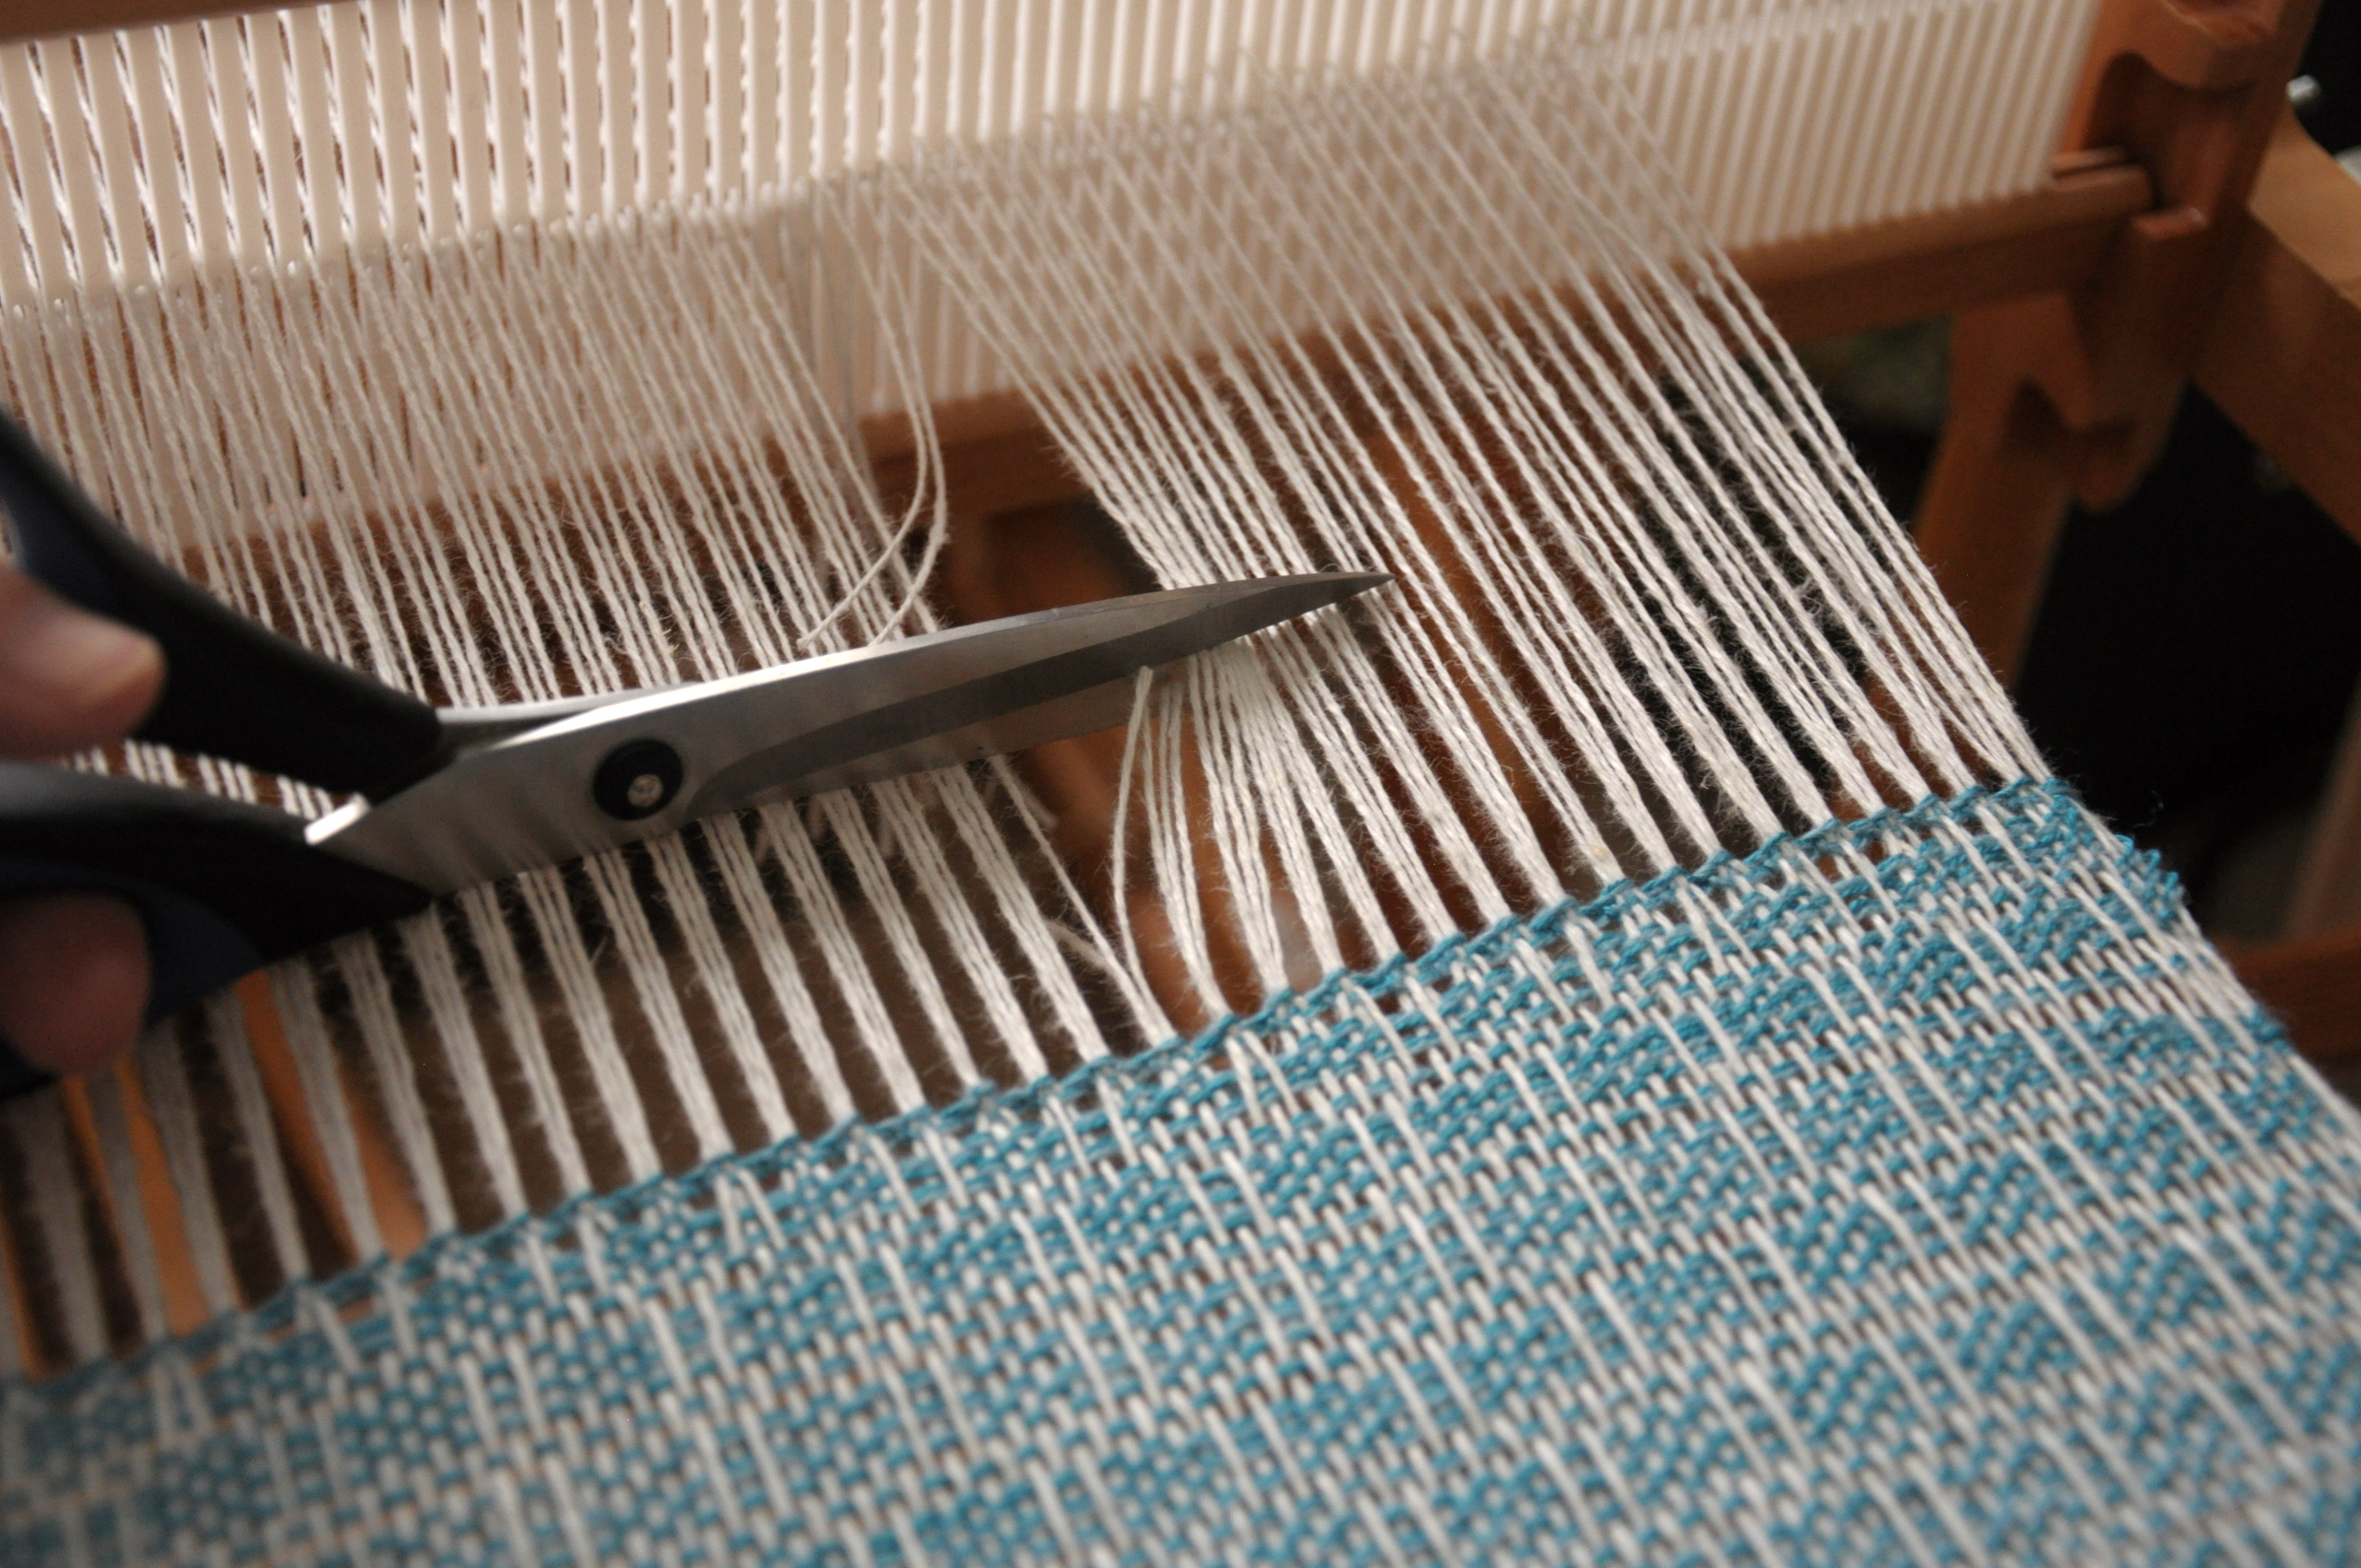
Hemstitching_2

Oh, what a good feeling!
 

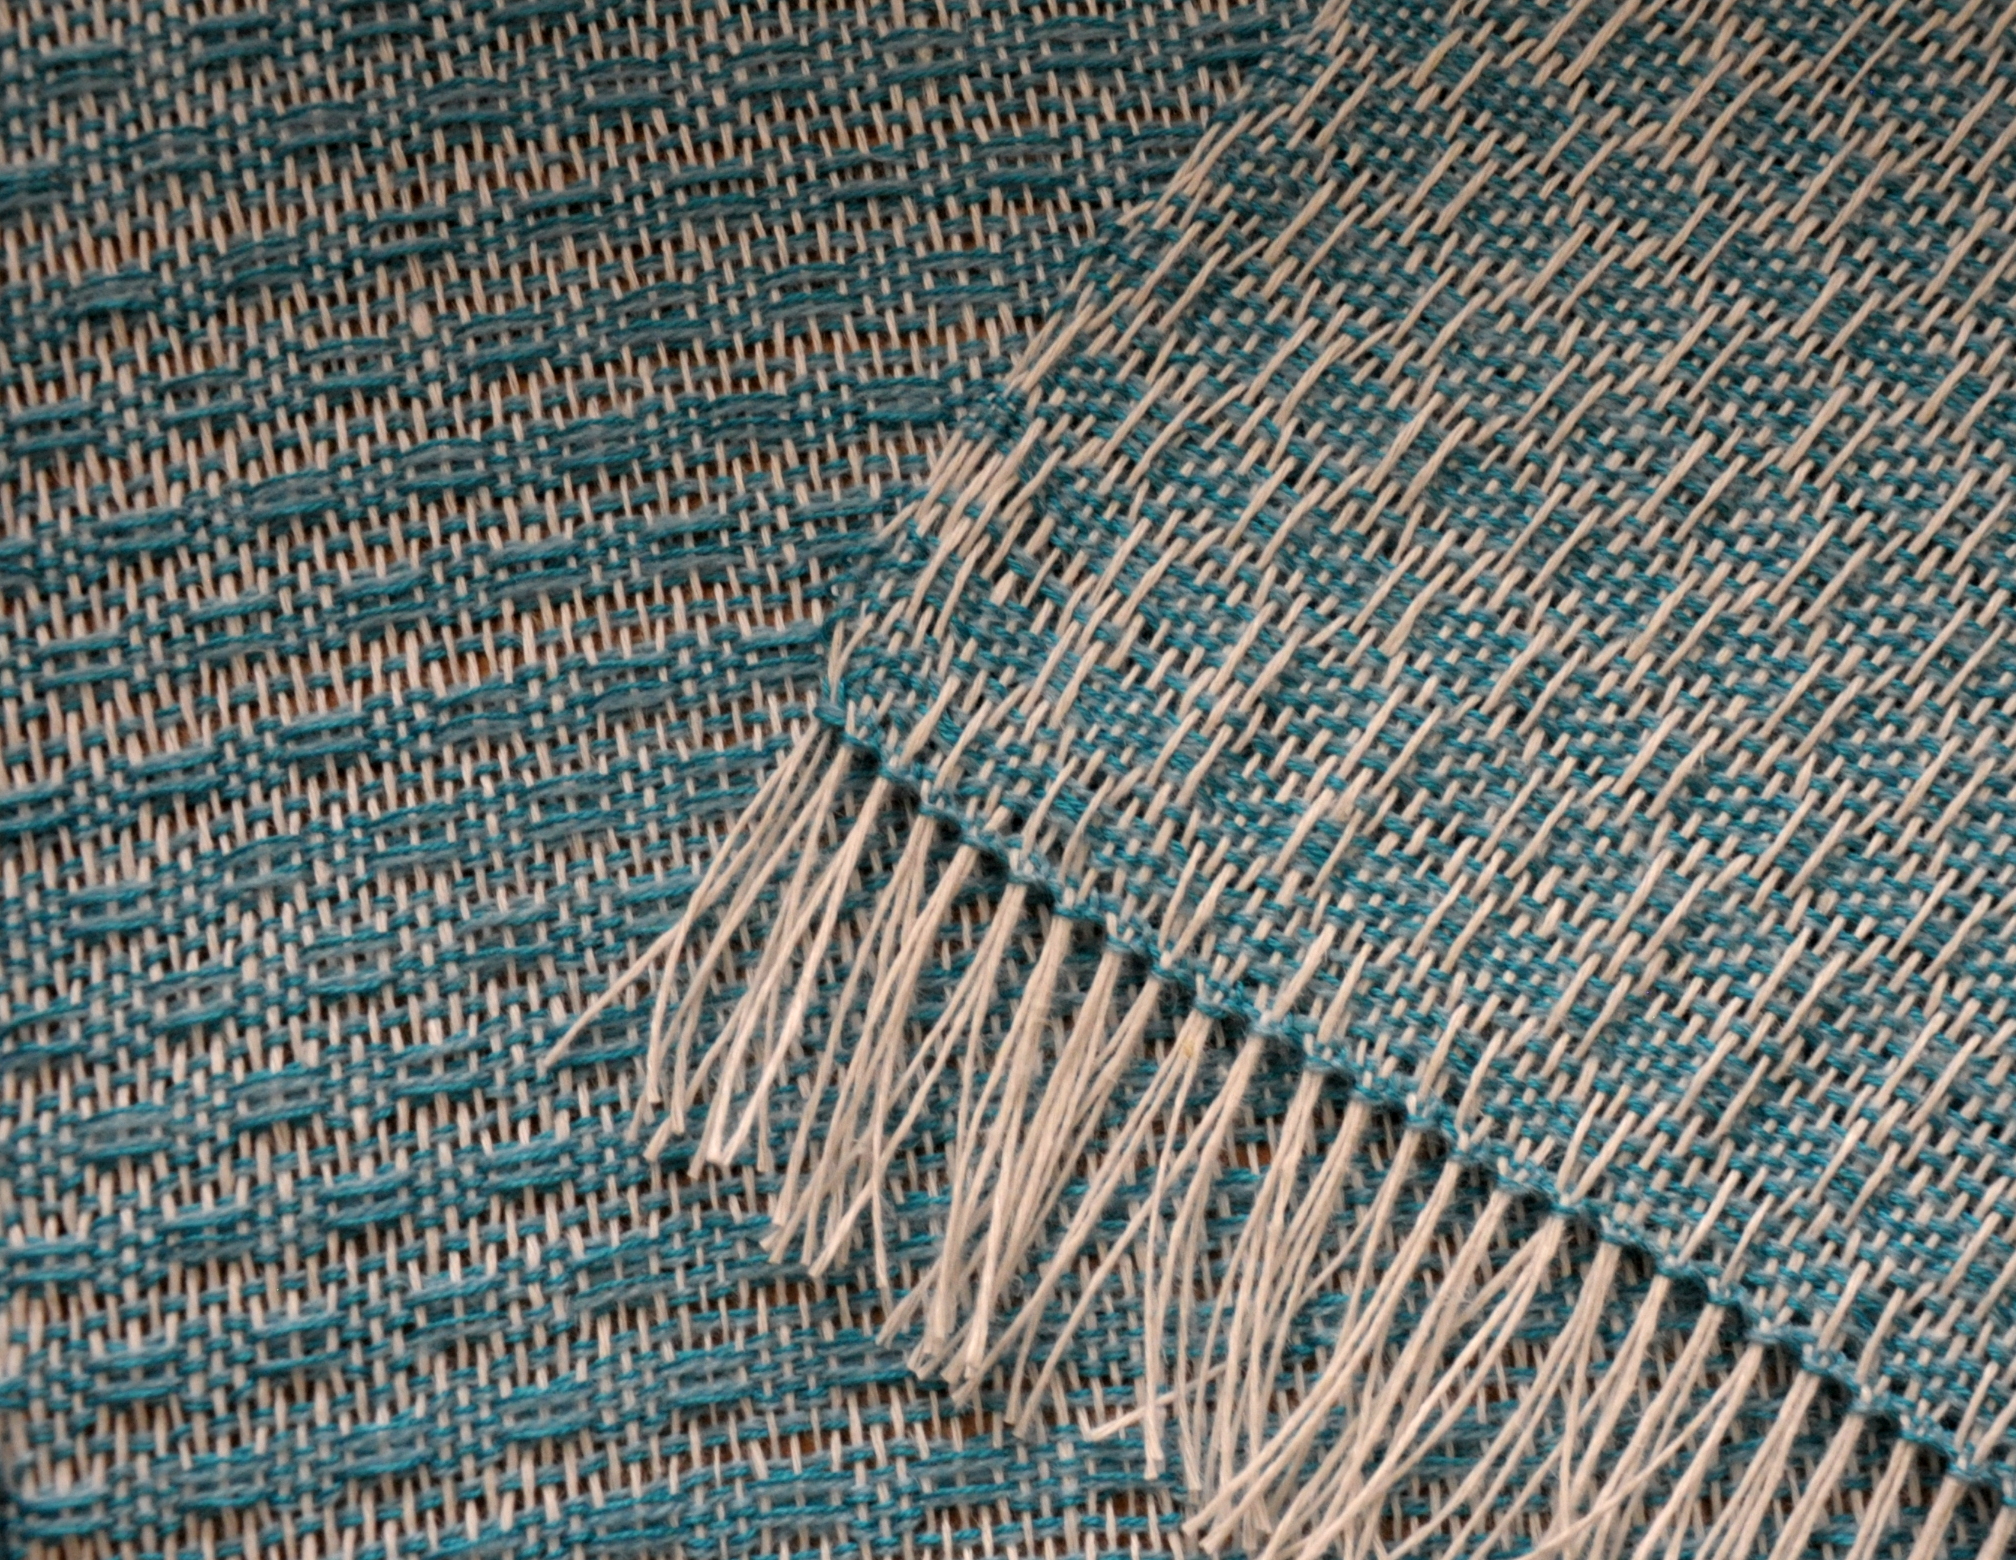
After unwinding my fabric a little bit, I had my first good chance to take a peek at the back side of the fabric. I like it! In the photo below, the right side of the fabric is on the right, wrong side is on the left. The wrong side is still quite attractive. I’ll have to file this away in my brain as a good possibility for a scarf, where both sides will be seen.

Hemstitching3

Here is the full length of the fabric. And as I sit here now typing with my fabric soaking in water, I realize I completely forgot to measure my fabric just off the loom.  C’est la vie, eh?Hemstitching4

Now to secure the ends before washing. A simple zig-zag stitch on my sewing machine will do the trick.

Hemstitching5

Hemstitching6

I can’t even tell you how excited I am to see how this fabric looks after washing. That’s when the true nature of the fabric reveals itself. As pretty as it was to look at taut on the loom, I just know it’s going to be full of character once it’s all settled.

Join me next time when this rectangle of criss-crossed yarn becomes something wearable!


Playing With Sticks

If you’ve been following along on my latest adventure in weaving,  you read about warping a wide rigid heddle loom for the Flame Lace Top, and then rigging up string heddles for a second pick-up stick. The warp is Flax. The weft is one strand of Whisper Lace and 1 strand of Garden 10 held together.

This week is all about the fun pretty stuff: woven fabric! Once I got my pick-up sticks taken care of and my shuttle wound, I set to the soothing rhythm of weaving. I started right in with the 2 pick-up-stick pattern, and practiced a couple of repeats before hem stitching:

FlameLace_1

Out of the 12 rows of the pattern repeat, 4 of these involve use of the pick-up sticks. It took me just a few repeats to get the hang of it and after that it was smooth sailing.

FlameLace_2

Weaving is such a good opportunity for me to unwind. Music streaming, audio books, or just sitting with my own thoughts is such a relief after a hectic day.

FlameLace_3

Join me next time when I take my finished fabric off the loom and do – gasp – cutting and sewing with it!


String Heddles – How To

After warping for my Flame Lace Top, I was all set to get weaving! The weaving pattern requires the use of two pick-up sticks, so I got going on that first.
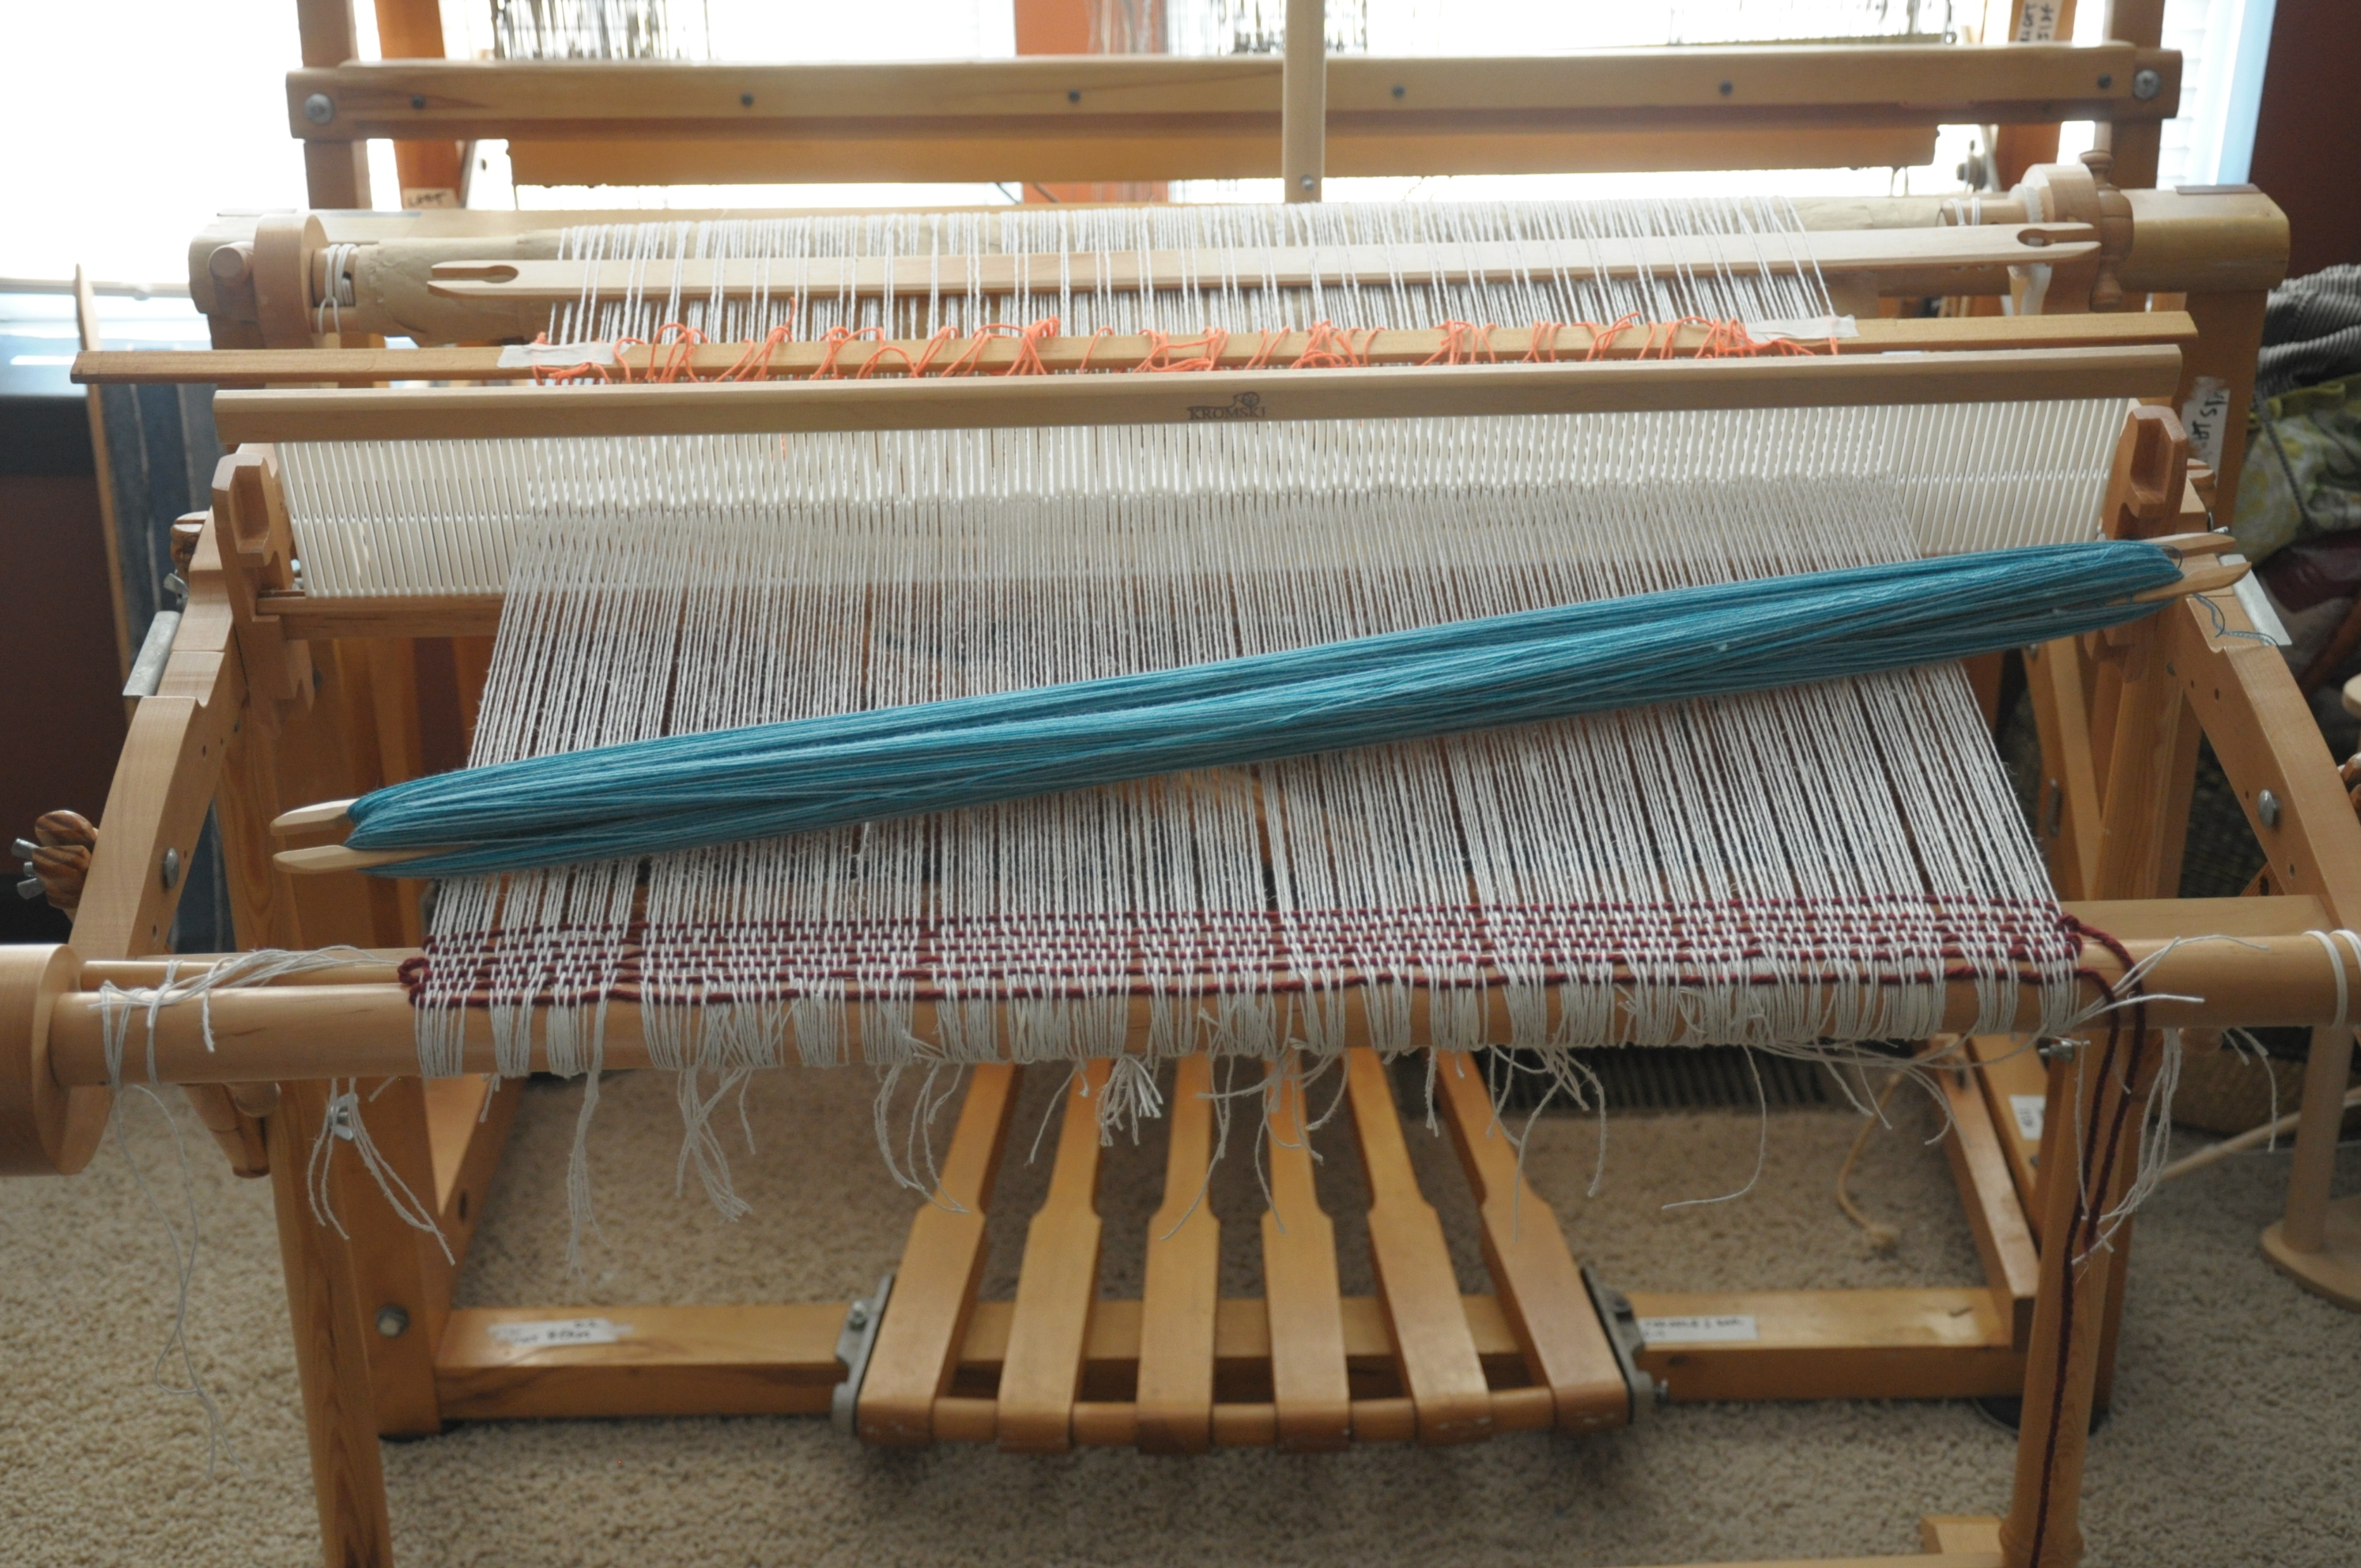
I put the rigid heddle in the down position in order to place the appropriate threads on my pick-up sticks. The back stick below represents pick-up stick 1, the front stick represents pick-up stick 2.

Heddles_1

I got set to weaving my pattern when it hit me – I can’t leave both sticks in place at the same time because they would interfere with the shed. Duh! Crap. What to do?

This particular loom accommodates 2 rigid heddles. I probably could have warped using both rigid heddles, and eliminated the need for one of my pick-up sticks. Or, I could pick up threads for the second stick every time I needed it. But that would be really annoying, needing it for 2 passes out of every 12, and especially on this wide loom.

And then I remembered – string heddles! Back when I first learned how to weave, I did so on a homemade giant frame loom. When I was learning how to do different patterns on it, I had run across the string heddle solution and implemented it then.

Leaving my second (front) stick in place, I got to work making my string heddles. I counted all the threads on the stick, which is how many heddles I need. Then I found some lightweight cotton scrap yarn to make the heddles. It’s best to use a smooth light yarn for string heddles – something that won’t stick to the warp. A mercerized cotton would work well, or even a nylon cord if you have it.

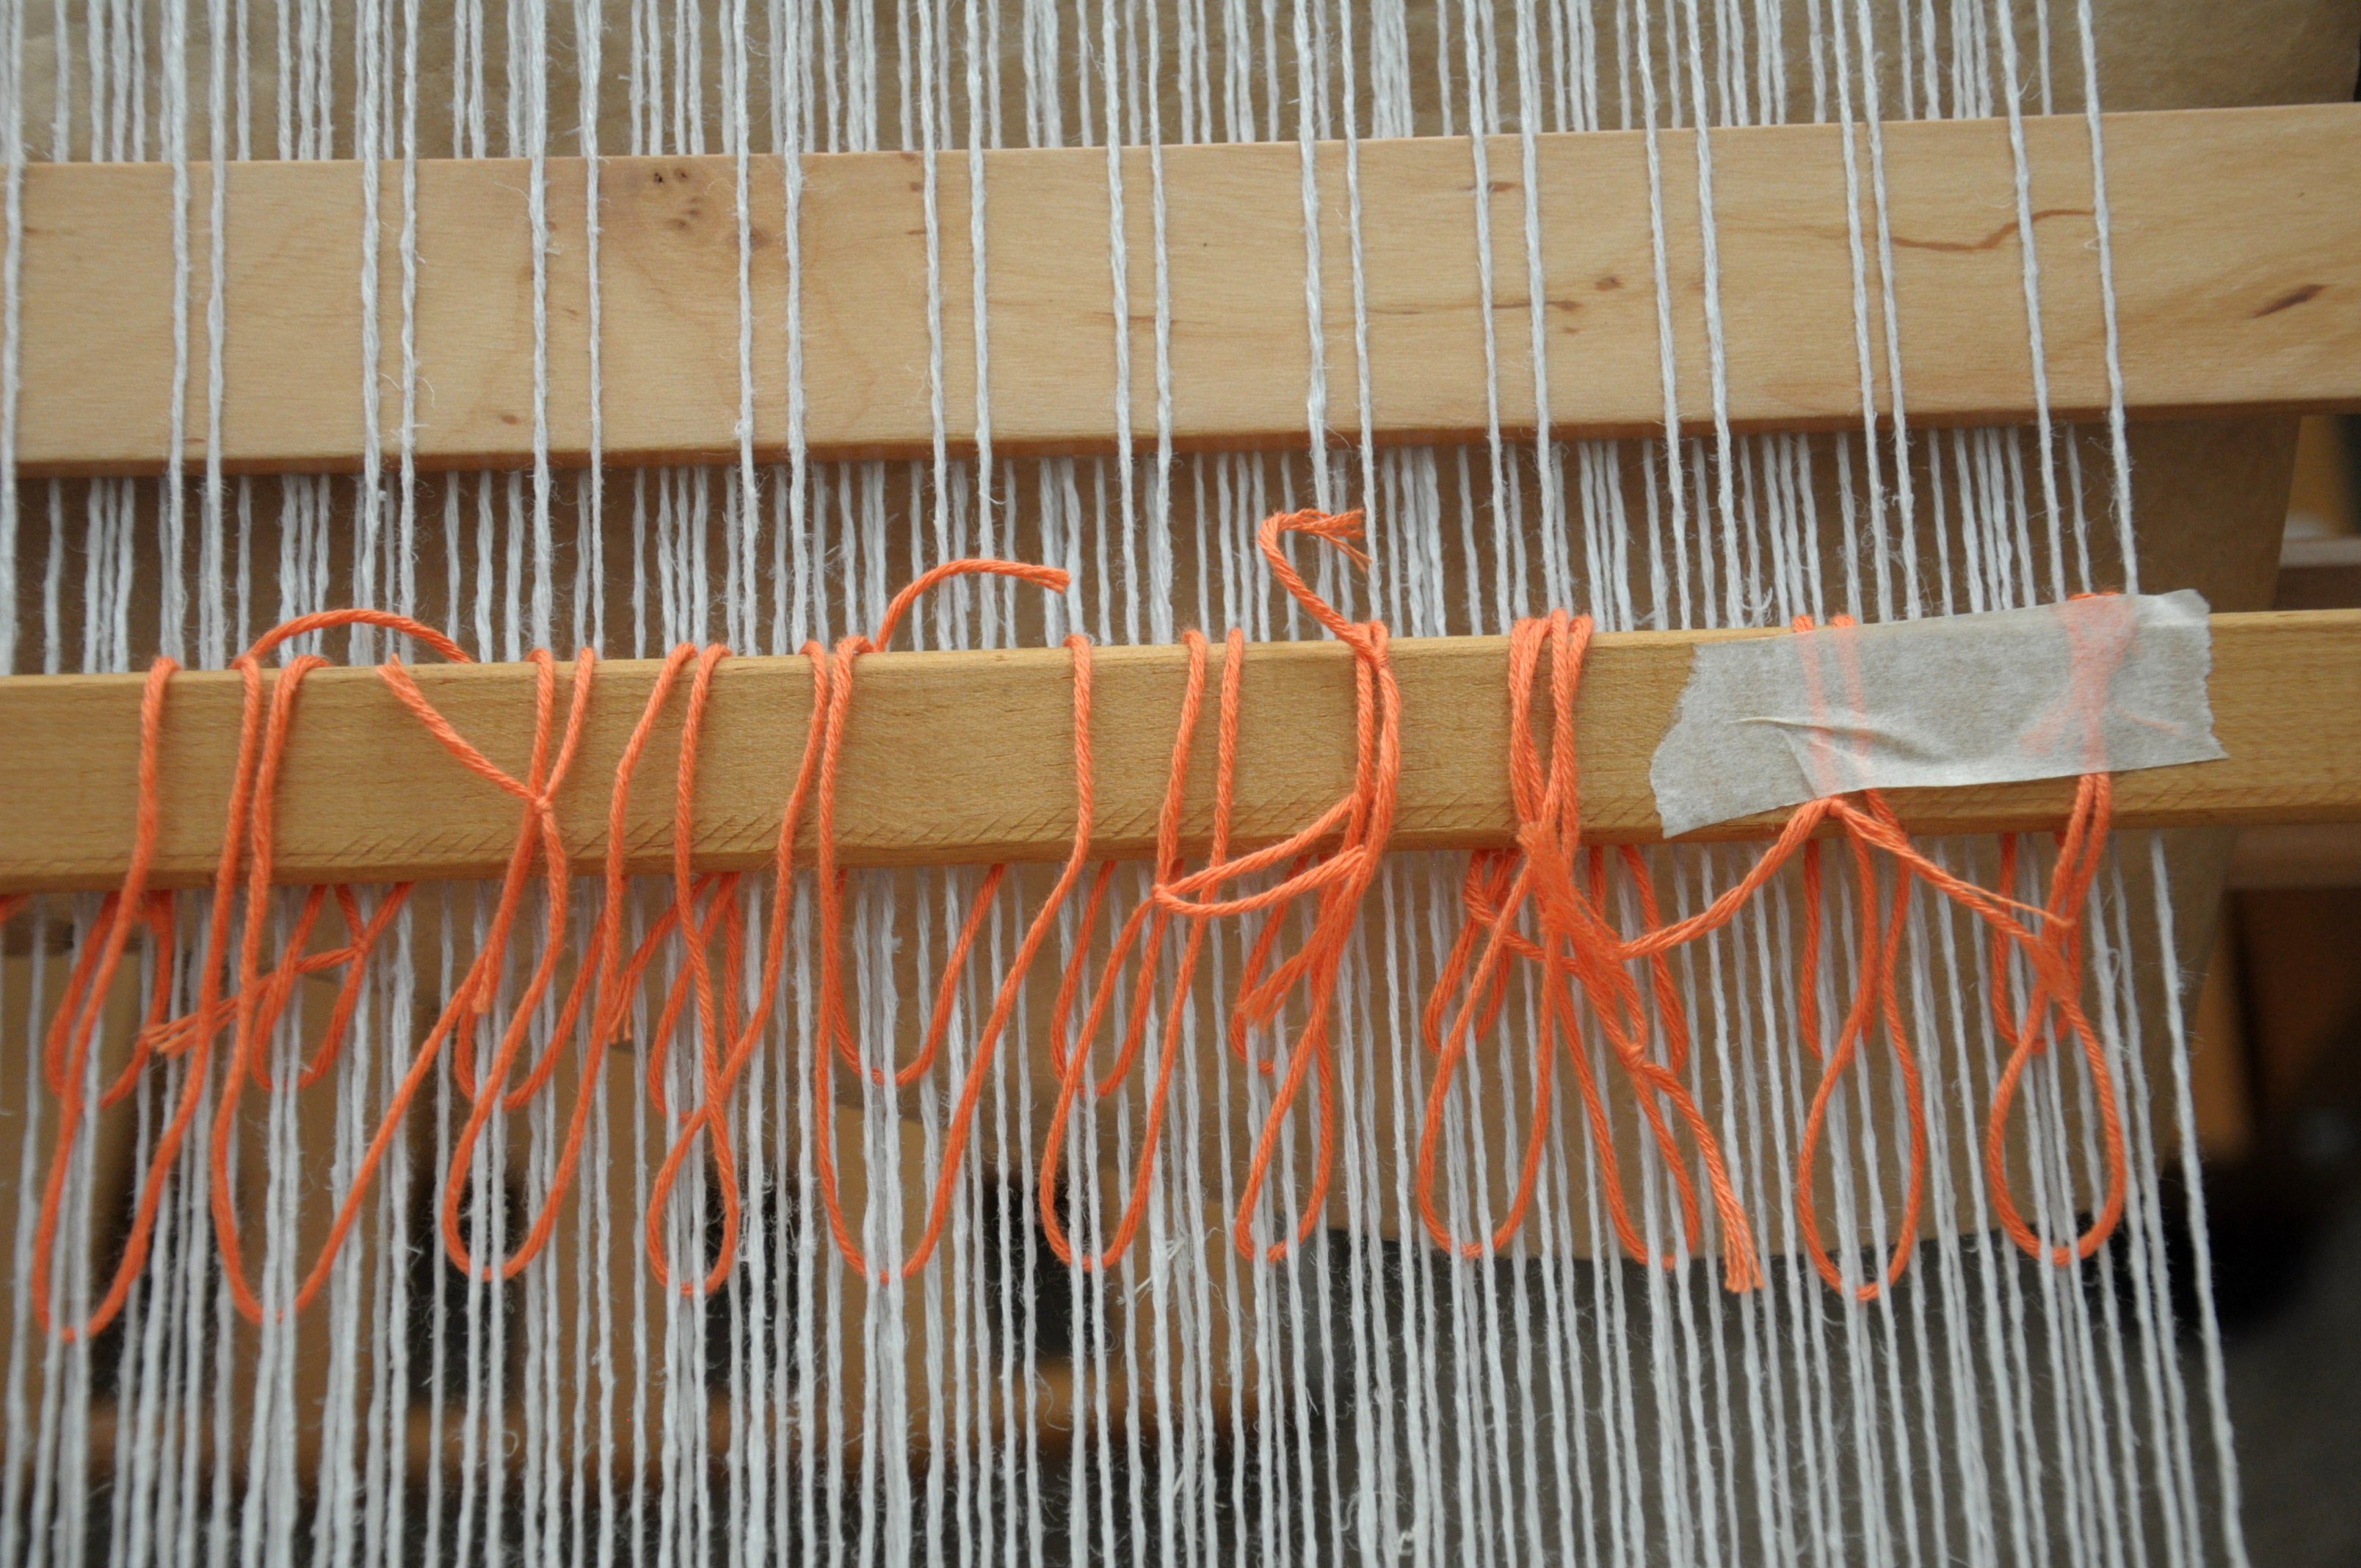
It’s important that all the heddles are the same length. Wrap yarn around an object, like a spare heddle shown here, and tie each one in a square knot to secure.

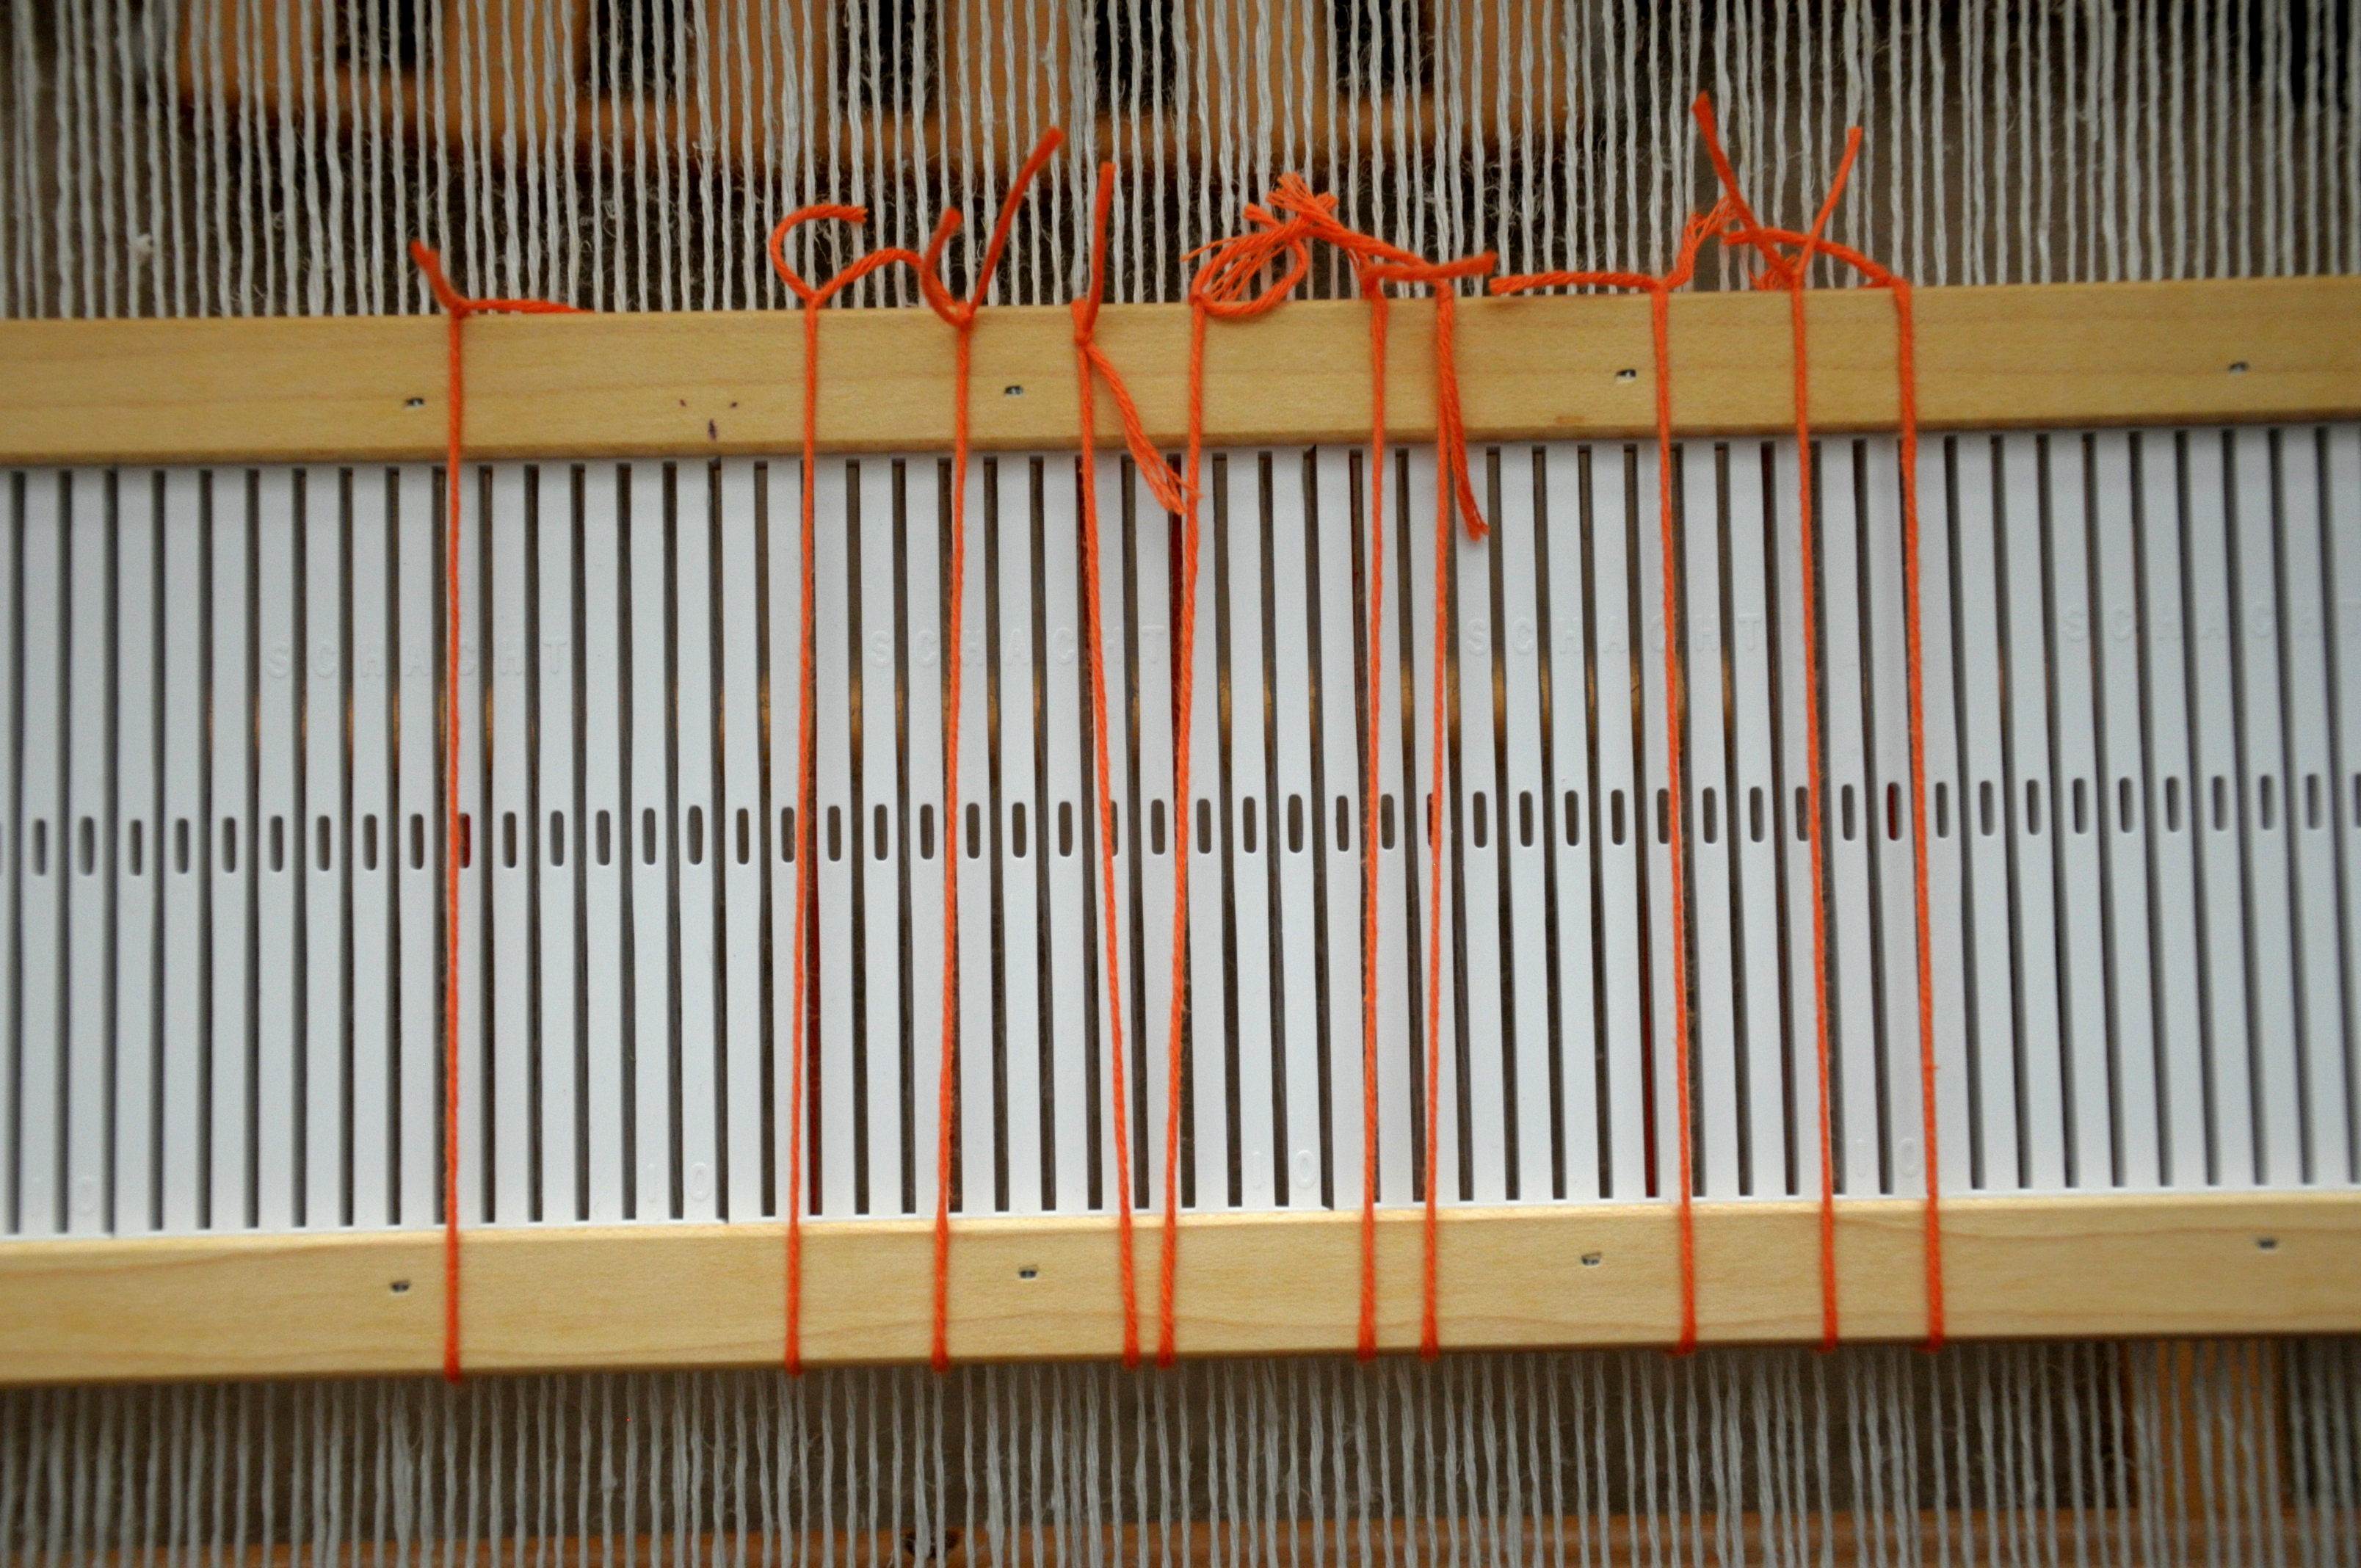
Heddles_2

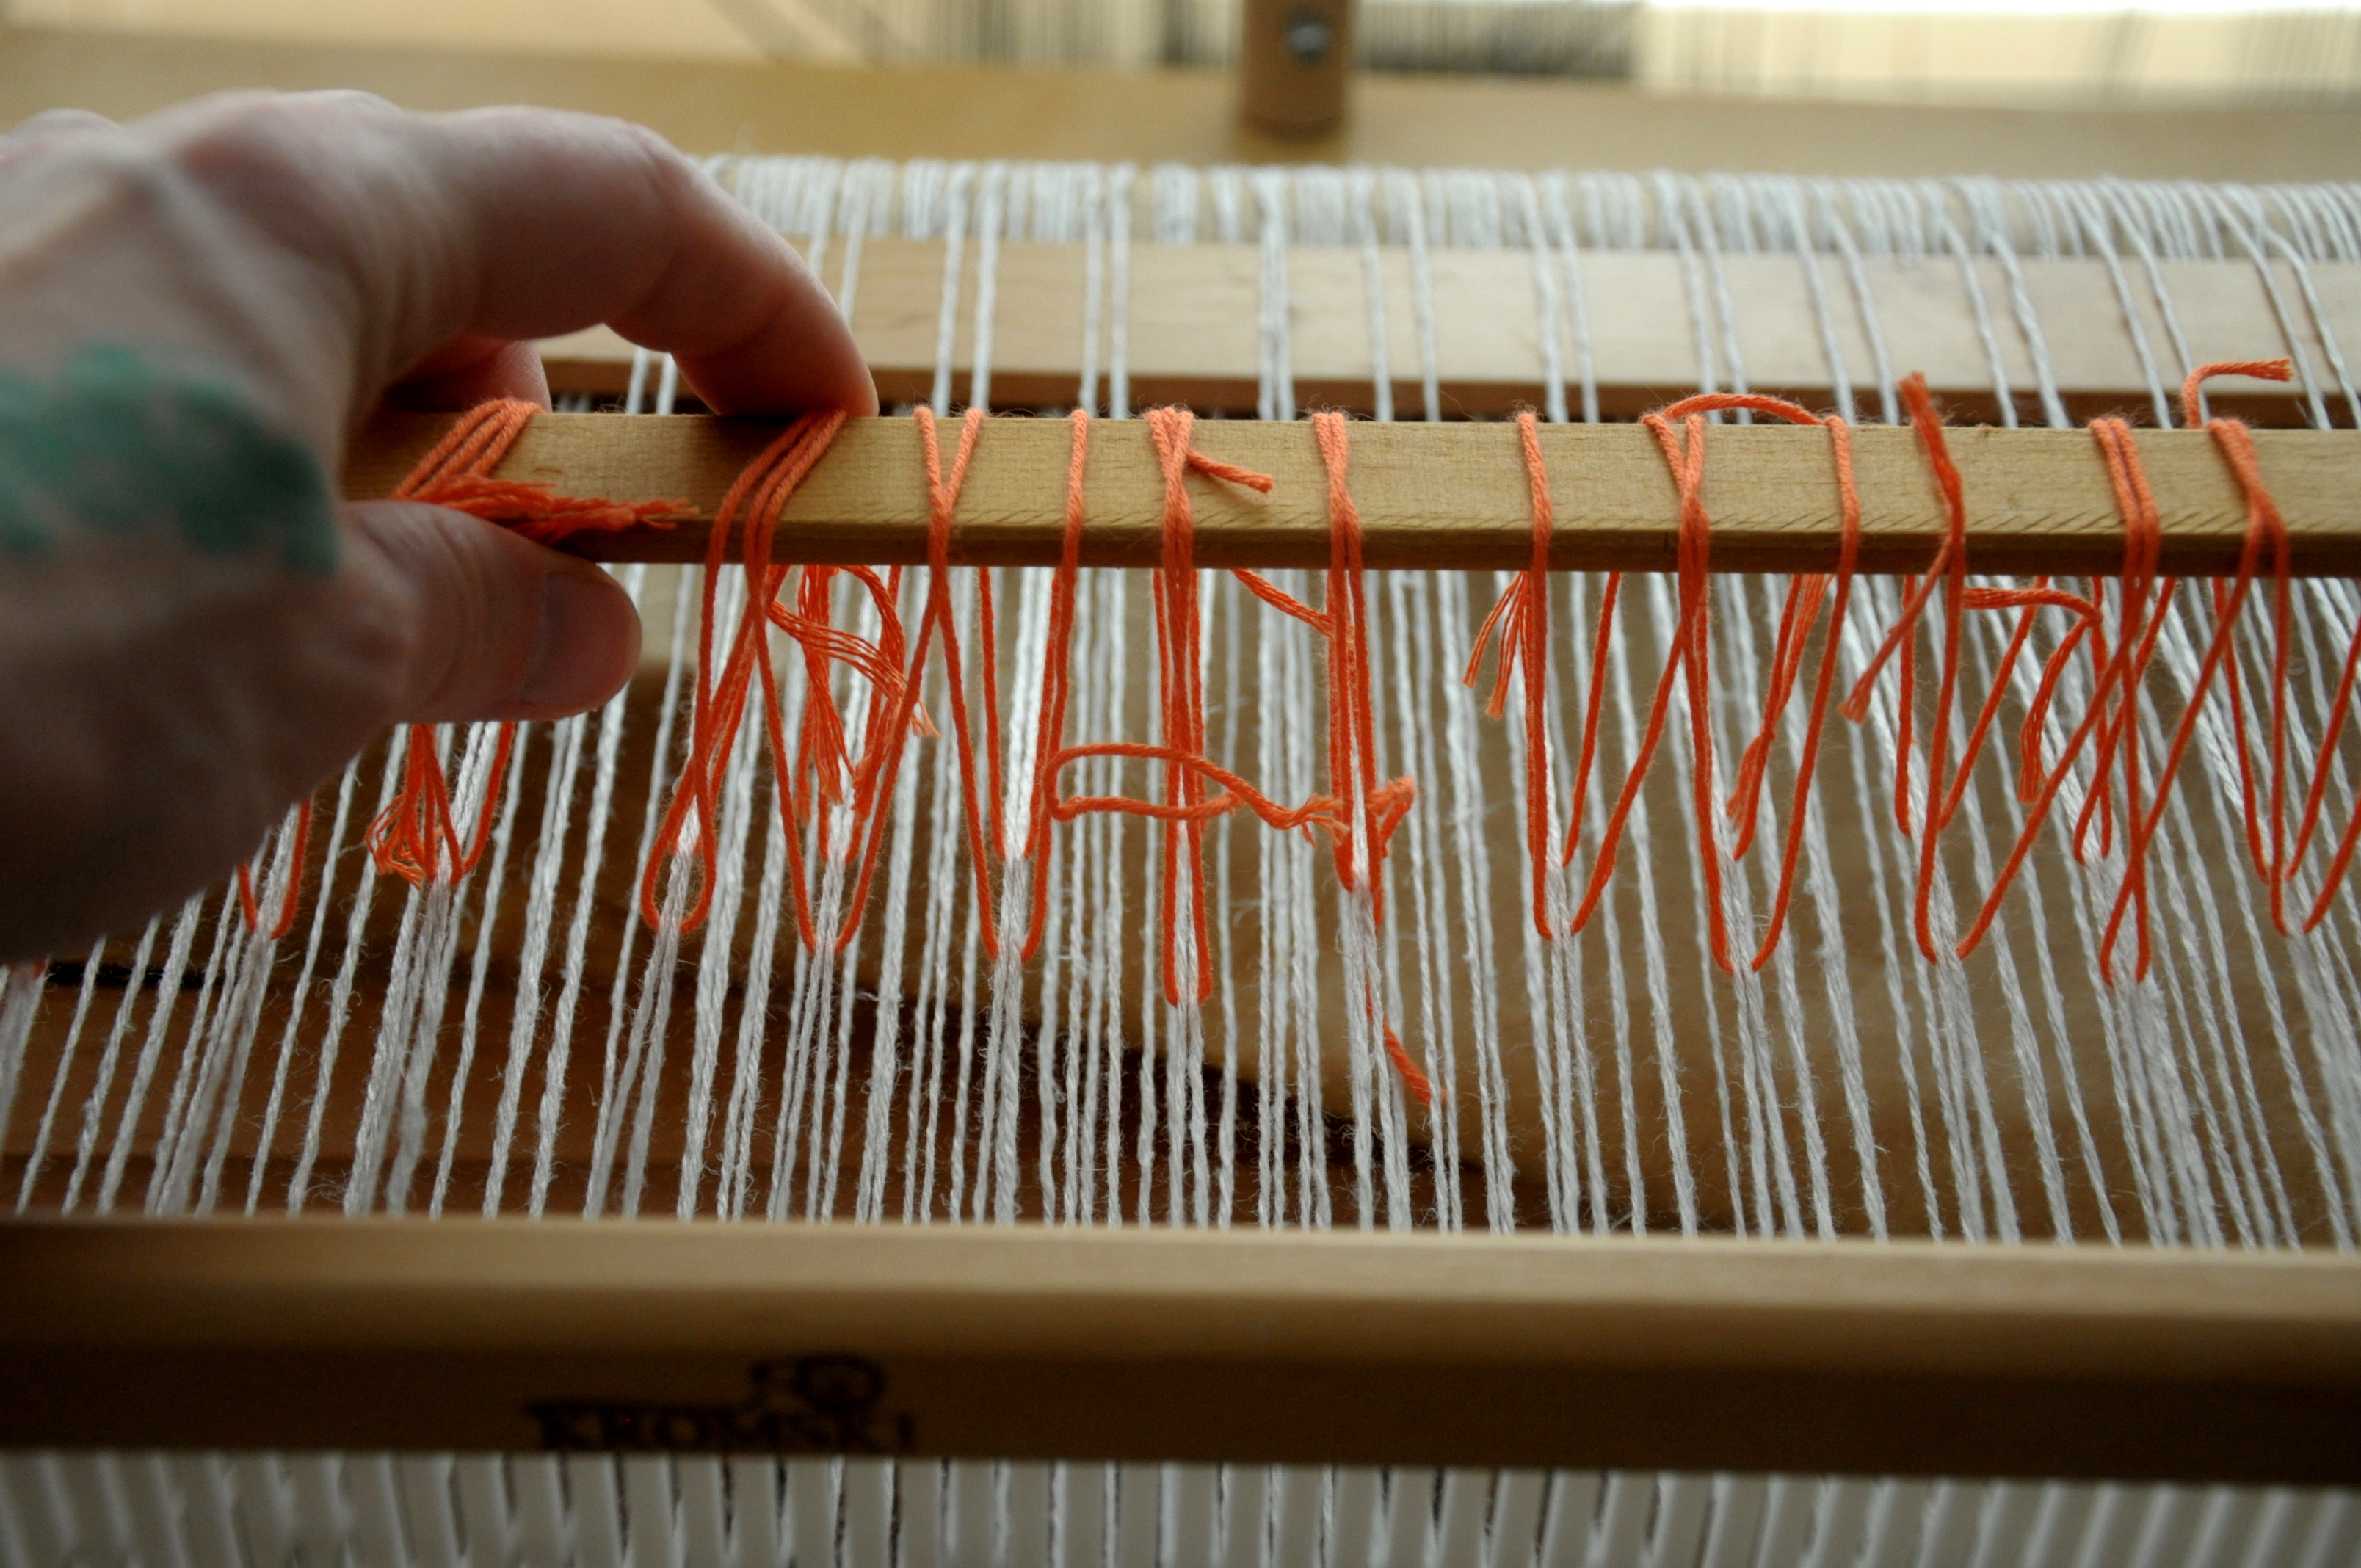
Then, the heddles need to get attached to the appropriate warp threads. Leaving my stick in place, I looped each thread around the warp, and then around another long stick.

Heddles_3

Once all the heddles are attached to the stick, I put a piece of tape on either end, securing those last several heddles so they don’t slide off.

Heddles_4

Once it’s time to use pick-up stick 2, make sure pick-up stick 1 is slid all the way to the back, move stick 2 forward and lift.

Heddles_6

That’s all there is to it! It’s one of those things, I think, that sounds harder and more complicated than it actually is.

And now it’s finally time to start weaving!
Heddles_7

I adore how the Whisper Lace and Garden look together all wrapped on the shuttle ready to be something.

Heddles_8


See you next time for those string heddles in action.

Warping for Flame Lace Top

I’ve been so excited to get started on a new weaving project! Now that I’ve finally finished up my very old UFO, I’m ready for the next thing.
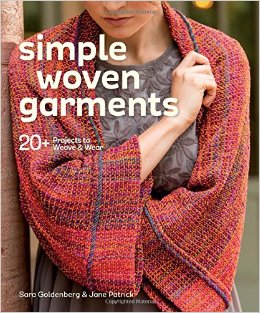
I recently got my hands on a copy of Simple Woven Garments, a fantastic book by Sara Goldenberg & Jane Patrick.

617cZvdAEfL._SX258_BO1,204,203,200_

As the cover promises, there are instructions for over 20 garments in this beautiful book. It’s written in a very approachable way, and the photos are really inspiring. I flipped through the pages many times before finally settling on the Flame Lace Top (page 90)  to try first.

7051e25ed09687dcfb61e365b0d85b34

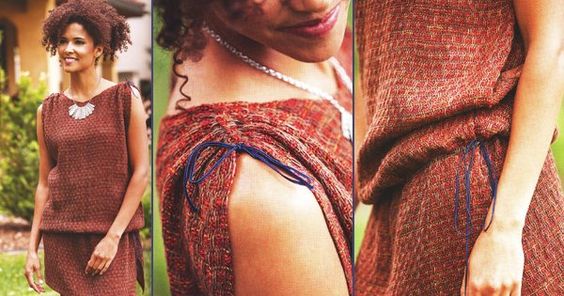
And after reviewing the required materials, I realized we have good substitutes for all the yarns used in the project, so it was settled. I think I’ll probably change some of the finishing details in this piece, but more on that in future posts. I think what most drew me to this project was the pattern in the weaving. I also think the gathered shoulders are pretty cute.

I took out my notebook, AKA weaving diary, and started first by recording all the beginning information for my project. Here is what I wrote:

Warp Yarn: Flax, color 17 Silver

10 dent reed

Weaving width: 24″/240 ends

Warp length: 100″

From this, I calculated how much Flax I needed for my warp. 240 ends x 100″ = 24,000″ or 667 yds. This comes out to just under 5 hanks of Flax.

FlameTop_1

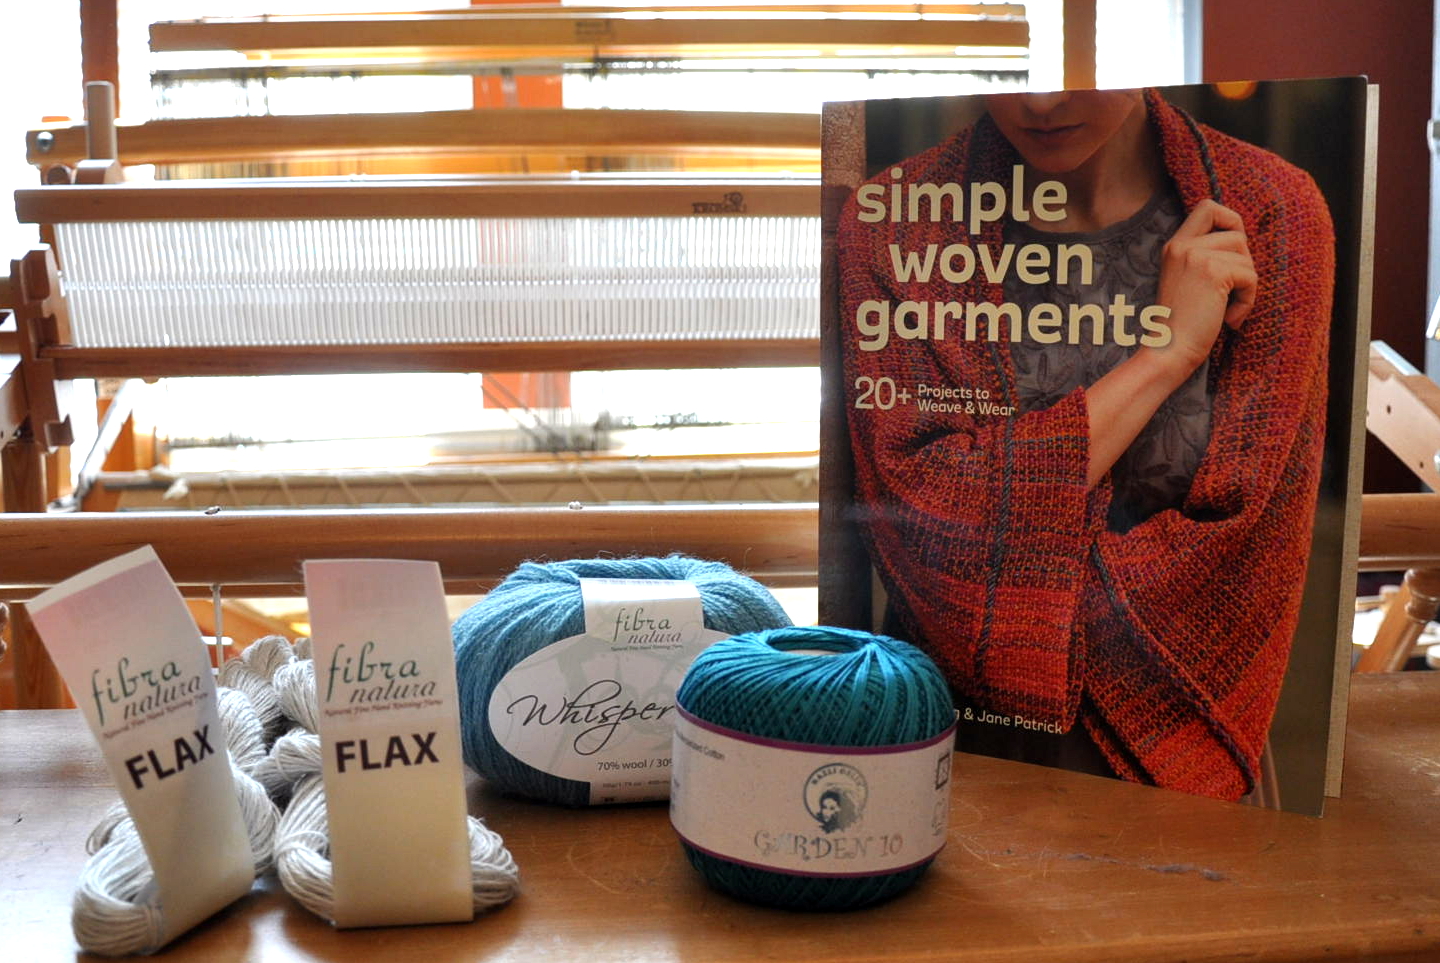
My weft yarn, as you can see, will be Whisper Lace and Garden 10; 1 strand of each held together. Though I love the warm colors in the original project, I tend to be a cool colors kind of person.

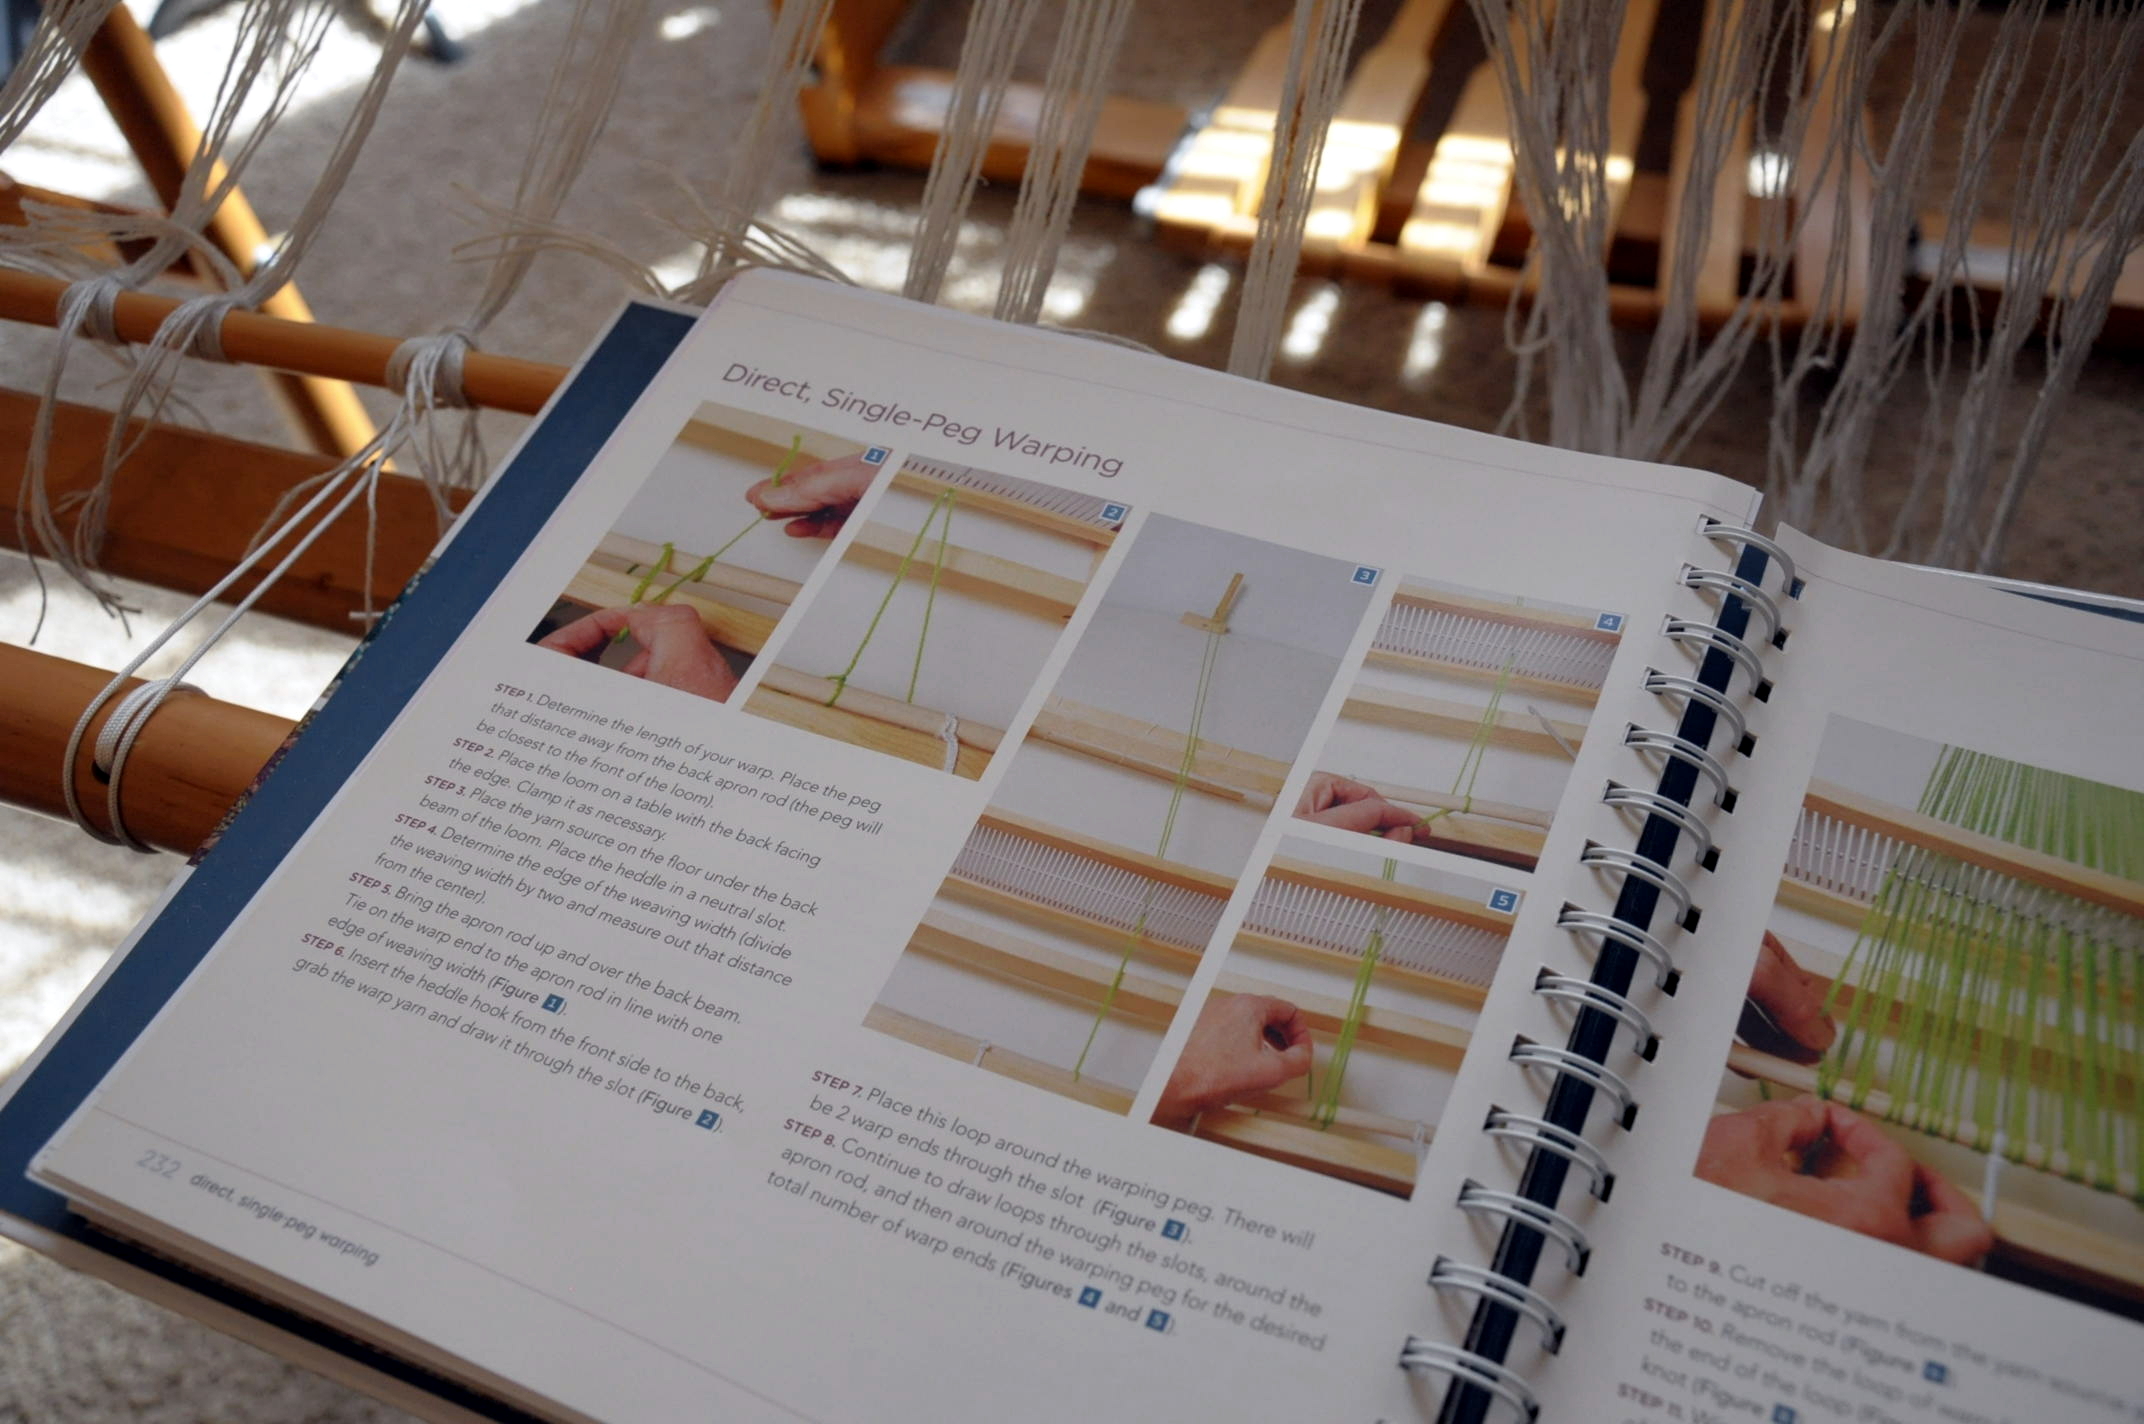
It had been long enough since my last warp, that I took a look at my copy of the Weaver’s Idea Book (also by the talented and informative Jane Patrick!) for a refresher. There are handy step-by-step photos of single-peg warping in the pages, which is the method I used.

FlameTop_4

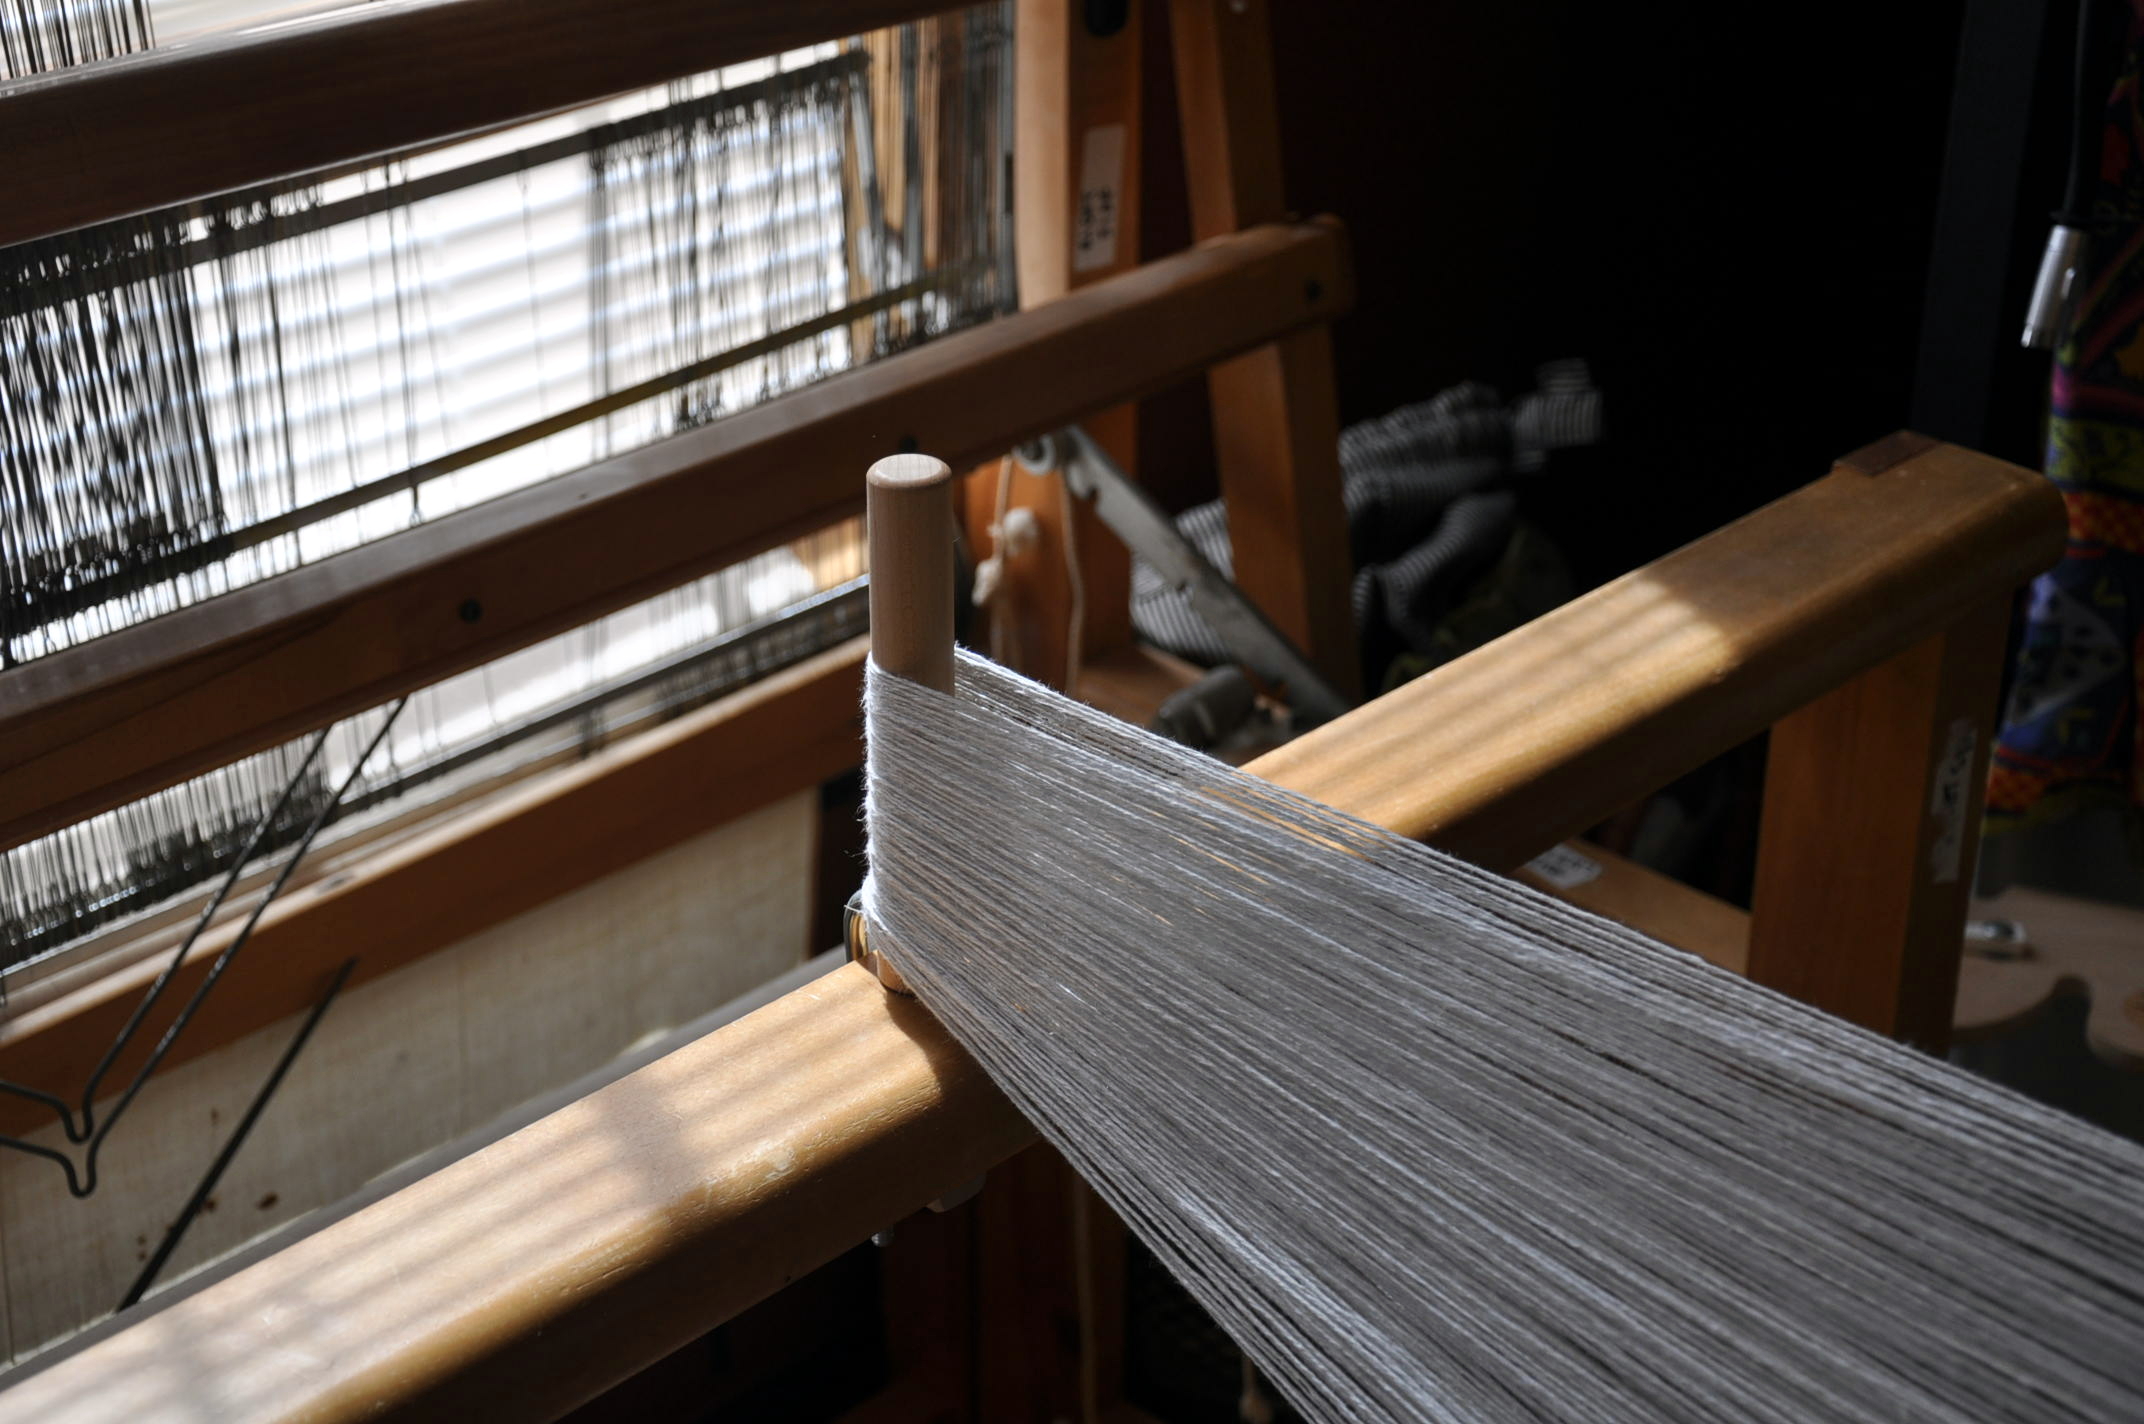
My personal favorite place to clamp my warping peg is to my shaft floor loom, a Fanny LeClerc. It’s the only time she every gets used and it makes me sad. Since moving into my current house a couple of years ago, poor Fanny sits looking beautiful in all of her multi-shaft glory, completely unused. Fanny, we will work together again soon, I promise.

FlameTop_2

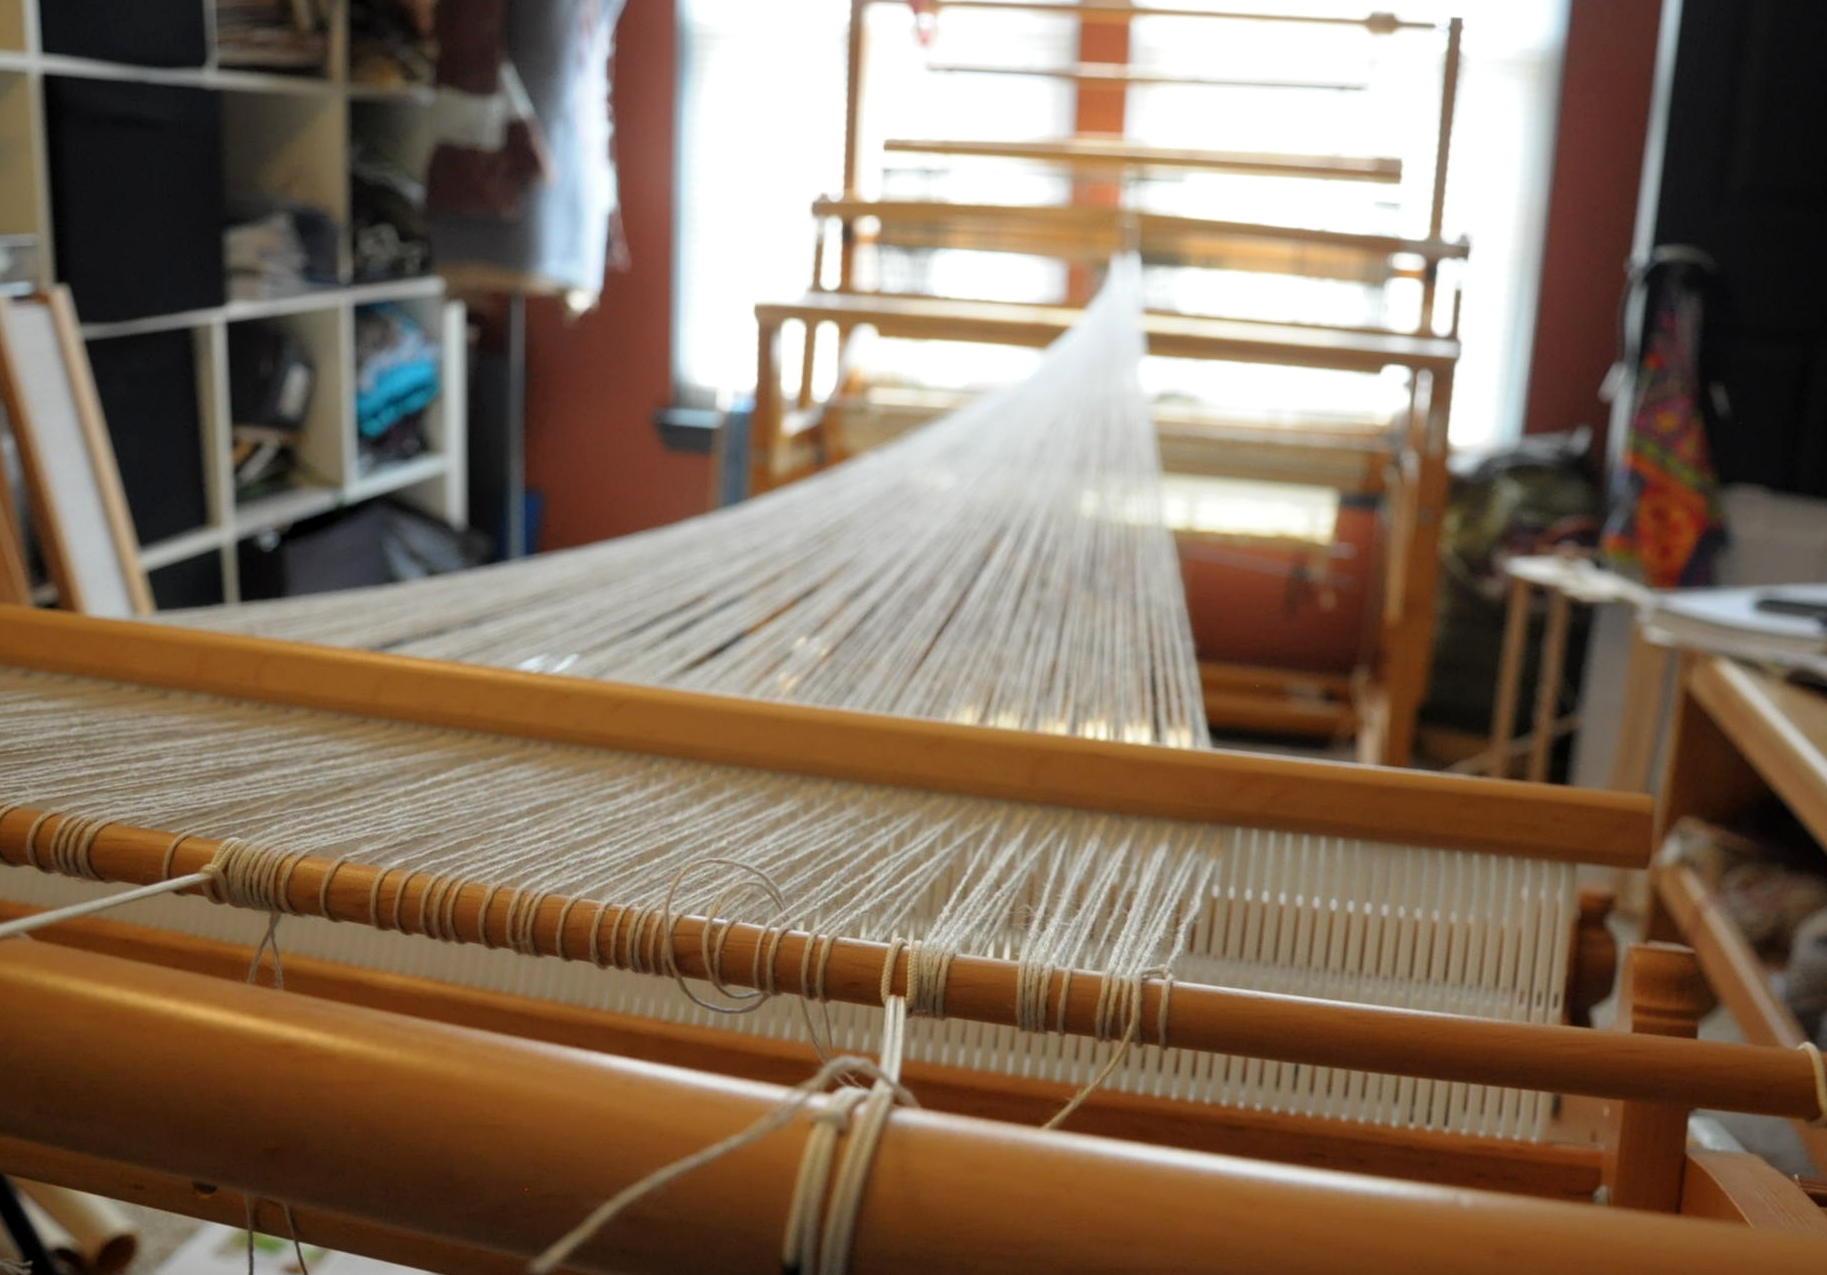
If I clamp the peg to the front beam of Fanny and place my rigid heddle across the room on the other wall, it’s typically the perfect distance for a good-sized warp.

FlameTop_3

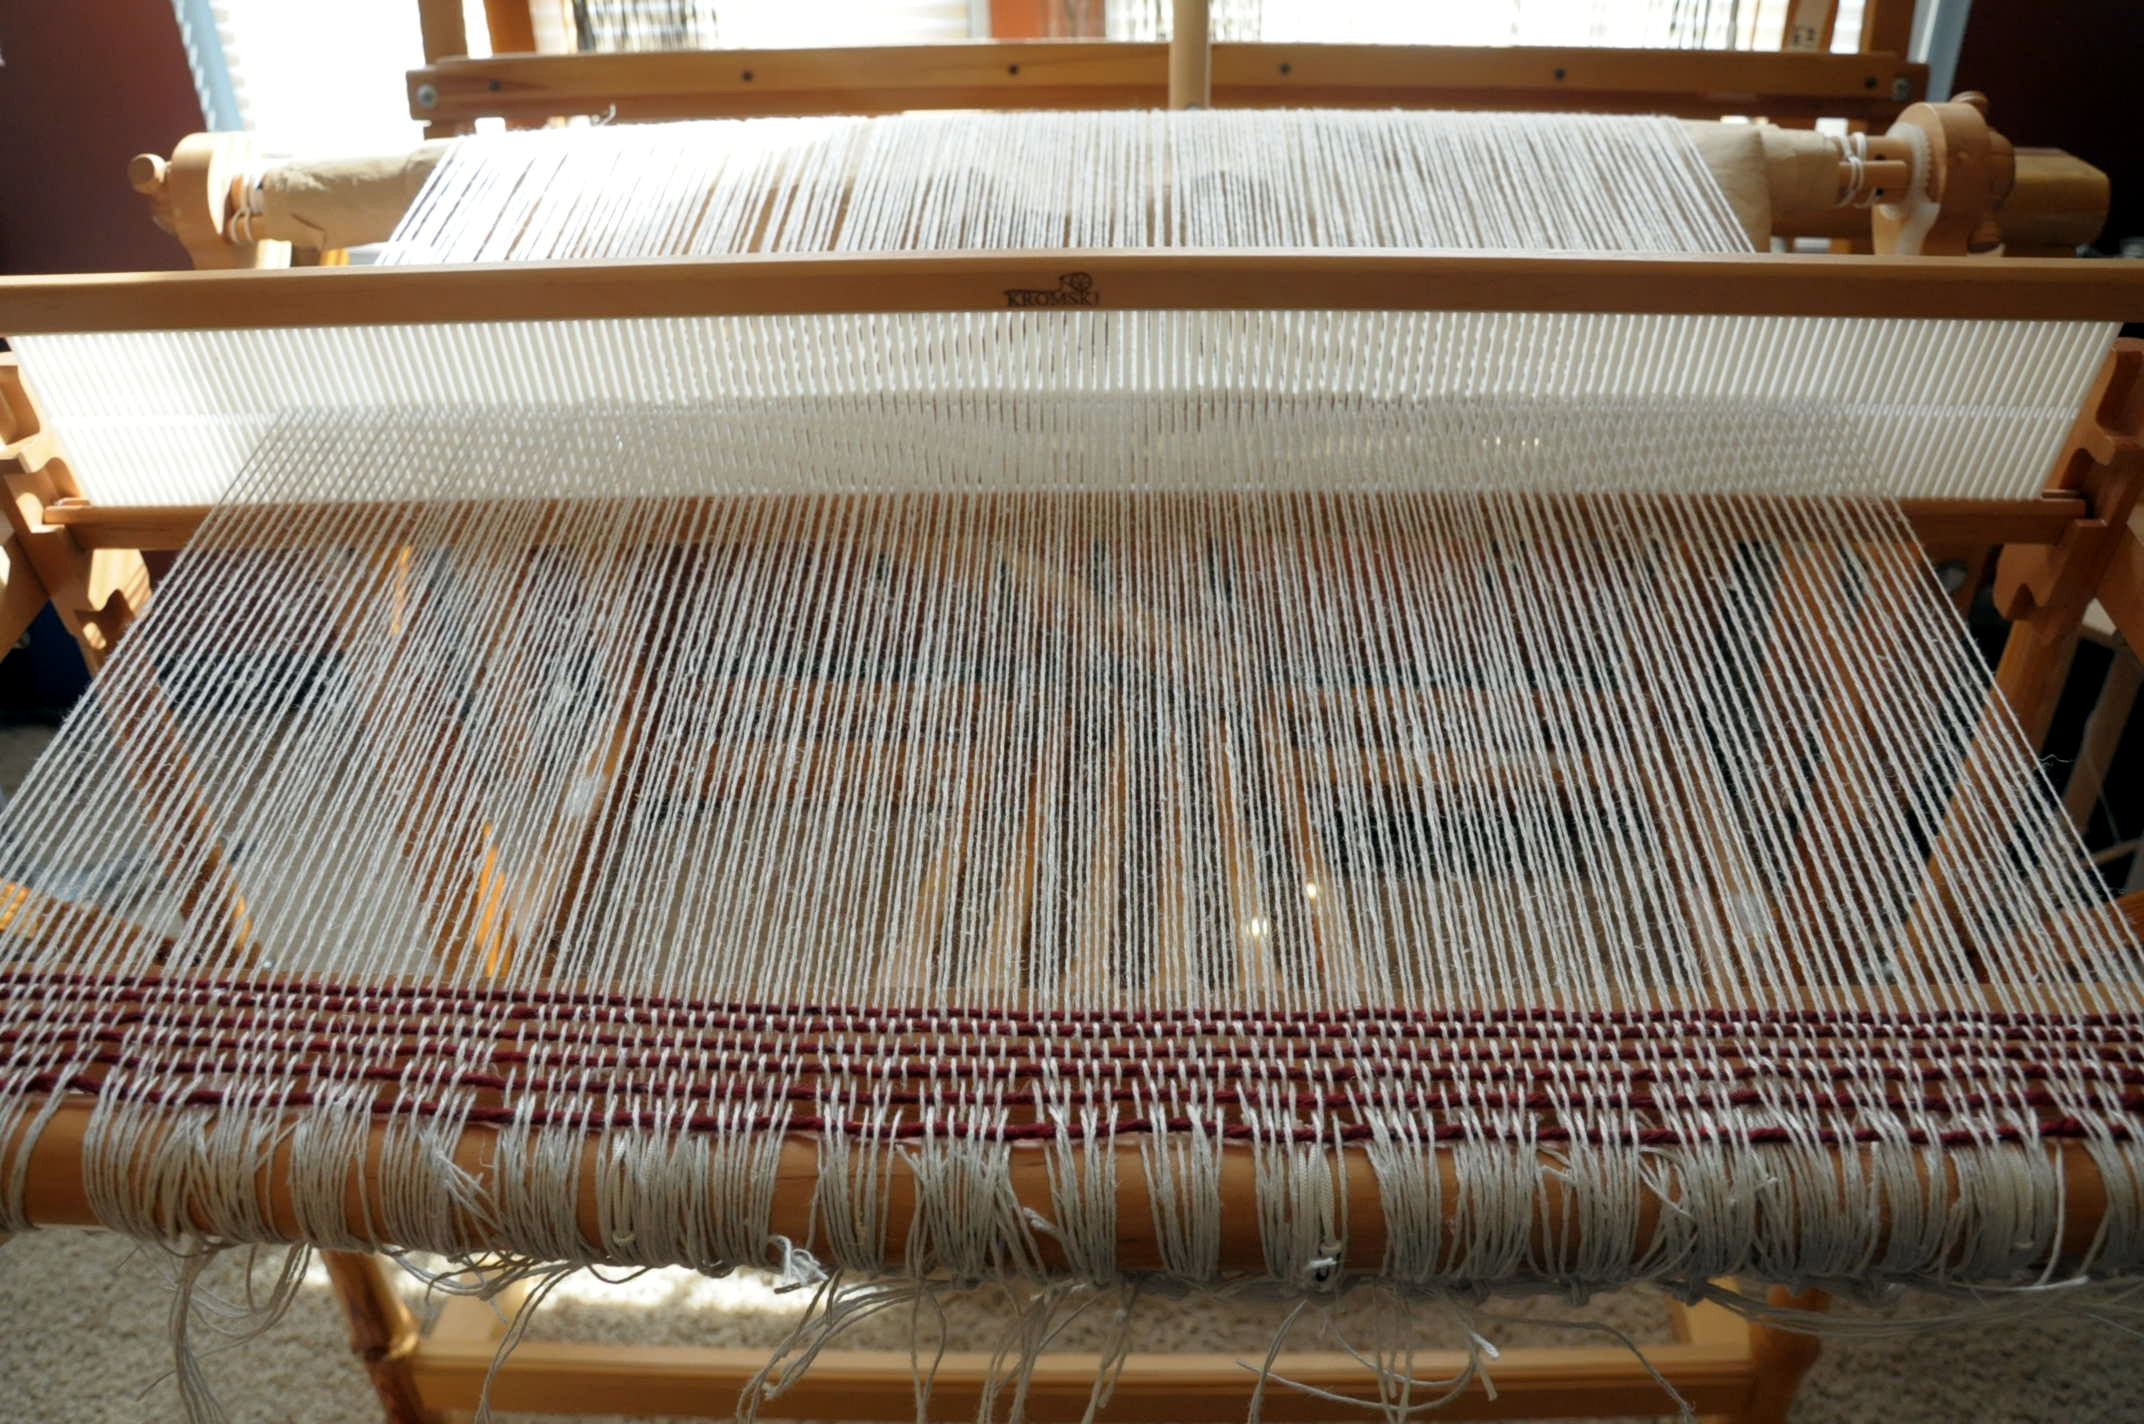
After warping, sleying the reed, and tying onto the front bar, I wove a few picks with waste yarn.

FlameTop_5

And there is the blank canvas that is a warp. It really does look to me like anything could happen here. That’s the fun, right?

Join me next time for the ins-and-outs of weaving on a rigid heddle loom using 2 pick up sticks. Fun times!