This is part 12 in a 12 part series highlighting designs from our 12 Days of Winter, Series 2 Edition.
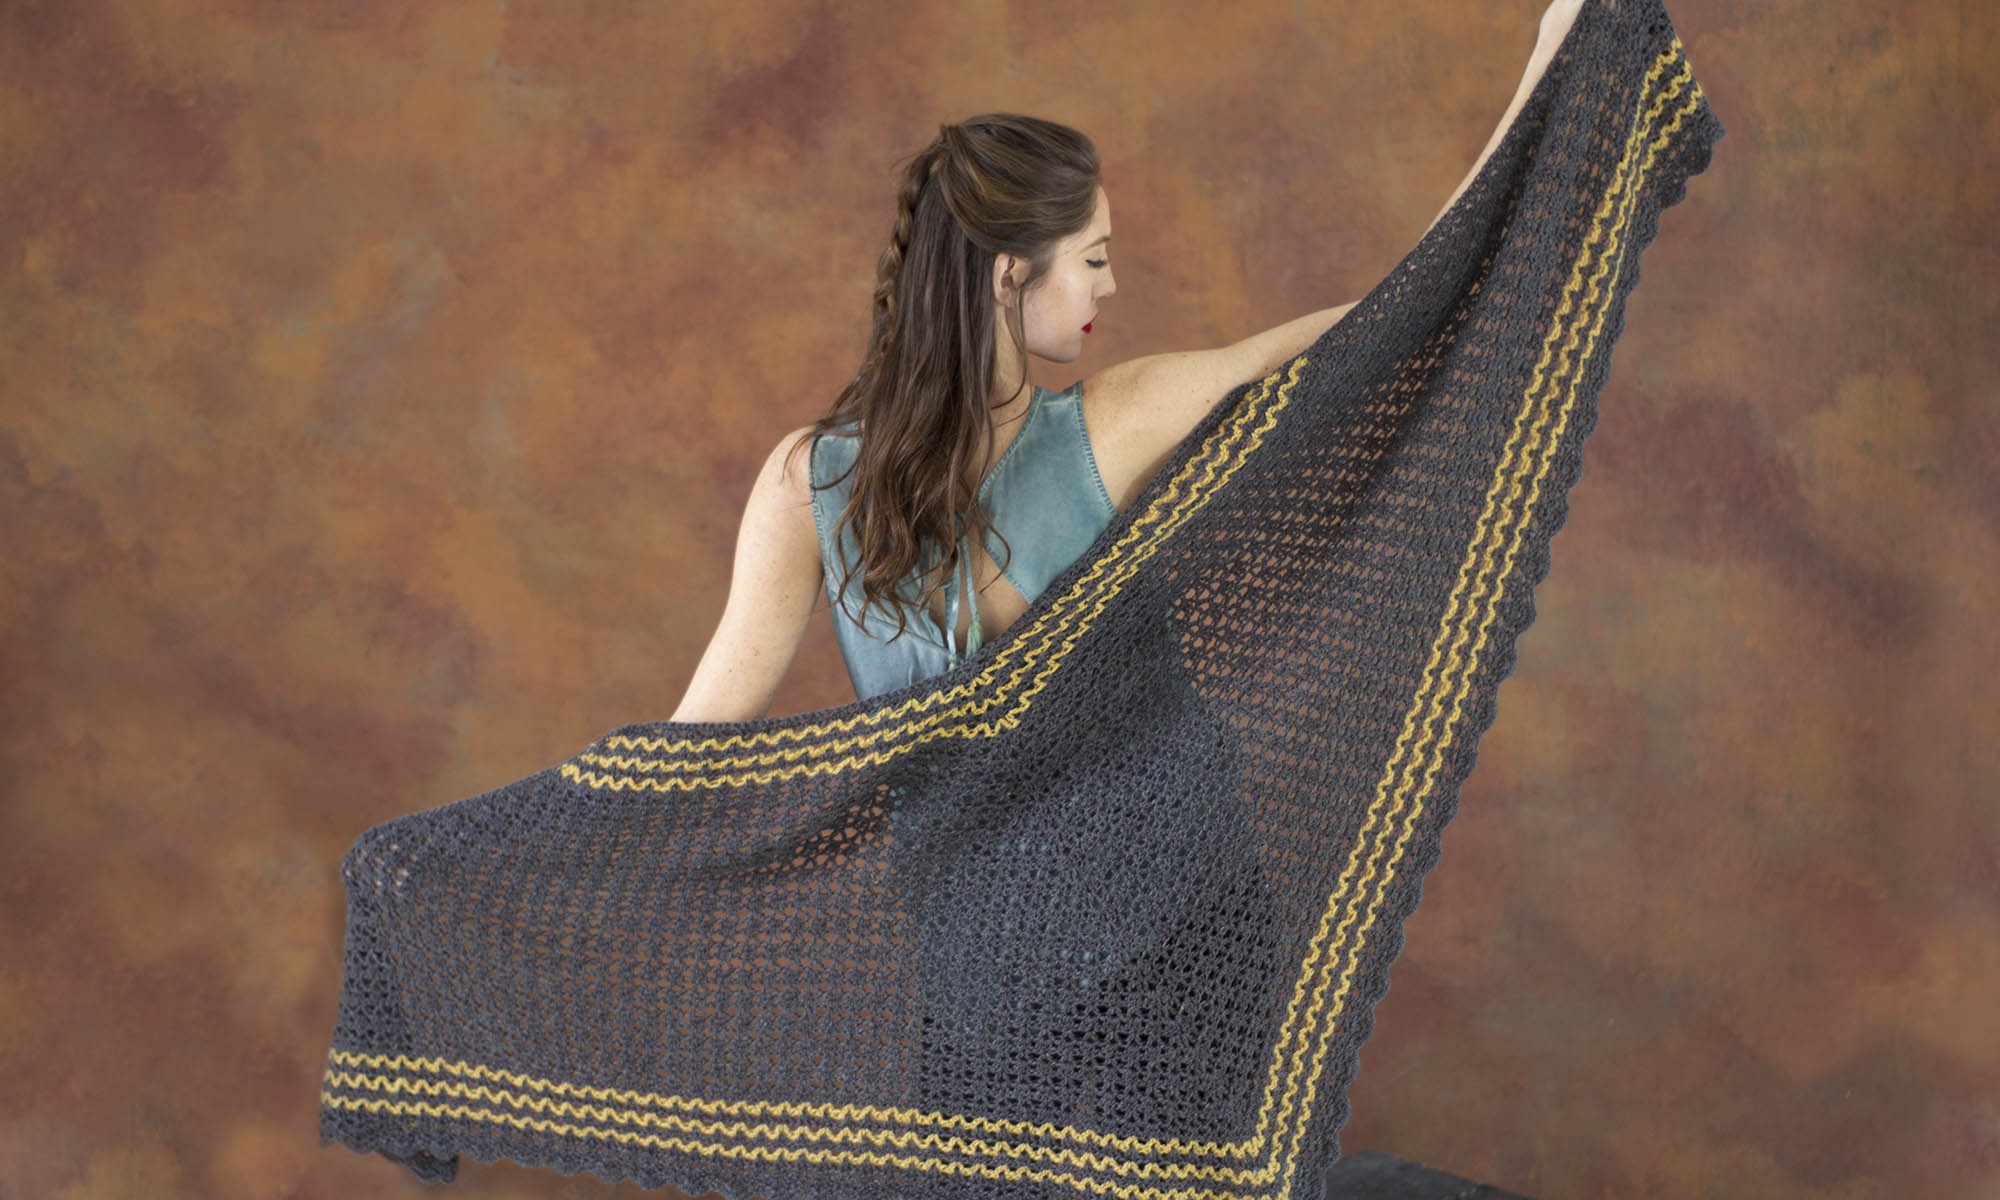
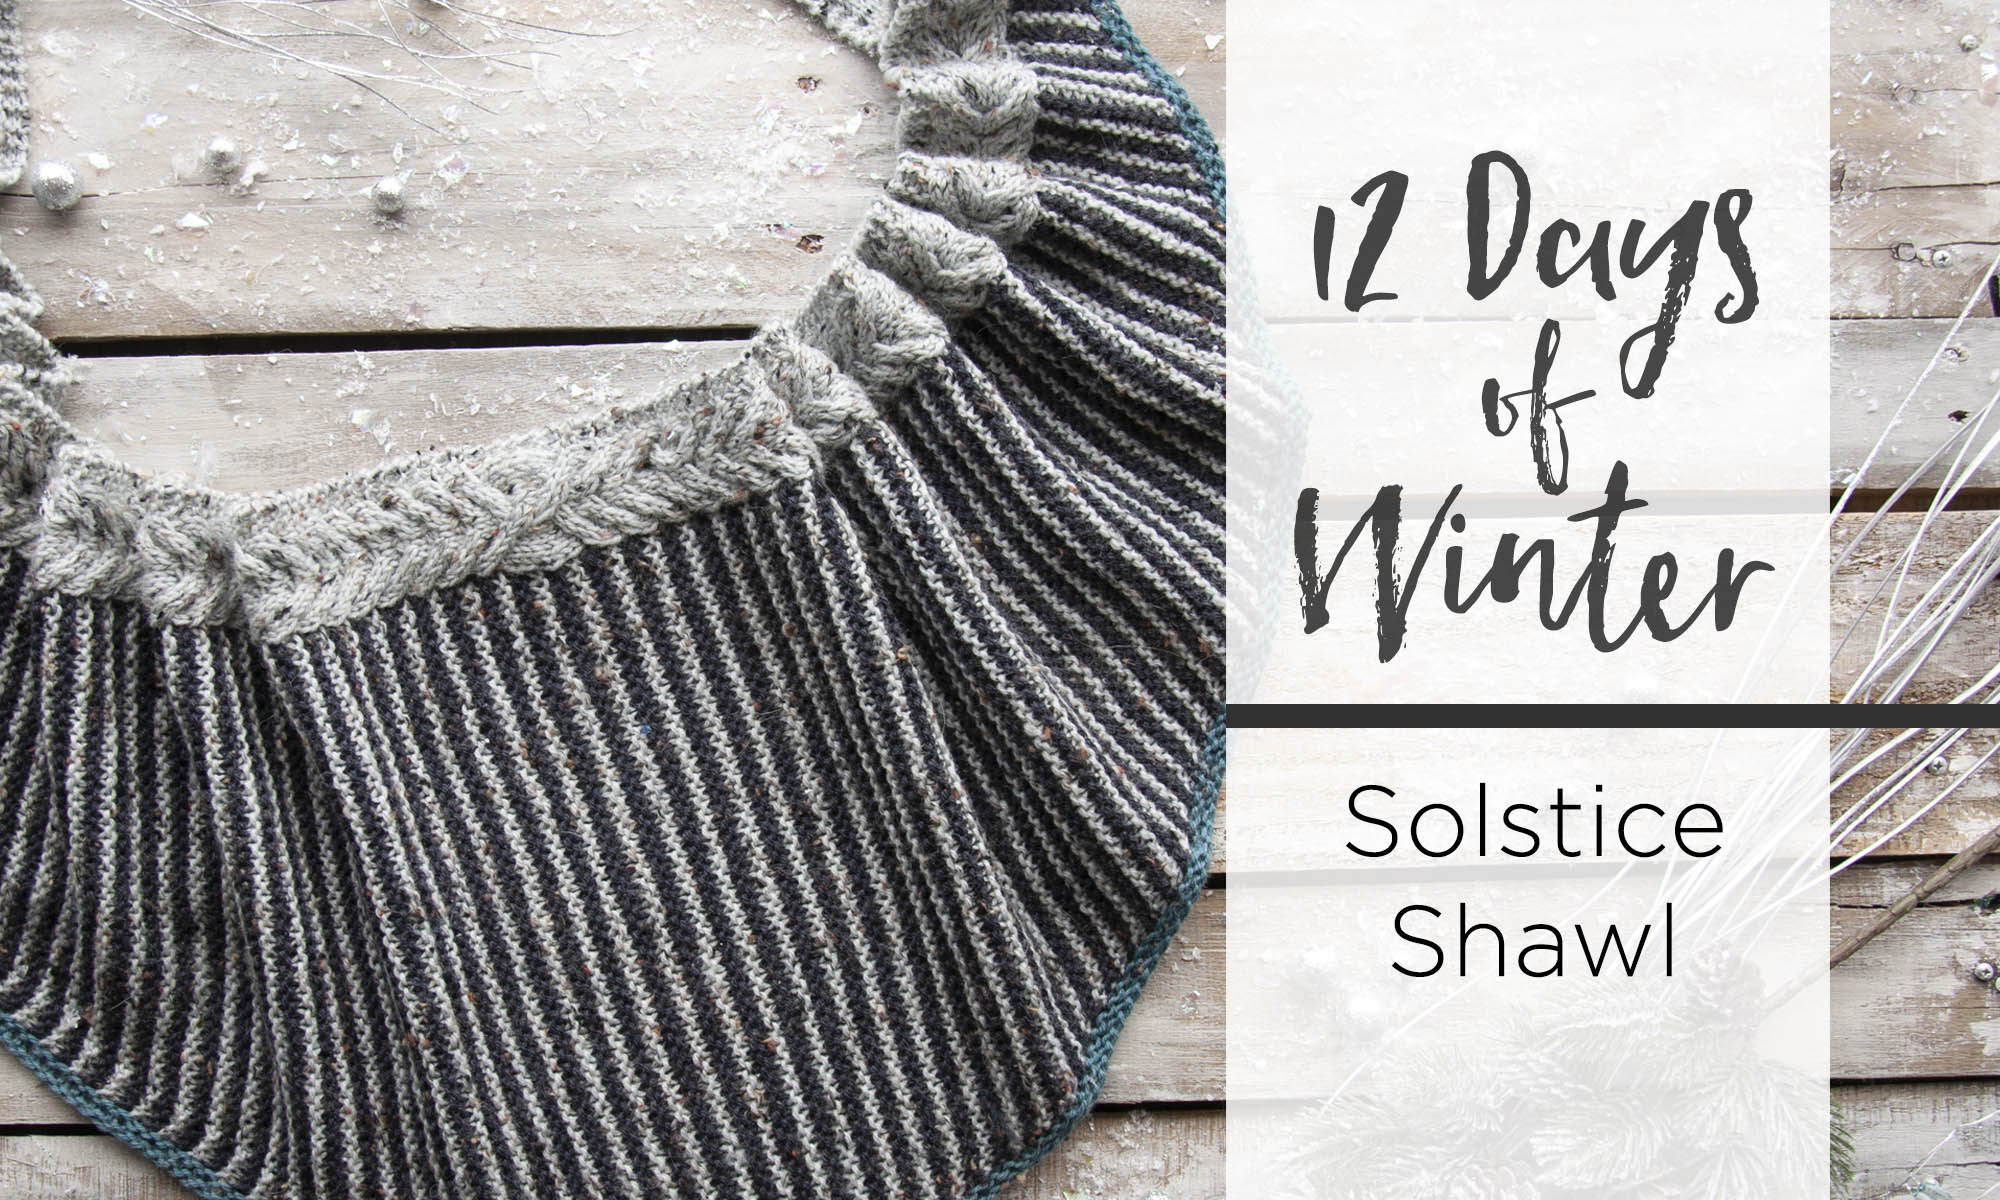
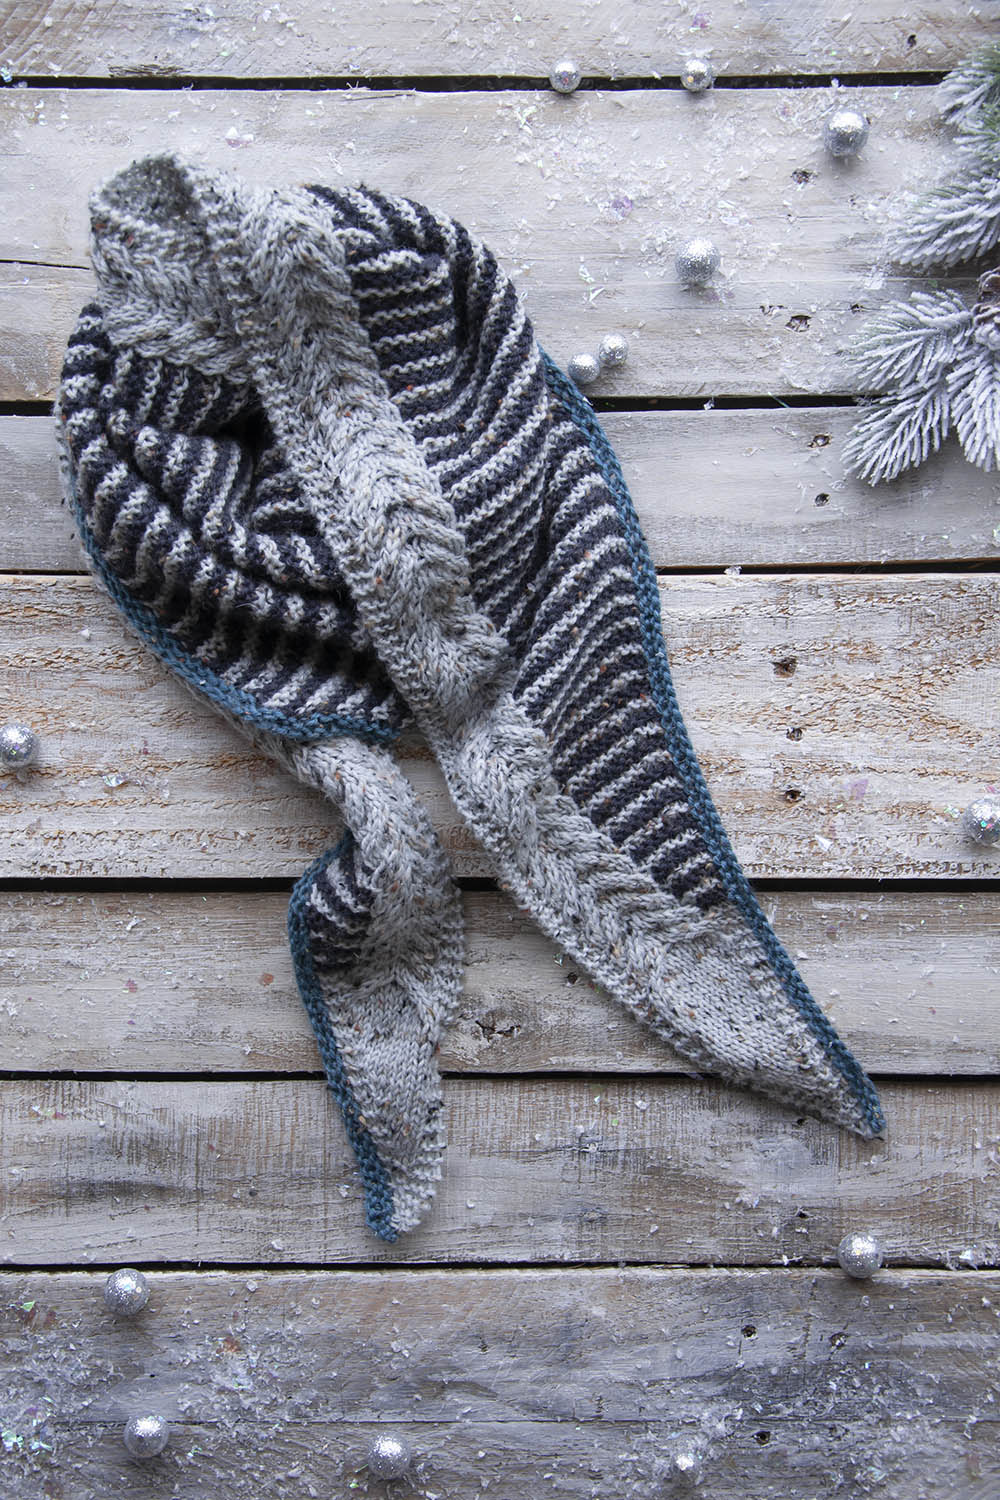
Day 12 – can you believe it? Today we reveal the final installment of the Universal Yarn 12 Days of Winter Kit Collections – Series 2! Say hello to the Solstice Shawl.
Can I be honest? I am really proud of this design – in my opinion, it’s one of my best designs and I sincerely hope you love it.
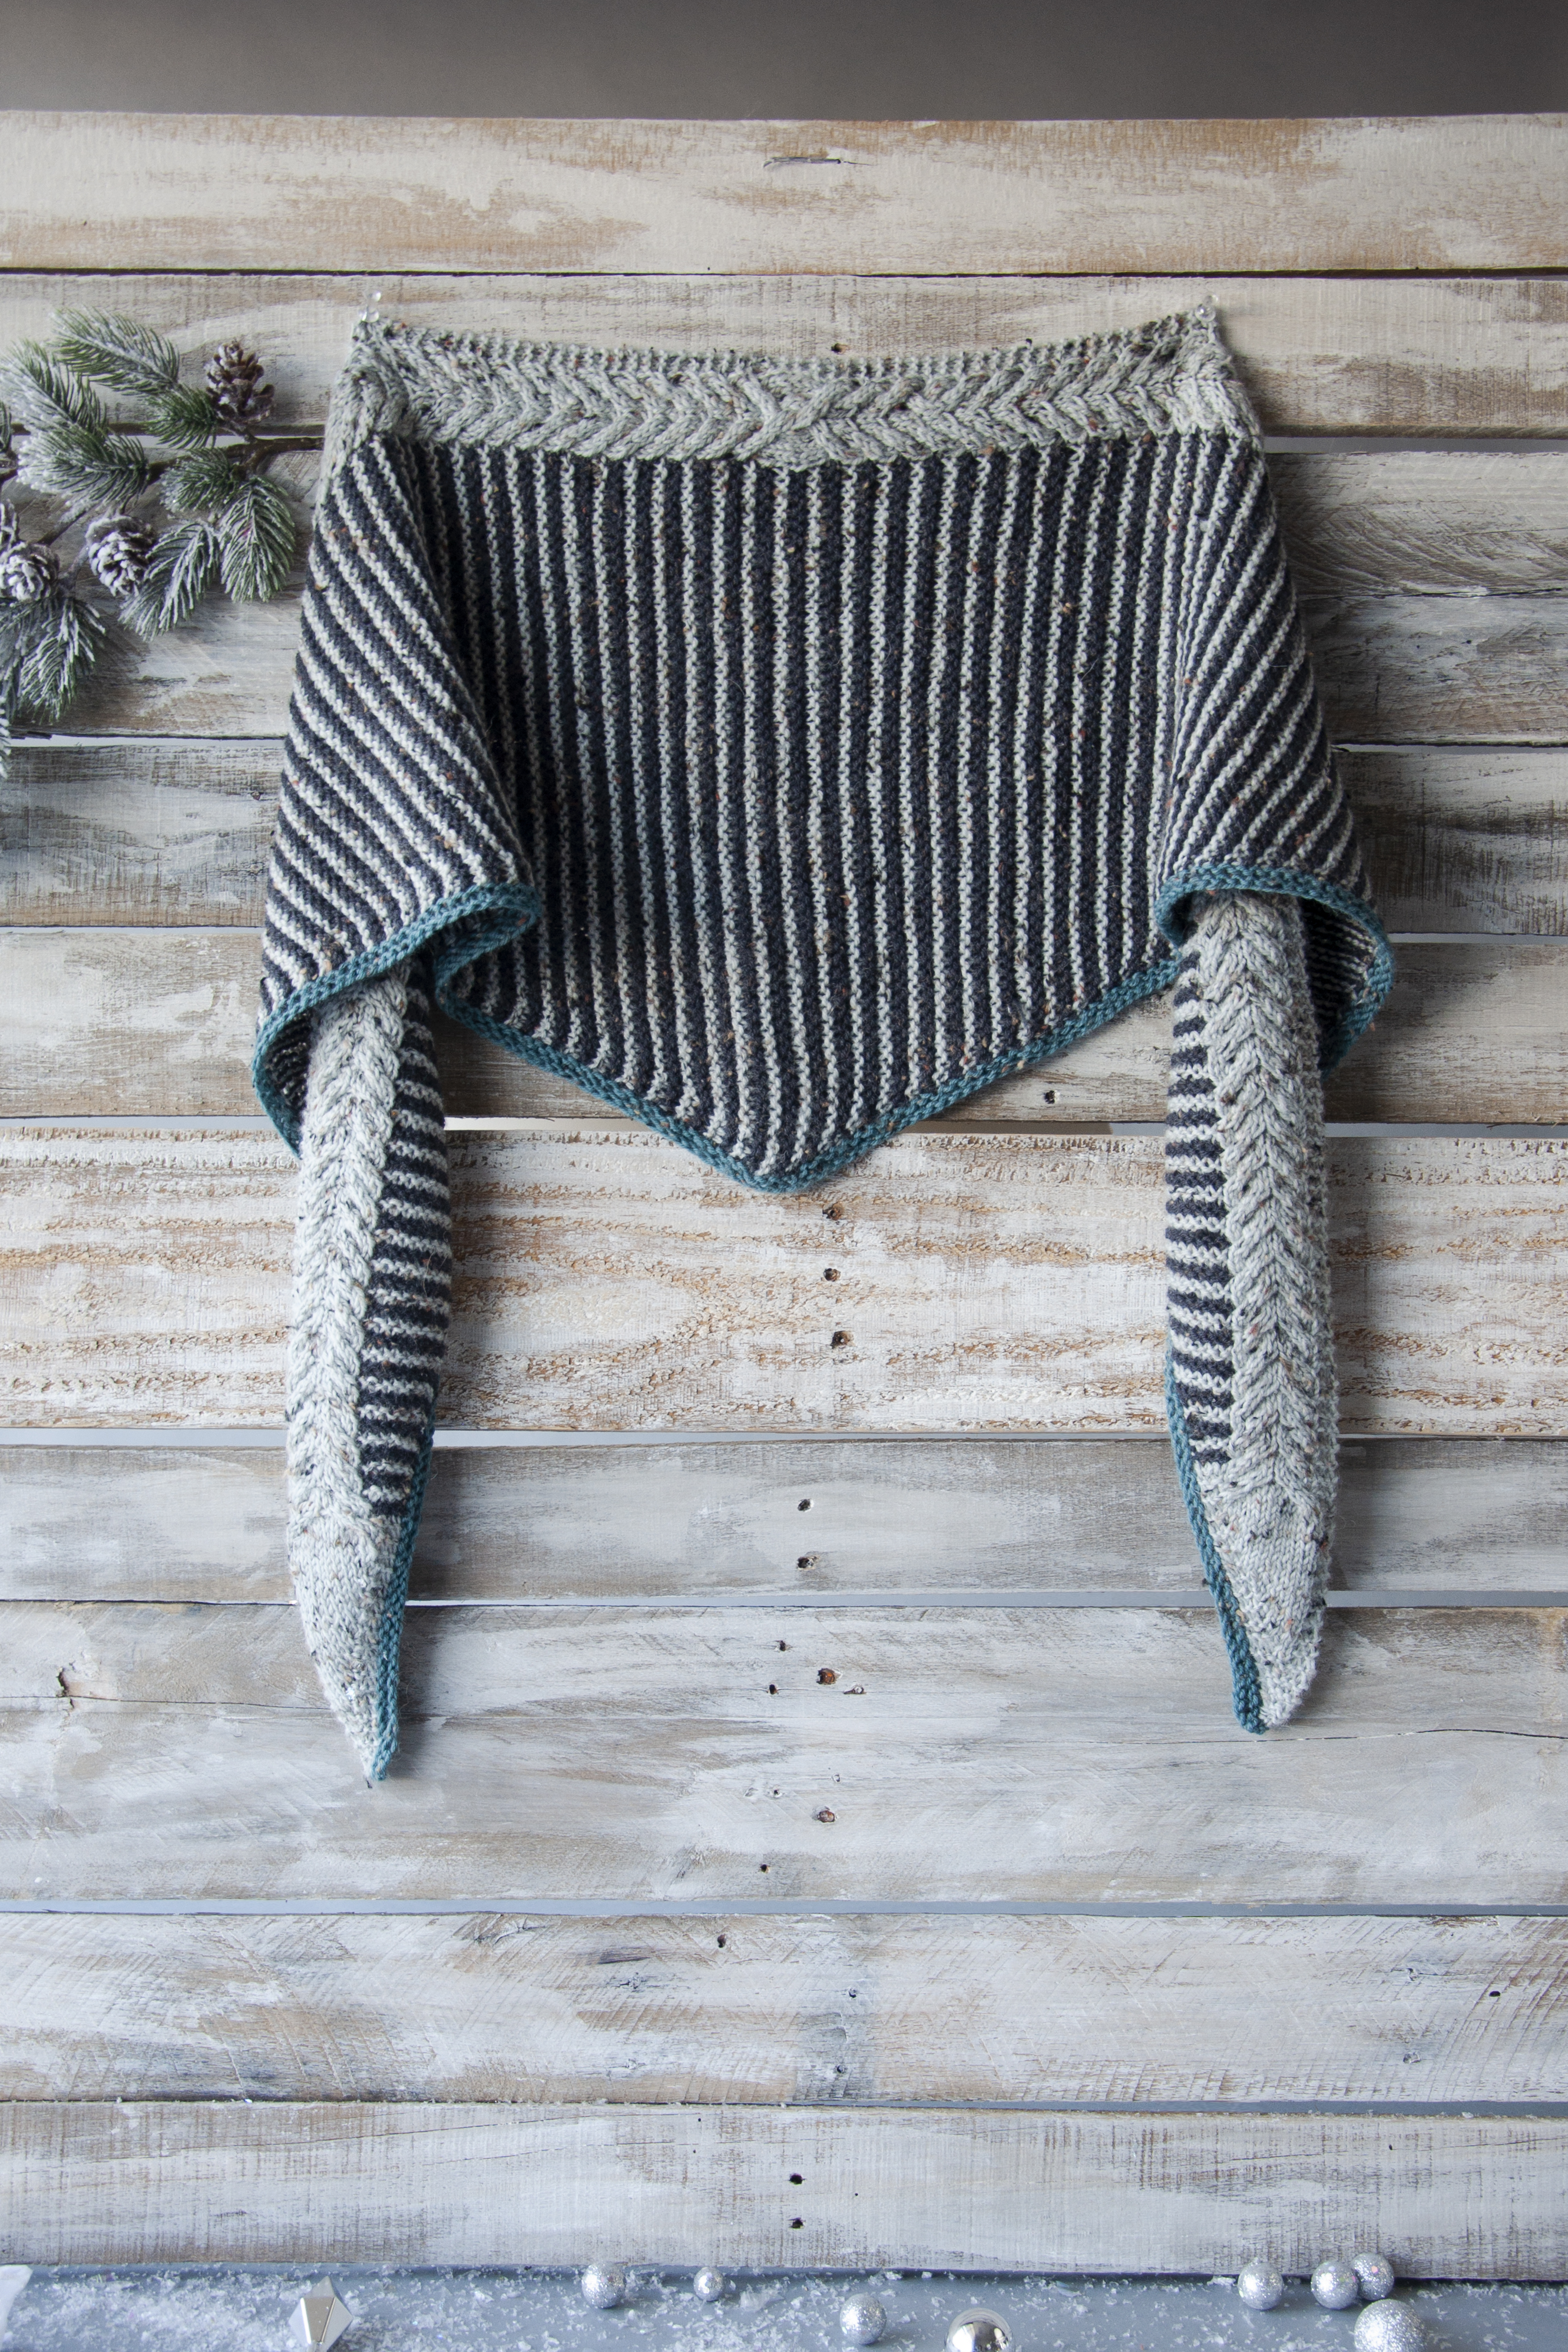
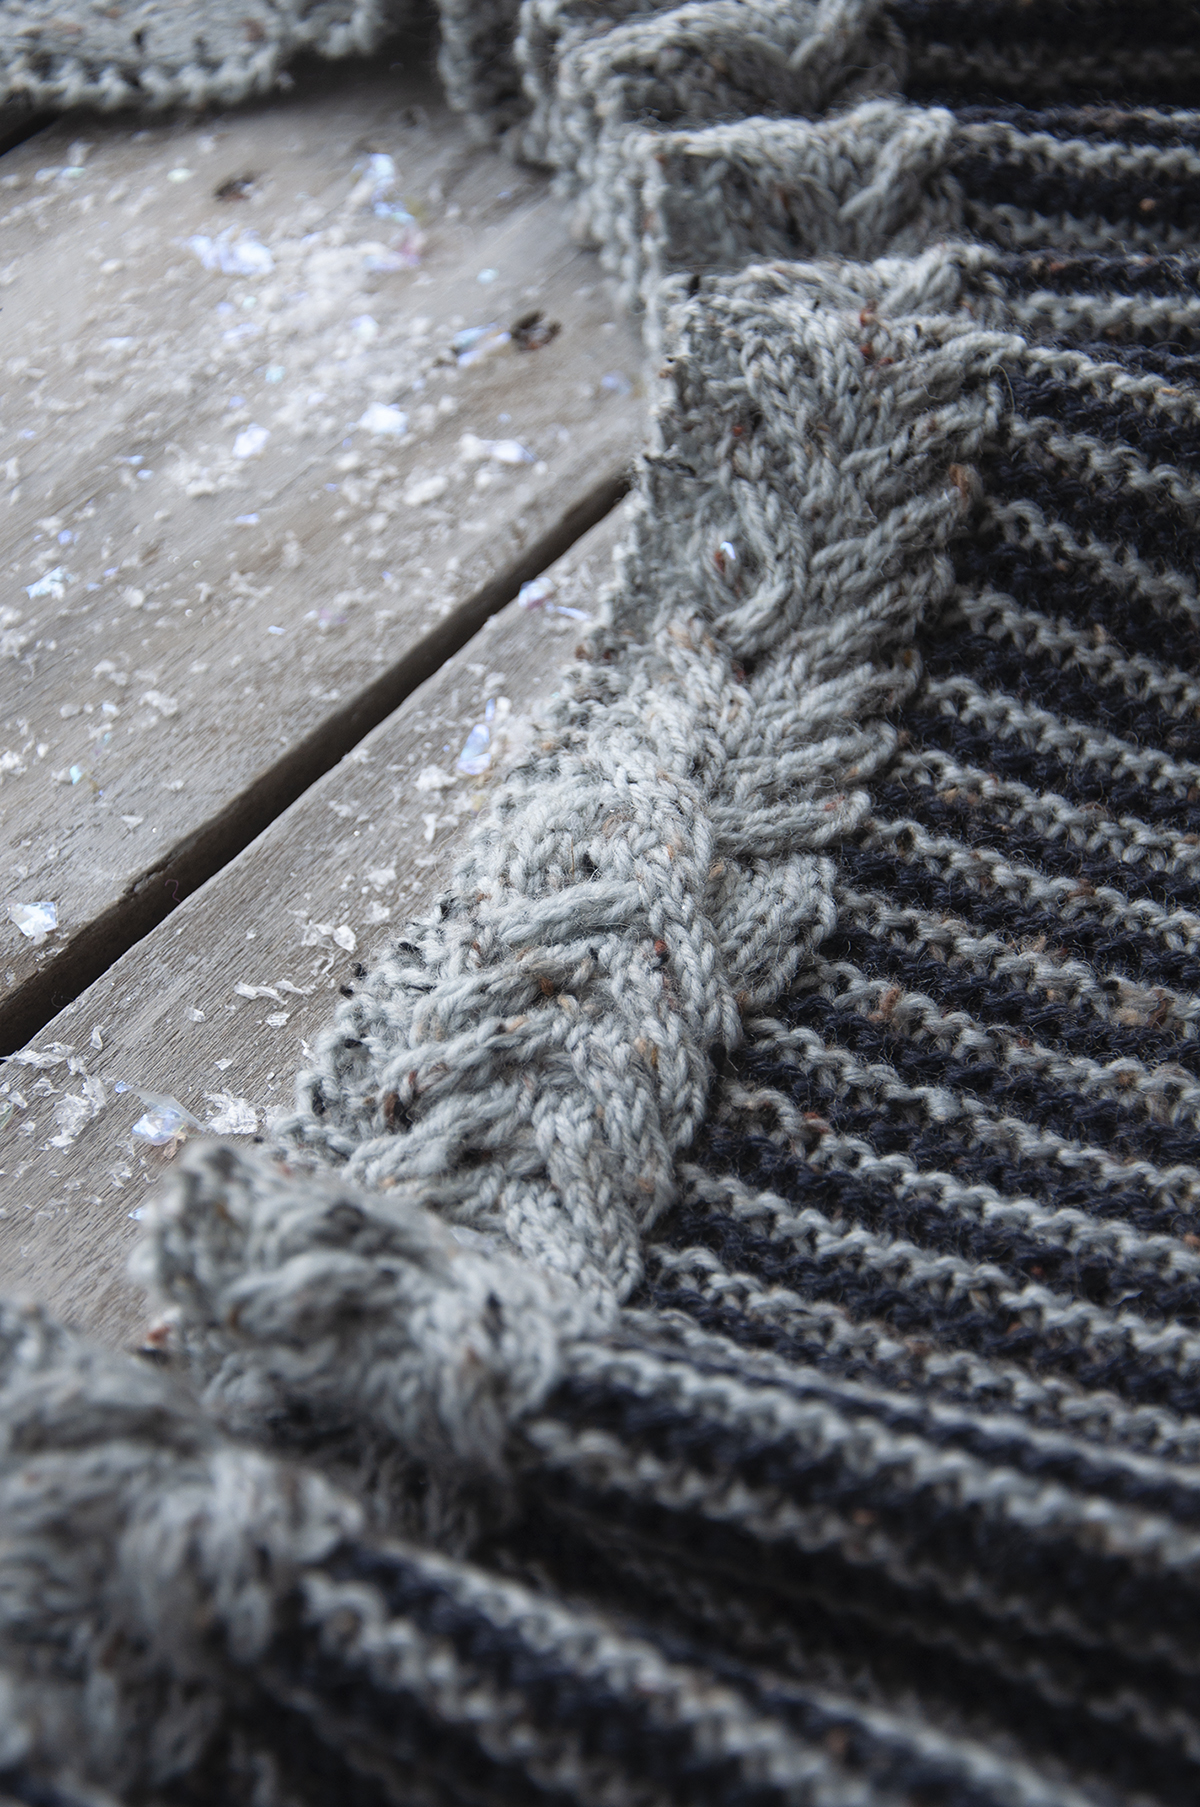
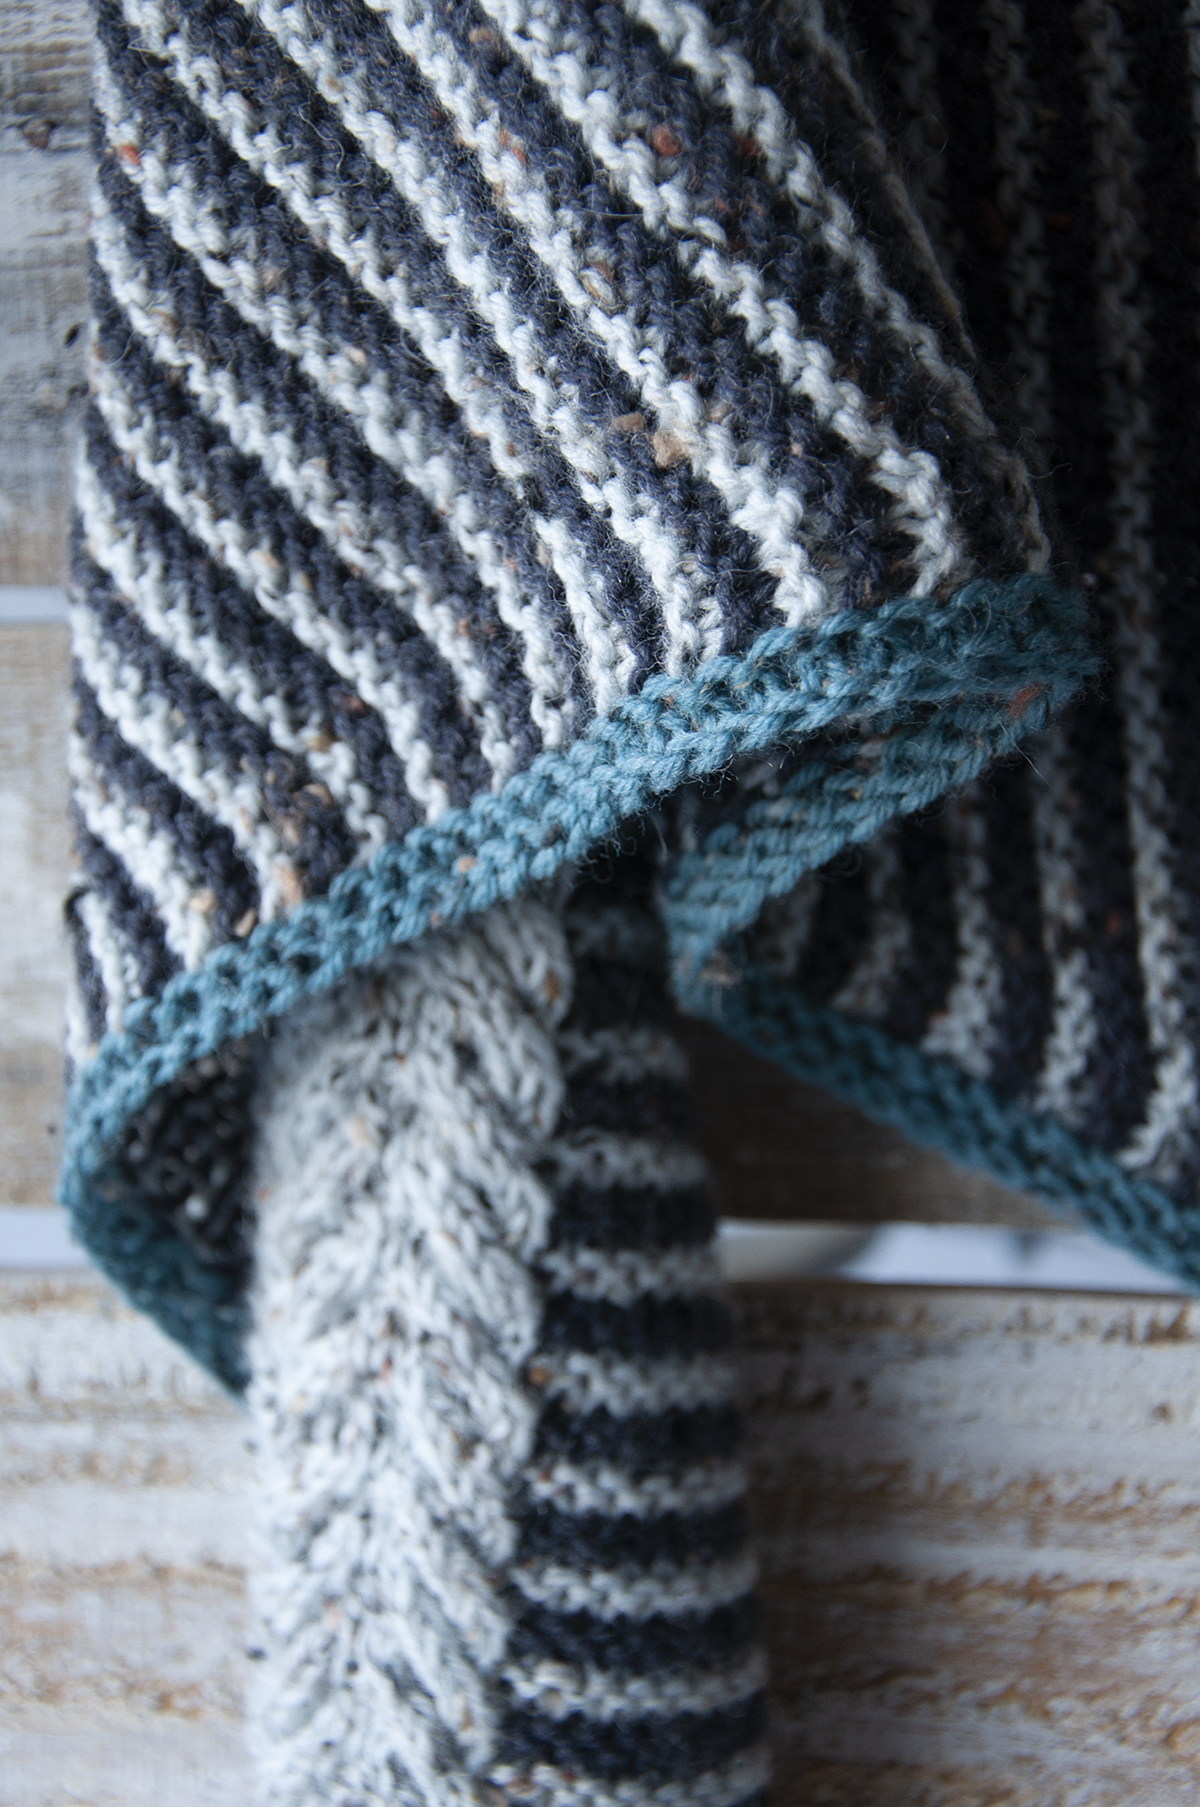
This isn’t a very complicated design, but what I feel proud of is the balance of simplicity and intricacy in the piece. This shawl combines cables, stripes, and intarsia. It is worked from tip to tip, starting and finishing with the same number of stitches (just two!). Finally, it’s finished with a very simple contrast color border.
Part of what makes this project special is the yarn used: Deluxe DK Tweed Superwash. I love this yarn. It’s rustic and the tweedy nubs add interest to every type of pattern – from simple garter to cables, lace, and stranded colorwork. (If you need convincing, just take a look at the recent collection in this yarn, Rustic & Refined).
I’m keeping this post short and sweet, but before I sign off, thank you’s are in order! Like last year we had a really wonderful time putting this collection together. It is a team effort, for sure. So thanks to everyone on our team for putting in so much hard work! And thank you so much for supporting our company, your local yarn shops, and for following our posts for this collection. We appreciate it so much!
Remember, you can find the 12 Days of Winter Kit patterns on Ravelry.
Ah, knitting. I love everything about it. However, some techniques sing to me more than others. Cables are one of those techniques. I can never get enough. If I can squeeze them in, I do. They don’t have to be complicated – but they can be. Either way, I love them. I want to knit cables as often as I want to eat Kit Kats or Reeses’ Peanut Butter Cups – all the time!
I actually really like using cable needles, but I occasionally lose them. The crevices on my sofa are likely home to several. So what do you do when you don’t have a cable needle or spare DPN handy? Do you find another project? NO! Of course not! You simply cable without a cable needle. I’m going to show you how with a quick tutorial!
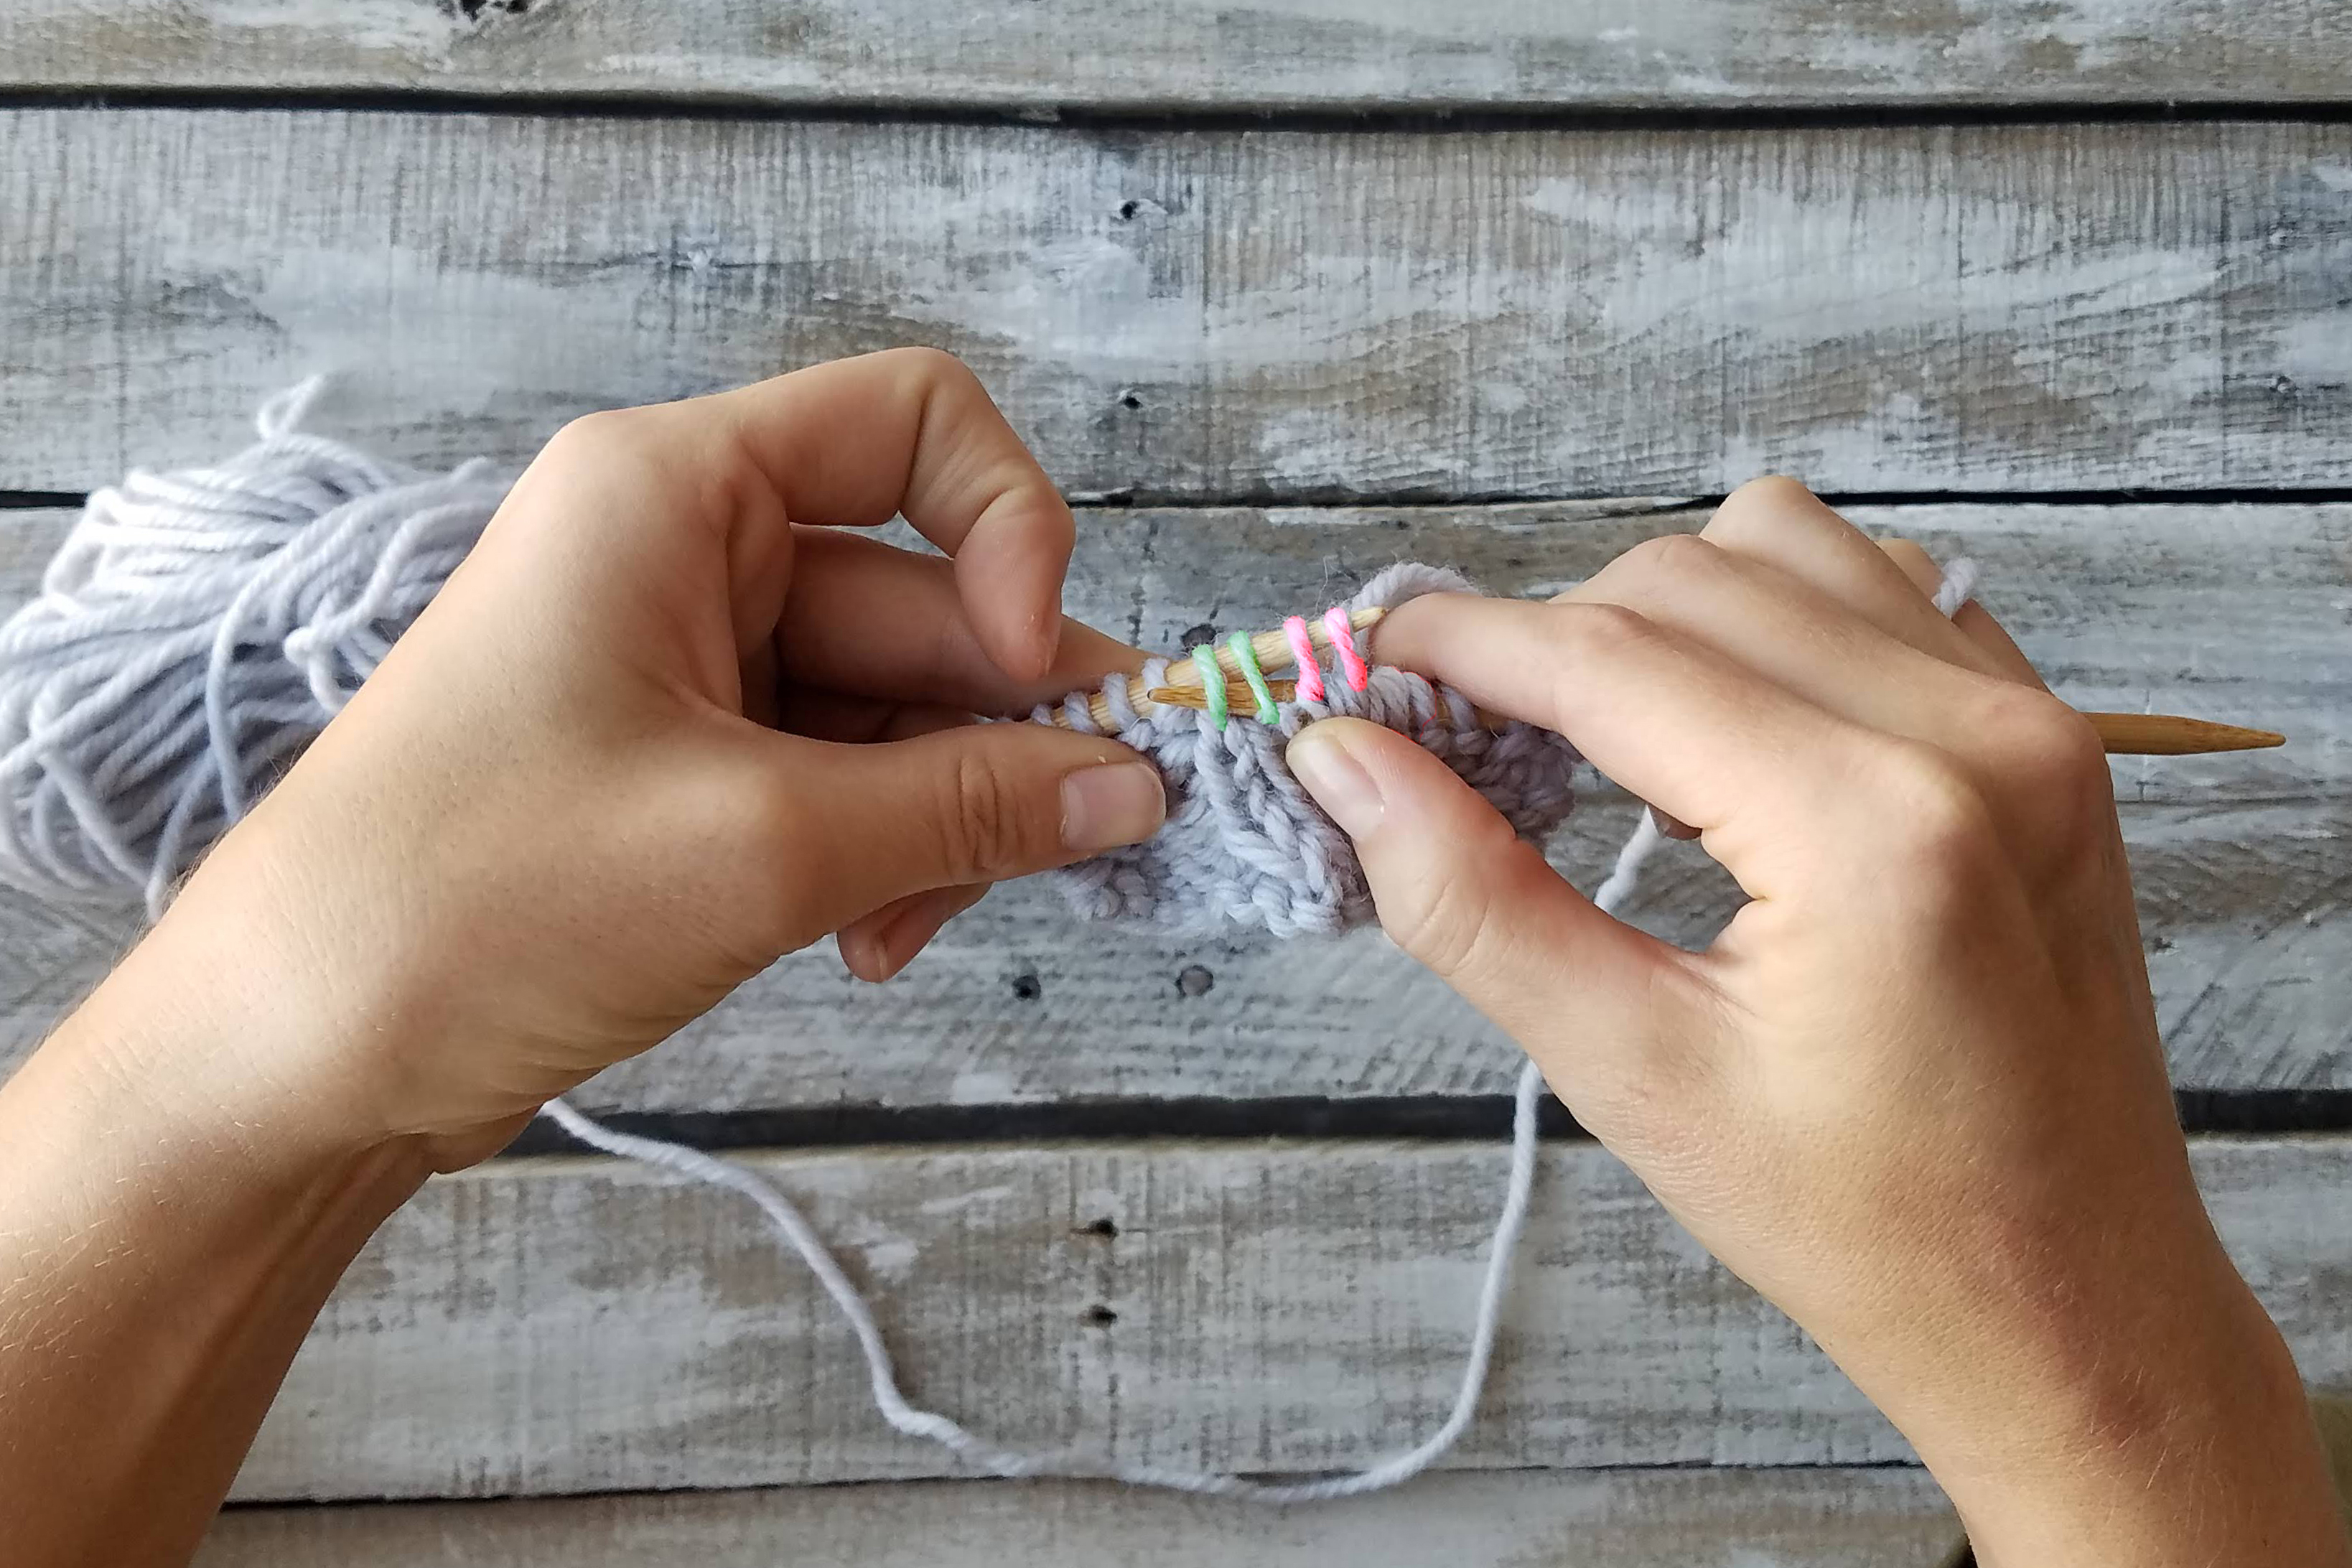
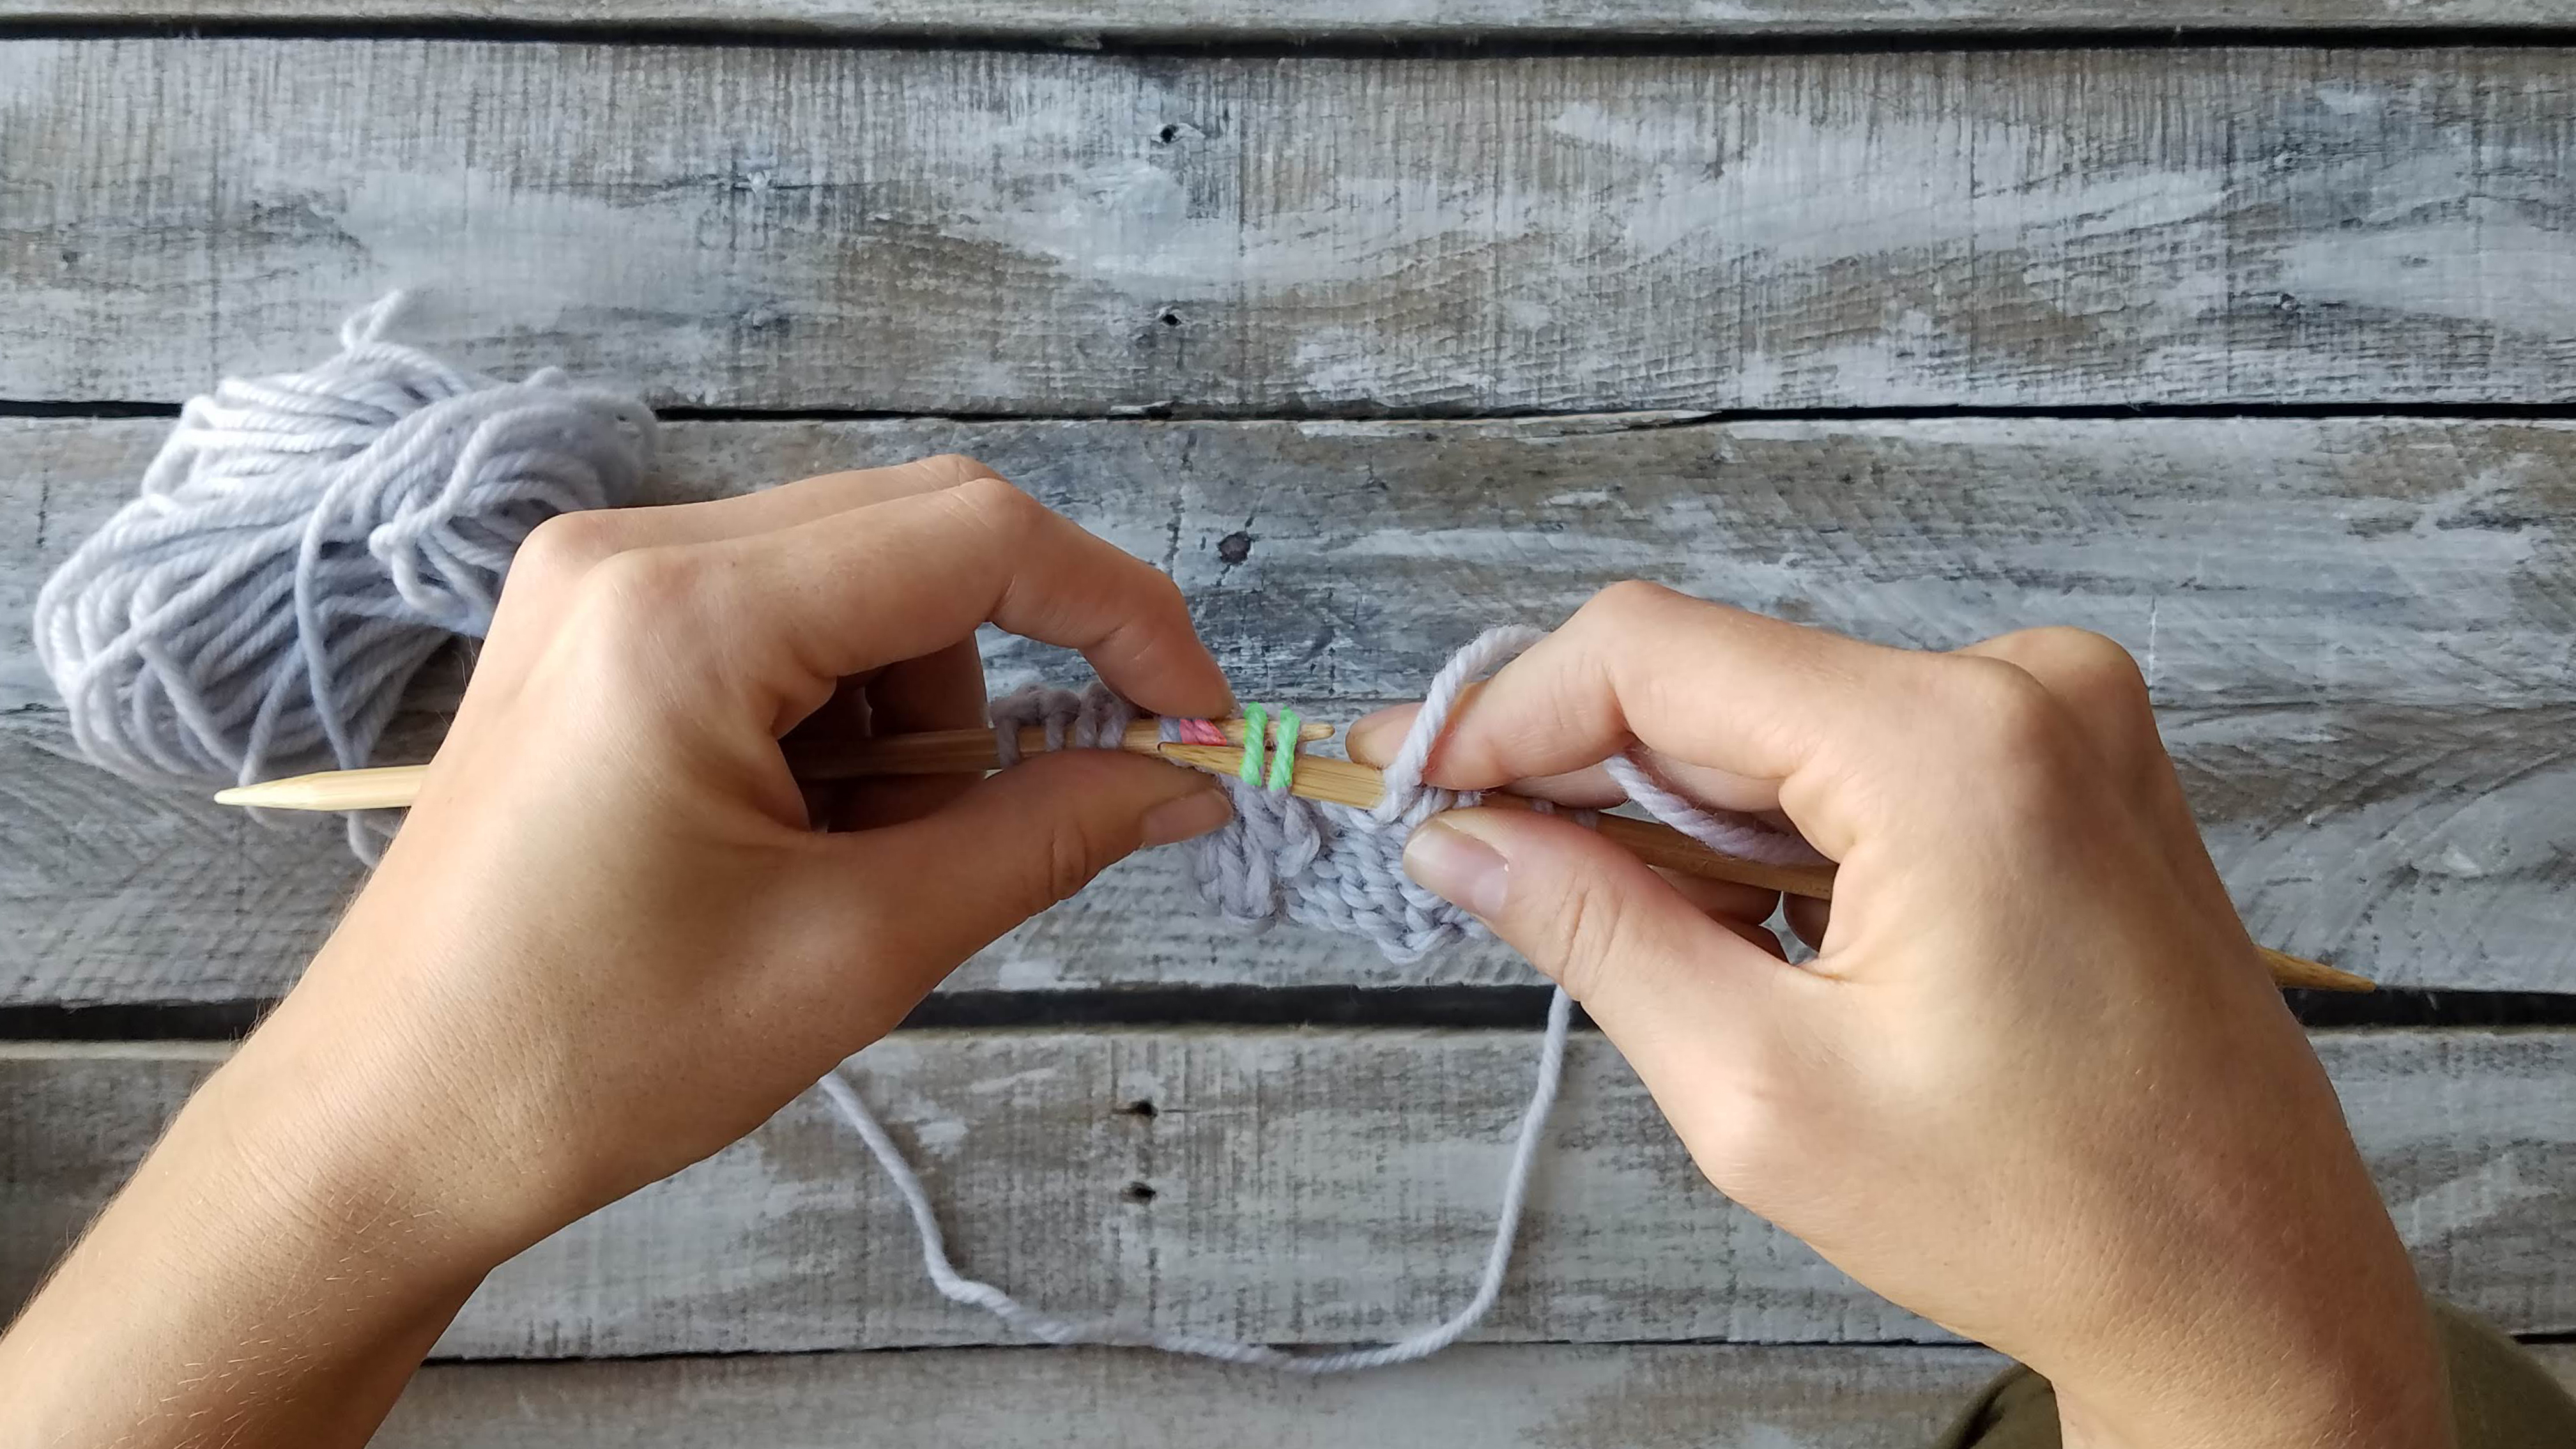
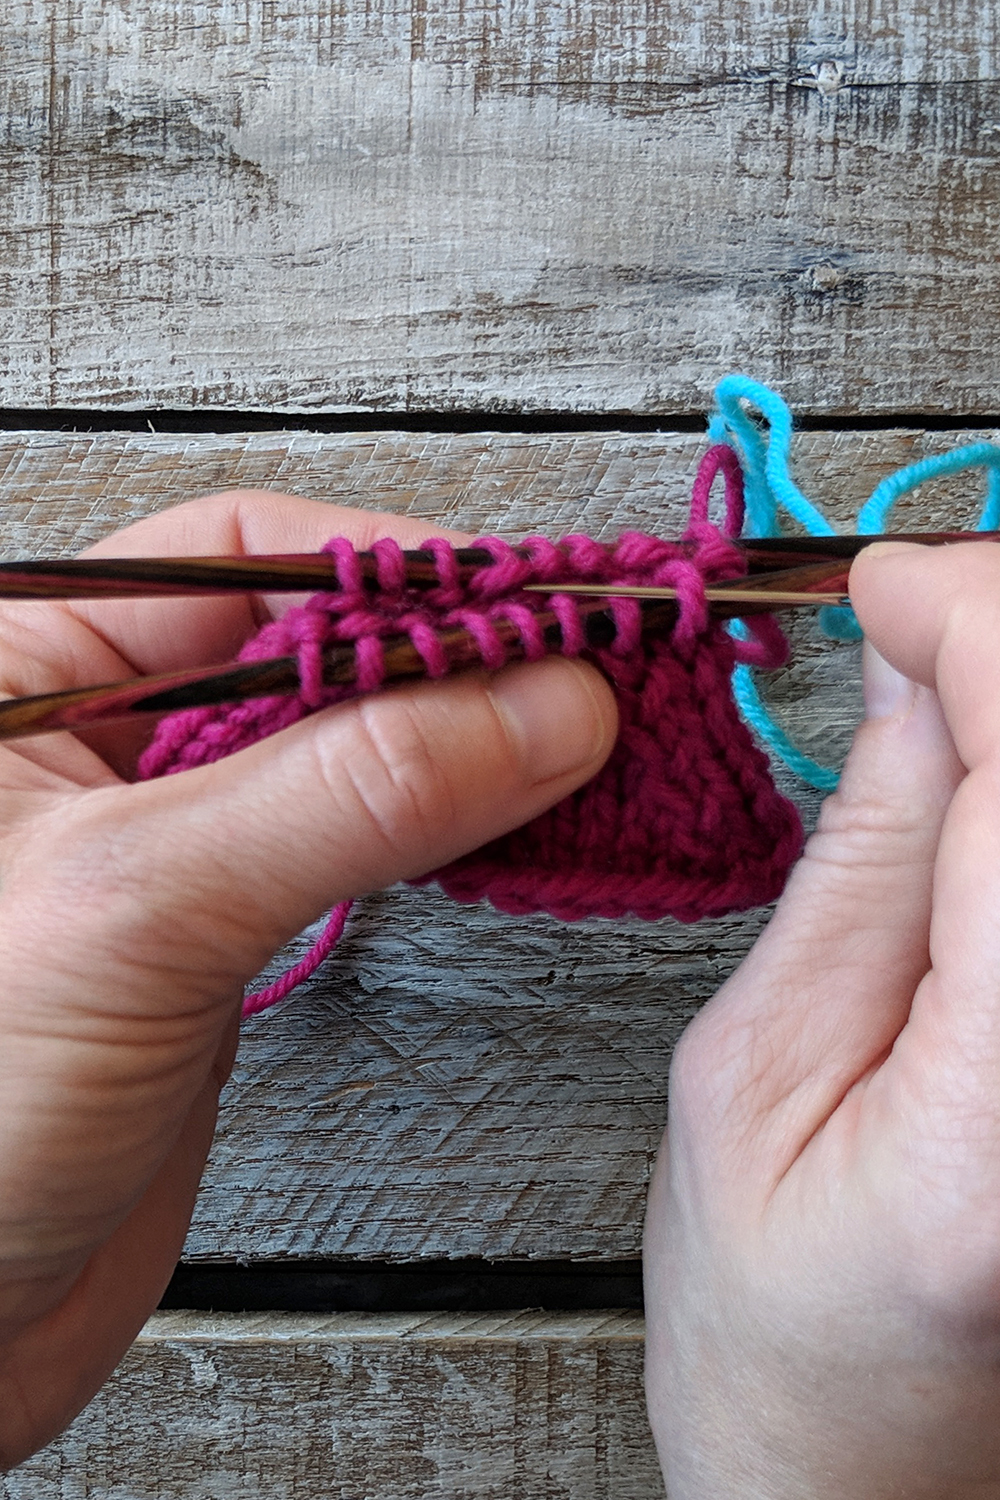
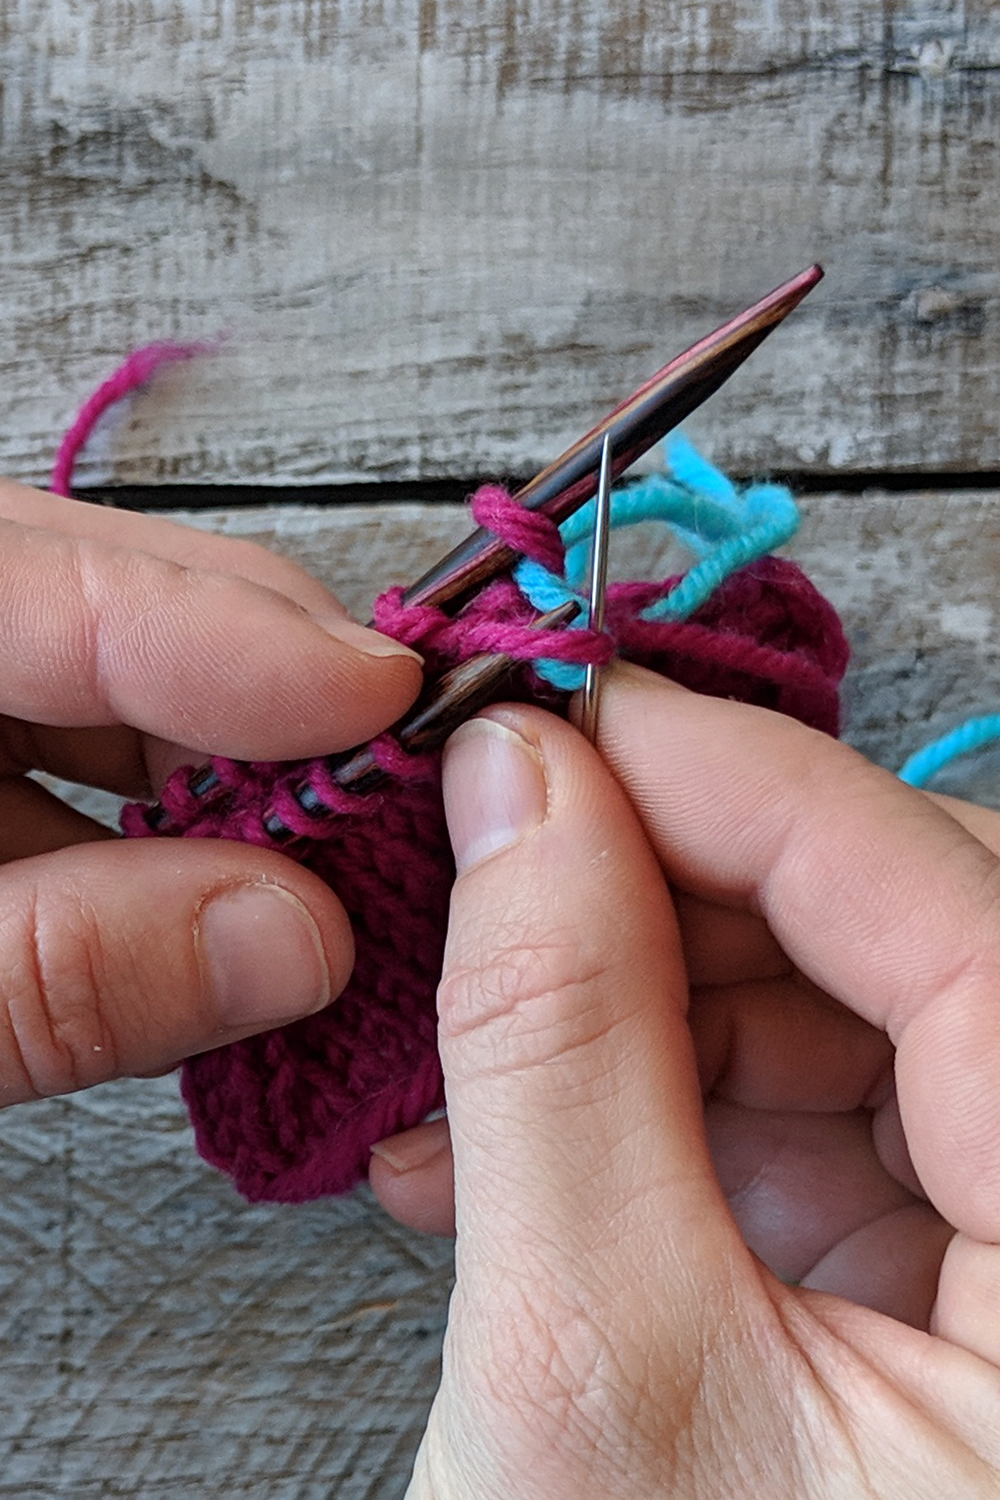
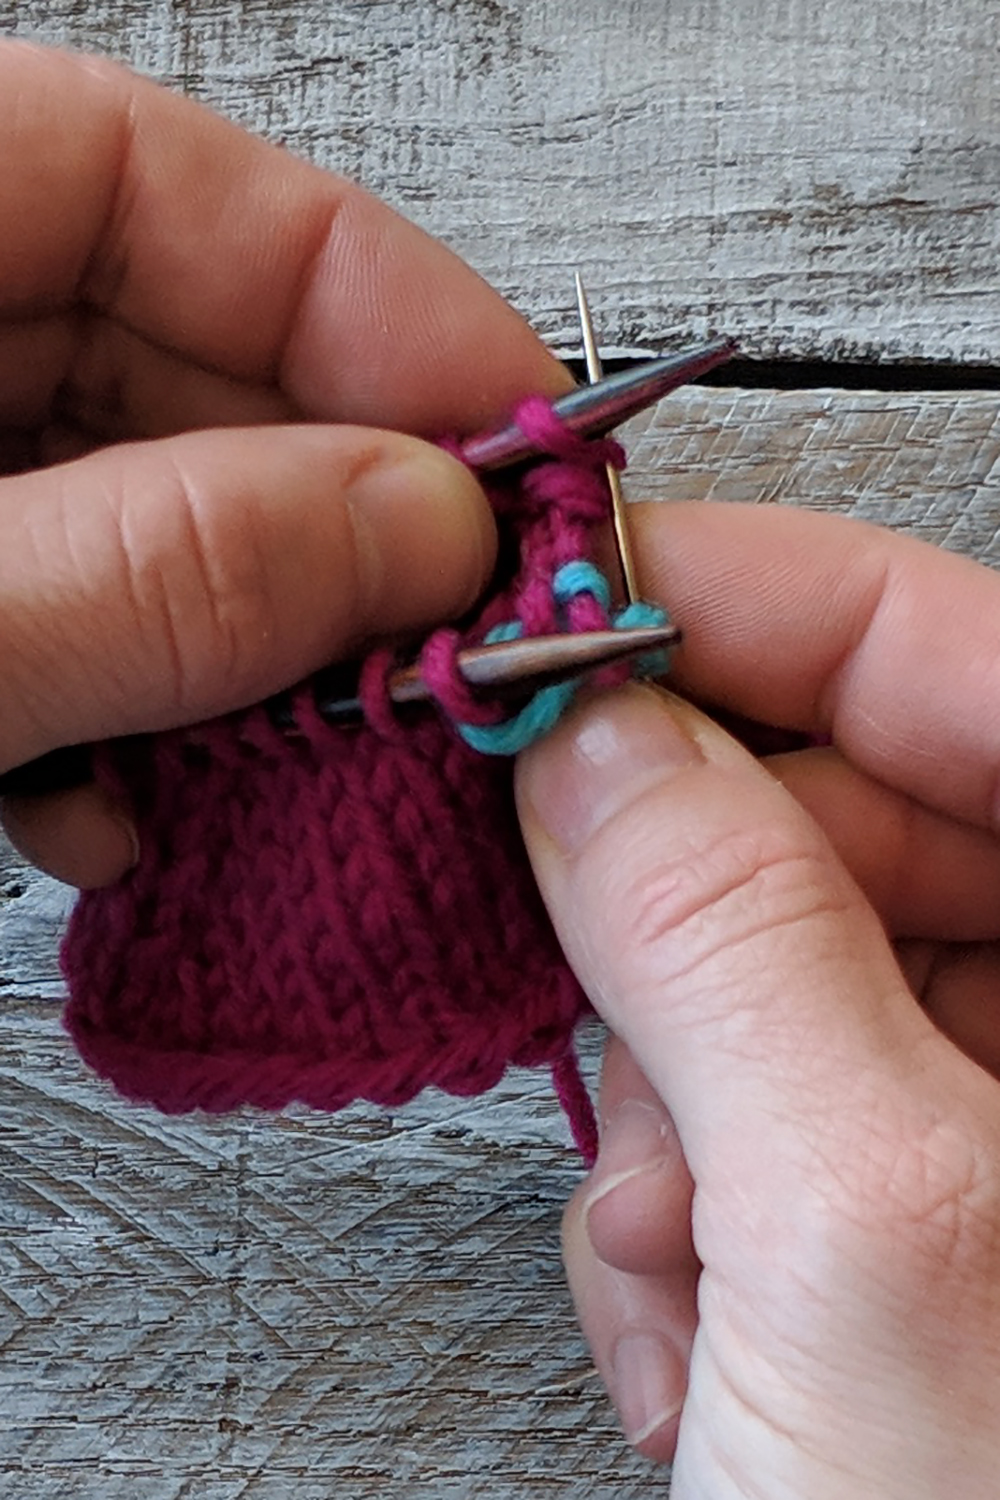
Stitches ready for their next twist.Cabling without a cable needle is just a matter of rearranging your stitches. I’ve highlighted the stitches we’ll be working with using red and green. In this instance, I am going to cross my stitches to the left.
Going behind the first two stitches (red) on the left-hand needle, slip the third and fourth (green) stitches to the right-hand needle. The first two stitches will be in FRONT of the work. If you were working this as a right cross, the red stitches would be in the BACK of your work, and you would slip the green stitches purlwise from the front.
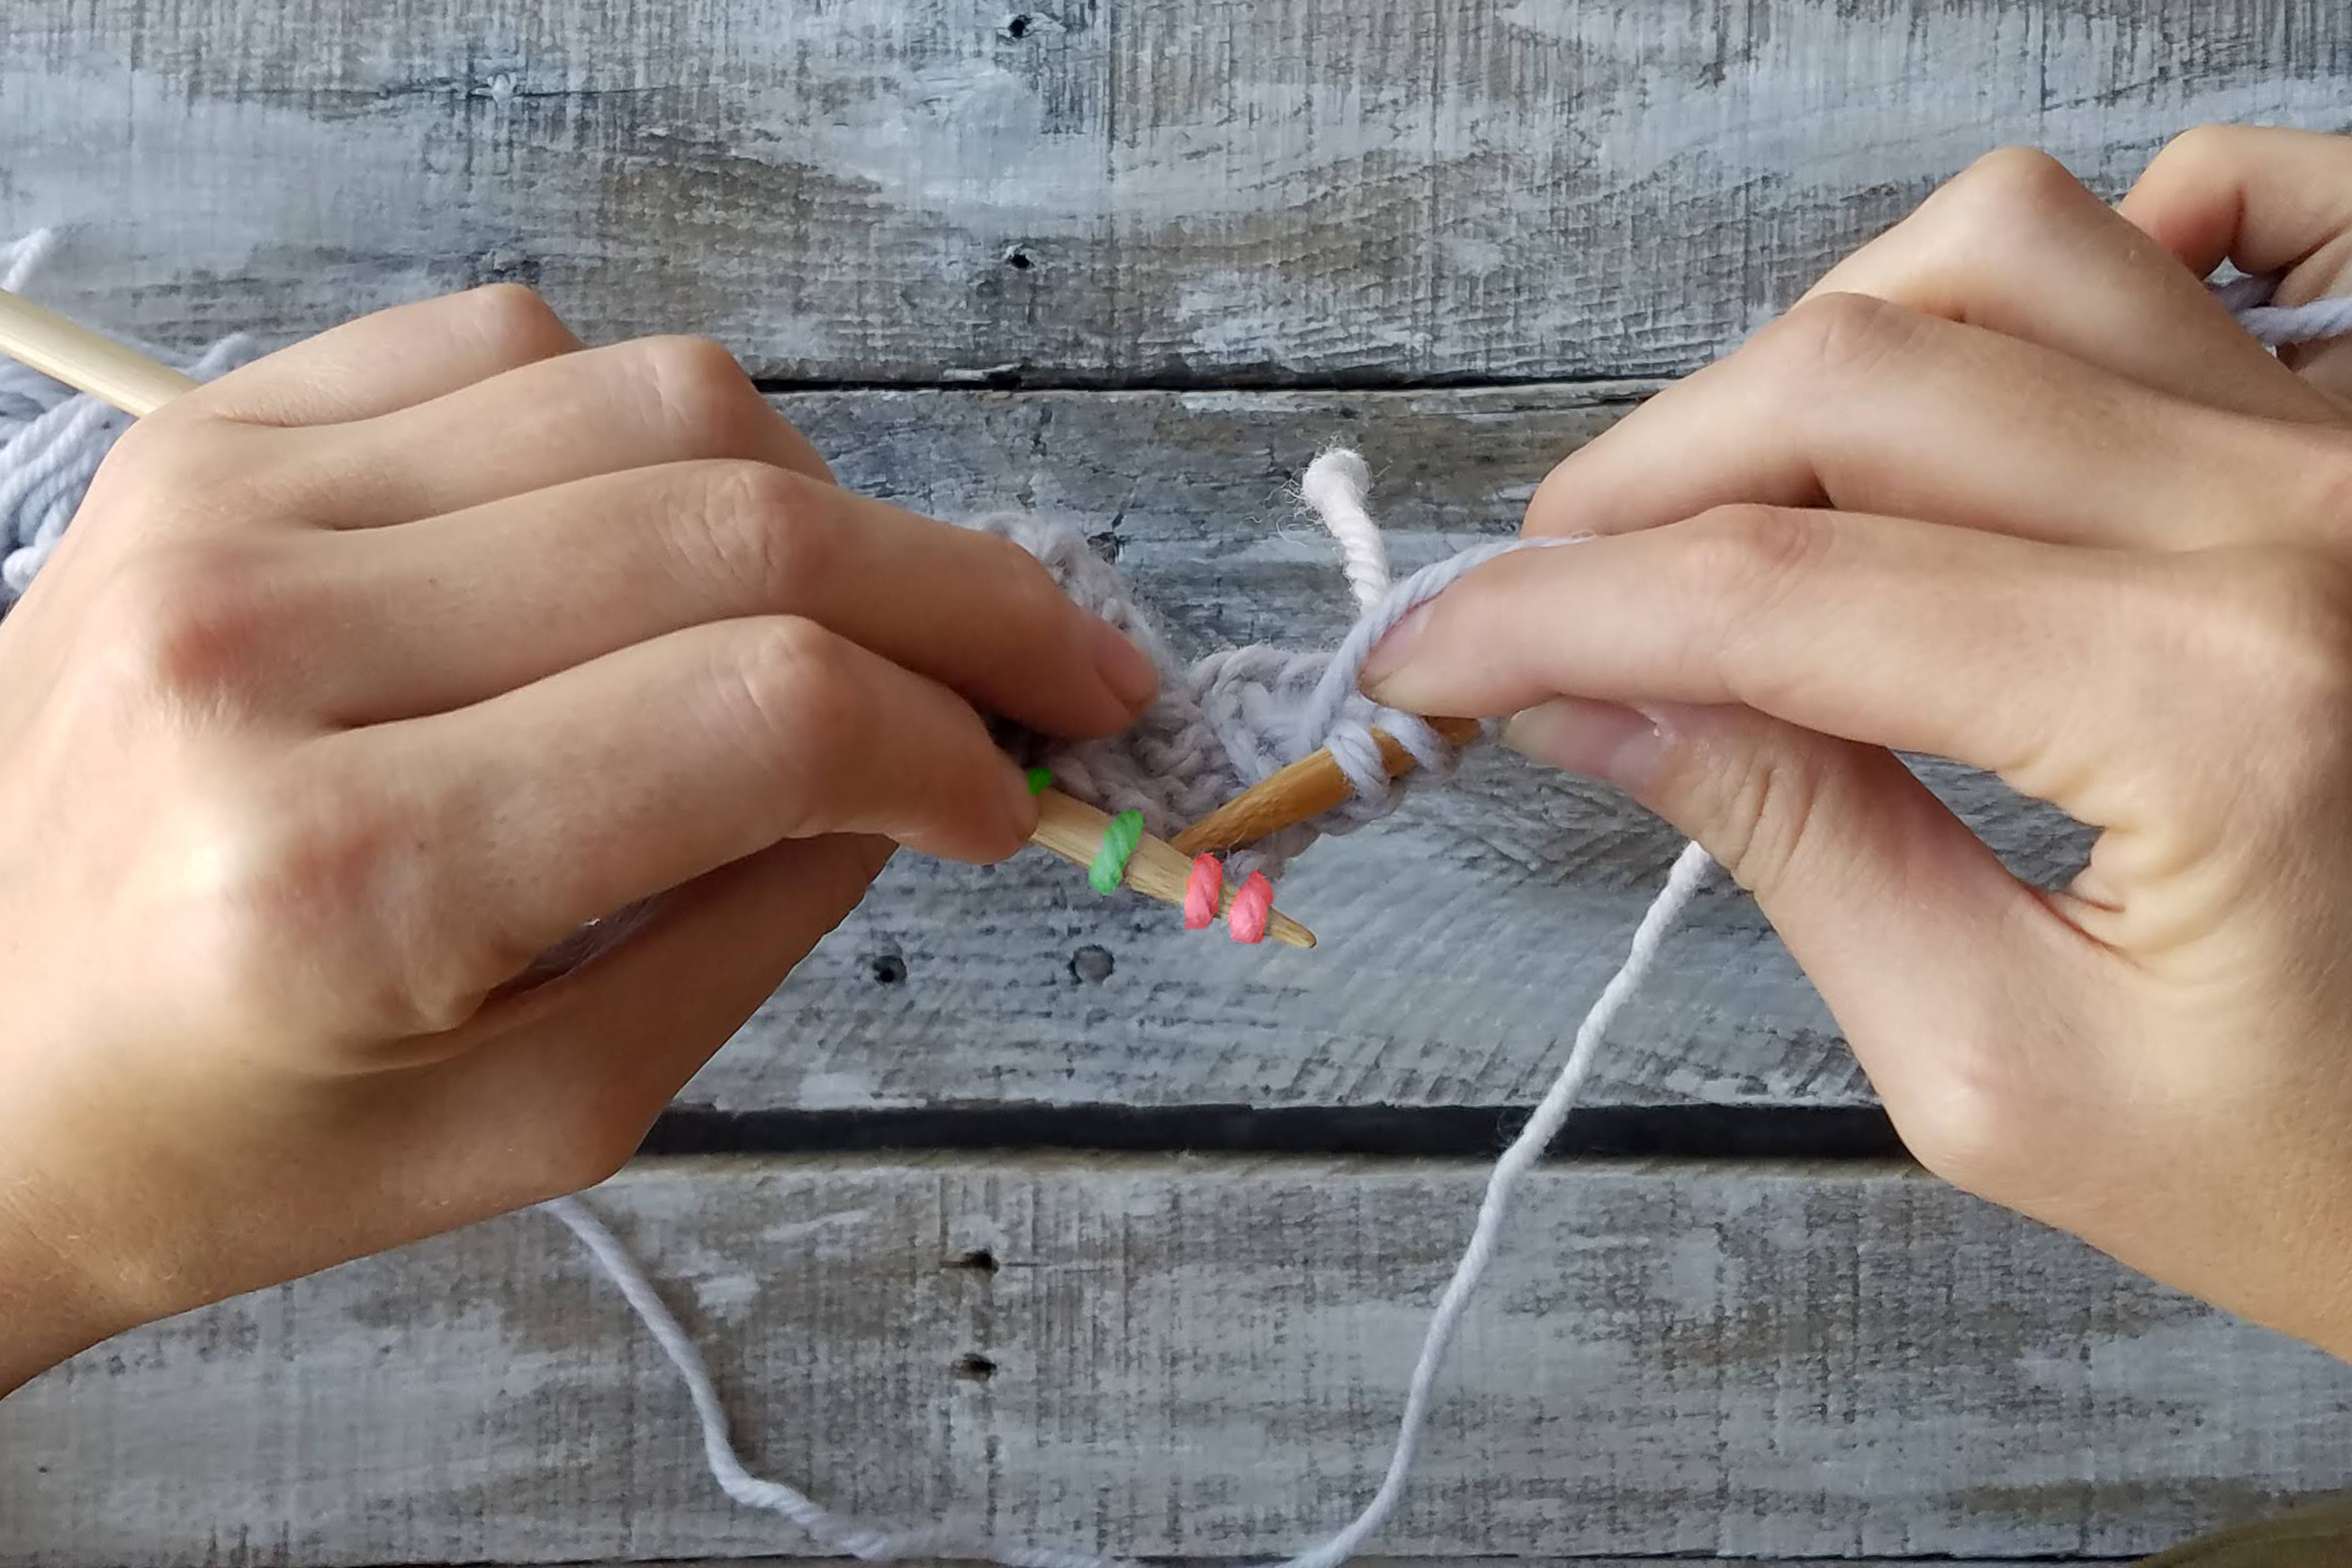
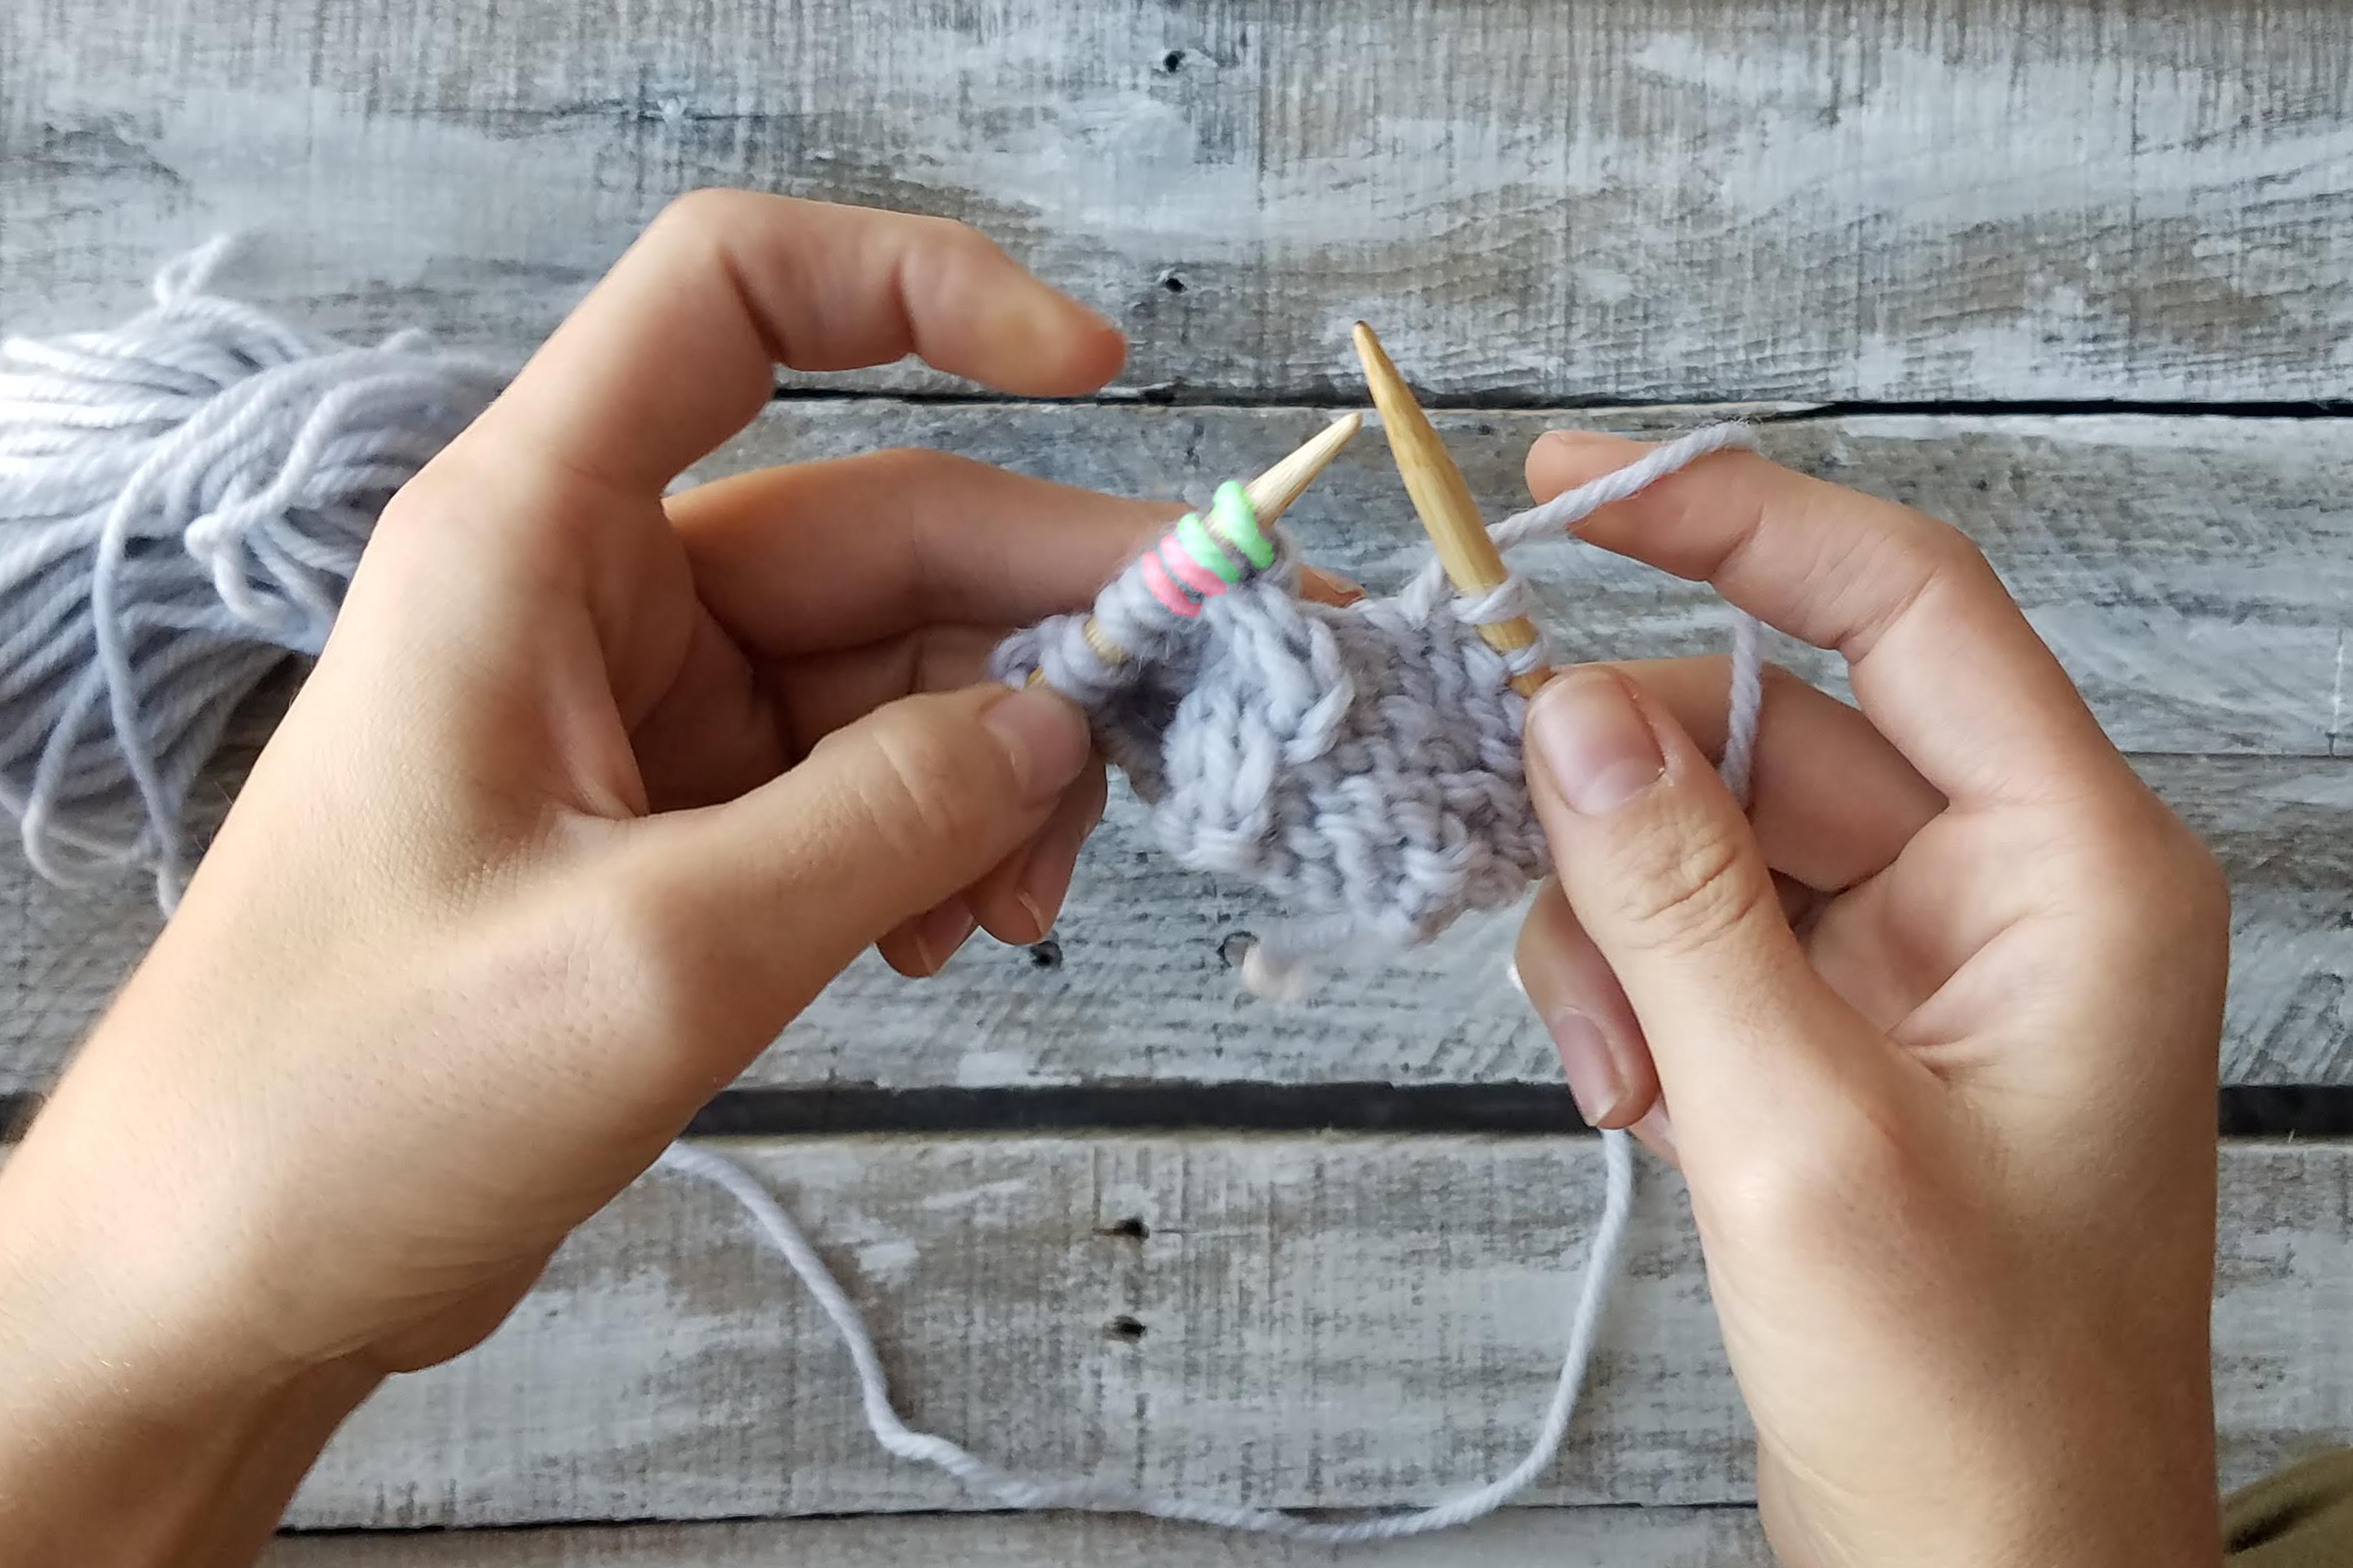
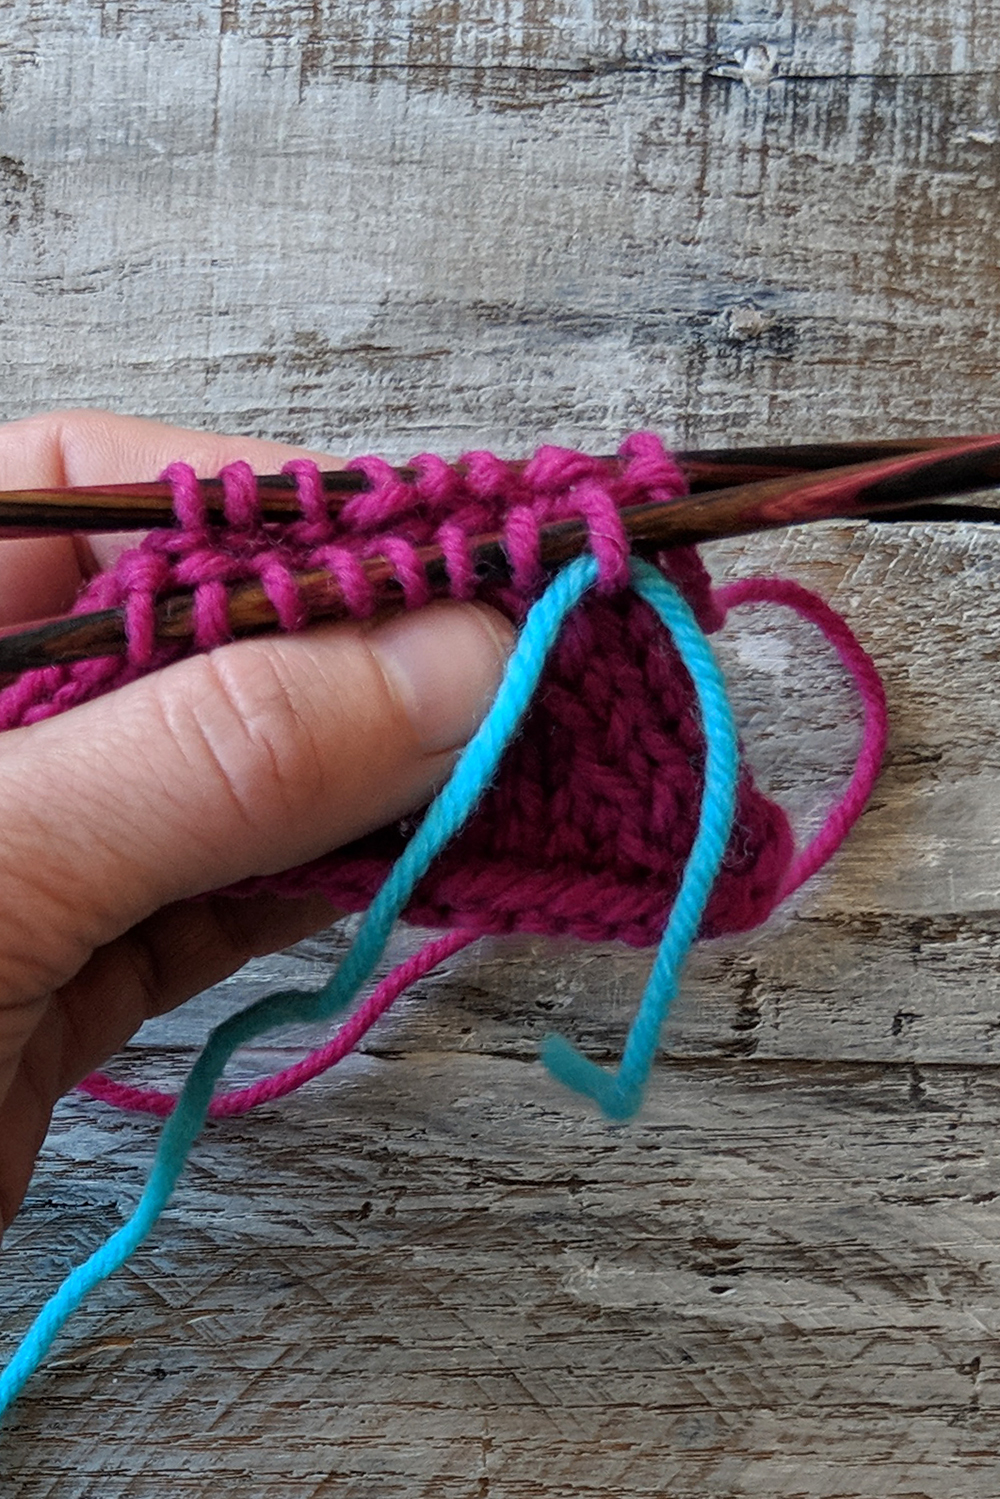
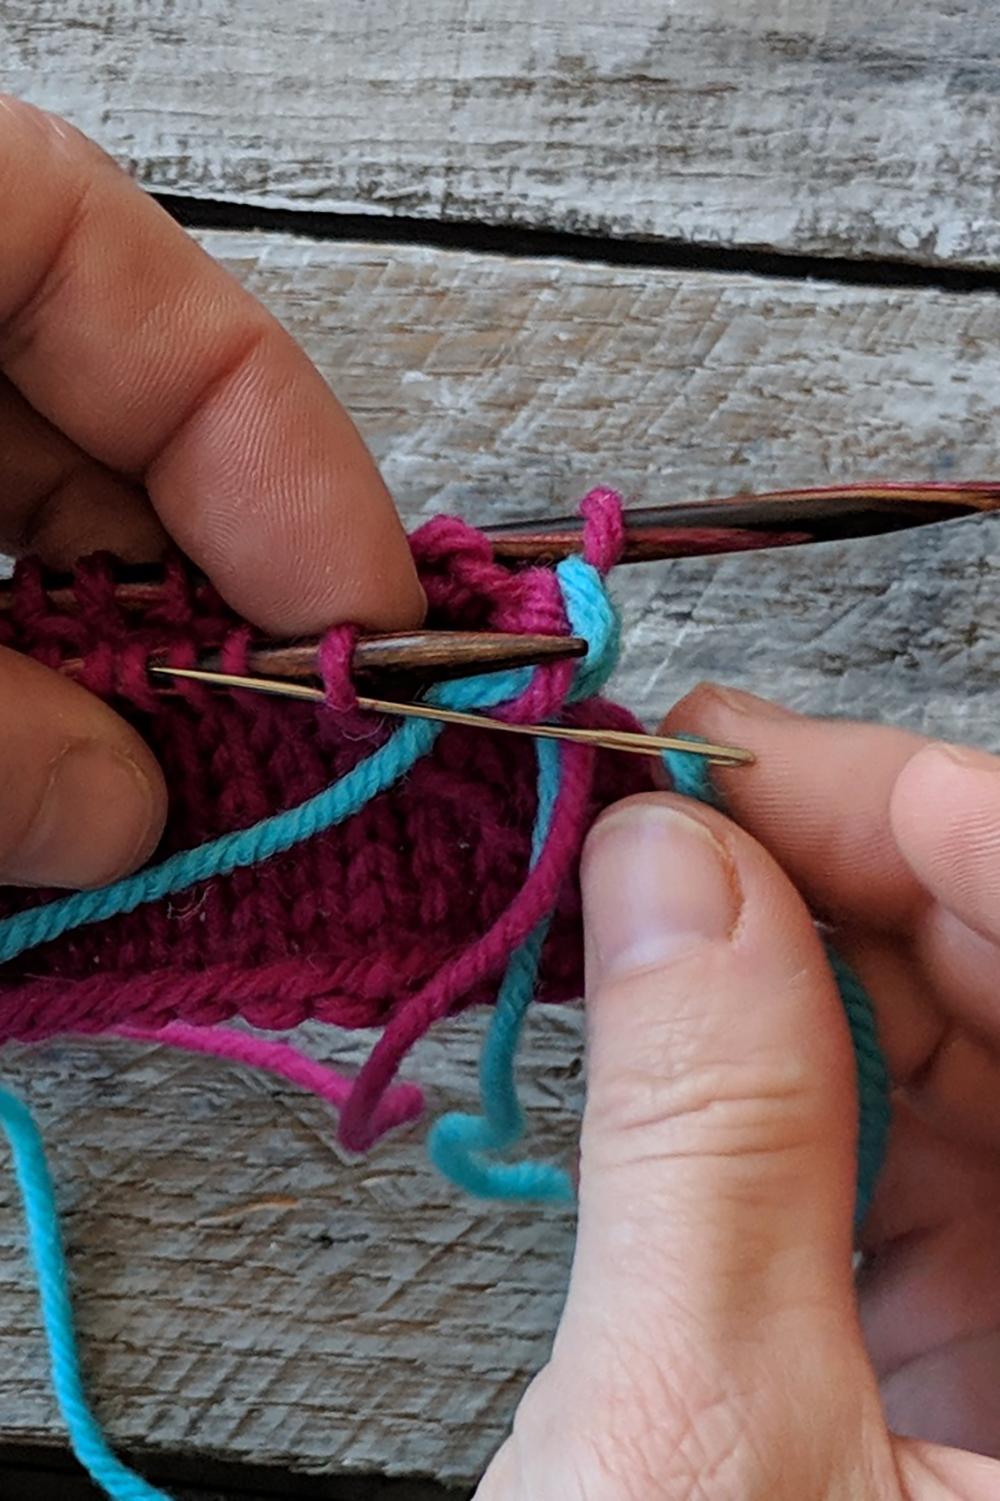
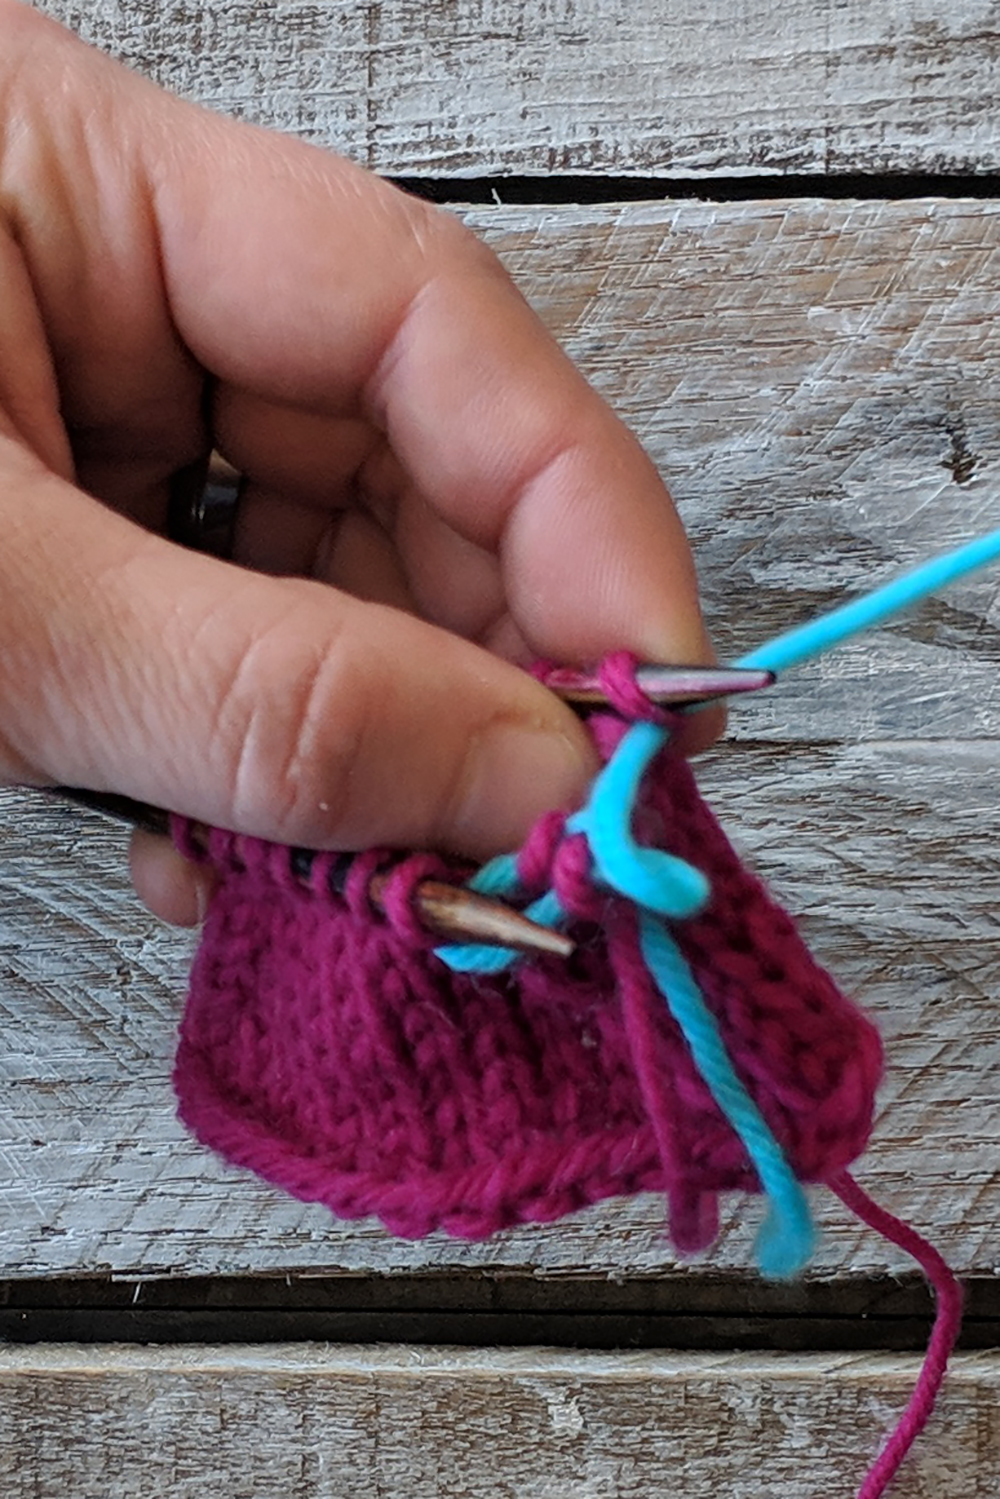
Alternate view – slipping the green stitches purlwise to the right-hand needle.Don’t be afraid!
If the above photo scares you, just take a deep breath. It’s really not that scary! When you slip the green stitches, the red stitches will fall off your needle. That is okay – that’s what you want!
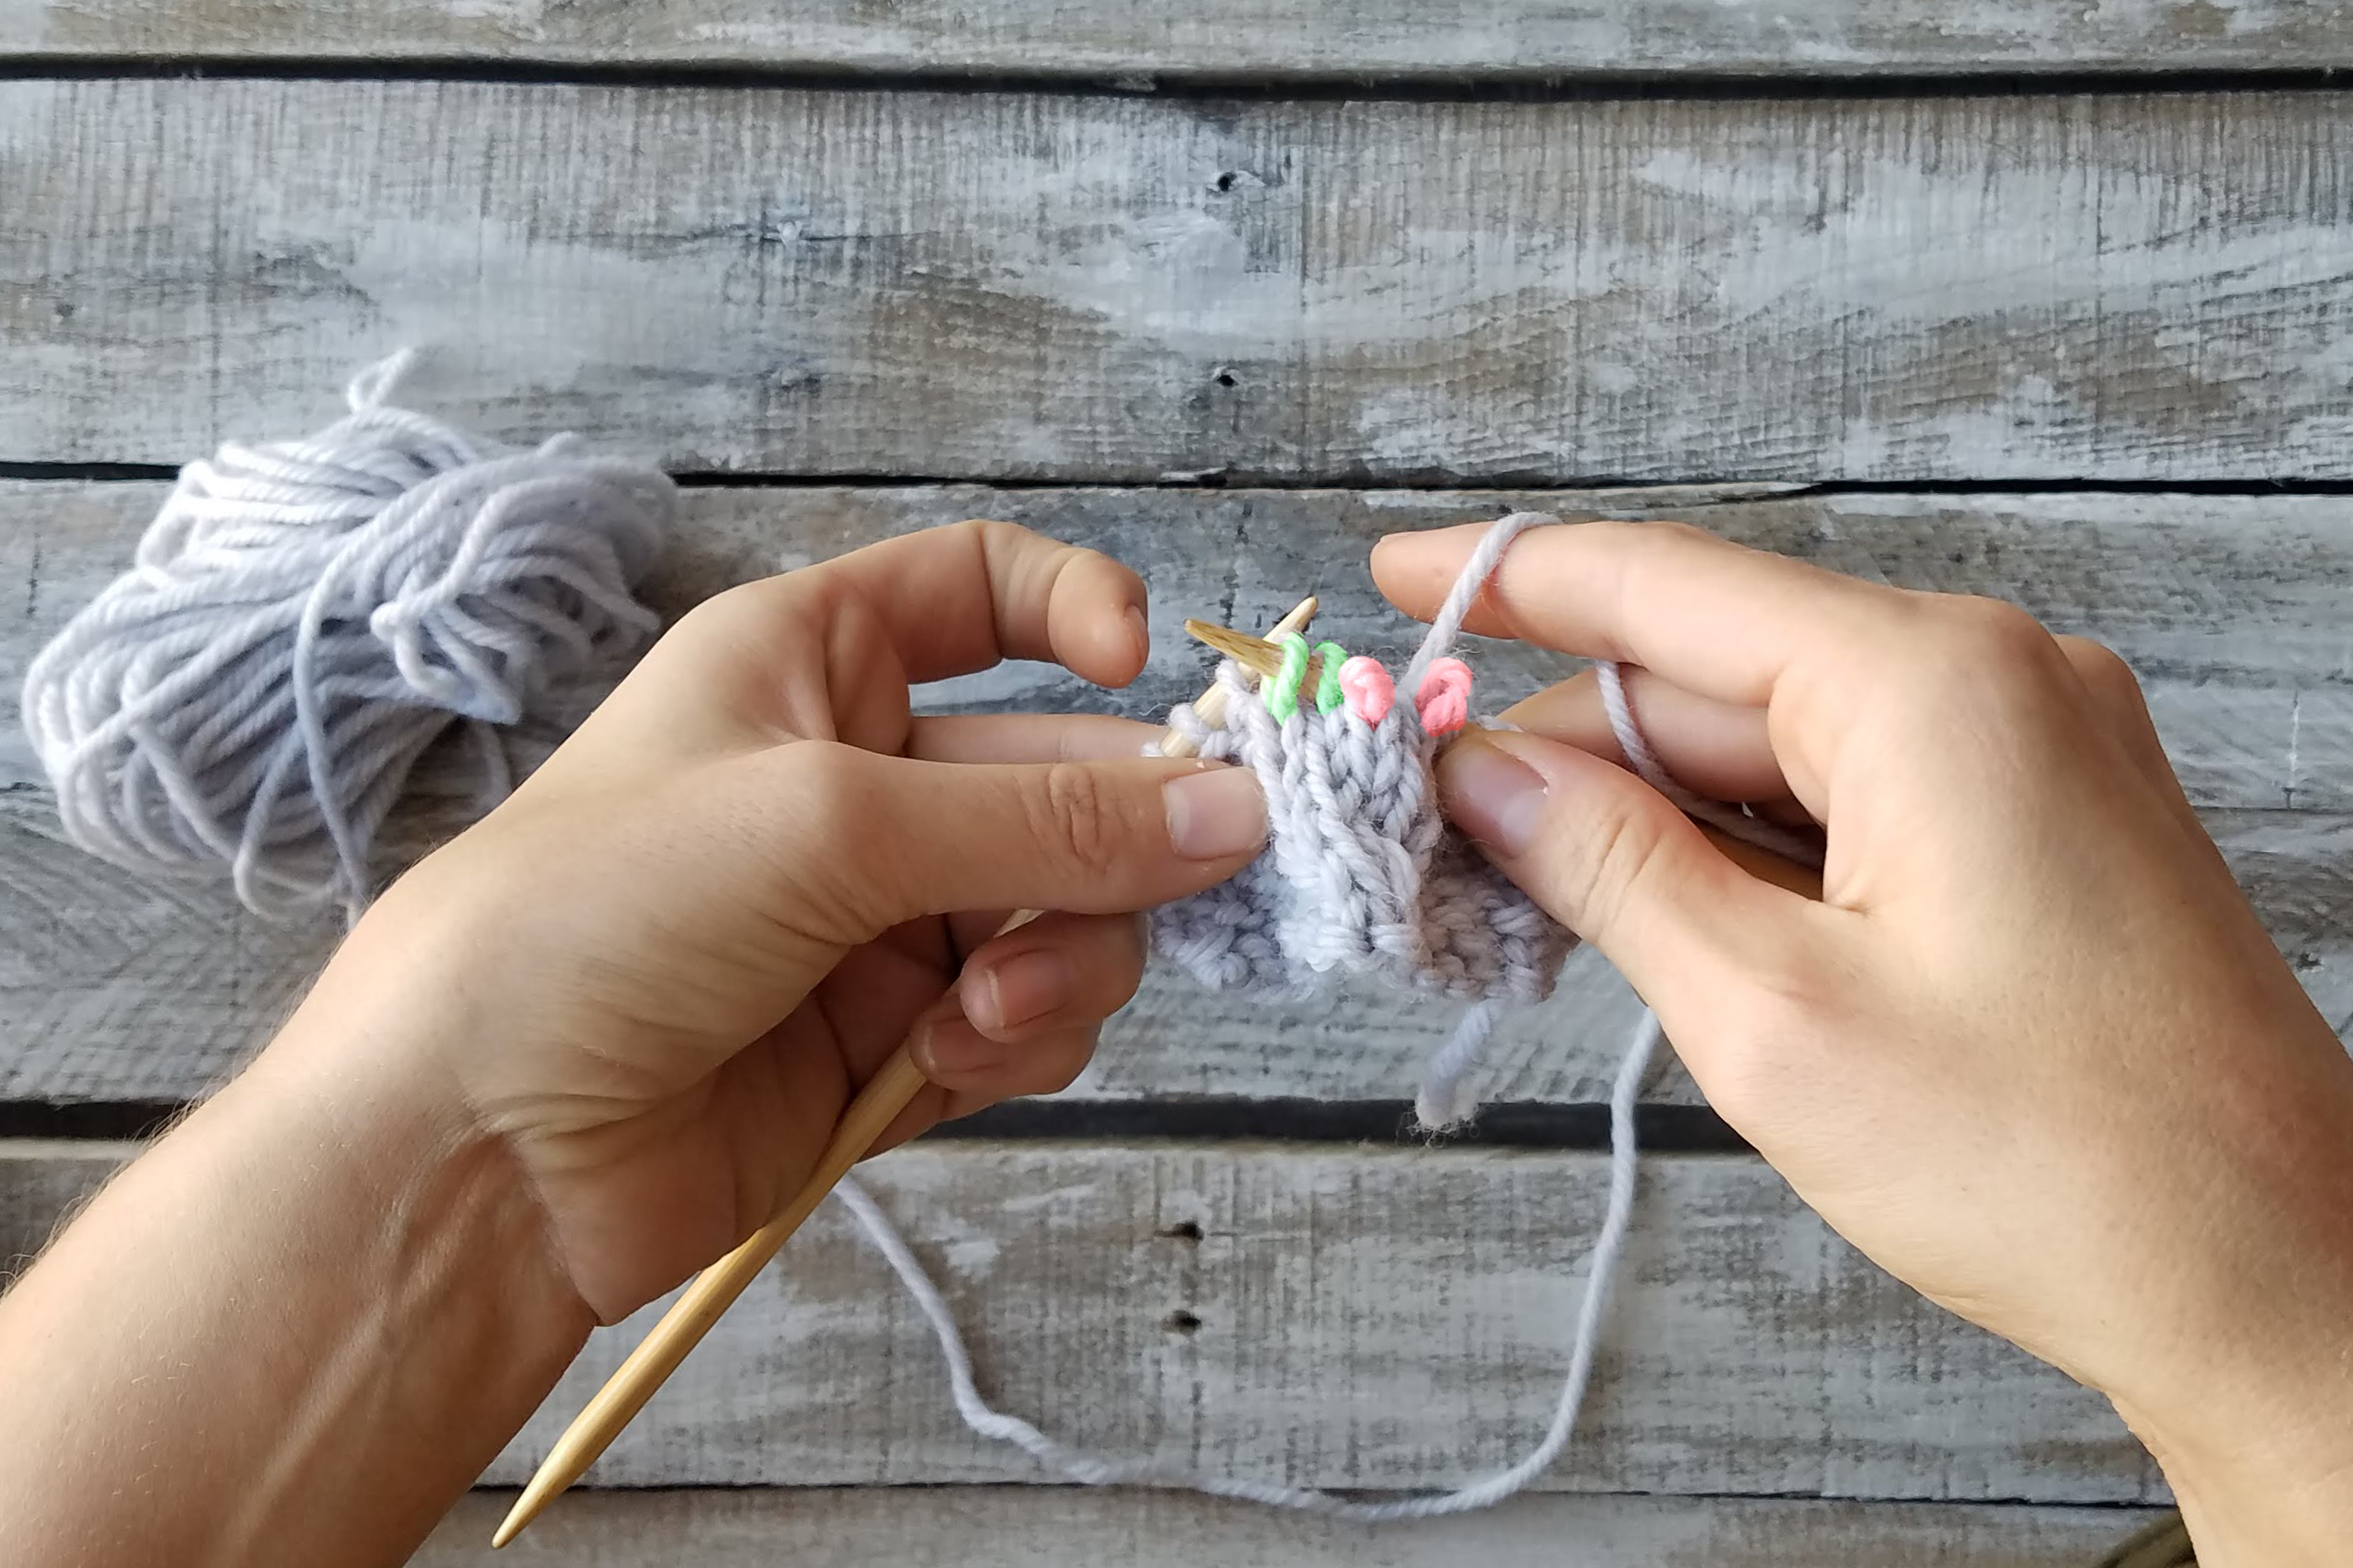
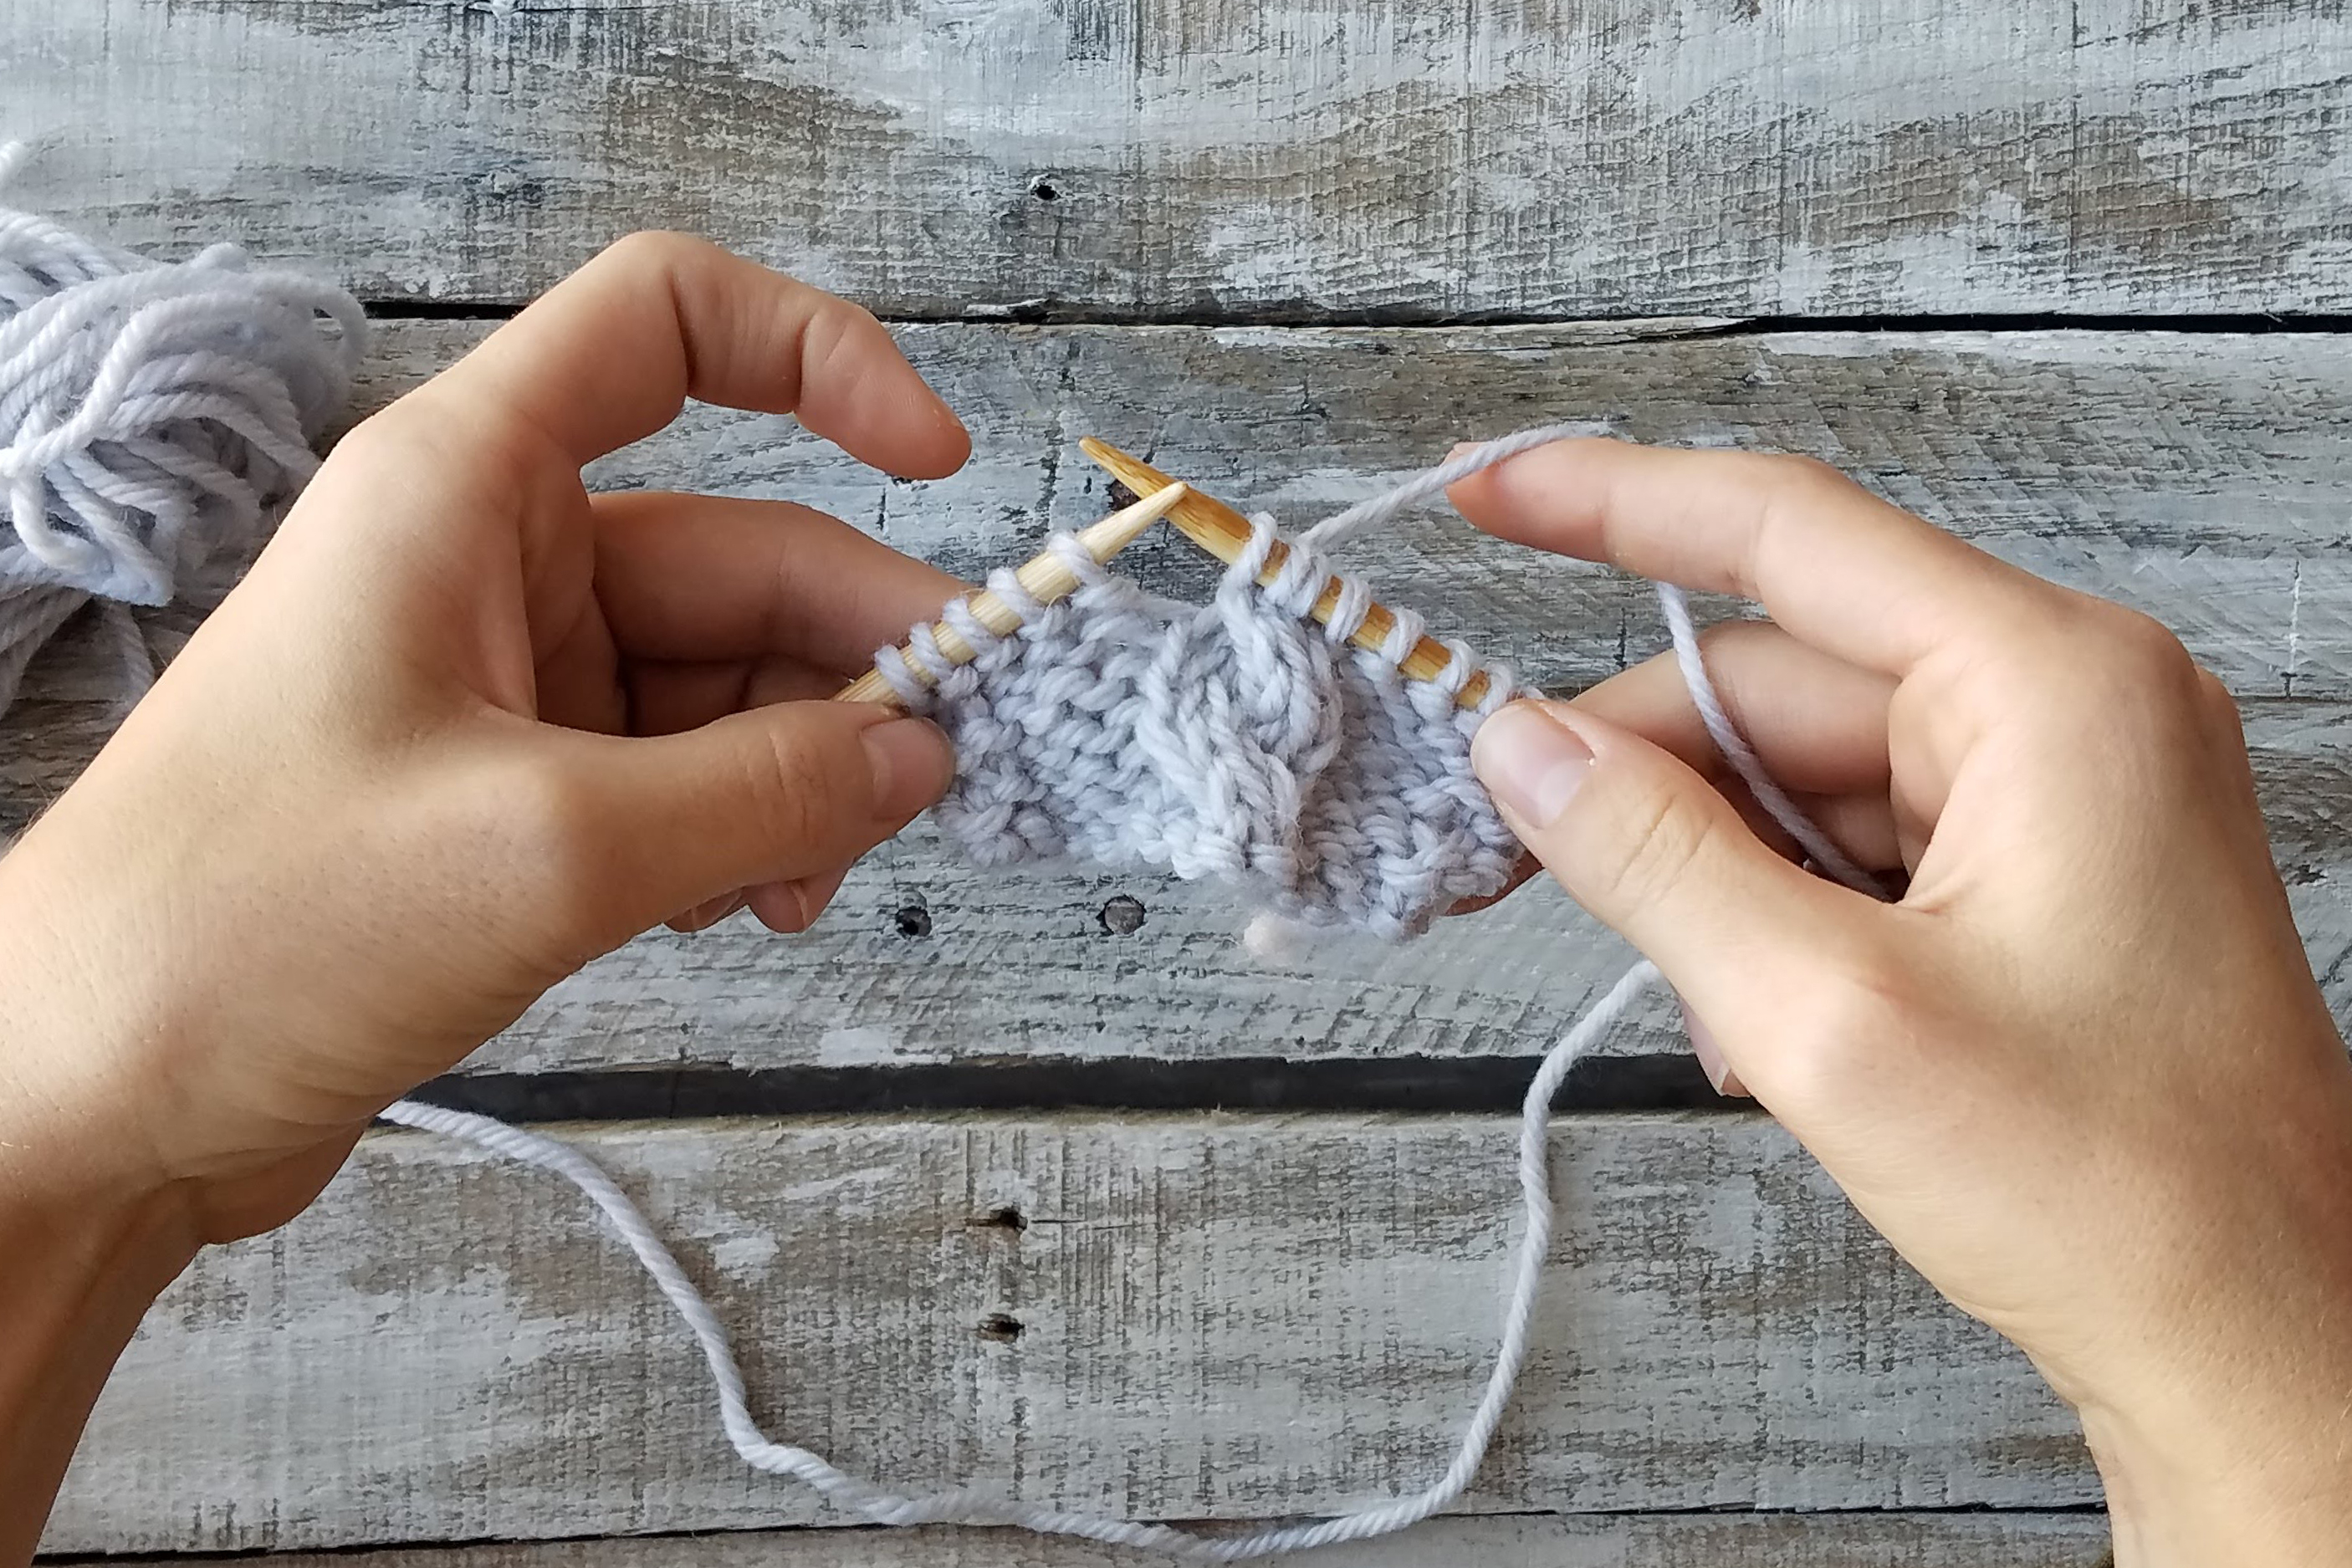
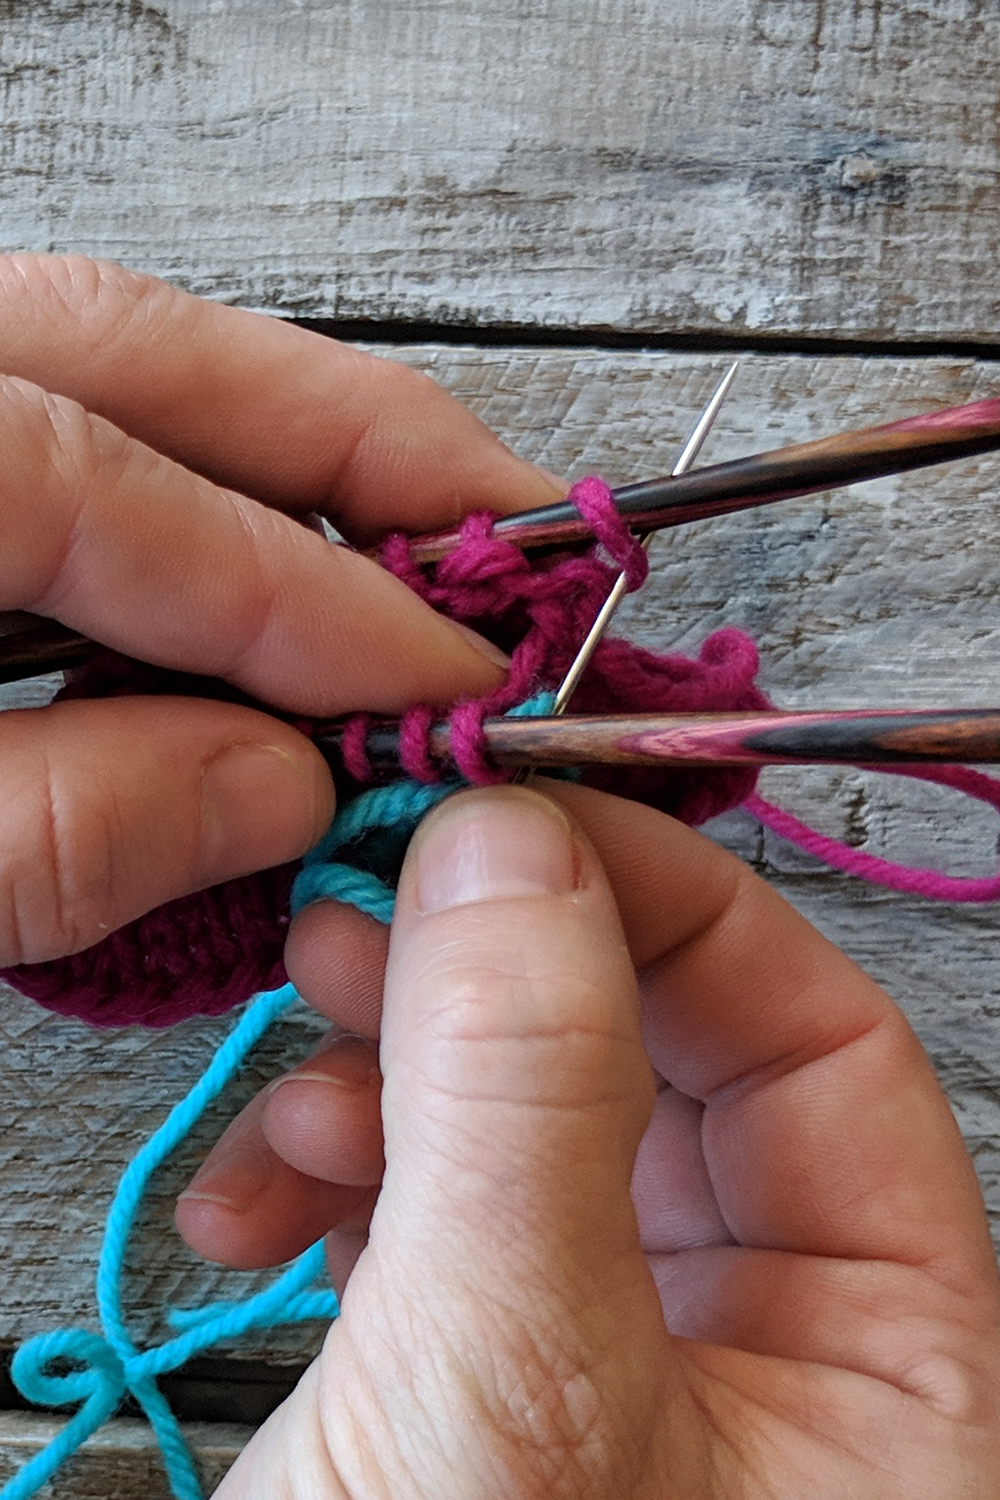
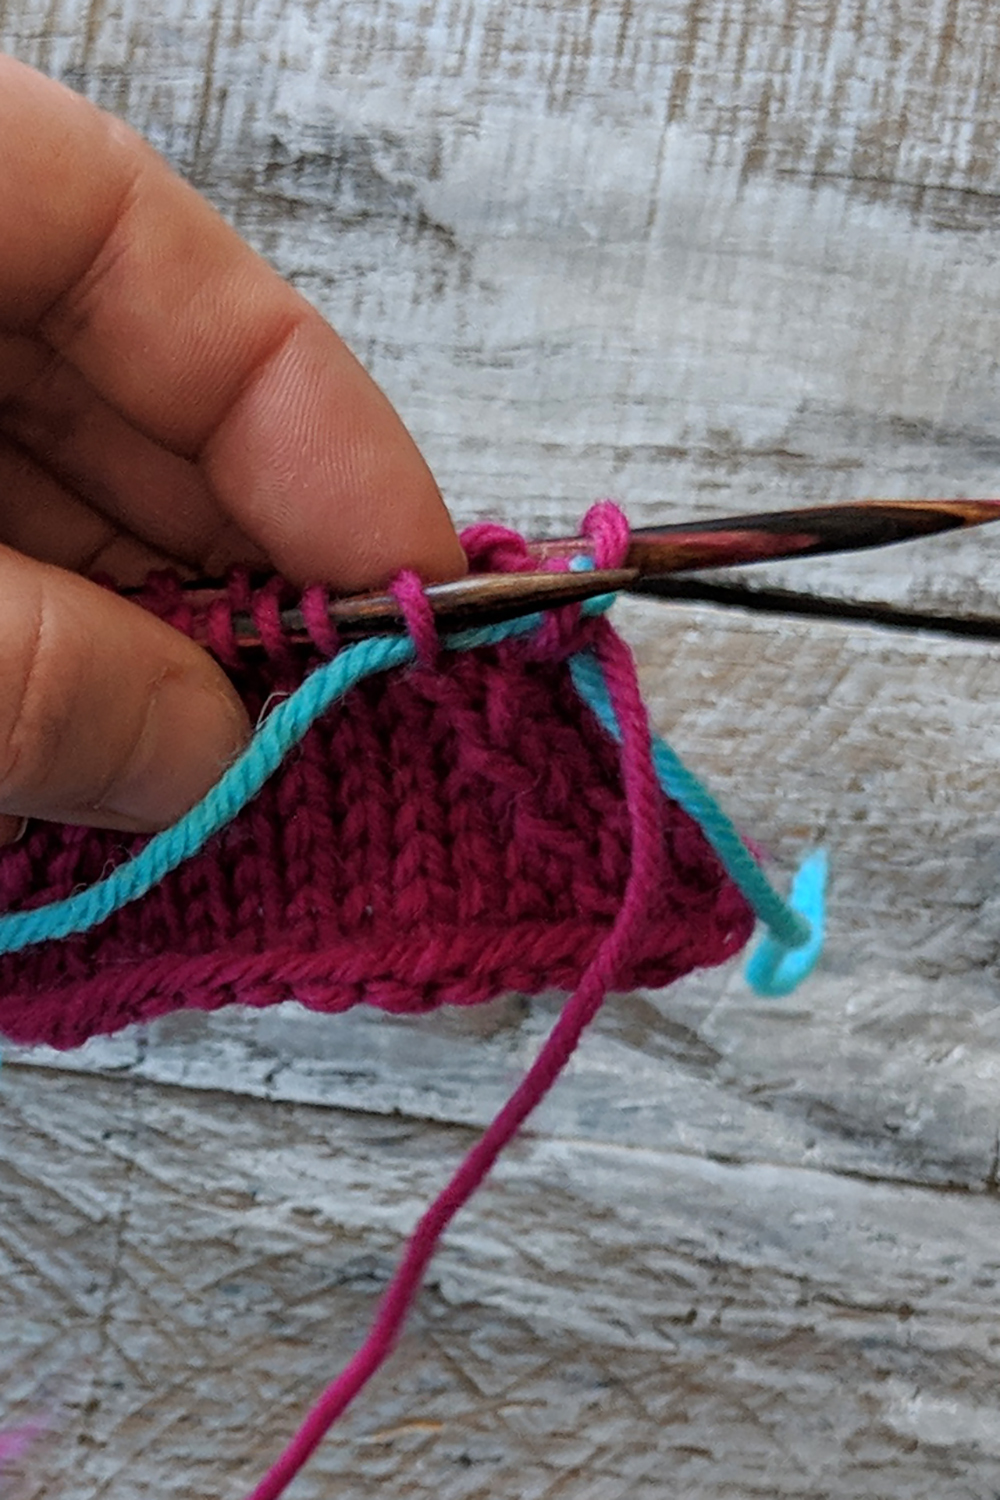
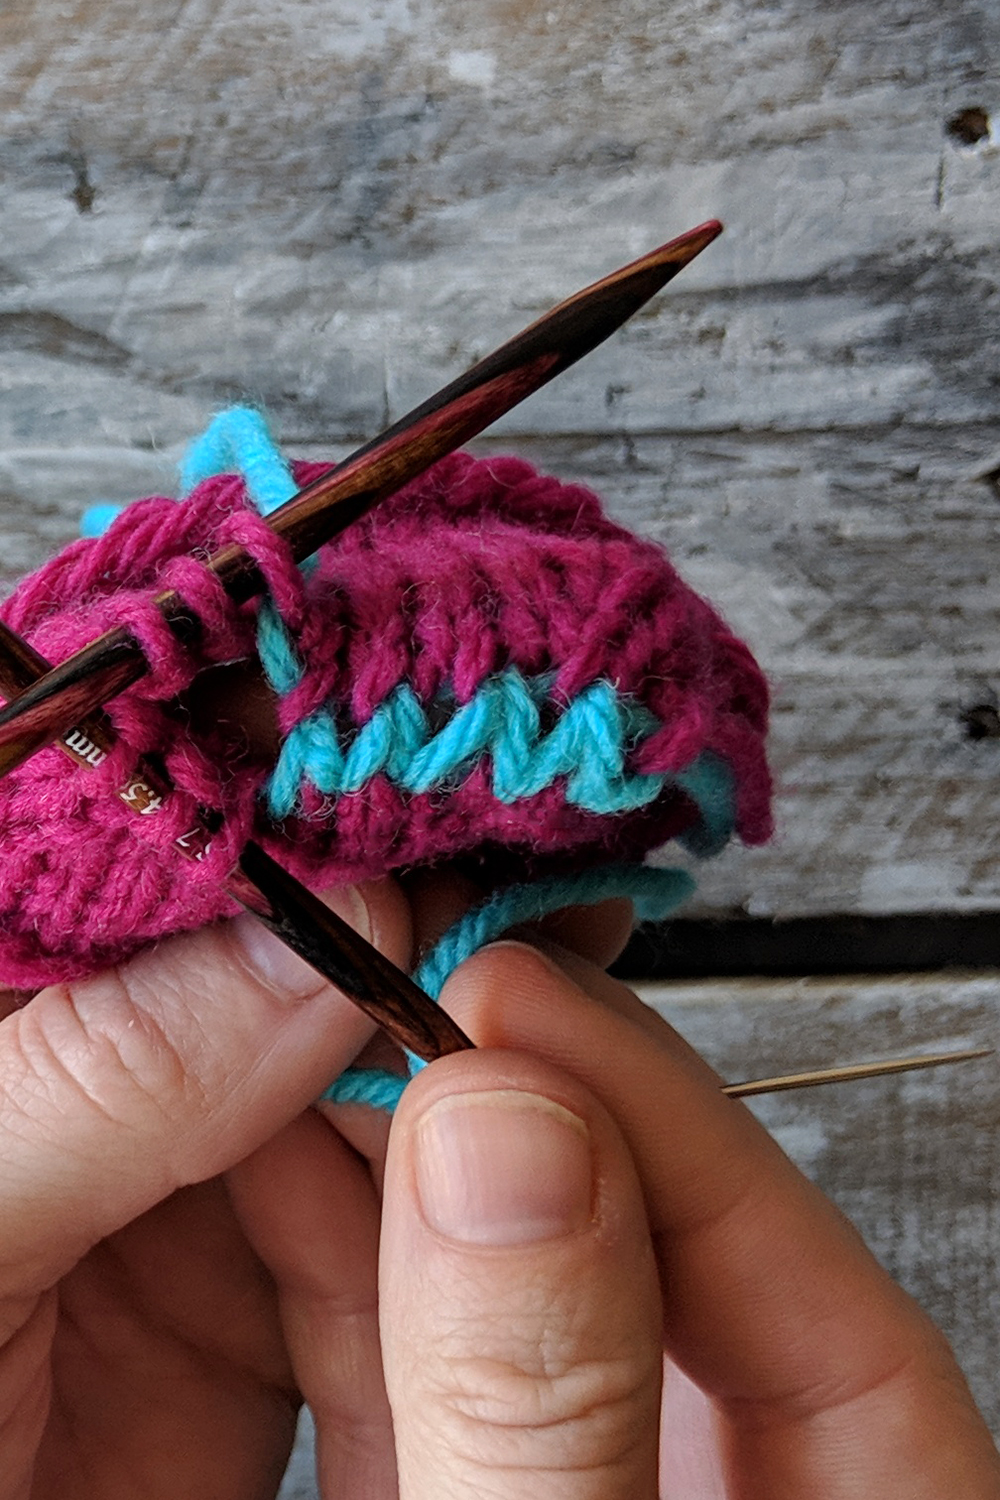
Scoop the stitches back up with the left-hand needle.
Carefully scoop the red stitches up with your left-hand needle. Breathe a sigh of relief – your stitches are safe again. Notice, we are simply re-arranging the stitches. * If you were working this as a RIGHT cross, the red stitches would be in the back of your work.
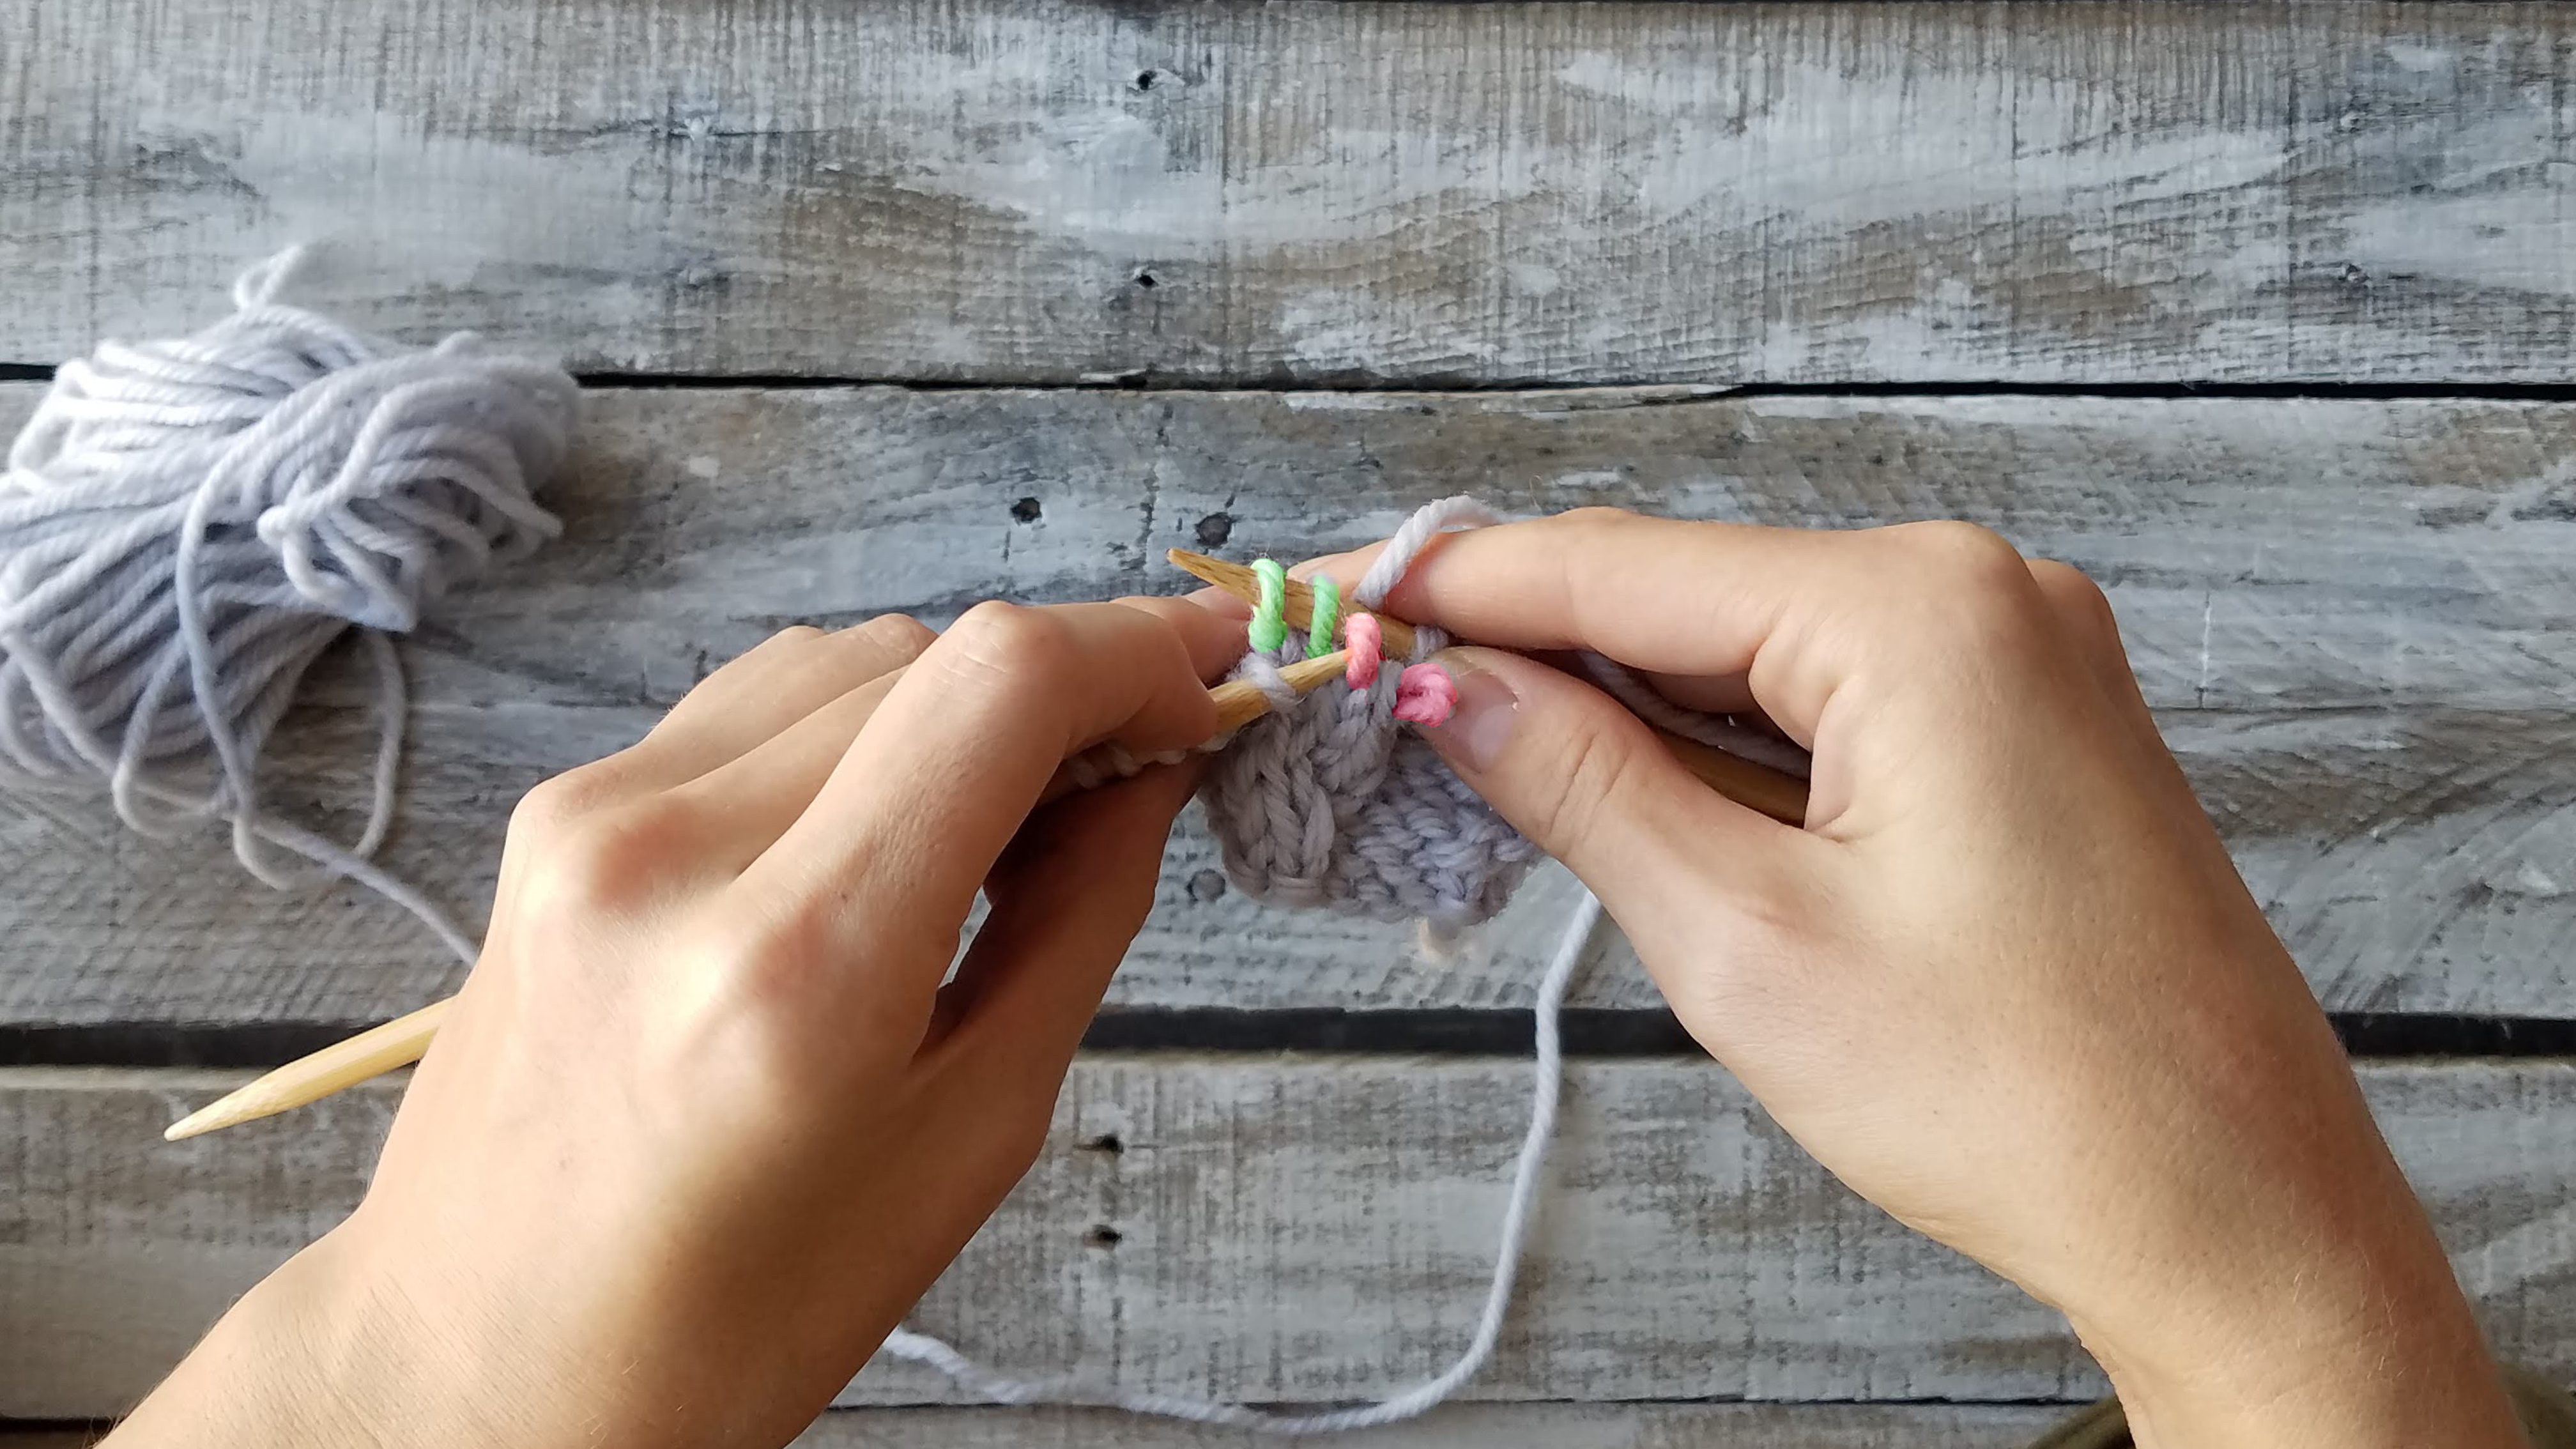
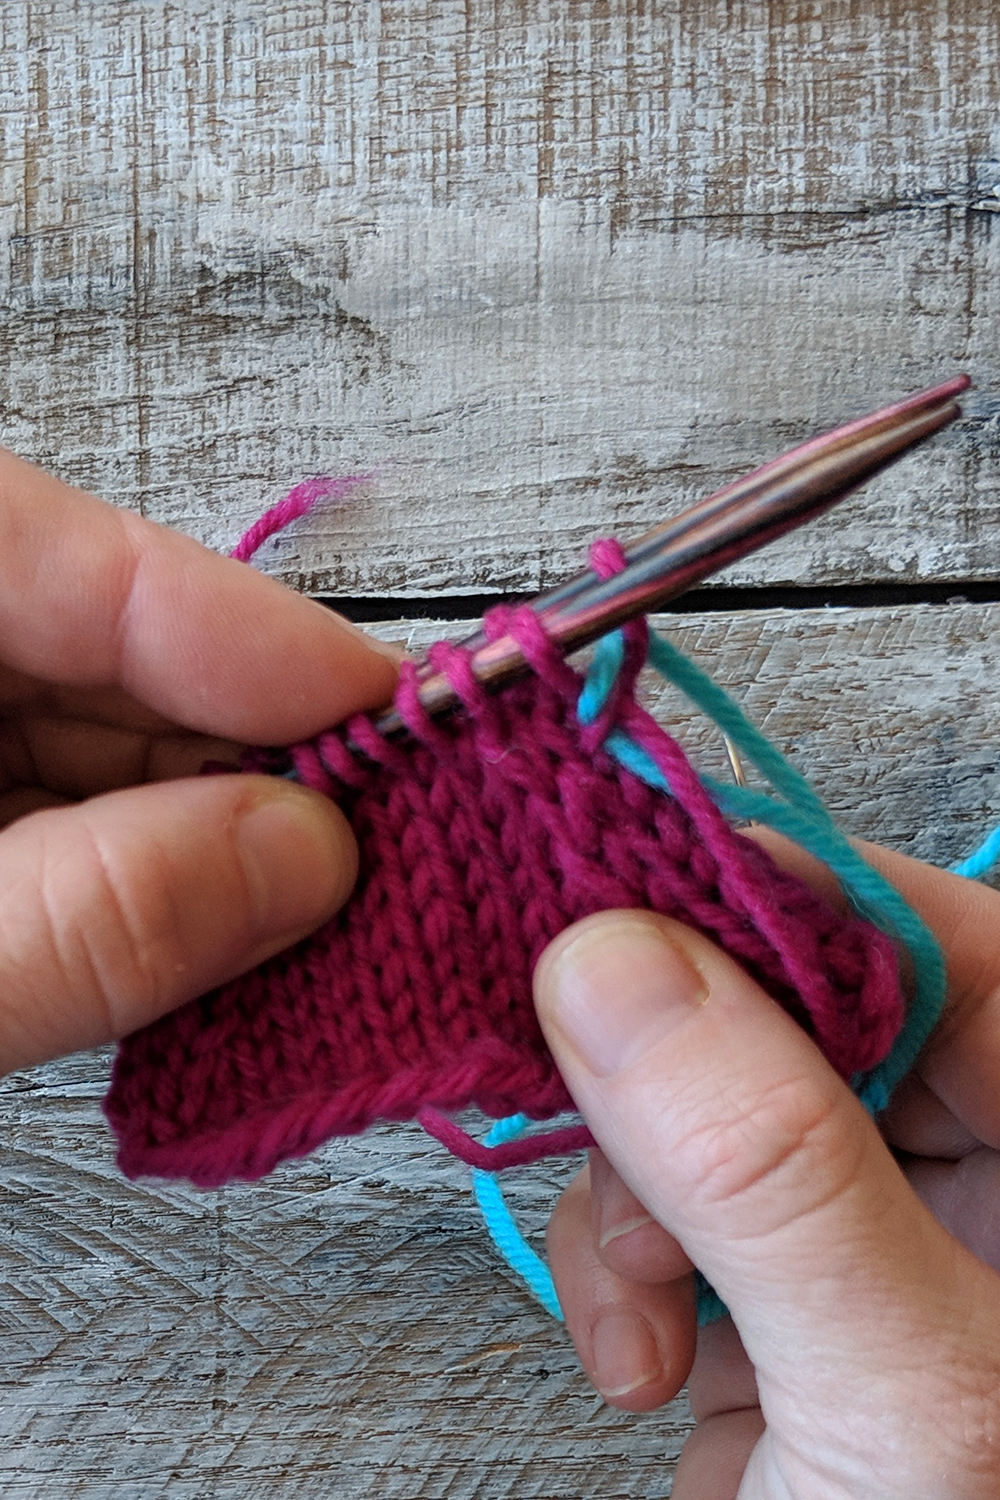
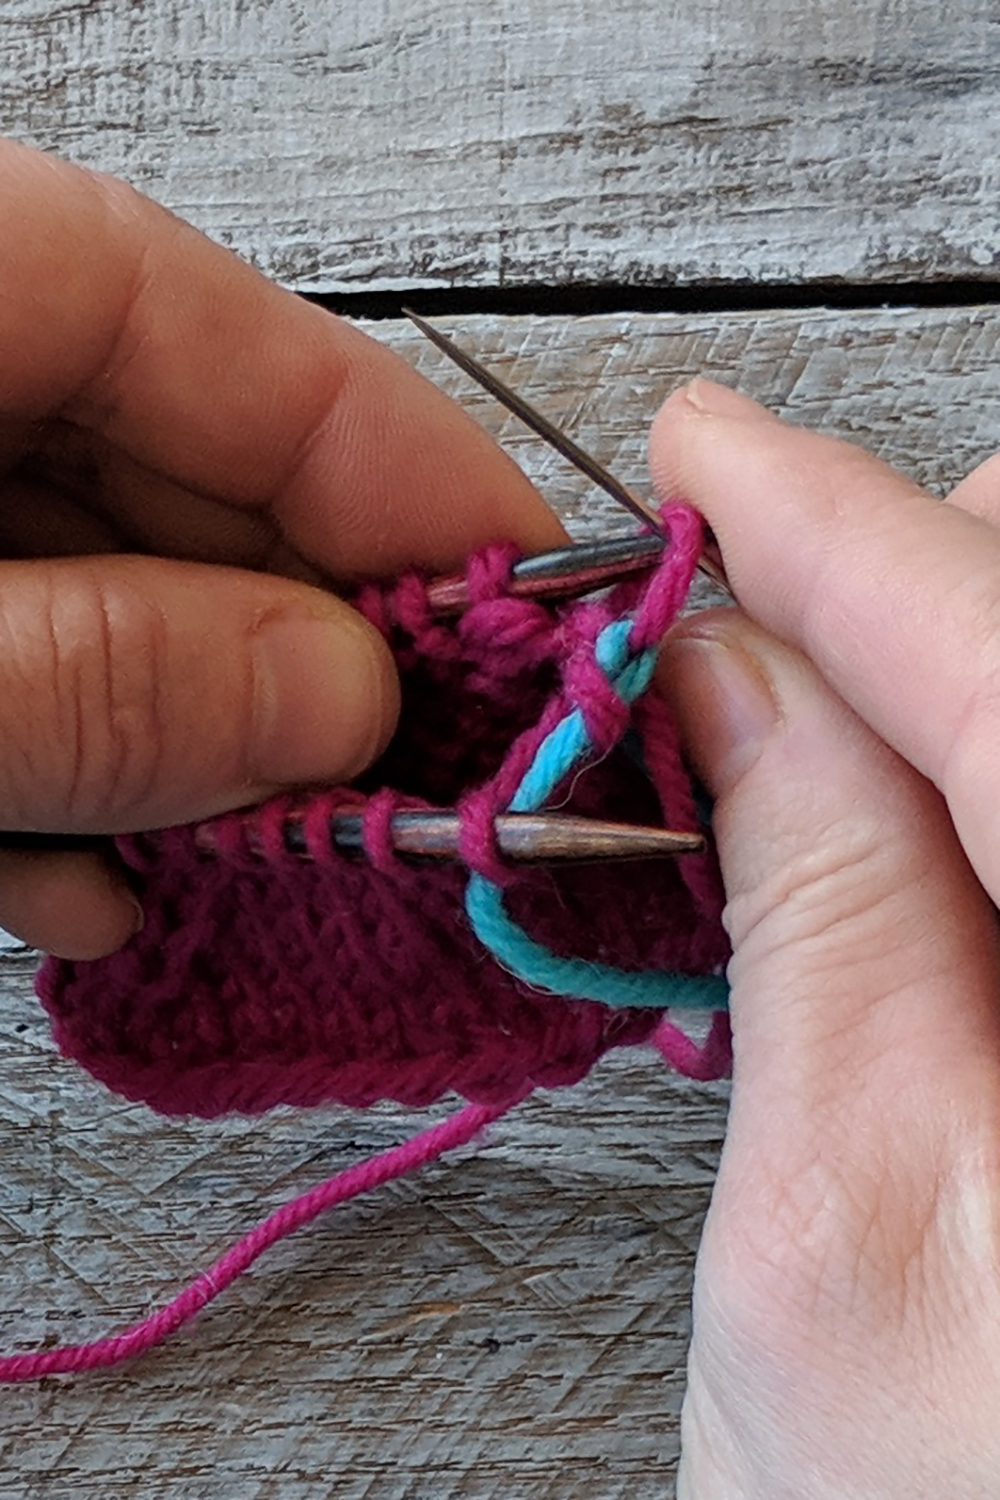
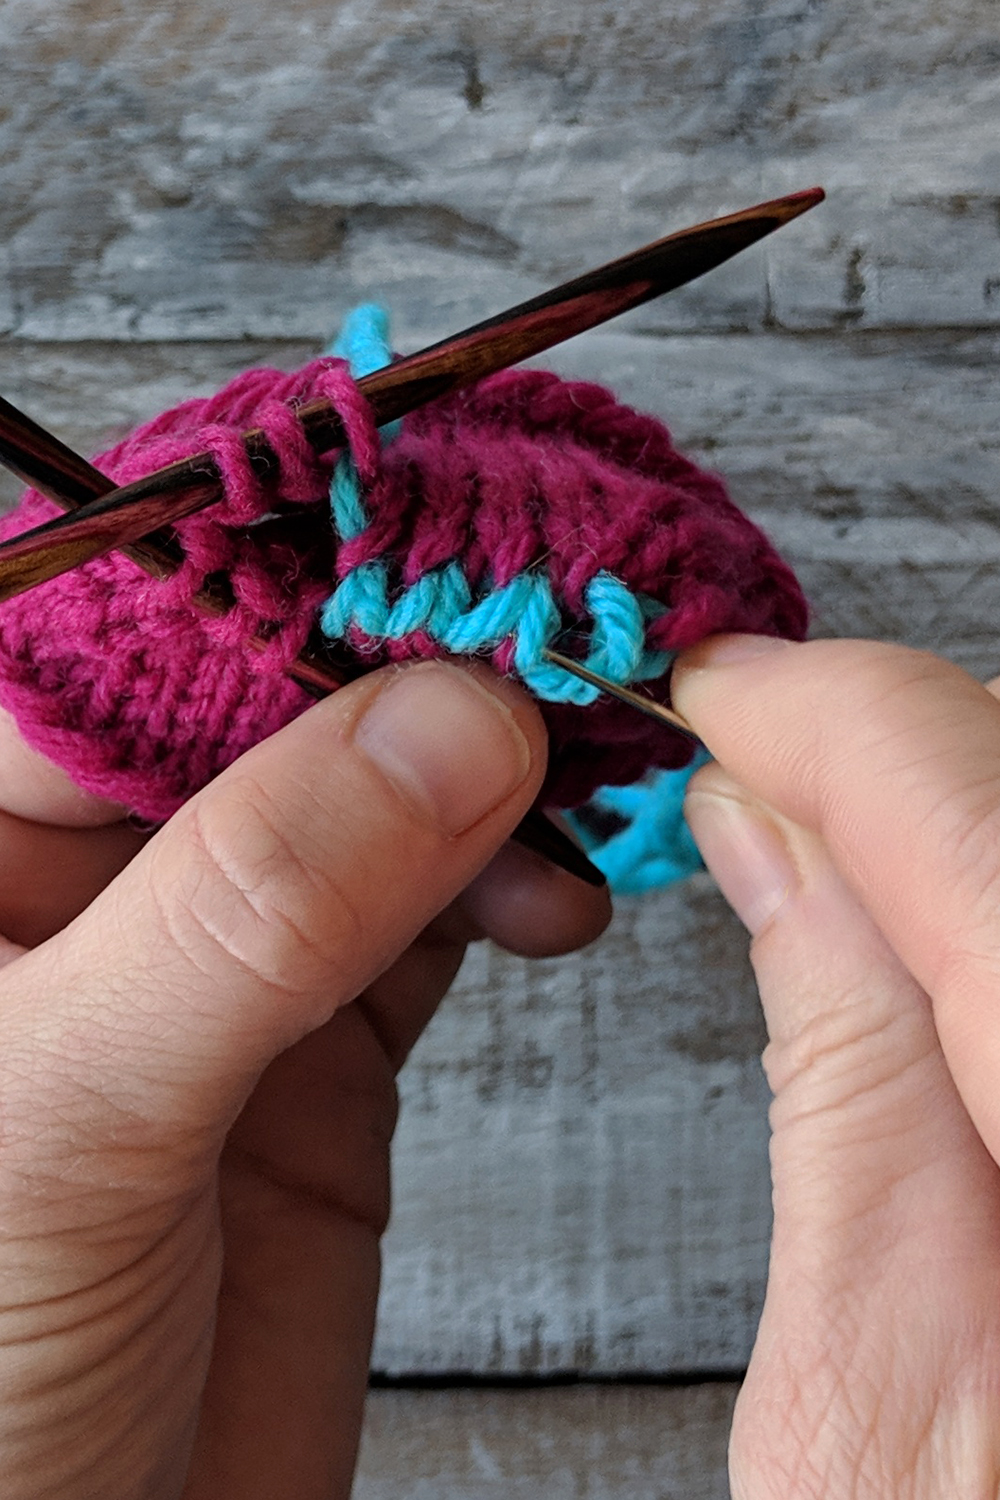
Continue to re-arrange your stitches by slipping the green stitches from the right-hand needle back to the left-hand needle.You’ve rearranged your stitches. Perfect! Now you’re ready to carry on and knit.
After the stitches are all back on the left-hand needle you may continue knitting as usual. You can already see the twist in your work.
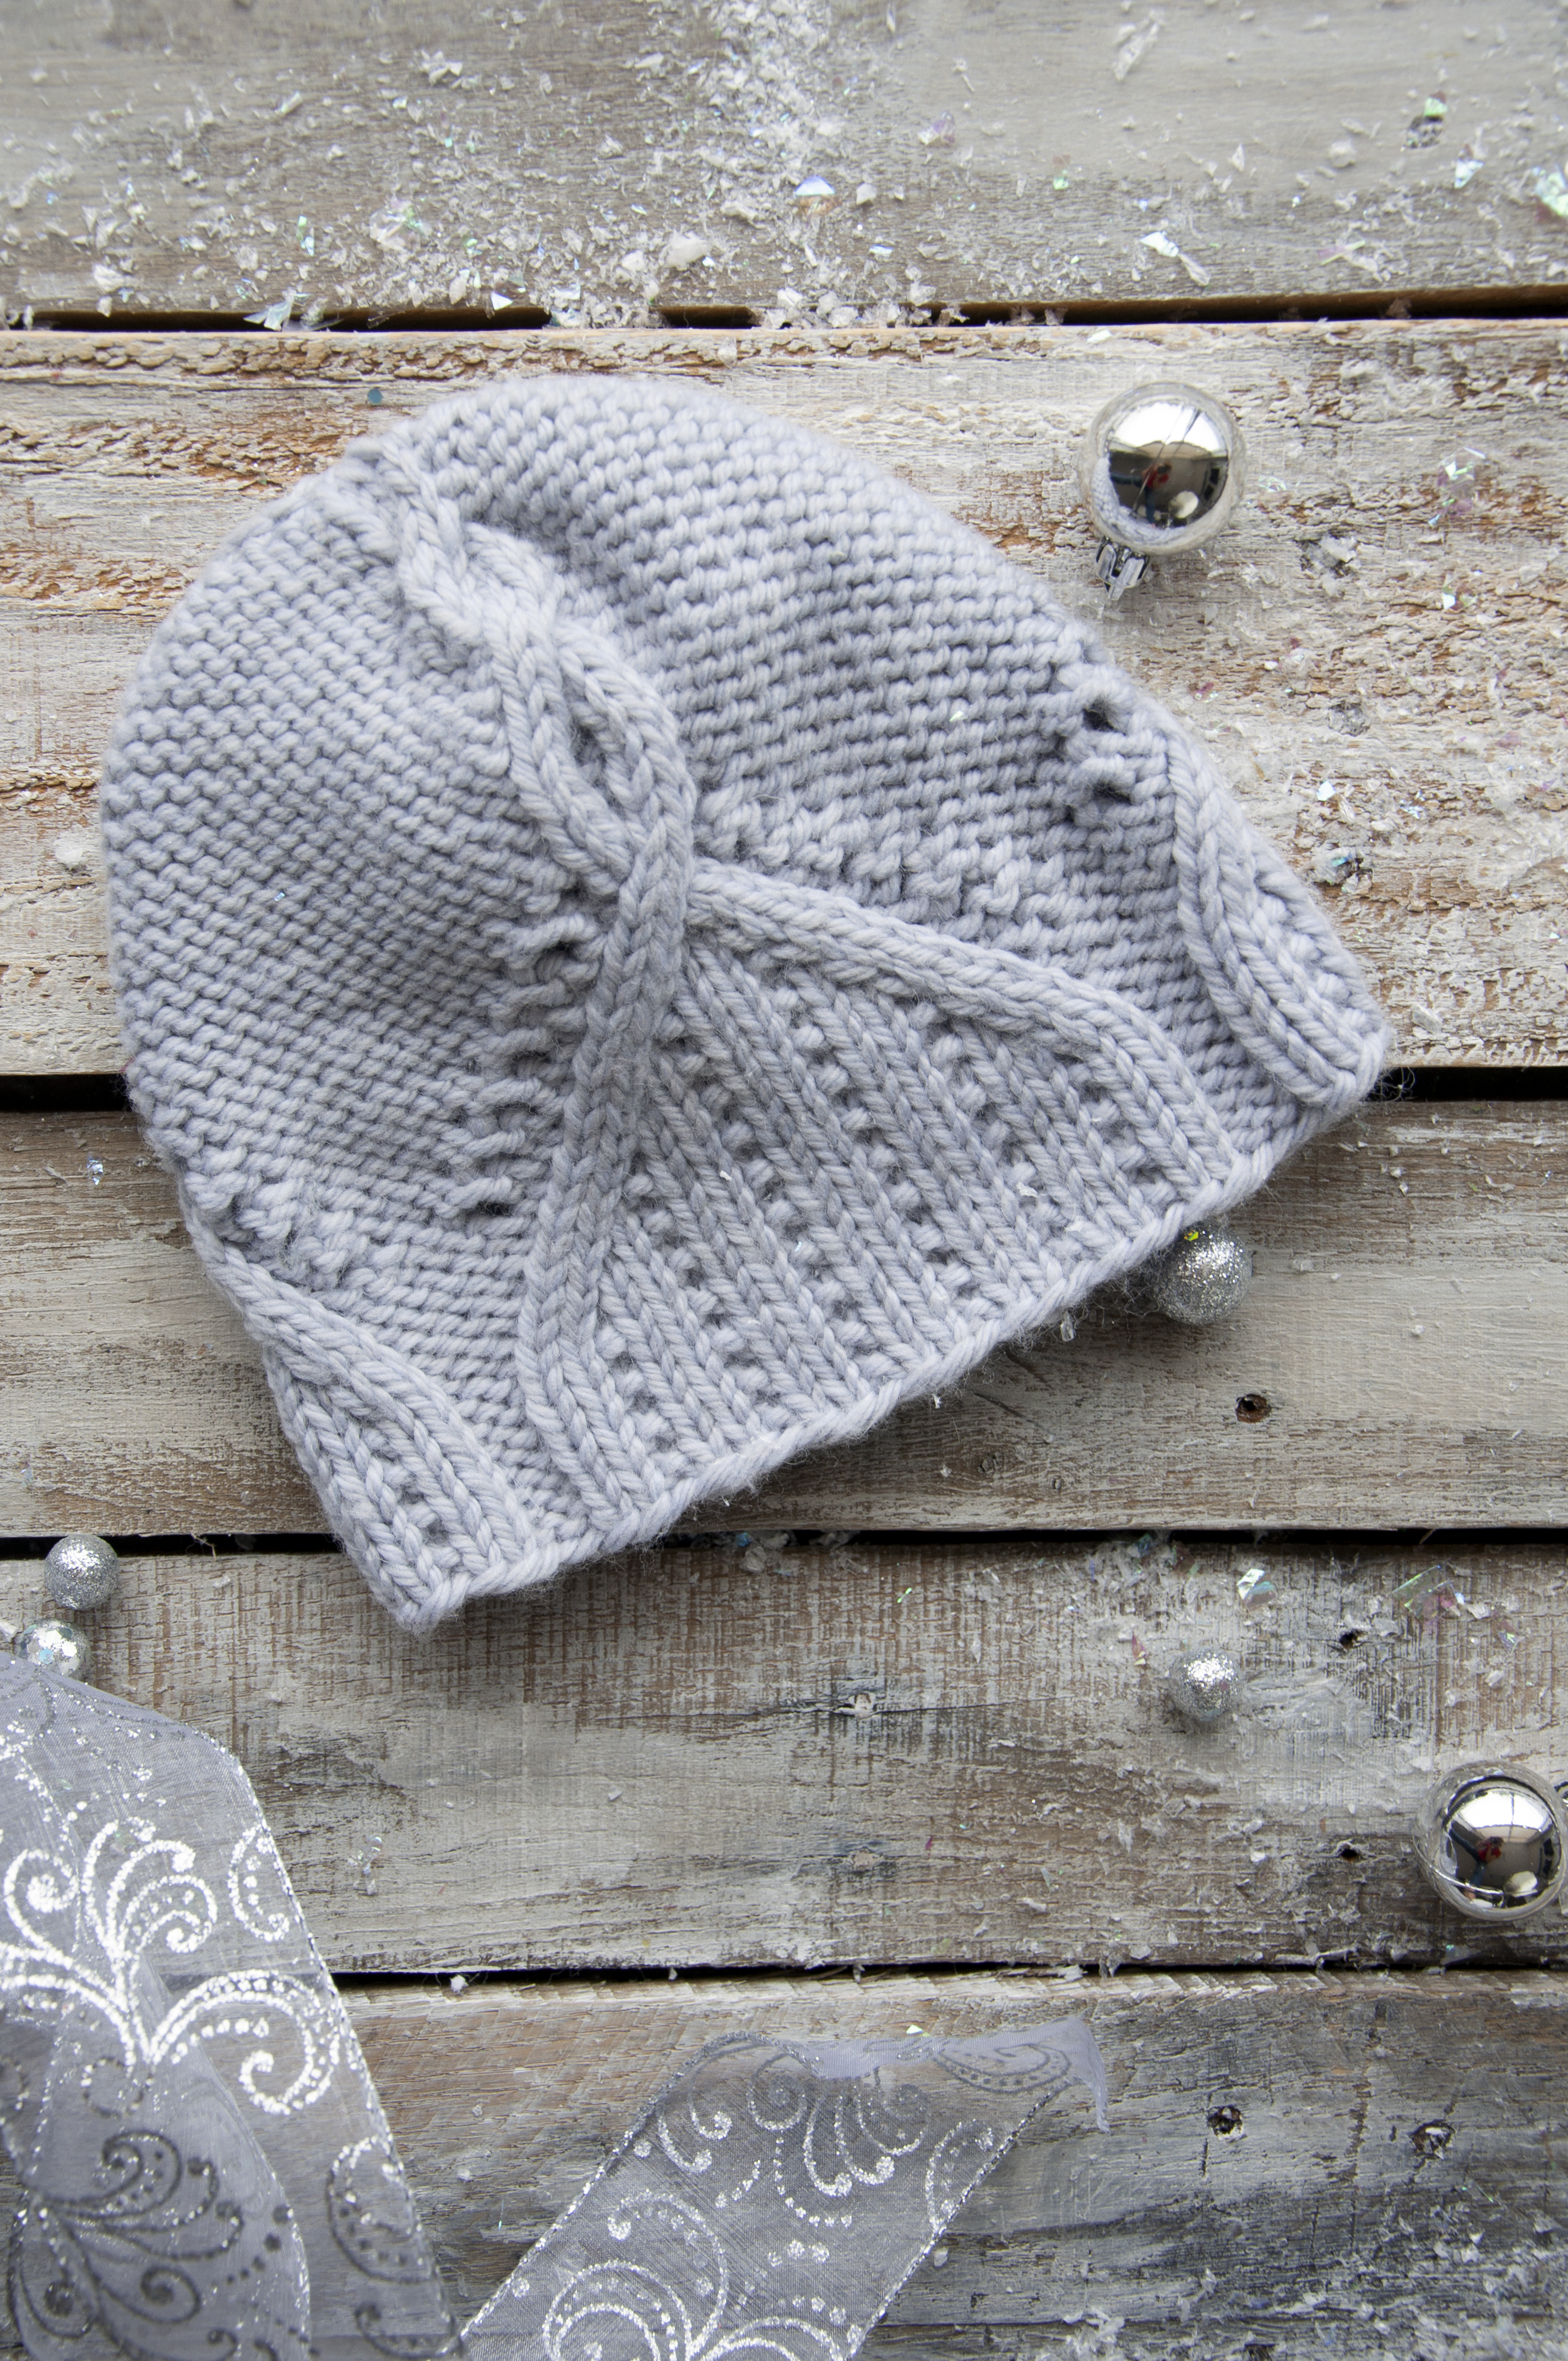
TA-DA!
That’s it! You’ve created a beautiful cable without a cable needle.
I realize that I’ve only included instructions for a 2×2 Left Cross here, but my hope is mainly to give you the courage to go forth without a cable needle. In fact, the pattern features left and right crosses; so if you choose to skip the cable needle you’ll have plenty of time to practice both.
Left and right cable crosses are used to create the traveling cables in the hat. The cables in the crown use right crosses.
You can do this on any number of stitches, but I wouldn’t recommend working cables without a needle on anything more than 3×3 crosses. Any bigger than that and things can start to look sloppy and feel fiddly. Cable needles are great and help to maintain an even tension, but the same results can occur without them. Some find that skipping the cable needle feels faster, too. In personal projects, I go both ways. It depends on my mood and whether I can find my cable needle!
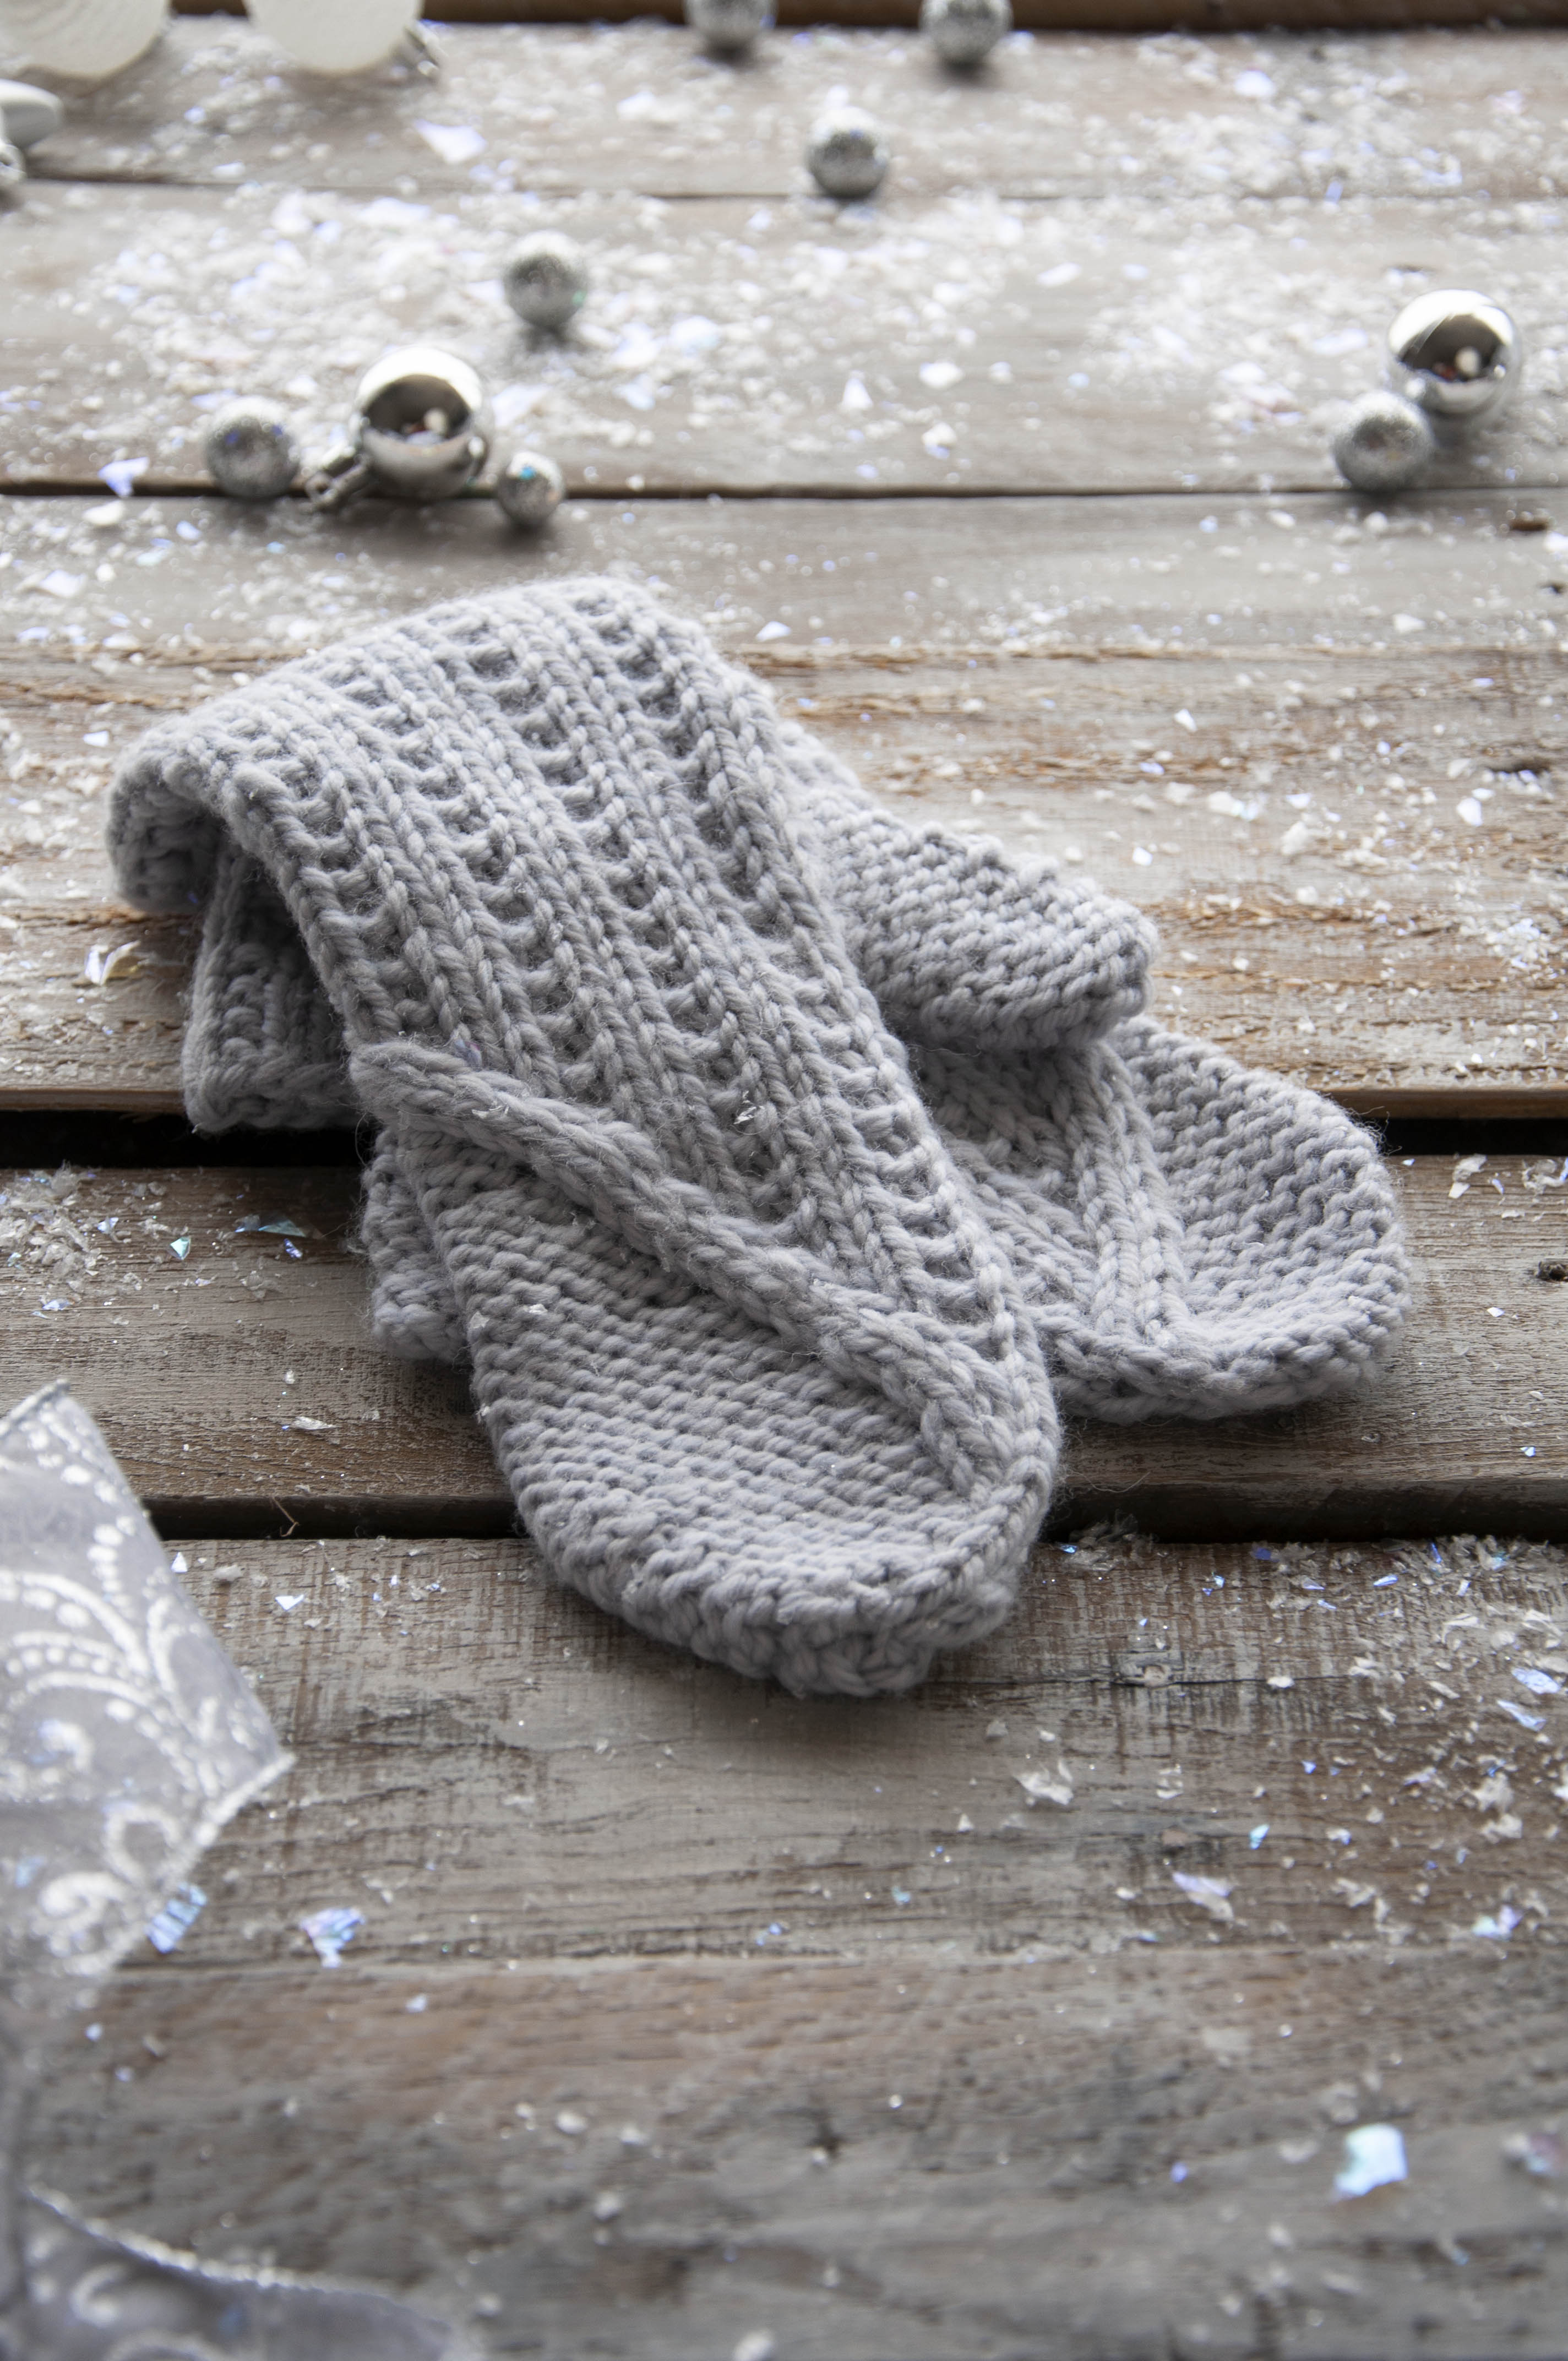
Cable stitches are also used in the mittens.
Remember, you can find the 12 Days of Winter Kit patterns on Ravelry.
This is part 10 in a 12 part series highlighting designs from our 12 Days of Winter, Series 2 Edition.
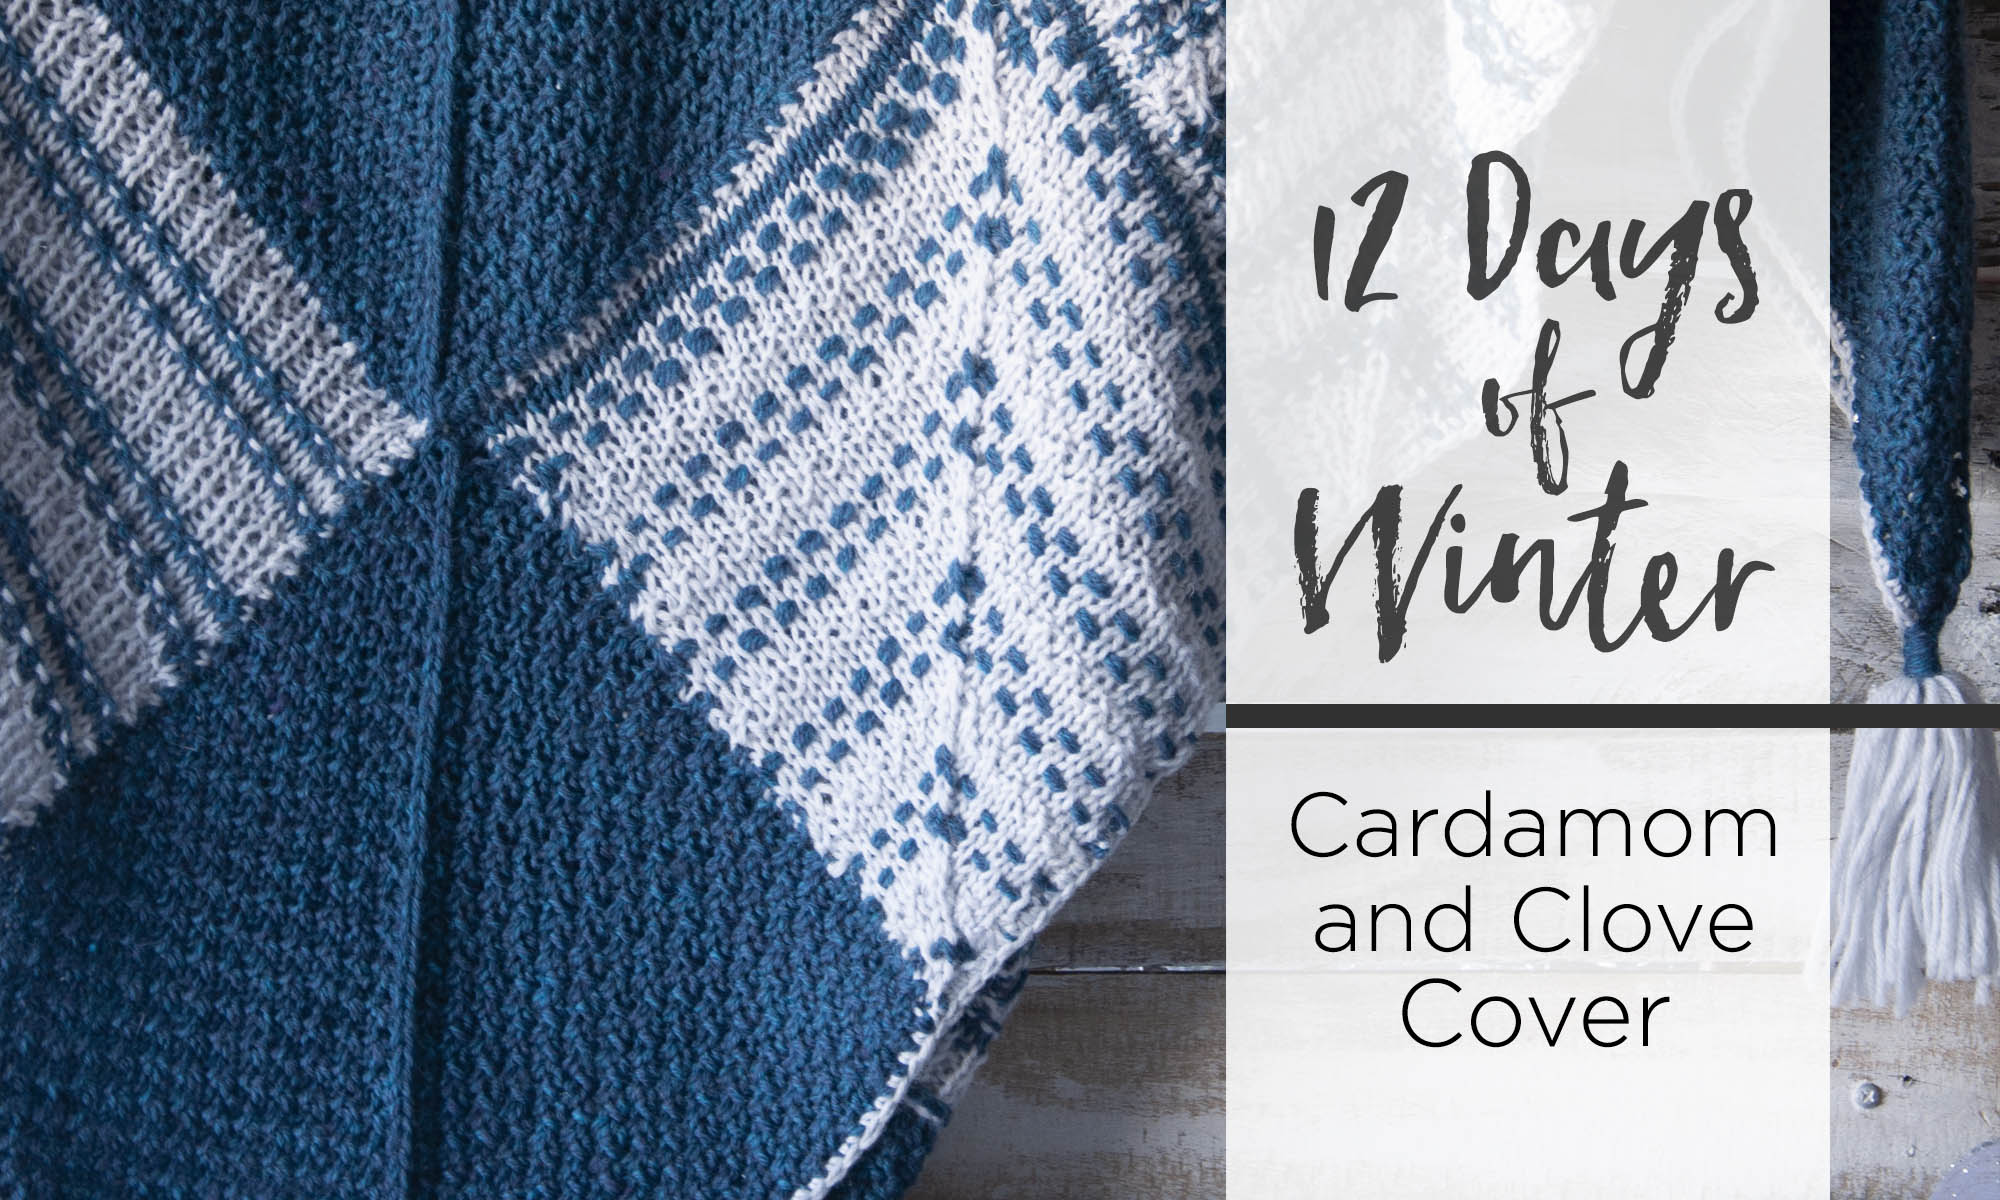
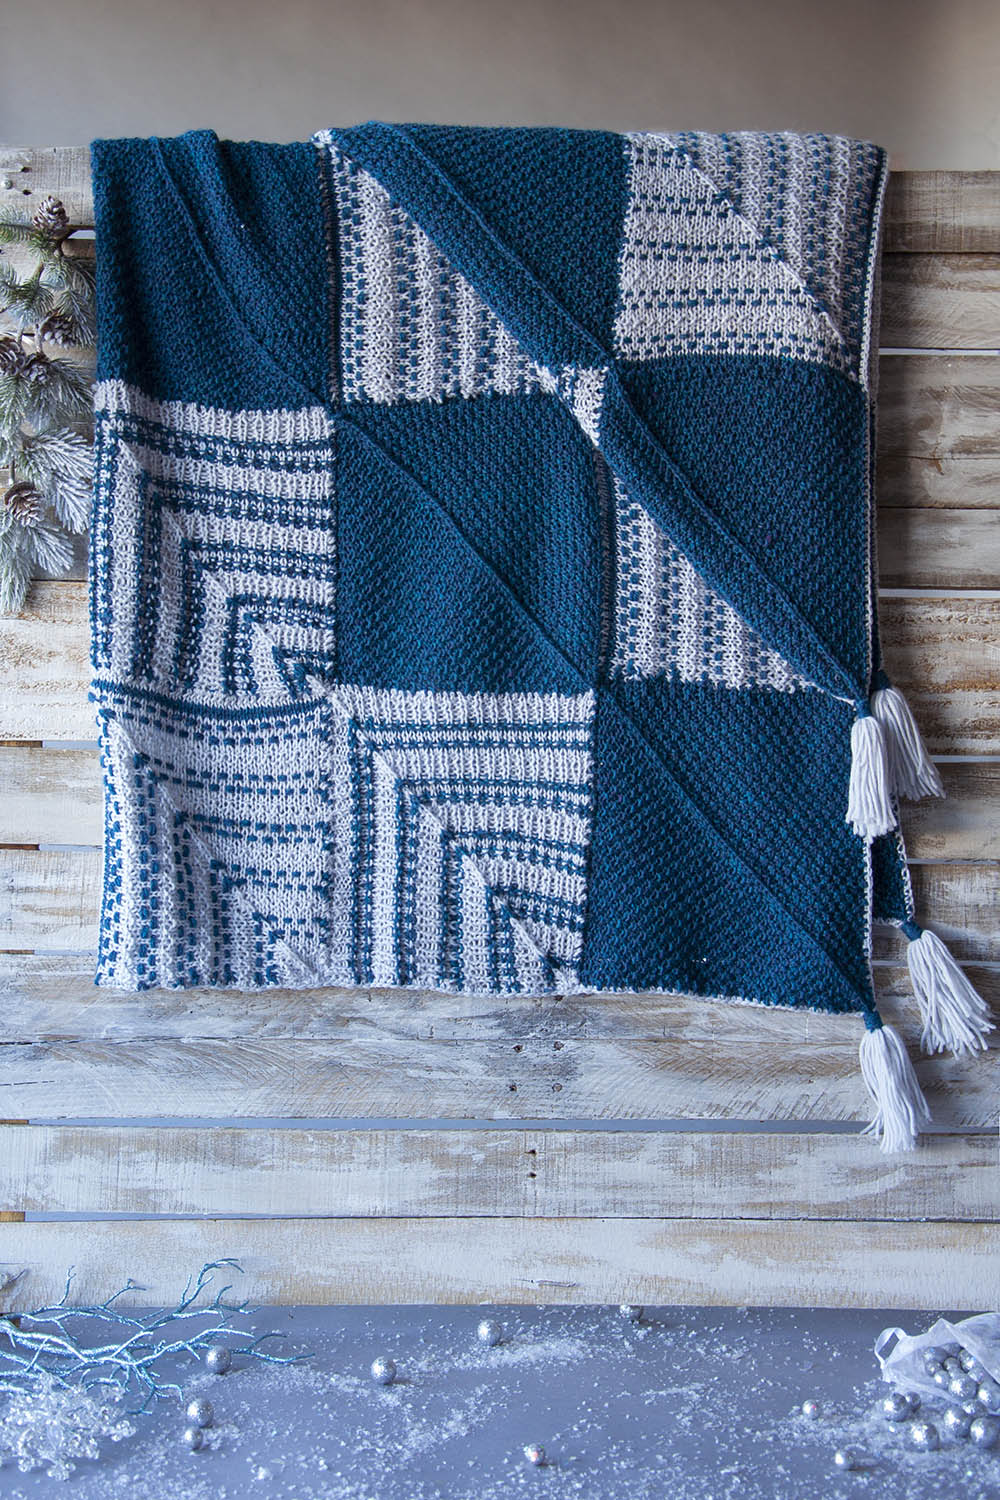
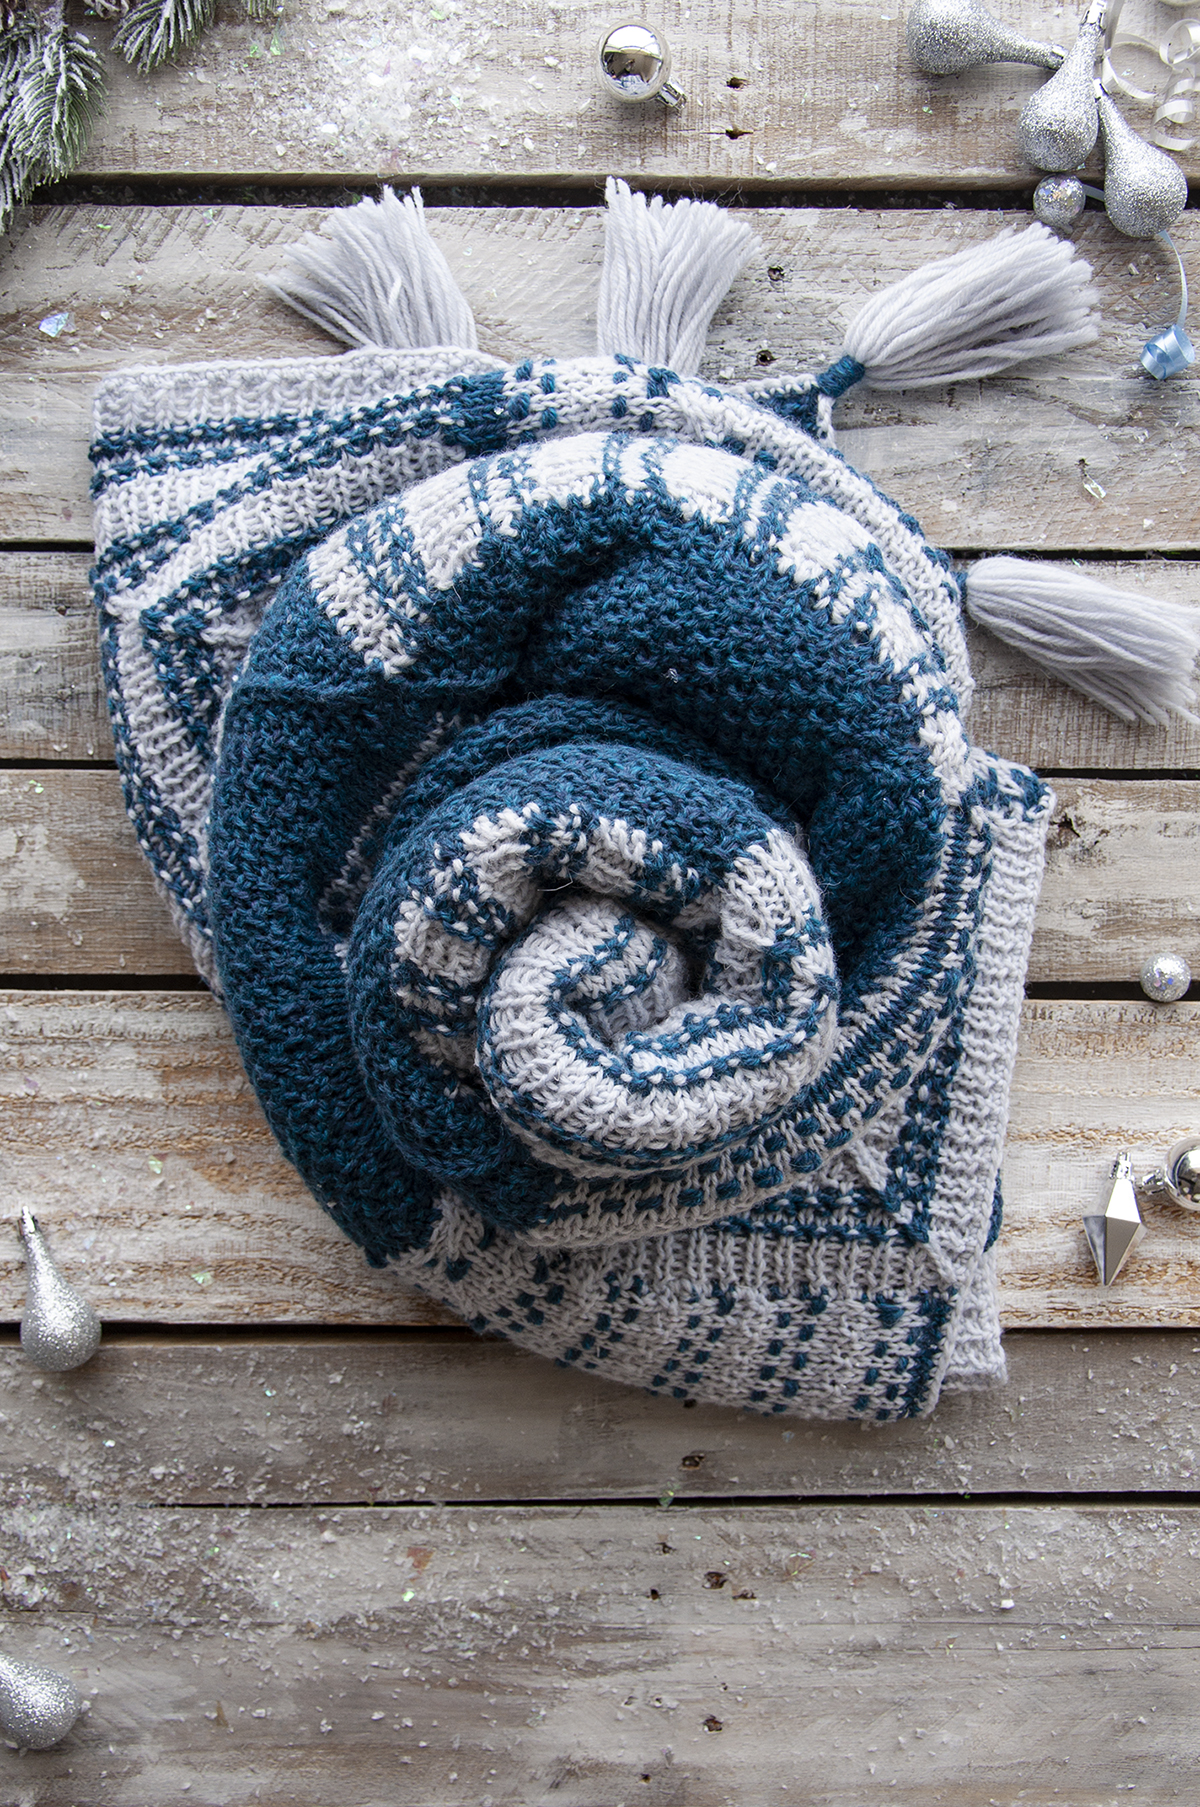
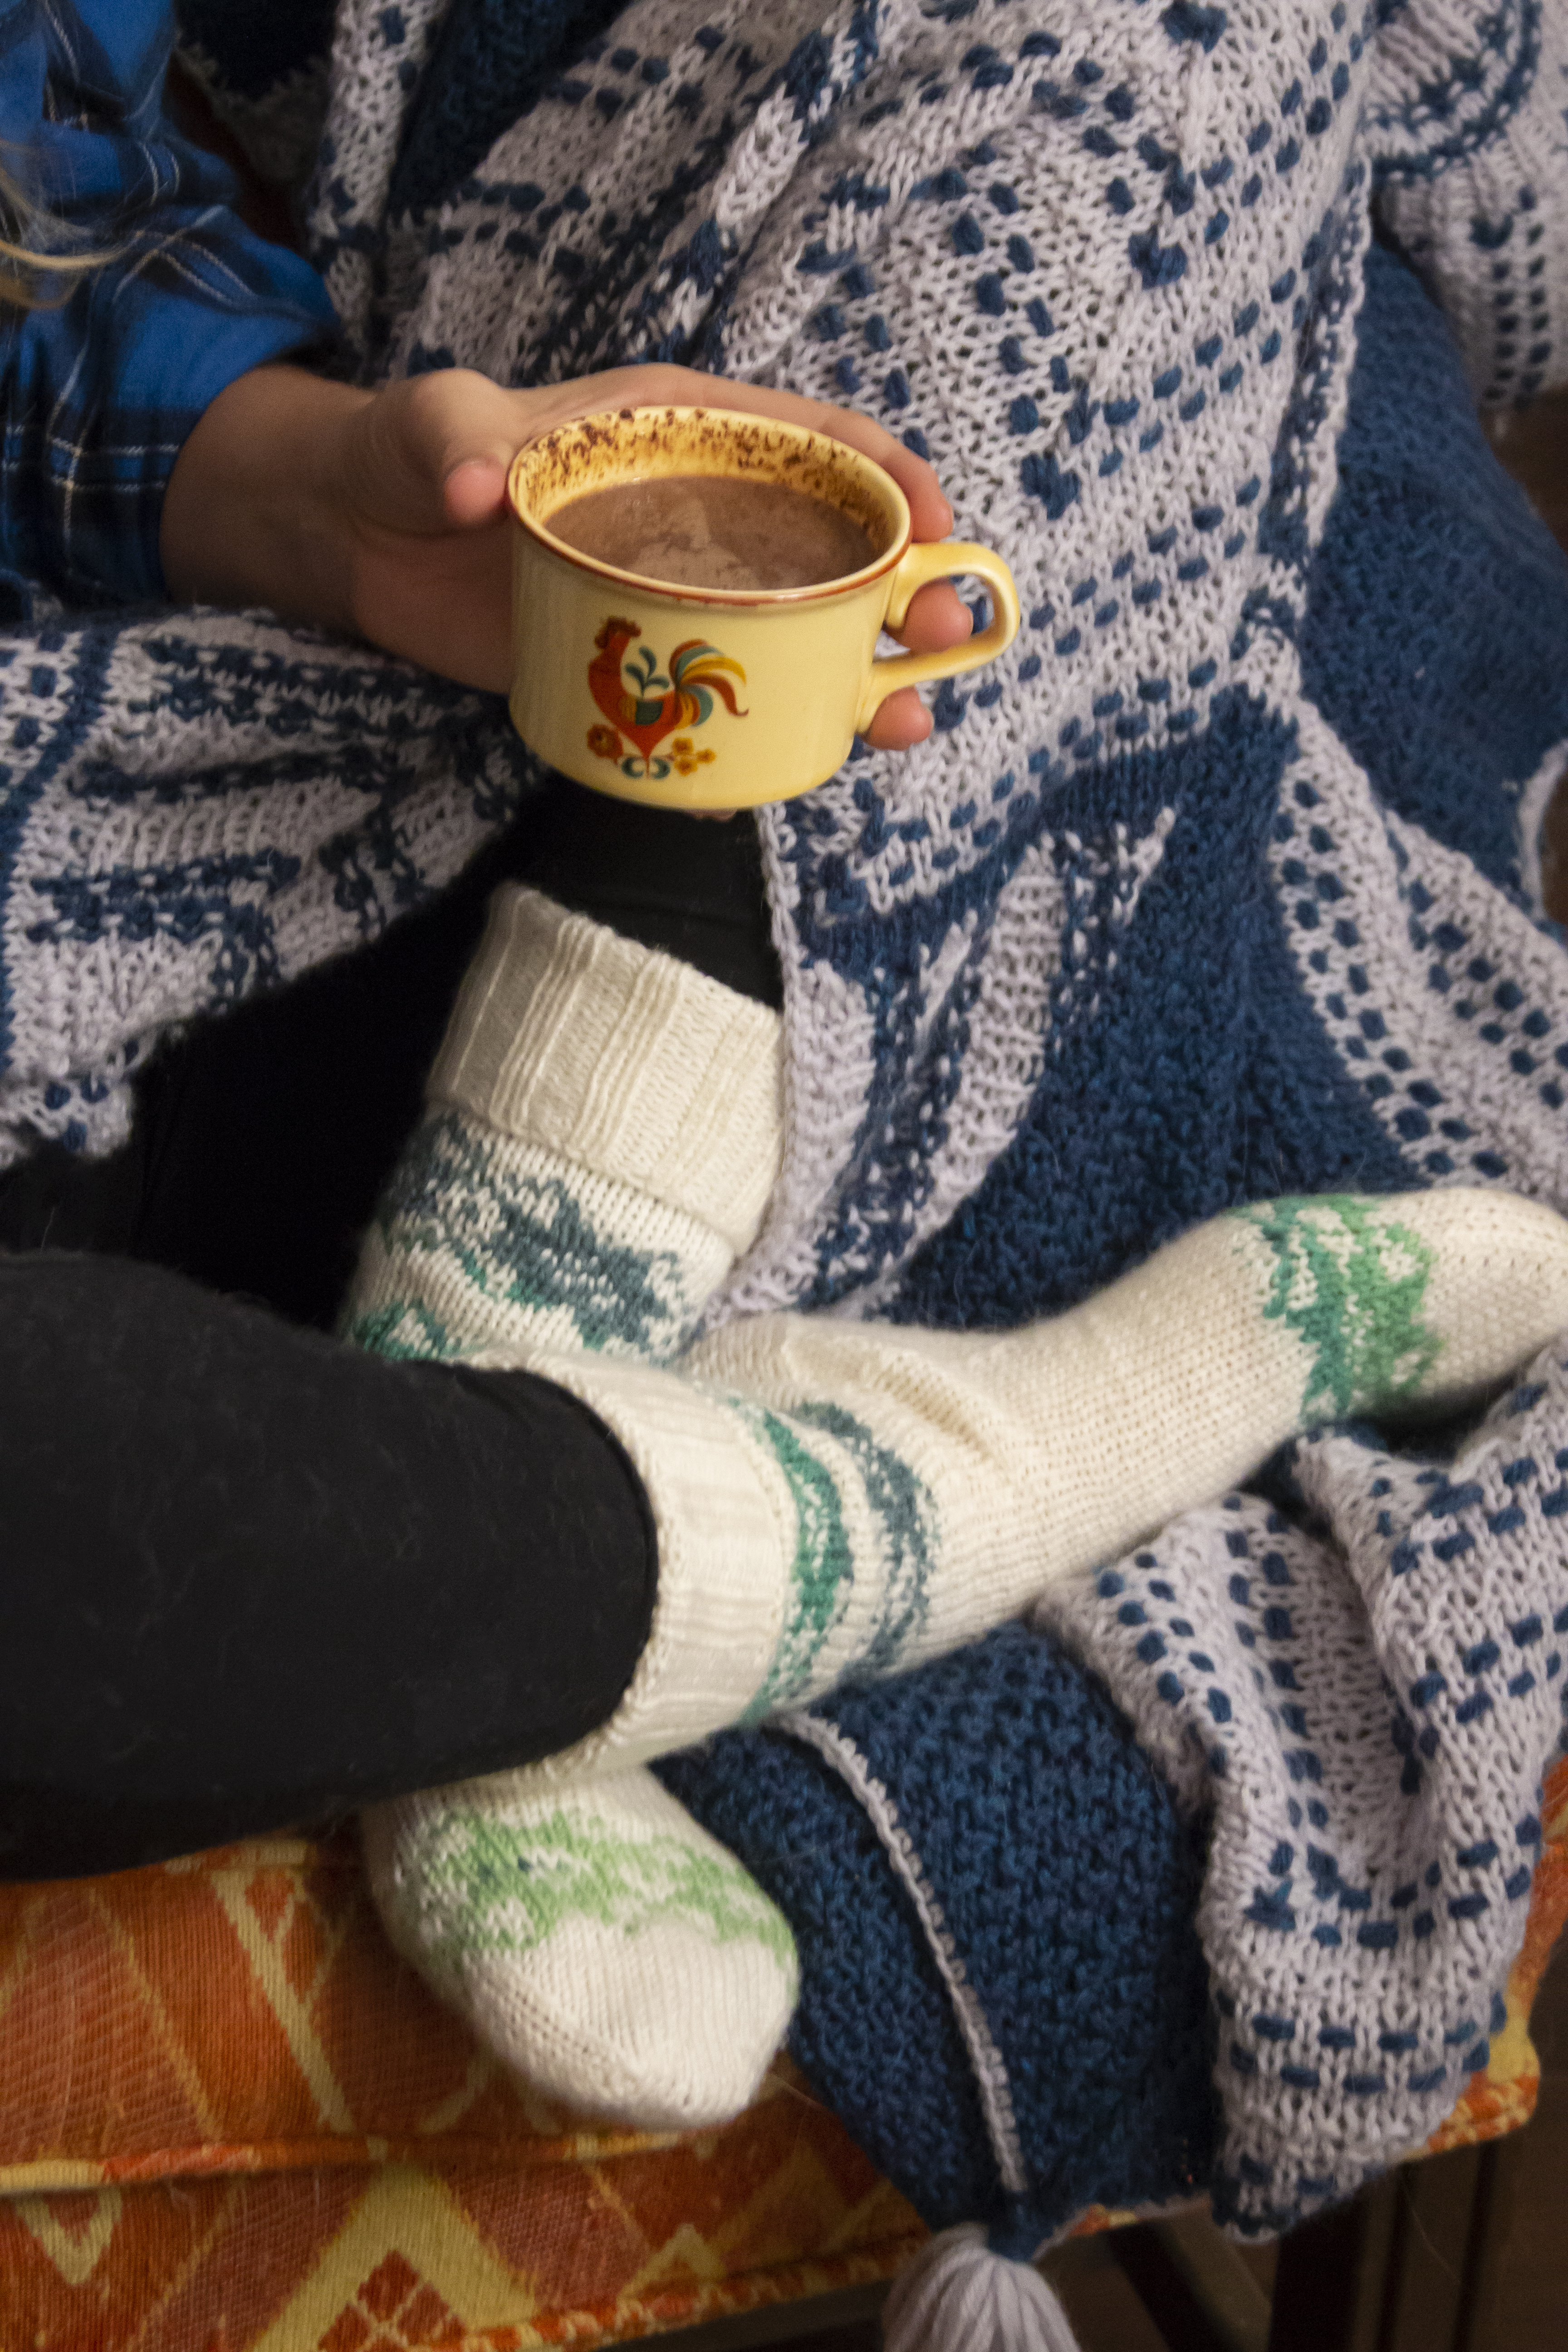
Today I’m happy to introduce the Cardamom and Clove Cover – an ultra-cozy wool blanket that’s perfect to wrap around your shoulders while drinking a warm and wintry beverage!
I grew up in a place where it actually snows (when I say “actually” I mean unlike the meager, quick-to-melt amounts that we receive here in Charlotte, NC). To this day I find there is a lot of magic to snow days, and that was especially true when I was a child.
Living in a rural area, just by the border of a state park, snow days first meant shoveling the driveway followed by playing in the snow-covered woods for hours and hours. I rarely came inside until the tips of my hair were completely frozen and my feet couldn’t hand the cold anymore. Then, I’d make my way back home. While my siblings and I pulled off the six million layers we wore to stay warm, my mom prepared hot cocoa.
What’s nicer than enjoying a warm beverage with a cozy blanket on your lap after spending hours in the cold? So, to accompany this design reveal I thought it would be fitting to share a perfectly spiced hot cocoa with a touch of cardamom and clove. This recipe isn’t overly sweet, but it is very rich.
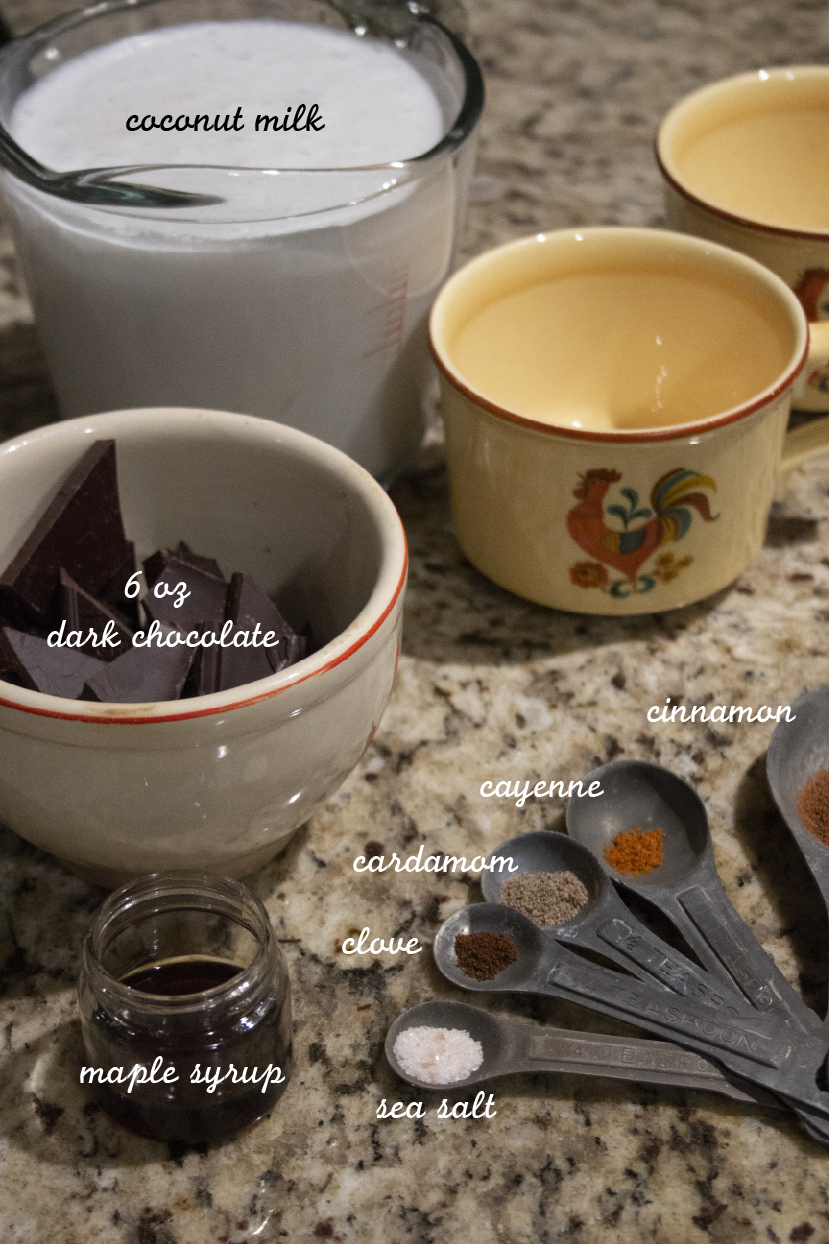
Ingredients – serves four
12 Days of Winter Kit Collection – Cardamom and Clove Cover Kit
6 oz very dark chocolate (I used 90% cocao)
4 cups of coconut milk (or your milk of choice)
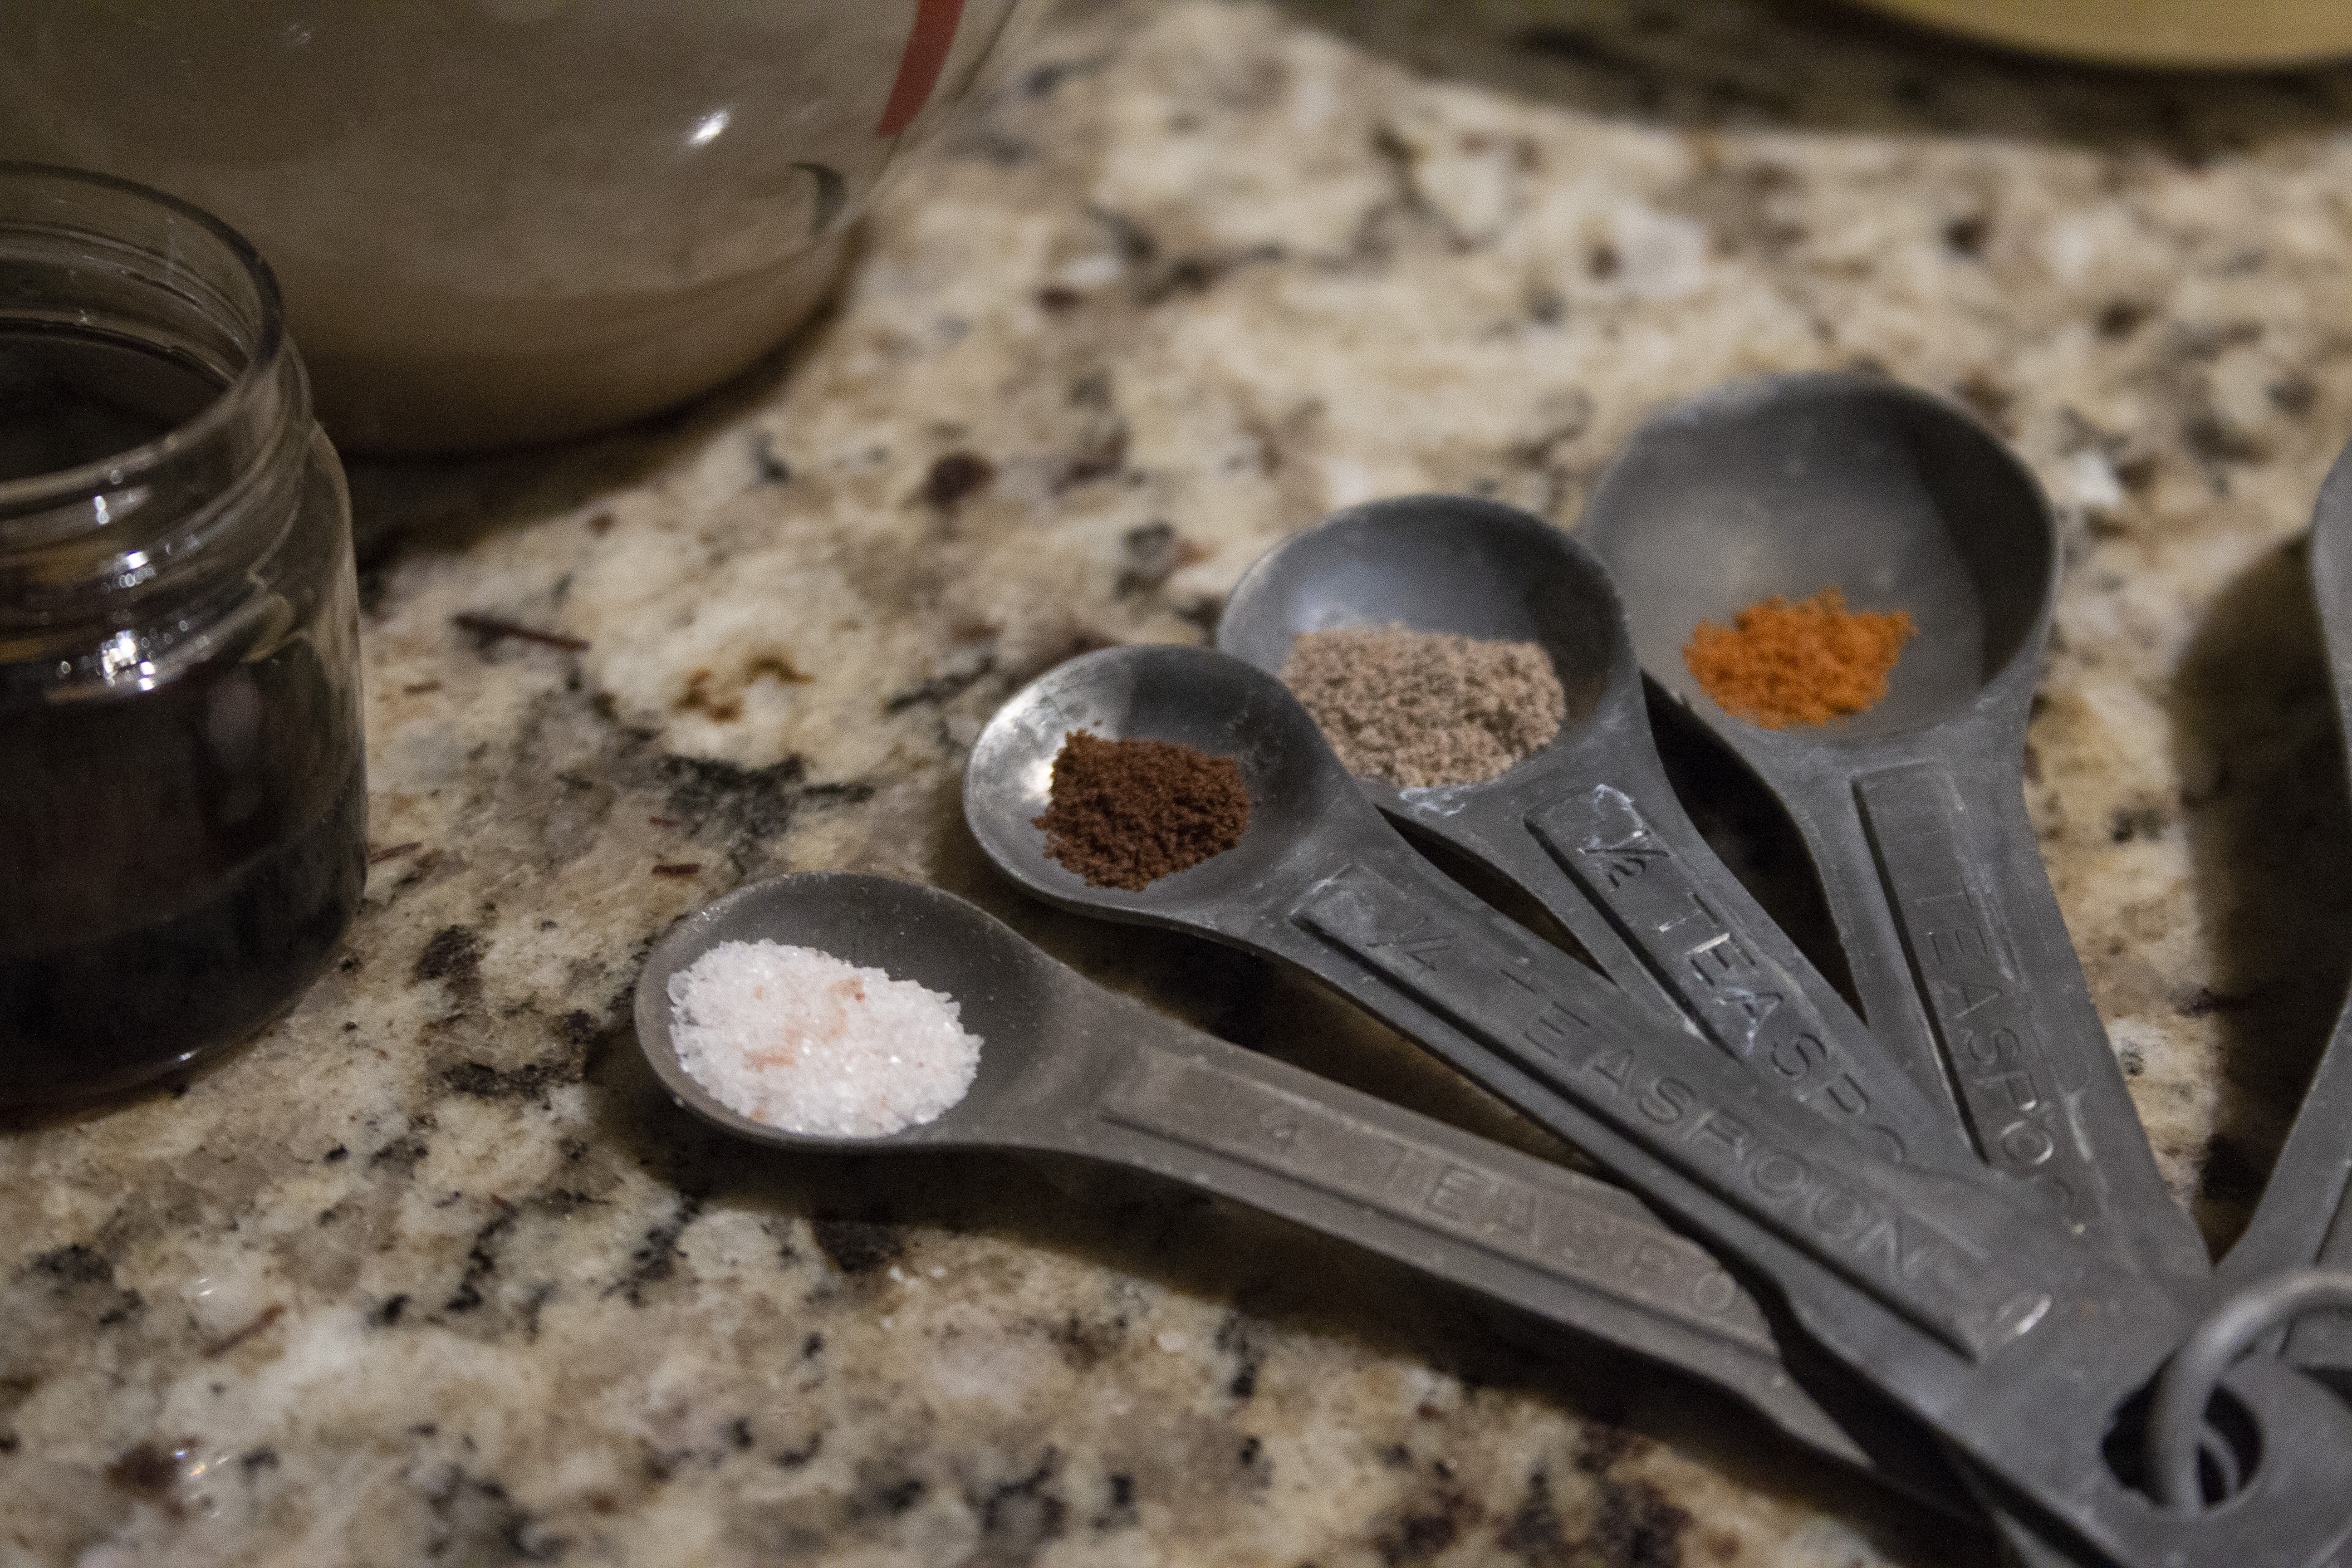
1 pinch cayenne
1 pinch ground cloves
1/4 tsp cardamom
1/2 tsp cinnamon
1/4 tsp freshly ground sea salt
1 Tbsp maple syrup
First – knit, knit, knit! How are you going to cuddle up and drink hot chocolate under your blanket if you haven’t knit it?! Okay – I admit, hot chocolate is just as good for knitting this kit, so you don’t need to complete this step first!
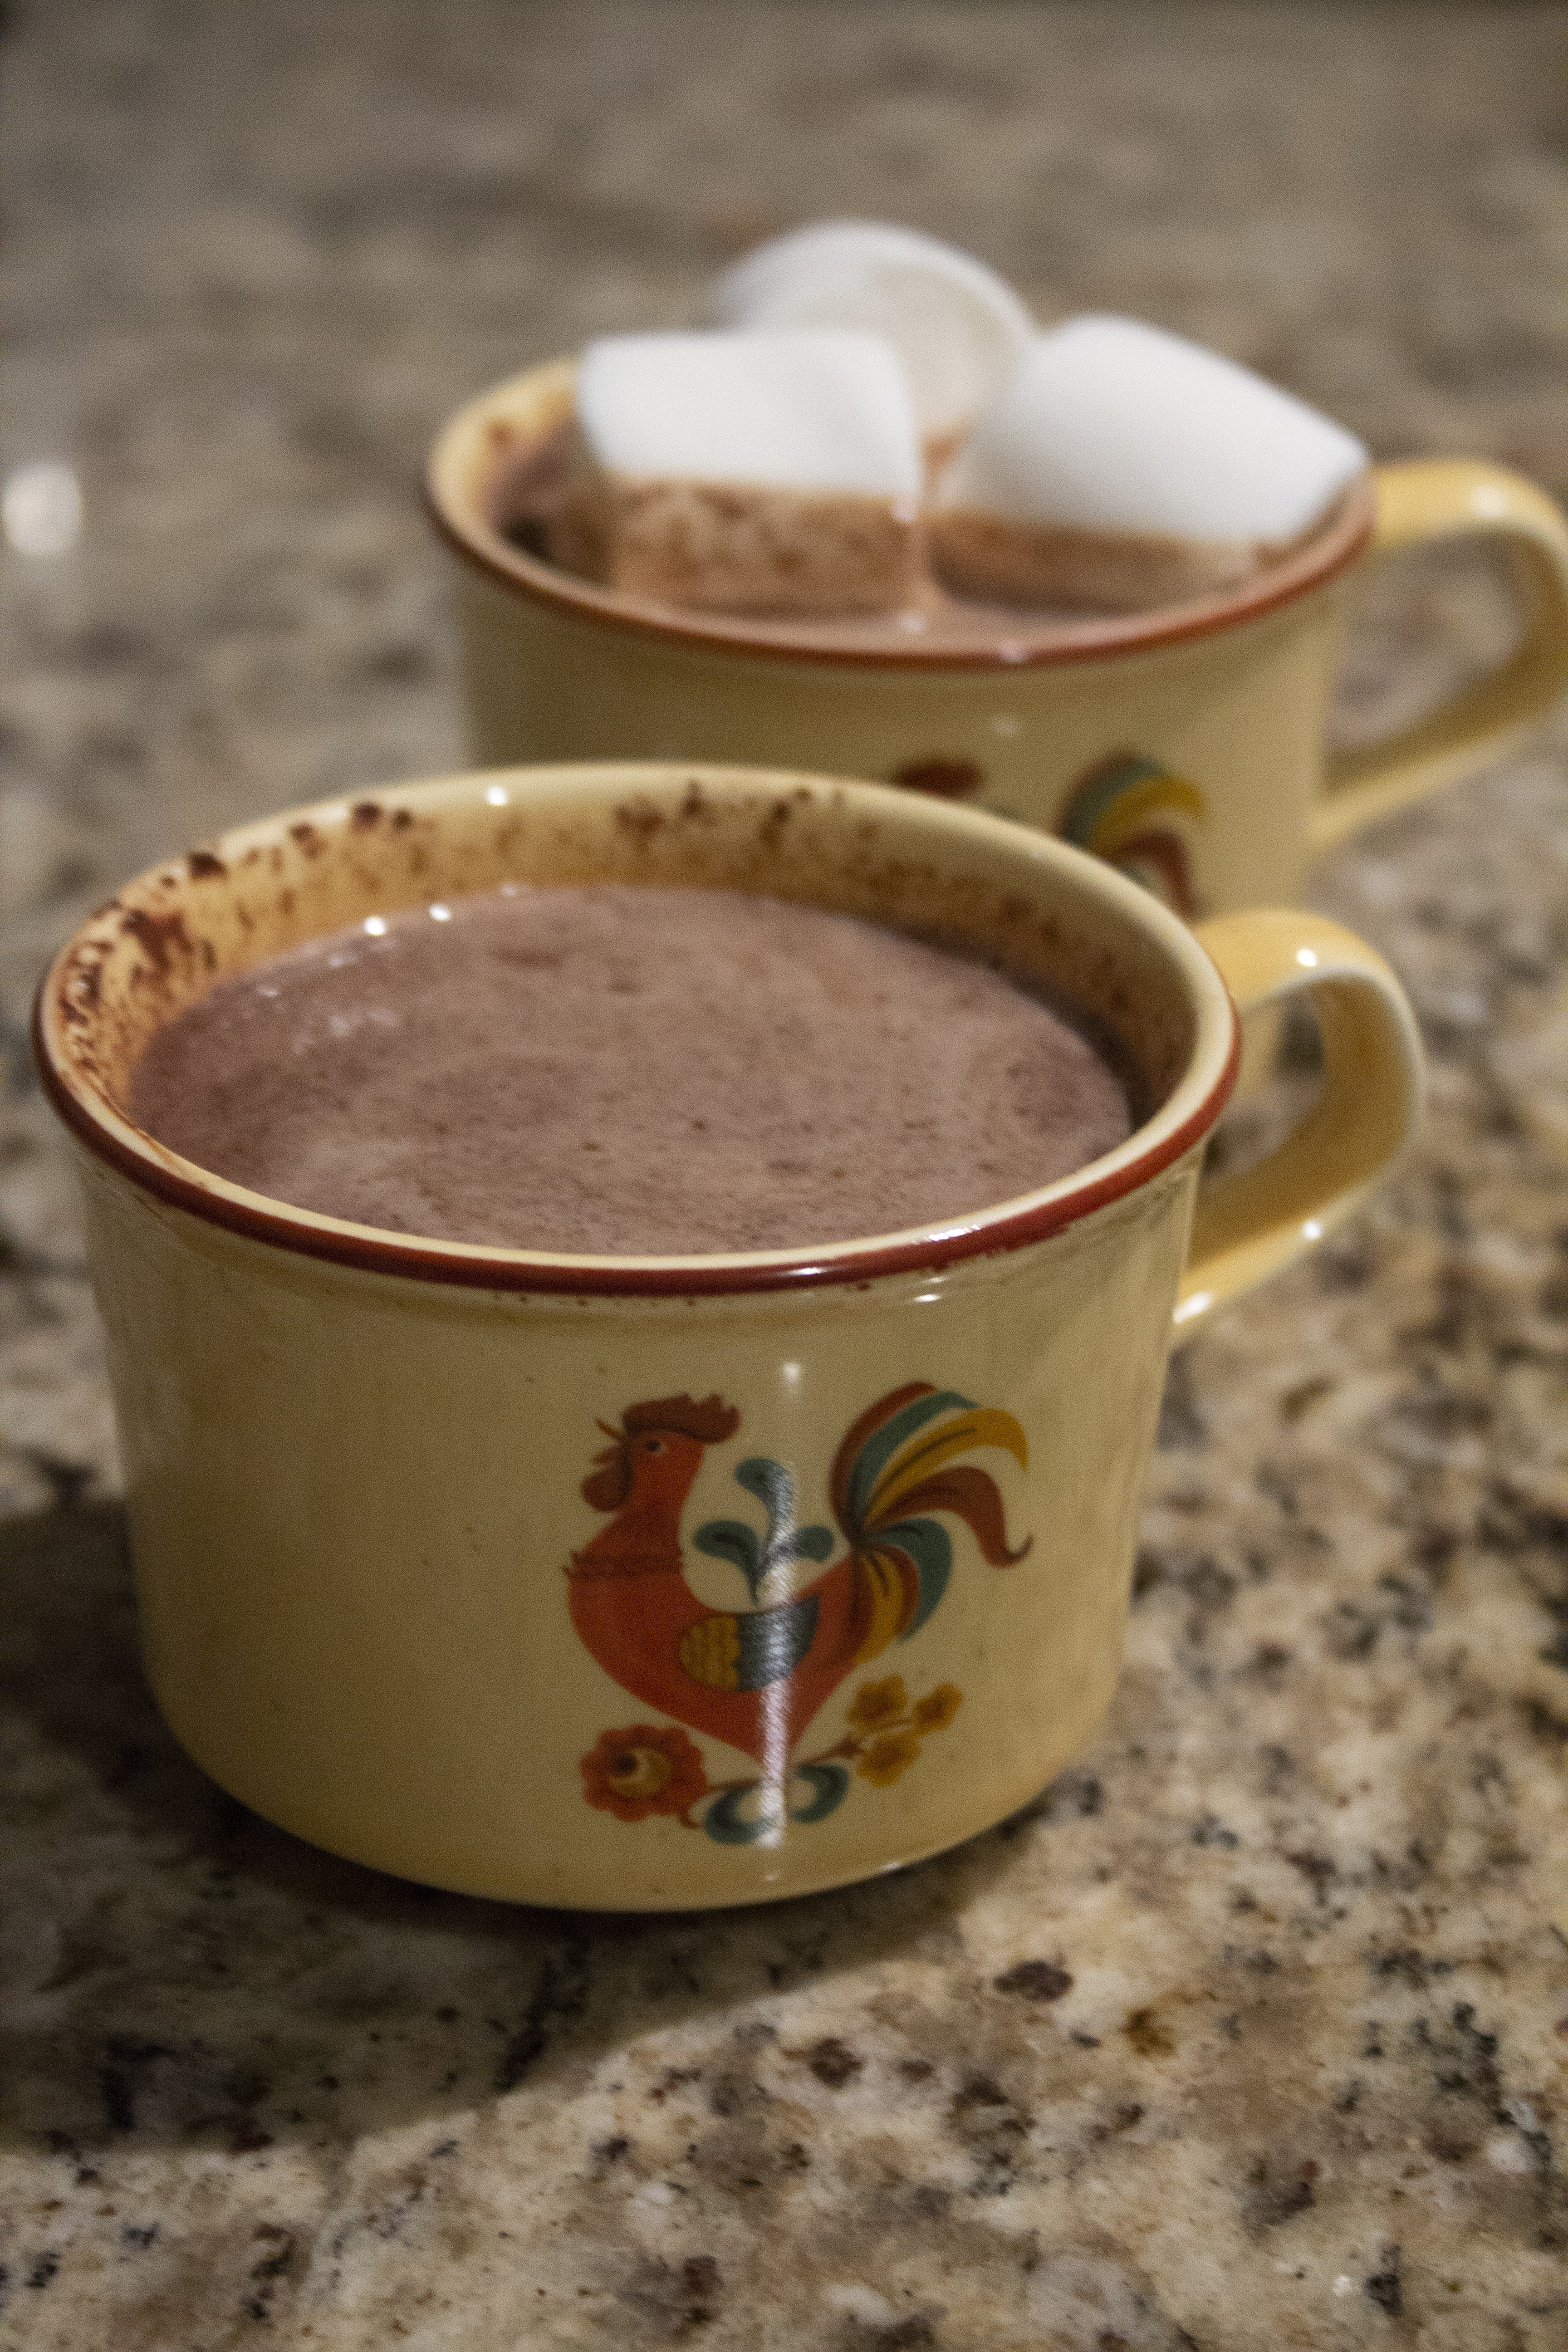
Pour the milk into a saucepan. Set the stove to low heat. Add the chopped chocolate and stir, slowly bringing the temperature to medium. When the chocolate is melted add the cayenne, cloves, cardamom, cinnamon, sea salt, and maple syrup. Stir, sip, and adjust spices and sweetener to taste.
Add marshmallows – or don’t, it’s up to you! It’s a pretty basic recipe that can be adapted however you’d like. I encourage you to have fun. Heck – add some nutmeg in there if you’re feeling really crazy!
Never enough knits – the Mistletoes and Cardamom and Clove Cover are perfect companions for hot chocolate.
Worried about spilling your cocoa on your beautiful blanket? Don’t! The Cardamom and Clove Cover Kit uses Deluxe Worsted Superwash, so it’s incredibly easy to care for.
Remember, you can find the 12 Days of Winter Series 2 patterns on Ravelry.
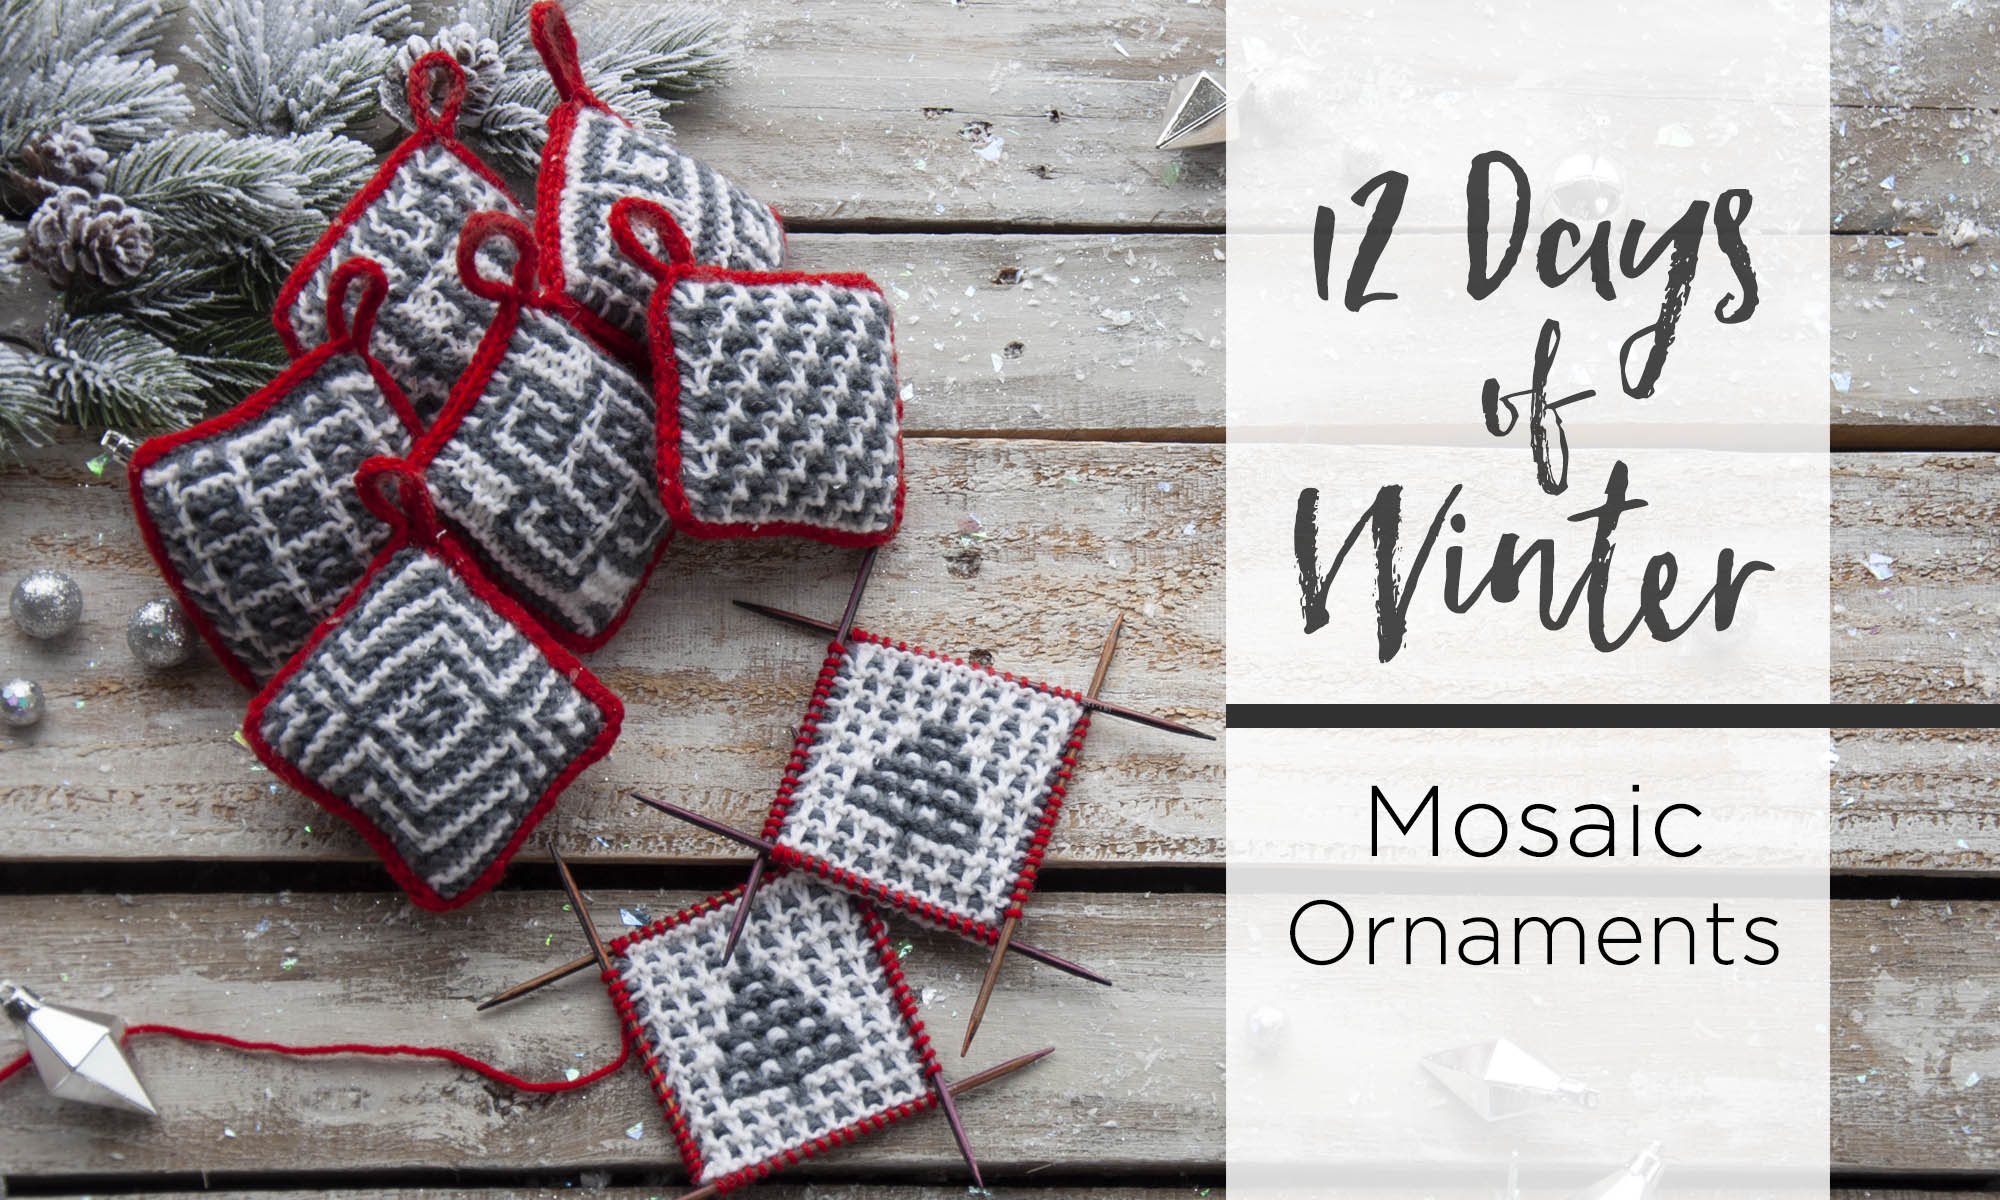
This is part 9 in a 12 part series highlighting designs from our 12 Days of Winter, Series 2 Edition.
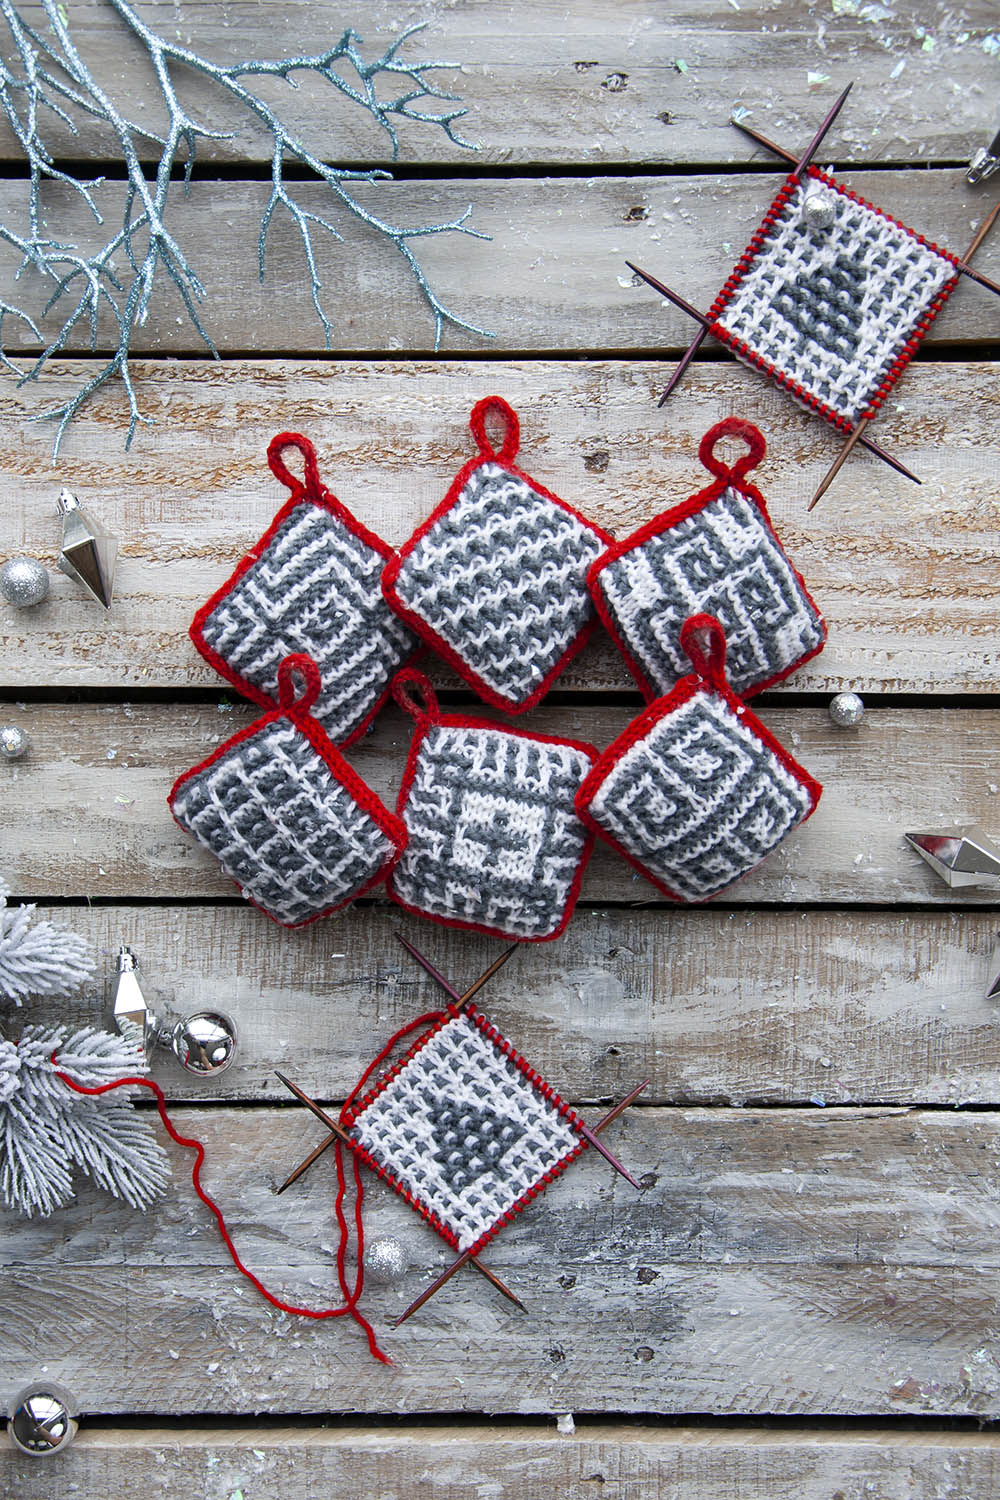
Ornaments are meant to be special. Often they are passed down to us. Perhaps they’ve been collected from some treasured place, or maybe they are handmade. After all, what is more charming than lovingly made handmade items?
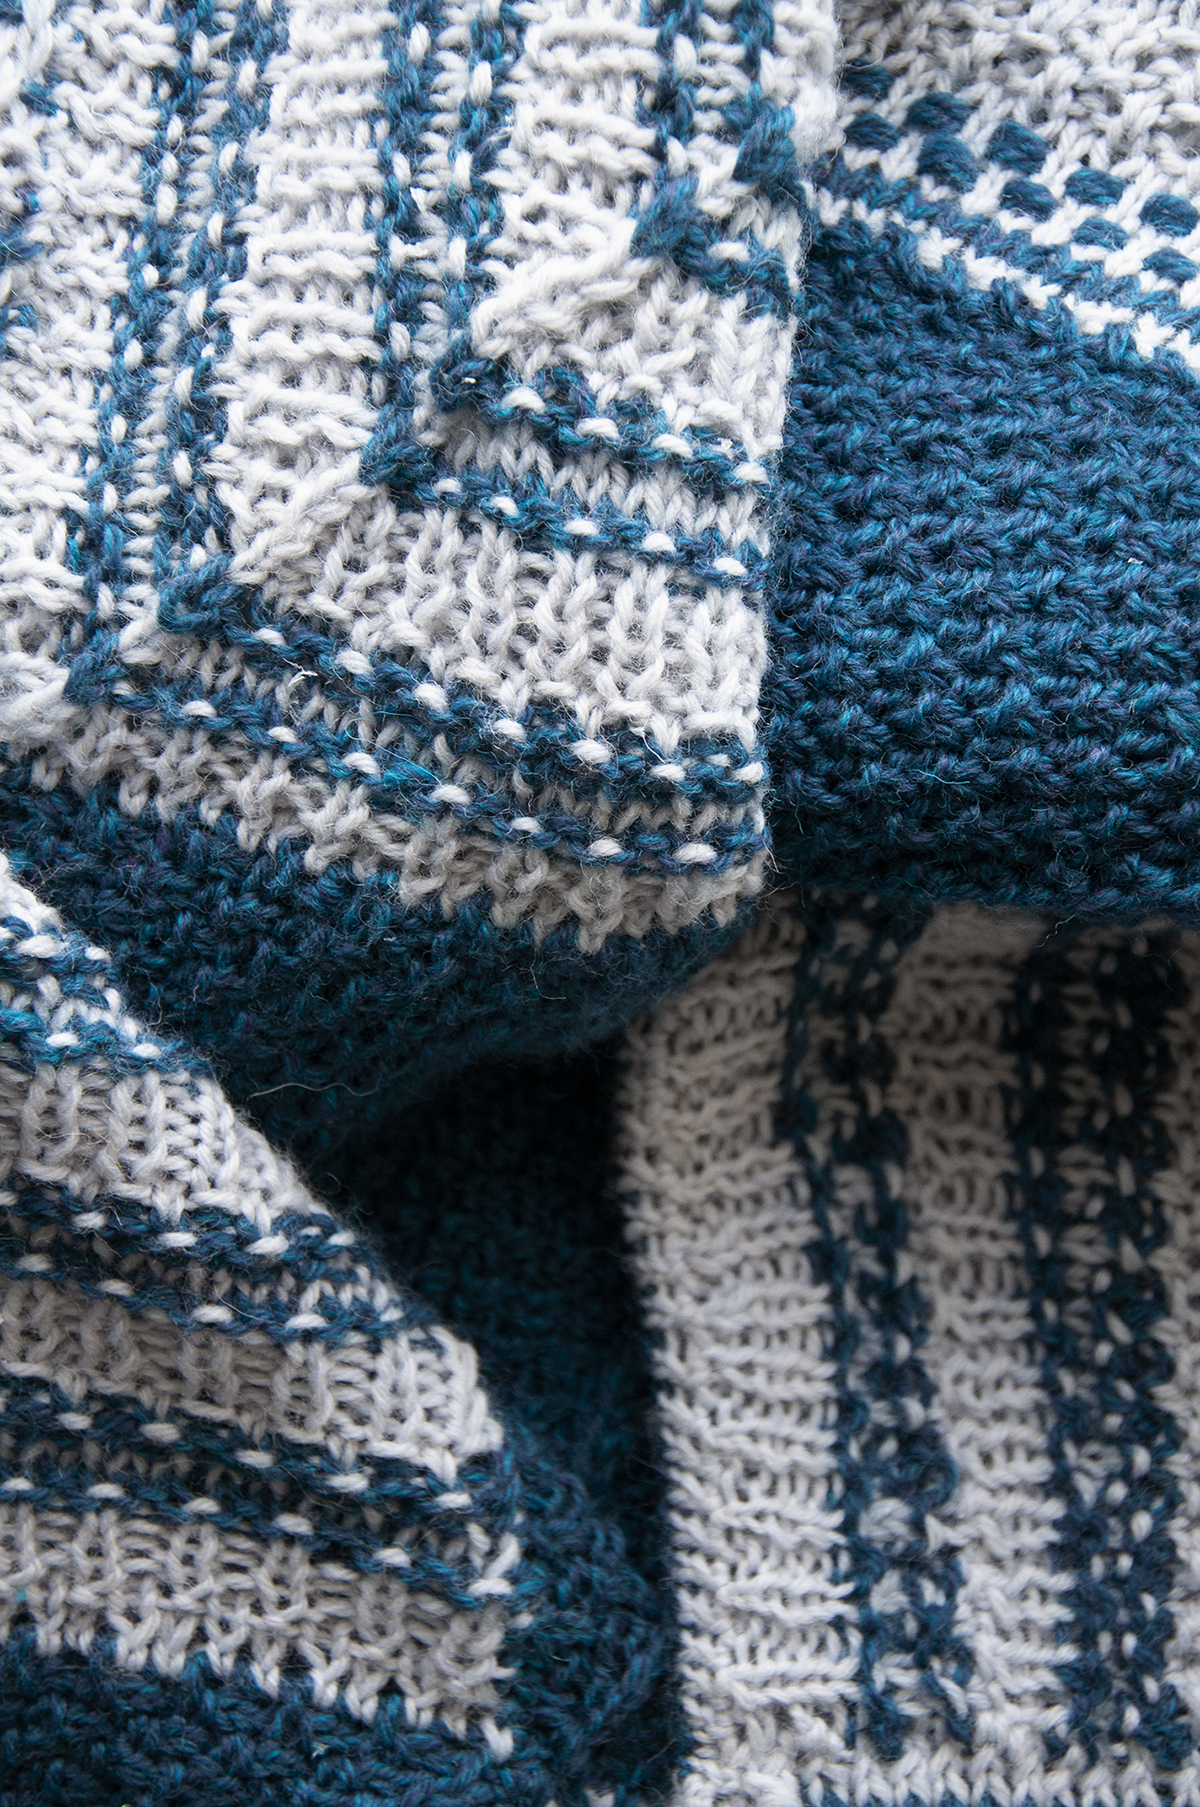
The Mosaic Ornaments pattern calls for 3 balls (1 of each color) of Deluxe DK Superwash. Though there are seven different mosaic designs included in the pattern, the yarn amounts are enough to make at least 40 ornaments. Quite a bargain, eh?
Each ornament begins by knitting the two sides separately. They are then joined with a three-needle I-Cord bind-off. Sound tough? It’s not, because I’m adding a step that takes this from a three-needle bind-off to just (the usual) two needles. Keep on reading to see how I like to do it!
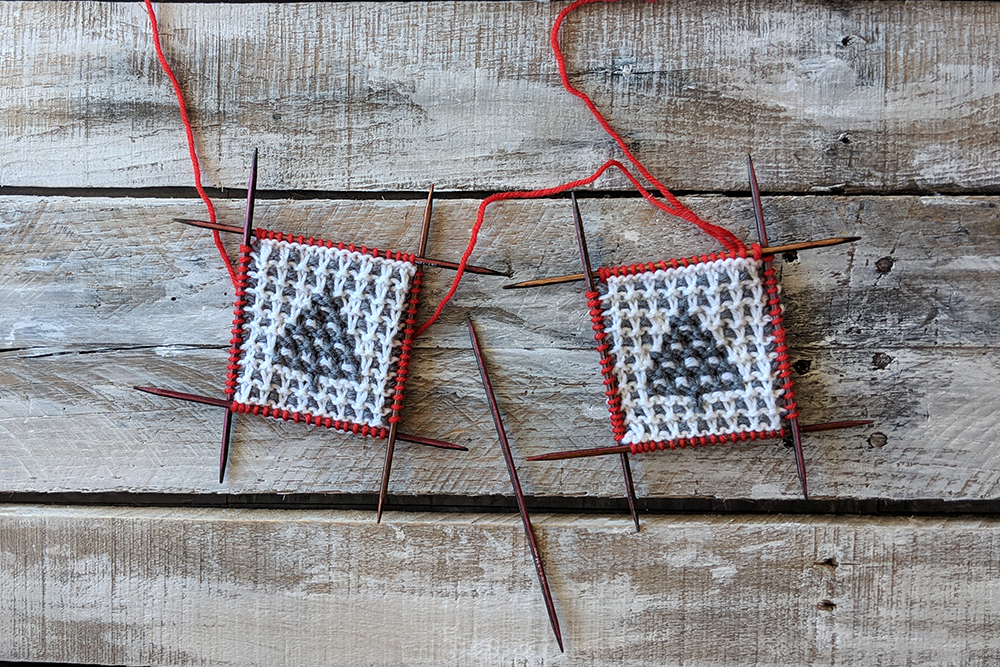
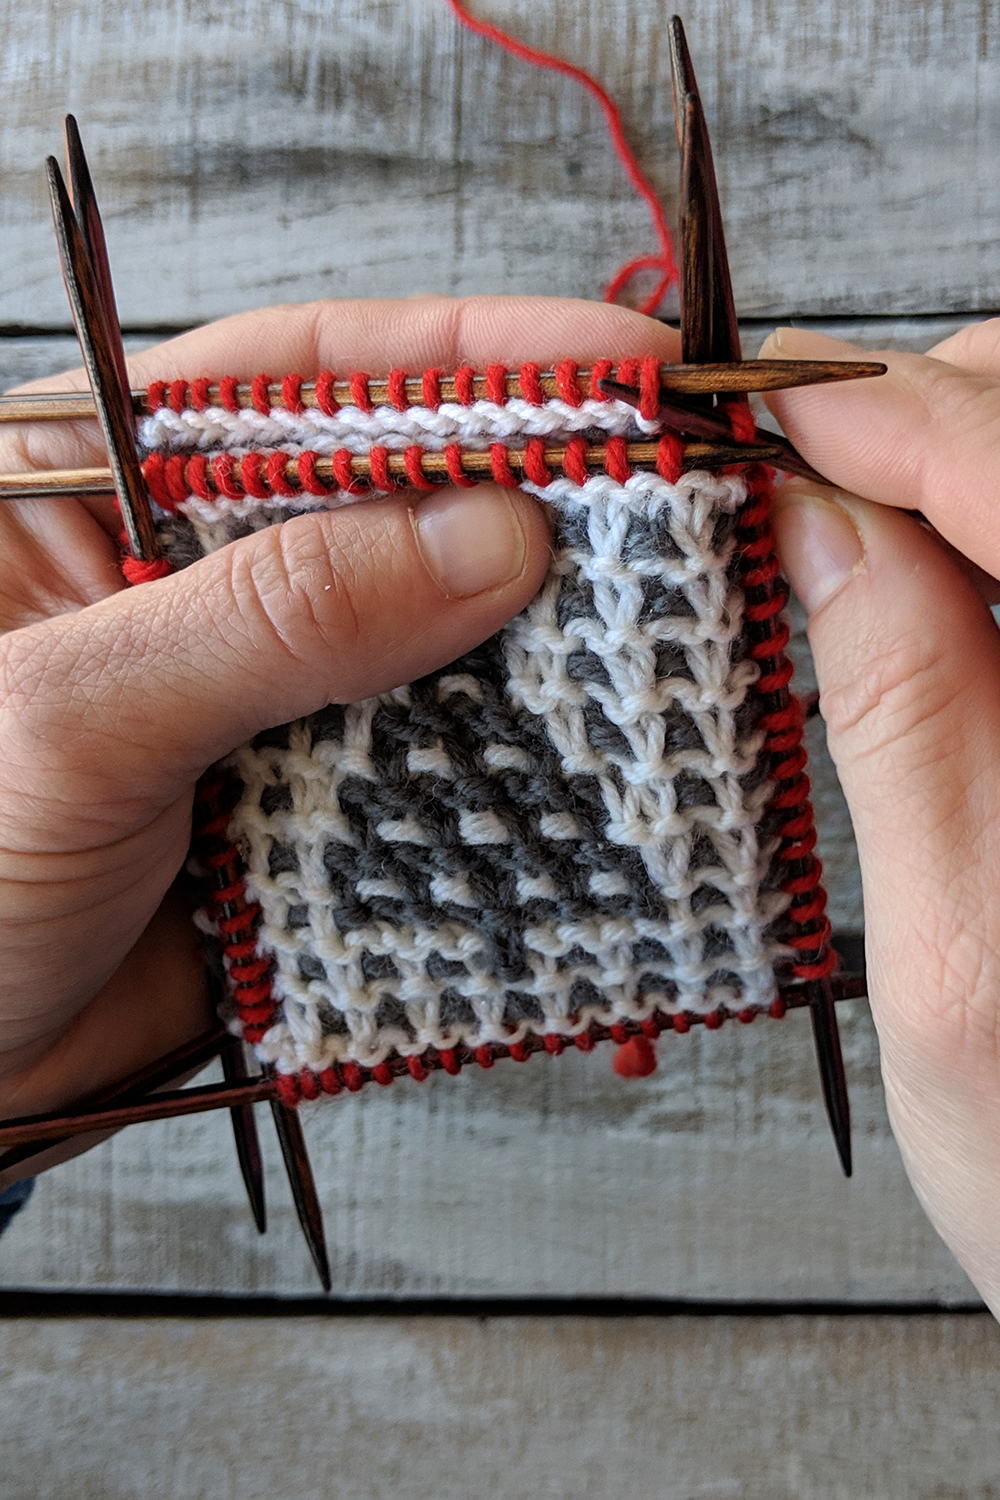
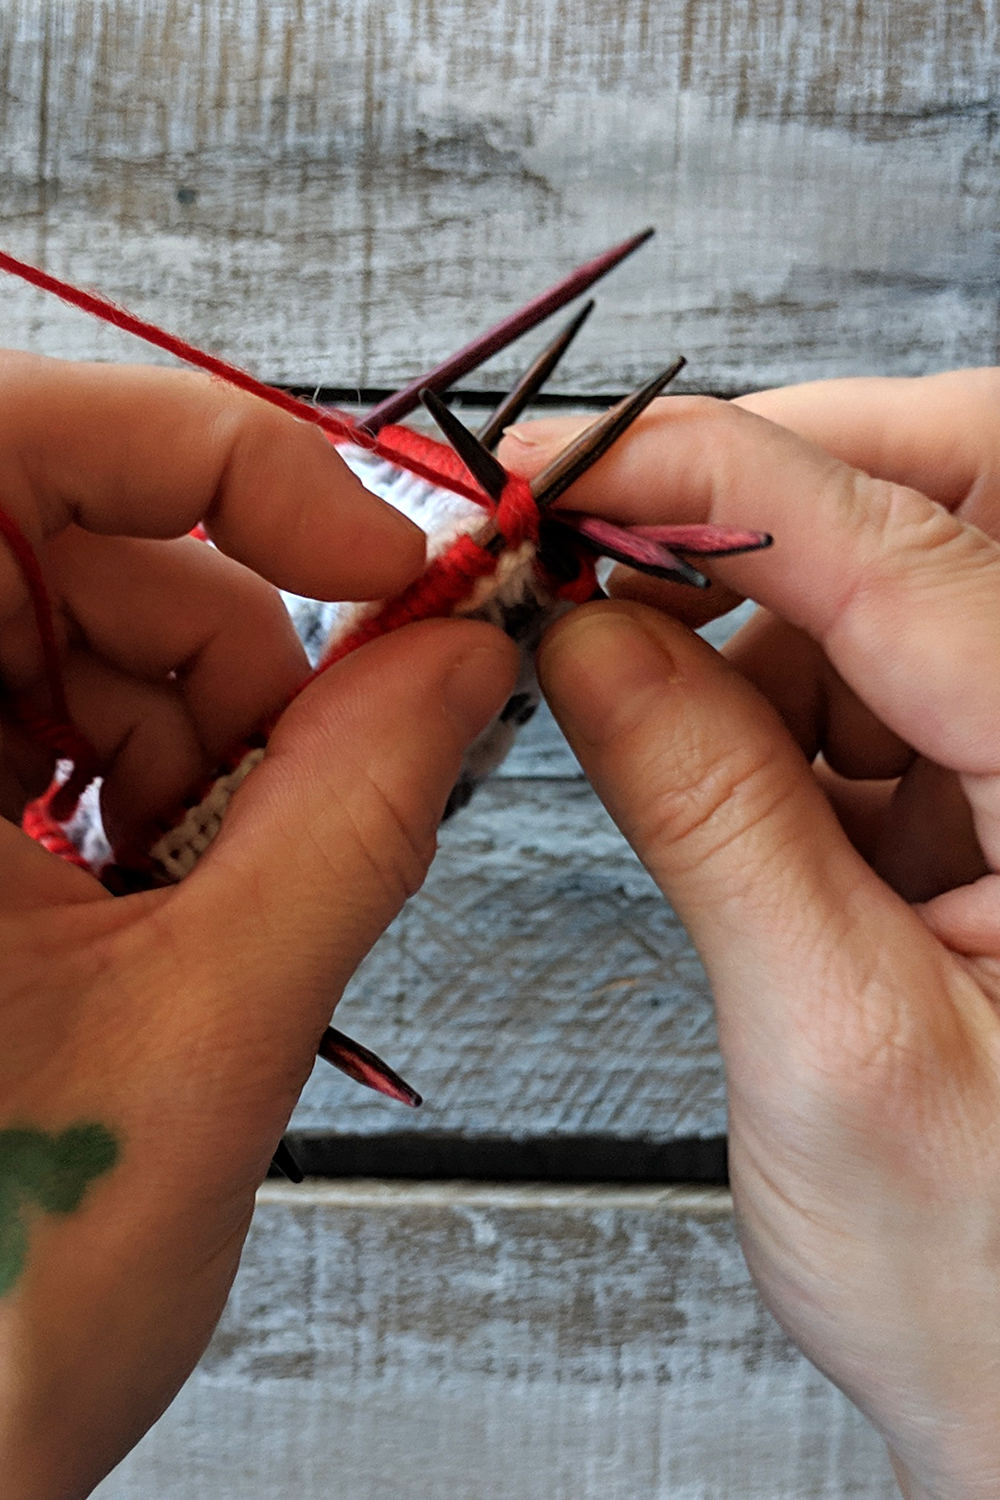
Here you can see that I have two sides of the Trees ornament, all ready to be joined.
What I haven’t shown in these images is that the first step is to pick up and knit stitches all the way around each square with the contrasting red color. So that’s where we are at now – stitches have been picked up around each square.
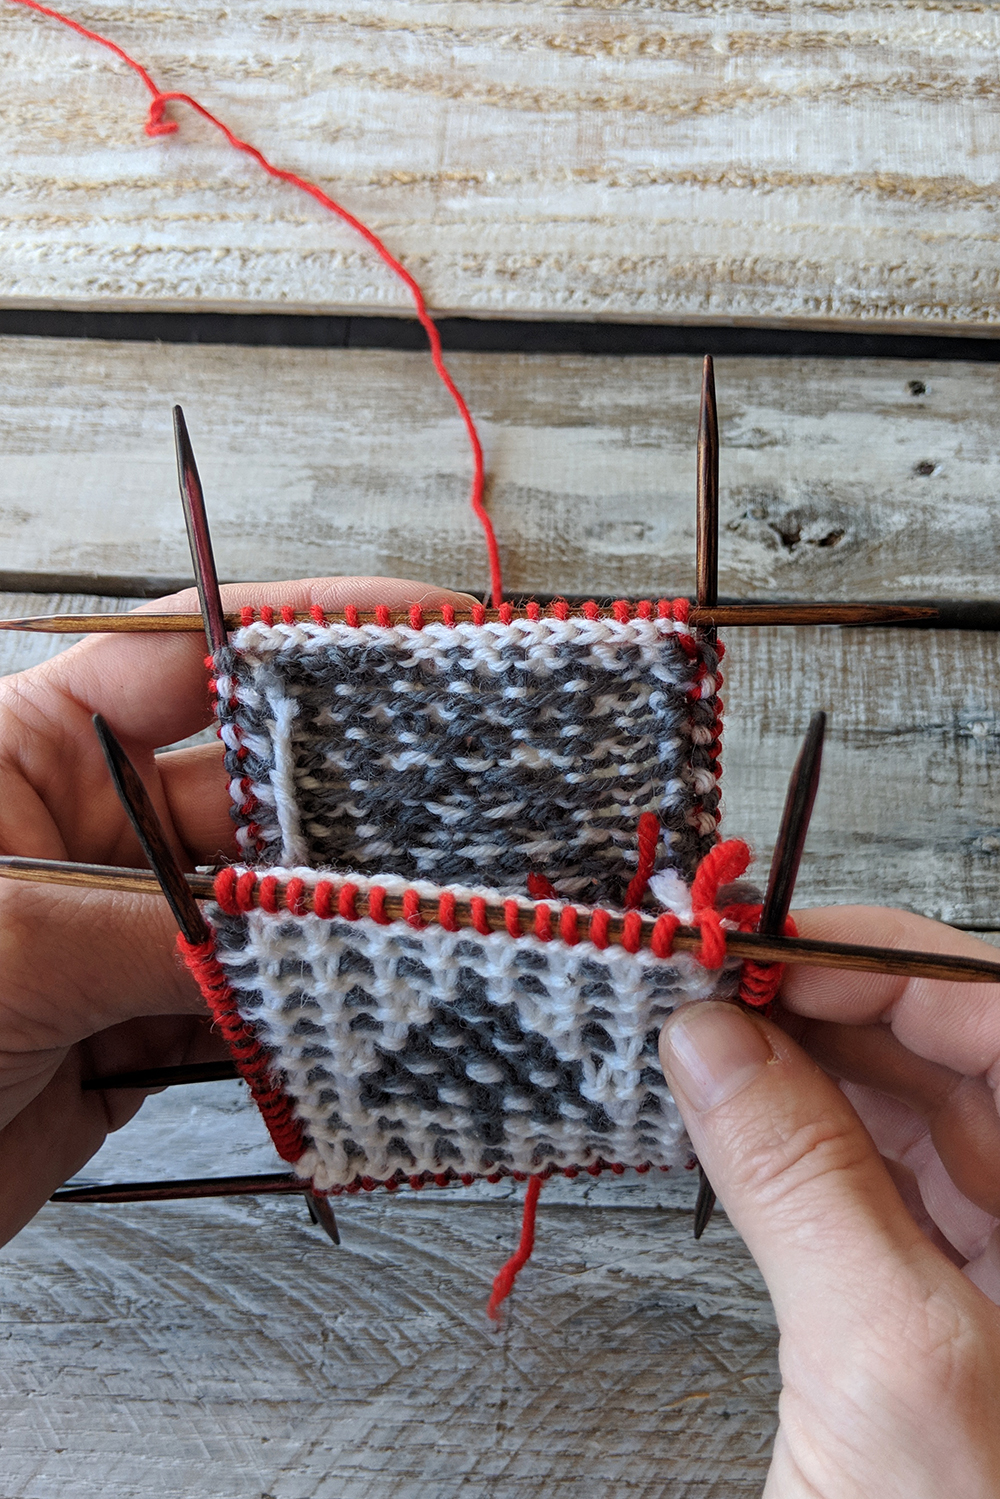
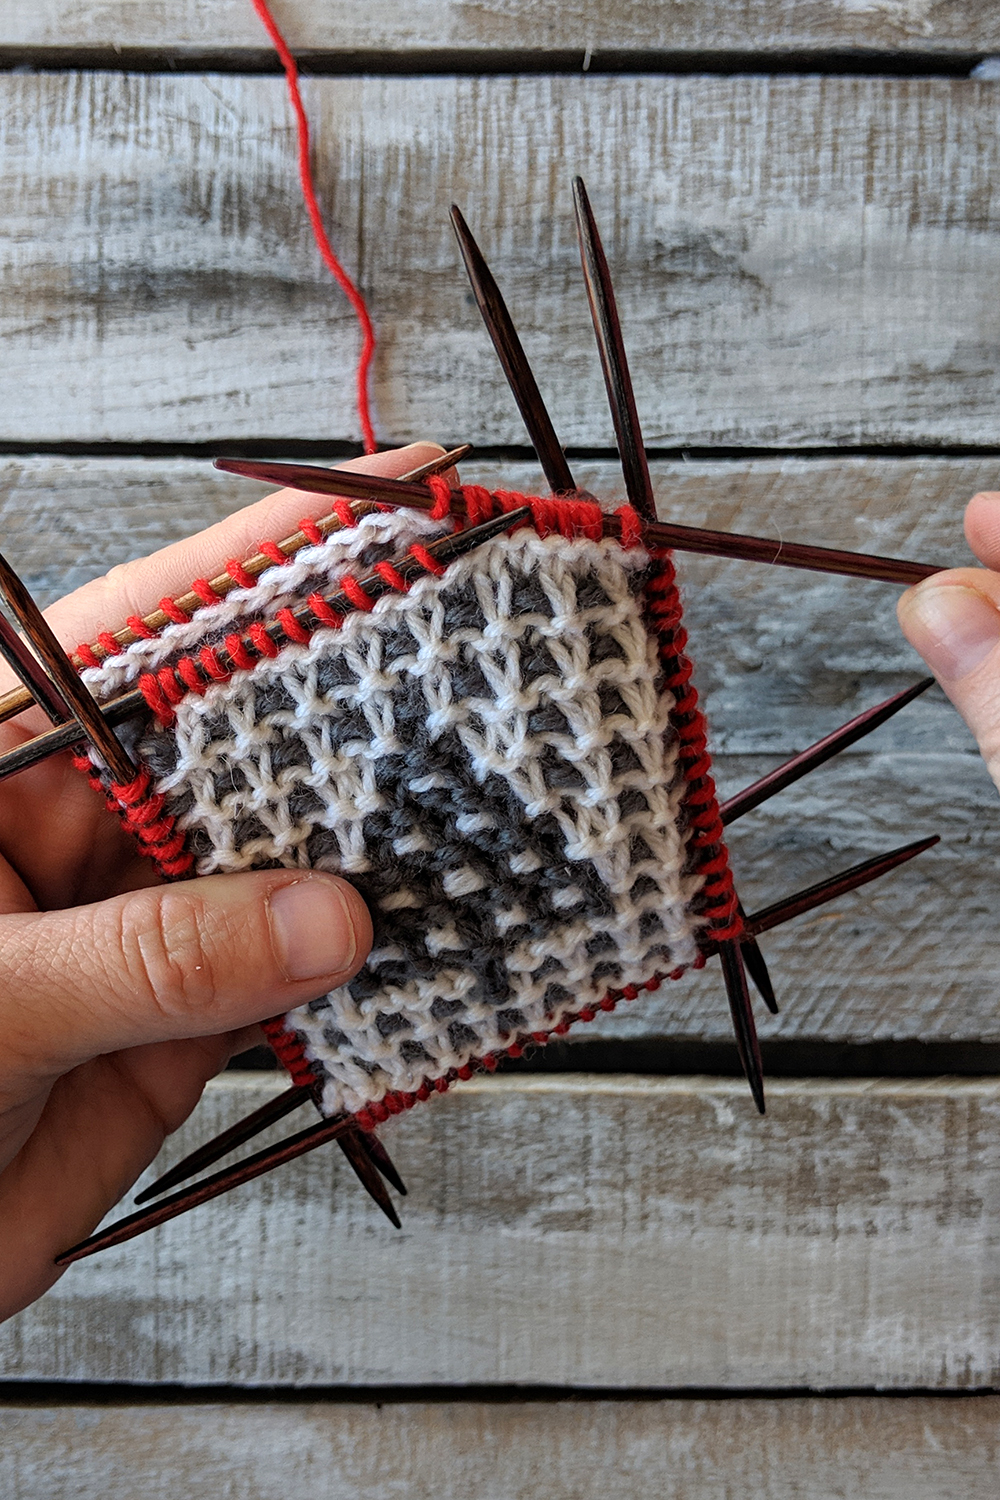
Next, place both pieces with their wrong sides facing together.
This is similar to the prep for a tubular bind-off.
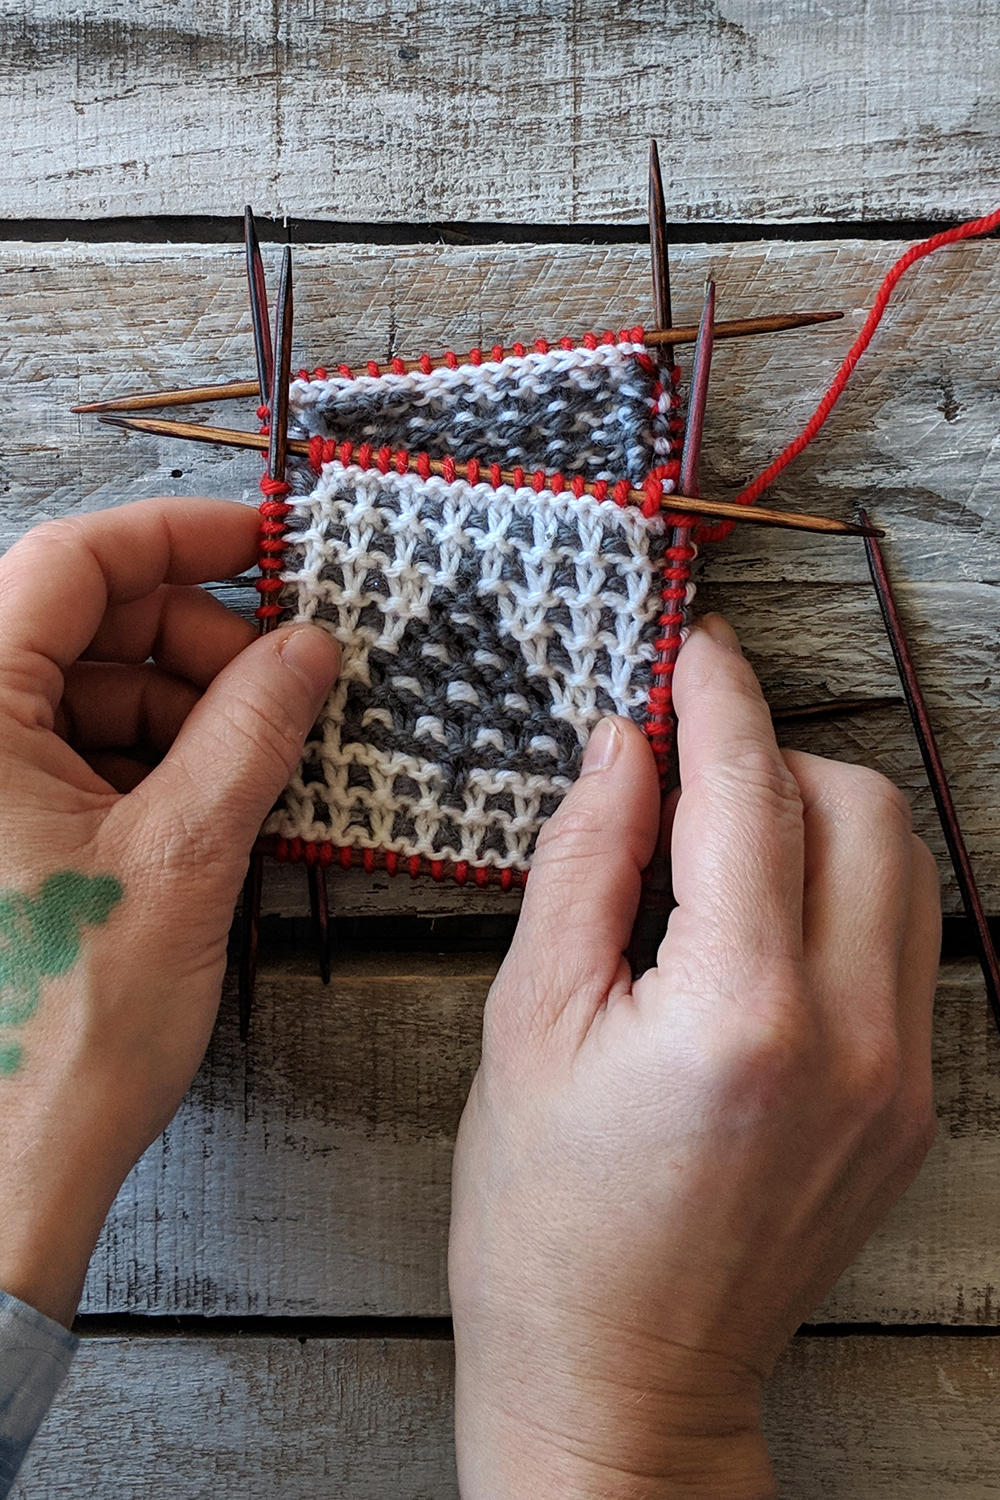
What I’m doing now is certainly not absolutely necessary, but I find it makes the process so much easier. With a separate double pointed needle (dpn), first I slide a stitch from the front needle onto the spare dpn.
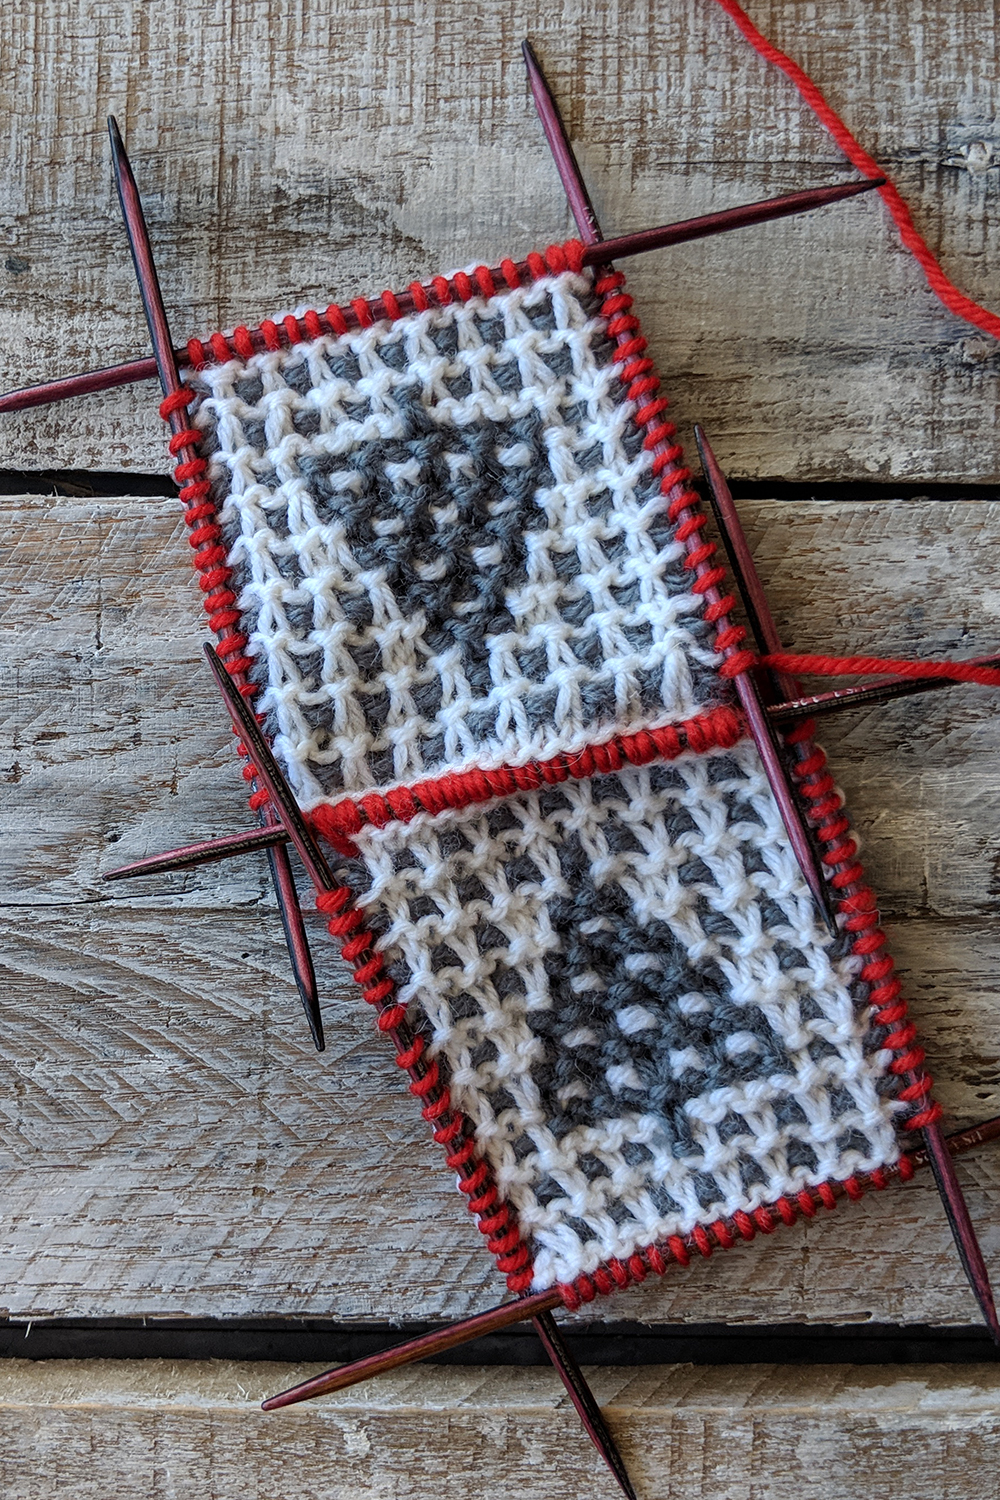
Next, I slide a stitch from the back needle onto this same dpn.
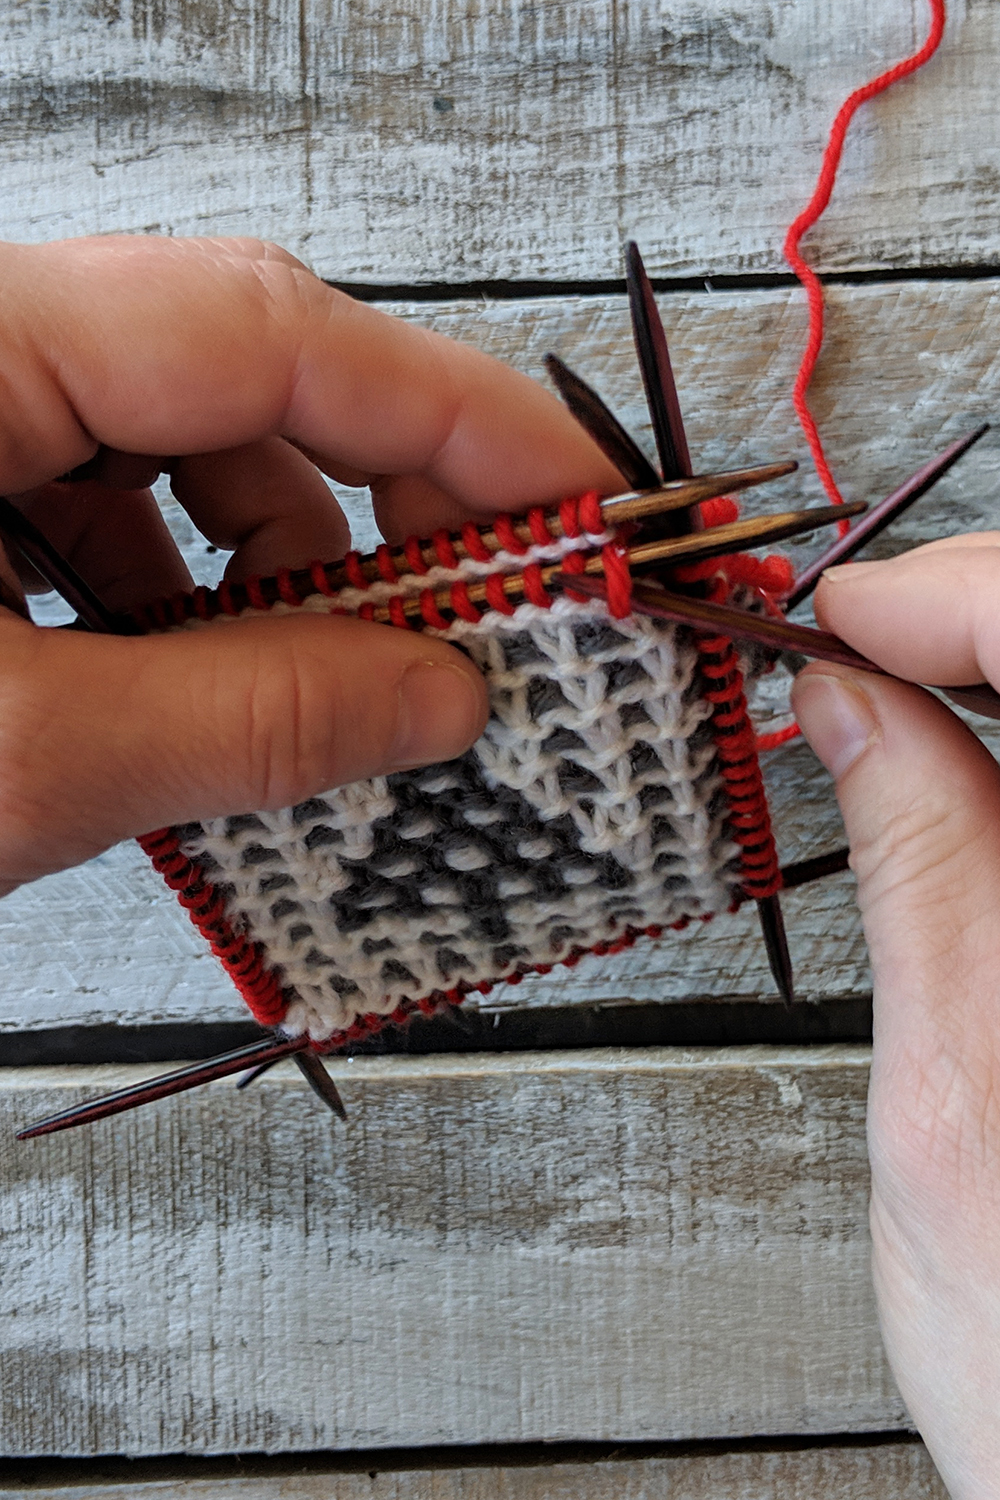
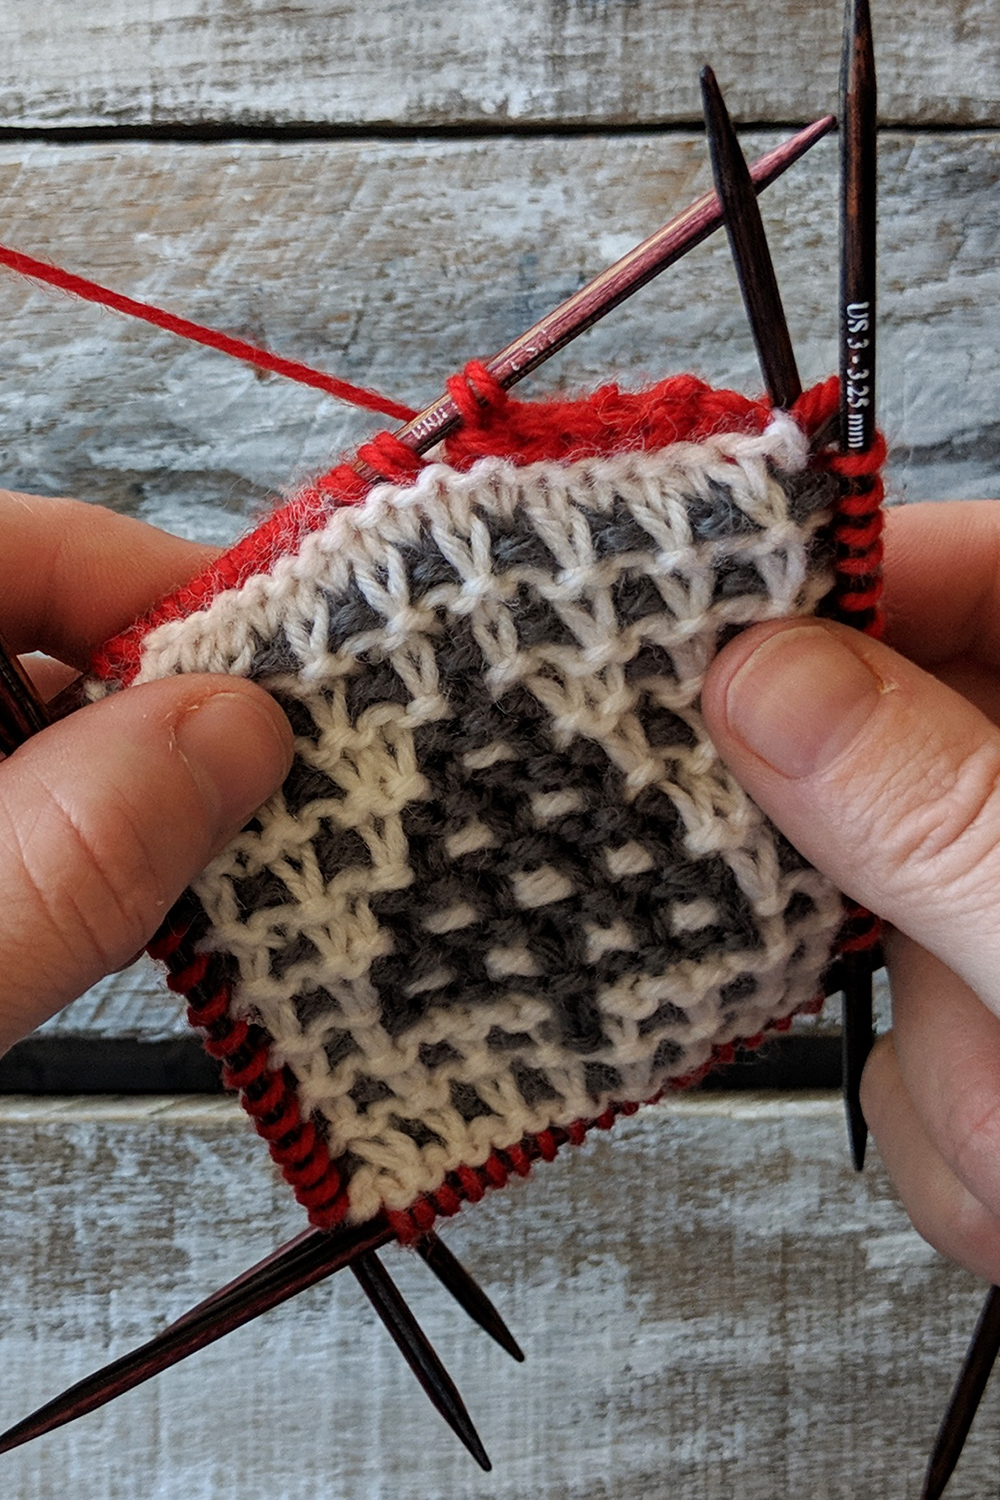
Keep going, alternating front and back needles/stitches until all stitches from one front and back needle have been transferred to the spare.
All the stitches from each needle are transferred. We’re ready to bind off!
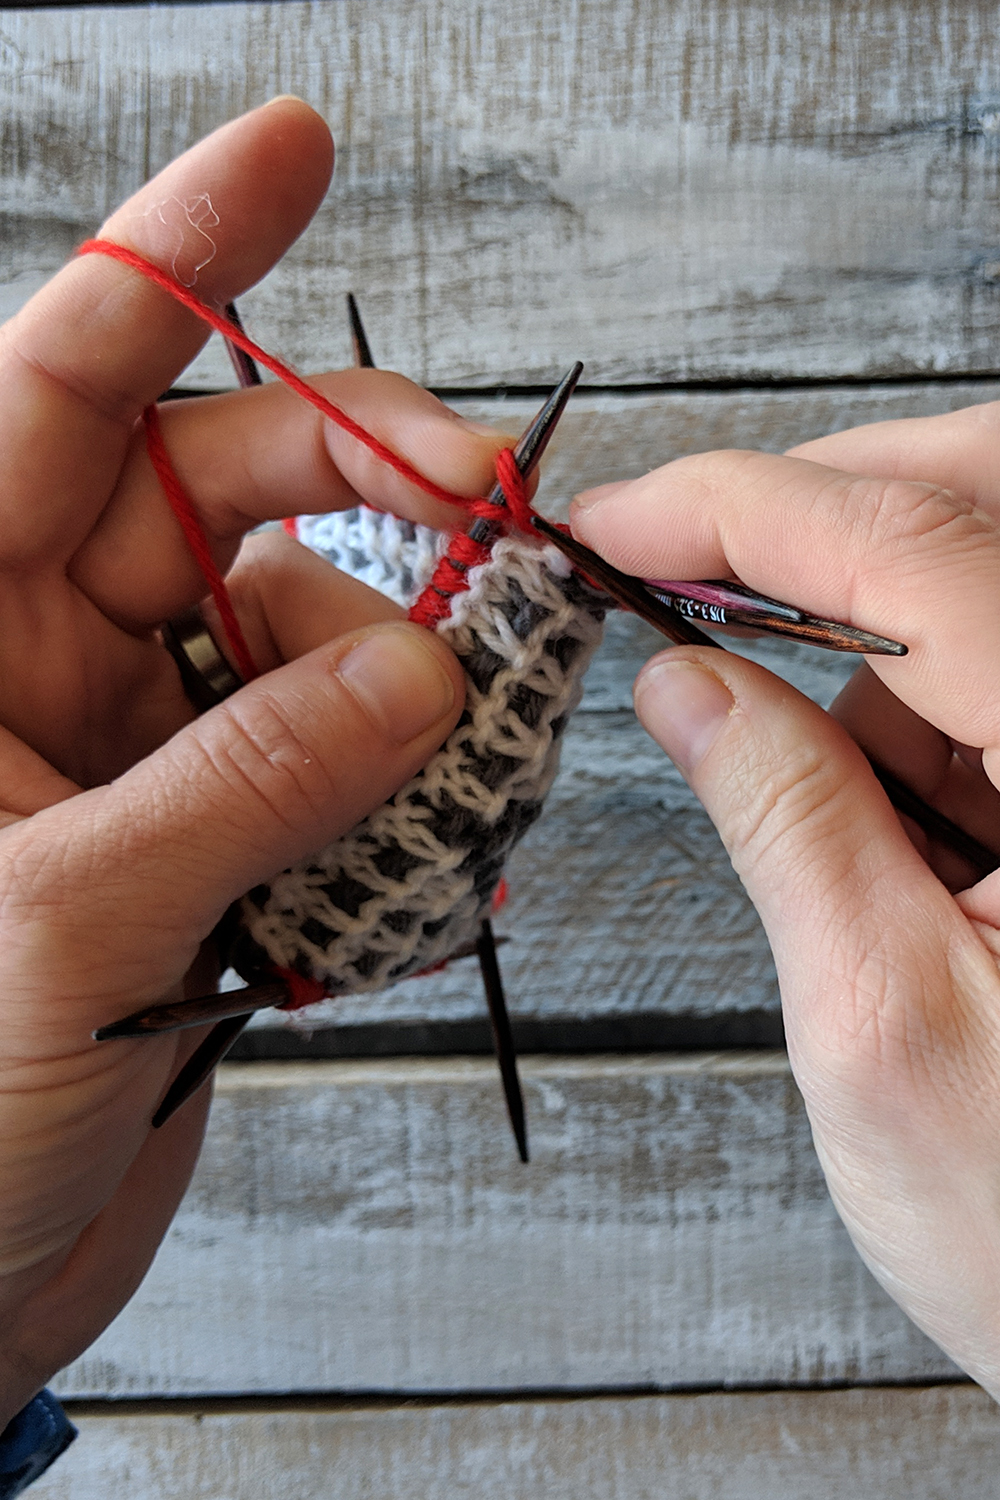
Now that the stitches from both needles have been combined onto one needle, all we’re really doing is an I-Cord bind-off, but with one extra step.
To start, cast on two stitches using the knitted method. These are our I-Cord stitches.
Next, knit 1 (the first cast-on stitch), then k3tog tbl (knit three stitches together through the back loops). These three stitches are: the second cast-on stitch, a stitch from the prior front needle, and a stitch from the prior back needle. Slip the resulting 2 stitches back to the working left needle. Then: * K1, k3tog tbl, slip these 2 sts back to the left needle; rep from *
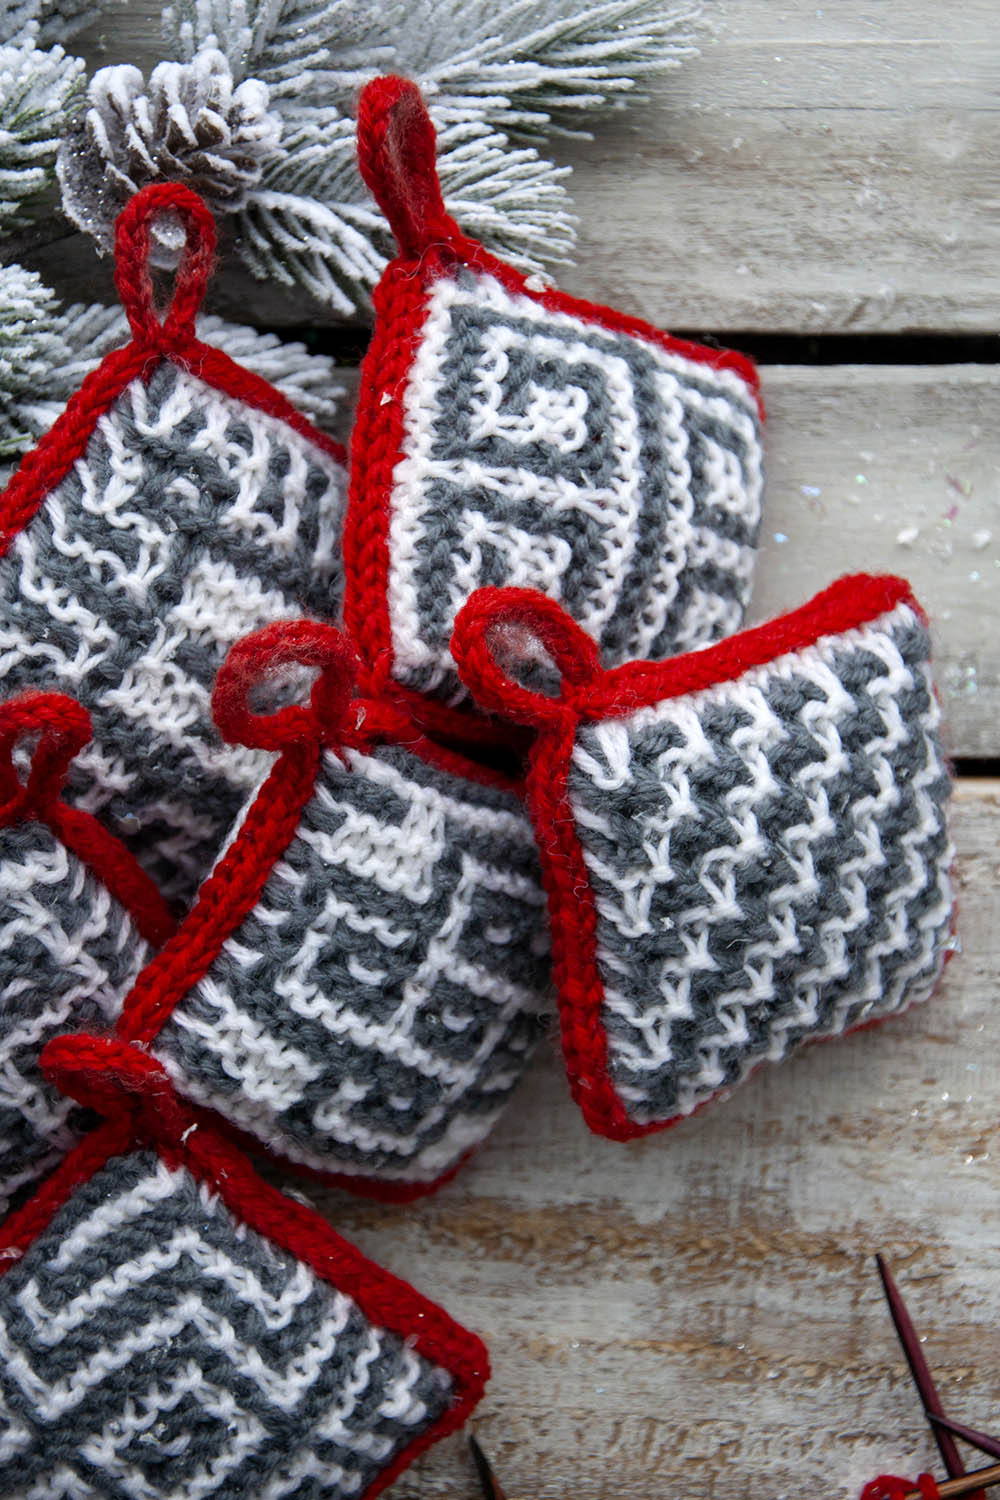
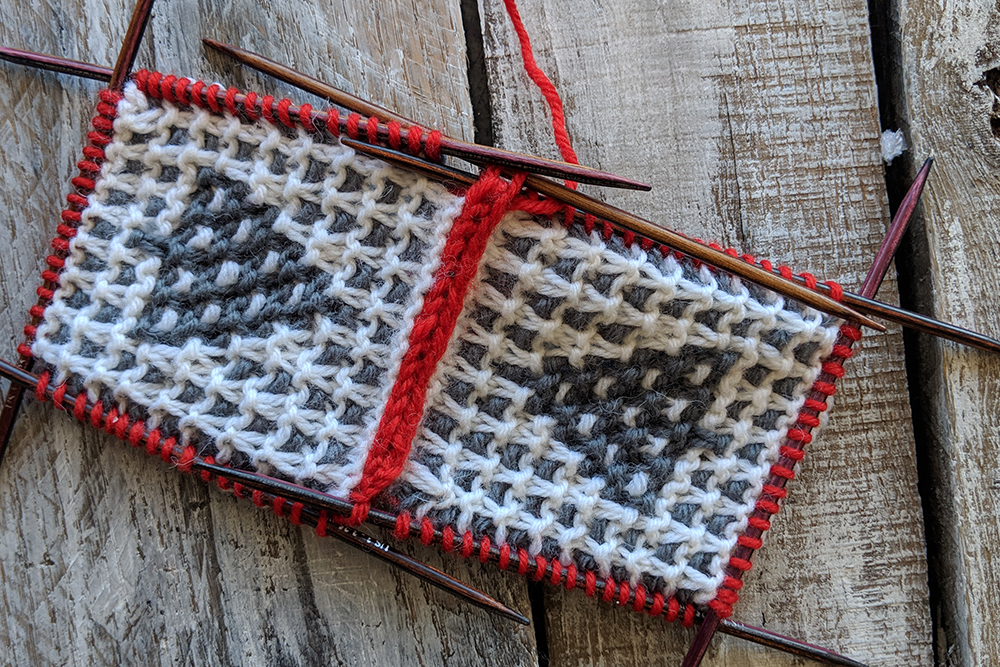
This baby 2-stitch I-Cord is works well to join the sides of the ornament and gives a nice finished look to the project, as well.
Here’s what it looks like after the side is partly joined.All done!
Remember, you can find the Series 2 12 Days of Winter patterns on Ravelry!
This is part 8 in a 12 part series highlighting designs from our 12 Days of Winter, Series 2 Edition.
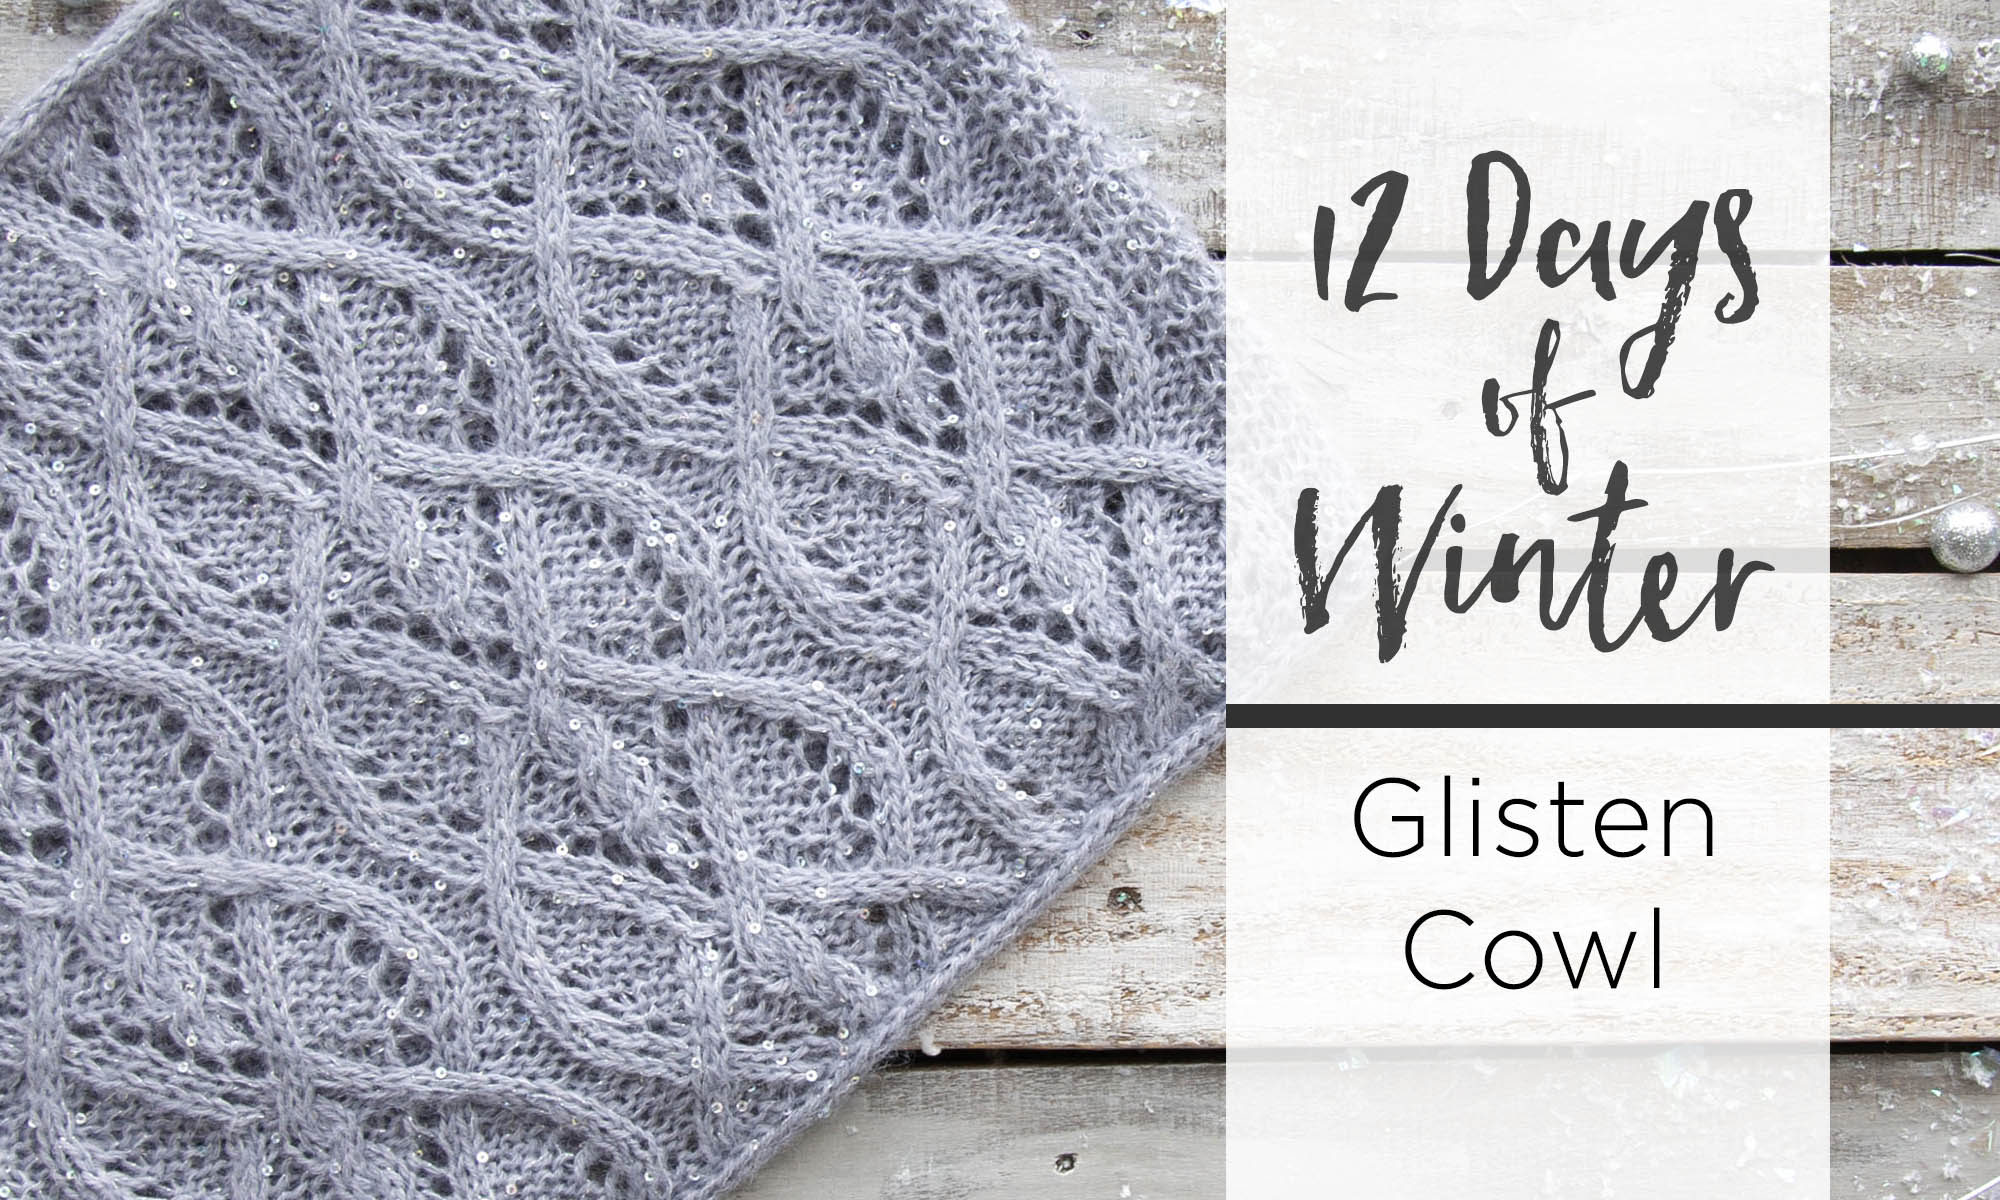
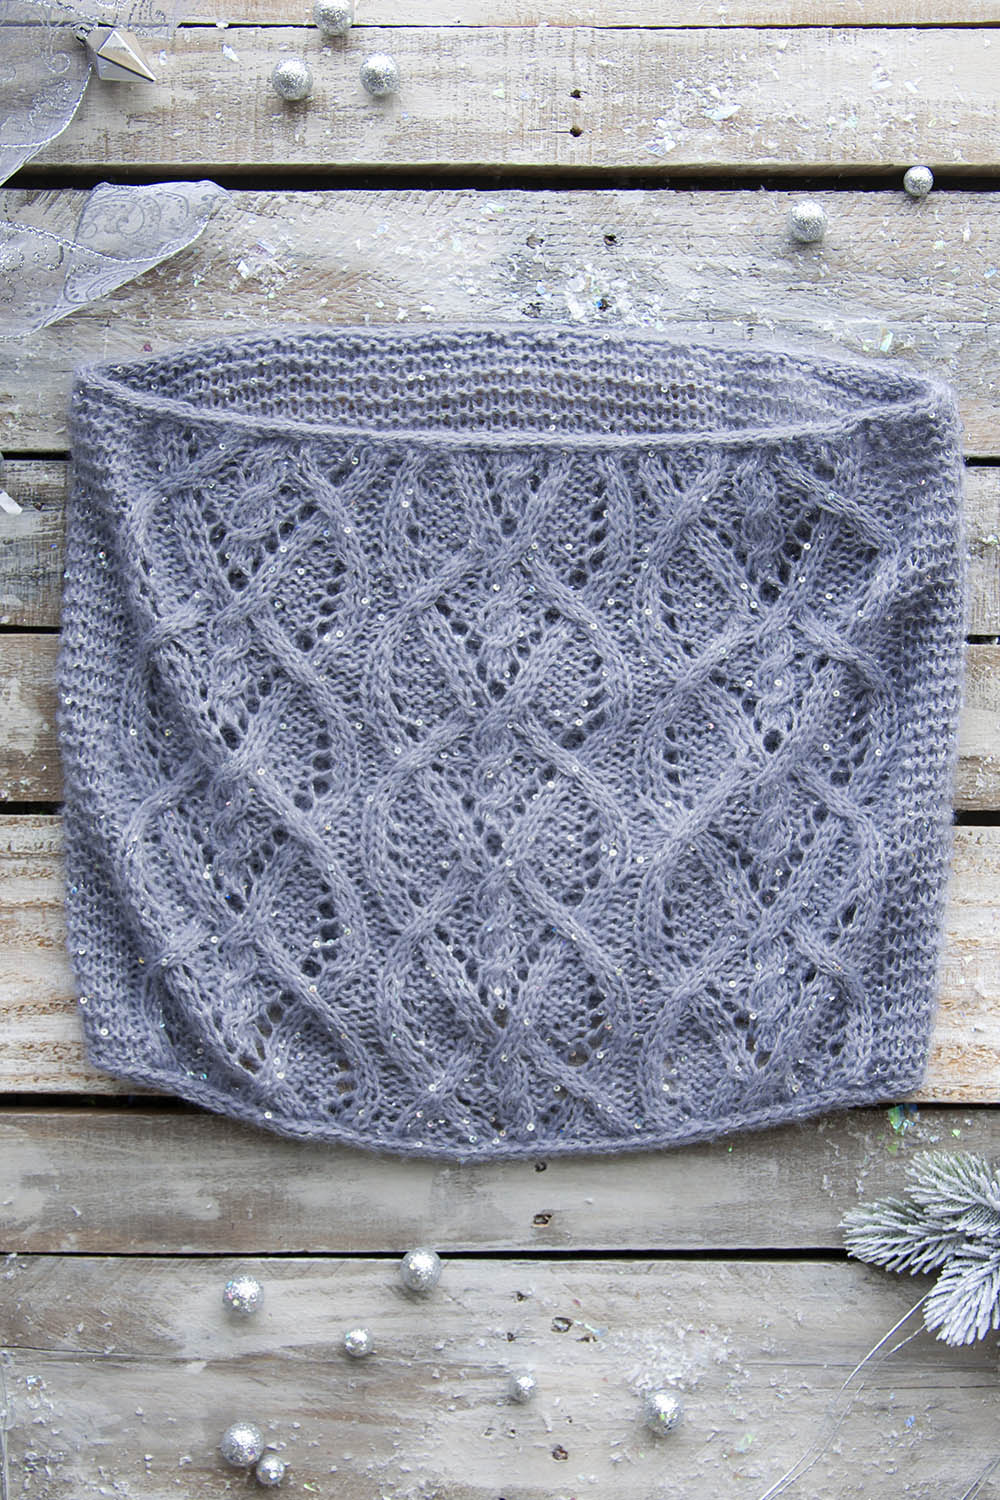
Say hello to the Glisten Cowl (link here). Winter, more than most seasons, elicits a desire to adorn ourselves with something sparkly. It’s probably because of all the bright lights, the glow of snow, and – as my dear friend Yukon Cornelius puts it: “gold; and silver!” So if you’re in the mood for sparkly seasonal splendor, I invite you to treat yourself to the Glisten Cowl.
Cables, lace, and sparkles – what more can you ask for?
The yarn is what truly makes this design special. Amphora and Cotton Gold are held together to create a fabric with a soft halo and radiant sparkle. It’s perfect for every special holiday event you attend.
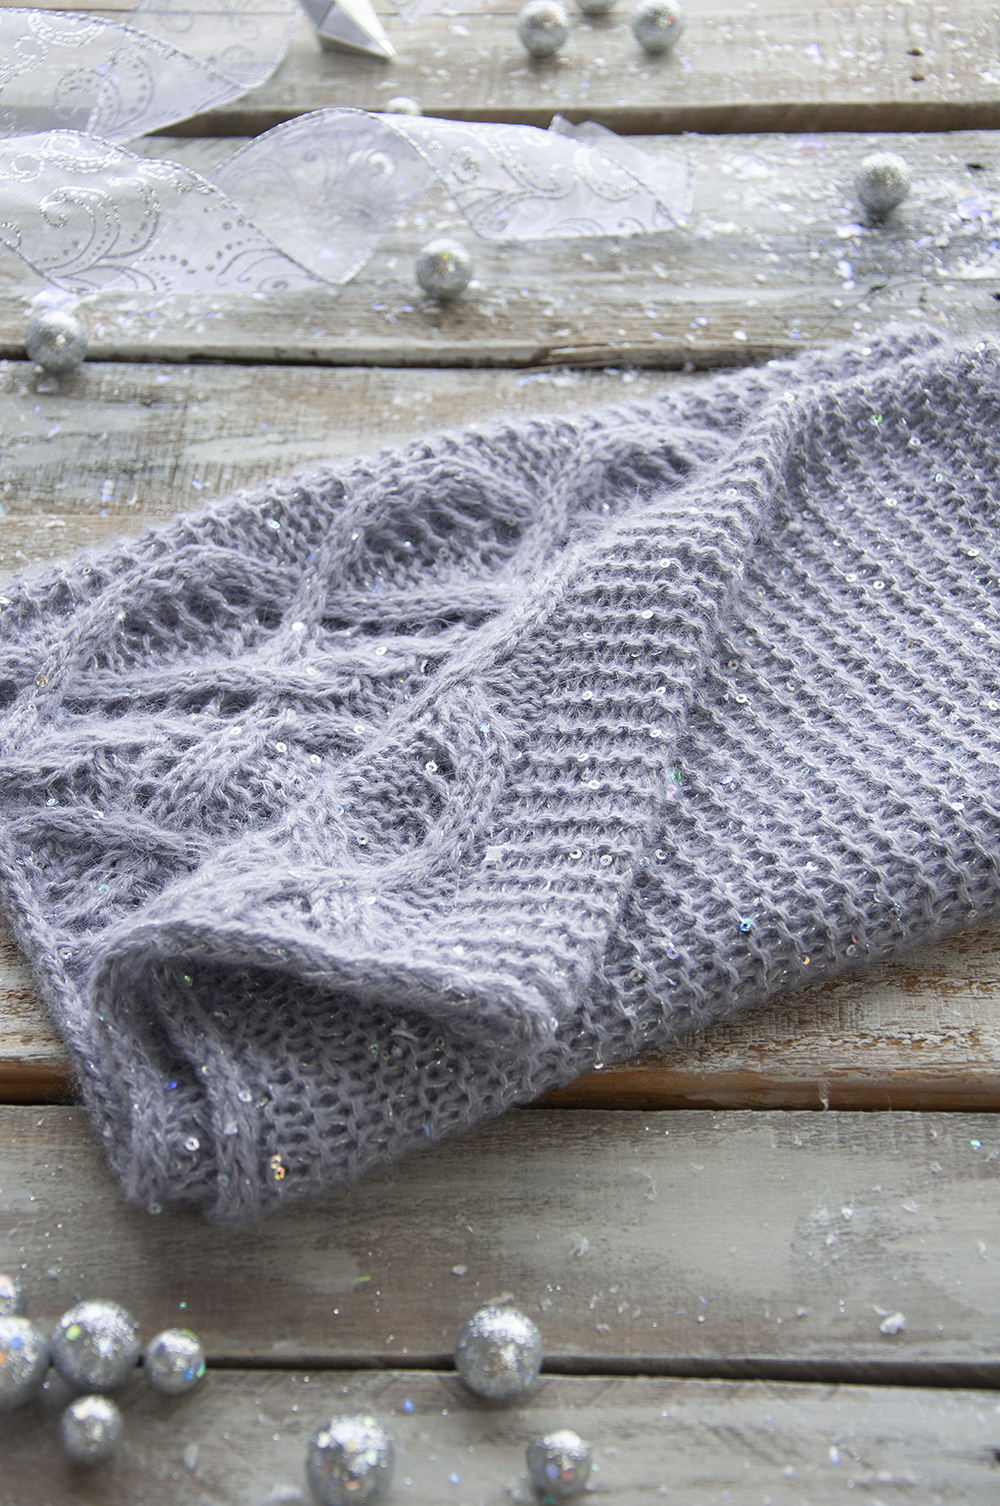
The front part of the cowl is an intriguing cable and lace pattern, while the back is simple garter stitch. The garter section allows your mind to rest before diving back into the patterned section. The difference between the two sections is also visually pleasing allowing the intricate cables to shine more brightly.
The popular winter carol – Winter Wonderland – inspired the name of this cowl, so it’s only fitting that a knitters’ version of the song exists. I struggled a bit and recruited Heather’s talent for words. Get ready because it’s pretty amazing. I’m only sorry that we don’t have a recorded version of her singing it – I learned today that she has a lovely singing voice!
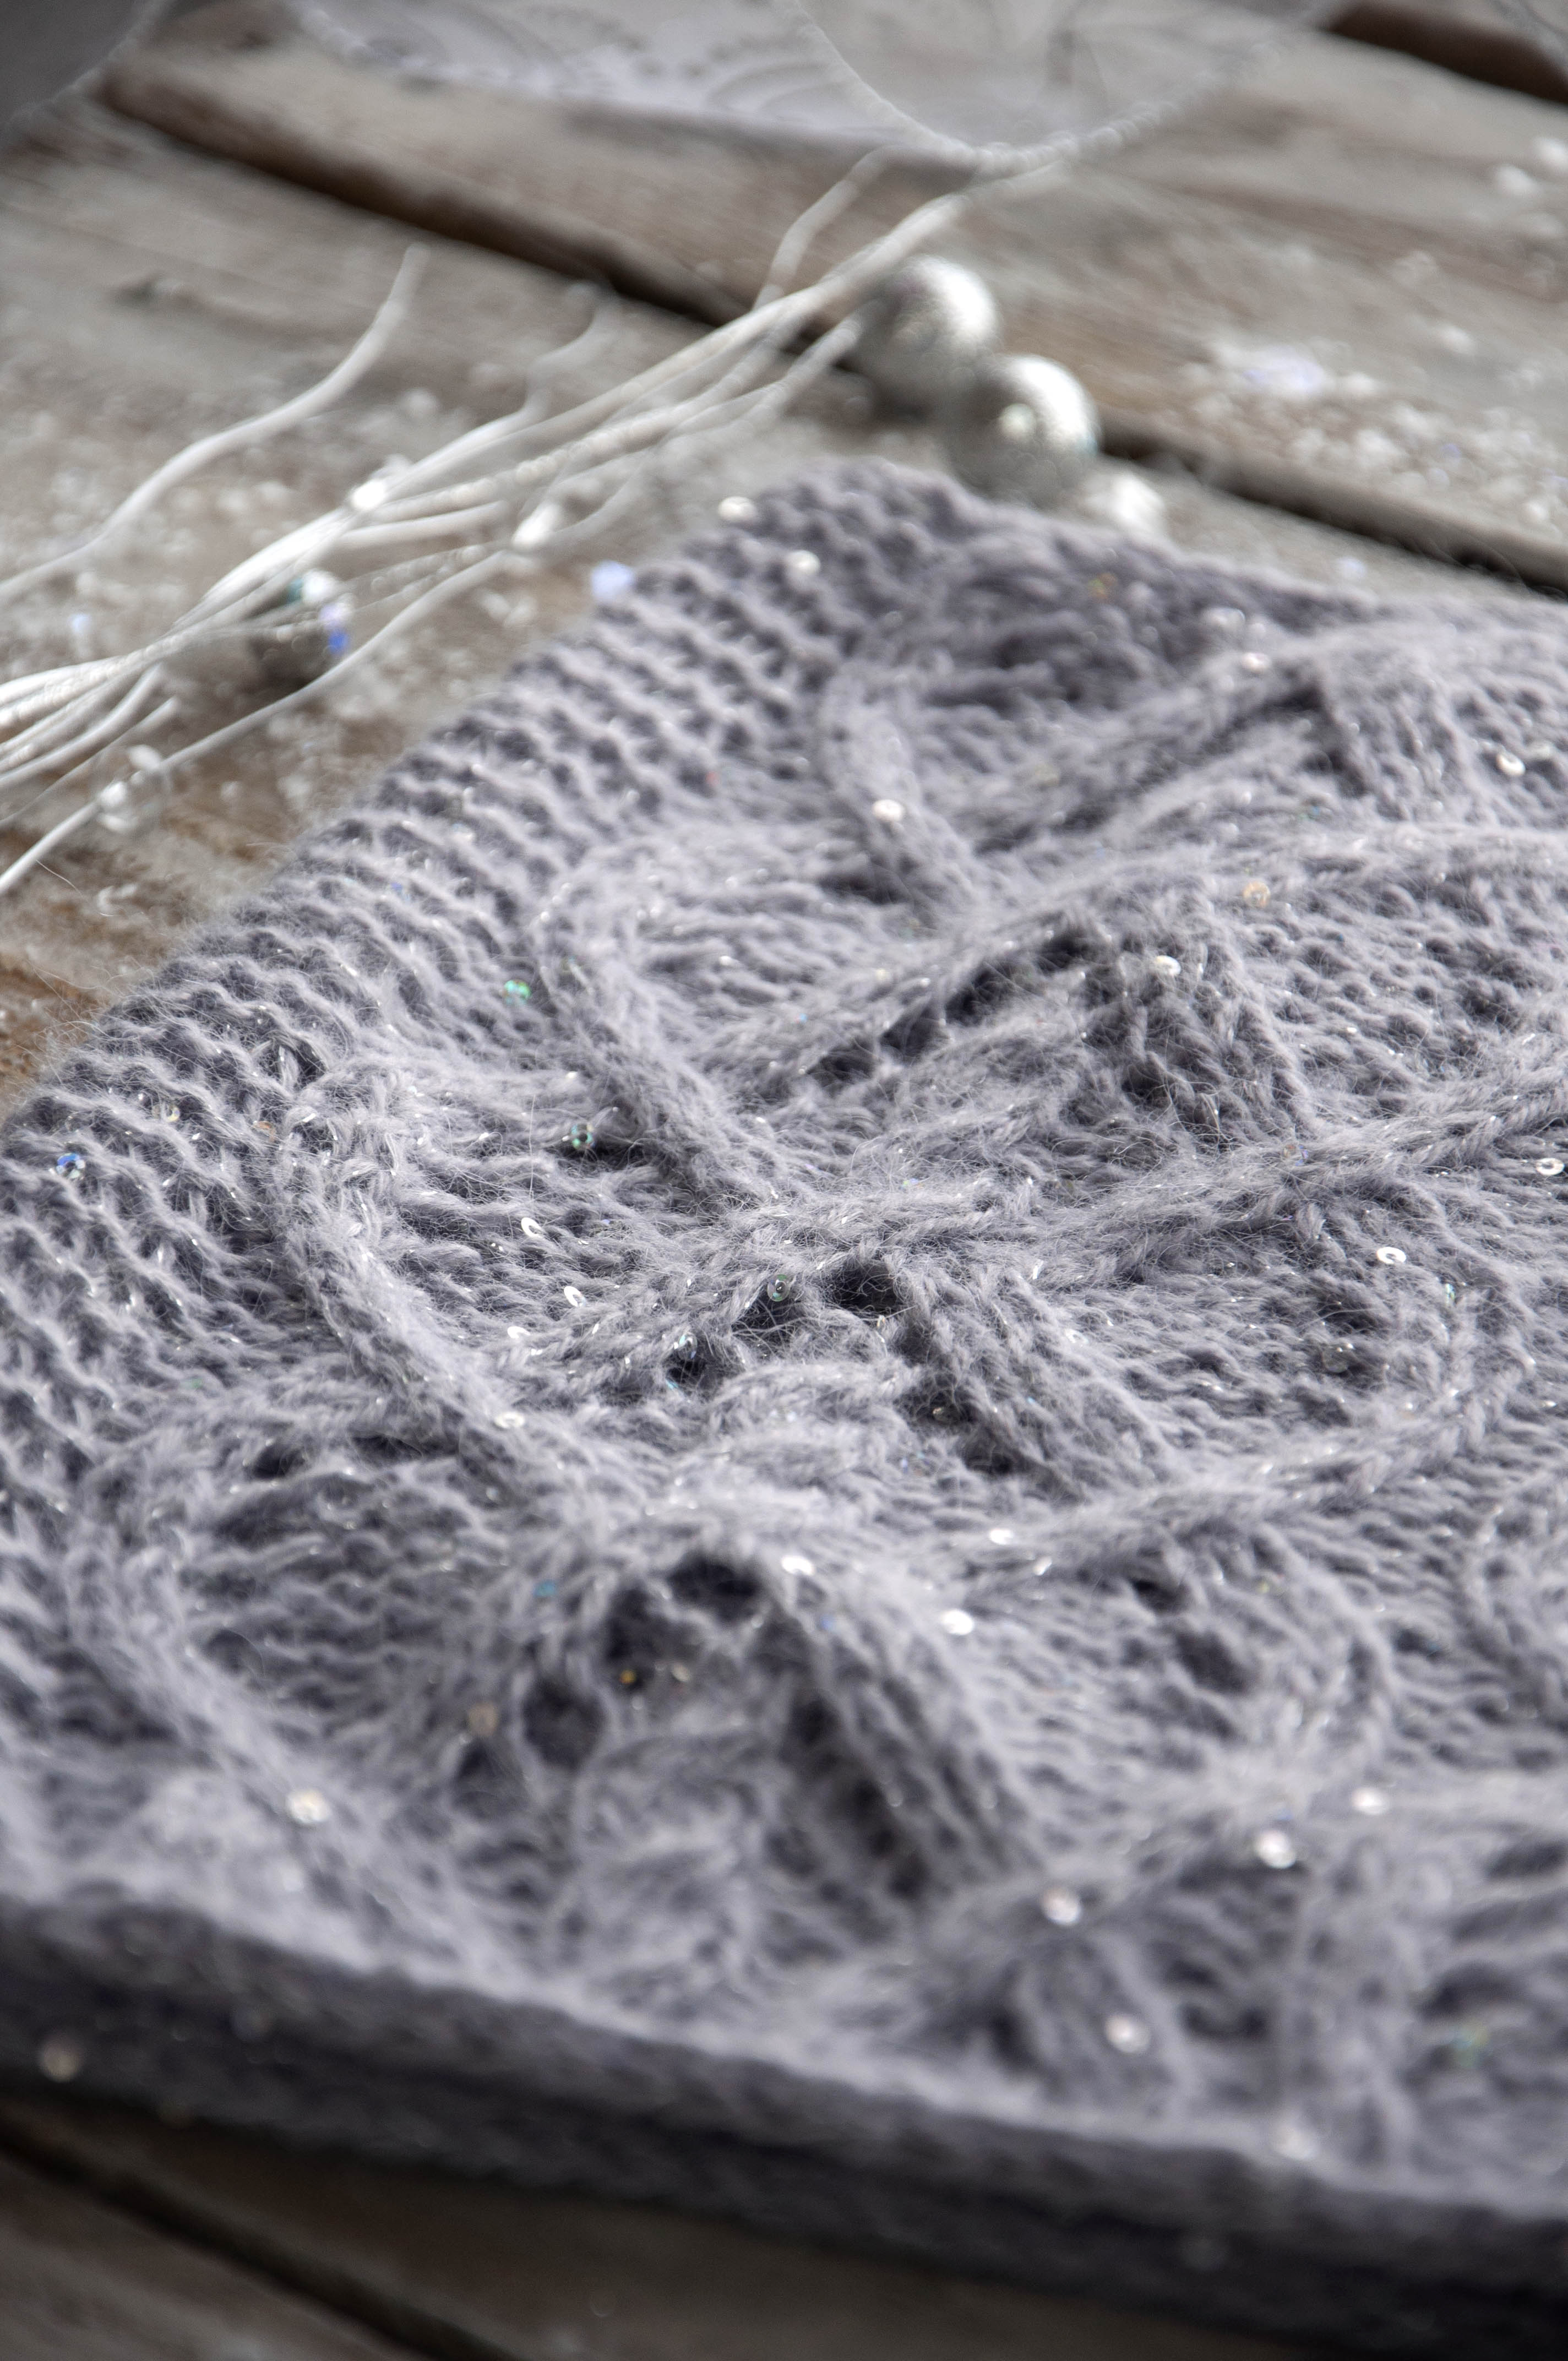
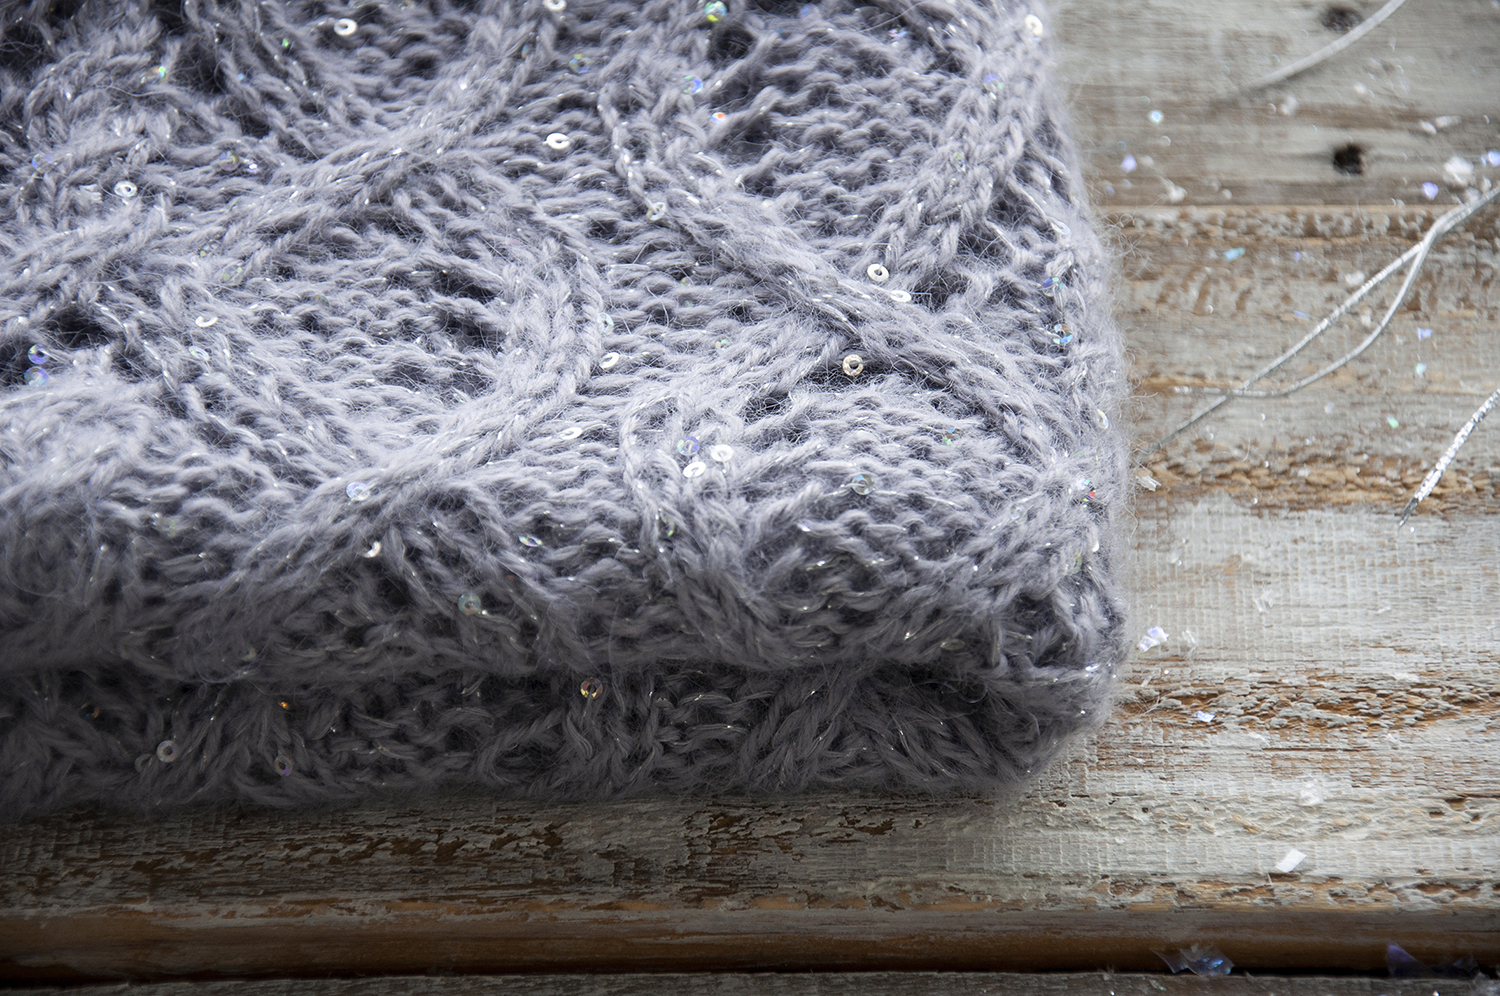
Would you look at those stitches? Magnificent – I tell ya!
Winter Wonderland – Knitters Edition
Needles click, are you listening You can see this cowl glistening A beautiful sight We’re happy tonight Knitting in a winter wonderland
We make sure, to do swatching So our gauge, we’re not botching Our tension’s not wrong As we finally cast on Knitting in a winter wonderland
In the meadow, we can knit a snowfolk Then pretend she runs our LYS. She’ll say, “did you mean to drop that stitch, dear? Don’t you fret a bit, I’ll fix your mess!”
Later on, we’ll admire As we knit by the fire The cowl that we’ve made In just the right shade Knitting in a winter wonderland.
Three cheers for Heather – she’s an invaluable part of our team!
Remember, you can find the Series 2 12 Days of Winter Kit Patterns on Ravelry.
This is part 7 in a 12 part series highlighting designs from our 12 Days of Winter, Series 2 Edition.
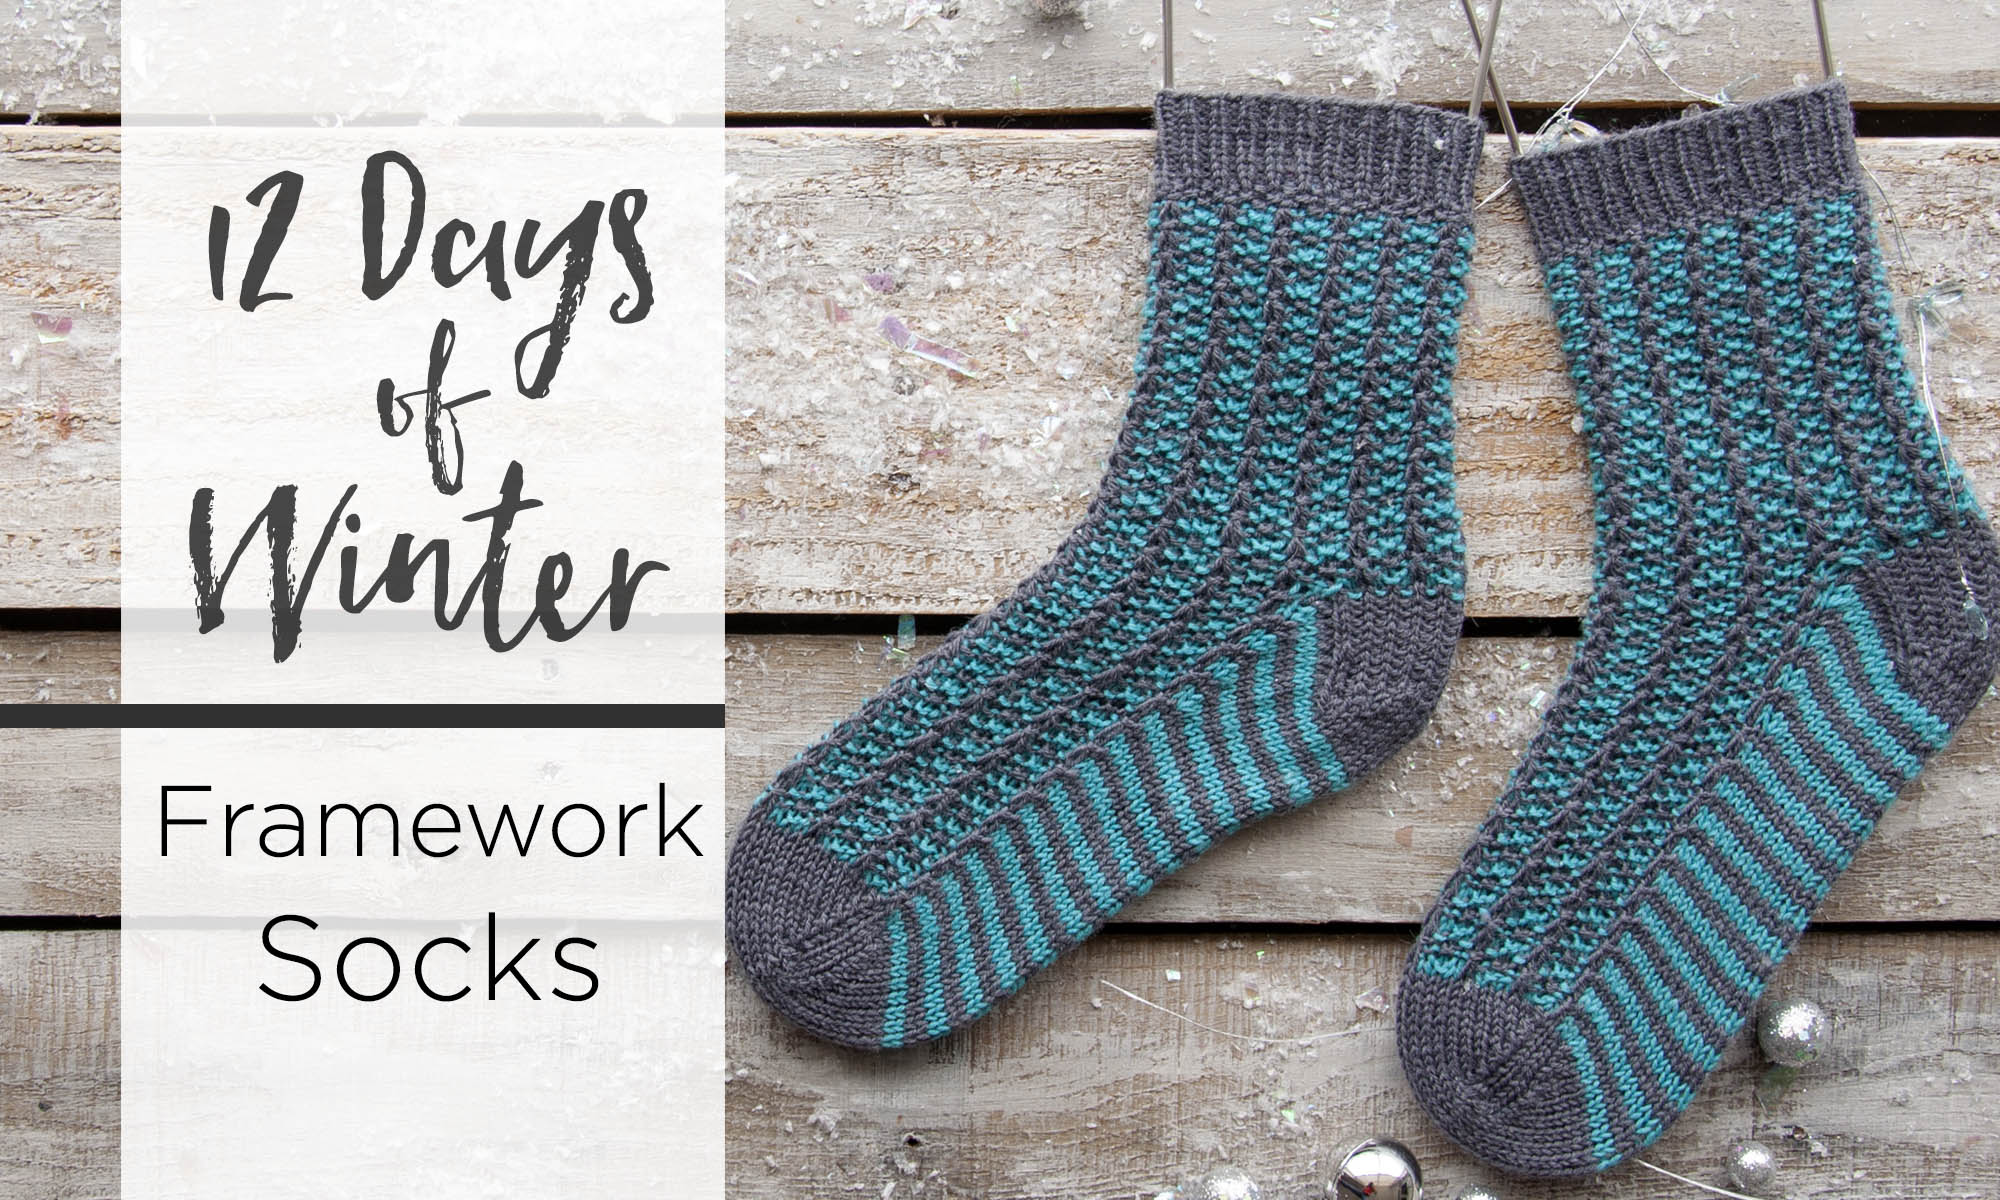
Socks! Though I’m a pretty dedicated sweater knitter, I also love to knit socks. When I first started knitting about a decade ago, I was obsessed. Cuff down, toe up, afterthought heel, gusset – I loved it all.
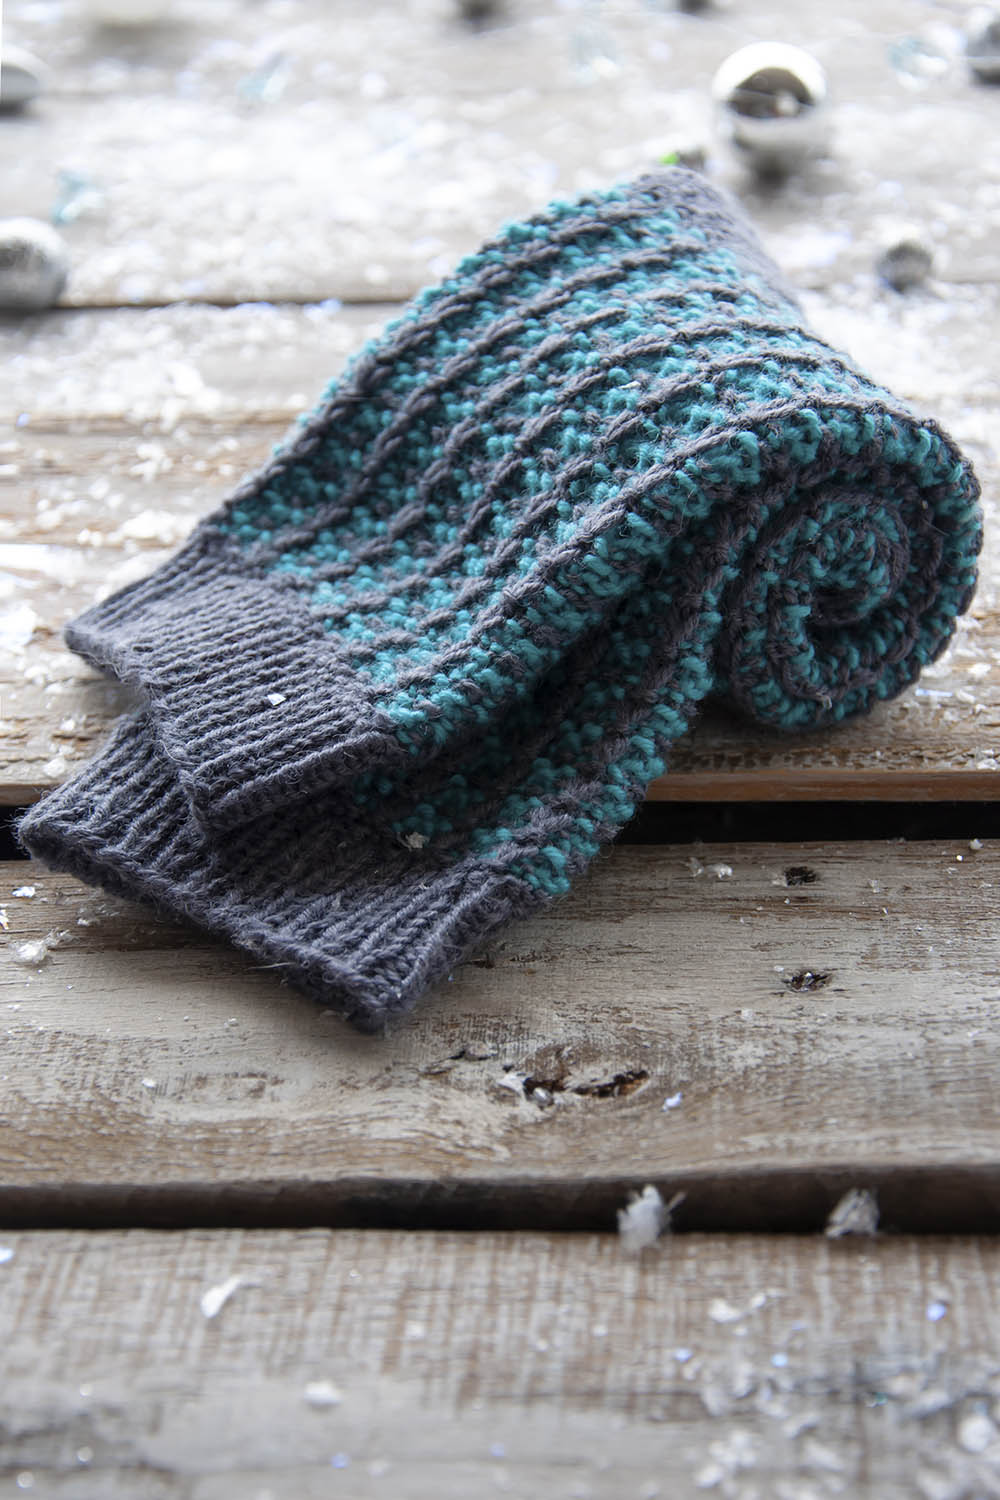
Framework Socks (pattern link) in Bella Cash are knit from the cuff down in two colors of this machine washable cashmere (ooohhhh) blend. A slip stitch pattern creates the interesting texture on the leg and foot, but that’s not what I’m focusing on today.
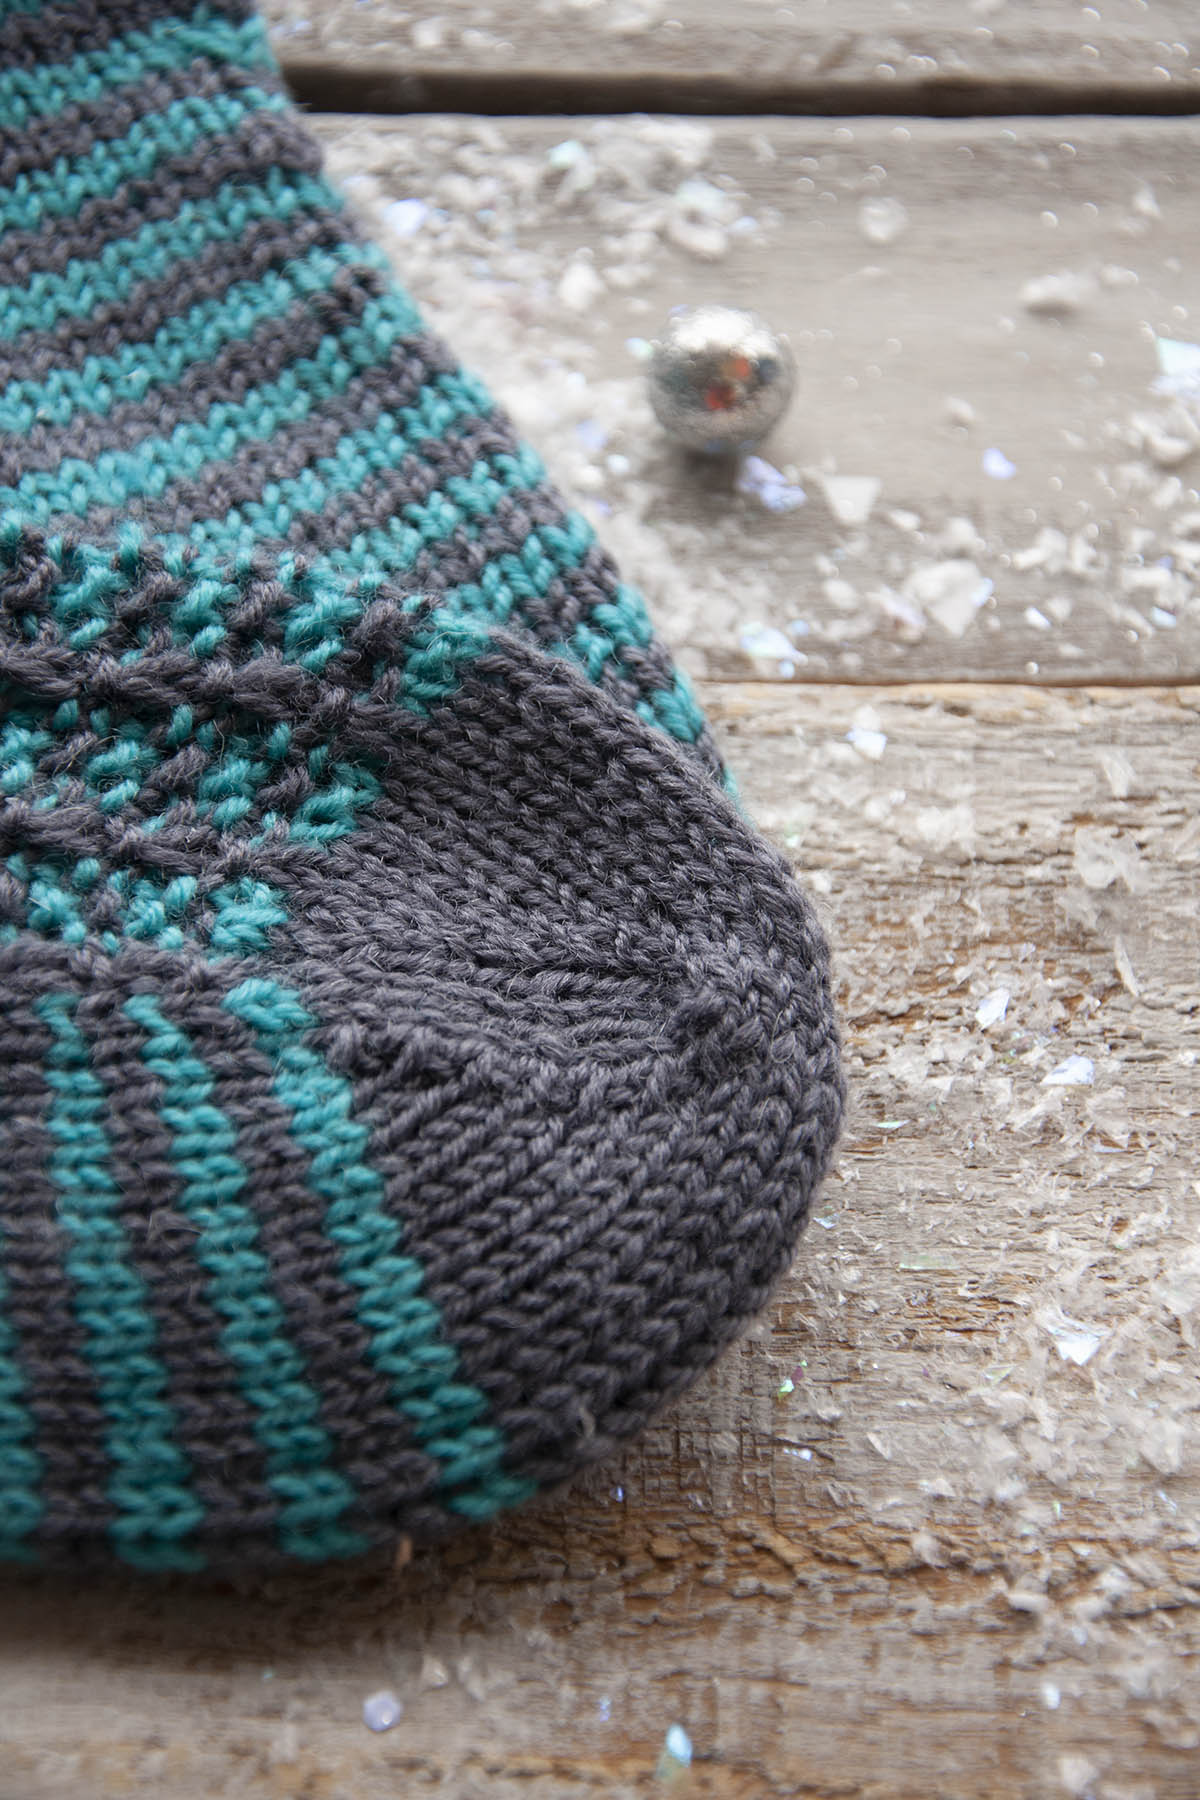
I’m here to talk about the toe finishing on a top-down sock. The best way to join remaining stitches at the toe of a sock is by grafting, AKA Kitchener stitch. This is a technique that basically creates a row of knit stitches that is formed while joining two sets of live stitches. It is far superior to a seam because – who wants an uncomfortable seam on their toe?
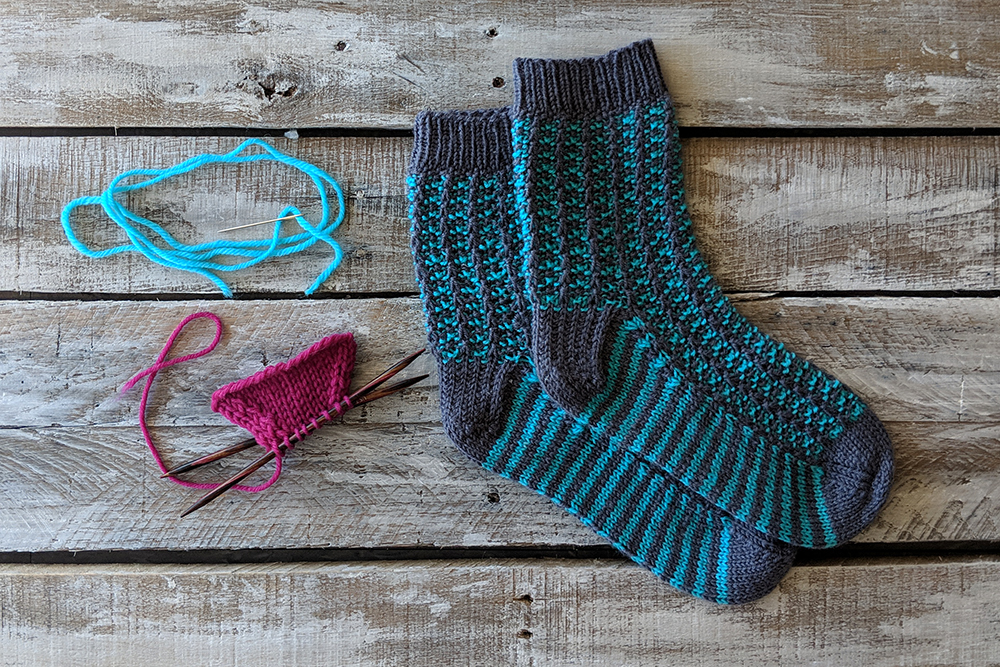
I will be showing you how to graft with a contrast colored yarn so you can more easily see what’s going on.
The first thing to do is to cut your yarn after the last row of your pattern, leaving a tail about 3-4 times the width of the toe. Thread this tail through a tapestry needle. Place half your stitches on one dpn (front), and the other half on a second dpn (back).
Preliminary Step 1: Insert your needle purlwise through the first stitch on the front dpn.
Pull the yarn through the stitch, leaving it on the dpn.
Preliminary Step 2: Insert your needle knitwise through the first stitch on the back dpn.
Pull the yarn through the stitch, leaving it on the dpn. Set-up is complete. Now for the repeating action of grafting!
Step 1: Insert your needle knitwise through the first stitch on the front dpn and let this stitch slide off the dpn.
Step 2: Insert your needle purlwise through the next stitch on the front dpn but do not slide off the dpn.
Pull the yarn through.
Step 3: Insert your needle purlwise through the first stitch on the back dpn and let this stitch slide off the dpn.
Step 4: Insert your needle knitwise through the next stitch on the back dpn but do not slide off the dpn.
Pull the yarn through.
Repeat steps 1 through 4. When I’m grafting, I always have this running through my head: “Knit, Purl, Purl Knit.” It helps to keep me on track. If you’re grafting for the first time, I definitely recommend having a quiet space in which to practice. Once you get the hang of it, it’s easy enough to visually know where you are in the process. But in the beginning, it does require a bit of concentration.
Heres what my practice toe looks like after a few more passes. You can see how the contrast yarn is forming a row of Vs, just like a row of stockinette stitch.
I didn’t tighten up my yarn enough while grafting, so the stitches look sloppy. But its okay! I can just take the tip of my tapestry needle and snug up the loose stitches, traveling the slack off to the side.
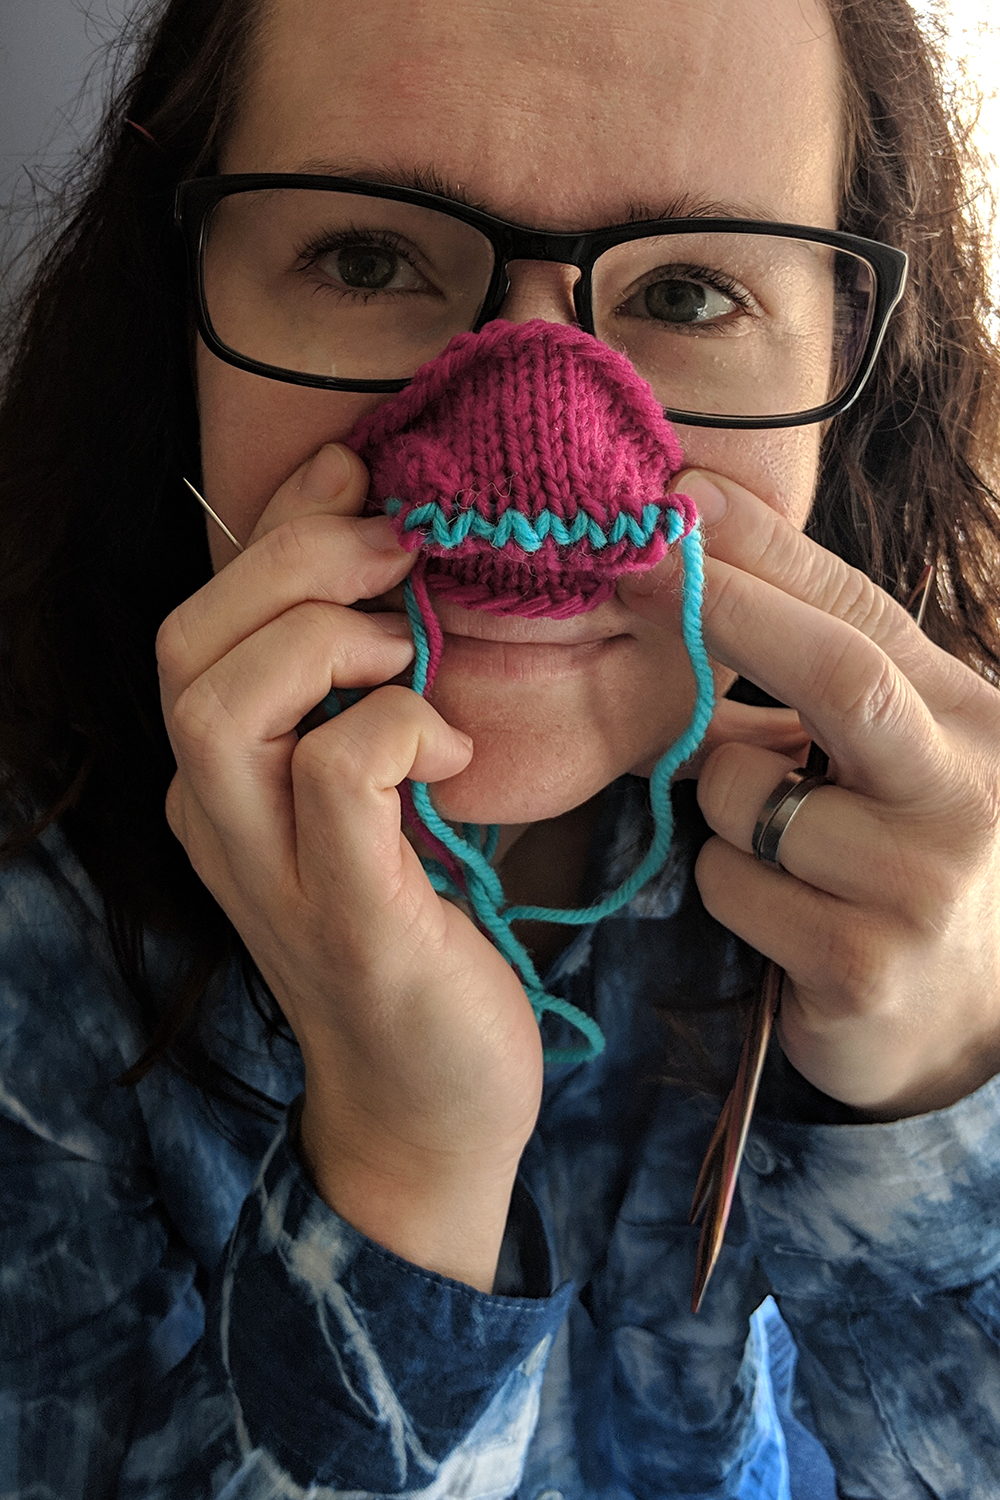
The final two steps when there is just one stitch remaining on each needle is: knitwise through the front stitch, purlwise through the back stitch. Pull the remaining yarn tail through. The end!
And actually, if you’re making a practice toe, you should definitely wear it on your face as a mask.
Remember, you can find the Series 2 12 Days of Winter Kit Patterns on Ravelry.
This is part 6 in a 12 part series highlighting designs from our 12 Days of Winter 2018 Collection.
My number one goal when designing a scarf is to make it look good on both sides. This can be quite challenging! Many/most cables have a definite unpleasant look to their wrong sided rows. Fair isle in a scarf is better done in the round because A) curling and B) floats. But simple knit/purl texture can be very nice on a scarf, and easy to work, too.
Oh hey – it’s scarf weather!
Echo Scarf (pattern link) is knit in Dona. Scrummy, scrumptious, buttery, and soft with amazing stitch definition: Dona. This scarf features a generous amount of ribbing at each end that flows directly into the texture and reversible cable patterning on the body of the scarf.
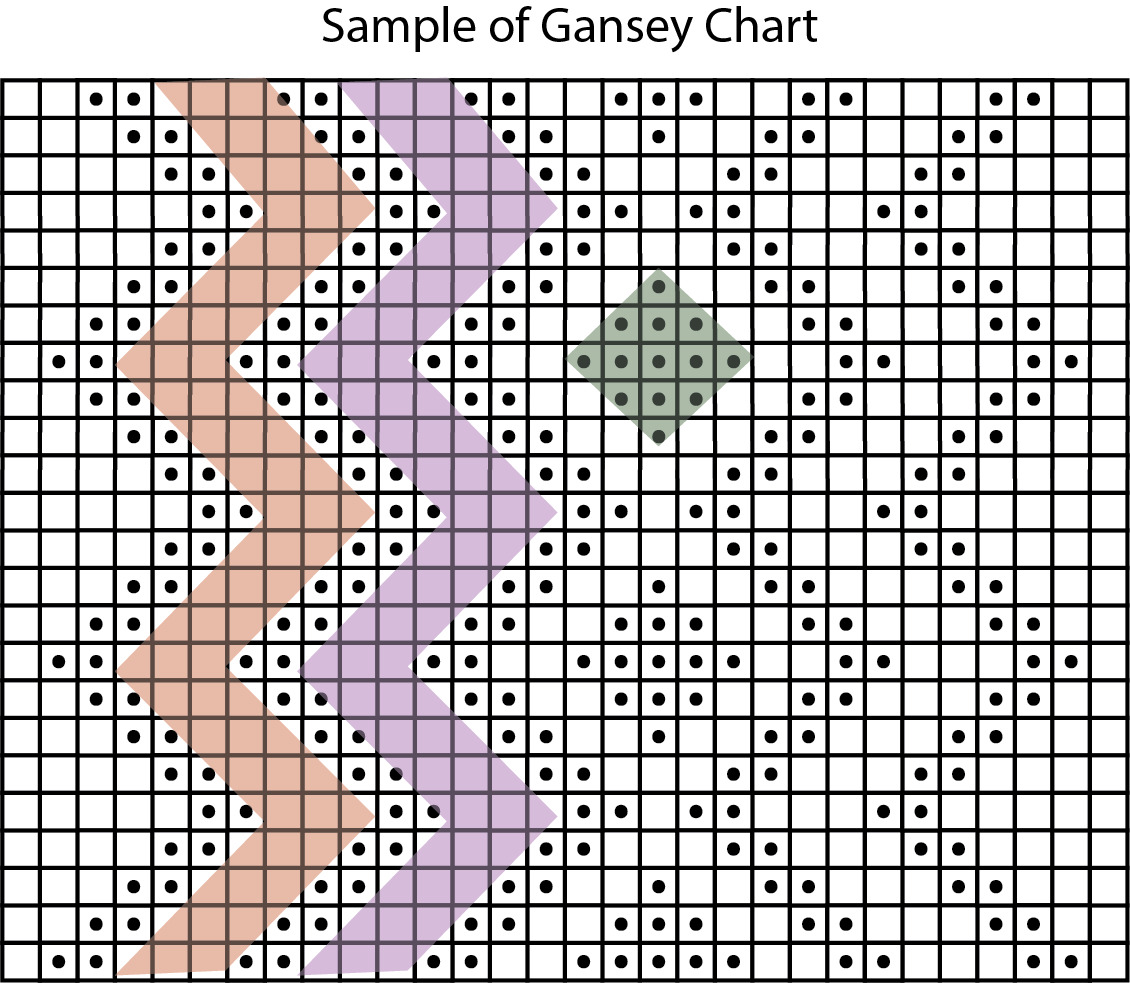
It may be difficult to tell from the photos, but the main stitch pattern is only an 8 row repeat. The patterning is also shown in the pattern in chart form and also written text. I am 100% a chart person, but I know that some knitters prefer text because their brains don’t always “click” with the way charts are presented. I’ll never pass up an opportunity to talk about chart reading because I believe they are so much easier (once you get the hang of them) to follow at a glance.
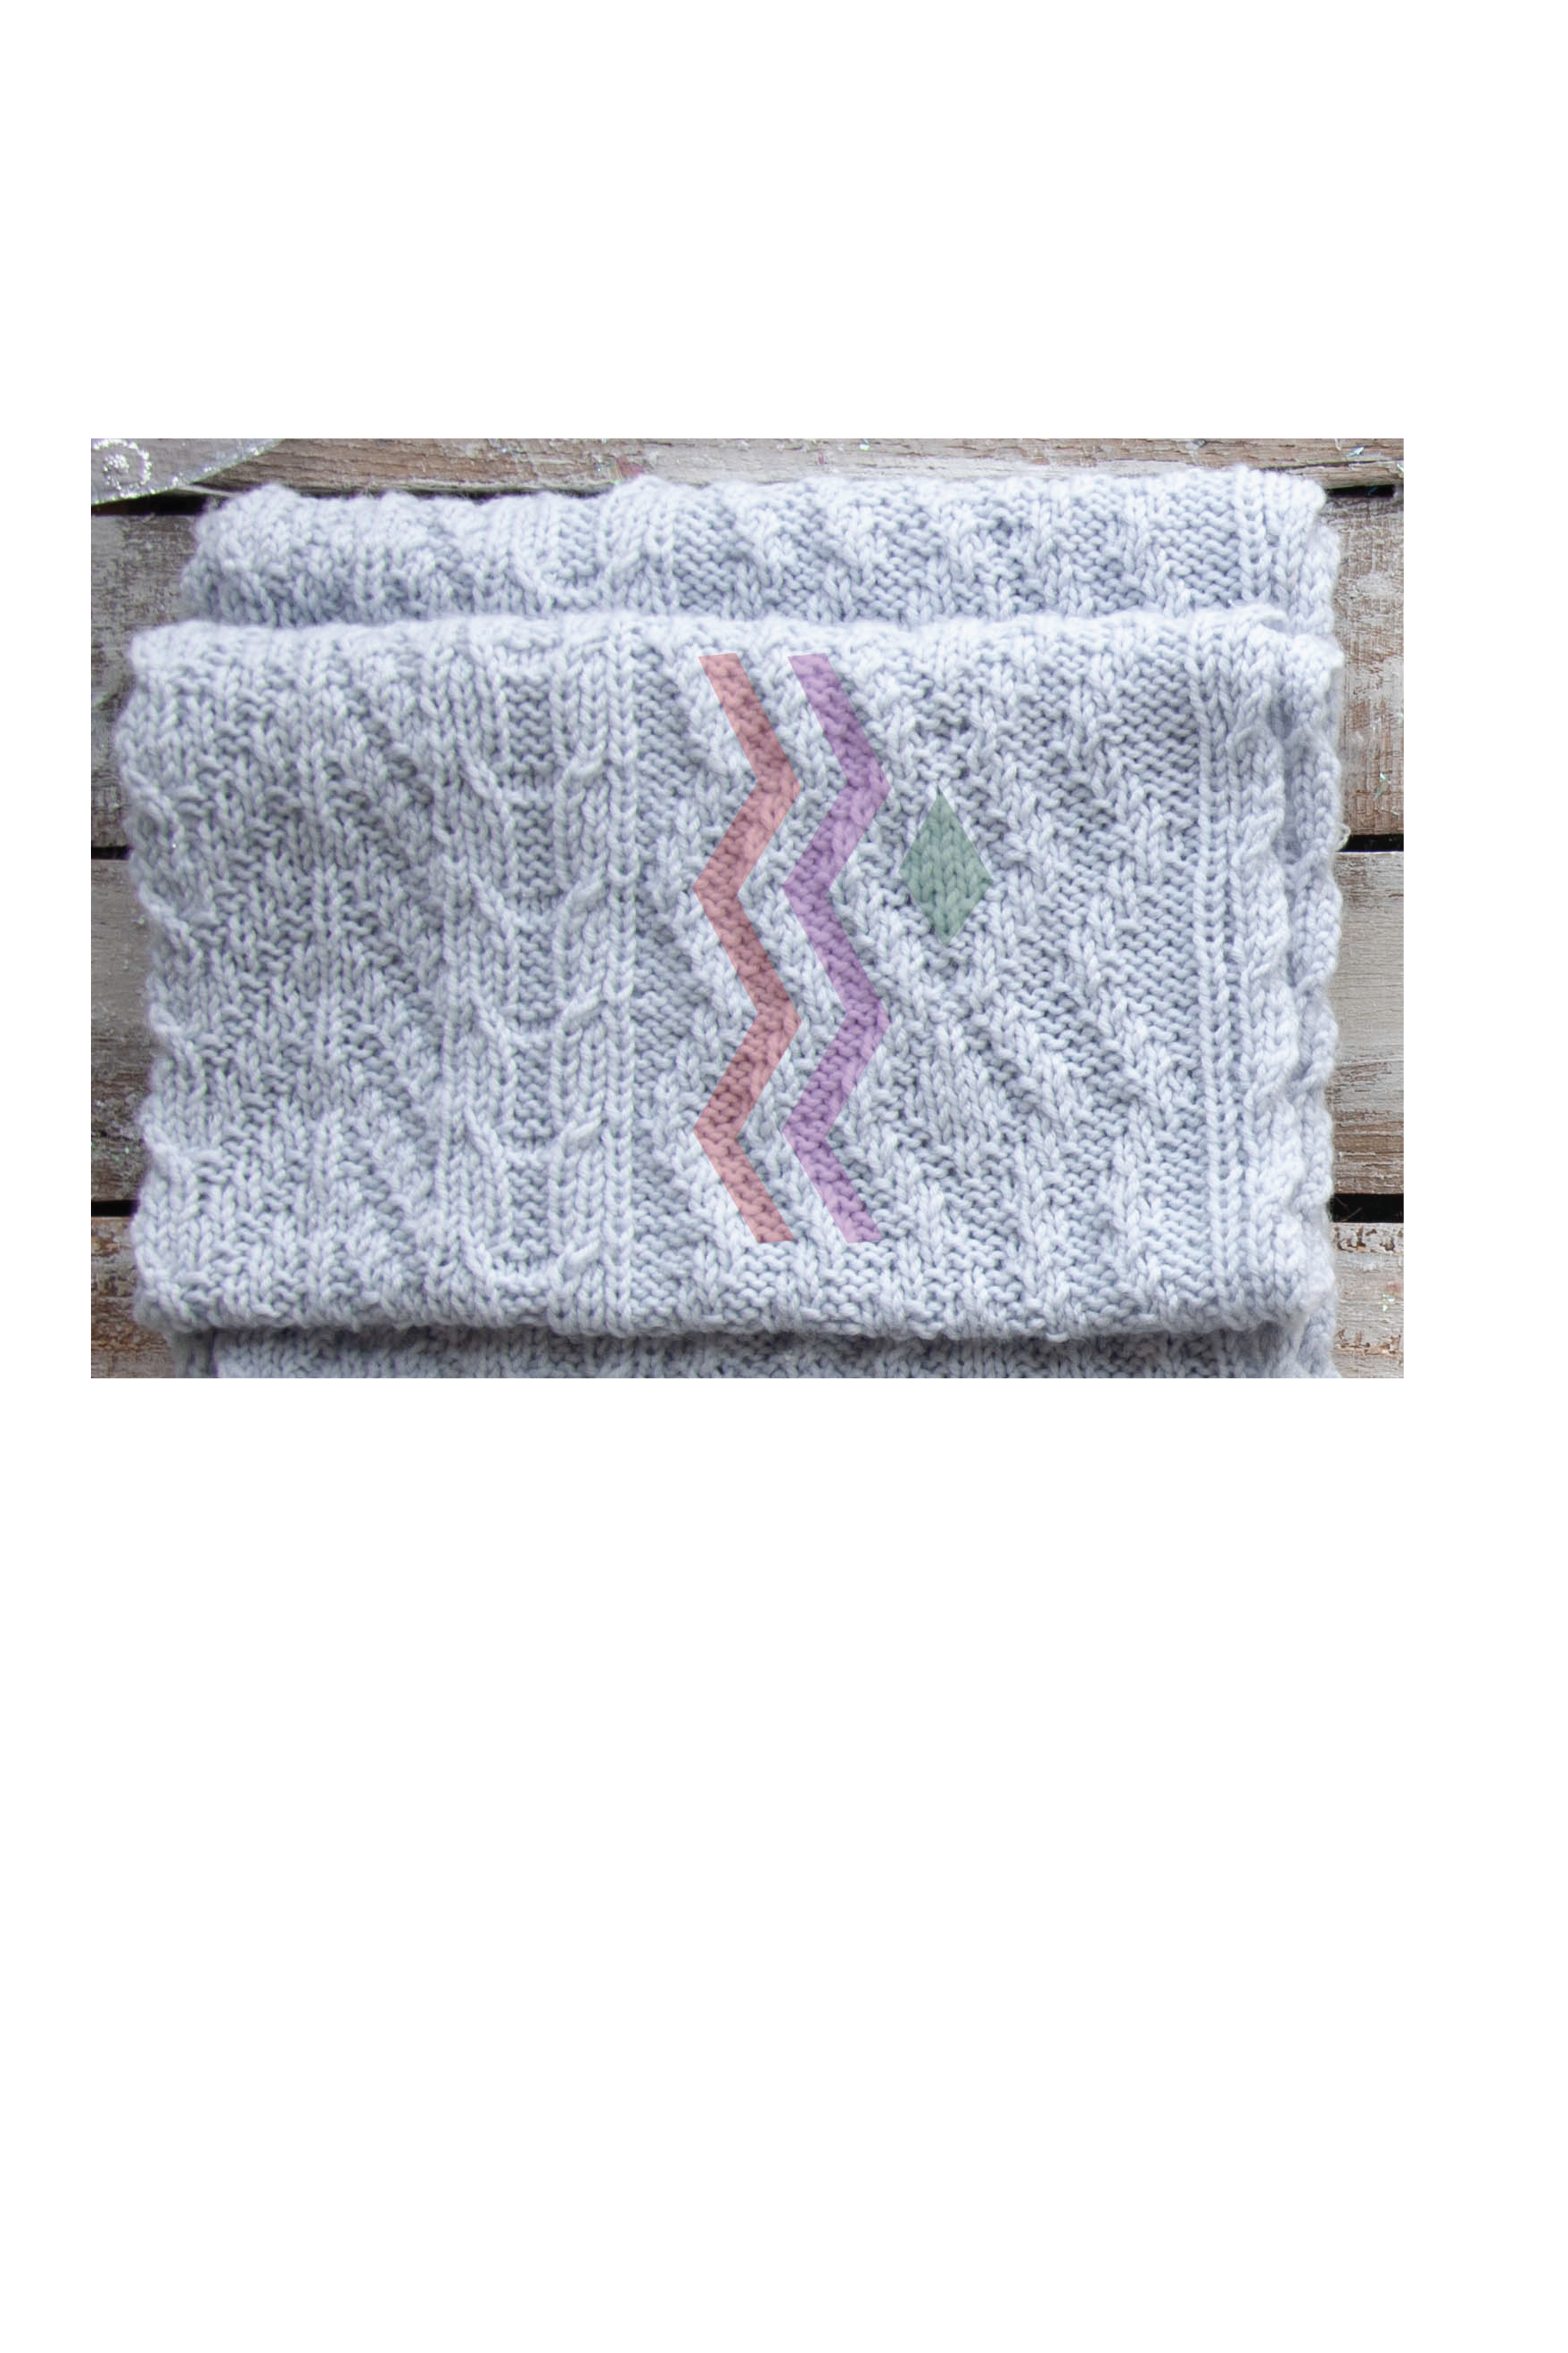
To illustrate, I’ve highlighted a few sections of the actual scarf below that correspond to the chart.
A blank square means to knit on the right side and purl on the wrong side, and represents stockinette stitch. A square with a dot inside it means to purl on the right side and knit on the wrong side, and represents reverse stockinette stitch.
The squares are visually conveying what the actual piece of knitting will look like. The blank squares which are stockinette look plain and smooth, just as they do in the finished piece. So the idea is that when you look at the chart and see this arrangement of symbols, you can know what stitches come next just at a glance.
As a reminder, whether you’re a chart or a word person, this pattern still has you covered. Remember, you can find Series 2 of the 12 Days of Winter Kit patterns on Ravelry.
This is part 5 in a 12 part series highlighting designs from our 12 Days of Winter, Series 2 Edition.
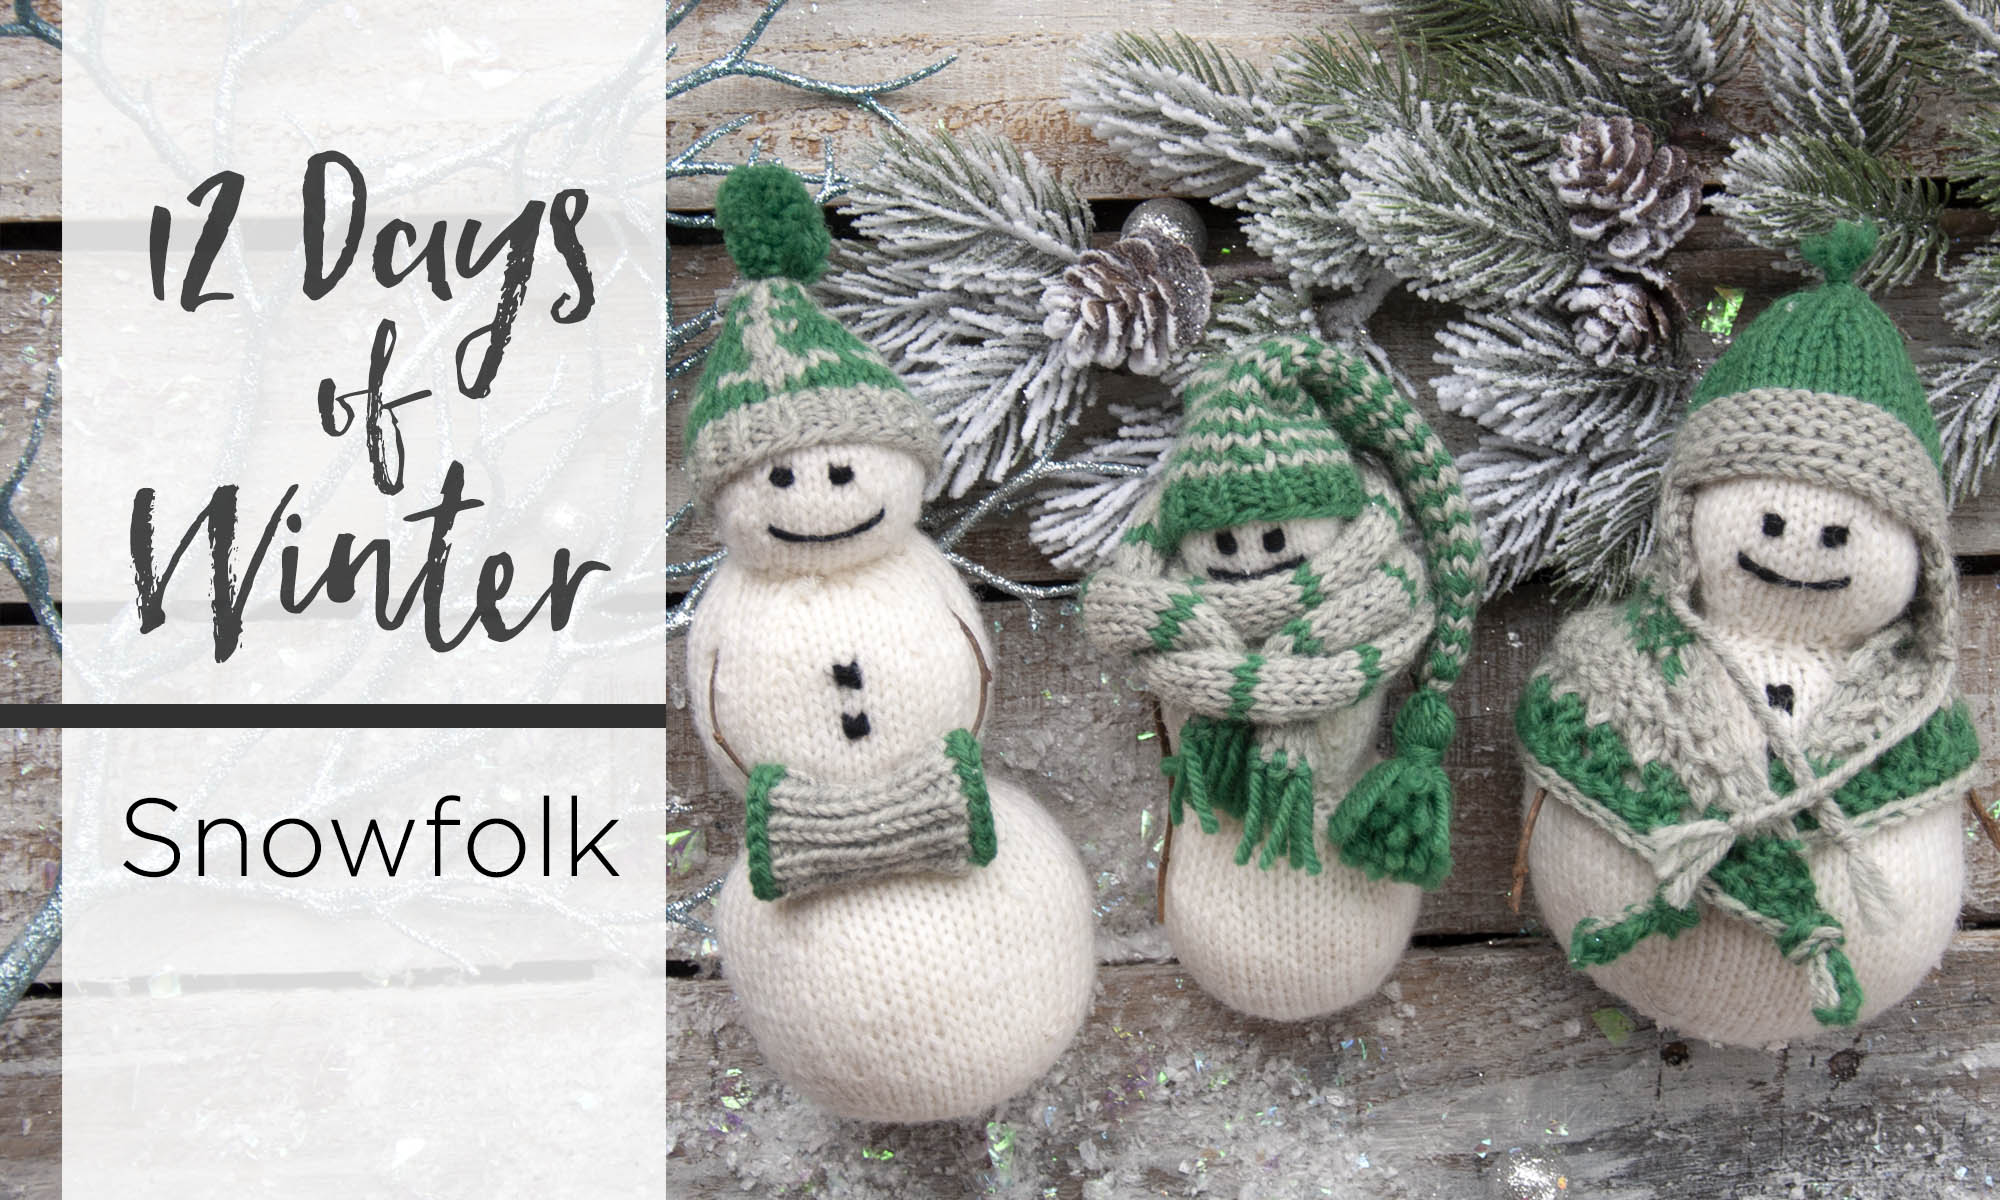
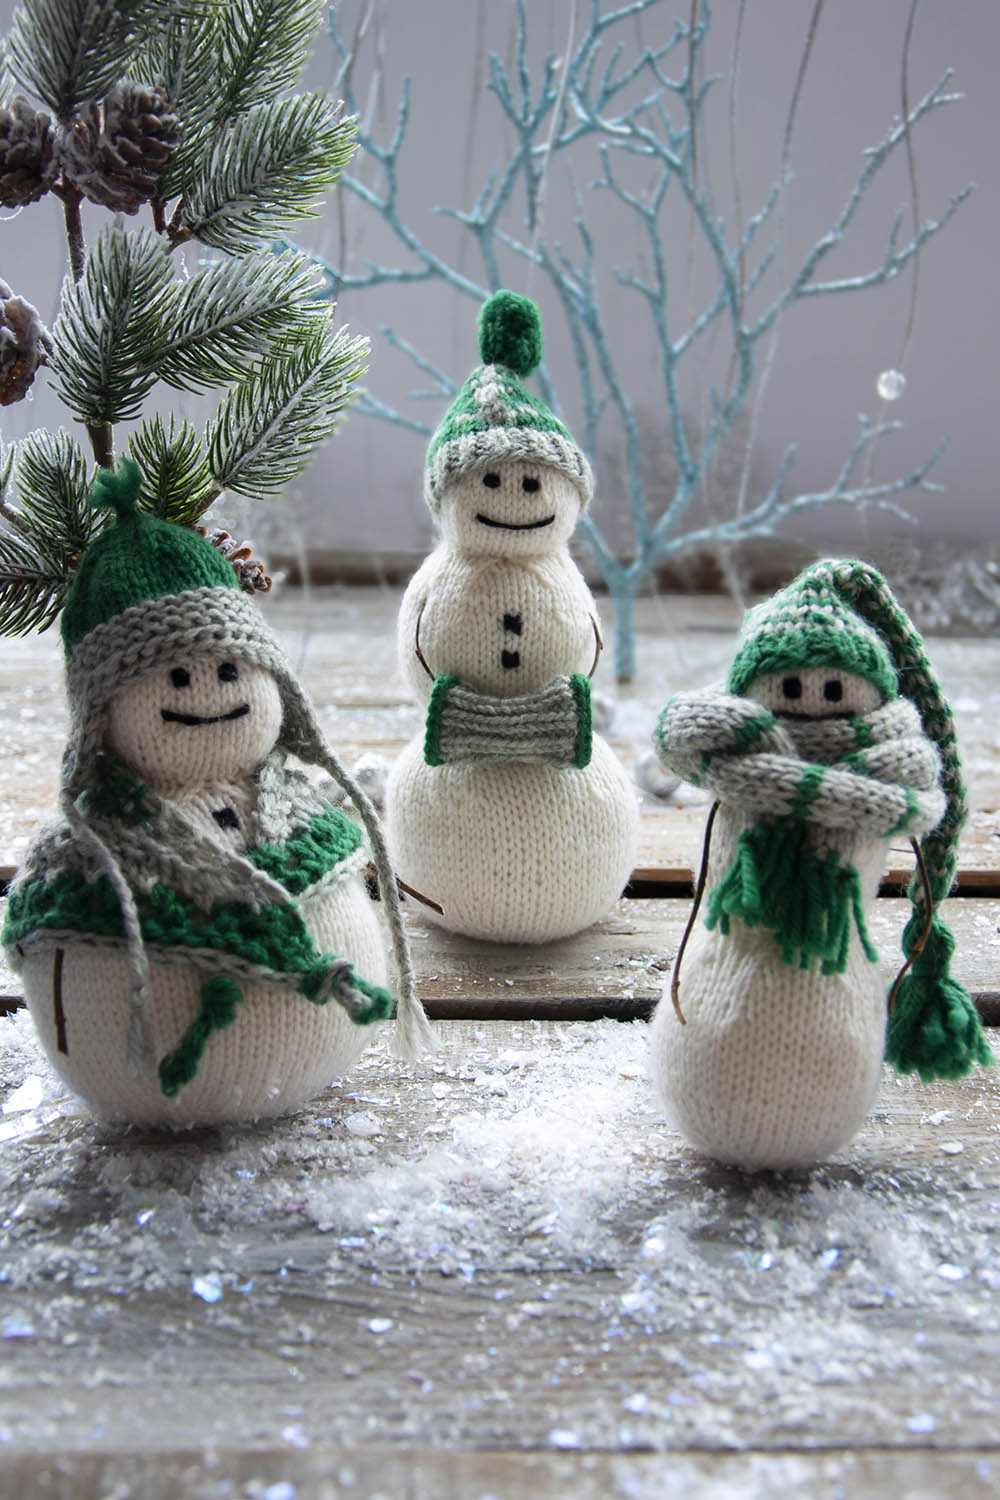
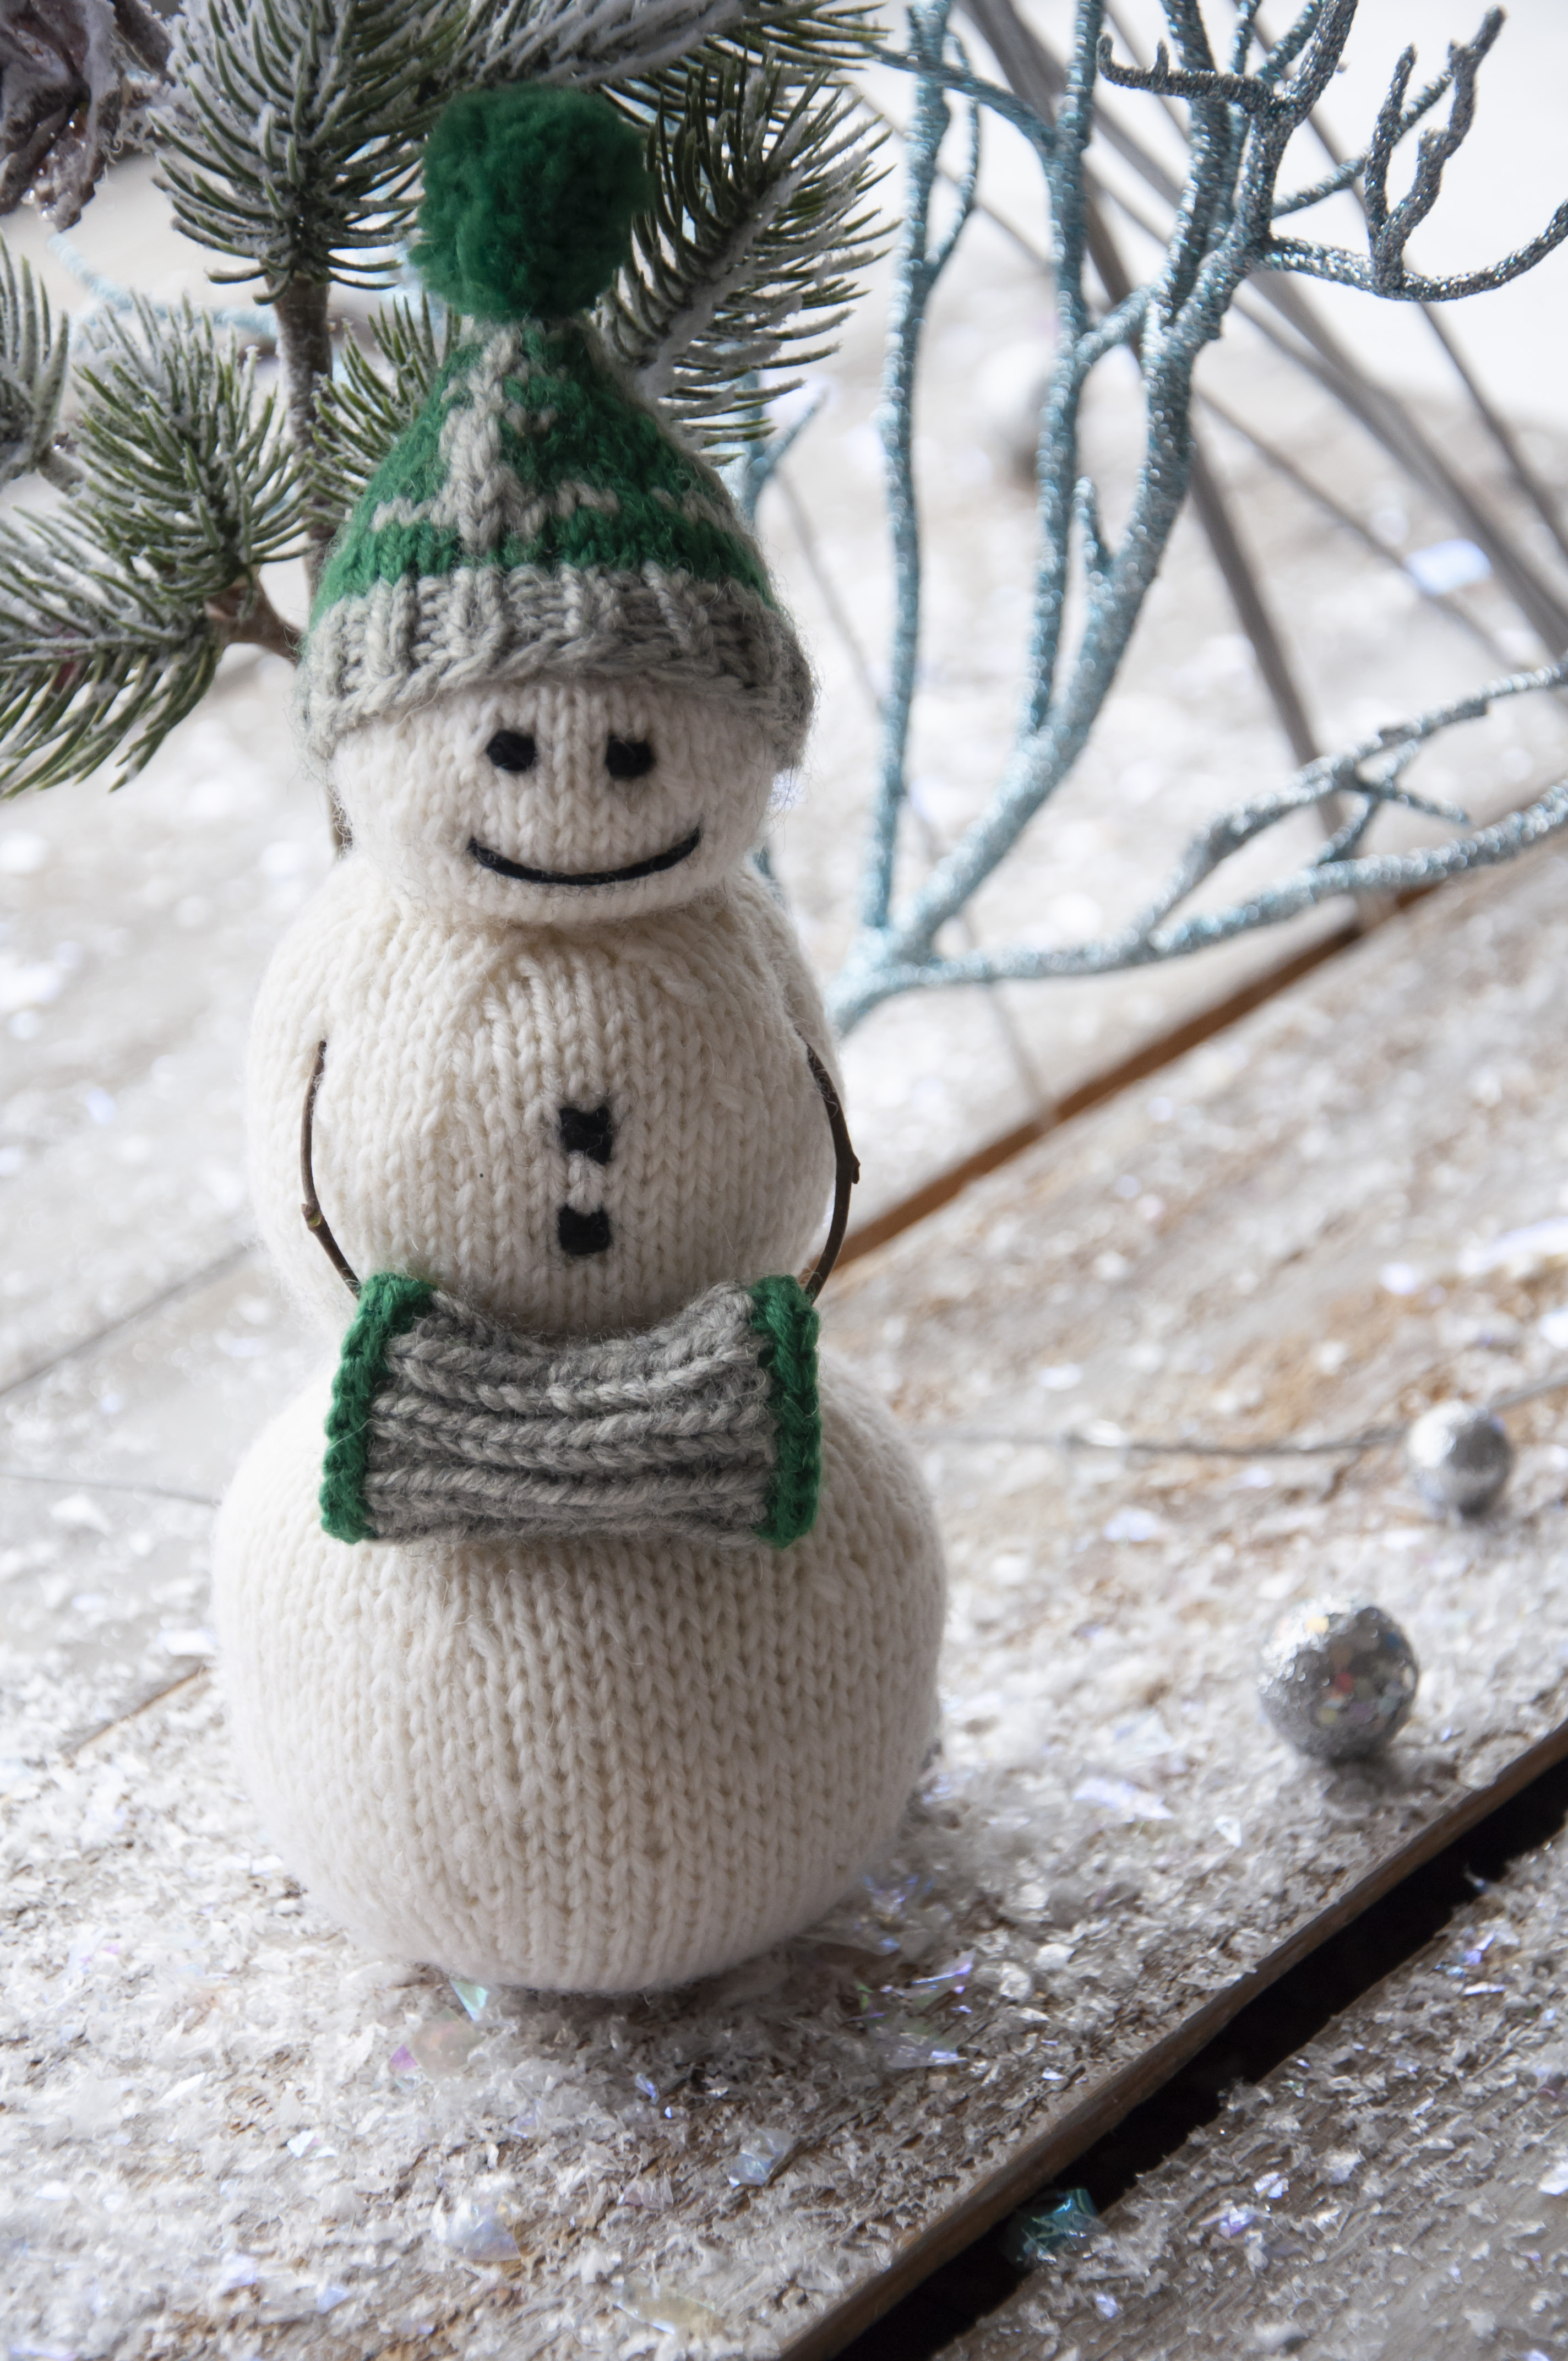
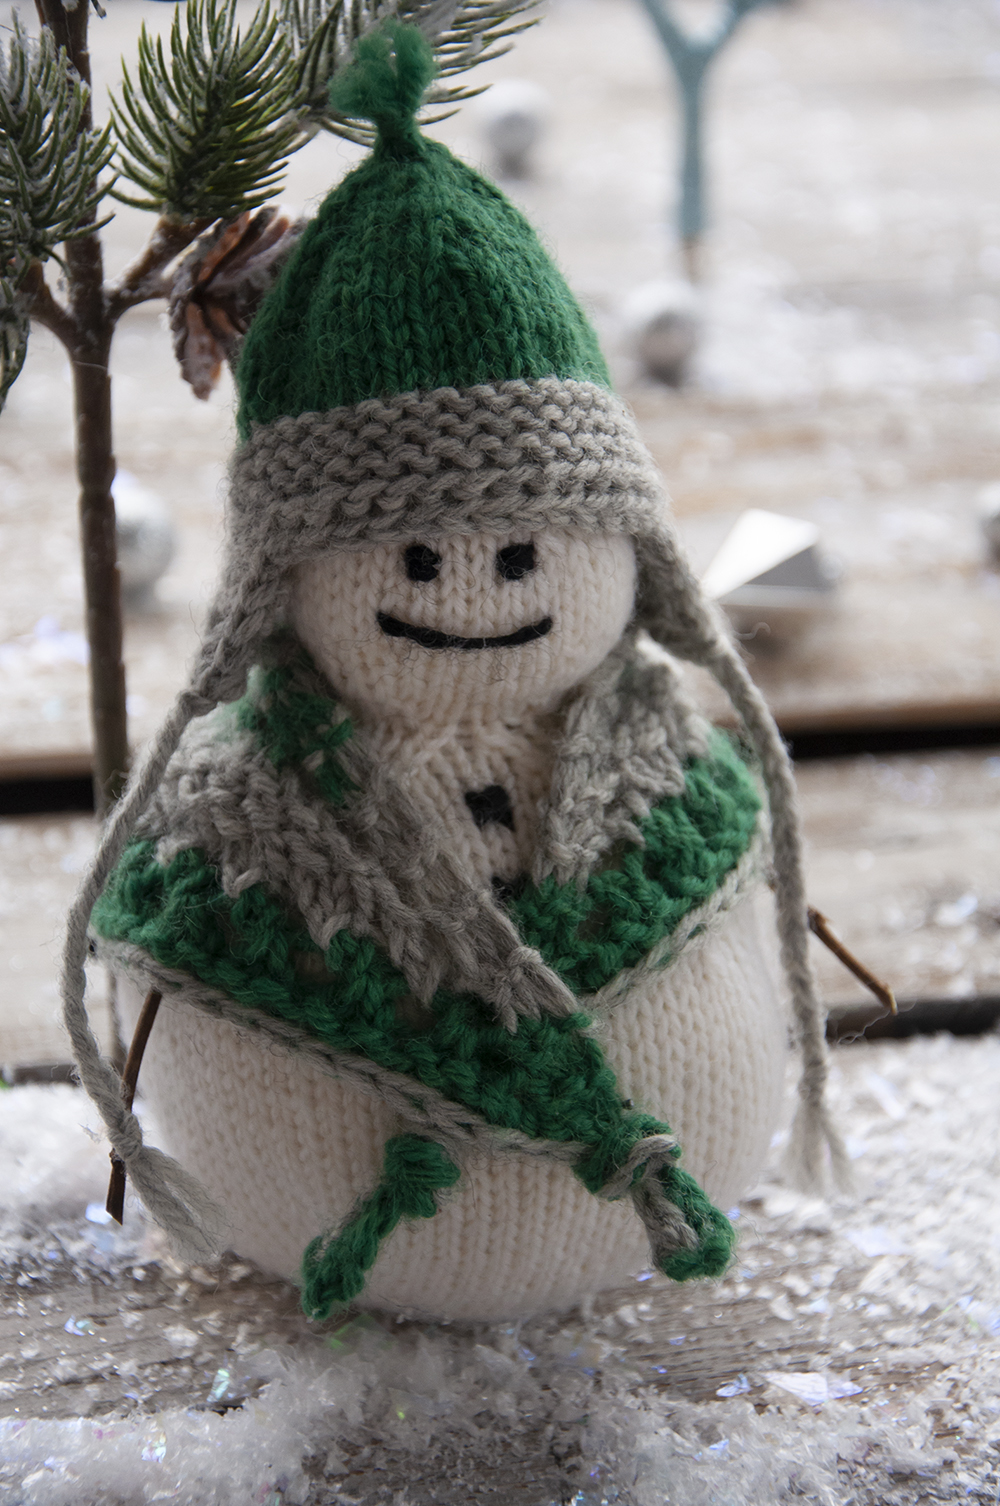
Meet your new best friends: the Snowfolk (pattern link)! Agnes, Dorothy, and Maureen are a trio of knitters made from Deluxe Worsted. I love this yarn because it’s great for so many things – garments, accessories, home decor – you name it, Deluxe Worsted has you covered! This group of frosty friends is a joy to make, and you’ll have plenty of yarn to make more than three. We encourage you to have fun customizing your very own wintry knitting circle!
Maureen (left), Agnes (center) and Dorothy (right).
Snowfolk is a collaboration between Amy (our amazing creative director) and myself (Rachel – Amy told me to add that I am also amazing). Between the three snowpeople we designed and the collaboration involved in this pattern (not to mention by our entire team who have made this collection possible), I started thinking about knitting in the company of others. I asked some of my colleagues what their favorite things about knitting with others are.
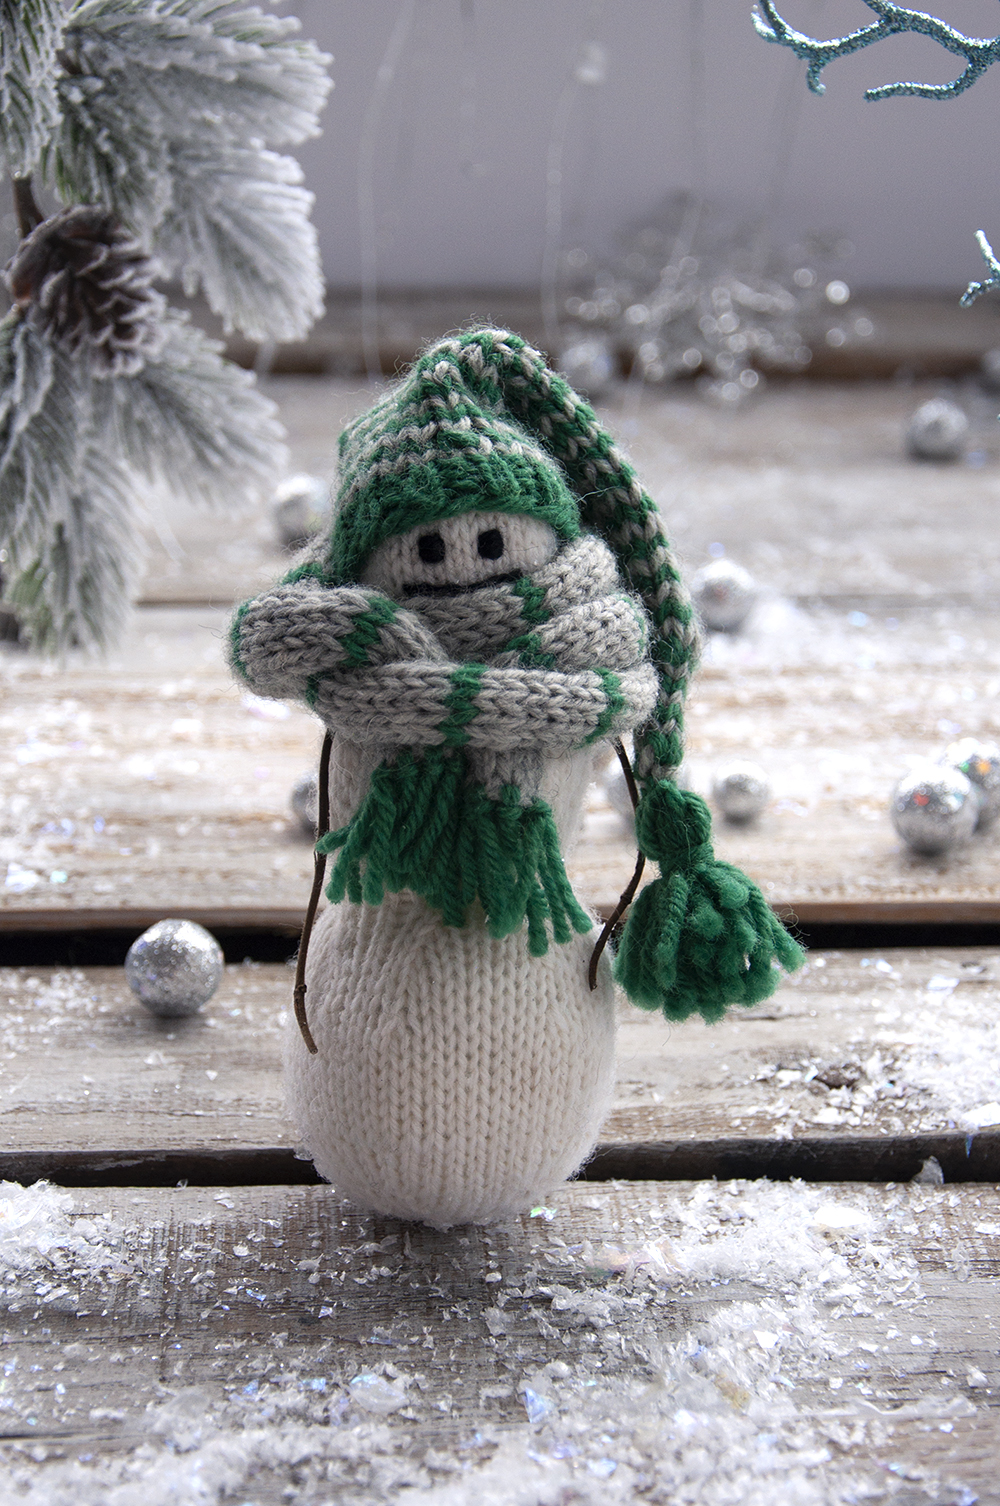
Dorothy is chatty at times and gets a bit carried away at her knitting group. As a result, she inadvertently adds some length to her knitting! She doesn’t mind, though. After all, what’s more snuggly than a scarf wrapped several times around your neck?
Here is what Amy had to say:
“I travel to a lot of knitting shows, and so I find myself knitting amongst strangers (or friends) quite often at these events. I love how this one thing that we have in common paves the way for such a strong bond between people. I have made many dear friends through knitting.”
Agnes wearing her colorwork hat. Stranded knitting is her favorite technique and she believes no hat should go without a pom pom. If she’s not knitting her hands are freezing! The muff solves the problem for her!
Heather told me:
“My weekly knitting group is a great way to decompress. I can share my worries with sympathetic people while also doing something soothing. Dropping in my with local knitting group has brought me lifelong friends – and a cat when a knitting buddy needed to move!”
Maureen: maker of shawls. She also hates having cold ears, so her ear flap hat is the perfect accessory.
Most of the time I’m someone who revels in knitting at home in the company of my pets, but there is something so nice about knitting with friends or seeing someone you don’t know knitting in public. That commonality often creates an instant bond. I love visiting my local yarn shop to catch up with the owner and her employee as I pass stitches from one needle to the other. Once or twice a year I treasure the moments when I can join one of my dearest friends in person to gush about what we’ve been knitting. A great friend who lives nearby joins me each week to knit and chat. If I’m honest, I don’t accomplish much when knitting with others! I may get through a few rows, but spending that time with those I care about while doing something we love is what’s truly special.
What do you love about knitting with others? Do you have a weekly knitting circle? Maybe you love attending shows. We’d love to hear about it!
Remember, you can find Series 2 of the 12 Days of Winter Kit patterns on Ravelry.
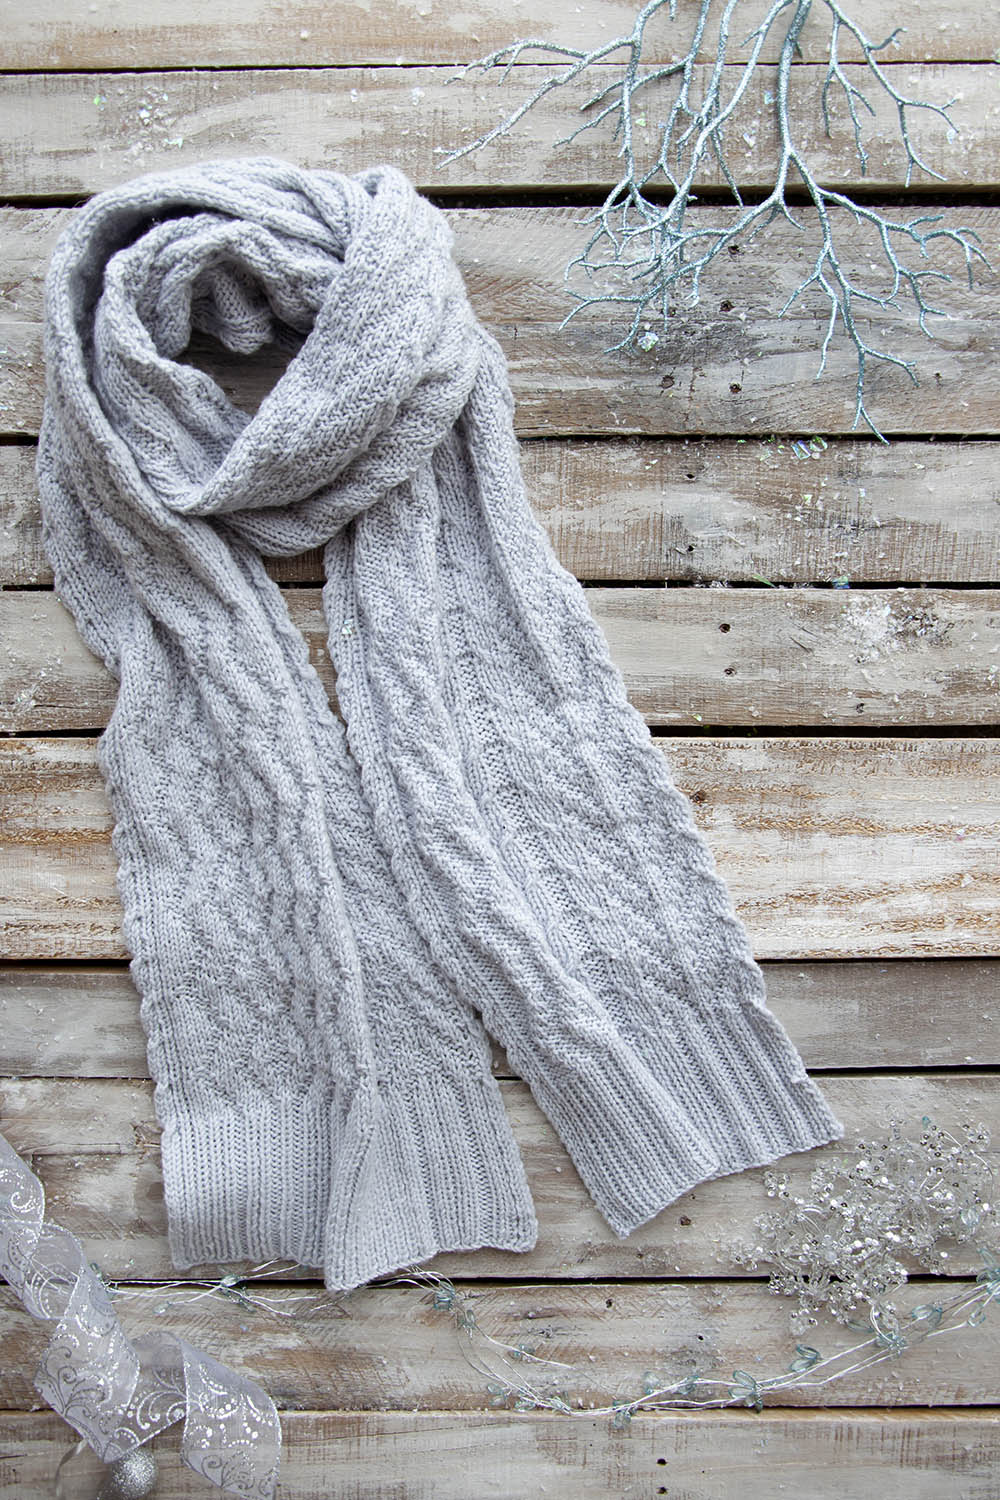
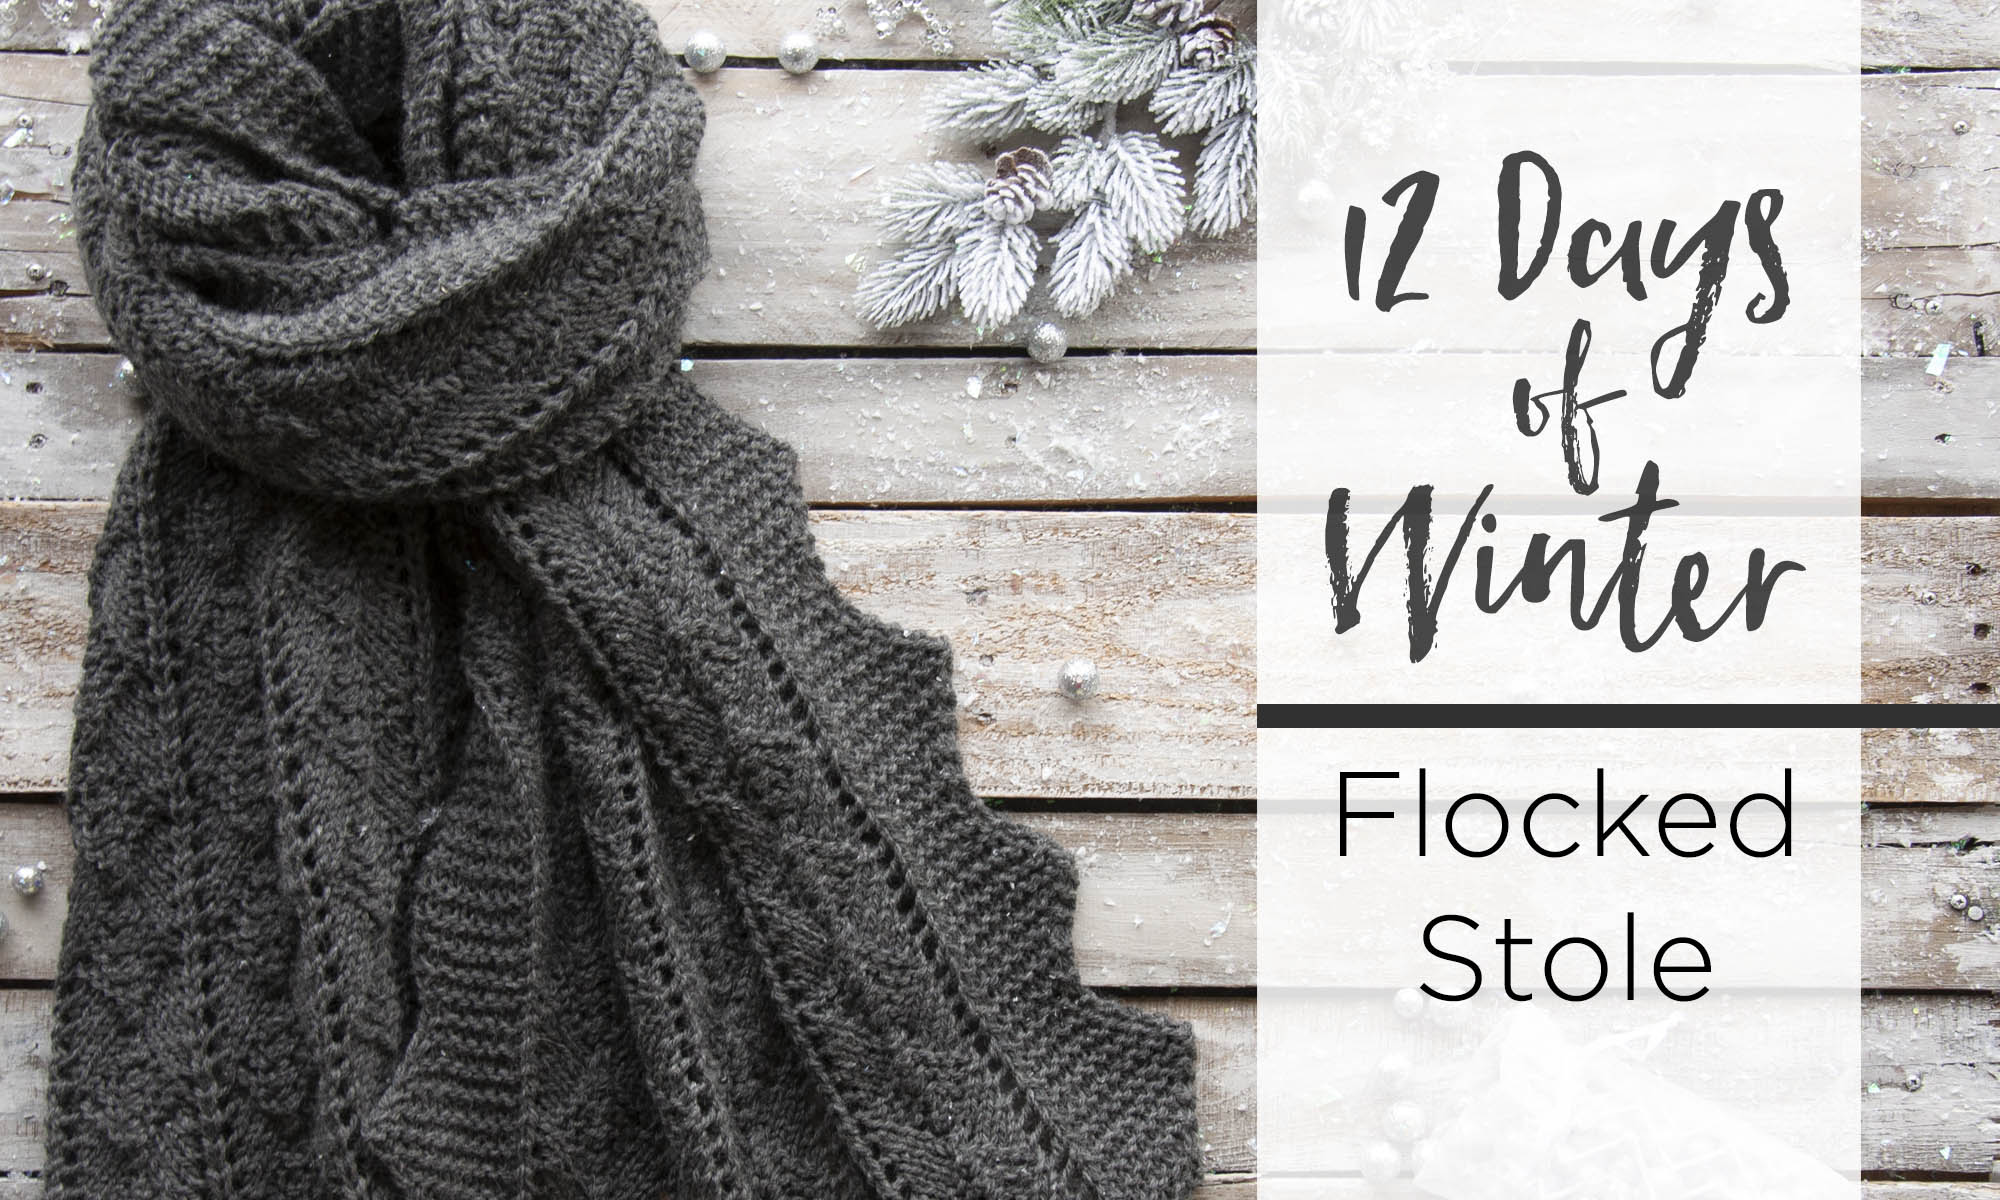
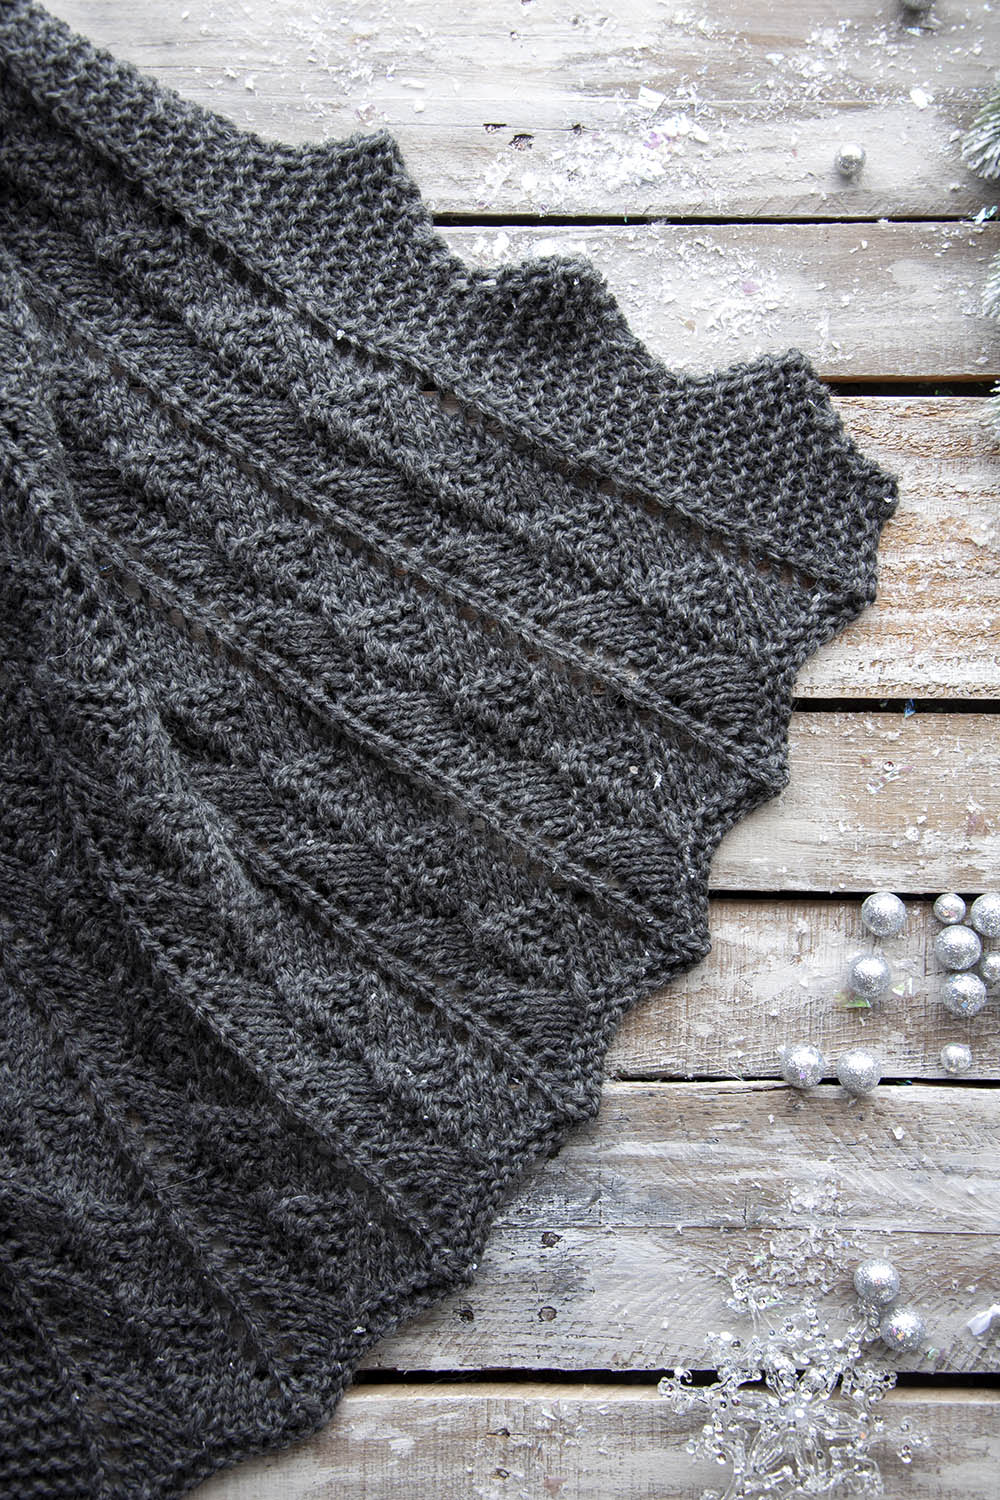
This generously sized stole/shawl/scarf is knit in one piece from one end to the other. It uses Deluxe Chunky in my favorite heathered shade of gray, #91903 Charcoal Heather. On a size 10 needle, this is a project that isn’t going to take until next winter, either.
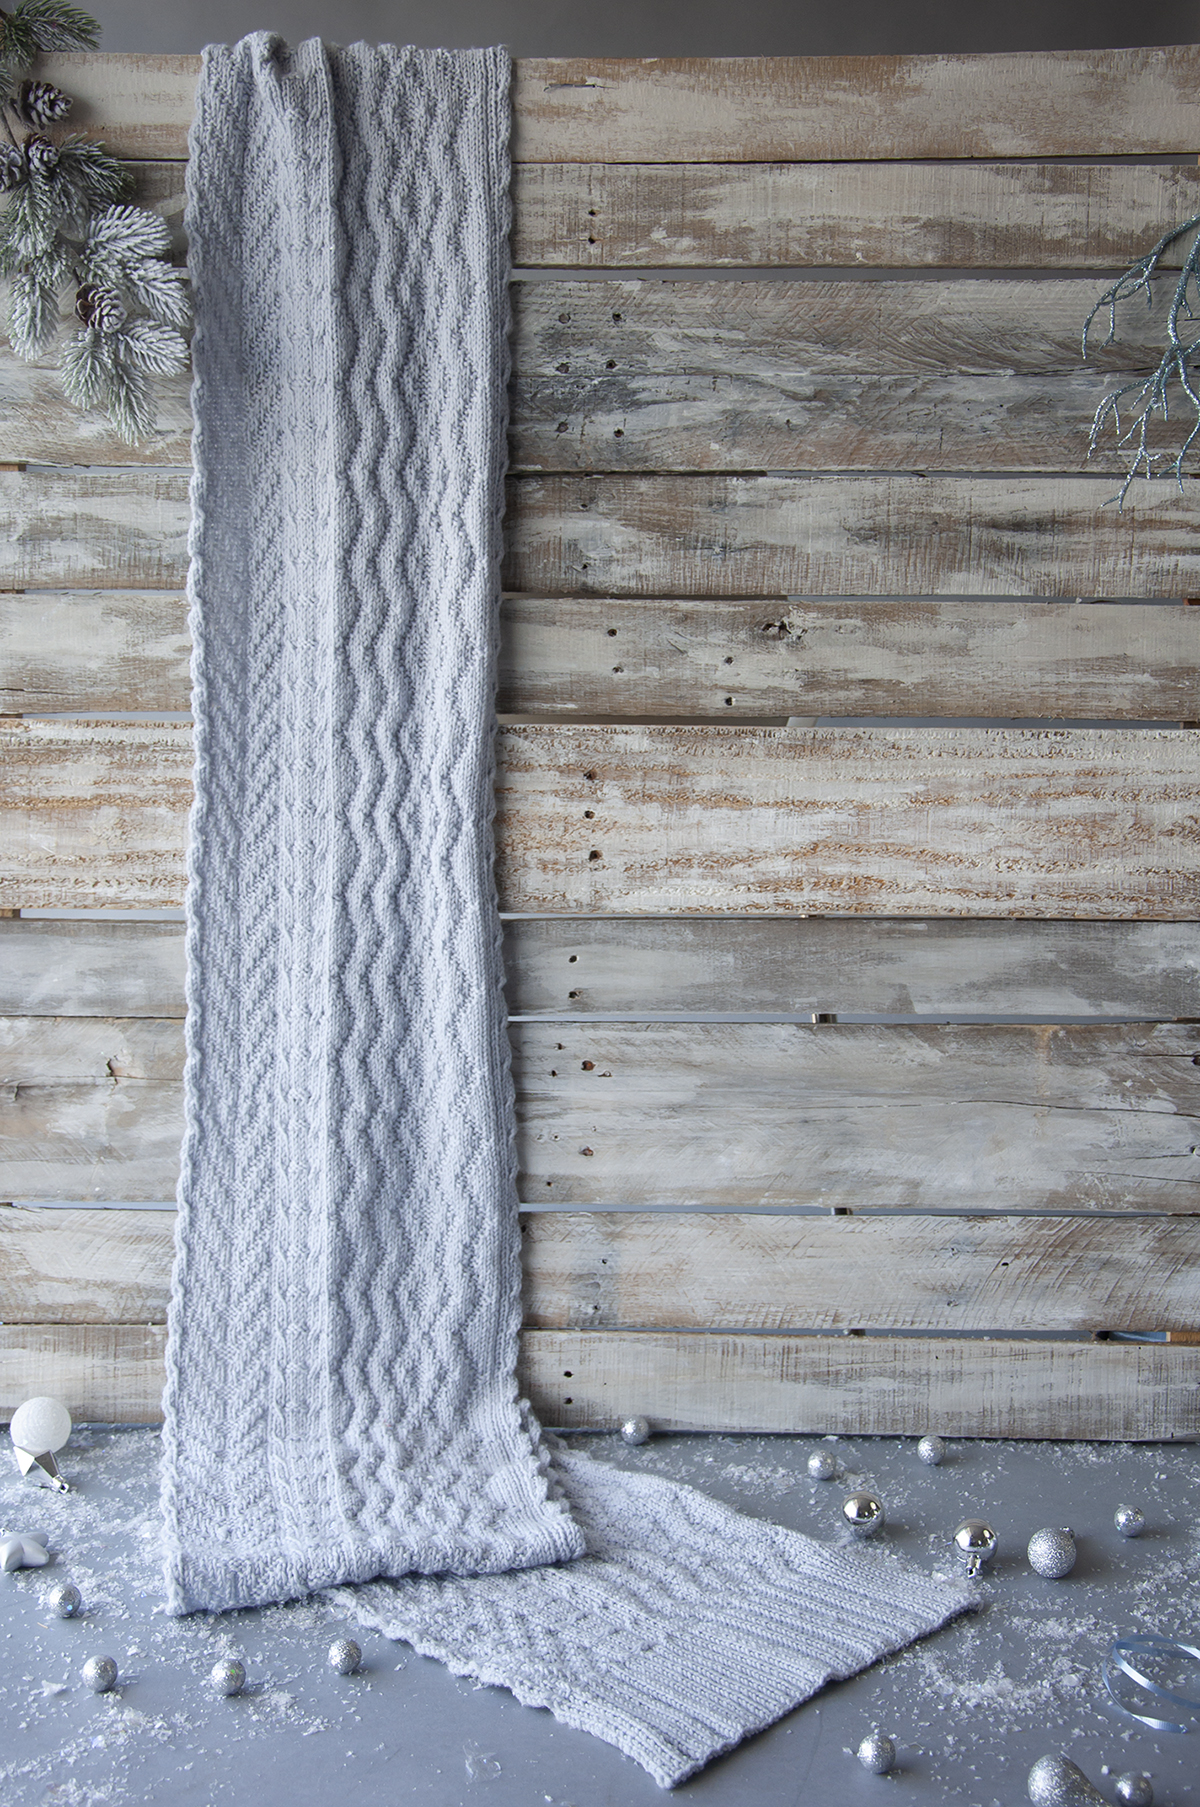
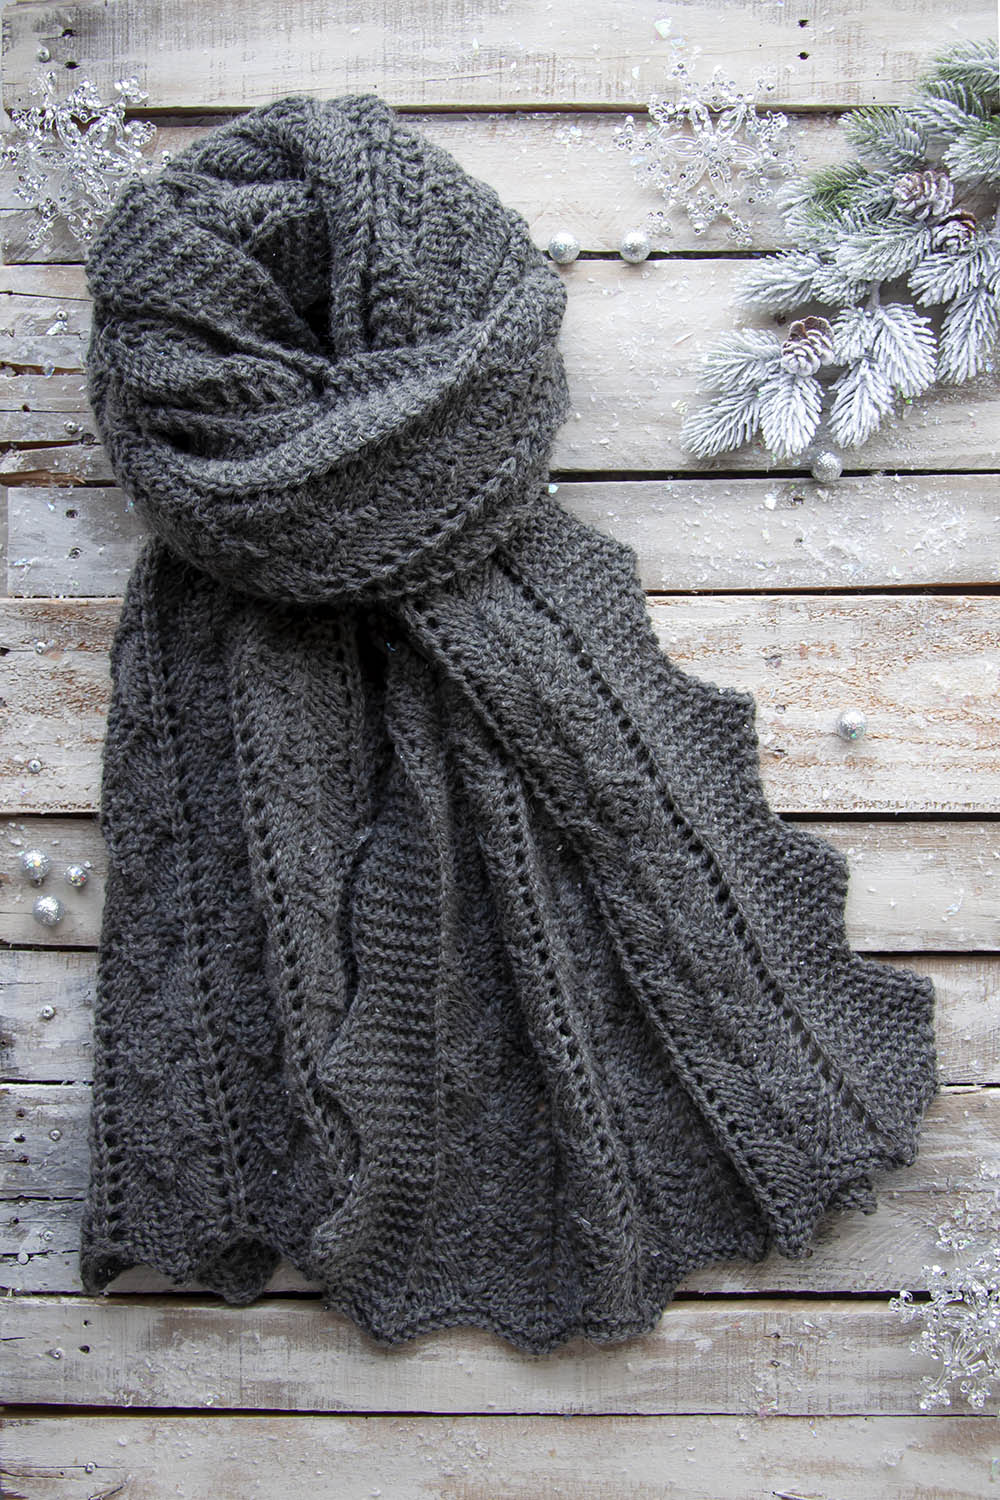
This project goes to show that rectangles do not have to be boring! The lace pattern in the main body of this stole uses centered double decreases which create angles on both cast-on and bind-off edges. The garter edging on each side also forms points, which brings me to the next thing I love about this piece – it is so easy to block!
To block, the easiest method is to use blocking wires and pins. You could also use pins by themselves on a blocking board. But I find it’s much easier to use the wires because I can stretch the item more evenly.
Because all four edges of the stole have points on them, I ran wires through the tips of these points, and then pinned my wires to a blocking board which stretched the whole thing out evenly. It’s almost always very important to block lace in order to open up the fabric, and also to even out the stitchwork.
Never used blocking wires before? This might be a good project to get started! I bet your LYS carries them – just ask!
Remember, you can find Series 2 of the 12 Days of Winter Kit patterns on Ravelry.
This is part 3 in a 12 part series highlighting designs from our 12 Days of Winter, Series 2 Edition.
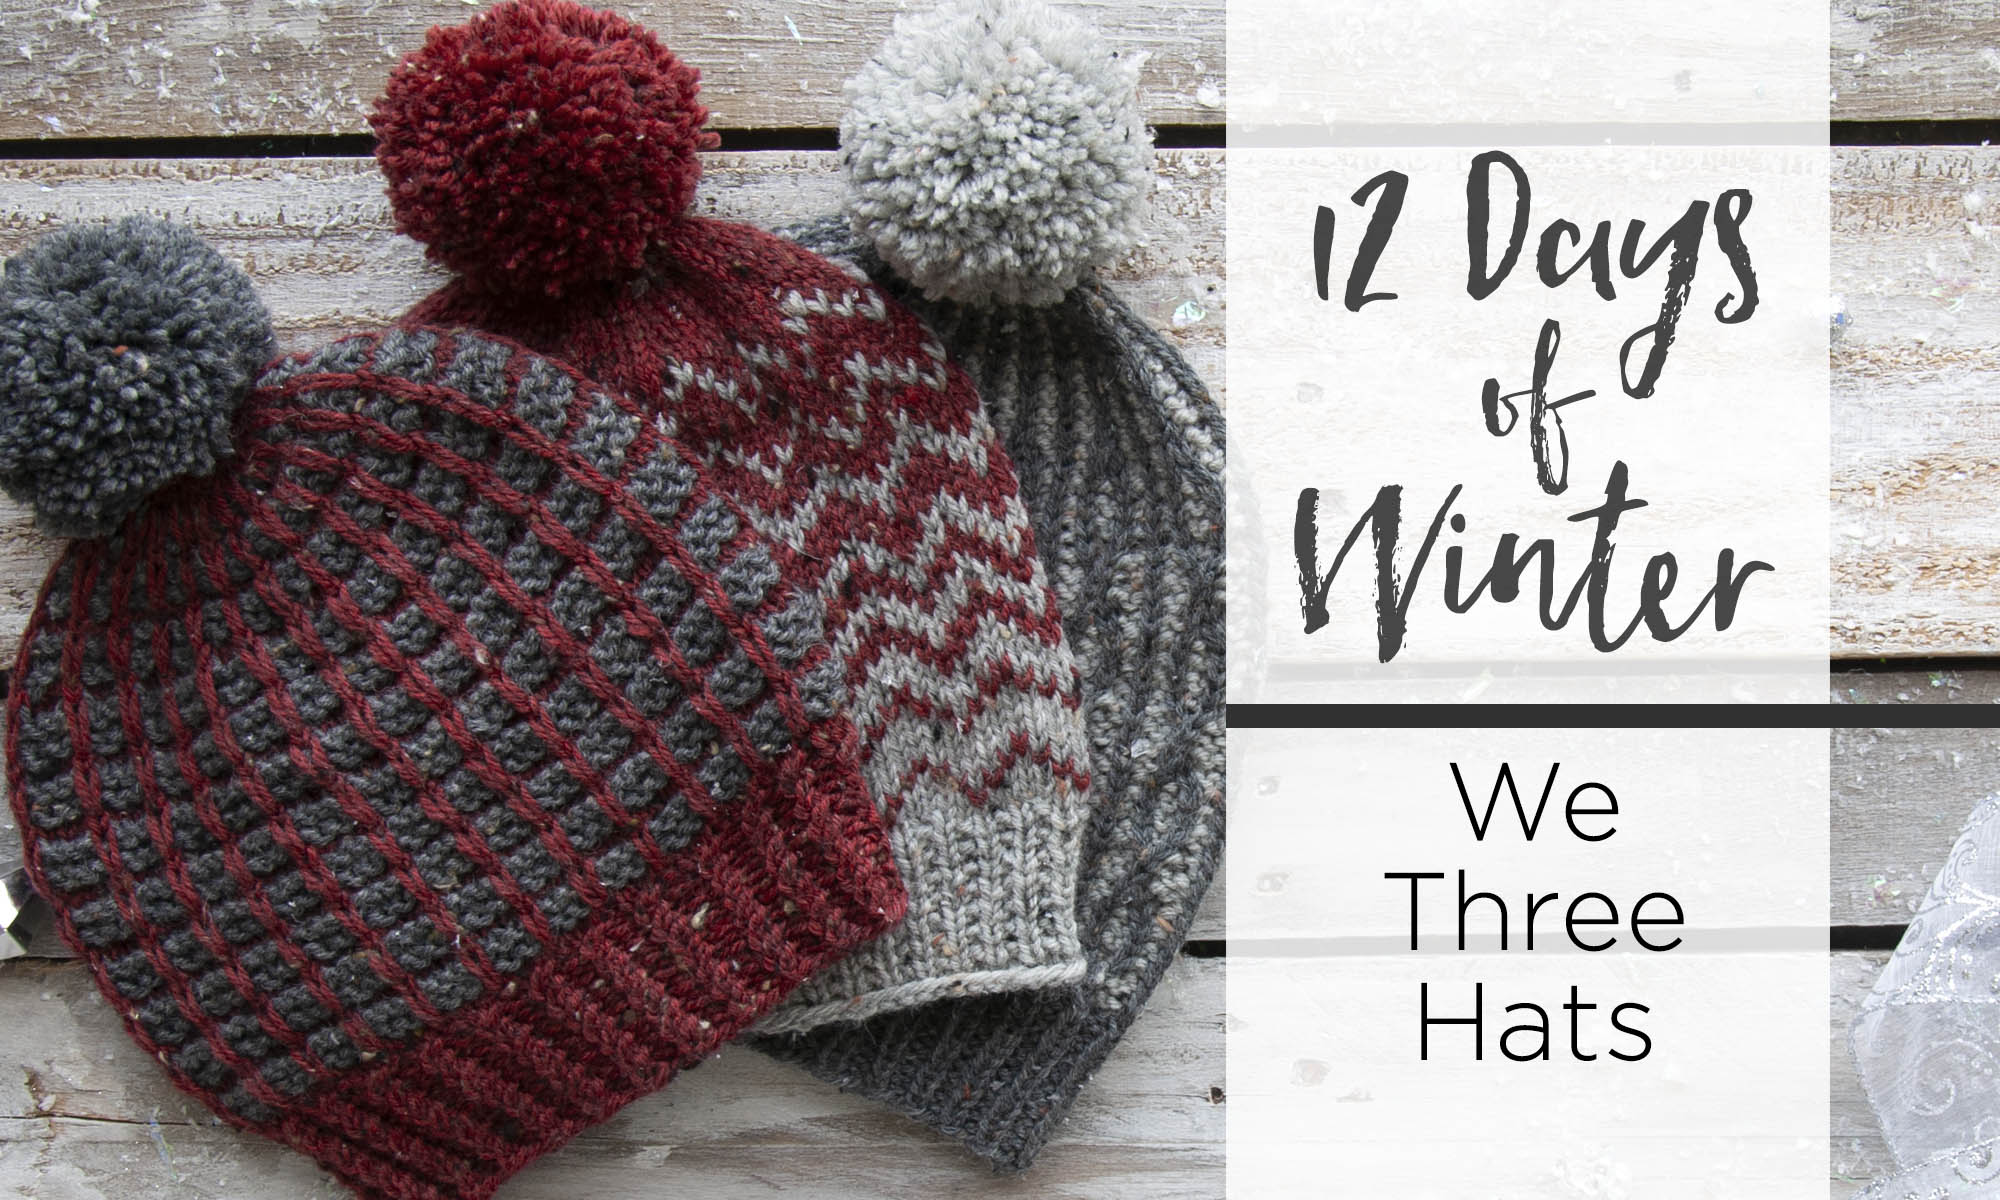
Hats make such a satisfying knit. They’re small and portable, make great gifts, and they’re a fun medium to try out a new technique with.
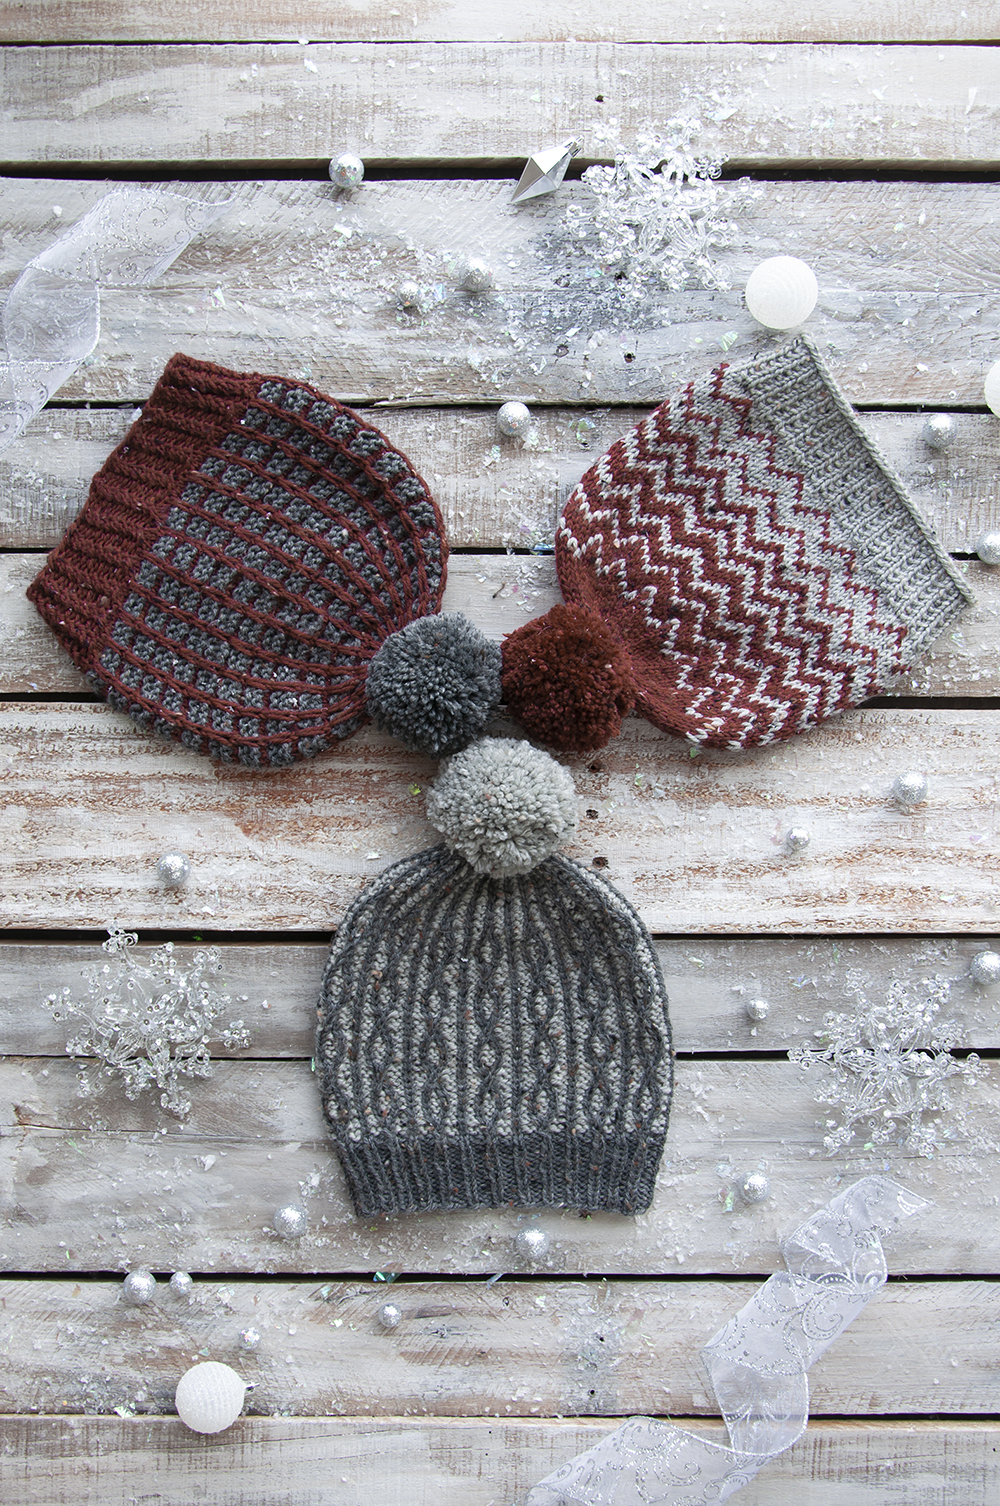
The We Three Hats pattern (pattern link) includes three different hat patterns that can be made out of three colors of Deluxe Worsted Tweed Superwash. All hats are knit from the brim up to the crown. Each hat is a bit different, but one thing they all have in common is a coordinating pom-pom.
To pom-pom or not to pom-pom: that is the question.
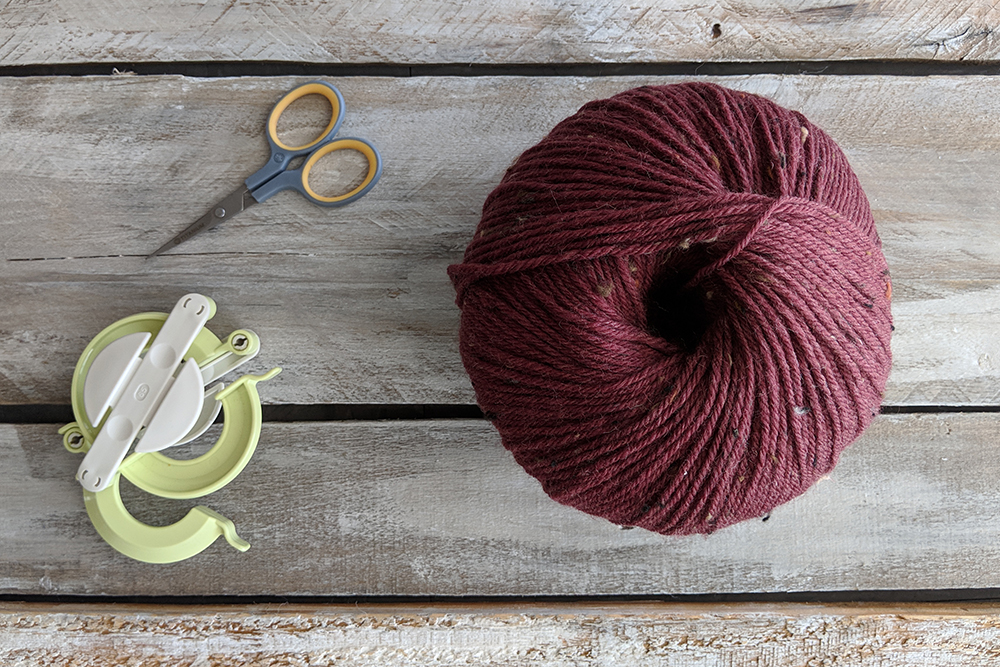
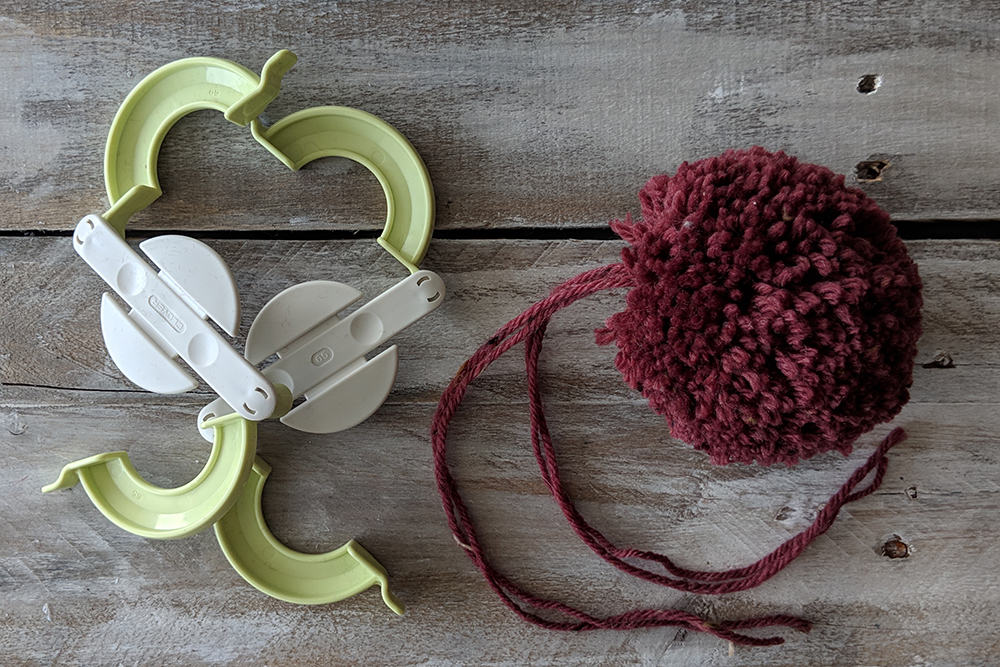
And for me, the answer to that question will inevitably be: heck yes! I love pom-poms, all sizes. I have made many pom-poms in my life using lots of different techniques. I’d like to share with you my favorite way to make a pom-pom, along with a few little tips.
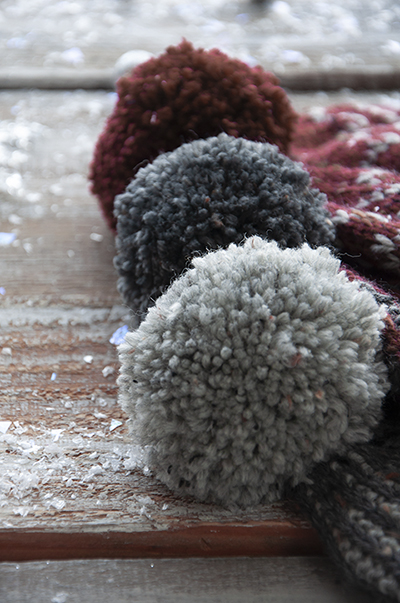
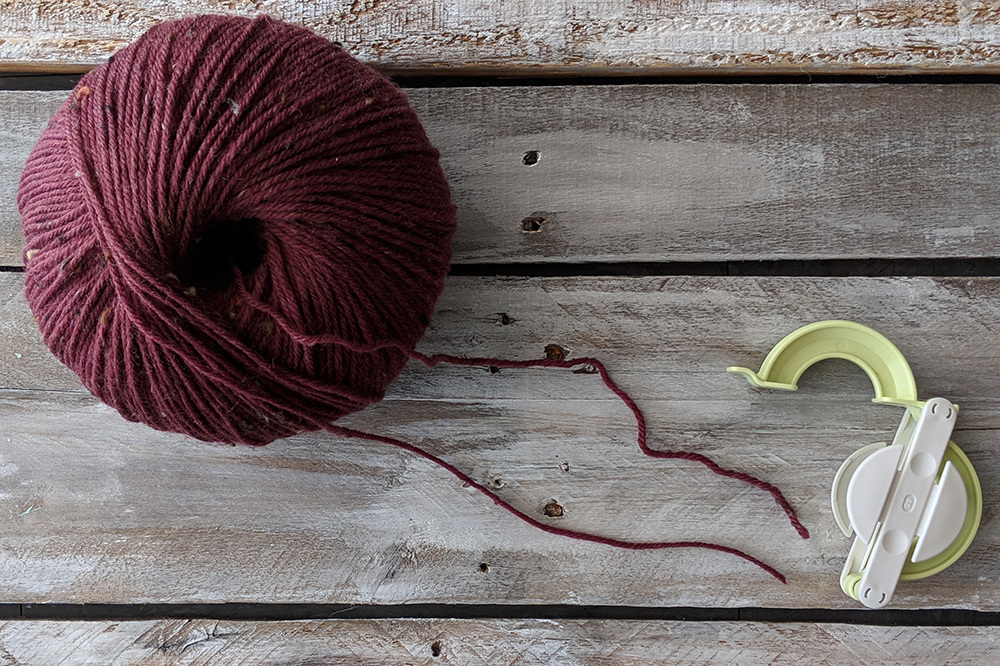
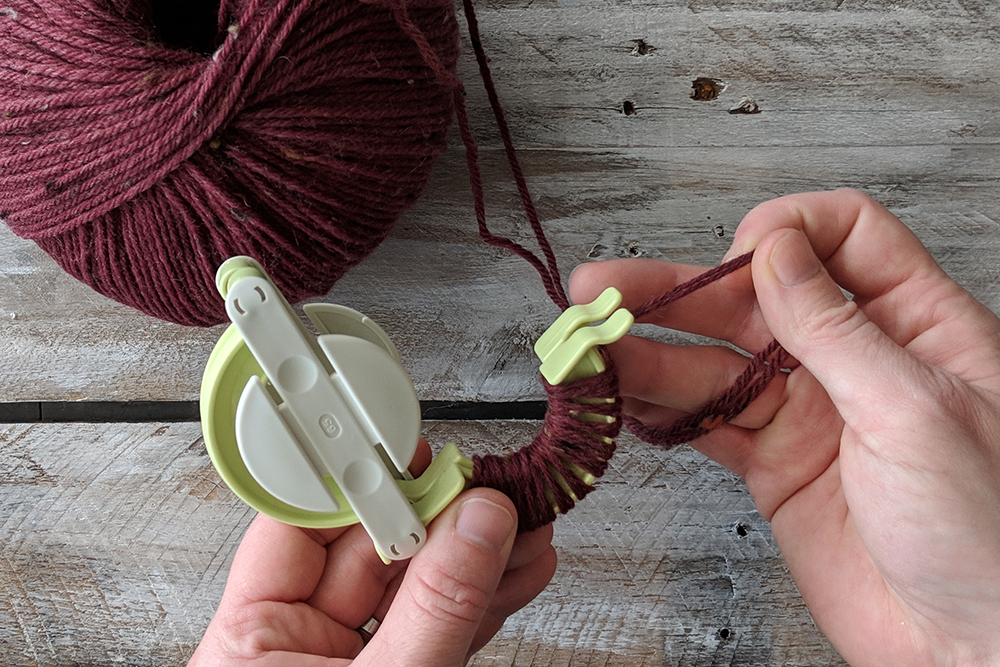
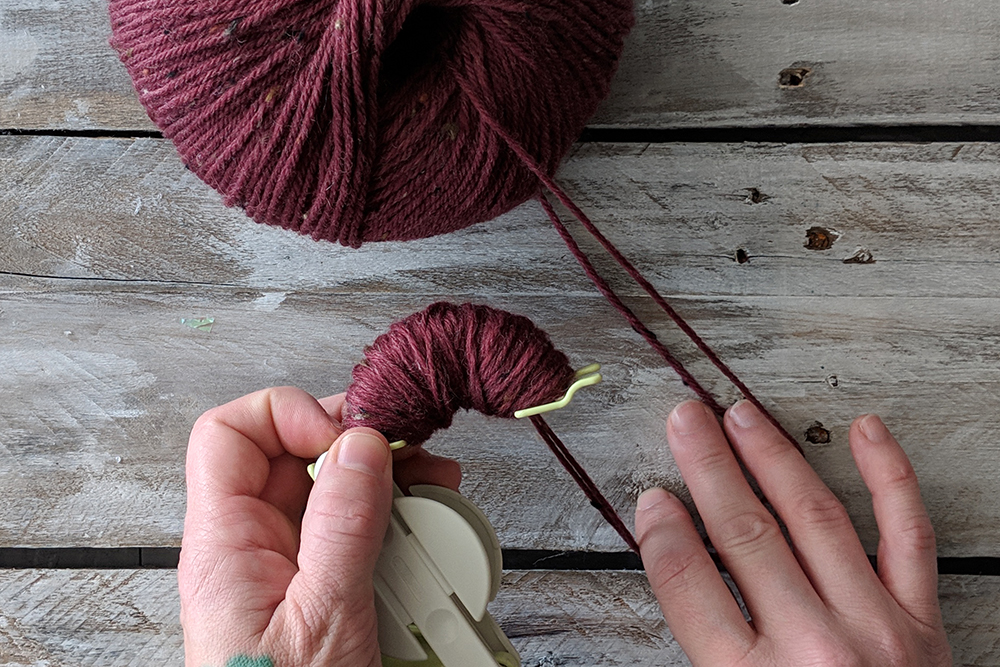
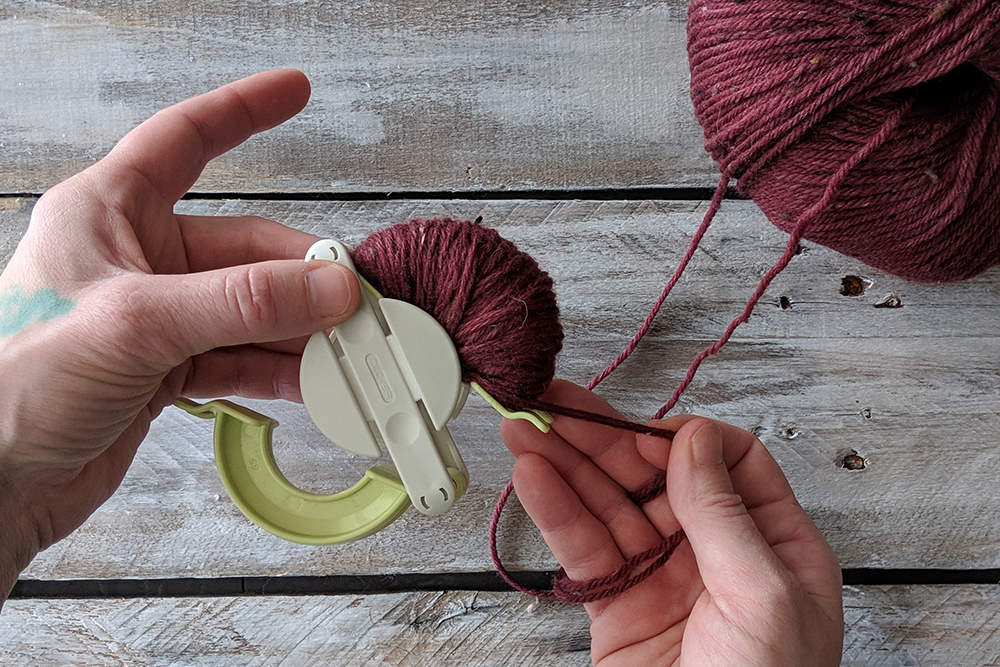
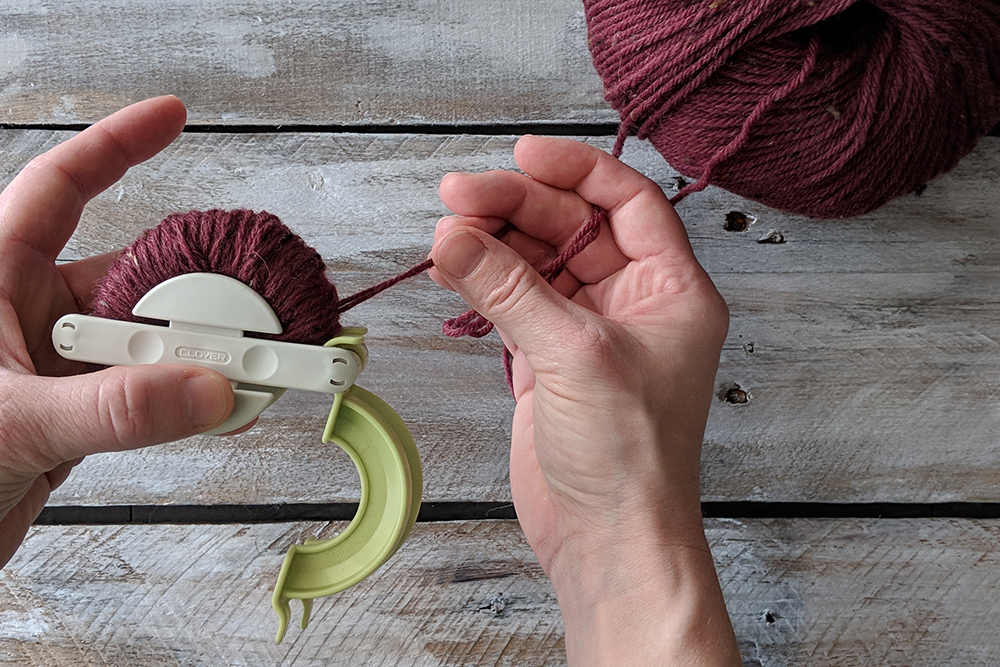
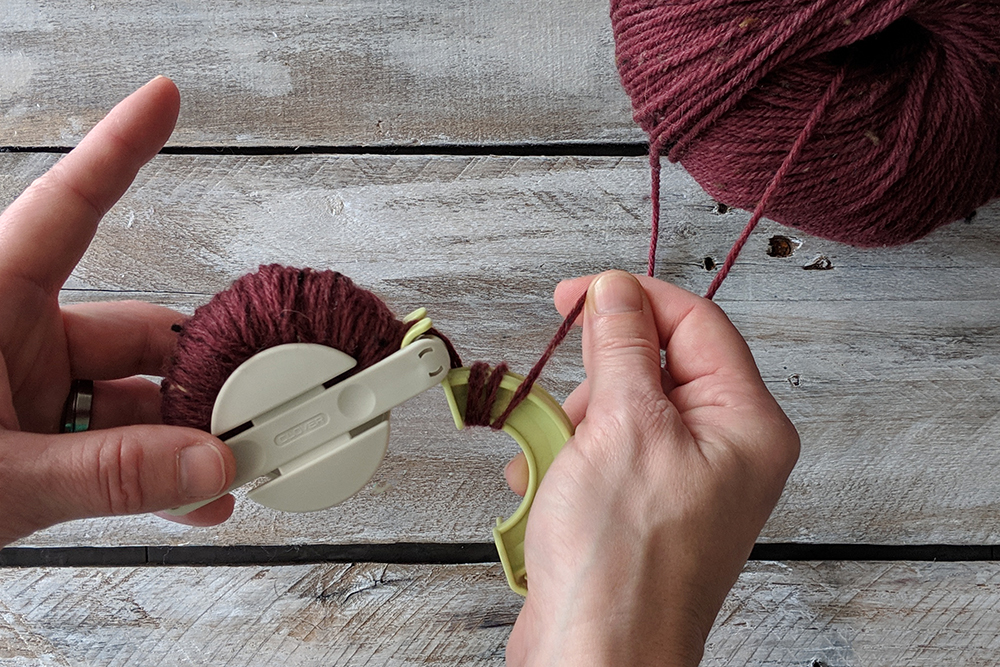
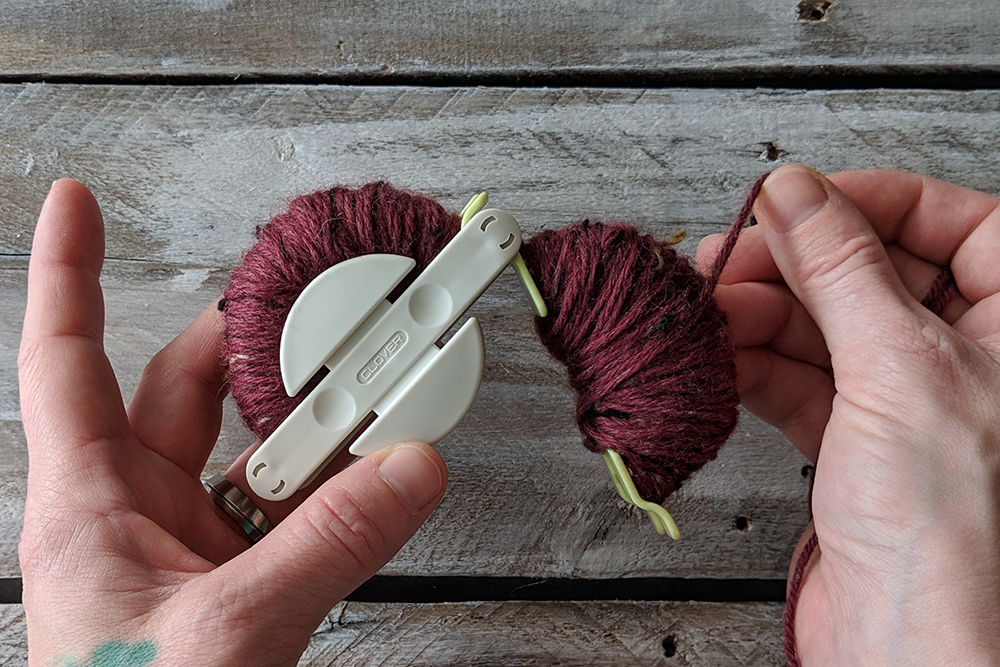
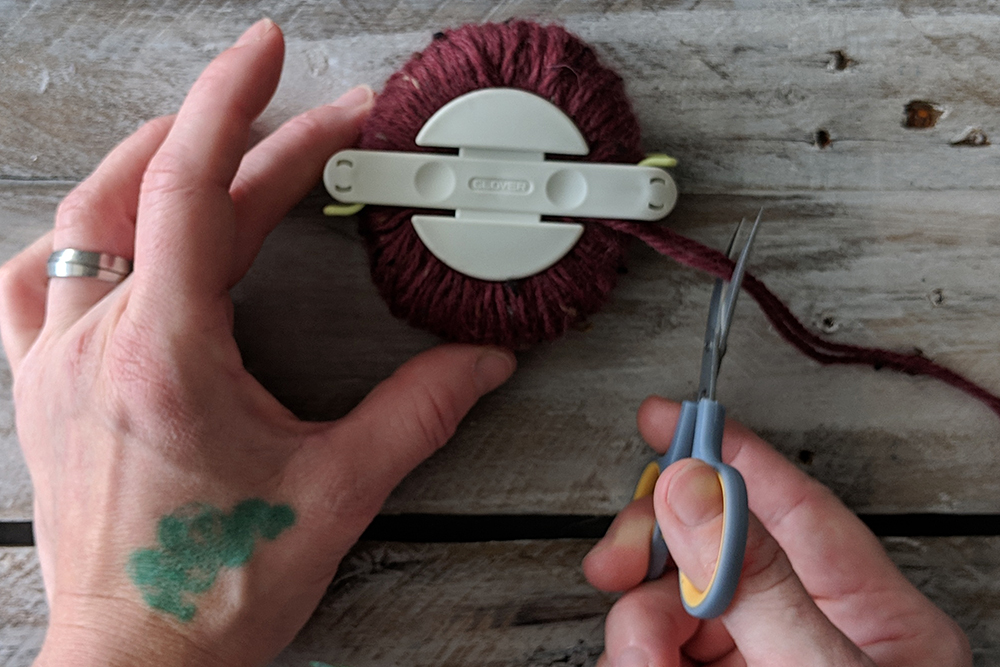
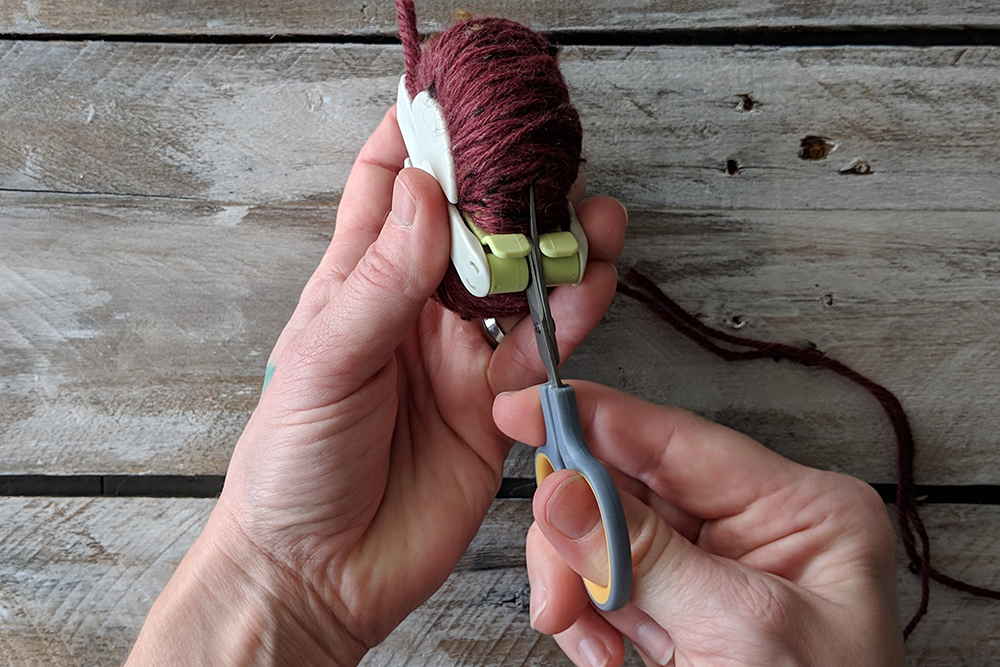
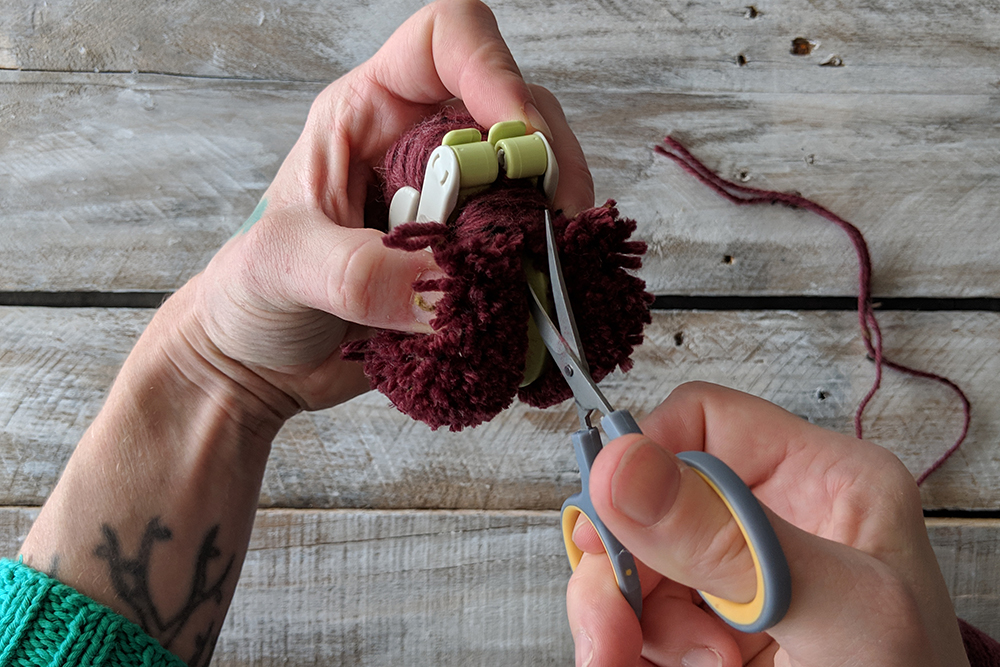
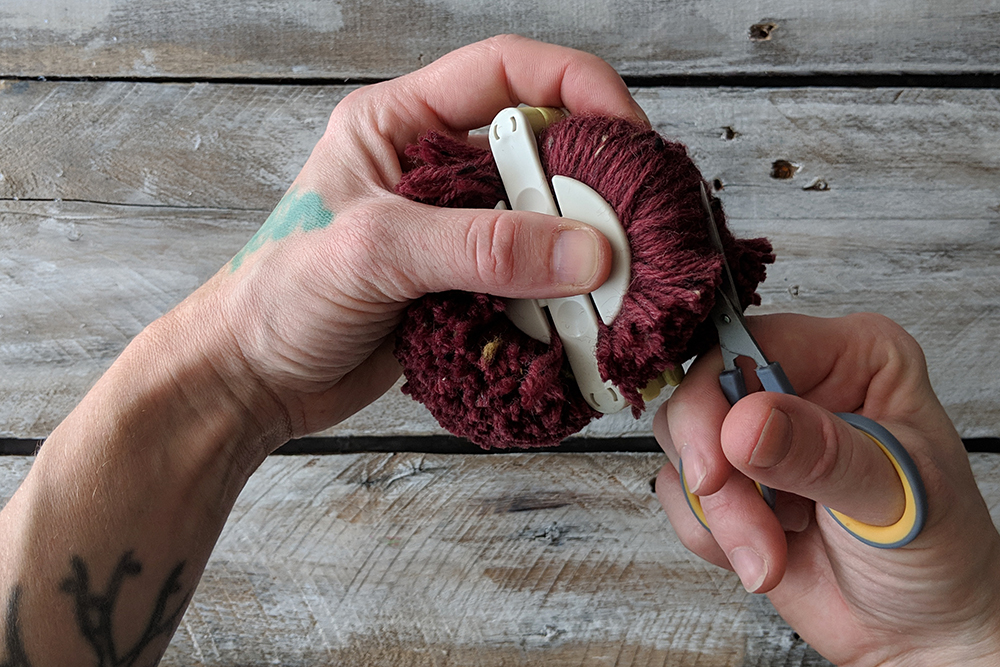
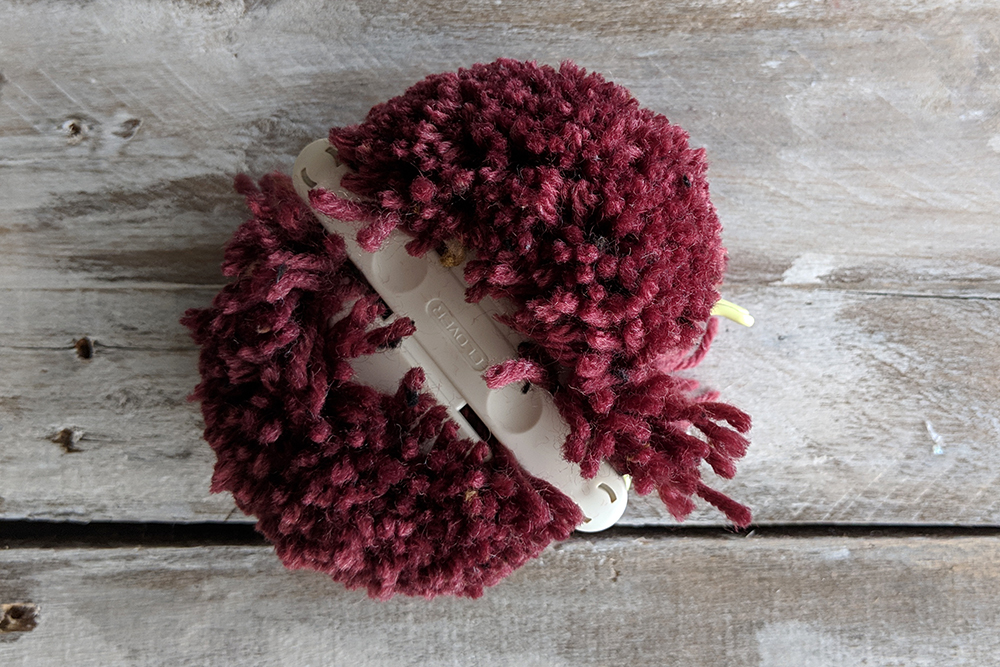
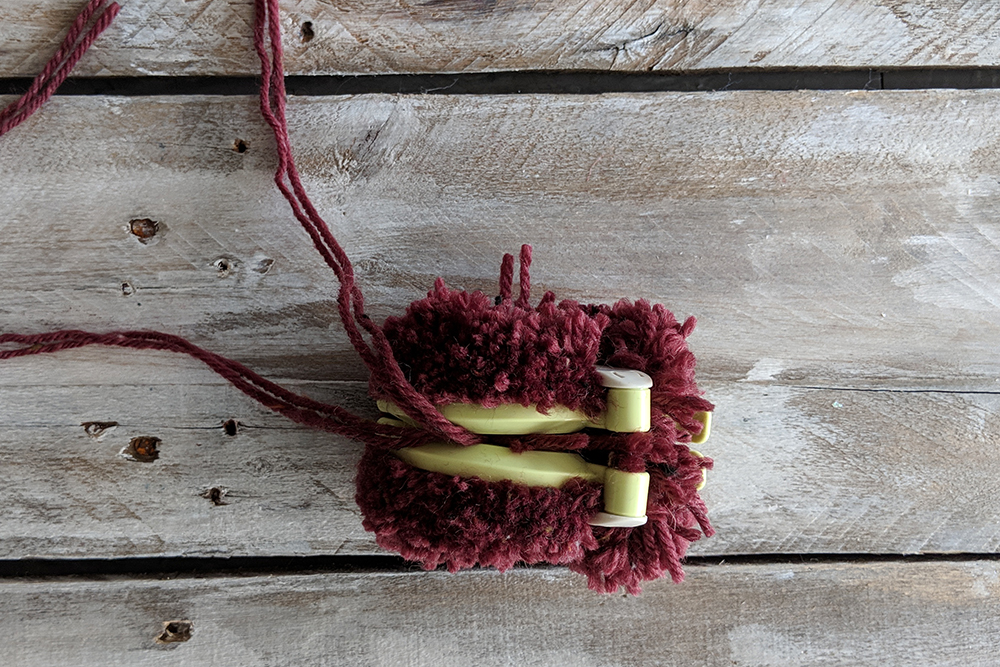
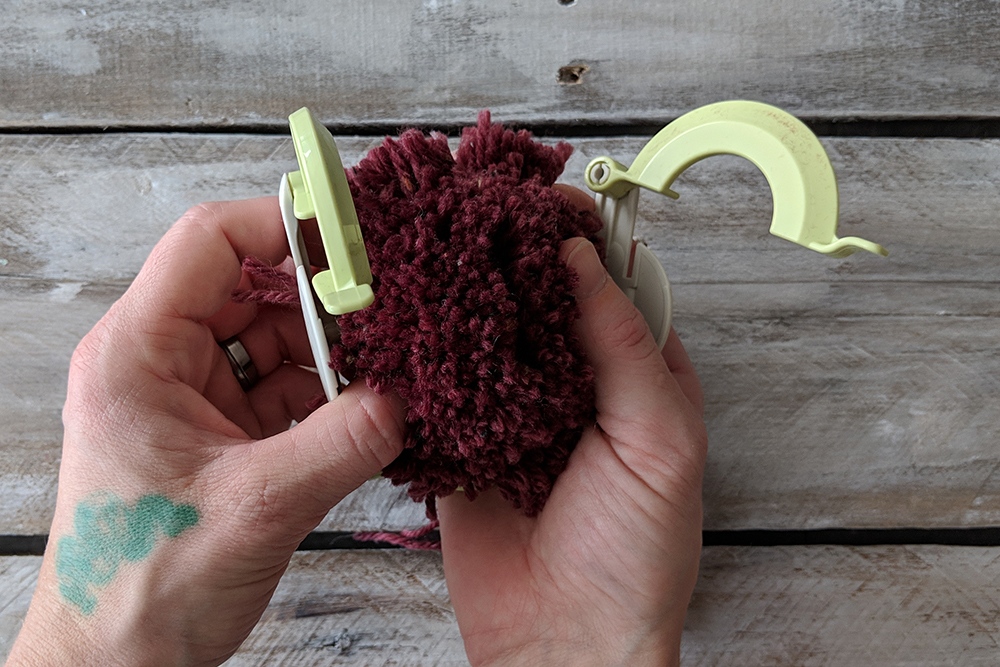
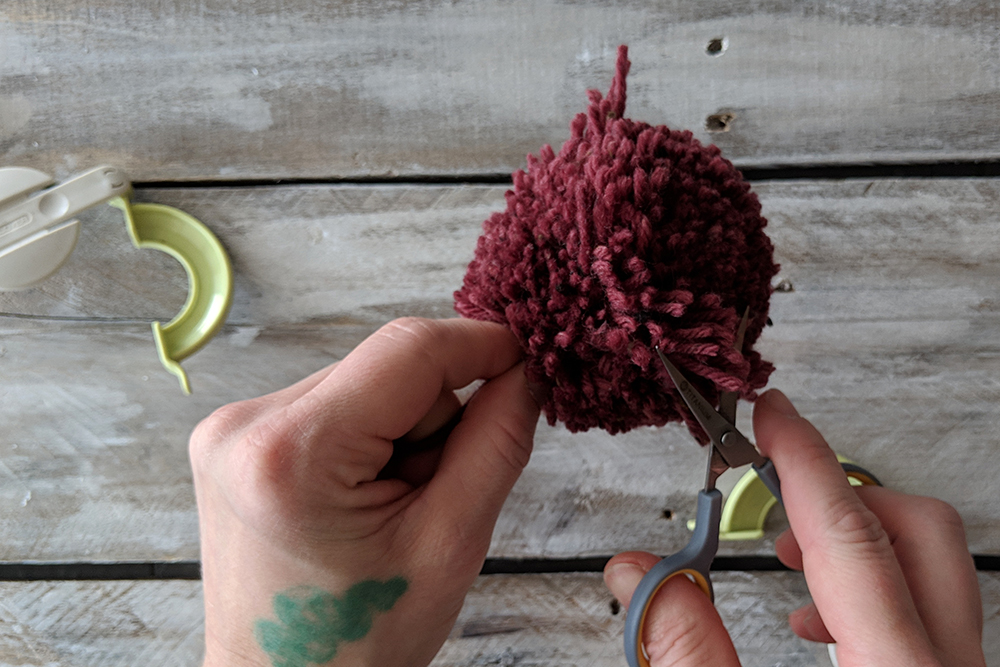
I’ve also used a homemade cardboard circle variation of this pom-pom maker shown in the photo. But I do love Clover’s manufactured sets. They come in lots of sizes and are pretty foolproof. Plus, they hold up a lot better than cardboard!I like to use two strands of yarn because it makes wrapping the pom-pom maker go twice as fast. I use yarn from the inside and outside of the ball.To begin, open up the hinges from both discs, along one side of the pom-pom maker. Begin wrapping yarn around both sides of the arced plastic pieces.Continue wrapping yarn around the maker with even tension.Think you’ve wrapped enough? Think again! Wrap yarn until it feels like the pom-pom maker is over-full. I usually try to count my wraps on one side so I can match the number on the following side.This thing is wrapped as much as possible. Time to wrap the other side. Be sure to finish on the end as shown, so you carry the yarn to the other half of the maker to continue wrapping.Close the side of the maker that is now wrapped in yarn and open up the other hinged side.Start wrapping this second side as much as you did the first side.This is going to be a beautiful and full pom-pom. I can tell already!Cut the yarn. There is no need to leave a tail. But also cut two 12″ strands of yarn to set aside for later to secure the pom-pom.Start cutting the pom-pom. The Clover pom-pom makers are very easy because you just cut in the groove between the two discs. Sharp scissors are a must for this step.Cut all the way around the first half of the maker freeing these strands.Then cut around the second half. Take care that the two halves of the pom-pom maker do not come apart yet. The strands are not yet secure.Our pom-pom, unsecured, but cut. Not too pretty yet, but we’re getting there!Take those 12″ strands that you set aside from earlier and tie them around the pom-pom, along the same groove where you cut apart the strands. I like to use two strands for this step because I like a full pom-pom, and there will be a lot of stress put on this tie yarn. If the yarn you’re using to make your pom-pom breaks easily, use a different yarn for the tie like linen, cotton, or acrylic. Two strands of my working yarn (Deluxe Worsted Tweed Superwash) were plenty strong enough in this case.It is now safe to remove the pom-pom maker from the pom-pom.It’s looking pretty good, but needs a little haircut to even out the edges.Voila. Pom-pom!
Remember, you can find Series 2 of the 12 Days of Winter Kit patterns on Ravelry.