New for Fall!
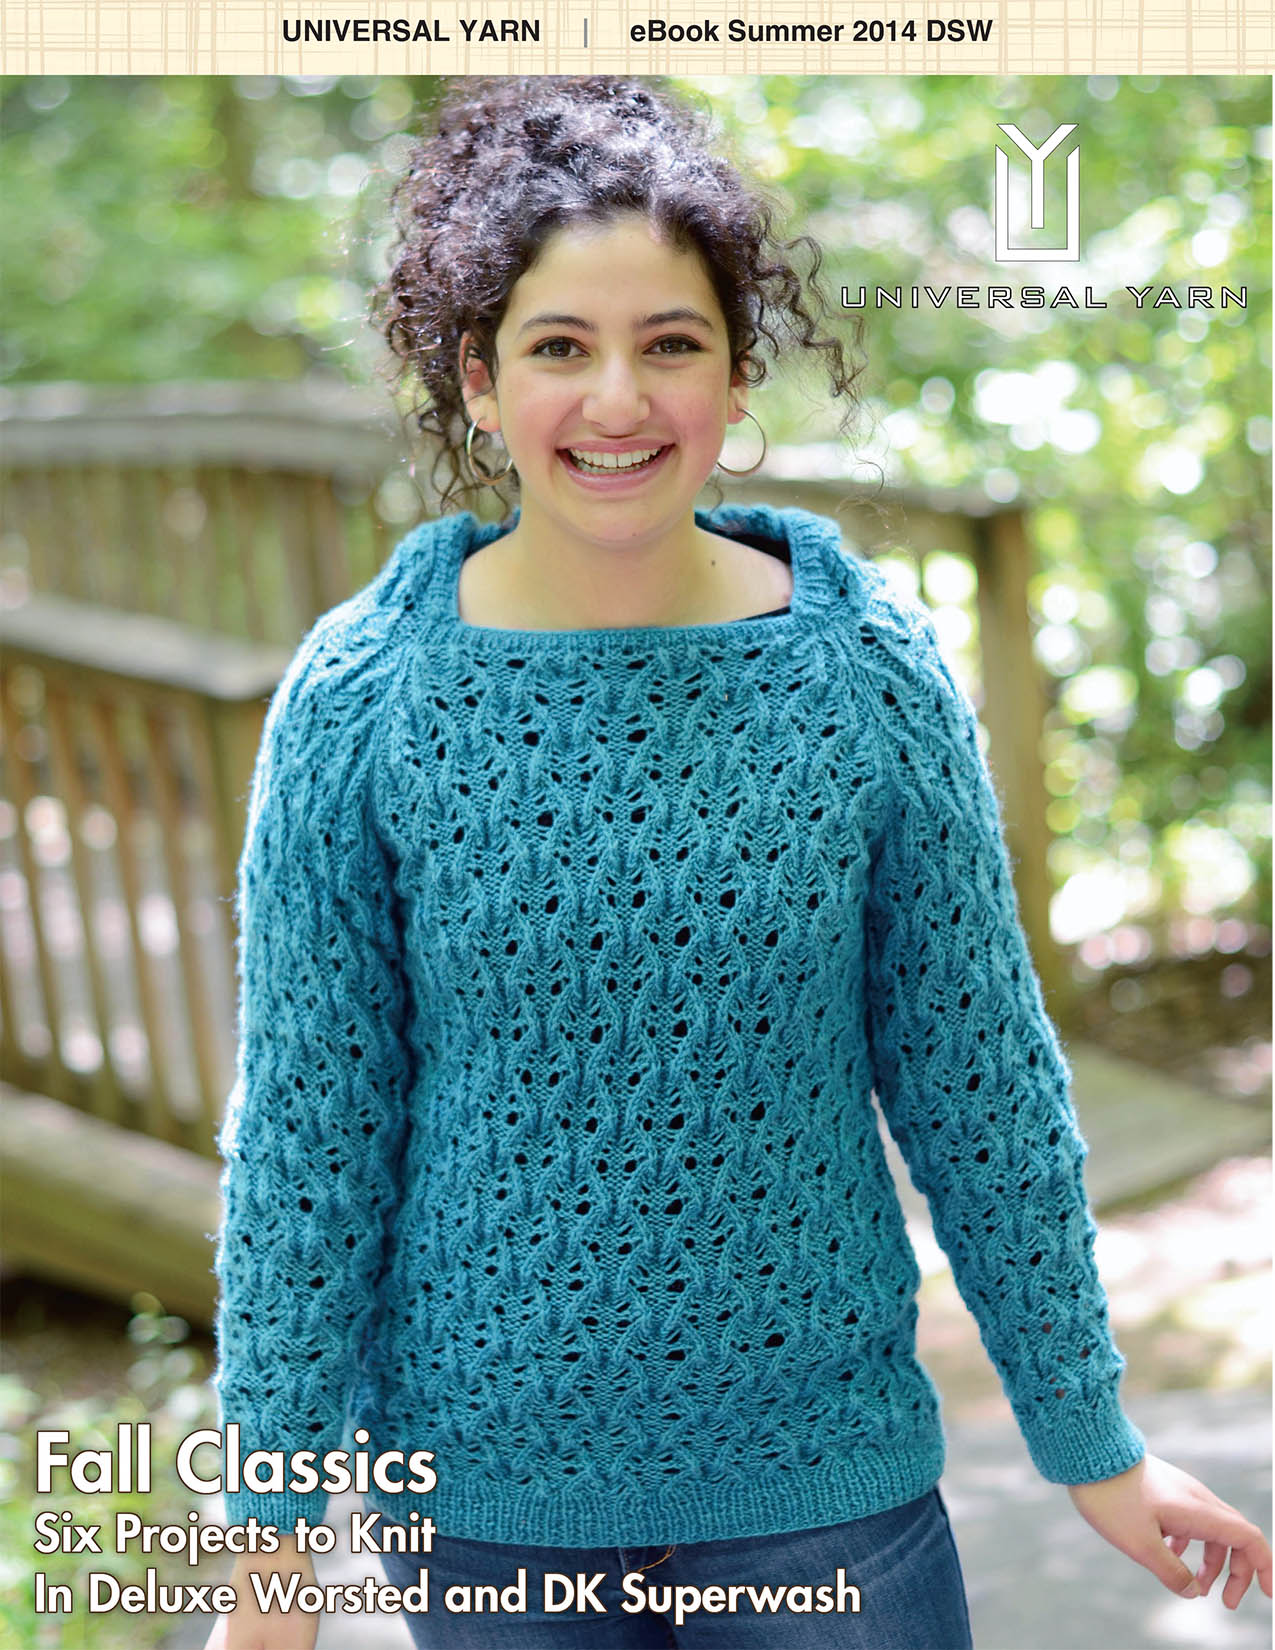
Deluxe Worsted Superwash and Deluxe DK Superwash have been so popular (just look at those crocheted slippers!) that we have released an e-book of all-new patterns specifically designed for those yarns.
Deluxe Superwash: Fall Classics features six projects from the simple to the sublime, each one satisfying to knit as the weather cools down.
There are lace panel projects like Moth Wing and Pebbled Path…
…and cozy projects like Trail Wanderer and Split Rail.
(Split Rail would look great as a men’s sweater too, don’t you think?)
 One of the patterns, the Scarf Cardigan and Bow Hat at right, uses a nifty technique to create its turned hem. If you haven’t done a provisional cast-on before, it’s a great tool to put into your knitting toolbox. It’s very easy and it creates a neat stockinette hem that doesn’t roll up.
Amy Gunderson demonstrates the technique in this video. Take it away, Amy!
See? You’re just making a basic crochet chain, then treating the back loop like a row of stitches. Then “unzip” the crochet chain when you’re ready to pick those stitches back up.
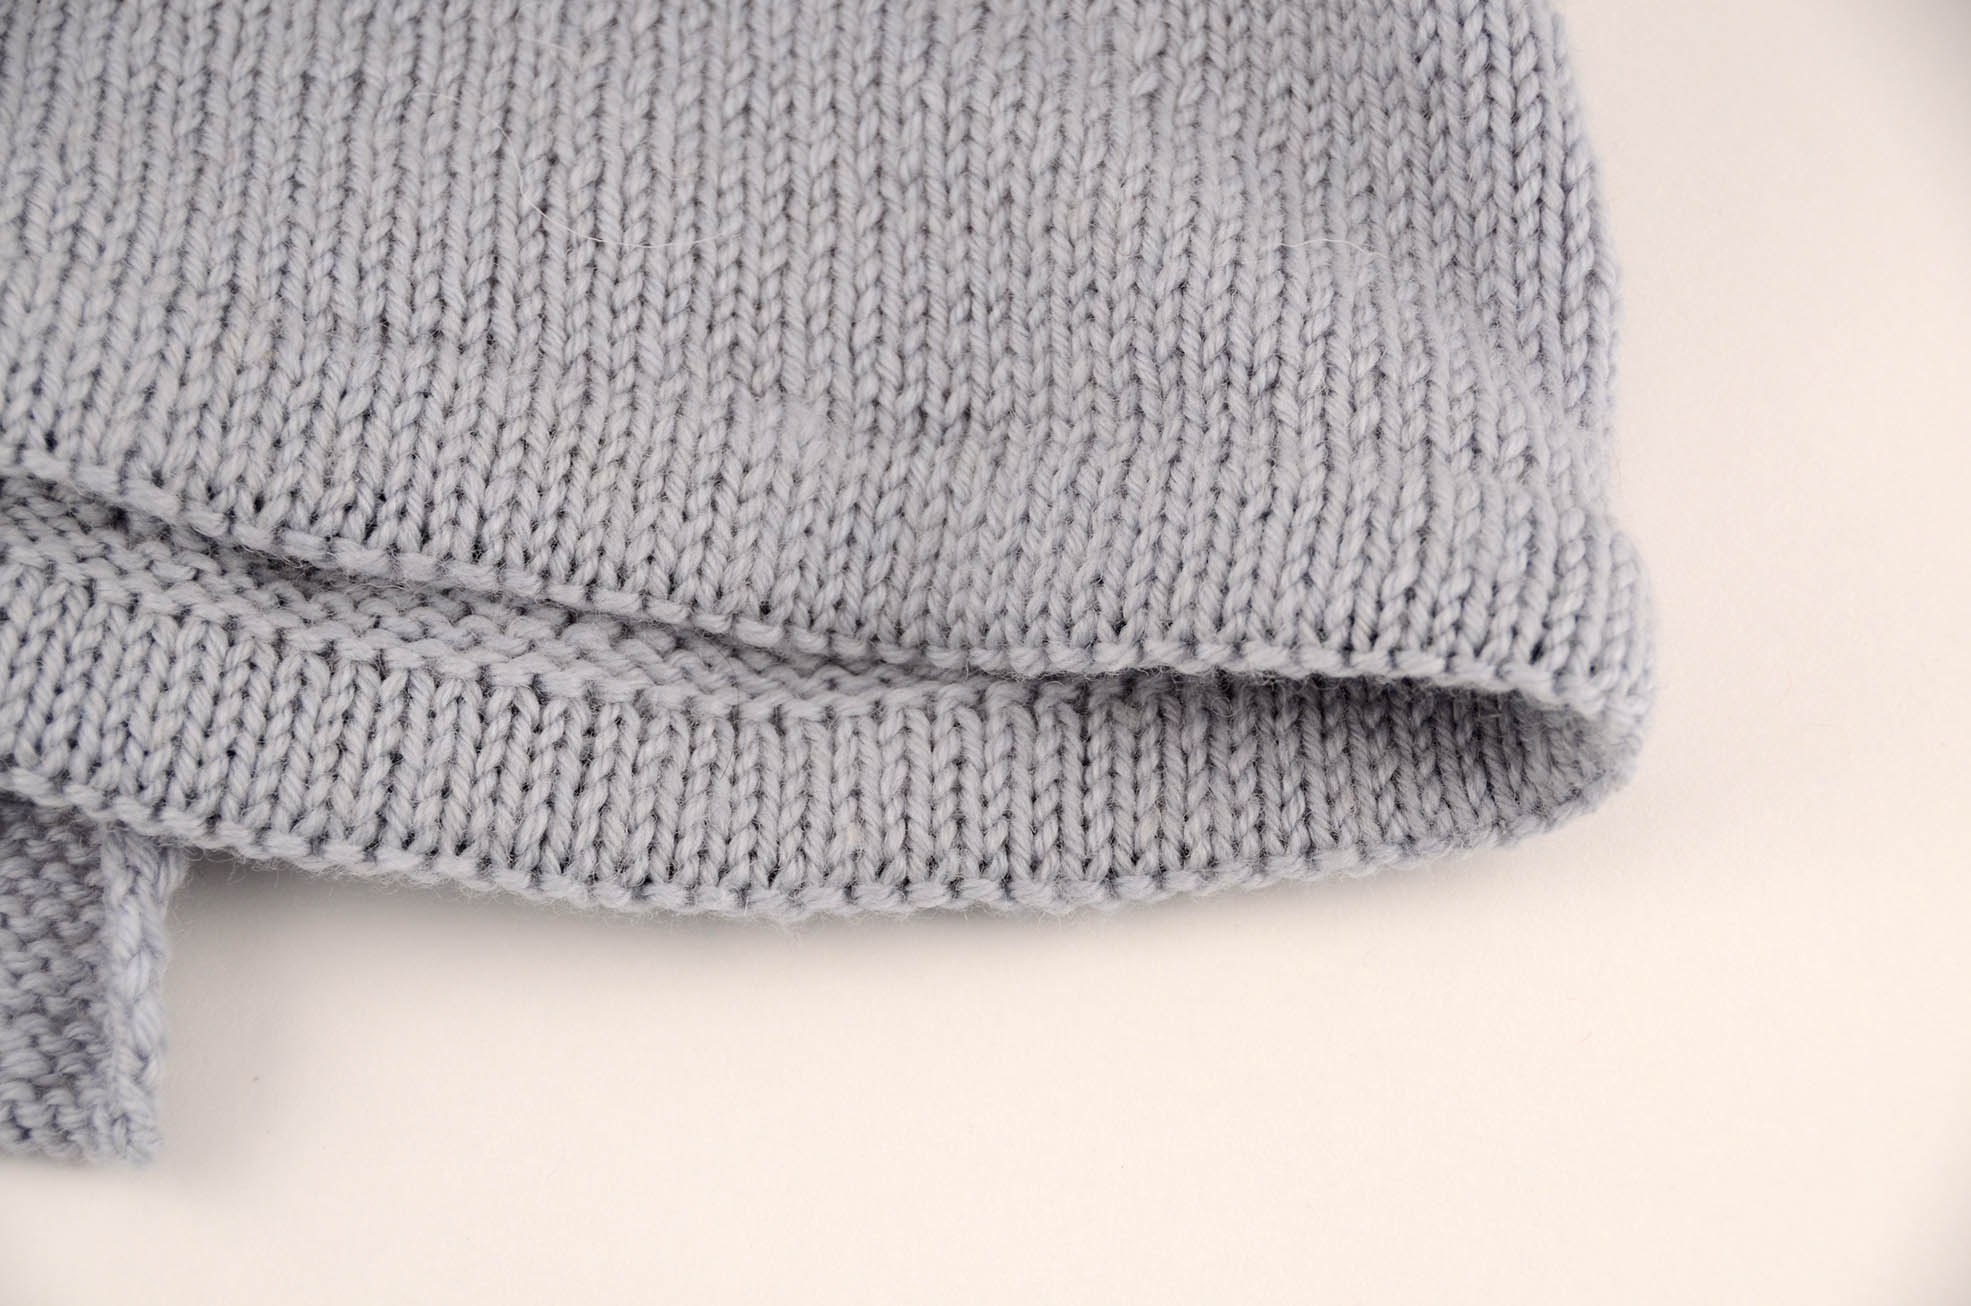
 Here’s a close-up of the brim of the hat from the Scarf Cardi set. Work a few knitted rows, then a purl row at the point where the brim will fold over, then make a few more knit rows. Pick the cast-on edge back up, fold it at the purl row, and knit the live edge and cast-on edge together. Voila, a non-rolling stockinette edge!
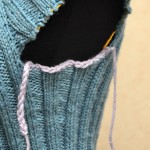
 There are a variety of ways you can use this technique. I’m using it myself at the arm of a sweater in Deluxe DK Superwash (Cookie A’s Katrina Rib). When I’m ready to add the sleeves, I’ll pick up from those stitches for an invisible join with no bulky seam.
I’m almost done with this sweater, and I think the next thing on my list may be the Seashells Hoodie from this e-book. I love knitting in the round, and I could use something light for the turn of the season.
The Fall Classics e-book is available from both Ravelry and Craftsy, and the patterns are also available individually. We hope you enjoy picking up a new project as the weather turns.
Happy Knitting!


