Day 8 of Winter – Series 5 Edition

This is part 8 in a 12 part series highlighting designs from our 12 Days of Winter, series 5 Edition.

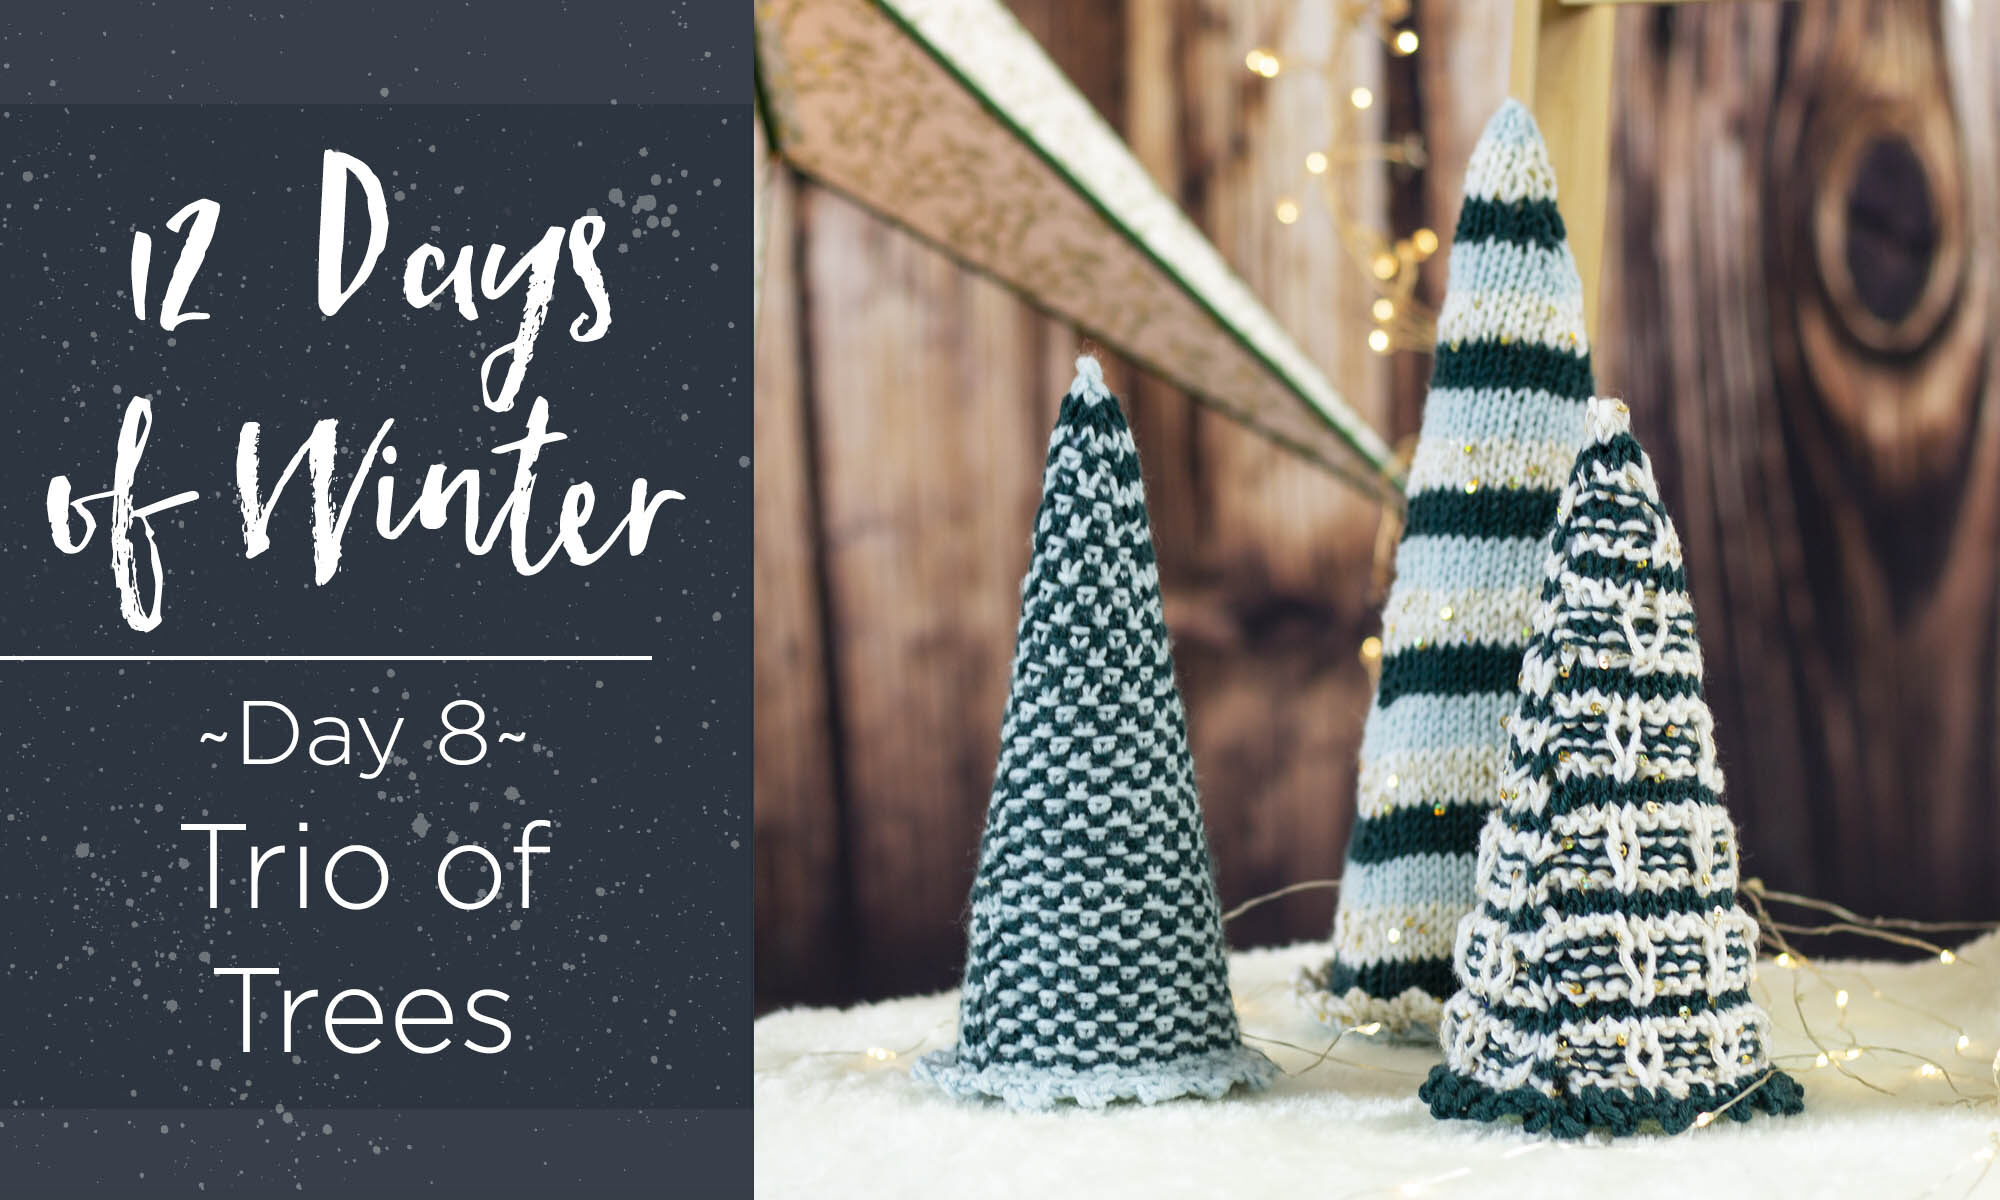
I love the winter season because of many things; seasonal drinks and items come back, joy seems to fill the air, and I always have fun shopping for holiday gifts! Another thing that I look forward to each season is winter-themed decorations! From driving by houses that shine brightly with different lights and figurines, to seeing what special and unique decorations each person sets up or creates, it’s clear to me that you can never go wrong with adding a little bit of spice and flair into your home with decorations for the season. Our Trio of Trees designed by Aubrey Busek is the perfect way to add seasonal décor to your home!

Trio of Trees

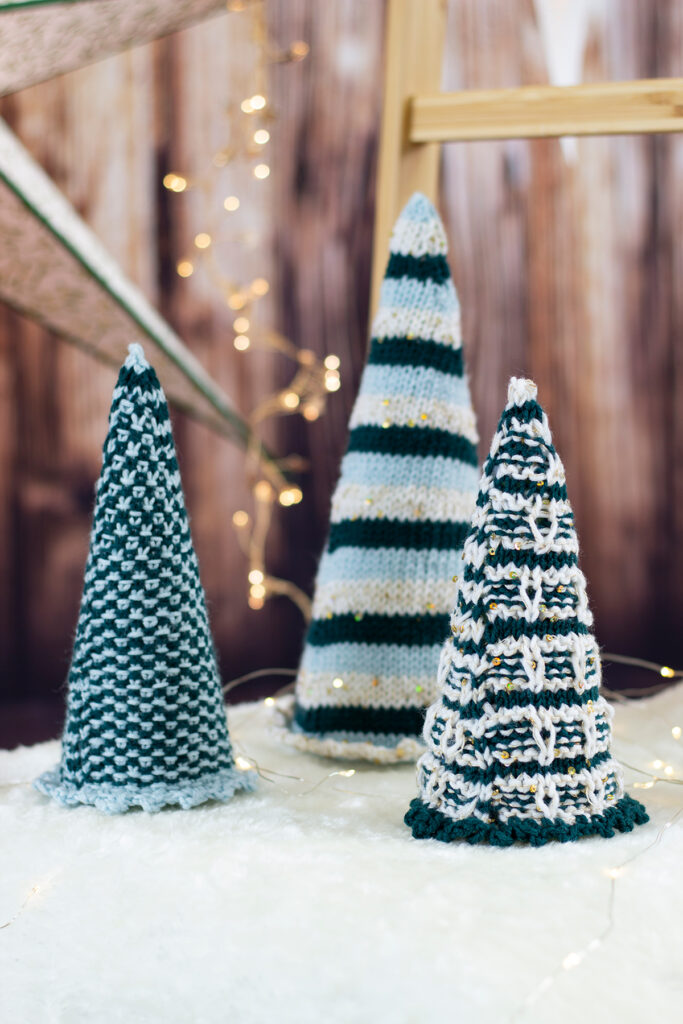
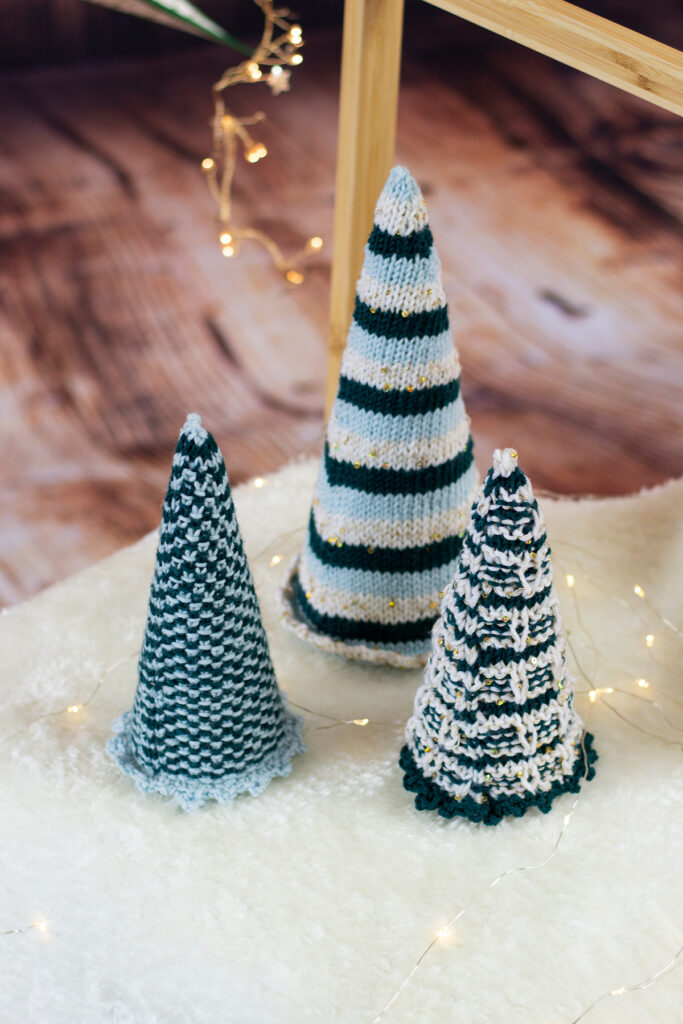
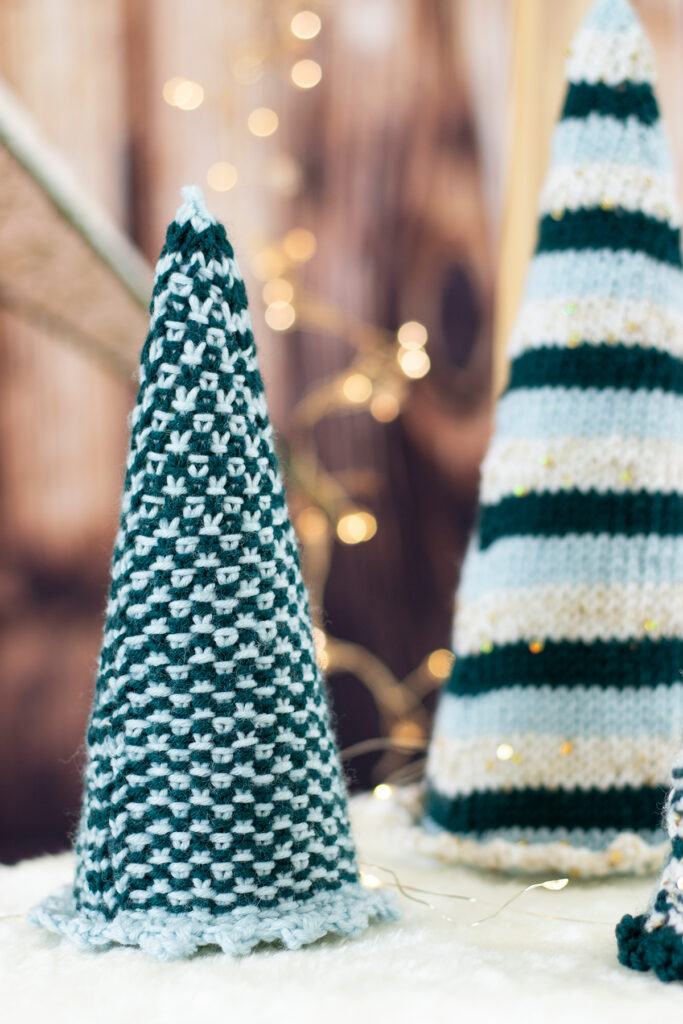
Let’s take a closer look: the Trio of Trees are made up of three elegant and timeless patterns that can be recycled year after year (which is such a huge plus!). The trio features a Linen Stitch Tree, a Striped Tree, and a Slipped Ornaments Tree. Each tree brings its own unique character to the table and can easily become a staple decoration in your home for the season. Featuring our Cotton Gold yarn as well as our Dona yarn, these two yarns held together and worked up create some magic to get you ready to jump into the winter season!

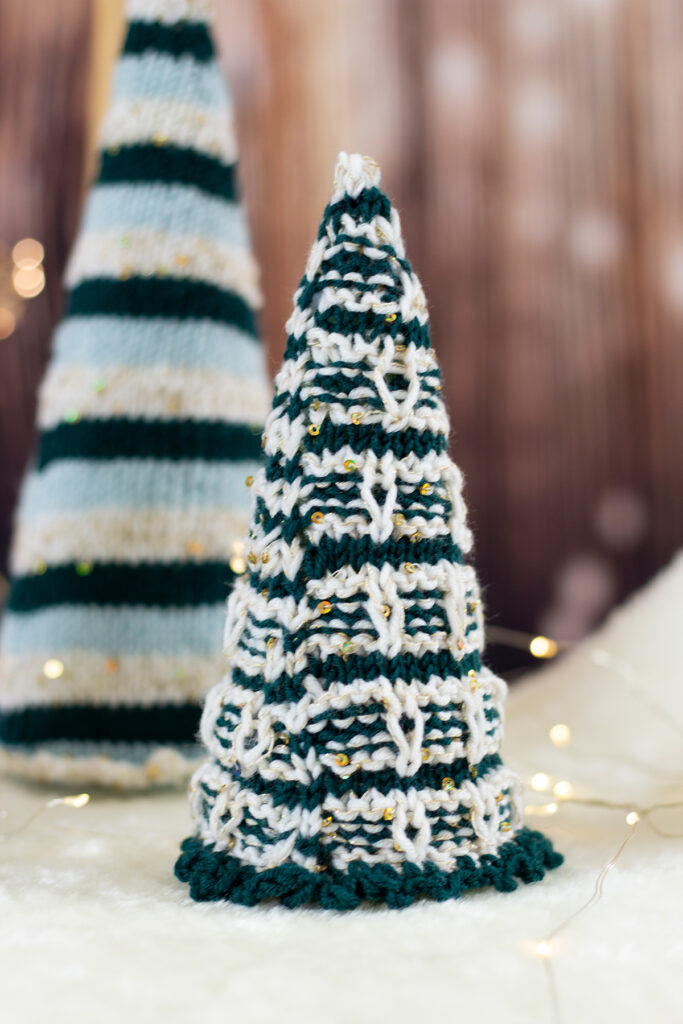
Slipped Ornament Tree

Each tree uses a different stitch pattern, which is fun because you are getting a “stitch sampler” with each tree you make! The Slipped Ornament Tree is my personal favorite, because it reminds me so much of a classic winter tree that we so often see during this time of the year. In this pattern, a special stitch called a Long Stitch is used. The yarn is wrapped twice around the needle, giving a “draped” effect throughout the tree. The delicate sequins strung through our Cotton Gold yarn creates a gorgeous shimmer that, when incorporated with the saturated colors of Dona, will have your guests do a double take and stop to admire this miniature forest in your home!

Linen Stitch Tree

You know those winter decorations that your family brings out year after year, no matter how “old” it gets? That is exactly what I think about when I see the Linen Stitch Tree. This specific tree instantly sends me back to sweet memories in the winter seasons spent with my family, decorating our home and getting ready for the upcoming events. The minimalist Linen Stitch tree offers a mix and match vibe to your holiday décor. You simply work knit stitches and slip stitches with yarn held in front to create a woven effect and provide texture to the tree.

Striped Tree

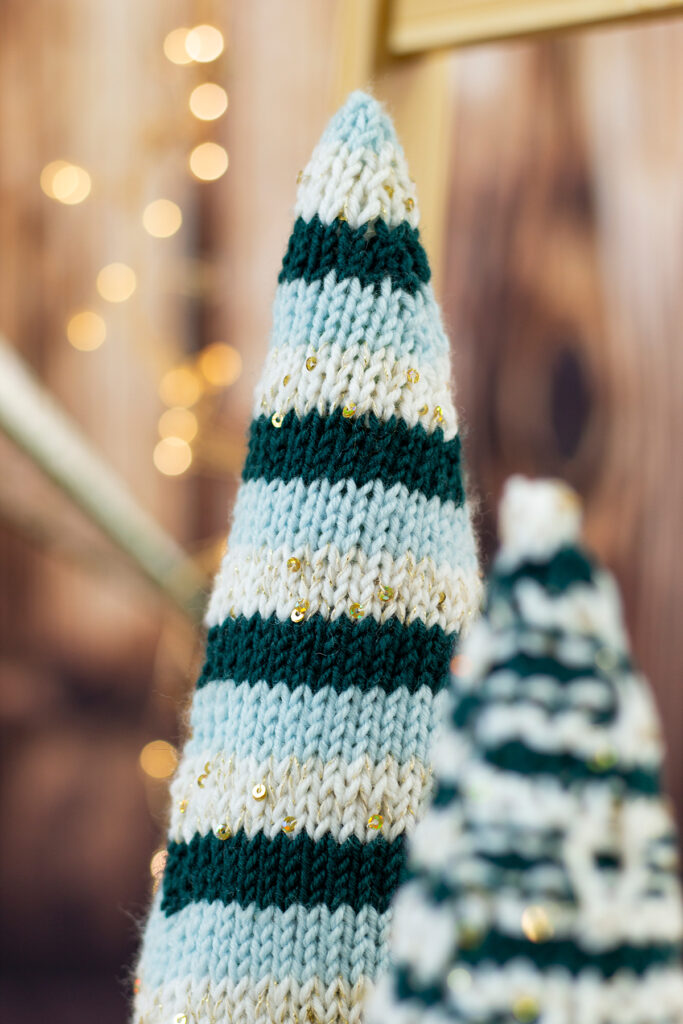
Look at how it subtly glistens! The Striped Tree features a stockinette stitch pattern worked all the way up the body. A strand of each Dona and Cotton Gold are held together throughout the tree, and the Dona colors (Blue Hint, Balsam, Alabaster) are changed every four rows. The glimmer from Cotton Gold creates a dream-like aura of snow falling from the sky, which is fitting for the season! Although they are all effortless to make, the Striped Tree is the most minimalist pattern in my opinion because it is just stockinette stitch the whole way up! It is the perfect final addition to the Trio, because it adds the right amount of sophistication while still looking simple.

These trees are each knit in the round from the bottom up. A picot edge is picked up and worked after finishing to create ‘skirts’ on the bottom of each tree edge, and the tree tops are stuffed with poly-fill before finally placing around the Styrofoam bases. Remember to check your gauge! It is so important for accuracy and so it fits in the styrofoam cones properly. They are the perfect addition to your home for this winter season, and will be for years to come! These trees will make your friends, family, and guests feel welcomed in your home, in the holiday spirit.

Remember, these exclusive kits can be purchased at local yarn store retailers near you. Not in stock at your local shop? Ask them about drop shipping – order through them, and we ship to you! Each kit comes with the pattern, the yarn required to make it, a mini Universal Yarn project bag, and stitch marker. Use our store locator to find your nearest Universal Yarn retailer!

Cheers!

Talya Ozbelli

Day 6 of Winter – Series 5 Edition

This is part 6 in a 12 part series highlighting designs from our 12 Days of Winter, series 5 Edition.

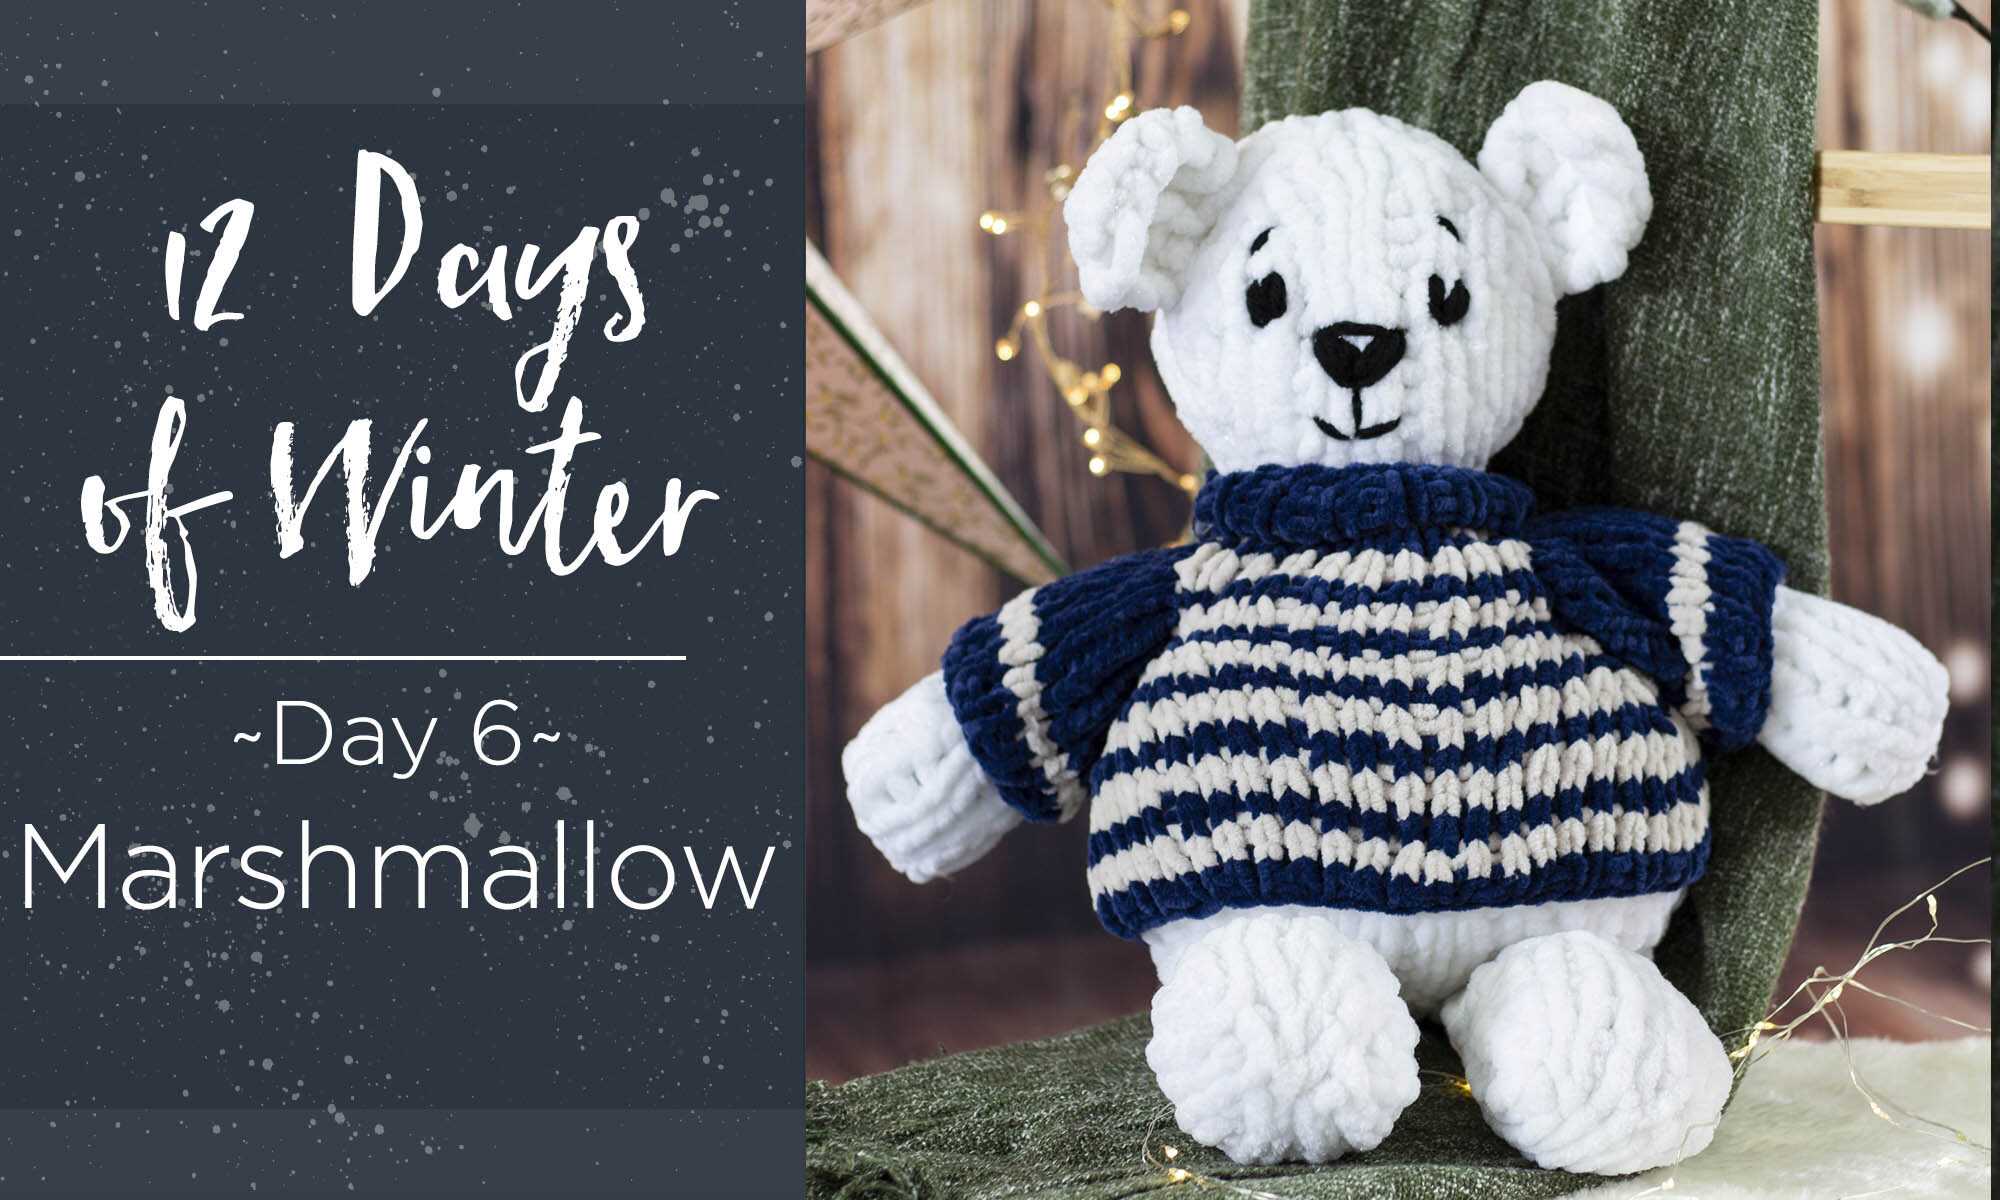
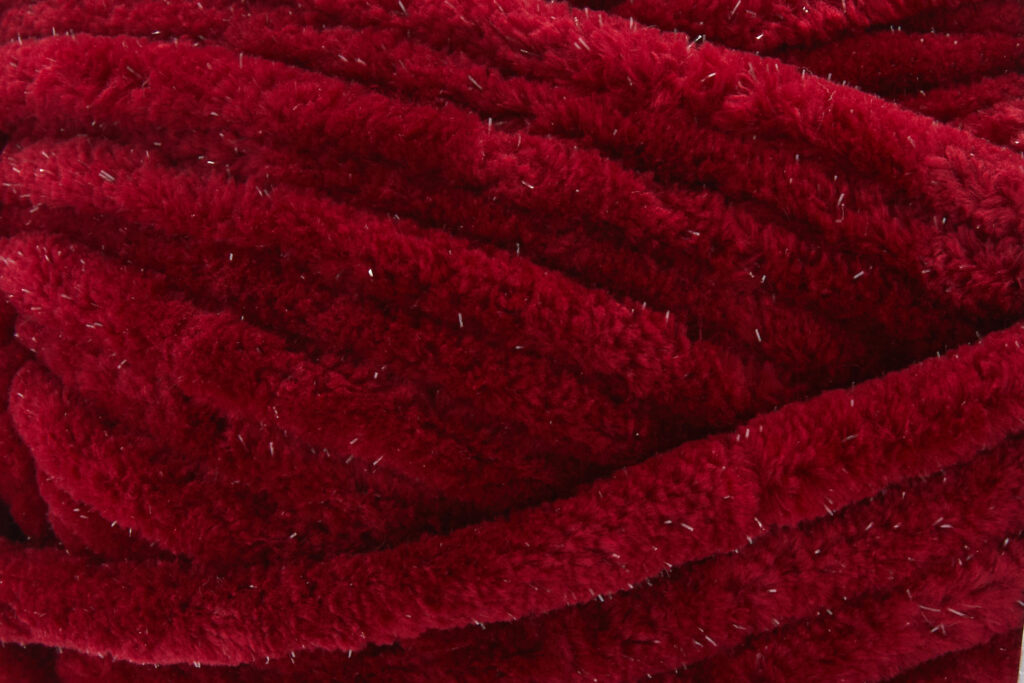
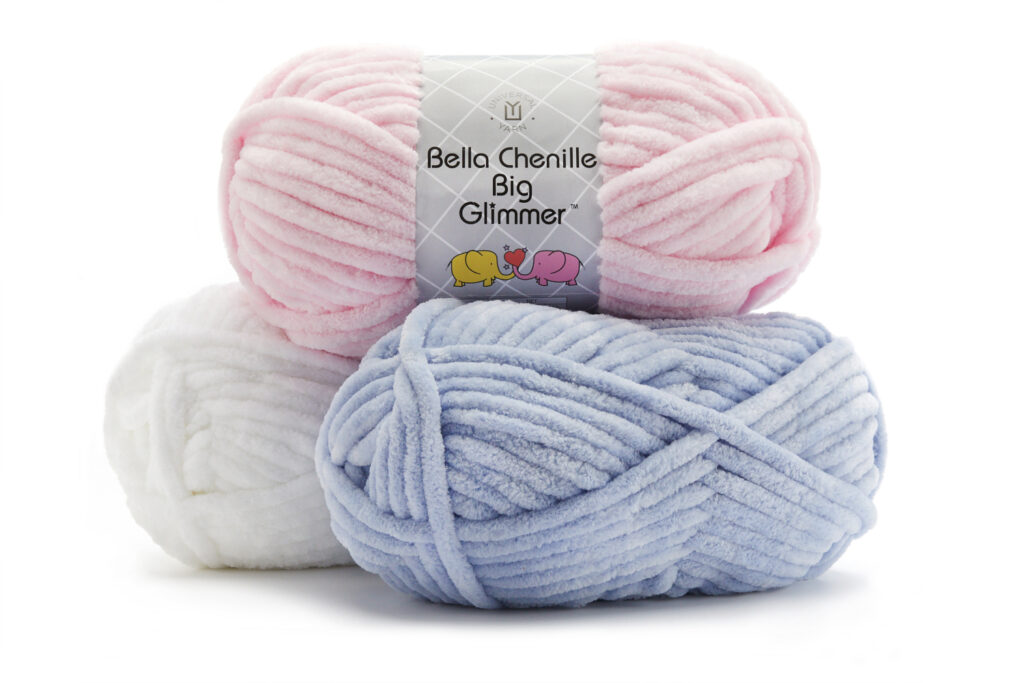
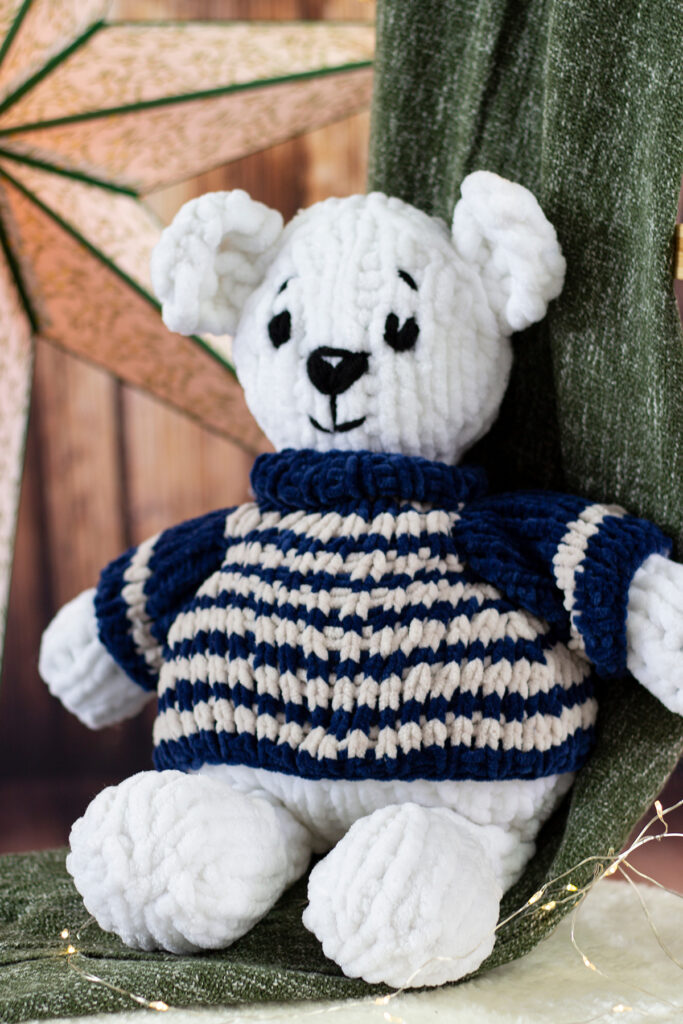
There’s something about the winter season that immediately brings my mind to cuddly stuffed animal friends, perfect for gifting during the holidays. Last year for the 12 Days of Winter, I designed Coco, a bunny with a removable hat and scarf knit in our popular Uptown Worsted yarn. We recently released a new member of our Bella Chenille yarn family: Bella Chenille Big Glimmer. This slightly shimmery version of our Bella Chenille Big yarn immediately brought to mind the idea of a snowy stuffed animal for this year’s 12 Days of Winter kits. I quickly got to work designing, and soon enough, Marshmallow the polar bear was born.  

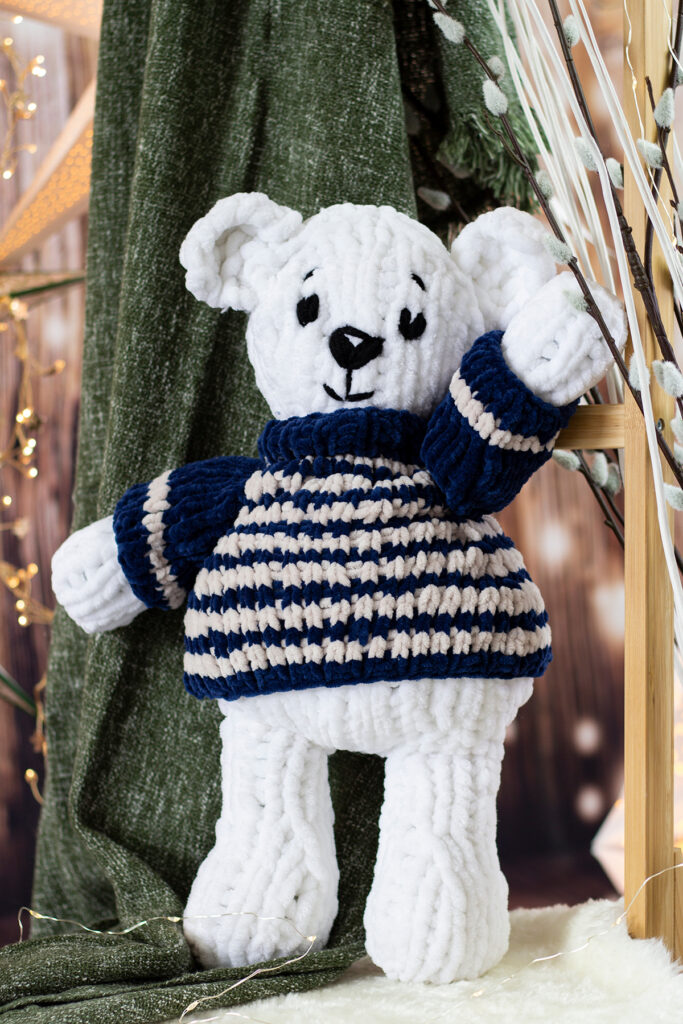
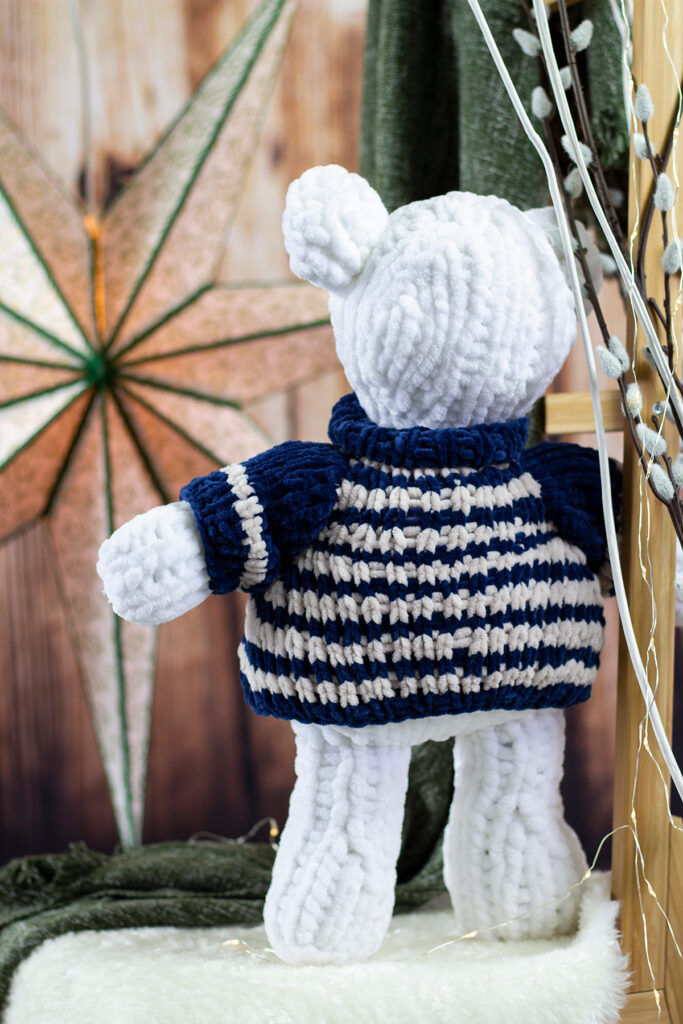
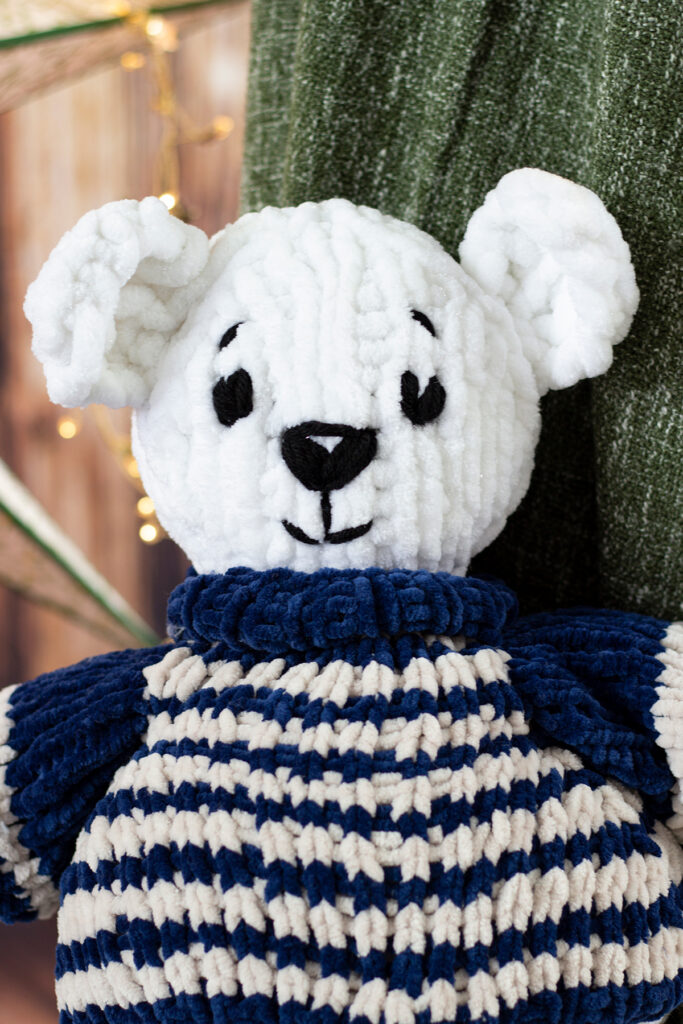
Marshmallow says ‘Hello new bestie!’ – Knit using Bella Chenille Big Glimmer in color 601 Drift. Marshmallow’s sweater is knit in Bella Chenille colors 121 Indigo and 125 Oatmeal

Techniques you’ll explore in the Marshmallow pattern are:

  • Knitting small circumferences in the round
  • Increasing and decreasing often to create small 3-dimensional shapes
  • Embroidery
  • Casting on stitches and joining pieces after working

Designing a small (ish) item using such a chunky yarn like Bella Chenille Big Glimmer has its challenges indeed. Even more than that, chenille yarns can be a bit fiddly to work with, especially when you want things to look precise. So, I’ve decided to give you some tips for working with chenille yarns like our Bella Chenille and Bella Chenille Big Glimmer, so that the process of making Marshmallow or any other chenille project is tons of fun!

My first tip for working with chenille yarns would be to keep your gauge tight, to stop ‘worming’ and help prevent inconsistencies in the fabric. Worming happens when the strand of yarn coils back on itself, creating loose-looking loops in the fabric. For making a stuffed toy a tighter knit gauge is ideal, so that the finished friend is firm and well stuffed all around! Remember that the needle size listed on the yarn ball band is just a suggestion, and you should opt to use whatever needle size will achieve a gauge that matches what the pattern calls for. In Marshmallow’s case, gauge is very important. Not only will keeping a tight gauge aid in making the stitches look uniform and help prevent worming, but this pattern also uses nearly the entire skein of Bella Chenille Big Glimmer. So, you will need to be extra mindful while you work!

So cuddly!

It is no secret: chenille yarns fray. Once you cut the end of yarn, you will notice that the polyester fibers tend to want to come loose from the thread base. This can be frustrating, messy, and leave you with a less than ideal yarn tail for weaving in ends. My top tip for fixing this is to secure the end of the yarn with something that will stop the fraying! My favorite method for this is using a fabric sealant product like Fray Check, which I use very often when I am sewing fabrics that unravel easily. This liquid creates a coating on whatever it is applied to, preventing the fibers from being able to unravel. Make sure to use these types of products in a place with adequate ventilation, as they do tend to have smelly fumes, and let it dry completely before you work with it.

My next tip for working with chenille yarns is using the right type of needle. Everyone has preferences in types of needle materials, whether you like plastic needles, wooden needles, or metal. In my experience, mixing a plastic needle with a synthetic fuzzy yarn like chenille can result in difficulty sliding stitches, more ‘sticky’ feeling knitting, crampy hands, and hot, sweaty feeling yarn. A smooth wooden or slick metal needle is a more ideal choice for yarns like chenille. The stitches will glide much more easily as you work and be easier to manipulate. The Marshmallow pattern requires a consistent amount of increasing and decreasing as you go along to create the 3D shapes, so having a needle that easily works over 2 or more stitches at a time is necessary. Marshmallow is knit in the round, beginning with his legs. Whether you choose to use double pointed needles, or a magic loop method is entirely up to you! Magic loop is surprisingly easy to master, and we have a tutorial for it! Click this link to learn how to knit in the round using Magic Loop.

My final tip for working with chenille is using an angled tapestry needle with a large eye for embroidery and weaving in ends. I like these Tapestry needles from Clover for yarns like chenille. It’ll pass through the stitches more easily , you’ll be able to see the needle amidst all of the chenille fluff, and it’ll offer more control with the yarn and stuffing. Last year during the 12 Days of Winter, I made a video tutorial for embroidering Coco’s face. The same principles apply to Marshmallow, just on a more ‘jumbo’ scale. In fact, I used scrap Uptown Worsted yarn for Marshmallow’s face embroidery. Here is a link to the video where I give tips on embroidering a stuffed animal face.

Marshmallow just wants a hug!

There you have it – some of my top tips for working with chenille yarns! These aren’t the only tips and tricks, of course. The more you work with chenille yarns, you’ll discover what works best for you. If you have any other tips you’d like to share, feel free to leave them in the comments below, we’d love to hear!

Our exclusive 12 Days of Winter kits like Marshmallow can be purchased at local yarn store retailers near you. Each kit comes with the pattern, the yarn required to make it, a mini Universal Yarn project bag, and stitch marker. Use our store locator to find your nearest Universal Yarn retailer! Kits not in stock at your local yarn store? Ask about drop shipping – order through them, and we ship to you!

Happy Crafting,

Aubrey

Day 5 of Winter – Series 5 Edition

This is part 5 in a 12 part series highlighting designs from our 12 Days of Winter, series 5 Edition

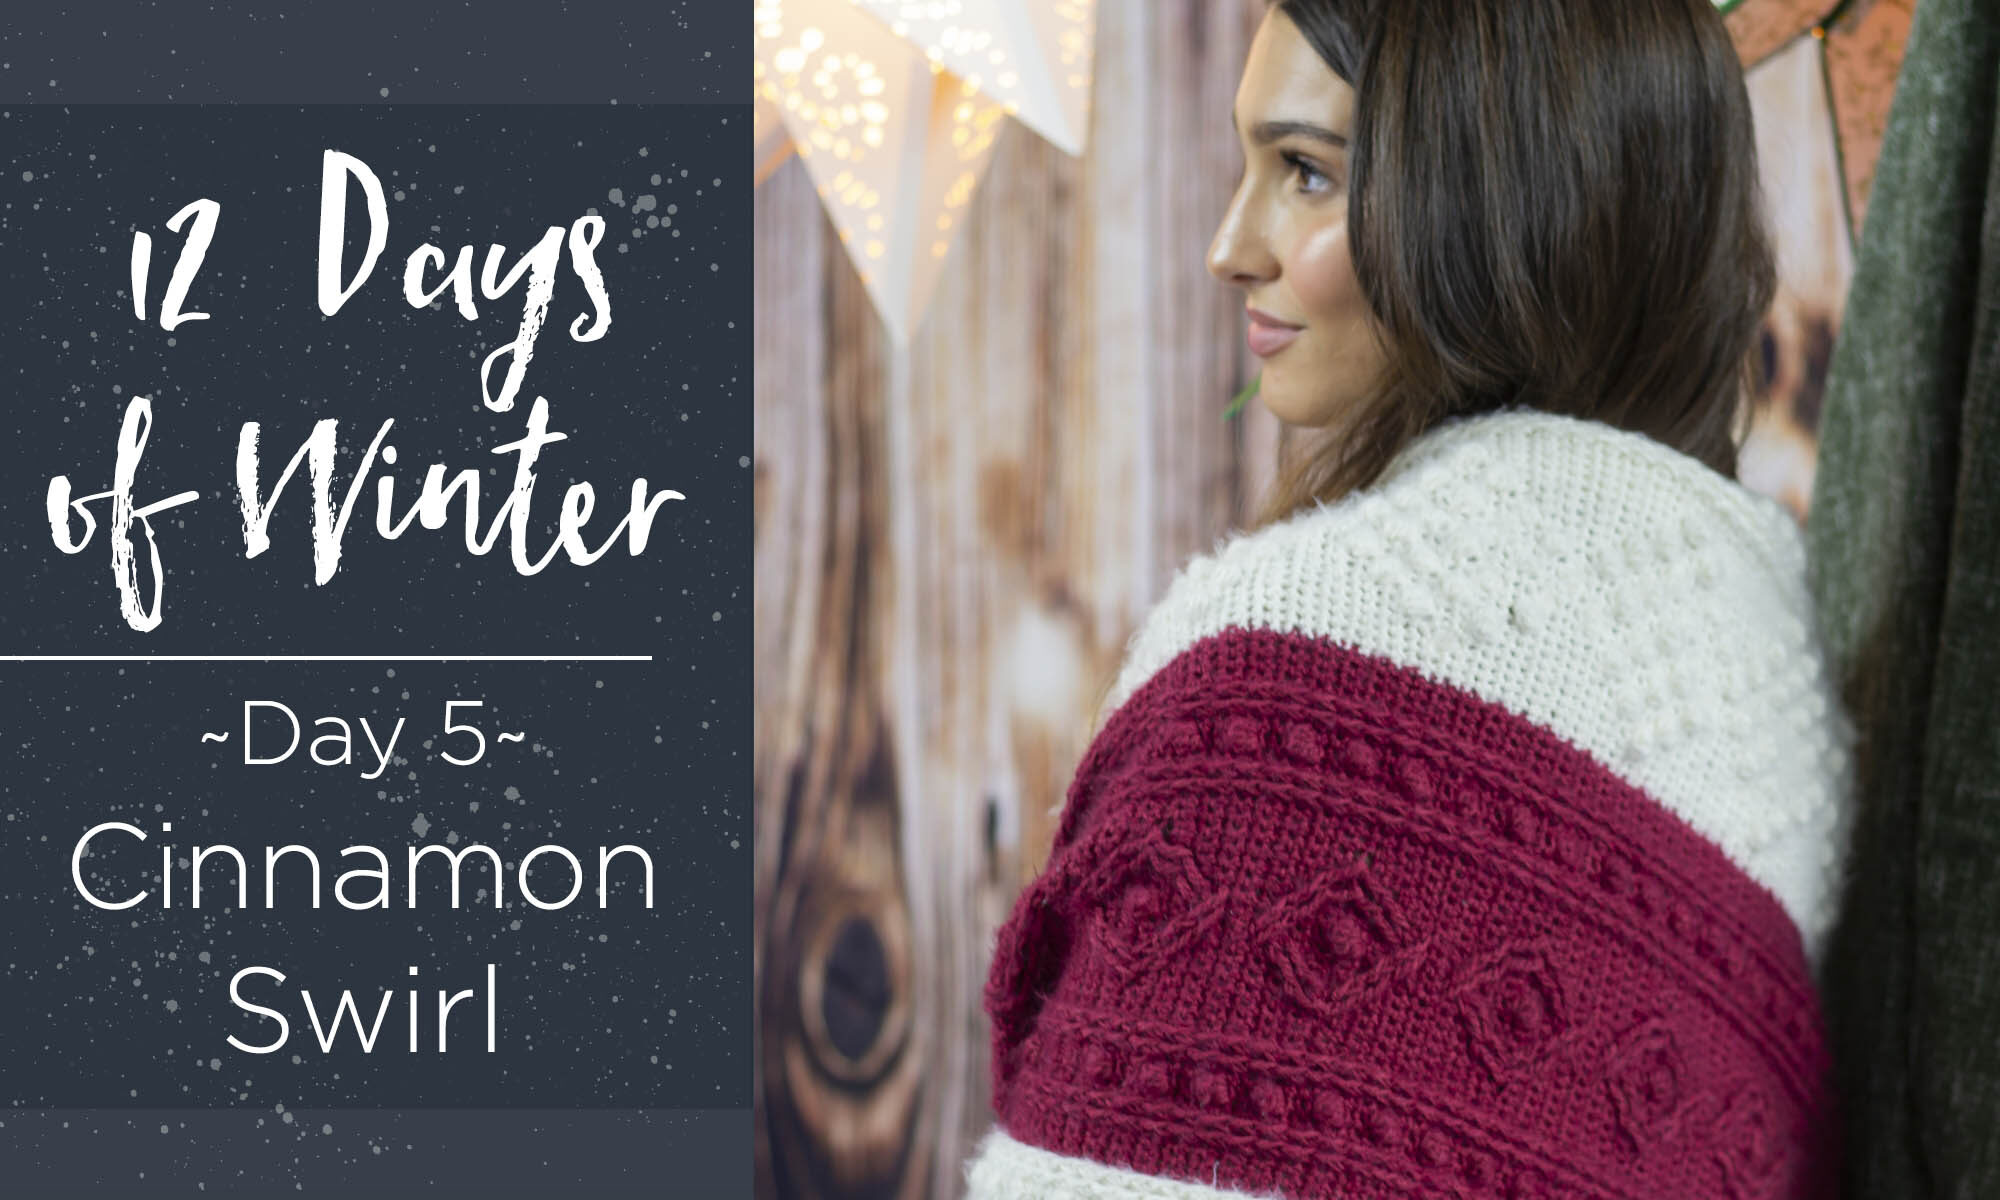
Hello there! I’m so thrilled to bring you our 5th day piece, the Cinnamon Swirl Stole. It’s made with ultra-soft Nymph, and is available in both a crochet version and a knit version , so it feels extra special. Nymph is a blend of Cotton and Polyamide and is genuinely one of the softest yarns I have worked with in a long time! The finished project feels cozy and luxurious – the perfect item to treat yourself. As an extra bonus each of these kits comes with a bonus project bag and stitch marker!

Nymph with bonus kit items – a project bag and stitch marker!

I had the opportunity to design this as a crochet piece first, serving as the inspiration for the knit kit. We will spend some time in this post talking about a special technique involved for crochet – how to join panels as you work.

Cinnamon Swirl, Crochet Version

Before we do that though, can we just take a moment to “Ooh!” and “Ahh!” over the knit companion to this piece!? It’s stunning! this knit version is all worked in one panel using an Intarsia technique for the colorwork, while the crochet version makes one panel at a time, but they attach as you go.

Cinnamon Swirl, Knit Version

To accomplish the crochet join technique, you’ll execute what the pattern calls a “Slip Stitch Sequence” at the end of every other row. This will connect the new panel to the existing one with a practically invisible effect. It lets you achieve the same look as intarsia, while being able to focus on one set of pattern repeats at a time.

Cinnamon Swirl, Crochet Version

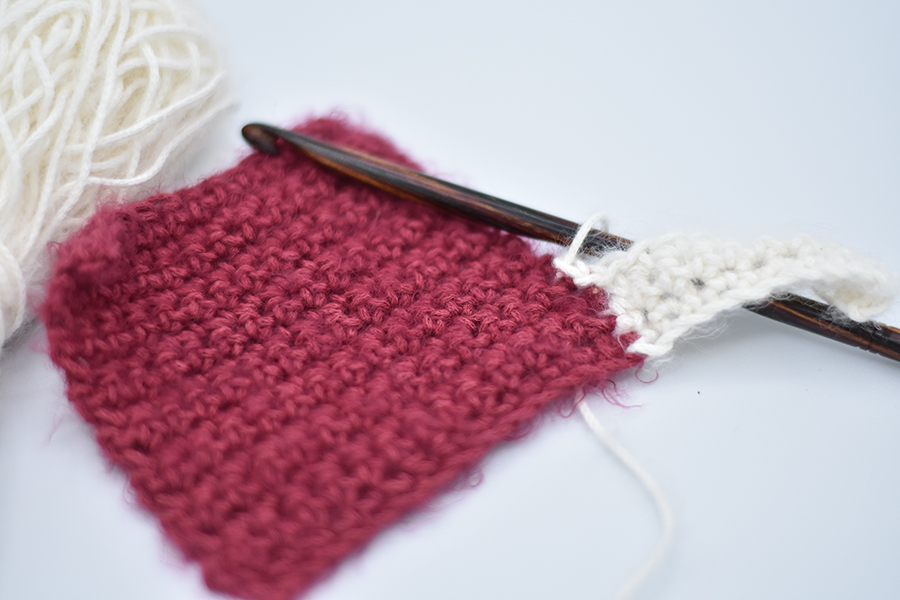
The pattern works from the bottom up, and you add new panels on the right hand side of existing ones. To do this, you join the new yarn at the bottom right corner of an existing panel, with the right side facing you, then chain the amount needed for the new one. you’ll turn the row like normal and work back towards the existing panel, then slip stitch to it to finish the row, and slip stitch one row up before turning to start the next row.

Swatch of the Panel Join from our tutorial

To make sure we don’t leave anybody hangin’ on this technique, we have recorded a tutorial for you! To follow along you’ll want to start out with a swatch of 15 sc sts x 16 rows, using an H/8 (5.0 mm) hook and the yarn Nymph. Have the second color handy along with your hook and press play. This will be a wonderful opportunity to try out this sequence before diving into the pattern.

Tutorial of the Panel Join “Slip Stitch Sequence”

I hope that this tutorial has been helpful to you, and I can’t wait to see how your beautiful Cinnamon Swirl Stoles turn out! Remember, these exclusive kits can be purchased at local yarn store retailers near you. Not in stock at your local shop? Ask them about drop shipping – order through them, and we ship to you! Each kit comes with the pattern, the yarn required to make it, a mini Universal Yarn project bag, and stitch marker. Use our store locator to find your nearest Universal Yarn retailer!
Warmly, Ashley Jane McIntyre

Day 1 of Winter – Series 5 Edition

This is part 1 in a 12 part series highlighting designs from our 12 Days of Winter, series 5 Edition.

Hello all! 12 Days of Winter is upon us again, and this year marks the 5th year of our kit collection. We’ve gone above and beyond this year to deliver the best kits and patterns possible, and we’ve aimed to showcase as many of our beautiful yarns as we can in the collection. I thoroughly enjoy designing for the 12 Days of Winter because there’s so much variety in designs, all centered around the same thing: the joy of wintertime. I’m a person who loves all things winter and holidays, so I tend to have what feels like endless ideas for these particular projects.

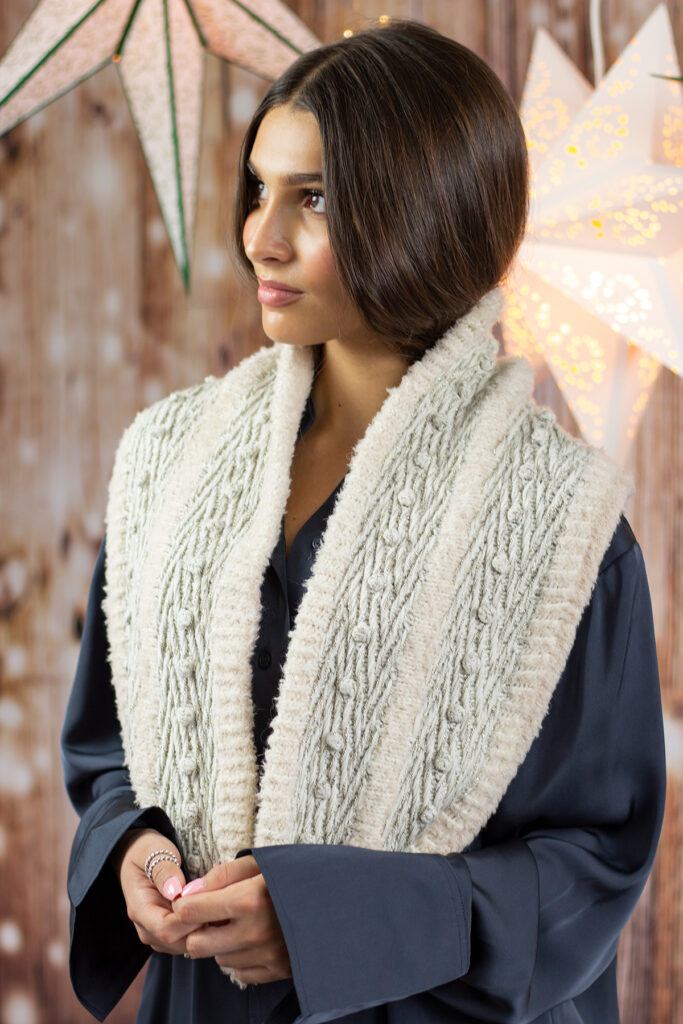
Crystalline Cowl Kit – knit using Dona, Minou, and Universe

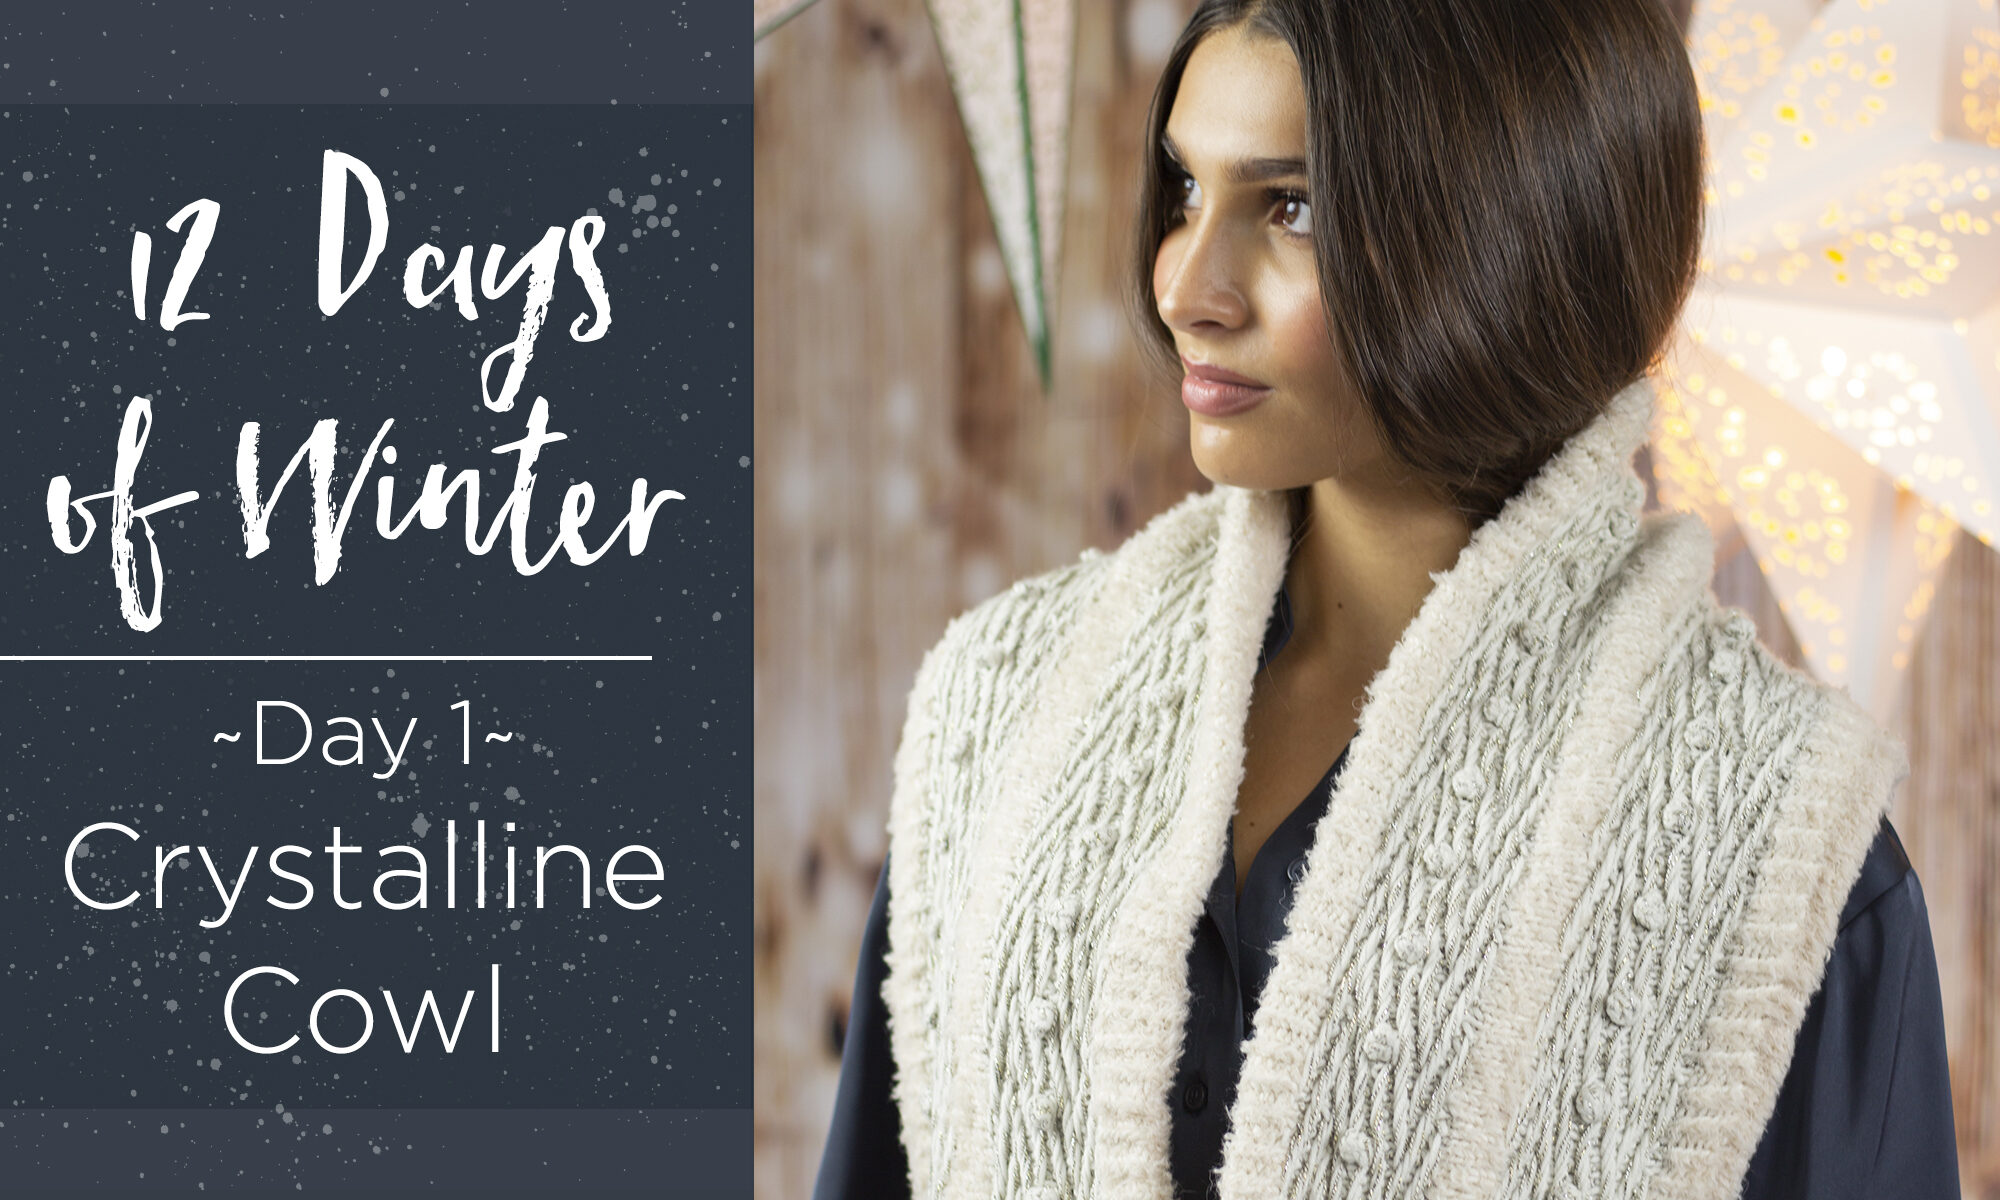
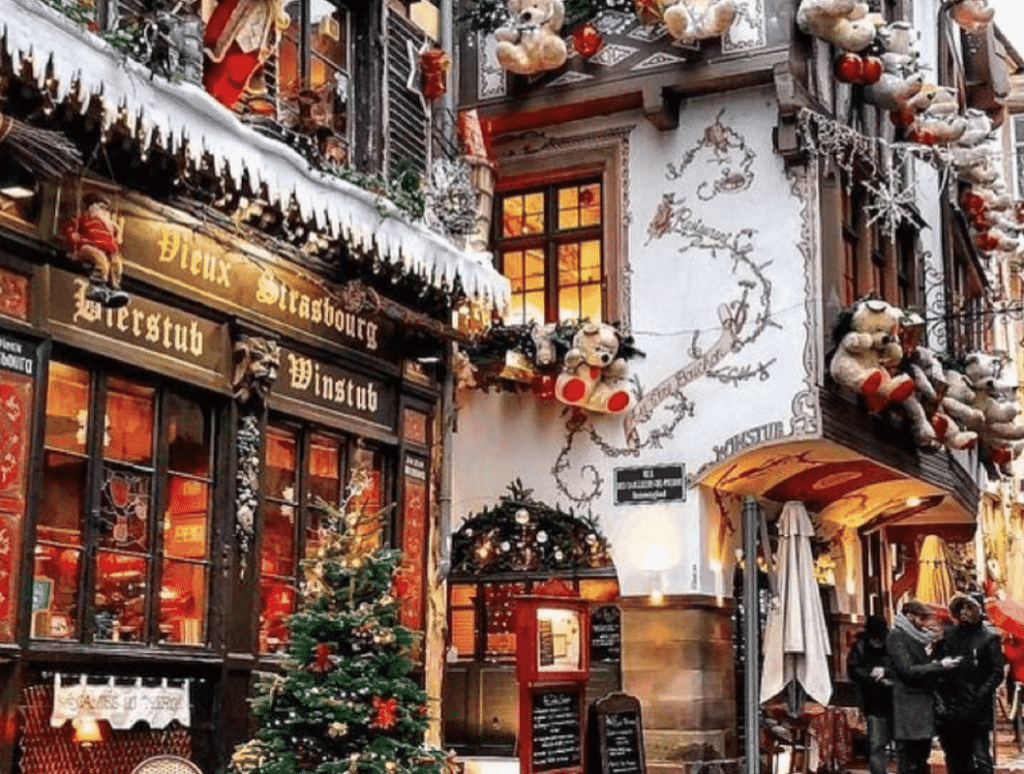
For Day 1 of Winter, I designed the Crystalline Cowl. I’m often inspired by nature and color for designs, but in this case, I was inspired by a place I’d love to travel to someday. My absolute ‘dream’ place to visit or even to live would be in the Alsace region of France. This idyllic European region looks like it is the center of a fairytale book series, and I think that would make it such a special place to live. The mixture of the golden lights and the white snowy rooftops in photos of Alsace during winter were my inspiration sources for the Crystalline Cowl.

Image sourced from Travel France Bucket List
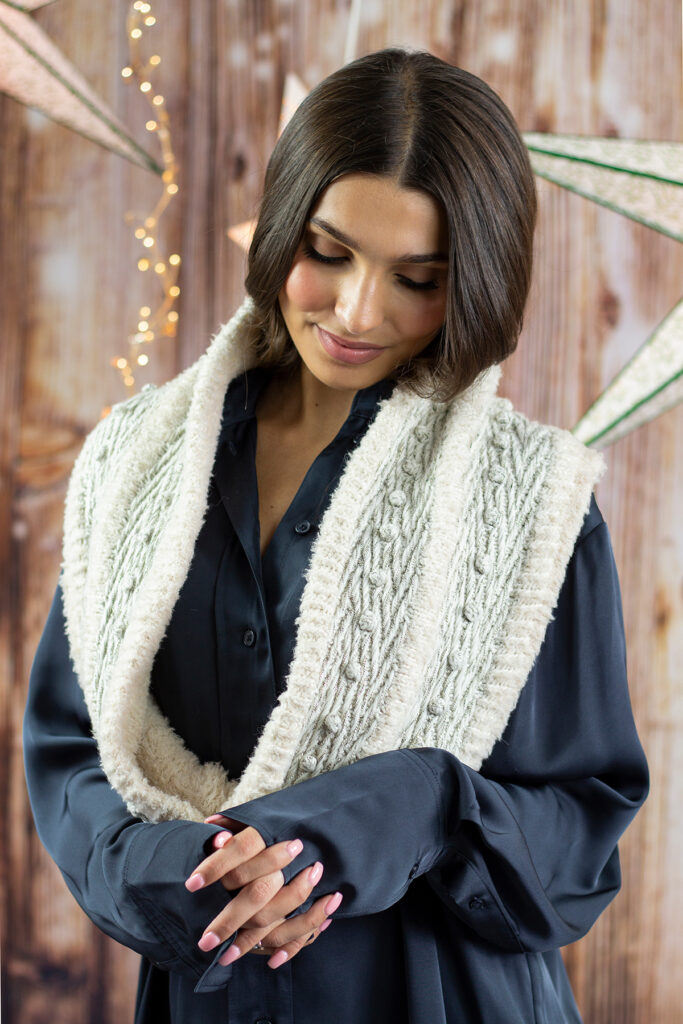
Crystalline Cowl Side View

Some of the techniques you’ll explore in the Crystalline Cowl pattern are:

  • knitting in the round
  • grafting
  • slipped stitch textures
  • bobbles

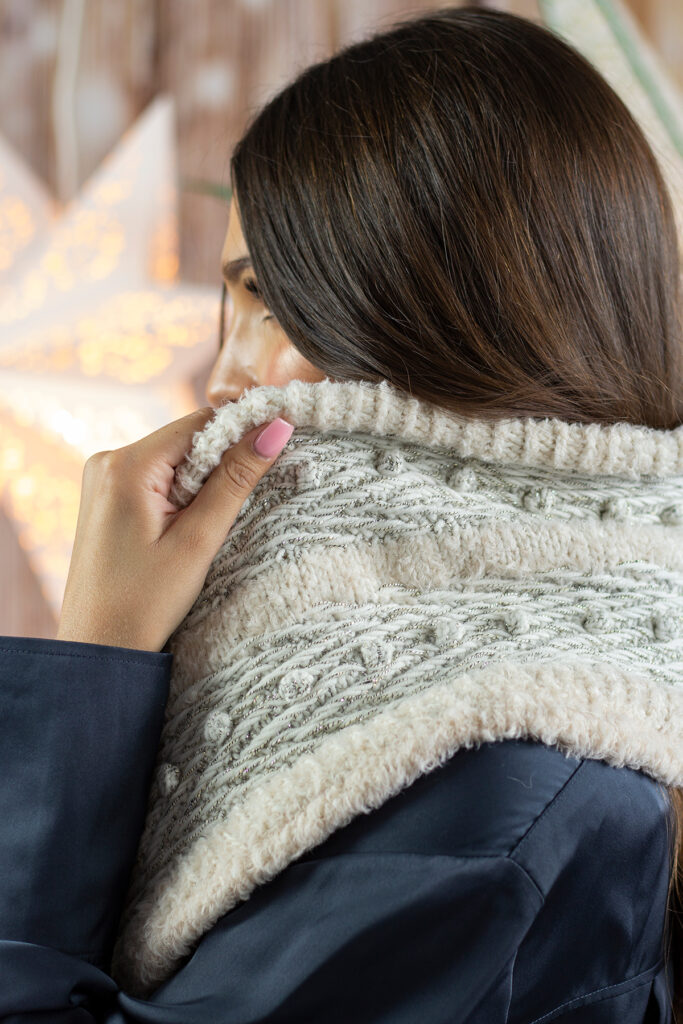
No matter where you live, a hand knit cowl will keep you cozy, warm, and stylish on cold days. One of our newest yarns, Minou , was my first choice for this ‘lights and snow’ inspired design. When we first introduced Minou, we knew it would create an incredible, fuzzy lining for accessories. I decided to make the Crystalline Cowl fully lined with the Minou yarn in the color 101 Borzoi. First, the lining is knit using Minou held on its own. Once you complete that portion of the cowl, you join our Dona yarn in the color 101 Vanilla and begin the ribbed bottom of the cowl body. Dona is a soft and plush superwash extrafine merino yarn, perfect for garments and accessories. This combination of yarns feels like something ideal to wear walking along a charming street of shops on a cold winter day.

Wintertime in Strasbourg, Alsace

Finally, to compliment both of the main yarns, I added glimmering Universe in the color 10-03 Crystal. Universe is a unique, shimmering blend of linen and cotton with a metallic thread wrapped around the base. It adds an ethereal, magical glimmer to any project that reminds me of the reflection of lights on snow. Universe is held with Dona for the main jacquard and bobble pattern worked over the body of the cowl. The cowl is long enough to wear draped over your shoulders, or doubled up for maximum coziness. Once all sections are complete, the lining is flipped inside the main cowl, and the ends are grafted together. Top tip: if you’d like to skip the provisional cast-on and grafting called for in the pattern, you can simply cast on and seam the lining to the main cowl body. There you have it- you’ve made the most squishy, soft, and luxurious feeling accessory ever!

Christmas market in Strasbourg- image sourced from christmas.alsace

I can certainly see someone sporting their Crystalline Cowl while walking around a Christmas market in Strasbourg. Known as the ‘Capitale de Noel’ or Capital of Christmas, Strasbourg is certainly on my wintertime travel bucket list, and I’ll be bringing my Crystalline Cowl with me when I go! Tell us in the comments: what place inspired a knit or crochet project you’ve made?

Crystalline Cowl

I hope you’ve enjoyed reading about the inspiration for this design, and can’t wait for you to see all of the 12 Days of Winter projects for this year.

Remember, these exclusive kits can be purchased at local yarn store retailers near you. Each kit comes with the pattern, the yarn required to make it, a mini Universal Yarn project bag, and stitch marker. Use our store locator to find your nearest Universal Yarn retailer!

Happy crafting,

Aubrey

Find Your Fluff

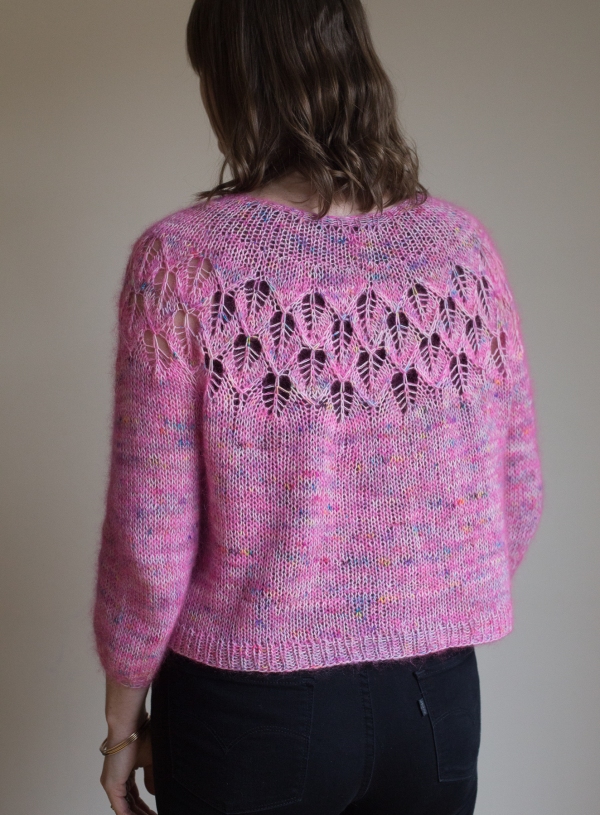
As the weather cools down I’m starting to plot all of the dreamy ways I can make an extra cozy sweater. I’ve really been liking some of the pieces I’ve seen that carry soft fluffy yarns along with a base, like this gorgeous sweater, Love Note, by Emily Wessel seen on the blog Tin Can Knits.

Love Note Sweater by Emily Wessel

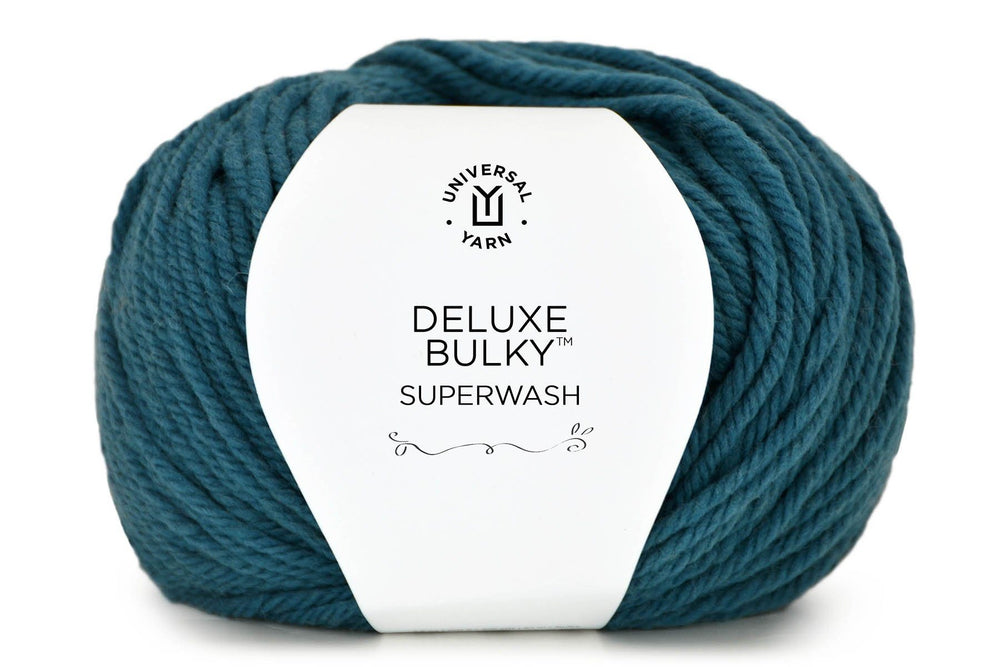
Just the thought of a soft halo of Mohair, or something equally as fluffy, brings a huge grin to my face. So, I’ve set out on a mission to find my perfect fluff! I already knew that our yarns Penna or Minou would be perfect place to start when experimenting. Both are a fine enough weight to carry along with any other weight yarn, and have their own unique textures and compositions that add something special to a project. The other piece to this puzzle is determining the base yarn. I chose Deluxe Bulky Superwash to have some fun with mixing and matching a big squishy yarn. I grabbed my size L/11 crochet hook and got right to it!

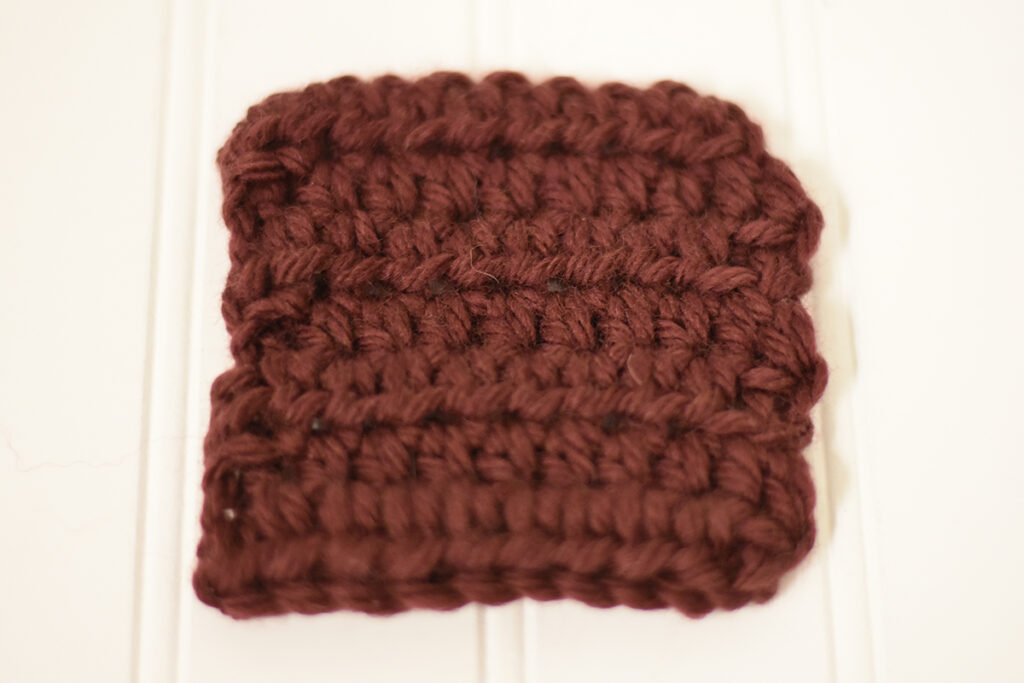
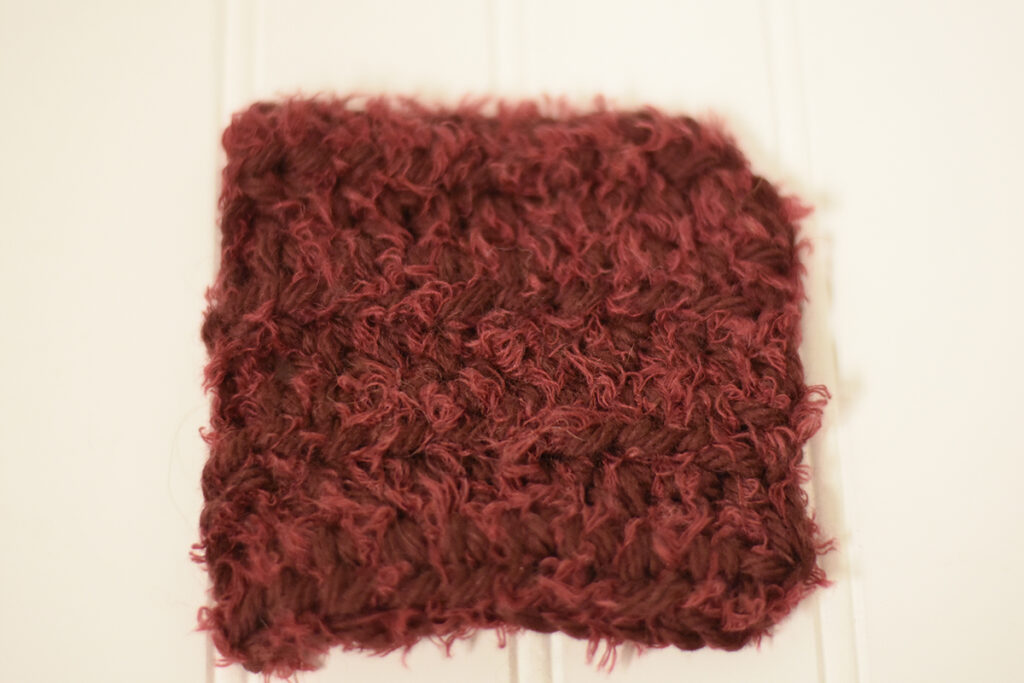
Deluxe Bulky Superwash is 100% superwash wool, and is already a can’t-stop-touching-it yarn. Giving it a bit of extra “oomph” is an easy choice albeit a bit unnecessary! Check out how it works up by itself. I really enjoy working with this yarn because anything you make with it feels quick and the stitches are so easy to see.

Deluxe Bulky Superwash color 939 Burgundy

The first combination I tried was mixing Deluxe Bulky Superwash with Penna. I was most excited to try this out because Penna is a luscious blend of 50% Suri Baby Alpaca, 28% Extra Fine Merino, and 22% Nylon. Holding a ball of it is like holding a teeny personal cloud!

This combination had exactly the feel I was hoping for, although visually it doesn’t have quite the impact that carrying with a finer weight yarn would have. To achieve both a soft feel and a billowy halo appearance, I think I would try this out again with a sport weight yarn like Donnina. Despite the larger base, there is definitely still an extra element of visual interest in my swatch along with the heavenly feel.

Deluxe Bulky Superwash color 939 Burgundy + Penna 114 Bordeaux

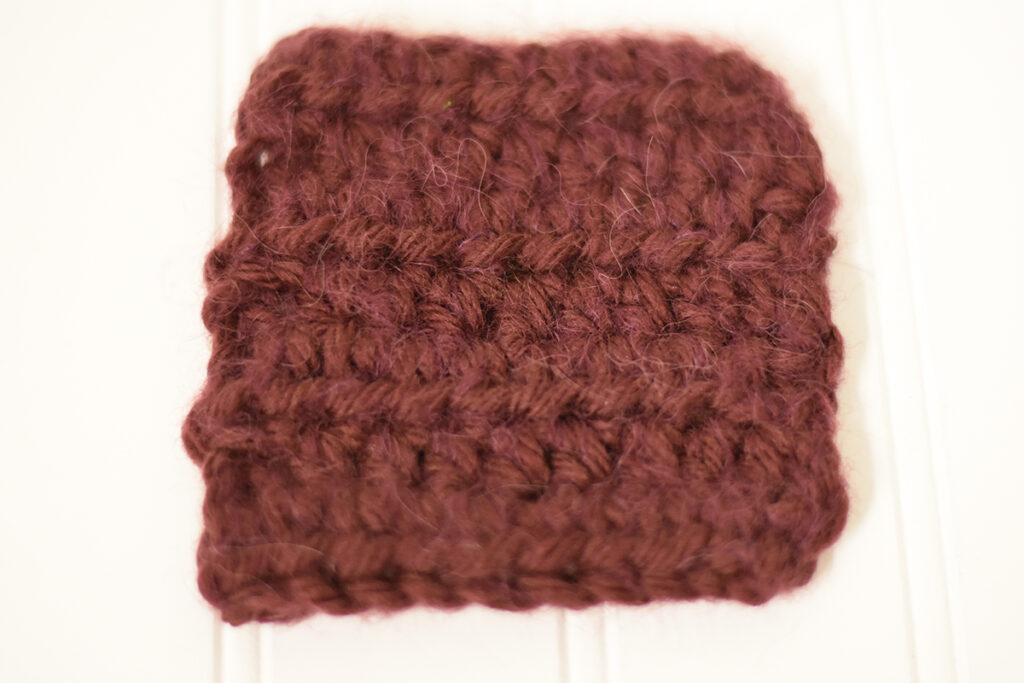
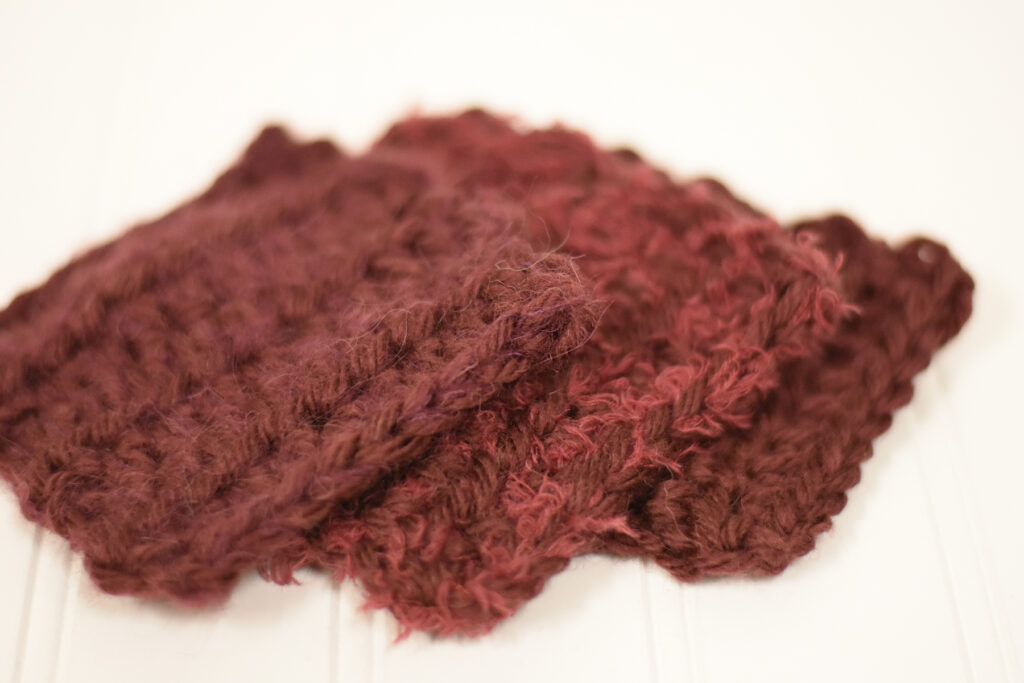
The next combination was to carry Minou along with Deluxe Bulky Superwash. This yarn is a lovely take on eyelash yarns, having all the fun texture elements while incorporating ridiculously soft materials. Minou is composed of 40% Baby Alpaca, 8% Merino Wool, and 52% Nylon. Holding this yarn is like hugging a cute lil’ kitten!

This combination definitely added some extra softness to the base, but I was most excited about the visual effect! The Minou added a cool, modern look to the swatch compared to the look of the Deluxe Bulky Superwash by itself.

Deluxe Bulky Superwash color 939 Burgundy + Minou color 108 Tanager

When it’s all said and done I love all of it! It’s really hard to say which combination I would use for my big fluffy dream sweater. I like the Penna combination most for it’s overall feel, but I really like the Minou for it’s look!

Left to right: DBS + Penna, DBS + Minou, DBS by itself

What combination would you try out? Aside from the obvious texture decision, what about colors? Would you try out mixing, or matching like I did? There are SO many fun possibilities when trying to find your fluff!

That’s all for now – Happy stitching!
Ashley Jane

Free Pattern Friday – The Kobuk Cowl

Today, the Kobuk Cowl (pattern link here).

This is a fun and fast project that you can work up in a matter of hours! Using our super chunky Be Wool and Be Wool Multis always leads to full, soft, and quick work.

I recommend this as a great beginner crochet project! This cowl features V stitches, and a faux ribbing created using front and back post work. If you haven’t tried these stitch techniques a go before, definitely jump in. They are easy-peasy but look somewhat complex. It will be sure to have your friends asking the fun question “Oh my gosh, did you make that!?”

The Kobuk Cowl is named after the Kobuk Valley National Park in Alaska. The natural colors featured in this design reminded us of the cool blue waters, arctic chill, and rusted golden landscape seen in this majestic place. The second I tried in on I, was itching for some colder weather adventure. Granted, I may not make it all the way to Alaska this season, but I’ll be dreaming about it when I hike around the beautiful mountains in North Carolina!

Image from Google Search of Kobuk Valley

Well there you have it! Have you ever been out to a National Park? Which one? I’d love to hear about your experience!
That’s all for now,
Happy Stitching!
AJ

Spooky Ricorumi!

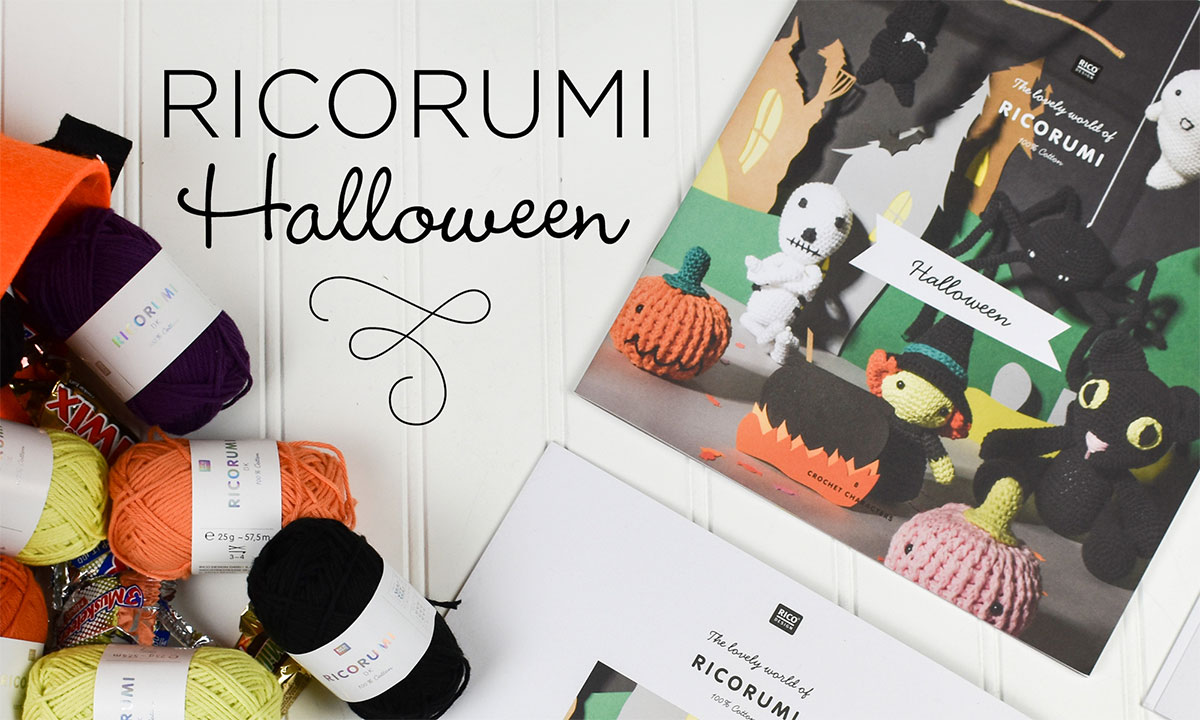
Ricorumi Halloween

This Spooky Season we are raving about the adorable Ricorumi Halloween book! There are 7 cute patterns to choose from. Picking just a few may be tricky though, so caving into your cravings and making all 7 would make for a nice treat! Quick-tip! These patterns are written in UK terminology, but don’t let that spook you away – They are still written clearly and easily, all packaged with some adorable stories for each character!

I seriously CANNOT pick a favorite! But I can help you pick some yarn and supplies! You’ll need a 3mm crochet hook (I suggest using a Ricorumi hook found at your local LYS!), a large yarn needle for stitching and embroidery, toy stuffing, and the Ricorumi DK yarn, found here. Each cute little ball comes in at 25g and is only $3.25 each. Many of these projects only need 1 or 2 balls per color, making them affordable and fun!

To be specific here’s what quantities of yarn you’ll need for each one:

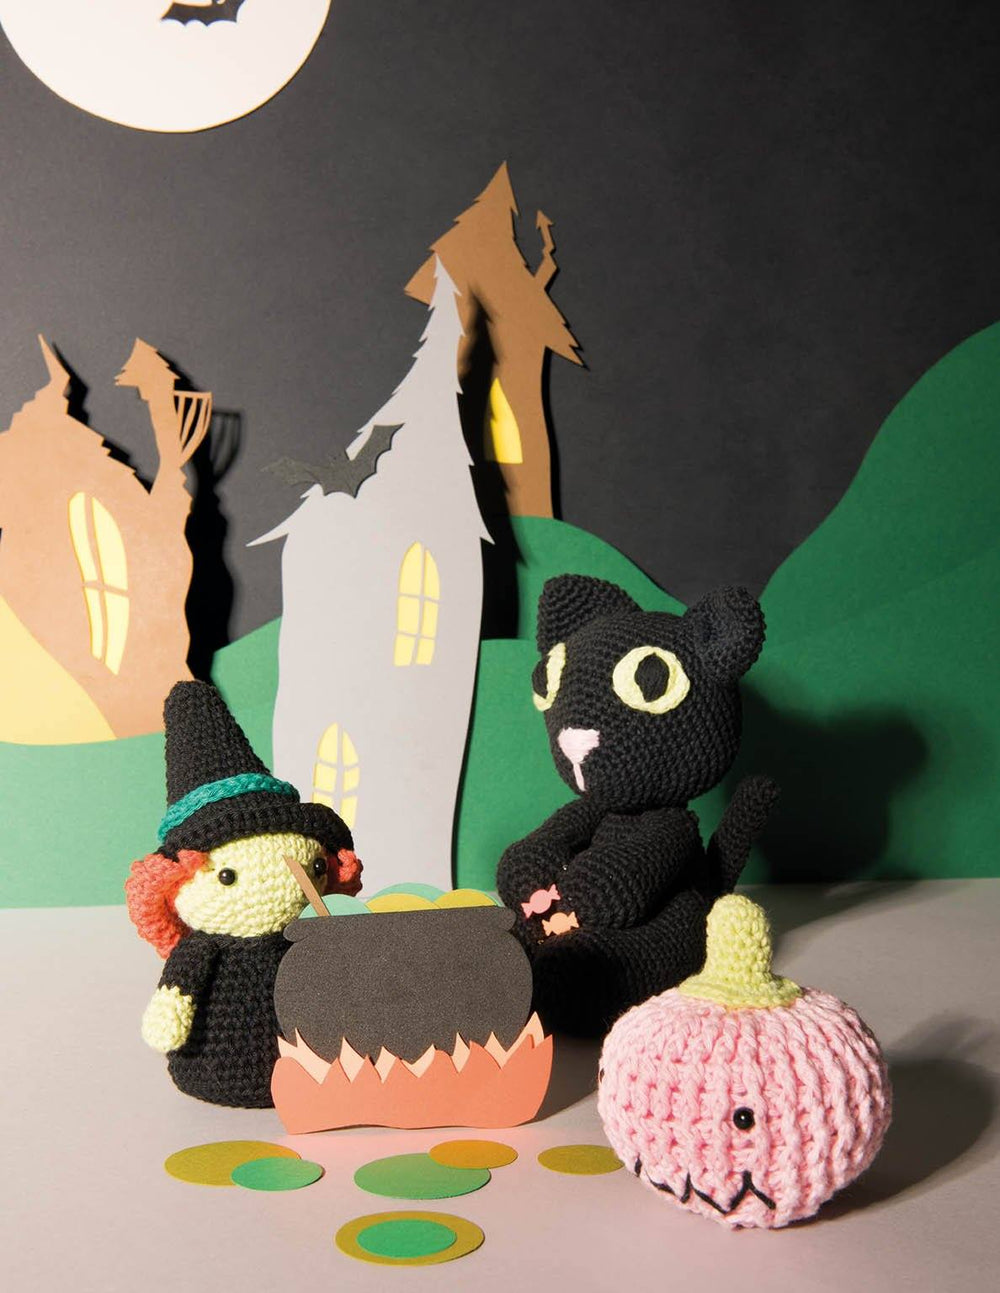
The Ghost = 1 ball each of 001 (white) and 060 (black) for embroidering.

The Spider = 2 balls of 060 (black) and 1 ball of 001 (white) for embroidering.

The Skeleton = 3 balls of 001 (white) and 1 ball of 060 (black).

I know I said I couldn’t pick a favorite, but can we talk about how cute the little lanky appendages on the Skeleton are? Seeing it posed different ways is giving me some silly Elf on the Shelf spin-off ideas. Maybe this is the year “Skeleton on the Sofa” can make a sensational debut!

The Witch = 1 ball each of 060 (black), 027 (orange), 046 (light green), and 043 (ivy)

The Cat = 2 balls of 060 (black), and 1 ball each of 046 (light green) and 011 (pink) for embroidering the nose and eyes.

The Pumpkin version 1 = 1 ball each of 011 (pink), 046 (light green) and 060 (black) for embroidering.

That witch with her little cauldron!!! I’m envisioning making props for my mantle with all of these little spooky friends. Maybe cutting out a paper broom for her, or some leafy greens and making plenty of pumpkins for a pumpkin patch! So many endless possibilities – What do you think you’ll try out?

The Pumpkin version 2 = 1 ball each of 024 (smokey orange), 043 (ivy), and 060 (black) for embroidering.

The Bat – 1 ball each of 060 (black) and 001 (white) for embroidering.

Of course, you can always go off book and create these in exciting colors of your own! Which one do you think you’ll try first!?! I’m getting ready to put the little skeleton on my hook. Maybe I’ll be extra ambitious and pose him for a stop-motion dance on social media!!! “Spooky Scary Skeletons….” you know the song, right?

That’s all for now, Happy Stitching!
Ashley Jane

Free Pattern Friday – Riverstone Sweater

It’s Free Pattern Friday!

Today, the Riverstone Sweater in Wool Pop (pattern link here).

Rachel Brockman’s latest design is destined to be a wardrobe staple. The Riverstone Sweater is comfortable and casual, but can still be dressed up for effortless elegance.

Rachel made excellent use of Wool Pop’s crisp stitch definition and beautifully coordinating colors. Plus, Wool Pop’s composition makes it a great three-season yarn. This sweater can easily carry you through those days when the weather starts out cool but ends up warm.

The combination of stripes and color blocking is on trend. Ribbing at the edges moves beyond plain K1,P1 to continue the “practical and pretty” vibe. It’s a great blend of form and function.

We hope you have a fantastic weekend, full of beautiful things. Happy crafting!
Free Pattern Friday – Midnight Top

Happy Free Pattern Friday!

Midnight Top in Cotton Supreme DK 718 and Cotton Gold 1097

Today’s free pattern is the Midnight Top, knit using Cotton Supreme DK and Cotton Gold held together. When I designed this top, my inspiration was twinkling stars in the night sky. I grew up in a wooded neighborhood with no street lights, so going out to look at the beautiful stars at night is a childhood memory I cherish, and one that I always find inspiring.

Midnight Top in Cotton Supreme DK 718 and Cotton Gold 1097

Cotton Supreme DK is a fantastic staple yarn for warm-weather projects. This 100% cotton yarn is easy to work with, buttery-soft, and perfect for the whole family. It works up into a fabric that has gorgeous drape and stitch definition, so we love using it for garment patterns like the Midnight Top. I chose the color 718 Black for this design.

Cotton Gold is a fancy yarn that works up into an ethereal, shimmering fabric. It looks lovely on its own for shawls or stoles that are perfect for an event, like the Golden Fans Shawl and the Phantom Shawlette. When carried along with another yarn, it adds some pizazz to an otherwise plain project. The thread base is made of cotton mixed with gold or silver glitter (depending on your color choice), and has small Payette sequins strung throughout that give this yarn its magical appearance. I chose the color 1097 for this design, which is Black with Silver sequins.

Midnight Top in Cotton Supreme DK 718 and Cotton Gold 1097

This pattern uses an eyelet stitch repeat, which creates lovely columns of knit stitches and eyelets, resulting in a stretchy, comfortable lace fabric you’ll be happy wearing all day long. If you’re intimidated by lace stitches, don’t fret! The pattern uses a three-stitch repeat, so it is incredibly easy to memorize as you go. Simple neckline shaping, and an identical front and back make this a very suitable project for the advanced beginner as well as more seasoned knitters.

Midnight Top in Cotton Supreme DK 718 and Cotton Gold 1097

I often think about the versatility of pieces I design. The Midnight Top is designed so that it works well for any outfit you choose. Style it with jeans or pants for a more casual look, or throw it over a dress for an evening out! Cotton Supreme DK also makes this piece suitable to be used as a swimsuit cover-up for days at the beach or pool. The fringe detail on the hemline adds just a bit of flair that makes dressing up or down even easier.

Midnight Top in Cotton Supreme DK 718 and Cotton Gold 1097

I’d love to know, with so many colors of Cotton Supreme DK and Cotton Gold to choose from, what combination would you choose for the Midnight Top?


Happy Crafting!
Free Pattern Friday – Confetti Cap

It’s Free Pattern Friday!
The Confetti Cap is a quick and easy knit for the little one in your life.  It takes just one ball of Bamboo Pop!

Today, the Confetti Cap in Bamboo Pop (pattern link here).

If you get our newsletter or follow us on social media, you’ve probably noticed all the Bamboo Pop love this week. And why not? It’s a great yarn for the warmer weather we’re all yearning for. Bamboo Pop’s bright colors make it a great choice for baby and toddler projects.

Knit pink and aqua baby dress in Bamboo Pop yarn

For instance, the Sakura Dress (free pattern link here) pictured above…

…or Spot the Tee (free pattern link here), shown in the same color 304 Watermelon Dots as today’s free pattern. They’d make an awfully cute set!

The Confetti Cap has sweet little sprinkles throughout, courtesy of the dots in this colorway of Bamboo Pop. The hat is sized newborn through 1-3 years, but only takes 1 ball for all sizes!

This sweet, simple knit cap would be a quick and easy gift when you need something quickly for a baby shower, charity project, or for that moment when you just get the itch to make something little and cute!

Have a great weekend. Here’s some confetti!

Happy crafting!