

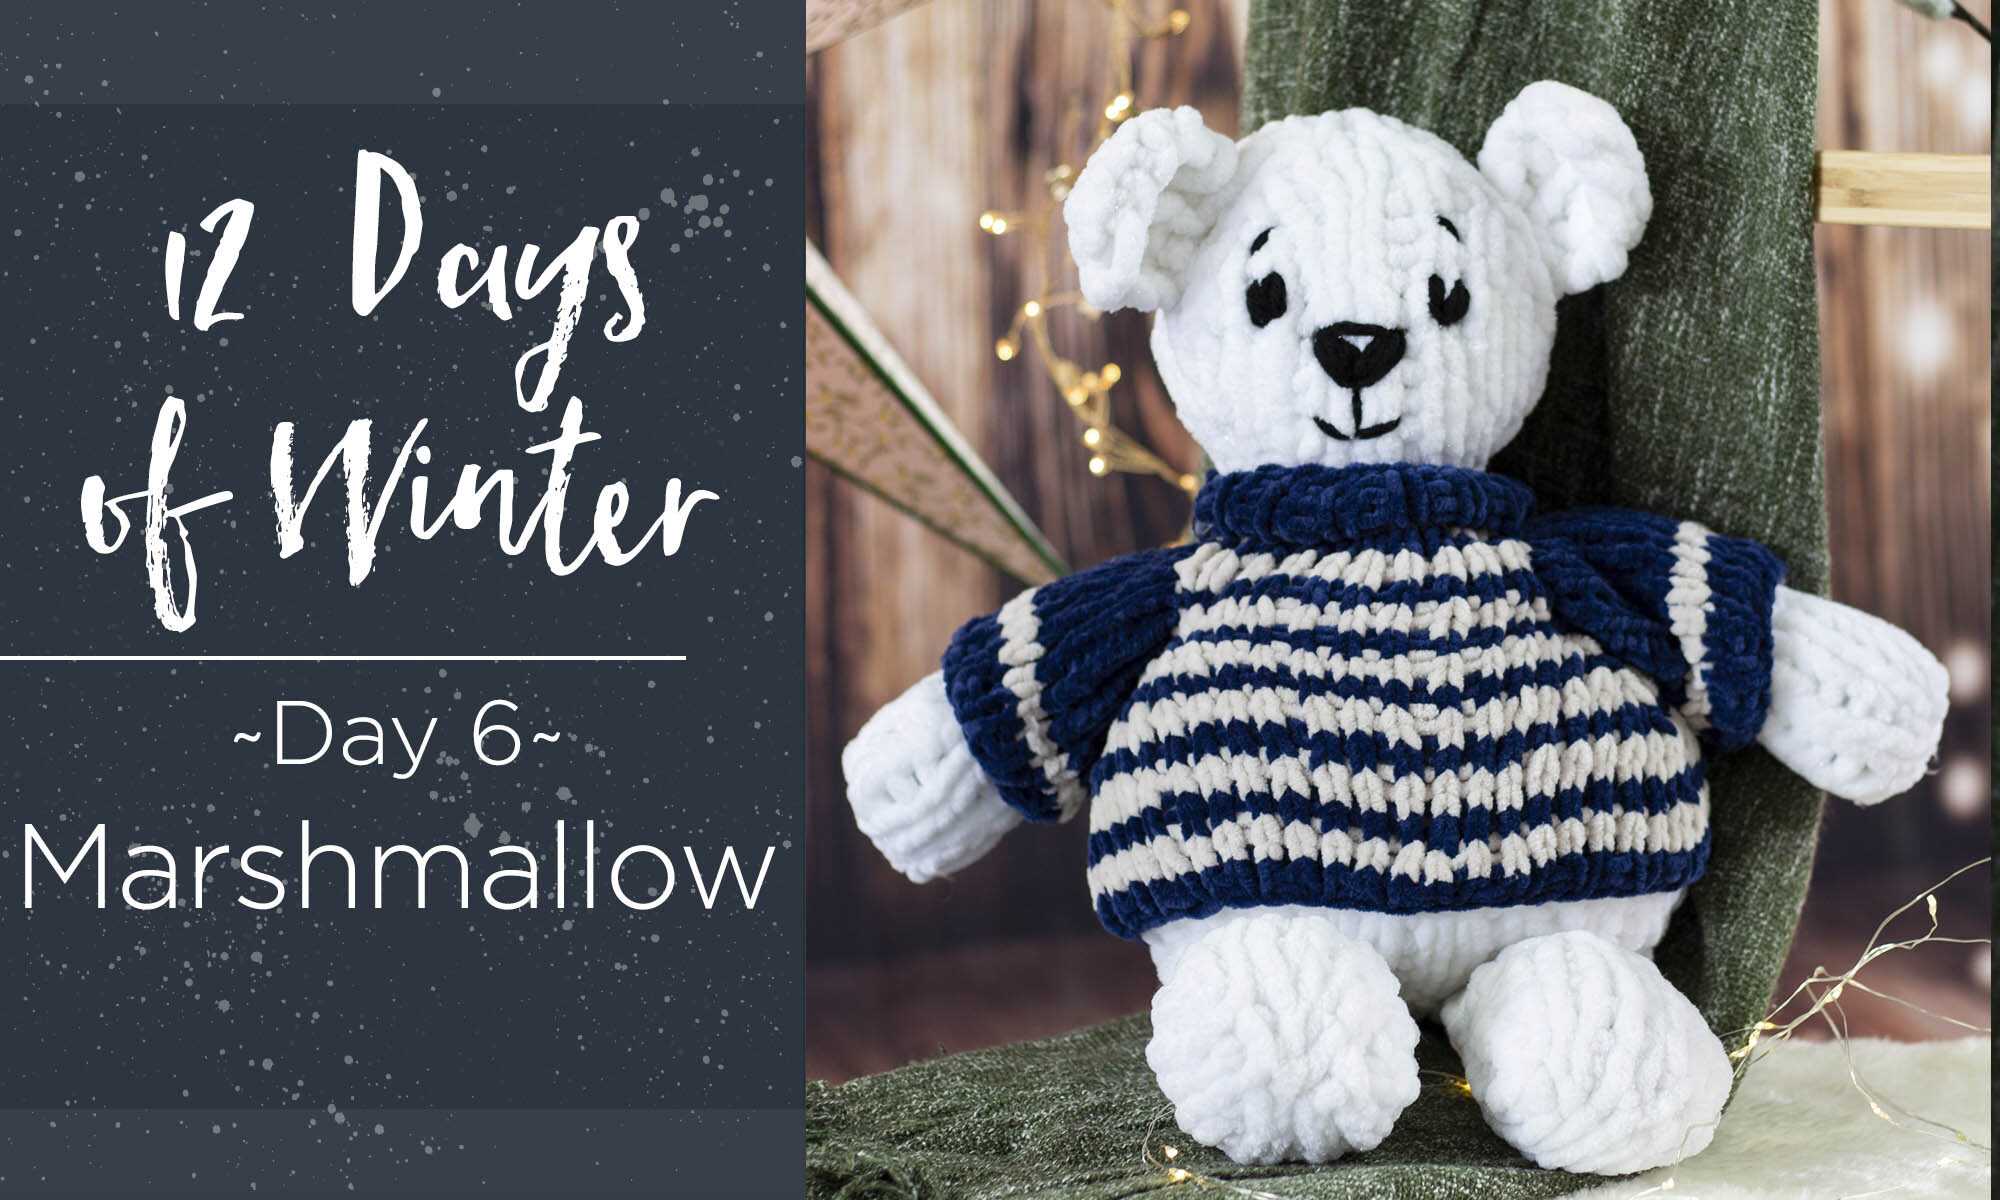
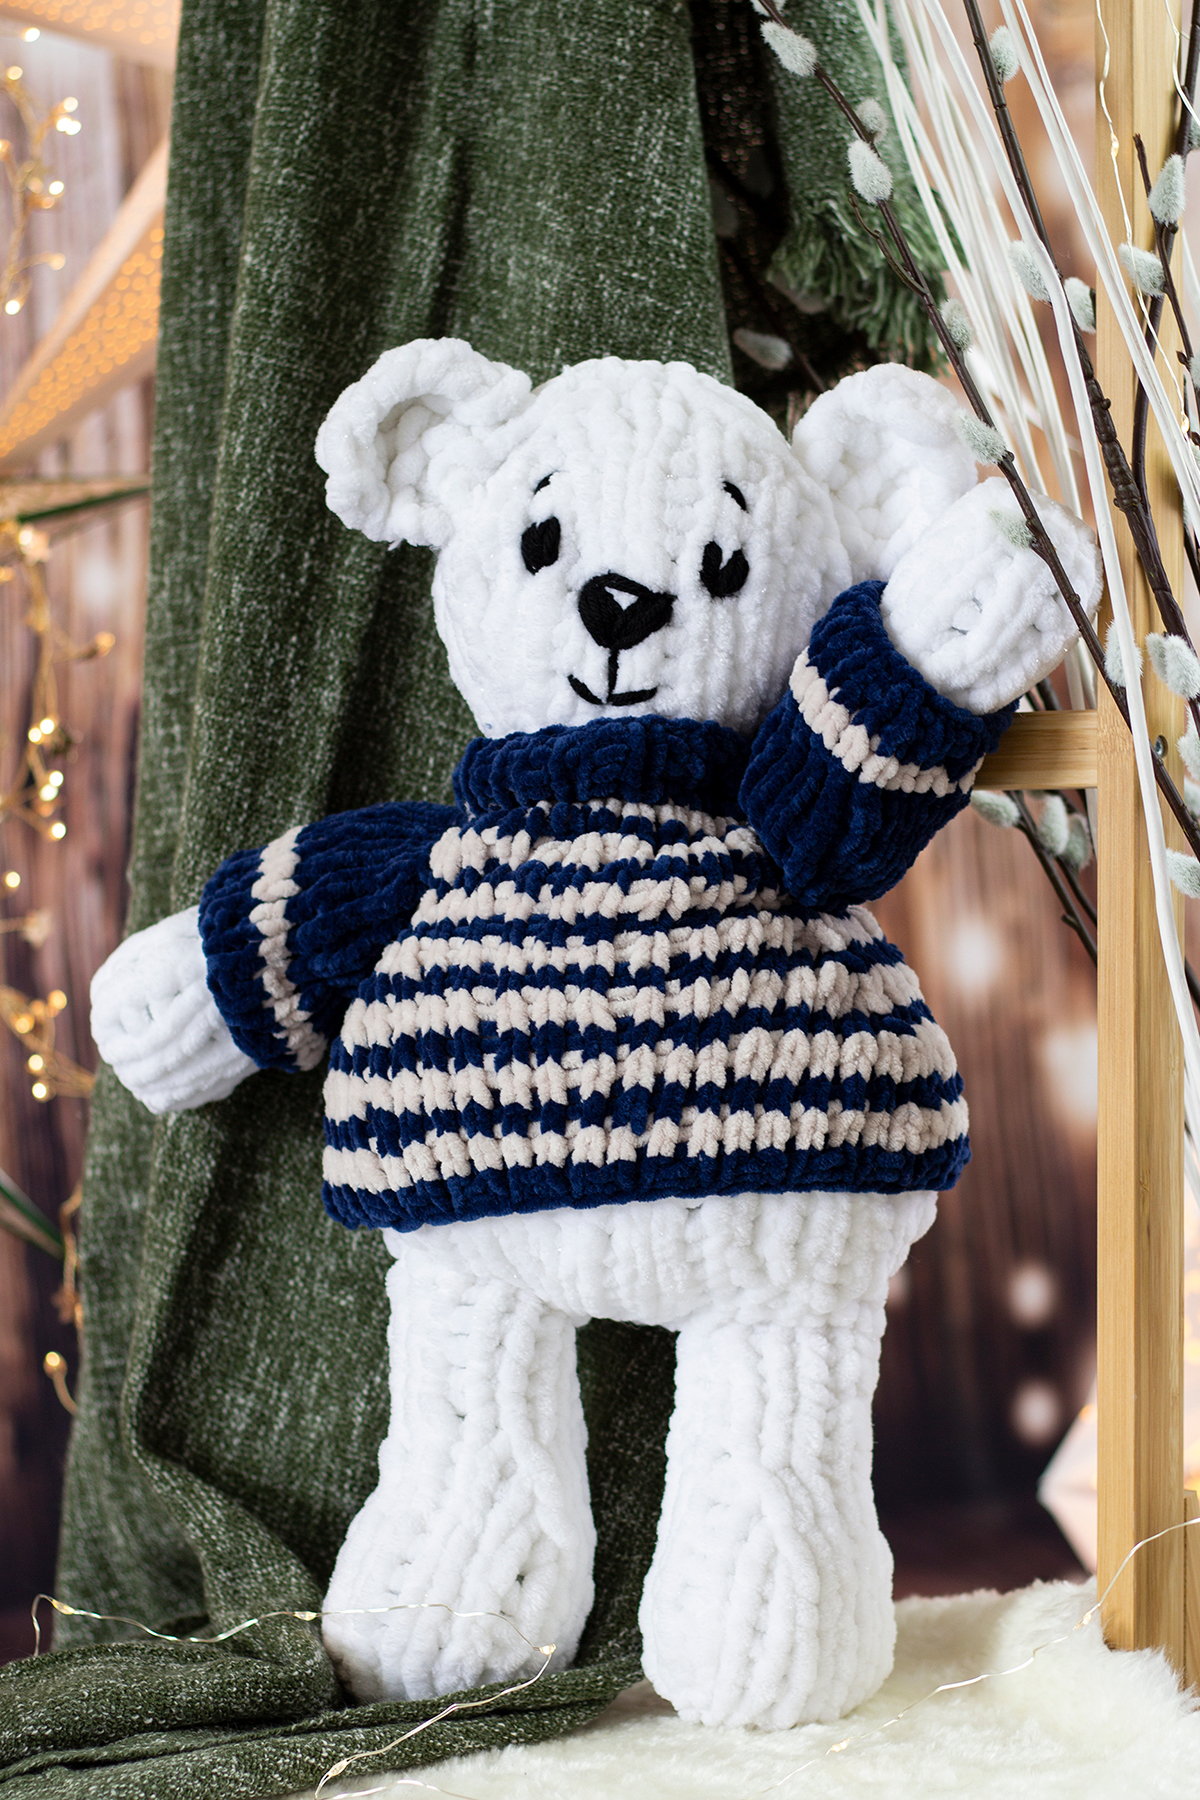
This is part 6 in a 12 part series highlighting designs from our 12 Days of Winter, series 5 Edition.
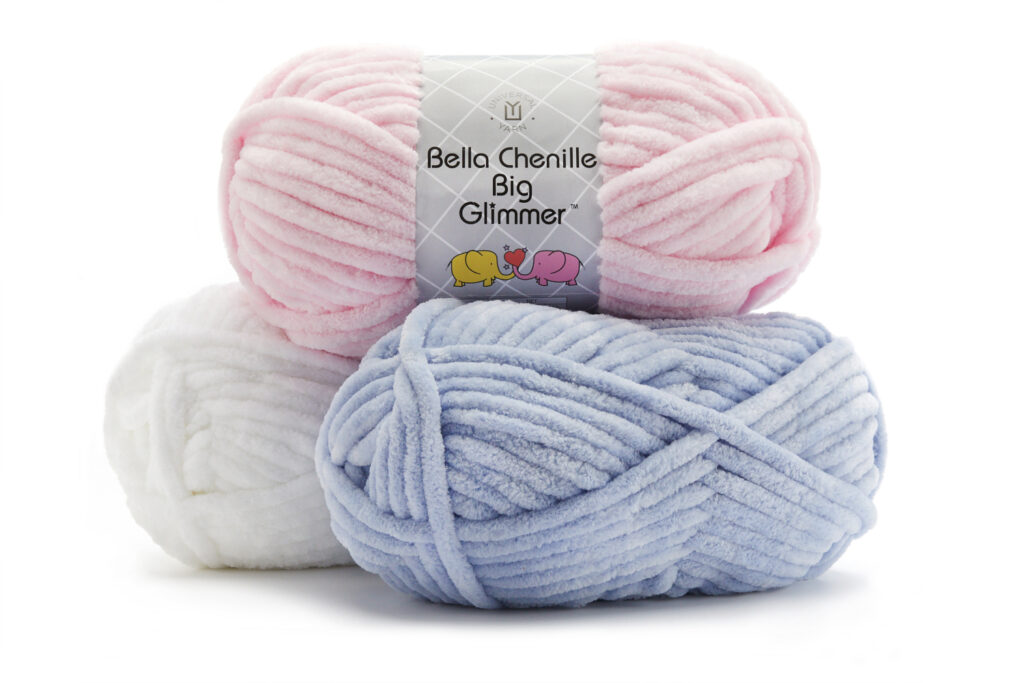
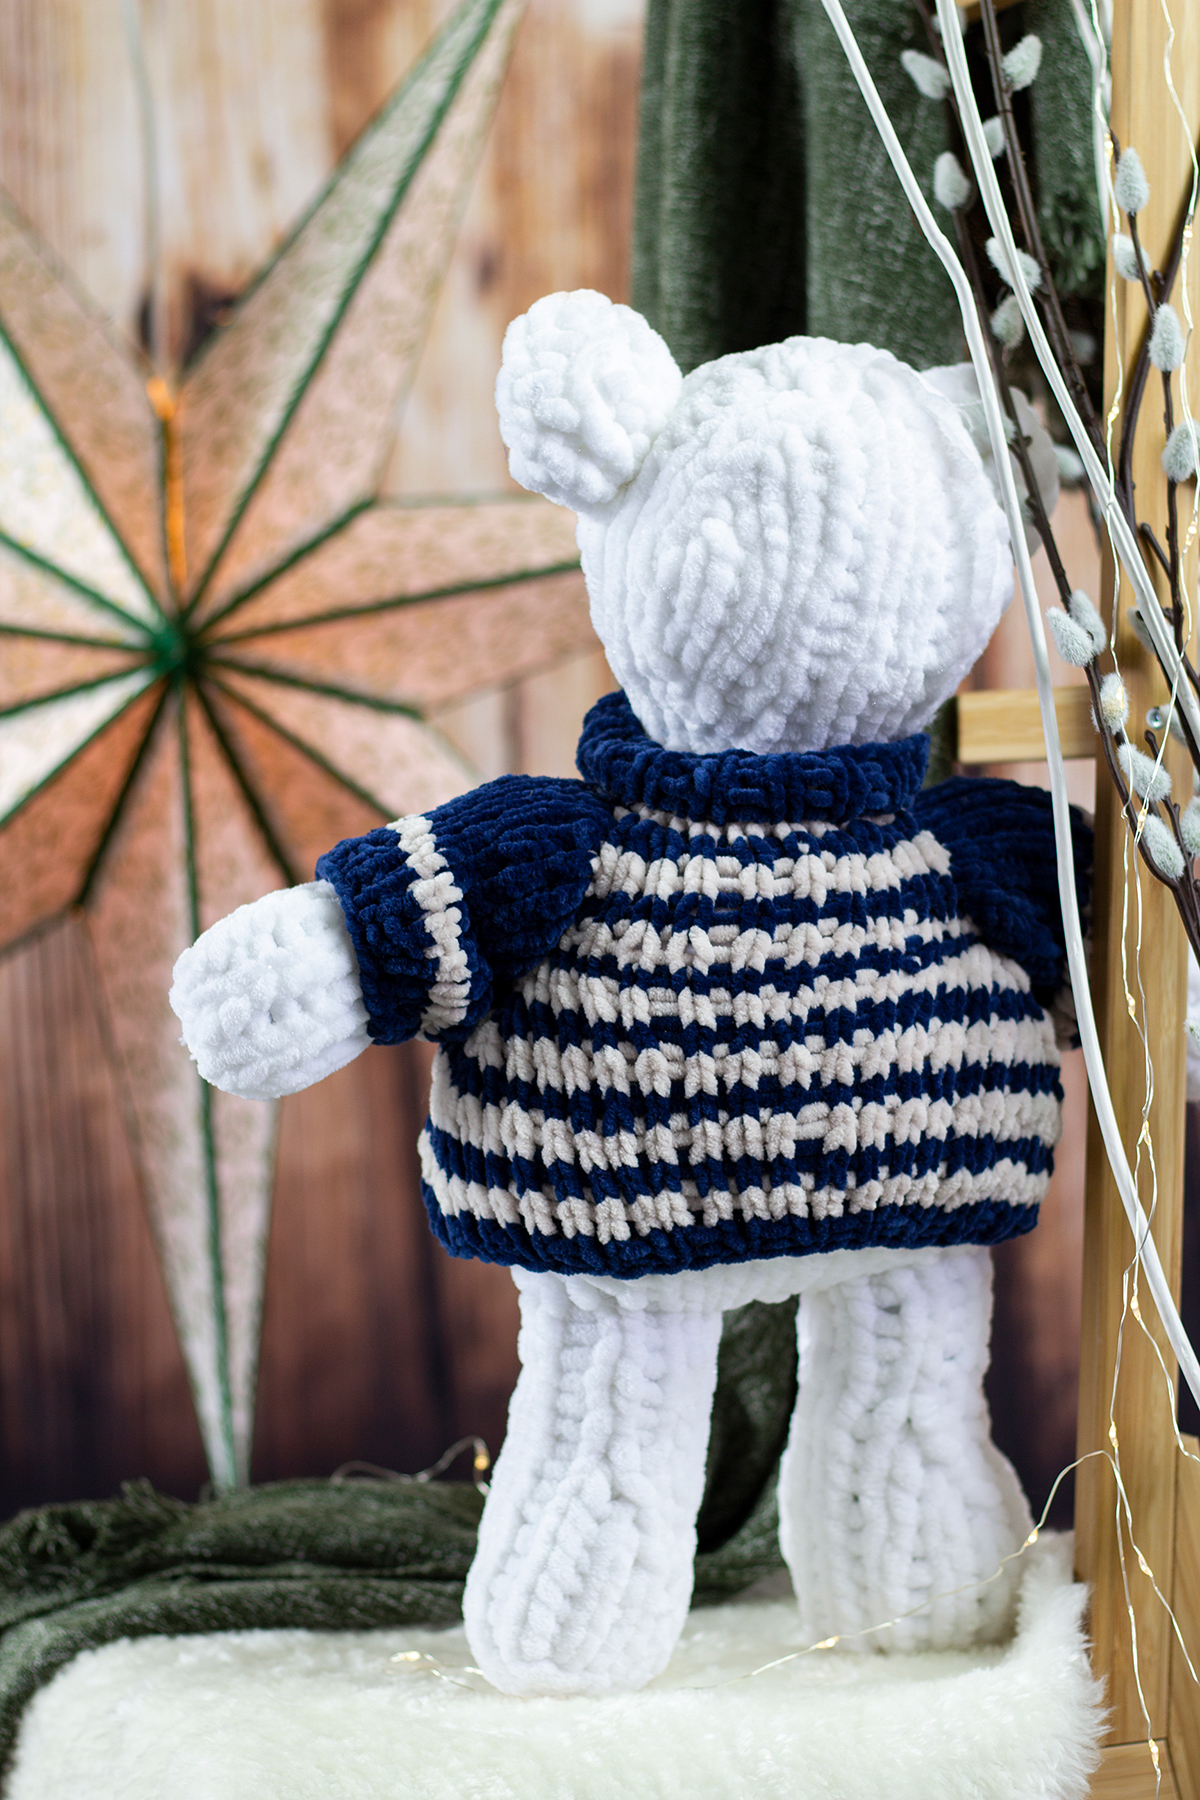
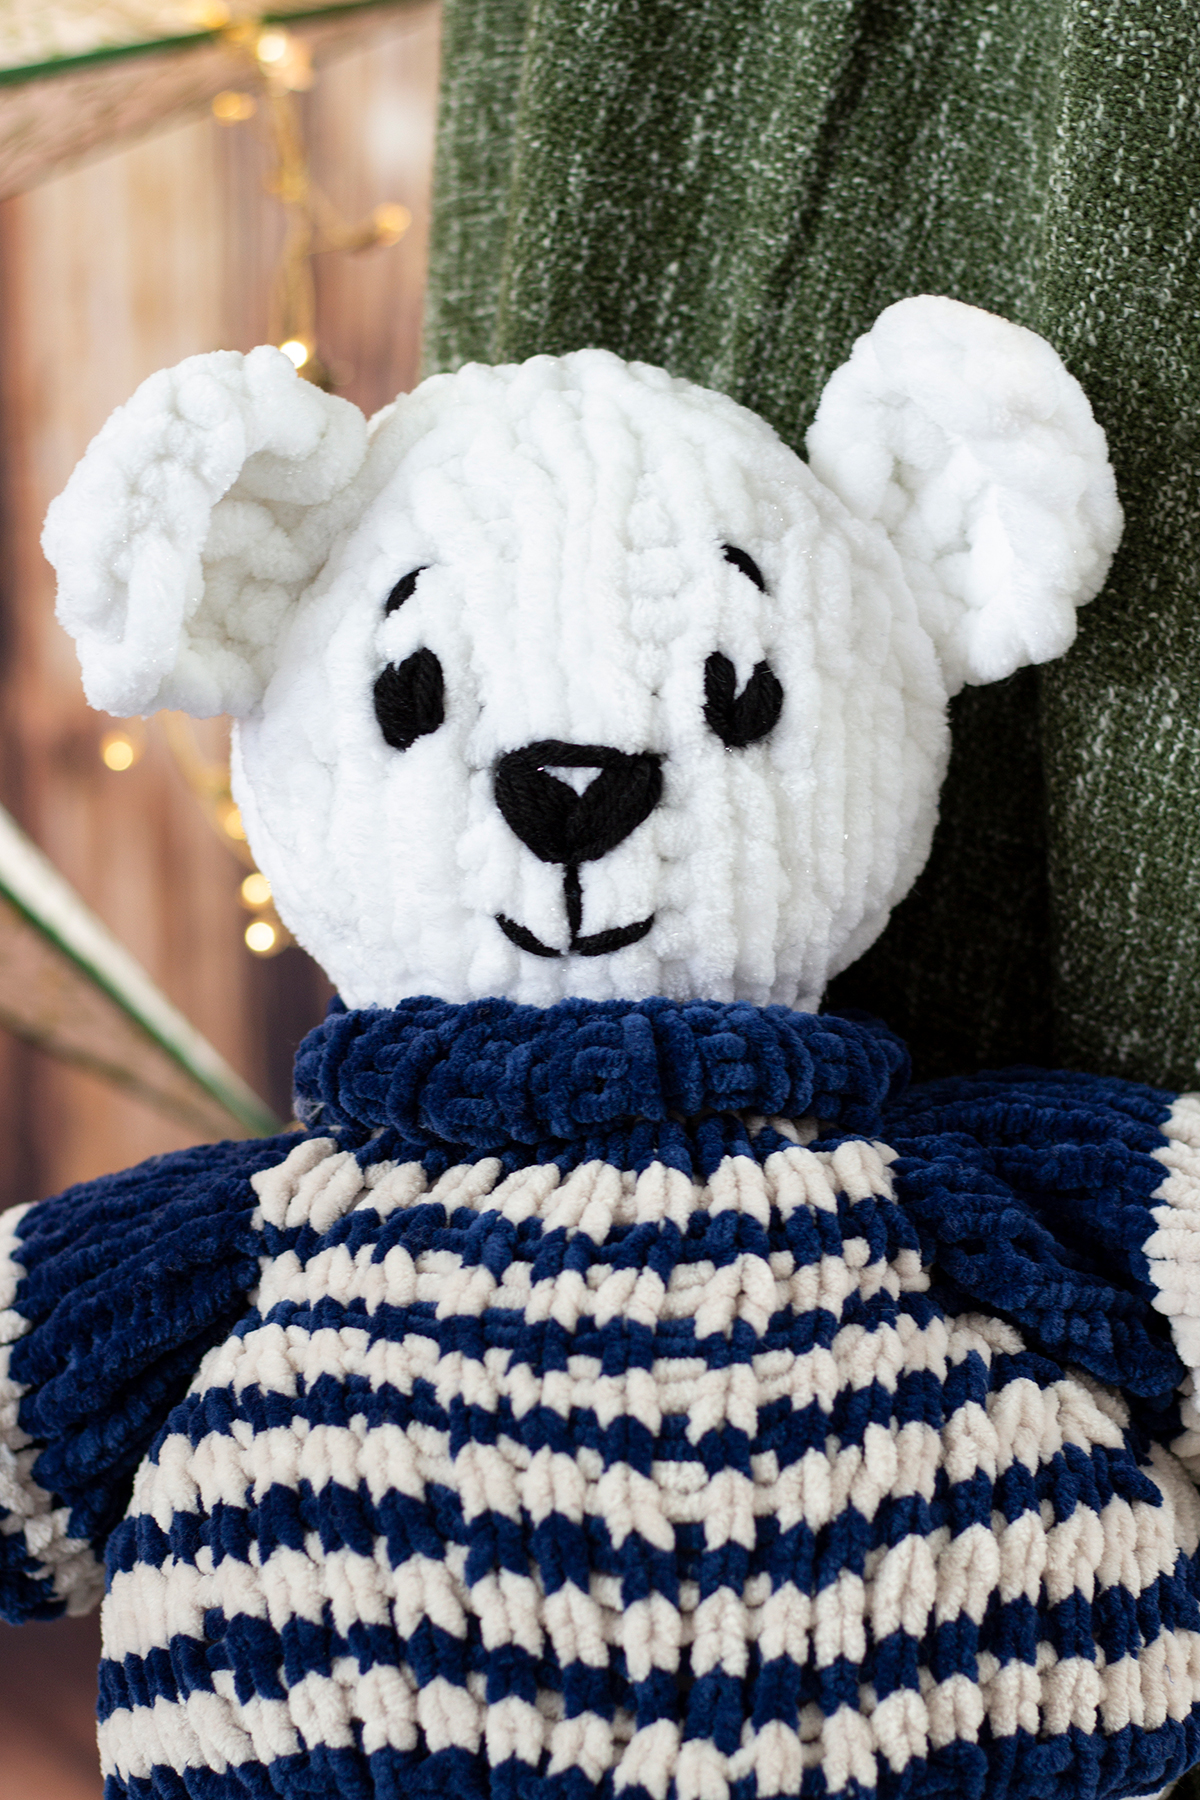
There’s something about the winter season that immediately brings my mind to cuddly stuffed animal friends, perfect for gifting during the holidays. Last year for the 12 Days of Winter, I designed Coco, a bunny with a removable hat and scarf knit in our popular Uptown Worsted yarn. We recently released a new member of our Bella Chenille yarn family: Bella Chenille Big Glimmer. This slightly shimmery version of our Bella Chenille Big yarn immediately brought to mind the idea of a snowy stuffed animal for this year’s 12 Days of Winter kits. I quickly got to work designing, and soon enough, Marshmallow the polar bear was born.
Techniques you’ll explore in the Marshmallow pattern are:
- Knitting small circumferences in the round
- Increasing and decreasing often to create small 3-dimensional shapes
- Embroidery
- Casting on stitches and joining pieces after working
Designing a small (ish) item using such a chunky yarn like Bella Chenille Big Glimmer has its challenges indeed. Even more than that, chenille yarns can be a bit fiddly to work with, especially when you want things to look precise. So, I’ve decided to give you some tips for working with chenille yarns like our Bella Chenille and Bella Chenille Big Glimmer, so that the process of making Marshmallow or any other chenille project is tons of fun!
My first tip for working with chenille yarns would be to keep your gauge tight, to stop ‘worming’ and help prevent inconsistencies in the fabric. Worming happens when the strand of yarn coils back on itself, creating loose-looking loops in the fabric. For making a stuffed toy a tighter knit gauge is ideal, so that the finished friend is firm and well stuffed all around! Remember that the needle size listed on the yarn ball band is just a suggestion, and you should opt to use whatever needle size will achieve a gauge that matches what the pattern calls for. In Marshmallow’s case, gauge is very important. Not only will keeping a tight gauge aid in making the stitches look uniform and help prevent worming, but this pattern also uses nearly the entire skein of Bella Chenille Big Glimmer. So, you will need to be extra mindful while you work!
It is no secret: chenille yarns fray. Once you cut the end of yarn, you will notice that the polyester fibers tend to want to come loose from the thread base. This can be frustrating, messy, and leave you with a less than ideal yarn tail for weaving in ends. My top tip for fixing this is to secure the end of the yarn with something that will stop the fraying! My favorite method for this is using a fabric sealant product like Fray Check, which I use very often when I am sewing fabrics that unravel easily. This liquid creates a coating on whatever it is applied to, preventing the fibers from being able to unravel. Make sure to use these types of products in a place with adequate ventilation, as they do tend to have smelly fumes, and let it dry completely before you work with it.

My next tip for working with chenille yarns is using the right type of needle. Everyone has preferences in types of needle materials, whether you like plastic needles, wooden needles, or metal. In my experience, mixing a plastic needle with a synthetic fuzzy yarn like chenille can result in difficulty sliding stitches, more ‘sticky’ feeling knitting, crampy hands, and hot, sweaty feeling yarn. A smooth wooden or slick metal needle is a more ideal choice for yarns like chenille. The stitches will glide much more easily as you work and be easier to manipulate. The Marshmallow pattern requires a consistent amount of increasing and decreasing as you go along to create the 3D shapes, so having a needle that easily works over 2 or more stitches at a time is necessary. Marshmallow is knit in the round, beginning with his legs. Whether you choose to use double pointed needles, or a magic loop method is entirely up to you! Magic loop is surprisingly easy to master, and we have a tutorial for it! Click this link to learn how to knit in the round using Magic Loop.
My final tip for working with chenille is using an angled tapestry needle with a large eye for embroidery and weaving in ends. I like these Tapestry needles from Clover for yarns like chenille. It’ll pass through the stitches more easily , you’ll be able to see the needle amidst all of the chenille fluff, and it’ll offer more control with the yarn and stuffing. Last year during the 12 Days of Winter, I made a video tutorial for embroidering Coco’s face. The same principles apply to Marshmallow, just on a more ‘jumbo’ scale. In fact, I used scrap Uptown Worsted yarn for Marshmallow’s face embroidery. Here is a link to the video where I give tips on embroidering a stuffed animal face.
There you have it – some of my top tips for working with chenille yarns! These aren’t the only tips and tricks, of course. The more you work with chenille yarns, you’ll discover what works best for you. If you have any other tips you’d like to share, feel free to leave them in the comments below, we’d love to hear!
Our exclusive 12 Days of Winter kits like Marshmallow can be purchased at local yarn store retailers near you. Each kit comes with the pattern, the yarn required to make it, a mini Universal Yarn project bag, and stitch marker. Use our store locator to find your nearest Universal Yarn retailer! Kits not in stock at your local yarn store? Ask about drop shipping – order through them, and we ship to you!
Happy Crafting,
Aubrey