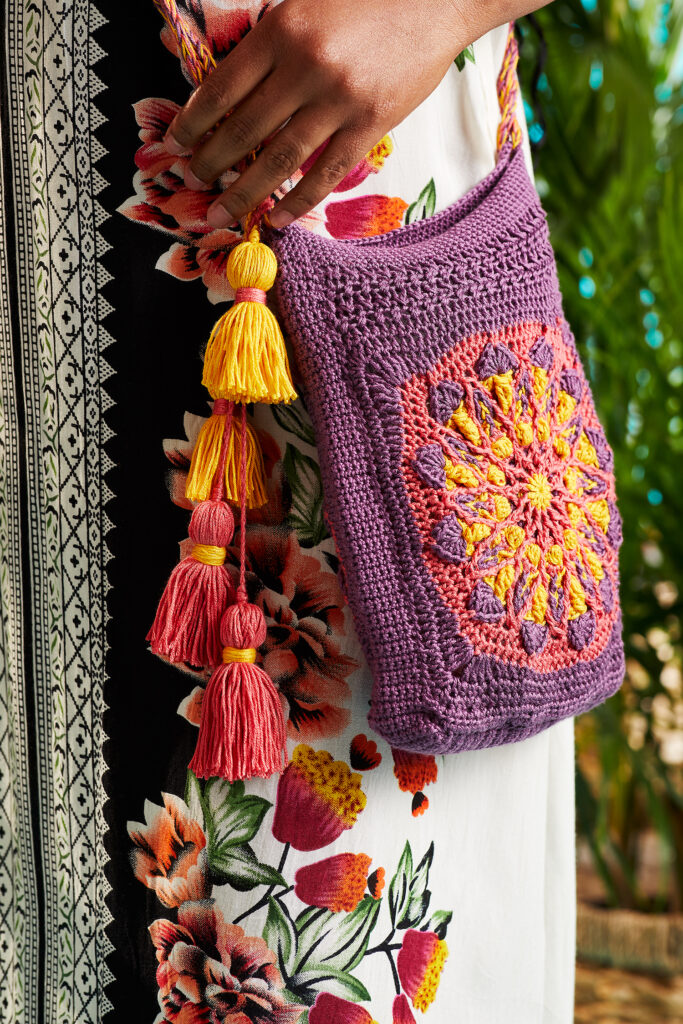
Crocheting into a magic circle makes evenly placing your starting stitches a snap! This technique offers a way to place as many stitches as you need into a perfectly circular shape with the tug of some yarn.
Using a magic circle takes away the guesswork involved with a different method of creating a circular base, where you create a chain, then slip stitch to form a ring. Because this other method with a starting chain has a fixed circumference, it may leave a gap in the center if you make it too big, or be impossible to work into if it’s too small. With the magic circle being adjustable, these sizing problems while starting a project magically disappear!
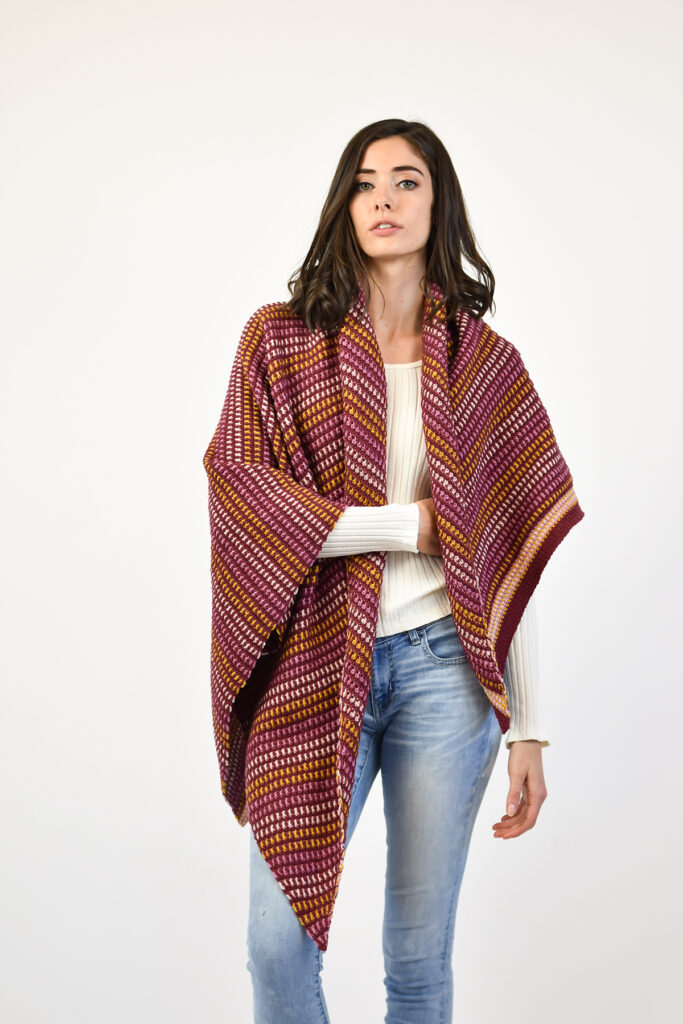
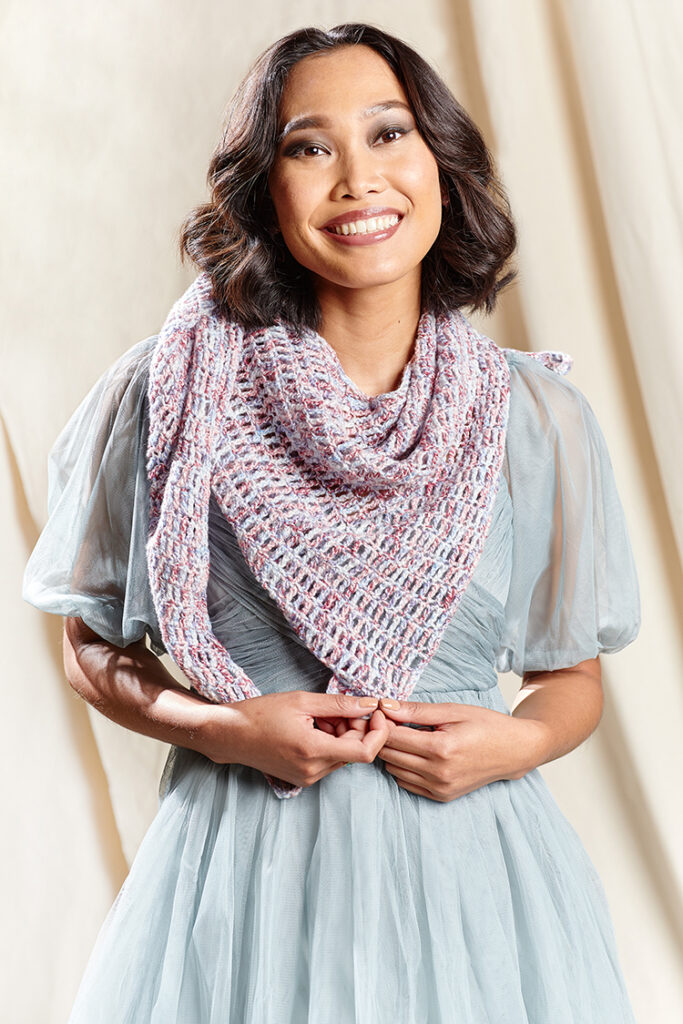
One thing that can be a bit tricky is that not everyone calls this method a “magic circle” as seen in the Paradise Pouch. When getting started with a pattern, you may also read “adjustable ring,” as seen in the Cotton Candy Swirl, or a blend of both called a “magic ring.” It can also be called a loop, as in “magic loop” or “adjustable loop.” Lastly, you may see it represented visually in a chart, denoted by a swirled shape before any stitches start, like in the Spice Market Shawl. Now that you know what to look for, let’s take a look at how to do it! There are just 6 simple steps to do to create a magic circle.
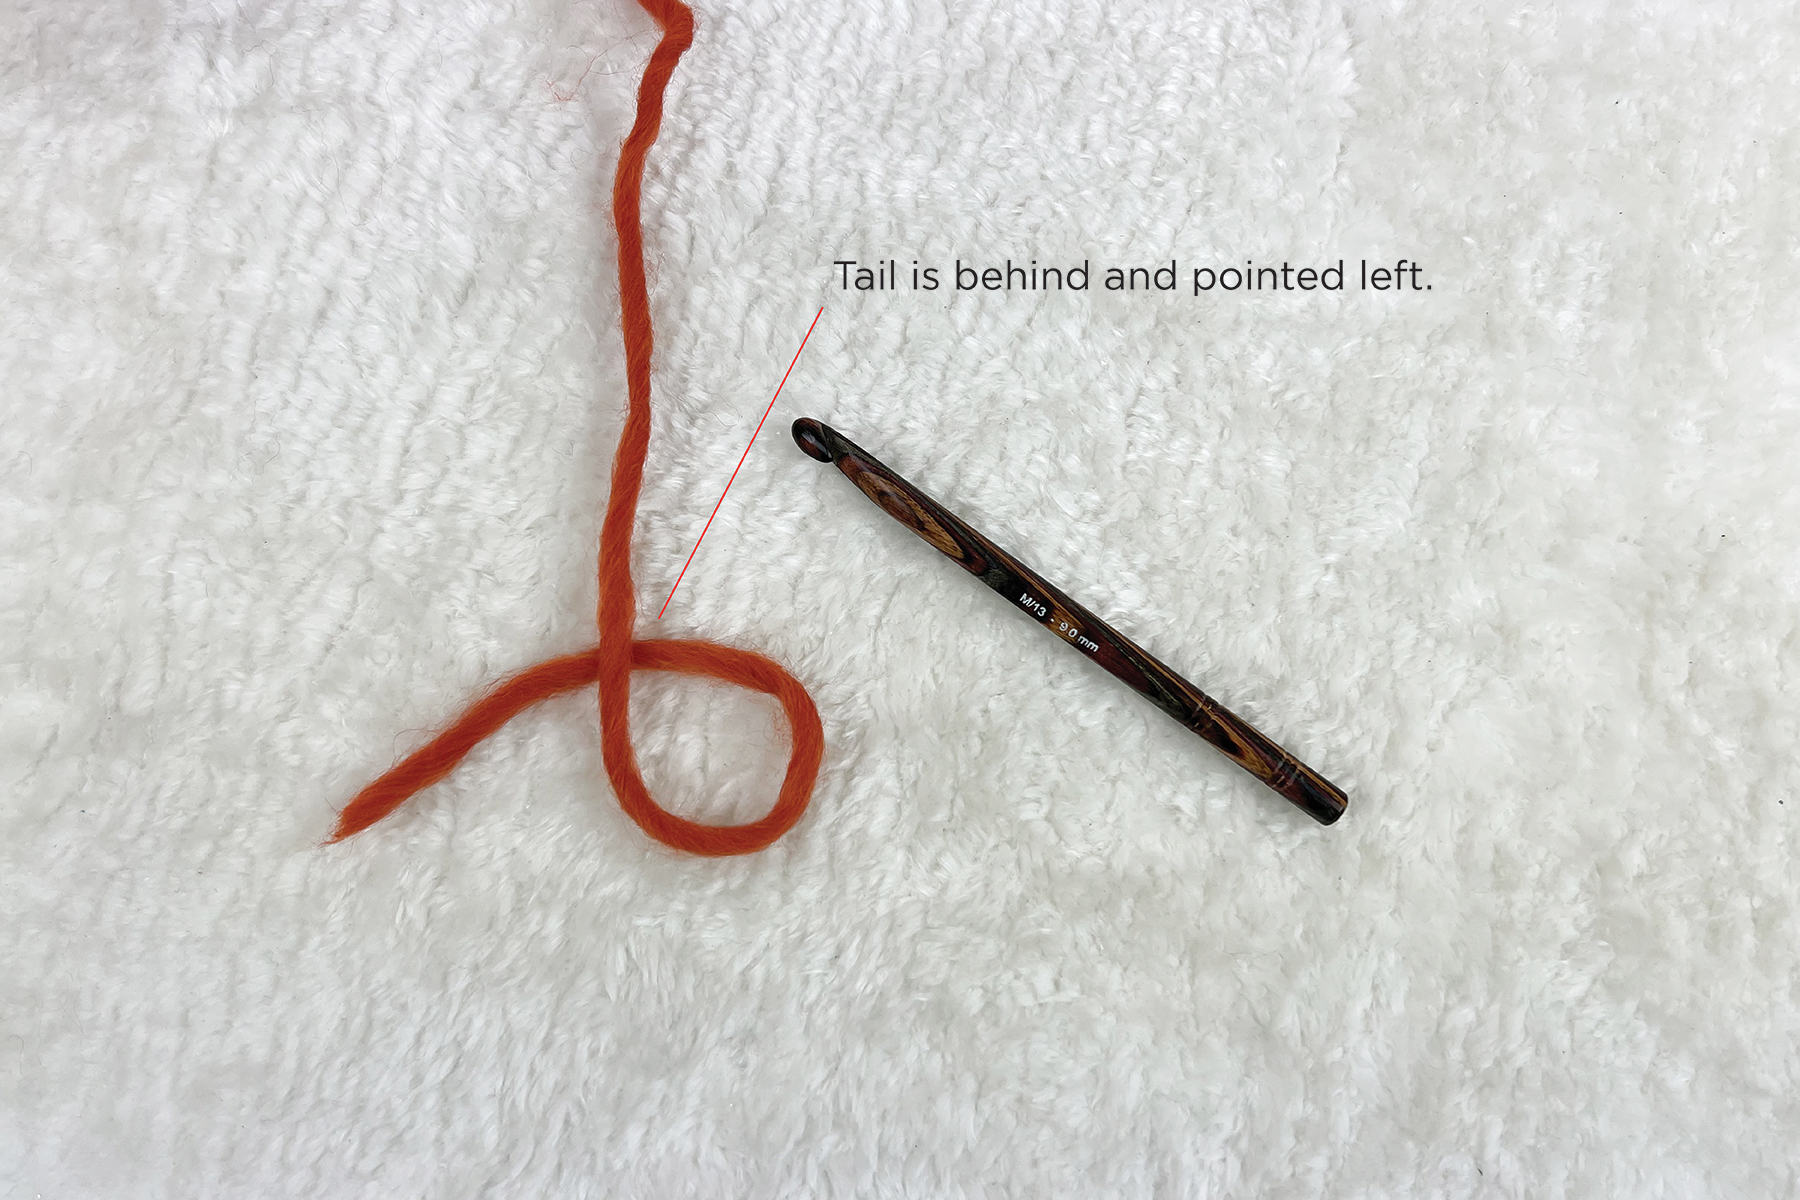
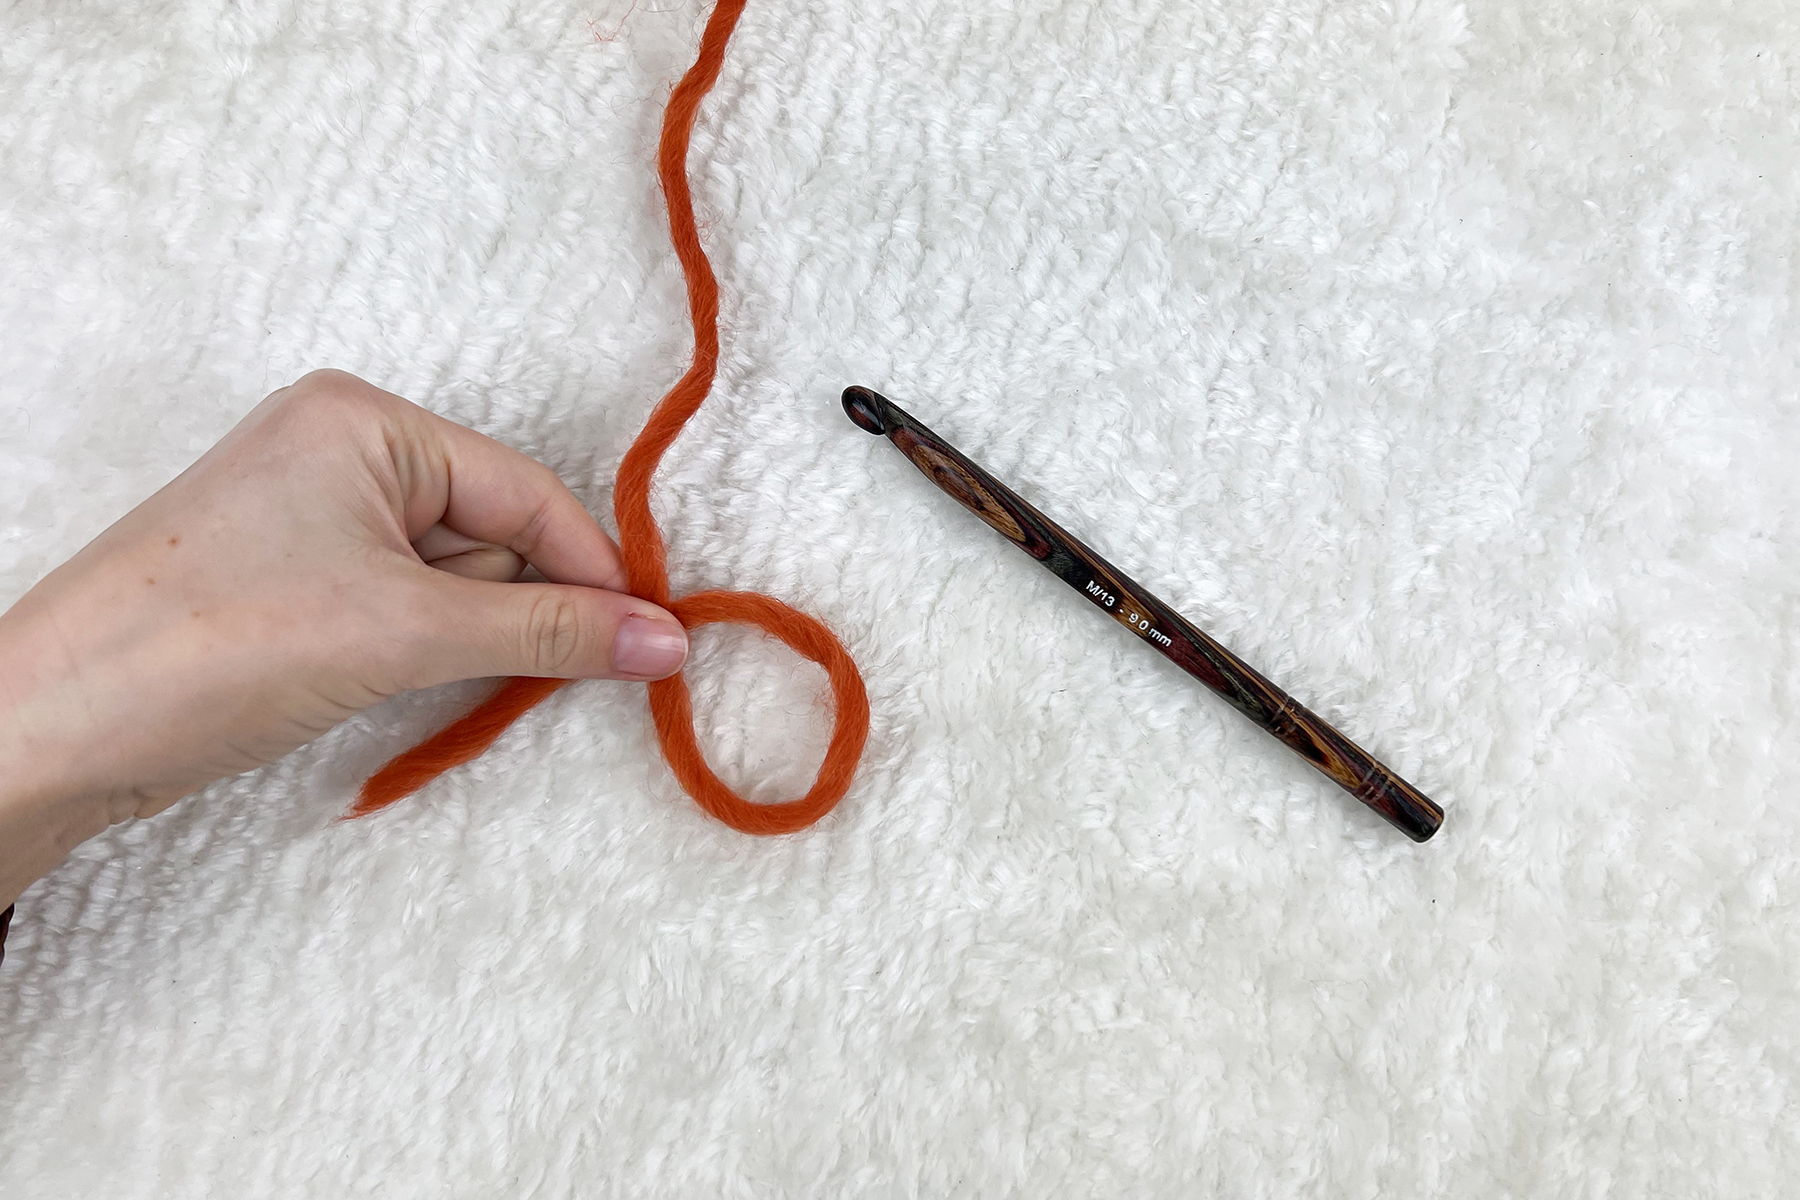
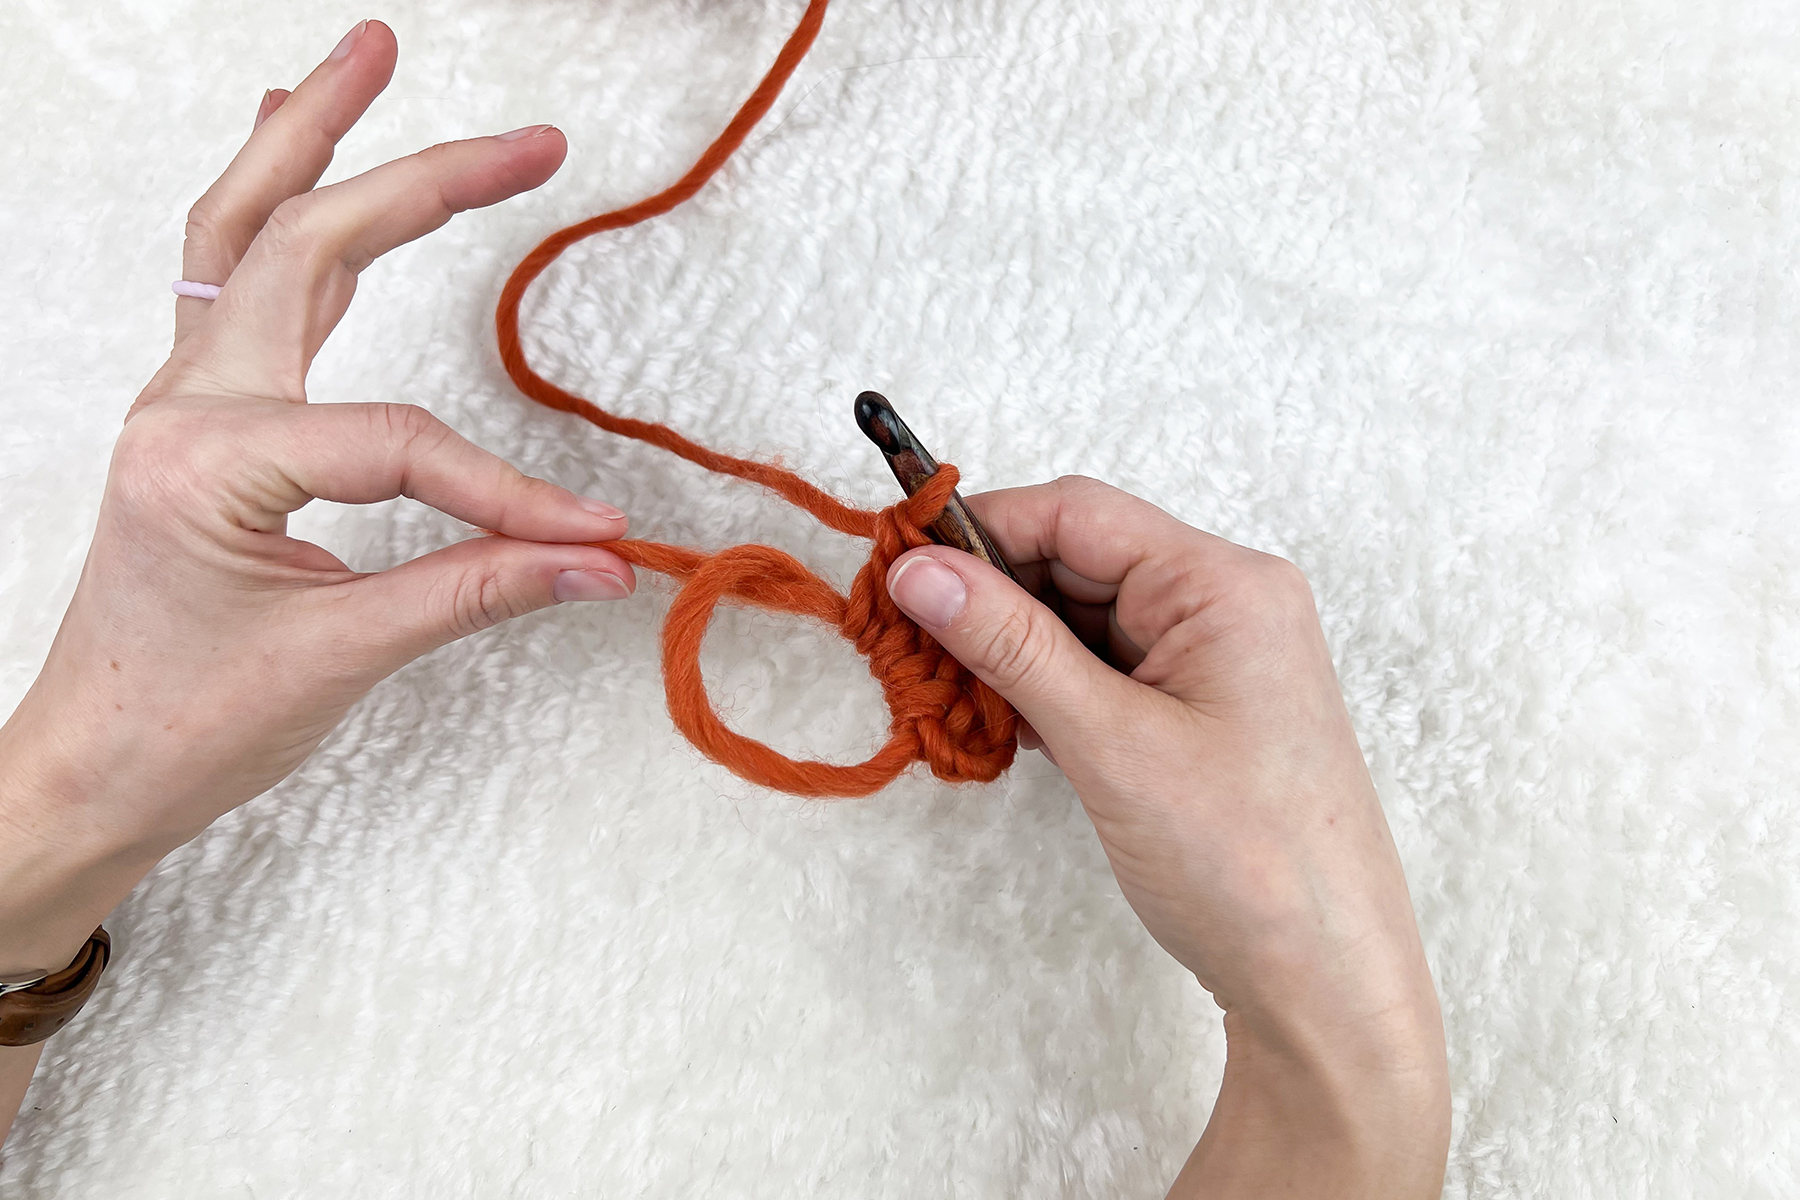
Step 1: Create the circle.
Create an initial loop by laying flat, if it helps, or held in your hand. Place the tail behind the working yarn, and pointed to the left. Pinch yarn where it overlaps to hold the loop in place while you work.
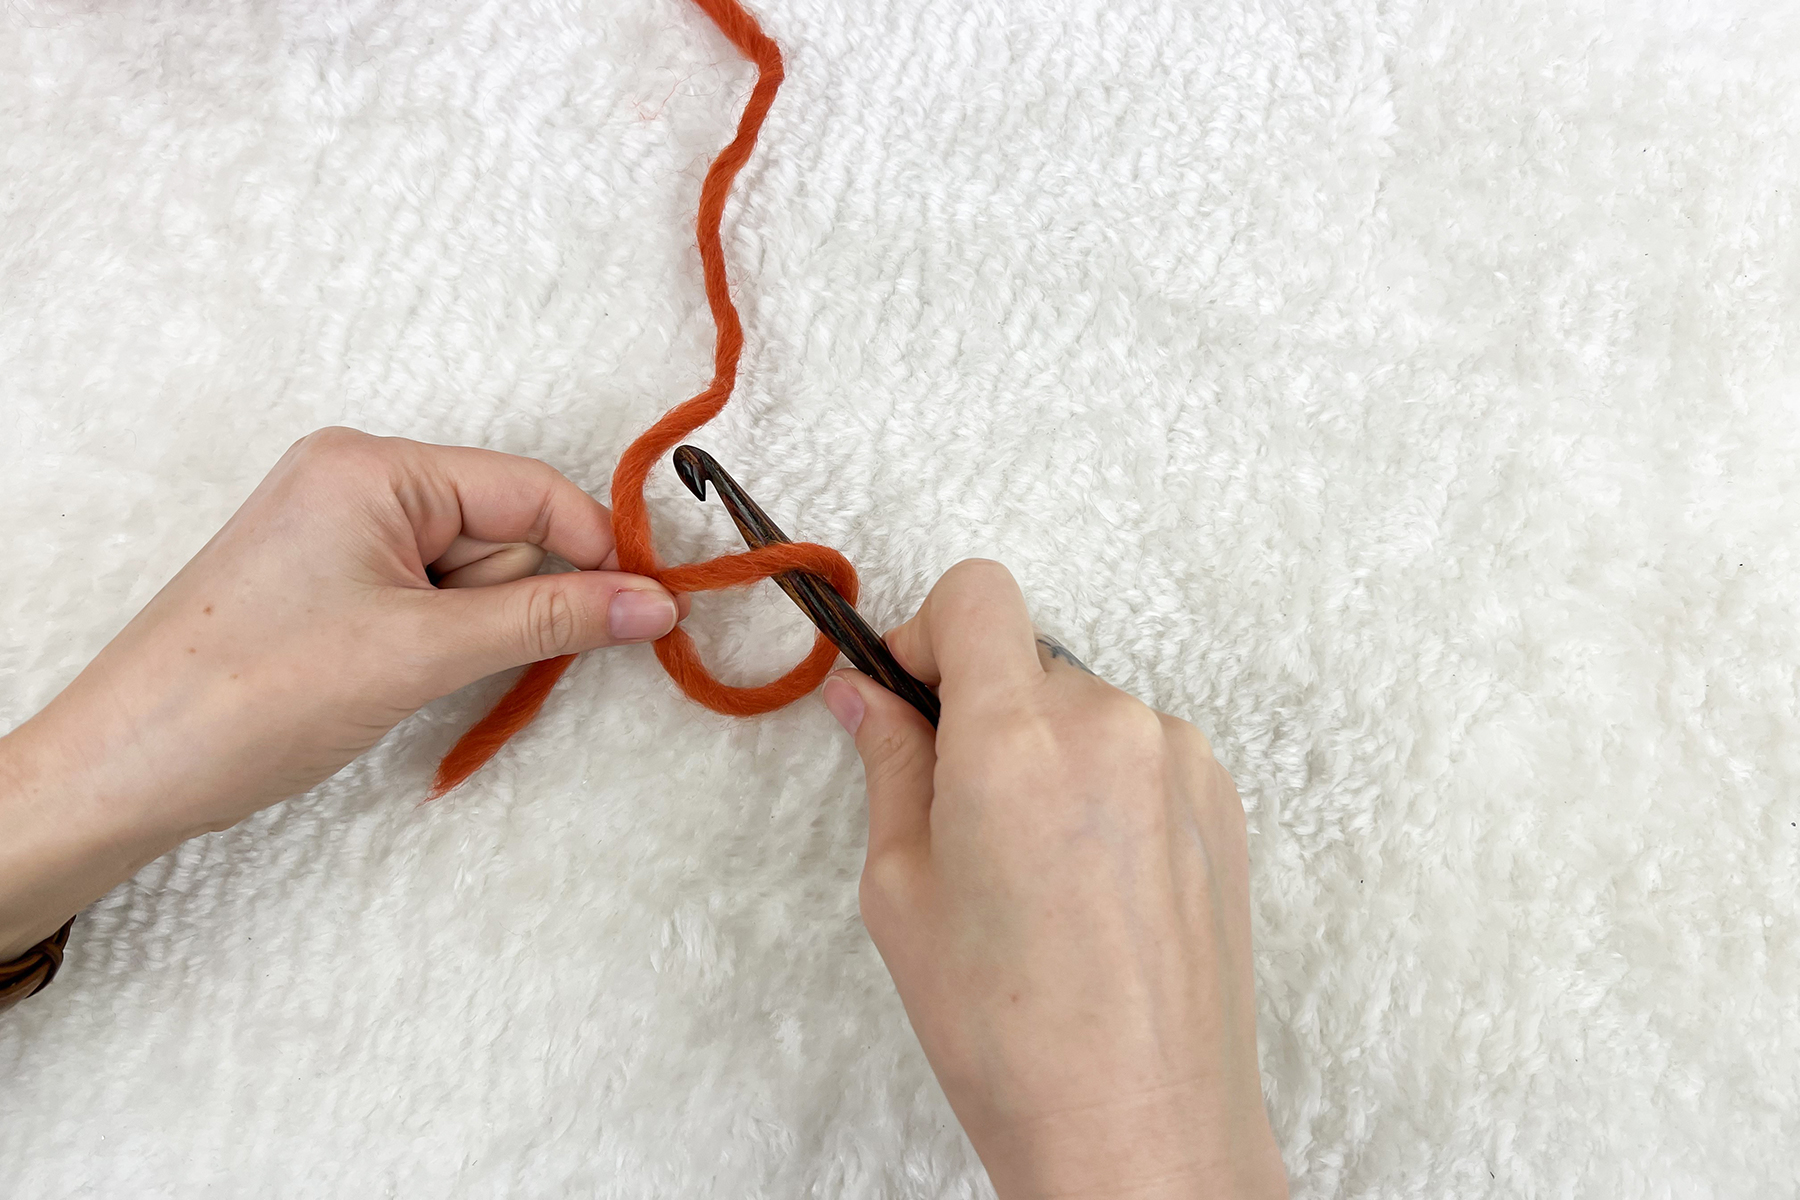
Step 2: Insert hook.
Reach your crochet hook into the loop.
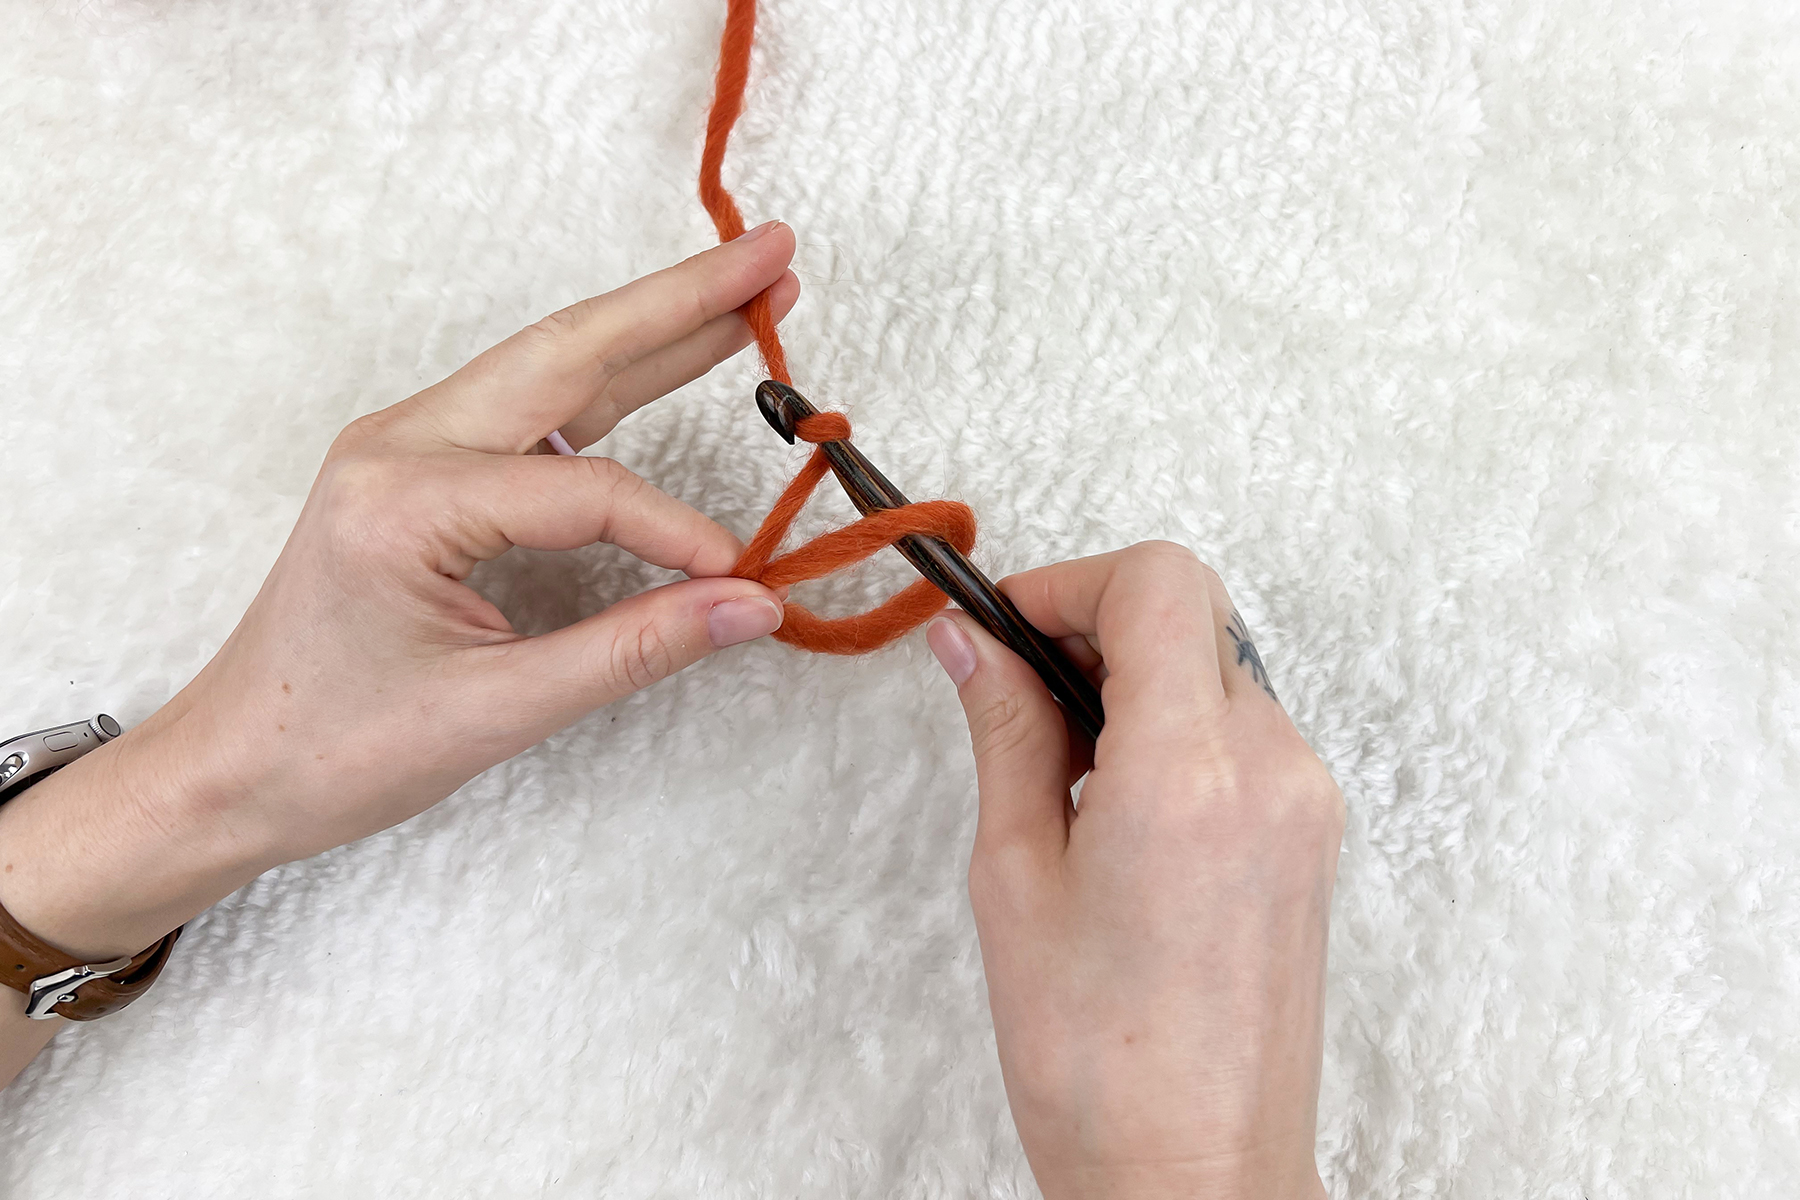
Step 3: Yarn over.
It may feel strange to tension the yarn while pinching the circle. You may try holding it as seen above or switch to holding the circle with your thumb and middle finger to tension with your pointer finger. I have a habit of starting like this then switching my grip when I begin chaining and stitching as normal (as shown, beginning in step 5).
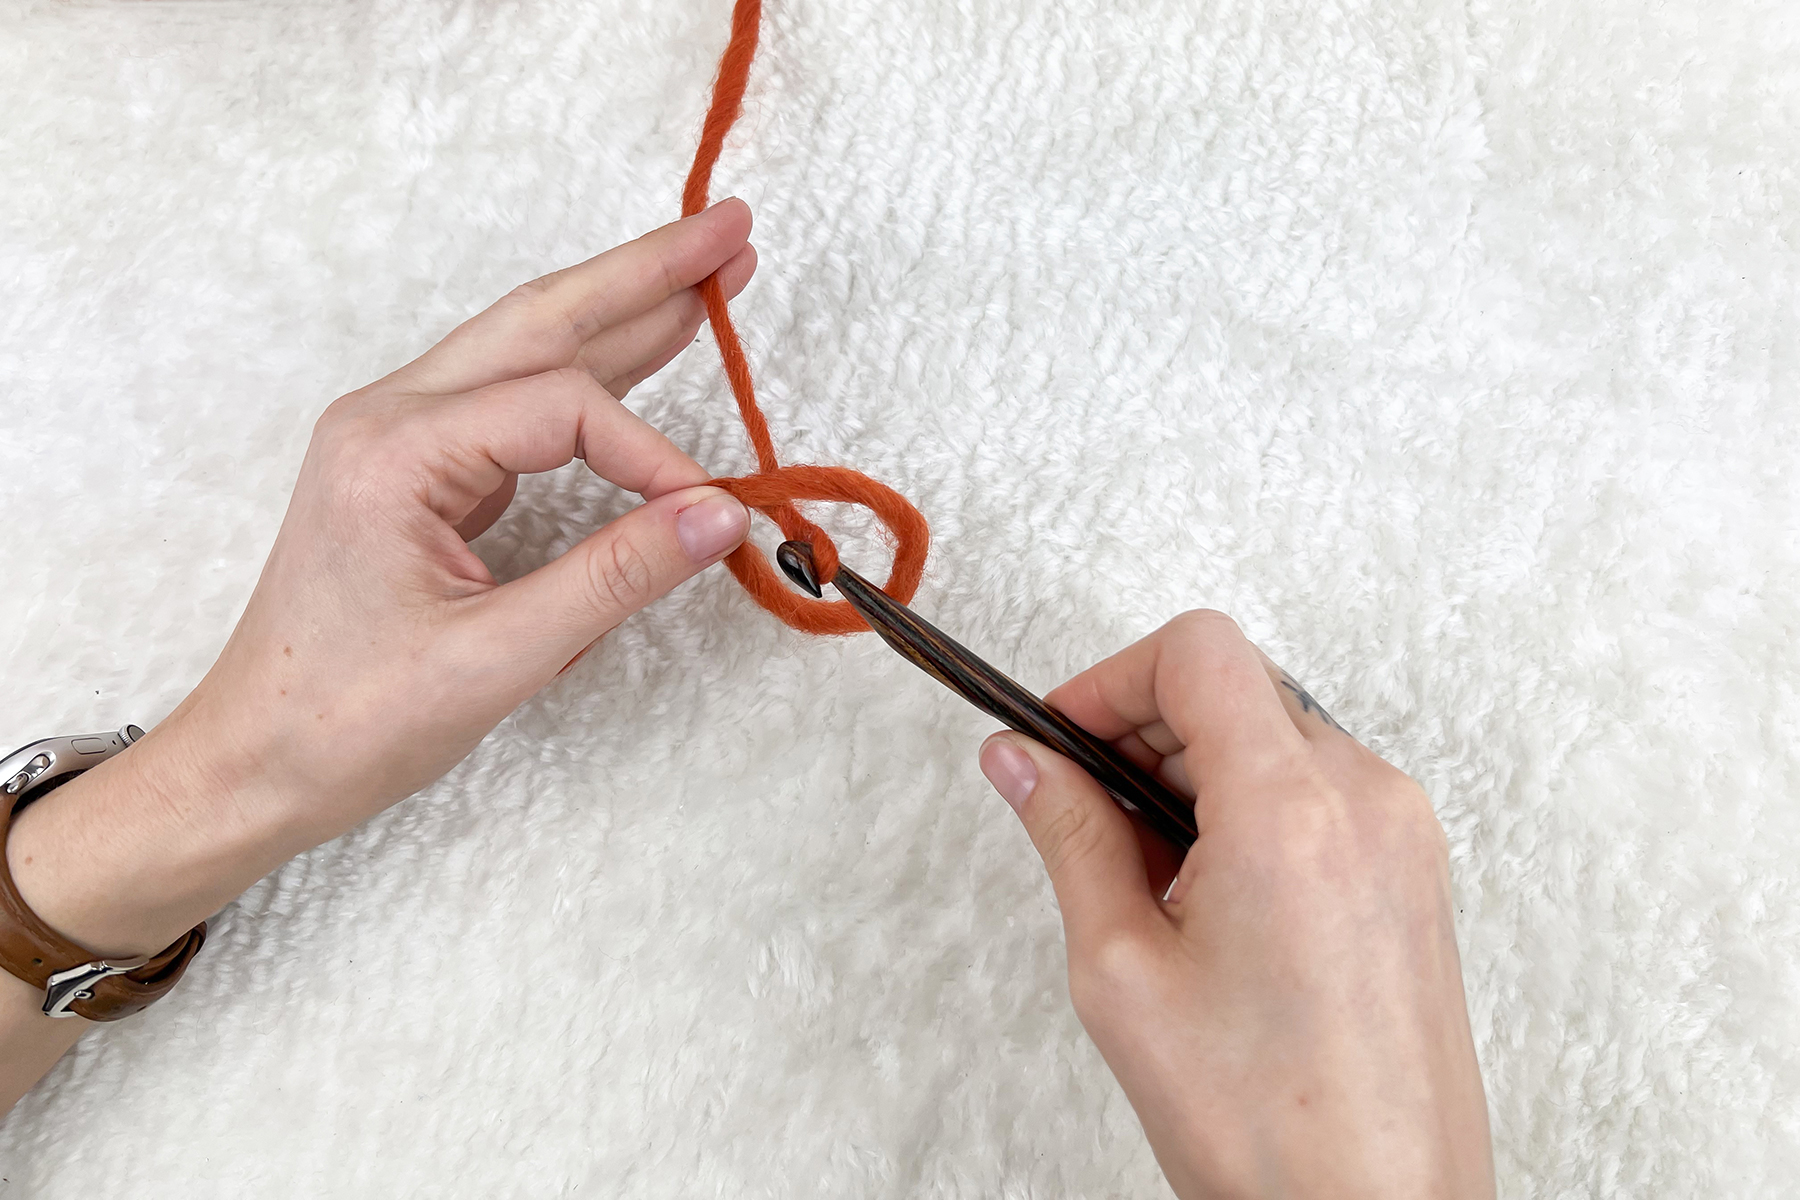
Step 4: Pull through.
Pull the working yarn through the loop with your crochet hook.
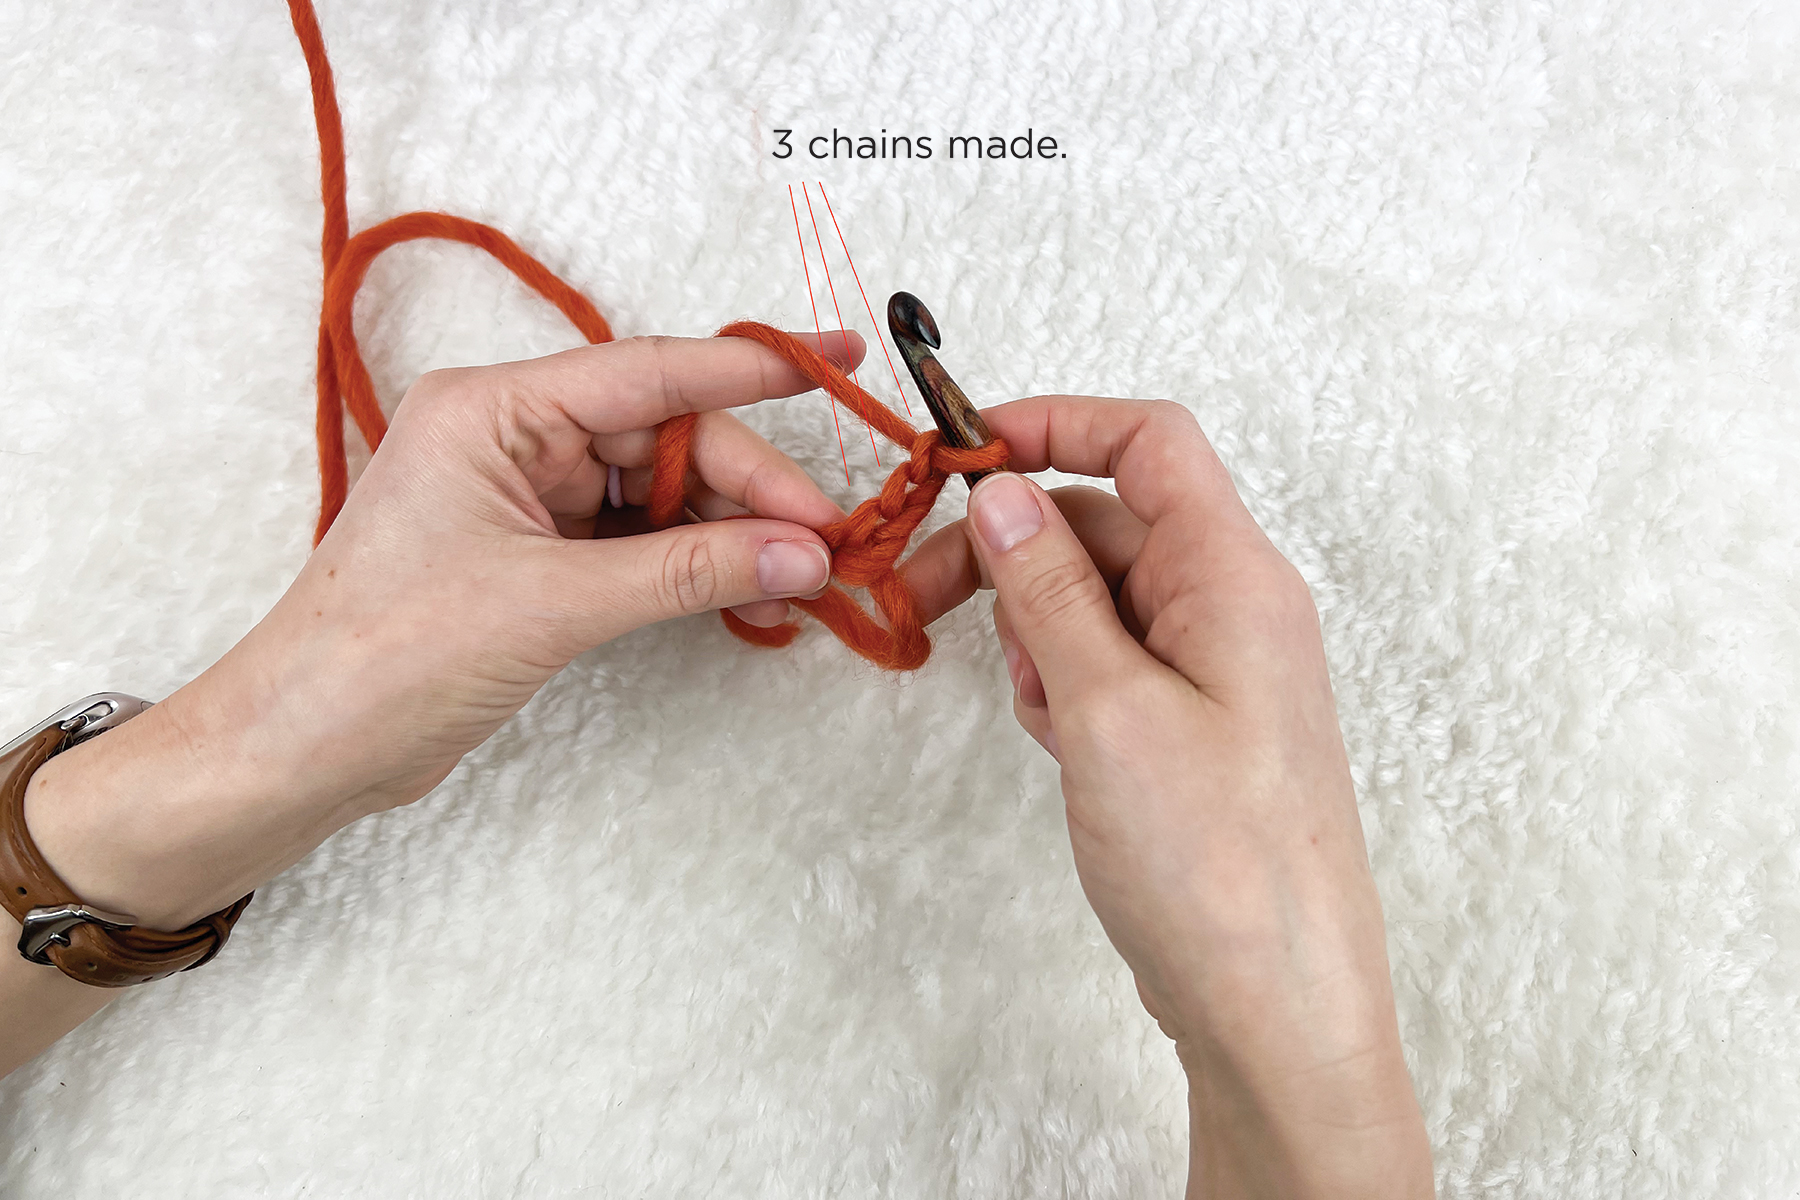
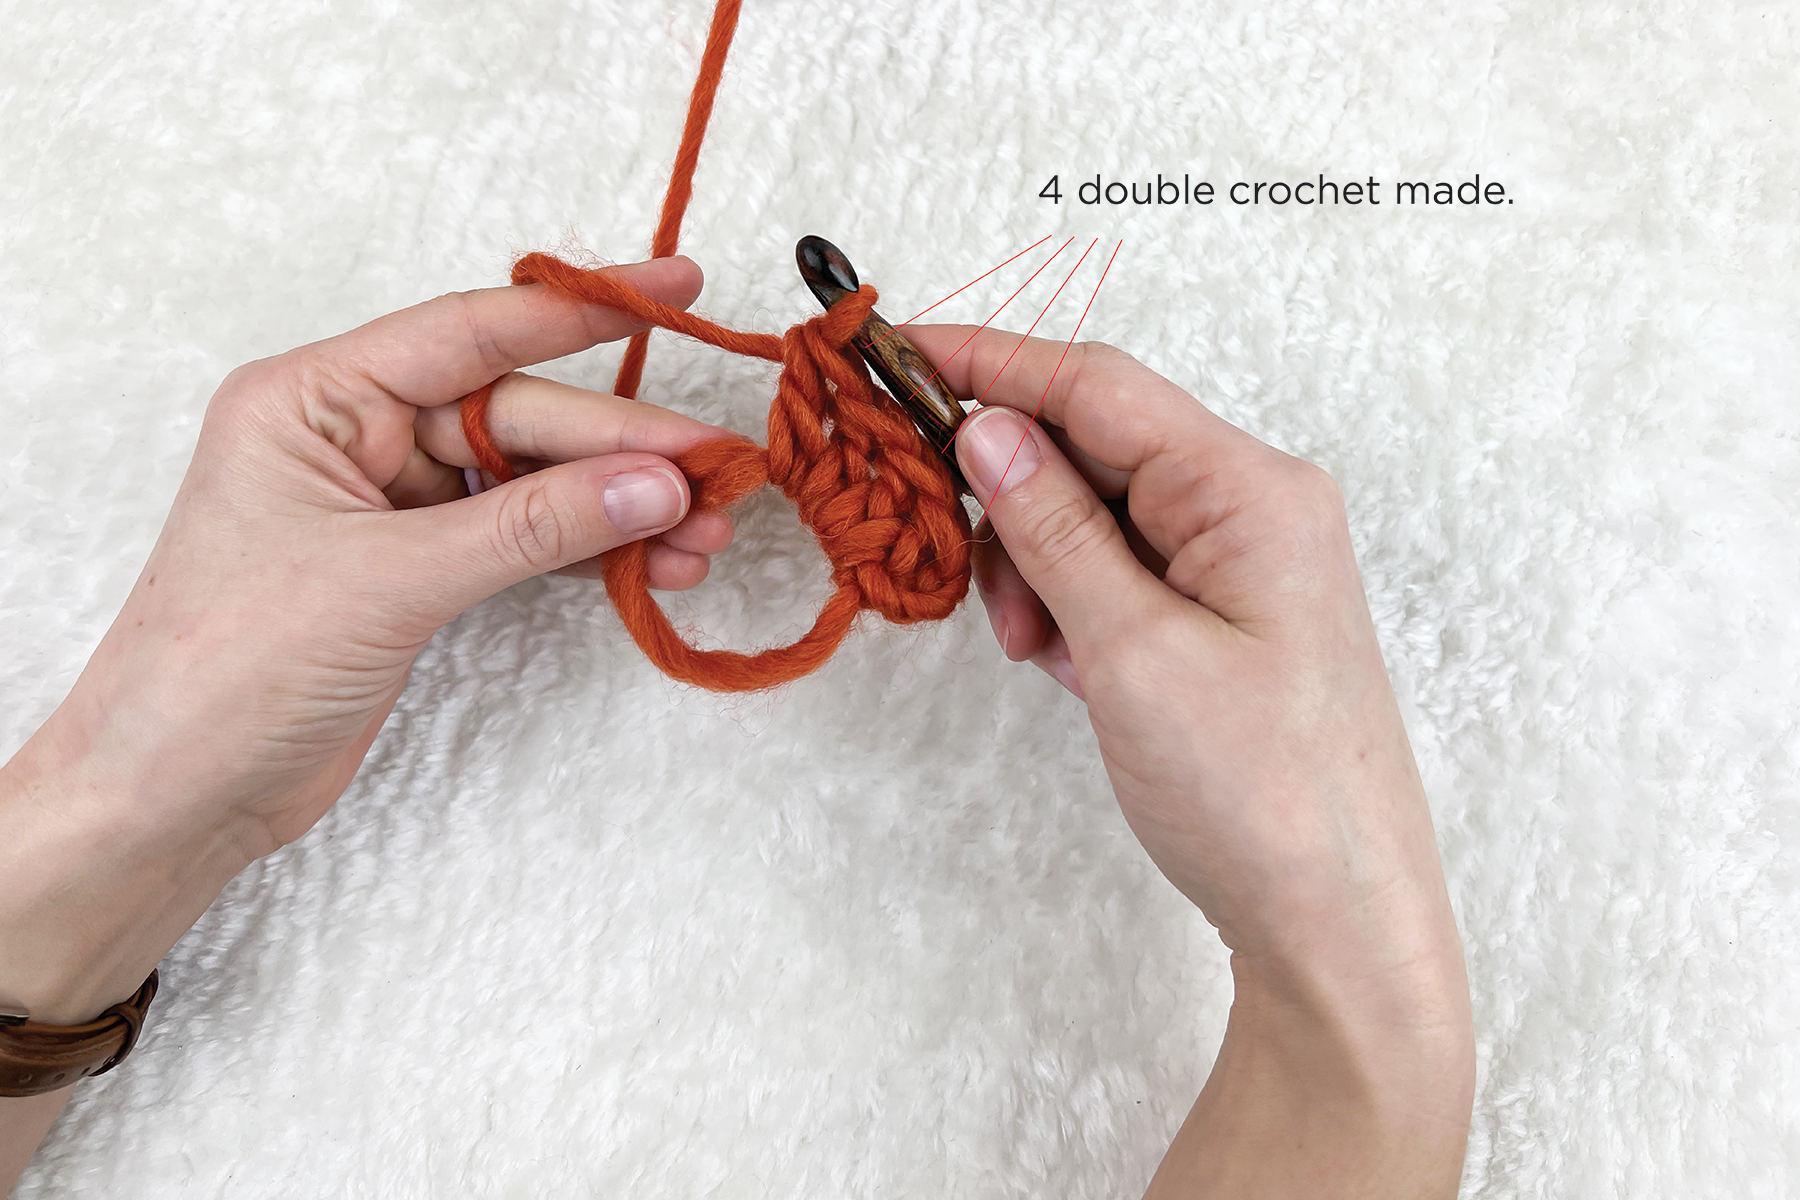
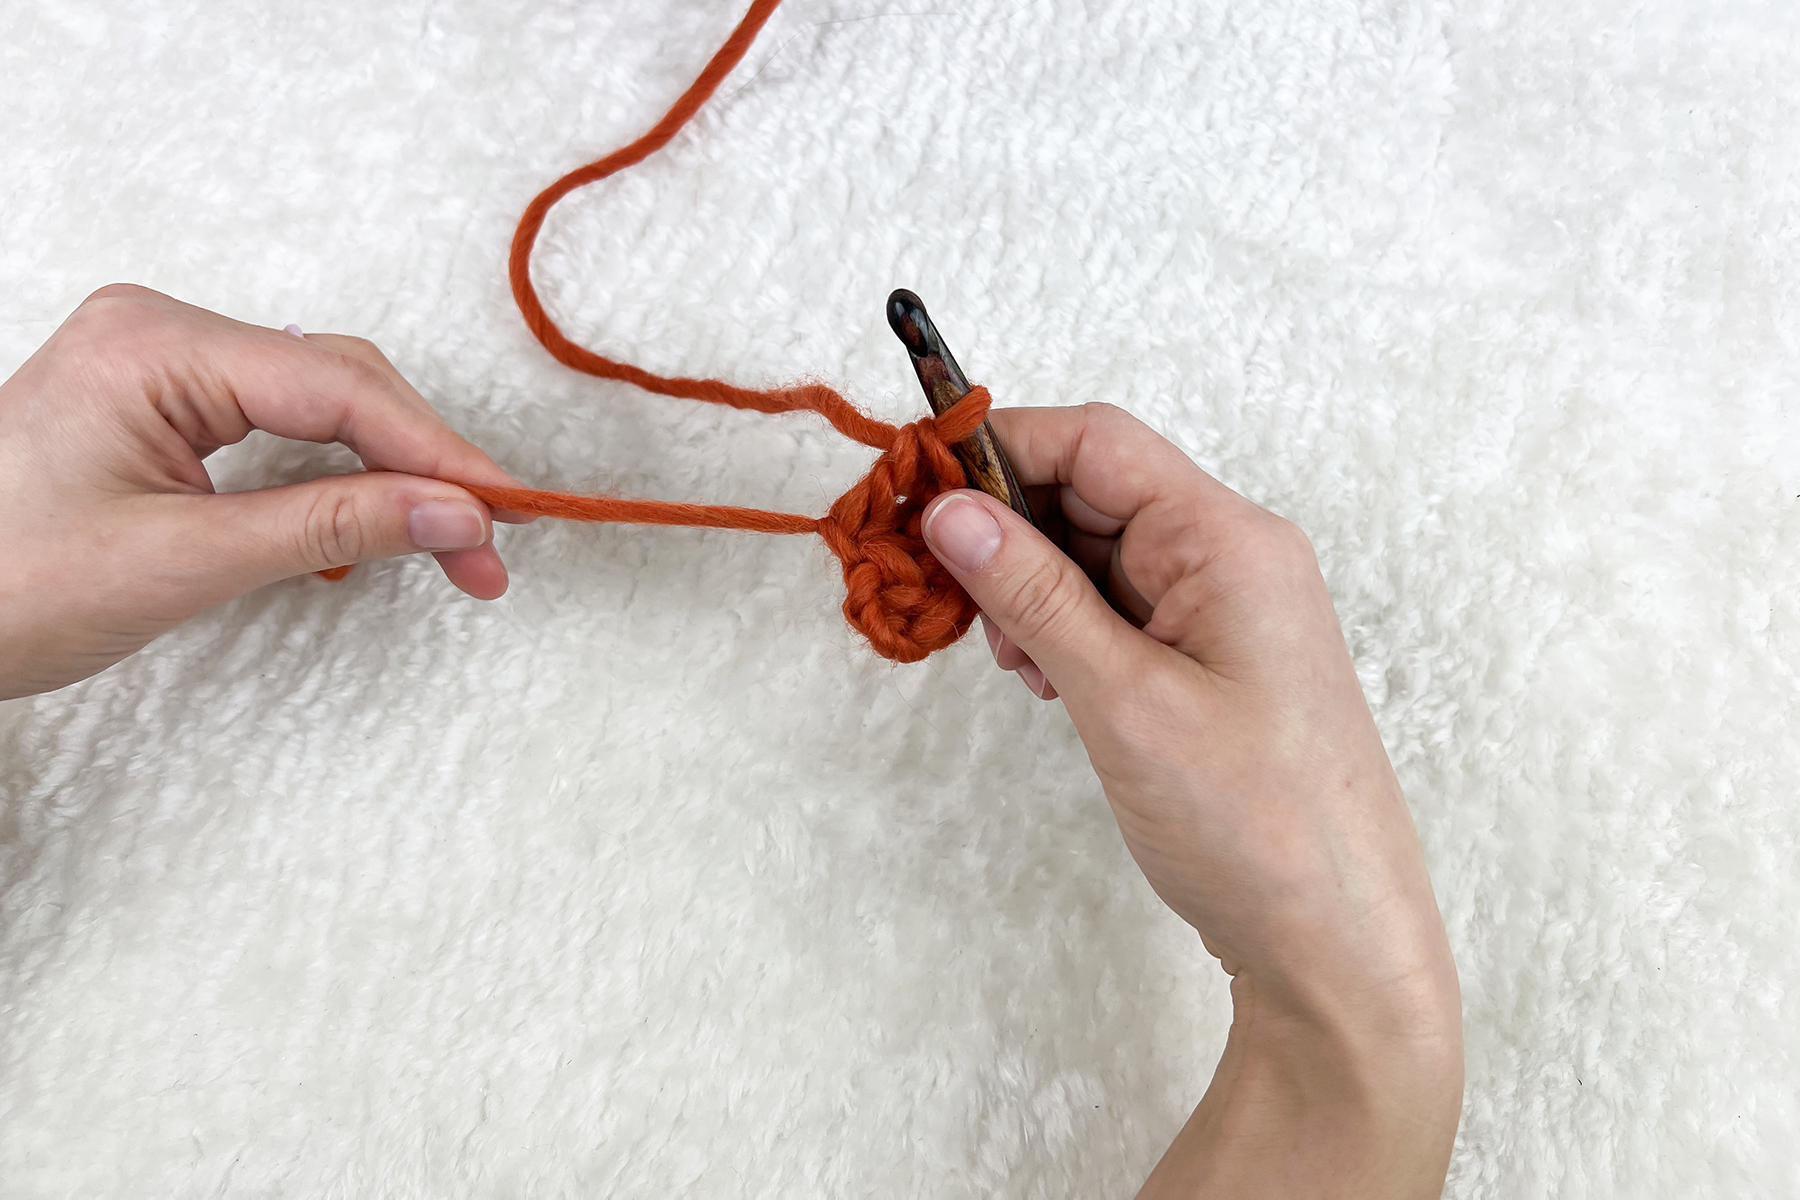
Step 5: Chain, then stitch into the middle of the circle. The pattern you are following will indicate how many chains, then stitches to create.
Here I chain 3, then double crochet 4 times into the loop to demonstrate the technique. But you can do this with any number of, or type of stitches!
Step 6: Close the circle.
Release your hold on the circle, and pinch the tail of the yarn.Pull the tail of the yarn until the circle is completely closed.
It’s as easy as that! From here, you continue following the pattern as normal, and will weave in the tail along with any other ends as a finishing step. I hope you find this tutorial helpful, and that you feel inspired to try a new project in the round!
That’s all for now, and Happy Stitching! Ashley Jane
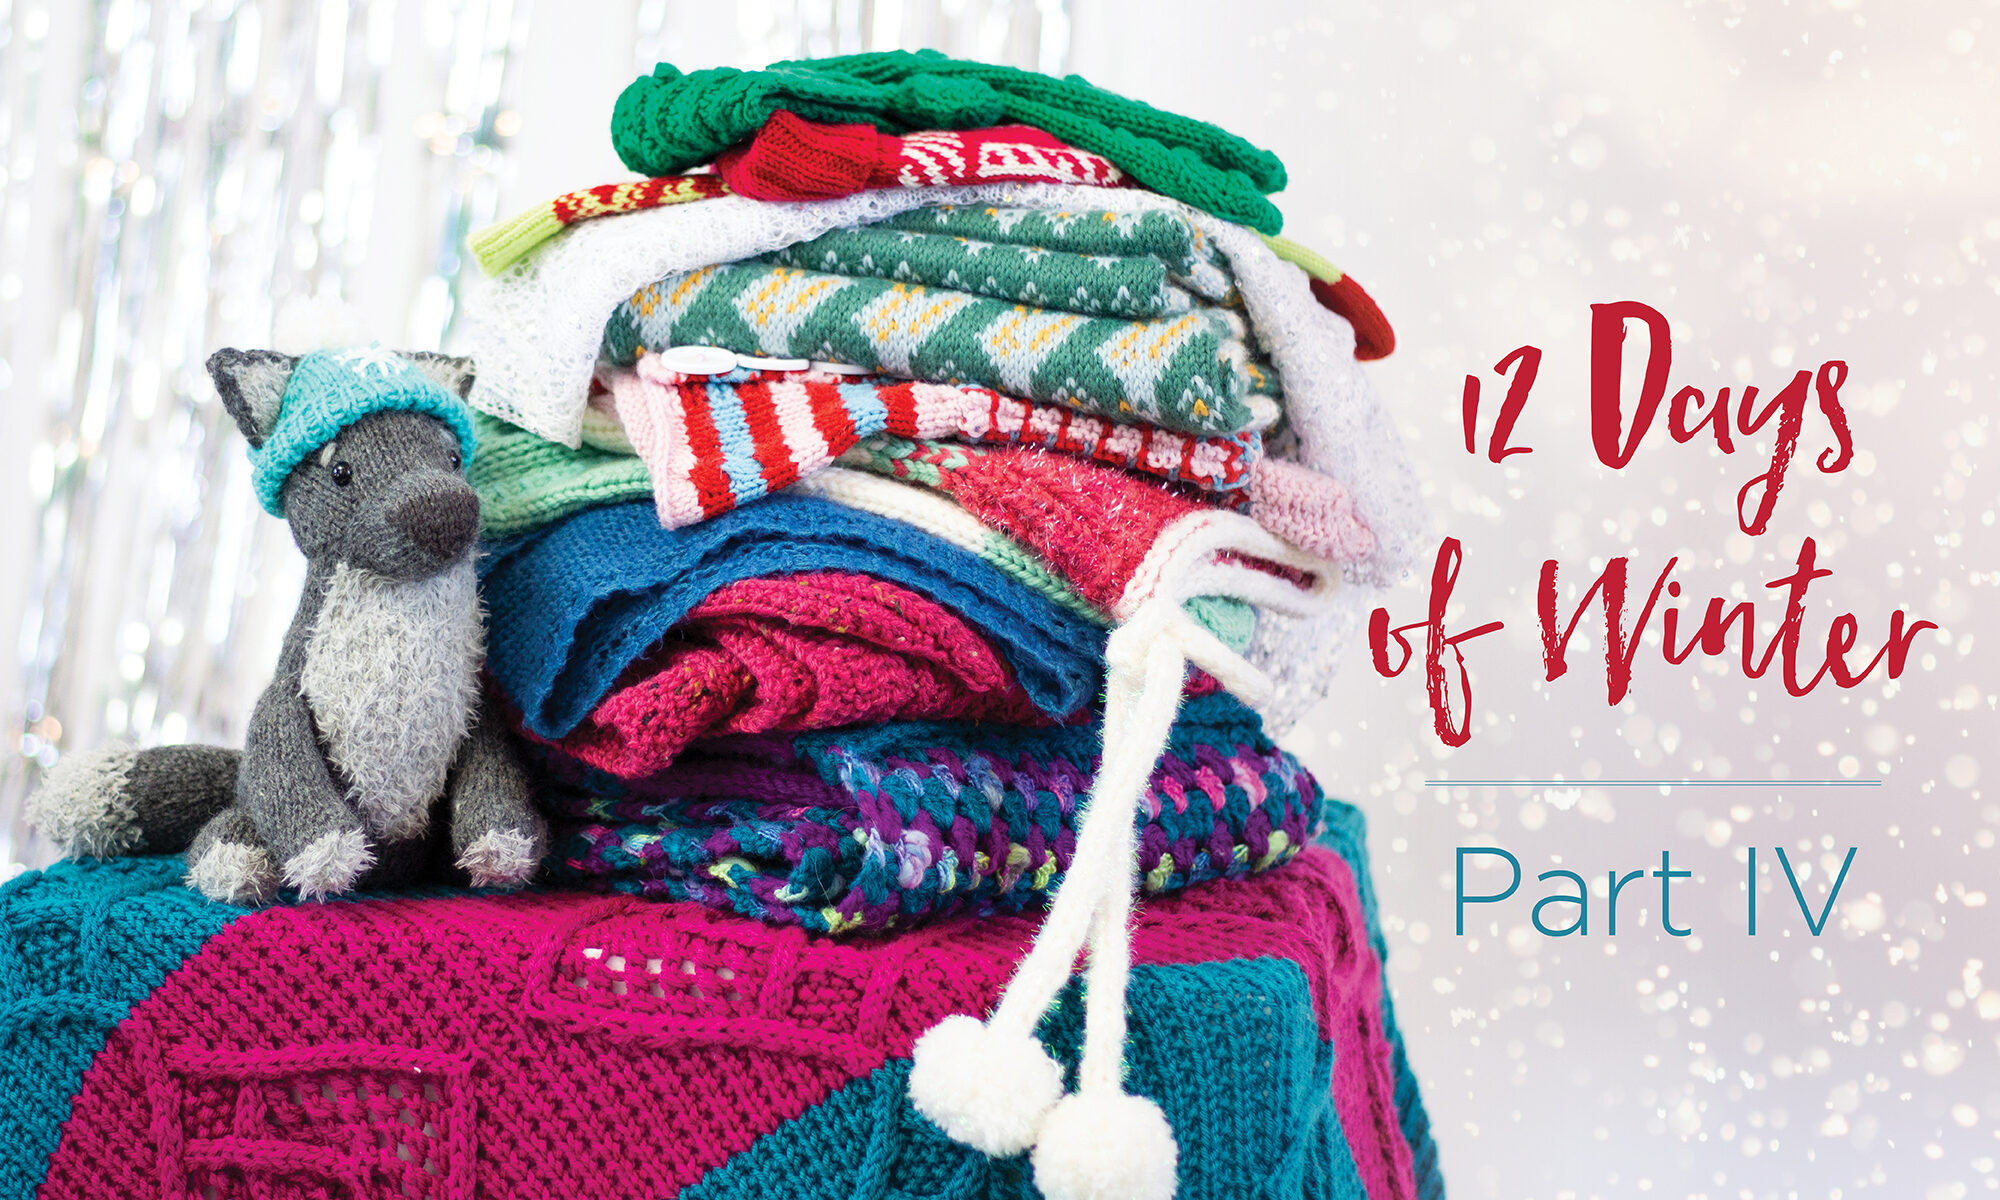
This is part 4 in a four-part series highlighting designs from our 12 Days of Winter, Series 6 Edition.
The features from our annual 12 Days of Winter Kit Collection, may be coming to a close, but with so much inspiration, hopefully your project planning is just beginning. It’s always so thrilling to review comments on this blog, or see projects line up in queues on Ravelry. From the looks of it, we may see some beautiful holiday projects in the works! Before you commit though, check out our final three days from the 12 Days of Winter, Series 6 Edition, the Holiday Stroll hat and scarf set, the Snow Globe Stocking, and the Holiday Elf Socks.
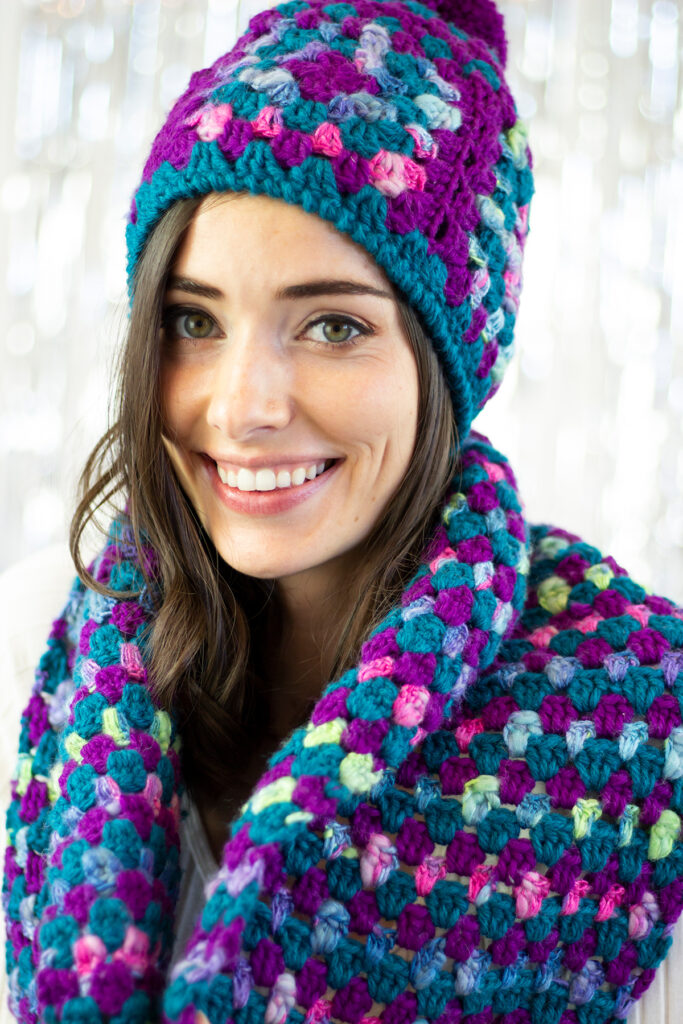
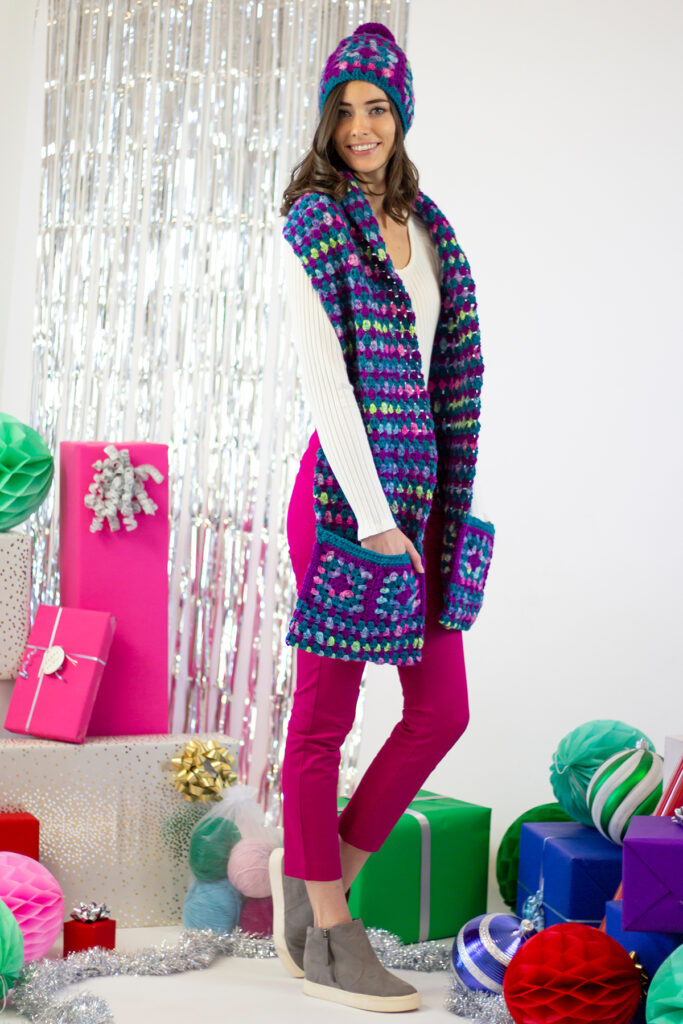
This year’s crochet project was designed by me, Ashley Jane McIntyre. Once I saw our mood board, I knew I had to use Bamboo Bloom Handpaints in the color #324 Steven Befabulous. It even has “fabulous” in its name! It’s made of a blend of 44% wool, 48% rayon from bamboo, and 8% acrylic. This is all spun together for a unique thick and thin, matte and shiny quality that stands out in any piece. I paired it with complimenting solids in Deluxe Bulky Superwash, made of 100% superwash wool, to create a warm and cozy project for the season. The vibrant combination inspired the perfect set for taking a stroll to look at holiday lights.
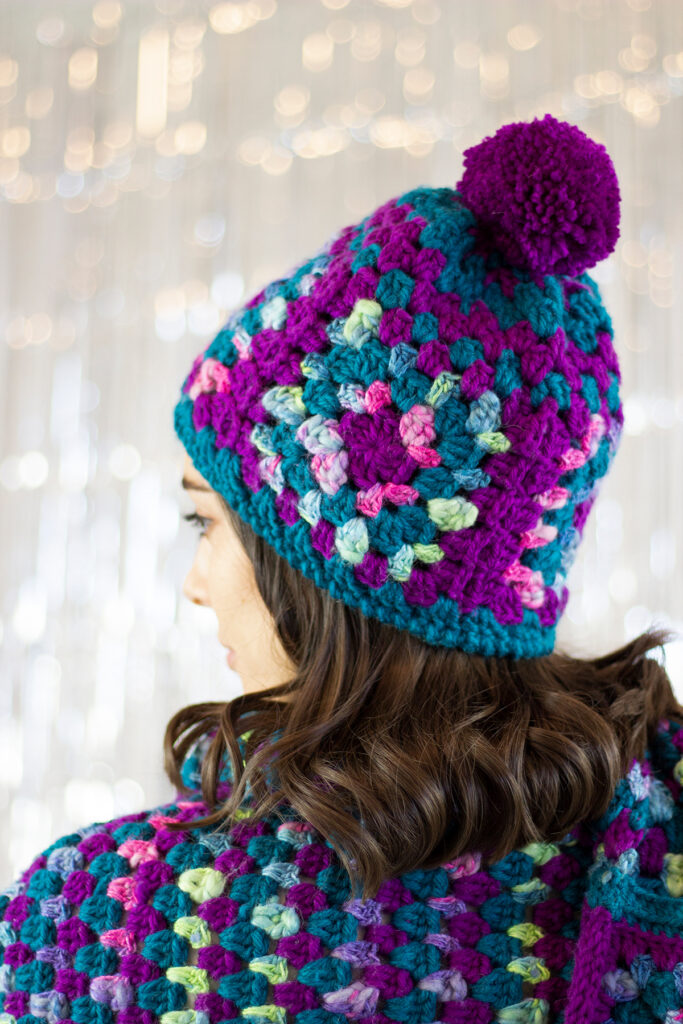
The Holiday Stroll Set livens up any outfit, whether you stick to neutrals, bright colors, or both!
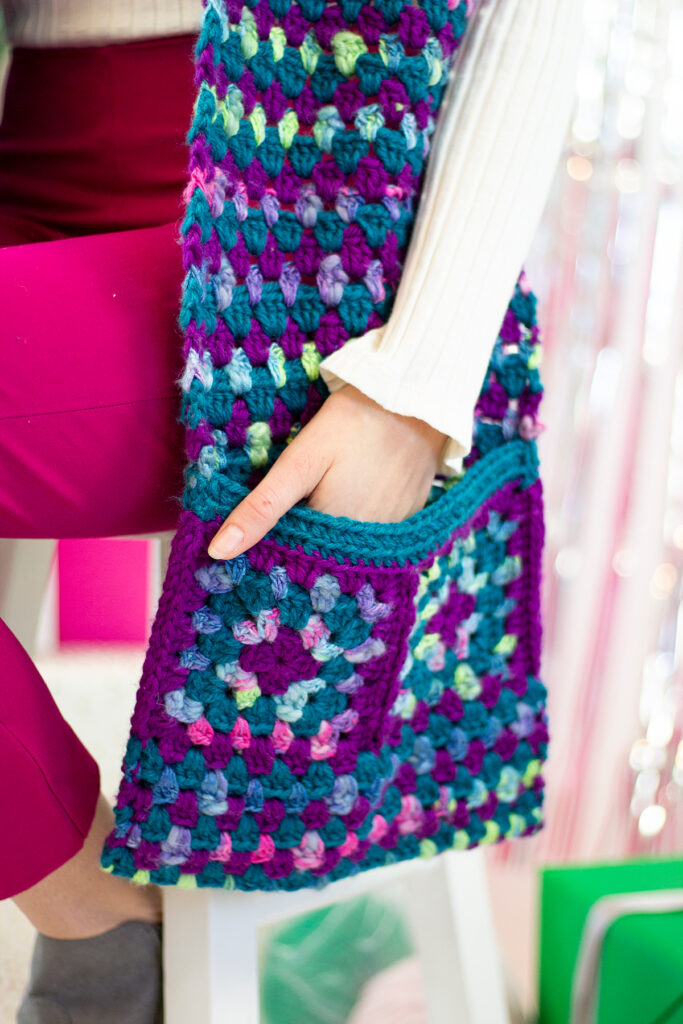
The best thing about the scarf is that it has pockets! It’s made modularly from the bottom up in sections, alternating between rows of a granny stitch stripes pattern with granny squares that are seamed together. Once the whole scarf is complete, the edges are folded up, then seamed to create pockets. The hat is also constructed modularly: you create a ring by sewing granny squares together, then you work directly into them for the crown and brim. The hat is finished with a nice fluffy pom pom for a final touch of fun! In case you need some tips with a pom pom maker, we have a great pom pom video tutorial on our Tik Tok, found here, and a wonderful photo-tutorial on our blog, found here.
Pockets on the Holiday Stroll scarf.Pom pom on the Holiday Stroll hat.
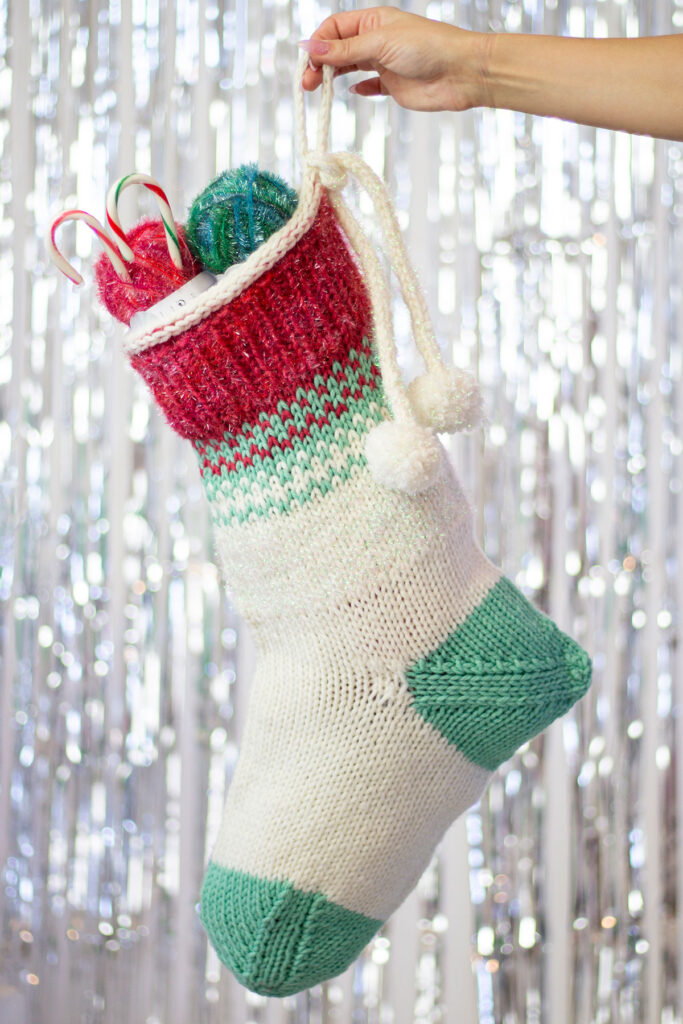
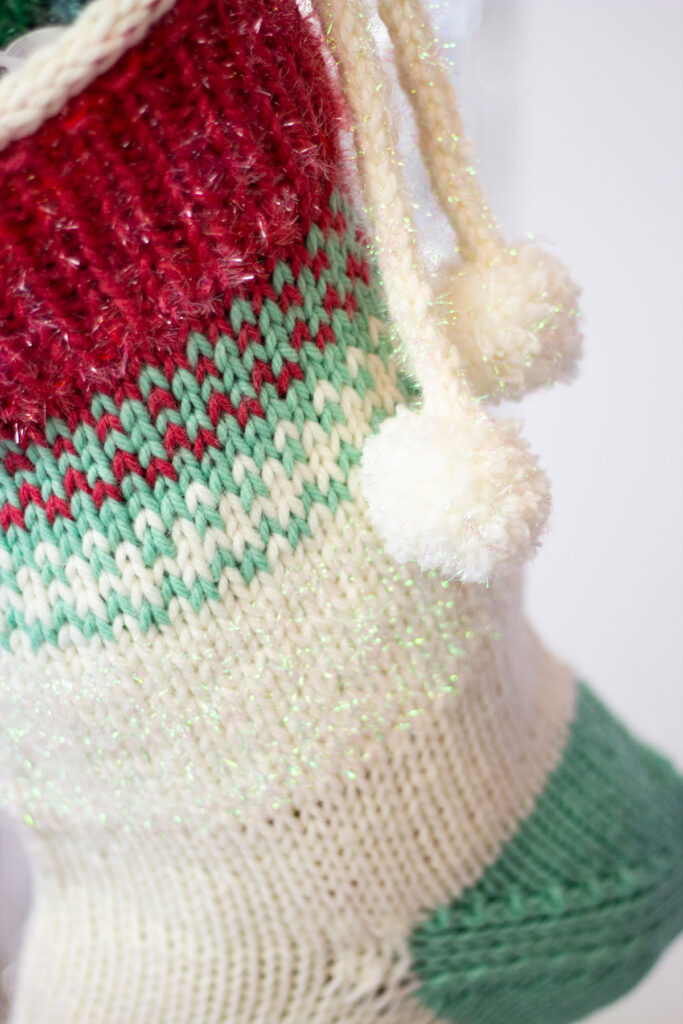
The Snow Globe Stocking, designed by Aubrey Busek, is a quirky take on a holiday classic. Rico Design Creative Bubble, and Rico Design Creative Bubble Print, both made of 100% polyester, are used as carry-along yarns to add some extra sparkle to the base yarn, Deluxe Bulky Superwash, made of 100% superwash wool. Can you just imagine how sweet it will look on your mantle filled with treats? You’ll find new special details each time you look at it. With the twinkle throughout, the overall effect is truly just as magical as a snow globe!
The sparkle from Rico Design Creative Bubble adds some magic to the Snow Globe Stocking.
I really enjoy the color combinations in this stocking. The cuff blends from red to a cool minty green, then to a creamy white with dots of stranded colorwork that look like sprinkles. Then, there are wonderful pops of color at the heel and toe. The heel is added after the rest of the sock is complete using a technique called an “afterthought heel,” which sounds complicated, but it’s actually not so bad! If you are in doubt, there is a helpful photo-tutorial blog post about the method, which you can review to feel prepared to make this fantastic stocking.
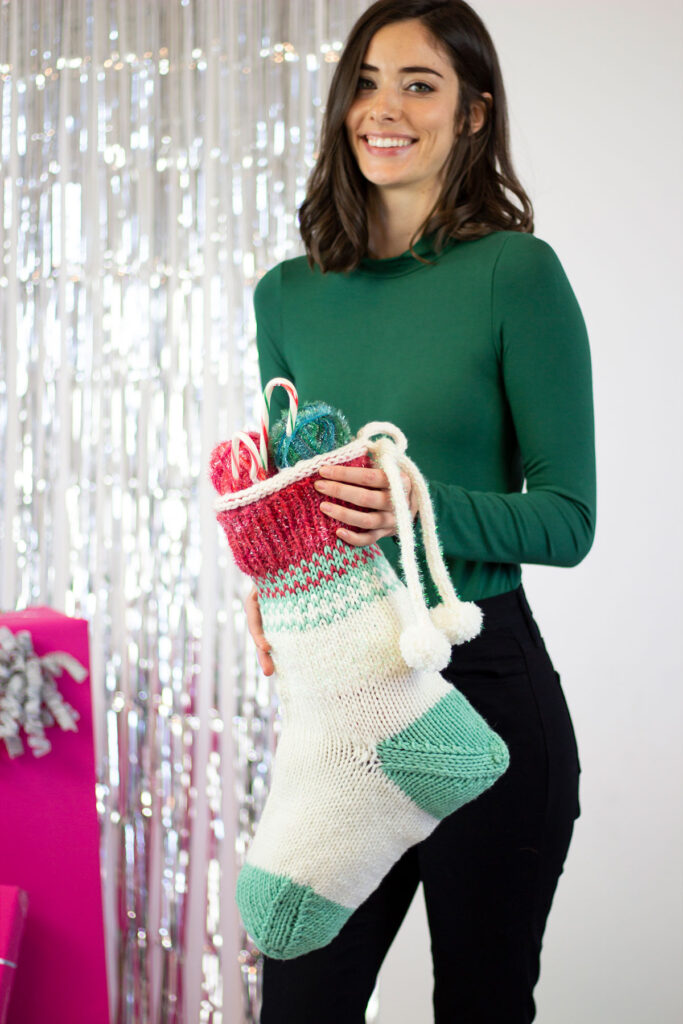
Whether you fill it with treats, or simply hang it for decoration, the Snow Globe Stocking is sure to spice up your mantle this season!
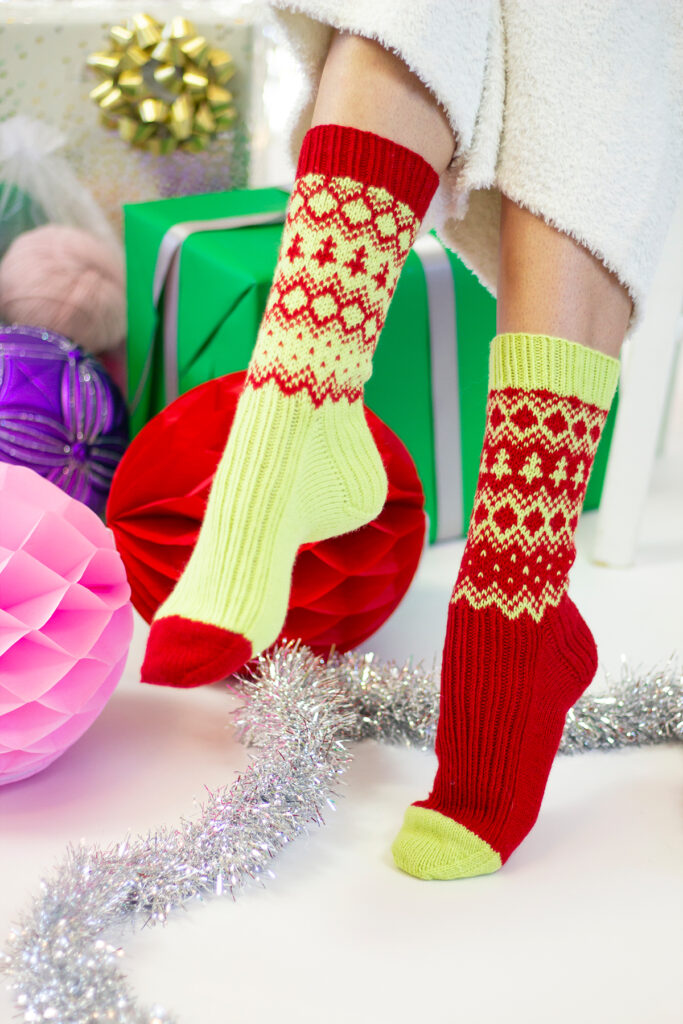
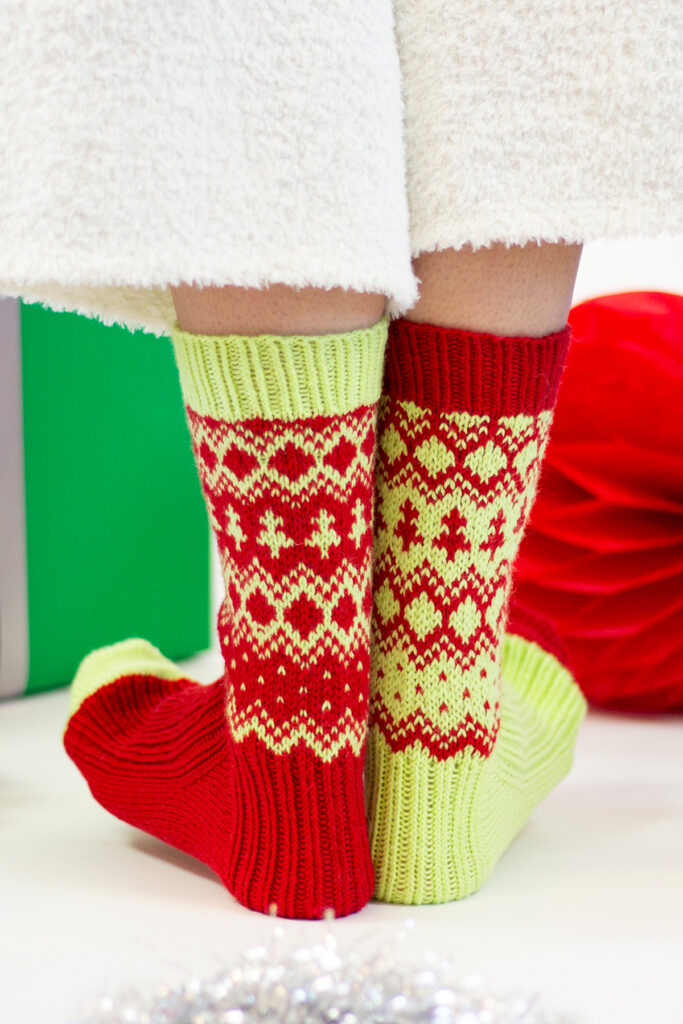
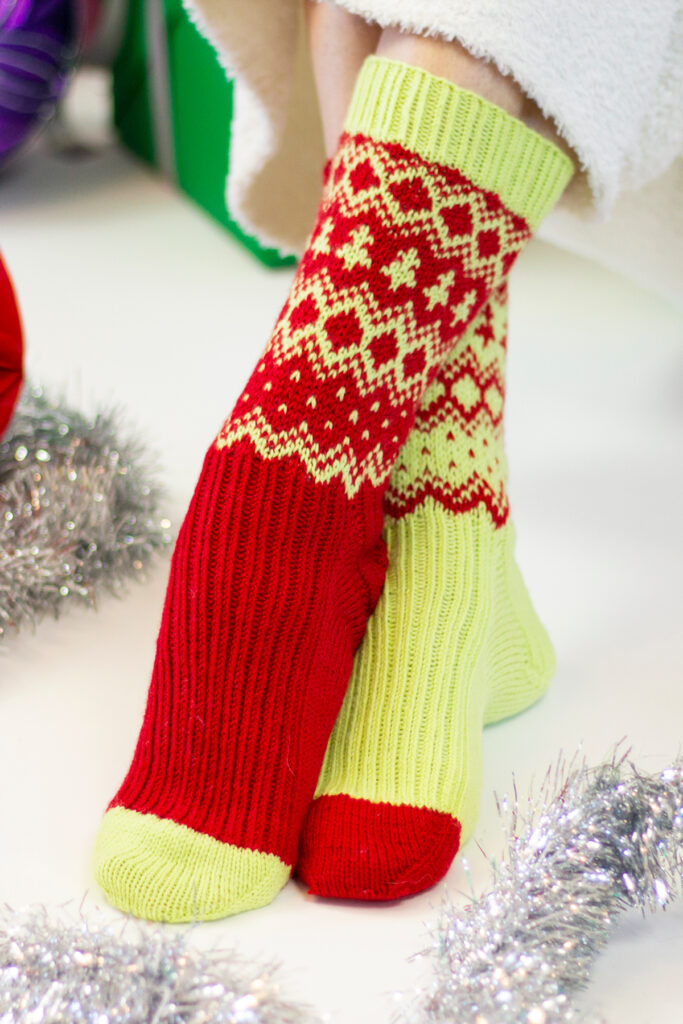
The last kit in this year’s collection is the Holiday Elf Socks, designed by Rachel Brockman. These socks just tickle me! I love the way that they mirror each other with their bright colors. It’s just what I imagine a jolly North Pole Elf would wear – a bit mischievous, and dazzlingly bright, with tiny festive trees. They are made with Uni Merino, a blend of superwash merino wool and nylon, perfect for a snuggly and soft pair of socks.
These happy socks are “sisters, not twins,” although they can be made to match instead of mirror, if you prefer!
They are made cuff-down with a heel-flap, and use stranded colorwork to make the adorable mini trees and surrounding design. The toe is seamless, using a Kitchener stitch to graft the live stitches together. I have recently started making socks, and have been using this method on every pair so far. At first I found it intimidating, but now I love it. The end results are so worth it, and we have a tutorial at this blog post which includes step-by-step photos that is incredibly helpful. Once you finish, you’ll have a pair of wacky holiday socks without any pesky toe seams to comfortably wear for years to come!
If you look closely, you can see where the toes are completely seamless!
I hope you have enjoyed looking at patterns from the 12 Days of Winter, Series 6 with me today. If you missed Part I, Part II, or Part III be sure to go read through them! You’ll hear thoughts from the other designers of the collection, Aubrey and Rachel, and get more tips and tricks for techniques that you’ll encounter in the designs!
Remember, these exclusive kits can be purchased at local yarn store retailers near you. Not in stock at your local shop? Ask them about drop shipping – order through them, and we ship to you! Each kit comes with a printed version of the pattern, the yarn required to make itn. Use our store locator to find your nearest Universal Yarn retailer!
This is part 6 in a 12 part series highlighting designs from our 12 Days of Winter, series 5 Edition.
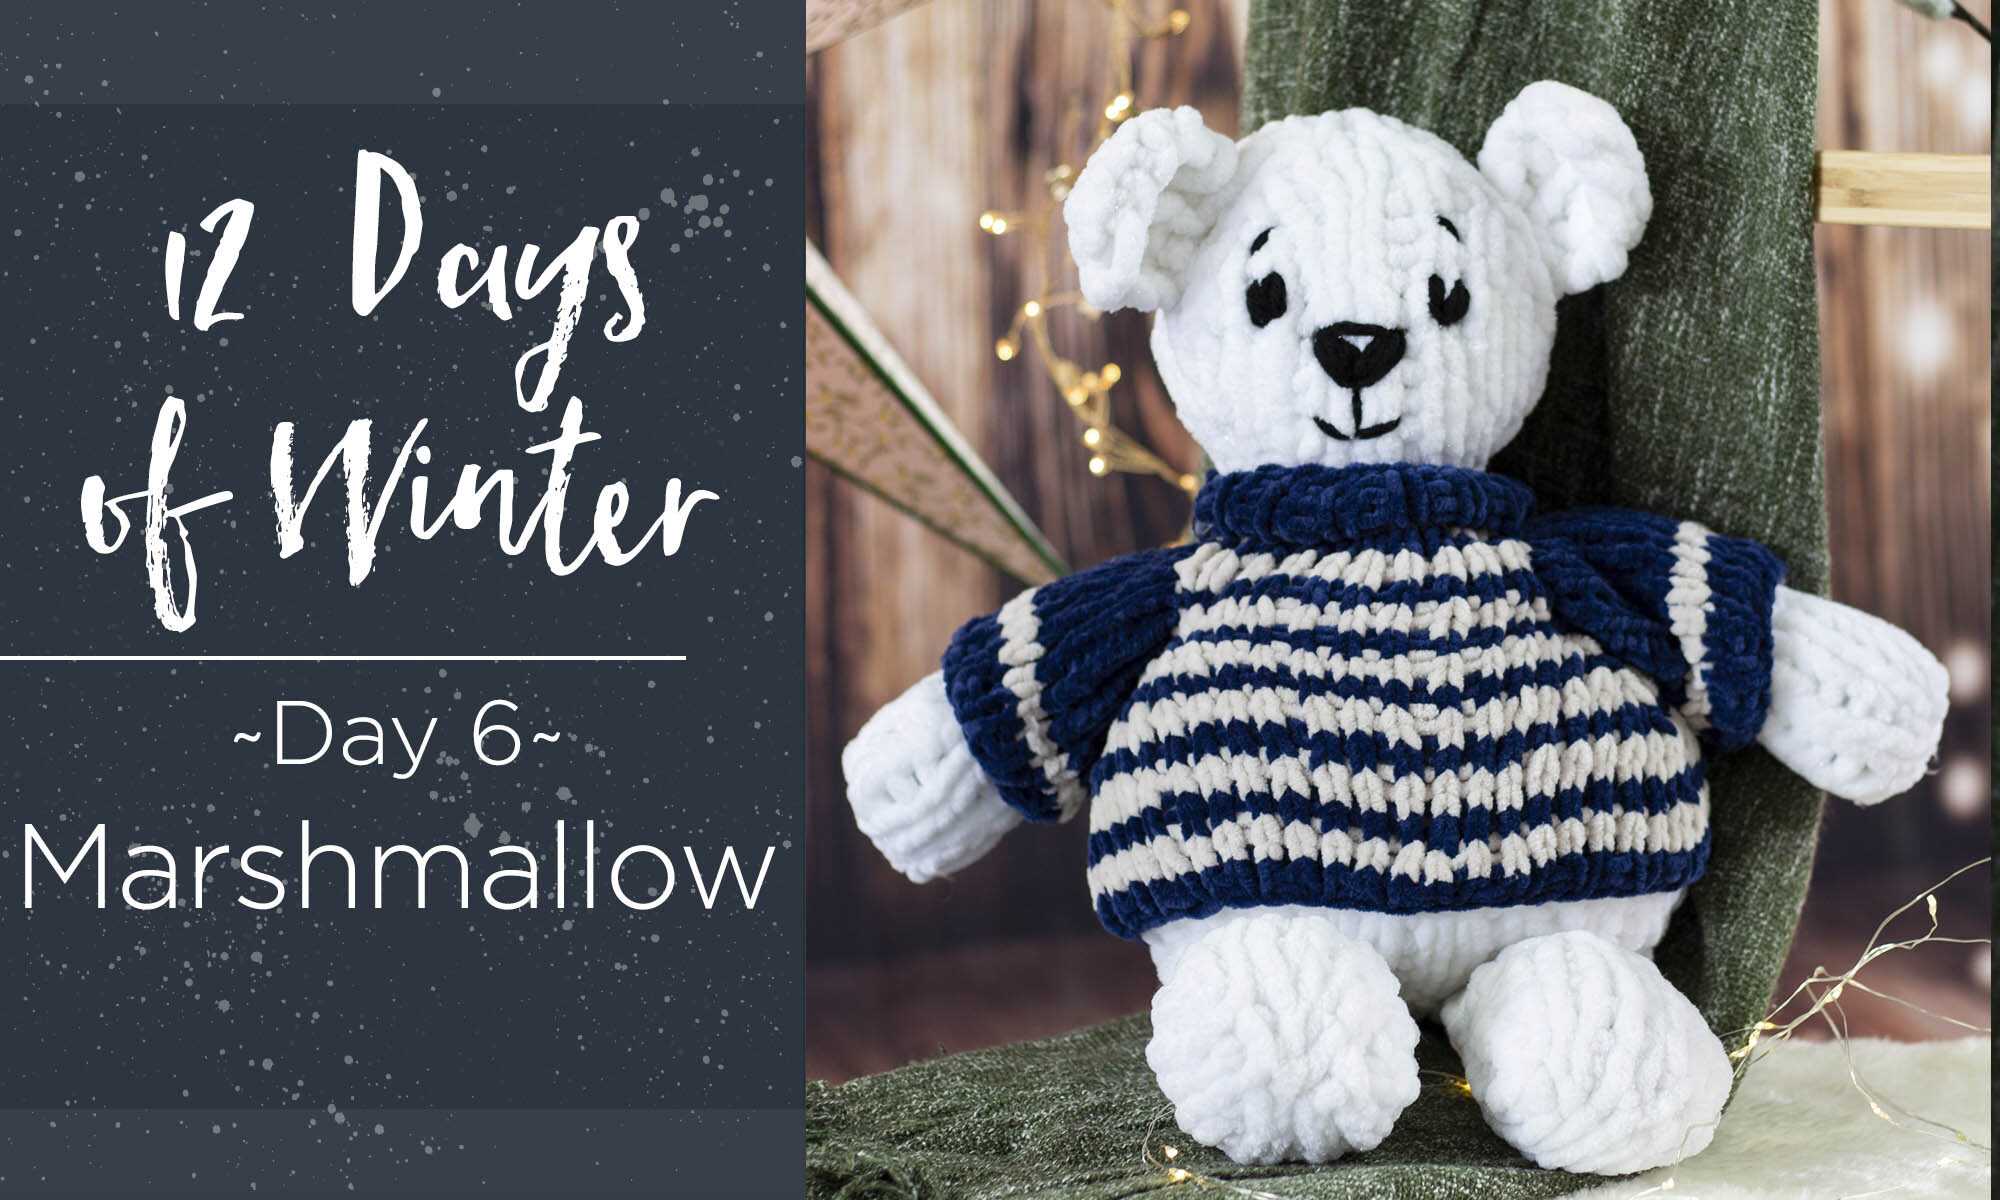
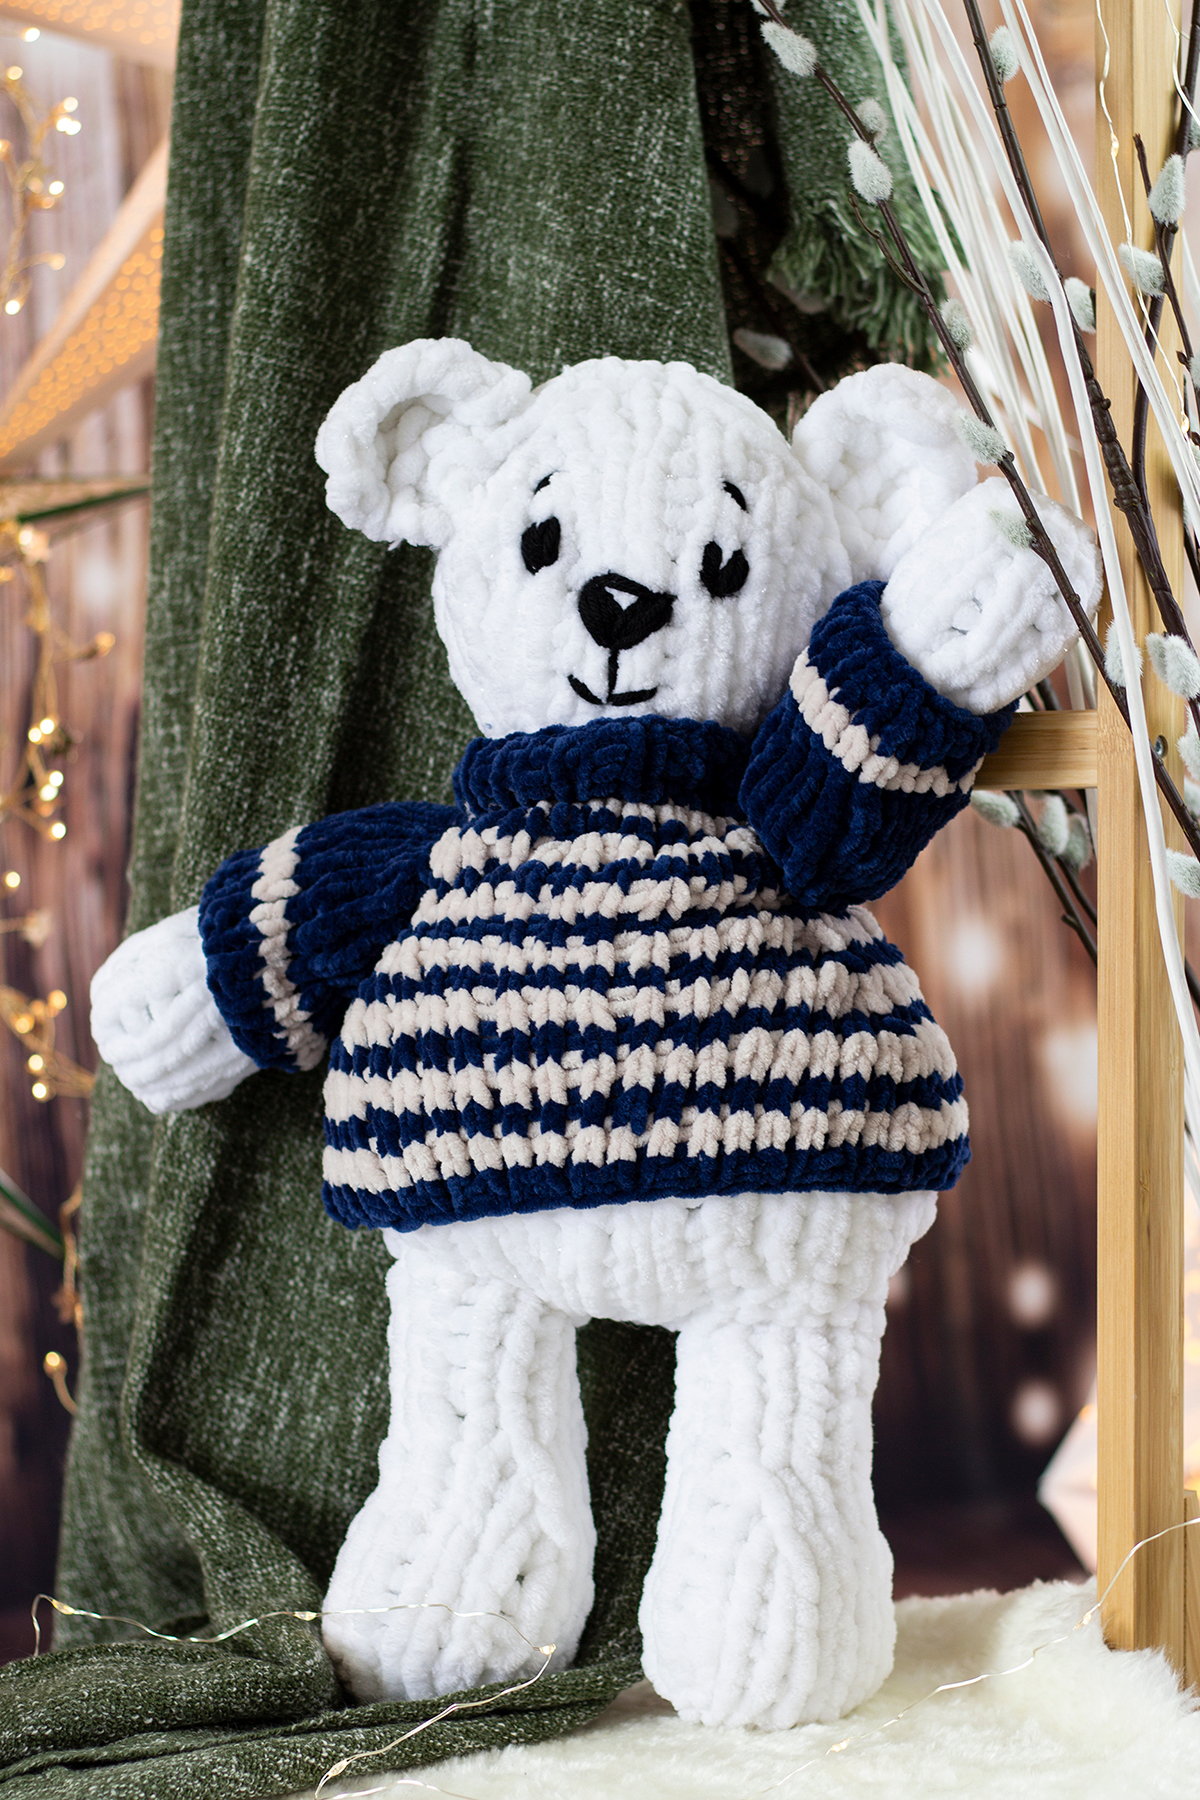
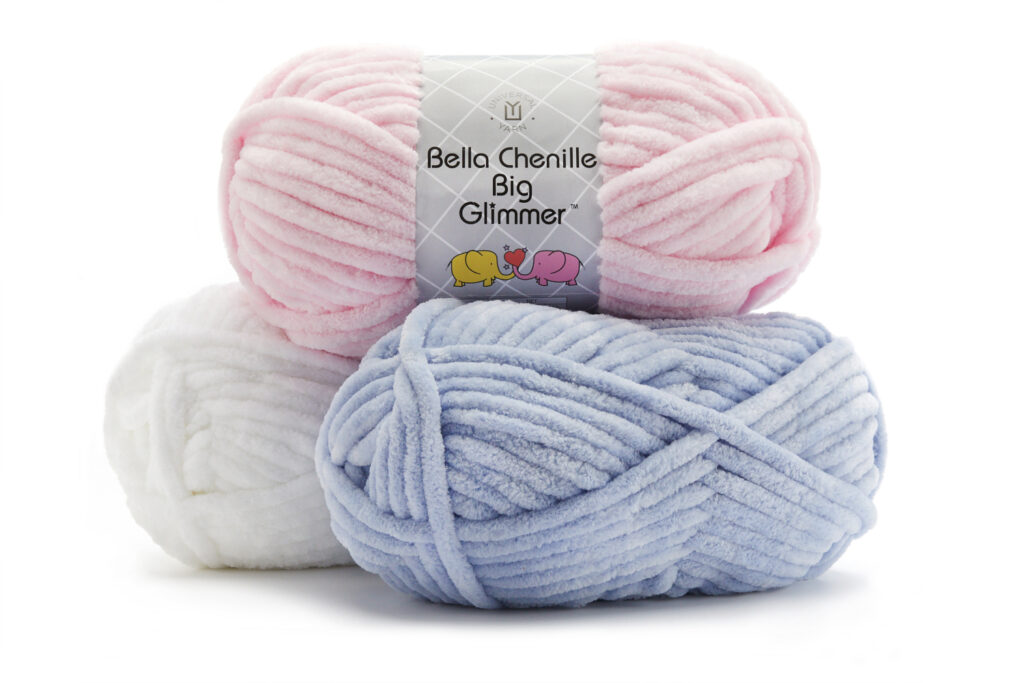
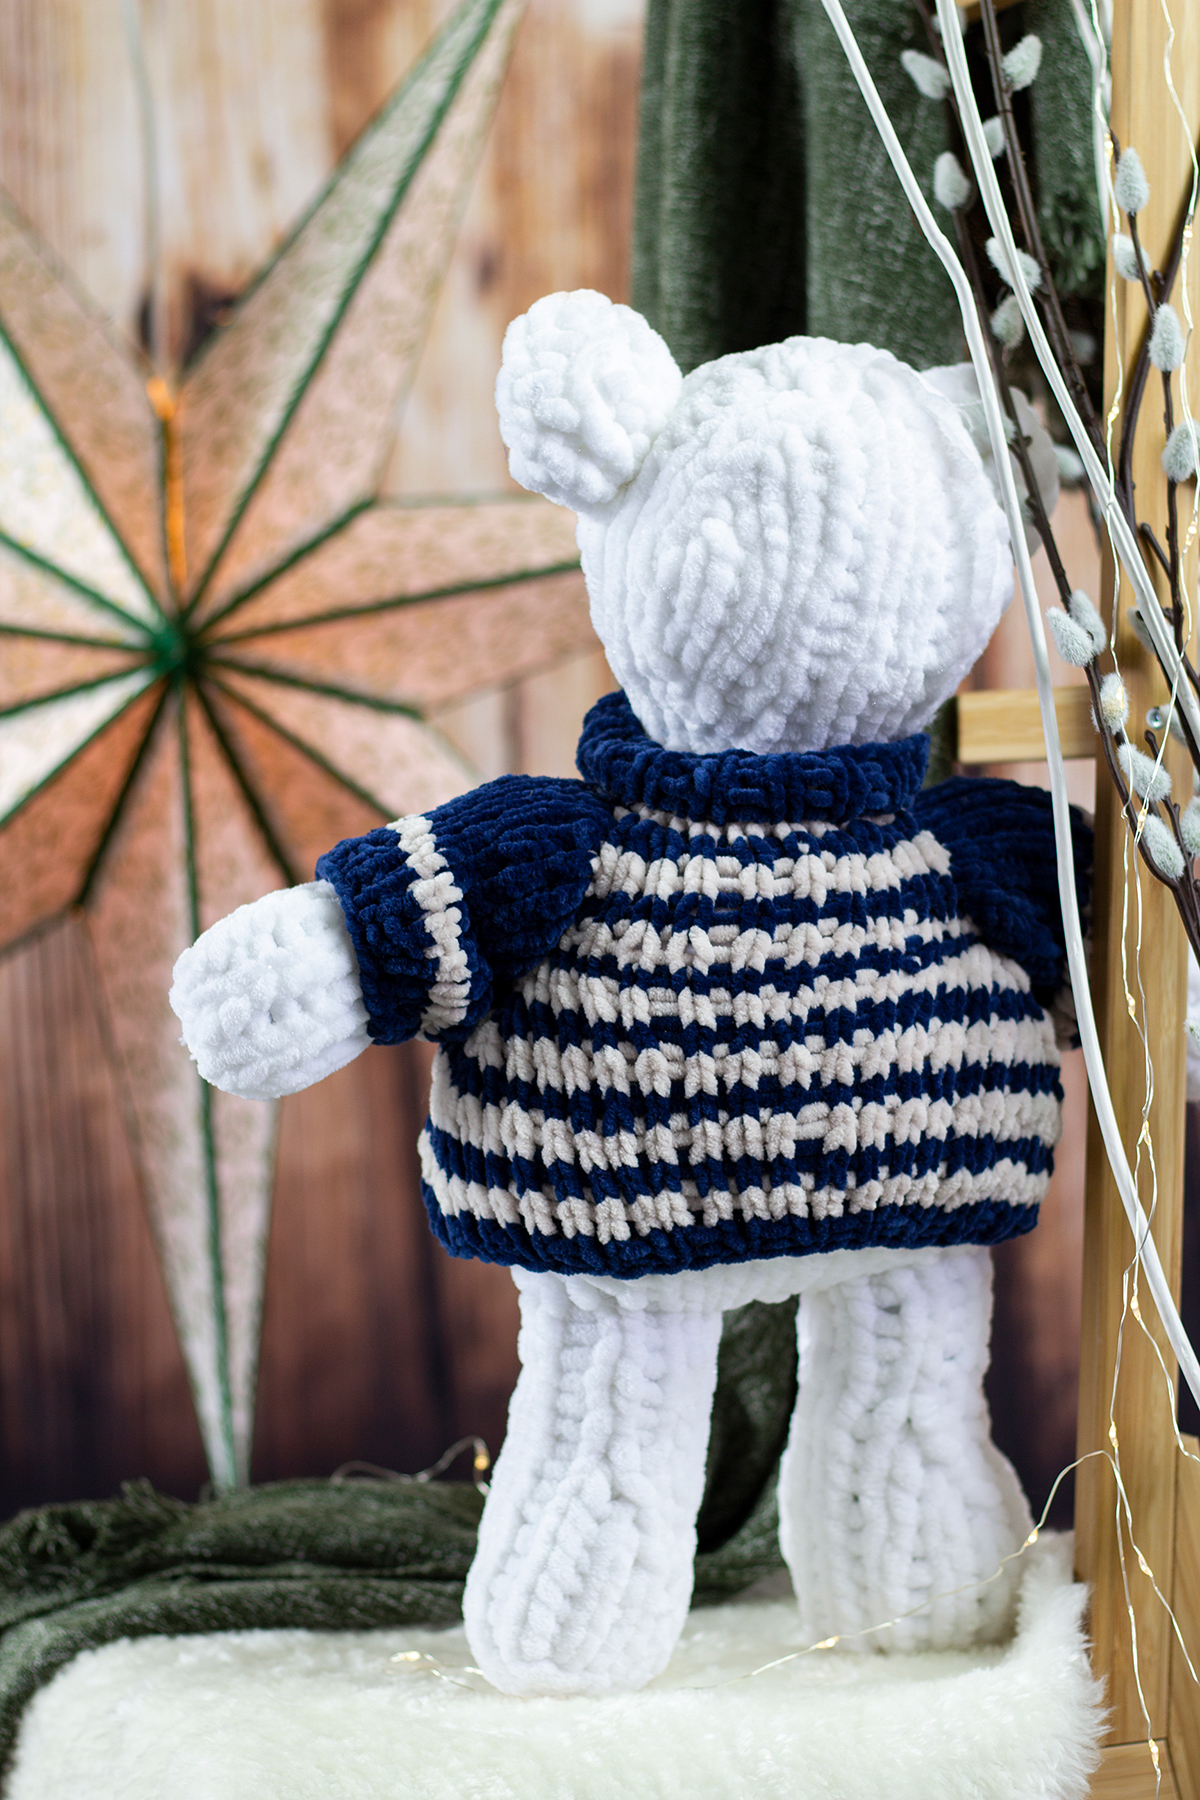
There’s something about the winter season that immediately brings my mind to cuddly stuffed animal friends, perfect for gifting during the holidays. Last year for the 12 Days of Winter, I designed Coco, a bunny with a removable hat and scarf knit in our popular Uptown Worsted yarn. We recently released a new member of our Bella Chenille yarn family: Bella Chenille Big Glimmer. This slightly shimmery version of our Bella Chenille Big yarn immediately brought to mind the idea of a snowy stuffed animal for this year’s 12 Days of Winter kits. I quickly got to work designing, and soon enough, Marshmallow the polar bear was born.
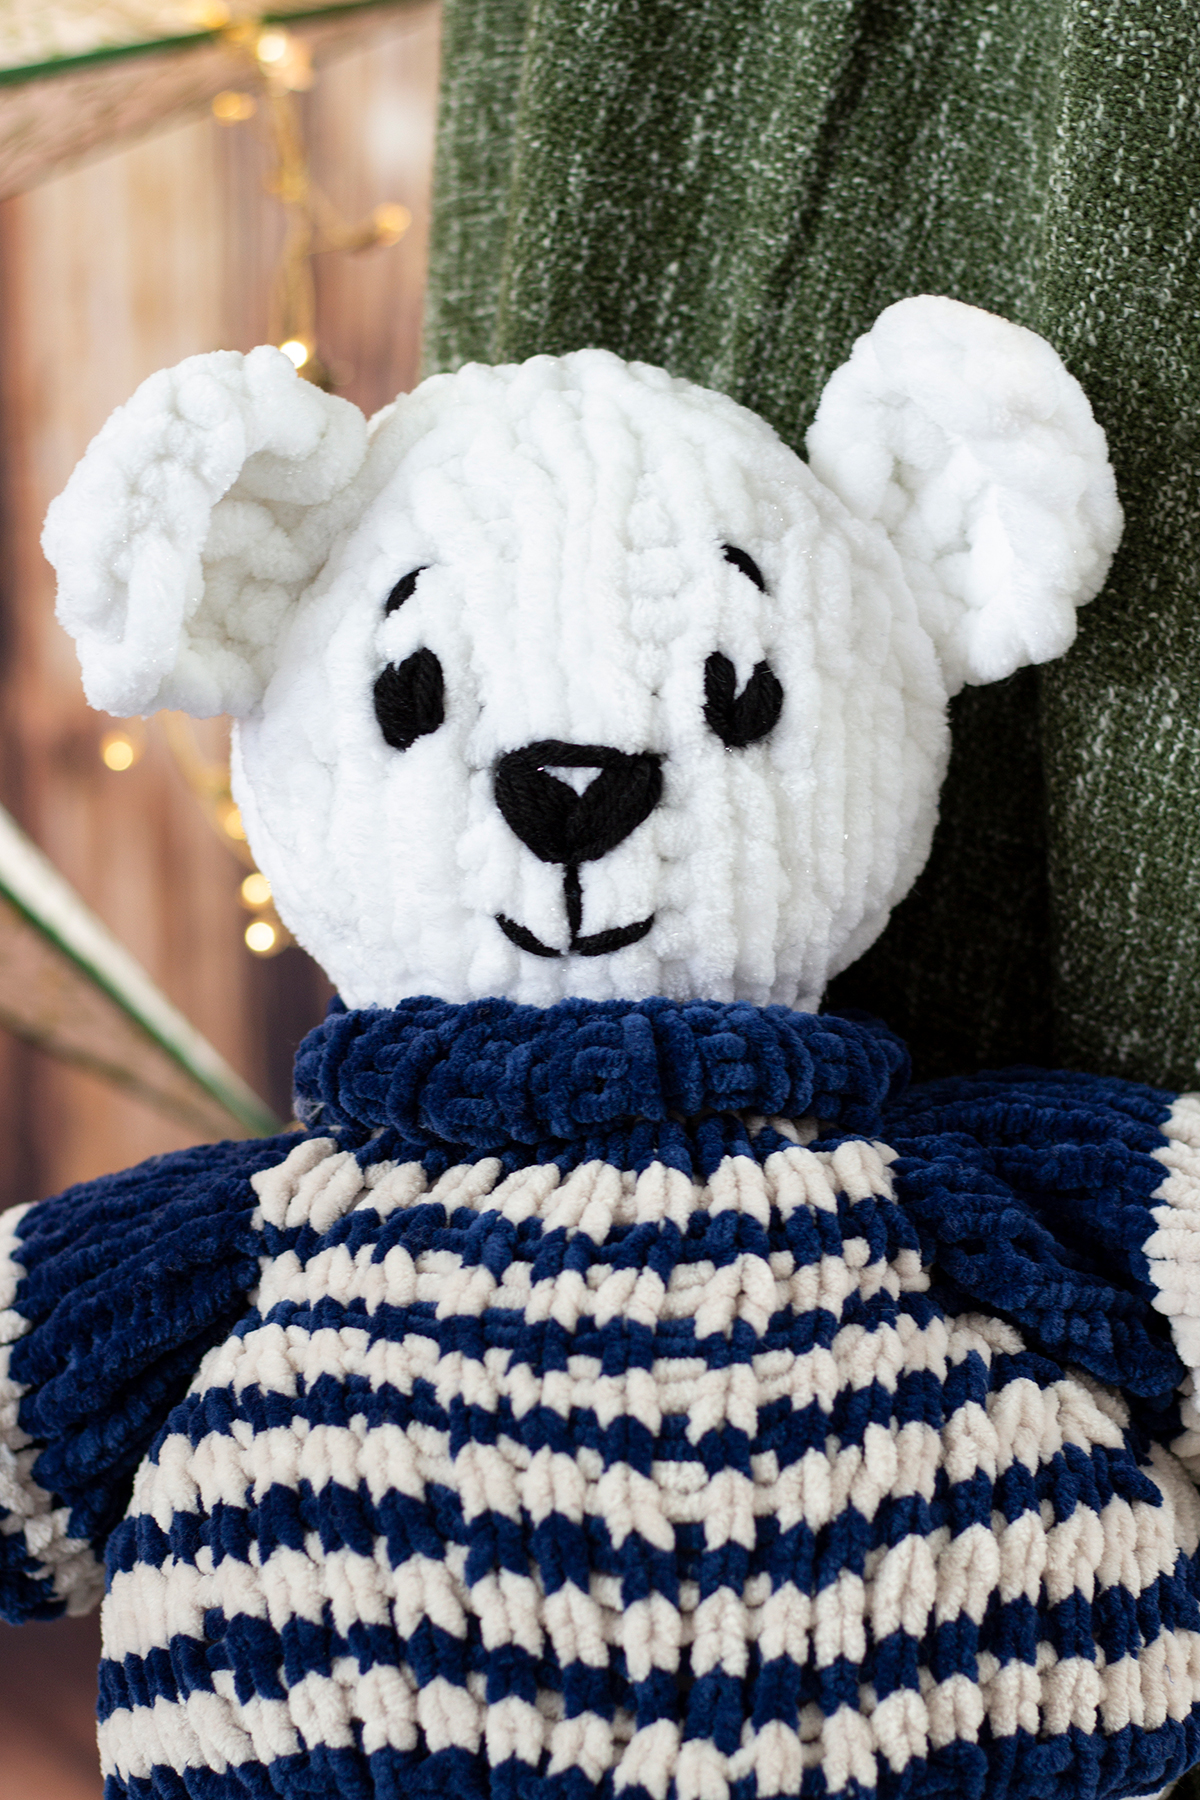
Marshmallow says ‘Hello new bestie!’ – Knit using Bella Chenille Big Glimmer in color 601 Drift. Marshmallow’s sweater is knit in Bella Chenille colors 121 Indigo and 125 Oatmeal
Techniques you’ll explore in the Marshmallow pattern are:
Knitting small circumferences in the round
Increasing and decreasing often to create small 3-dimensional shapes
Embroidery
Casting on stitches and joining pieces after working
Designing a small (ish) item using such a chunky yarn like Bella Chenille Big Glimmer has its challenges indeed. Even more than that, chenille yarns can be a bit fiddly to work with, especially when you want things to look precise. So, I’ve decided to give you some tips for working with chenille yarns like our Bella Chenilleand Bella Chenille Big Glimmer, so that the process of making Marshmallow or any other chenille project is tons of fun!
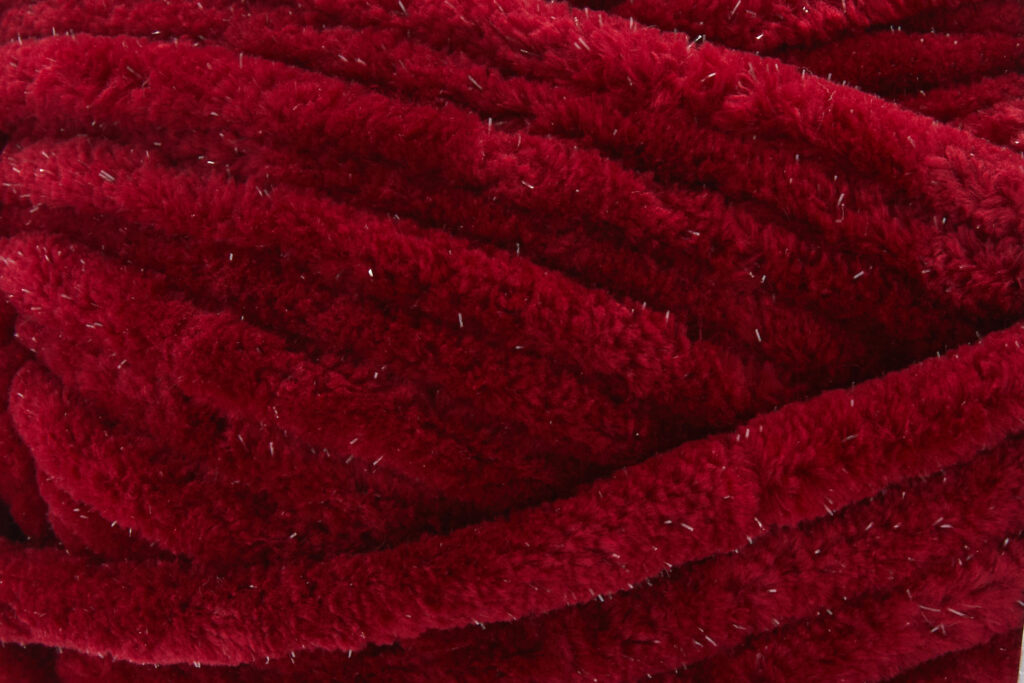
Bella Chenille Big Glimmer skeins, and a chip shot so you can see the lovely metallic glimmers!
My first tip for working with chenille yarns would be to keep your gauge tight, to stop ‘worming’ and help prevent inconsistencies in the fabric. Worming happens when the strand of yarn coils back on itself, creating loose-looking loops in the fabric. For making a stuffed toy a tighter knit gauge is ideal, so that the finished friend is firm and well stuffed all around! Remember that the needle size listed on the yarn ball band is just a suggestion, and you should opt to use whatever needle size will achieve a gauge that matches what the pattern calls for. In Marshmallow’s case, gauge is very important. Not only will keeping a tight gauge aid in making the stitches look uniform and help prevent worming, but this pattern also uses nearly the entire skein of Bella Chenille Big Glimmer. So, you will need to be extra mindful while you work!
So cuddly!
It is no secret: chenille yarns fray. Once you cut the end of yarn, you will notice that the polyester fibers tend to want to come loose from the thread base. This can be frustrating, messy, and leave you with a less than ideal yarn tail for weaving in ends. My top tip for fixing this is to secure the end of the yarn with something that will stop the fraying! My favorite method for this is using a fabric sealant product like Fray Check, which I use very often when I am sewing fabrics that unravel easily. This liquid creates a coating on whatever it is applied to, preventing the fibers from being able to unravel. Make sure to use these types of products in a place with adequate ventilation, as they do tend to have smelly fumes, and let it dry completely before you work with it.
My next tip for working with chenille yarns is using the right type of needle. Everyone has preferences in types of needle materials, whether you like plastic needles, wooden needles, or metal. In my experience, mixing a plastic needle with a synthetic fuzzy yarn like chenille can result in difficulty sliding stitches, more ‘sticky’ feeling knitting, crampy hands, and hot, sweaty feeling yarn. A smooth wooden or slick metal needle is a more ideal choice for yarns like chenille. The stitches will glide much more easily as you work and be easier to manipulate. The Marshmallow pattern requires a consistent amount of increasing and decreasing as you go along to create the 3D shapes, so having a needle that easily works over 2 or more stitches at a time is necessary. Marshmallow is knit in the round, beginning with his legs. Whether you choose to use double pointed needles, or a magic loop method is entirely up to you! Magic loop is surprisingly easy to master, and we have a tutorial for it! Click this link to learn how to knit in the round using Magic Loop.
My final tip for working with chenille is using an angled tapestry needle with a large eye for embroidery and weaving in ends. I like these Tapestry needles from Clover for yarns like chenille. It’ll pass through the stitches more easily , you’ll be able to see the needle amidst all of the chenille fluff, and it’ll offer more control with the yarn and stuffing. Last year during the 12 Days of Winter, I made a video tutorial for embroidering Coco’s face. The same principles apply to Marshmallow, just on a more ‘jumbo’ scale. In fact, I used scrap Uptown Worsted yarn for Marshmallow’s face embroidery. Here is a link to the video where I give tips on embroidering a stuffed animal face.
Marshmallow just wants a hug!
There you have it – some of my top tips for working with chenille yarns! These aren’t the only tips and tricks, of course. The more you work with chenille yarns, you’ll discover what works best for you. If you have any other tips you’d like to share, feel free to leave them in the comments below, we’d love to hear!
Our exclusive 12 Days of Winter kits like Marshmallow can be purchased at local yarn store retailers near you. Each kit comes with the pattern, the yarn required to make it, a mini Universal Yarn project bag, and stitch marker. Use our store locator to find your nearest Universal Yarn retailer! Kits not in stock at your local yarn store? Ask about drop shipping – order through them, and we ship to you!