Weaving Wednesday – Sparkle Windows

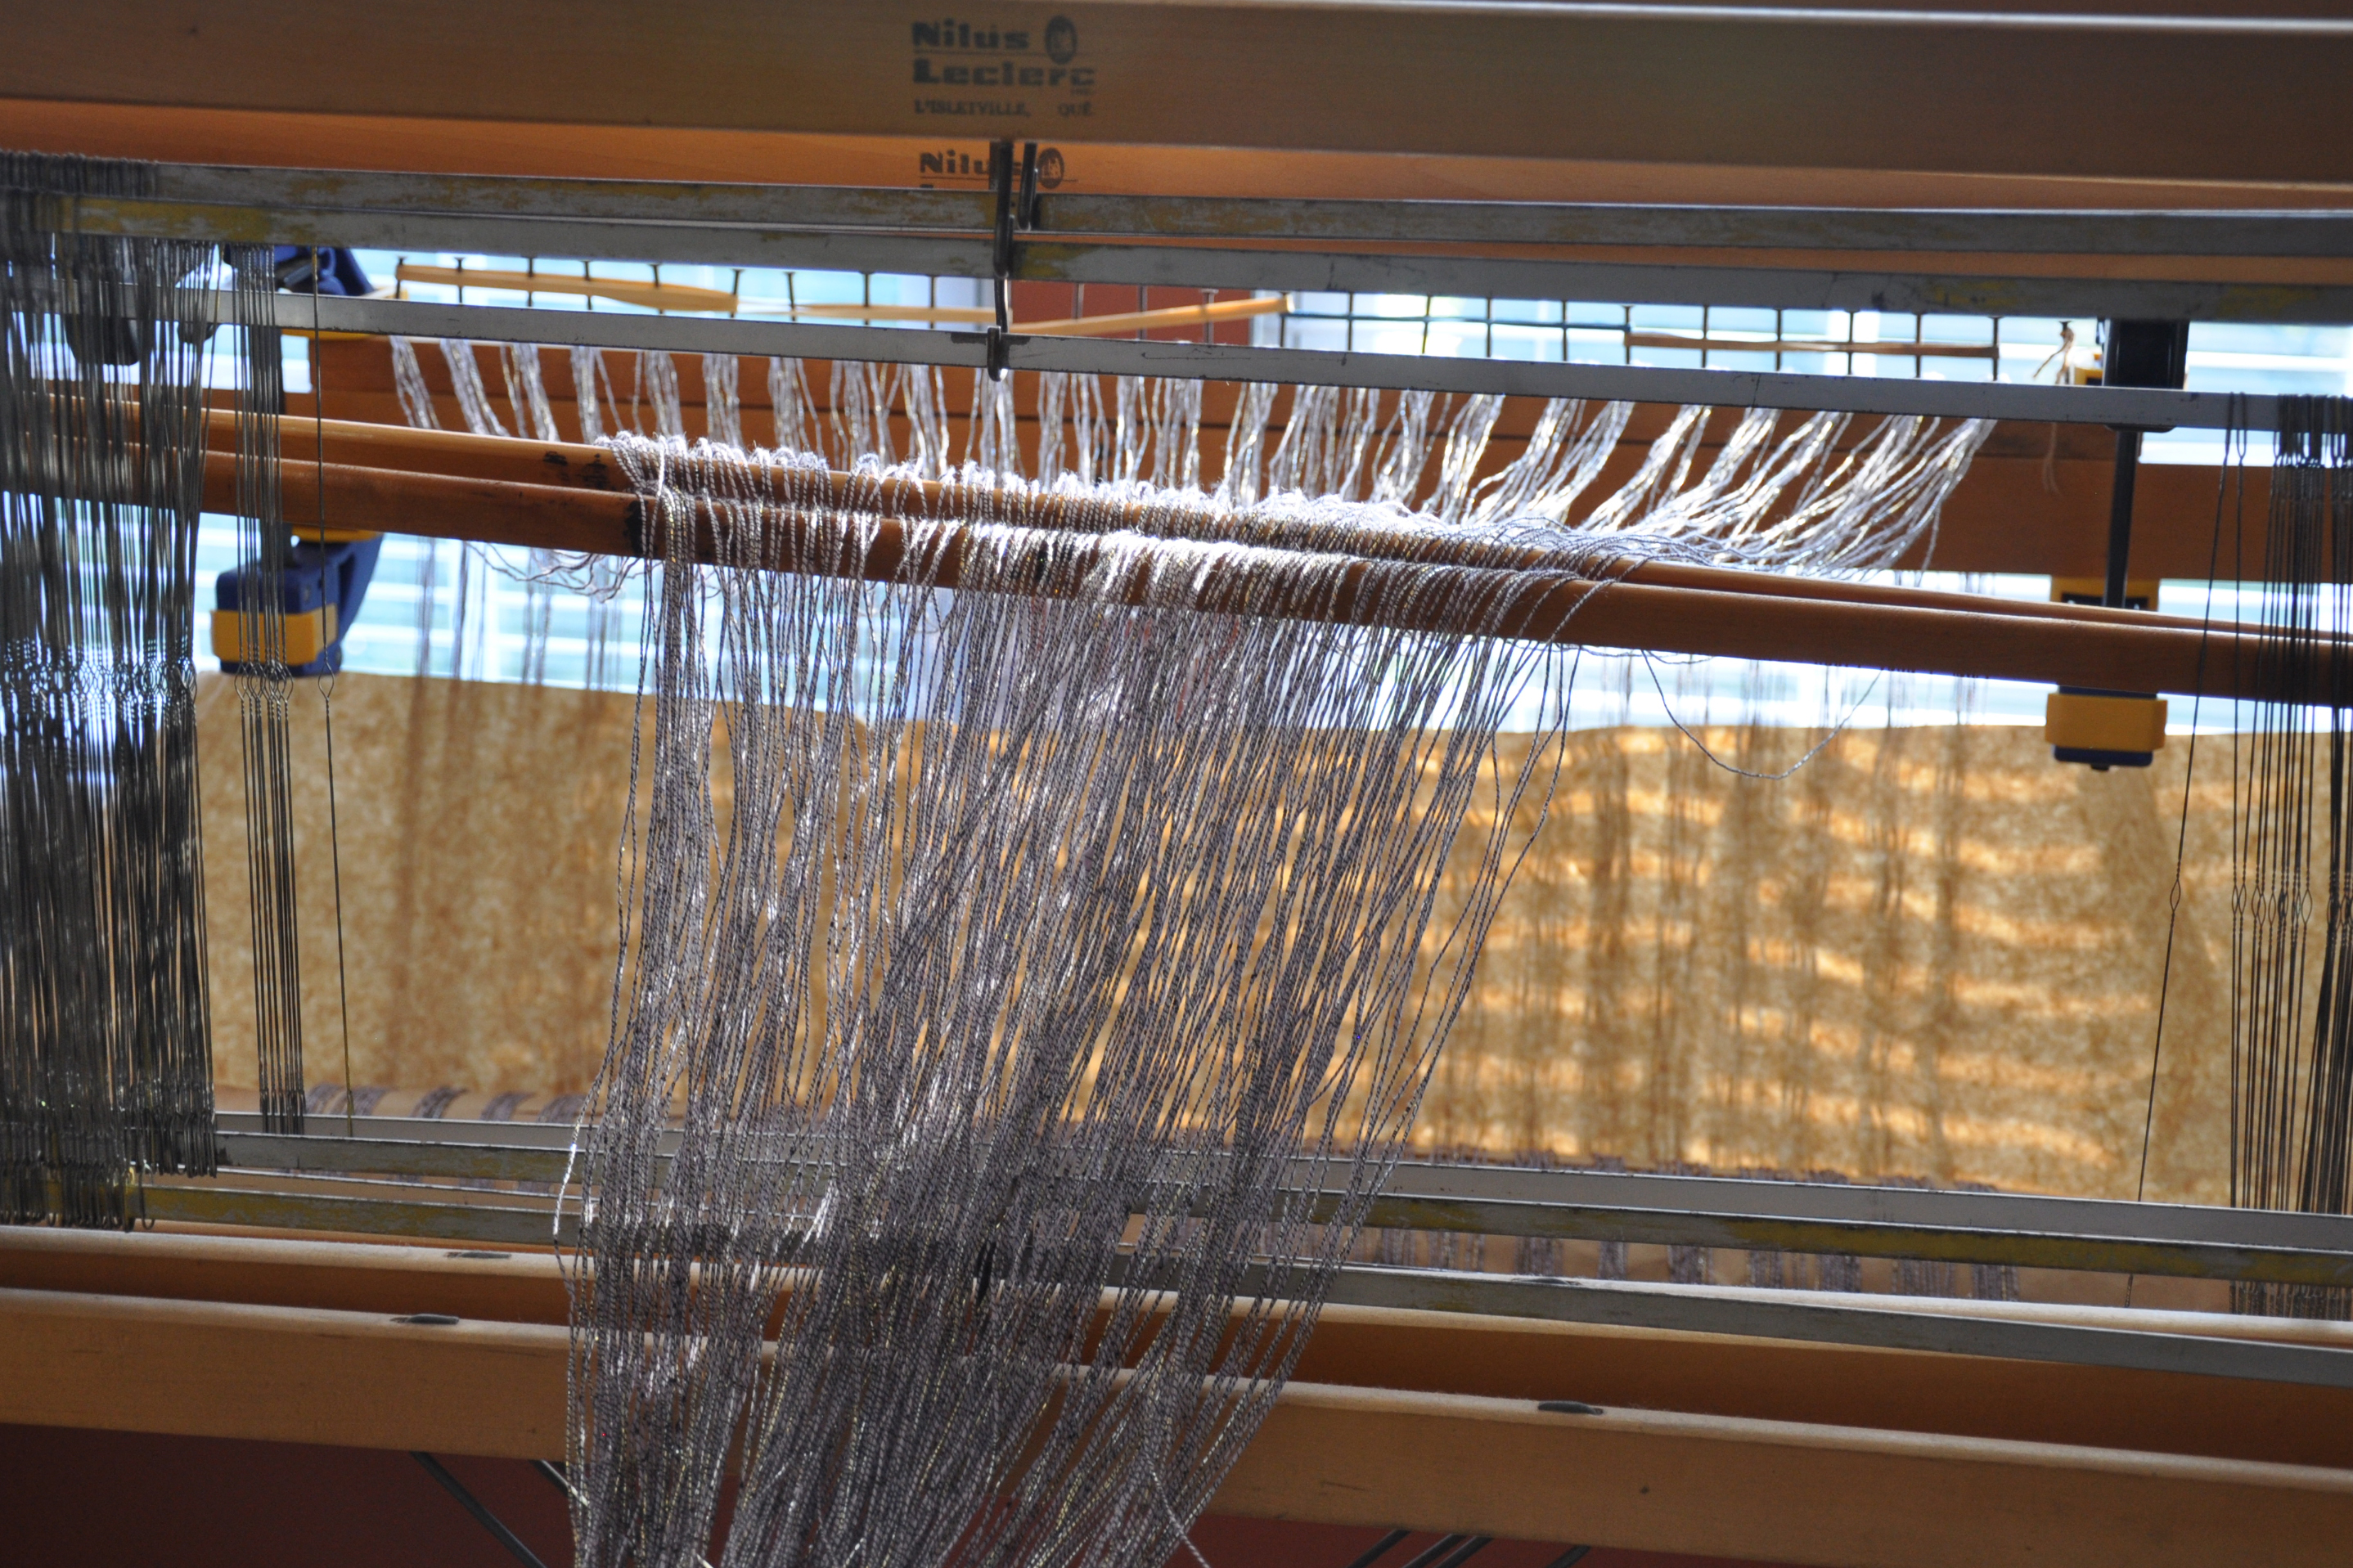
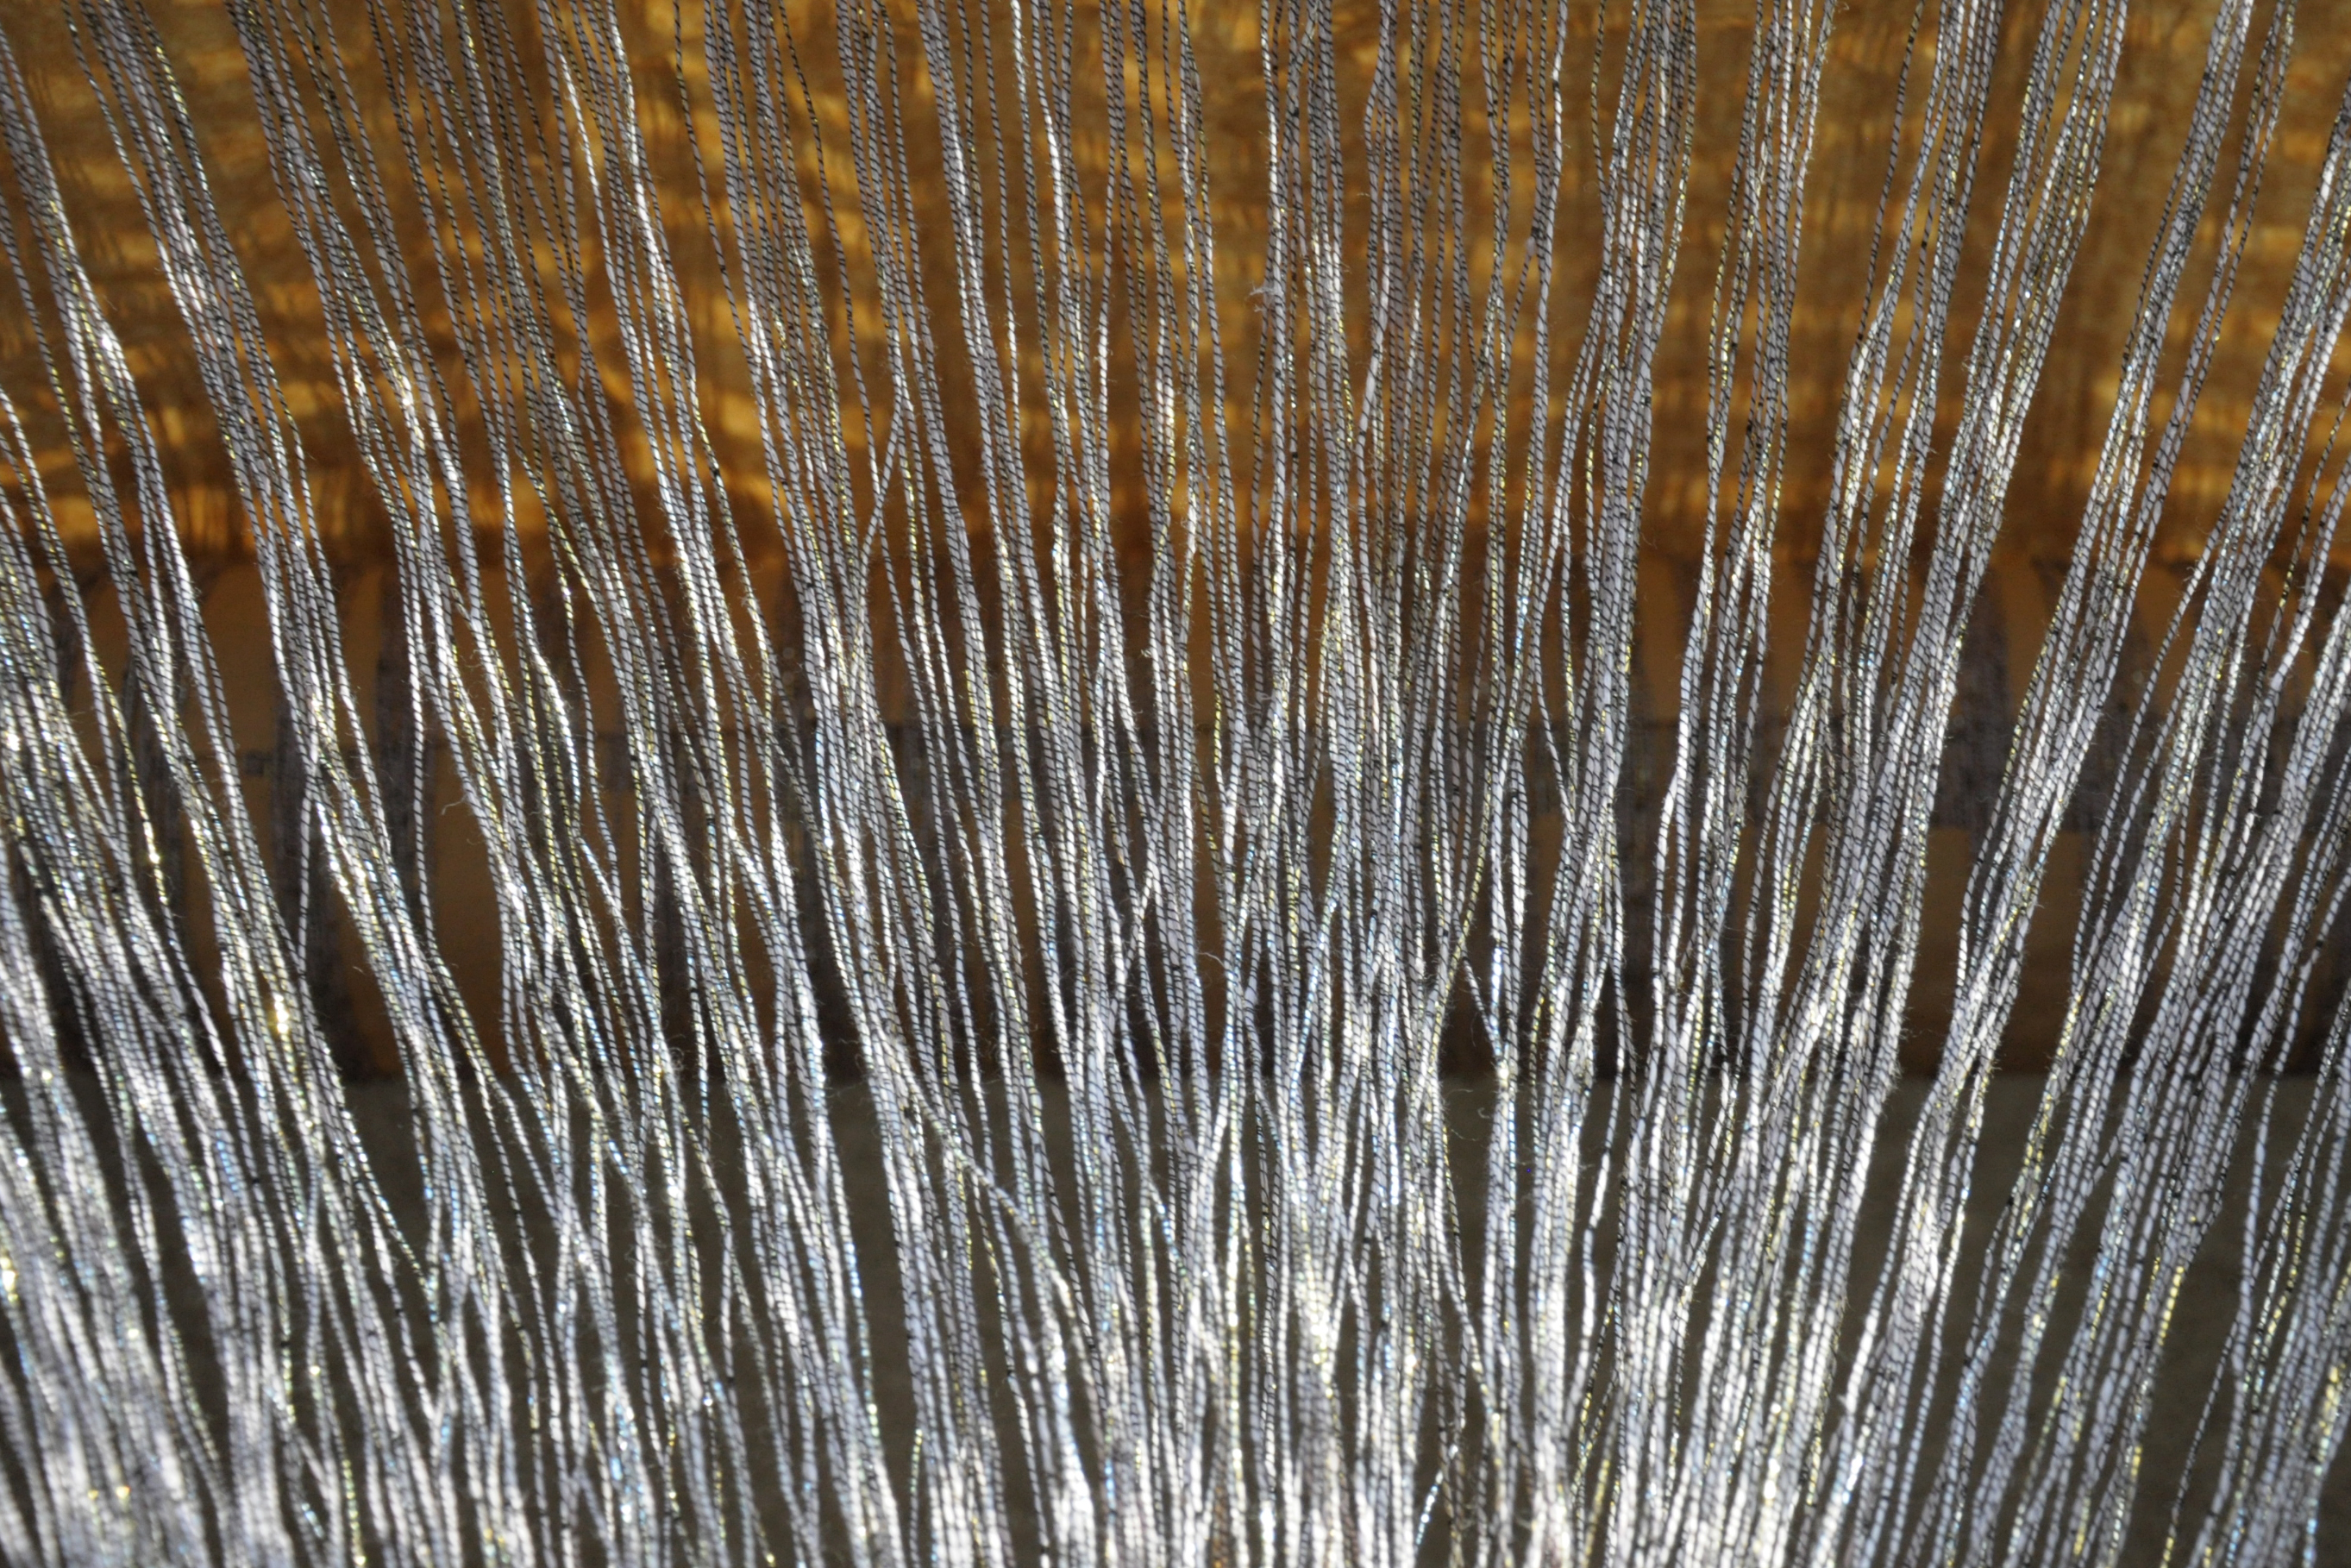
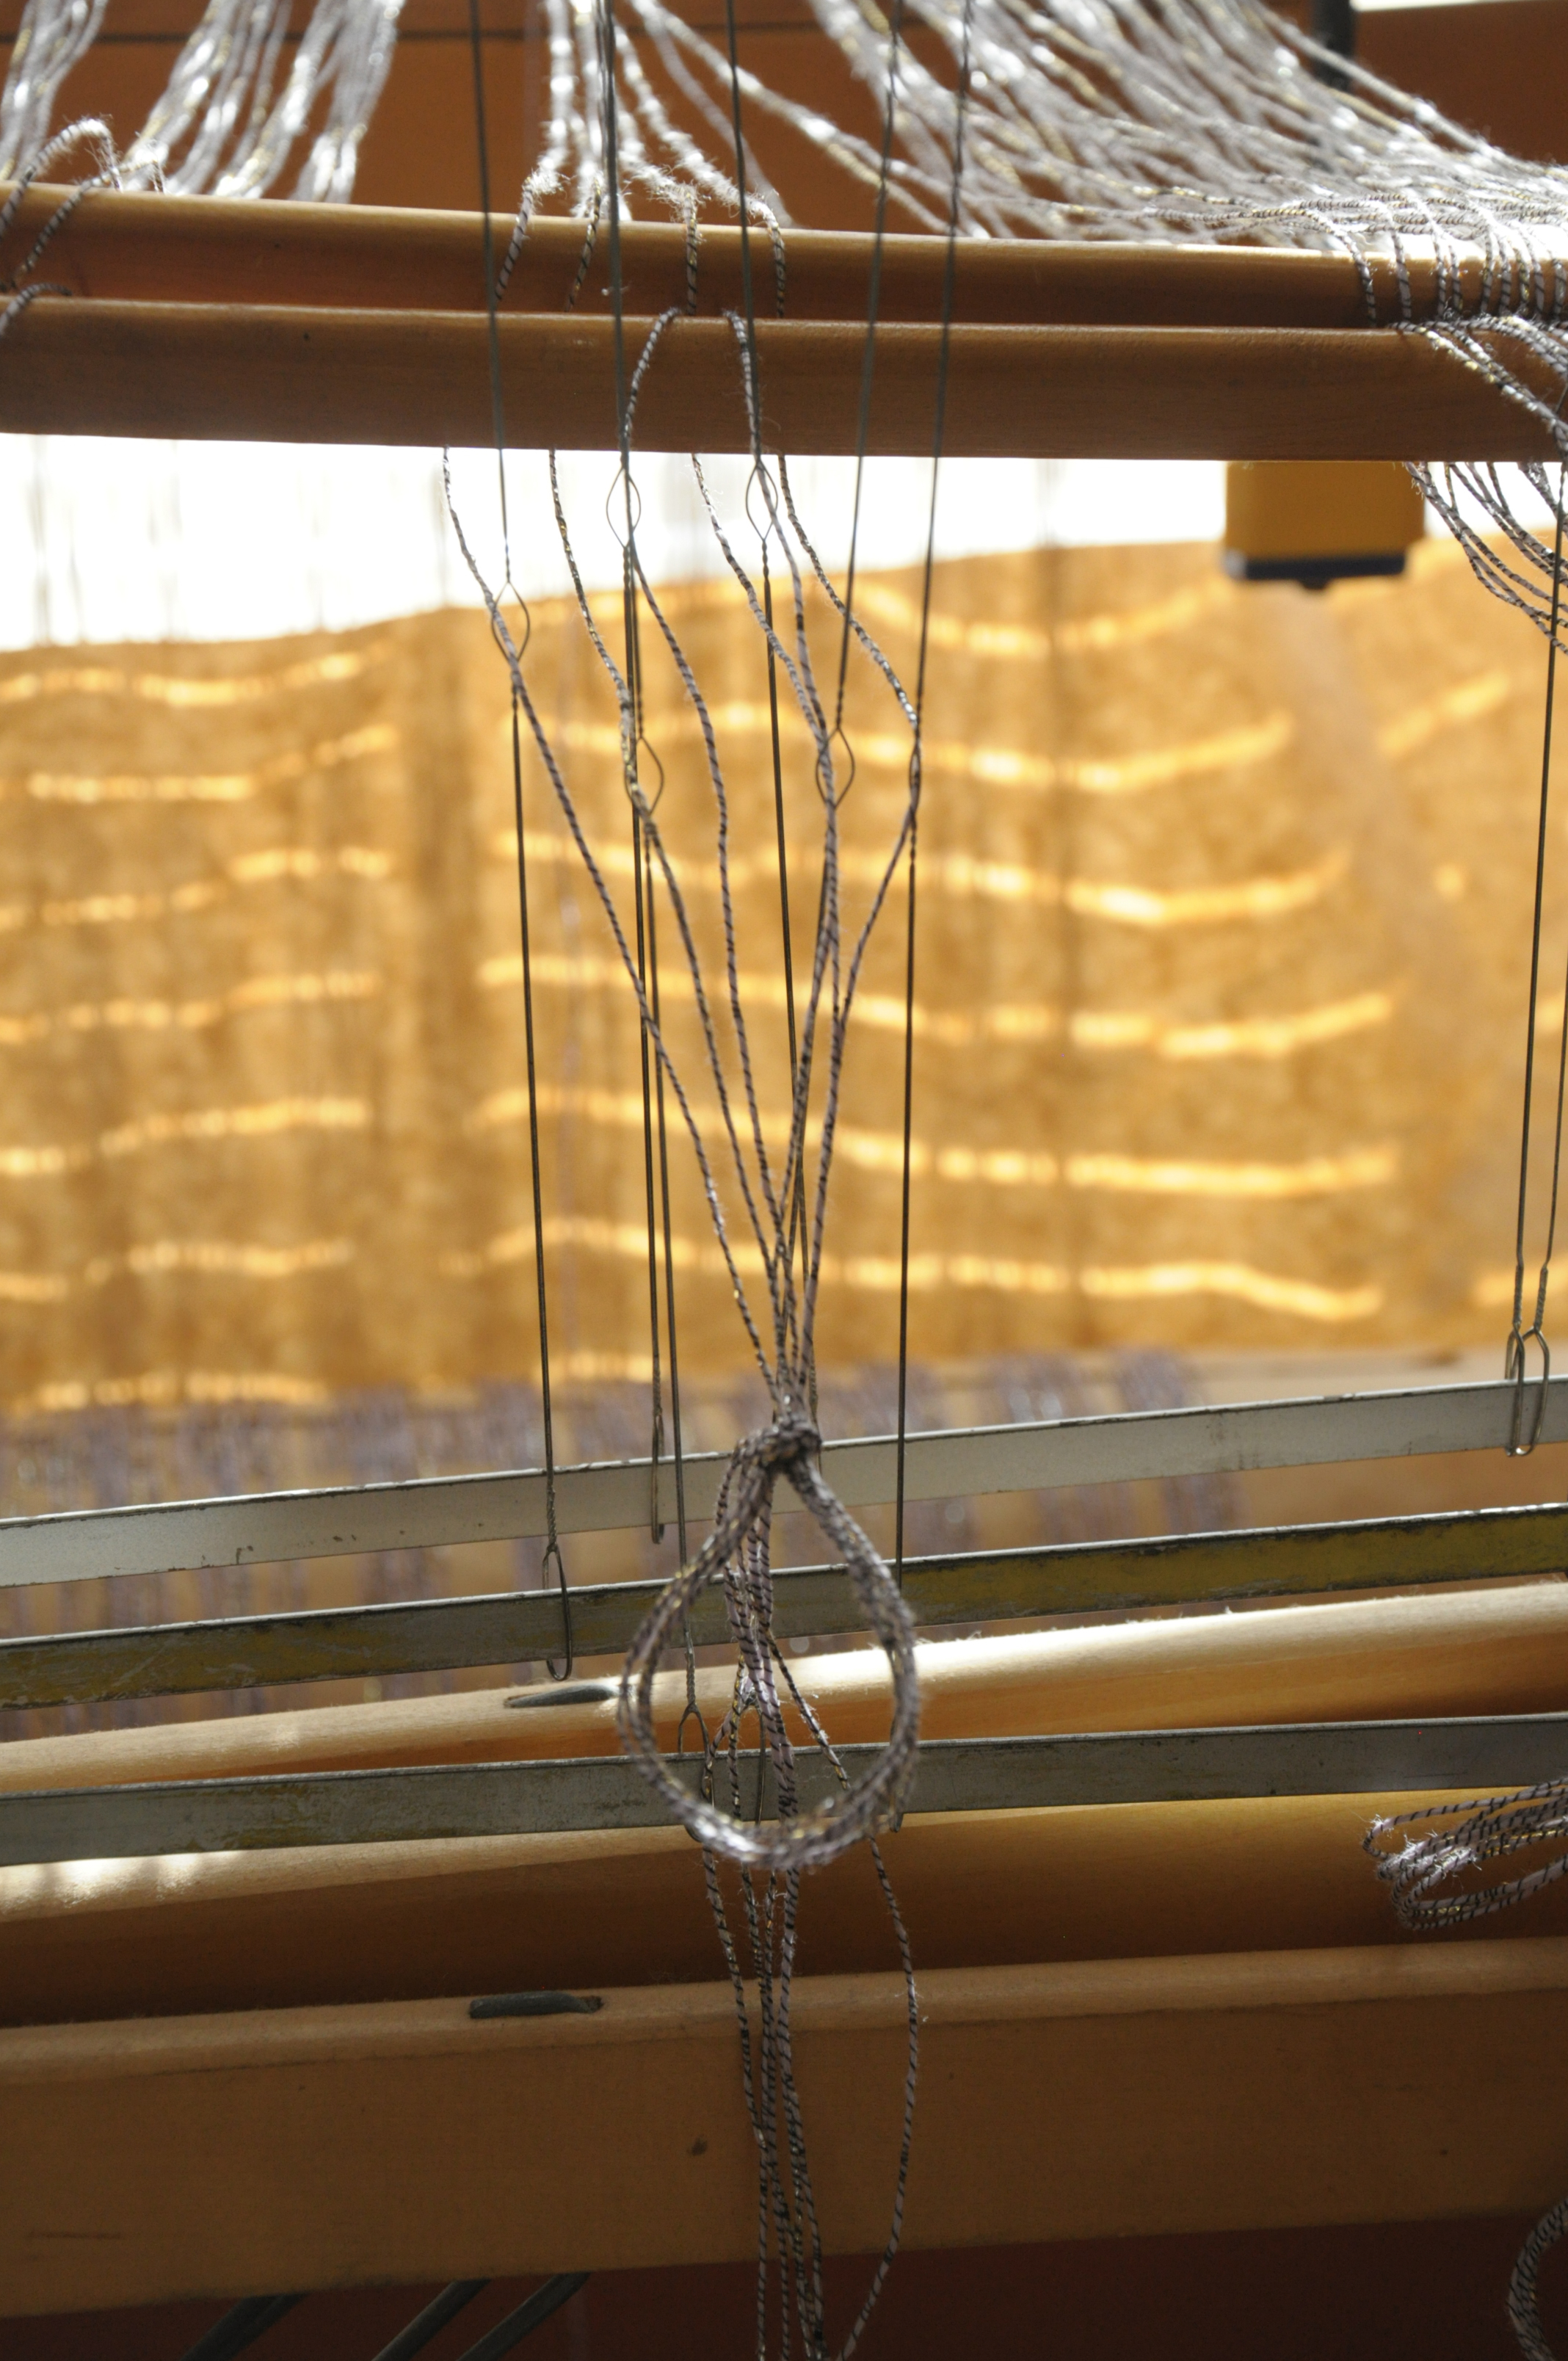
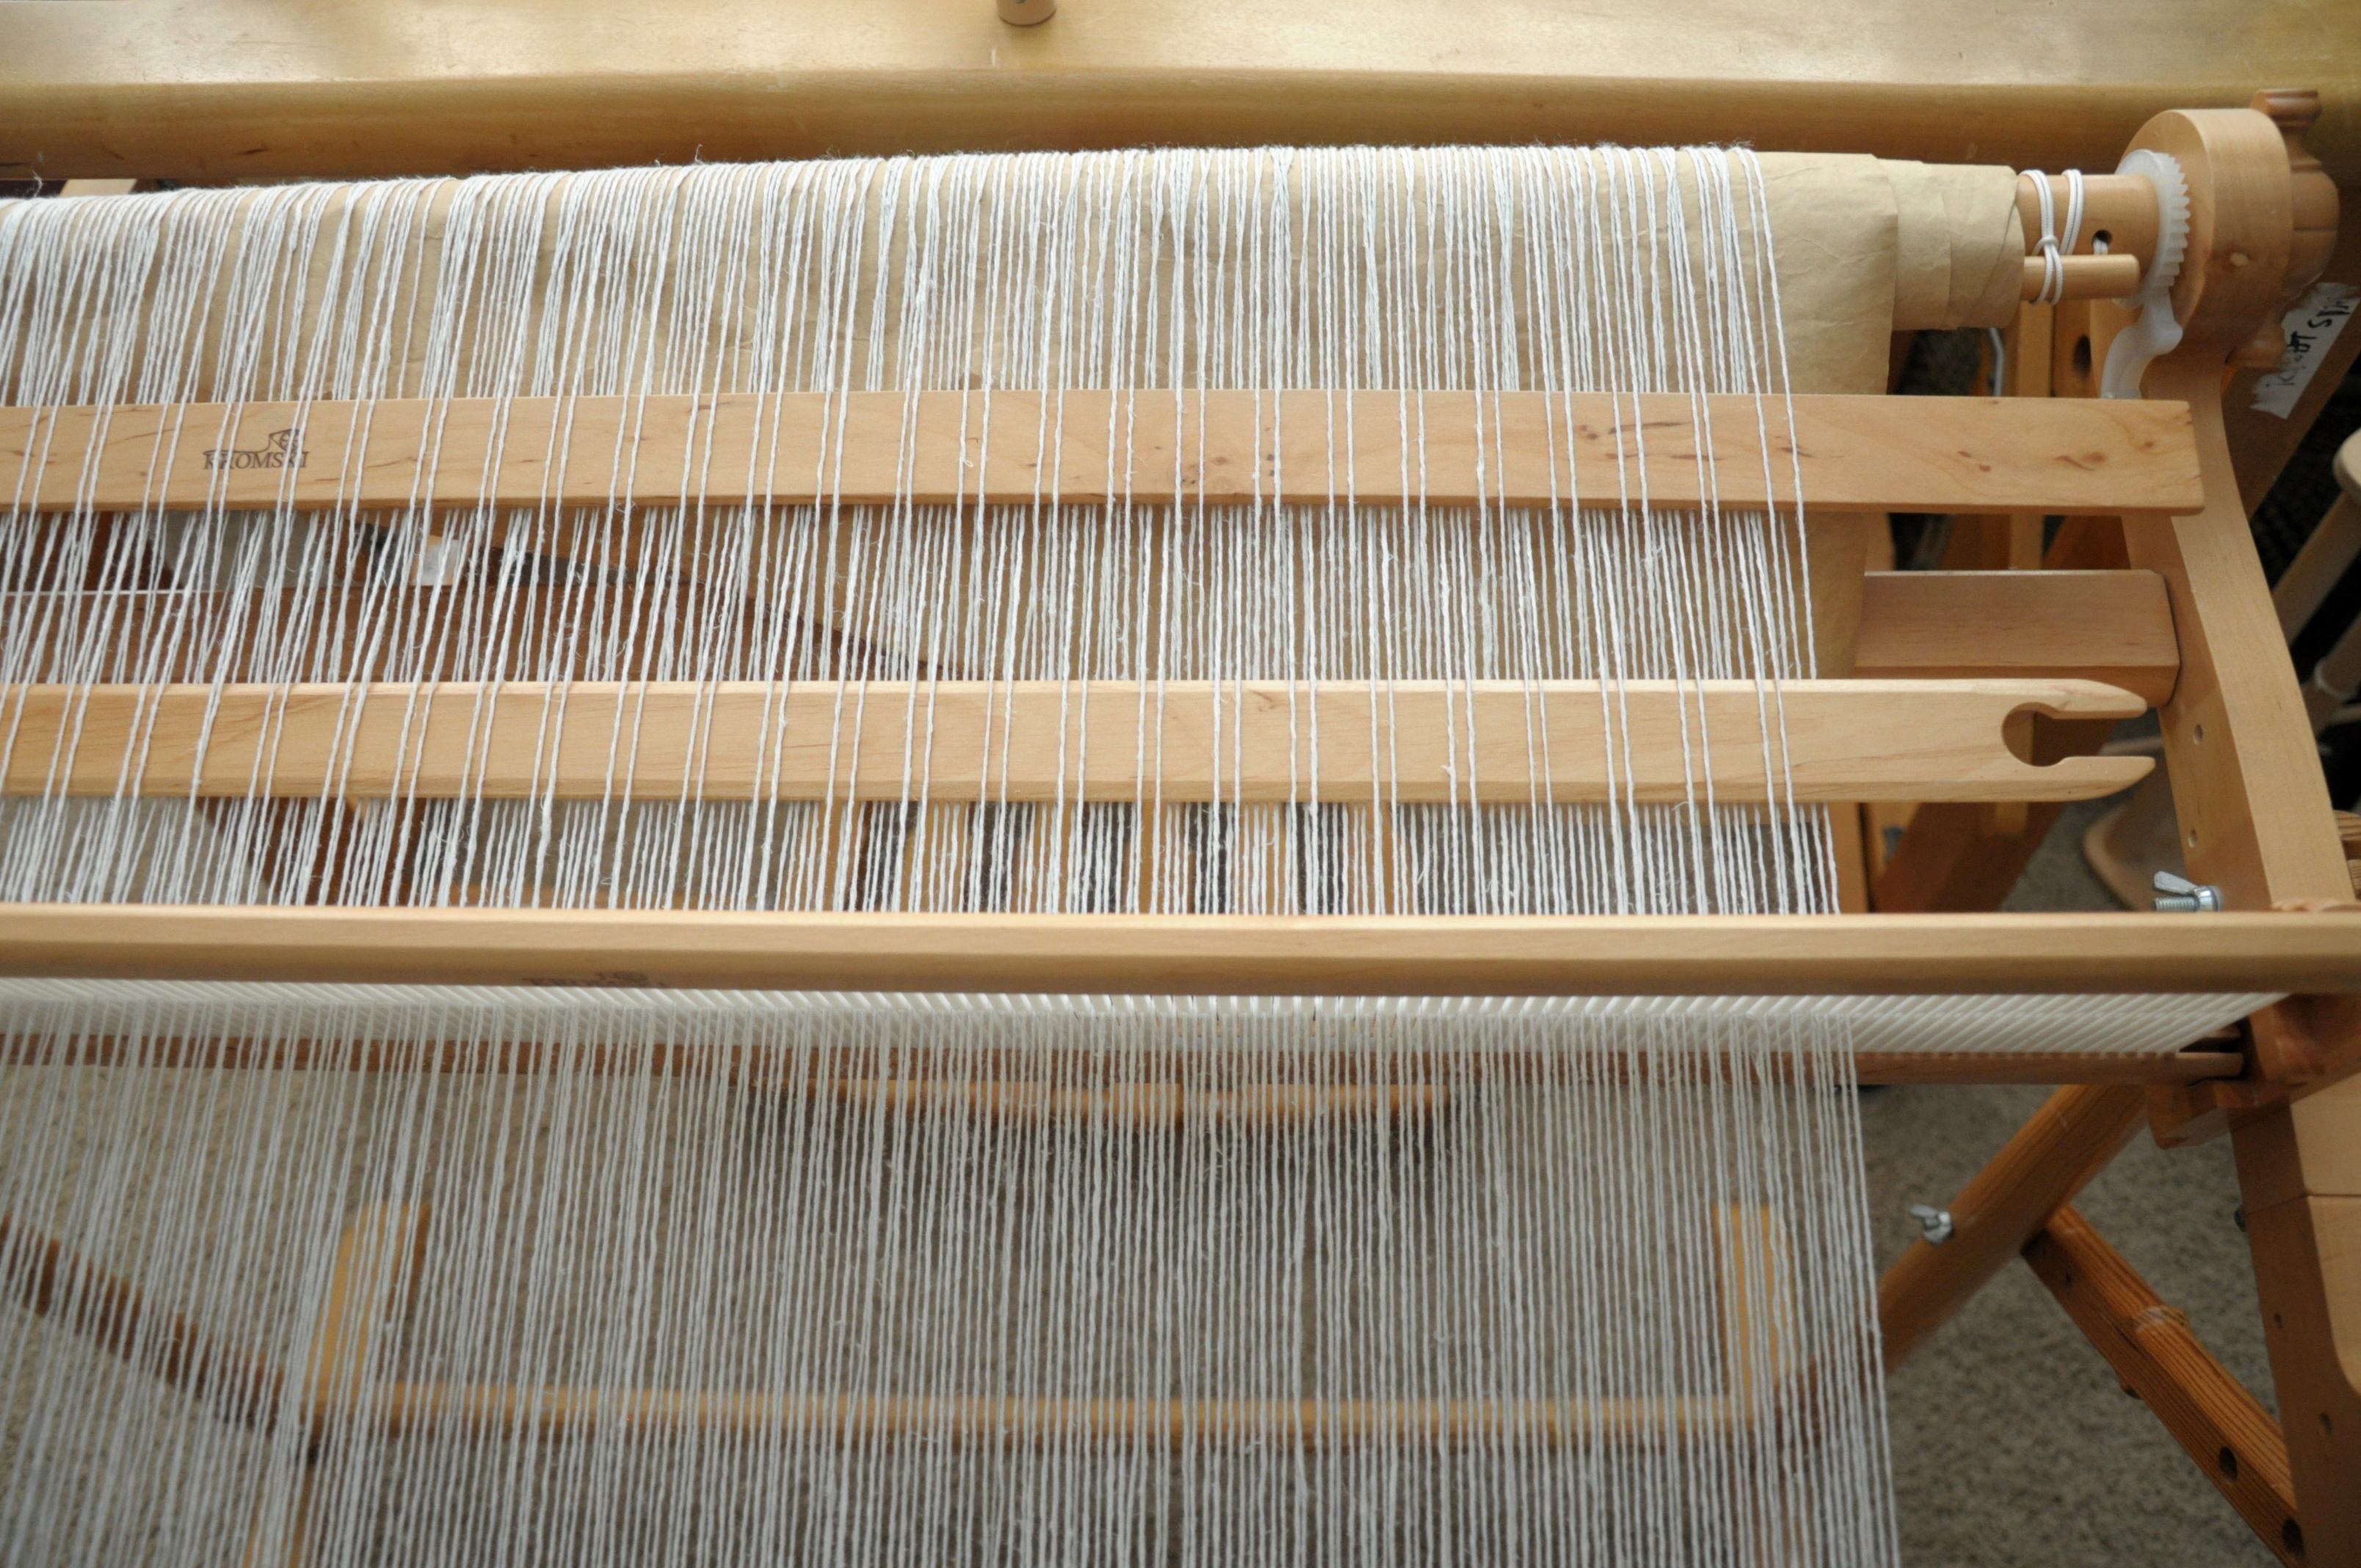
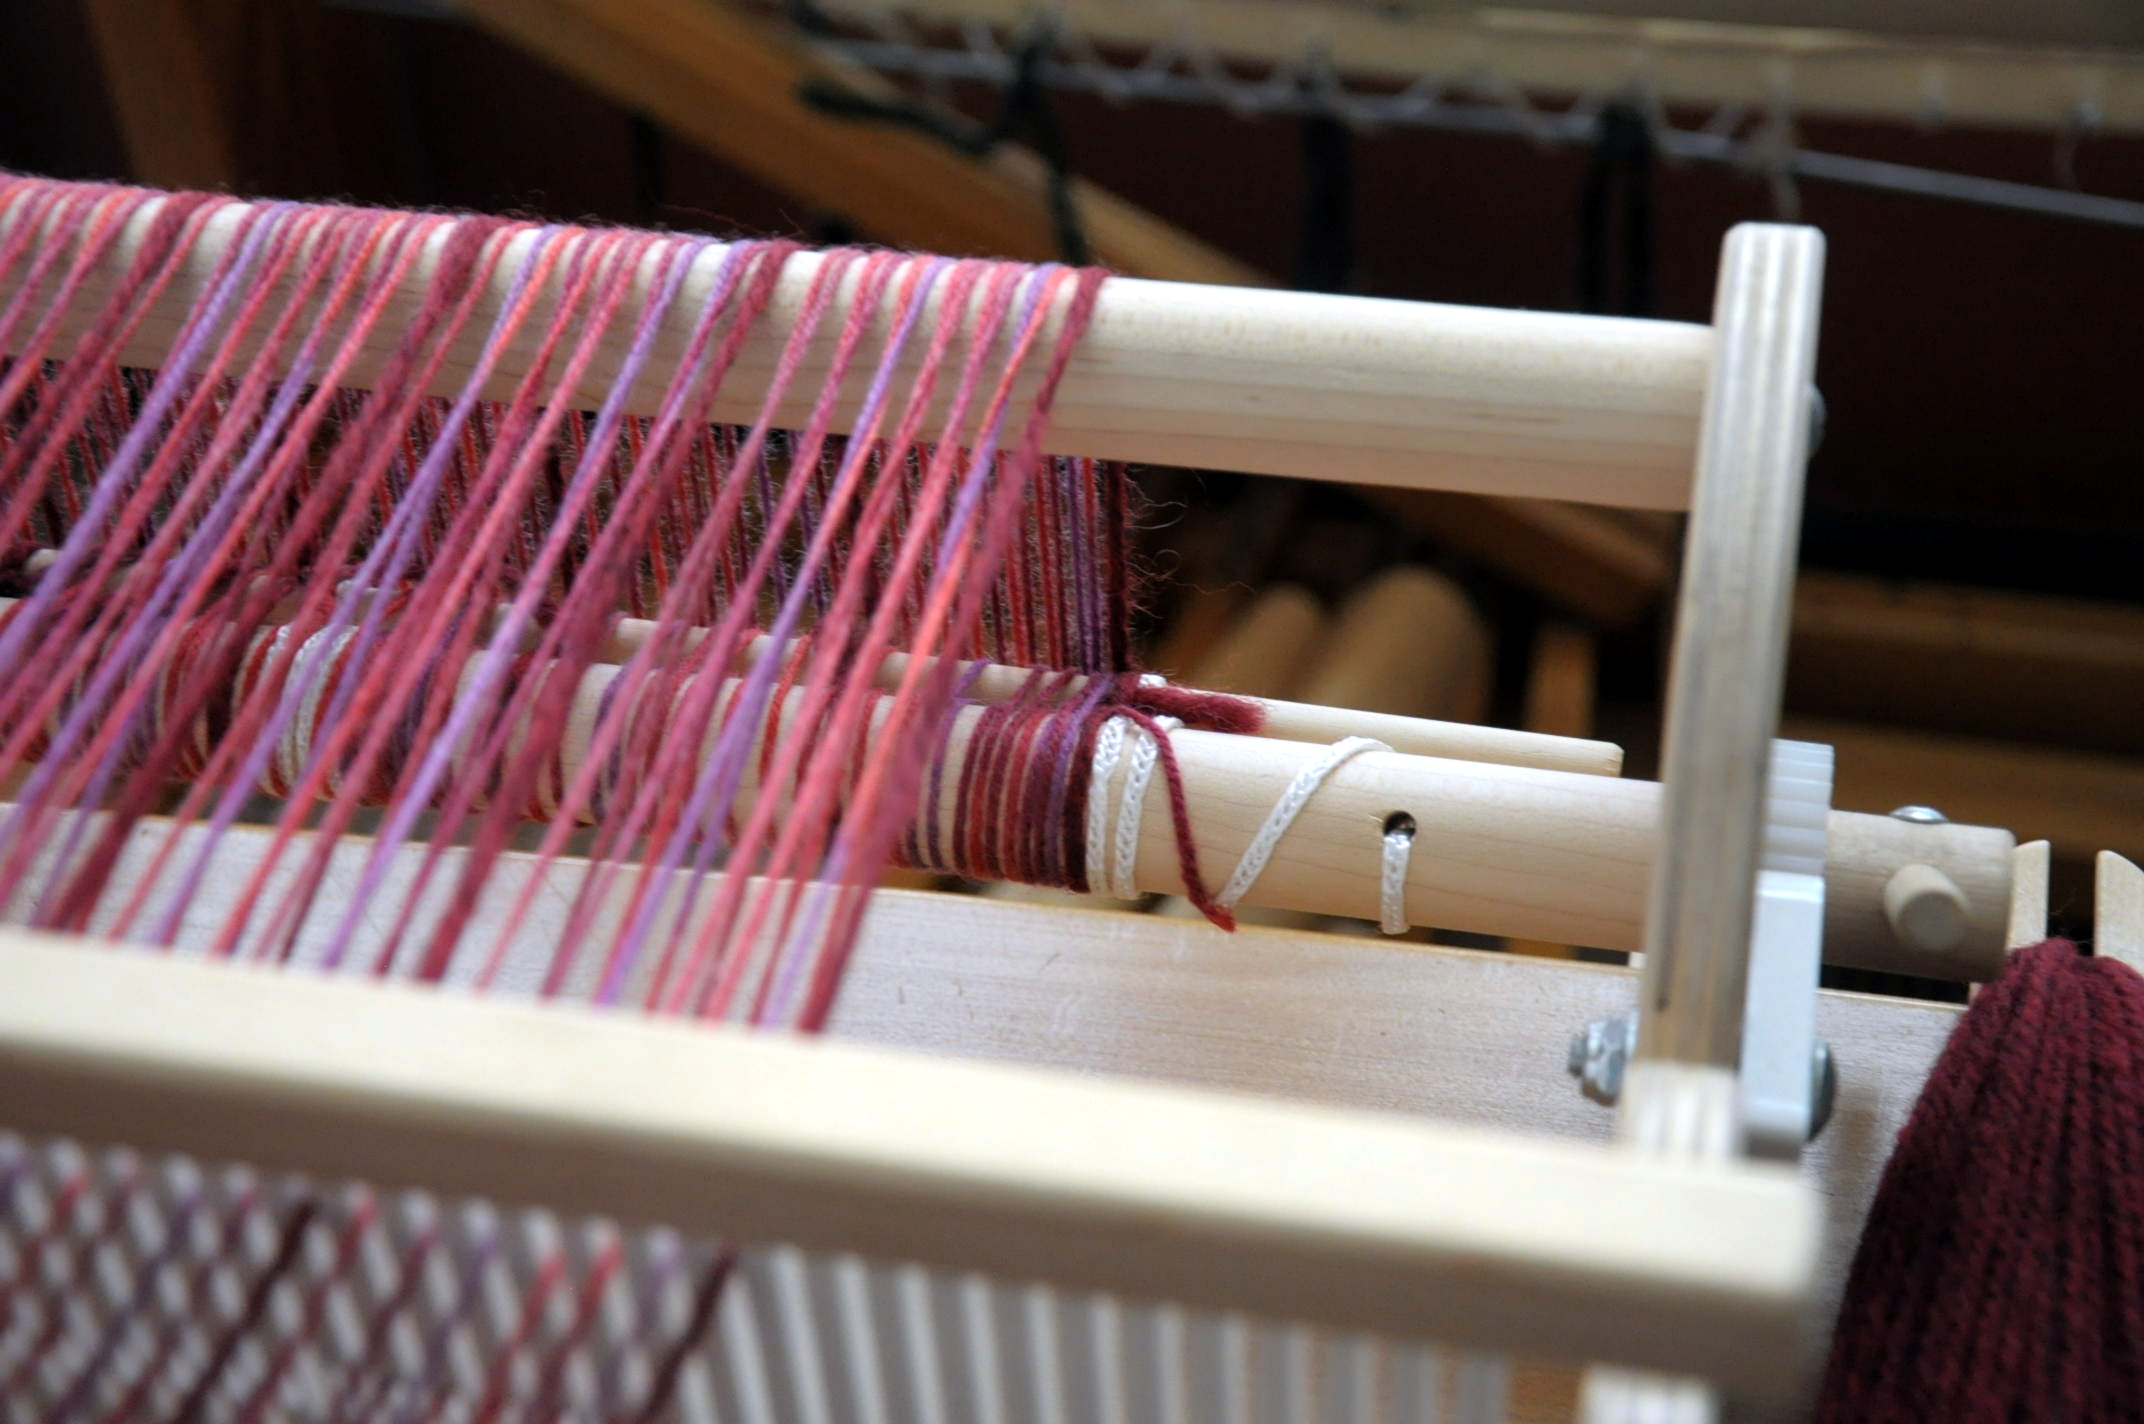
Last time on Weaving Wednesday, I talked about warping for my lace stole in Universe.  Once I got over relearning how to warp my floor loom, it was smooth sailing!

Here are the specs on this project:

  • Yarn: Universe, color 10-07 Woolen
  • Reed: 10 dent
  • Total ends: 241
  • Width on loom: 24″ (desired finished width is 20″)
  • Warp Length: 100″ (desired finished length is 60″)

(Update: There is now a written version of this pattern available here)

My warp is 40″ longer than my desired length. I know that there will be a good 10% take-up in finishing. Plus I left plenty of extra length at each end for fringe.

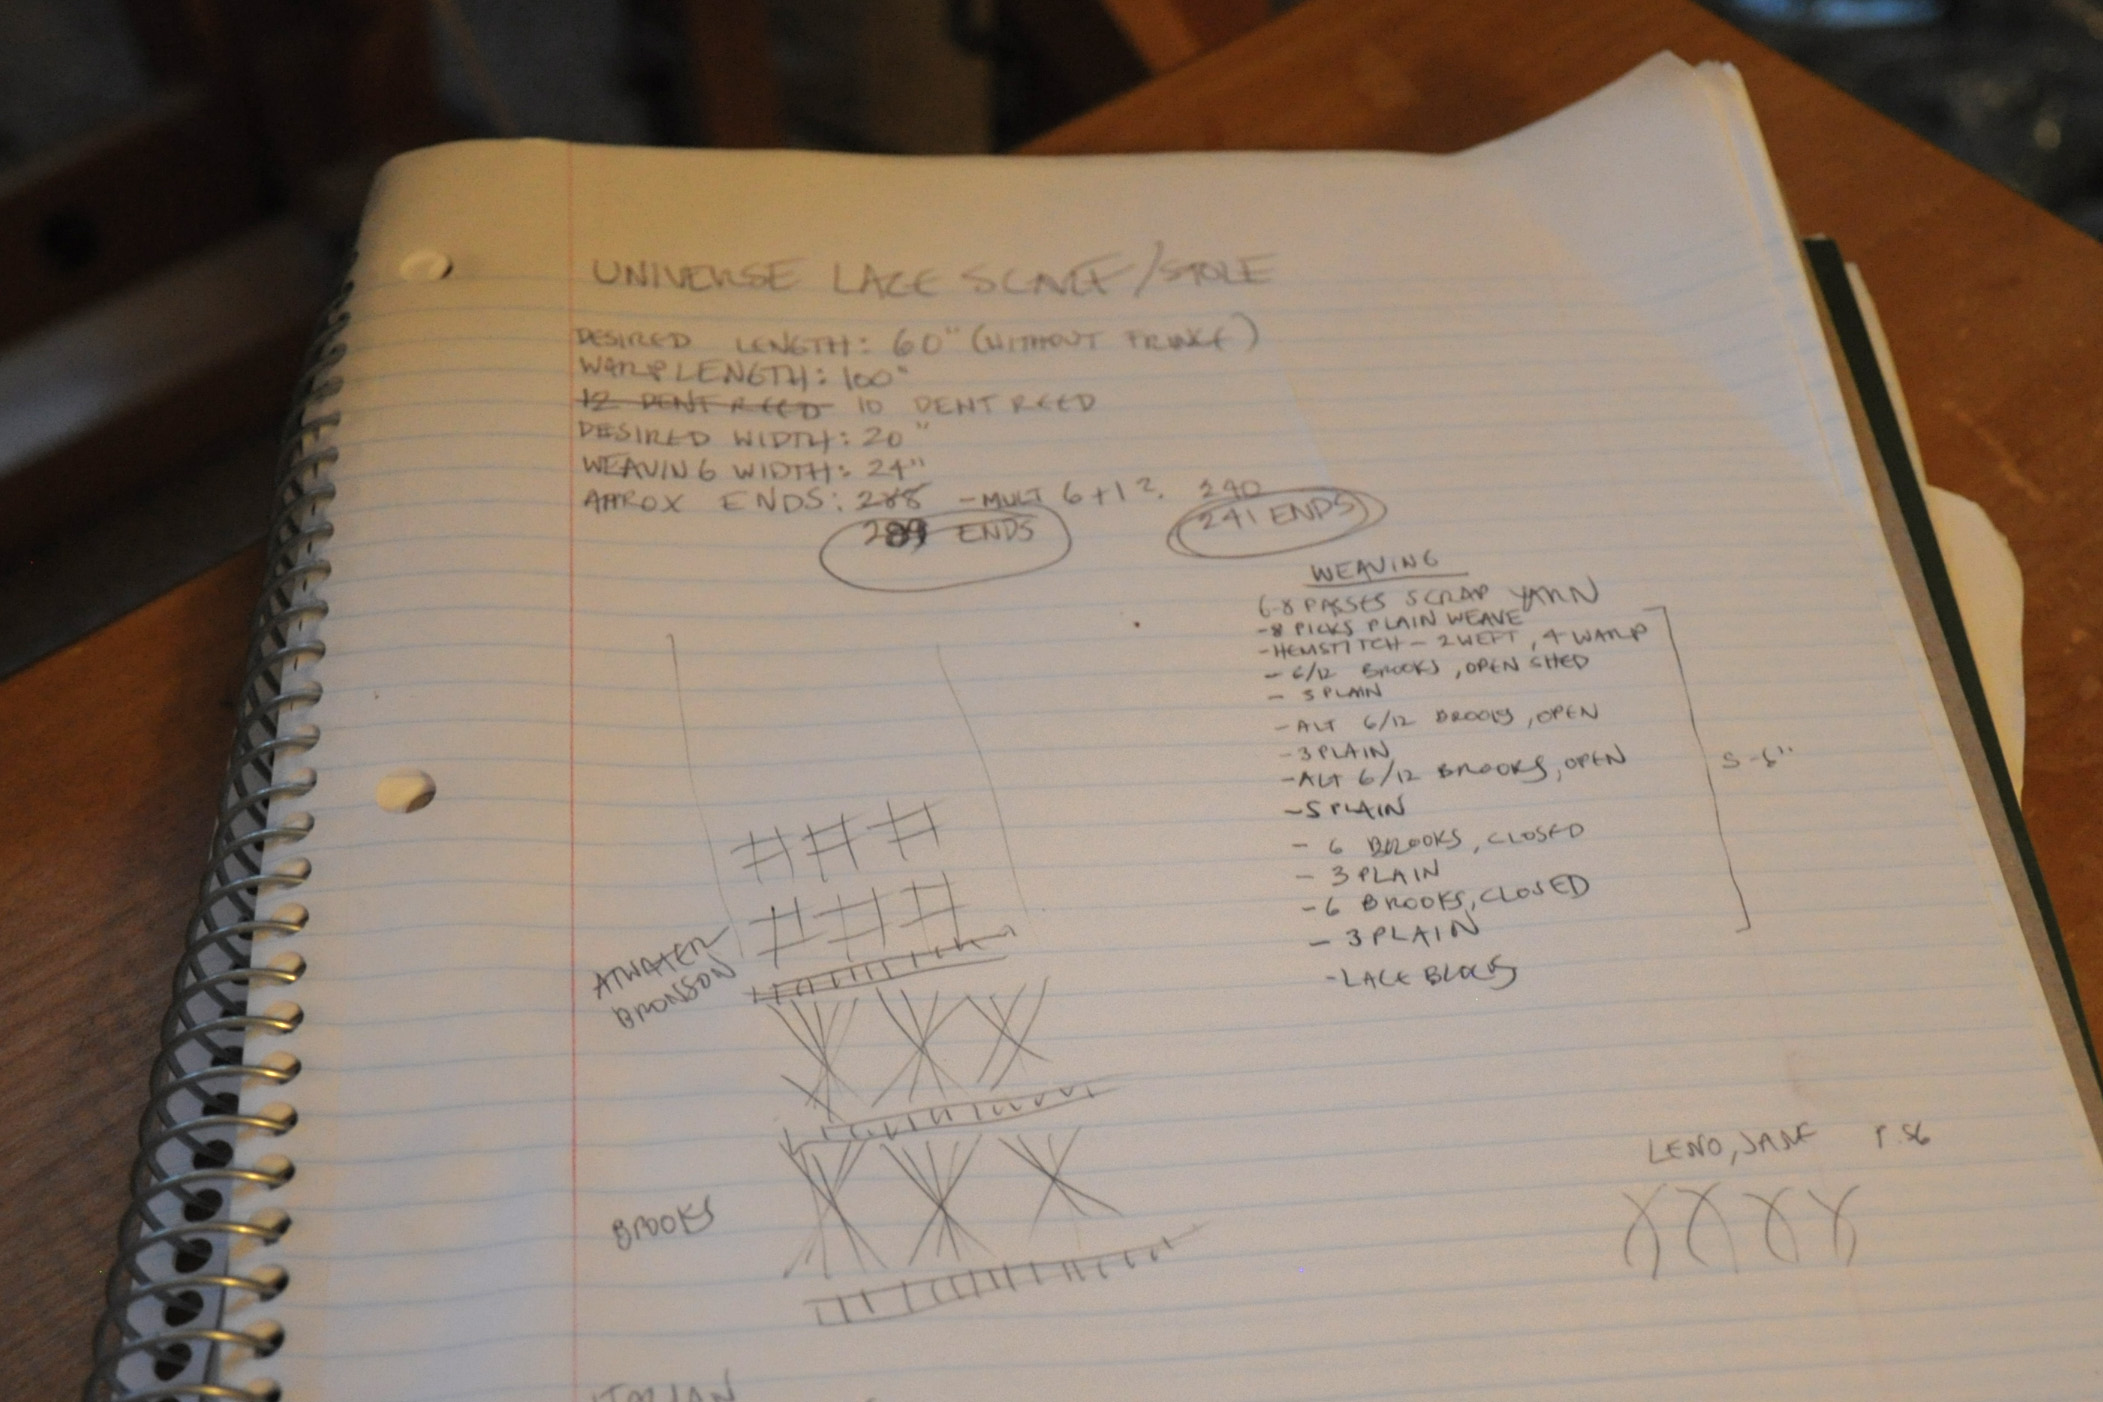
Since I knew I was going to be doing some different lace patterns, I actually kept good notes on just what I wove in my beginning header so I could repeat it on the other end – go me!

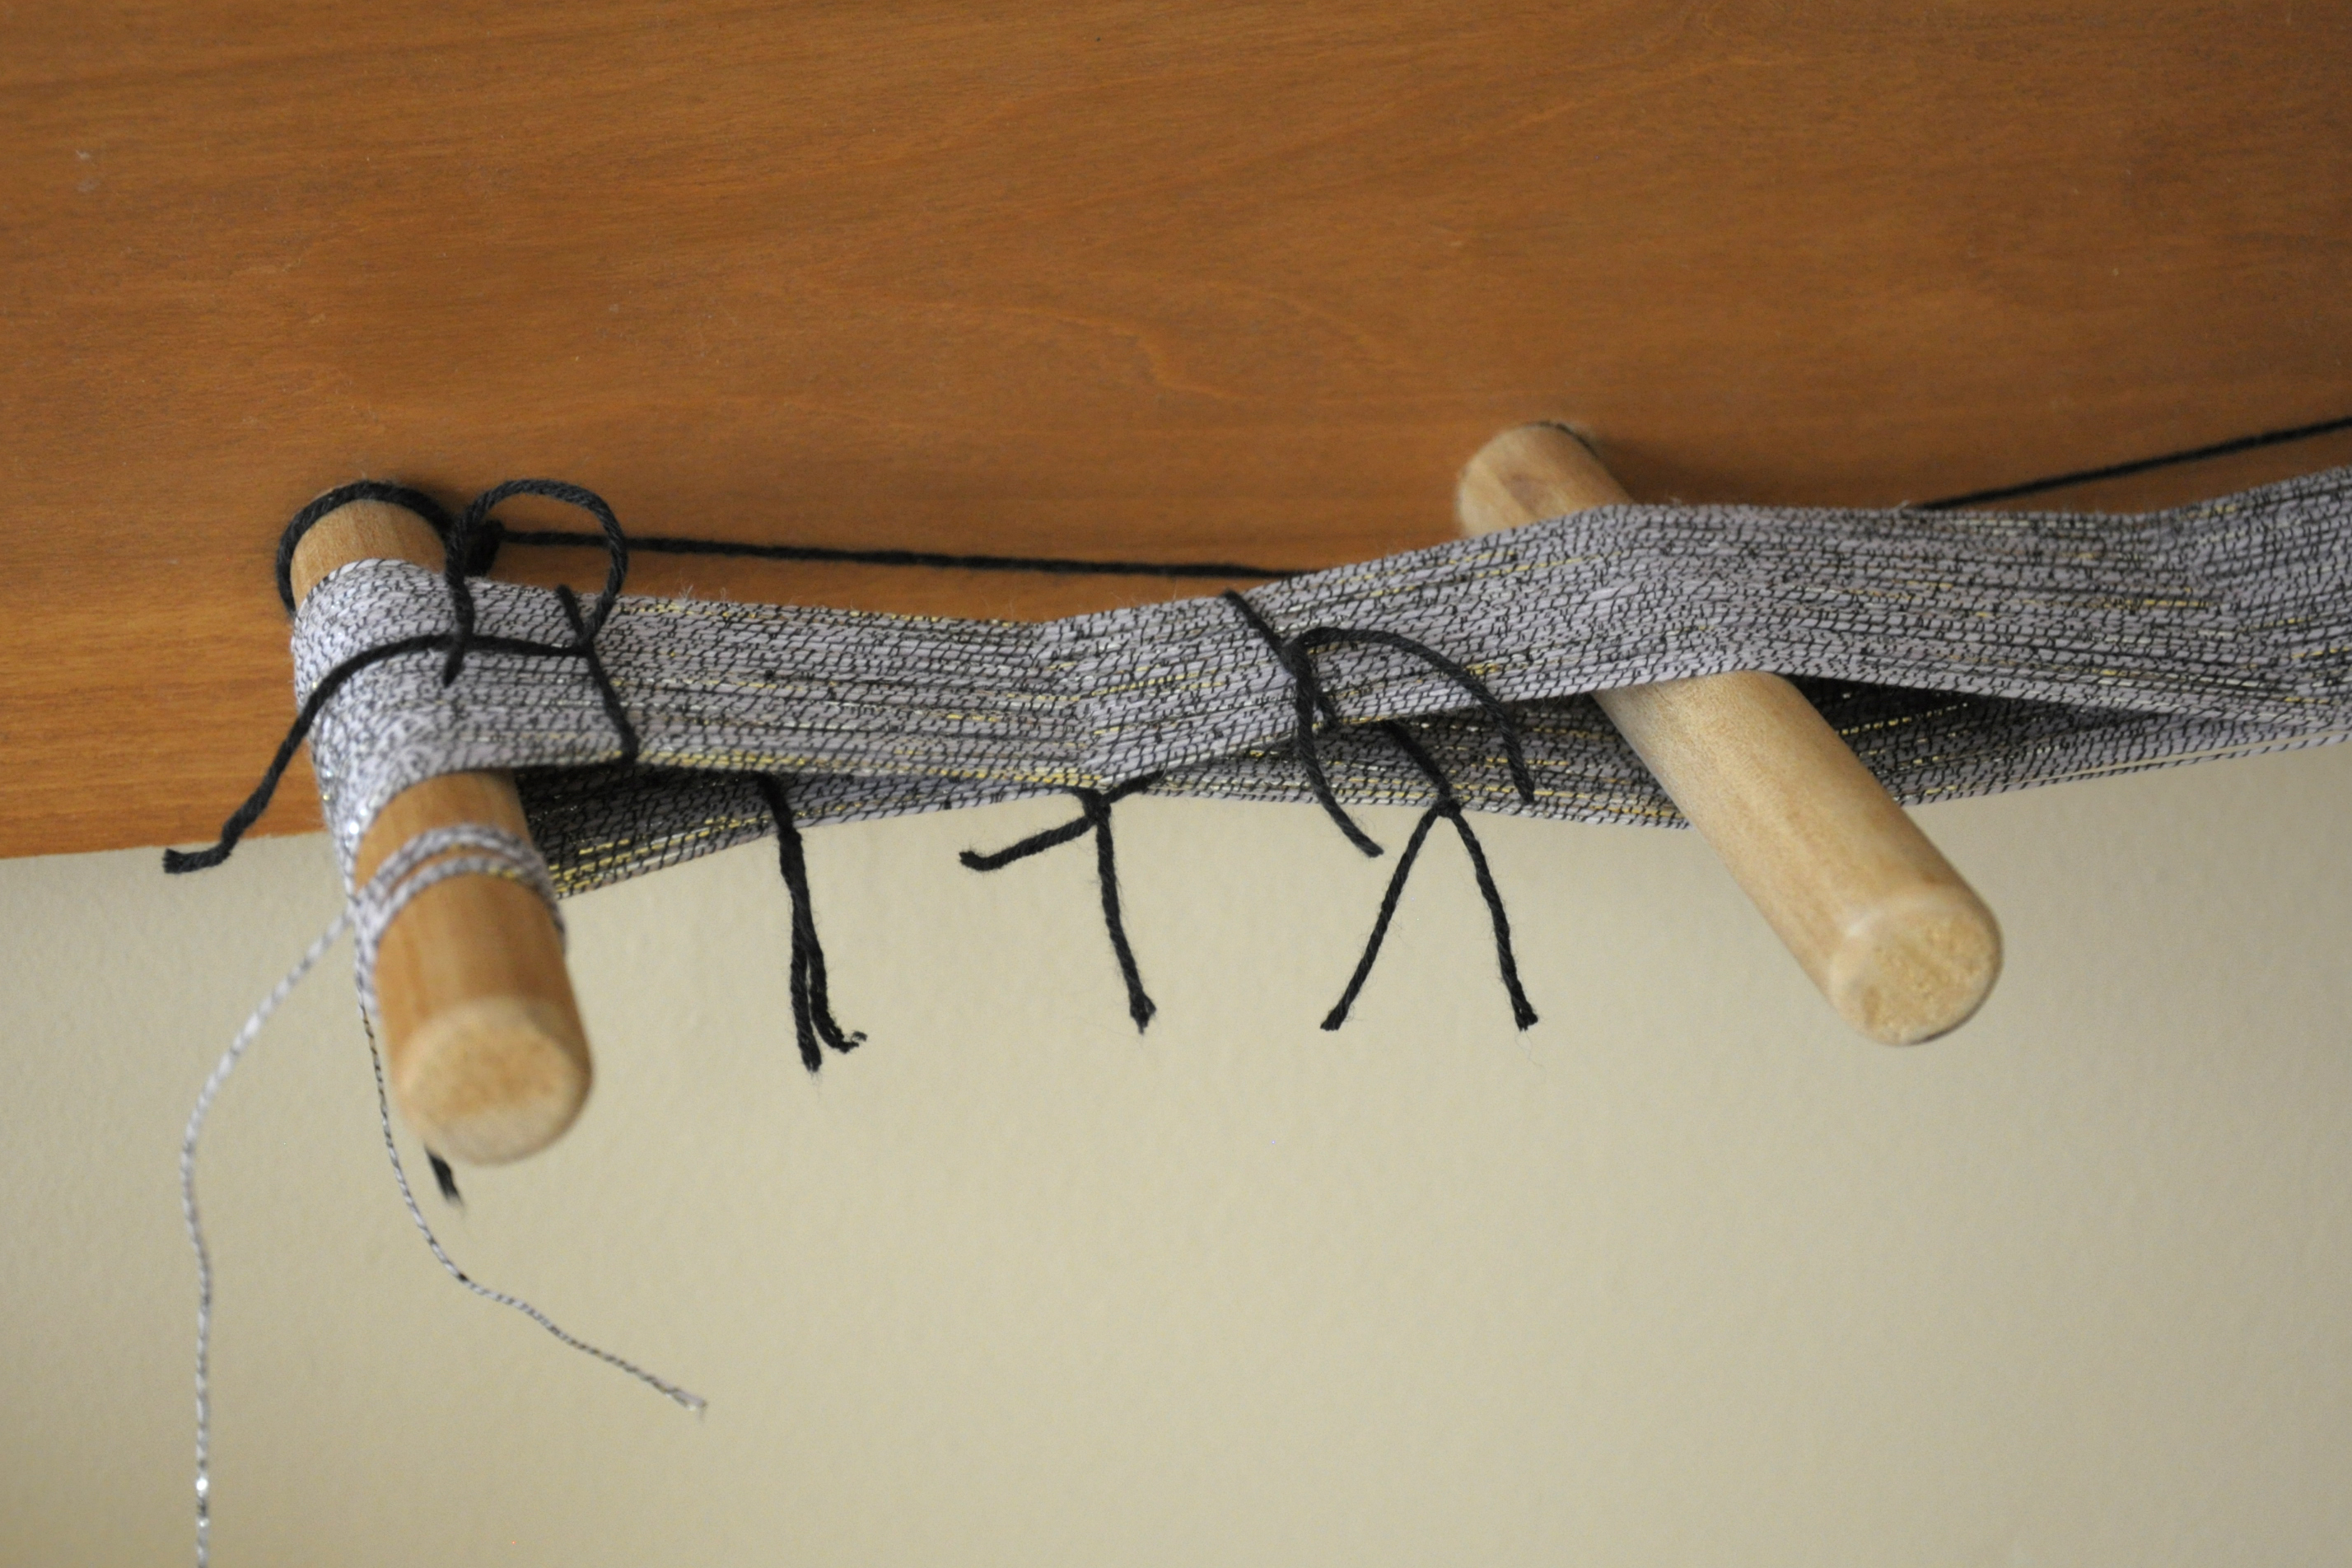
universestole_5

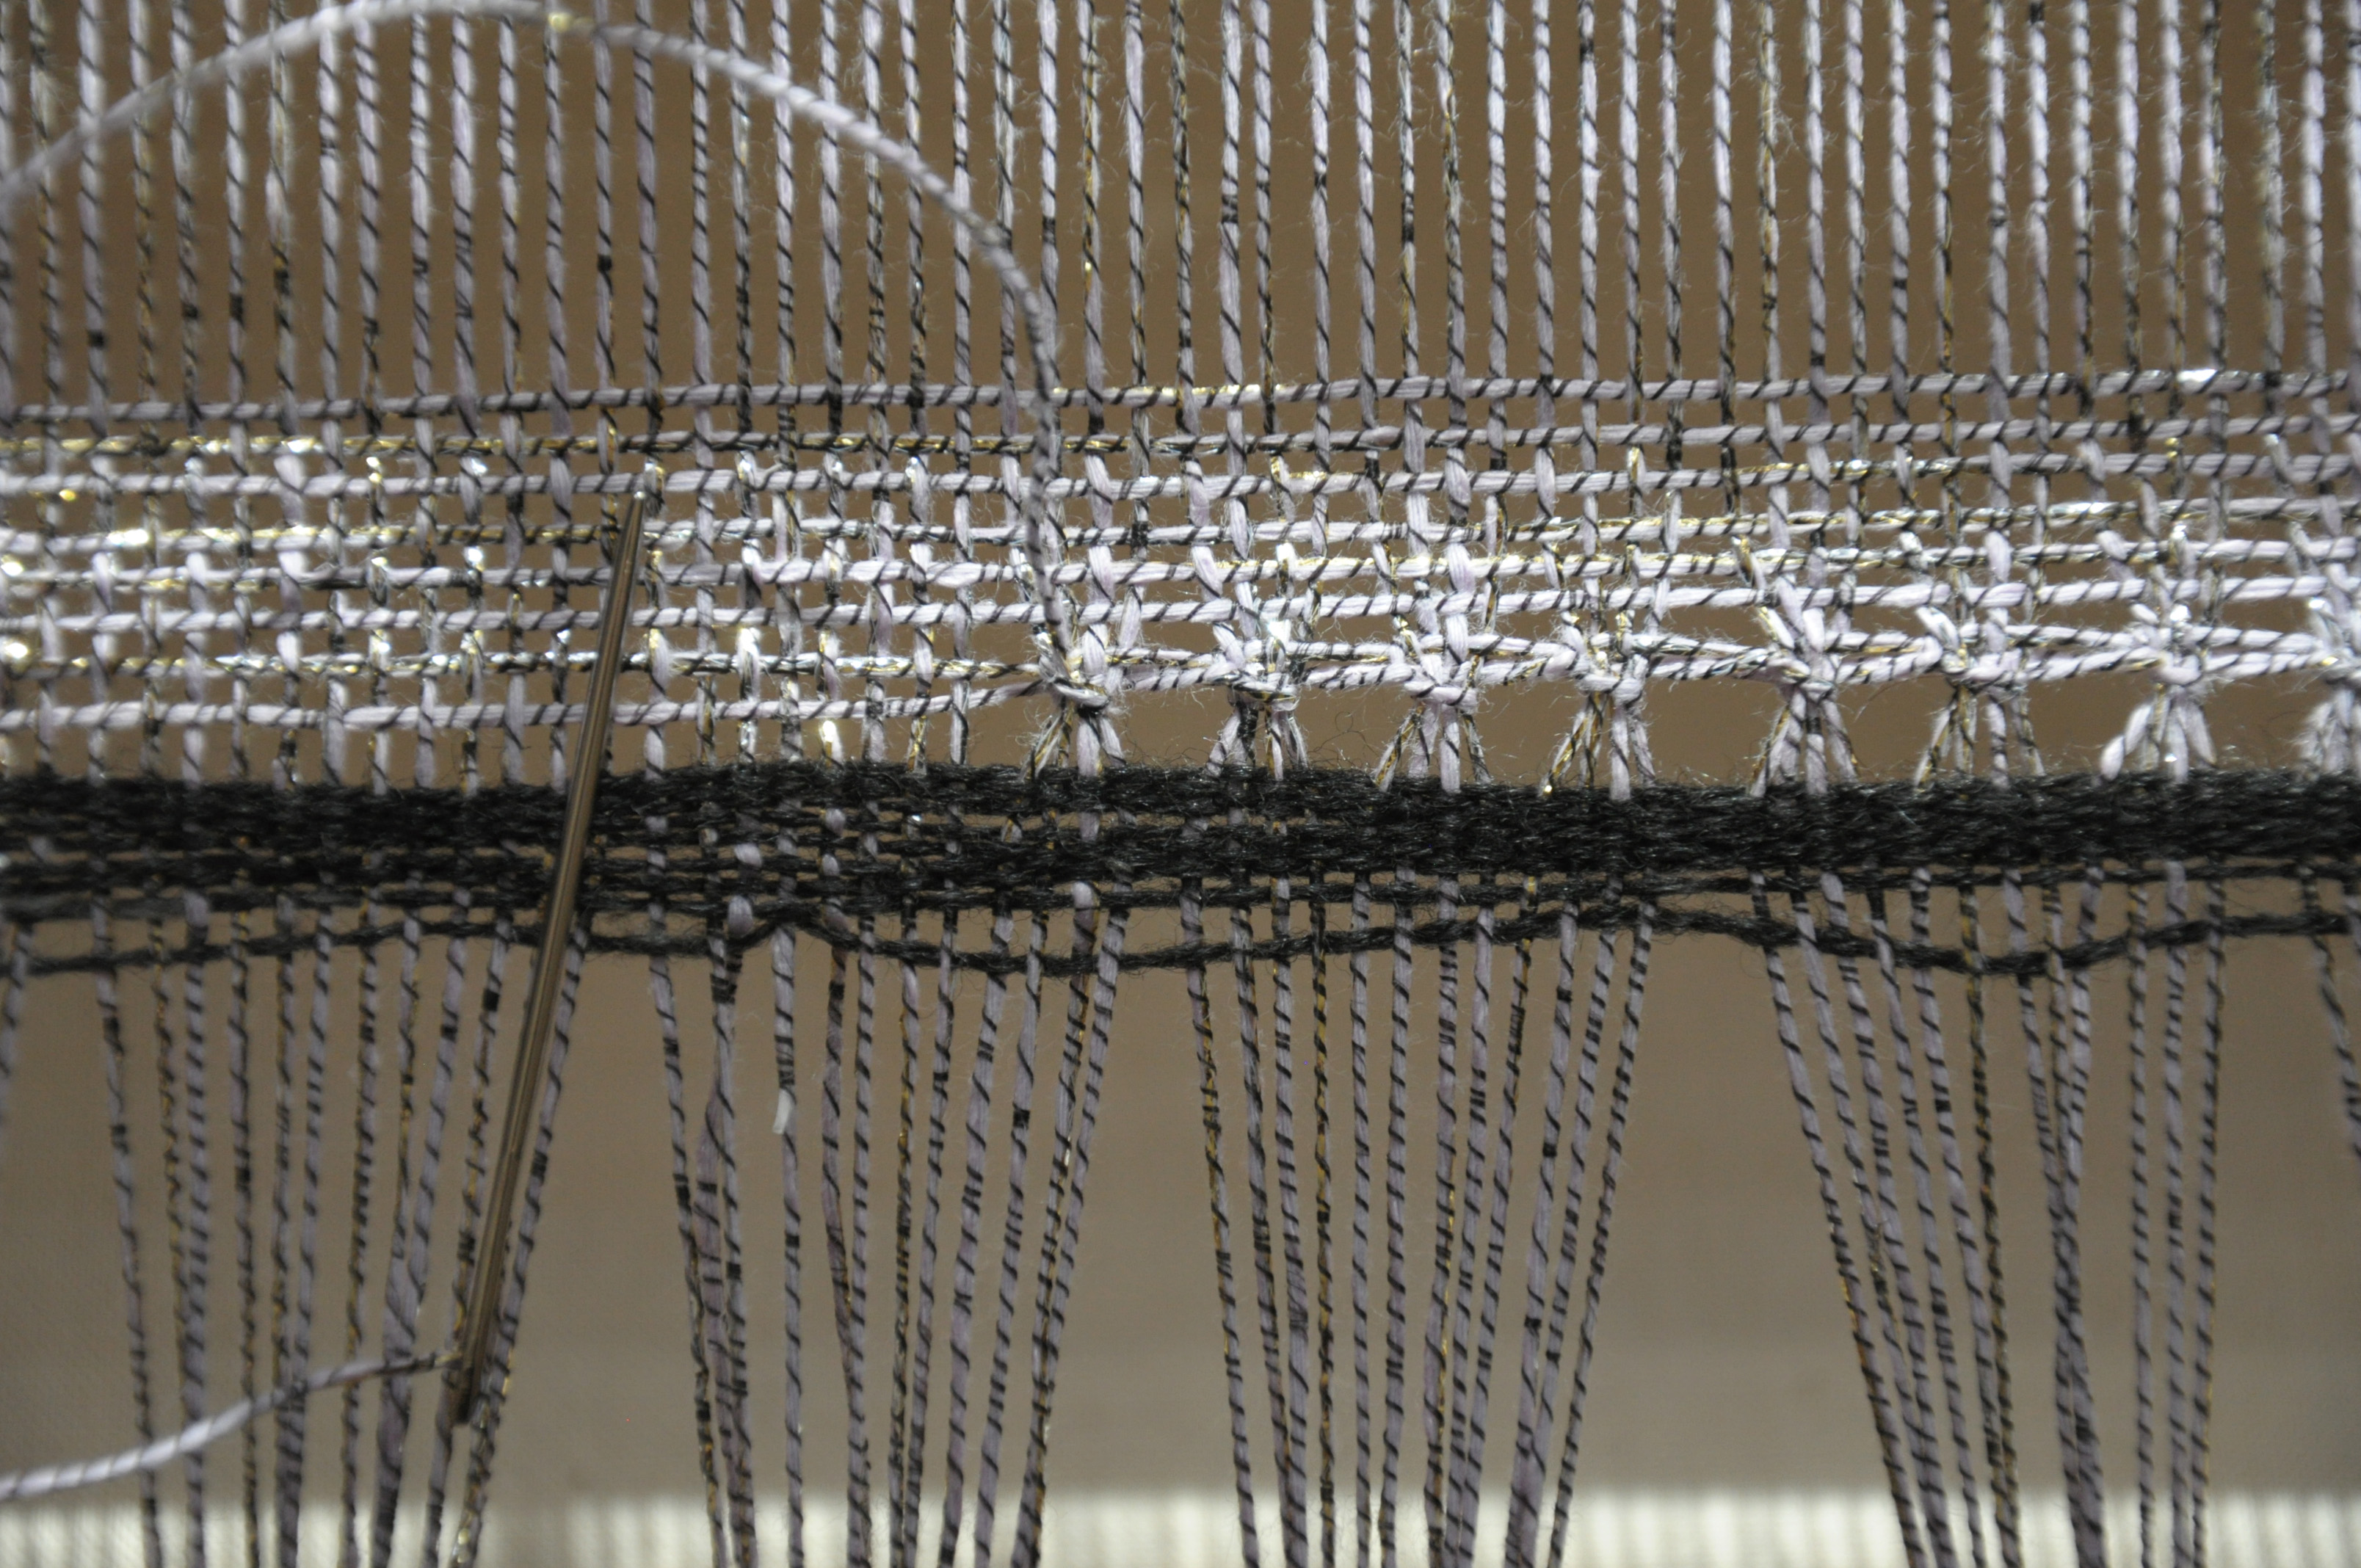
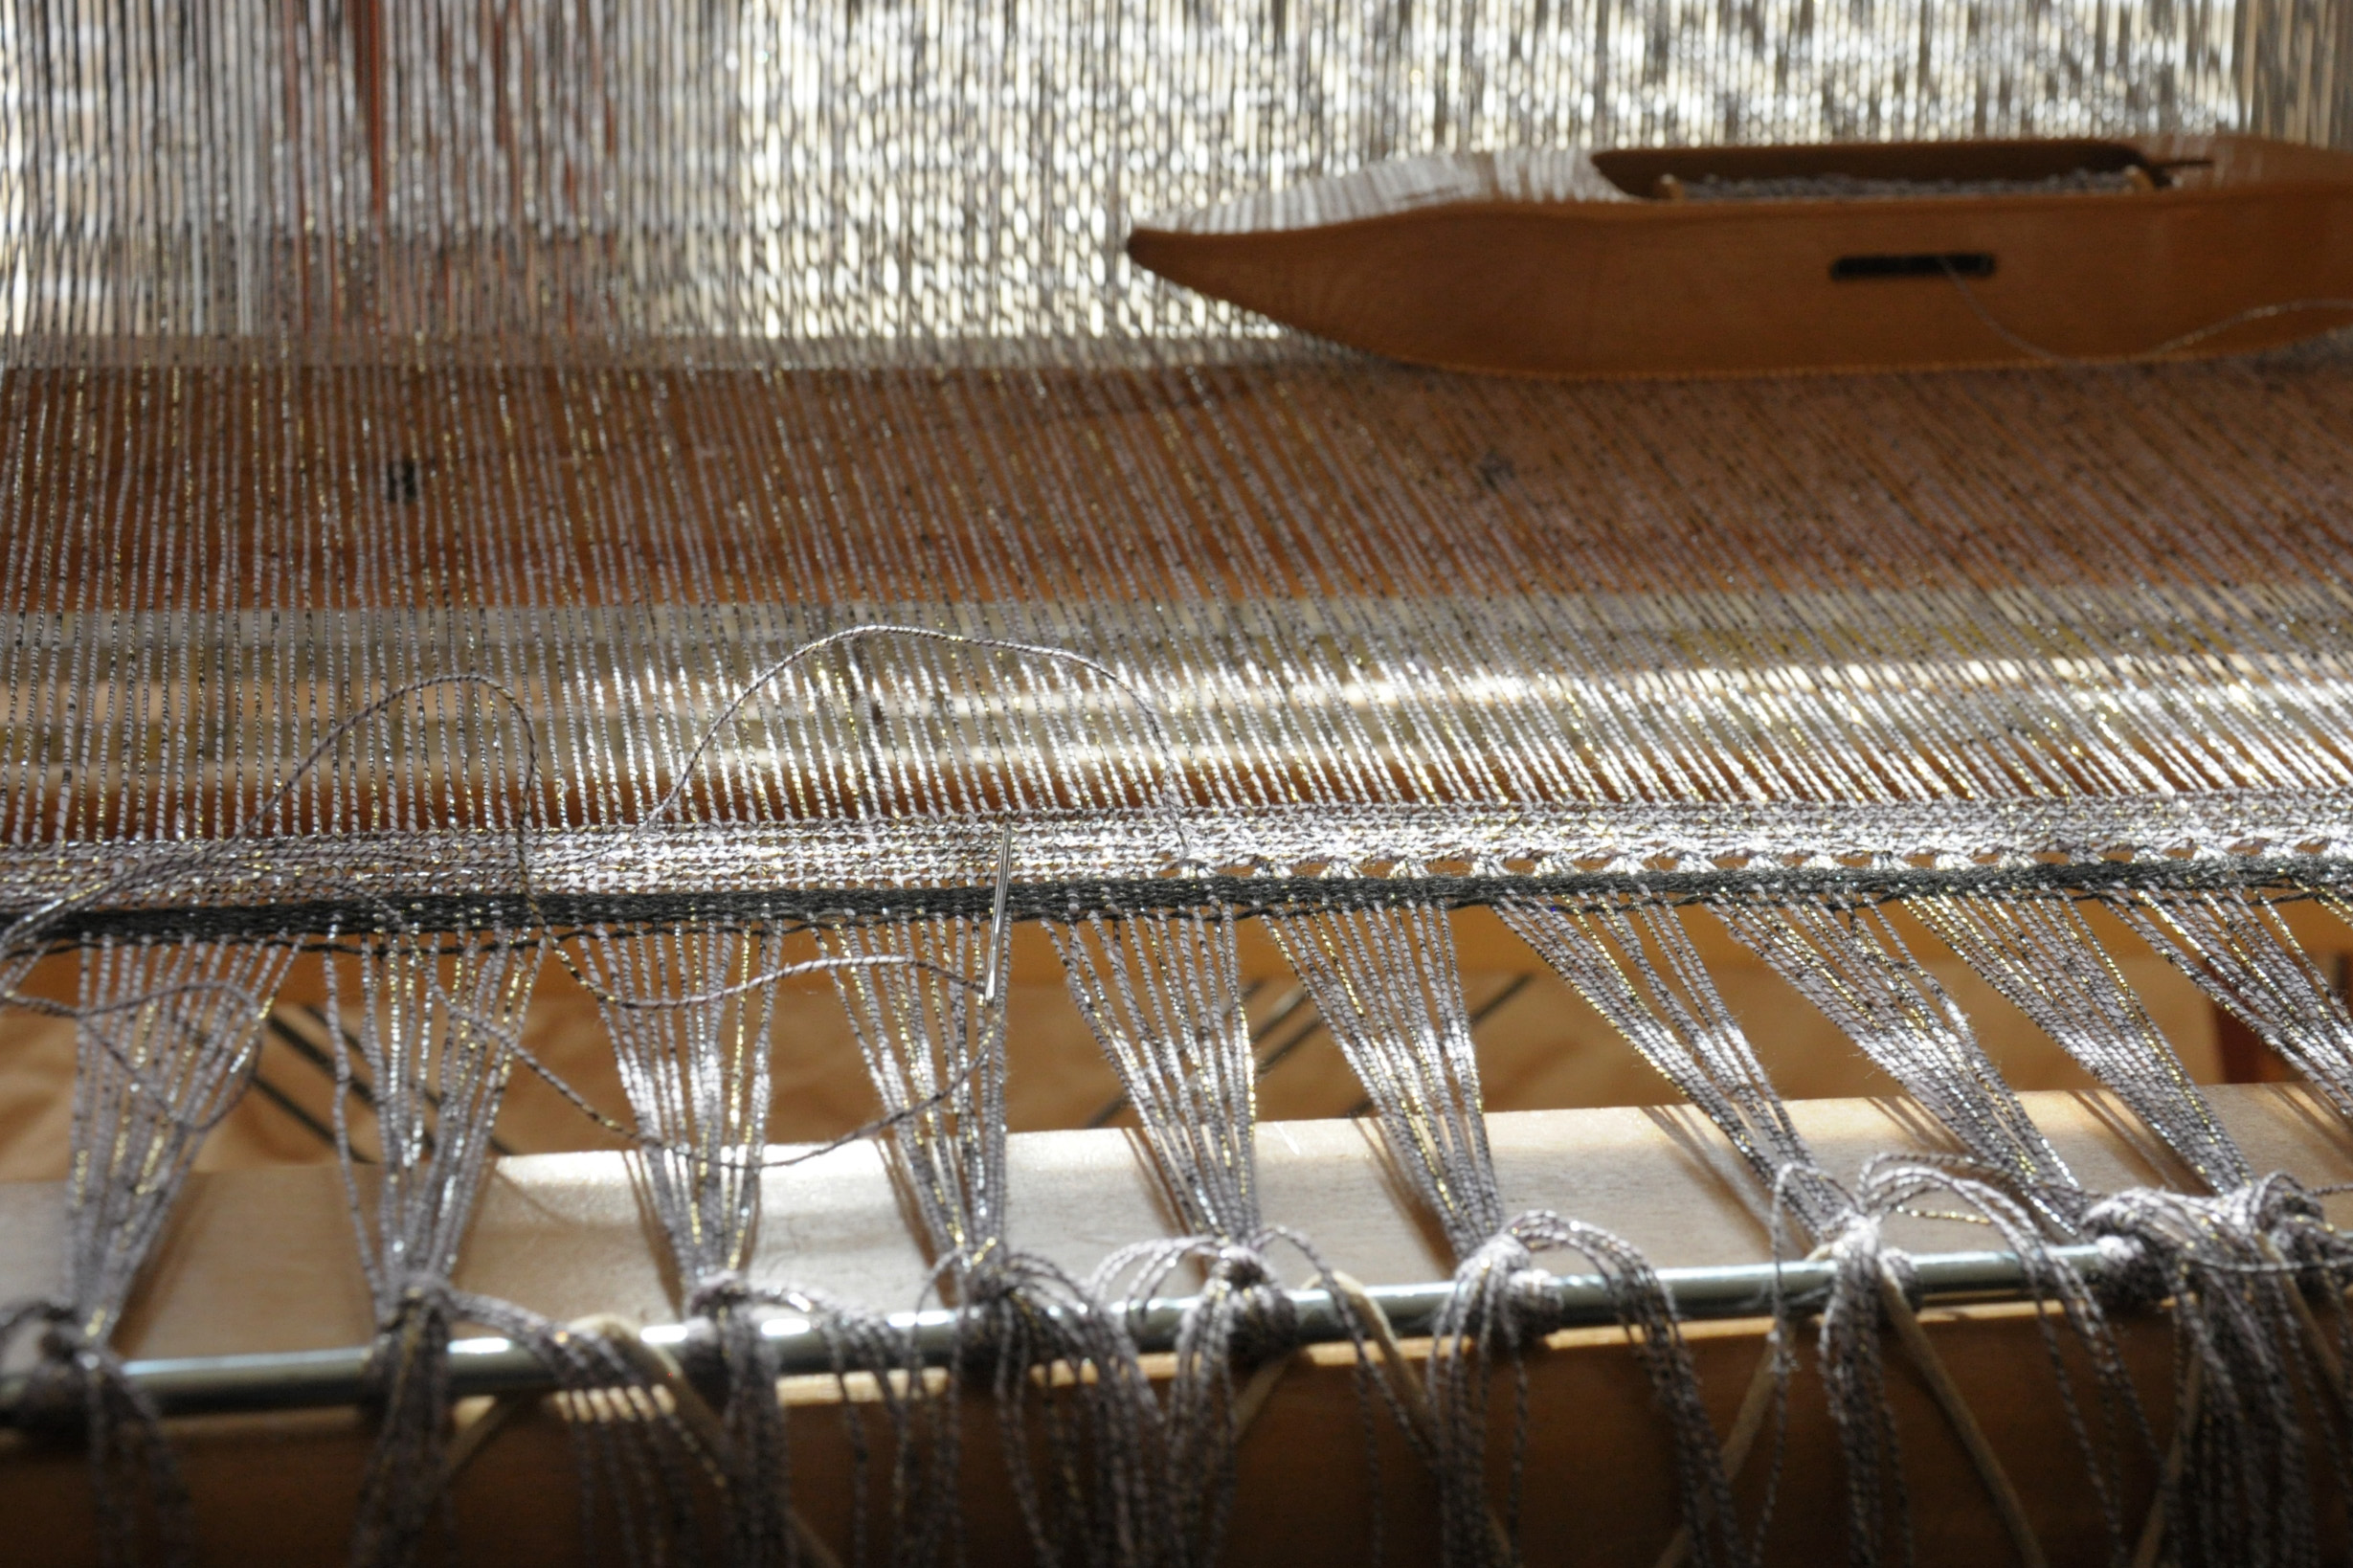
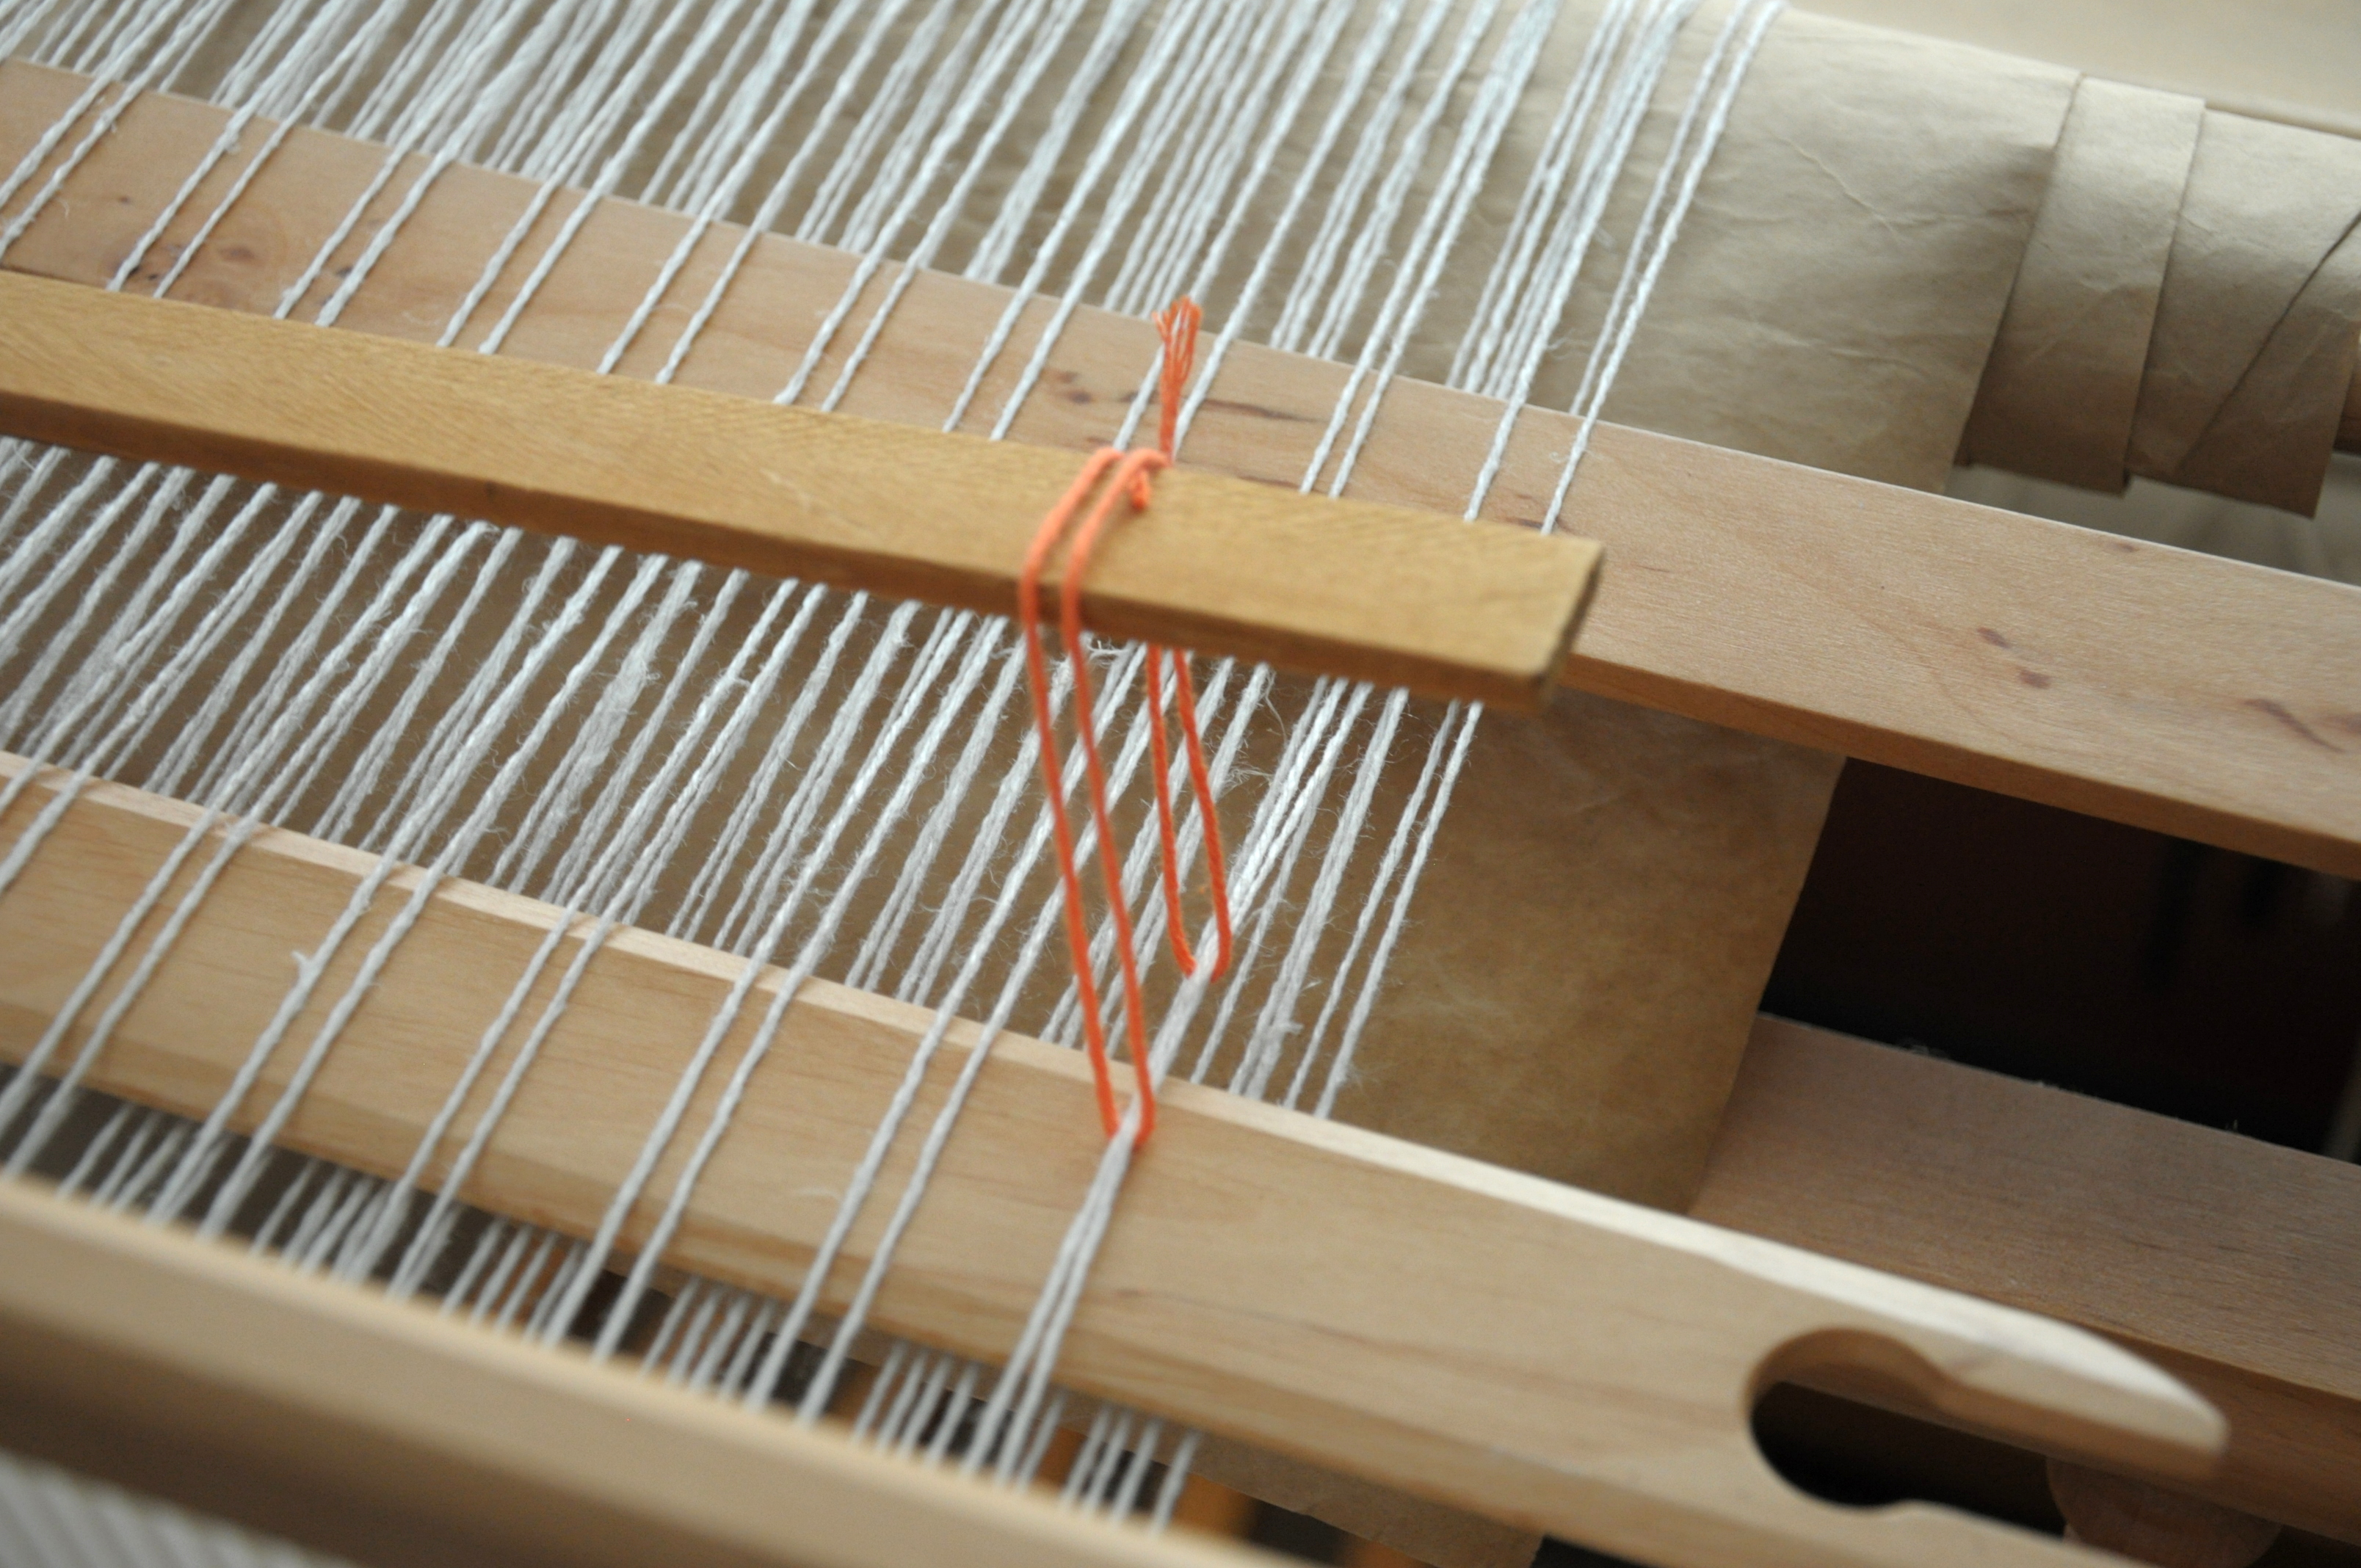
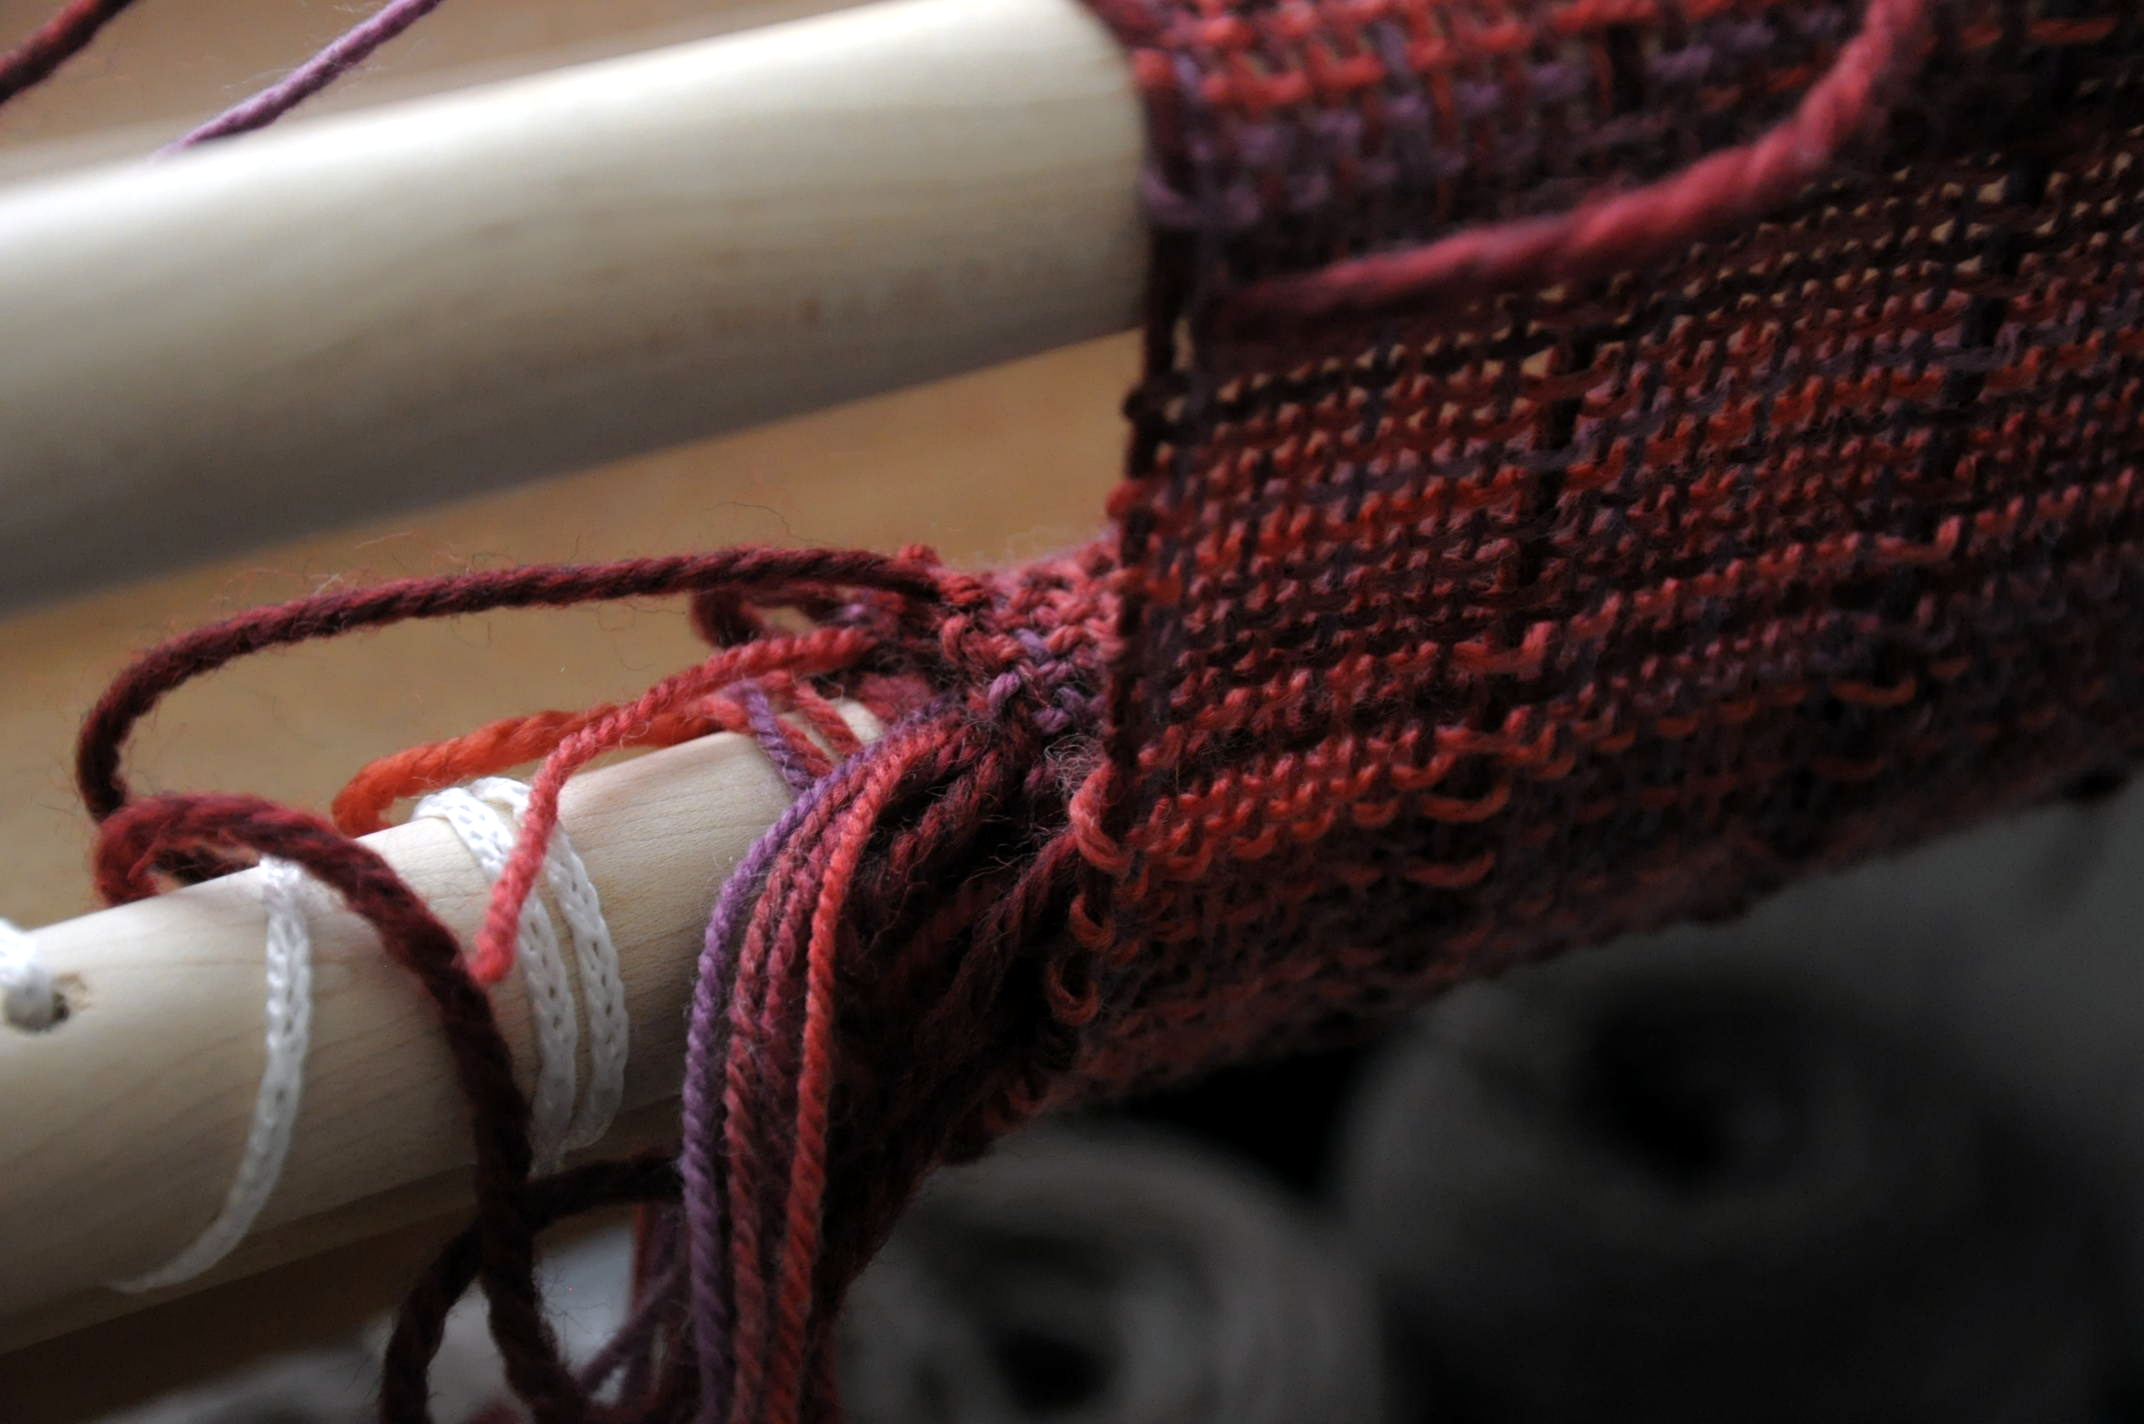
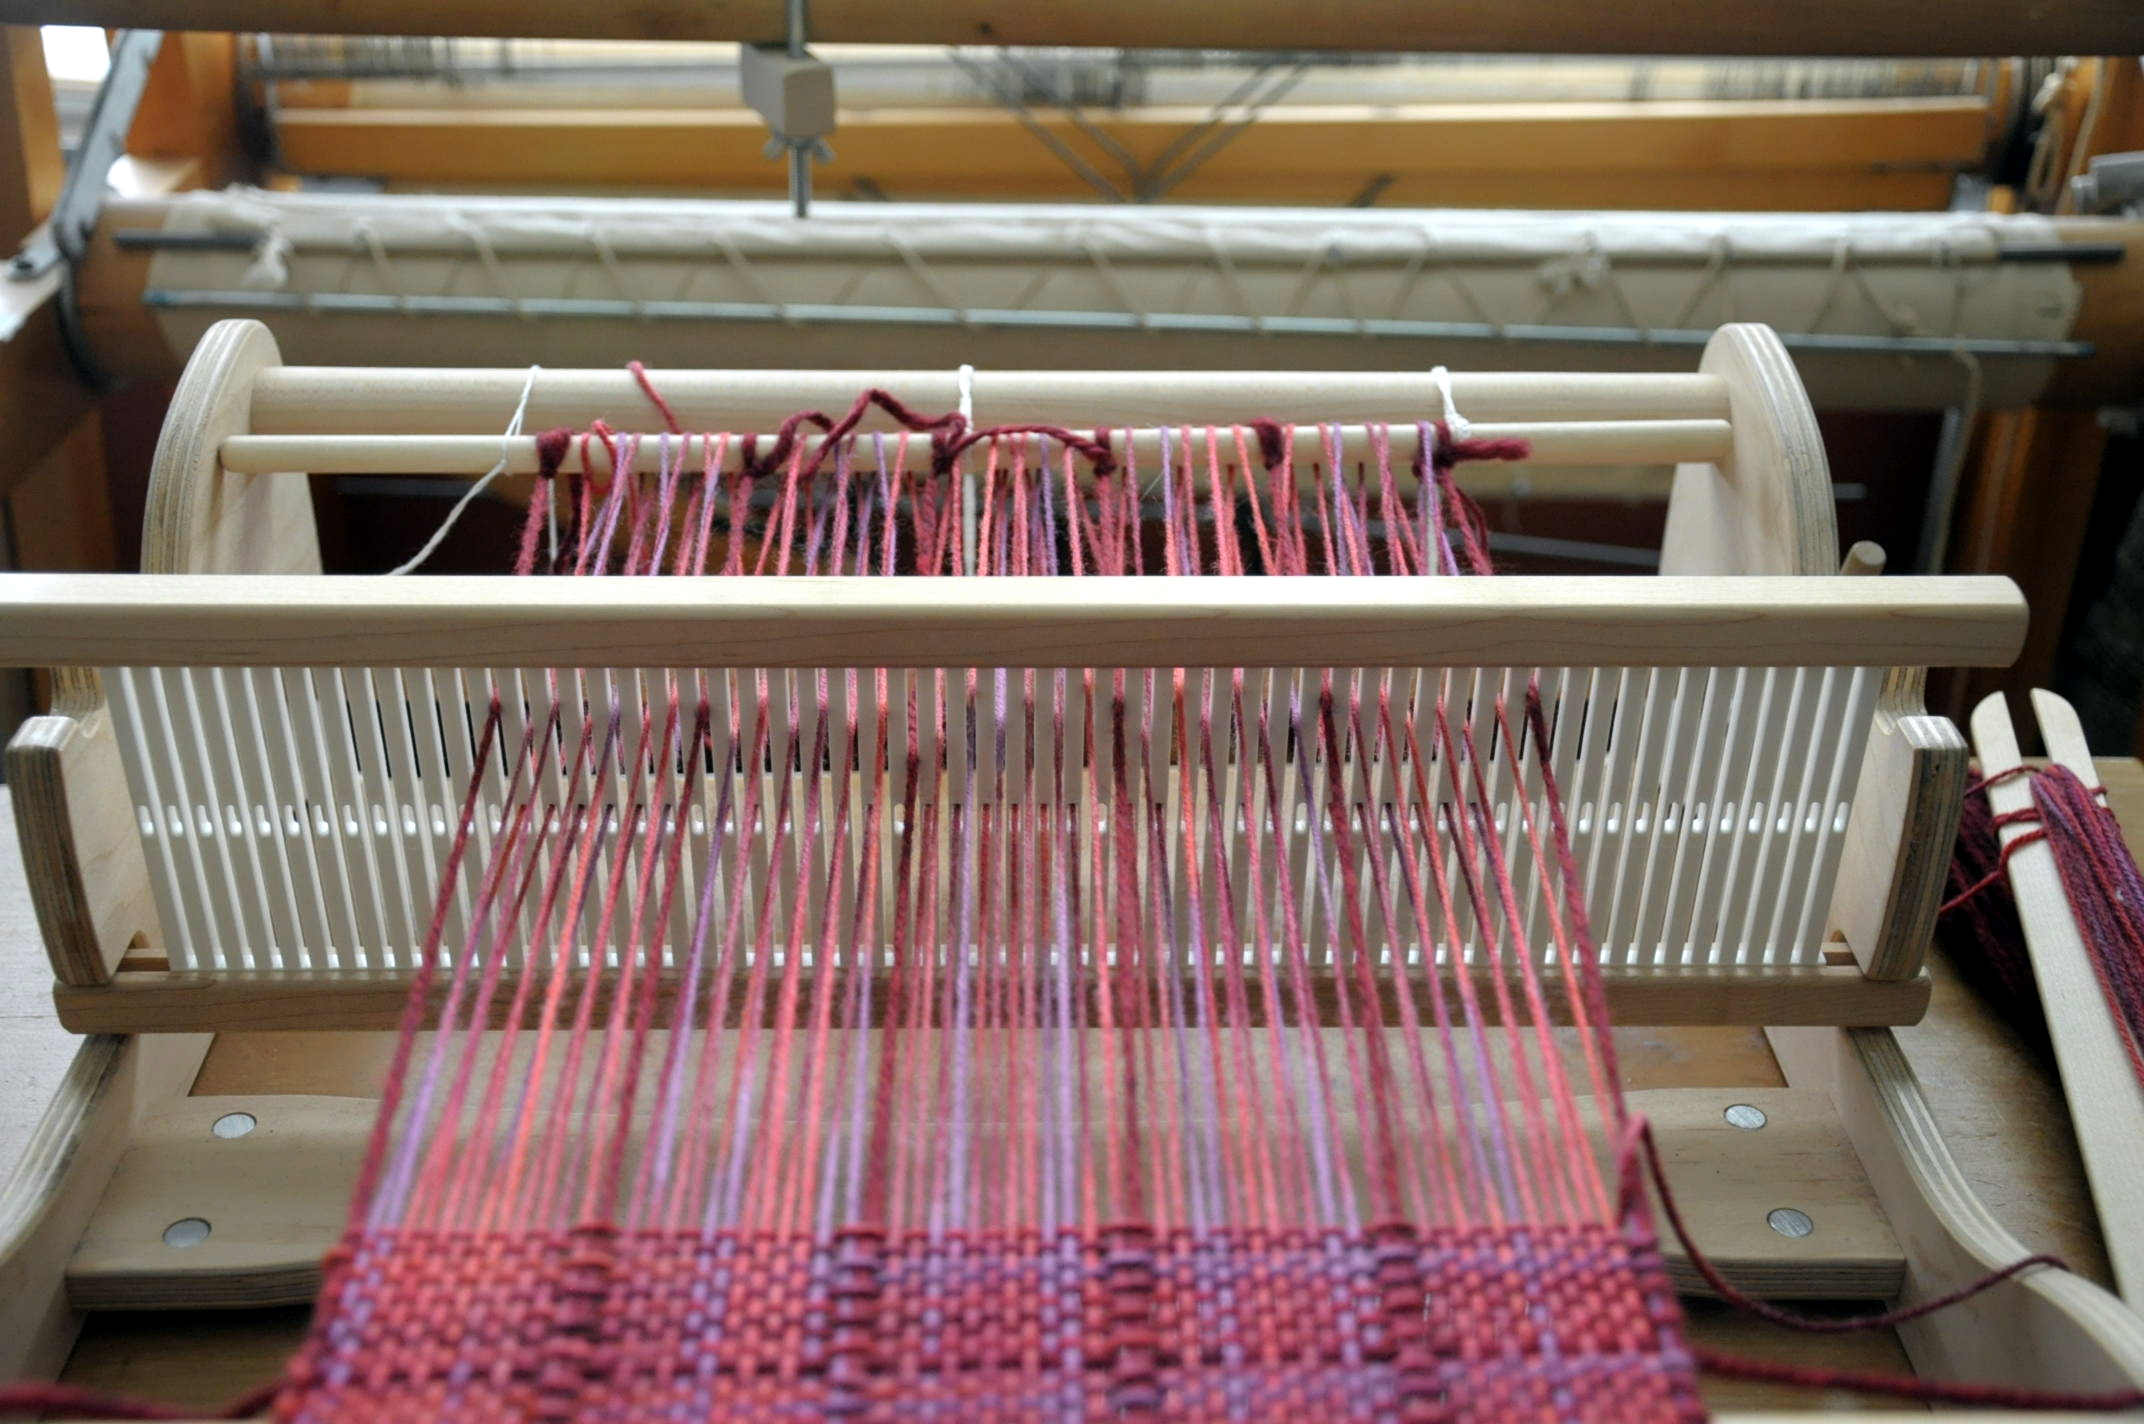
After tying on to the front rod, the weaving fun began. I started out as I usually do, with a few picks of waste yarn to even out my warp, followed by some hem stitching.

universestole_1

universestole_2

I knew I wanted to do some kind of a lace sampler for this project. I decided to do a “header” at the beginning of the project, a matching header at the other end, and an all-over pattern for the main body of the stole.

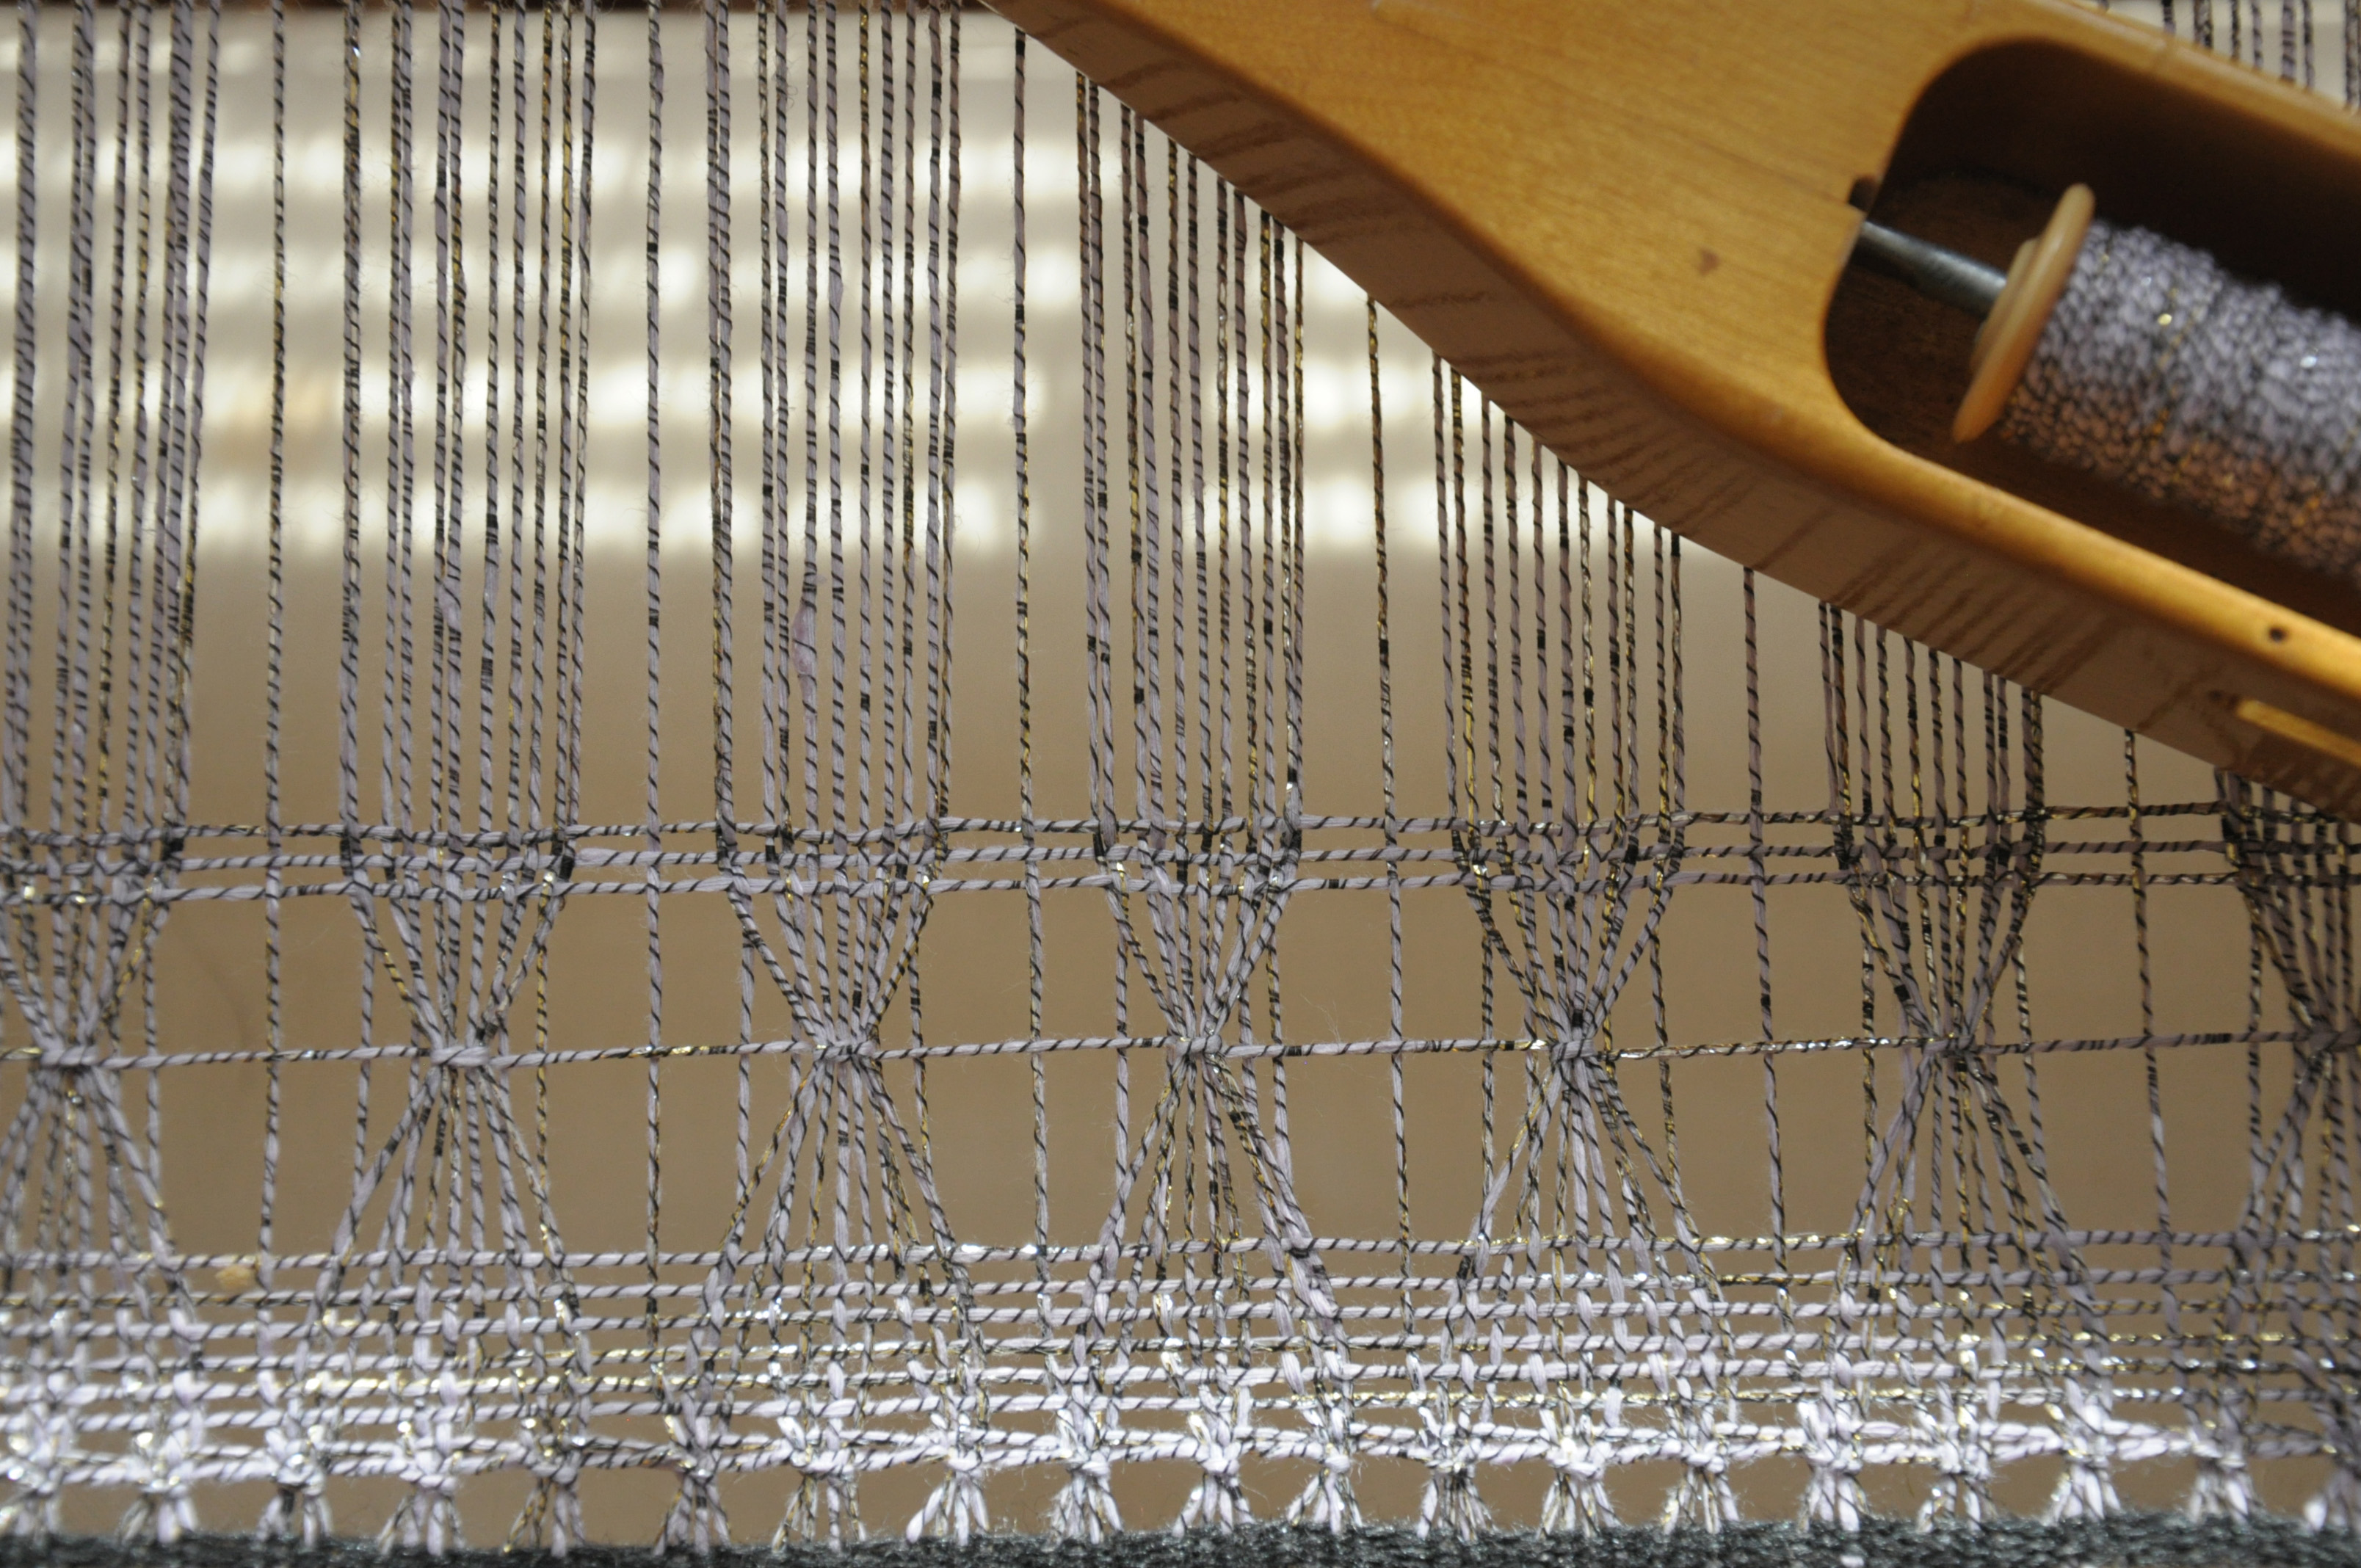
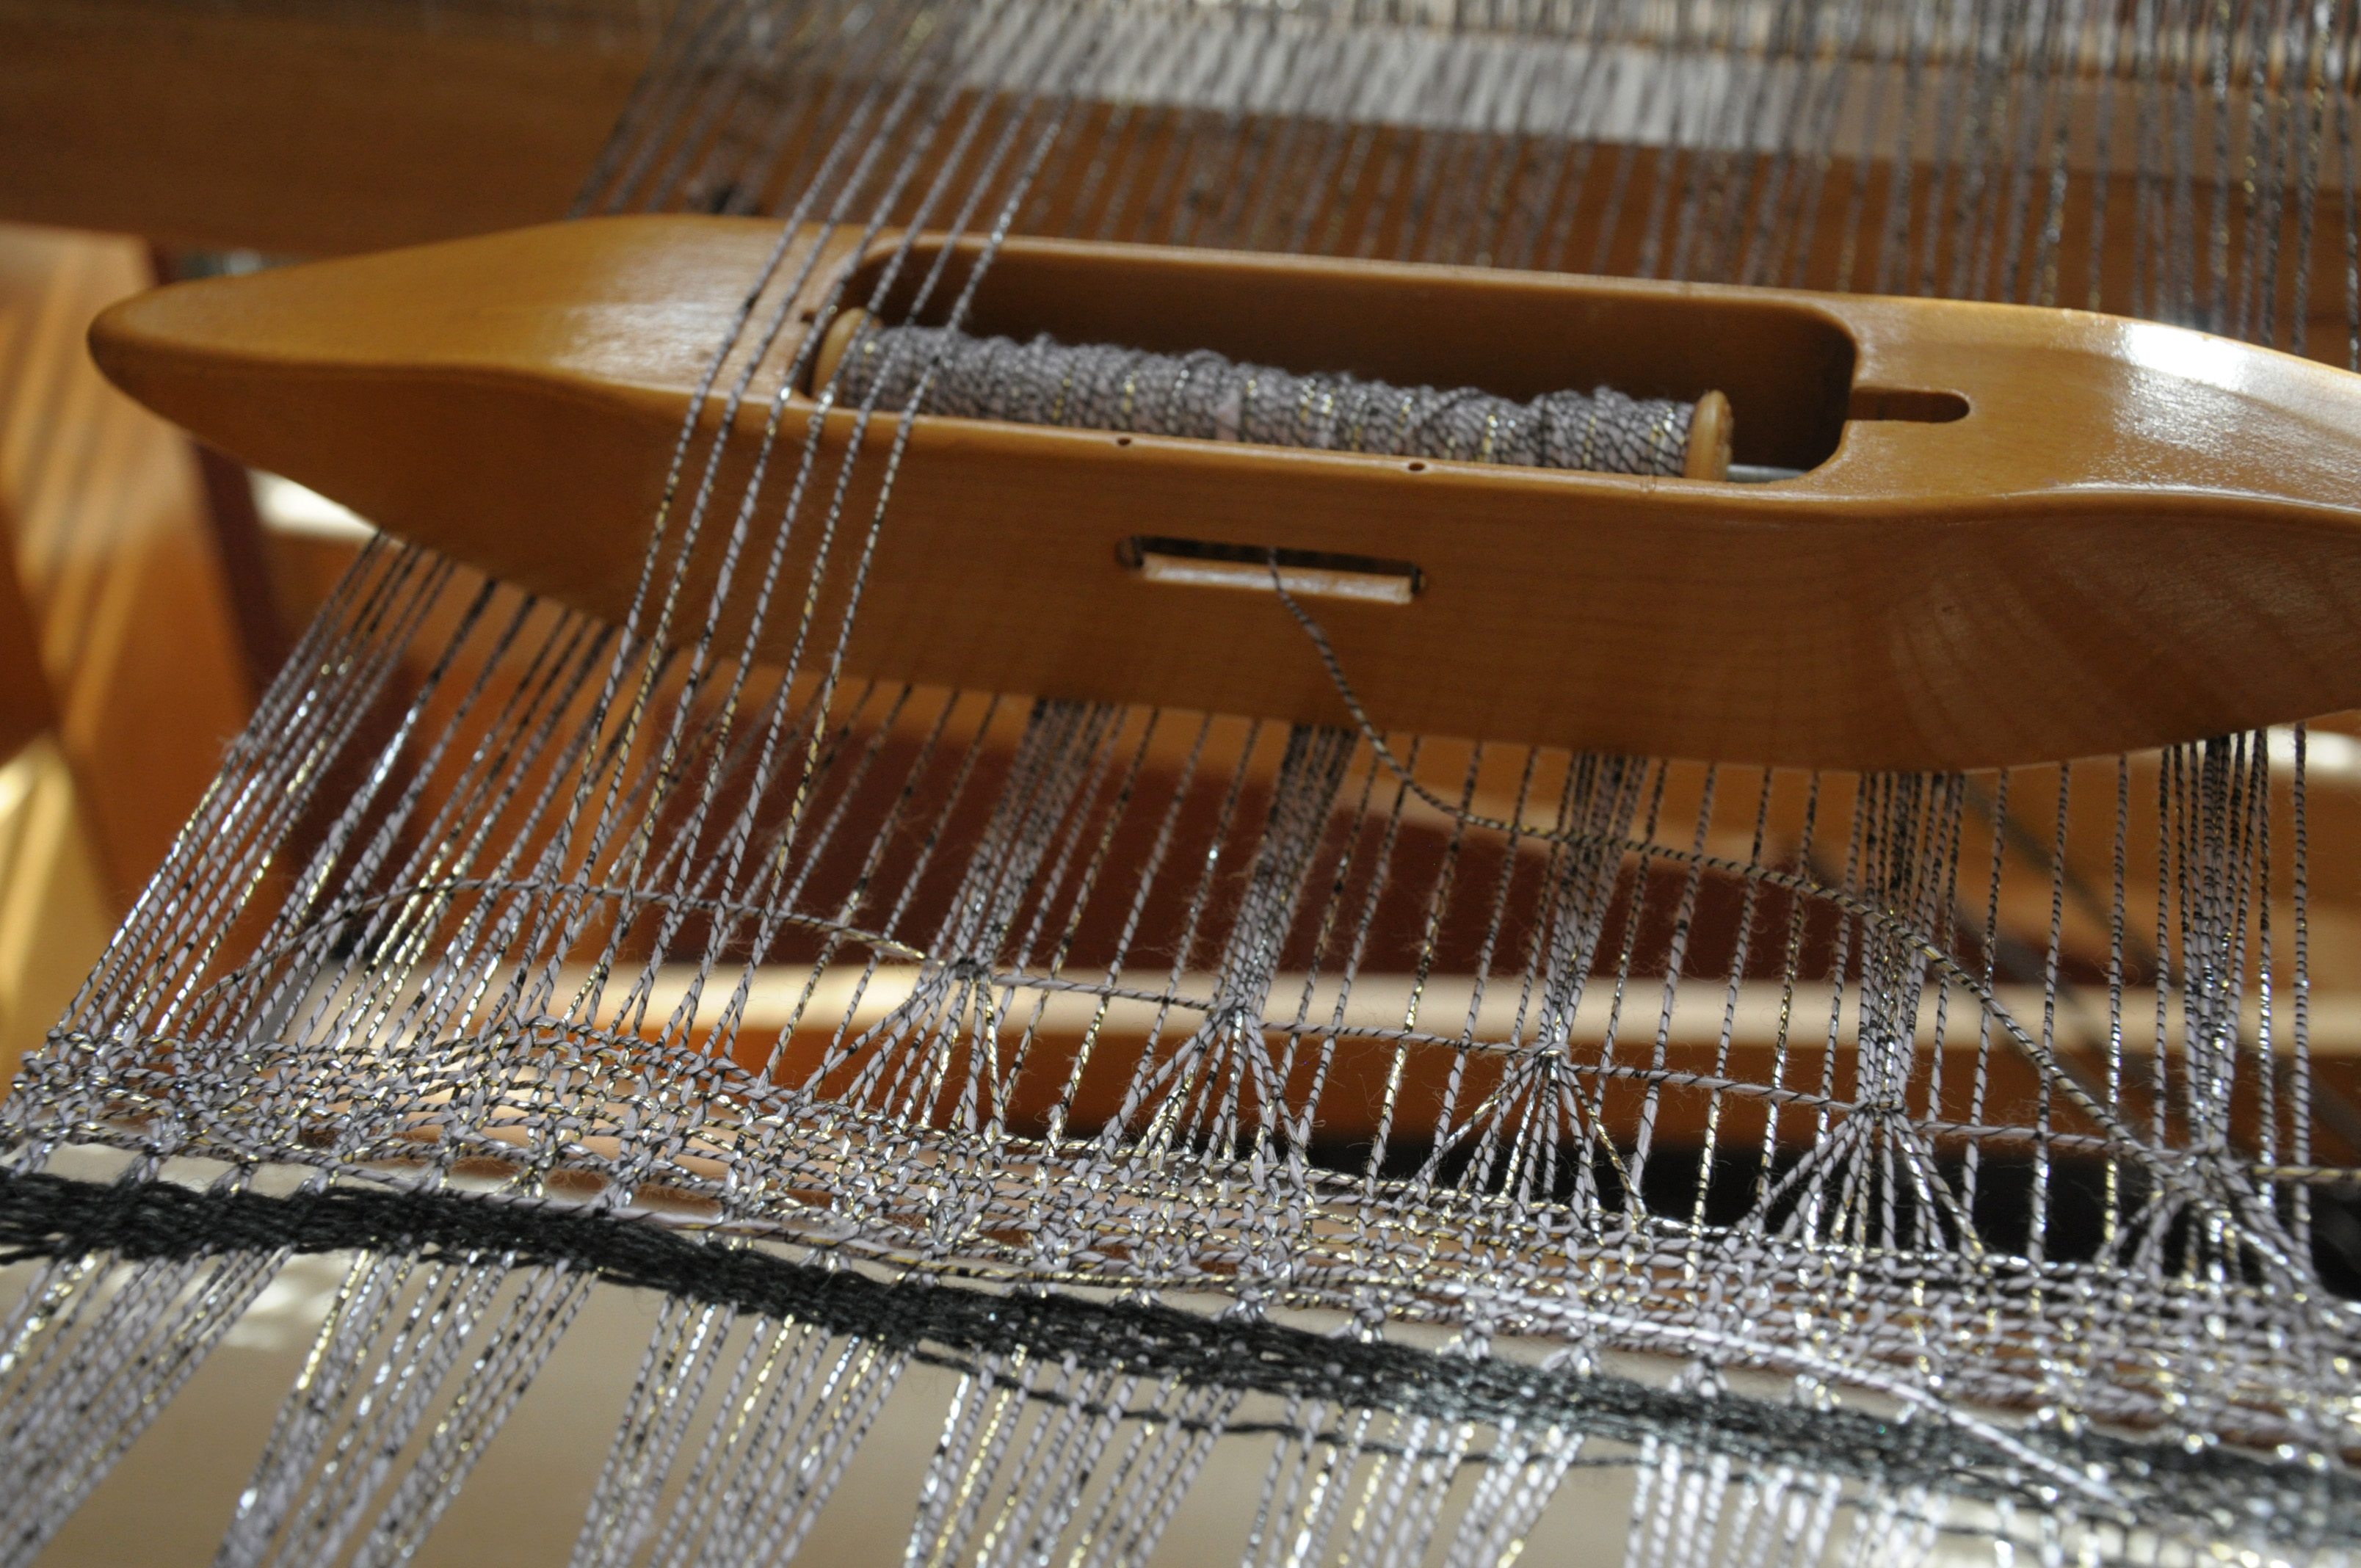
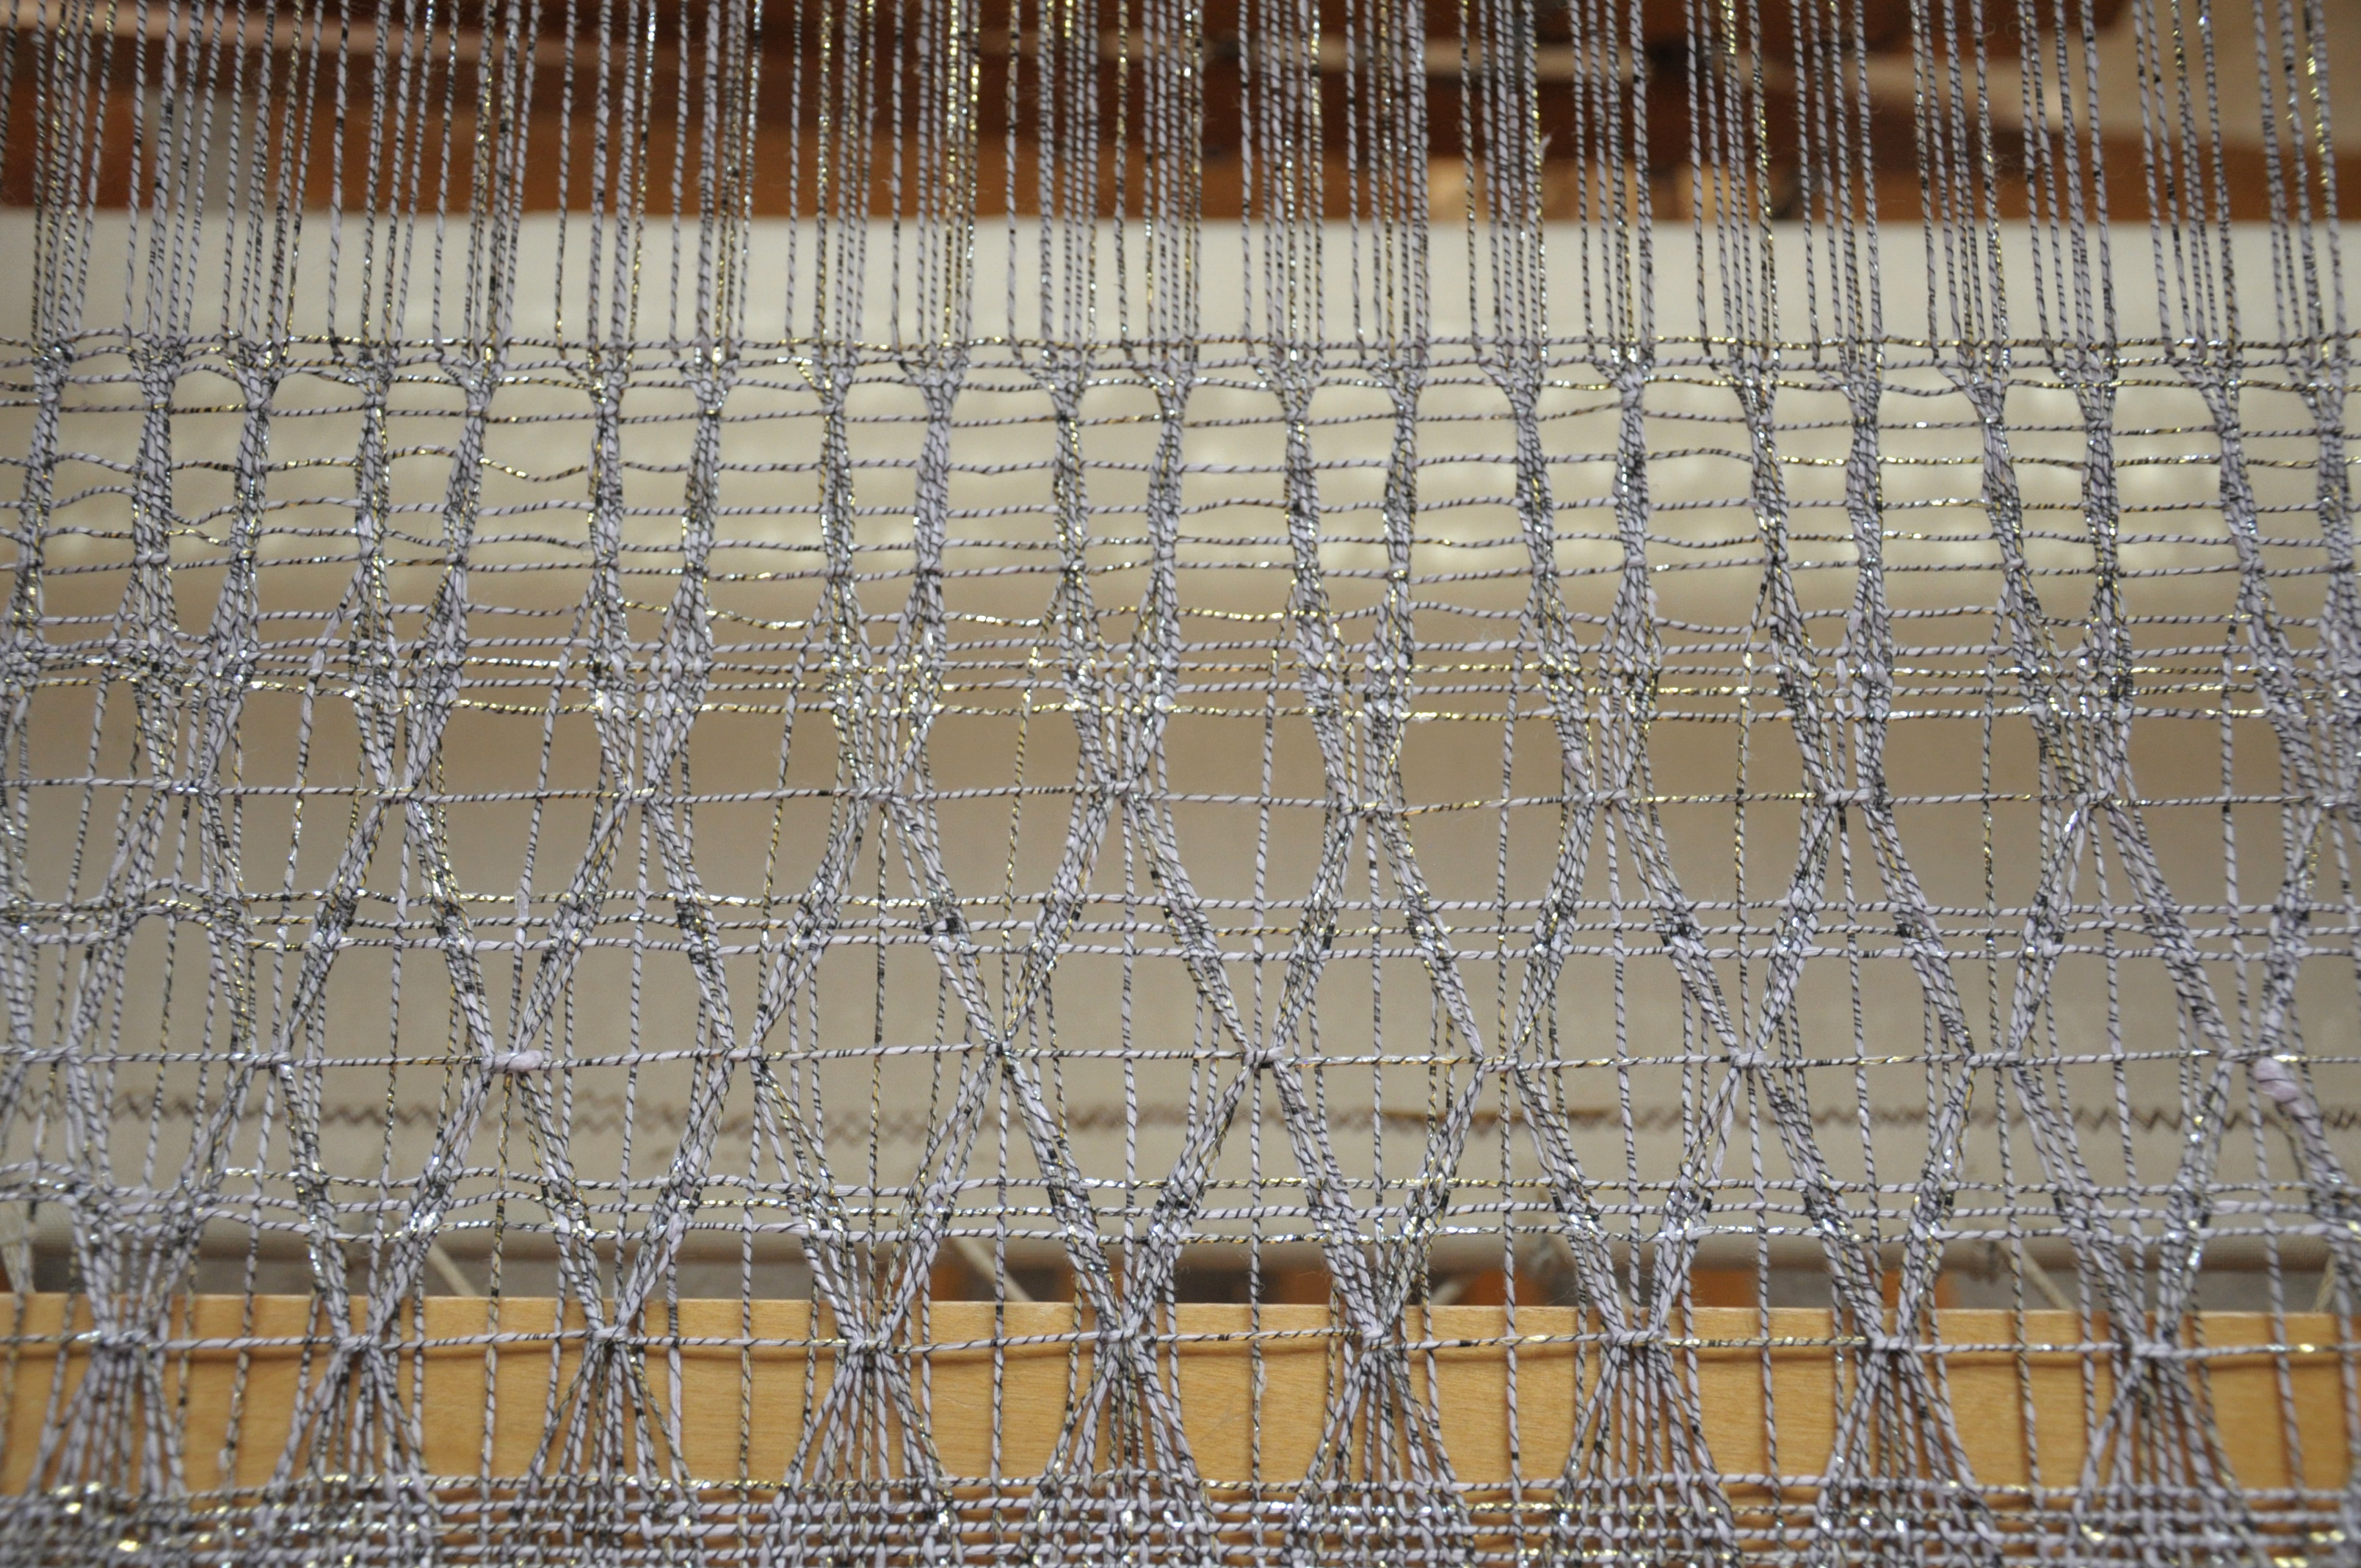
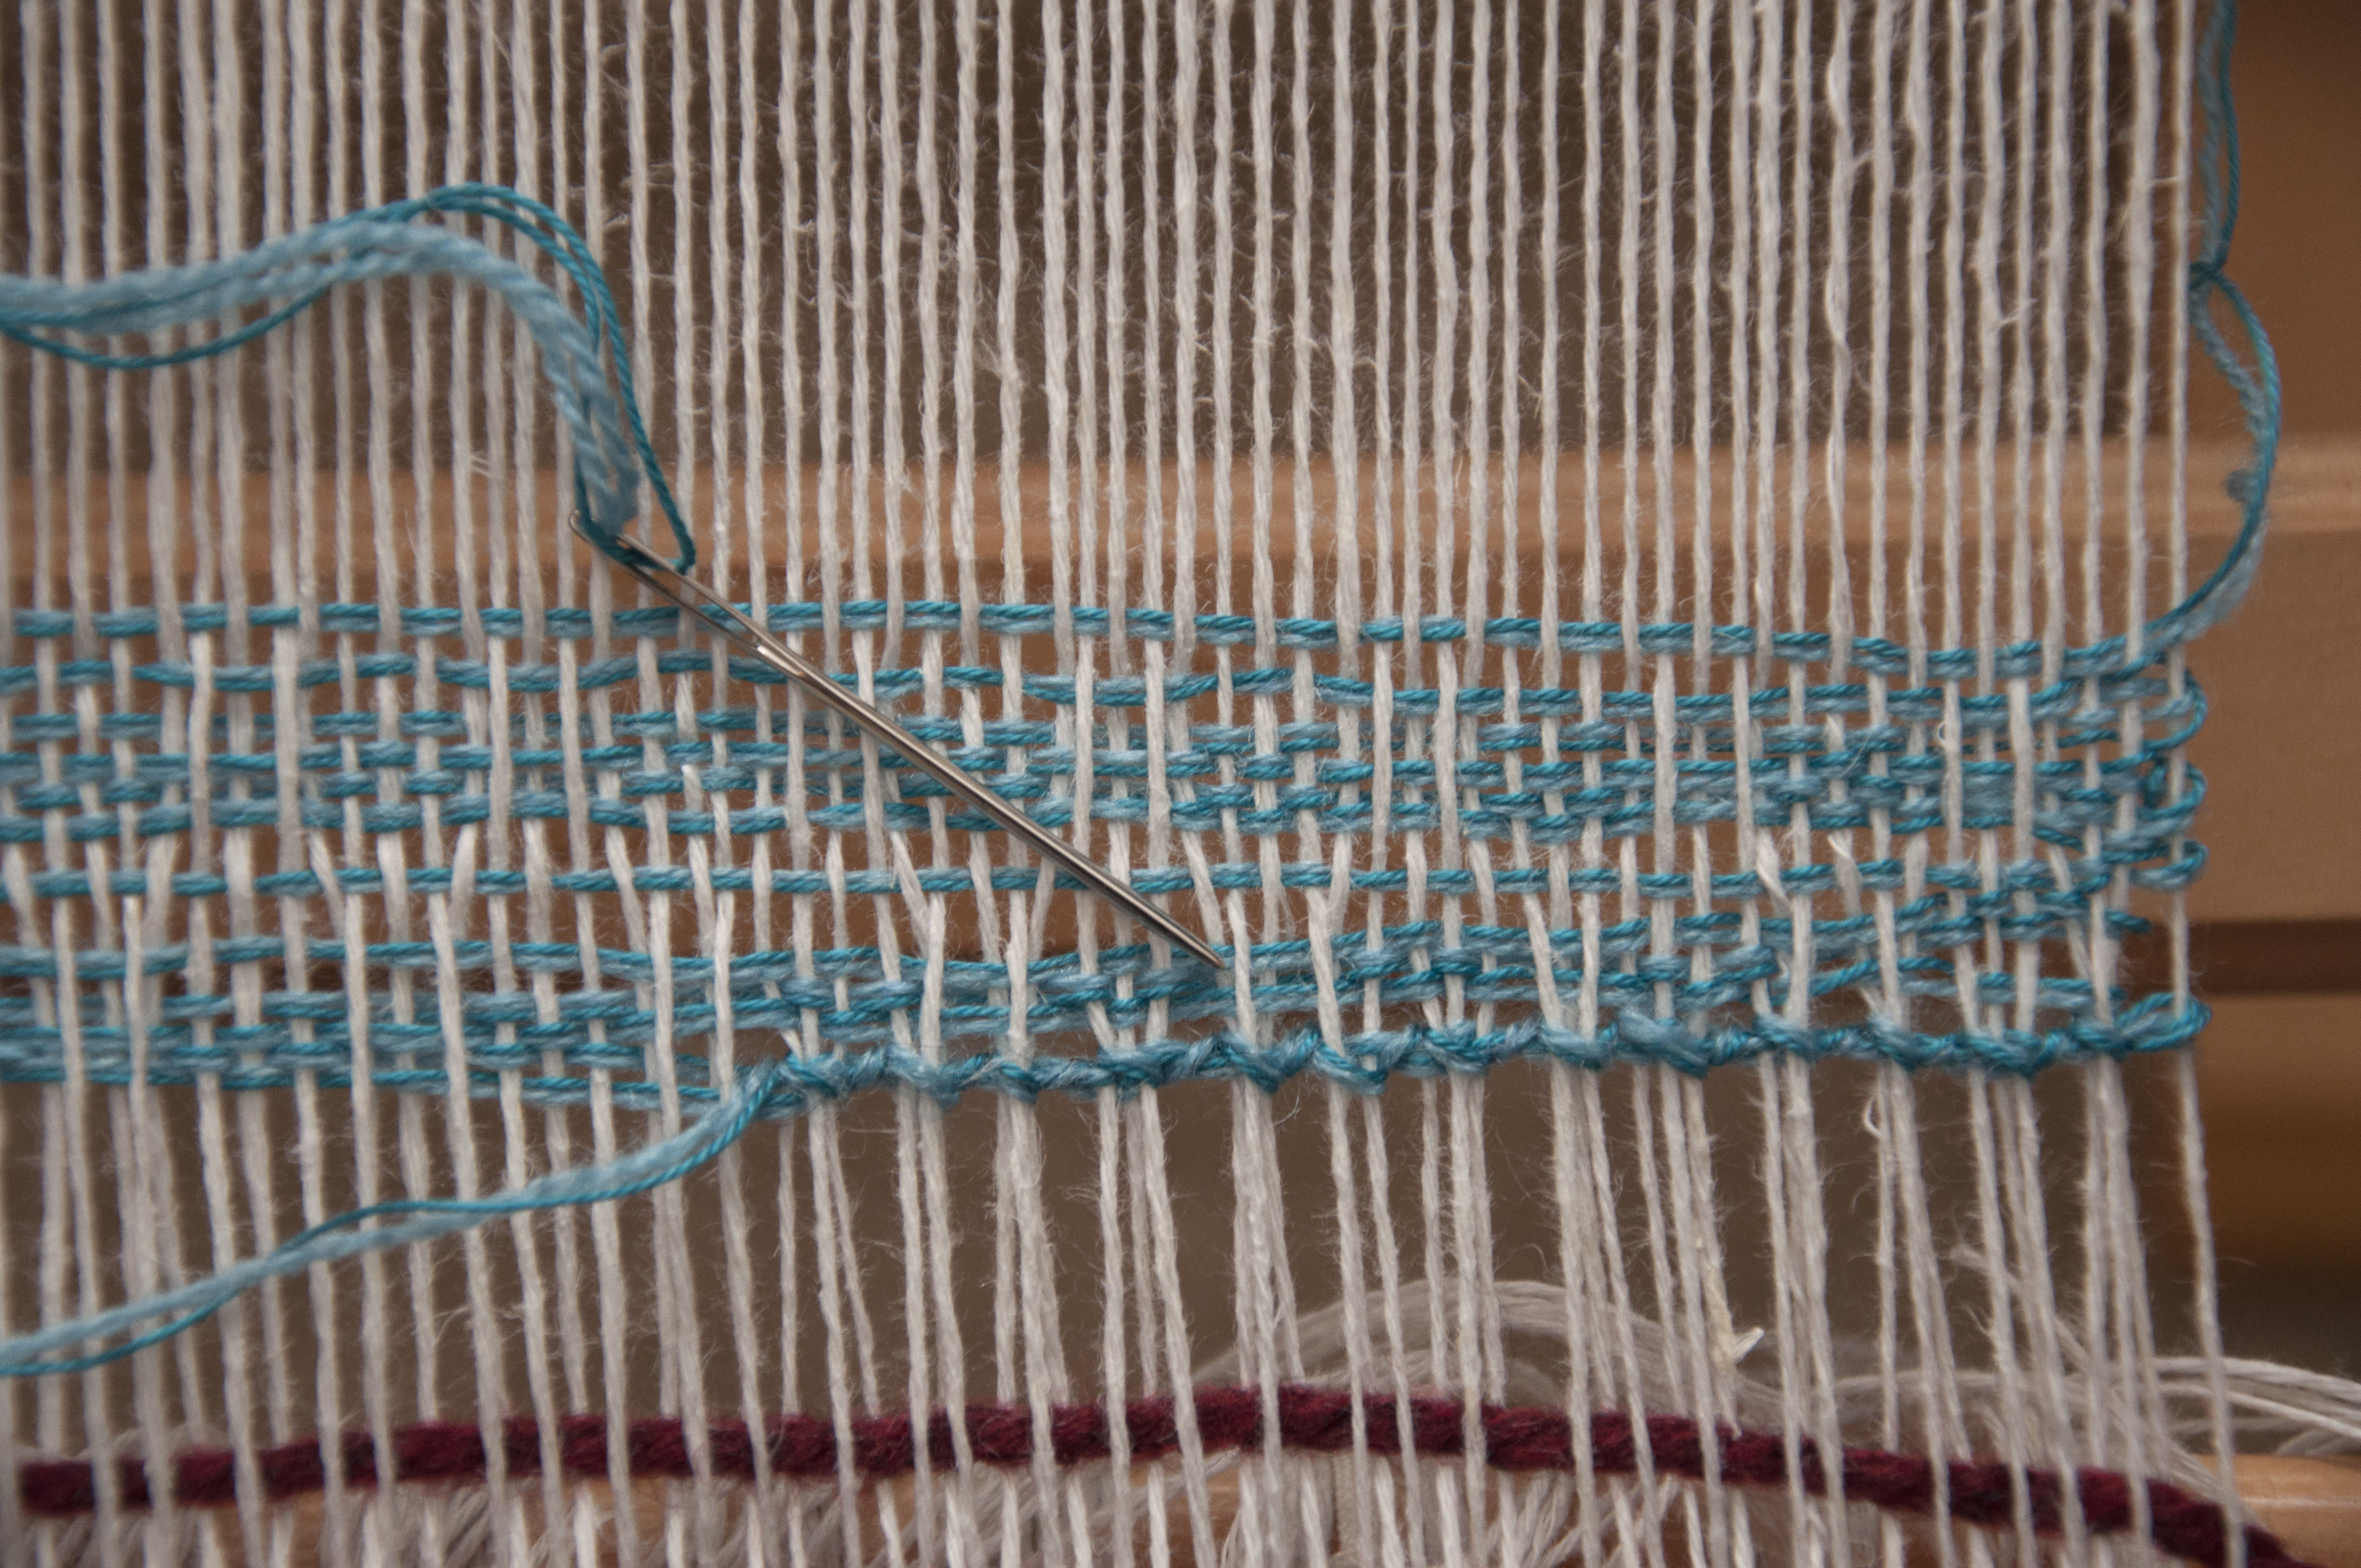
I began with a type of “finger controlled” lace at the beginning called Brooks. “Finger controlled” means that I am literally moving the warp threads with my fingers and passing the yarn between it, rather than using the shafts to raise and lower warp threads.

The first type of Brooks I did is worked on an open shed, meaning I pressed down on one of my treadles that holds half the warp threads. This caused half the warp to raise.

universestole_3

I found Brooks lace quite simple to do – easier than I had imagined. I passed the shuttle containing the warp yarn around a section of the raised warp threads (6), along the entire width of the piece.

universestole_4

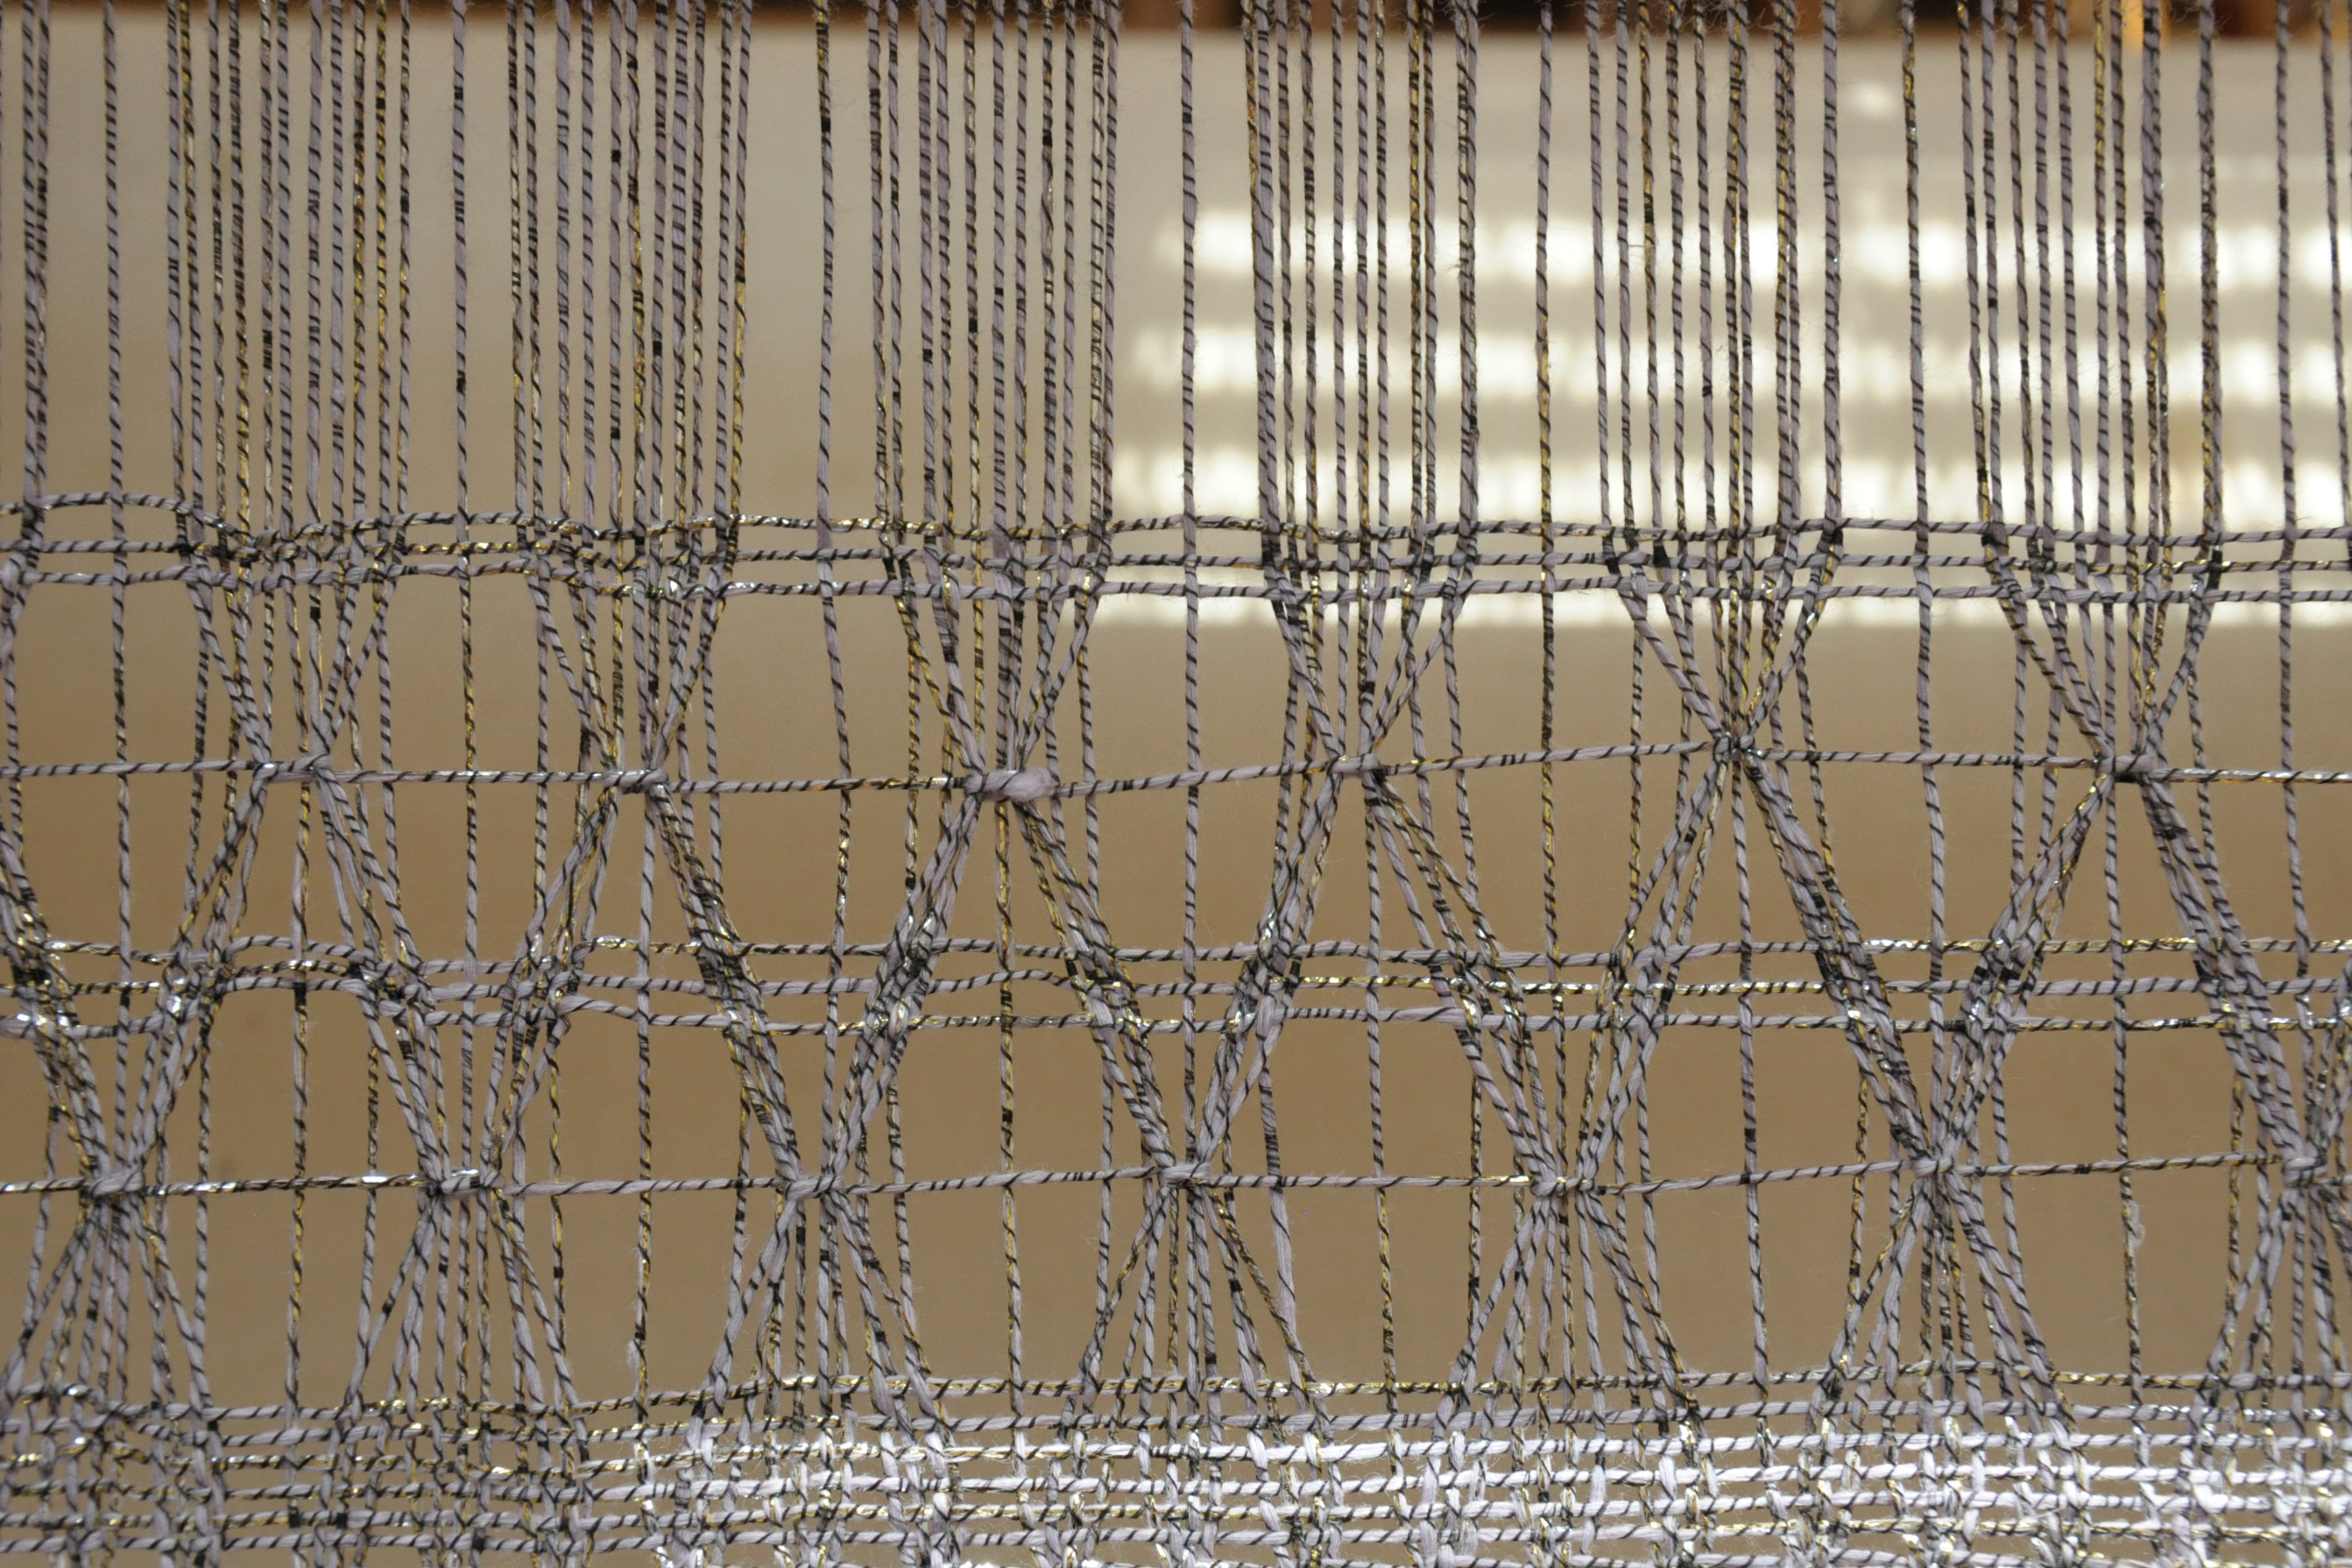
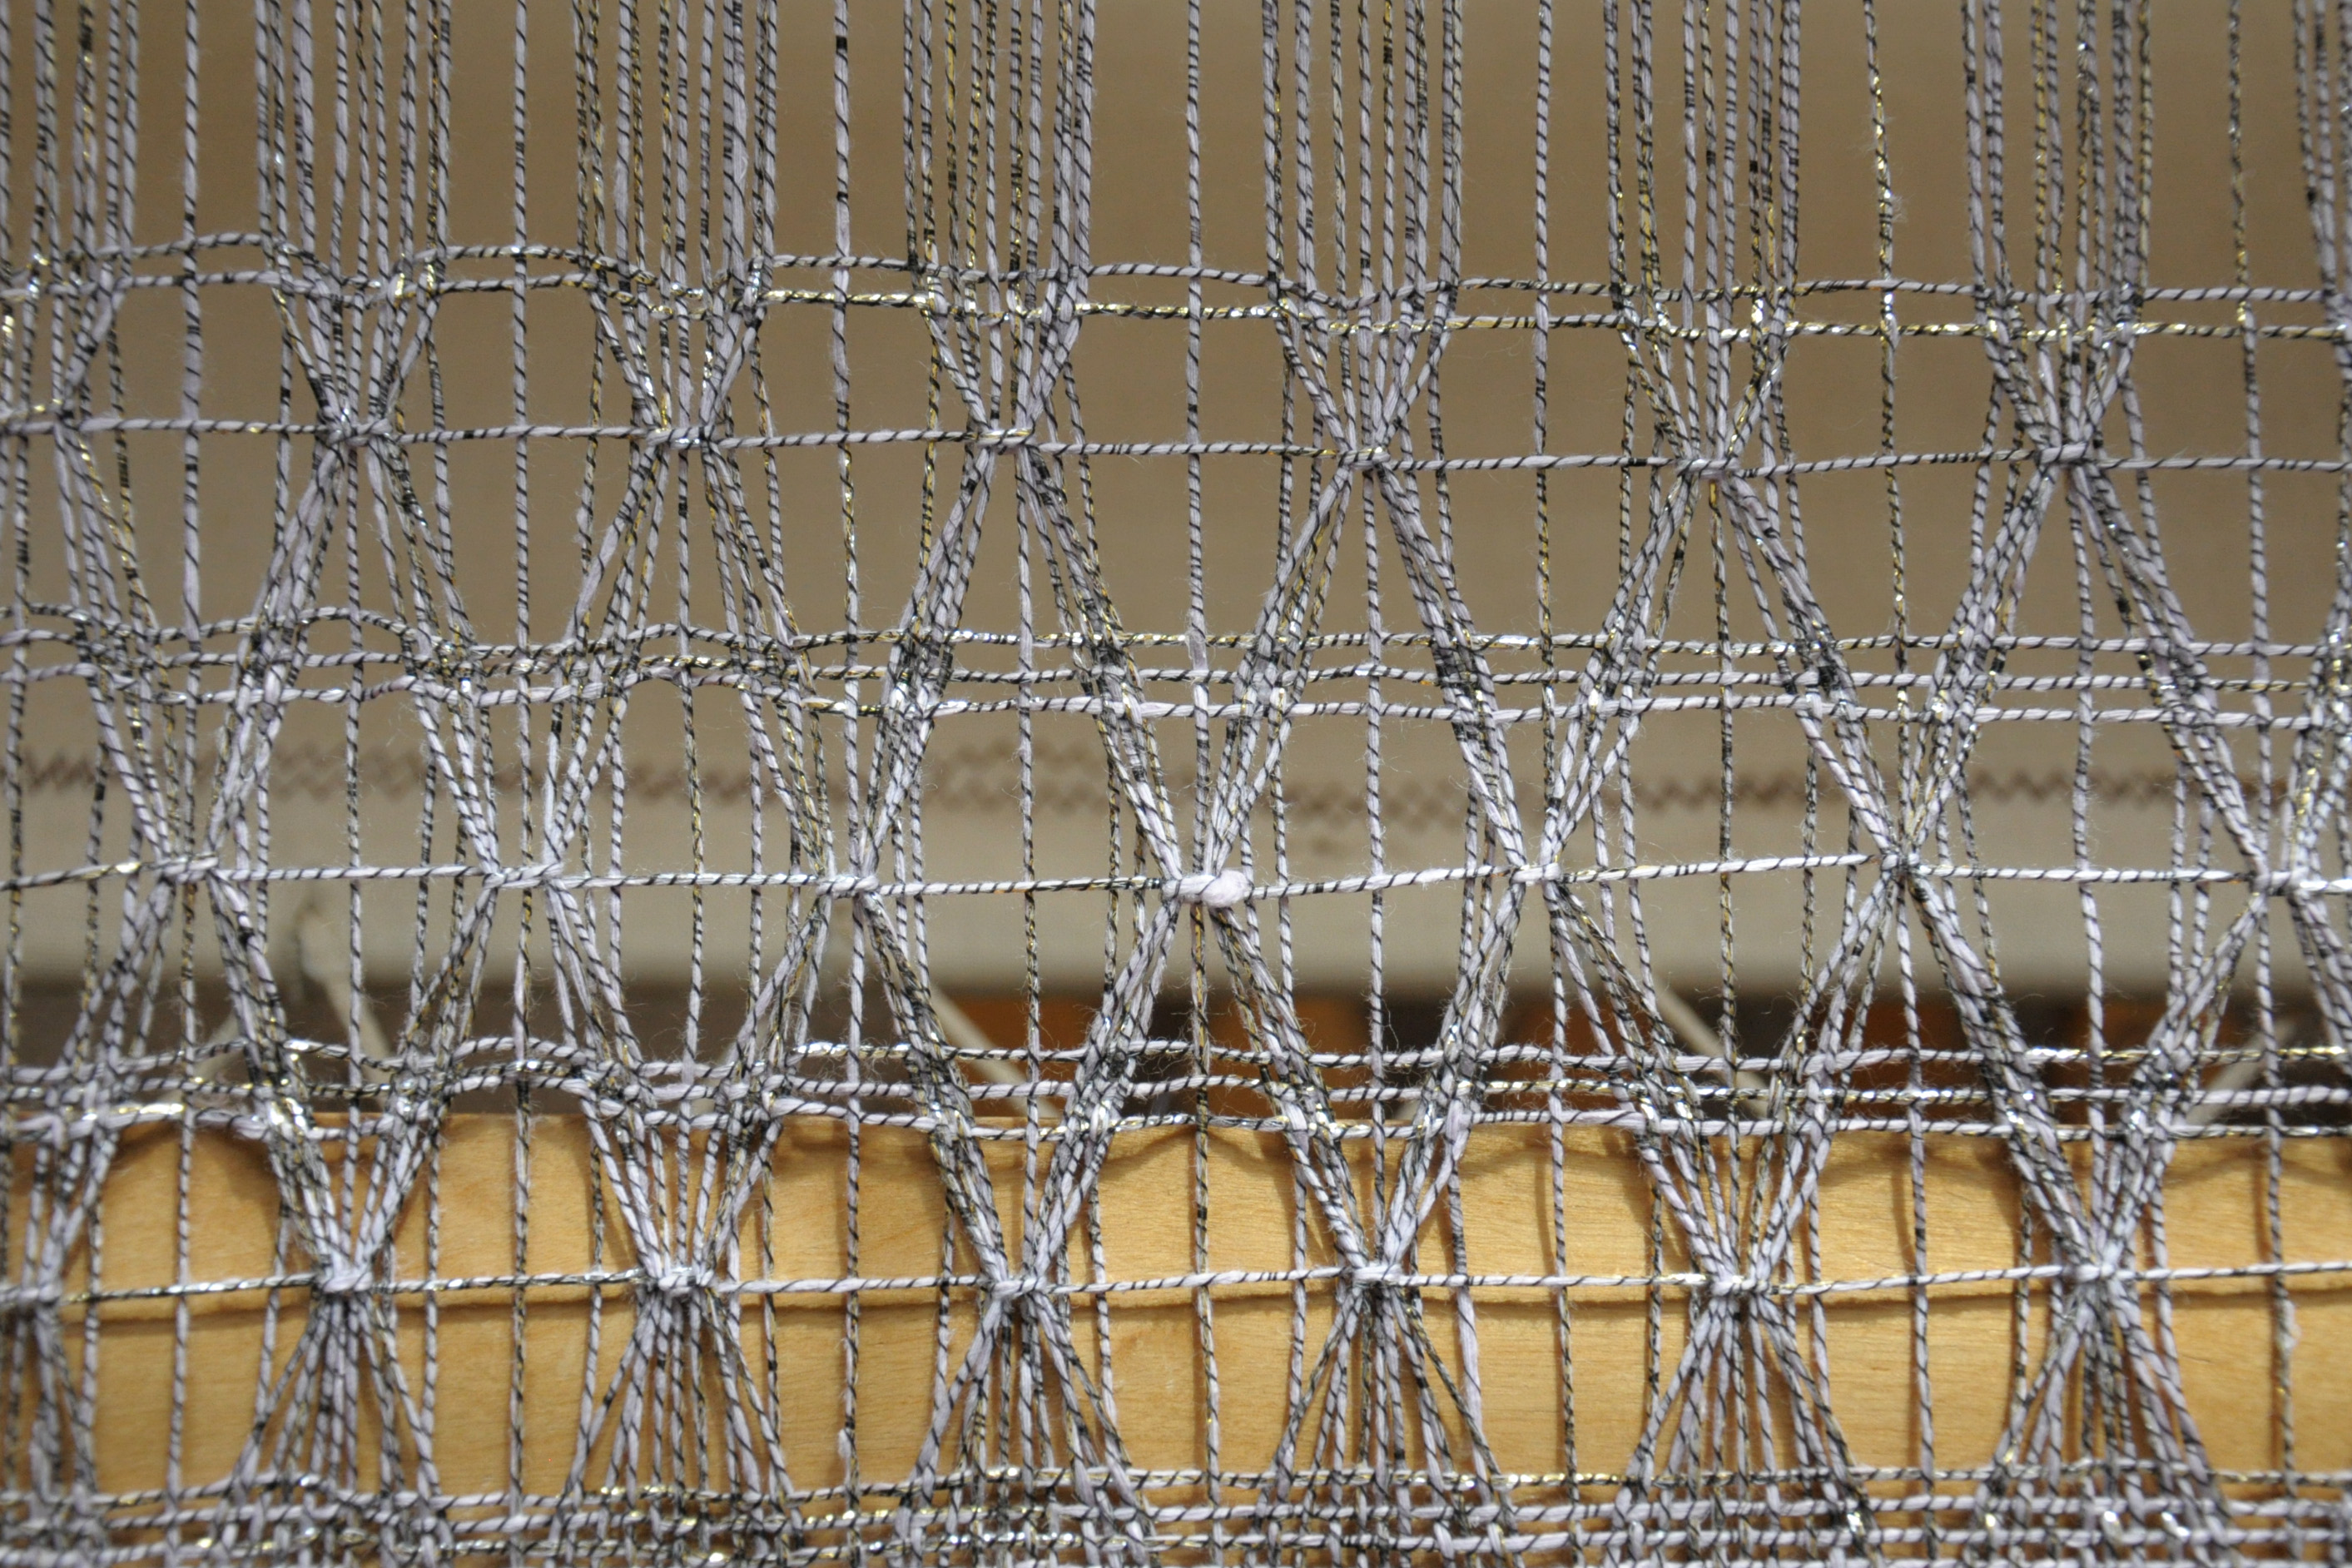
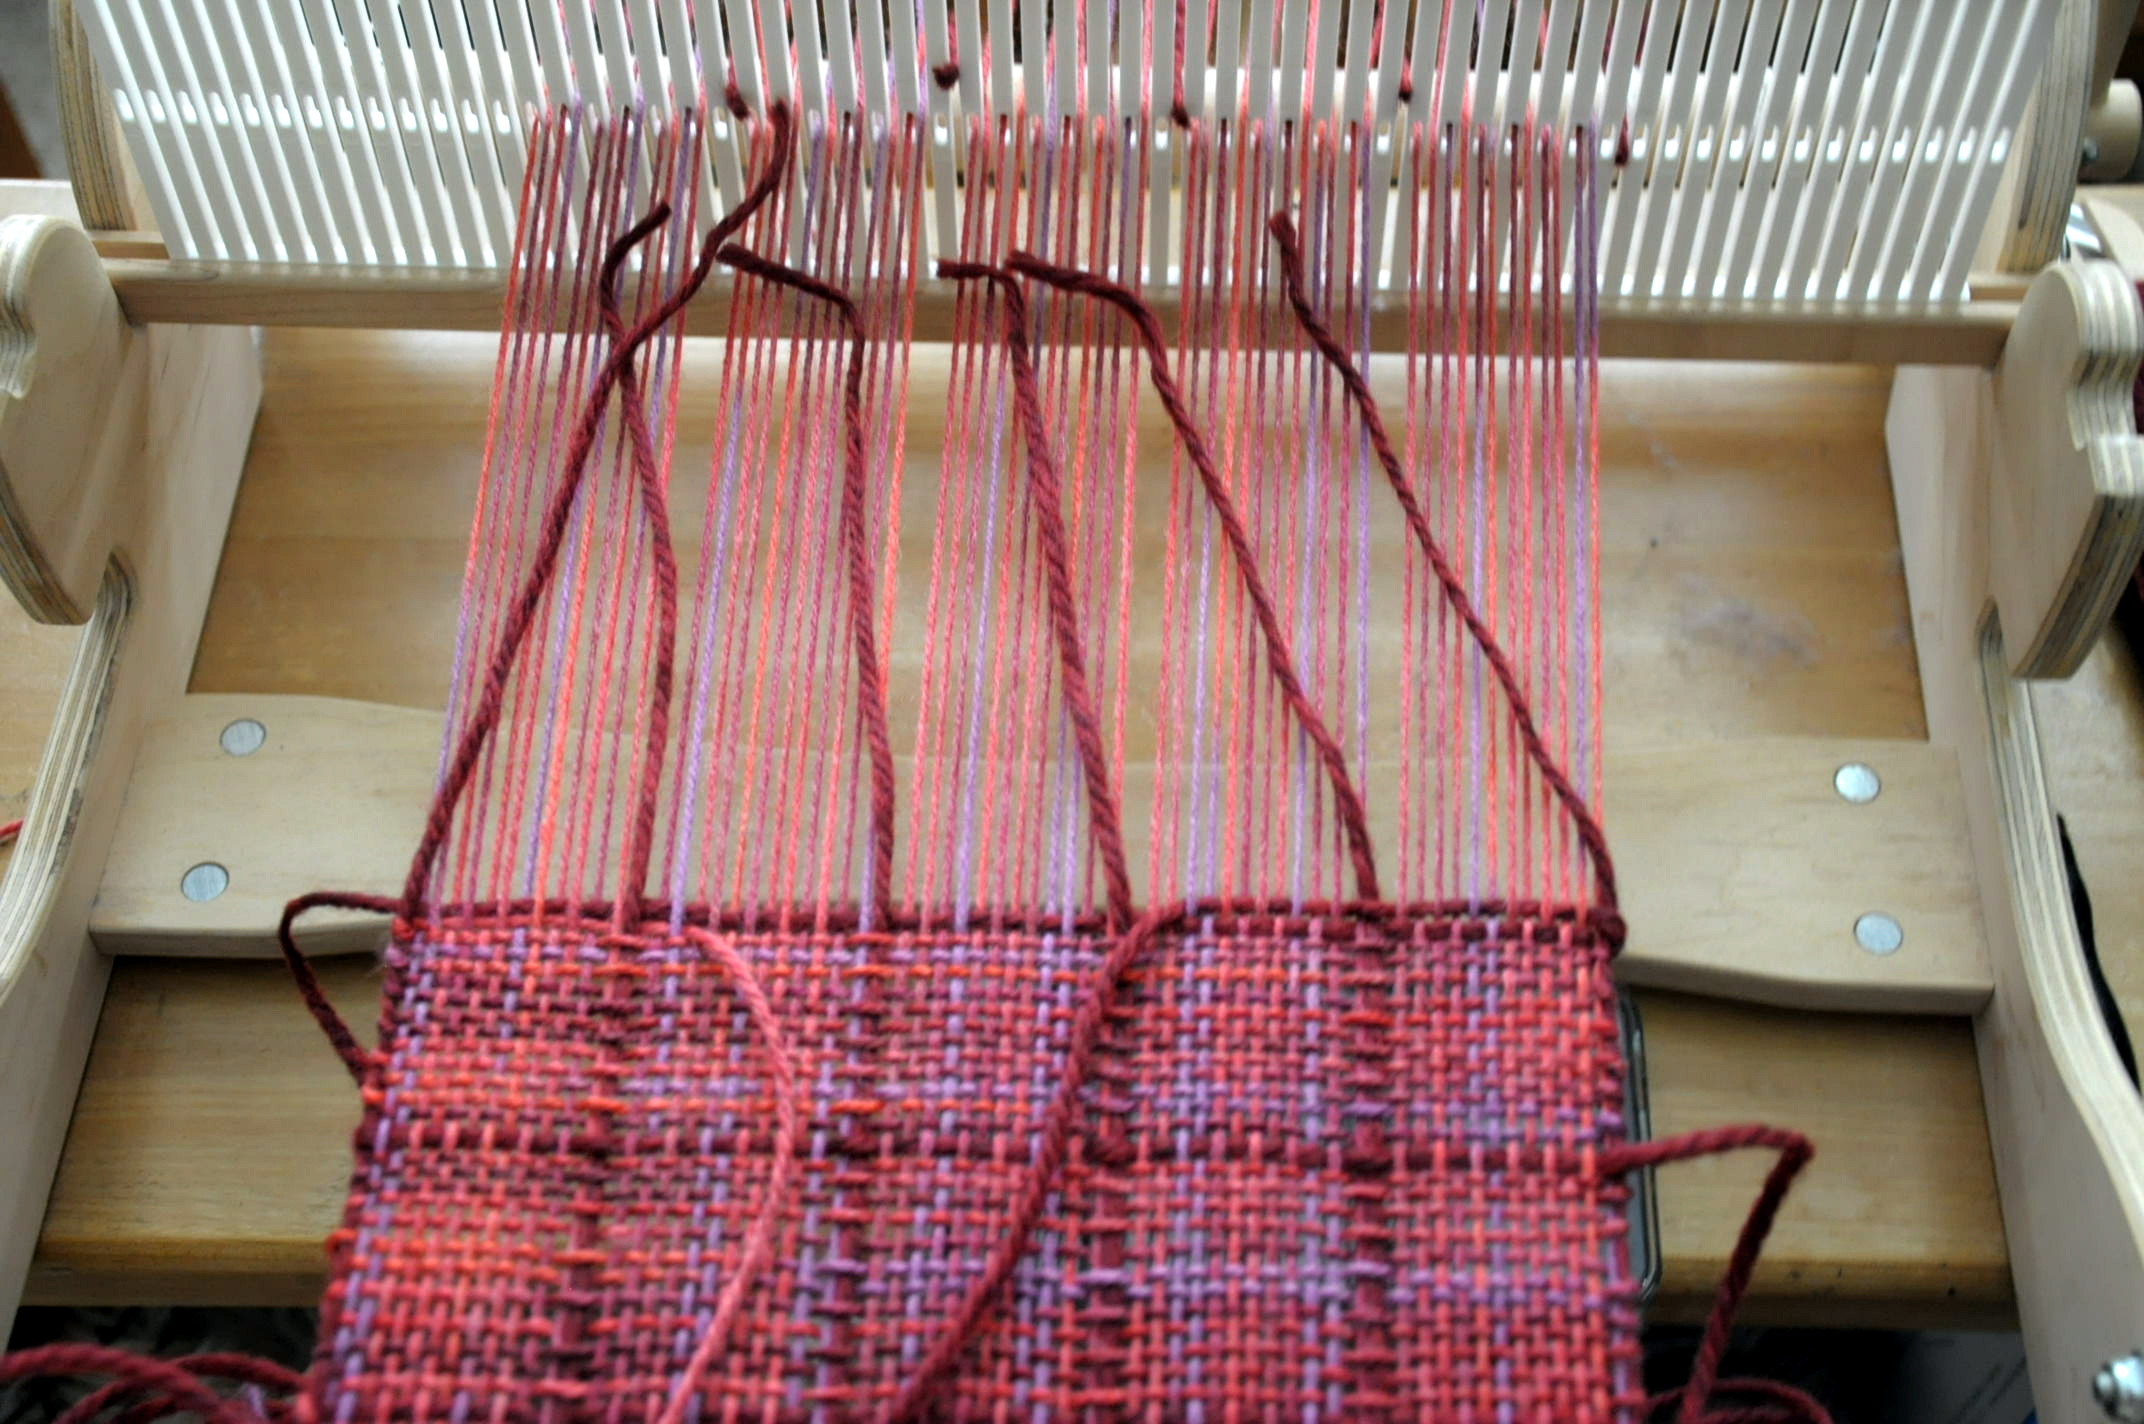
I adjusted each of the wrapped sections so they were at about the same height and then worked 3 rows of plain weave. They look like little bows – so pretty.

After this first pass of Brooks, I decided to do another row, but offset from the first row.

universestole_6

And then another row offset again.

universestole_7

As pretty as this was, I was getting a little bored and was ready to move on. That’s half the beauty of a sampler!

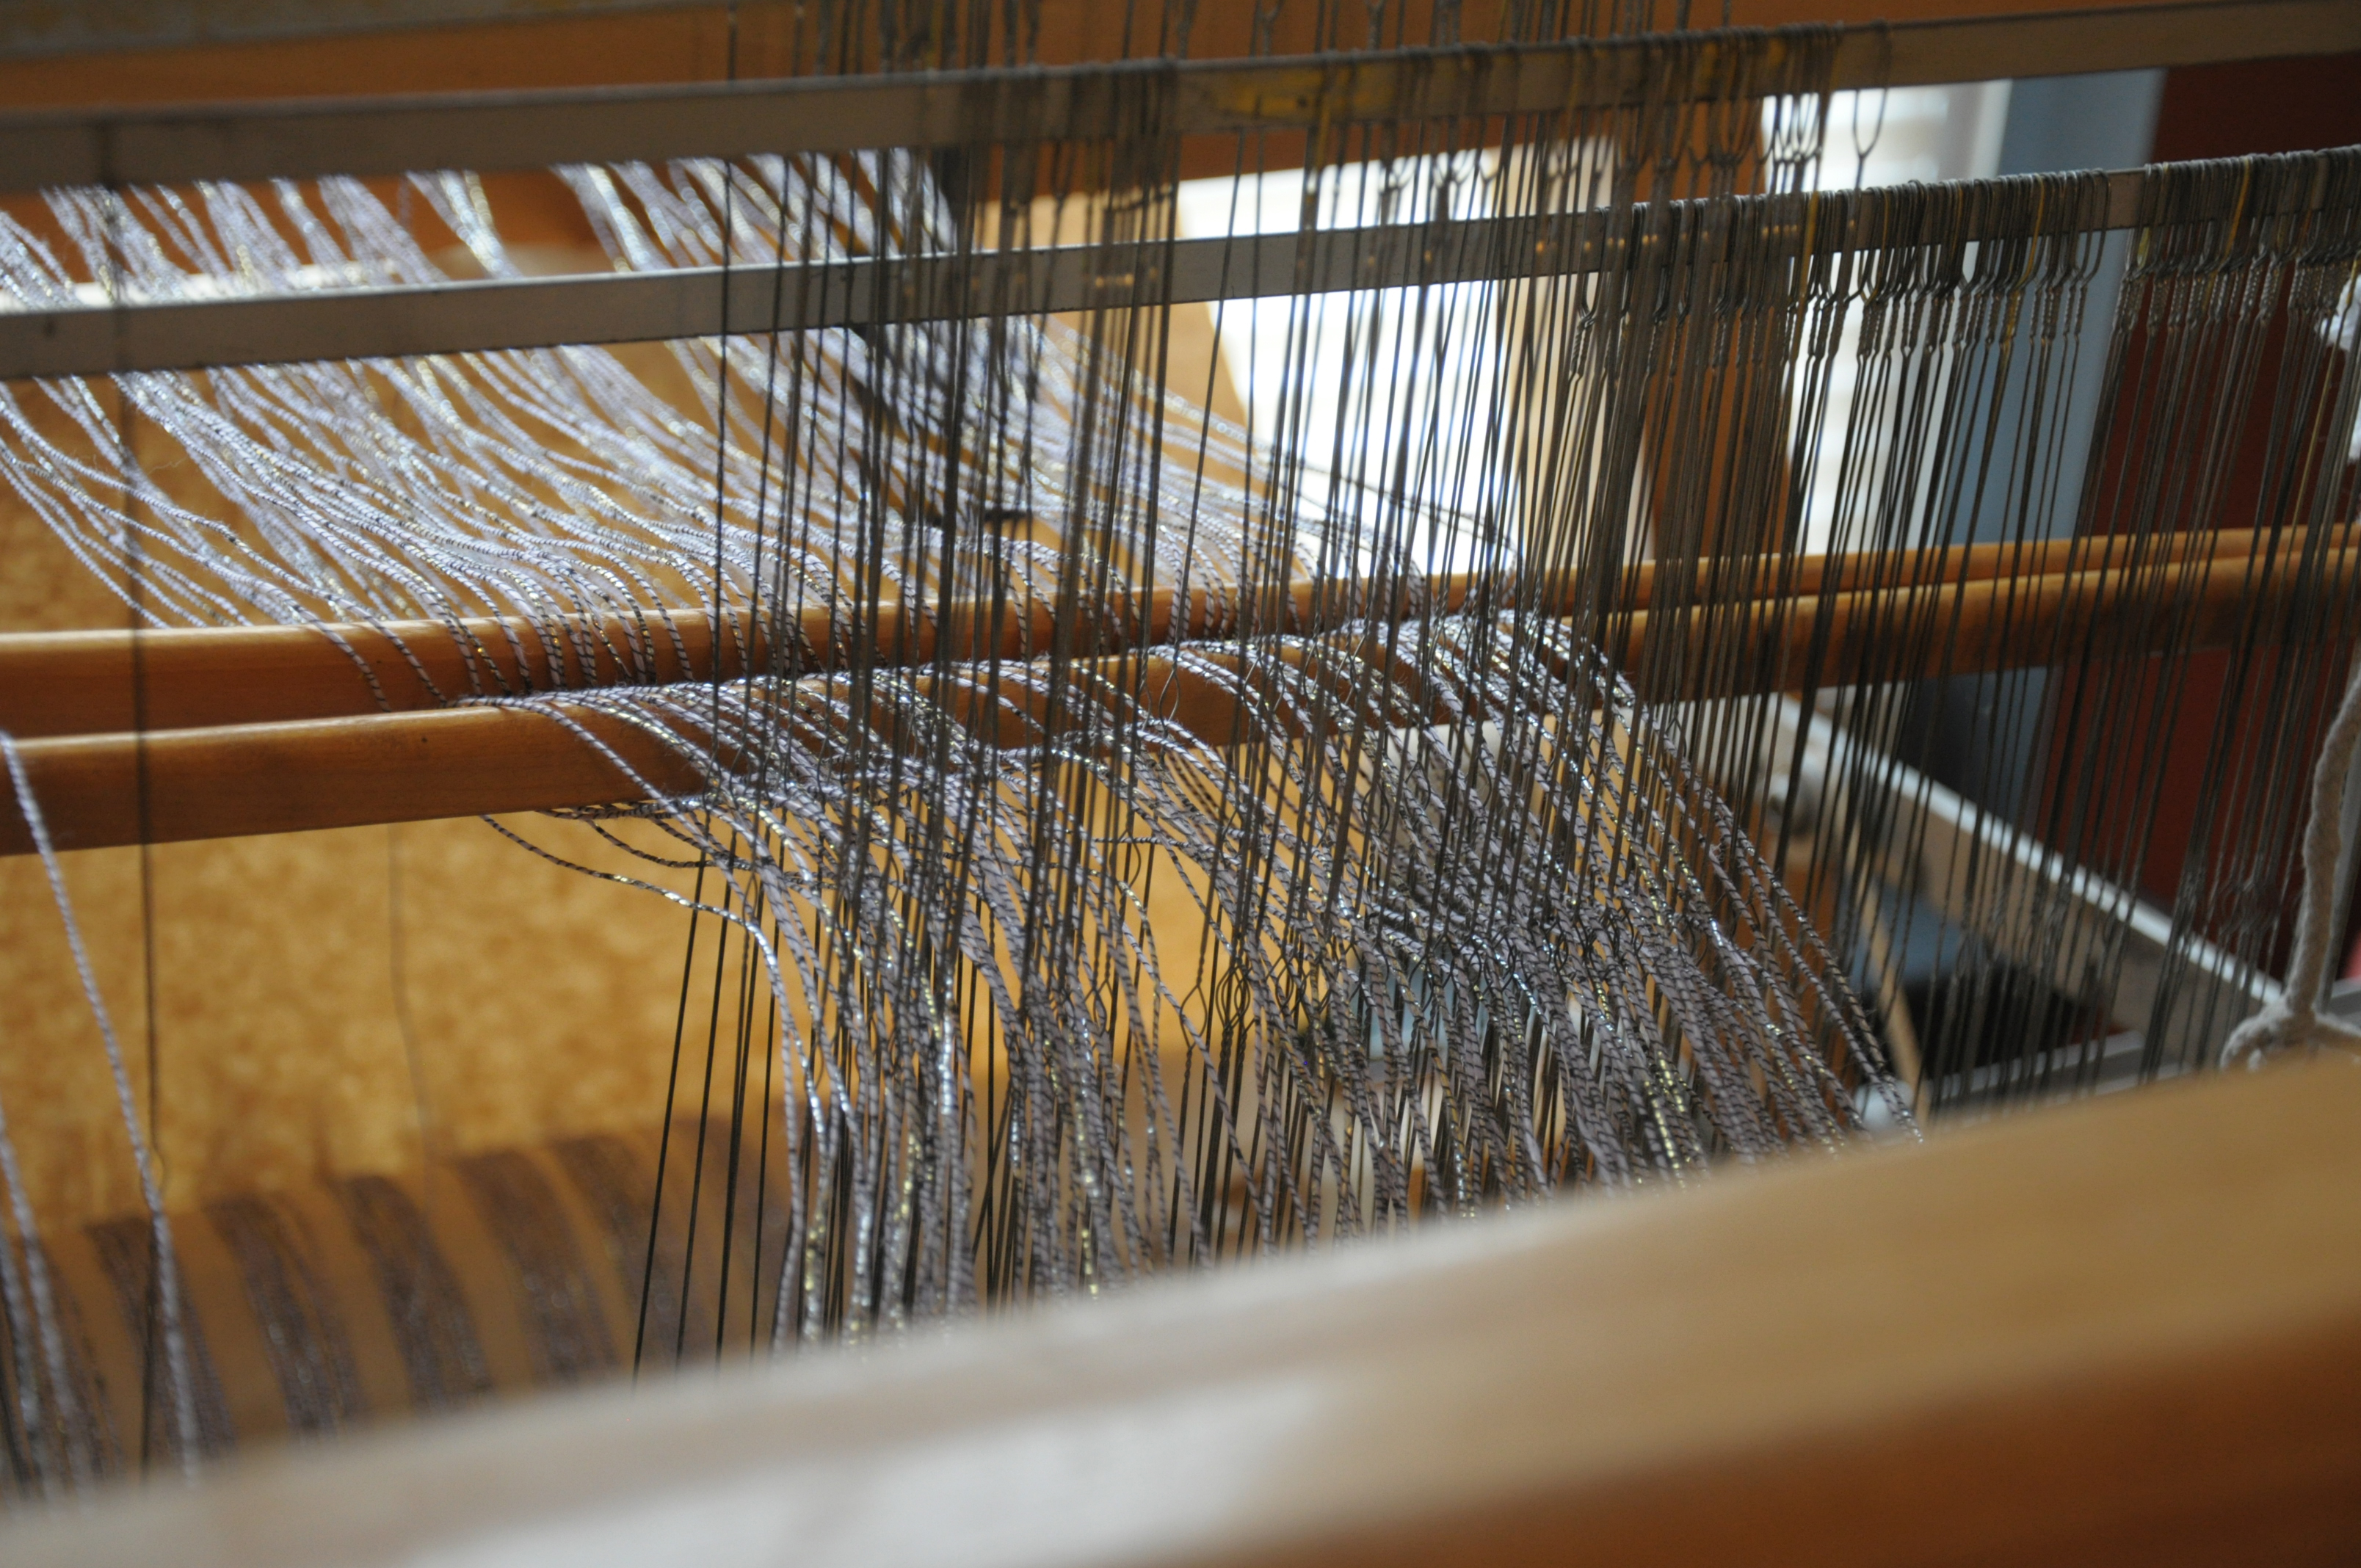
And look, so it’s so sparkly!

universestole_8

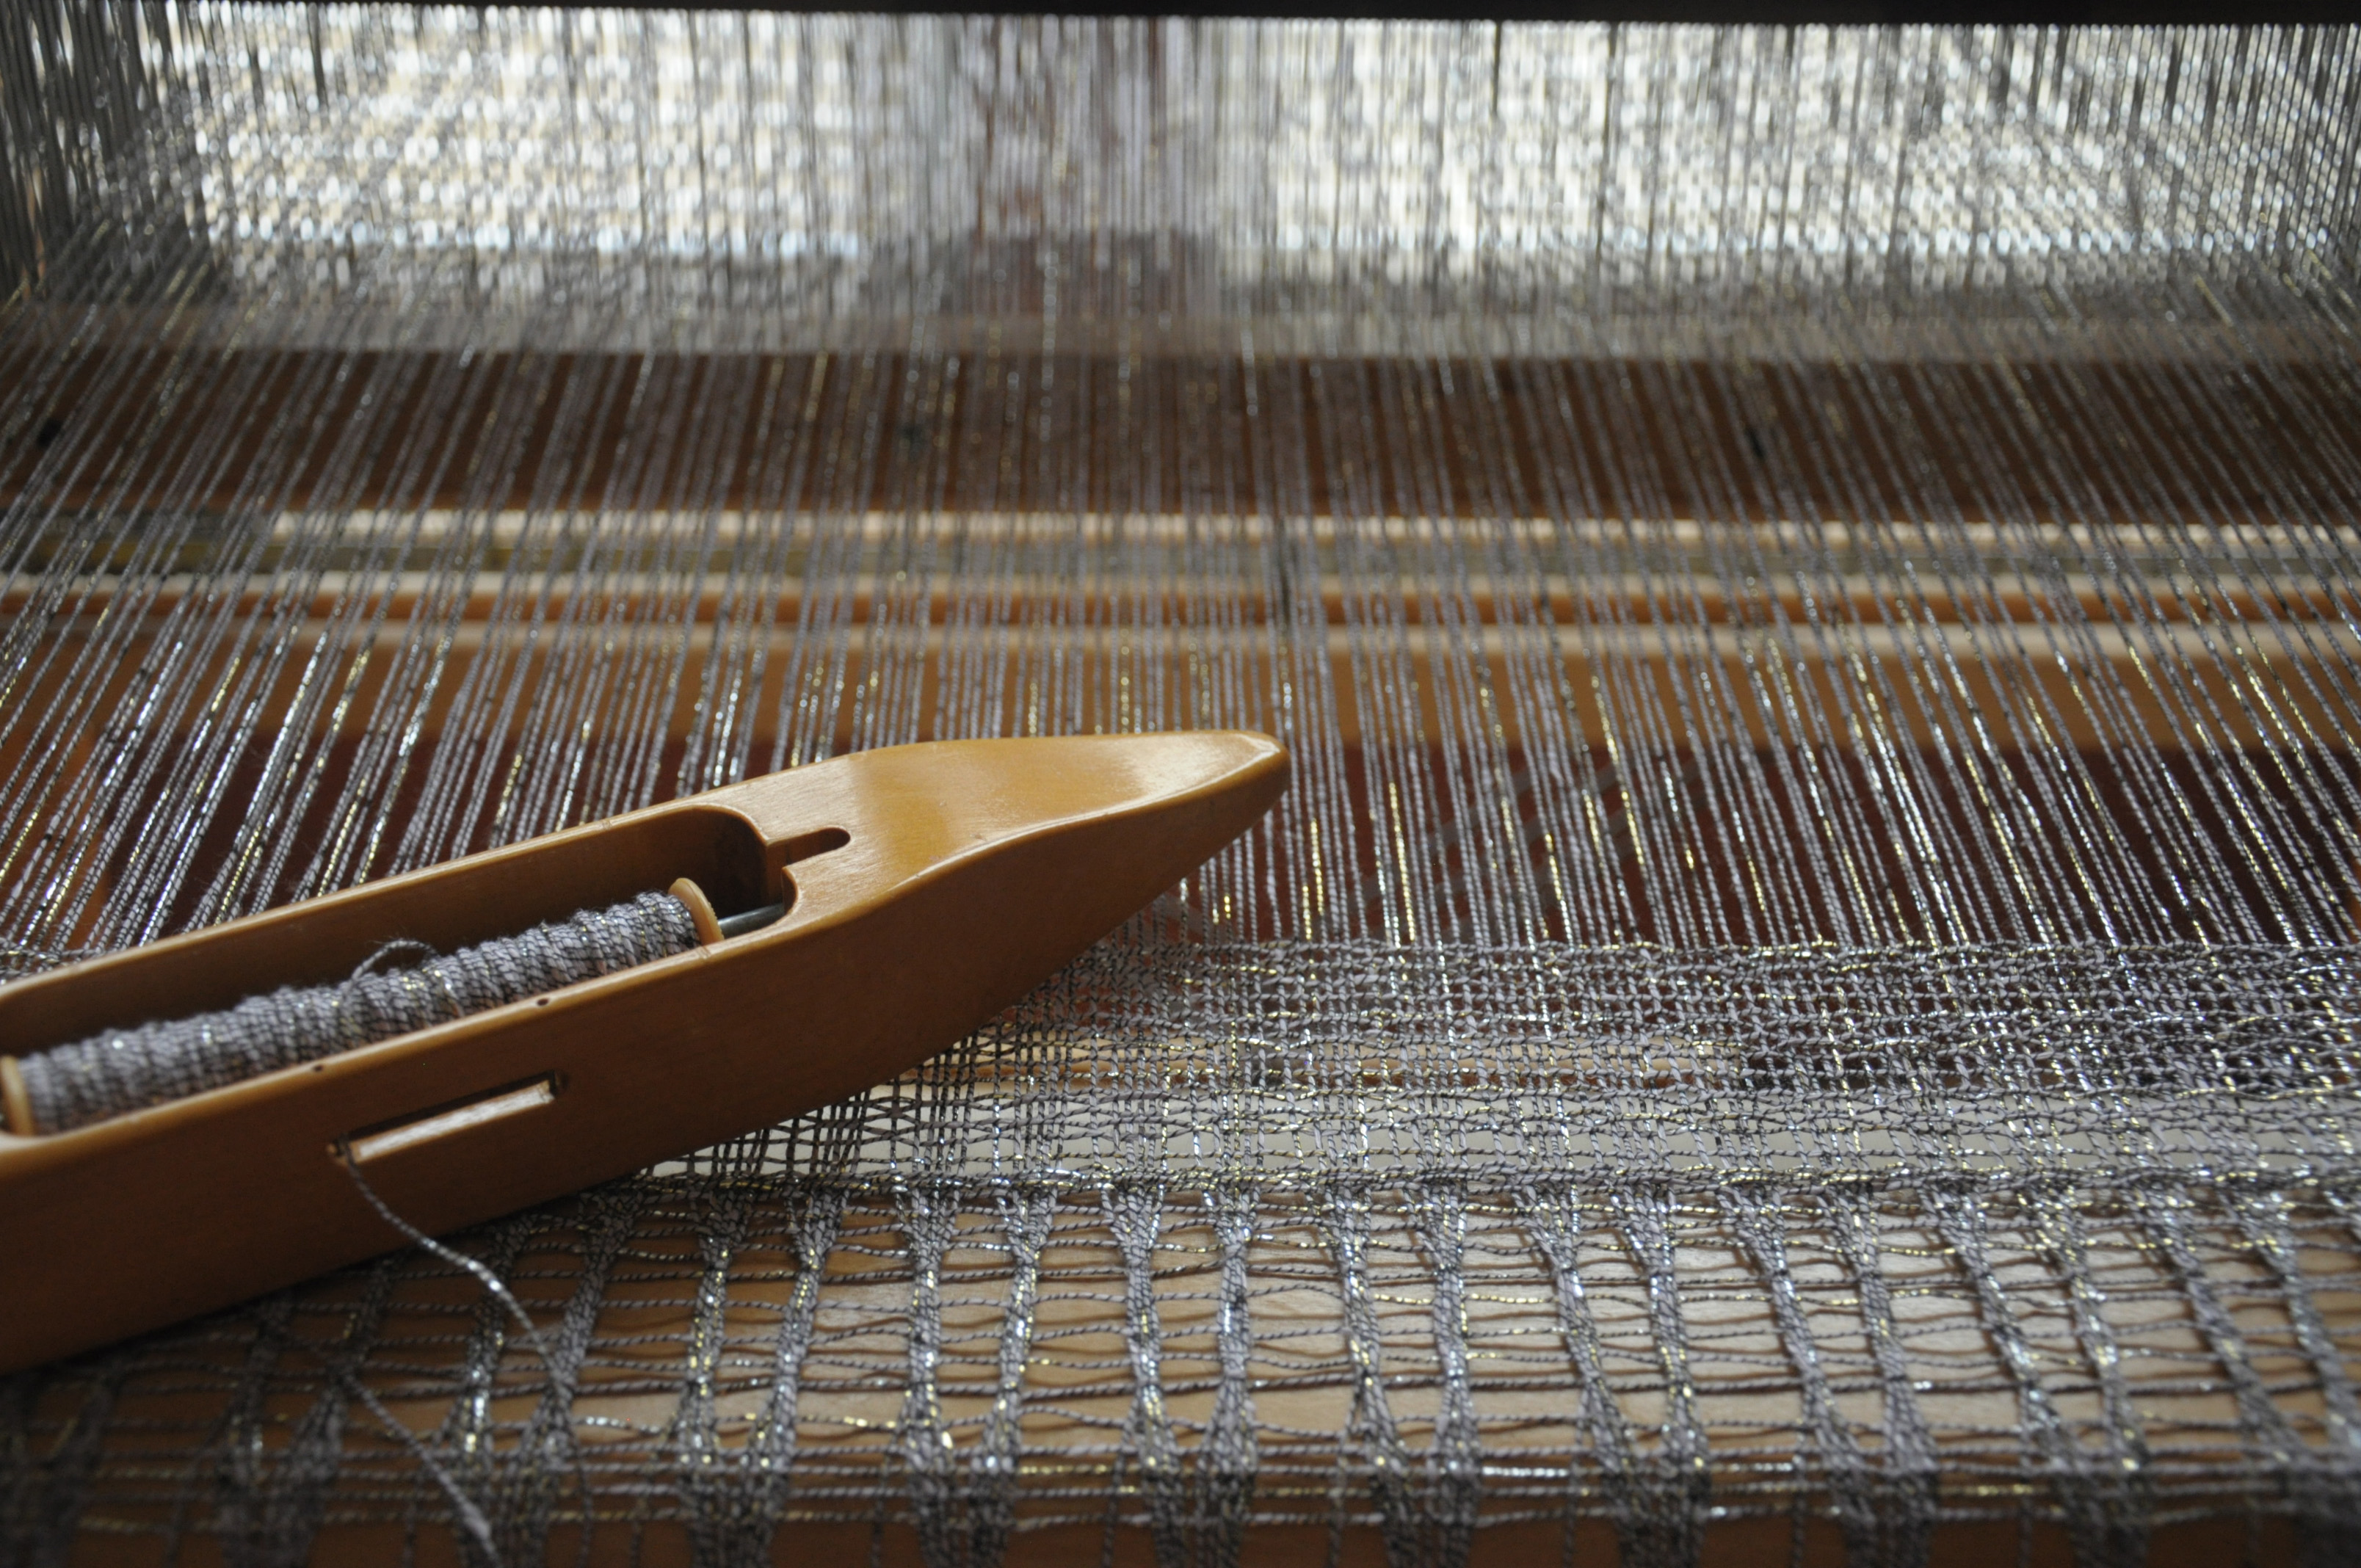
Next, I tried Brooks lace, but worked on a close shed. That means when I wrapped my weft yarn around the warp, I went around all threads across the width of the piece. I did two repeats of this with 3 passes of plain weave in between. I was less impressed with the appearance of this on the loom, but decided to keep it in the piece in hopes that I’d like it better after finishing (and I did!)

universestole_9

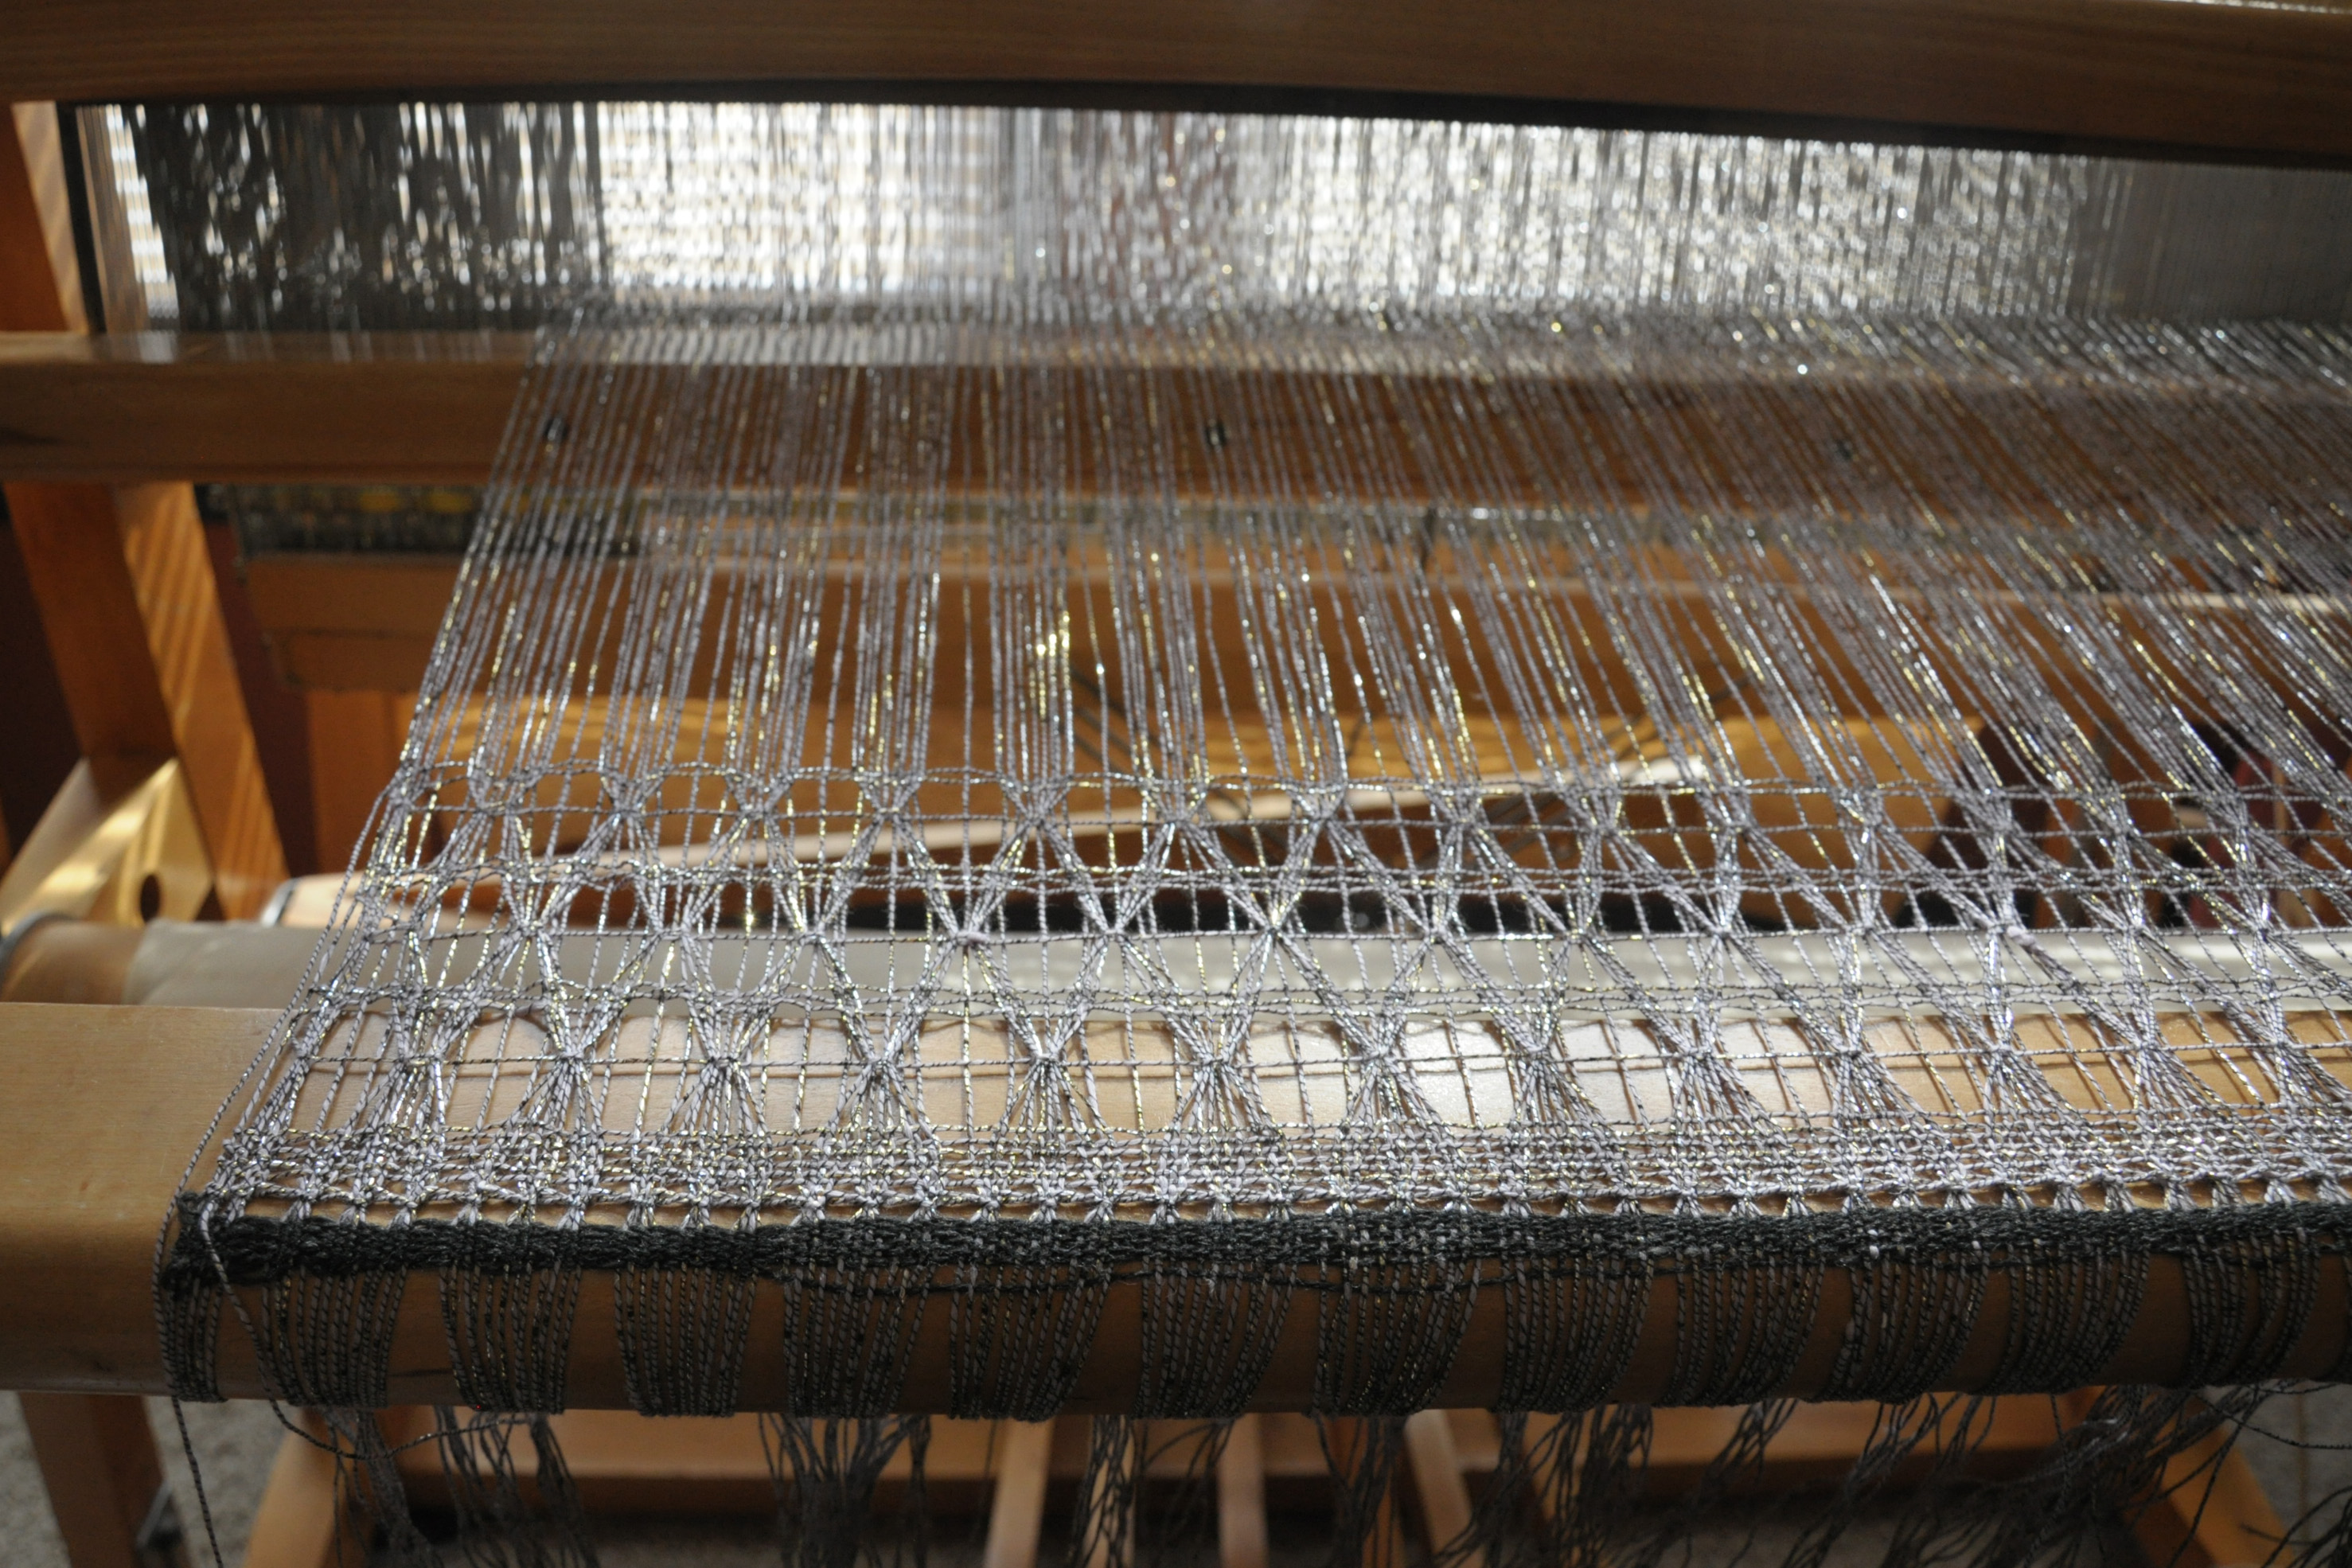
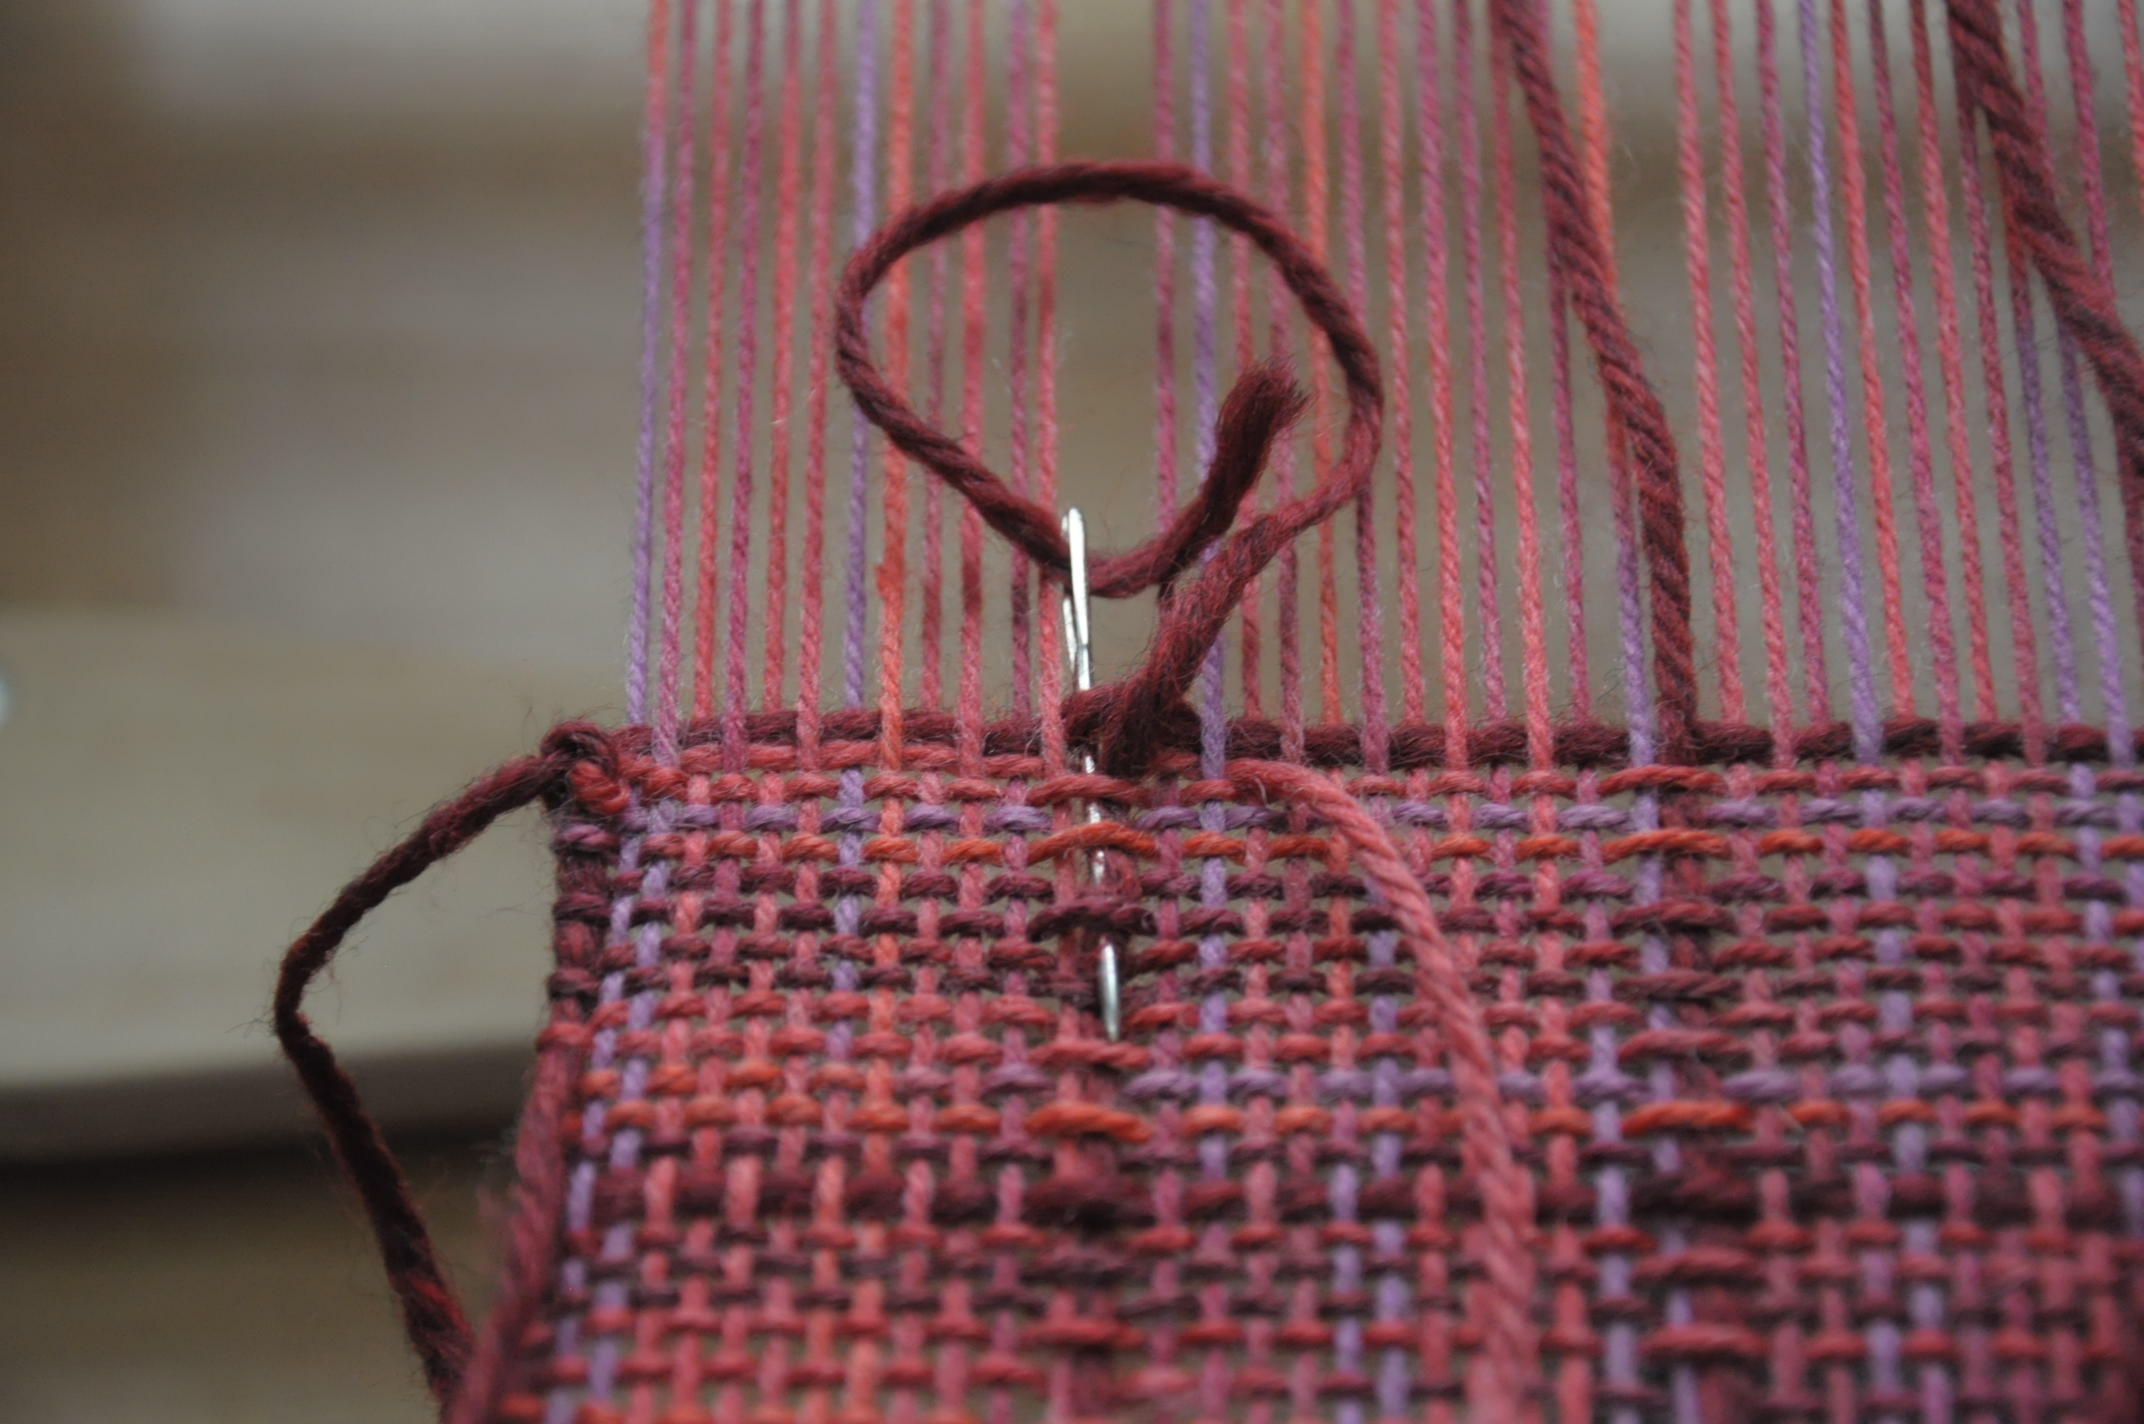
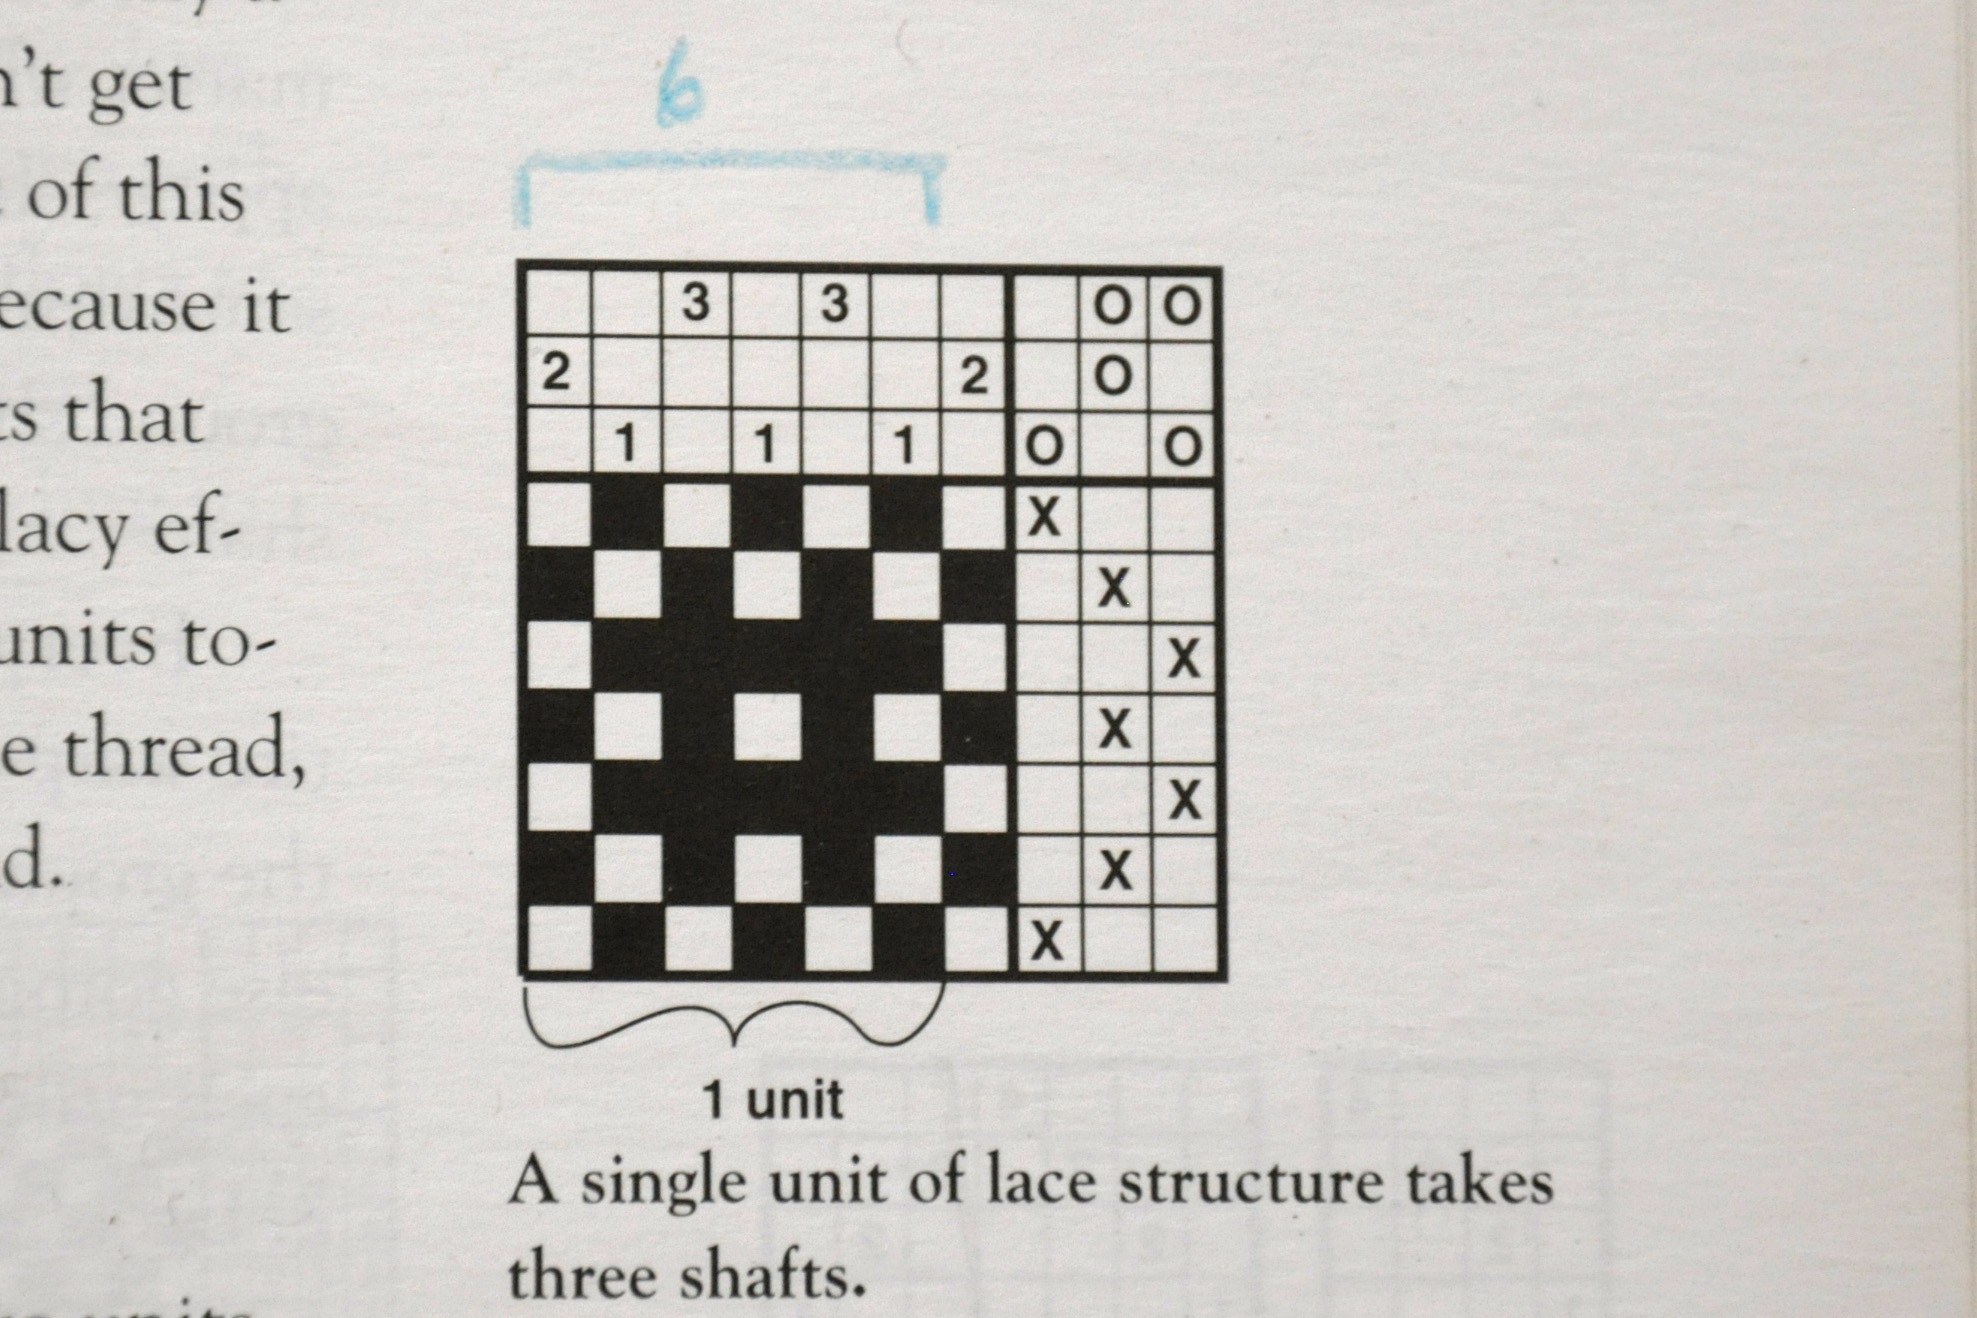
Next, it was time to move on to my main lace pattern: Atwater Bronson. This type of lace produces little blocks. I warped my loom for the most basic of Atwater Bronson – a single repeating block of lace. There are many incarnations of this lace. And it is quite possible to reproduce this on a rigid heddle with use of a pick-up stick.
universestole_10

While the Brooks lace is considered a finger controlled lace pattern, Atwater Bronson is a type of “loom controlled” pattern. That’s because the loom is doing all the work of raising and lowering the warp threads. Well, at least my feet are doing the work of pushing the treadles to make this happen!

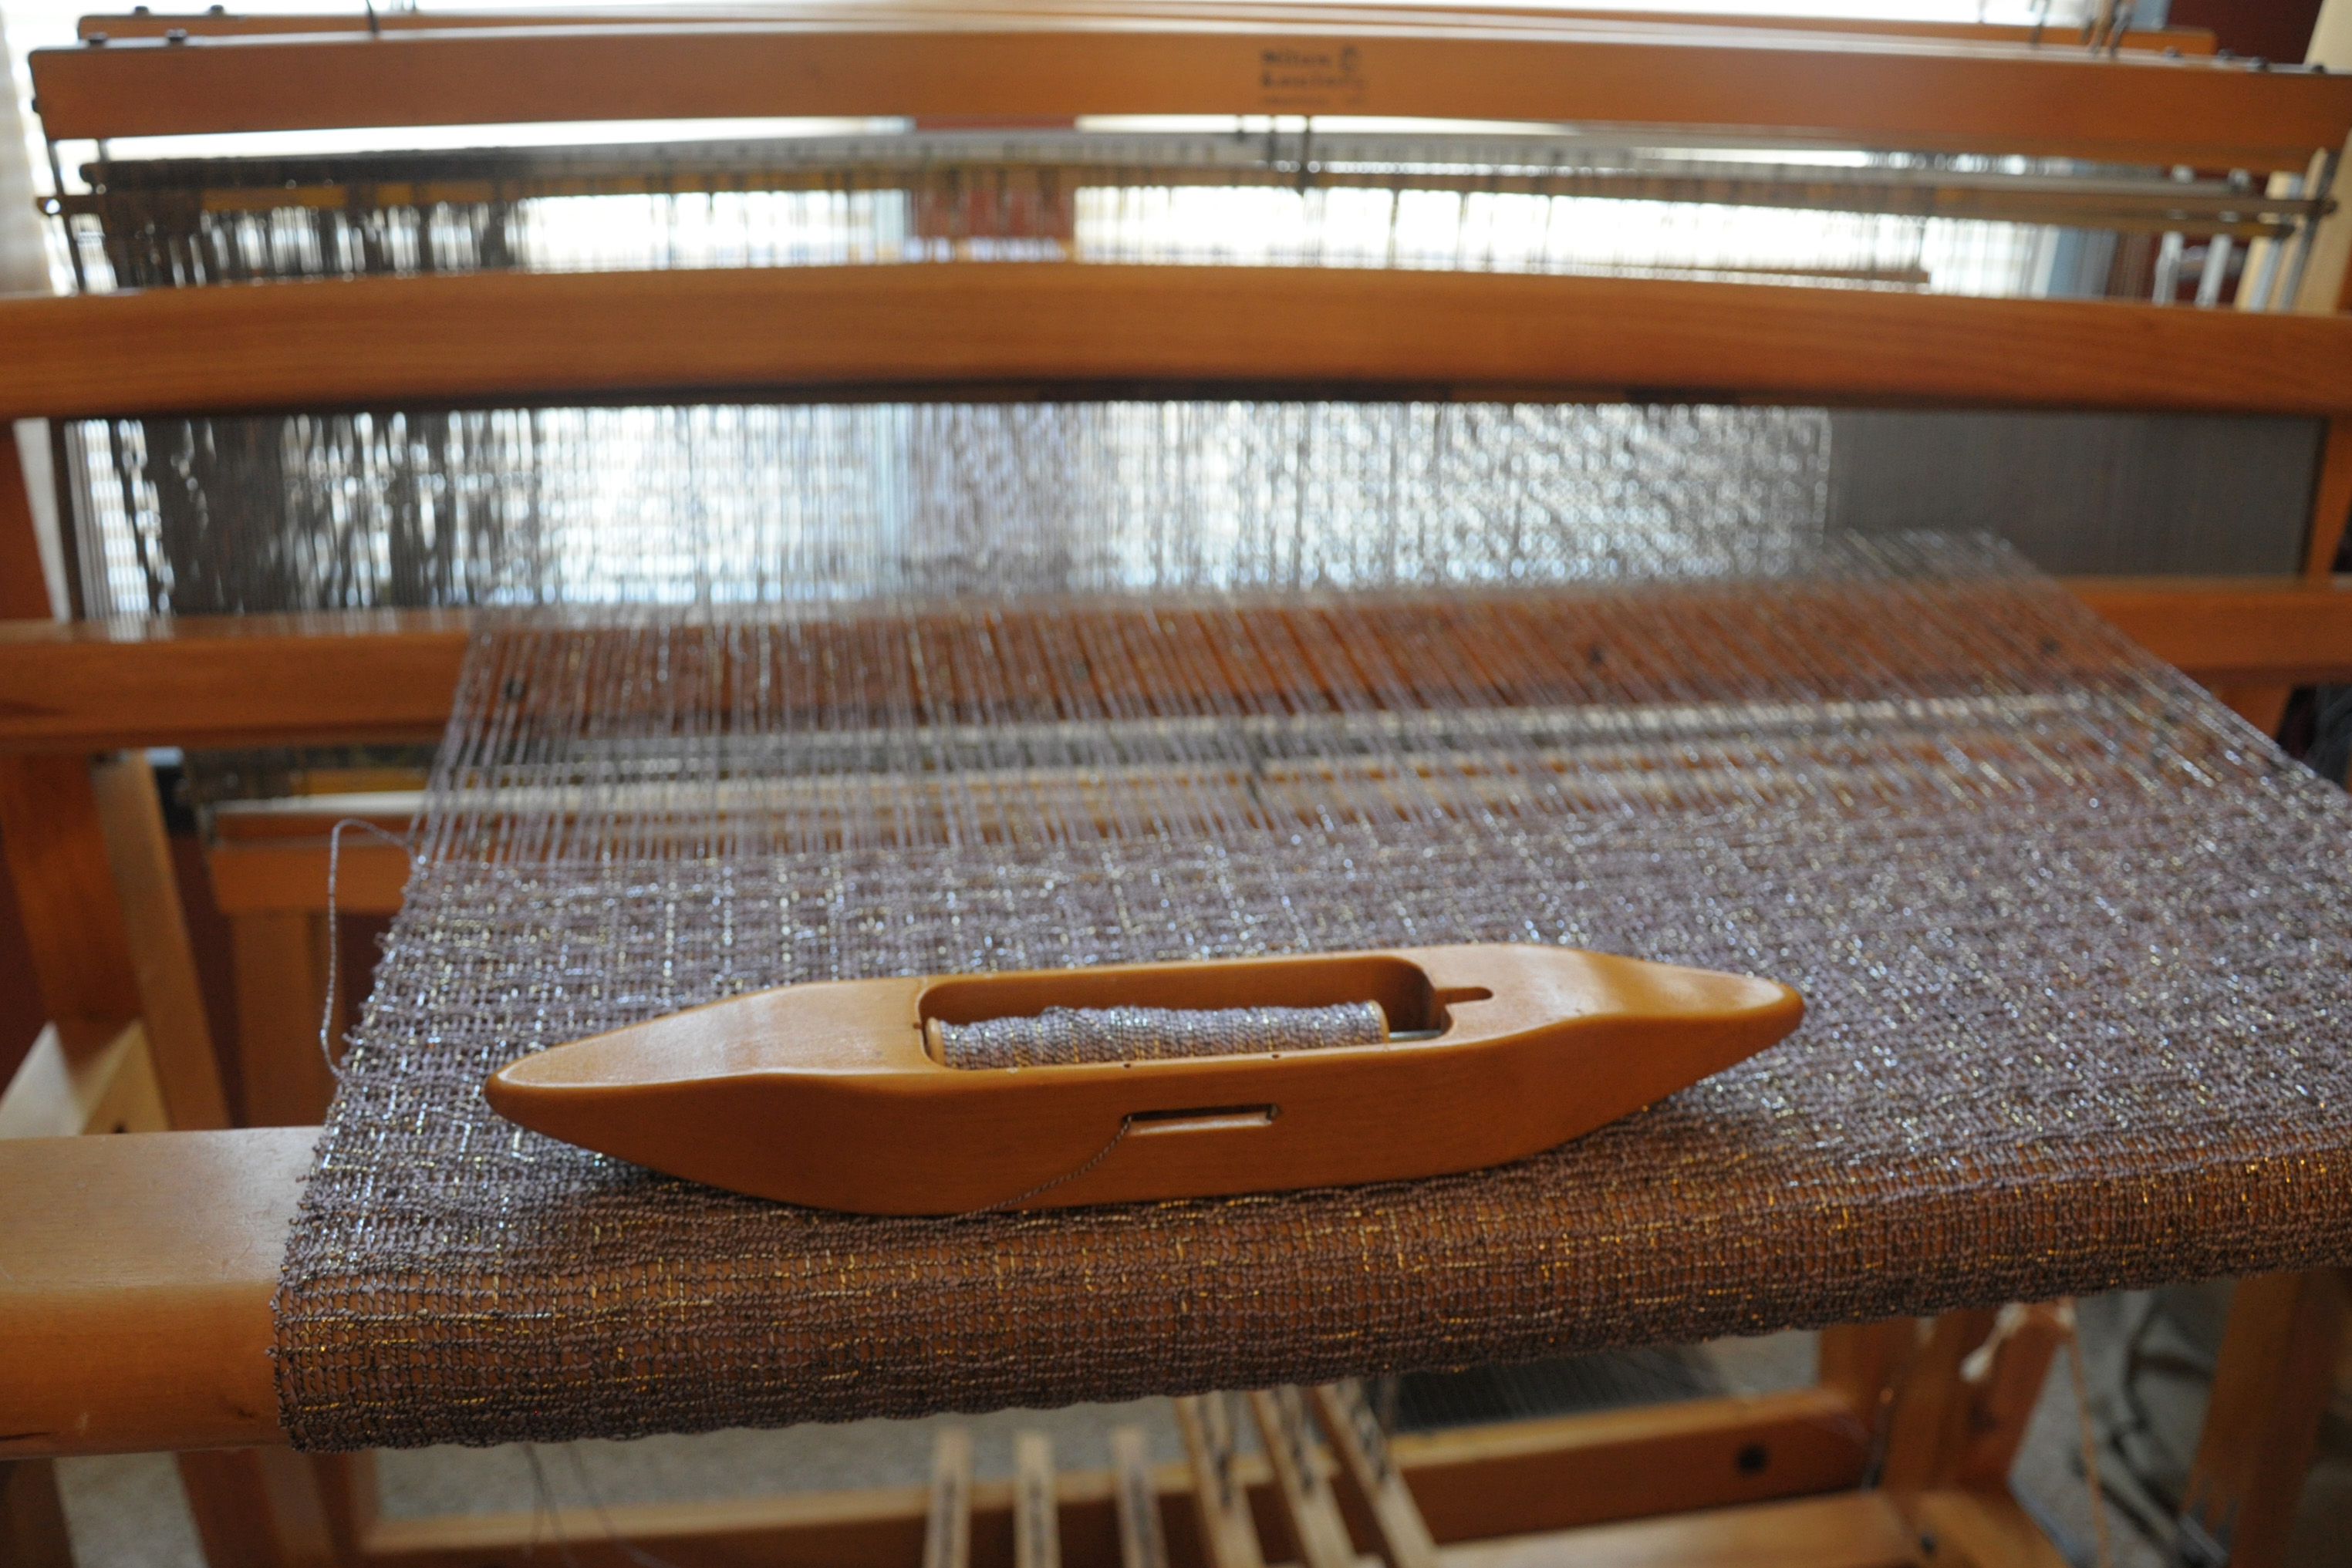
I really enjoyed the weaving part of this. I’m sure much of this was the ease of weaving on a floor loom, and the wonderful rhythm of the beater bar, treadles, and boat shuttle. But it was also easy to memorize and just overall very pleasant.

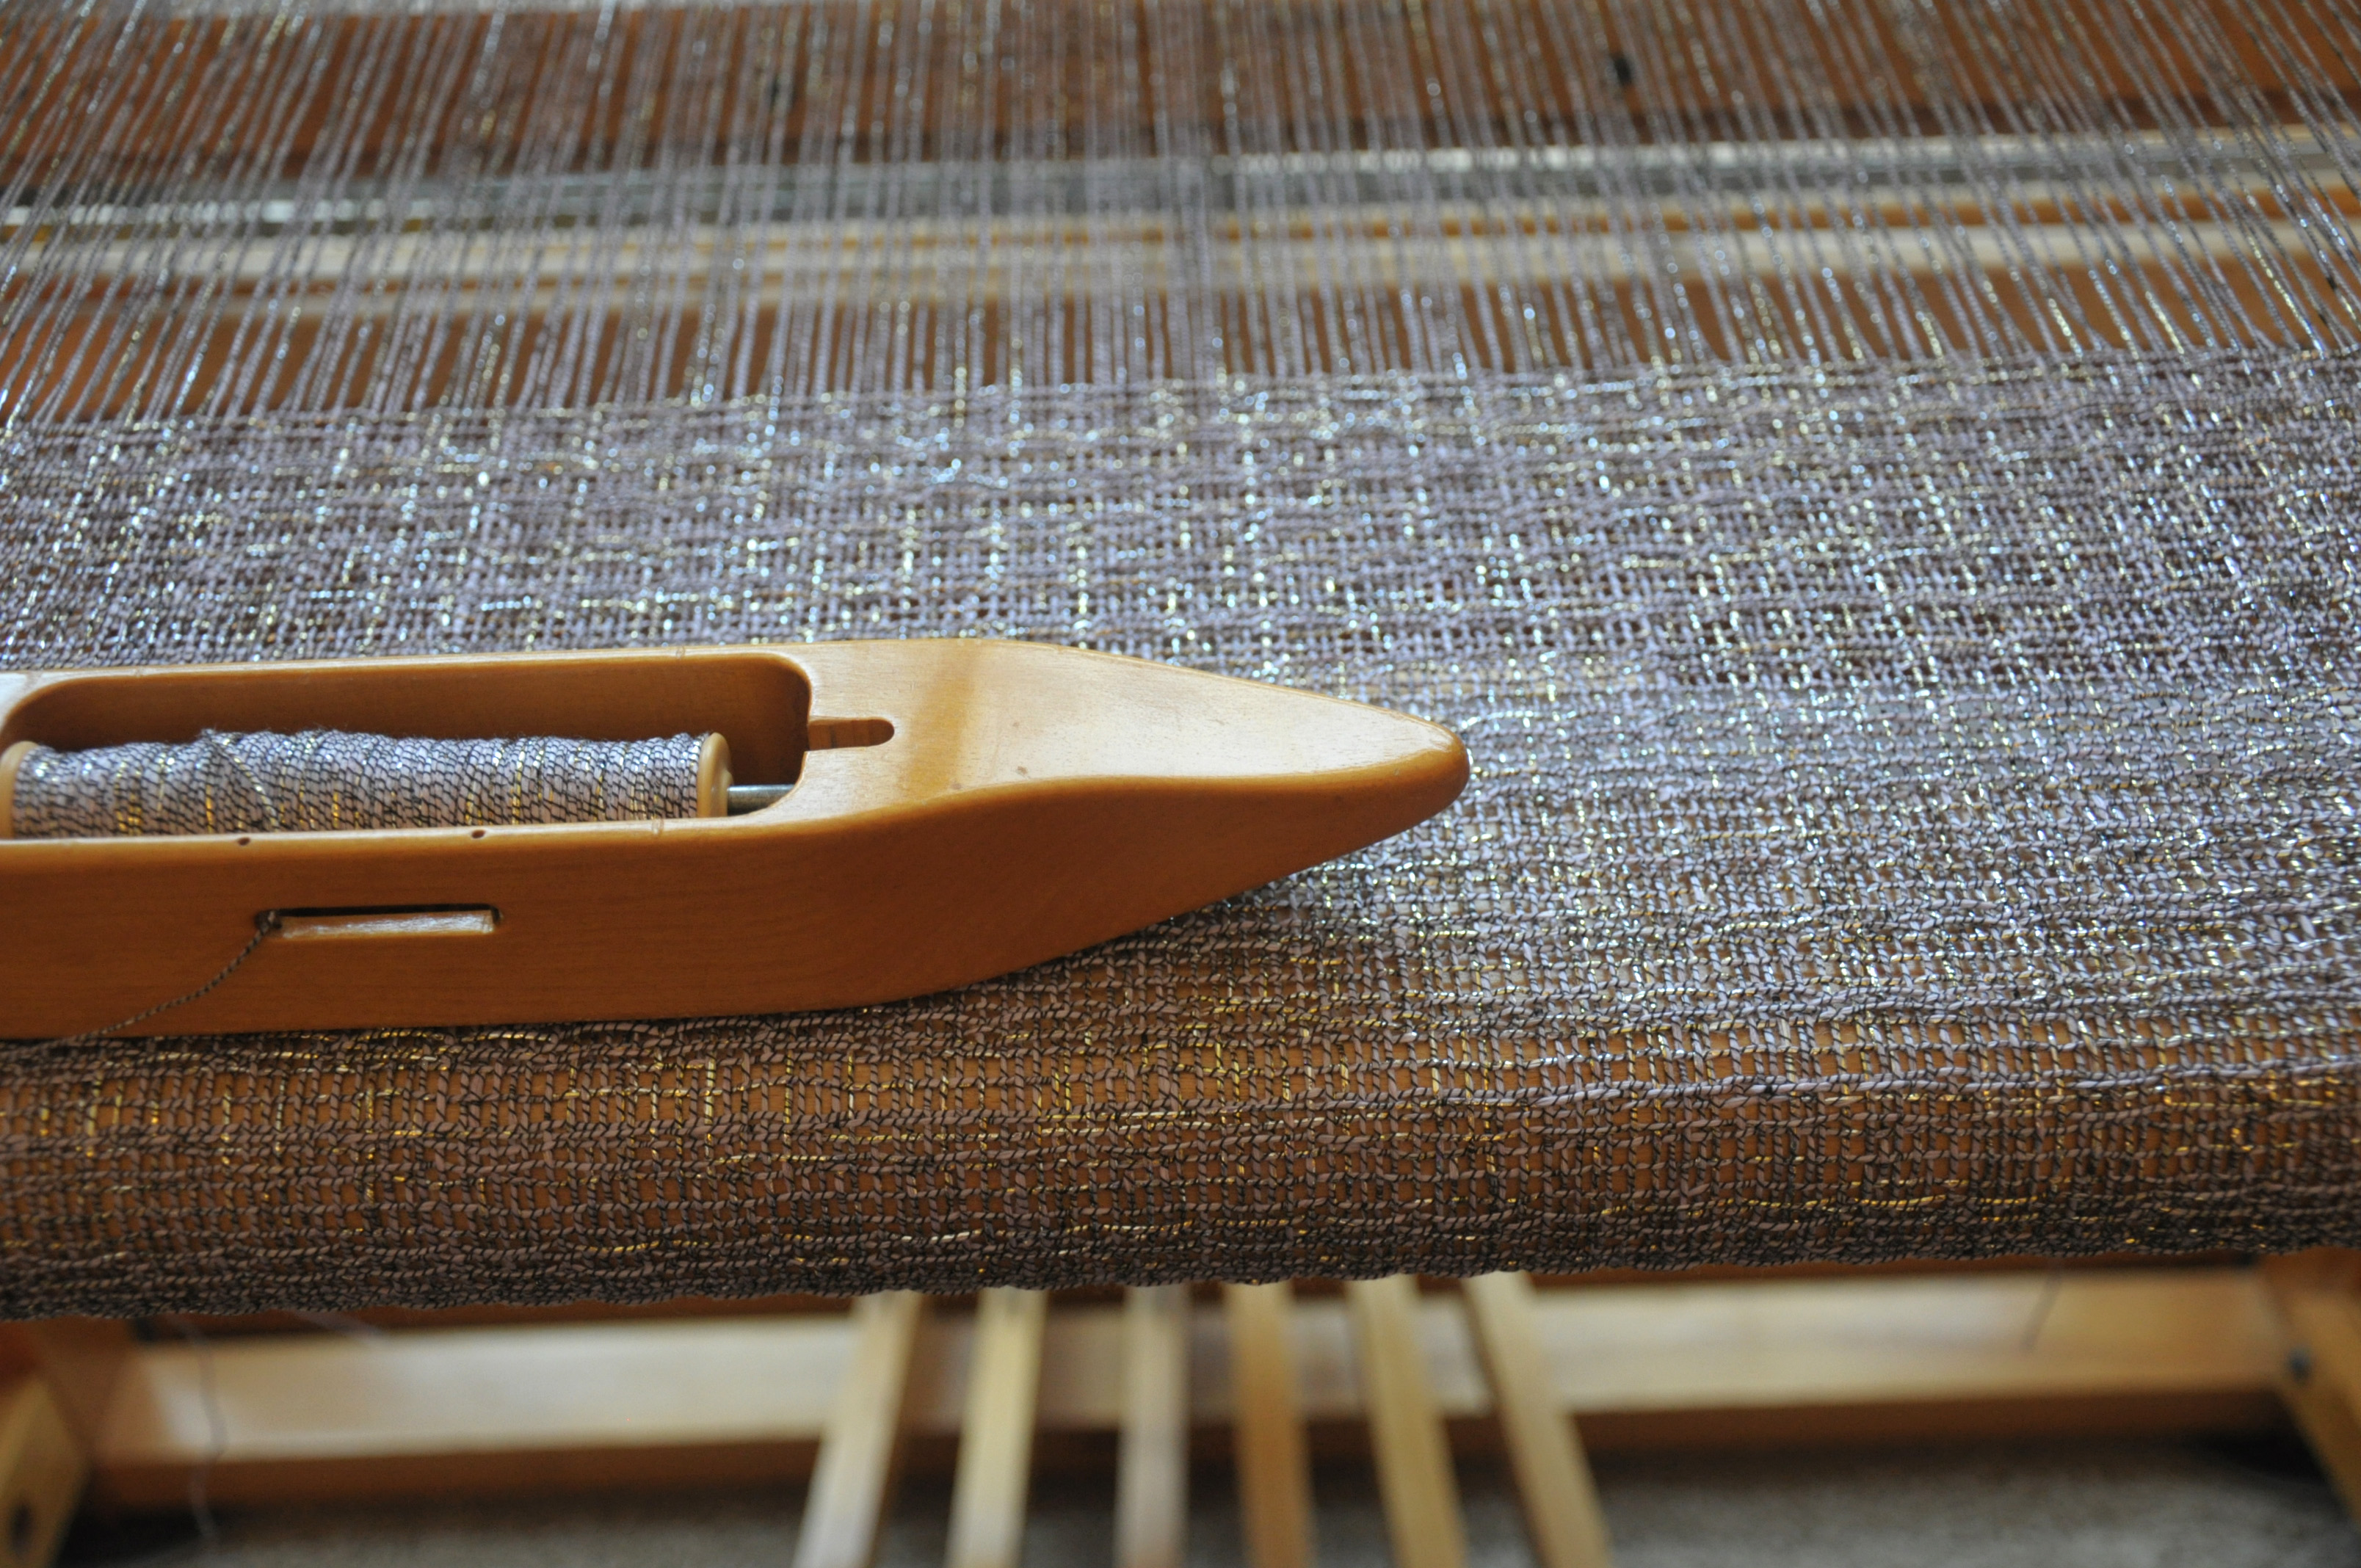
Here it is after a few repeats. Not too exciting!

universestole_11

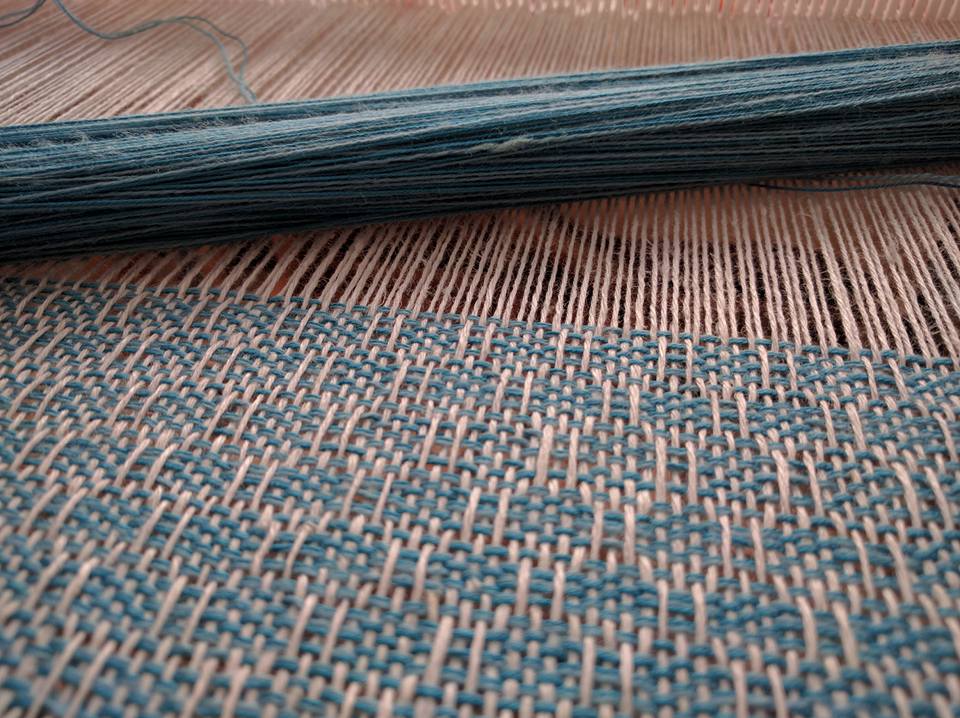
After more repeats, I could definitely see the pattern forming. But again, not that visually stimulating. I had to keep reminding myself that the magic would really happen off the loom and after washing.

universestole_12

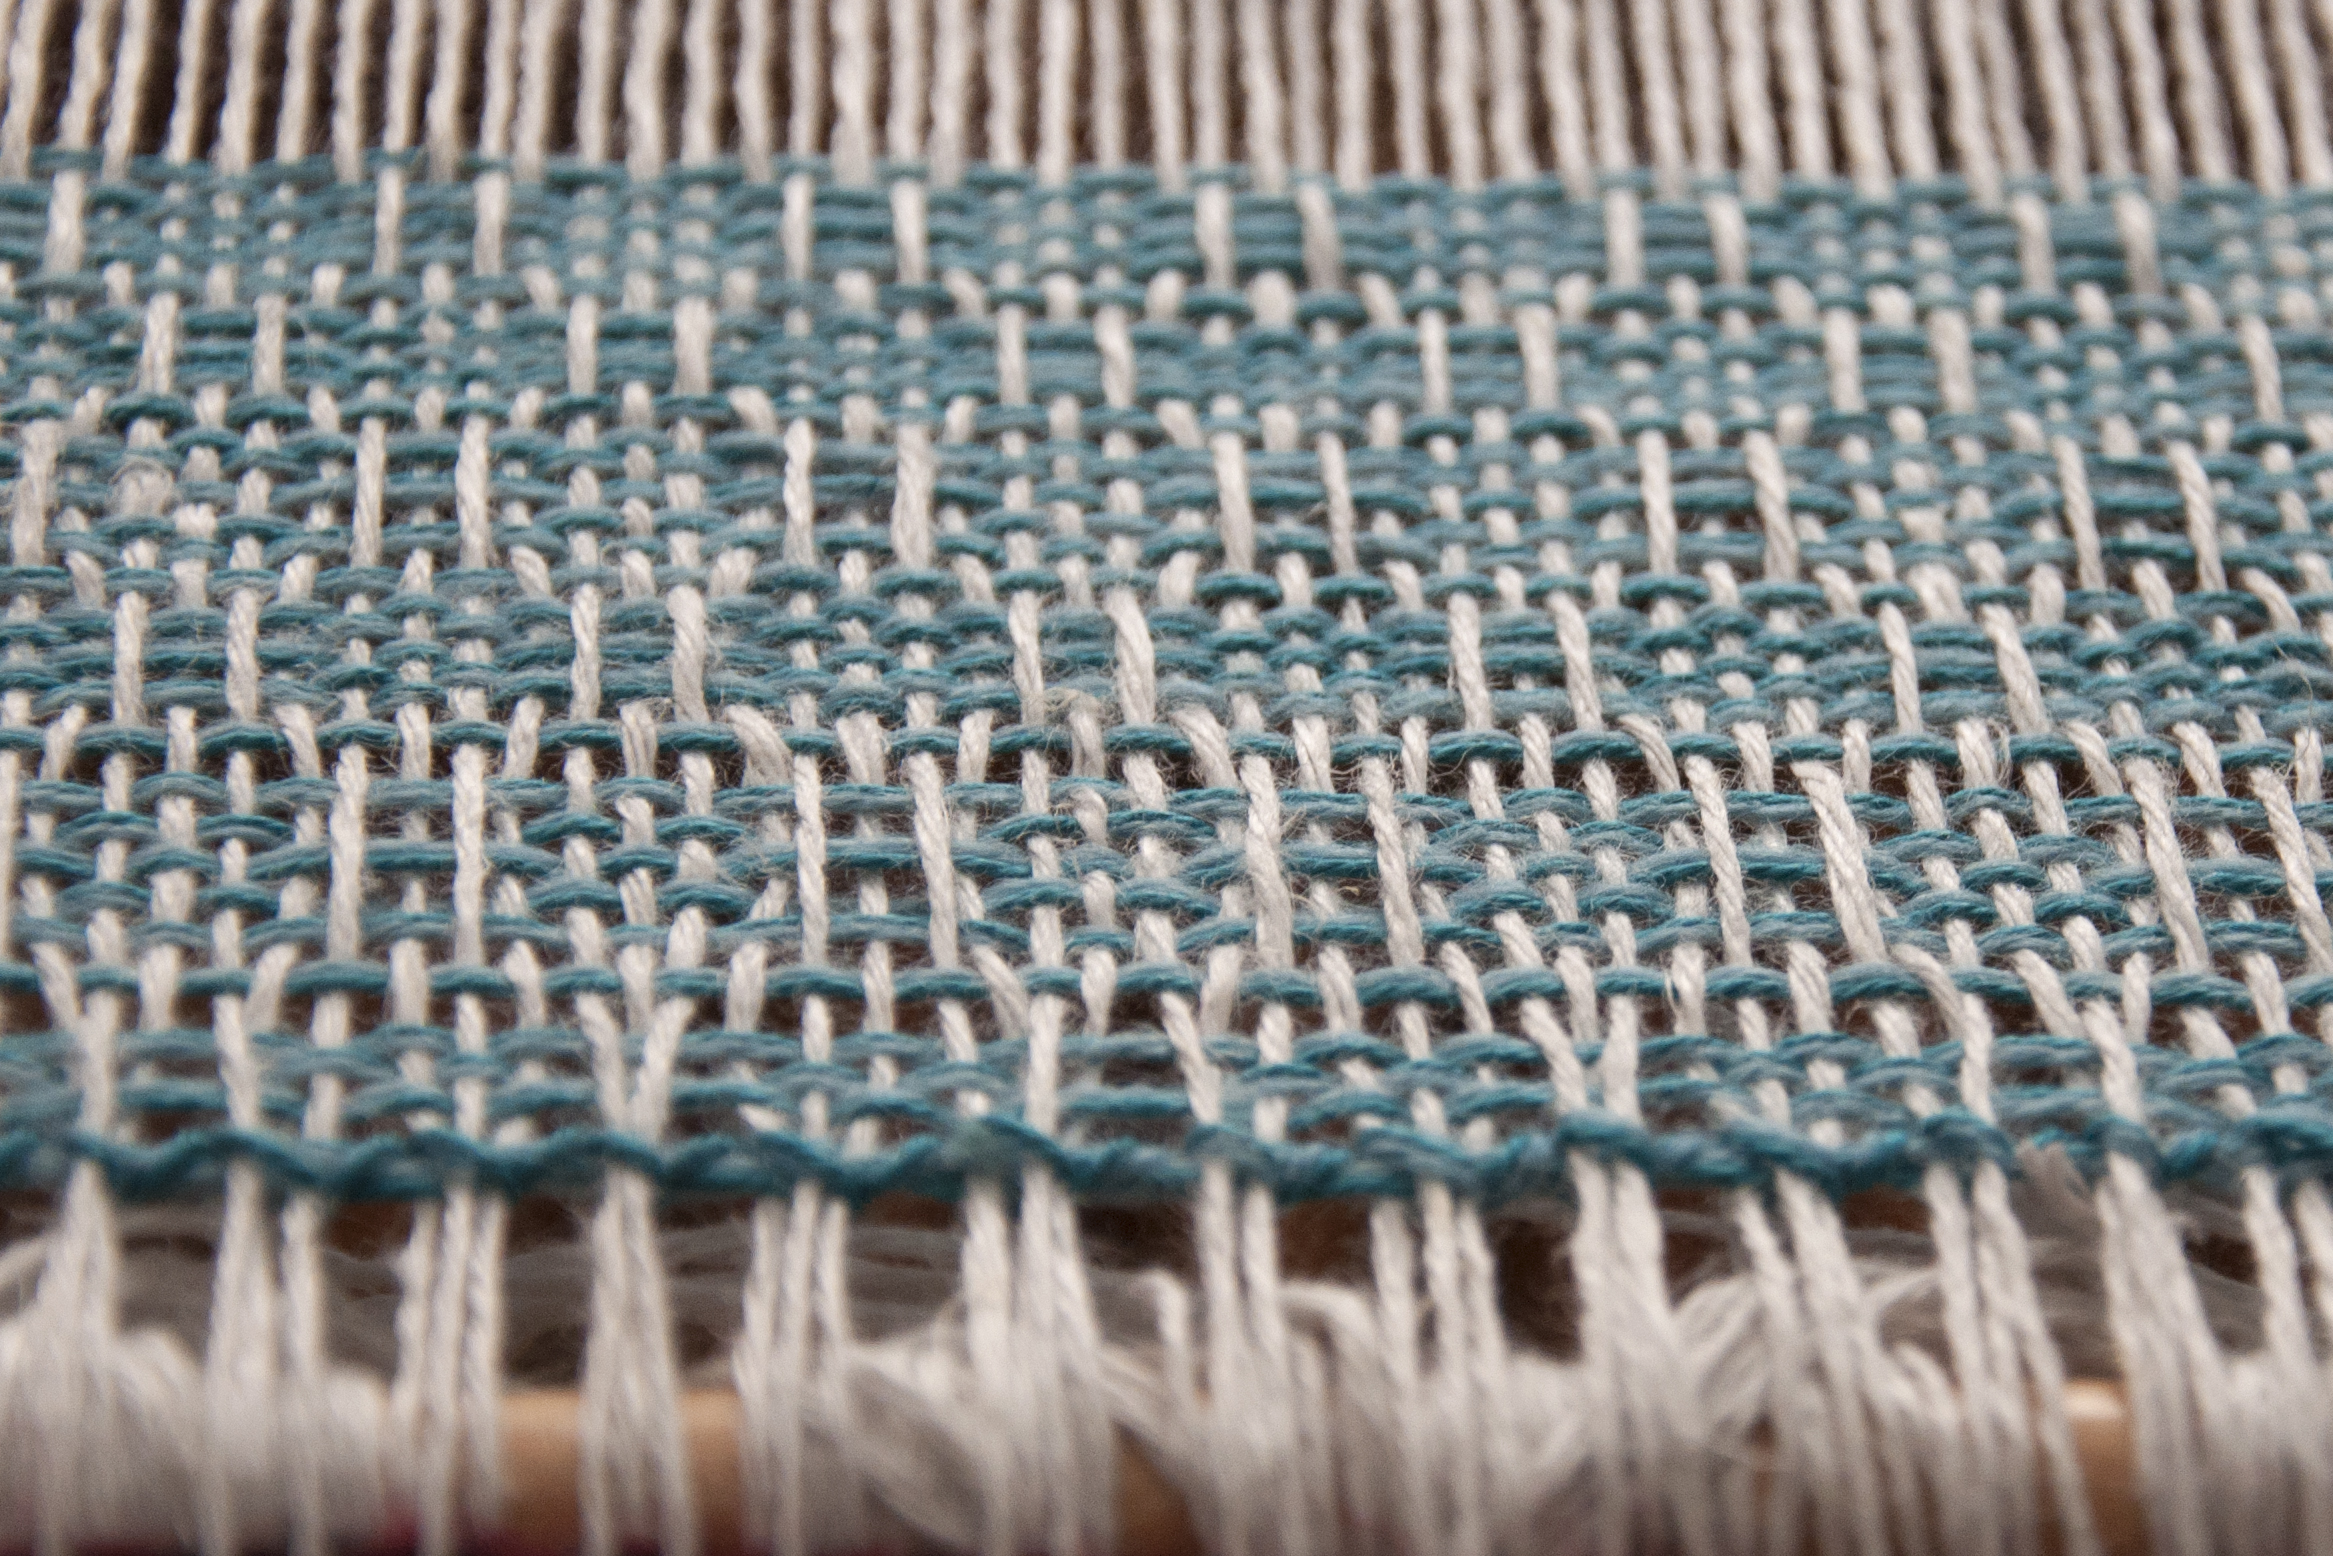
From an angle, you can kind of see the blocks in the pattern.

universestole_13

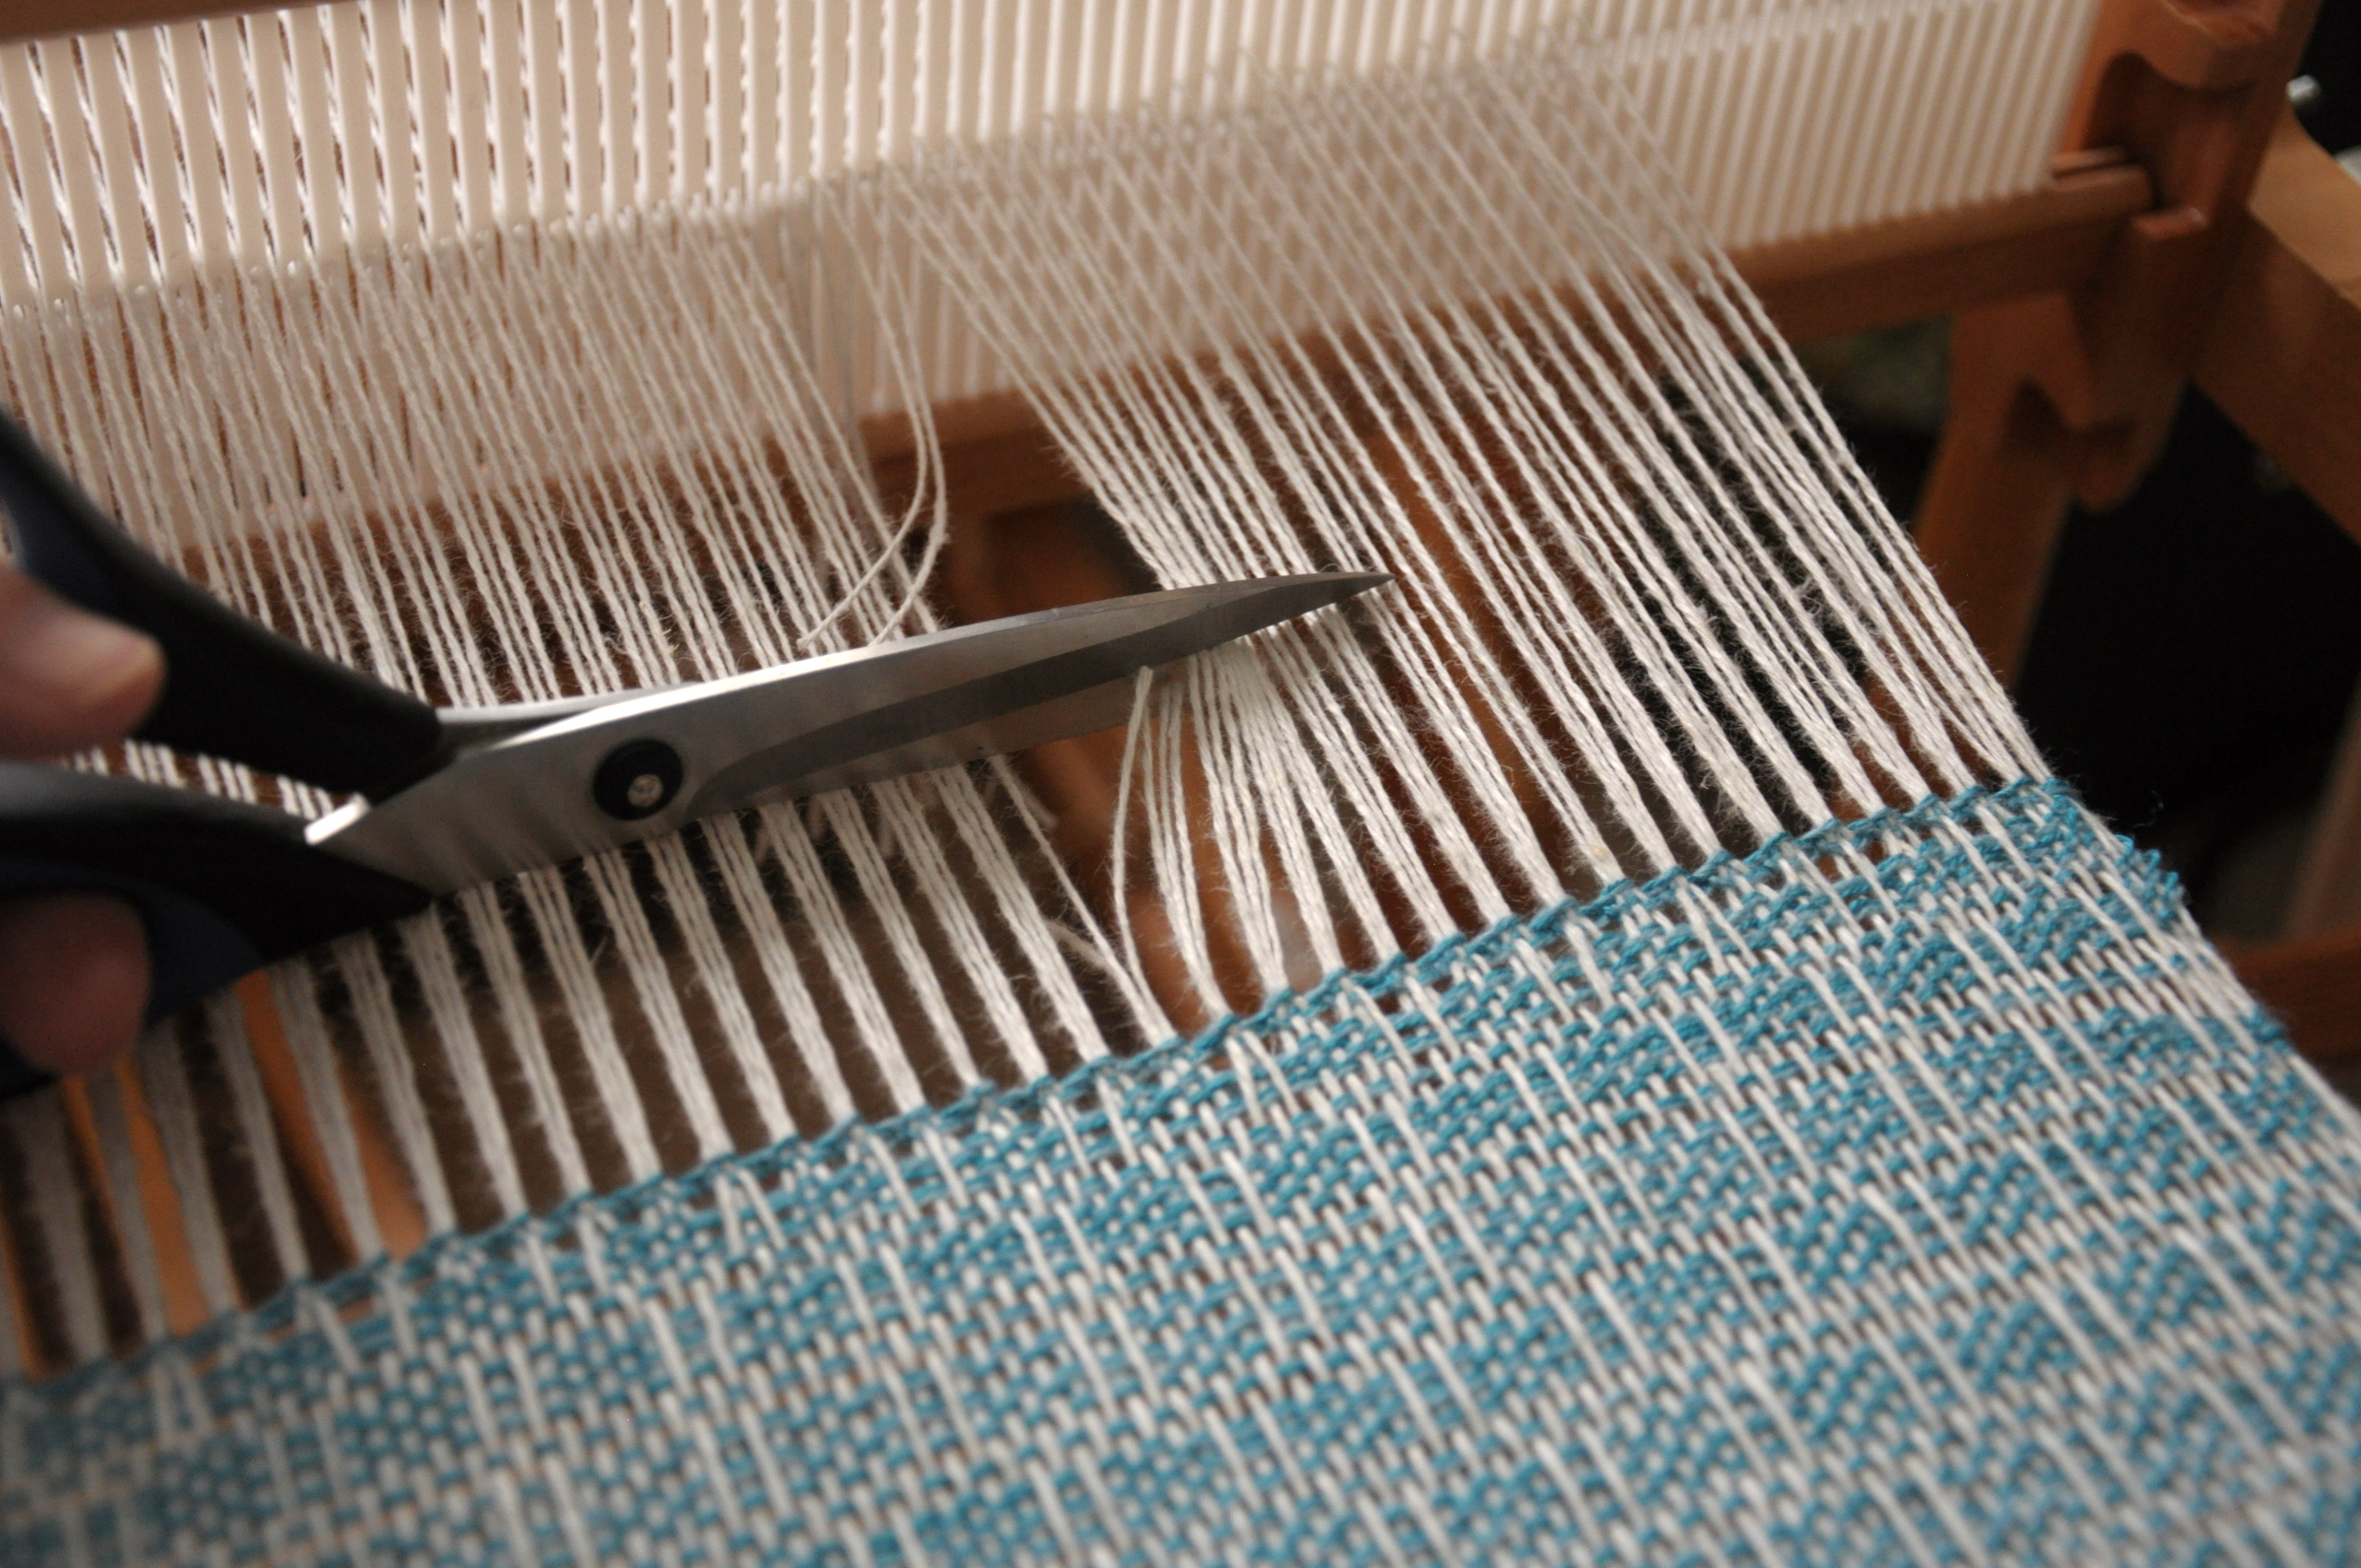
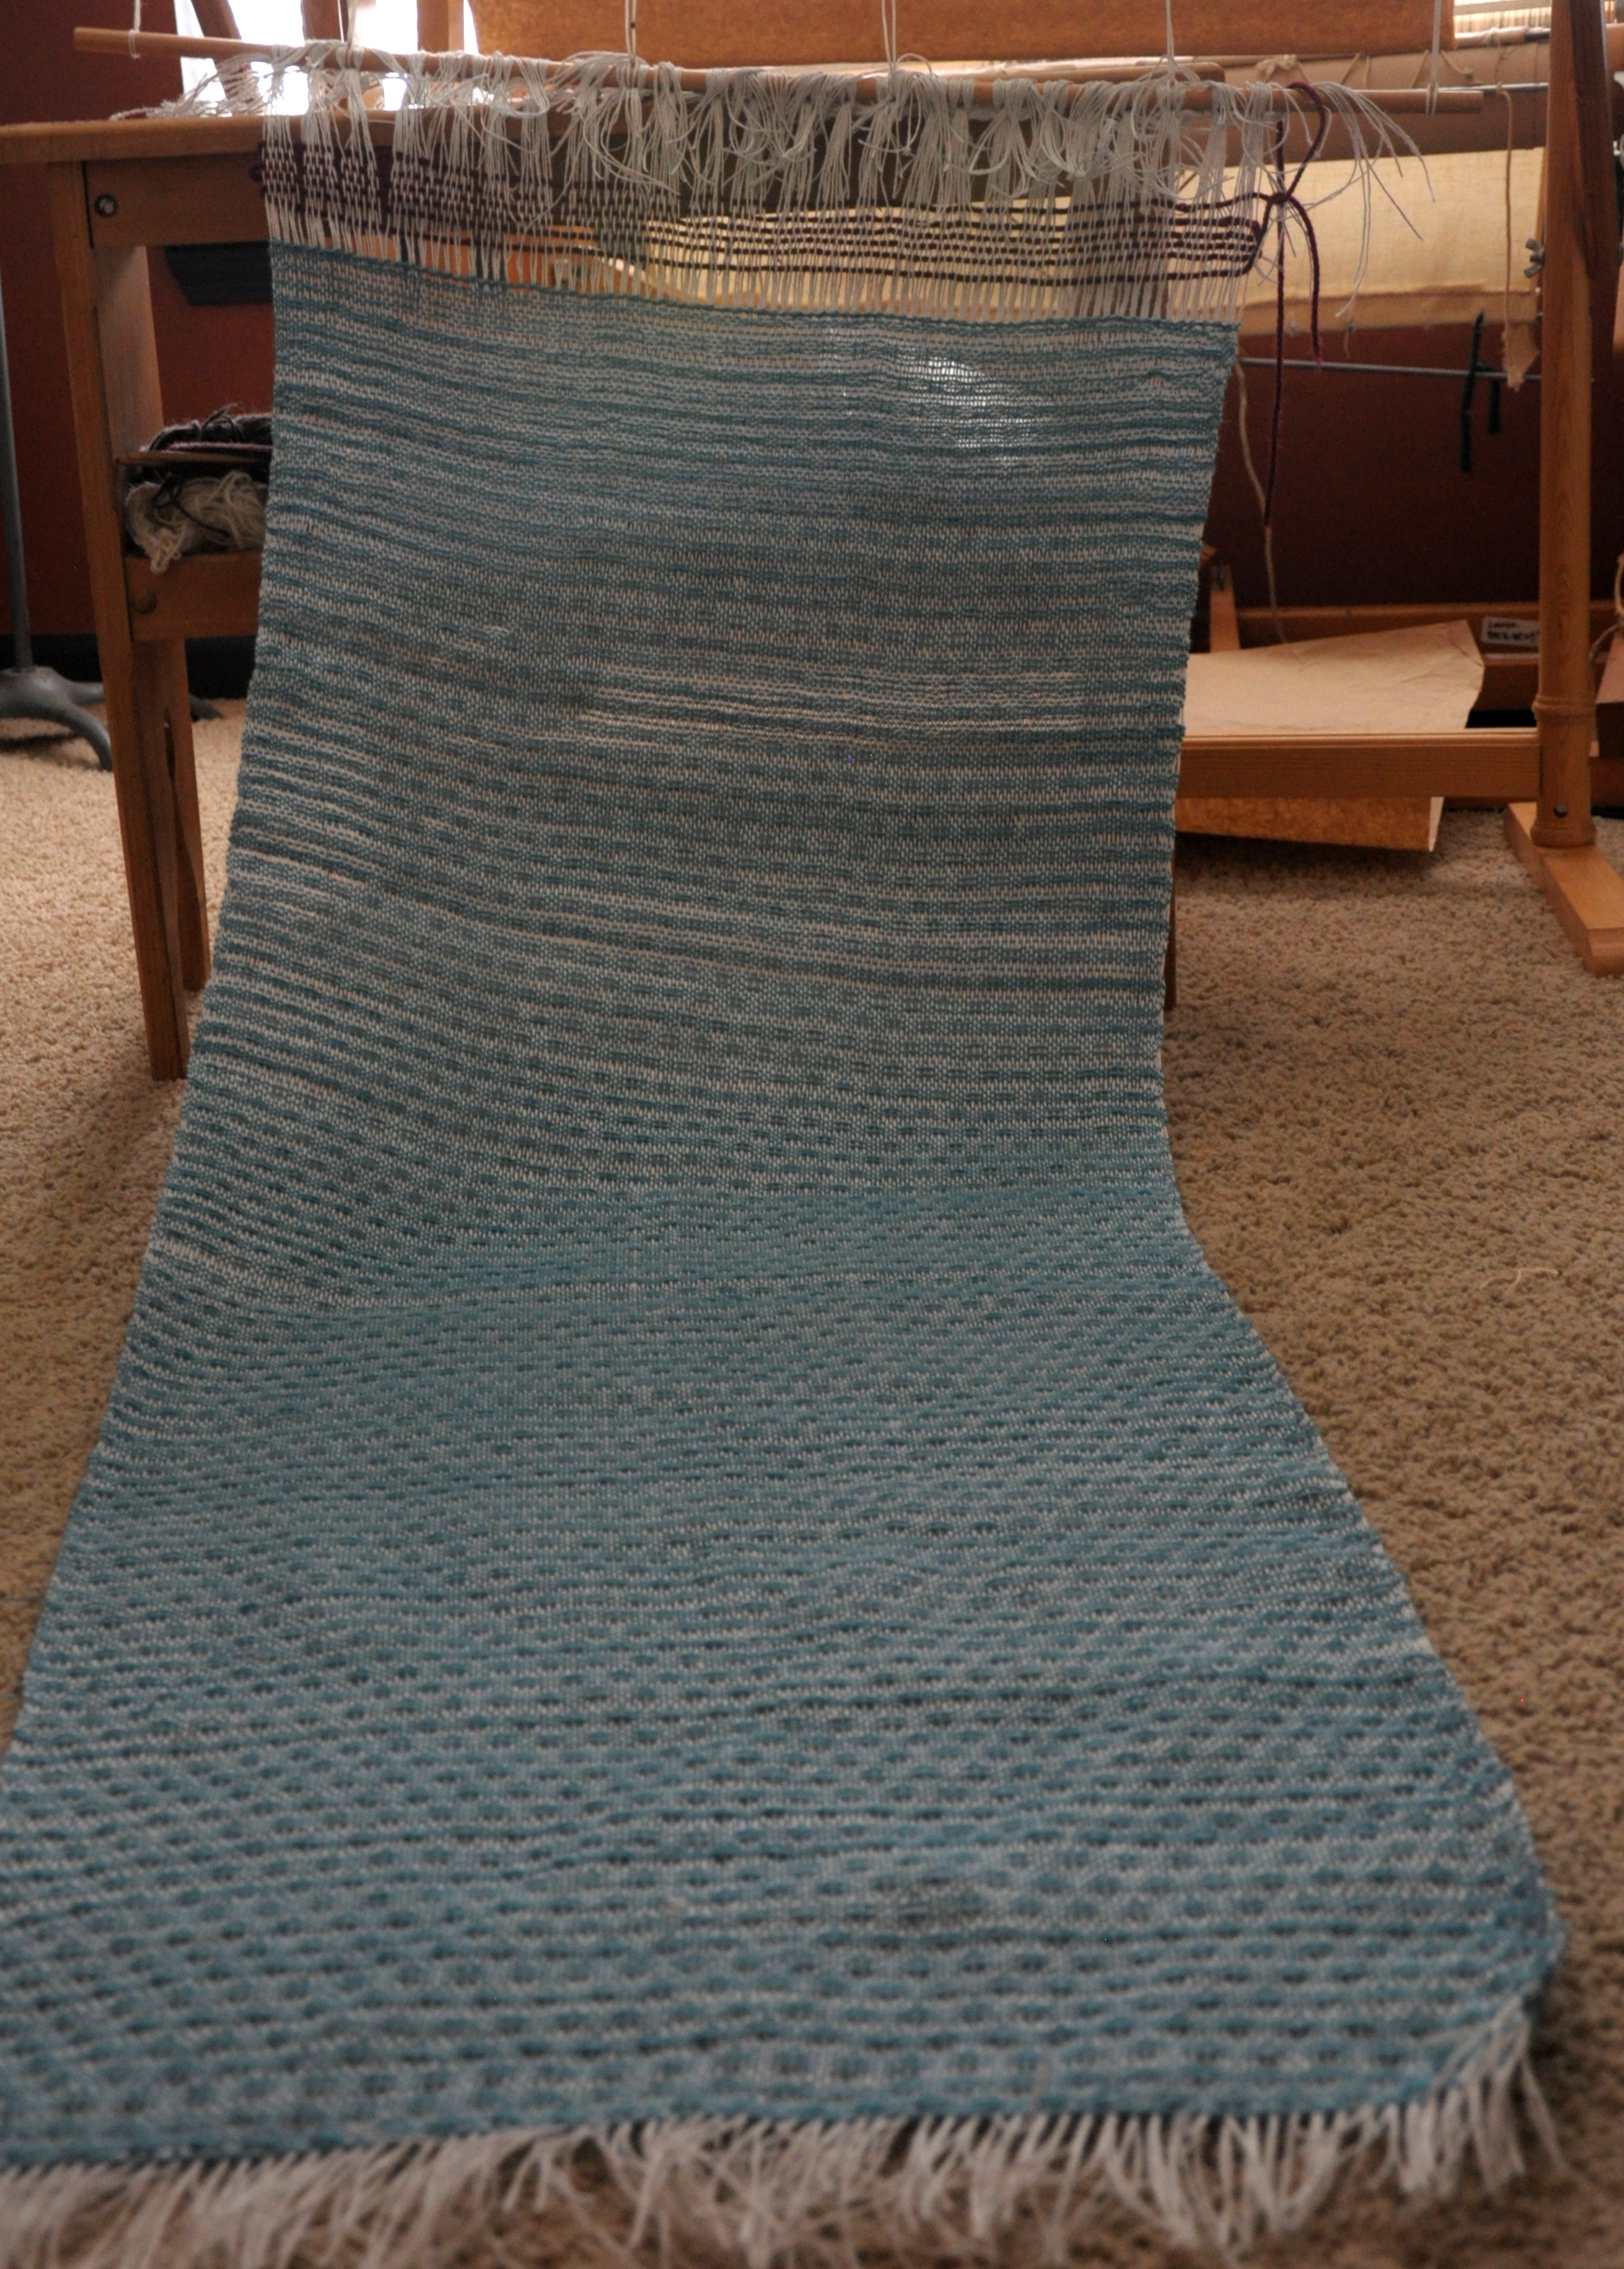
When the back bar with the end of my warp tied to it almost reached the back beam, I knew it was time to weave my other header. I reversed what I did for the beginning header and cut it off the loom.

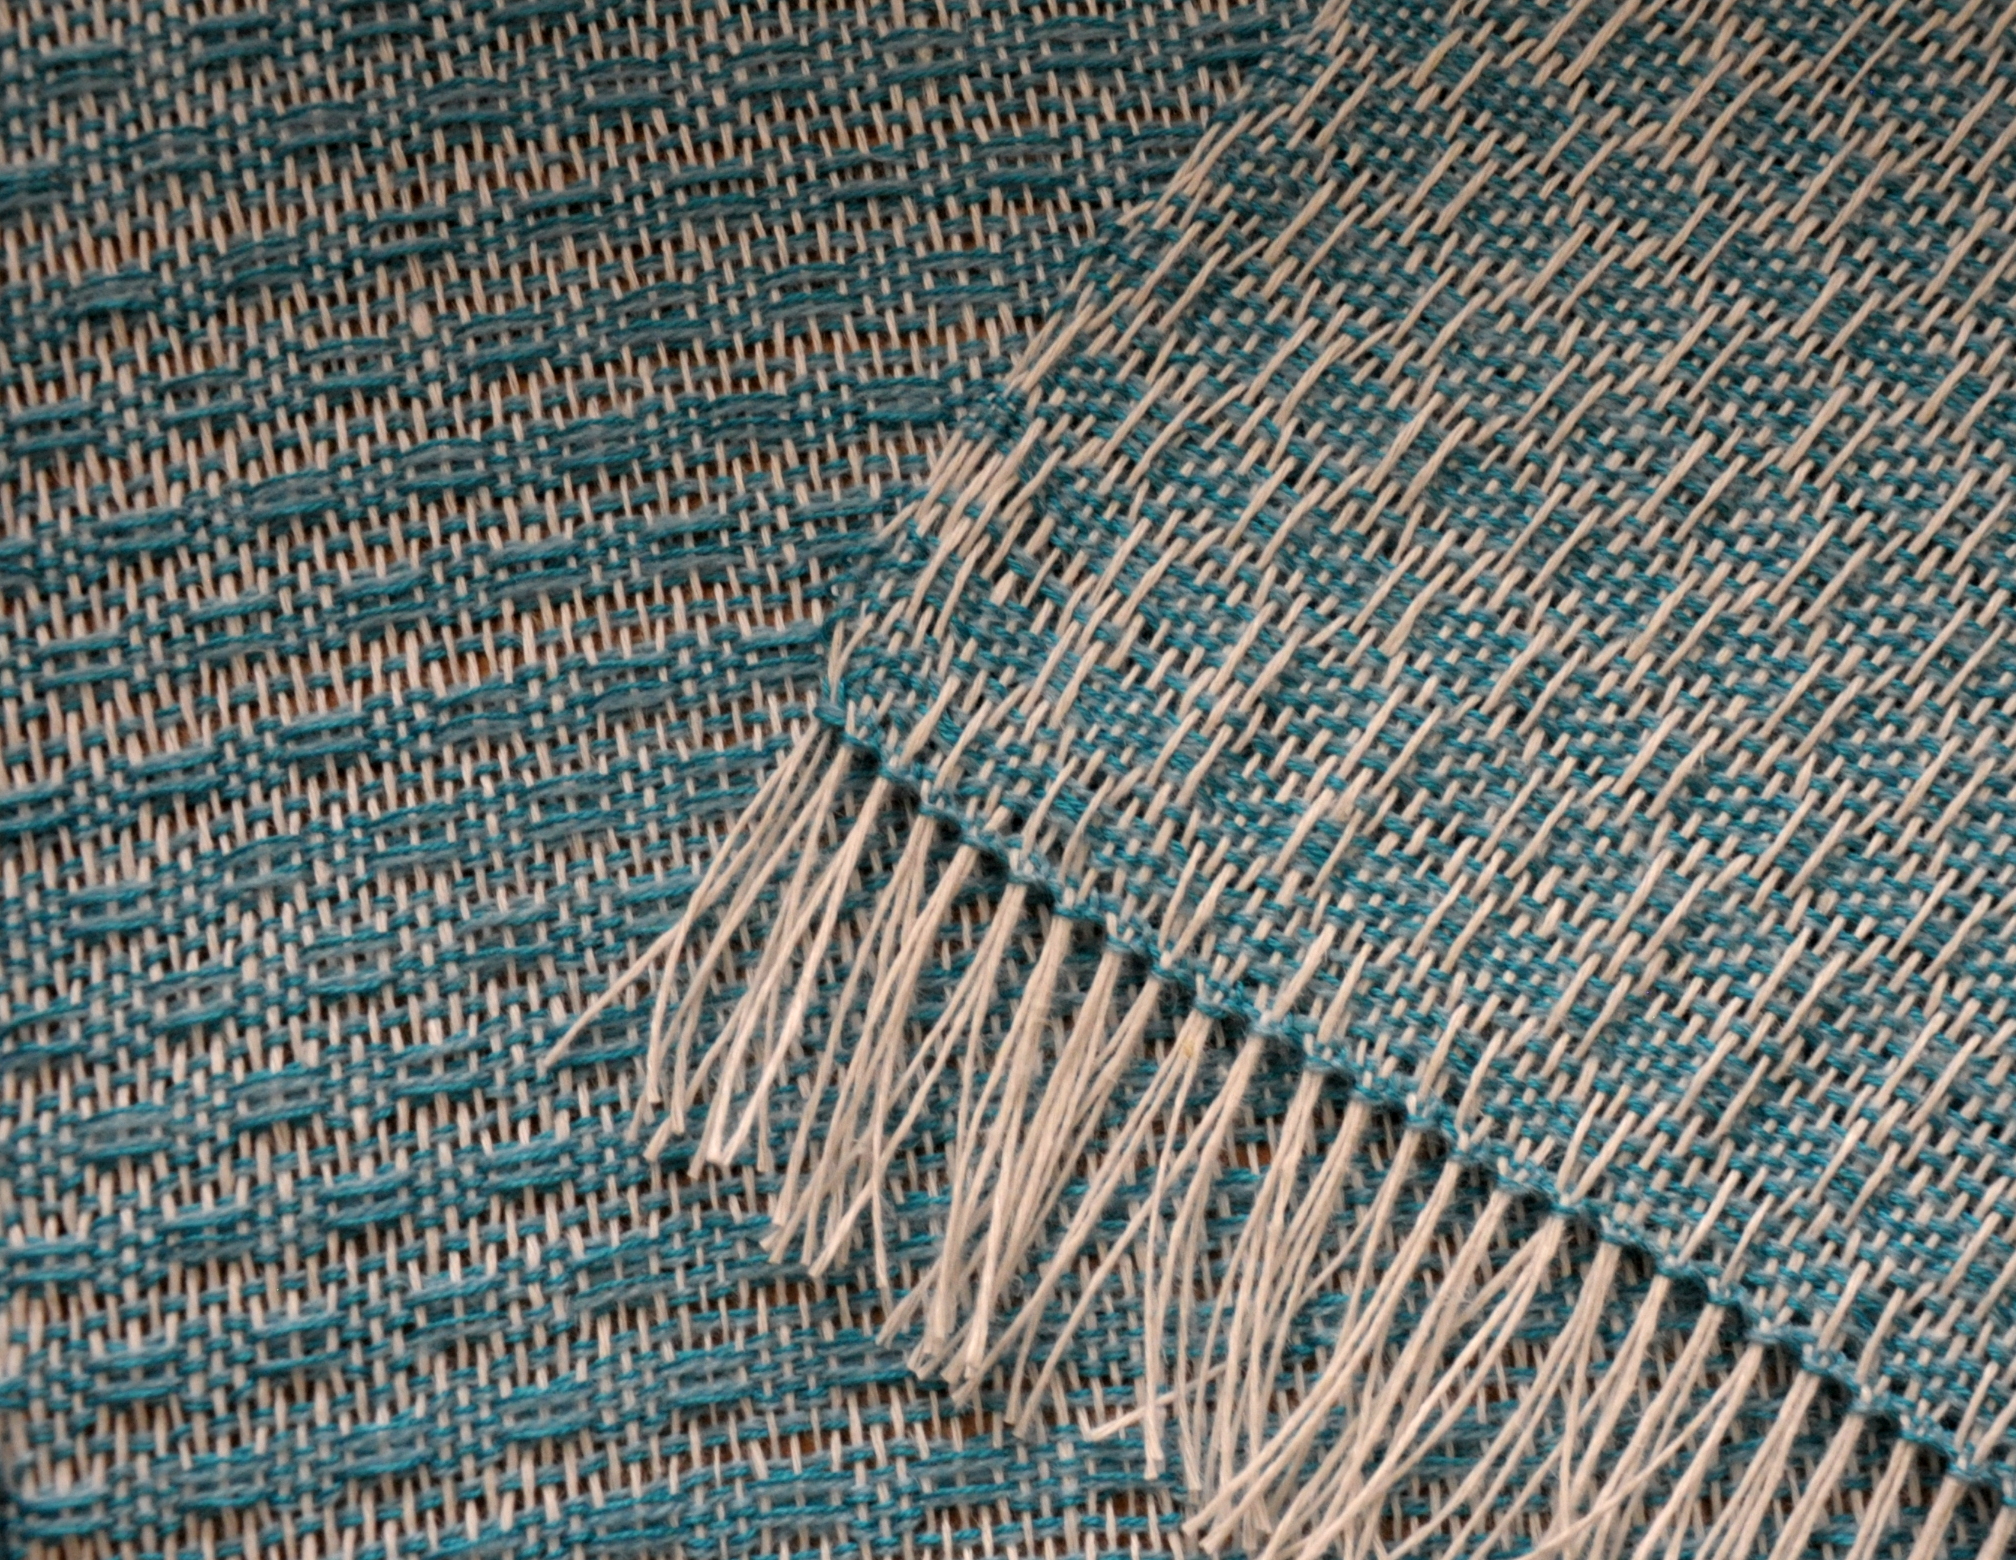
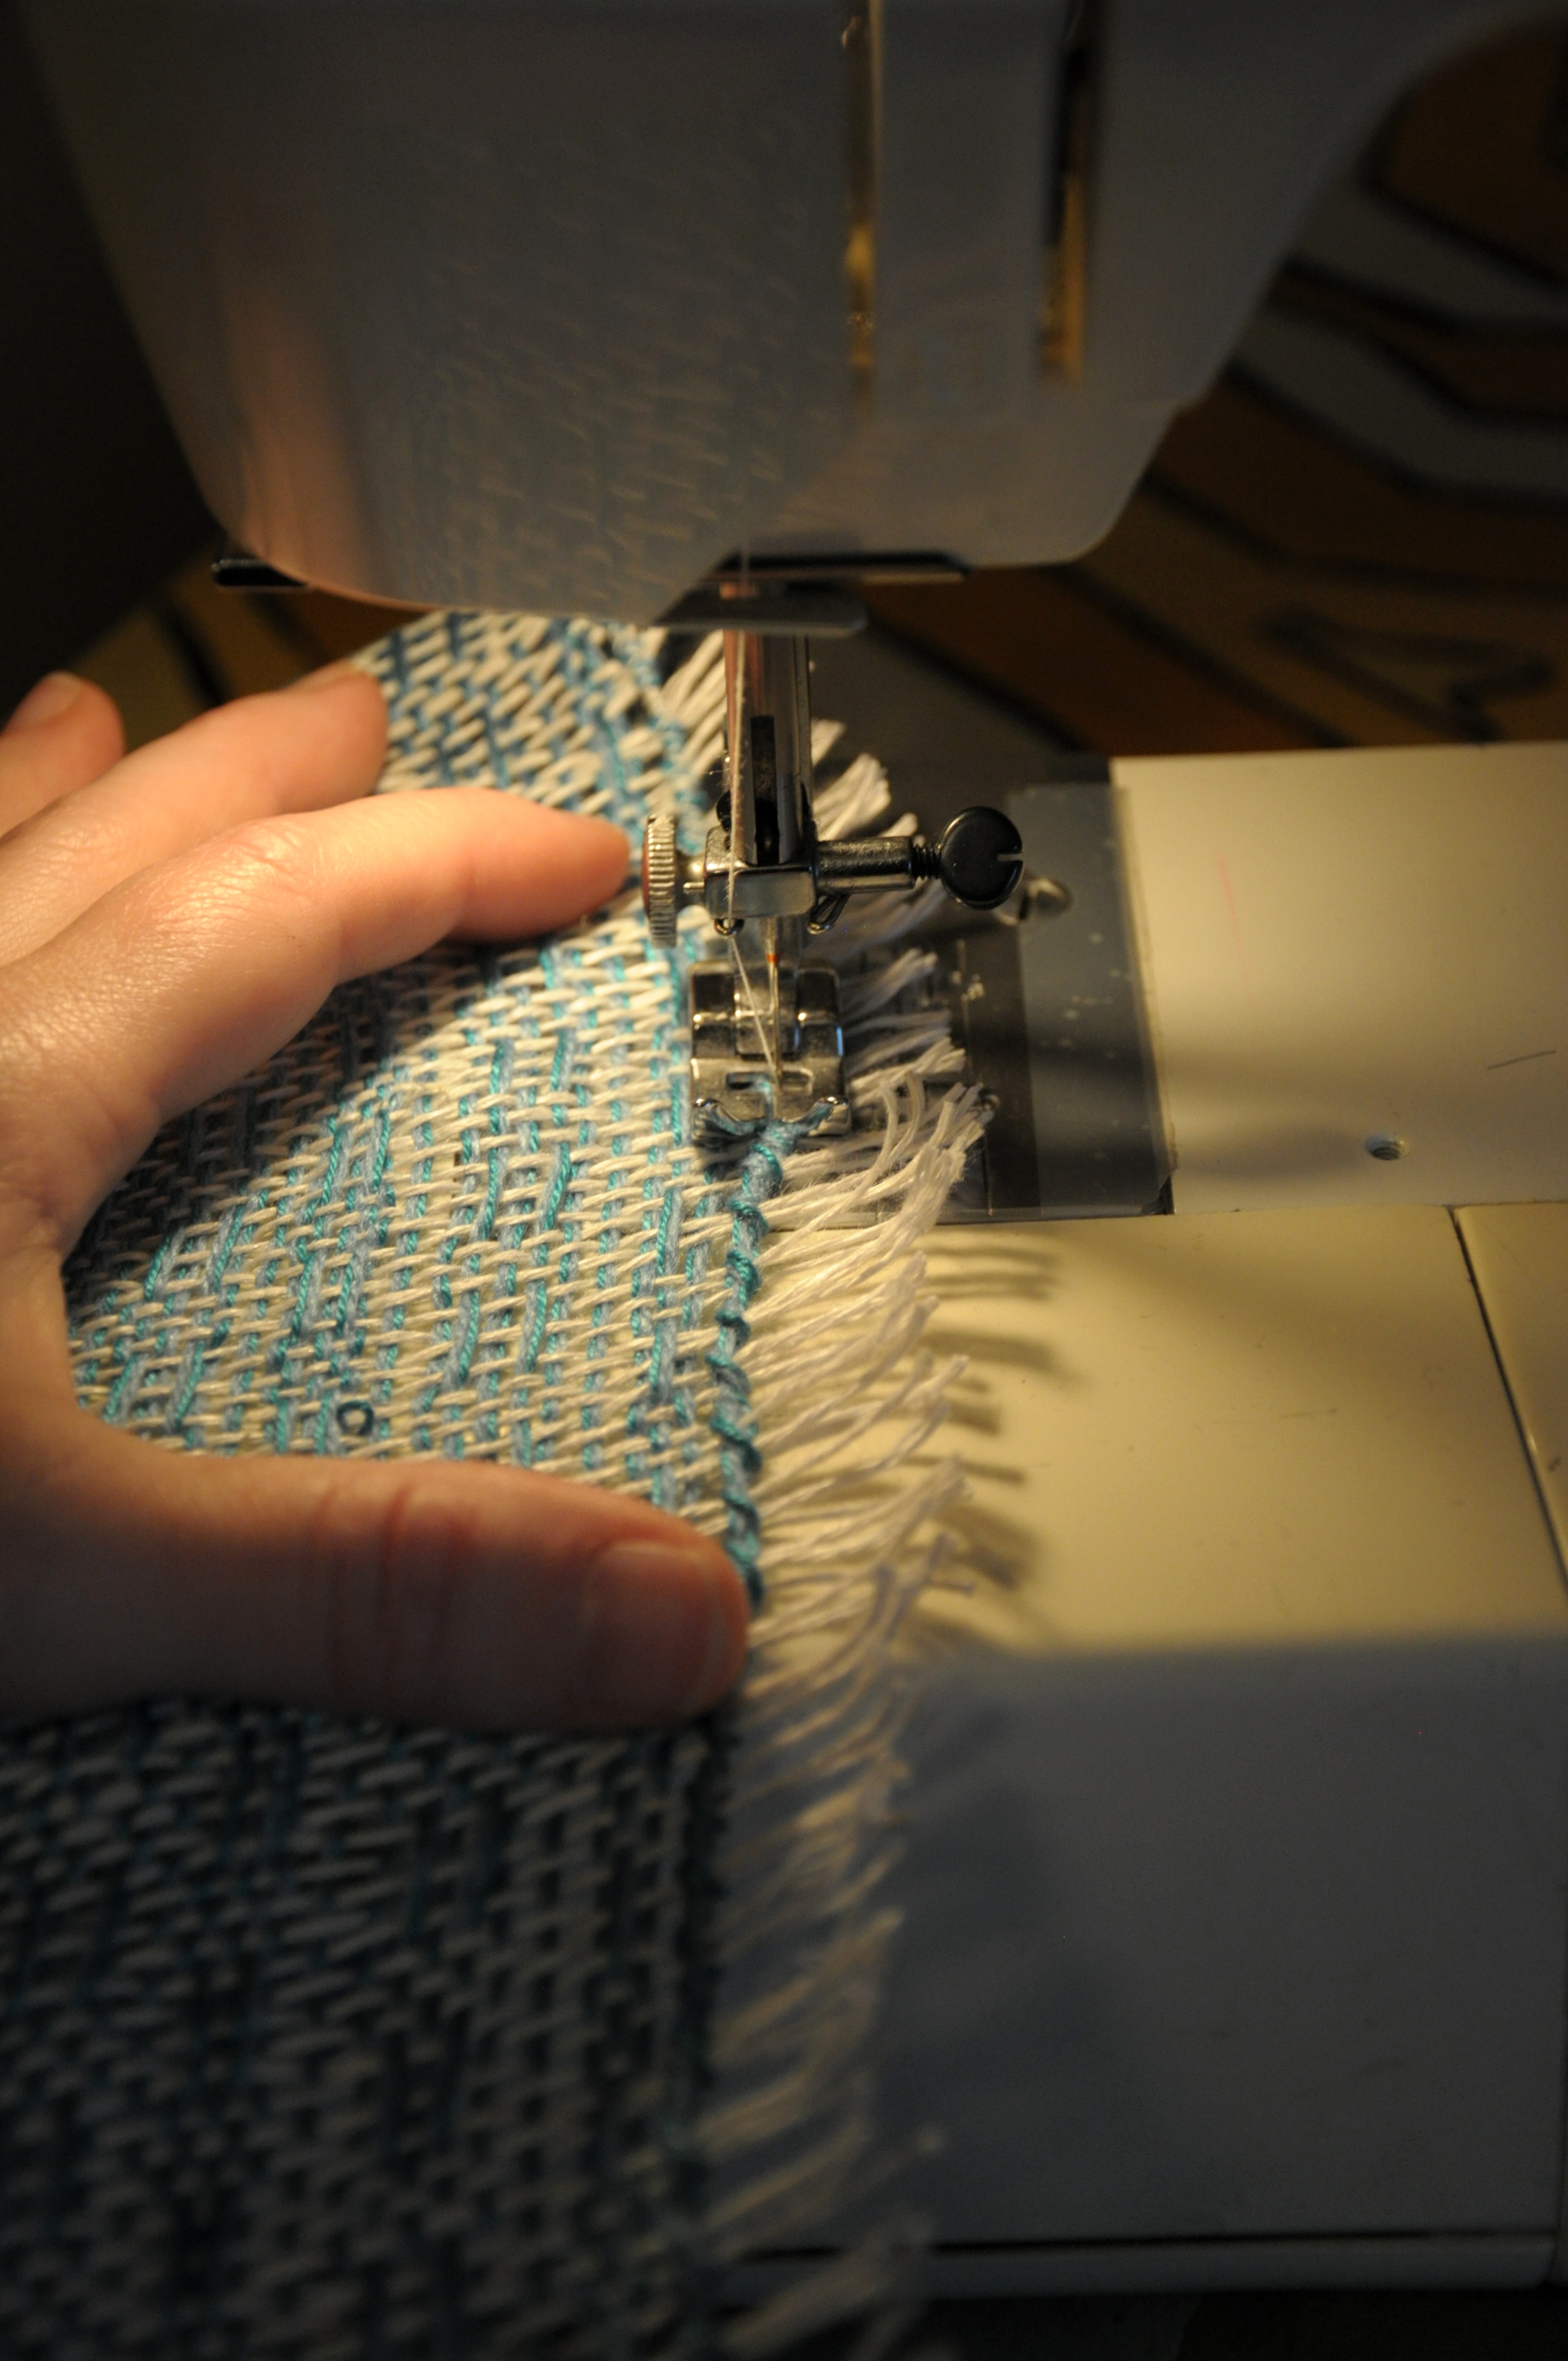
Because my yarn, Universe is several elements – cotton, linen, and metallic – all wrapped with a sliver of nylon, I knew I didn’t want to leave loose fringe. If I had, that nylon would have come unwrapped and the elements would have splayed out. Which, now that I think of it, might have looked cool. But it wouldn’t have worn well. So I busted out my handy fringe twister and made twisted fringe. This allowed me to knot the ends, securing the yarn without fear of it unraveling.

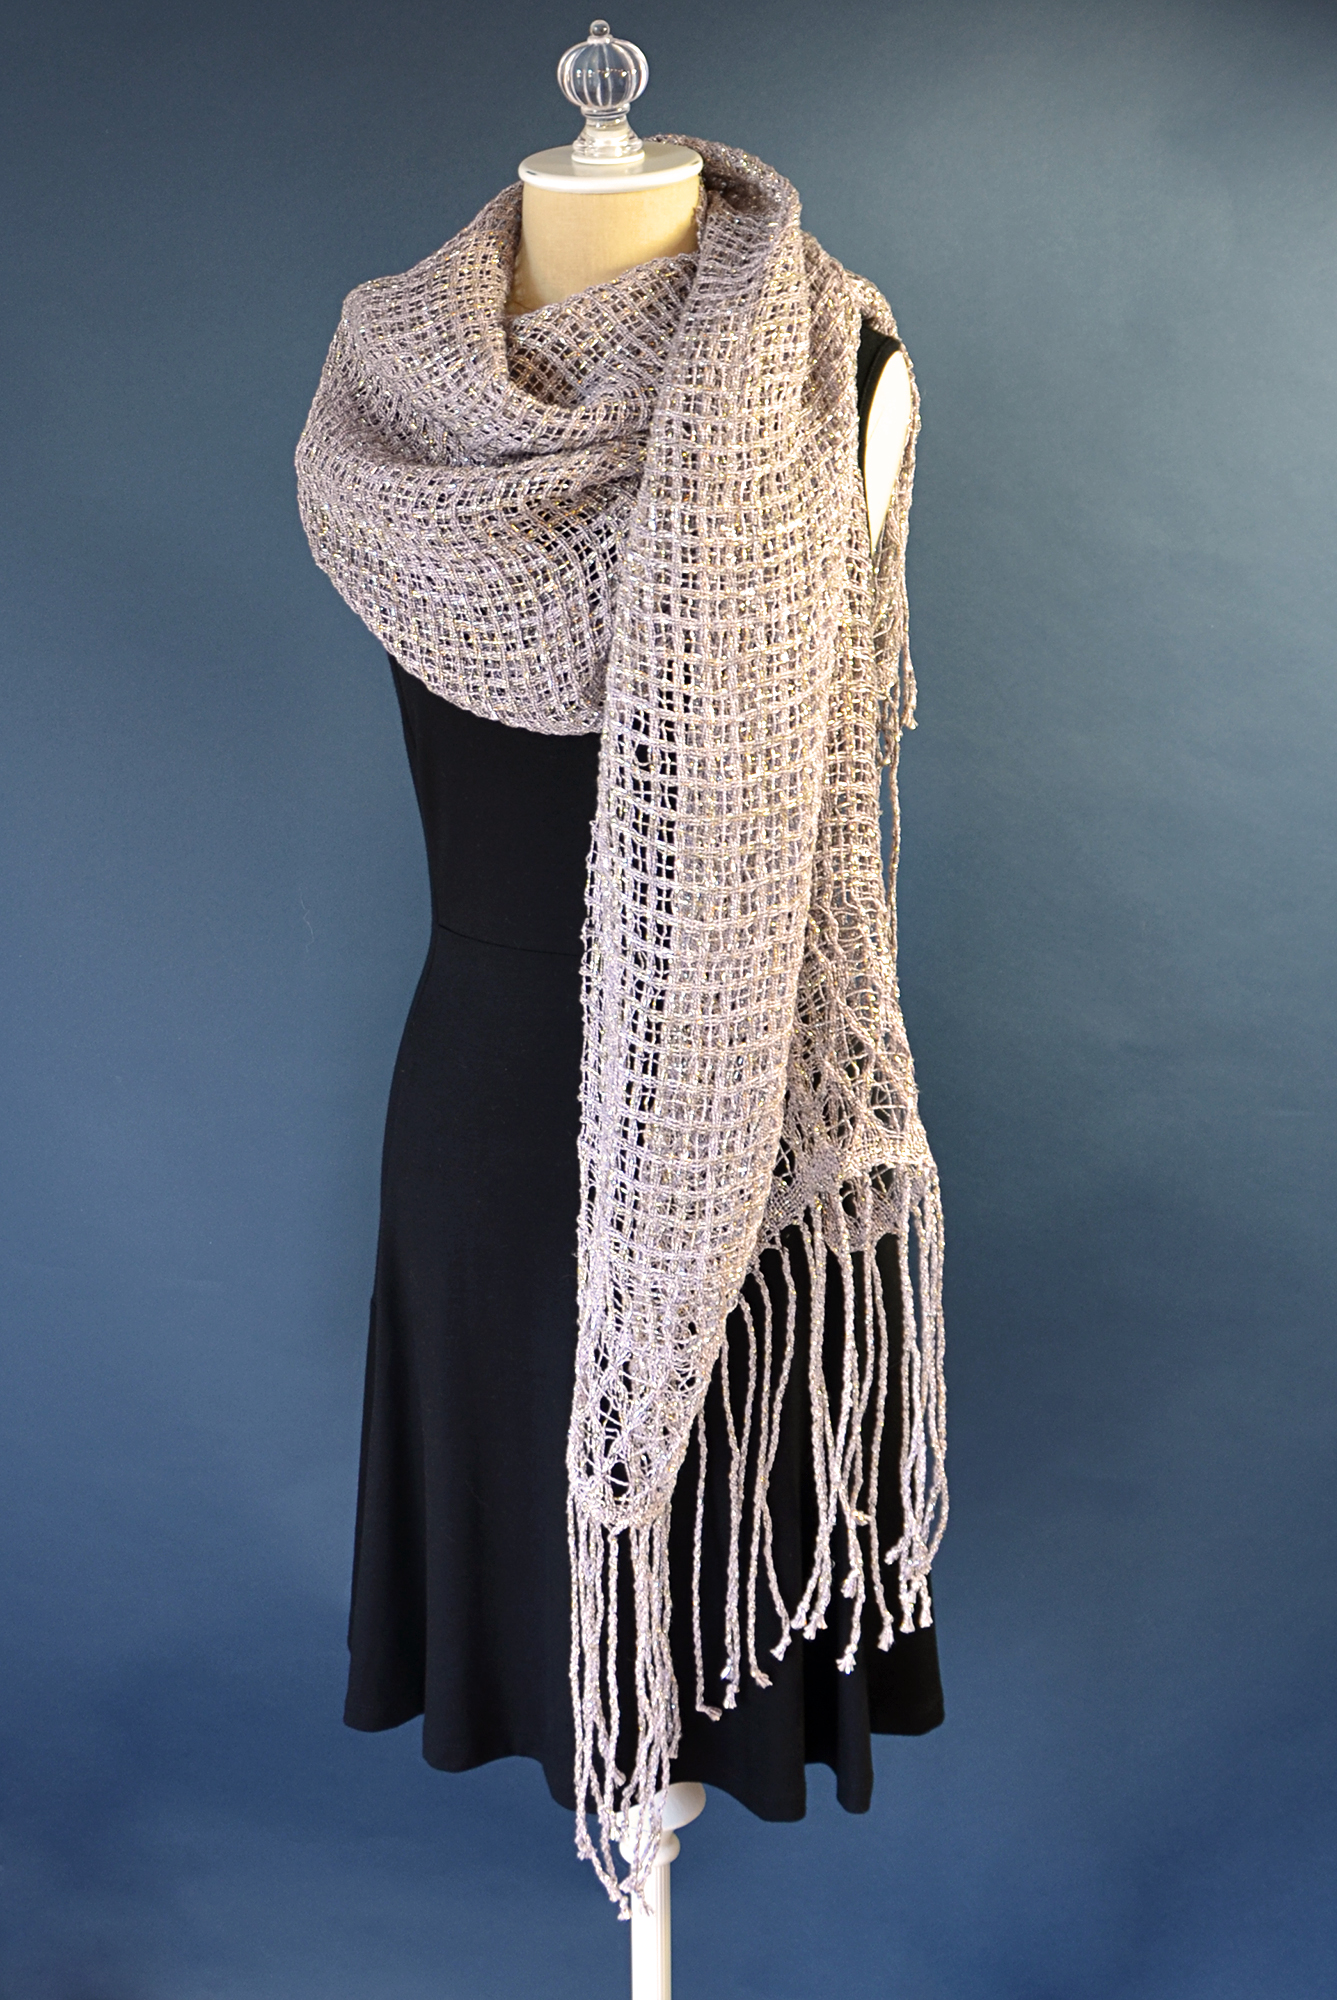
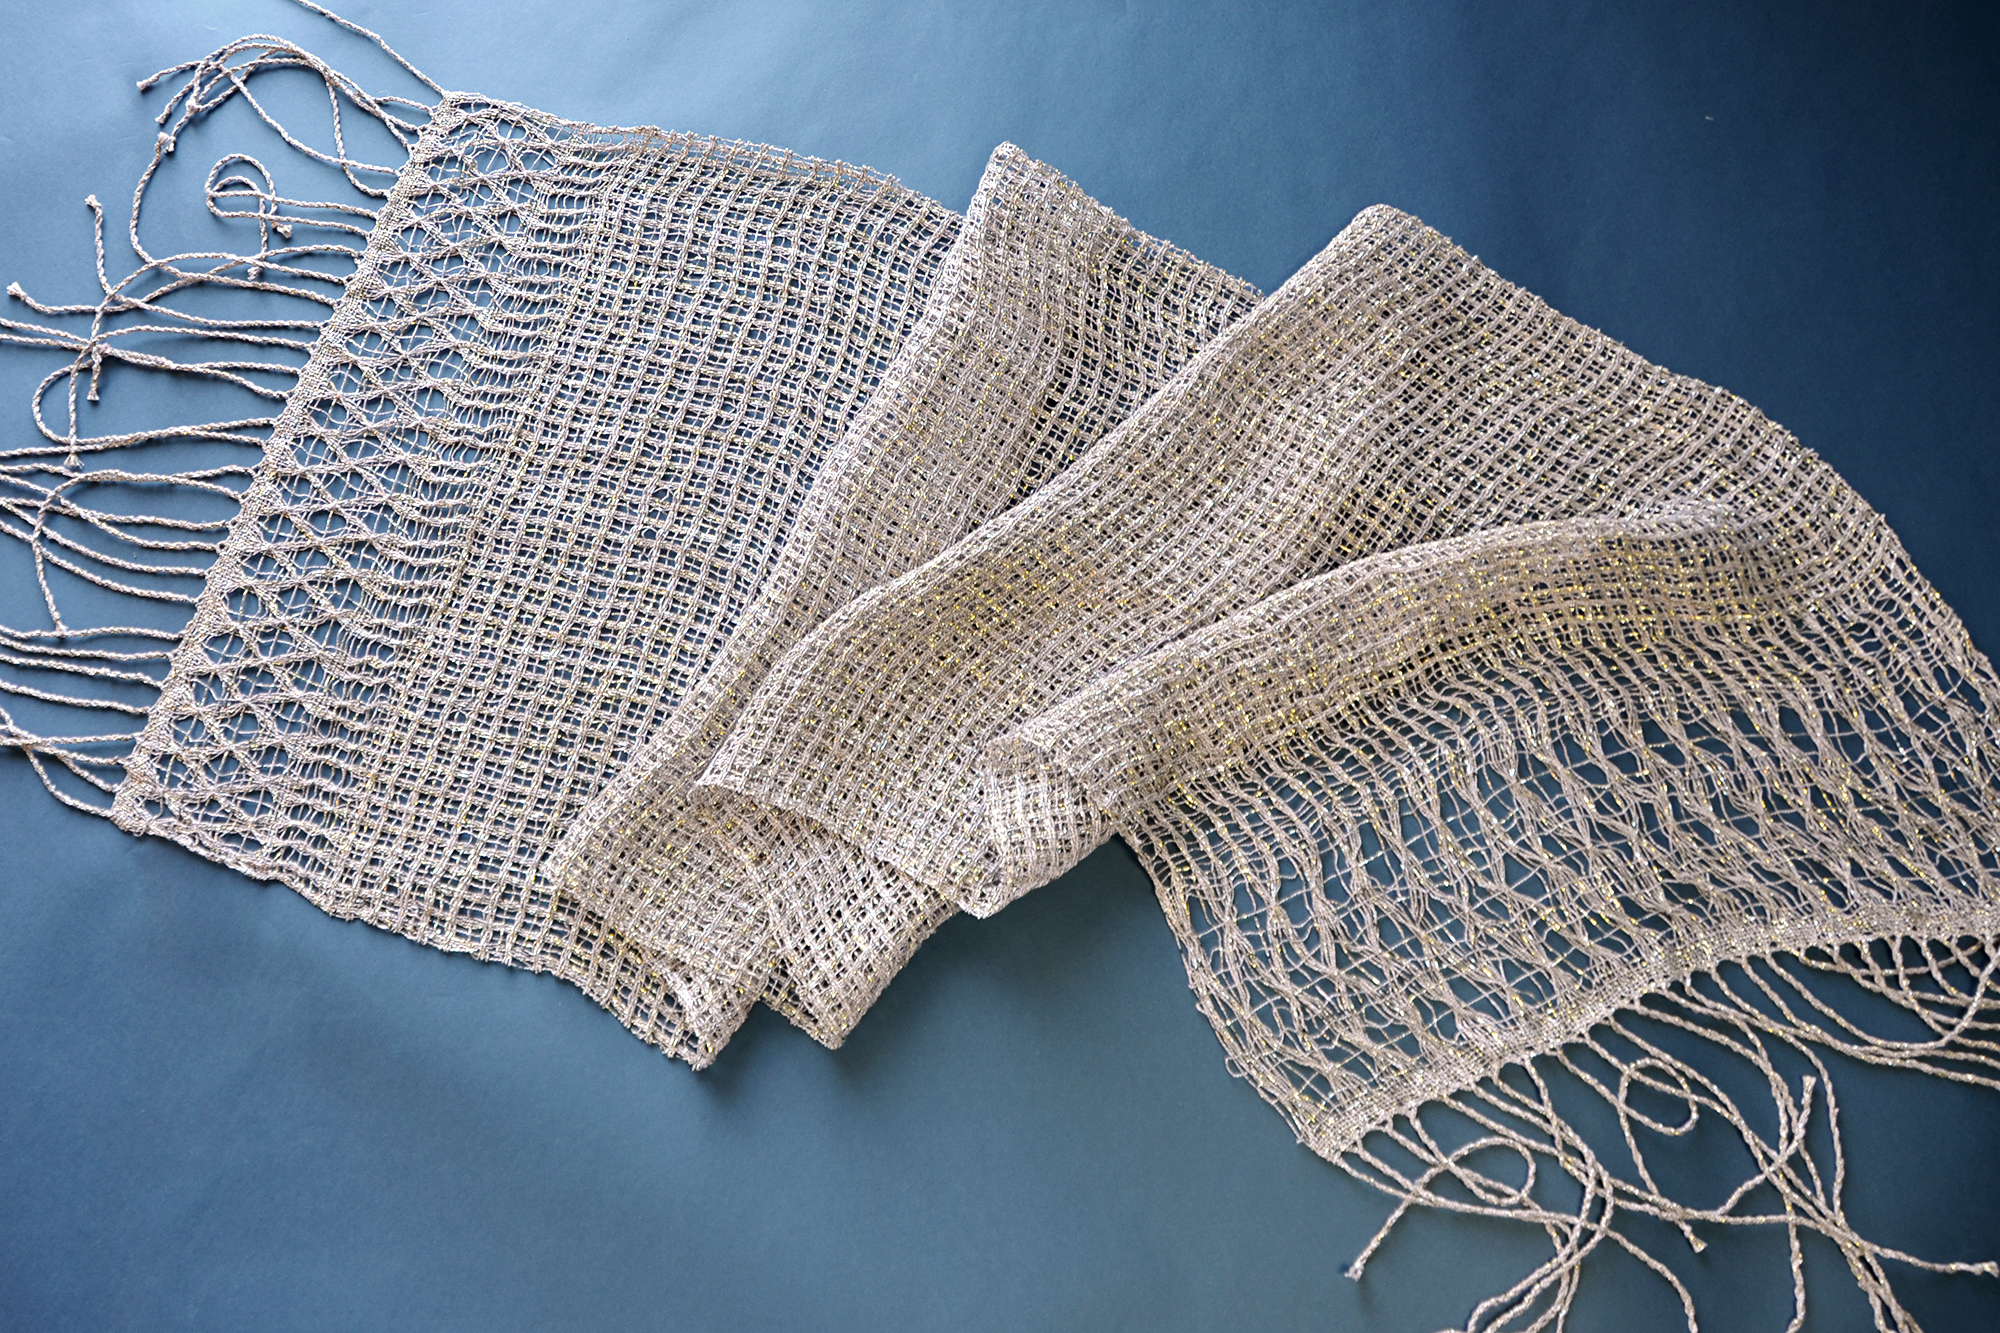
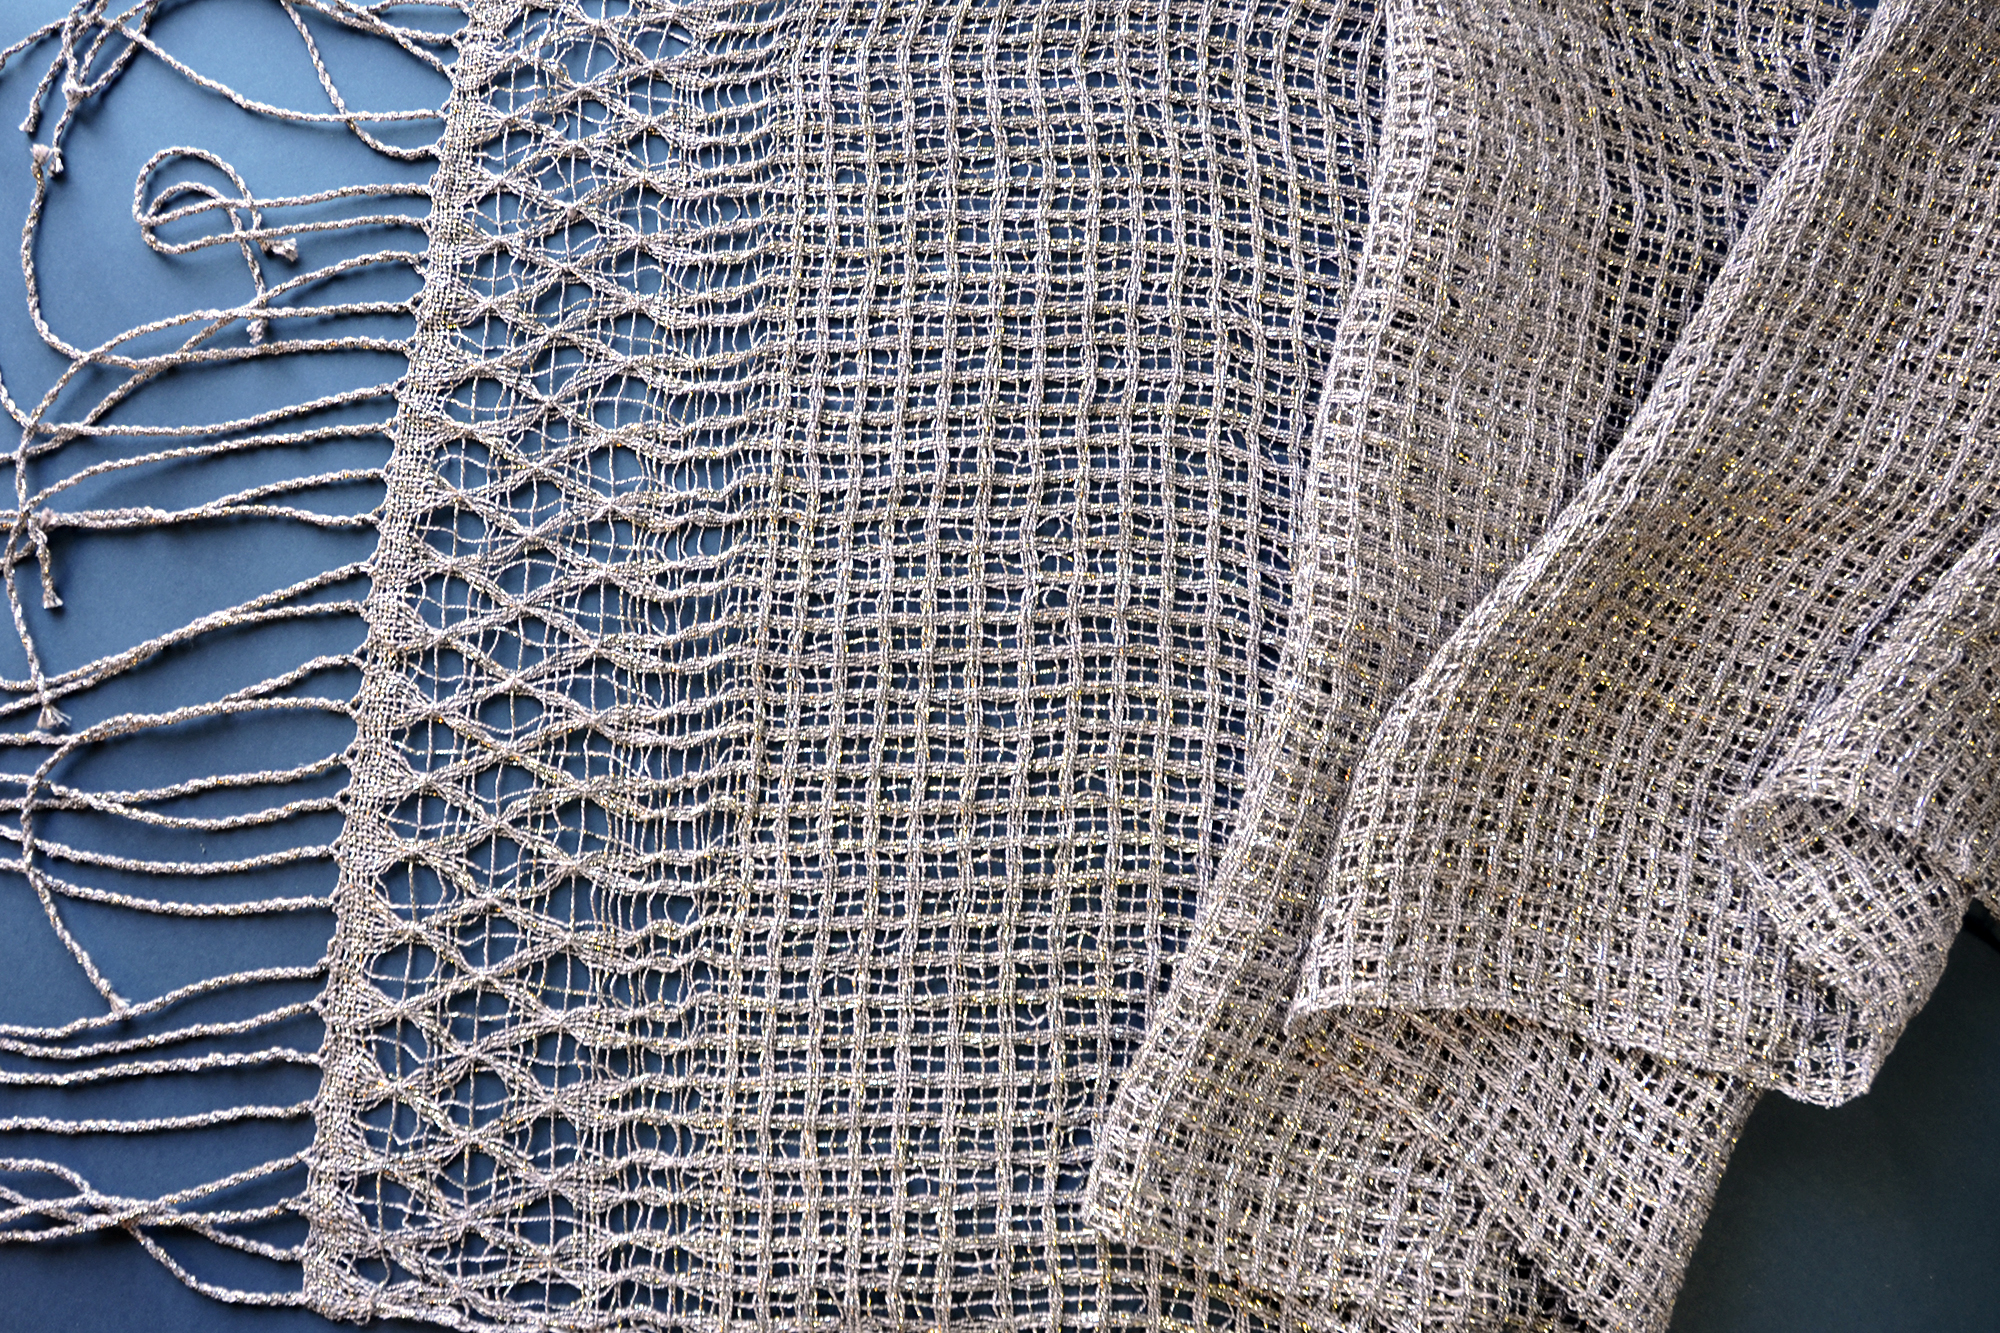
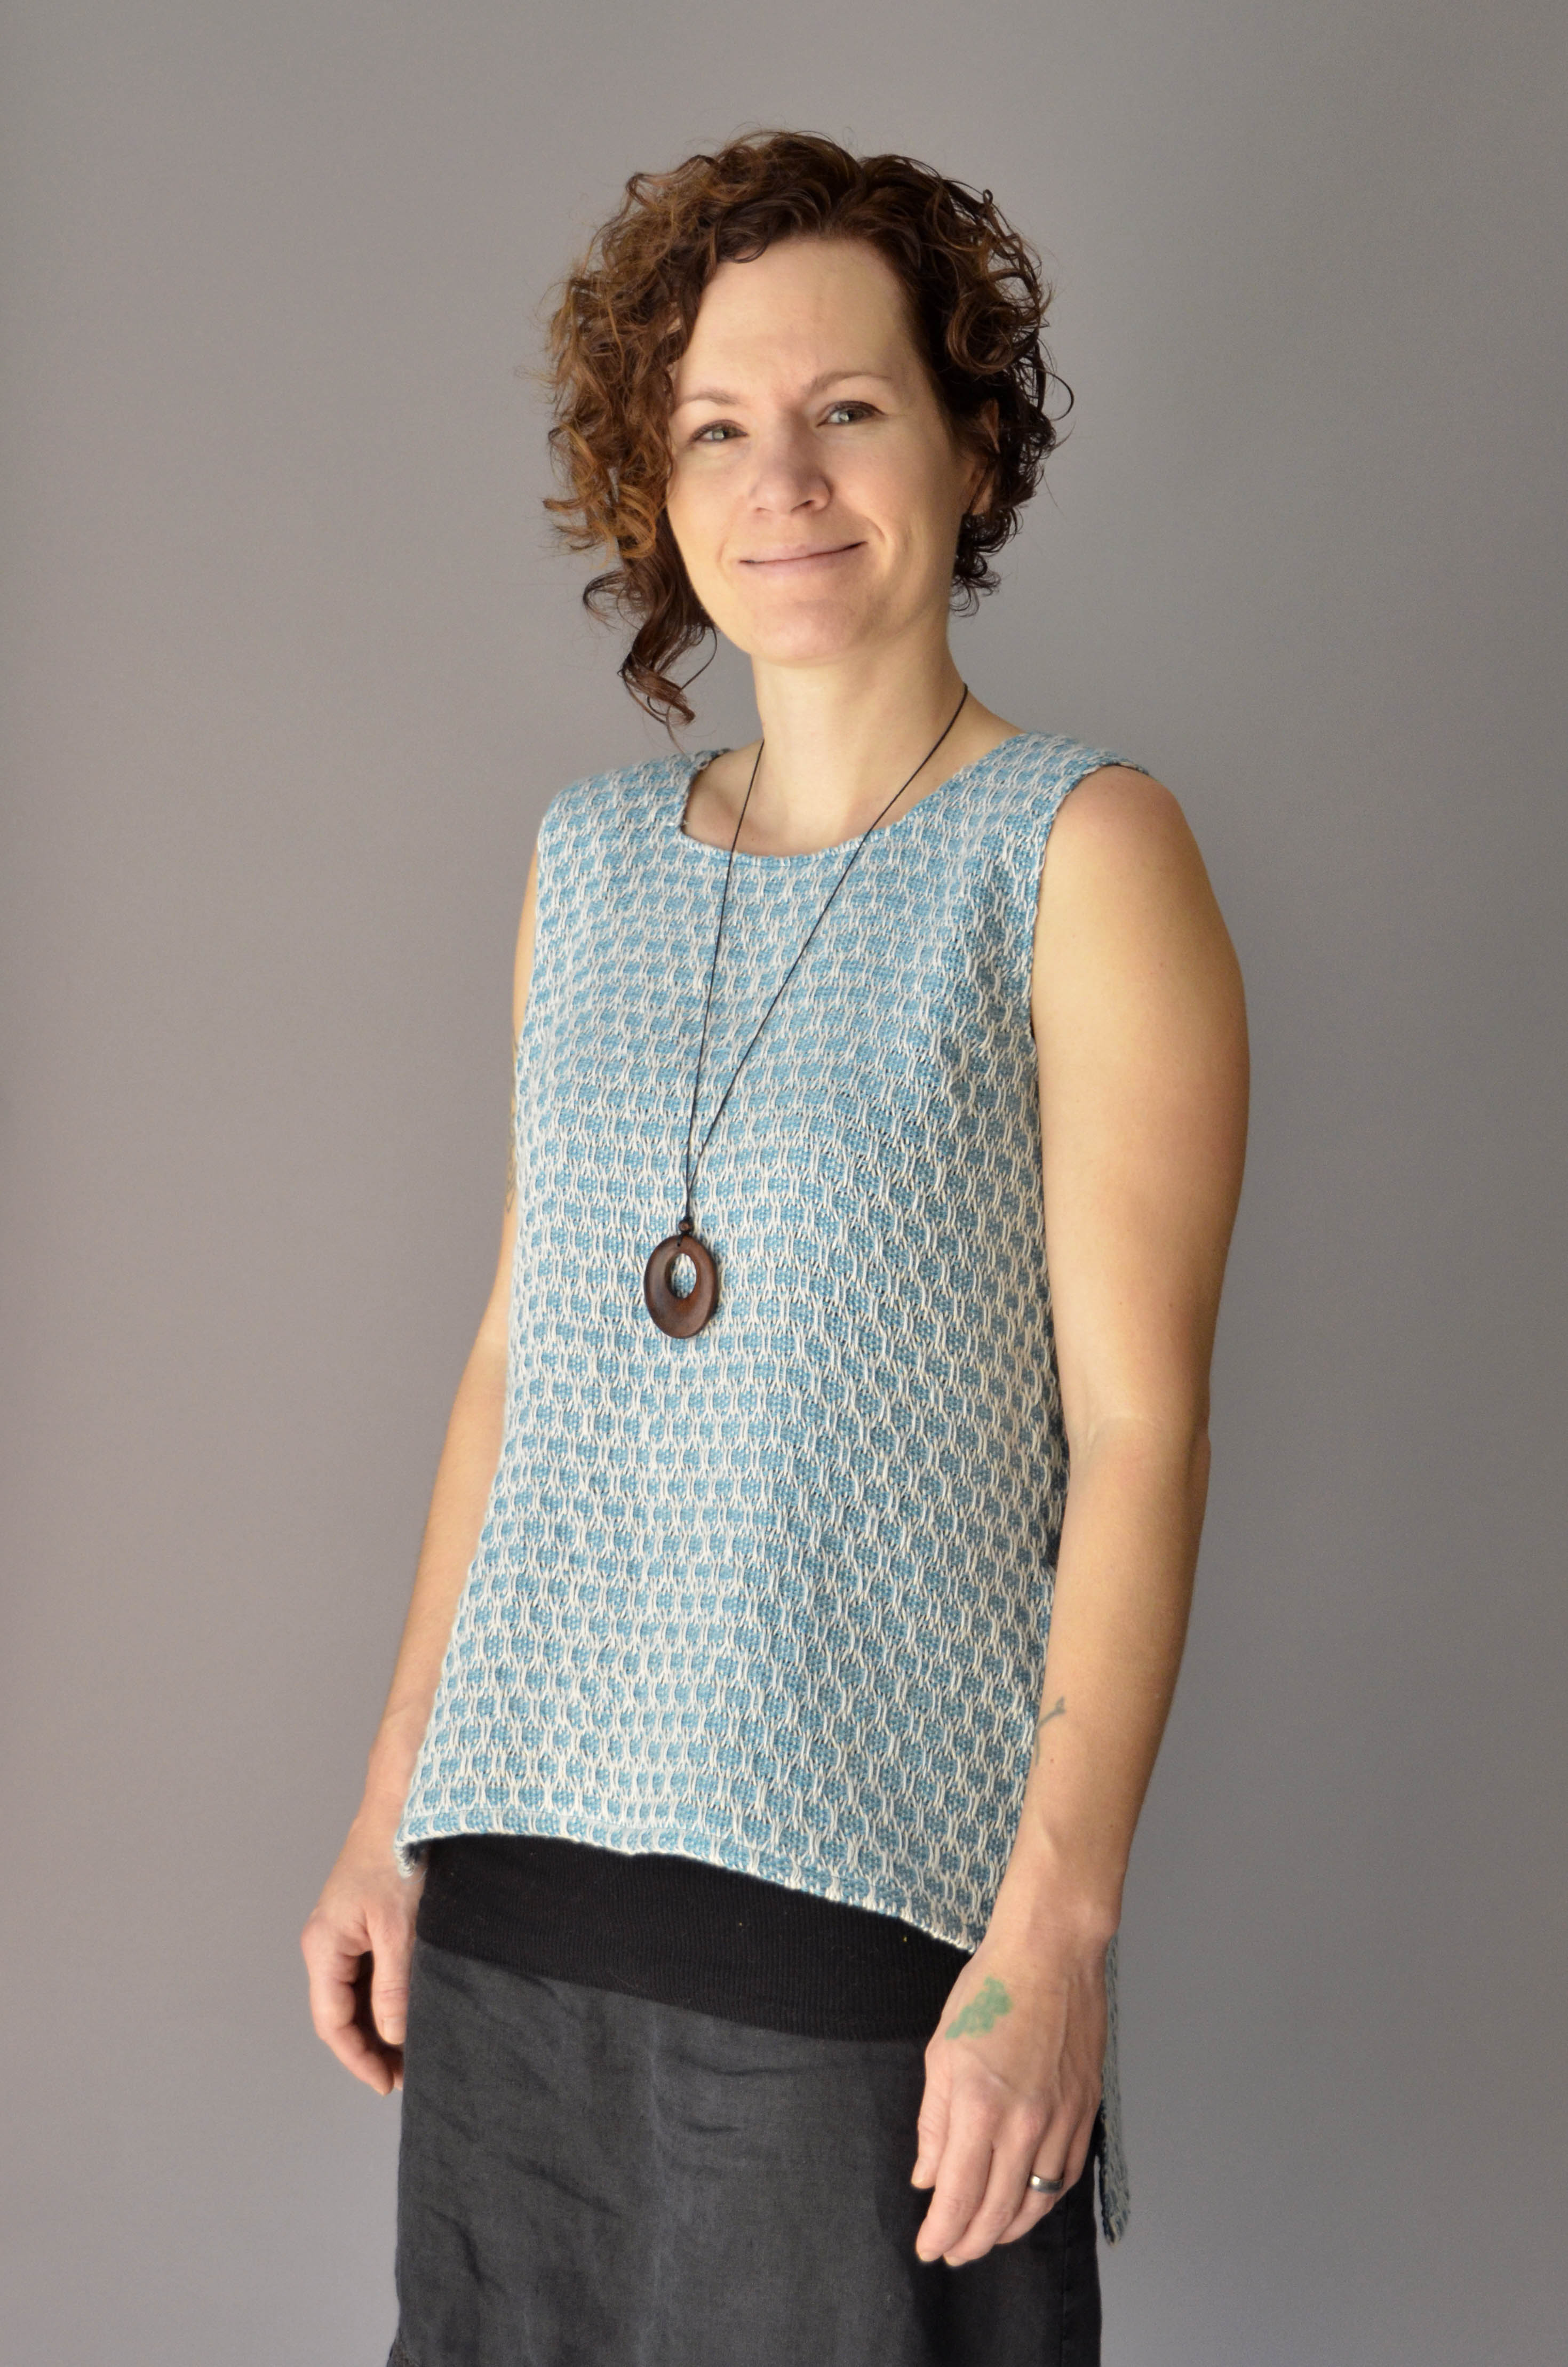
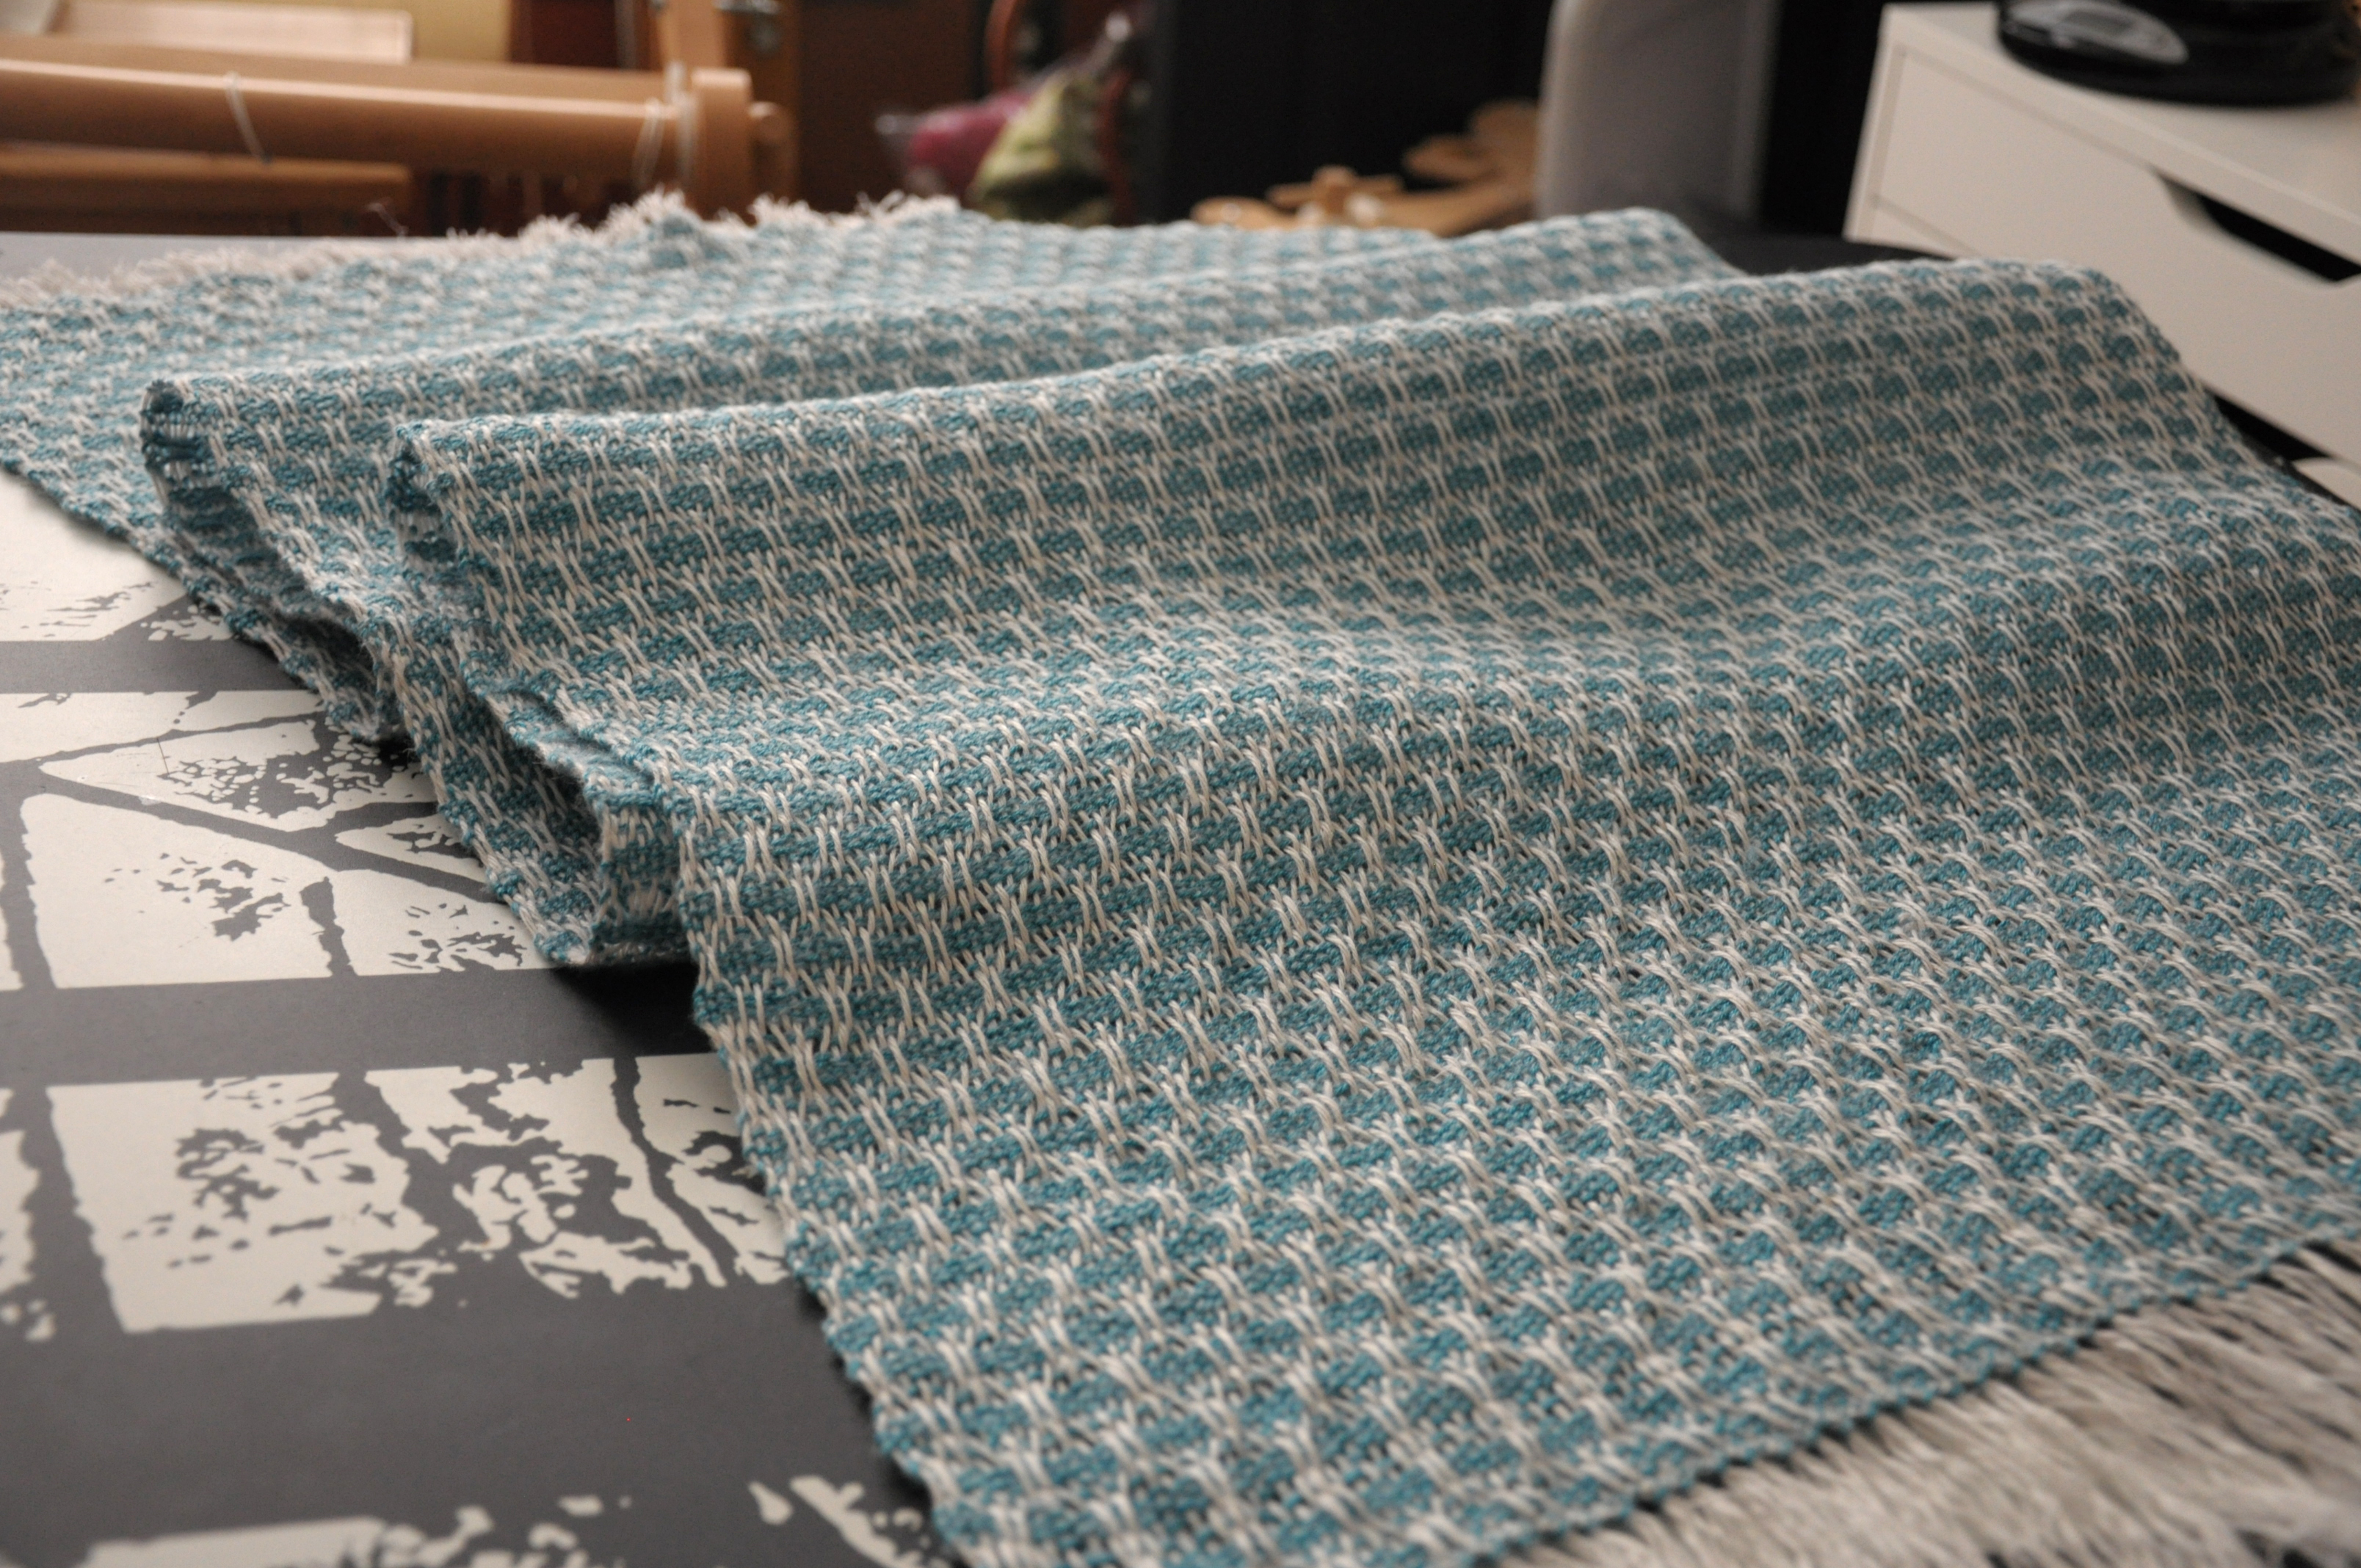
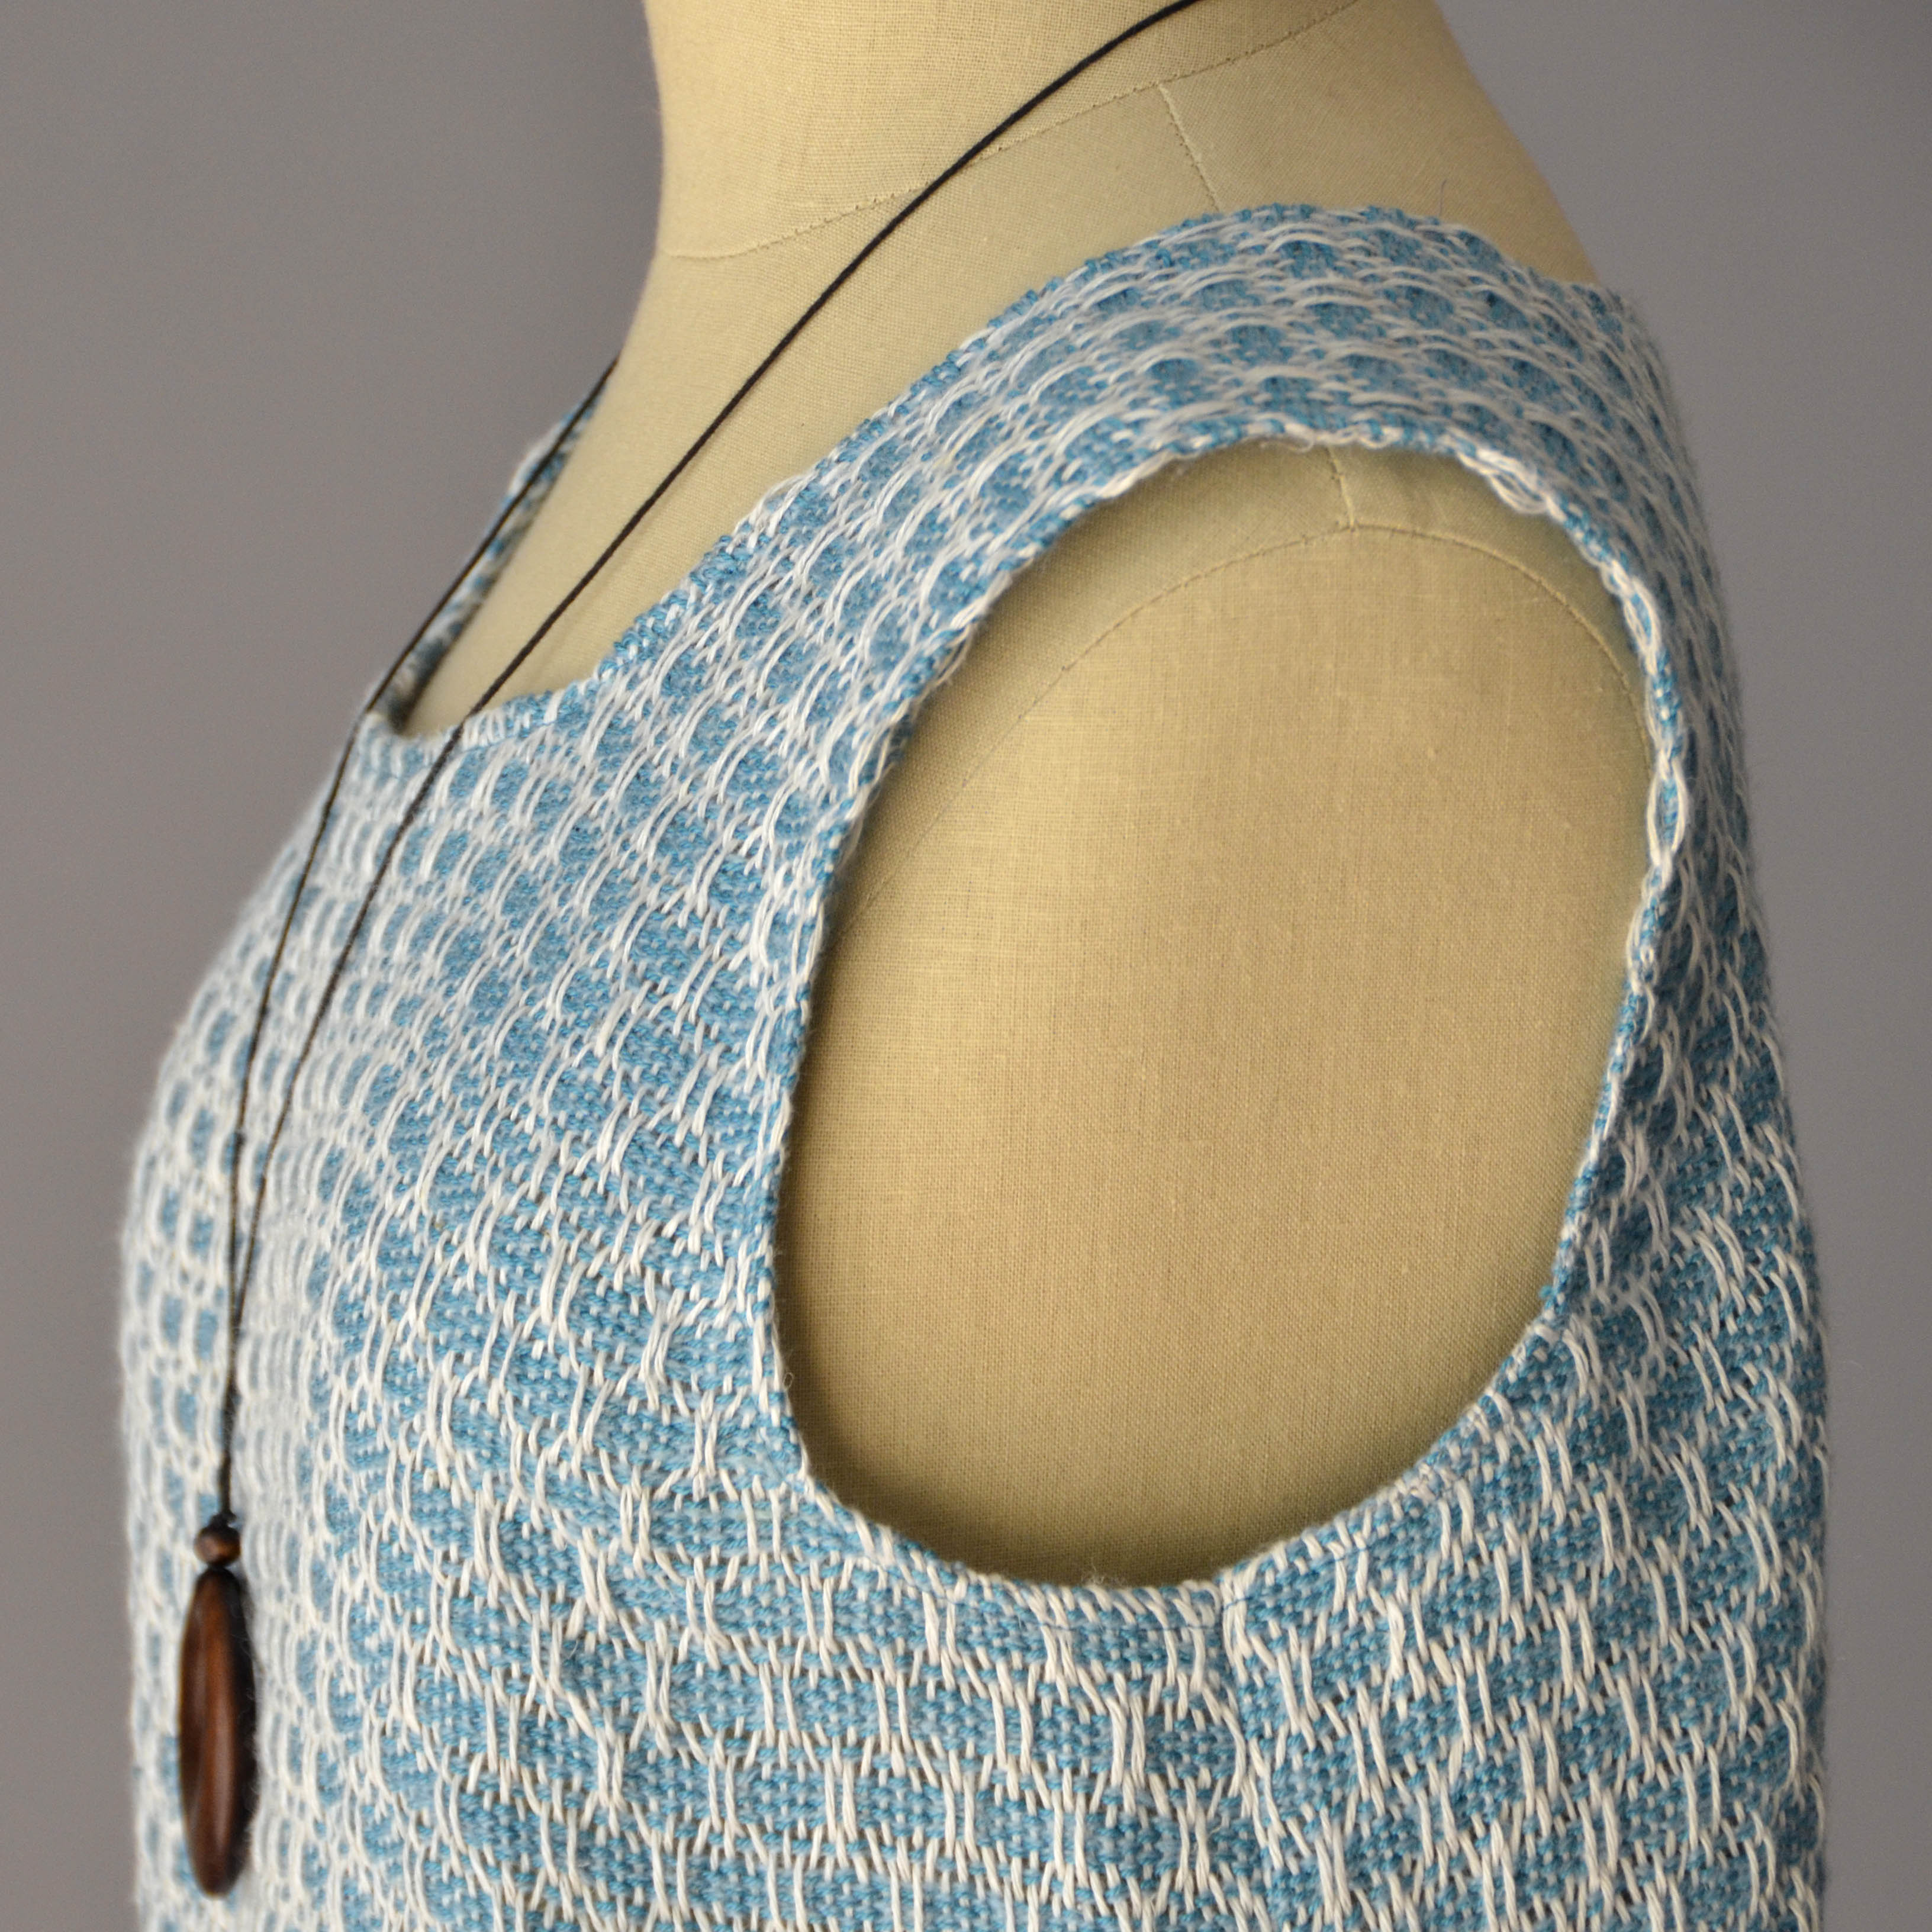
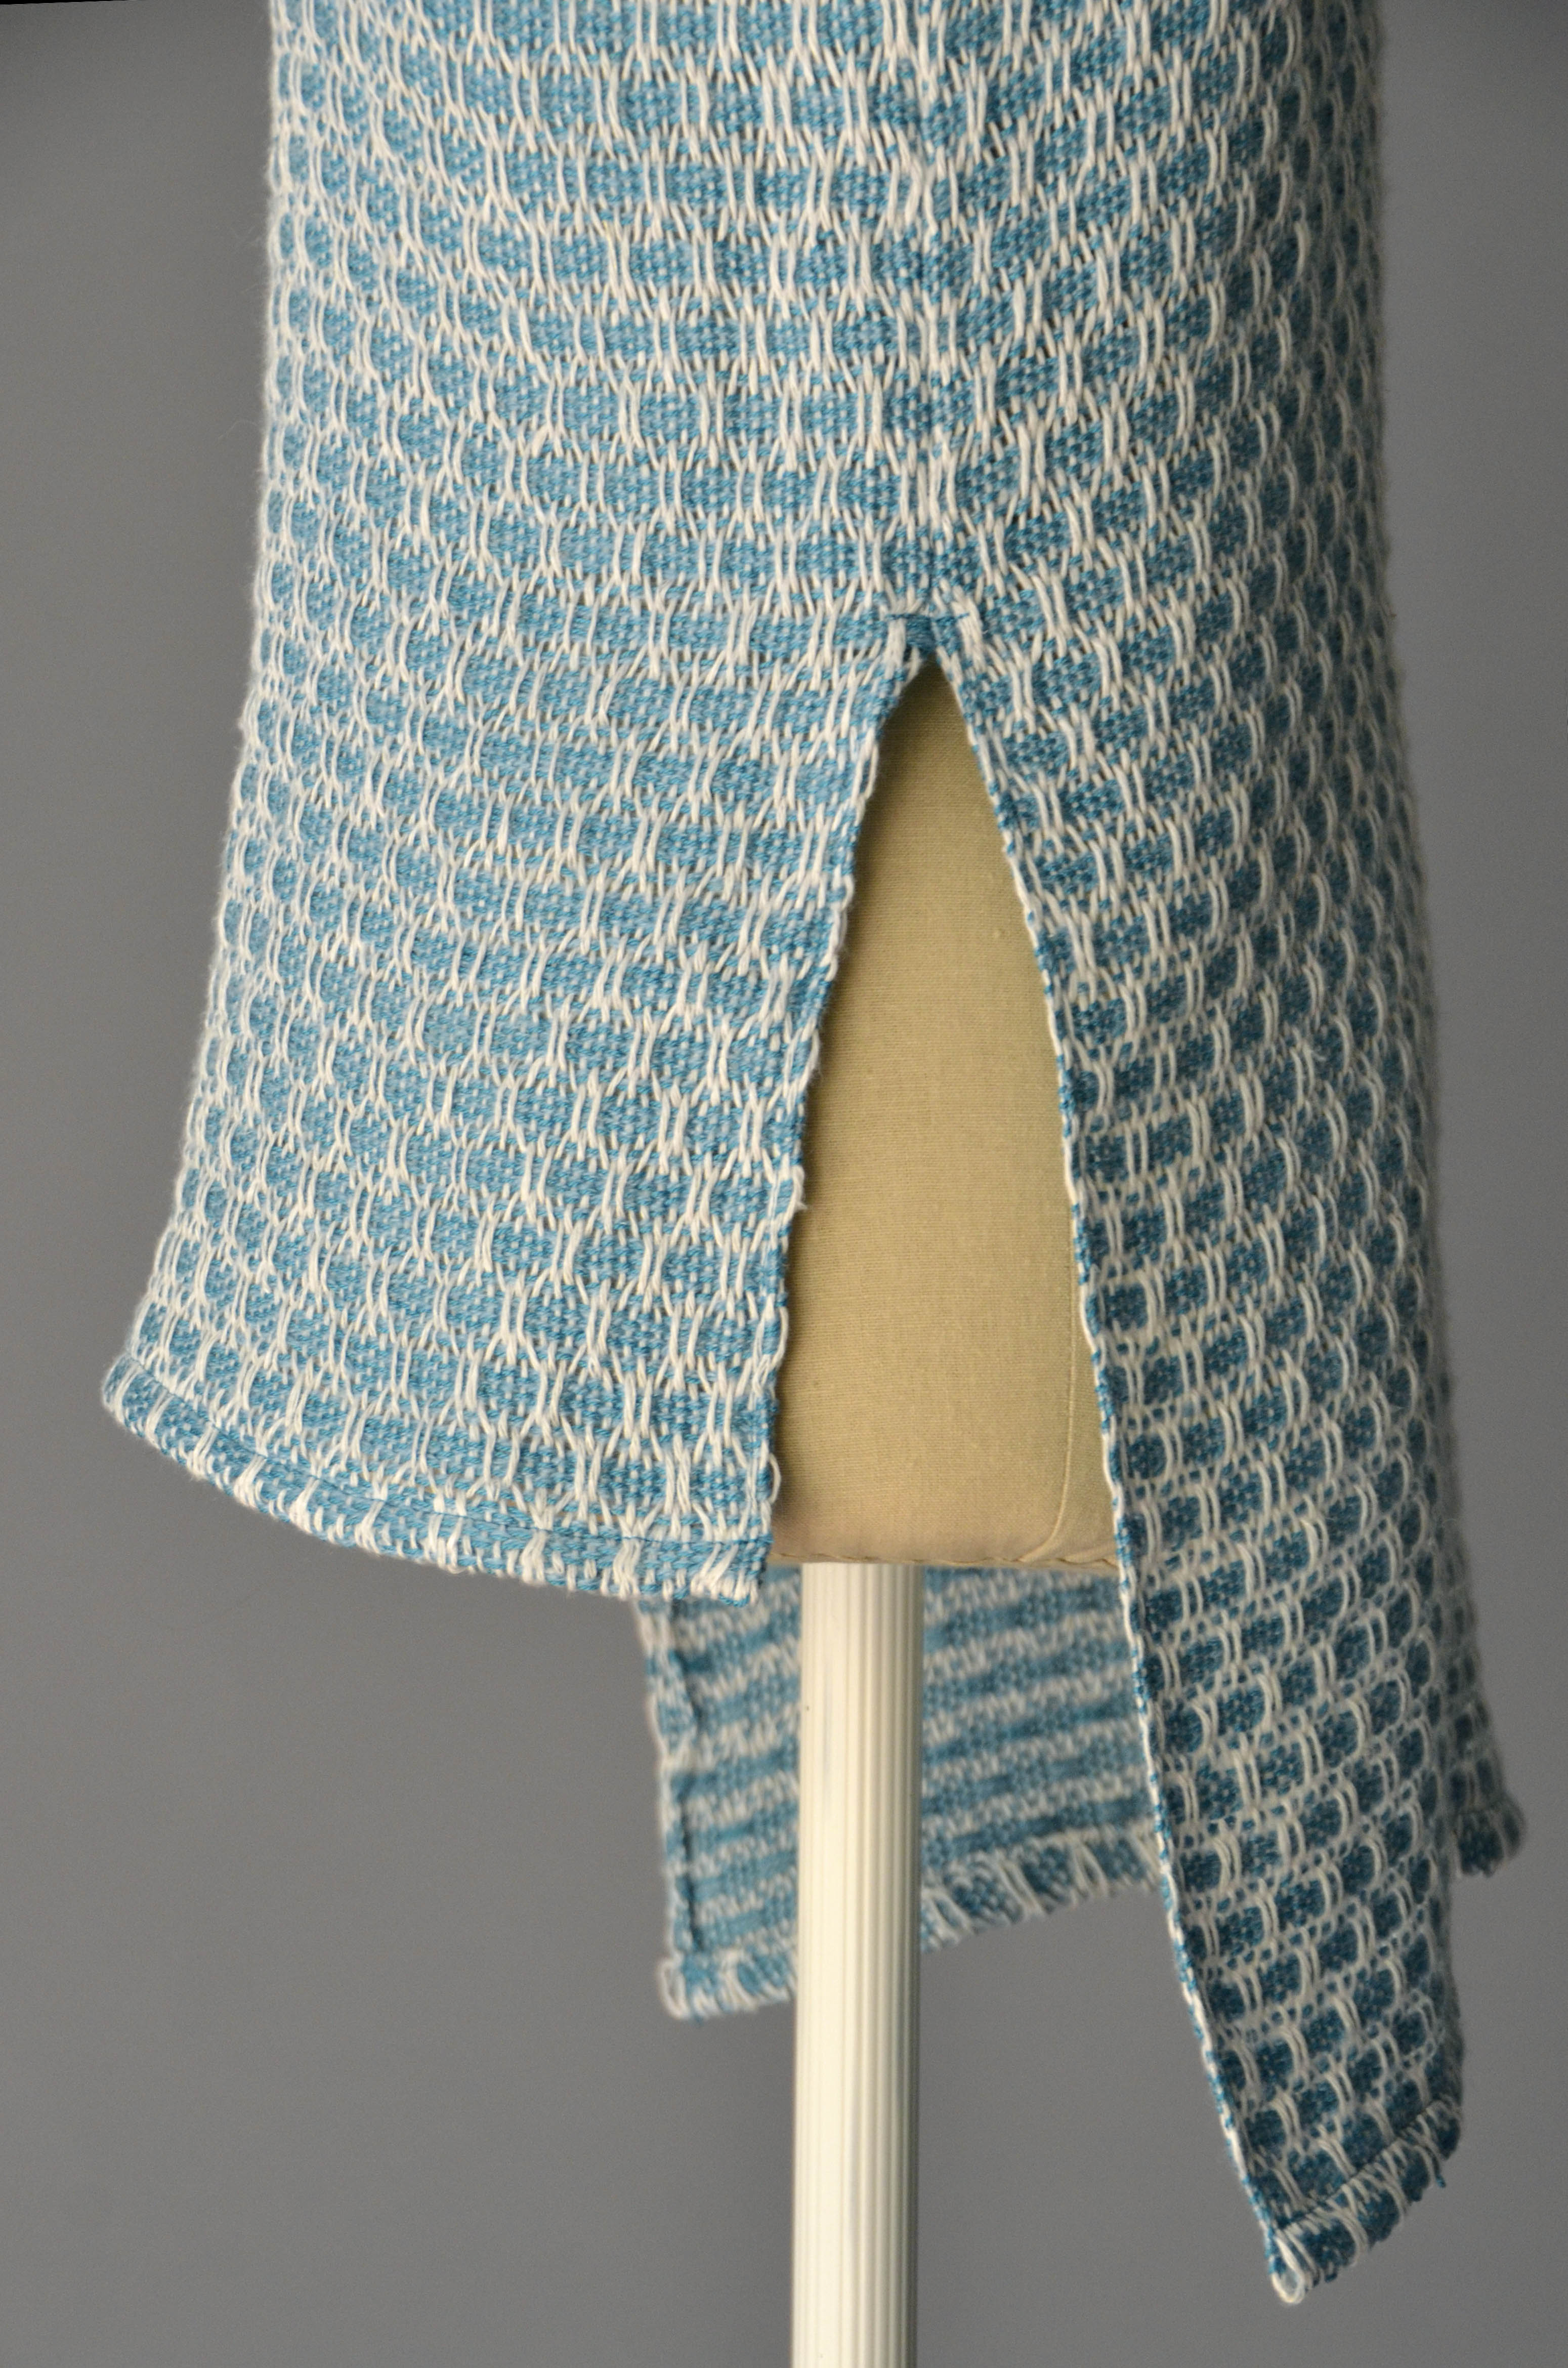
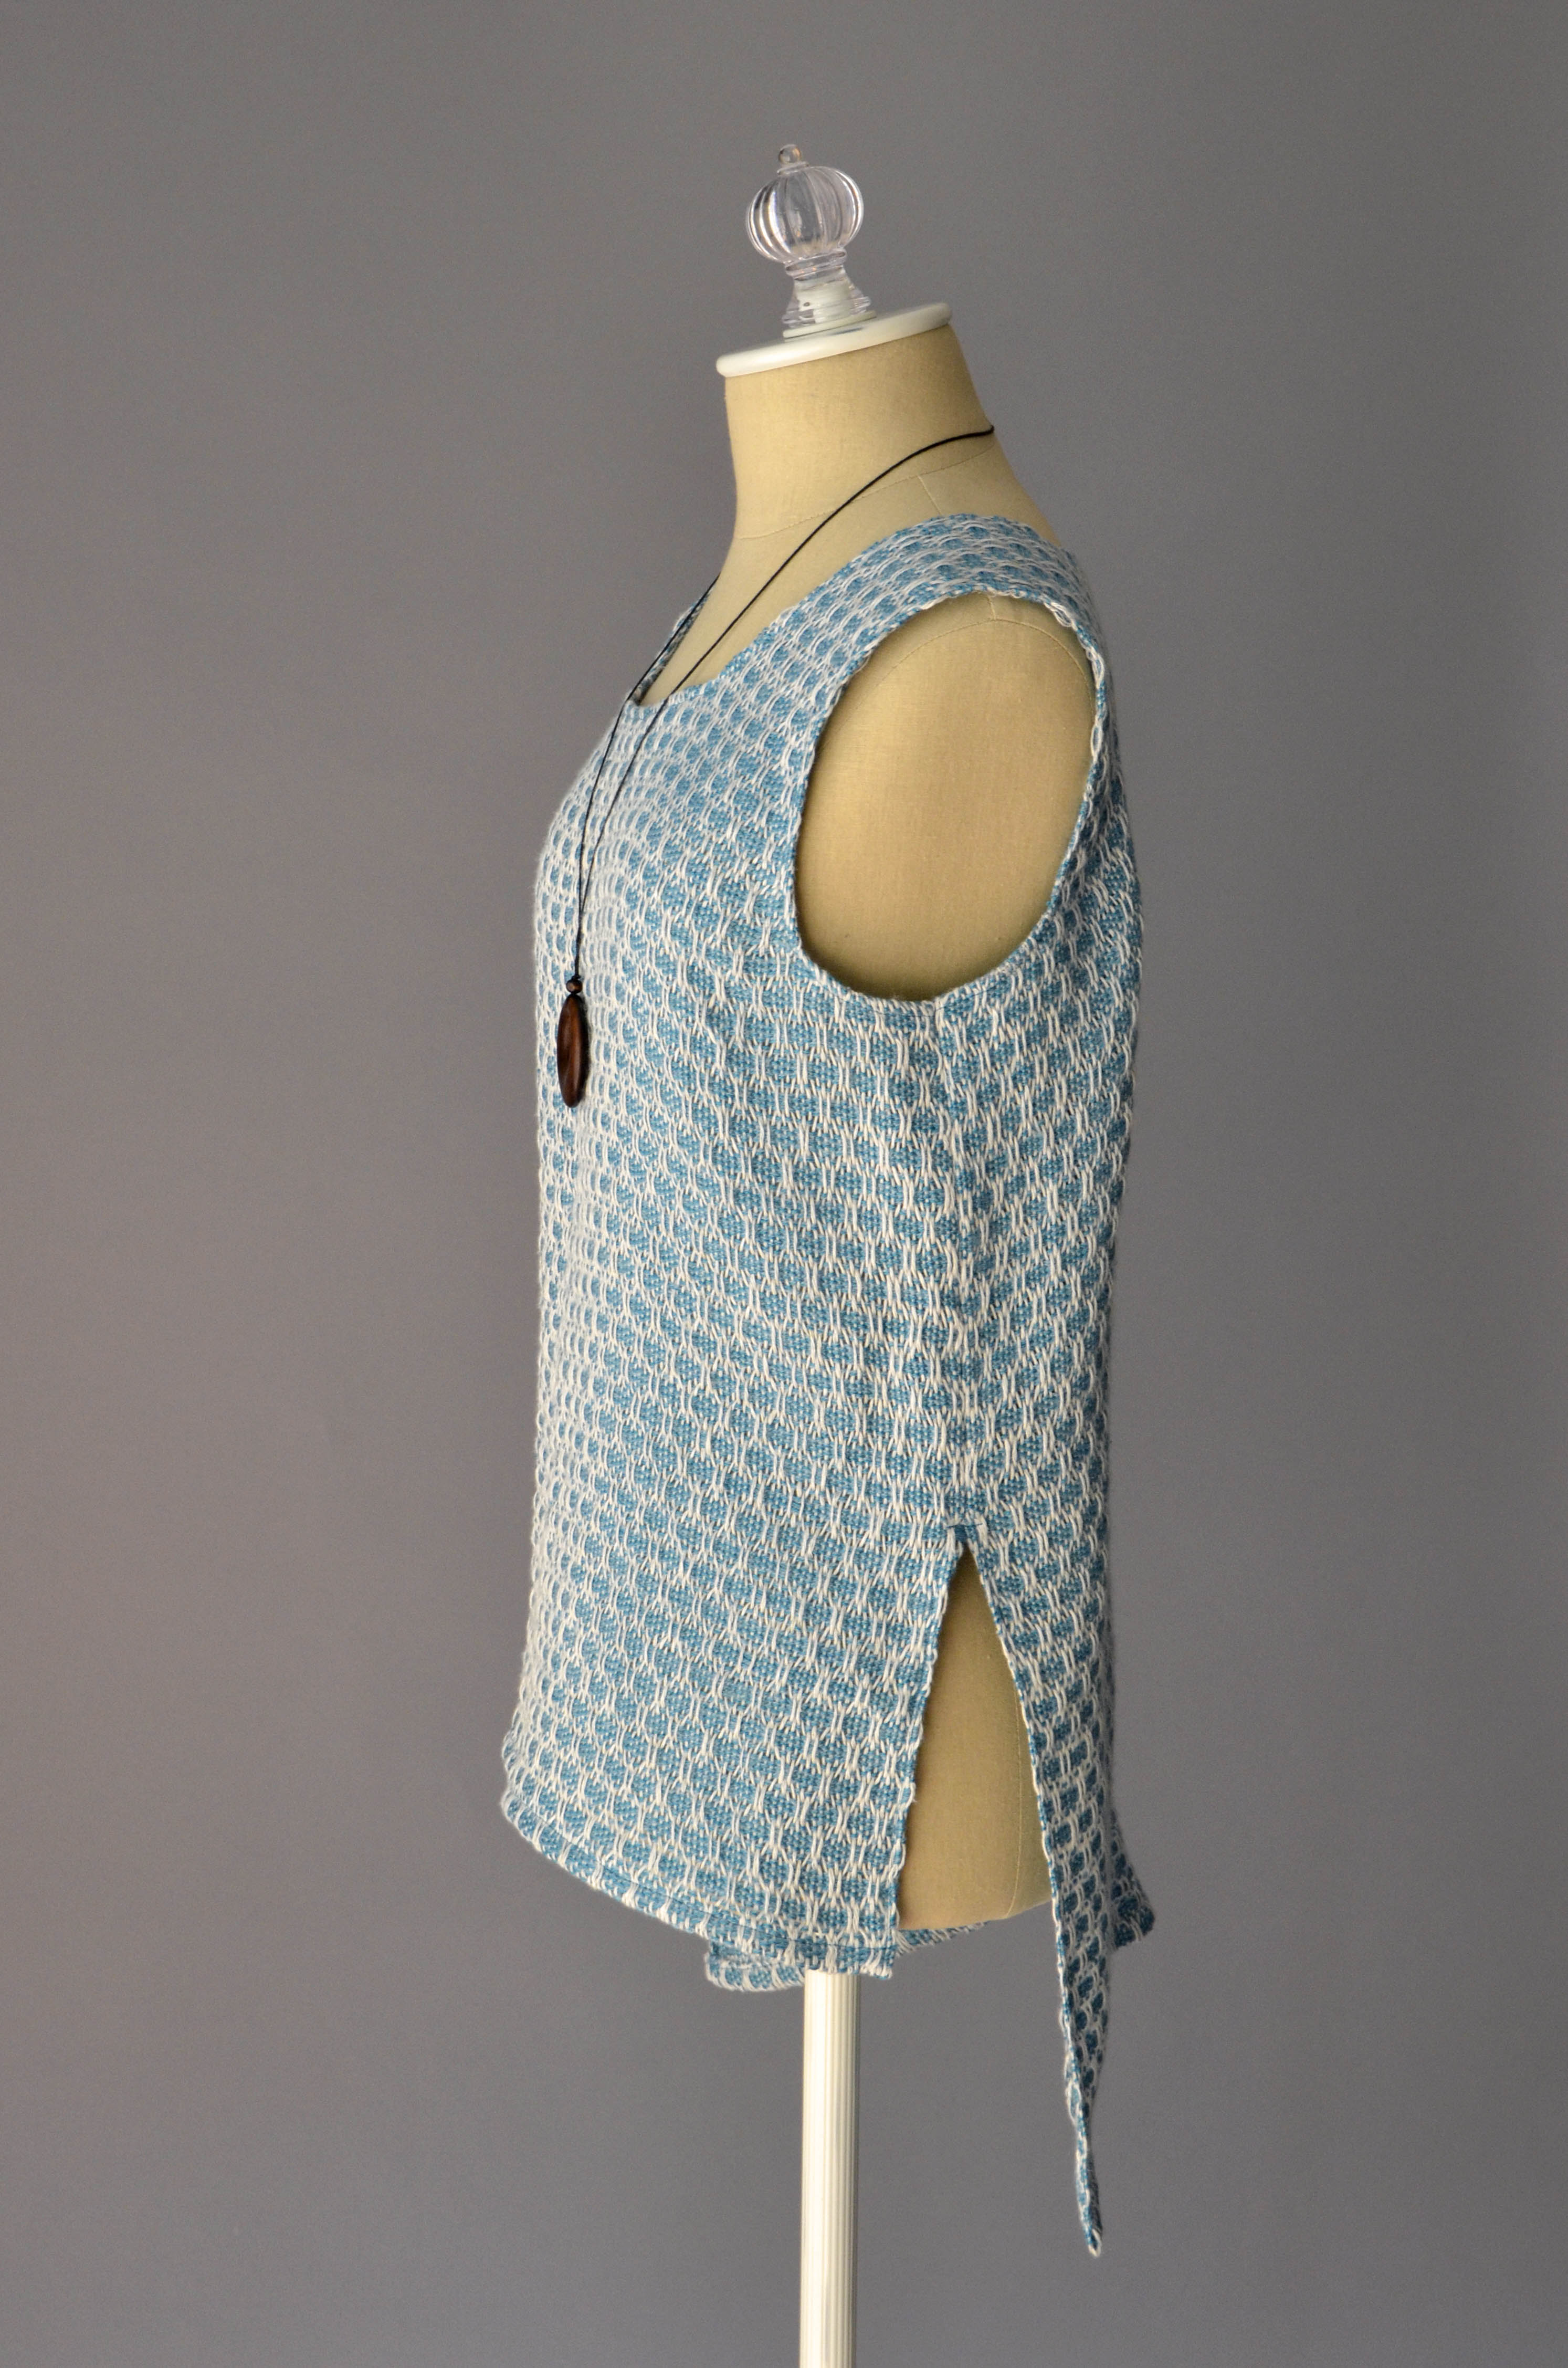
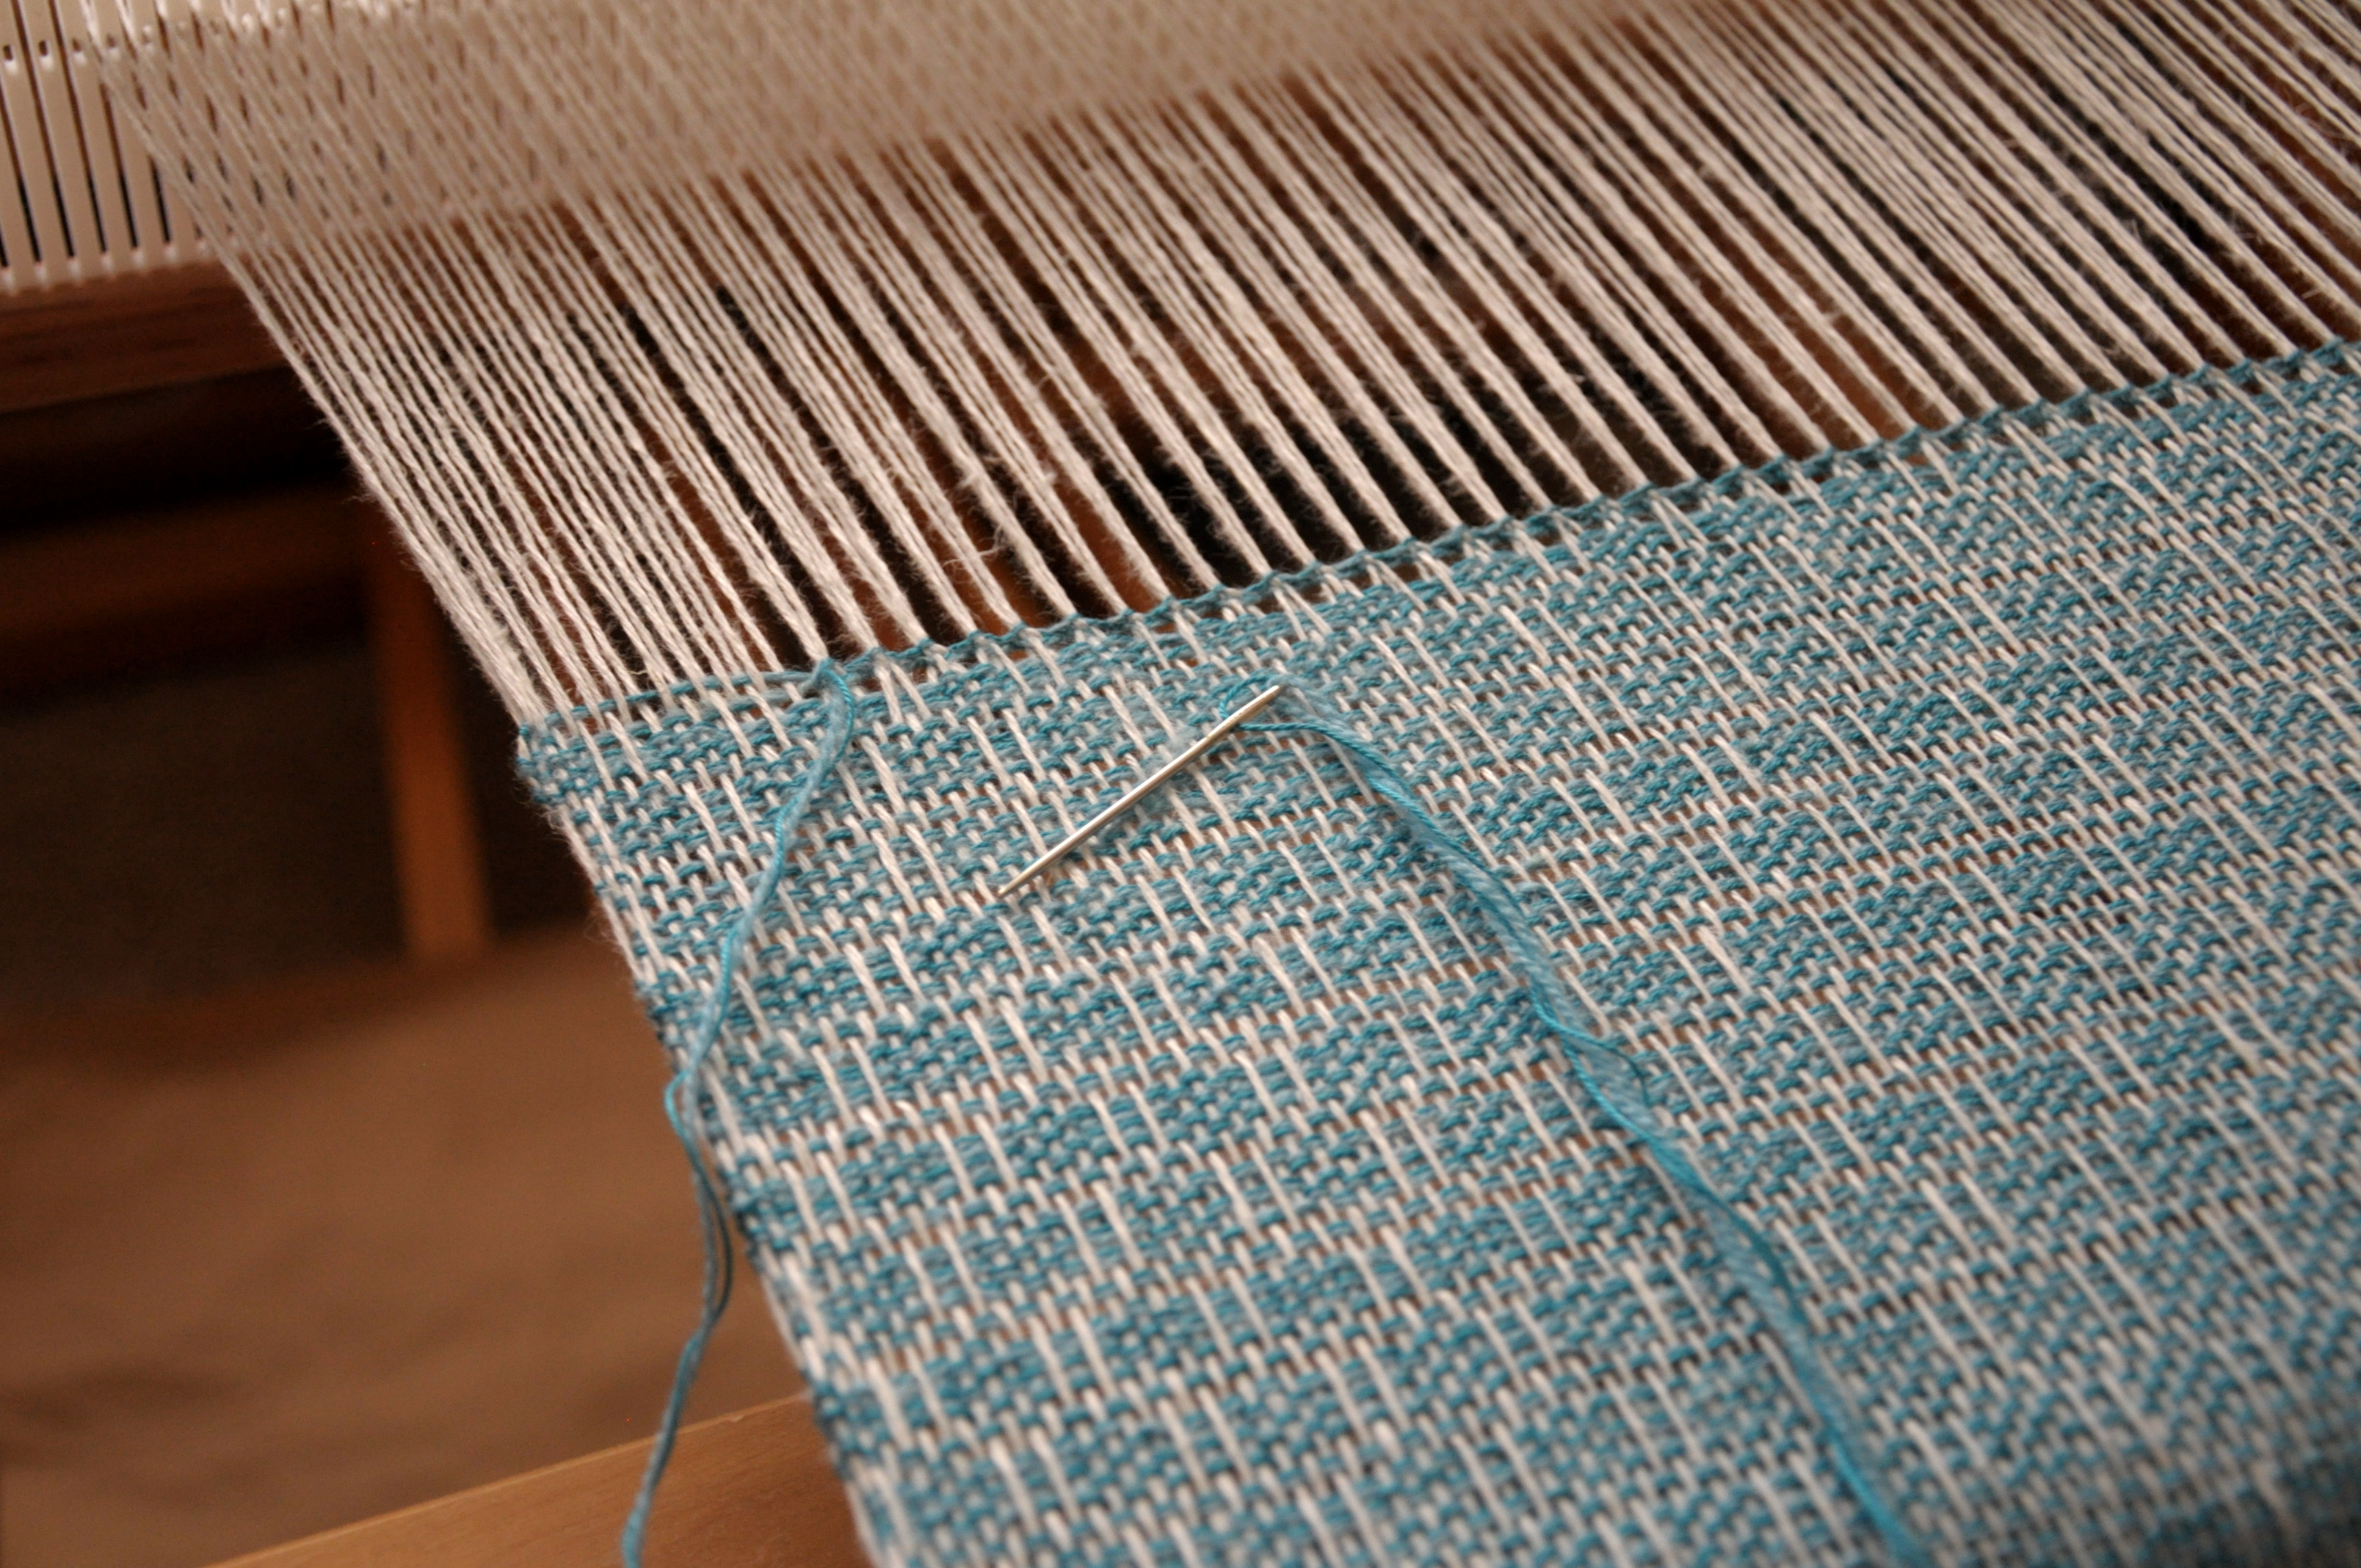
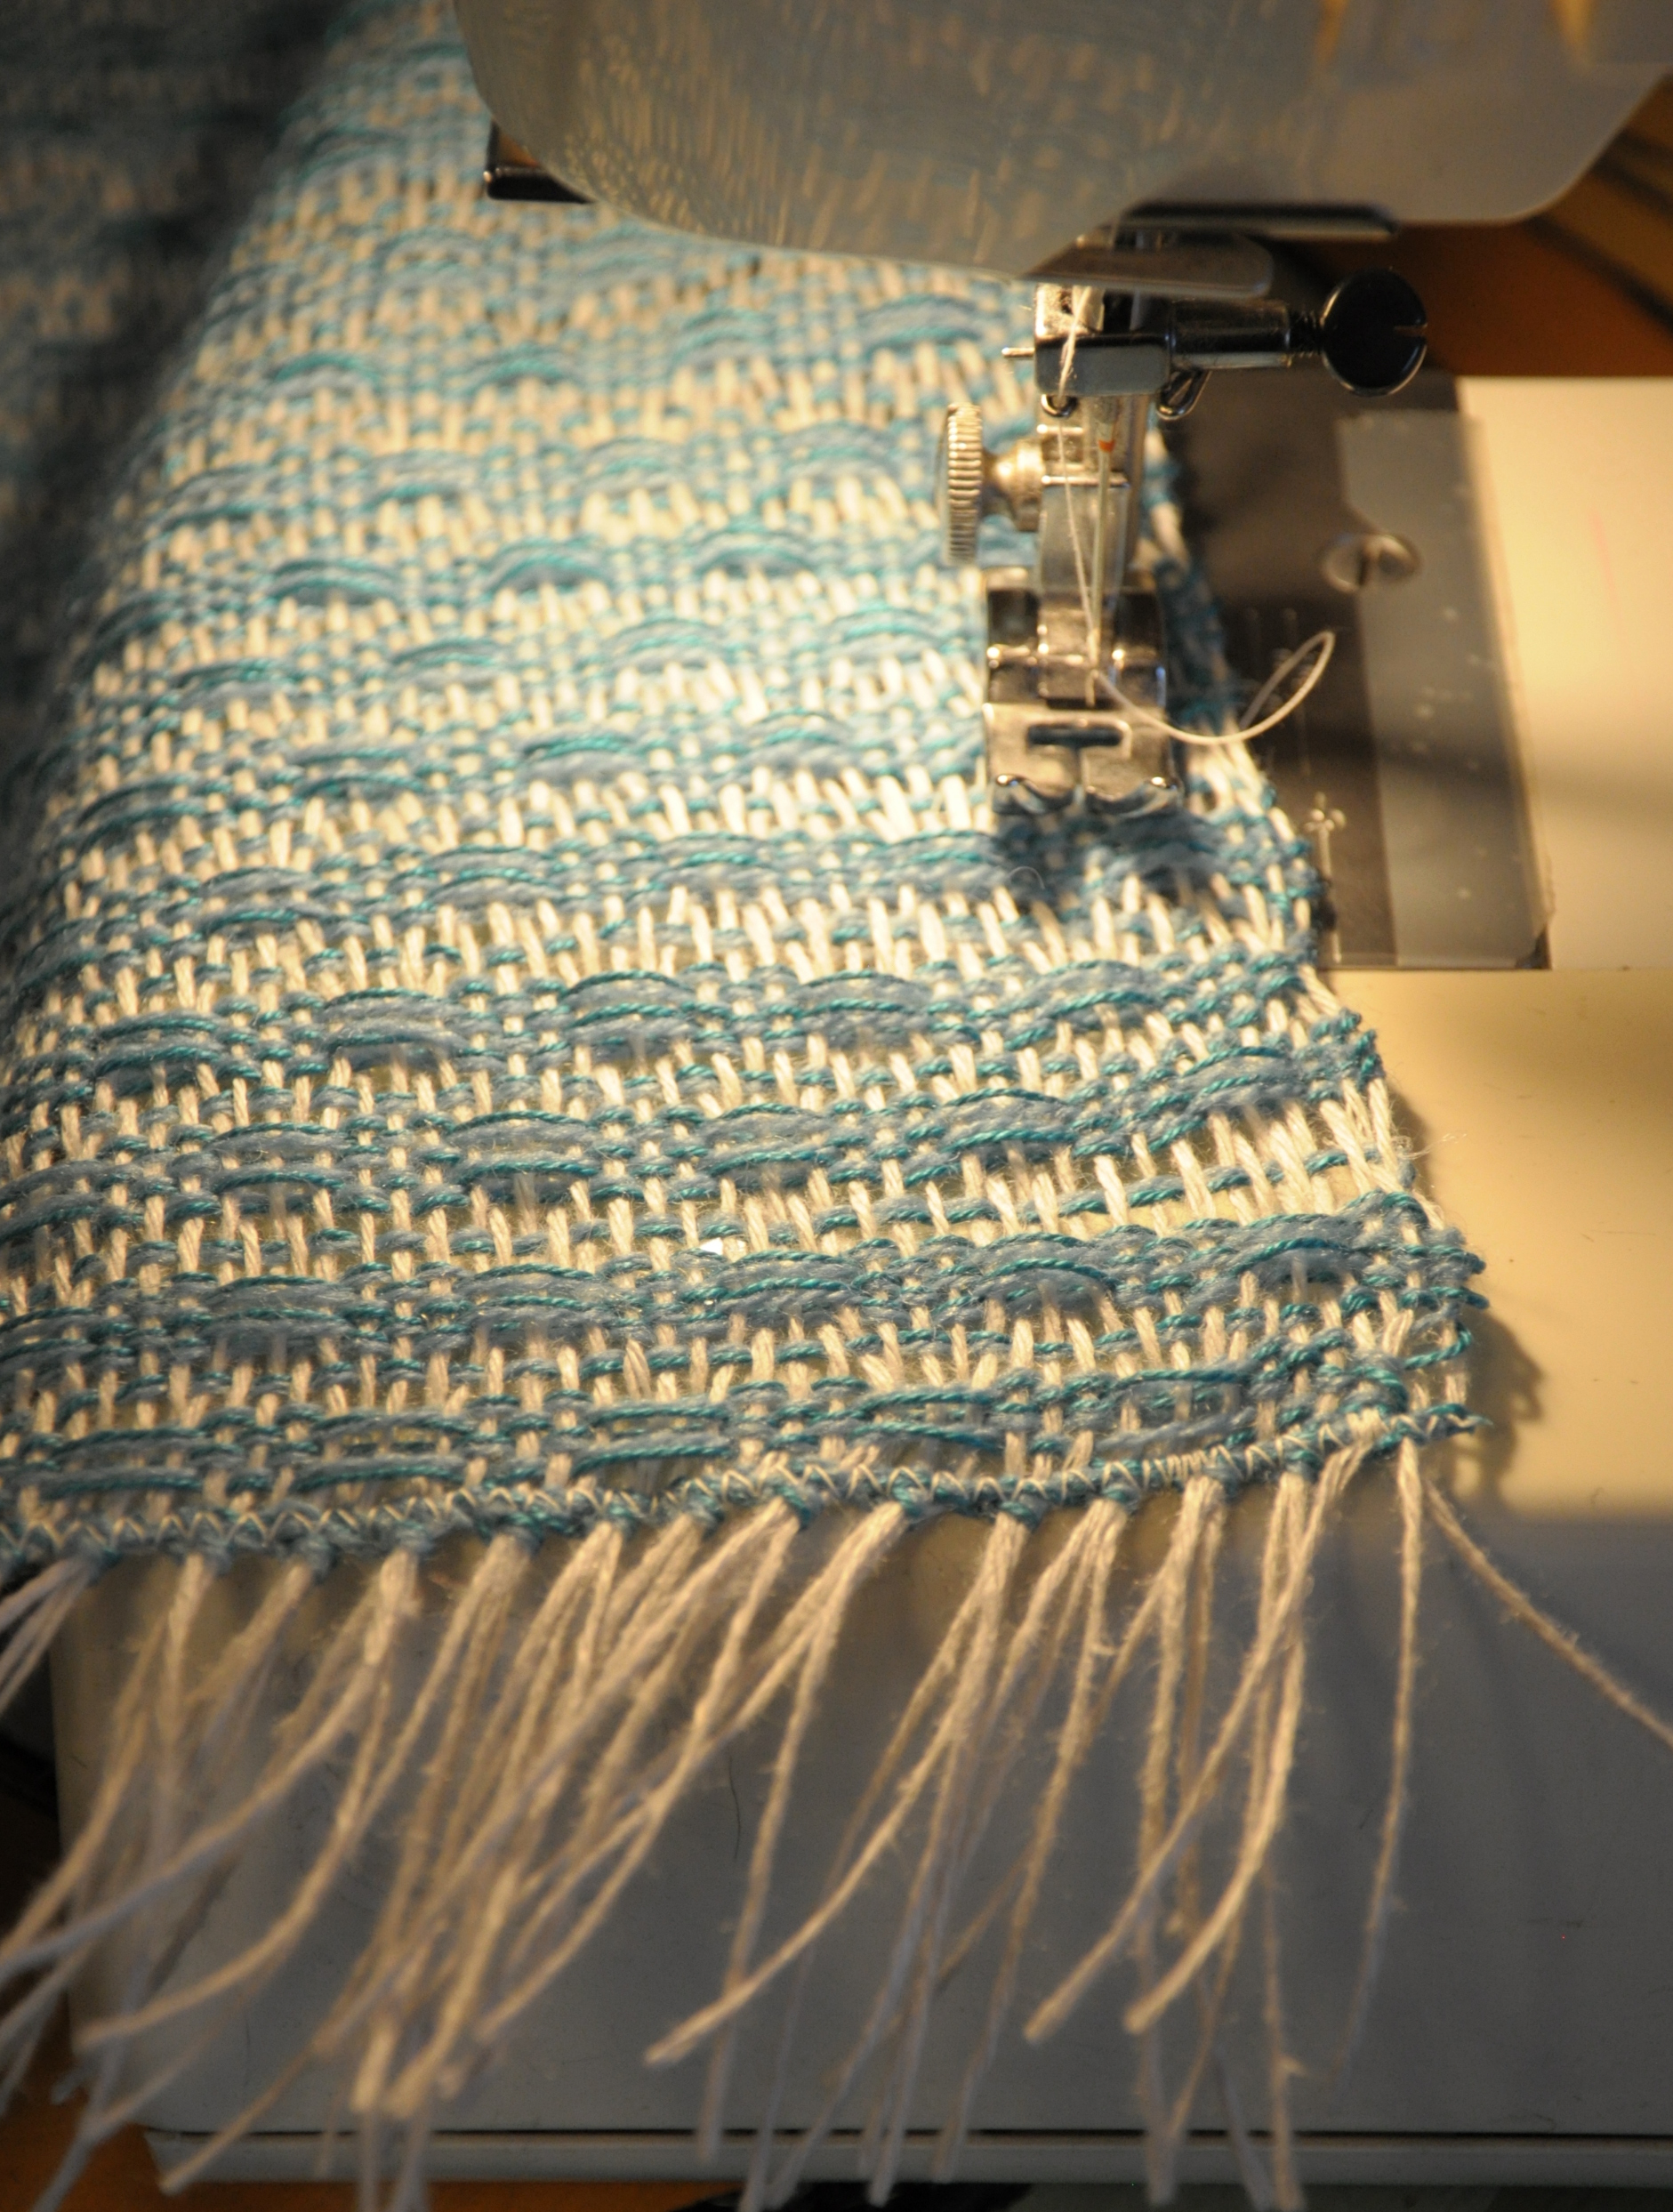
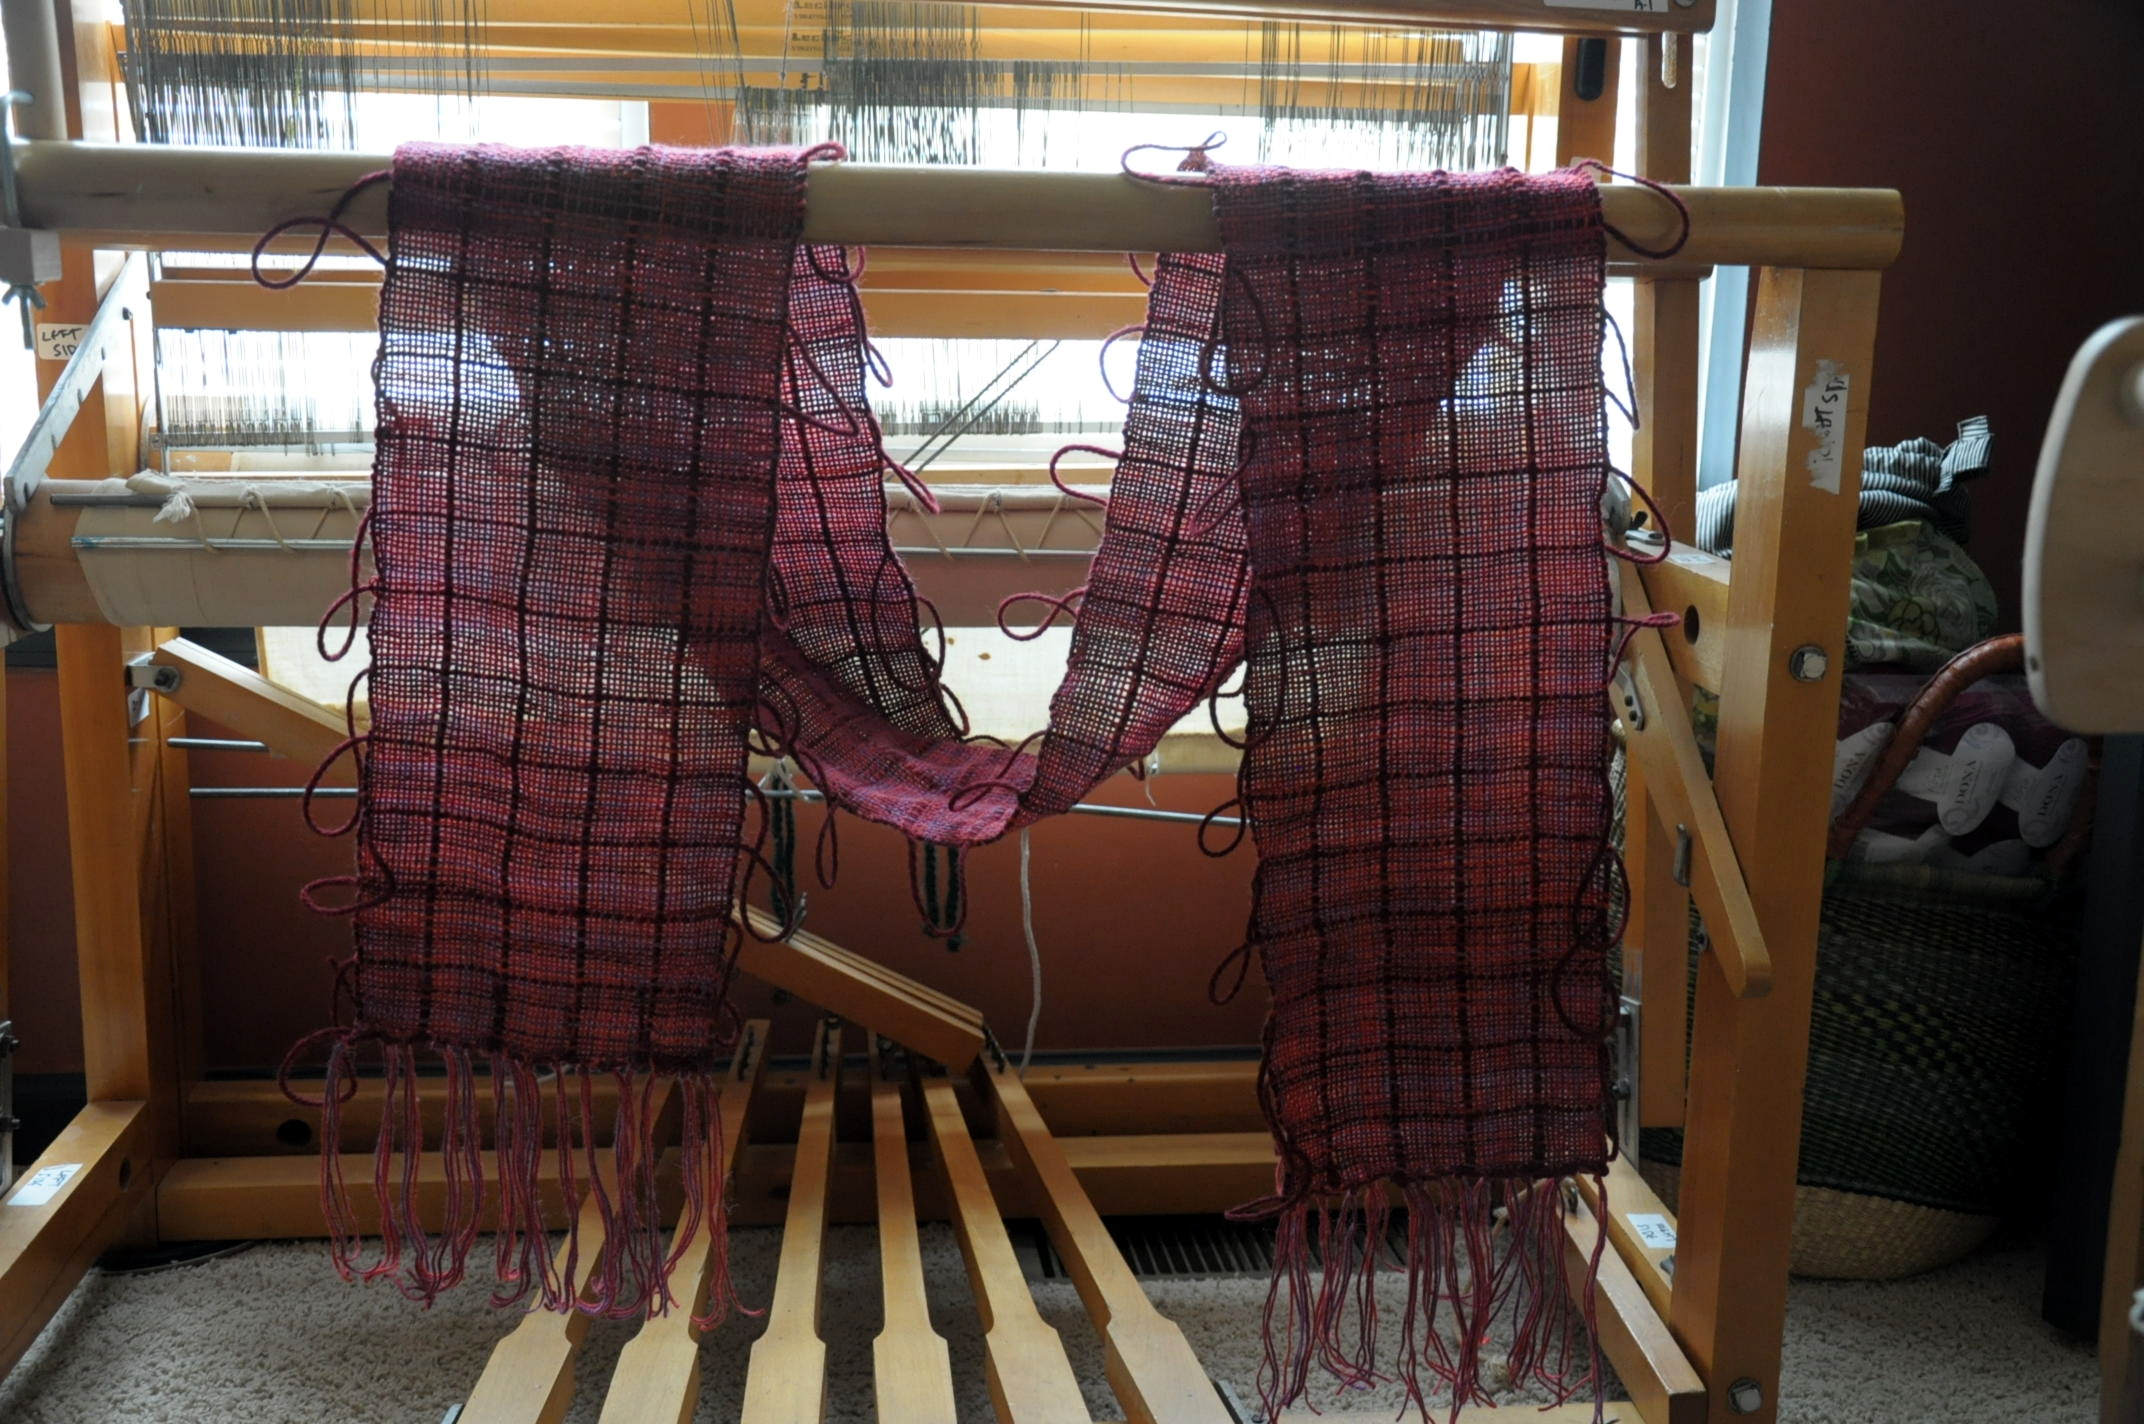
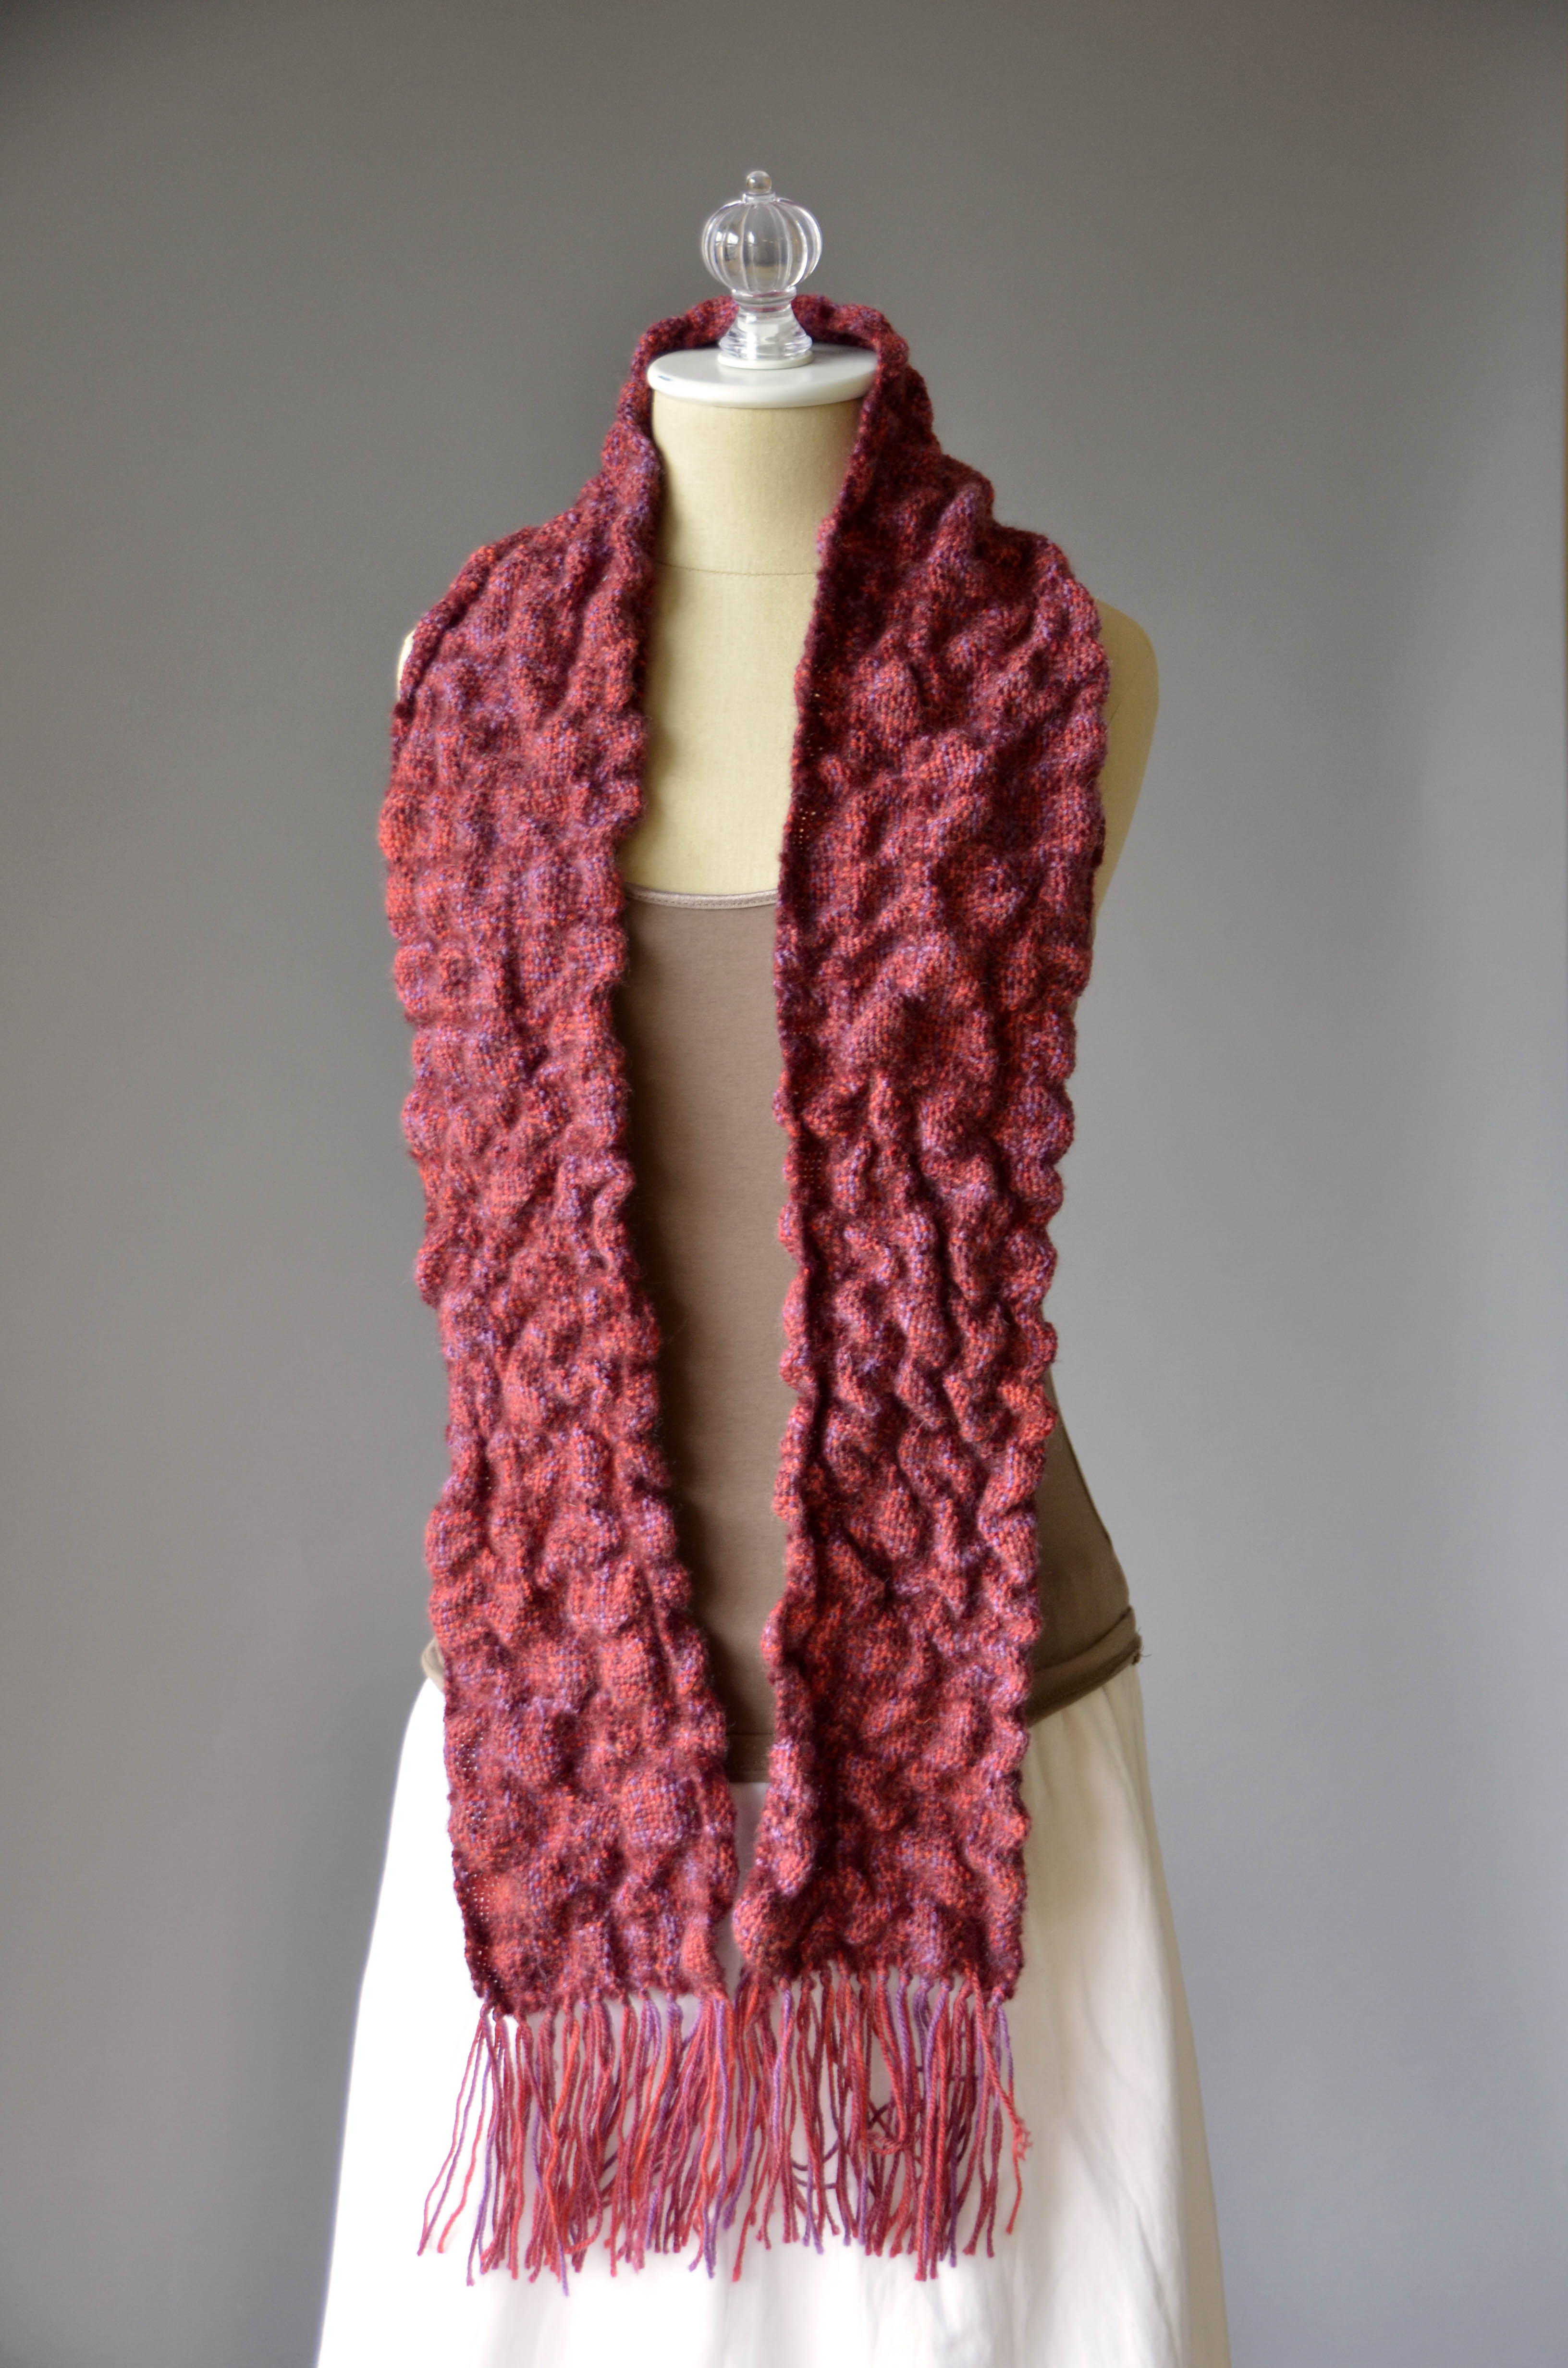
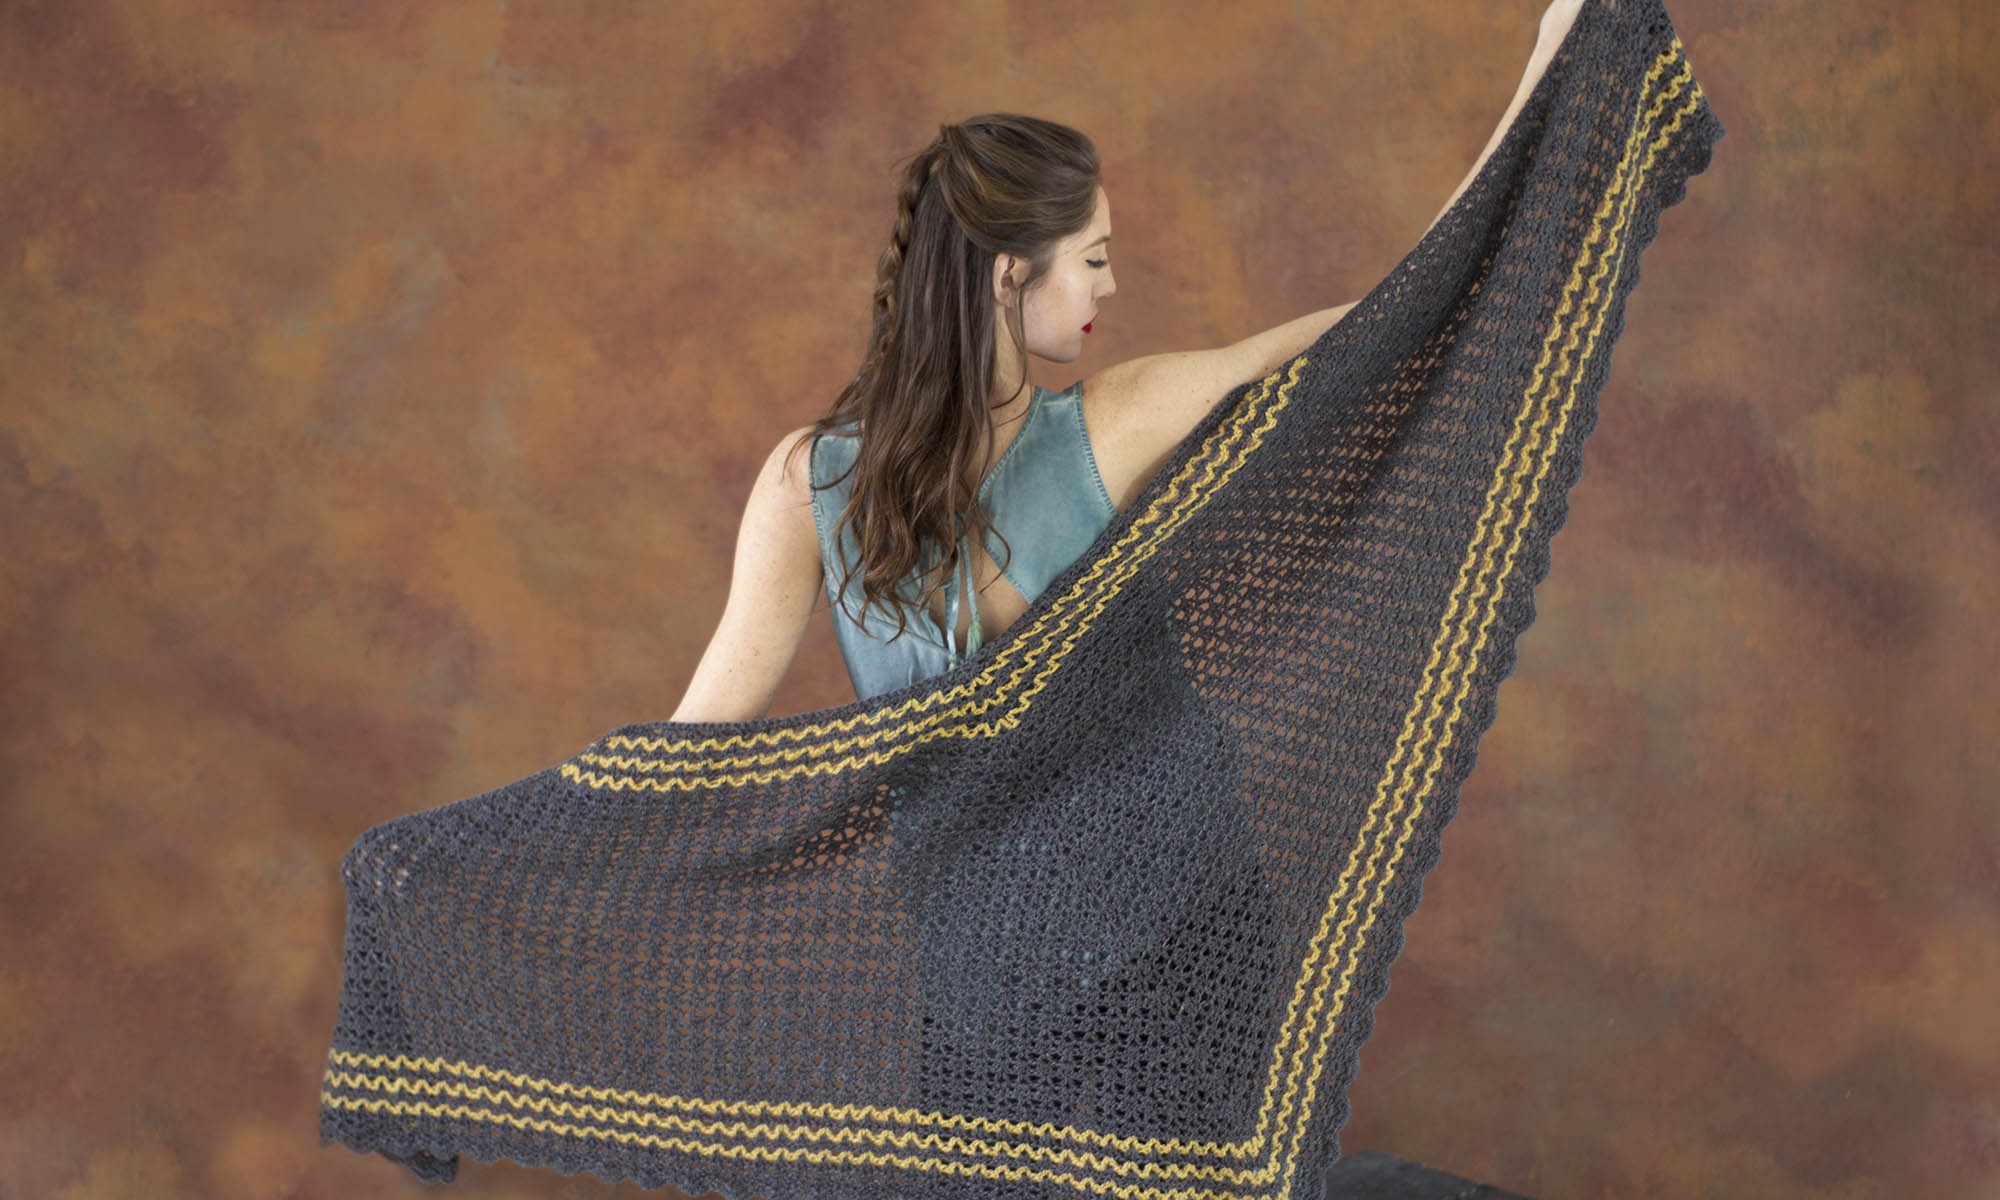
After doing the fringe, I was excited to dunk my stole in a bath to see what happened. And what happened was a much more intense transformation than I anticipated. Both the Brooks lace and the Atwater Bronson lace opened up a lot. The Atwater Bronson looks like little windows that the Brooks iterates above and below. I couldn’t be happier with how this turned out!

On Molly:

universestole_16_hires

When it’s laid flat, I can really see those little “windows” formed by the Atwater Bronson.

universestole_14_hires

And somehow this turned out larger than I imagined it would. Finished measurements without fringe are 23″ x 66″. Which is fine with me – that’s a great size for a stole!

universestole_15_hires

Join me next time for my biggest weaving project yet – matching woven motorcycle jackets made from Deluxe DK Tweed Superwash!
Weaving Wednesday – Getting my Sparkle On

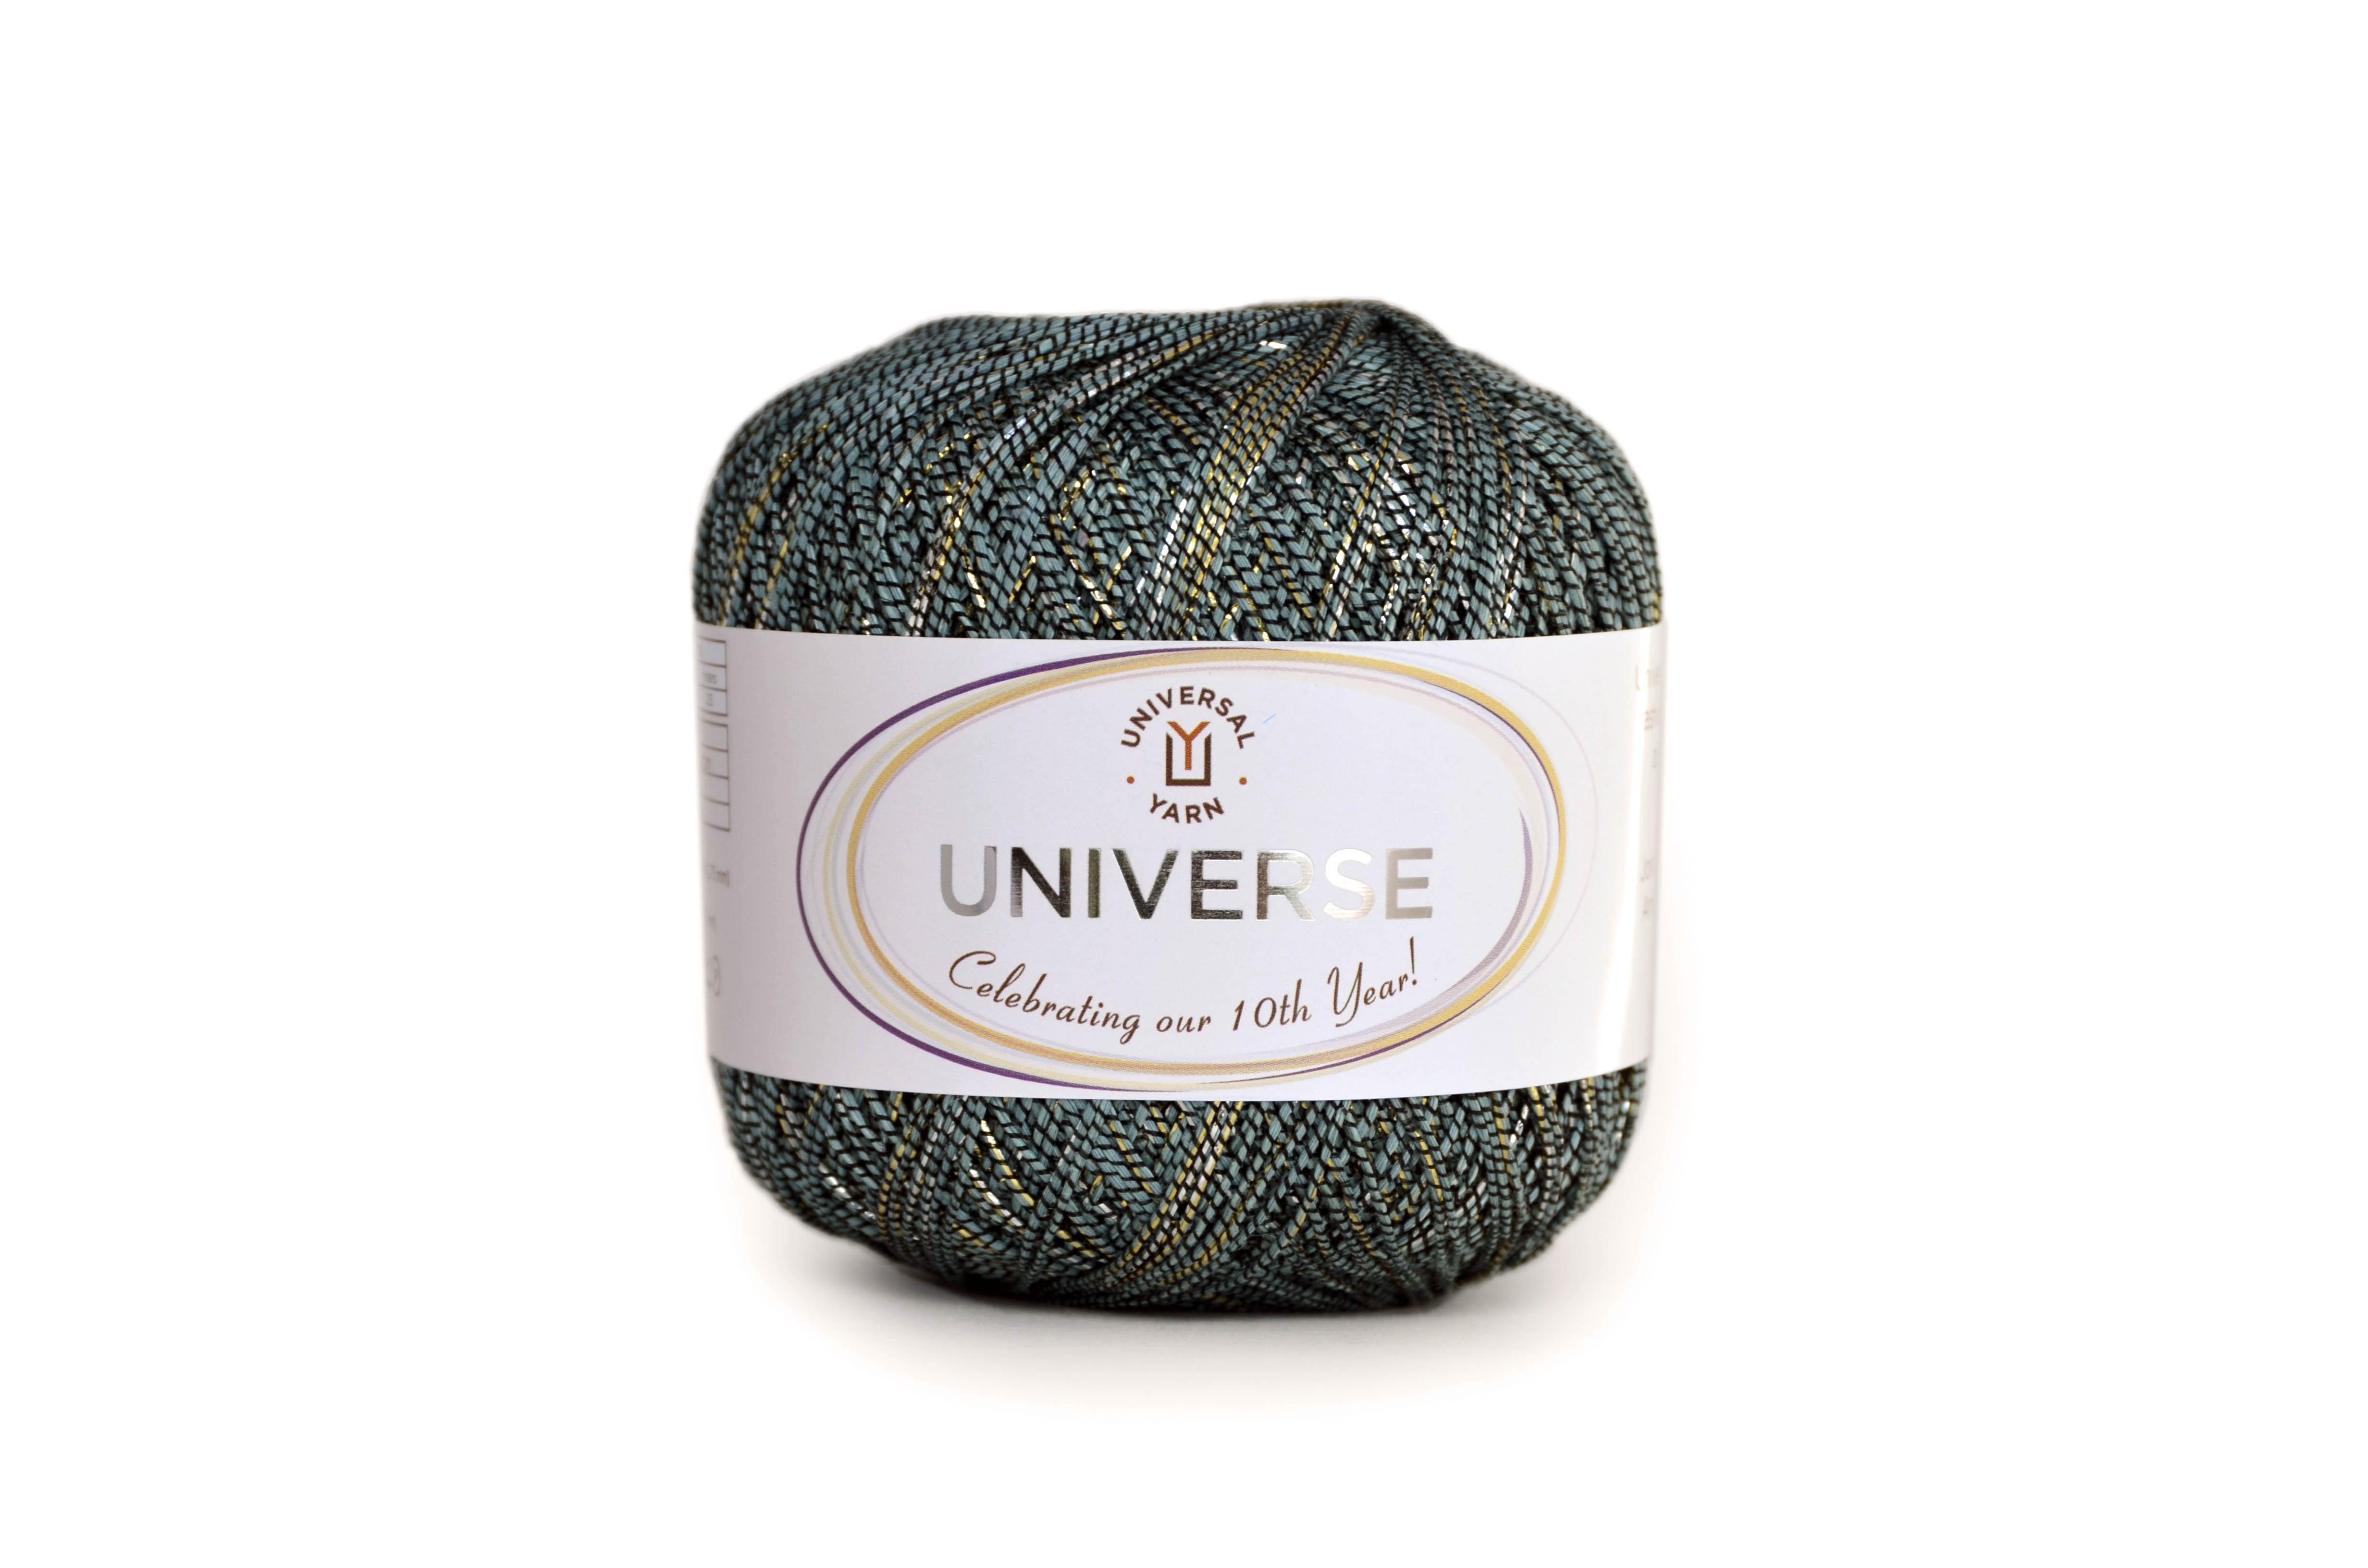
Ever since we added Universe to celebrate our 10th anniversary last year, I’ve wanted to weave with it. A mix of linen, cotton, metallic, wrapped together with nylon, I swear there’s a bit of magic in every strand. The combination of plant fibers and sparkle mesmerizes me.

universe-ball-cut-out-shiny-label-hi-res

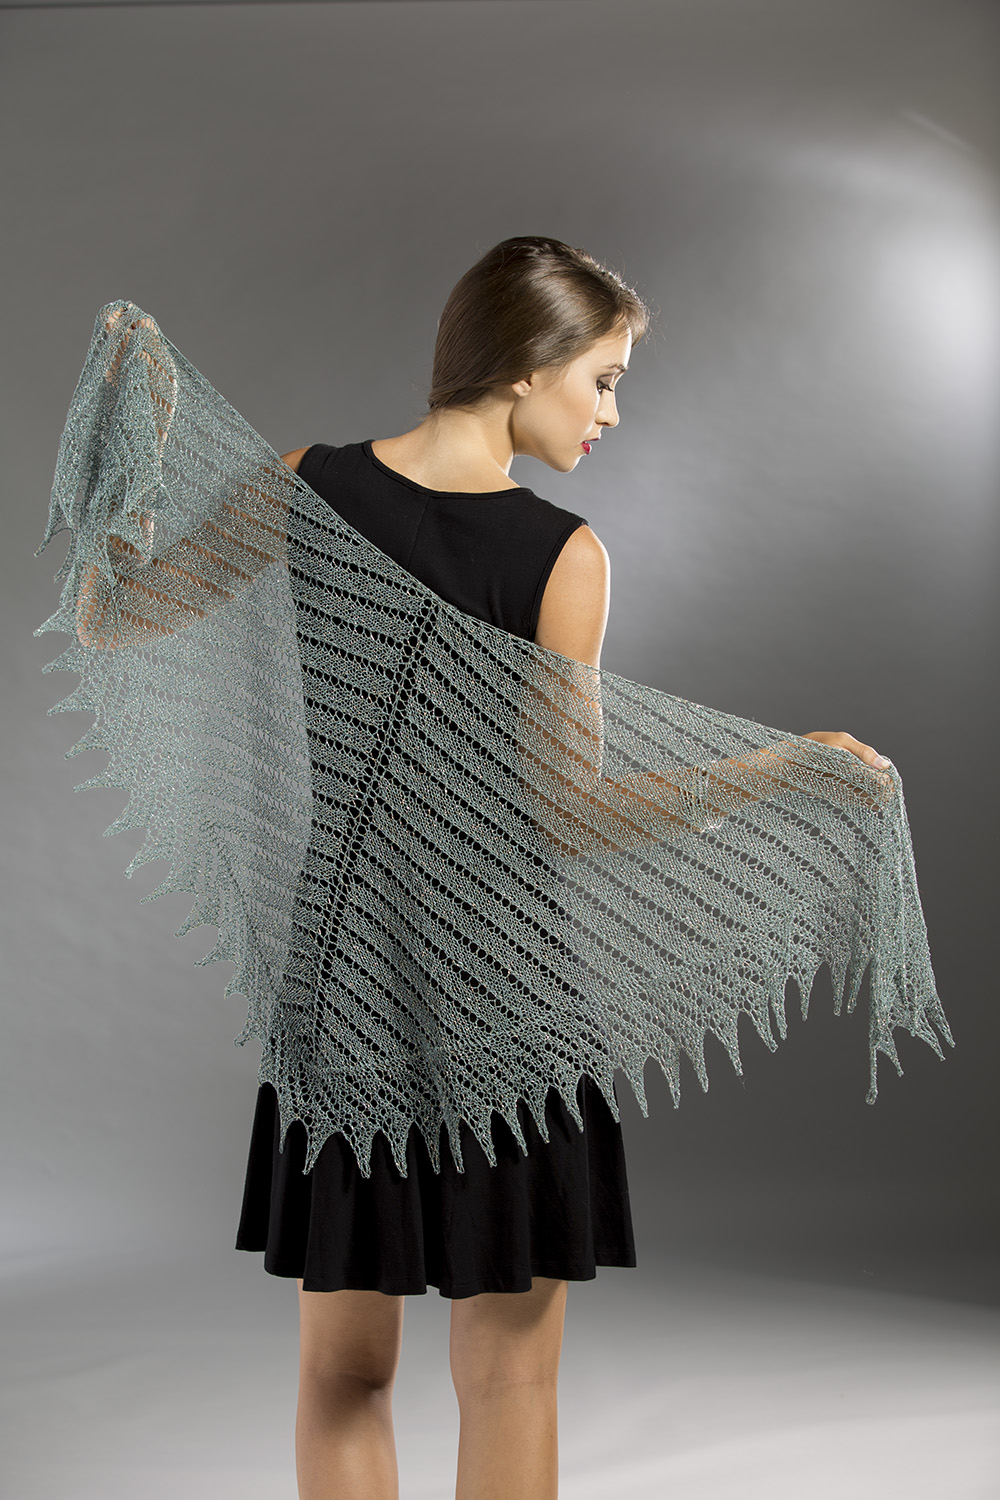
It’s beautiful in knitted items, such as the Planetary Shawl:

planetaryshawl_back_universe_hires

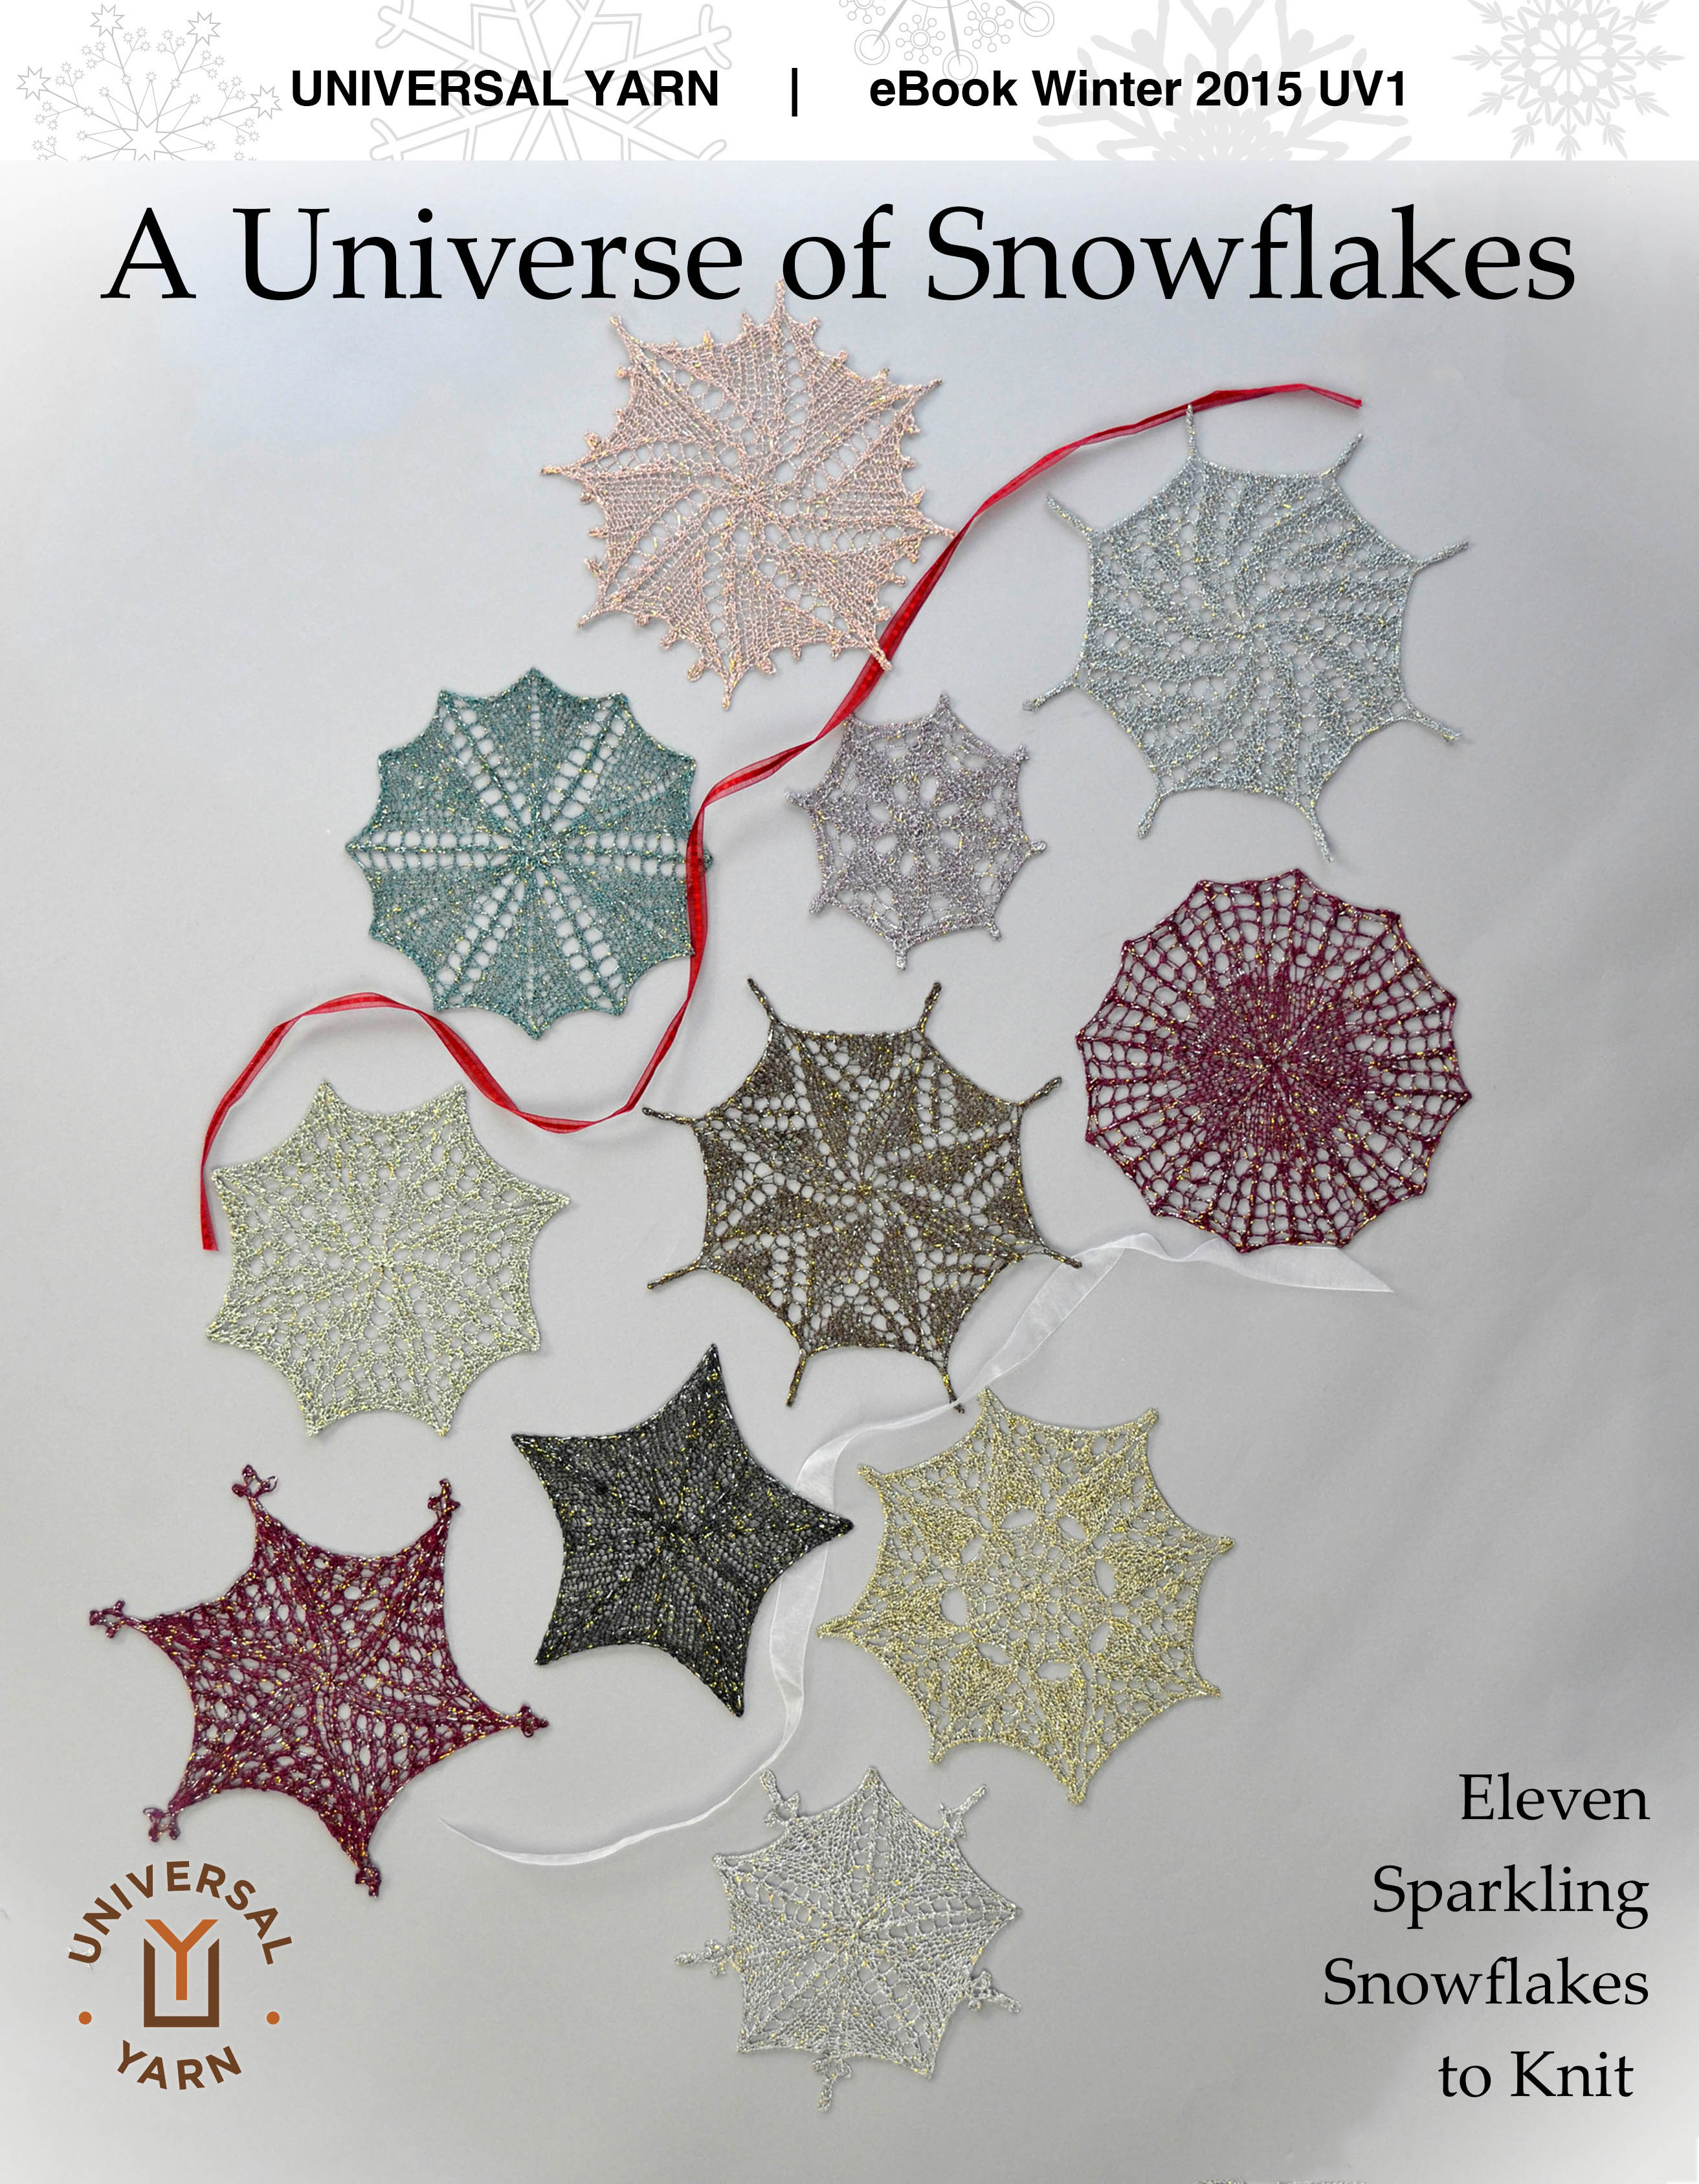
Or the delightful Universe of Snowflakes:

universe-of-snowflakes-cover-hi-res

But I knew Universe would make beautiful weaving, too. I decided this was the project I would finally warp up my poor, neglected floor loom. My Fanny Leclerc has been sitting as a backdrop for my rigid heddle weaving these last few years, as though I’m mocking her abilities as a workhorse weaver. She’s a sturdy 4-shaft loom procured a number of years back at a reasonable price via my local Craigslist.

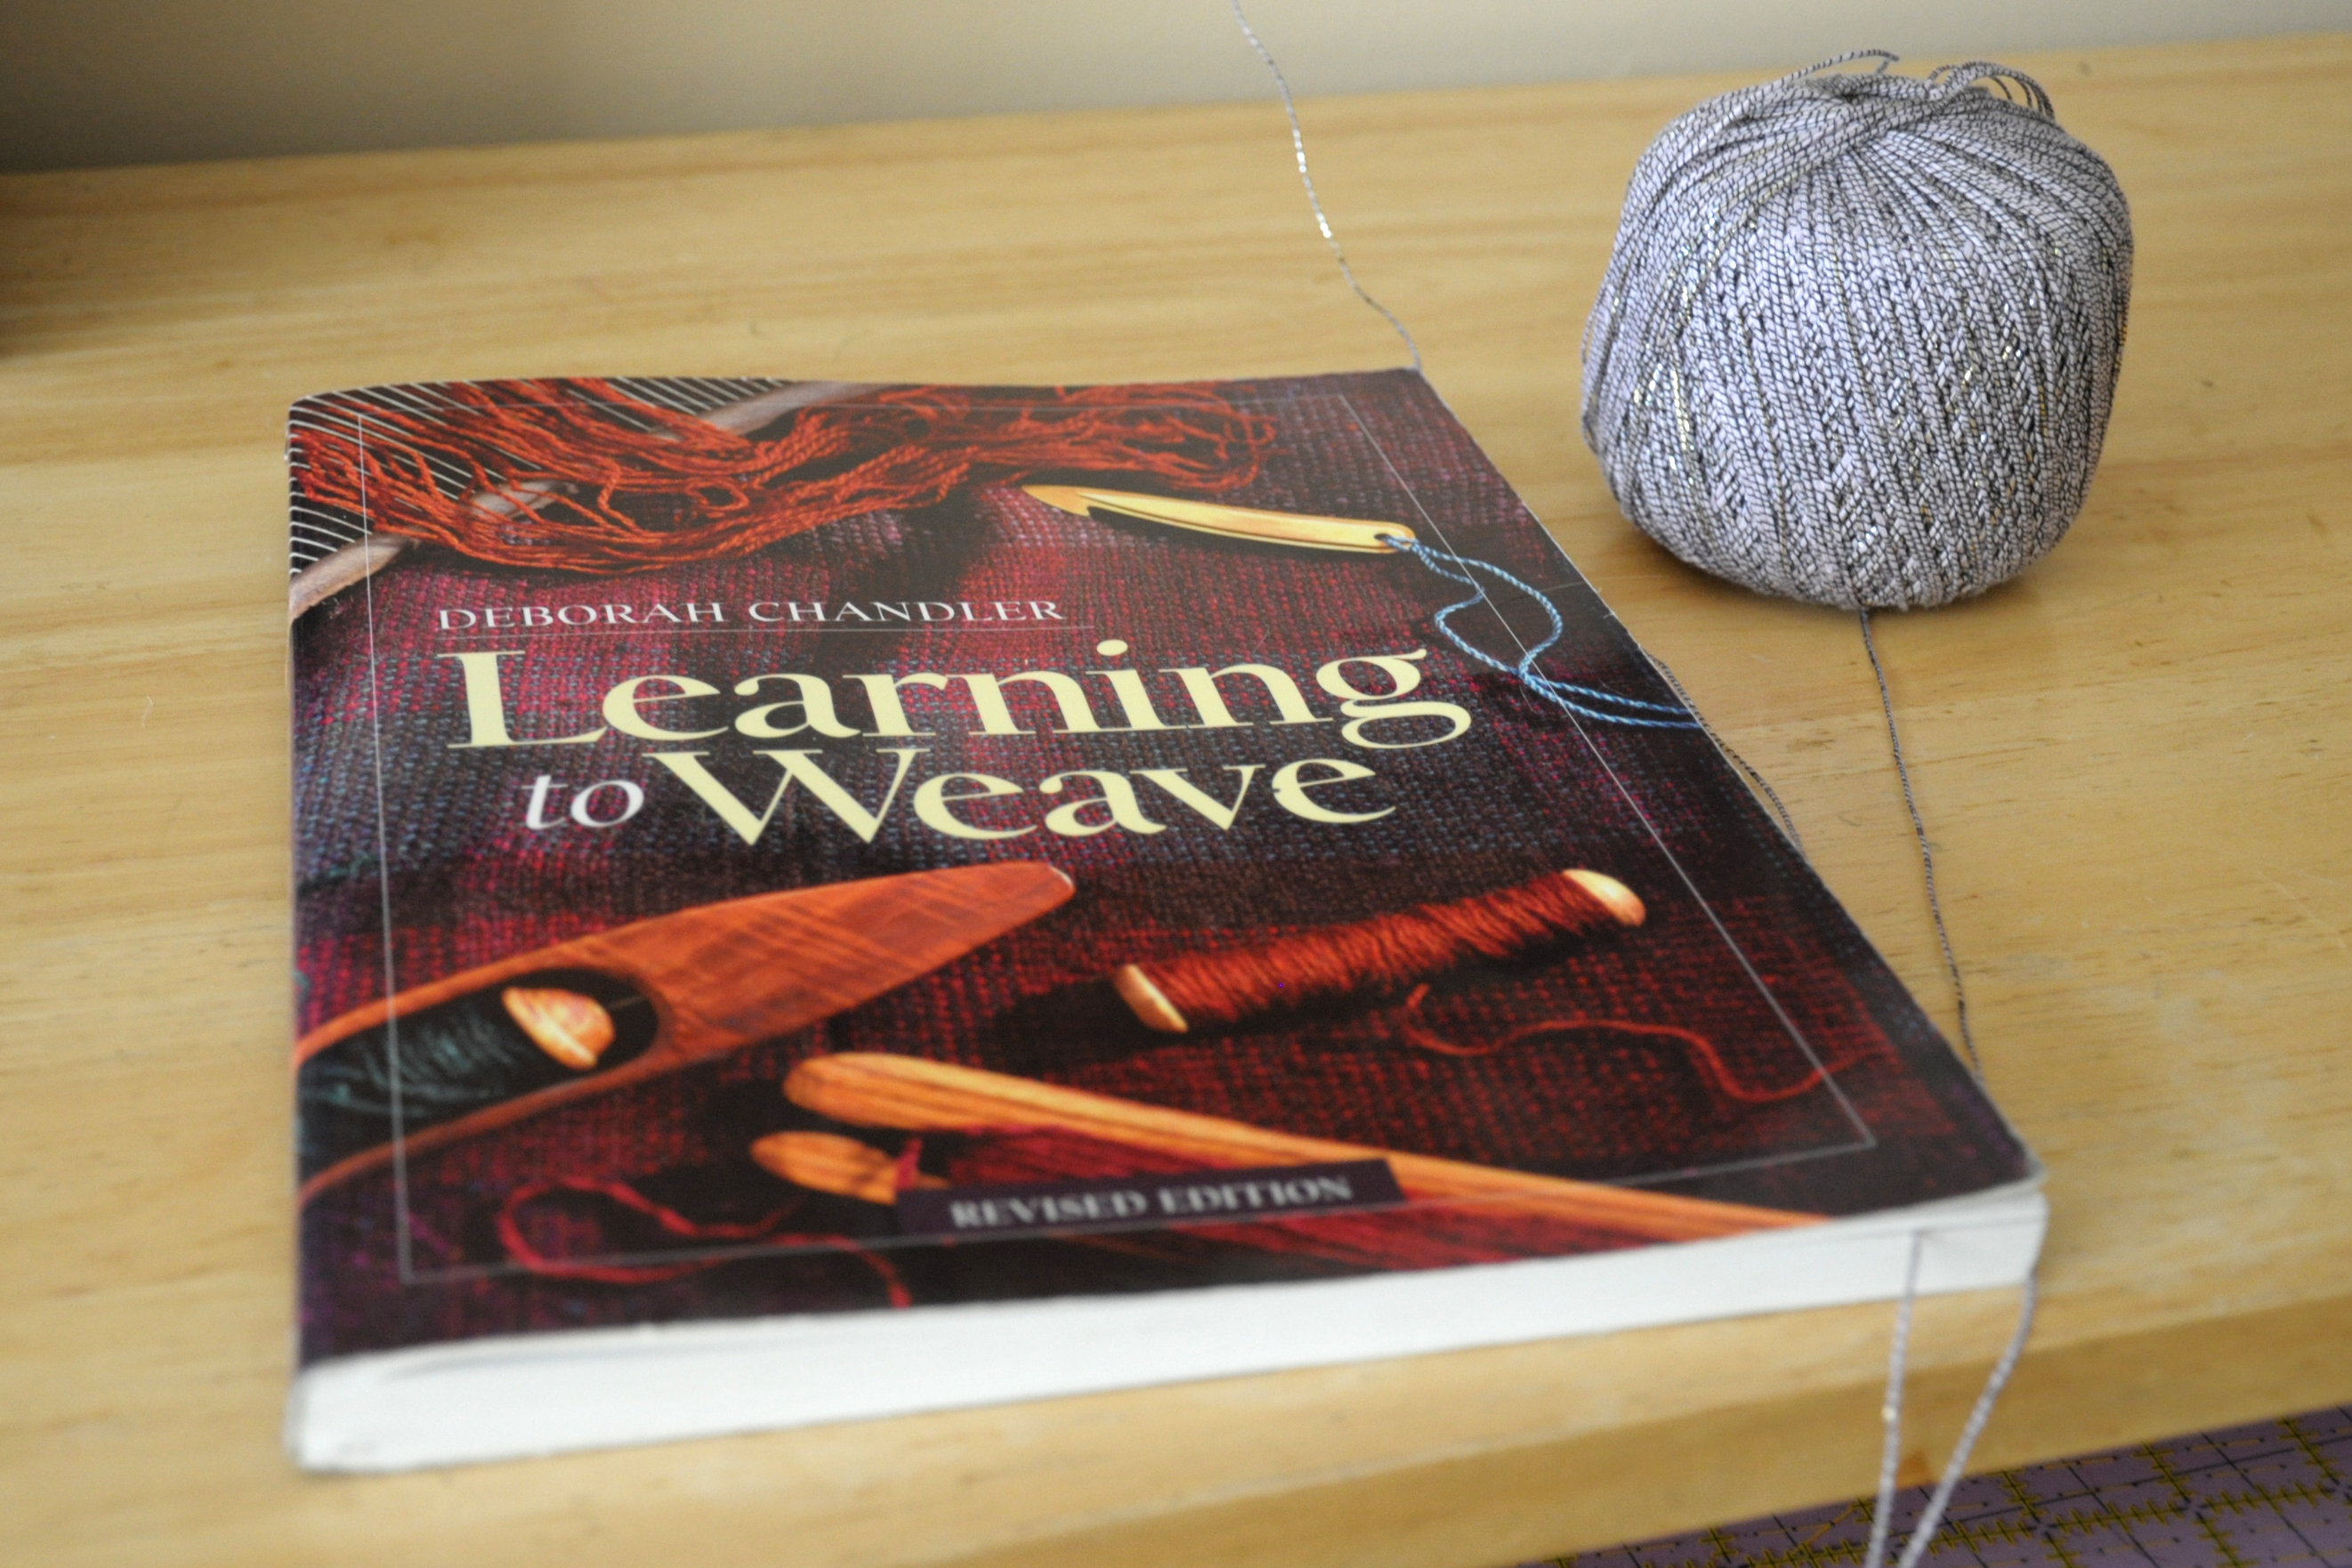
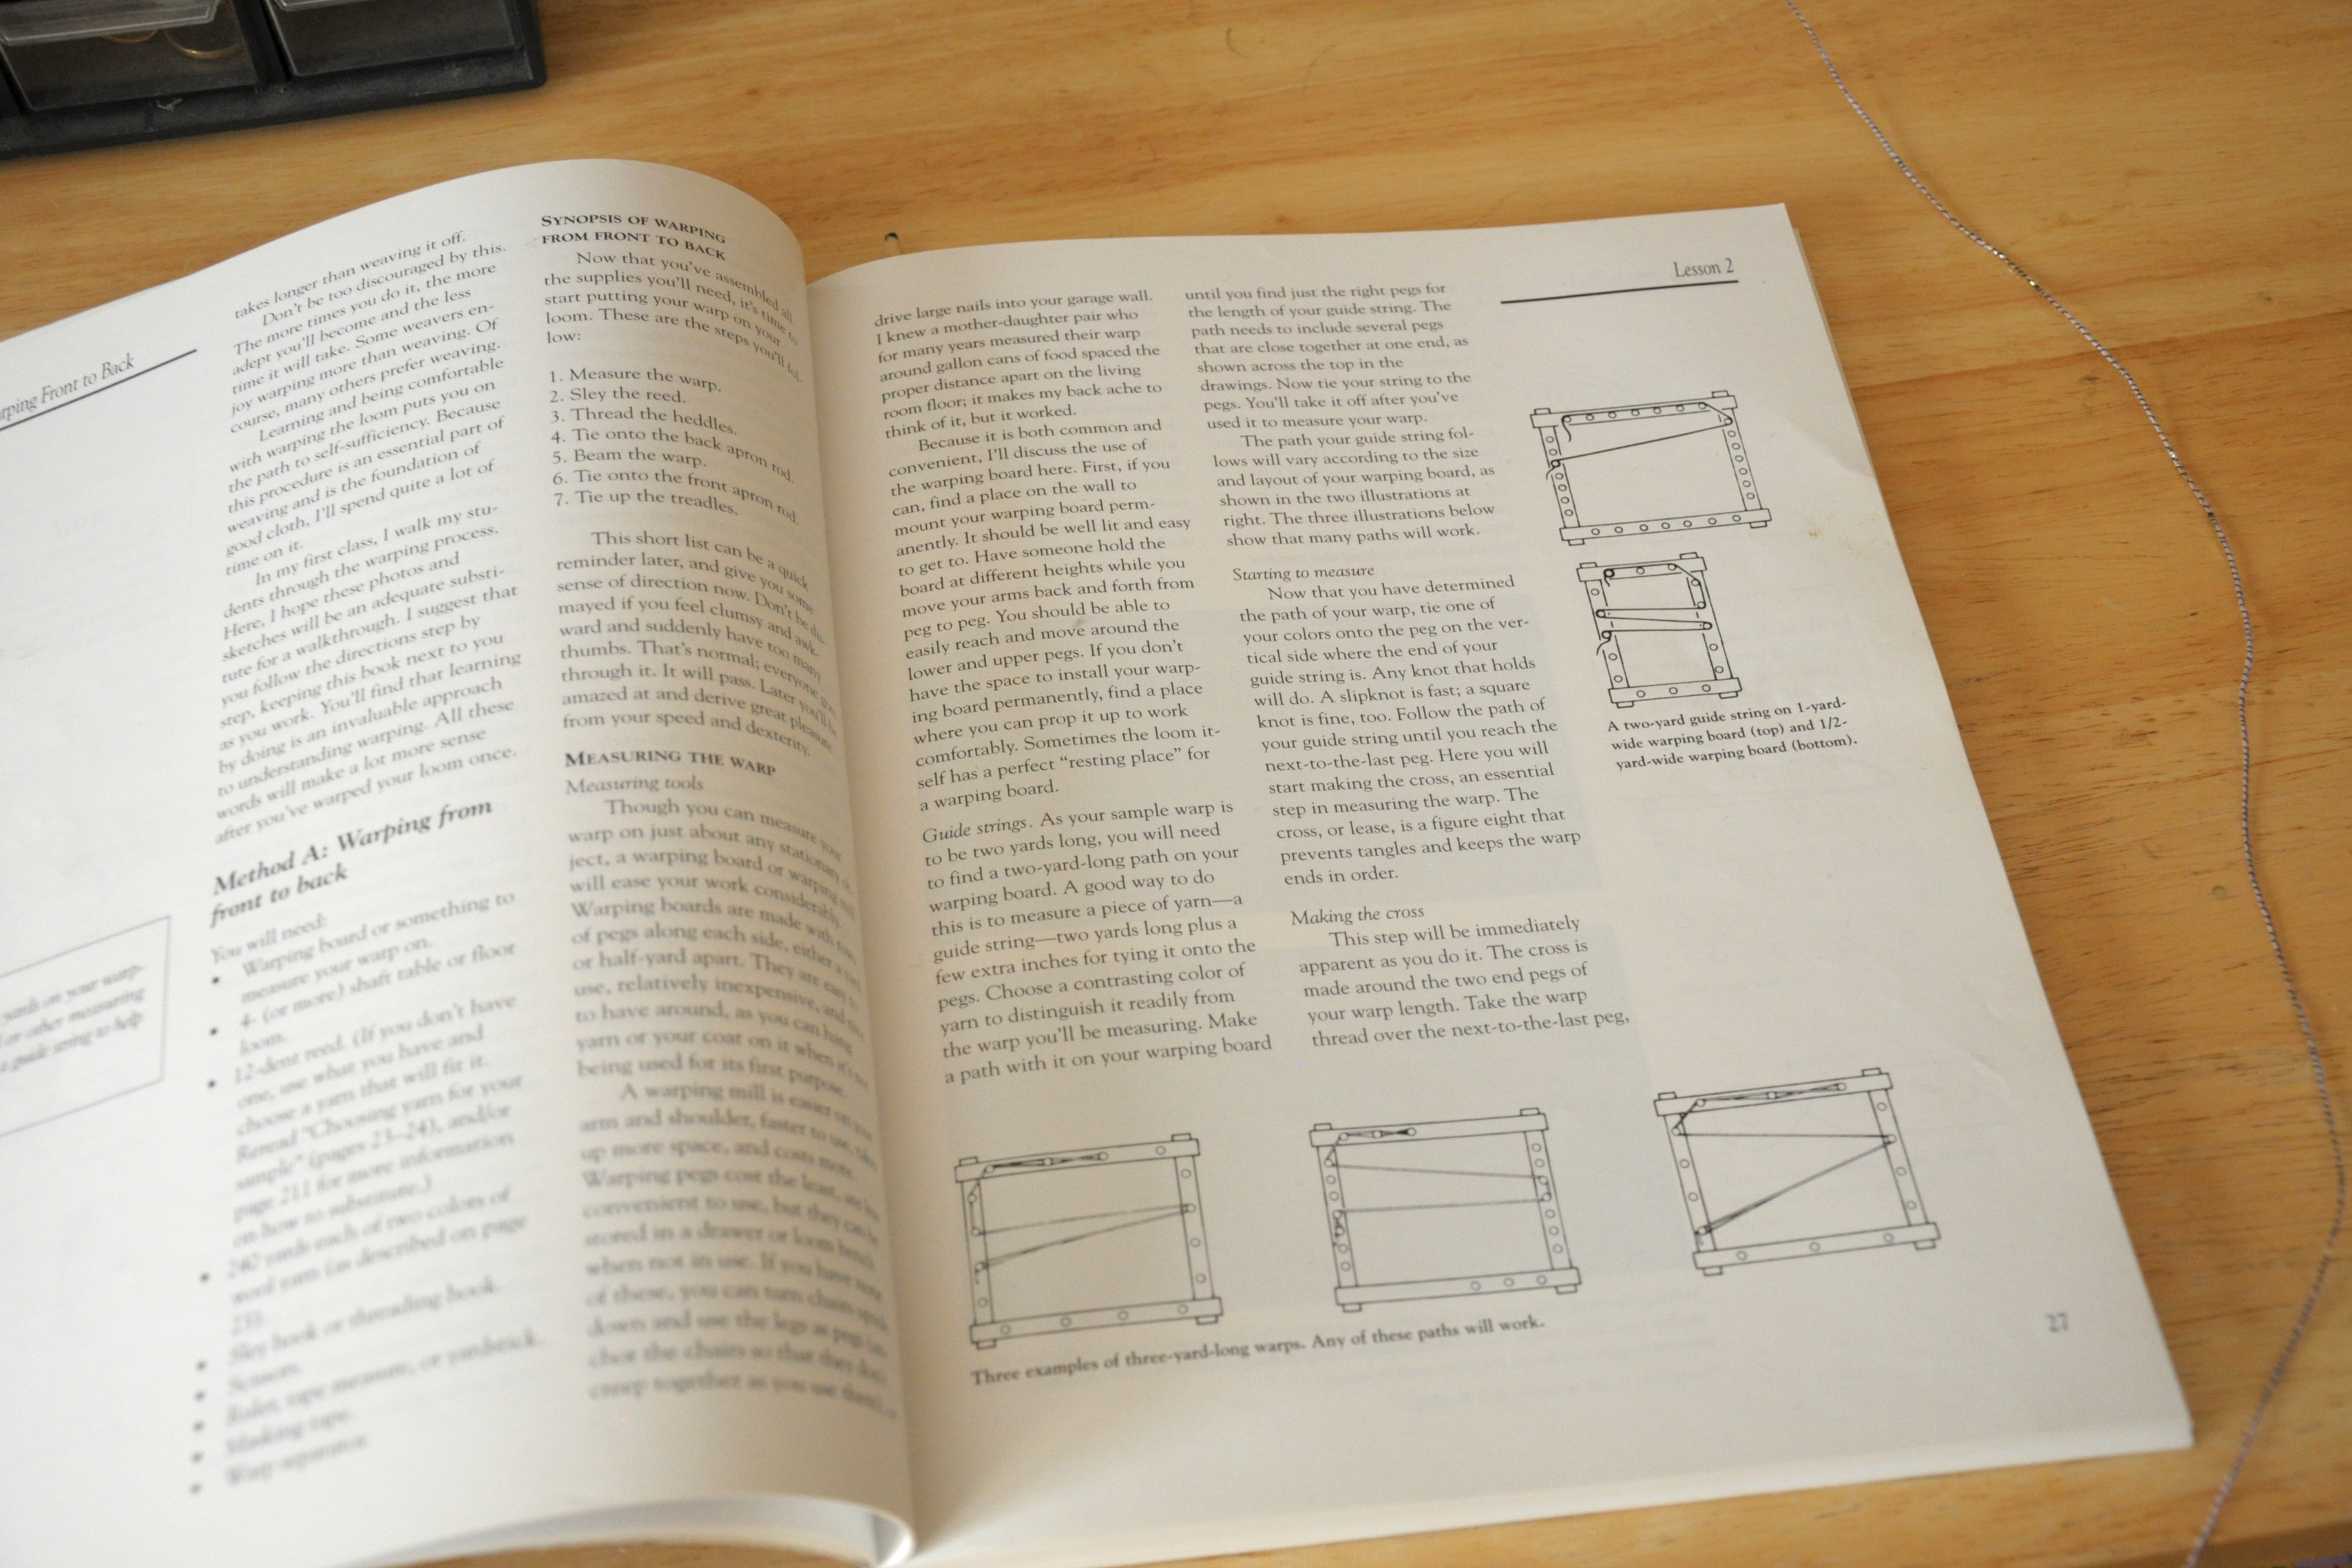
But first things first. It’s been years since I wove on Fanny, and I needed a refresher on warping. Luckily, I had my trusty copy at hand of “Learning to Weave” by Deborah Chandler.

universe_1

I bought this book when I first acquired ol’ Fanny, and it has proven to be an indispensable  resource. Deborah has so many little tips “woven” throughout this book, along with super helpful illustrations. Though the book covers warping a floor loom front-to-back or back-to-front, I’ve only ever done the back-to-front method.

universe_2

Rigid heddle looms are wonderful and can typically be direct-warped. This is not the case with a floor loom. So off to my warping board I went to begin the process.

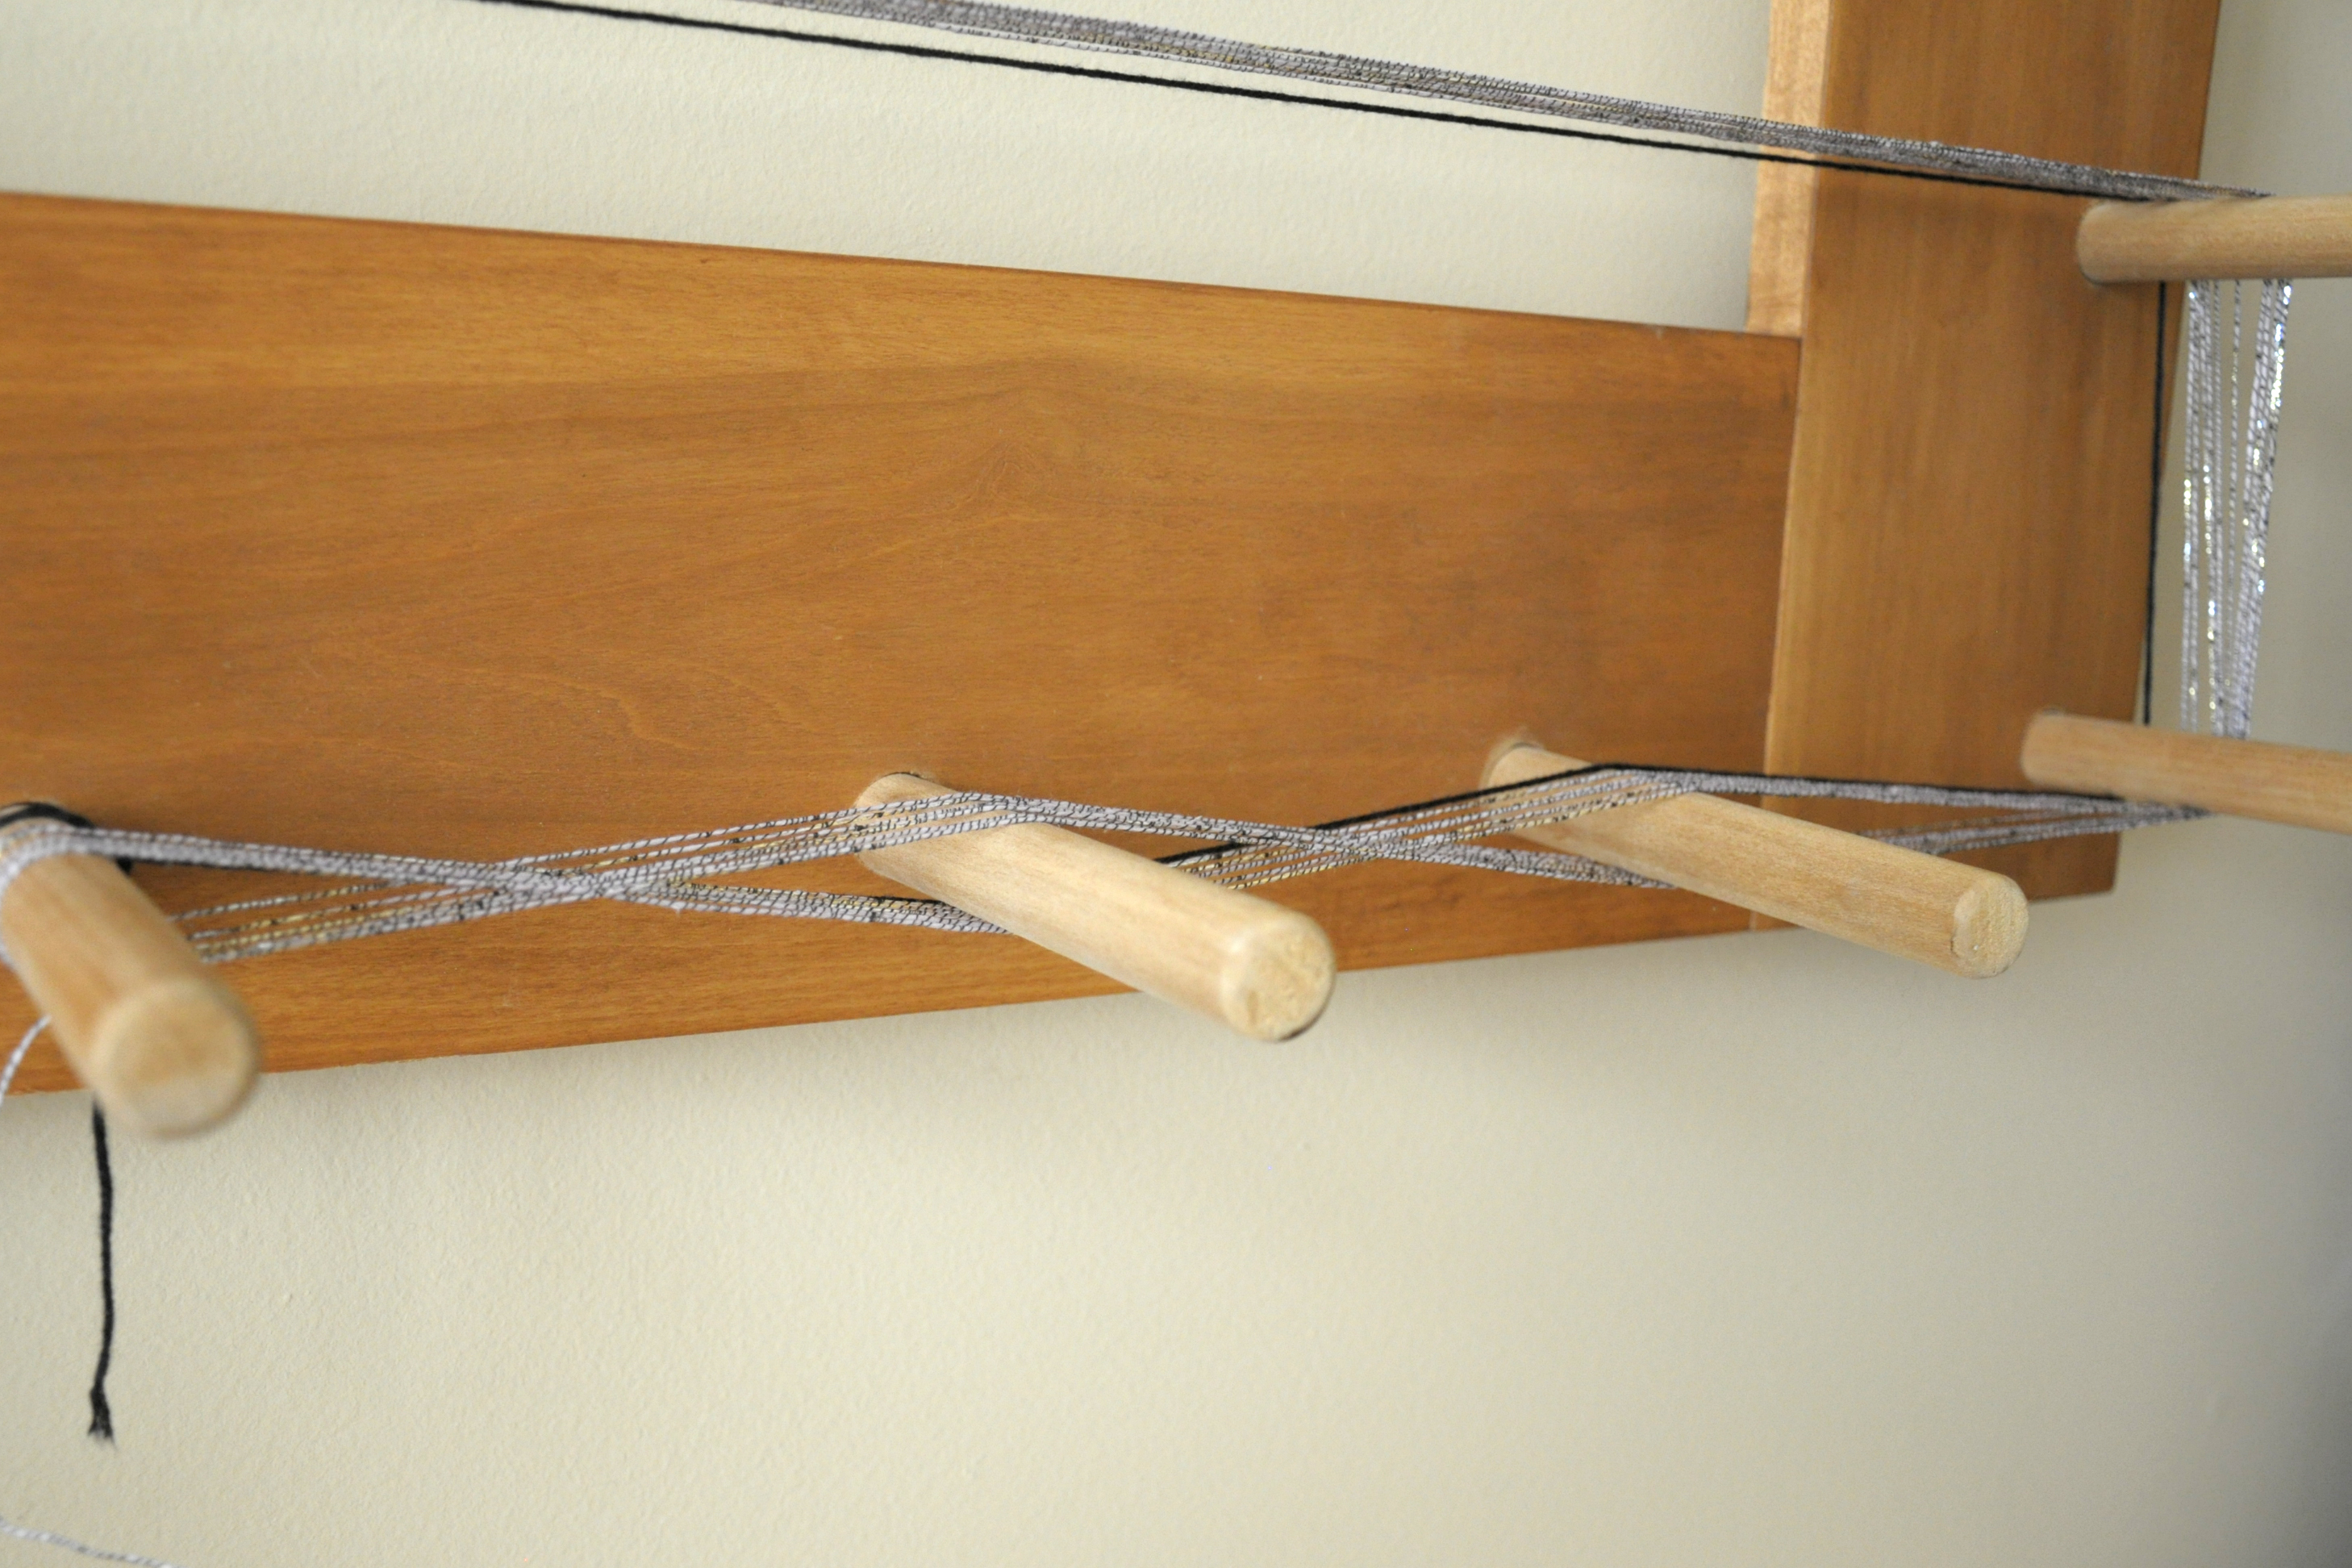
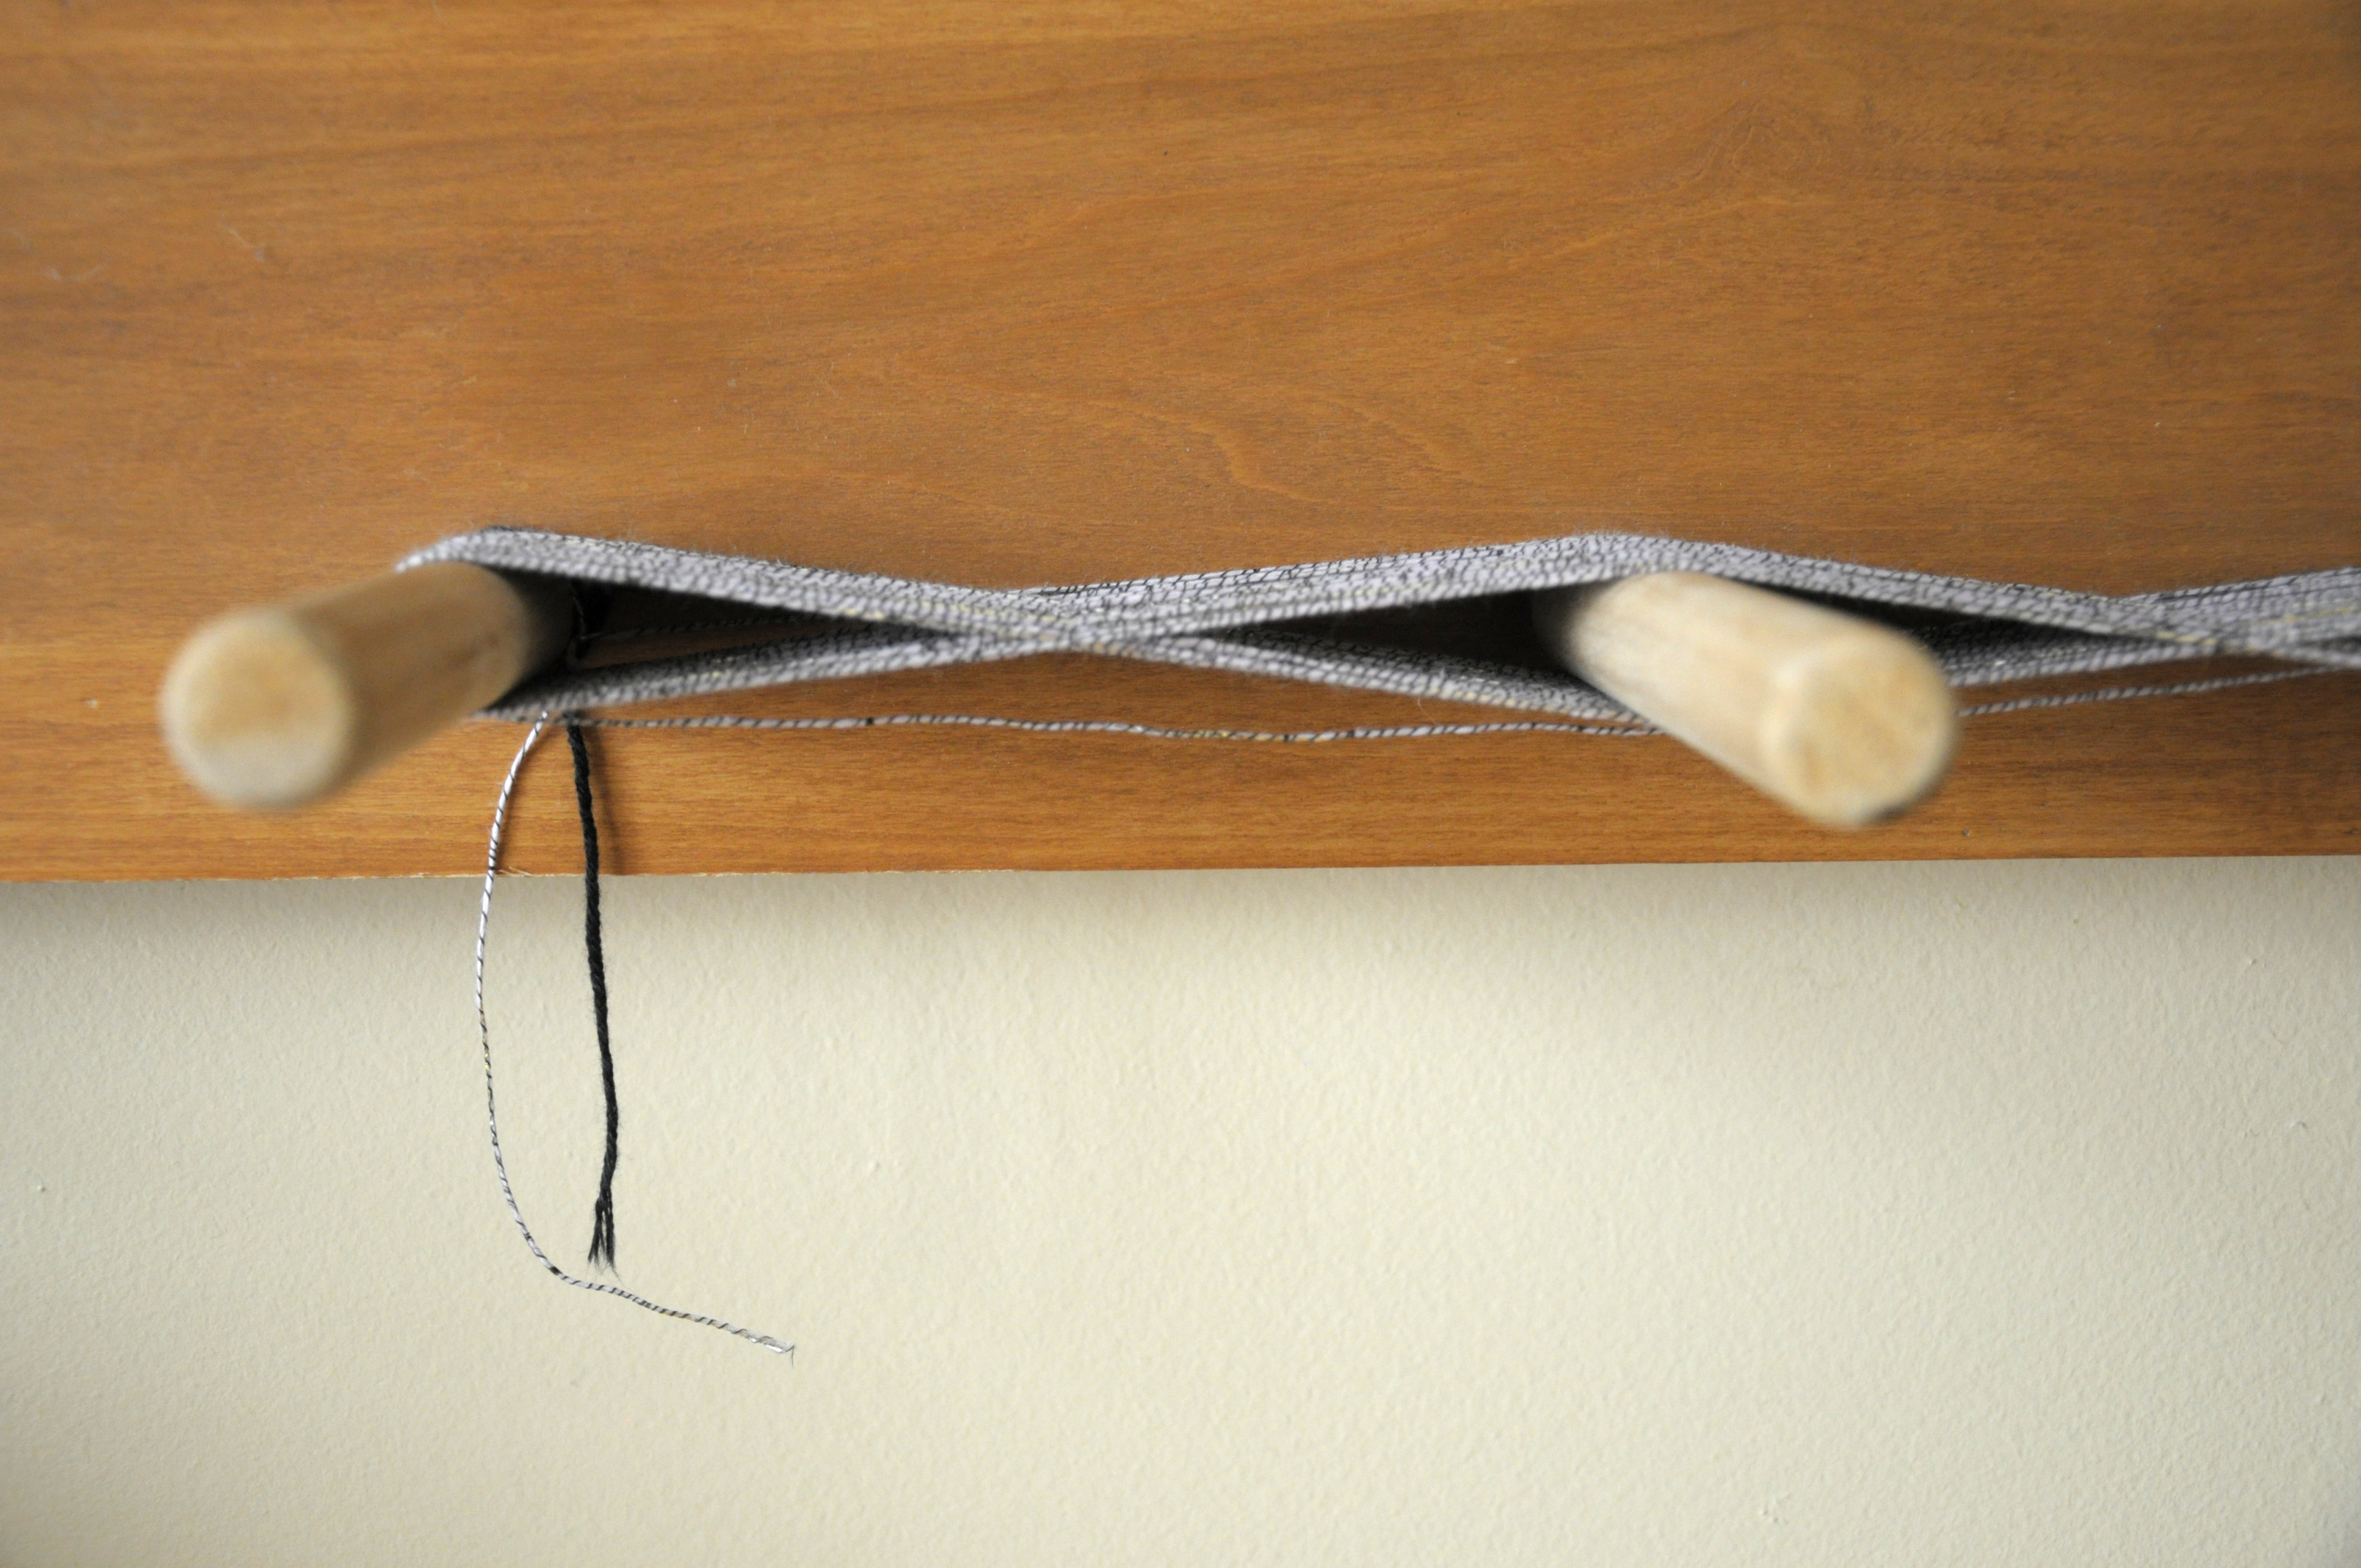
This part of my warp shows the ultra-important figure 8 cross at the end. This will help me keep all my strands aligned when I take the bundle over to the loom.

universe_3

I like to look head-on at the cross periodically as I’m winding my yarn to make sure things are going accordingly. As you can see below, I made a mistake that had to be taken out:

universe_4

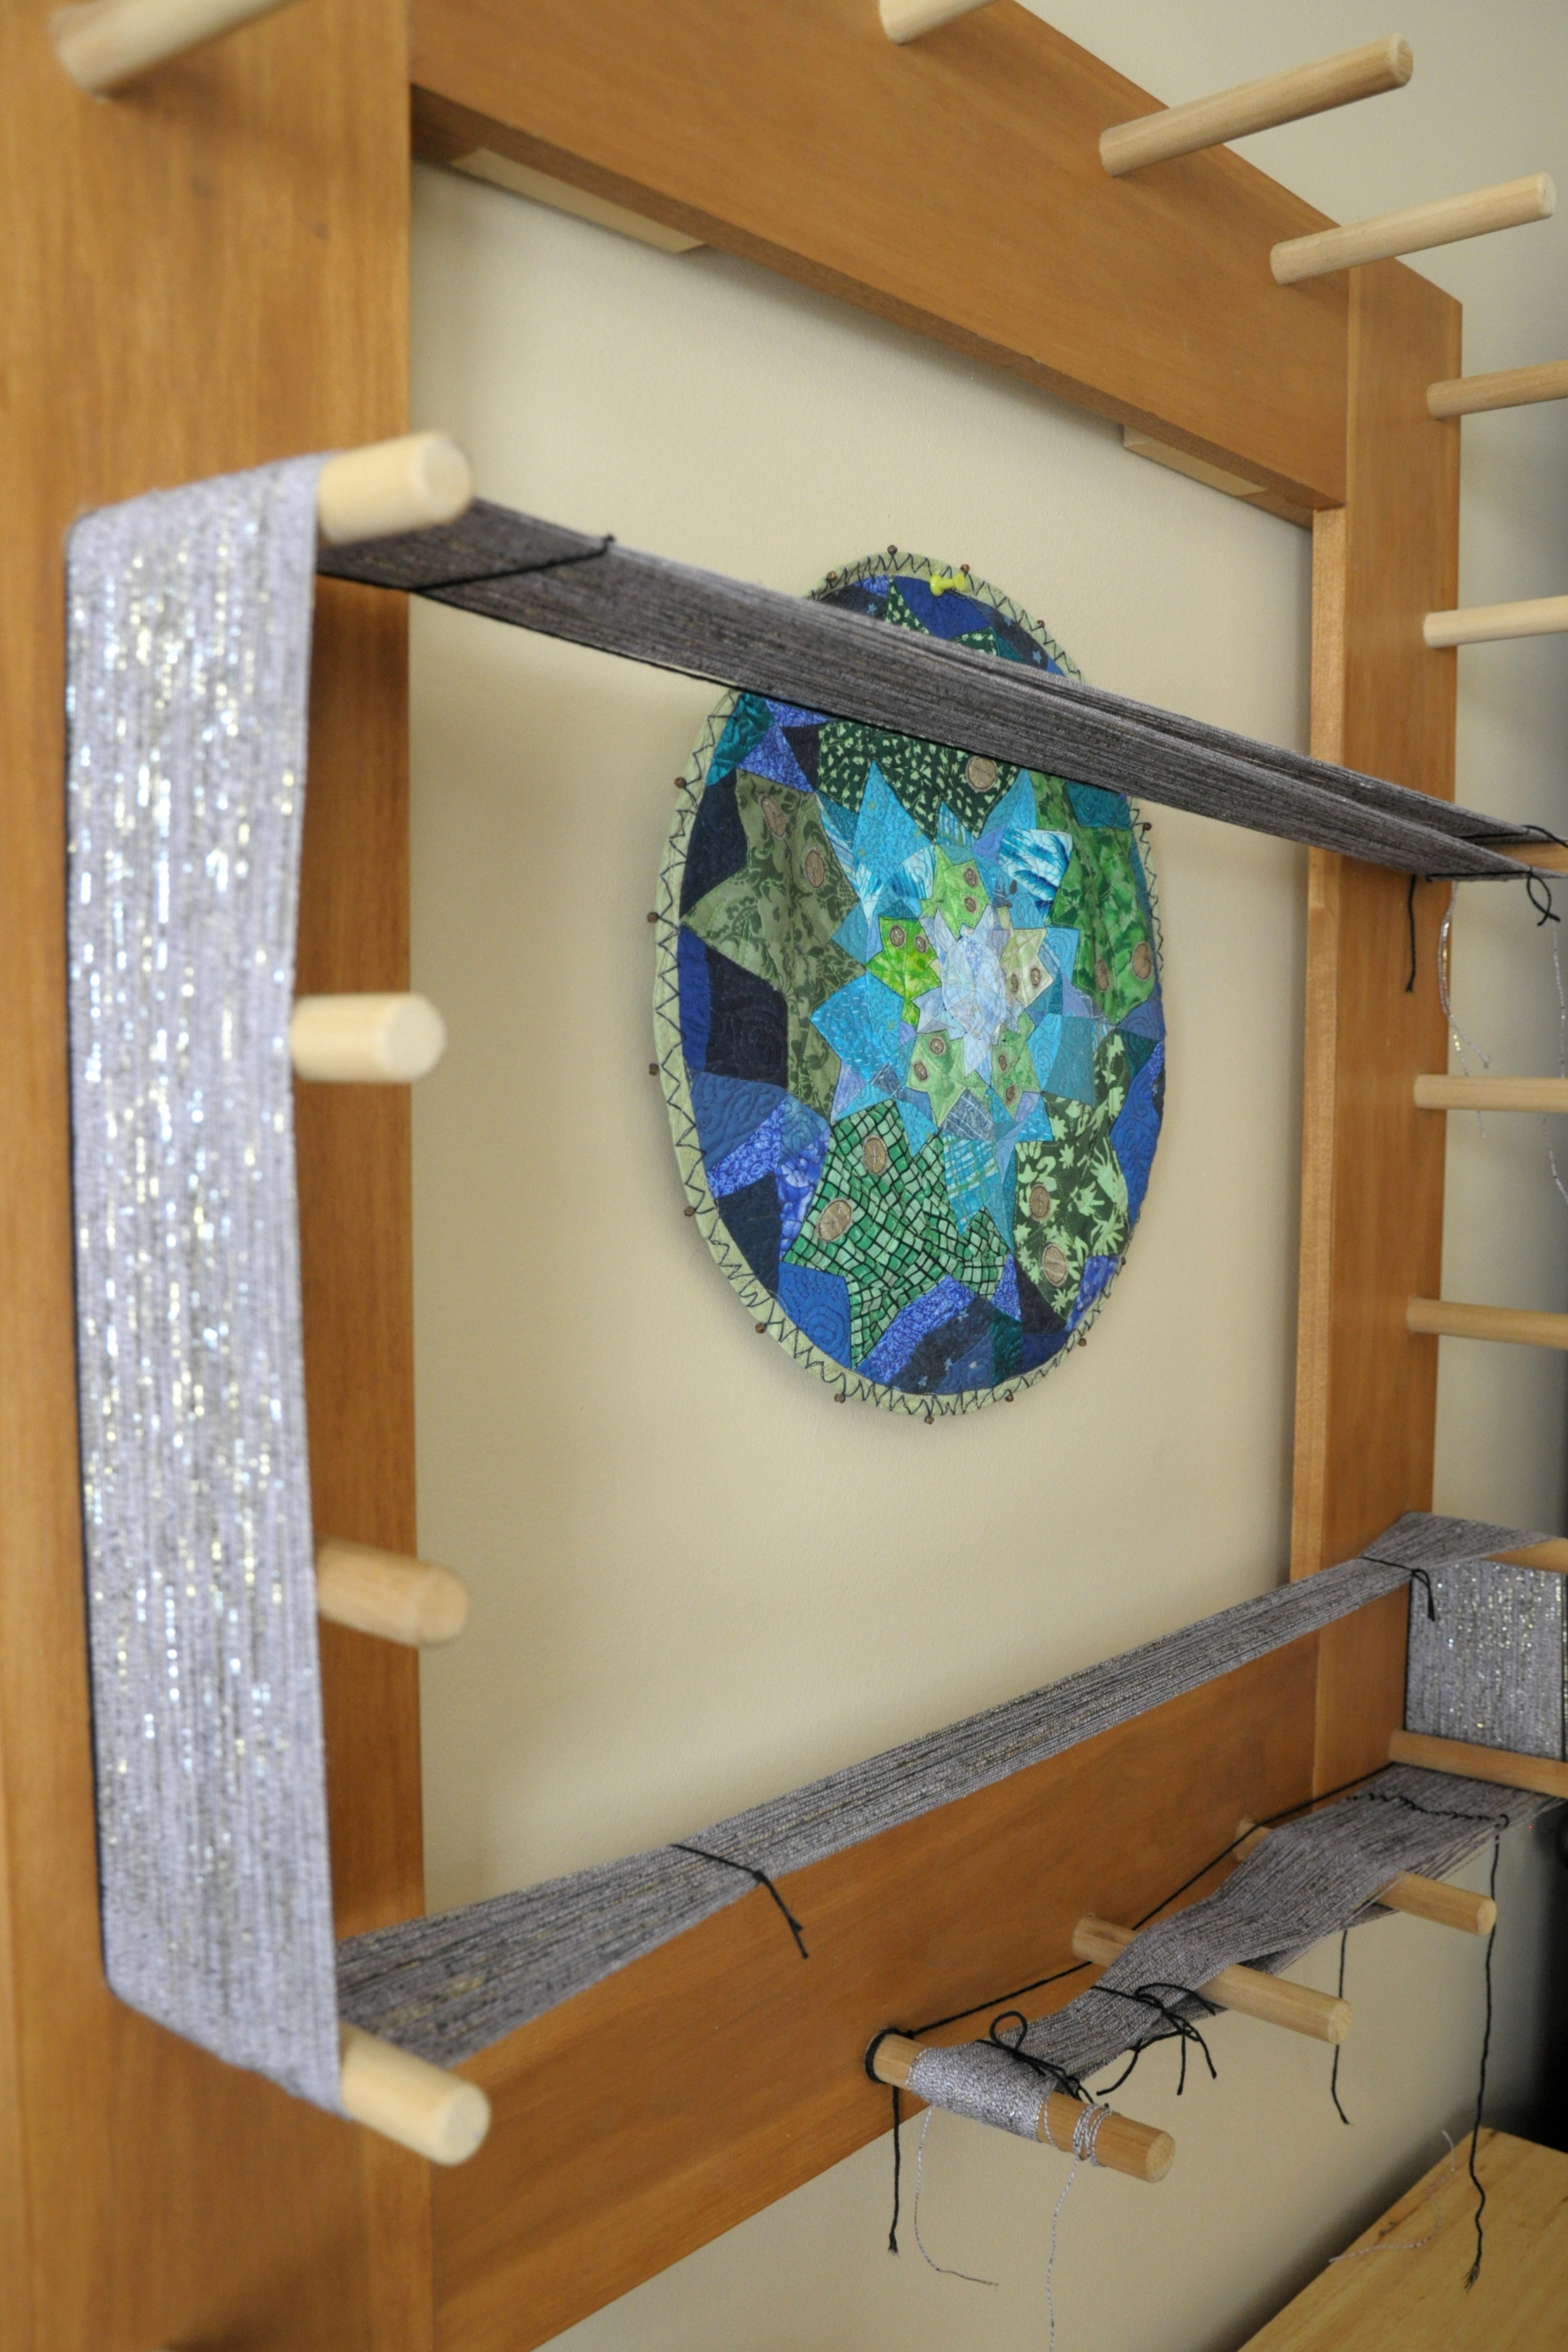
Get a load of that shimmer!

universe_5

It’s crucial to tie the cross end in 5 places to keep it intact during the warping process.

universe_6

That board with the nails in it that’s clamped to the back beam – that’s called a “raddle.” It’s just another tool that helps to separate the warp every inch-worth of warp threads.

universe_7

After attaching the warp to the back rod, it’s time to thread the heddles. With rigid heddle weaving, the heddles are all part of a rigid piece of plastic (usually). With my floor loom, all the heddles are individual little pieces of metal.

universe_8

So shimmery!

universe_9

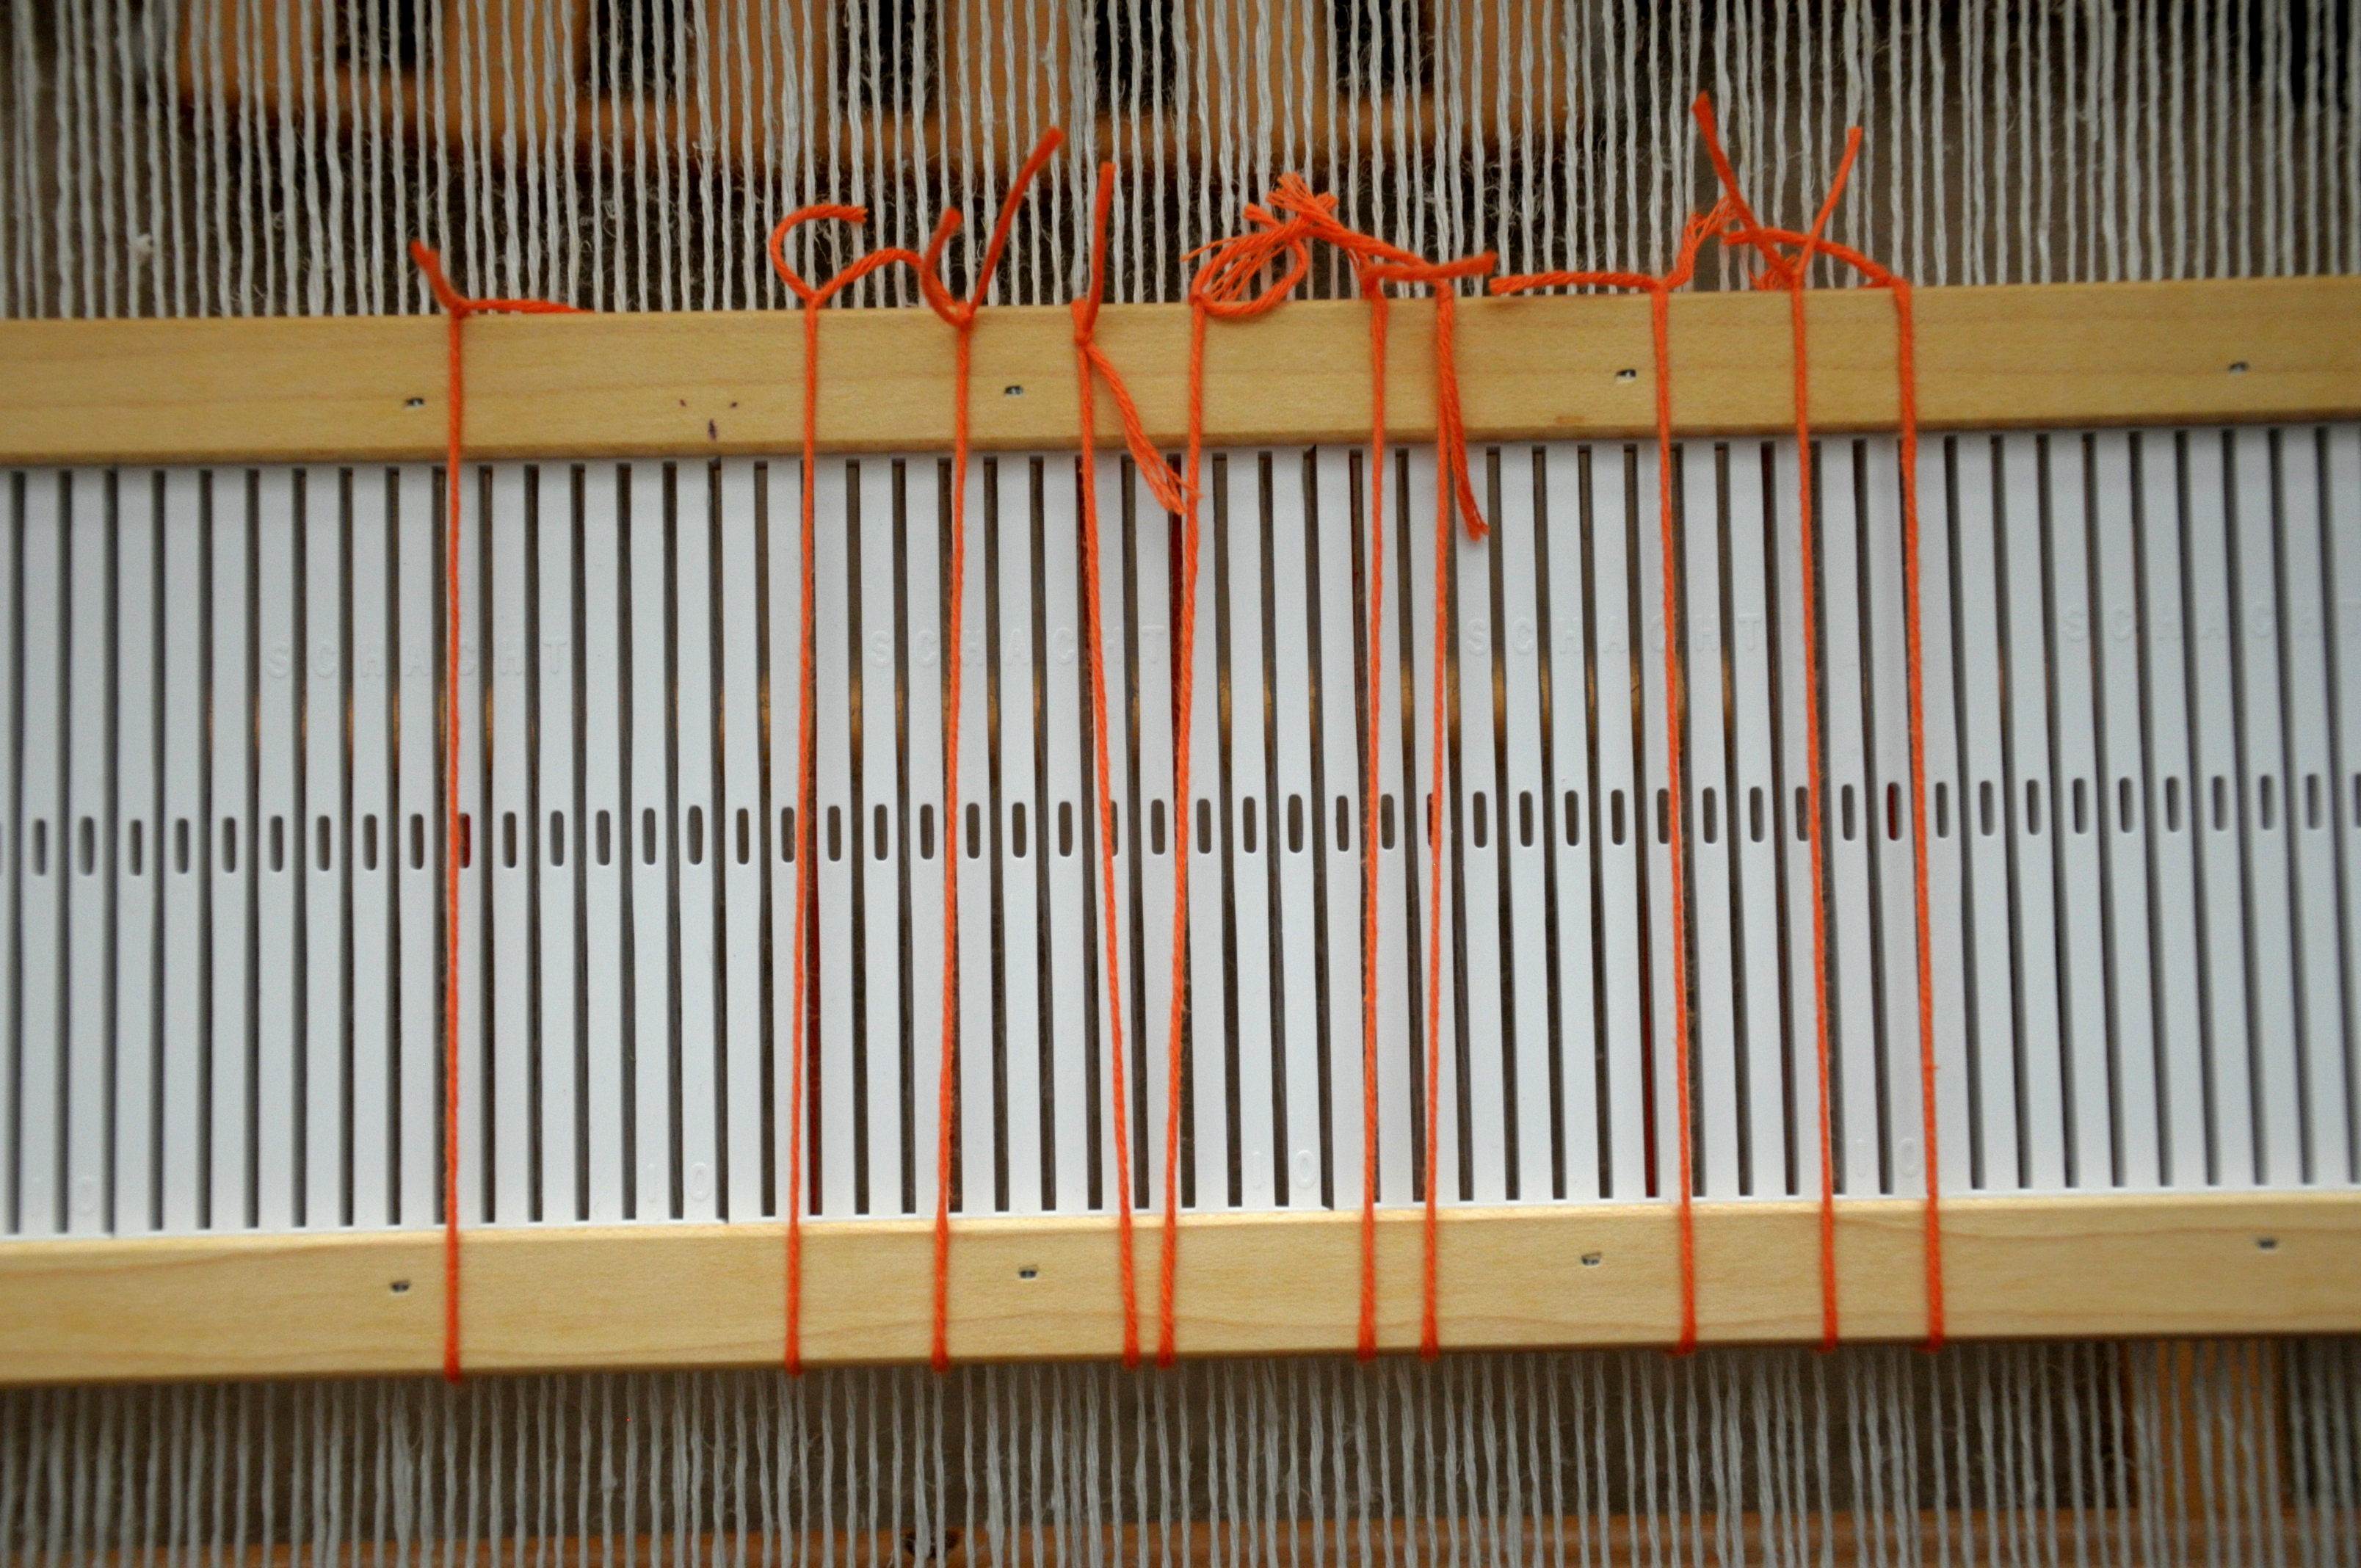
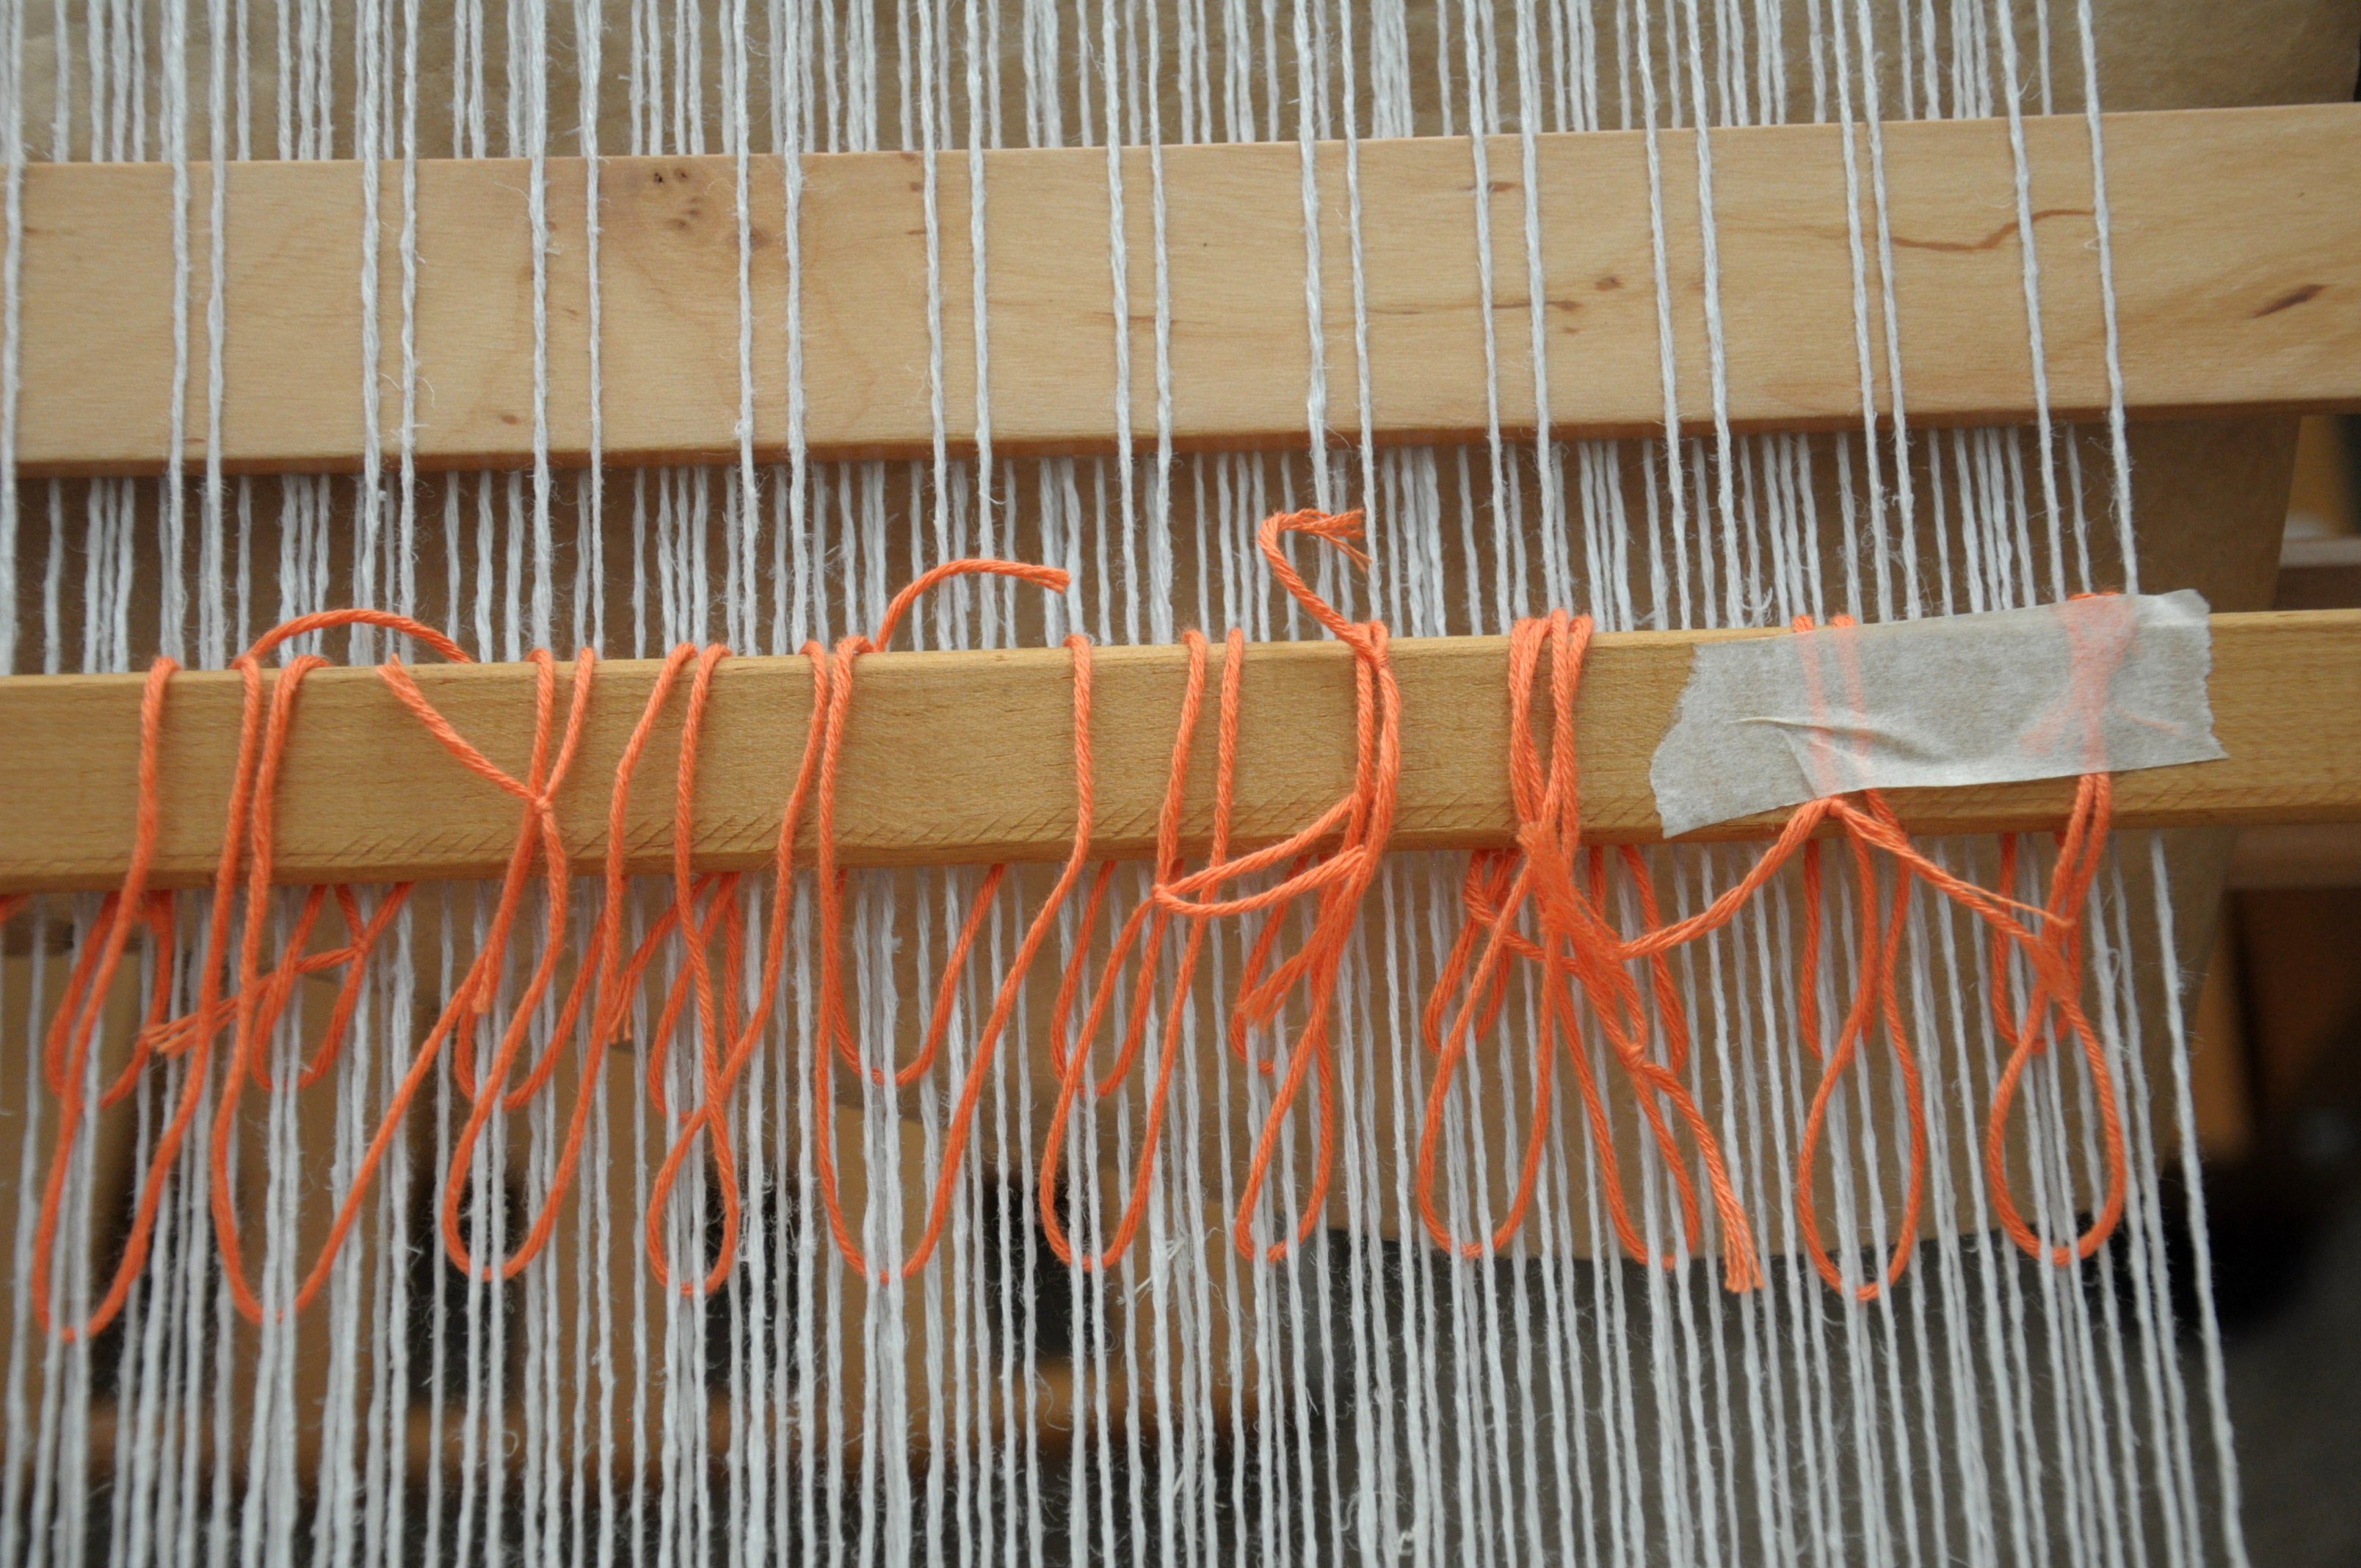
The main lace pattern that I’m going to be weaving is a repeat of 6 (more on this later). So I have to thread the shafts in this order: 1, 3, 1, 3, 1, 2. After each group of 6, I tie the 6 ends together in a little bundle to help keep them separate, and also so they don’t accidentally slip out of the back side of the heddles.

universe_10

universe_11

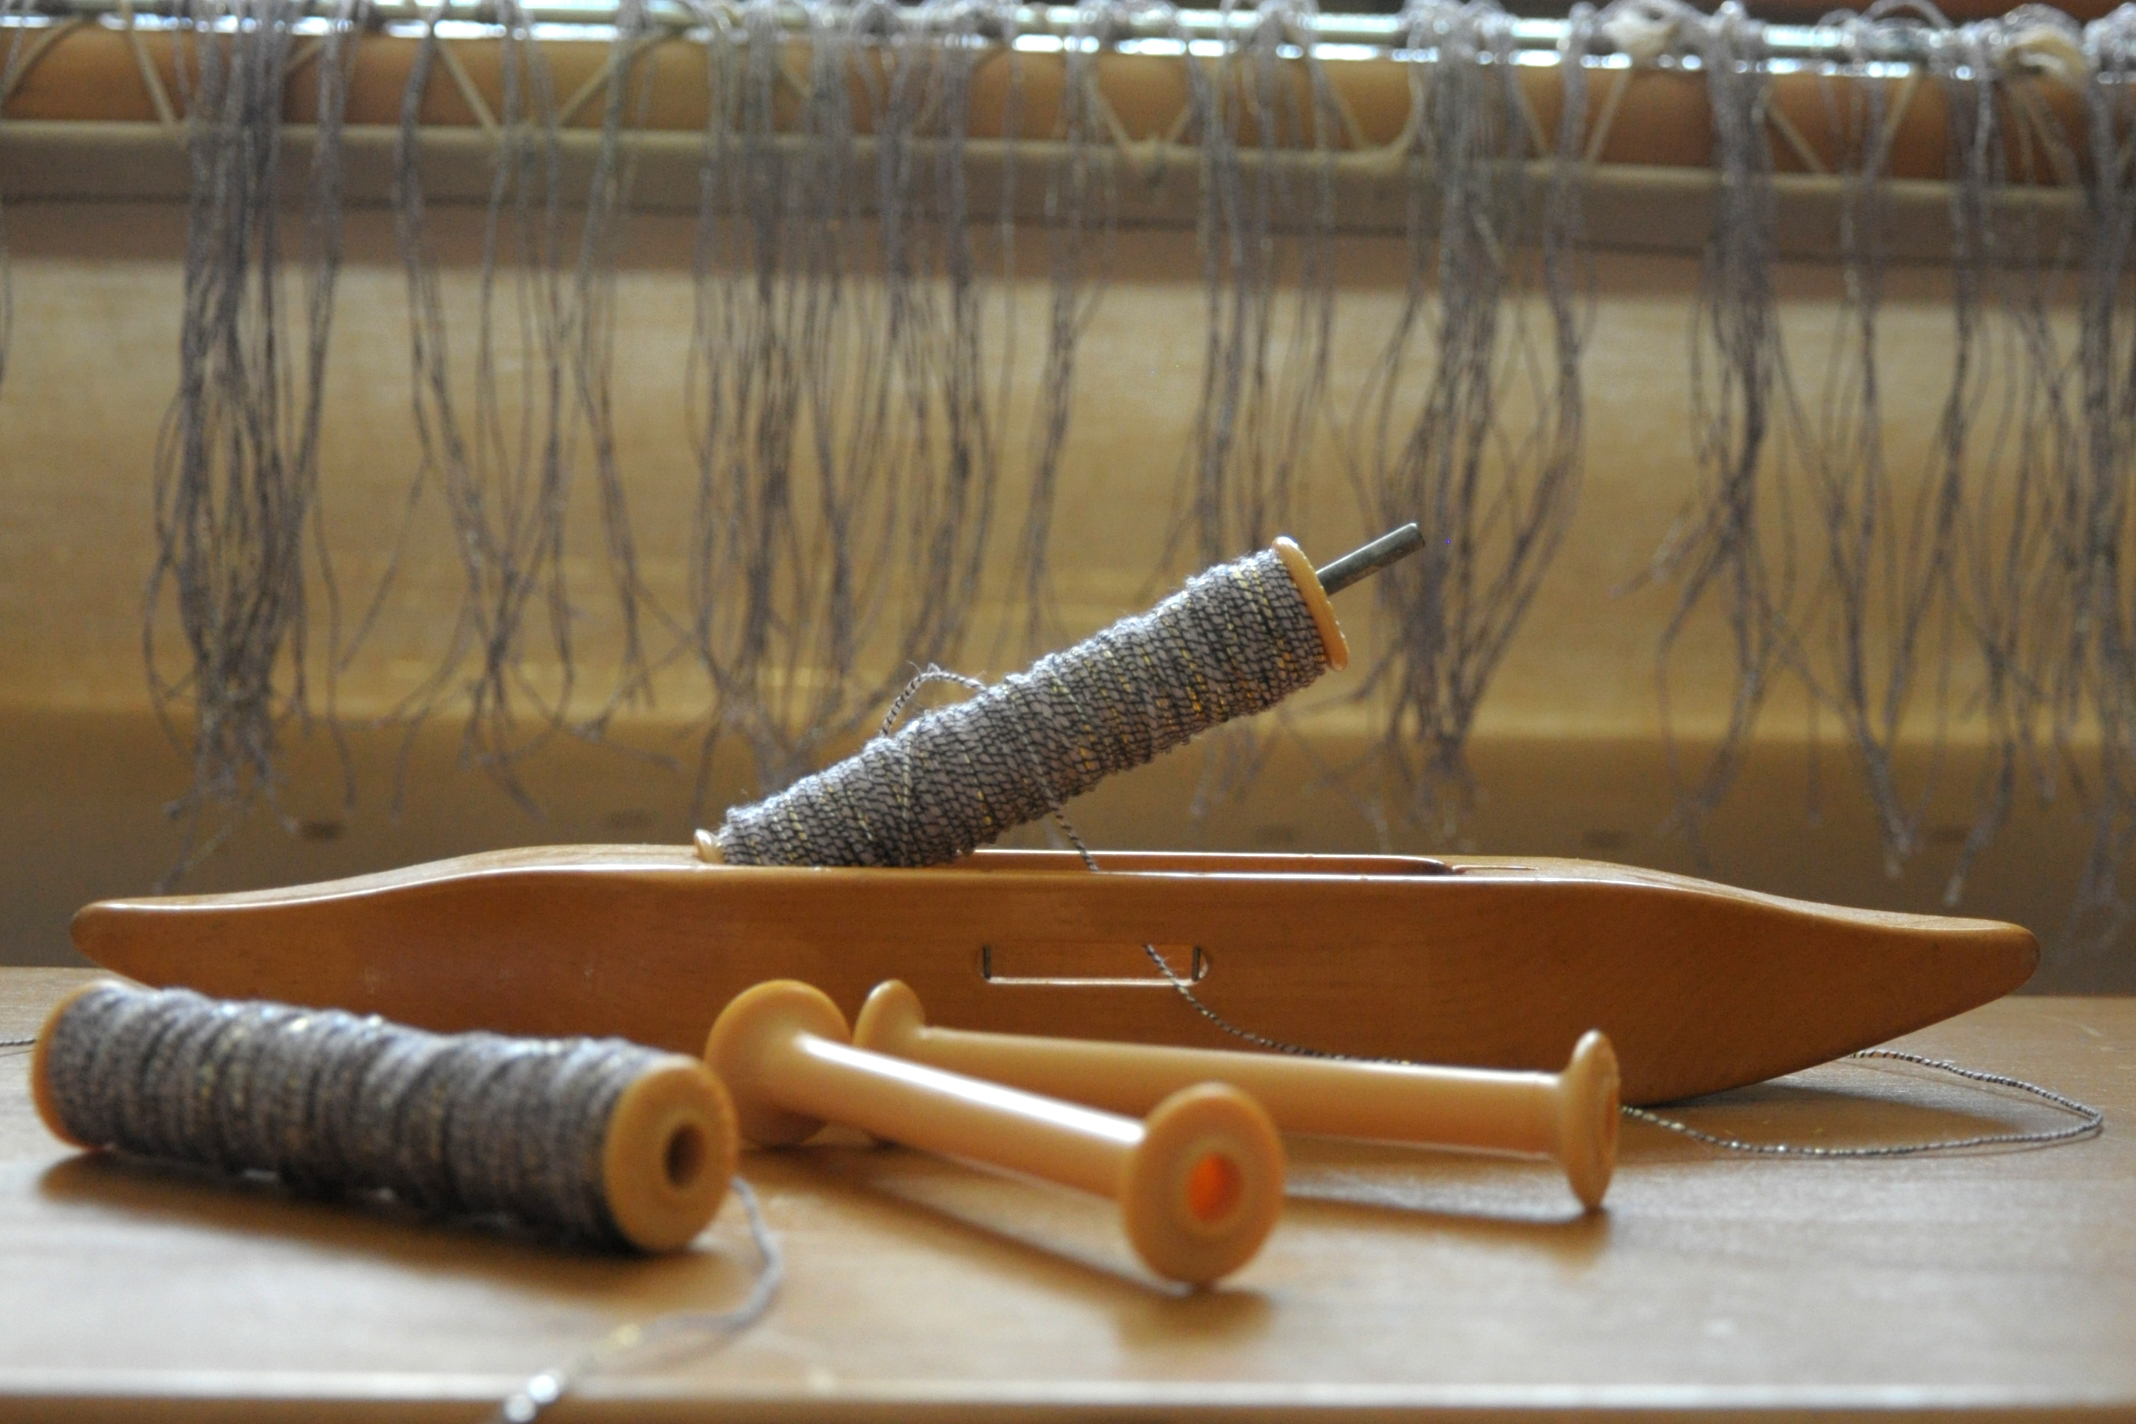
Once my warp was attached to Fanny, it was time to get ready to weave! I love to use boat shuttles with my floor loom, especially when my weaving width is wider than 12″ or so. With a flick of the wrist, the shuttle glides effortlessly over the warp threads. Though I don’t mind a stick shuttle and can eventually get a nice rhythm going, a boat shuttle just feels easier.

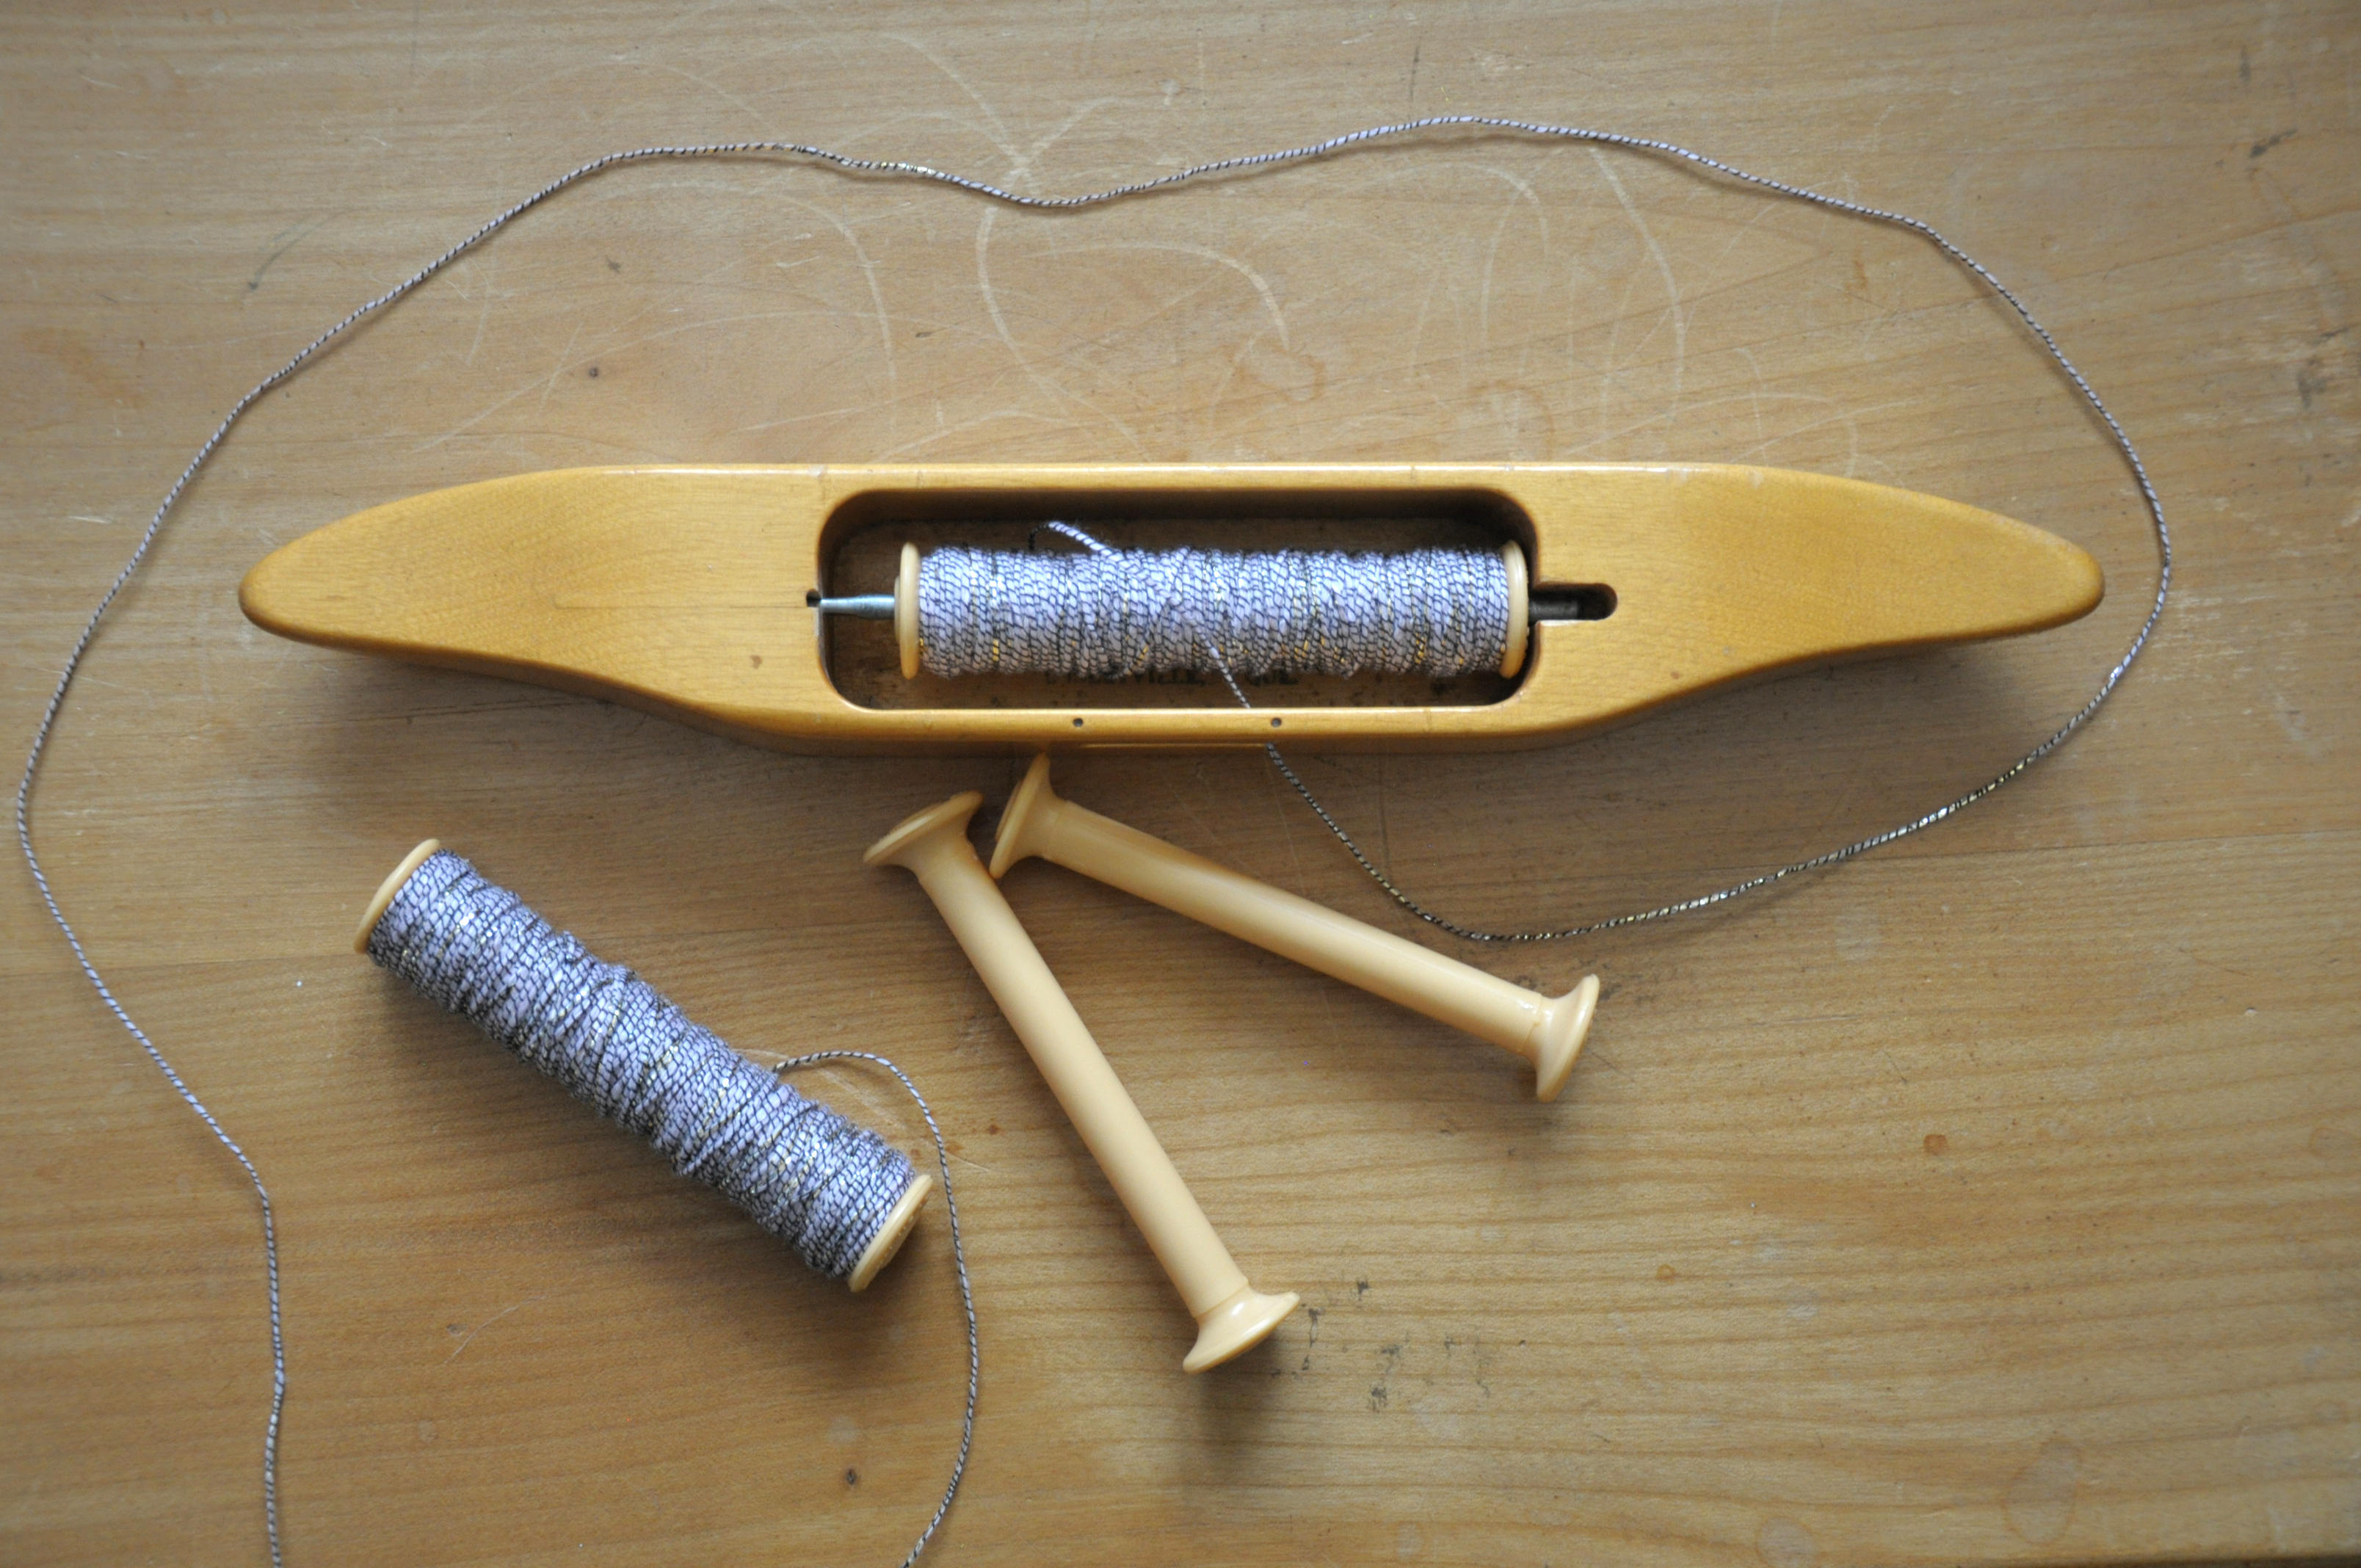
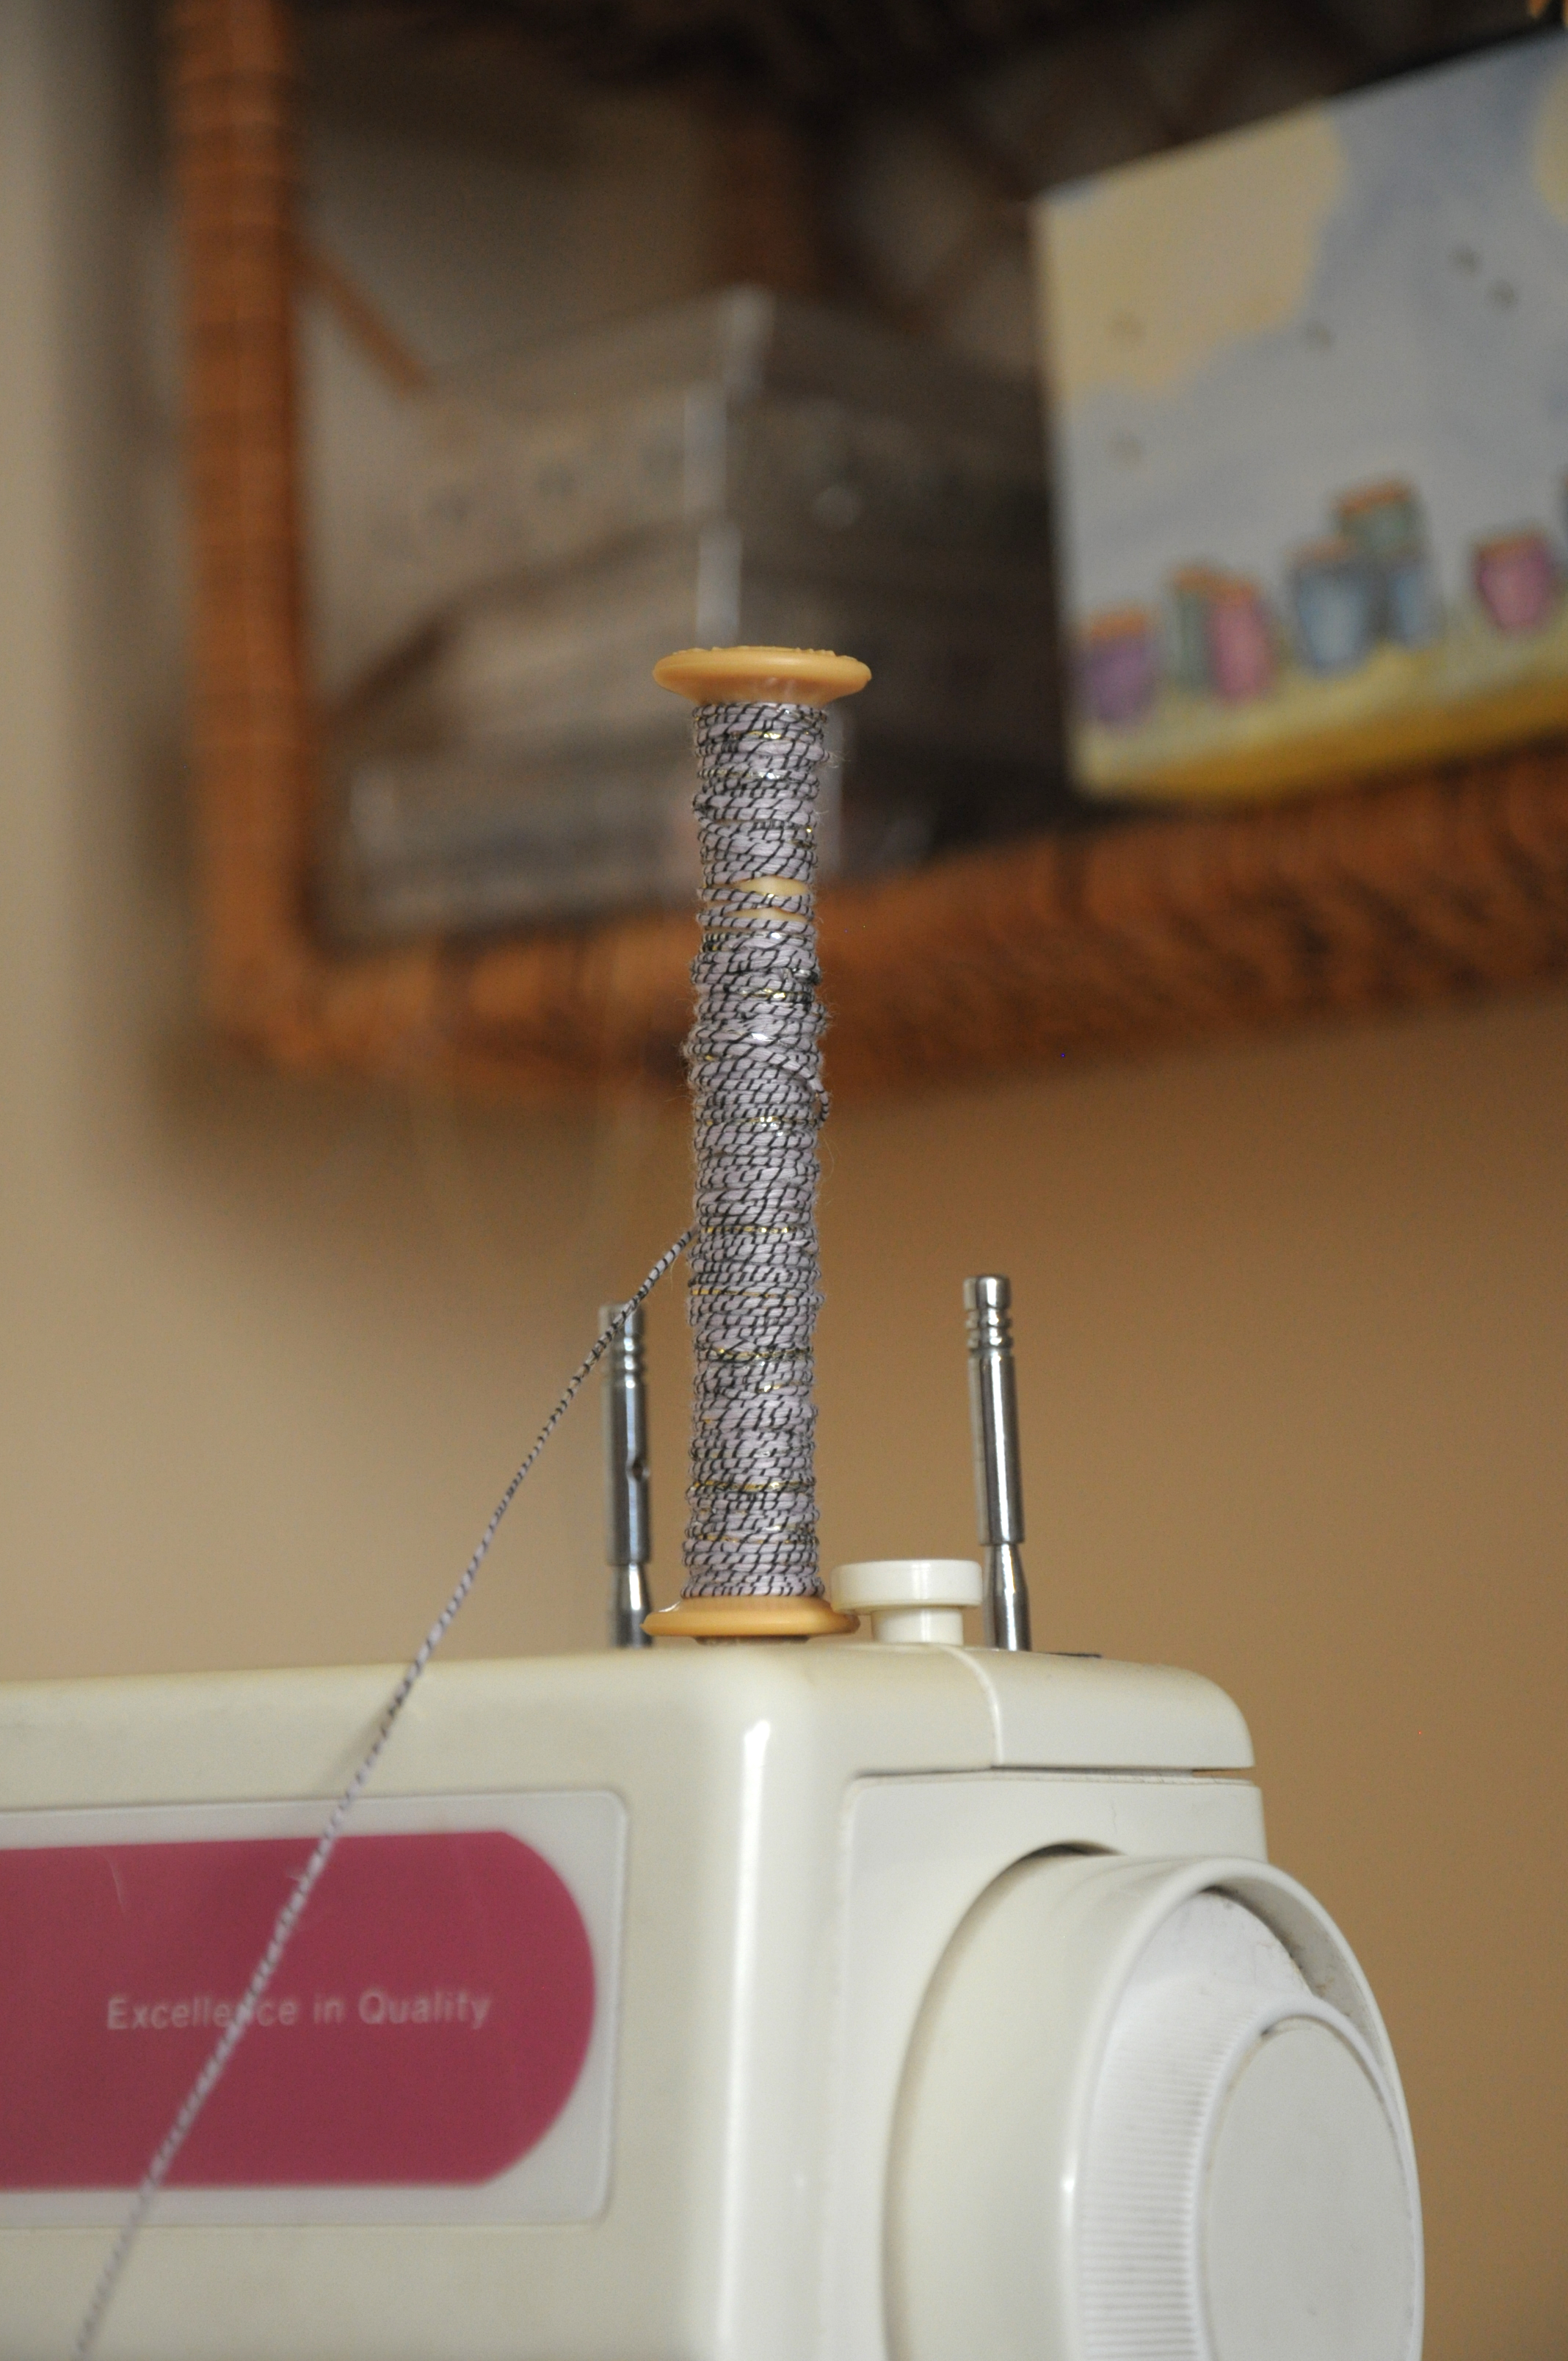
My boat shuttle takes small bobbins that the weft yarn must be wound onto. I could do it by hand, but it goes super-fast if I use the bobbin winder on my sewing machine. So that’s what I do!

universe_12

universe_15

universe_14

Join me next time when I get down to business and start weaving!

(Update: there is a written version of this pattern on our website here.)

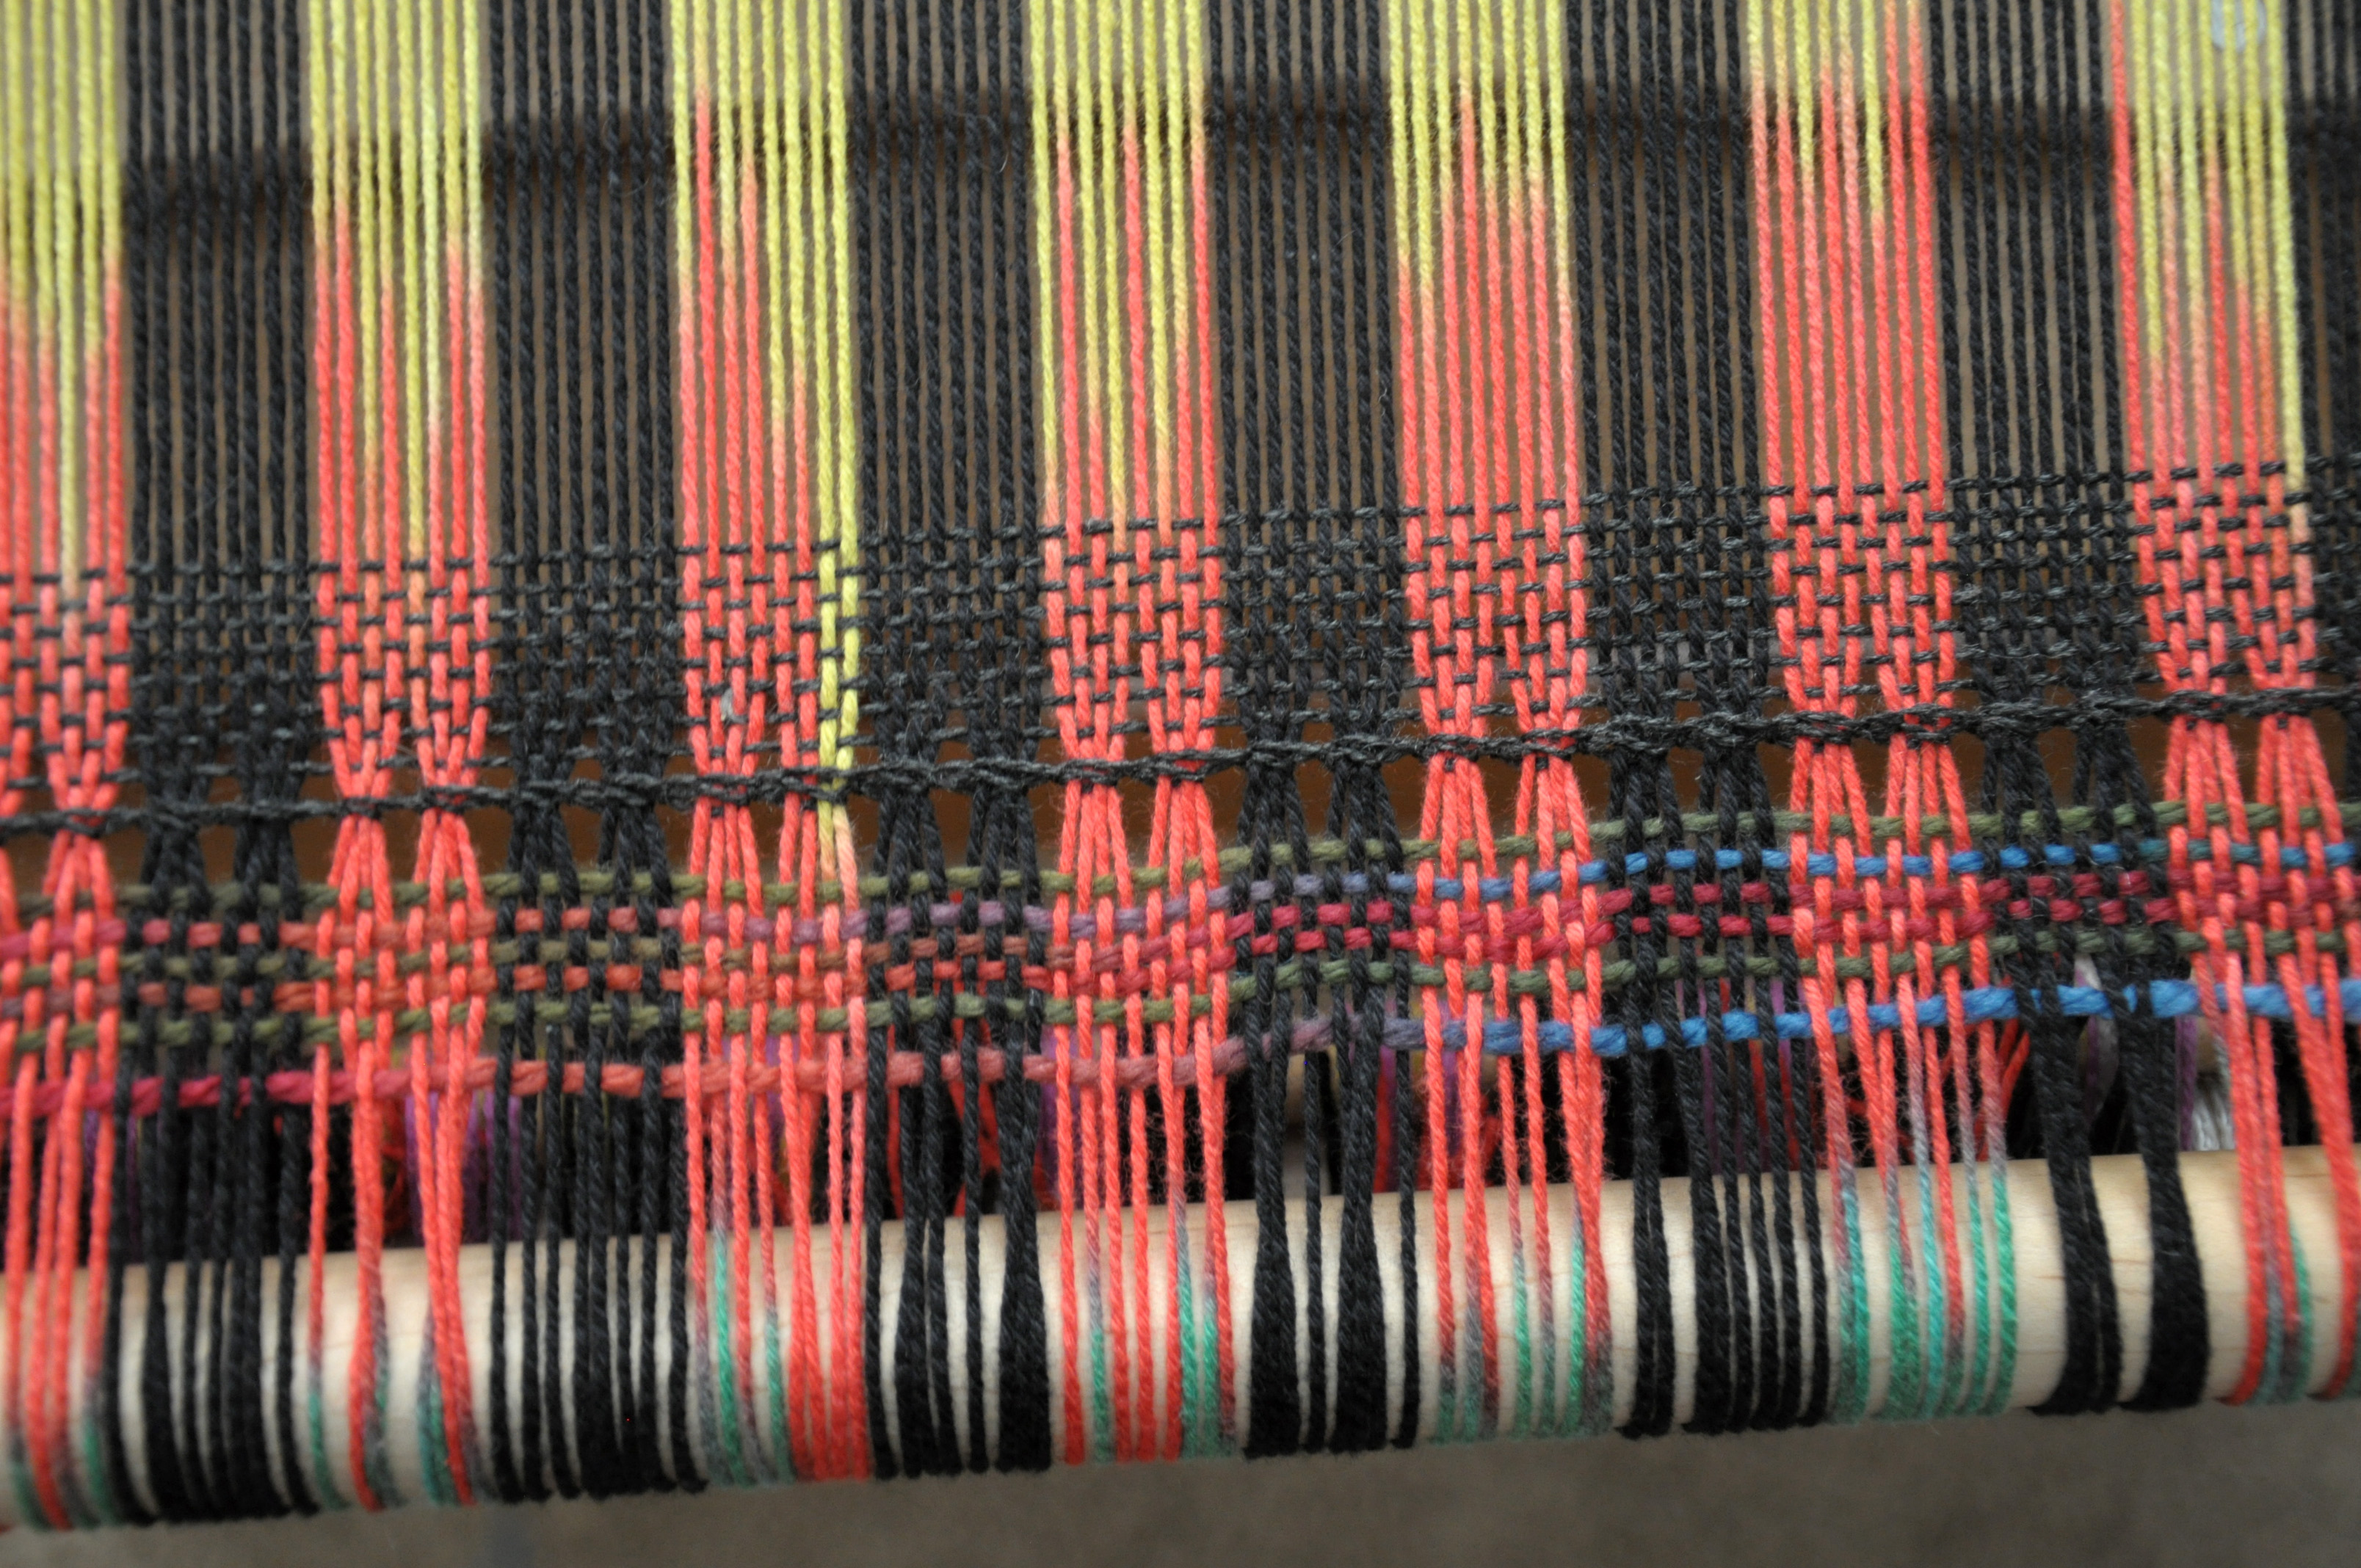
Color Pooling: Finishing with Twisted Fringe

Last time on Weaving Wednesday, I showed you how I warped for my Bamboo Pop color pool scarf. Over the last couple of weeks, I had a chance to do the actual weaving which went incredibly fast.

Weaving_1

After weaving a few picks with scrap yarn, I did a bit of hemstitching with my weft yarn, Whisper Lace.  I left a good 12″ before beginning this in order to have long enough ends to do my fringe. I did a simple plain weave throughout the entire scarf, beating with a light hand to give my finished scarf nice drape.

Weaving_2

This scarf was a joy to weave. The motions and weaving were simple and the colors a delight to watch. Each time I advance the warp and a new section of color came into view, it gave me a little lift.

Fringe_1

After hemstitching at the end of my scarf, I cut it free, leaving the beginning end still attached to the loom. I then trimmed all the fringe evenly, to about 11″.

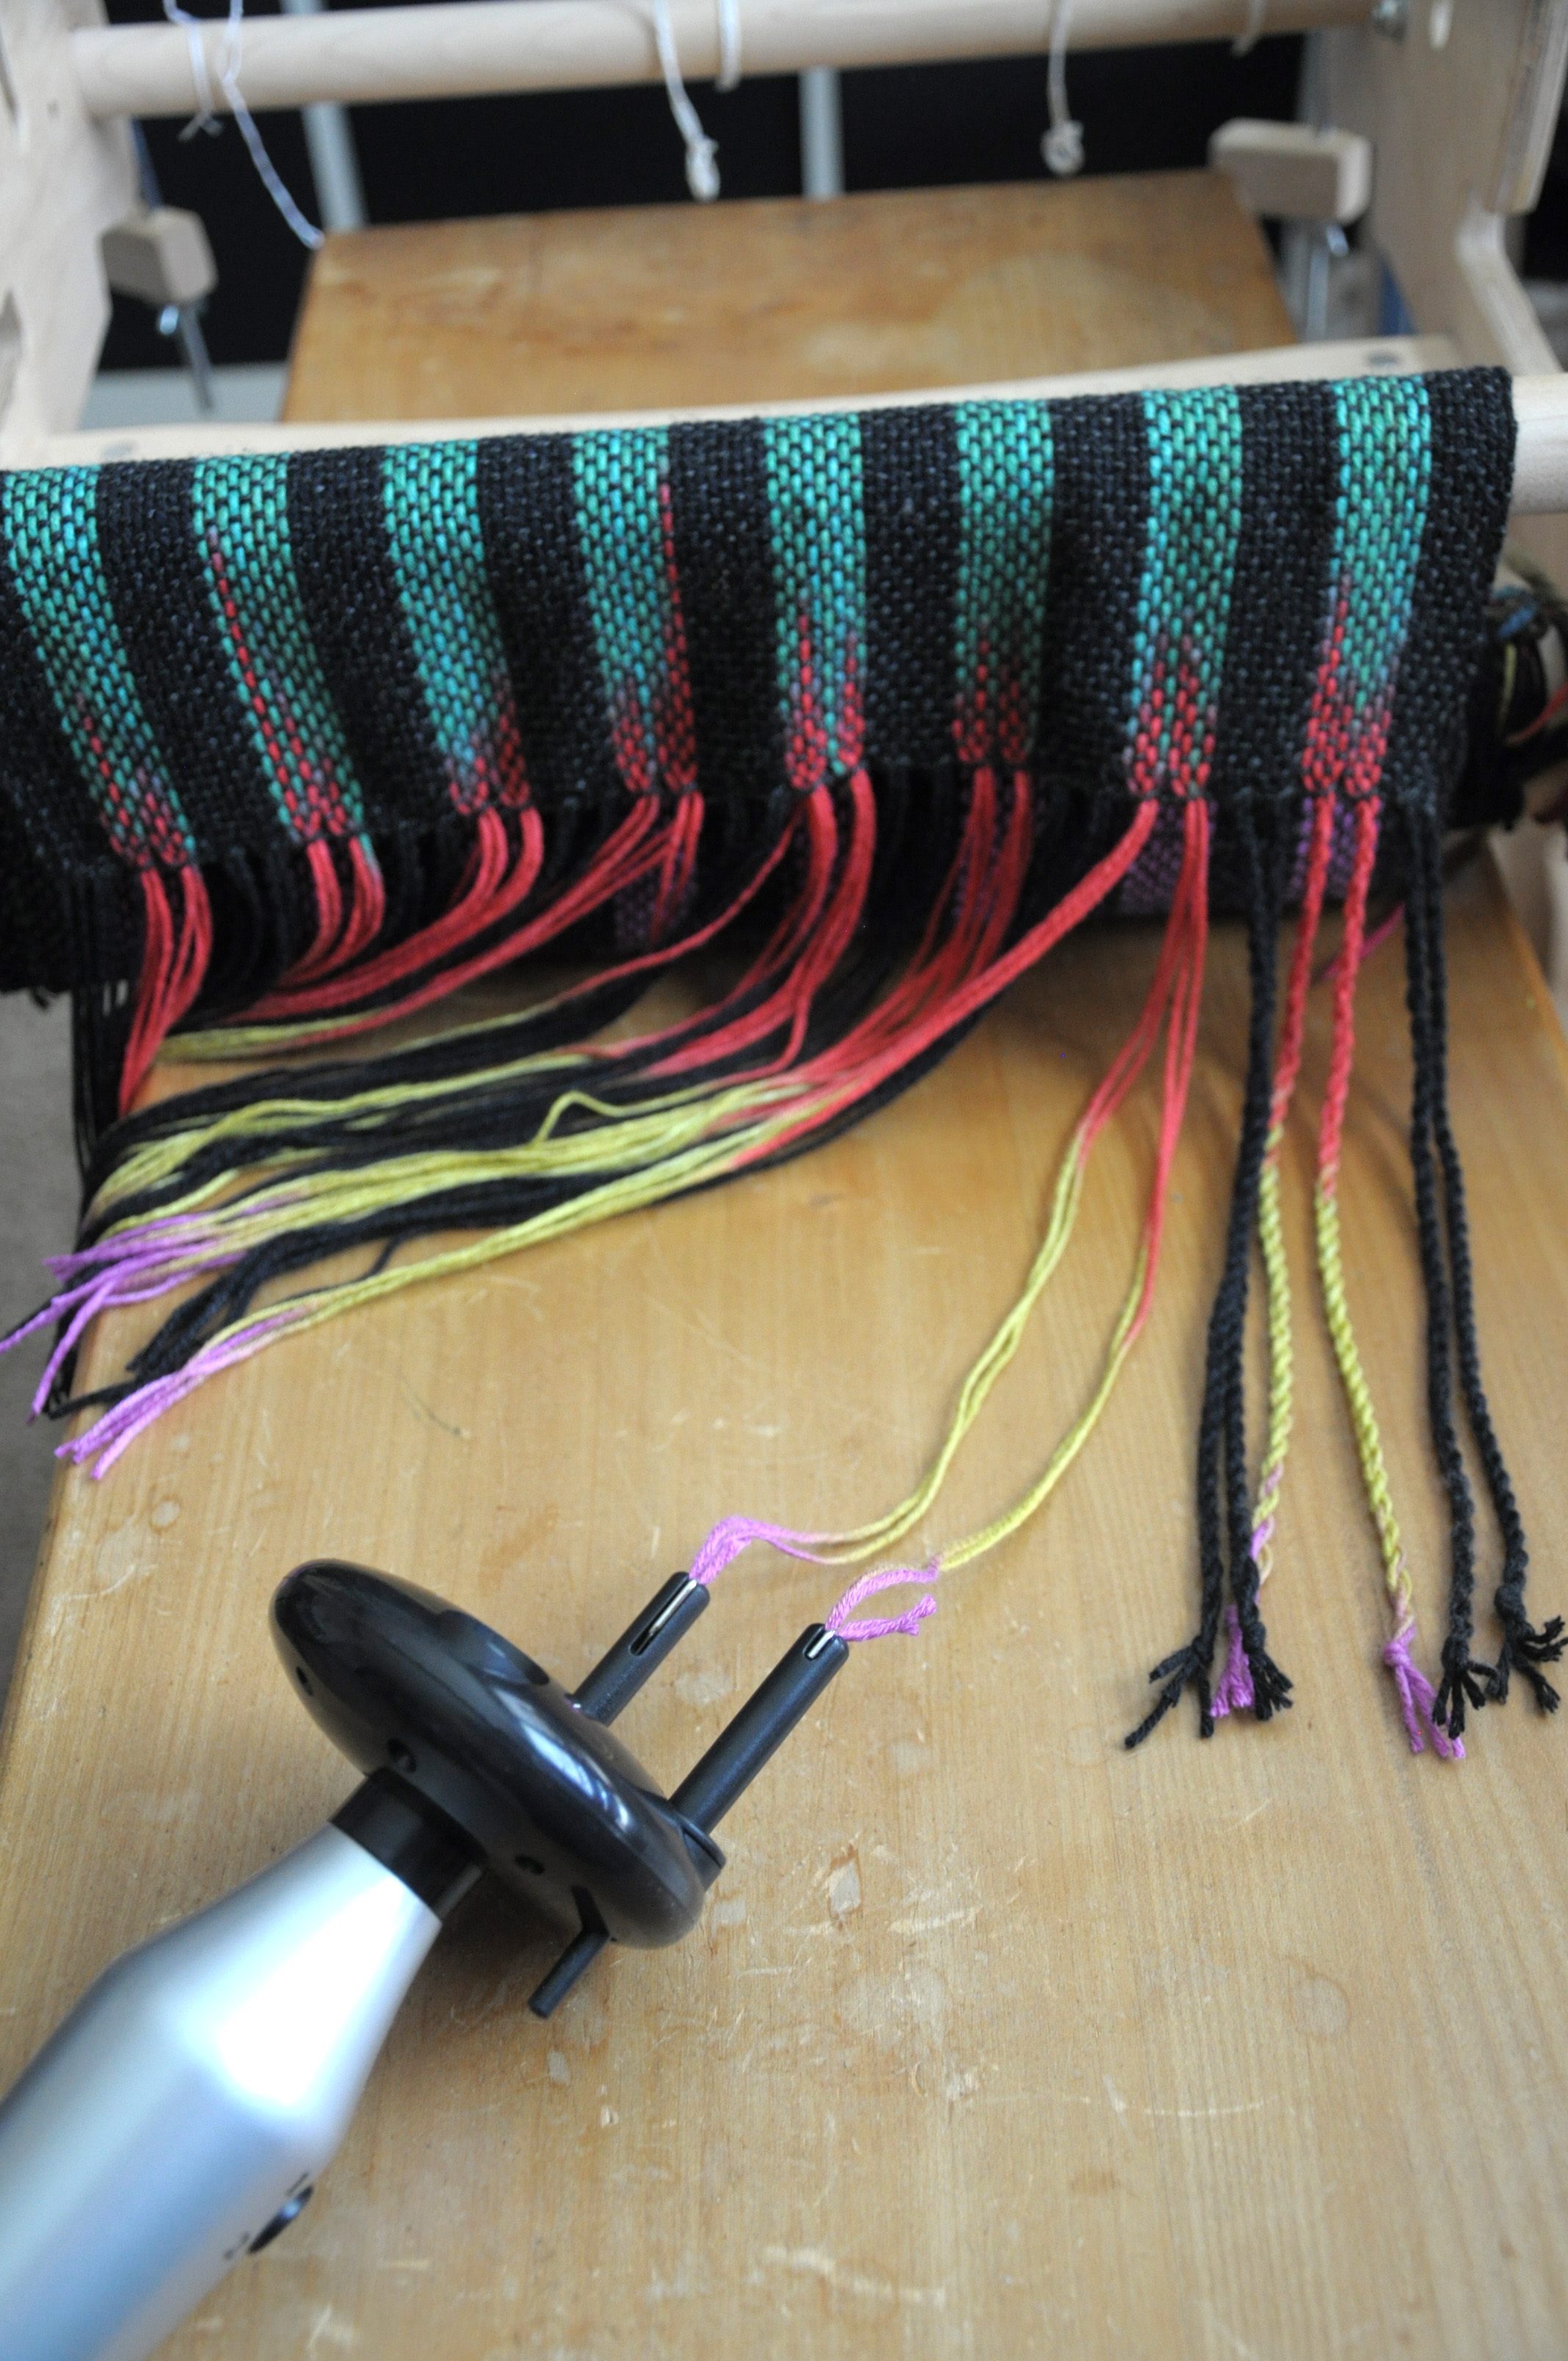
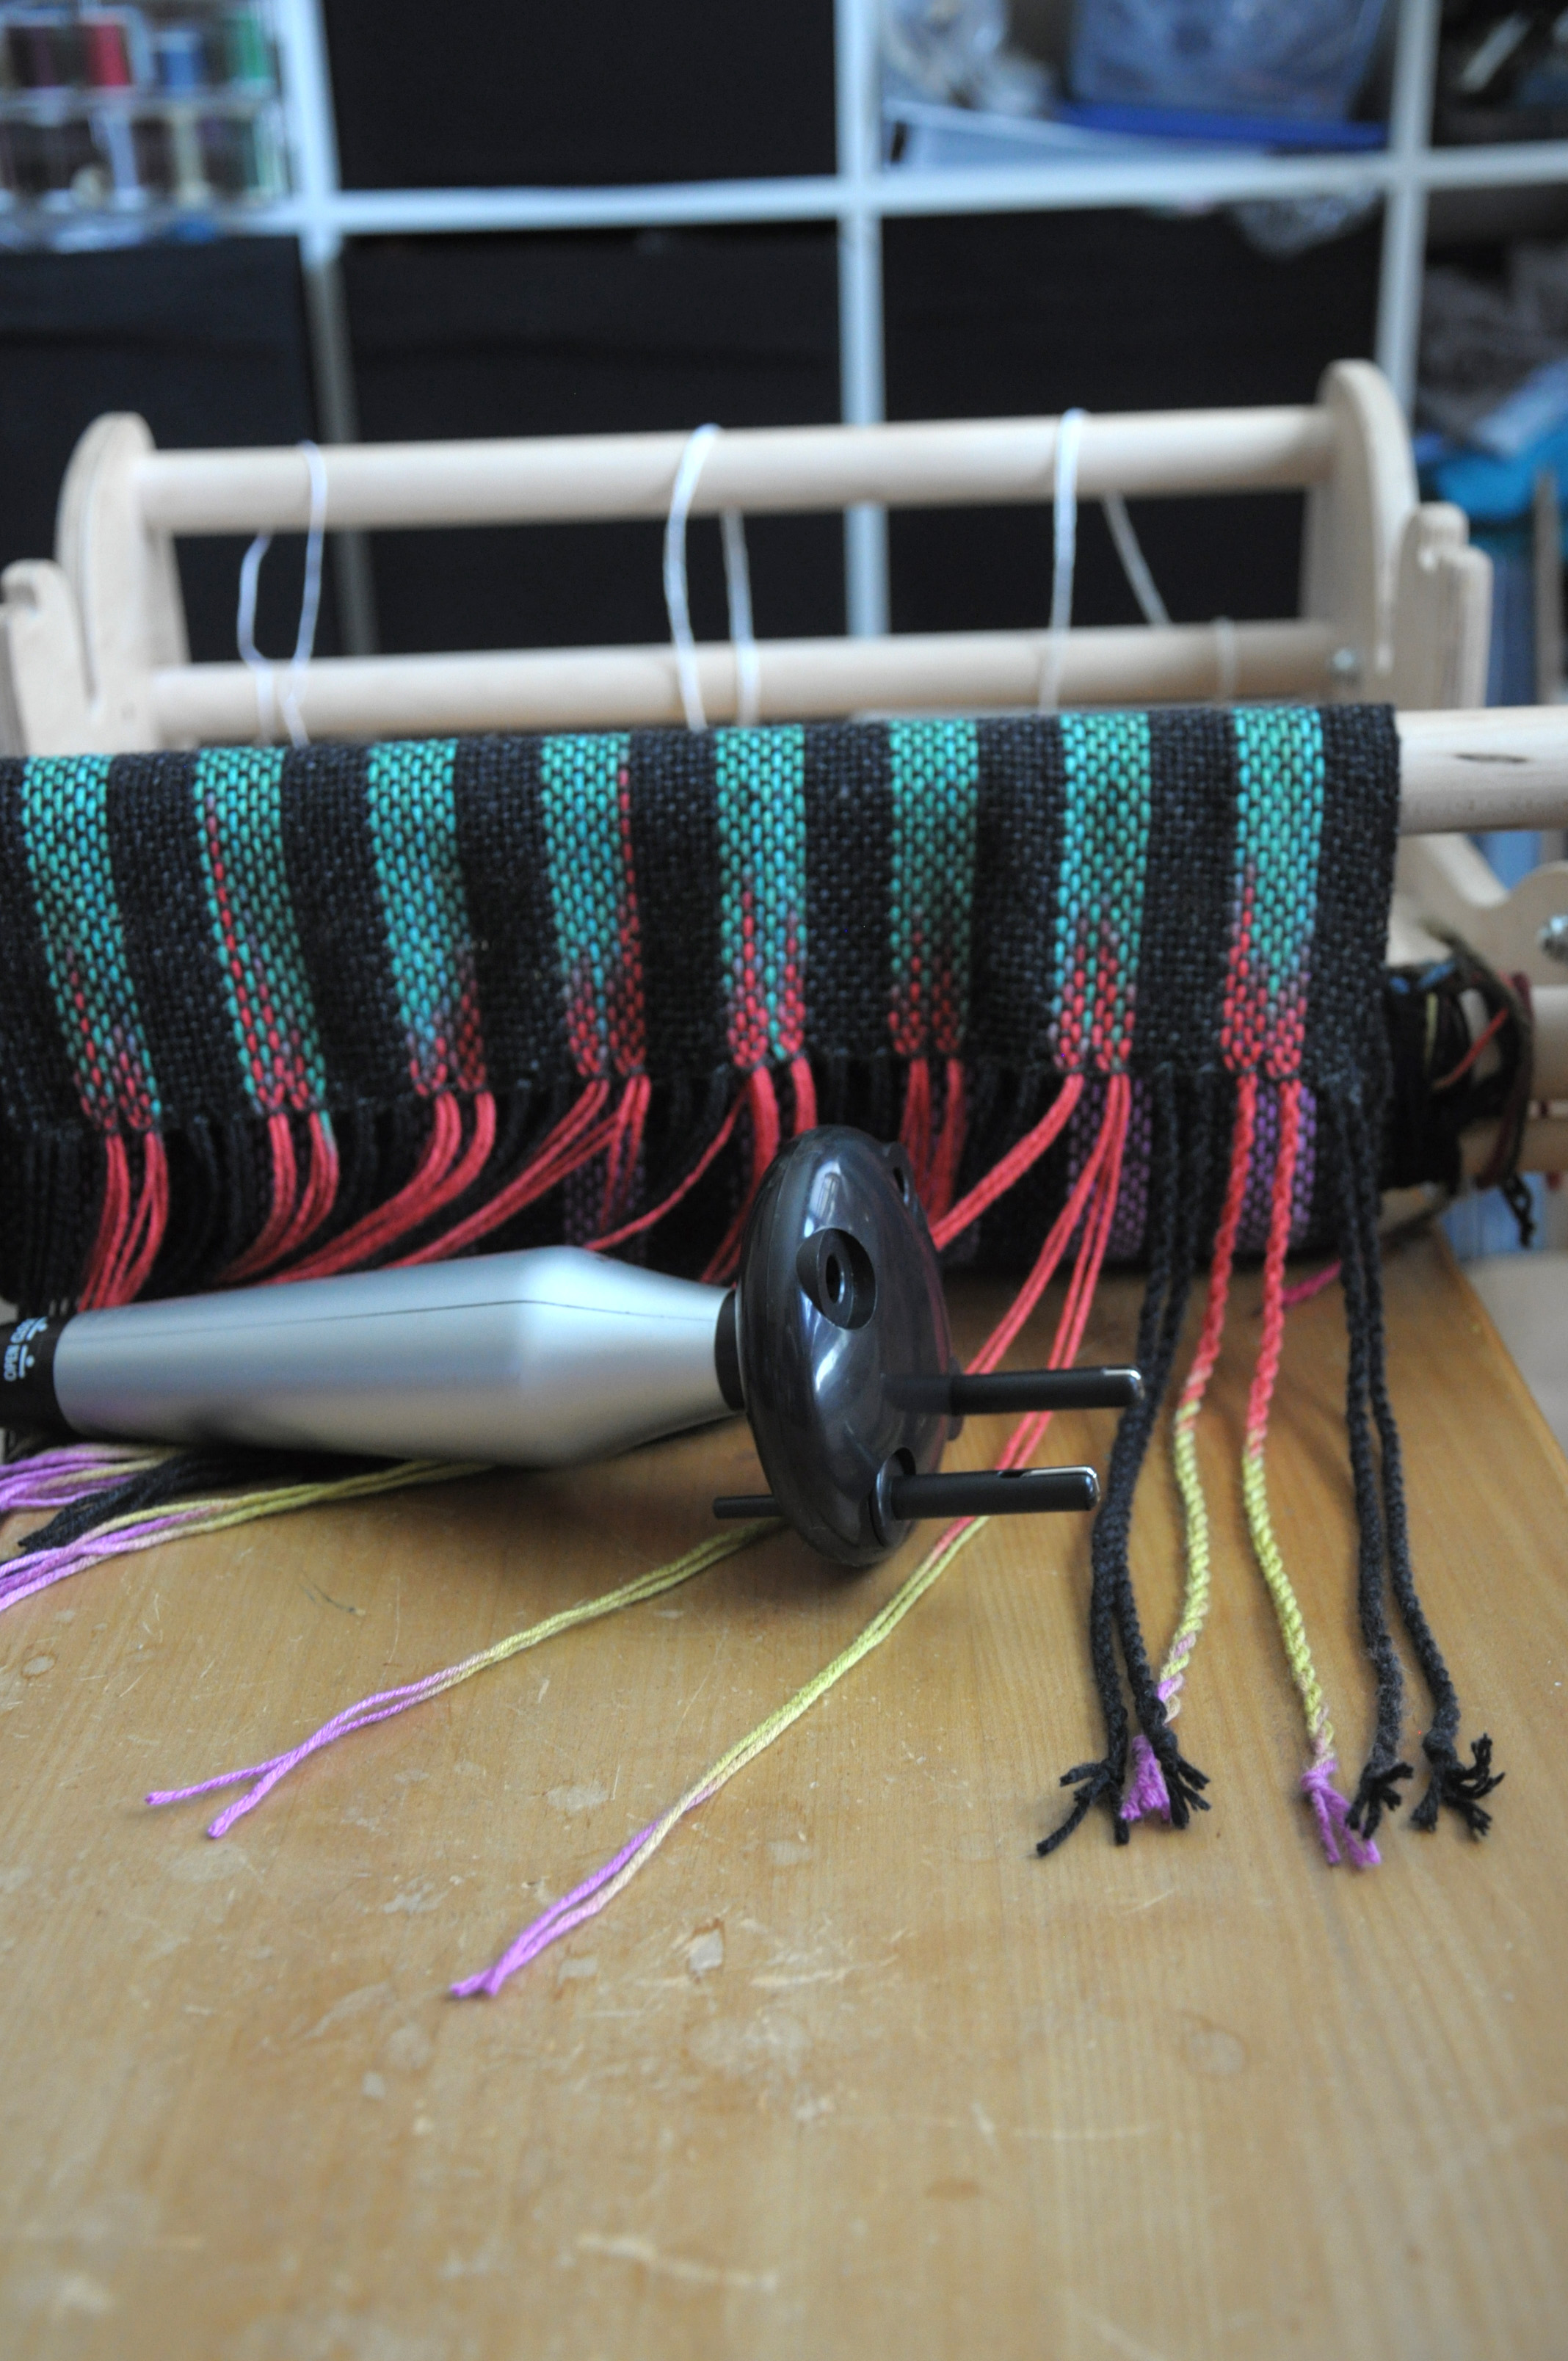
Fringe is the easy and obvious way to go when ending a scarf. It eliminates the need for a hem. Fringe also adds a nice little bit of heft, allowing a scarf to hang nicely. An easy way to spruce up your fringe is to make it twisted. I’ve done this by hand before on a few projects, but it’s tedious and I don’t enjoy doing it. This time around, I decided to splurge and bought myself a battery operated fringe twister. Sometimes, you just need the right tool for the job.

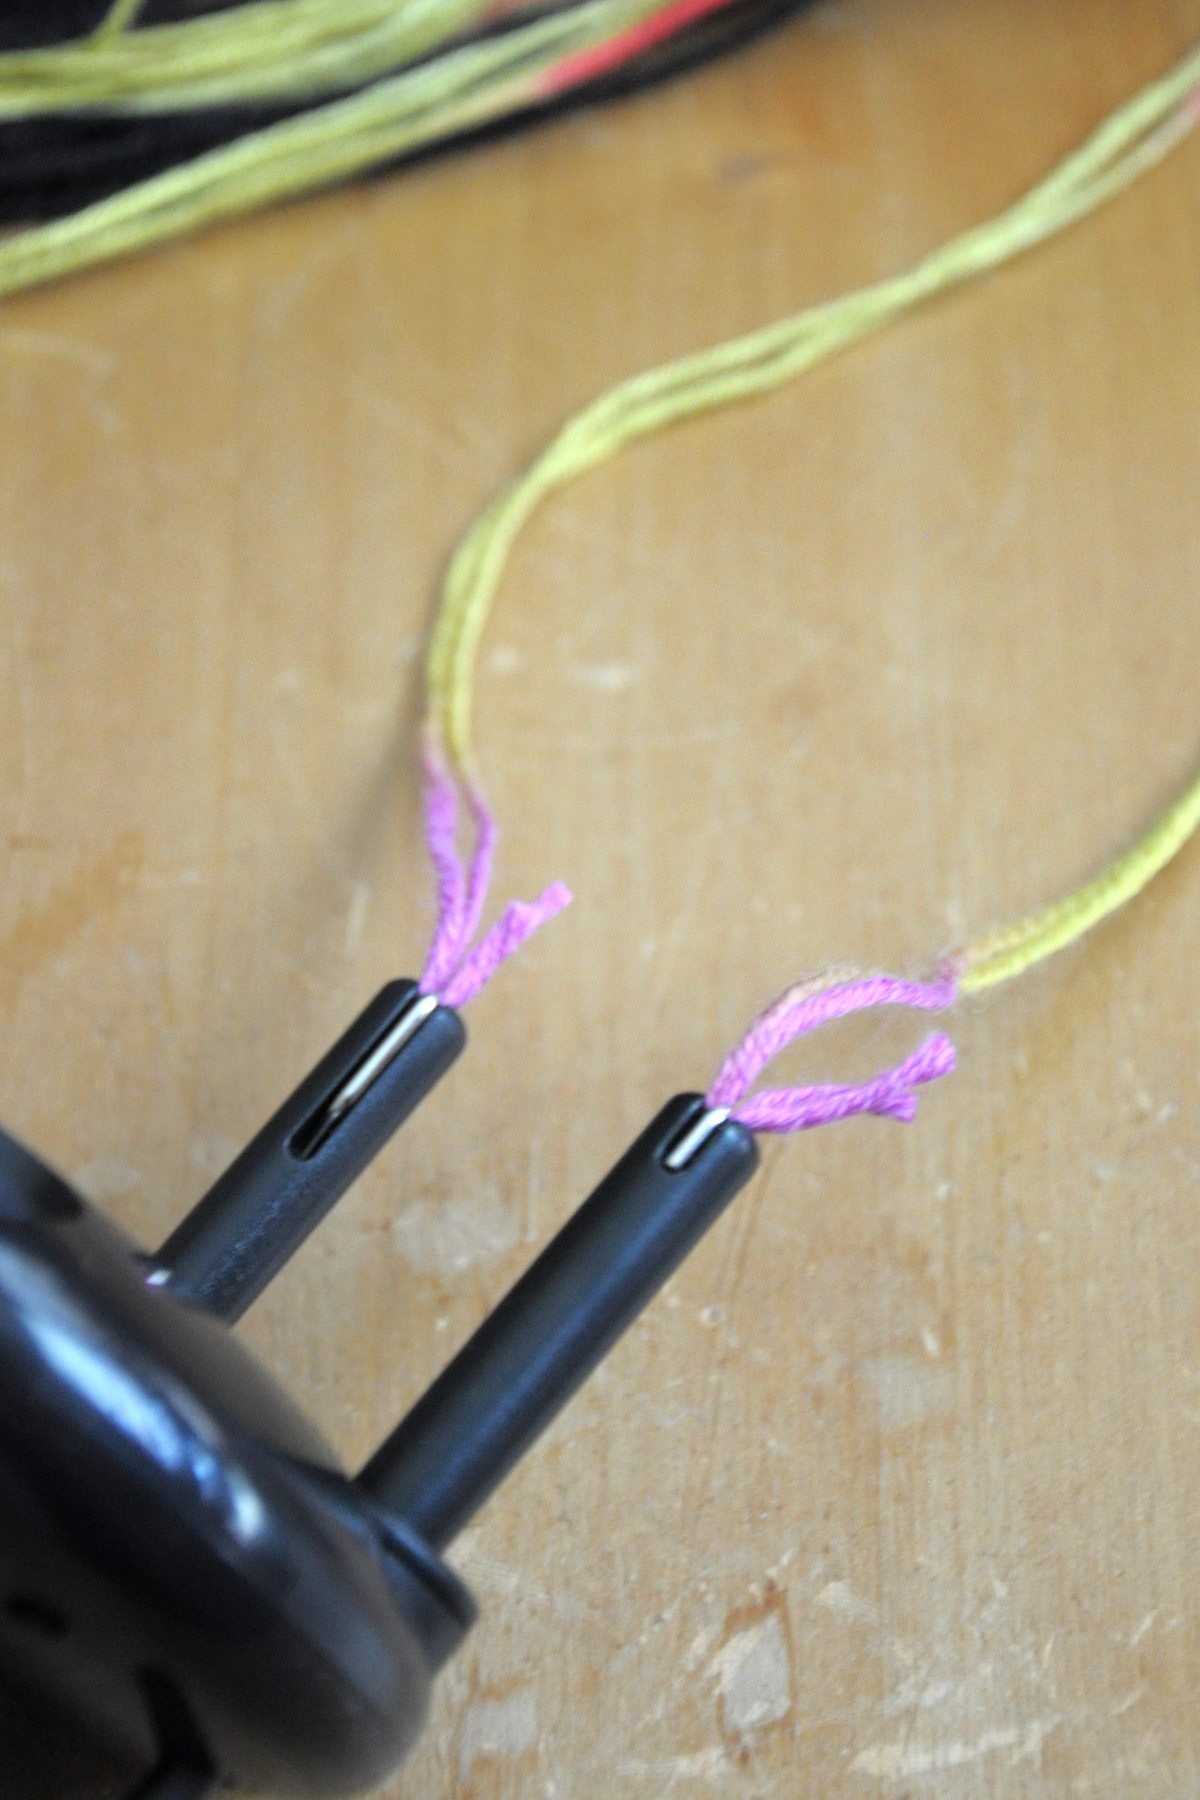
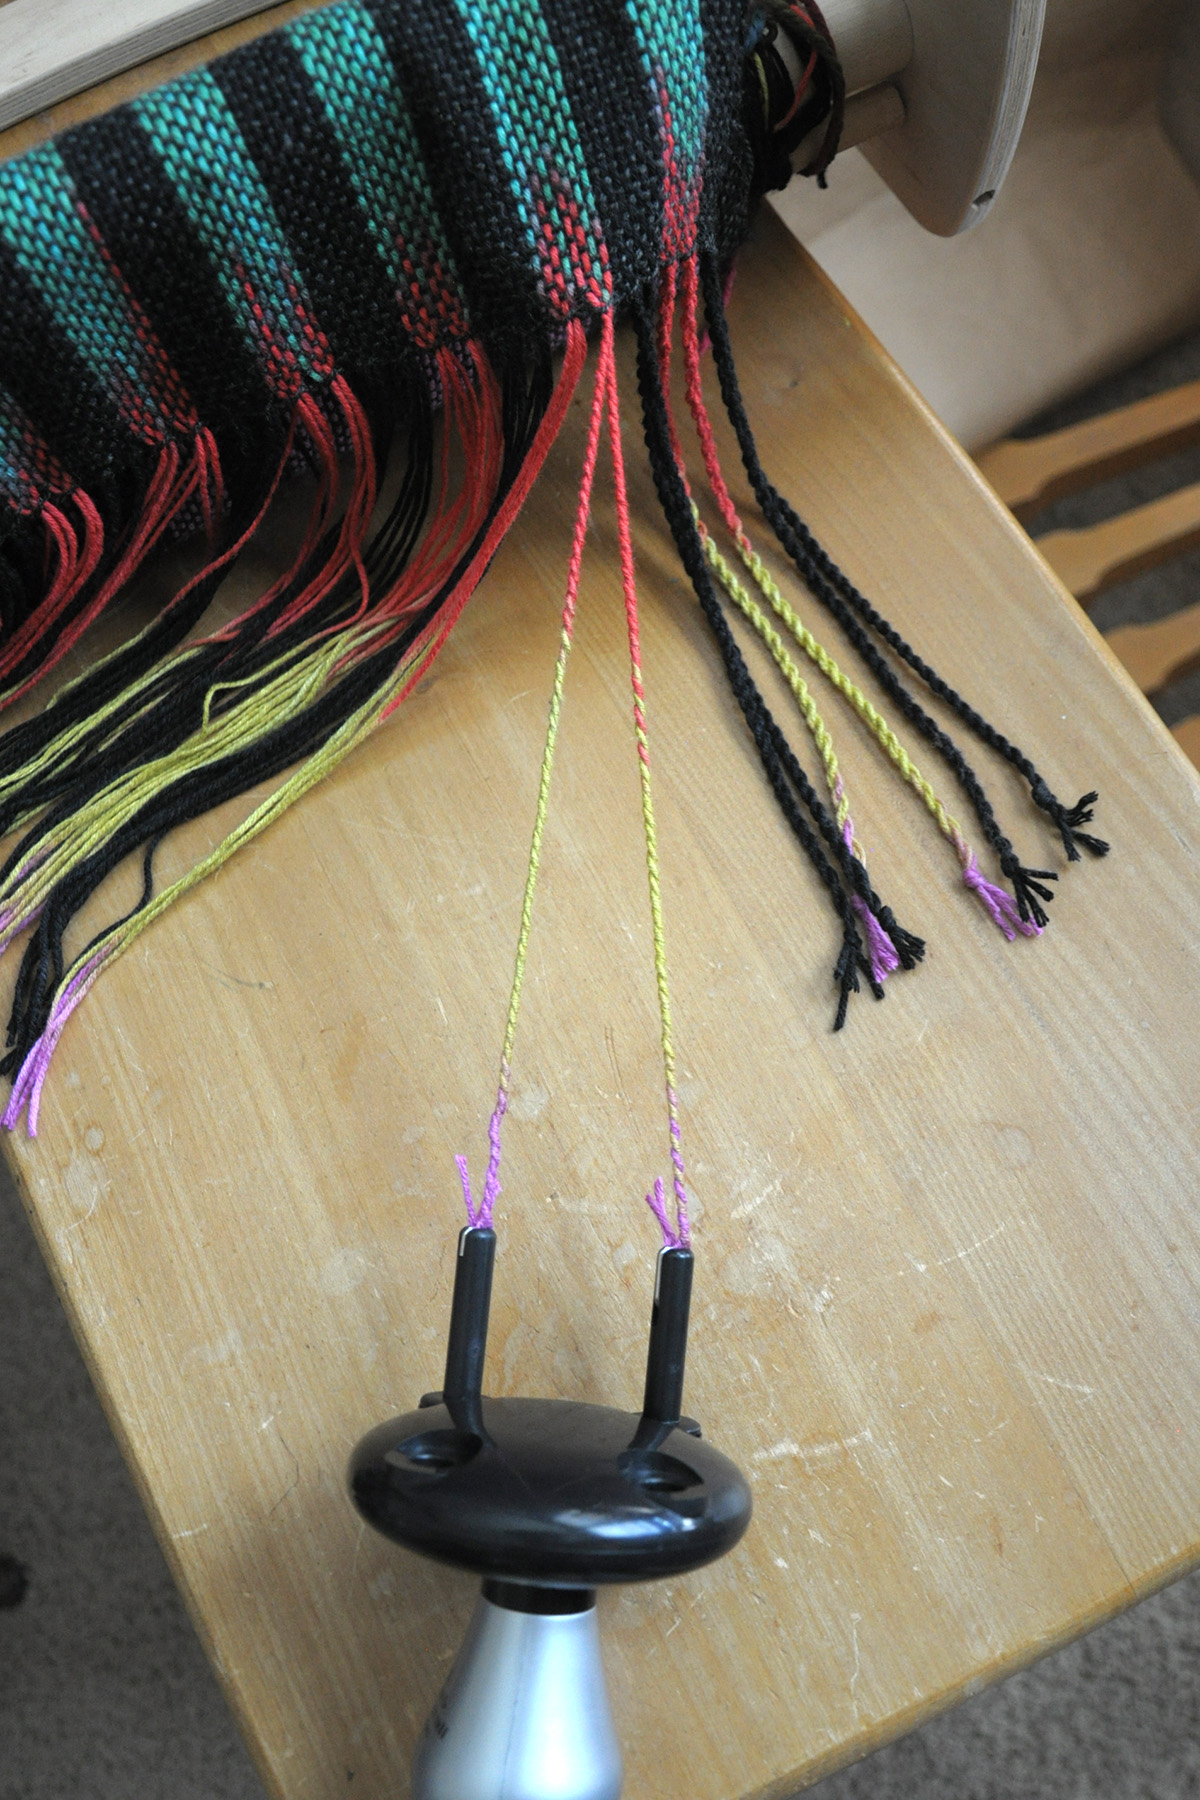
See the two little prongs jutting out from the top of my tool? The item actually came with 4 prongs, but I removed 2 of them for this project.

Fringe_2

Each of my stripe sections of the scarf is comprised of 8 strands. I’m making 2 twisted fringes for each stripe, so each fringe is made up of 4 strands. To use my fringe tool, I attached 2 strands to each prong.

Fringe_3

I didn’t get a good photo of this step, but those little metal pieces in the top of the prongs will extend, grabbing onto the yarn, and then retract back down.

Fringe_4

Next, I push the button on my tool into position 1, which twists each strand independently. To get consistent twist on all my fringe, I counted to 30, (sort of in rhythm to the noise of the tool) as the tool was spinning.

Fringe_5

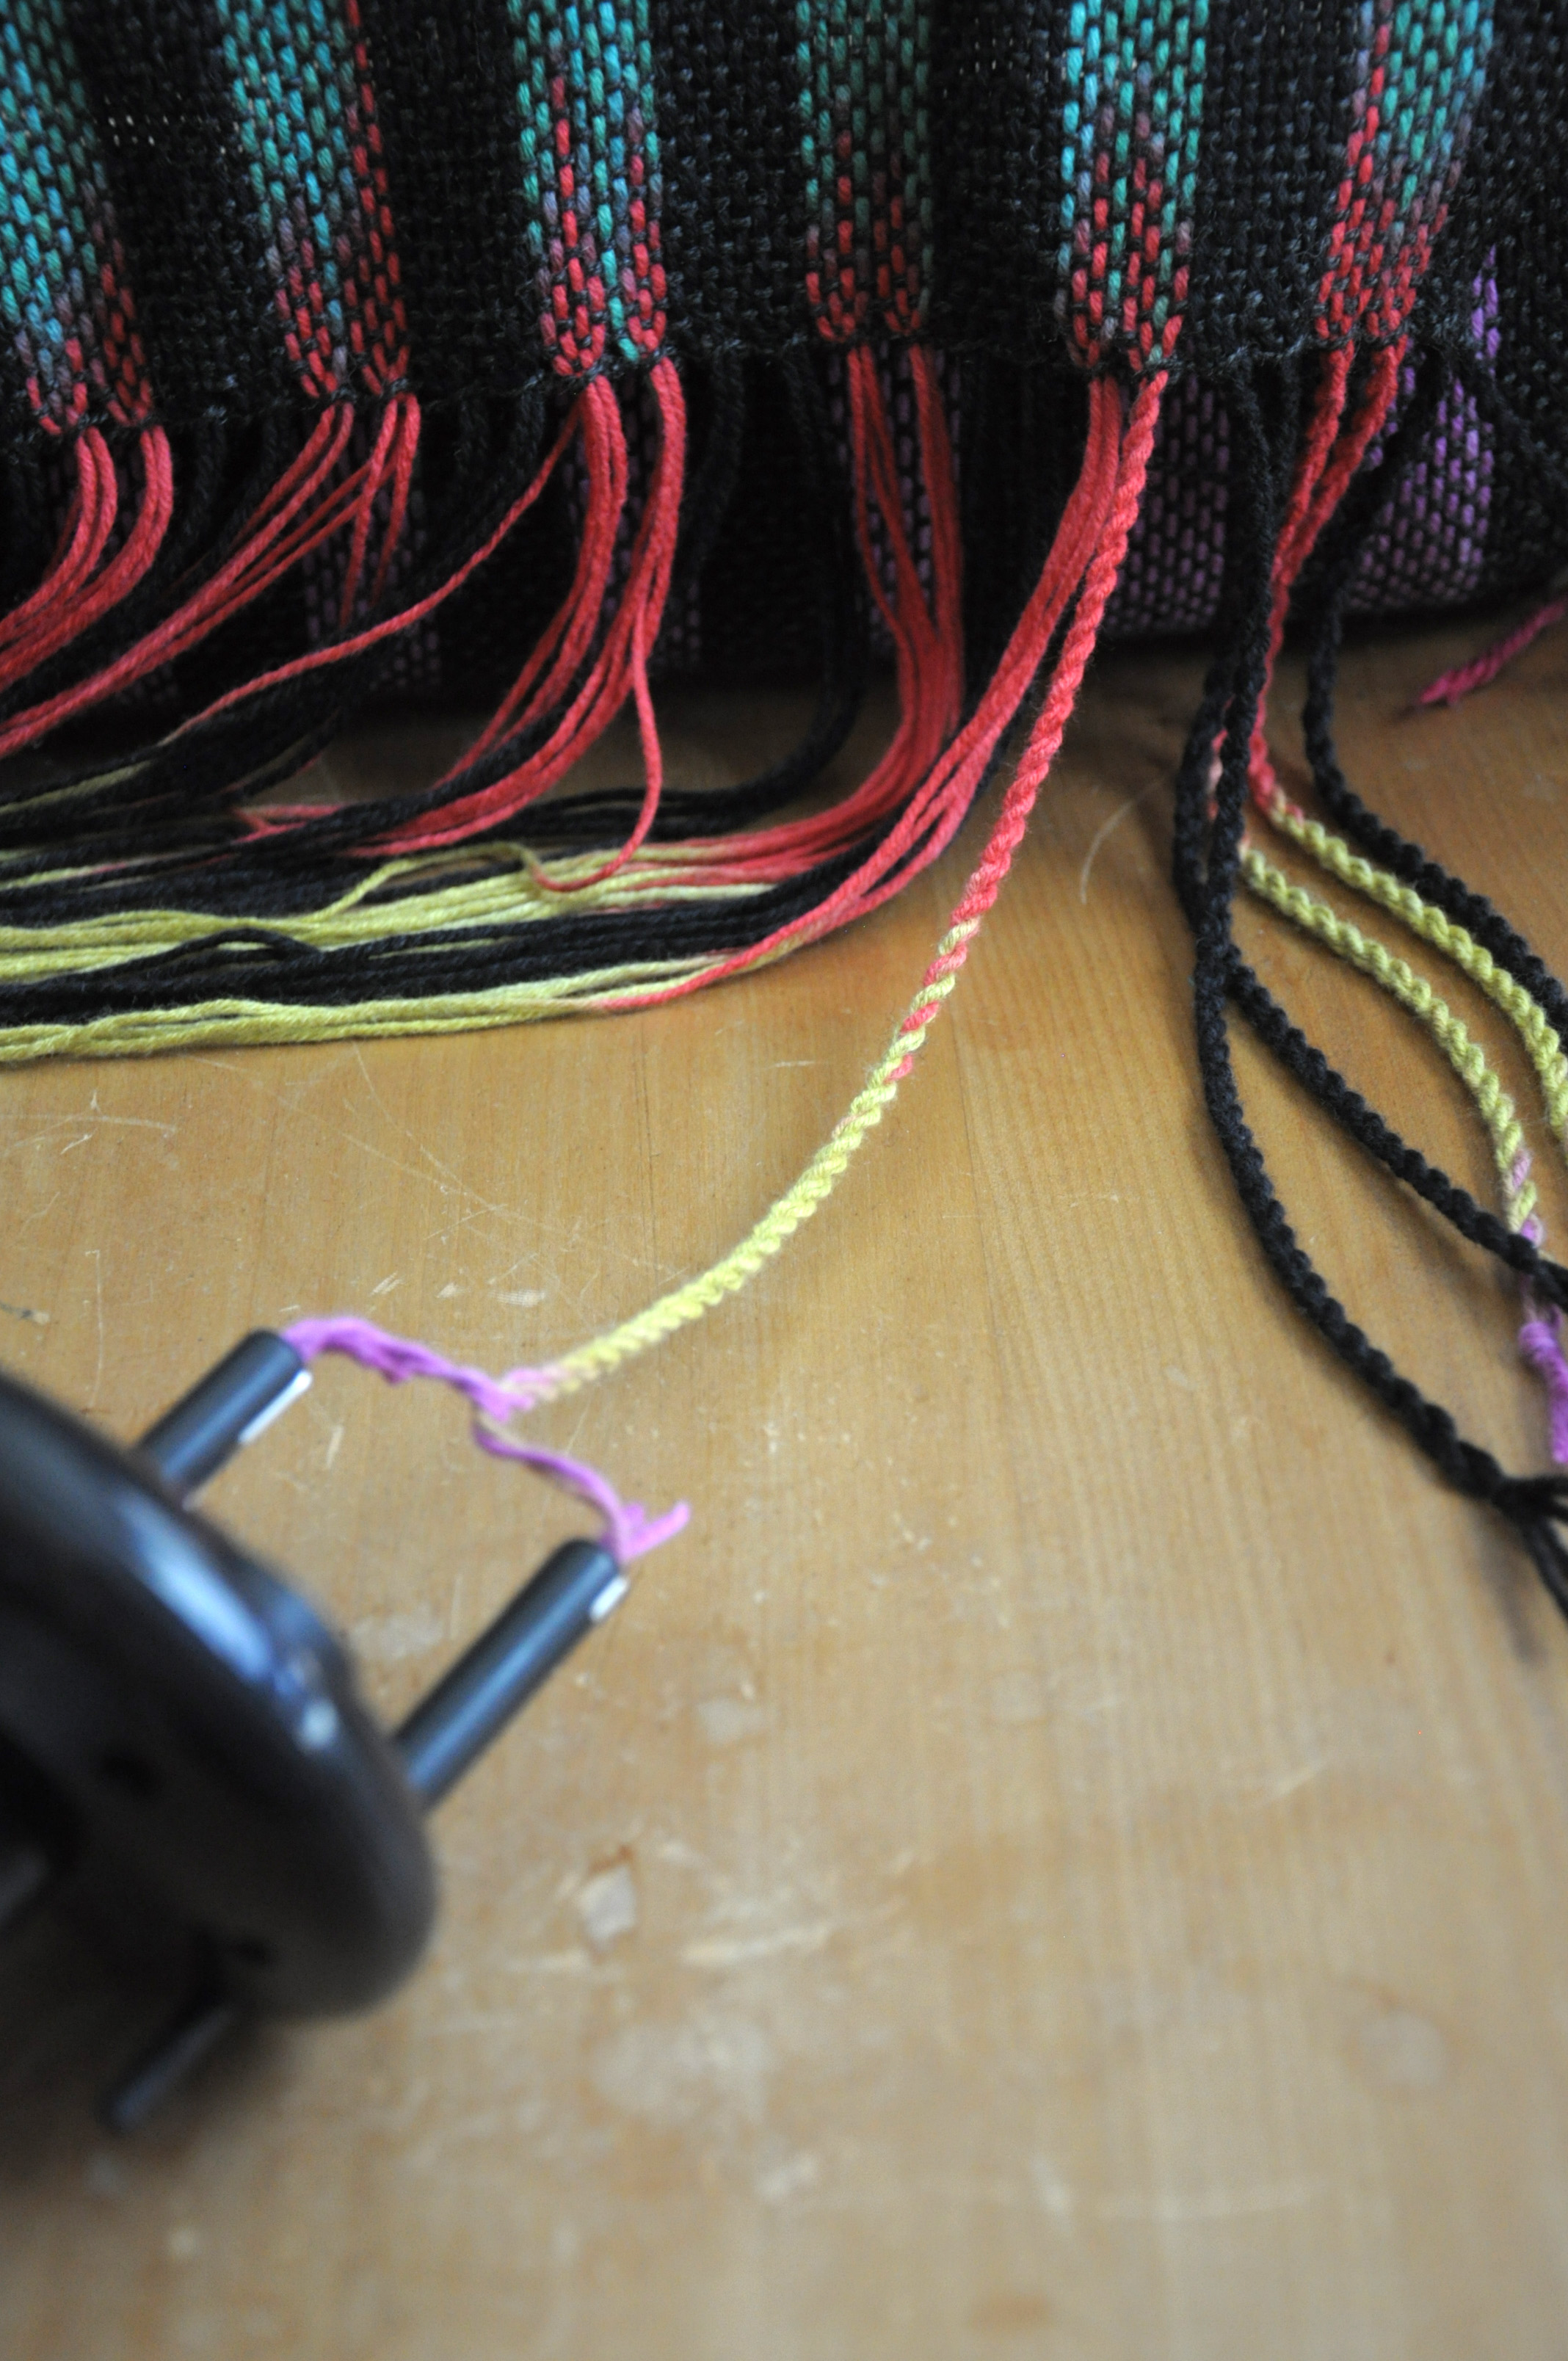
Once the strands are nice and twisty, I push my button down into position 2. This rotates the entire top of my tool in the opposite direction than the prongs rotated, twisting the strands around each other. During this step, I found that counting to 20 made a perfect balance of countertwist.

Fringe_6

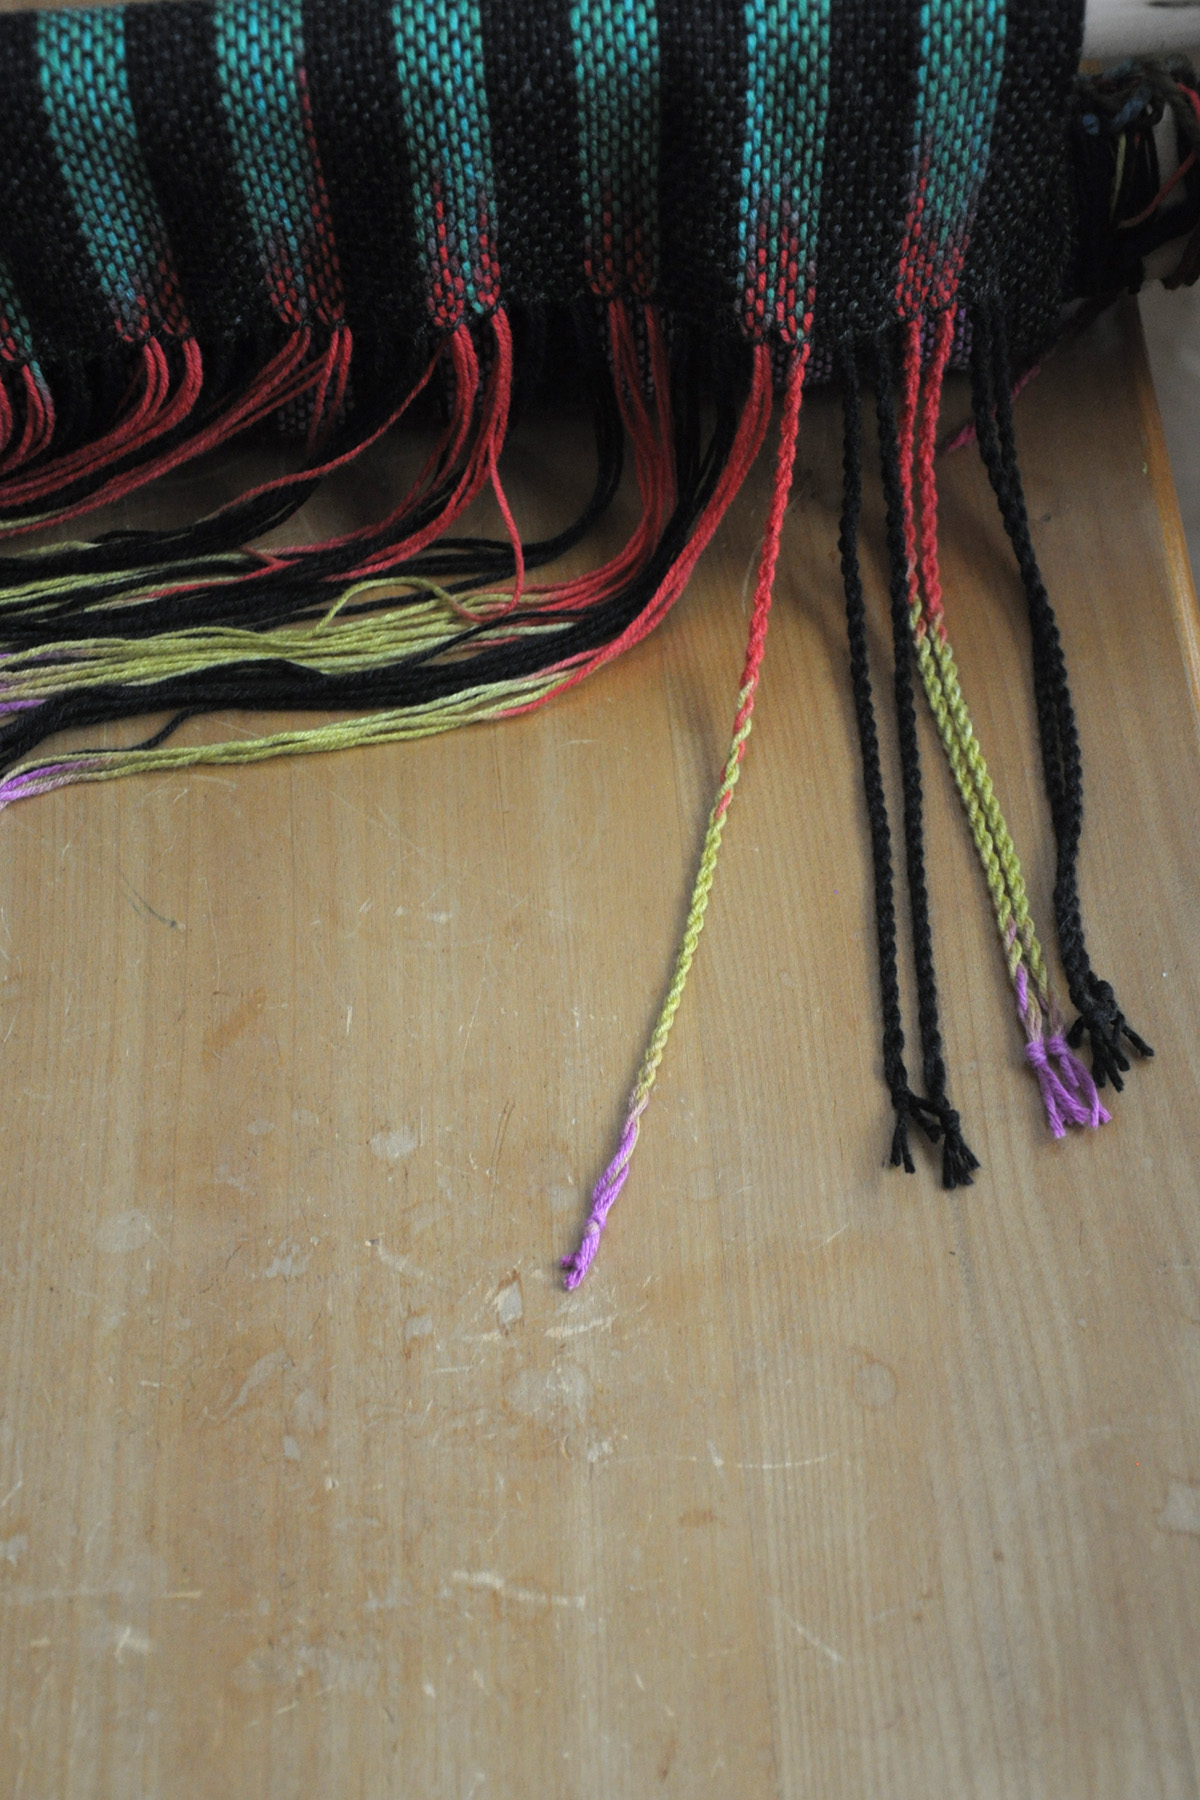
Then, release the ends of the yarn from the metal prongs and tie in an overhand knot. The twist stays twisted!

Fringe_7

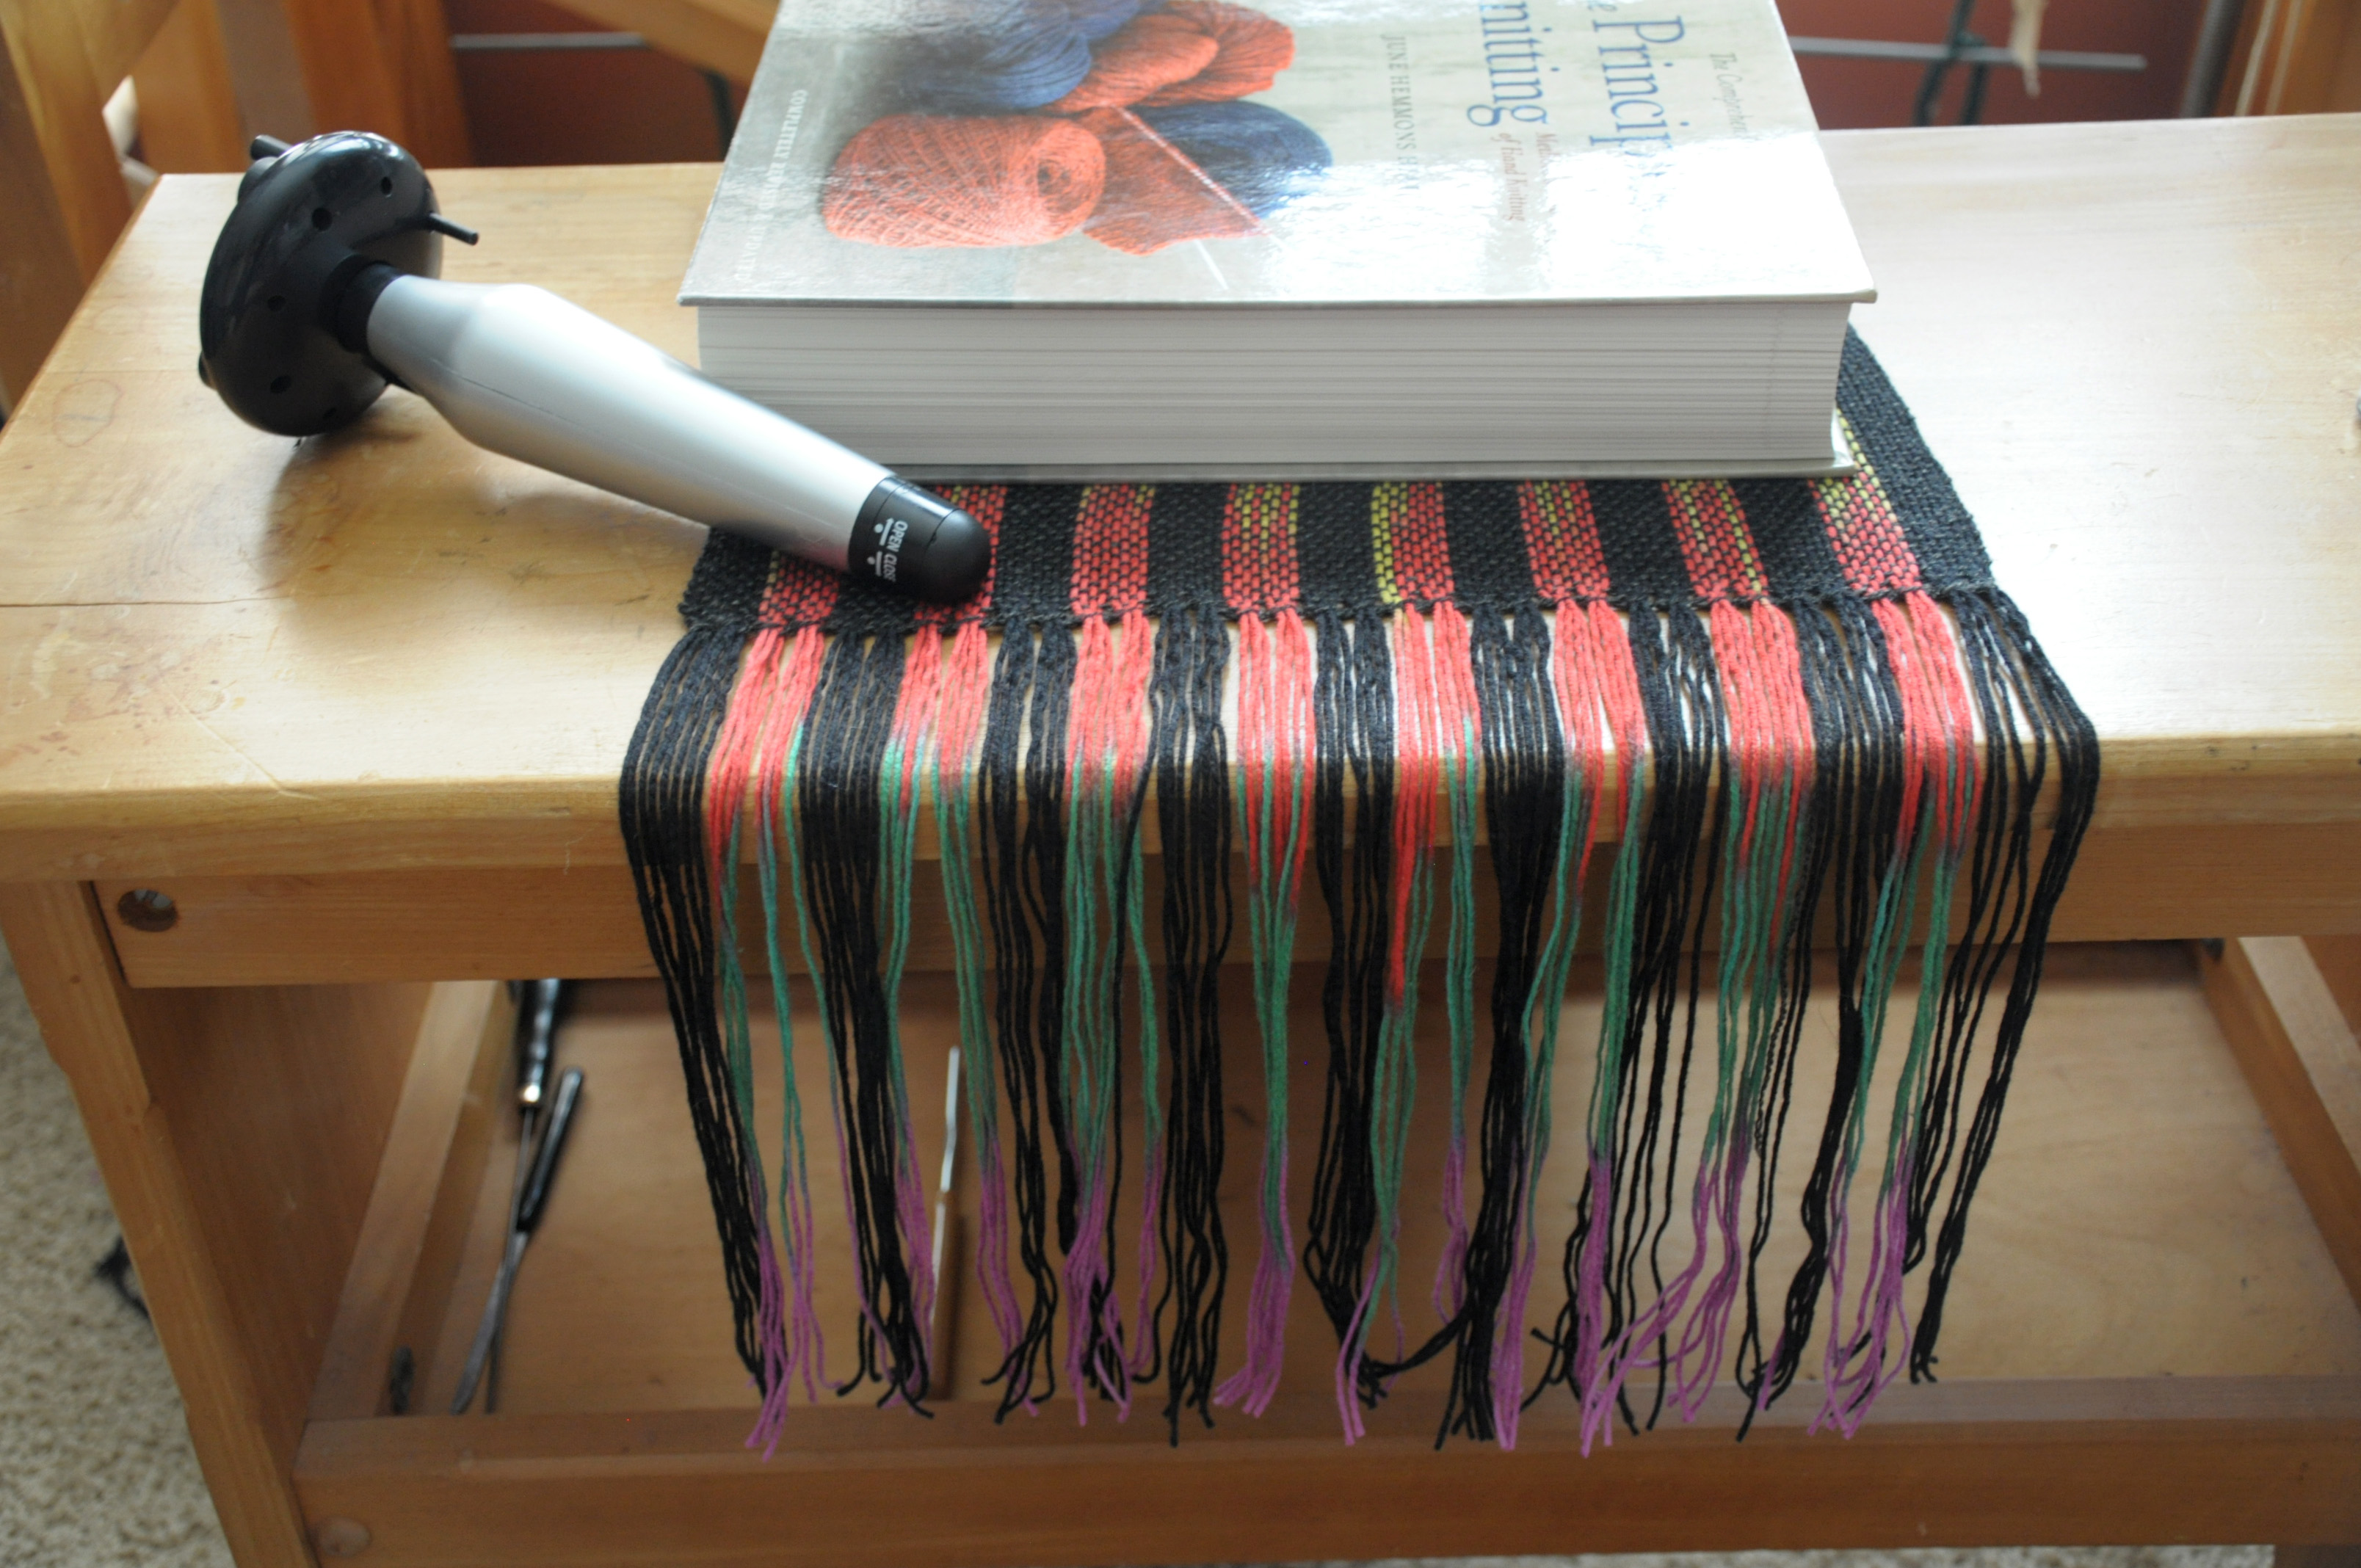
After I made all the twisted fringe on the final end of my scarf, I cut the beginning end from the loom. To keep this end of my scarf from moving around, I just set a heavy book on top.

Fringe_8

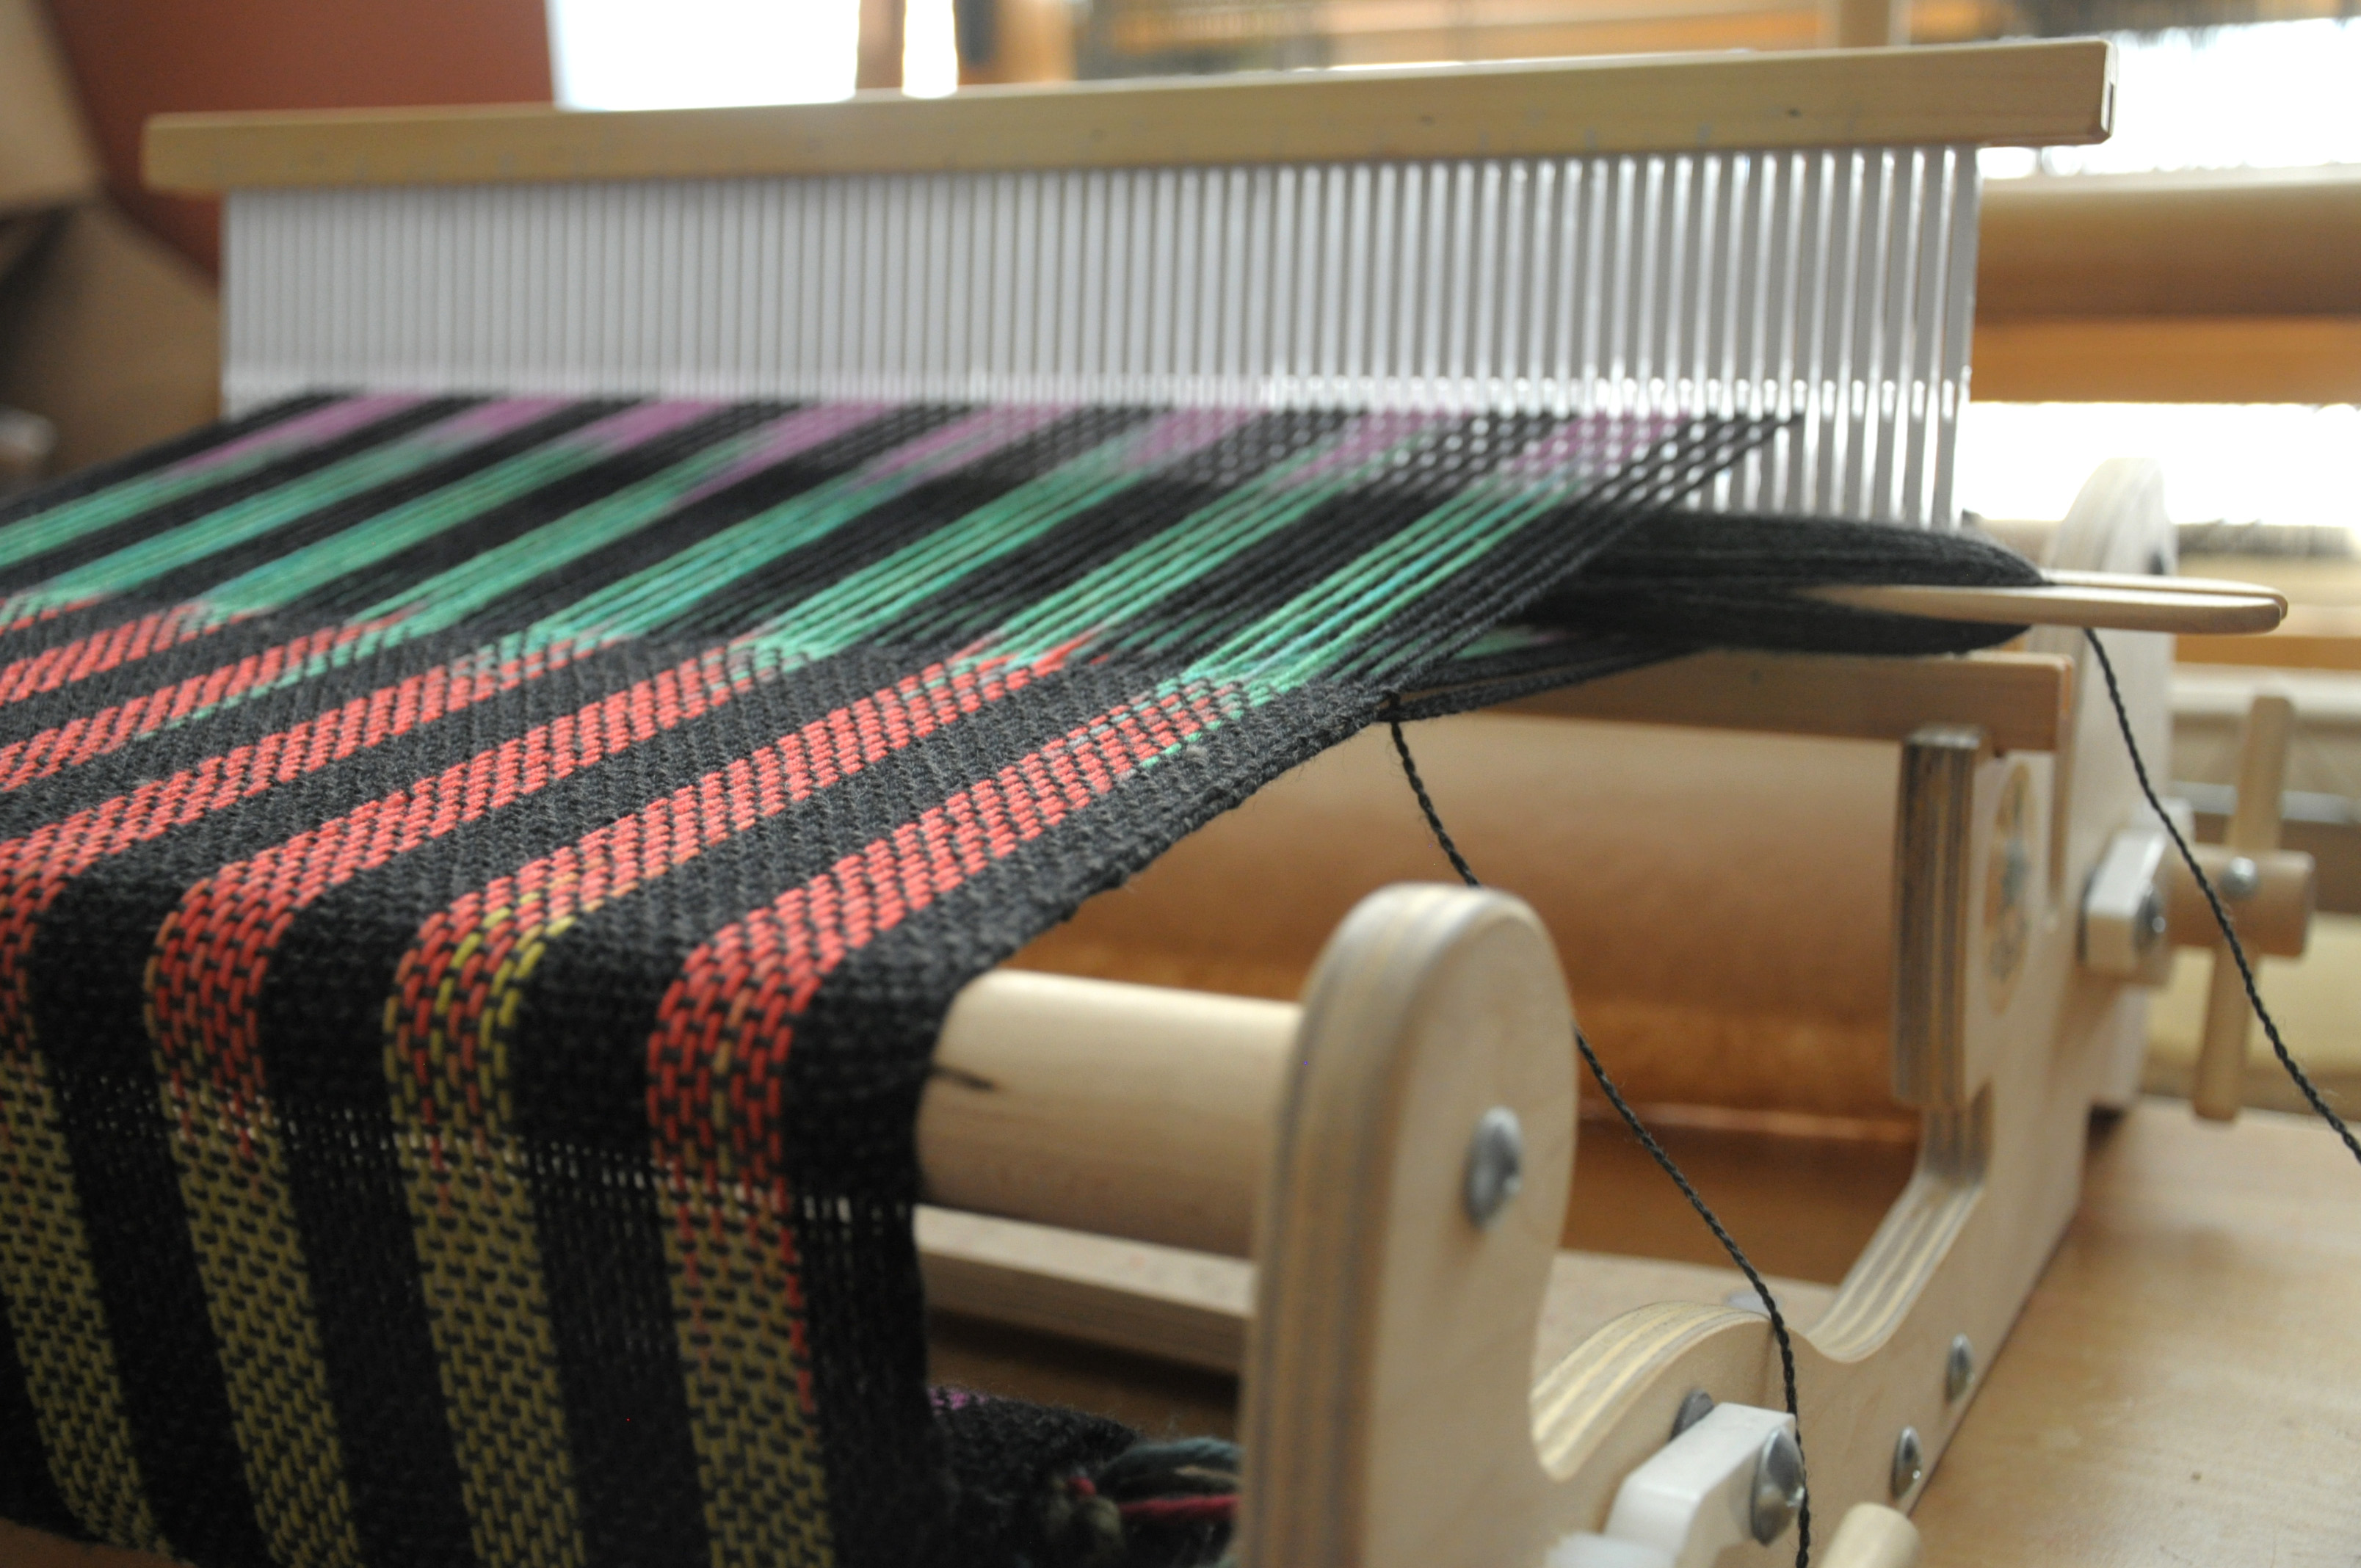
After handwashing and laying flat to dry, I had myself a very colorful scarf!

Pooling-Scarf-Flat-1

My finished scarf, before fringe is 62″, and is about 78 ” with fringe. With one ball of each color of Bamboo Pop and 1 ball of Whisper Lace, I could have gone about 20-30% long if I had wanted.

Pooling-Scarf-2 Pooling-Scarf-3

I’m extremely happy with how this scarf turned out. It’s quite lightweight with amazing drape. It’s so very wearable. I could envision this in many different color combinations of our Bamboo Pop.

Join me next time for a lace weaving adventure with our anniversary namesake yarn, Universe!


Color Pooling: I Meant to Do It!

Have you ever heard of color pooling in the worlds of knitting, crocheting, or weaving? Briefly, color pooling is when a patterned yarn “pools” in particular colors sections. This pooling may or may not be intentional. It is very common to see unintentional pooling in variegated-type yarns, where the color repeats are very short.

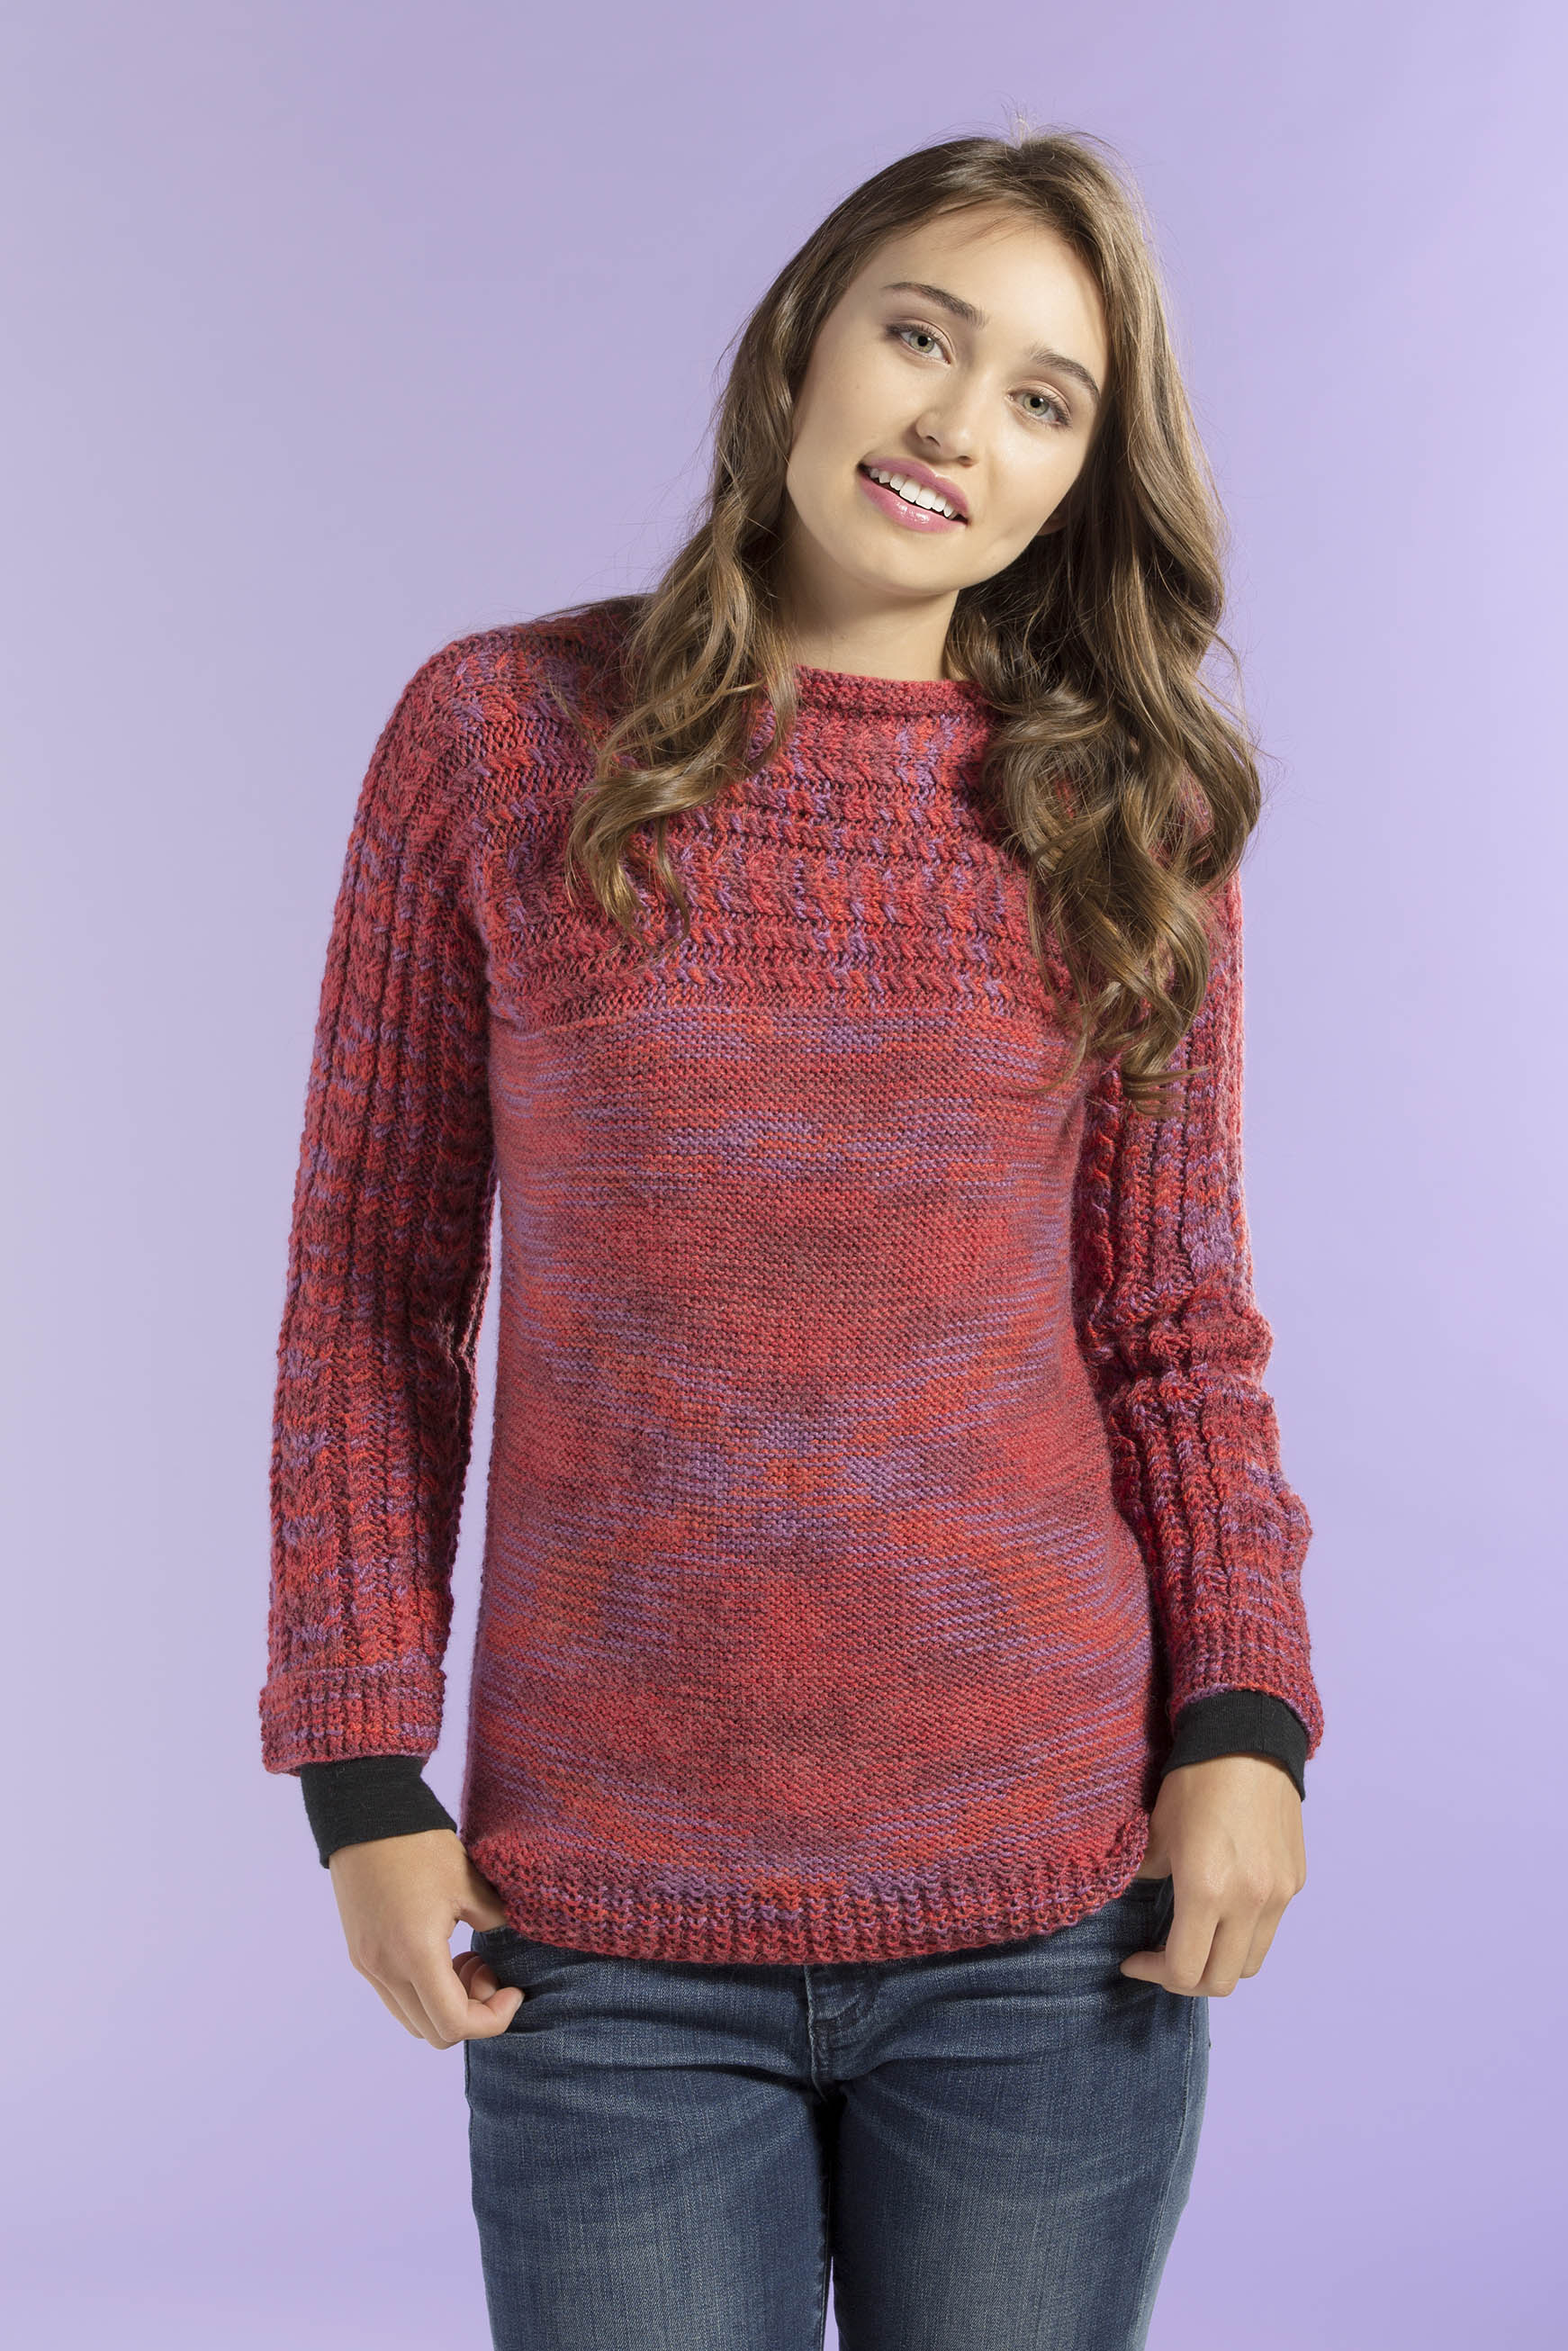
An example of unintentional color pooling that looks really cool can be seen on the front our Siren Sweater, knit in Infusion Handpaints.

Infusion Sideways Yoke Pullover_front_blog

See the argyle thing going on there? Though unintentional in this sweater, it is very possible to intend to make argyle from a yarn like this.

Even printed yarns with longer color repeats can be intentionally pooled. A good example of this is the Pennant Scarf, designed by Erin McKenna Halsey for our Uptown Worsted Spirit Stripes yarn. (You can find a crochet version of this scarf here)

Again, we see an argyle pattern form. The reason for this pattern, my dear friends? Math! By knowing how long each color repeat is and how much yarn a stitch consumes, it is possible to figure out how to make your patterned yarn do amazing things!
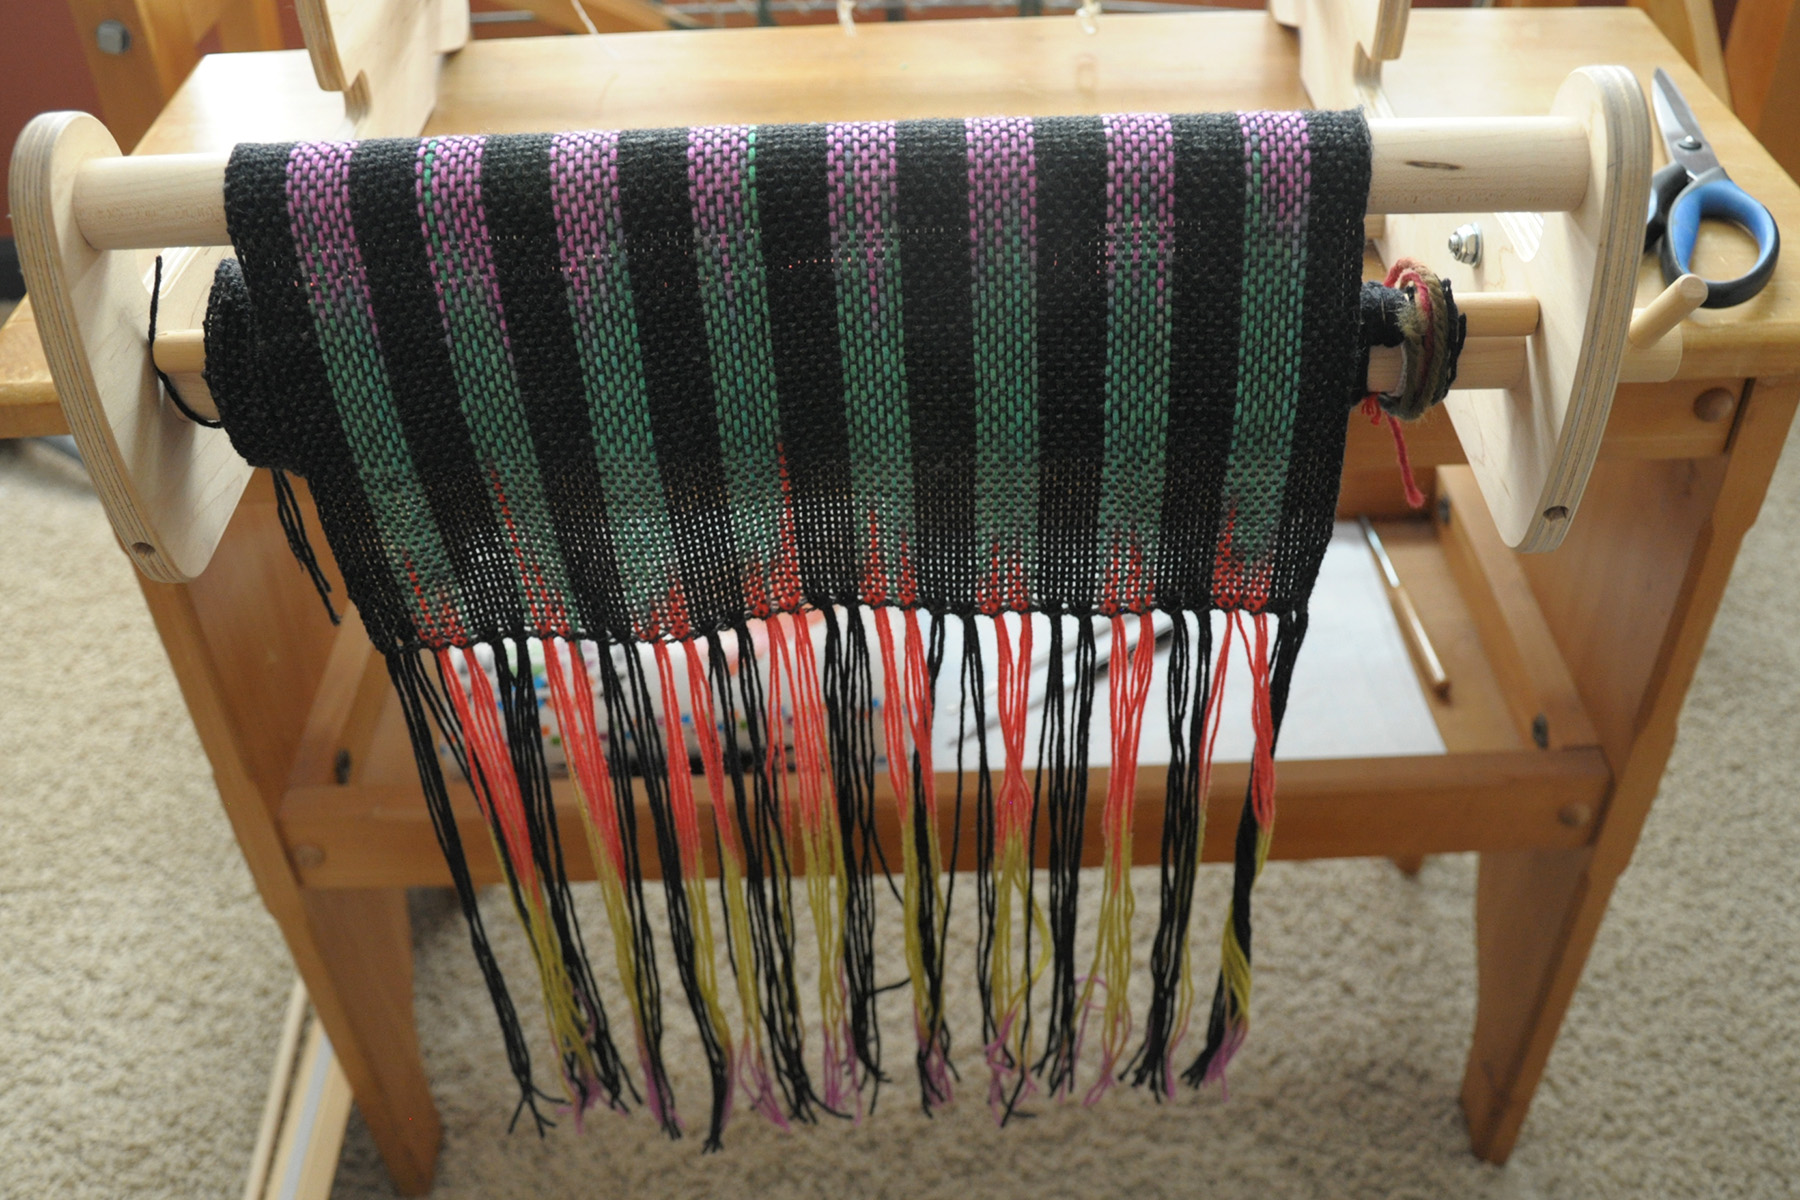
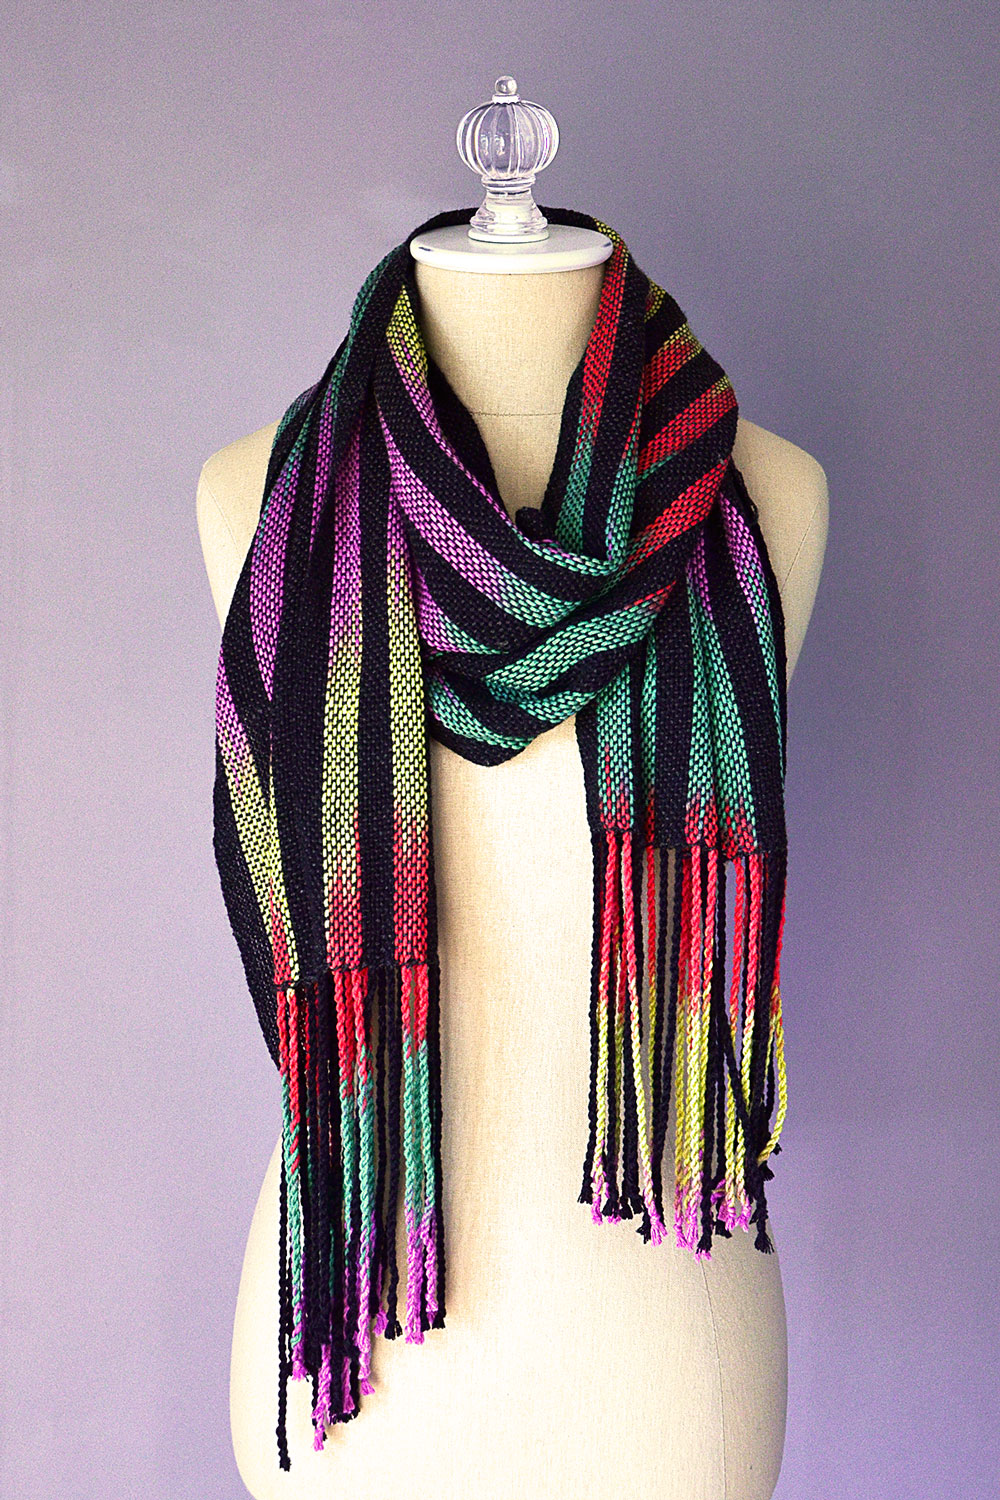
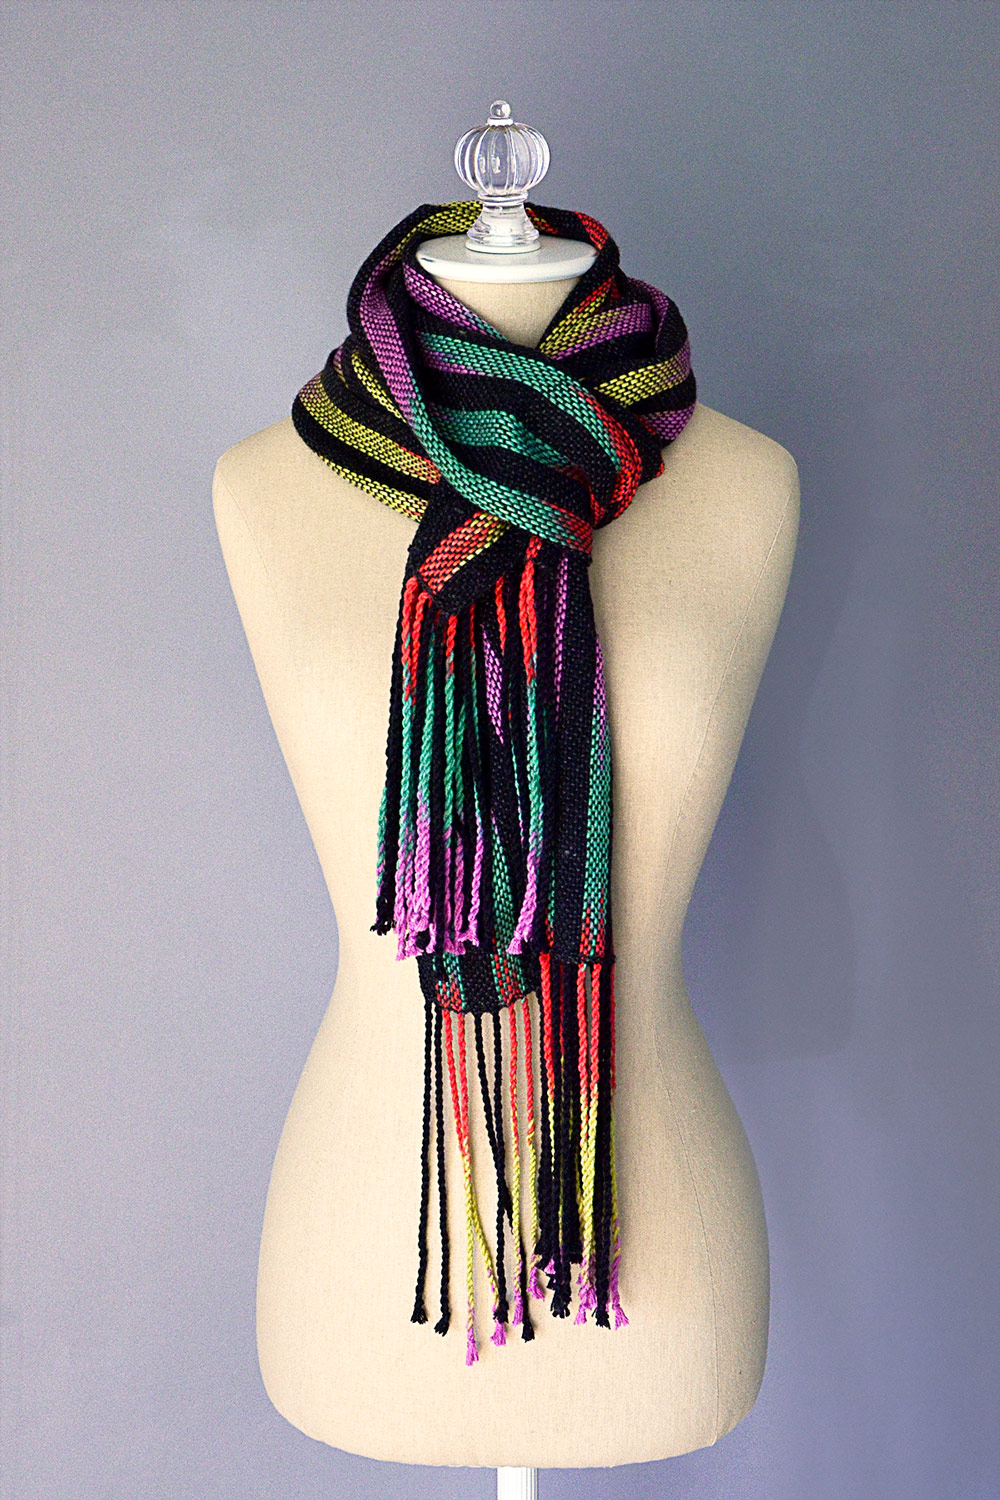
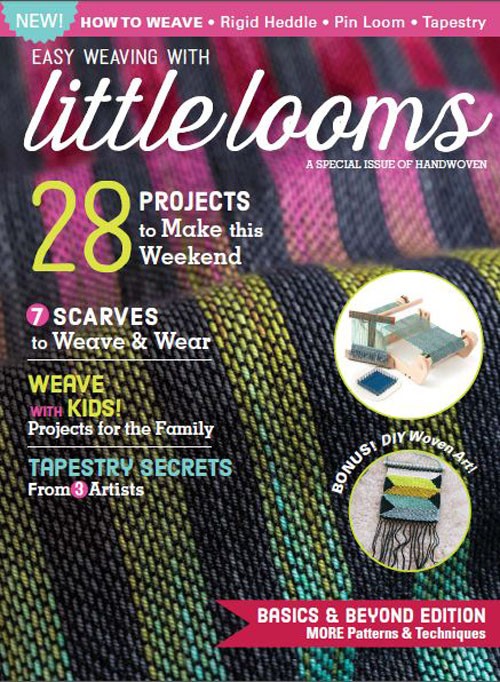
However, the weaving project I’m going to share today is a much simpler way of intentionally pooling color. My project was inspired by recent Little Looms Magazine by Interweave Press.  The image on the cover of the magazine is actually a close-up of the scarf I decided to make.

SPSUM16

After looking at the other photos of the scarf inside, I realized our Bamboo Pop multi colorways would be perfect for this project.

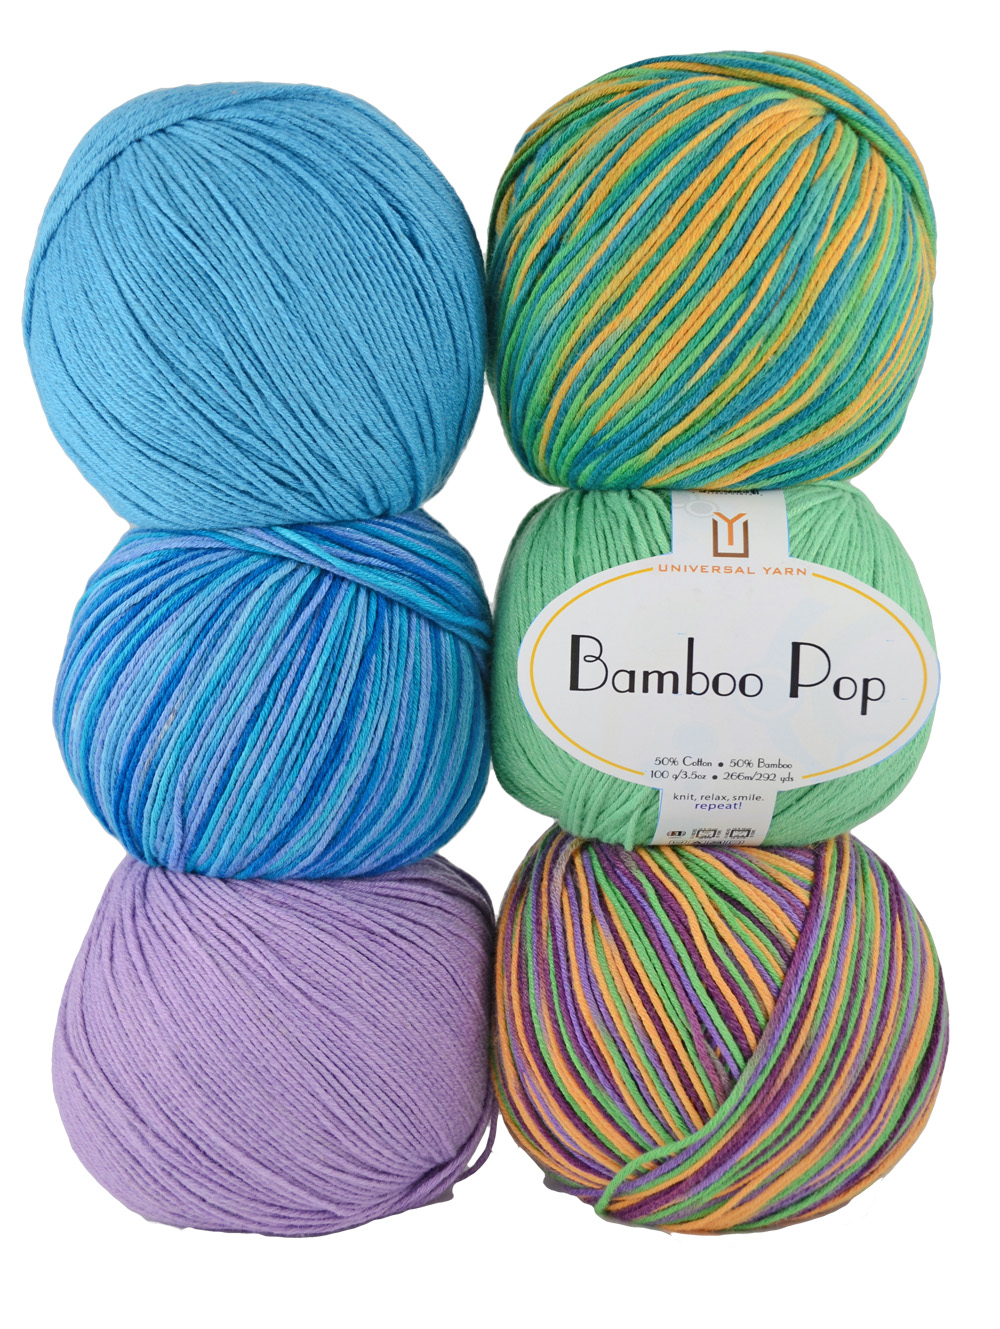
StackedBalls_smaller

For my scarf, I chose Bamboo Pop #218 Stripe (multi) and #112 Black (solid) for the warp. I’ll be weaving with Whisper Lace #111 Ebony as weft. It’s a lighter weight than Bamboo Pop, and will allow for a warp-faced weave.

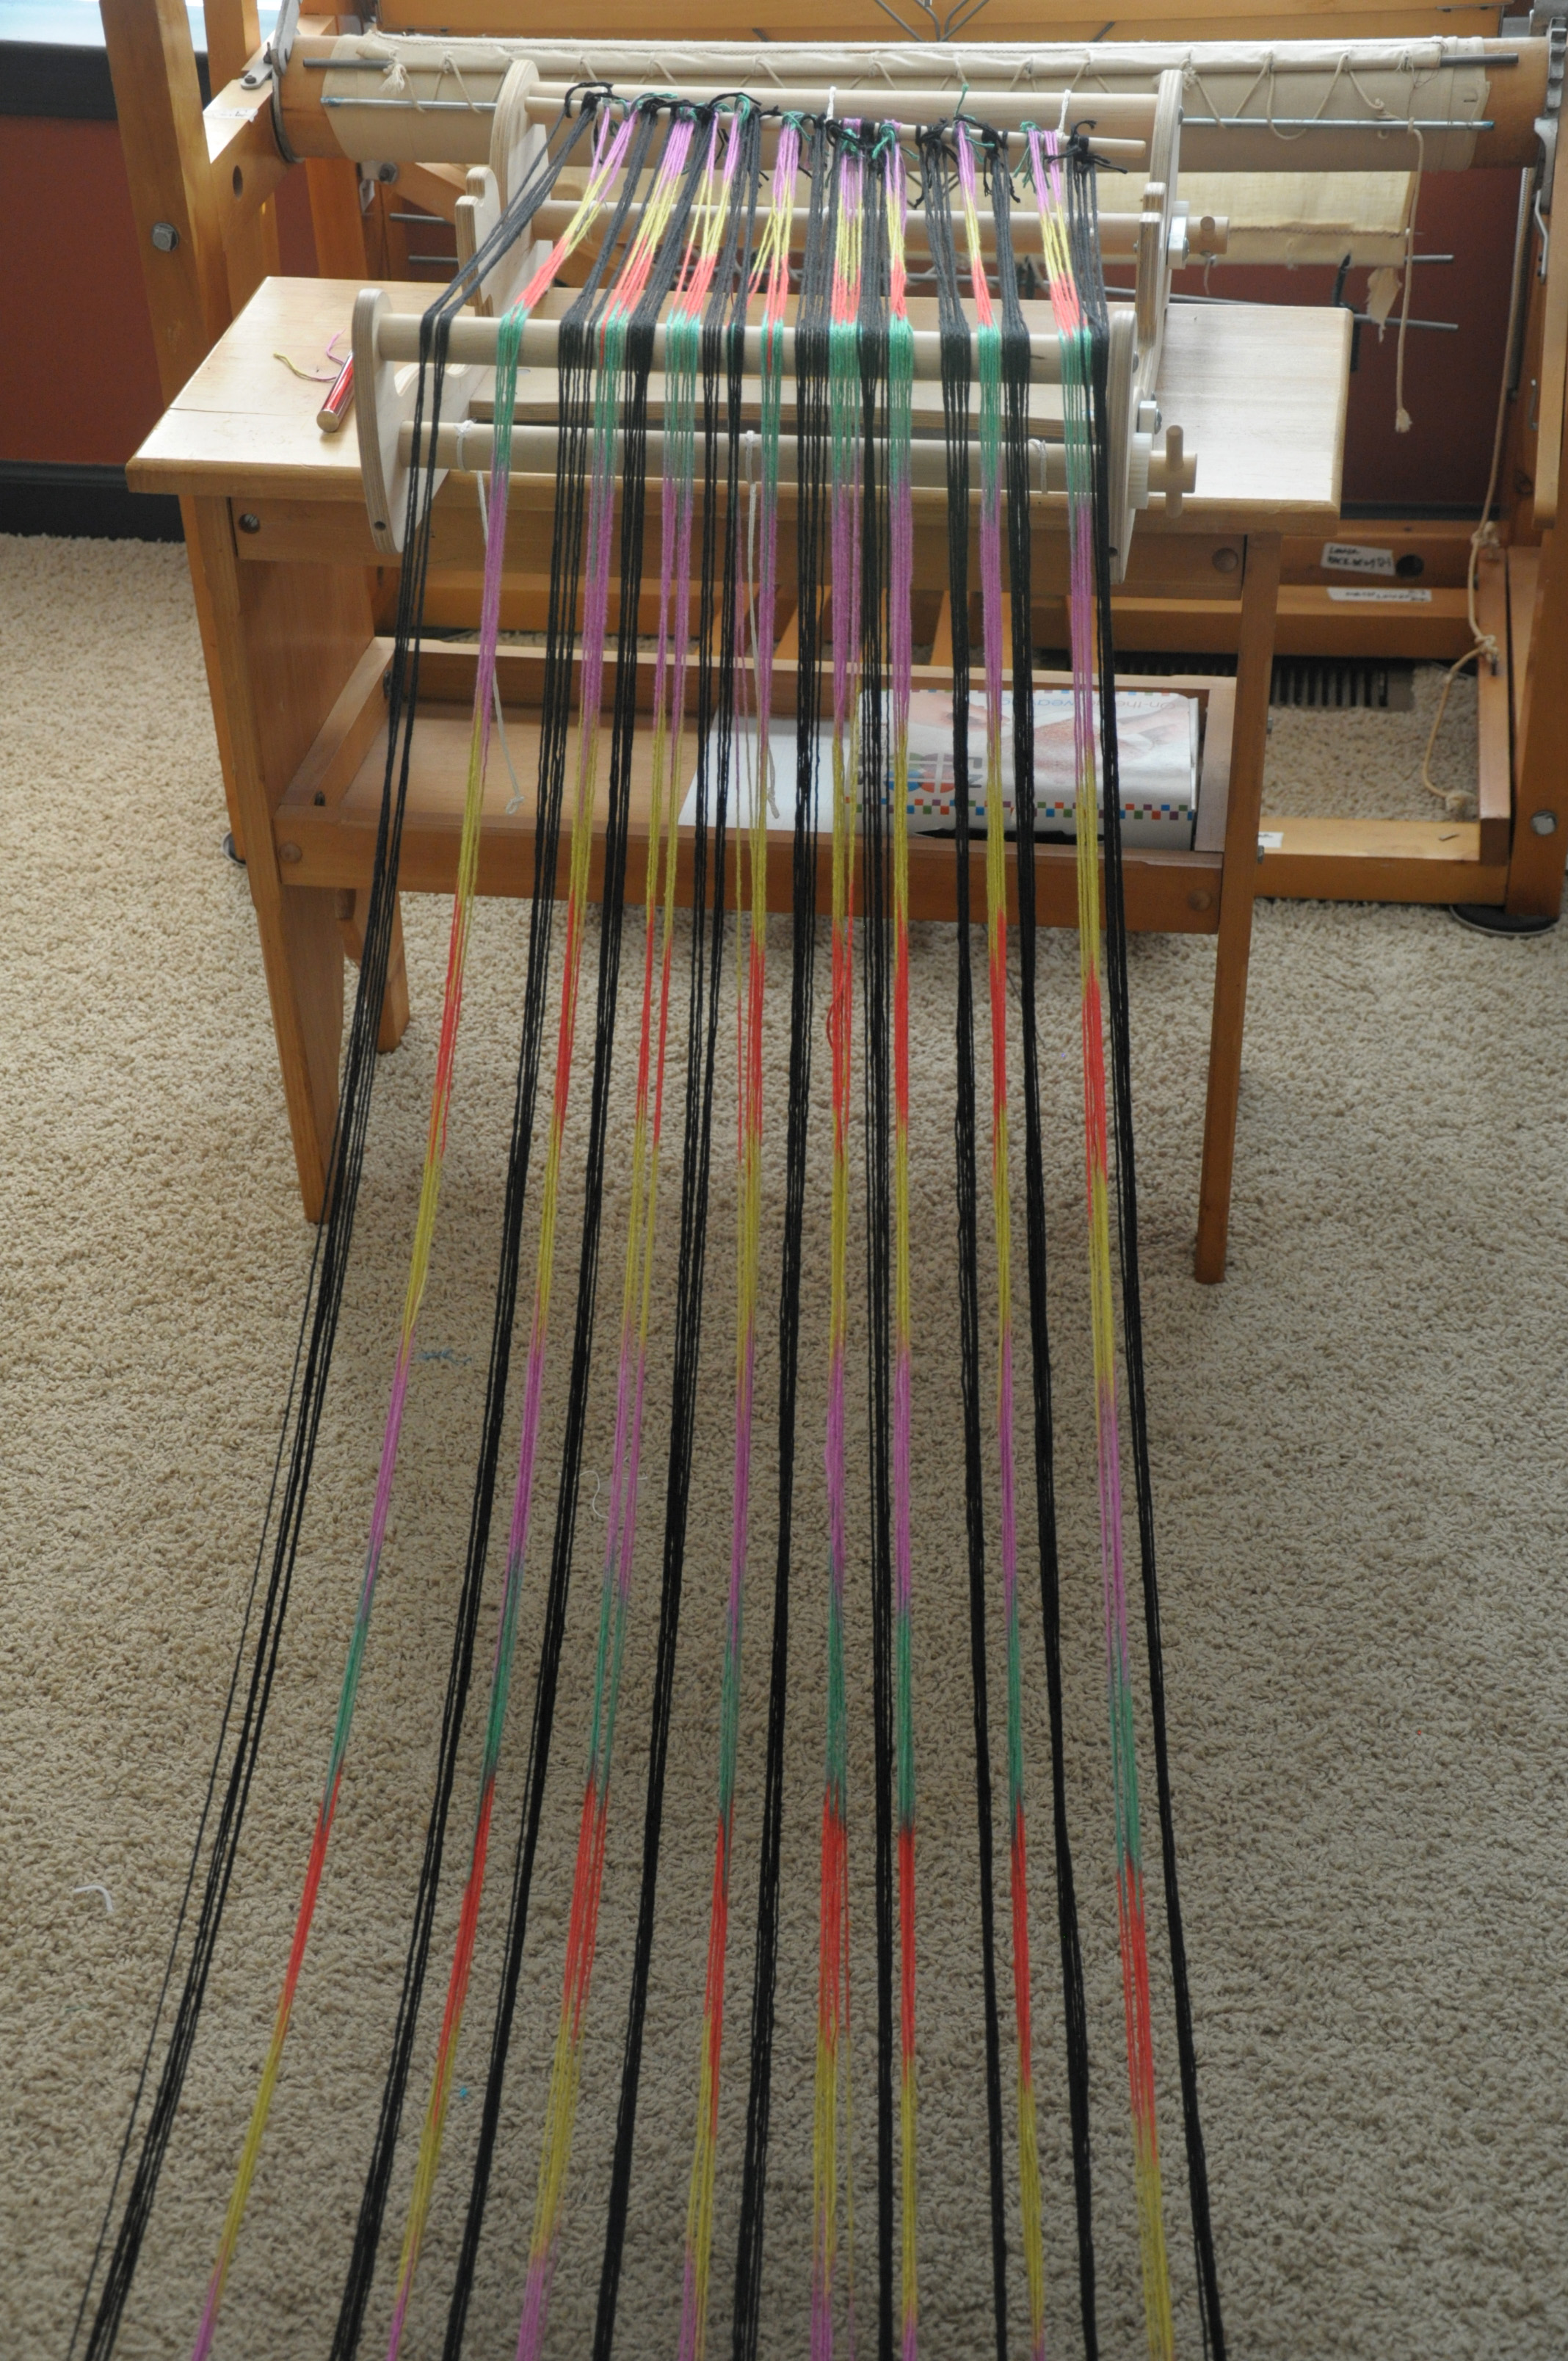
To warp, I first tried direct-warping my 16″ Cricket loom with my Bamboo Pop multi sections. The secret to this scarf is all about finding the point at which the color sections in the multi yarn repeat. I discovered that 110″ was my ideal point to wrap around the warping peg. The color repeated back on itself at that length (and also did at shorter lengths, but I like a long scarf and want to plan for fringe). But I found that it was very difficult to keep my color sections lined up with this warping method.

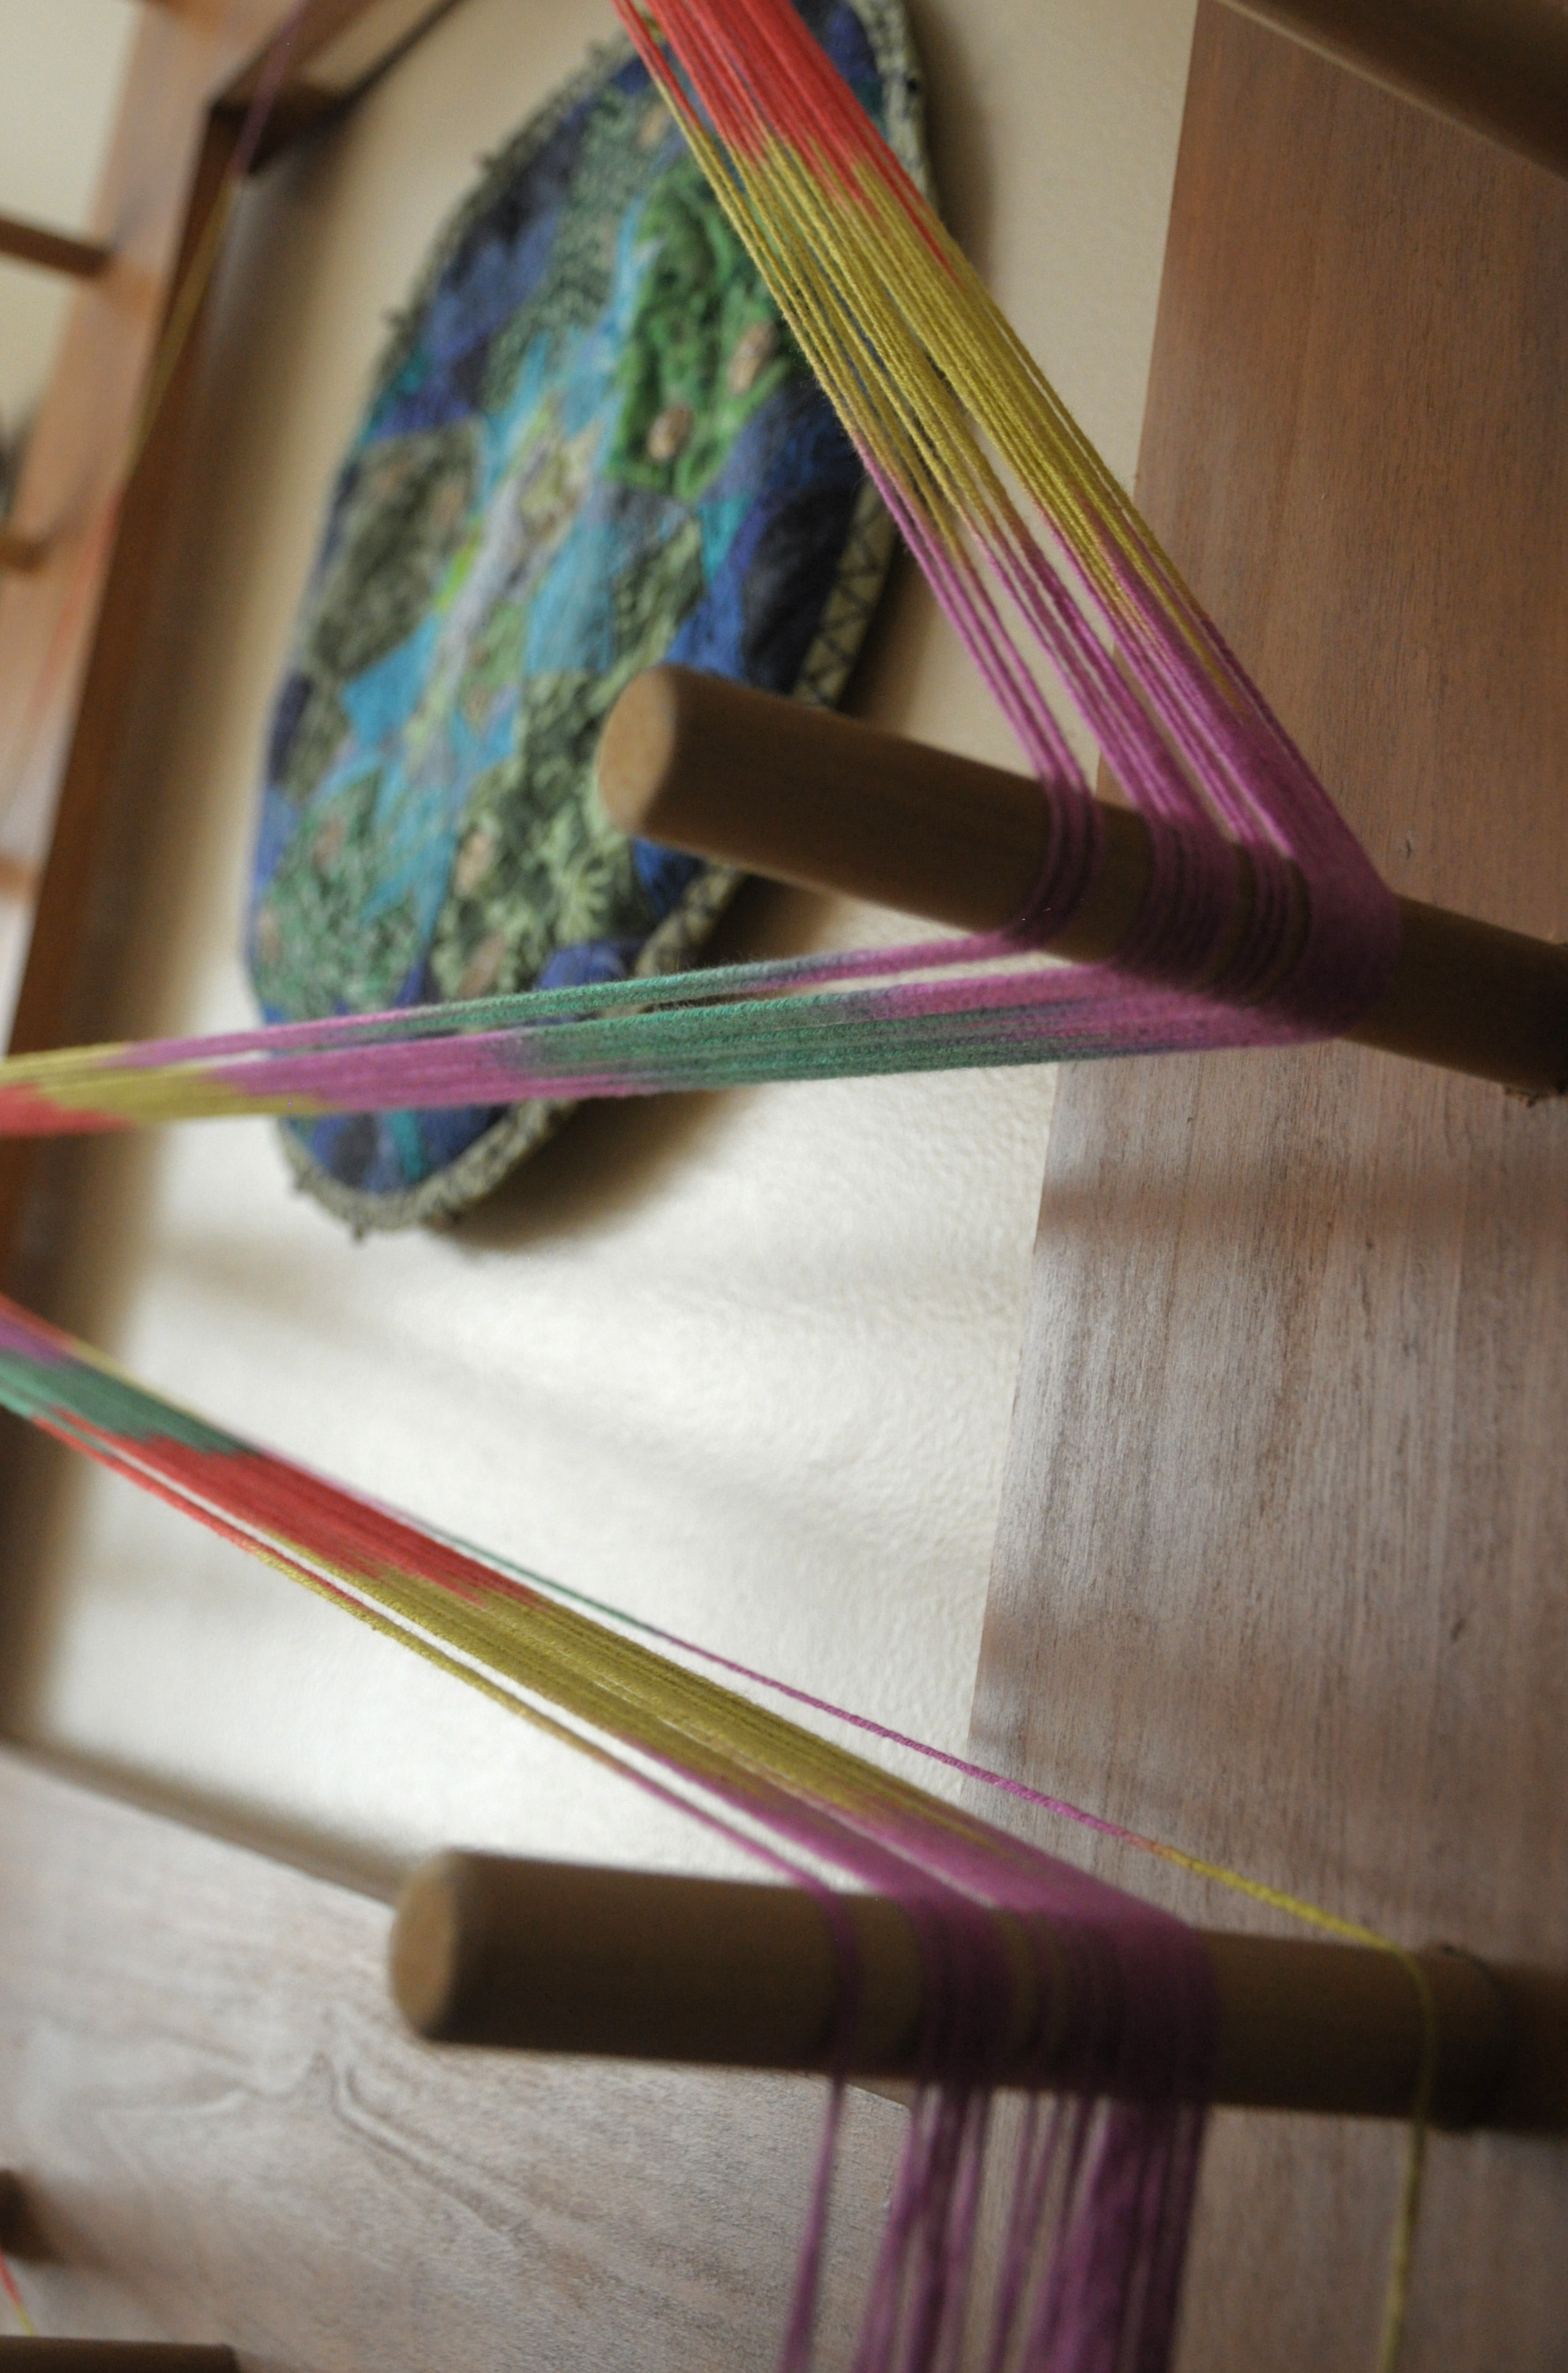
Plan B: use a warping board. I happen to have a warping board that I made several years ago. You can make smaller versions of this, or you can buy them. Or you can simply use two warping pegs clamped a certain distance apart. But the nice thing about a warping board is that it allows you to wind a long warp over a short distance, by wrapping the yarn back and forth between the pegs.

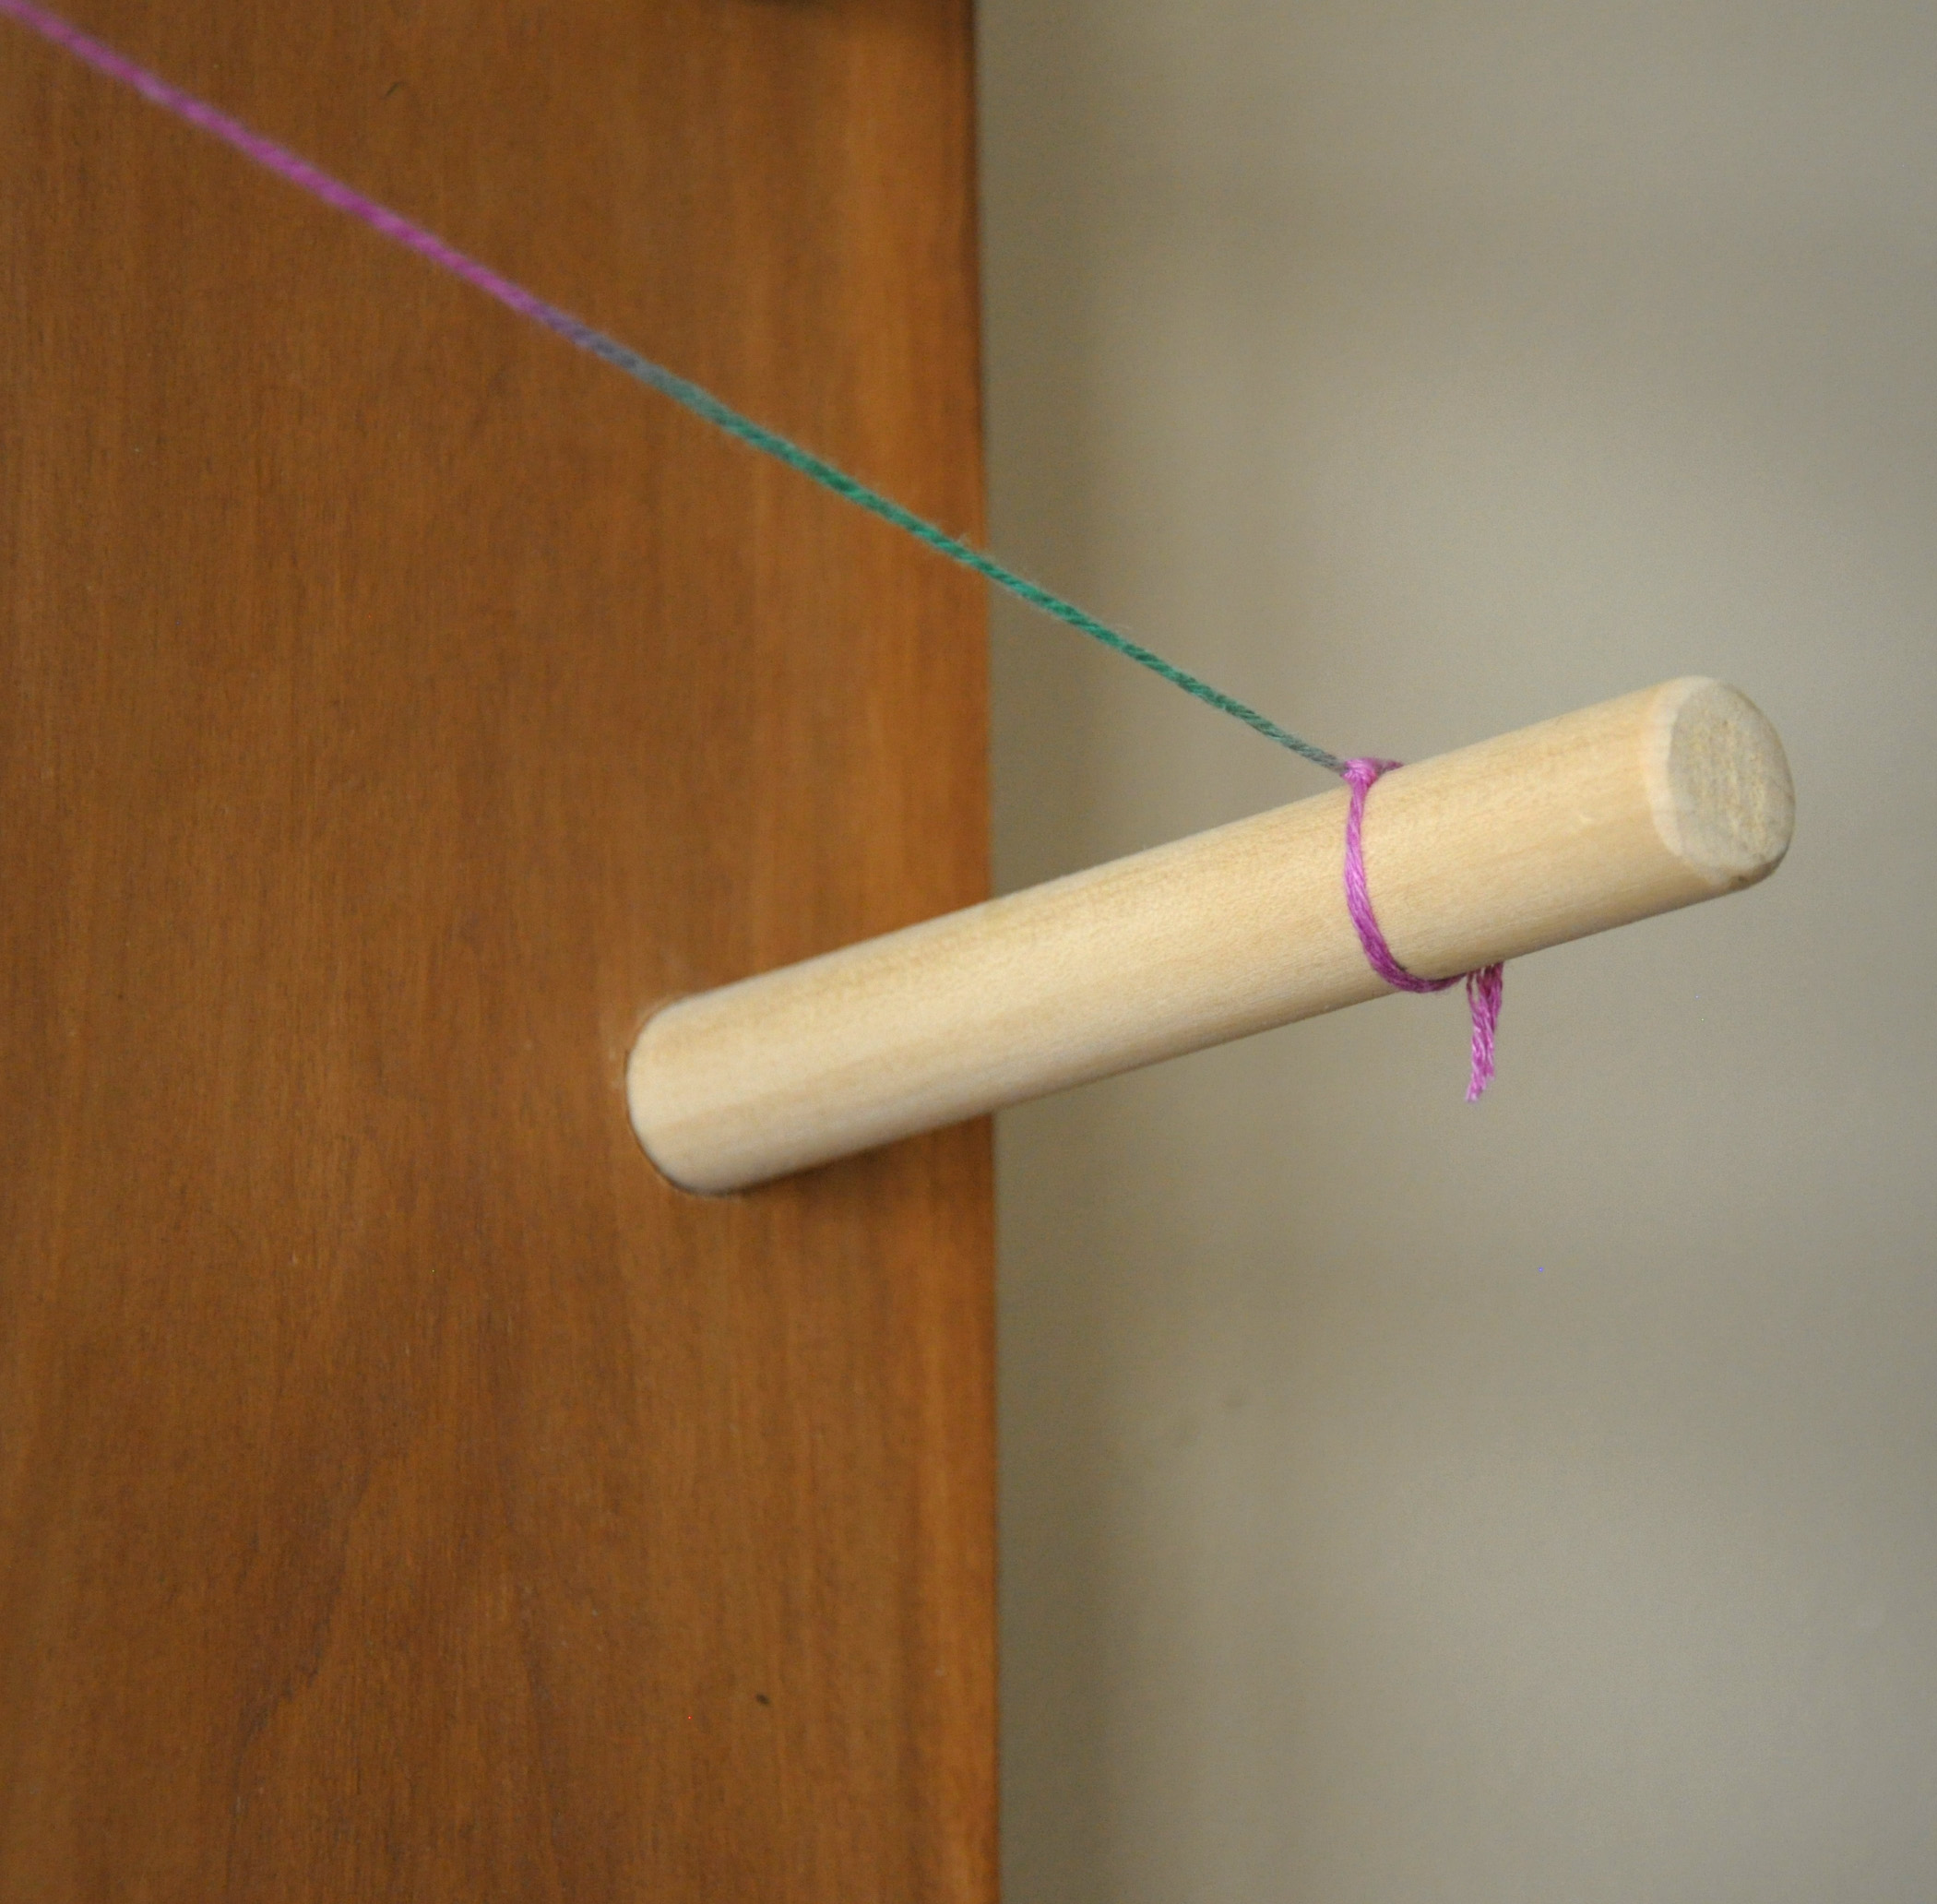
In this particular project, it was super helpful to have all those pegs. It allowed me to find the perfect distance in which my colors repeated. To begin, I first tied a guide string.

ColorPool_2

ColorPool_1

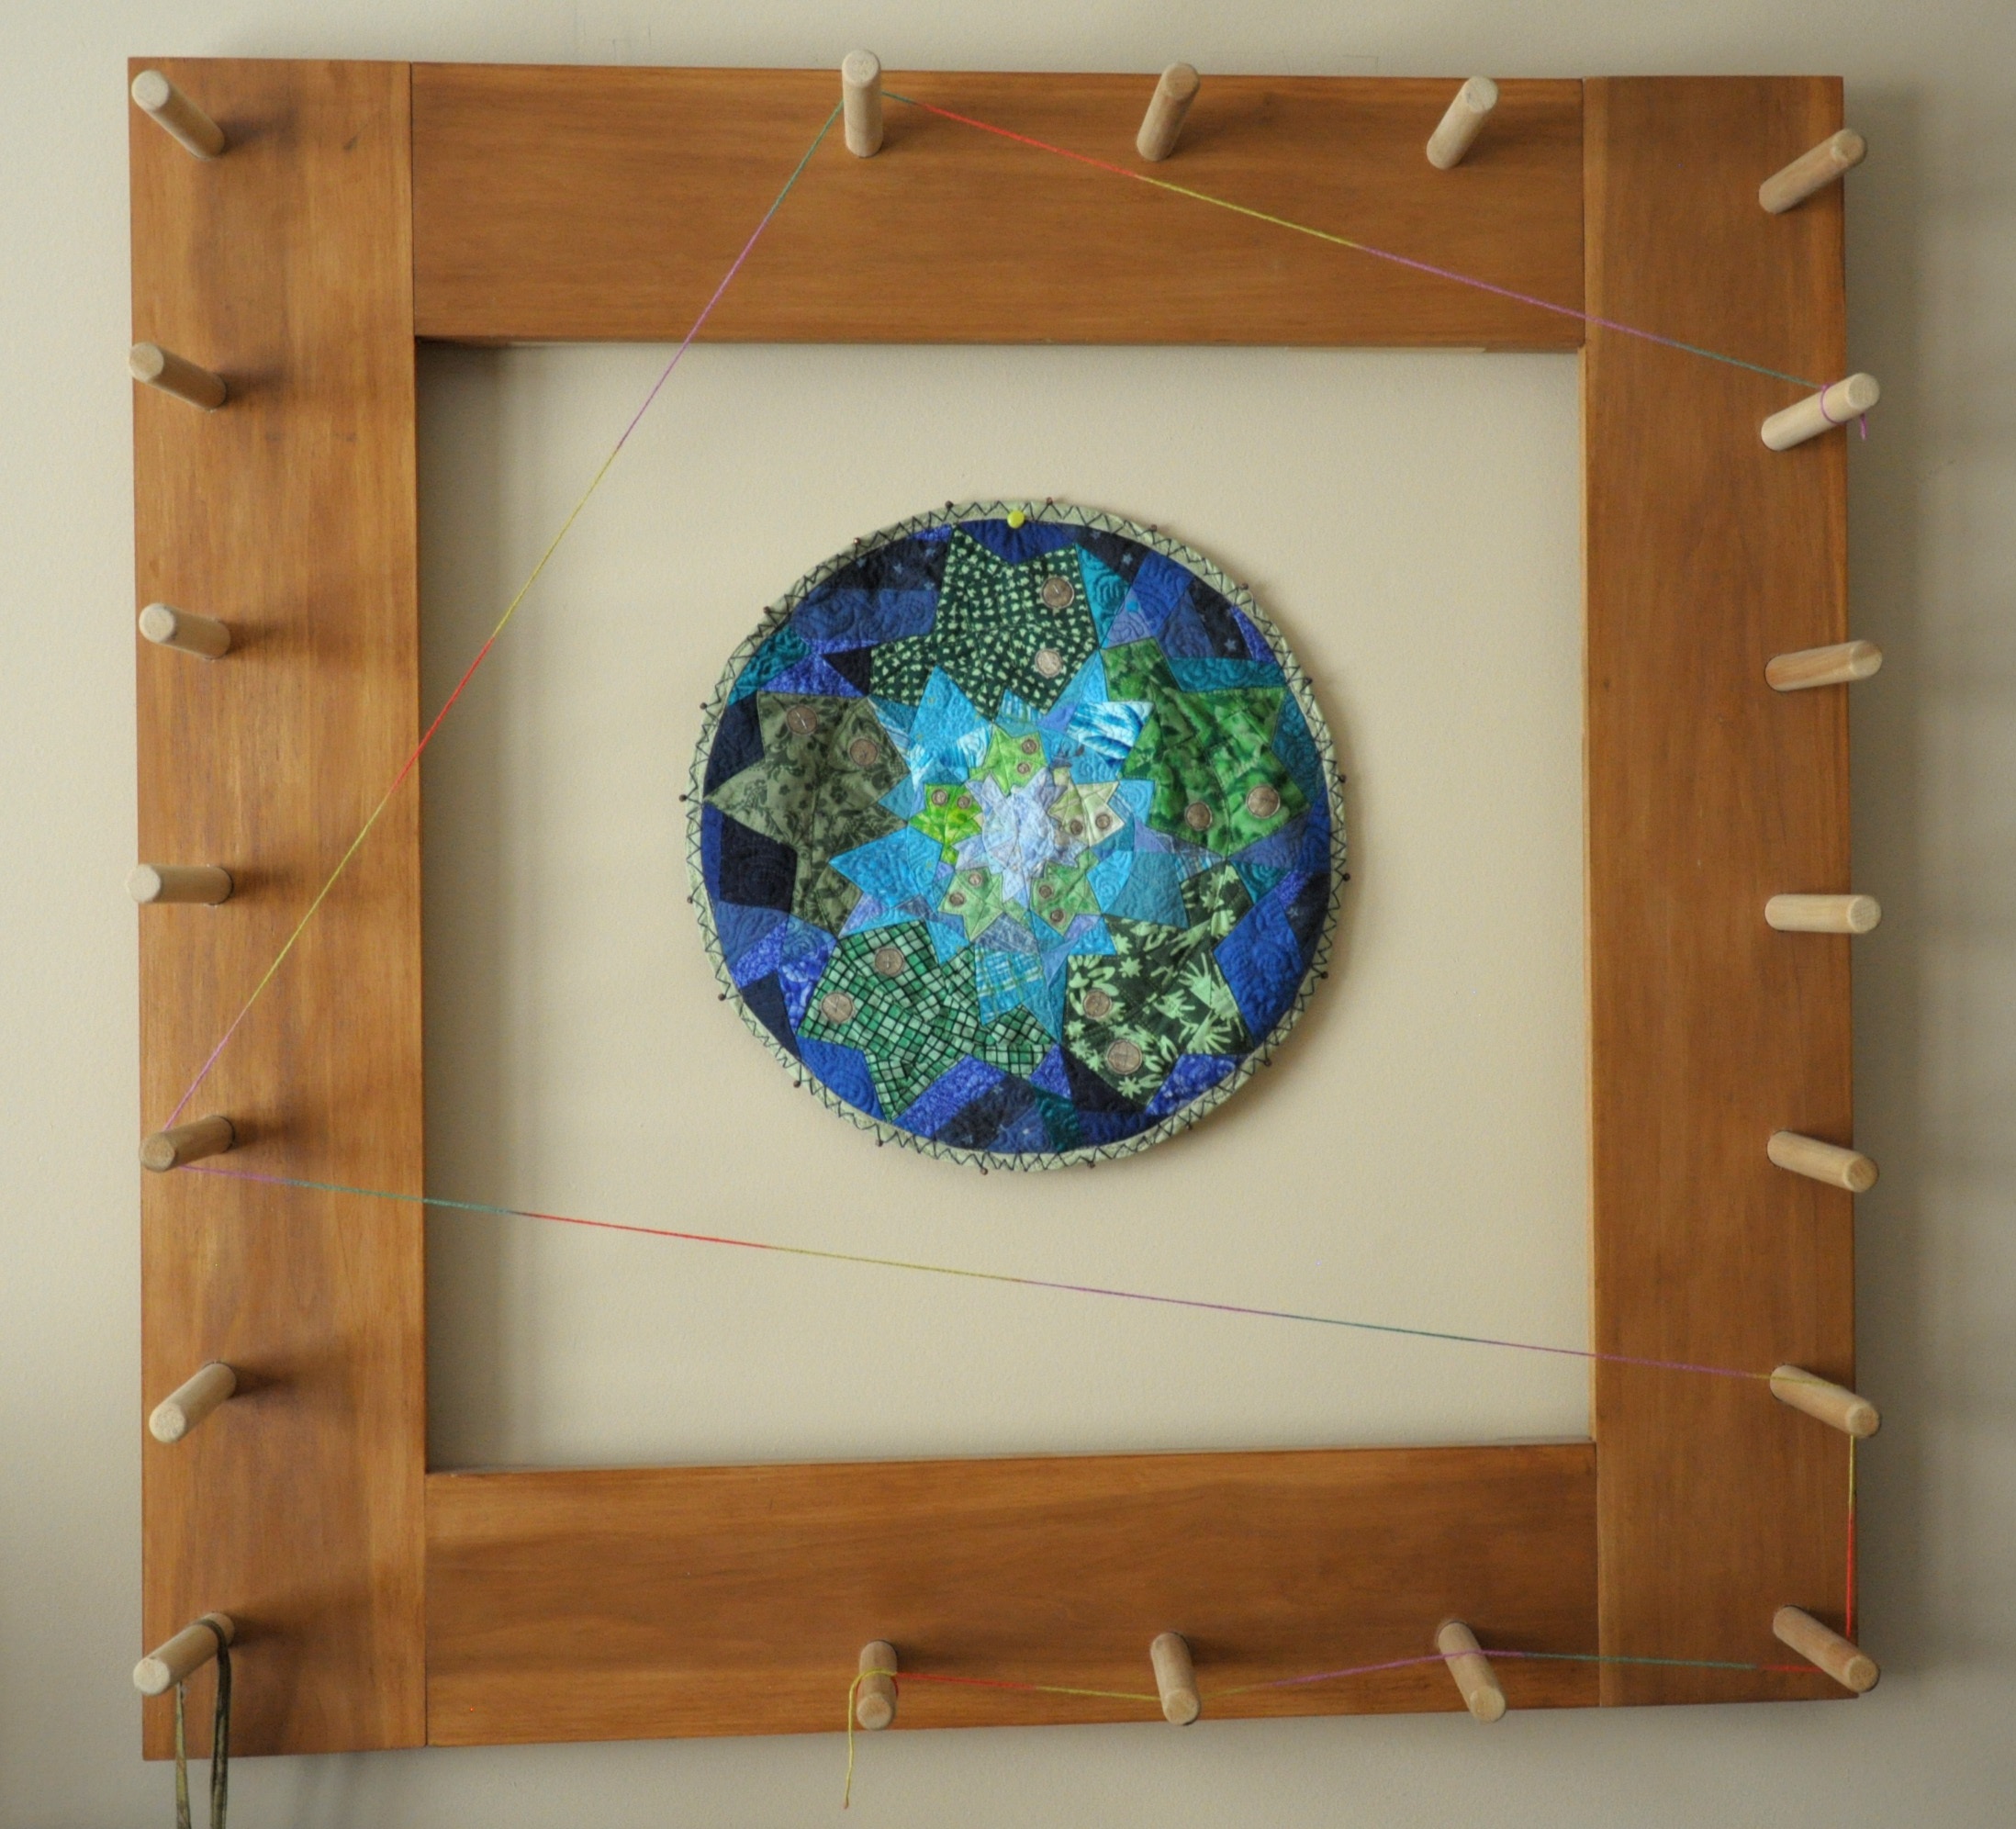
Then I wrapped along and around my pegs until I found my perfect distance. Then I tied the other end to the last peg. A guide string is just that – a guide that the warp will follow as you’re wrapping it around the warping board.

ColorPool_3

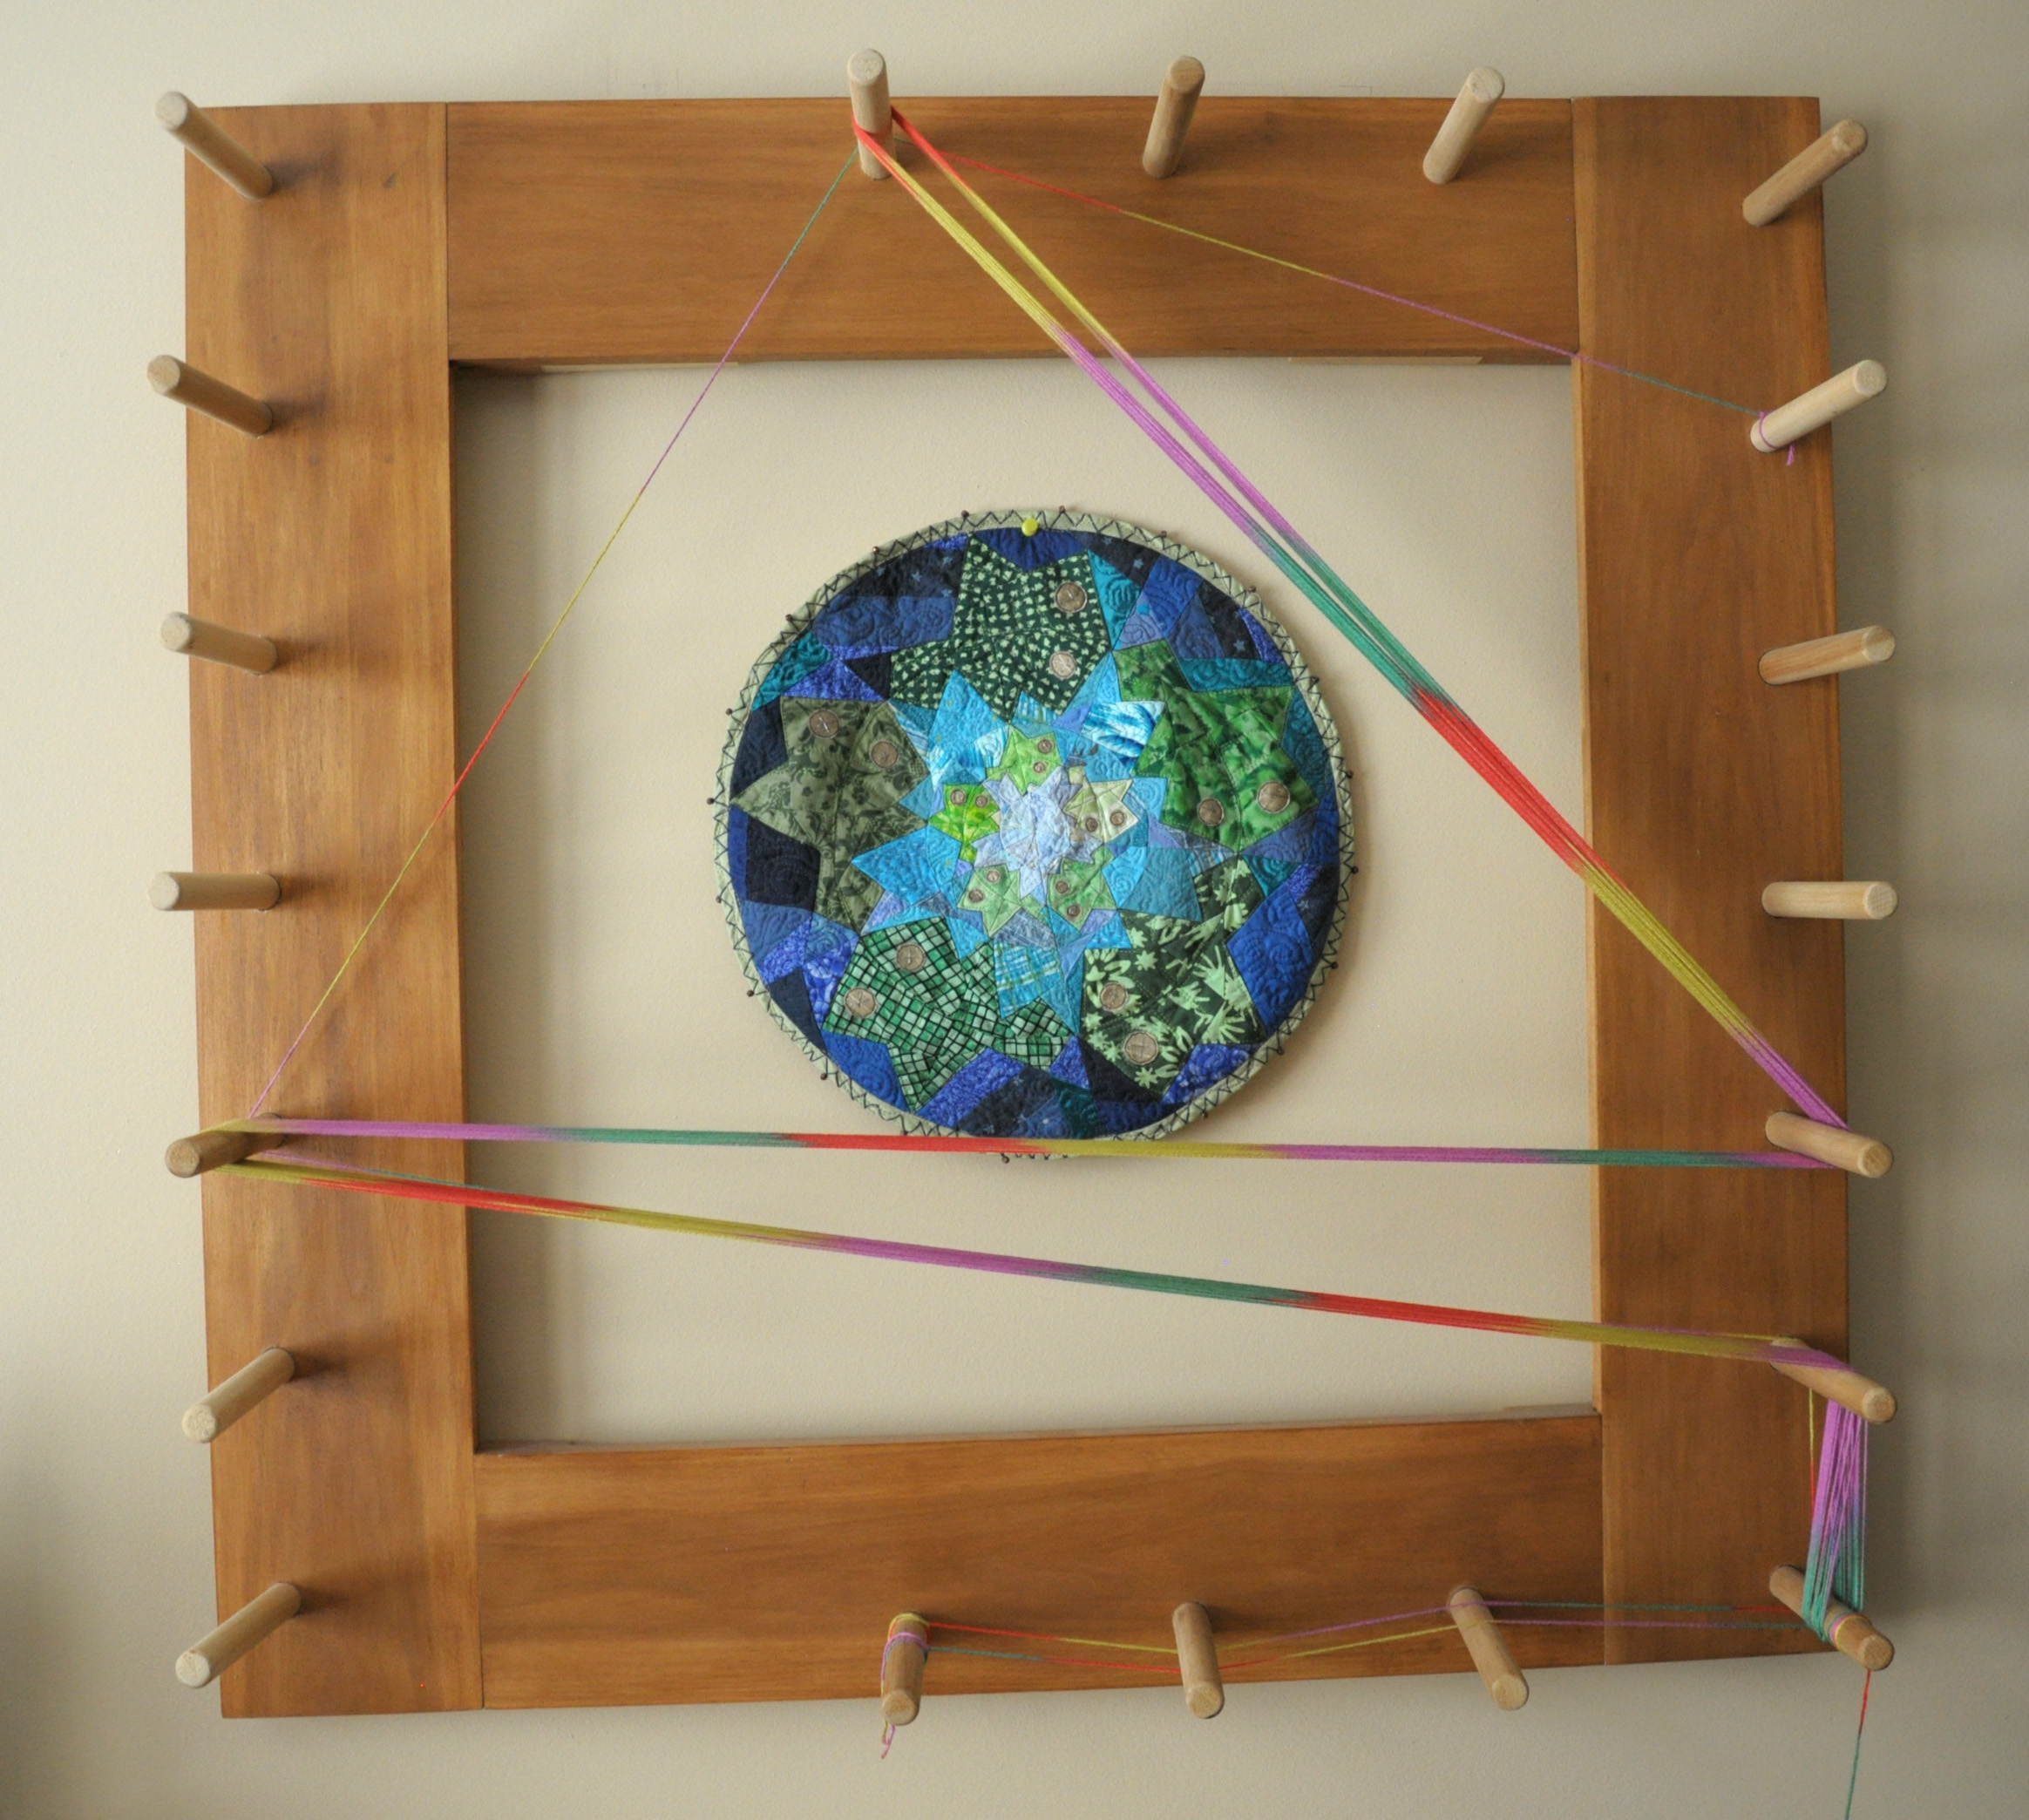
But, as you’ll see, I ended up having to adjust my path because the colors were not quite lining up.

ColorPool_4

I took about a million pictures of this warp – it was so pretty!

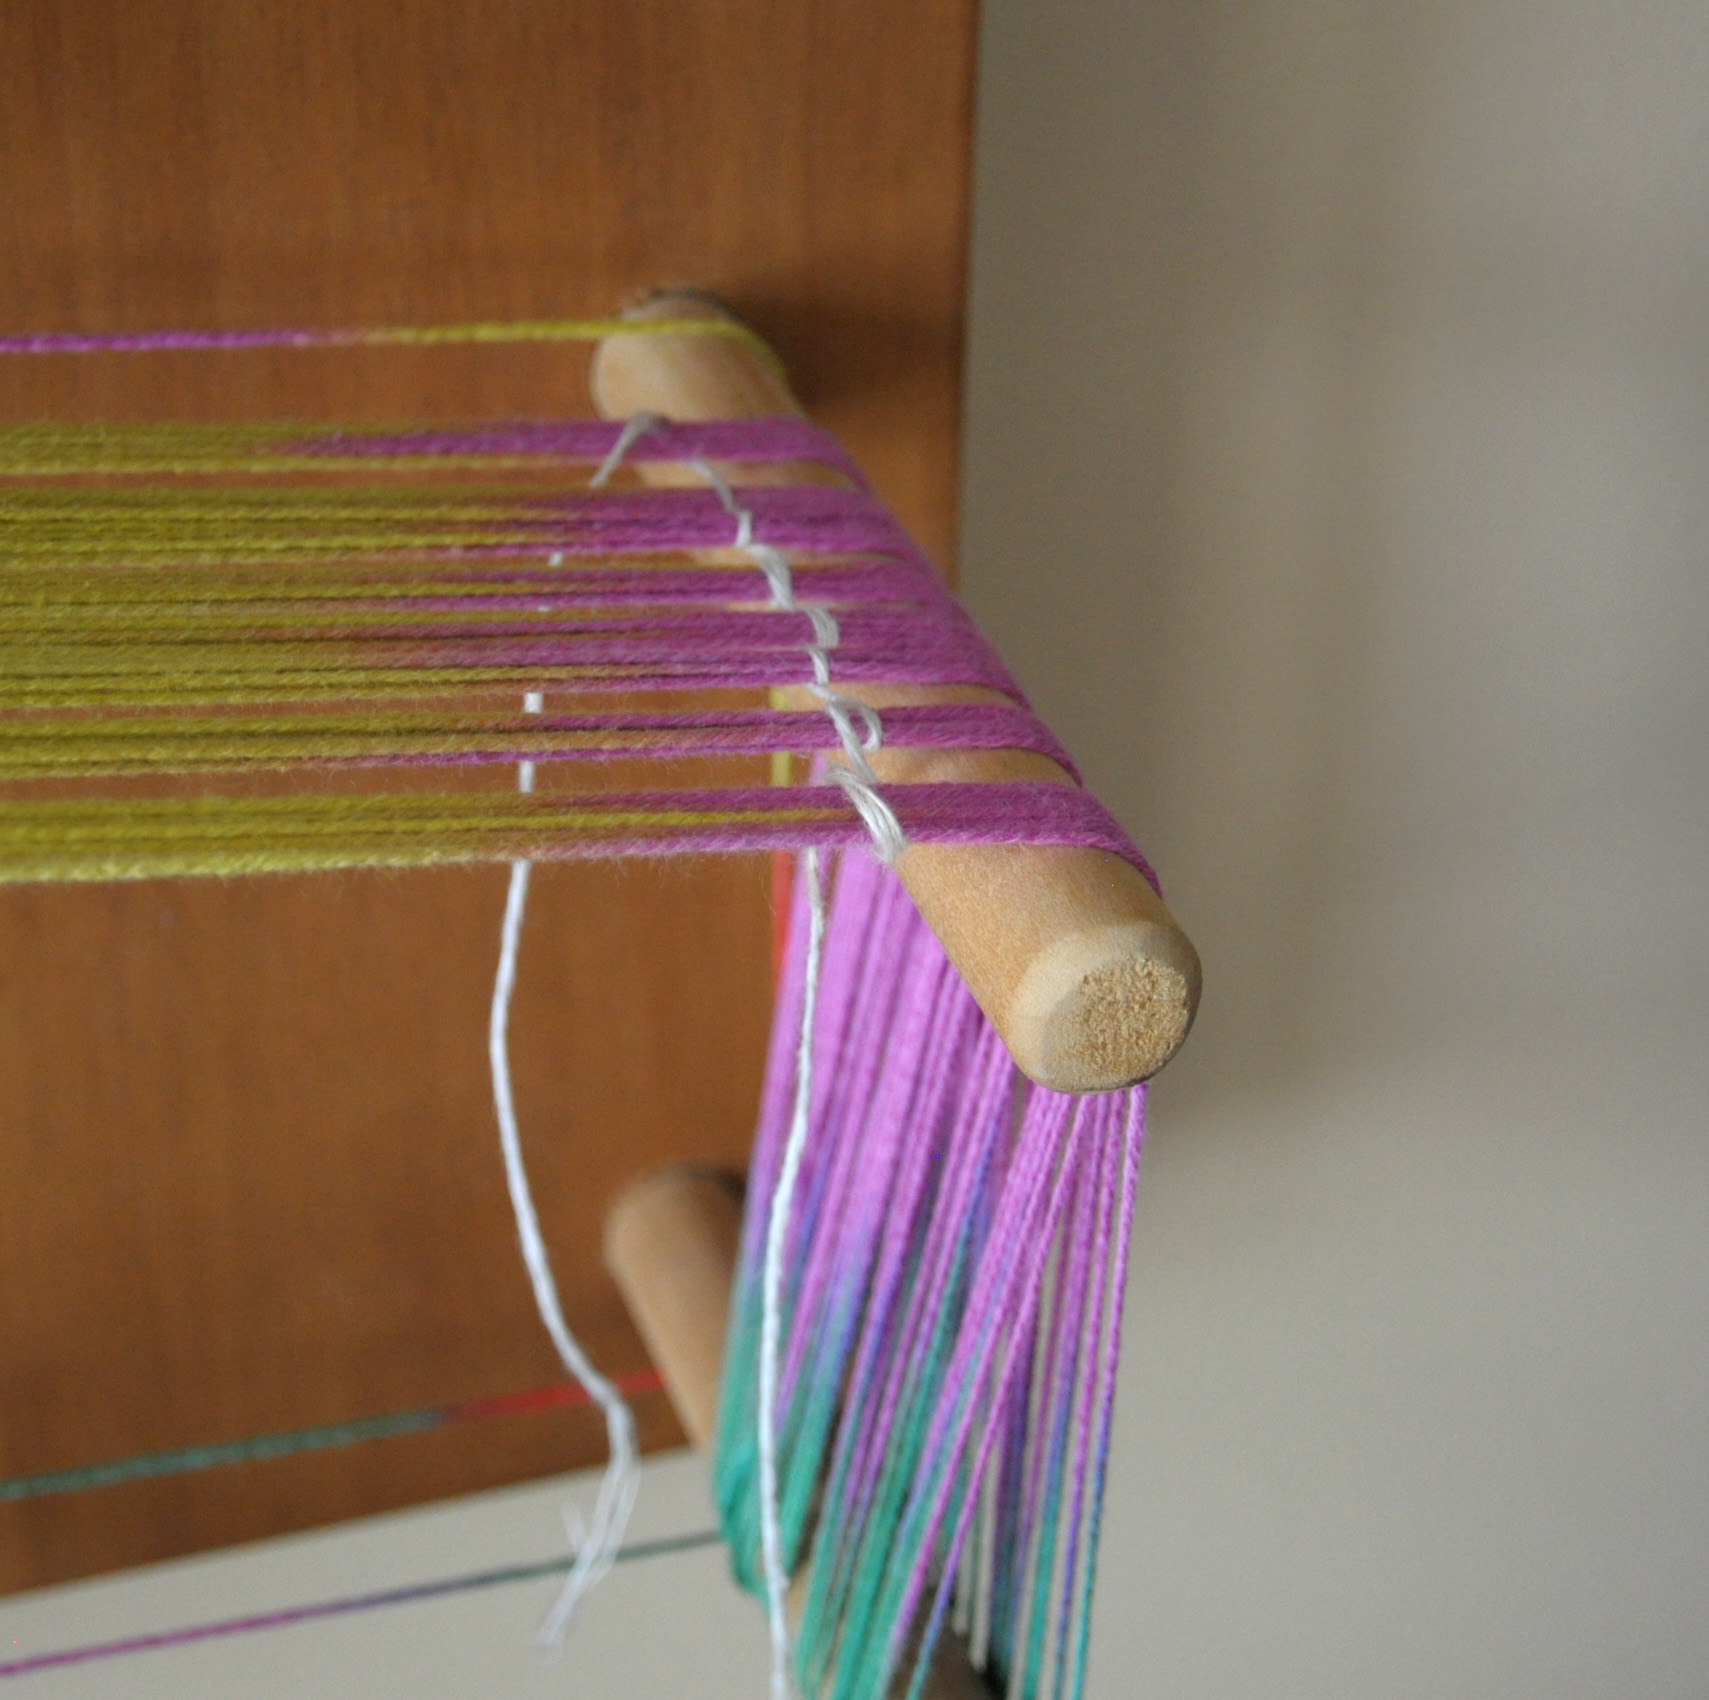
When direct-warping to the rigid heddle, it’s easy enough to count my warp ends. But when using a warping board, I like to use a string to help. I knew that I was going to have 8 stripes of my multi, at 8 ends each. So I just wrapped my contrasting yarn around the warp every 8 ends.

ColorPool_5

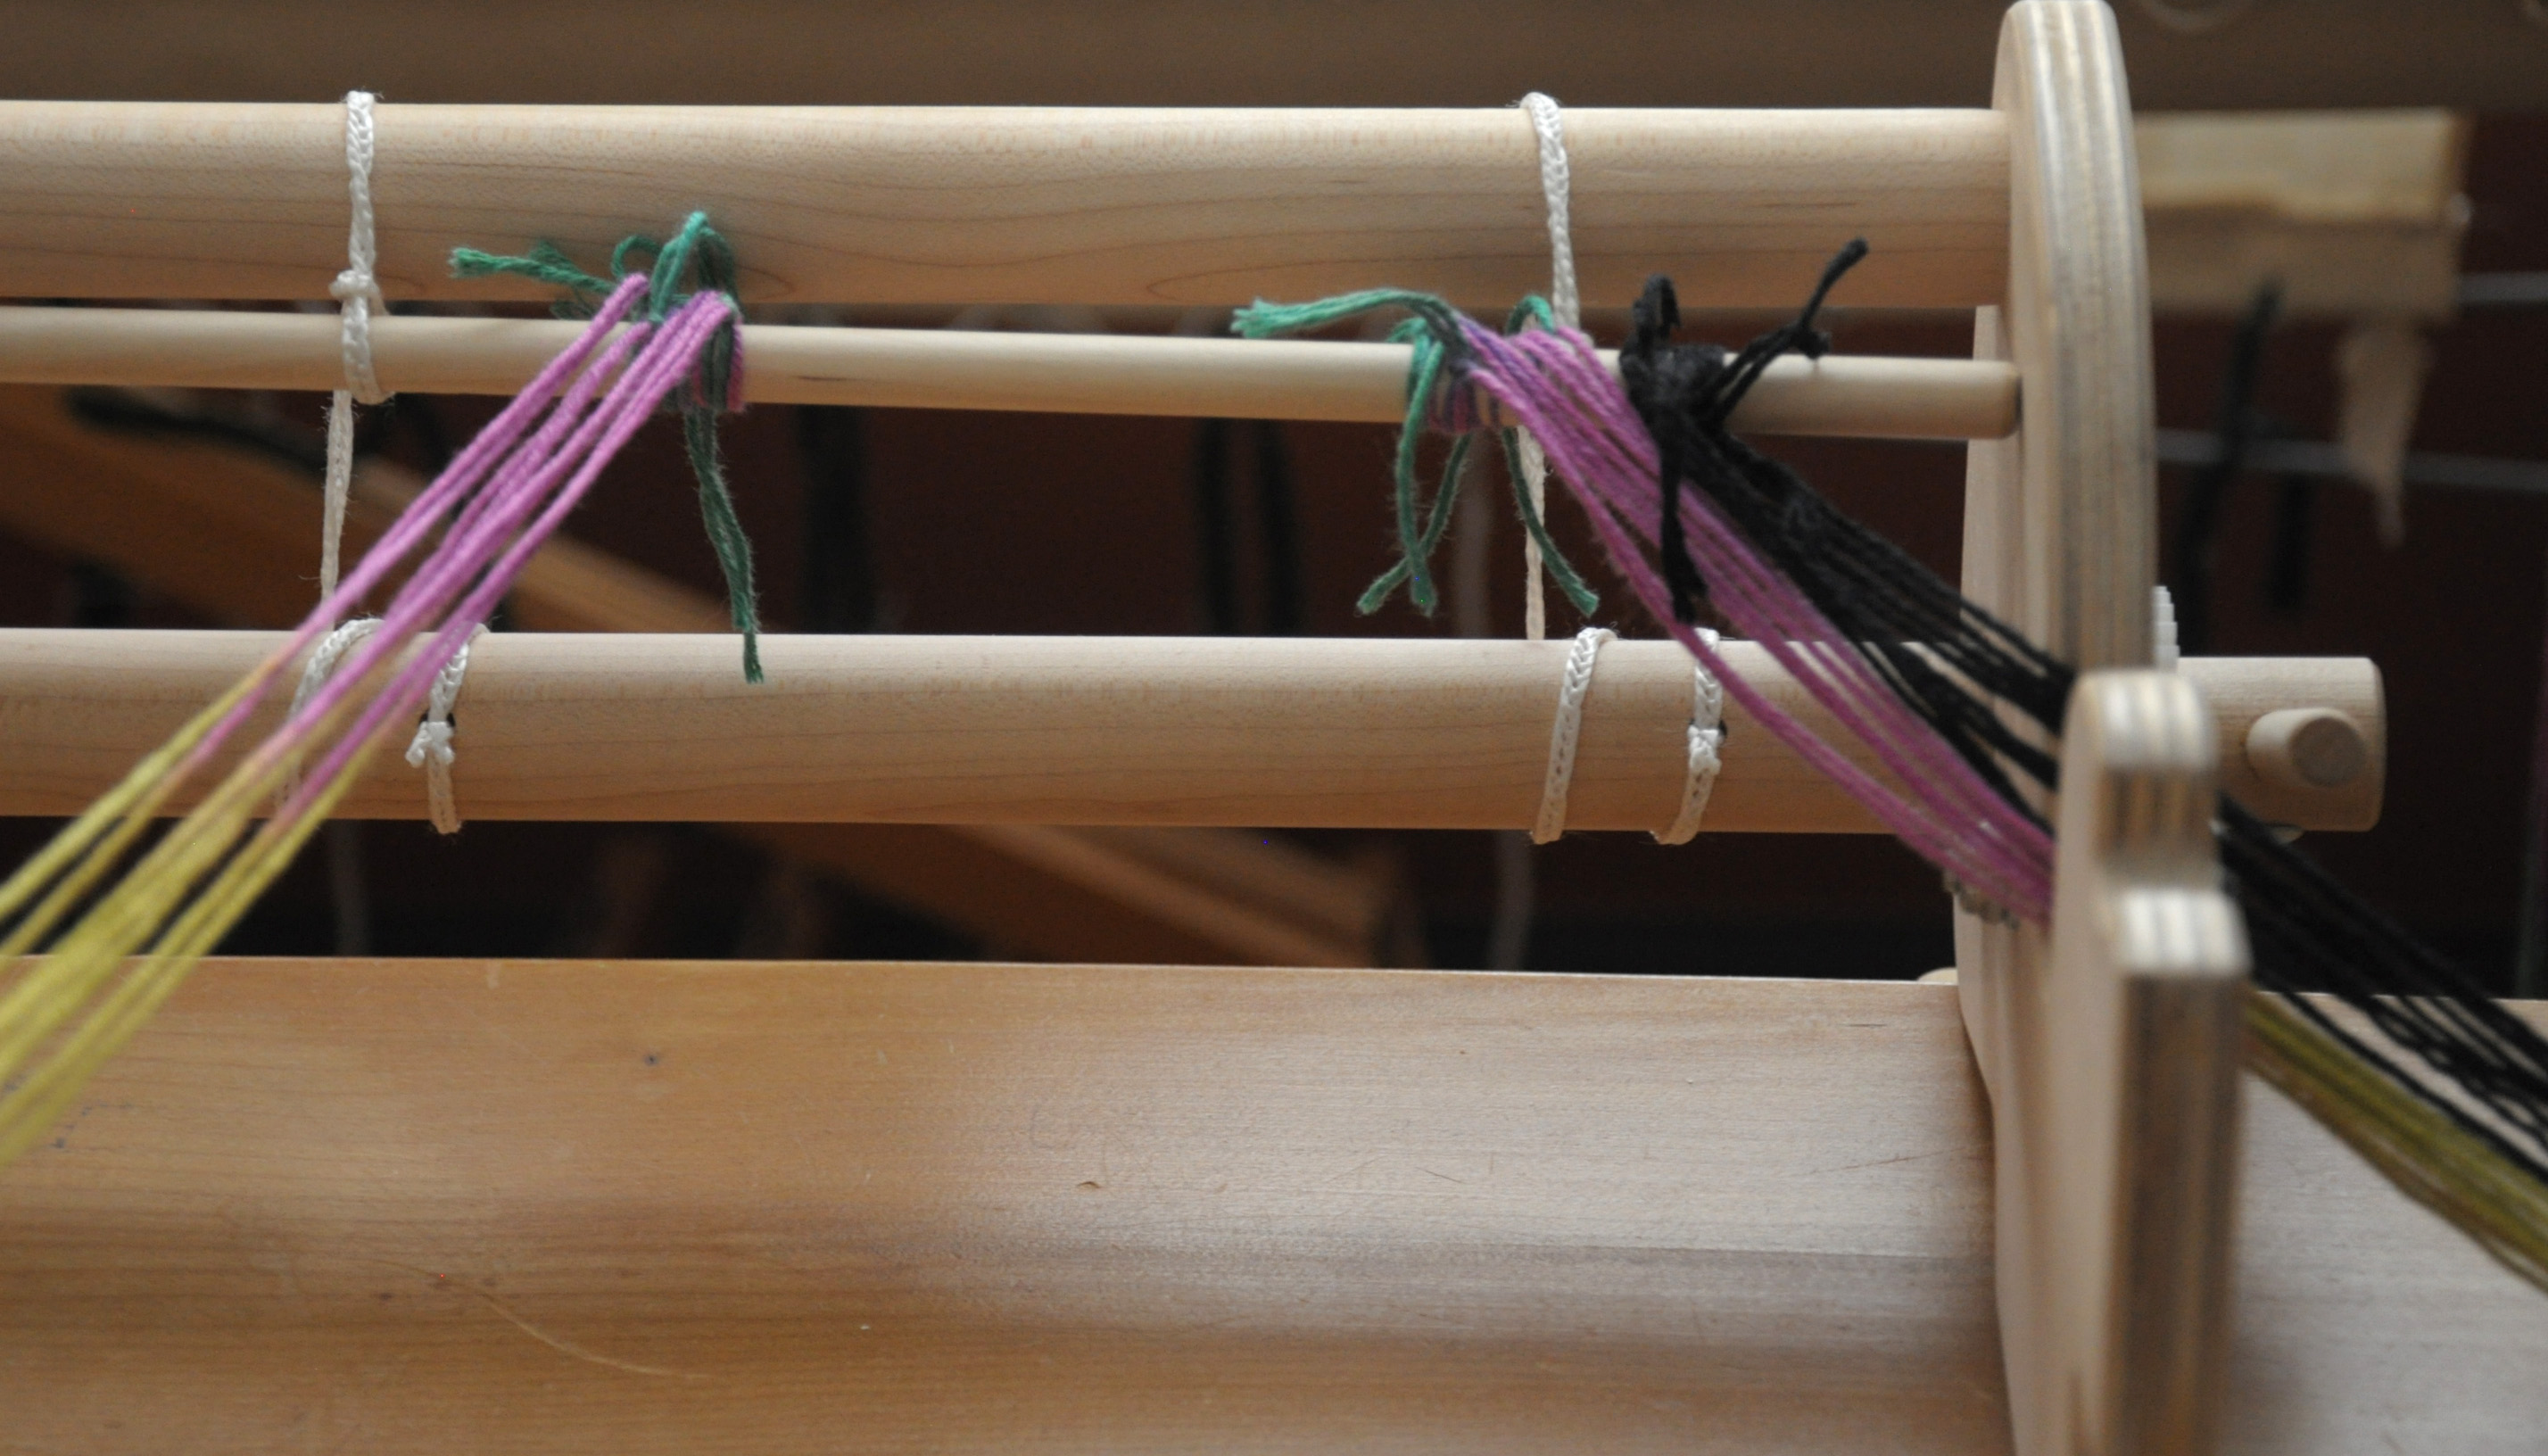
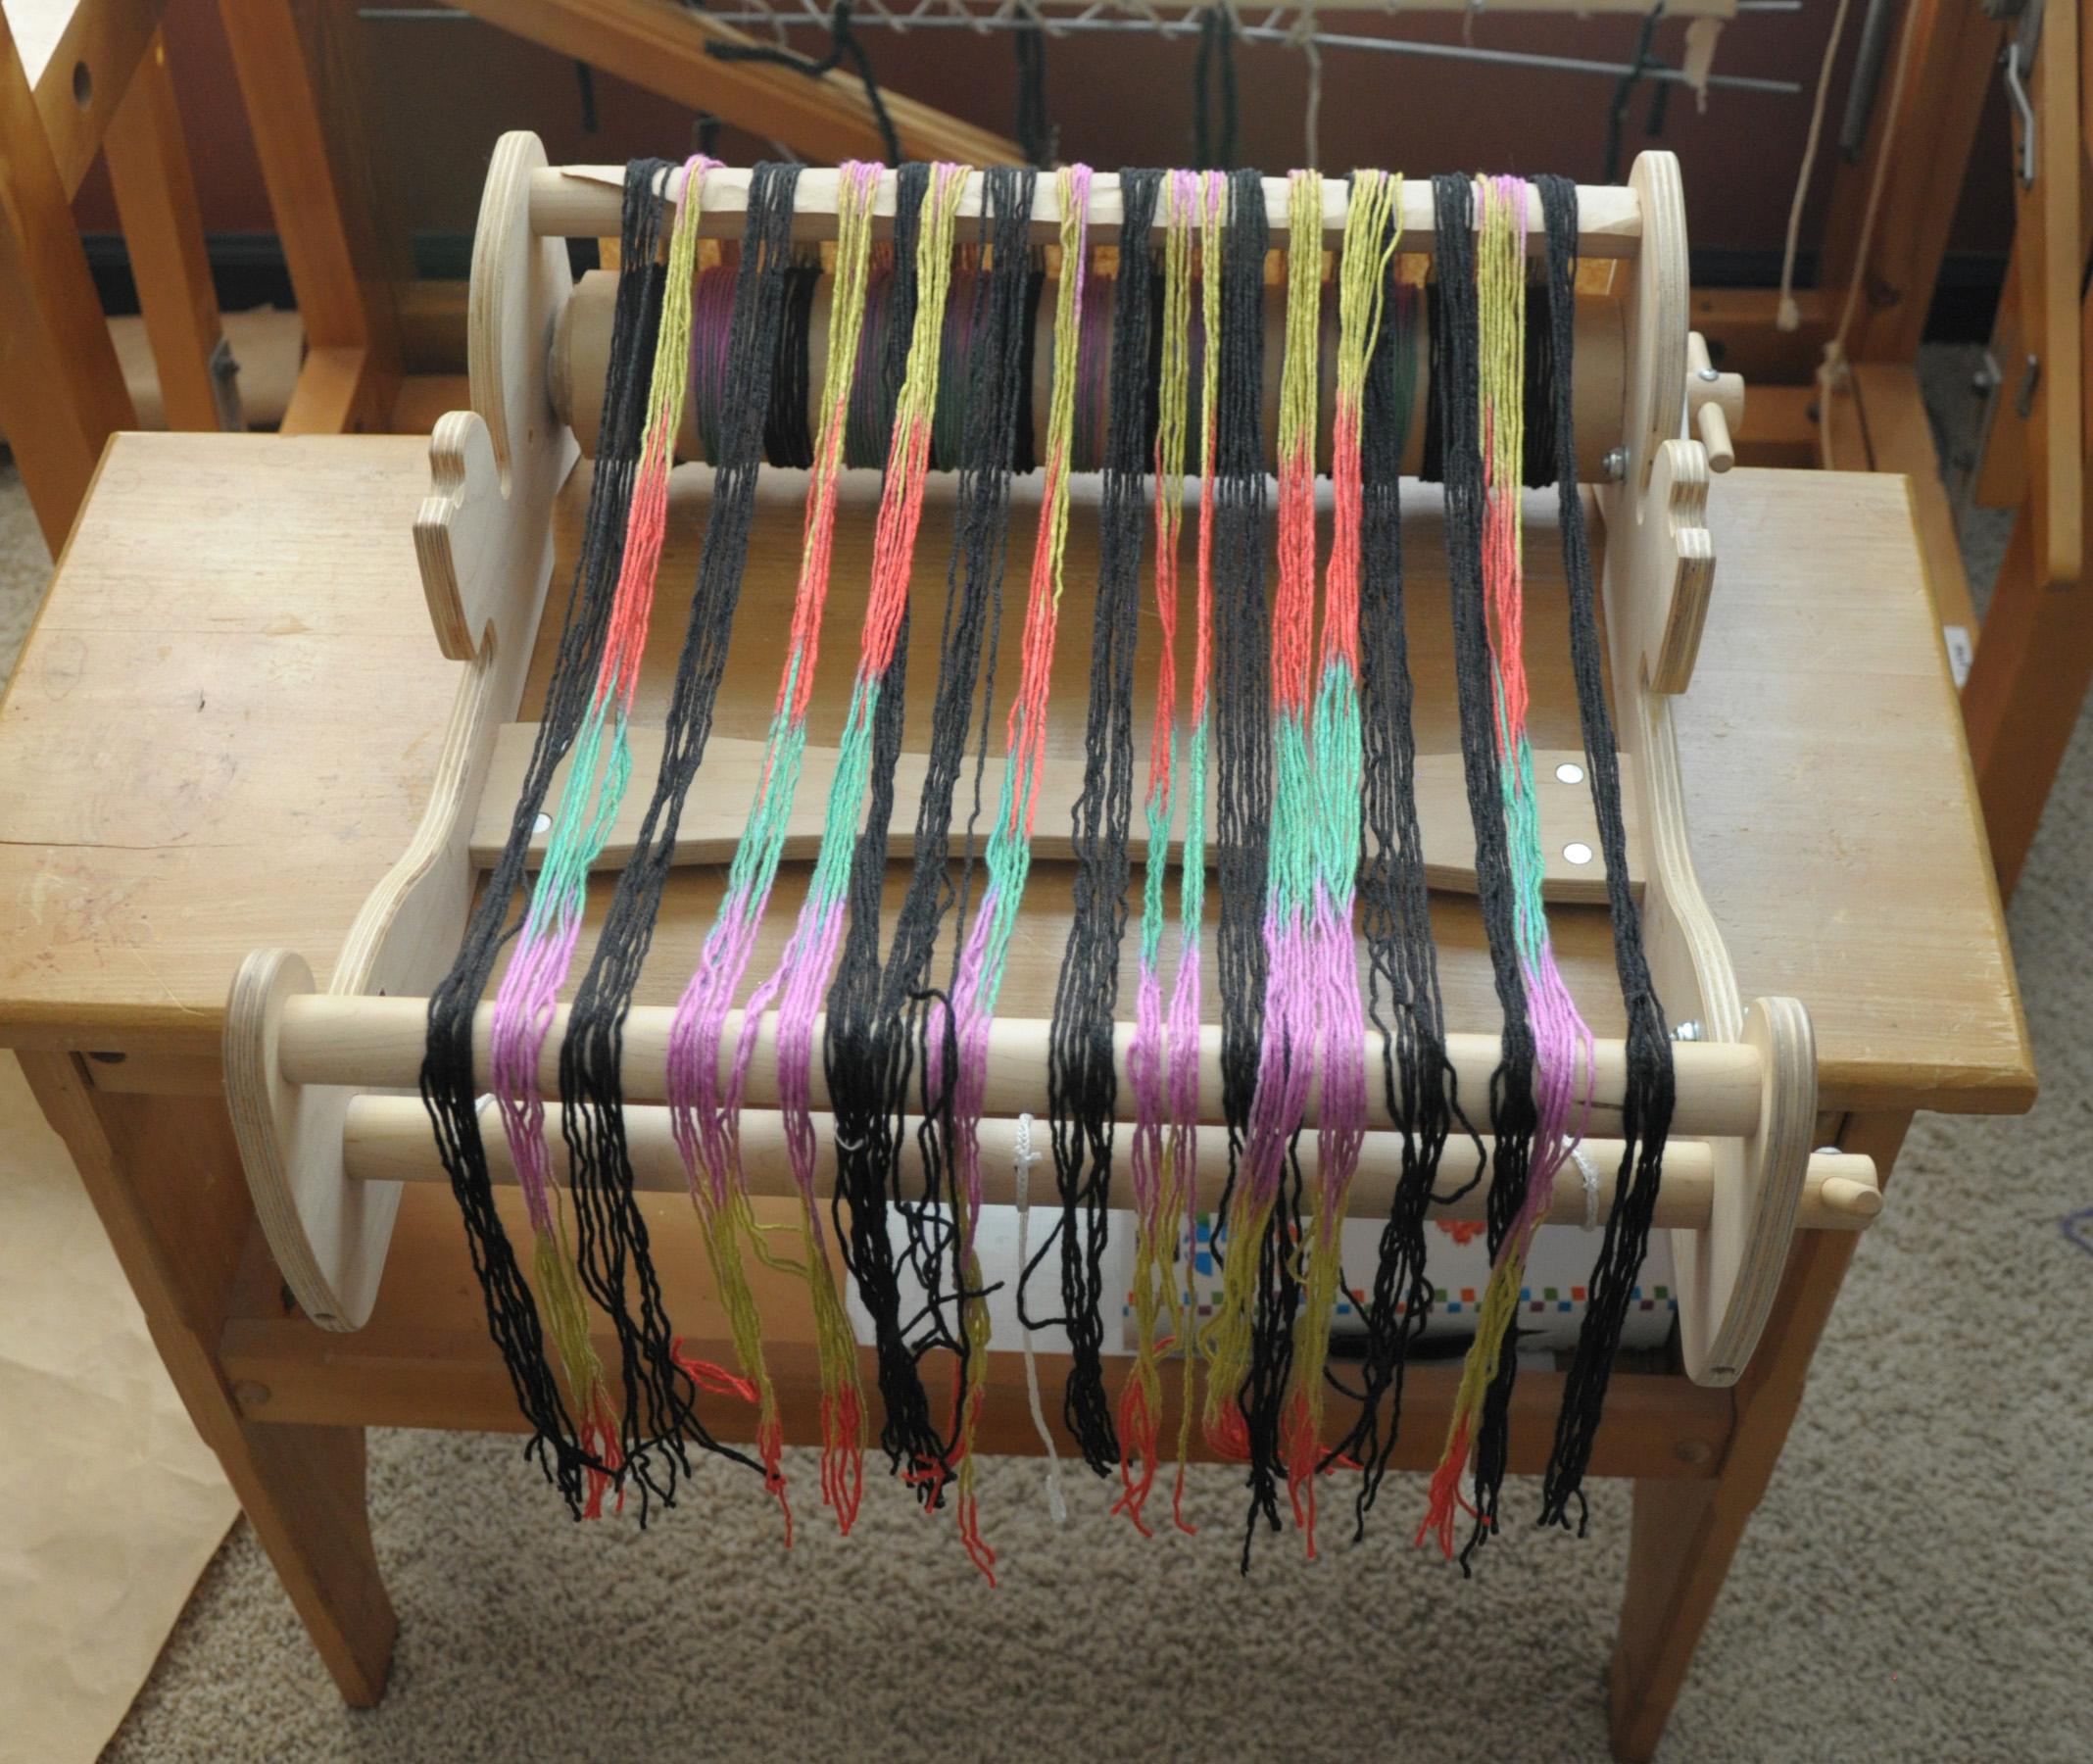
After warping my 9 stripes-worth of black, I was all ready to tie-on. In retrospect, I could/should have only cut one end of my warp. If I had done that, I could have simply looped one end around my back dowel, rather than having to tie all the ends on. It’s been awhile since I used a warping board!

ColorPool_6

After tying all the ends on, I made sure they were even and ready to be wound on.

ColorPool_7

ColorPool_8

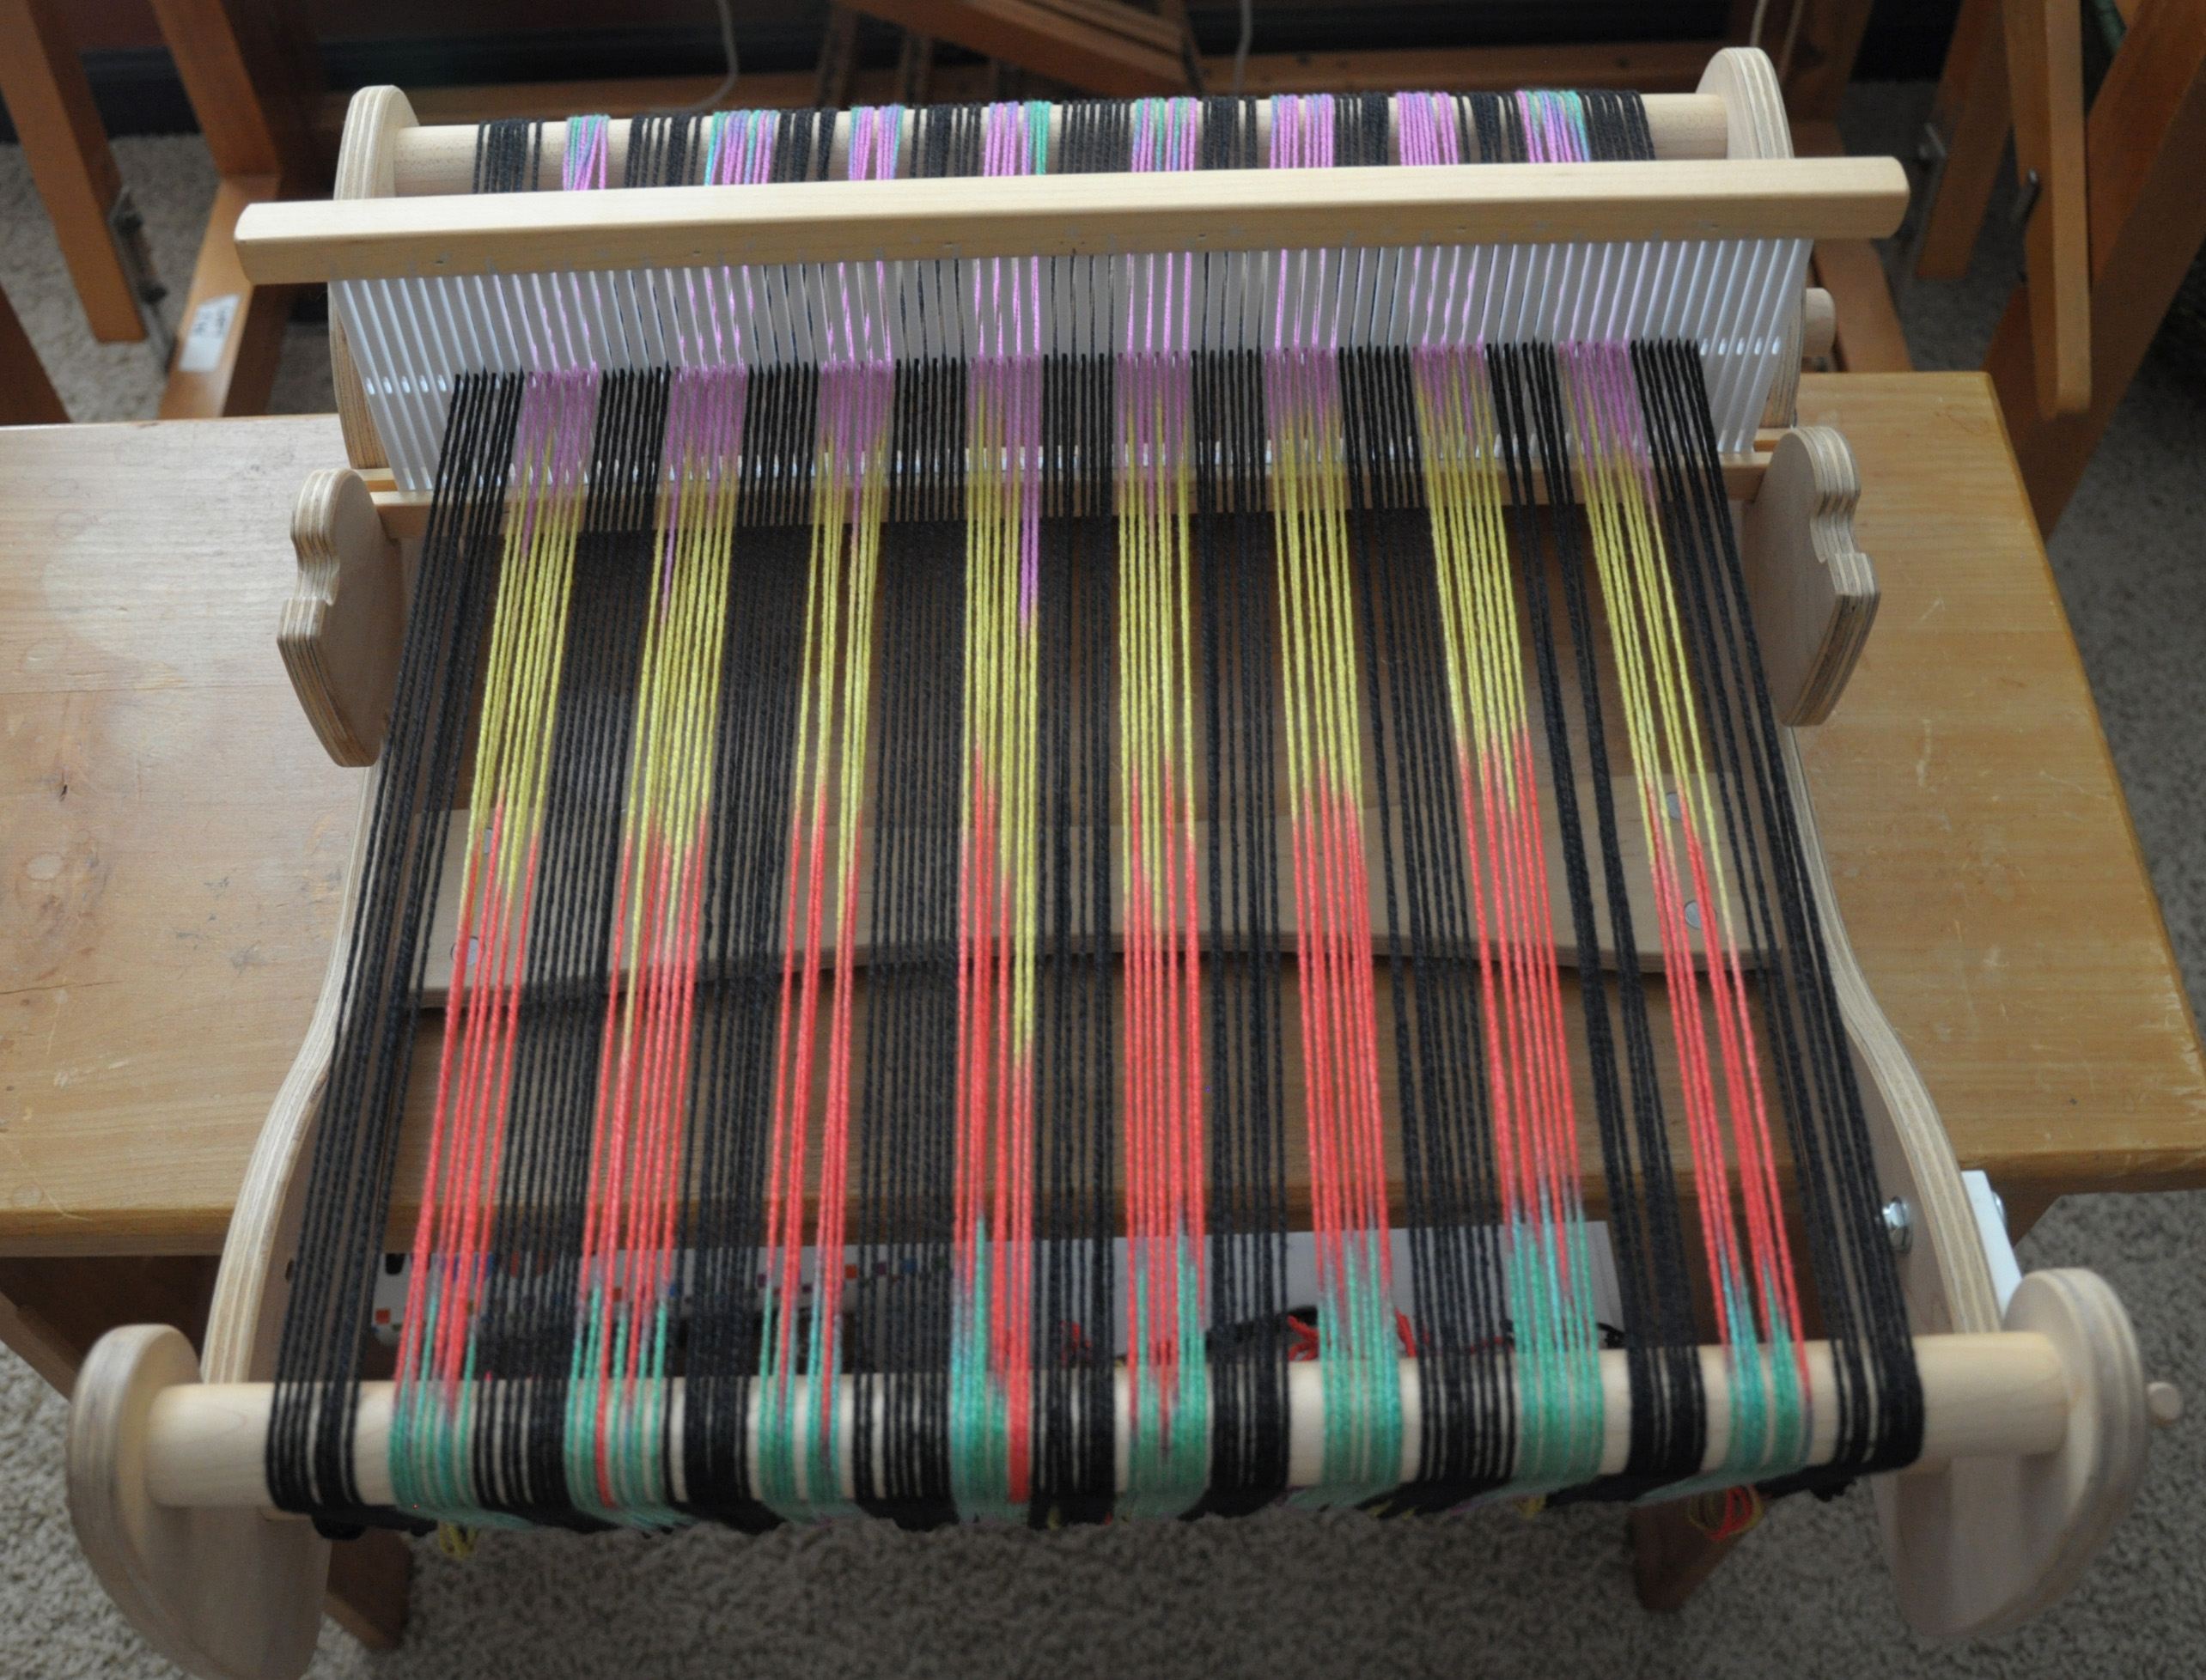
After winding:

ColorPool_9

And after tying onto the front dowel.

ColorPool_10

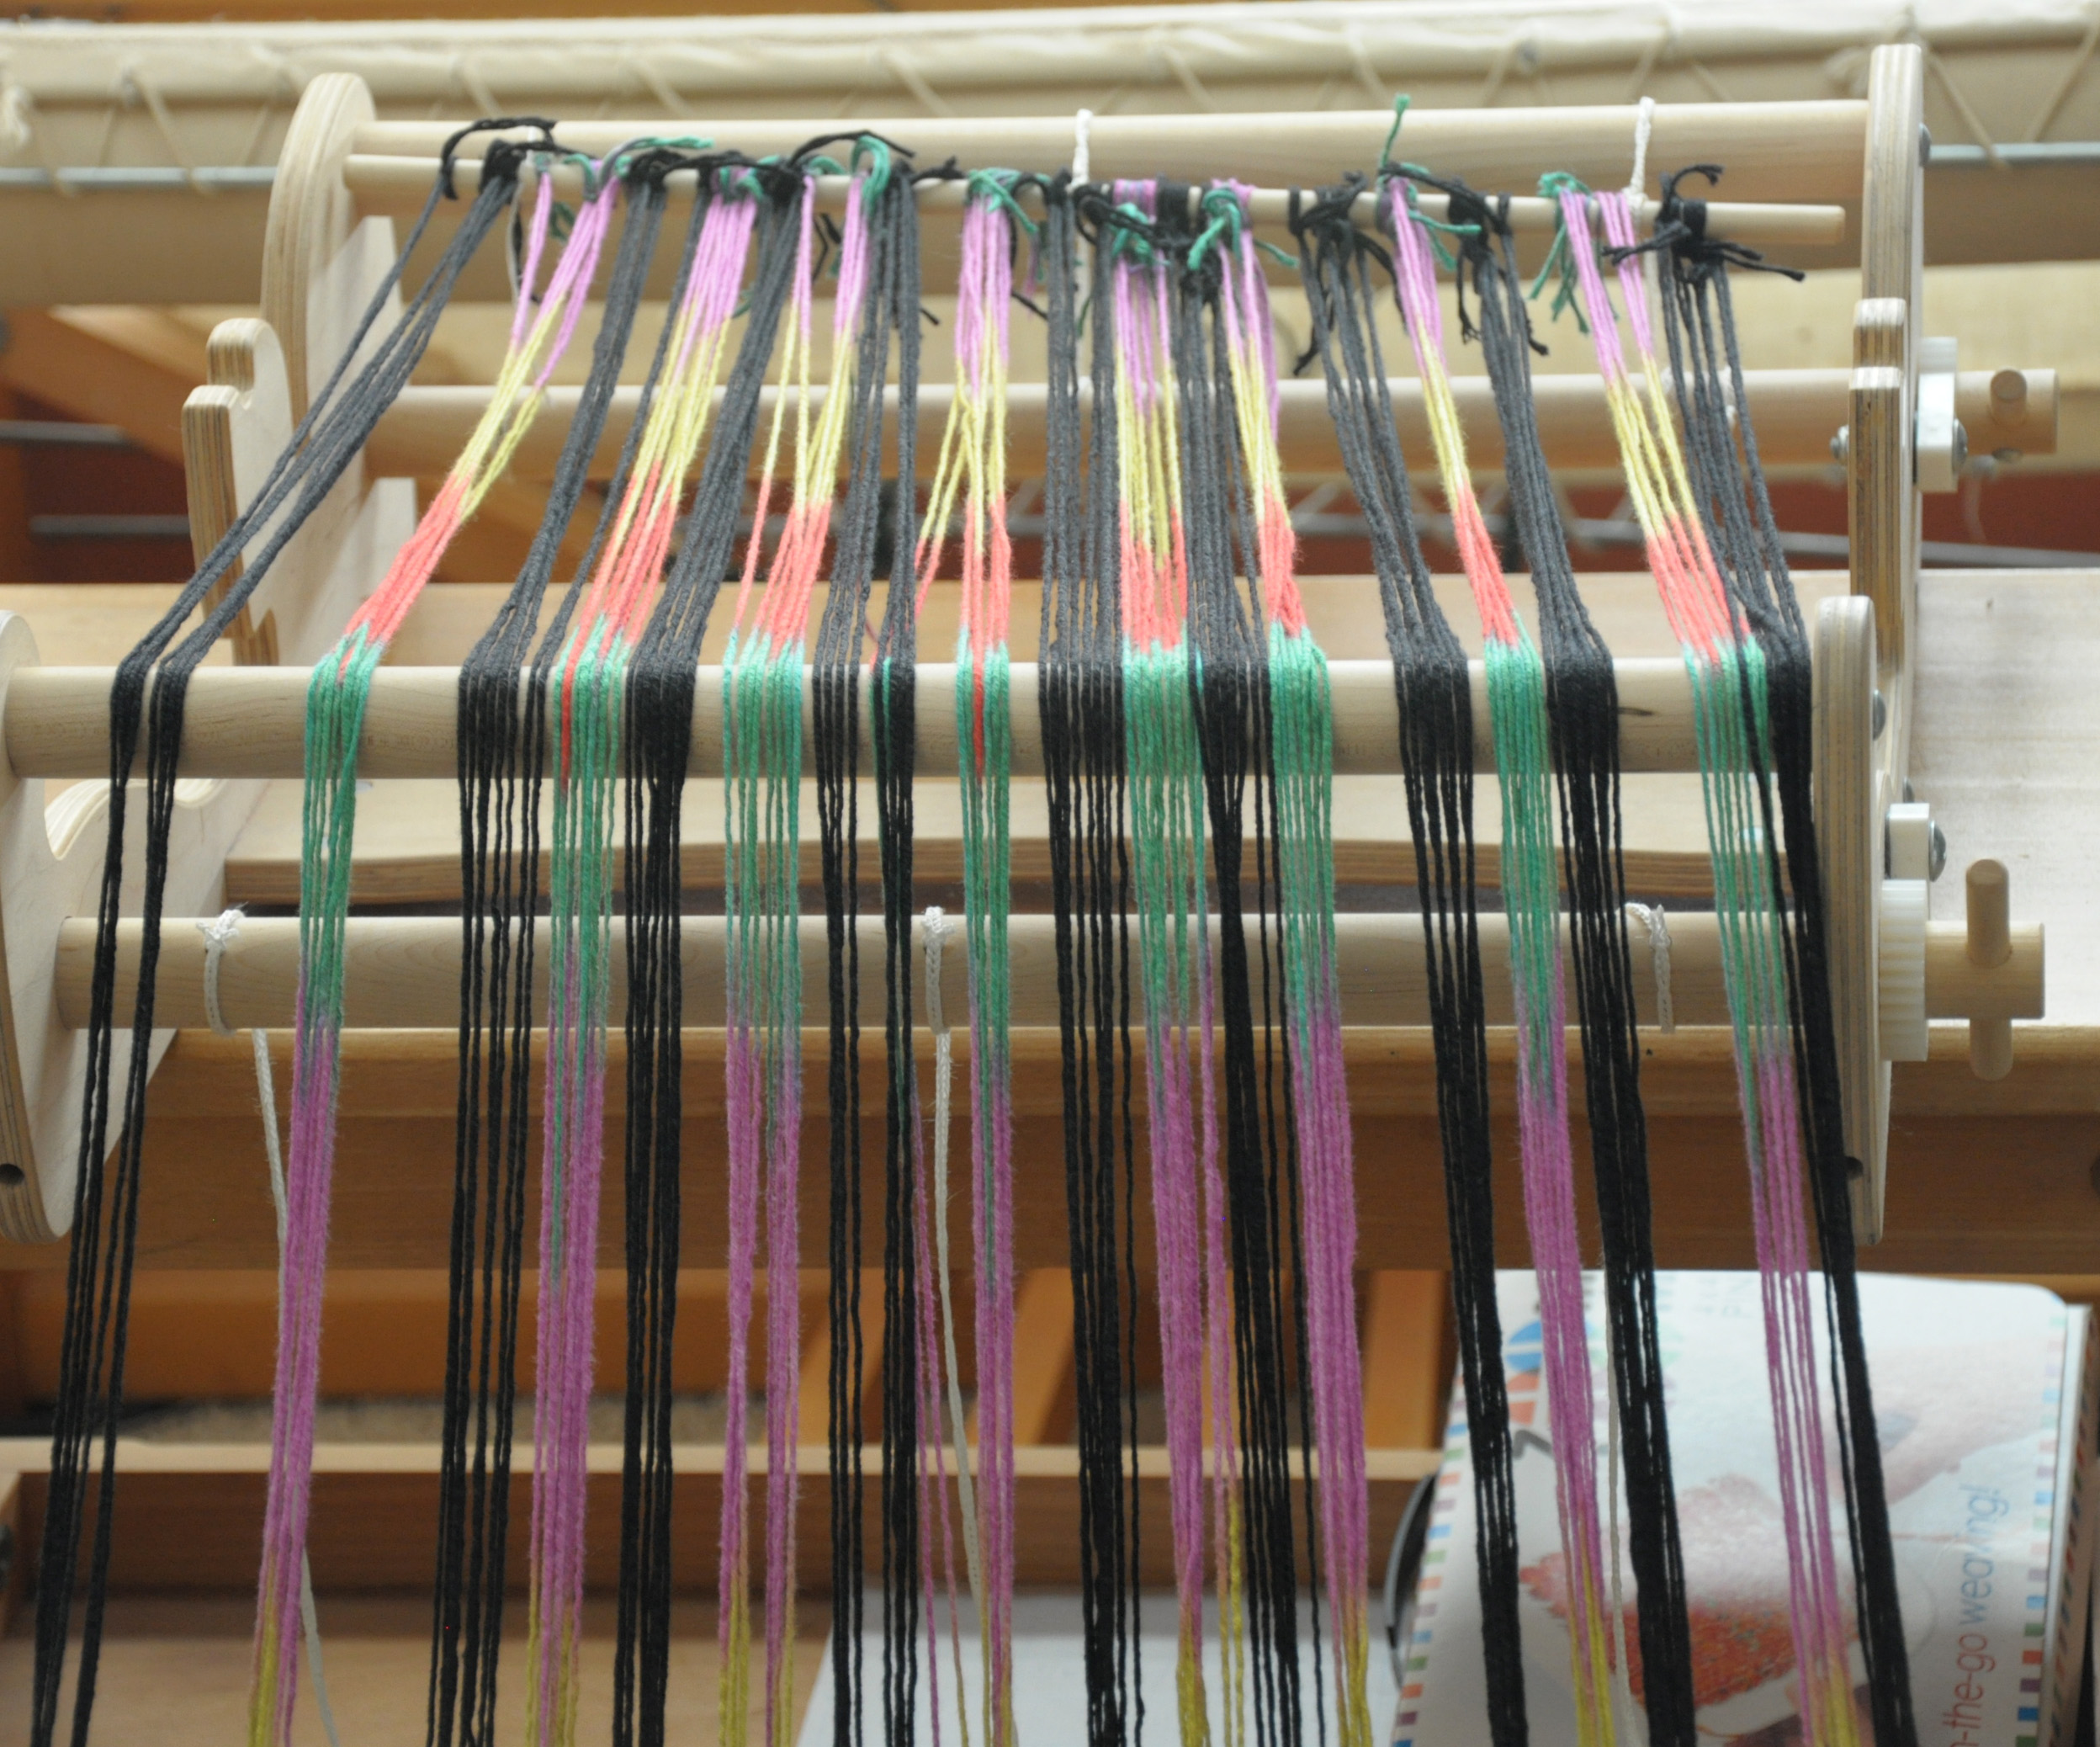
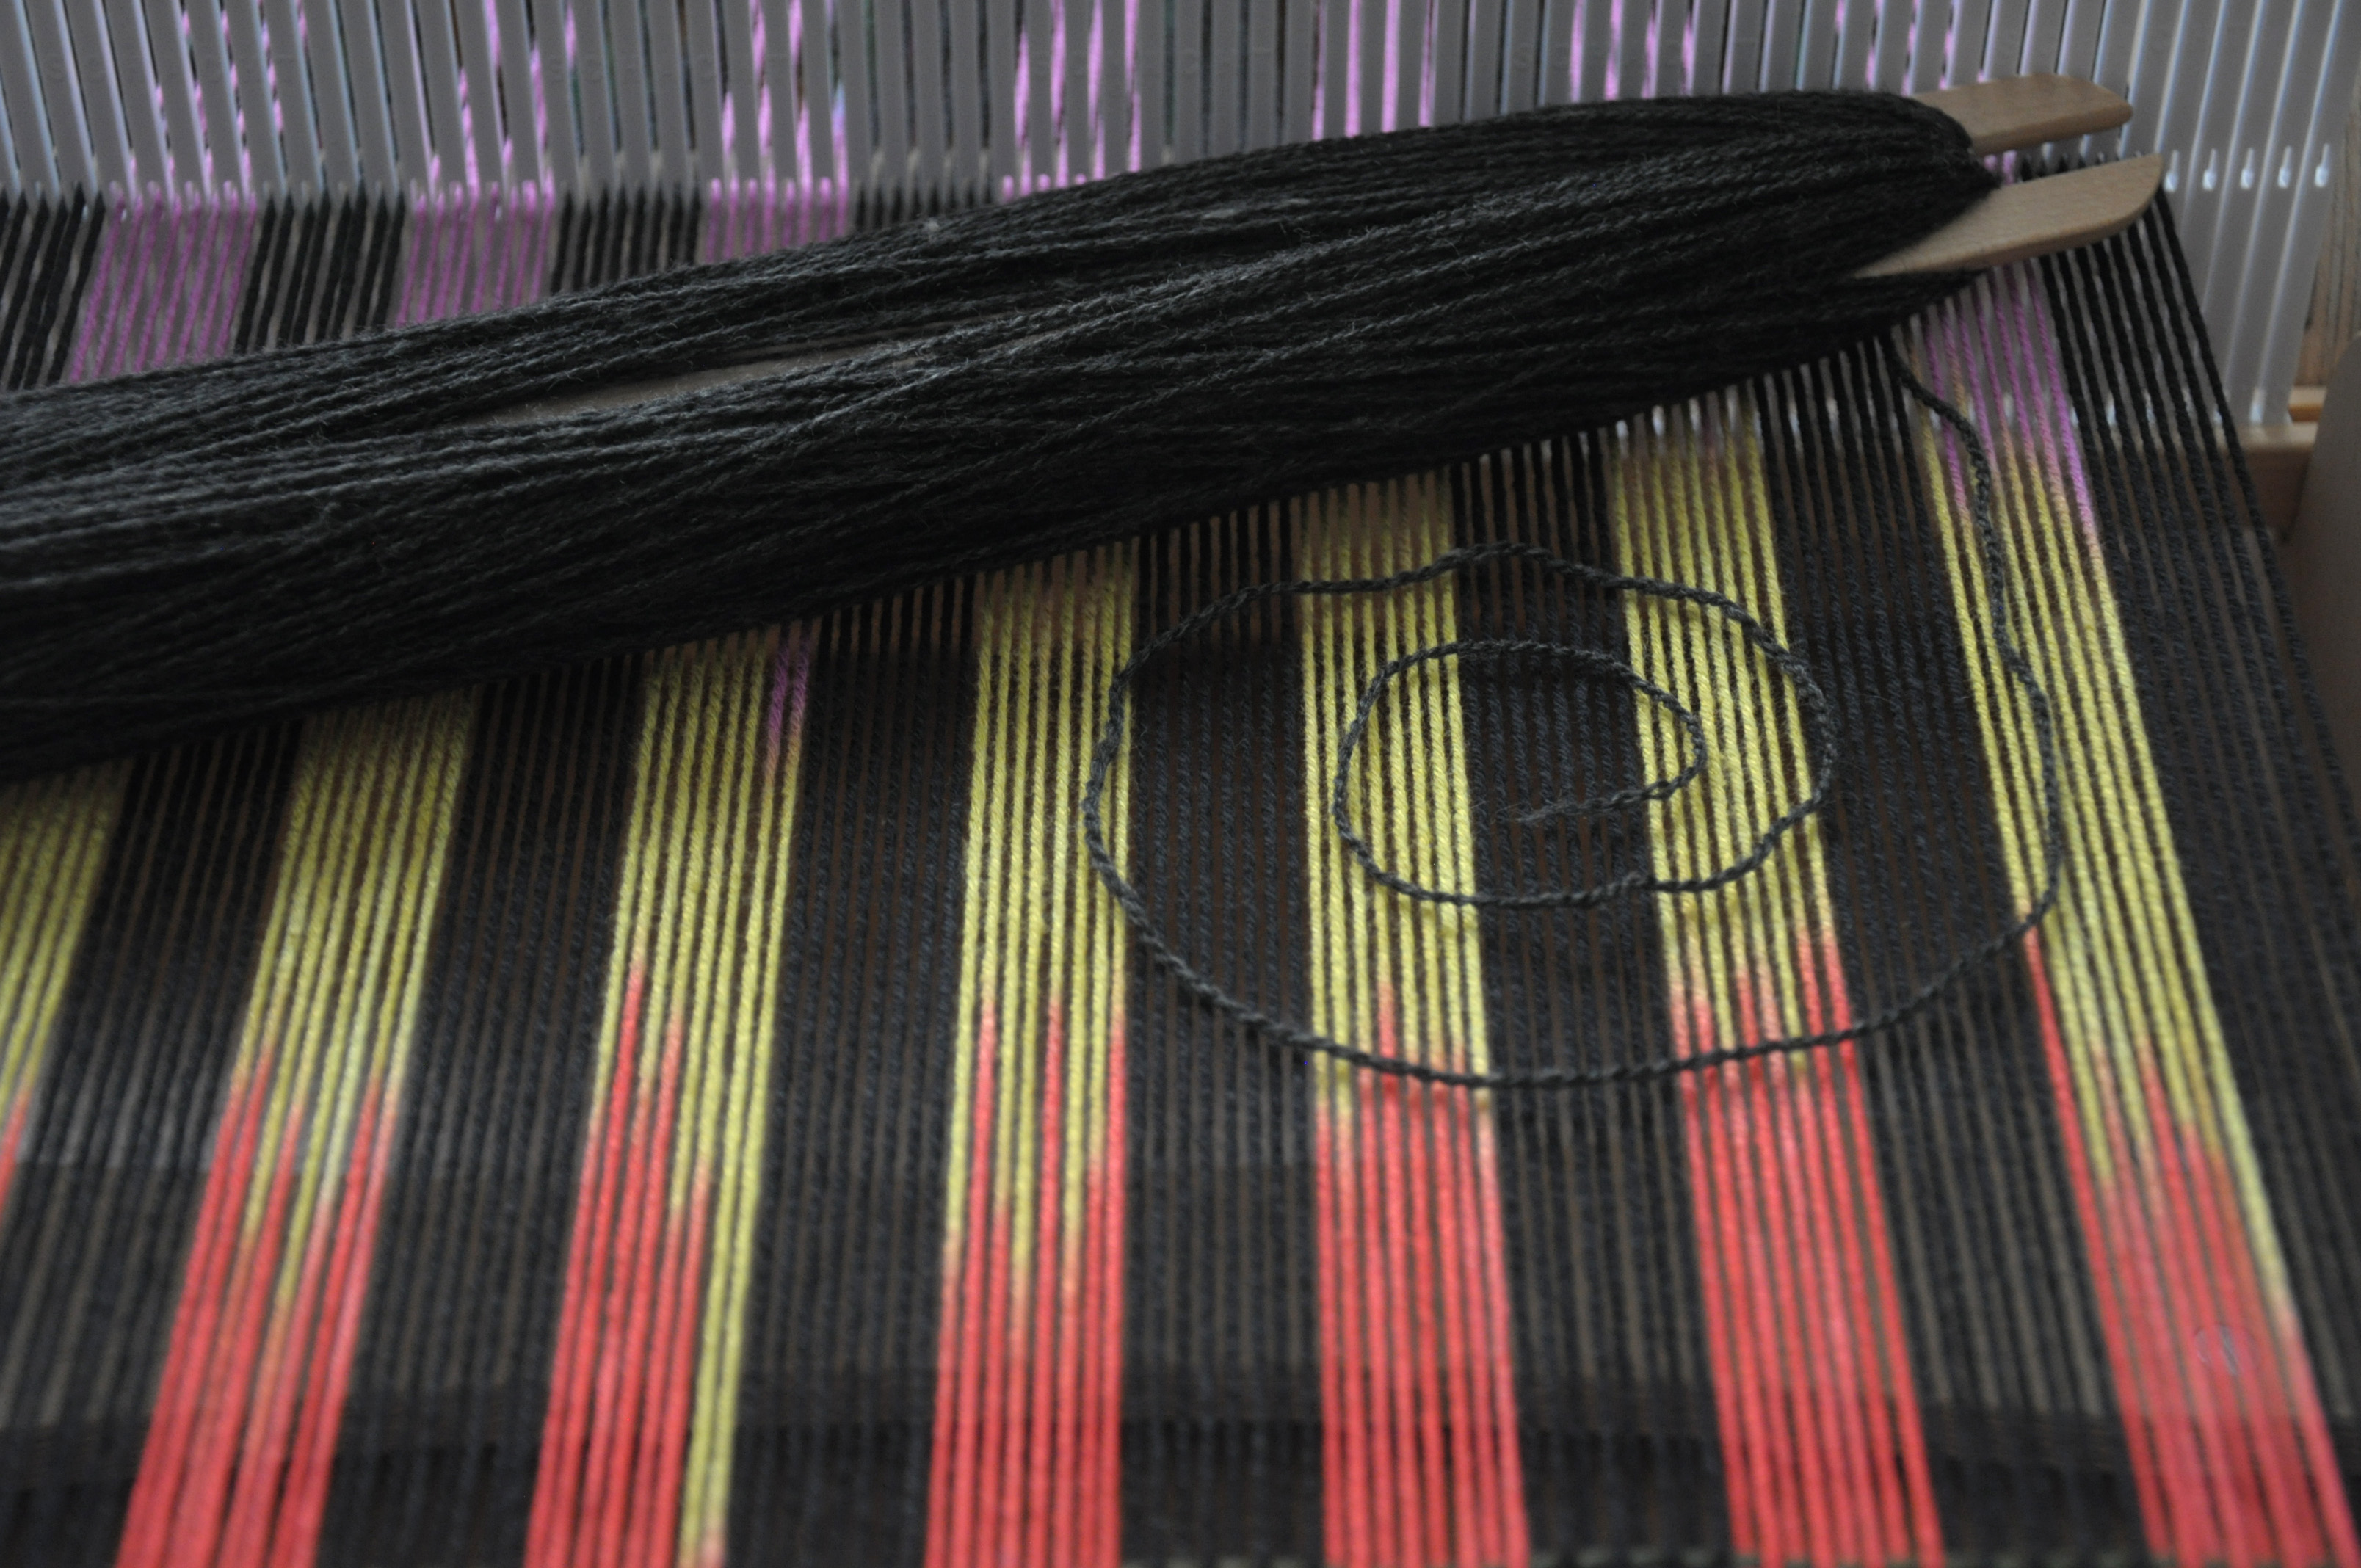
You can see that my color sections are not perfectly lined up, but that’s okay! I really love the way they sort of bleed into each other. I can’t wait to weave this scarf.

ColorPool_11


Ready to Wear

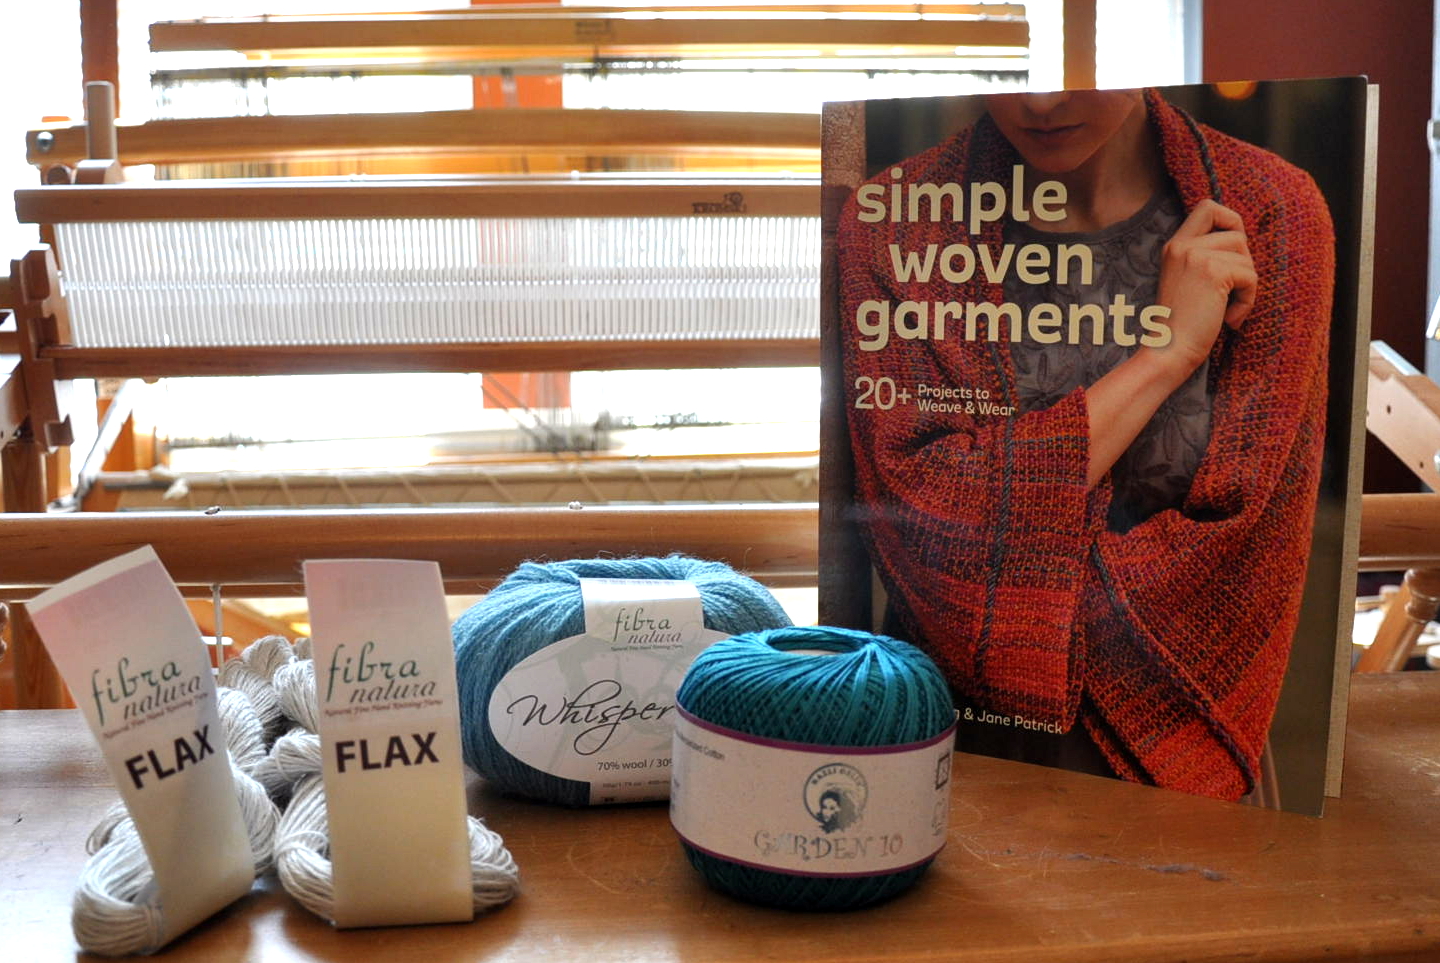
In case you missed the first few posts in this series on my Flame Lace Top, you can find the warping post here,  how to make string heddles here,  actually weaving the fabric here, and taking the fabric off the loom here.  I’m using Flax as warp, and Whisper Lace with Garden 10 held together as warp.

After taking my fabric off the loom, I decided to machine wash on gentle and then laid flat to dry. After lightly pressing the fabric with my iron, I was all ready to start sewing and cutting:

Sewing_1

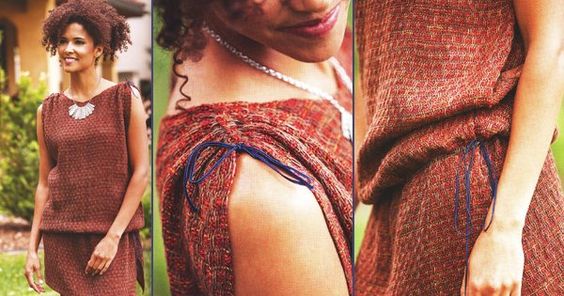
What really drew me to the Flame Lace project in the Simple Woven Garments book was the weave structure. Though I think the garment in the book is really cute, I’m not a big fan of that shape for my body. Going into this project, I knew I was going to make some changes. But I didn’t fully decide on those changes until I got started. And even then I made improvisations along the way.

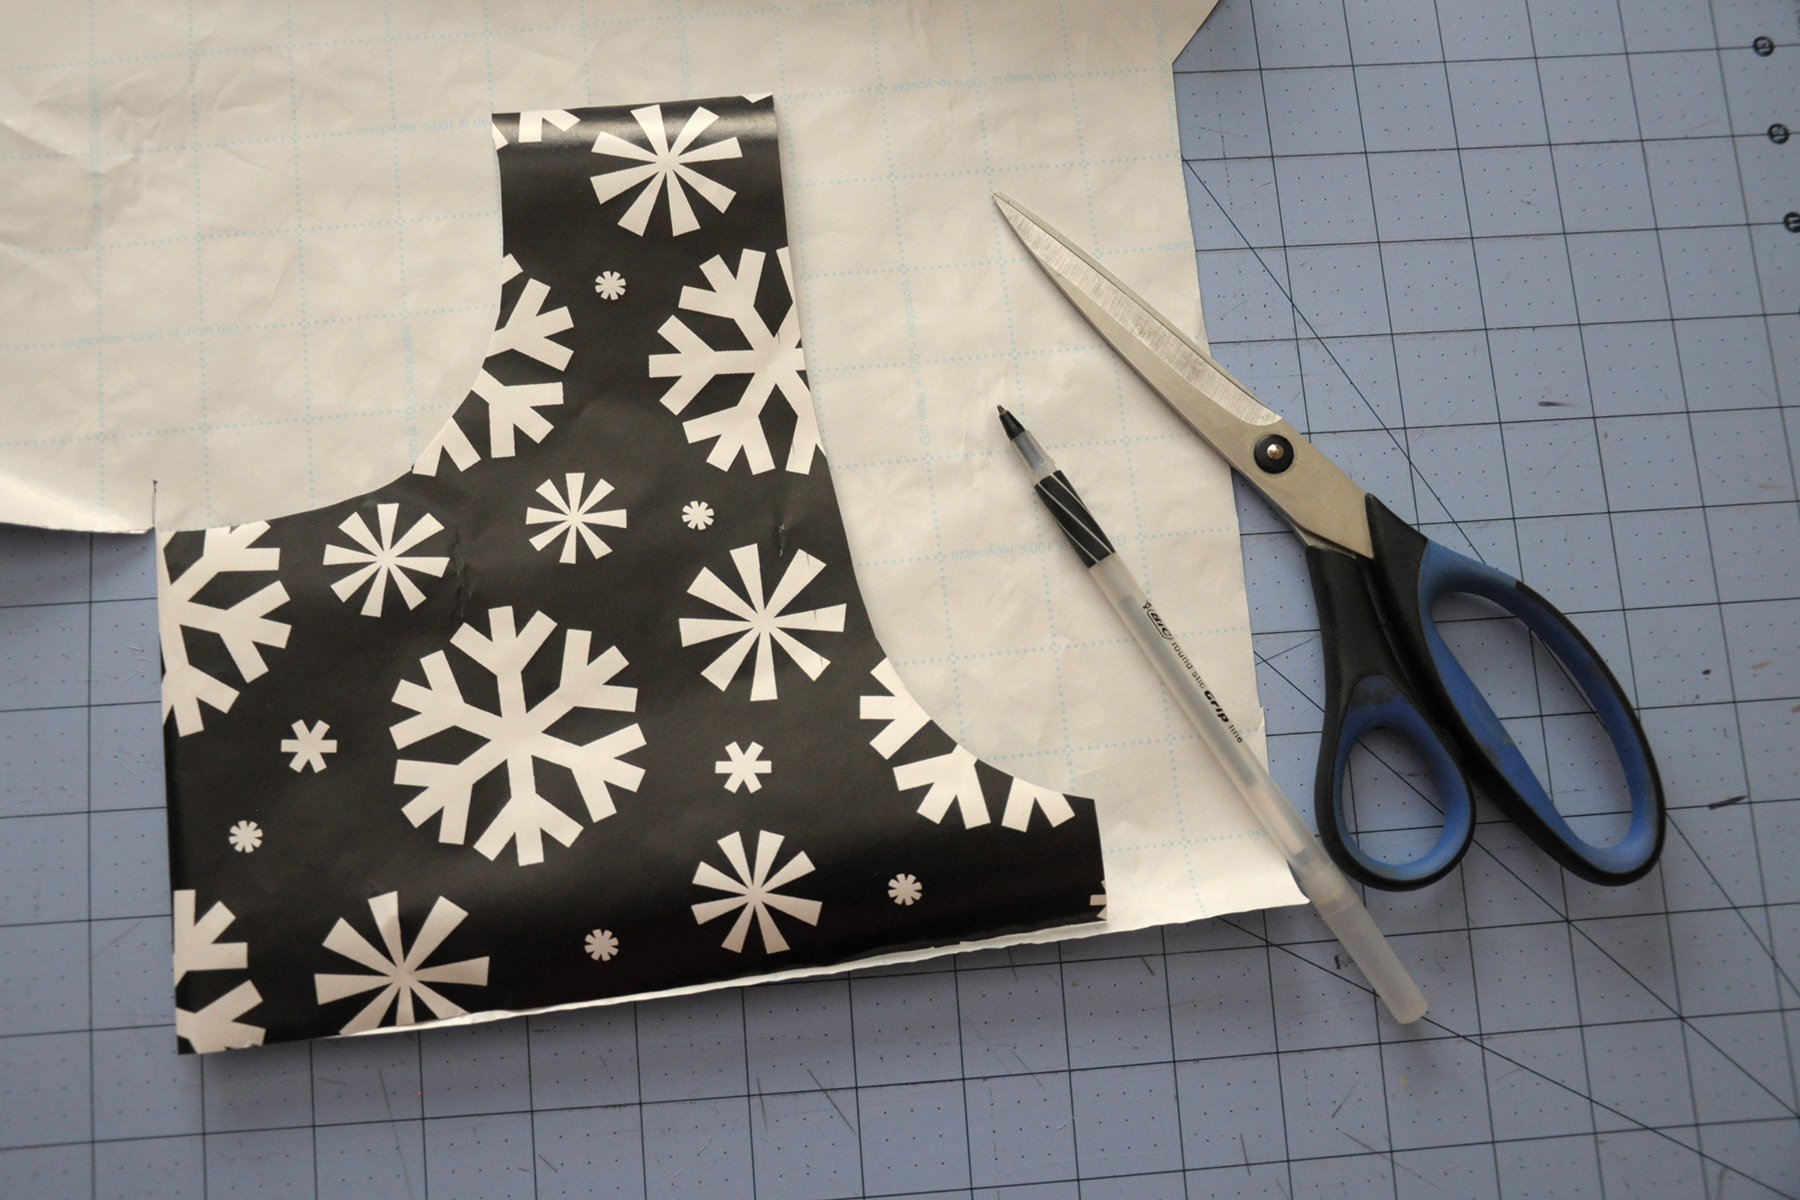
The first thing I decided to do differently than the original was to shape my armholes. The easiest way for me to determine my armhole depth and shape was to grab a top I already own and use that as a guide. I’m a big fan of using wrapping paper that has grid lines on the back for things like this.

Sewing_2

To make a template for my armholes, I laid my top on the back side of the wrapping paper and traced one side. I opted to freehand the neck hole, as I wanted it to sit a bit lower than the one on the shirt I was using as an armhole guide. After cutting out the first side, I folded the paper in half and traced to get the second side – an easy way to make sure it was symmetric.

Sewing_3

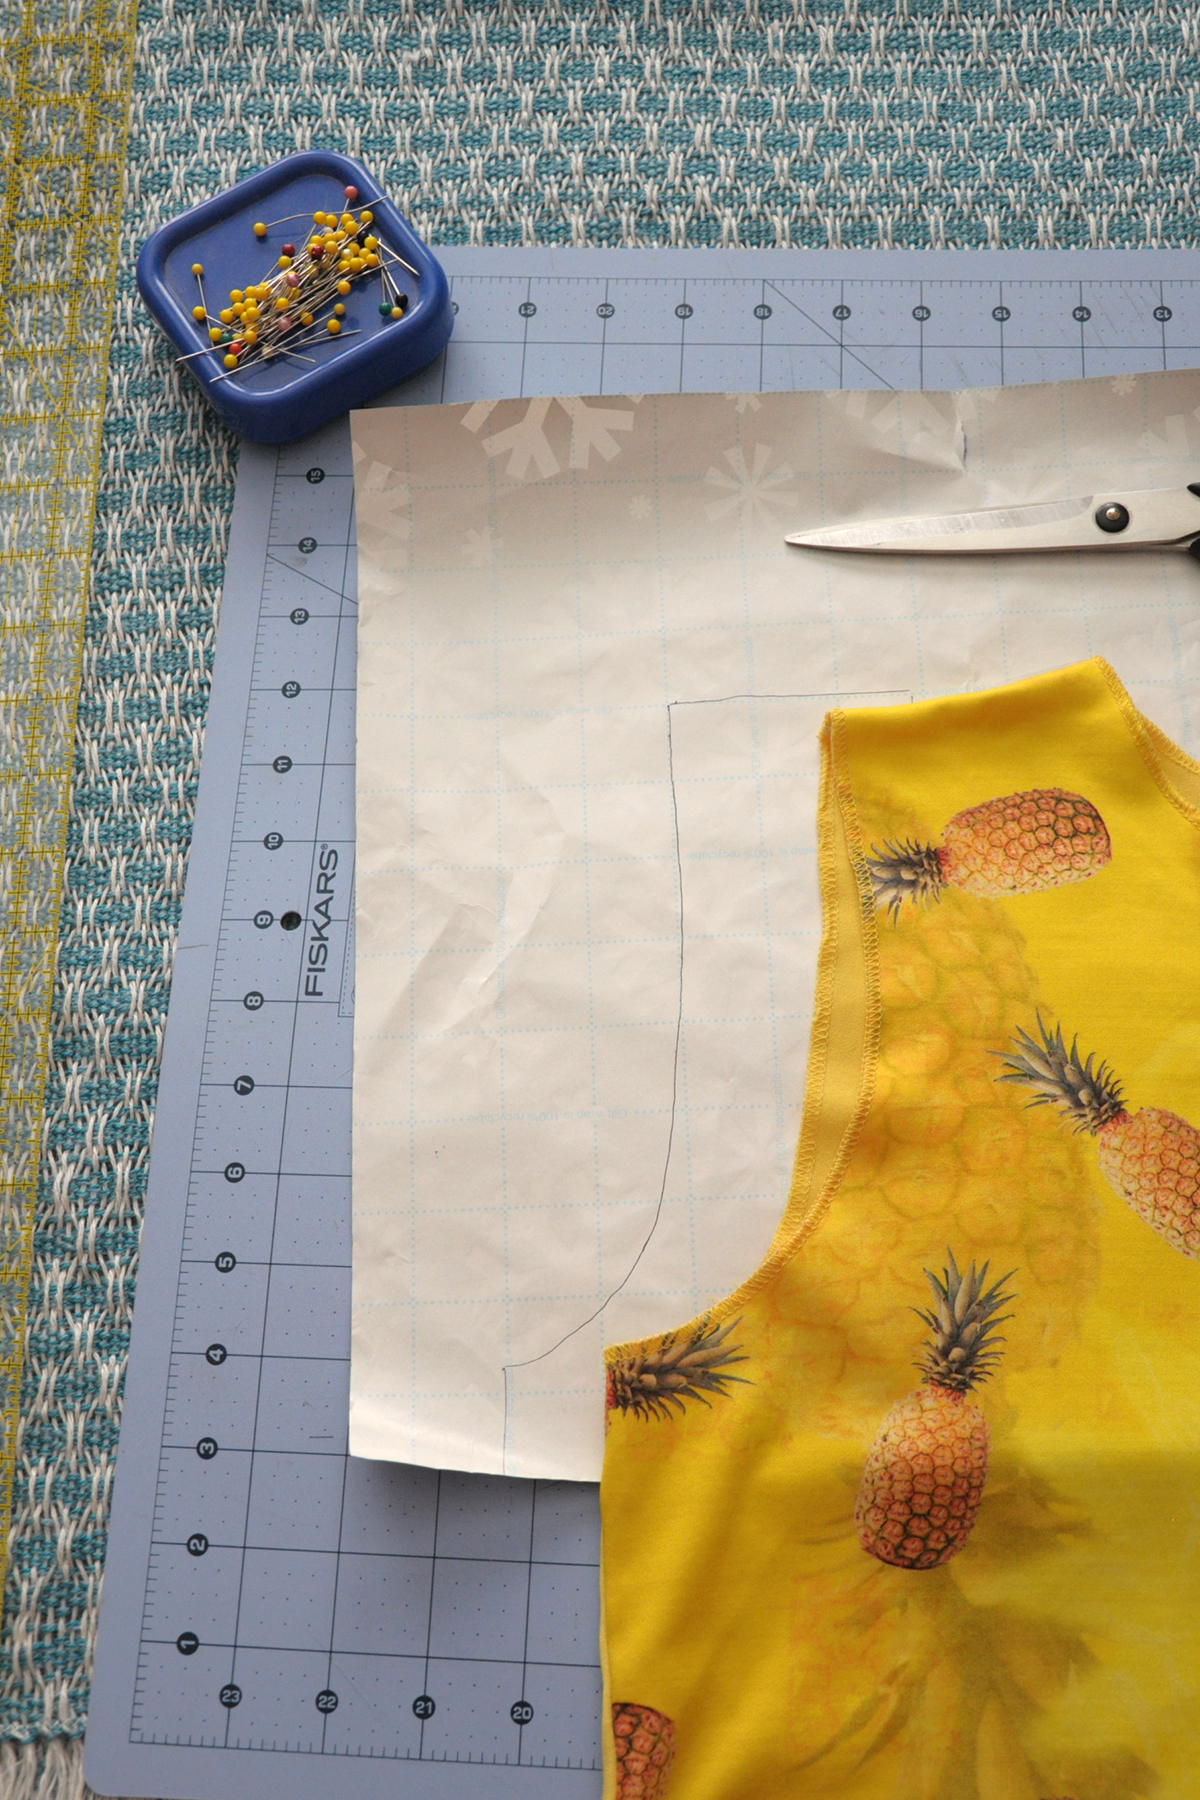
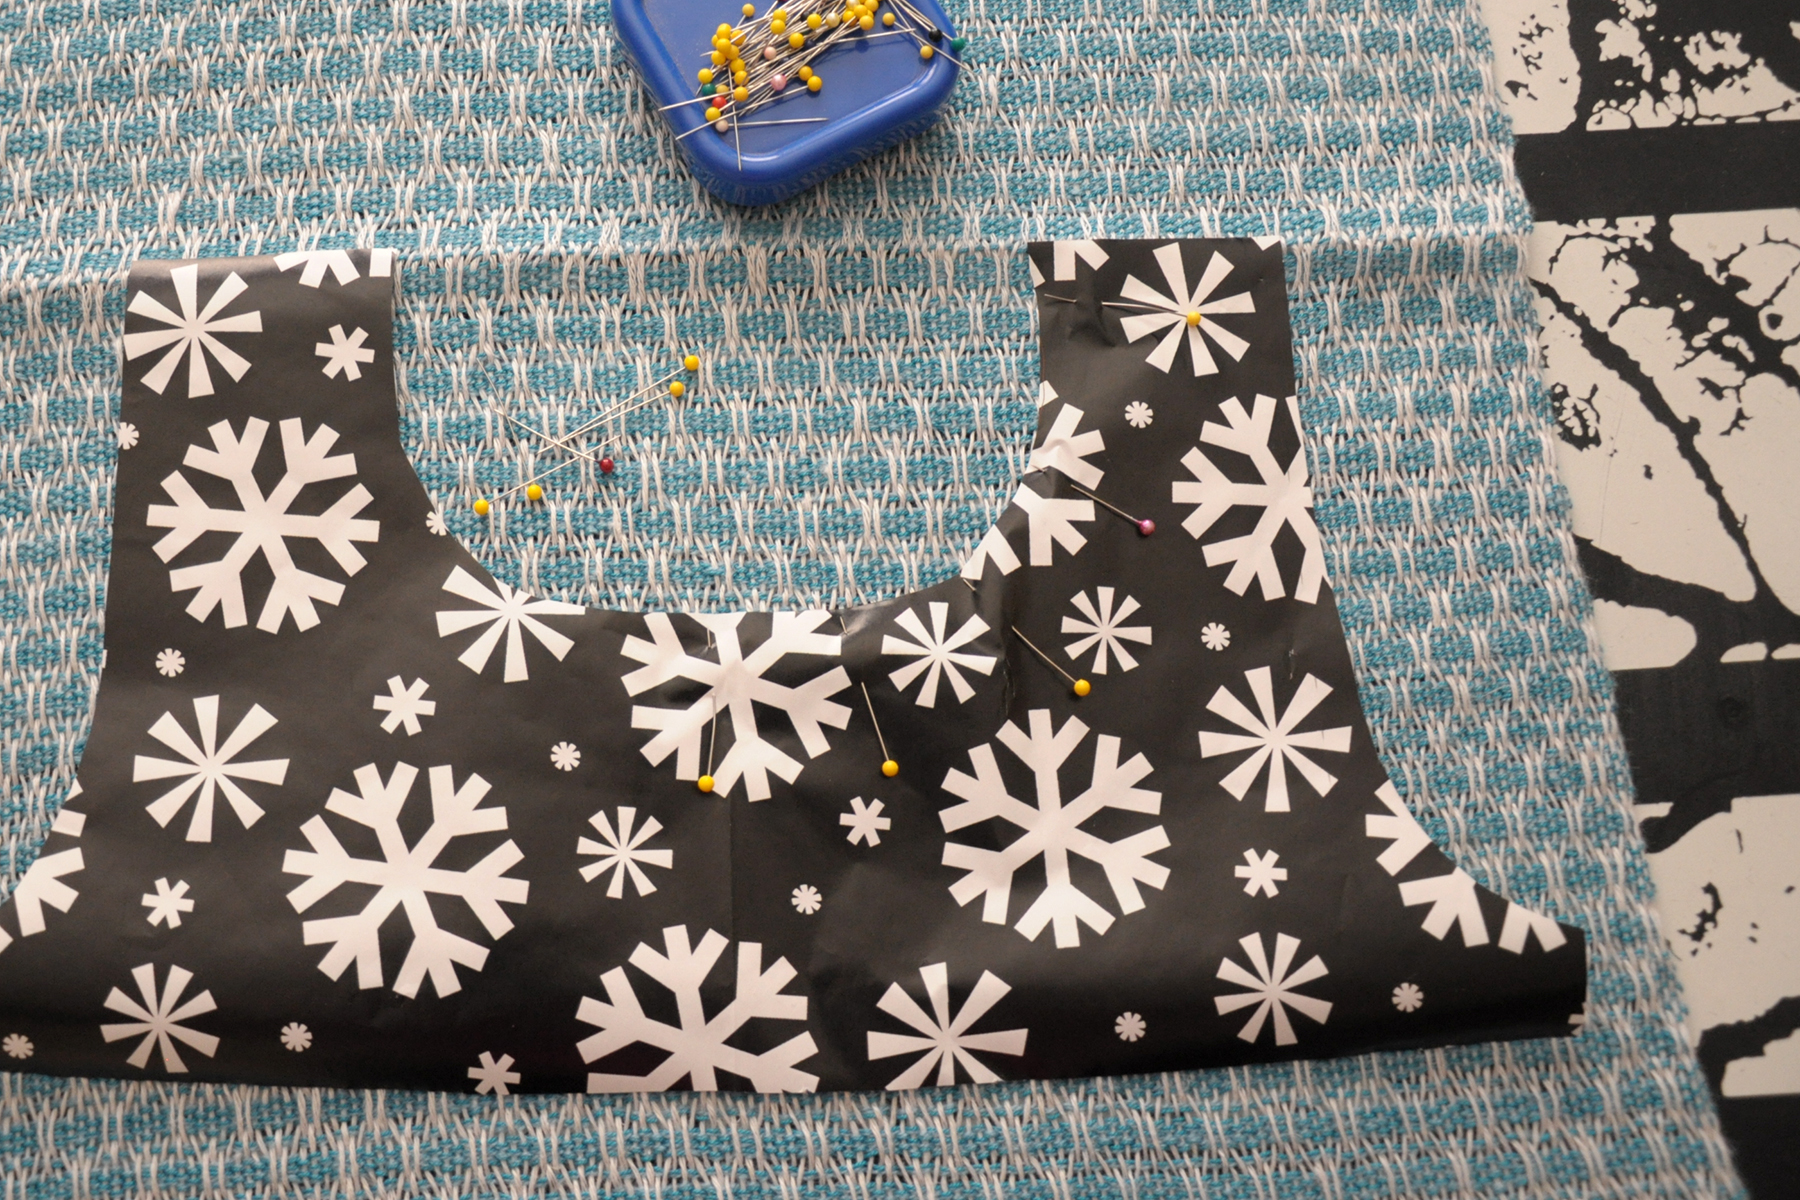
After cutting out my armhole template, the next step was to pin it to my fabric. But before I could do that, I needed to determine where the shoulder seam would be. Rather than cut out separate pieces for front and back from my fabric, I was using the entire length of the fabric for my top.

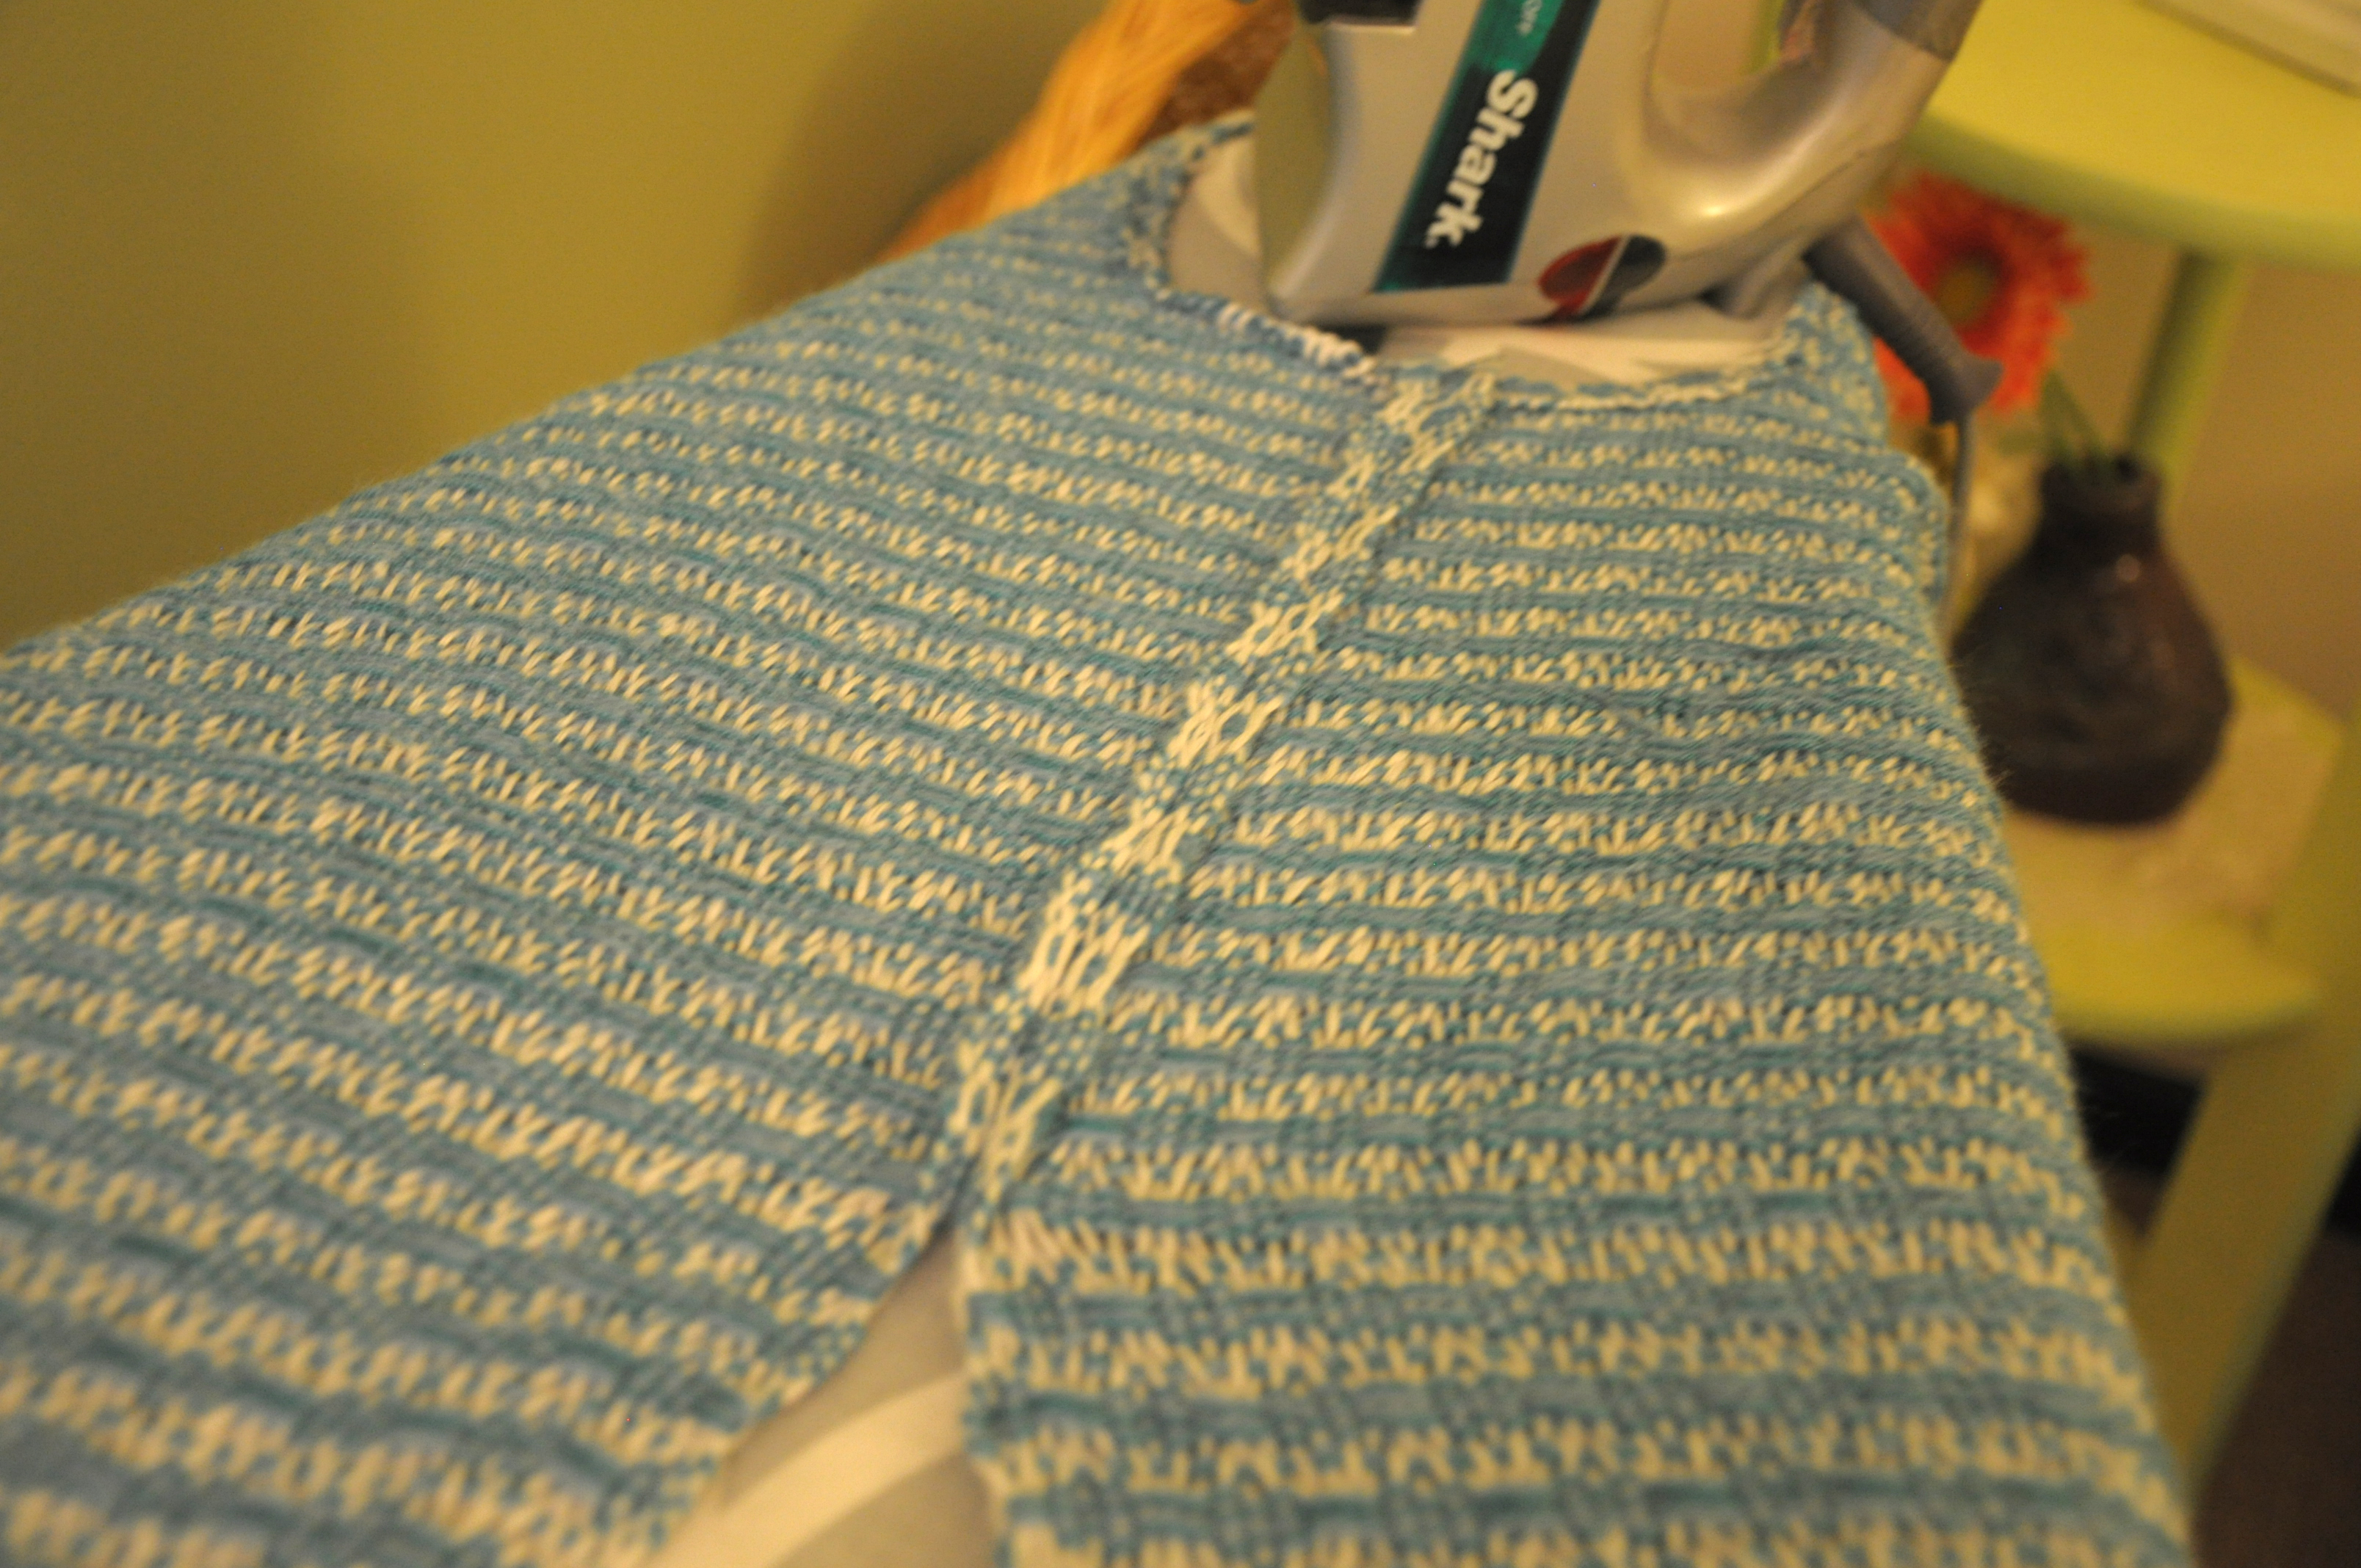
I decided as I was tracing my armholes that a hi-lo hem would be cool. I opted for about a 5″ difference in front and back hems, folded my fabric, and then pressed it with my iron to indicate my shoulder seam.

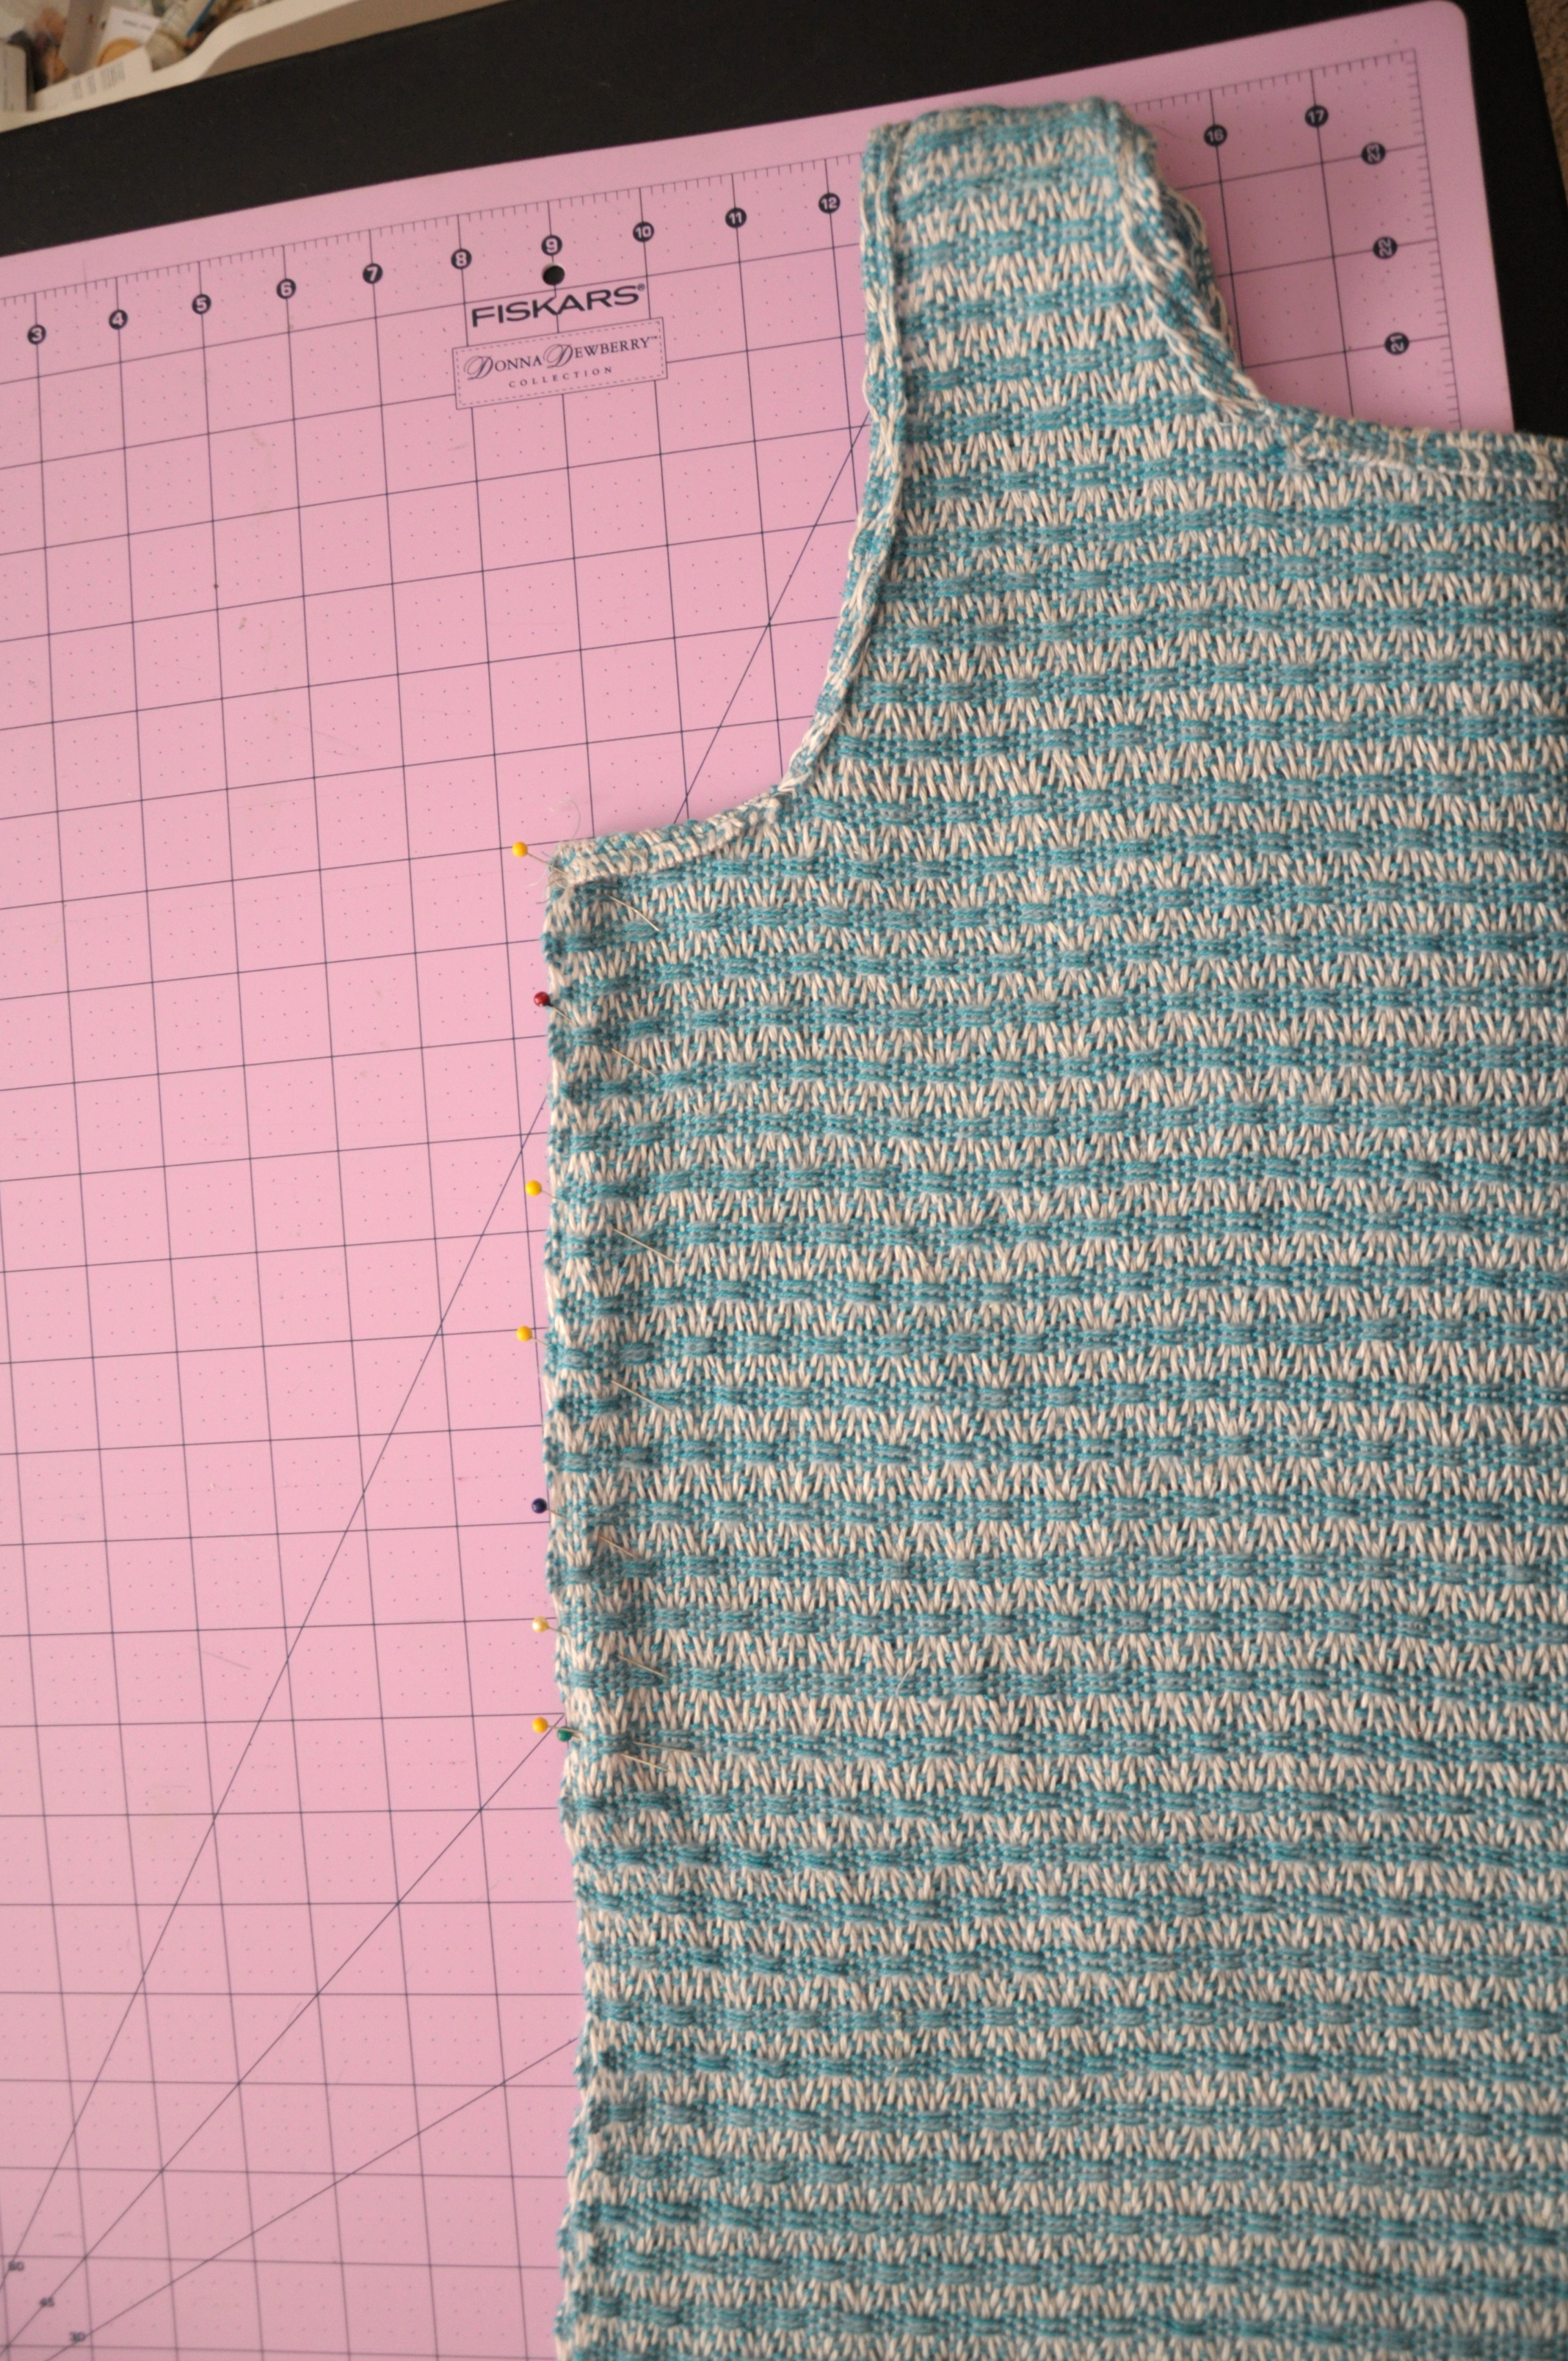
Then I pinned my template to the fabric:

Sewing_4

My two best tips for sewing: don’t skimp on ironing or pins.

Now, before any cutting can happen, it’s important to secure the fabric with the sewing machine. If I was cutting store-bought fabric for a garment, I would simply pin the pattern to the fabric and cut. But because I’m using my handwoven fabric that has a much lower thread count (fewer threads per inch) than most commercial fabric, I needed to take care that the weaving doesn’t come apart.

My first step was to sew a folding guide line for myself. I sewed a straight line of stitching just along the sides of my template:

Sewing_5

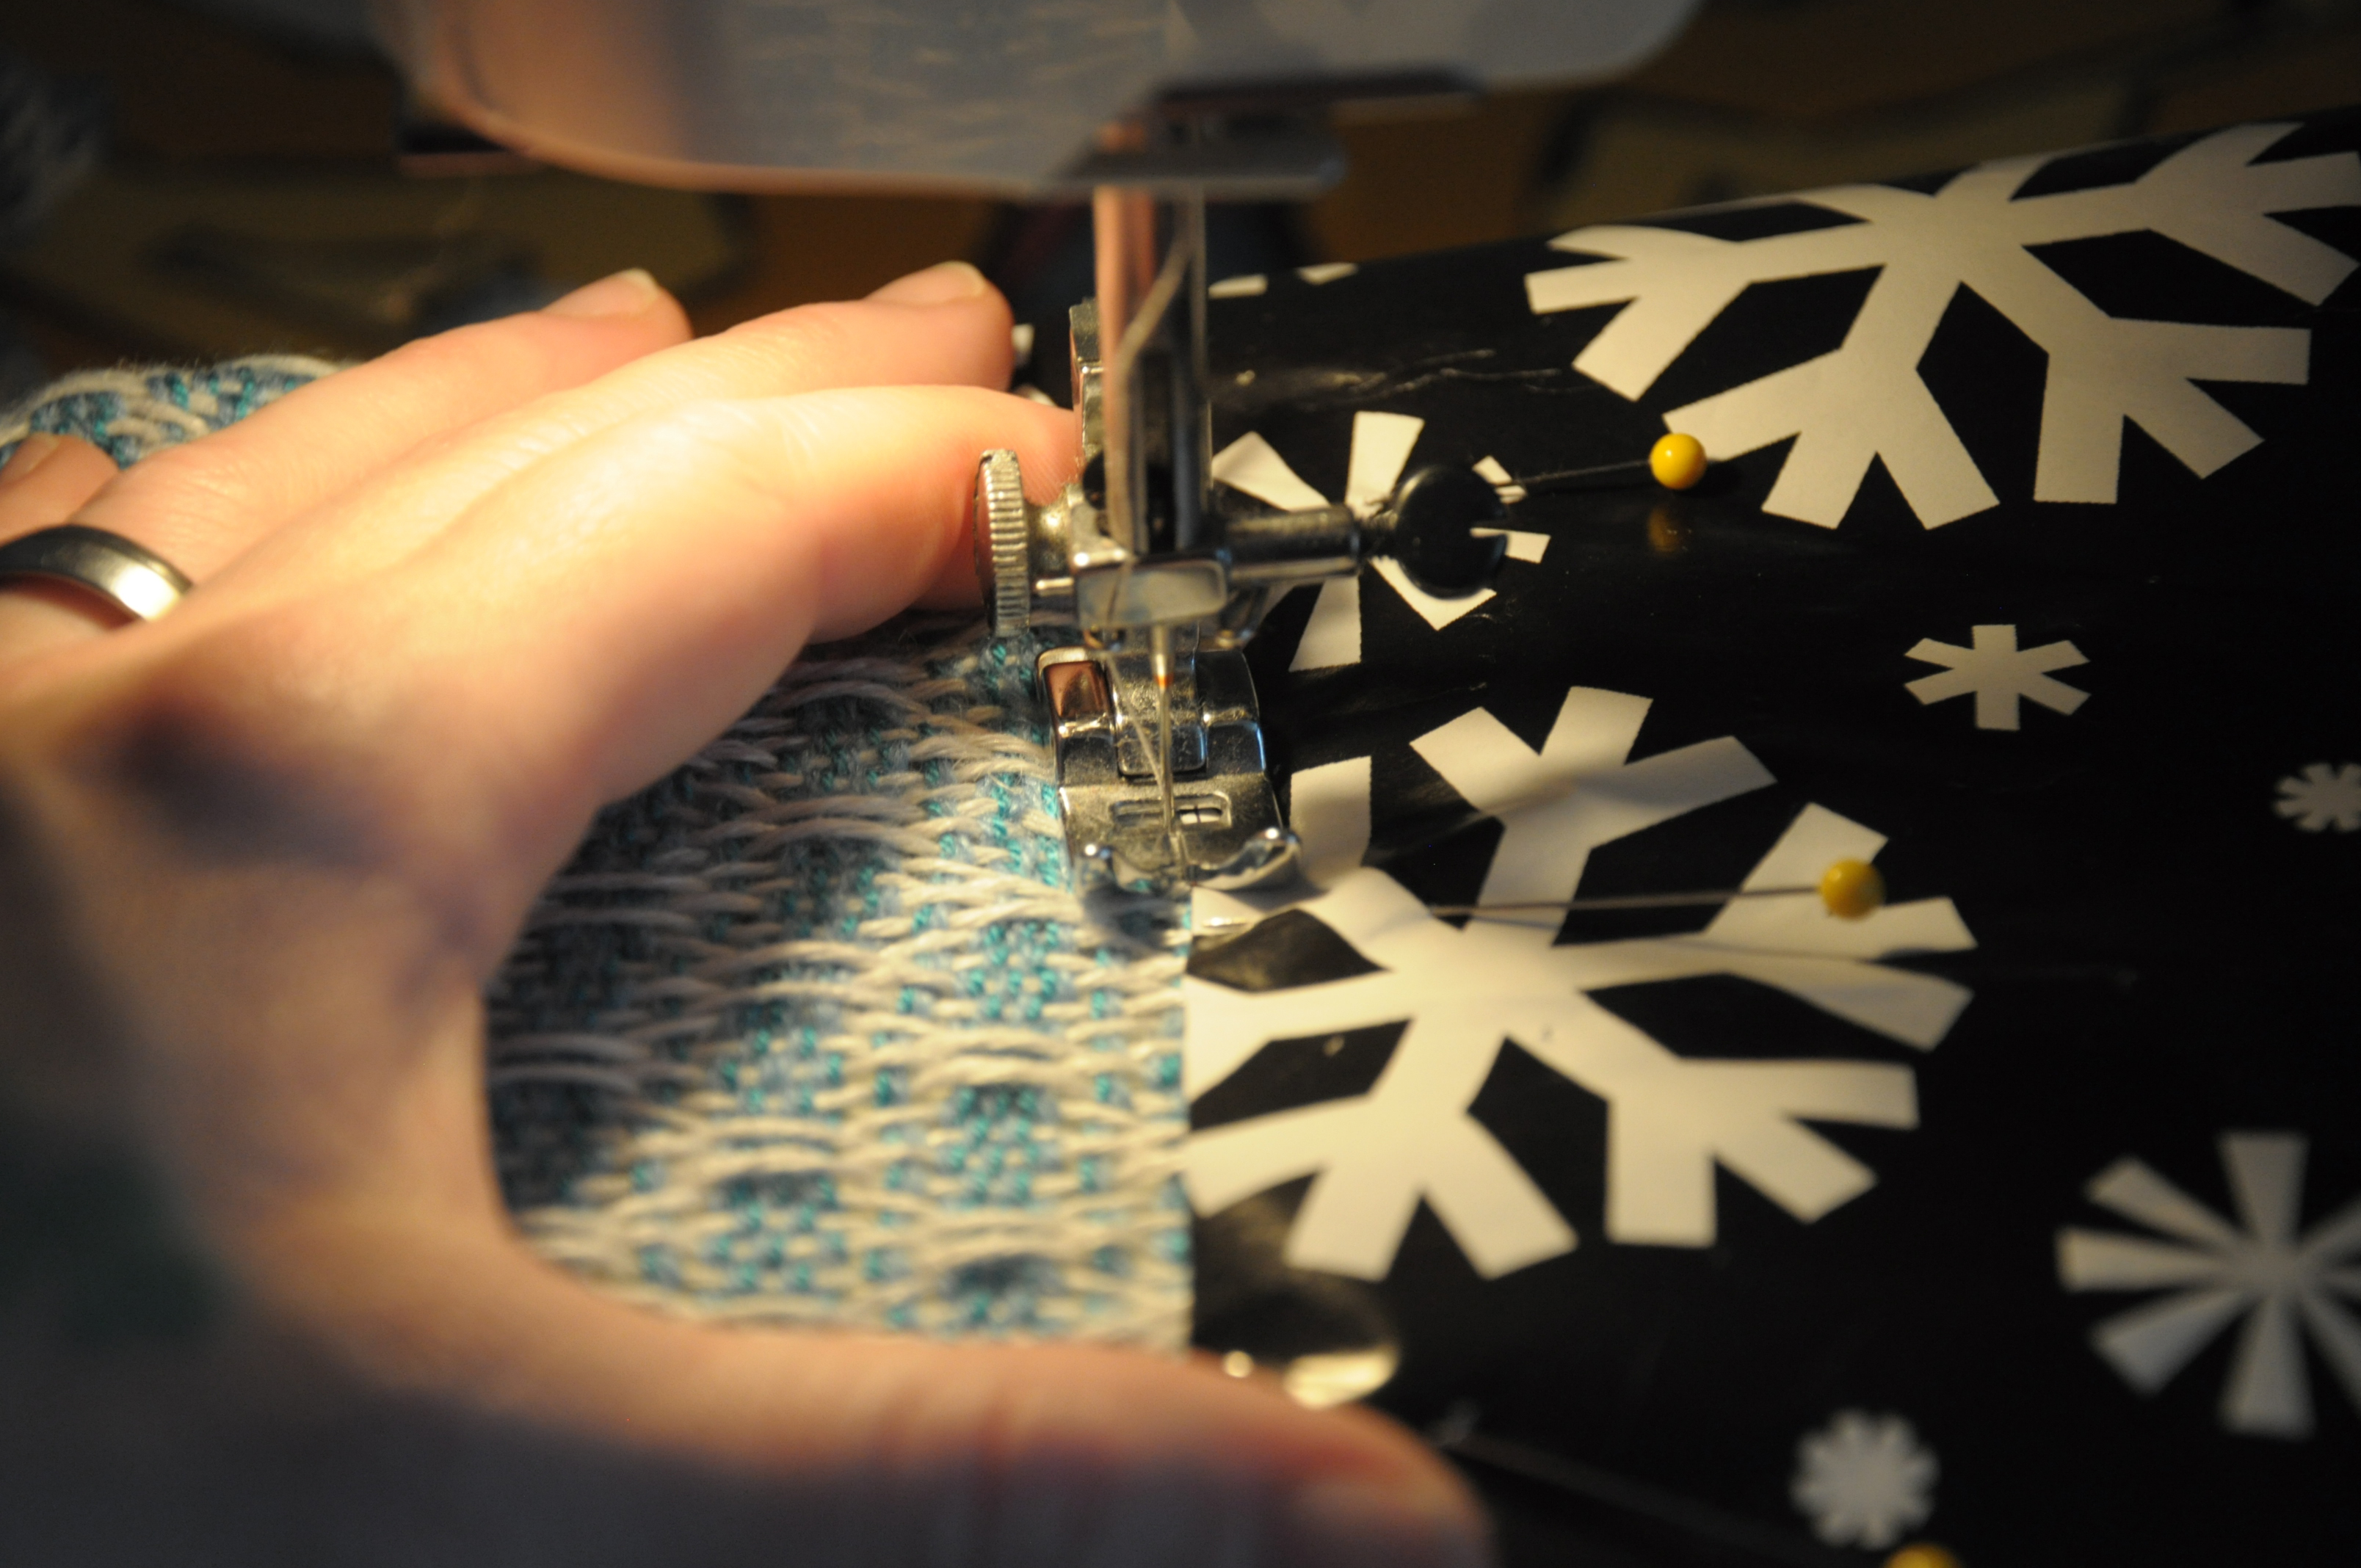
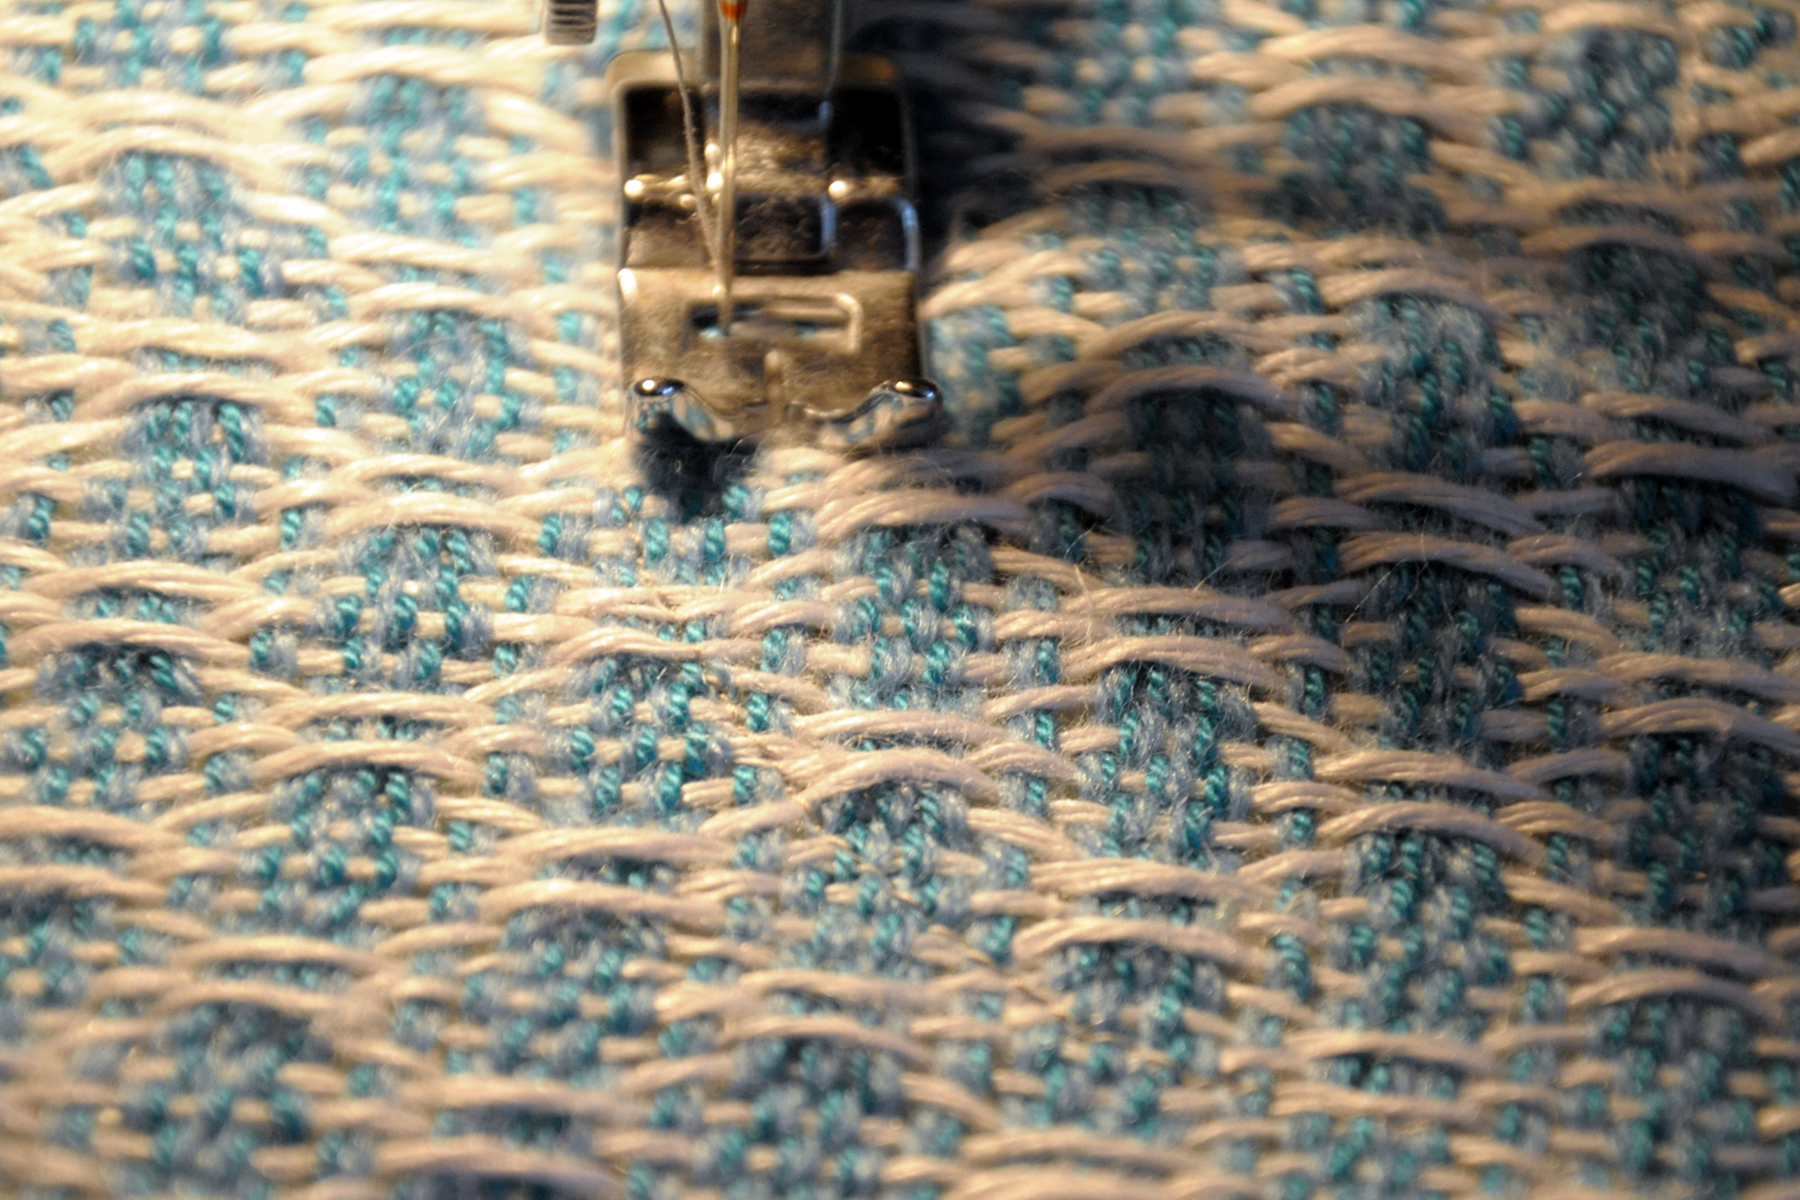
After removing the paper, I sewed two more lines, but this time with a narrow, short-length zigzag stitch. These are the really important lines, because they’re securing the threads of the weaving and preventing them from unraveling. I used my presser foot as a measuring guide for my lines The foot is about 1/4″ to 3/8″ wide from the center of the needle to the outside edge, making my total seam allowance be about 5/8″.

Sewing_6

I’m using light gray thread – can you see it? I barely could and had a splitting headache by the time I was done from squinting so hard. I wanted the thread to blend into the fabric and it blended too well!

Can you see it now?

Sewing_7

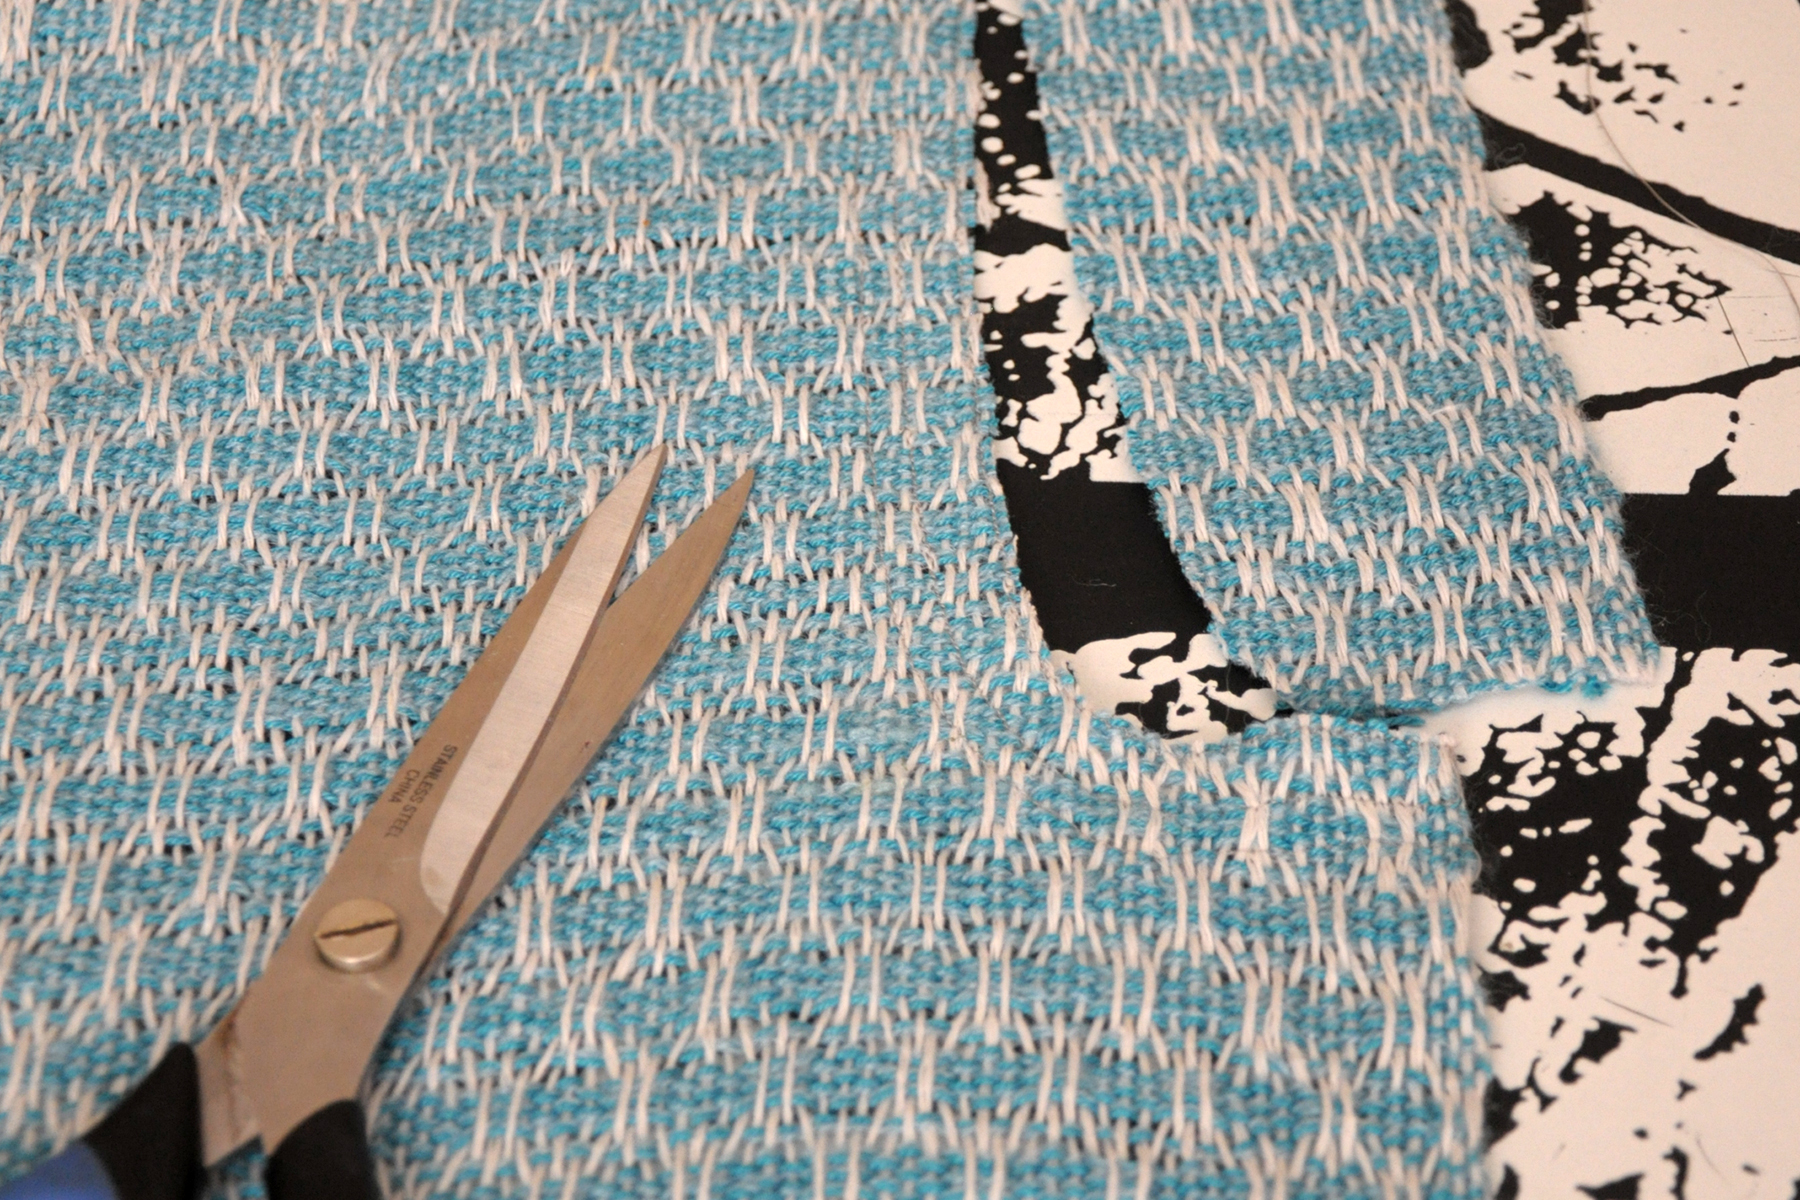
Now that these important lines were stitched I could safely cut out my neck and armholes. I made sure to cut outside  all lines of stitching, right up against the last zigzag line.

Sewing_8

Once the neck and armholes were cut out, I had to prep the curves so I could fold them under. If you’ve ever sewn a garment with curved lines, you know that you have to snip the curves so they can be eased to the inside of the garment. Again, because I was working with hand woven fabric, I had to secure the fabric before making these snips. I set my machine to a very, very short straight stitch, and made 2 parallel lines of stitches on either side of where I intended to cut. That way, when I cut through the fabric, it wouldn’t unravel.

My apologies – I seem to have forgotten to photograph this step!

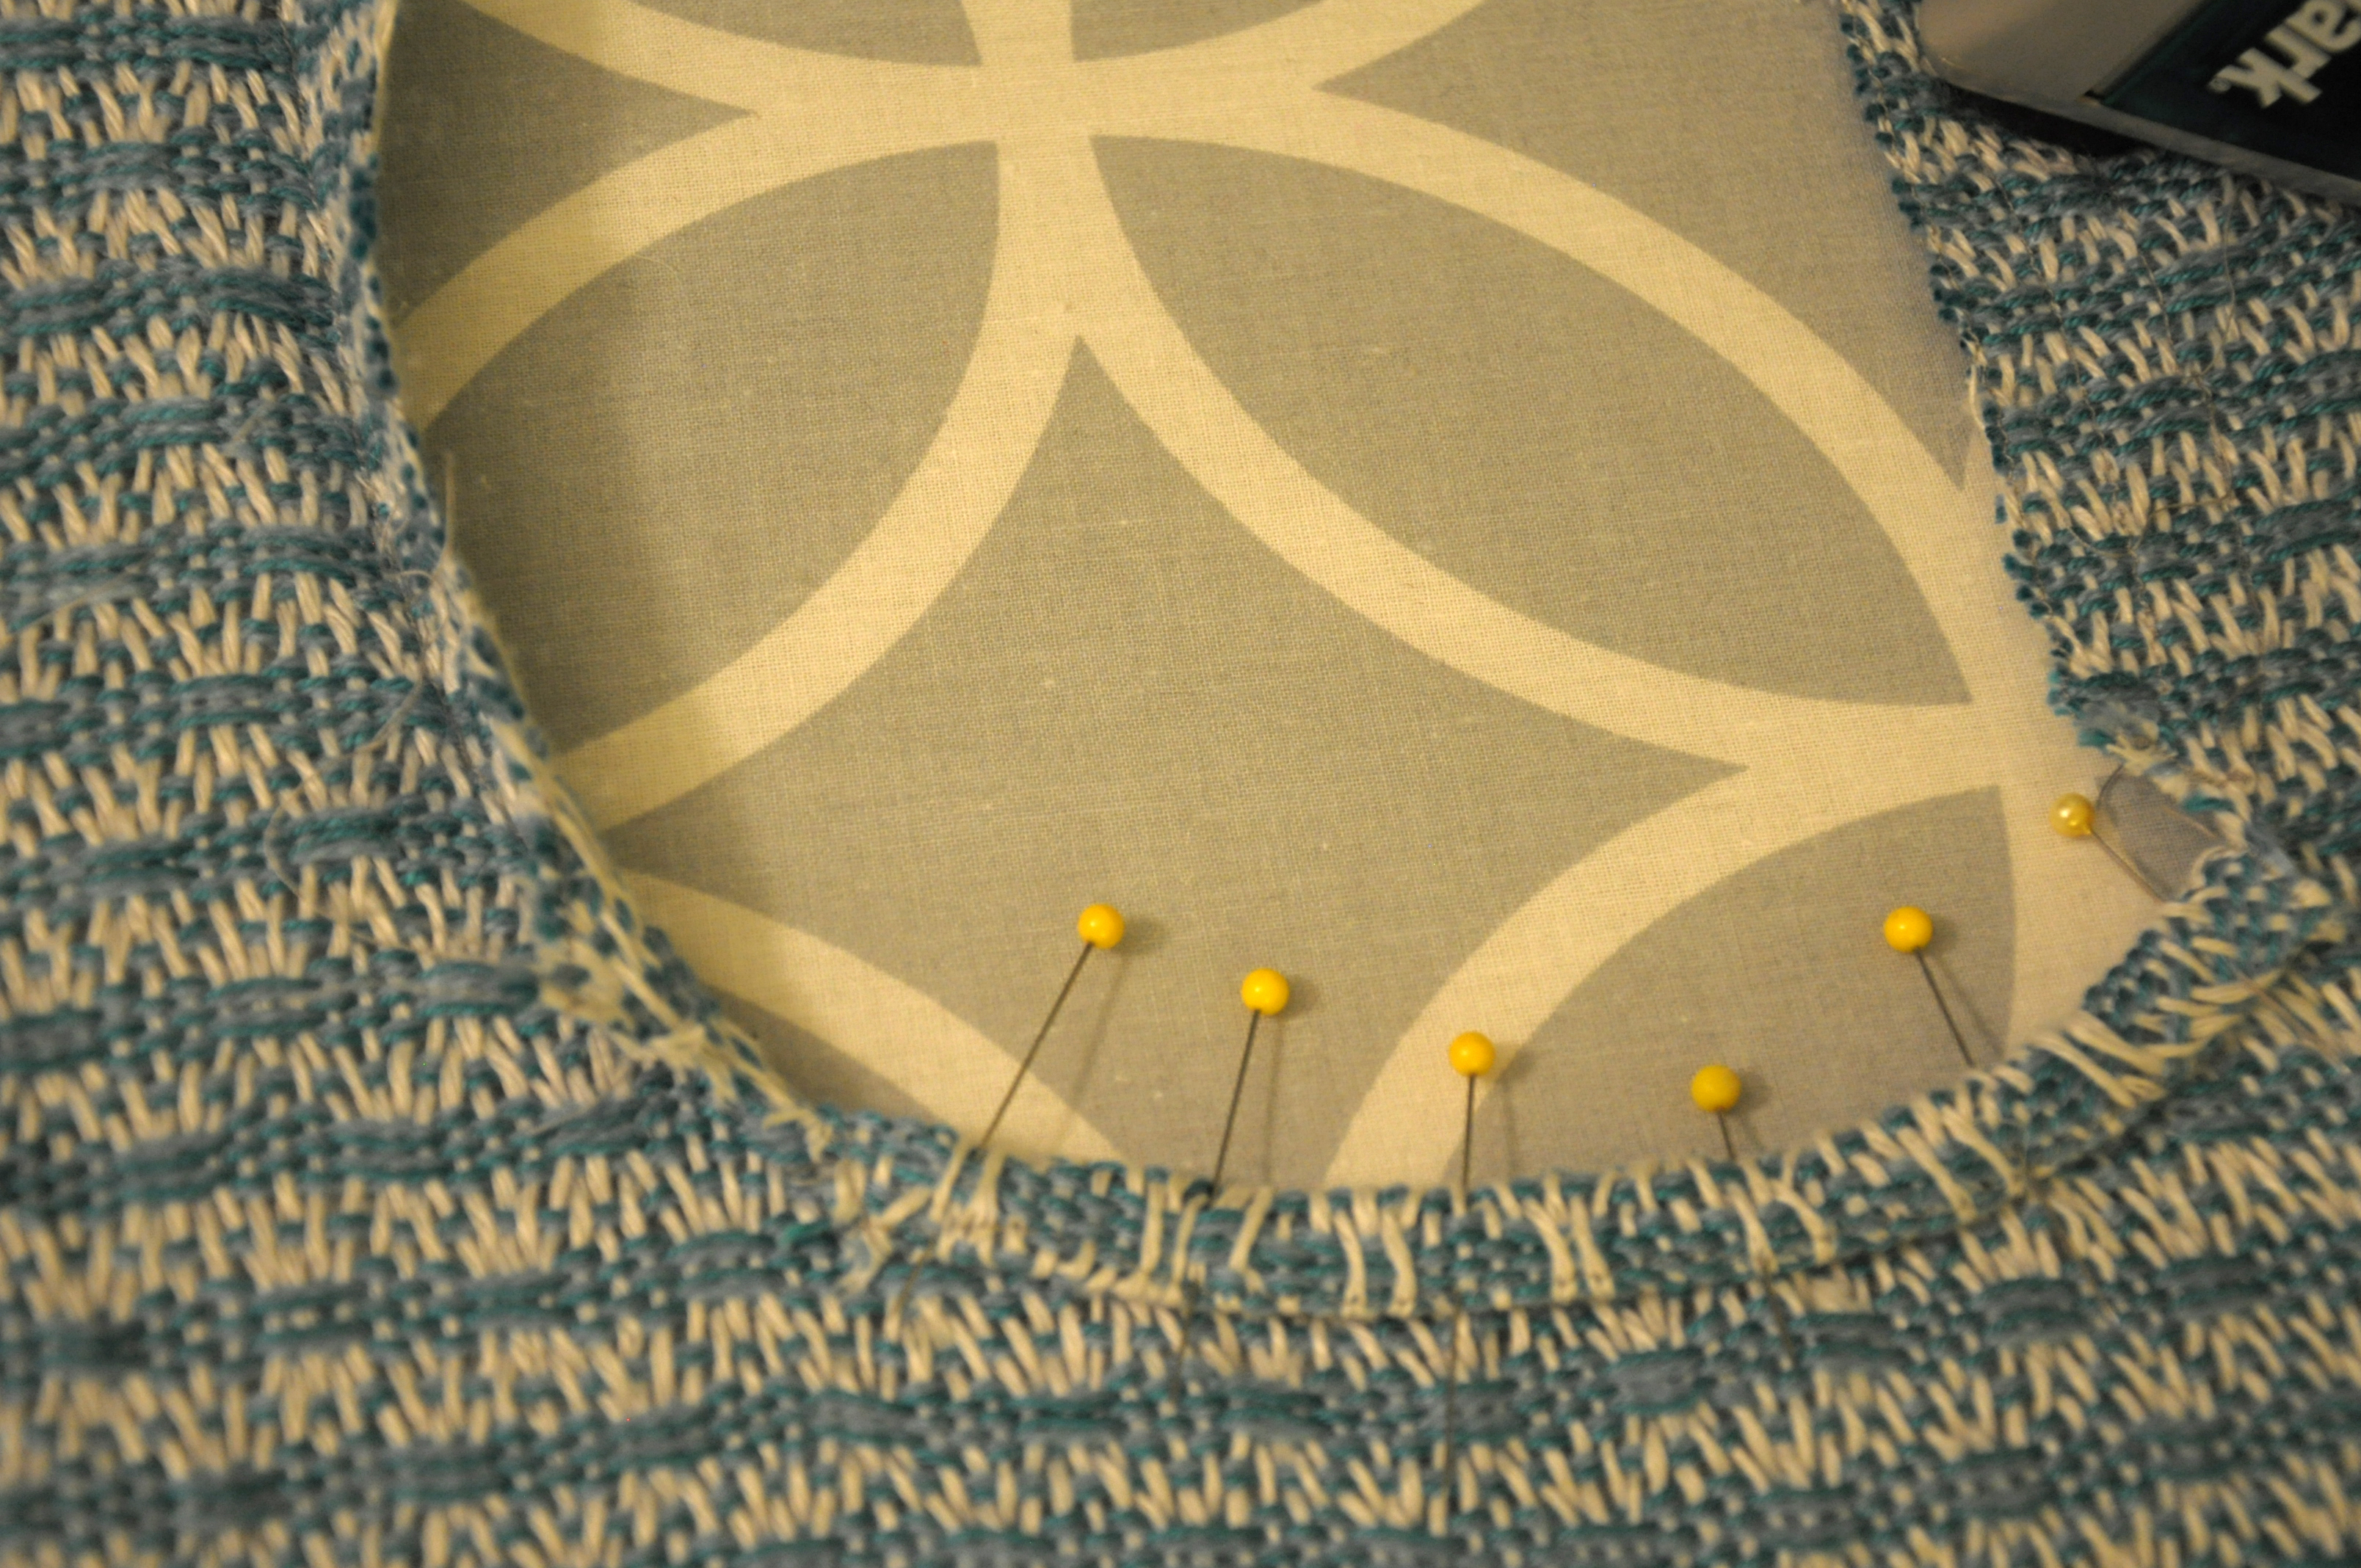
Anyway, next, it’s onto the ironing board again. And more pins! For a double-rolled hem, I first pressed in my openings on my very first straight line of sewing. Remember, my guide line? Then,  I pressed in again on my first zigzag line.

Sewing_9

Once I pinned and sewed my neck and armhole openings (this time, with thread I could actually see), I tried it on Betty to see how we were coming:

Sewing_10

Hey, it looks like it could actually be something! To wear!

There were just a few things left to do. First I trimmed away that fringe. Fringe is actually in style right now and I could have left it, but opted to cut it away instead.

Next, I needed some side seams. Because the sides of the fabric are the selvedges, I found no need to do double rolled hems because the edges are “finished” already.

The final width of my fabric after washing, by the way, was about 19 1/2″. Which means, if I were to sew the sides together with 1/2″ seam allowances (taking up a total of 2″ in seams), then my finished top would be about 37″. Perfect! I have a 34″ bust, so having a few inches of ease in this woven top will work well, since woven fabrics really don’t have any give.

My hips, however, are significantly larger than 34″. I’m a pear shape and my hips are about 39-40″. I couldn’t sew the full length of my side seams or I won’t be able to fit into this baby.  I also could have made the top shorter than intended so that it sat above the fullest part of my hips, but I didn’t want to do that.

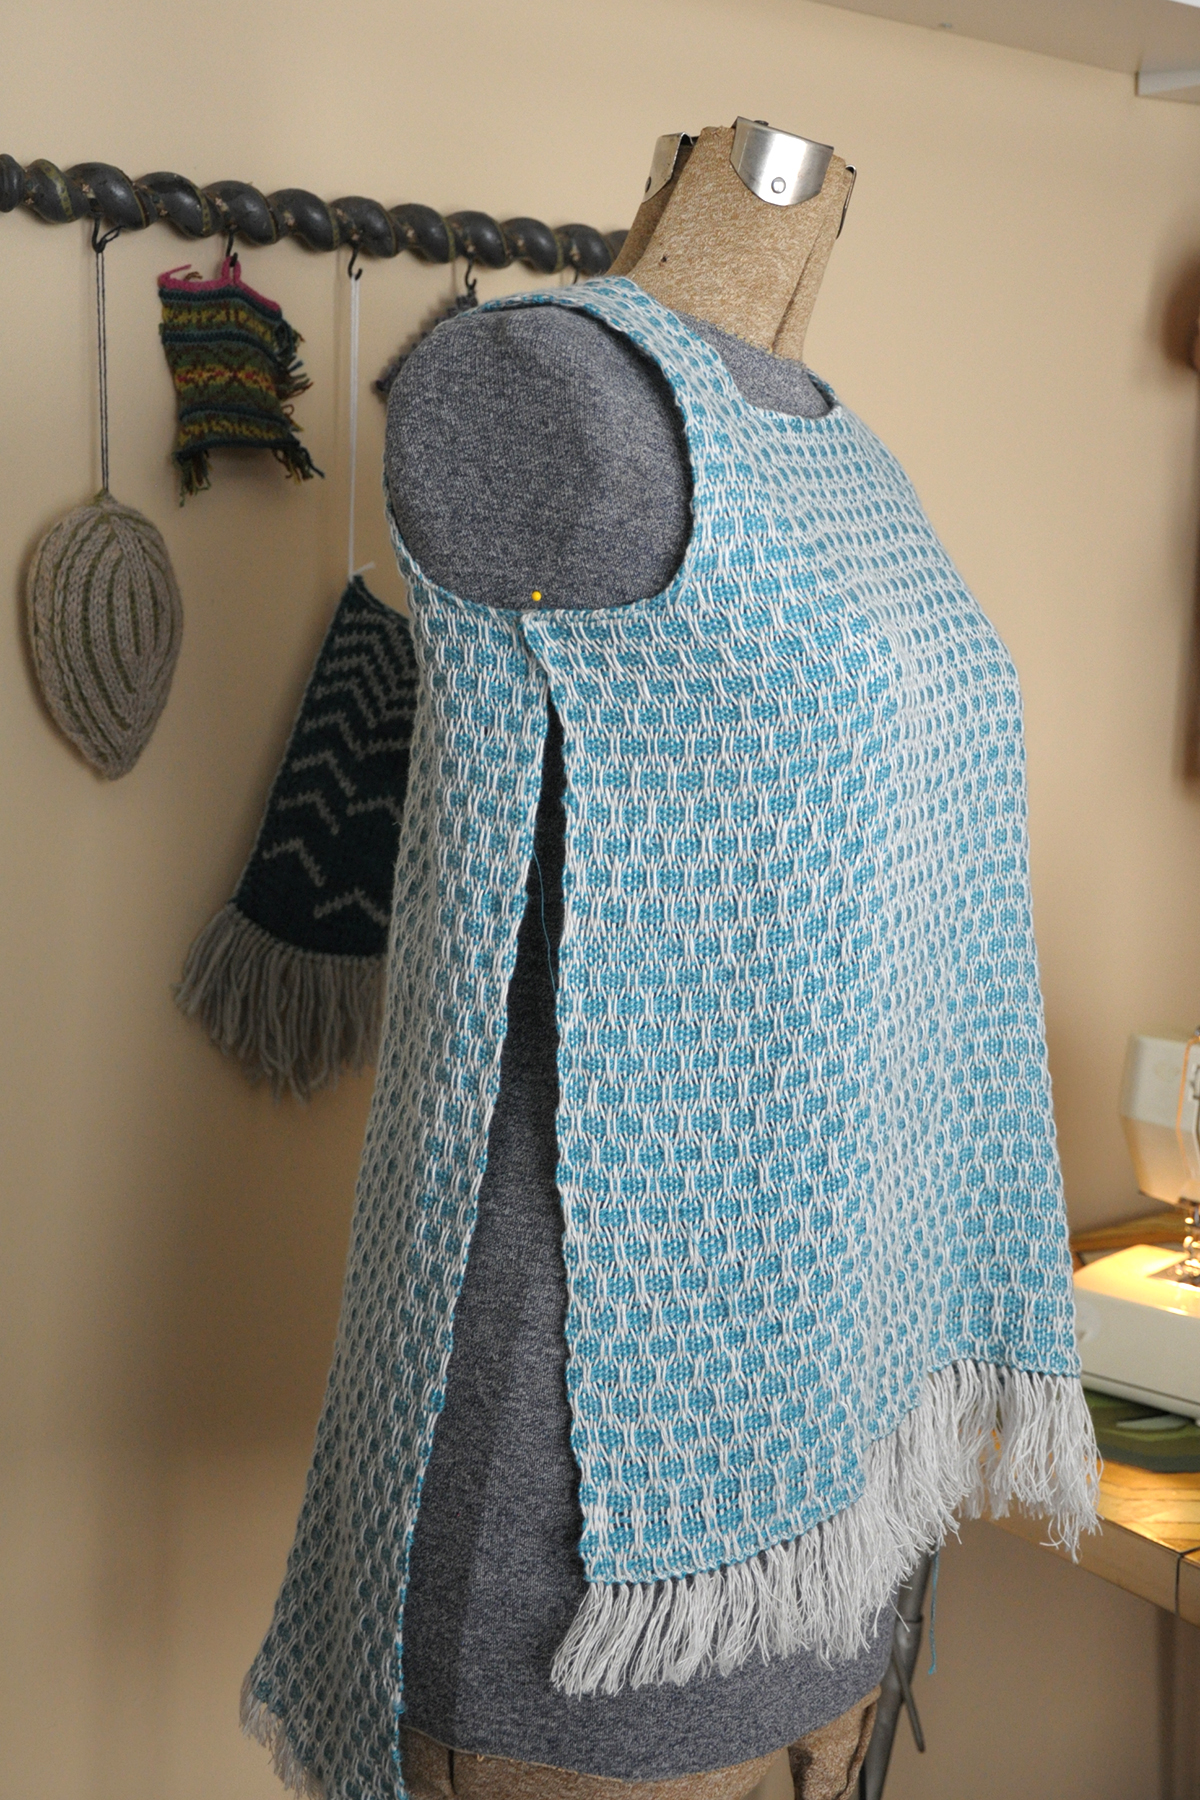
Instead, I opted to sew only part of the side seam and give myself side vents to accommodate my curves.

Sewing_11

After sewing the side seams, I pressed them open. Remember my other rule – don’t skimp on the ironing. I then made a single-fold hem on the unsewn portion of the sides, and made a double-fold hem on the bottom. After that, more ironing! It’s important to iron sewn seams to sort of settle them into place. It also makes them look more finished. I like to shoot a little steam on seams of knitted items too to help them relax.

Sewing_12

And here are some final shots:

Flame Lace side closeup square hi-res

Flame Lace hem hi-res

Flame Lace on form hi-res

Flame Lace on Amy crop hi-res

All in all, I’m please with how this turned out. Though I have quite a bit of sewing experience, I’ve done very little sewing with my own hand woven fabric, which is definitely a whole different ballgame than sewing with purchased fabric. This project has definitely sparked ideas for more garments. Now all I need is to find the time to implement them!

Join me next time as I explore how to make the most of Bamboo Pop multi colorways and planned pooling!


Off and Running

I am delighted to say that the fabric that will become my Flame Lace top is finally off the loom! As much as I enjoy the meditative process of weaving, it always feels so good to near the end of a project. In life and crafting, I’ve found that there are all types of people: starters, enjoyers, tinkerers, thinkers, finishers, and on the list goes. I can dabble in many varieties of creativity, but I fall staunchly into the “finisher” category. I enjoy the process, but I love to see things through to completion.

In case you’ve missed the first few posts in this series on my Flame Lace top (from Simple Woven Garments,) you can find the warping post here,  how to make string heddles here,  and actually weaving the fabric here.  I’m using Flax as warp, and Whisper Lace with Garden 10. held together as warp. Today, I finished the final inches of weaving and prepared for taking my fabric off the loom.

Luckily, I recorded my notes on what I did for hemstitching at the beginning of the piece so I could match it at the end. The older I get, the more things I write down, or I can expect to never remember them again! The hem on this top is eventually going to be folded under and sewn, so this isn’t crucial, but I’m all about the details. Having the notes about precisely what I did at the beginning allowed me to do the same at the end of the piece.

Hemstitching_1

While doing my hemstitching, I went over 3 warp threads and under 2 weft threads. Because I’m headed straight to the sewing machine after this, all I need to do now is snip this baby free from the loom.

Hemstitching_2

Oh, what a good feeling!


After unwinding my fabric a little bit, I had my first good chance to take a peek at the back side of the fabric. I like it! In the photo below, the right side of the fabric is on the right, wrong side is on the left. The wrong side is still quite attractive. I’ll have to file this away in my brain as a good possibility for a scarf, where both sides will be seen.

Hemstitching3

Here is the full length of the fabric. And as I sit here now typing with my fabric soaking in water, I realize I completely forgot to measure my fabric just off the loom.  C’est la vie, eh?Hemstitching4

Now to secure the ends before washing. A simple zig-zag stitch on my sewing machine will do the trick.

Hemstitching5

Hemstitching6

I can’t even tell you how excited I am to see how this fabric looks after washing. That’s when the true nature of the fabric reveals itself. As pretty as it was to look at taut on the loom, I just know it’s going to be full of character once it’s all settled.

Join me next time when this rectangle of criss-crossed yarn becomes something wearable!


Playing With Sticks

If you’ve been following along on my latest adventure in weaving,  you read about warping a wide rigid heddle loom for the Flame Lace Top, and then rigging up string heddles for a second pick-up stick. The warp is Flax. The weft is one strand of Whisper Lace and 1 strand of Garden 10 held together.

This week is all about the fun pretty stuff: woven fabric! Once I got my pick-up sticks taken care of and my shuttle wound, I set to the soothing rhythm of weaving. I started right in with the 2 pick-up-stick pattern, and practiced a couple of repeats before hem stitching:

FlameLace_1

Out of the 12 rows of the pattern repeat, 4 of these involve use of the pick-up sticks. It took me just a few repeats to get the hang of it and after that it was smooth sailing.

FlameLace_2

Weaving is such a good opportunity for me to unwind. Music streaming, audio books, or just sitting with my own thoughts is such a relief after a hectic day.

FlameLace_3

Join me next time when I take my finished fabric off the loom and do – gasp – cutting and sewing with it!


String Heddles – How To

After warping for my Flame Lace Top, I was all set to get weaving! The weaving pattern requires the use of two pick-up sticks, so I got going on that first.

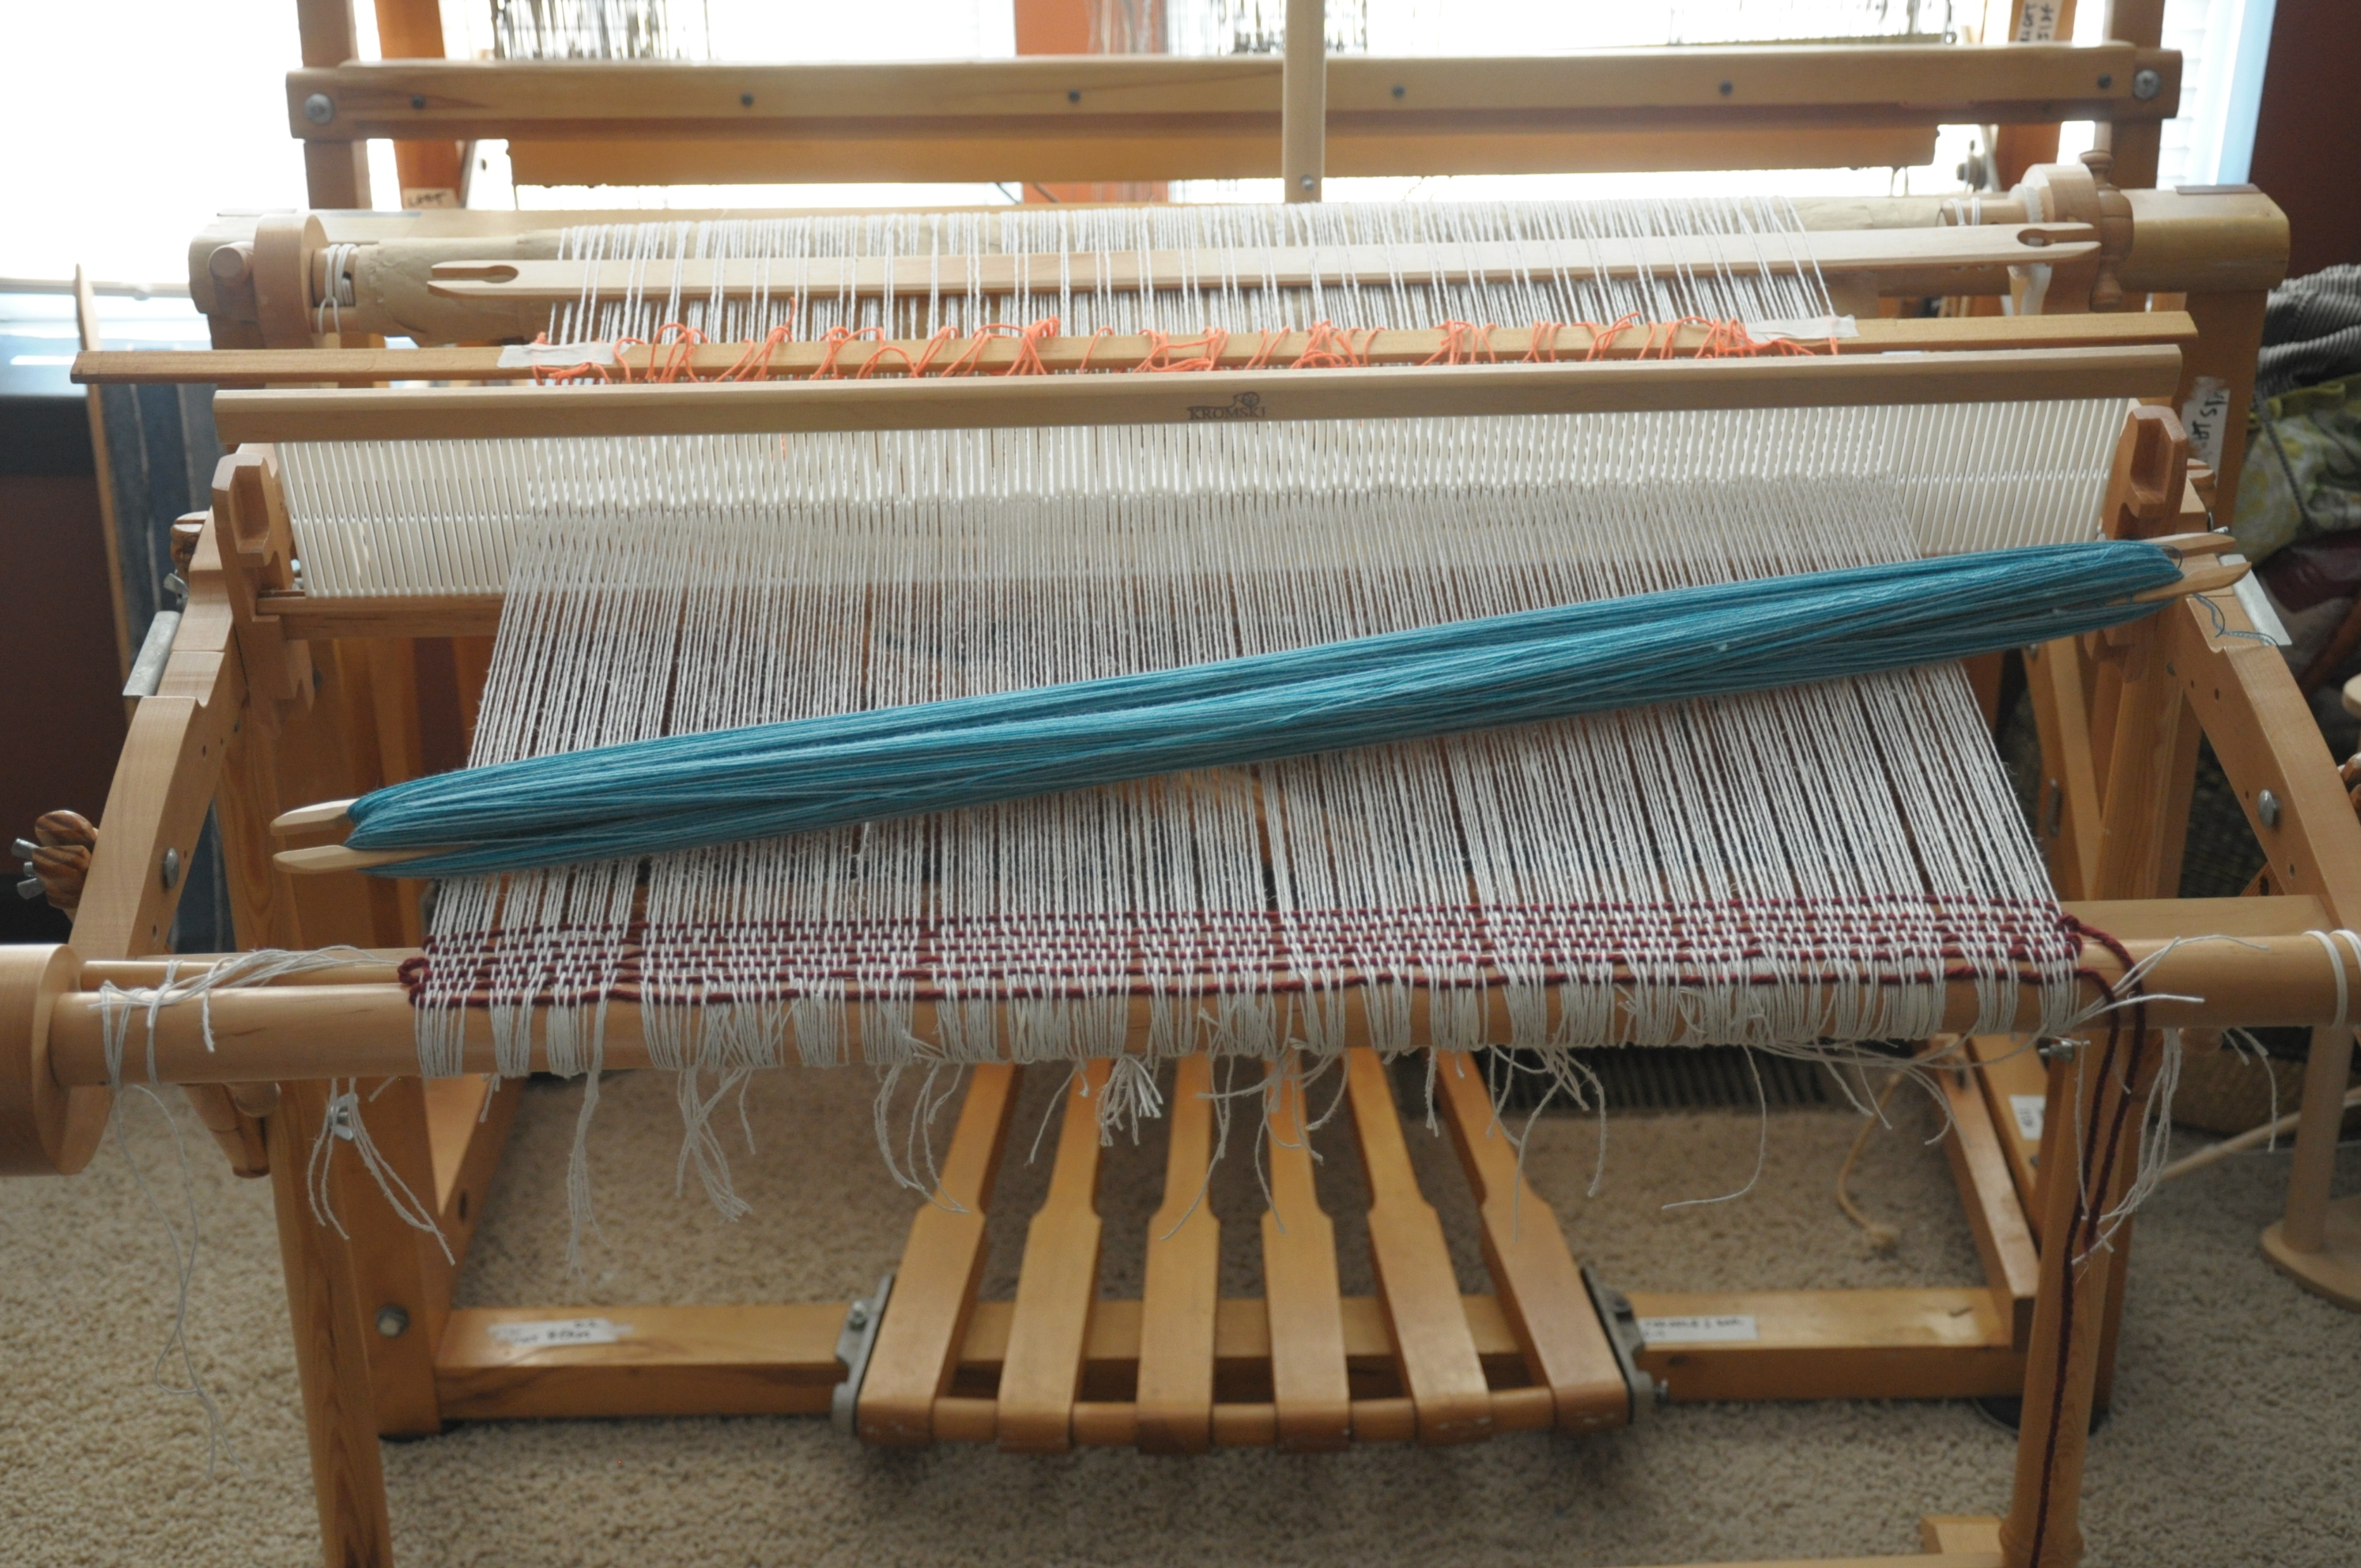
I put the rigid heddle in the down position in order to place the appropriate threads on my pick-up sticks. The back stick below represents pick-up stick 1, the front stick represents pick-up stick 2.

Heddles_1

I got set to weaving my pattern when it hit me – I can’t leave both sticks in place at the same time because they would interfere with the shed. Duh! Crap. What to do?
This particular loom accommodates 2 rigid heddles. I probably could have warped using both rigid heddles, and eliminated the need for one of my pick-up sticks. Or, I could pick up threads for the second stick every time I needed it. But that would be really annoying, needing it for 2 passes out of every 12, and especially on this wide loom.

And then I remembered – string heddles! Back when I first learned how to weave, I did so on a homemade giant frame loom. When I was learning how to do different patterns on it, I had run across the string heddle solution and implemented it then.
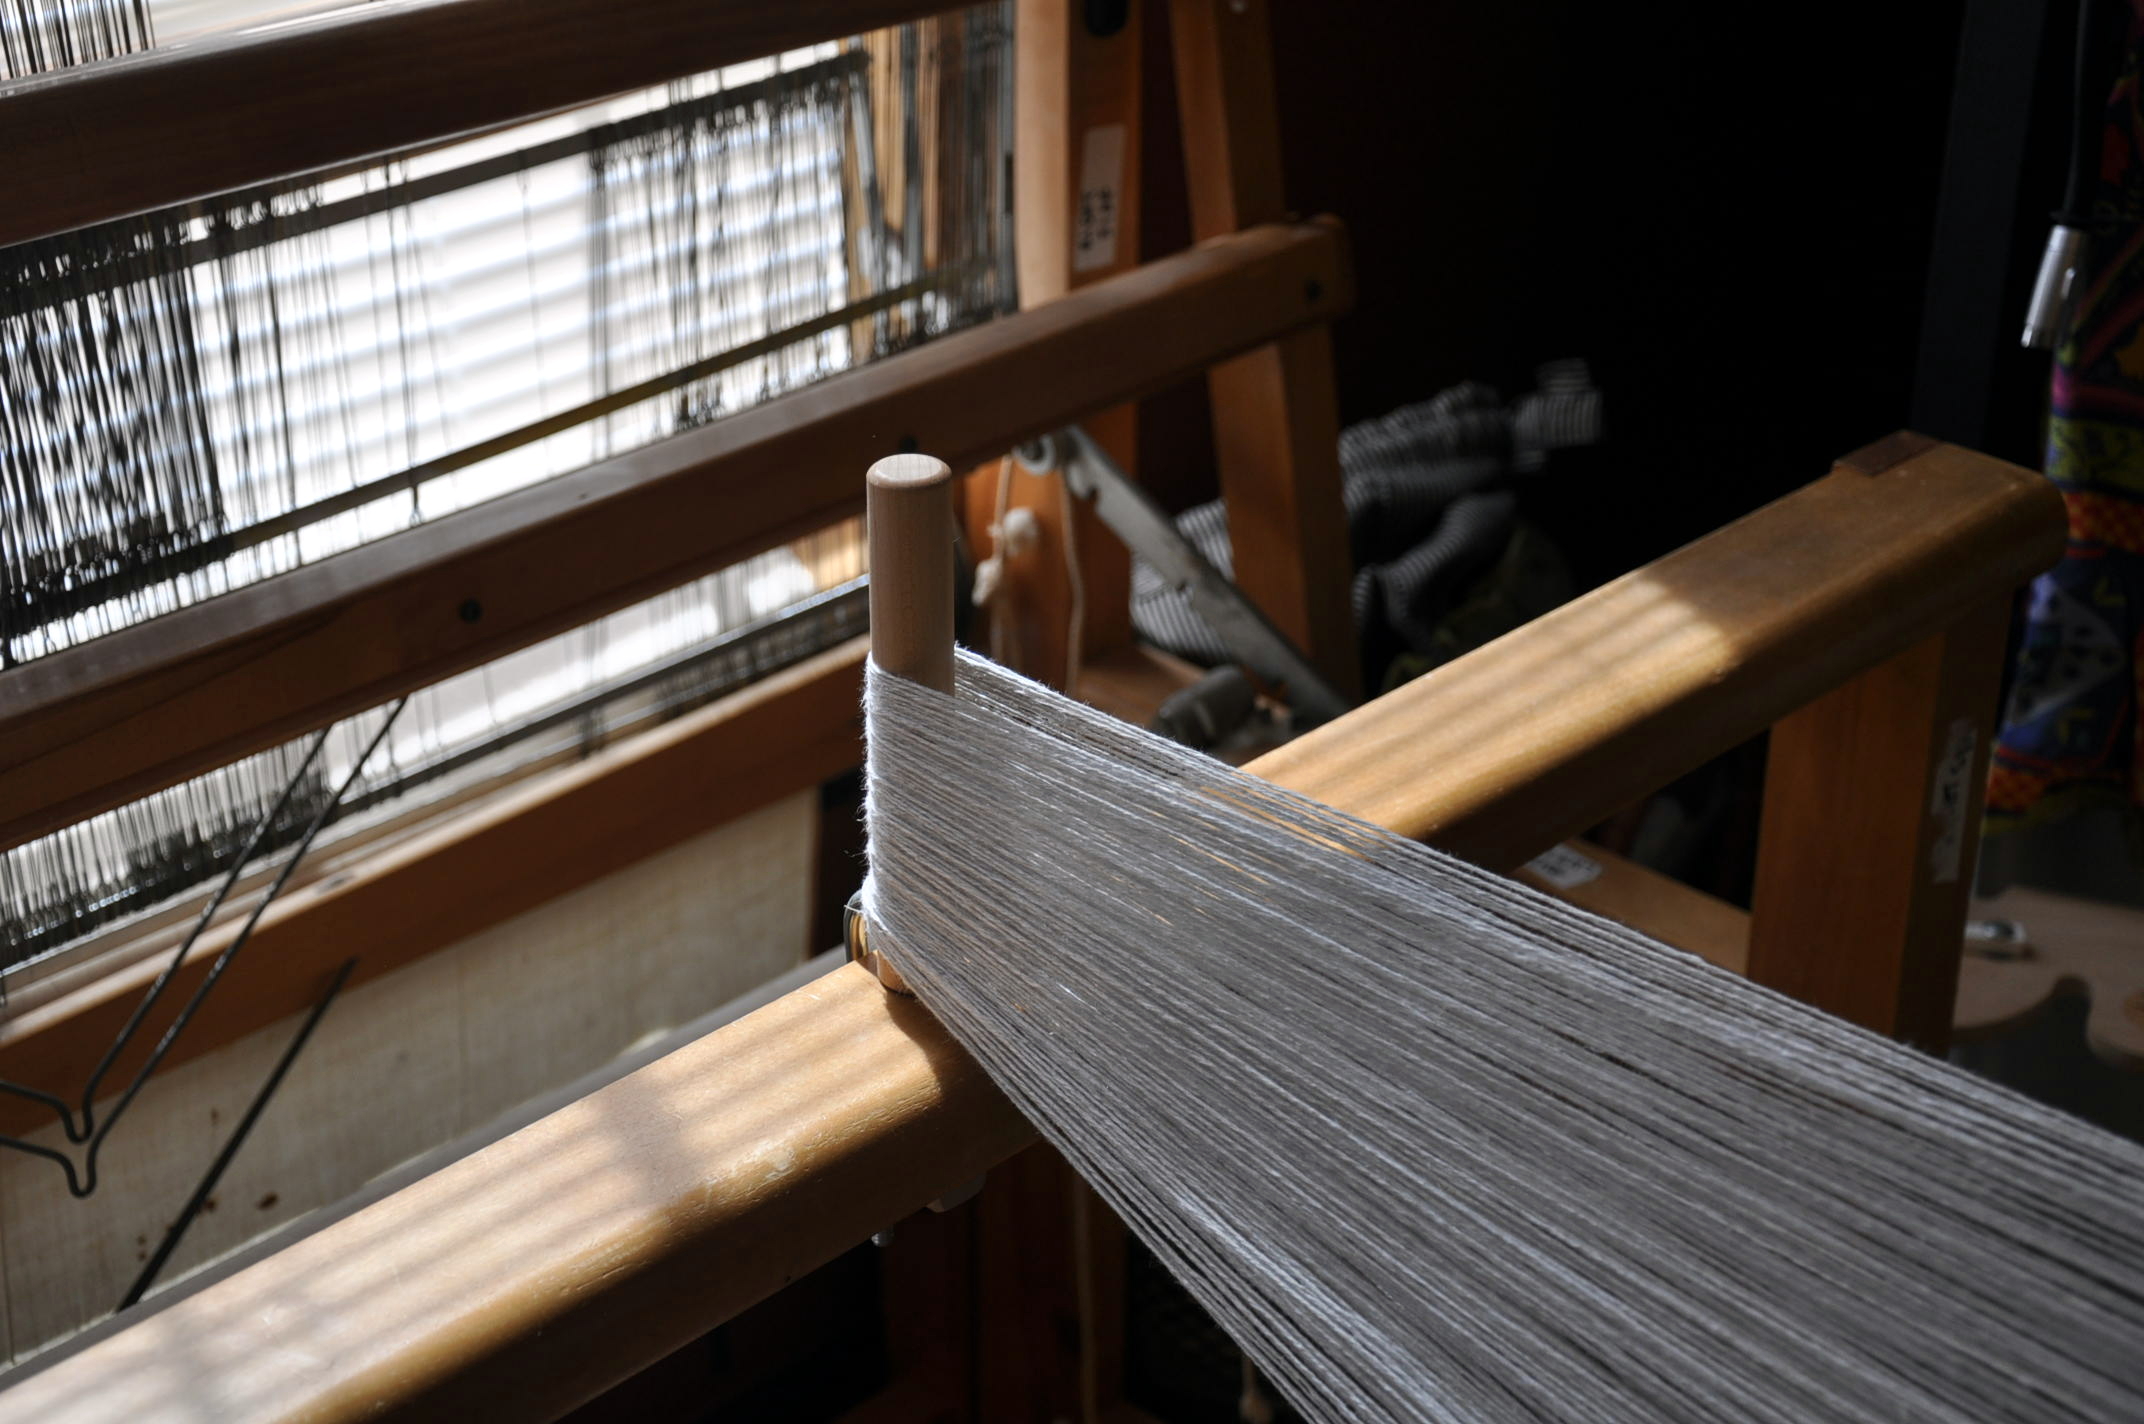
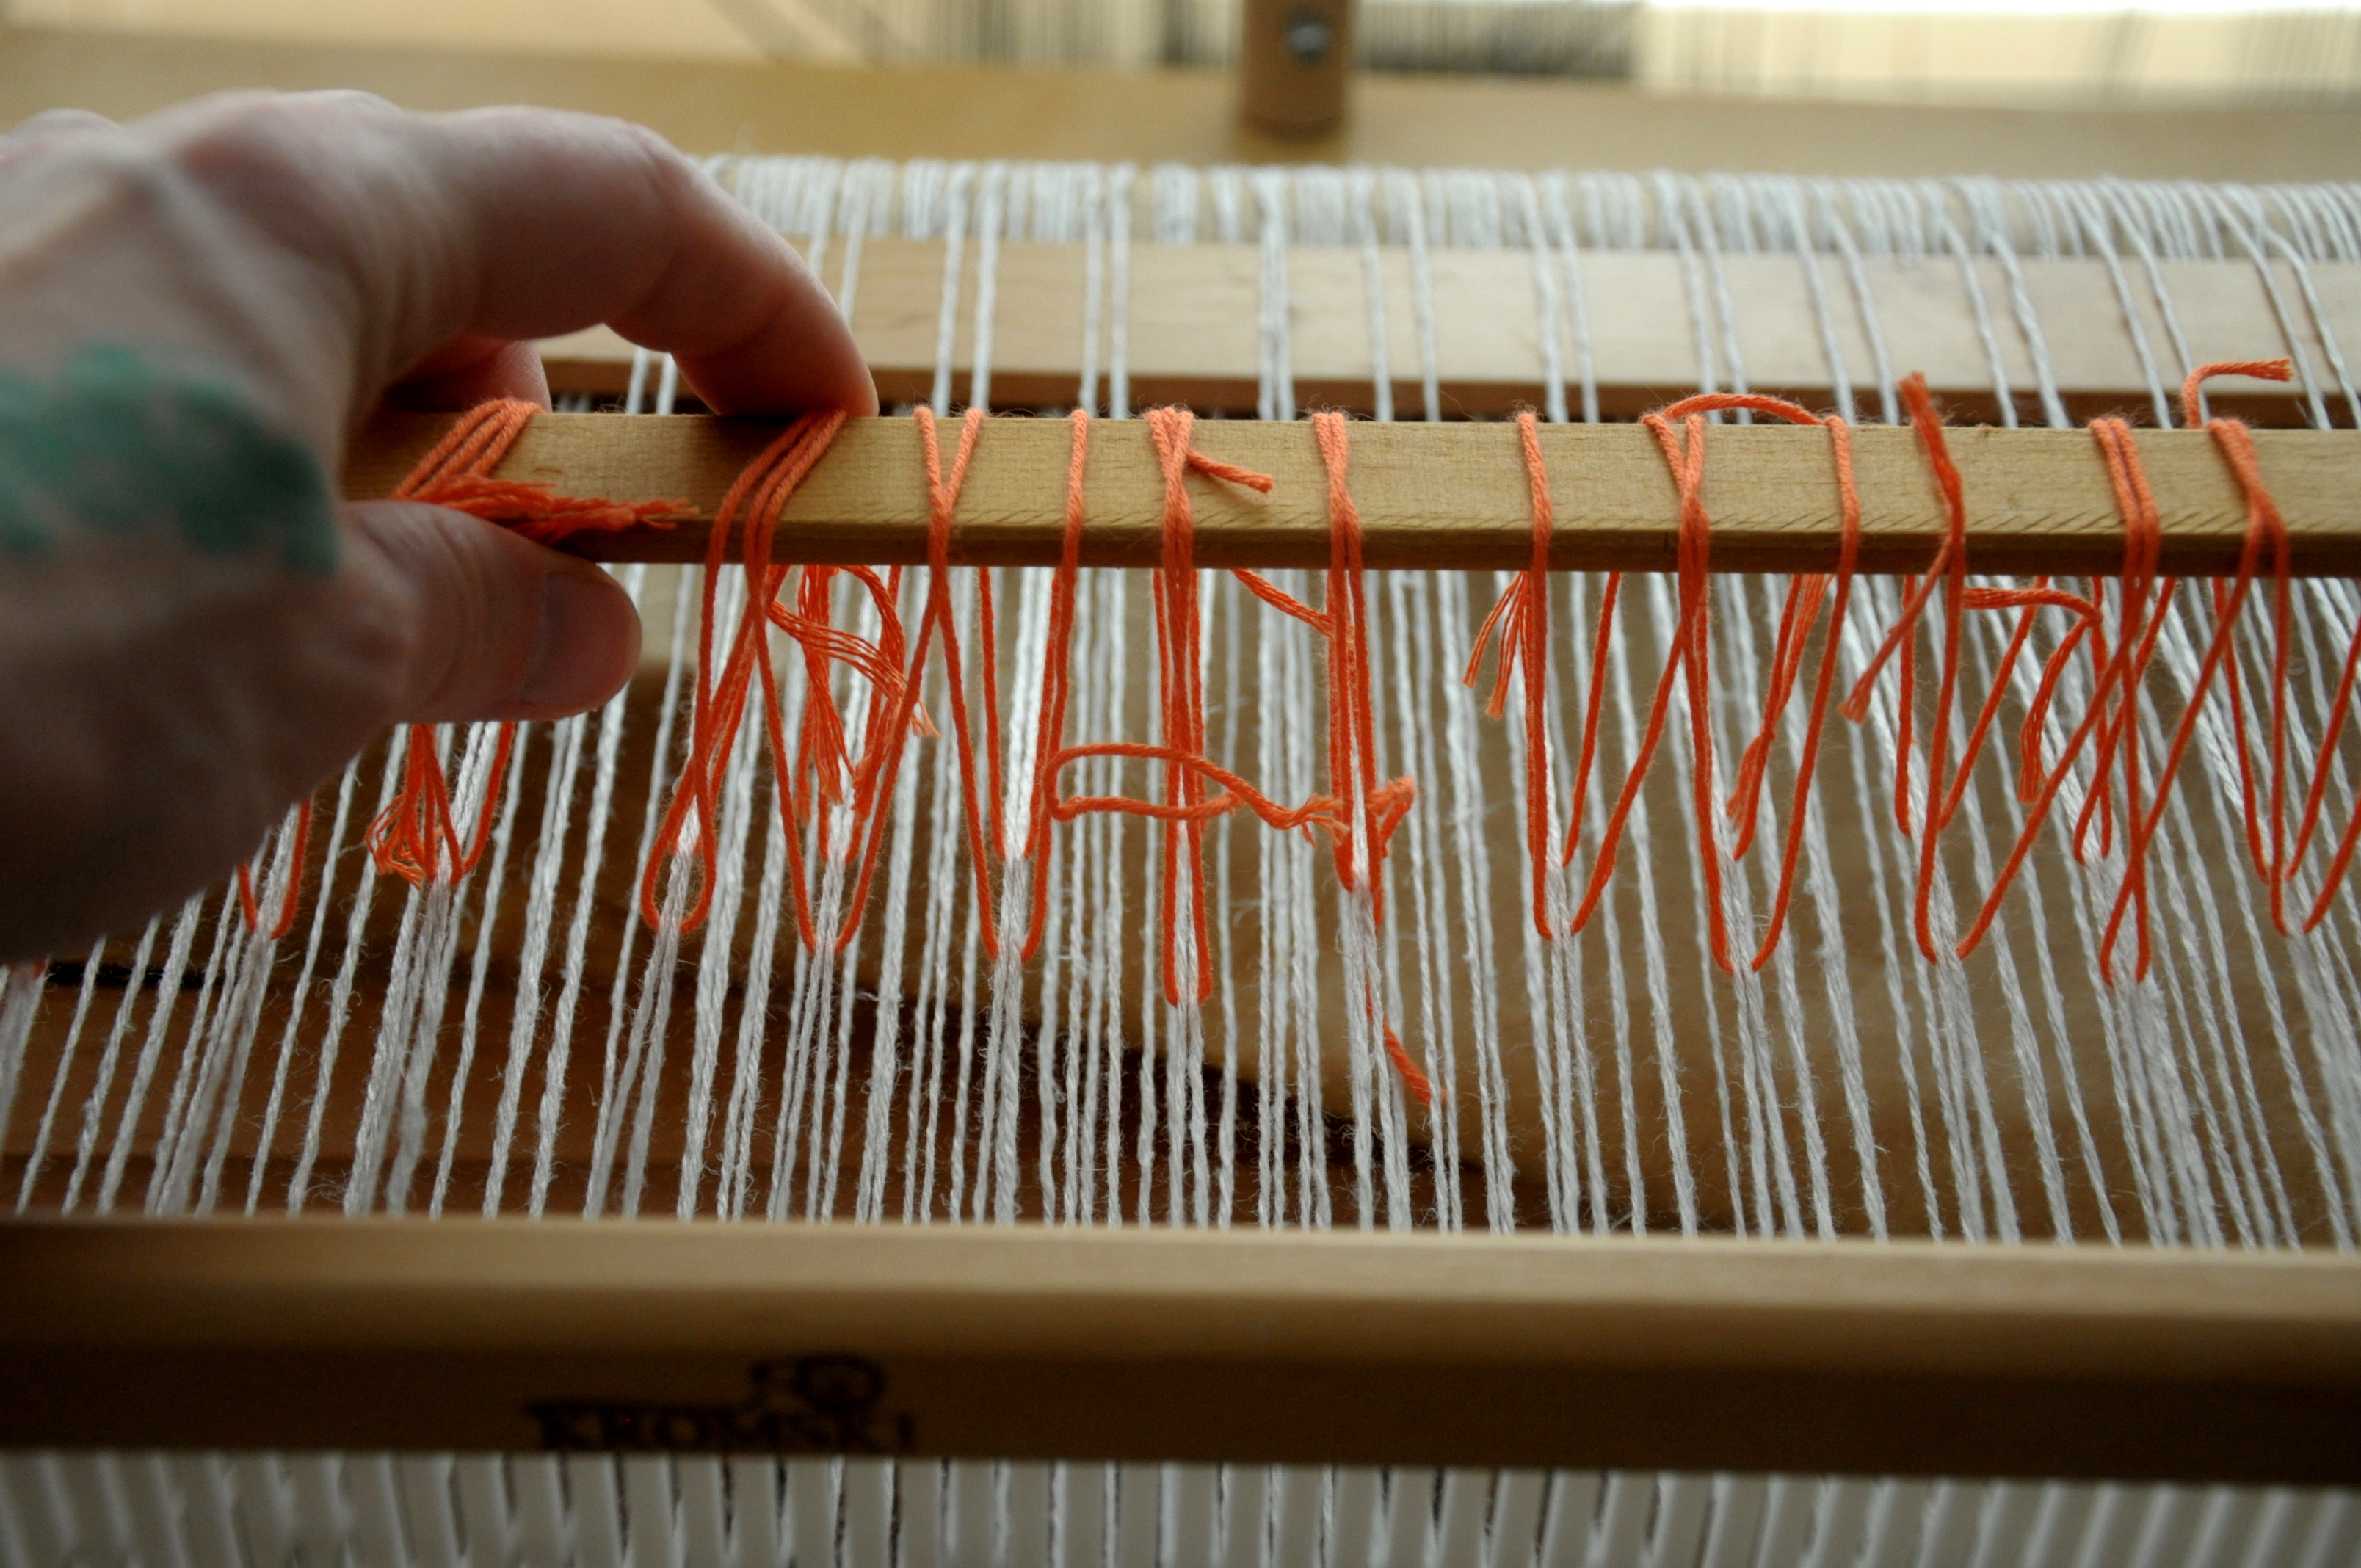
Leaving my second (front) stick in place, I got to work making my string heddles. I counted all the threads on the stick, which is how many heddles I need. Then I found some lightweight cotton scrap yarn to make the heddles. It’s best to use a smooth light yarn for string heddles – something that won’t stick to the warp. A mercerized cotton would work well, or even a nylon cord if you have it.

It’s important that all the heddles are the same length. Wrap yarn around an object, like a spare heddle shown here, and tie each one in a square knot to secure.

Heddles_2

Then, the heddles need to get attached to the appropriate warp threads. Leaving my stick in place, I looped each thread around the warp, and then around another long stick.

Heddles_3

Once all the heddles are attached to the stick, I put a piece of tape on either end, securing those last several heddles so they don’t slide off.

Heddles_4

Once it’s time to use pick-up stick 2, make sure pick-up stick 1 is slid all the way to the back, move stick 2 forward and lift.

Heddles_6

That’s all there is to it! It’s one of those things, I think, that sounds harder and more complicated than it actually is.

And now it’s finally time to start weaving!

Heddles_7

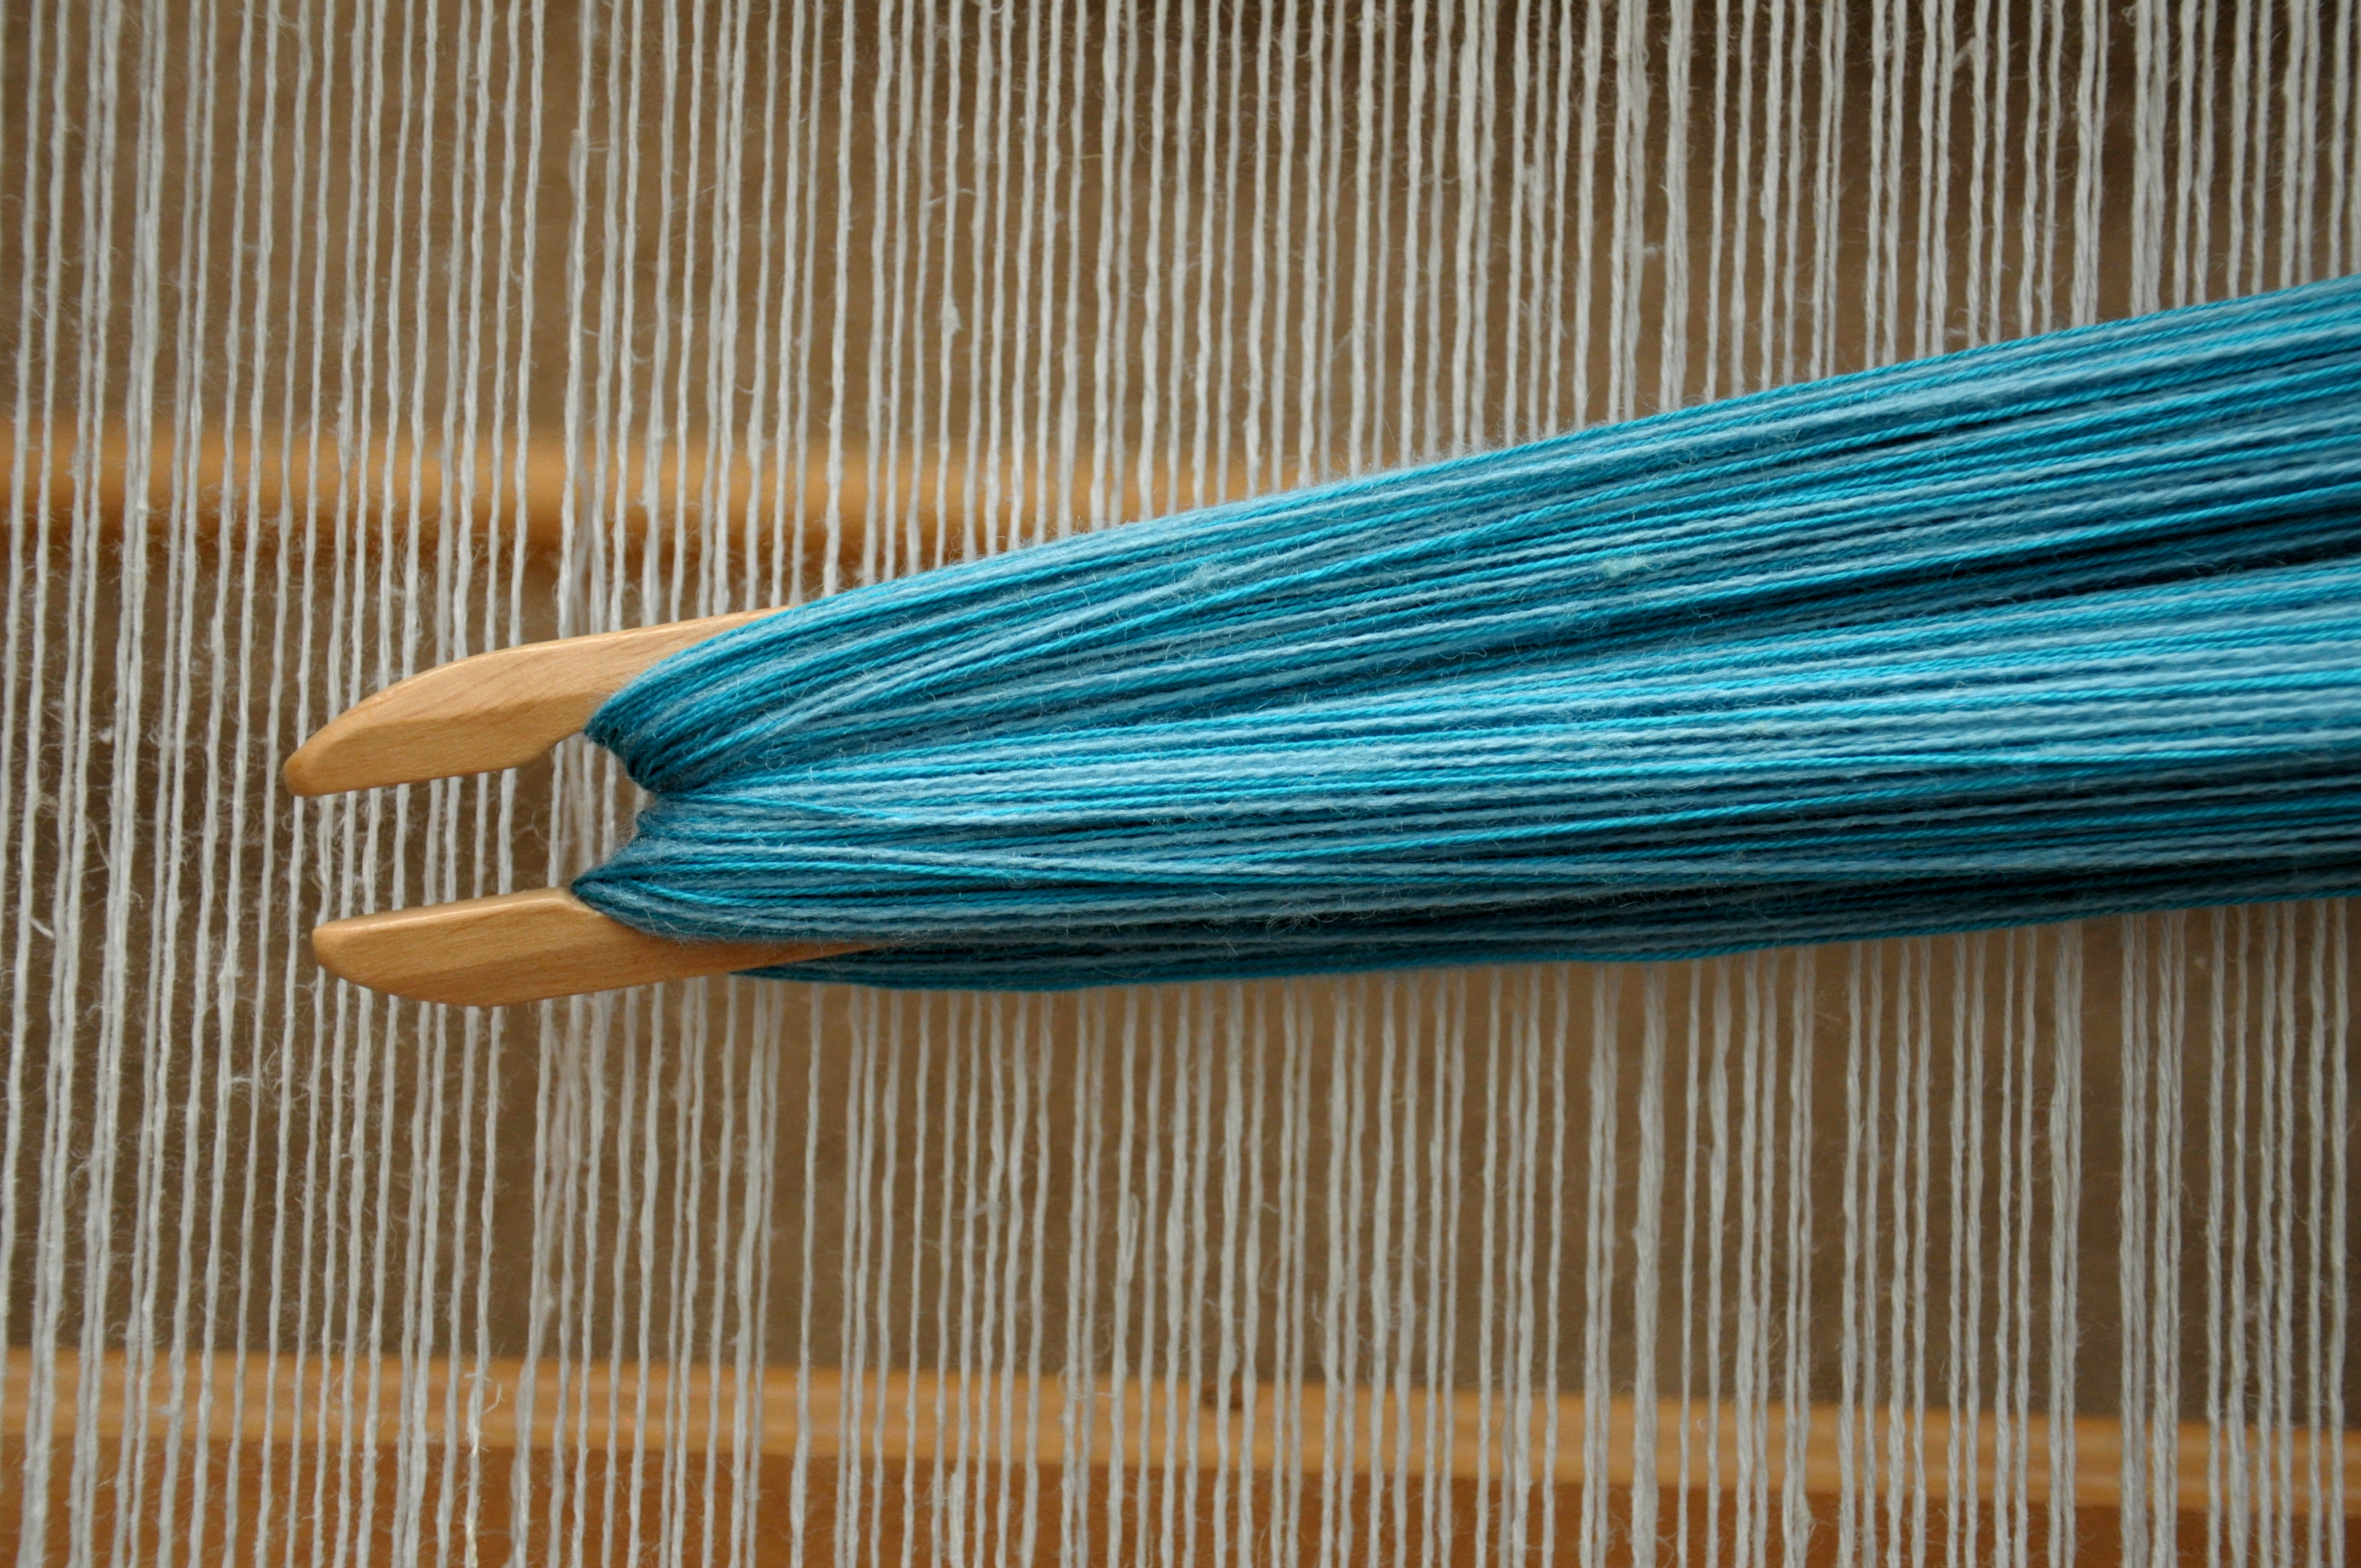
I adore how the Whisper Lace and Garden look together all wrapped on the shuttle ready to be something.

Heddles_8


See you next time for those string heddles in action.

Warping for Flame Lace Top

I’ve been so excited to get started on a new weaving project! Now that I’ve finally finished up my very old UFO, I’m ready for the next thing.

I recently got my hands on a copy of Simple Woven Garments, a fantastic book by Sara Goldenberg & Jane Patrick.

617cZvdAEfL._SX258_BO1,204,203,200_

As the cover promises, there are instructions for over 20 garments in this beautiful book. It’s written in a very approachable way, and the photos are really inspiring. I flipped through the pages many times before finally settling on the Flame Lace Top (page 90)  to try first.

7051e25ed09687dcfb61e365b0d85b34

And after reviewing the required materials, I realized we have good substitutes for all the yarns used in the project, so it was settled. I think I’ll probably change some of the finishing details in this piece, but more on that in future posts. I think what most drew me to this project was the pattern in the weaving. I also think the gathered shoulders are pretty cute.

I took out my notebook, AKA weaving diary, and started first by recording all the beginning information for my project. Here is what I wrote:

Warp Yarn: Flax, color 17 Silver

10 dent reed

Weaving width: 24″/240 ends

Warp length: 100″

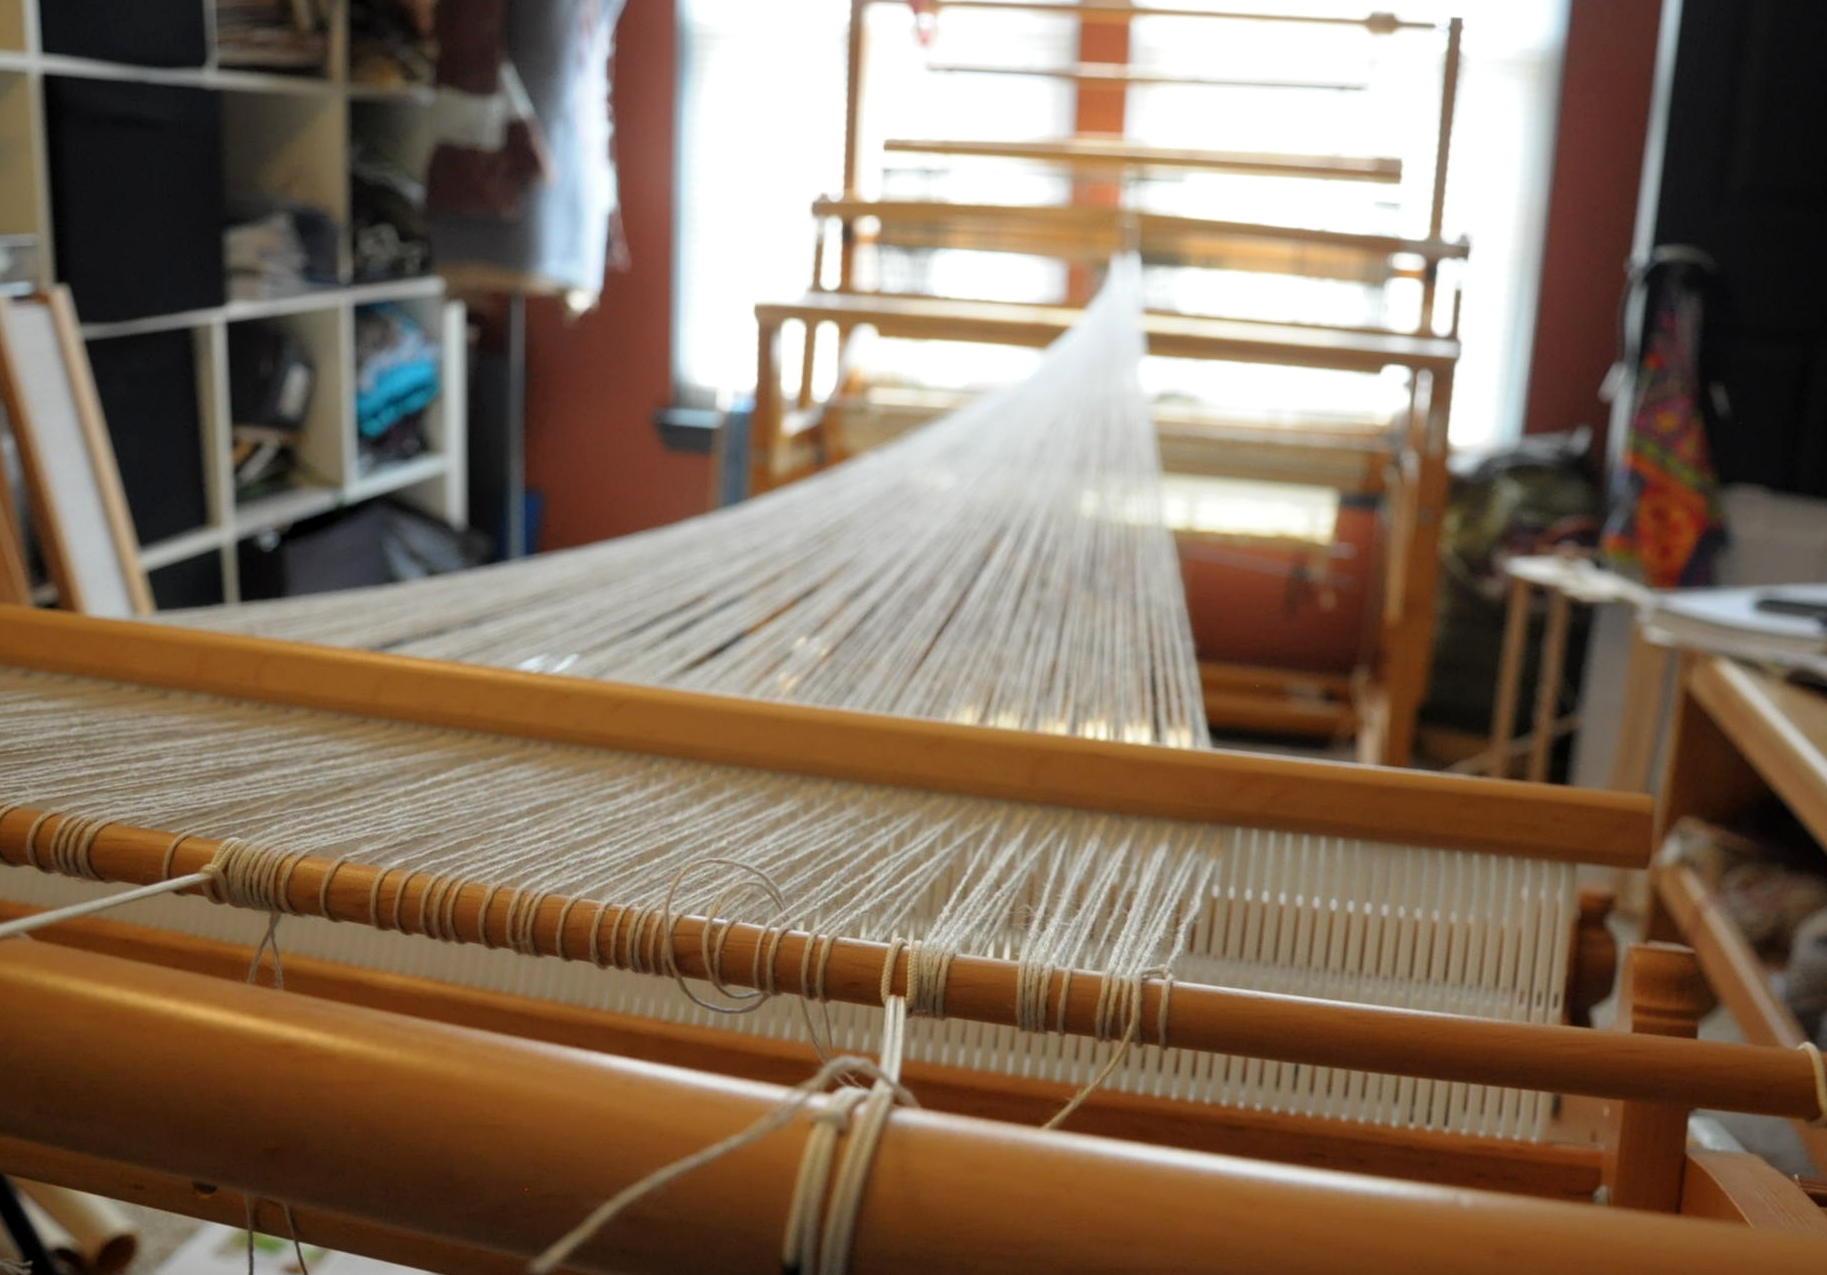
From this, I calculated how much Flax I needed for my warp. 240 ends x 100″ = 24,000″ or 667 yds. This comes out to just under 5 hanks of Flax.

FlameTop_1

My weft yarn, as you can see, will be Whisper Lace and Garden 10; 1 strand of each held together. Though I love the warm colors in the original project, I tend to be a cool colors kind of person.

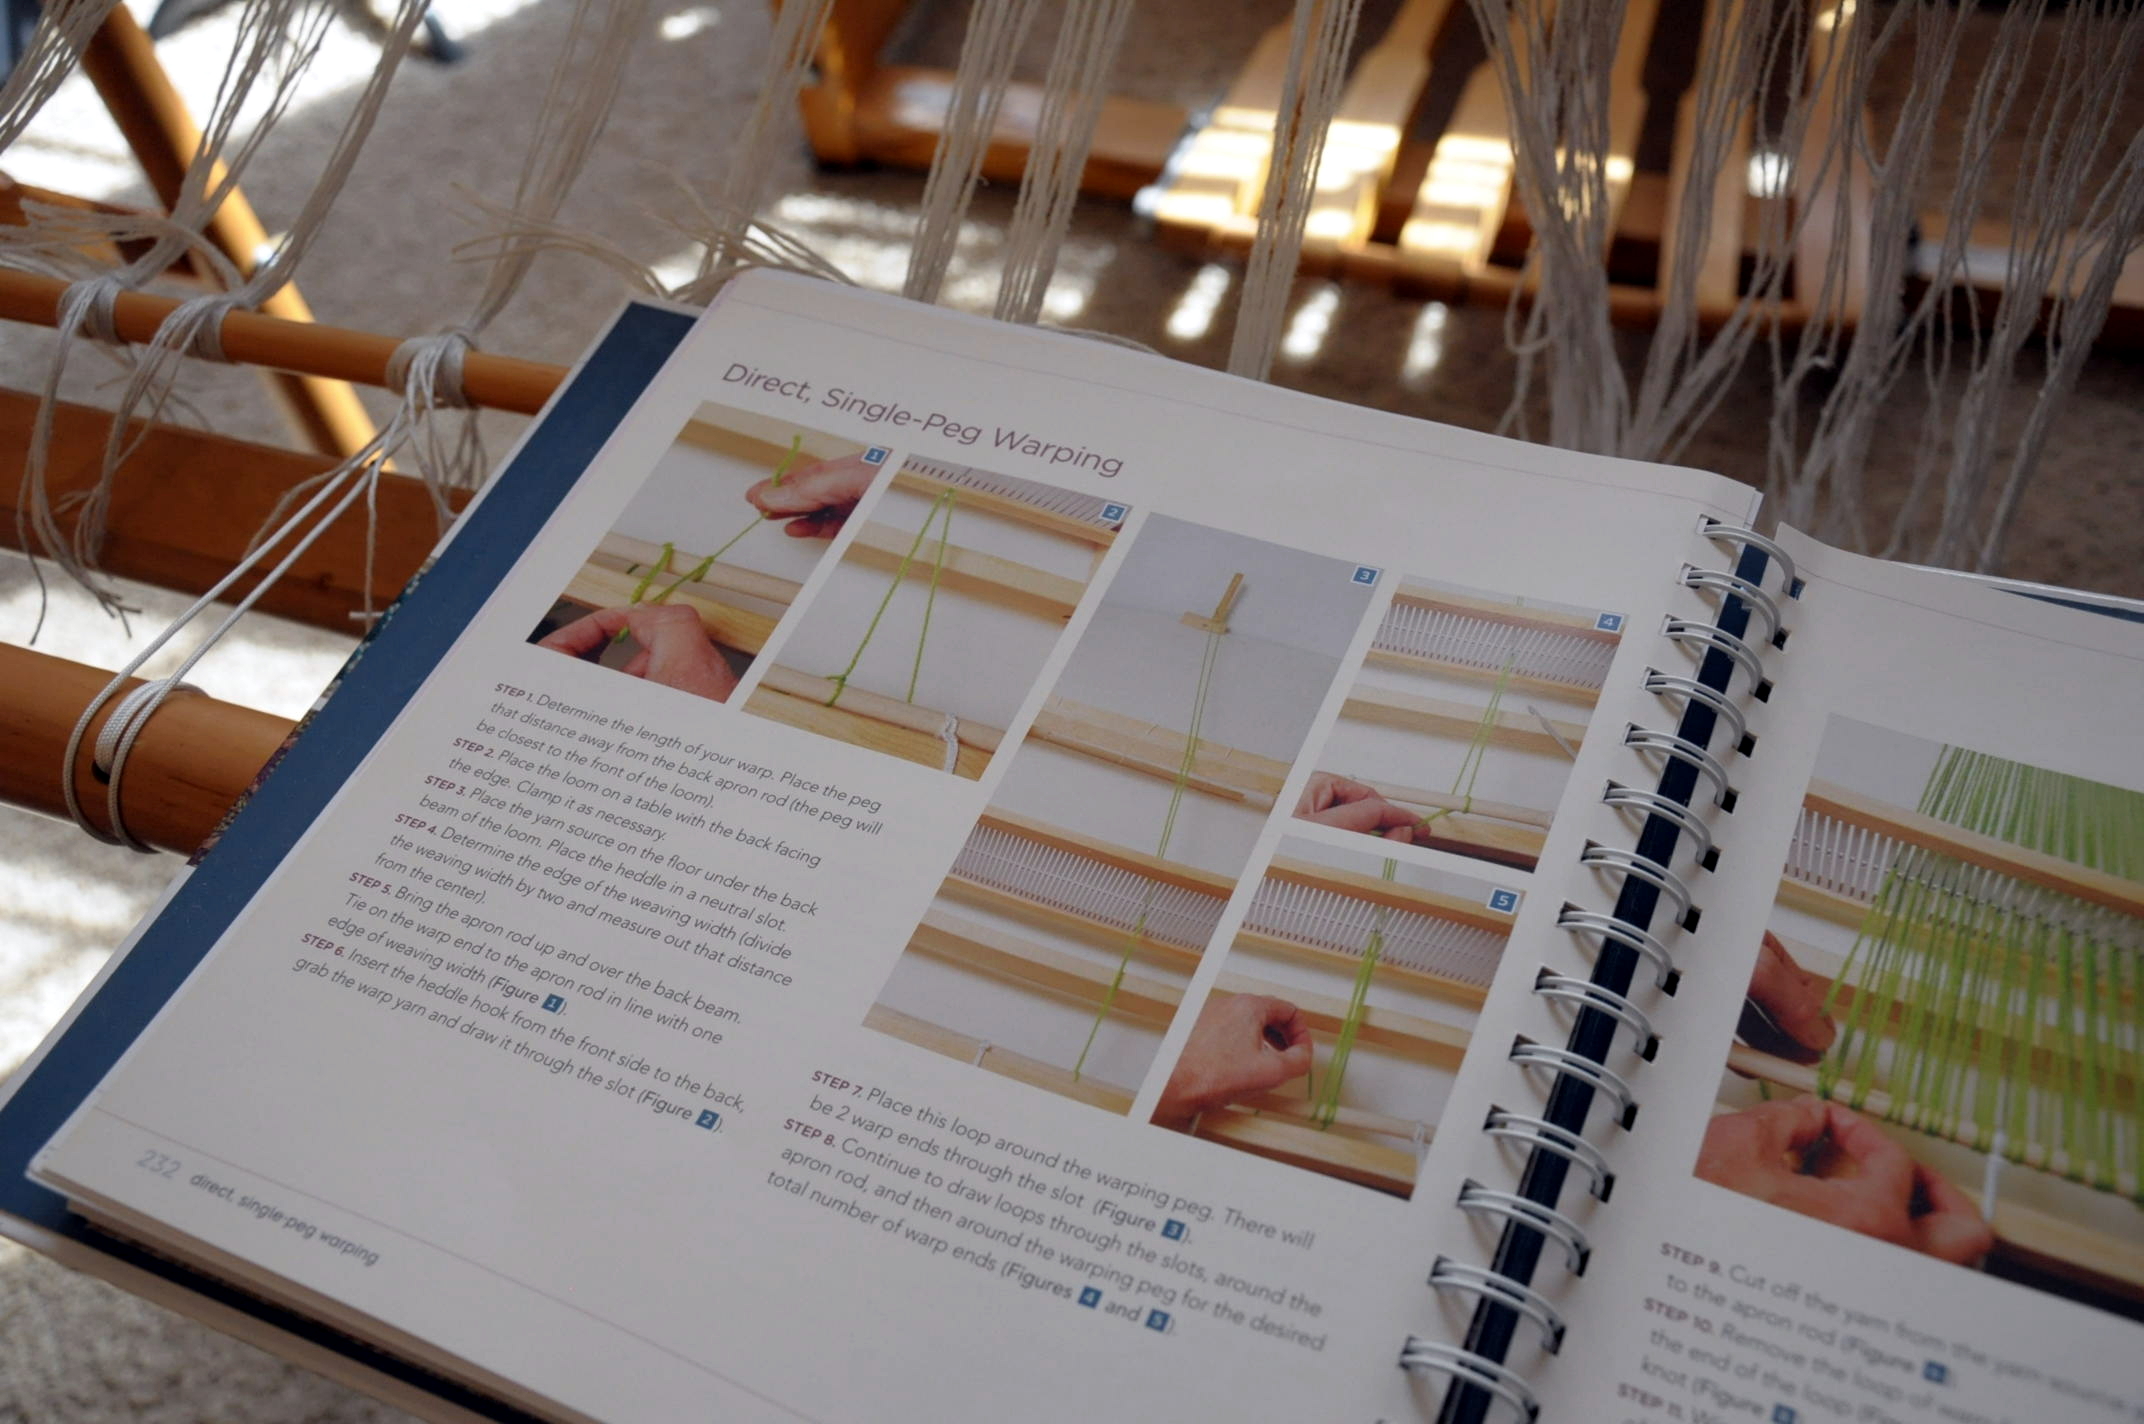
It had been long enough since my last warp, that I took a look at my copy of the Weaver’s Idea Book (also by the talented and informative Jane Patrick!) for a refresher. There are handy step-by-step photos of single-peg warping in the pages, which is the method I used.

FlameTop_4

My personal favorite place to clamp my warping peg is to my shaft floor loom, a Fanny LeClerc. It’s the only time she every gets used and it makes me sad. Since moving into my current house a couple of years ago, poor Fanny sits looking beautiful in all of her multi-shaft glory, completely unused. Fanny, we will work together again soon, I promise.

FlameTop_2

If I clamp the peg to the front beam of Fanny and place my rigid heddle across the room on the other wall, it’s typically the perfect distance for a good-sized warp.

FlameTop_3

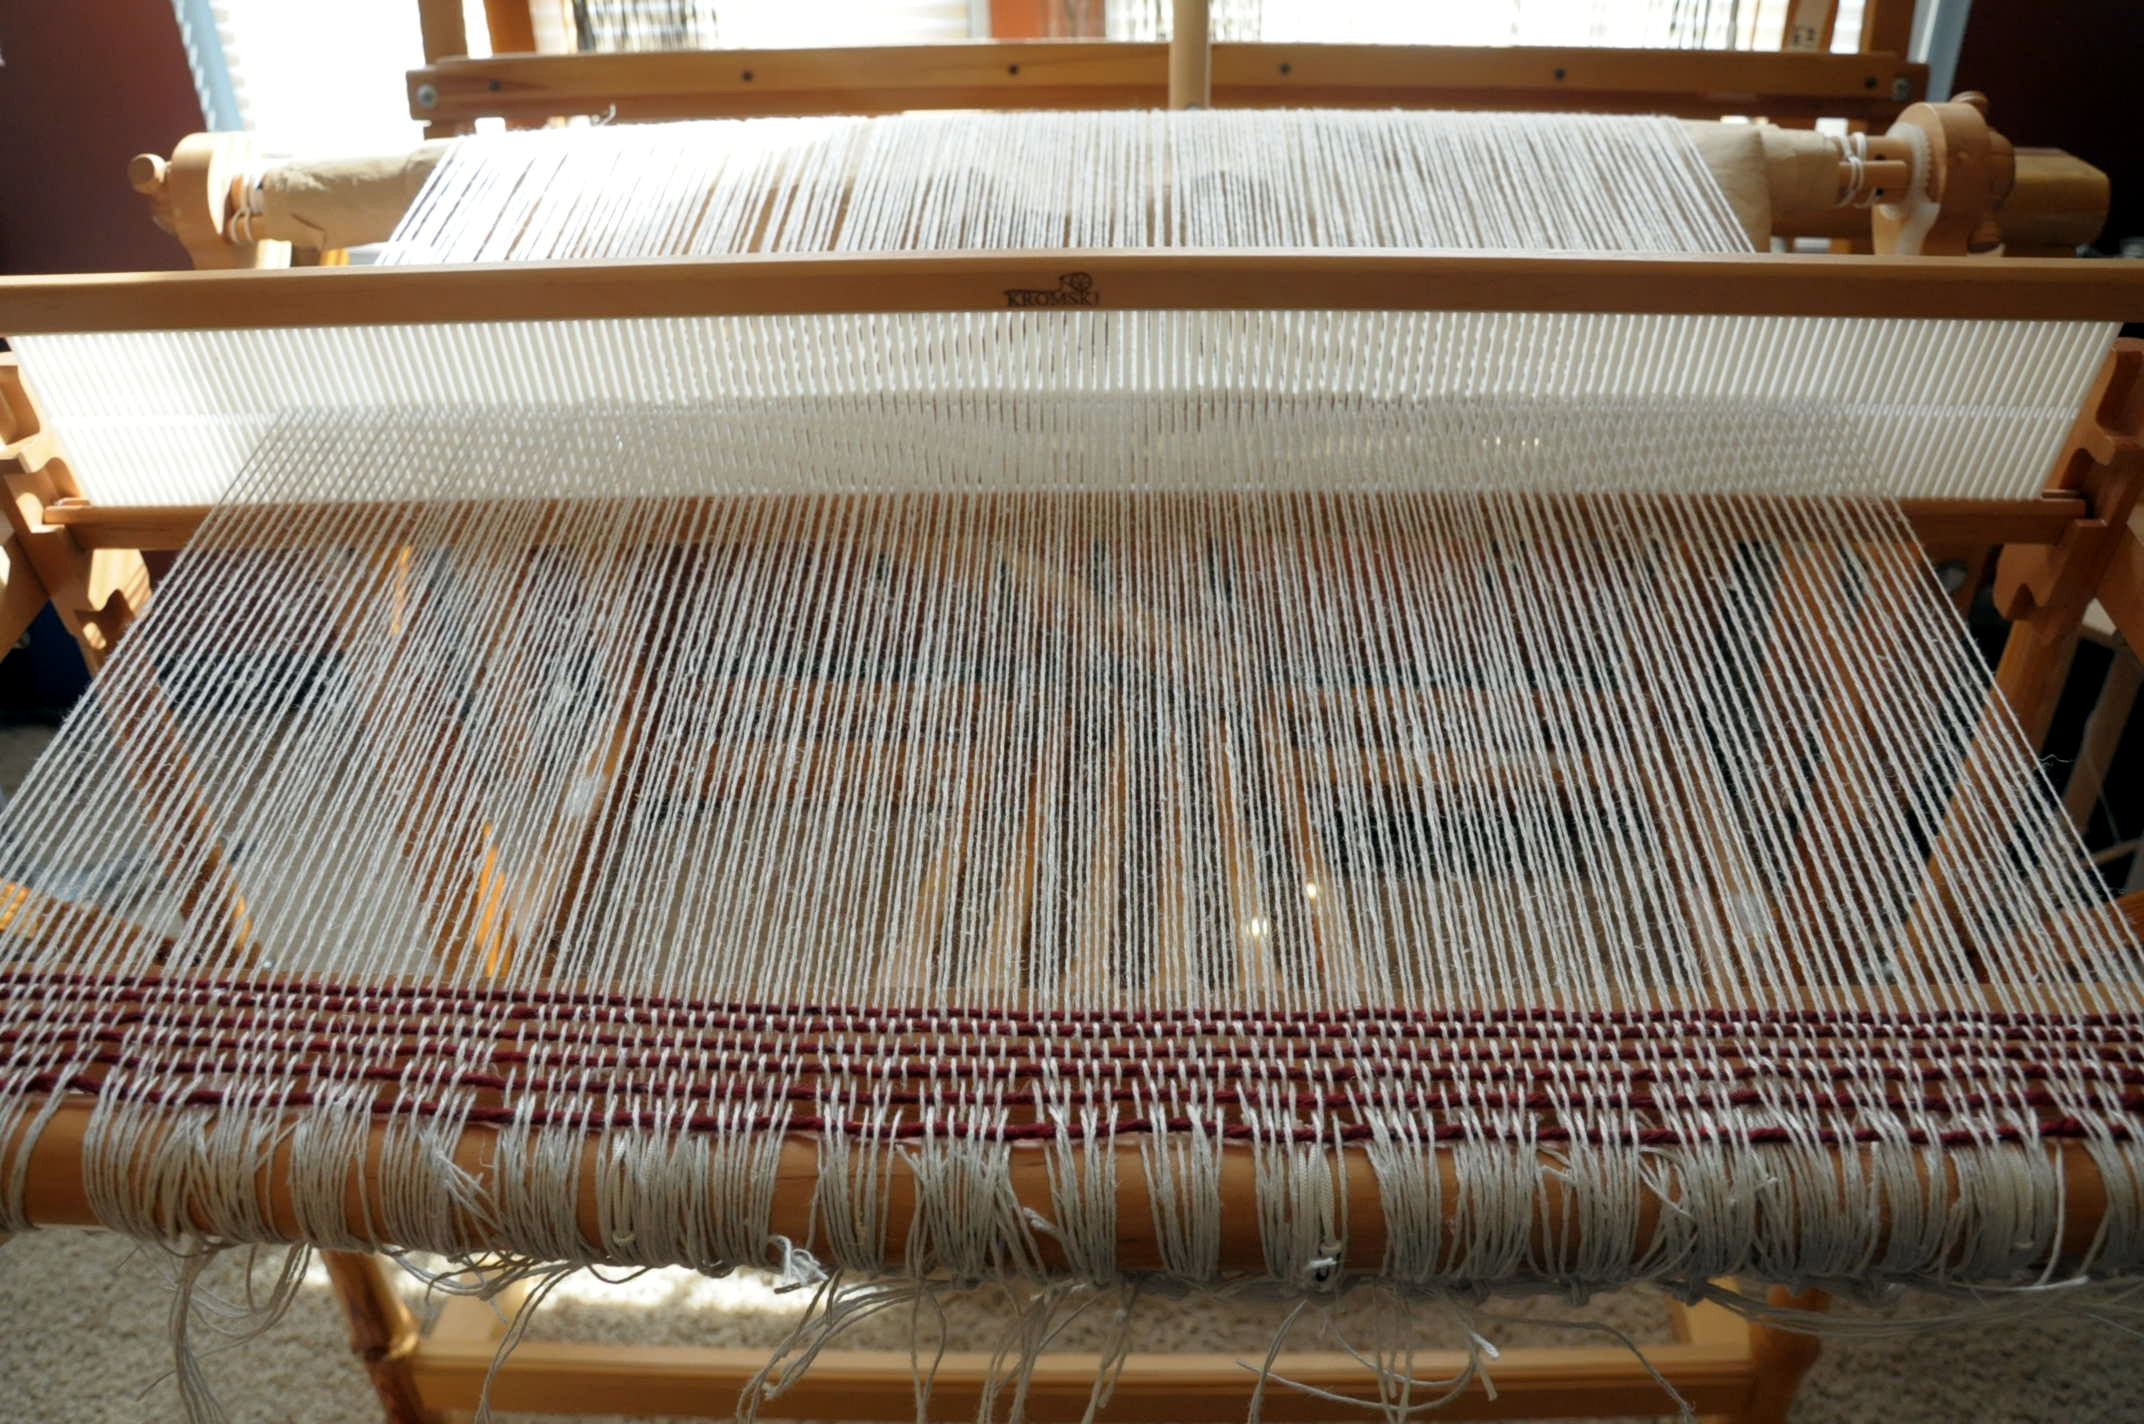
After warping, sleying the reed, and tying onto the front bar, I wove a few picks with waste yarn.

FlameTop_5

And there is the blank canvas that is a warp. It really does look to me like anything could happen here. That’s the fun, right?

Join me next time for the ins-and-outs of weaving on a rigid heddle loom using 2 pick up sticks. Fun times!

Better Late Than Never

I’m lucky to have a room in my house devoted to all things crafty. It contains my yarn stash, sewing machines, fabric, looms, and many other assorted odds and ends. I visit this room on a daily basis, usually to block a piece of knitting or to grab some yarn. Every day for the past, oh, 16 months, I’ve had to look at my poor little cricket loom, warped and ready to go. 16 MONTHS, people! I knew it had been awhile, but I didn’t realize just how long until I went back and looked at this blog post on sampling I did back in December of 2014.

Hanging head in shame.

But you know what? No. I refuse. Life is busy, I get distracted, and it’s impossible to get it all done. What’s important now, is that I’m all ready to finish what I started nearly a year and a half ago.

Way back when, I decided to do something new (for me) and “sample.” This is basically the weaving version of gauge swatching. And we all know how important gauge is, right? I was only sampling for a scarf, so it’s not as though gauge was a critical issue. It was more about making sure I was happy with the finished fabric. And it didn’t take heaps of time to sample, either, and I’m so glad I did it.

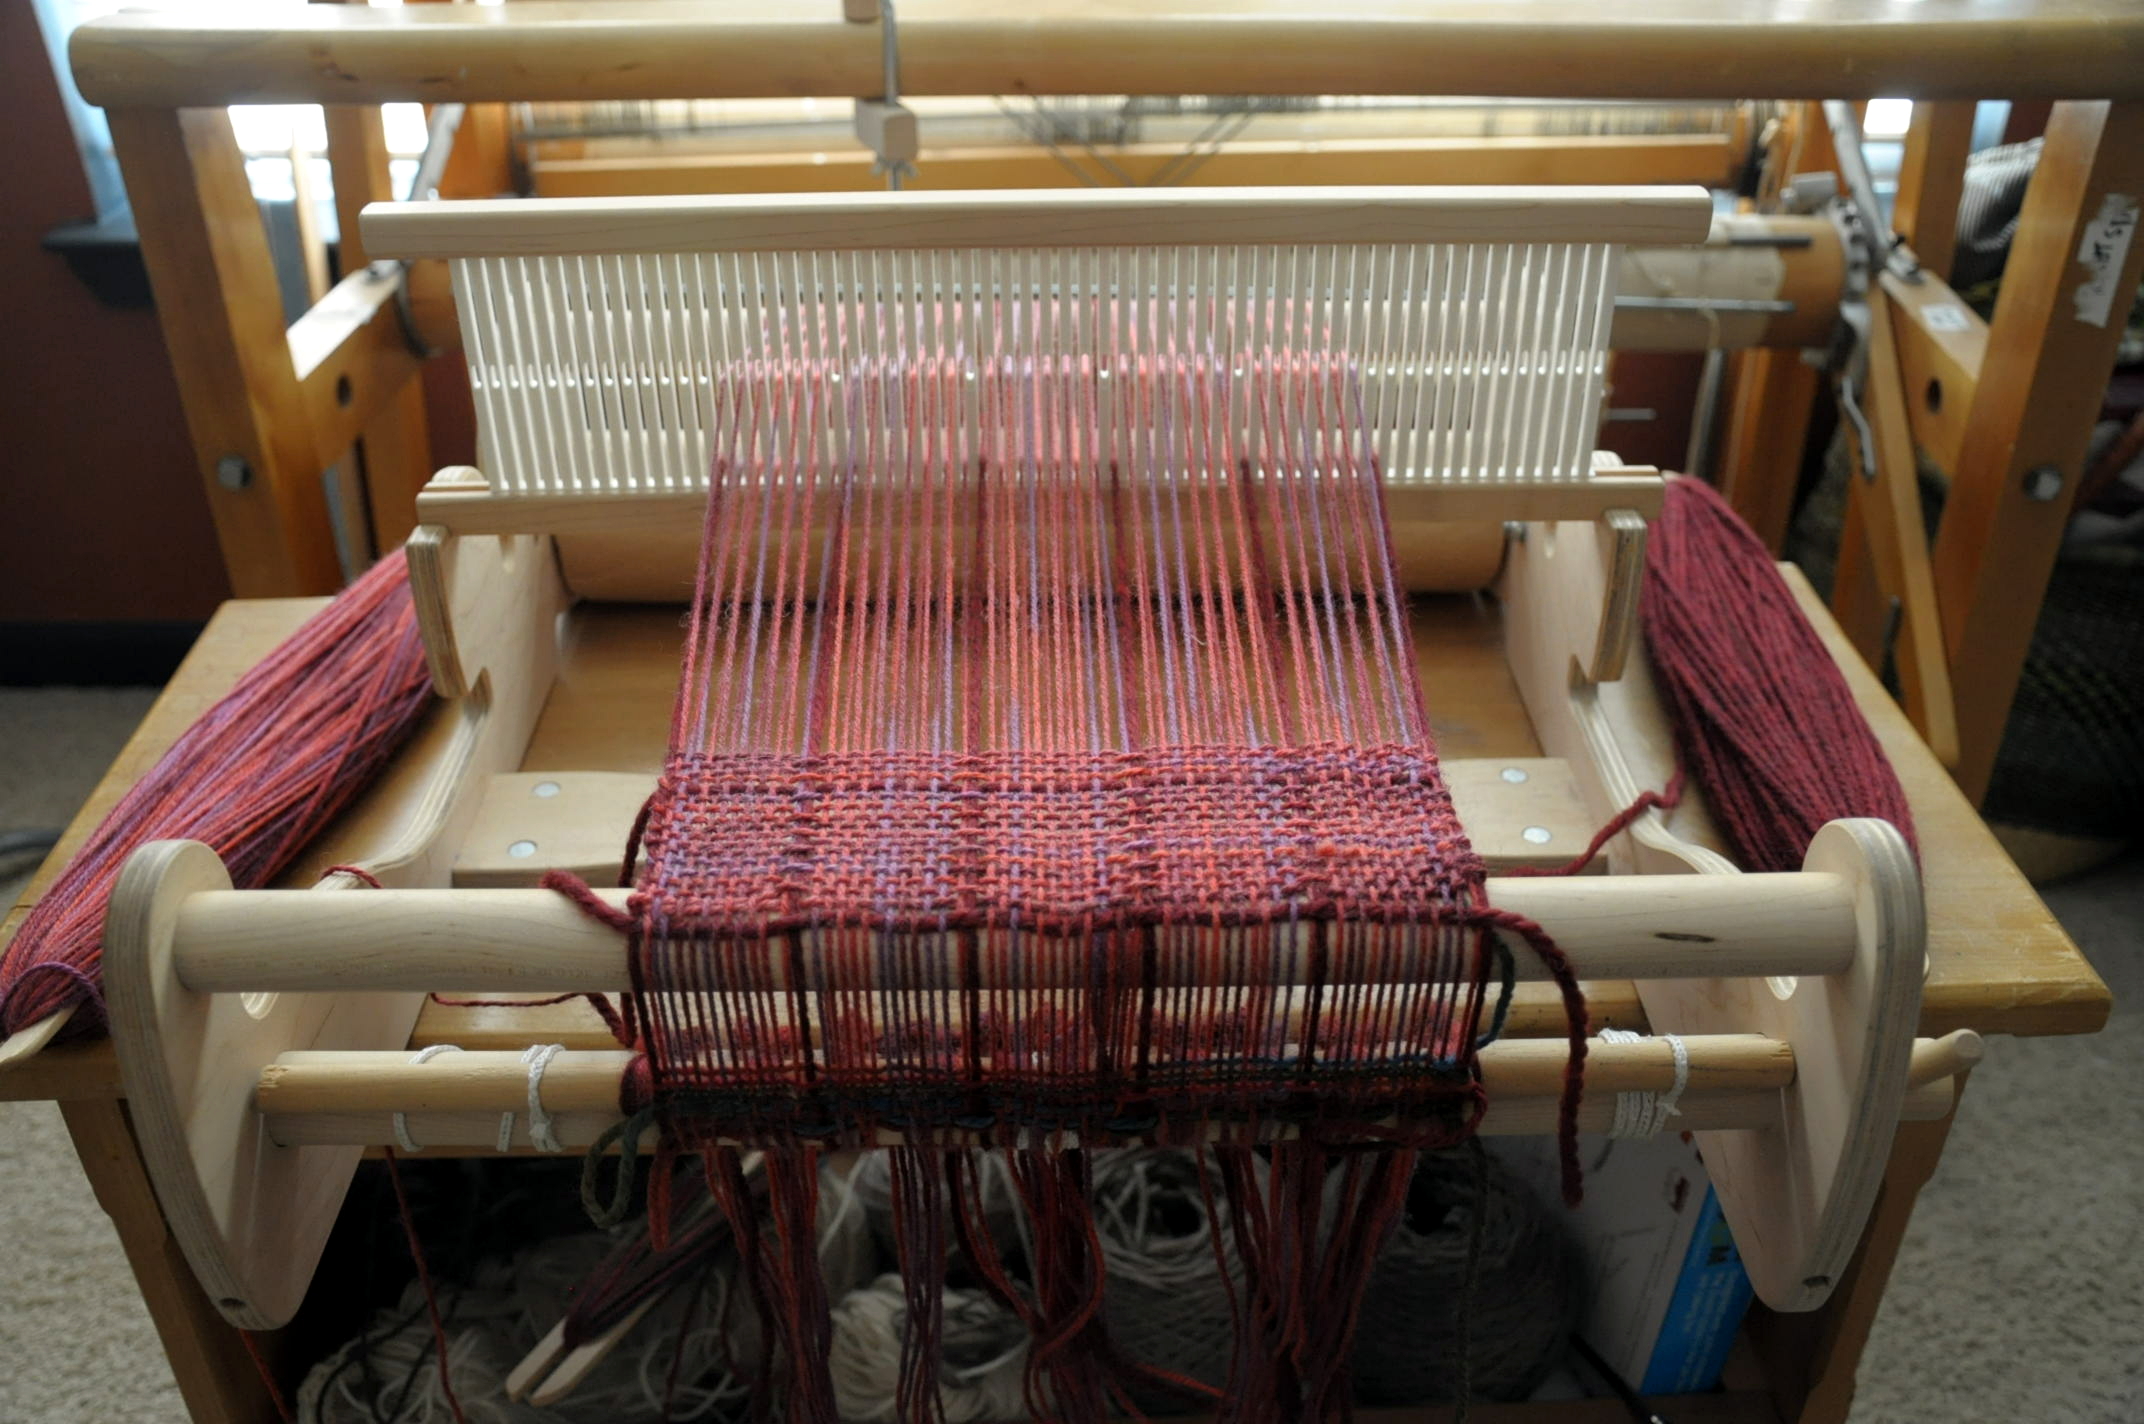
To sample, I had woven a small piece of fabric, cut it off the loom, and then tied the ends back onto the front rod of the loom so I could keep going. This is what was staring at me all of those months:

RedScarf_1

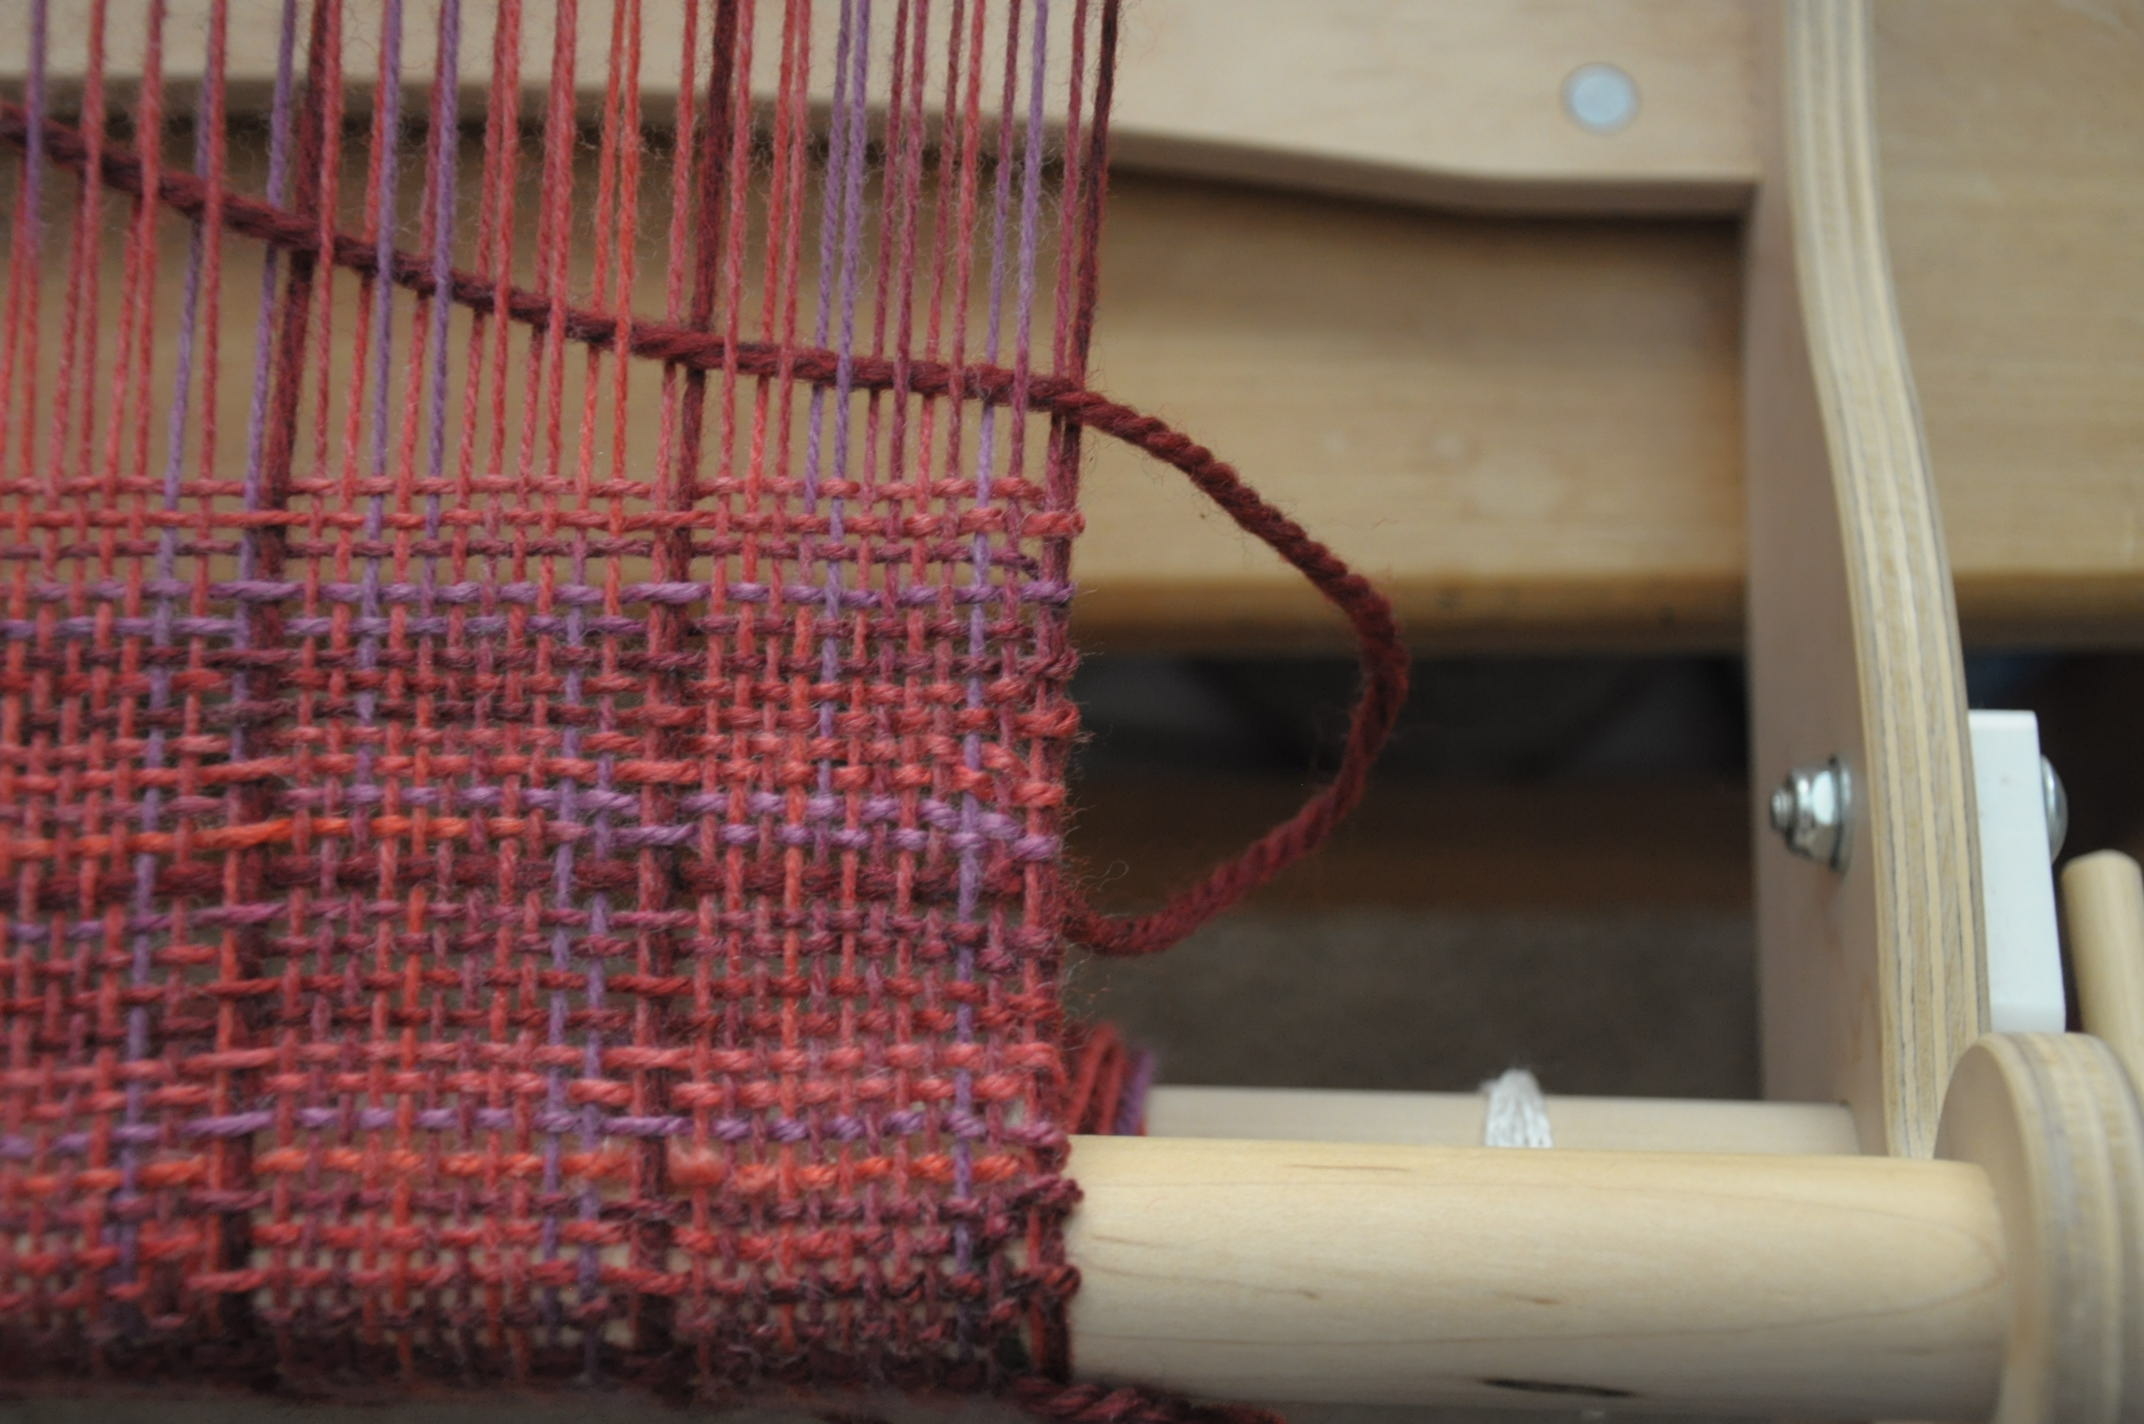
I had woven about an inch and a half after removing the sample, and that was about it. But I it was easy to remember my plain-weave sequence – 8 picks of the Infusion Handpaints, 1 pick of Deluxe Chunky.

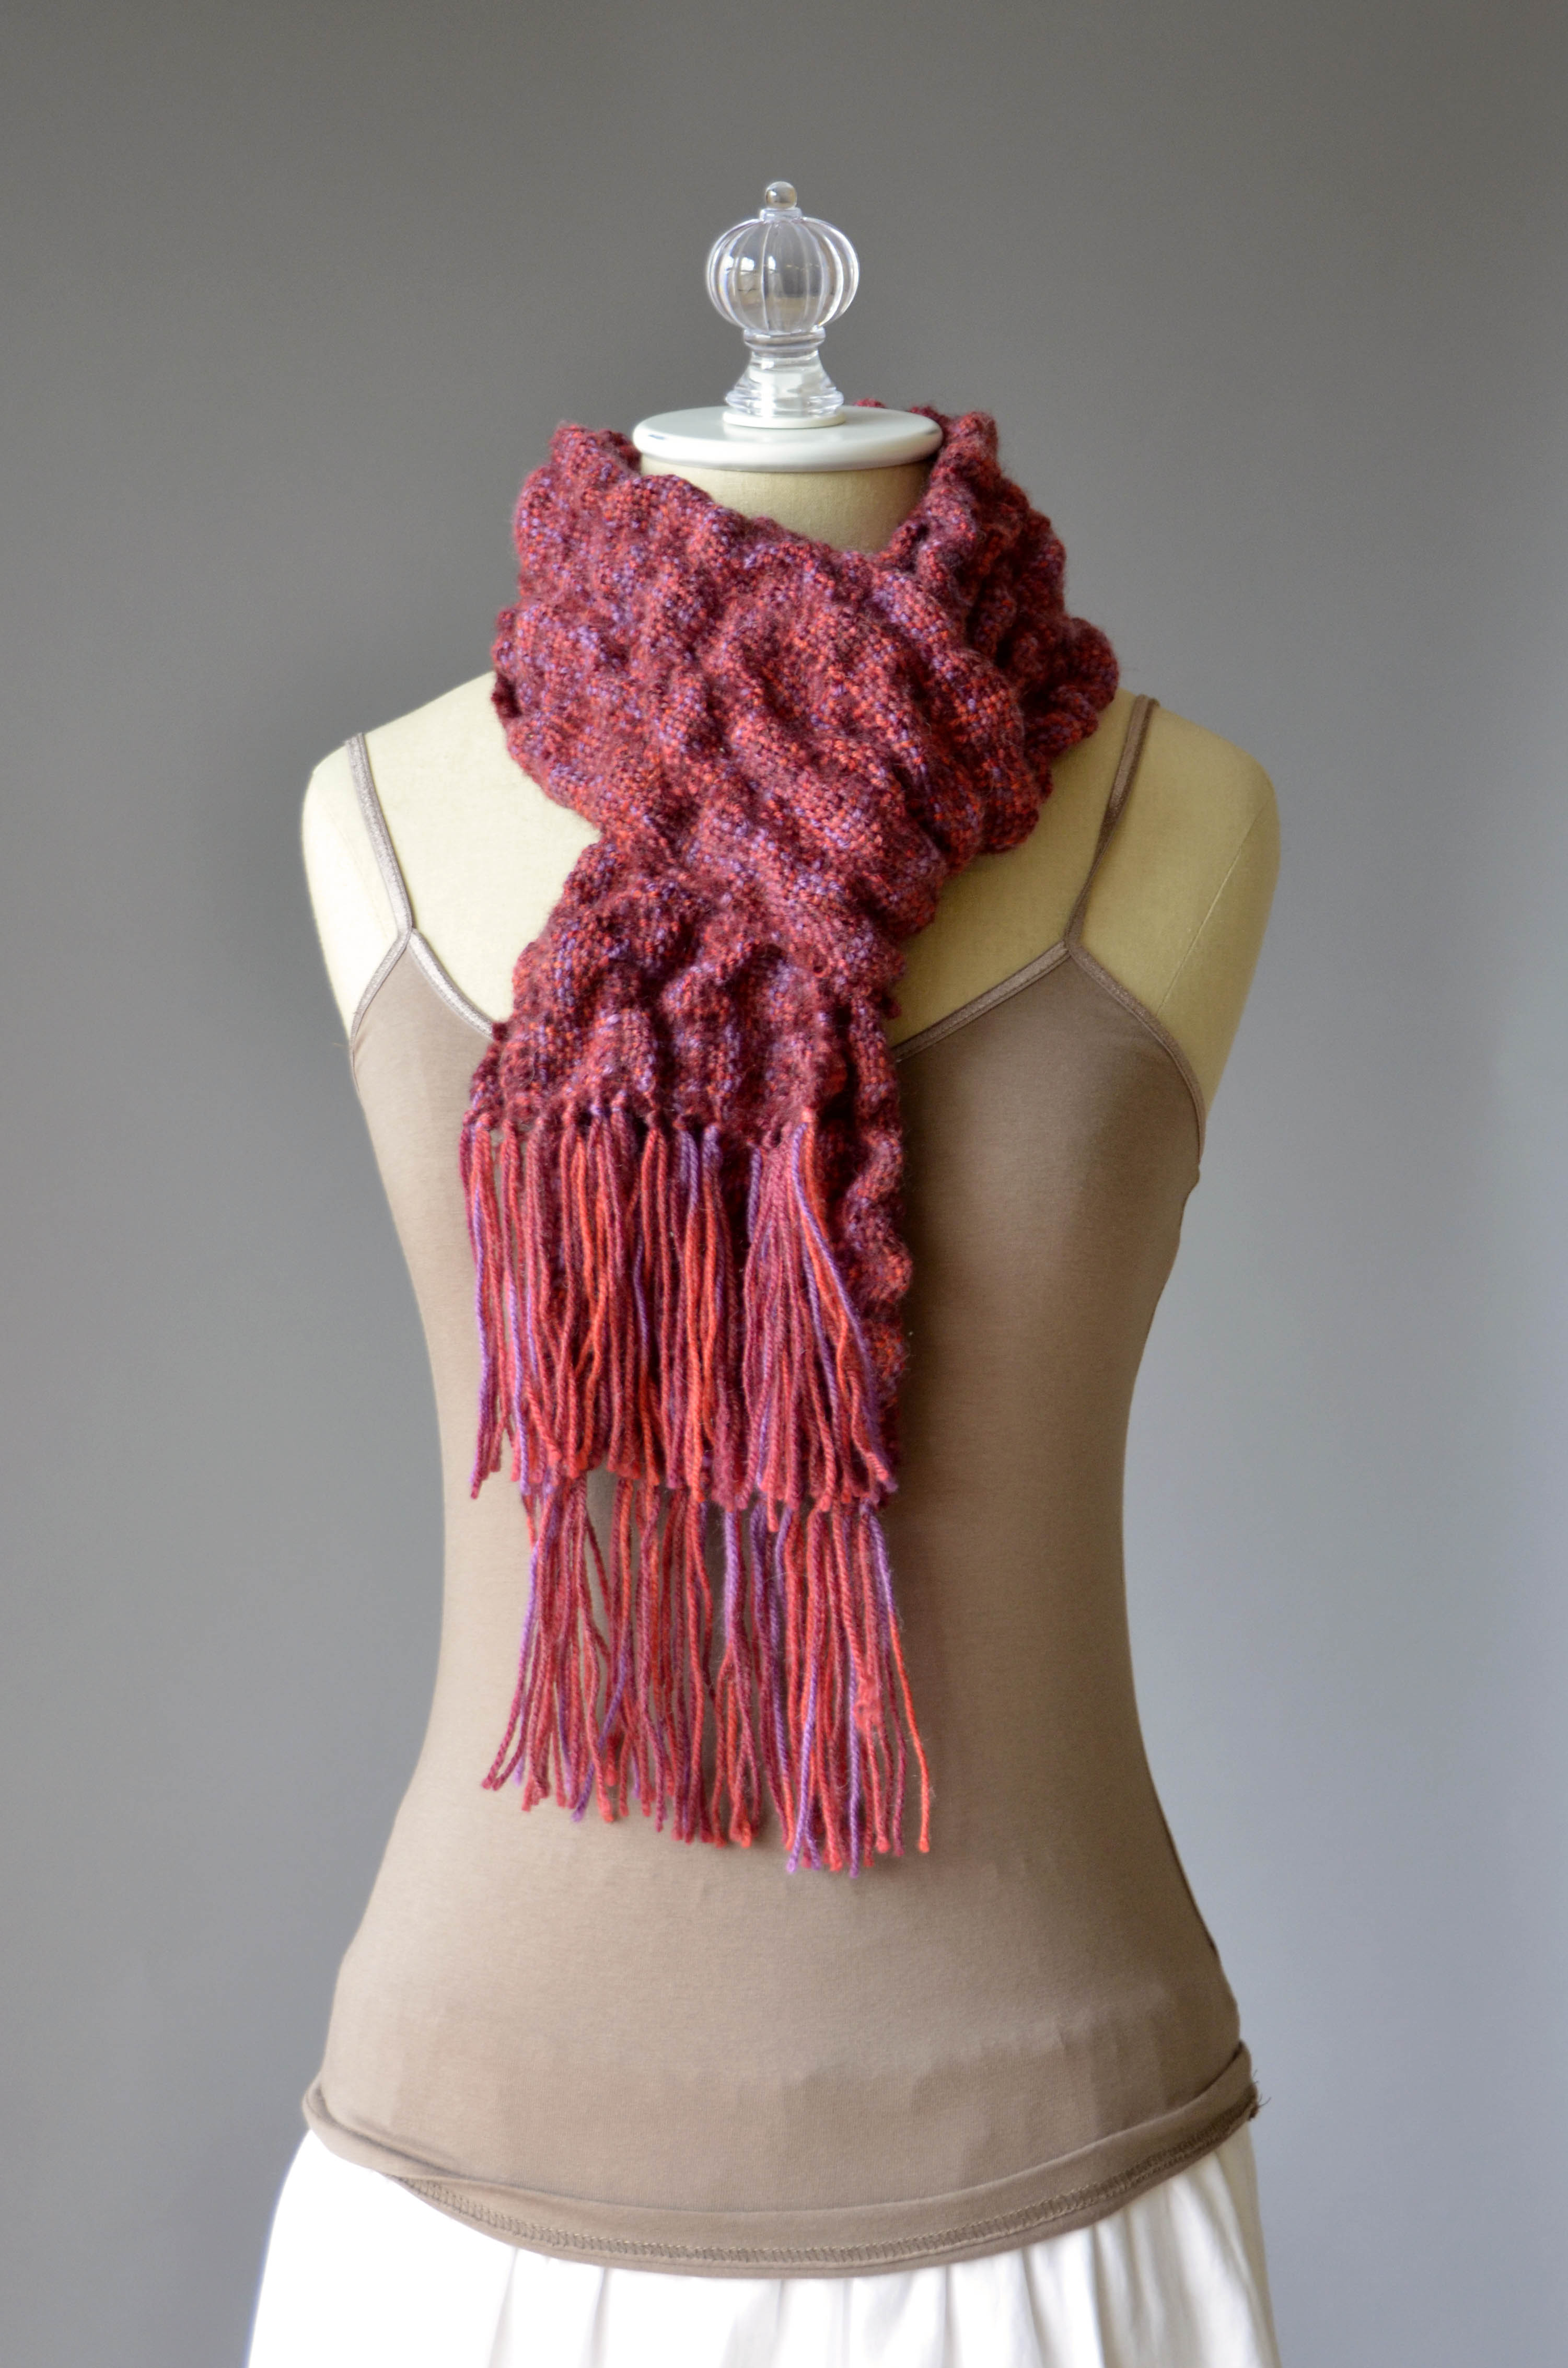
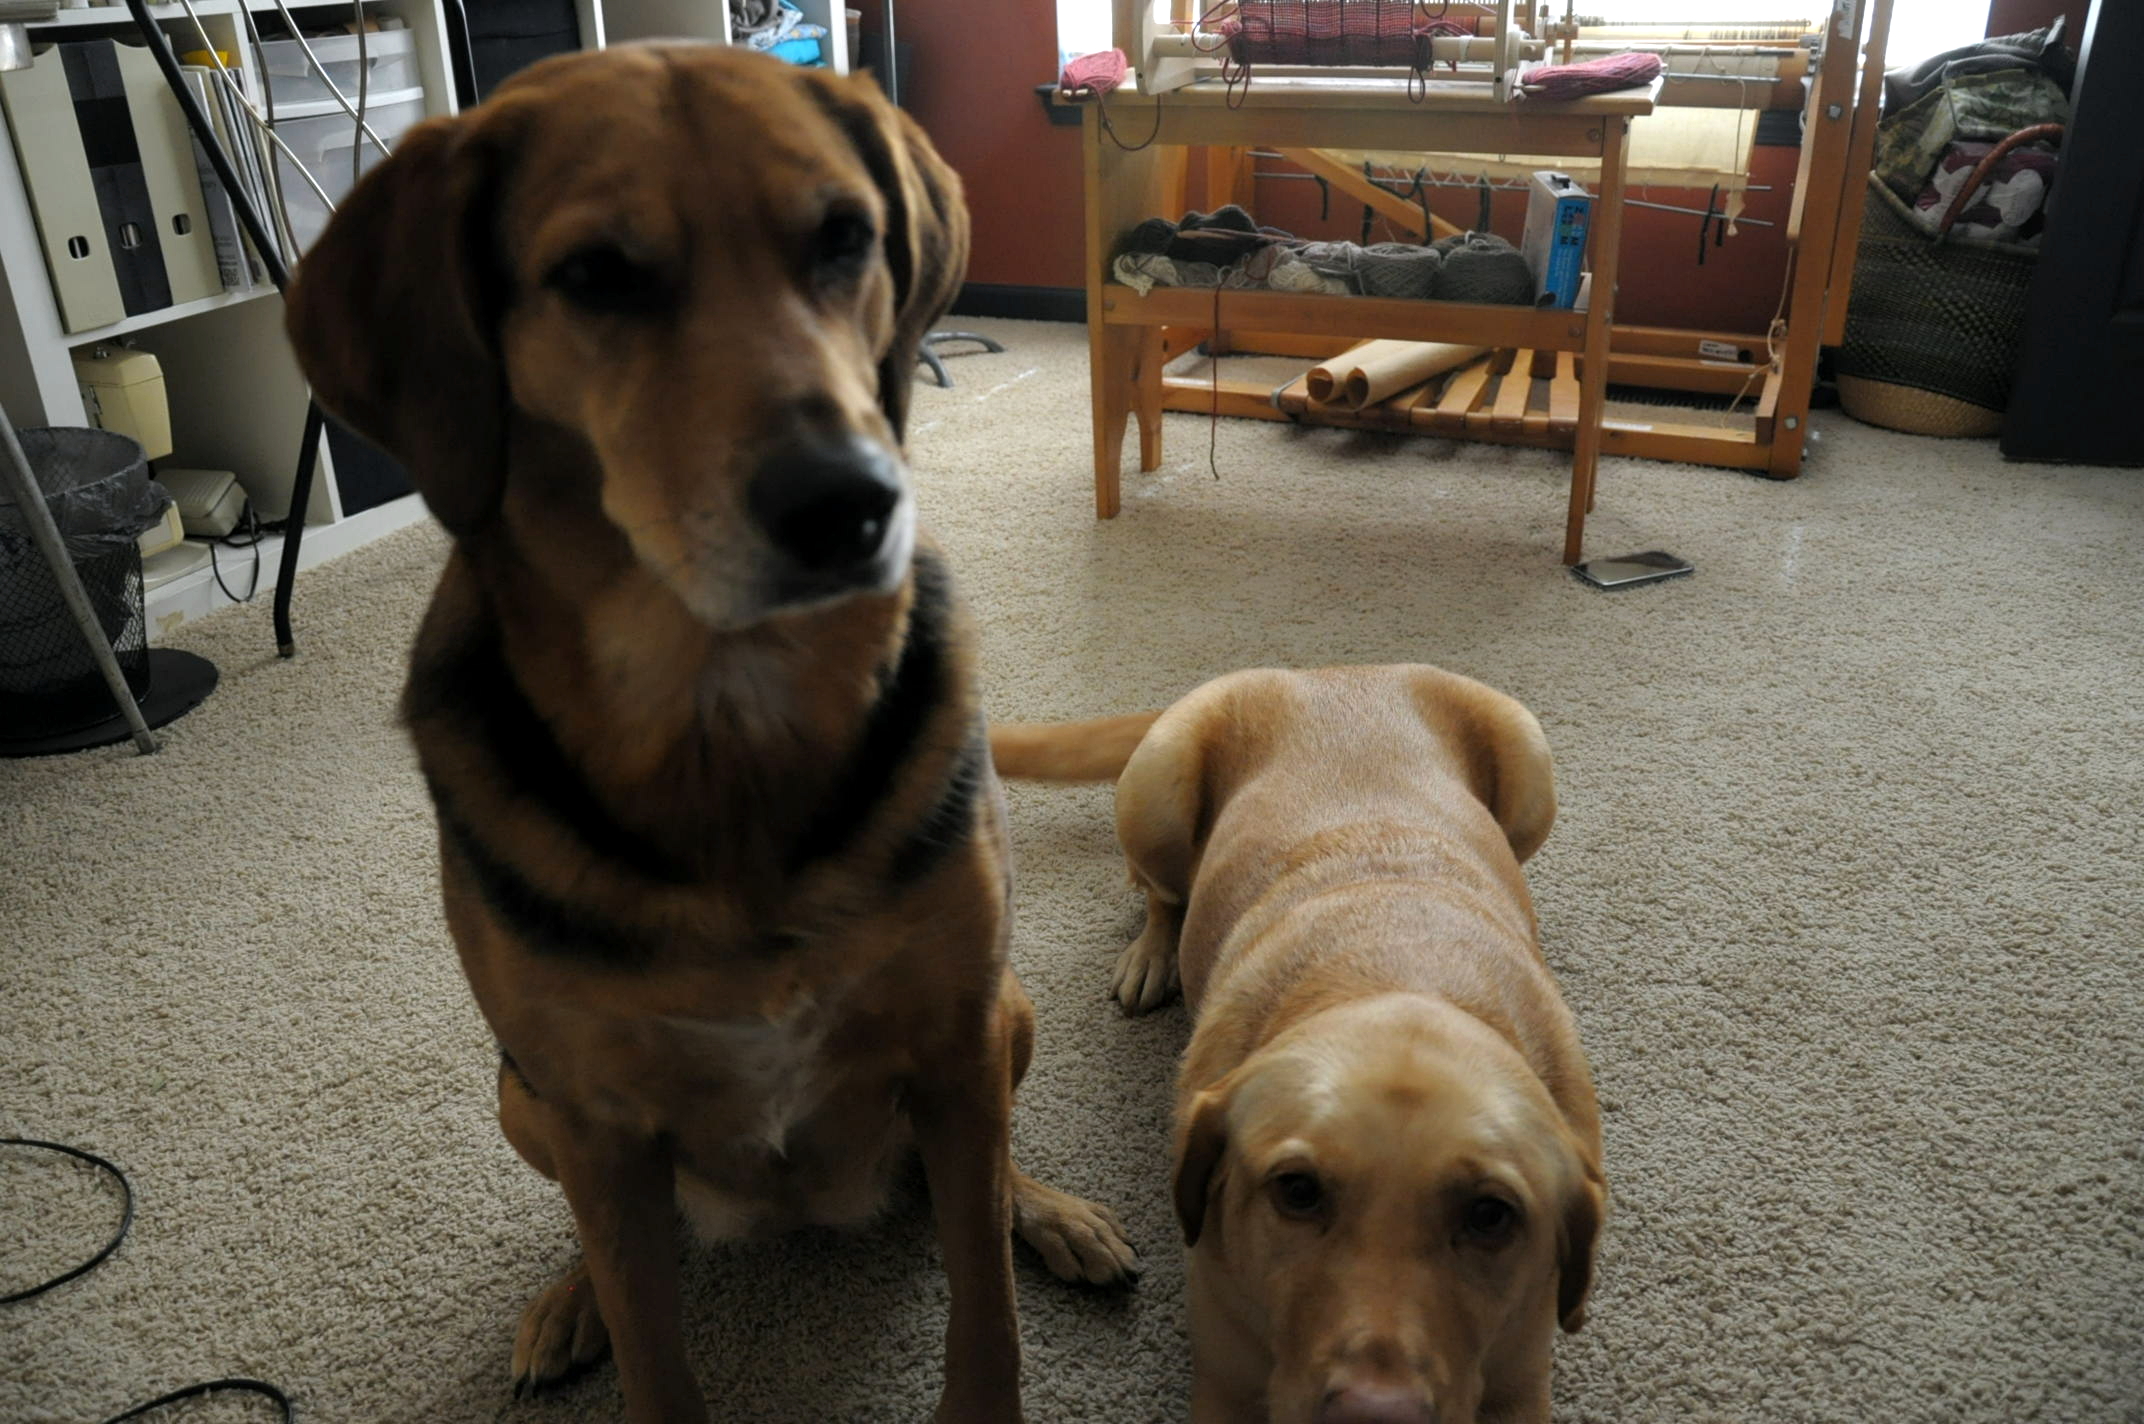
And I had a little help from my friends, so it was all good.

RedScarf_2

I employed the same technique as my sample, where I left loops of the Deluxe Chunky at the sides. This is because after felting the piece, I can just cut these loops right off because they will be secure.

RedScarf_3

Pretty soon I can start seeing my progress as I wind the finished weaving onto the front rod. Encouraging!

RedScarf_4

And then my last spacing paper falls out and I can see those warp ends getting closer…

RedScarf_5

And very close! Almost done!

RedScarf_6

Again, I cut the warp ends of Deluxe Chunky

RedScarf_7

And wove them in for an inch or so

RedScarf_8

All ready for felting:

RedScarf_9

And Heather’s beauty shots:

Infusion Handpaints Scarf long hi-res Infusion Handpaints Scarf wrapped hi-res

So now it’s May and too warm for a wool scarf. But autumn will come soon enough and I’ll be so glad I finished this.

Join us next week for a fresh new start on my weaving journey with an actual seasonally appropriate project!