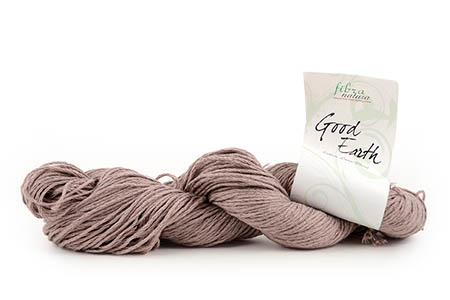
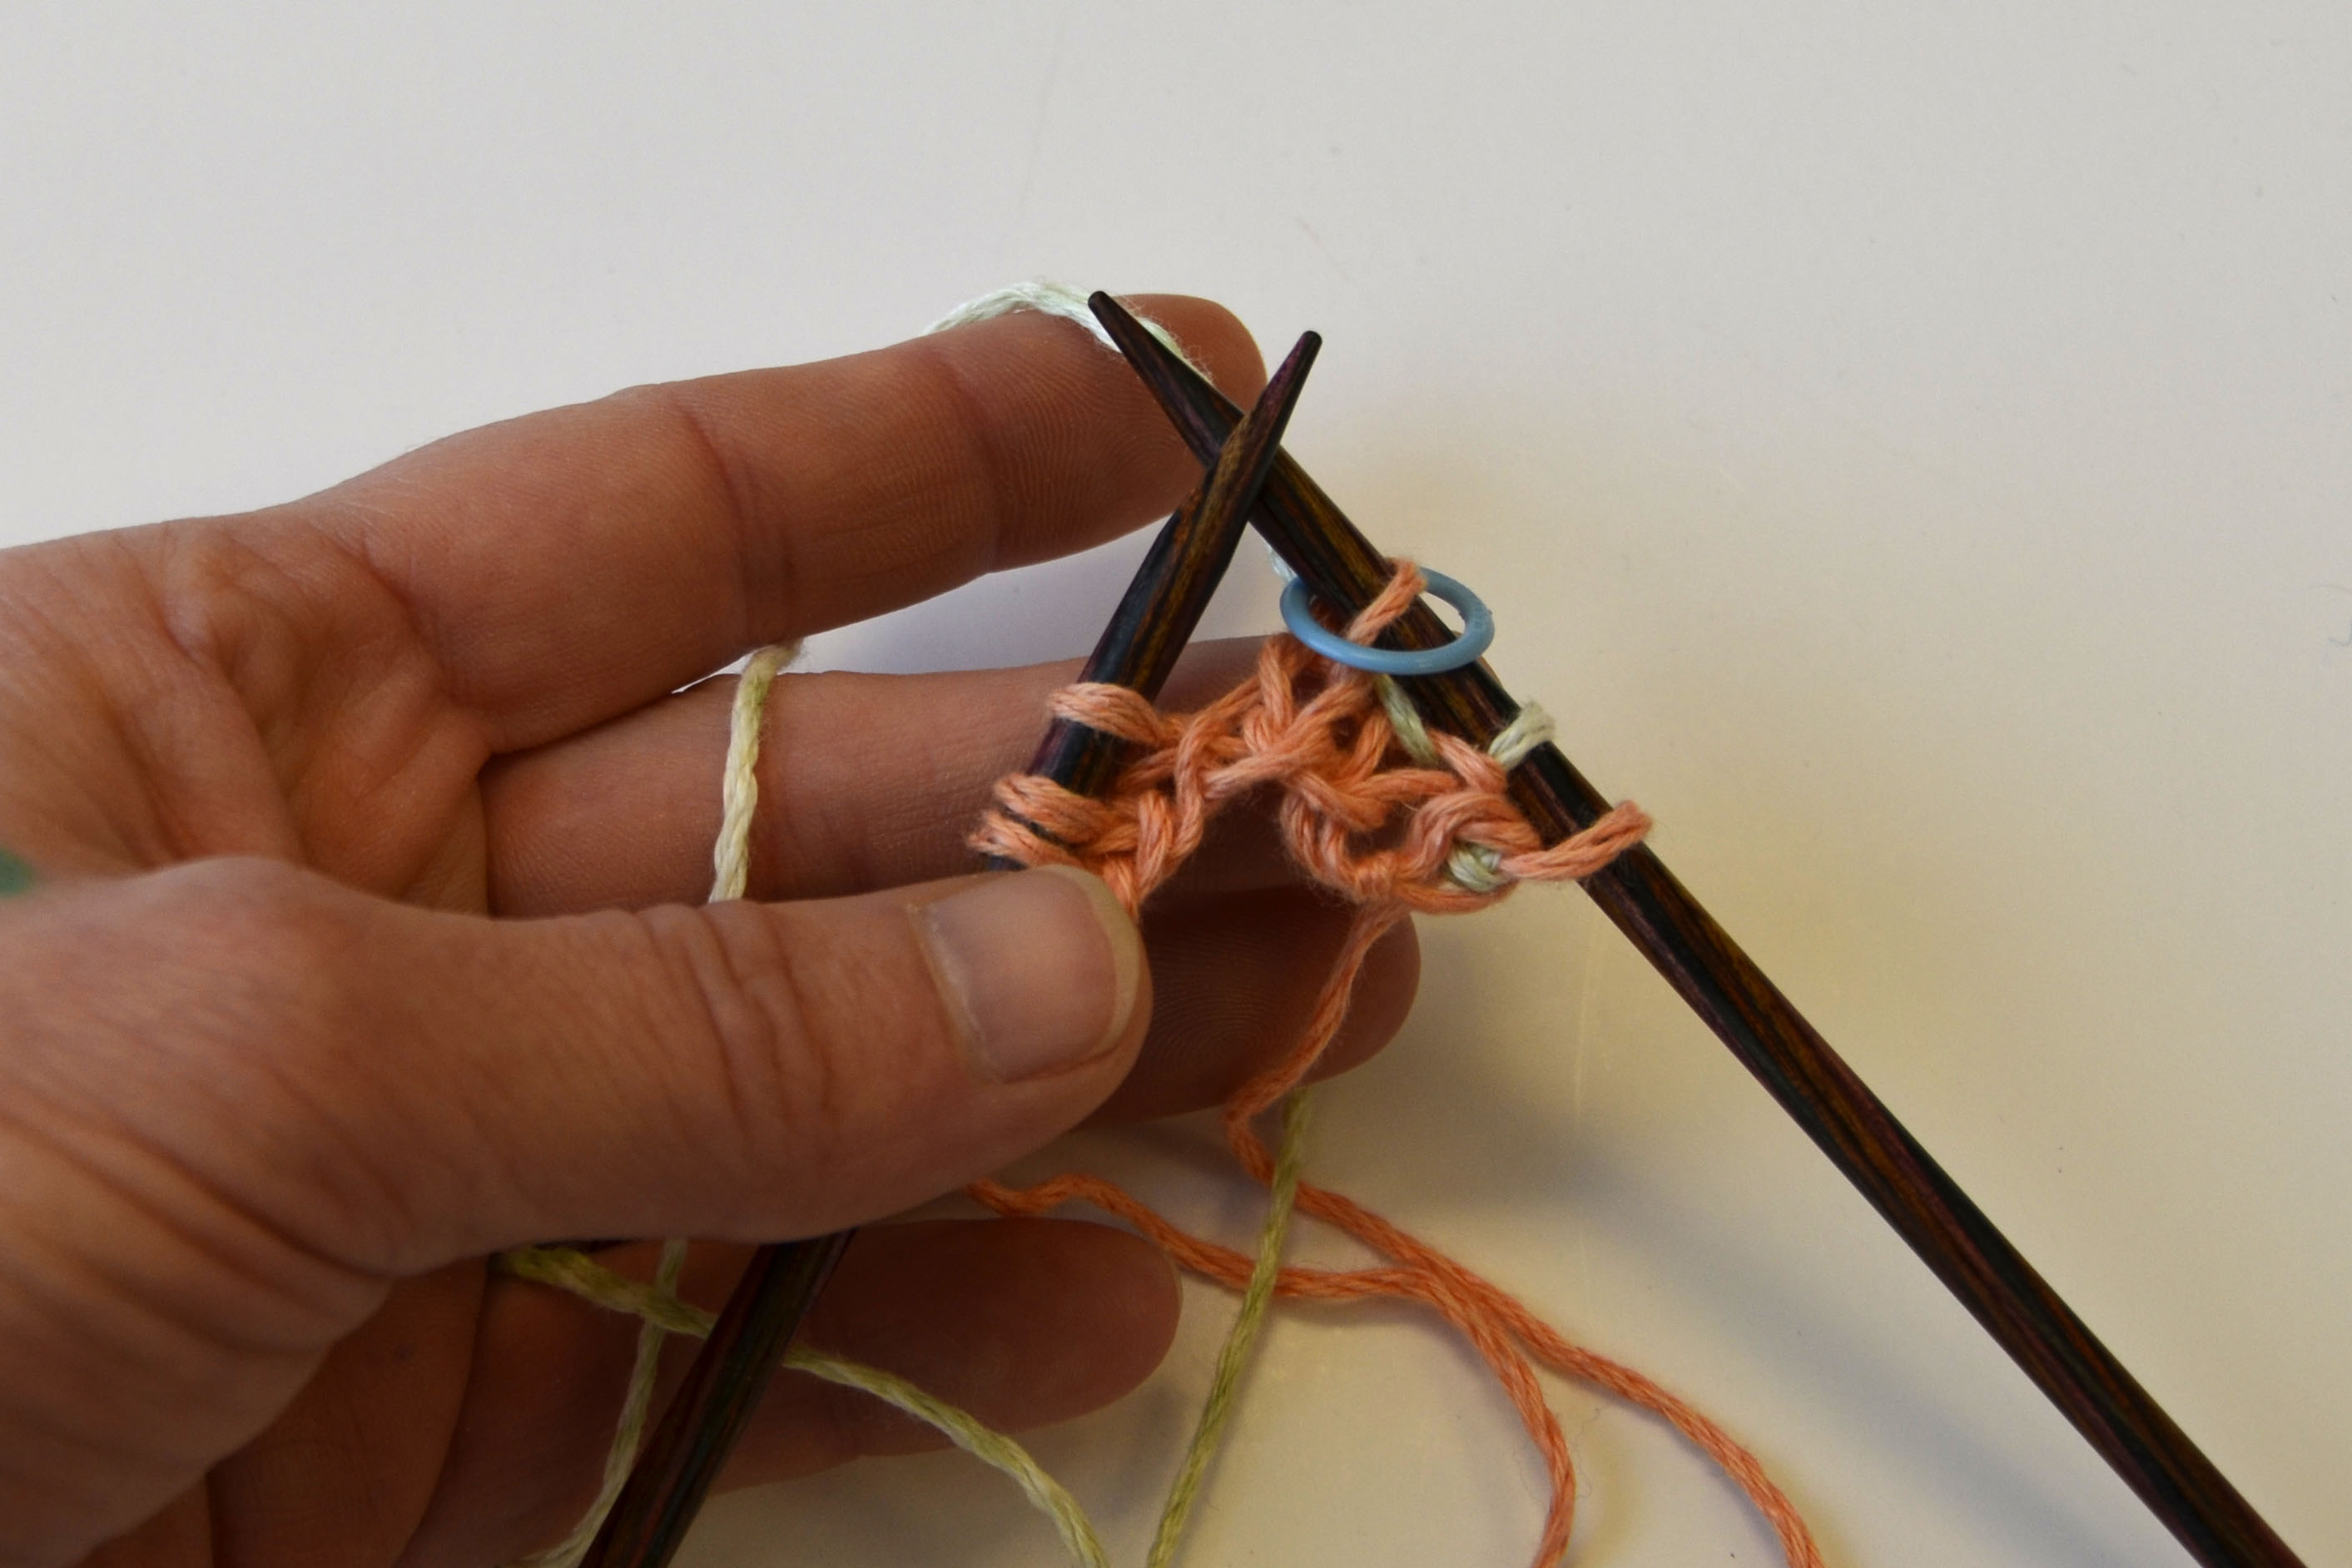
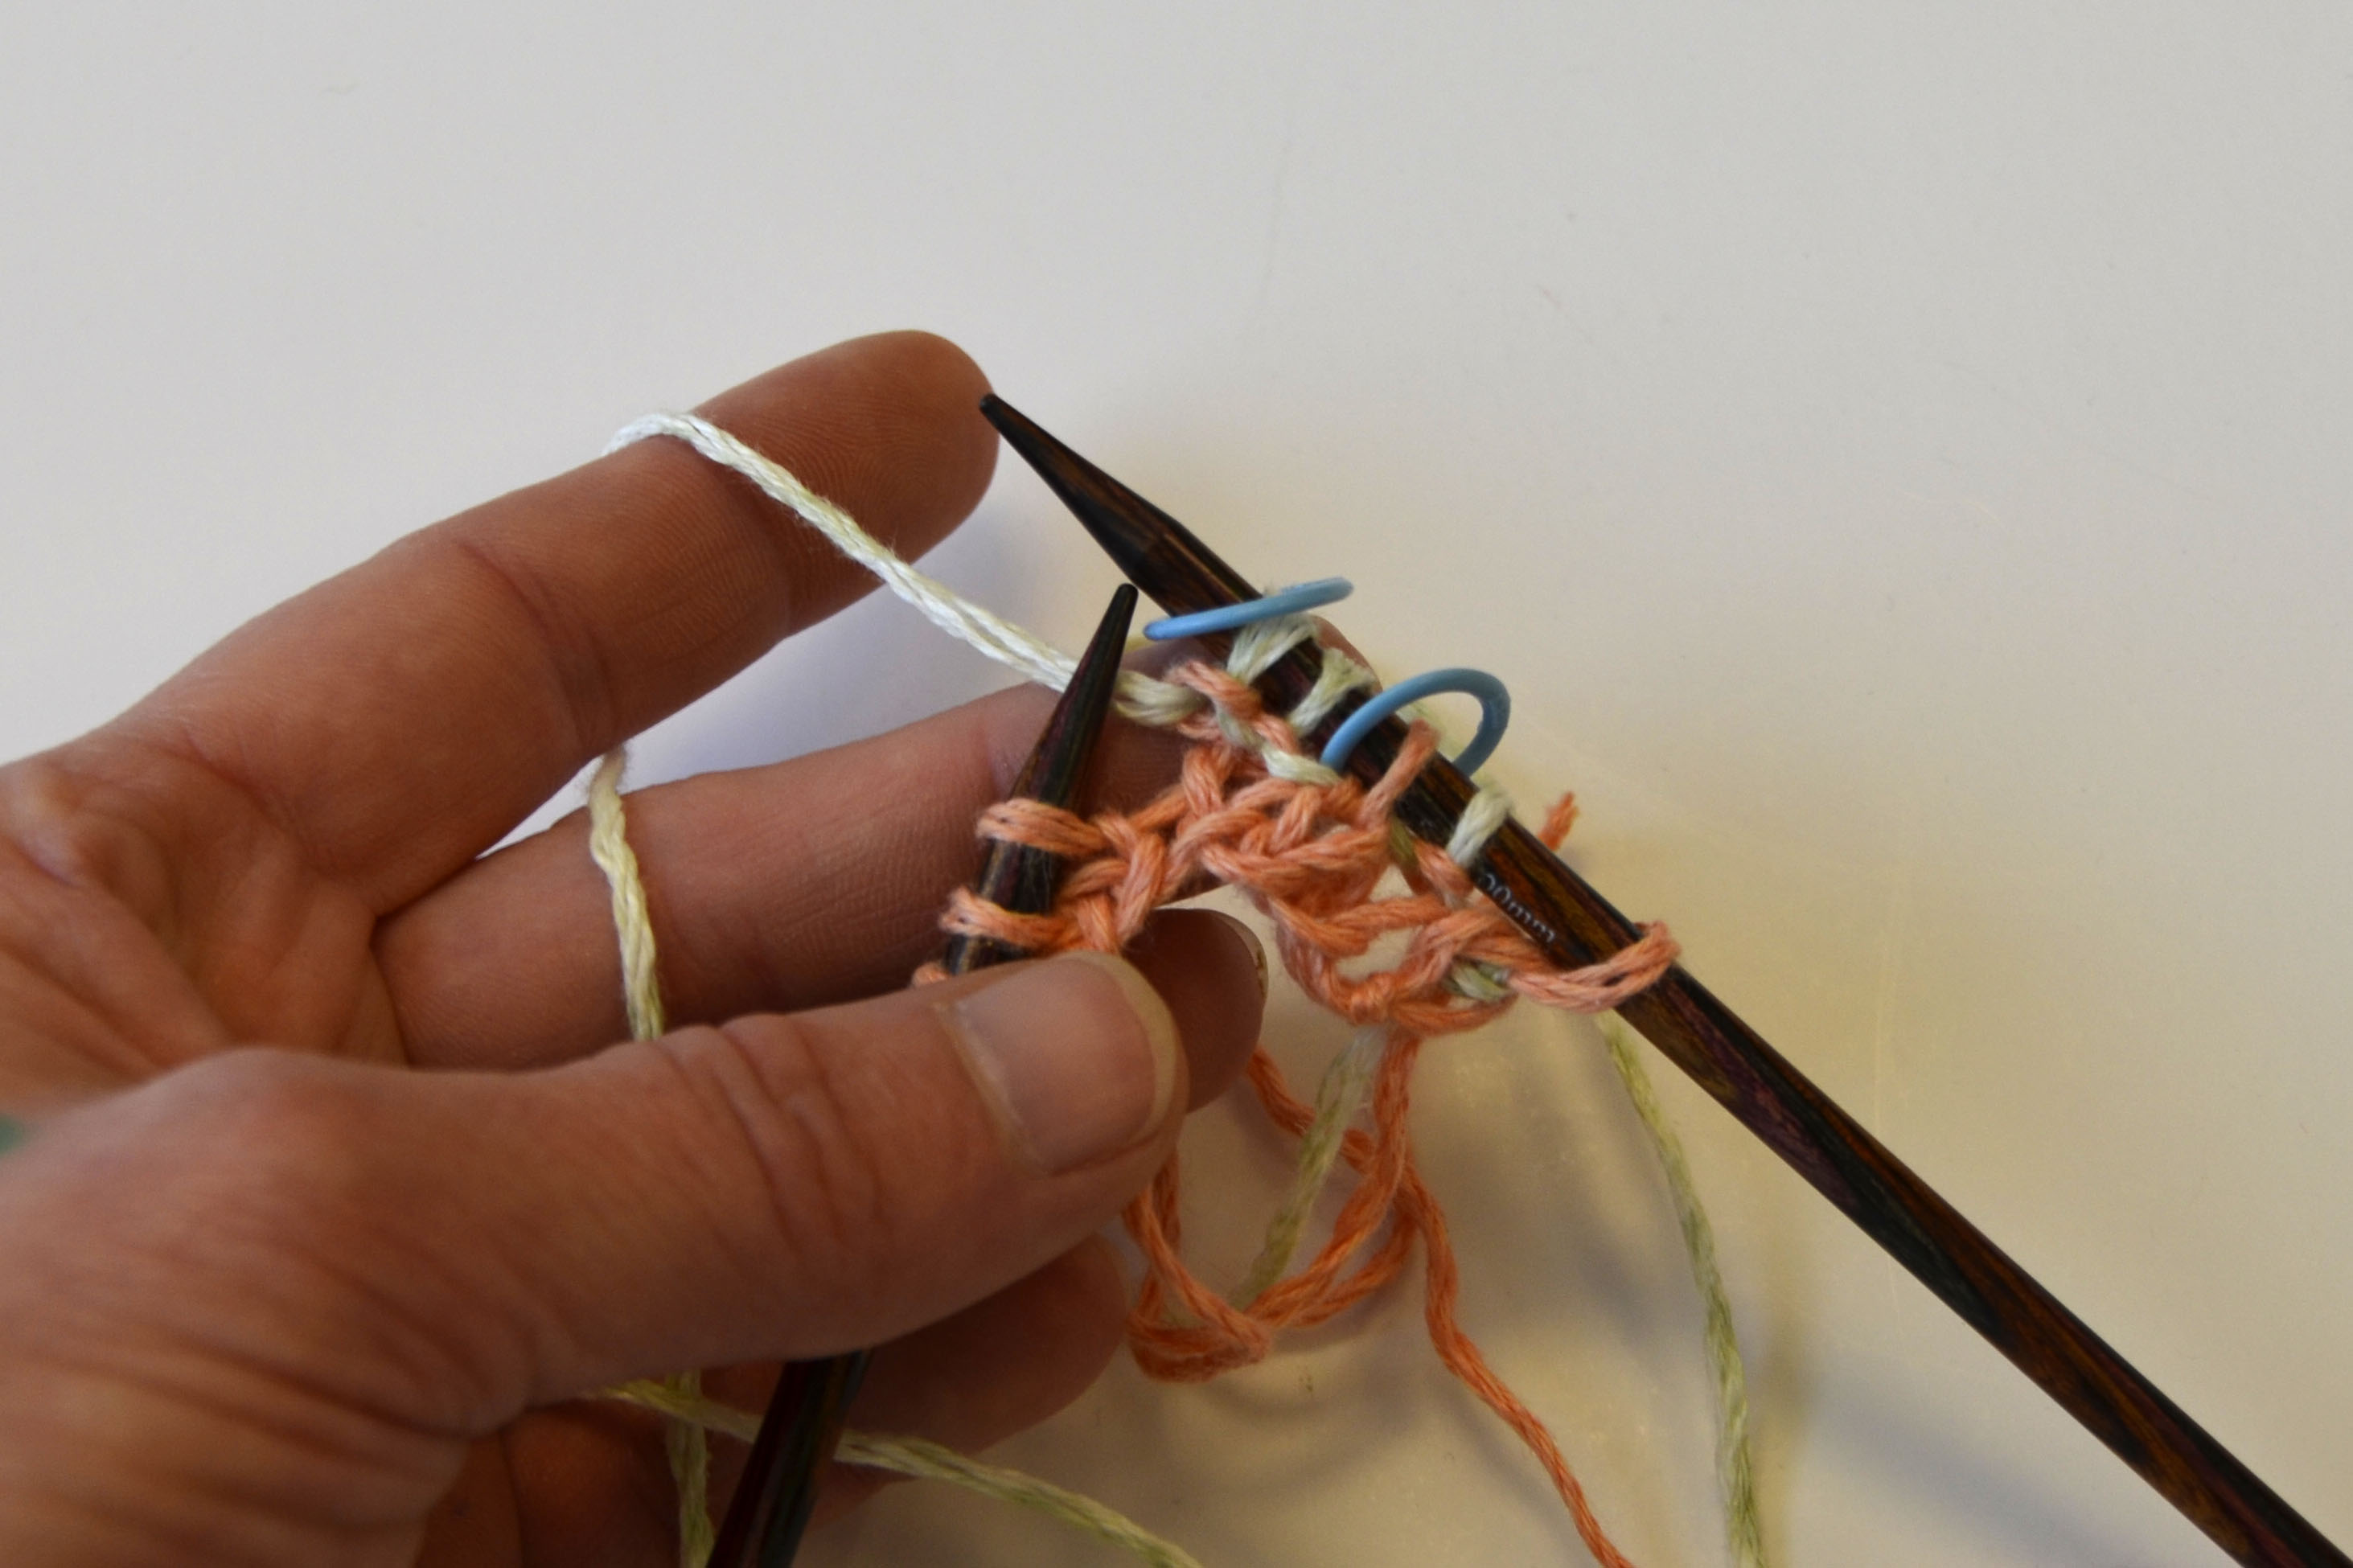
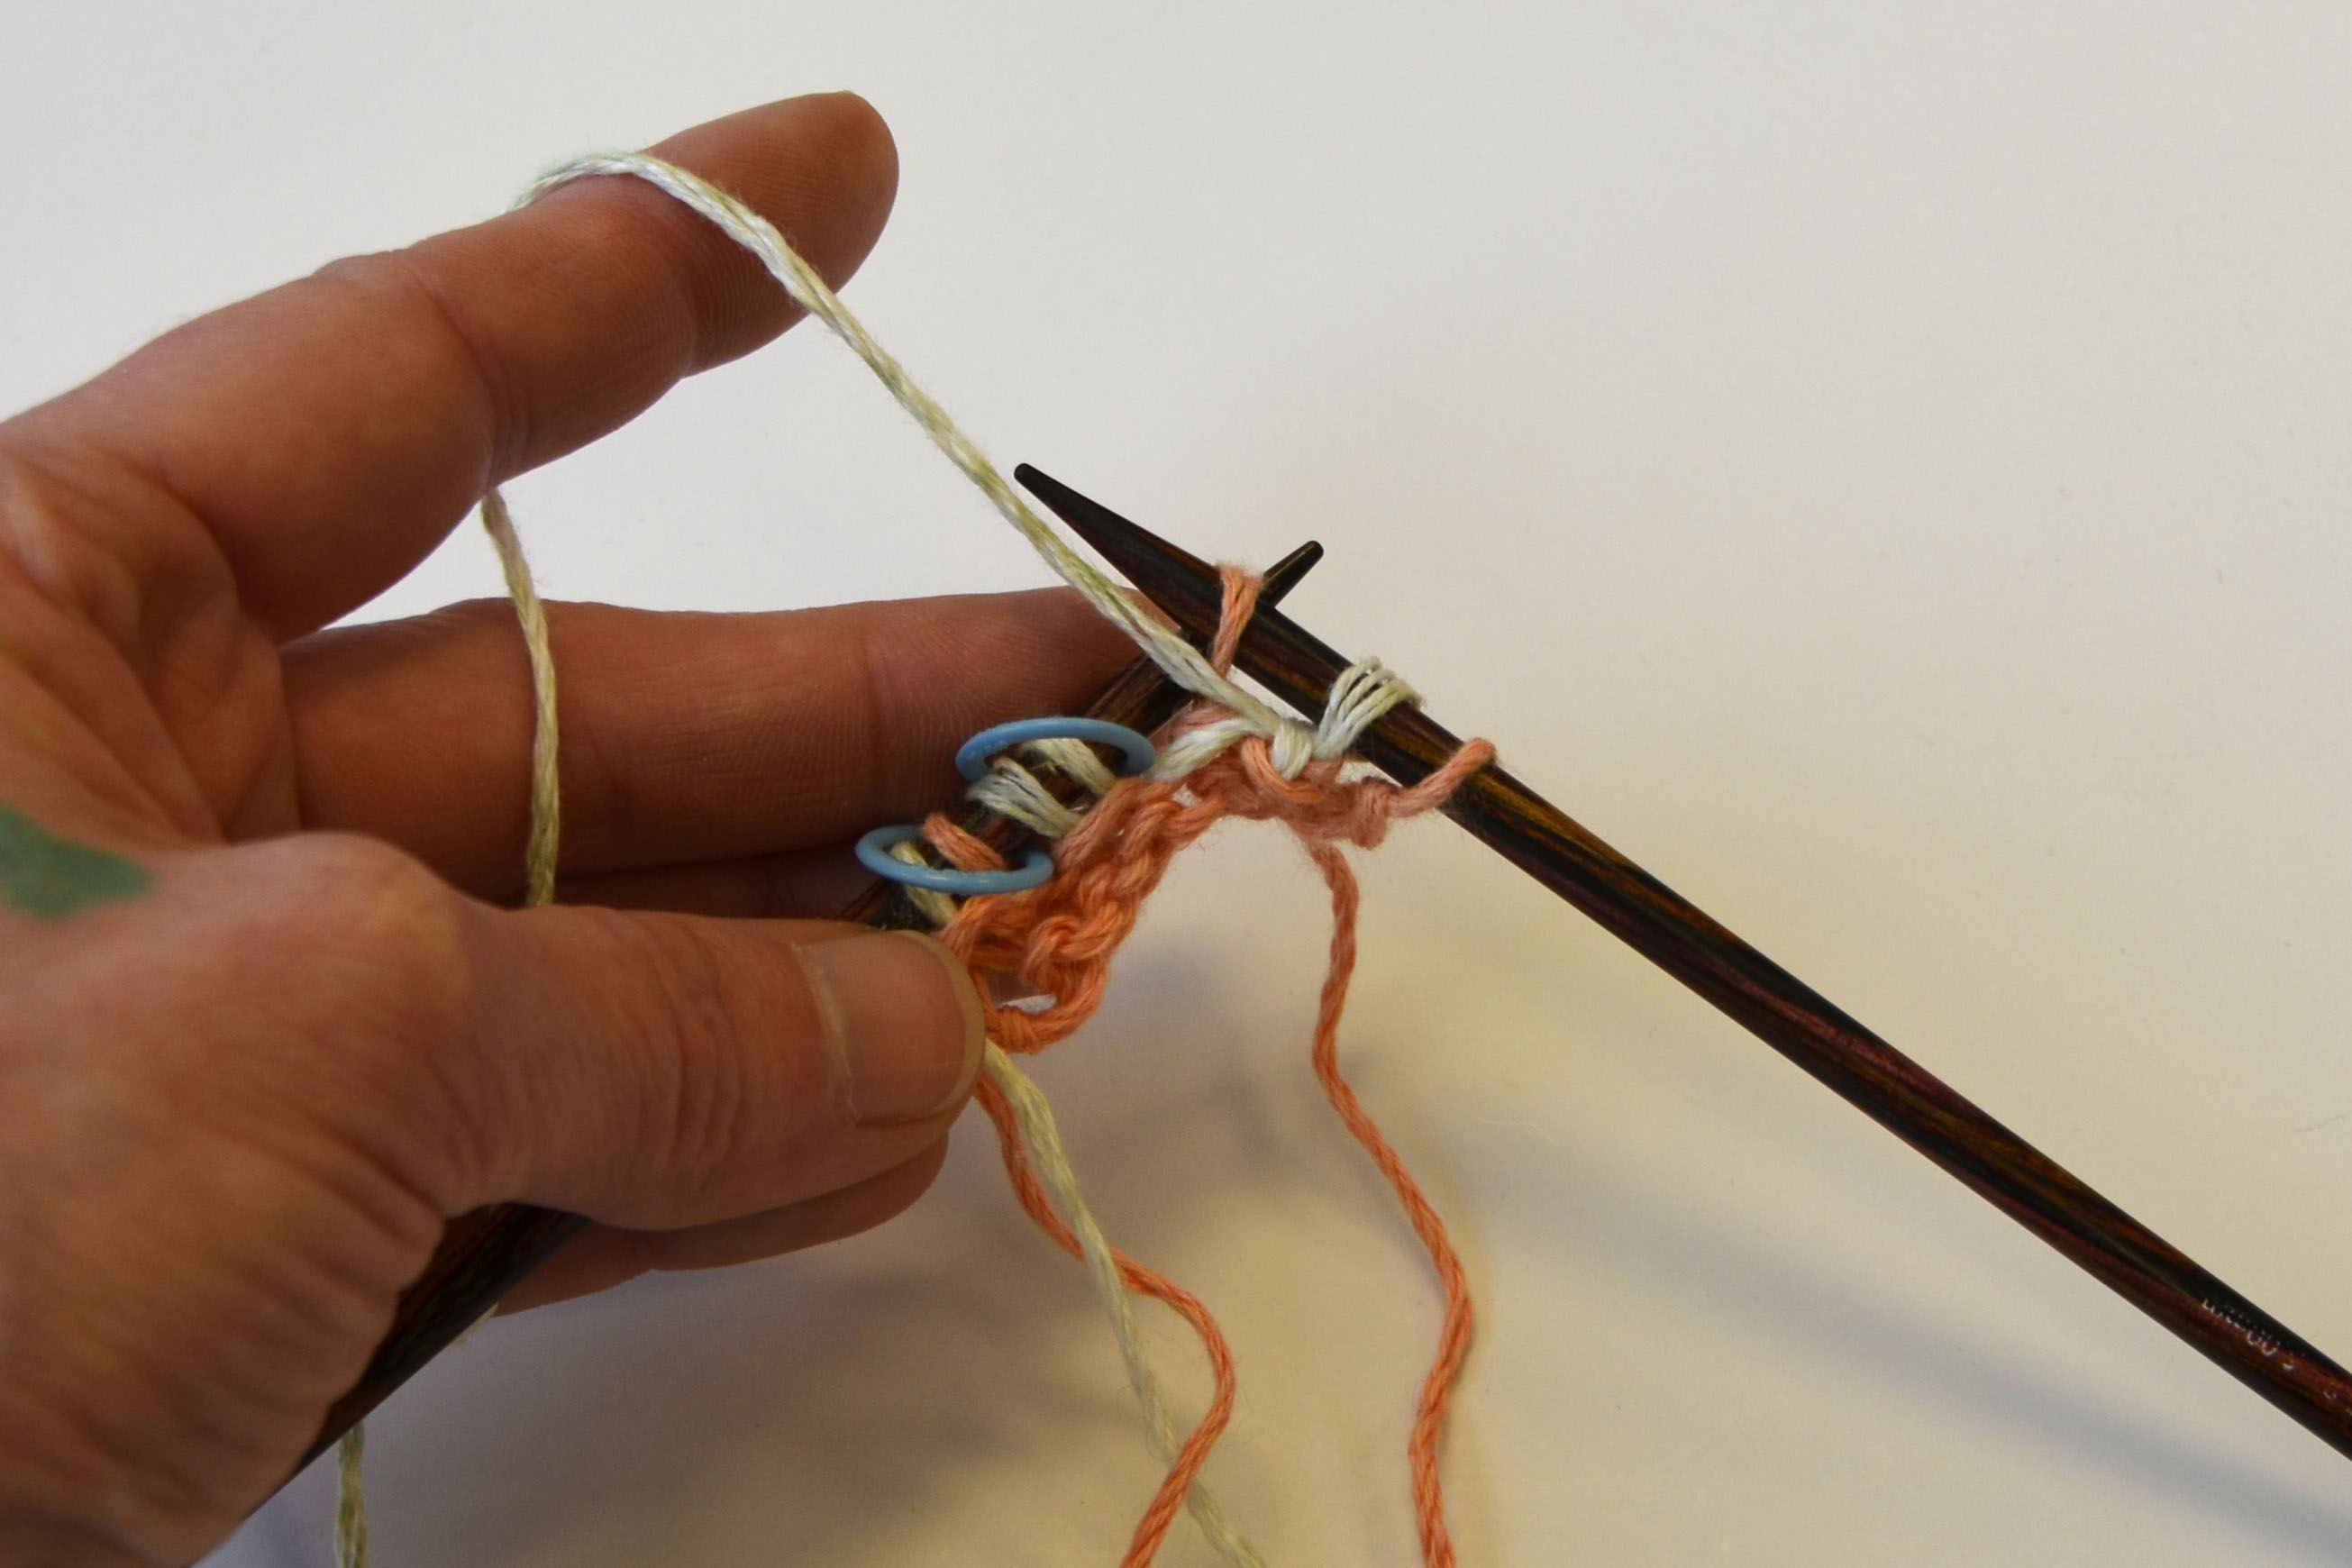
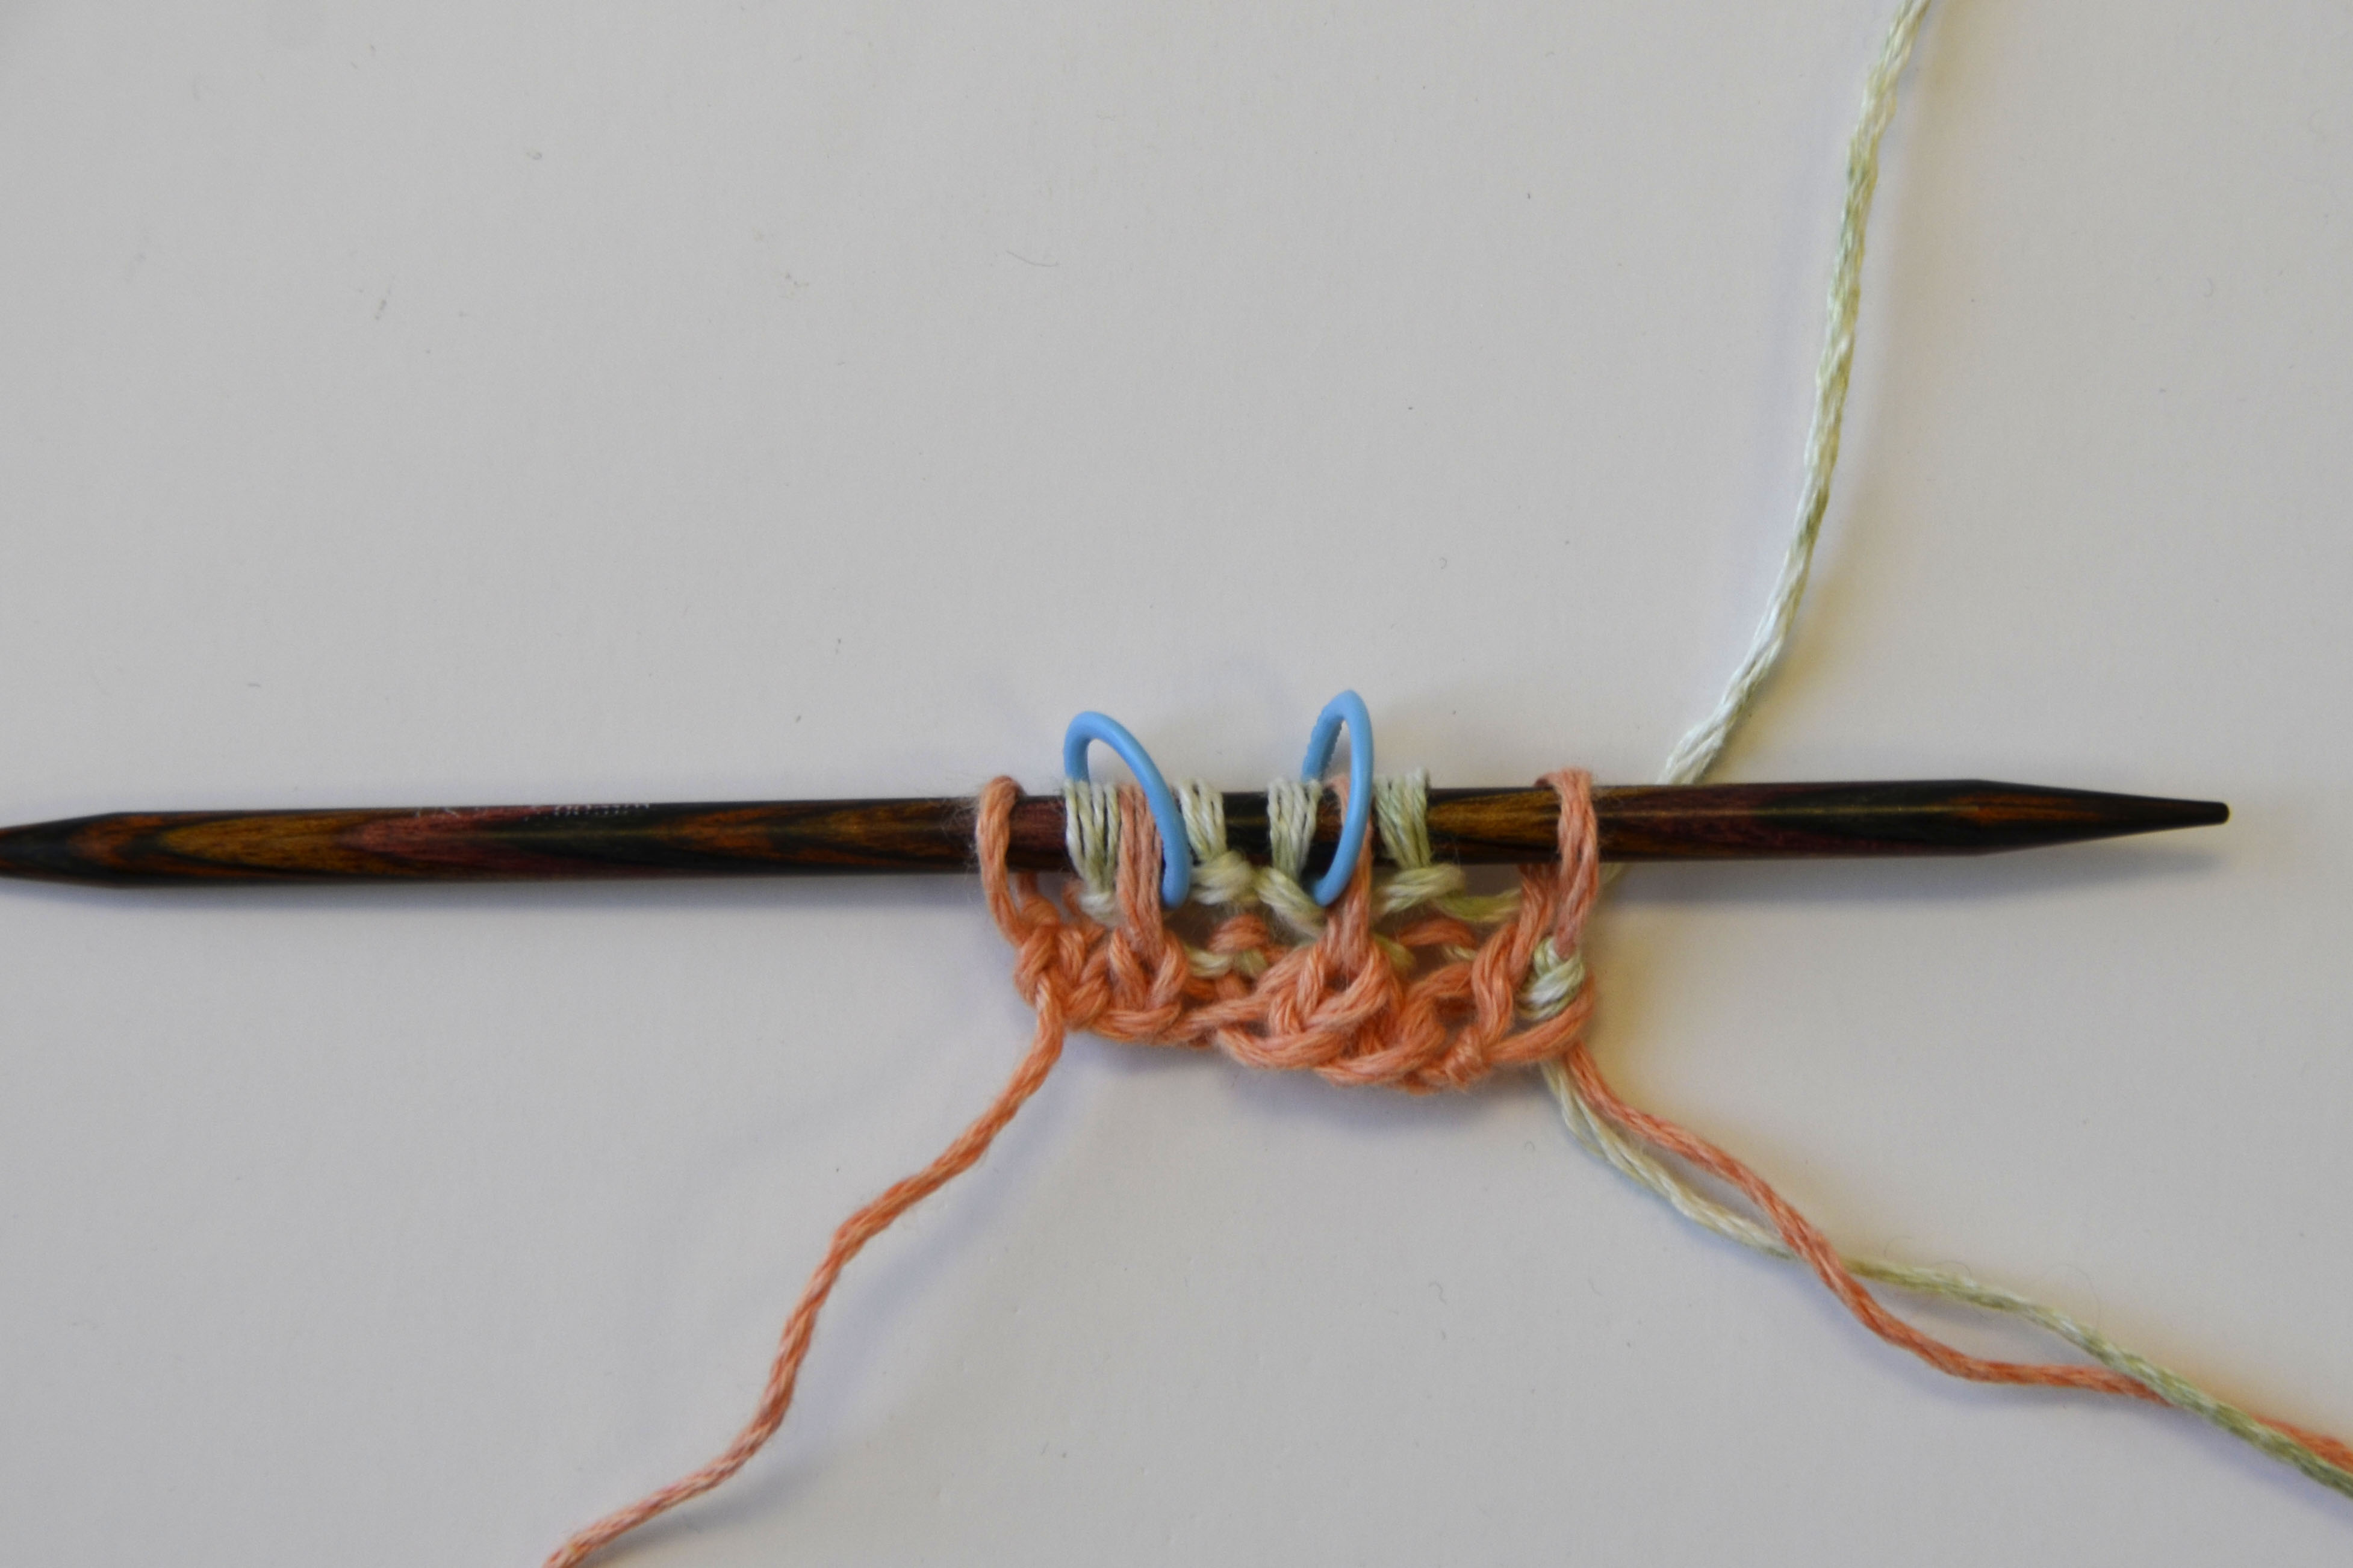
Warping for Flame Lace Top

I’ve been so excited to get started on a new weaving project! Now that I’ve finally finished up my very old UFO, I’m ready for the next thing.

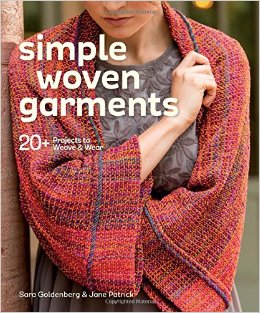
I recently got my hands on a copy of Simple Woven Garments, a fantastic book by Sara Goldenberg & Jane Patrick.

617cZvdAEfL._SX258_BO1,204,203,200_

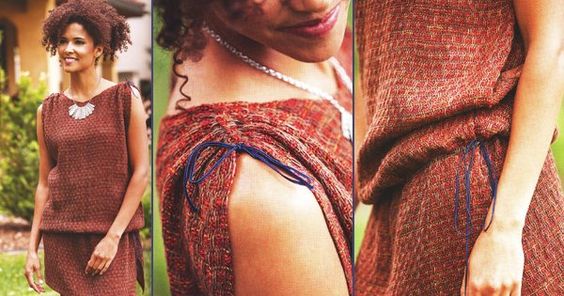
As the cover promises, there are instructions for over 20 garments in this beautiful book. It’s written in a very approachable way, and the photos are really inspiring. I flipped through the pages many times before finally settling on the Flame Lace Top (page 90)  to try first.

7051e25ed09687dcfb61e365b0d85b34

And after reviewing the required materials, I realized we have good substitutes for all the yarns used in the project, so it was settled. I think I’ll probably change some of the finishing details in this piece, but more on that in future posts. I think what most drew me to this project was the pattern in the weaving. I also think the gathered shoulders are pretty cute.

I took out my notebook, AKA weaving diary, and started first by recording all the beginning information for my project. Here is what I wrote:

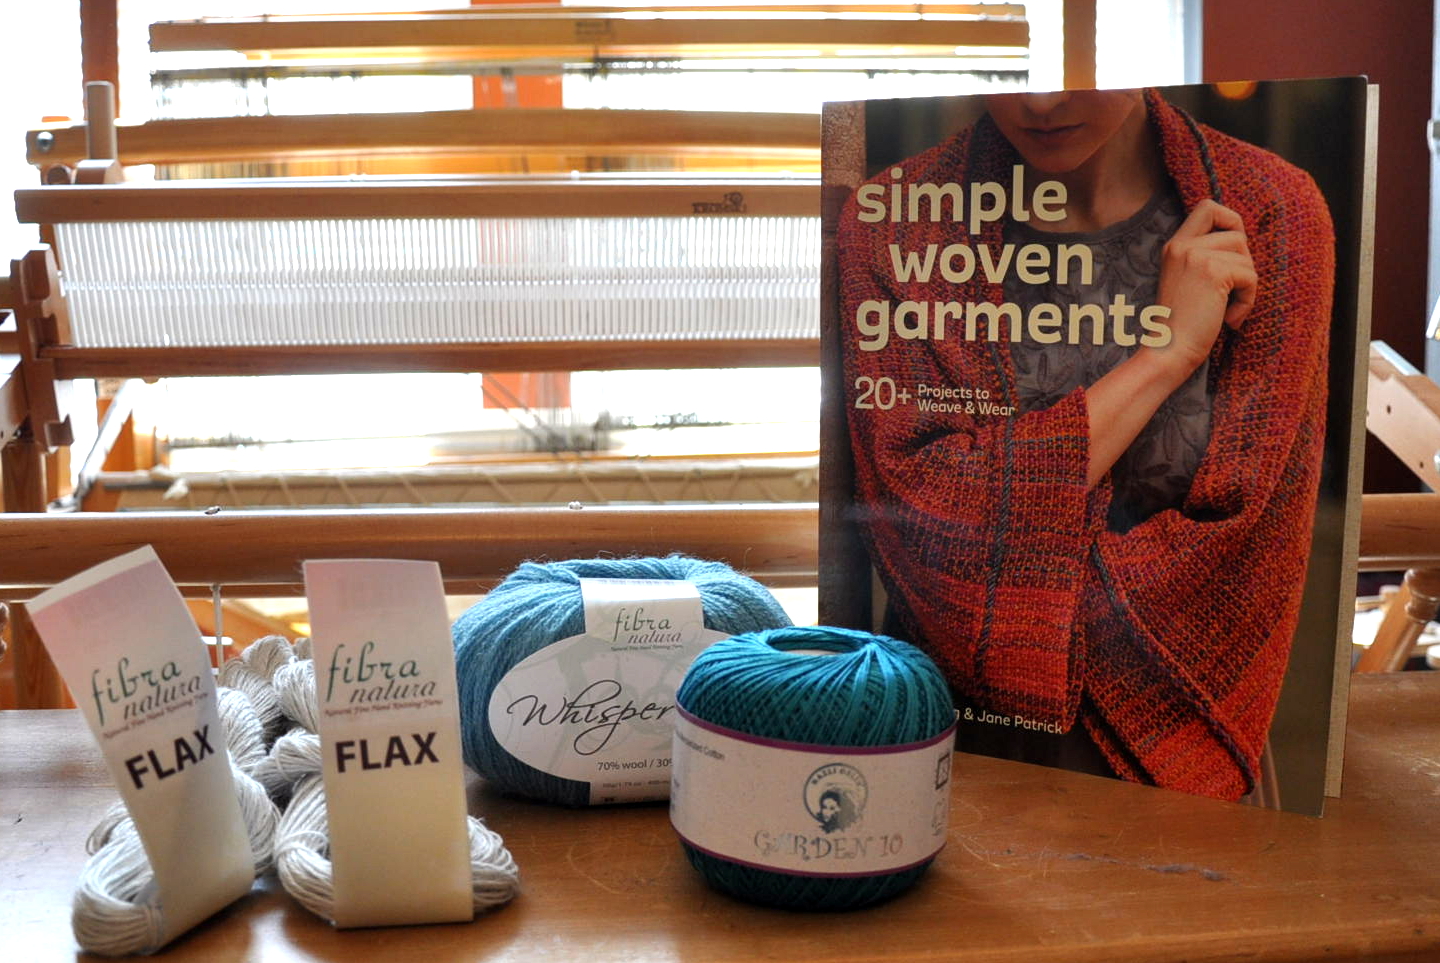
Warp Yarn: Flax, color 17 Silver

10 dent reed

Weaving width: 24″/240 ends

Warp length: 100″

From this, I calculated how much Flax I needed for my warp. 240 ends x 100″ = 24,000″ or 667 yds. This comes out to just under 5 hanks of Flax.

FlameTop_1

My weft yarn, as you can see, will be Whisper Lace and Garden 10; 1 strand of each held together. Though I love the warm colors in the original project, I tend to be a cool colors kind of person.

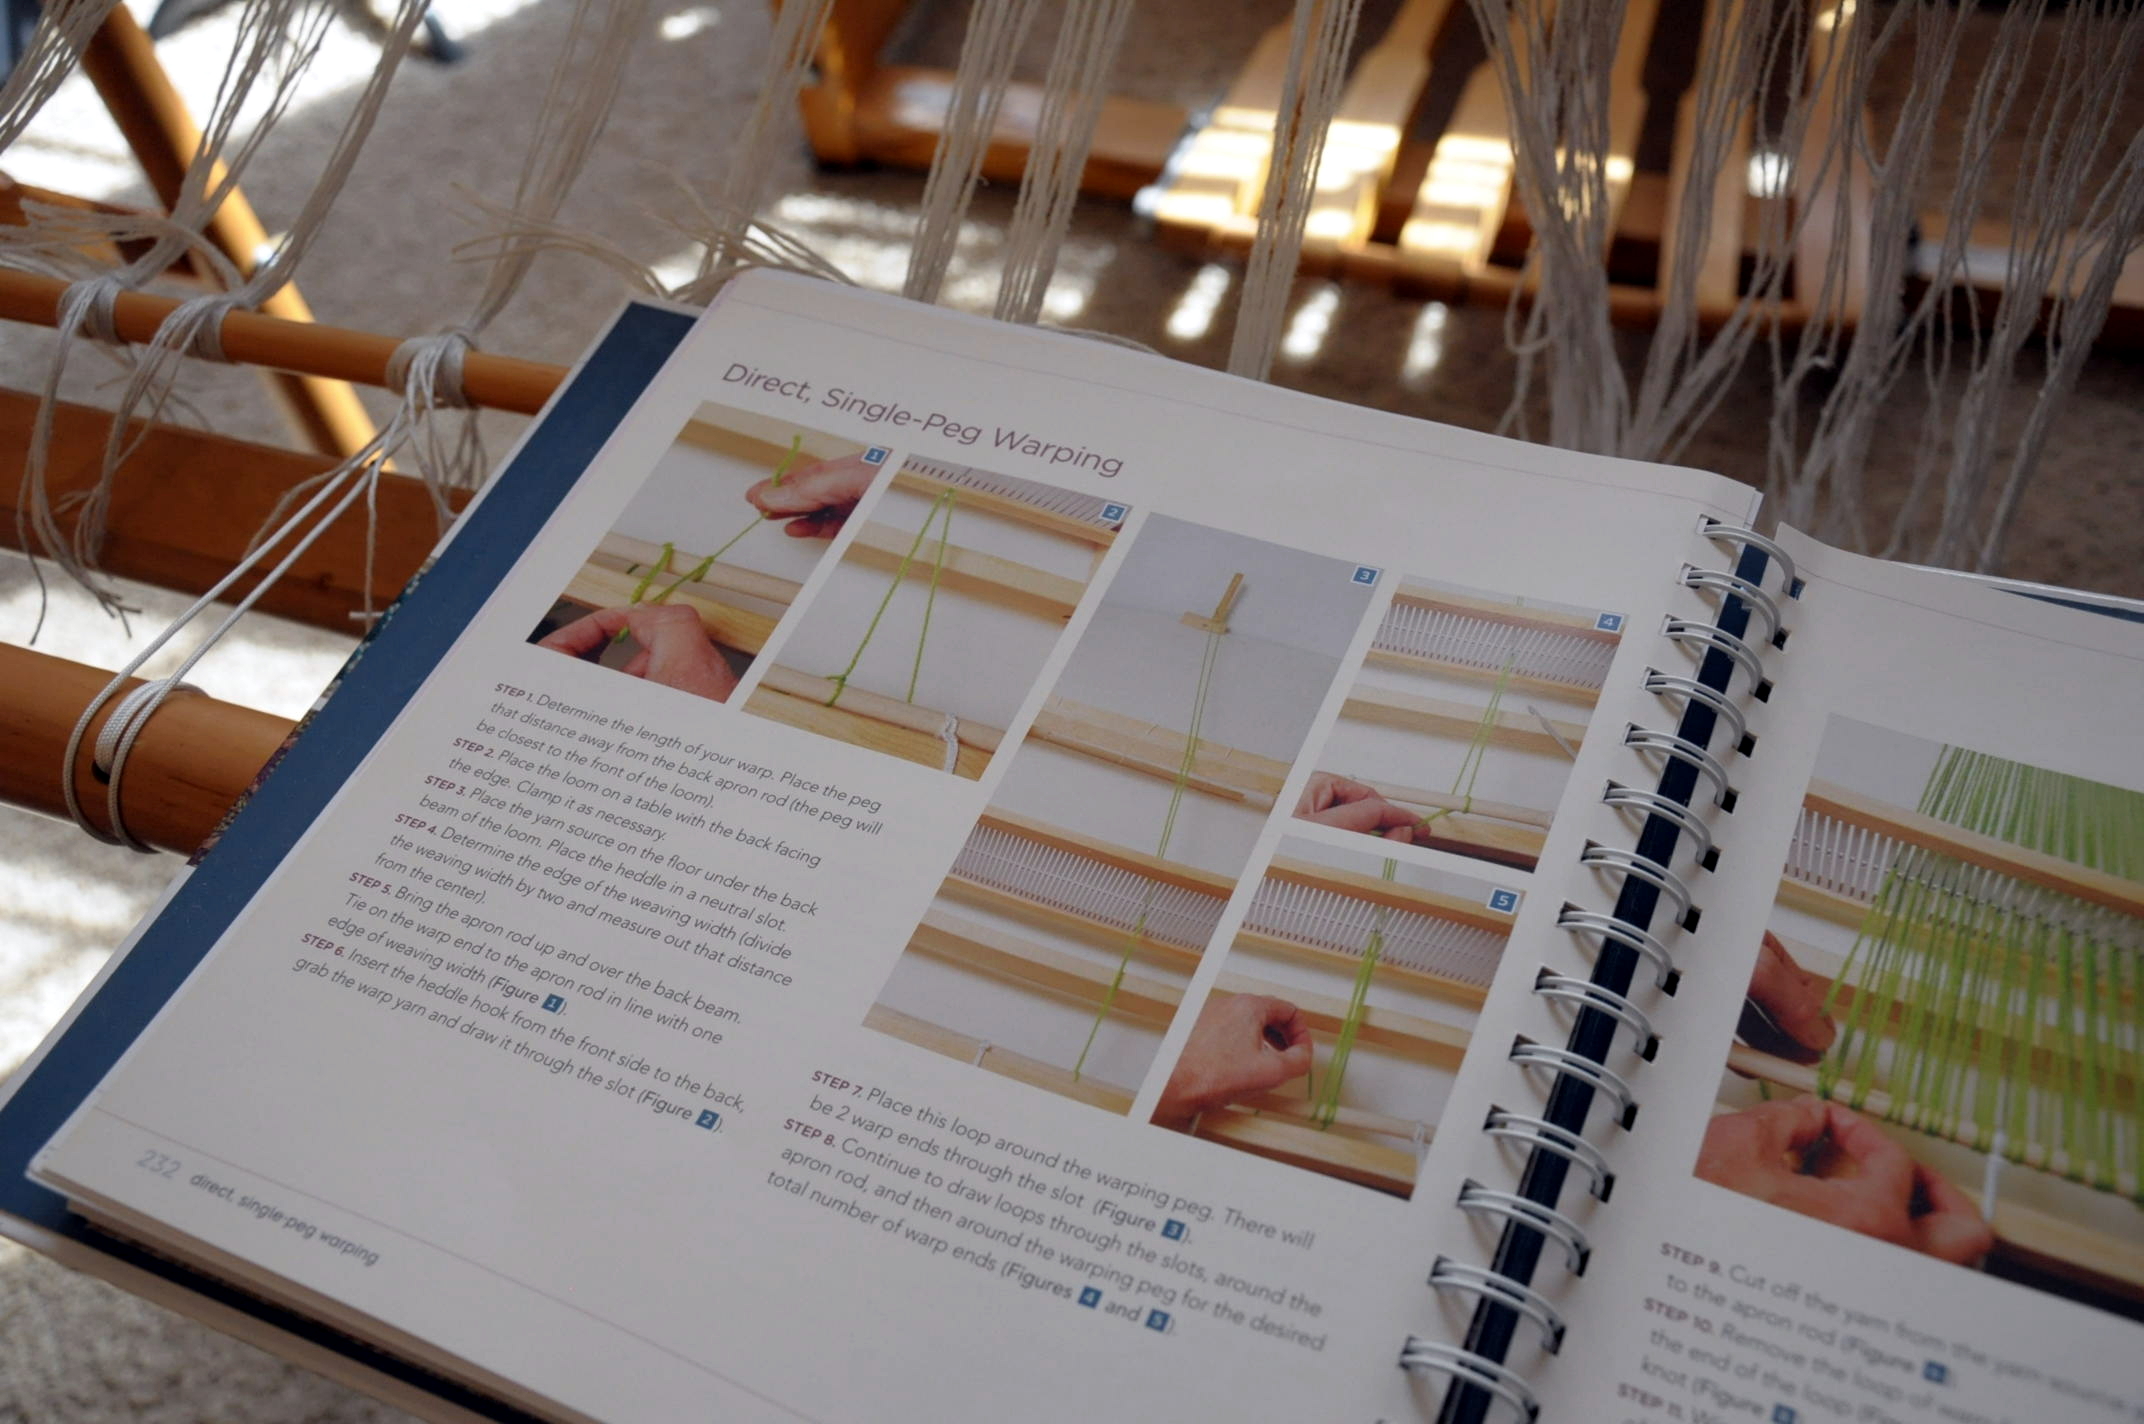
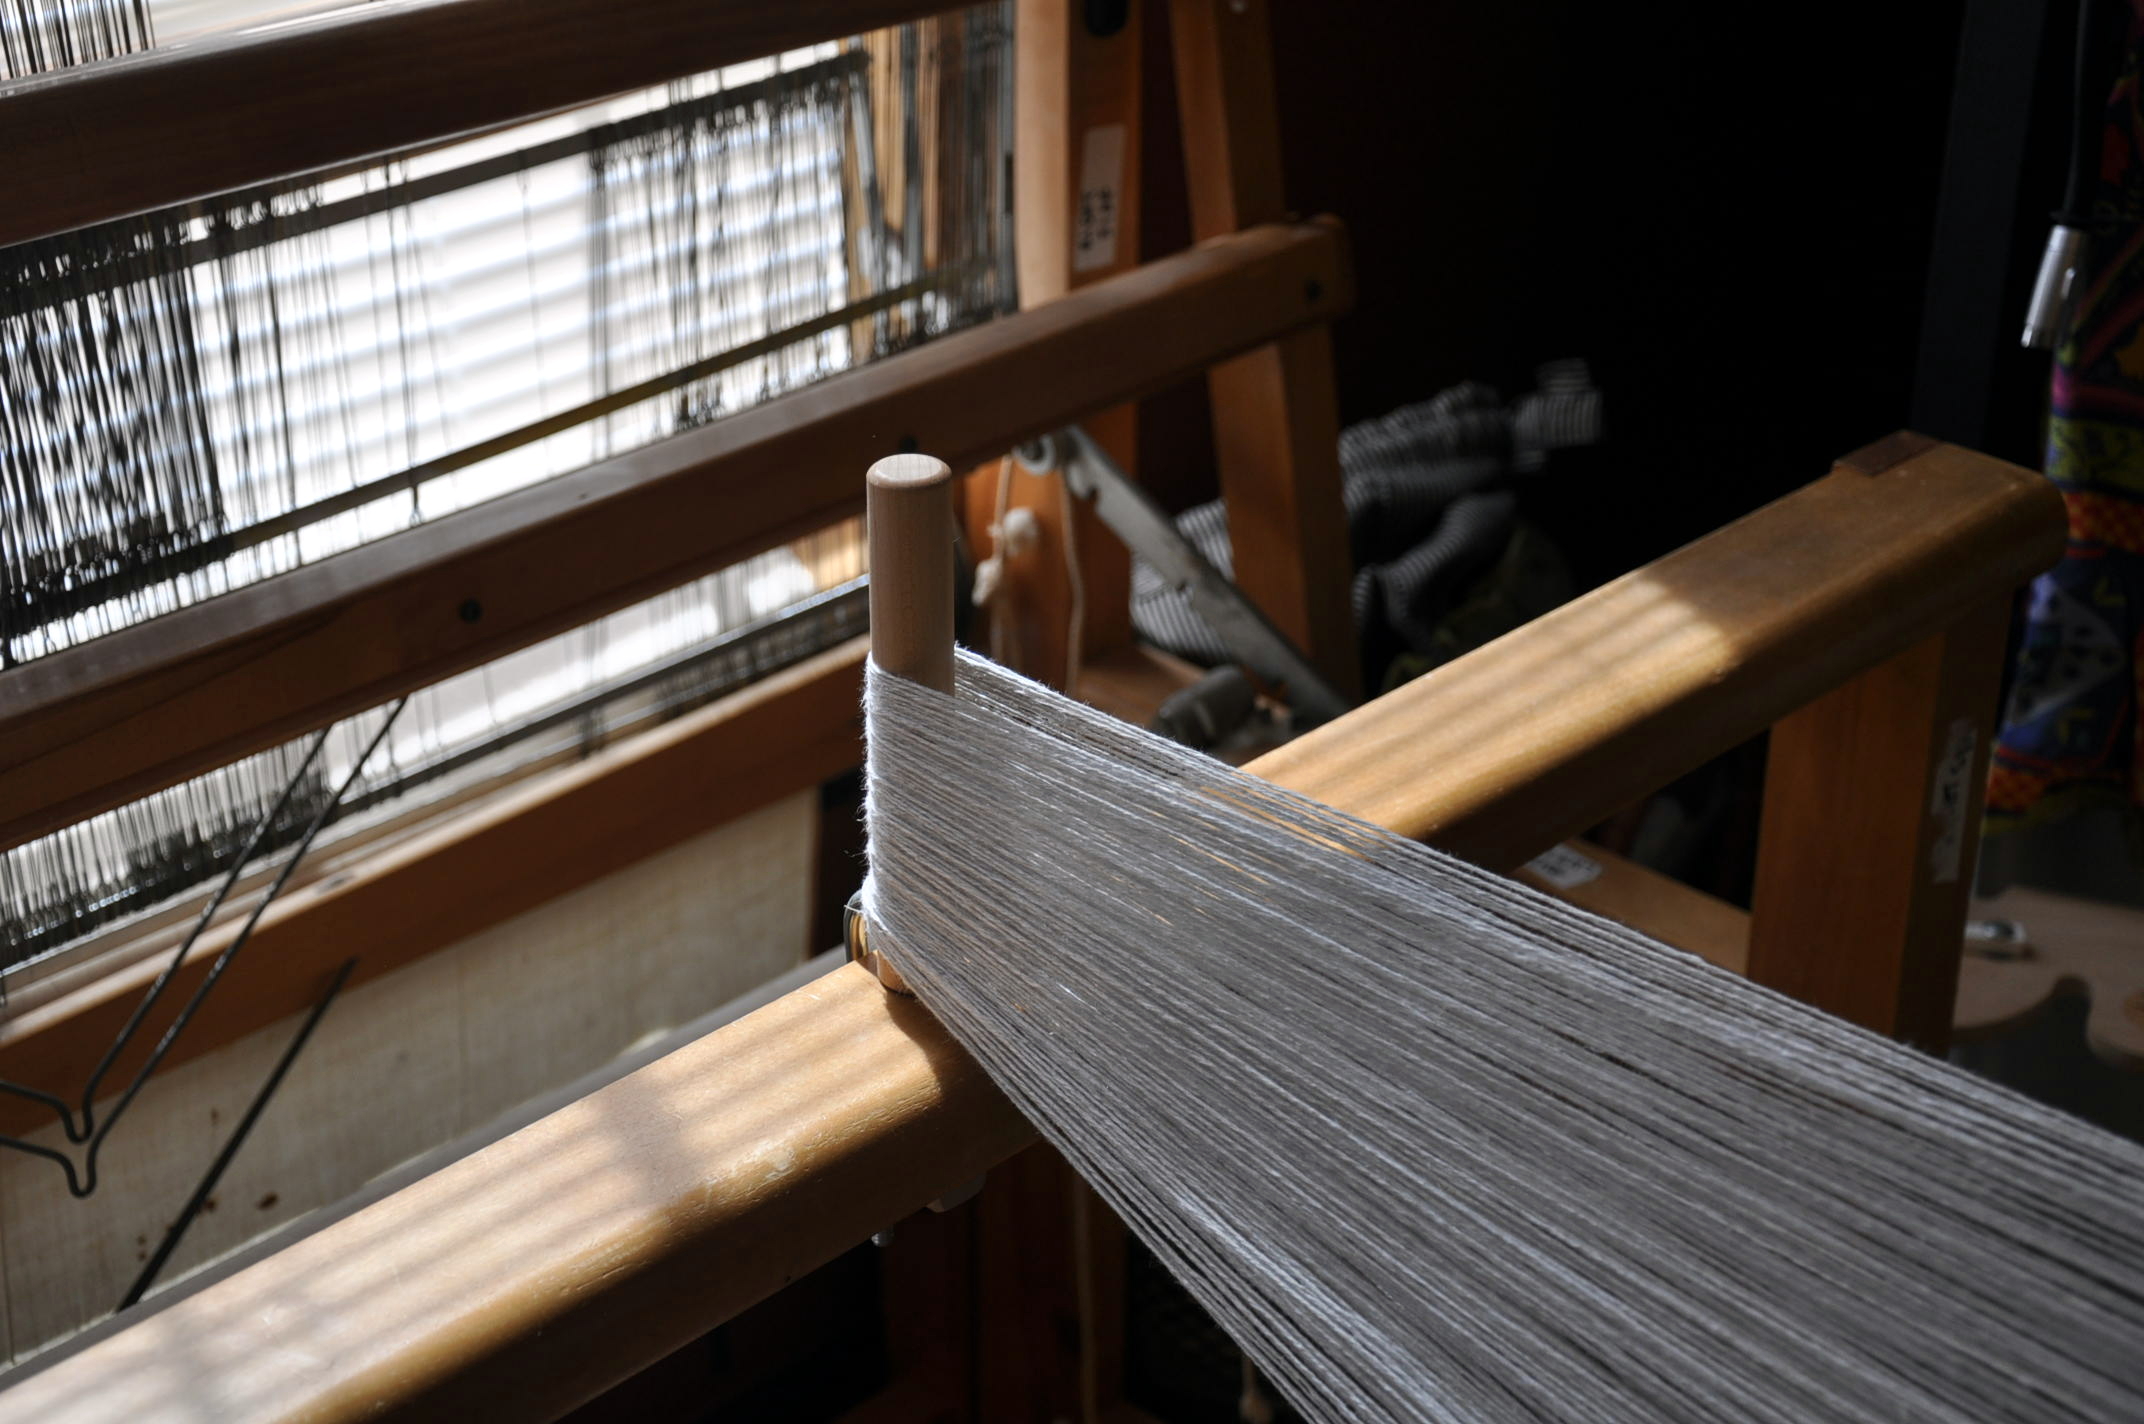
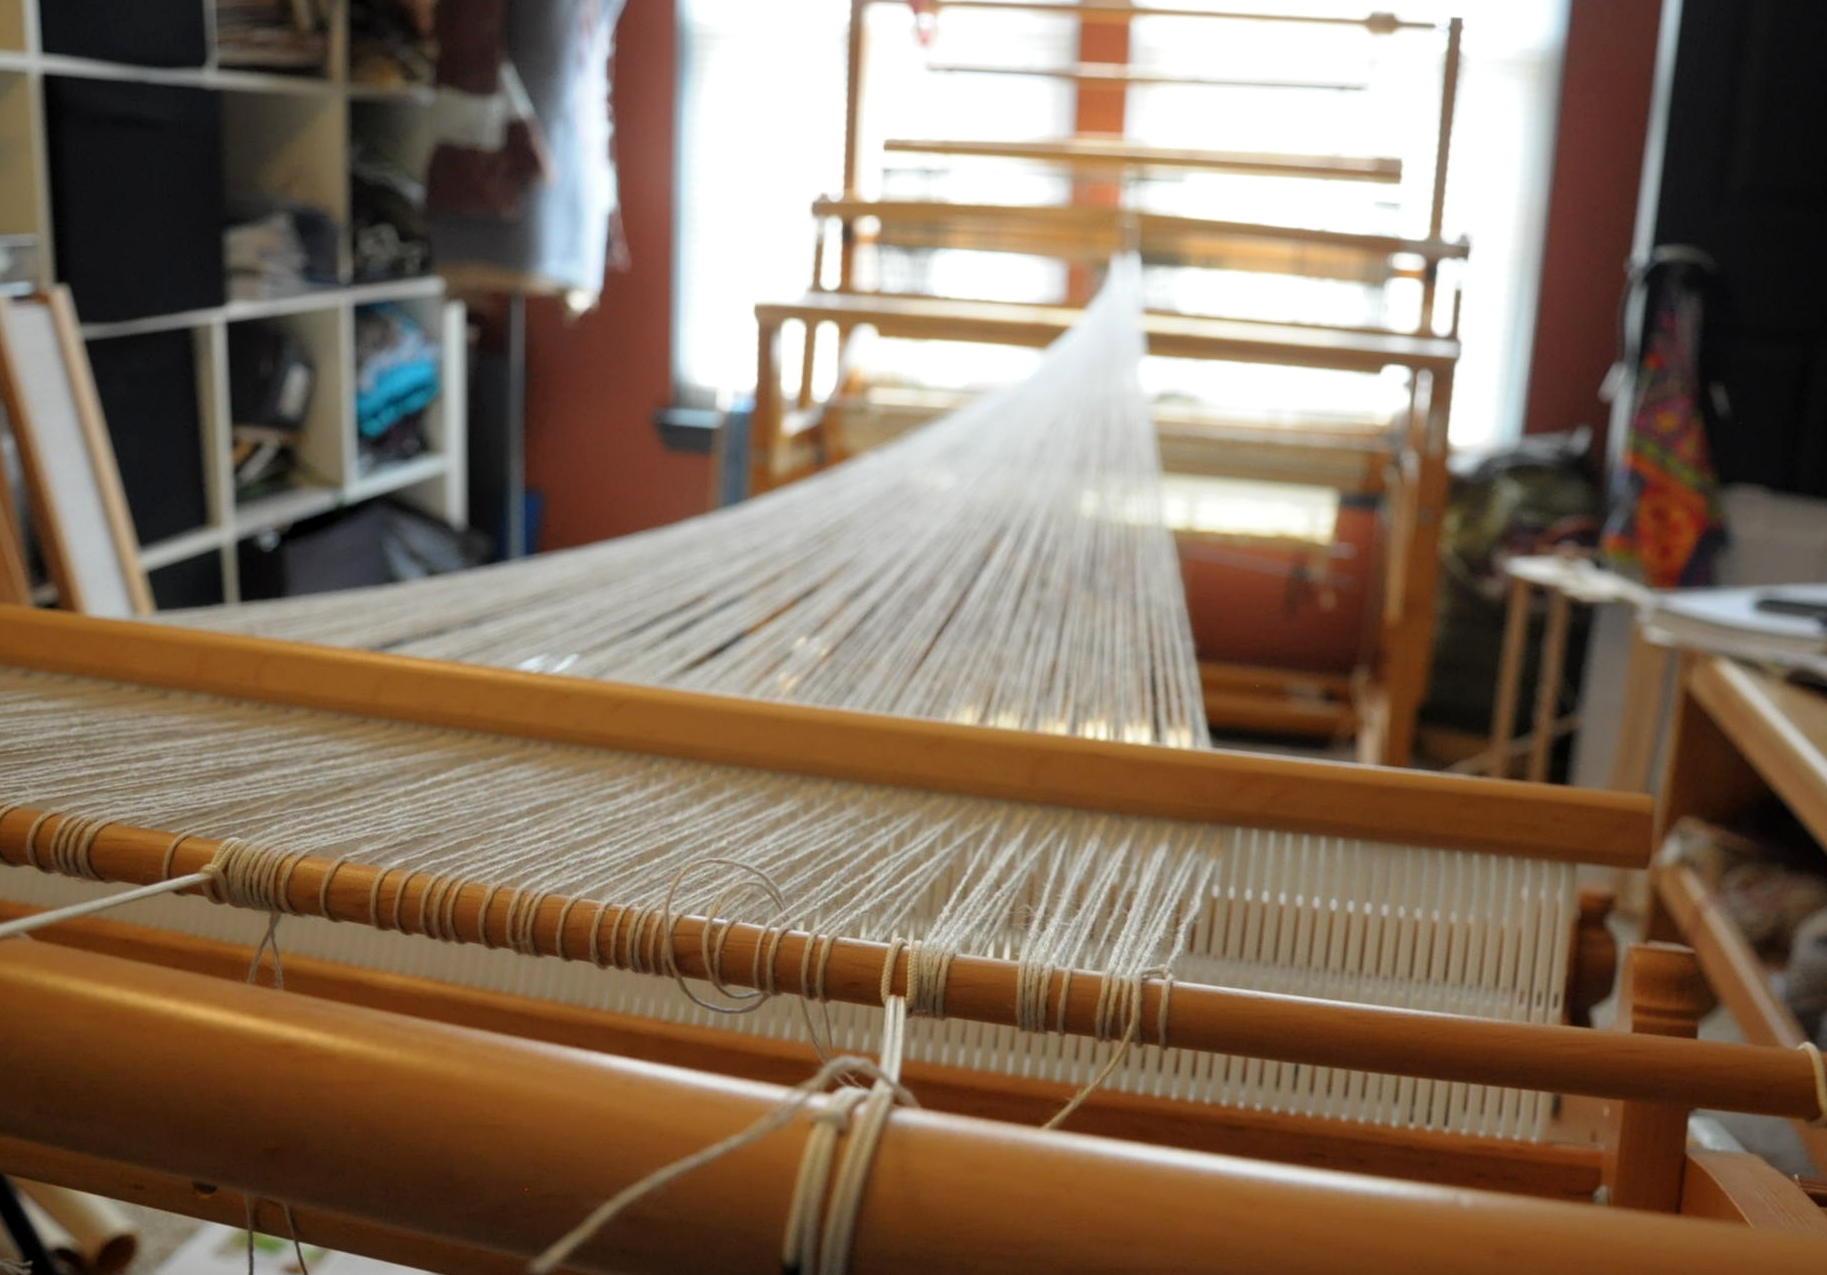
It had been long enough since my last warp, that I took a look at my copy of the Weaver’s Idea Book (also by the talented and informative Jane Patrick!) for a refresher. There are handy step-by-step photos of single-peg warping in the pages, which is the method I used.

FlameTop_4

My personal favorite place to clamp my warping peg is to my shaft floor loom, a Fanny LeClerc. It’s the only time she every gets used and it makes me sad. Since moving into my current house a couple of years ago, poor Fanny sits looking beautiful in all of her multi-shaft glory, completely unused. Fanny, we will work together again soon, I promise.

FlameTop_2

If I clamp the peg to the front beam of Fanny and place my rigid heddle across the room on the other wall, it’s typically the perfect distance for a good-sized warp.

FlameTop_3

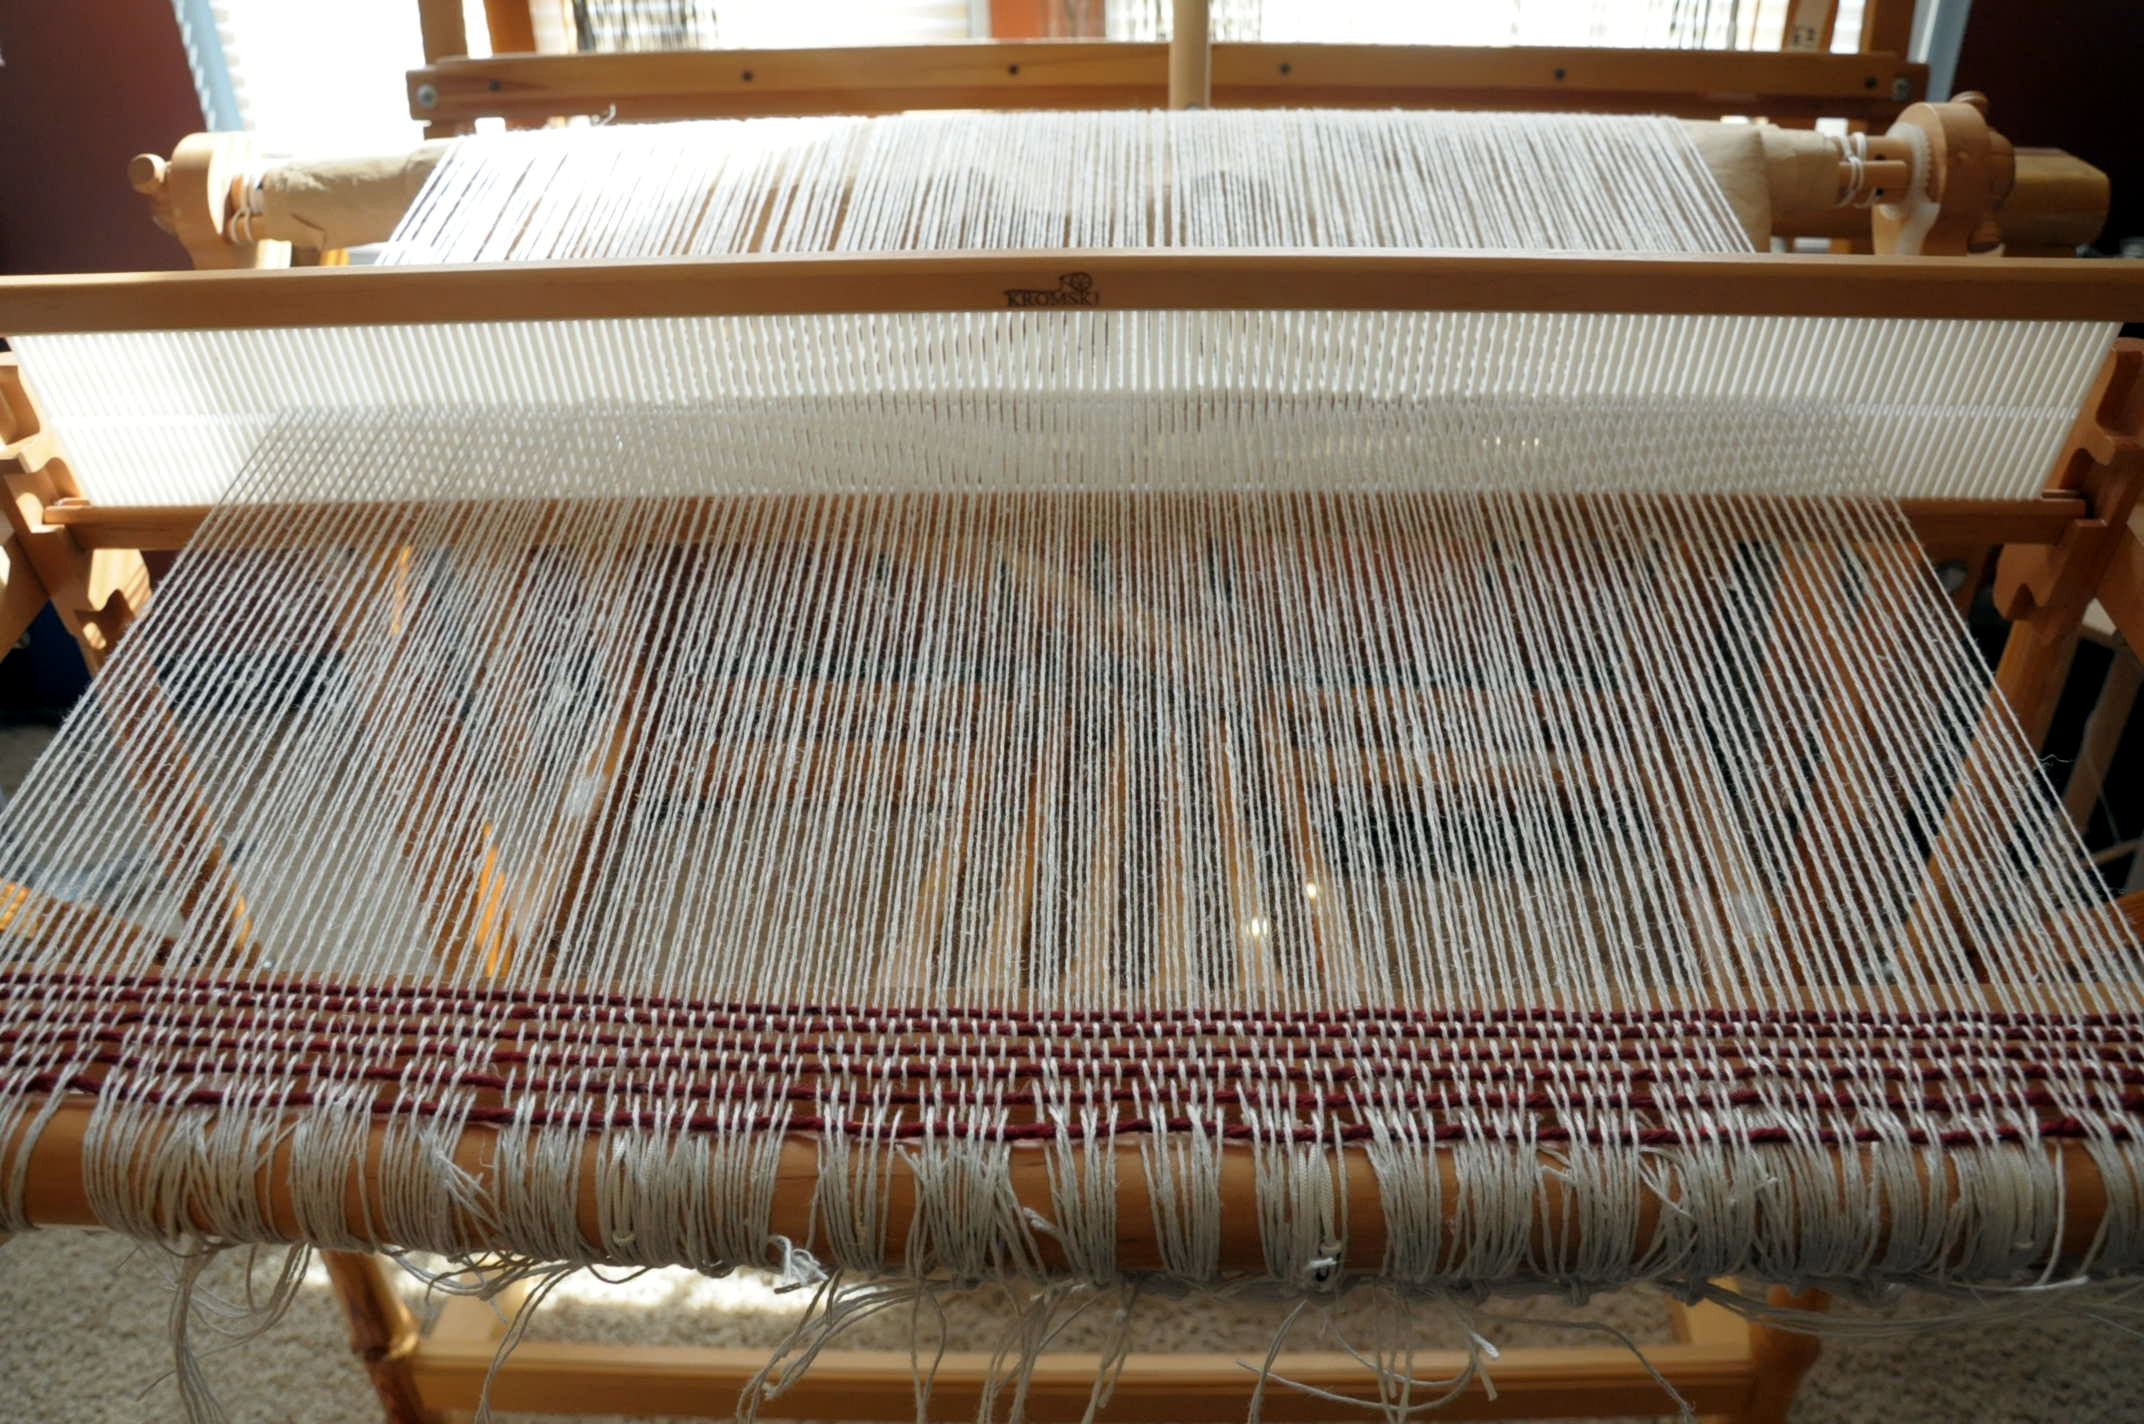
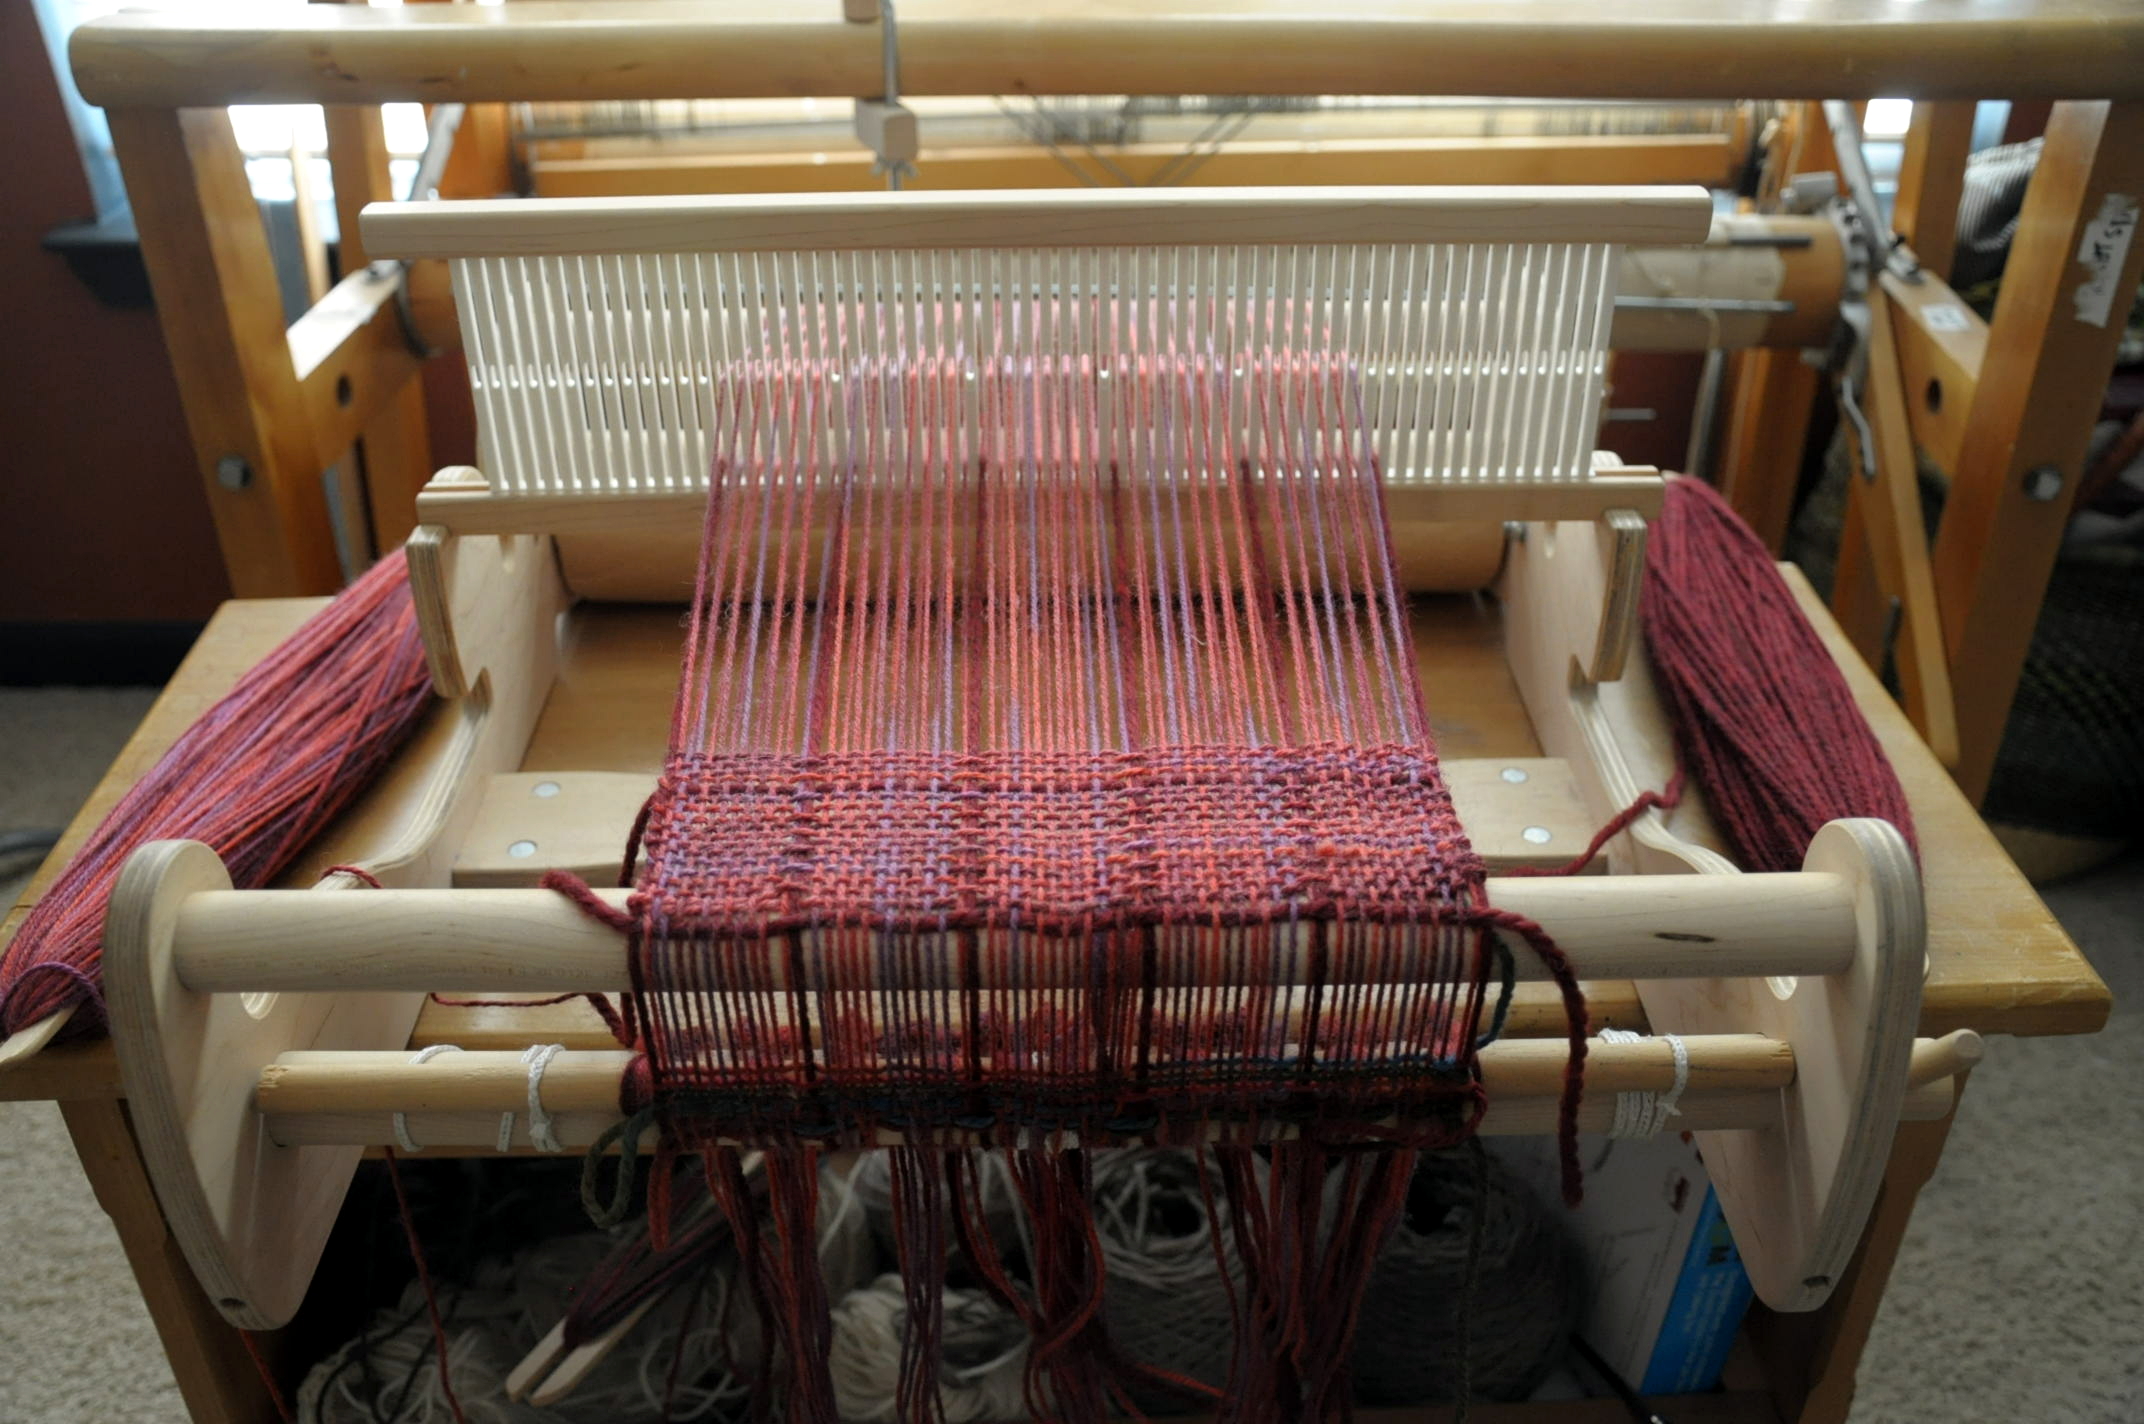
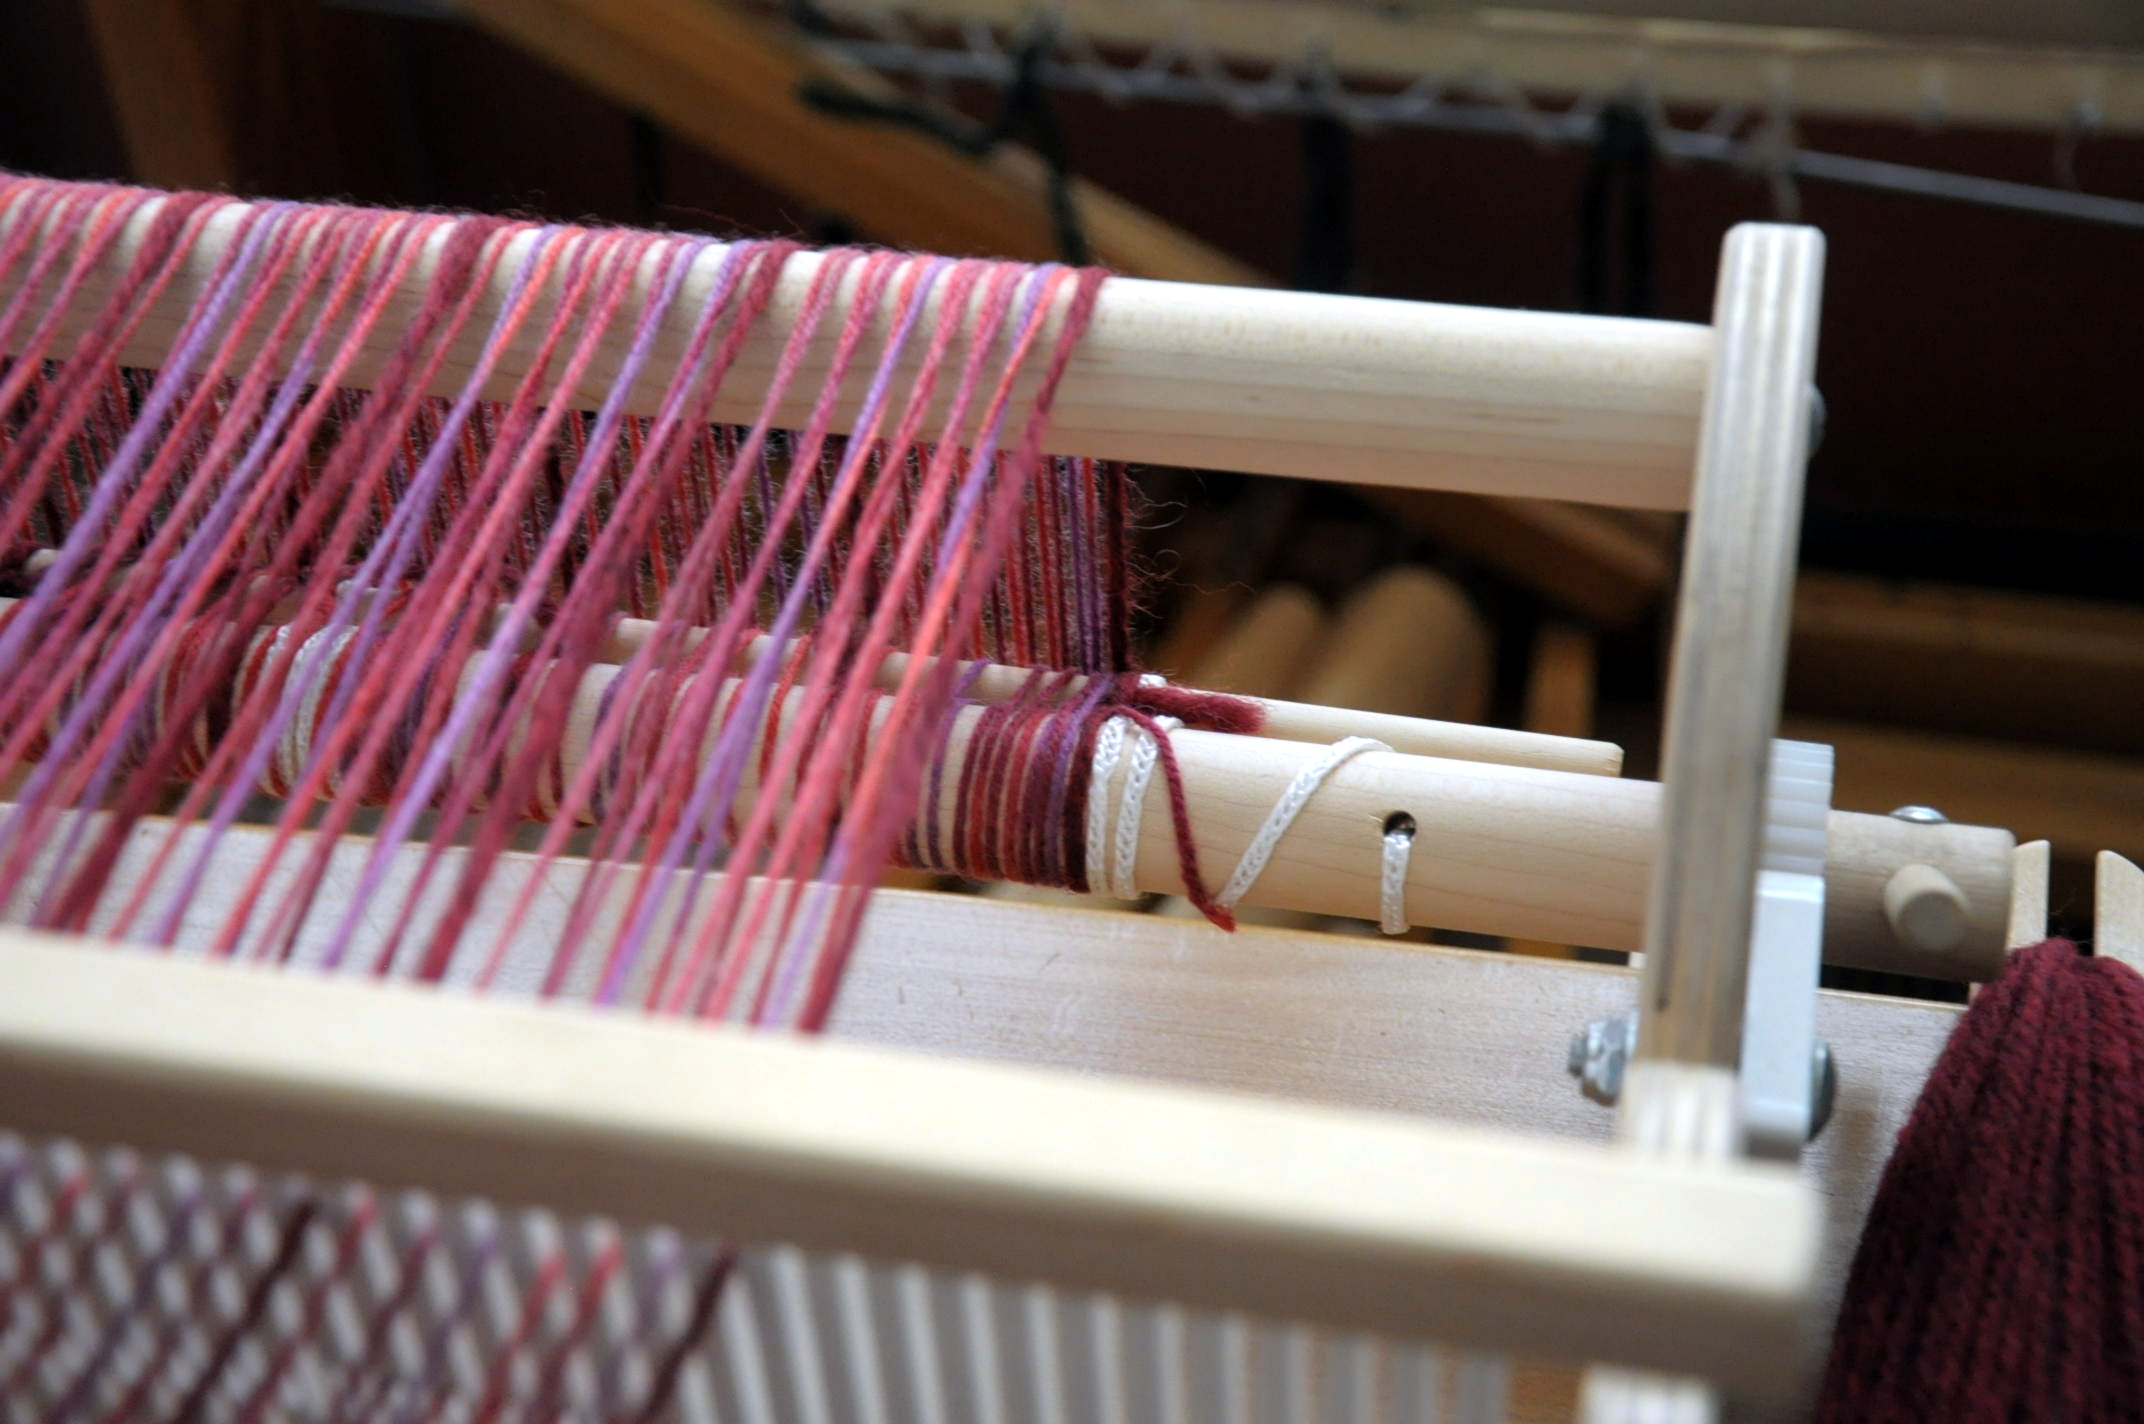
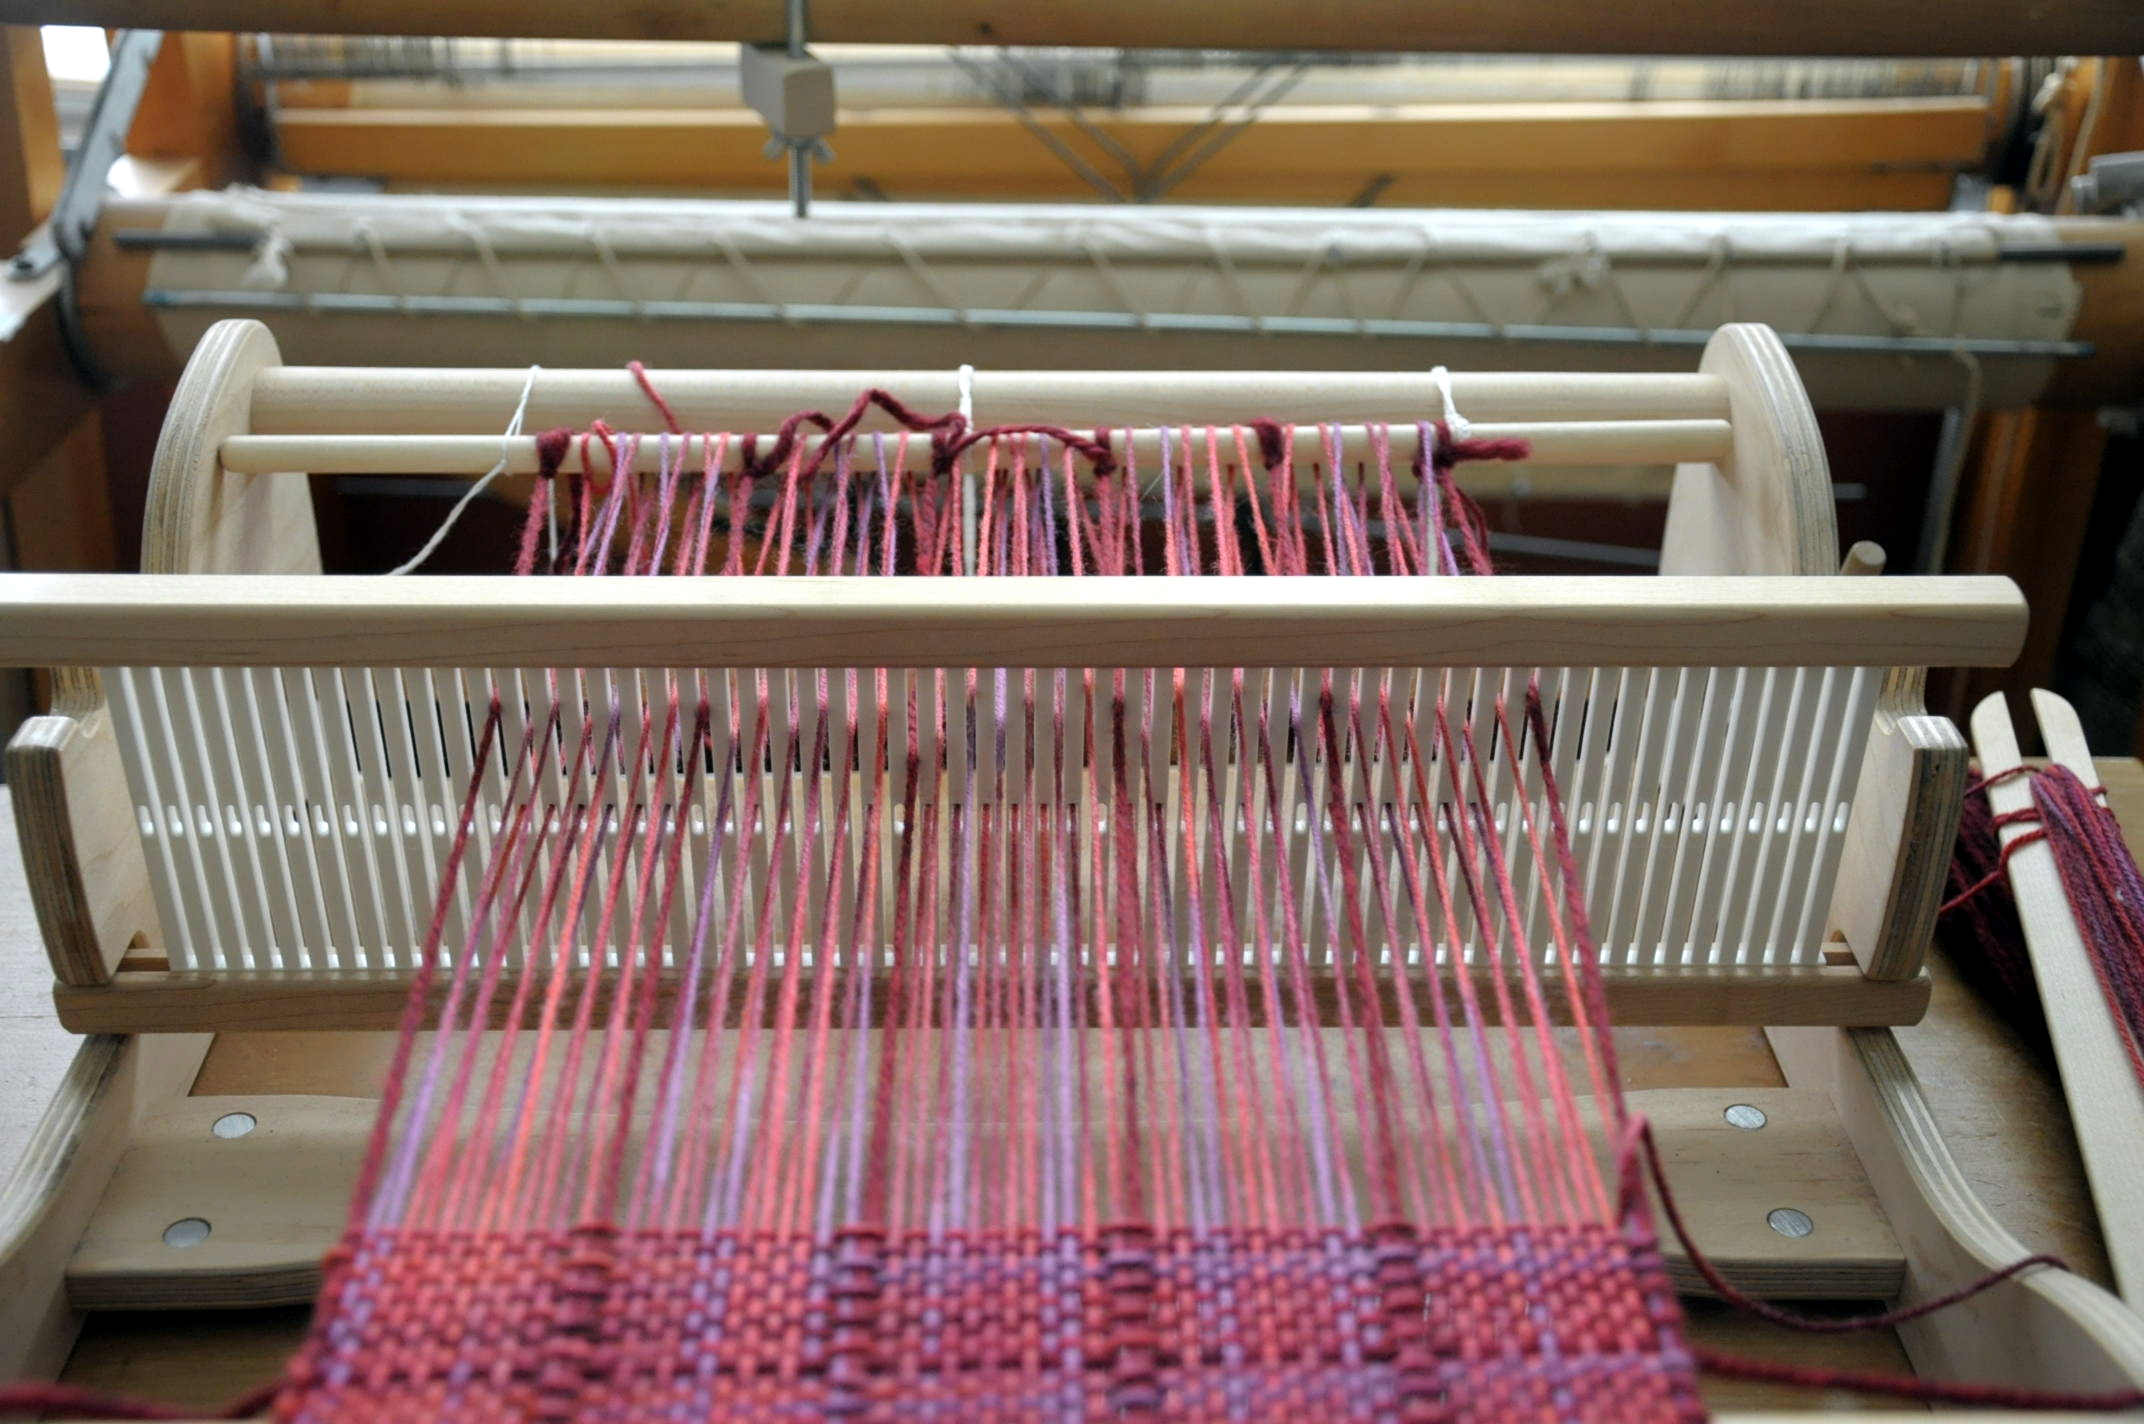
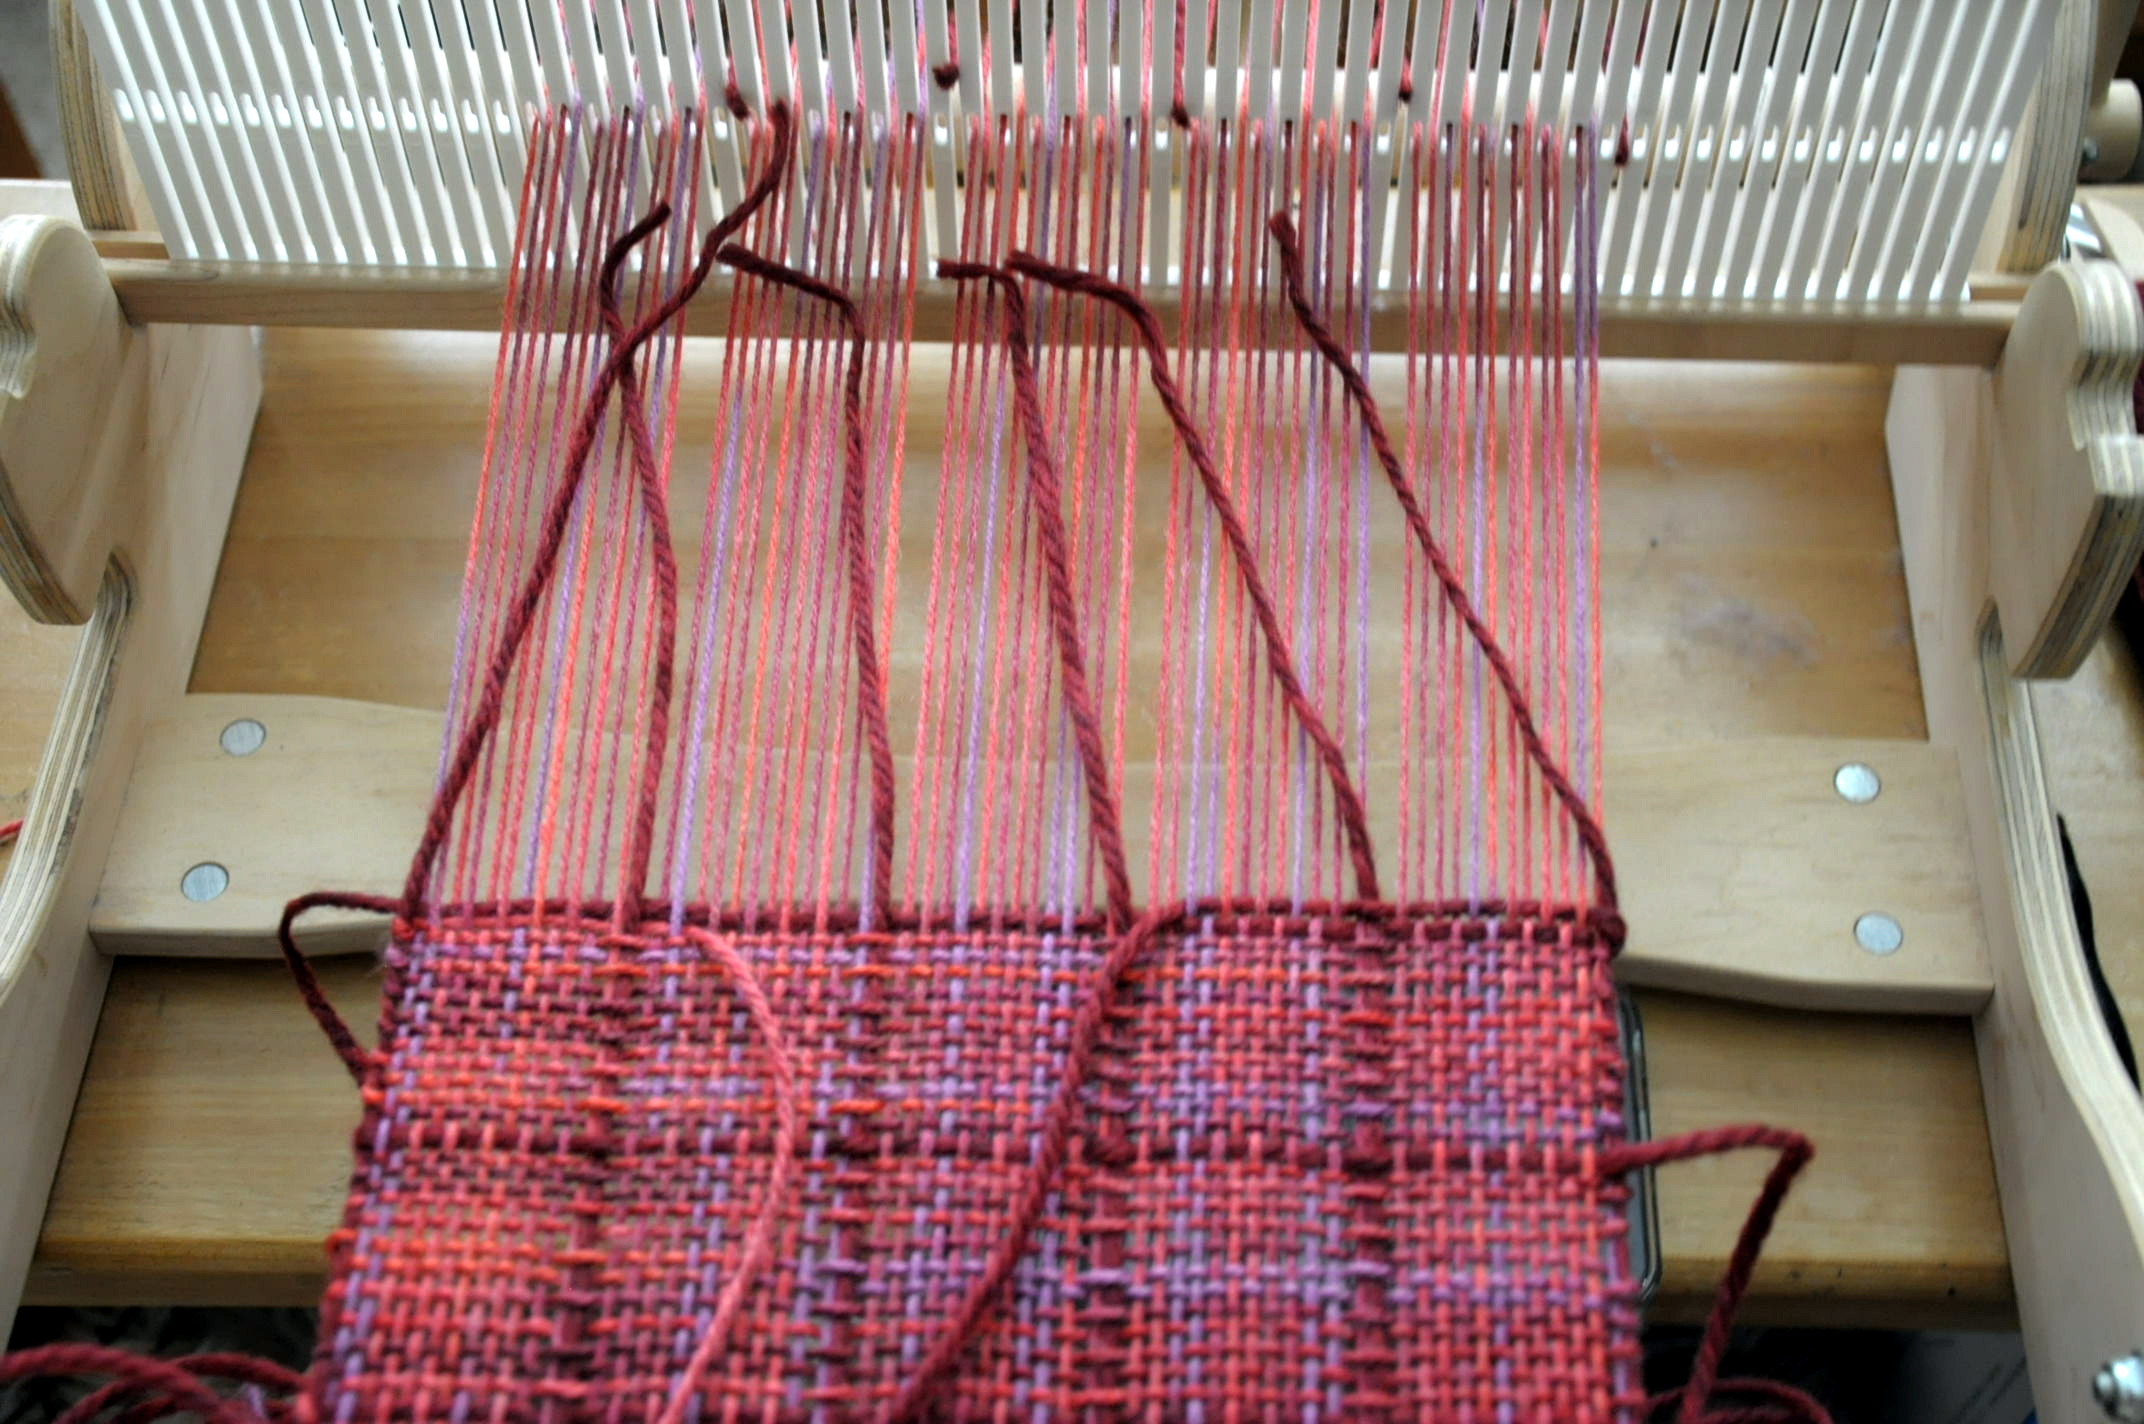
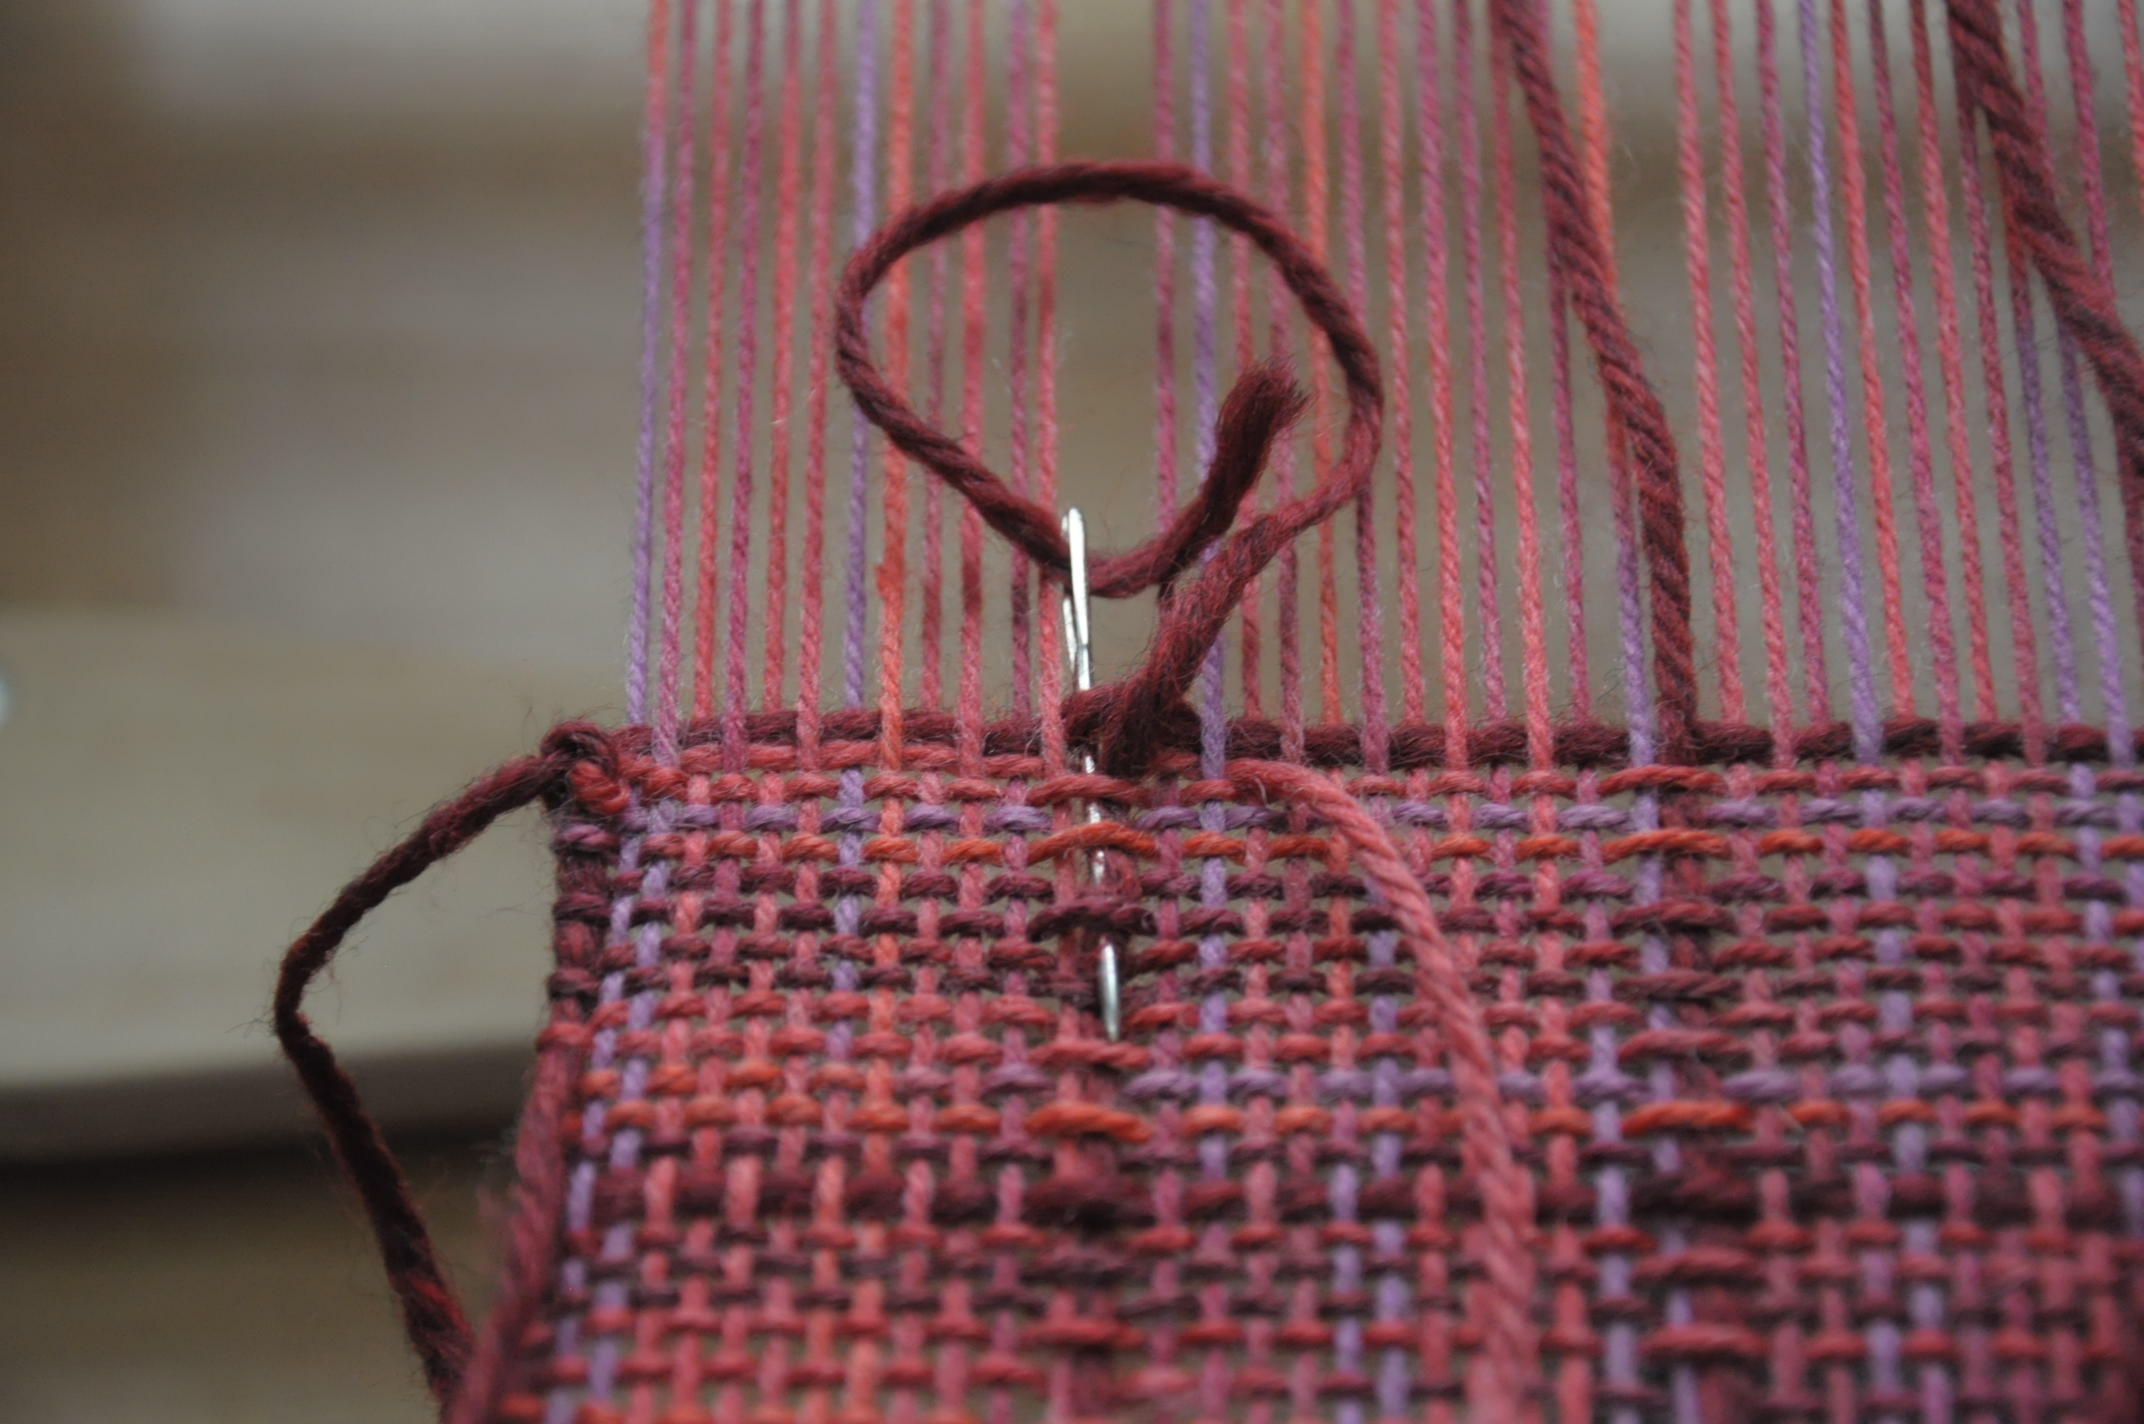
After warping, sleying the reed, and tying onto the front bar, I wove a few picks with waste yarn.

FlameTop_5

And there is the blank canvas that is a warp. It really does look to me like anything could happen here. That’s the fun, right?

Join me next time for the ins-and-outs of weaving on a rigid heddle loom using 2 pick up sticks. Fun times!
Free Pattern Friday – Reversa-Lace Scarf

It’s Free Pattern Friday!

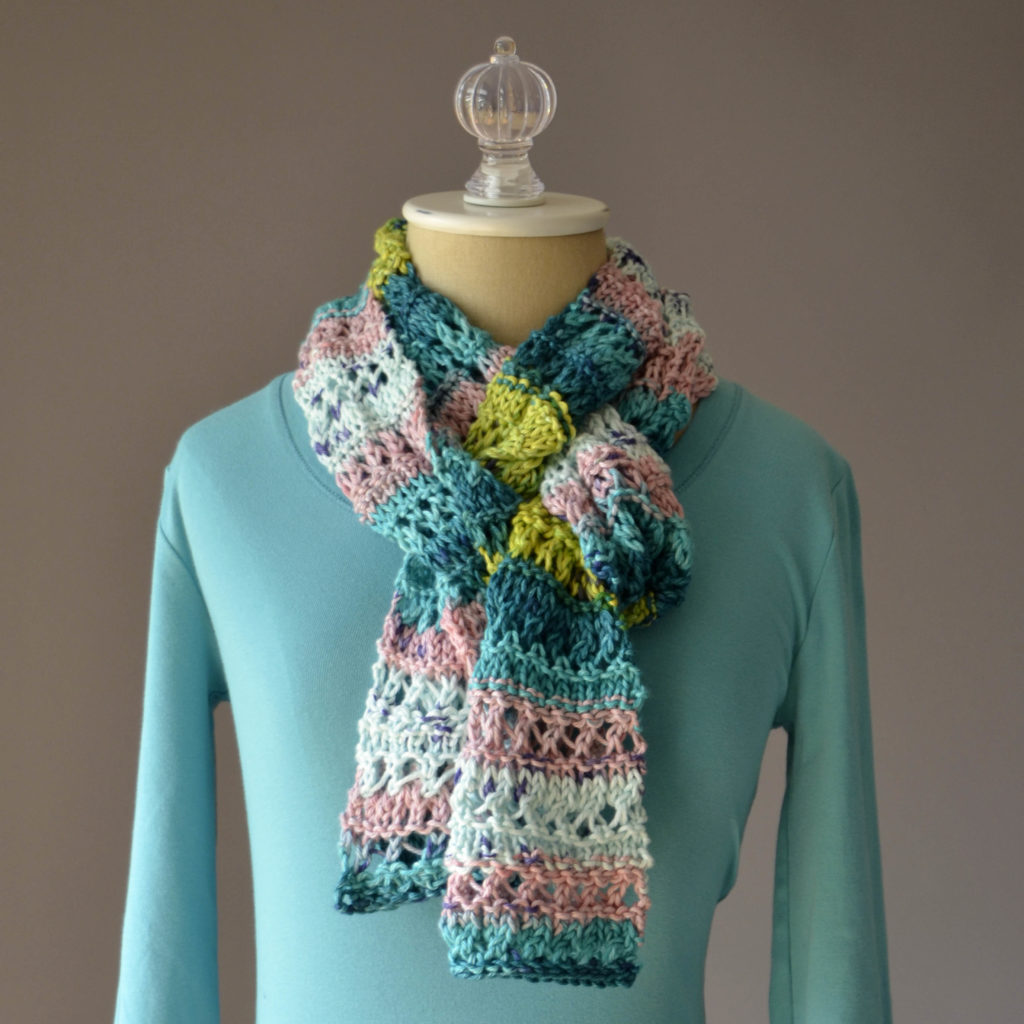
CS Batik Reversible Lace Scarf over shoulder blog

Today, the Reversa-Lace Scarf in Cotton Supreme Batik.

Self-striping yarn can be a blessing or a curse.  It looks so pretty, but sometimes when you actually knit it up it does unexpected things… and not in a good way.  That’s one reason Cotton Supreme Batik is a great choice for this pattern.  The striping repeats are very predictable, and they don’t overpower the lace pattern.

CS Batik Reversible Lace Scarf one wrap blogThis two-ball scarf in color 37 Mint Flower uses k2tog and yo to create its eyelets, making this a good basic lace pattern for beginners.  It’s more sophisticated than a simple netting, but there’s nothing too fiddly to deal with.

I love the way the striping matches up on both sides, and the way the lace shows rather than the yarn.  If you’re going to bother with a pattern, you want your work to show!

We hope you have a great weekend, with plenty of time to enjoy this beautiful May weather.

Happy knitting!

CS Batik Reversible Lace Scarf passthrough square

Better Late Than Never

I’m lucky to have a room in my house devoted to all things crafty. It contains my yarn stash, sewing machines, fabric, looms, and many other assorted odds and ends. I visit this room on a daily basis, usually to block a piece of knitting or to grab some yarn. Every day for the past, oh, 16 months, I’ve had to look at my poor little cricket loom, warped and ready to go. 16 MONTHS, people! I knew it had been awhile, but I didn’t realize just how long until I went back and looked at this blog post on sampling I did back in December of 2014.

Hanging head in shame.

But you know what? No. I refuse. Life is busy, I get distracted, and it’s impossible to get it all done. What’s important now, is that I’m all ready to finish what I started nearly a year and a half ago.

Way back when, I decided to do something new (for me) and “sample.” This is basically the weaving version of gauge swatching. And we all know how important gauge is, right? I was only sampling for a scarf, so it’s not as though gauge was a critical issue. It was more about making sure I was happy with the finished fabric. And it didn’t take heaps of time to sample, either, and I’m so glad I did it.

To sample, I had woven a small piece of fabric, cut it off the loom, and then tied the ends back onto the front rod of the loom so I could keep going. This is what was staring at me all of those months:

RedScarf_1

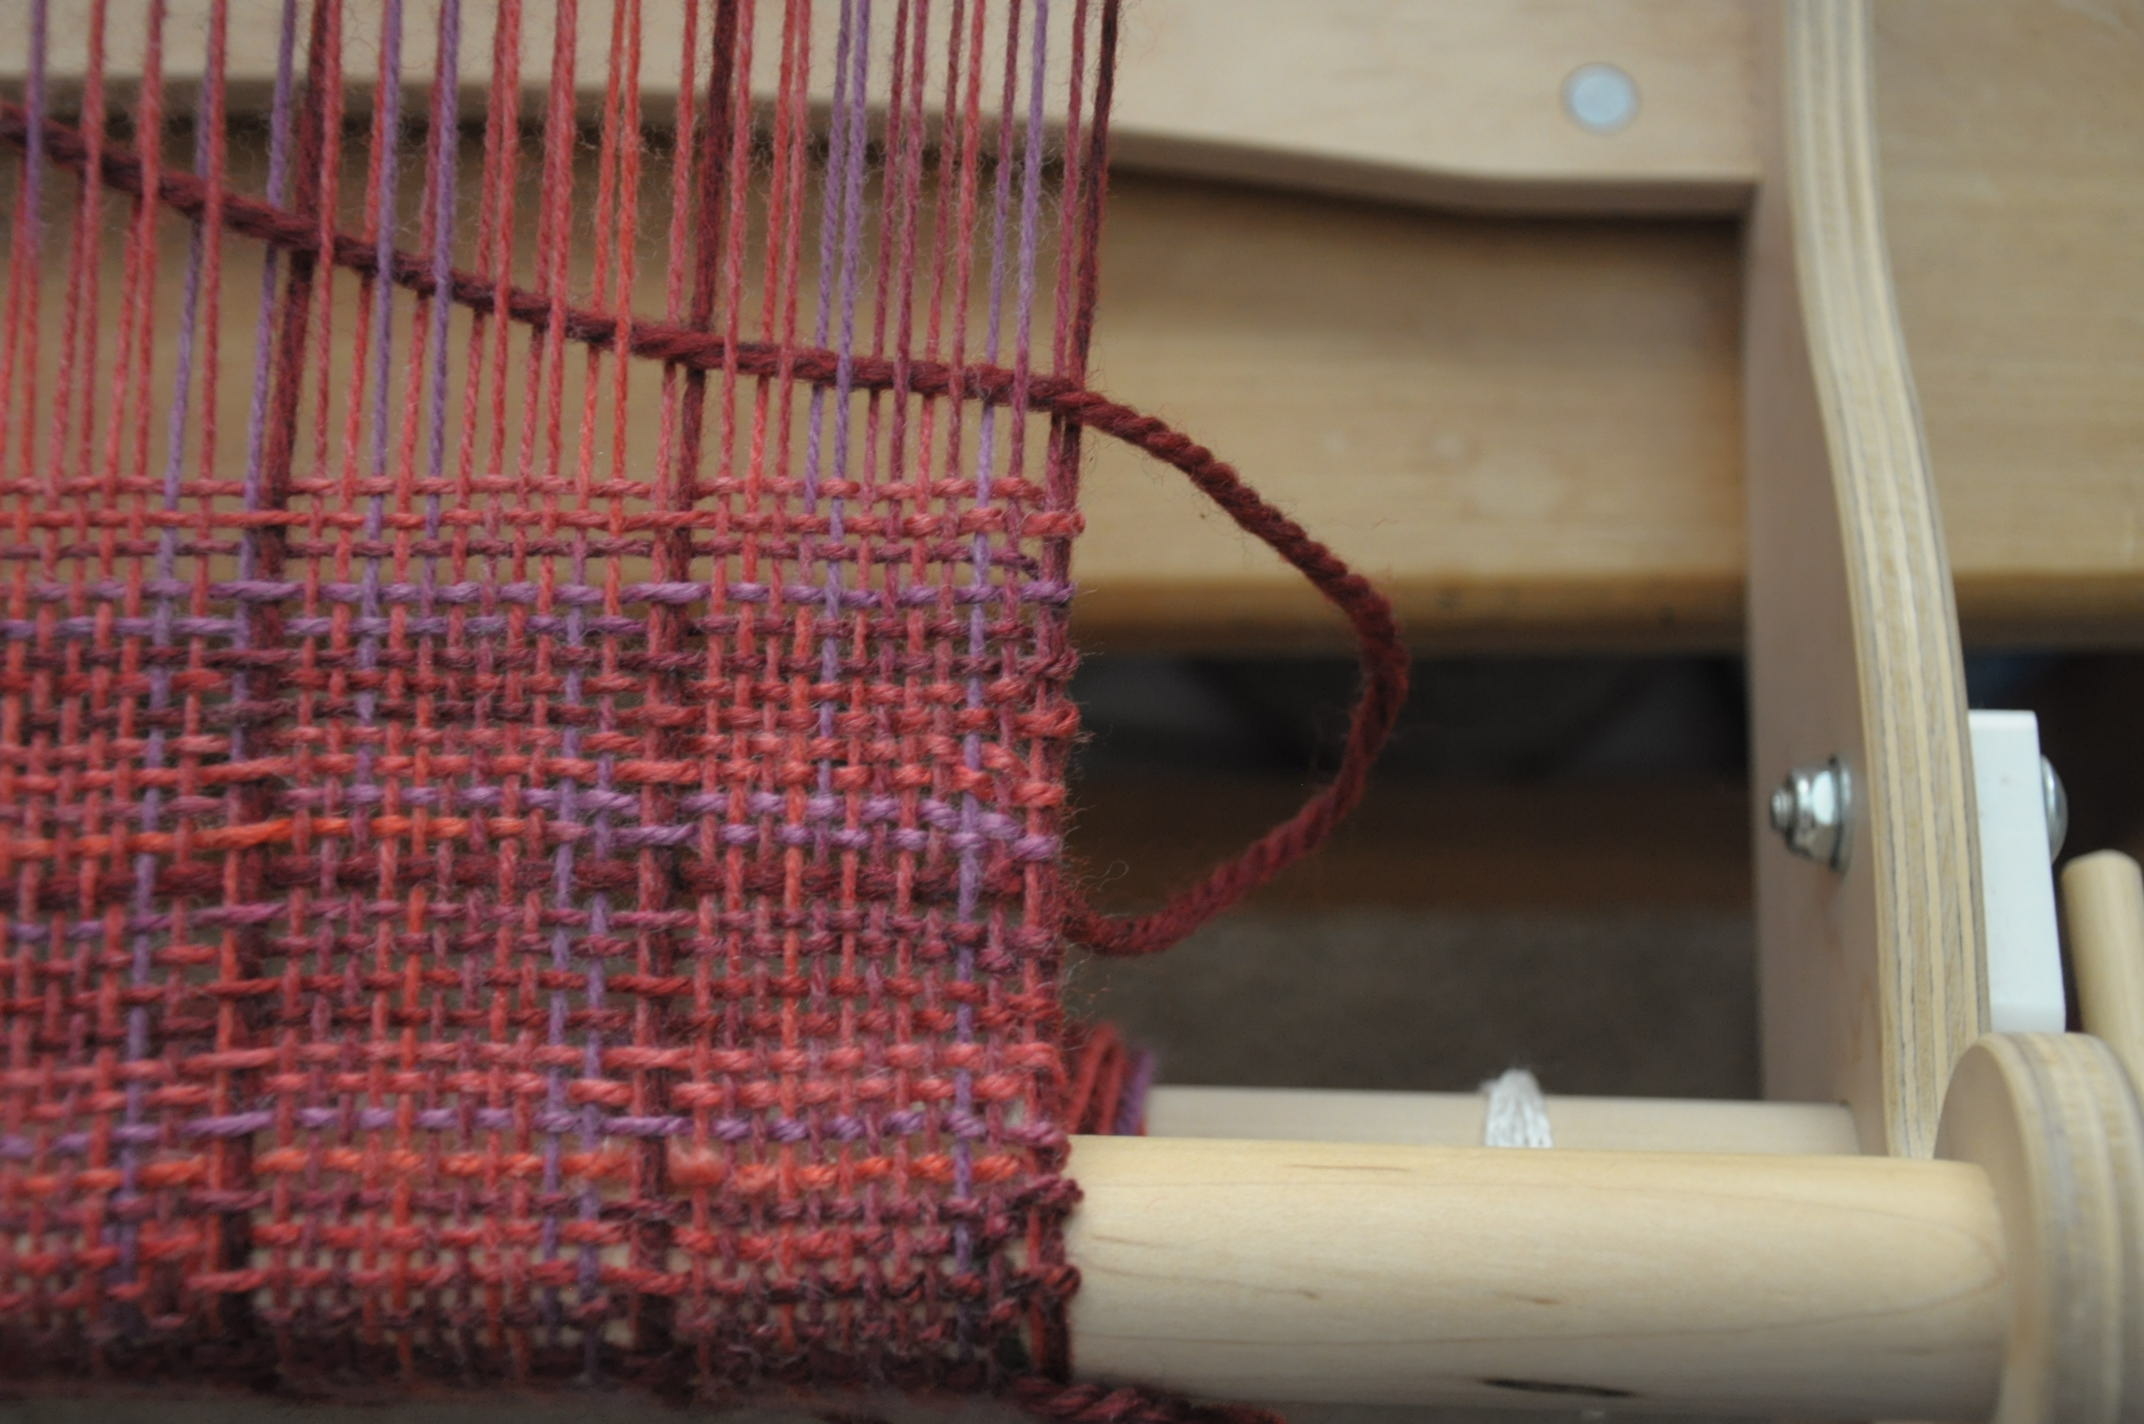
I had woven about an inch and a half after removing the sample, and that was about it. But I it was easy to remember my plain-weave sequence – 8 picks of the Infusion Handpaints, 1 pick of Deluxe Chunky.

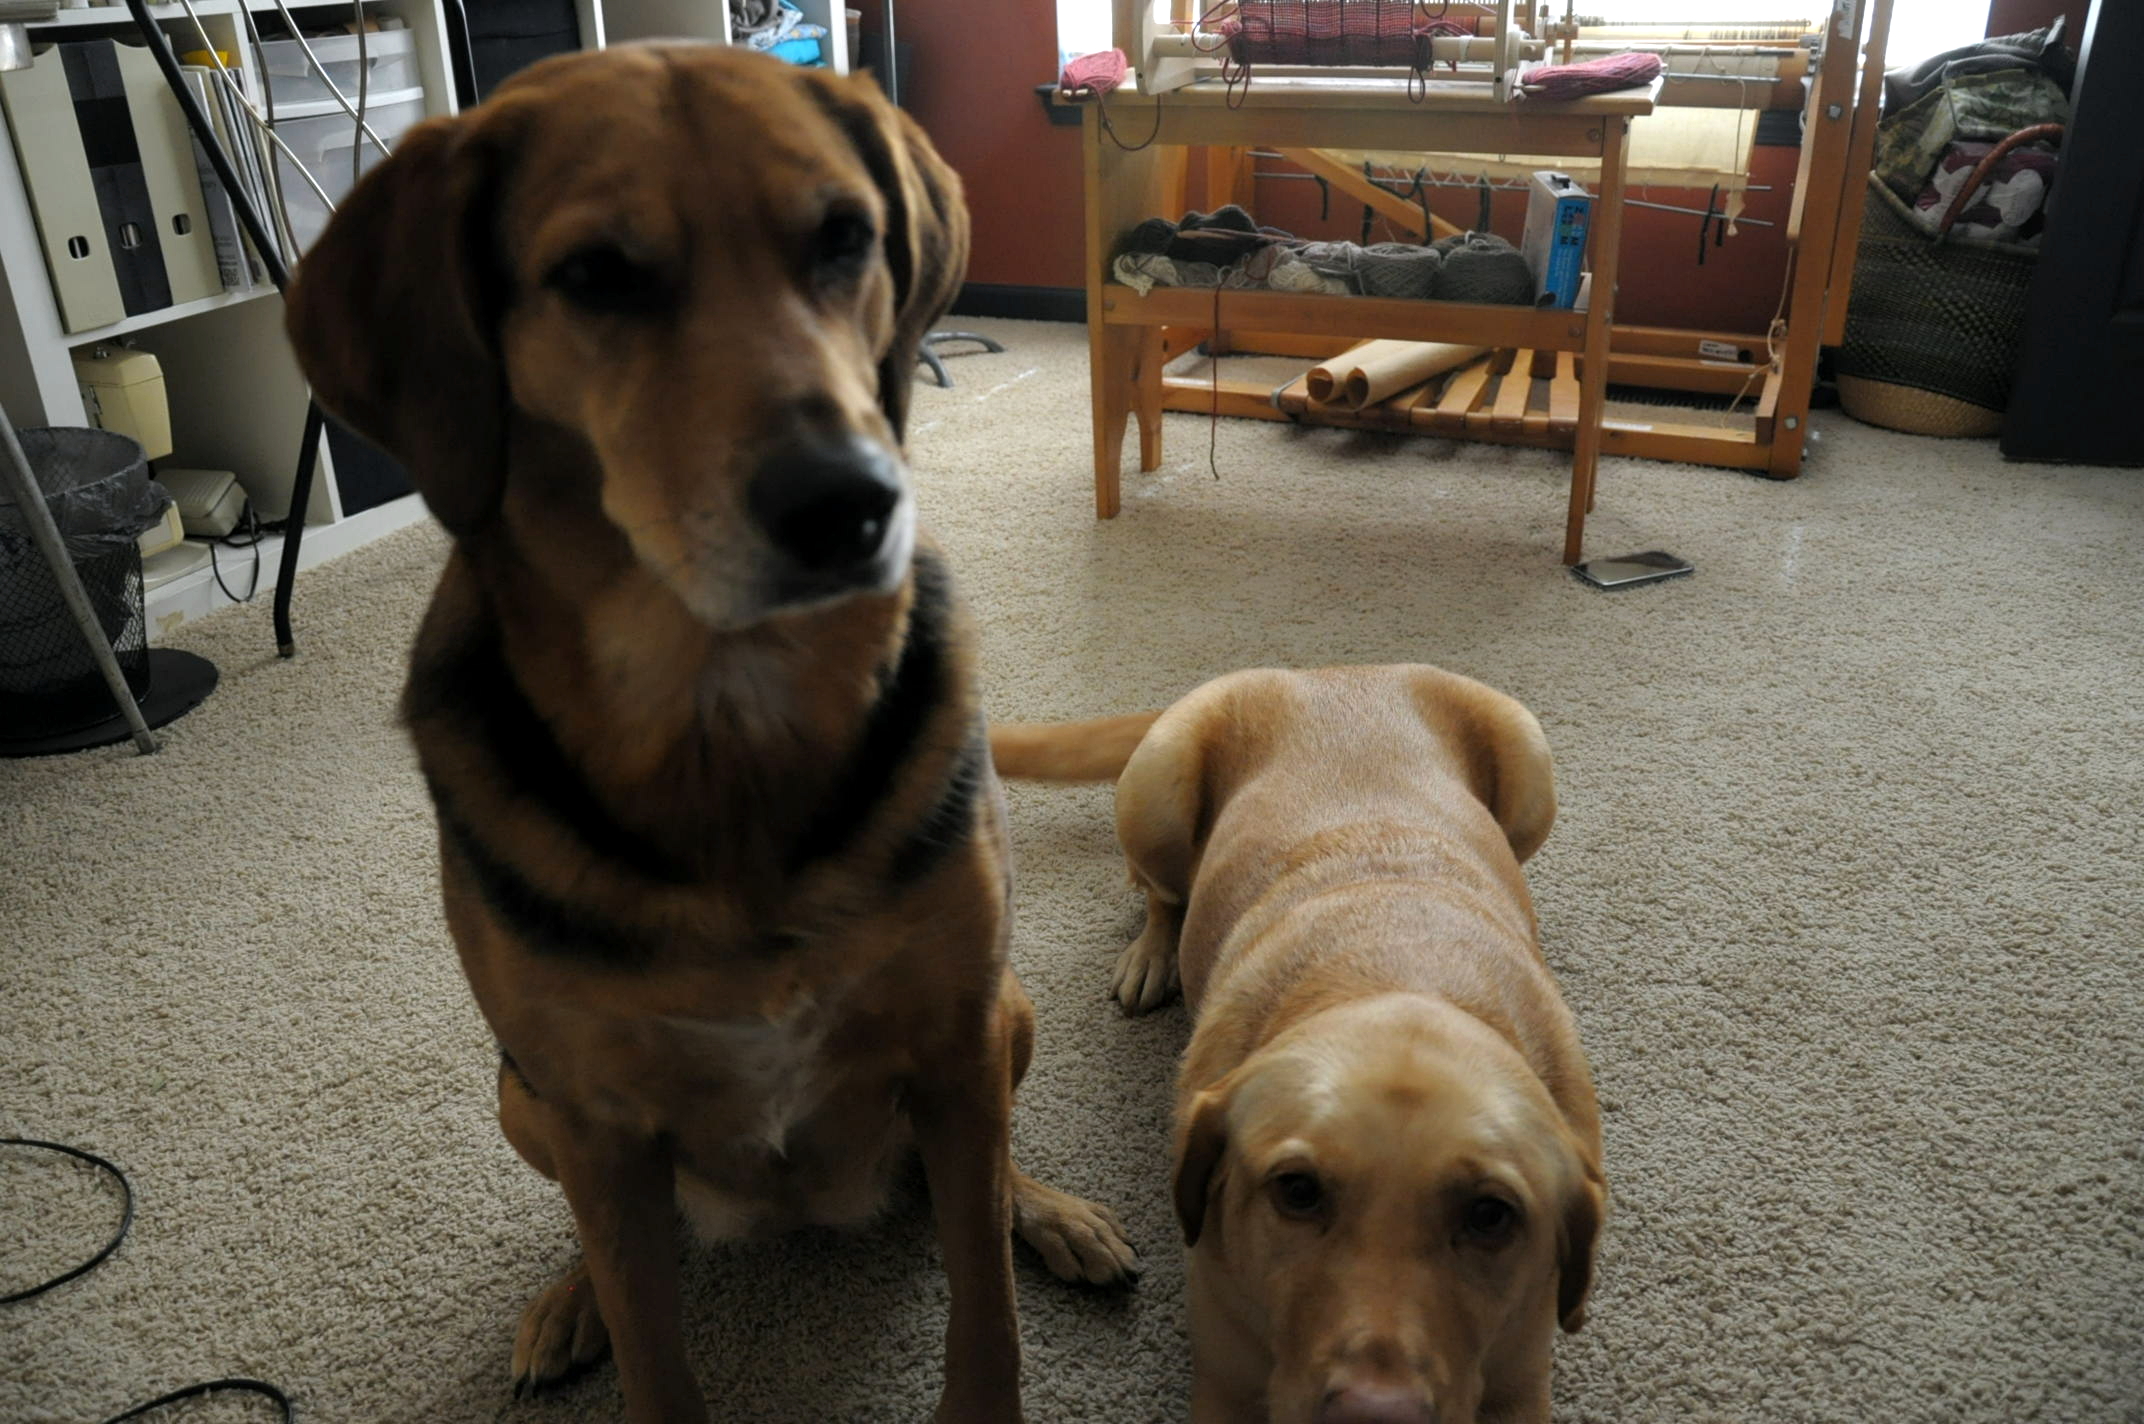
And I had a little help from my friends, so it was all good.

RedScarf_2

I employed the same technique as my sample, where I left loops of the Deluxe Chunky at the sides. This is because after felting the piece, I can just cut these loops right off because they will be secure.

RedScarf_3

Pretty soon I can start seeing my progress as I wind the finished weaving onto the front rod. Encouraging!

RedScarf_4

And then my last spacing paper falls out and I can see those warp ends getting closer…

RedScarf_5

And very close! Almost done!

RedScarf_6

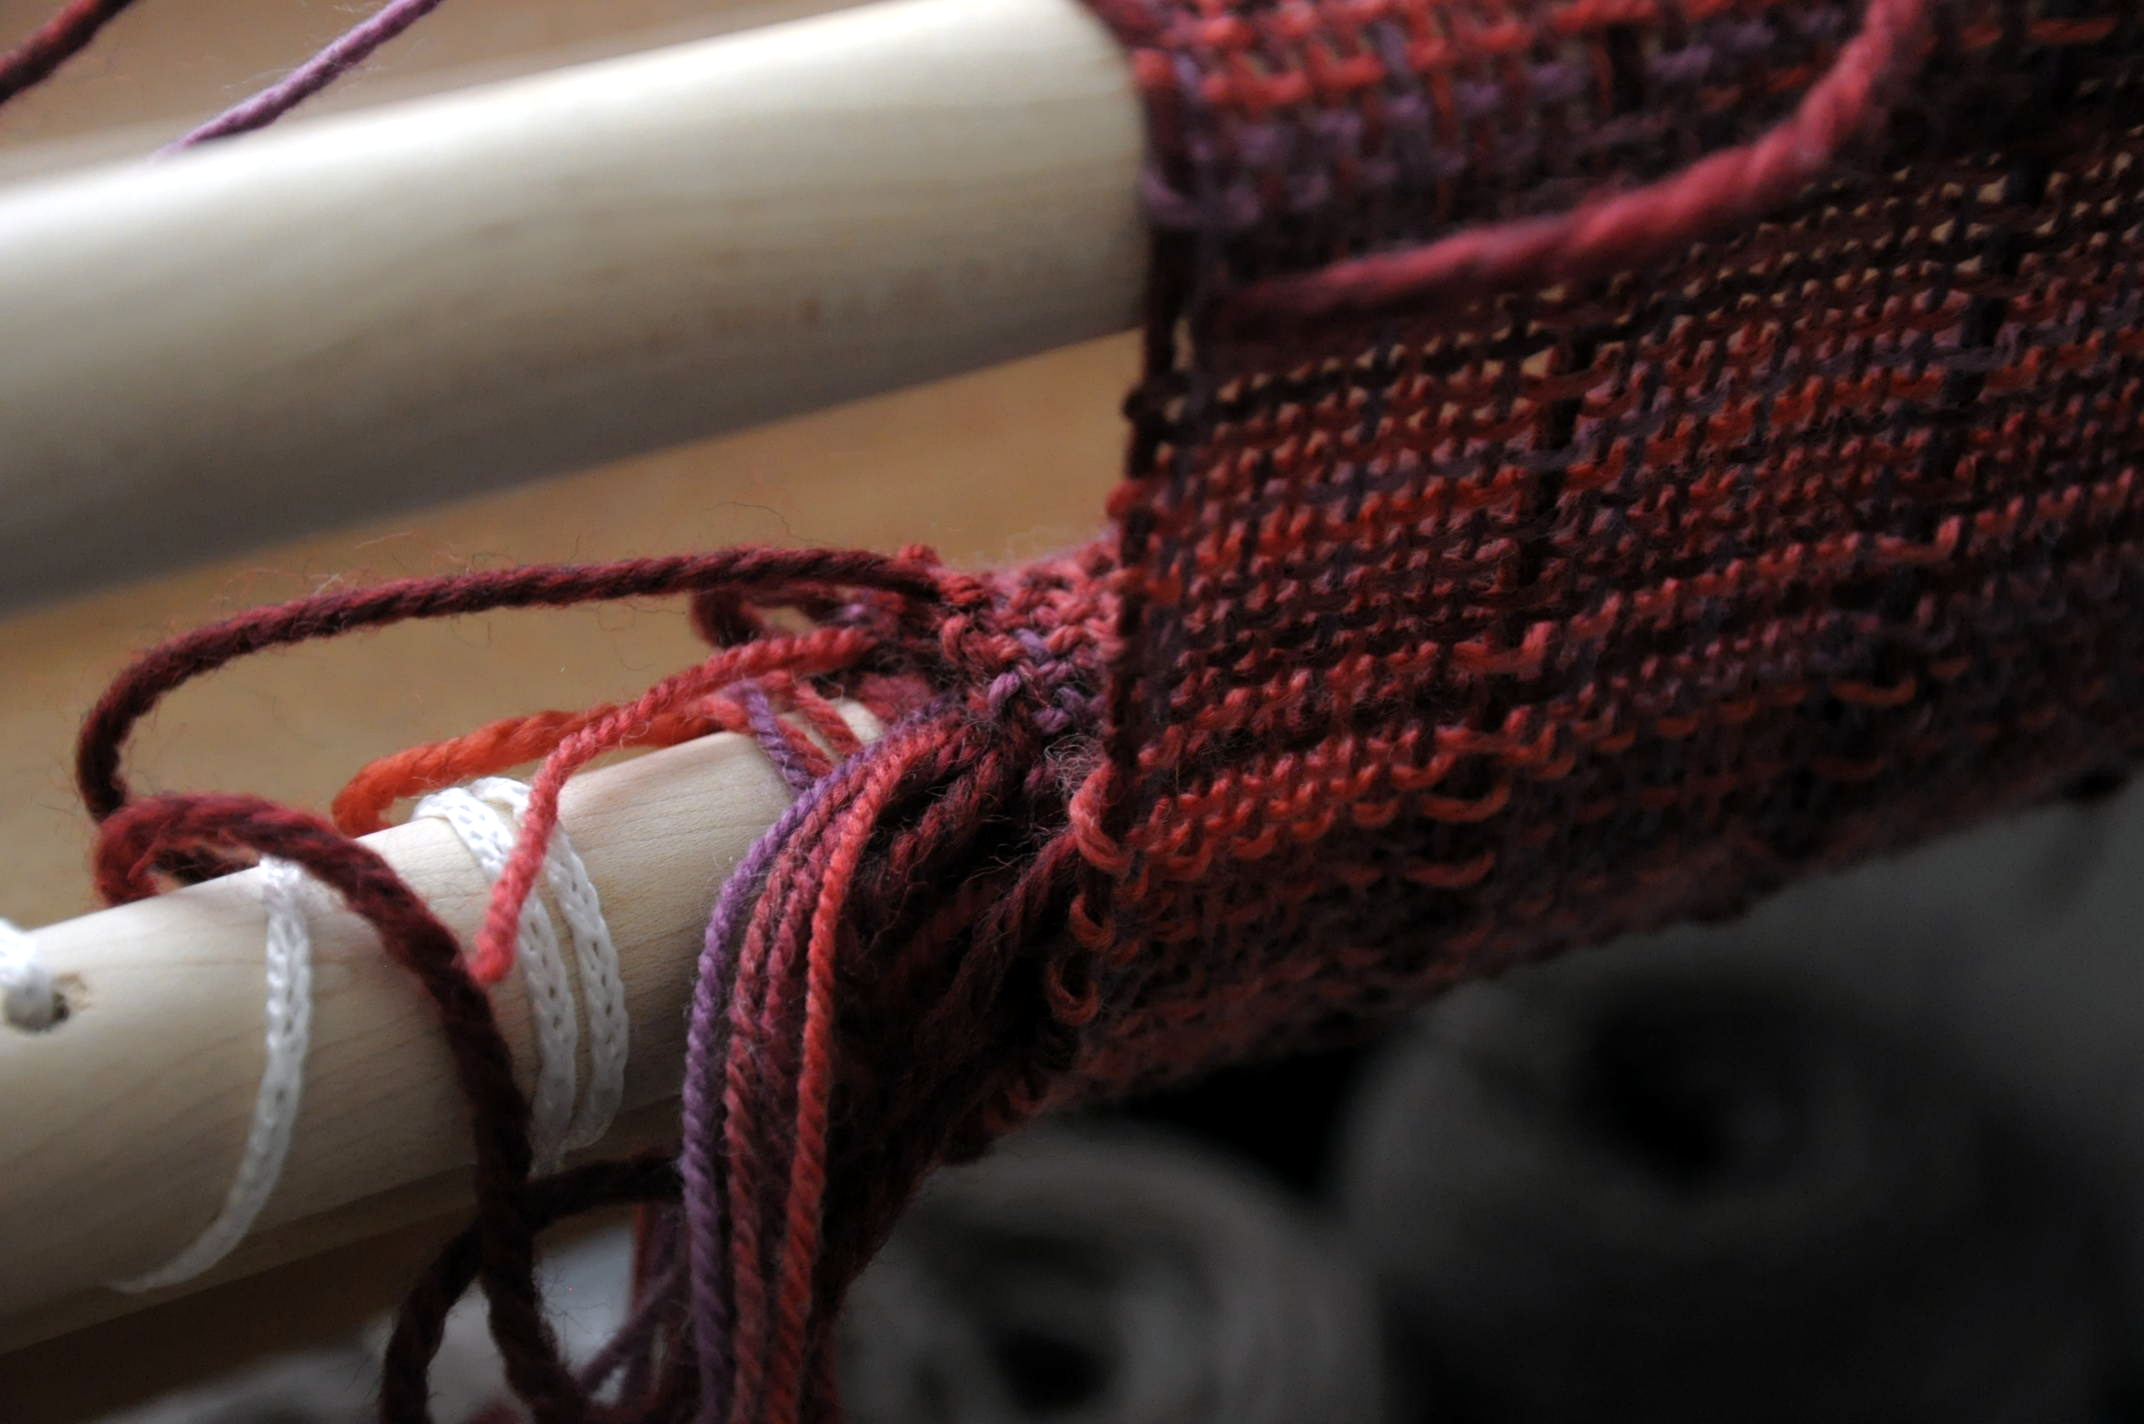
Again, I cut the warp ends of Deluxe Chunky

RedScarf_7

And wove them in for an inch or so

RedScarf_8

All ready for felting:

RedScarf_9

And Heather’s beauty shots:

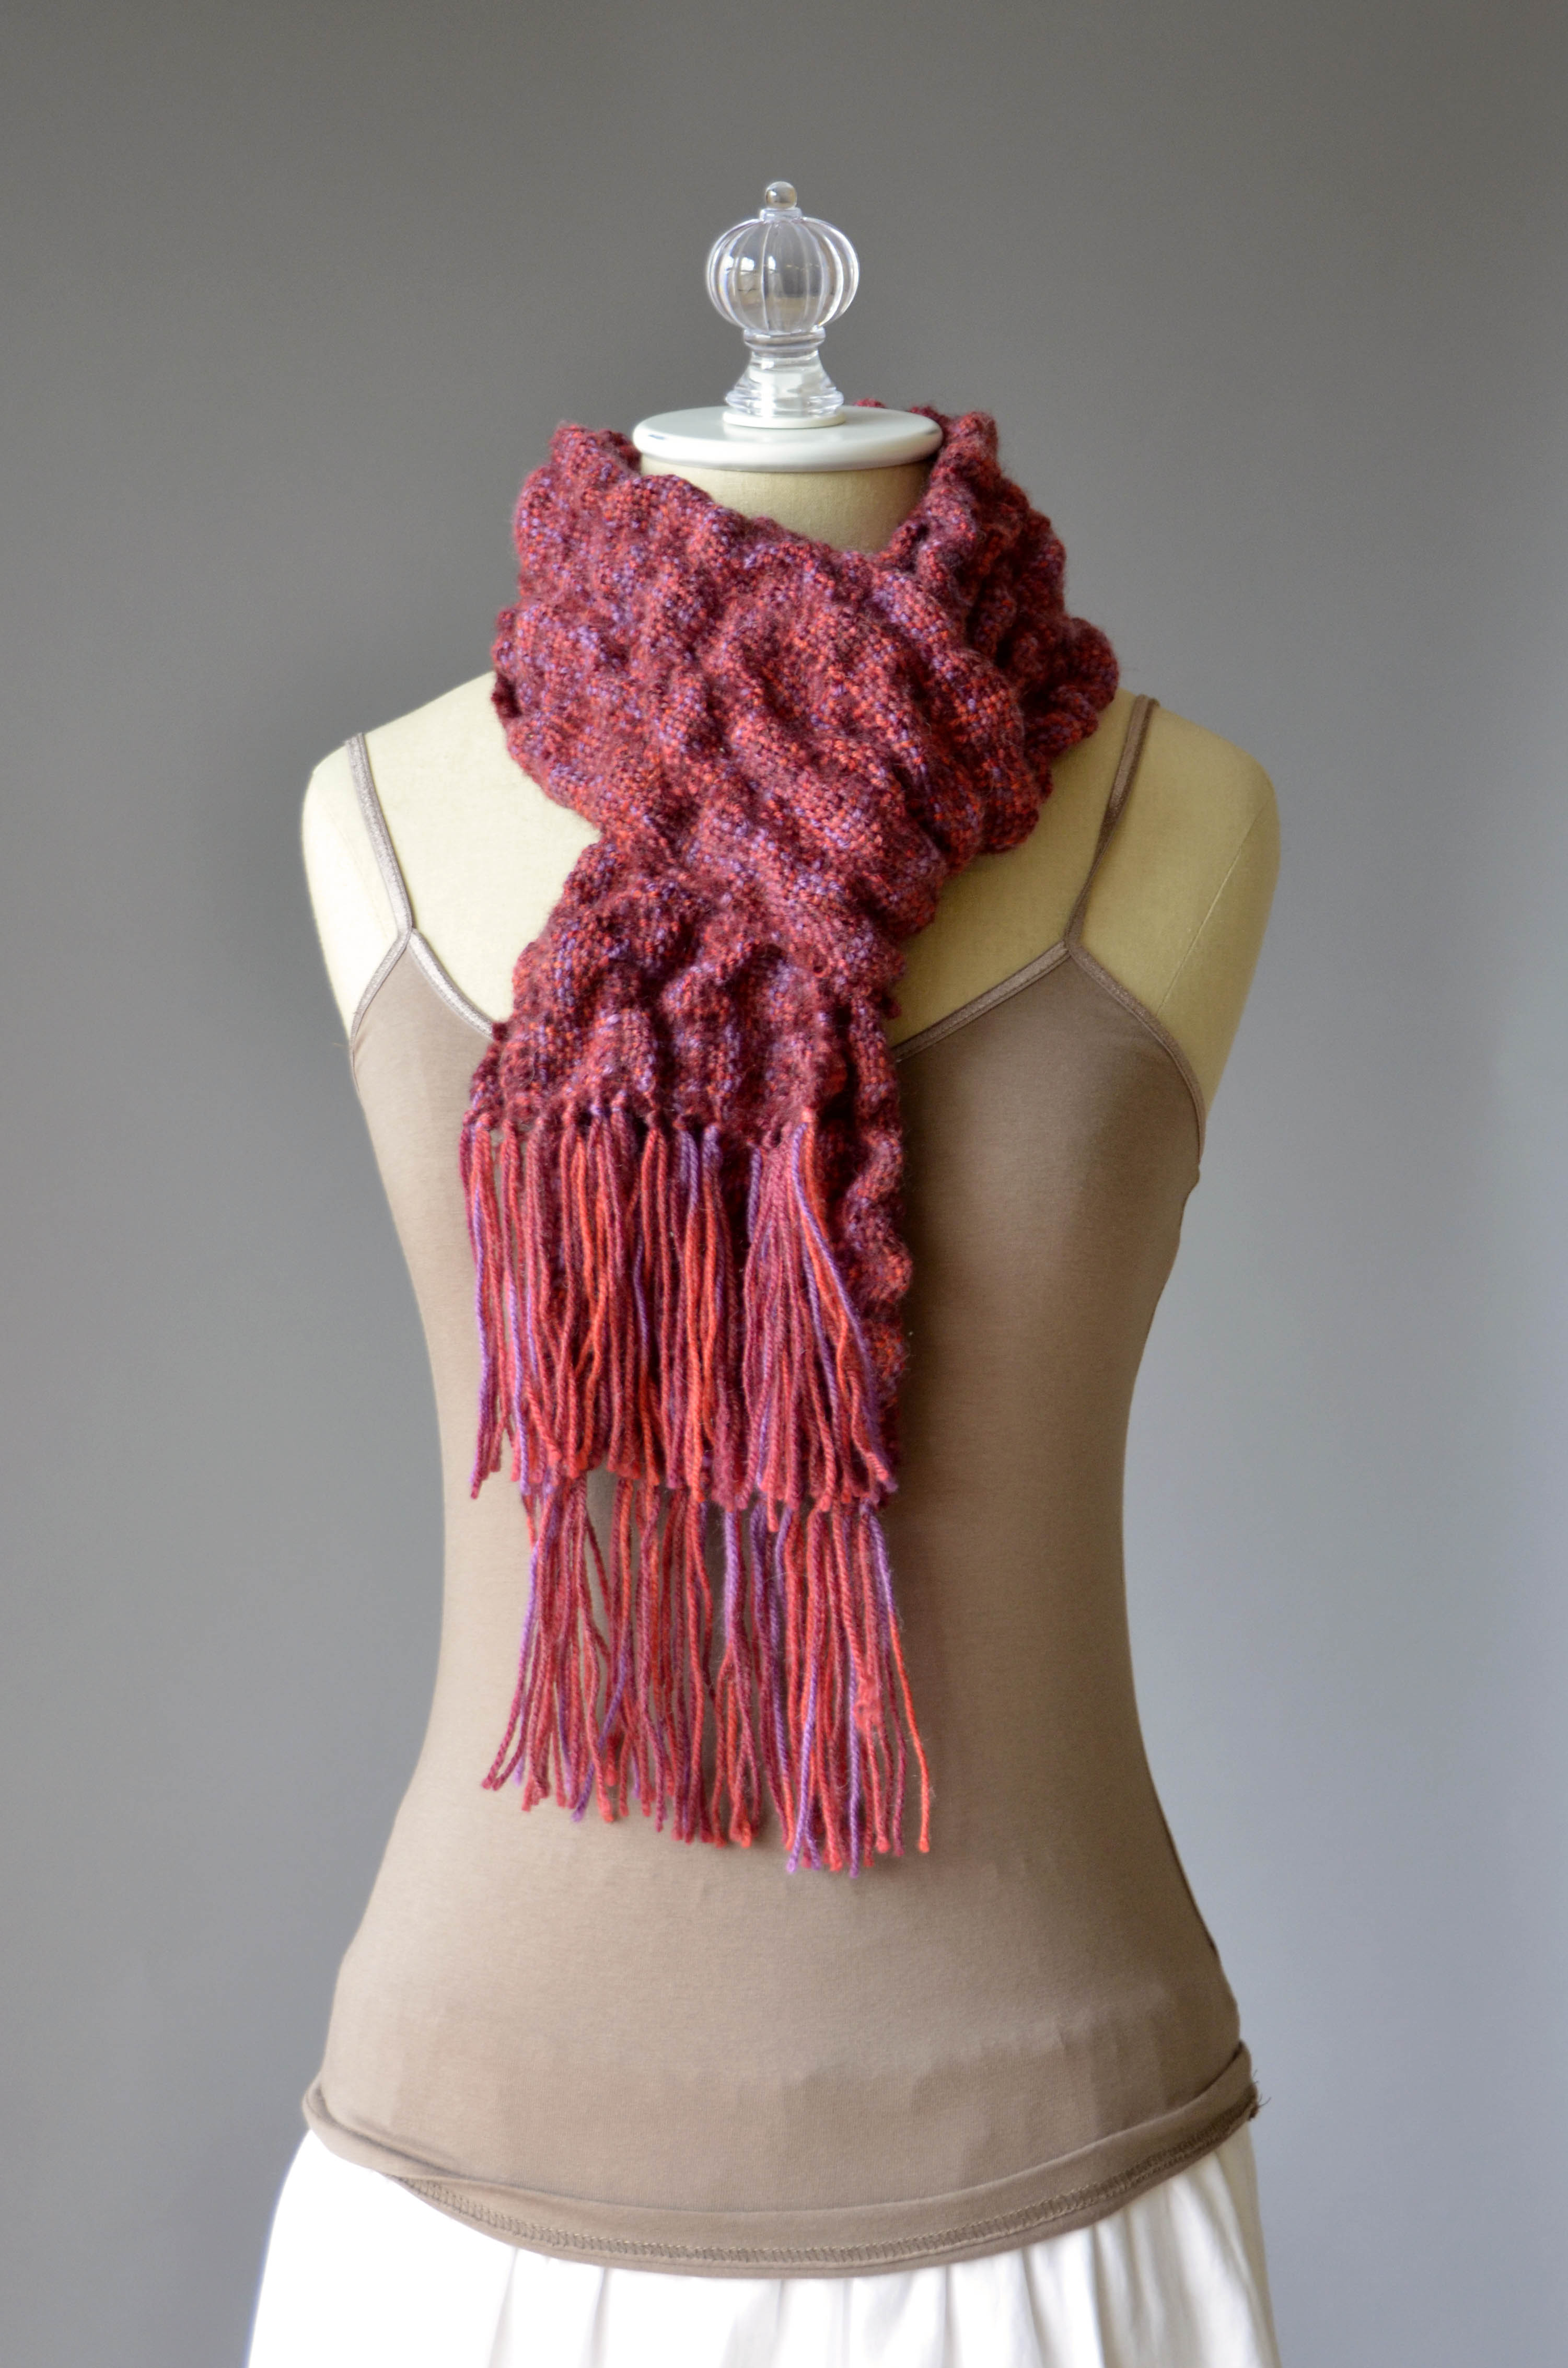
Infusion Handpaints Scarf long hi-res Infusion Handpaints Scarf wrapped hi-res

So now it’s May and too warm for a wool scarf. But autumn will come soon enough and I’ll be so glad I finished this.

Join us next week for a fresh new start on my weaving journey with an actual seasonally appropriate project!

Free Pattern Friday – Poppy Stole

It’s Free Pattern Friday!

Red Stole long blog

Today, the Poppy Stole in Cotton True Sport.

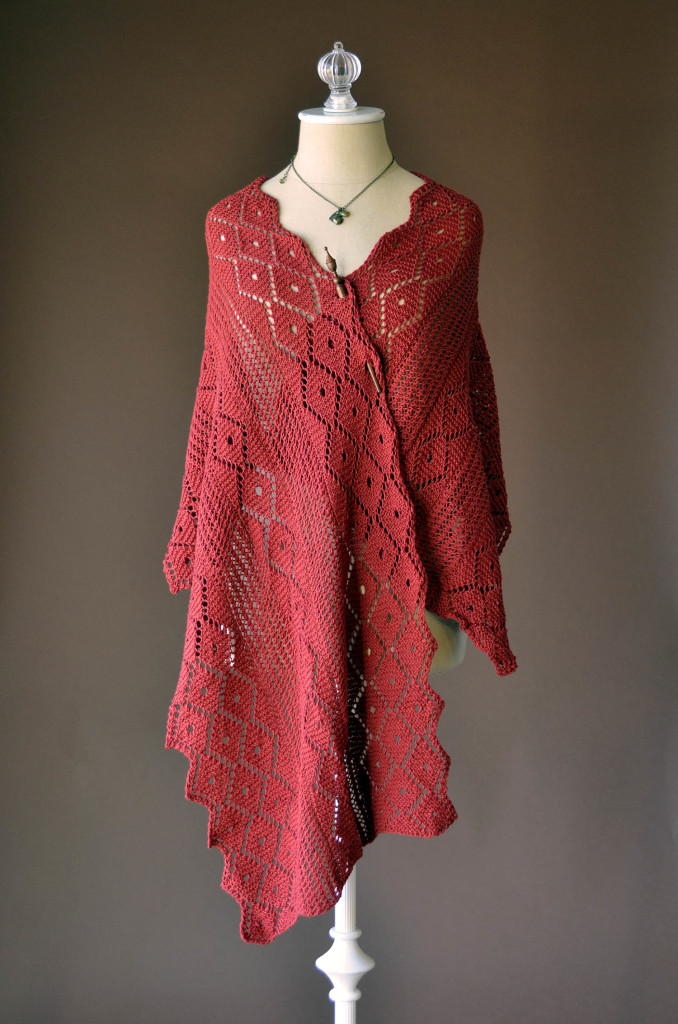
Red Stole wrapped blogLast week we featured the simplest possible pattern, so we thought it was time to share something more complex.  Gorgeous, right?  And in Cotton True Sport (100% Pima cotton; 50g/197 yds) it’s seasonally appropriate.

This scarf is a 20 row repeat, charted across all 93 stitches.  Increase over the first half of the repeat and decrease for the second to create the diamond border.  The panels in between are simple yarn overs combined with k2tog to create an airy eyelet.

We hope you enjoy this lovely free pattern from Amy Gunderson.

Happy knitting!

Free Pattern Friday – Paprika Seed Cowl

It’s Free Pattern Friday!

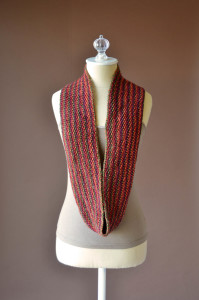
Uptown DK Colors Seed Stitch Cowl wrapped square no graphic

Today, the Paprika Seed Cowl in Uptown DK Colors.

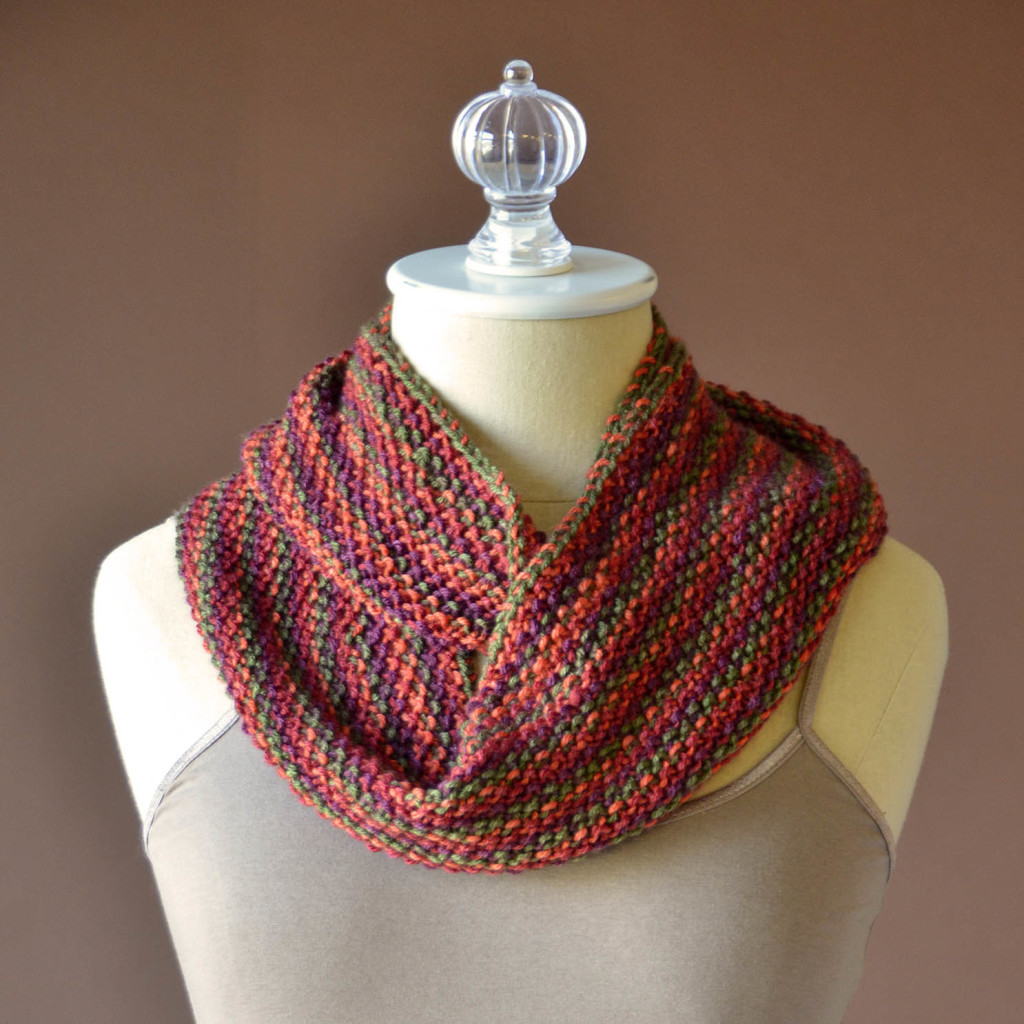
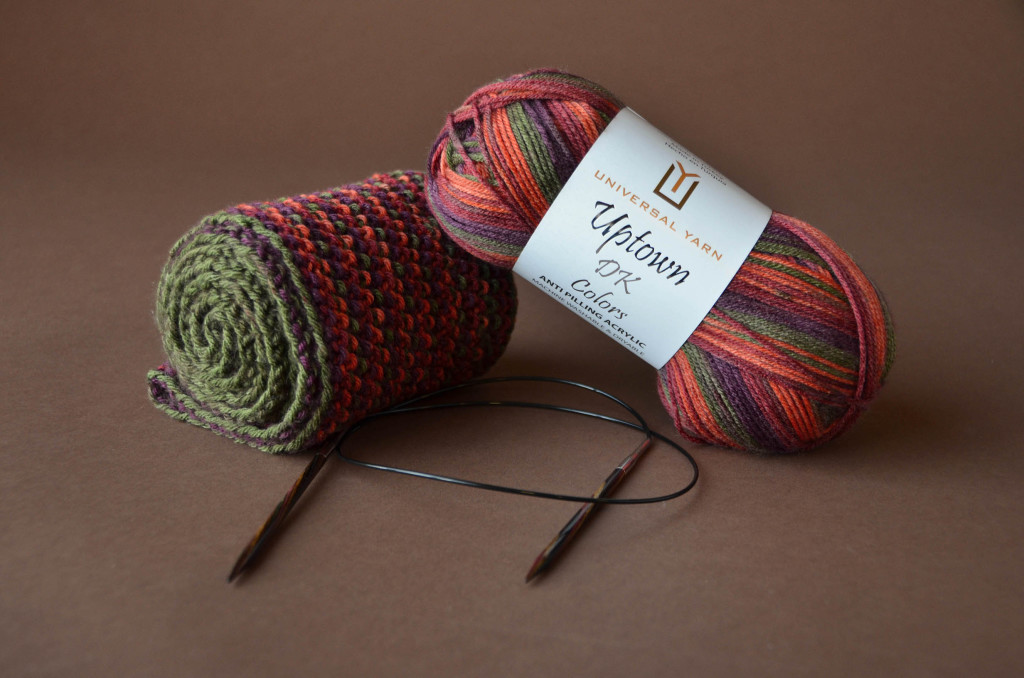
This one is actually my design, and it started as an experiment.  I was curious to see how the stripes in Uptown DK Colors (273yds/100g) would work in a really long row.  The answer – great!

Uptown DK Colors Seed Stitch Cowl long blogThis could not be easier.  There are actually two possible ways of knitting this one-skein cowl.

One is as written in the pattern: cast on an even number (192), place a marker, join for knitting in the round, and then alternate rounds of *k1, p1* and *p1, k1*.  Bind off after 5″, or whatever width floats your boat.

The other, which you may find even simpler, is to cast on an odd number (191), join for knitting in the round, and then just *k1, p1* continuously around until the piece is as wide as you want it to be.

I had enough yarn left over to do a few more color repeats, had I chosen to keep going.  This would be a great project for a beginner, or for anyone who wants something they can pick up and set down without worrying about where they are in the pattern.

We hope you have a relaxing weekend, with plenty of time to work on the project of your choice.

Happy knitting!

Uptown DK with rolled cowl_blog

Free Pattern Friday – Brickwork Tank

It’s Free Pattern Friday!

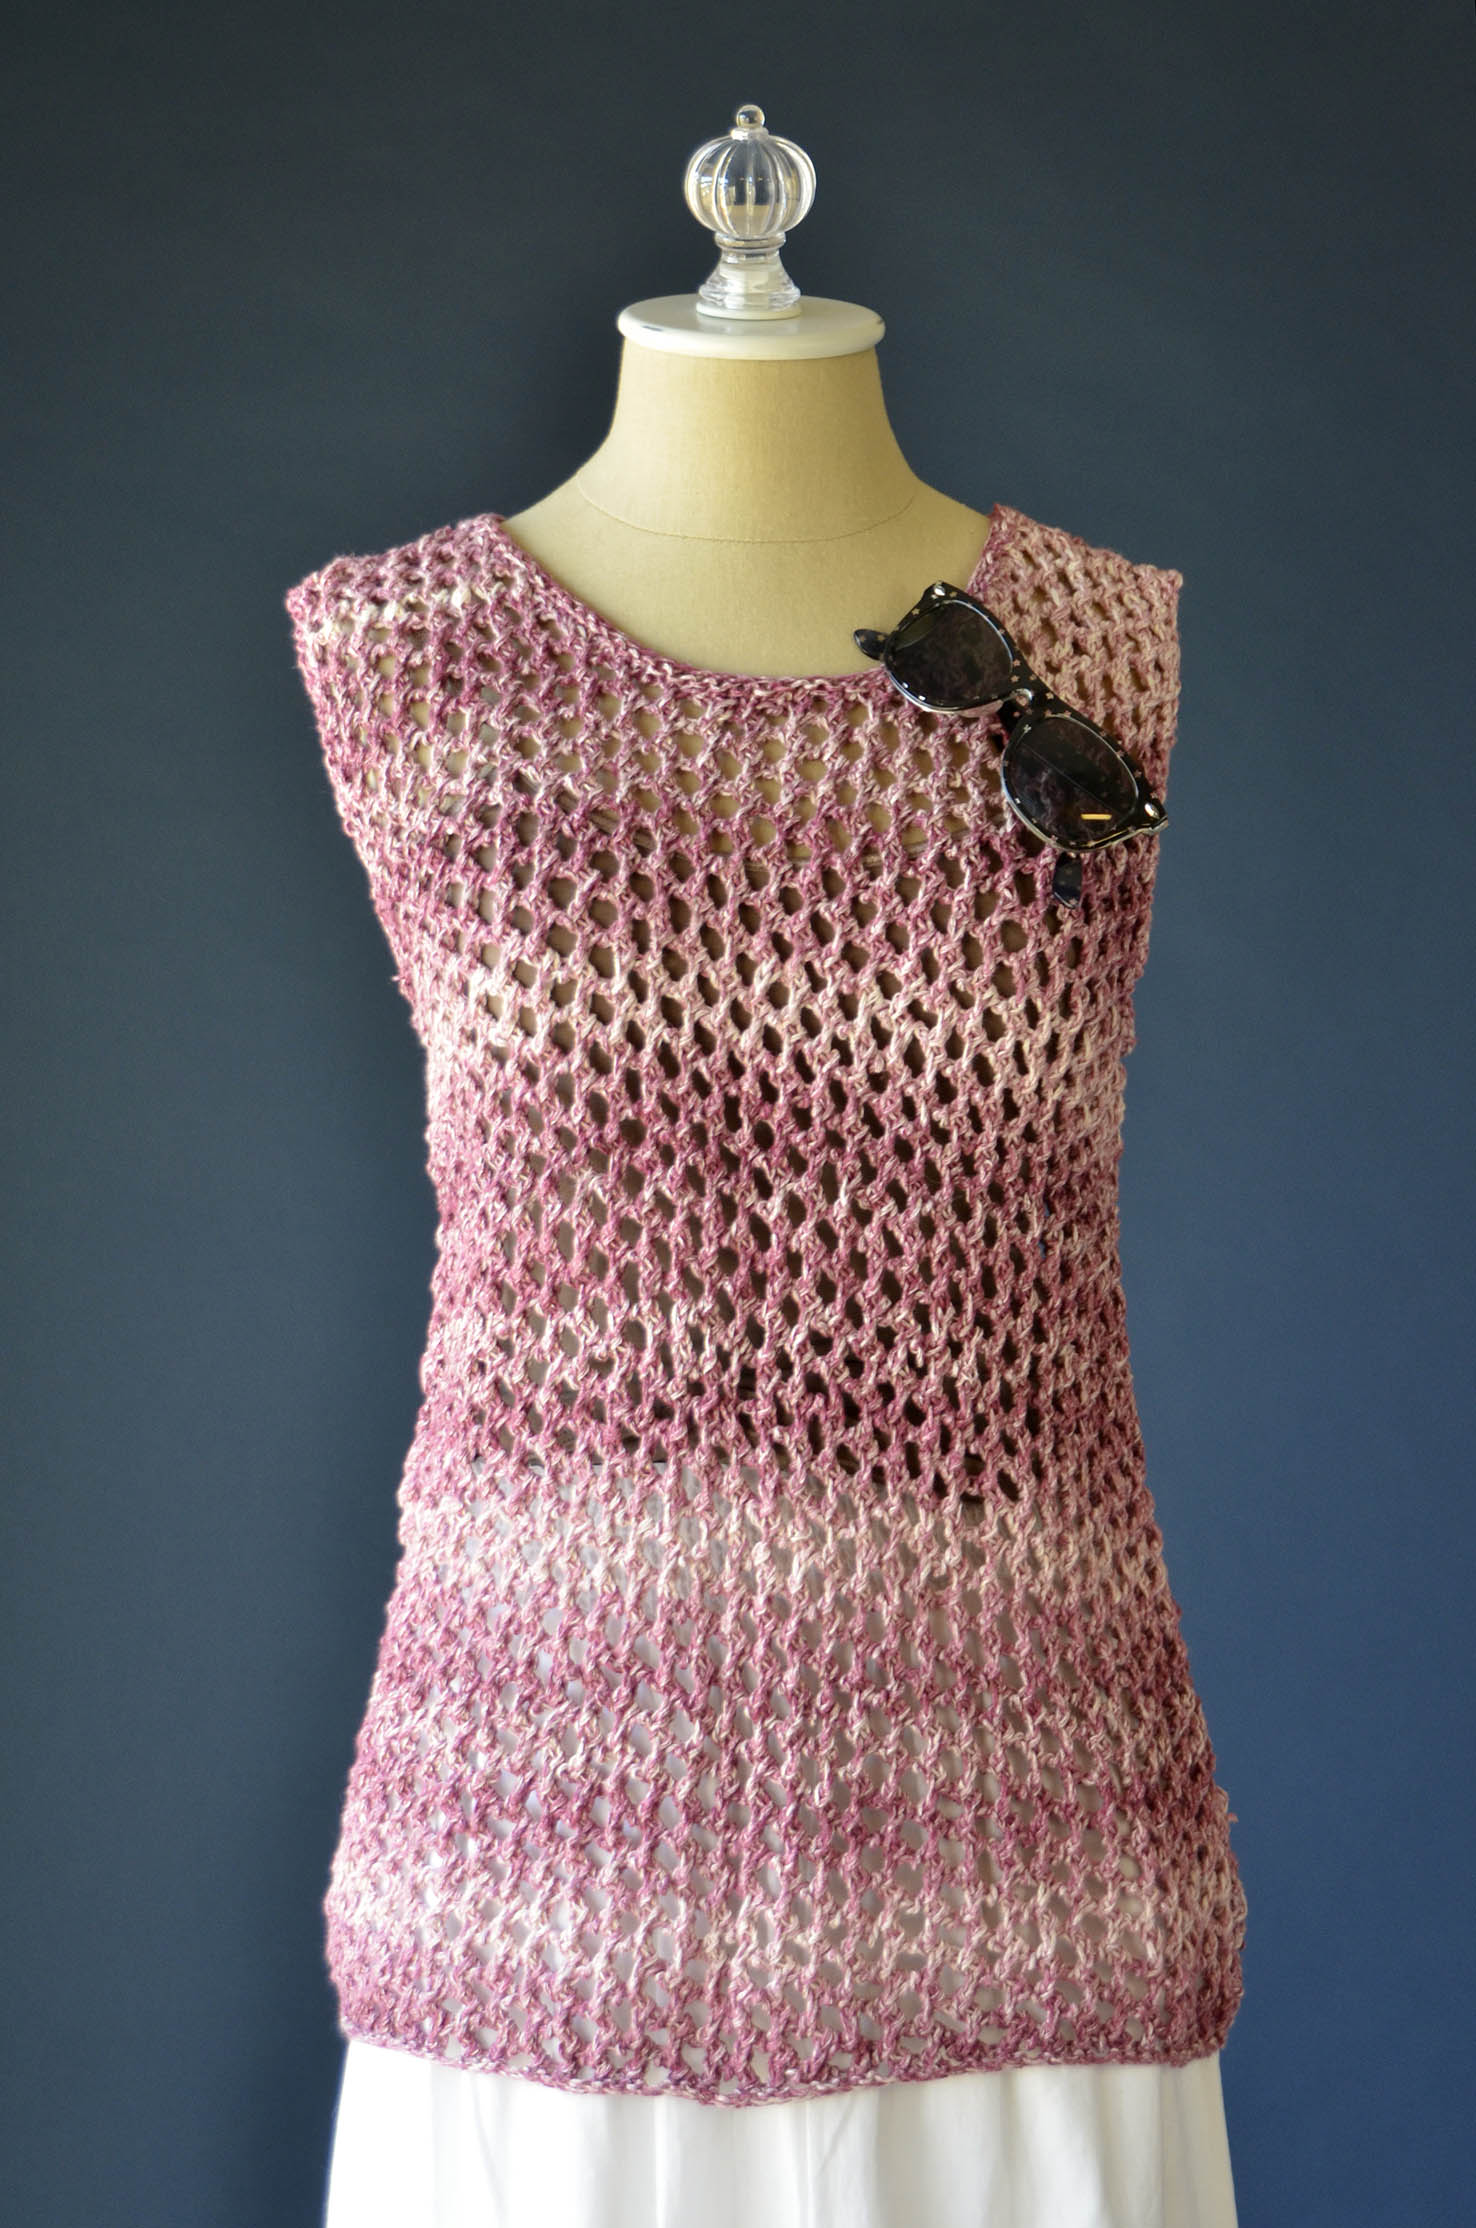
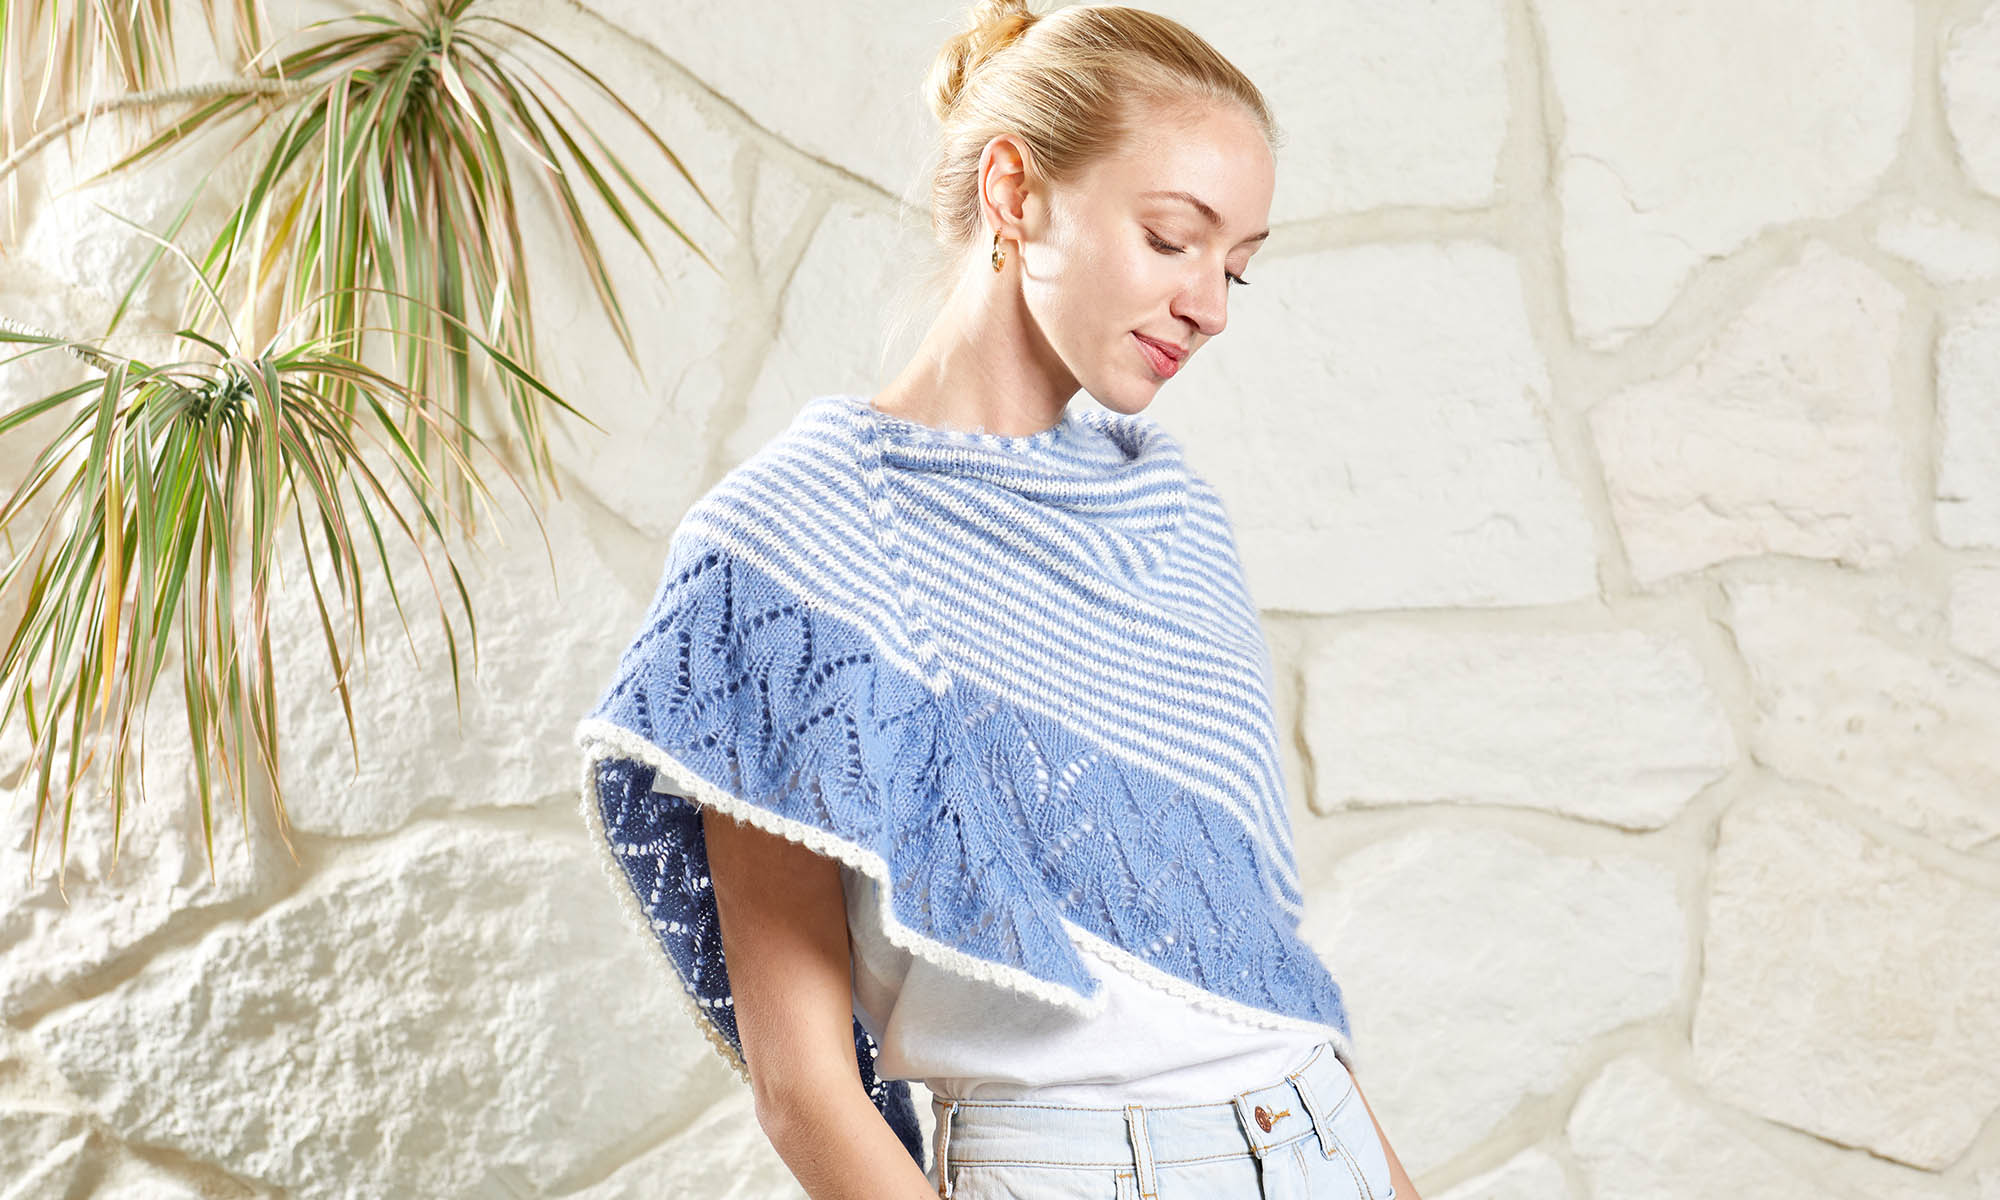
Good Earth Adorn Brickwork Tank blog

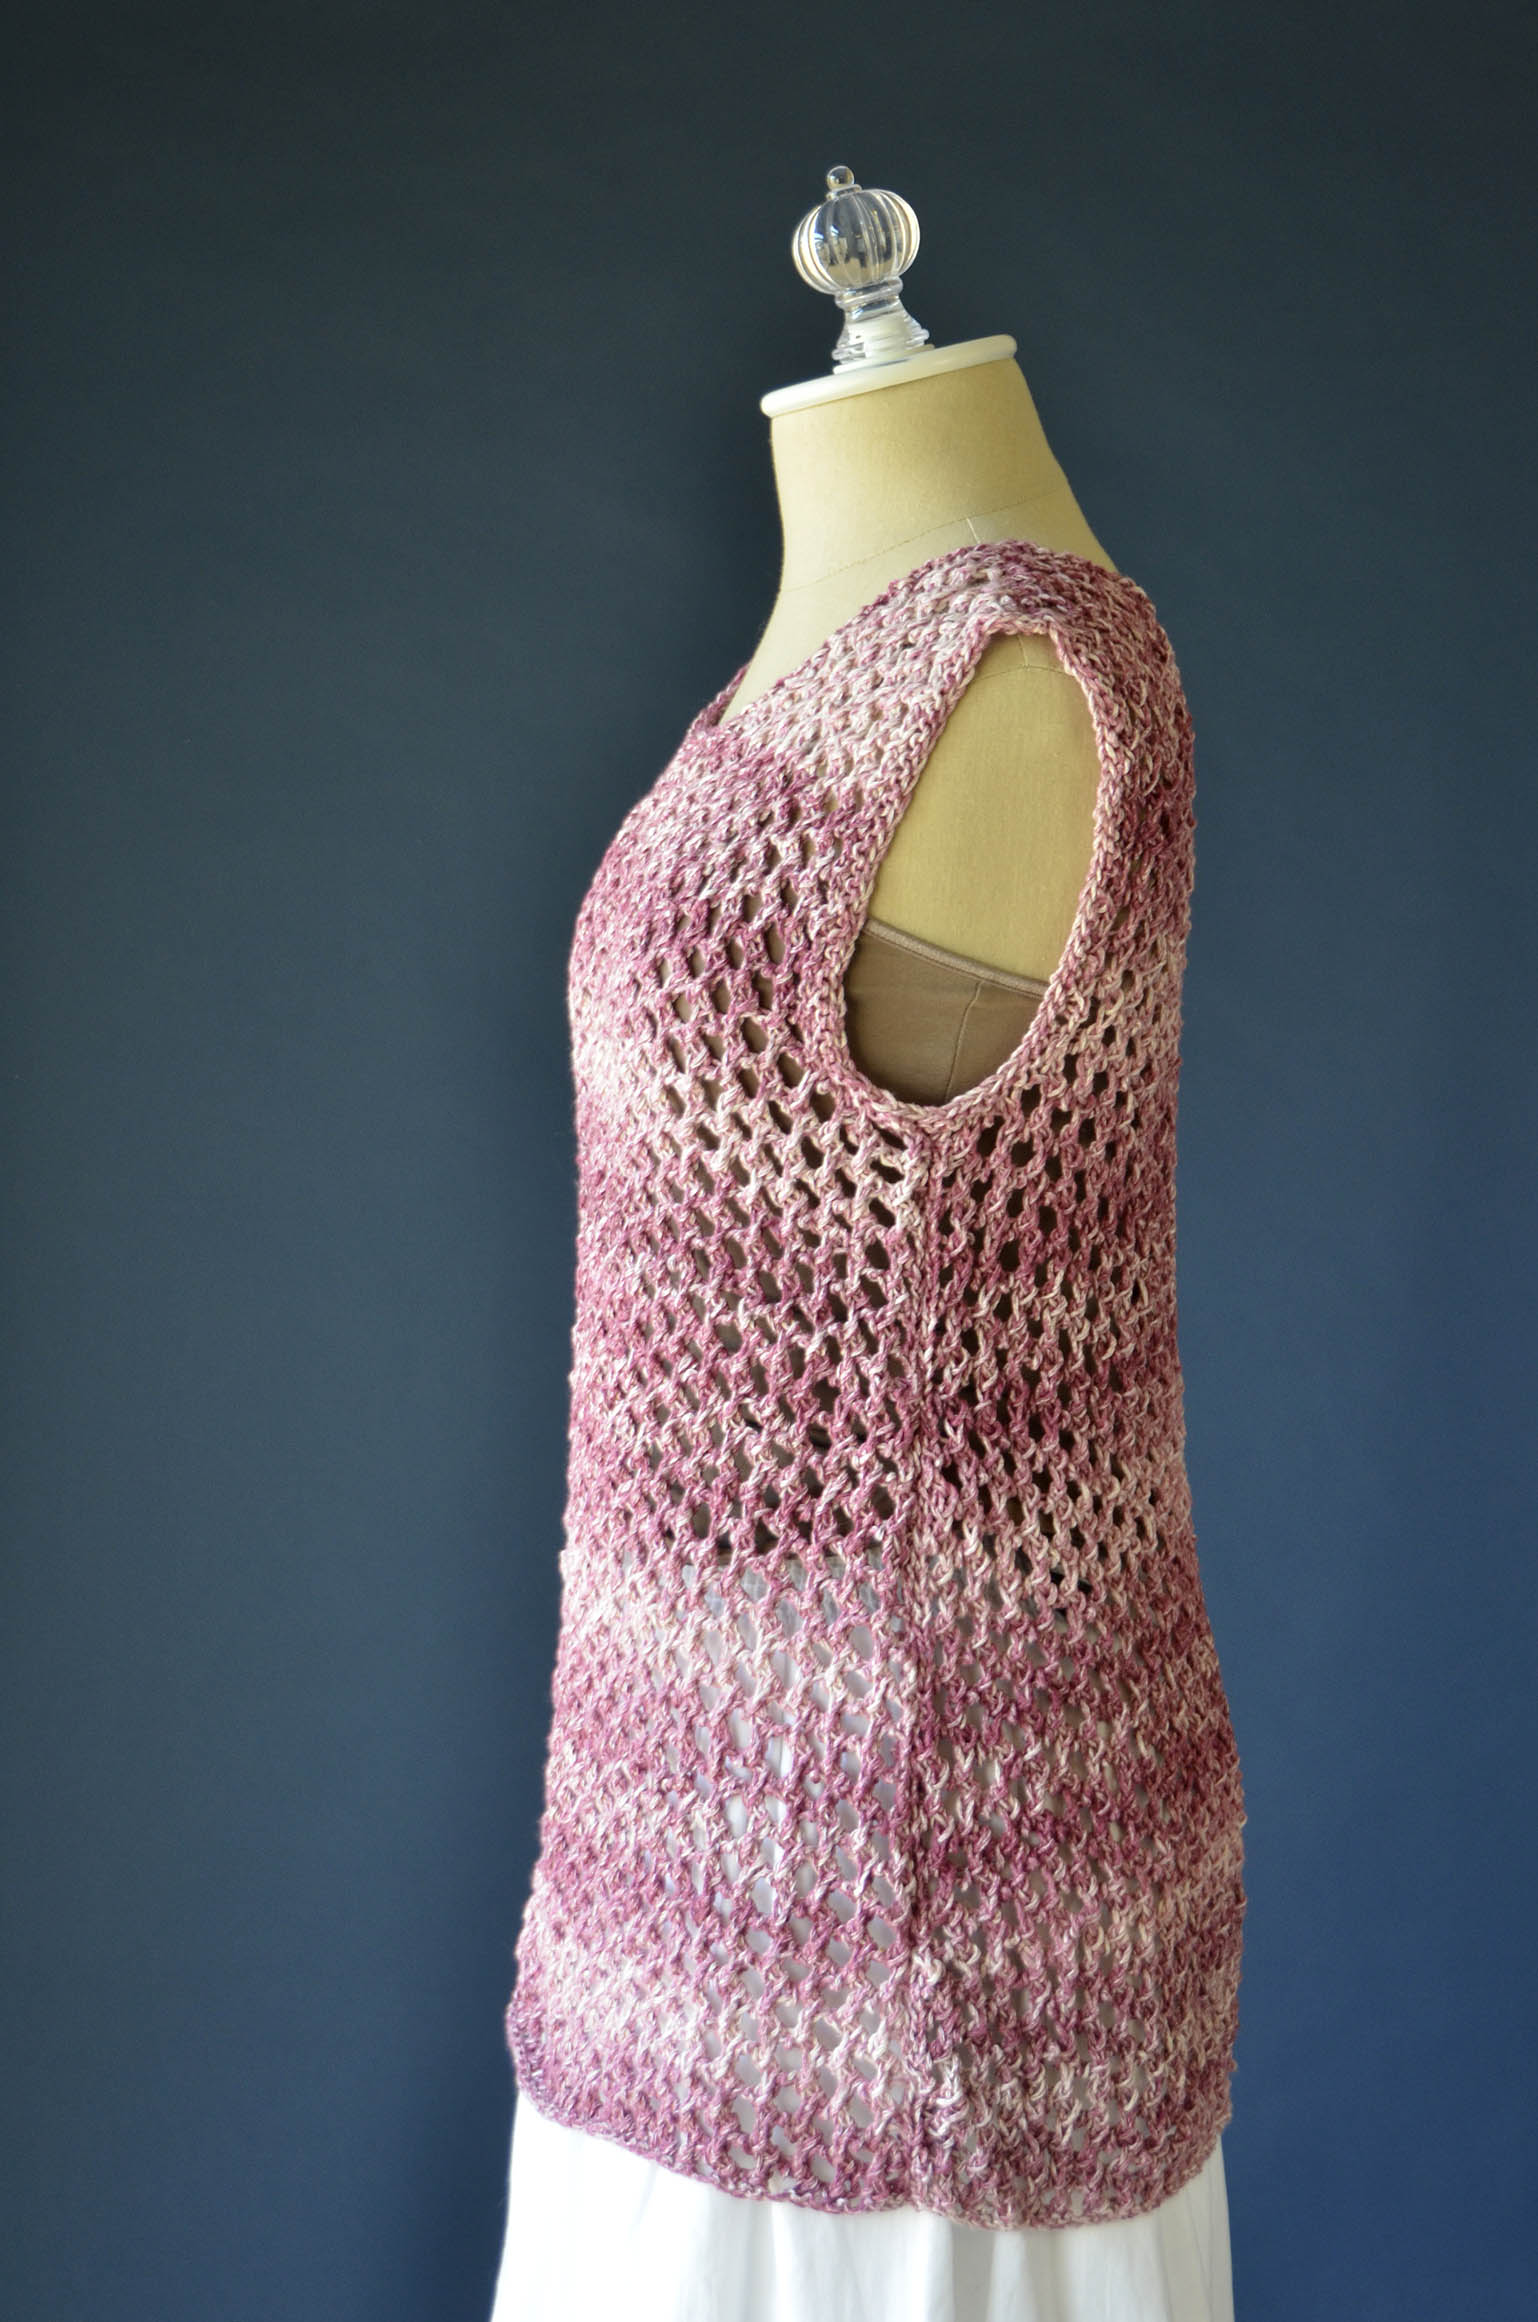
The Brickwork Tank in Good Earth Adorn is a relatively quick knit that’s flattering for most any body type. It is an A-line shaped tank, giving extra room at the bottom to accommodate, well, our bottoms!
Good Earth Adorn Brickwork Tank side blog

This is a great layering piece to be worn over tank tops or swimsuits, dresses, or even tees and long-sleeved tops.

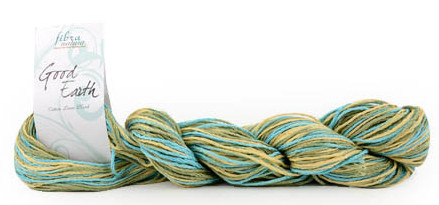
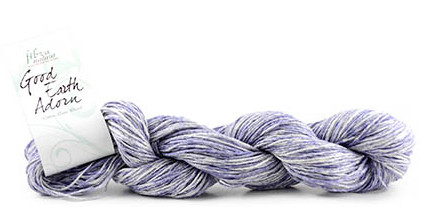
A blend of cotton and linen, Good Earth also comes in solids and variegated multis. This tank is so versatile and simple, I could see this looking great in any of our versions of Good Earth.

Good Earth revised cut out ball pic new label_web

If the weather hasn’t shaped up yet where you live, here’s hoping it does soon!
Free Pattern Friday – Sugar Drops Blanket

It’s Free Pattern Friday!

Little Bird Sugar Drops Blanket blog

Today, the Sugar Drops Blanket in Little Bird.

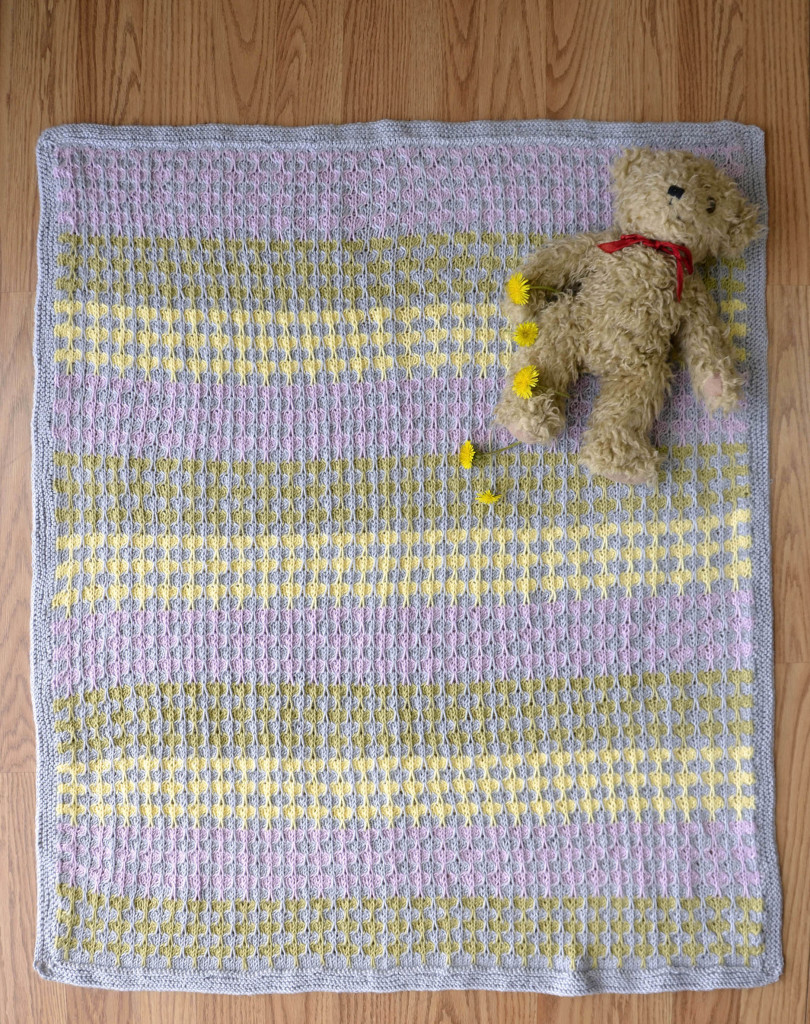
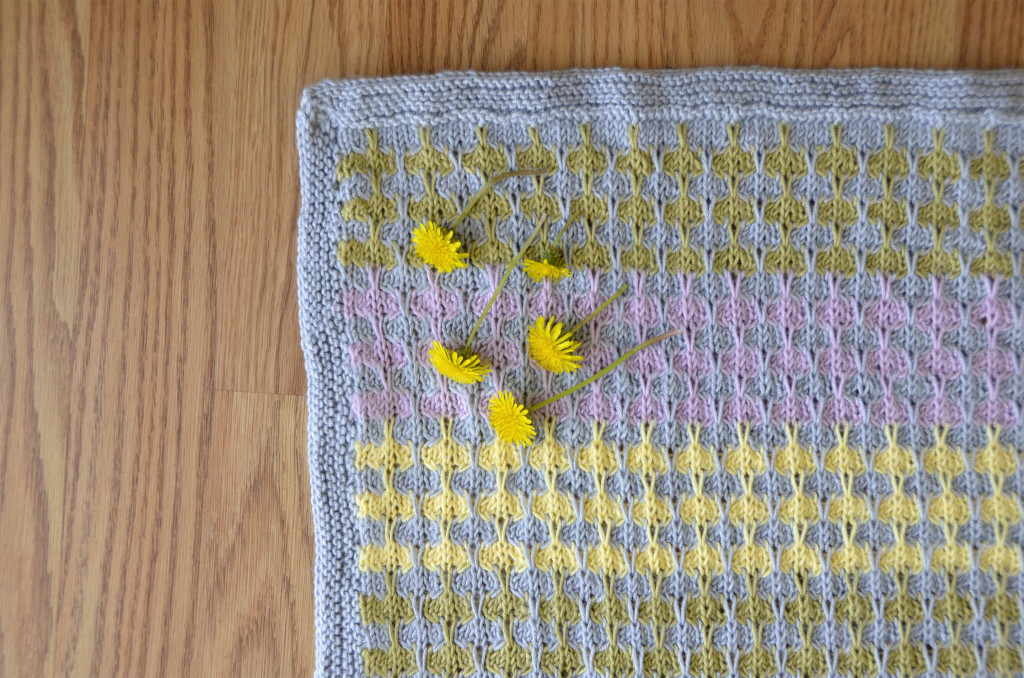
Sugar Drops indeed – what a sweet pattern!  Just one color per row in machine washable Little Bird (344yds/100g), knitted flat (obviously).  A blend of left and right crosses plus dropped stitches create an interesting texture that’s not too technically taxing.  Pick up stitches along the long edges and add the garter stitch border.

Little Bird Sugar Drops Blanket detail blog

Enjoy the weekend – and if you can, make something beautiful!

Happy knitting!

Herringbone Shawl – Understanding Construction

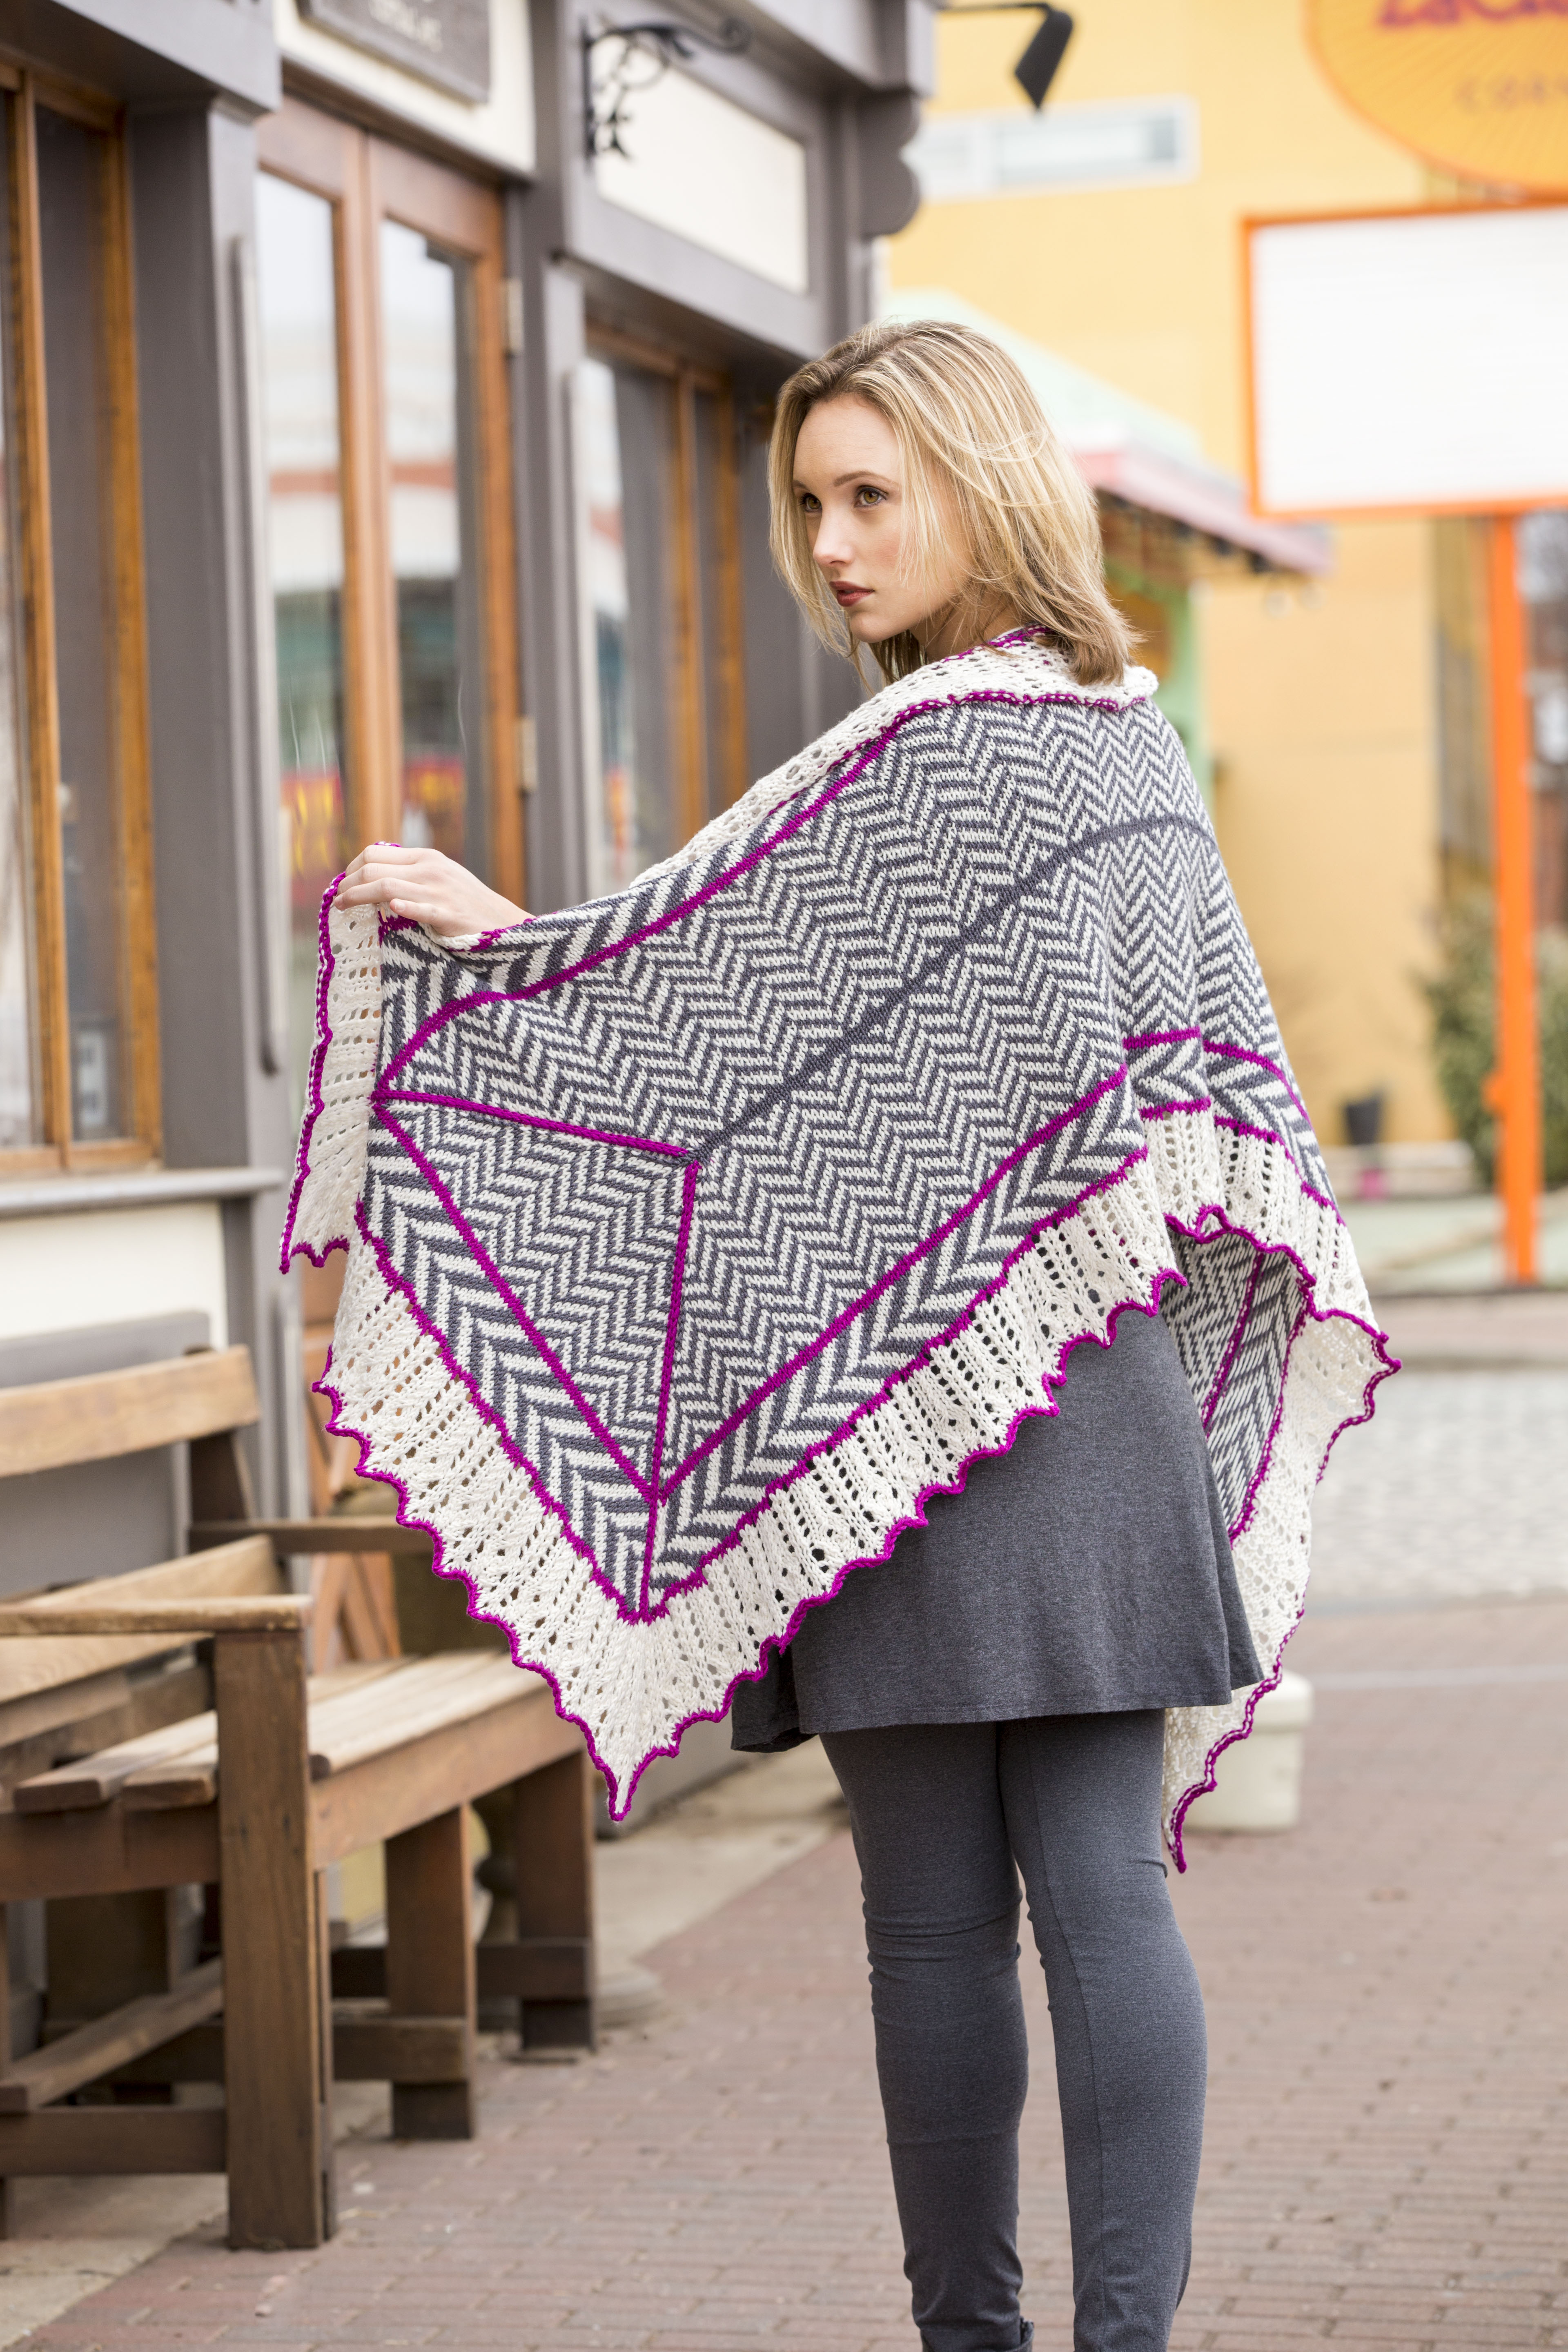
Today I want to talk about the cover project from Contrarian Shawls 2 , the Herringbone Shawl knit in Dona.

Herringbone_2_hires

If I had to pick a single knitting technique to call my favorite, it would have to be stranded knitting, or knitting with multiple colors in the same row or round. I knew I wanted to include a stranded project in this collection, and I knew I didn’t want it to be too fussy.

Stranding can be intimidating to knitters who have never done it before, particularly worked back and forth in rows. The dreaded wrong side purling of stranding strikes fear and loathing in the hearts of many a knitter! So when planning this project, I wanted to be sure not to turn off these knitters and made sure all the work was done in the round. (For the record, purling stranded knitting is like anything else – with practice, it’s not that bad!)

So how is a rectangular stole worked in the round you ask? That’s what we’re going to talk about today.

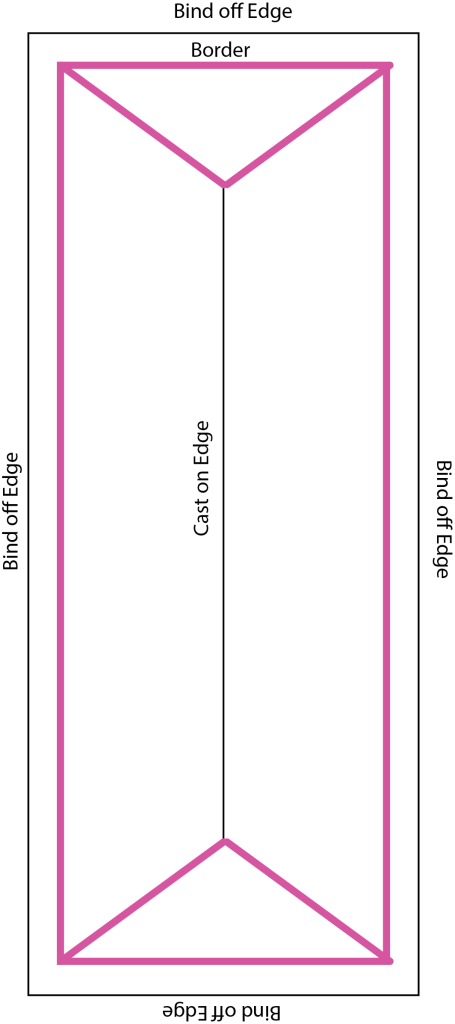
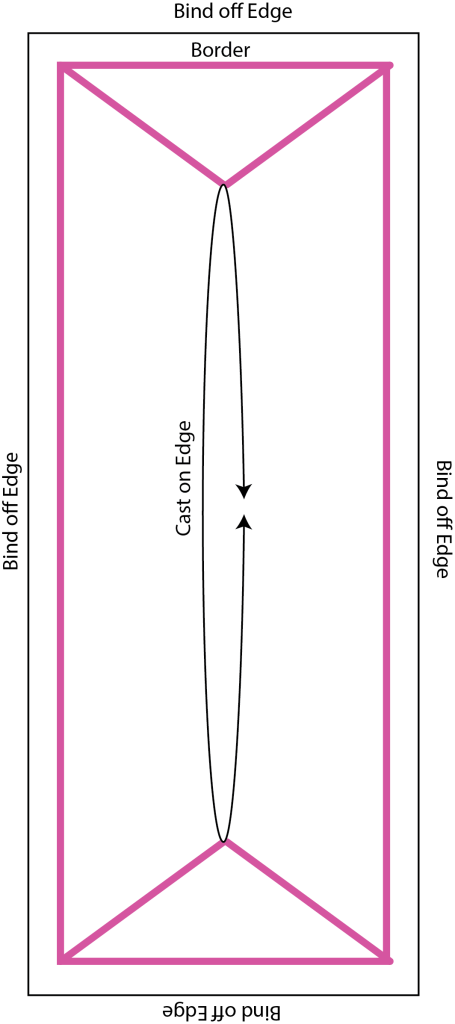
Here is a simplified diagram of the shawl, showing the cast-on in the middle:


Herringbone_diagram

Though this is perhaps misleading, because in the diagram the cast-on edge as shown as a straight line. But in reality, you cast on but then join in the round, like this:

Herringbone_diagram_2

Later, after the shawl is bound-off, you go back and seam the cast-on edge together which forms the center line.

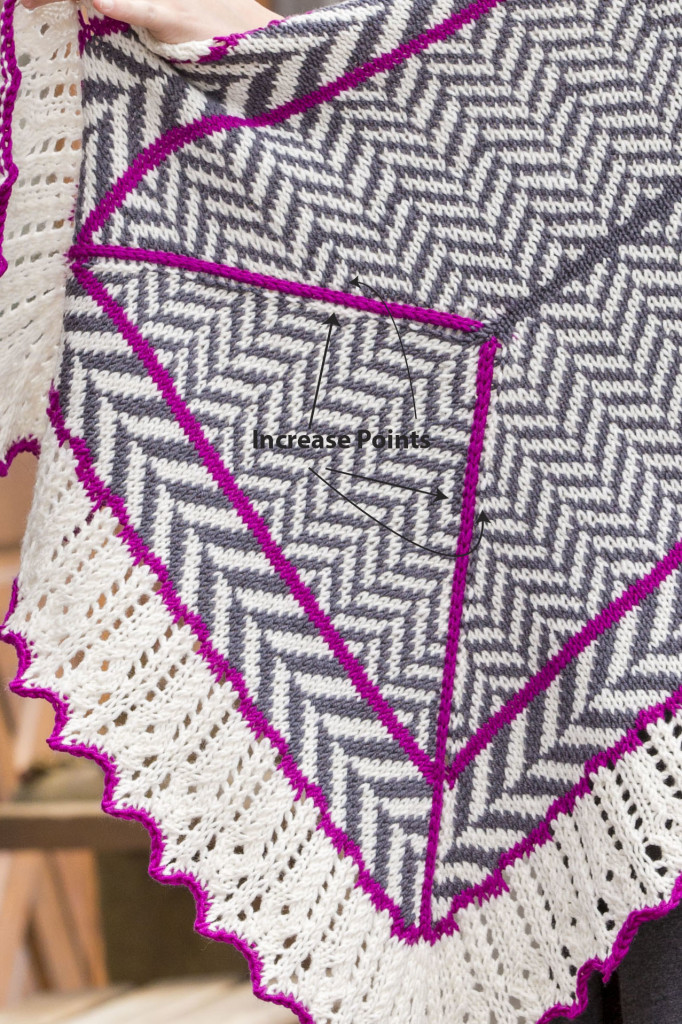
The shaping is mitered, so you’re increasing along each of the 4 corners. There are 8 increases per round, 1 on each side of the pink contrast color lines:

Increasepoints

Speaking of those pink contrast lines, that’s another little technique that might sound harder than it really is. The pink lines are worked in intarsia, another method of changing colors in knitting. But instead of carrying the yarn along throughout the entire round, you only pick up that particular color when encountered.

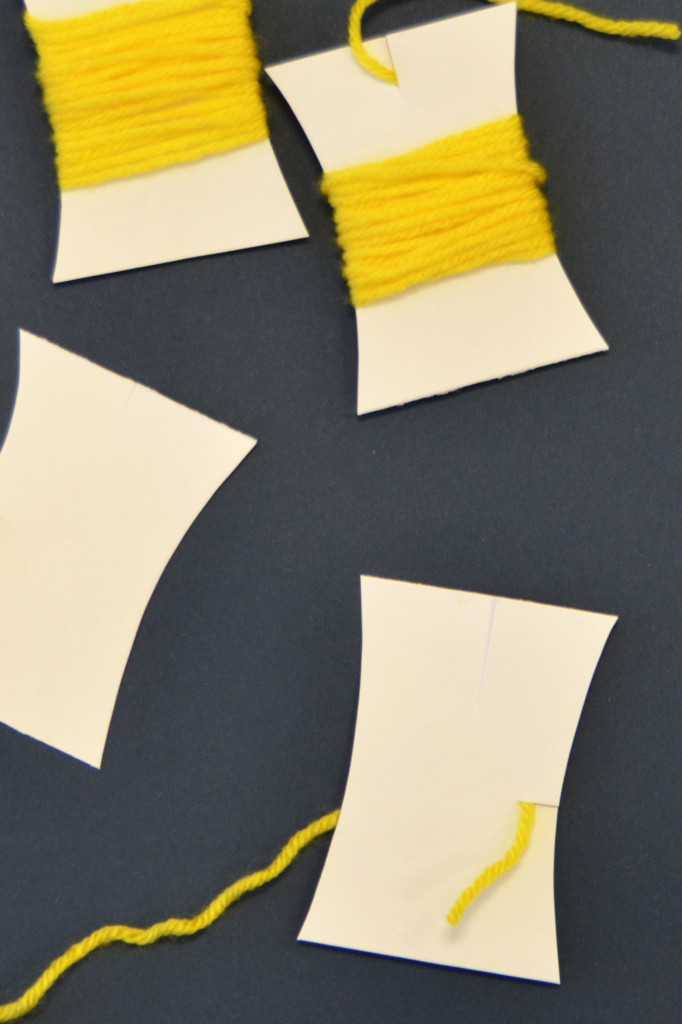
For the Herringbone Shawl, I recommend preparing yarn bobbins for these corner spots. Yarn bobbins can be purchased, or you can easily make them yourself. I’ve used cardboard before, but the ideal material for making bobbins is something just a little sturdier like plastic lids from margarine containers or the like.

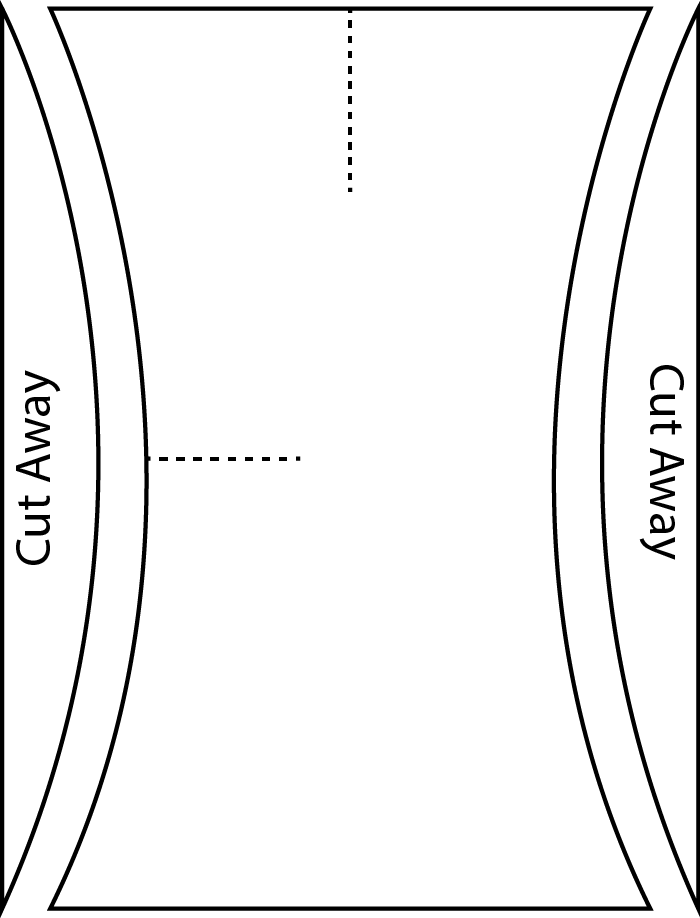
Cut out a shape like this, and make little snips where the dotted lines are:

yarn bobbin

Then, secure the yarn tail to one of the snips on the yarn bobbin, wind the yarn around, bring the other end out of the top snip, and cut the yarn.

Herringbone_1

Use 1 bobbin for each corner. When it’s time to use this CC, free the yarn from that top snip in the bobbin. When you’re done with it for the round, just tuck it back in the snip. This will keep things organized and prevent you from having lots of loose and tangled ends on the back of the work.

When it’s time to knit the corners, drop the other two colors (MC and CC1), pick up CC2 (the pink), knit the 2 corner stitches, then drop CC2 and proceed with MC and CC1. That’s all there is to it.

Though I think the pink corner lines add a fun element to this piece, I could certainly see Herringbone without them. If you decide you’re not ready to introduce intarsia into your stranding, simply work these 2-stitch corners in the main color instead.

What colors will you knit your Herringbone Shawl in?

Free Pattern Friday – Eyelet Skirt

It’s Free Pattern Friday!

Flax Eyelet Skirt 2 blog

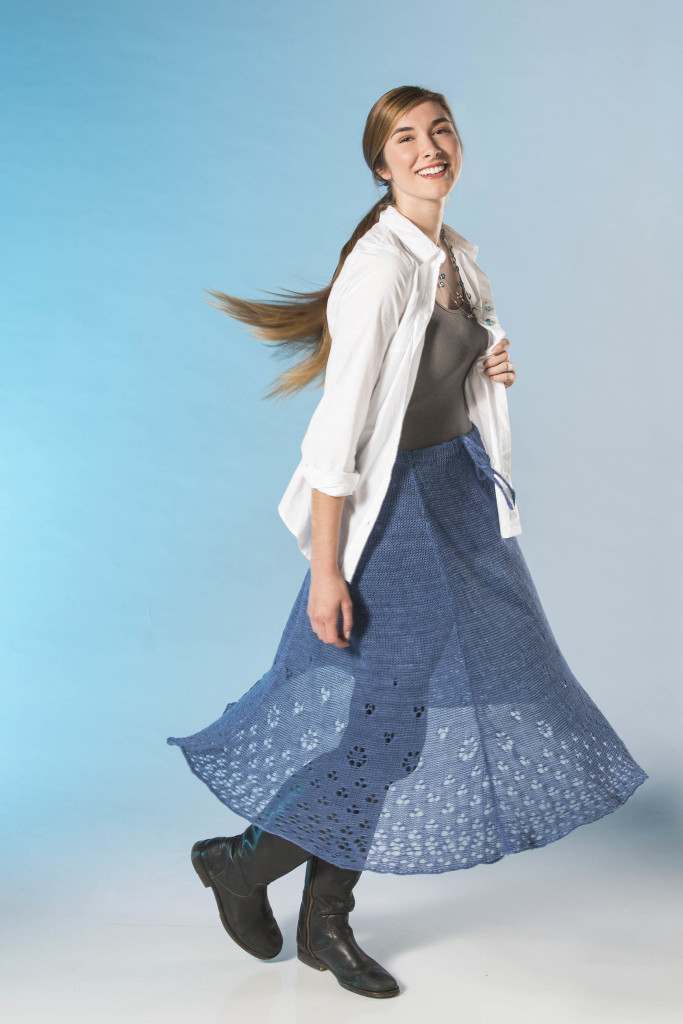
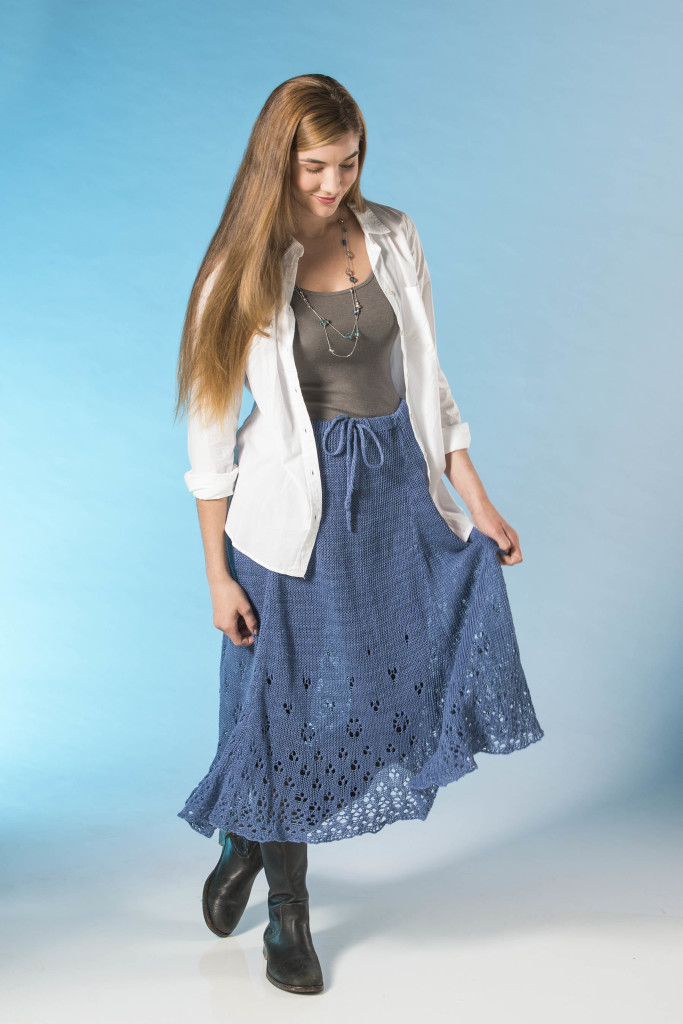
Today, the Eyelet Skirt in Flax.

And… twirl!  This sweet summery skirt is knit in our 100% linen Flax (137yds/50g) and is flattering to a wide variety of body types.

Flax Eyelet Skirt 1 detail_hi-resThis is a 4 panel skirt knitted flat and seamed, with easy eyelet lace at the flaring hem. This is a good first project in lace as the patterning is worked on right side rows only. The lace is charted, but simple to follow even if you’re not an expert chart reader.  Fit is easy in the waist using your choice of drawstring tie or elastic.

We hope you enjoy this bit of lovely linen.

Happy knitting!

Flax Eyelet Skirt 1 blog

Traverse Scarf – the Basics

For the last several weeks, I’ve been touching on various elements of some of the projects from our new ebook, Contrarian Shawls 2. The past 3 weeks were spent on techinques from the Bisected Shawl, and the 2 weeks before that I covered how to do filet crochet with the Delphi Stole.

I want to turn this week to the Traverse Scarf, which I think is the most wearable and functional piece in the whole collection.

Traverse_1_hires_crop Traverse_2_hires_crop

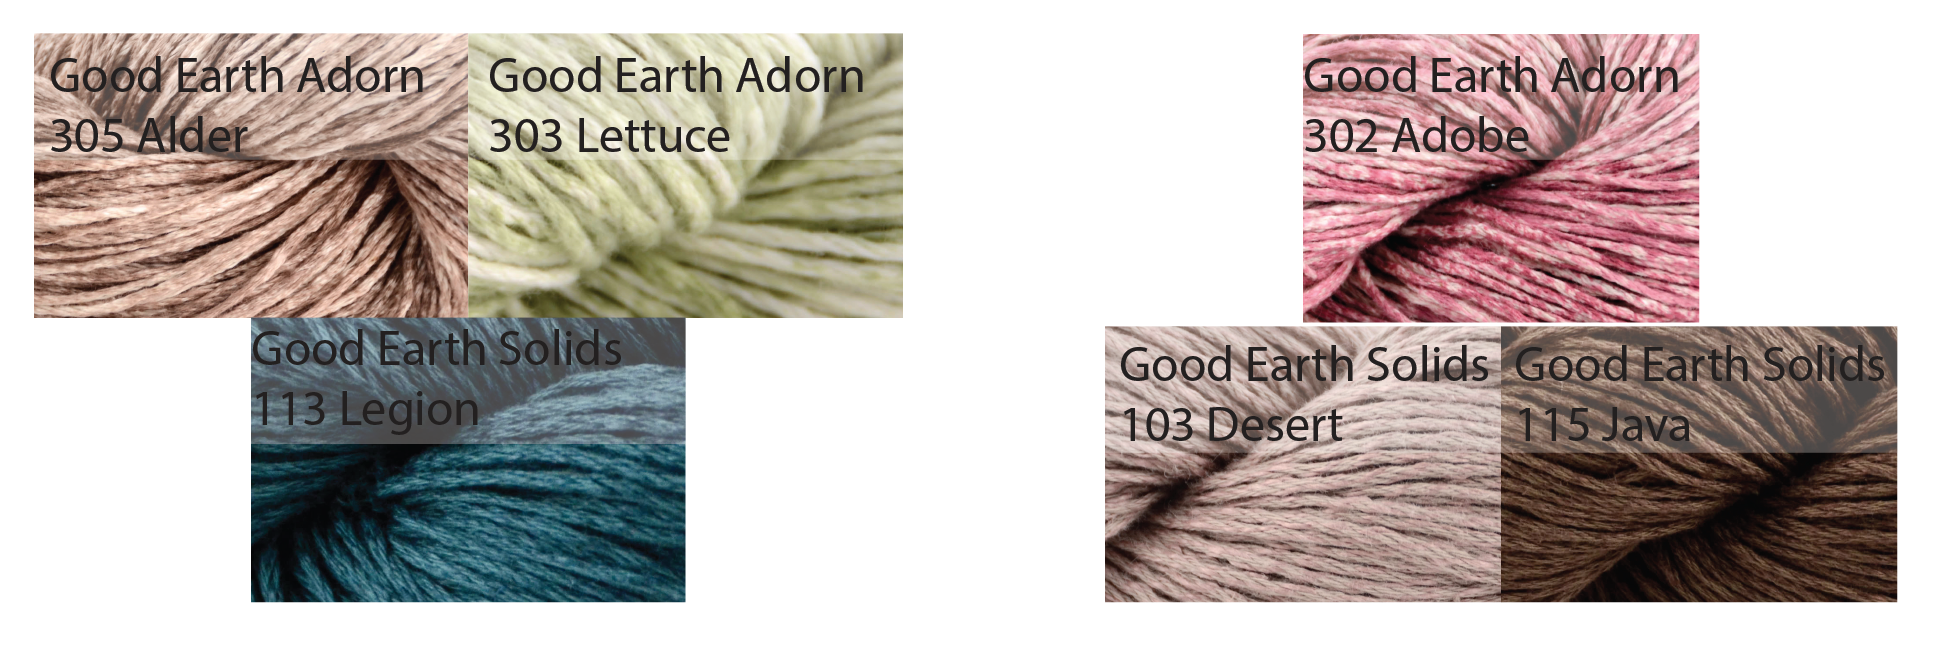
It’s definitely more scarf than shawl, and I think of it as a visually stimulating little trifle. Traverse Scarf uses 2 shades of Good Earth Solids and 2 shades of Good Earth Adorn (spray print). More later in this post on color choices. Good Earth is a linen-cotton blend, making this a great item for warmer months.

Traverse Scarf is knit from one end to the other. It is a symmetric scarf, so any increases made in the first half have symmetric and mirrored decreases in the second half. Those lines of color in the scarf are Good Earth Solid, and they are created via slip stitches. There is only one color used in each row of this scarf, with the exception of the small section in the center back of the piece.

Today I want to talk about starting out this scarf and establishing the rhythm of increases and getting a feel for the pattern.

The first step is to cast on 7 stitches with the CC (Good Earth Solids) and then to purl  1 row.

Traverse_1

Next, we will establish our first two Slip Stitch Columns (abbreviated SSC in the pattern). The next 2 rows will be worked in MC (Good Earth Adorn). On right side rows, the SSC is worked as: slip 1, p1, slip 1. Stitches are always slipped purlwise (inserting the right needle into the stitch on the left needle as though to purl) with the yarn held in back, or to the wrong side of the work.

Here I am slipping the first stitch. Slipping a stitch simply means to transfer it from one needle to the other. In this case, we’re transferring the stitch from the left needle to the right needle.

Traverse_2

So I slipped 1, purled 1, and now I’m slipping the next stitch, the last of the 3-stitch SSC.

Traverse_3

Next I place a stitch marker on my needle. I will always slip this marker when I encounter it. The purpose of stitch markers is generally to remind you of something. In this case, it is to separate the SSC from the increase section.

Traverse_4

Now I’m going to make my first increase by purling into the front loop, then the back loop of the next stitch (abbreviated pfb). Then I place another stitch marker to indicate the other edge of my increase section. Since I’ve worked my pfb, my increase section now consists of 2 stitches.

Traverse_5

Then I finish off my row by working another SSC over the last 3 stitches.

On the following (WS) row, I will work my SSC as: slip 1, k1, slip 1. Because stitches are always slipped with the yarn held on the wrong  side of the work, my yarn is in front as I’m slipping the stitch.

Traverse_6

And here’s what it looks like after the cast-on and the first 3 rows. It’s a start!

Traverse_7

Here’s how things look after the first increase section. My markers are still separating the slip stitch columns from the center section which has grown from 1 stitch to 10.

Traverse_8

Increases always occur every 4 rows, on right side MC rows, by purling into the front and back of the stitch just after that first marker.

Traverse_8_withtext

Next, we will introduce the next SSC. Here’s how things look after the first row of this new section. There is the SSC at the right hand side, then 5 stitches, then our new SSC, then our new increase section, and finally the last SSC at the left hand edge.

Traverse_9

And here’s how we’re looking after a few more rows after introducing our new SSC. By slipping CC stitches on MC rows, we are carrying up that solid color and making what look like colorful outlines.

Traverse_10

The new point of increase is indicated by the white line below.

Traverse_10_text

The rest of the first half of the scarf continues to have you work increases and introduce more slip stitch columns regularly. For me, this is one of those nice projects that doesn’t involve any kind of tough knitting acrobatics –  the stitches are simple, but it’s still interesting with enough going on to hold my attention.

Like the project but not the colors? There are plenty of other options!

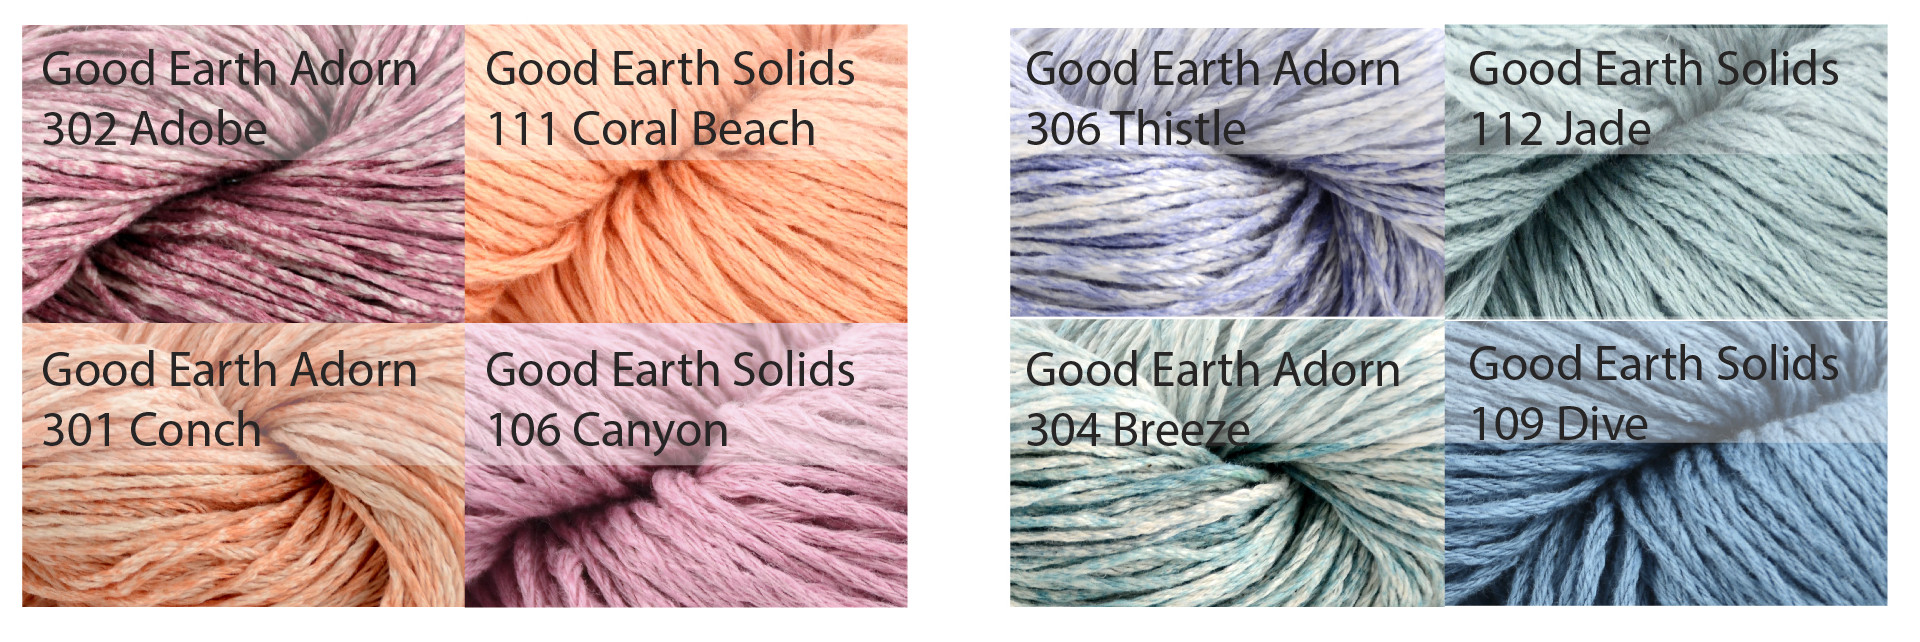
Traverse Scarf takes 1 hank each of 4 different colors. Here is a warm colorway option, and another cool option:

AlternateColorways_)

This project would also look nice with two colors of Adorn and one solid, or vice versa:

AlternateColorways_2

Or you could use just one color each of Adorn and a solid – the sky’s the limit! You can browse all the colors of Good Earth and Good Earth Adorn on our website.

I’ll be back next week with some more how-to goodies from Contrarian Shawls 2.