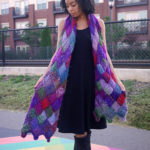
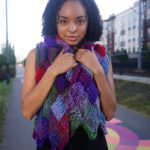
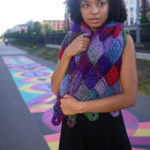
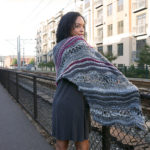
Weaving Wednesdays – Herringbone Sampler

I’m pretty excited about this current weaving project. For years now, I’ve wanted to weave my own fabric for a custom-sewn jacket. And finally, I’m going to make it happen. In fact, I’m making two of them! Yonca, our sales director (and my boss) caught wind of my plan and requested a jacket for her own. You be able to find us at next January’s TNNA in our matching jackets.

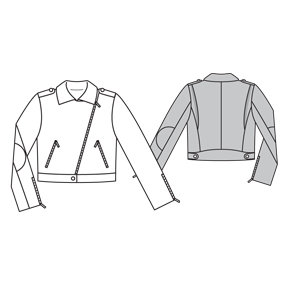
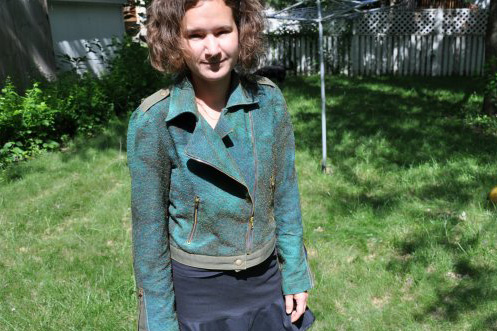
Years ago, I sewed a moto jacket from this Burda pattern.

6032_tech_large

Here I am wearing my version, circa 2009 or so.

moto1

I’ve been wanting to weave with our Deluxe DK Tweed Superwash ever since we introduced it earlier this year, and I decided this would be the perfect project for it. I toyed around with a few ideas for the type of weaving draft I’d use, but in the end I decided on a herringbone tweed. I love the idea of classic herringbone and tweed modernized in the ultra-cool moto jacket.

Before beginning, I knew I need to make a sample of my woven fabric. I mean, if I’m going to be weaving yards upon yards of fabric for two jackets, I need to know I’m going to like it, right? I was also having trouble deciding on colors, and saw this as a perfect example to introduce a little plaid into my tweed and herringbone.

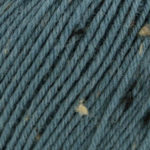
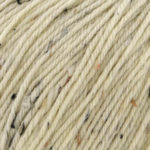
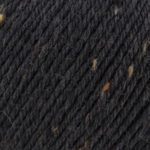
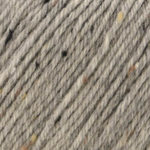
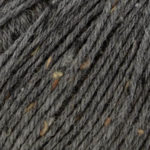
First, I selected five colors from the Deluxe DK palette that I’d been considering:

dw-tweed-906-aegean-web dw-tweed-910-porcelain-web dw-tweed-912-ebony-web dw-tweed-913-smoke-web dw-tweed-914-charcoal-web

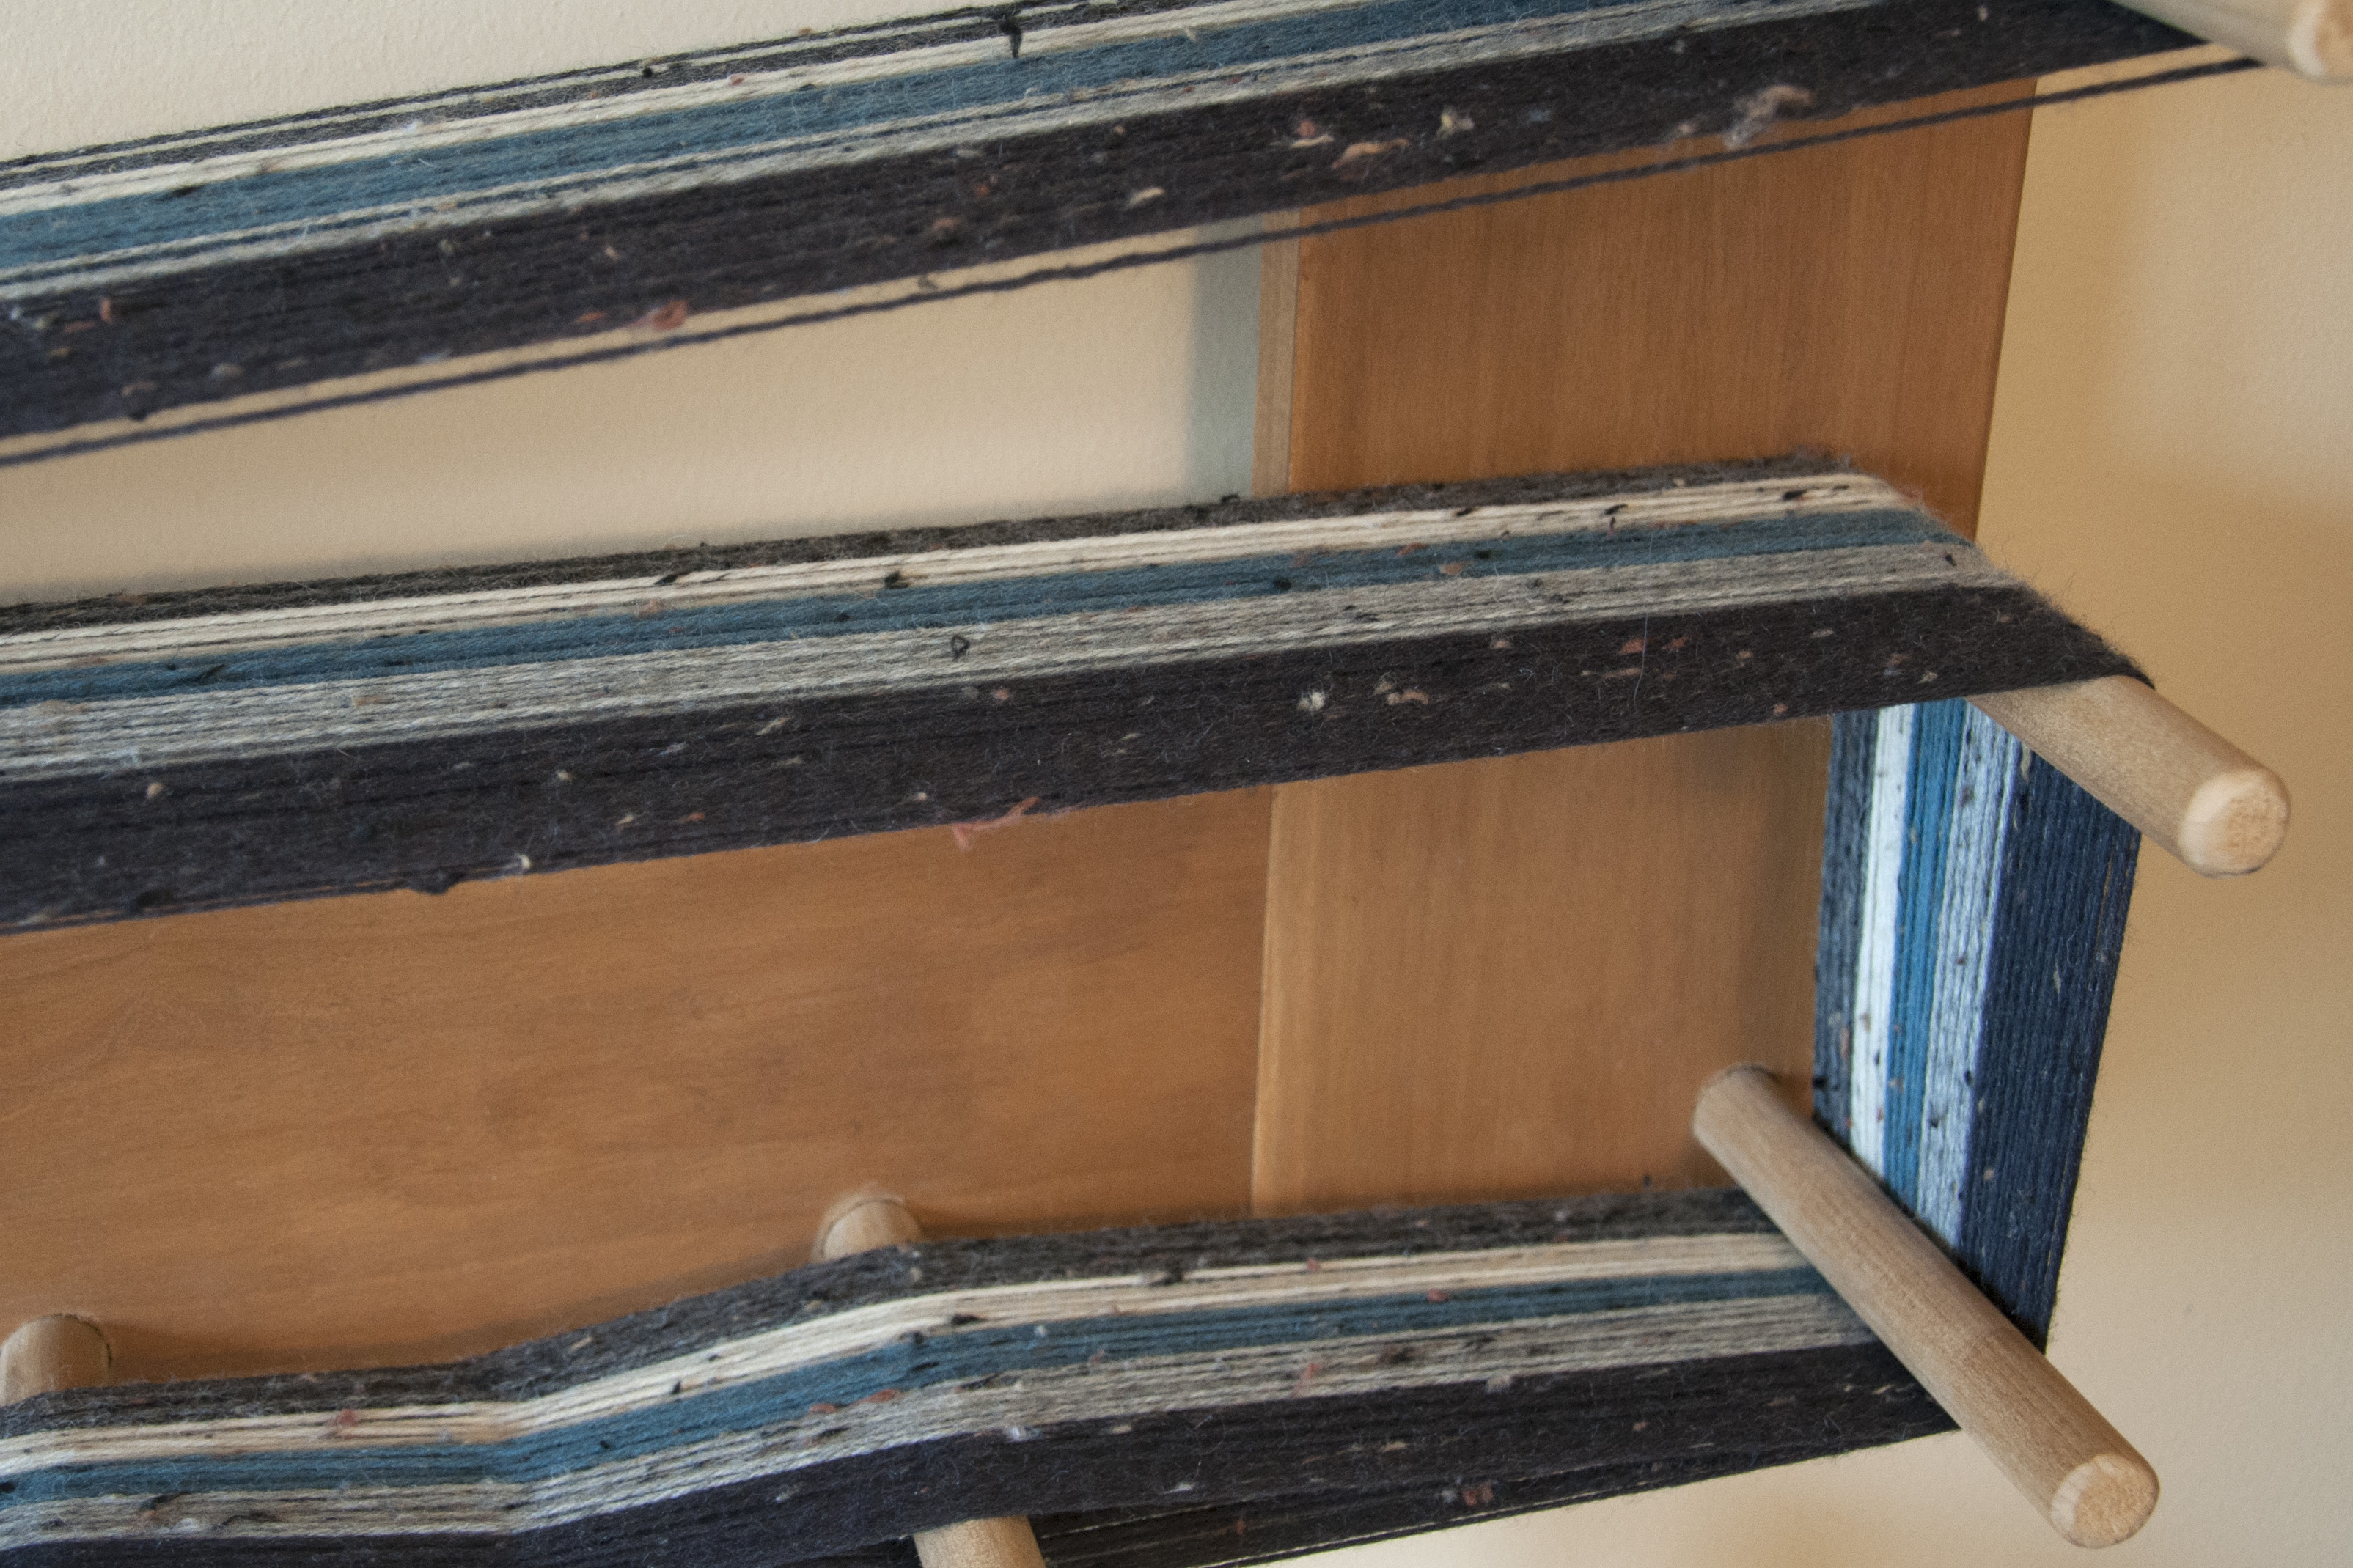
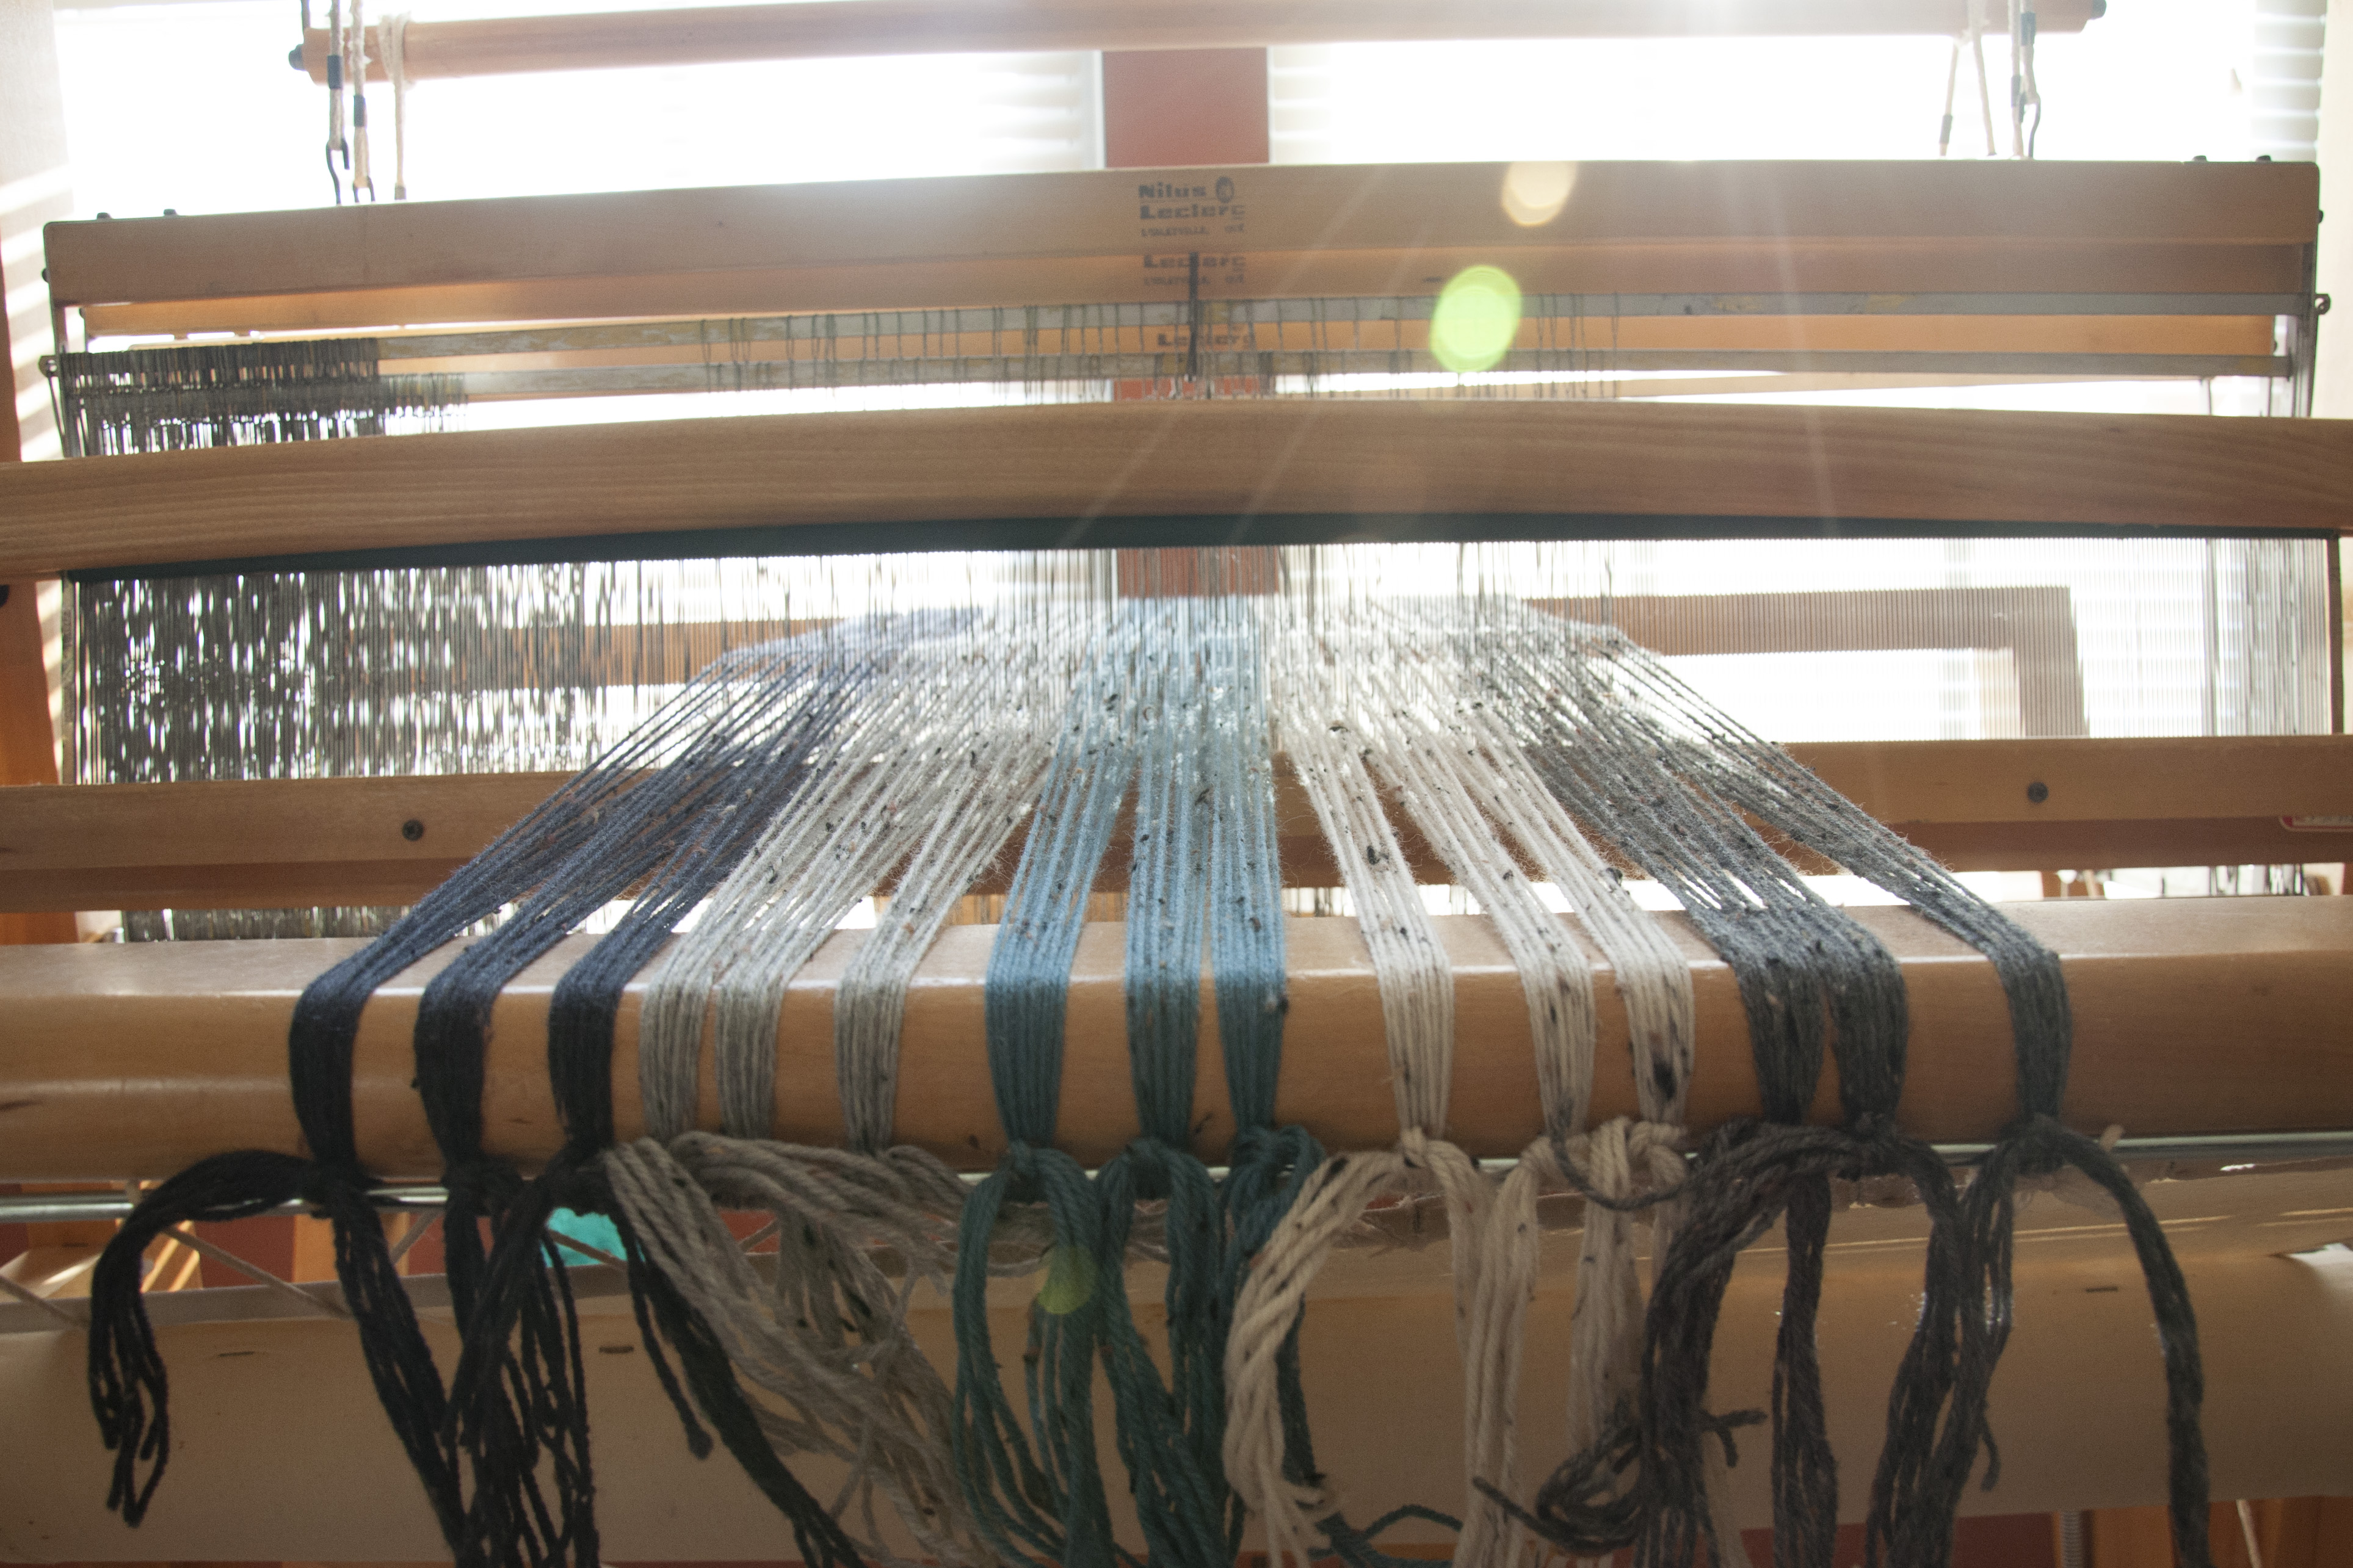
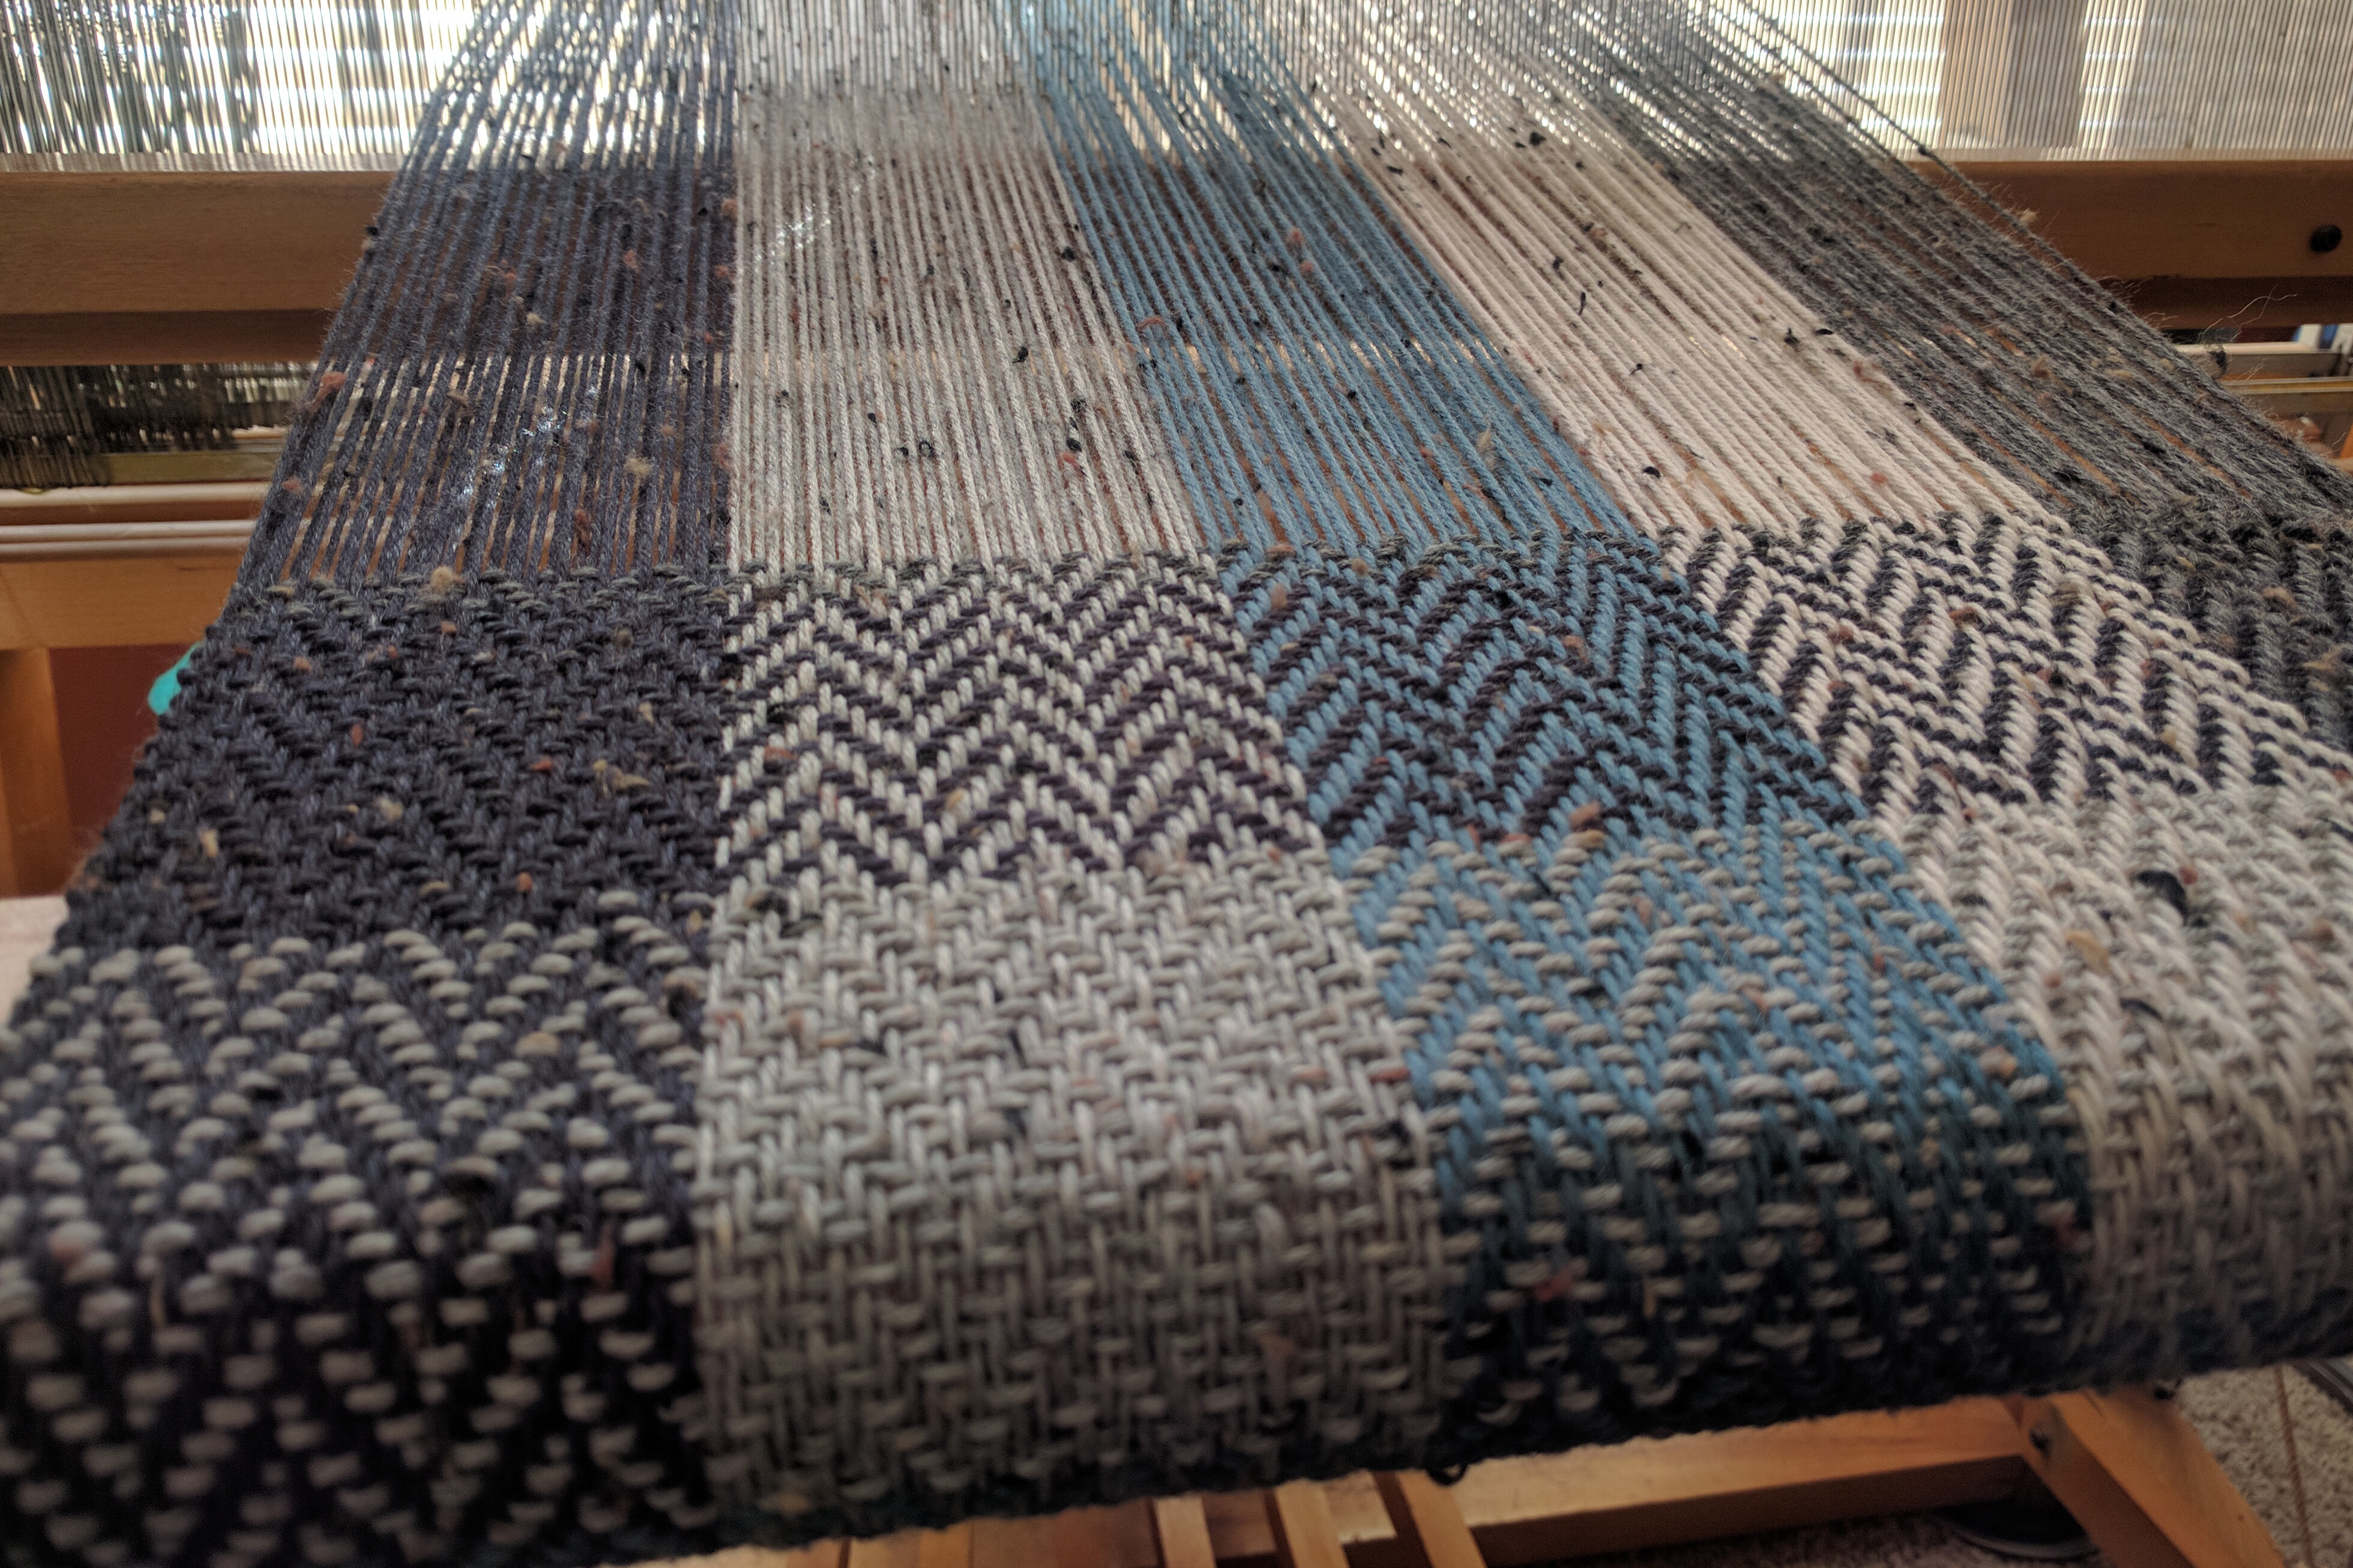
Next, I set out to warp my loom with a section in each color. I read that it’s a good idea to use a denser sett (ends per inch) when weaving twill, so that’s what I did. For a DK weight yarn such as Deluxe DK Tweed Superwash, I would normally weave with a 10 dent reed. But for this project, I opted for a 12 dent.

herringbone_1

herringbone_2

I’m using a four harness loom which makes weaving twill a breeze. But with if you have a rigid heddle loom, with the use of pick-up sticks this is totally achievable.

herringbone_4

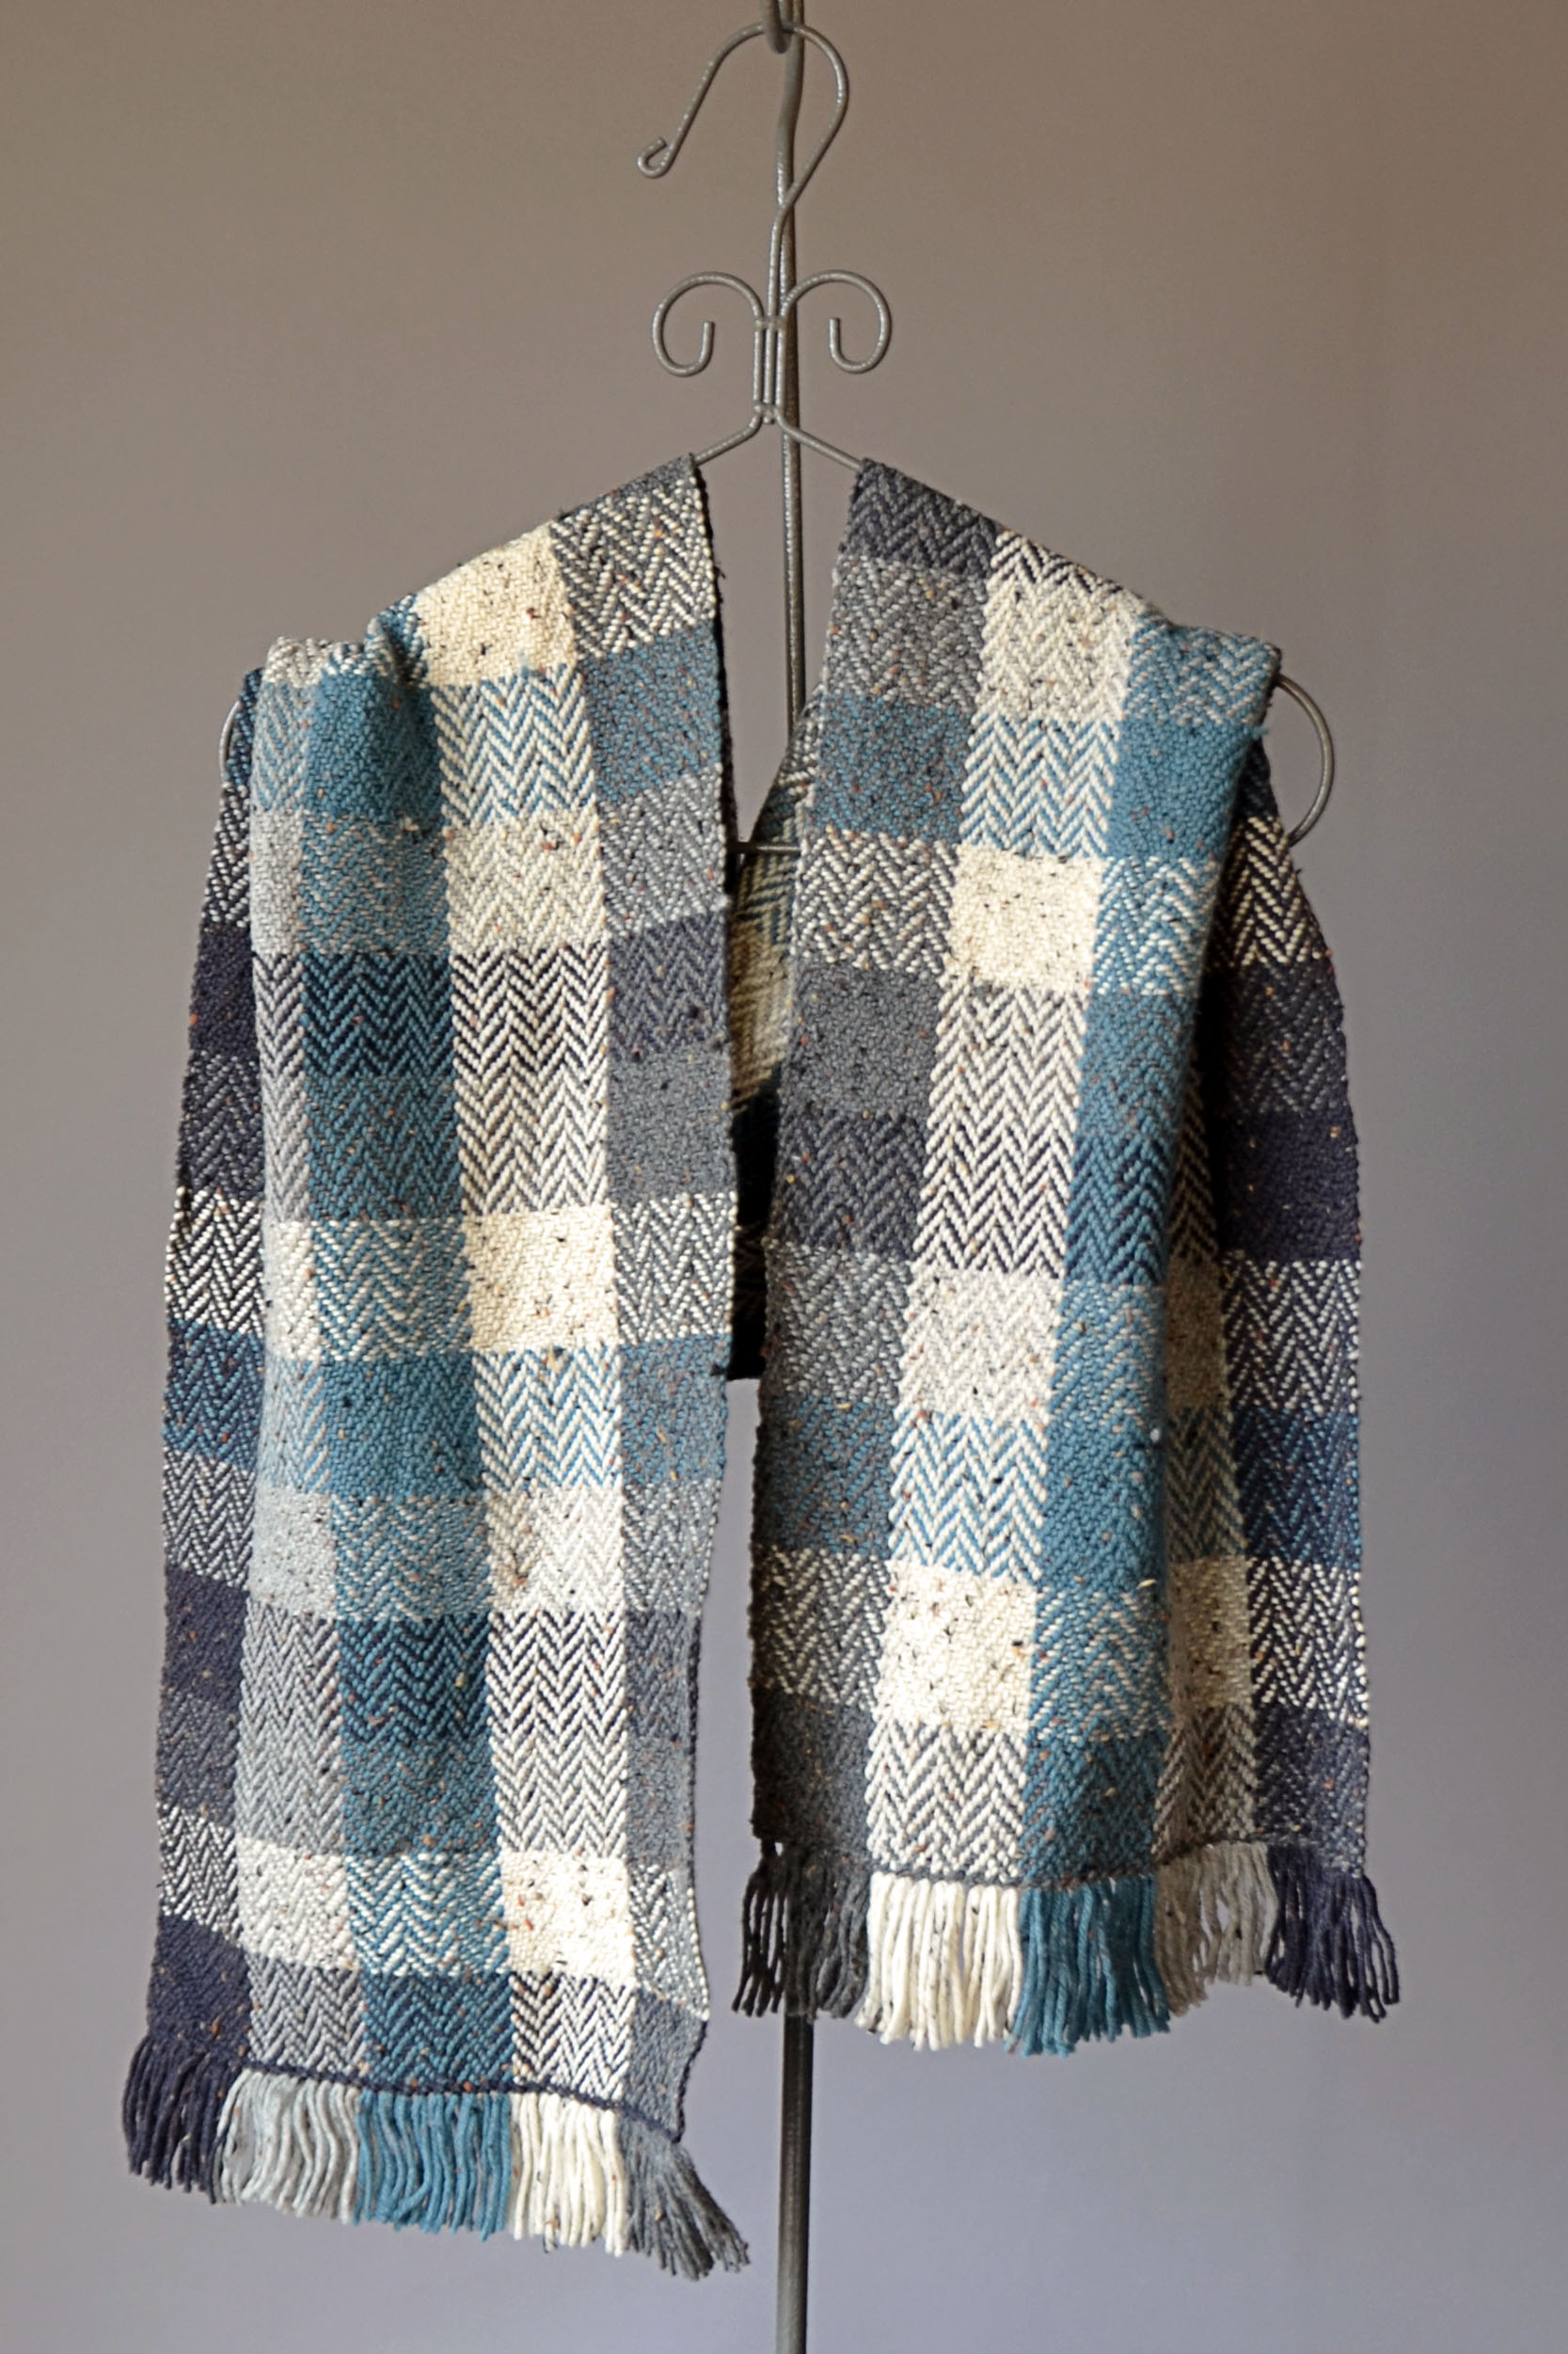
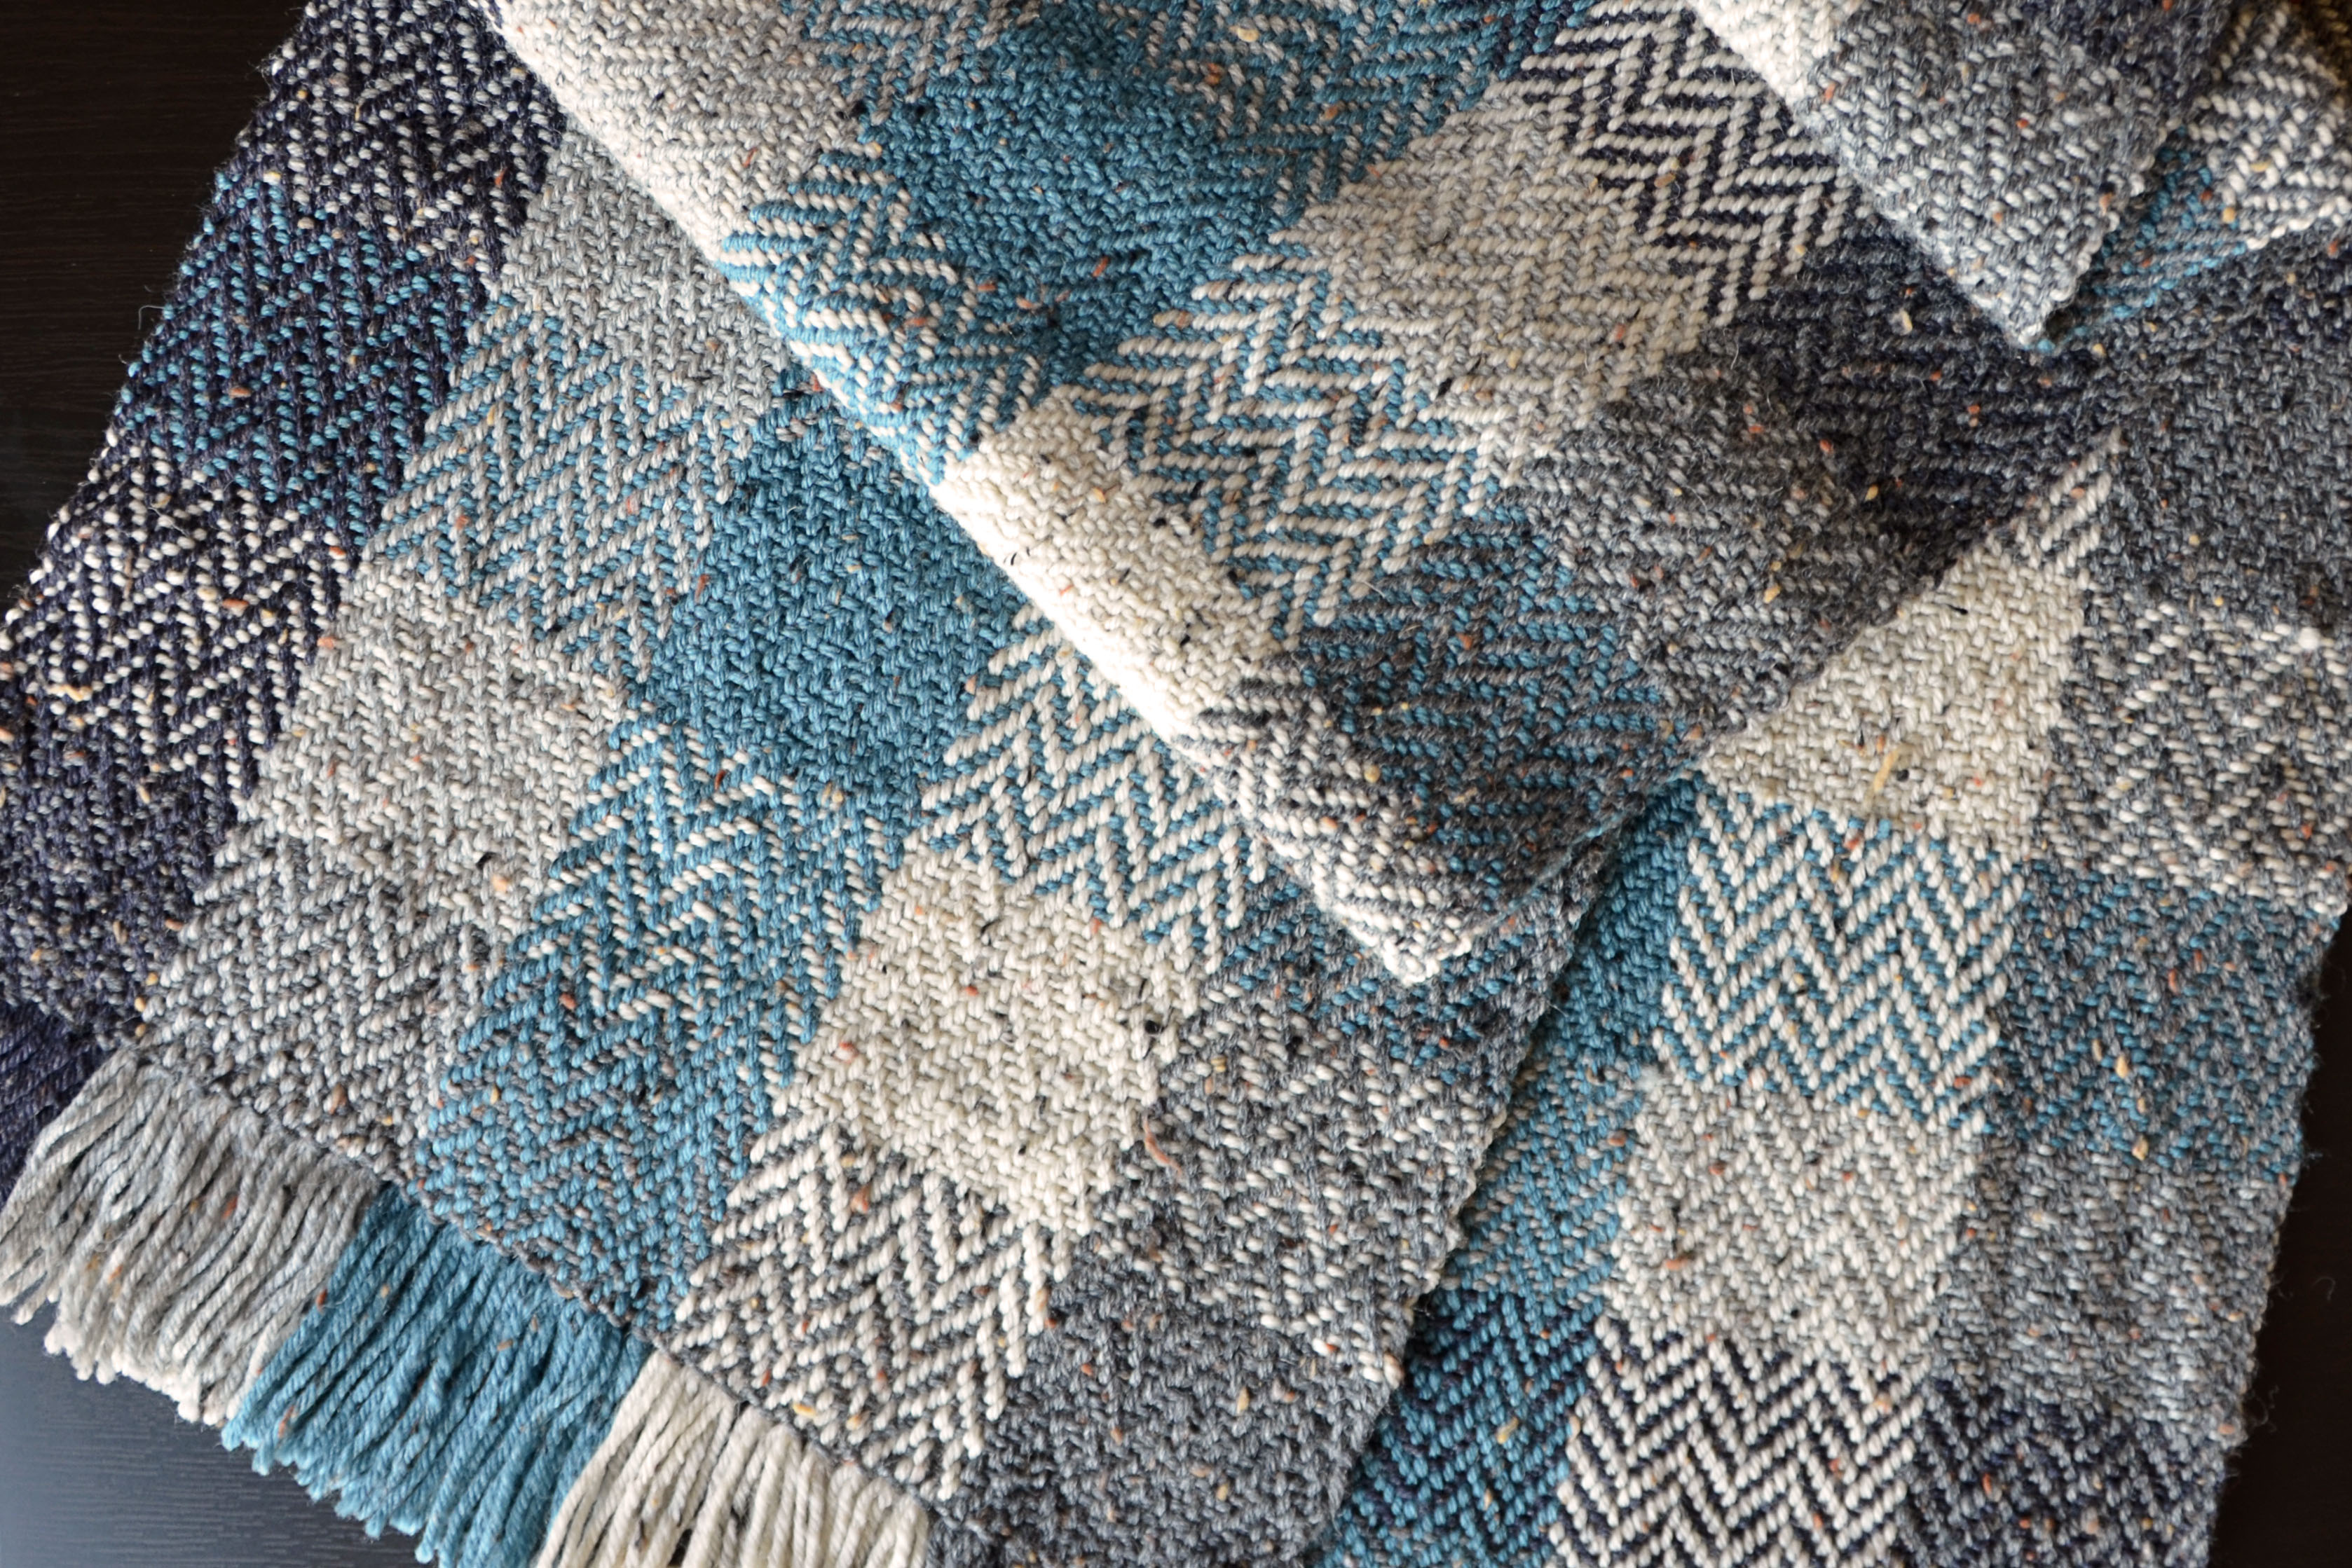
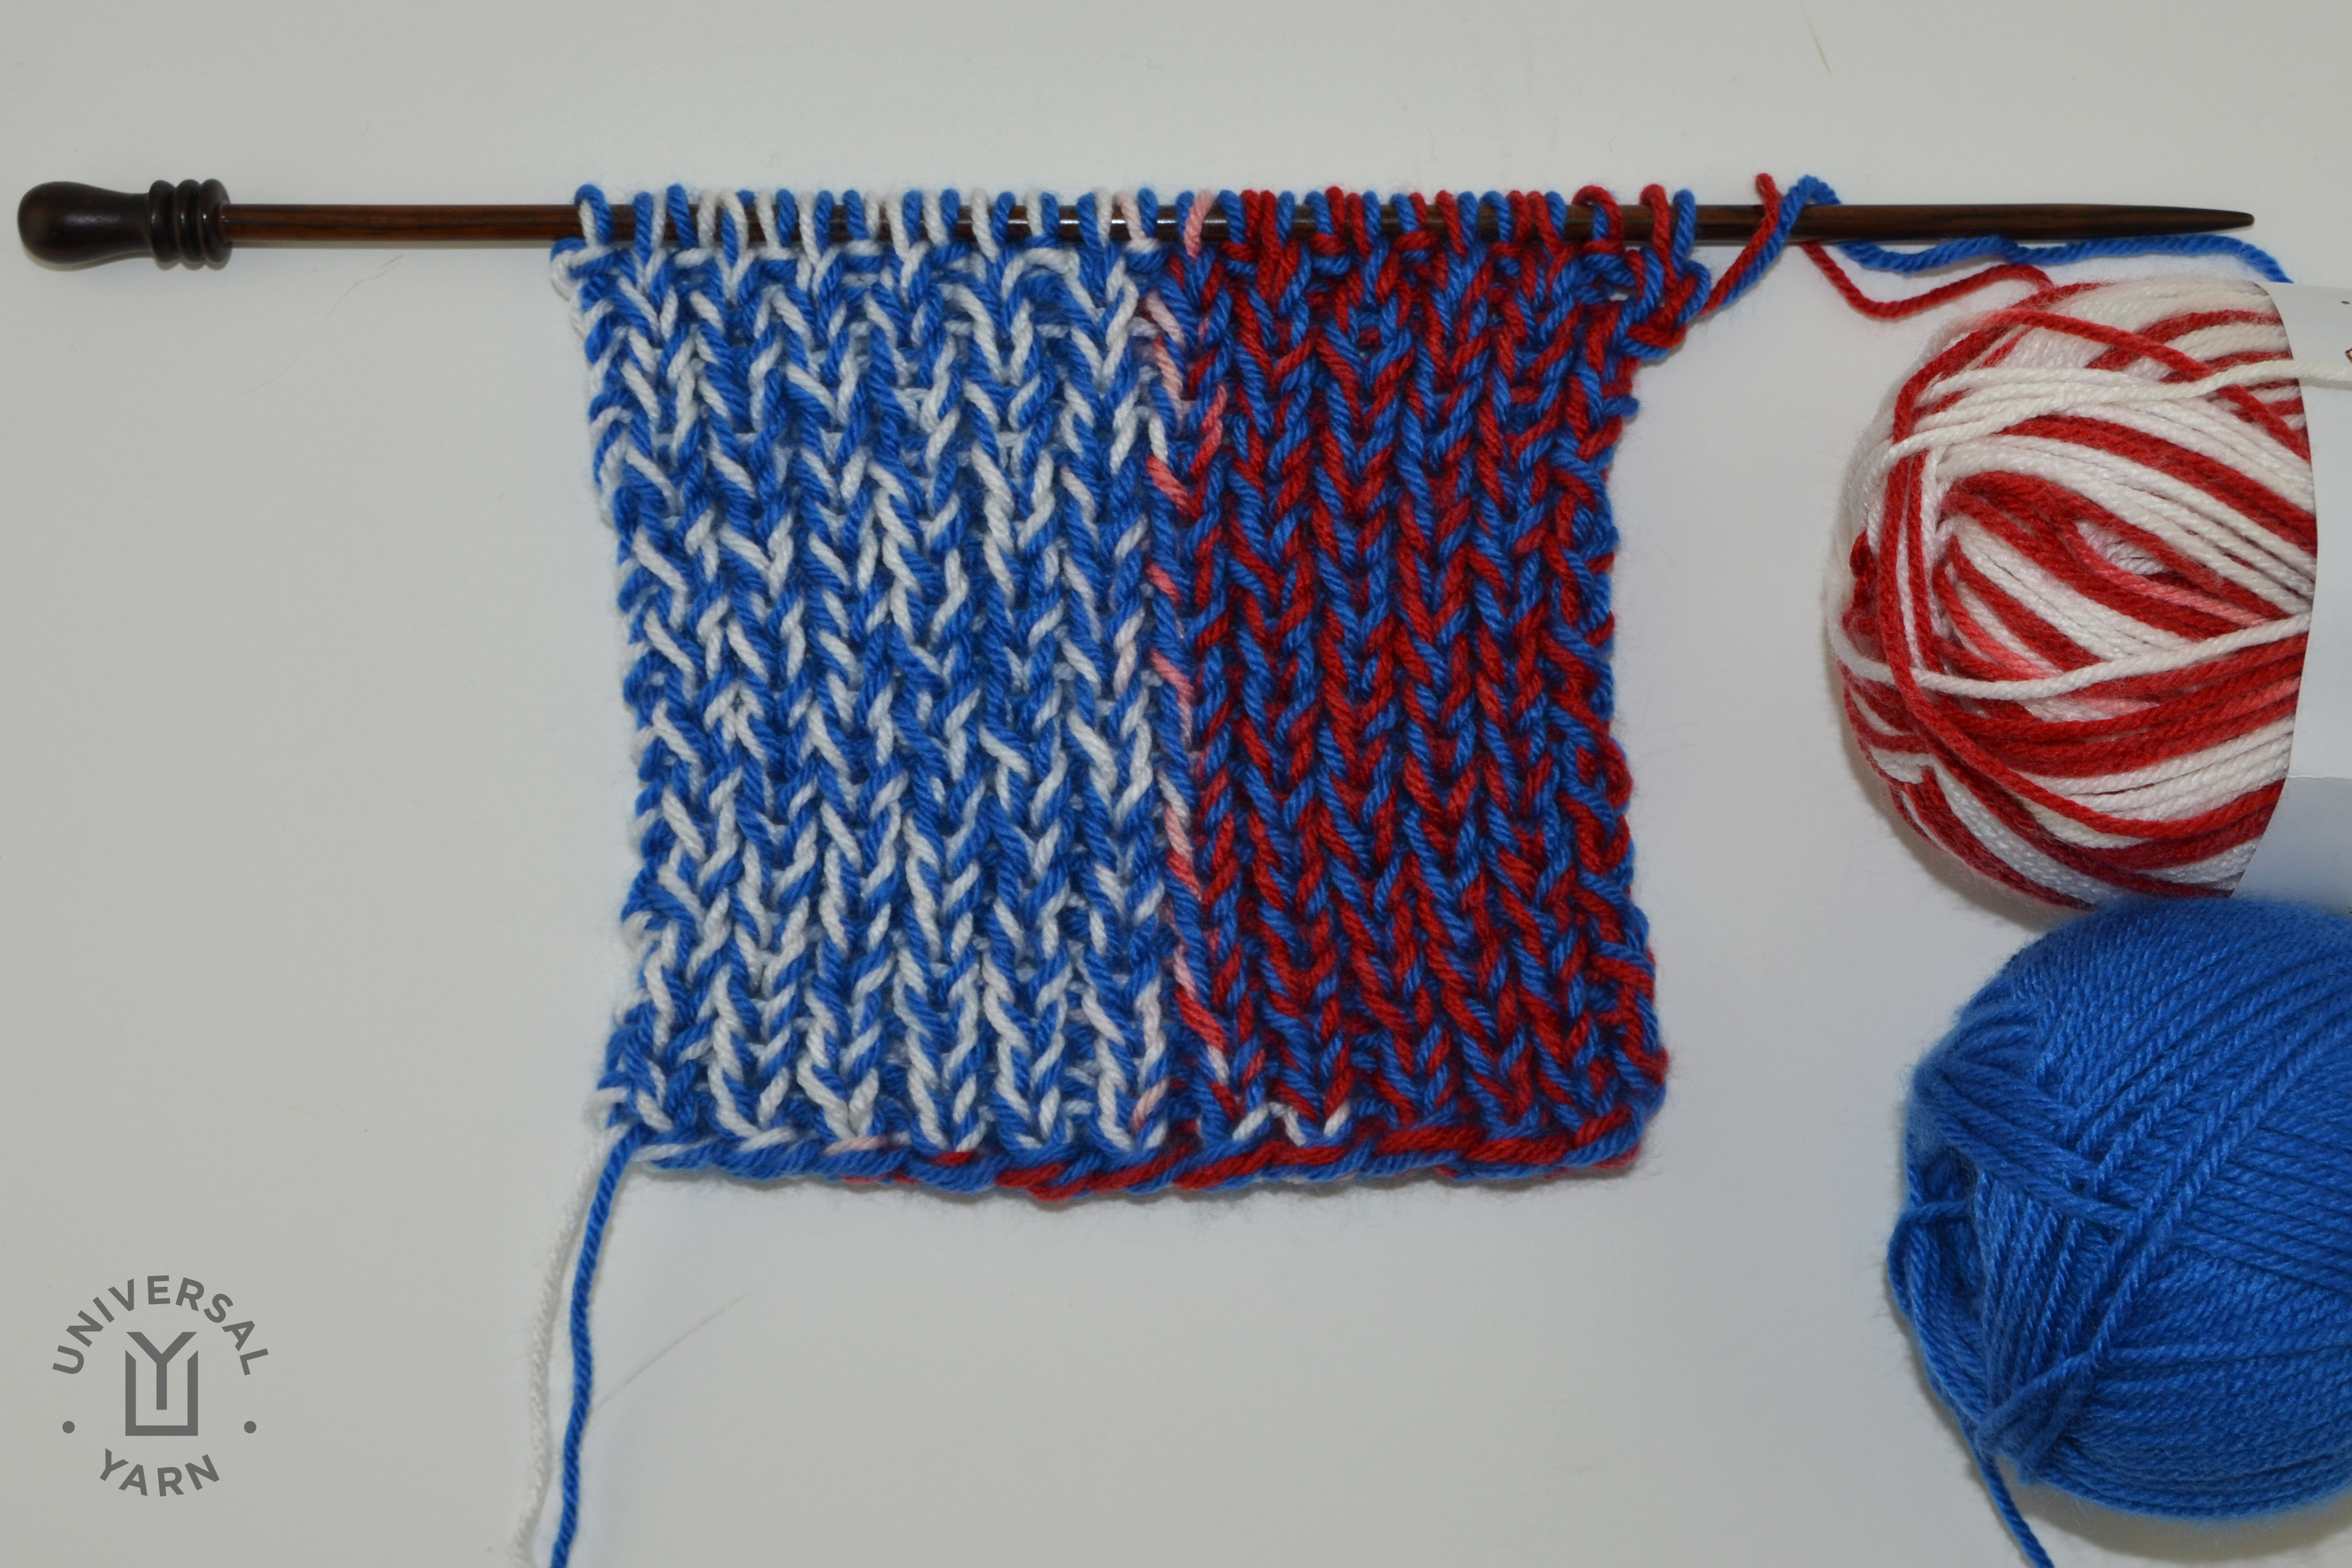
As you can see, my warp has 5 different colors. I also wove with the same 5 colors to see how they all interacted with one another. I found it interesting that the same 2 colors played differently depending in which was warp and which was weft. The color that is the warp (in this particular twill) shows as being more dominant that the weft.

It’s nice to do a “practice” piece of weaving that I’ll actually use and wear!

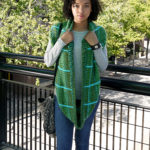
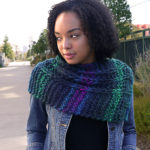
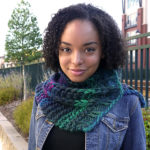
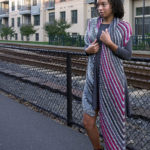
herringbonescarf1_deluxedktweedhires

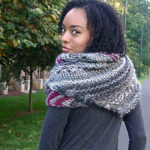
herringbonescarf4_deluxedktweedhires

The colors that I ultimately selected for my jacket are the two that I would have picked anyway, but I’m so glad I did this exercise. It also gave Yonca a chance to see the different colors so she could make her choice as well.

Stay tuned for more herringbone twill and moto jackets!


Free Pattern Friday – Sideline Scarves

It’s Free Pattern Friday!

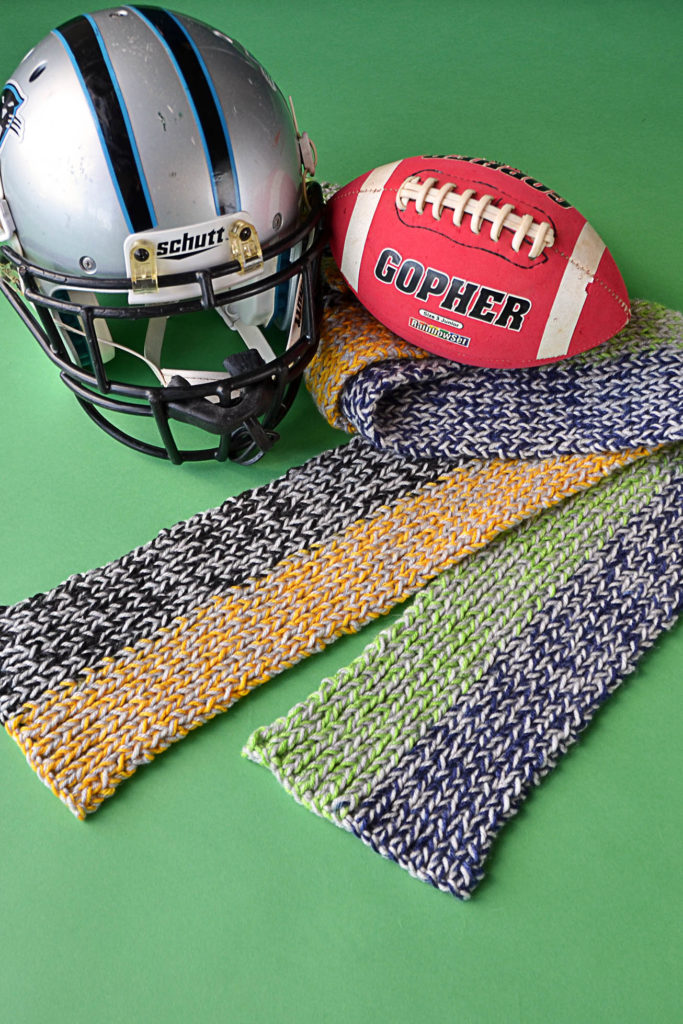
Just in time for football season (and gift knitting season!), we have the Sideline Scarves. And a photo tutorial!

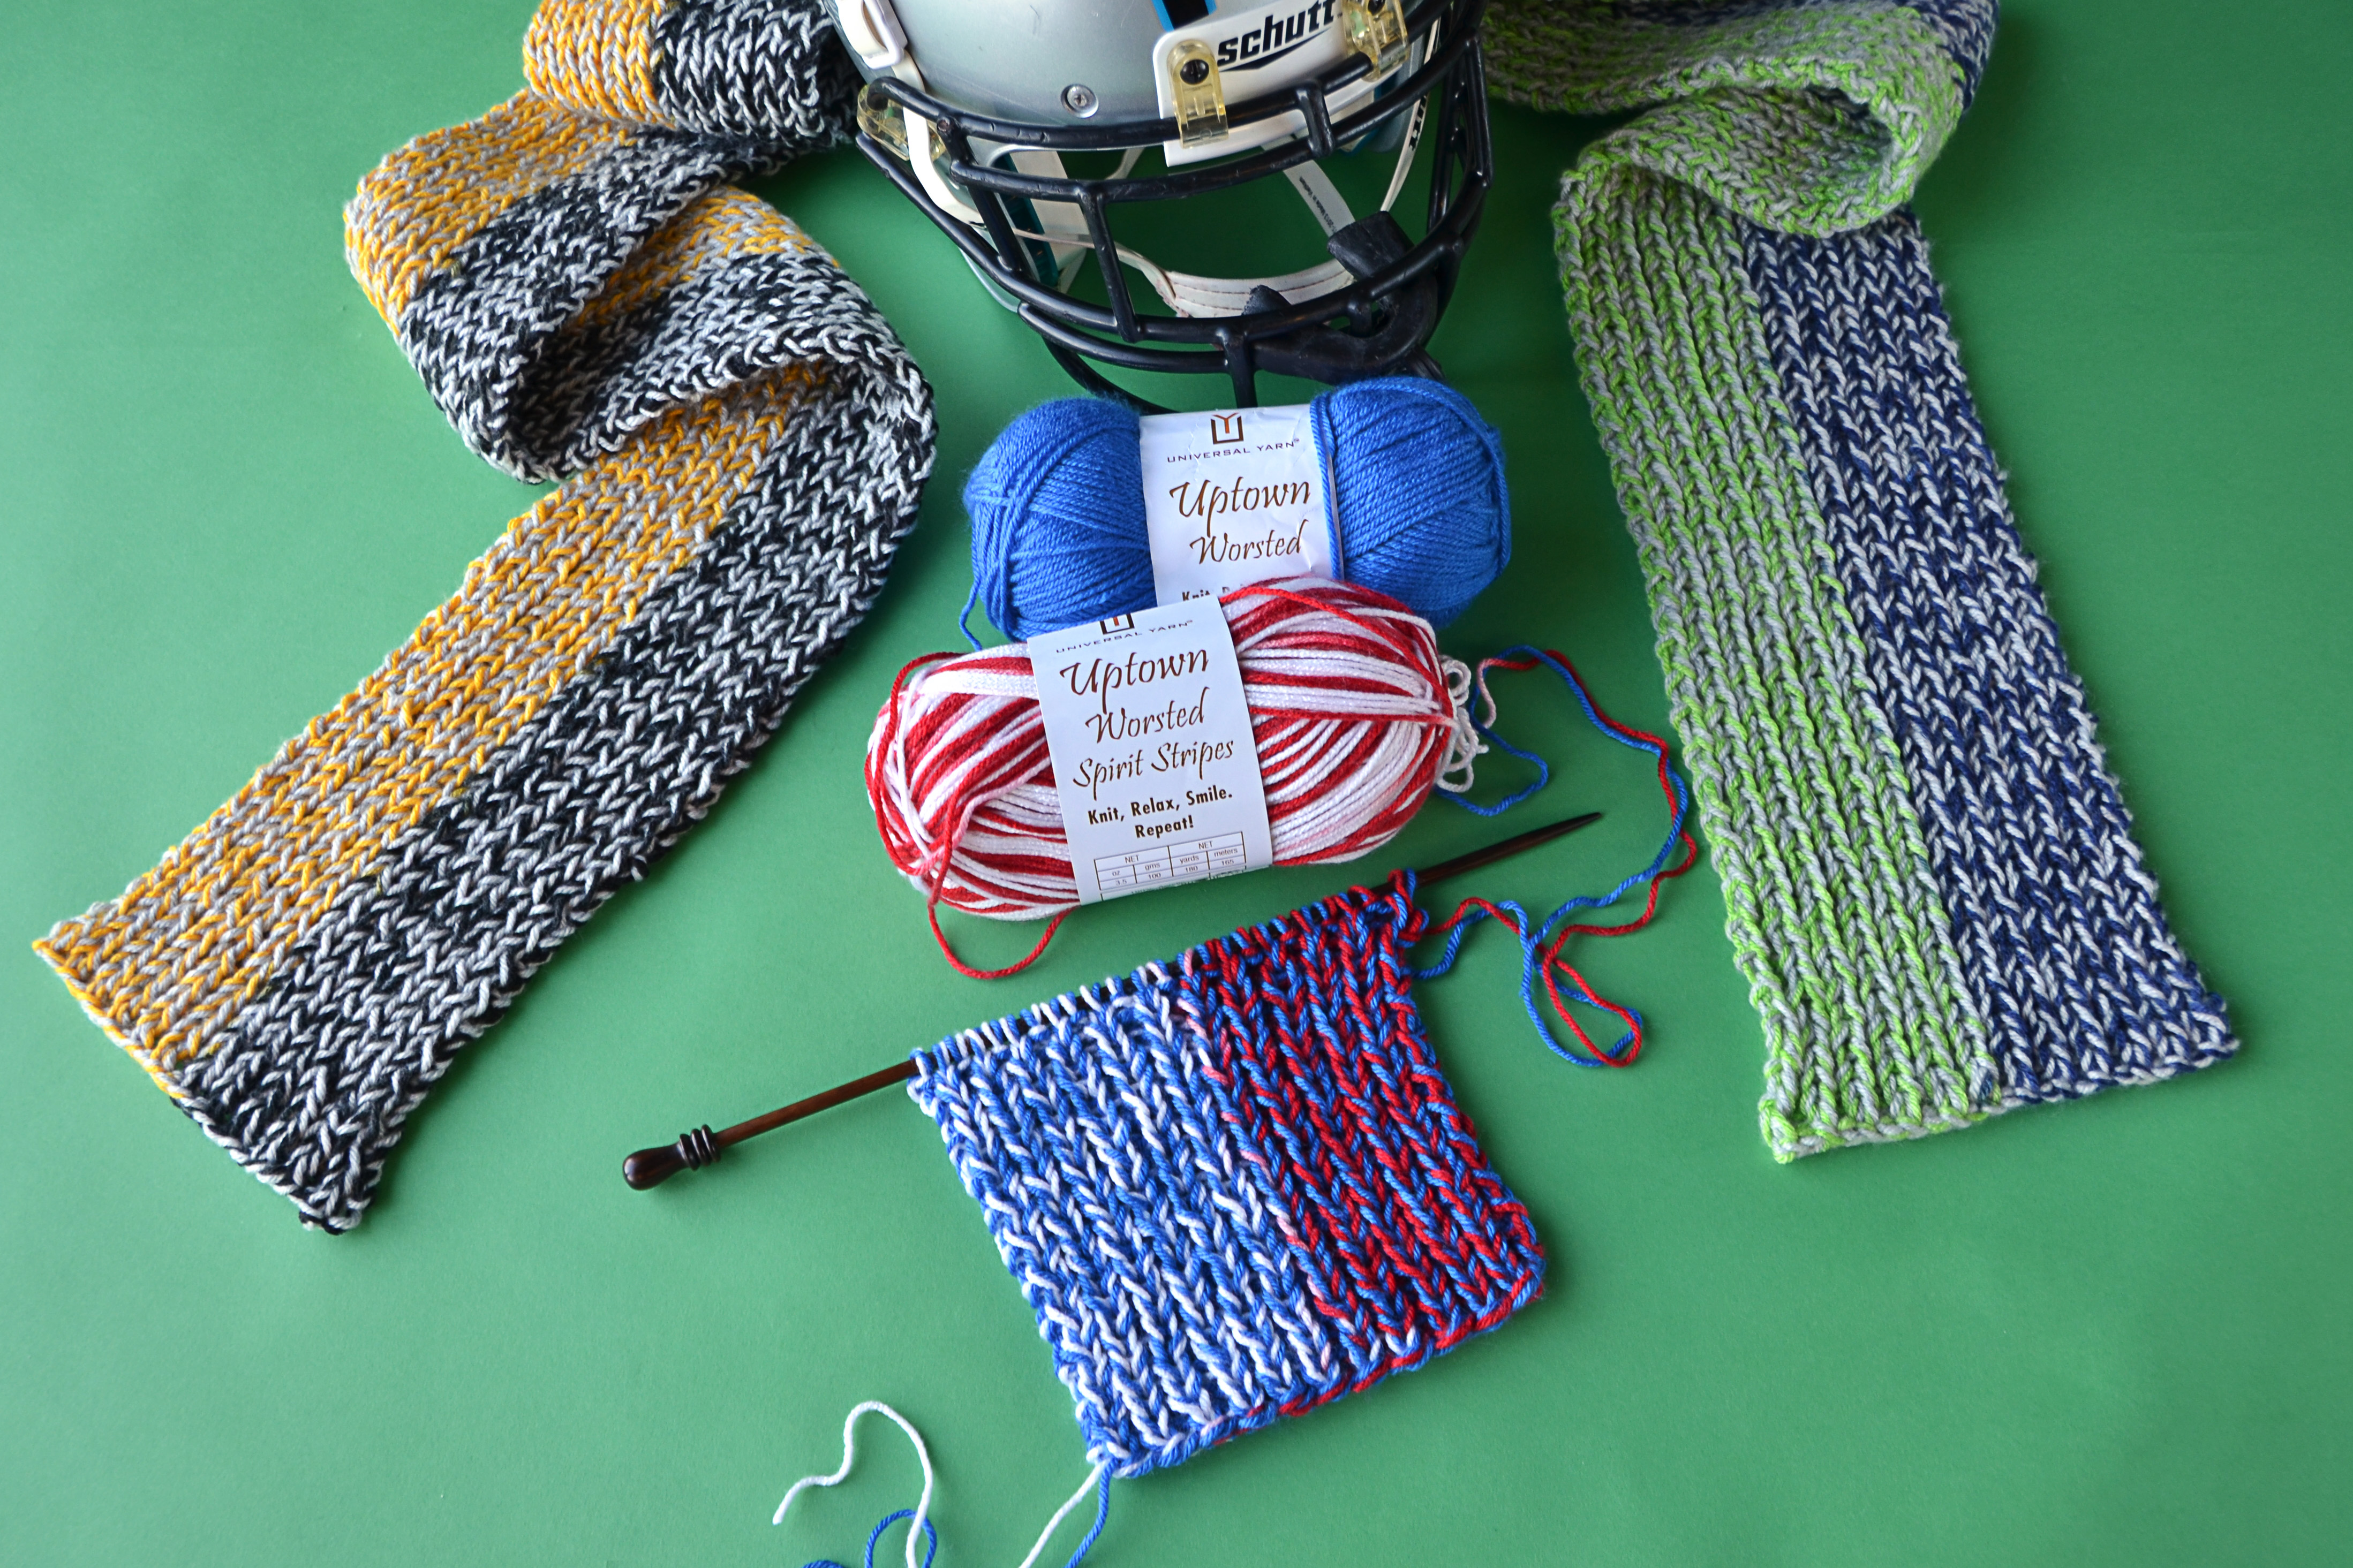
Each scarf requires 1 ball of Uptown Worsted Spirit Stripes and 1 ball of Uptown Worsted. 1 strand of each yarn is held together throughout the scarf.

Though these scarves look like intarsia, I can assure you there is no manual changing of colors in this project. The vertical striping along this piece is inherent in the yarn print. This project takes advantage of the color changes in the yarn, and employs what we call “intentional color pooling.” The reason for the tutorial below rather than a simple pattern is that the color changes in Spirit Stripes can vary just a bit from skein to skein. With the method below, no matter what the lengths of color are in your particular skein, you can achieve intentional color pooling.

With just a little bit of preparation, you’ll be knitting away in no time!

Here’s how to do it!

When choosing yarn colors, it’s best to pick a color in Uptown Worsted solids that contrasts with the Spirit Stripes. In the tutorial below, I’m using Uptown Worsted 324 Black with Spirit Stripes 517 Arena (red and yellow)

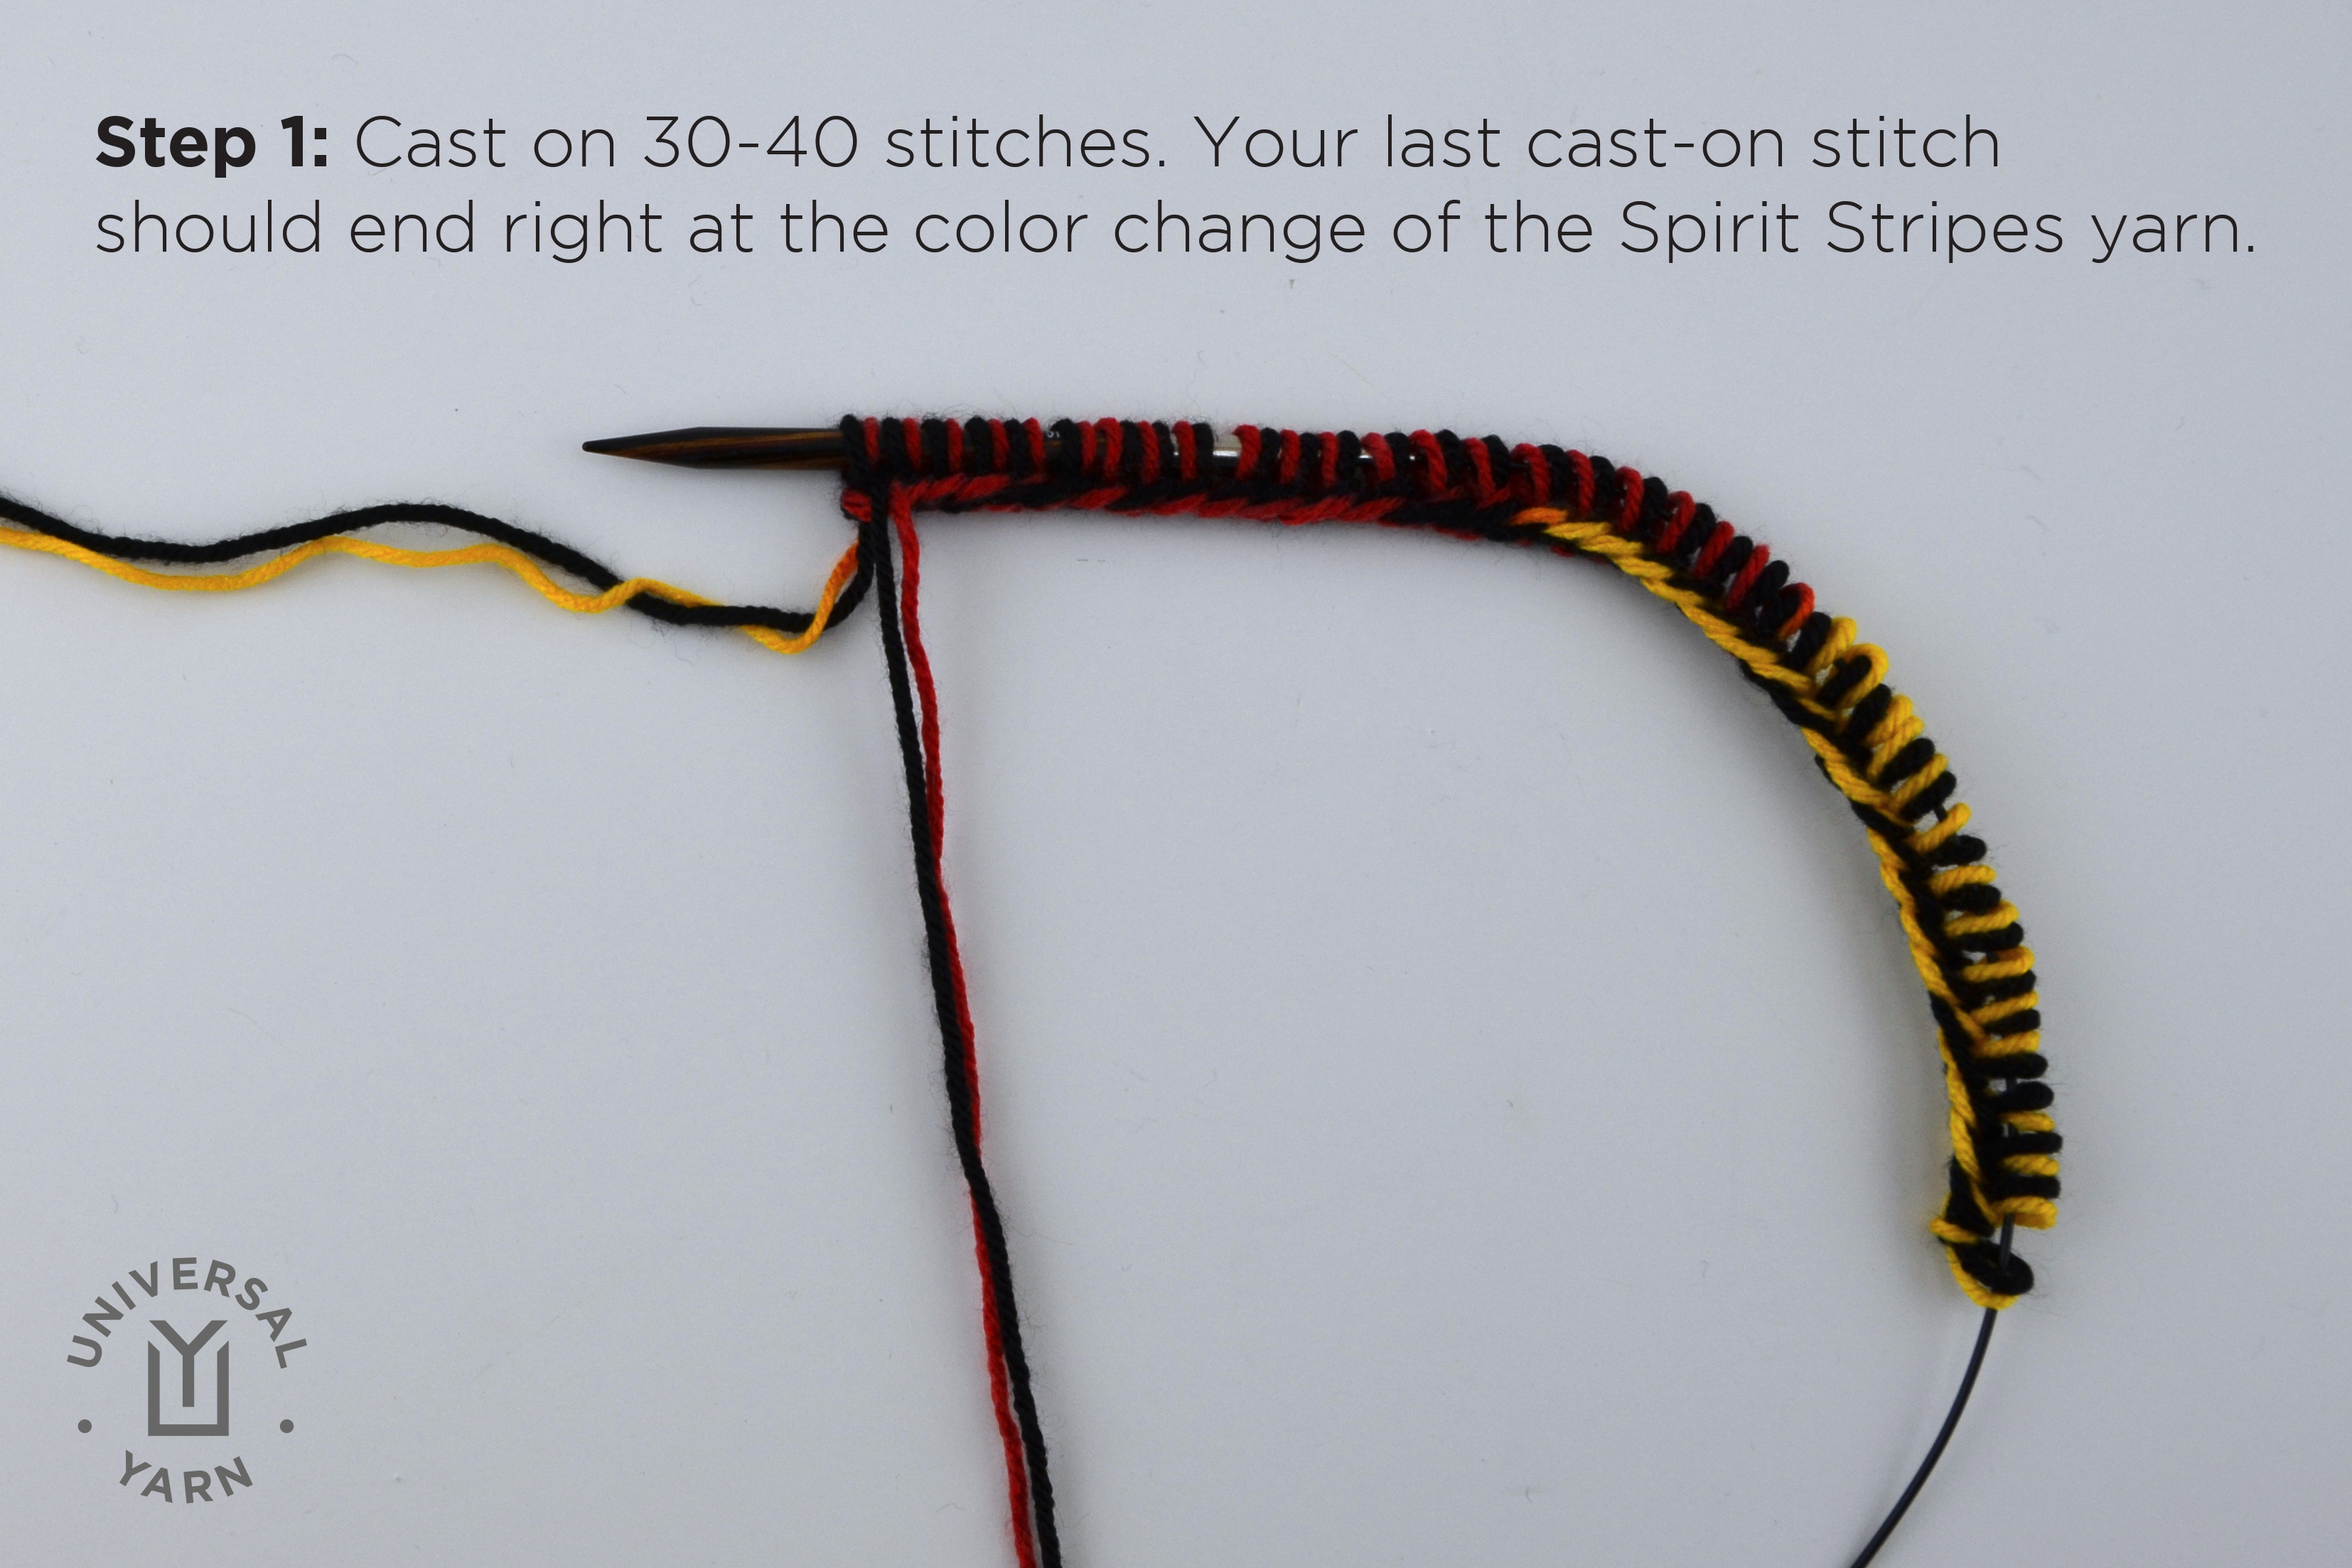
Step 1: Holding both yarns together, cast on 30-40 stitches with a US Size 10 1/2 needle. Make sure that the last cast-on stitch ends right at the end of that particular color section in the Spirit Stripes. This is important because we’re going to be calculating just how many stitches are consumed by each section of color.

colorpoolscarf1

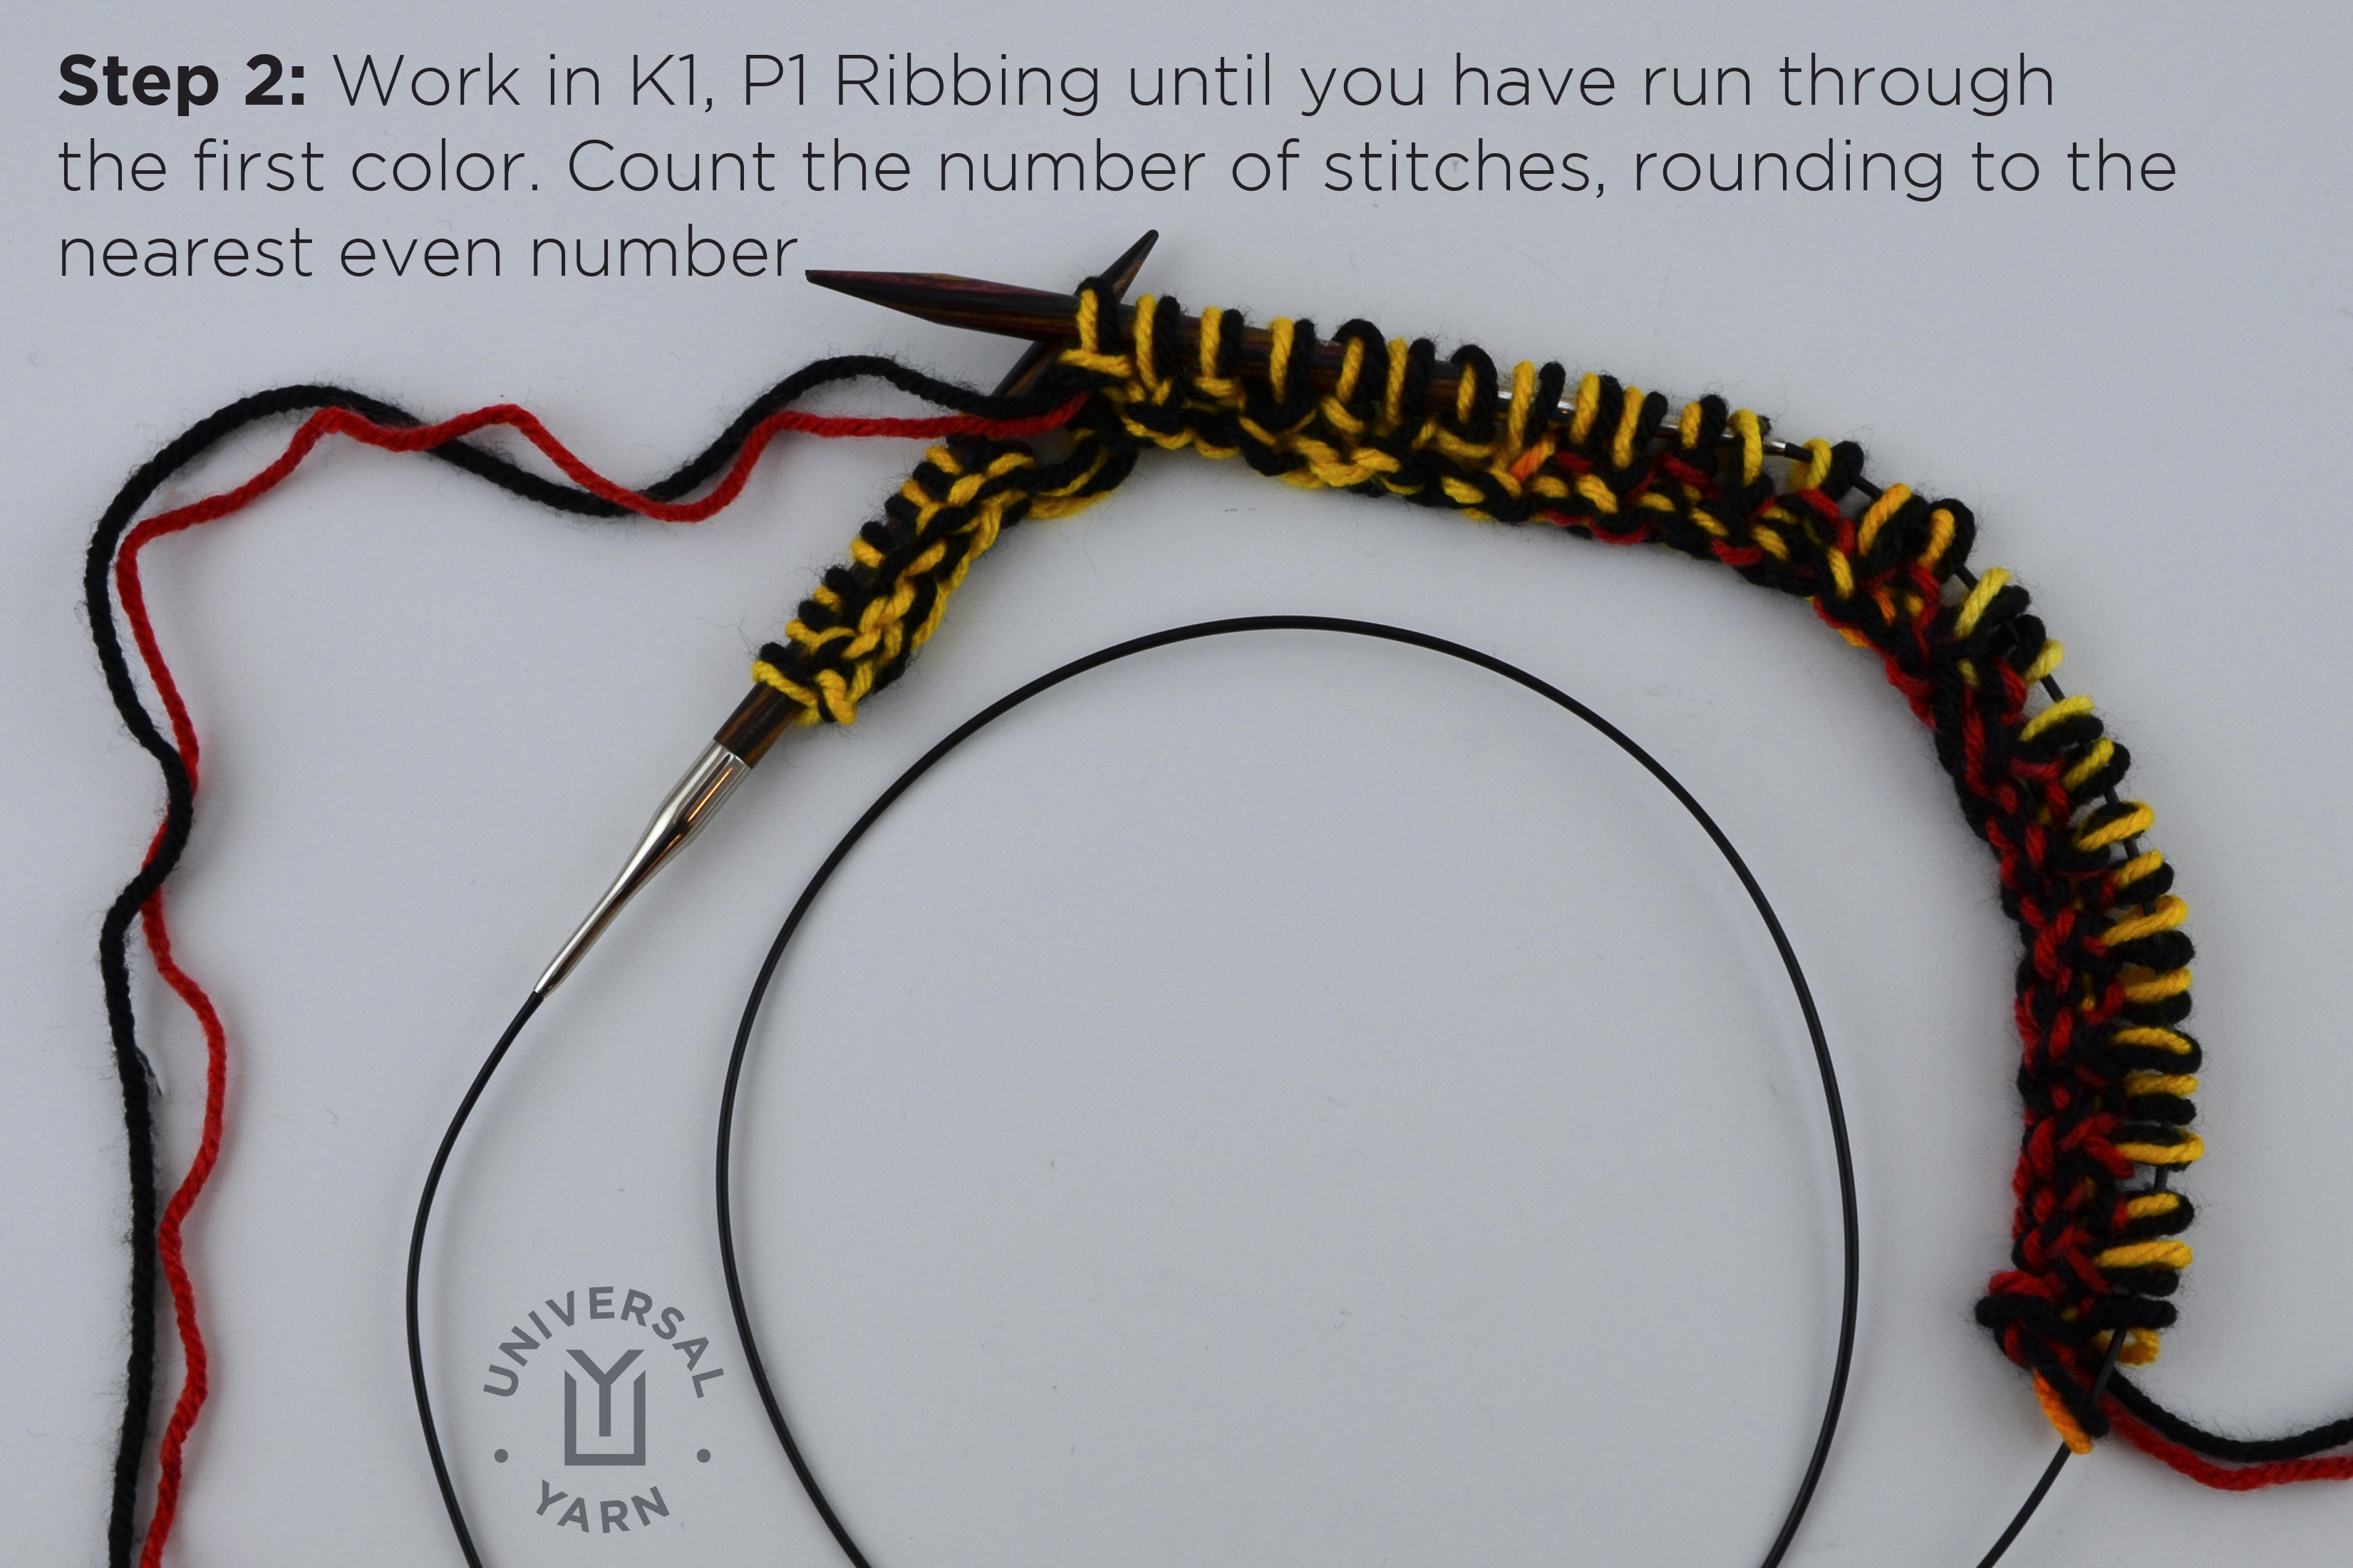
Step 2: Work in K1, P1 Ribbing through the end of the first section of color. Count how many stitches it took to get through this color, and round to the nearest even number. We will call this number of stitches “X.” If you’re as absent-minded as me, write this number down!

colorpoolscarf2

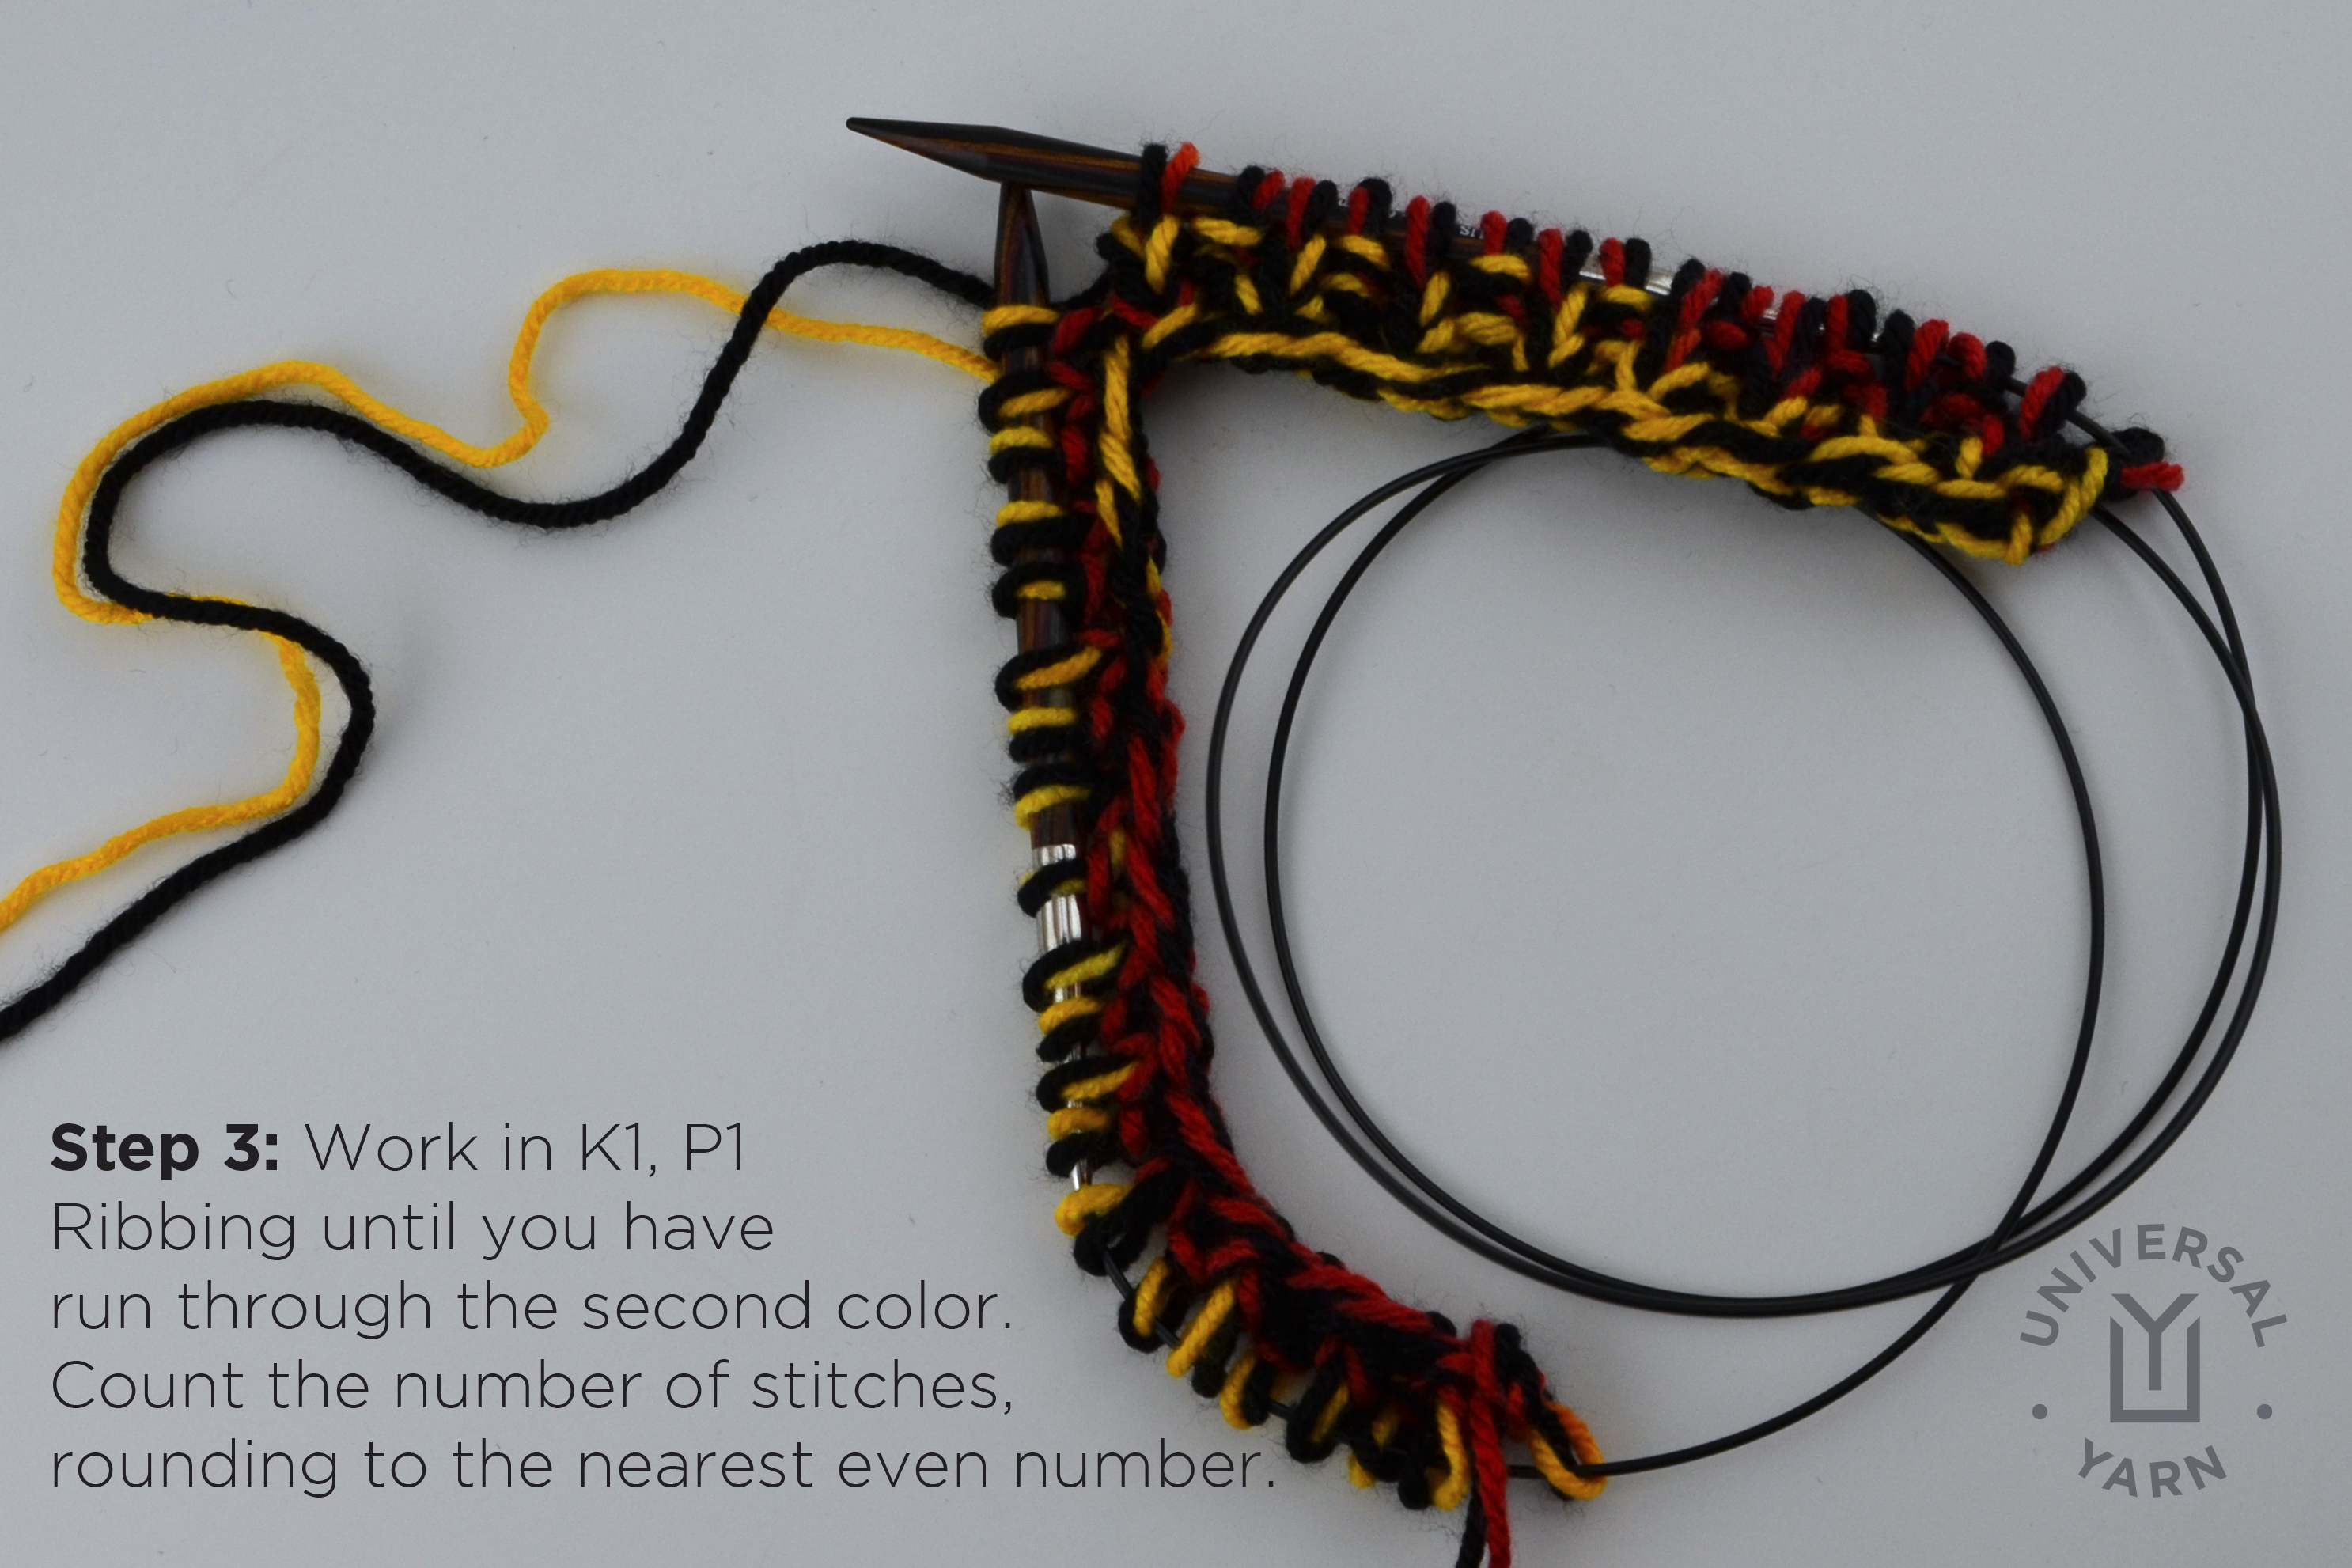
Step 3: Next, work in K1, P1 Ribbing through the second color and count the stitches. You will most likely have to turn the row before you’ve made it through this color – that’s okay, it’s unimportant now. We will call this color “Y.” Y may not be the same number as X, because the color sections are not always exactly the same length.

colorpoolscarf3

Step 4: Unravel your knitting from above. Add X + Y, then divide in half. The resulting number will be your cast on. Your cast on number should be roughly 24-30 stitches.

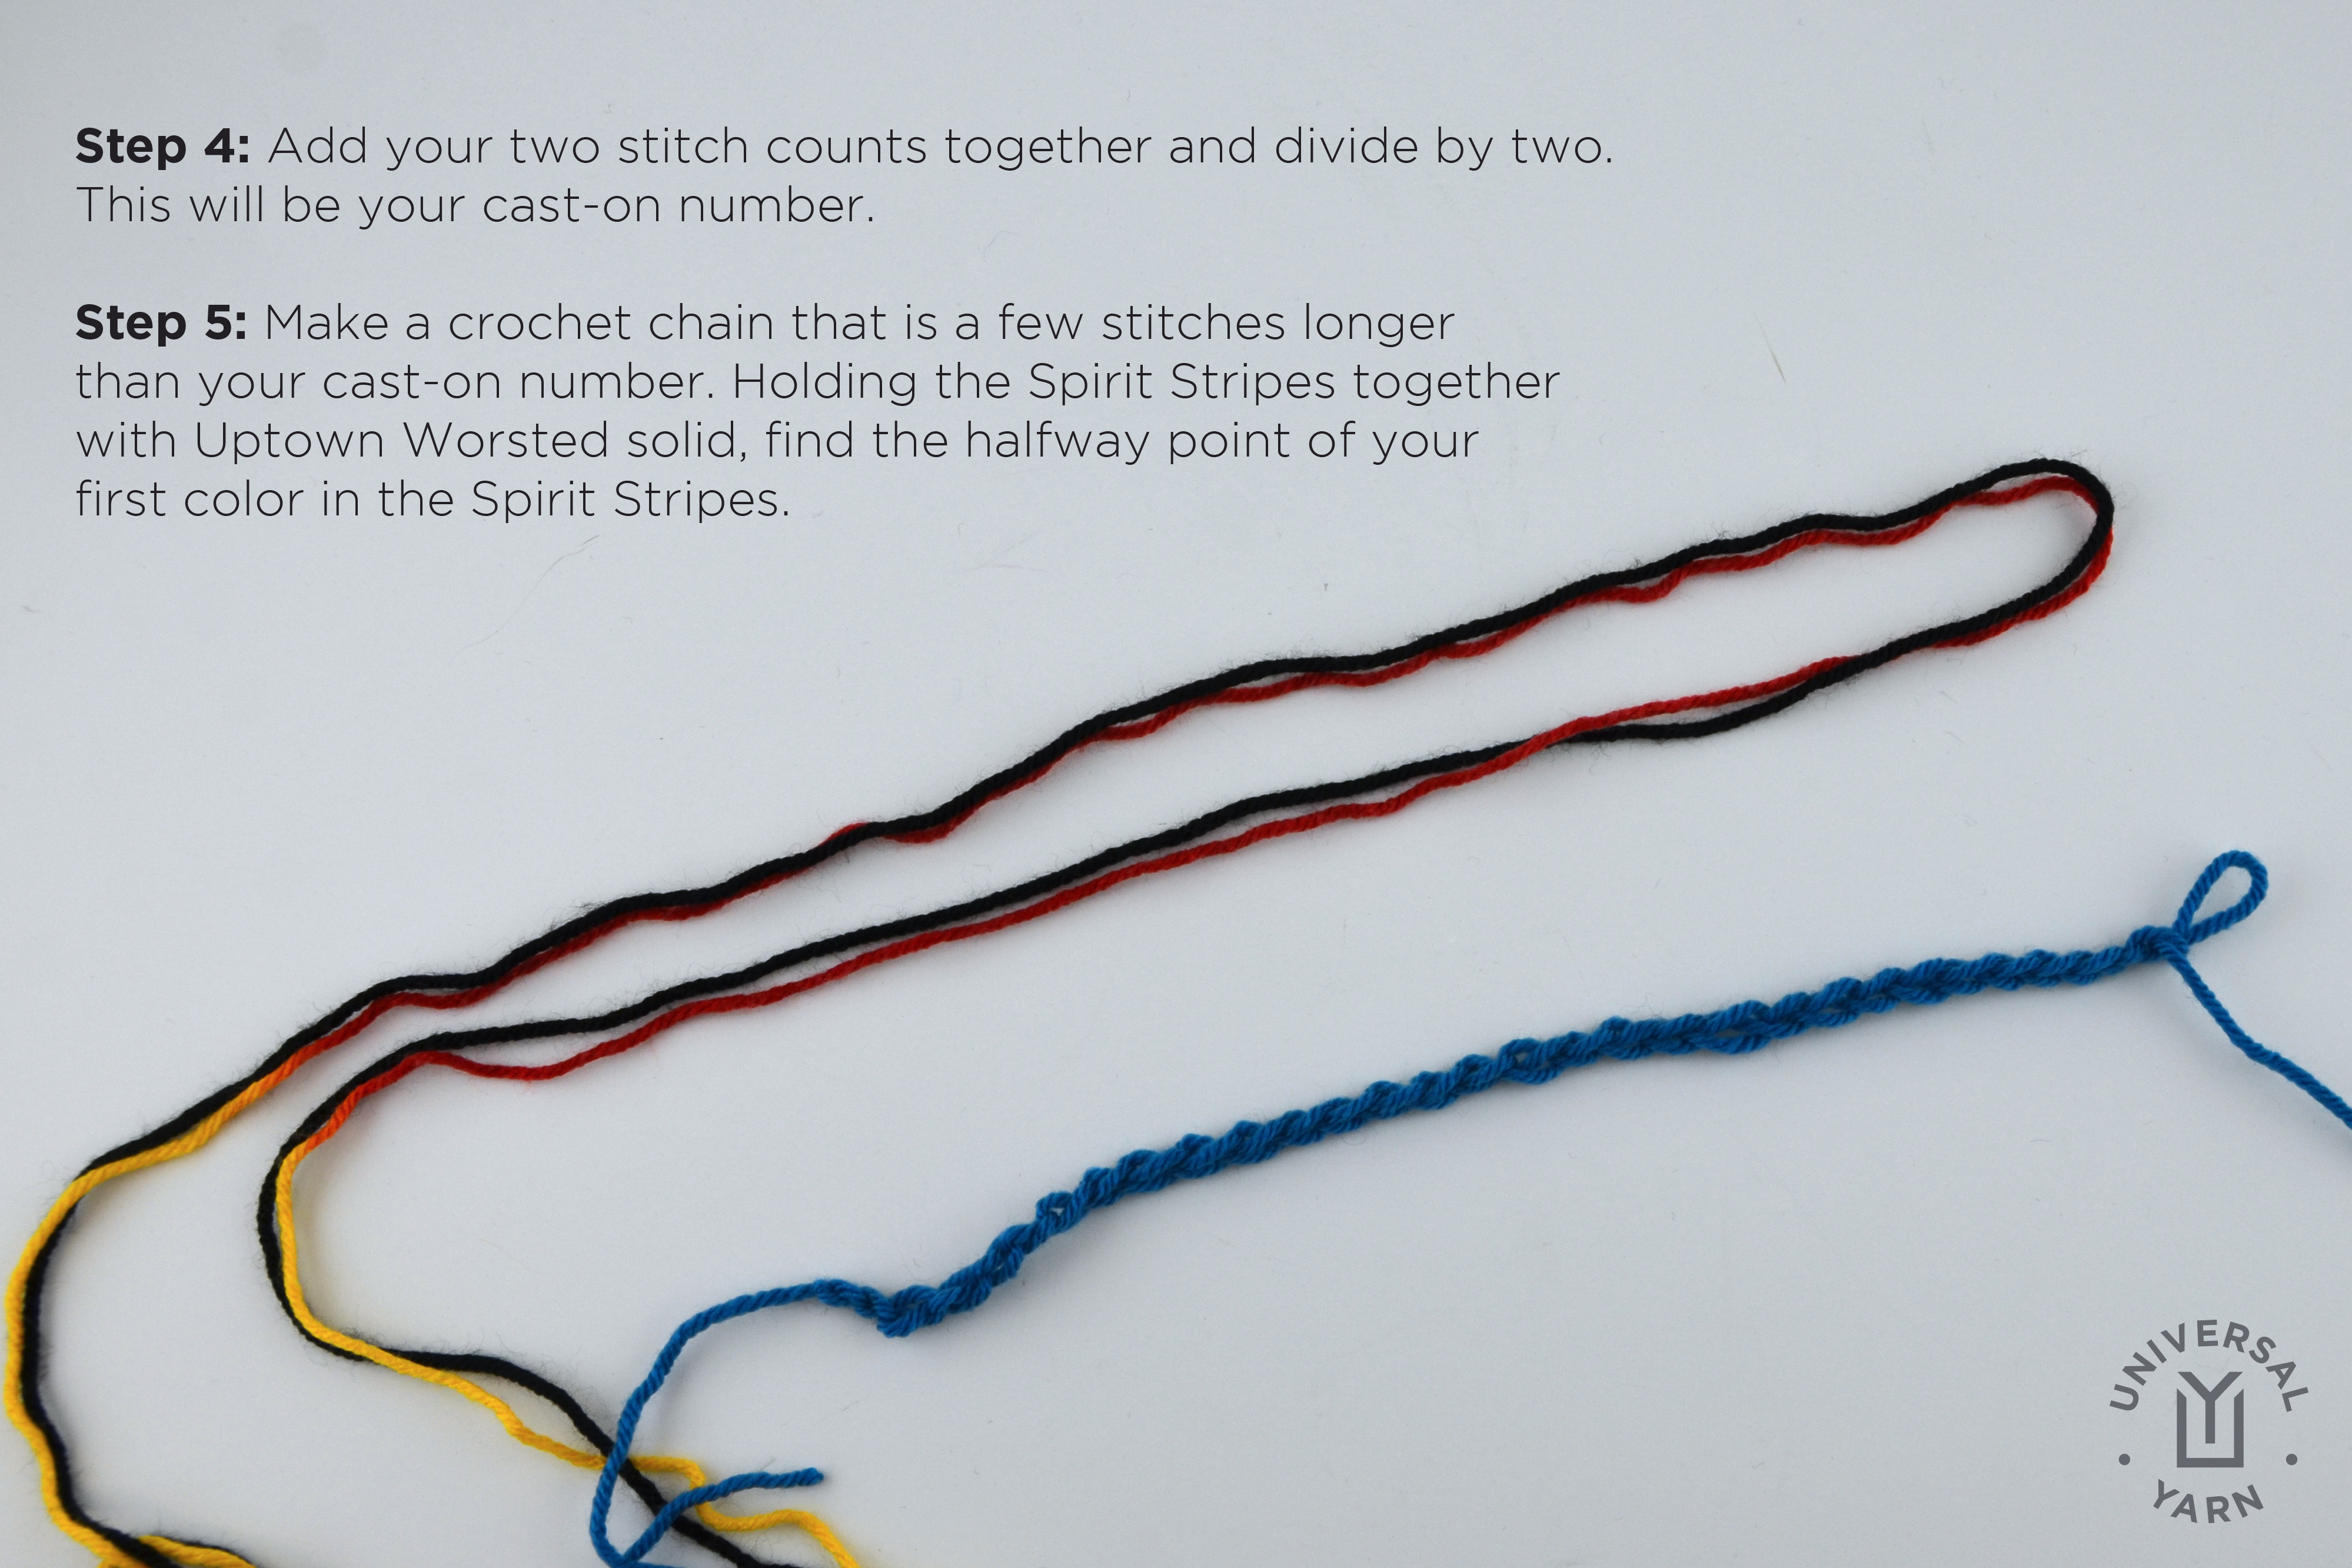
Step 5: With waste yarn, make a crochet chain that is several stitches longer than your cast on number. Now, holding both yarns together, from the tail end of the yarns, find a color section a few colors from the end. Find the halfway point of this section of color. Be sure to leave at least a yard or so of tail for binding off later.

colorpoolscarf4

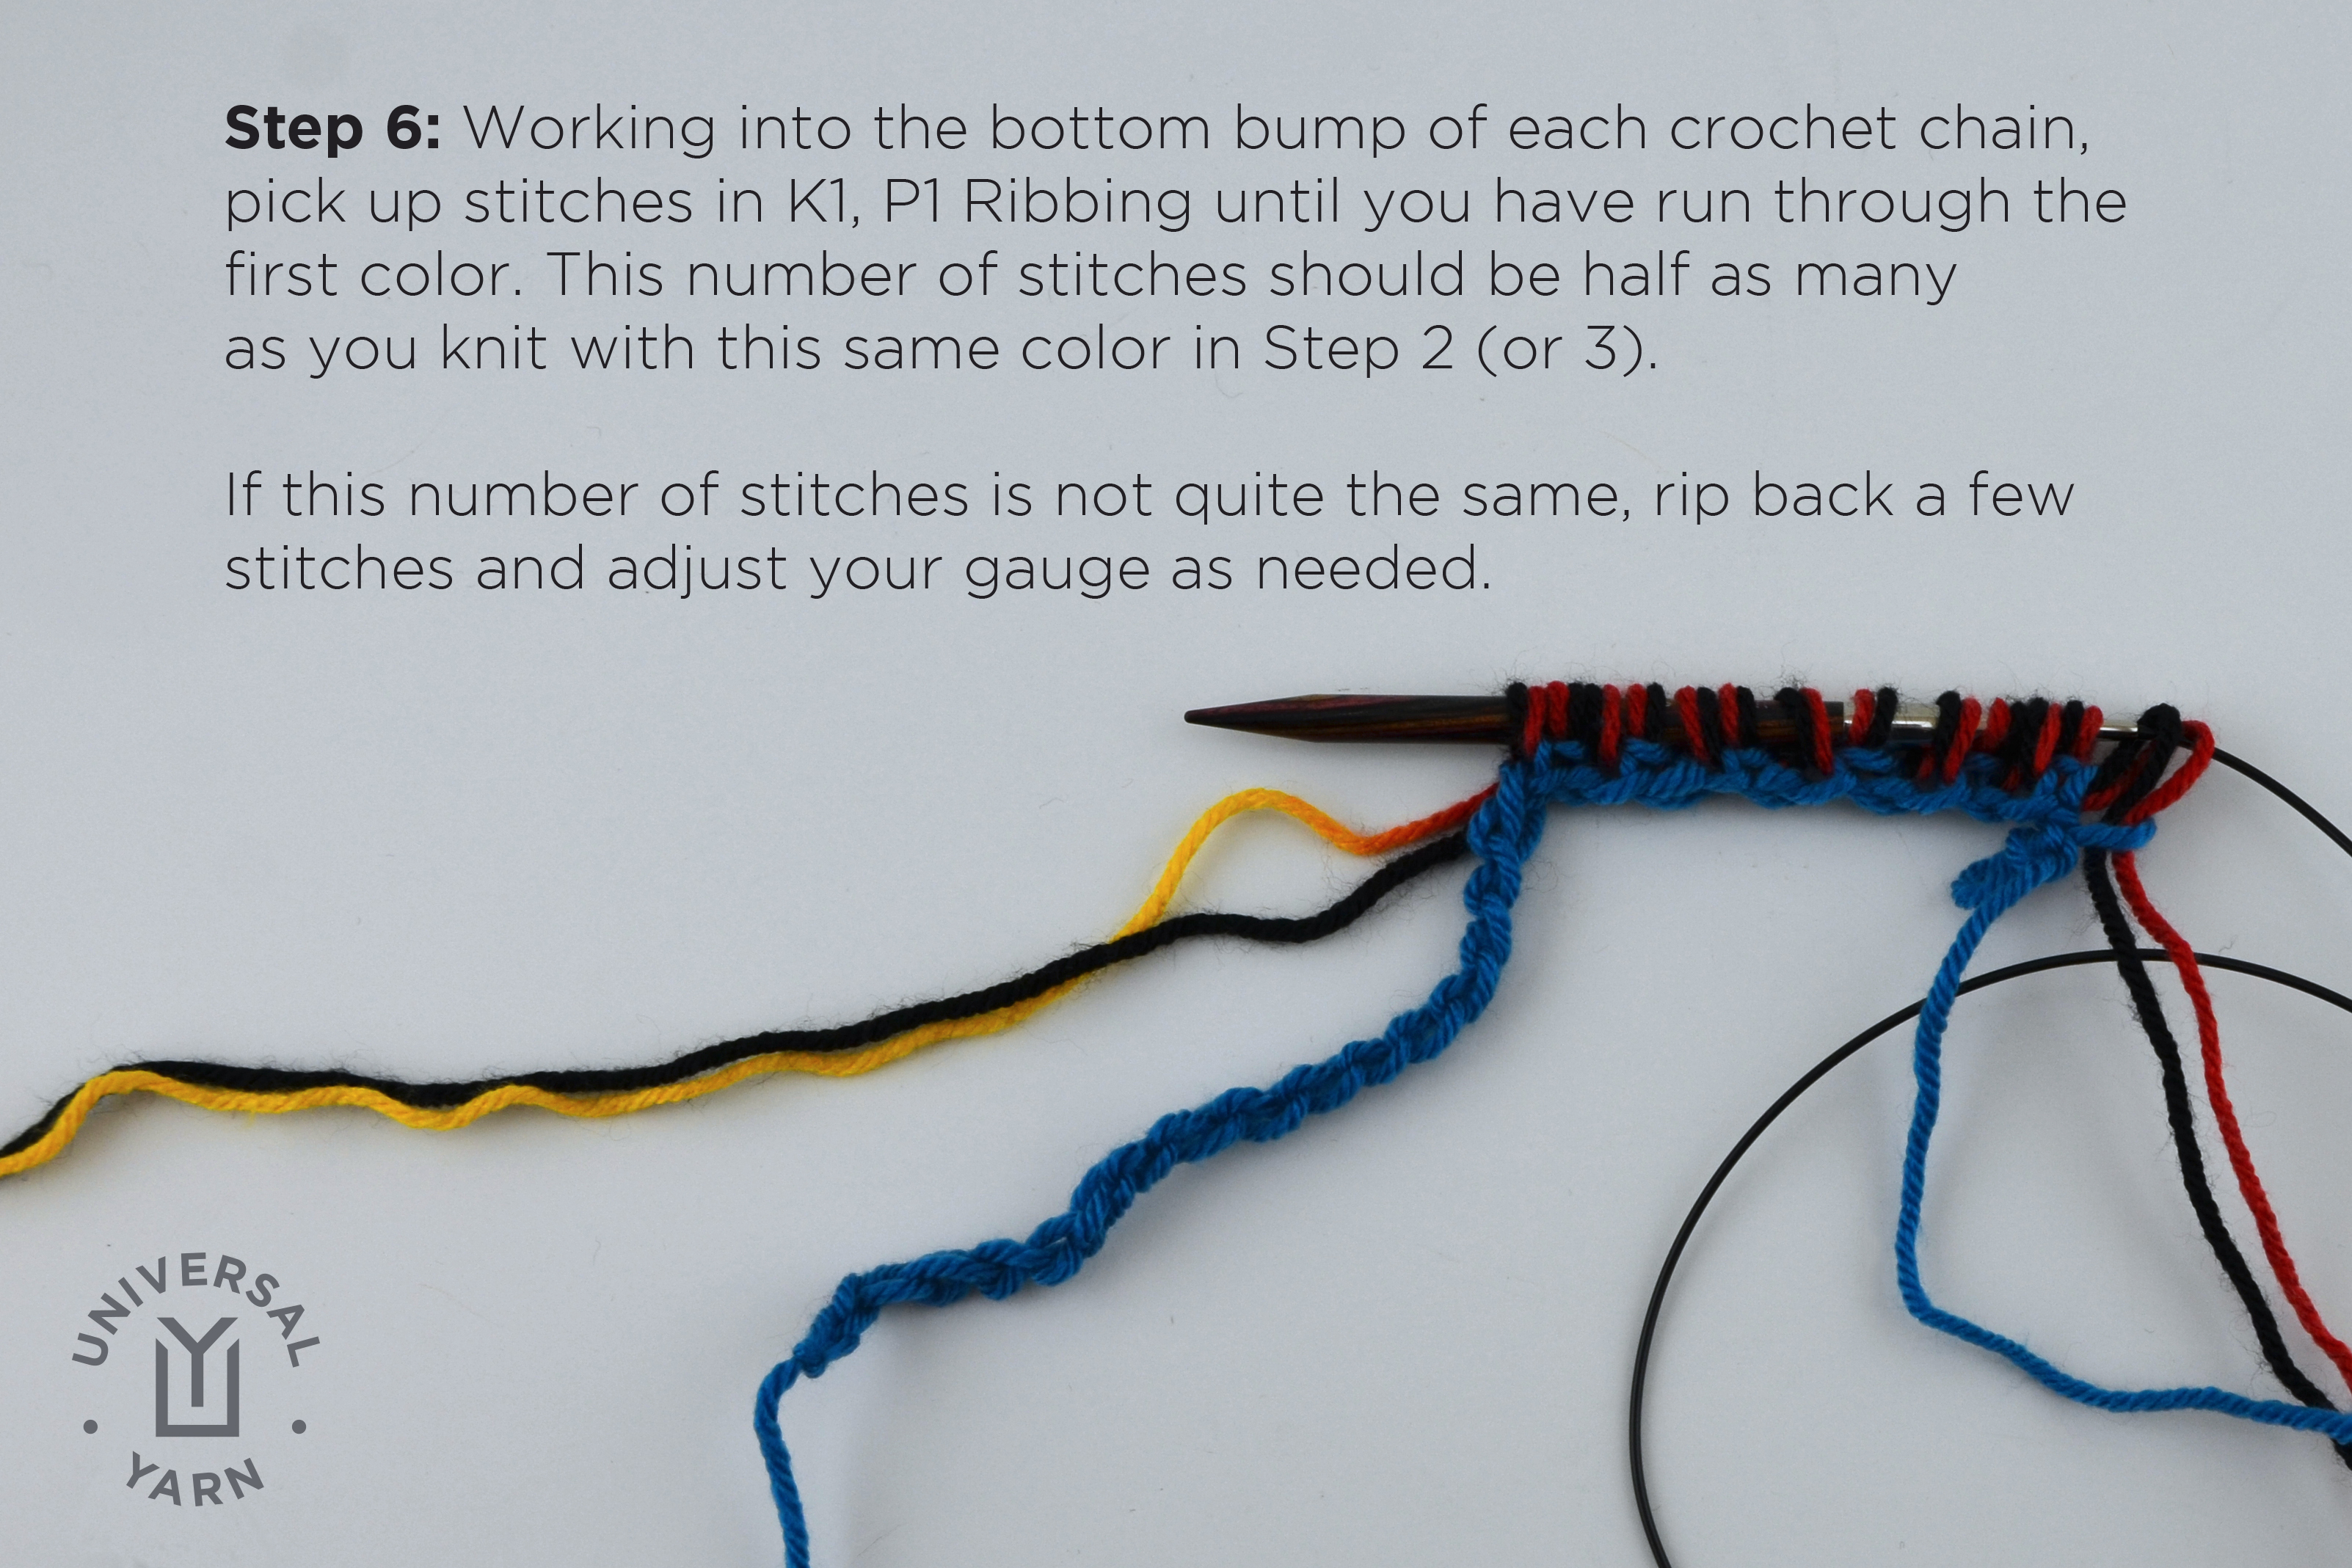
Step 6: Beginning at that halfway point in the first color section, working through the bottom bump of each crochet chain, [pick up and knit 1 stitch, pick up and purl 1 stitch] until you’ve run to the end of this color. The number of stitches you were able to pick up should be half of X (or Y). If you picked up more or fewer stitches before reaching the end of the color change, take out a few stitches and adjust tension as needed.

colorpoolscarf5

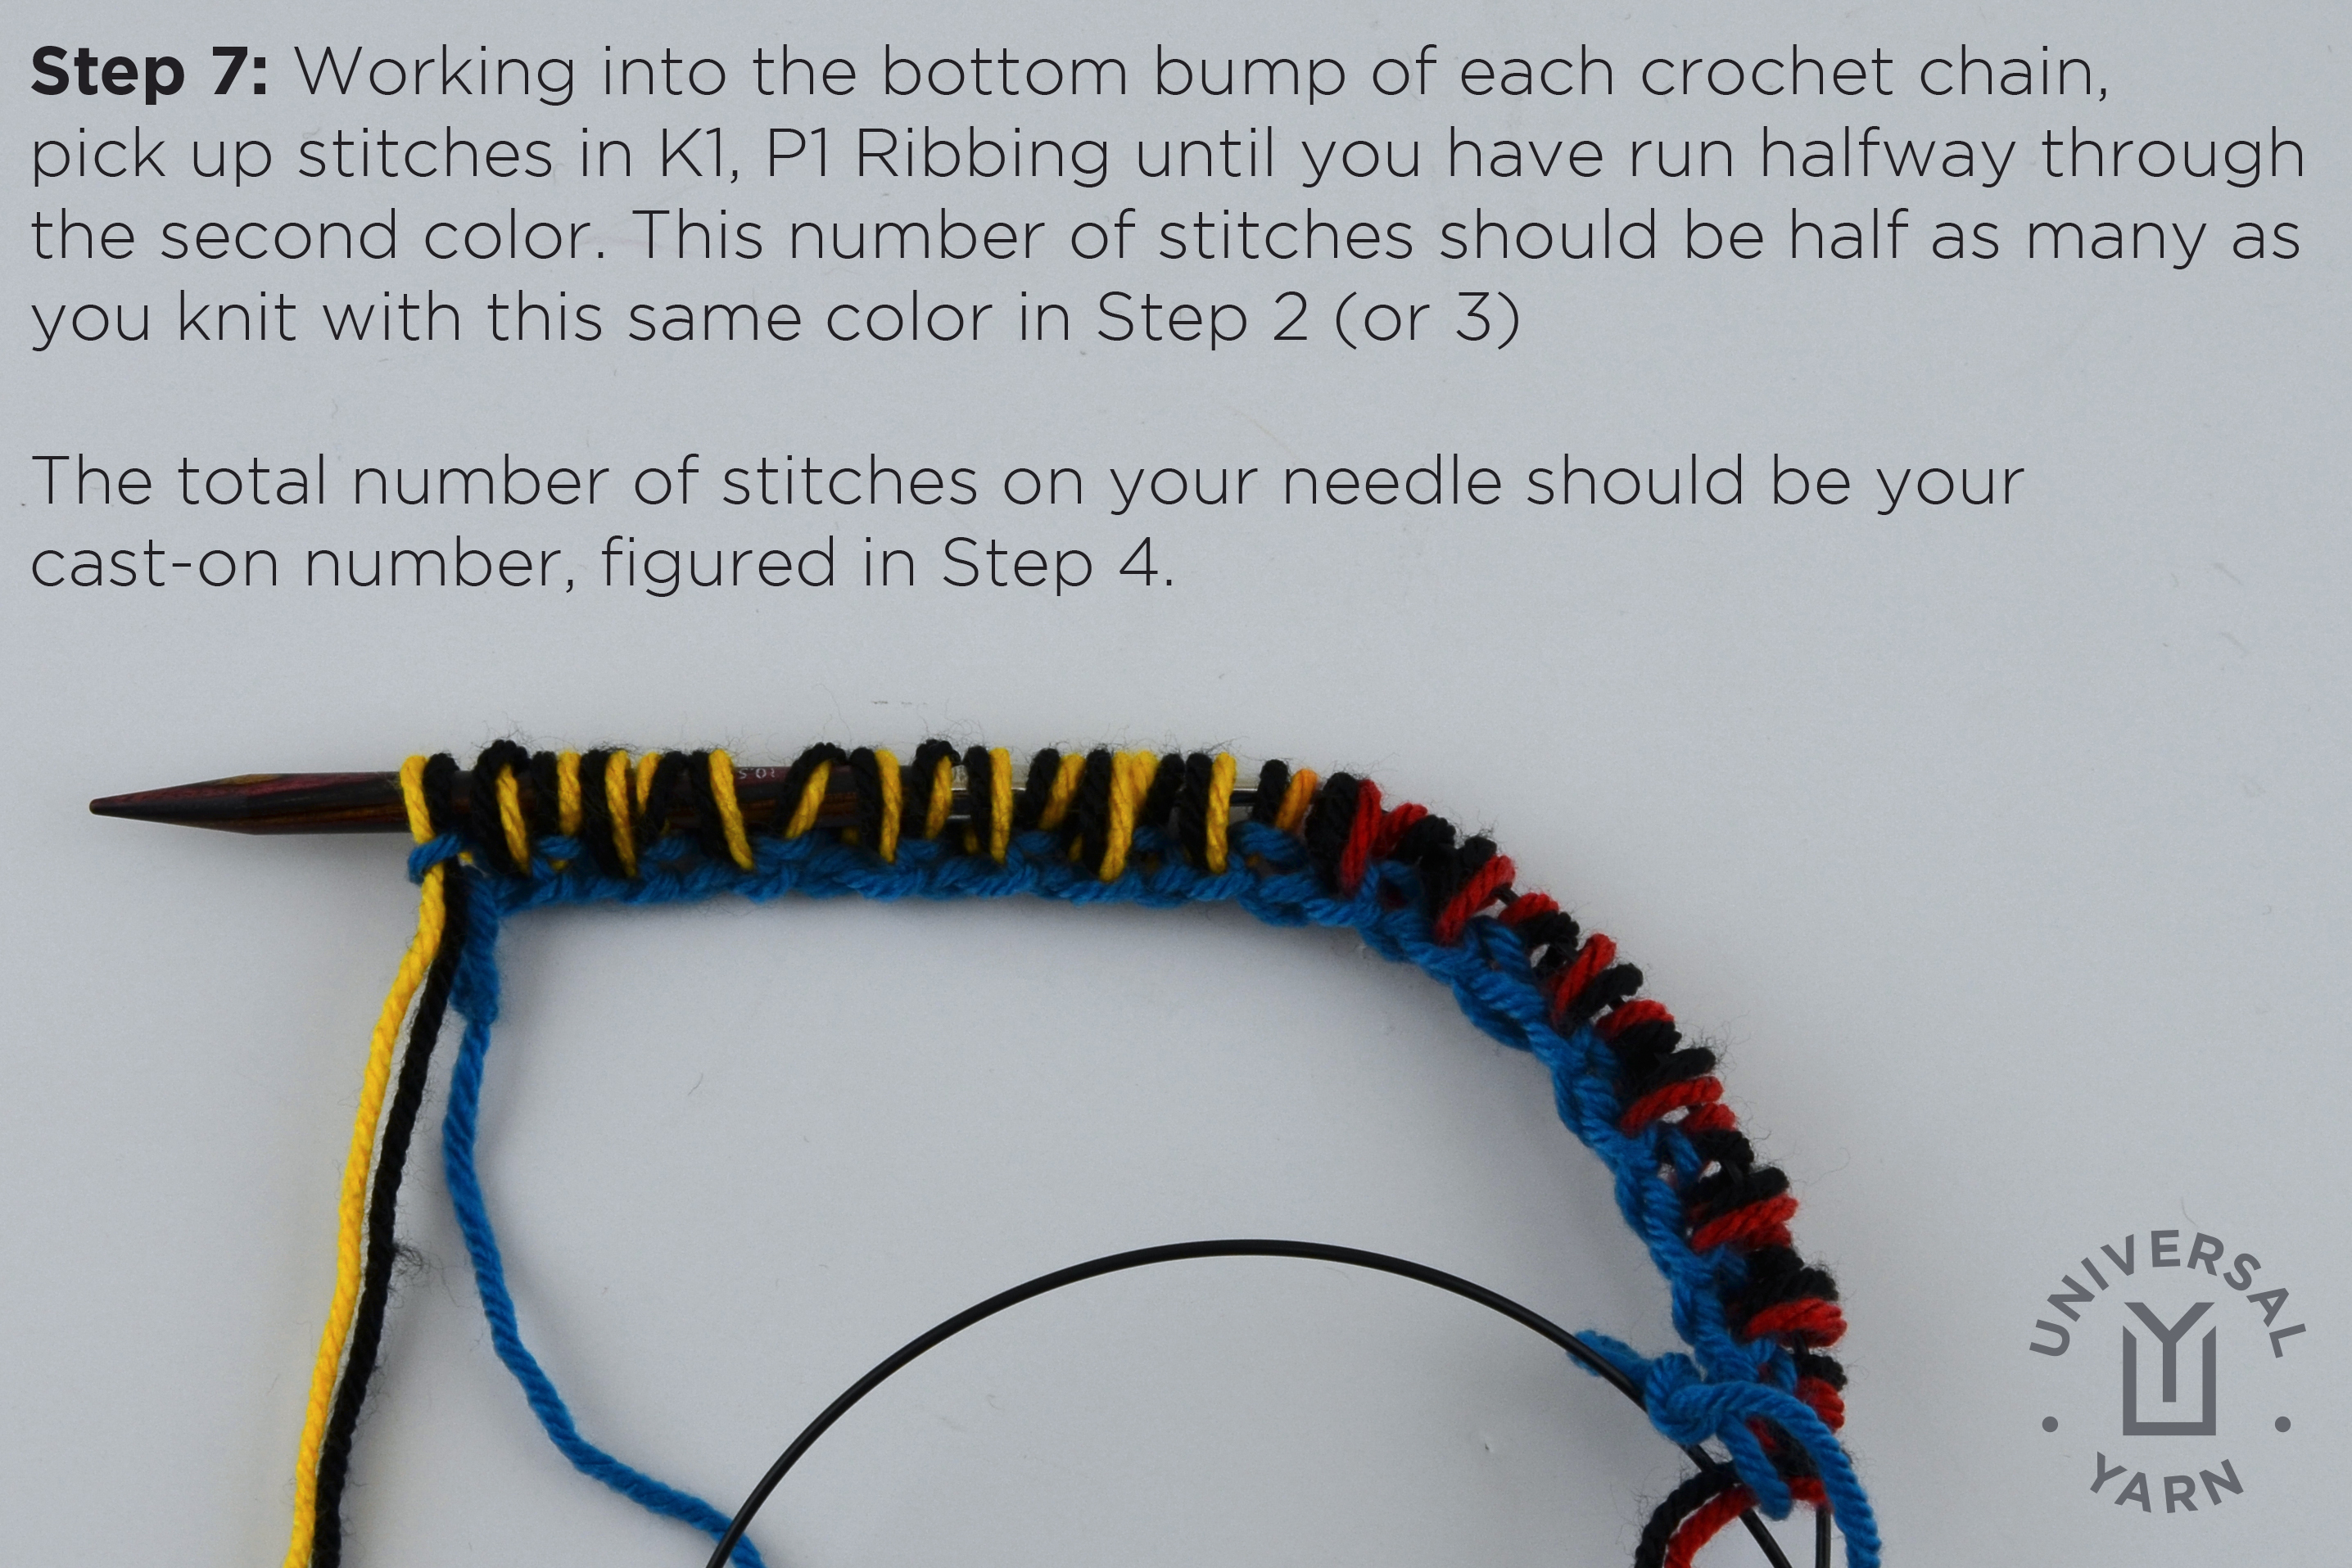
Step 7: Continuing where you left off in the rib sequence (you may have left off with either a pick up and knit or pick up and purl), pick up stitches in K1, P1 Ribbing until you have run halfway through the second color. This number should be half of X (or Y). If it is not, take out a few stitches and adjust your tension.

The total number of stitches on your needle should be the cast-on number figured in Step 4, or X + Y divided by 2.

colorpoolscarf6

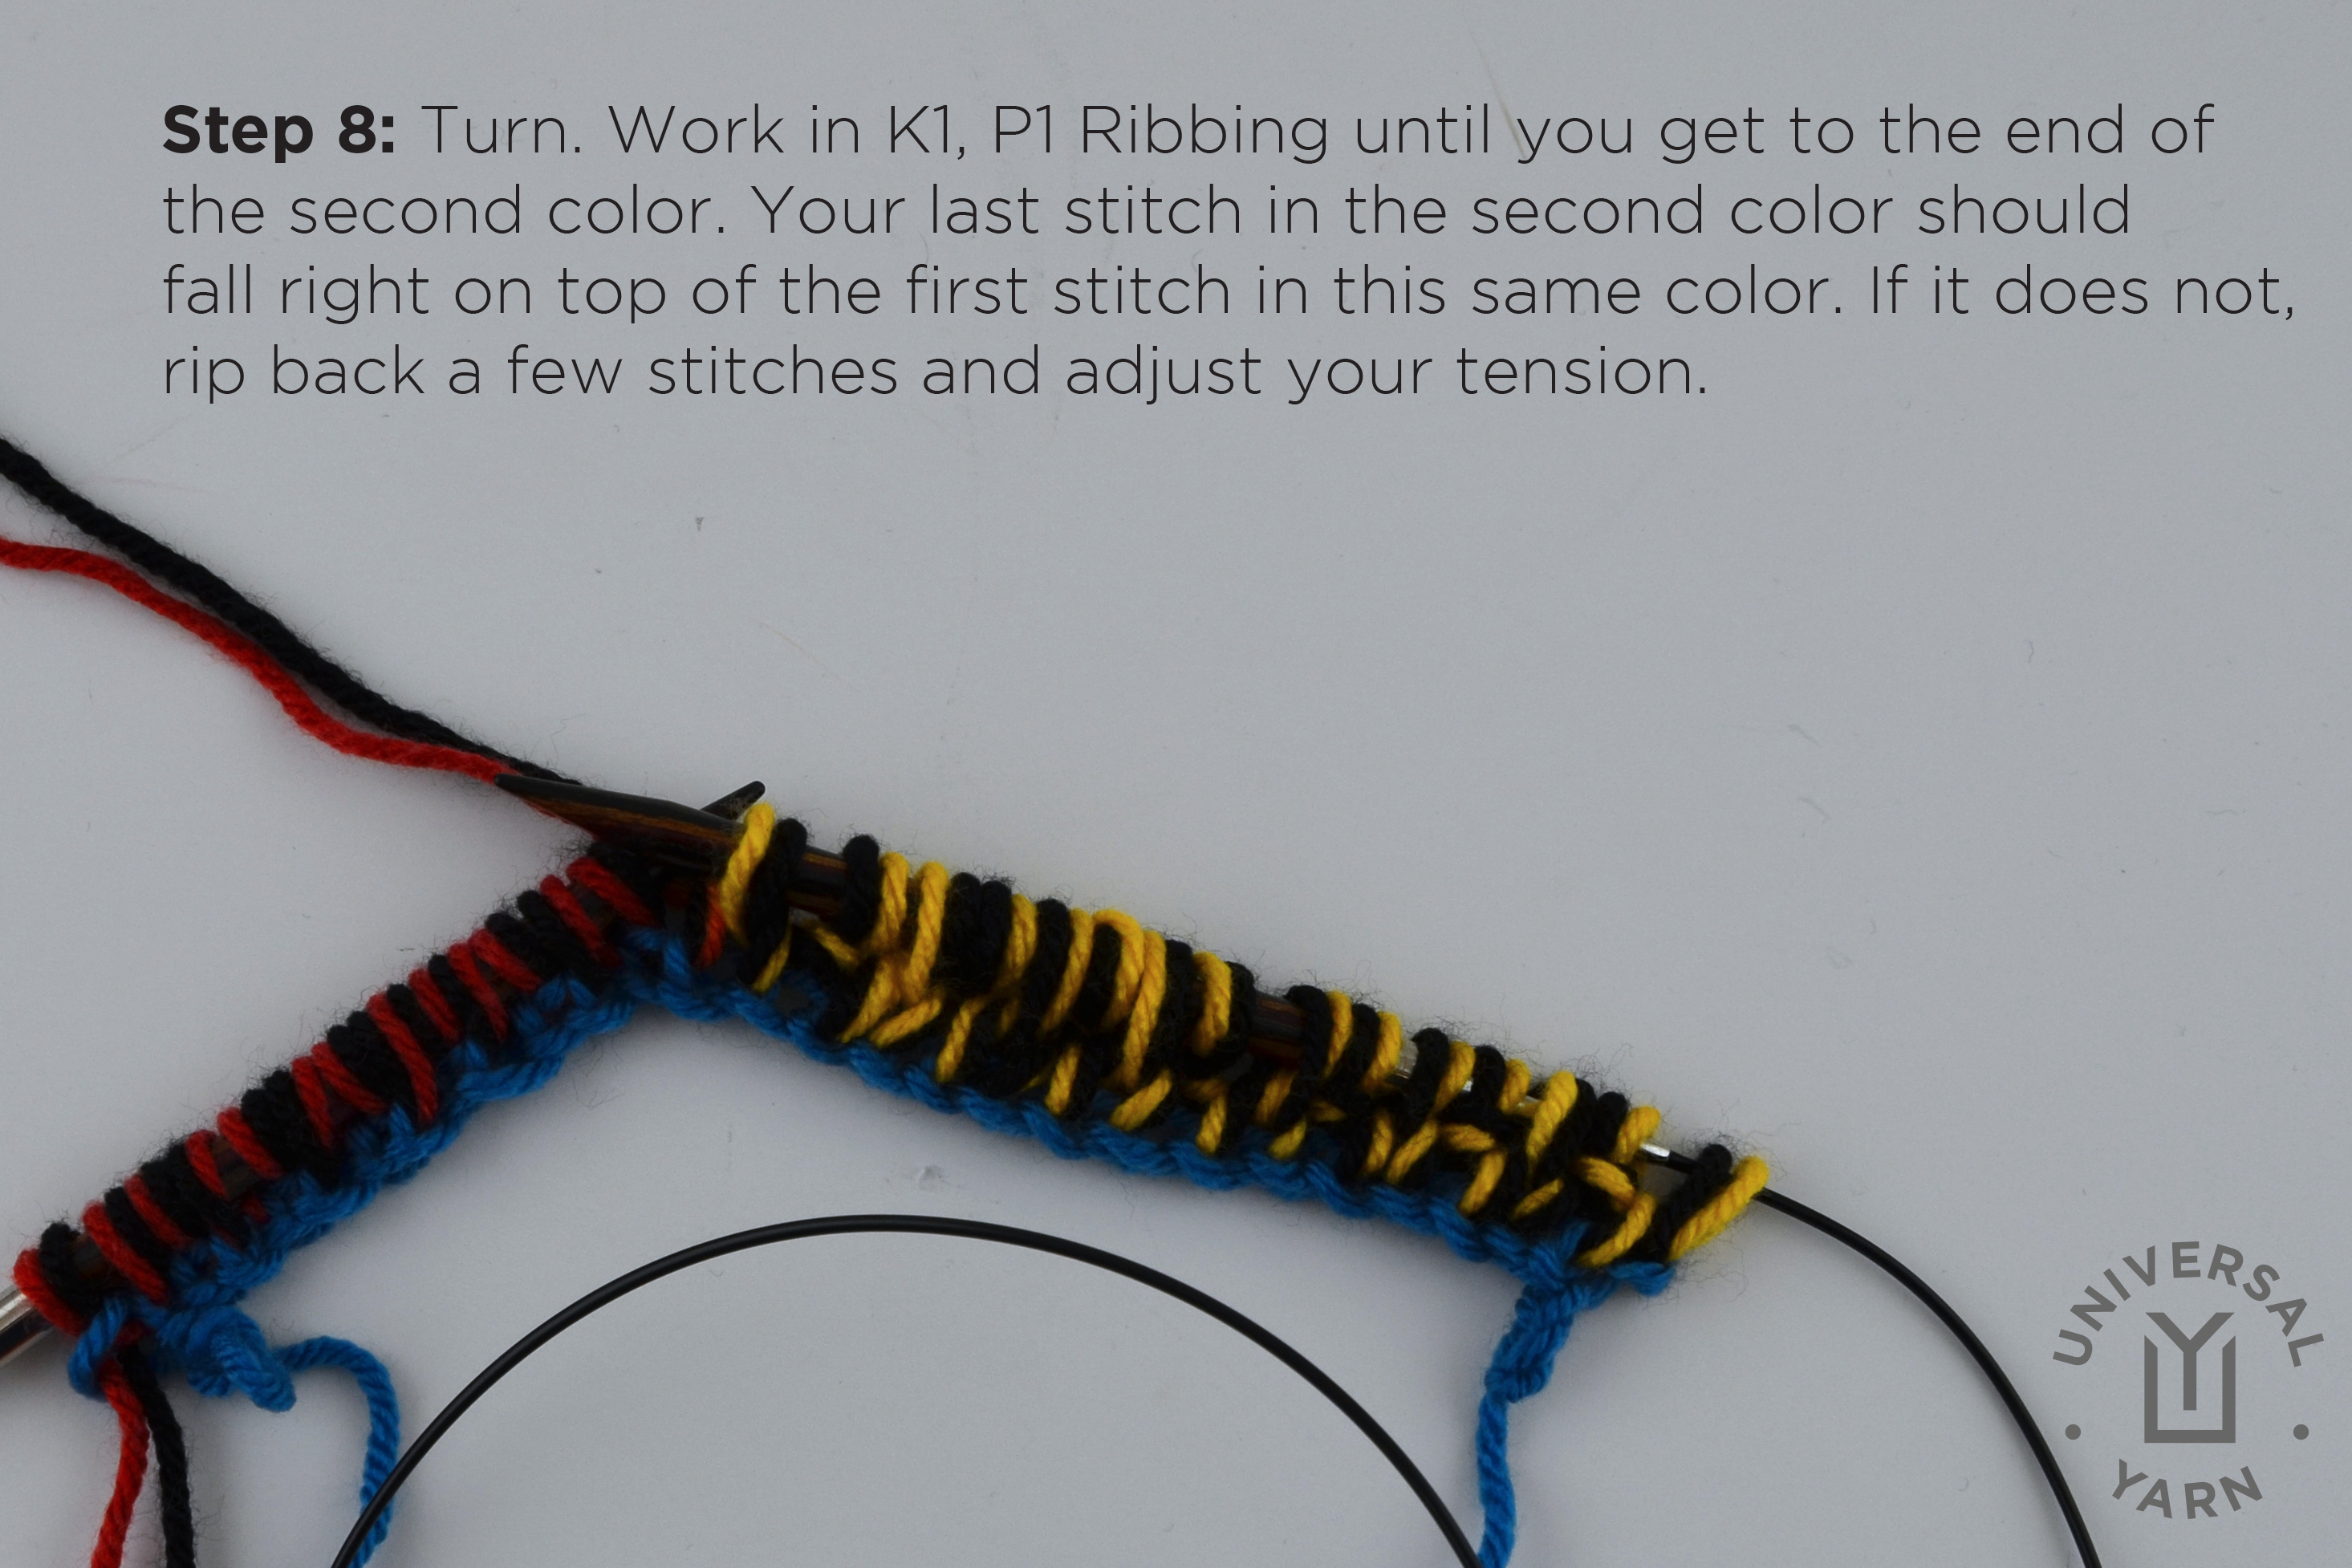
Step 8: Now it’s time for the fun part – the knitting! Turn your work. Work in K1, P1 Ribbing until you reach the end of that color. Your last stitch in this color (shown yellow below) should fall right on top of the first stitch yellow stitch. If it doesn’t, take a few stitches out and adjust your tension.

colorpoolscarf7

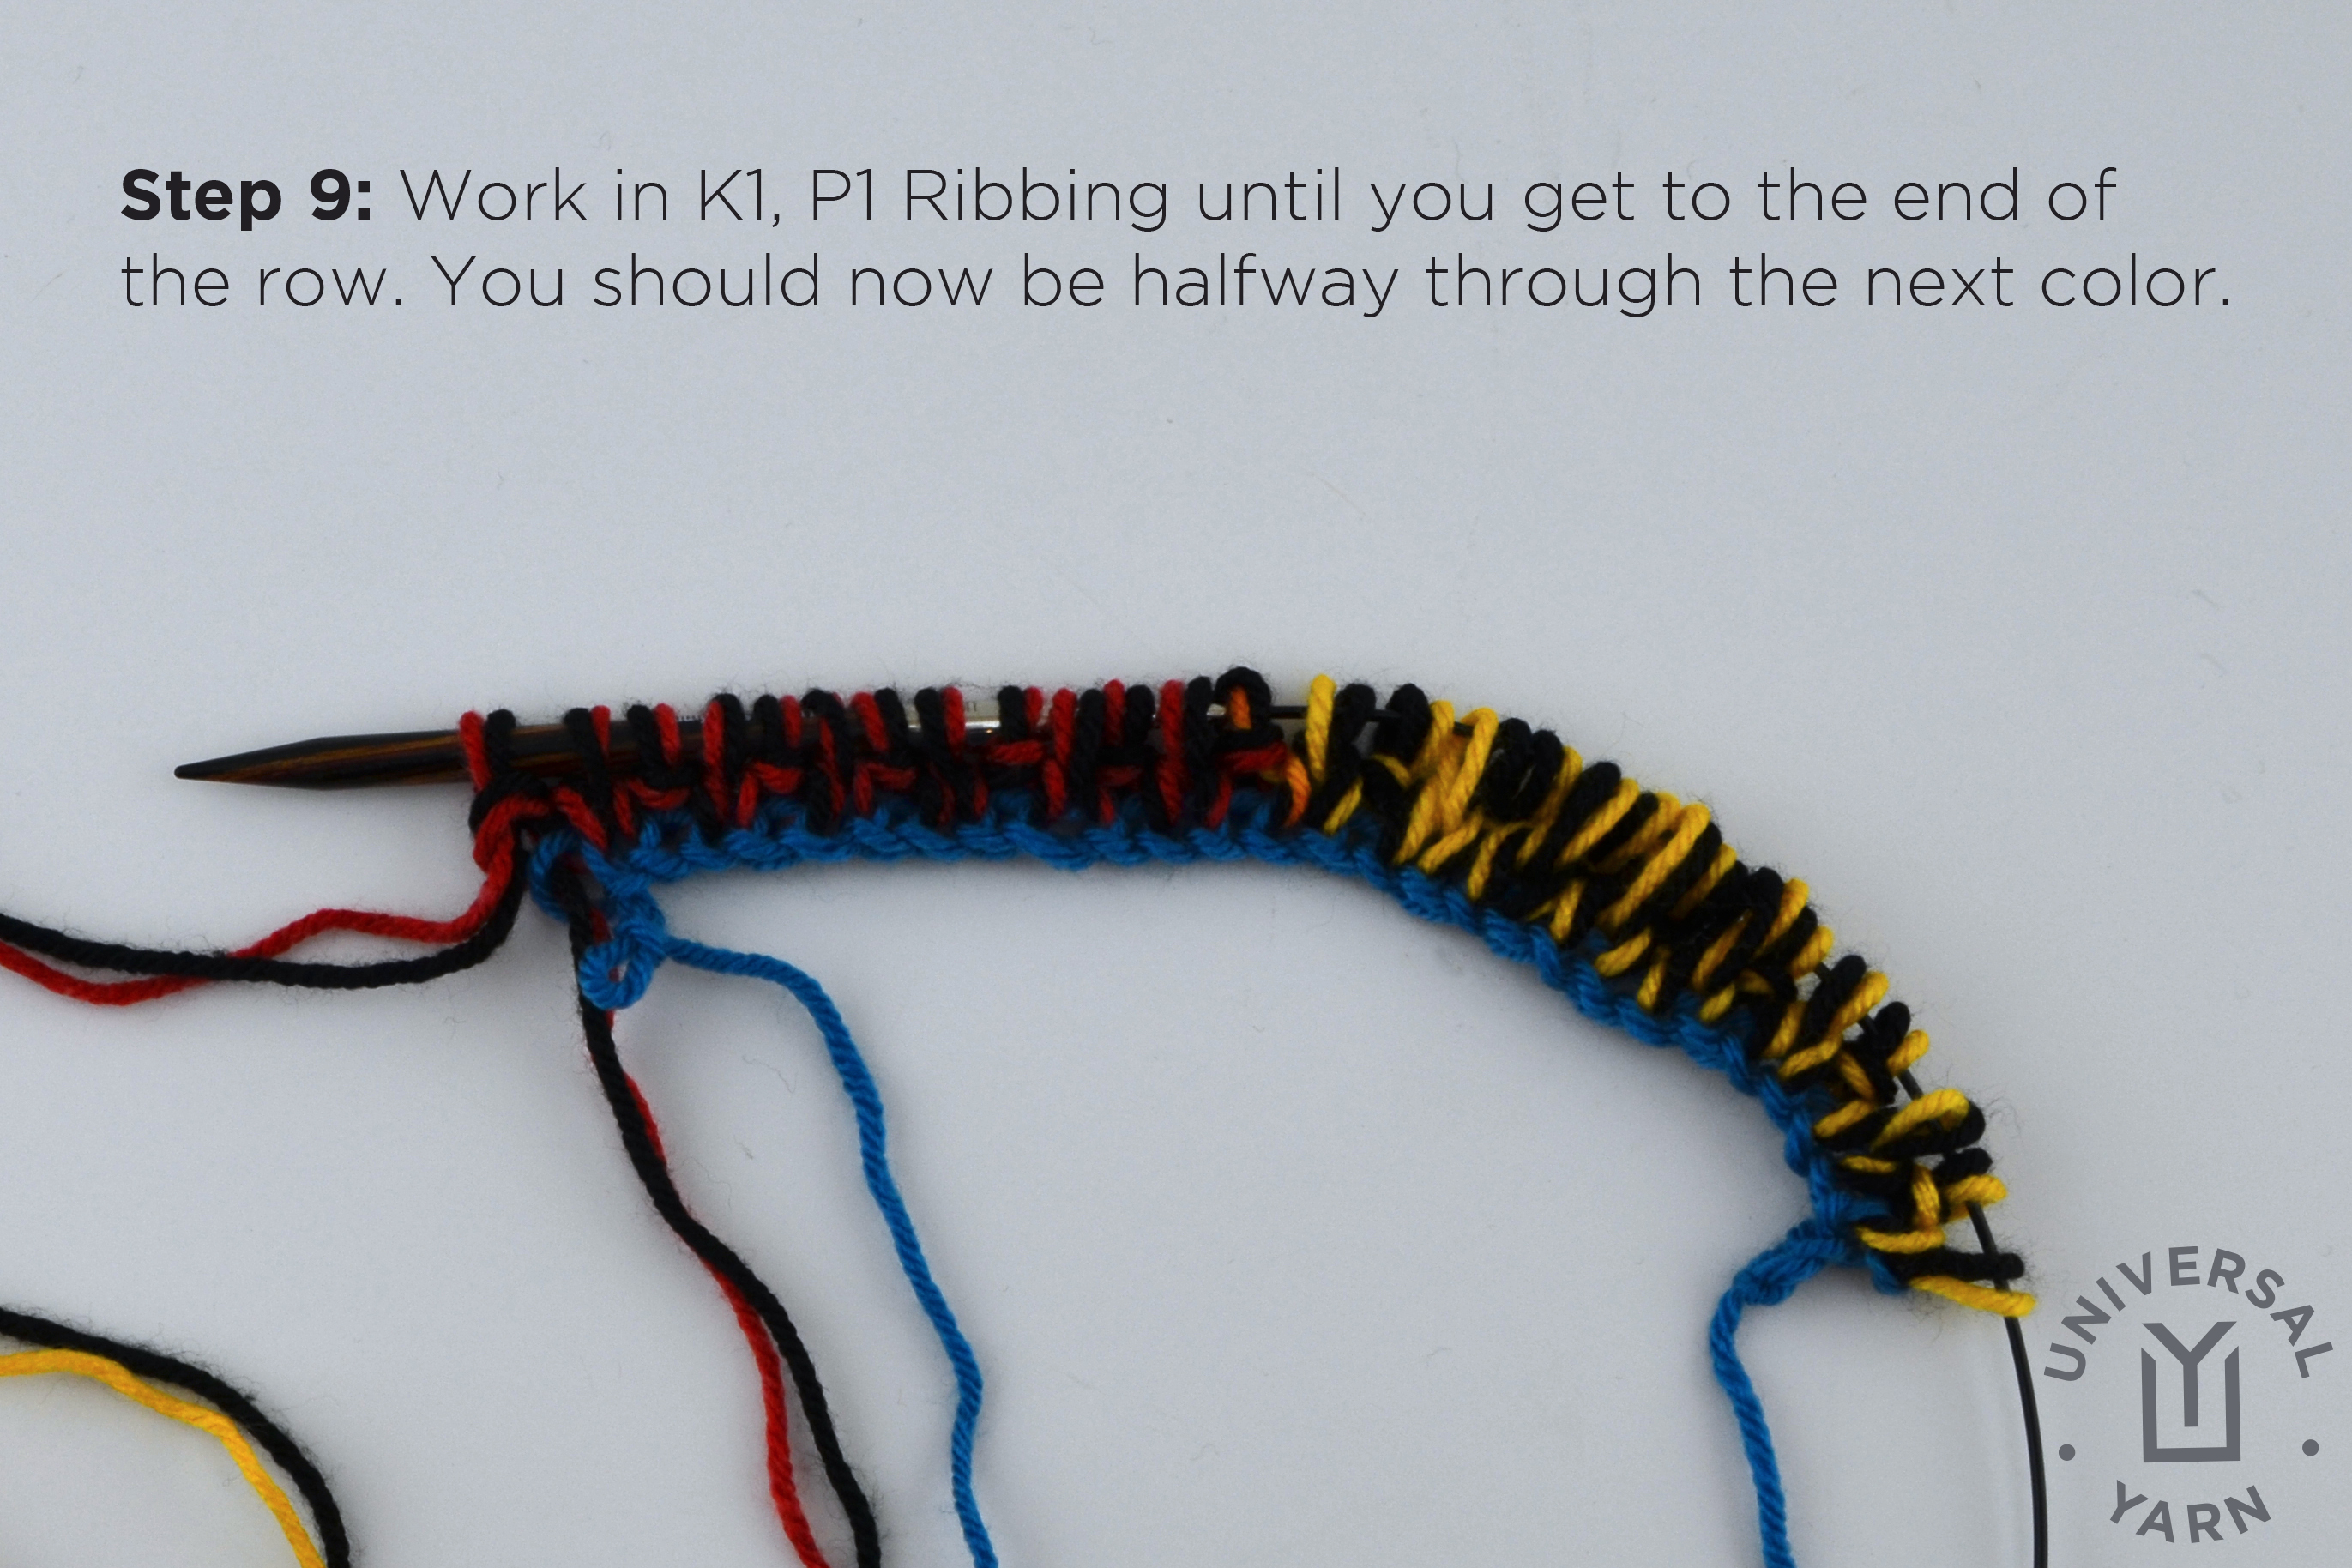
Step 9: Continue in K1, P1 Ribbing to the end of the row. You should now be halfway through the second color (shown red below).

colorpoolscarf8

Repeat Steps 8 & 9 until you have about 1 yard of yarn left, enough to bind off.

Here is another version of the scarf, a little further along:

colorpoolscarf9

You can see that the midway point between the colors is not perfect – and that’s okay! Just be sure not to get too far off track with your alignment of the colors, or it will be tougher to correct when you get farther into the scarf.

Pick your team, choose your colors, and get knitting!

New Bern Cowl – Faux Cable Fundamentals

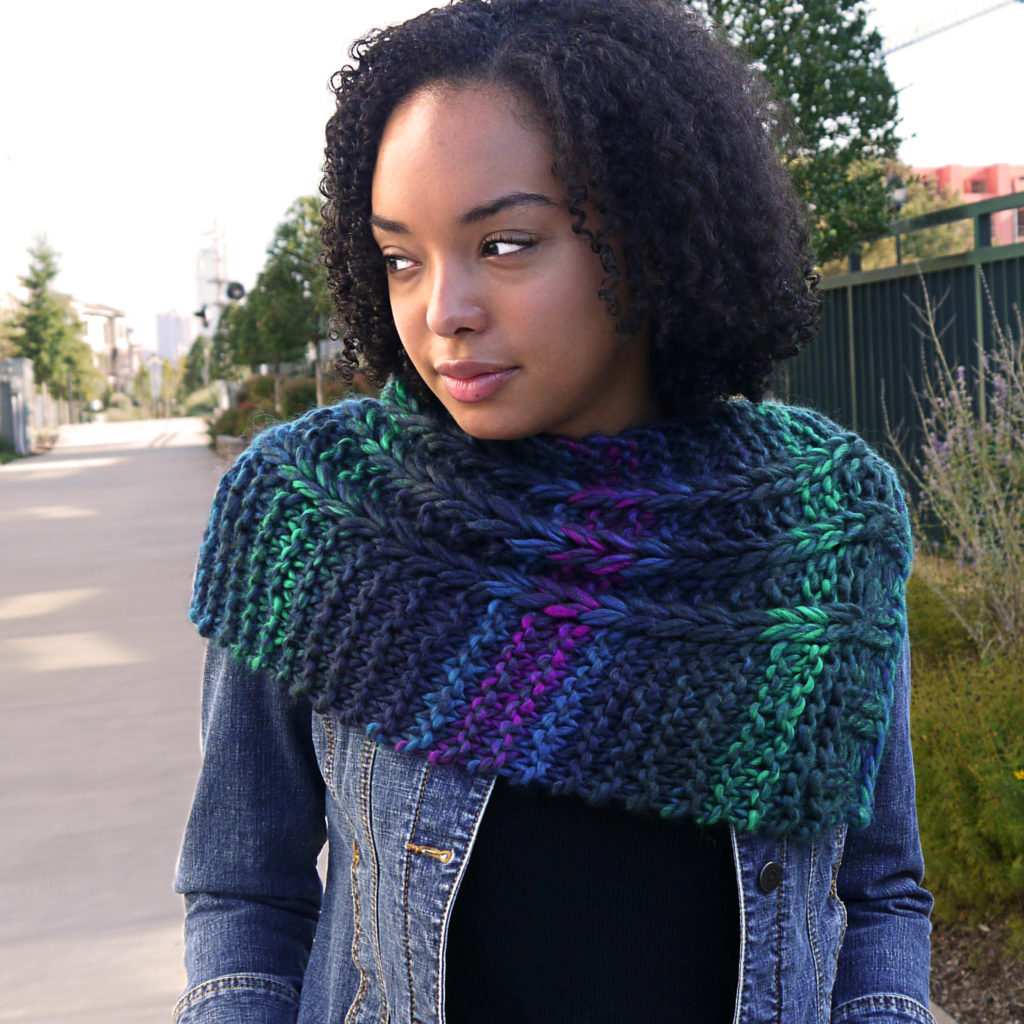
Have you seen the New Bern Cowl and wondered how I created that faux cable look? Today, I’ll show you how, step by step!

So easy! The New Bern Cowl calls for just two balls of Big Time and a US Size 15 (10mm) needle.

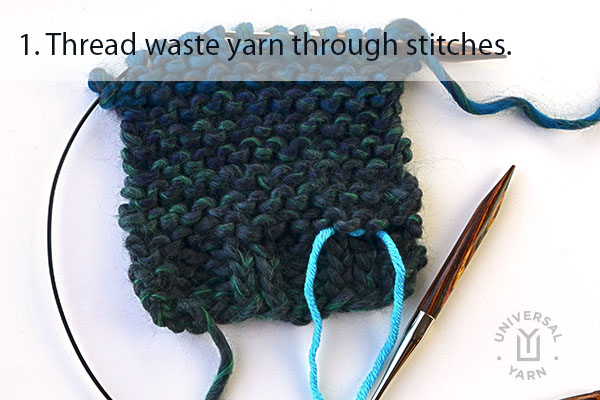
It is a very simple technique, but brace yourself knitters…it does involve a crochet hook! Don’t worry though, if you can do a simple chain, you can do this.

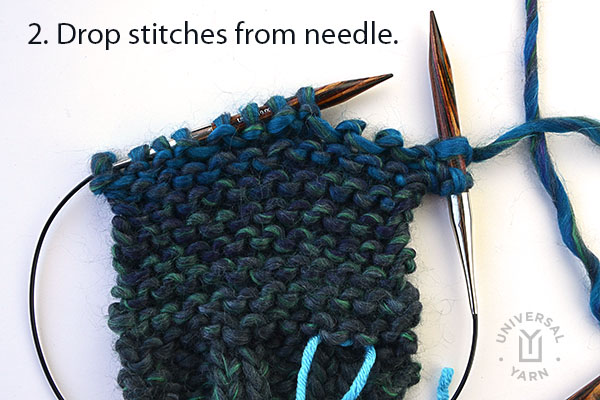
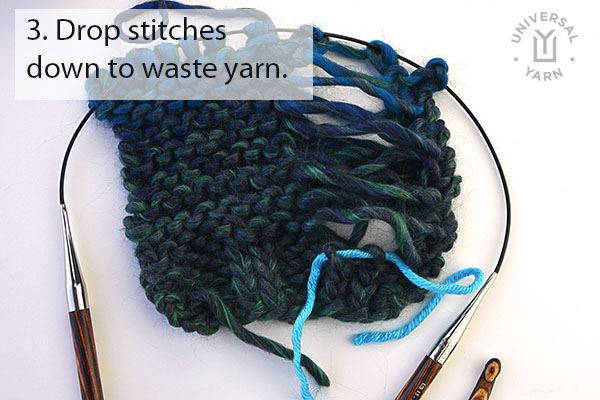
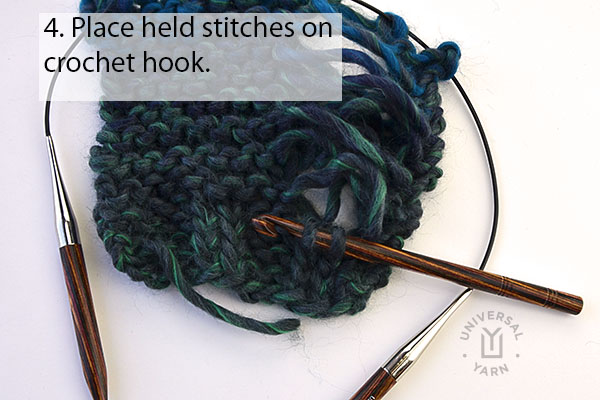
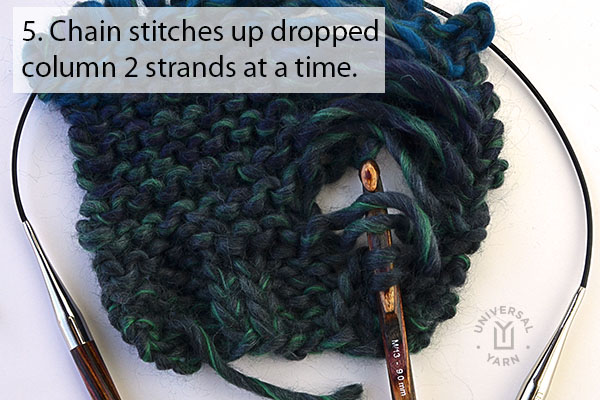
newberncowl_tutorial1_blog4newberncowl_tutorial2_blog newberncowl_tutorial3_blog newberncowl_tutorial4_blog newberncowl_tutorial5_blog3newberncowl_tutorial6_blog2newberncowl_tutorial7_blog2

Pretty easy, right? I can’t wait for you to try it out on your very own New Bern Cowl!

Ready for the Big Time? In Transit is here!

Deluxe Cable Collection Knitalong – We’re Still Knitting Along!

It’s been a little bit quiet on the ol’ western front  with the Deluxe Cable Collection Knitalong. But I can assure you, those of us with projects still on the needles continue to plug away!

Knitalong graphic hi-res

As a reminder,  you can learn more about the knitalong by reading previous blog posts here, viewing the collection here, and joining our Ravelry group here.

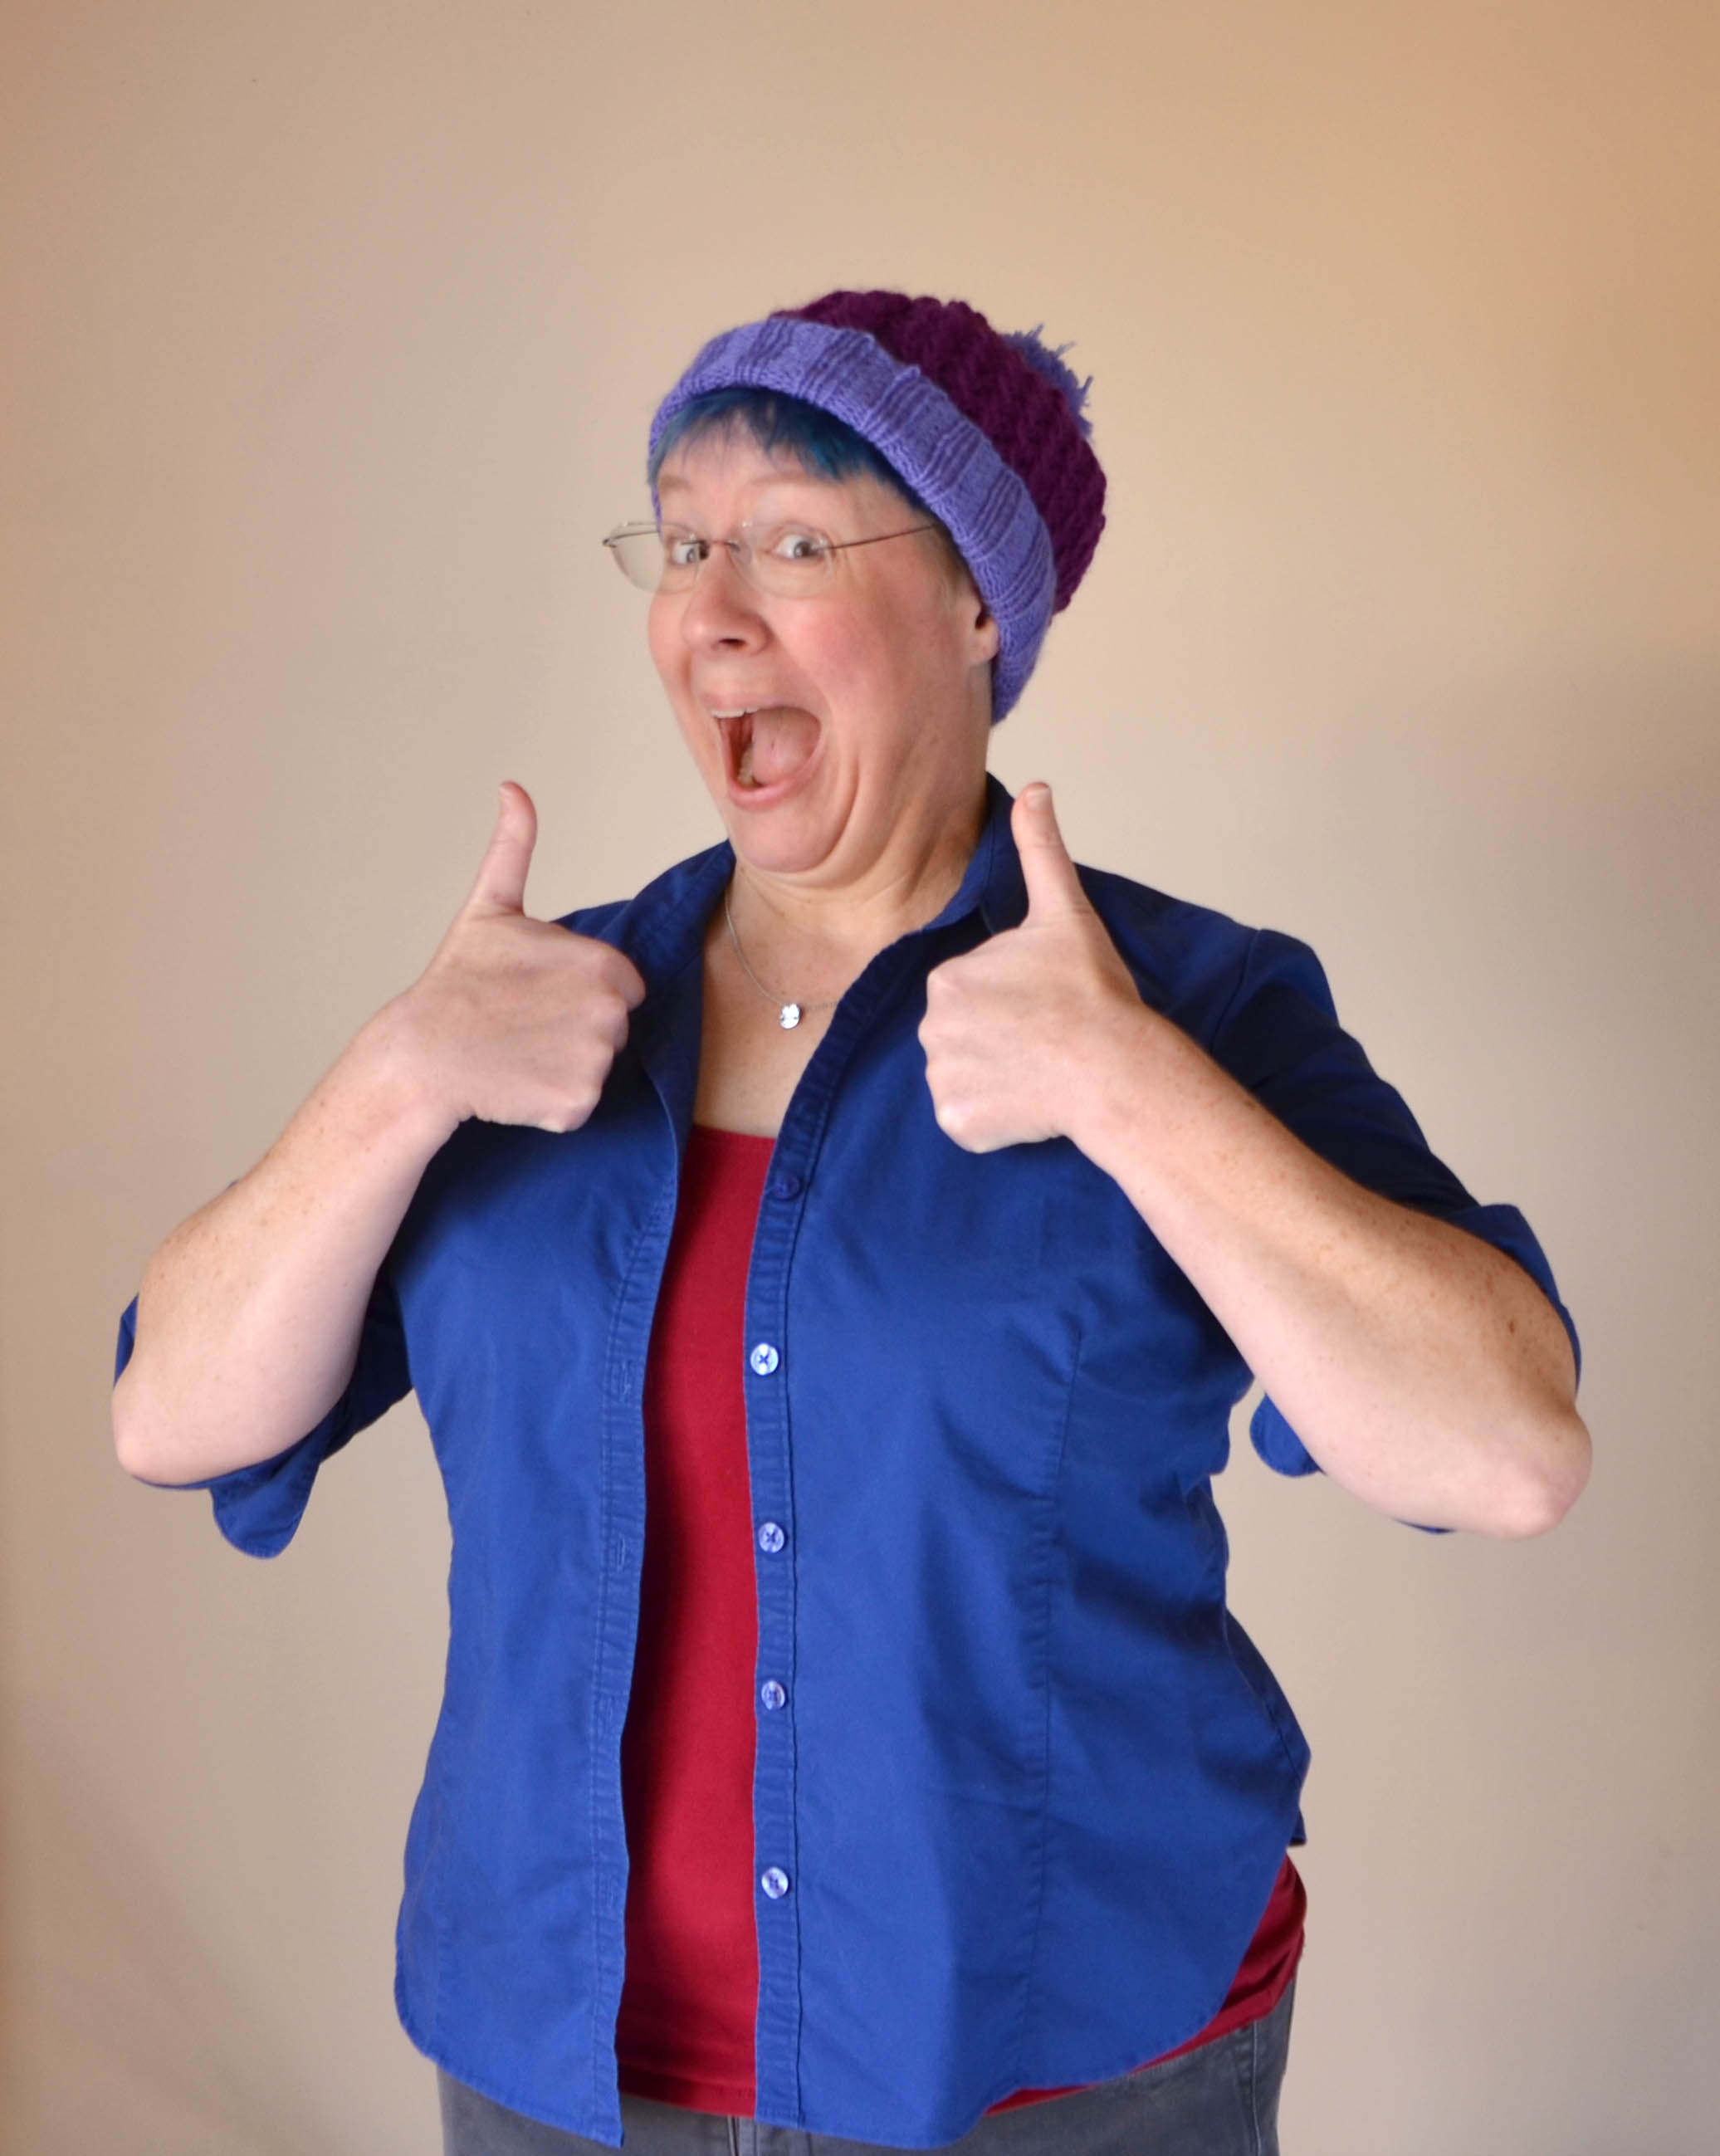
Heather finished her Tillery Socks last month, but she didn’t stop there. She is now the proud owner of her very own two-color Cold Mountain Hat:

heather-cold-mountain-this-guy

Look how happy she is! I would be too if I had a hat that looked super-awesome with my blue hair.

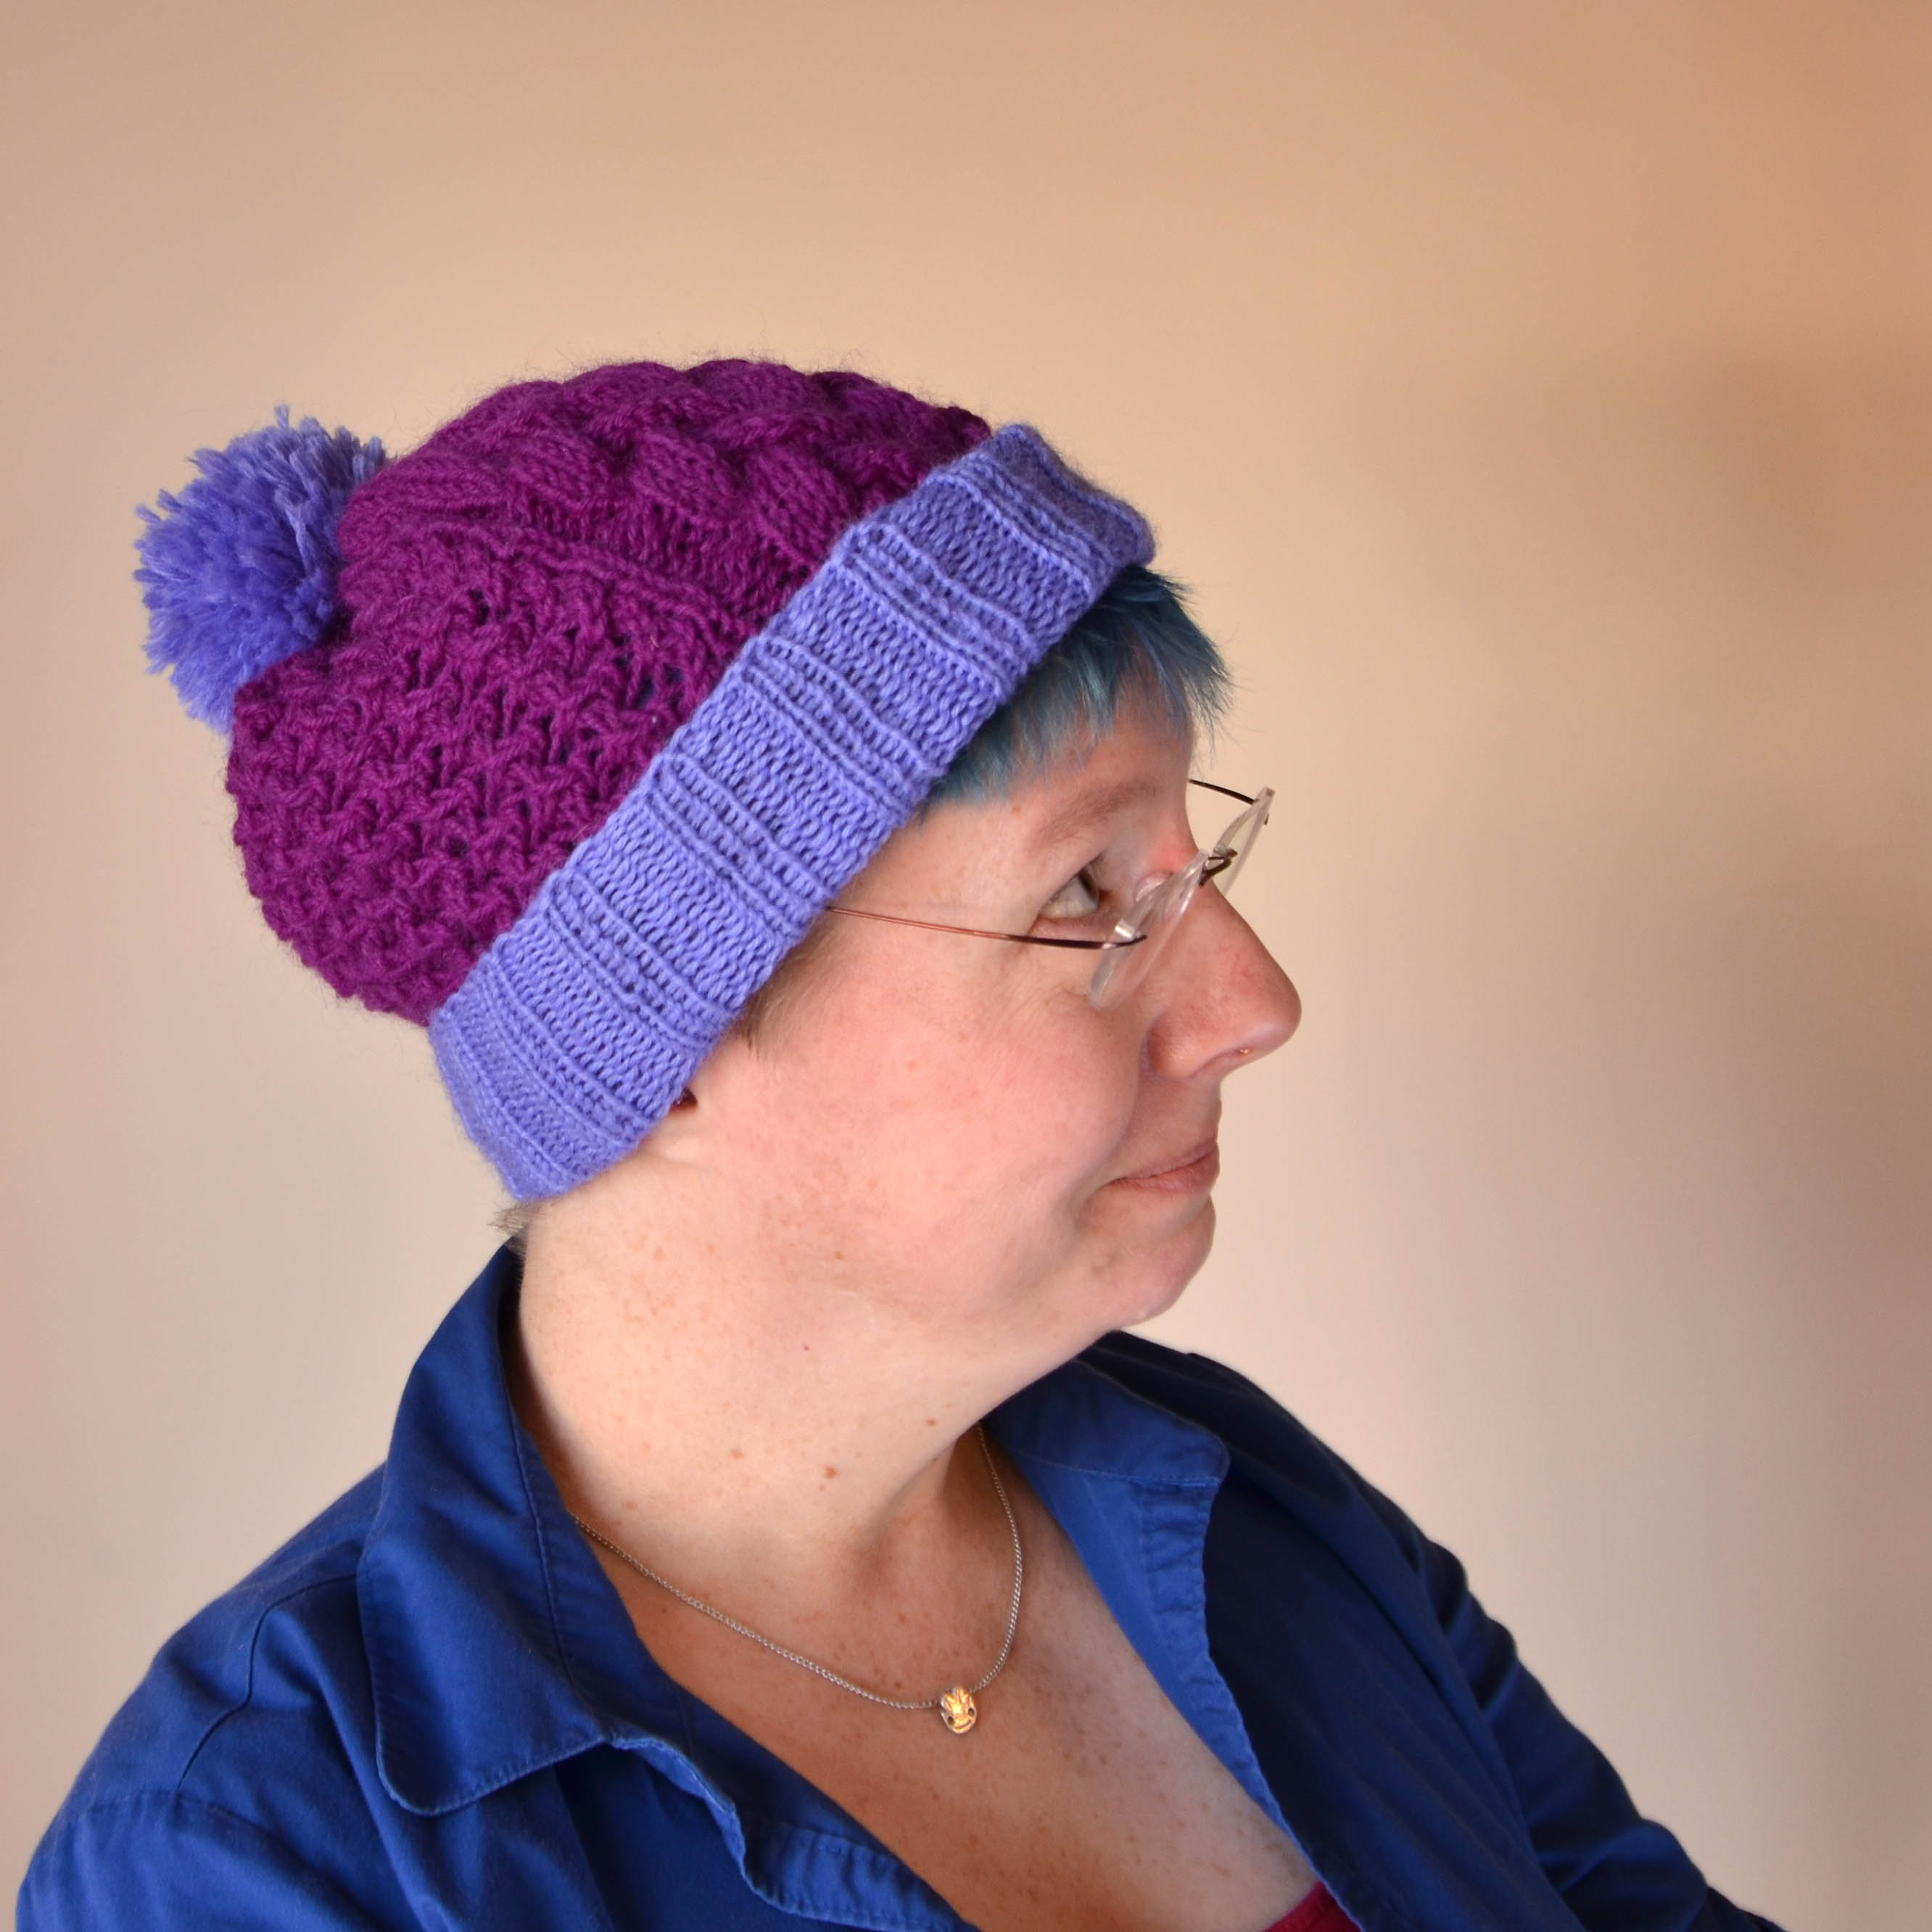
heather-cold-mountain-side-1

You can just barely see those blue locks peeking out from under the double-folded brim, but trust me: this is a fun color combination.

I love how Heather took this pattern and made it her own, through something as seemingly simple as different color choices. It always amazes me what a difference color can make in a knitted item or anything else, for that matter!

Often times we see a project and don’t look twice because the color doesn’t suit us. Heather proves that if you like the stitches and the item, the color is the easiest thing about it to change!

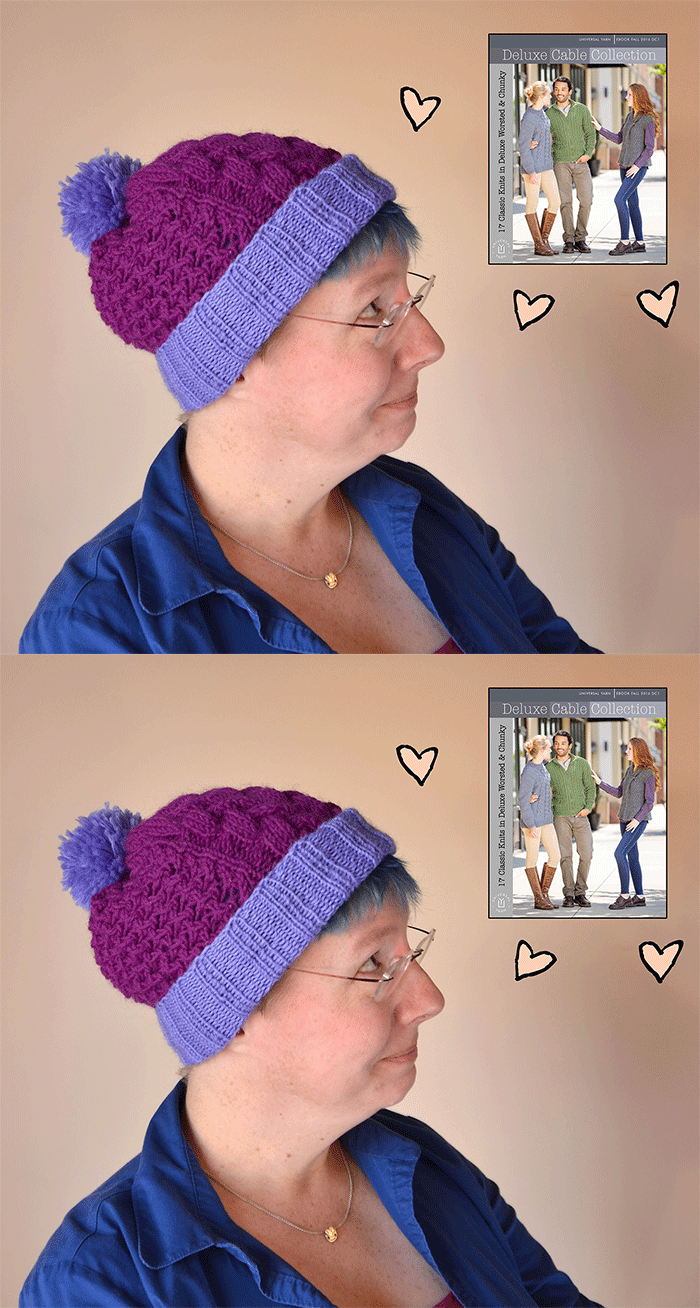
lurve-this-book

Do you love the Deluxe Cable Collection, too? If so, I’d love to hear about what project you’re working on!

I’ll be back next time (hopefully sooner rather than later this time) to demonstrate the finishing on my modified version of the Wesley Heights Pullover. I’m almost there!

Free Pattern Friday – Double Cable Poncho

It’s Free Pattern Friday!

double-cable-poncho-in-major-blog

Today, the Double Cable Poncho in Major.

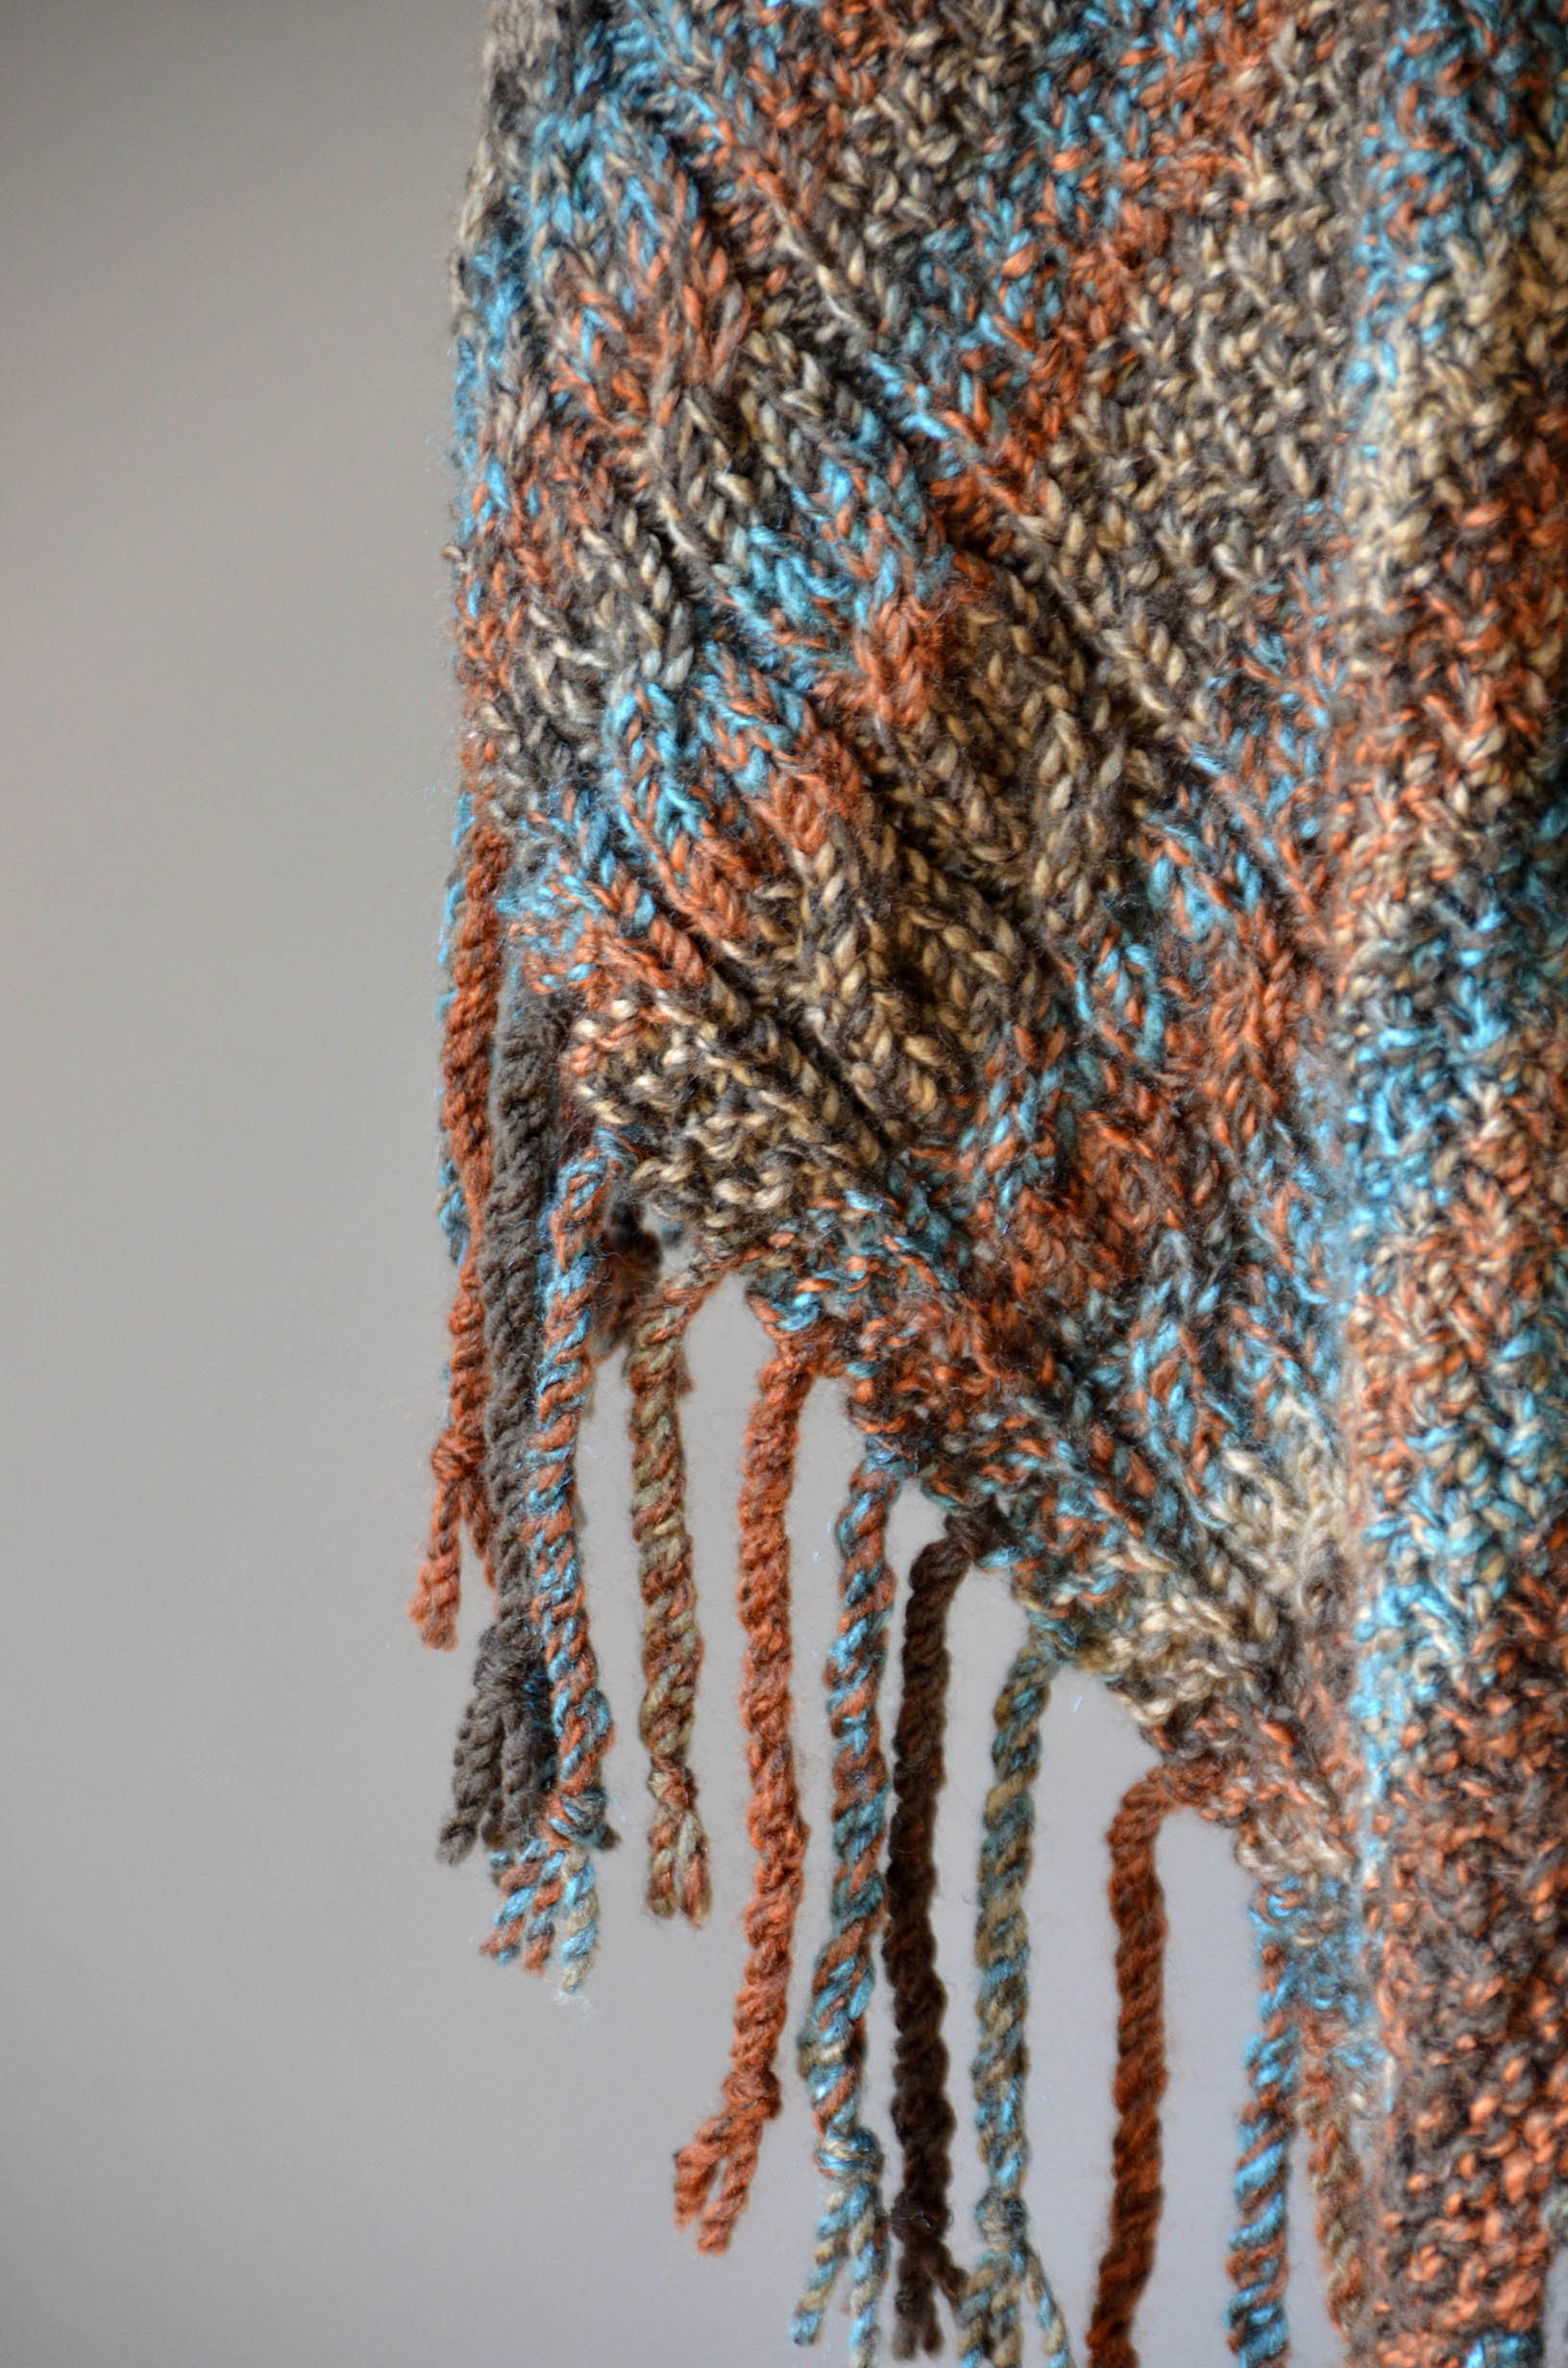
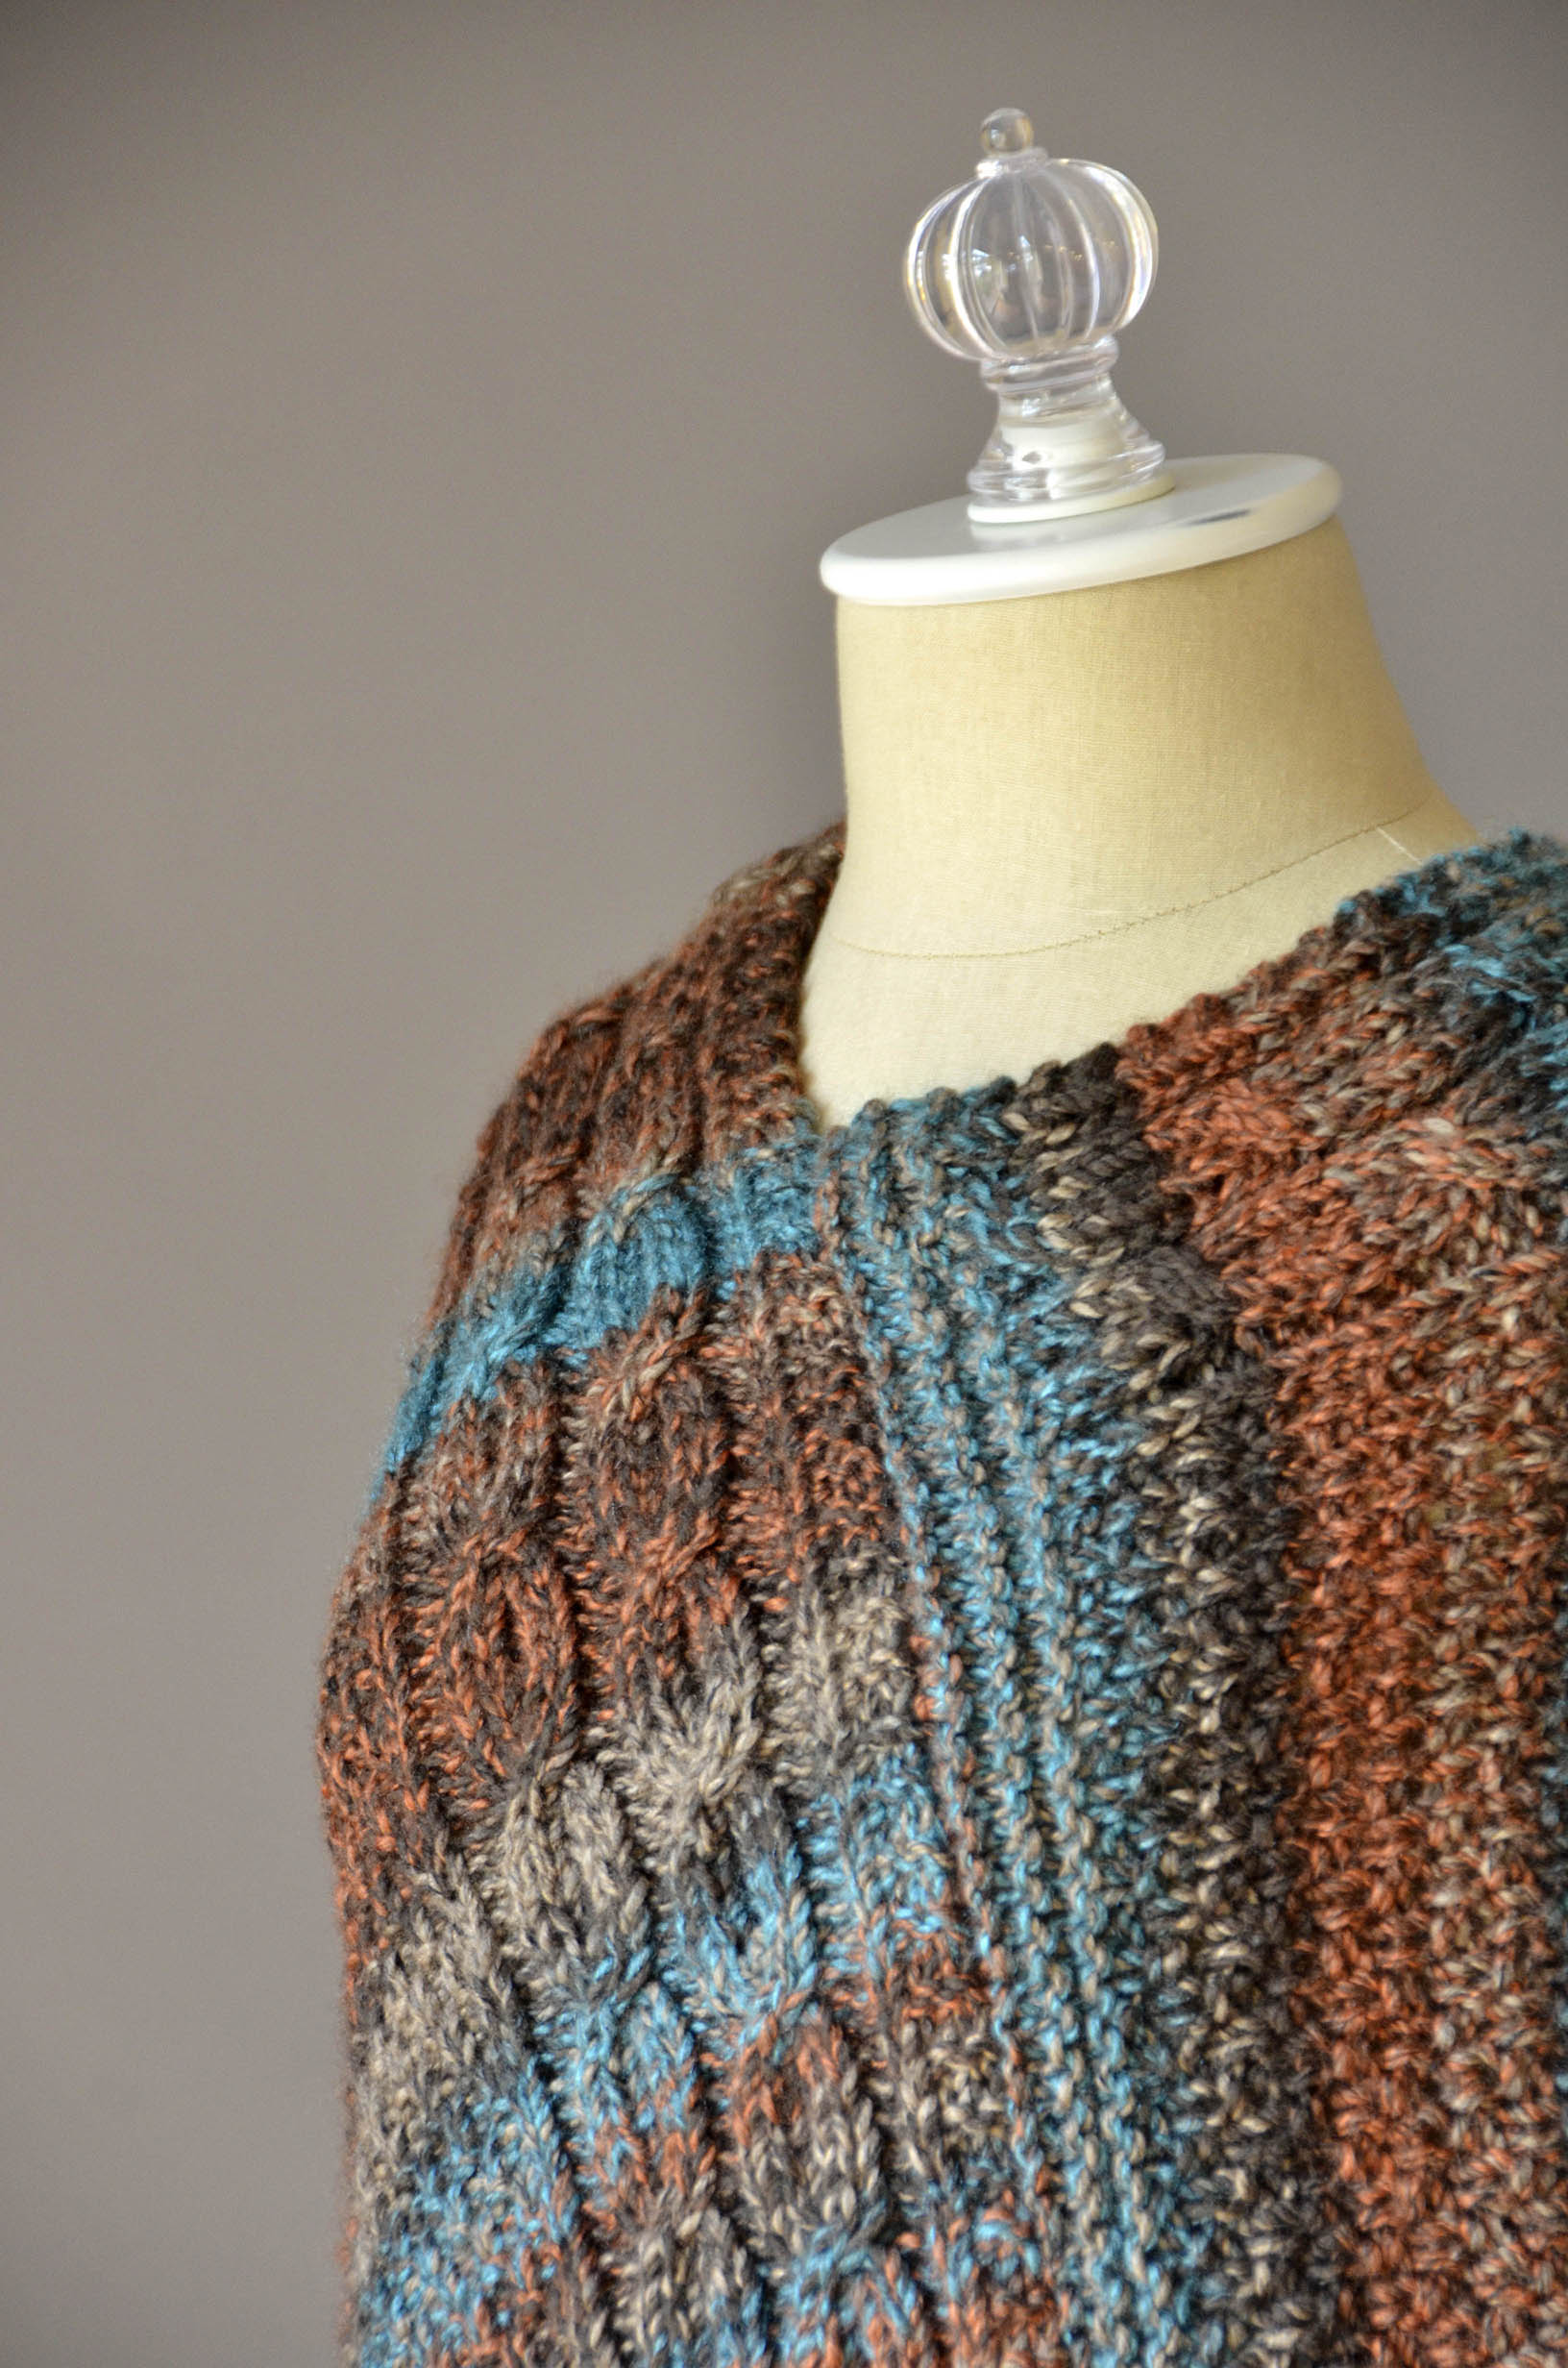
How Autumn-y are these colors?  We’ve featured a lot of designs for our popular bulky yarn Major (328yds/200g) using pastels and bluish tones (the Pineapple Peacock Shawl is a favorite) but these more southwestern, earthy tones of color 113 Santa Fe fit the Double Cable Poncho well.

The poncho is made as two rectangles which are them sewn together, long end to short end.  A twisted fringe is added to finish it off.

If you haven’t tried twisted fringe before, it’s really easy.  Amy Gunderson’s got a short video to show you just how to do it.

It’s actually rather meditative, which is always a great quality in a crafting project.

We hope you have an excellent weekend.  Happy knitting!

double-cable-poncho-three-quarter-detail-blog

Win Yarn to Make the Sugar Plum Hat + Cowl

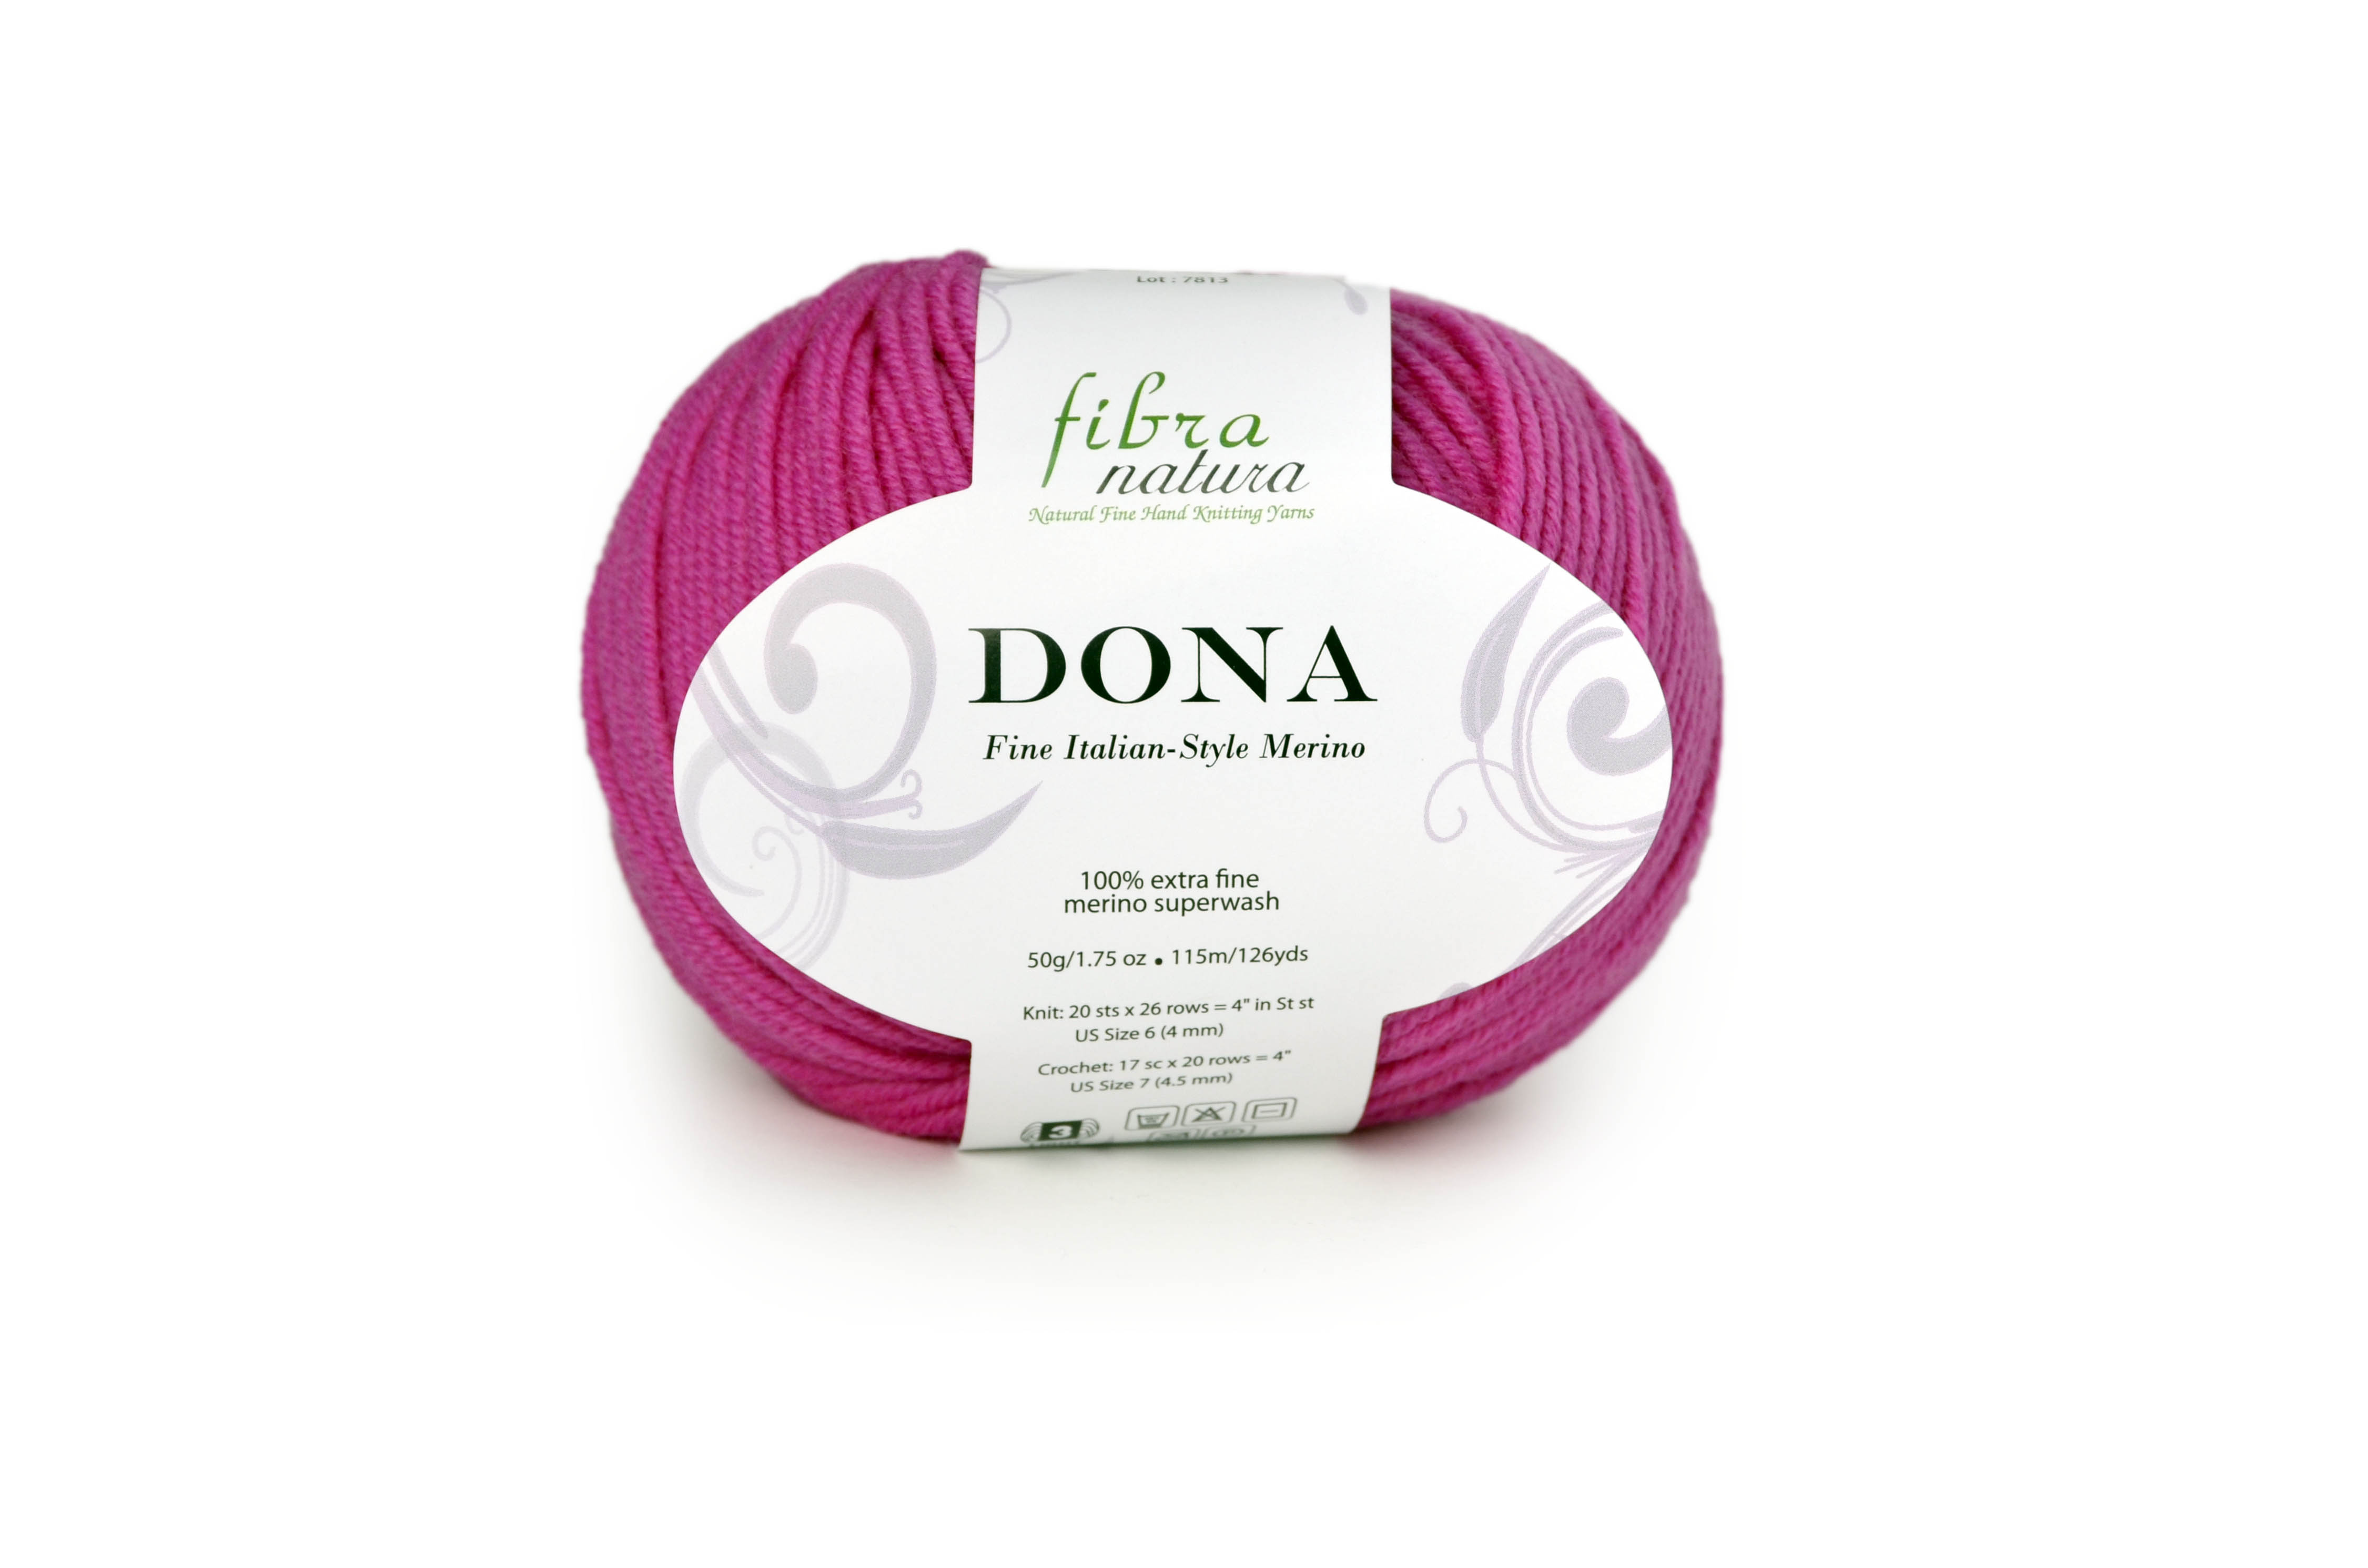
Ready for a little cheer? How about the chance to win free (!) yarn? We’ve partnered with the folks at I Like Crochet to give away 8 balls of one of my favorite yarns, Dona, along with the pattern for the Sugar Plum Hat and Cowl I designed for the current issue of the I Like Crochet digital magazine. It’s a fun skill-building project that makes the most of Dona’s squishiness in luscious crocheted cables.

dona-ball-cut-out-2-hi-res

The following post original appeared on the I Like Crochet blog (link) :

Today’s giveaway is so good you’re going to feel like Santa came early this year. The rich blackberry color of FibraNatura Dona yarn is exactly the luxurious hue that you need this winter season. Soft and delightful to work with, this yarn is DK weight and 100% Extra Fine Superwash Merino.

A beautiful yarn like this is destined to be made into something cozy, which is why the amount you receive in this giveaway will be all the yarn you need to make the Sugar Plum Hat and Cowl from I Like Crochet‘s December 2016 issue. The Sugar Plum matching set features three-dimensional lattice texture and a spunky pom-pom hat. With FibraNatura yarn and a stylish crochet pattern, you will be all set for crisp winter days and a season of style.

ILC-resize-40Sugar Plum Pattern

Click through to the original post for details on how to enter. Good luck!


Free Pattern Friday – Checked Hat and Scarf

It’s Free Pattern Friday!

checked-mist-scarf-and-hat-blog

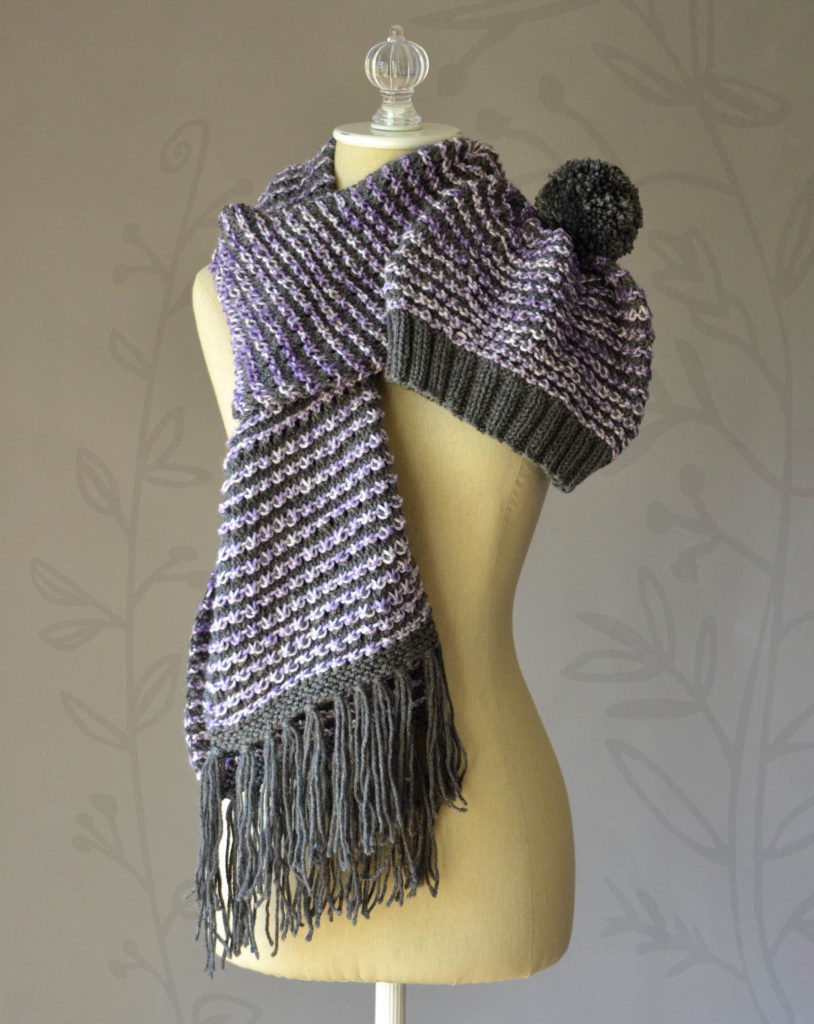
Today, the Checked Hat and Scarf in Uptown Worsted and Uptown Worsted Mist.

In Little Women, Meg called November “the most disagreeable month in the whole year.”  I’m inclined to disagree, though I will grant that the invention of electric heat makes it a lot easier these days.   In fact, let’s add modern appliances like the washer and dryer, which make it a lot easier to do laundry without risking frostbite.

checked-mist-scarf-and-hat-detail_blogAll of which brings us to today’s pattern.  The Checked Hat and Scarf are an easy four-row repeat, worked flat for the scarf and in the round for the hat.  We used Uptown Worsted and Uptown Worsted Mist (180yds/100g), both of which are machine washable and stand up well to wear, as well as being the softest acrylic I personally have used.

On frosty mornings, it’s a pleasure to wrap up warm in a hand-knitted set.  It’s a luxury to return home, red-nosed, and shed layers, tossing them to the side without worrying about having to handwash them later.

We hope you enjoy what November has to offer – and then warm up again with more crafting in a cozy room.

Happy knitting!

Free Pattern Friday – Ambling Cardigan

It’s Free Pattern Friday!

dw-tweed-ambling-cardigan-blog

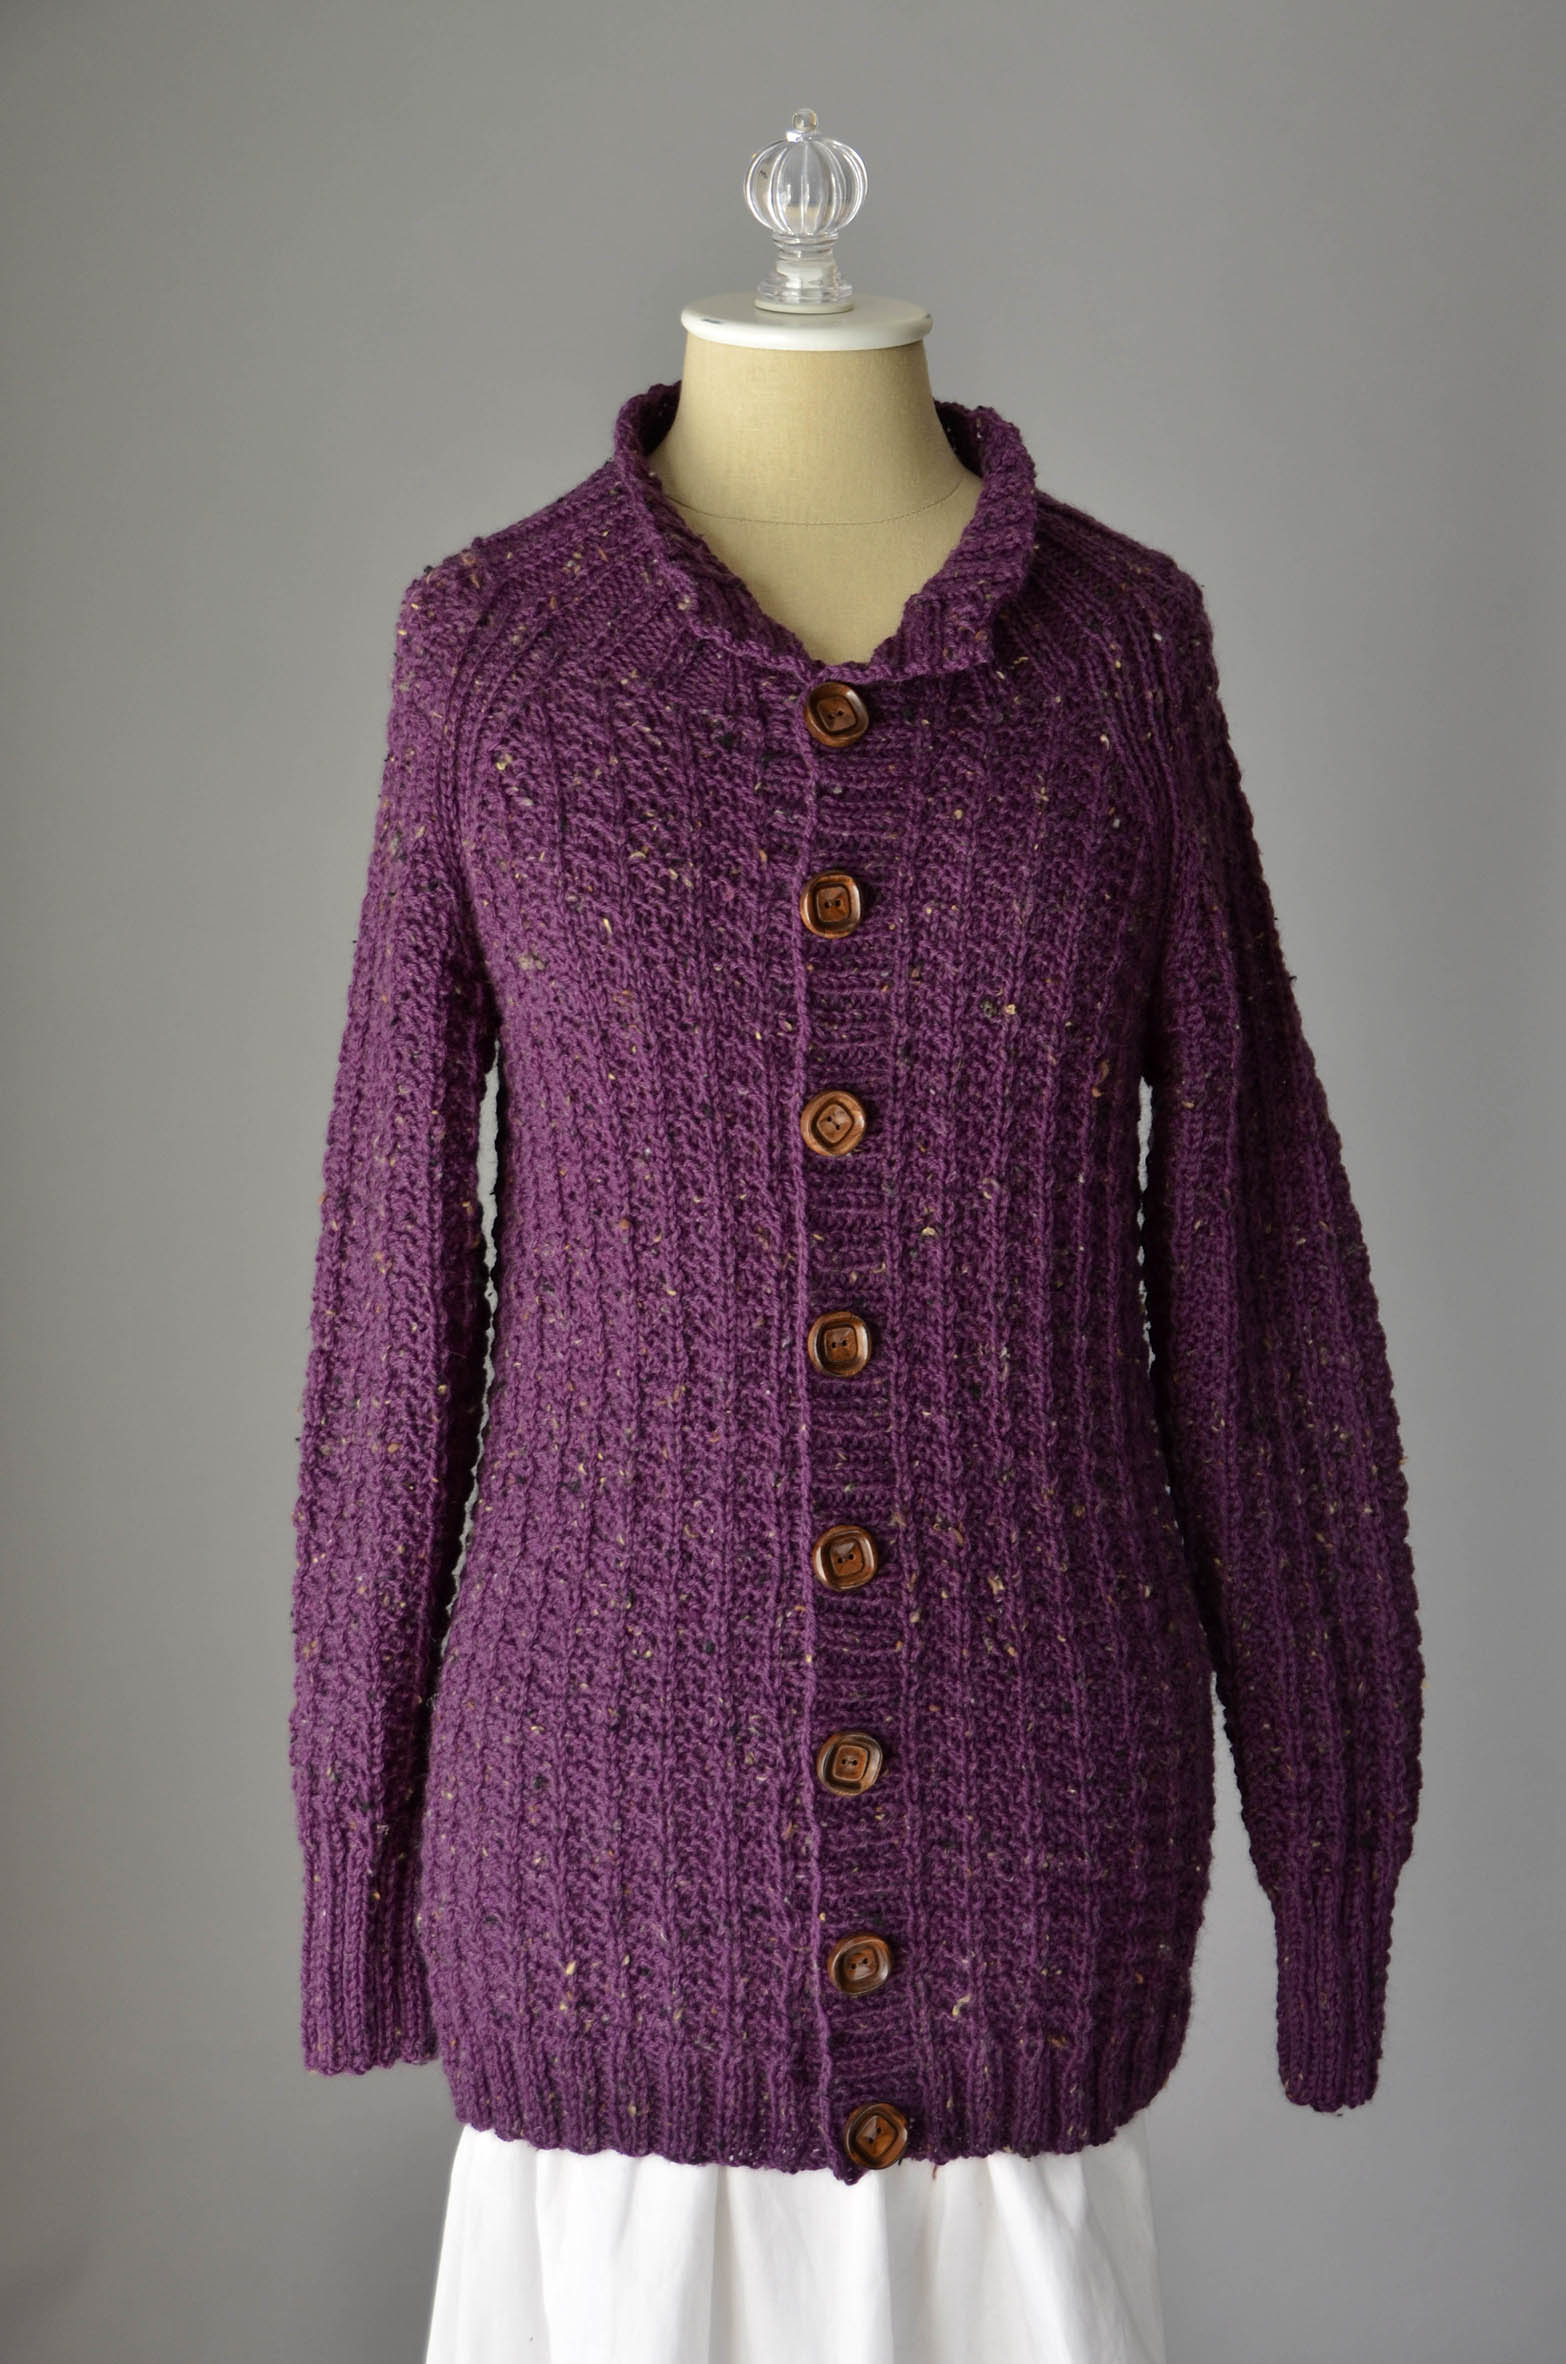
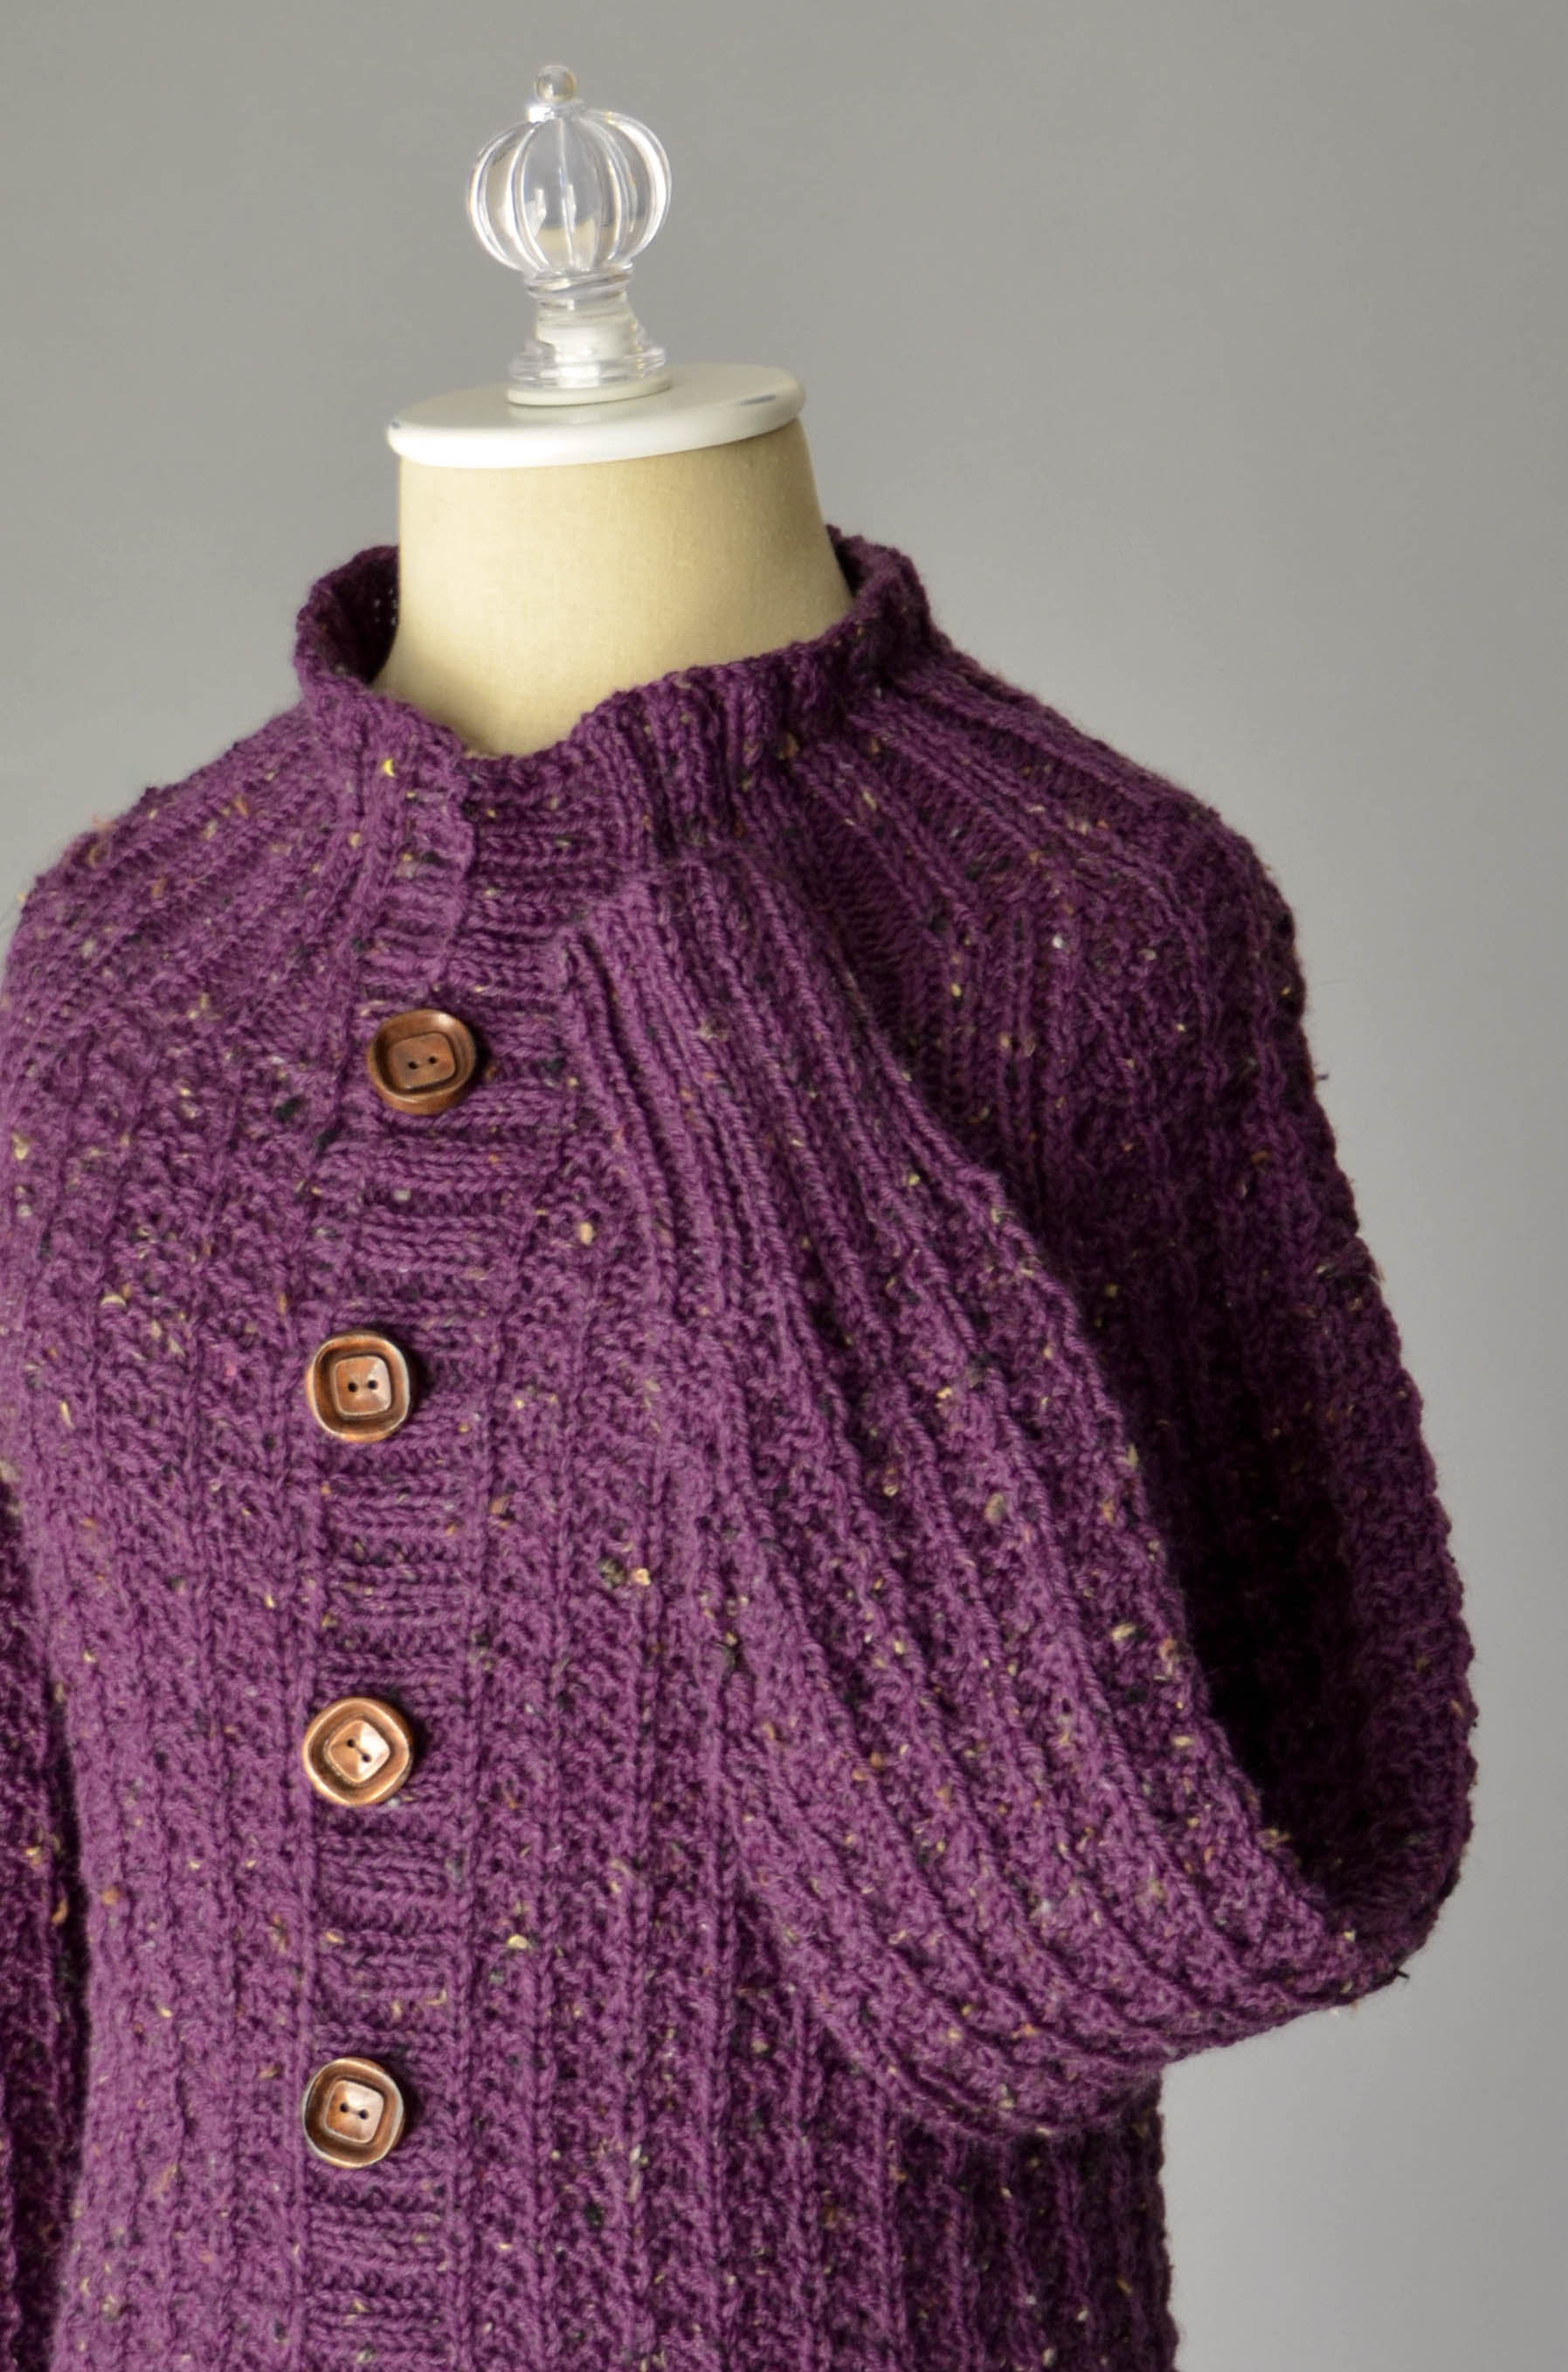
Today, the Ambling Cardigan in Deluxe Worsted Tweed Superwash.

A few days ago, a friend of mine in New York State worried that he might not appreciate his upcoming trip to the Florida Keys because it was still so warm where he was.  Today, it’s snowing there.  I think it’s safe to say that sweater weather has settled in.

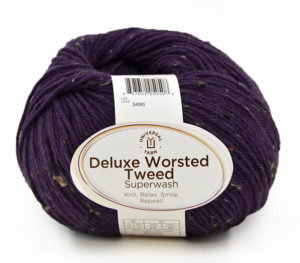
deluxe-worsted-tweed-409-raisin-ball-shot-ccToday we present the Ambling Cardigan.  Ambling, because this would be the perfect thing for a relaxed stroll just after the frost has burned off in the morning.  Deluxe Worsted Tweed Superwash gives it a rustic look in keeping with that feeling of outdoors in Autumn.

dw-tweed-ambling-cardigan-alternate-blogFor the record, we have swatched this yarn here in the office, thrown it in the washing machine and dryer, and had it come out just fine with its tweedy bits intact.

This cardigan is sized from XS to 3X.  The body is worked in one piece from the bottom up, and is then separated for raglan shaping.  Sleeves are worked flat.

We hope you find time to crunch through some leaves this weekend.

Happy knitting!


Weaving Wednesday – Sparkle Windows

Last time on Weaving Wednesday, I talked about warping for my lace stole in Universe.  Once I got over relearning how to warp my floor loom, it was smooth sailing!

Here are the specs on this project:

  • Yarn: Universe, color 10-07 Woolen
  • Reed: 10 dent
  • Total ends: 241
  • Width on loom: 24″ (desired finished width is 20″)
  • Warp Length: 100″ (desired finished length is 60″)

(Update: There is now a written version of this pattern available here)

My warp is 40″ longer than my desired length. I know that there will be a good 10% take-up in finishing. Plus I left plenty of extra length at each end for fringe.

Since I knew I was going to be doing some different lace patterns, I actually kept good notes on just what I wove in my beginning header so I could repeat it on the other end – go me!
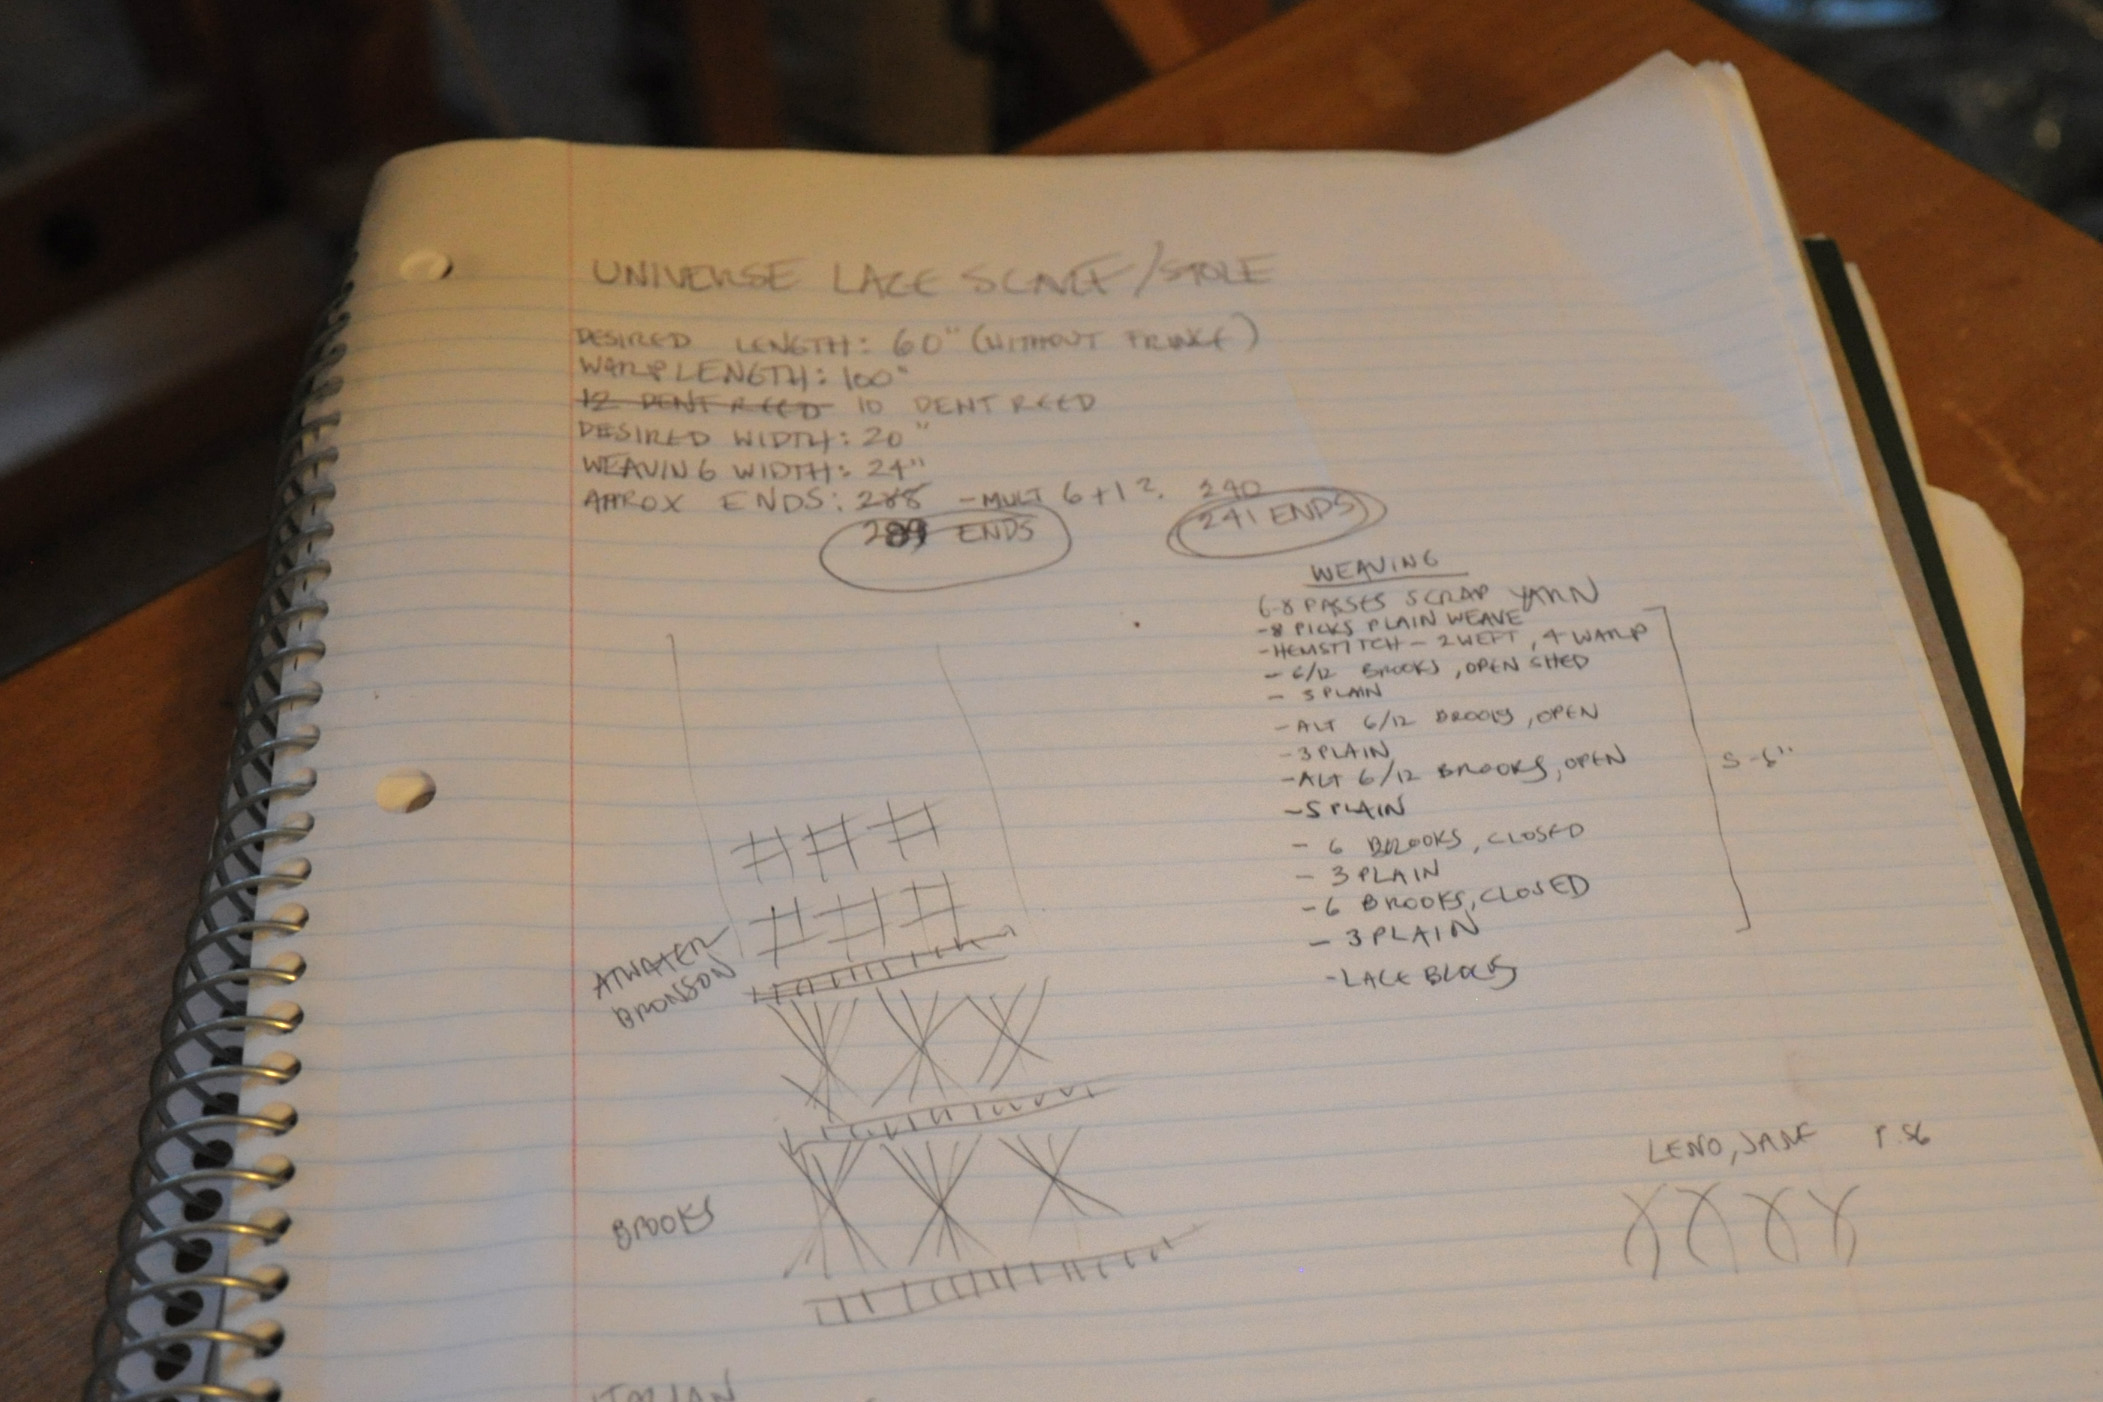
universestole_5

After tying on to the front rod, the weaving fun began. I started out as I usually do, with a few picks of waste yarn to even out my warp, followed by some hem stitching.
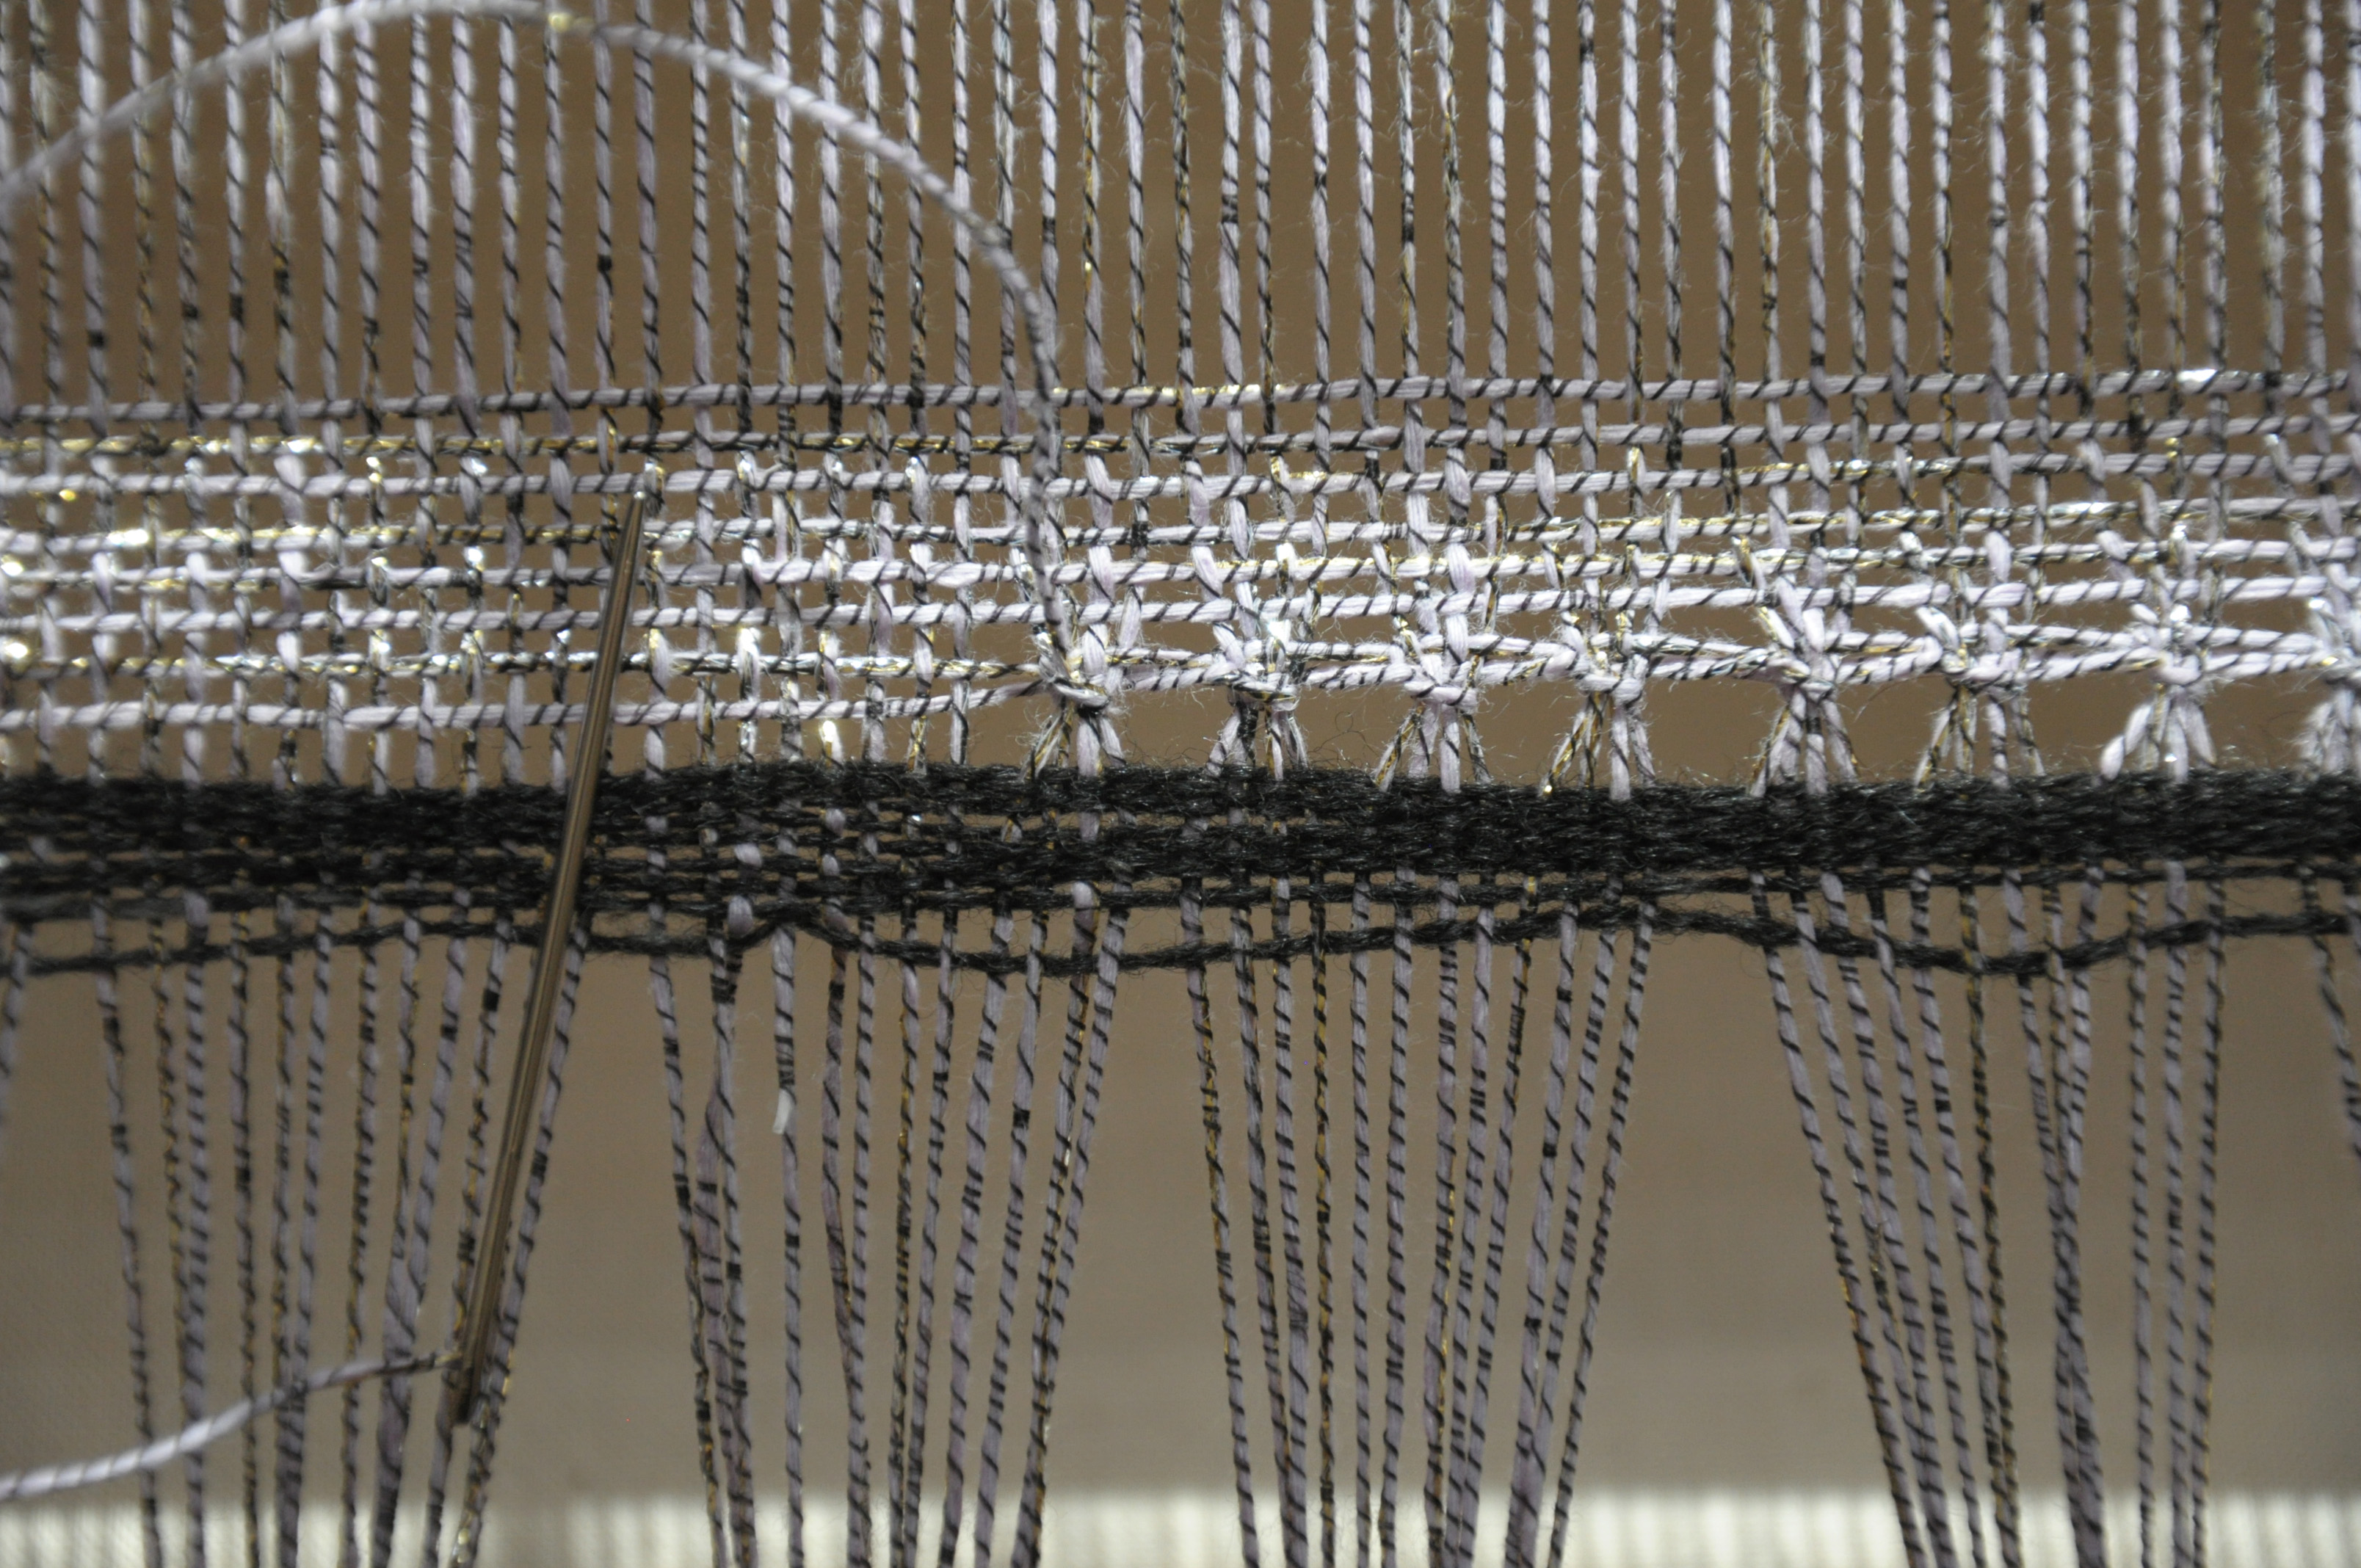
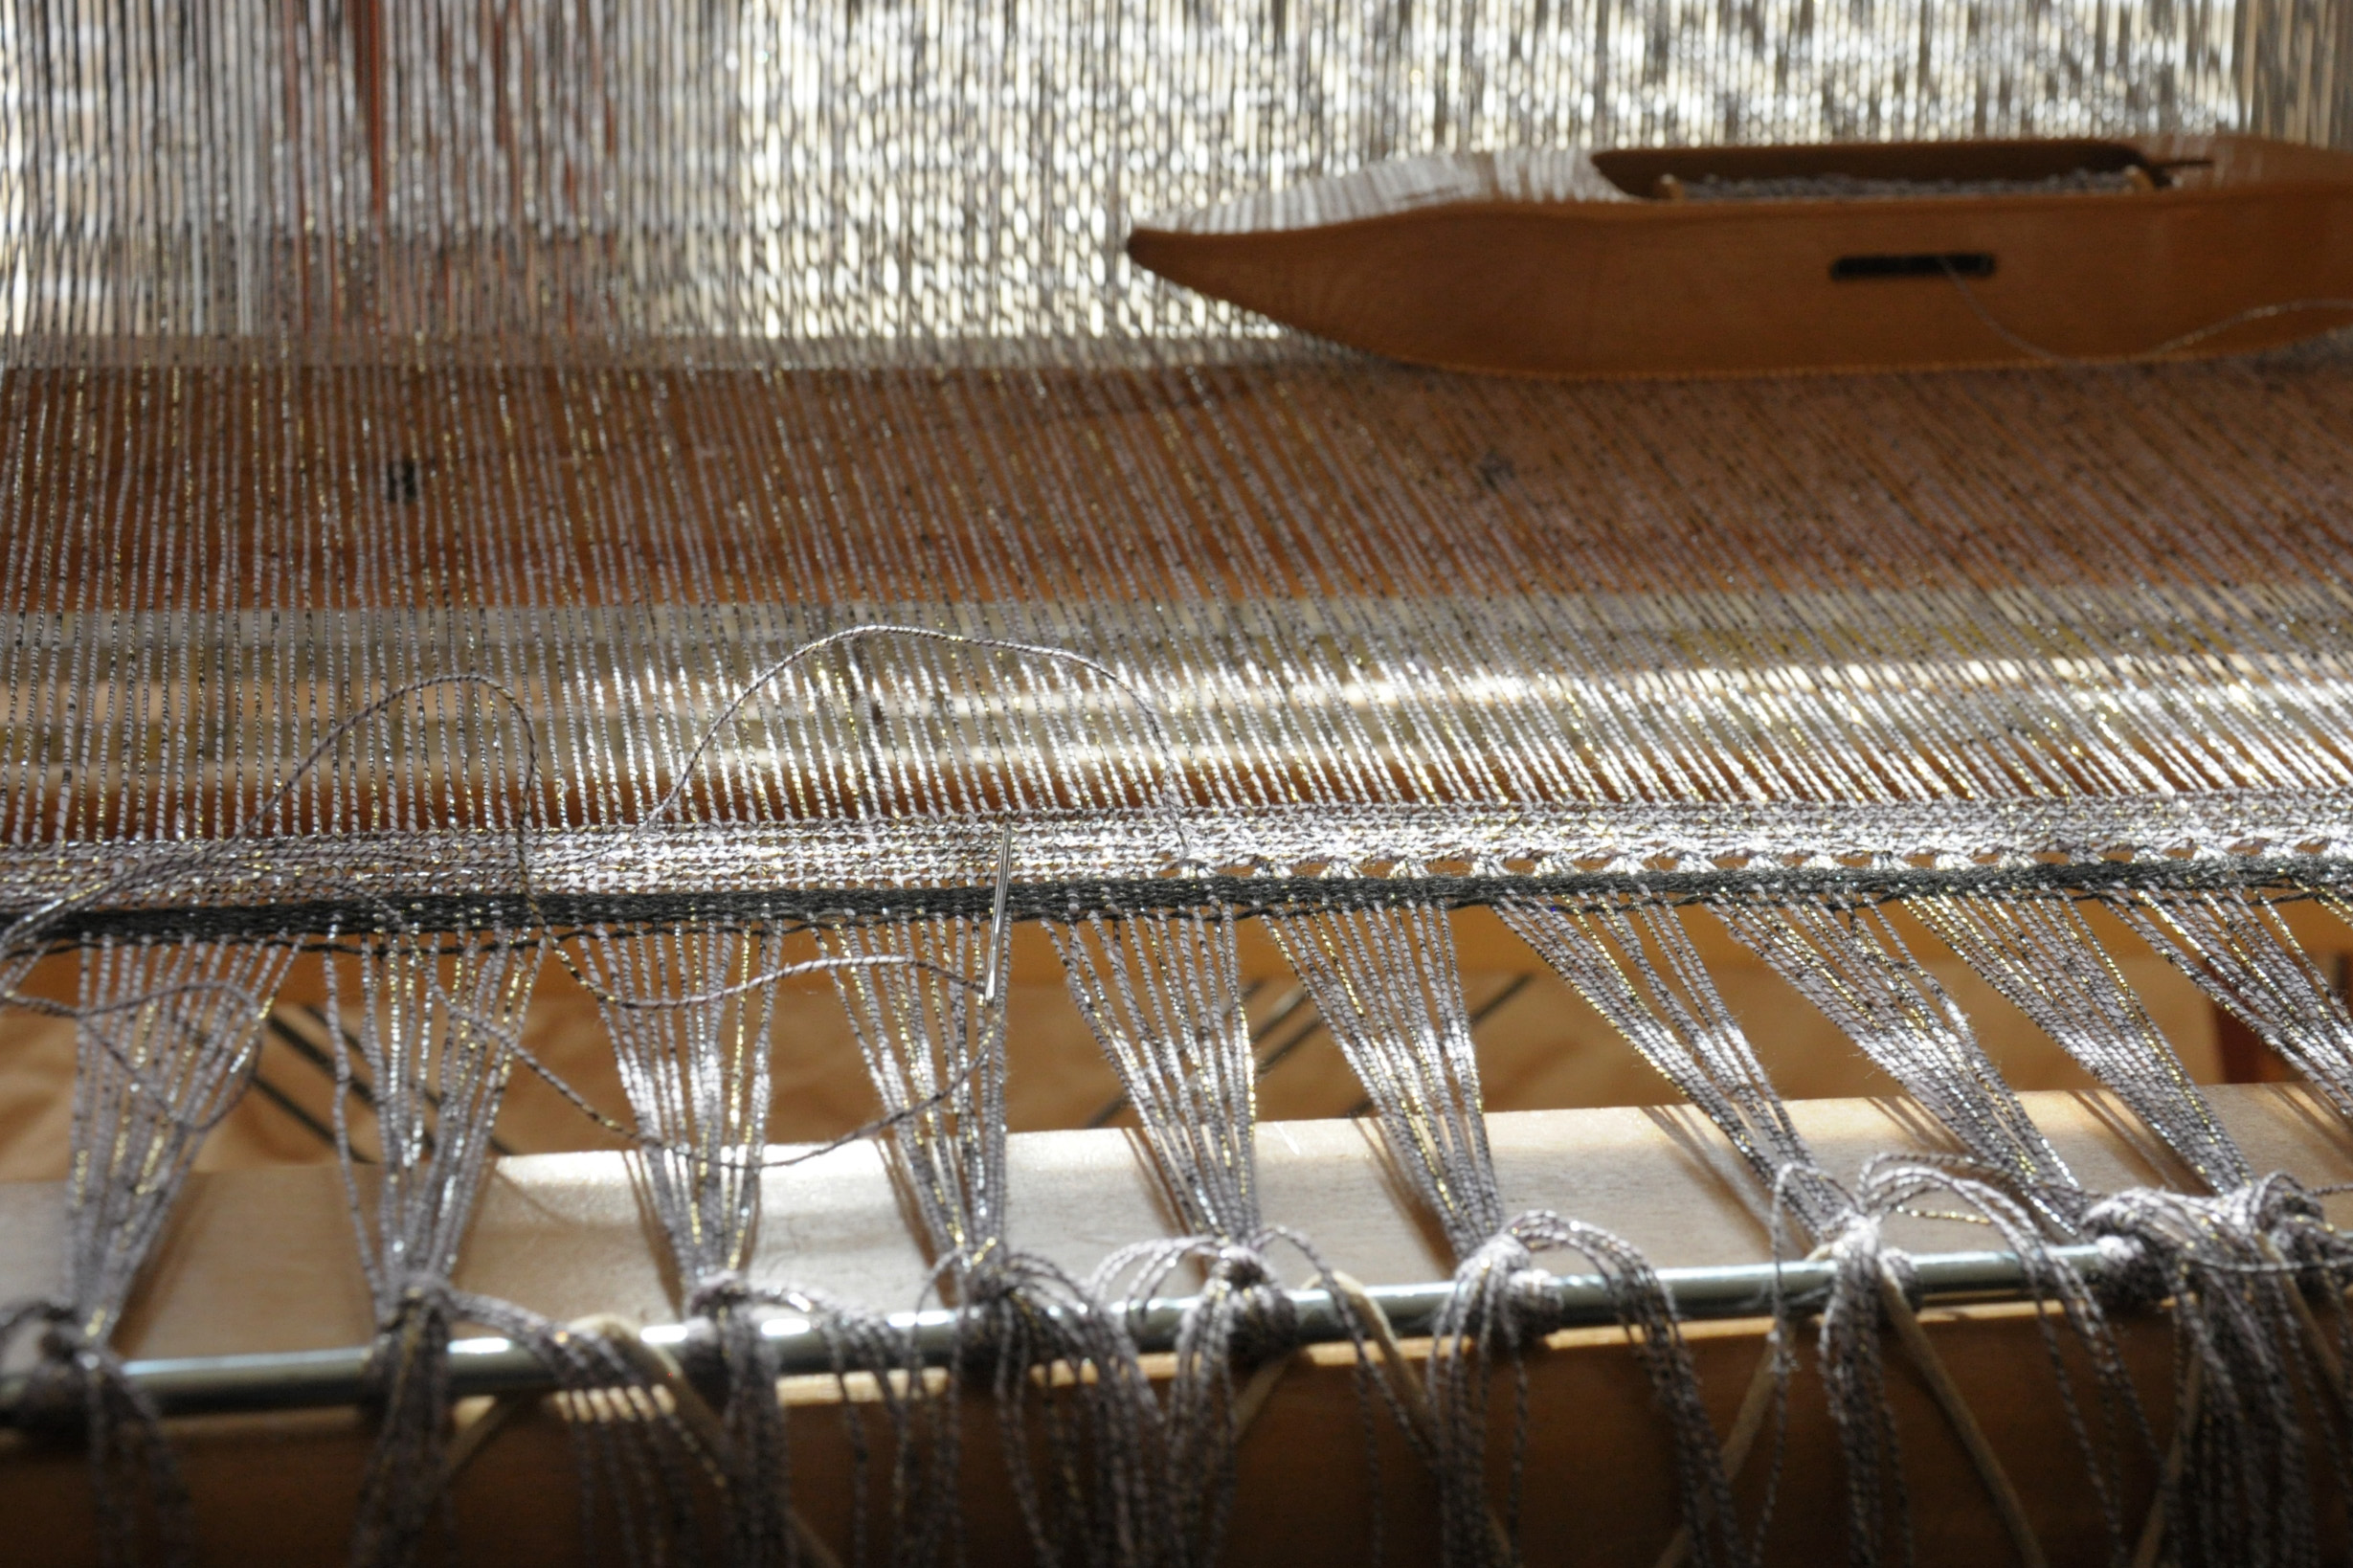
universestole_1

universestole_2

I knew I wanted to do some kind of a lace sampler for this project. I decided to do a “header” at the beginning of the project, a matching header at the other end, and an all-over pattern for the main body of the stole.

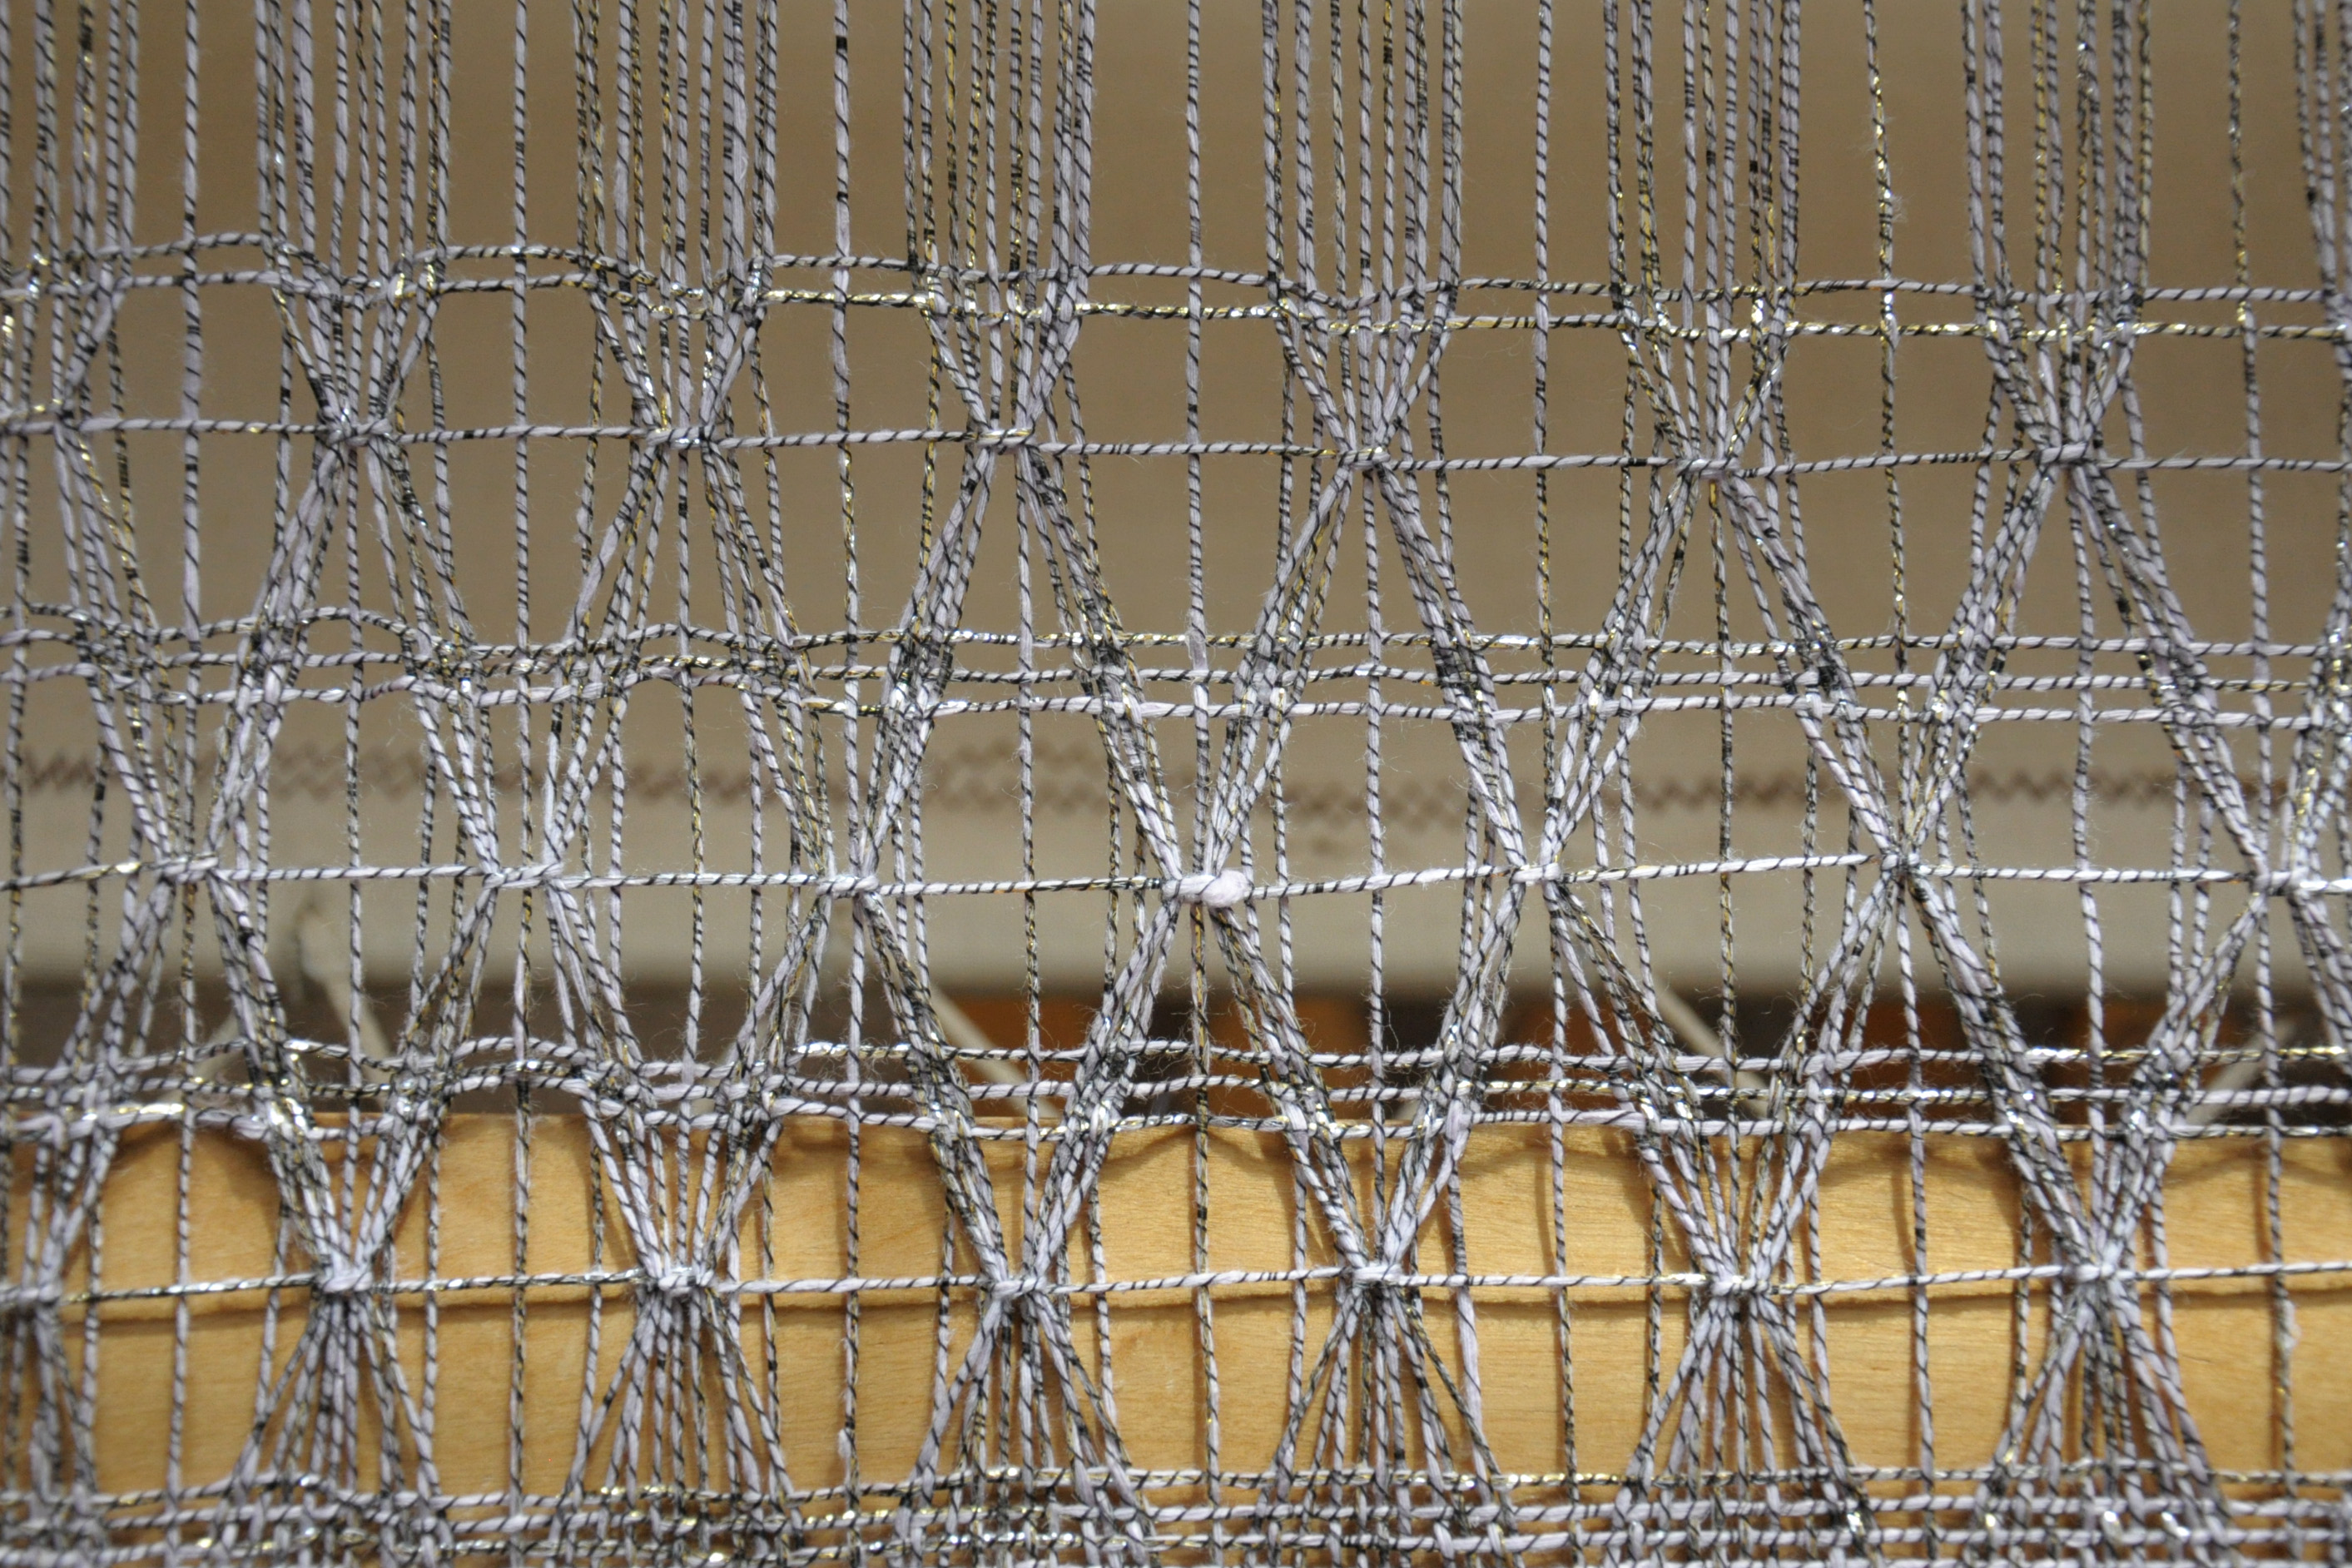
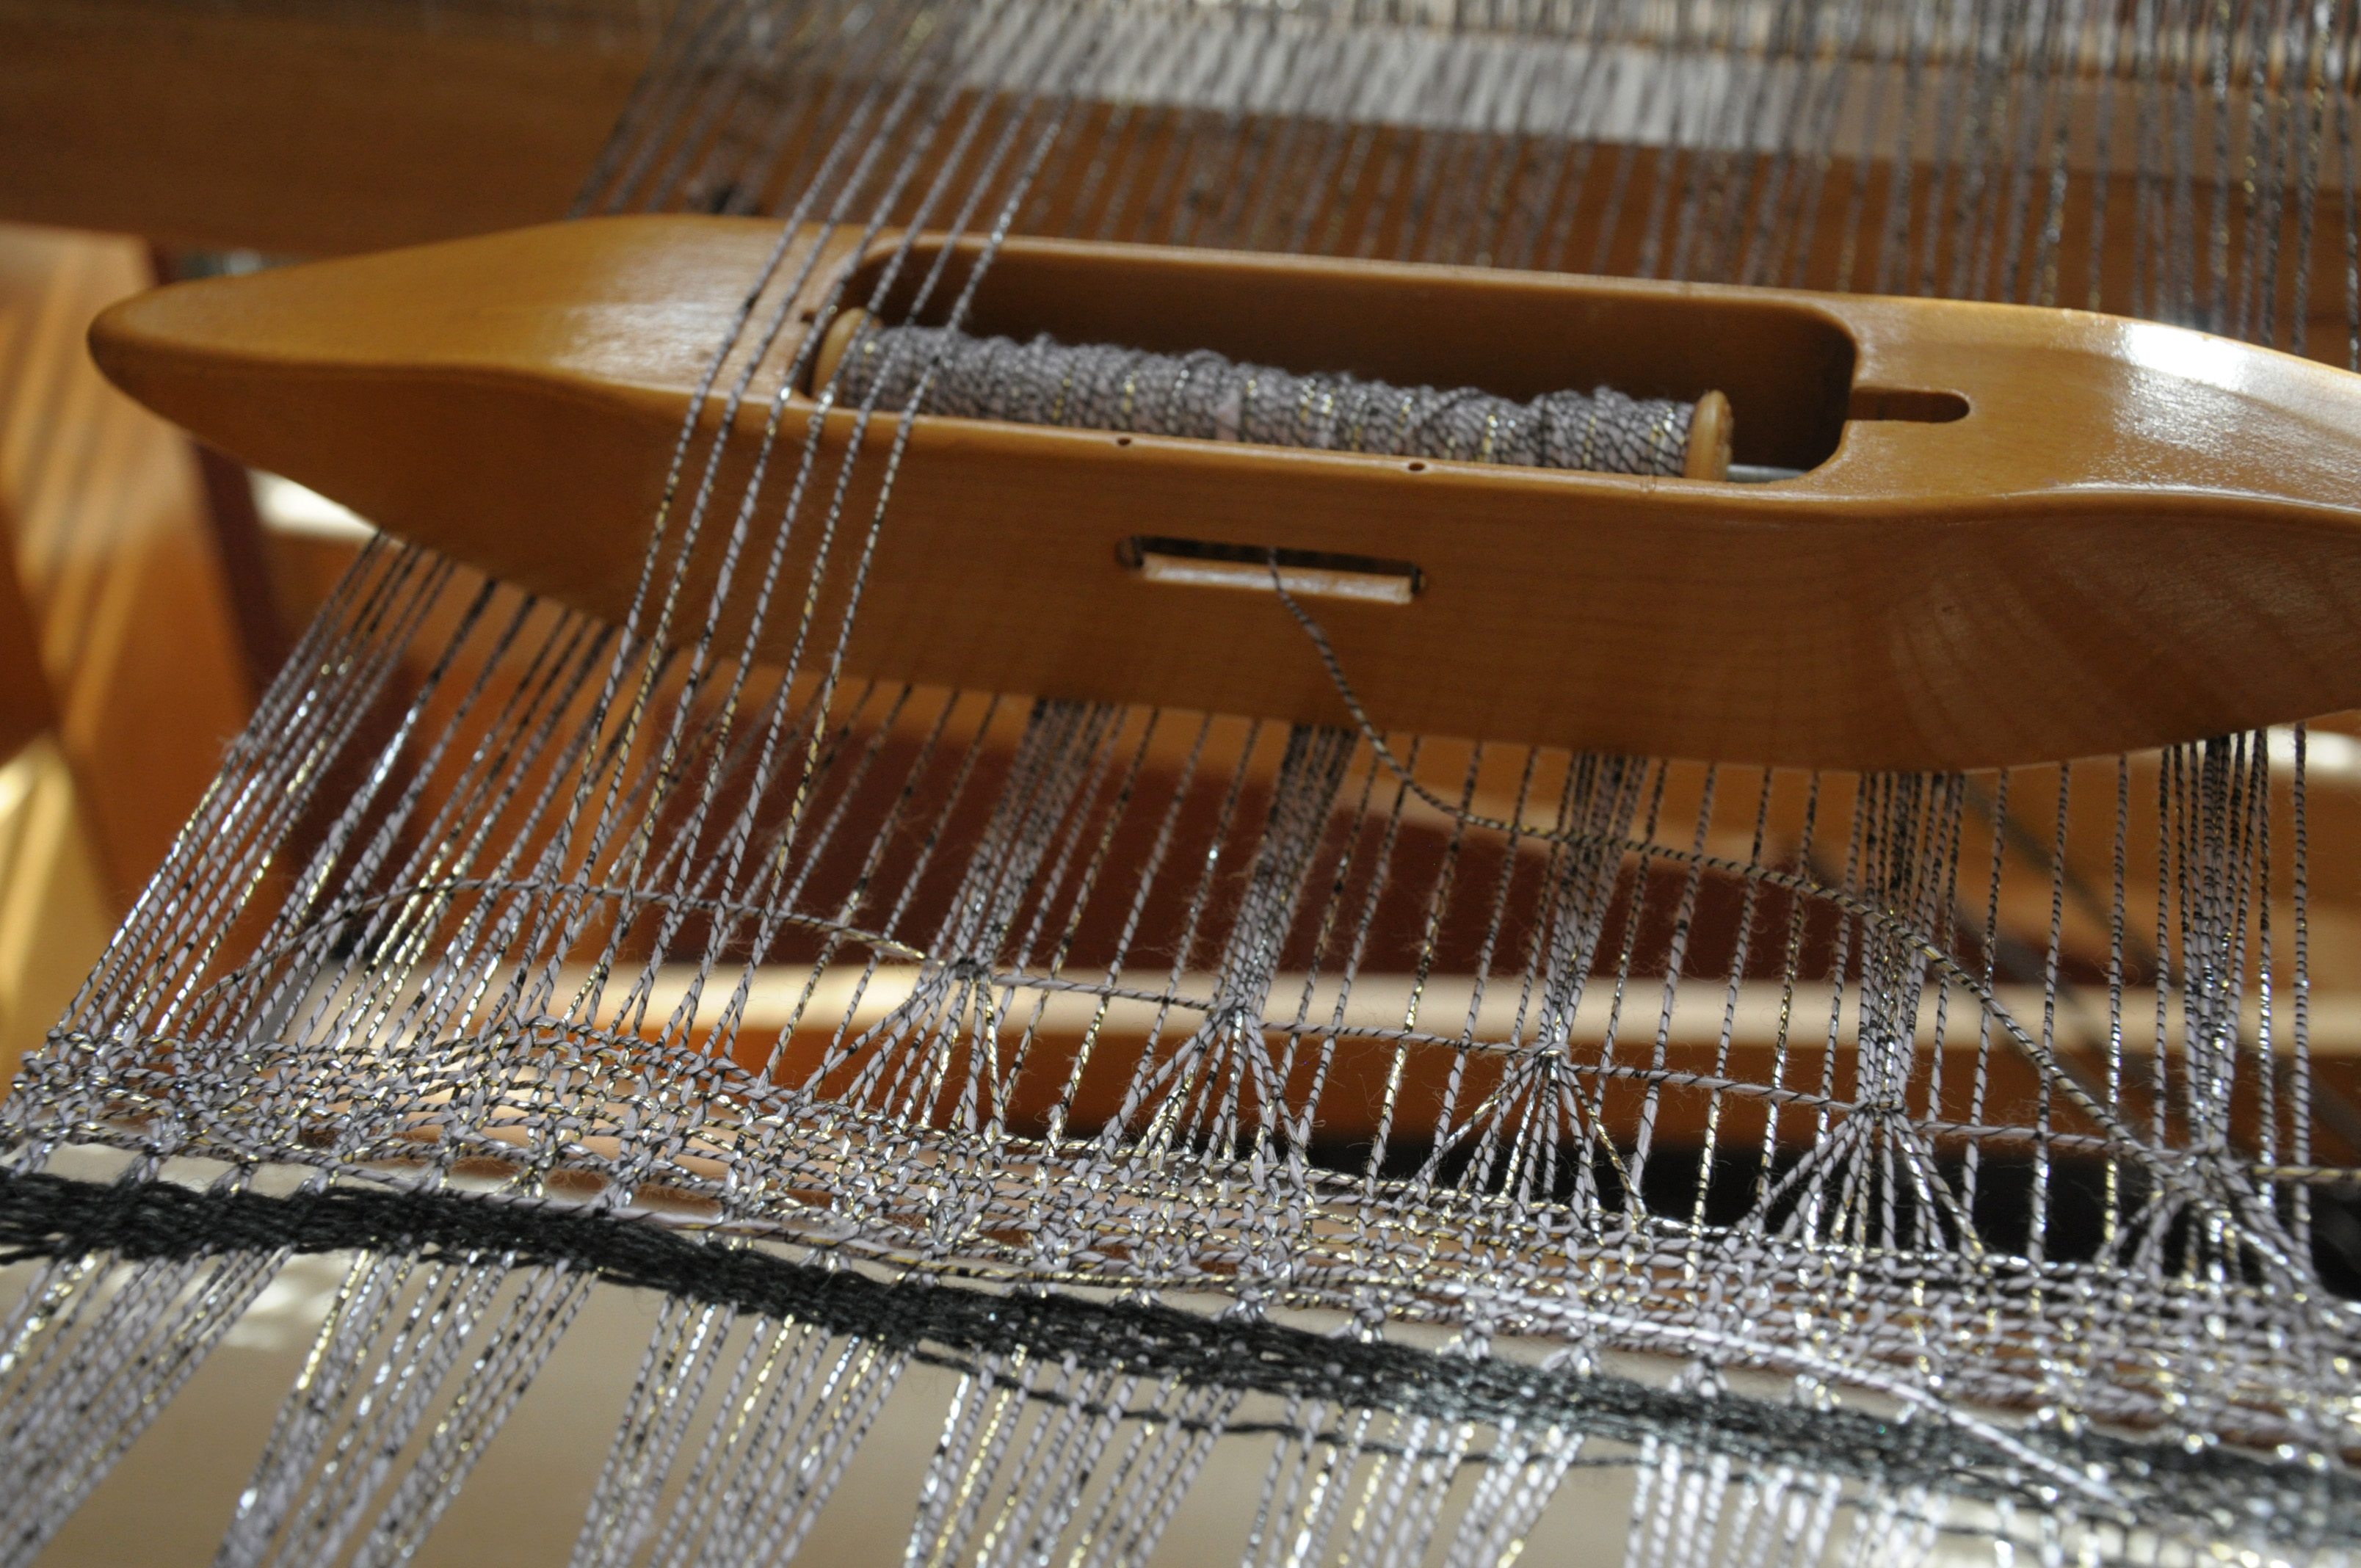
I began with a type of “finger controlled” lace at the beginning called Brooks. “Finger controlled” means that I am literally moving the warp threads with my fingers and passing the yarn between it, rather than using the shafts to raise and lower warp threads.

The first type of Brooks I did is worked on an open shed, meaning I pressed down on one of my treadles that holds half the warp threads. This caused half the warp to raise.
universestole_3

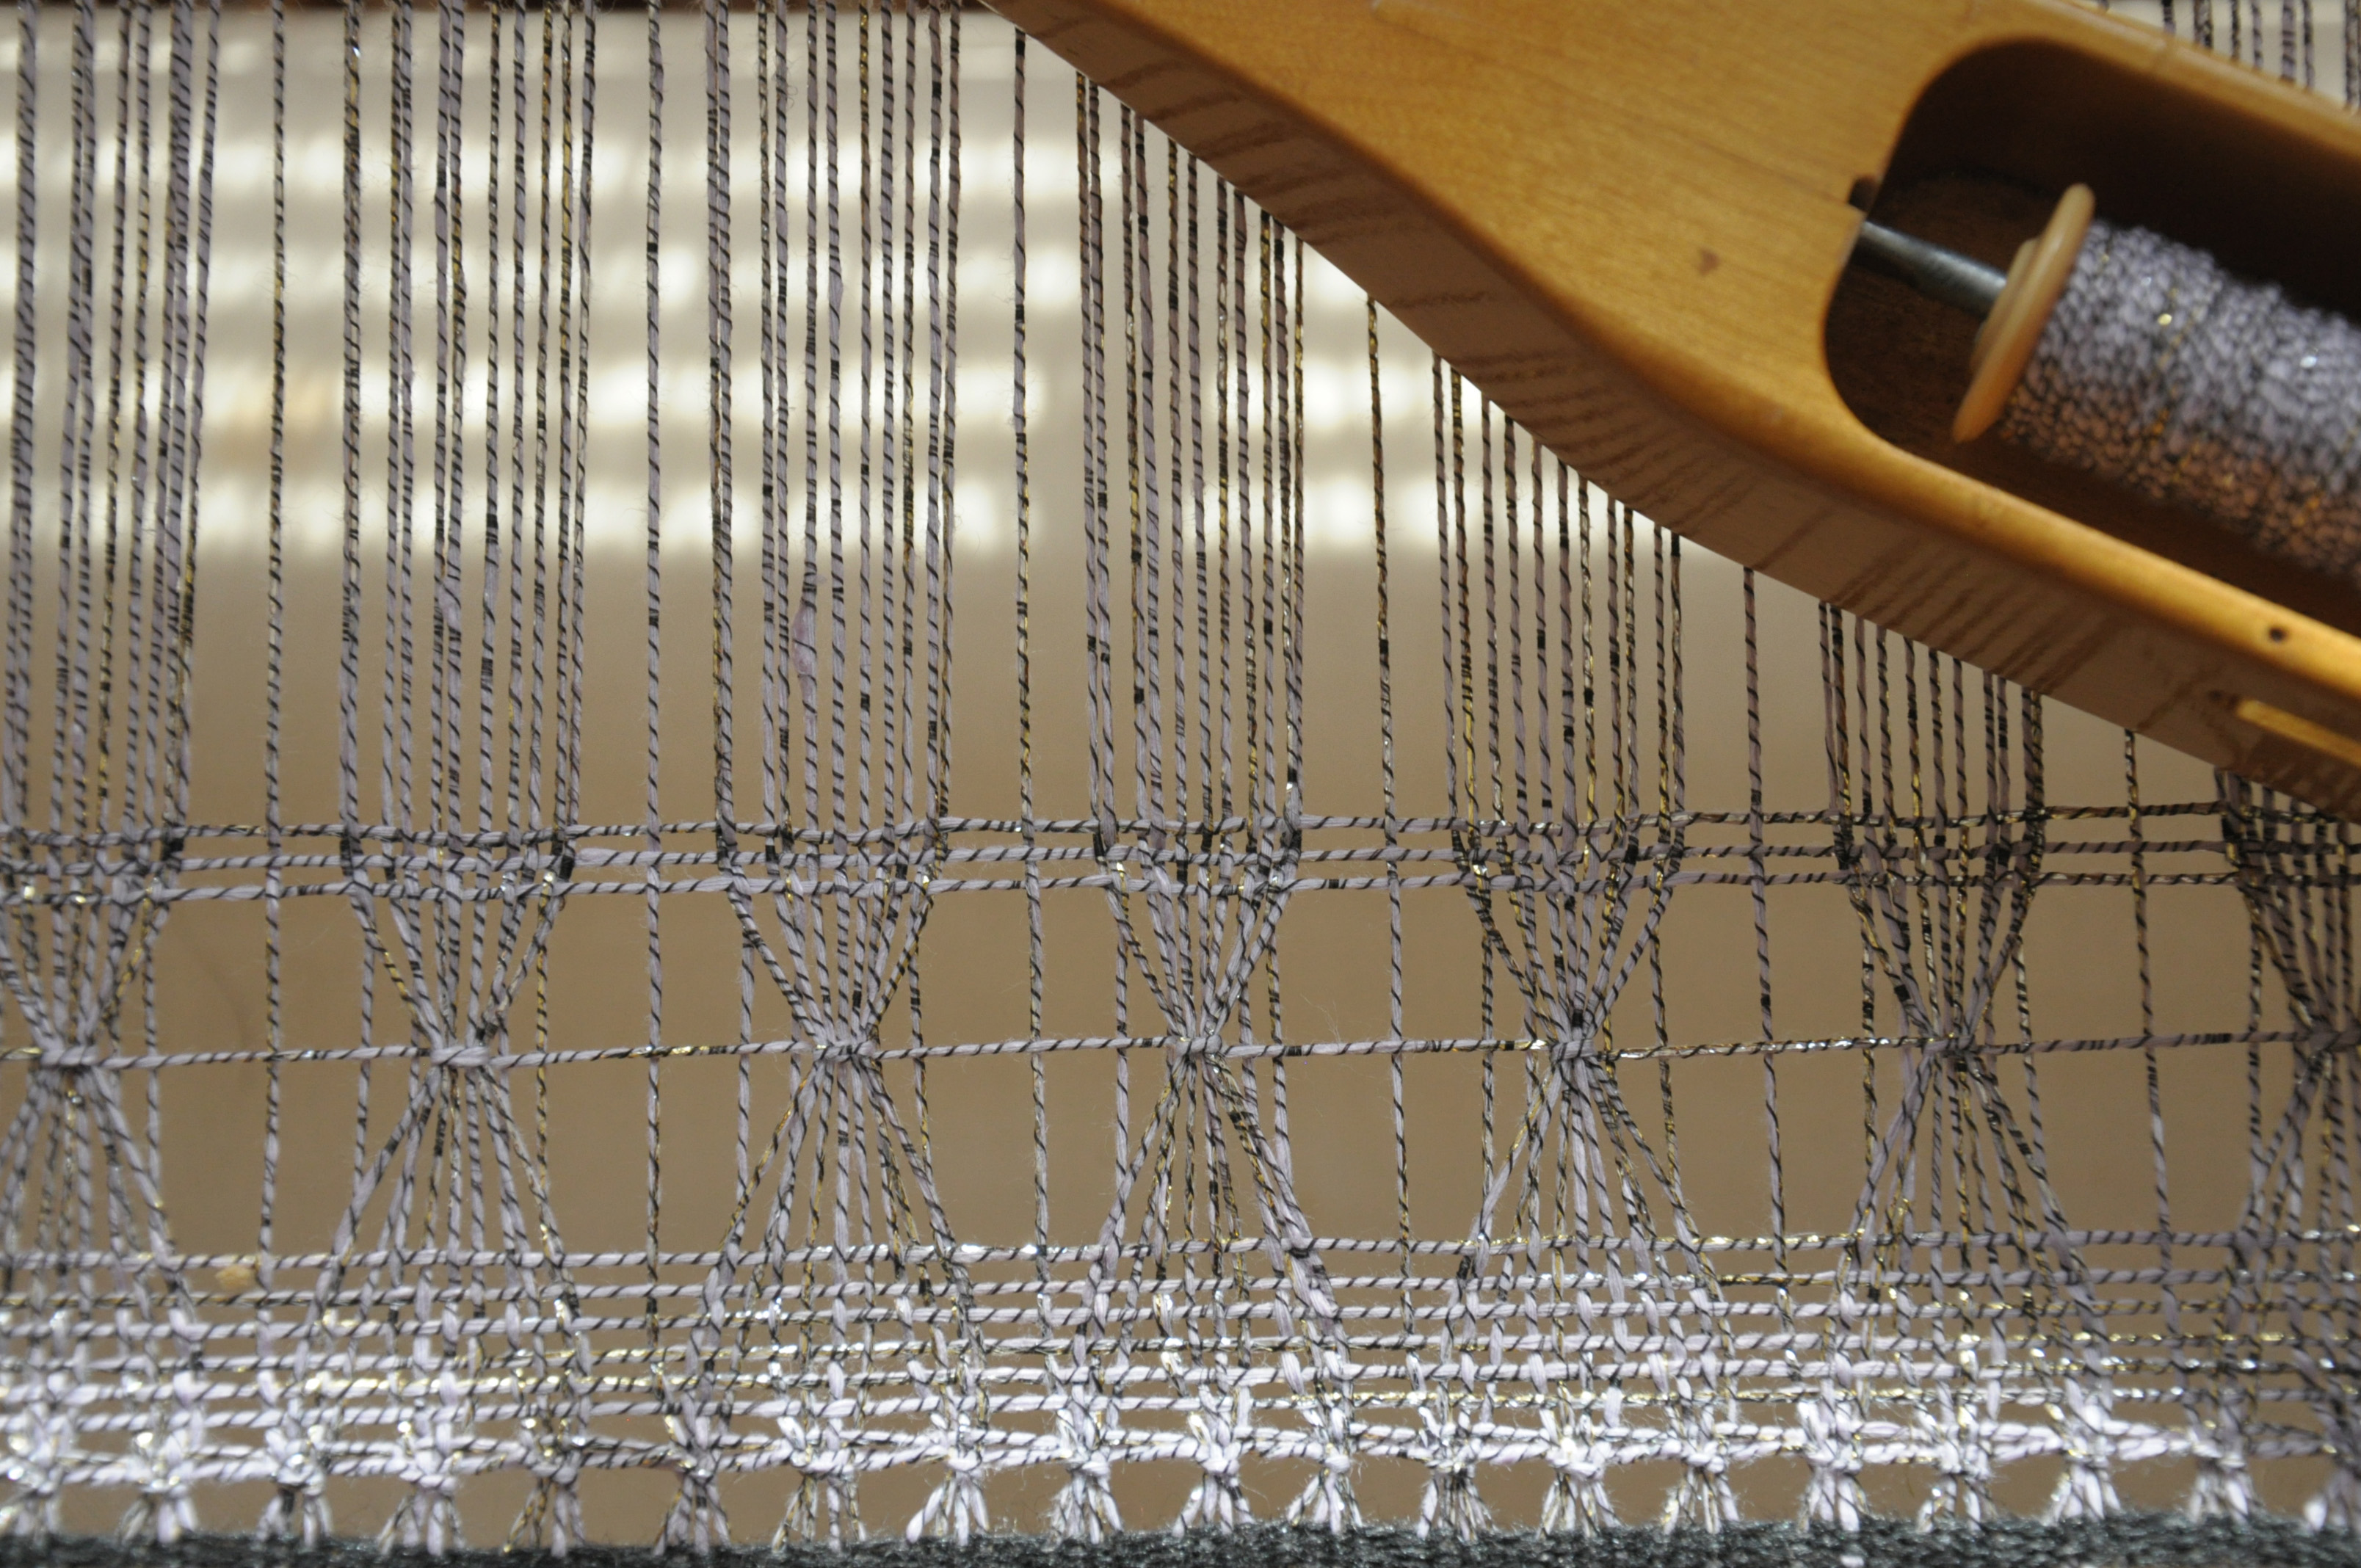
I found Brooks lace quite simple to do – easier than I had imagined. I passed the shuttle containing the warp yarn around a section of the raised warp threads (6), along the entire width of the piece.
universestole_4

I adjusted each of the wrapped sections so they were at about the same height and then worked 3 rows of plain weave. They look like little bows – so pretty.

After this first pass of Brooks, I decided to do another row, but offset from the first row.
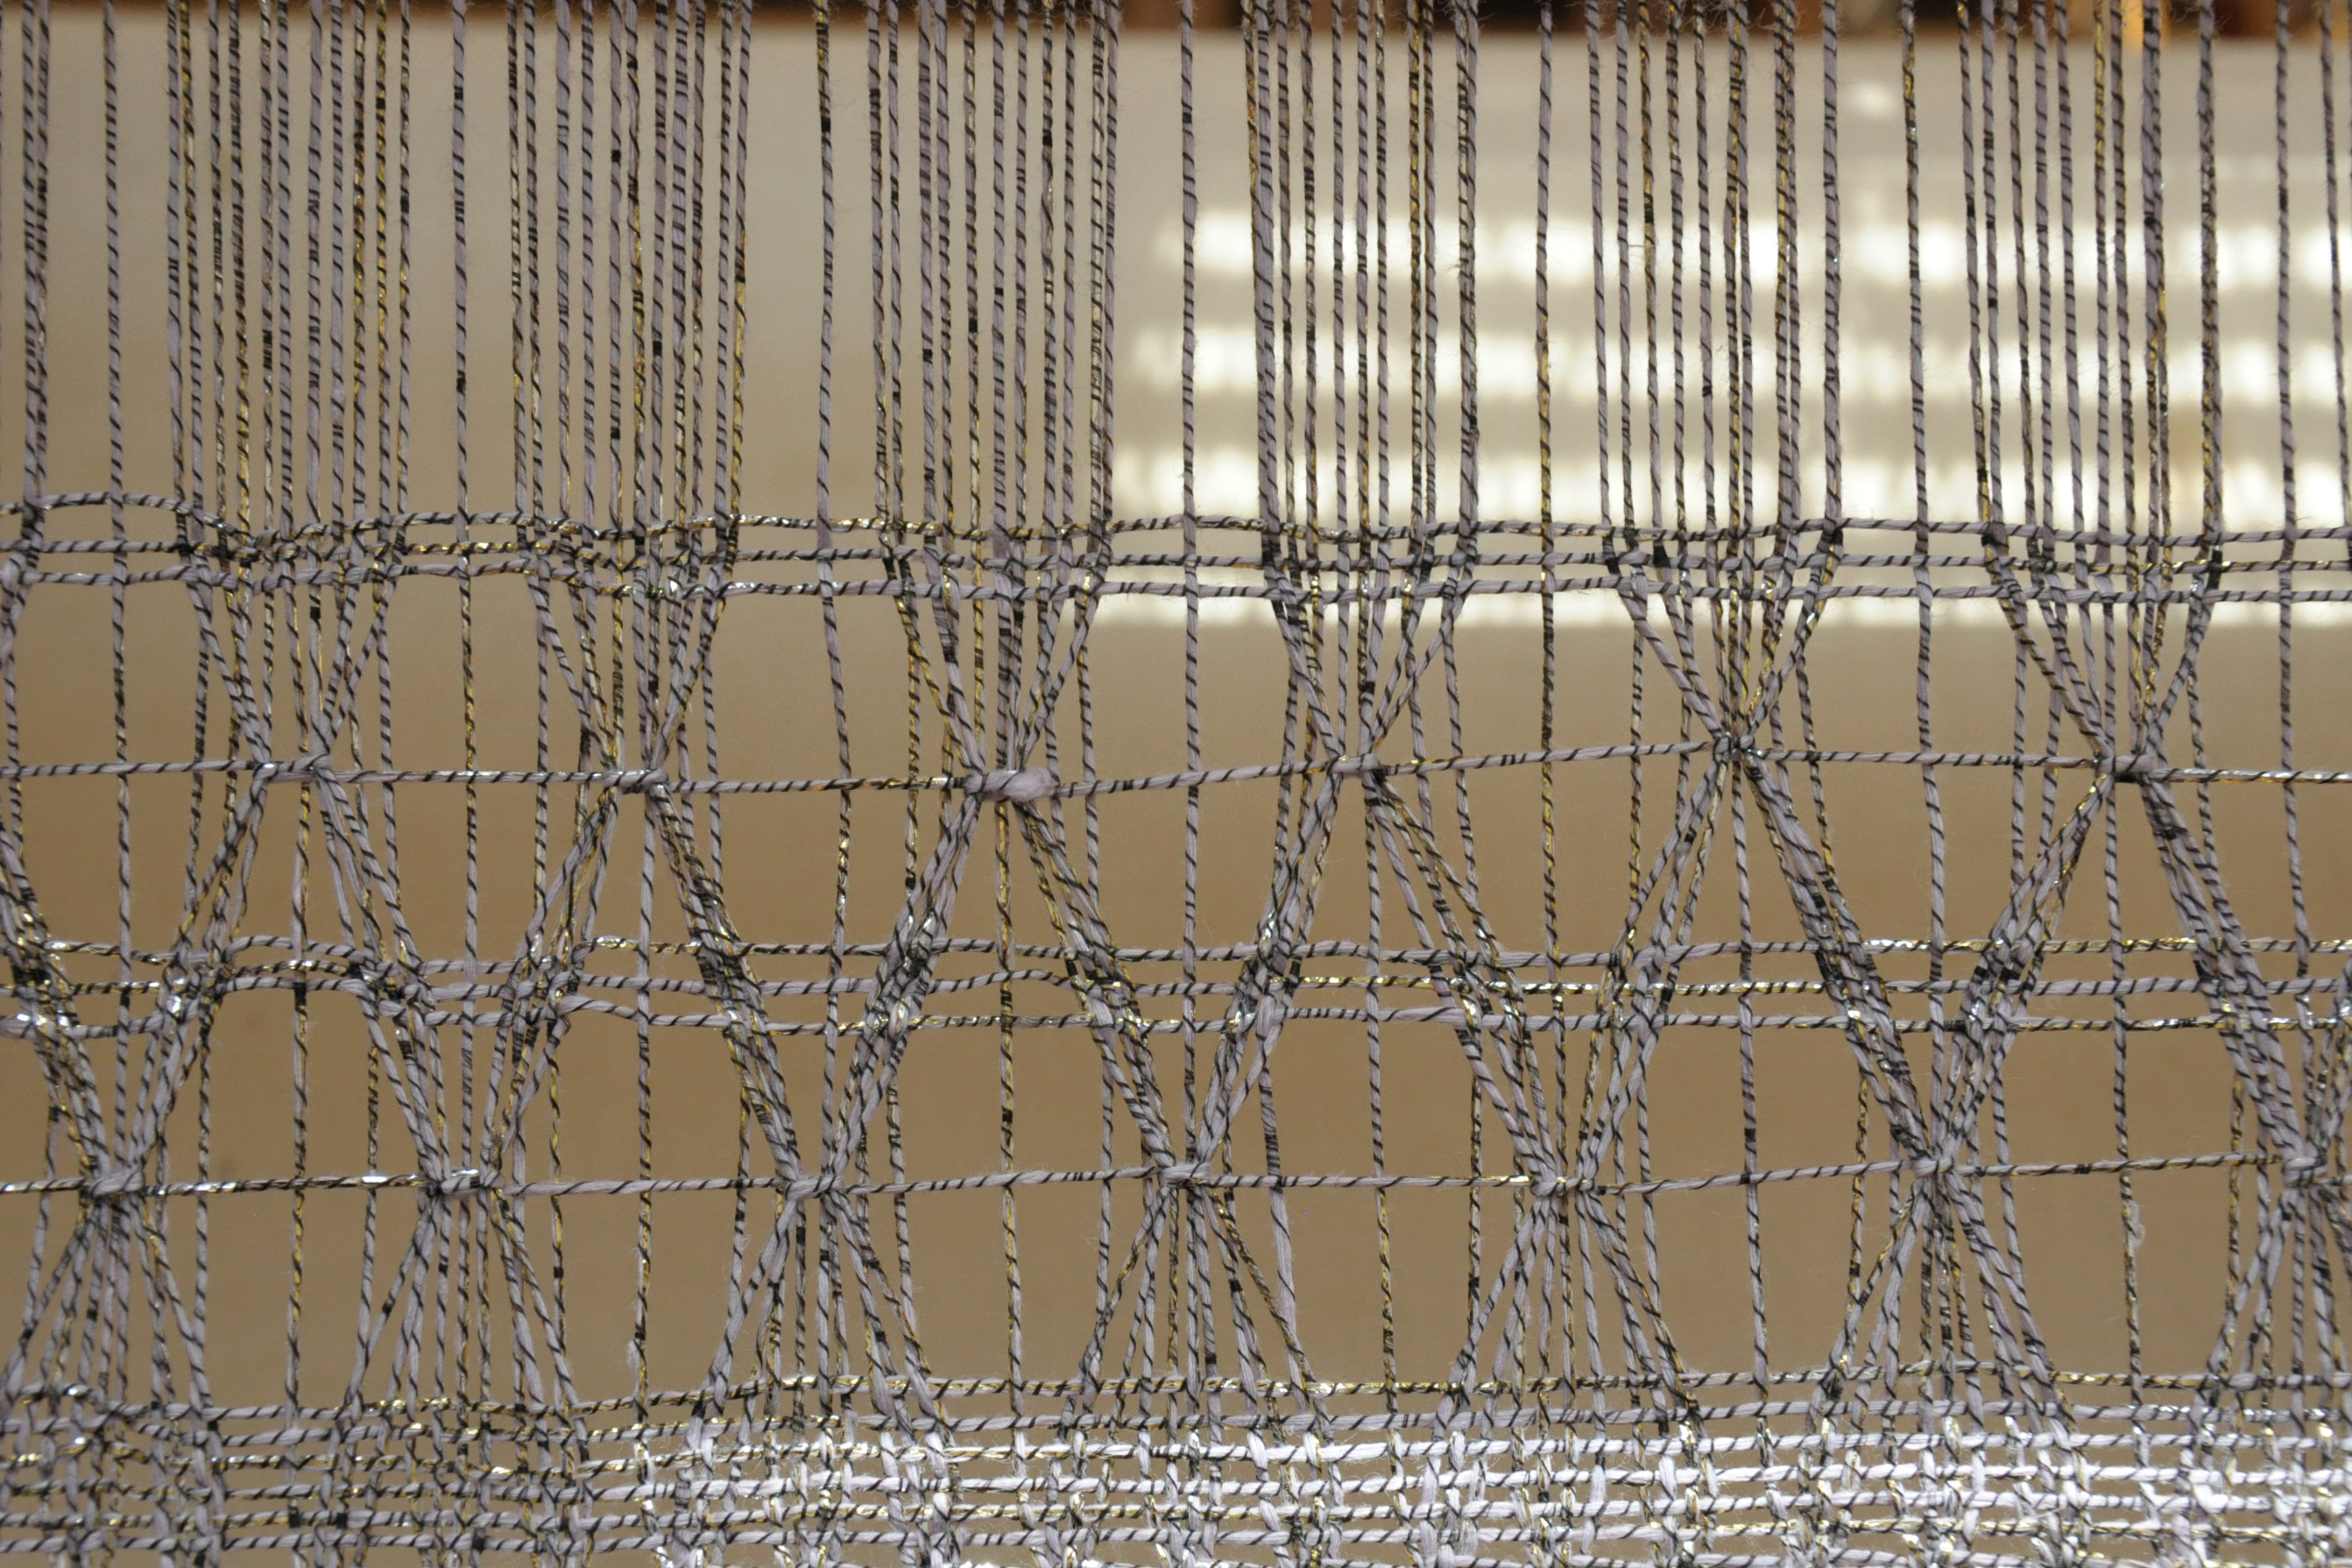
universestole_6

And then another row offset again.

universestole_7

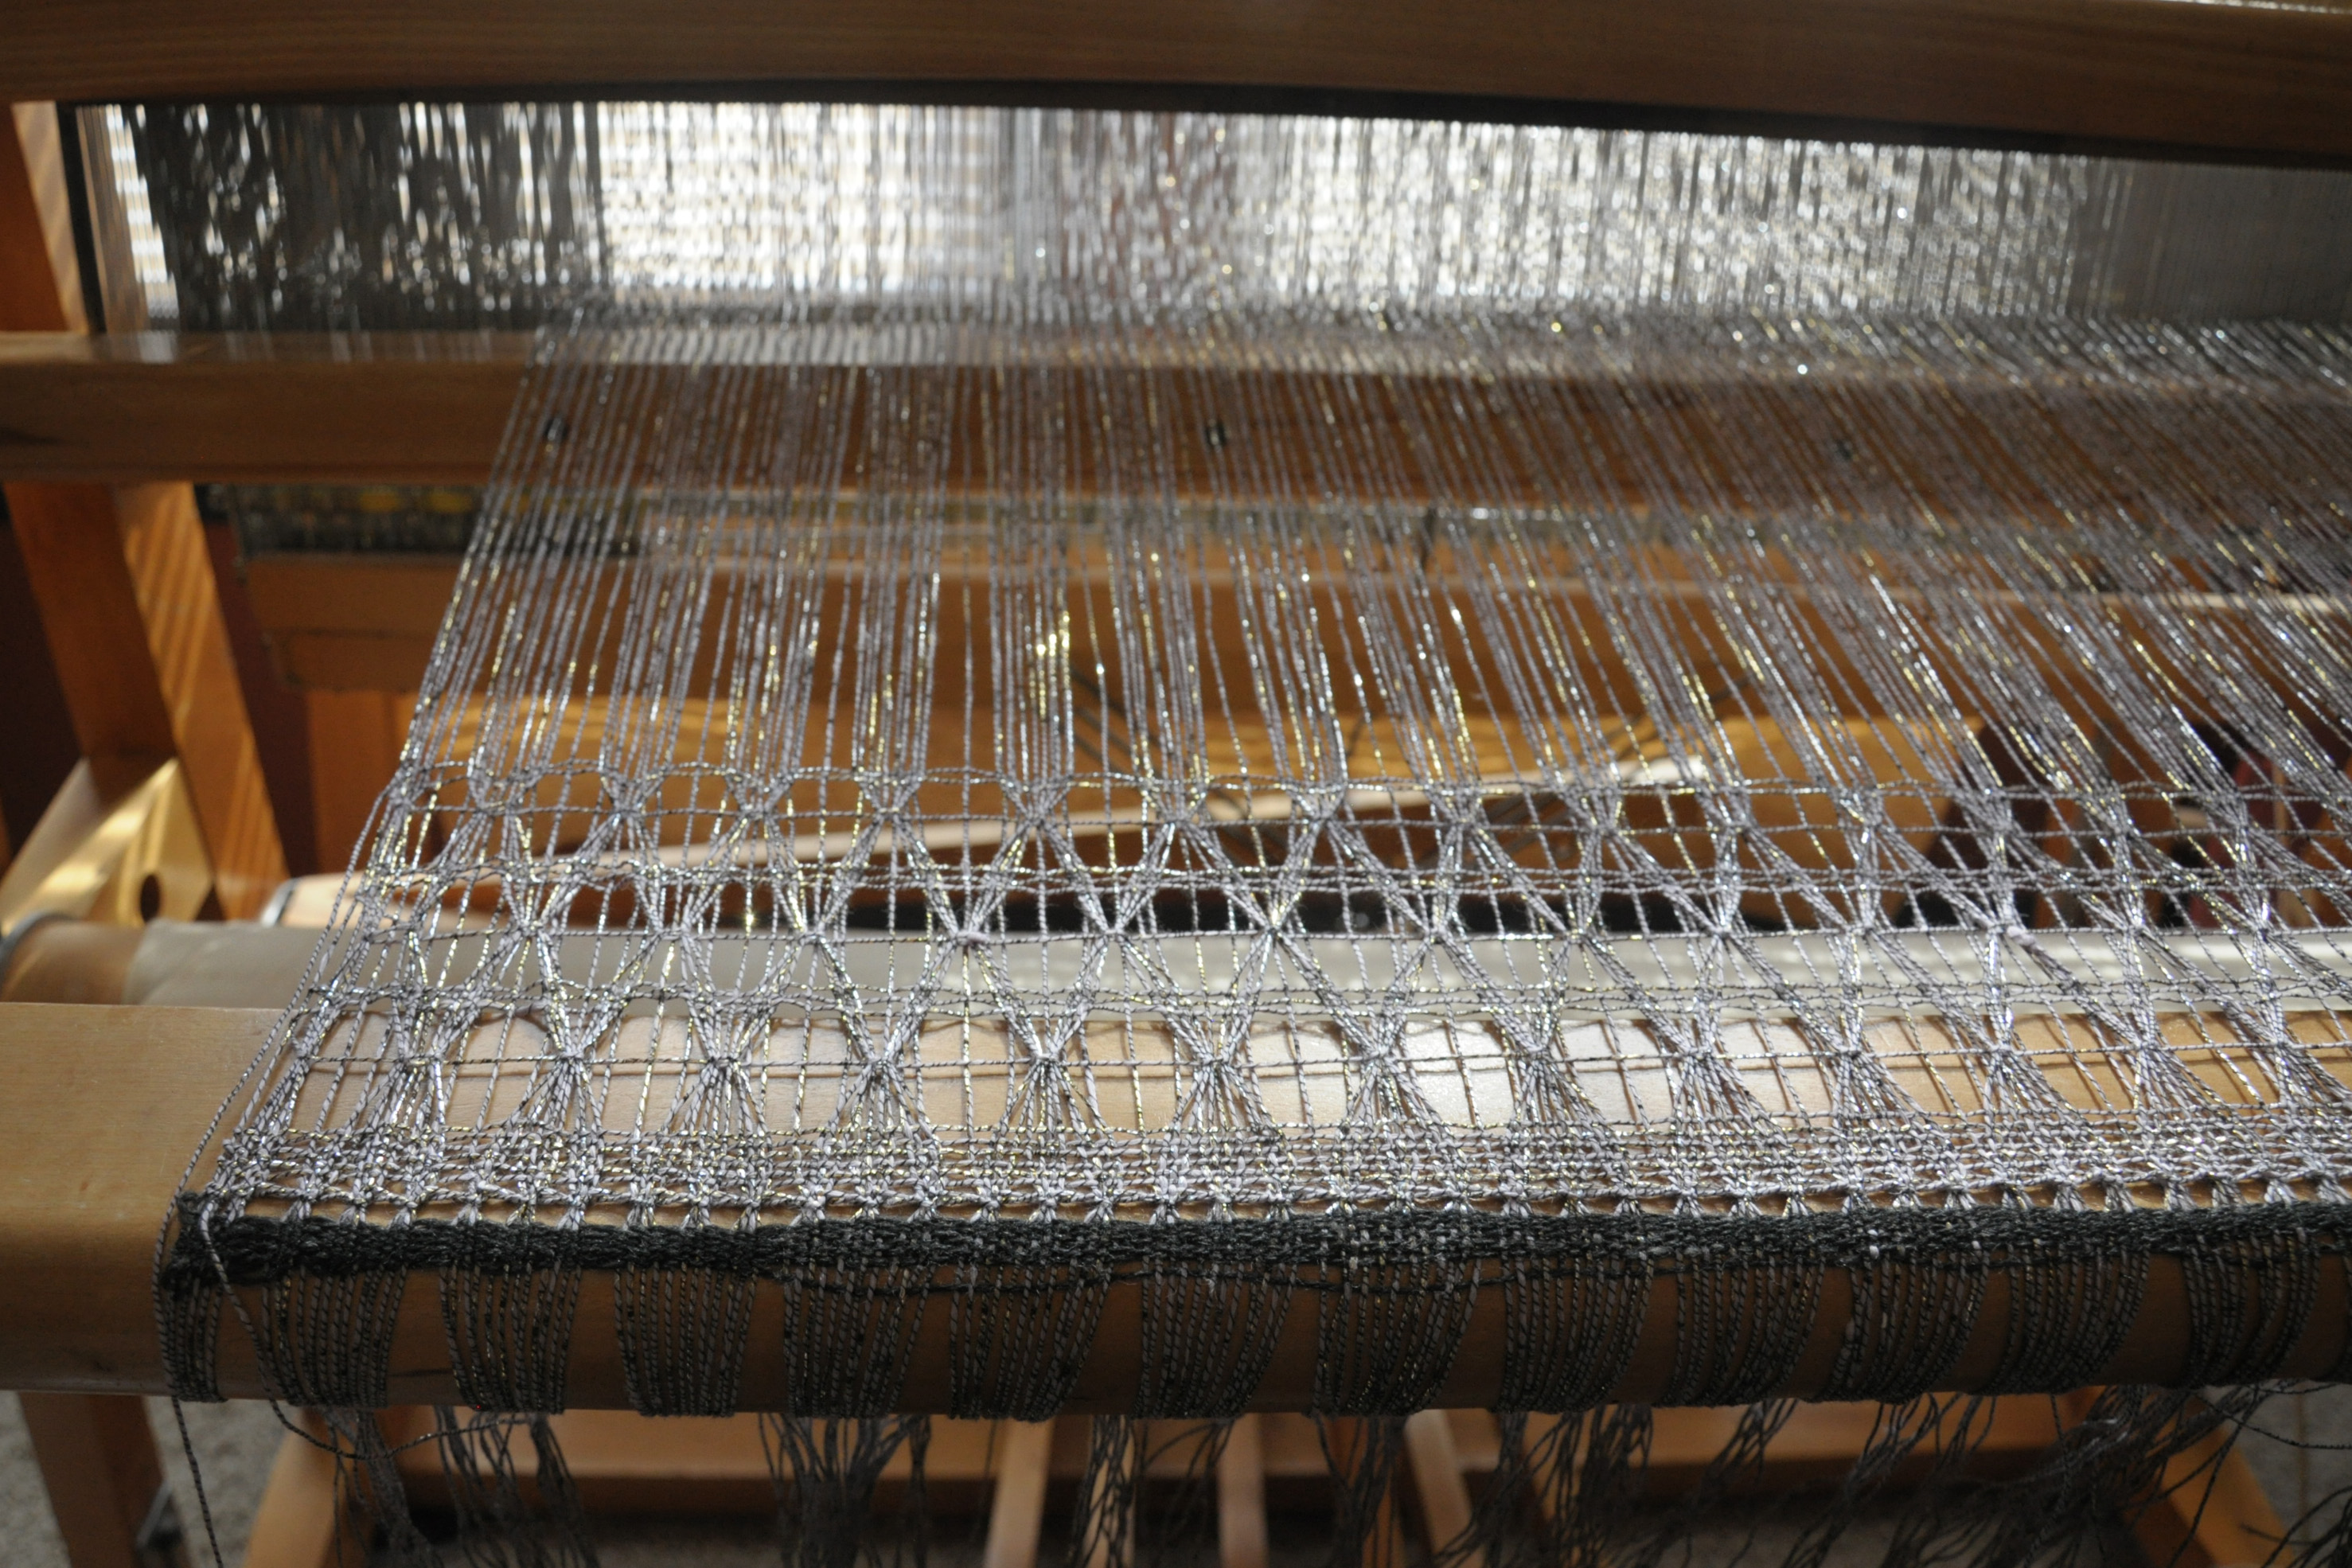
As pretty as this was, I was getting a little bored and was ready to move on. That’s half the beauty of a sampler!

And look, so it’s so sparkly!
universestole_8

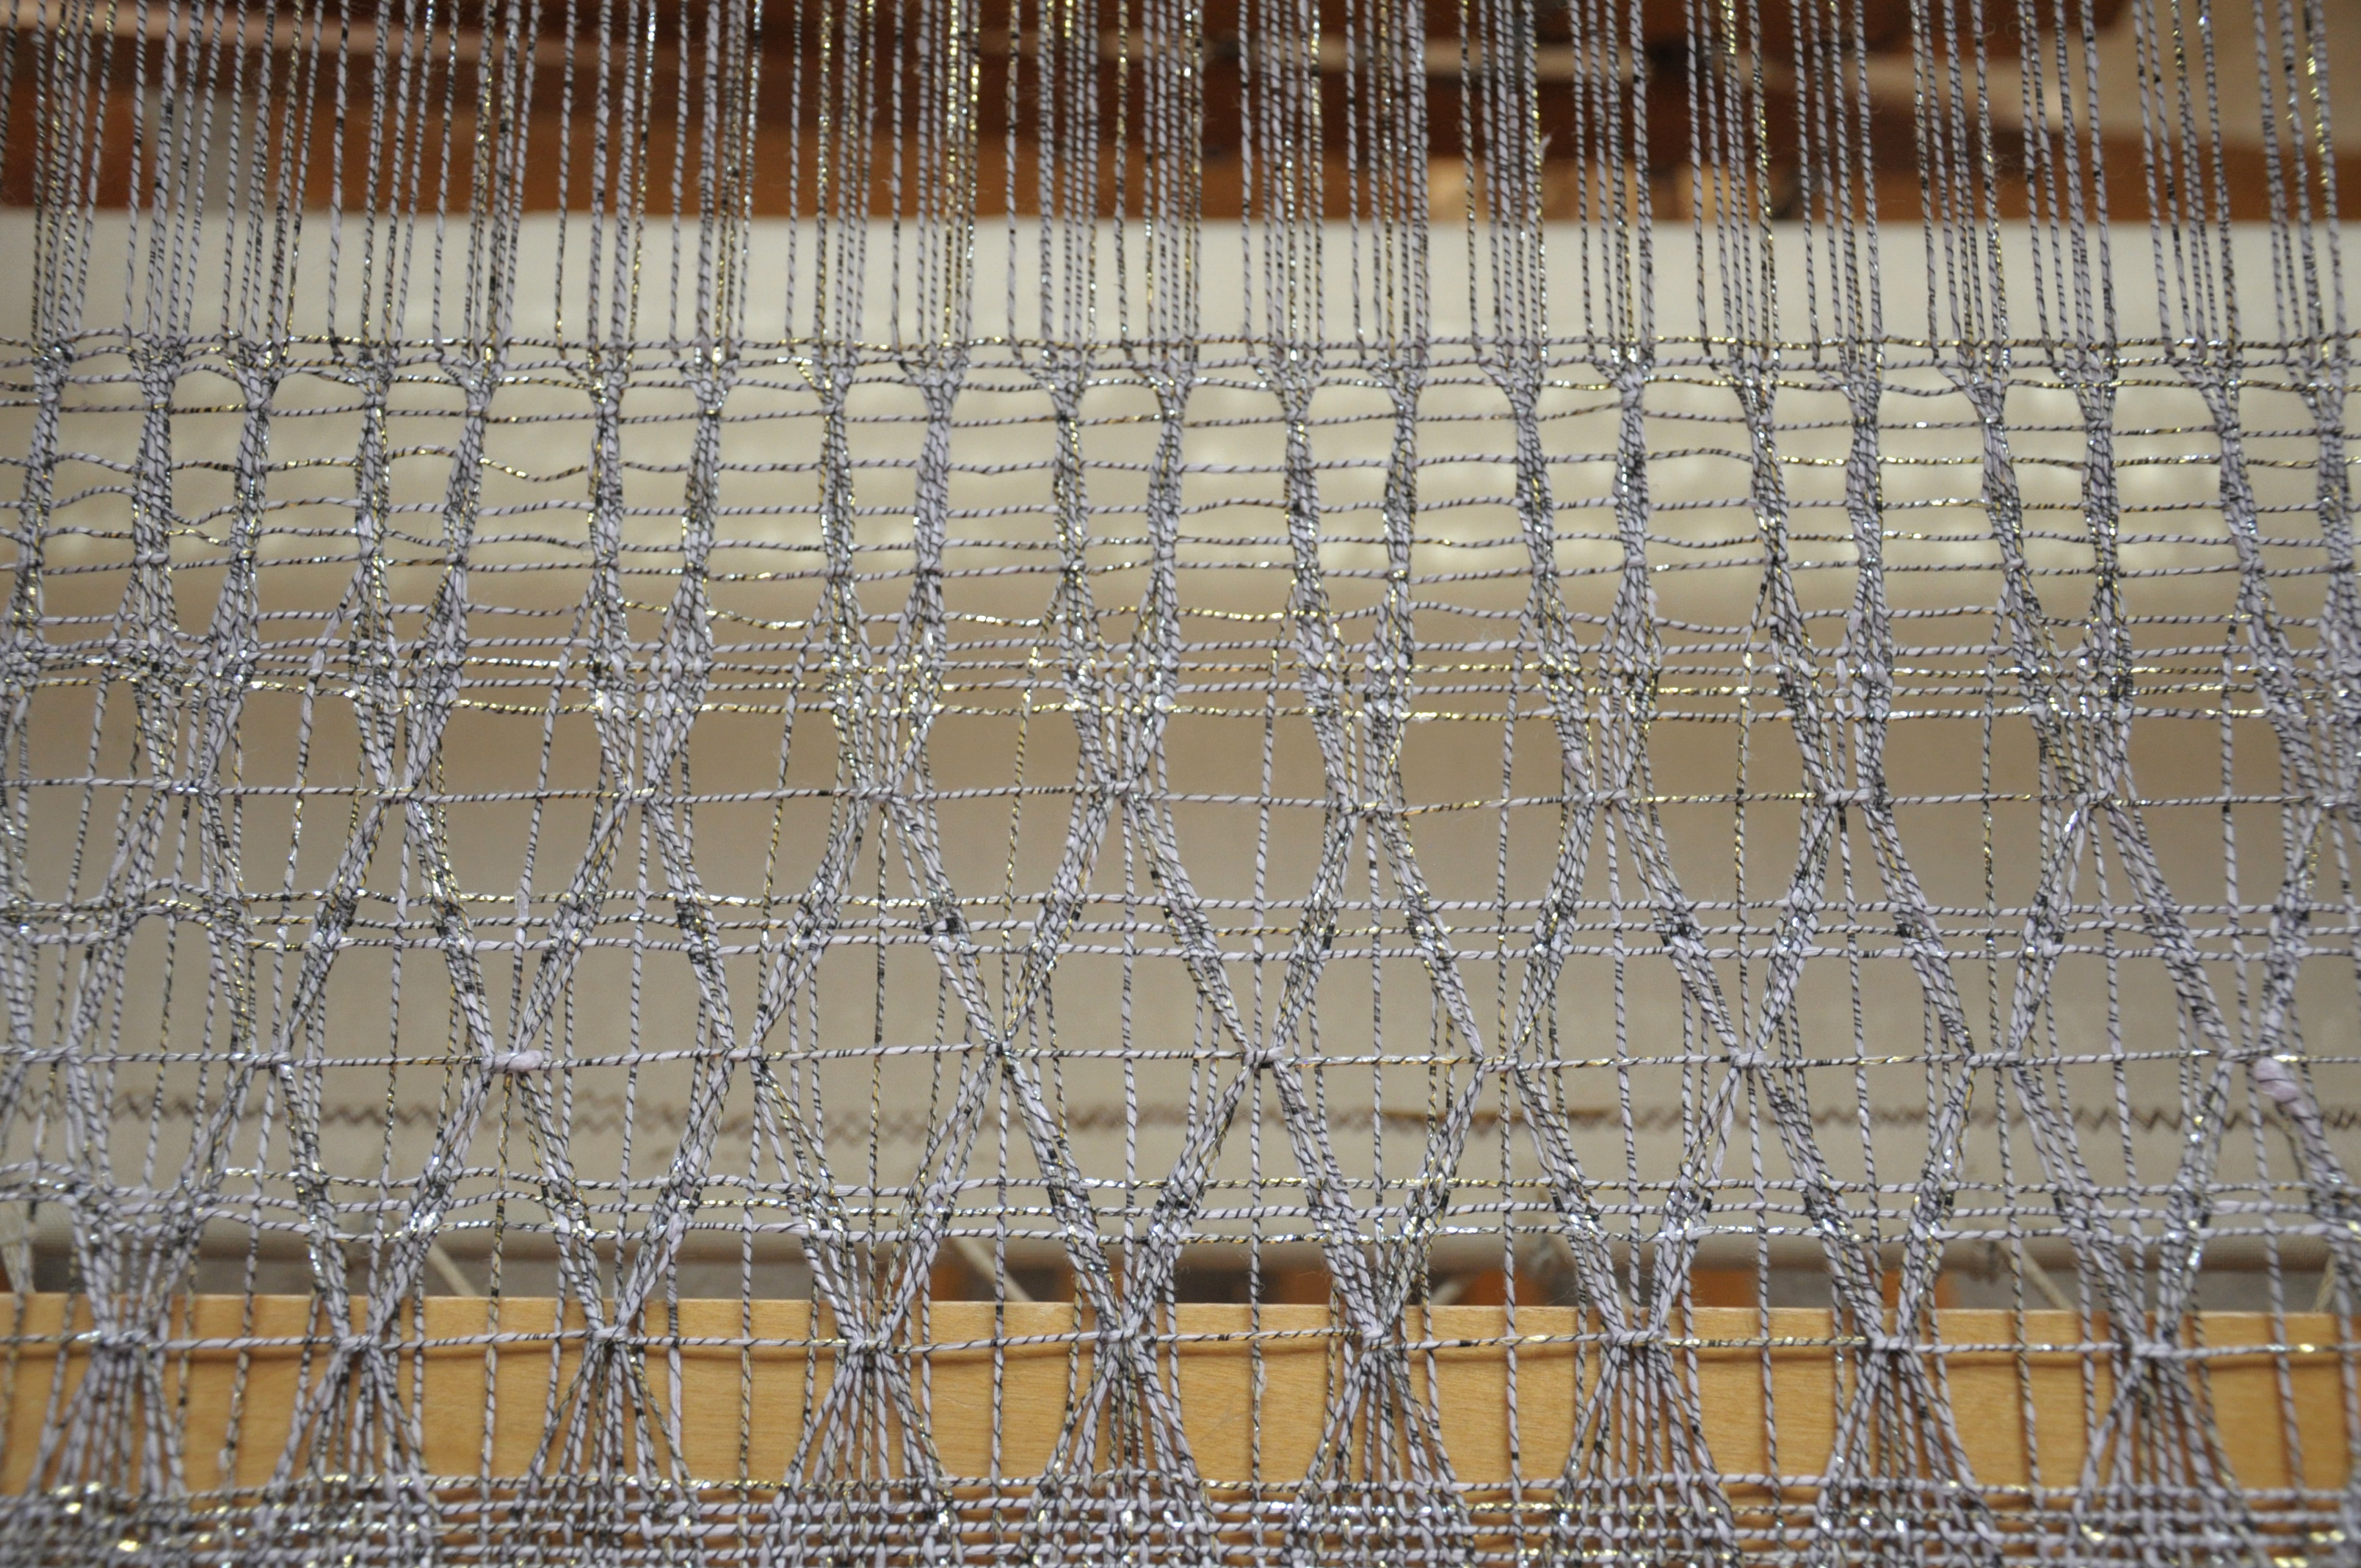
Next, I tried Brooks lace, but worked on a close shed. That means when I wrapped my weft yarn around the warp, I went around all threads across the width of the piece. I did two repeats of this with 3 passes of plain weave in between. I was less impressed with the appearance of this on the loom, but decided to keep it in the piece in hopes that I’d like it better after finishing (and I did!)
universestole_9

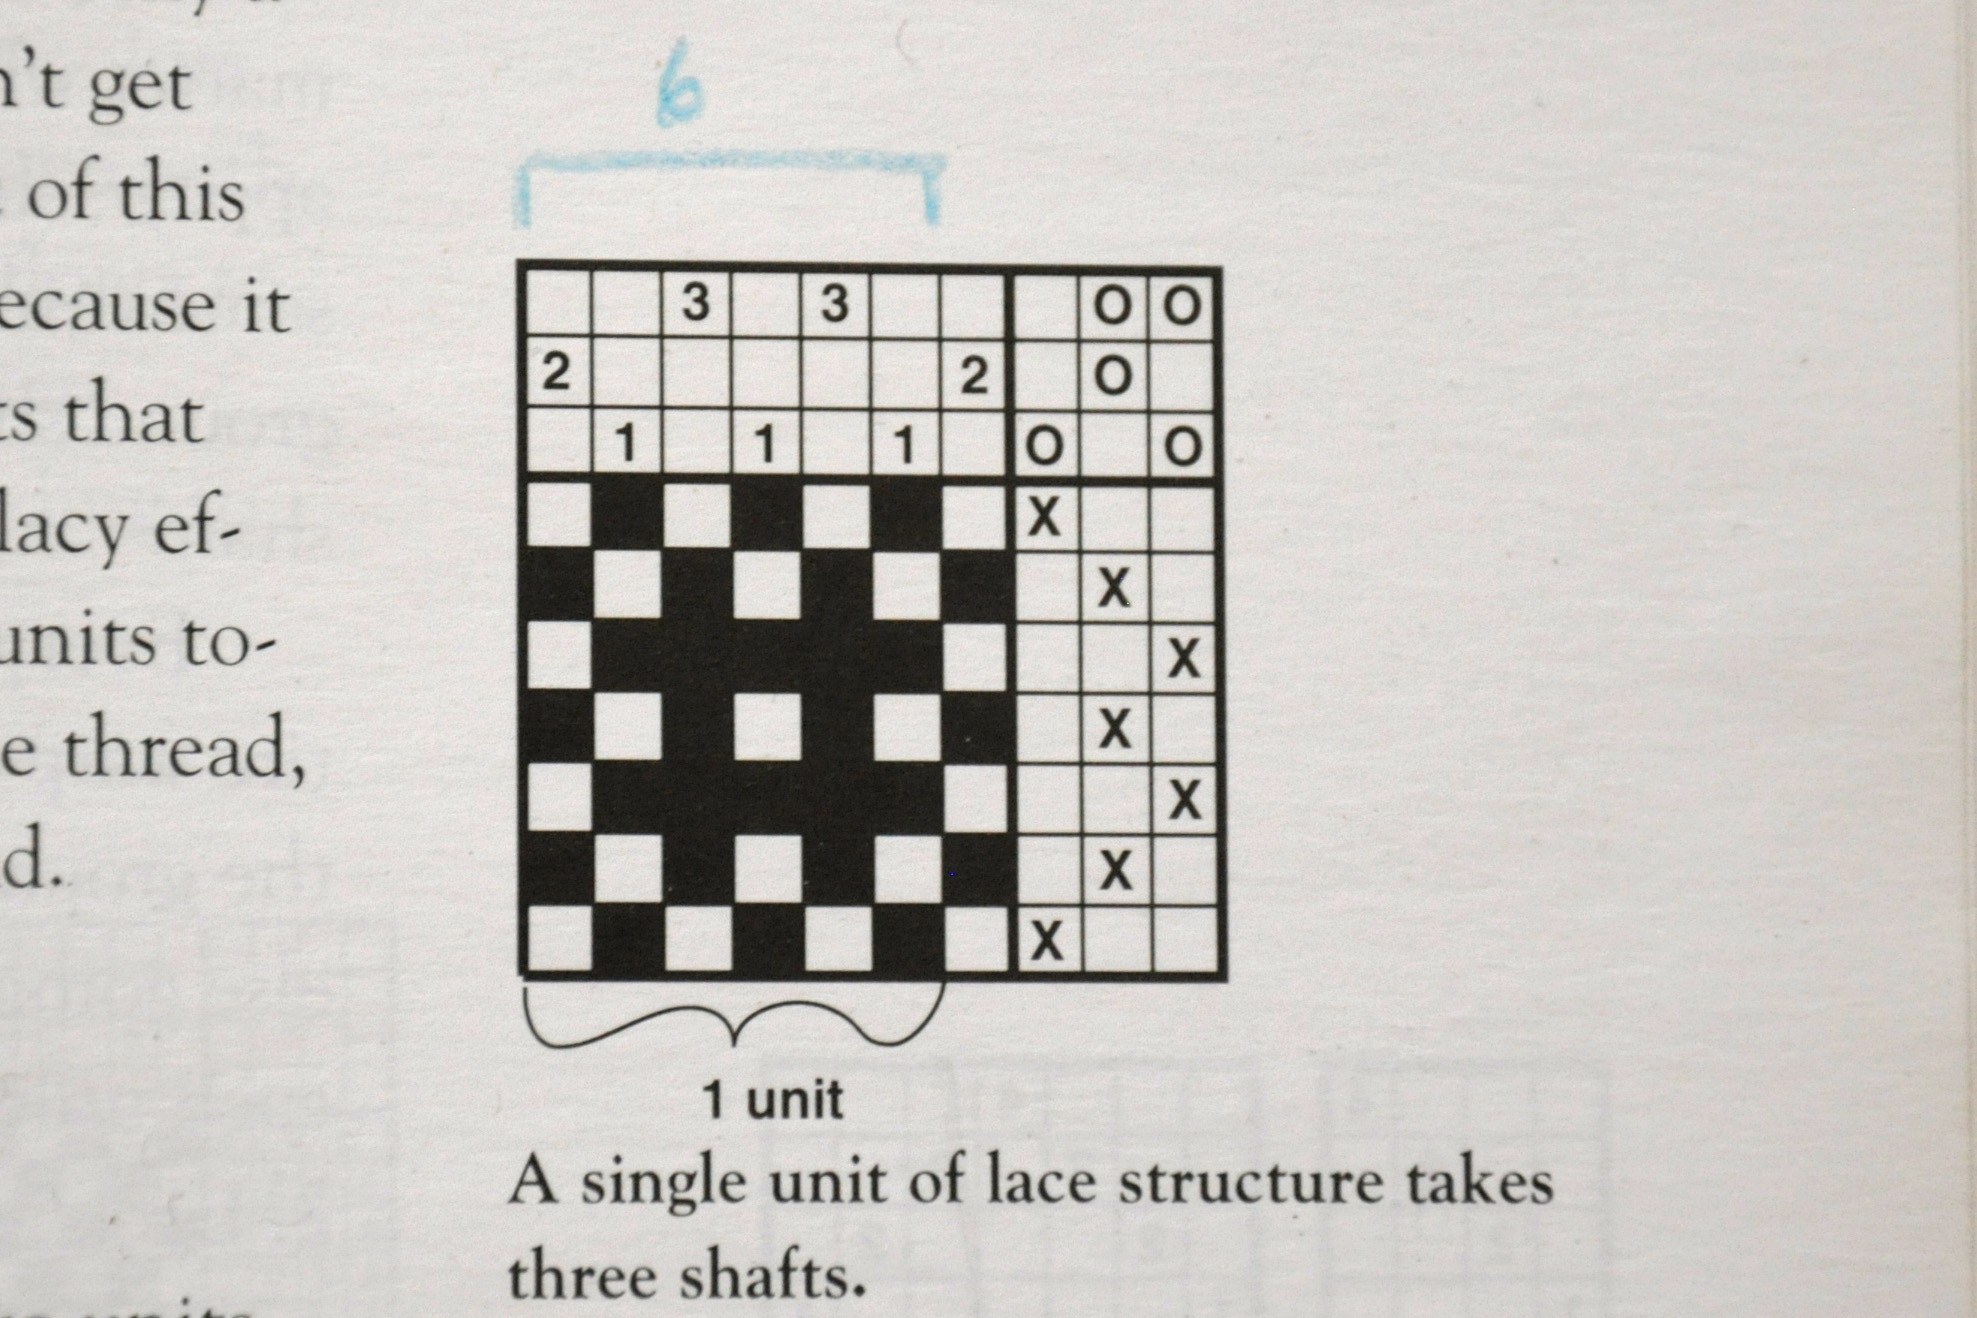
Next, it was time to move on to my main lace pattern: Atwater Bronson. This type of lace produces little blocks. I warped my loom for the most basic of Atwater Bronson – a single repeating block of lace. There are many incarnations of this lace. And it is quite possible to reproduce this on a rigid heddle with use of a pick-up stick.
universestole_10

While the Brooks lace is considered a finger controlled lace pattern, Atwater Bronson is a type of “loom controlled” pattern. That’s because the loom is doing all the work of raising and lowering the warp threads. Well, at least my feet are doing the work of pushing the treadles to make this happen!

I really enjoyed the weaving part of this. I’m sure much of this was the ease of weaving on a floor loom, and the wonderful rhythm of the beater bar, treadles, and boat shuttle. But it was also easy to memorize and just overall very pleasant.

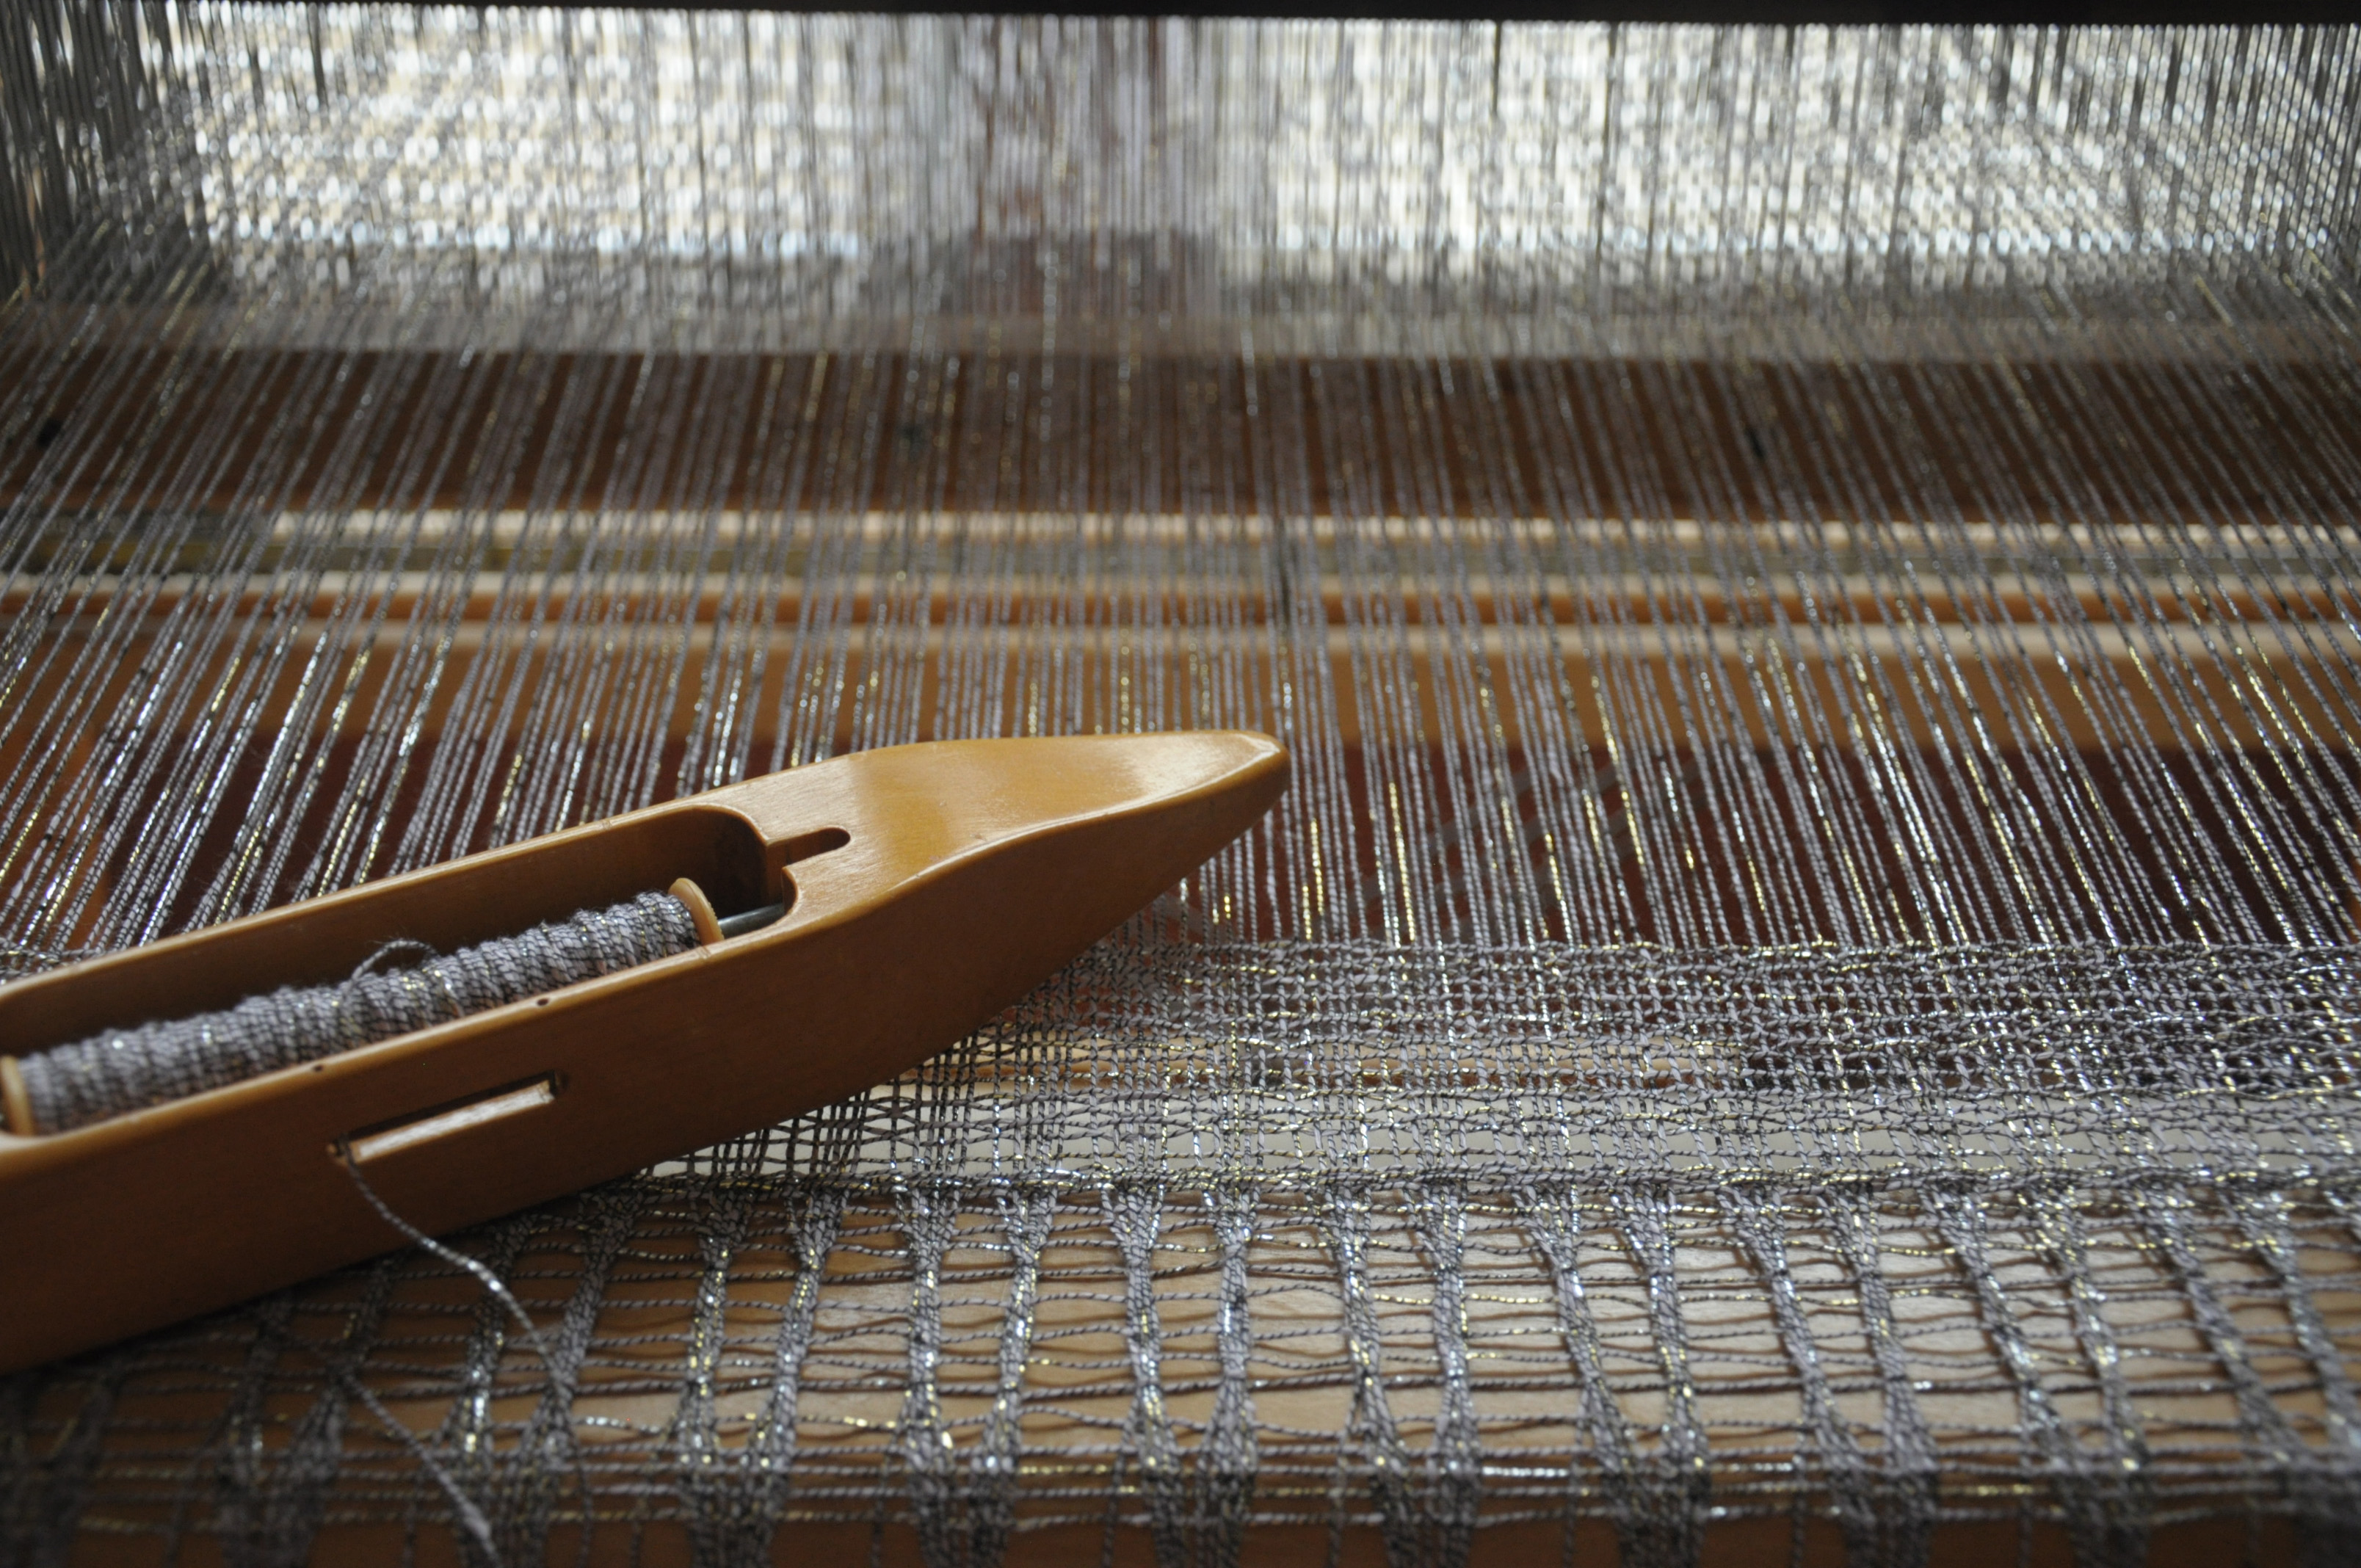
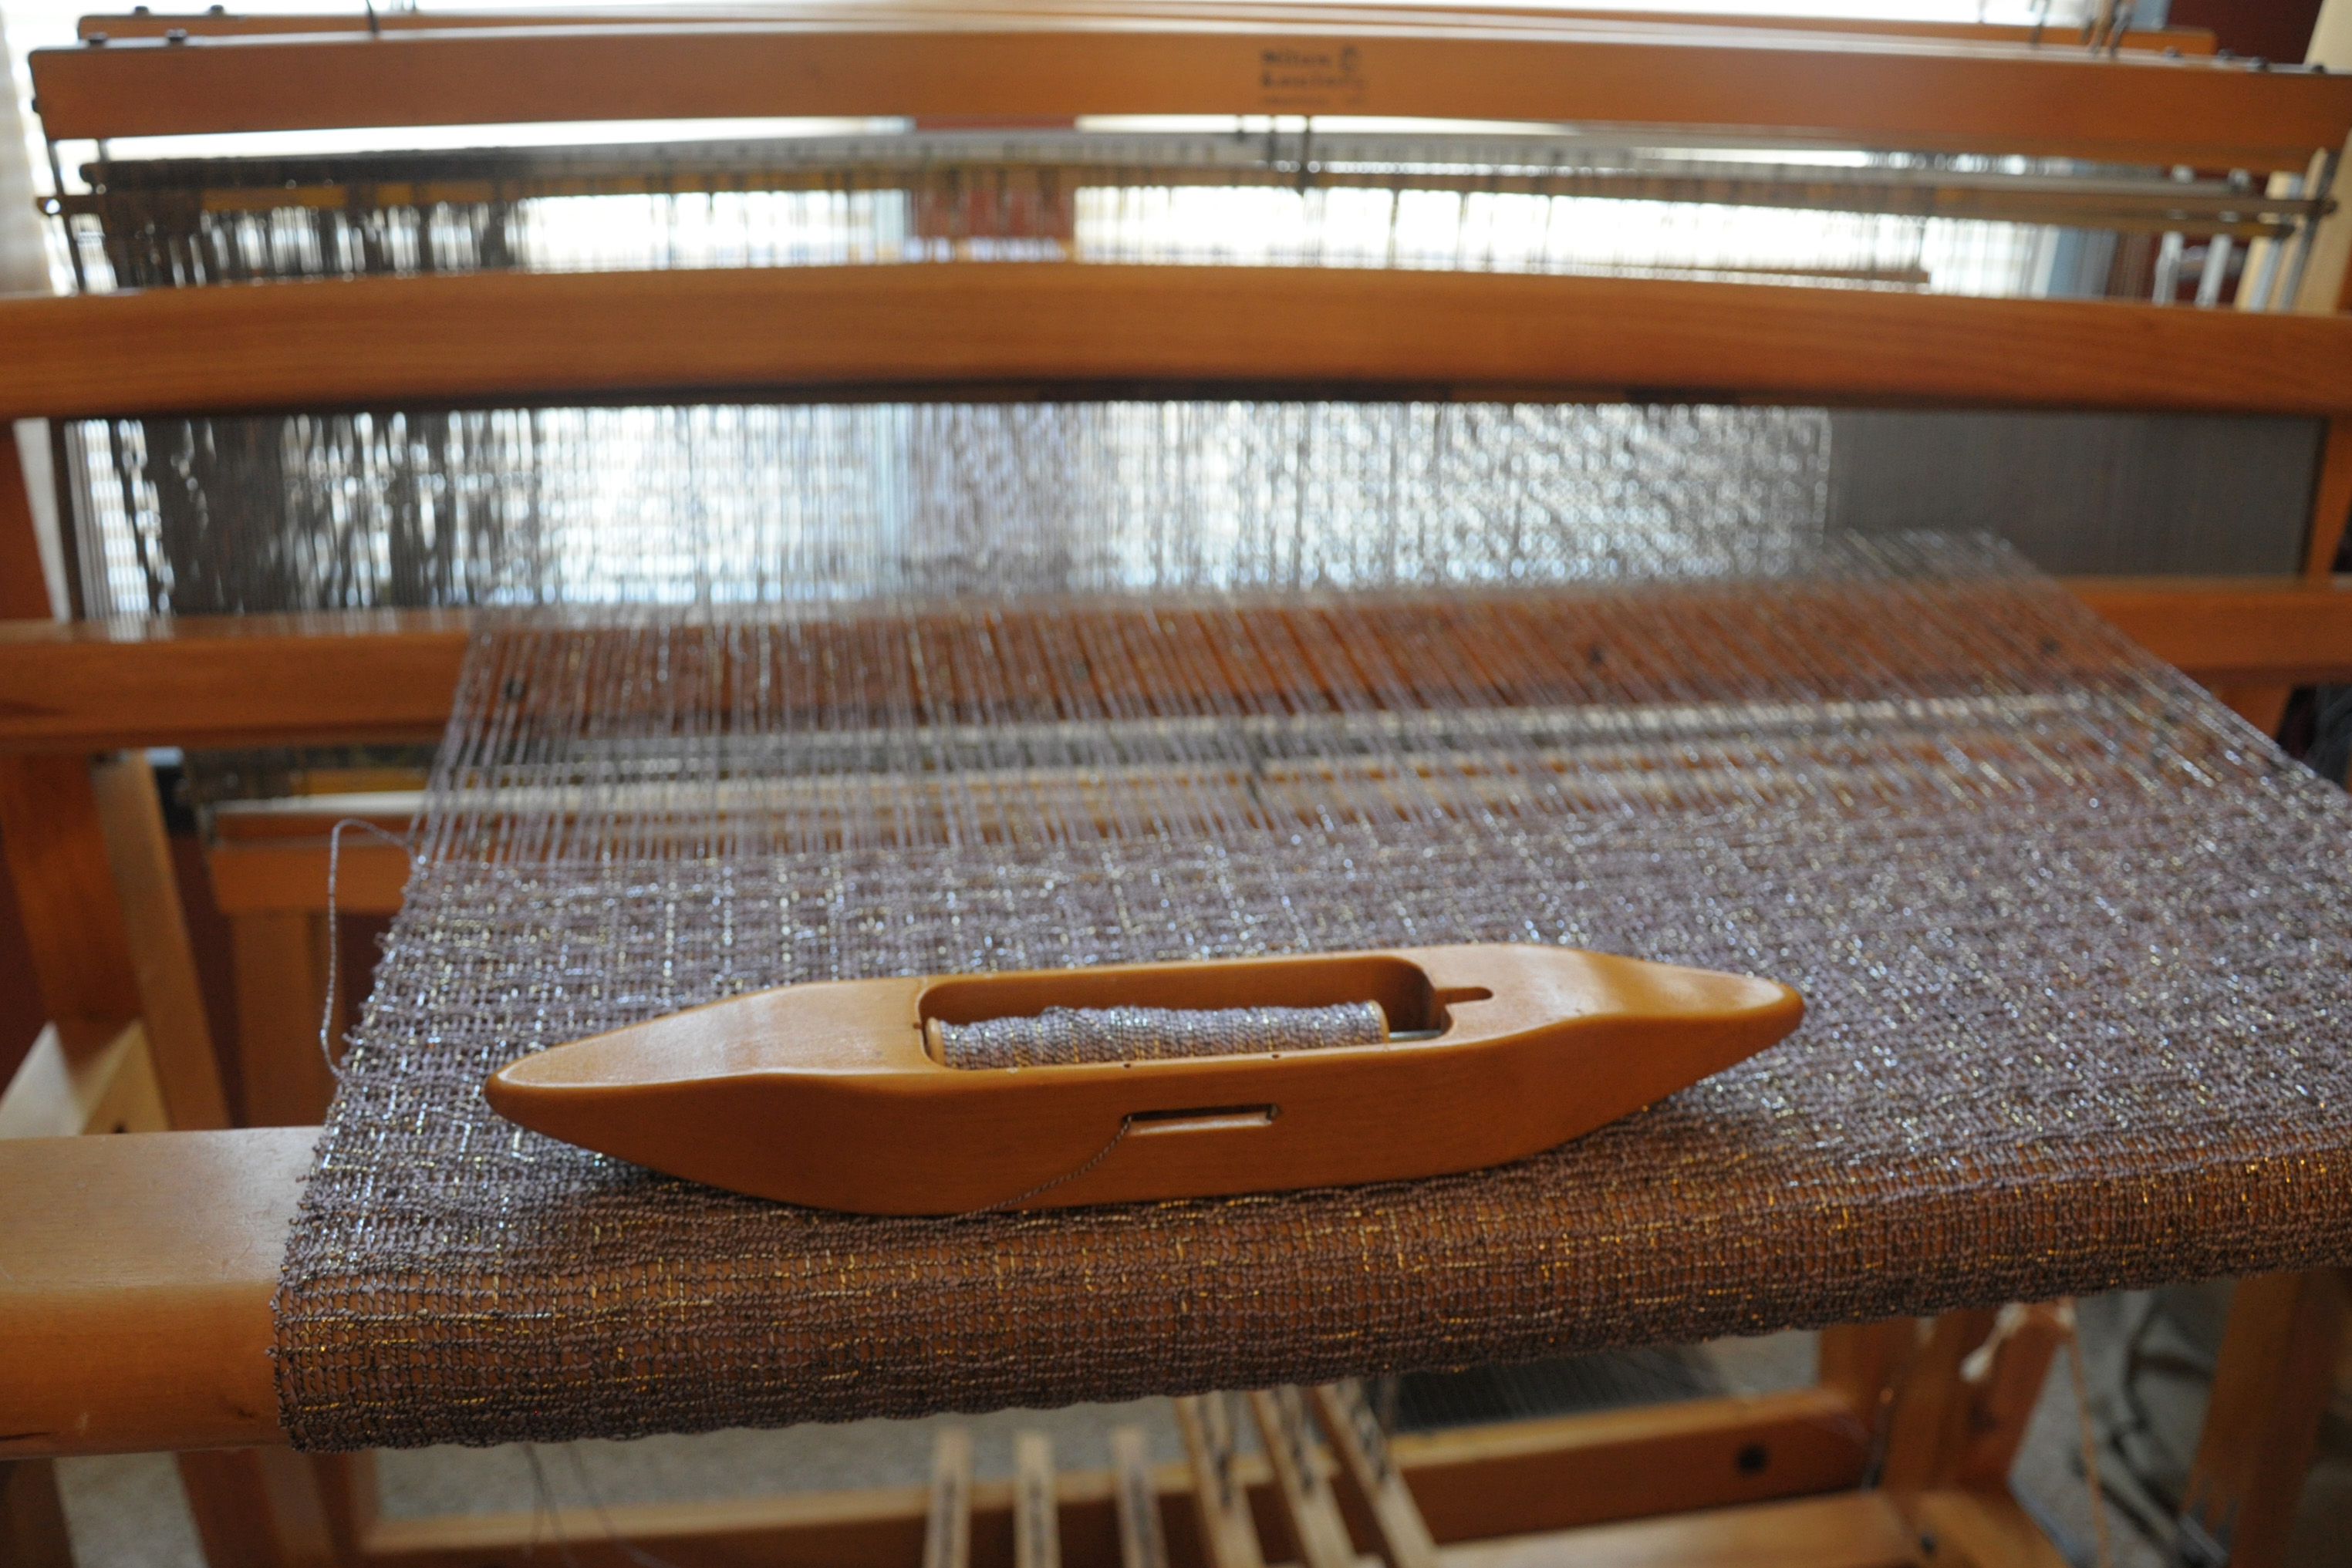
Here it is after a few repeats. Not too exciting!
universestole_11

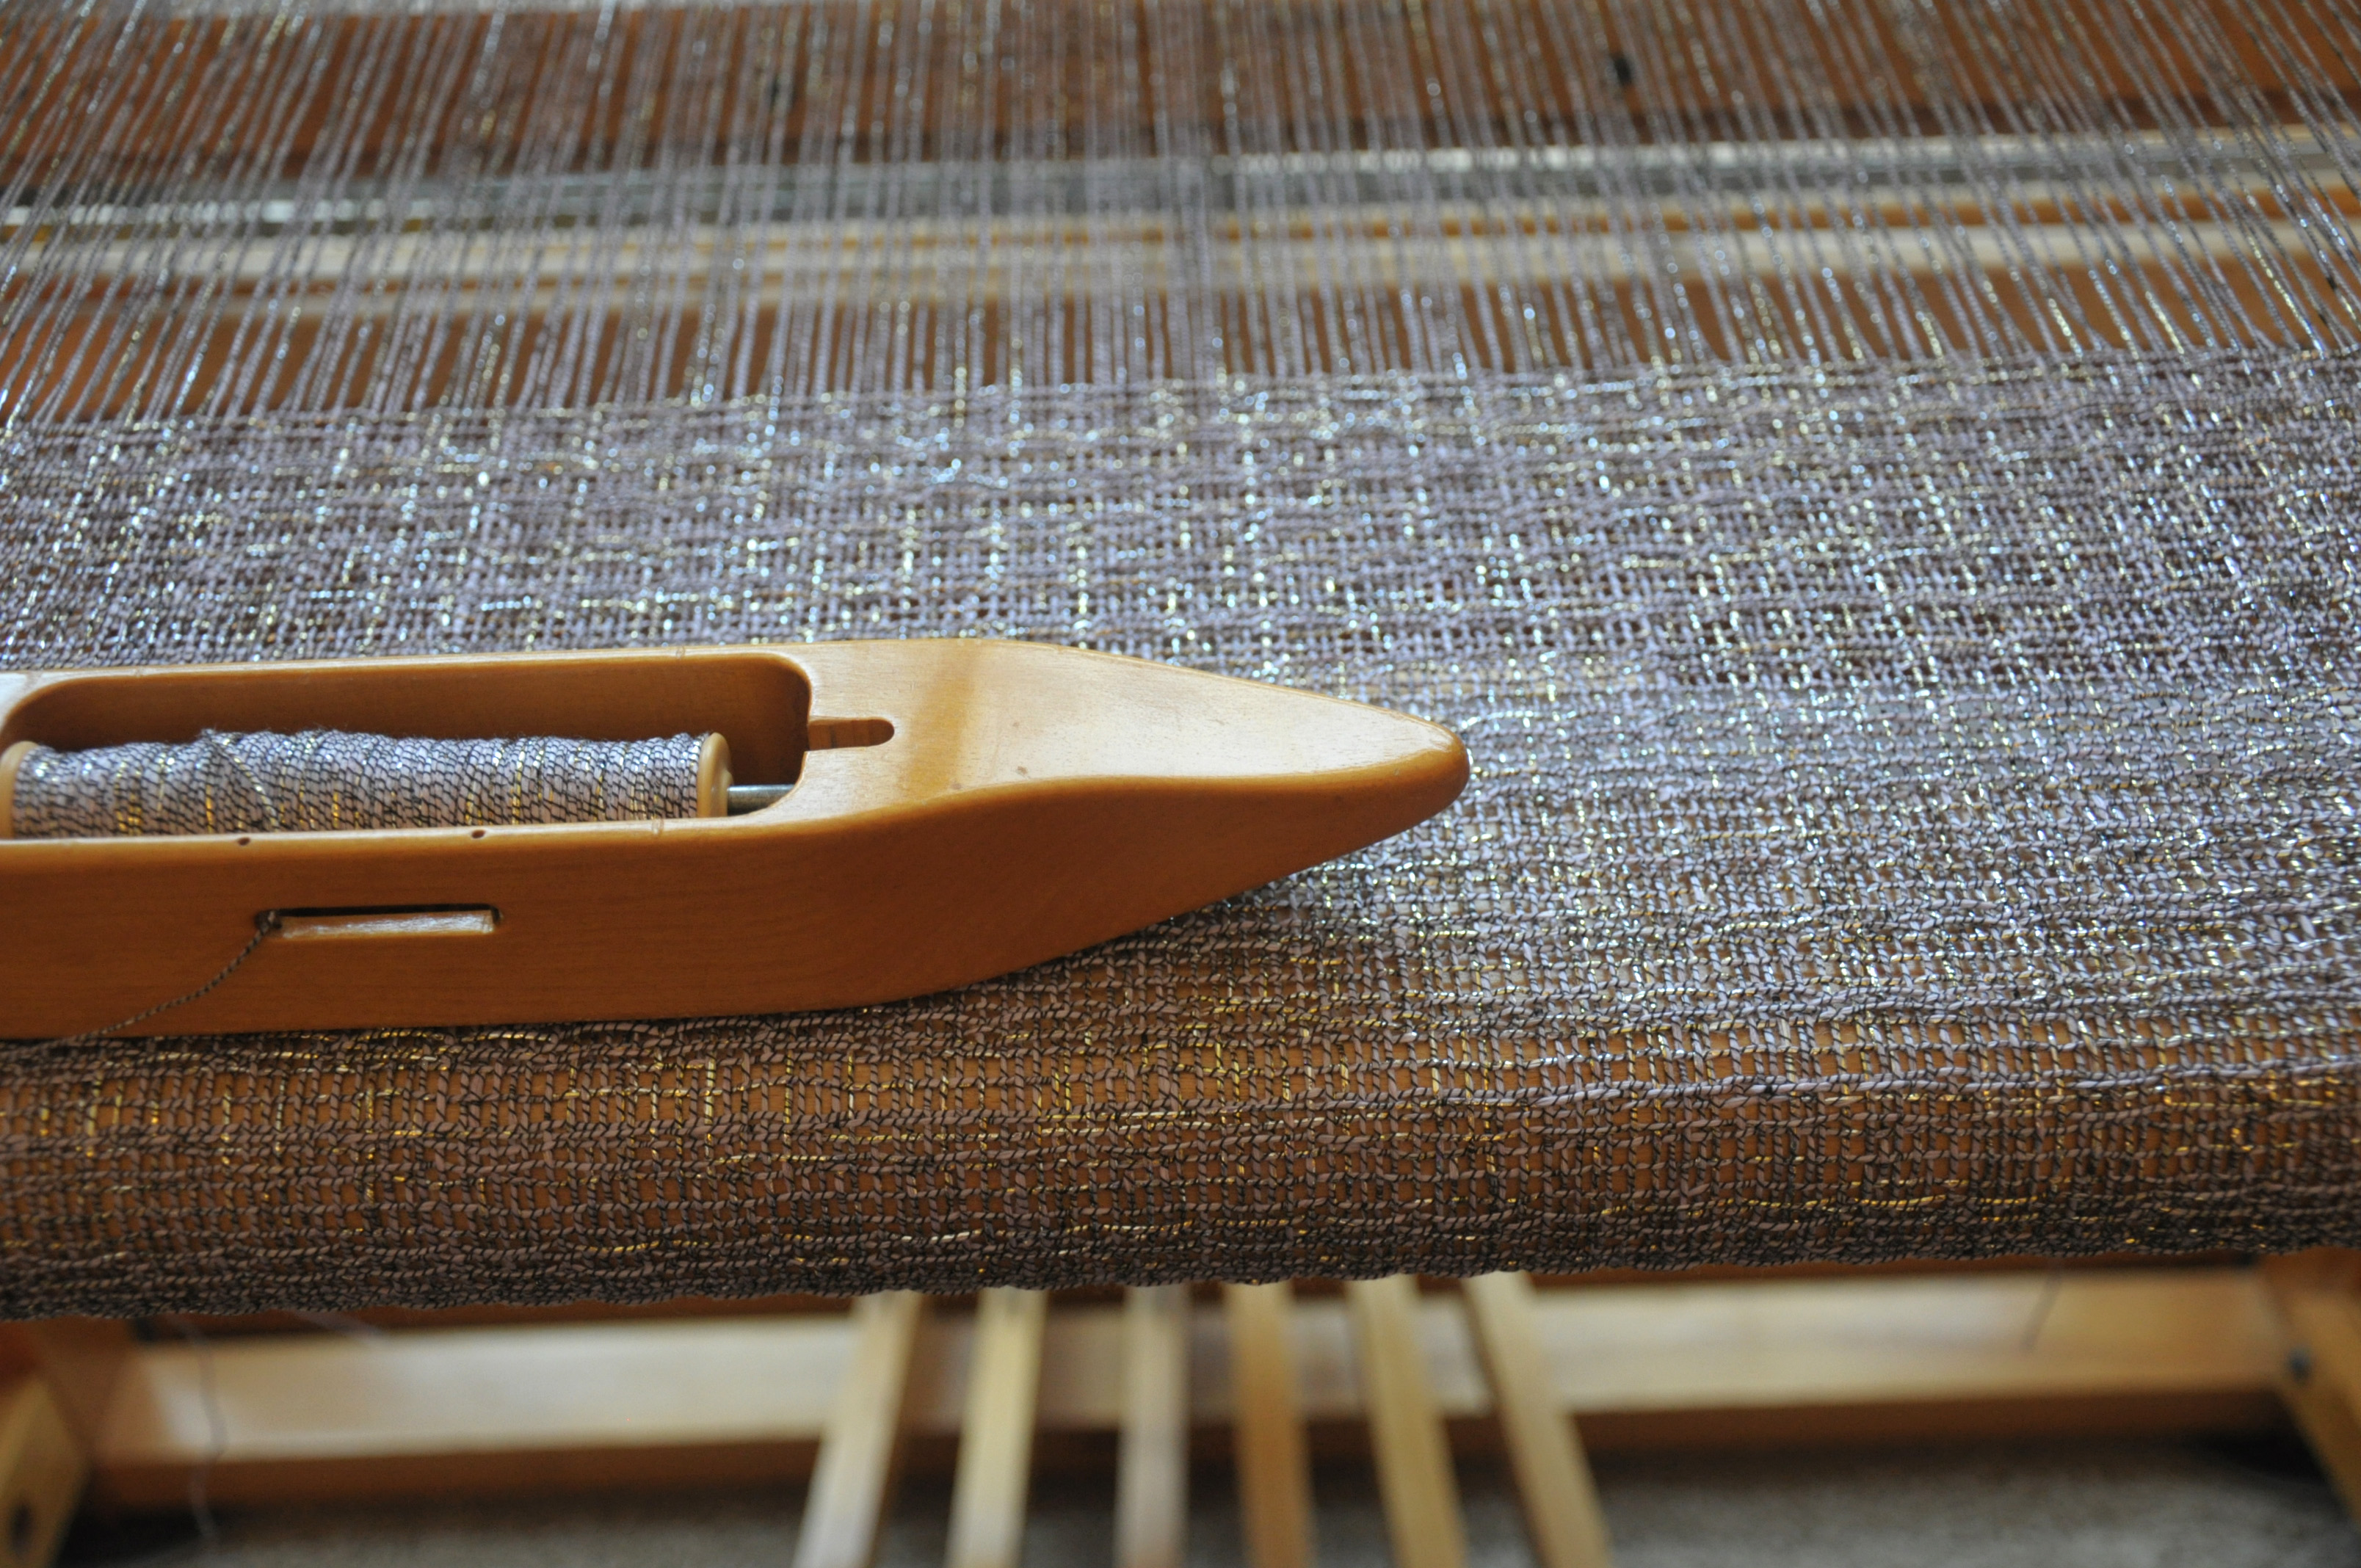
After more repeats, I could definitely see the pattern forming. But again, not that visually stimulating. I had to keep reminding myself that the magic would really happen off the loom and after washing.
universestole_12

From an angle, you can kind of see the blocks in the pattern.
universestole_13

When the back bar with the end of my warp tied to it almost reached the back beam, I knew it was time to weave my other header. I reversed what I did for the beginning header and cut it off the loom.

Because my yarn, Universe is several elements – cotton, linen, and metallic – all wrapped with a sliver of nylon, I knew I didn’t want to leave loose fringe. If I had, that nylon would have come unwrapped and the elements would have splayed out. Which, now that I think of it, might have looked cool. But it wouldn’t have worn well. So I busted out my handy fringe twister and made twisted fringe. This allowed me to knot the ends, securing the yarn without fear of it unraveling.

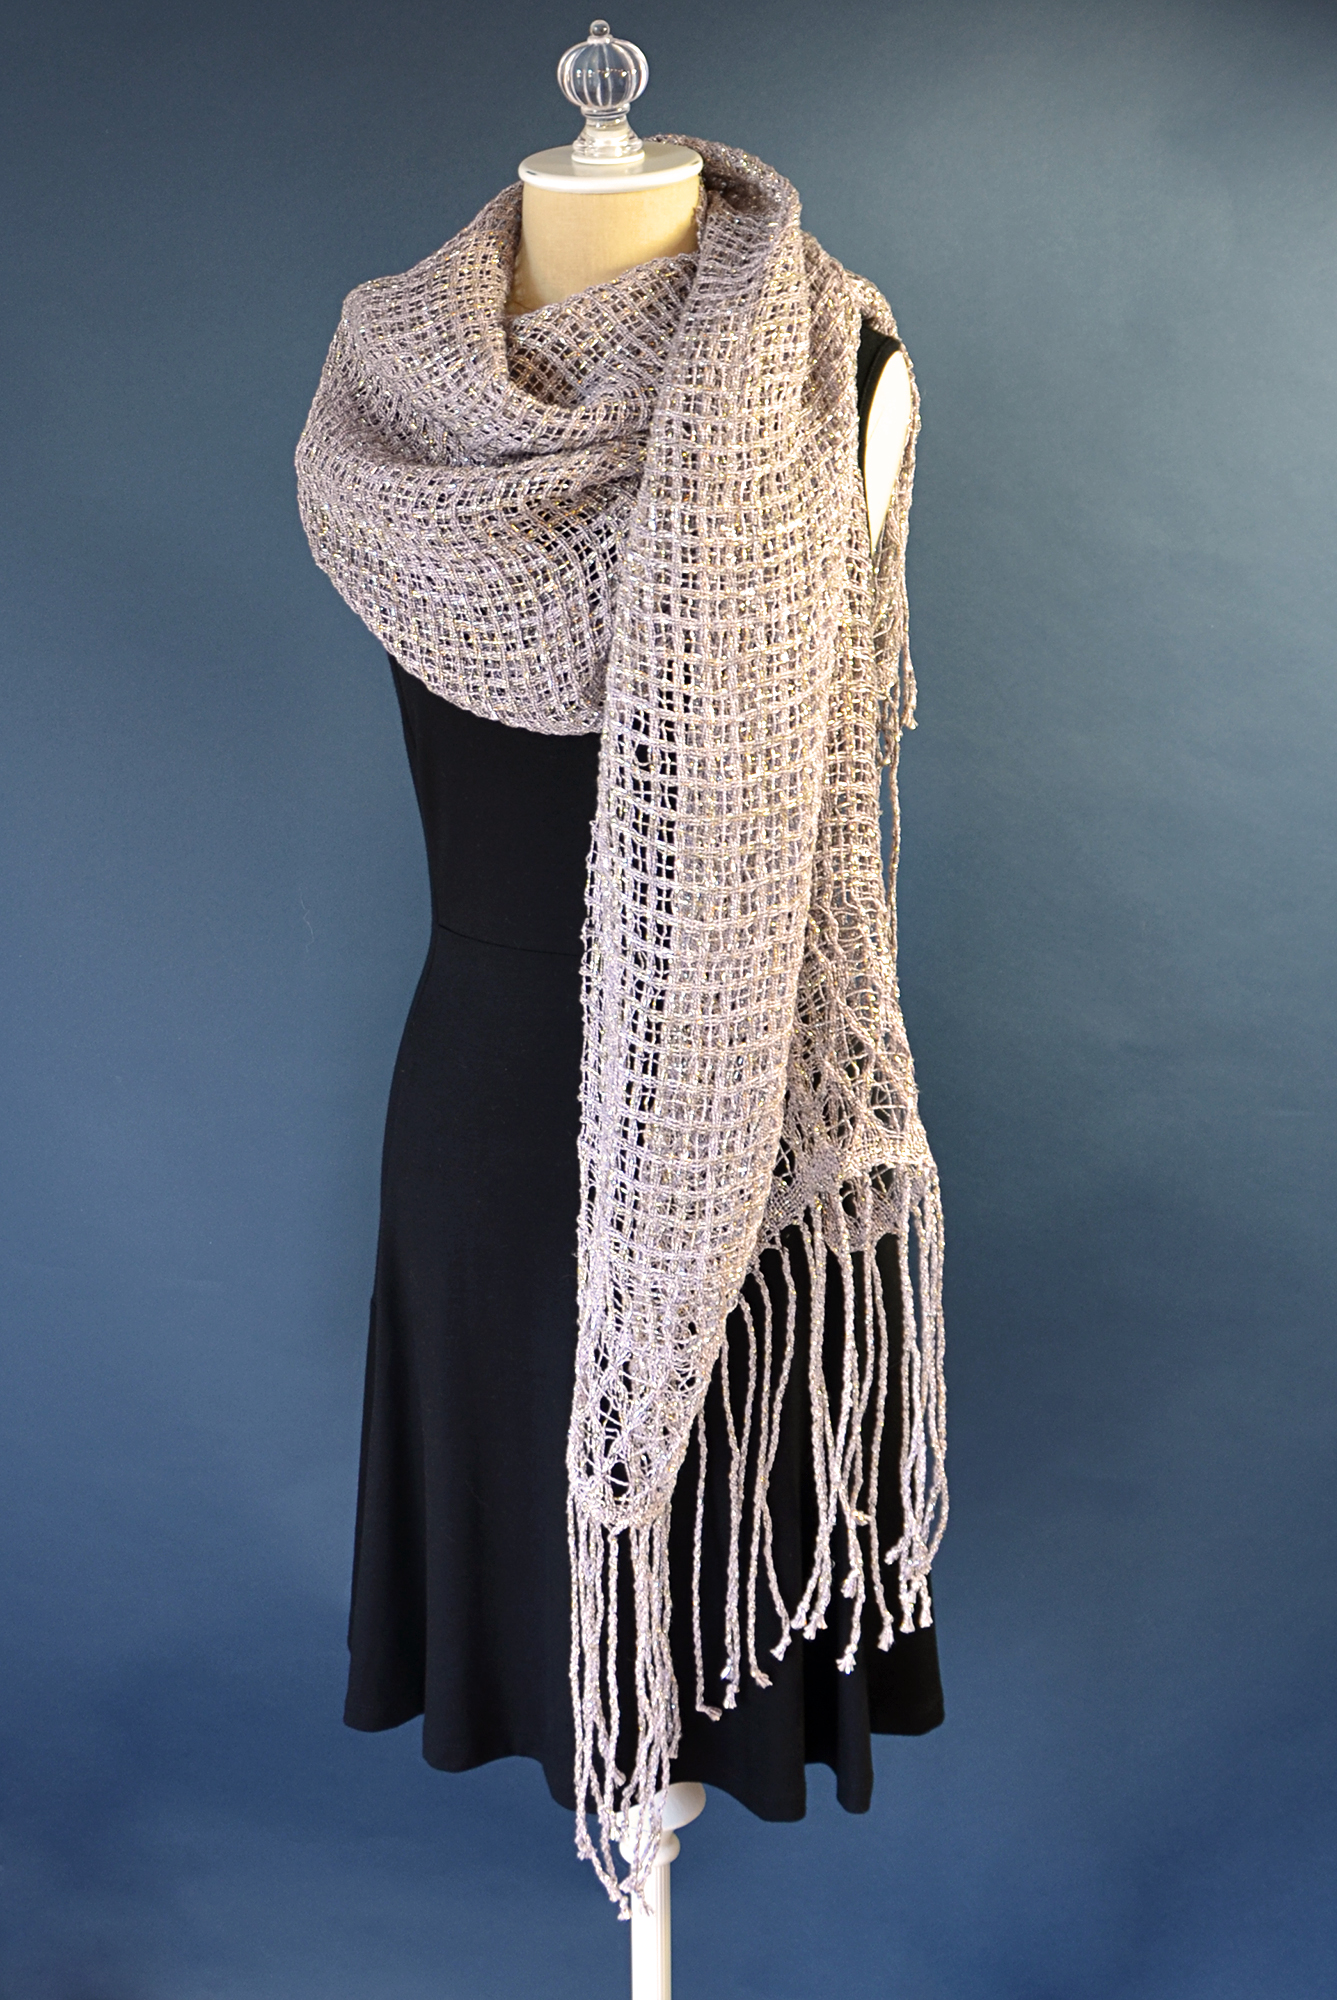
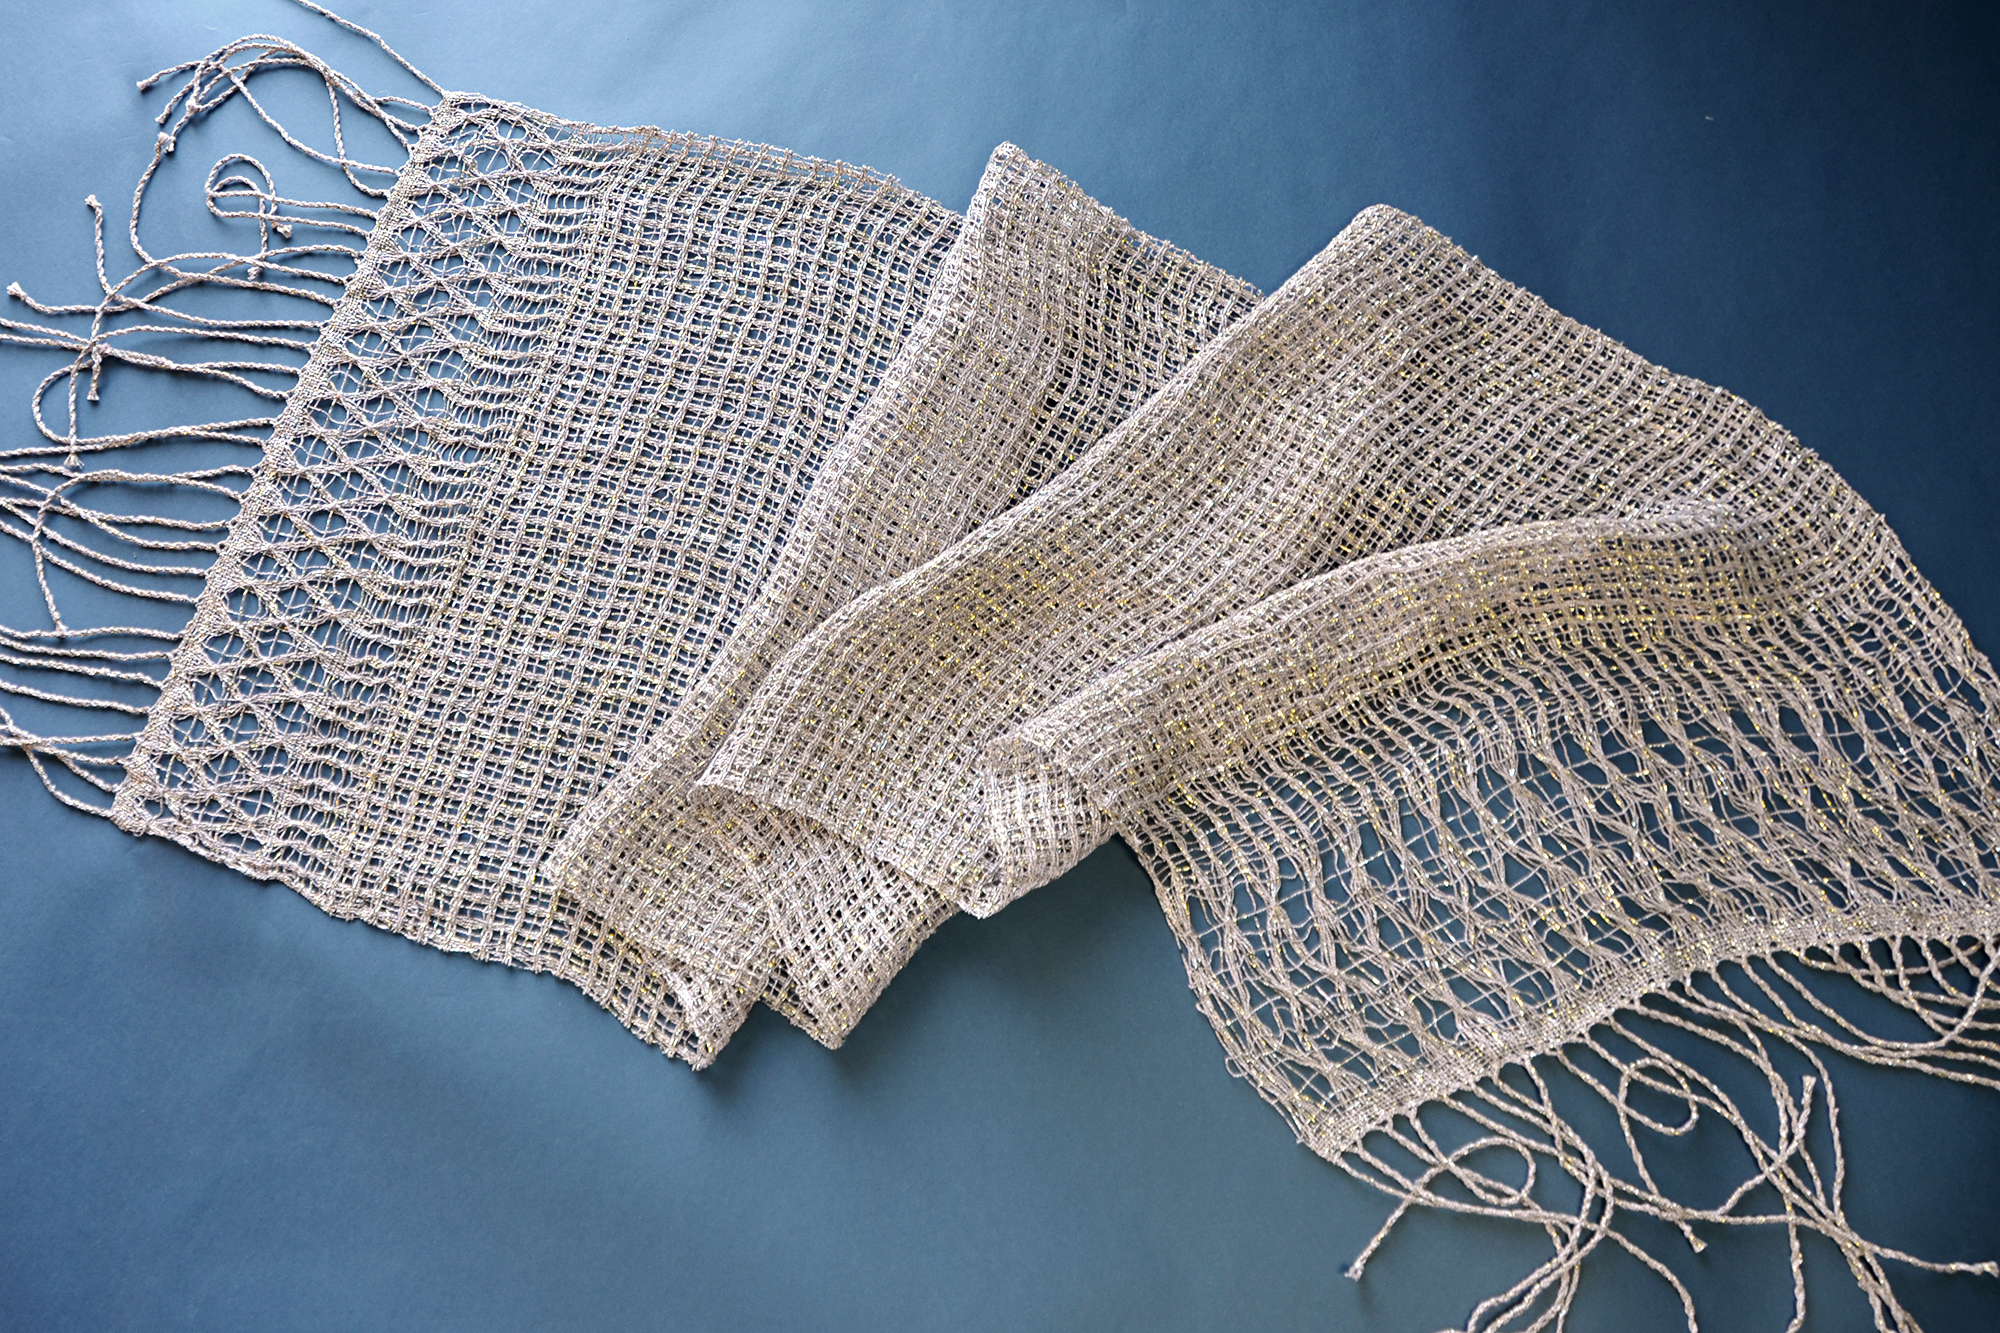
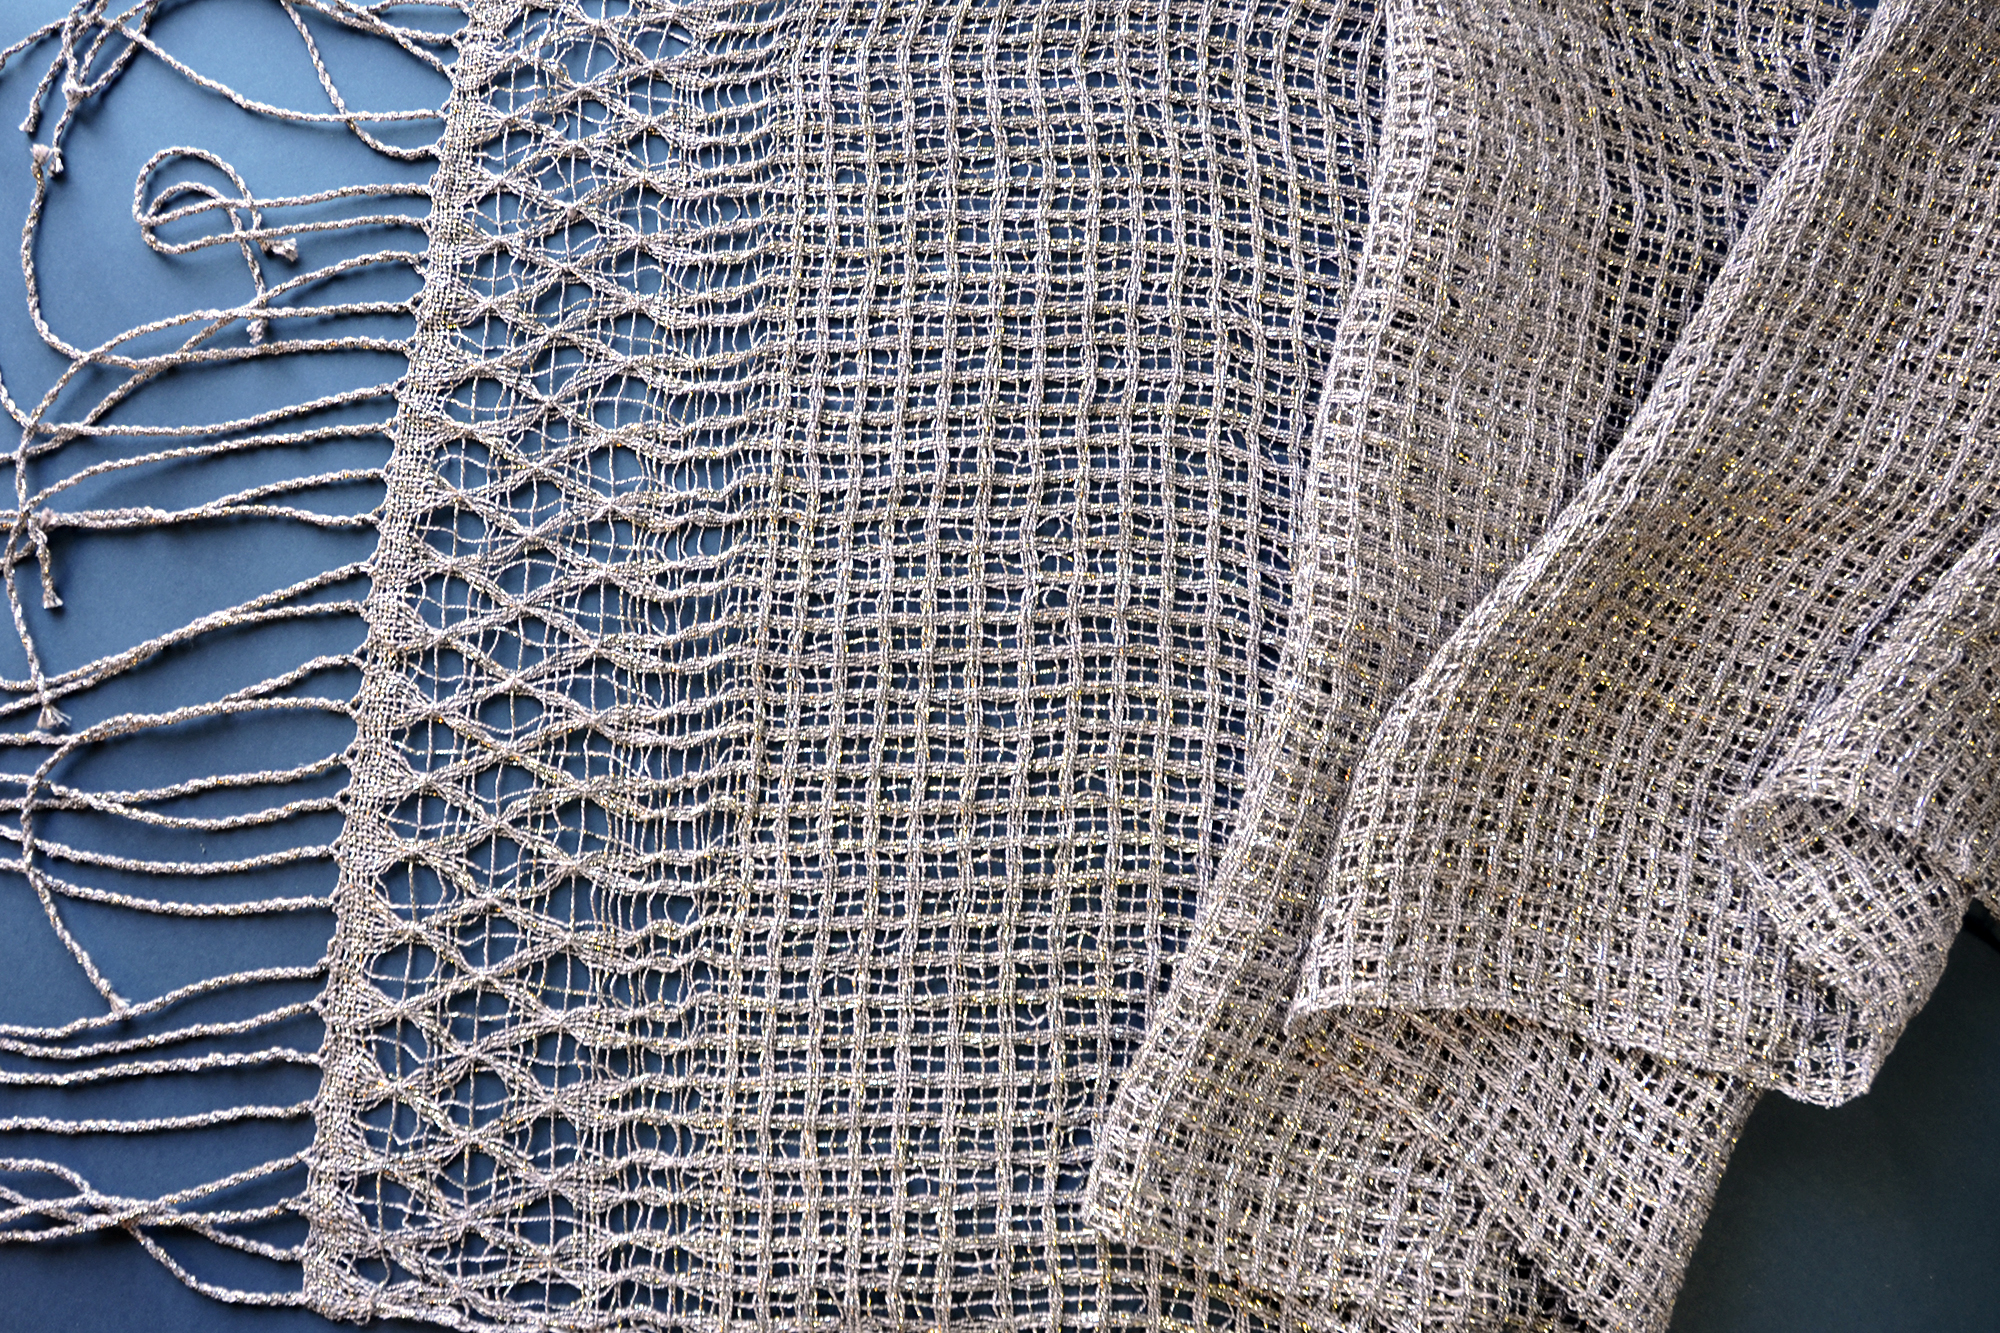
After doing the fringe, I was excited to dunk my stole in a bath to see what happened. And what happened was a much more intense transformation than I anticipated. Both the Brooks lace and the Atwater Bronson lace opened up a lot. The Atwater Bronson looks like little windows that the Brooks iterates above and below. I couldn’t be happier with how this turned out!

On Molly:
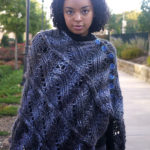
universestole_16_hires

When it’s laid flat, I can really see those little “windows” formed by the Atwater Bronson.
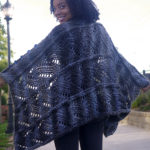
universestole_14_hires

And somehow this turned out larger than I imagined it would. Finished measurements without fringe are 23″ x 66″. Which is fine with me – that’s a great size for a stole!
universestole_15_hires

Join me next time for my biggest weaving project yet – matching woven motorcycle jackets made from Deluxe DK Tweed Superwash!