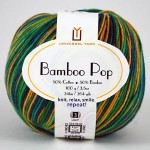


One of the best things about my job is coming in in the morning to a brand new batch of yarn, fresh from the mill. This is an absolutely beautiful example. Bamboo Bloom Handpaints in color 323 Hashi.
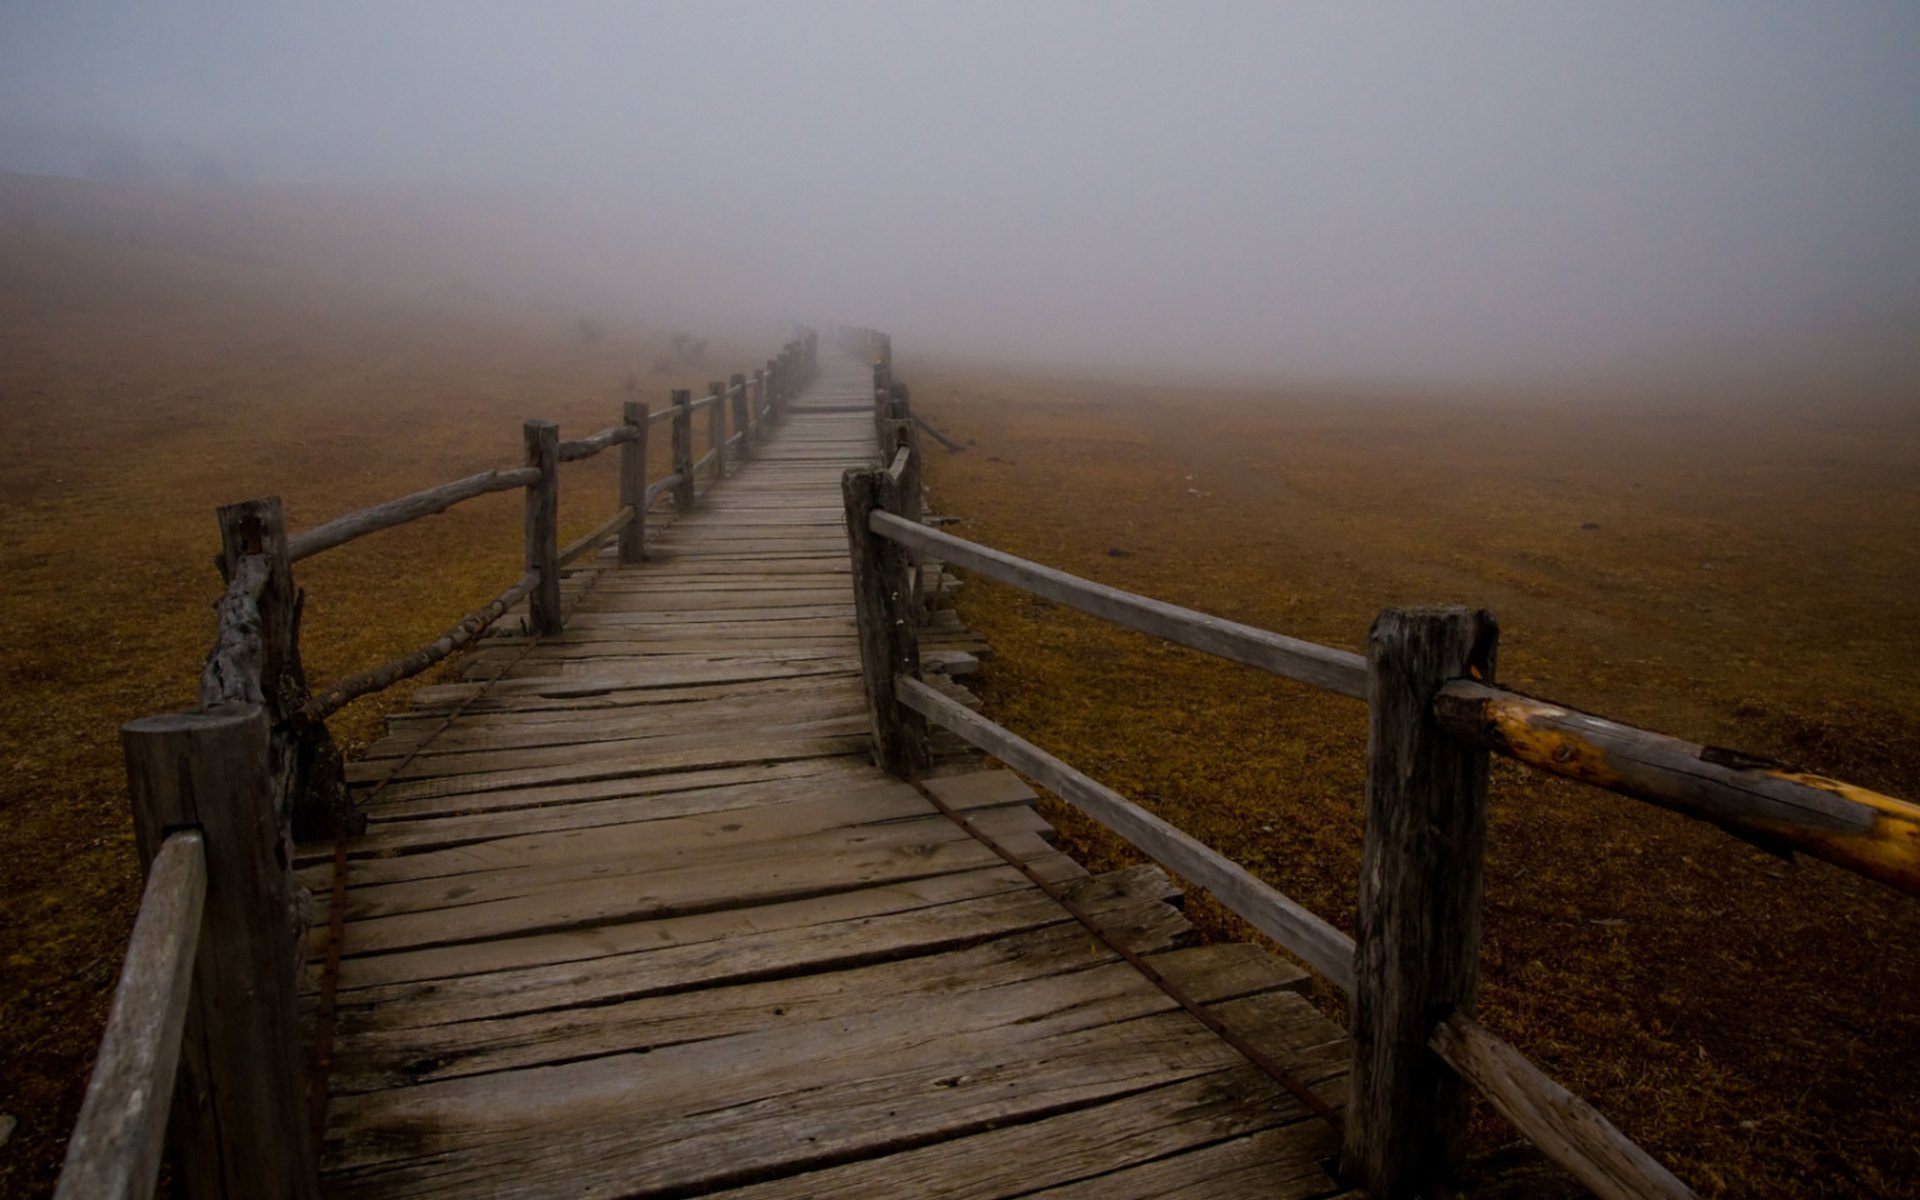
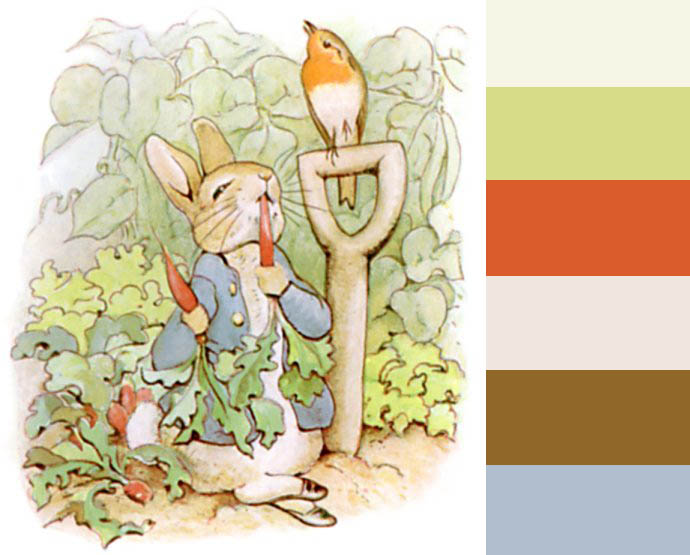
Hashi means “bridge” in Japanese, and this colorway represents two meanings of the word. It’s evocative of a passage from one place to another – a bridge that we walk across step by step.
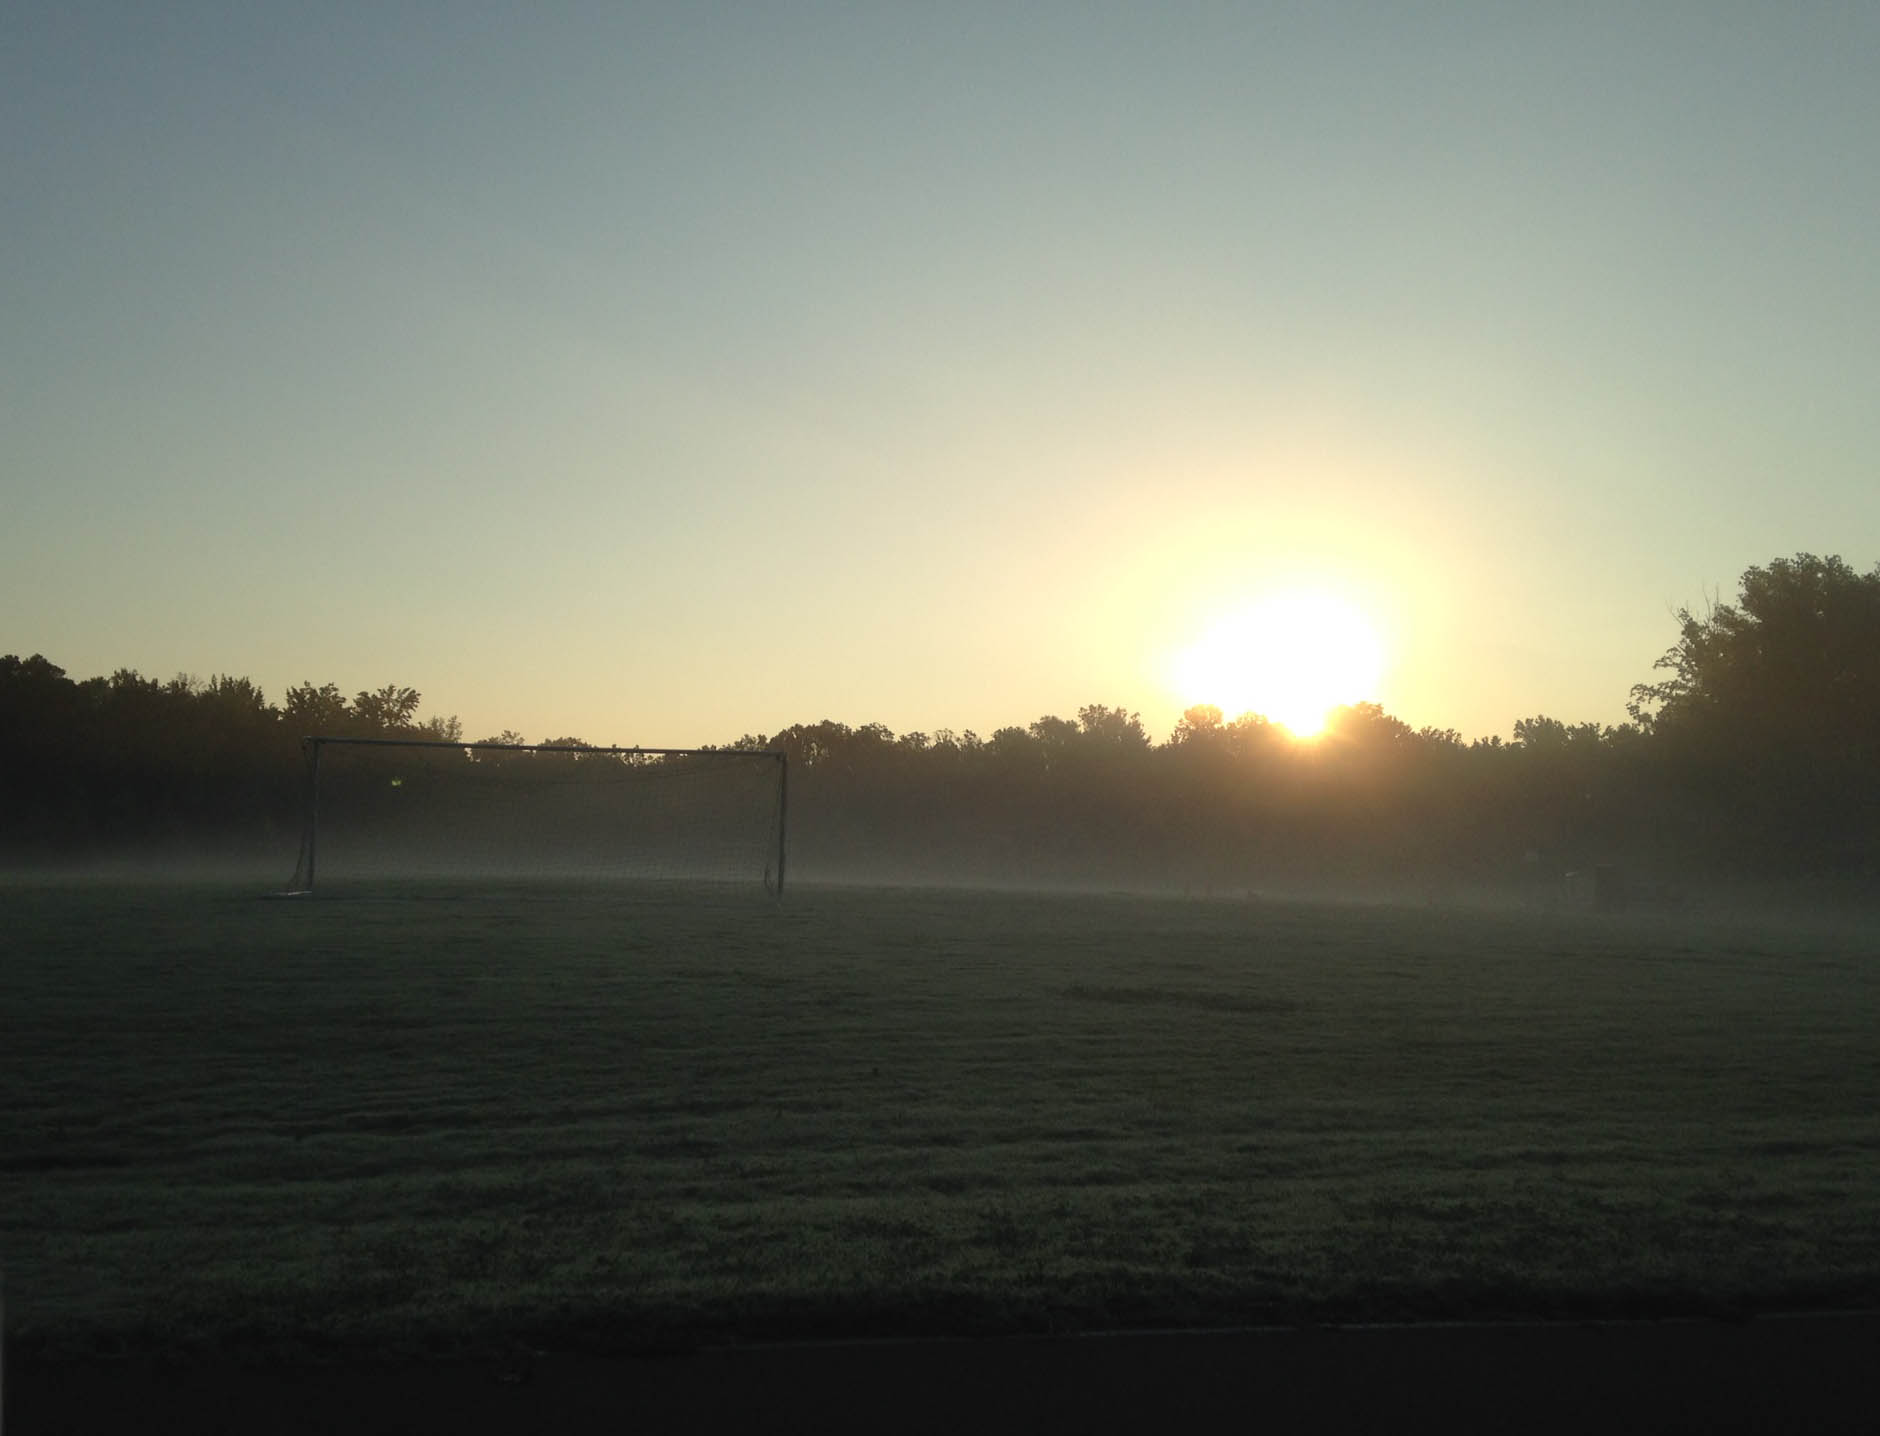 It’s also meaningful as a passage from one time to another, a bridge that we cross simply by living our lives. The muted buttery yellows and oranges of Autumn are there, along with an oaky brown. But they’re connected by shining strands of cream and silver, a nod to winter frost, fallen leaves, and a sun that has to work a little bit harder to warm us.
Bamboo Bloom color 323 Hashi is here as a limited edition. When it’s gone, it’s gone. And that, too, is fitting for the passing of the seasons. The season to come will be just a little bit different than every one before.
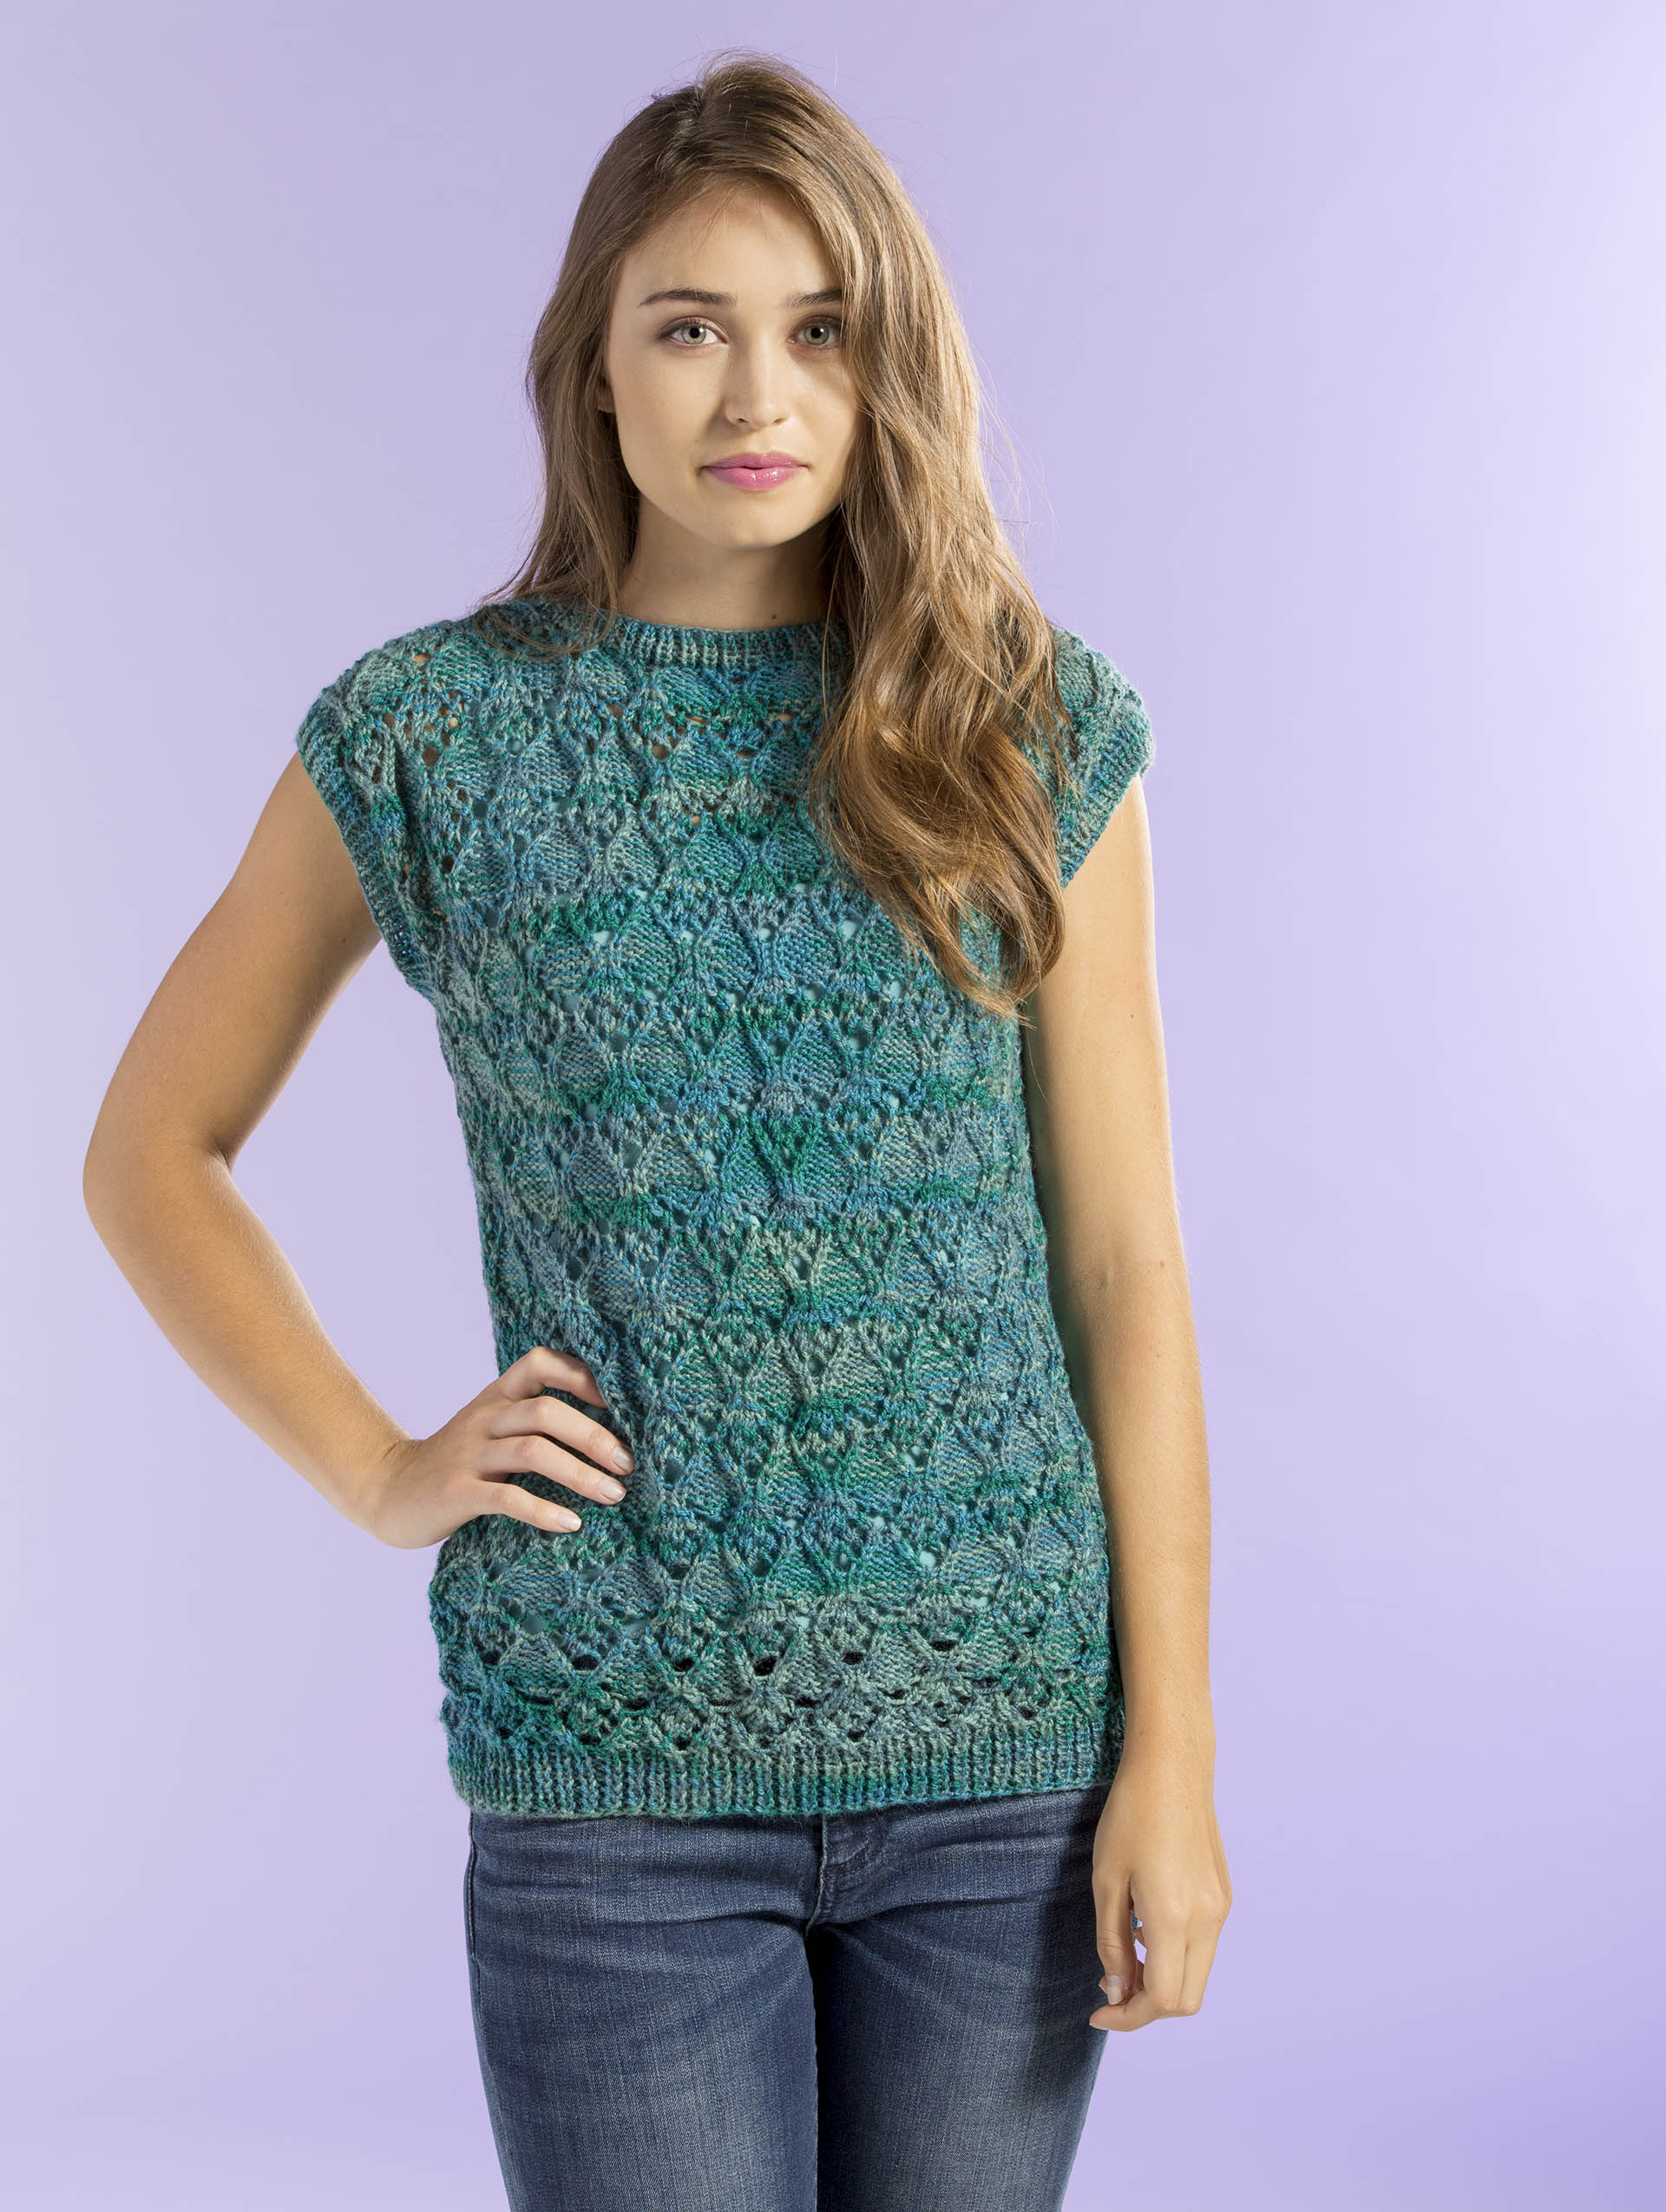
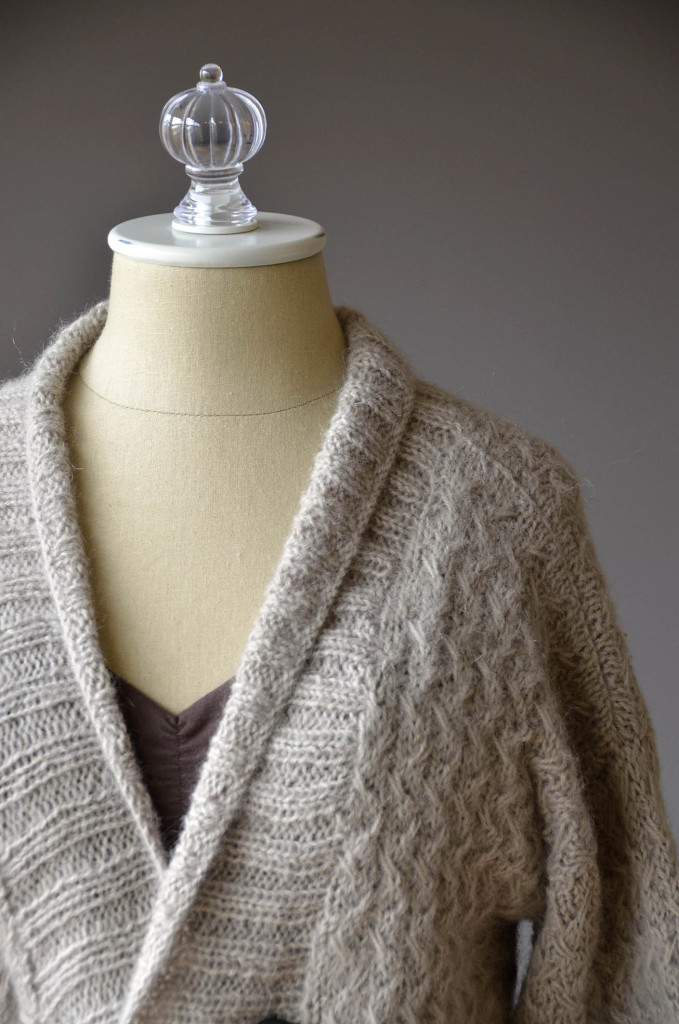
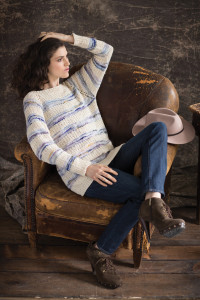 Bamboo Bloom is a popular yarn for its thick/thin quality and shiny/matte blend, and because of the many easy accessory patterns out there. Designers enjoy it as well. Take, for example, Vanessa Putt’s Striped Raglan Pullover in the Fall 2015 Vogue Knitting. It combines lightly heathered Llamalini (royal llama/linen/silk bourette) 101 Birchbark with coordinating Bamboo Bloom Handpaints 309 Nagano for an aesthetically pleasing blend of color and texture, perfect for this top-down loose-fitting bohemian pullover.
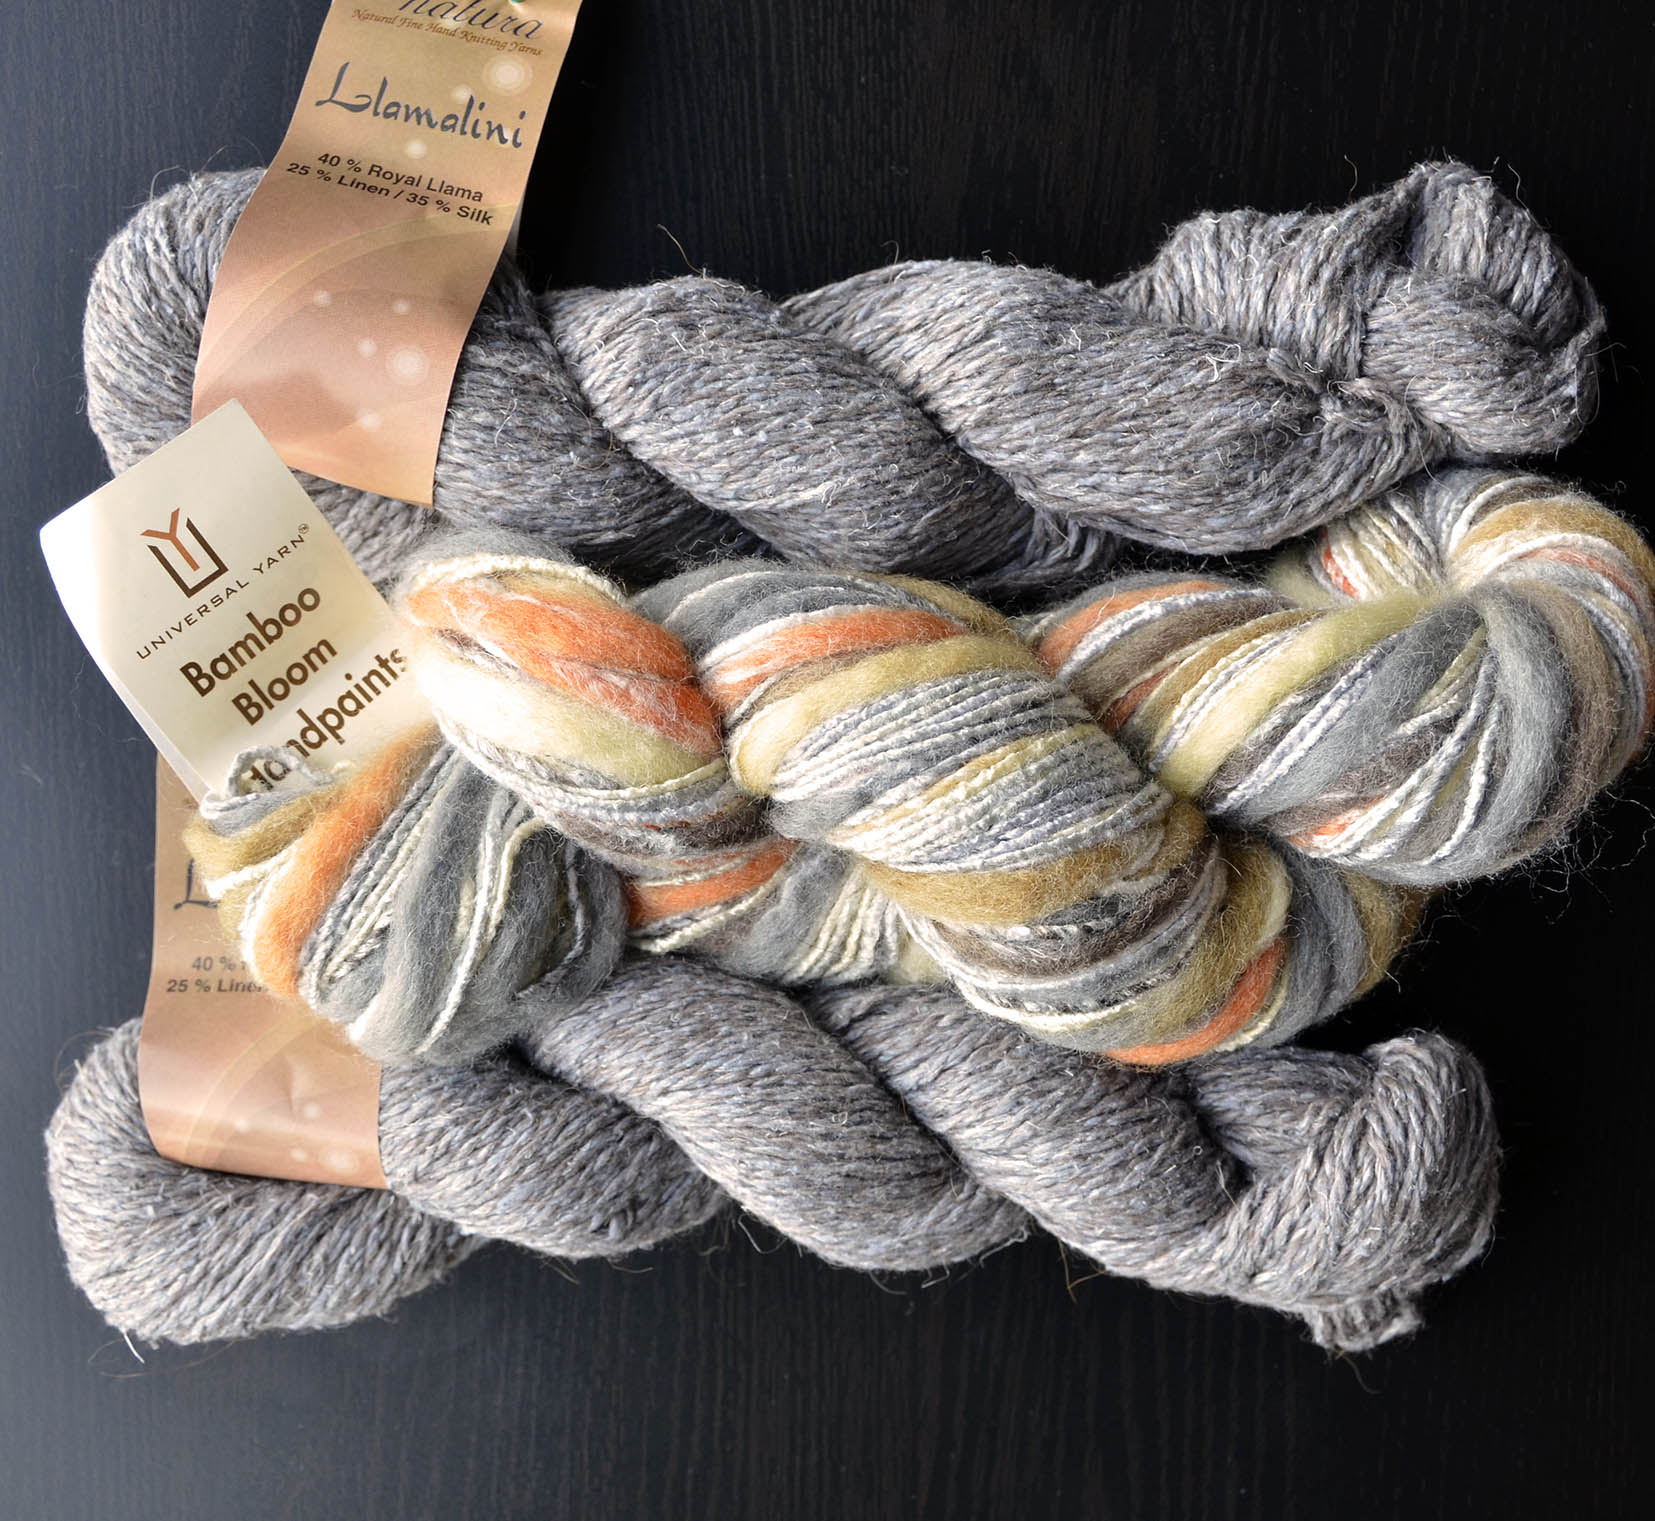 Looking at our new colorway 323 Hashi, I couldn’t help but think that it would be a great match for Llamalini color 107 Porpoise. The two together are a great earthy blend.
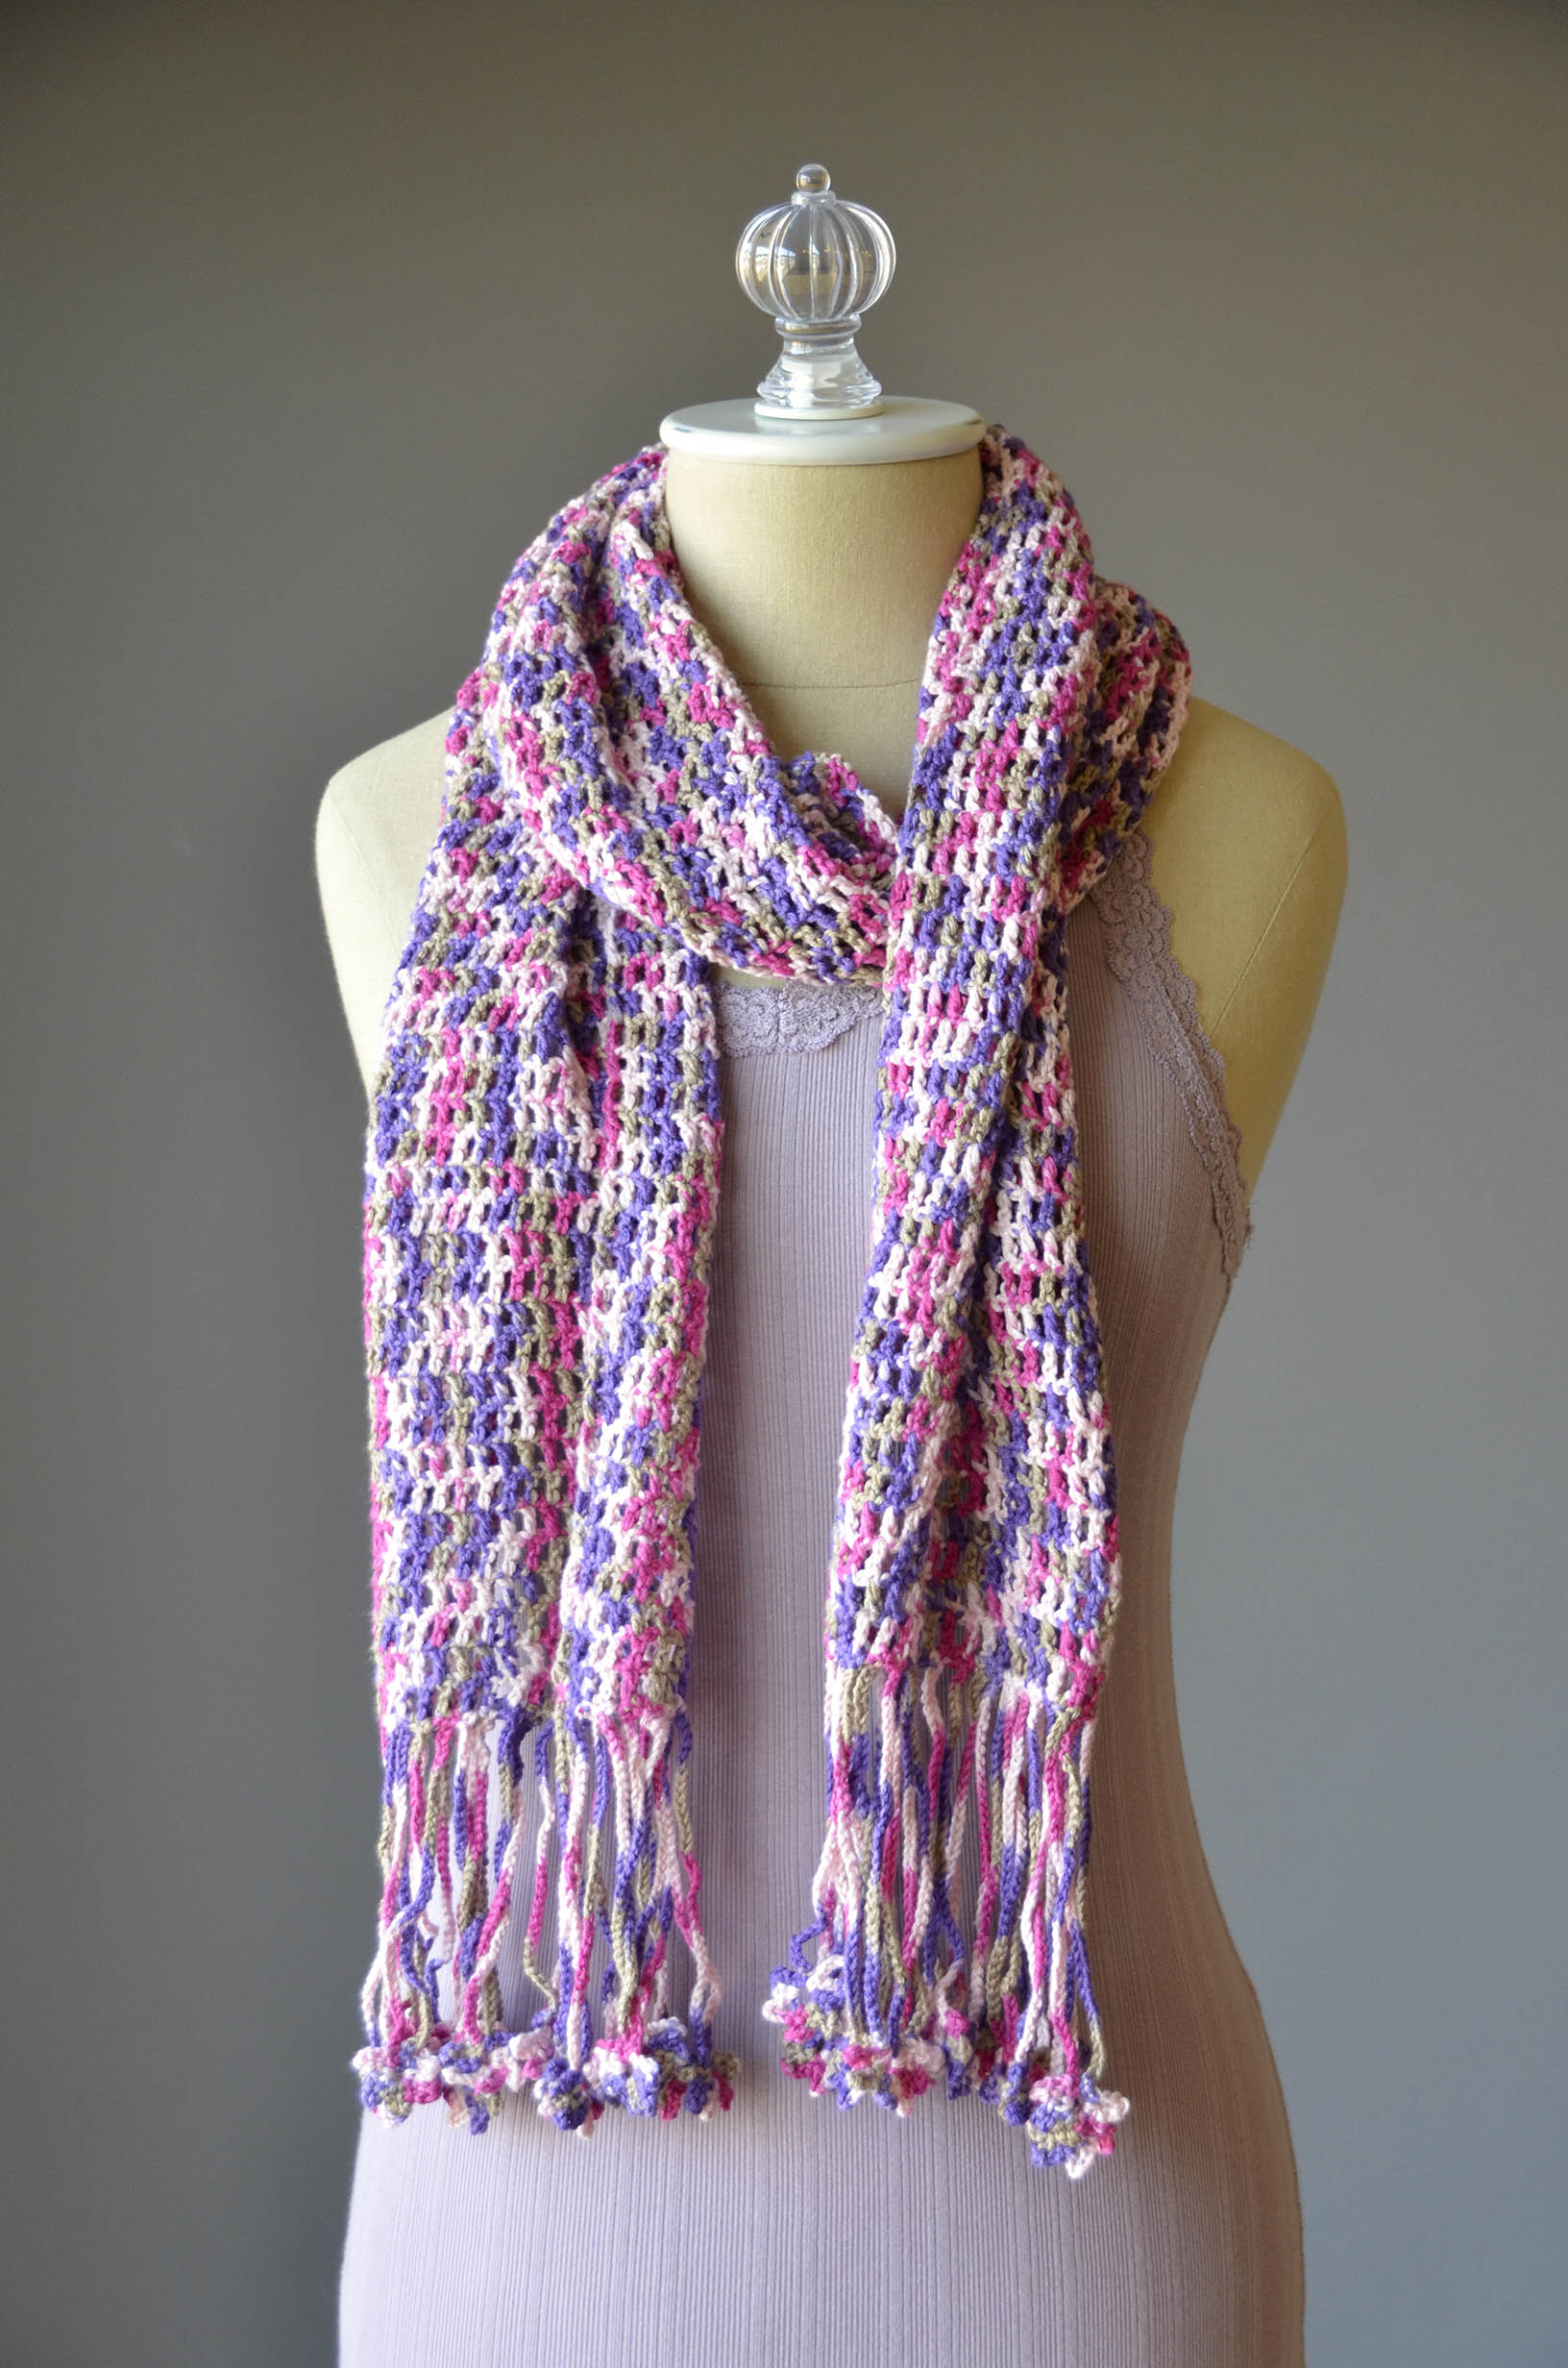
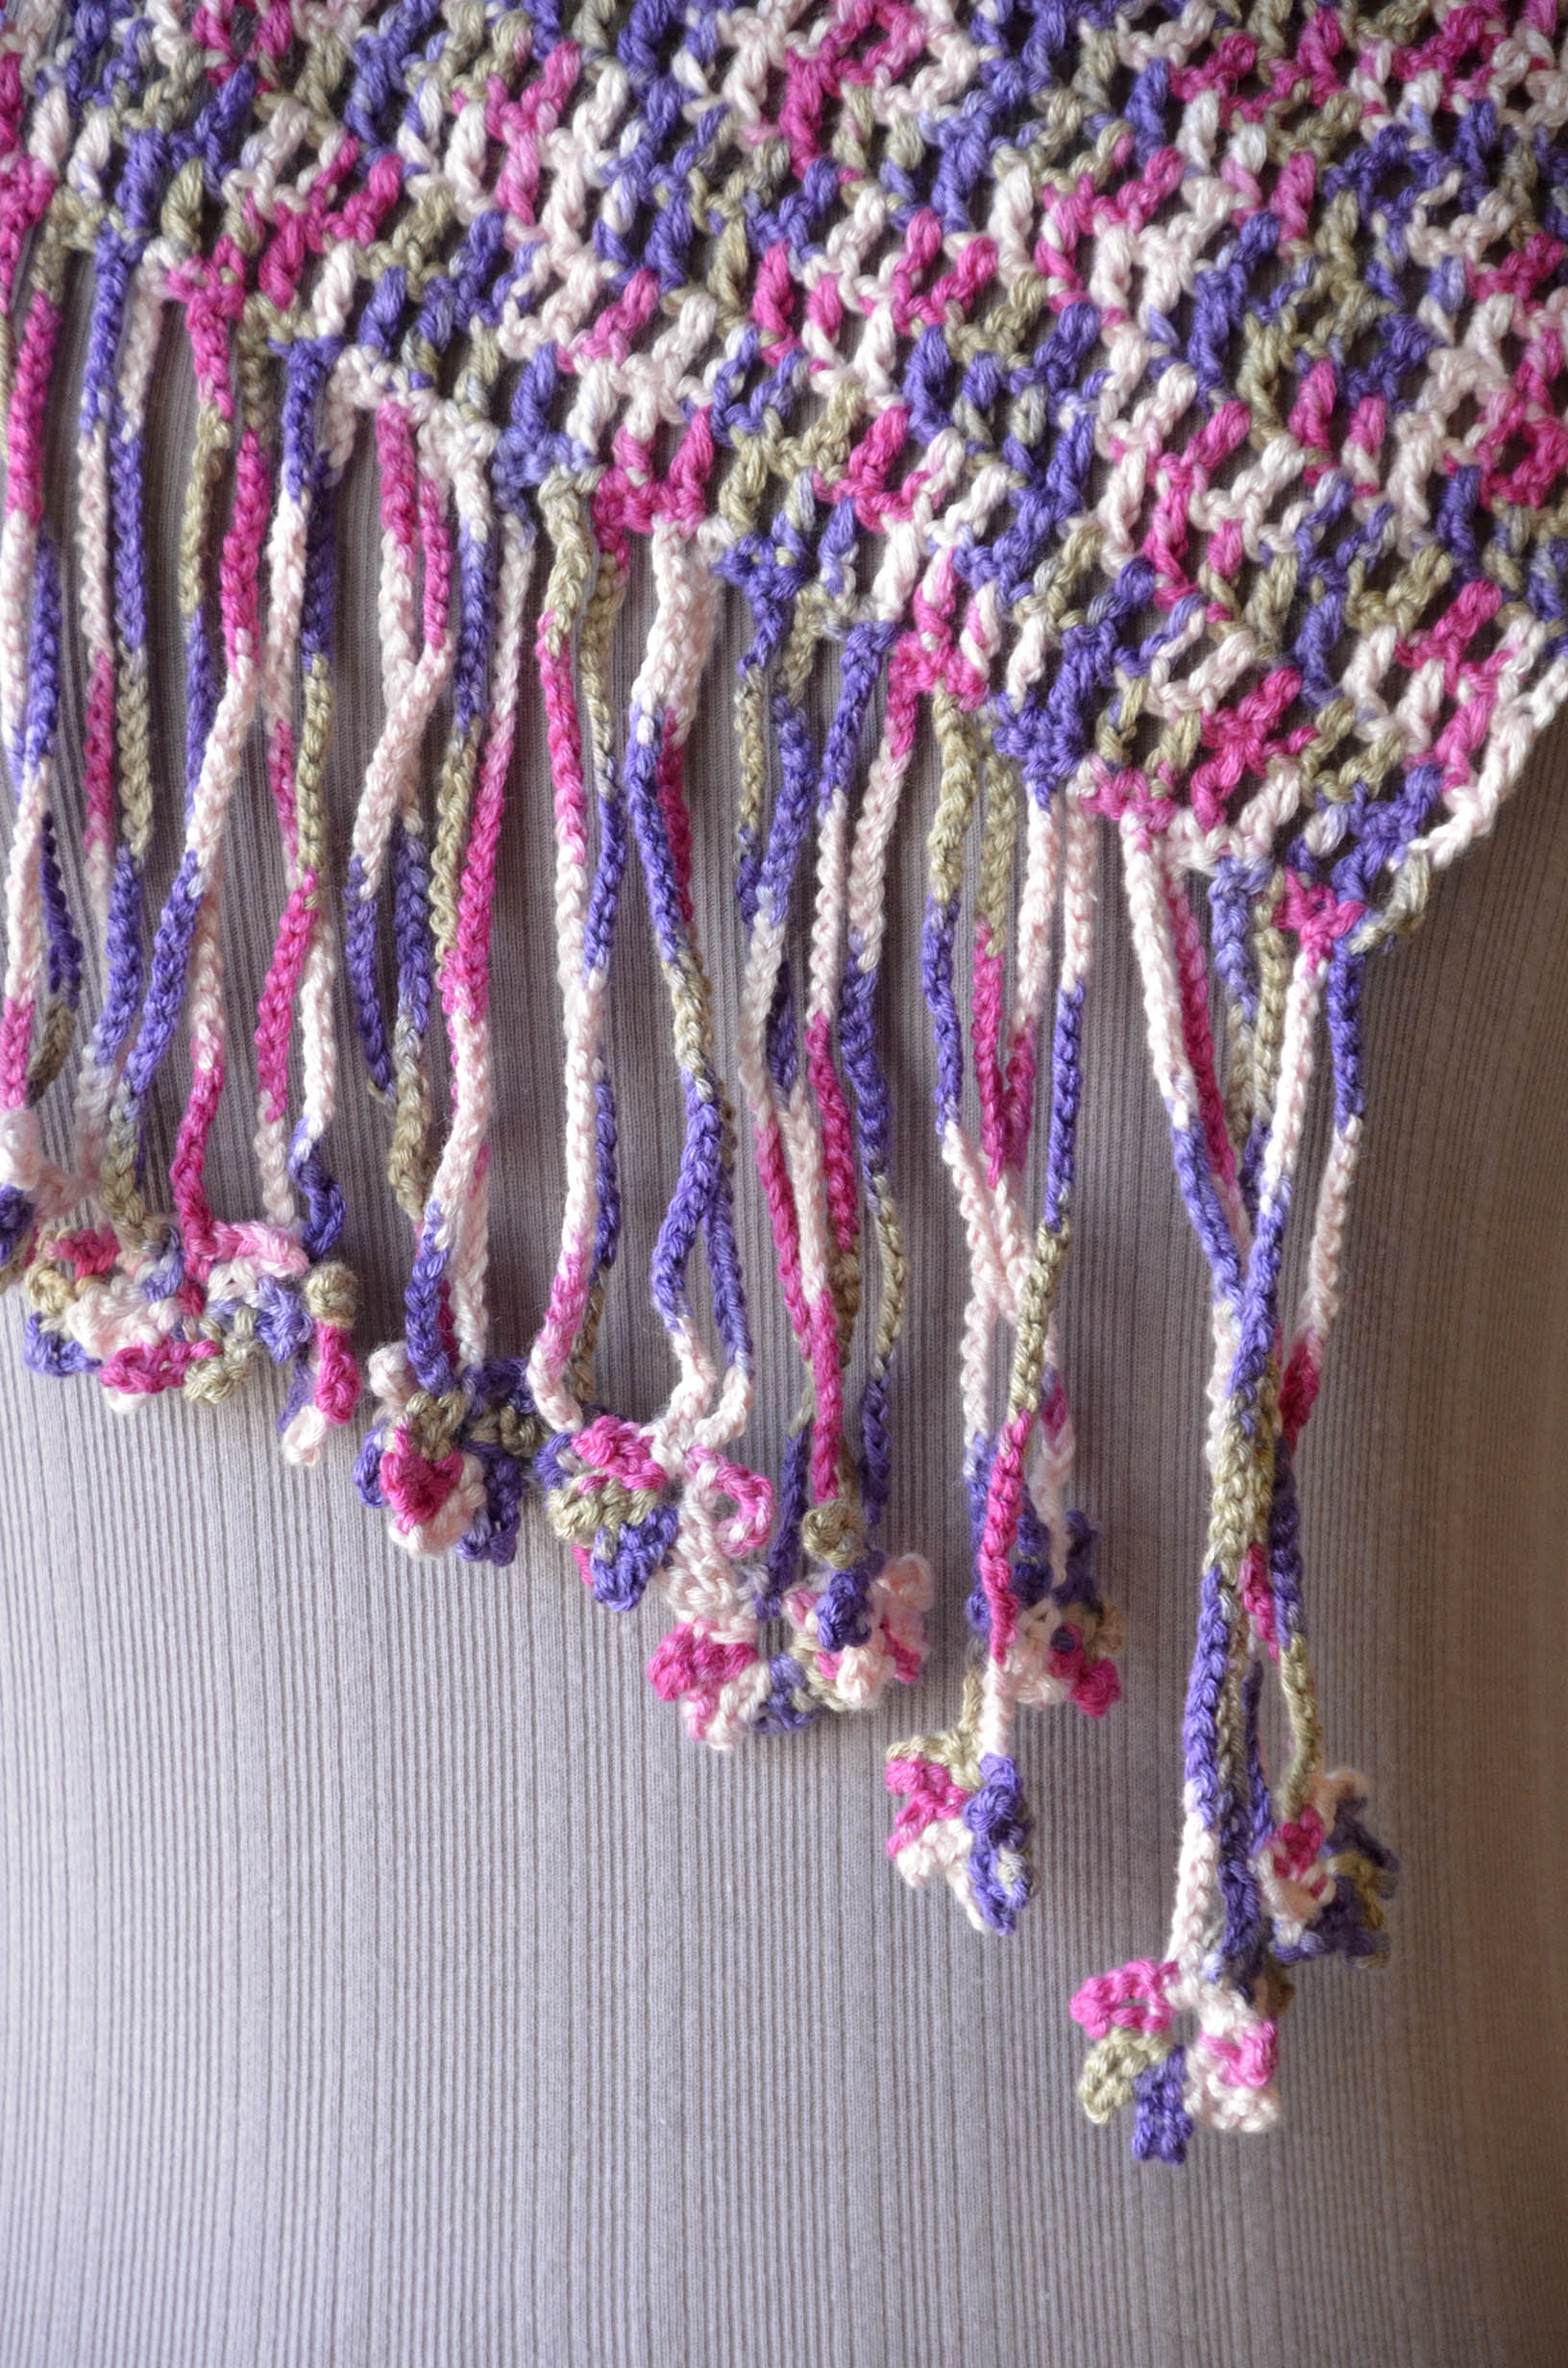
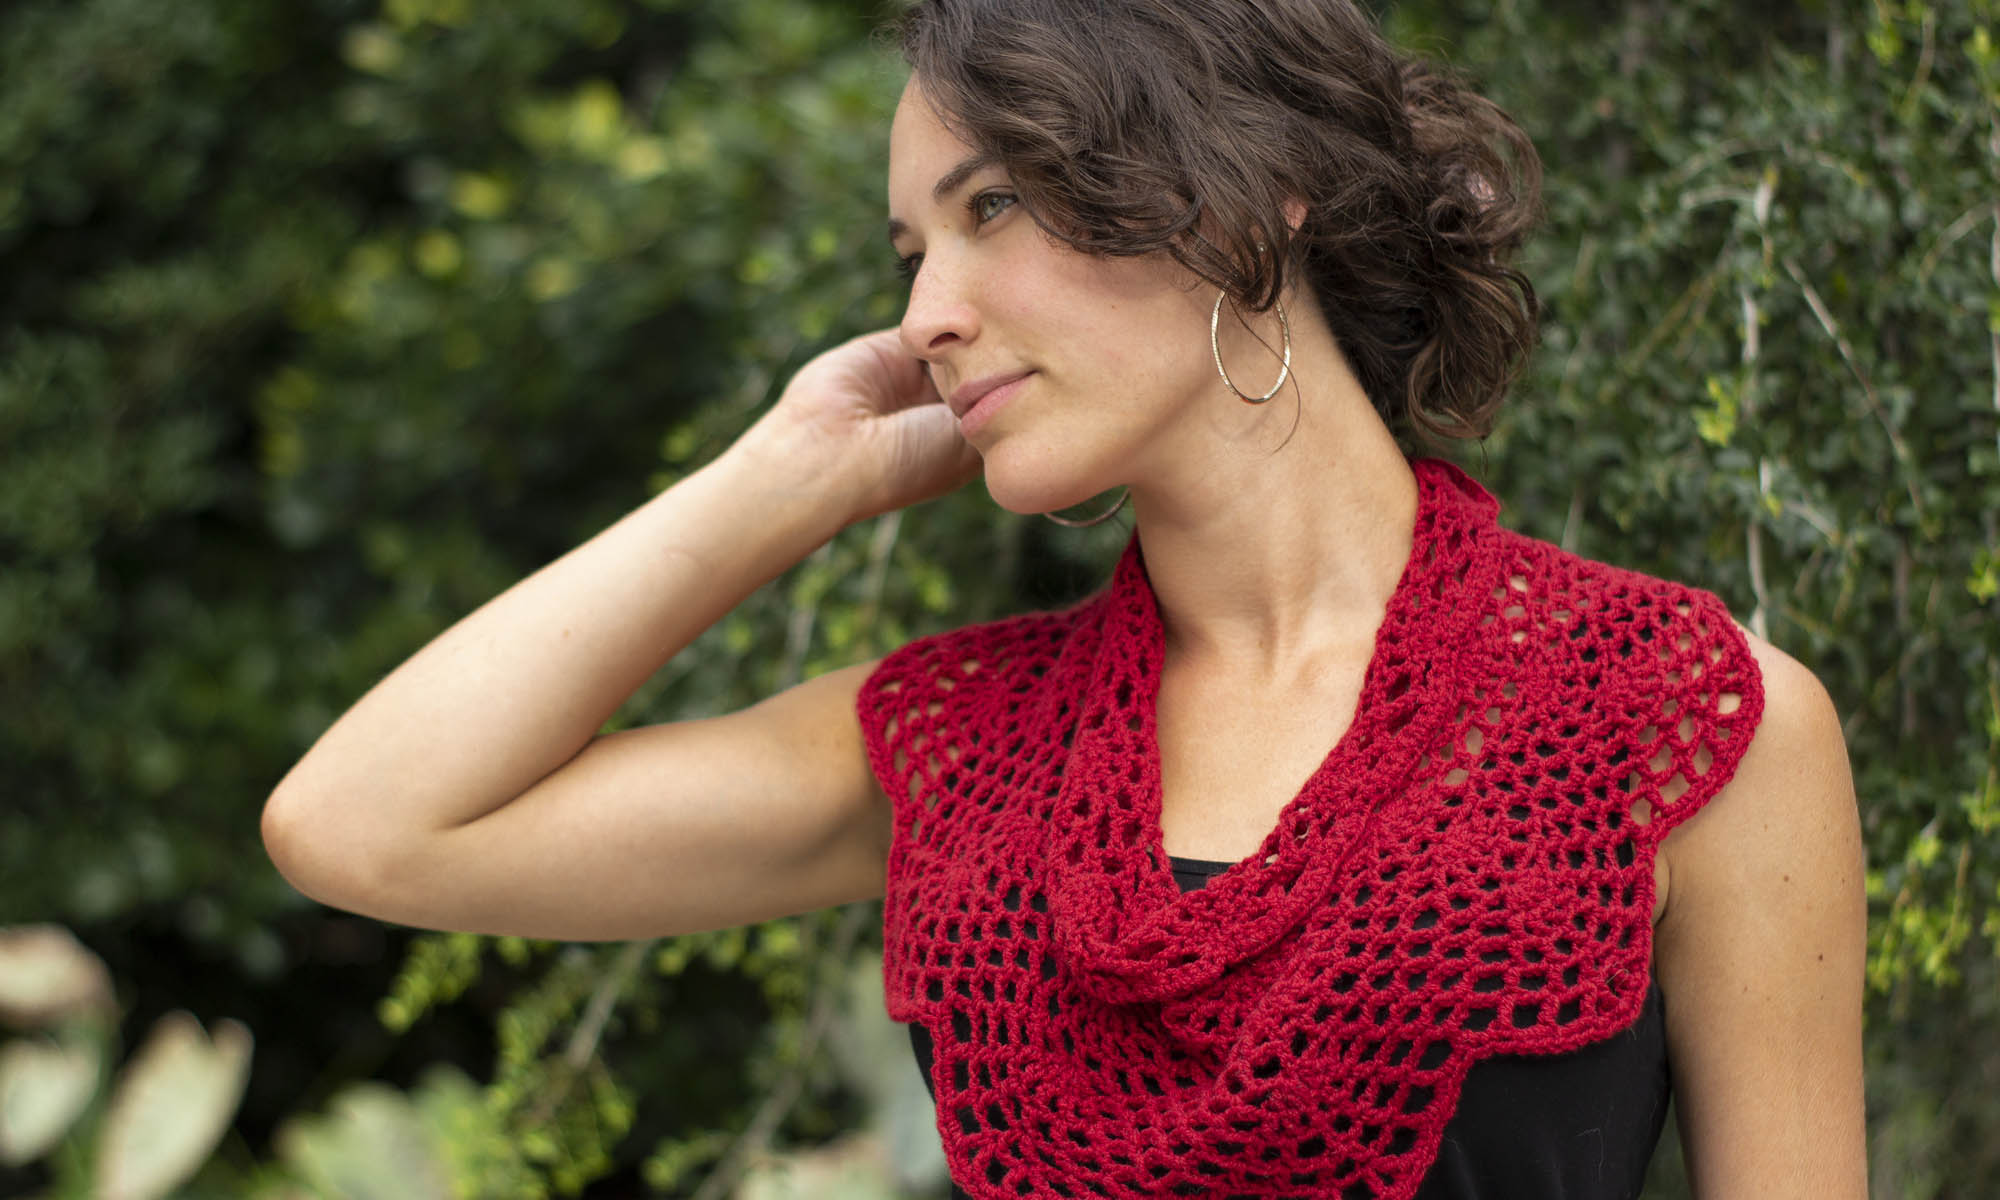
I’m currently making myself a one-ball cowl in Hashi. Since it’s a limited edition I couldn’t resist grabbing a hank while we still had some. When it’s all done, I’ll share it on our Facebook page.
Here’s hoping you enjoy the changing seasons, and find some inspiration in the world around you.
Happy crafting!