Rocked Knitalong – seaming

I finished up the second side of my Rocked over the weekend – man, that felt good!

Rocked two halves A blog

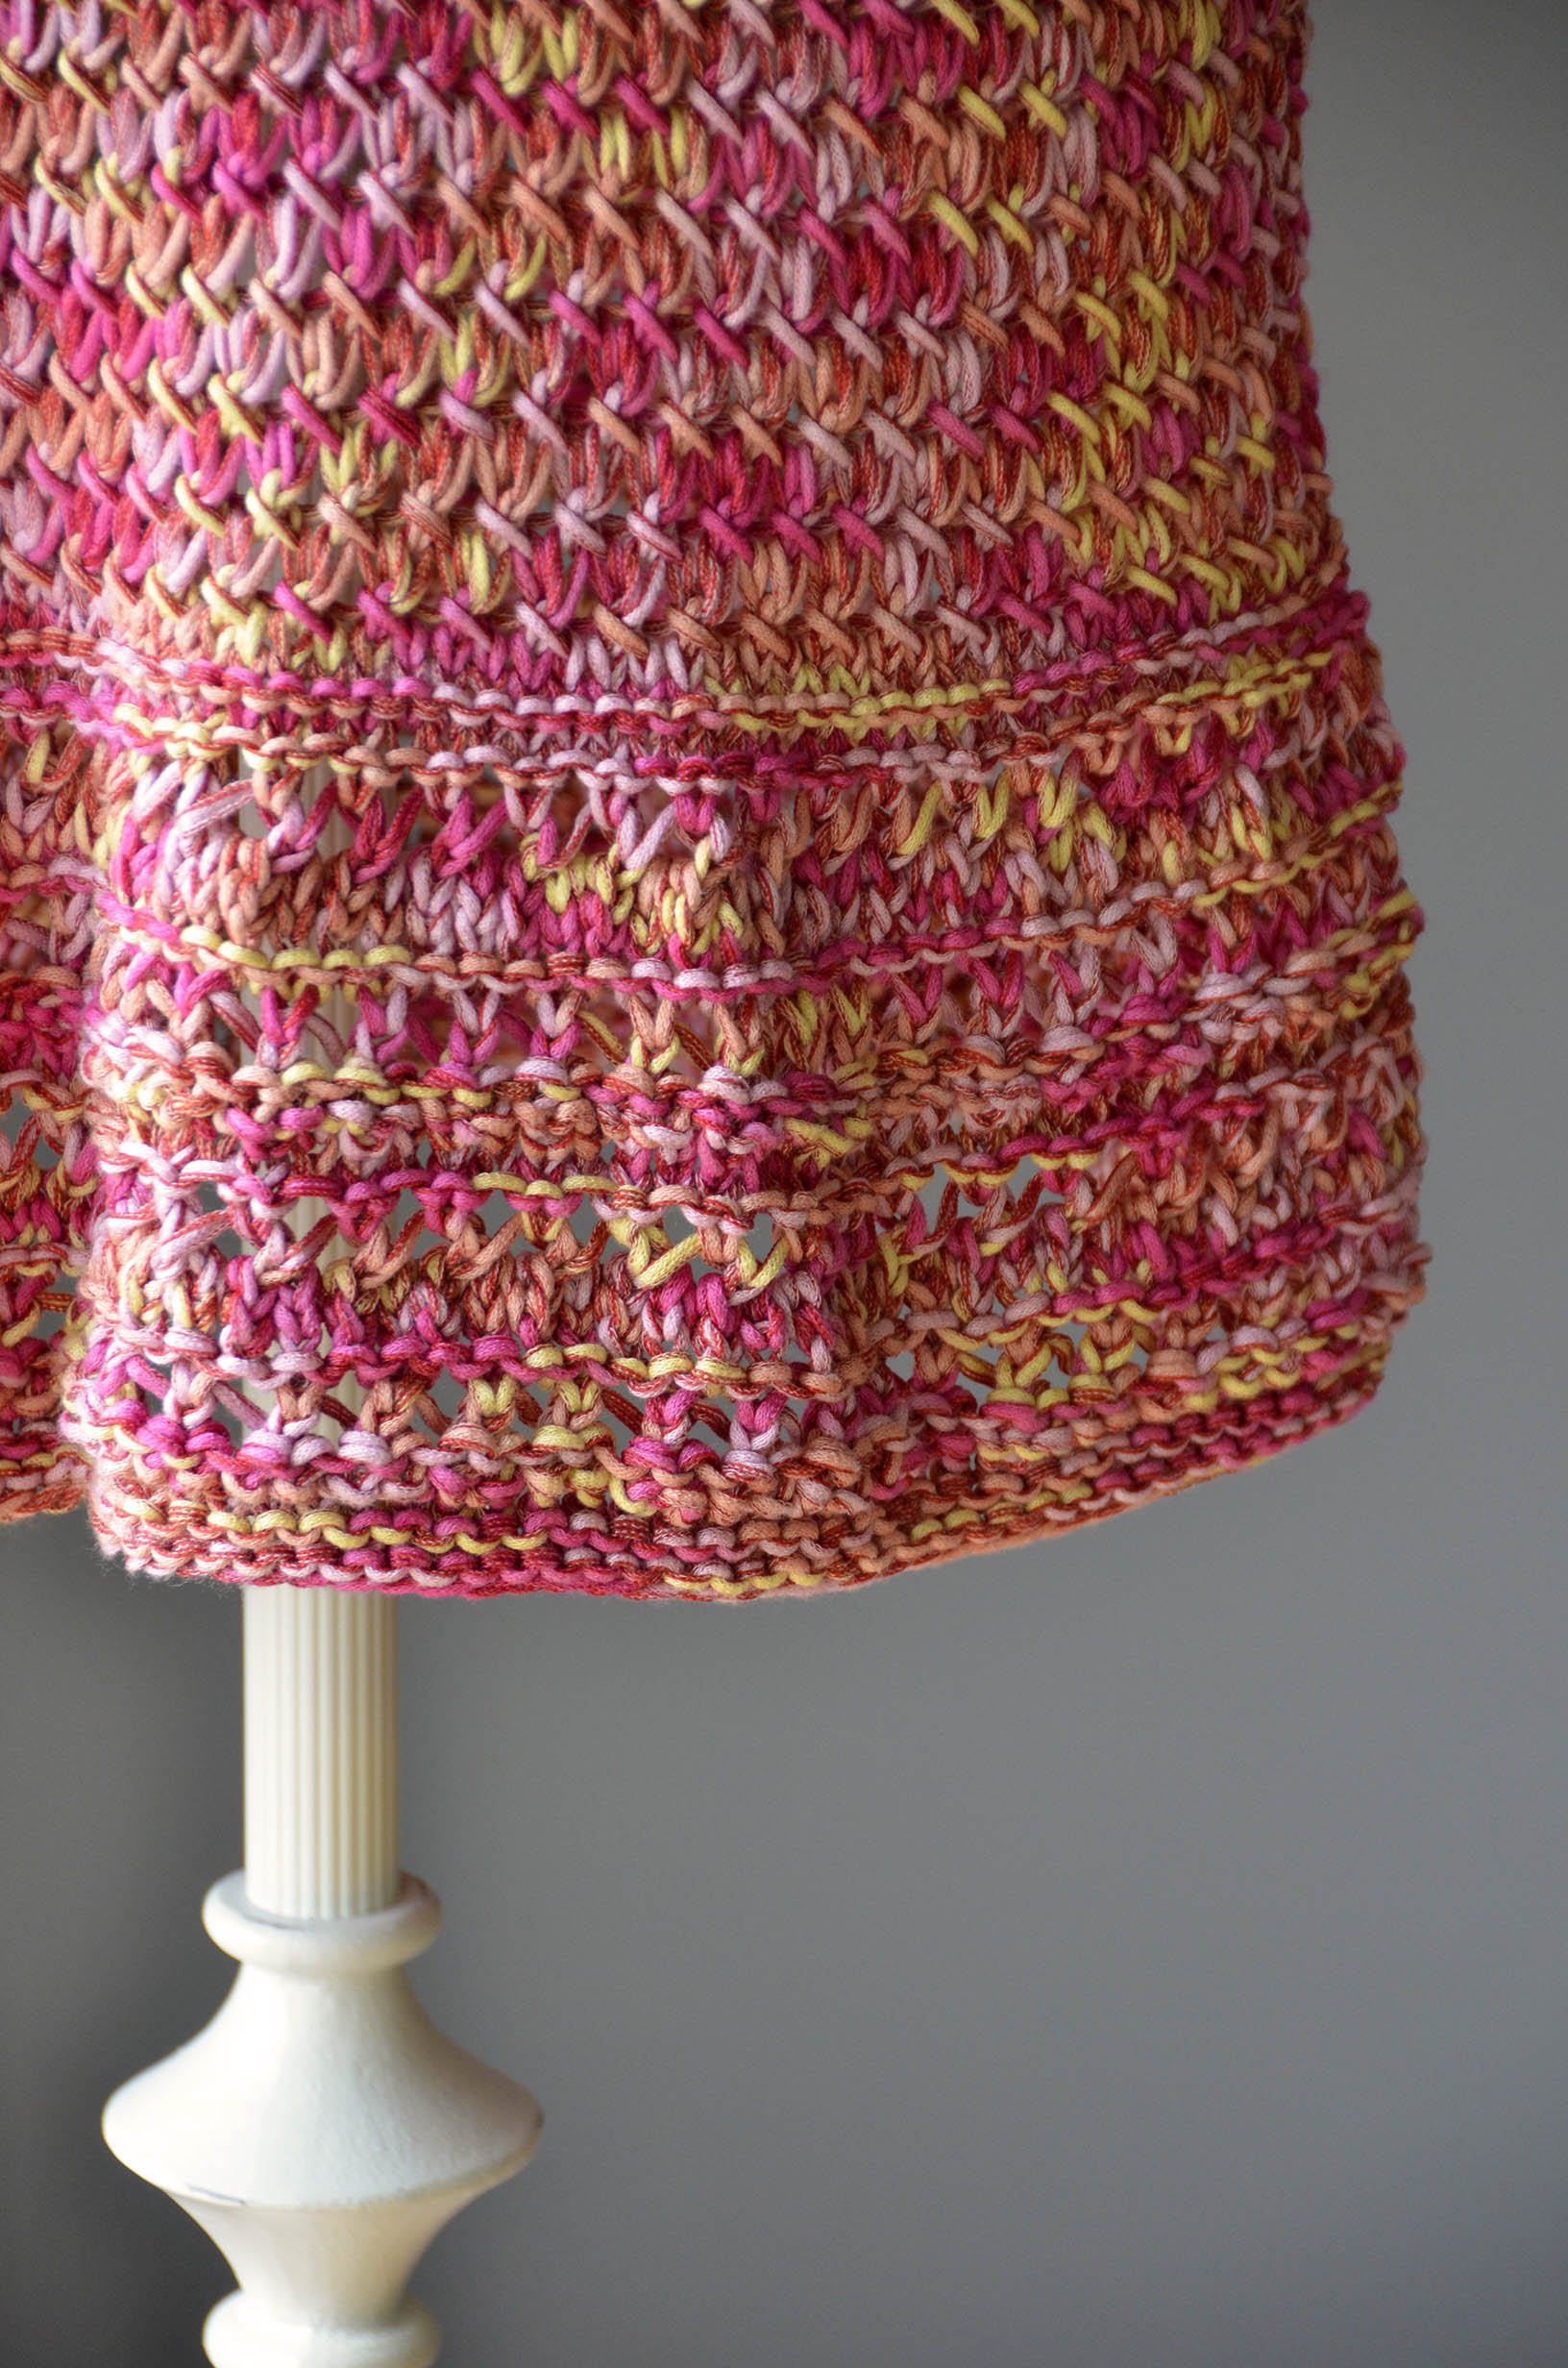
You’ll notice those long ends hanging off the finished pieces. When I know I’m going to be seaming, I like to leave generous tails both when casting on and binding off. It means I have less ends to weave in which makes me very happy.

Rocked two halves B blog

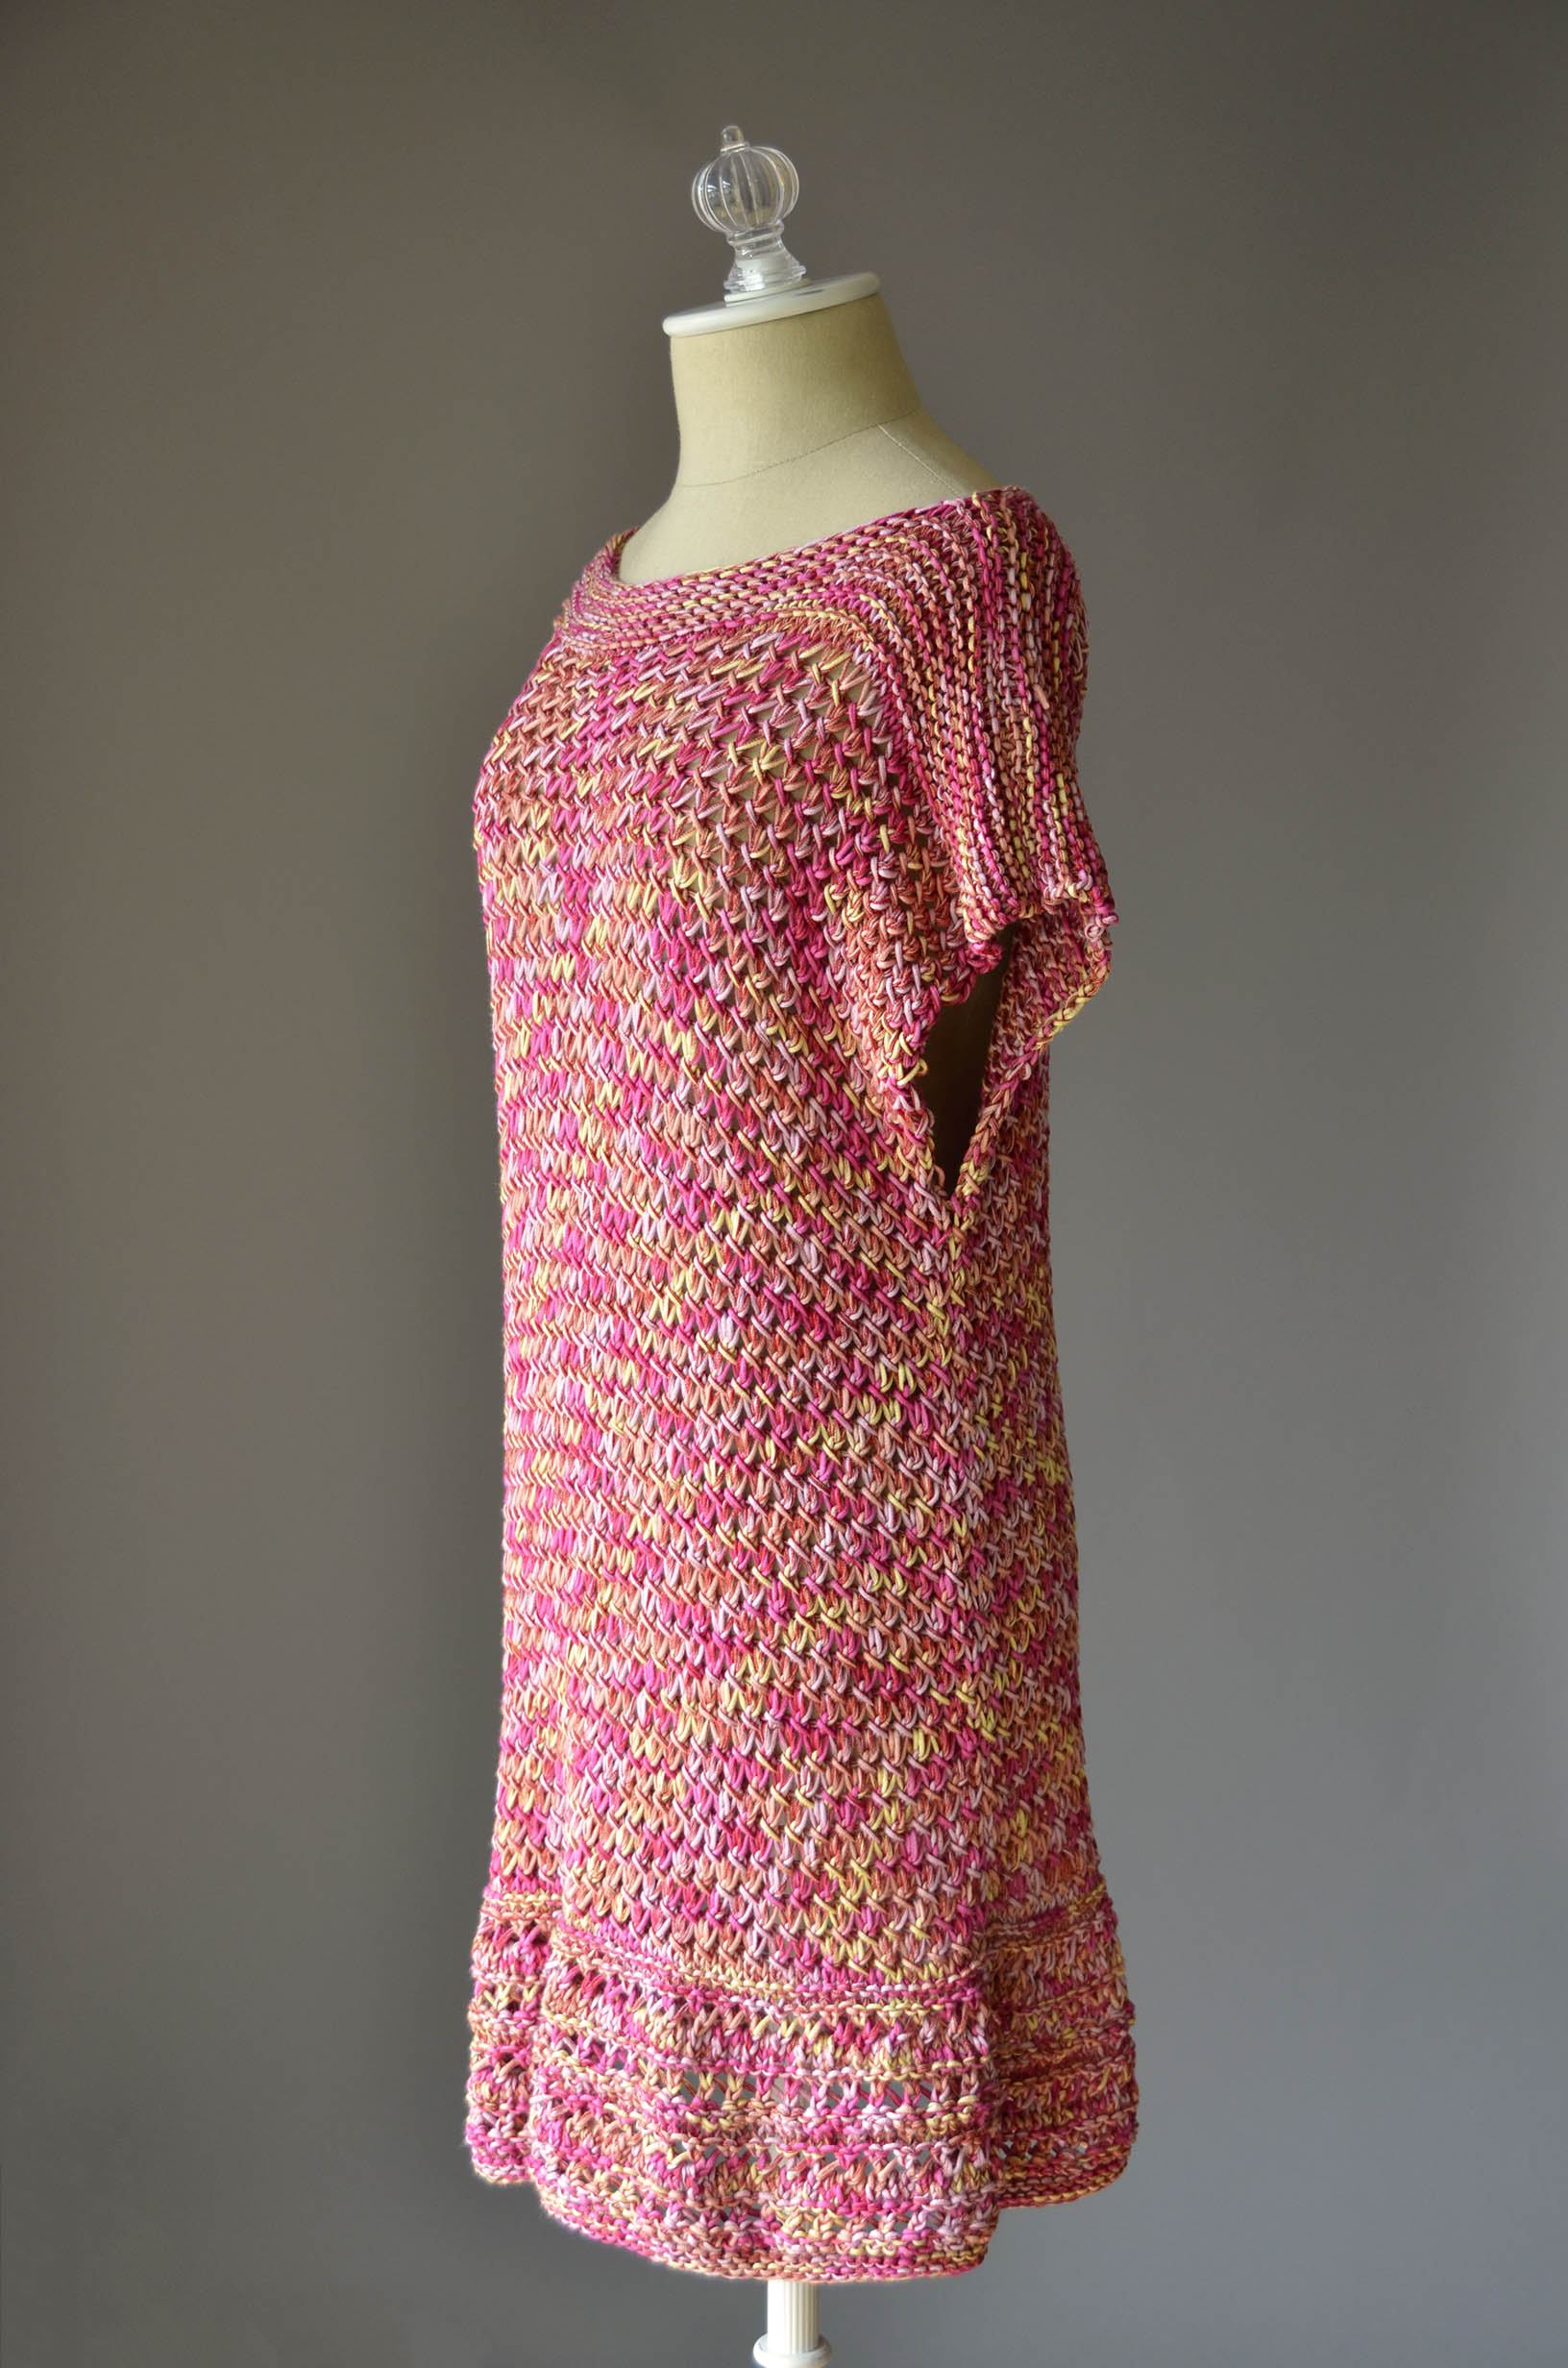
Here she is all pinned up the dressform. The end is so near! But first, I’ve got some seams to sew. My go-to method for seaming is almost always good ol’ reliable mattress stitch. If you joined us for the afghan knitalong last year, you may have already read our post on mattress stitch. It is a way to produce an even, sturdy seam. Here’s that video again:

But mattress stitch is not your only option. You could also try the crochet slip stitch seam:

Or you could hold the pieces right sides together and whipstitch, although I find it difficult to produce a nice looking seam this way.

In the Rocked pattern, you are instructed to sew the shoulder seams first. Then, pick up and knit stitches for the sleeves, and then sew the side and sleeve seams. Personally, I’m going go ahead and sew all my seams first so I can knit my sleeves in the round. This will require the use of double pointed needles or a long circular needle in order to employ the magic loop method. If you prefer knitting your sleeves flat, then I would advise following the pattern instructions. But it’s nice to have options, right?

Regardless of how you sew your seams, an important next step is to steam them. This will help to even out any unevenness with the seam, and will smooth them down helping the garment to drape better. I like to take my iron, hold it a few inches from the seam, and shoot steam at it. I then take my hand and help to press it down and relax.

I’ll be back in a couple of days to talk about picking up stitches off of your Rocked to work the neckline and sleeves. Wherever you’re at with your piece, I hope you’re enjoying it!


Knitspiration – Bannai Taku

It’s a glorious Monday morning.  How about a little knitspiration?

Bannai Taku 09 Bicycle with chips

I have no idea what this piece by Bannai Taku is called.  It’s difficult to find information about this Japanese illustrator’s work, since I don’t speak Japanese.  But something about this speaks to me.

Some of it is the fresh colors

Cotton Supreme DK Seaspray

And some of it is the spirit of freedom in the outdoors.

Hagakiri Tee in Cotton Supreme

It brings a feeling of lightness and peace.

Daffodil Top in Garden 10

When’s the last time you climbed on a bike and just rode?  Were you still a child?  Did you feel like you were flying?

Pixie Skirt in Bamboo Pop

Can you still capture that sense of joy in the world around you?

Diagonals Tee in Llamalini

I hope that sometime today, you’ll step outside and pause for a moment.  Look up.  Take a deep breath. Let your mind be still and be in the moment.

Then take another deep breath and move through your day with a smile.

Edited to add: A reader who cycles informs us that the Japanese text for our cycling illustration translates to… Cycling.  Thank you for letting us know!

IRL – kite cardigan

Back in the fall of 2013, I designed this openwork cardigan in Deluxe Chunky for knit.wear magazine, an Interweave publication:

20130701_intw_kw_0069_medium2

It’s called “Kite Cardigan“, and takes between 5-10 hanks of Deluxe Chunky. I had a lot of fun with this sweater. It’s knit bottom-up in two pieces. There is a bit of shaping involved, but the shape of the cardigan is largely due to directional lace. Done in a bulky yarn, it goes super fast, but because the fabric is so open, it’s fairly lightweight.

I am lucky enough to be in possession of my Kite Cardigan again, and can now add it into my rotation of daily sweater wear. It was a little chilly here in Charlotte last week, so I was able to squeeze in one last day of wool-wear for the season.

IRL Amy Deluxe cardi back blog IRL Amy Deluxe cardi front blog


Yes, my desk is a little messy…I know! We knitters have more important things to do than clean, right?

Free Pattern Friday – Acid Wash Pullover

It’s Free Pattern Friday!

denims Acid Wash Pullover blogToday, the Acid Wash Pullover in denims.

If there’s a yarn that has captured the imagination of our customers this season, it’s denims.  A bulky cotton/wool tape with hues ranging from sky blue to indigo, it’s perfectly on-trend for the current year.  Looking at this pullover, you can see why it’s so popular.

This bulky-weight pullover knits up on 6.5mm needles, but the cotton content means you won’t swelter.  Right twists and cables run the length of the body to a 1×1 ribbing at the hem and collar.  The contrasting sleeves are a nice touch, as is the lowered back edge.

Worked in pieces and seamed, this pattern is both written and charted and contains a schematic.  The right twists are easy as pie to do.

Having just finished a quick one ball project in this yarn, I’m eager for more.  This would fit the bill nicely.

Happy knitting!

denims Acid Wash Pullover cable closeup_blog


rocked knitalong – two at a time

We have a couple of knitters here in the office working both front and back pieces at the same time. Here is Jen’s piece in progress:

Jen'sRocked

If you look closely, you can see that she has two balls of yarn attached, and two distinct pieces of knitting. If you’ve cast on for your Rocked already, it’s too late to go this route. But it’s an interesting concept for other projects that have identical pieces, such as sleeves. To get started, cast on for the first piece onto your needle. Drop the current yarn. With a new ball of yarn, cast on for the second piece right behind the first set of cast on stitches. Simply work back and forth across both pieces using the appropriate ball of yarn for each piece.

I will sometimes knit both of my sleeves on the  same needle. I find it is easier to keep track of increases, decreases, and other patterning this way.  Other times, I find it a hassle to have multiple strands of yarn hanging from my knitting. But like many things in knitting, it’s nice to have options, right?

One problem I’ve run into before with working two pieces on the same needle is that I might accidentally turn and work the wrong side without first working the right side of the second piece. To solve this problem, I simply tie a piece of yarn between the two pieces so I don’t accidentally turn at the wrong place.

If you’ve read ahead in the pattern (or are maybe already to this point), you’ll see that during the neck shaping you are instructed to work both sides at the same time. This is a similar process to working two at a time sleeves, or two at a time anything else.

Rocked_twoatatimesleeves


The above image demonstrates how the neck shaping works. Consider the red line row 1. This row reads like this:

Next row (RS): Work in patt over next 55 (61, 65, 71, 75) sts, attach new ball of yarn and bind off center 28 sts, work in patt over rem 55 (61, 65, 71, 75) sts.

The green line above would be row 2. Though not expressly written out, it would read like this:

Row 2 (WS): Work in patt over Right Shoulder sts to end. Bind off 6 sts at beg of Left Shoulder, work in patt to end.

And the blue line would be row 3, and would read like this:

Row 3: Work in patt over Left Shoulder sts to end. Bind off 6 sts at beg of Right Shoulder, work in patt to end.

Make sense? Though I don’t always like to work large pieces at the same time, when working neck shaping I do find it helpful to employ the two-at-a-time method. But you know what, if you prefer to work one side at a time, you’re more than welcome to do so!

Here’s a graphic to represent how working each side separately would look:

Rocked_oneatatimesleeves

The green line represents the Left Shoulder. Here is how that section would start off it were written out in rows:

Row 1 (RS): Work in patt over next 55 (61, 65, 71, 75) sts, turn. Place rem sts on holder.

Row 2 (WS): Bind off 6 sts, work in patt to end.

Row 3: Work in patt to end.

Row 4: Bind off 5 sts, work in patt to end.

And so forth. After the Left Shoulder is finished, the Right Shoulder would begin like this:

Bind off center 28 sts, work in patt to end.

If you’re not at the neck shaping section yet, that’s okay! Just remember Sandi’s wise sentiment from the other day: it’s not a race!


Rocked Knitalong – If this was a race, I’d be losing.

Once again, I hand the blog over to Sandi Rosner for an update on her Rocked:

It’s been two weeks since our official cast-on date for the Rocked Knit A Long, and my progress has been dismal.

Rocked progress_Sandi

Now, I’m not a slow knitter, and I’ve not run into any issues with this pattern. But like most recreational pursuits, knitting for myself is quickly put aside when work demands get heavy. In addition to being Creative Director for Premier Yarns, I’m working on finishing a book. My knitting and crochet time has been pretty scarce, and when I do sit down with my needles or my hook, it is usually to make something that is needed for a photo shoot or for the book.

I know Amy has written about casting on for the sleeves, but I’m not even close to that point, and to tell the truth, I was feeling pretty bad about it. The internal browbeating went something like this: “Why did I even sign up for this KAL? I should have known I had too much work to do and wouldn’t be able to keep up. I should be setting an example, and here I am looking like a slacker. I’ll never have time to finish this piece.” Sound familiar?

Well, I’ve decided to let go of expectations. The truth is, this is not a race. There is no prize for finishing fast, and no punishment for being a slowpoke. I really do want to wear this top, and I’ll finish it when I finish it – if not in time for this summer, then for next.

I’ve also developed a strategy to turn my Rocked from a burden that induces shame every time I look at it to a pleasure that I look forward to knitting. With the warmer weather of late Spring, some of us here in the office have been getting together after work on Fridays. We choose a place with outdoor seating and have a glass of wine to cap off the week. My Rocked will be the project I take along to knit on those occasions. Nothing like pleasant associations to make a project go faster, right?

So, how is everybody else doing? Are you zipping right along, have you stalled along the way, or are you somewhere in between?

IRL – Jen’s Bamboo Pop cardigan

Today I’m delighted to share a Bamboo Pop FO from Jen who works in our accounting department.

IRL Jen Bamboo Pop

Jen always has multiple projects going on, as she is an avid knitter, crocheter, and spinner. This versatile summery cardigan was a free pattern Jen found on Ravelry. Crocheted using Bamboo Pop in color 210 Orchid Smash, it does look smashing on her – am I right?

Here is Jen in her own words on her fabulous project:

It took 3 balls with a 4mm hook.  The original pattern called for a worsted weight cotton and a 5mm hook I think,  but I knew it would be too heavy and cumbersome for everyday wear.  Since it was top down changing the gauge was easy peasy, I’d like to talk about all the swatching I did and the math I used,  but I really just crocheted until I liked where it was and then transitioned to the shell stitch.  Its ended up being one of my favorite FO’s.  The fabric is very drapey so it feels really nice and fancy to wear.  It looks great over the single black dress I own if I ever decide to go somewhere swanky and it also looks good with a t-shirt and jeans.  It’s very lightweight and breathable so I can wear it over a long sleeve top in the winter or a tank-top when it gets warmer and it isn’t hot or anything.  I knew the bamboo/cotton would grow a lot so I only crocheted until the bottom hit just below my navel, as I suspected, after washing/blocking and wearing it grew to the perfect length for me.  The pattern also called for buttons but I hate sewing buttons on so I just ignored them and use it to showcase my growing collection of shawl pins and brooches.

Thanks for sharing, Jen!

Free Pattern Friday – Picket Cardigan

It’s Free Pattern Friday!

Little Bird Picket Cardigan 1 blogToday, the Picket Cardigan in Little Bird.

More than one person walked by my desk this week and picked this up to fondle it.  Little Bird (100g/344 yds) gives it a lovely sheen, and the smoothness of the fiber really makes those cables and ribs stand out.  It’s not stiff or bulky at all, but very soft and comfy.  The machine washability makes it a home run for baby knits.

This cardigan is knit in pieces and seamed. The back and sleeves are worked in plain stockinette stitch, while the fronts are cabled.  The pattern is written and charted and contains a schematic.

This would look great on a little girl or a little boy. The buttonholes can be placed on either side – although truthfully I always forget which is which.  Eh, the baby won’t care.

Happy knitting!


Rocked Knitalong – casting on for sleeves

Last blog post, I talked about how to maintain stitches in pattern during the sleeve shaping section. But what I didn’t cover was how to cast on at the beginning of rows. Raveler skcfoto asked over in our Rocked knitalong Ravelry group if we could post a video of casting on. I’m glad she asked – we’re happy to do so!

Below is a video showing the knitted cast on. This is a cast on that can be used to begin a project or to cast on at the beginning of a row on an existing piece of knitting, such as Rocked. Instead of the knitted cast on, the backward loop method could also be used. But I find working into the knitted cast on to be much easier to do than backward loop, plus, it provides a more stable edge.

Lluxurious Llamalini

For me, there are more than a few yarns here in the office that inspire daydreams of beautiful projects.  One of those is Llamalini, a decadent blend of linen, royal llama, and silk bourette.  I’m not the only one – designers are picking up on this gem too.  May we show you what our own Amy Gunderson has done recently?

Dichotomy_Llamalini_1_cropped

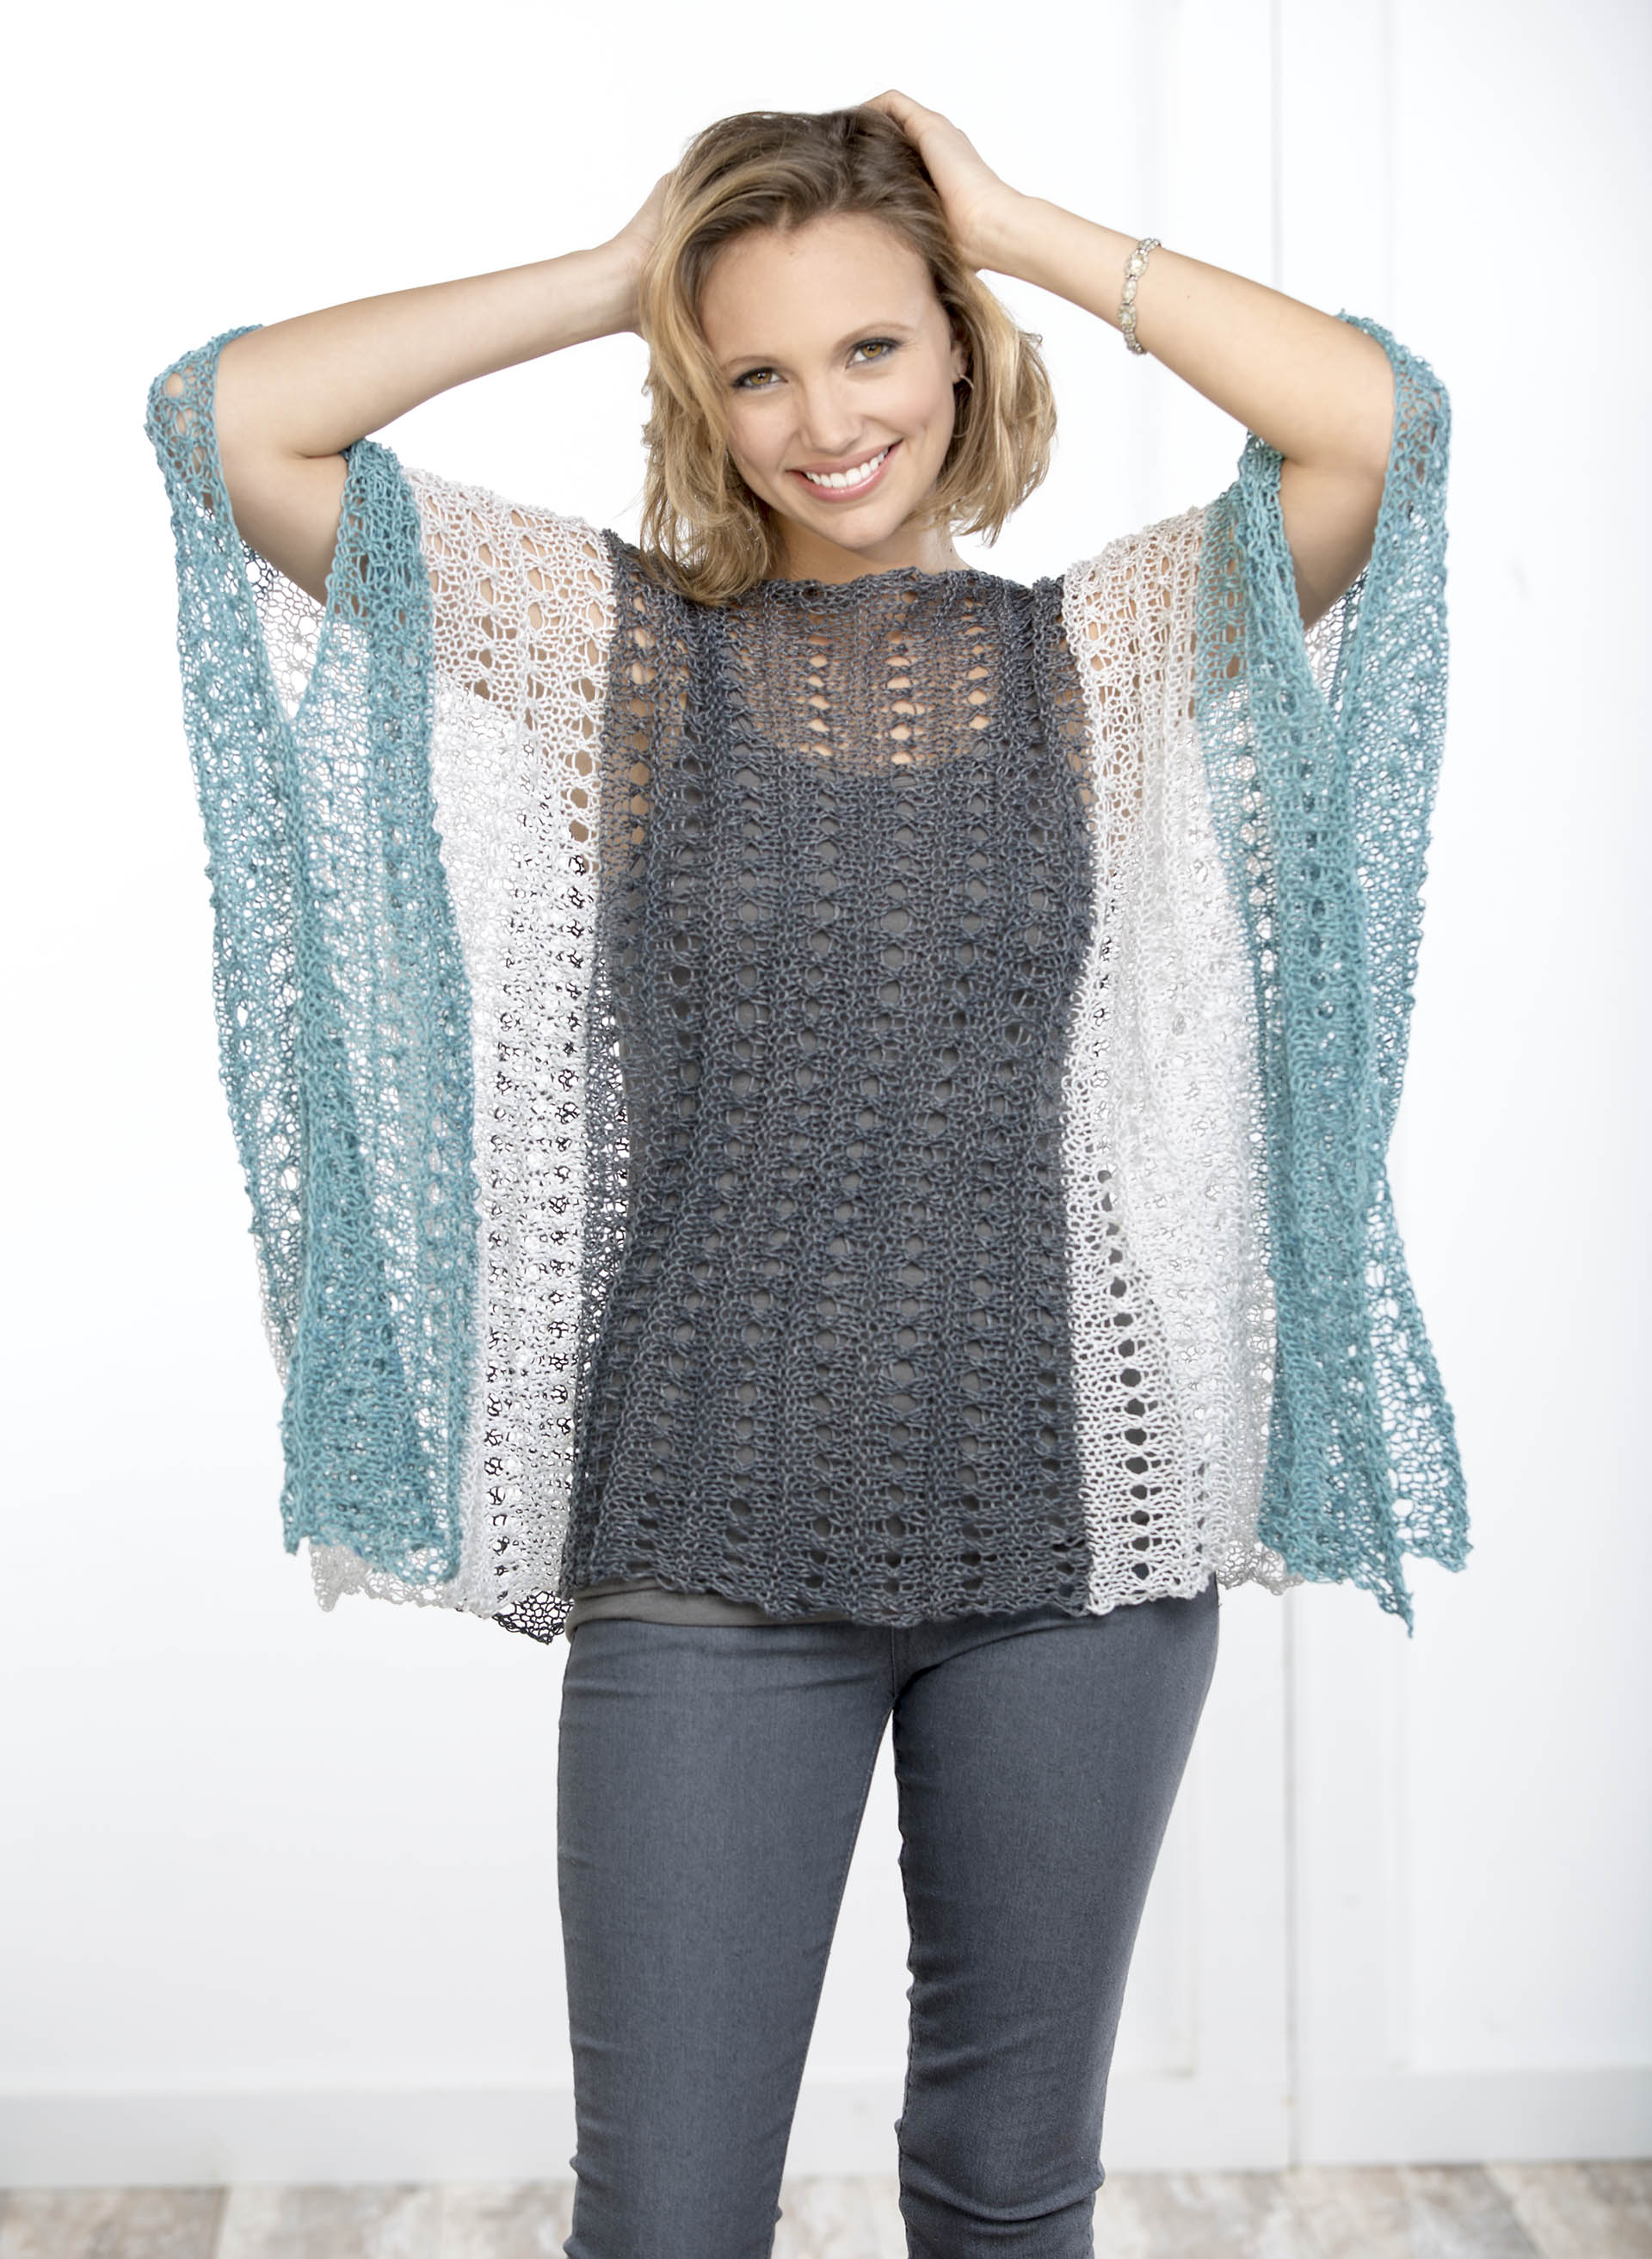
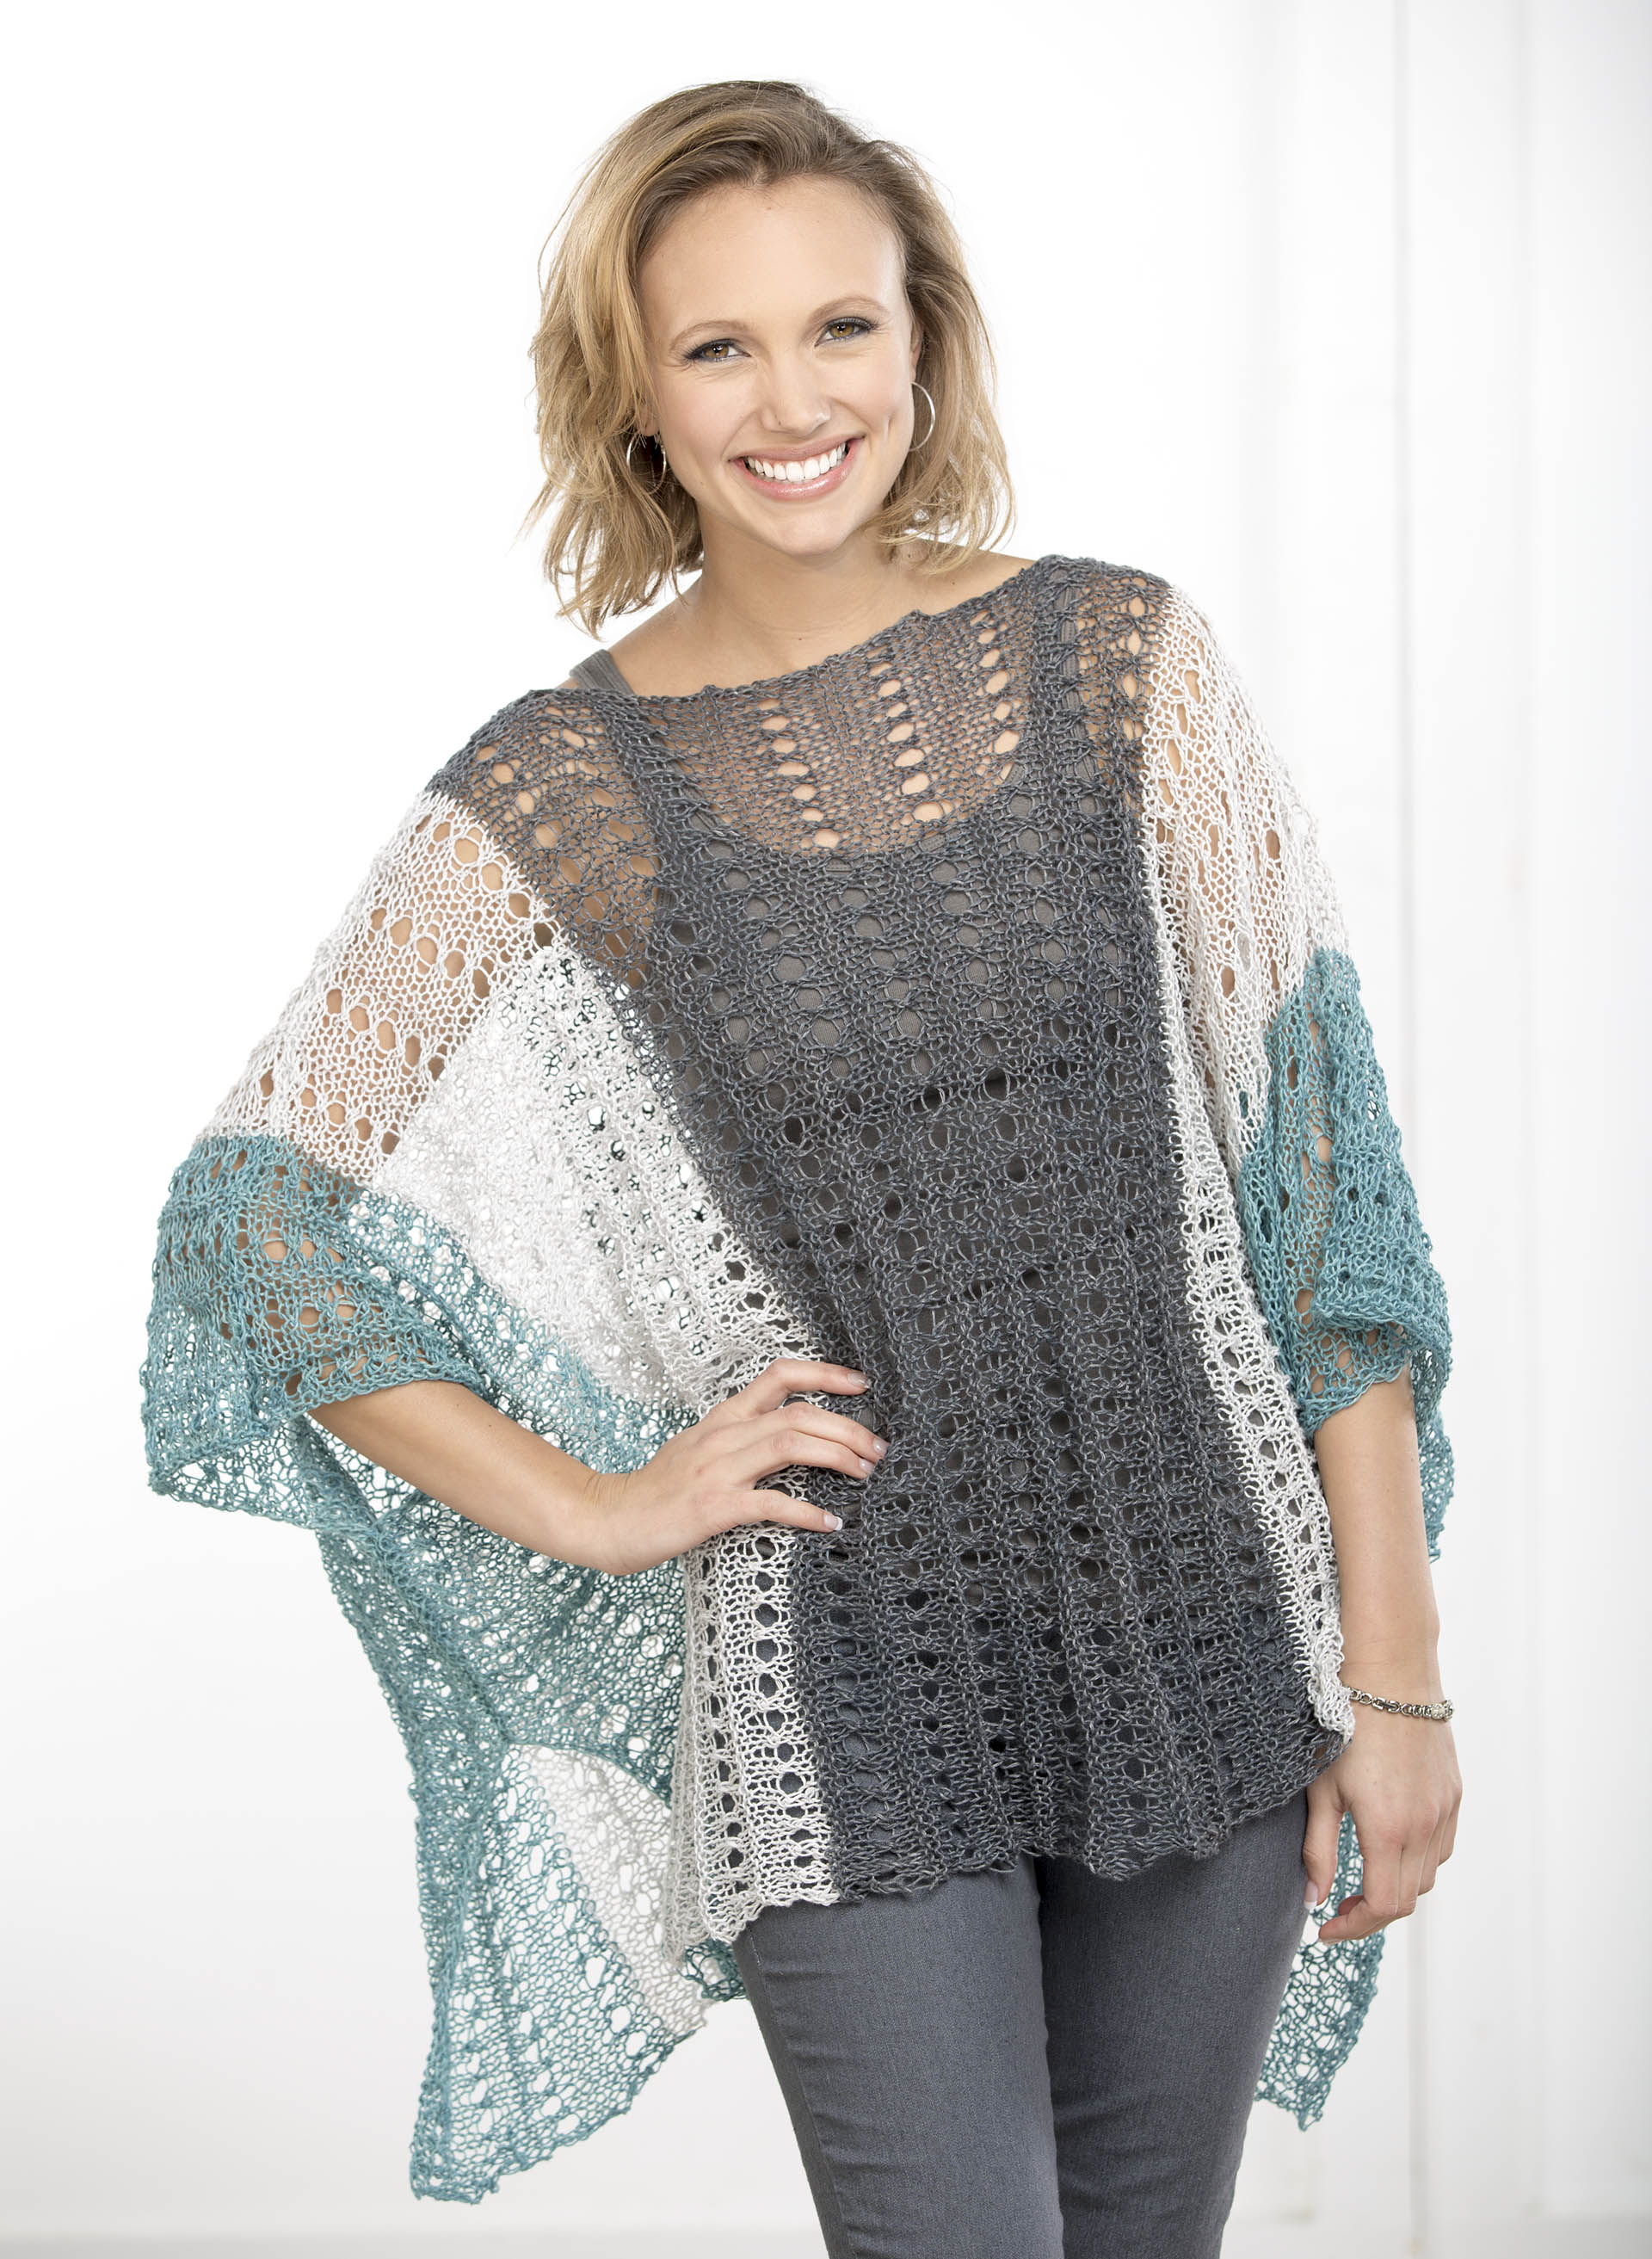
Dichotomy looks great with the very in-style color blocks that meander up the body and across the arm.  Worked flat in pieces from the bottom up, it uses a circular needle strictly to accommodate the large number of stitches required for a pullover with up to 10″ of positive ease.  Sleeve cuffs are worked by picking up stitches off the sides of the body piece and knitting downward.

Dichotomy_Llamalini_2_blogColor changes are achieved with the intarsia method.  The contrasting “line” is formed by working increases and decreases in the blocks of color – no cabling required.

You can purchase this pattern on Craftsy or Ravelry.  (Puppy not included)

In the Spring/Summer 2015 knit.purl, the Swingback Hoodie is turning heads.  Amy wrote an in-depth guest blog post about her design process for this piece.

Gunderson_Swingback_Hoodie_1  knitpurl Summer 2015 Gunderson_Swingback_Hoodie_5

A dramatic feather-and-fan panel makes a pointed back hem. The hood, fronts, and back are worked from the top down, while sleeves are worked from the bottom up.

As part of the knit.purl blog post, Lisa Shroyer asked for Amy’s suggestions for personal styles that would work well with this cardi.  We got a little happy in the studio with Amy modeling.  We couldn’t resist giving you all a little taste of the fun we had.

Happy knitting!

Swingback-Loop-GIF